
DrFeelGood
Community Member
-
Joined
-
Last visited
Everything posted by DrFeelGood
-
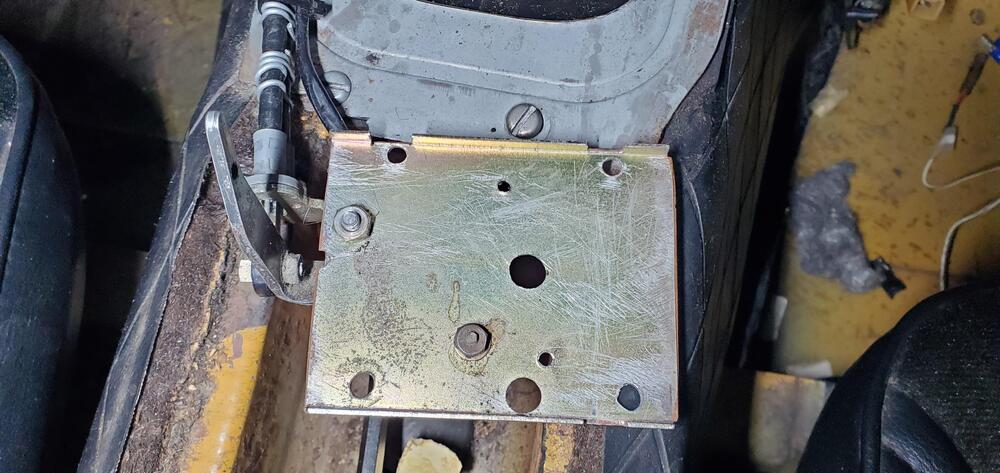
That little choke bracket works great for me.
-
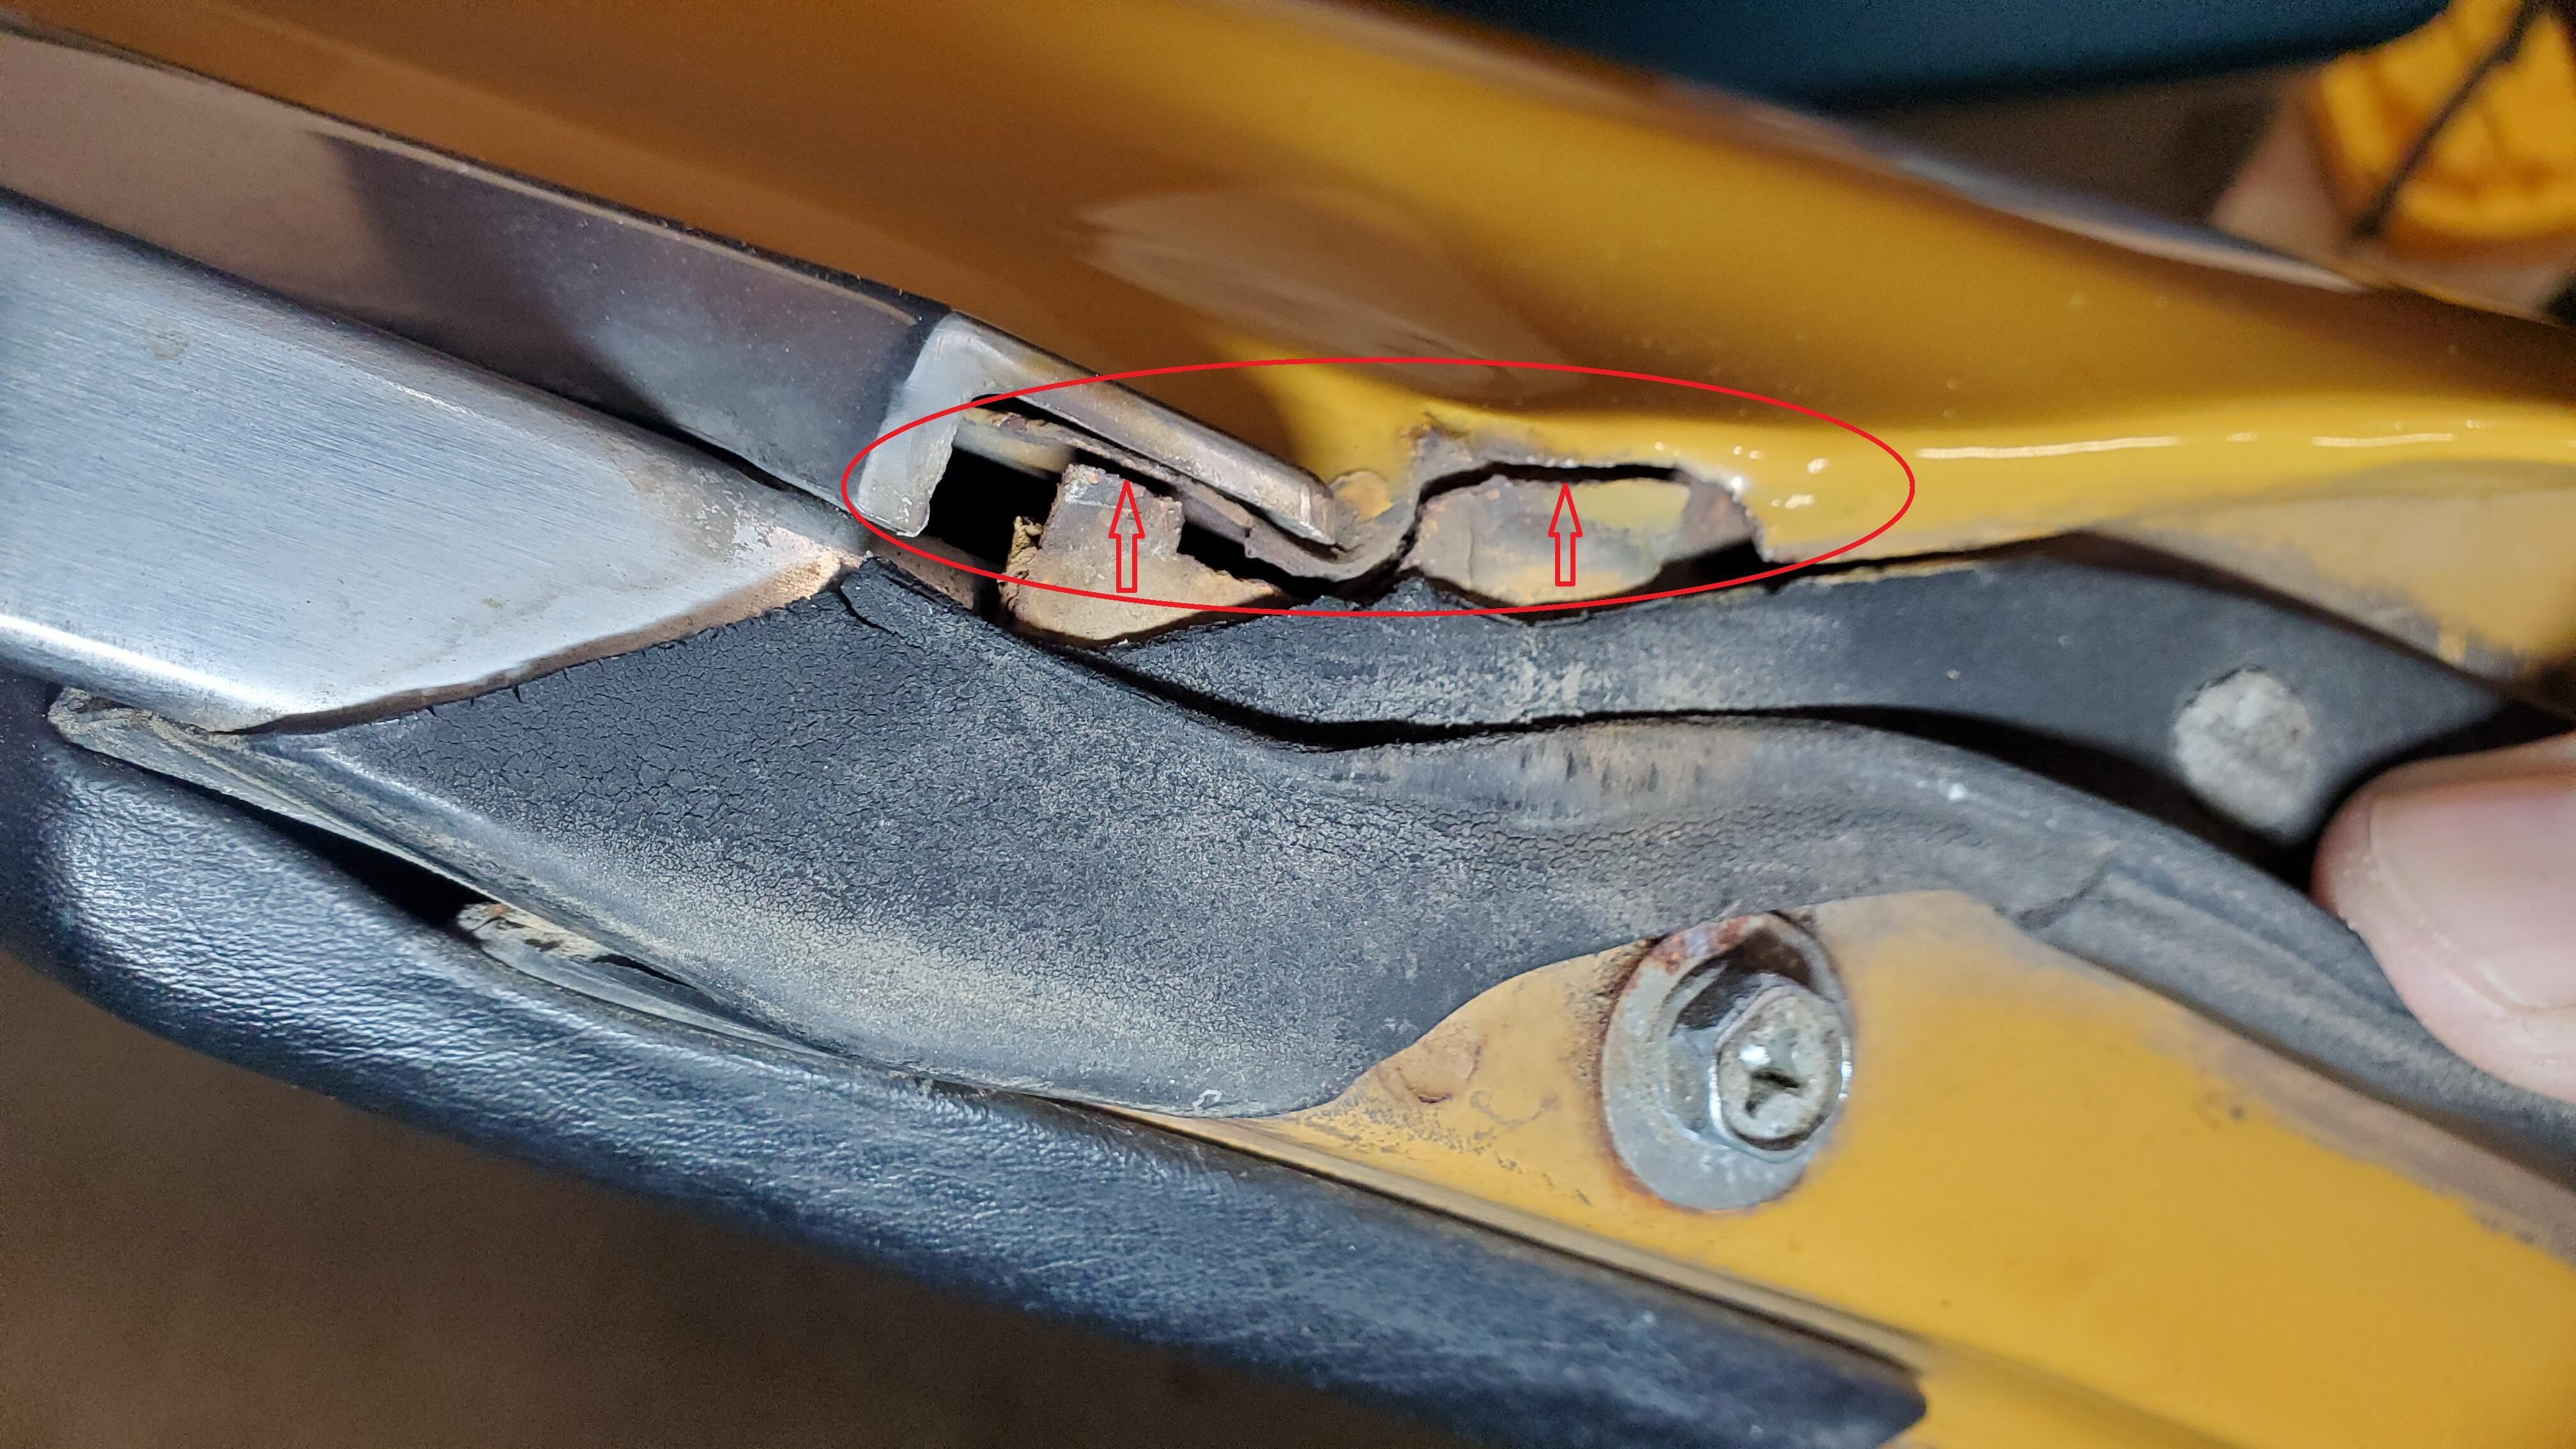
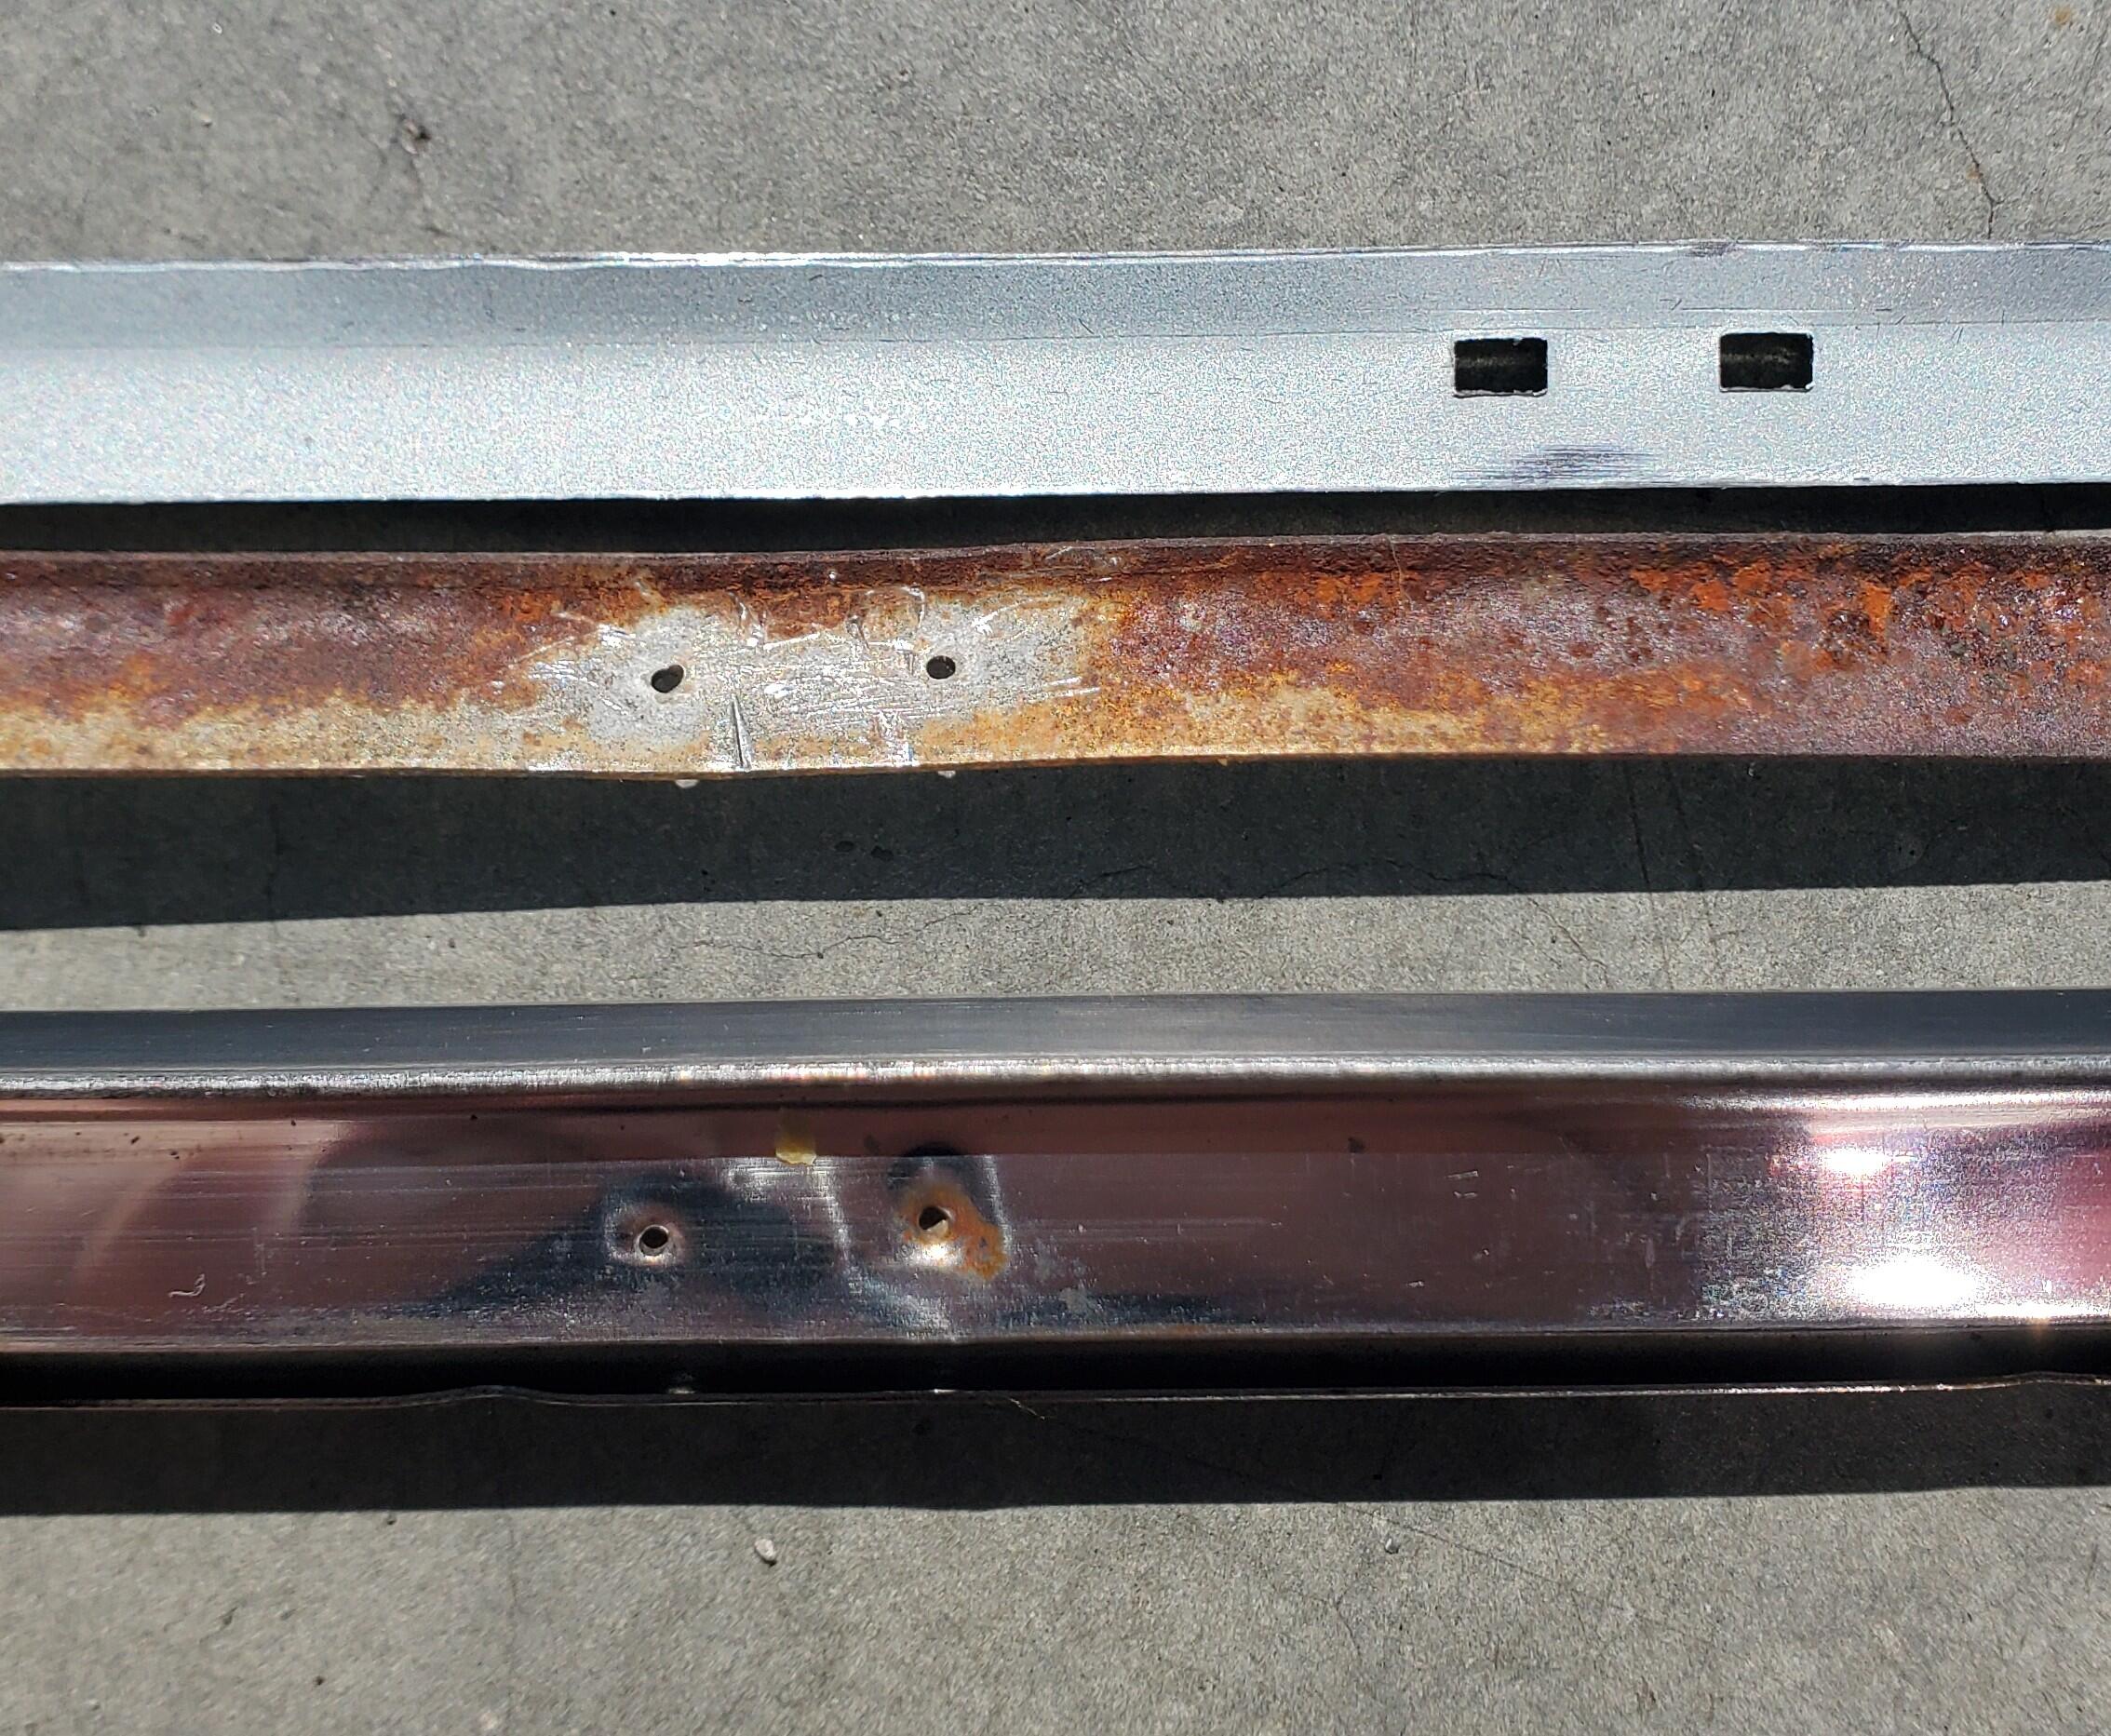
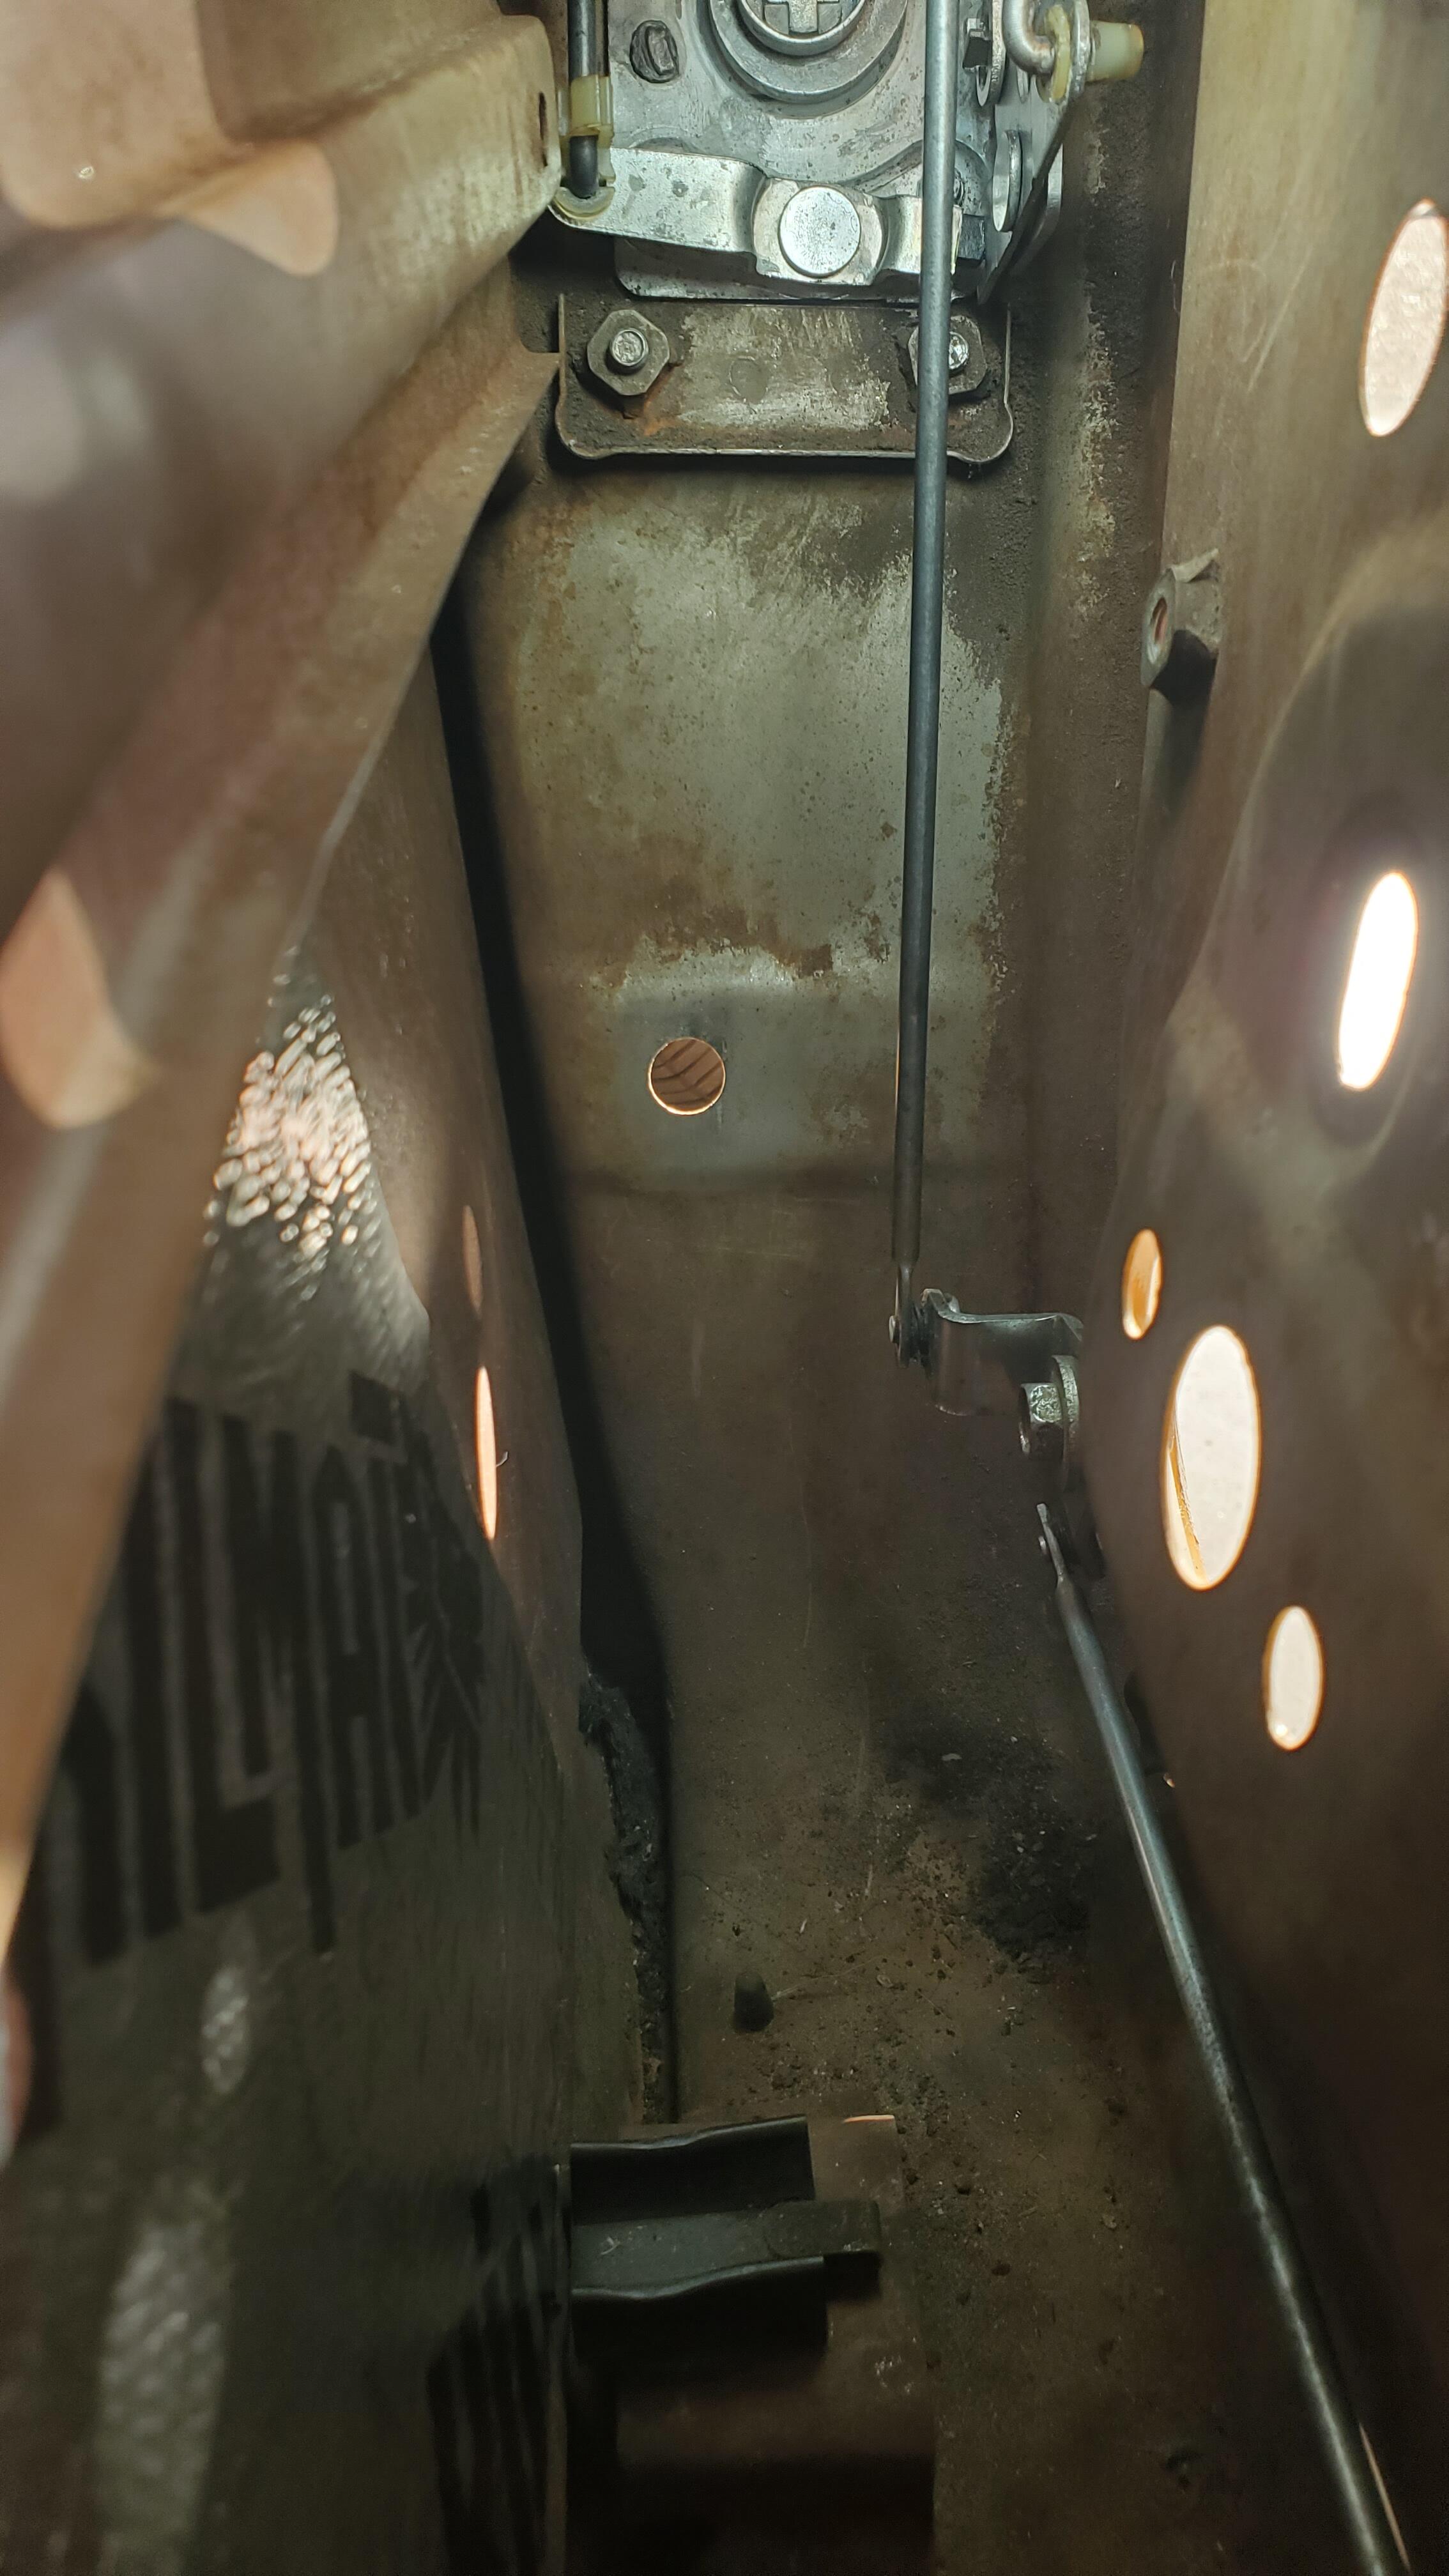
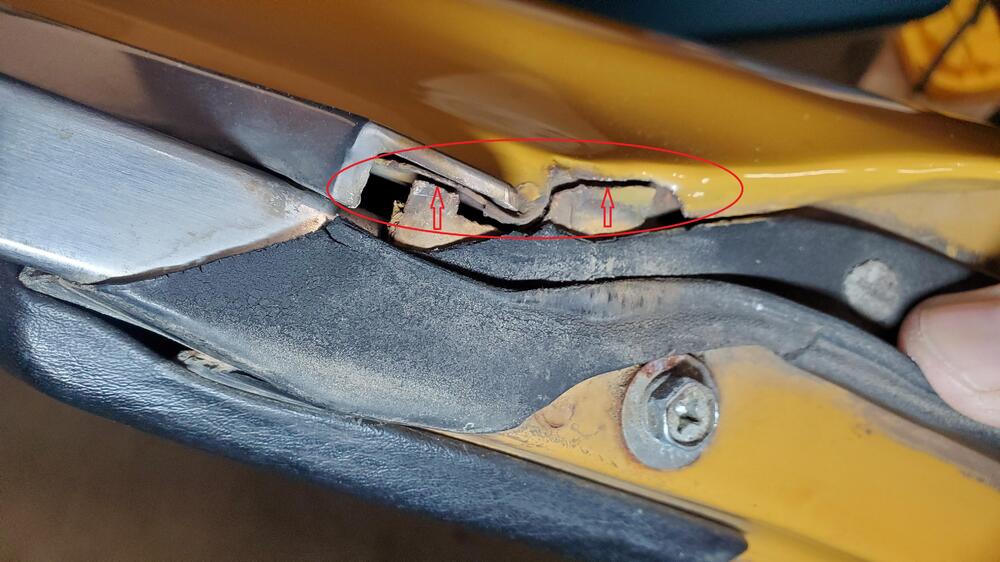
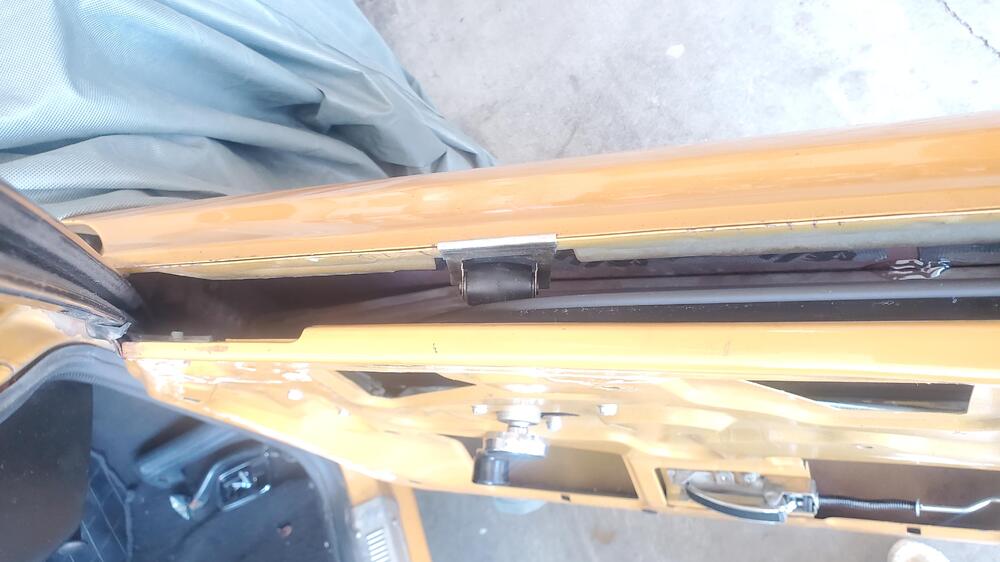
I have a cracked drivers (left) door just forward of the mirror (pictured). The crack allows the window opening to widen and lends to general instability. I am fairly positive that it manifested from 30 years of door insulation that was too thick. My plan was to clean it up and weld it back together. A series of spot tacks from the outside that can be smoothed down and repainted. I am not a body guy by any stretch of the imagination but not unfamiliar with a welder (MIG in this case). Is there anything that I might be missing or not understand hiding here? Thanks for any tips or suggestions.
-
Since I have been going through this period of "discovery" and trying to figure out why I cannot operate the clutch with new slave (11/16") and master (5/8") cylinders, I will post the information I have compiled from the factory service manuals. EDIT: mine was fixed by changing my pedal height to 223mm Item 1970 1971 1972 1973 1980-1983 1980-1983 (2+2) Release bearing to diaphragm spring clearance (mm) 2.0 2.0 2.0 0.0 non-adj. non-adj. Diaphragm spring to flywheel (mm) 44 ± 1.0 44 ± 1.0 43-45 43-45 33-35 37.5-39.5 Clutch disk dia. X thickness (mm) 225 x 8.6 225 x 8.6 225 x 3.5 225 x 3.5 225 x 3.5 240 x 3.5 Clutch pedal height to floor (mm) 202.0 202.0 223.0 223.0 203.0 203.0 Pedal free travel (mm) 10-15 10-15 10-15 10-15 1-5 1-5 Master Cylinder dia. (in) 5/8 5/8 5/8 5/8 5/8 5/8 Slave cyl. Dia. (on) 5/8 5/8 11/16 3/4 3/4 3/4
-
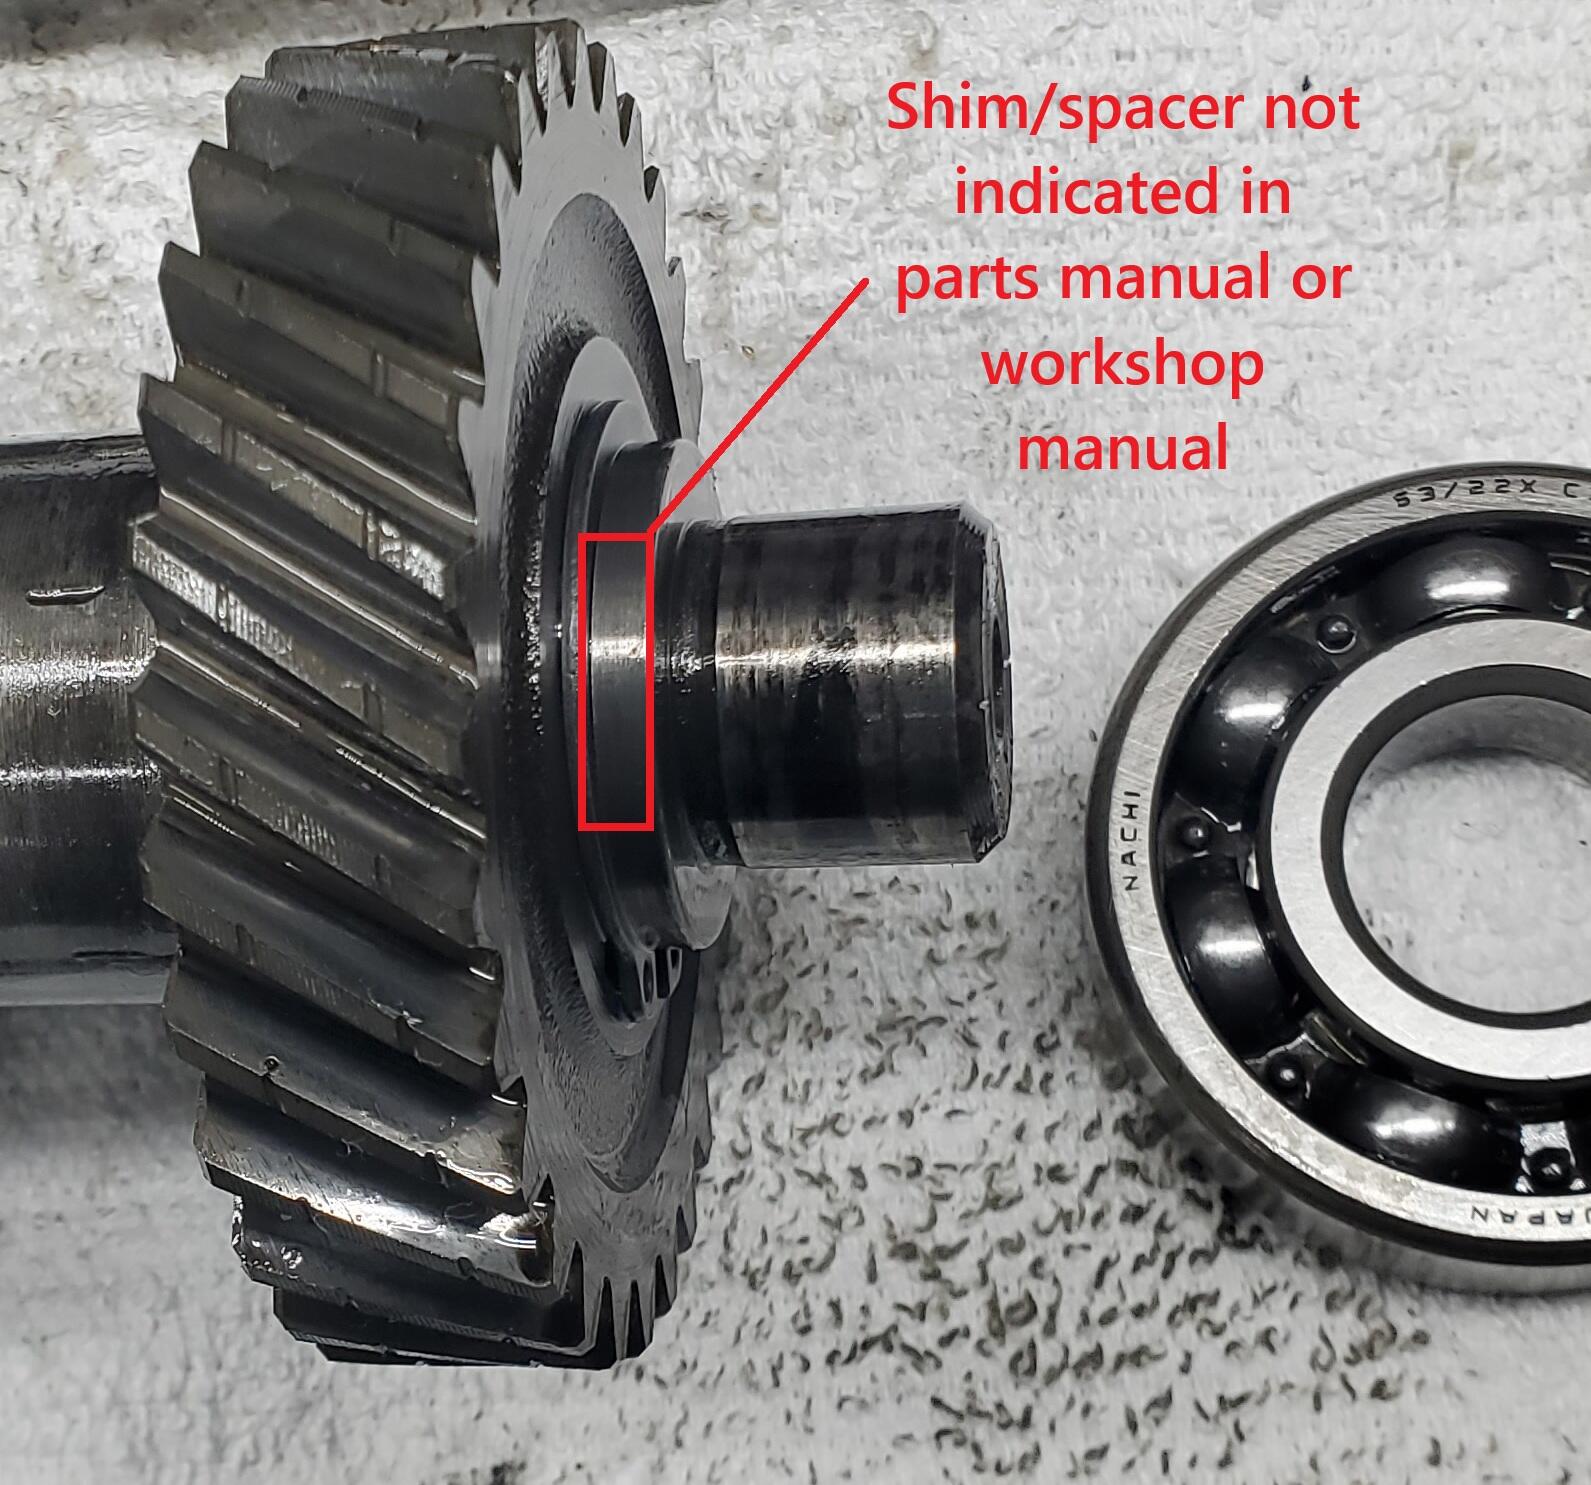
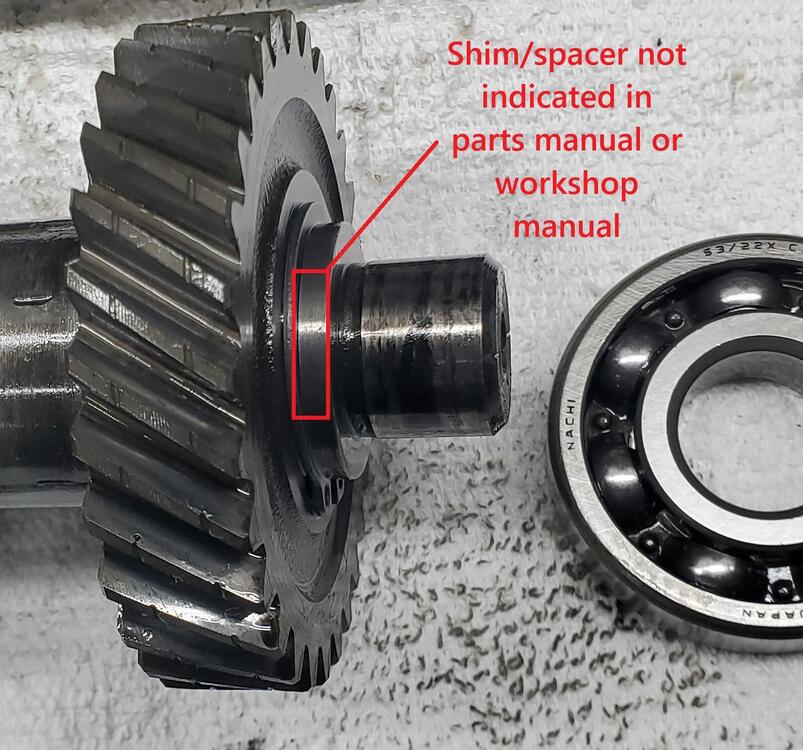
Another curiosity is the spacer indicated in the picture below does not seem to appear in any of my service or parts documents. It is way beyond the 0.2 mm we are taking about here however.
-
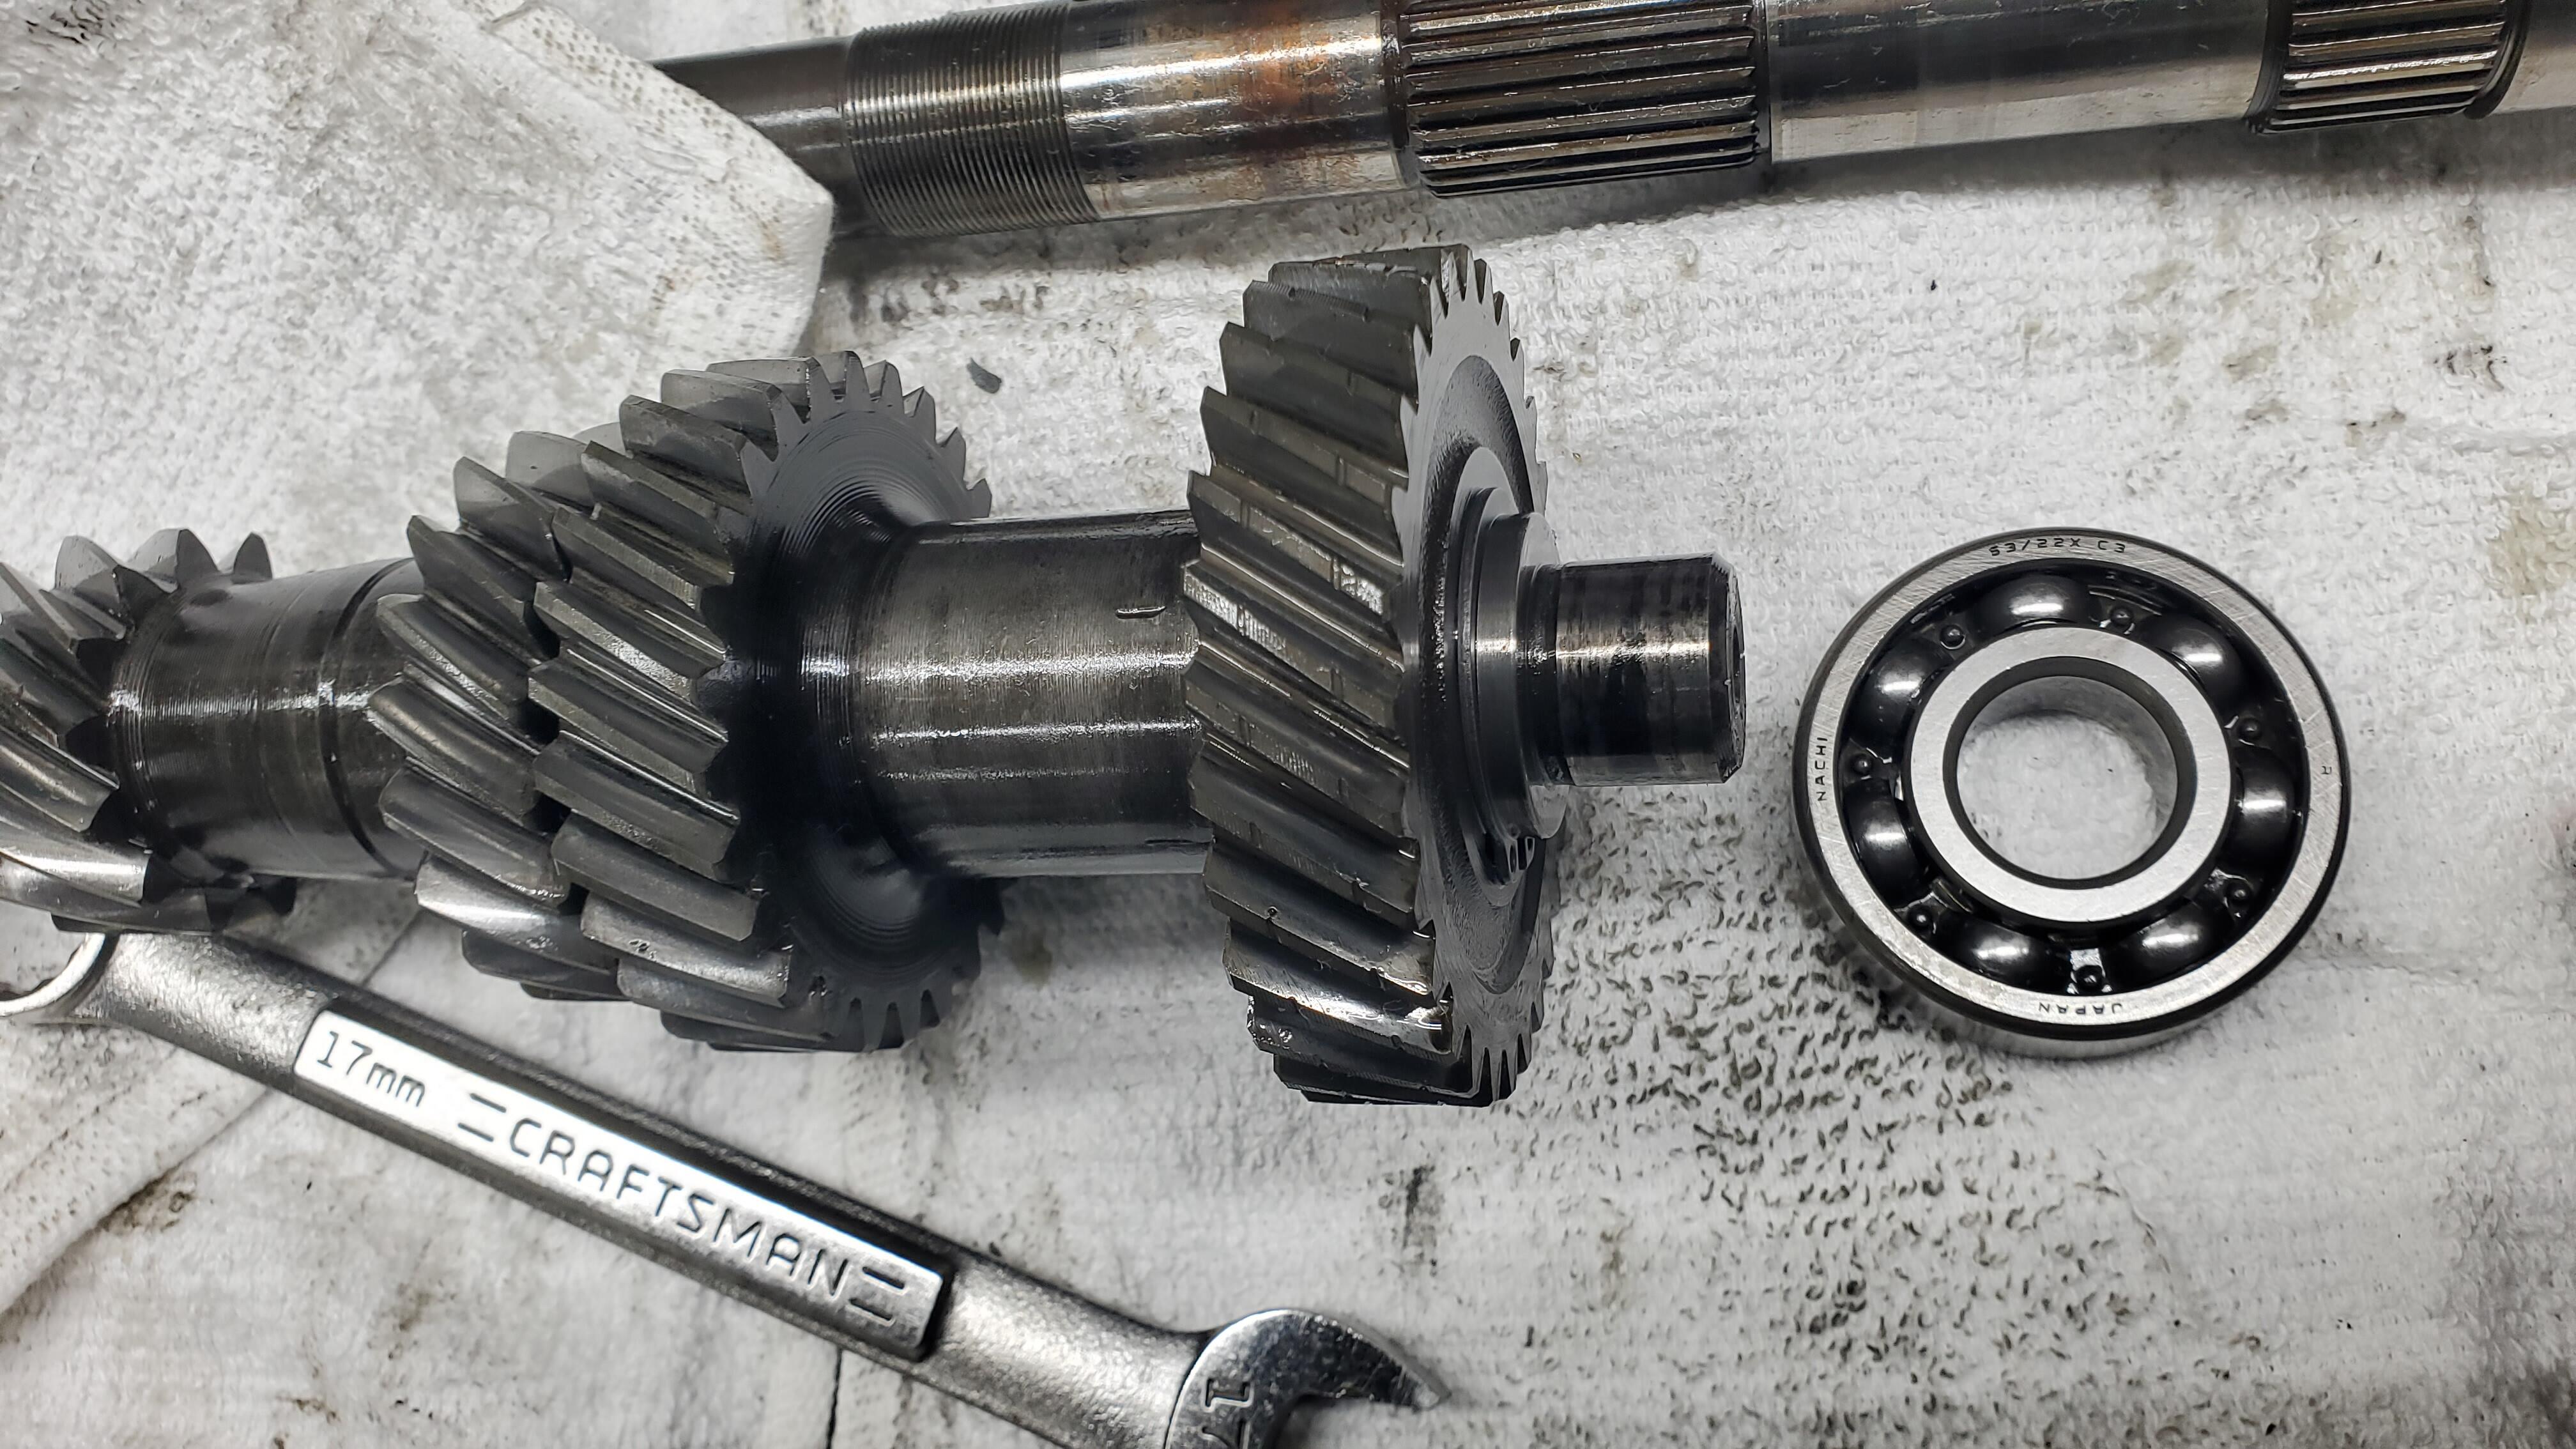
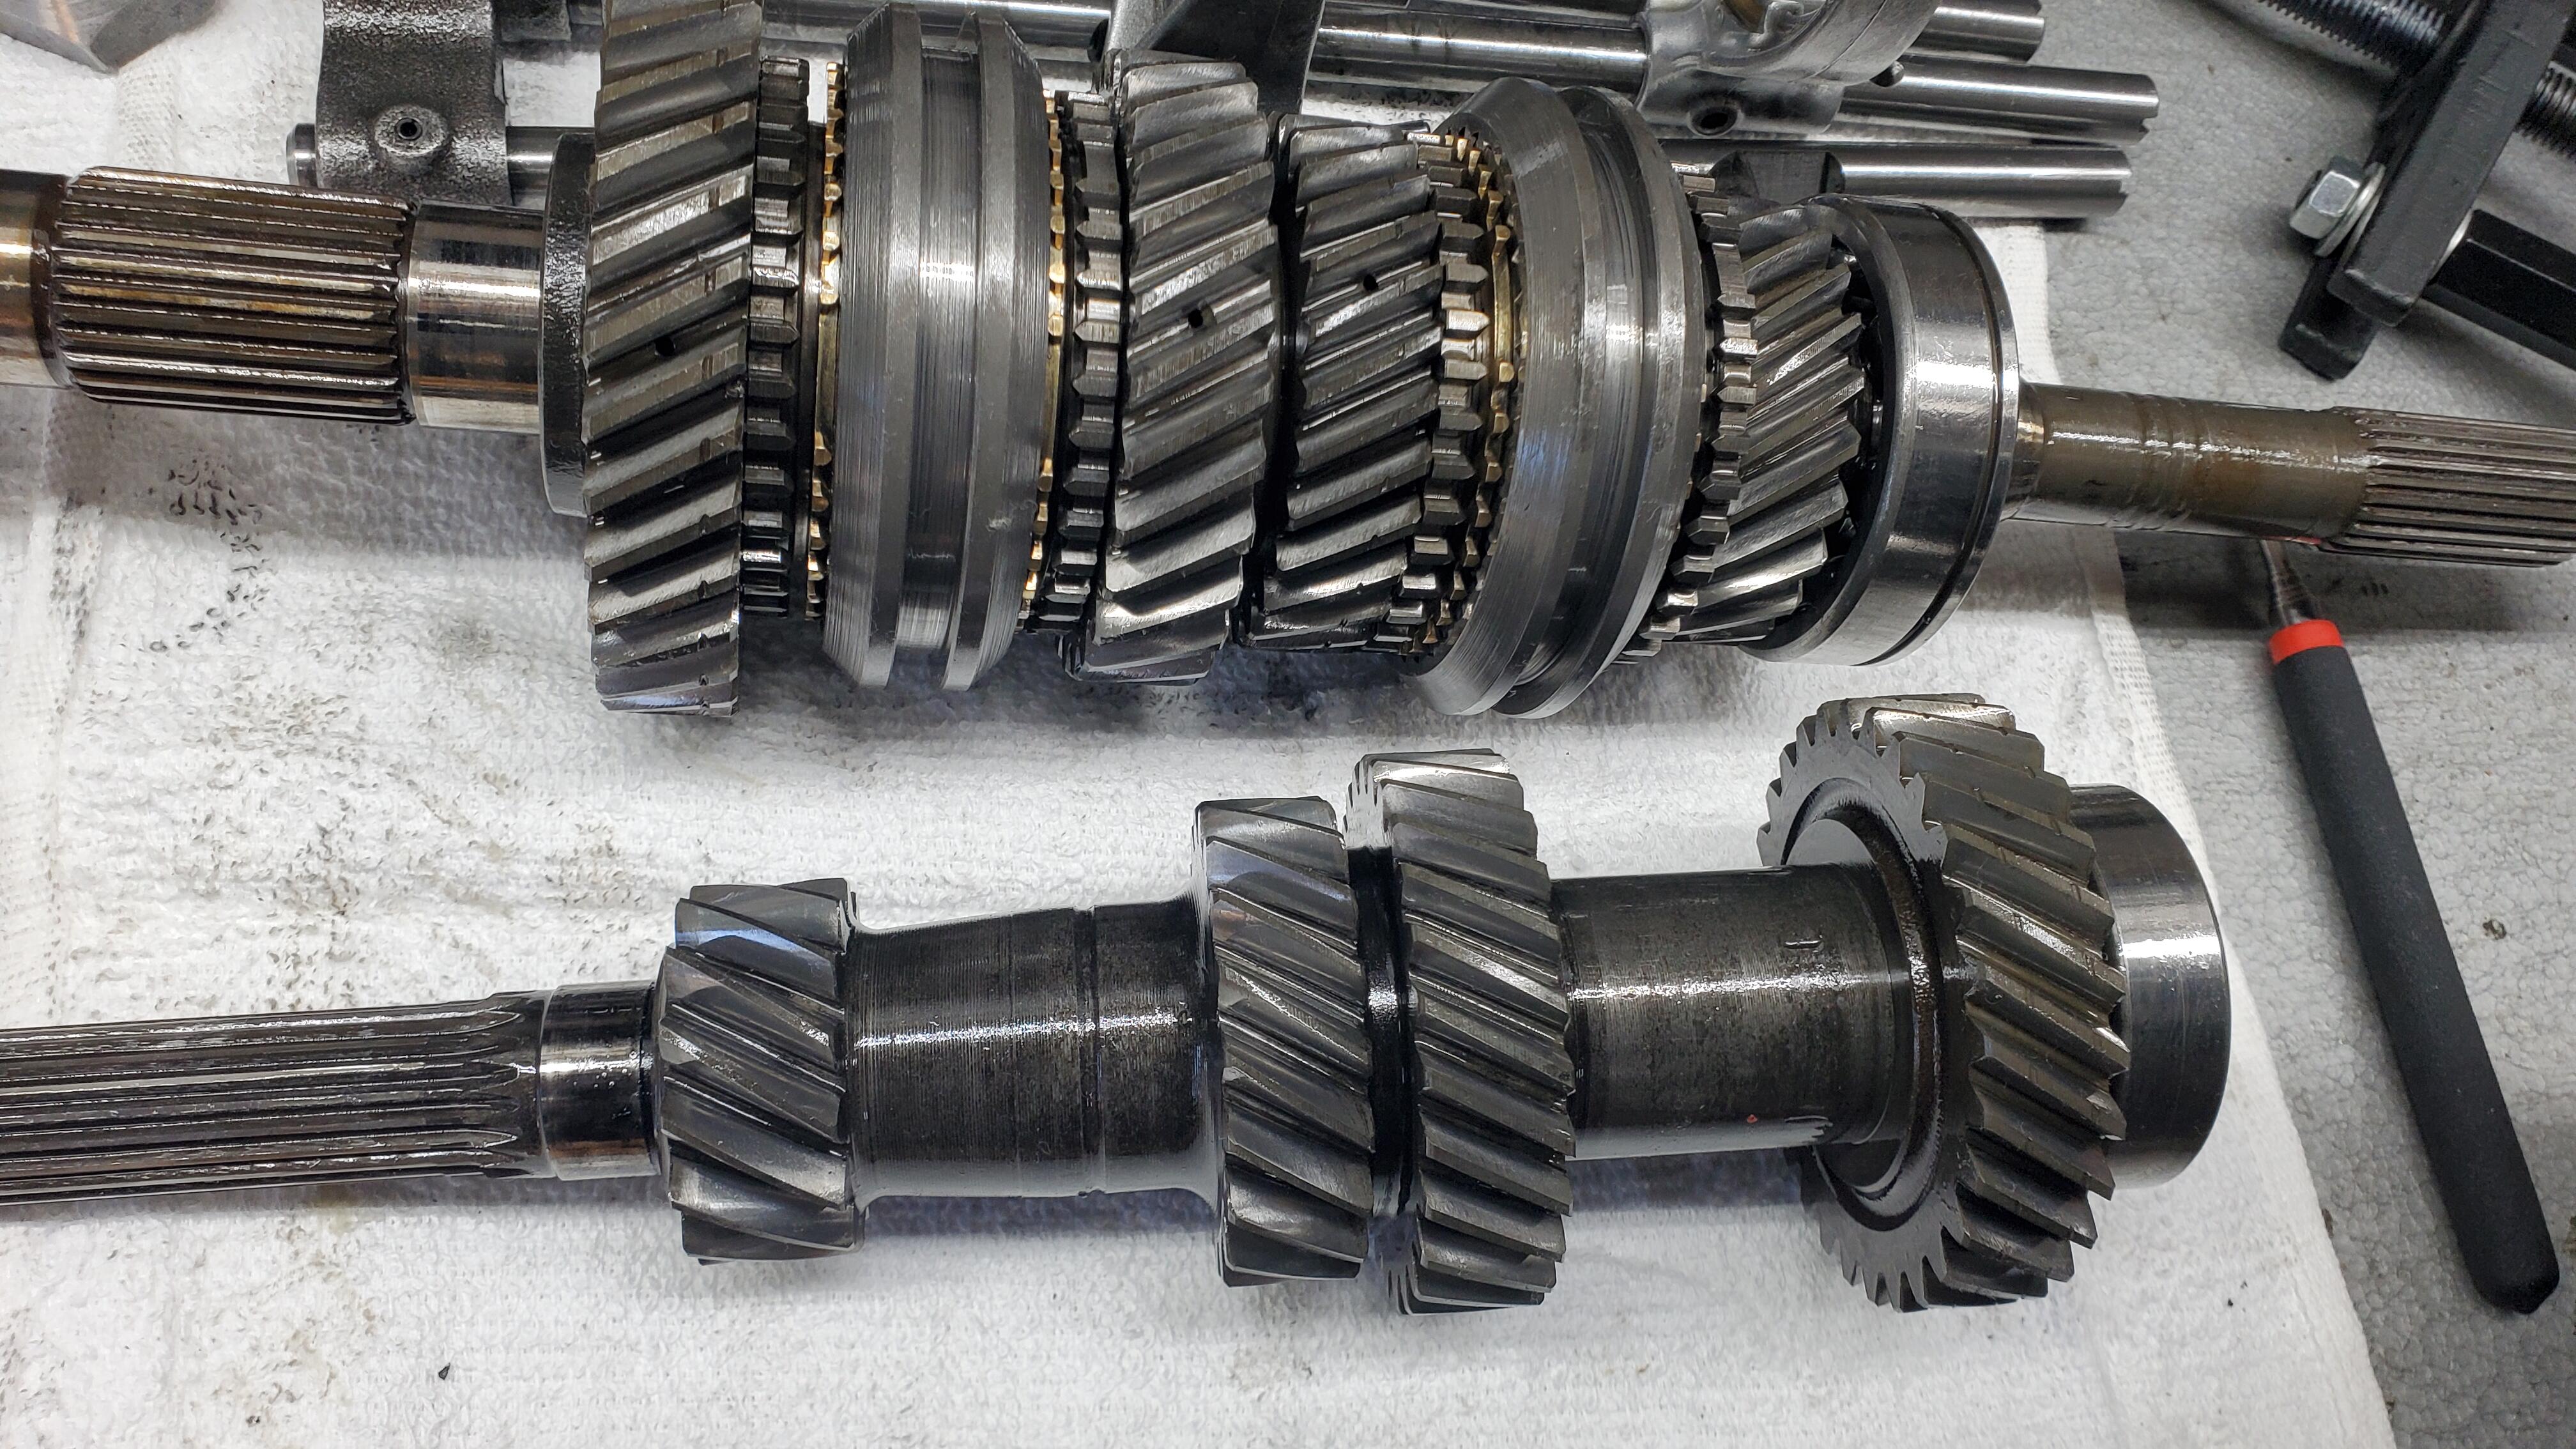
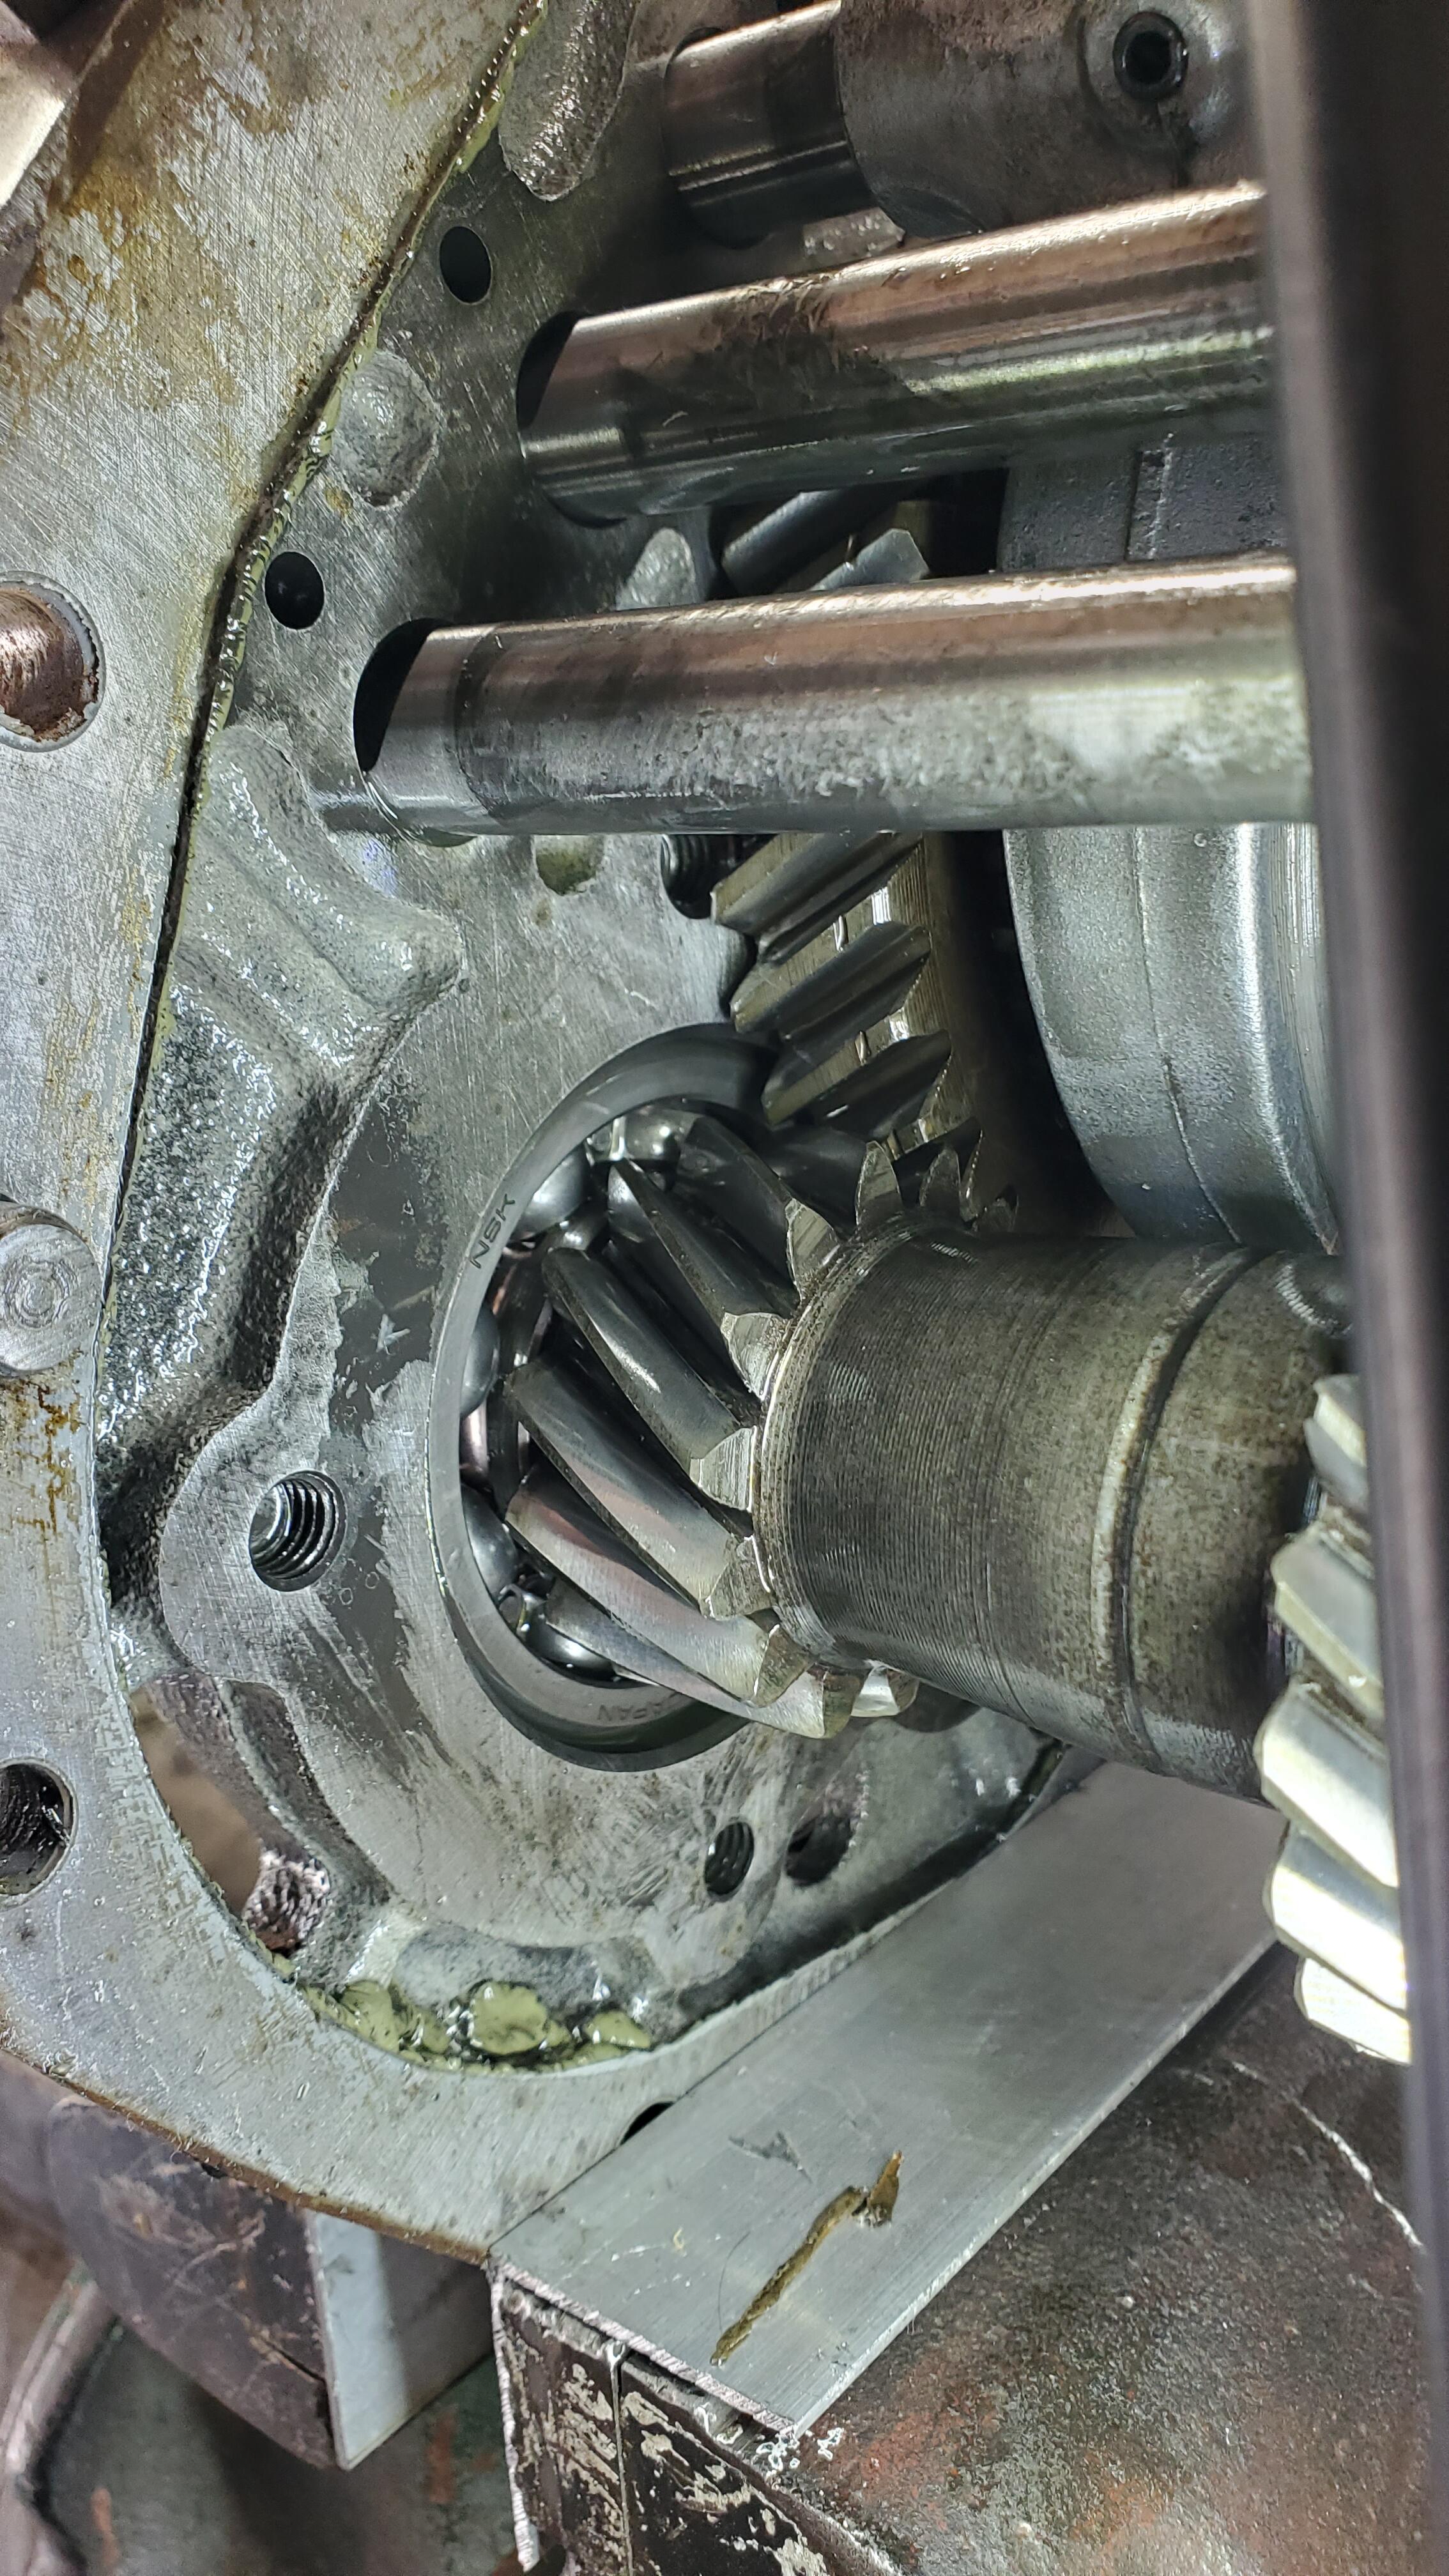
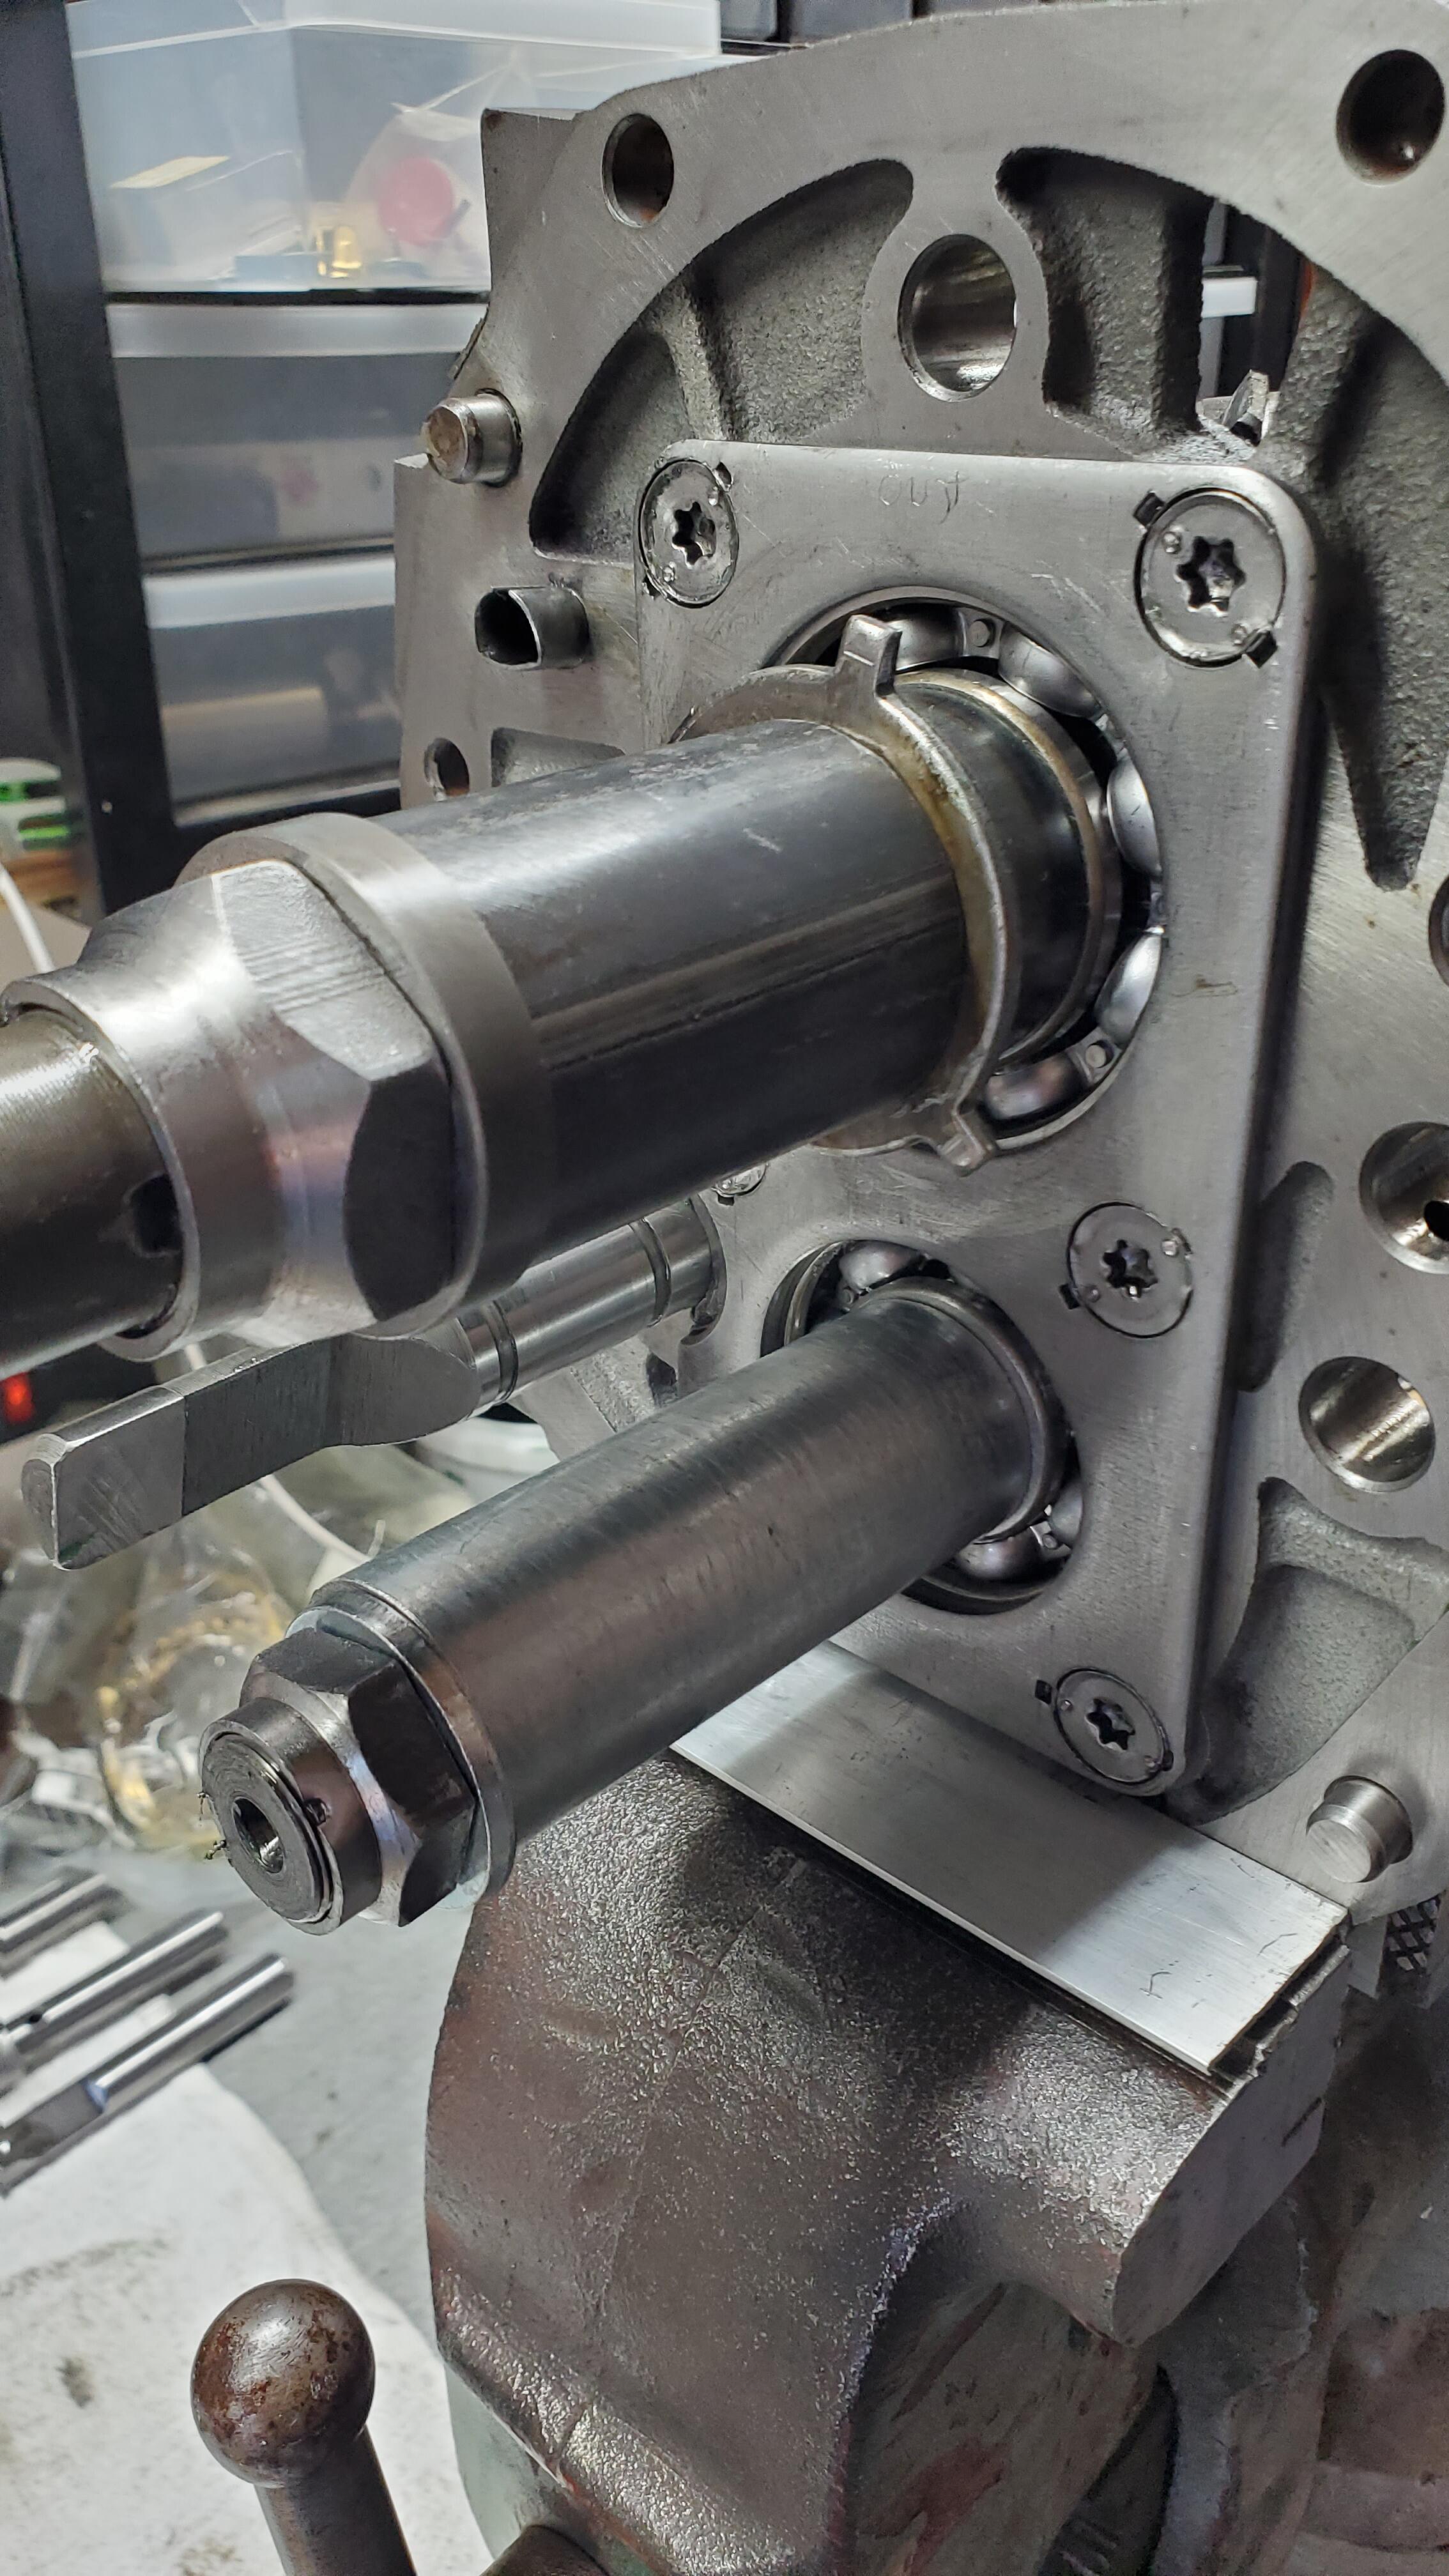
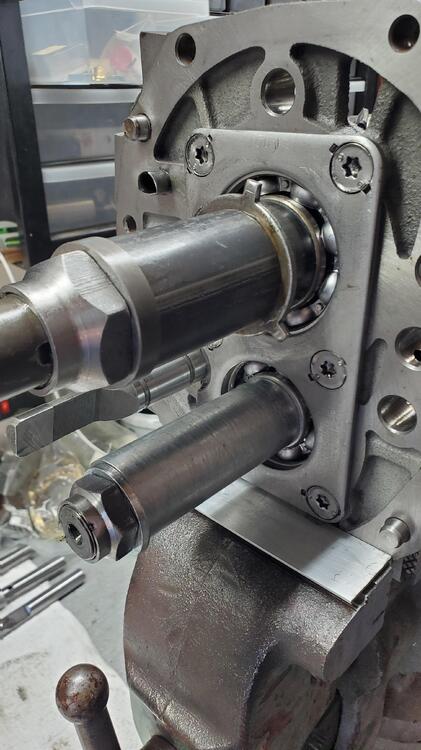
@Zed Head All valid points. I cant say anything about the case to adapter plate. It seats flush and I had to clean it well to make sure the sealant (no gasket there) surface was unmarred. The countershaft drive gear is a possibility I suppose. To be honest, I did not do anything with this part as there were no bearing in between. `Some pics of the counter shaft forward and behind the adapter plate.
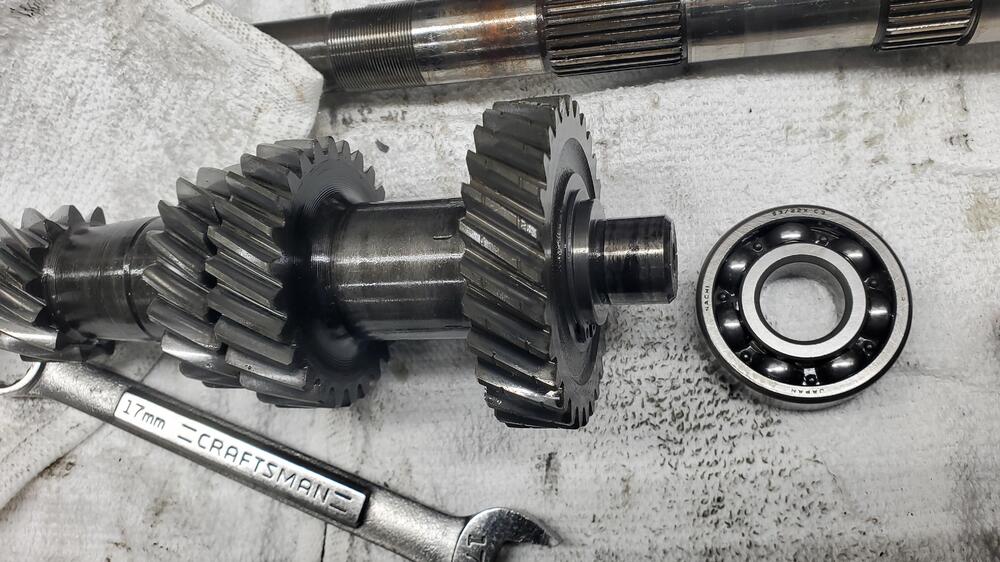
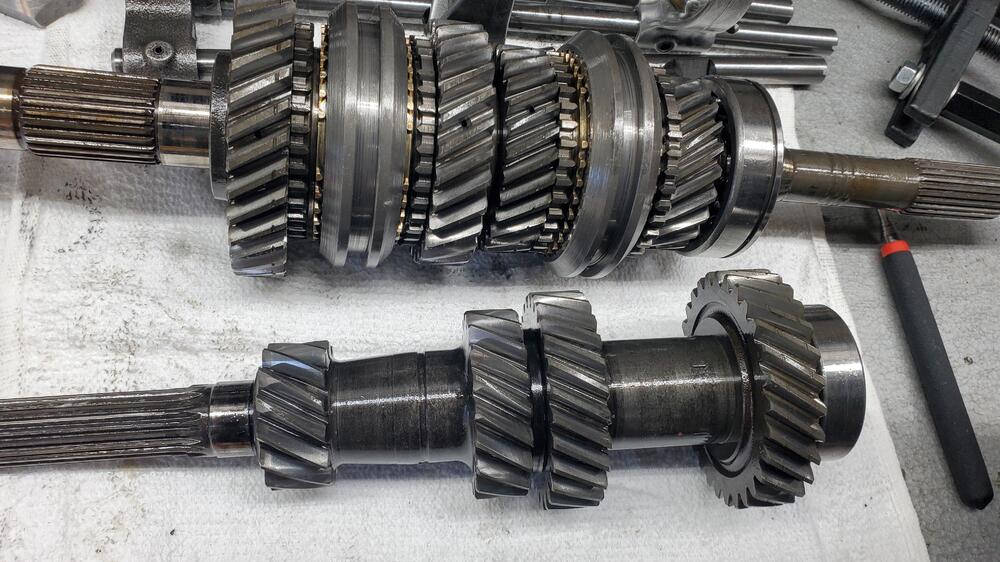
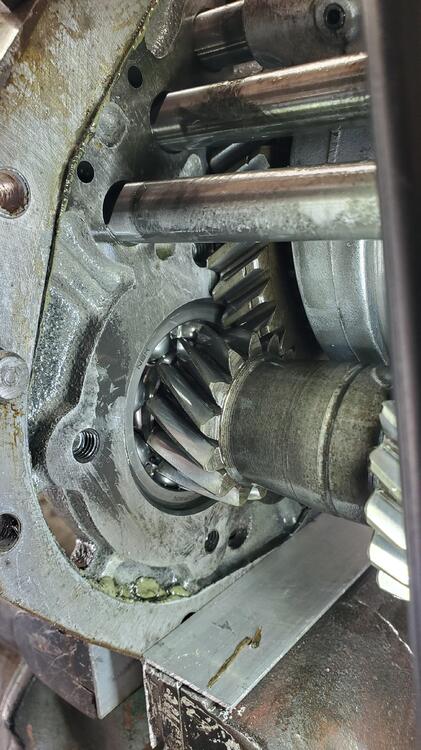
-
Thanks for the reply. I suppose there is always a chance you know? I mis-interpreted or made a mistake, etc... I did check closely when I pressed this part on for two reasons. One, was to make sure it was al the way down (because the was the most obvious source of too much bearing projection) and the second was, I was a little worried I may have deformed the snap ring by "over-pressing" it trying to make sure it was seated fully. I did not go back after assembling the rest of the front to see if it moved. As far as I can tell, it is seated. Also, why was the distance even greater (3.92 mm) originally? To me, the most obvious reason is that I am not measuring correctly. I checked against my 1-2-3 blocks and the calipers are good. I am using my square to make sure the caliper is perpendicular to the surface when I drop the caliper depth. Shrug, I don't know. I will have to make a decision and roll the dice though.
-
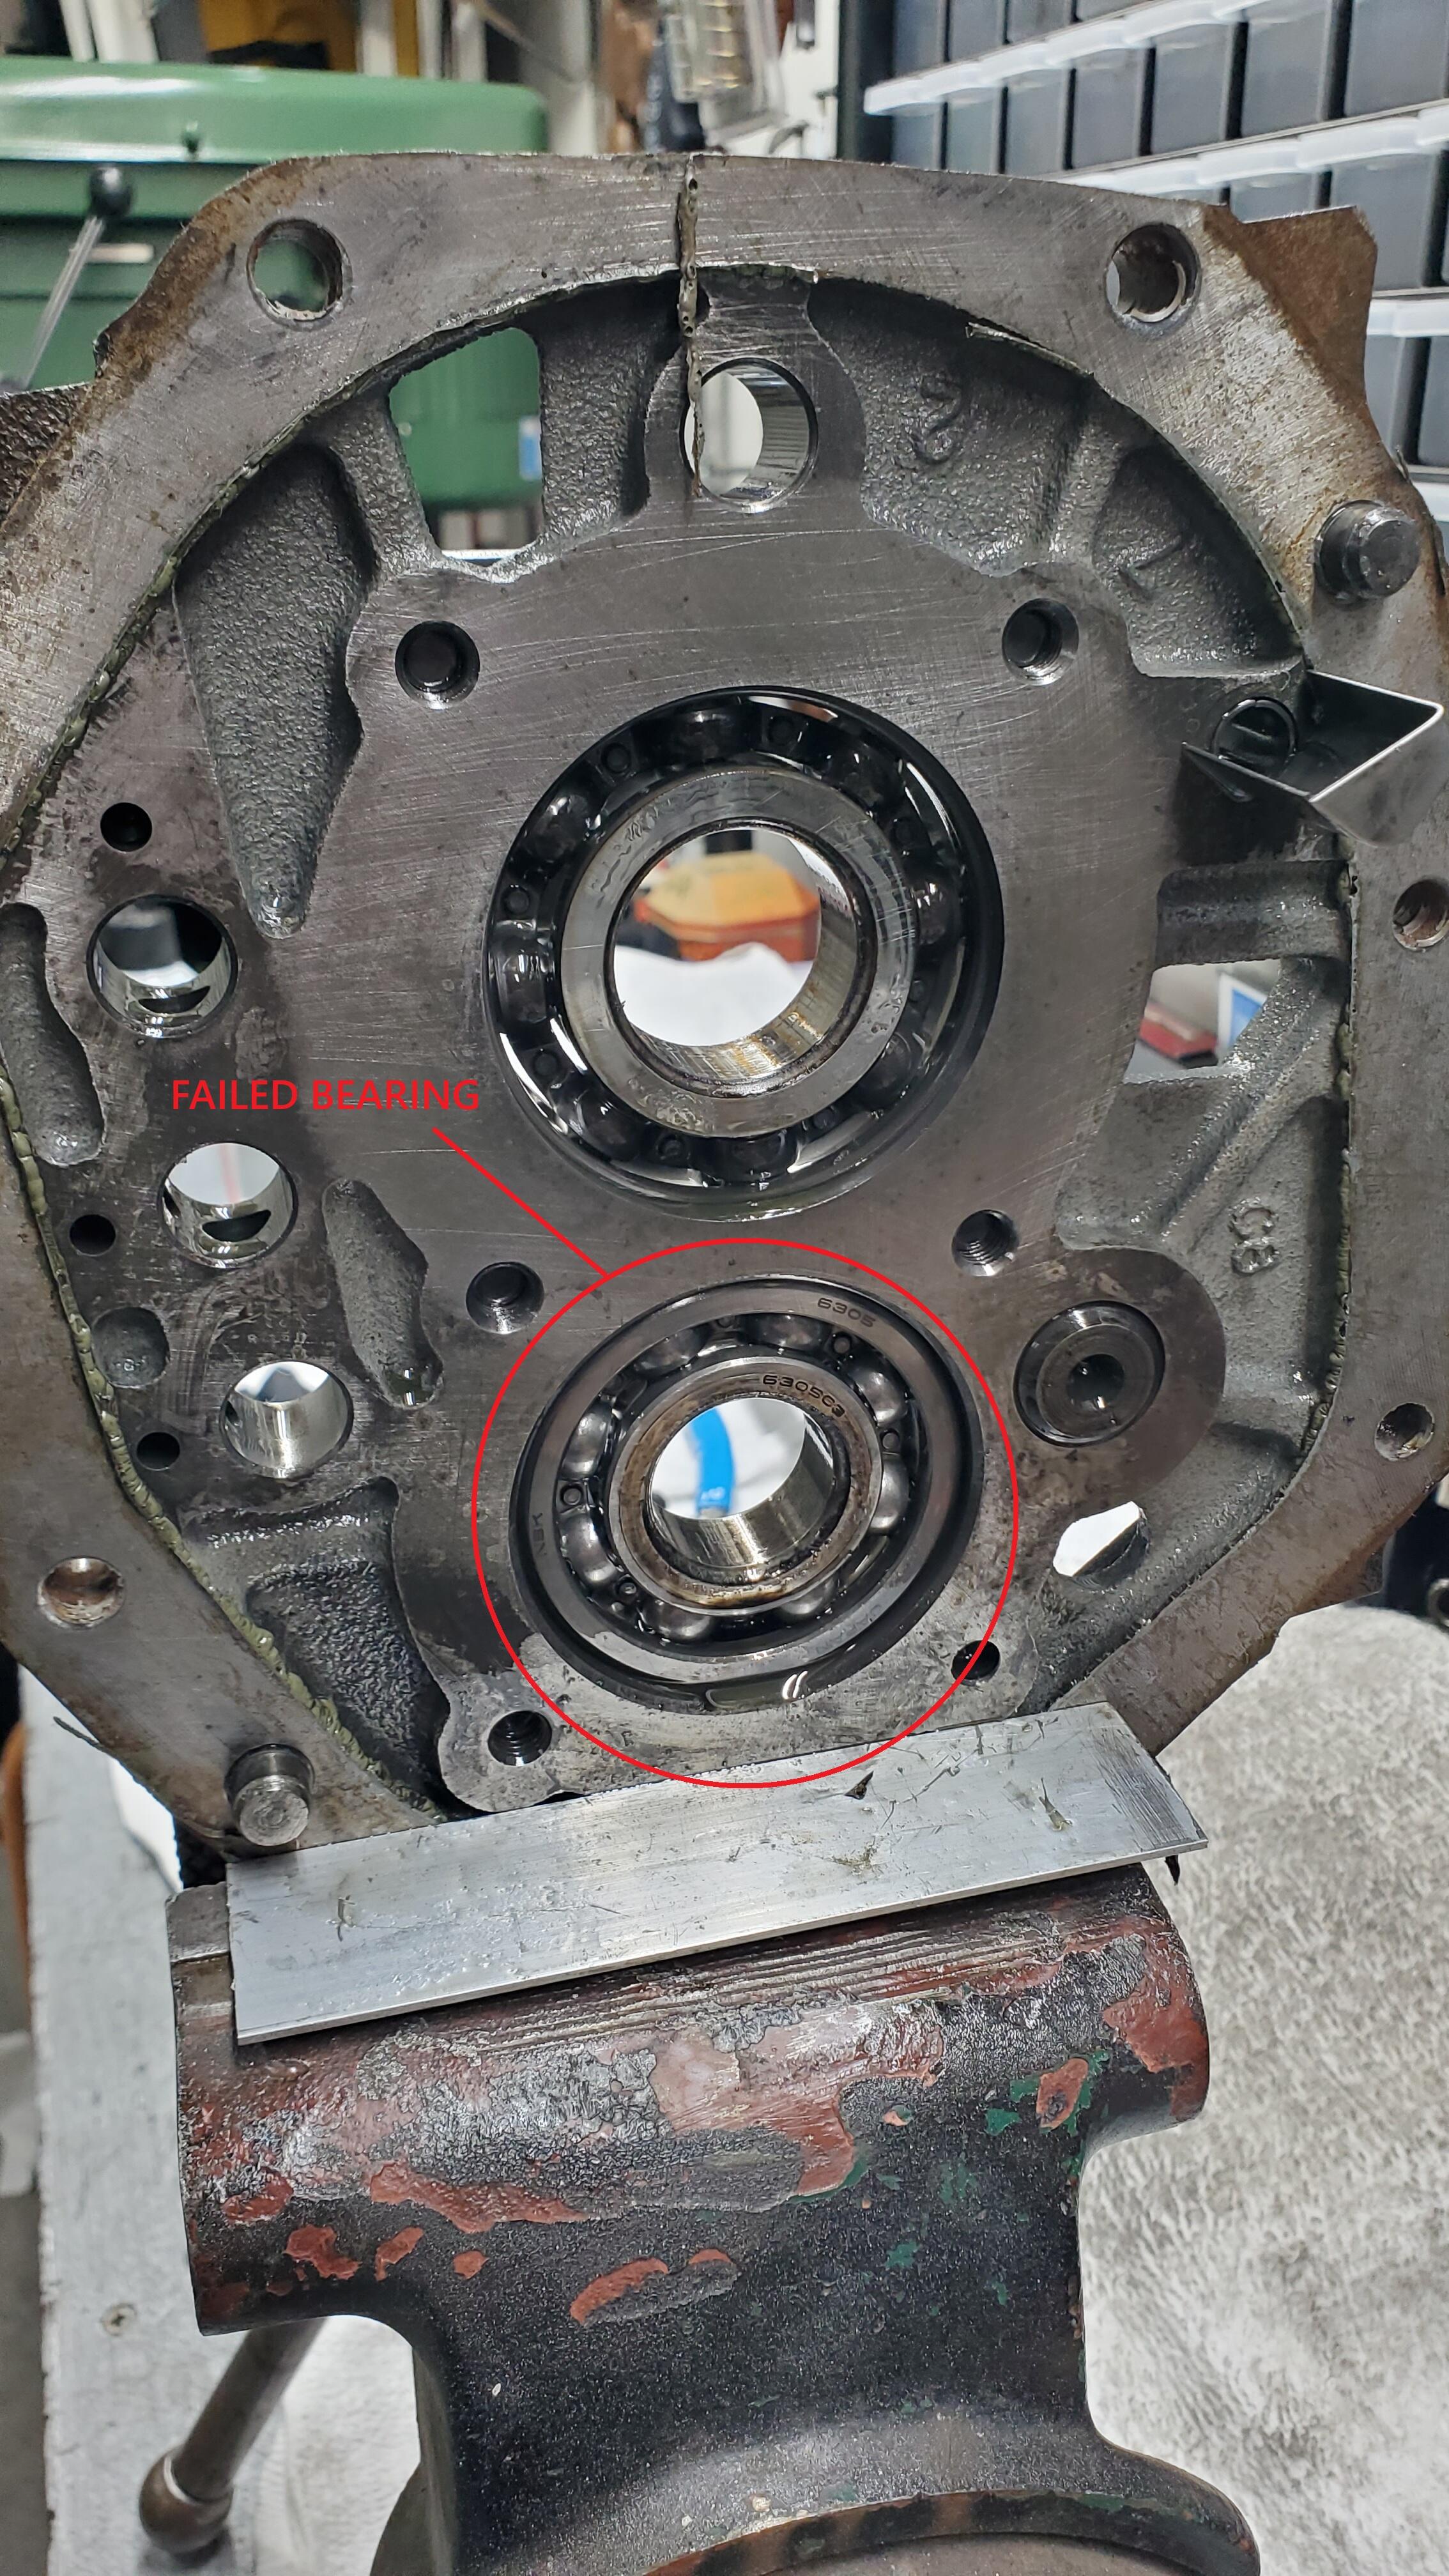
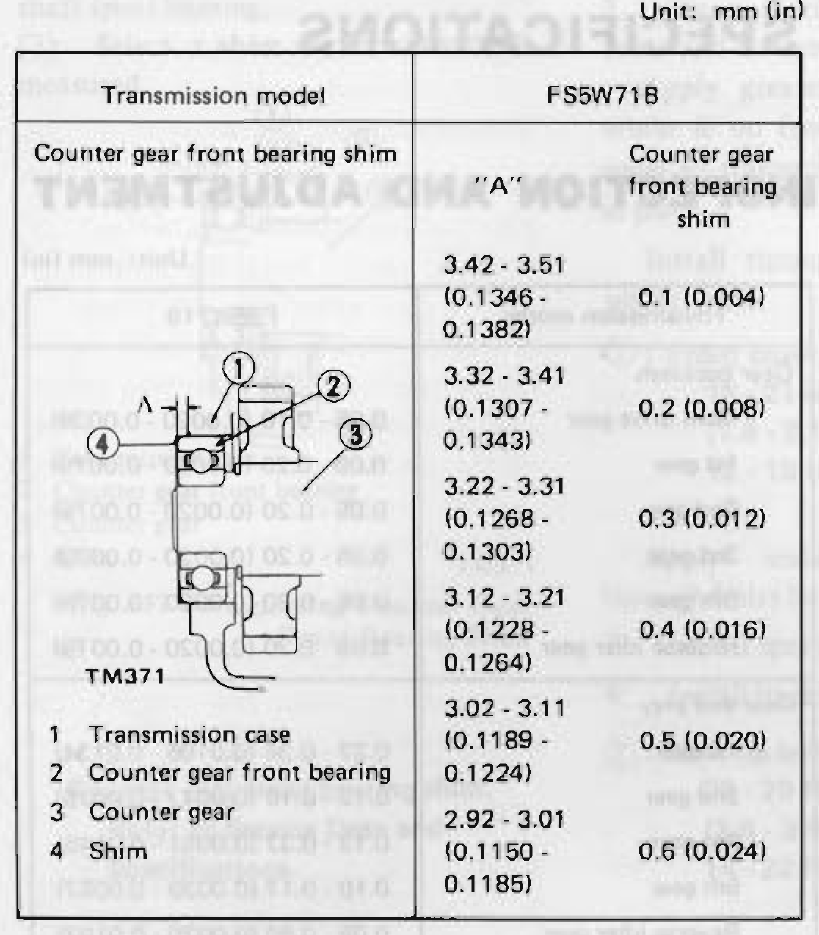
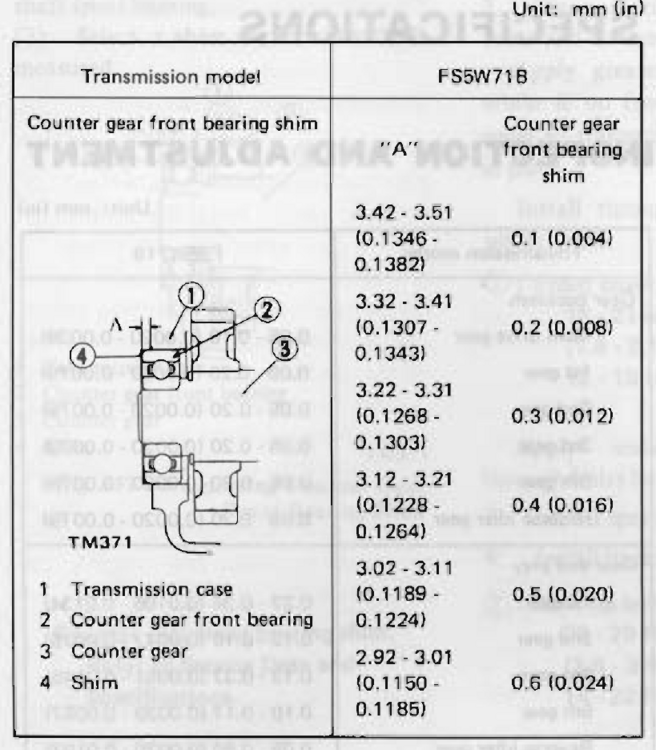
I posted this in another forum and did not receive any responses so I thought I would also ask here. (sorry if you read it elsewhere) I am just wrapping up a transmission rebuild (1980ZX - FS5W71B) and I had a question about the counter-shaft front bearing shim. Backstory, the transmission needed to be refreshed because of a failed counter-shaft (center) bearing. Disassembly revealed that the front bearing distance to the case was 3.92mm (Measurement A) and a 0.2mm shim was installed at the factory (assumed). Looking at the diagram below, 3.92 mm is considerably off the chart and would require something like a 0.3mm machining of the front cover. After rebuilding, the transmission case to counter gear front bearing (measurement "A") was 3.65 mm. Logic tells me that the next increment past the 0.1 shim would be in the 3.52-3.61 range and would be a 0.0 shim (or nothing). Now, I have no idea how many miles the transmission had on that previous setup (drove in my Z for almost 2 decades) but I wonder if the shim and measurement put too much axial load on that bearing that contributed to the failure. Should I: Slap it back together like it was using the 0.2mm shim? (Seriously, it lasted this long and you don't drive more than 500 miles a year anyway) Leave all shims out because that is the closest to what the FSM states. (Who cares what the muppet before did, the FSM knows best) Give up and buy an electric car. Cheers EDIT: I did try tapping the bearing back before measuring. The front counter shaft bearing is a slip fit into the case and the depth is set by being pressed back against the counter shaft drive gear snap ring. The shaft depth is set by being pressed into the counter shaft (center) bearing which is soft pressed up against the bearing retainer. The only way (I can see) to get that bearing to sit lower and thus use a thicker shim is to space the center bearing retainer plate away from the adapter plate, remove the counter gear snap ring and seat it against the front bearing or find a thinner bearing. It seemed like it wouldn't hurt too much so I tried it anyhow.
-
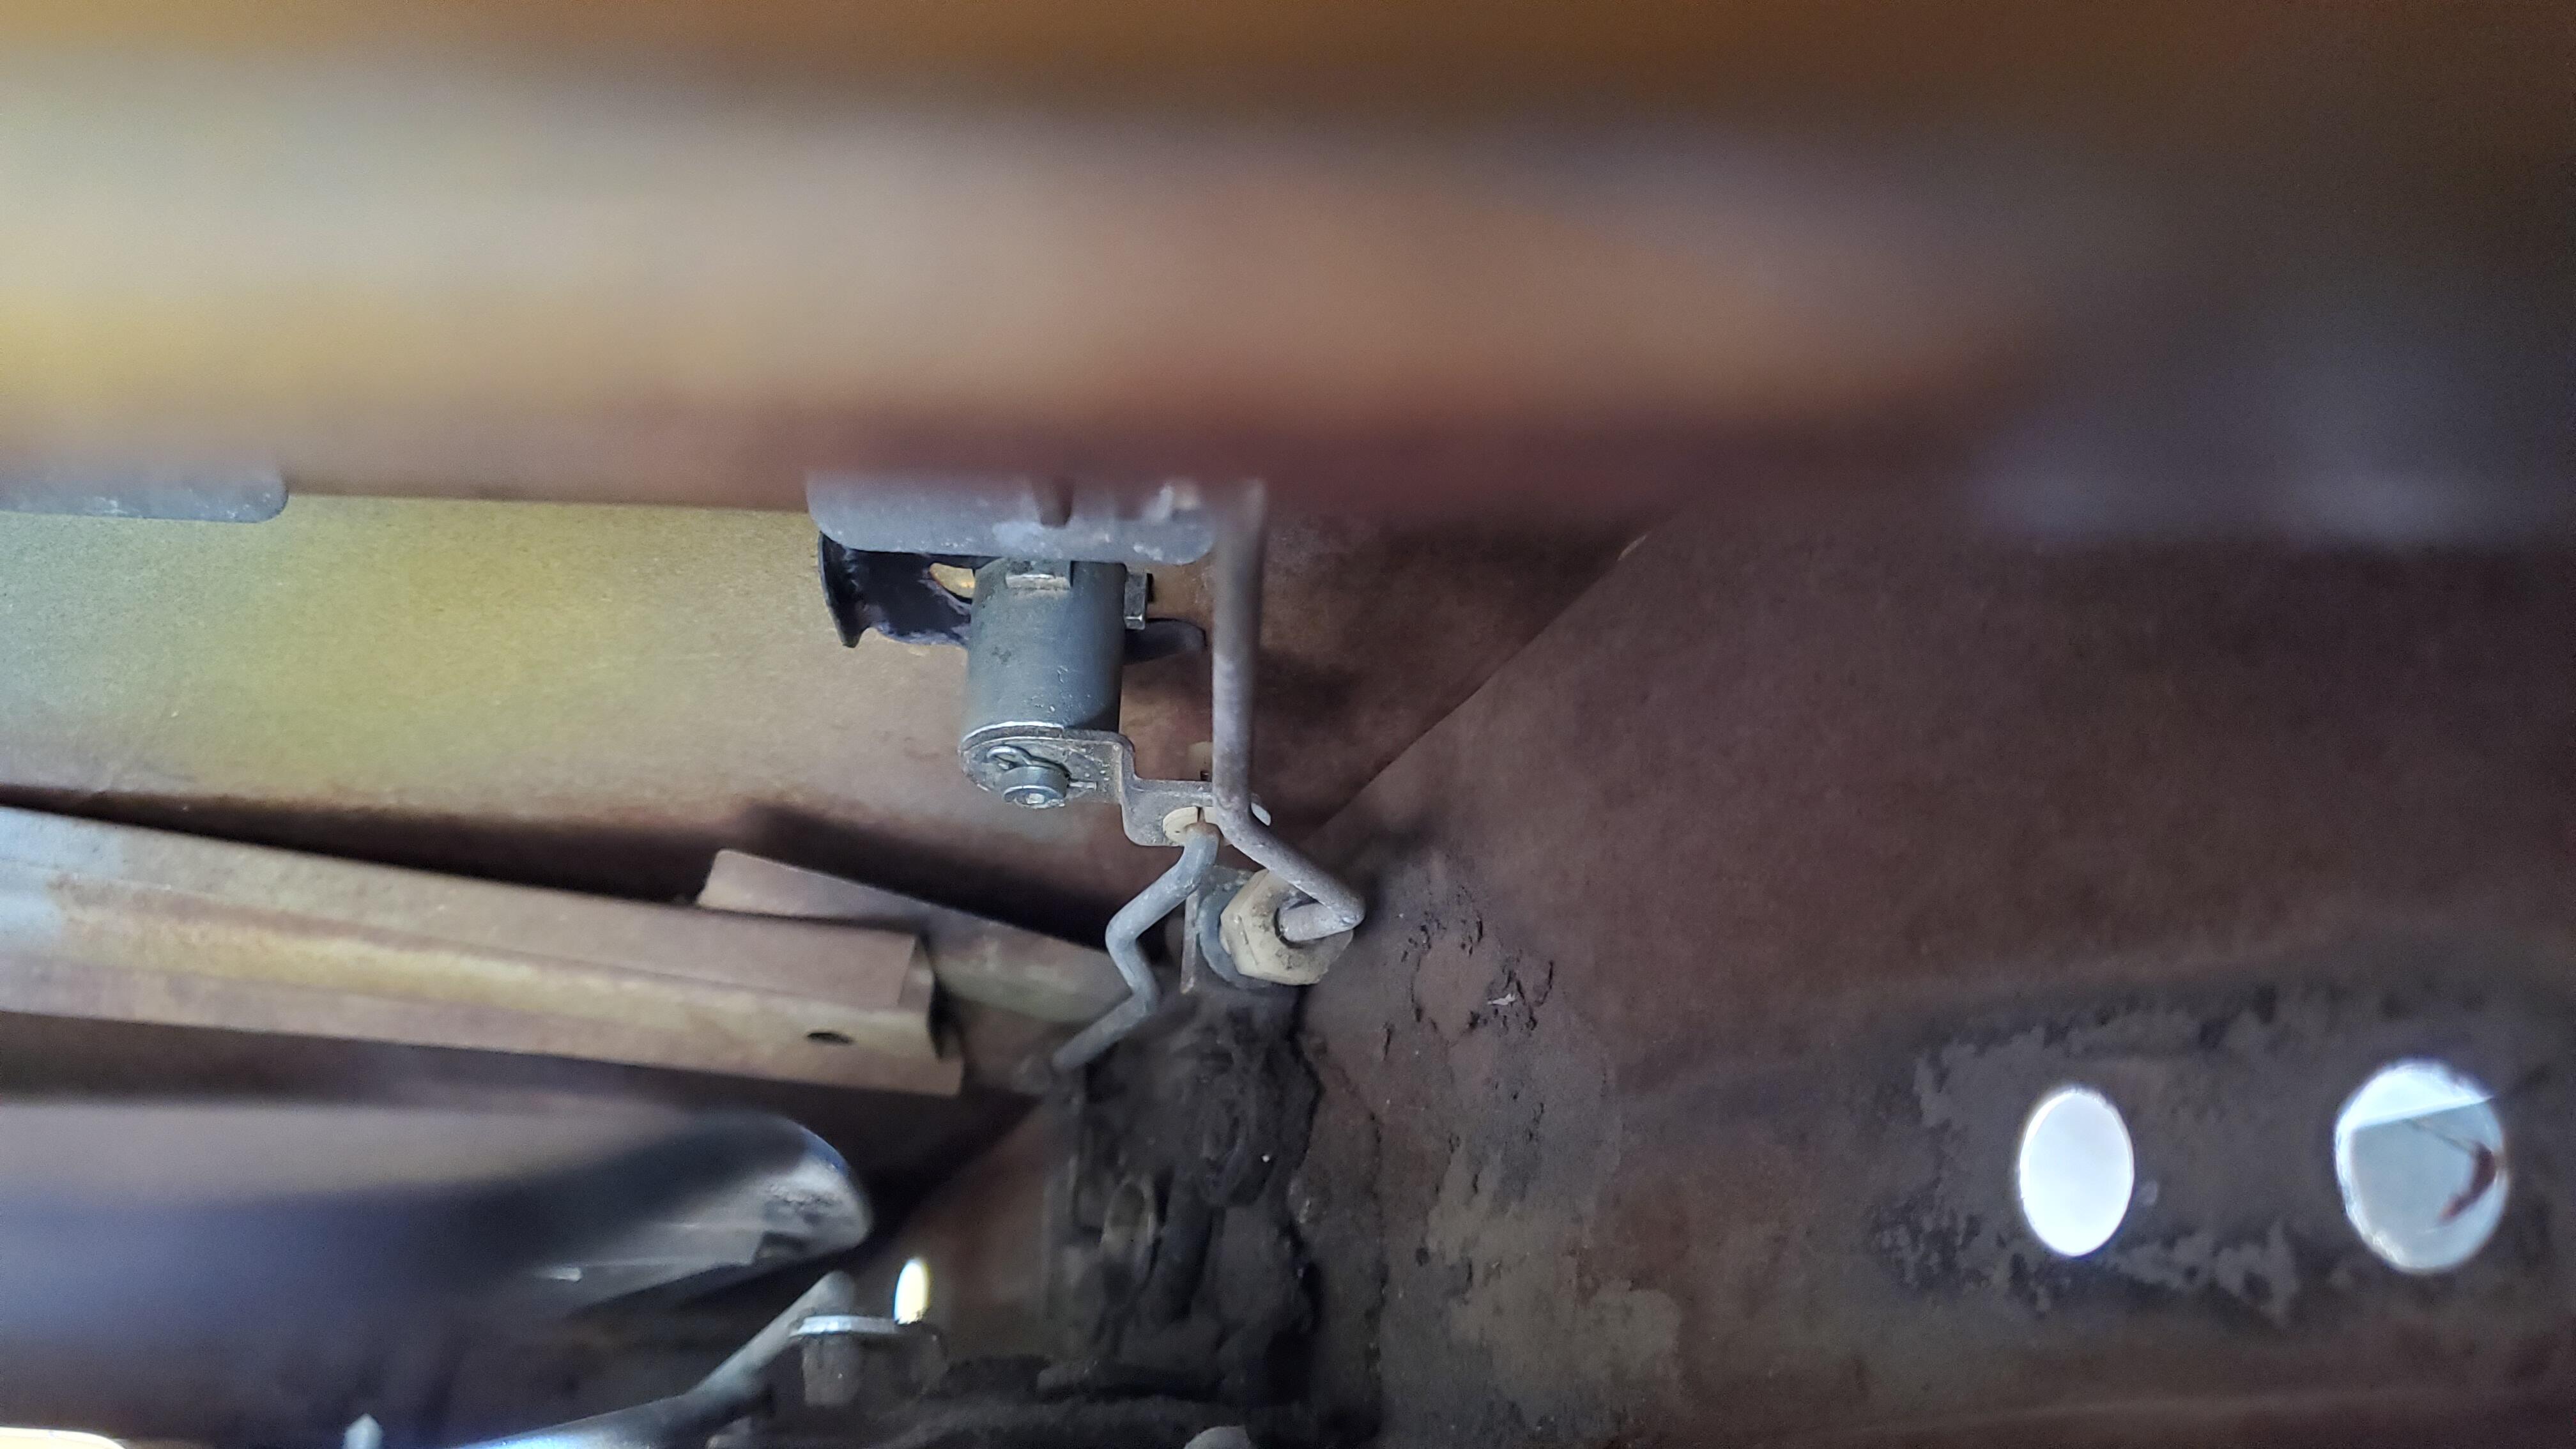
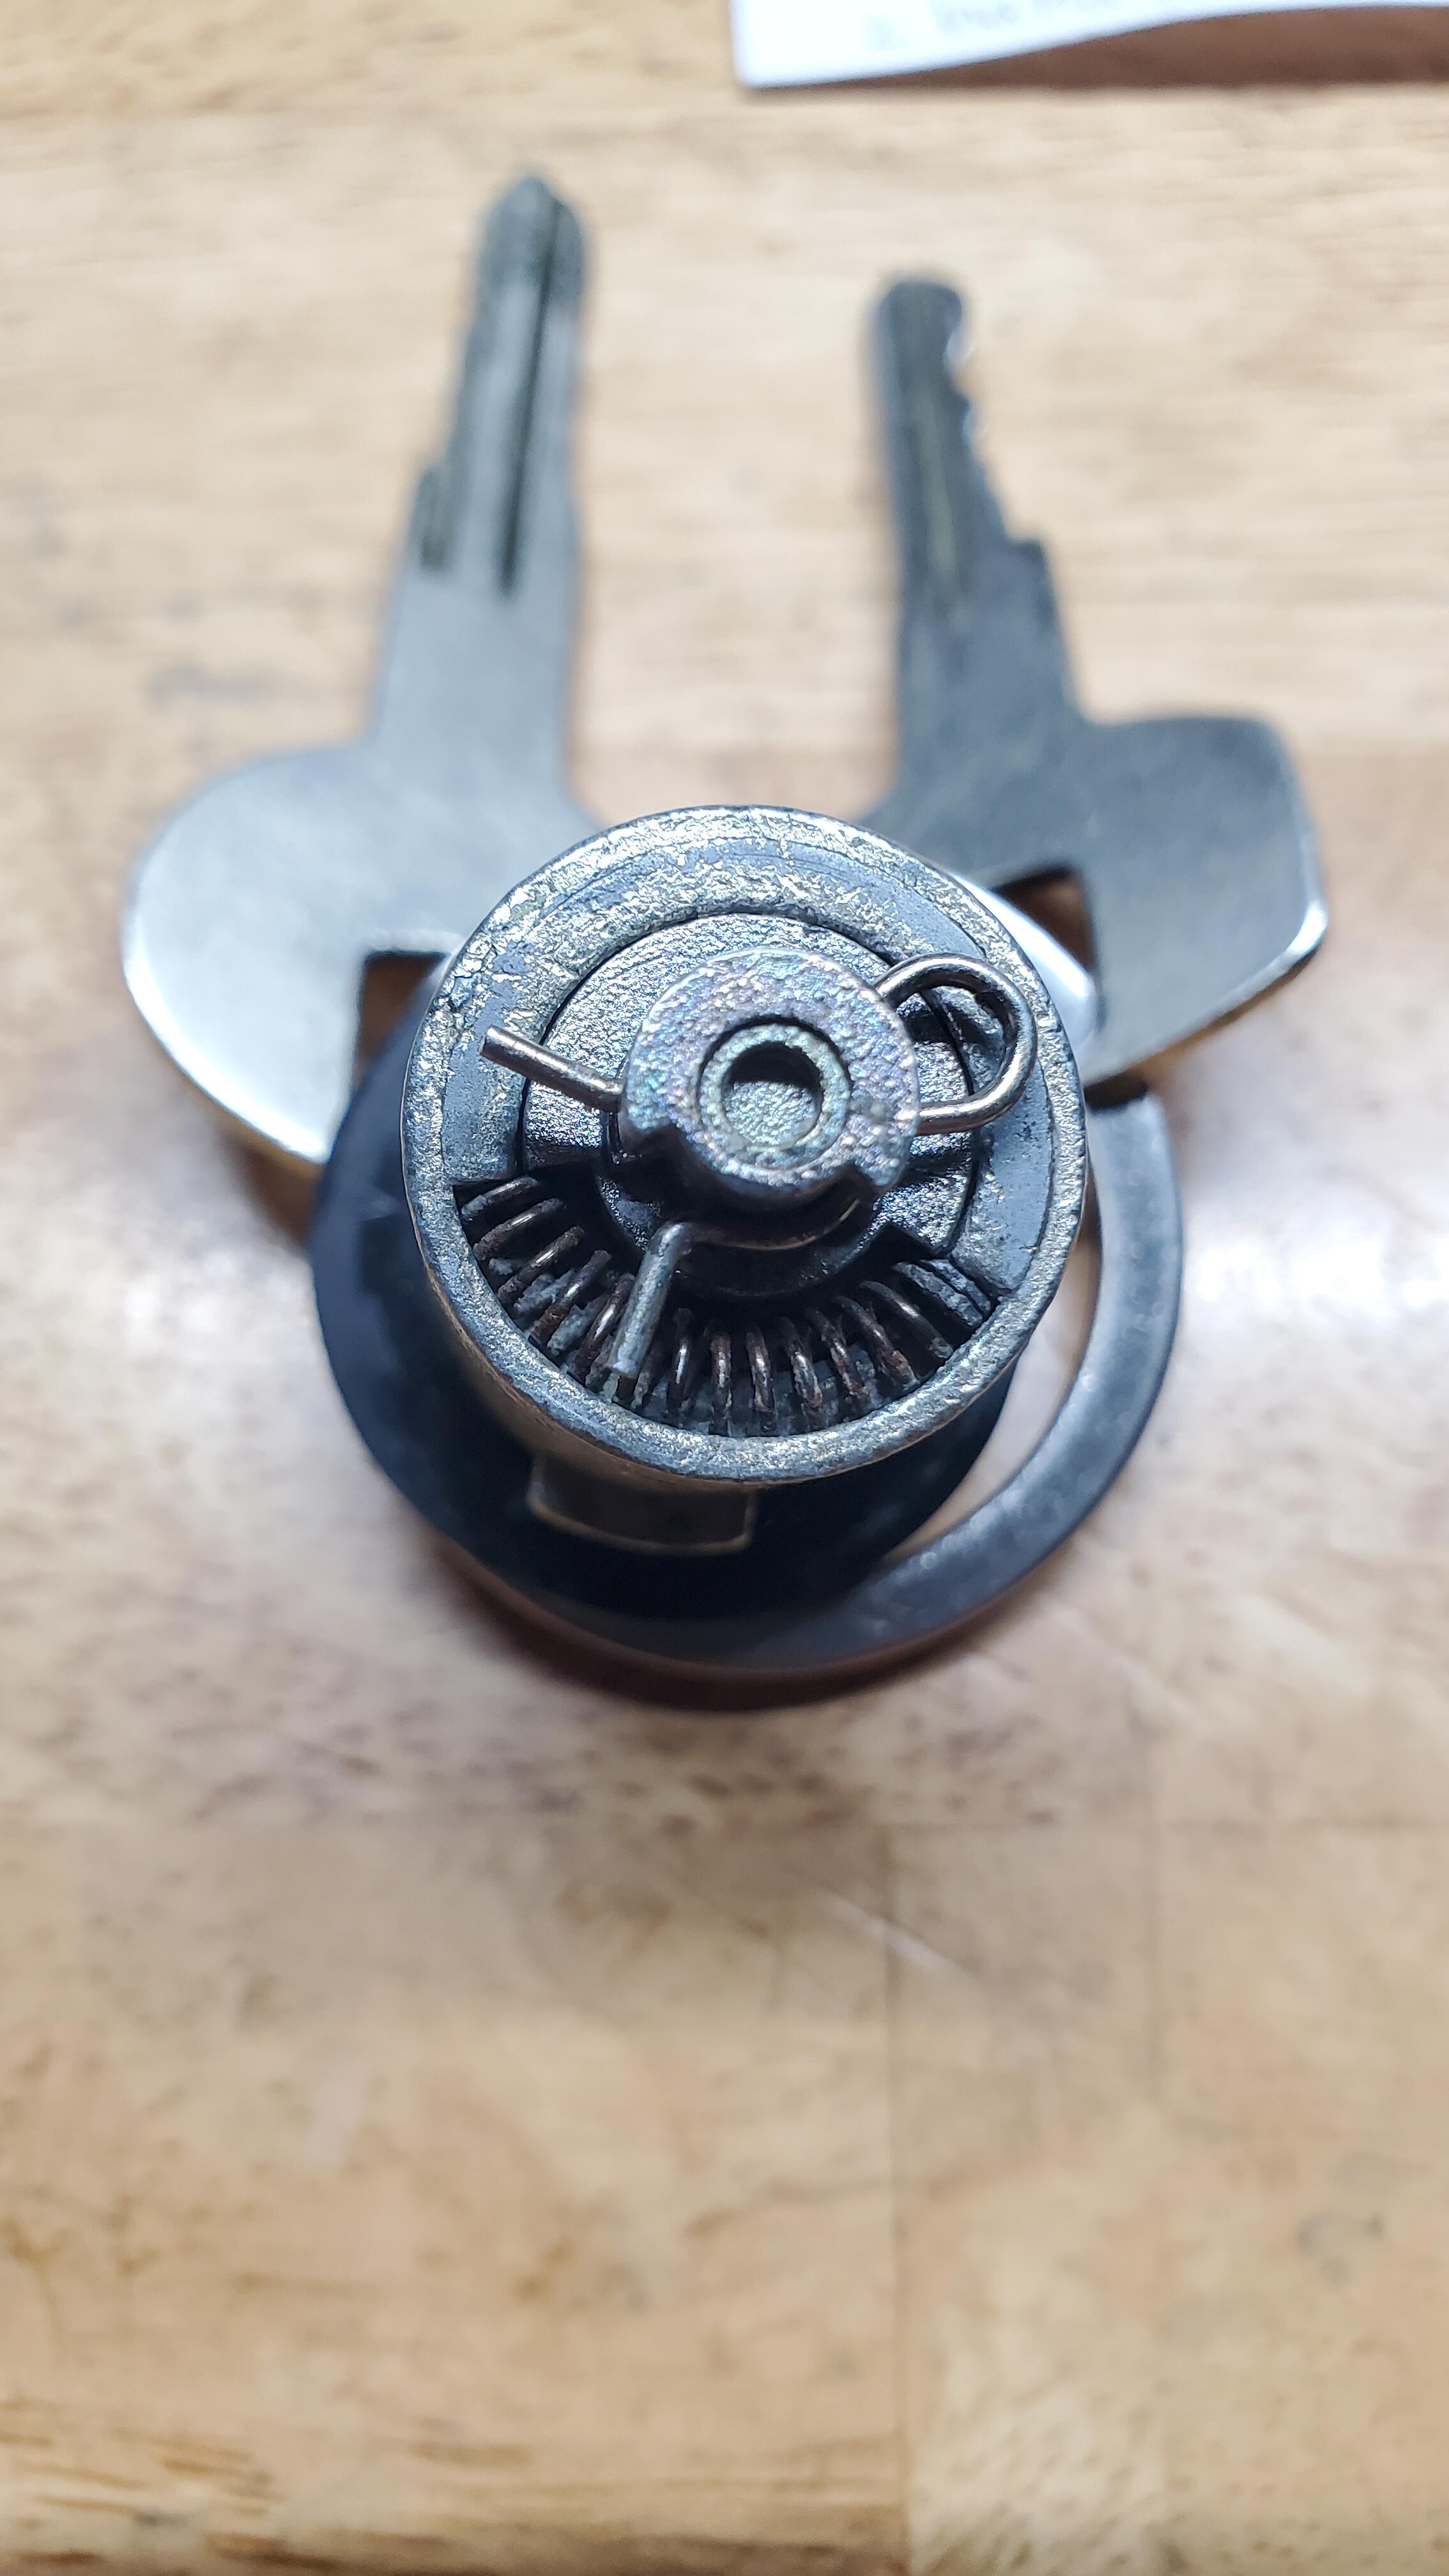
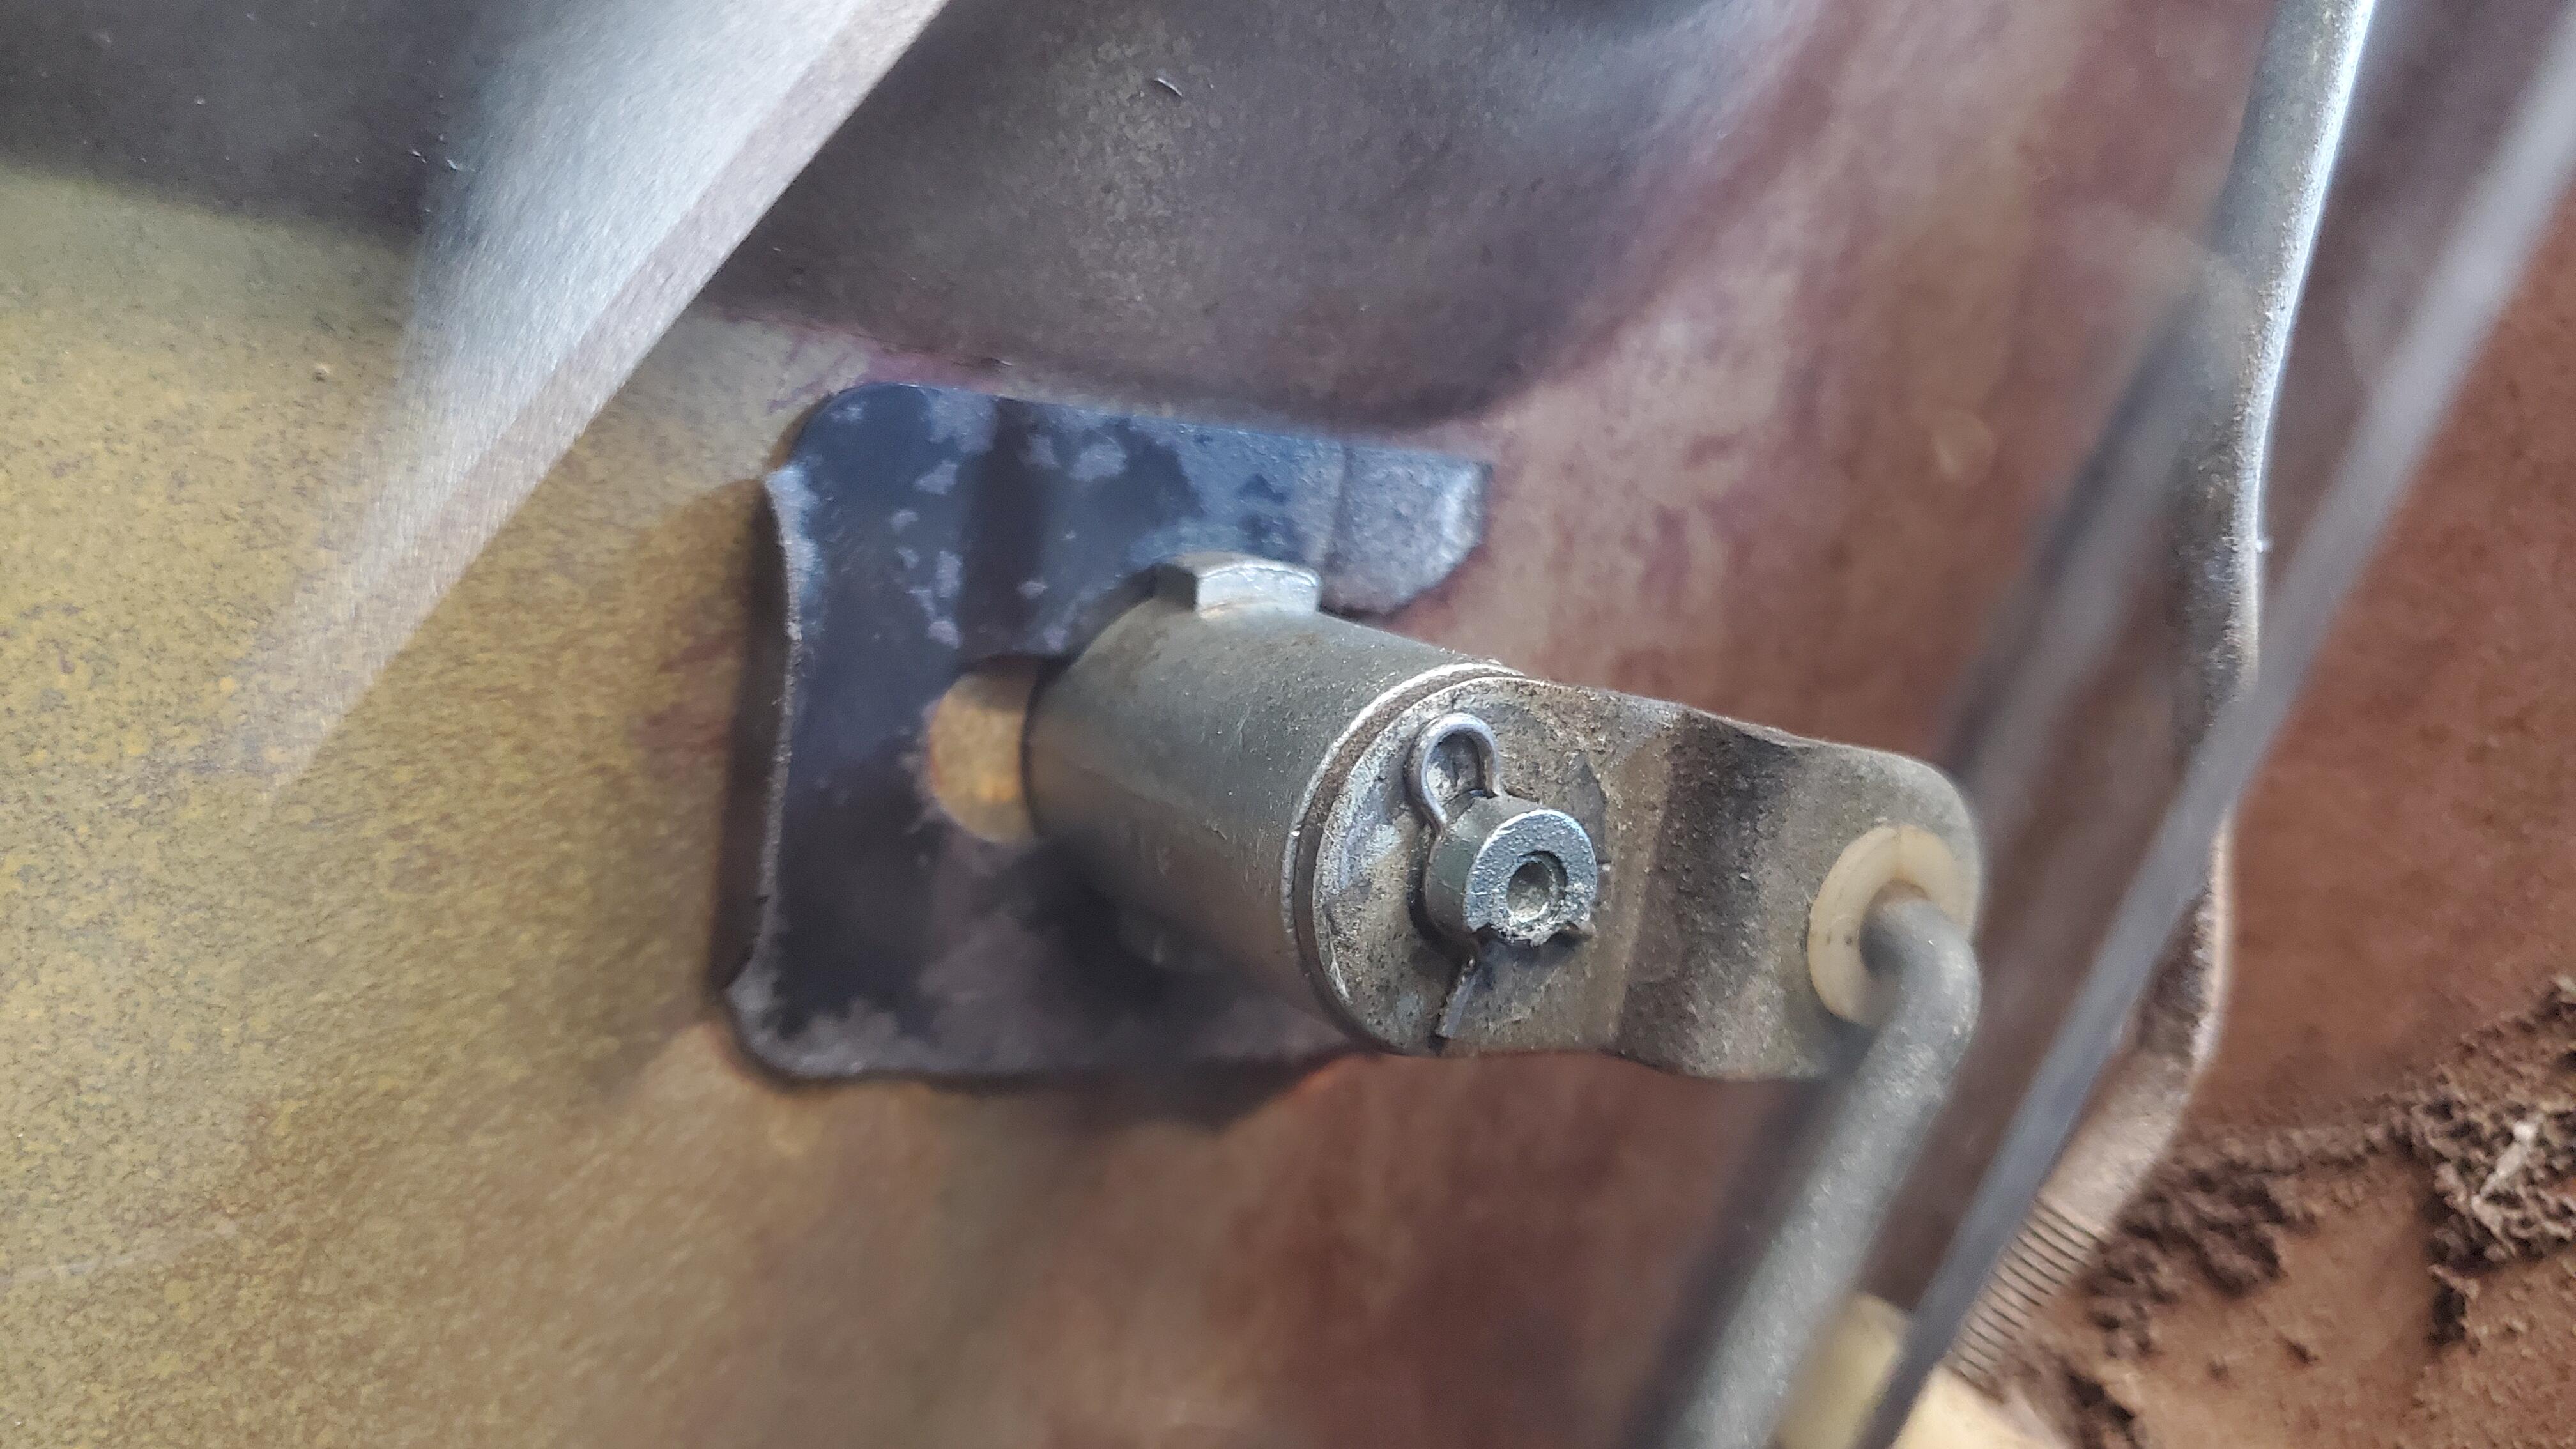
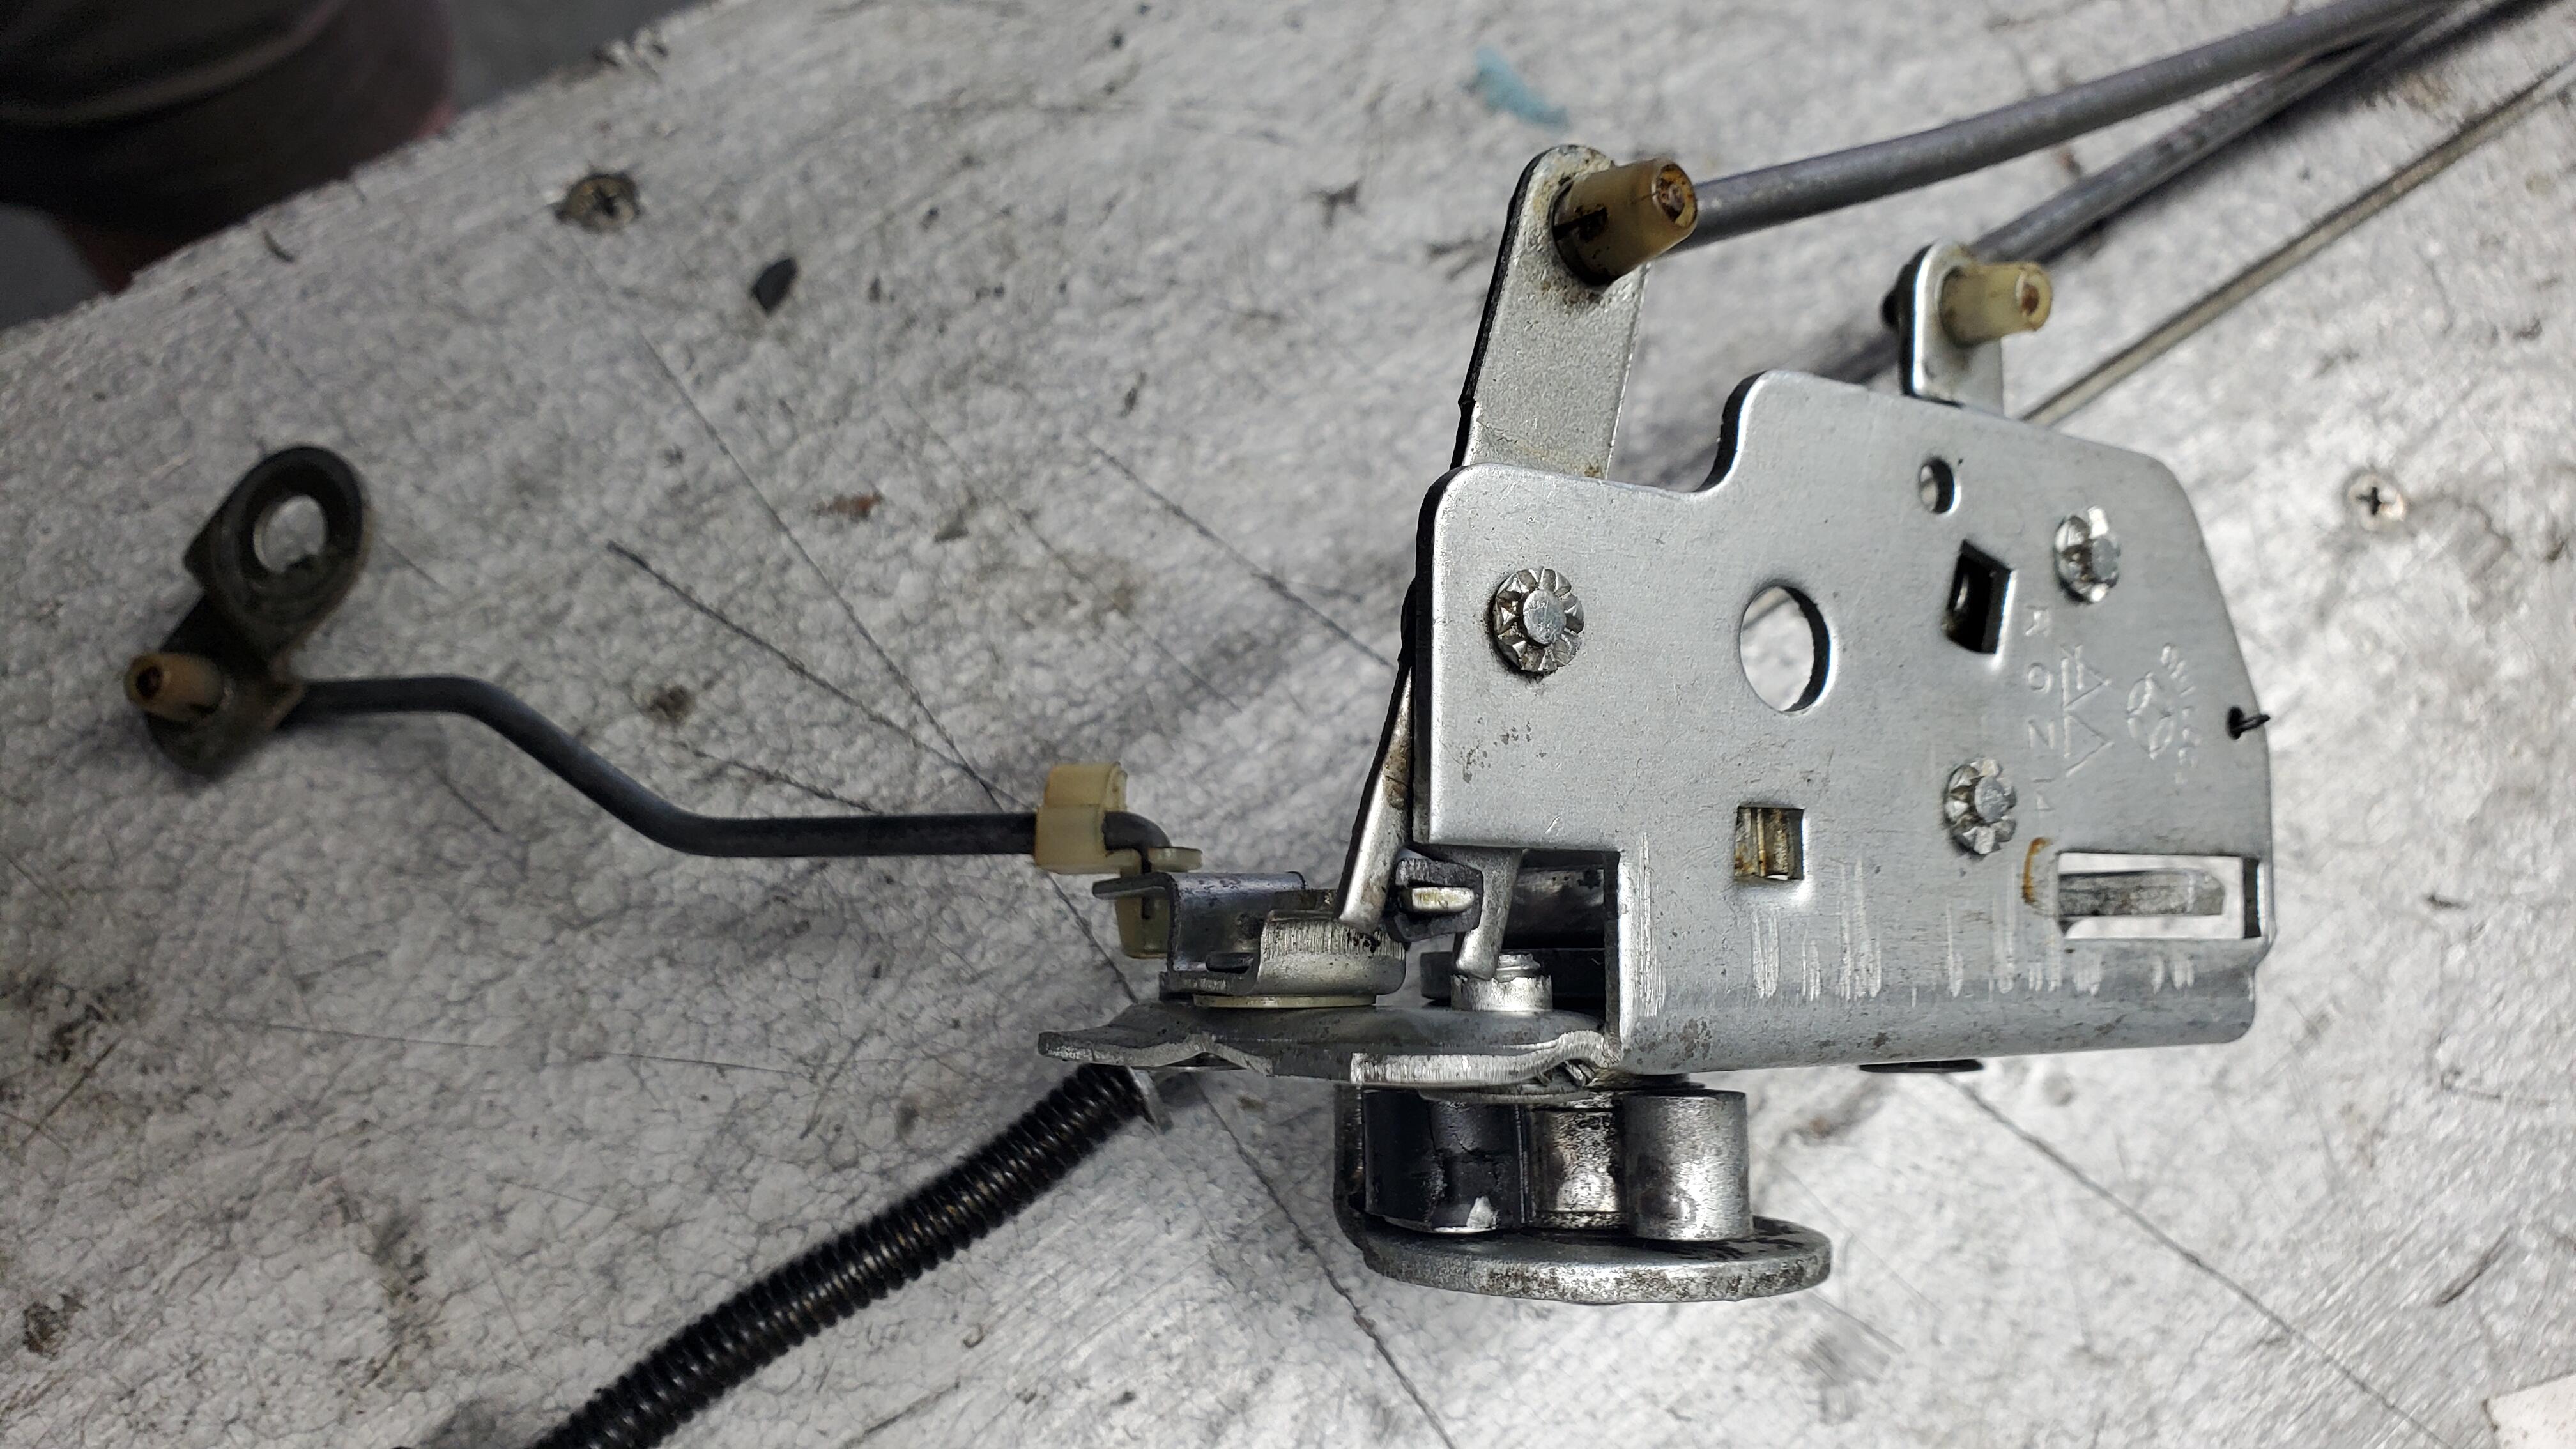
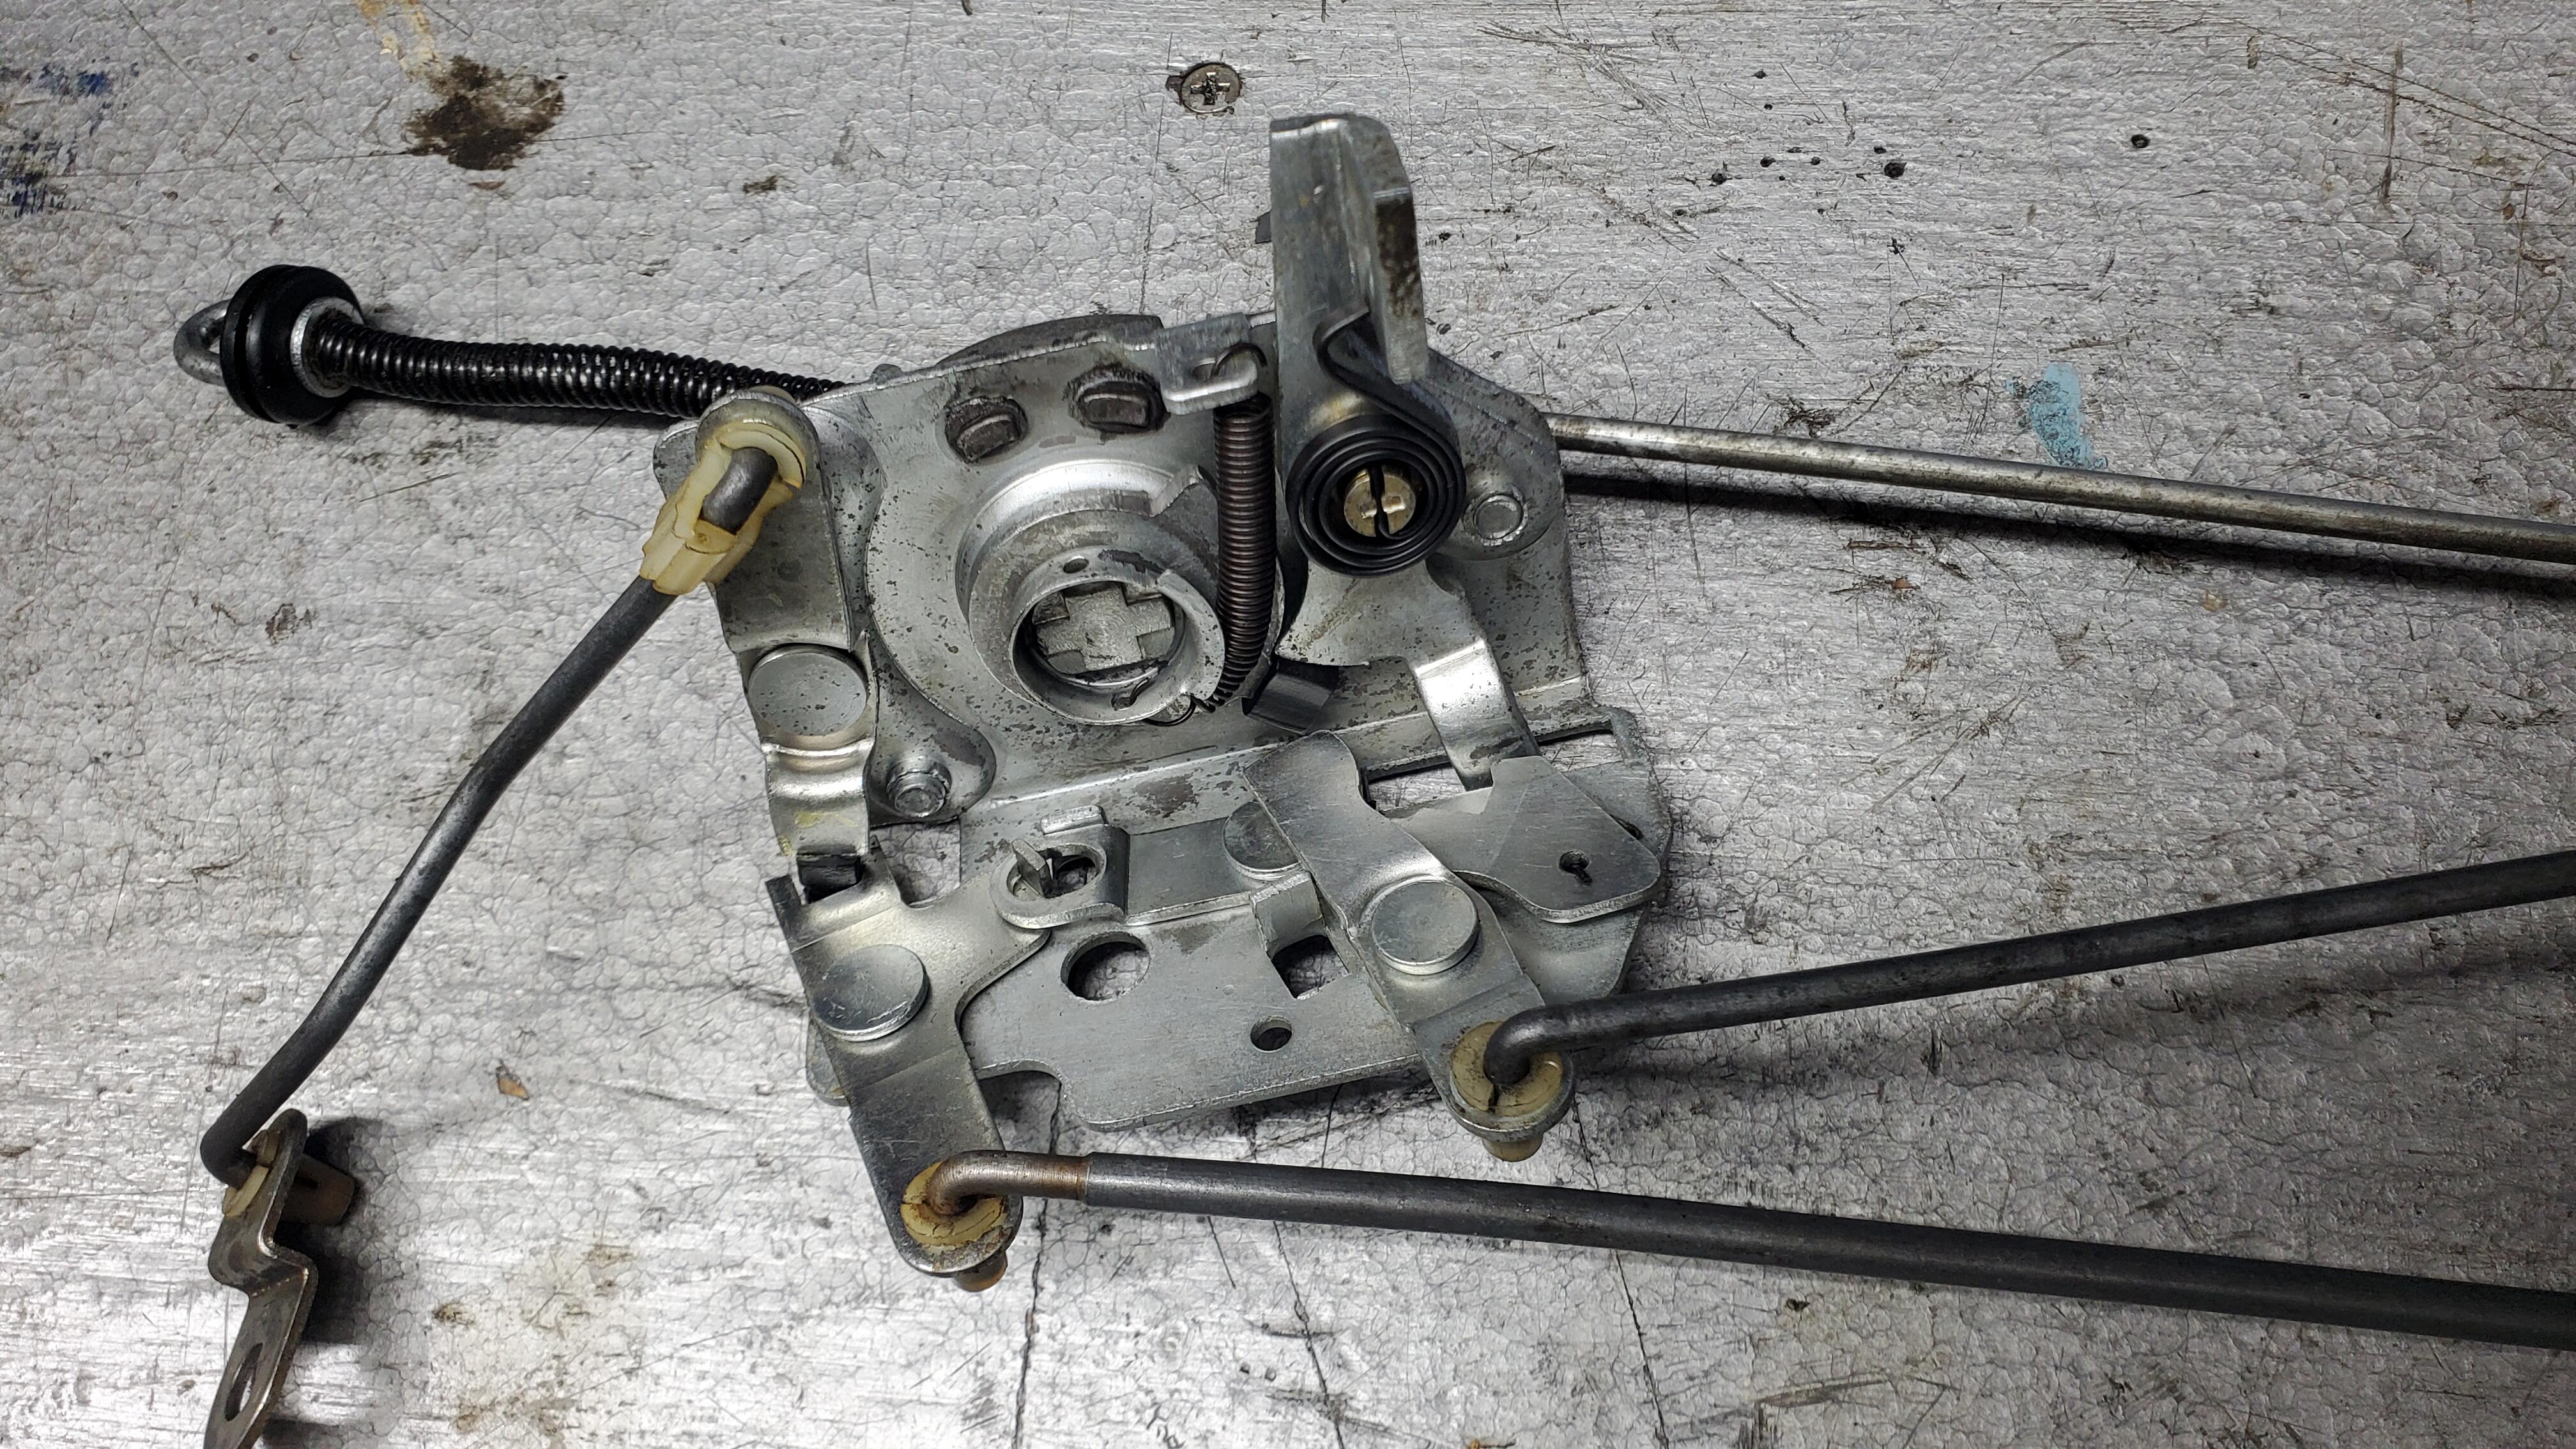
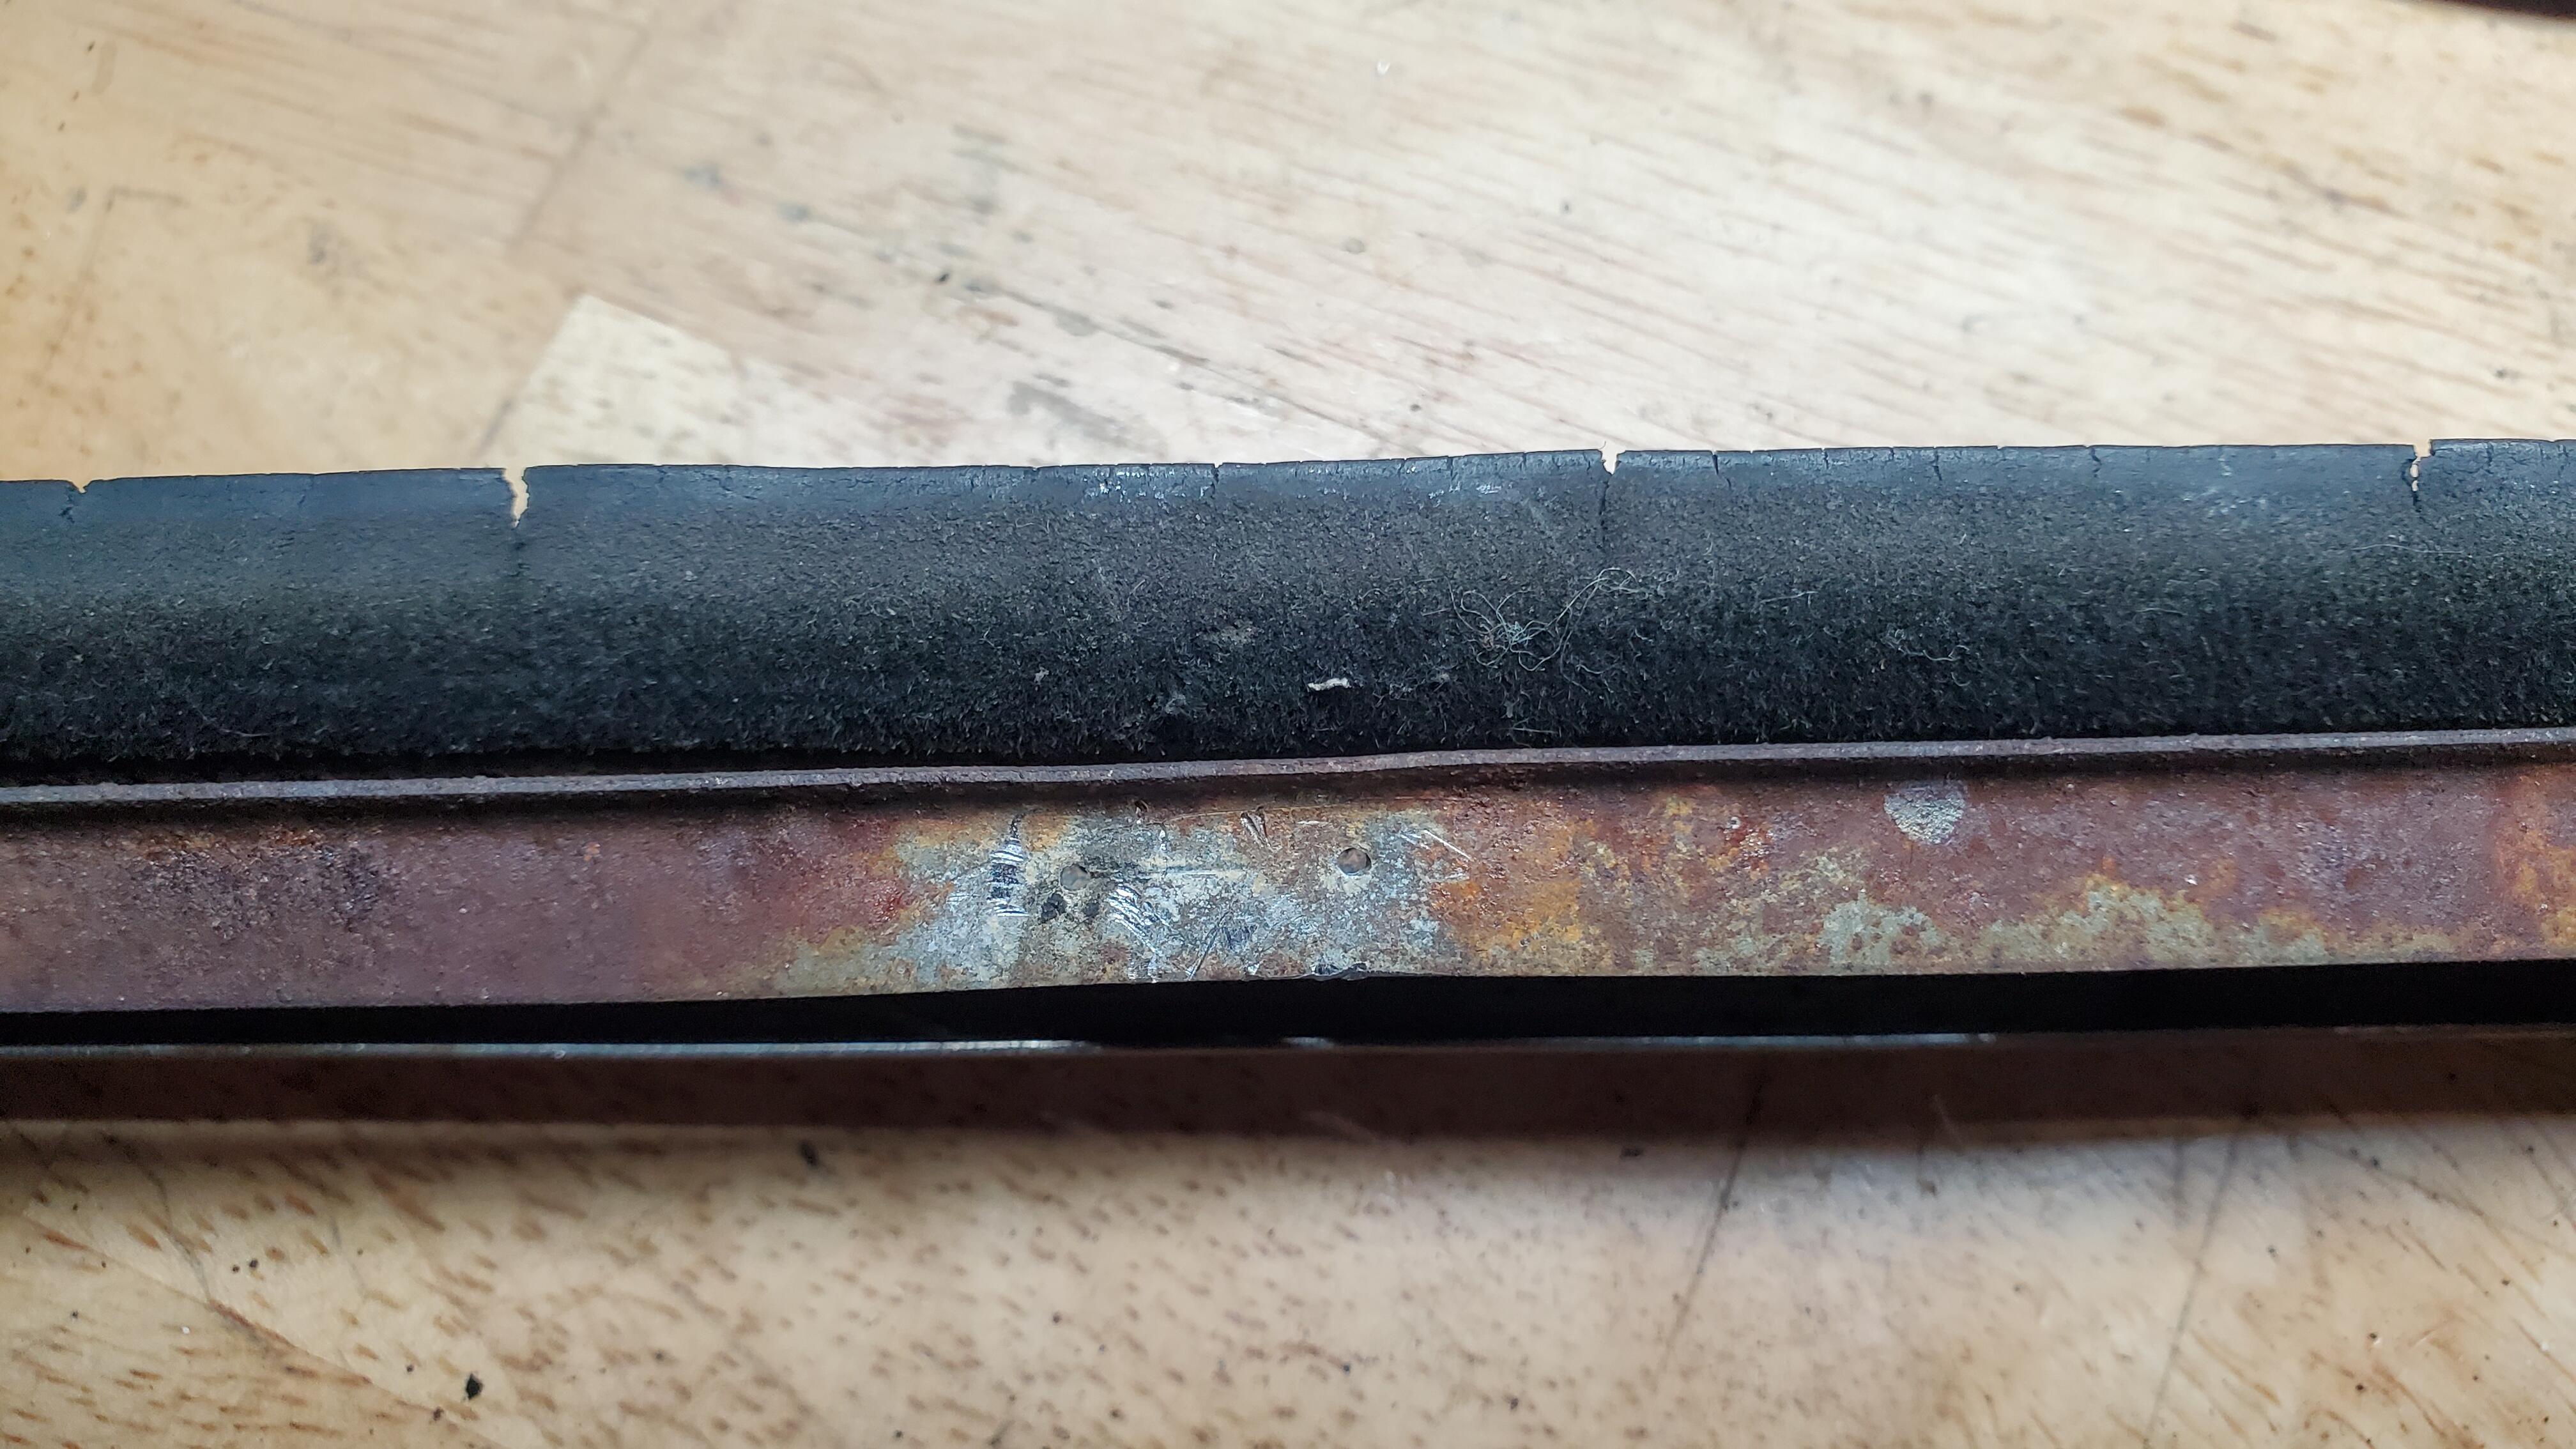
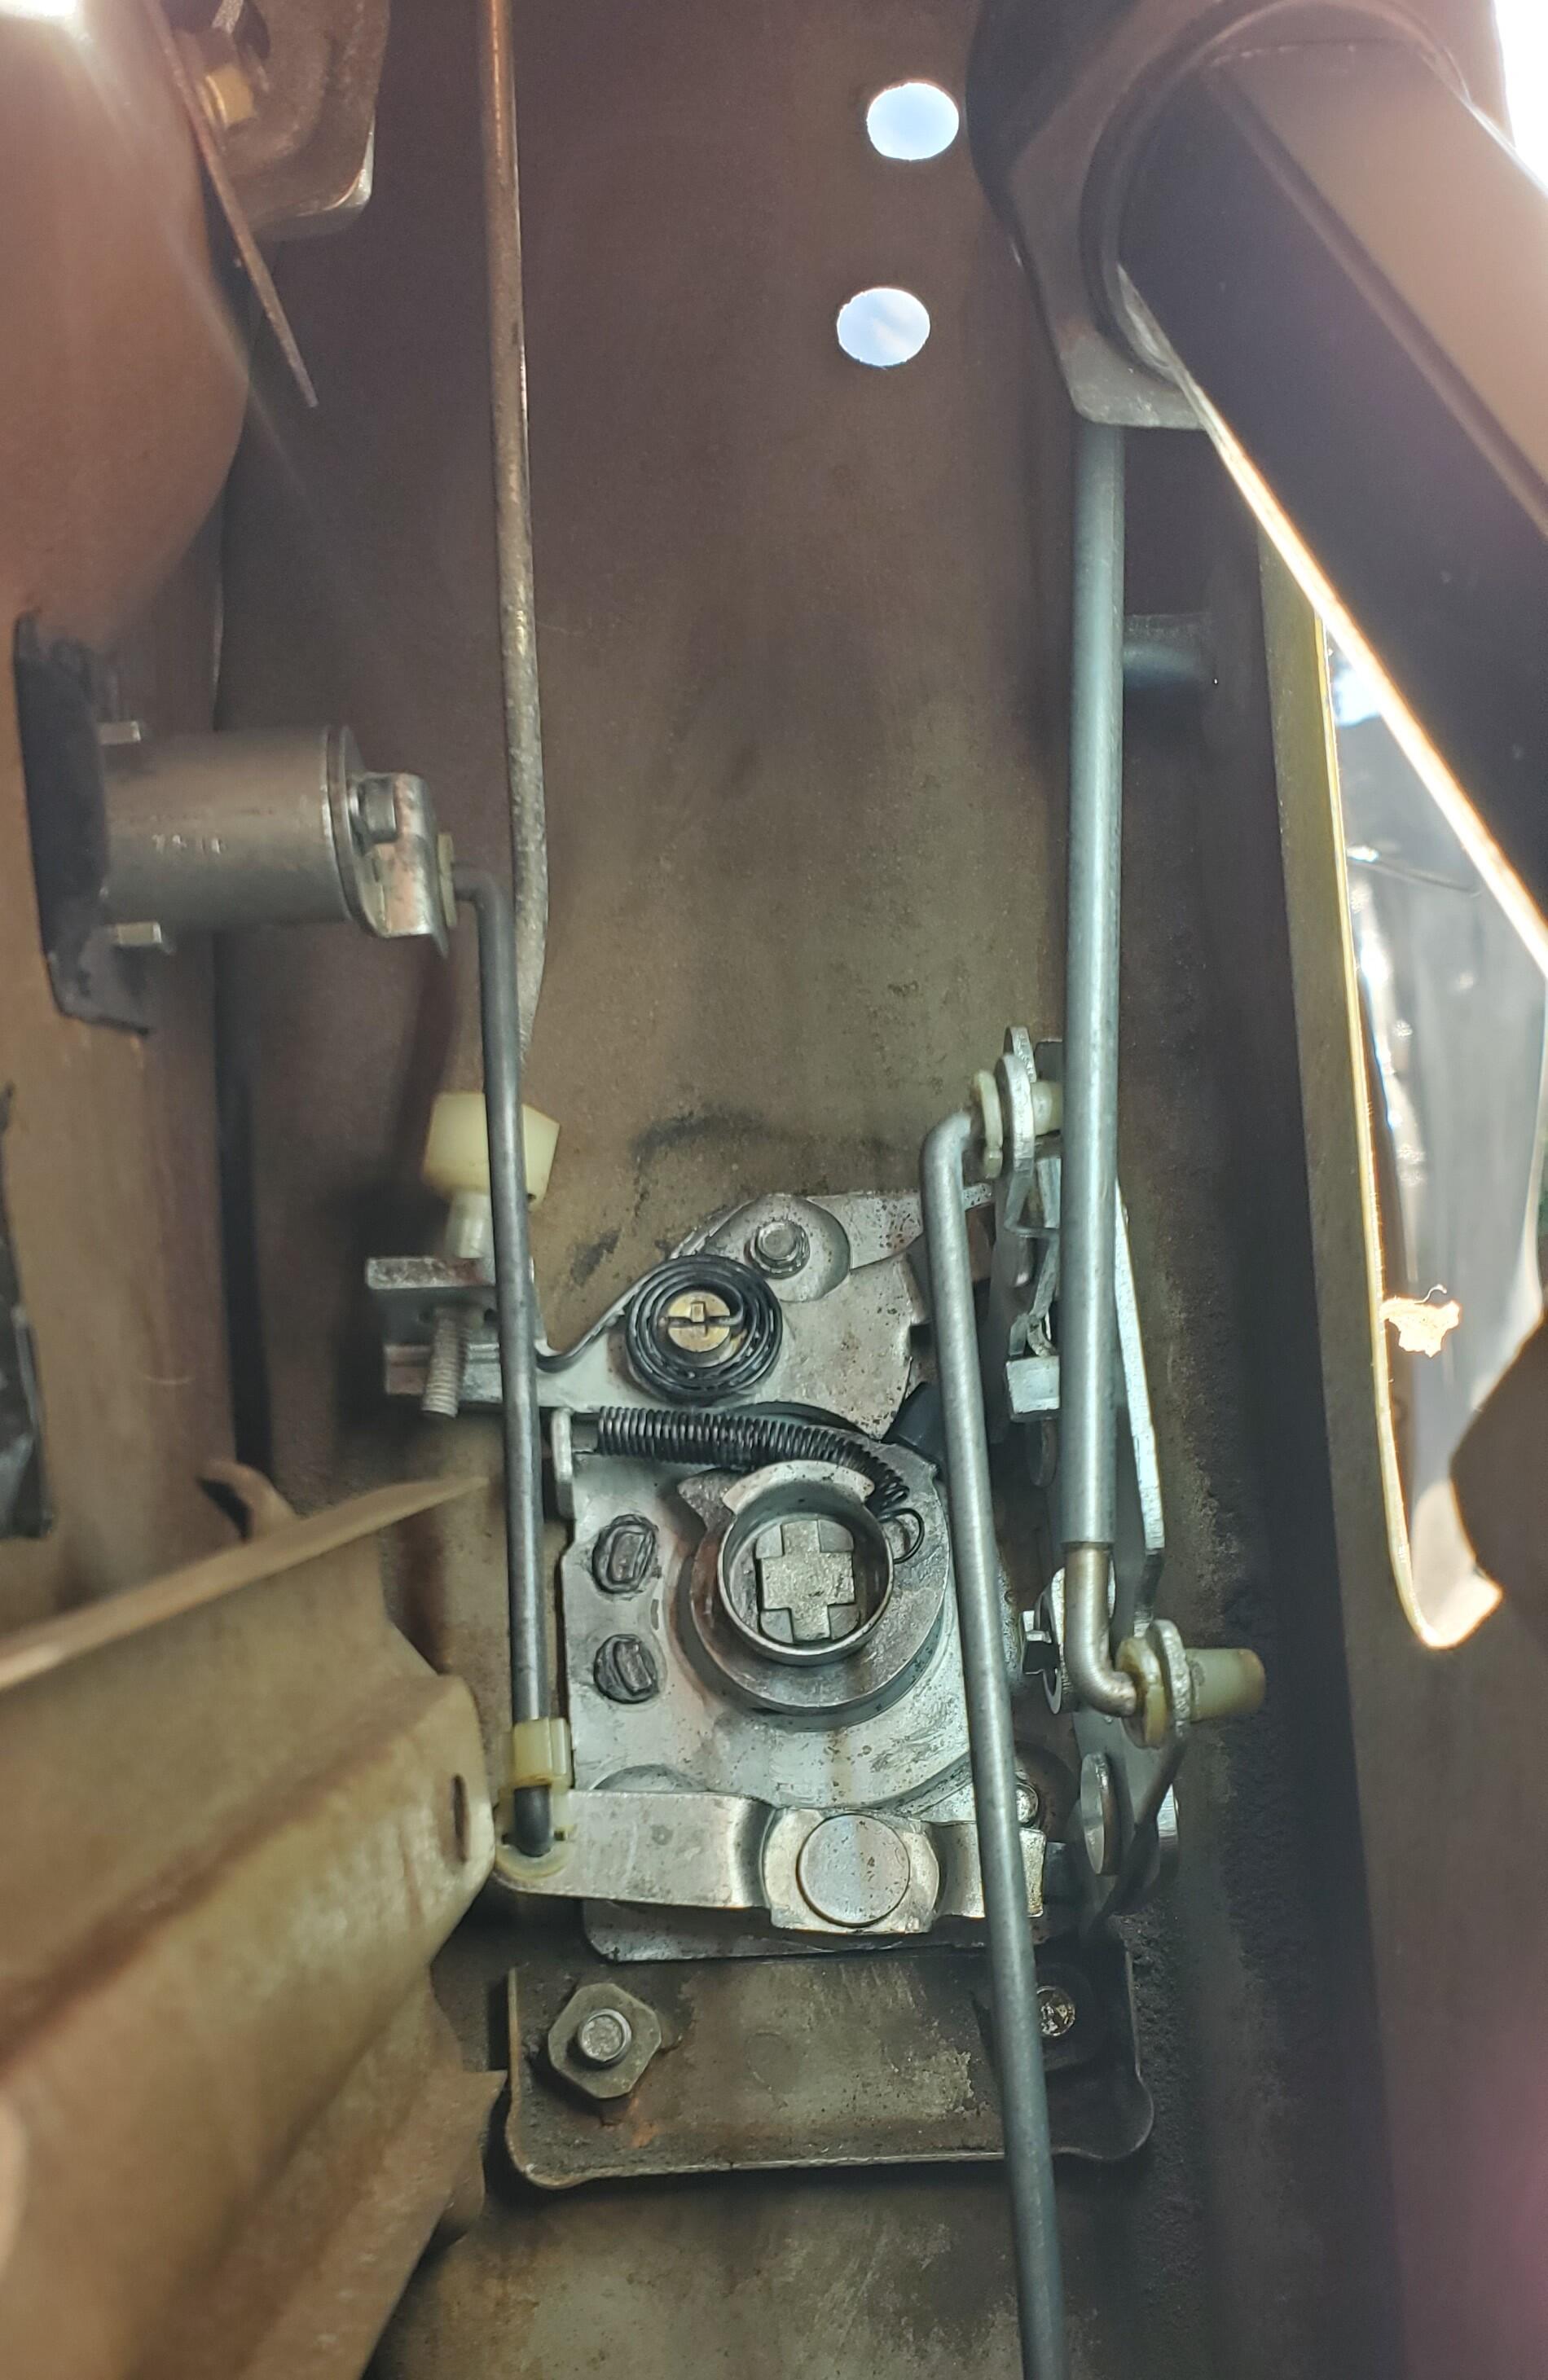
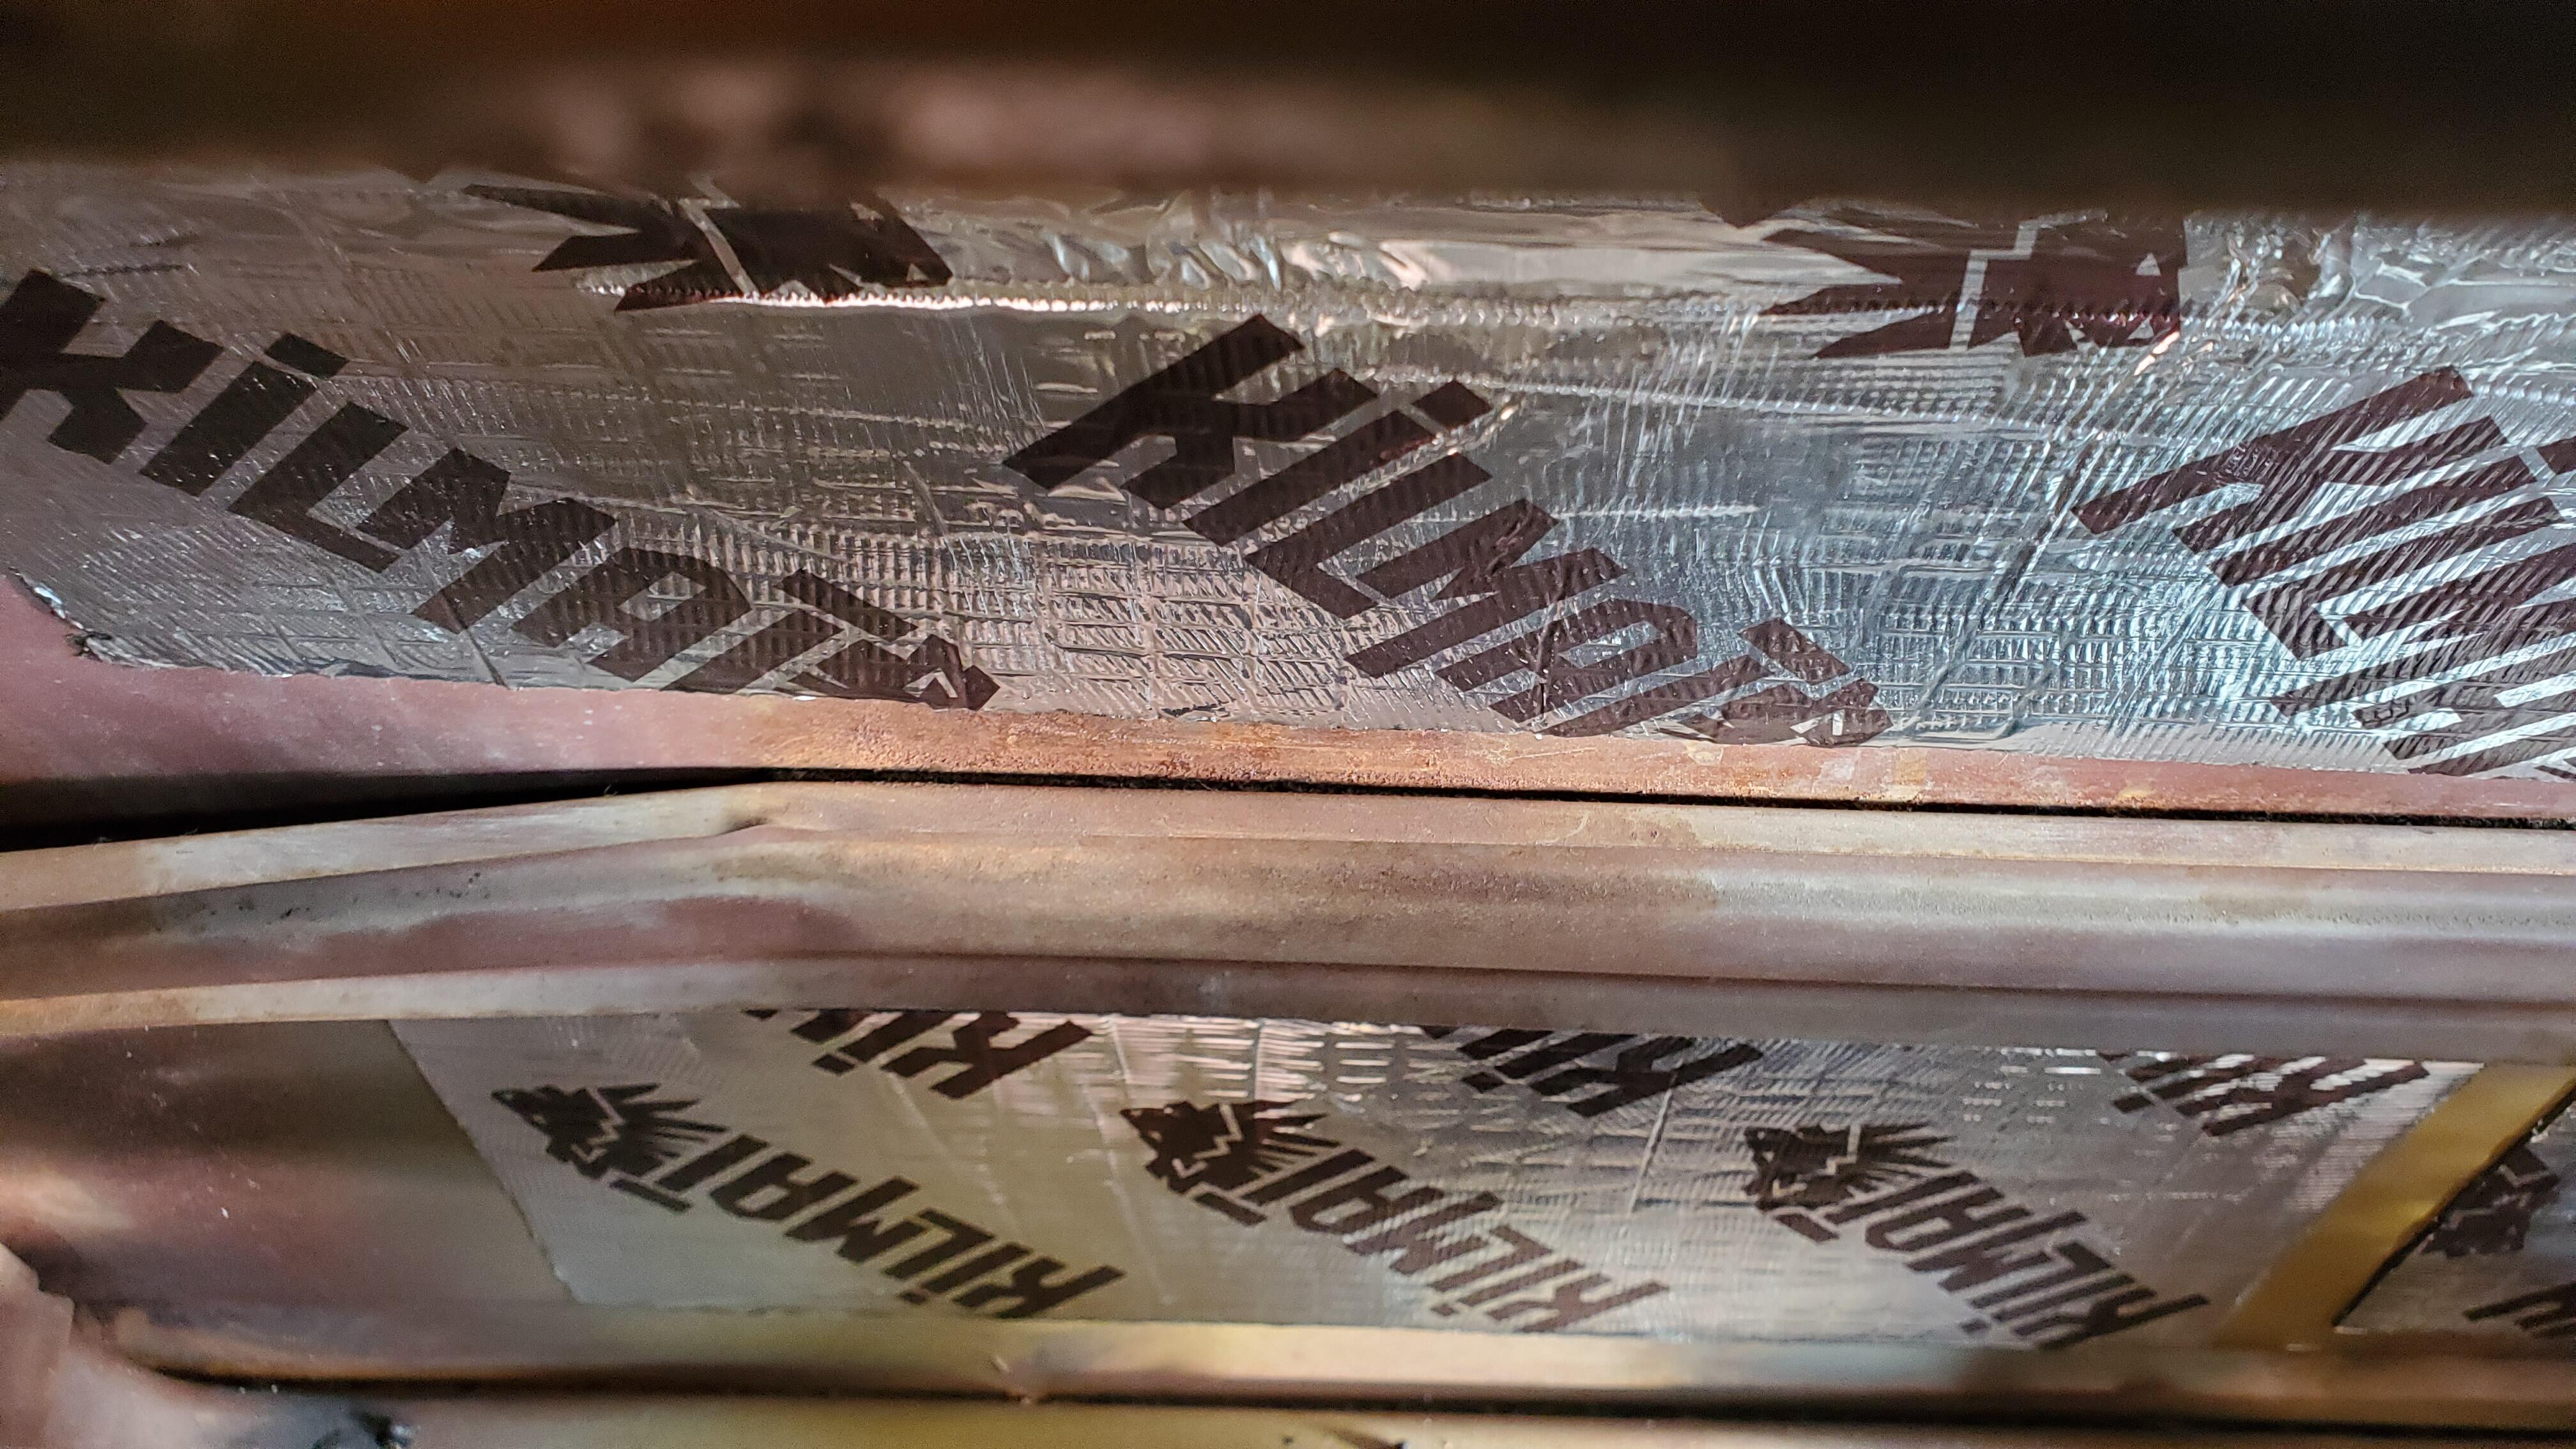
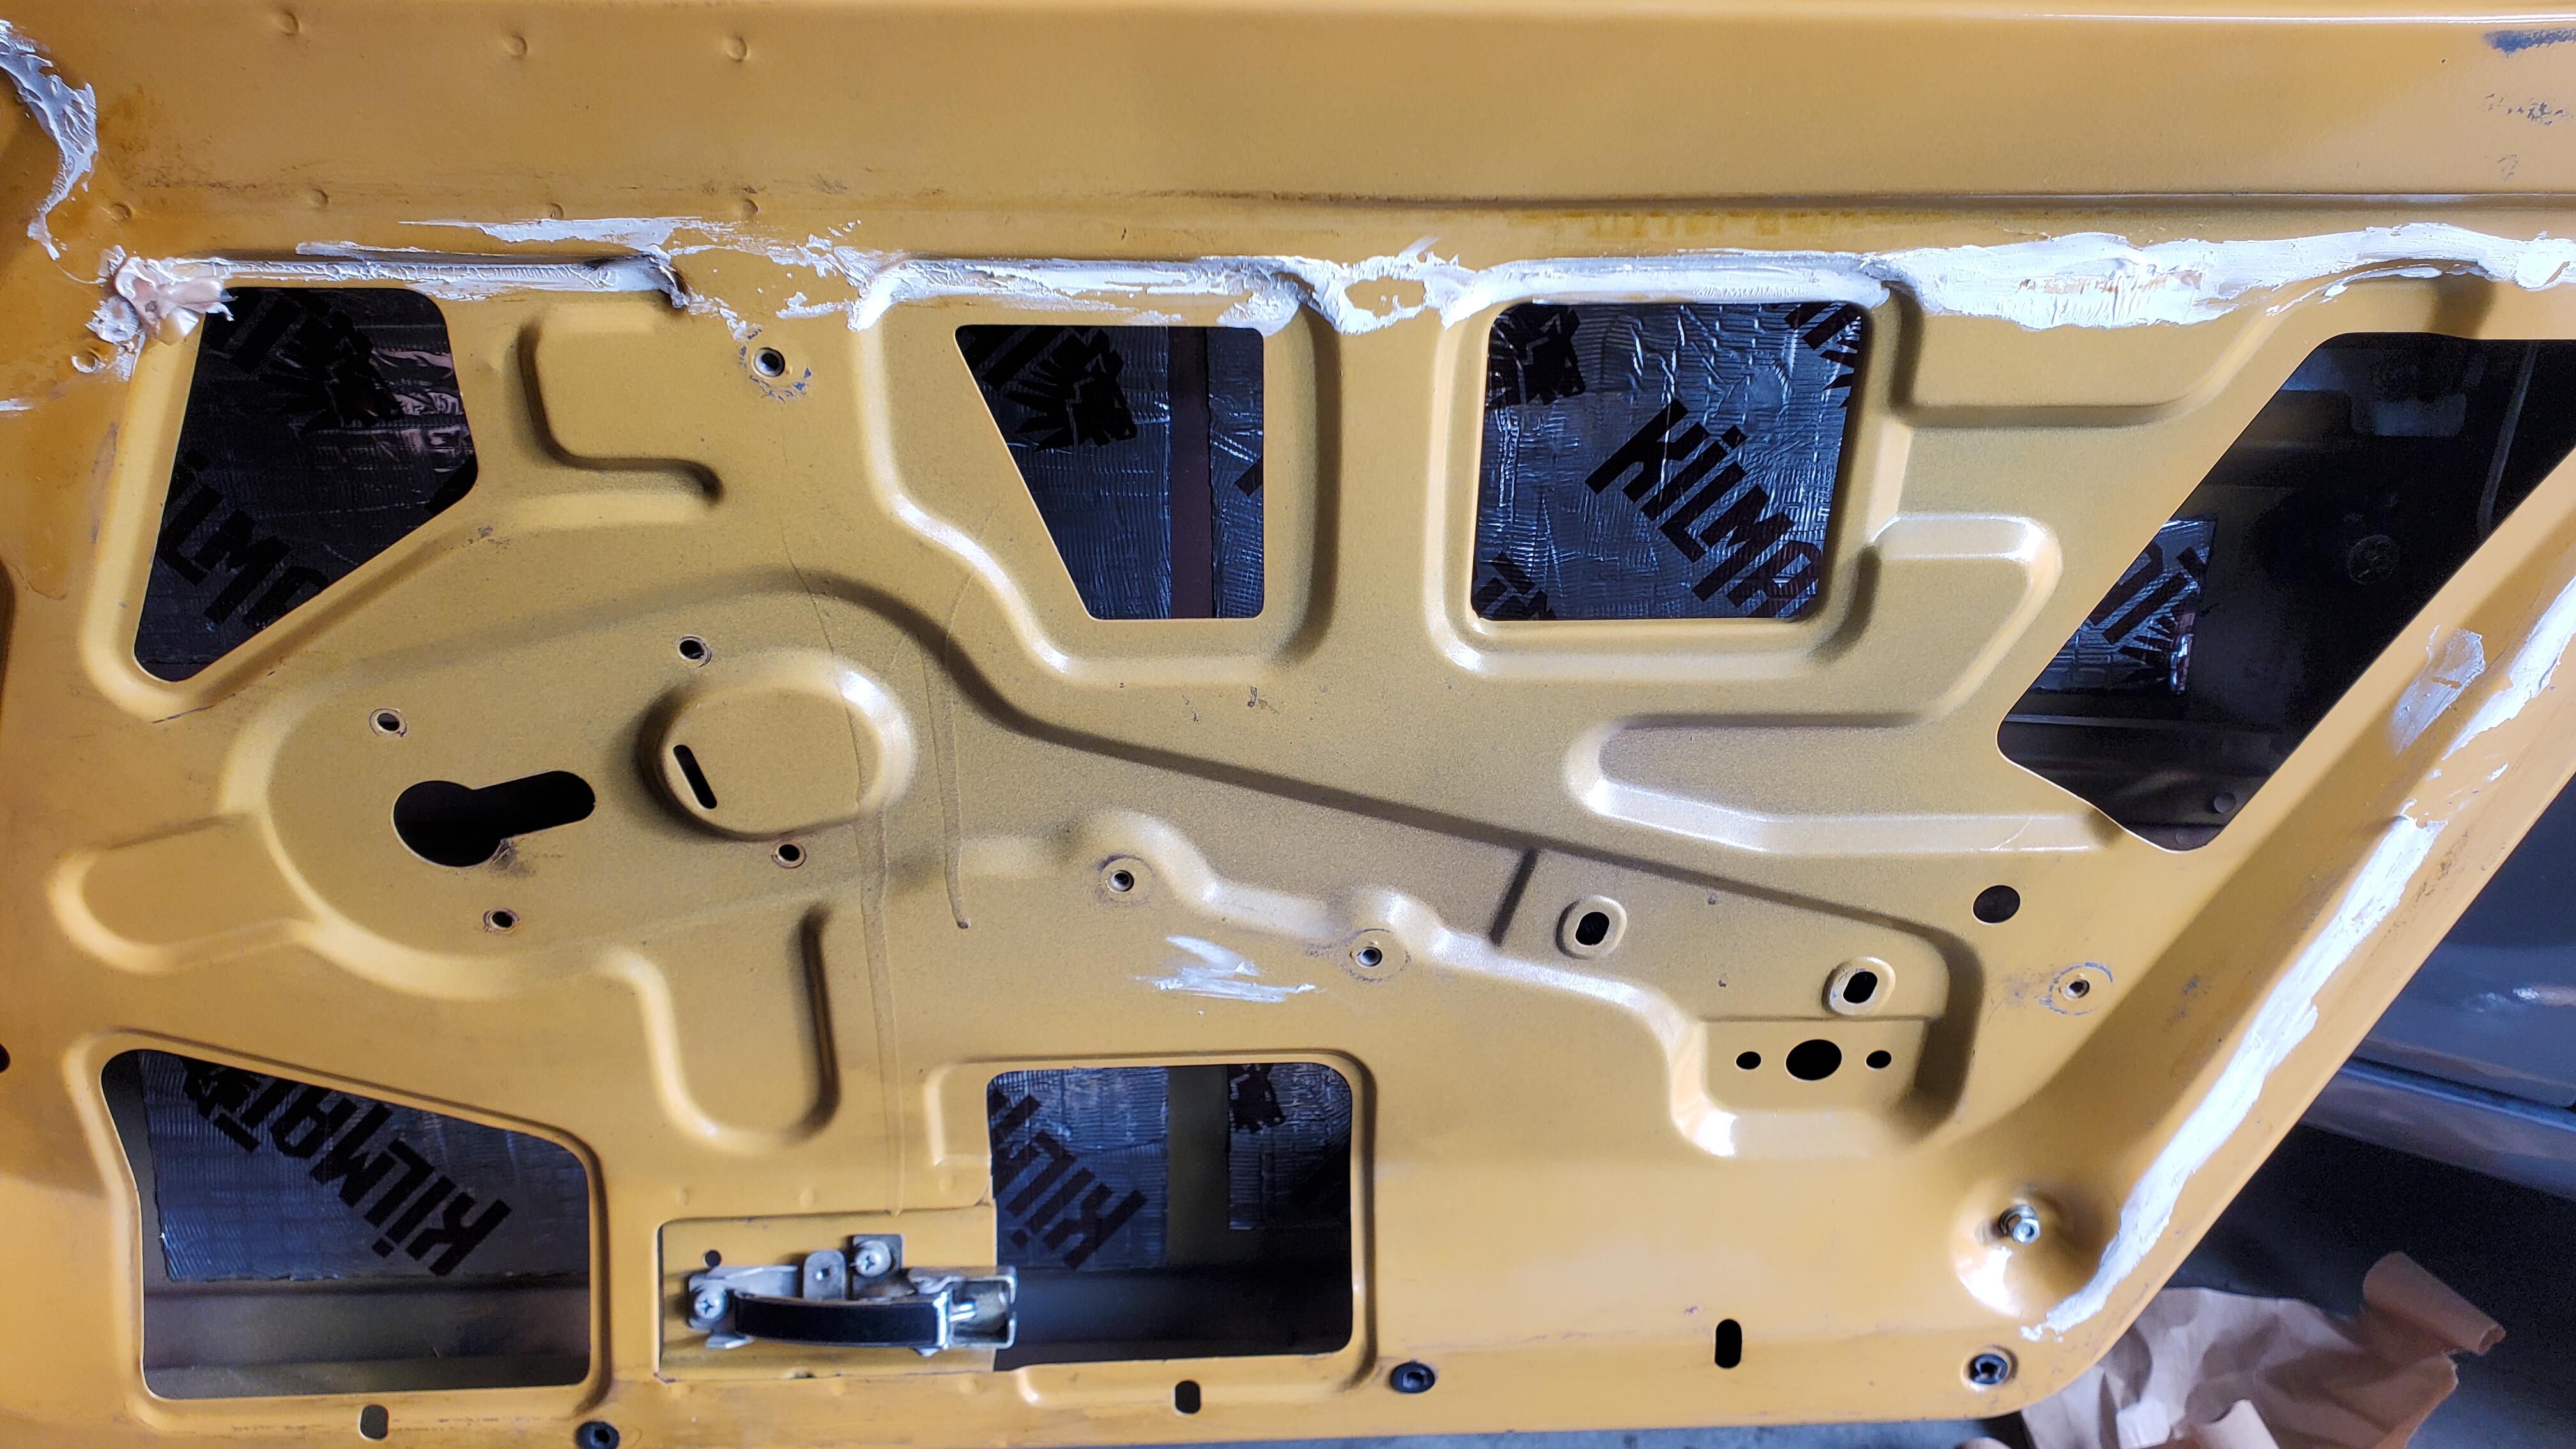
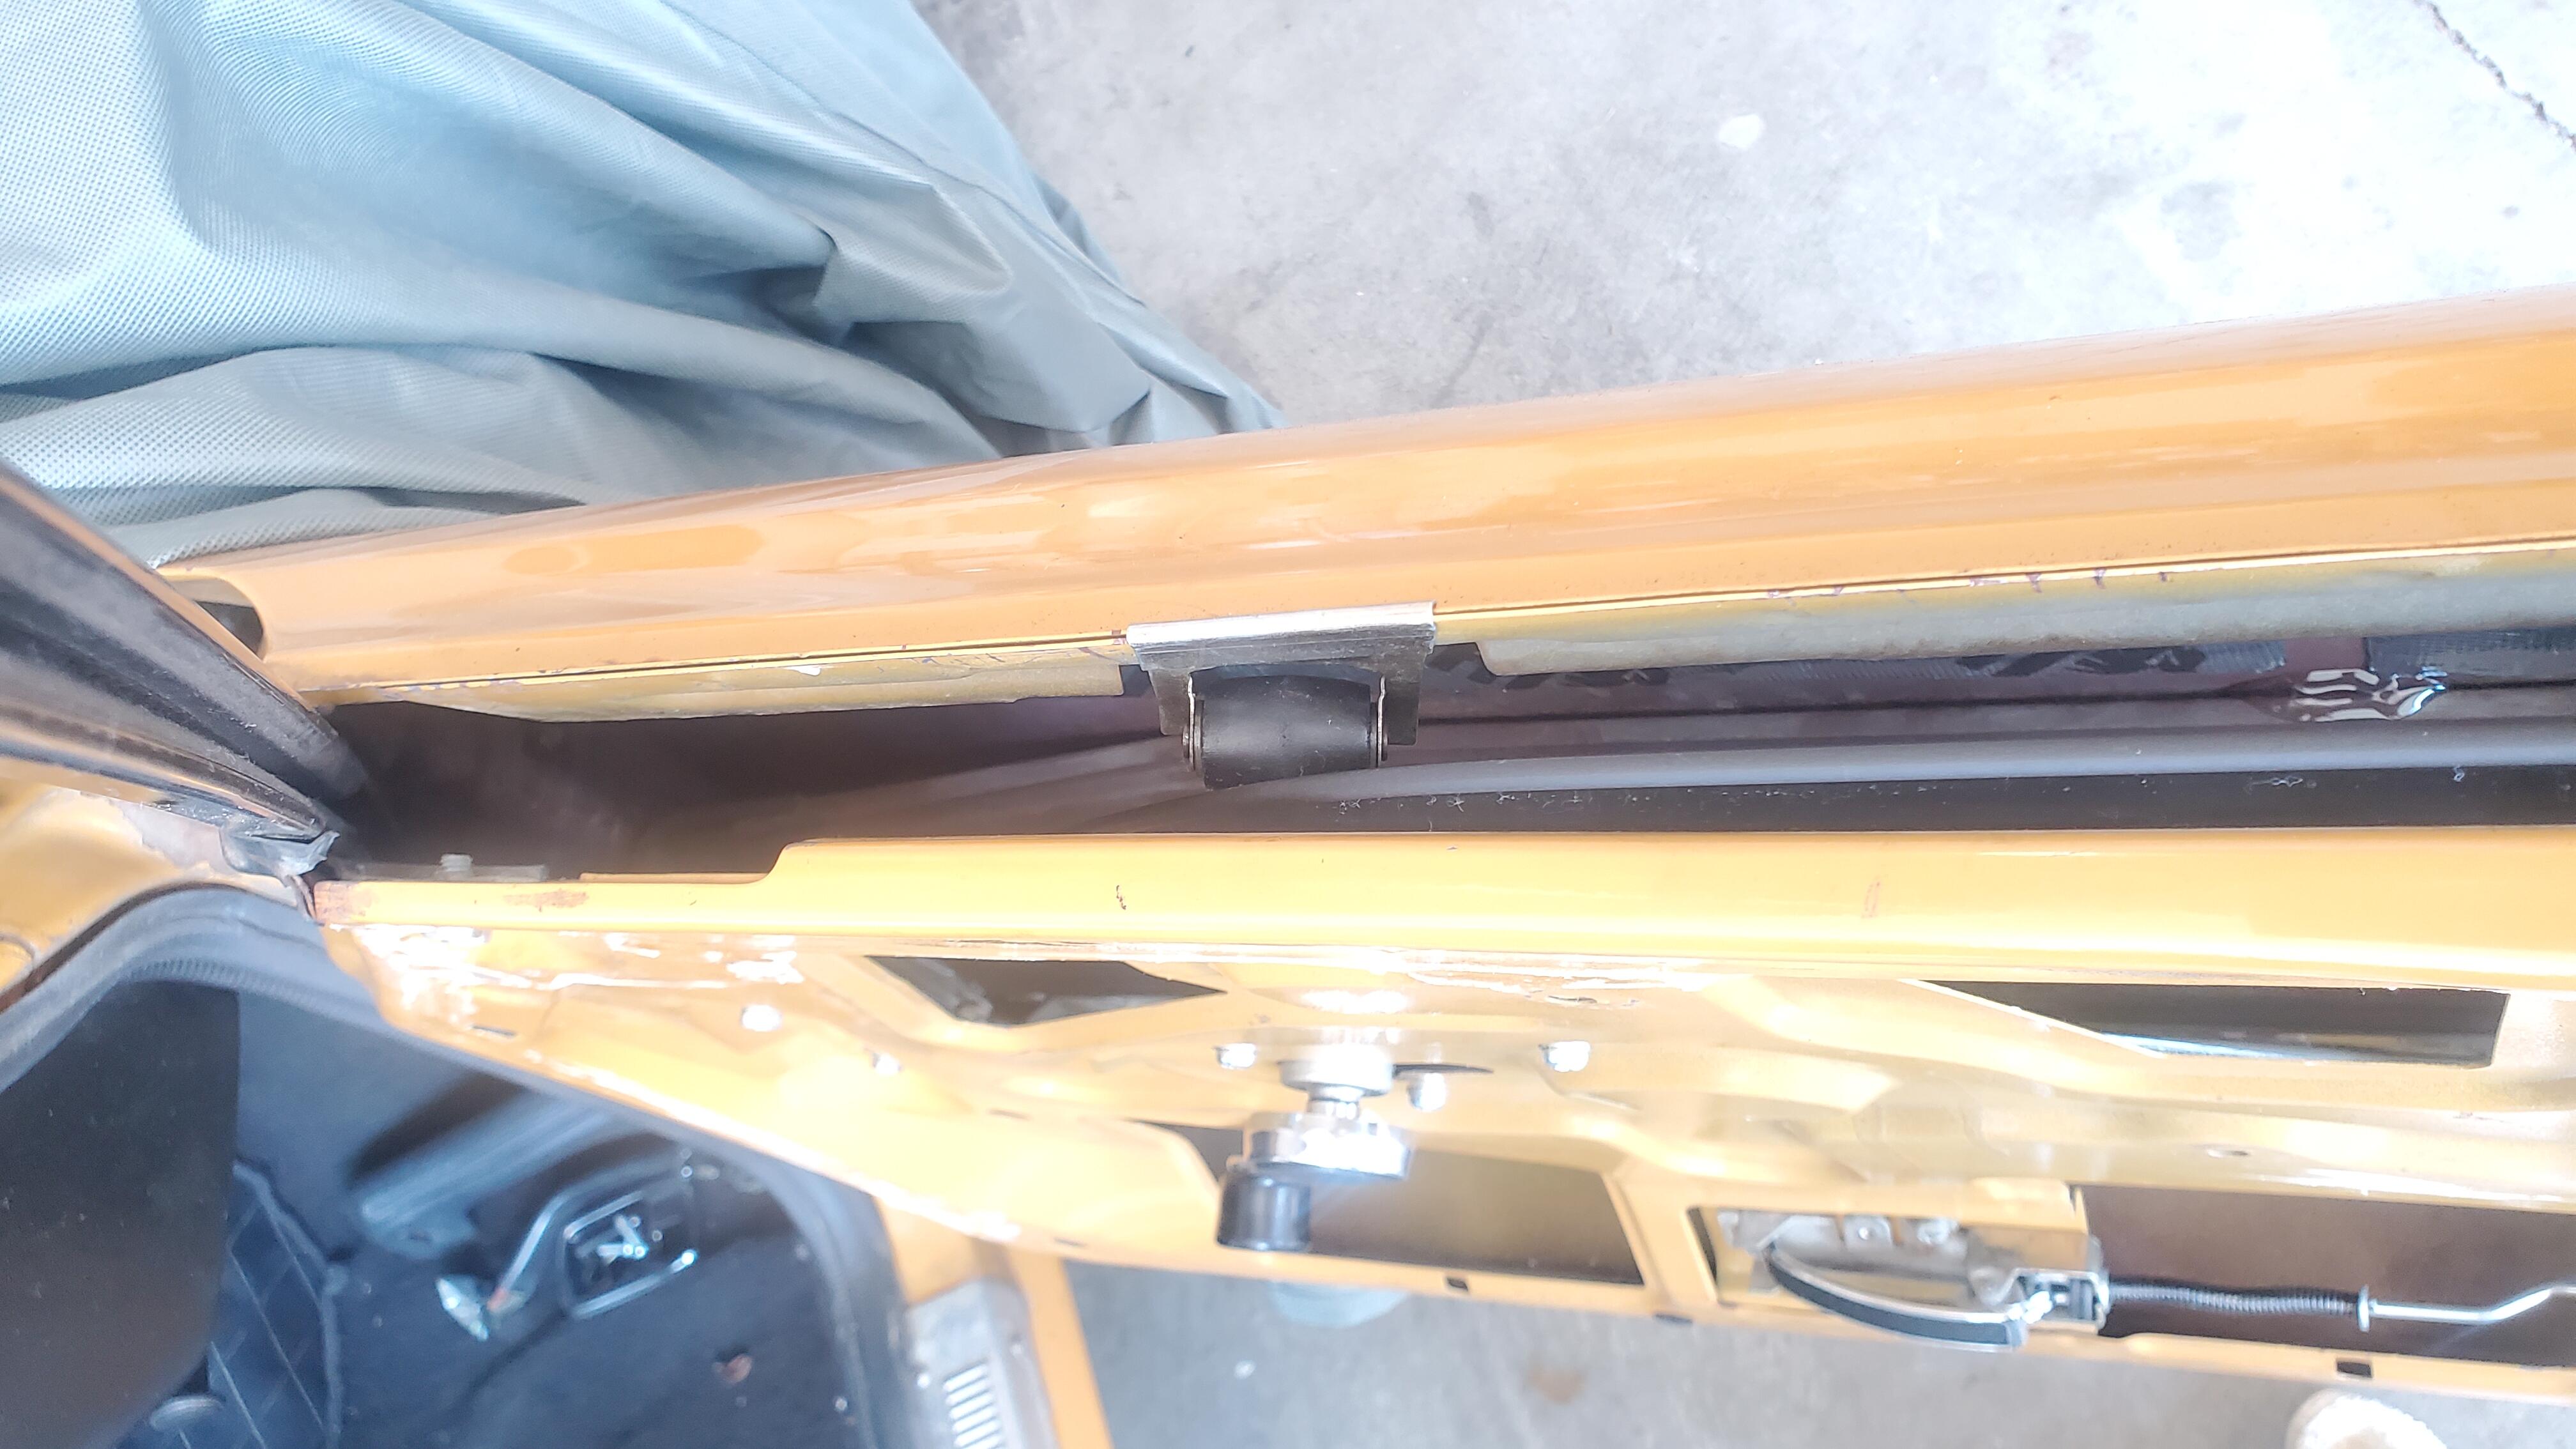
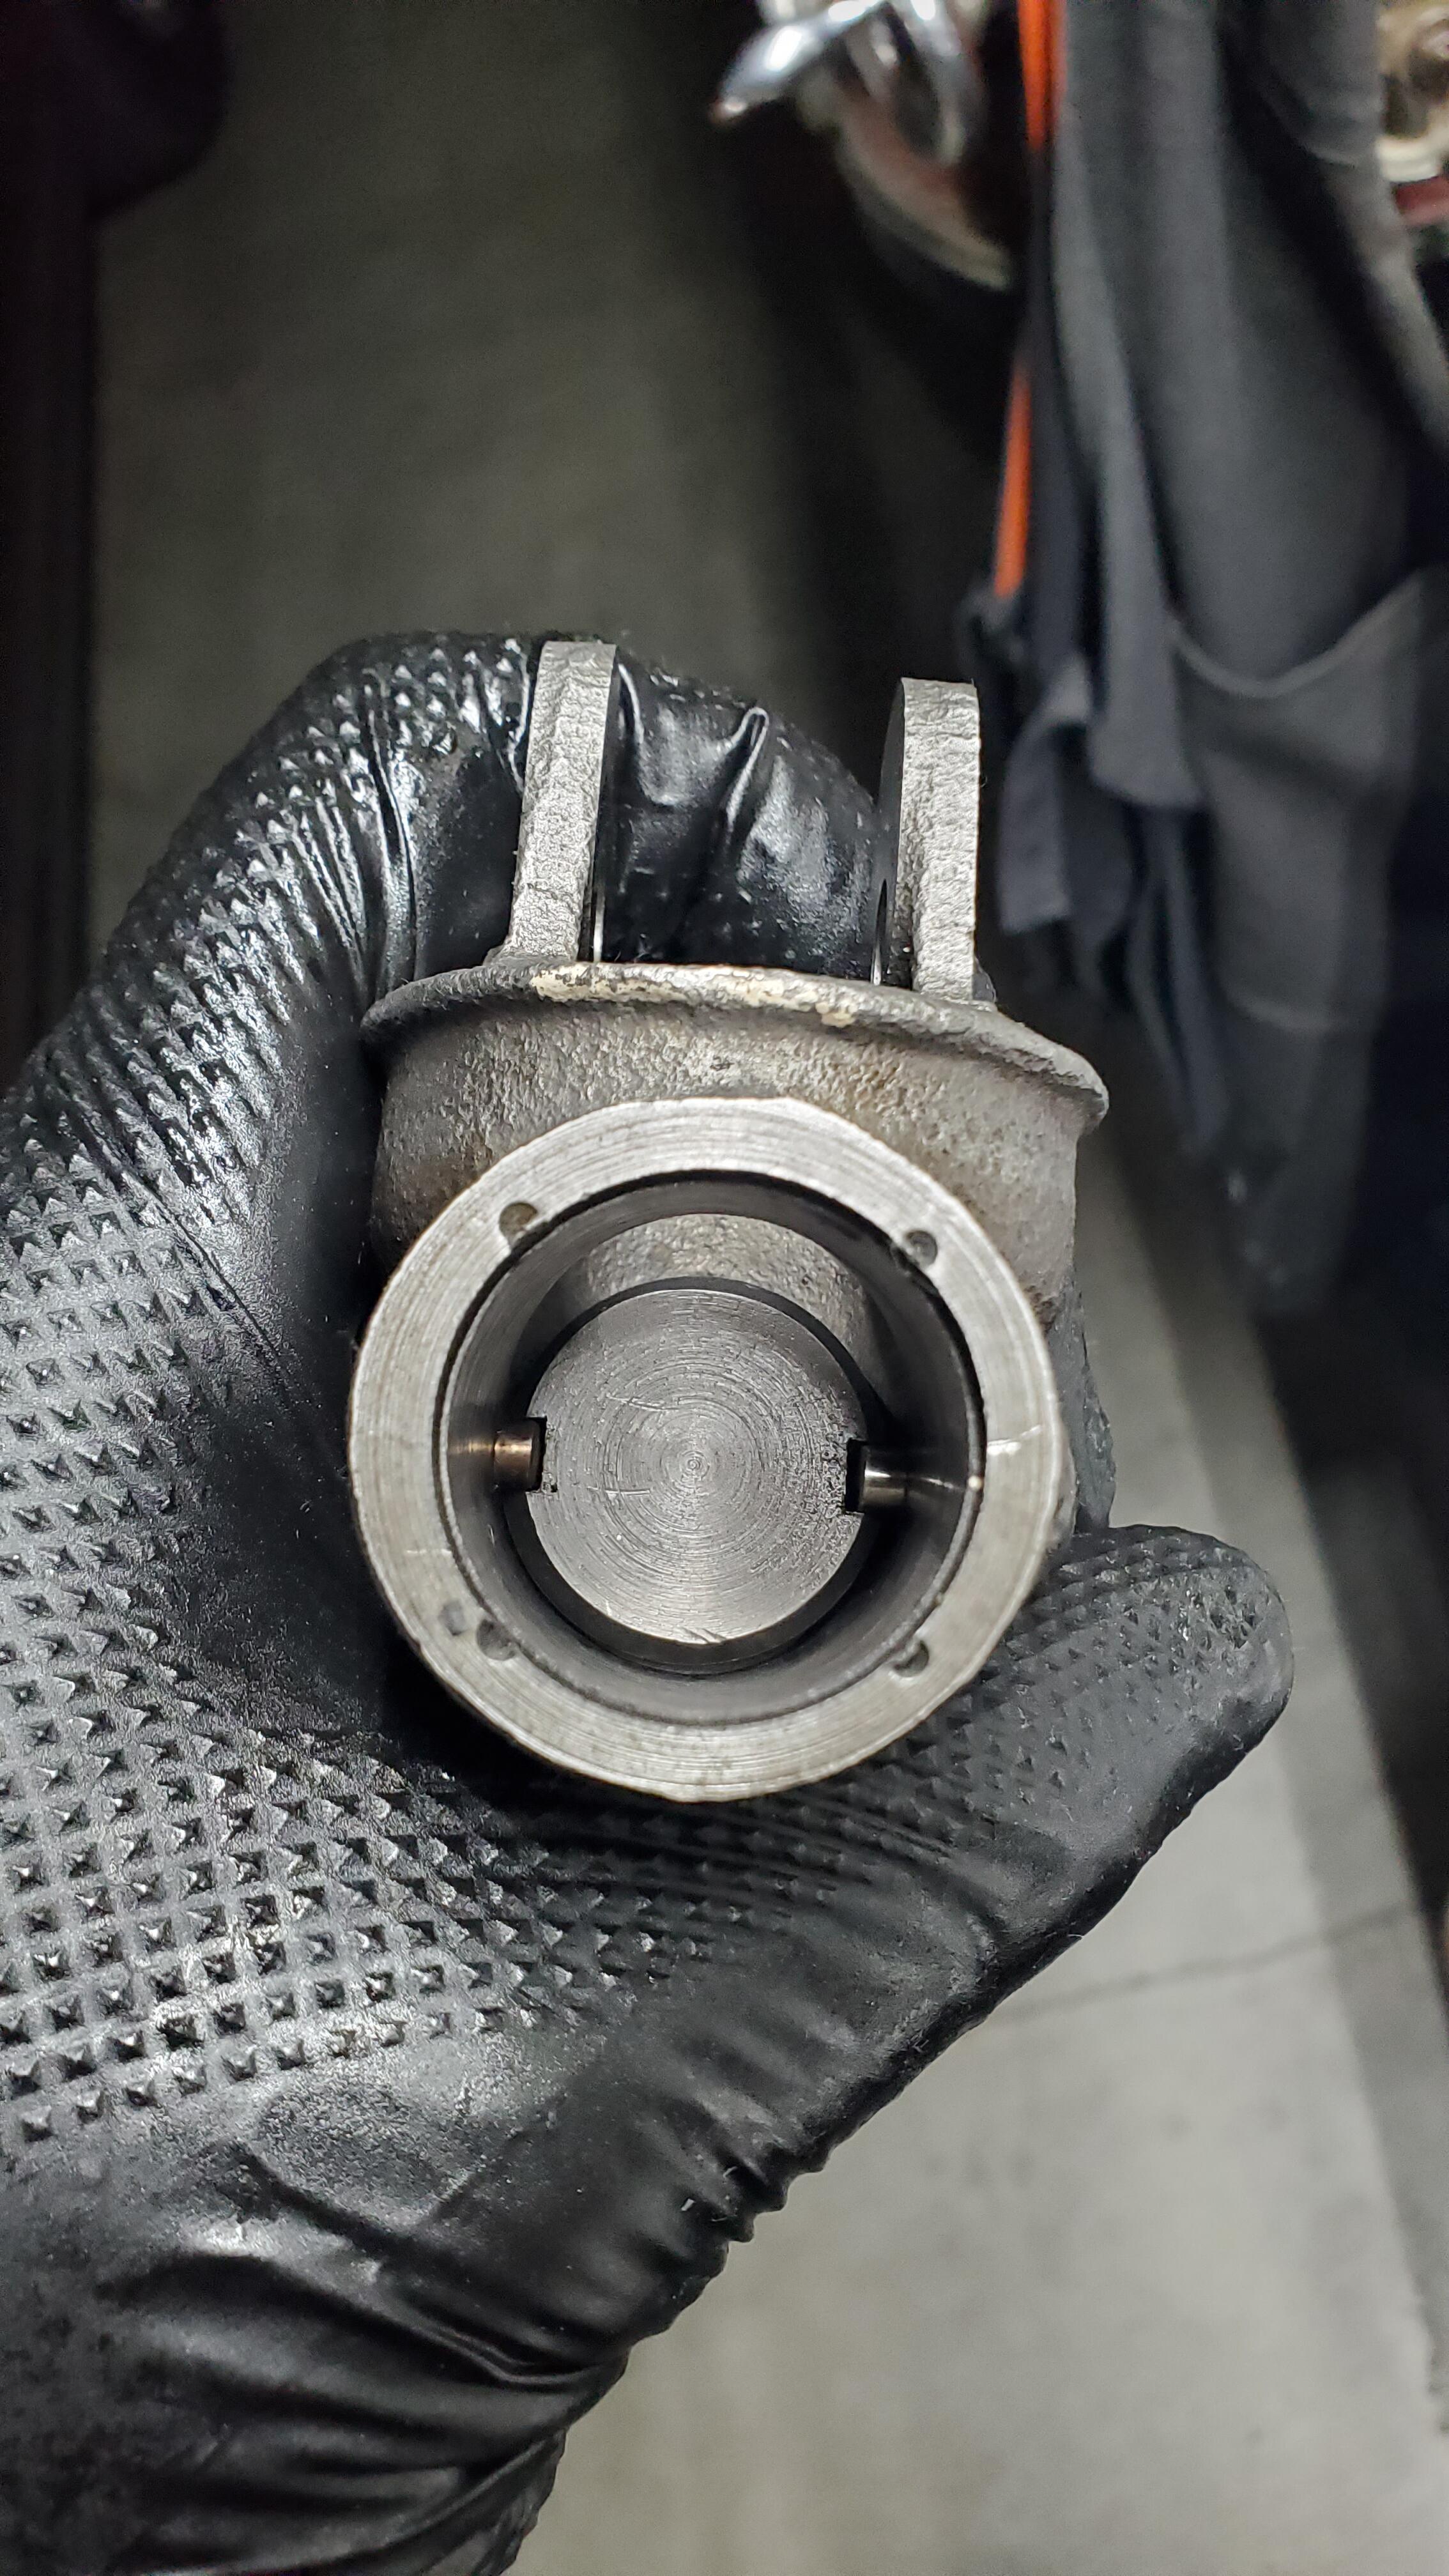
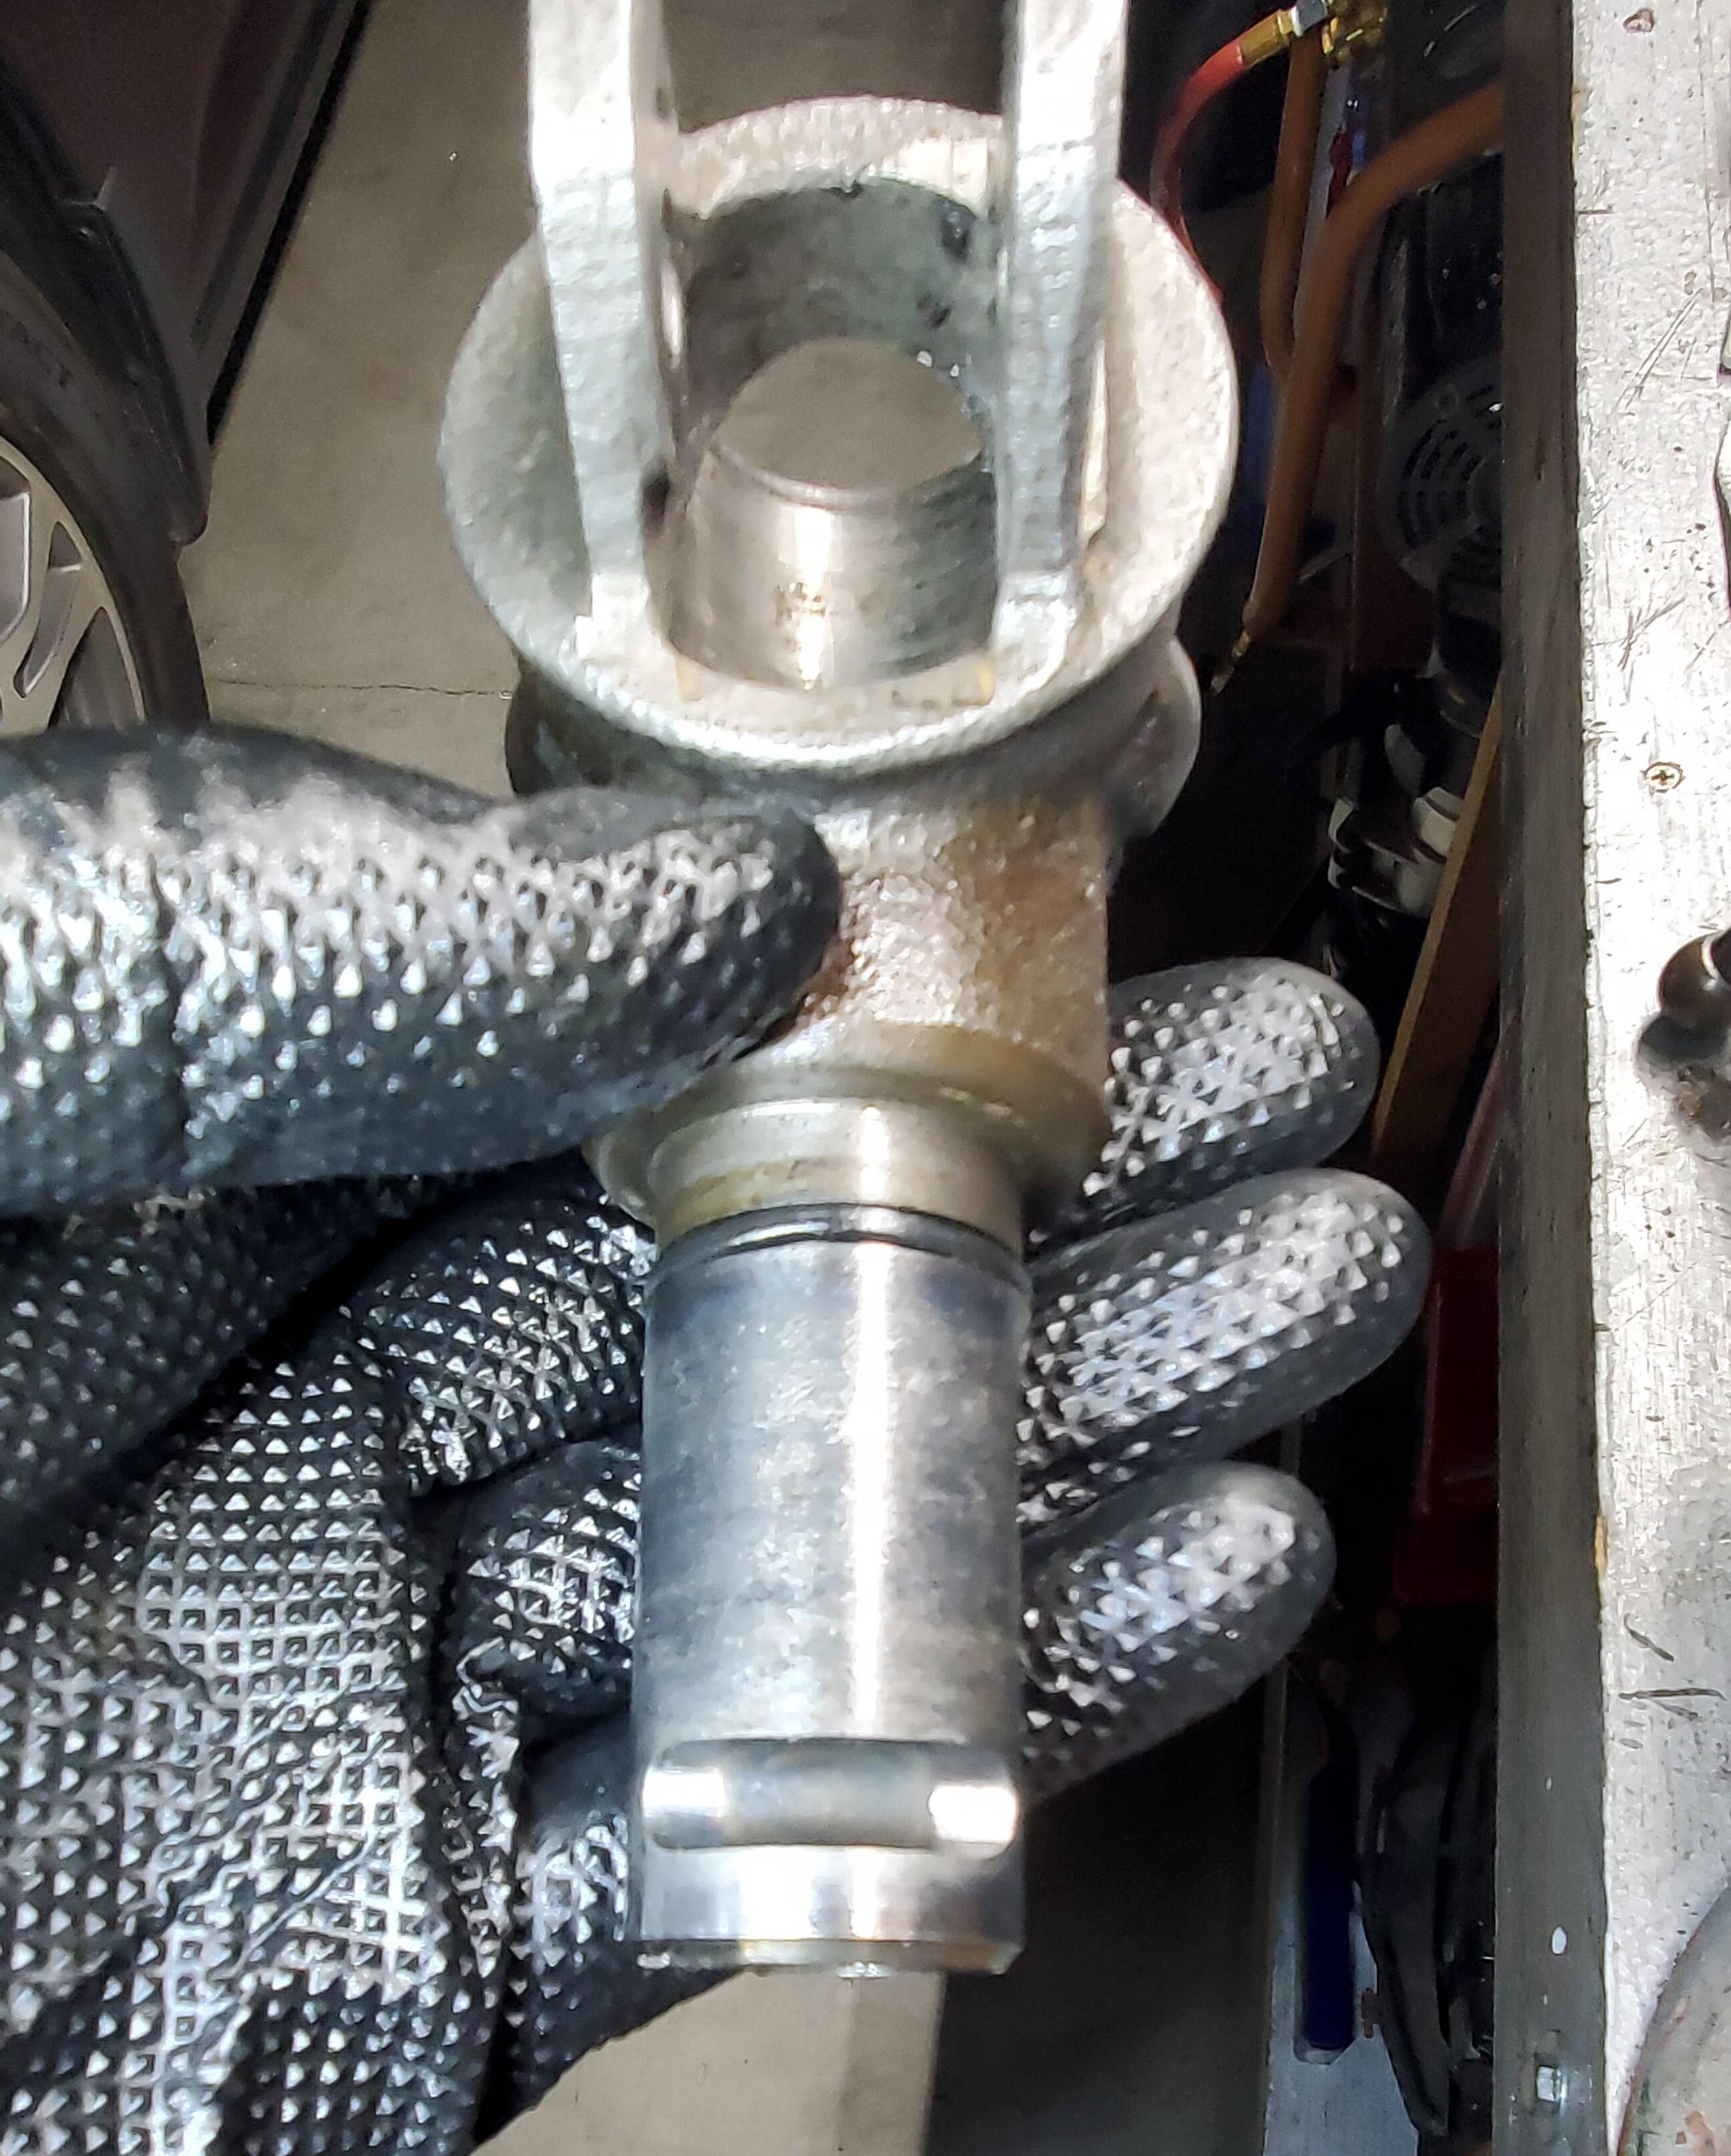
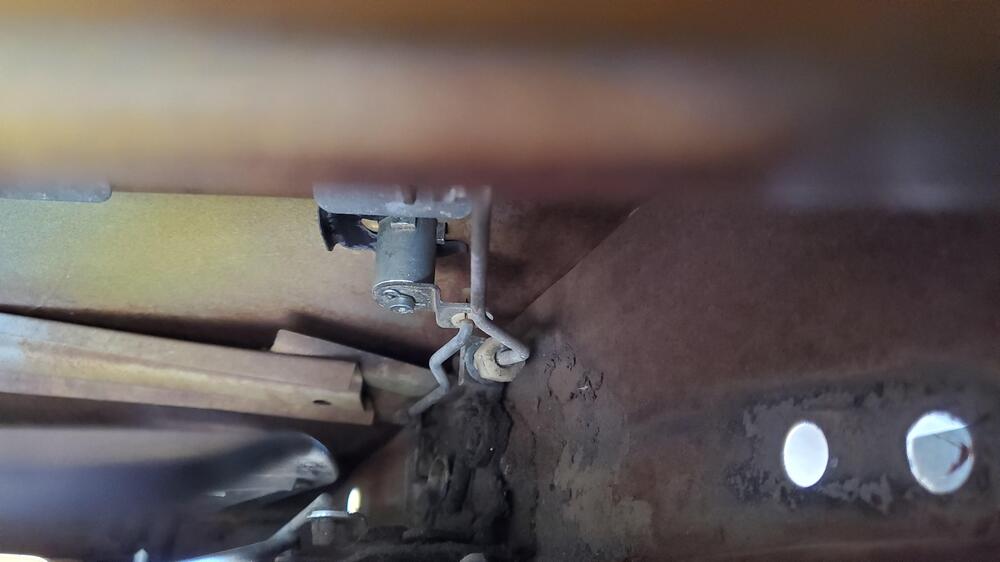
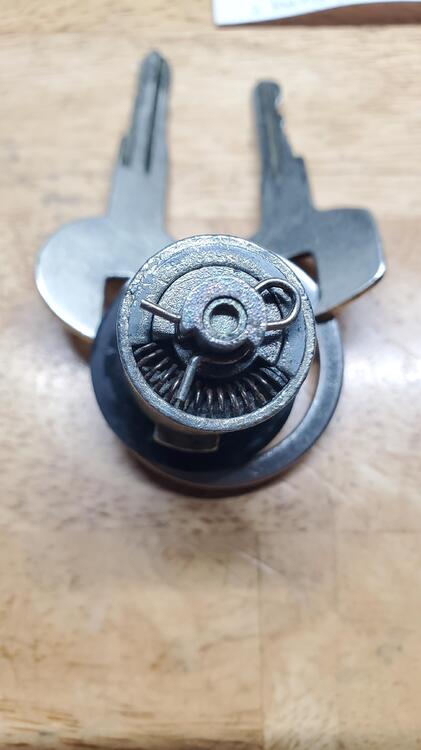
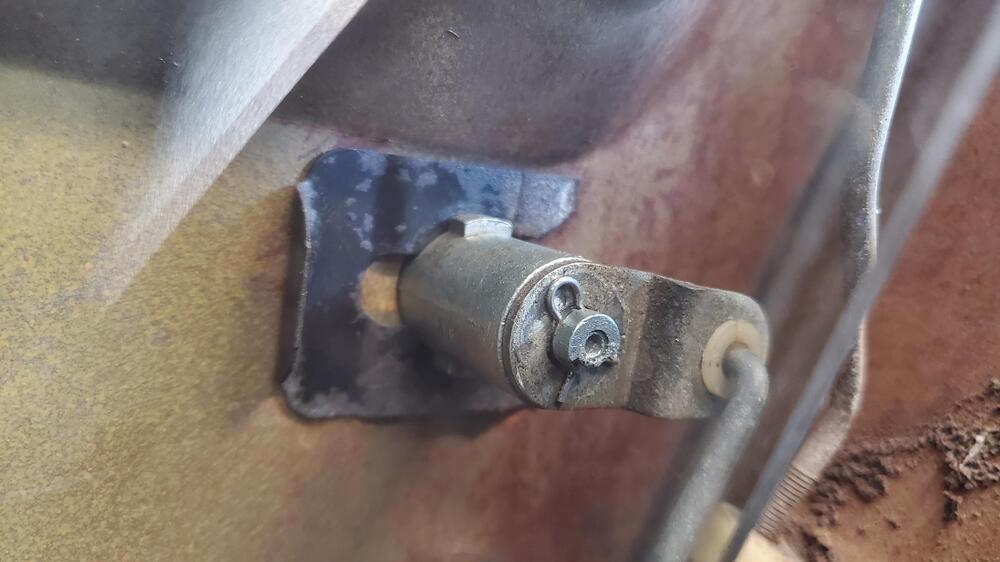
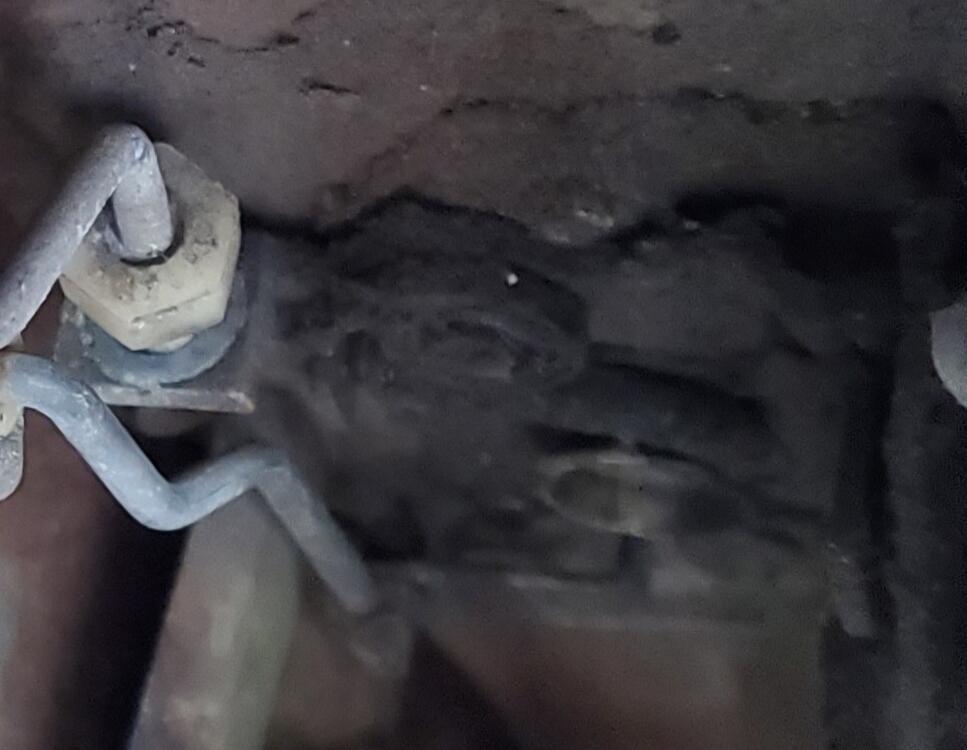
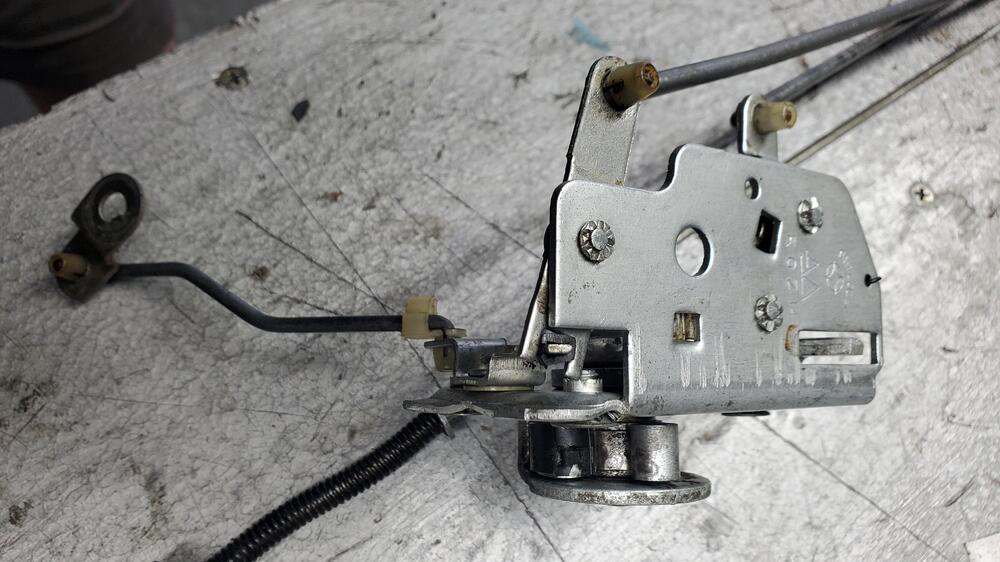
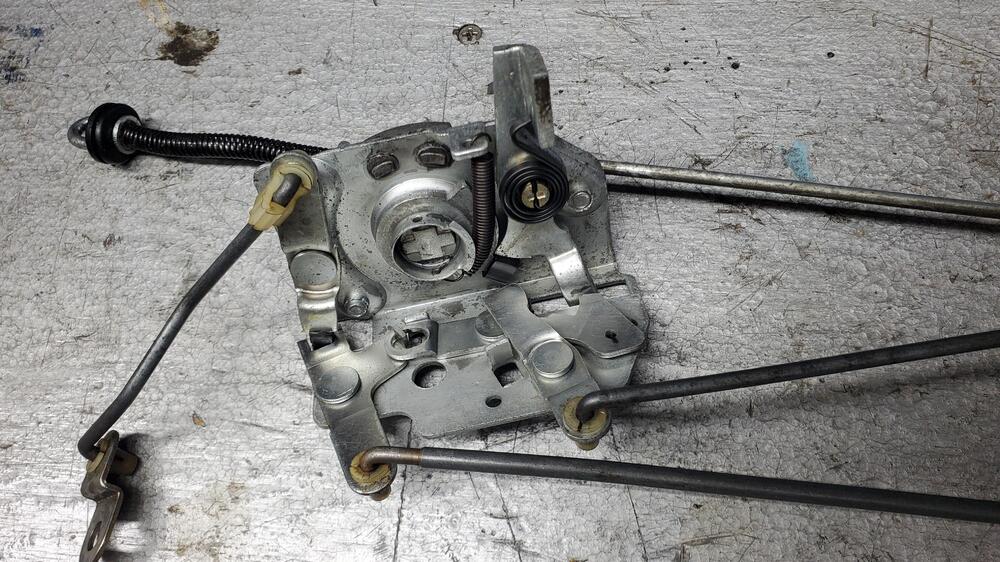
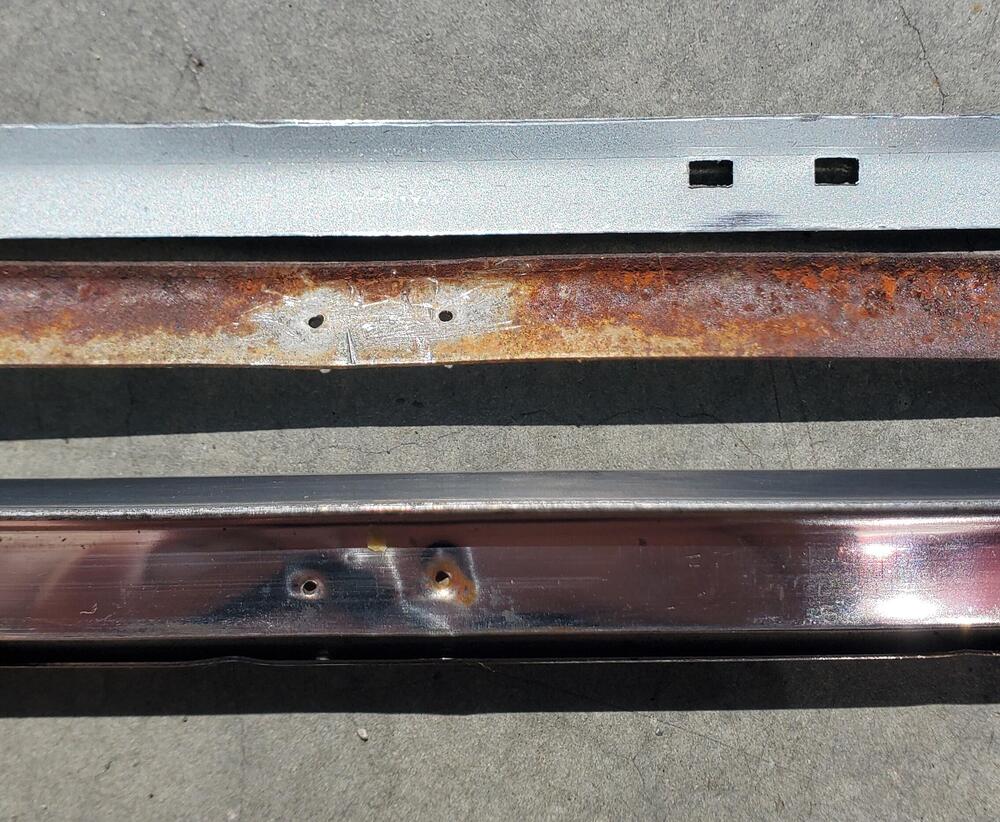
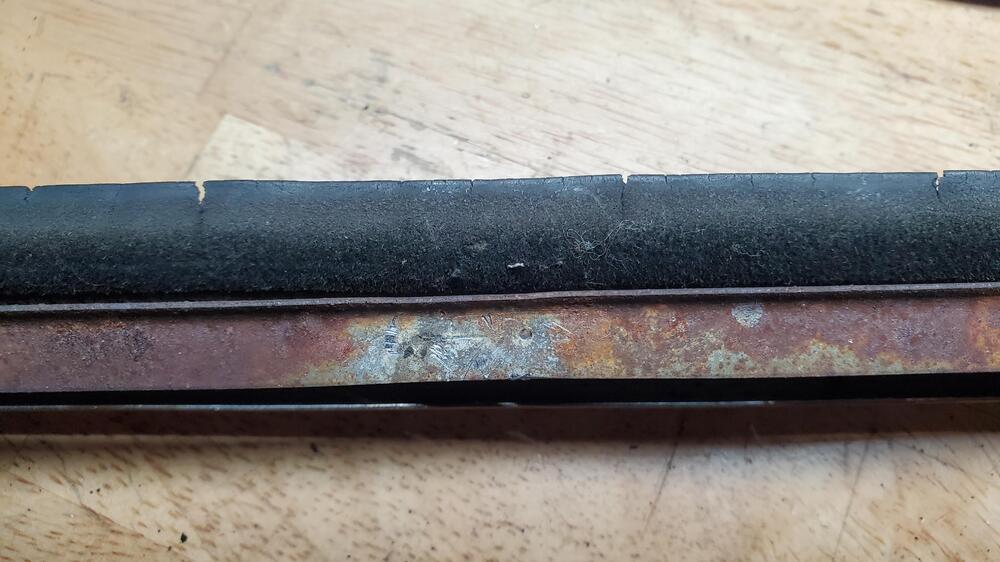
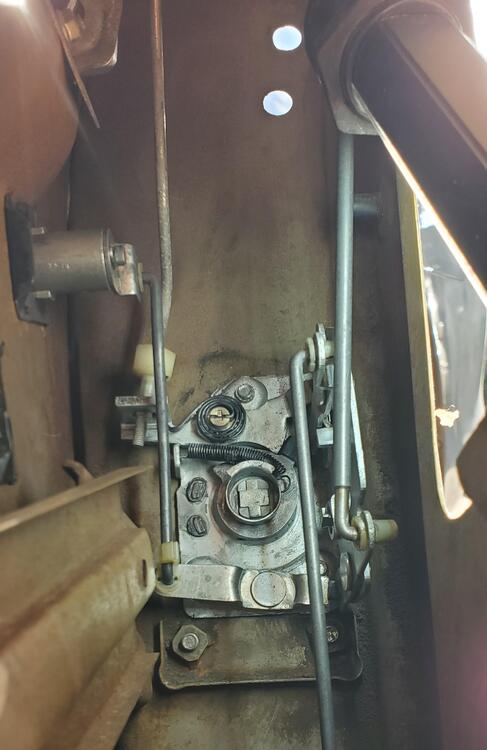
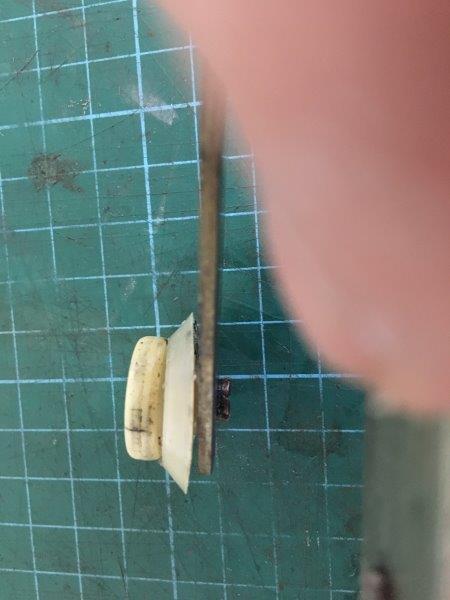
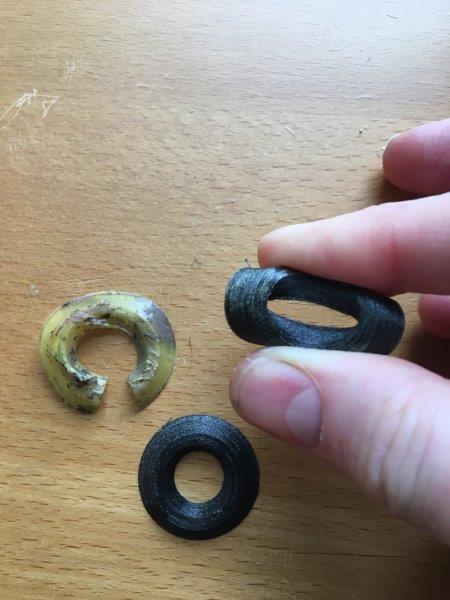
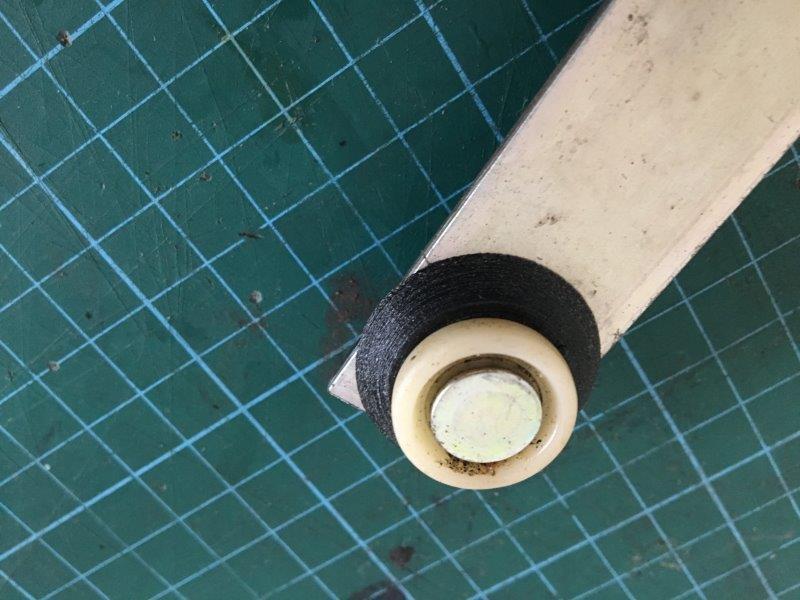
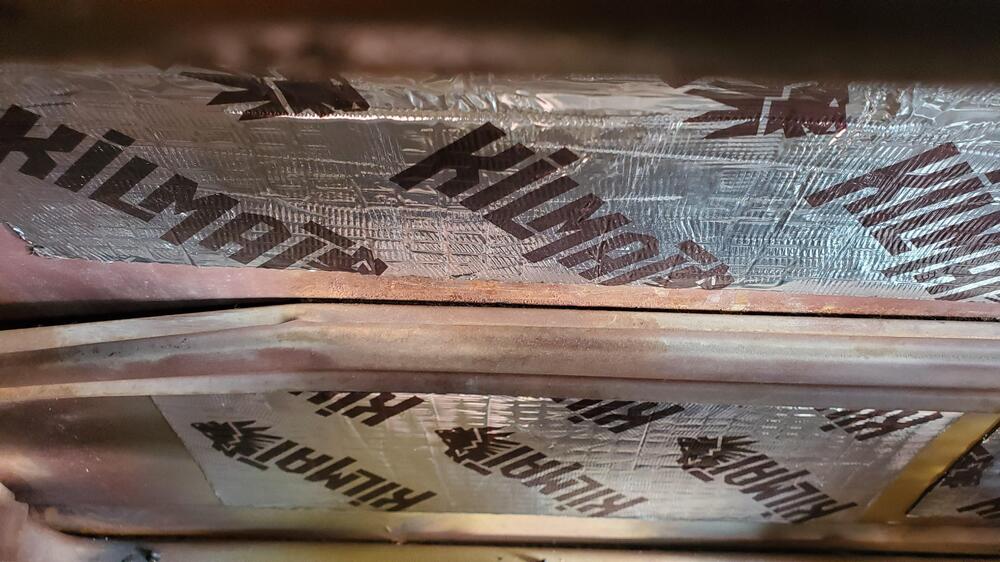
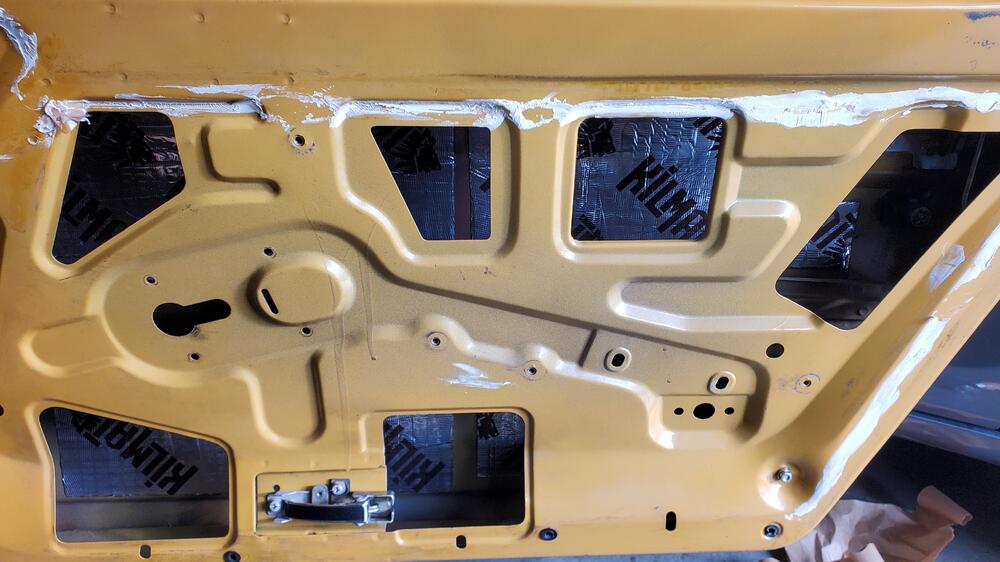
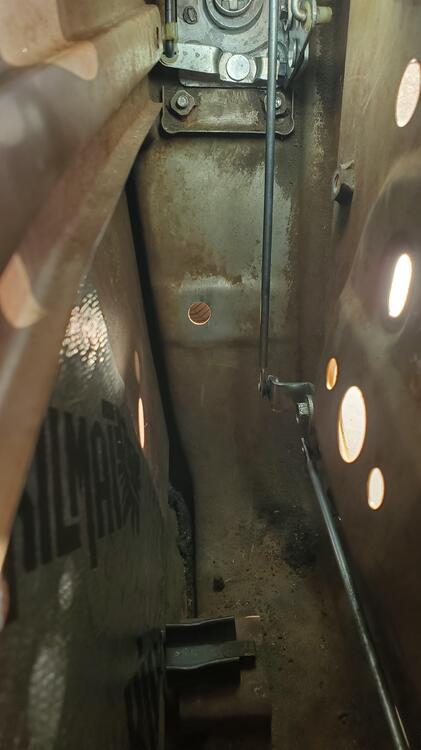
A little side project while waiting for parts from Japan (and finding a transmission window) was to repair the passenger side lock cylinder. It just won't work with the key. I decided to take it apart. First, to get it out. There is a very small pin on the back holding the push rod mechanism on. Release that pin, (hold onto it tight as it will drop into the bowels of the door) and slide off the lever. Once that is off a quick pull on the clip and the lock is out. Some thorough cleaning and a dry lube saw it working right as rain. But, I did notice the lock hinge was quite filthy. well, take it out and clean it as well. A quick removal and cleaning had it working perfectly as well. Getting this far meant I had to take the door card off and that revealed a completely hardened outer rubber belt and an inner felt belt that was non-existent. I ordered a new inner felt from MSA and it will be here in Aug, Sept, Oct? Pending on that. I did get the outer strip and it is produced by Precision. None of the holes lined up with my original but that was not a problem. some new holes and it fits nicely. This all meant I had to remove the glass and regulator. Well, it turns out that the little plastic dust covers on the regulator pulley wheels were done. I wondered what they were when I noticed them sitting in the bottom of the door. Thankfully, user scottan from Thingiverse uploaded a file so I could 3d print some out of TPA. A wee little stretch and perfect. I also noticed that the door skin had come free from the internal "reinforcement" beam. I re-adhered it and that went a long way in reducing the buzzy vibration. The big step to reducing that was some 8mil Killmat panels. Now that did the trick. Still waiting on that felt....... Cheers
-
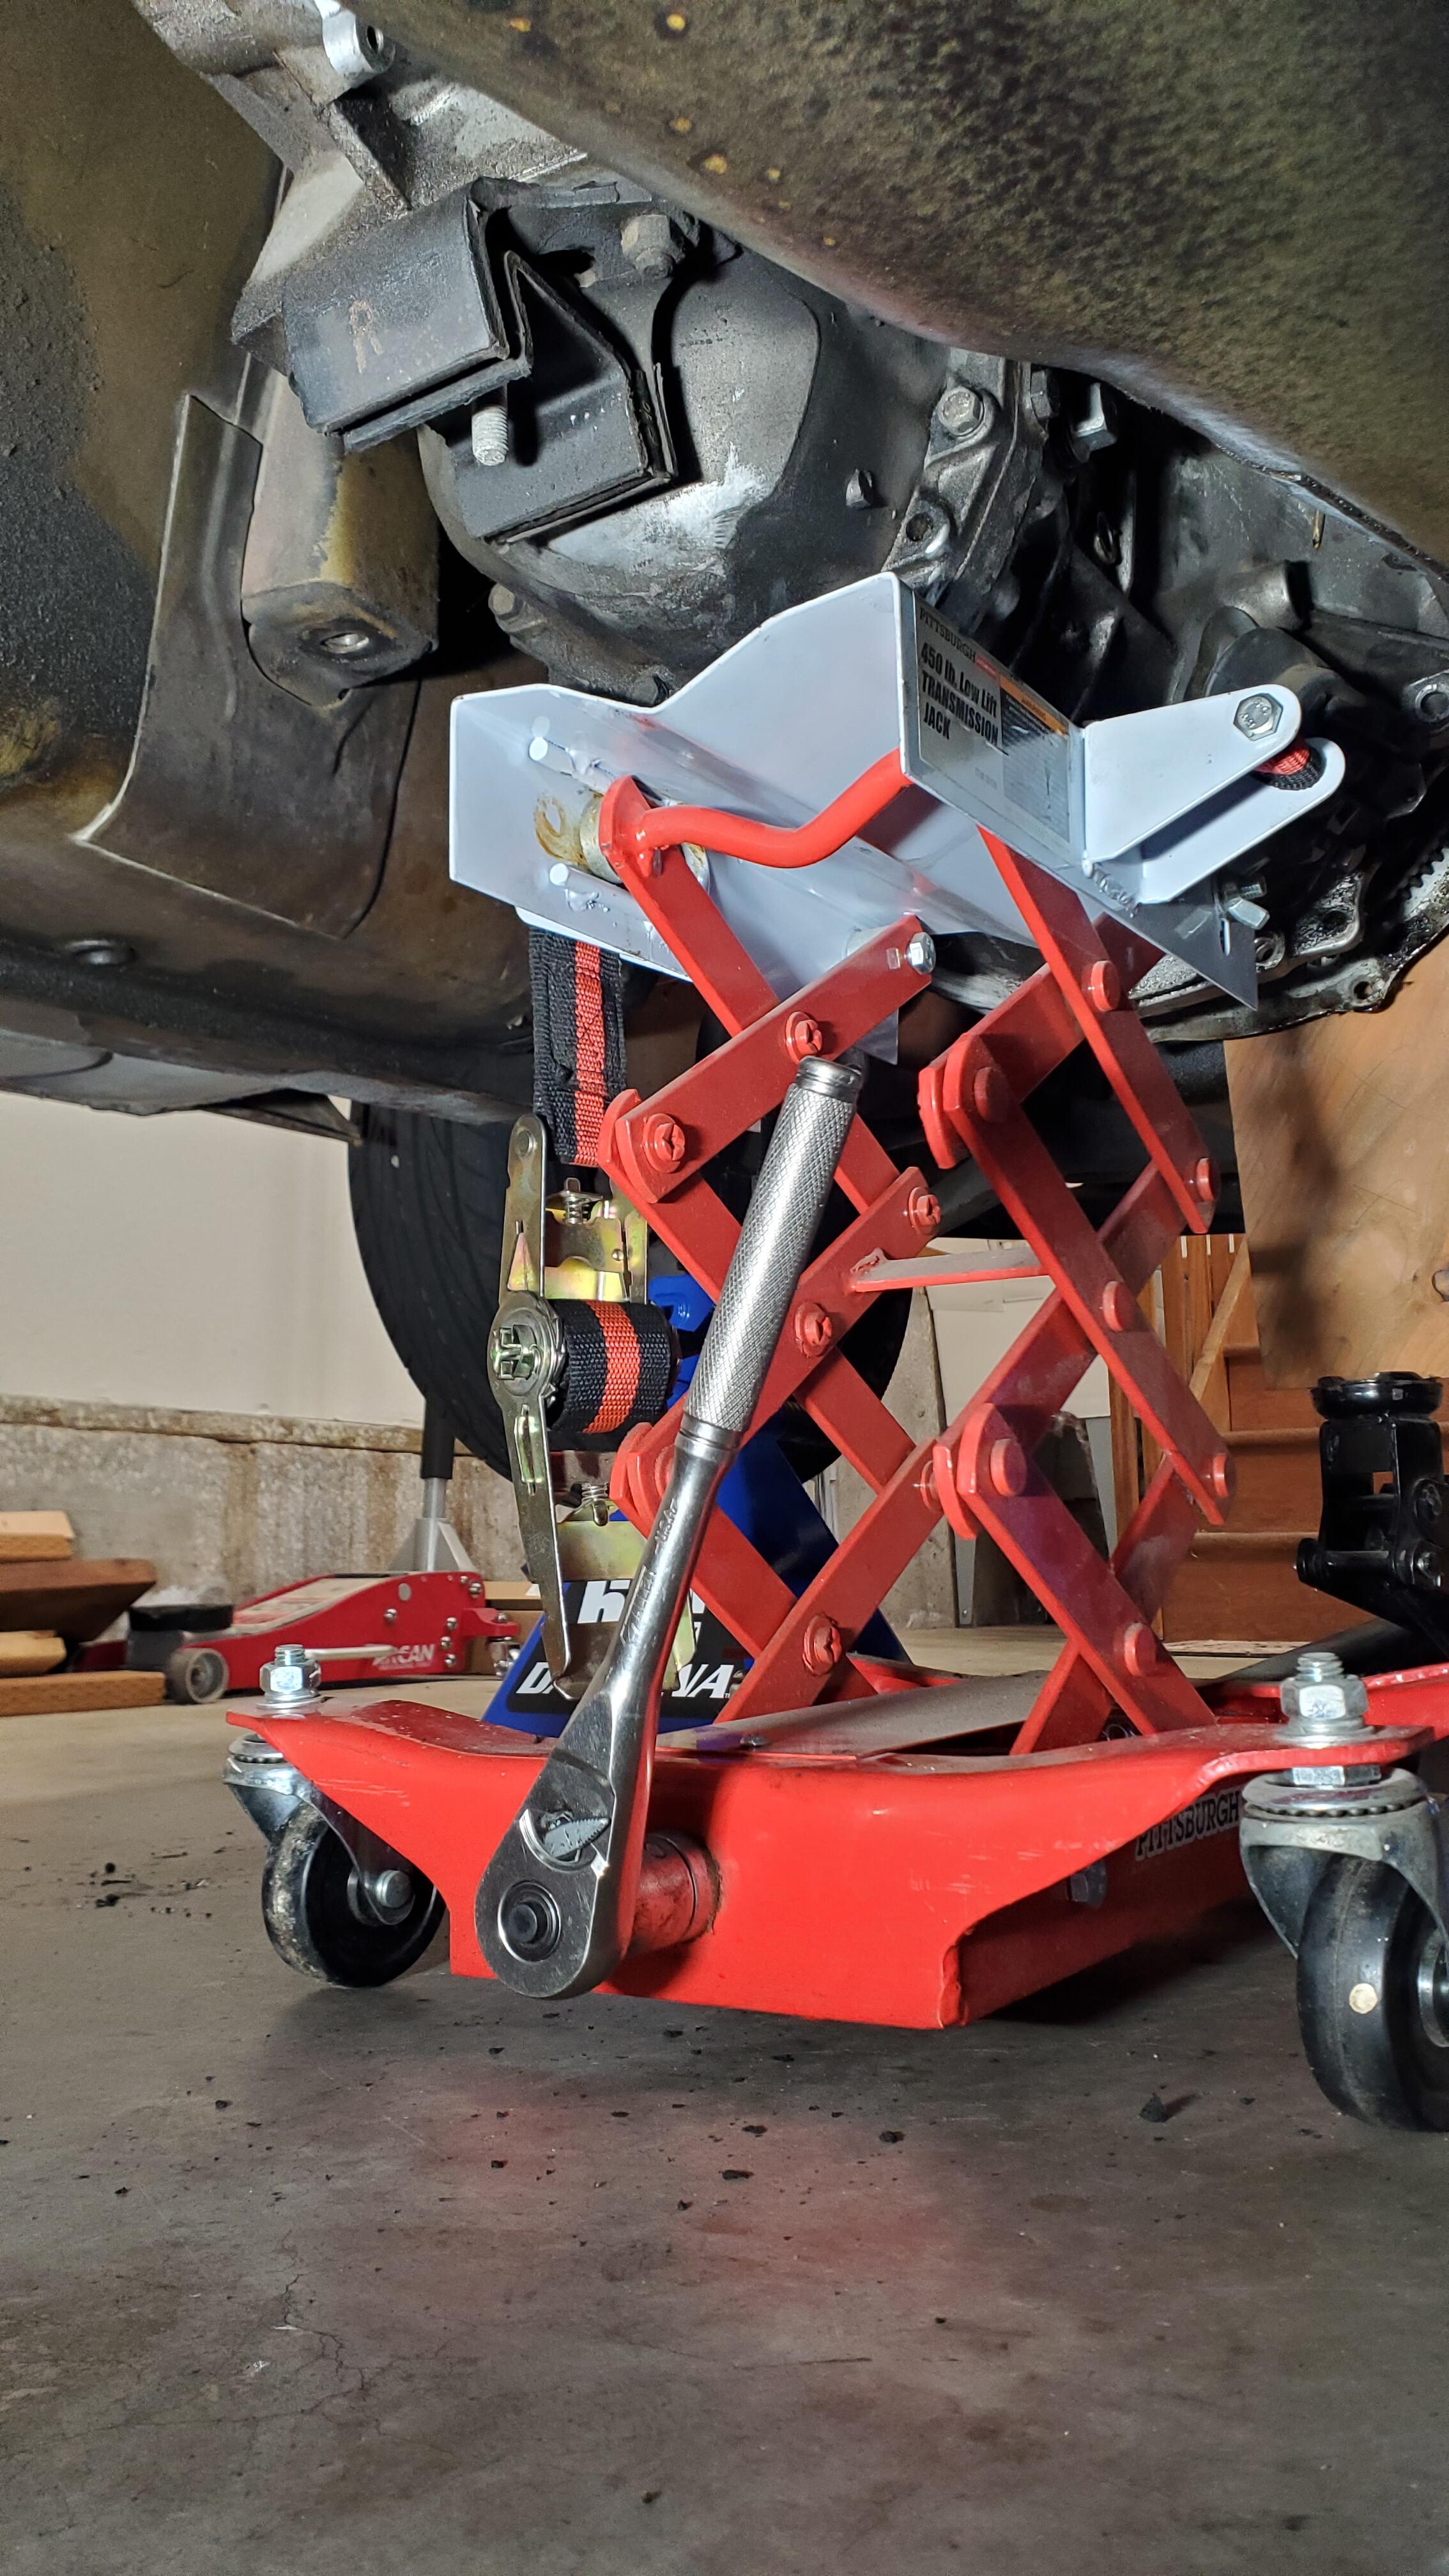
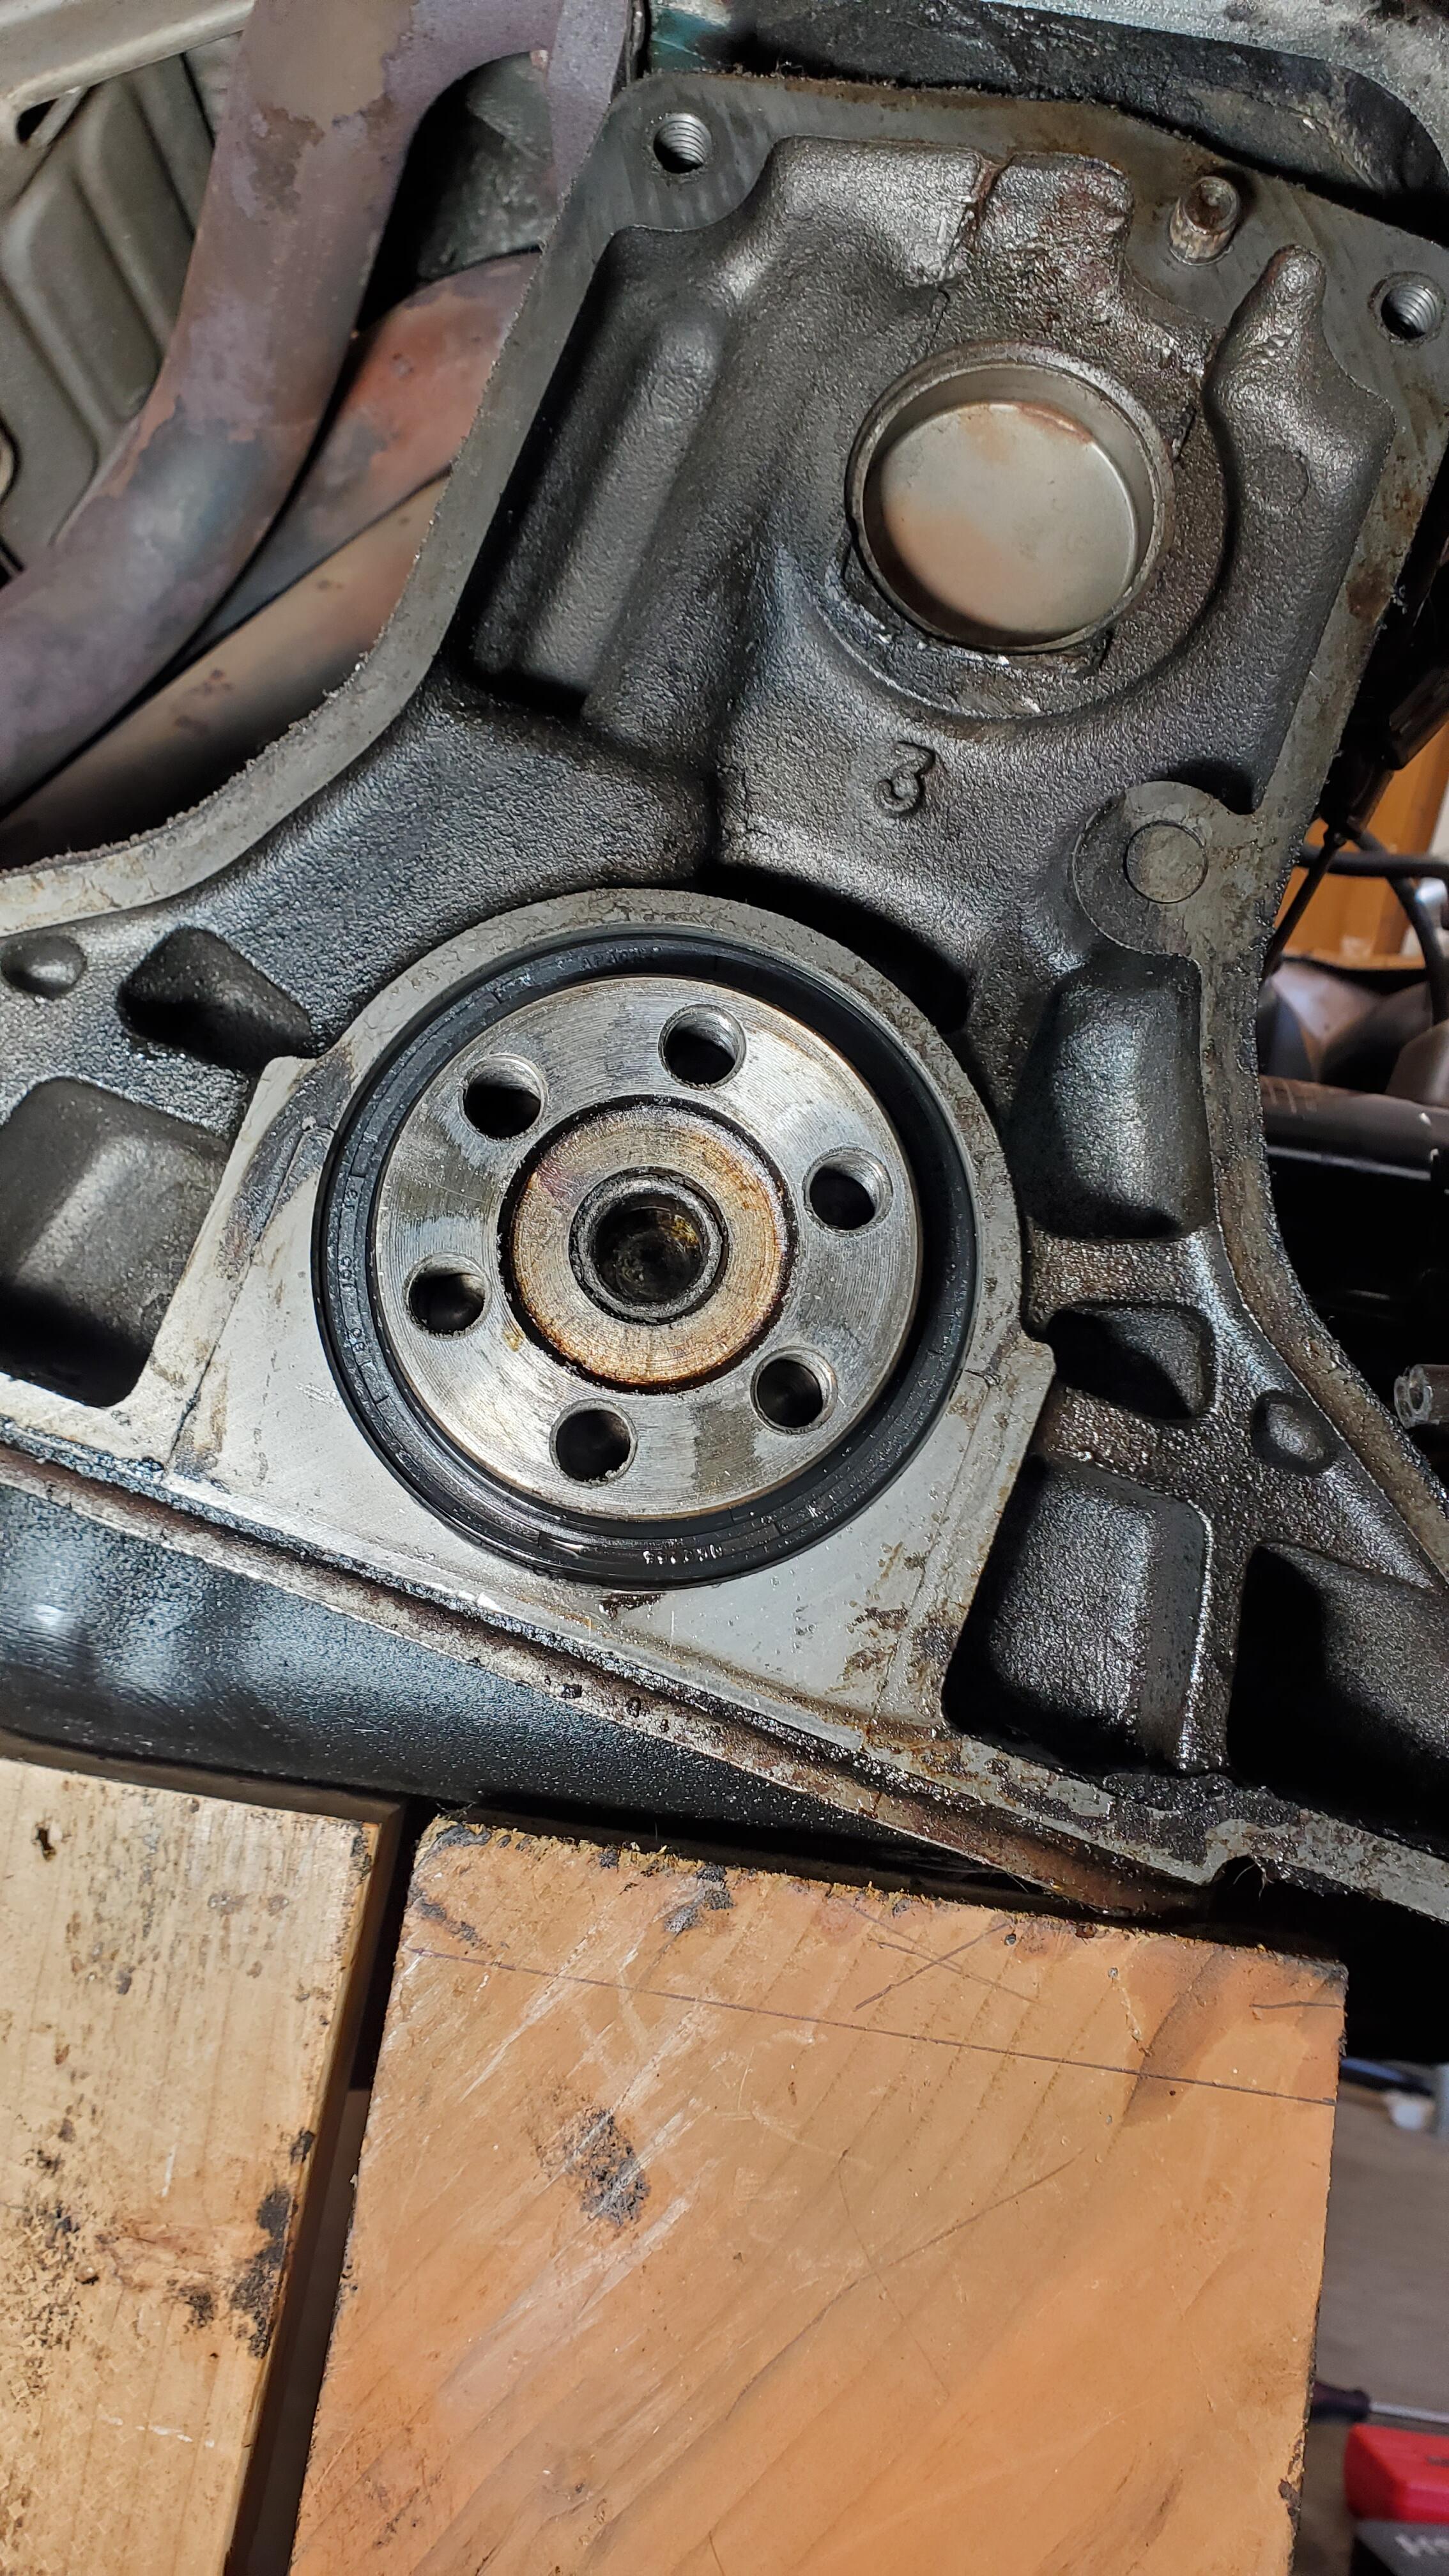
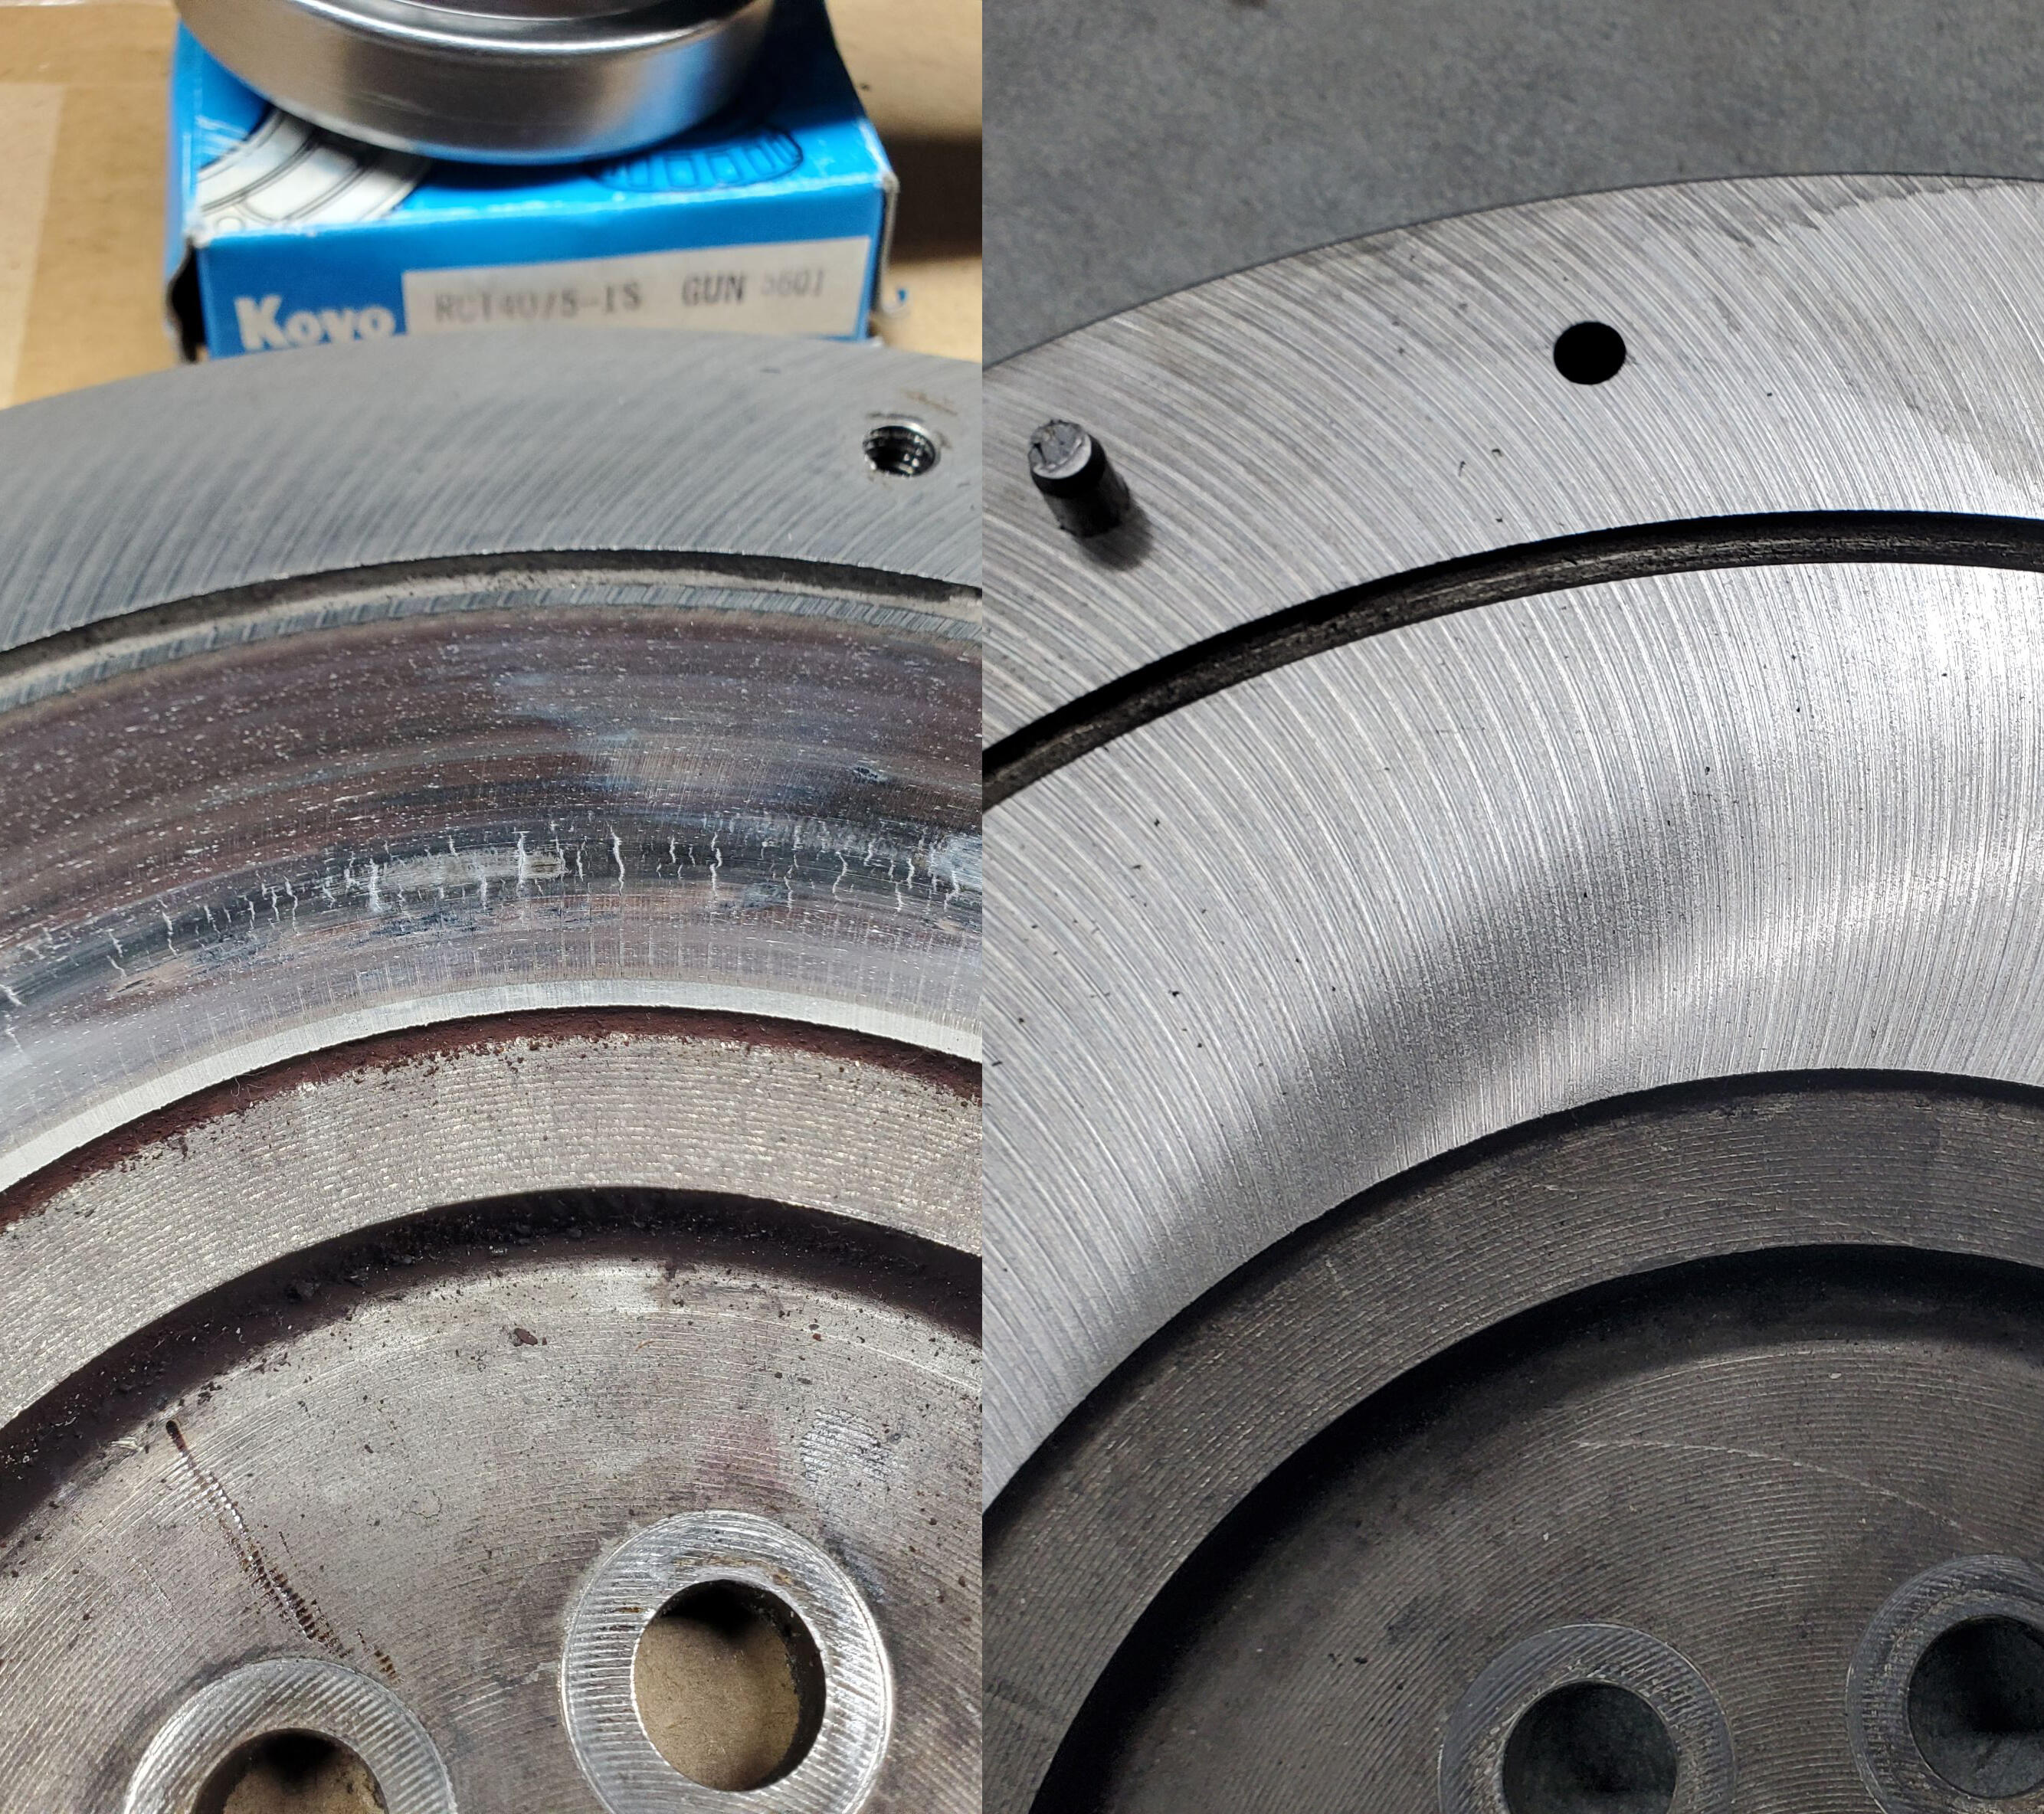
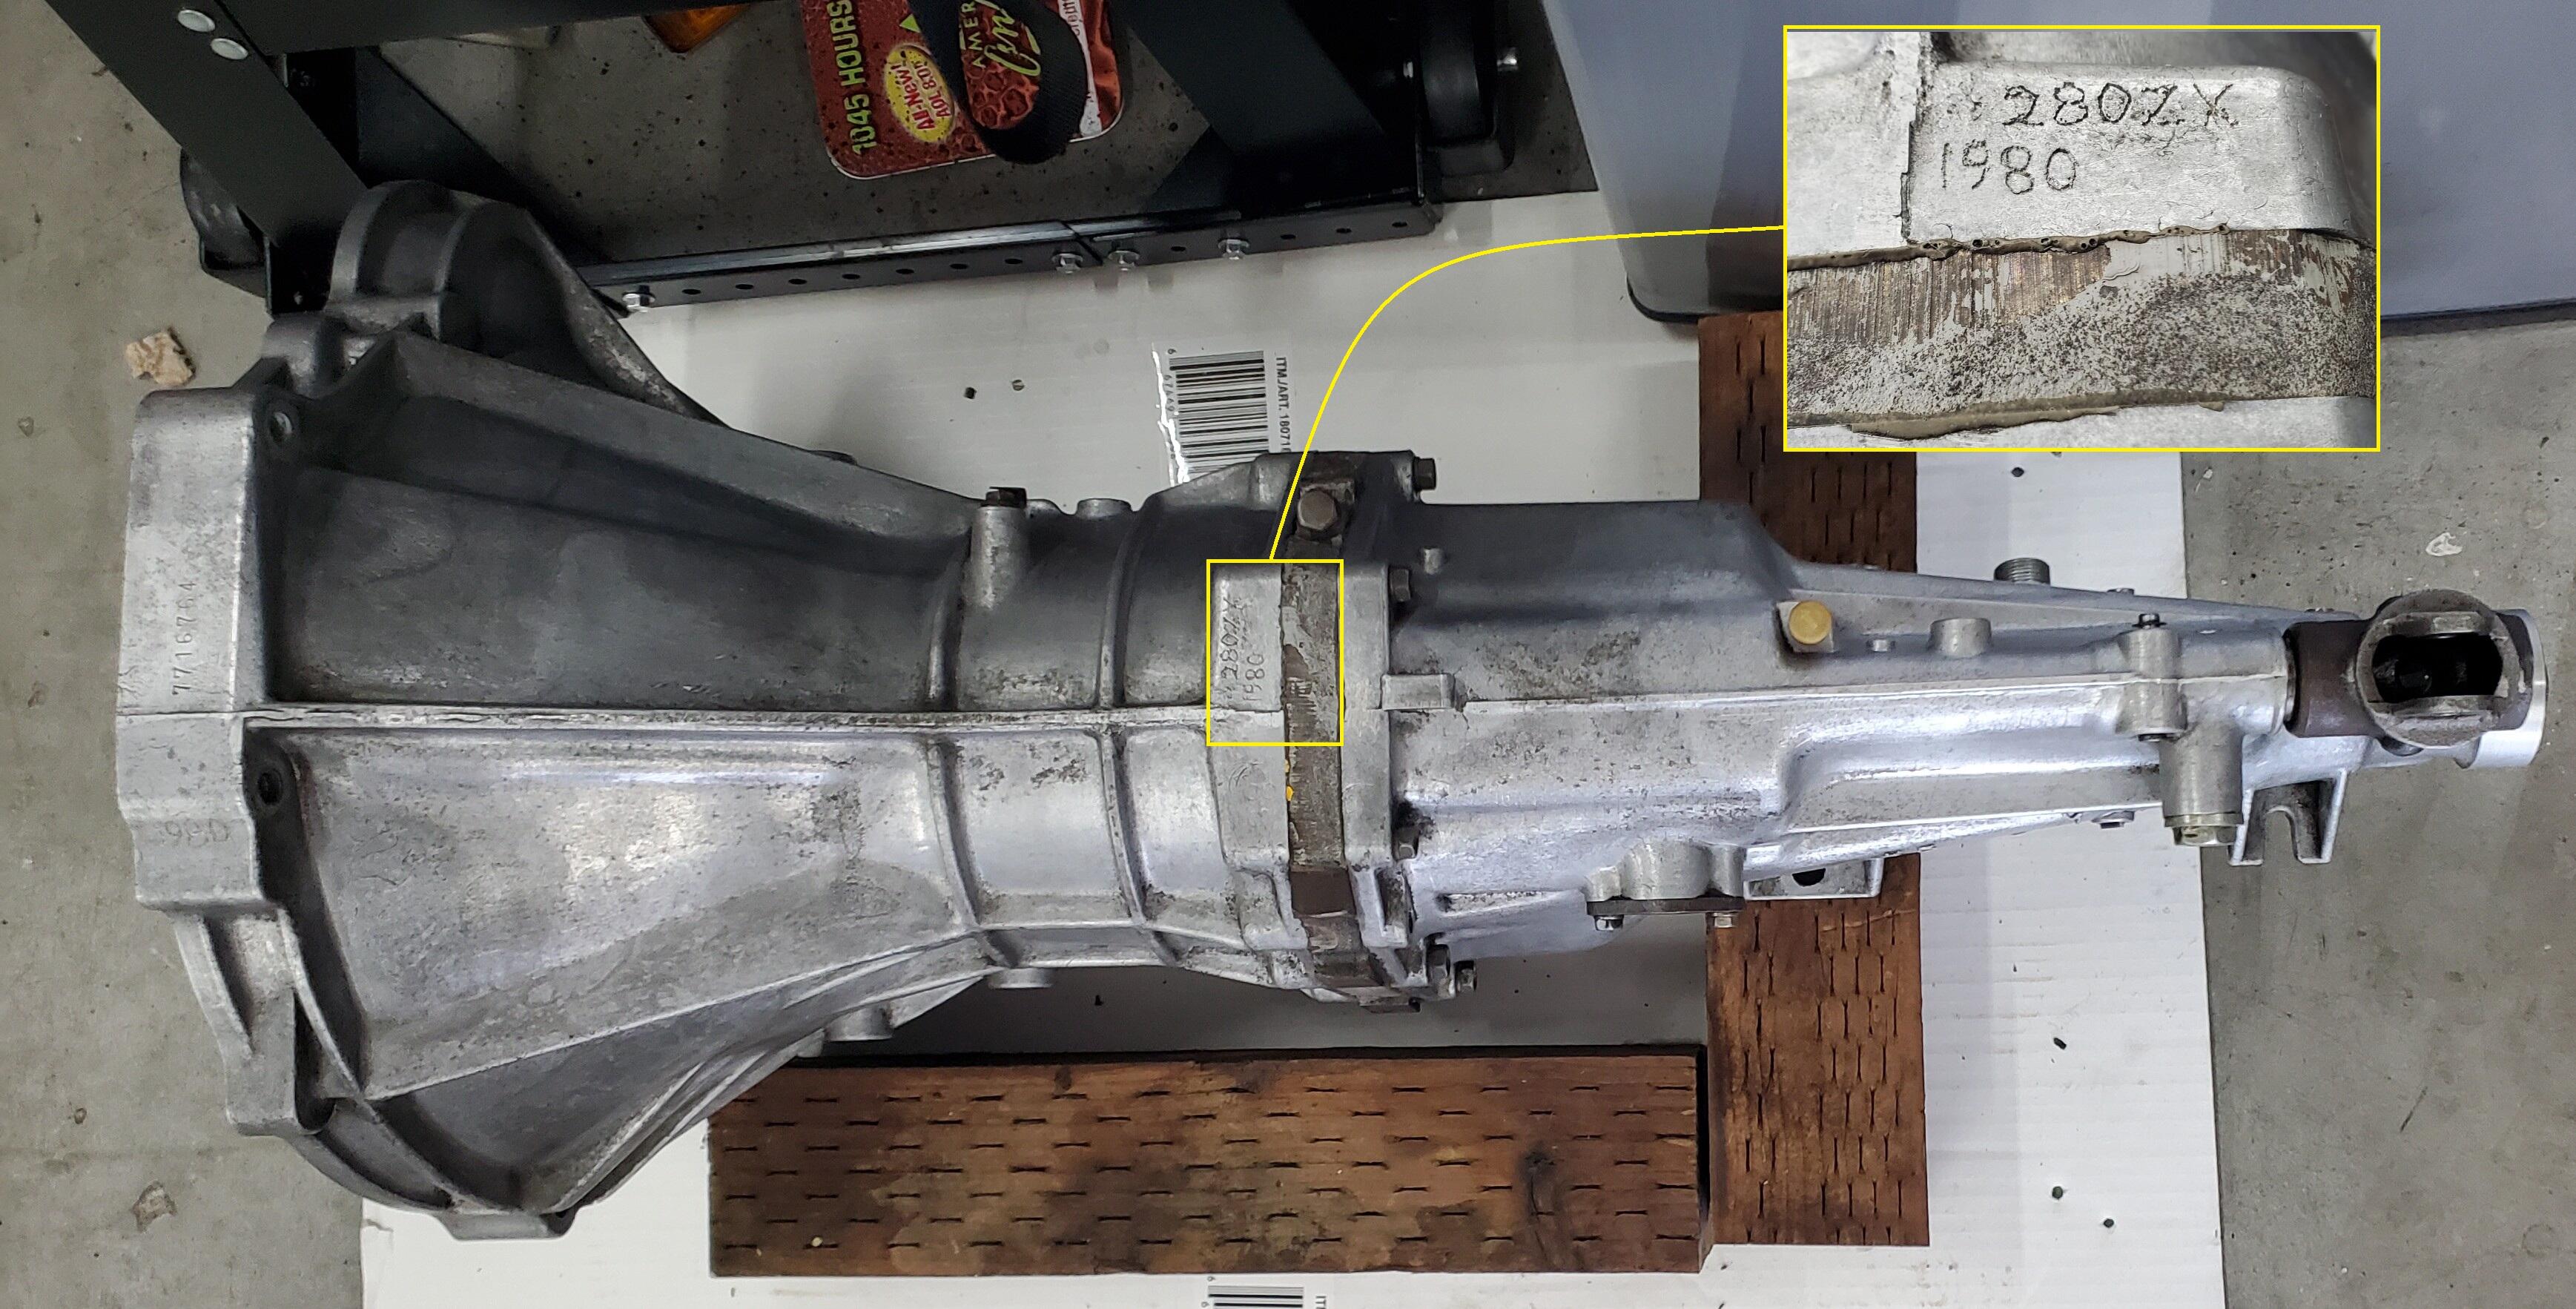
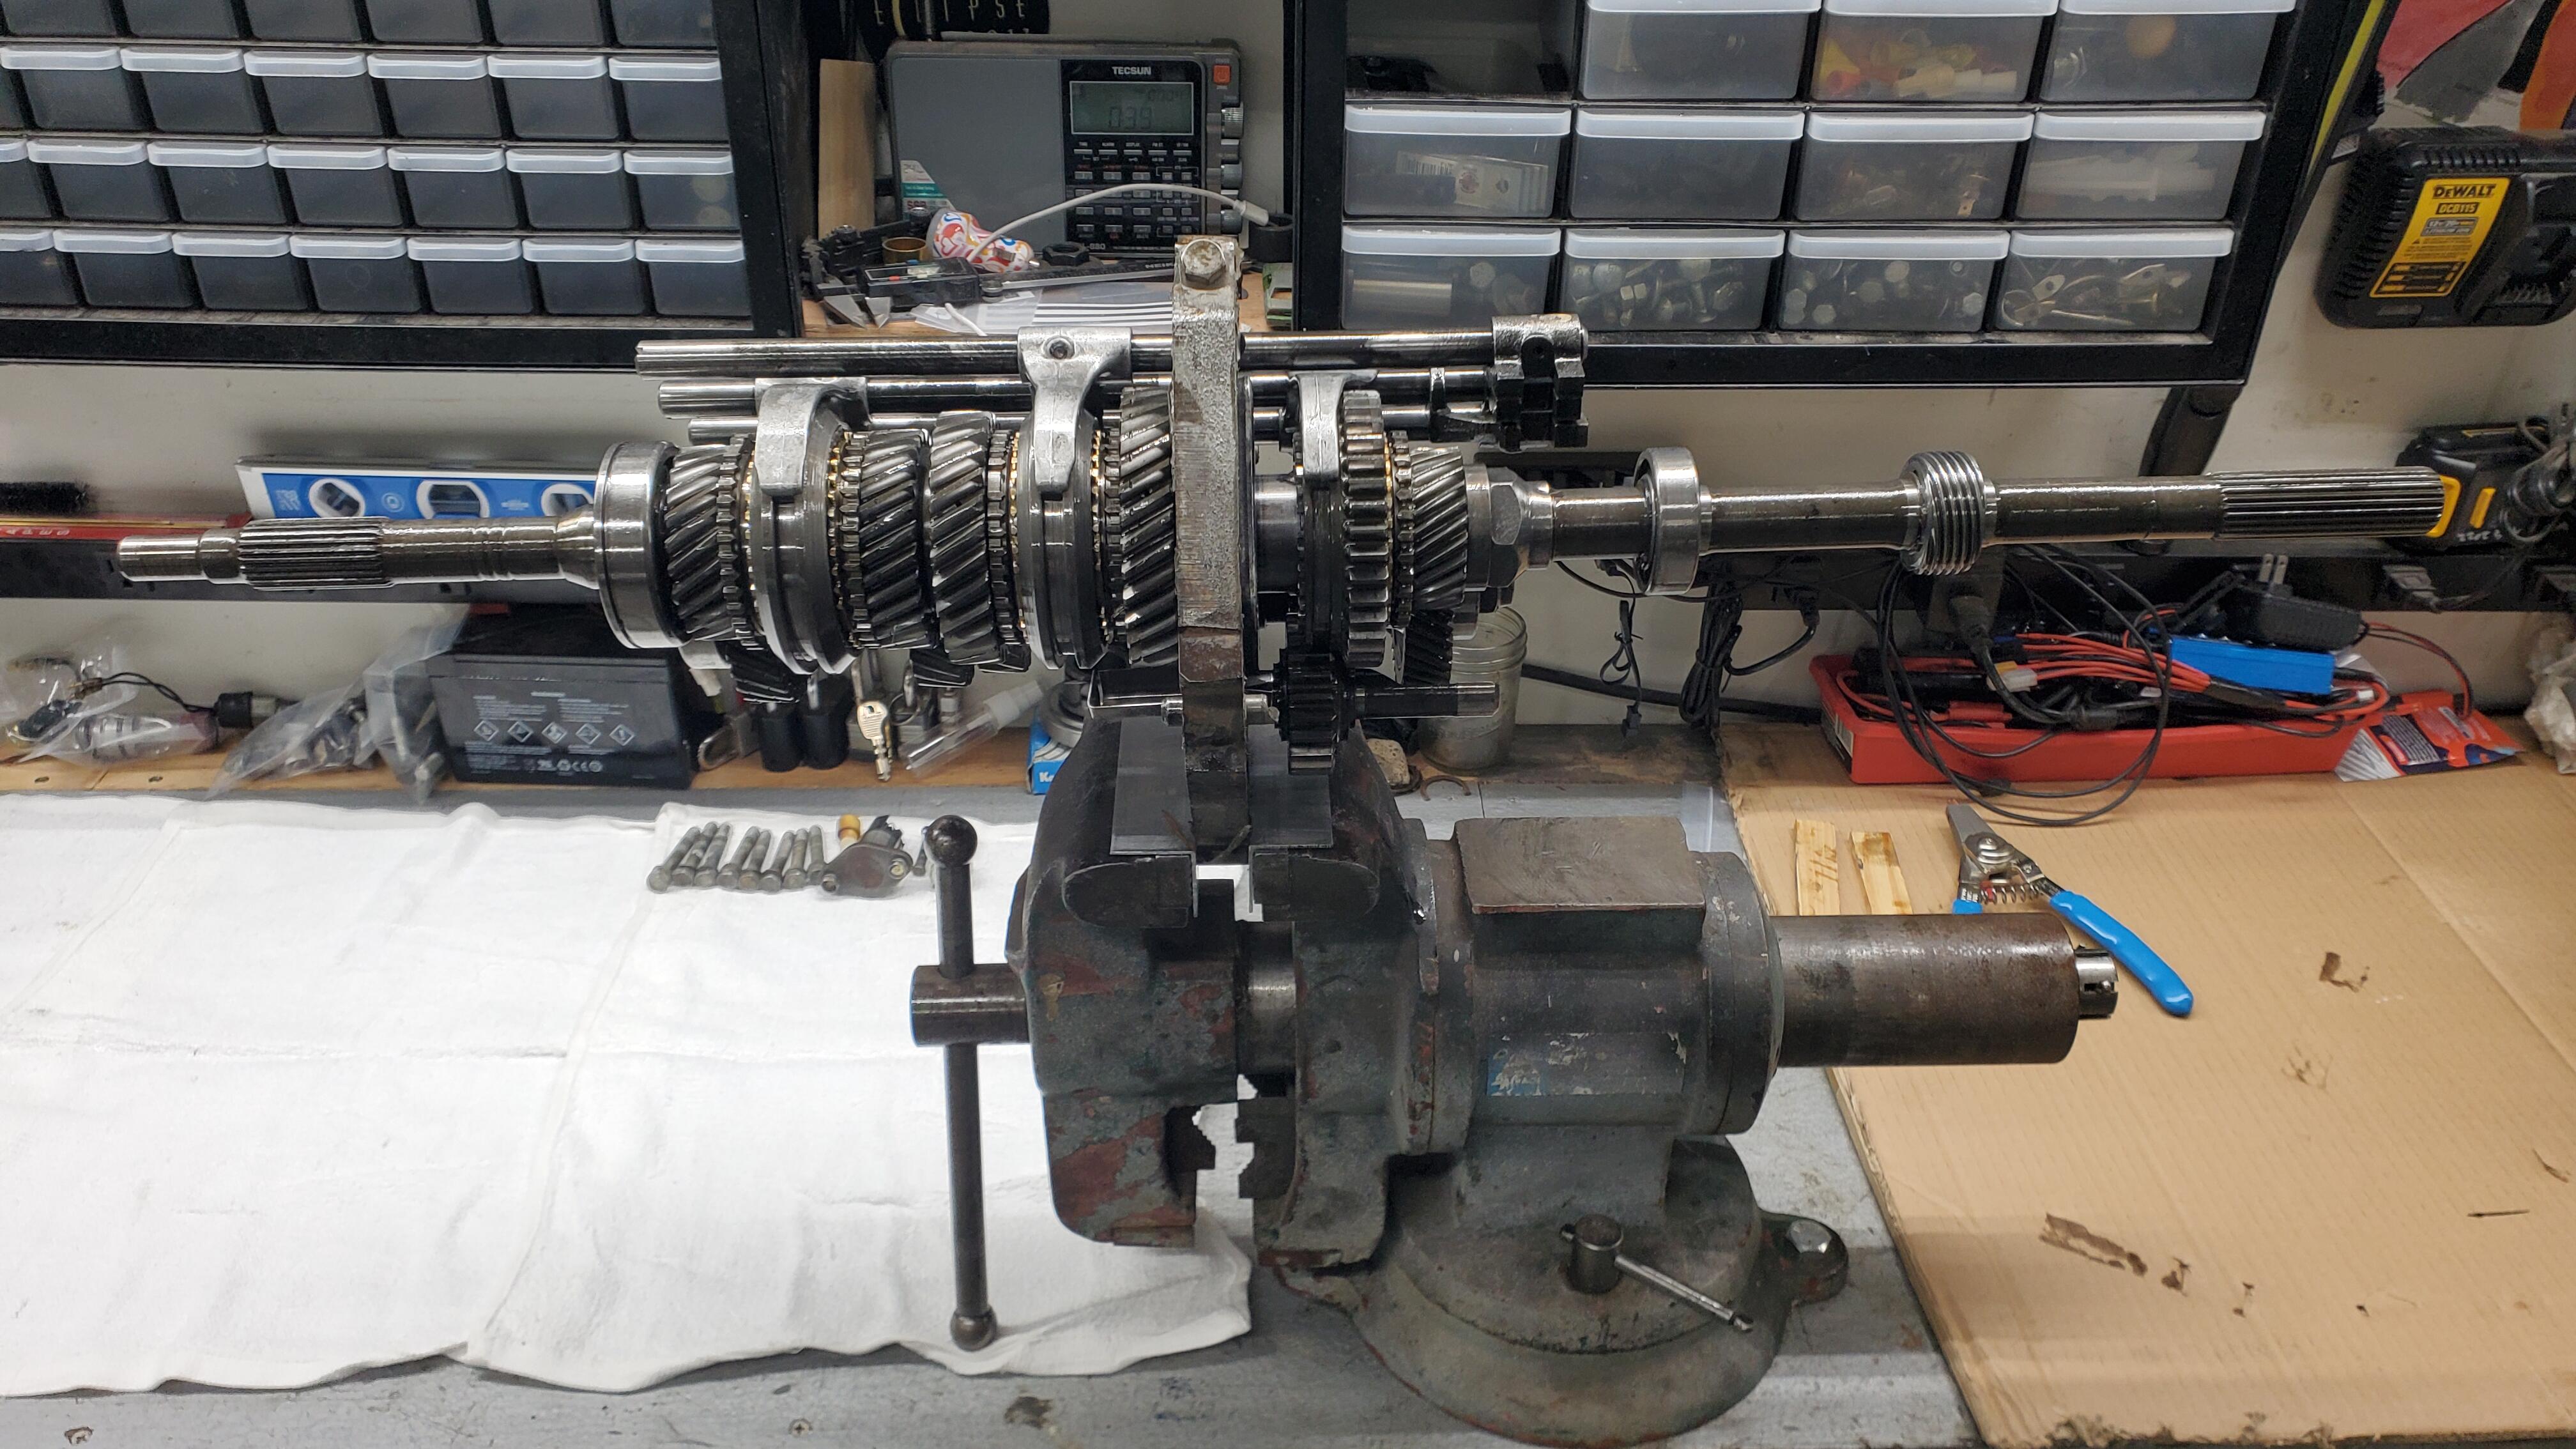
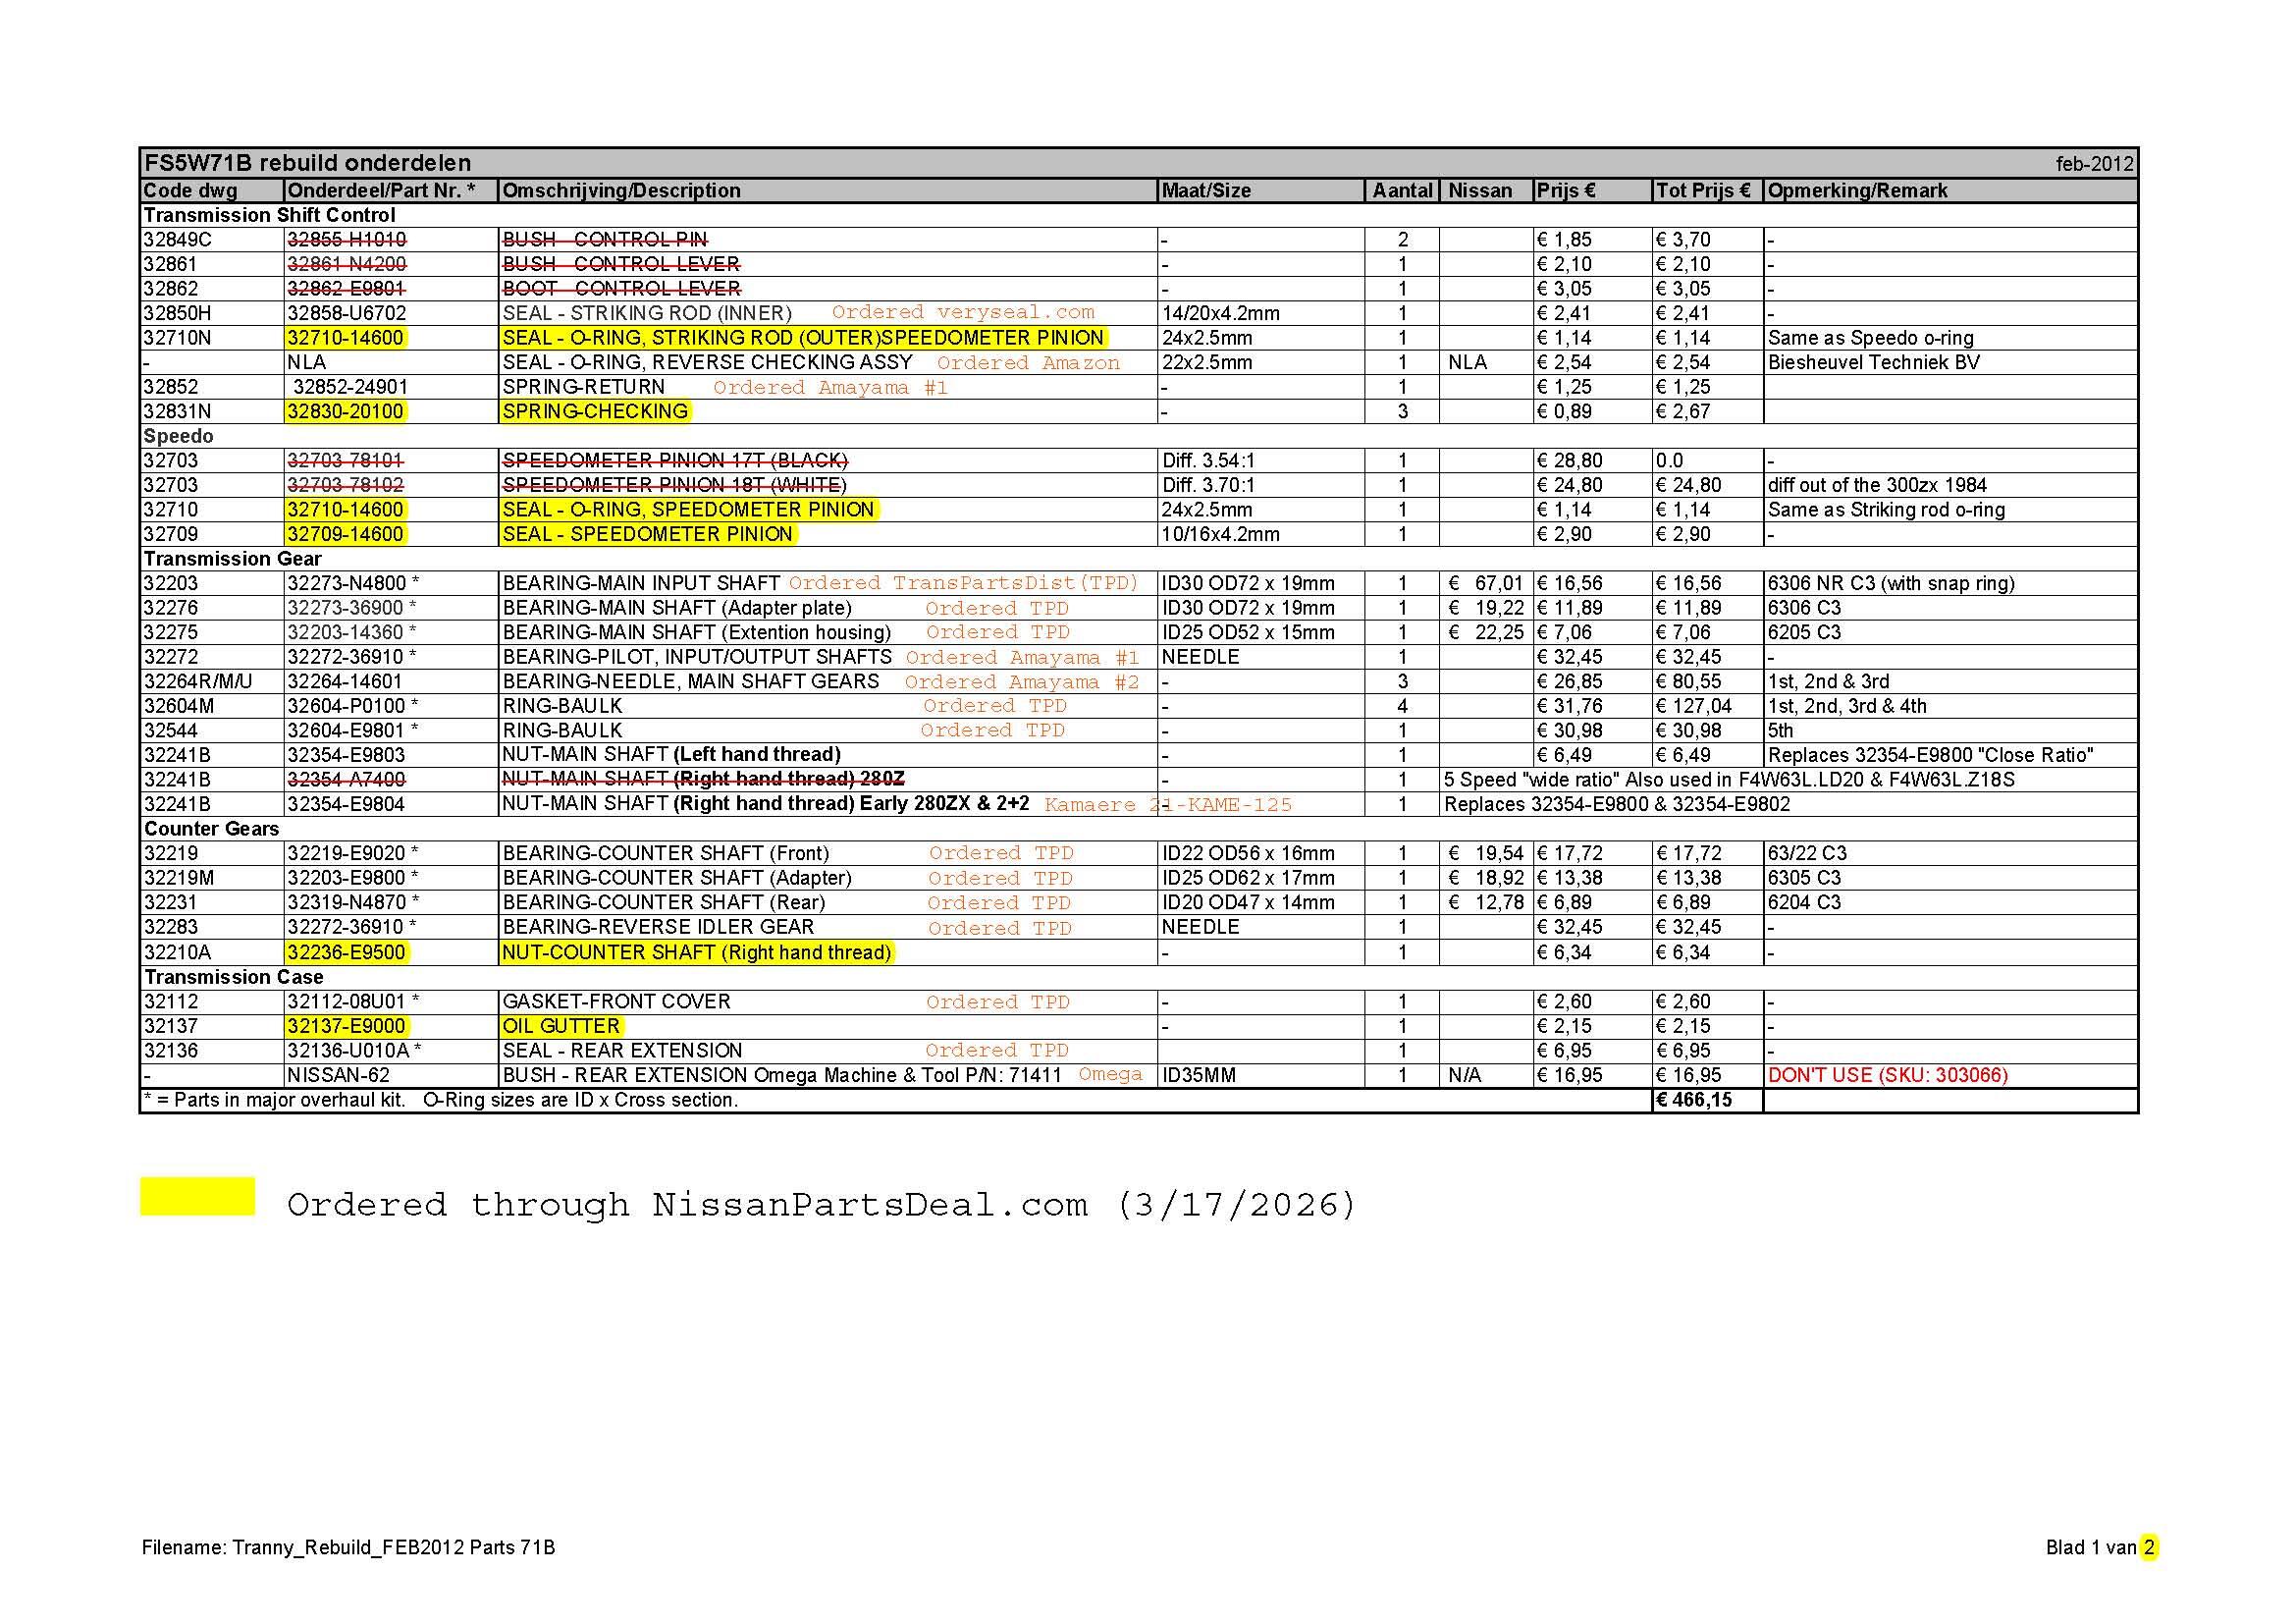
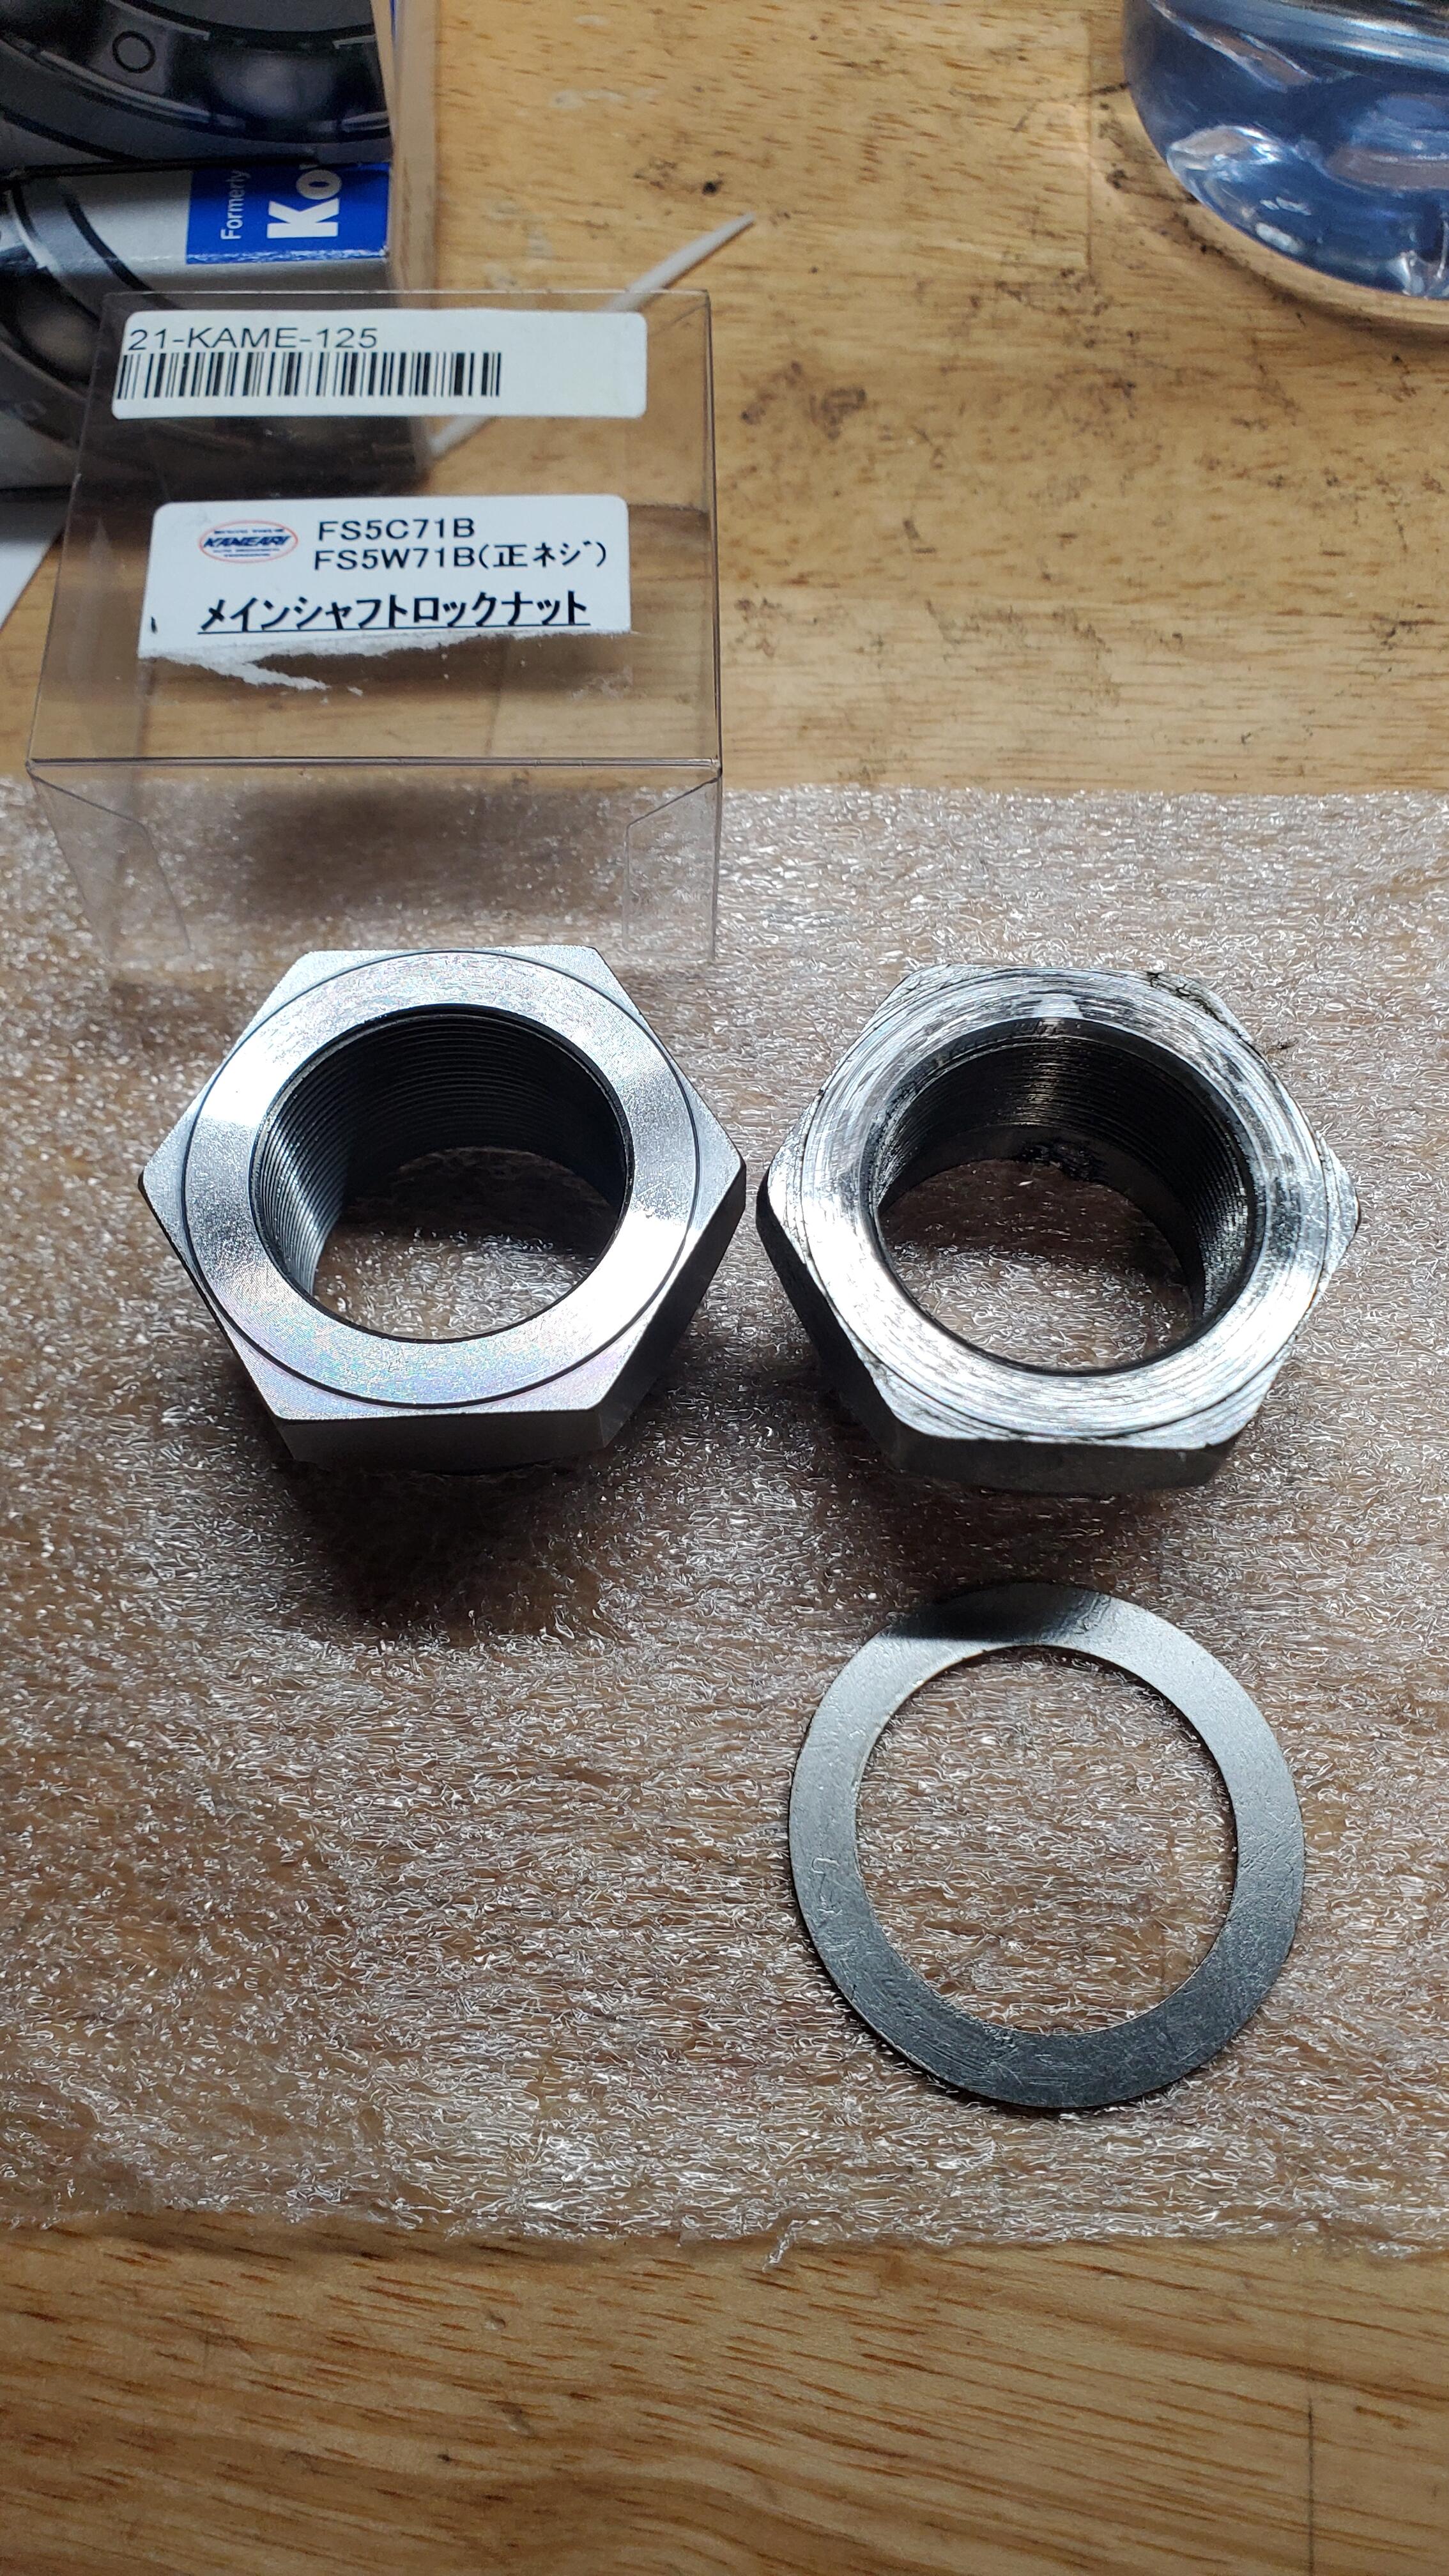
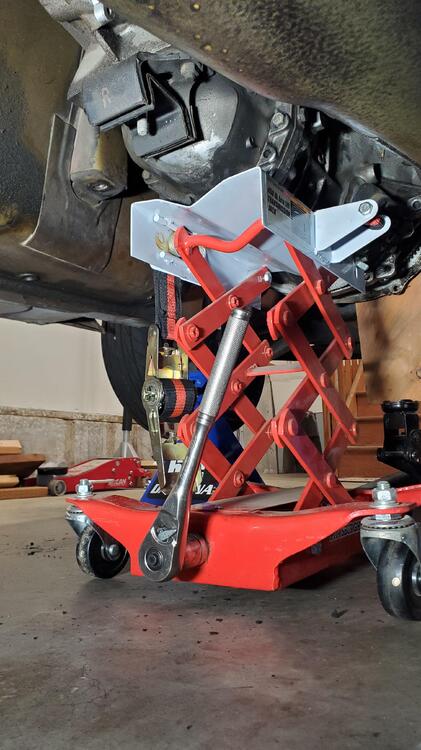
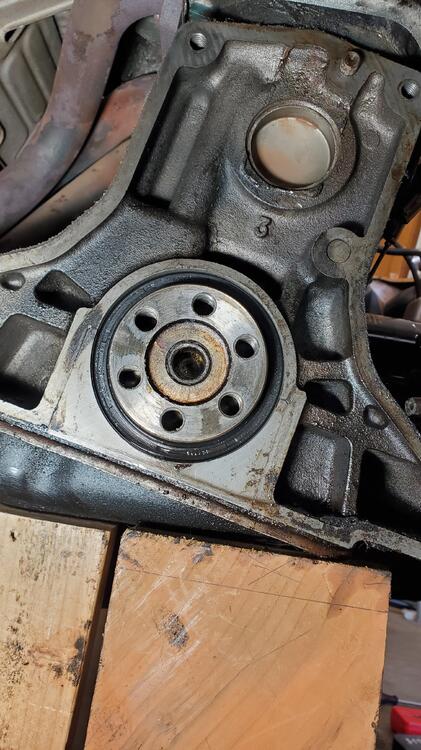
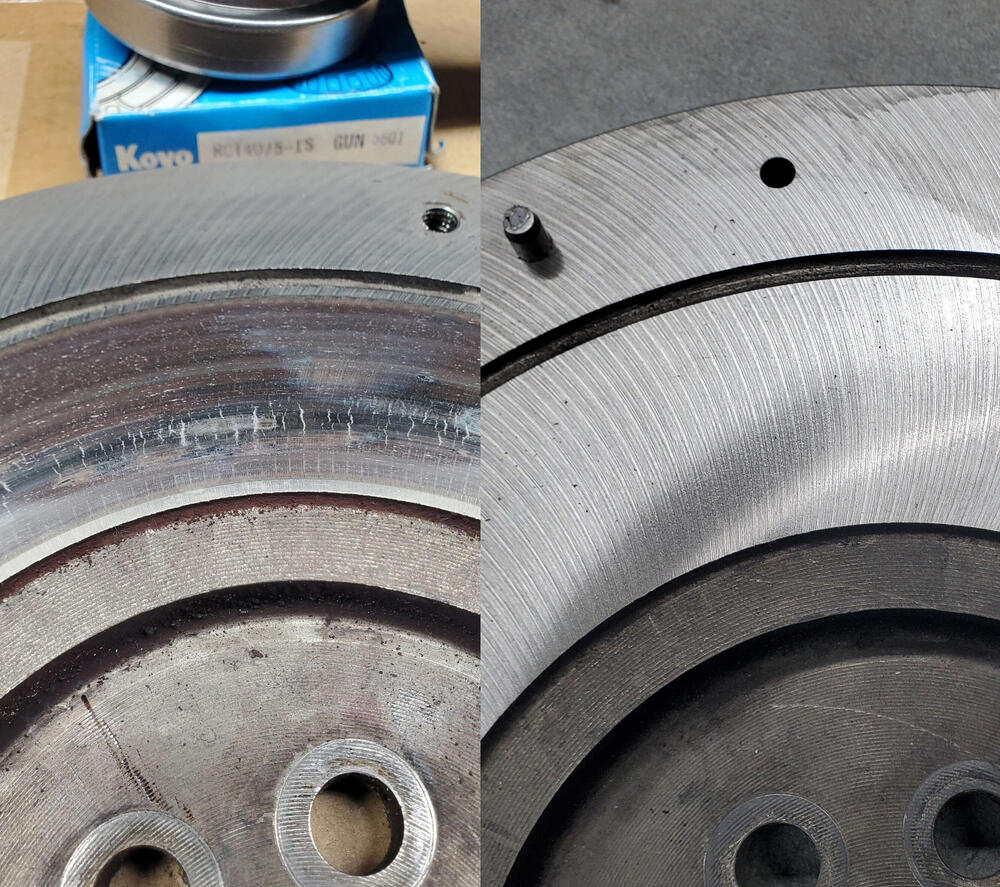
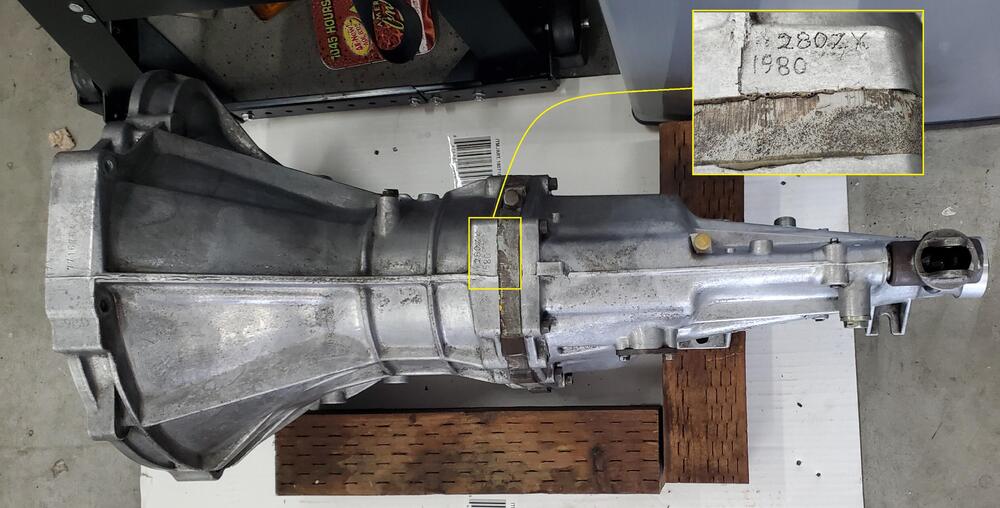
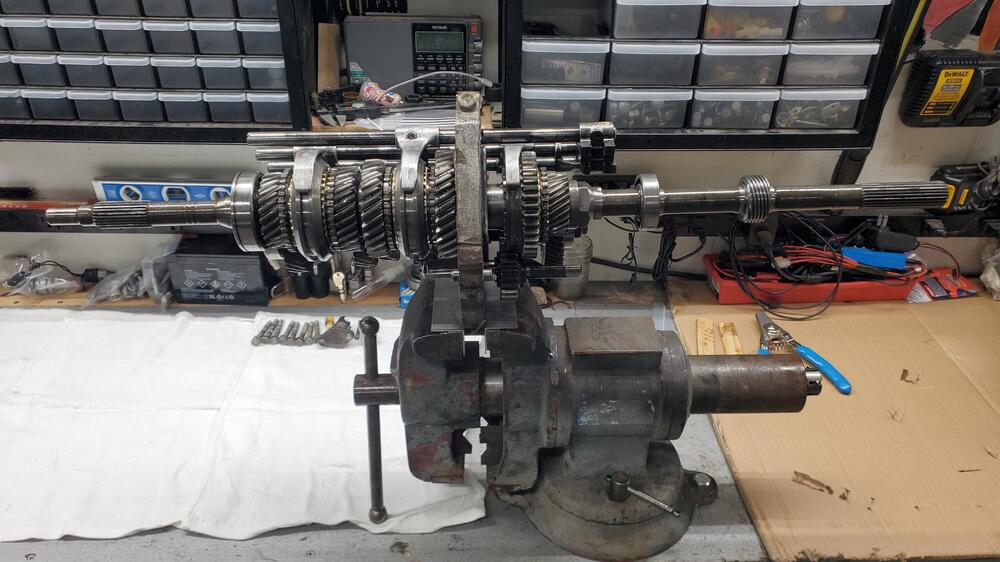
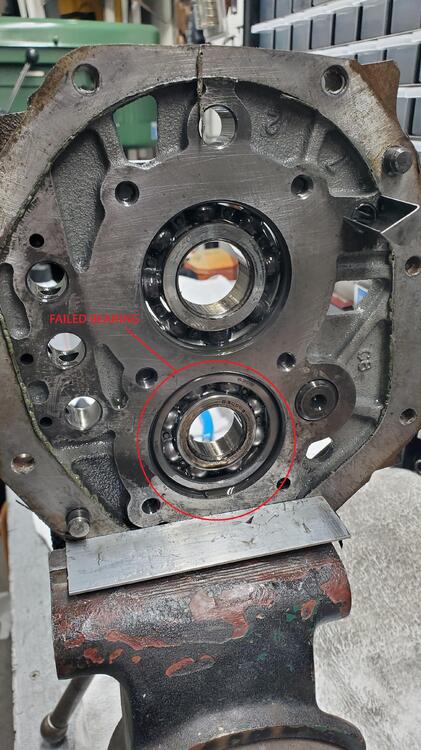
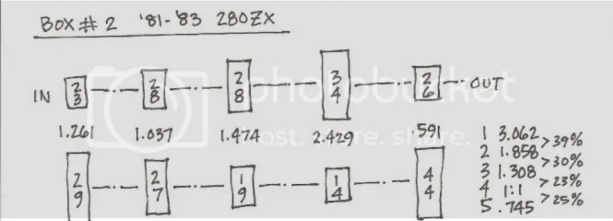
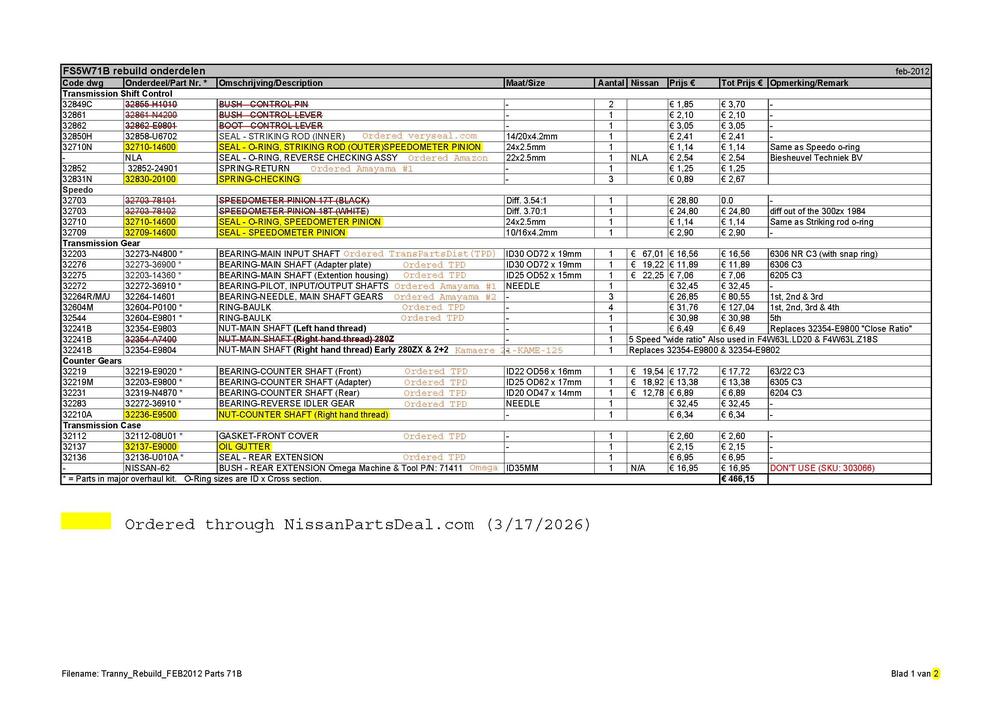
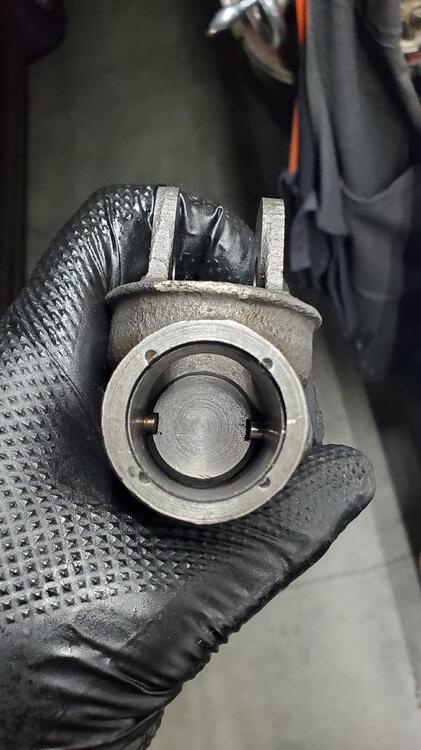
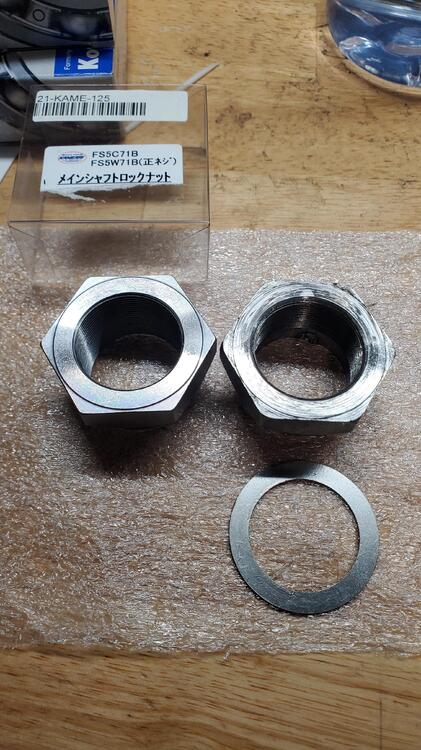
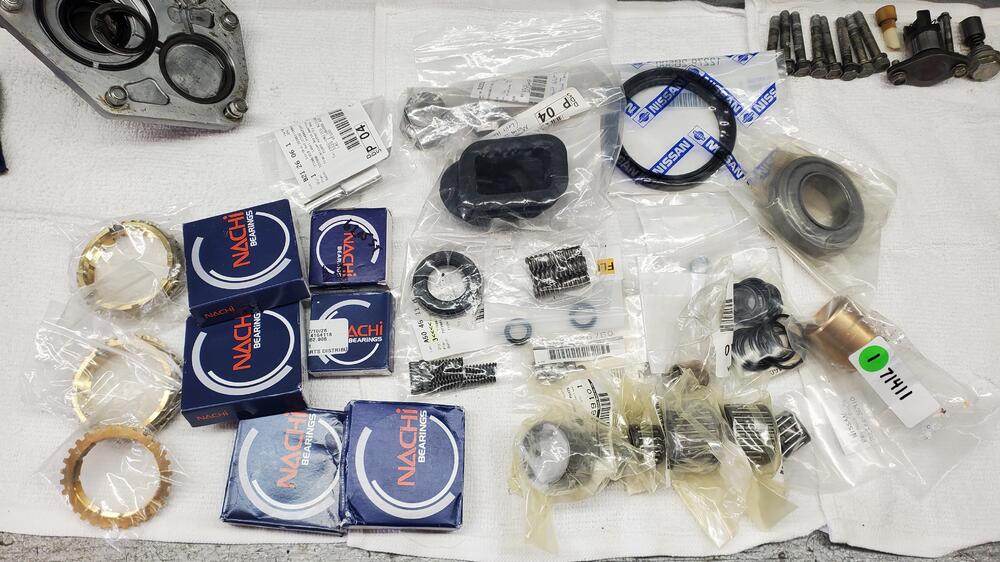
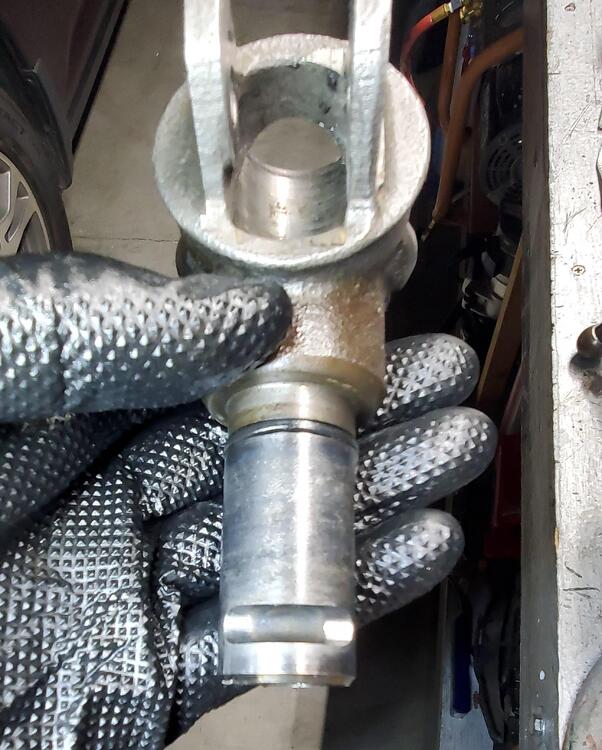
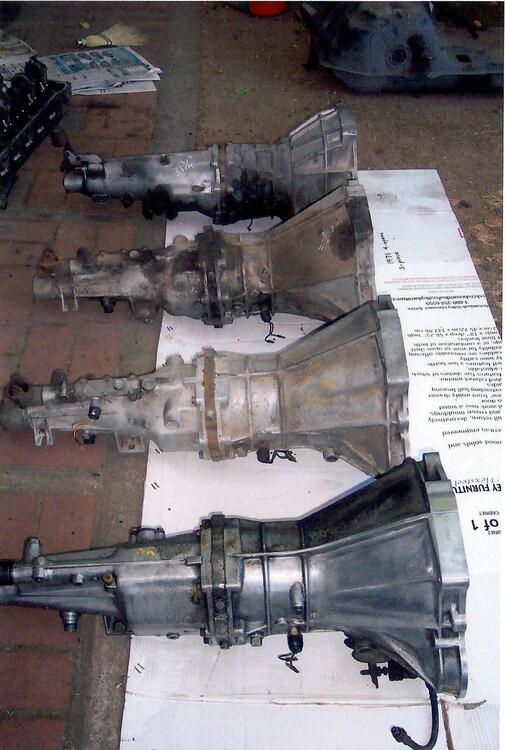
Well, the noise from the transmission decided the end of driving season for me. I have viewed plenty of YouTube videos regarding FS5W71B 5-speed transmission rebuilds that all started with significant chunks of metal attached to the drain magnet. I wasn't looking for that in this Zed. The takedown was pretty easy. A transmission jack from a previous Toyota Matrix clutch (owner gave it to me for helping) got to crawl out from under the bench to help. Everything came apart without drama. Looking at the back of the motor there was a small amount of oil at the base of the rear main oil seal. No worries, I already have an OEM replacement. Pluck and place that one in when I rebuild. The flywheel looked a little weathered. In the past I have given it a little swirlyloo with a sanding block but this time I had Bills Datsun Shoppe in Clackamas pull the dowel pins and machine a new face. Given that is ready to go, I suppose it's time to address the gearbox. Apparently I have a 1980 Datsun 280ZX 5-speed installed. After opening it, I can verify that the bearing on the counter-shaft center-plate is damaged. Things were pretty straight forward on disassembly. I did notice some variances with snap-ring thickness so I documented them. output shaft -- snap ring (1.40mm) -- speedometer gear -- snap ring (1.20mm) -- - -- snap ring (1.17mm) -- bearing (NSK 6205) -- snap ring (1.39mm) -- - -- NUT (27mm x 1.0 pitch) Right-Hand Thread. I thought it may be a Left-hand thread but this was a right hand specimen. The LHT replacement nut is available (at this writing) so I ordered one in advance, (32354-E9803). What I need is a a RHT, (32354-E9804) and that is no longer available (NLA). I did find a 27mm I.D. x 38mm O.D. shim on Amazon in 0.1, 0.2, 0.3, & 0.5mm thicknesses. I was happy to slap a 0.5mm sprung steel shim on there, clock it 180 degrees and call it a day but... I found a manufacturer called Kameari Performance and for the extravagant sum of $49.99, I was able to purchase a "71B Transmission Main shaft Rear Nut (Clockwise Rotation type) for Datsun 240Z 260Z 280Z 280ZX Skyline Cars." - 21-KAME-125. I can confirm today that "El supernut" fits. I am not sure where this gearbox fits in the scheme of things, but it is tagged as a 1980 280ZX FS5W71B. The teeth counts are exactly what a user at Ratsun.net posts for the '81-'83 280ZX box's (pictured below) This gives me ratios of the following: 1st 3.062 2nd 1.858 3rd 1.308 4th 1.000 5th 0.745 R 3.026 From what I see in the literature, this is indeed the ratios found in the 1981-1983 transmissions. The 1980 is reported to have a different 5th gear ratio closer to 0.80 (0.773). The part that is different from my understanding is the later FS5W71B's from 1981-1983 all used a left hand thread main shaft nut. Mine is a right hand thread (like the earlier gearboxes.) 🤷♂️ Anyhow, new roller bearings, needle bearings, balk rings, check balls, d etent springs, breather, o-rings and oil seals should see it back to useful service. EDIT: A look back at the picture of parts above, reminded me of the front cover shim. When I disassembled the transmission initially I measured the tolerances and made a note of something that seemed off. According to the service manual for 1980, my counter gear front bearing was sitting 3.92mm proud of the transmission case (Measurement"A"). This would mean that I am just 4-steps away from the the smallest shim of 0.1mm. The case had a 0.2mm shim in place. Not sure what to make of that BUT, it was the the counter shaft (center) bearing that failed. Trans_Rebuild_FEB2012 Marked with orders.pdf
-
Love the "Do Not Strike" sticker. That was the only way I was able to get the old Ford starters to engage back in high school. We called it a technical tap.
-
I would use red "permanent" for this. In my head an insert is precisely the thing I want to become permanent. Heat and vibration considered. Unless the insert manufacturer specifies something else. I recall ProjectFarm having an episode about this. I believe Time-Sert with Loctite 271 is the preferred combination. Cheers
-
I was going to comment this as well. Aside from leakage out the rear ( 🫤 ), the level/angle of the unit may result in over/under fill. My 2-cents.
-
I love it when people return and close up a thread.
-
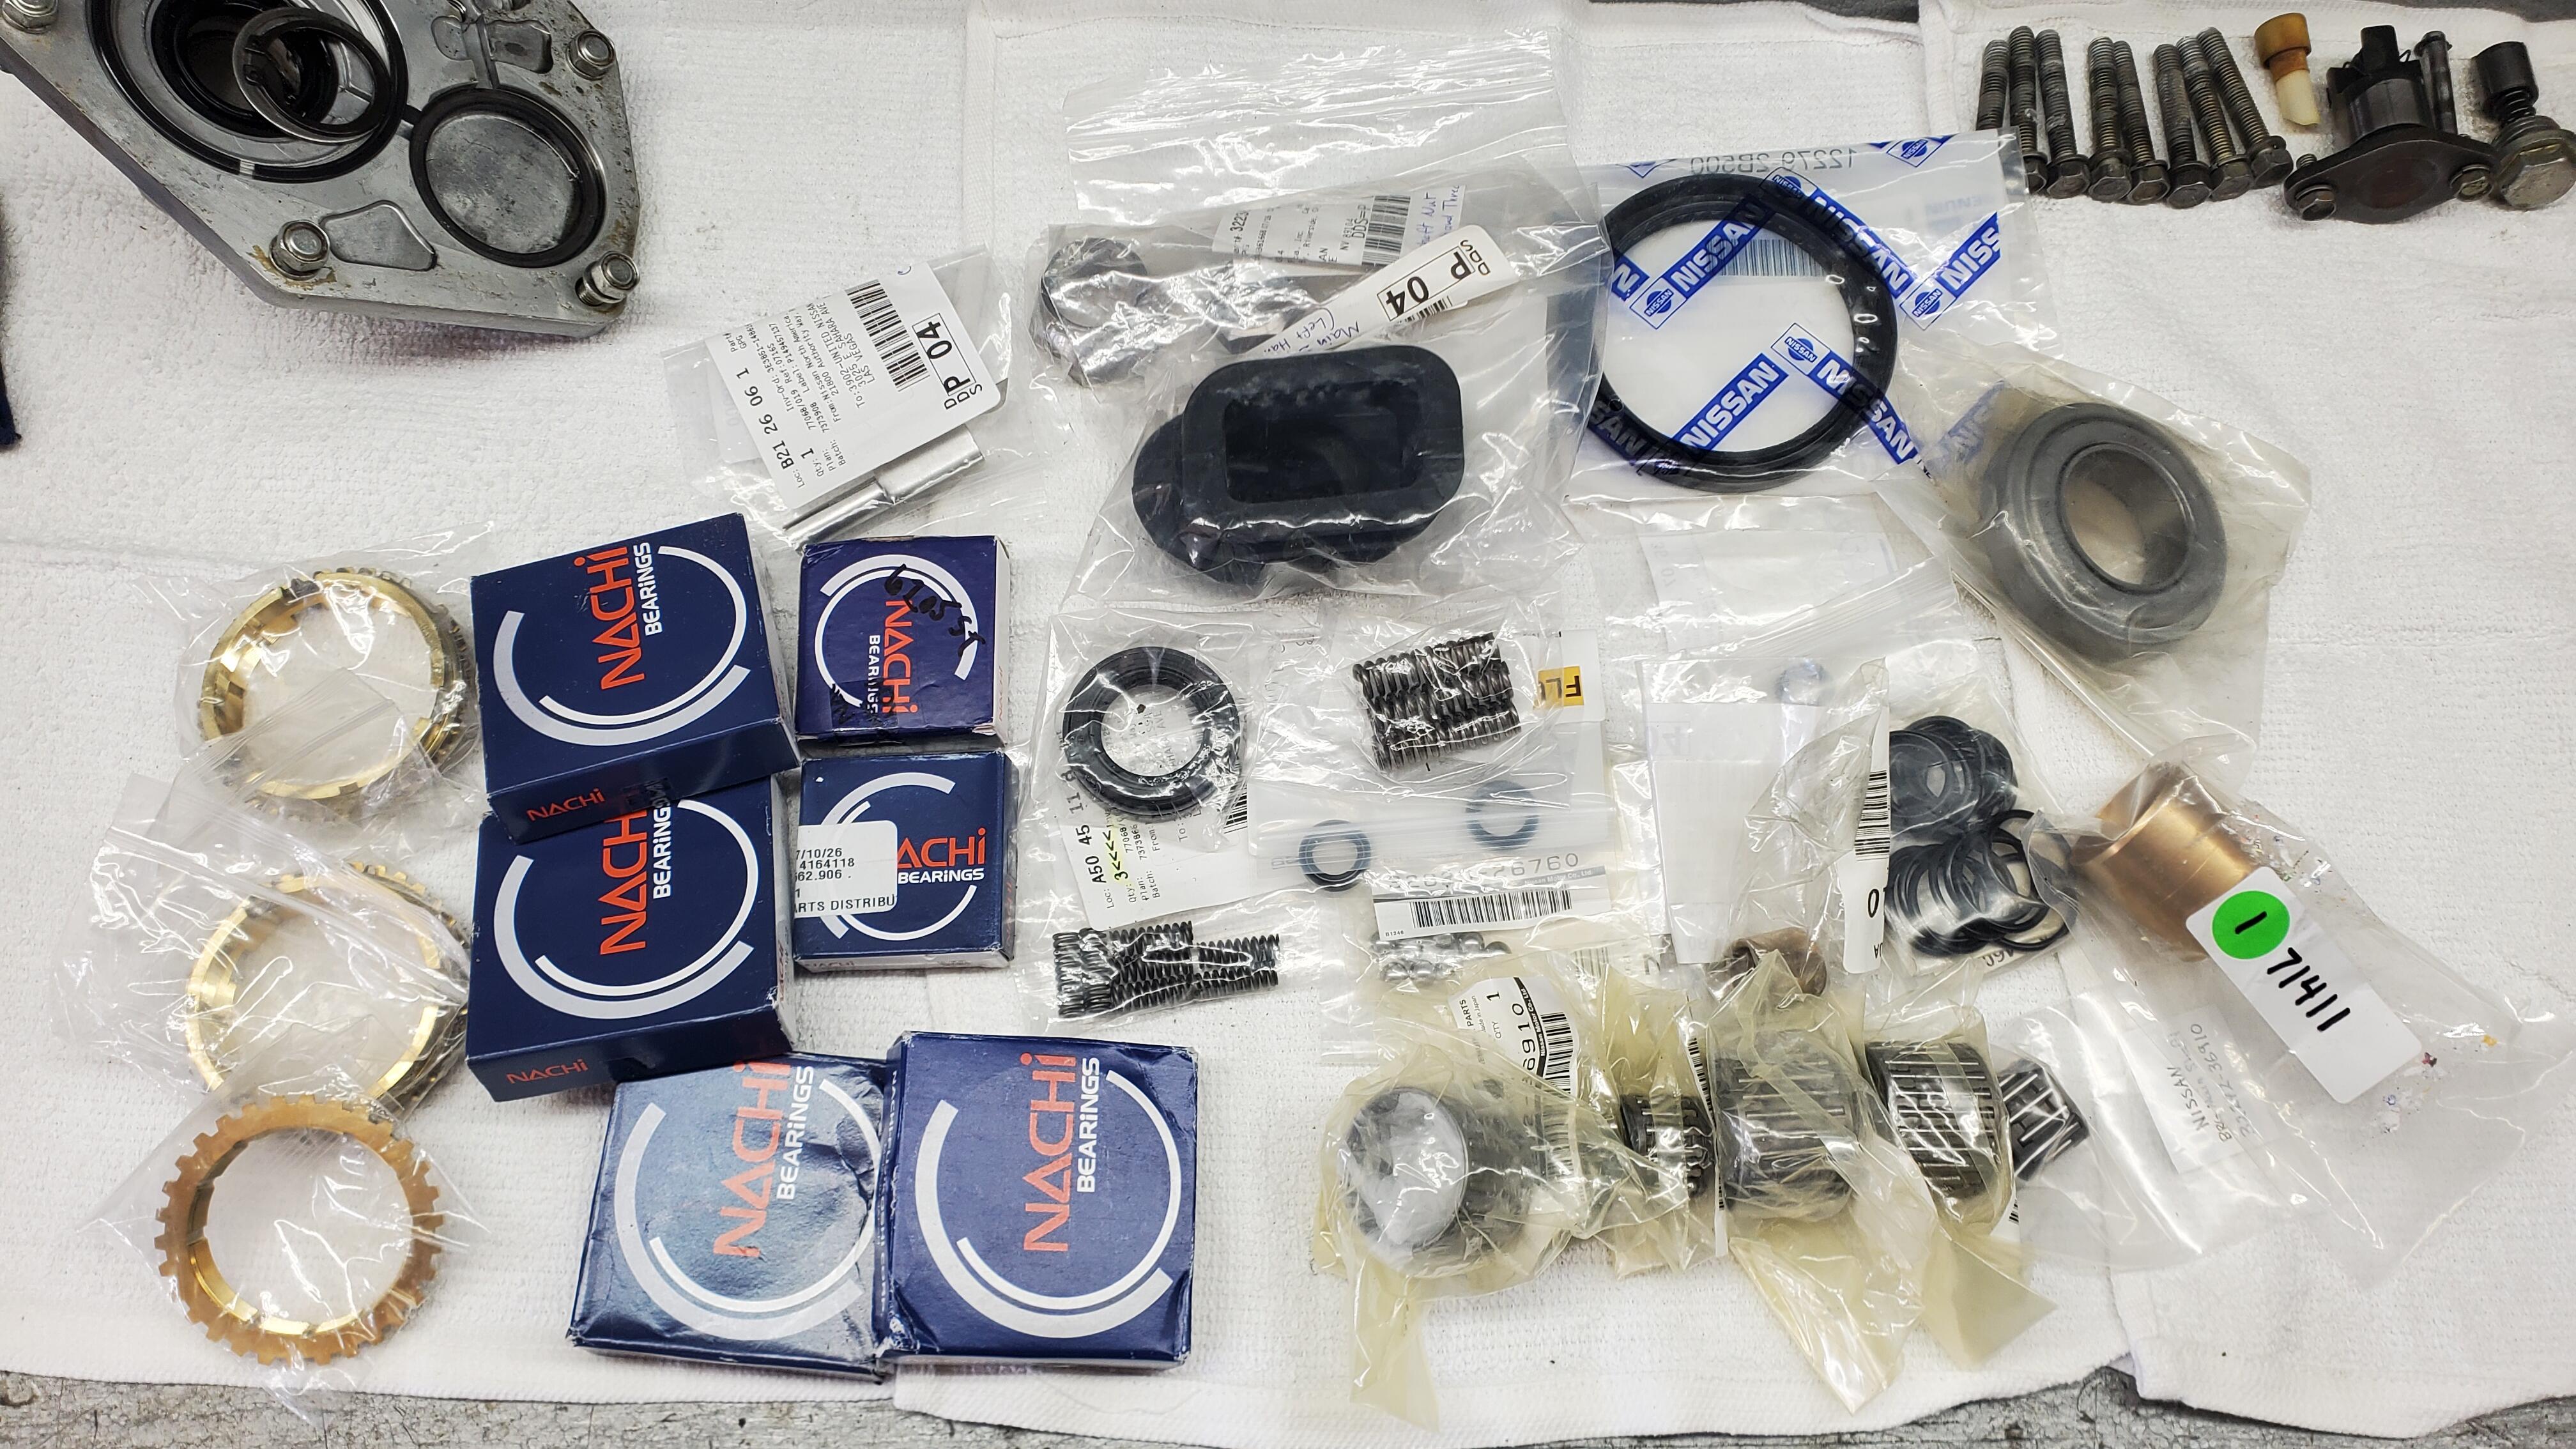
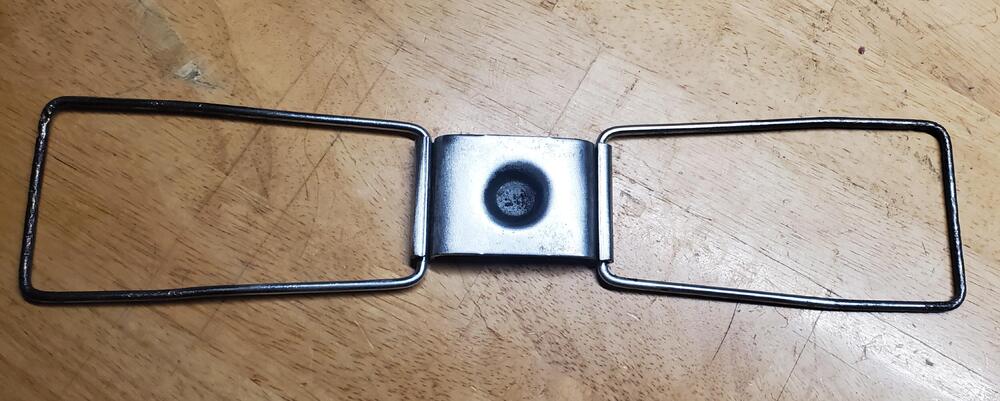
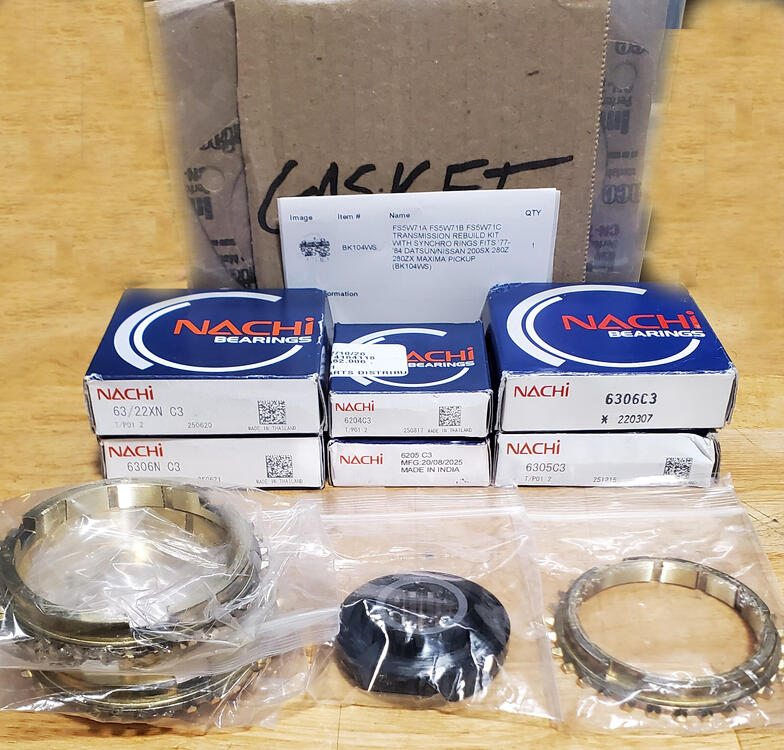
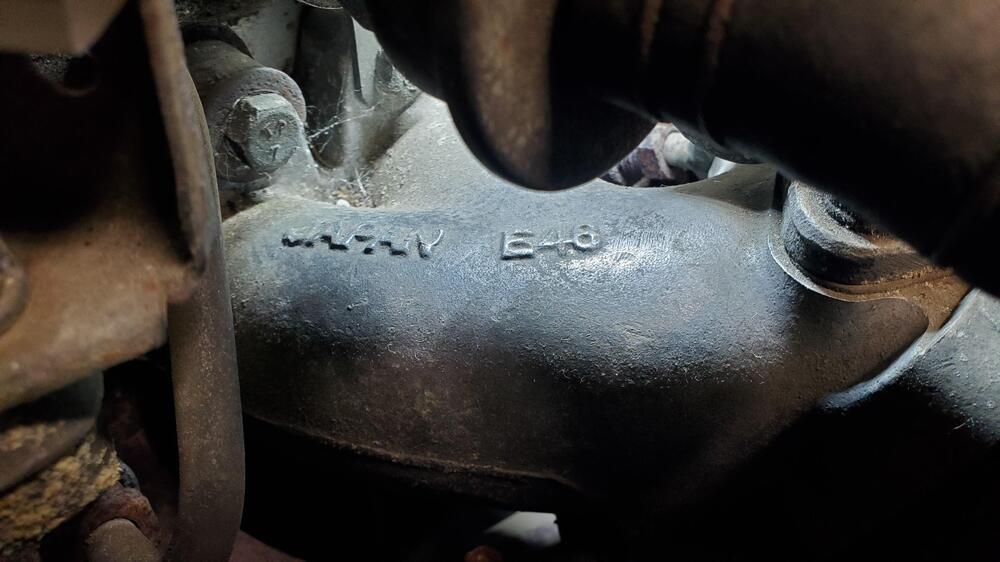
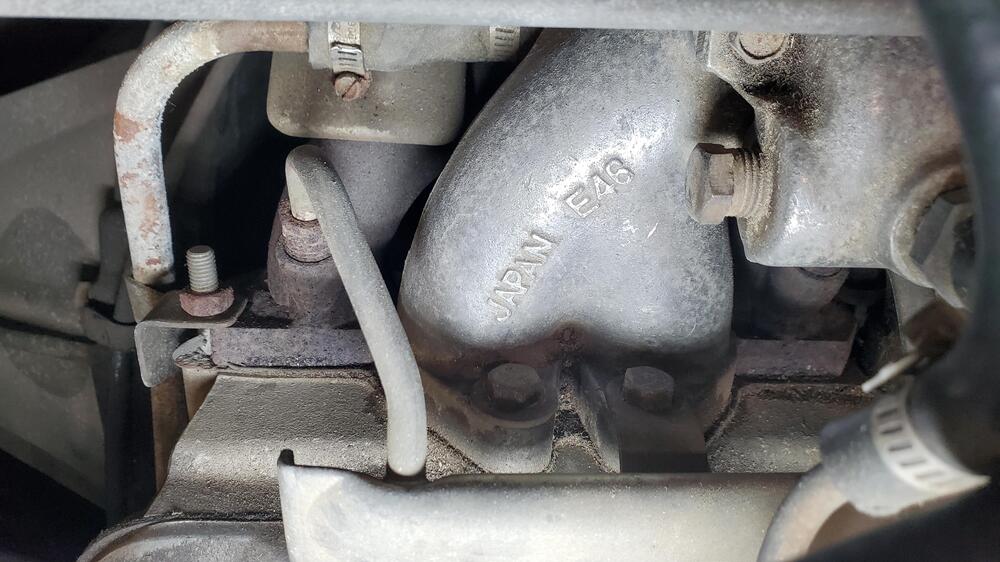
Last weekend I found a jack hold-down at Powerland swap and meet in Oregon. Great chap gave it to me gratis. I still have my antenna up for @Patcon . In preparing to redo my carburetors I discovered a few things. First I have E46 intake manifolds and 3-screw round top SU installed. As I understand it, the Jan 71 car came with 4-screw carburetors (thanks all who educated me here) attached to the E46 manifolds. I do have a pair of those in the parts box (likely the originals). I am pretty sure it does not matter for the rebuild, but in looking at the carbs I notice what seems to be a fair bit of lateral play in the throttle shafts. I think I will try and get on the wait list for one of ZTherapy's rebuilds and have them do a pair of the 4-screws units. There is no real rush with this however as the wait is half a year and the transmission has revealed to be in some degree of escalating protest. When the clutch is released in neutral, the FS5W71B makes a sound that can only be identified as unhappy bearing(s). I have done what I can in ordering parts (before opening and verifying) from anywhere I could find them. I predominantly used the parts list accredited to @EuroDat but also seen widely around the internet. For all parts I ordered everything I could from NissanPartsDeal . com. The rebuild kit with Japanese Nachi bearings, front and rear seals and brass baulk rings from Transmission Parts Distributors. It appears to be the same kit as ones offered by Zstore and the like, but for a significant fraction of the price. I ordered the rear tailshaft bushing from OmegaMachine (#71411) and the selector seal from veryseal . com (TC 14X20X4.5 Metric Nitrile Oil Seal). I ordered some o-rings from Amazon and the rest of the needle bearings and detent/return springs I ordered from Japan through Amayama, (we'll see if they exist and if they arrive). In the meantime I am reading everything I can from this wonderful site, _FS5W71 Rebuild.pdf from Derek Garnier, and a whole host of youtube videos in addition to the factory service manual. I have rebuilt plenty of spinning things with bearings and gears but never a transmission. I do love an adventure but love it even more when a plan comes together. EDIT (07/18): The transmission kit arrived and full of Nachi bearings, but not one from Japan (sigh). They will likely work better than the ones installed now however.
-
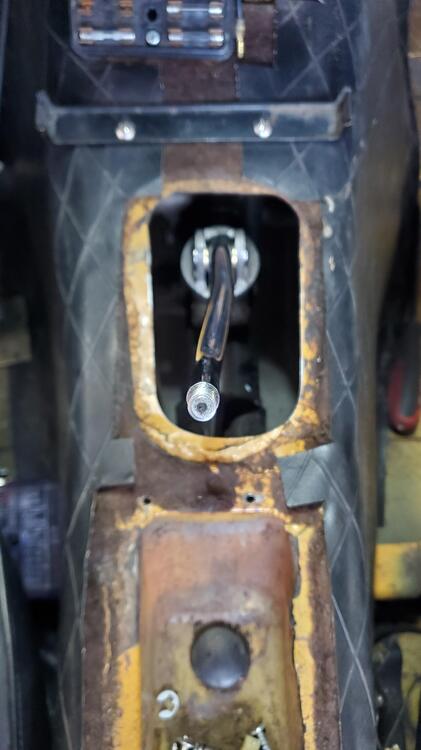
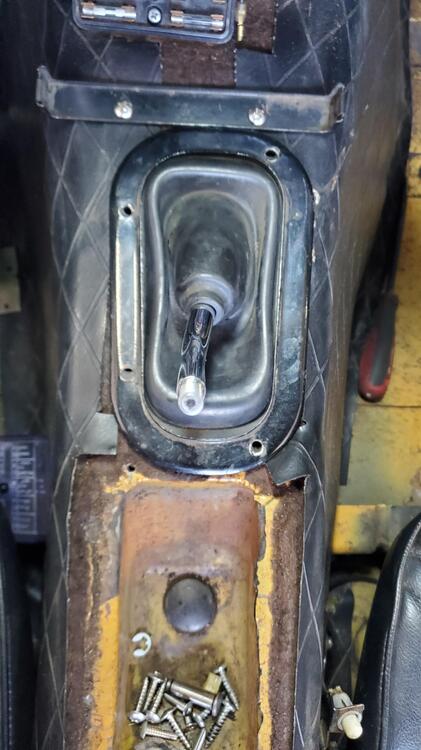
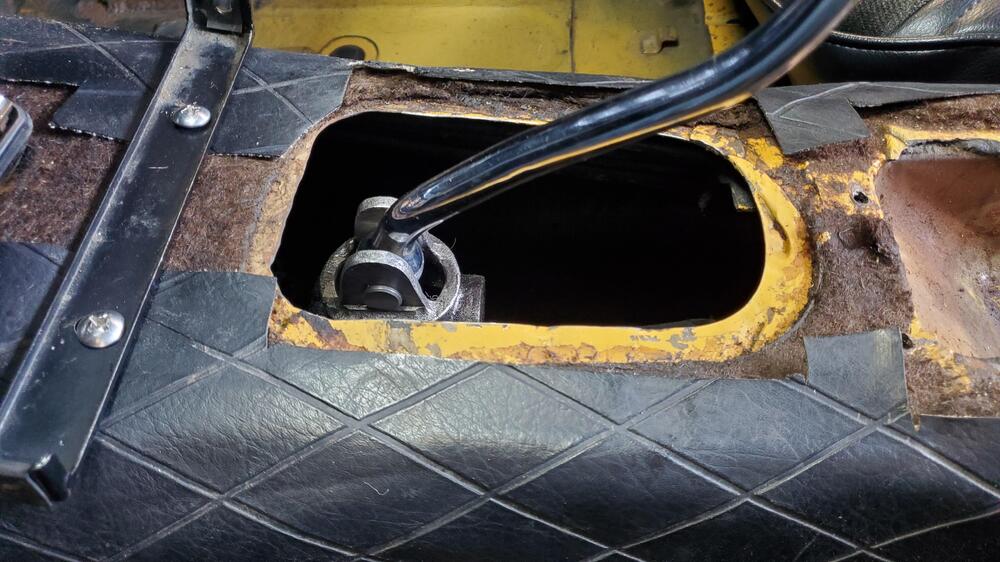
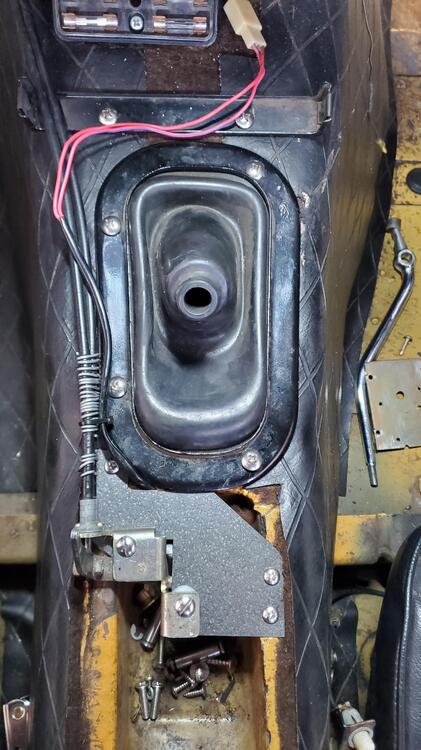
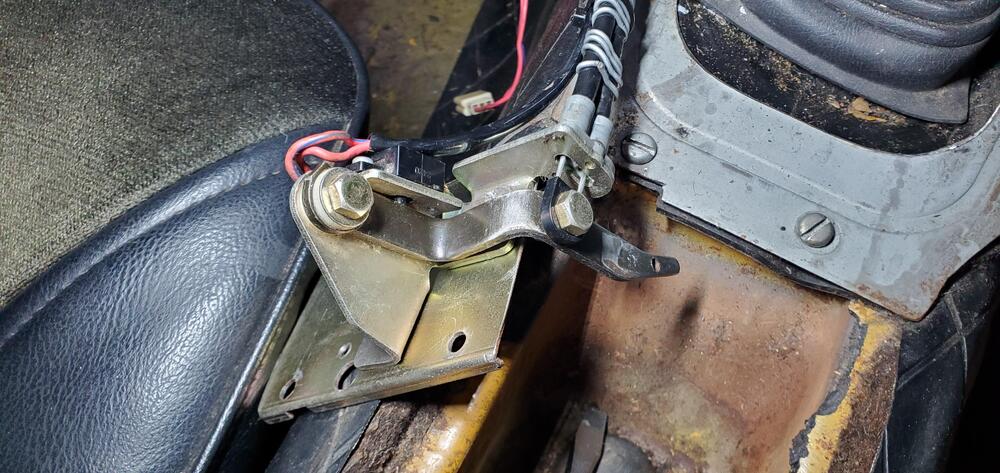
@jfa.series1 That makes sense. It does have a FS5W71B close ratio from a 1980 280ZX (according to records.) The previous owner (brother) swapped it from the FS5W71B wide-ratio that the previous-previous owner (father) had installed. In one of the pics you can see the 280ZX shift boot and plate that I replaced with a 240Z unit. i was not aware that the 1971 and 1972 had any real significant change in center console shifter positioning. I do recall the boots are different size so that must account for it. Thanks for that tidbit. I will do some research on choke cables as the ones currently installed are rubbing some of the paint off the inside of the hood.


-
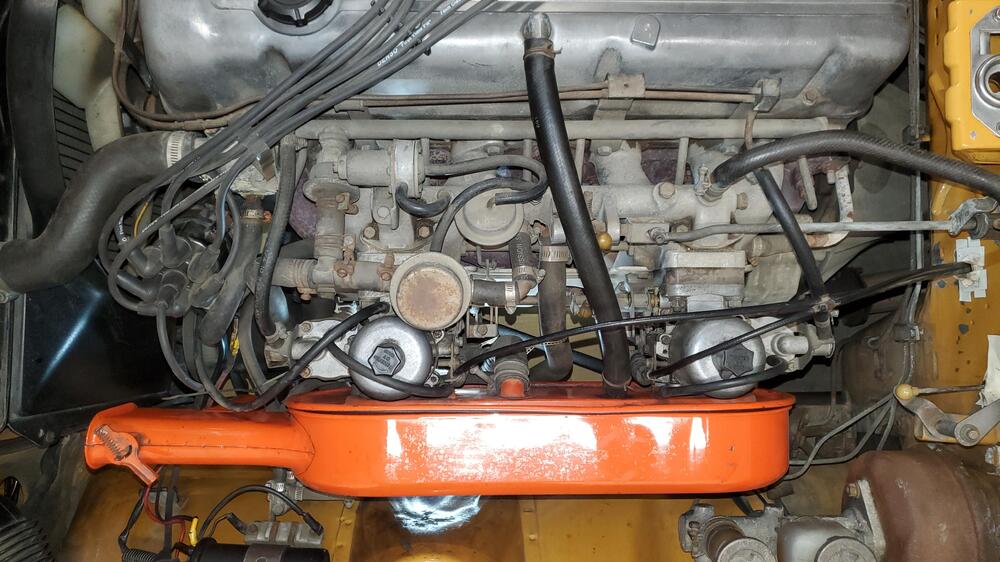
I stopped by the car today and confirmed it does have E46 intake manifolds. That would mean the 4-screw units that are bagged were probably original. Another question would there be any reason to change the choke cables with a carb change of this sort? The car has a 1972 dash and center console installed. Would one need to change the choke cables for that console? Thanks again and much appreciation for all the help as I navigate a steep learning curve of nuance.
-
Thank you Cap'n and jfa, that is useful information. I will look and see what is on the car. There was a 72 in the mix that became a parts donor after a fit of adolescent driving. That date tracks.
-
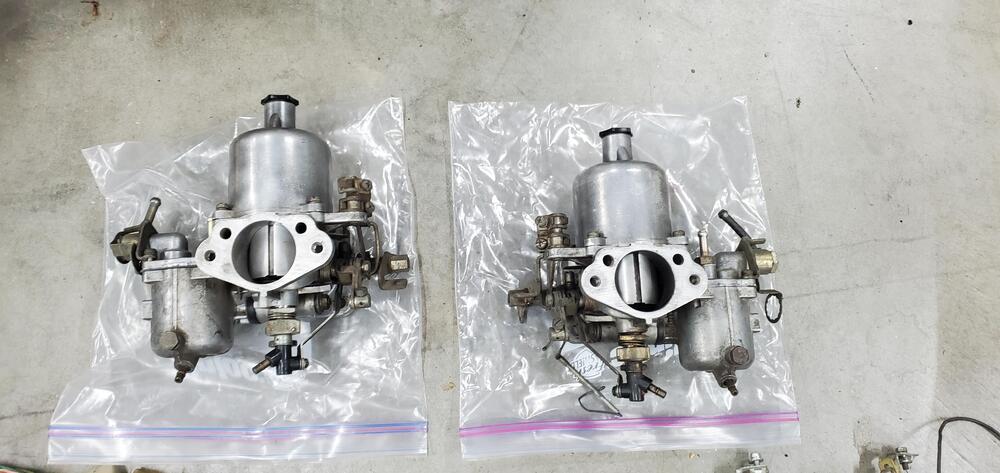
Hello everyone. This is prompted by an email exchange with ZTherapy regarding replacement carburetors. I asked: "I have the set originally installed on the car (01/1971) complete with linkage. These carbs are 3 screw and have fuel float bowl drain plugs. I also have another set of 4 screw carbs. I believe I would want to stay with the 3 screw units that are original with the car but would be willing to make a change if there were some significant advantage to the 4 screw units." ZTherapy: "Depending on which intake manifold you have on your car determines which carbs to go with. A 01/1971 car would have come with 4 screws(?). What number is on your manifold? An E46 is 4 screw, E88 is 3 screw." My 1/1971 240z has an E31 head (original as far as I understand) with 3-screw round top SU carburetors. This car was purchased new by my father but my brother has his hands on it for several years. As far as anyone (father and myself) can attest the long block is unchanged. It is entirely possible that it had carburetors swapped (I do have a pair of 4-screw round top SU's in the extra parts boxes amassed by my brother) but nothing was indicated in the documentation left behind. My brother did document the installation of a 6-1 header and thread insert for a damaged exhaust stud in the head. There was a plan to do an L28 block with a P90 head (still have the head) but it did not manifest before the car was abandoned. I will send ZTherapy both sets of carbs but am wondering which to ask for in return, the 3-screw or the 4-screw. I am inclined to ask for the 3-screw. A secondary idea is to try and sell a pair (-4-screw) of the carbs on the open market in an attempt to gain a little more cash to offset the carburetor purchase (ZTherapy would pay $150 for the core without center linkage). I do like the idea of them having more stock to work with as I feel they provide a valuable service. There is a 6 month backlog currently and I have a 5-speed to rebuild in the interim so there is no particular urgency. Any thoughts? Cheers. -R

-
And then the transmission worked happily ever after... Thanks for the great read everyone.
-
@Seppi72 @Patcon Thank you so much for the comments and suggestions. I do know the "raw gas smell" well. The plastic evap tank that was standard has been replaced with a later metal can. Combined with new hoses this had remedied that odor. I think I am going to do a rear (series 1) vent delete. I will leave the physical vents on the deck but completely seal the holes (vent and drain) in addition to the interior rubber flappy thing. Good tip about that CO sensor. I am still paying my brain off (student loans) so I have some mileage yet to get out of the old noodle. I did look at the tail housings and they seemed fairly straight. A bead of the goop might be in order however to be sure. Thanks again.
-
@AZ-240z These are the best pics I have seen yet (as in never before seen). I am aware of the rear "smugglers bin" storage points on the later 240z cars and the split nature of the rear carpet. I have already conceded that I will not be able to find a single rear carpet set that is correct for the car and cargo straps (sigh). This will not be a concourse car as it already has a 1972 dash (clean without cracks) and matching 1972 center console. I have also put on 1972 front marker lights because they were in much better shape than mine and they have full rubber boots. I would love to get as much floor coverage as possible and your pics really help. Beautiful by the way! Cheers
-
Today I buttoned the Z back up for the drive to 7'th Annual Datsun Swap Meet and Gathering. The project included trying to not succumb to carbon monoxide poisoning before making it there. I will be taking my father (the original owner of the Zed) and would like him to not expire on the trip. The plan was to replace the rear deck inner seal in an attempt to eliminate reduce the amount of exhaust coming into the cabin, I purchased the seal offered by The Z Car Depot and installed it. I also replaced the outer seal with a one piece seal from MSA. After waiting through the cure time and reattaching the rear deck lid, the outer seal was too thick to allow the door to close anywhere near making contact with the new inner seal. I had an easy 1/4" of air space between the left rear corner of the inner seal and the tailgate. If I removed the lower portion of the outer seal, (up to the point of the original 3-piece early seal) it almost sat in contact with the inner seal. My latch is adjusted all the way down to its tightest position. The rear inner weatherstrip is just not thick enough to make a seal. I know the Silvermine Motors offers a thick non-OEM inner hatch seal and that might be the ticket. I honestly can't figure how or why a standard replacement seal would be so far off from actually making a seal on this car. I can verify its entire history as straight and clean. The left (driver) side is a little higher than the right (passenger) side but I have attributed that to having a single hydraulic lift on that side. In the mean time, I have added a 1/4" neoprene seal to the lower underside of the tailgate to bridge the gap and it seems to be working. I still get fumes in the car if I open the windows while driving but it is much better than before. I can't smell anything if the windows are closed with the fan on so I am at least good to go there. The car has new rear tail light gaskets and being a series one, also has new inner vent flap rubber. I will completely block the inner tailgate venting system similar to how door cards are sealed with plastic and butyl adhesive but have run out of time for now. The exhaust fumes are a real downer to enjoying the old dog on the road.
-
Wow @AZ-240z those pieces don't look anything like what I have seen anywhere. They look pretty good, far better than I think I could produce. Thank you for the pics and helping expand my understanding!
-
Thanks @Patcon Did you get a price and what it will cover? I have not read favorable reviews of the S30 kit. Many seem to laude it, citing that is was the supplier for the Nissan restoration project in the 1990's, IDK...
-
Thanks @cgsheen1 That is helpful for understanding the quality. I am really hoping someone can add information about the early vertical tool boxes and fitment. Cheers