26th-Z
Community Member
-
Joined
-
Last visited
Everything posted by 26th-Z
-
Check this out: http://cgi.ebay.com/ebaymotors/ws/eBayISAPI.dll?ViewItem&category=6753&item=2449180549 Isn't there a copywrite on this picture? Or what am I missing?
-
Koito's here! Chloe sold me spare lamps a while back. Check with her. I think you will find used Koito's around.
-
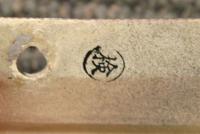
This stamping is quite common. It is an inspection stamp and is called "ken" as Alan wrote.
-
Yes. Wu Tang chic. Ricer, but slippery.
-
Interesting, Alan. I don't have a matching pair. My clutch pedal has no stamp at all. Now instead of numbers on my brake pedal, I have letters. I didn't stand on my head - the pedal cluster is out of the car. I think you have found a different pedal for RHD cars? My brake pedal arm is straight bar stock and my clutch pedal arm is thinner stock and bent to a cup shape. Play on! I don't have a match. yet.
-
UJ 02 and no date stamp at all
-
-
I wasn't real sure of RPM limits or time limits, so I was conservative with my numbers. Also, my old race engines didn't have fans and I didn't want to talk about an amount of run time without a fan! I always prefered to watch the temperature gauge. The variations in engine speed over the run-in period will be fine as long as it is not over-revved during this process. I always found that strong, long lasting engines resulted from a nice break-in / run-in. Have fun!
-
Set it rich and let it run at a constant RPM below 3000 until it reaches temperature. Use colder plugs than the ones you plan to race with. Avoid revving it or RPMs over 4000. Just let it run constant from cold to operation temperature several times (3 or 4). Continue to watch oil pressure and check for leaks. Make adjustments and tweak. Change the oil after your run-in.
-
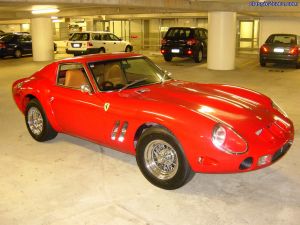 Now THAT'S a G-nose!
 -
Oh you guys. That's a 280. Weather or not it's a Black Pearl is the question. It should have an identification special edition plate on the console and some other peculiar special edition identification. It MAY be a Black Pearl and it MAY be a 280Z painted black. BIG DIFFERENCE. Black Pearls also had red and silver pinstiping. Make sure you know what you are buying!
-
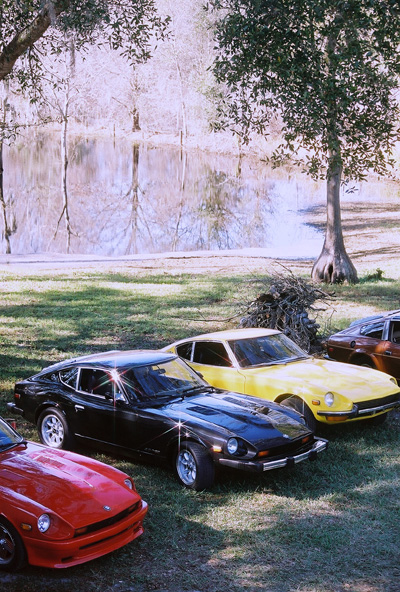
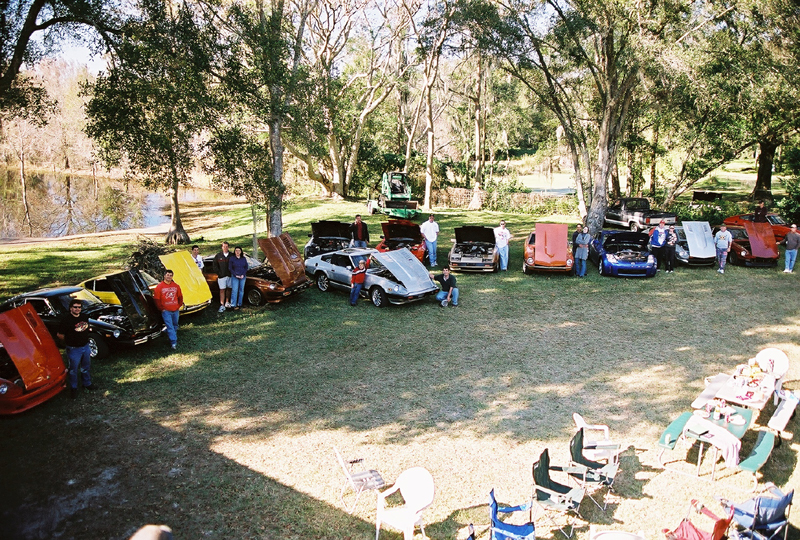
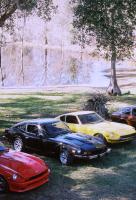
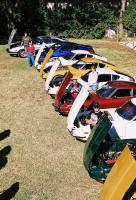
And the other side of the yard
-
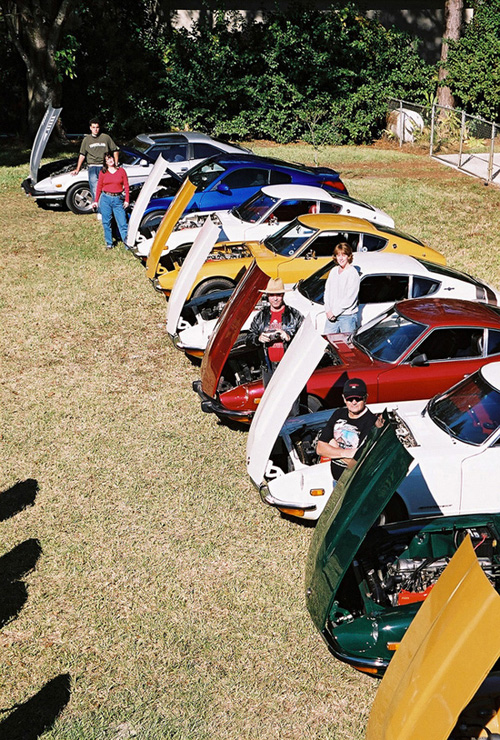
Here is the Suncaost Z Car Club Christmas Party.

-
So what did you think of Yate's book, Carl? I liked how he had others tell about their experiences. Didn't you get the feeling that you had to be there to really appreciate what was going on?
-
I have been dying to write this all day but thought you guys would think me a snob or jerk or something. Why don't we see wings on Z's? Because they don't belong there!
-
That thread is 28 pages long and contains heartfelt sympathies from all over the world. The Ron Jeremy joke was pretty good. But go back and read the original post and take a good look at the damage. Somethin' ain't write.
-
Guus, Great bumper! All that work looks great. But, what a shame and lucky it was not worse. That's called "patina"!
-
That's covered under the factory warrenty! NO PROB!
-
We play a lot of Bingo down here in Tampa, Alan! Shuffleboard is big too. But to answer billcapp’s question, there are a bunch of S30’s in the Tampa Bay area and even to my surprise, a bunch of low serial number HLS30 cars including a new acquisition in Lakeland. I saw a Black Pearl last weekend at a Suncoast Z Car club party and rally. I don’t know that I would call the cars rare, but rather unique. Rare should have a higher standard, in my opinion. A car of maybe fifty examples, maybe one hundred examples is rare. I don’t think the S30 is rare. There are also very many unique variations of the S30; a unique type on it’s own with a unique and interesting history. How unique a specific car is might be a better question as we compare the words “rare†and “uniqueâ€. An S30 variant produced less than fifty times might be the most rare of unique! Perhaps uniqueness ratings could be ranked in points - one point for each unique feature. Everyone who owns an S30 starts with one point. HLS30 in Japan - two points. Tattyest carpet West of the Mississippi - two points. Factory variants get a point. HS30-H - two points. ZZZap edition - two points. Tattyest carpet West of the Mississippi HS30-H - four points because it is in America.
-
Hey there! I have number 26. Carl Beck is here. He has 20 and a BRE car. He just sold 42. Jim Frederick has 16, 19, 322, a Paul Newman owned car, one of the 42 Nissan rebuilds, a Fairlady, and a bunch of other seriously interesting cars. The Suncoast Z Car Club just had the Christmas party at Jim's. I'll post some pictures. Beck wrote a blurb about what is considered collectable on the Zhome website. Good discussion.
-
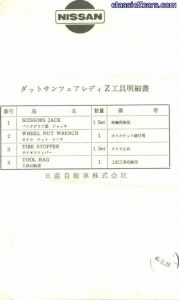 First thing I noticed, Alan. Was this not a small piece of paper in the tool bag?
 -
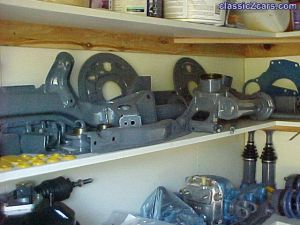 How did you come to decide to paint the differential blue? Do you have knowledge of what color they were originally?
 -
-
The Nissan 240Z Restoration Program literature suggests re-wrapping all harnesses and mentions 3m Scotchbrand tape, p/n 054007-06130. I have yet to go looking for the tape to compare. My original tape is very thin and does not appear to have adhesive on one side. Thanks Victor and Marty for the references. This is exactly what makes this club great!
-
I'm going to have a similar situation with my restoration when I get to that point. I plan to at least re-wrap my harnesses. My engine bay harness is going to need some work as well. The direct wire for wire replacement is my direction. My source for connectors: http://store.yahoo.com/eagleday/blco.html I'm interested, but I'm not at that point of my project yet. Please keep me in mind as you get further into this.