


sweatybetty
Free Member
-
Joined
-
Last visited
Everything posted by sweatybetty
-
 i hope my car looks that nice when im done. very sweet
 -
maybe try putting them in a freezer overnight before installing them
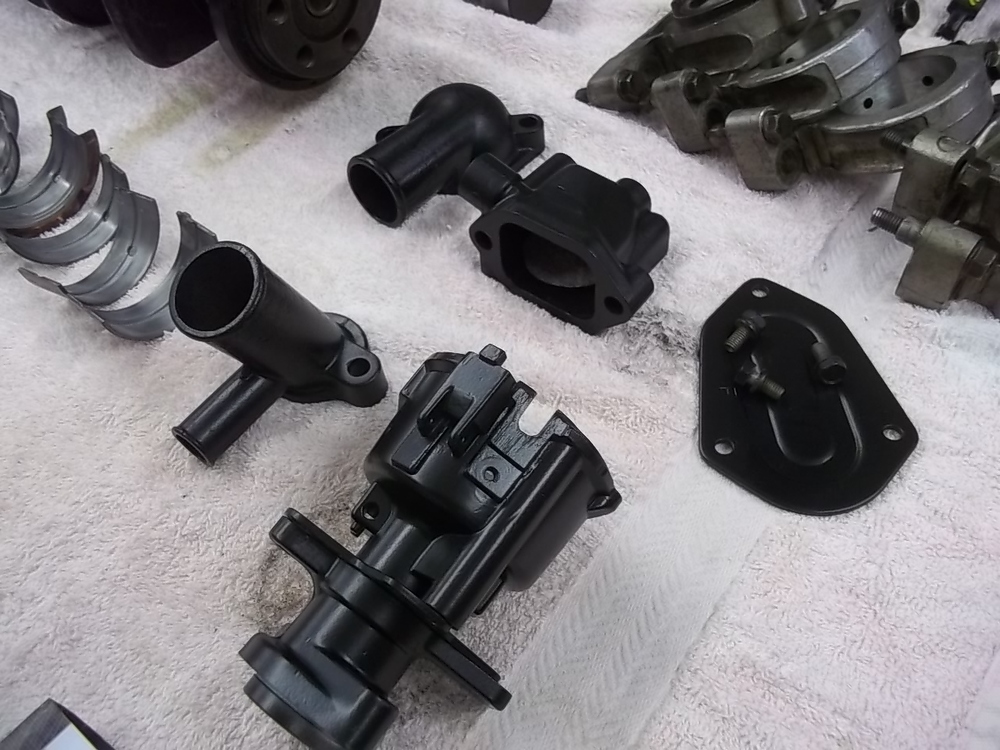
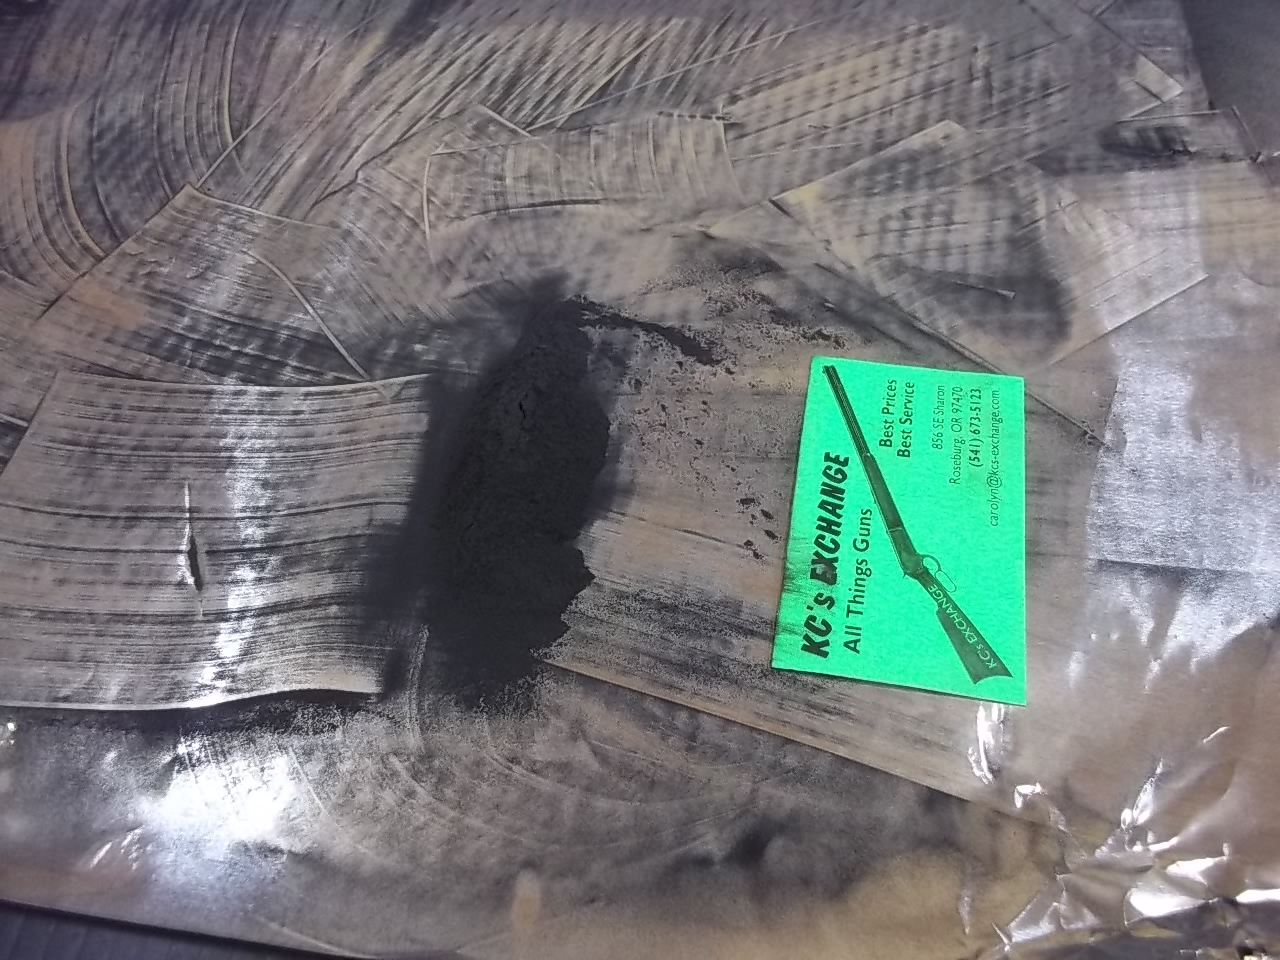
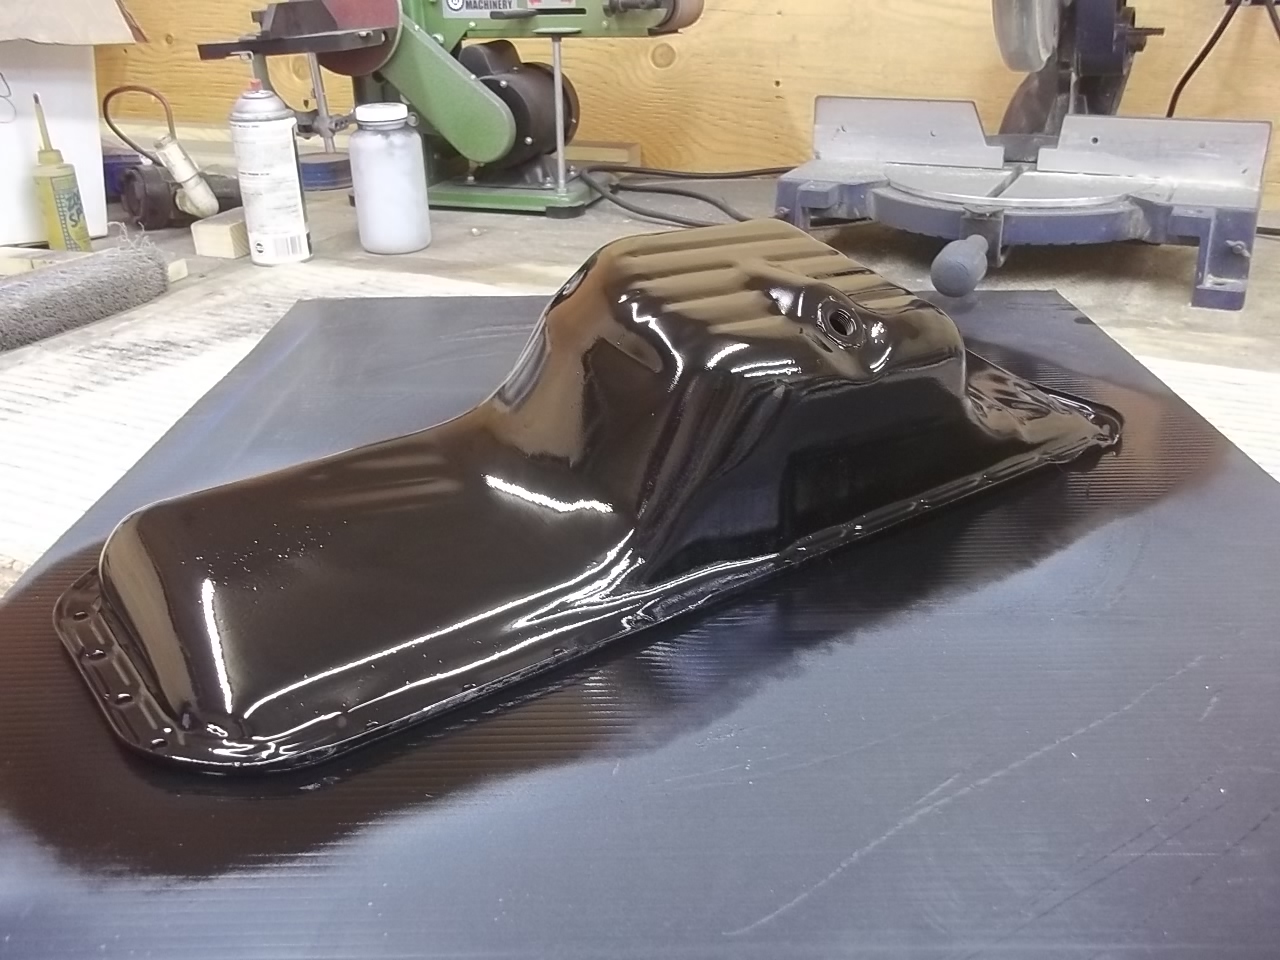
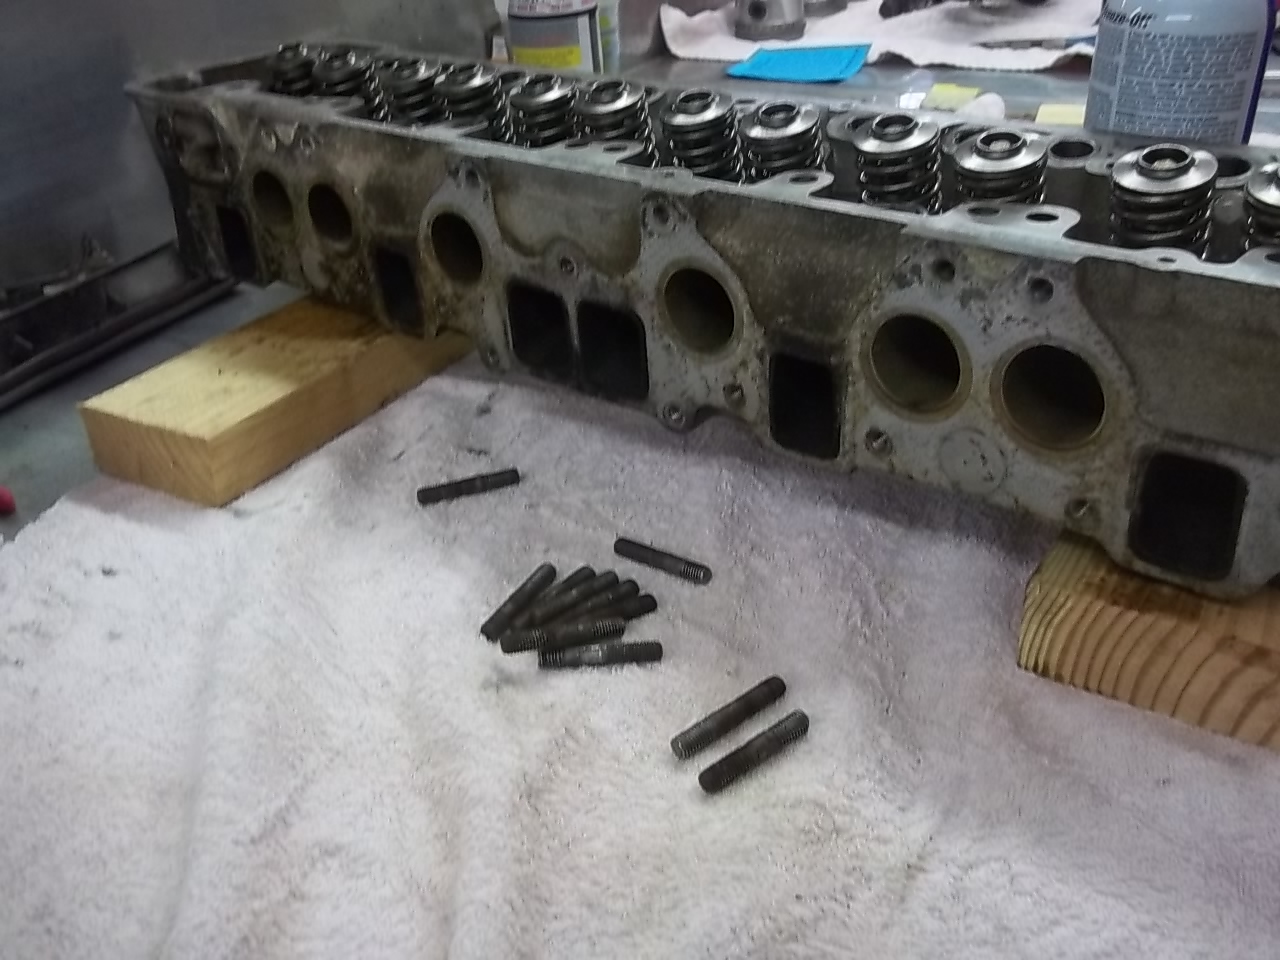
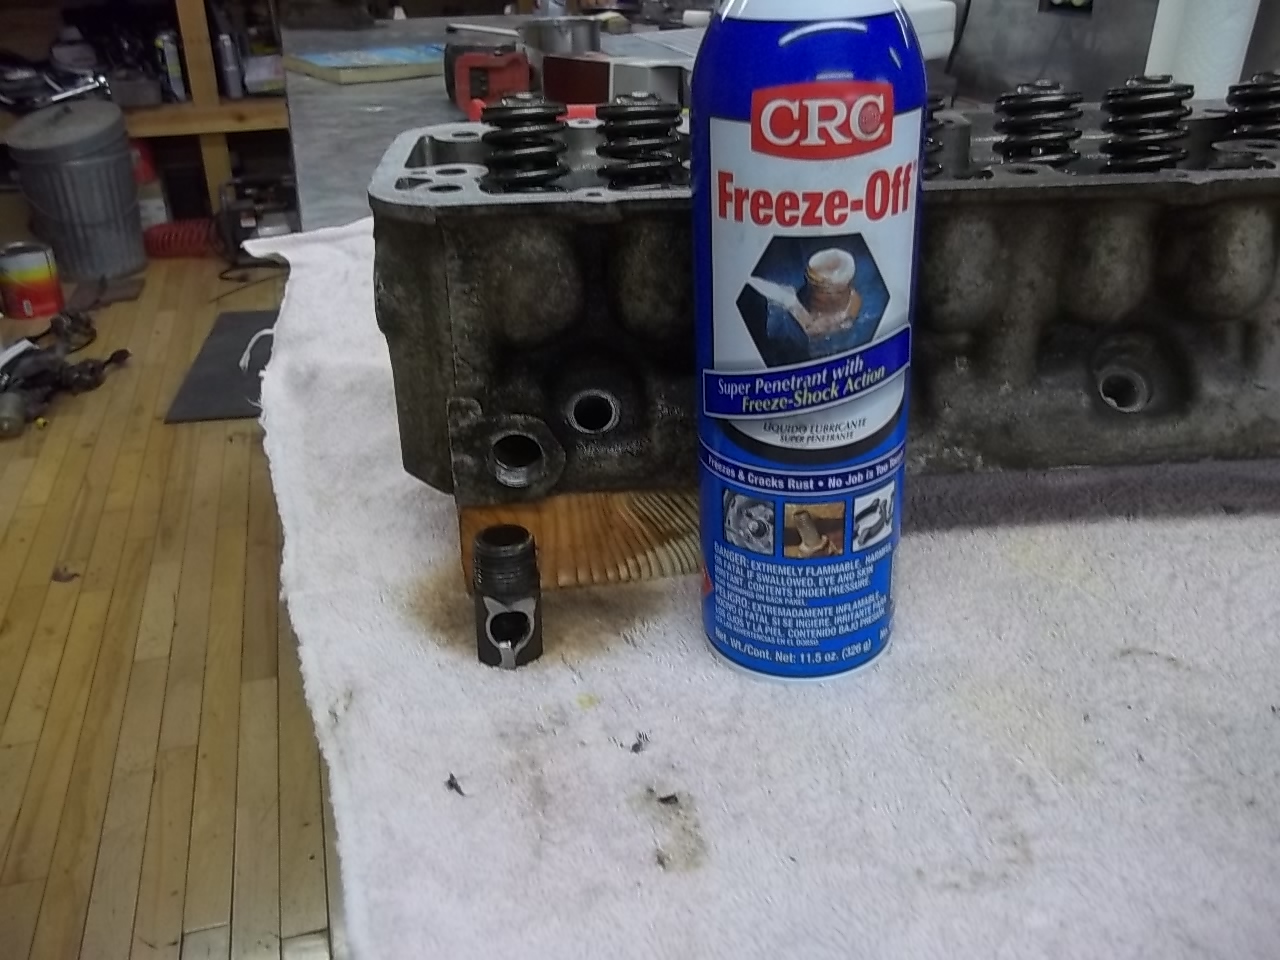
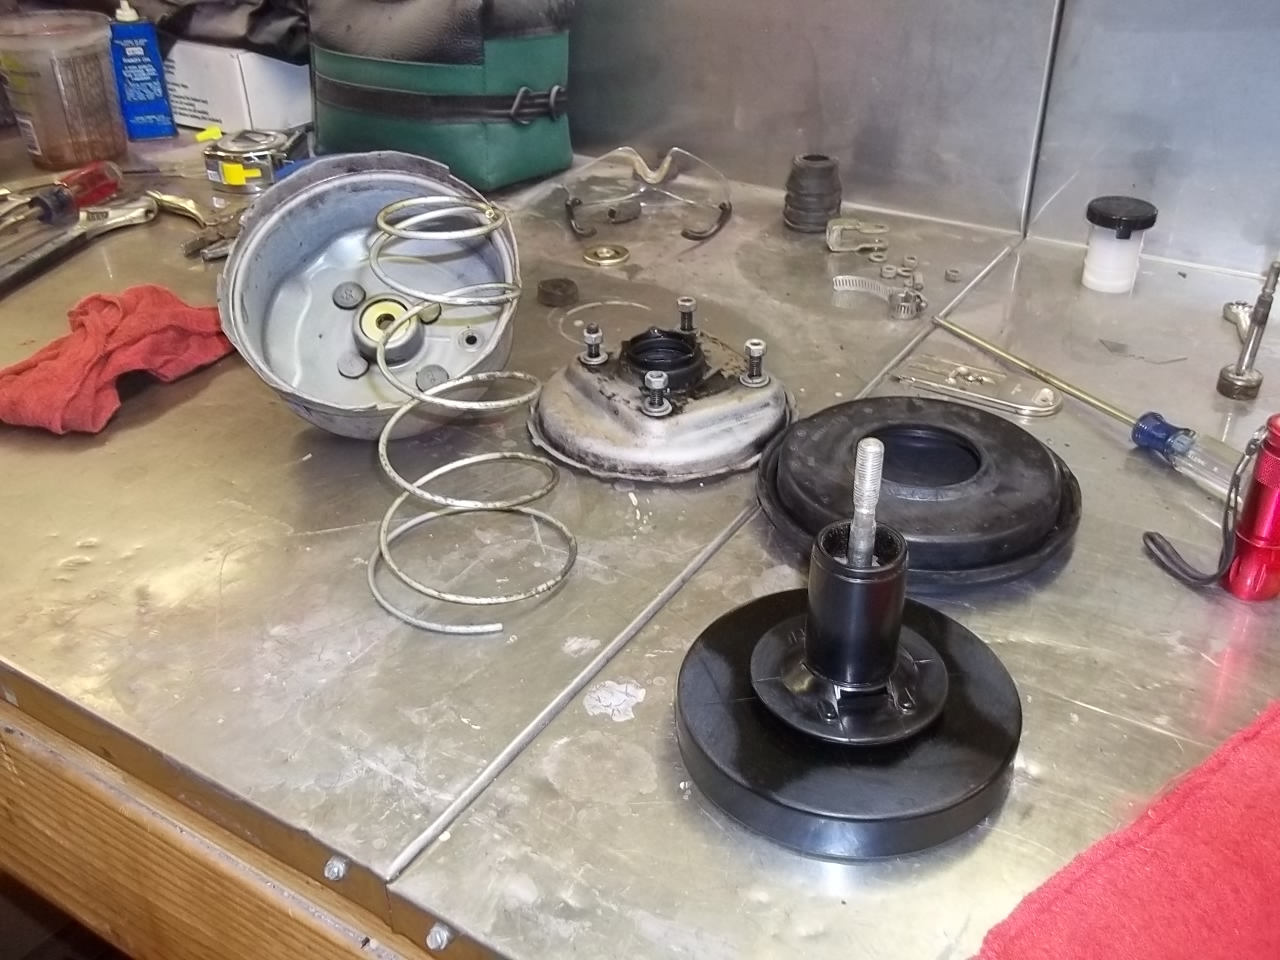
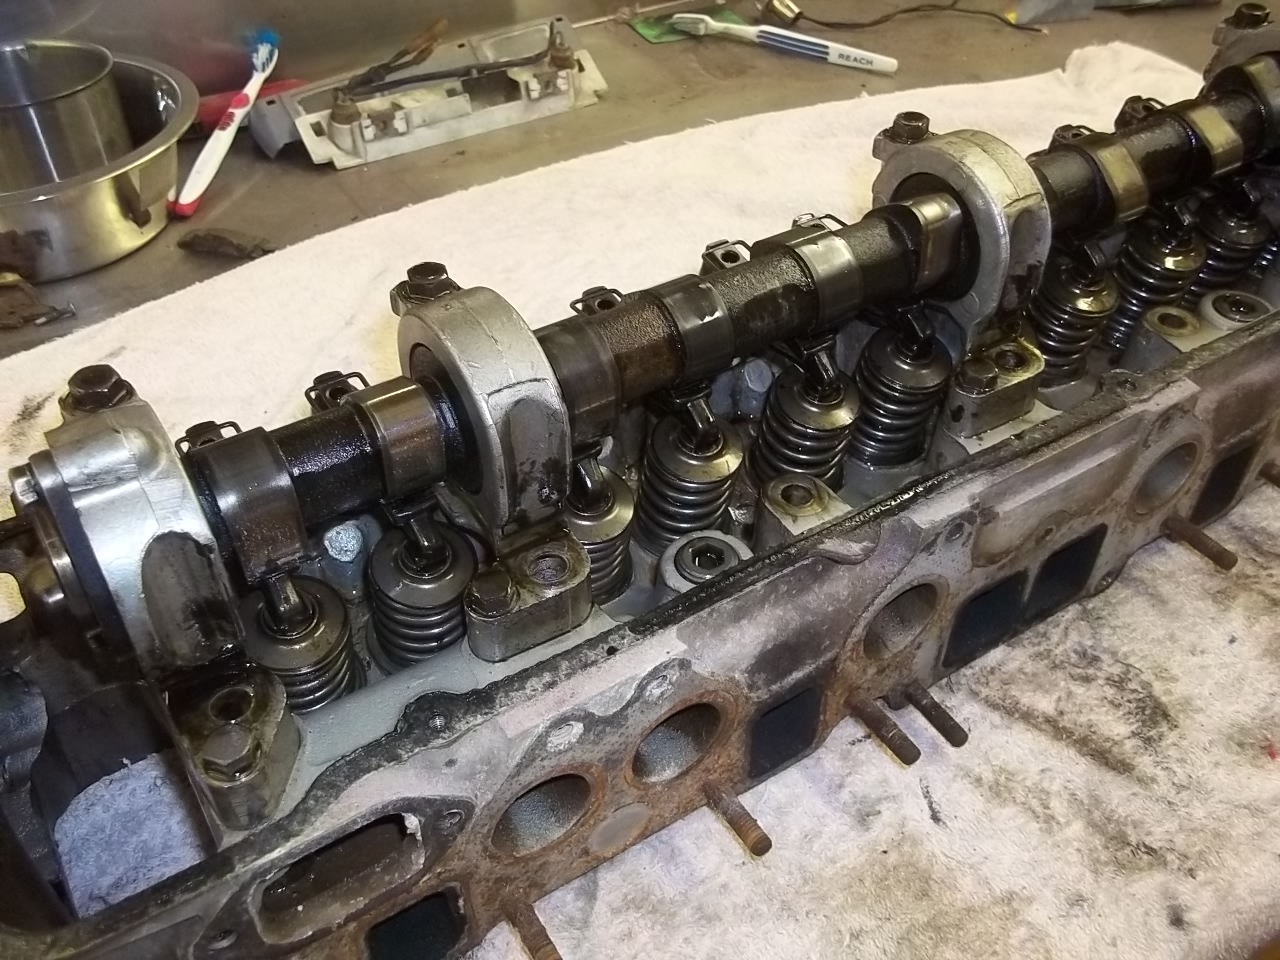
i decided that since i have everything torn apart, i might as well replace the main and rod bearings. they should be in my hands monday. so in the meantime, im getting everything else ready to put back together. here are a few parts that got powder-coated. a little trick i learned is to put aluminum foil under the parts. the over-spray powder sticks to the foil, and then you can scoop it up and use it again. there is quite a bit just from the distributor oil pan all clean and painted got the head torn down. not 1 broken stud or bolt if you havent tried this stuff yet, its worth every dime. it was only $7 a can. i was sure that the heater hose fitting would snap, but it came out like a greased turd


 ok guys, it sounds like there is a little confusion. i have an e31 head and an e31 l24 block that came in the car when i bought it. my original plan was to buy a l28 block and put the e31 head with bigger valves on it. bit, since tearing into the l24 block and finding that it has been newly re-built, i am going to stick with the l24 and e31 head. i think with bigger valves, webers, a header and a little porting work, it should breathe well enough. madkaw, they are 8mm rod bolts.
im sure jb weld would work for a while, or perhaps forever, but i think the heating-cooling cycle would eventually break that weld again and then it would be impossible to resolder. personally, i would pull it out and take it to a shop and have it gone through while its out of the car
nice looking z car
CO, i have a few pics on my re-build thread, they may help a bit. i used a pair of vise grips on the "v" shaped part of the outer flange that holds the case halves together. clamp them on there tight, then use a large crescent wrench to turn the vise grips. this basically will open the "v" up and allow you to separate the 2 halves.
ok guys, it sounds like there is a little confusion. i have an e31 head and an e31 l24 block that came in the car when i bought it. my original plan was to buy a l28 block and put the e31 head with bigger valves on it. bit, since tearing into the l24 block and finding that it has been newly re-built, i am going to stick with the l24 and e31 head. i think with bigger valves, webers, a header and a little porting work, it should breathe well enough. madkaw, they are 8mm rod bolts.
im sure jb weld would work for a while, or perhaps forever, but i think the heating-cooling cycle would eventually break that weld again and then it would be impossible to resolder. personally, i would pull it out and take it to a shop and have it gone through while its out of the car
nice looking z car
CO, i have a few pics on my re-build thread, they may help a bit. i used a pair of vise grips on the "v" shaped part of the outer flange that holds the case halves together. clamp them on there tight, then use a large crescent wrench to turn the vise grips. this basically will open the "v" up and allow you to separate the 2 halves.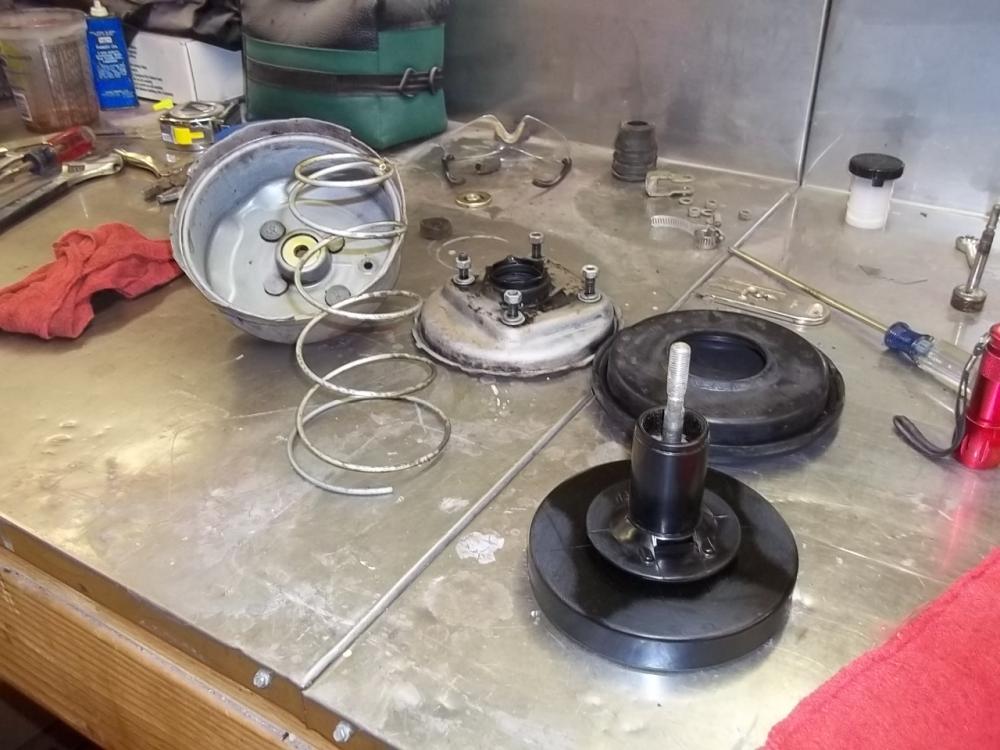 i have a fsm and the haynes manual. the haynes had the 280 intake but not the exhaust (it also listed the early 240 exhaust as 35mm) and i couldnt find it in the fsm. google found me every other kind of valve on a 280 but the valves in the head thanks to you both sb
quick and easy (and yes ive done a search) intake and exhaust valve sizes for the 280z head thanks all sb
thats what ive been thinking
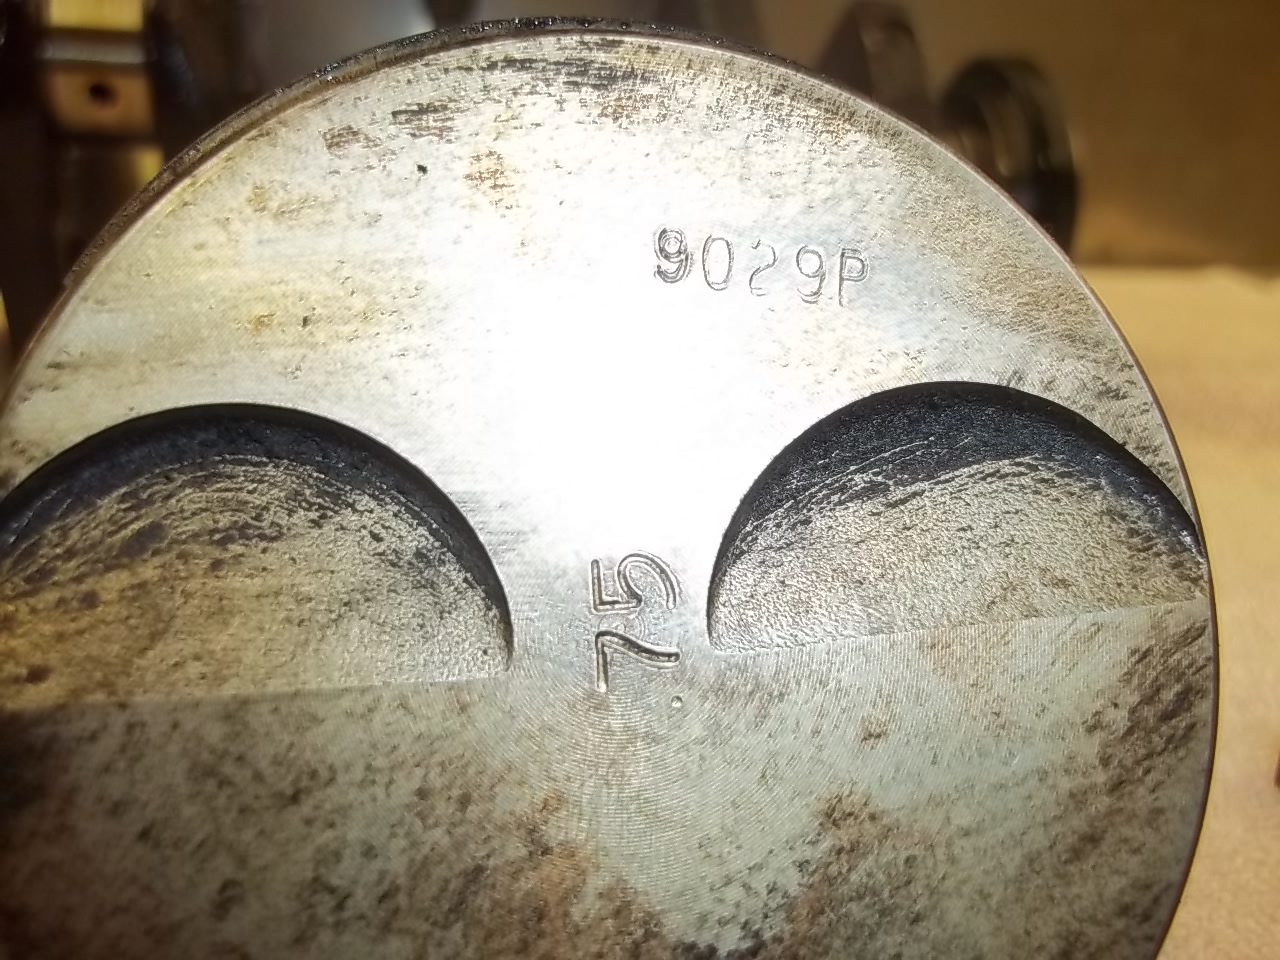
i have an E31 head. i dont think that this is the original block, though. my car is an early 72 and i have a E31 block.
thank you guys. from what i can measure, the bore is .7mm over and the pistons were even at the top of the block. am i right in thinking the over-bore is to keep the valves from hitting the cylinder wall? ive read that can be fixed with a little grinding. im still thinking that bigger valves and a little head work might help get a few more horsepower out this block, even if it is only a 24. i have the webers and a header, so if i can get it to breathe................
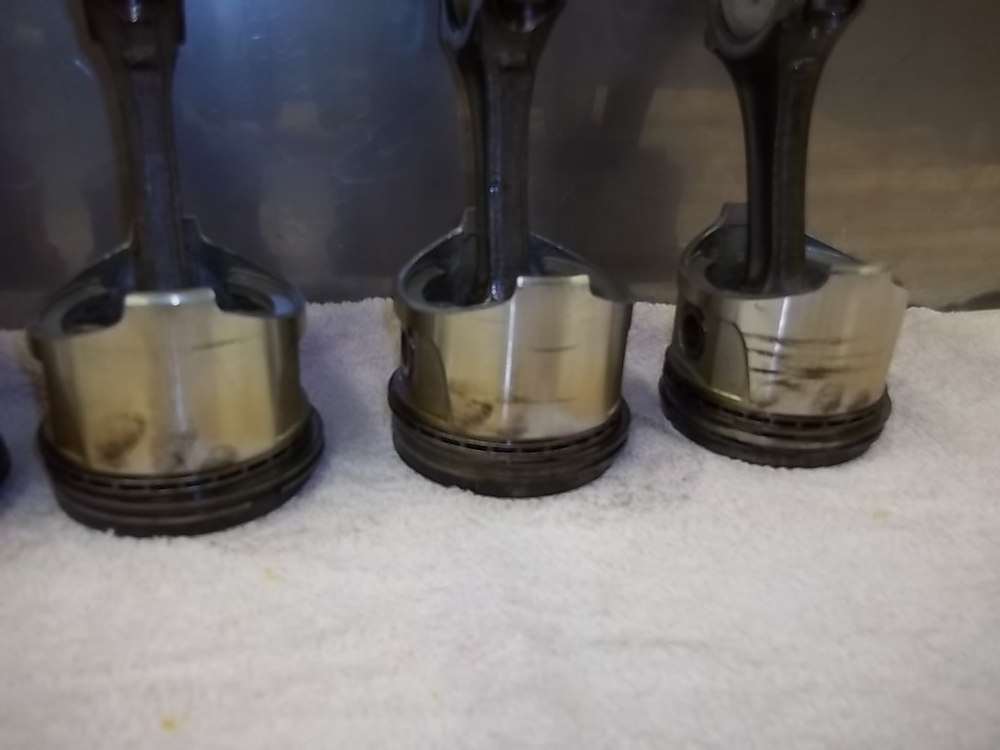
did stock pistons have a valve relief? i measured the lift at the valve and came up with .433 which is what my haynes manual says is factory lift. id like to jump up closer to .500 but am worried about valve-piston interference. do you think these would work with a higher lift cam?
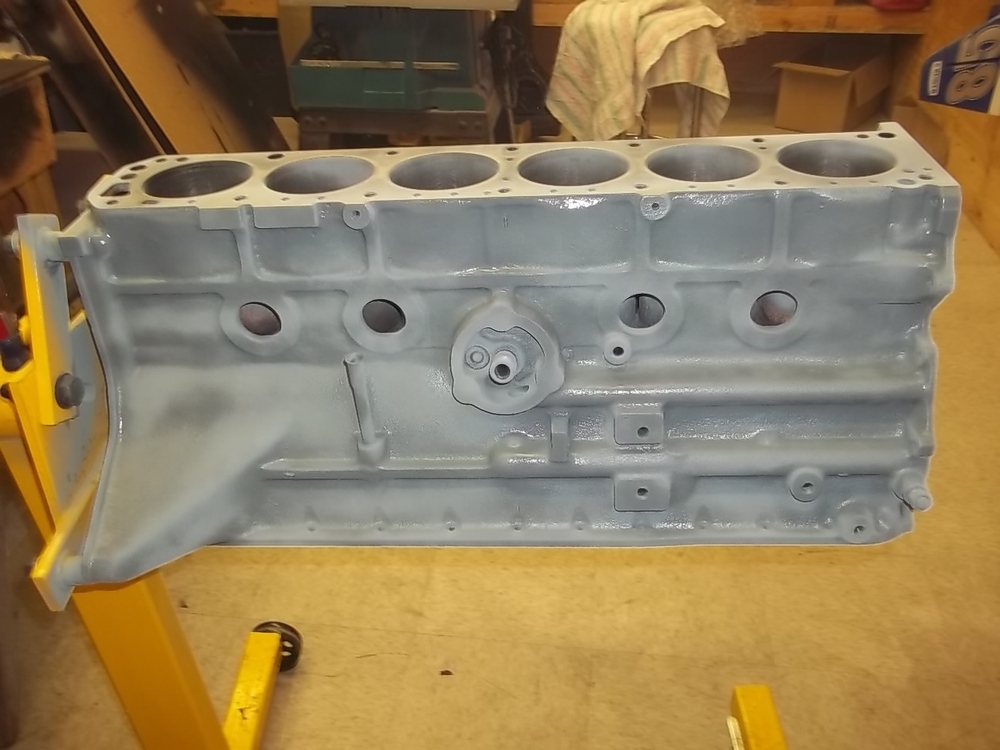
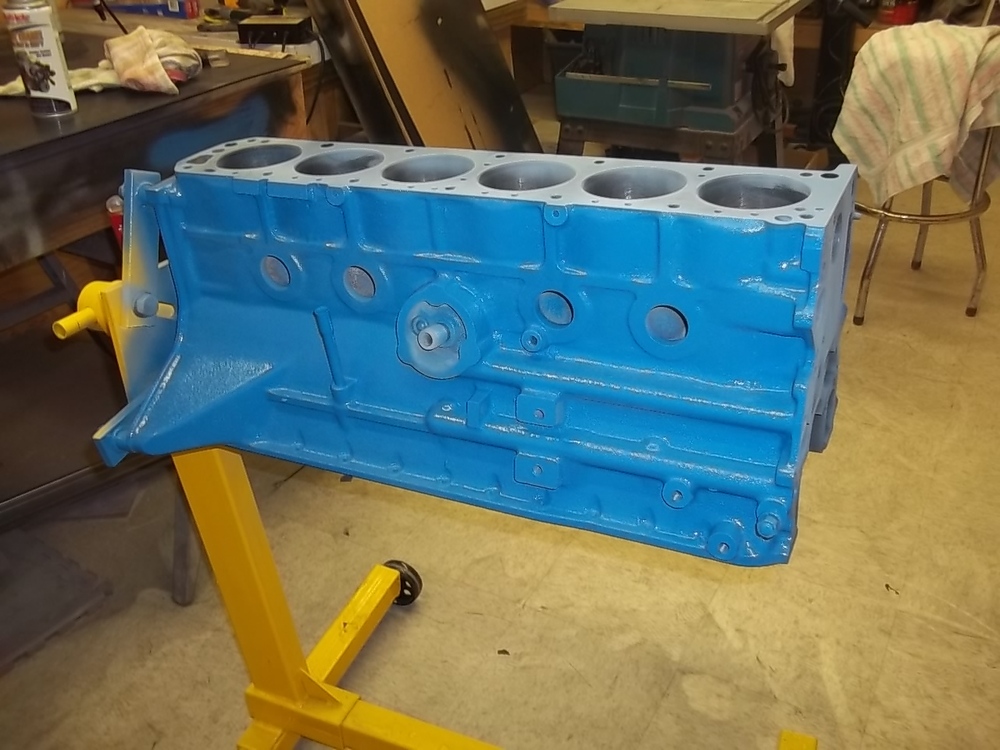
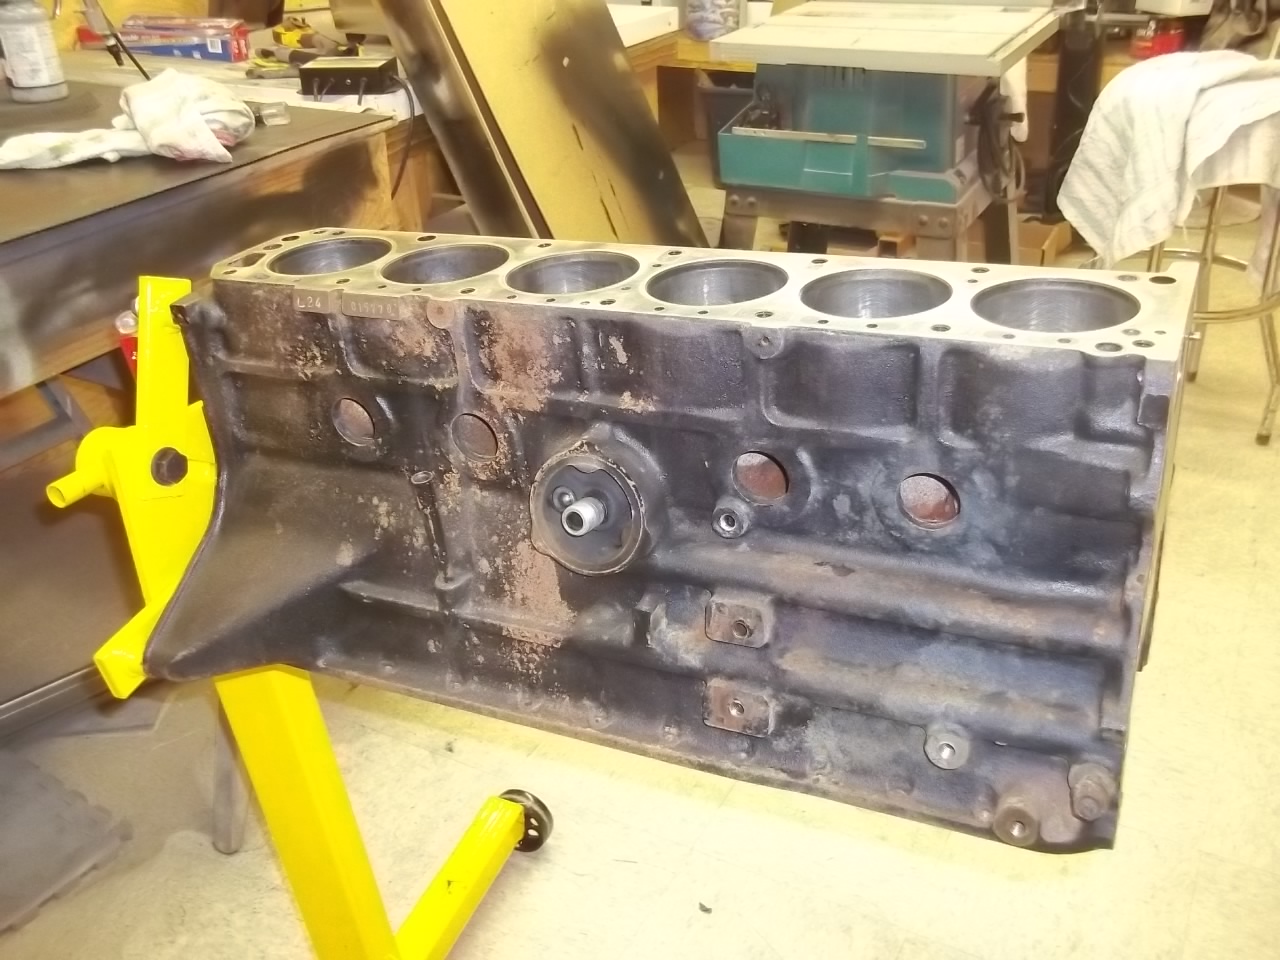
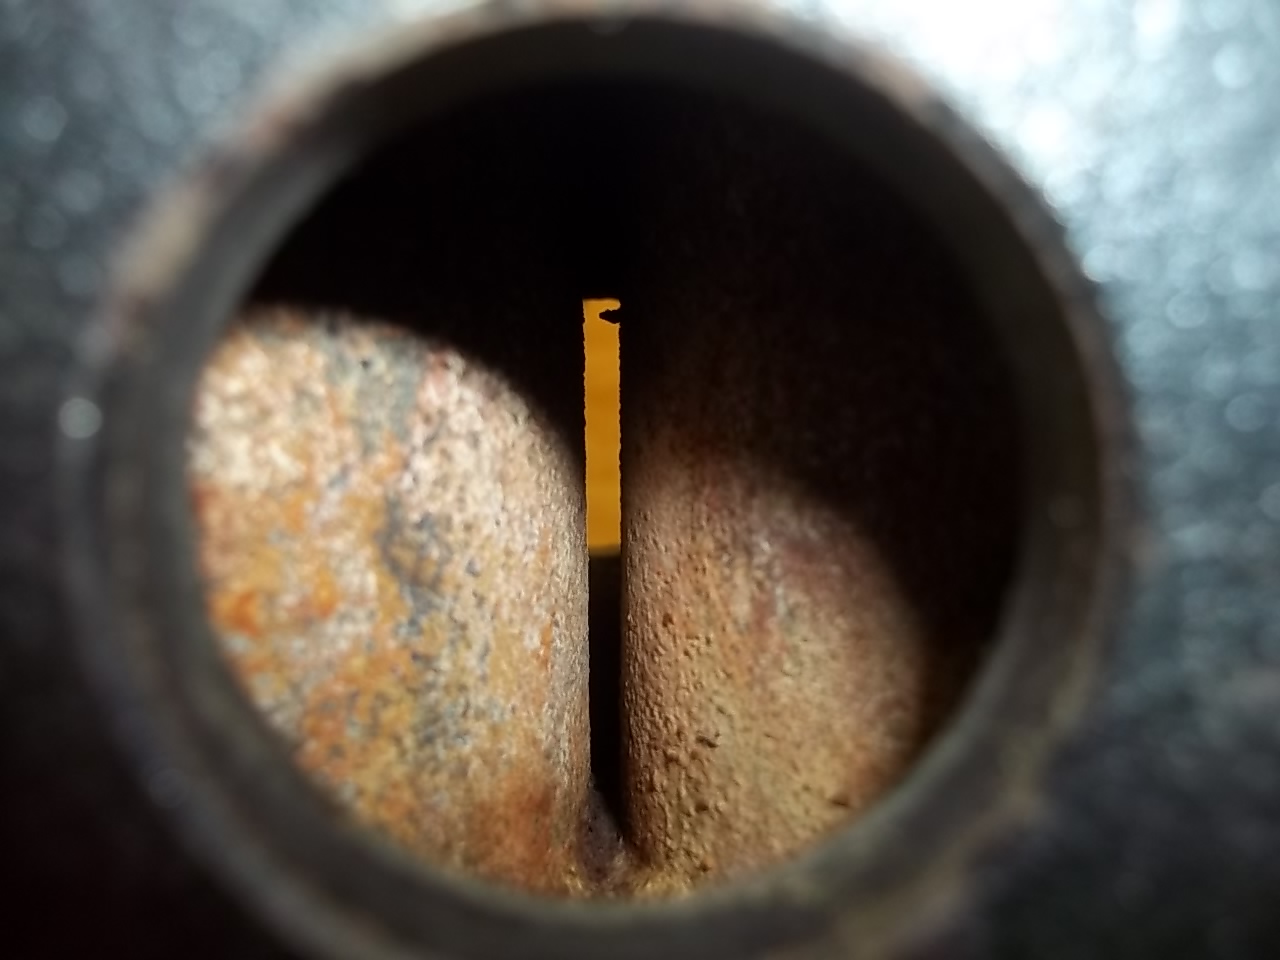
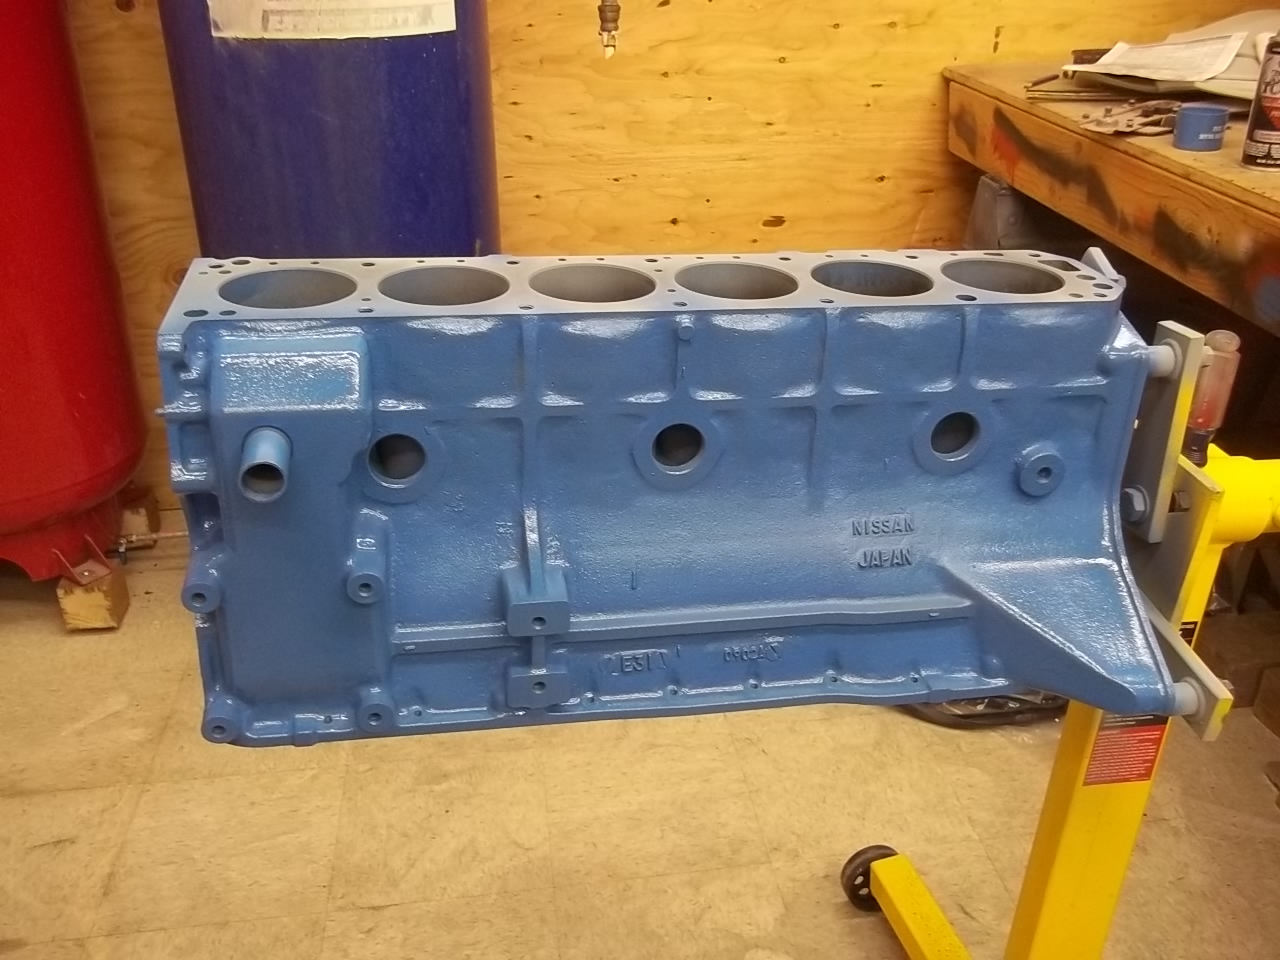
turned out to be another good, productive day. the whole bottom end is new. all the rod and main bearings are new, but still standard size. i miked all of them, and used some plastic gauge, everything checks out within tolerances. im debating a new set of bearings since its all apart, but they look fine. pistons right out of the block before cleaning block washed inside and out and ready for paint even water jackets are clean. primed and painted
i have a fsm and the haynes manual. the haynes had the 280 intake but not the exhaust (it also listed the early 240 exhaust as 35mm) and i couldnt find it in the fsm. google found me every other kind of valve on a 280 but the valves in the head thanks to you both sb
quick and easy (and yes ive done a search) intake and exhaust valve sizes for the 280z head thanks all sb
thats what ive been thinking
i have an E31 head. i dont think that this is the original block, though. my car is an early 72 and i have a E31 block.
thank you guys. from what i can measure, the bore is .7mm over and the pistons were even at the top of the block. am i right in thinking the over-bore is to keep the valves from hitting the cylinder wall? ive read that can be fixed with a little grinding. im still thinking that bigger valves and a little head work might help get a few more horsepower out this block, even if it is only a 24. i have the webers and a header, so if i can get it to breathe................
did stock pistons have a valve relief? i measured the lift at the valve and came up with .433 which is what my haynes manual says is factory lift. id like to jump up closer to .500 but am worried about valve-piston interference. do you think these would work with a higher lift cam?
turned out to be another good, productive day. the whole bottom end is new. all the rod and main bearings are new, but still standard size. i miked all of them, and used some plastic gauge, everything checks out within tolerances. im debating a new set of bearings since its all apart, but they look fine. pistons right out of the block before cleaning block washed inside and out and ready for paint even water jackets are clean. primed and painted


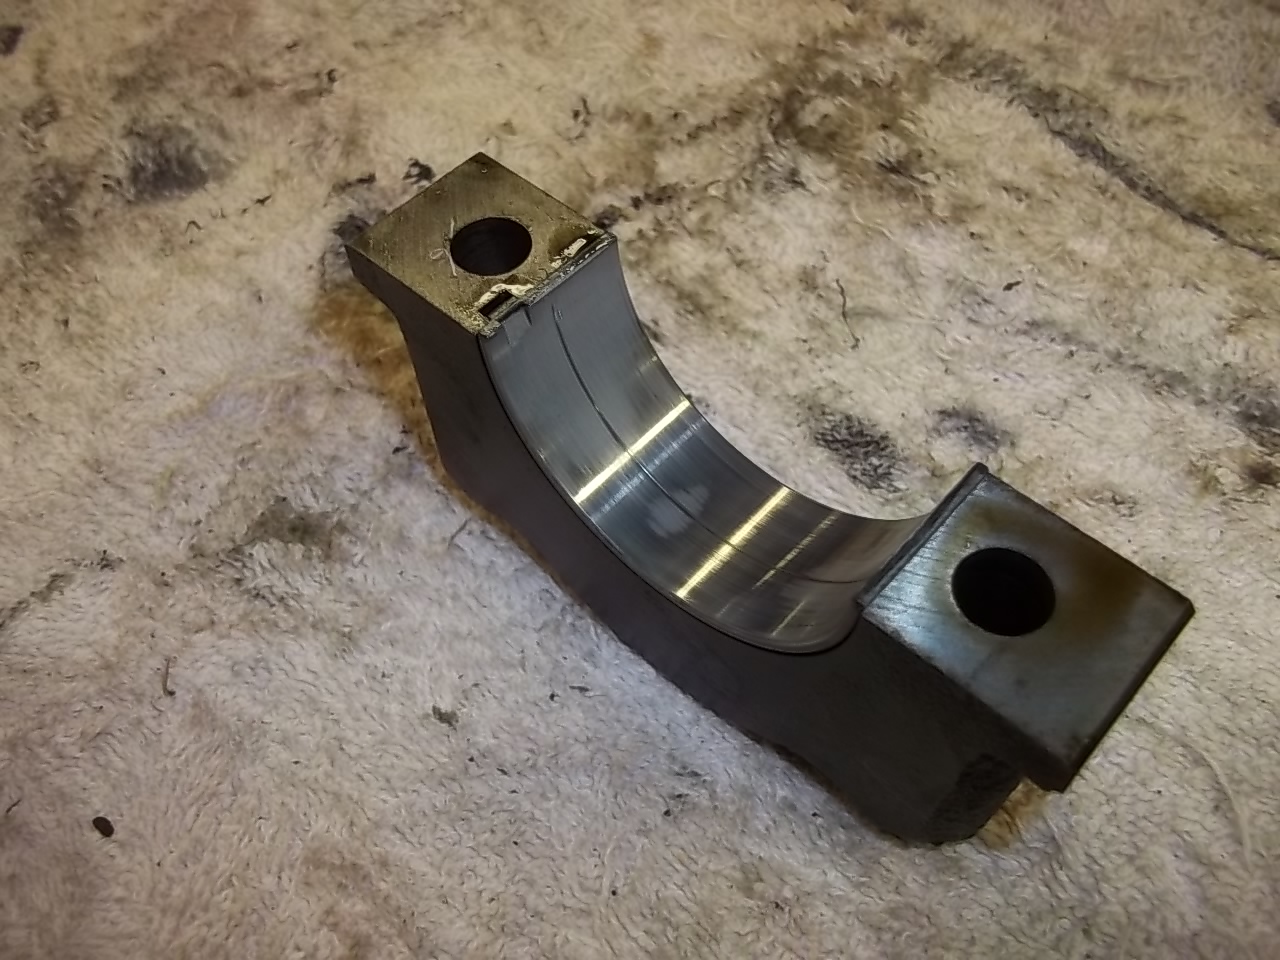
 the 2 short end pieces are a little loose in their sockets, but i think i can braze them. other than that, it looks like new
that is one of the things i was dreading, but not 1 broken bolt or stud i am going to replace them all though
very, very nice!
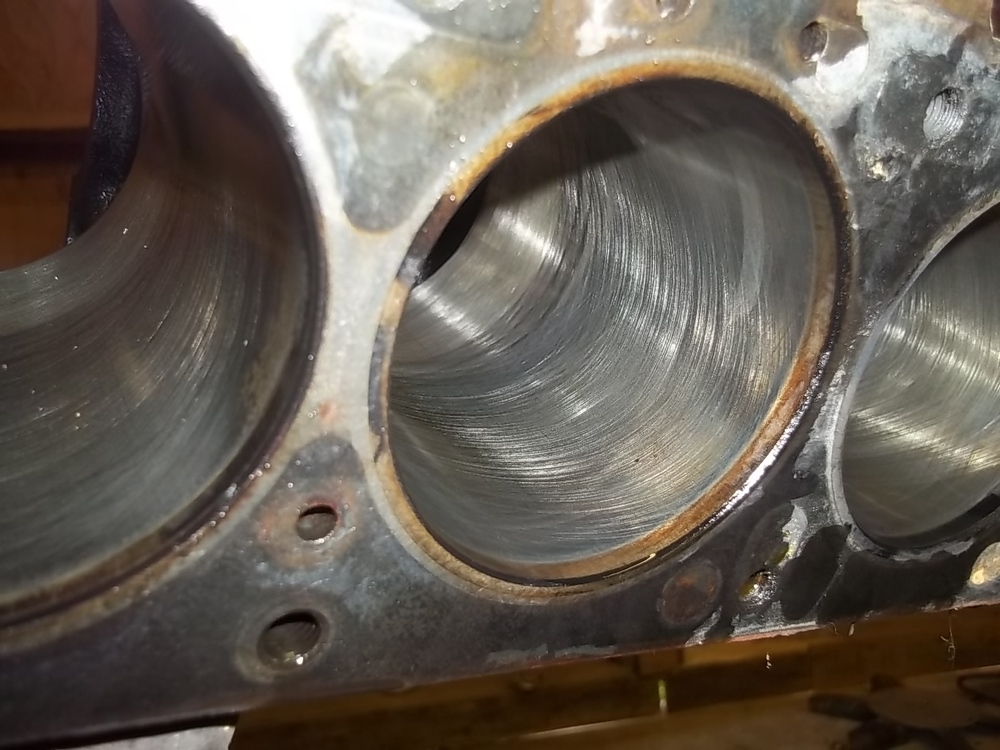
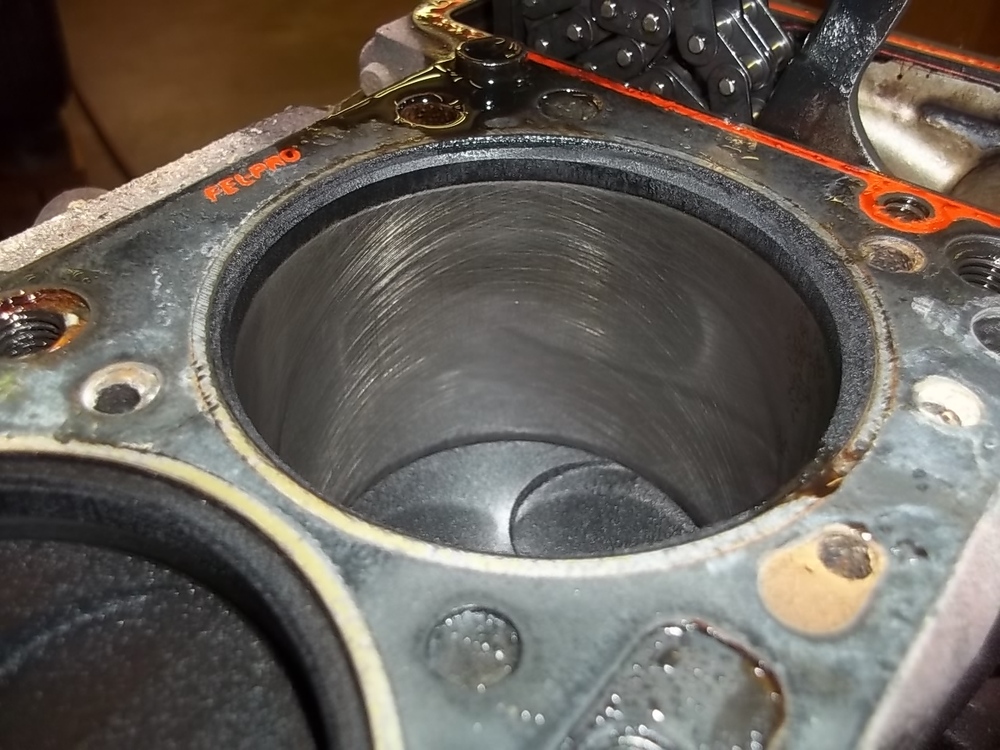
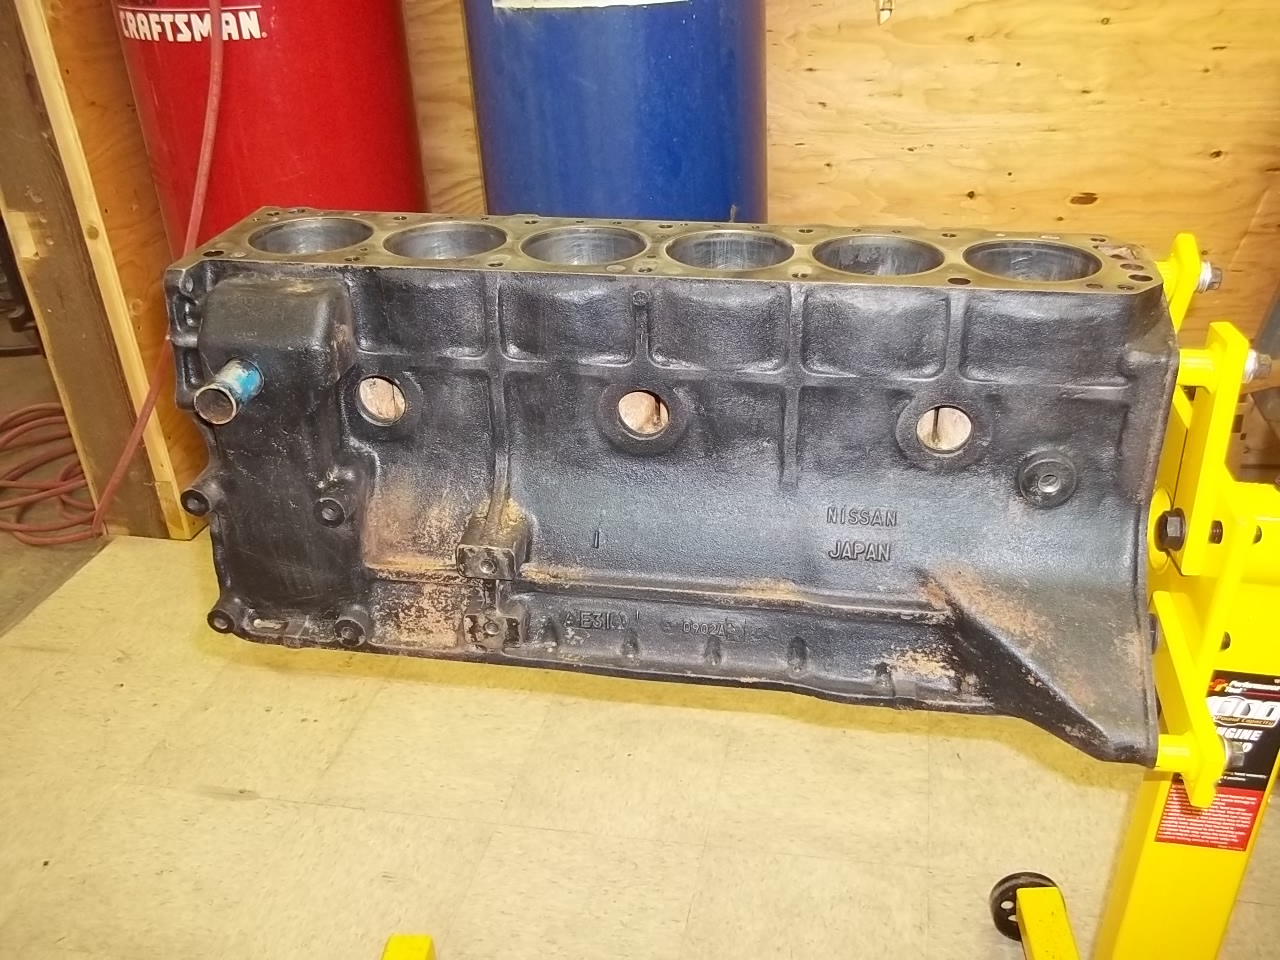
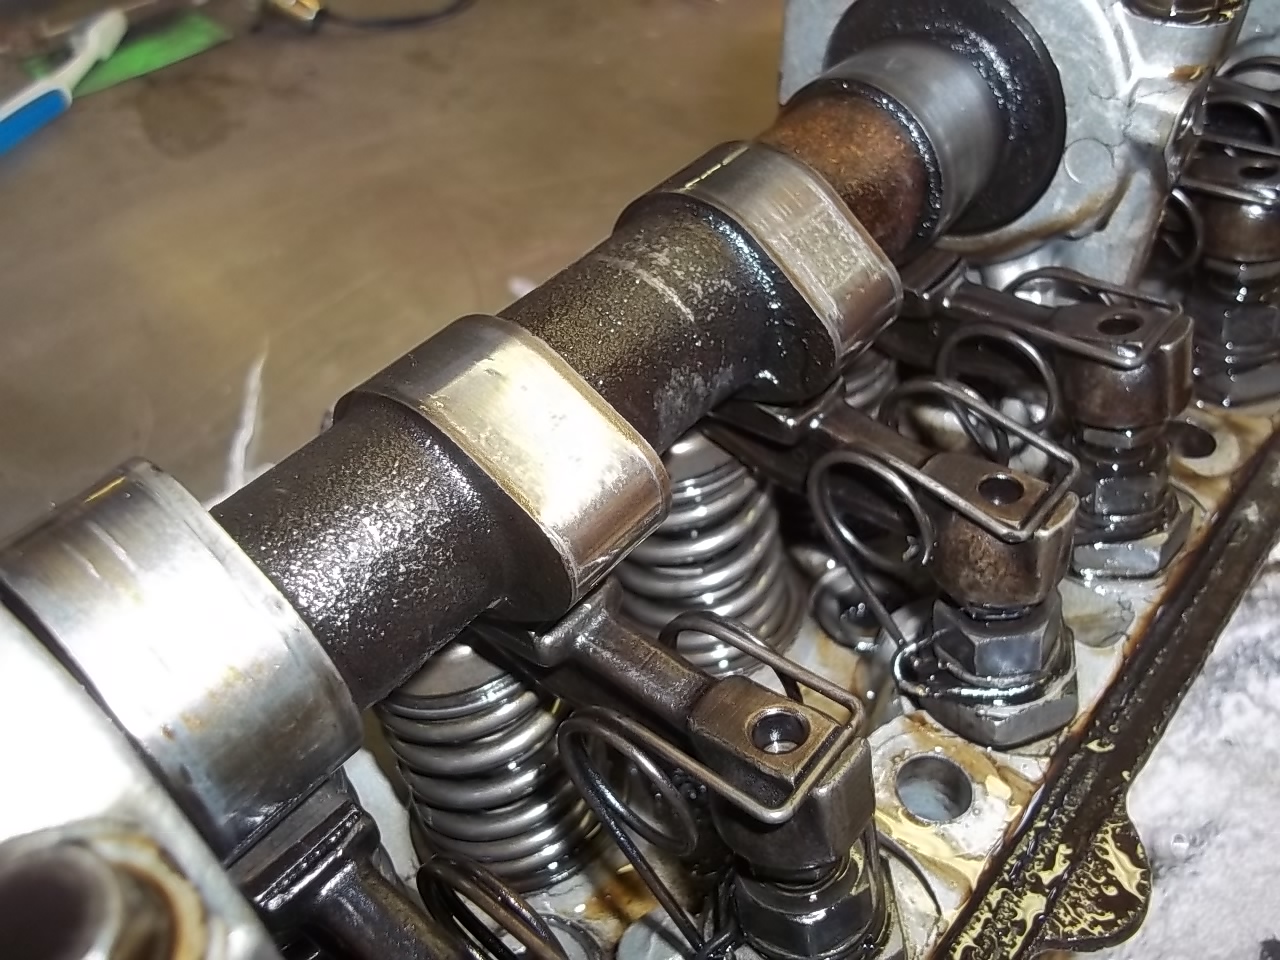
yesterday turned out to be a good day my plan has been to build a L28 block and use the E31 head. i went and bought an engine stand and got the head off. then i found this. this is an E31 block with zero ring ridge and fresh hone marks. my plans have changed, since this is going to save some big $$ now im thinking that ill put bigger valves, cam and springs in the head and just roll with the block. im going to pull the pan and check the bearings today. the head looks good, very clean. it does have the small valves and what looks to be the original cam. what do you guys think? any ideas?
the 2 short end pieces are a little loose in their sockets, but i think i can braze them. other than that, it looks like new
that is one of the things i was dreading, but not 1 broken bolt or stud i am going to replace them all though
very, very nice!
yesterday turned out to be a good day my plan has been to build a L28 block and use the E31 head. i went and bought an engine stand and got the head off. then i found this. this is an E31 block with zero ring ridge and fresh hone marks. my plans have changed, since this is going to save some big $$ now im thinking that ill put bigger valves, cam and springs in the head and just roll with the block. im going to pull the pan and check the bearings today. the head looks good, very clean. it does have the small valves and what looks to be the original cam. what do you guys think? any ideas?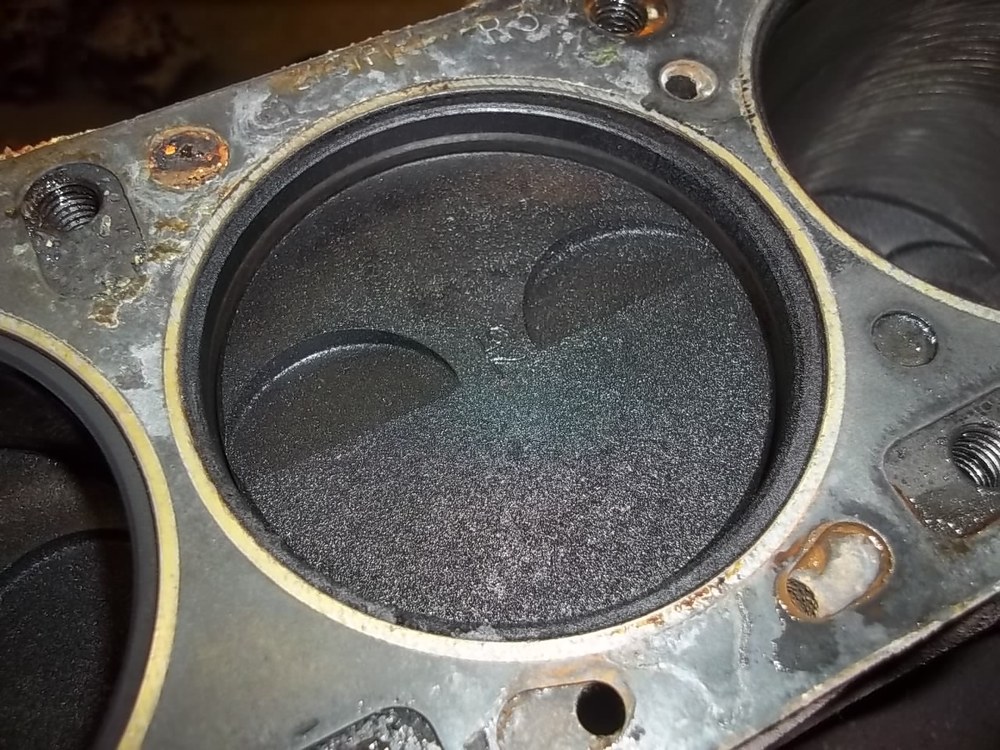

 if i have to take something apart that may have parts that go flying, i put it inside of a 1 gallon zip-lock bag. the bags are easy enough to see through, and will keep the parts from flying.
i have been using this https://www.berrymanproducts.com/products/eco-friendly-products/berryman-chem-dip-carburetor-and-parts-cleaner/ it destroys paint. and cleans alot of the other crap off, but wont hurt rubber. ive been just letting parts soak over-night and then rinse with water
check your ground for clean and tight. you might add some dielectric grease to stop corrosion too.
if i have to take something apart that may have parts that go flying, i put it inside of a 1 gallon zip-lock bag. the bags are easy enough to see through, and will keep the parts from flying.
i have been using this https://www.berrymanproducts.com/products/eco-friendly-products/berryman-chem-dip-carburetor-and-parts-cleaner/ it destroys paint. and cleans alot of the other crap off, but wont hurt rubber. ive been just letting parts soak over-night and then rinse with water
check your ground for clean and tight. you might add some dielectric grease to stop corrosion too.


Important Information
By using this site, you agree to our Privacy Policy and Guidelines. We have placed cookies on your device to help make this website better. You can adjust your cookie settings, otherwise we'll assume you're okay to continue.