grannyknot
Free Member
-
Joined
-
Last visited
Everything posted by grannyknot
-
 Just came across this product that looks like it might be useful, I haven't tried it yet but it looks promising. https://chicdelta.com/products/waterproof-solder-wire-connectors?variant=9024946831407
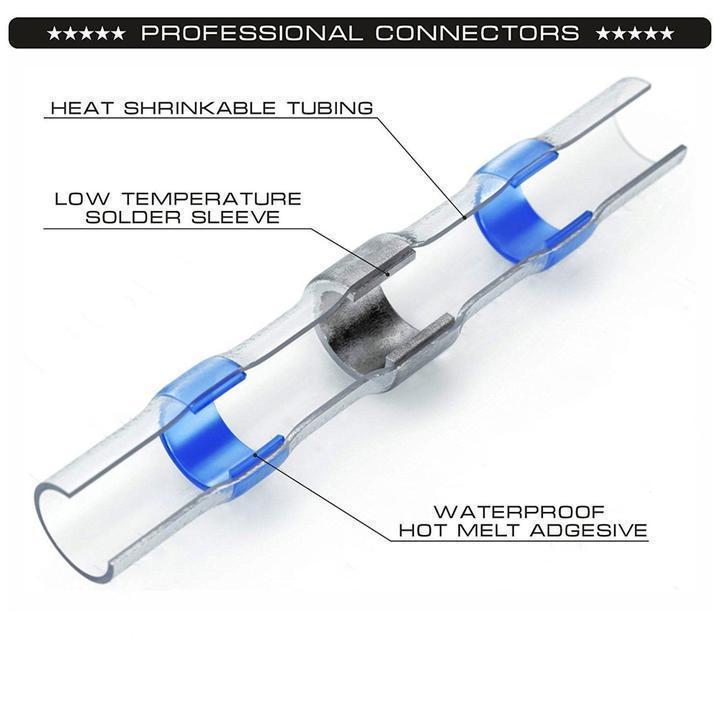
-
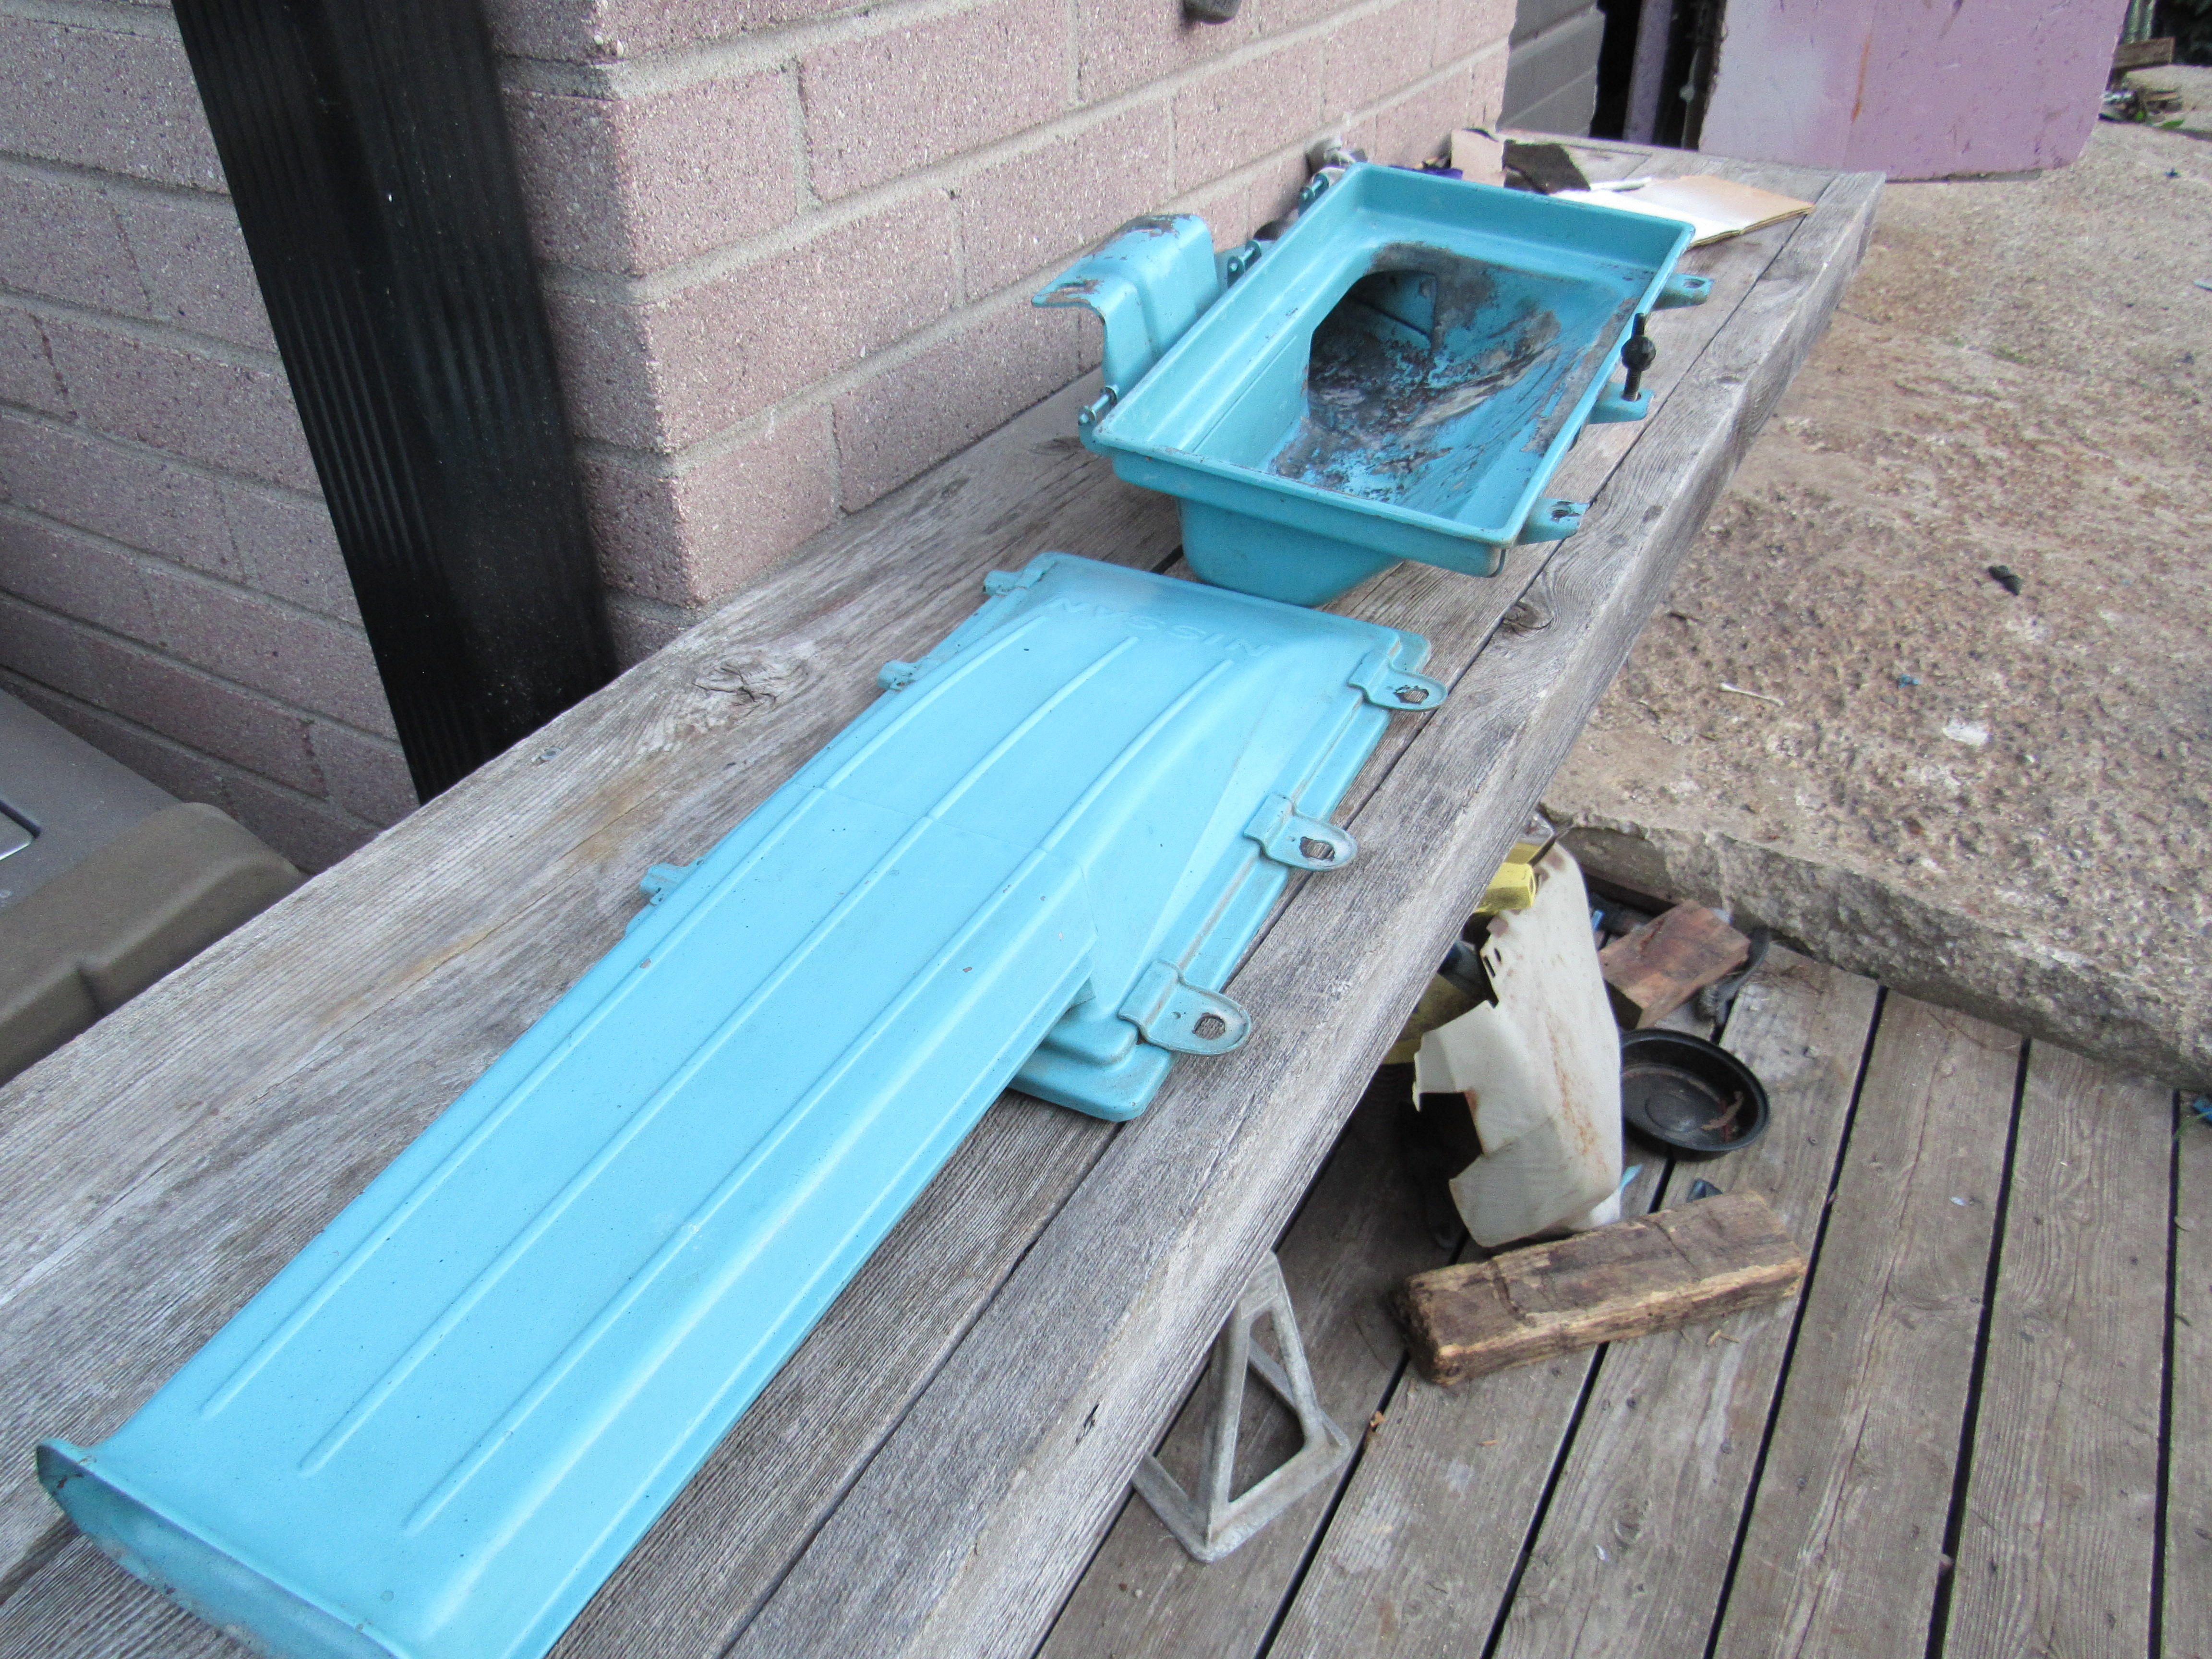
Does anyone have the paint code for the turquoise that is used on the 280z air box or know of a pre made rattle can paint that is a close match? The paint condition of the top half of the air box is almost good enough not to bother but the lower half really needs a new coat. Thanks

-
What are you using to keep the raised serial # area from rusting, clear coat?
-
-
I have cleaned up a few vin tags with some success, it is not ink but paint and very tough paint at that. I start with warm soapy water and a soft brush, wash it but don't let it soak, then I spray a bit of WD40 on a cloth and gently work away at taking the layers of crap off. Your tag doesn't look too bad and should clean up well but like others have said take the tag off yourself and keep it, so easy to lose things like that in a body shop.
-
My niece and her husband who is a firefighter lost their house in the Redding fire, he is still on the job.
-
OMG, E31 head, steering wheel, glass, roof, maybe the slot wheels, I wouldn't give him a cent over $800. The integrity of the unibody is gone, it's already sagging.
-
Damn, that looks good and strong, you don't need help just encouragement. Remember that the wings in front of the Rad support carry very little weight so don't need to be as beefy as the tube you have already built, in fact once you get in front of the Rad support you don't even need a tube, angle iron would do the job. Just make sure you provide a drainage hole near the front of that structure in case any any water gets in the fresh air hole.
-
It could be a nightmare underneath, it has some tell tale signs but who knows, go have a look. There is a minimum price these days to get Z.
-
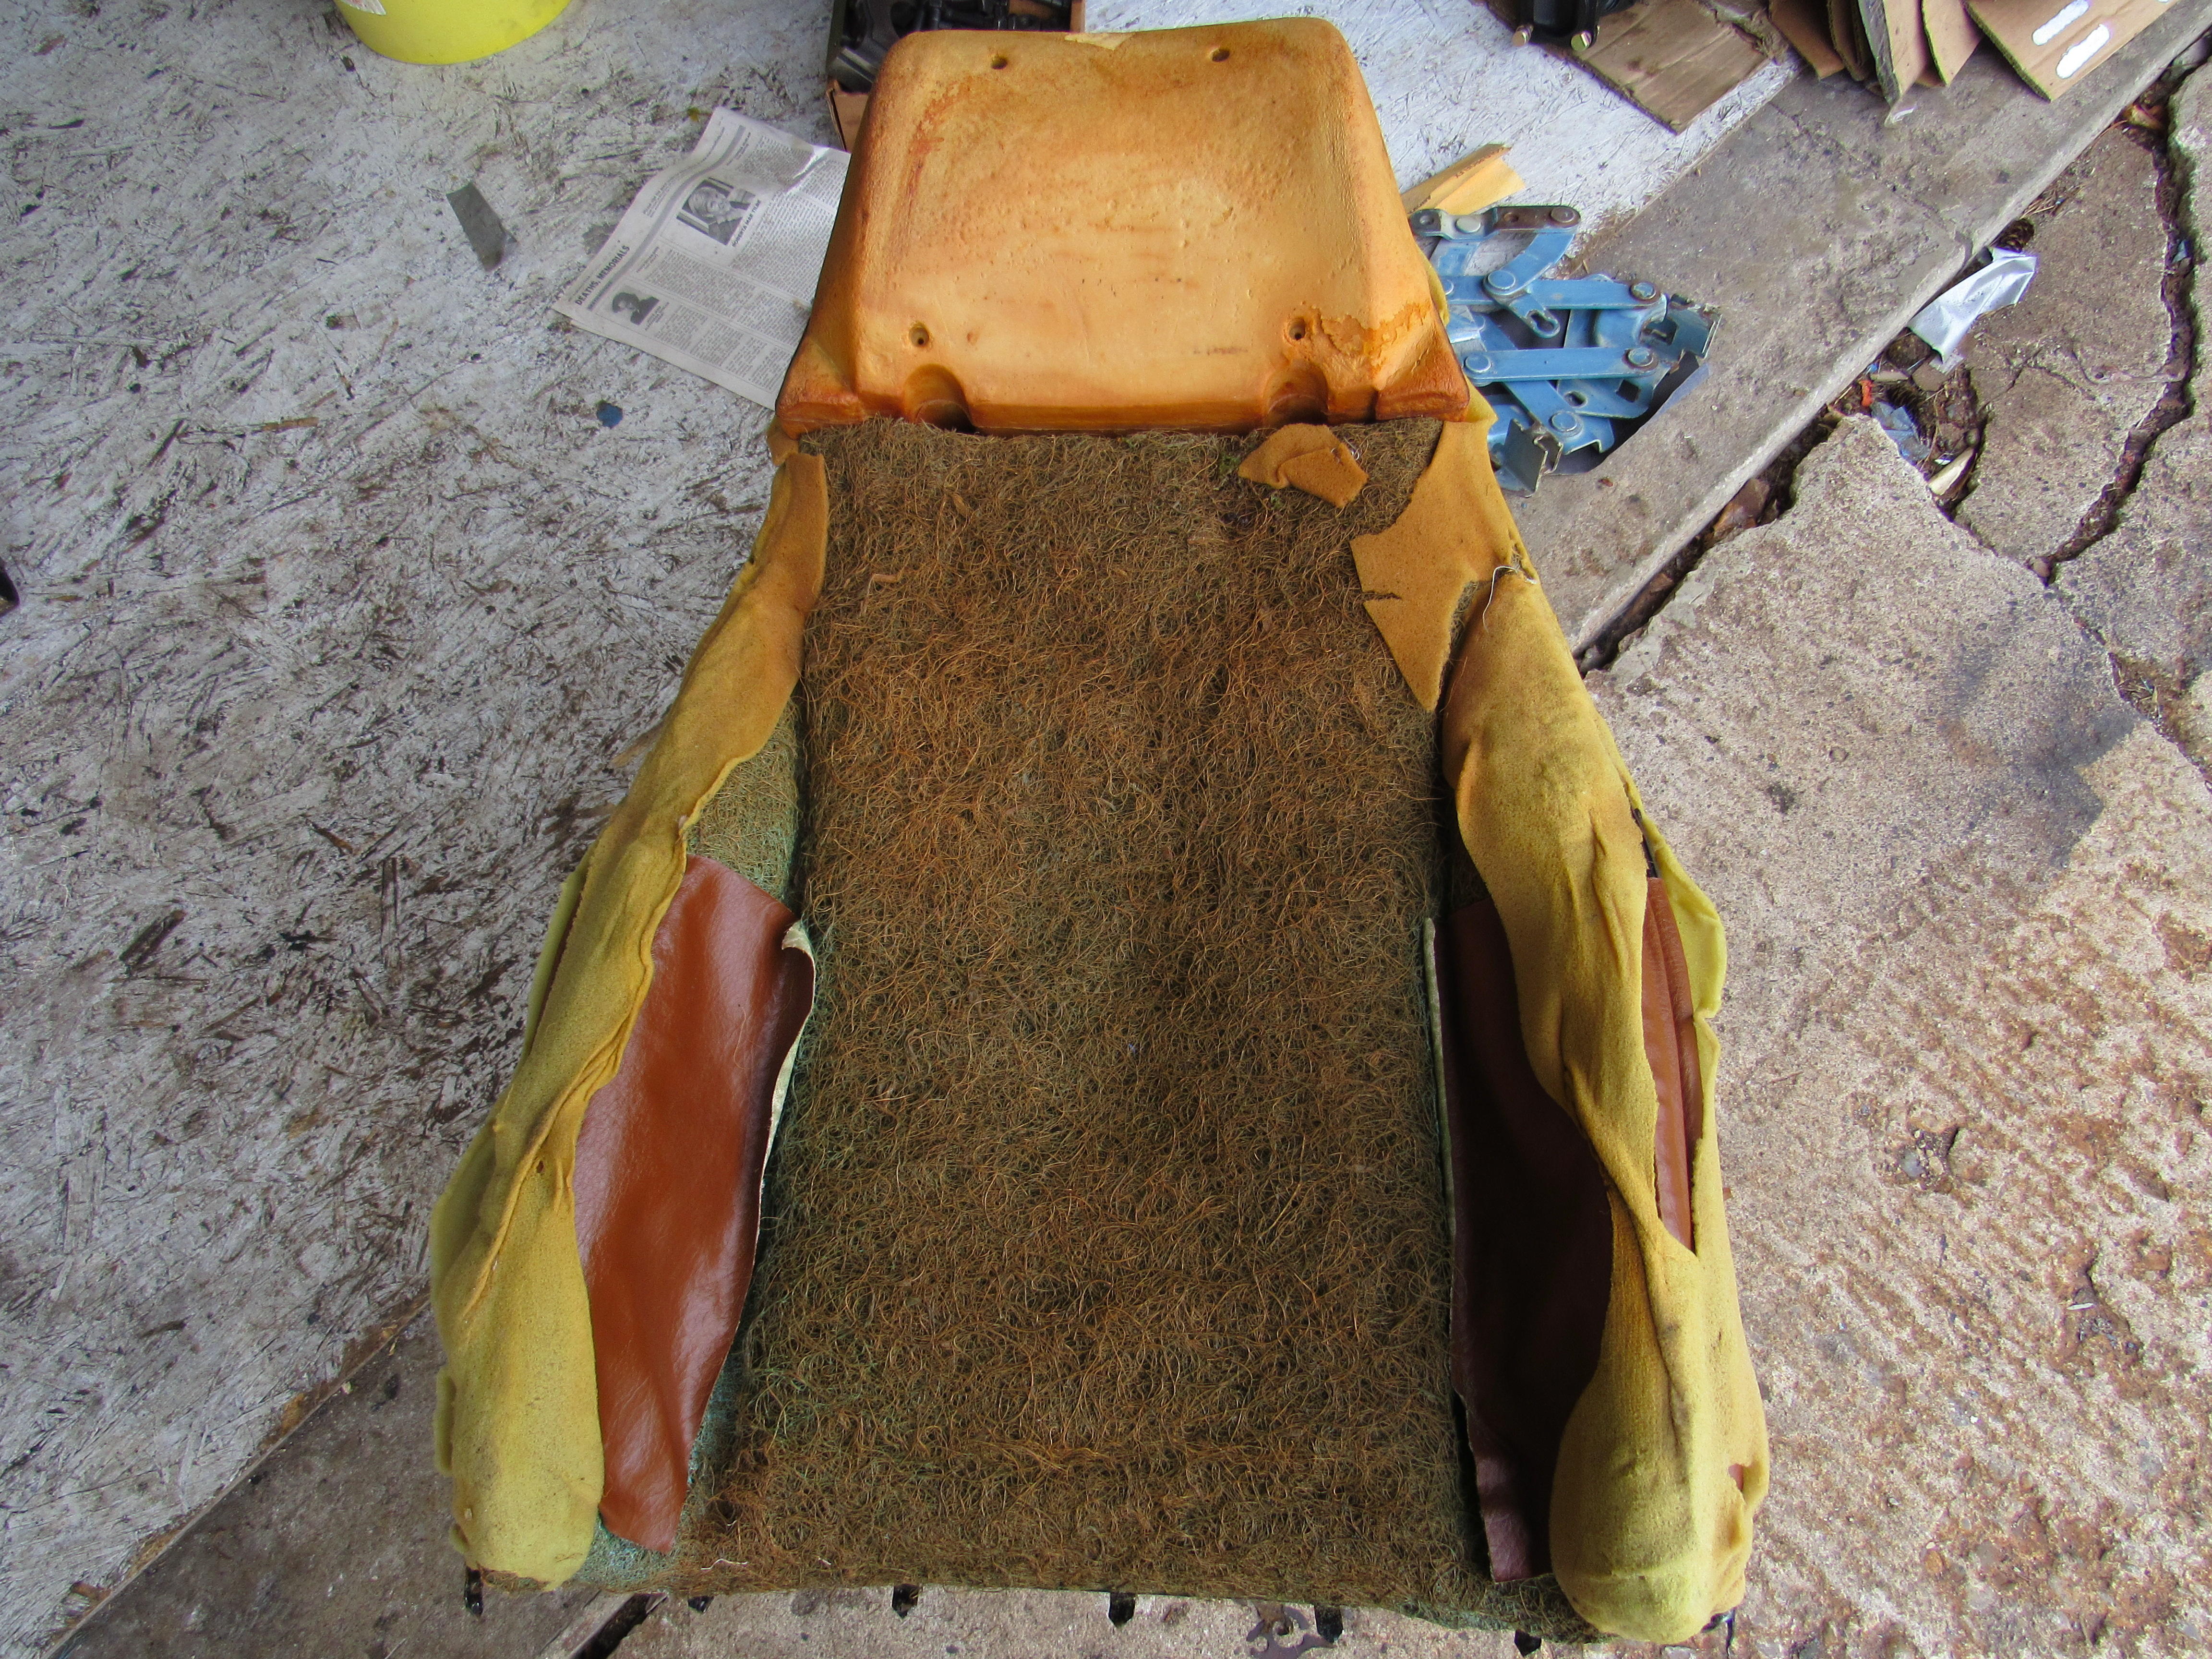
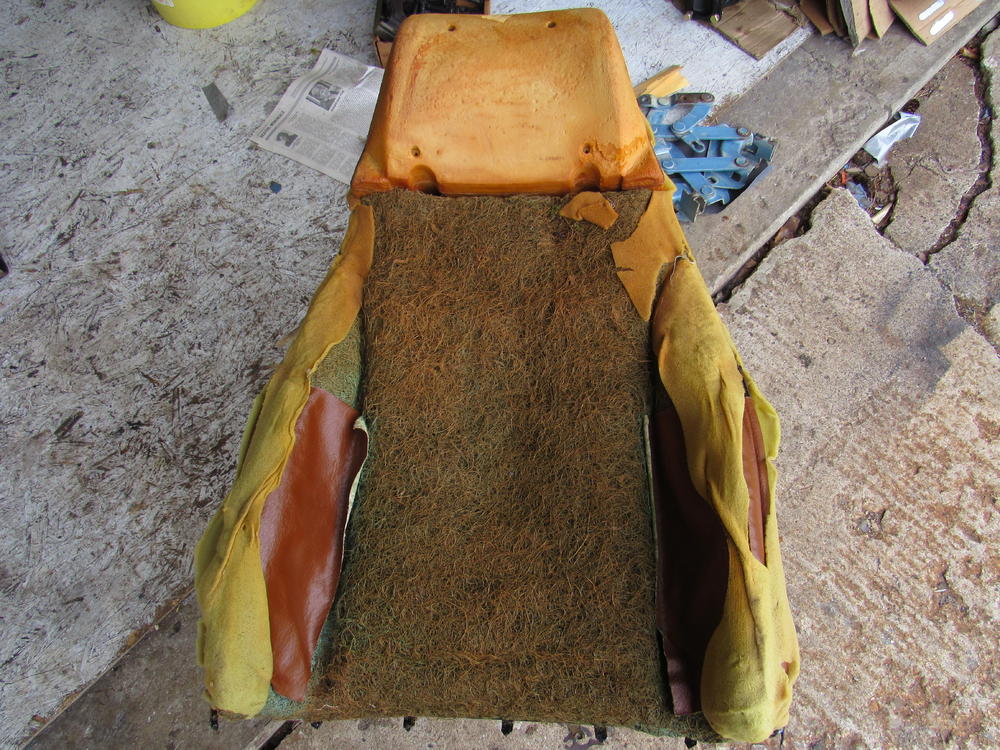
No, the seats where comfortable before but I may replace some of that horse hair with dense foam.
-
Post some pics of the area you are trying recreate and what you have so far, nobody will laugh...too much. As rturbo mentioned, 20ga is nice to work with an you can always add stiffeners afterward to strengthen it.
-
He said he would redo anything at no charge, I'll see if he will let me take some pics of the plating shop when I go to pick up the shaft, scary looking place, foul smelling, perfect for a horror flick.
-
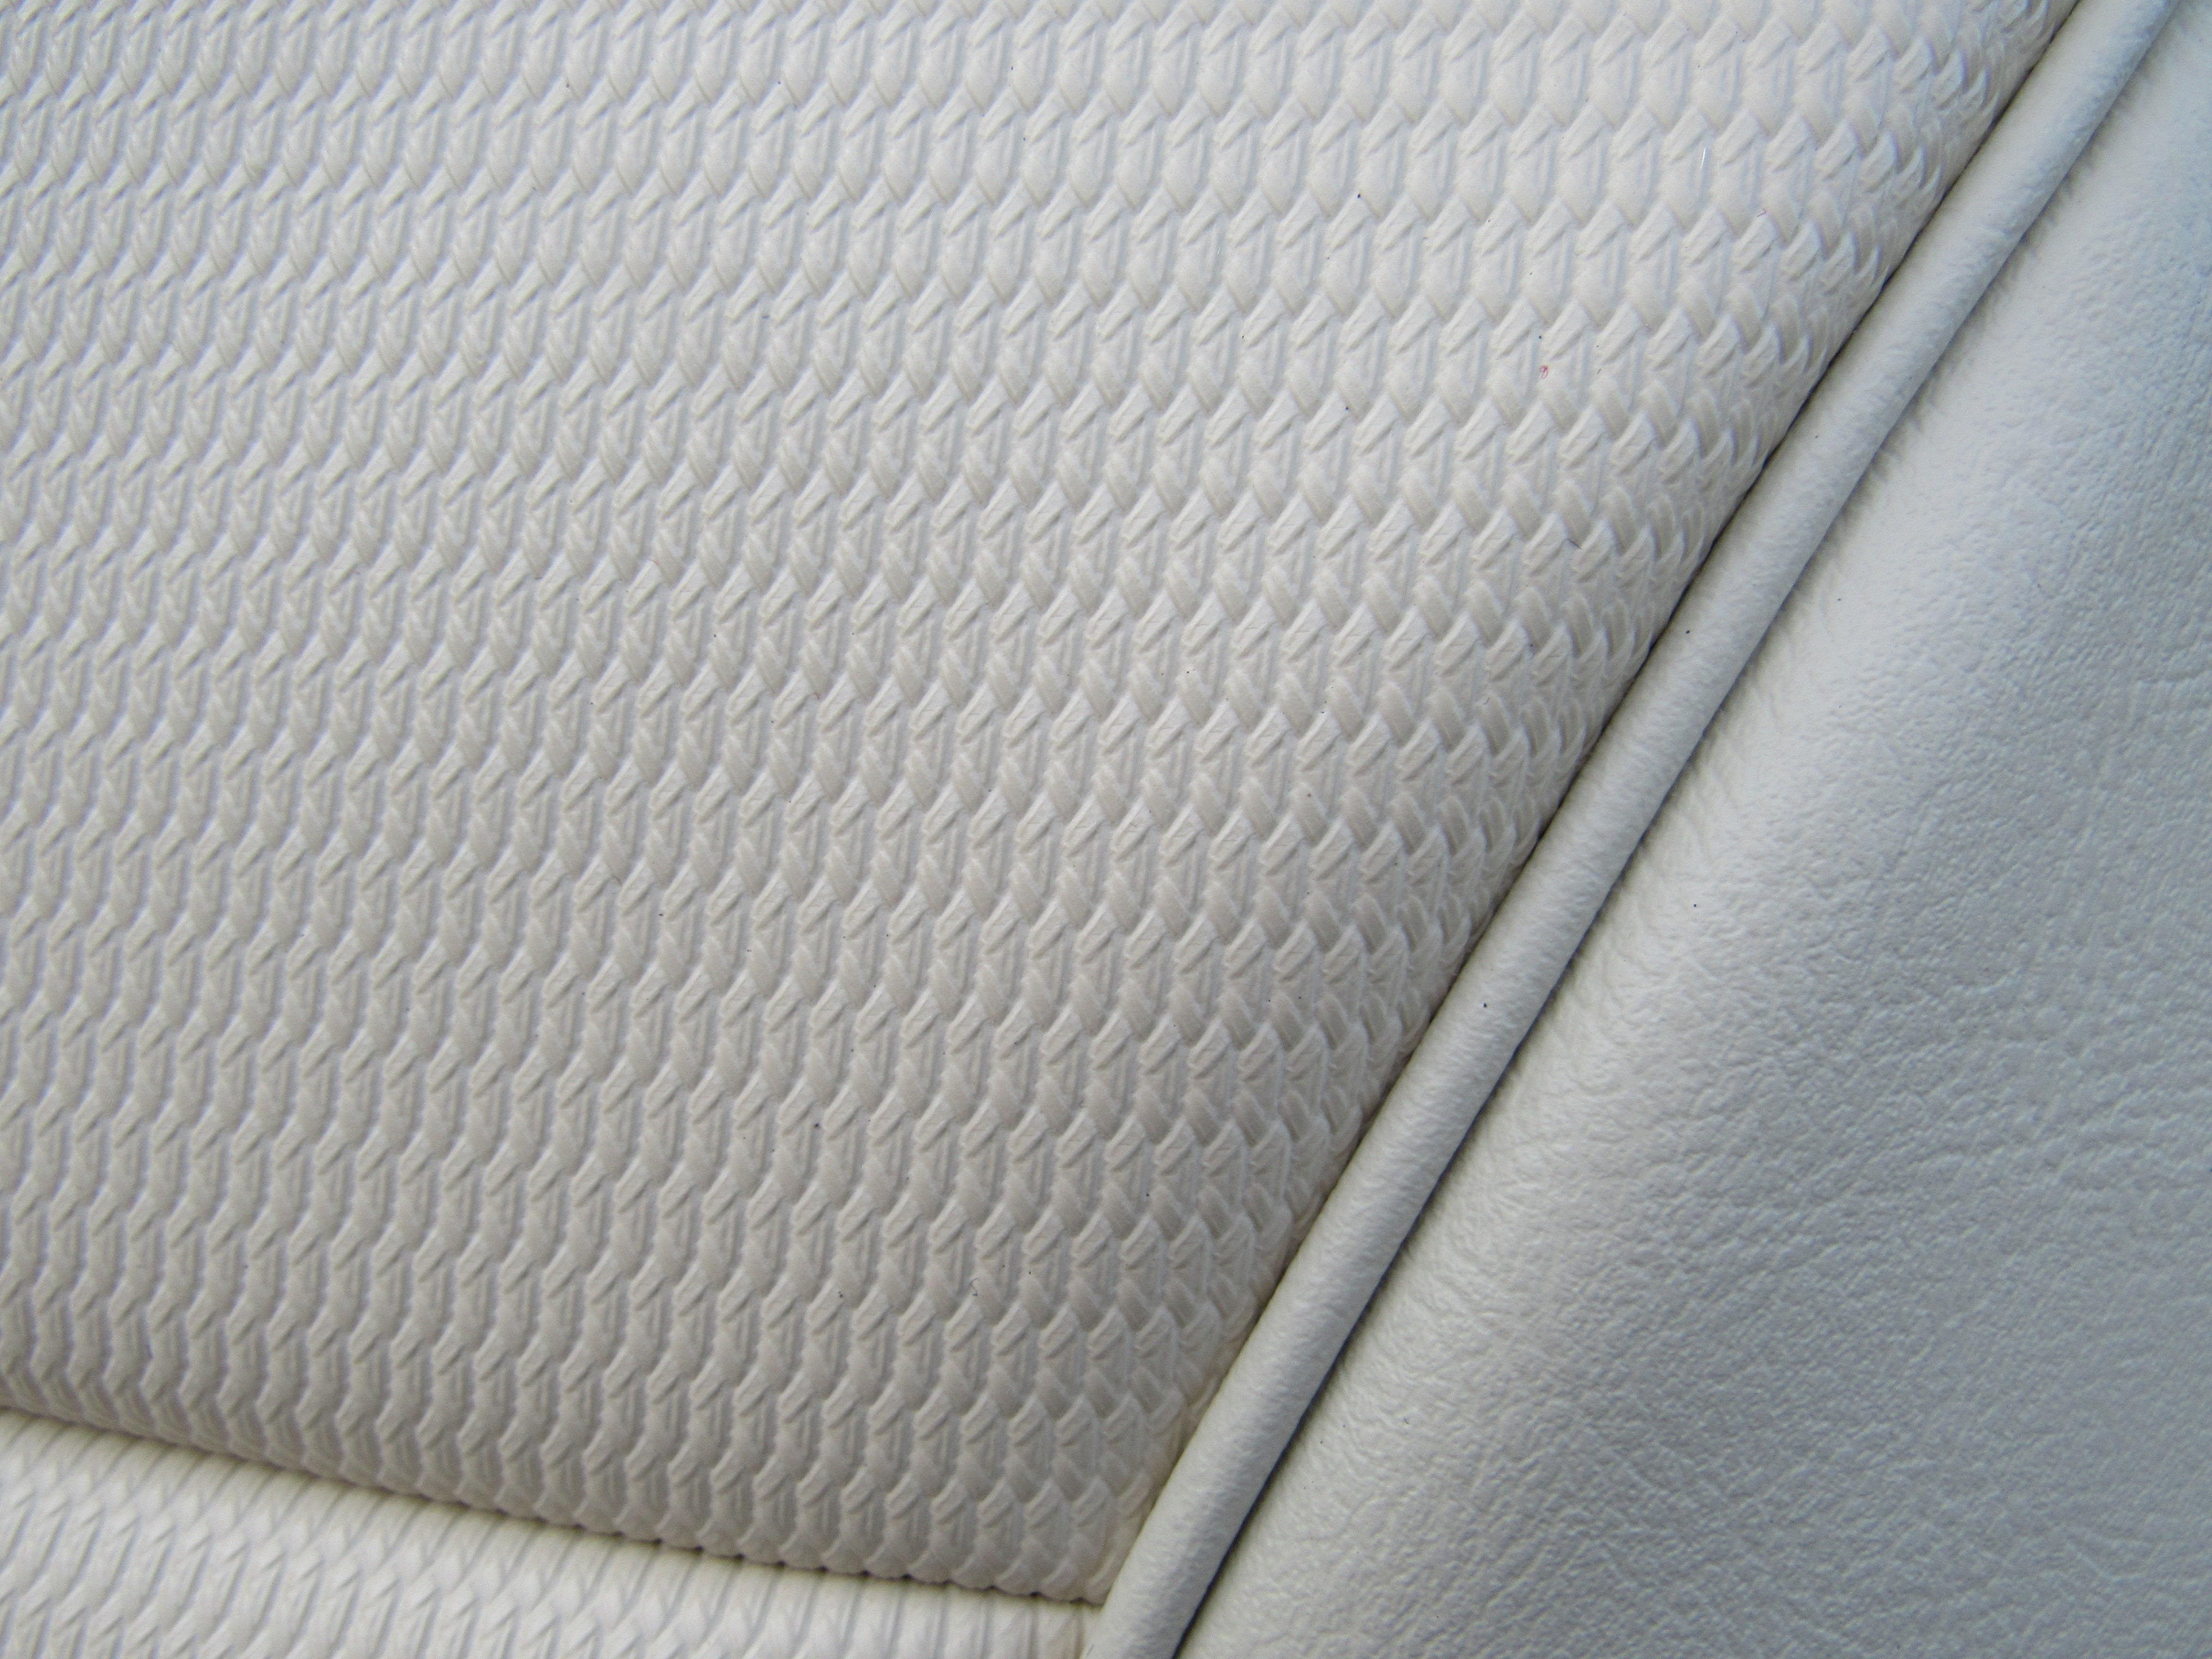
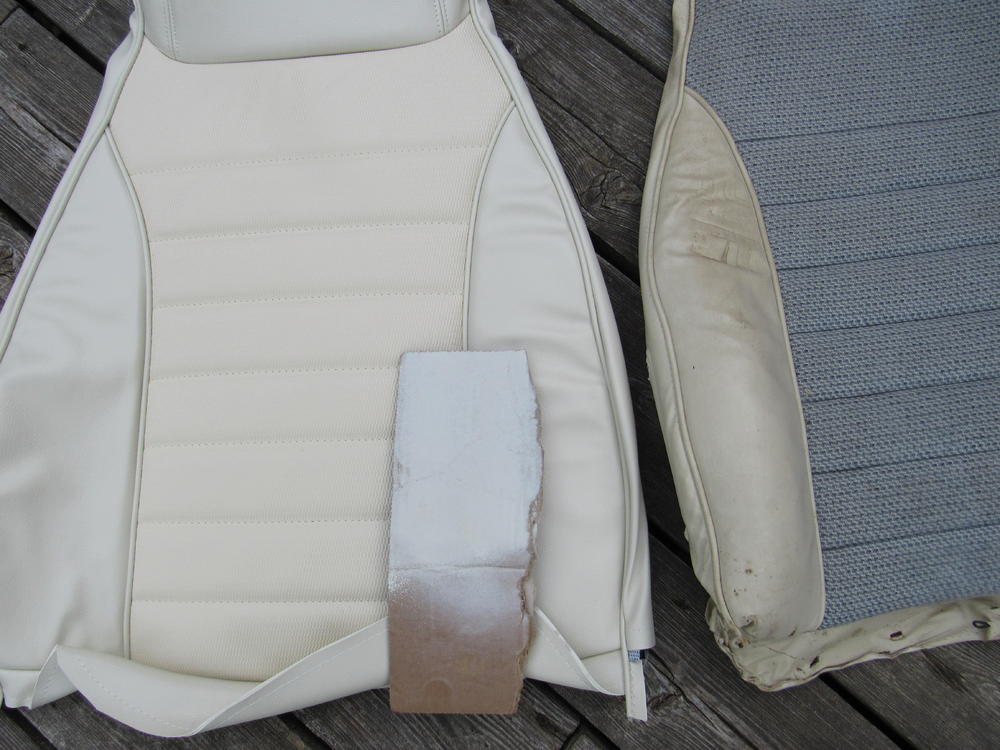
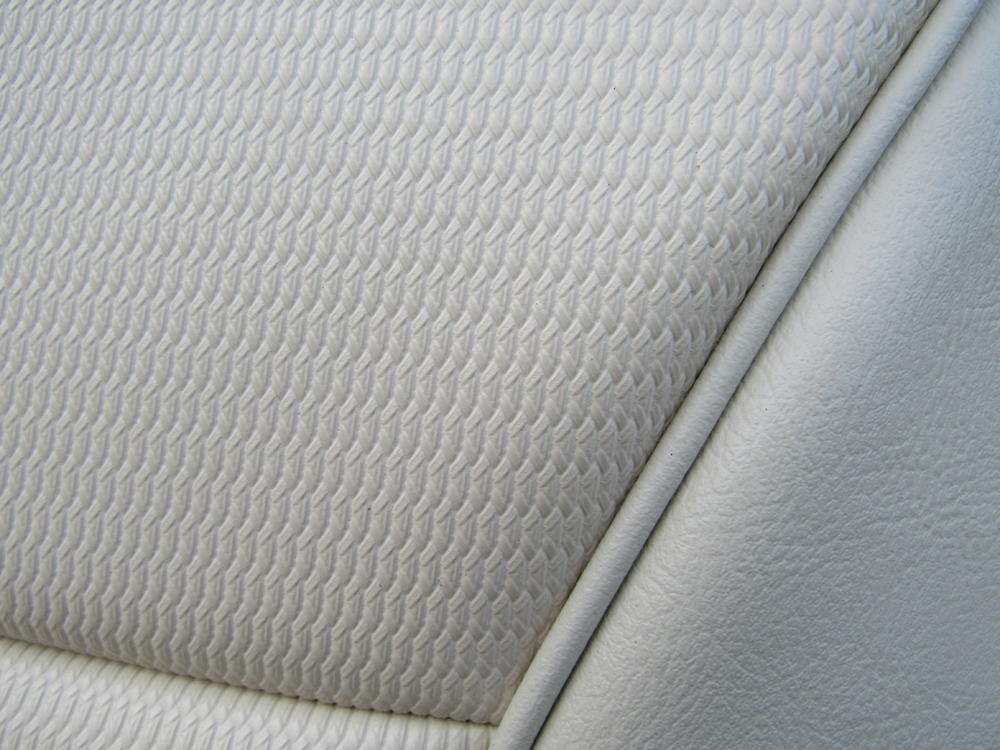
I got the seat covers today, the colour is pretty close to the original, the second pic has a sample of the SEM Super White so I think that will be a good match for the plastic panels. Also, some pics of the basket weave pattern. I'll have to search for a good thread on recovering seats.

-
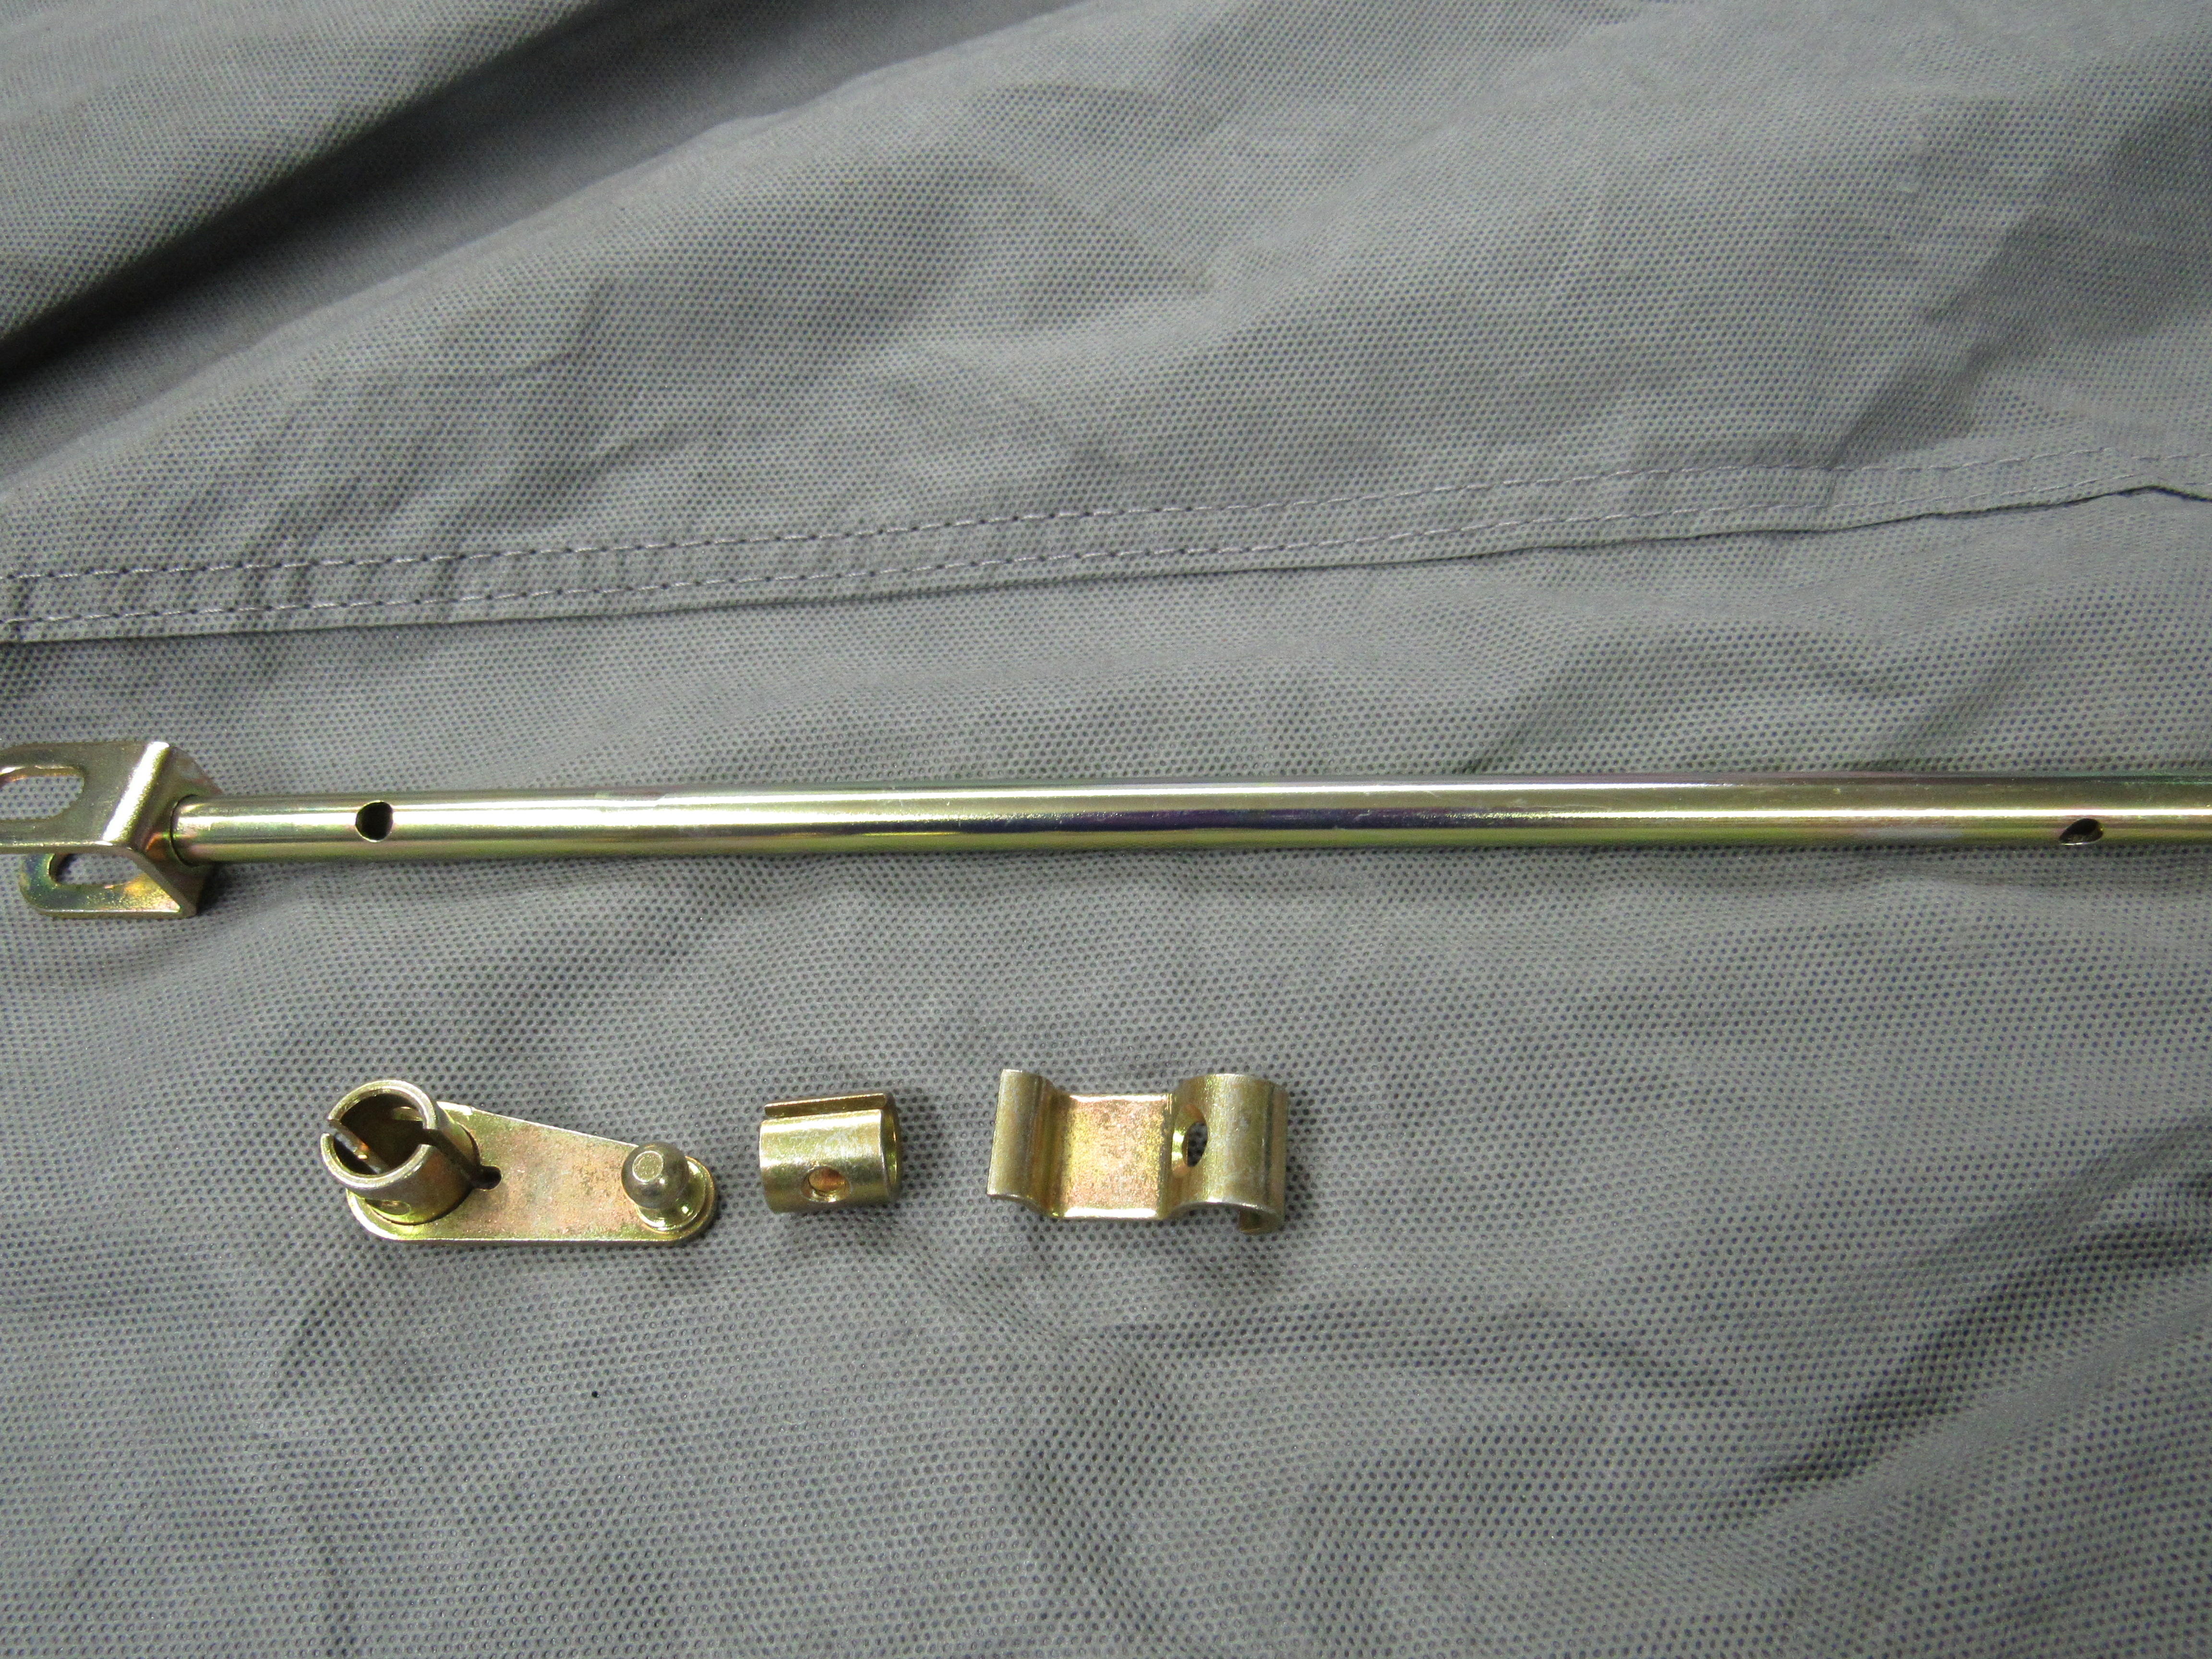
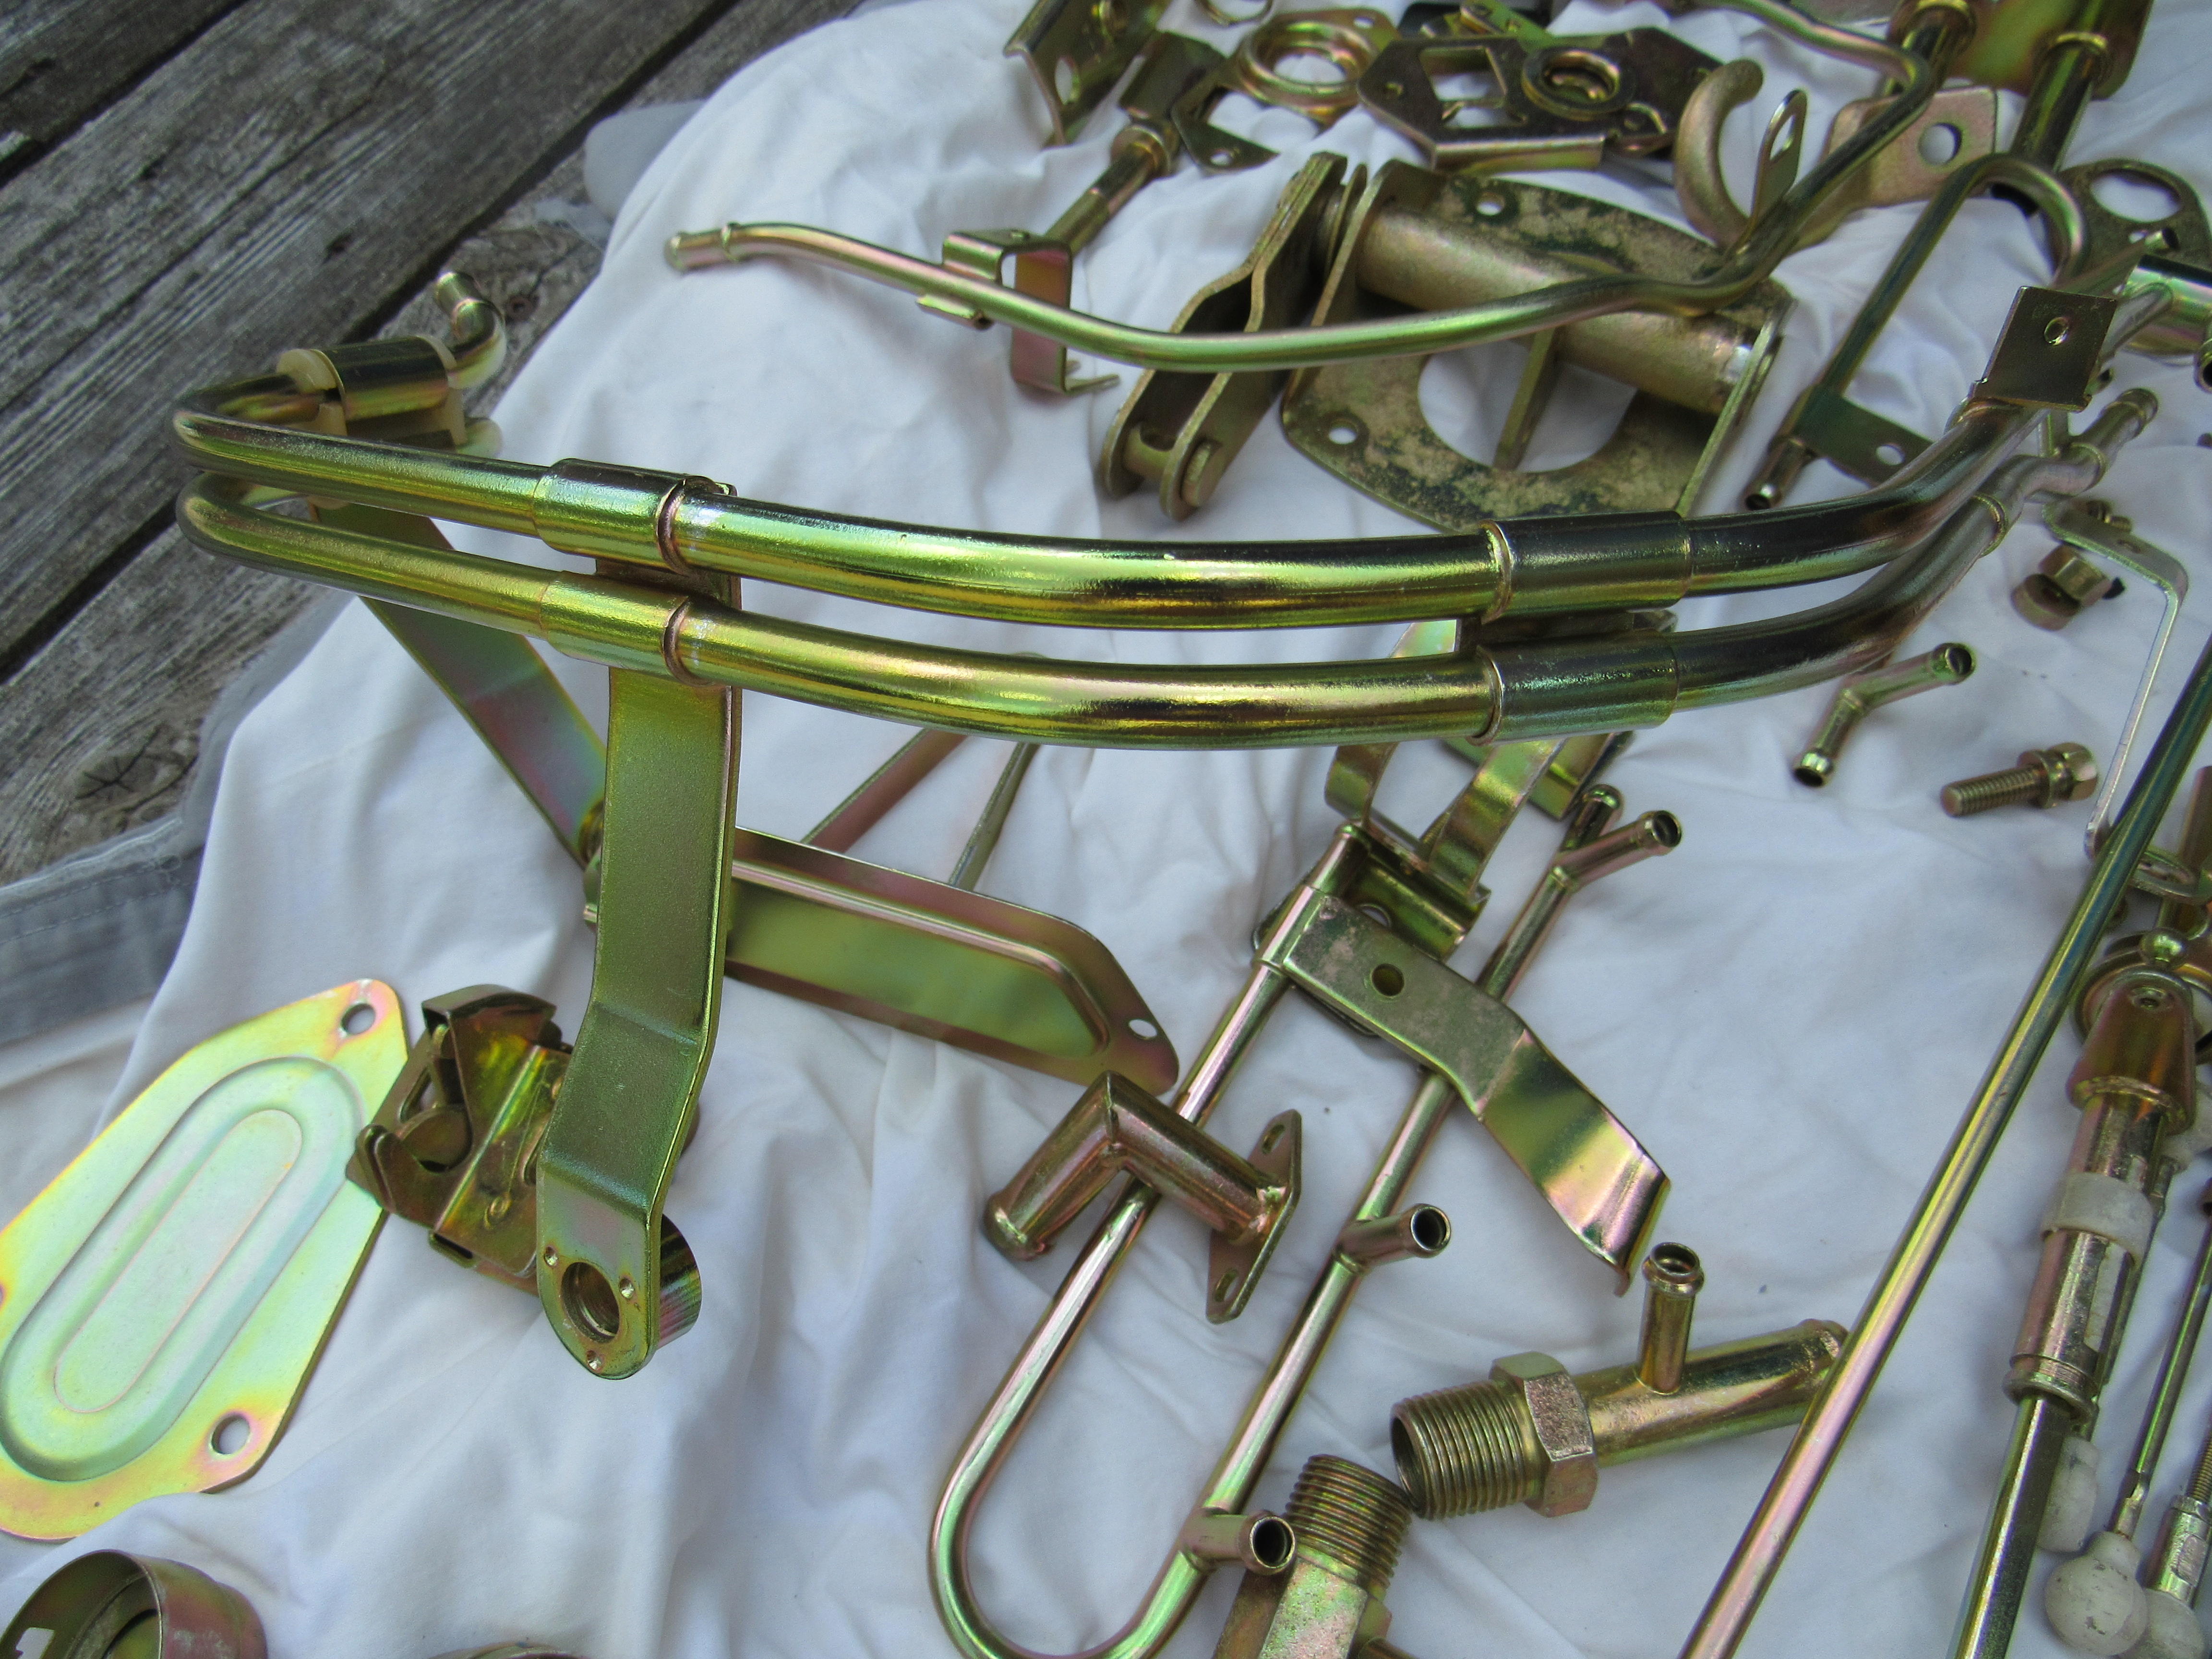
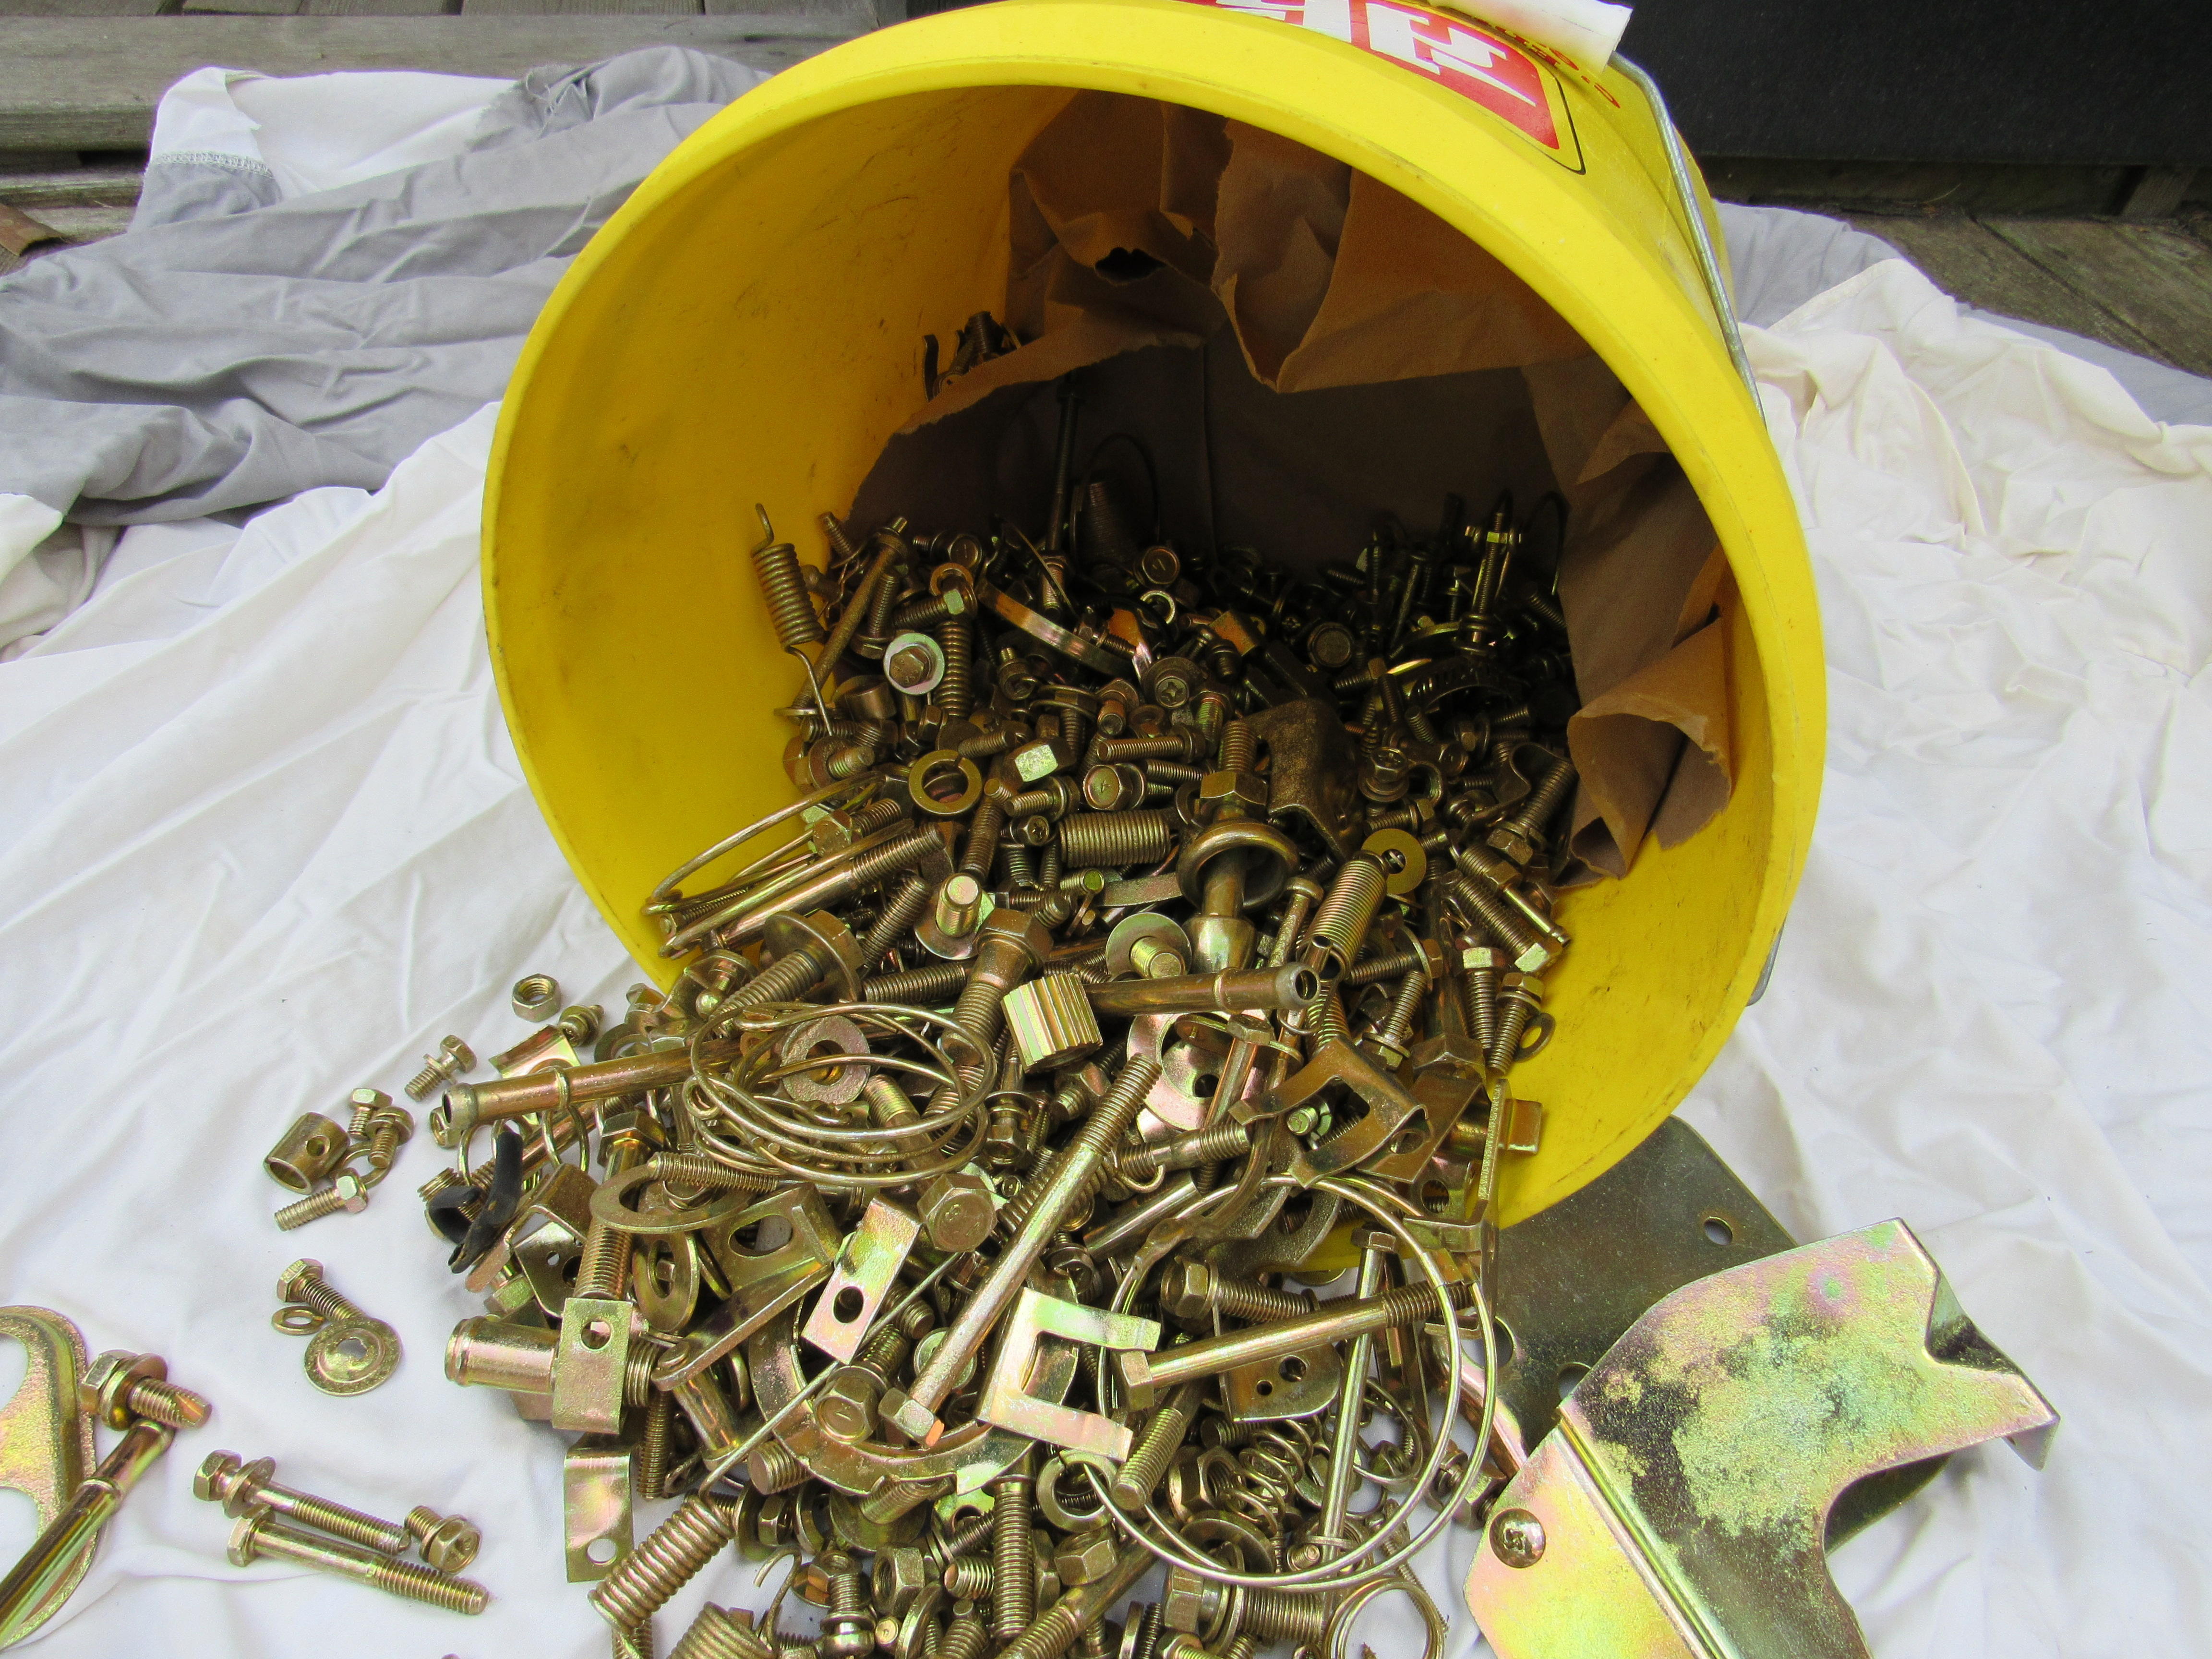
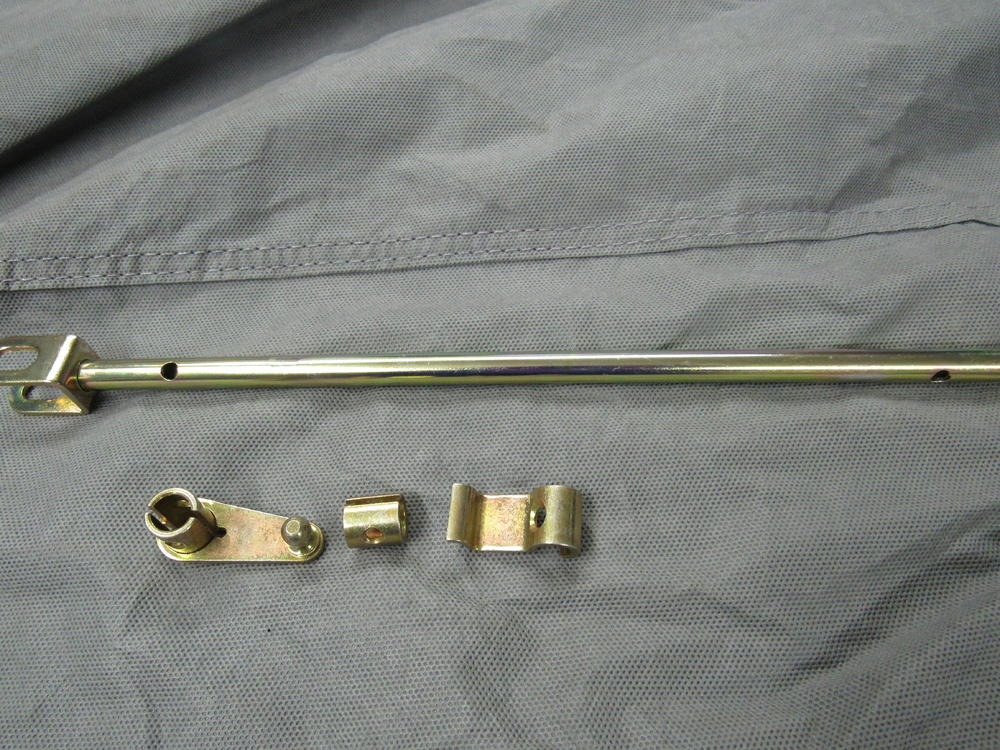
Yes, on all the showy/visible parts I cleaned, wire wheeled and buffed them, also I asked him to wire hang those showy parts rather than barrel plate them, so he had to charge me a bit more. All the nuts, bolts and common stuff was barrel plated. It sure can, in fact the main throttle shaft is so thick now that it won't go through the bushings in the intake manifold and as pretty as these parts are I have to take them back and have him re do them.
-
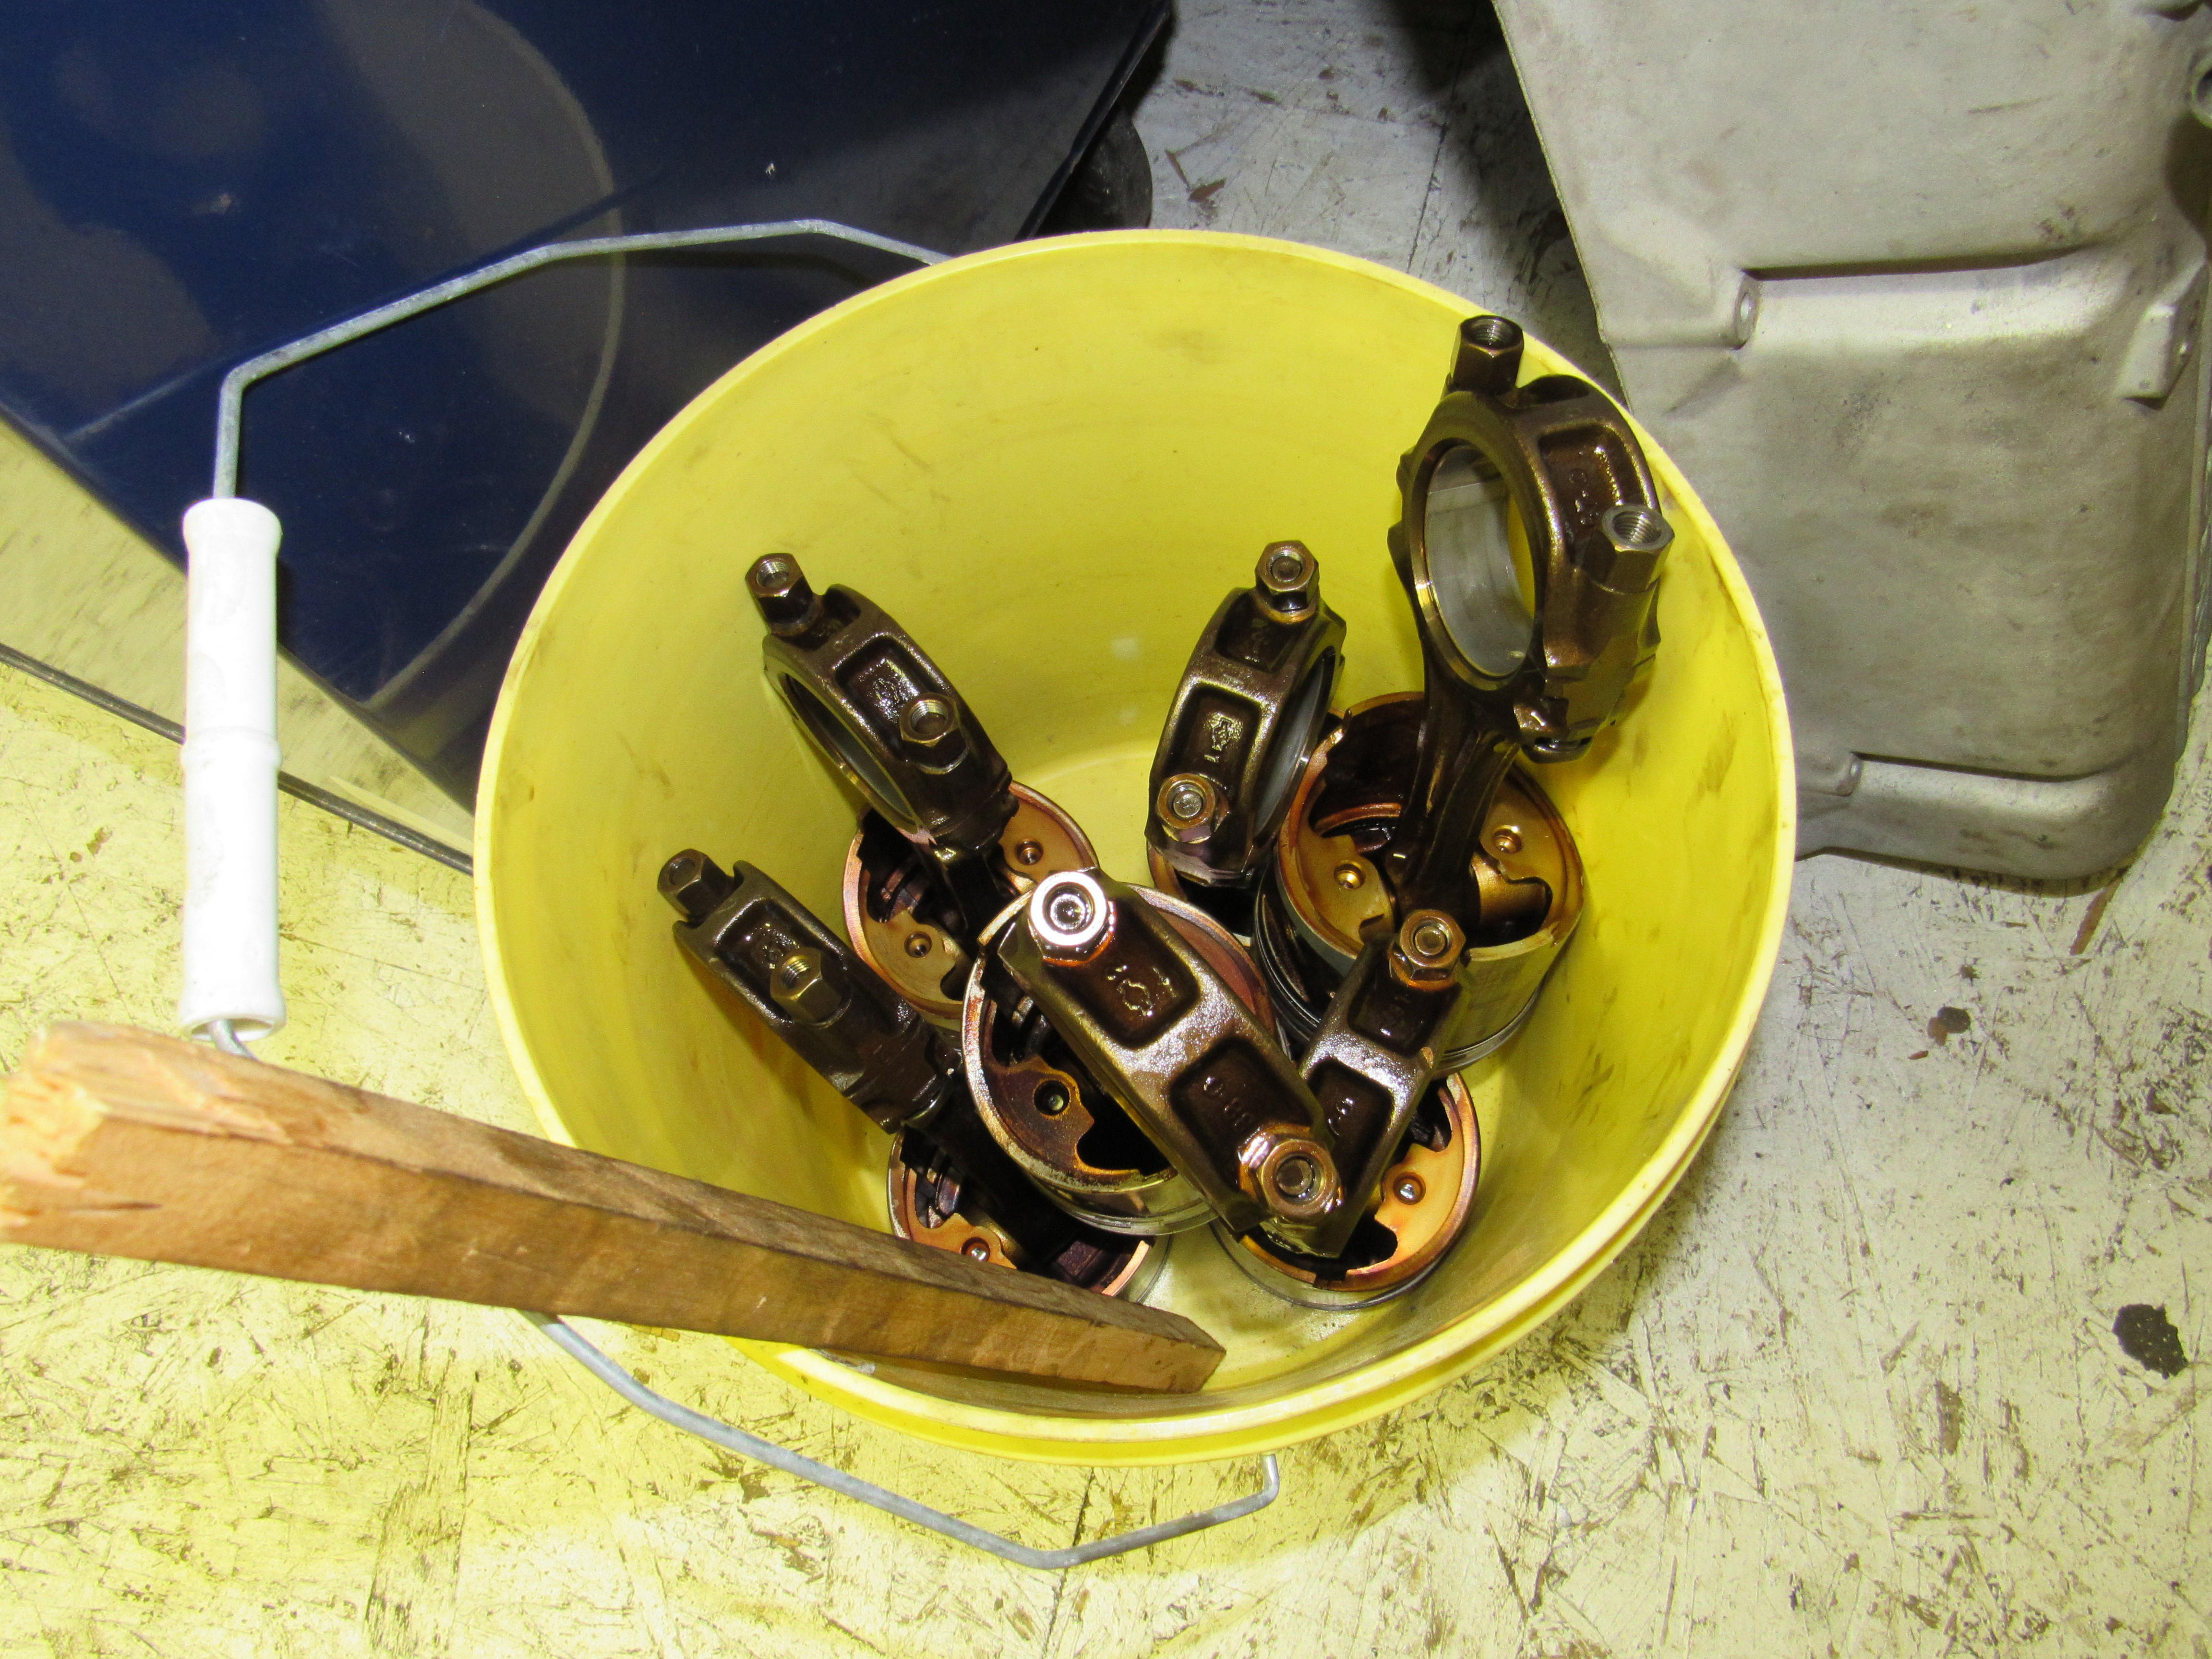
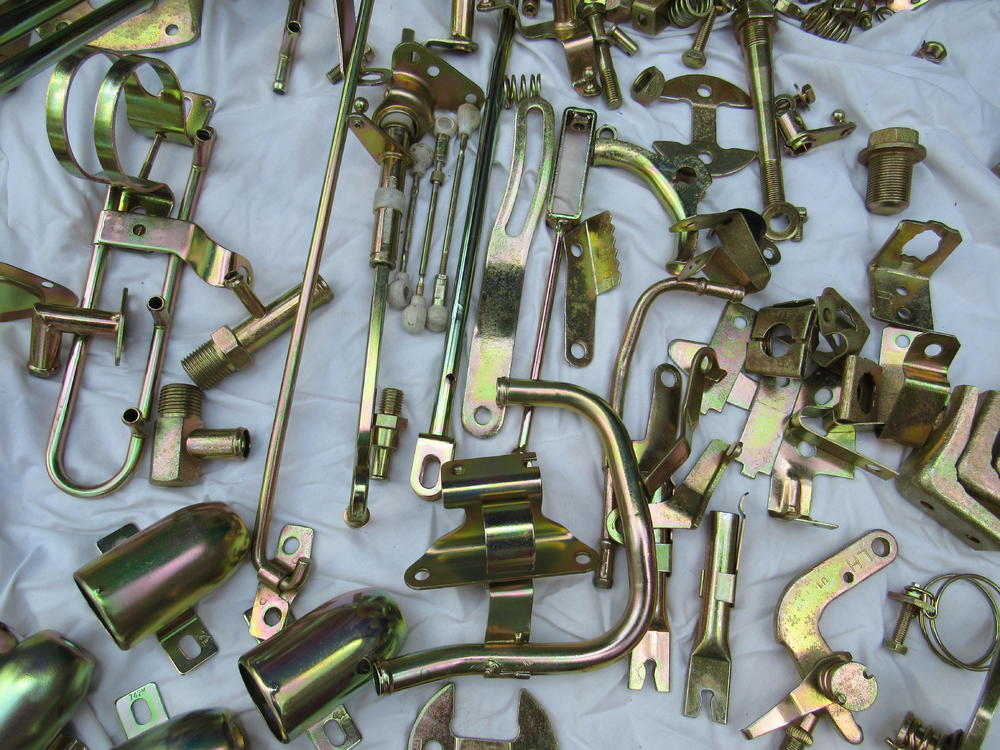
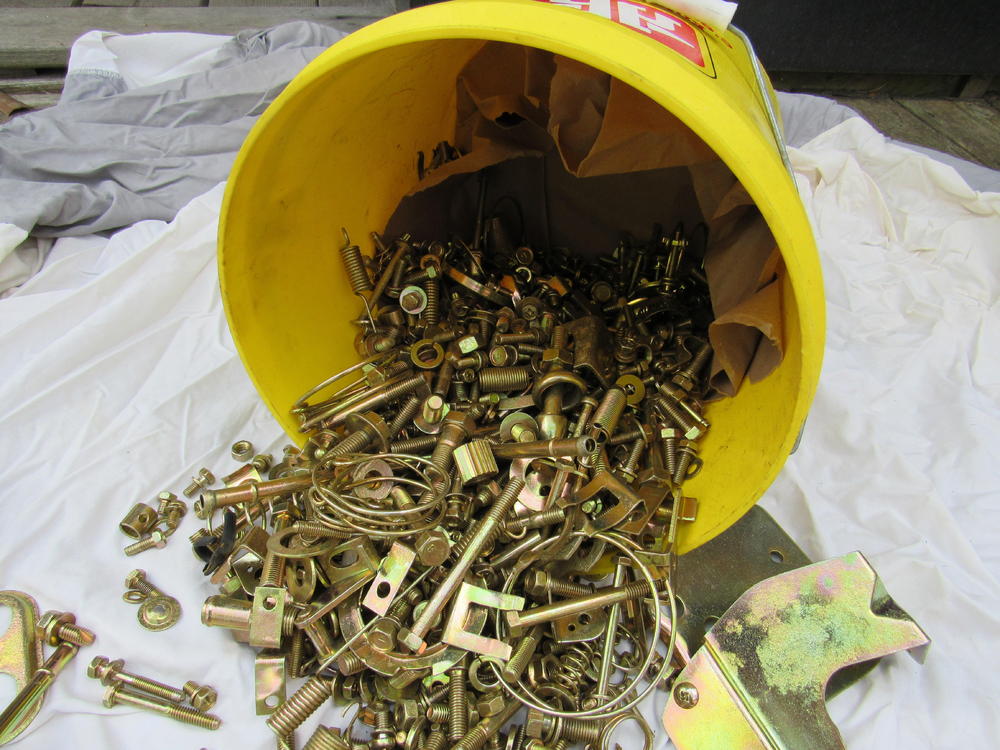
WooHoo, I picked up my bucket of treasure from the platers today, very happy with what he did. Now I have to sort it out and try and get all the bolts back in the right baggie. CO, the worst exhaust is the last pic, not really bad at all.


-
You can just pull the transmission forward but have something there to catch the drive shaft.
-
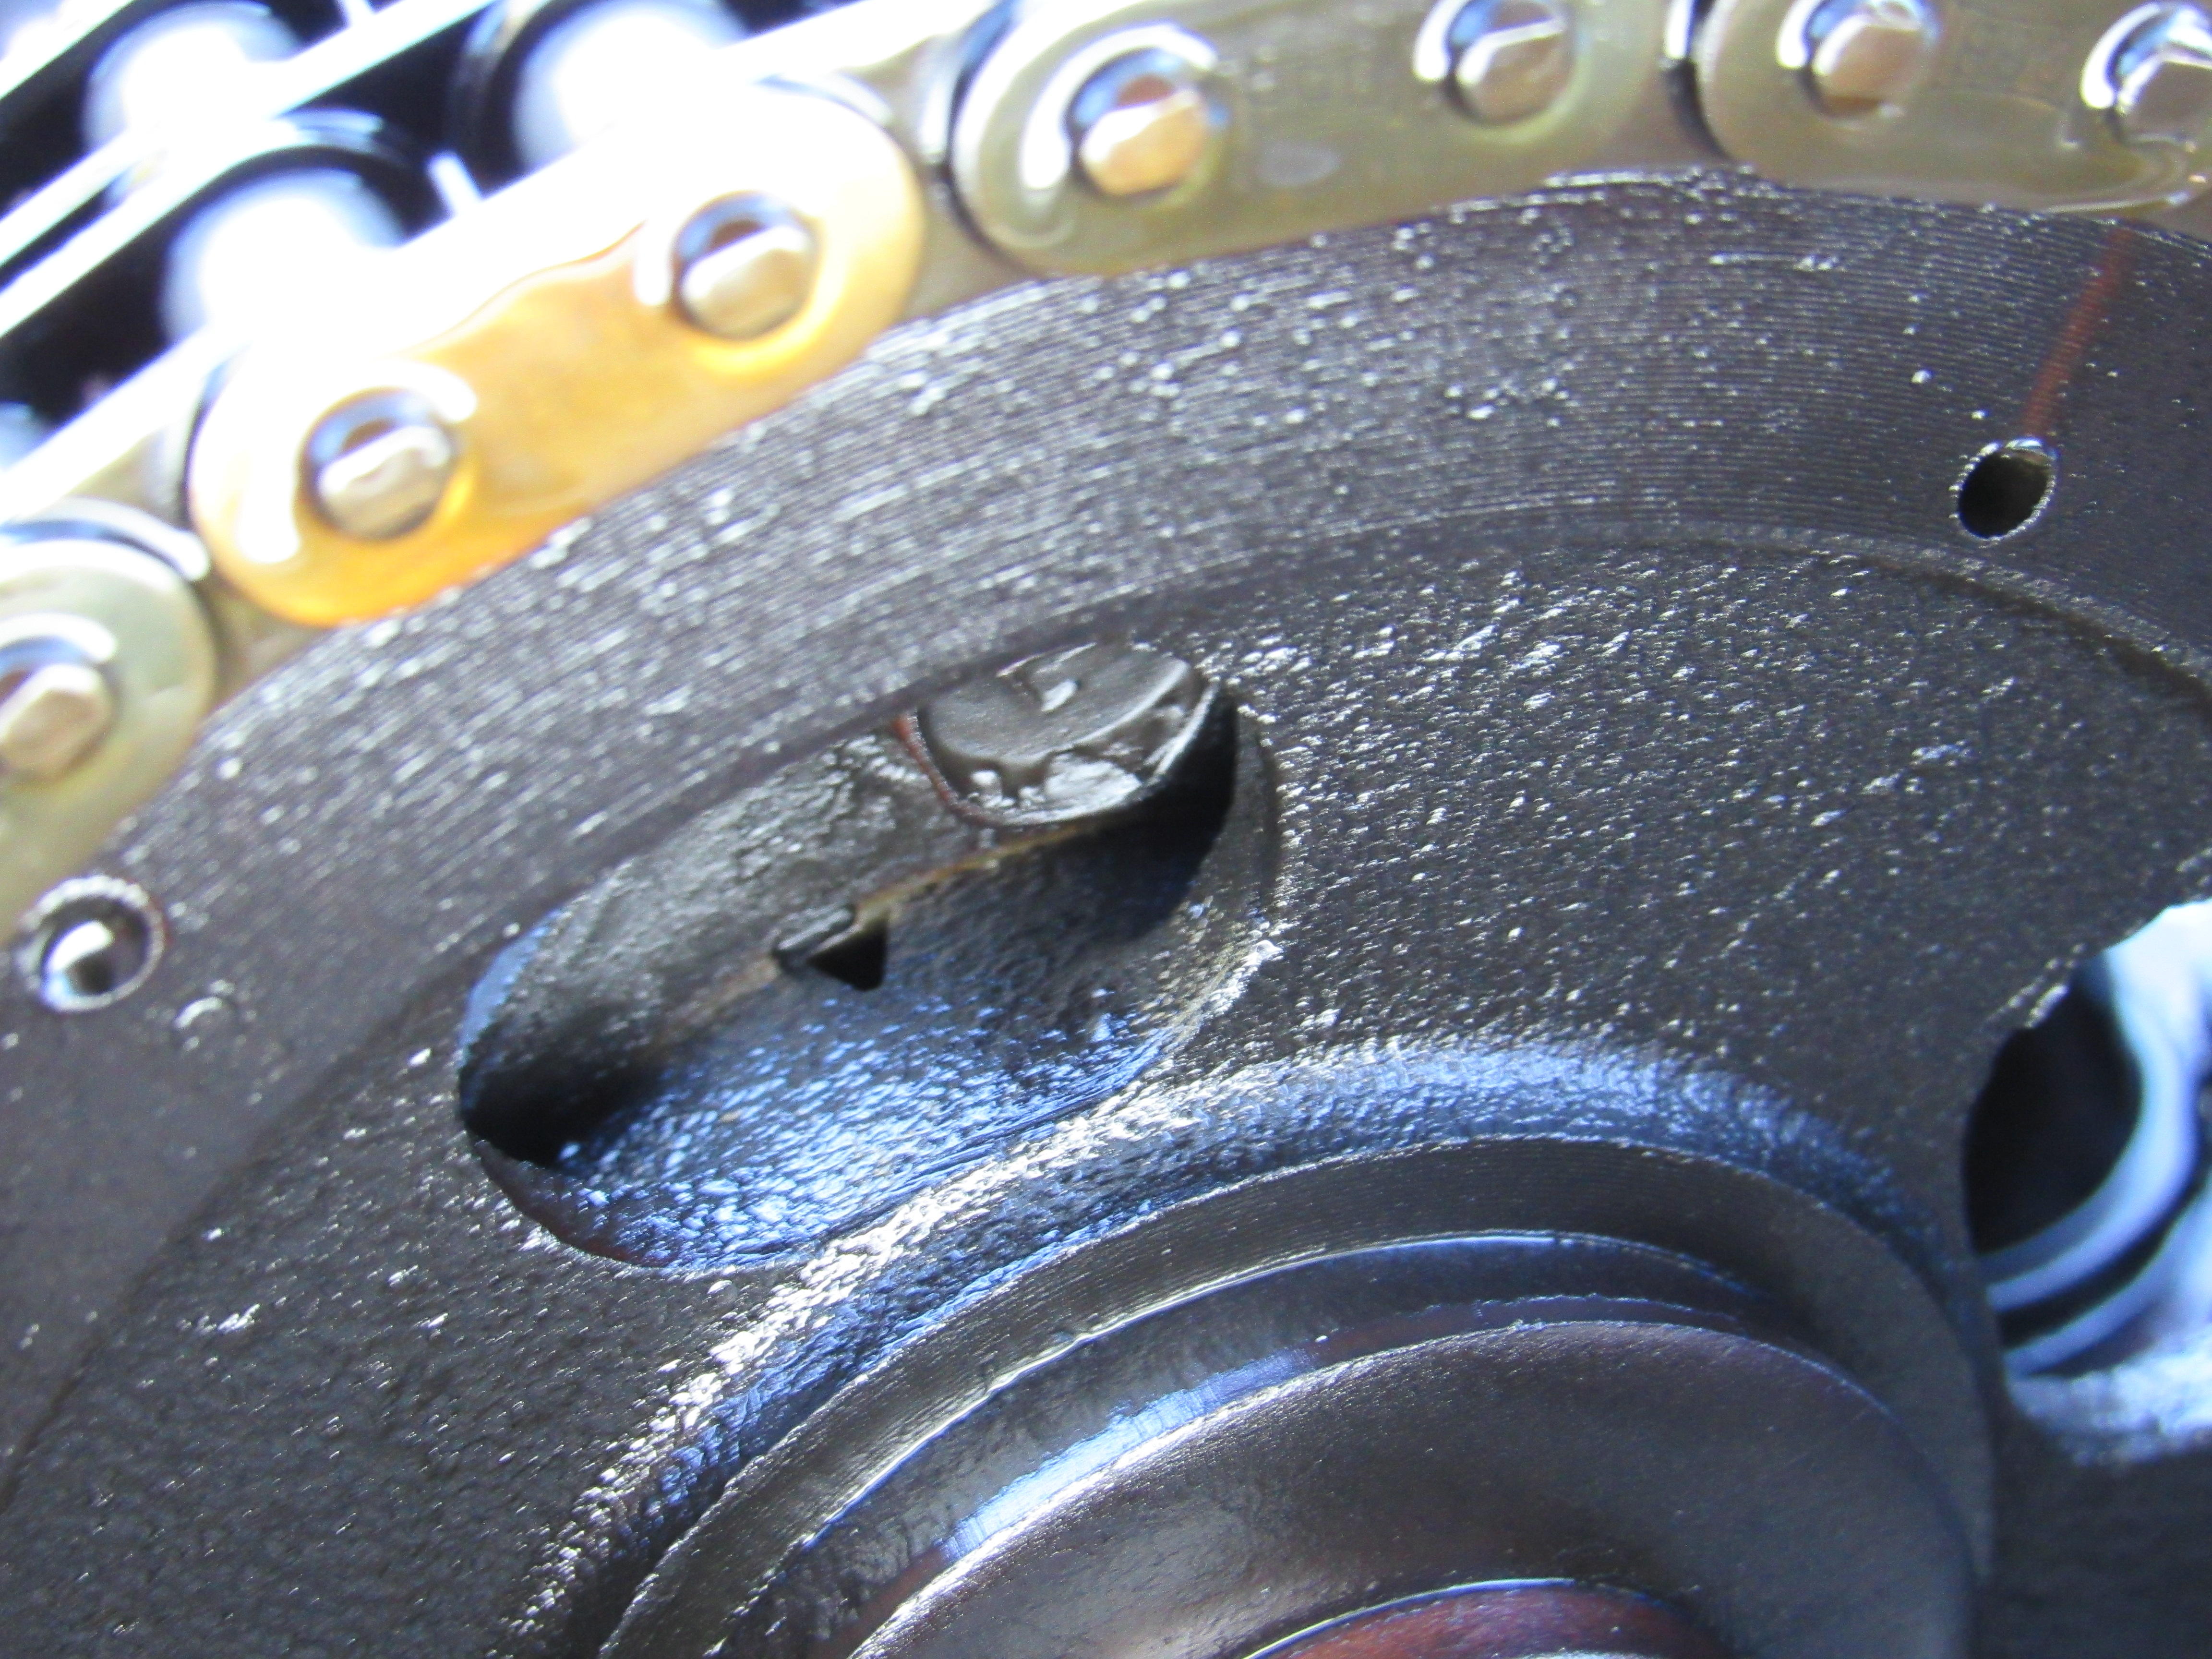
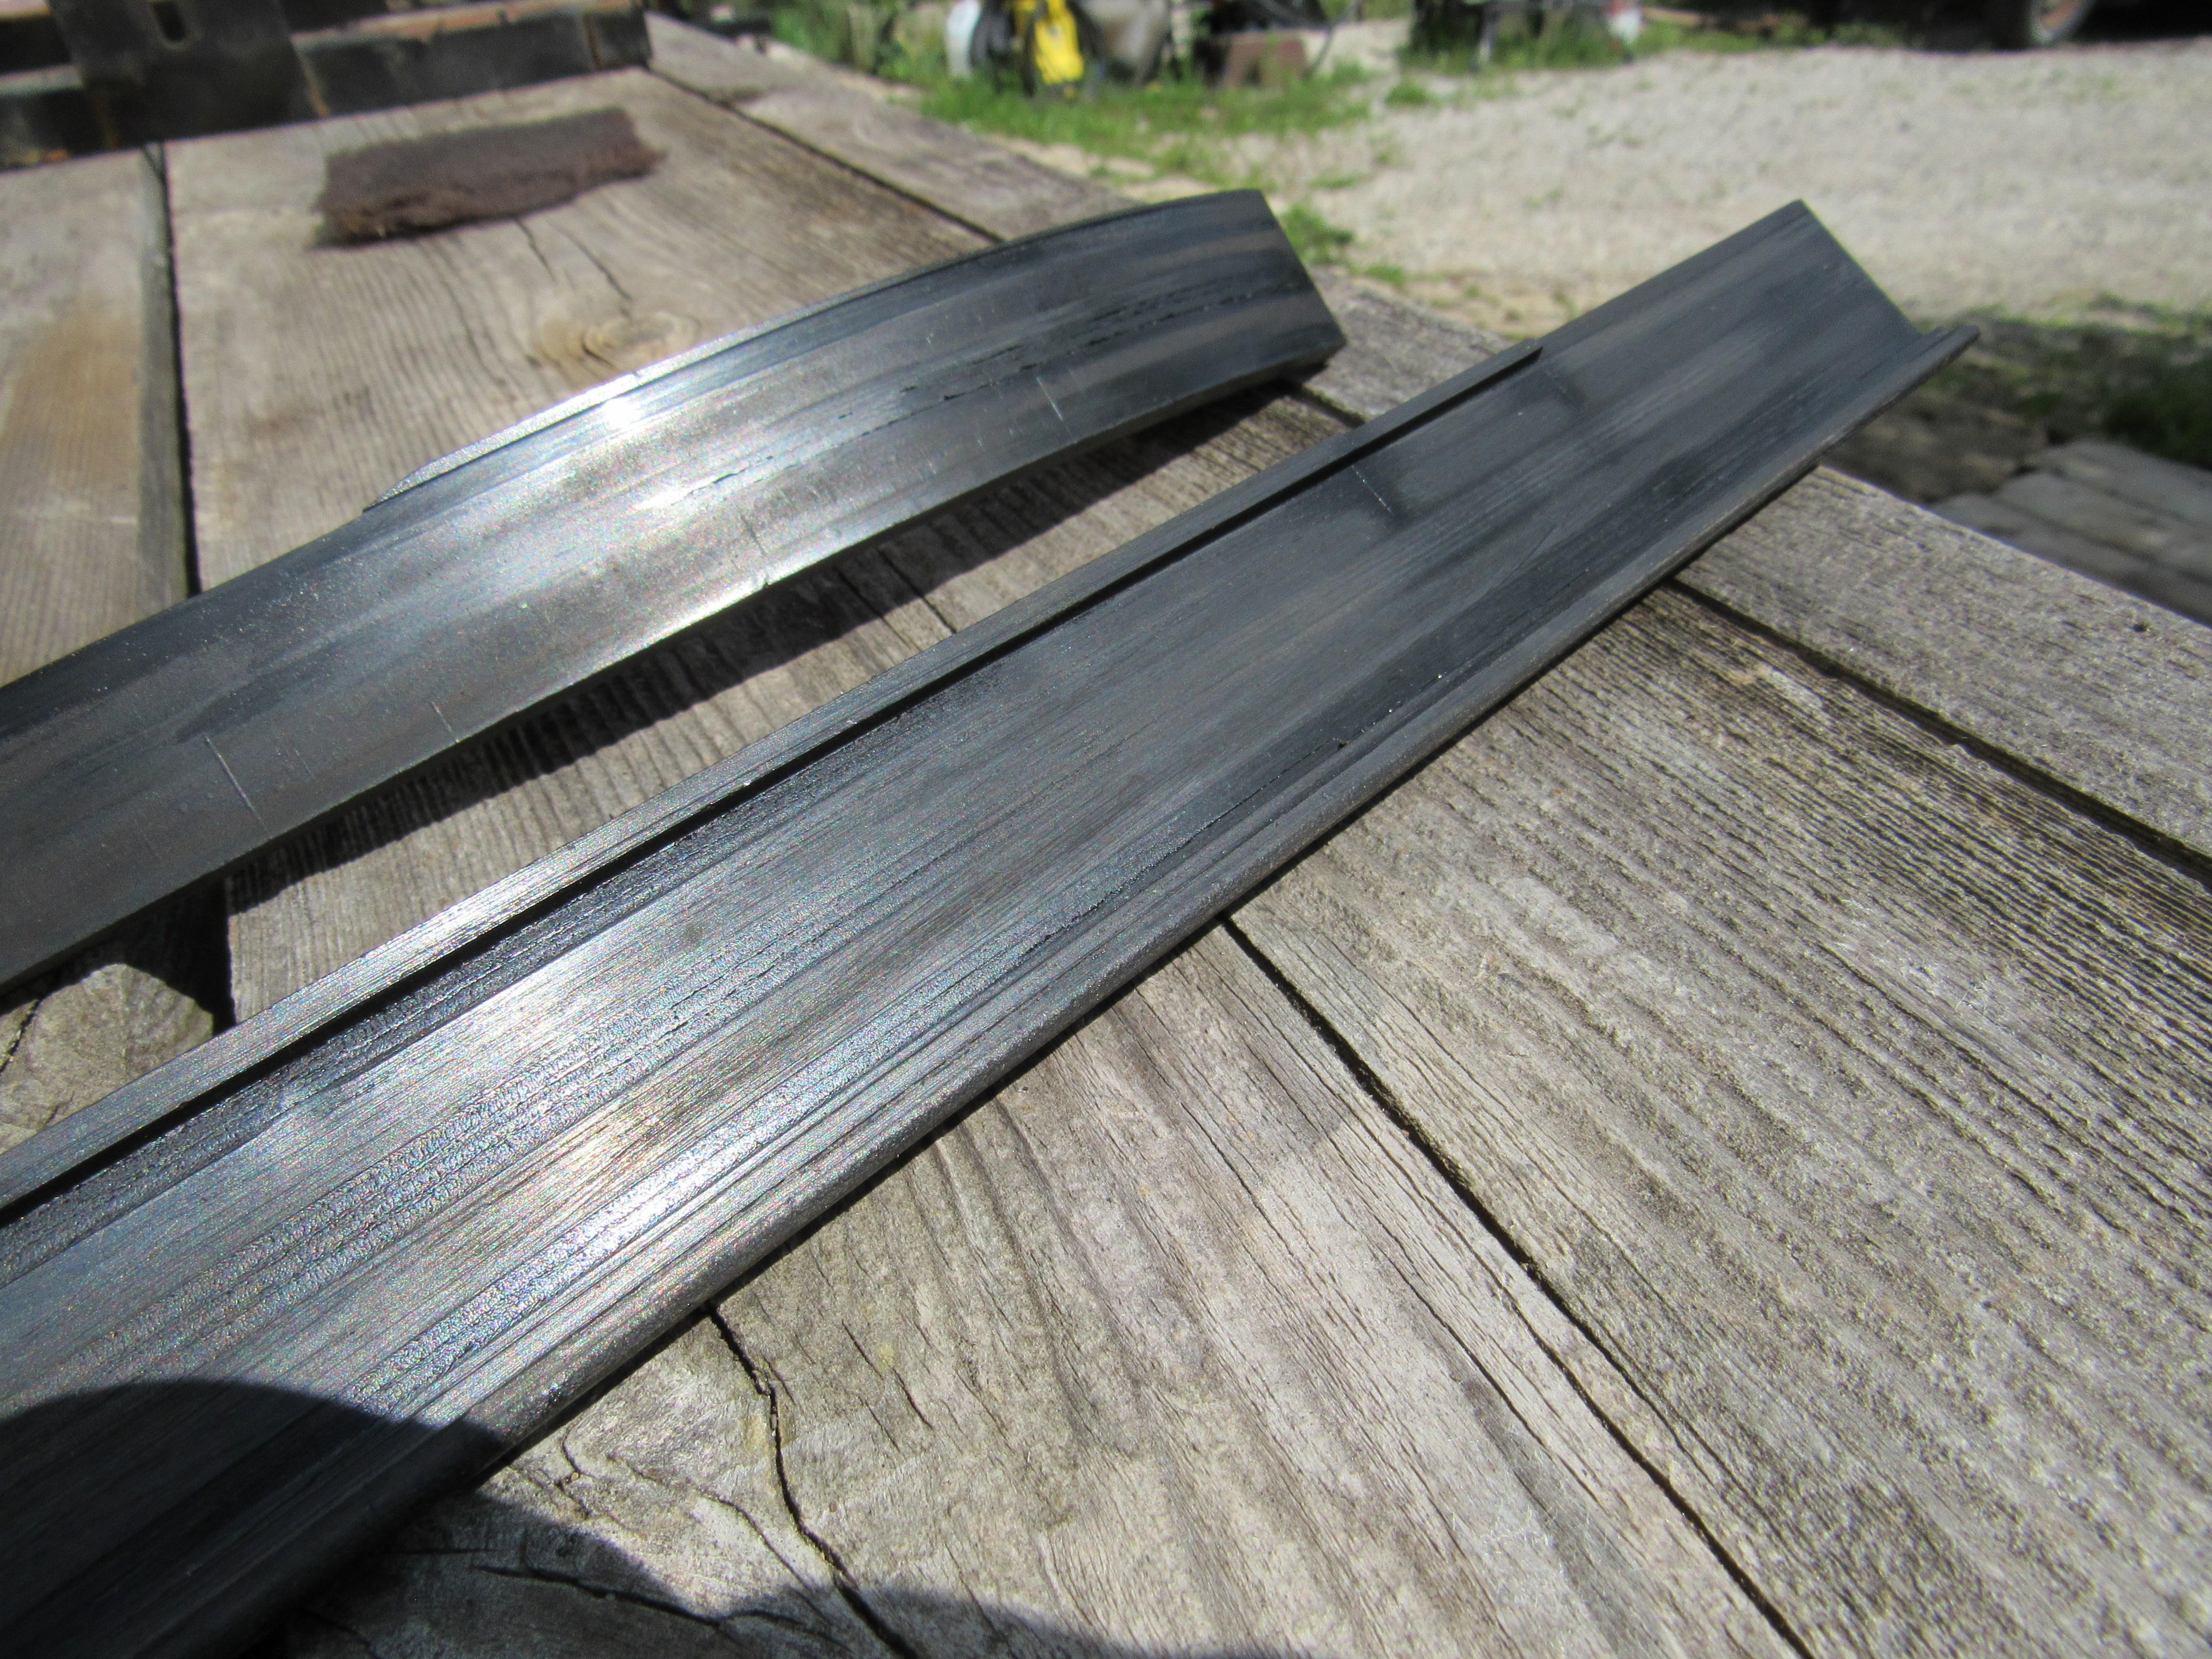
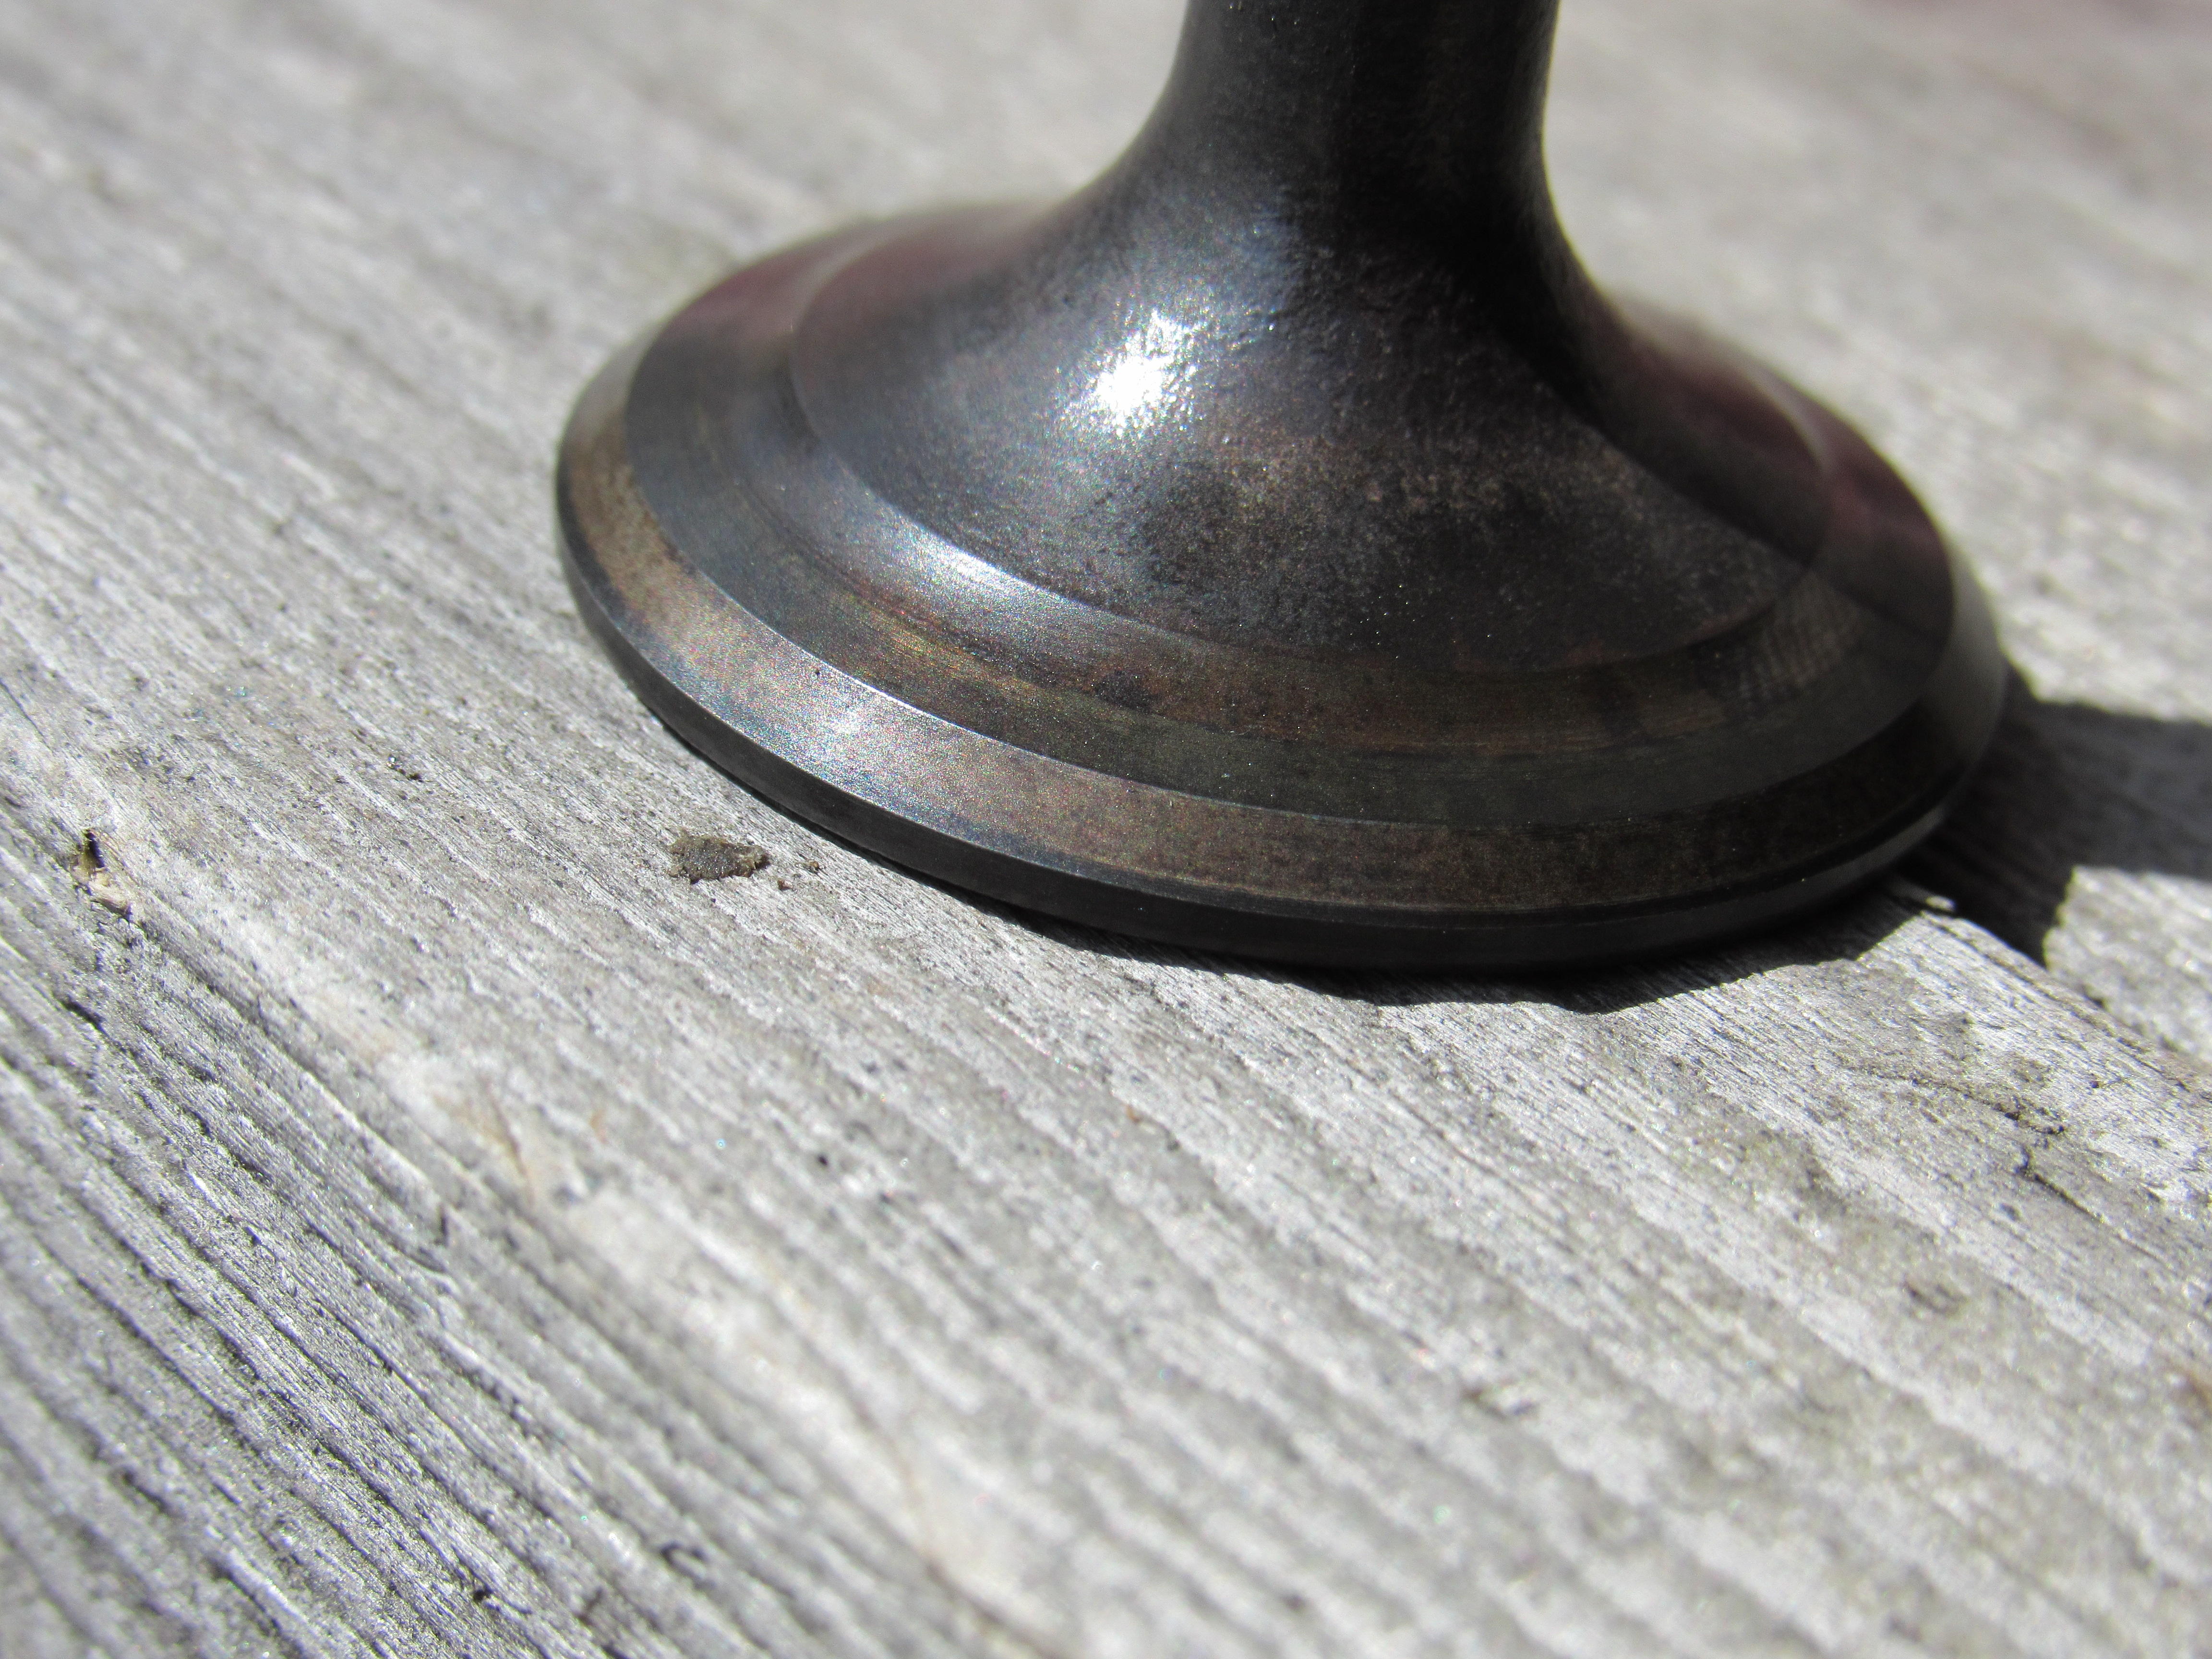
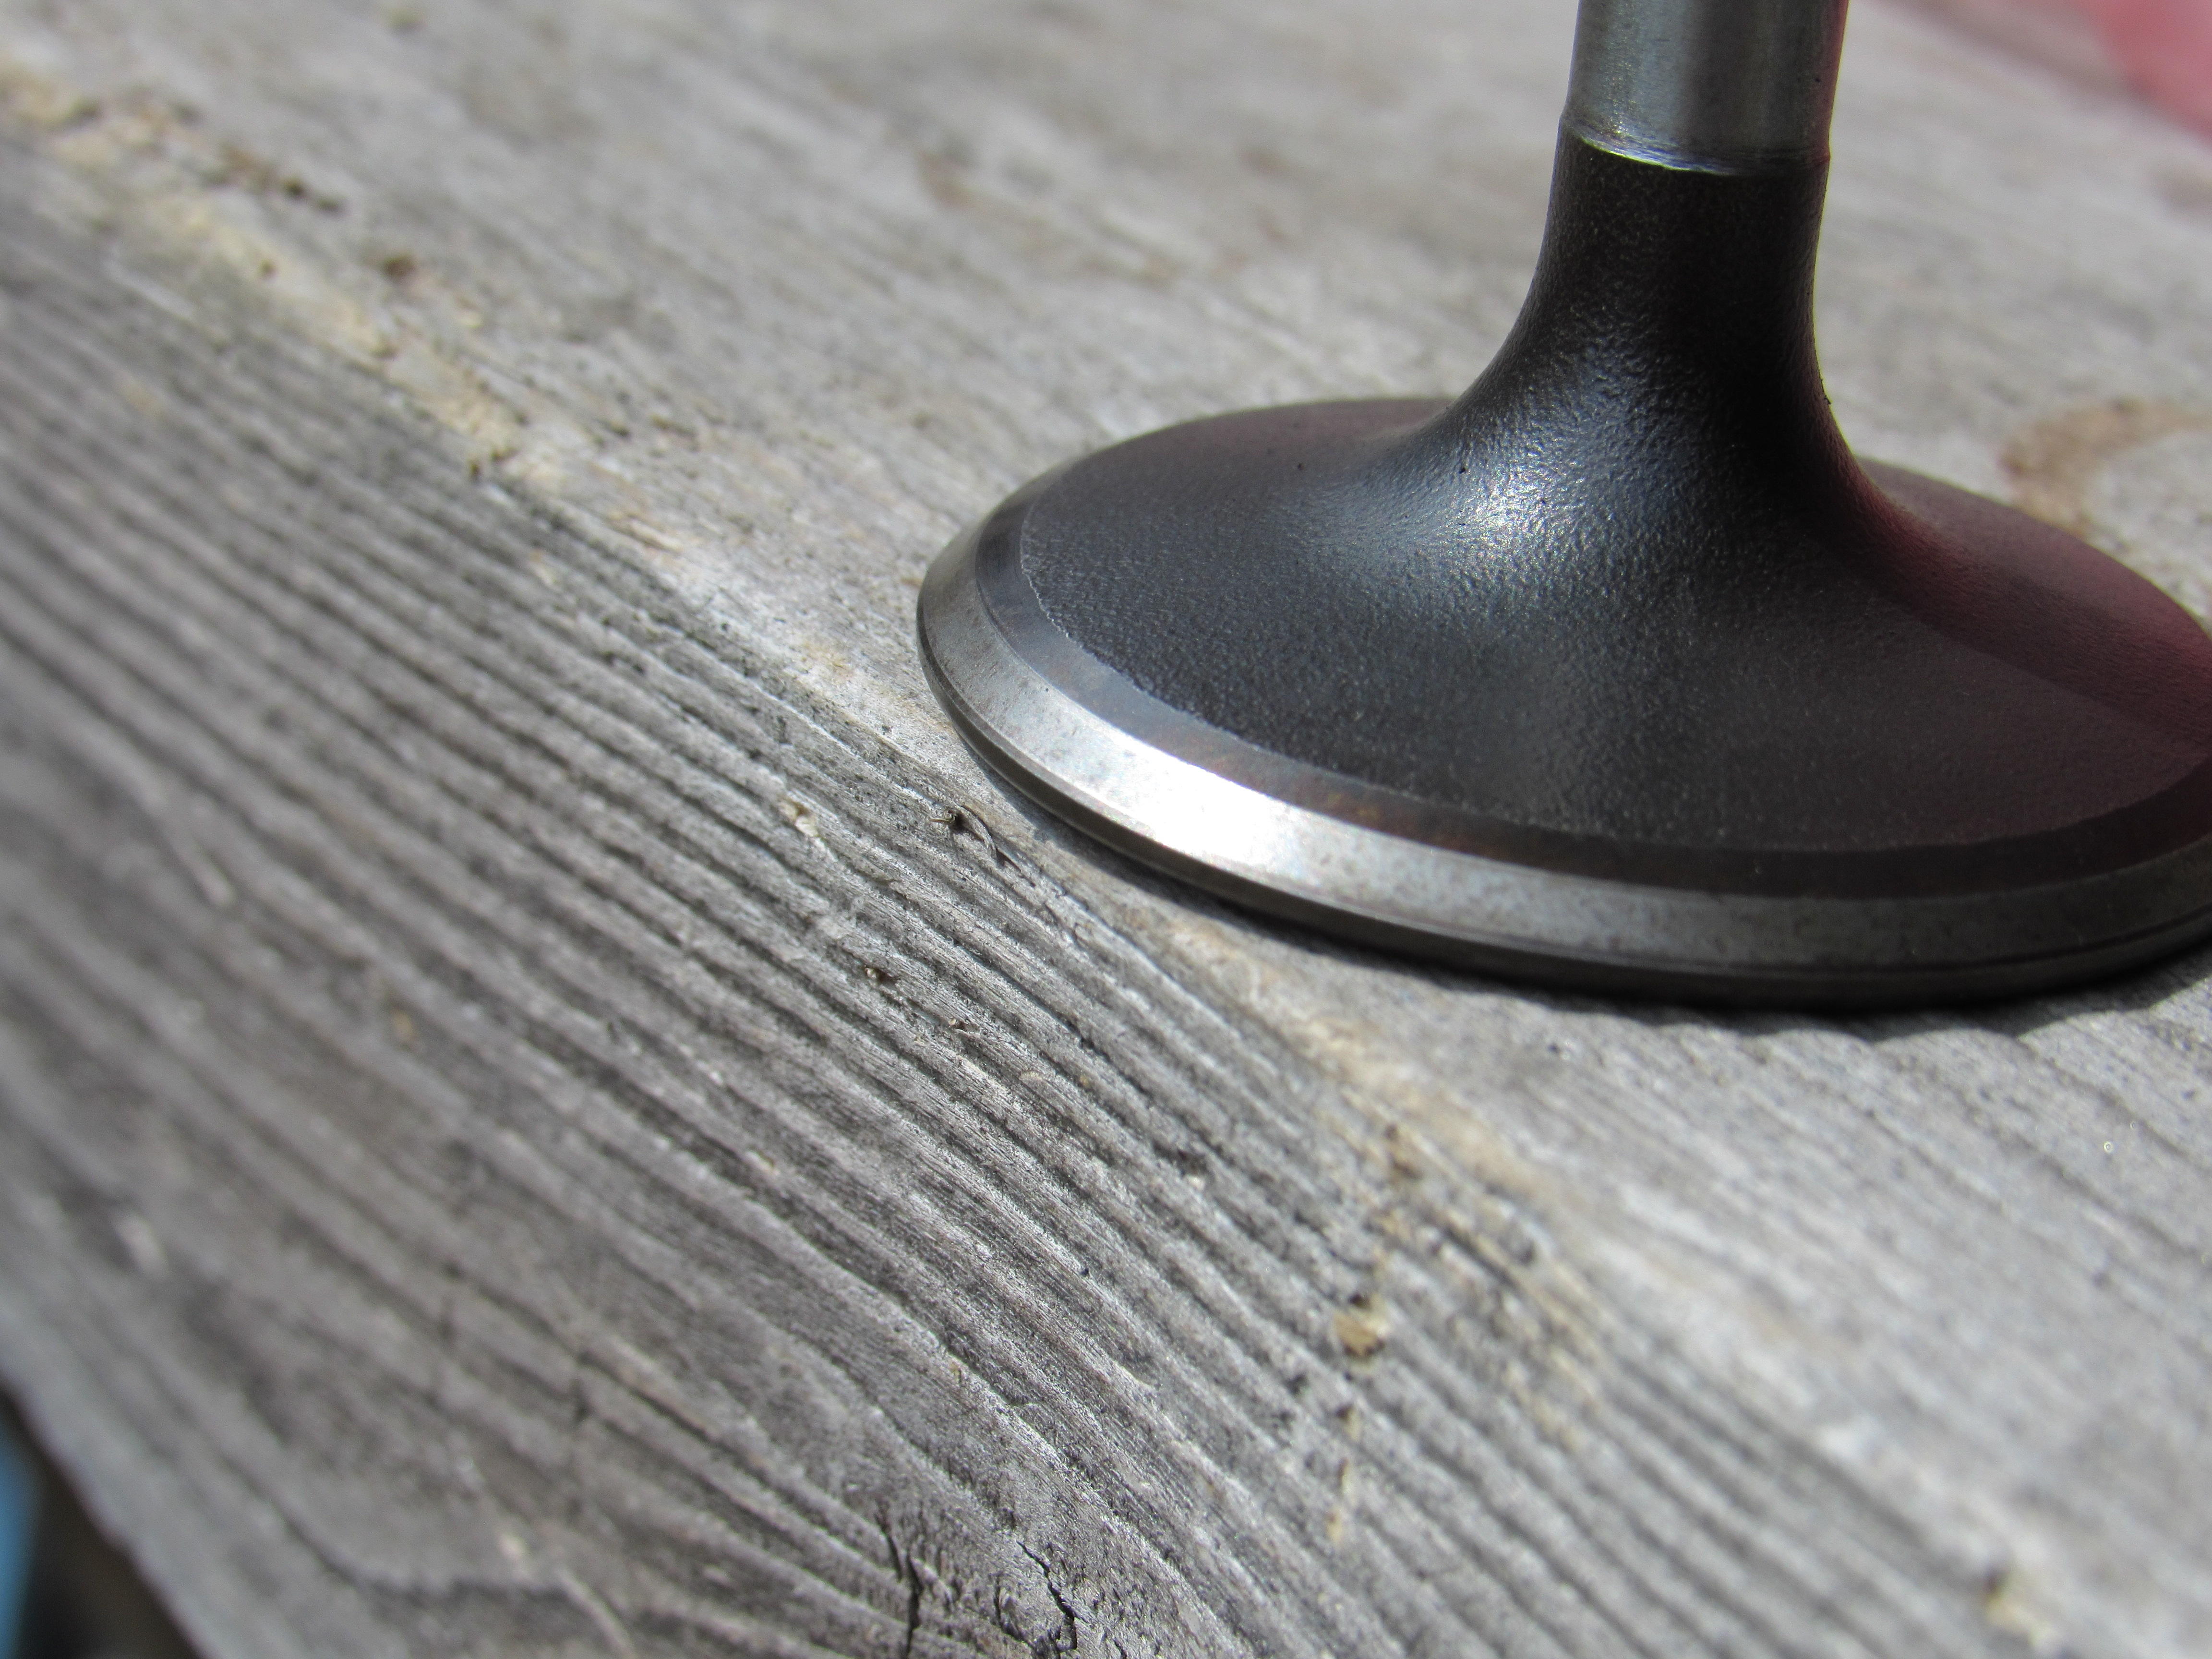
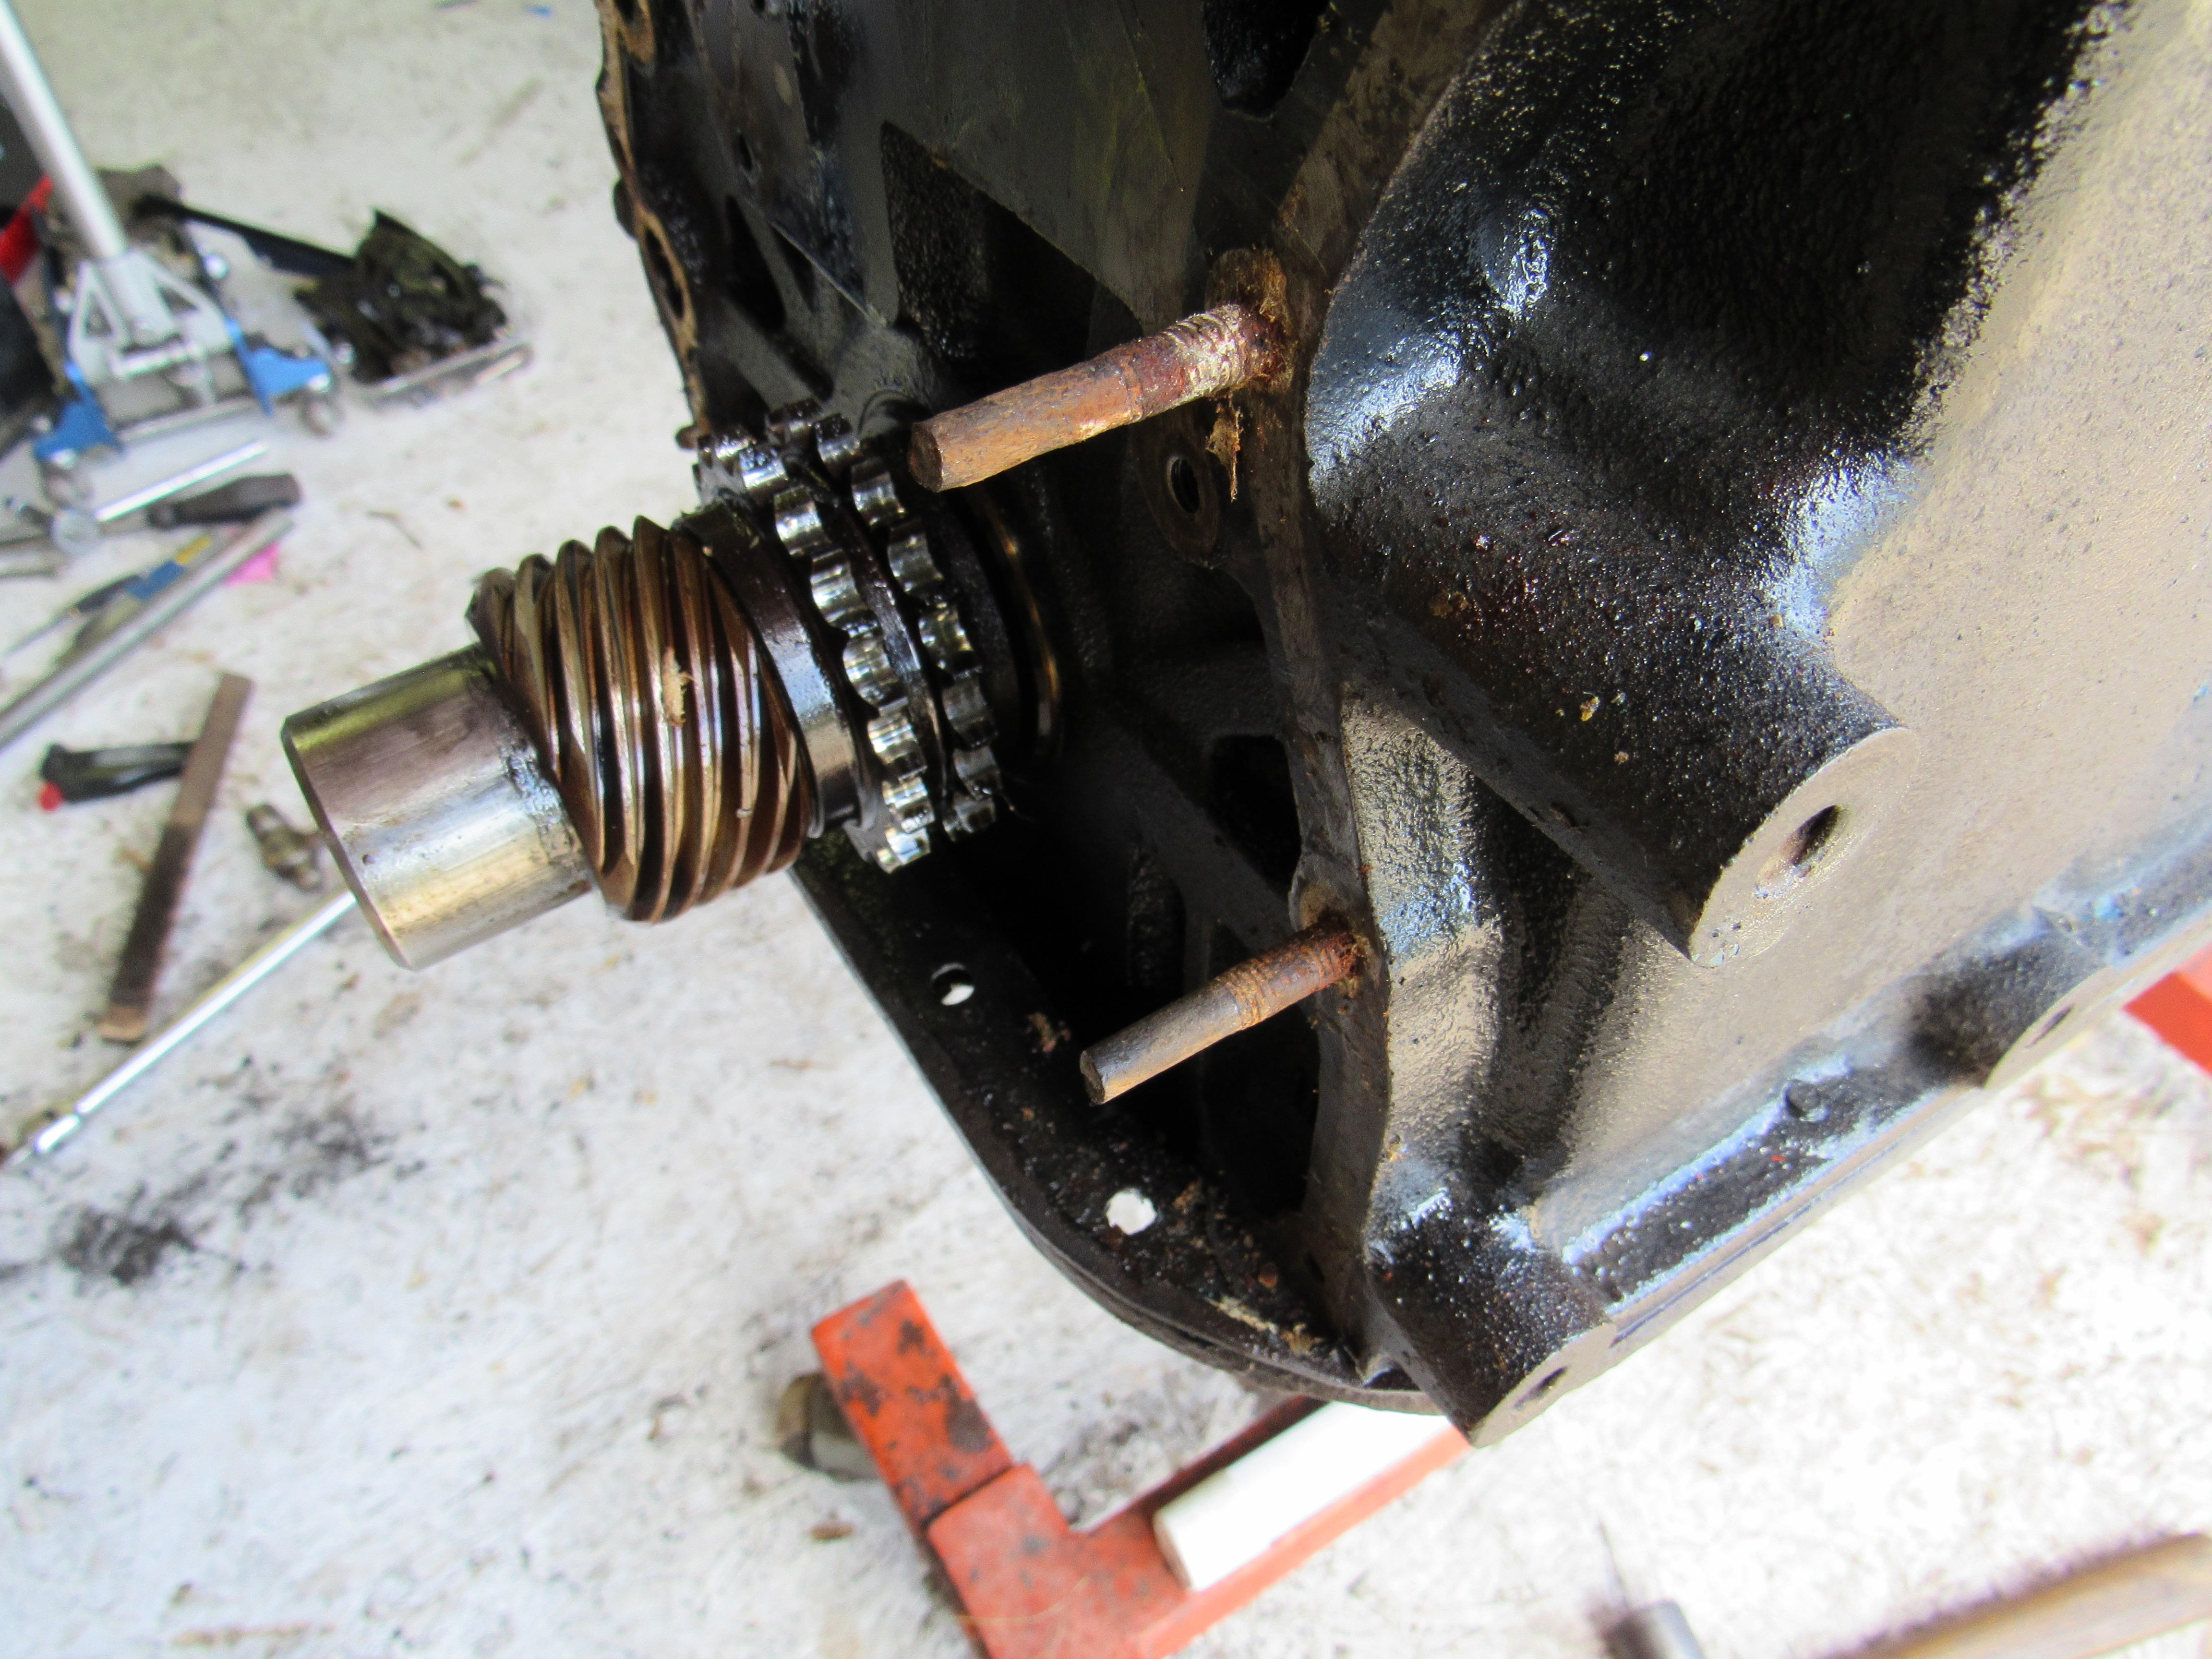
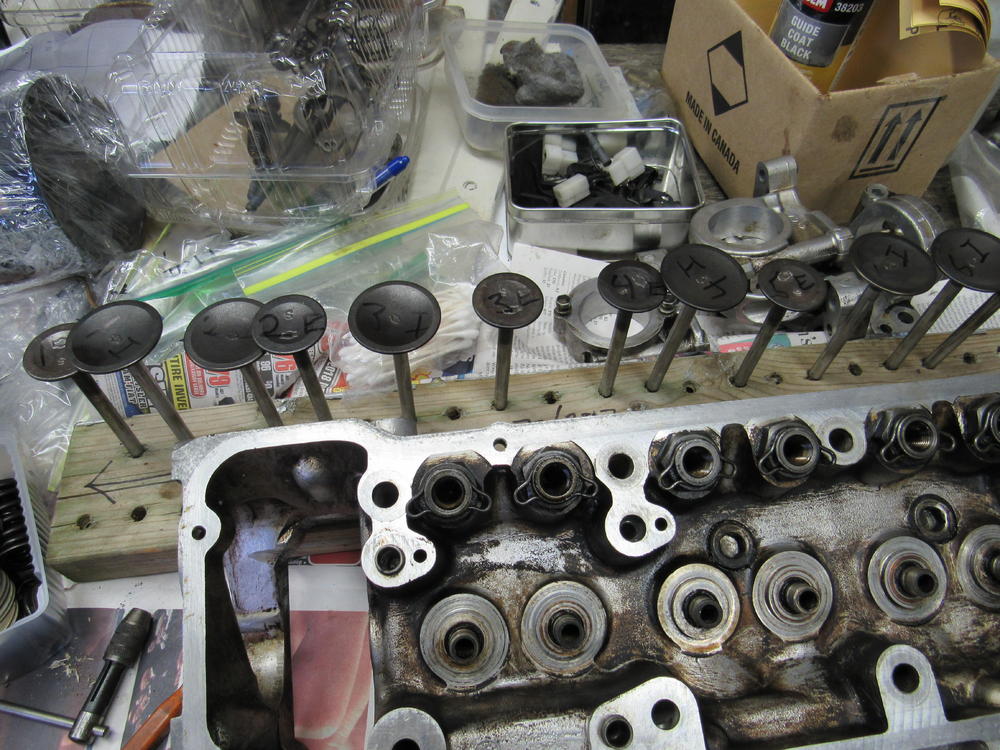
Good call, I will do them all but really there are only 3 exhaust valve seats that could use some dressing. These are 2 random valves, hard to believe they have 106,000 miles. This engine is such a cream puff, the timing chain hasn't even stretched, with #1 on TDC I think that is showing a bit of cam advance and the sprocket is still at the first setting. The chain guides hardly have any wear, I don't think the PO's ever put their foot into it much.


-
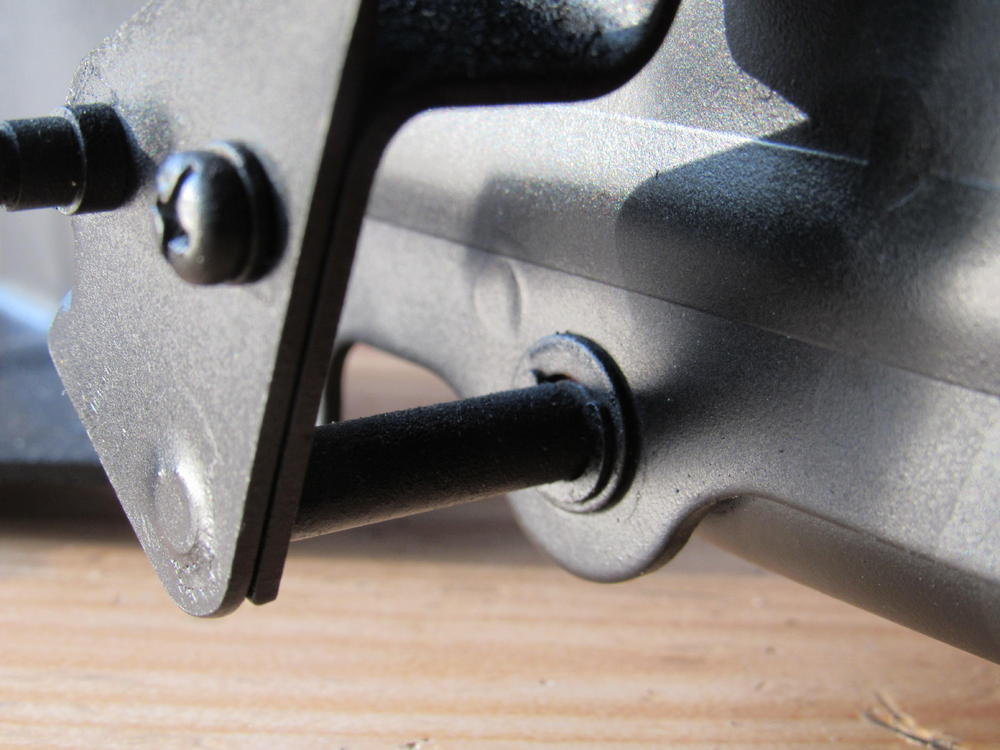
John, there are two C clips on the hinge shaft for that door right up against the housing, pop those off and there should be enough room to slip off the short end of the shaft and hopefully get a look of how that door is attached to the hinge shaft. Pretty tight in there.


-
No not on this engine but it's a habit I picked up on other engines where the valves are the same size. But it doesn't need new parts, everything is within spec, besides if I install new bearings that means I have to take the crank in to be polished which means I don't get the crank back for 3 months with un assembled engine parts all over the place. No thanks.
-
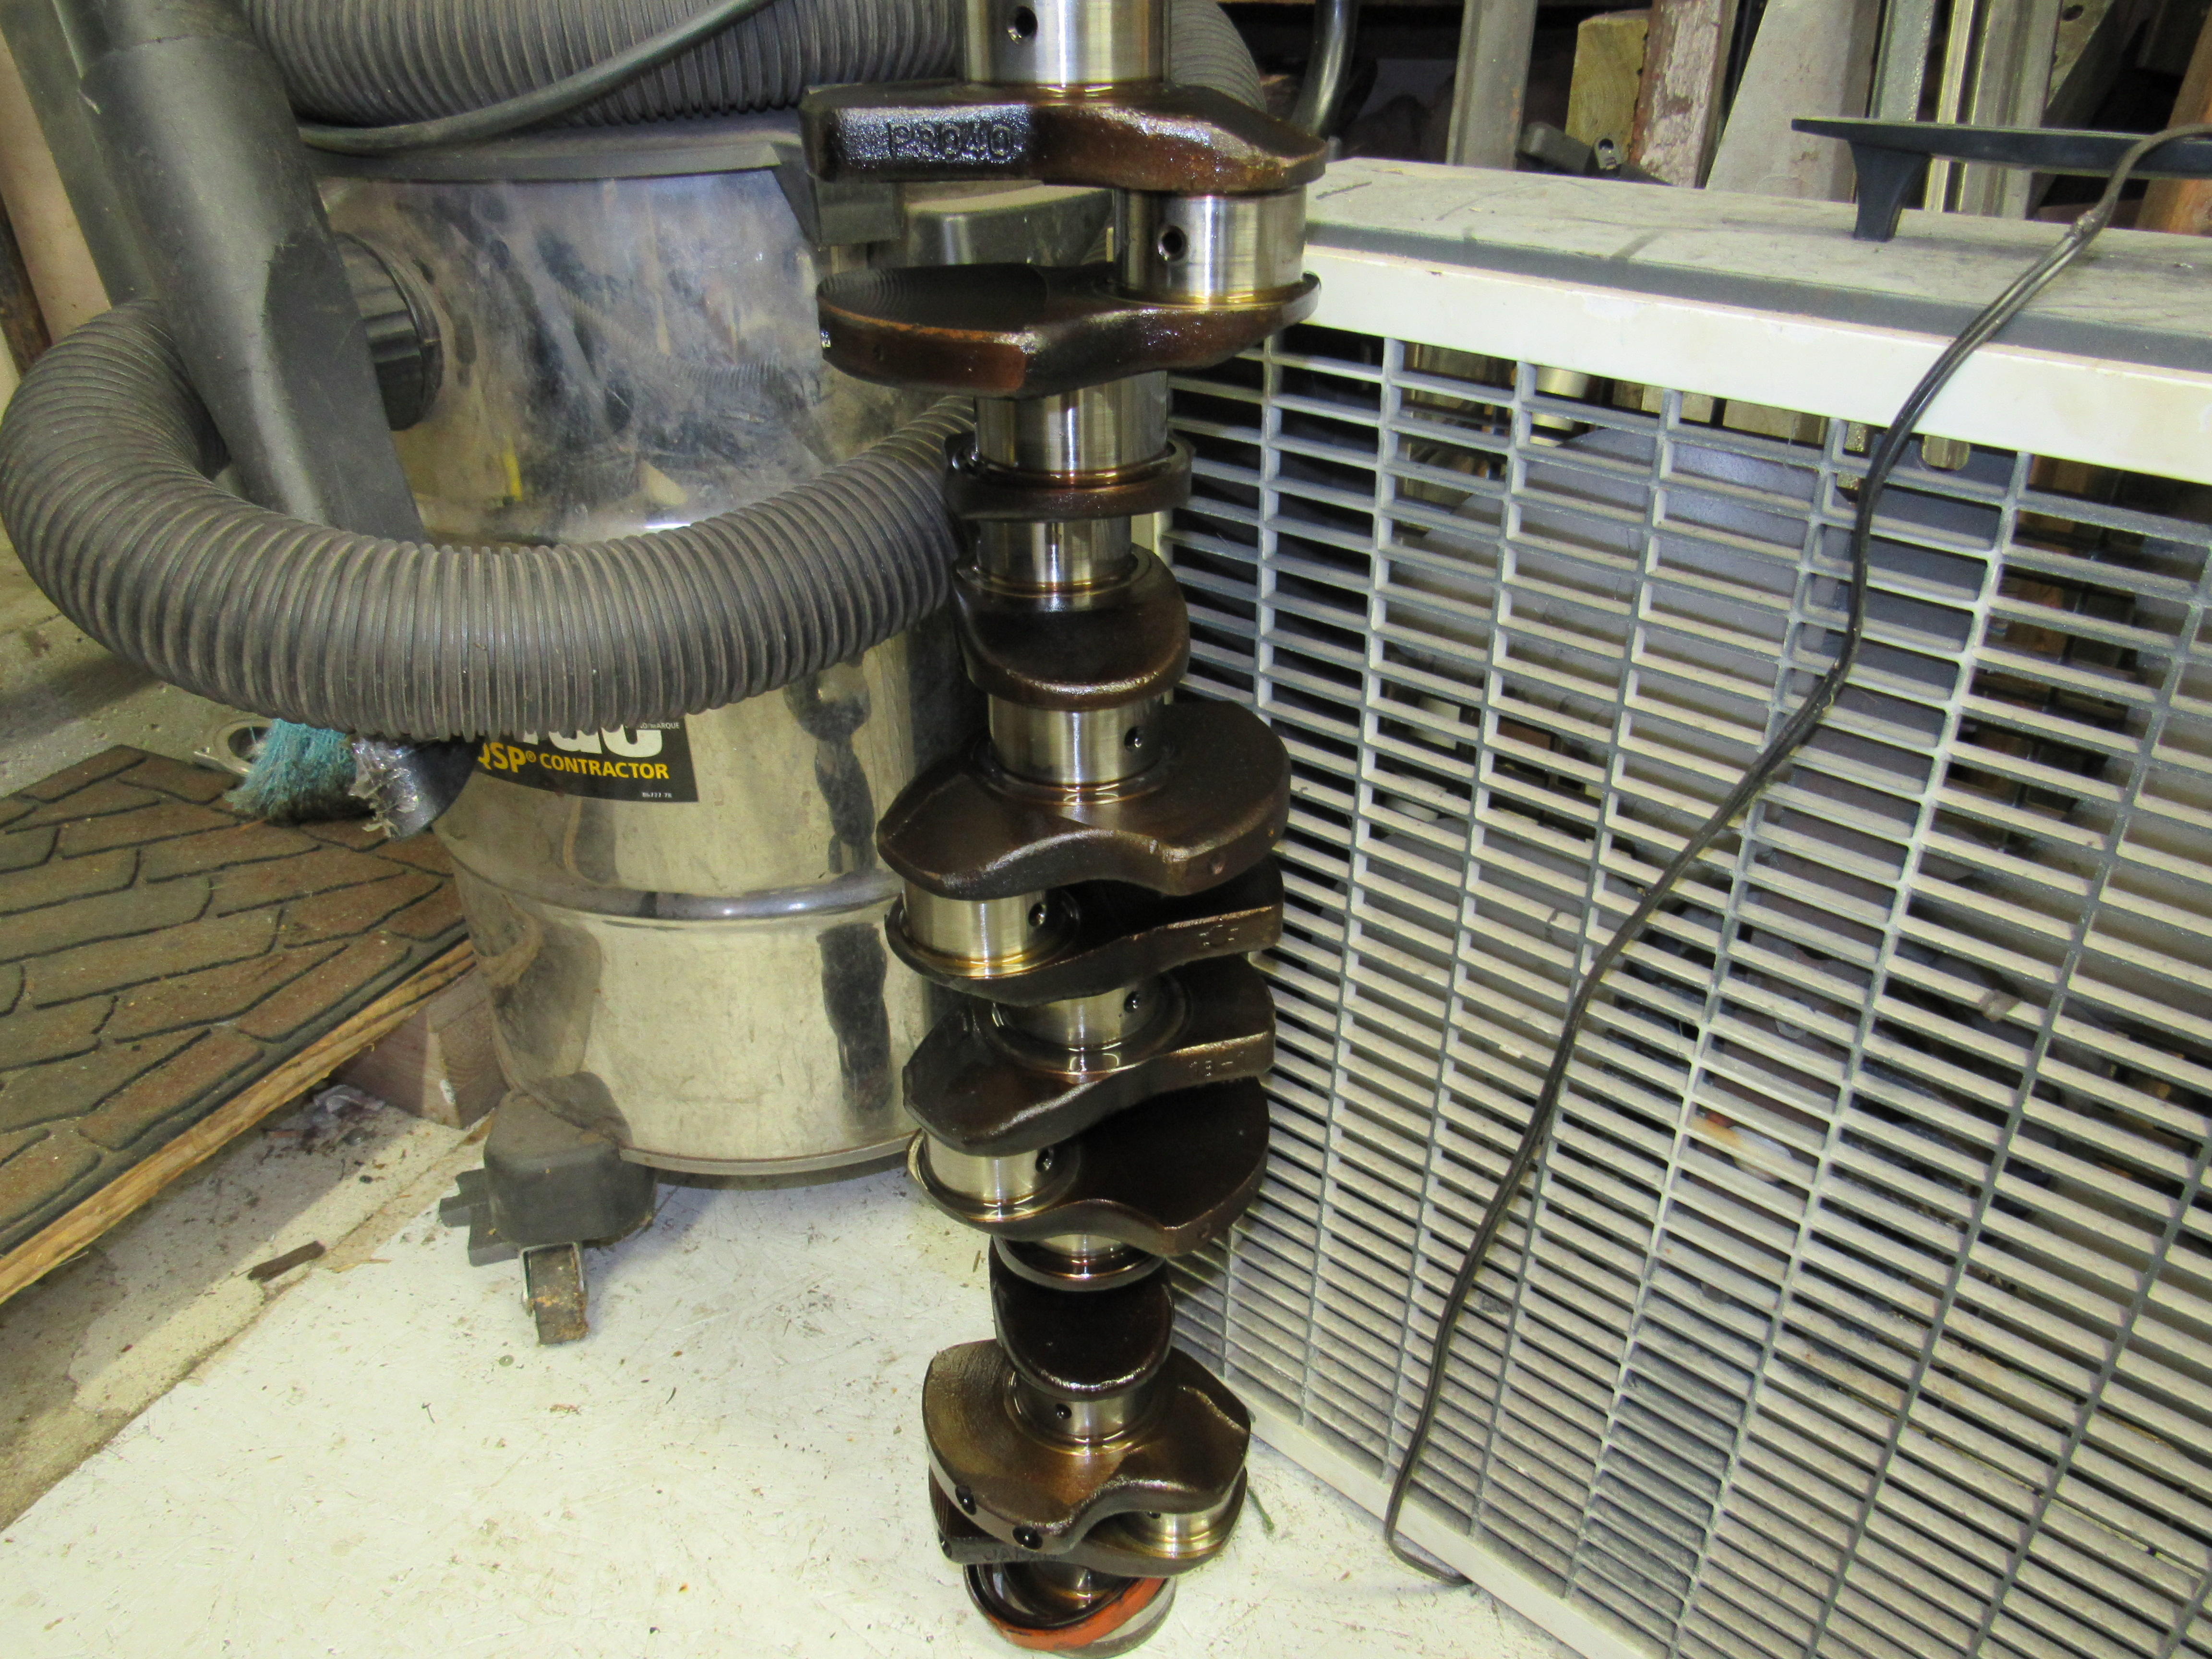
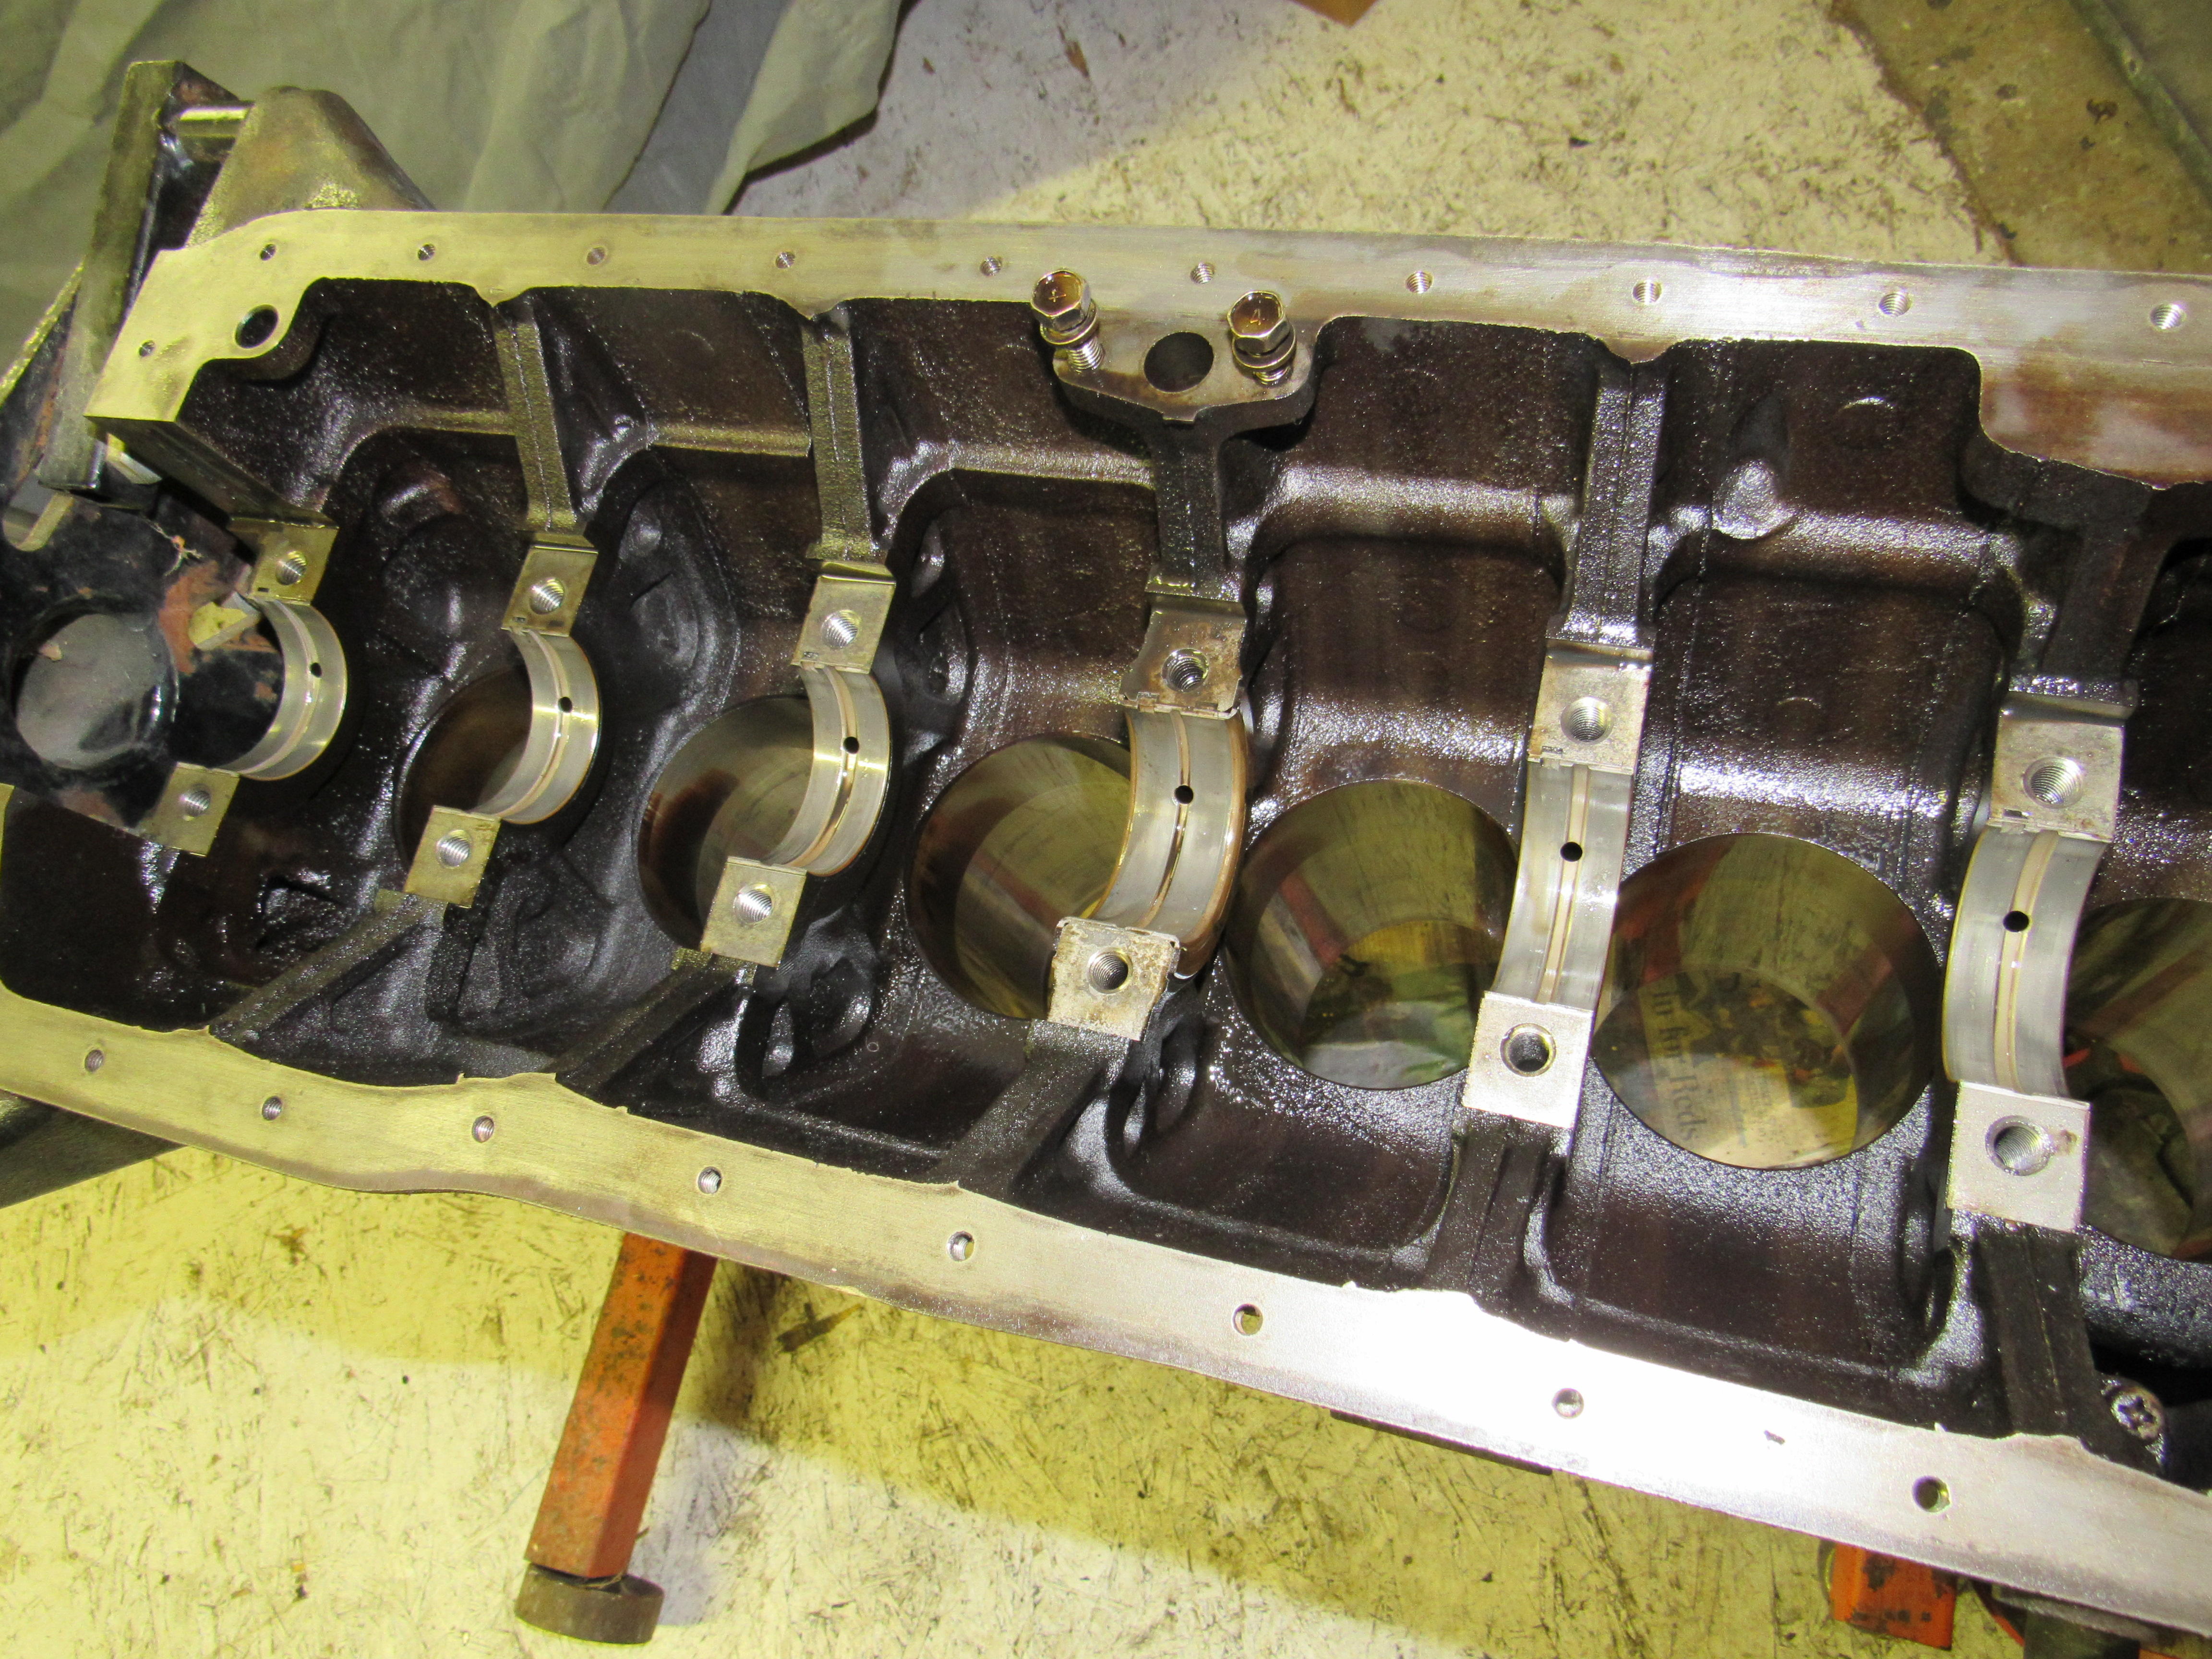
My set up is one I bought at a garage sale years ago, 3ft Acetylene tank, 3 1/2Ft Oxygen tank. Considering all I use it for is burning out rubber bushing and heating stubborn bolts they should last forever. Tore down the rest of the engine today, valve seats and guides are in good shape and so are the conrod and main bearings, only have to clean things up paint the block and reassemble


-
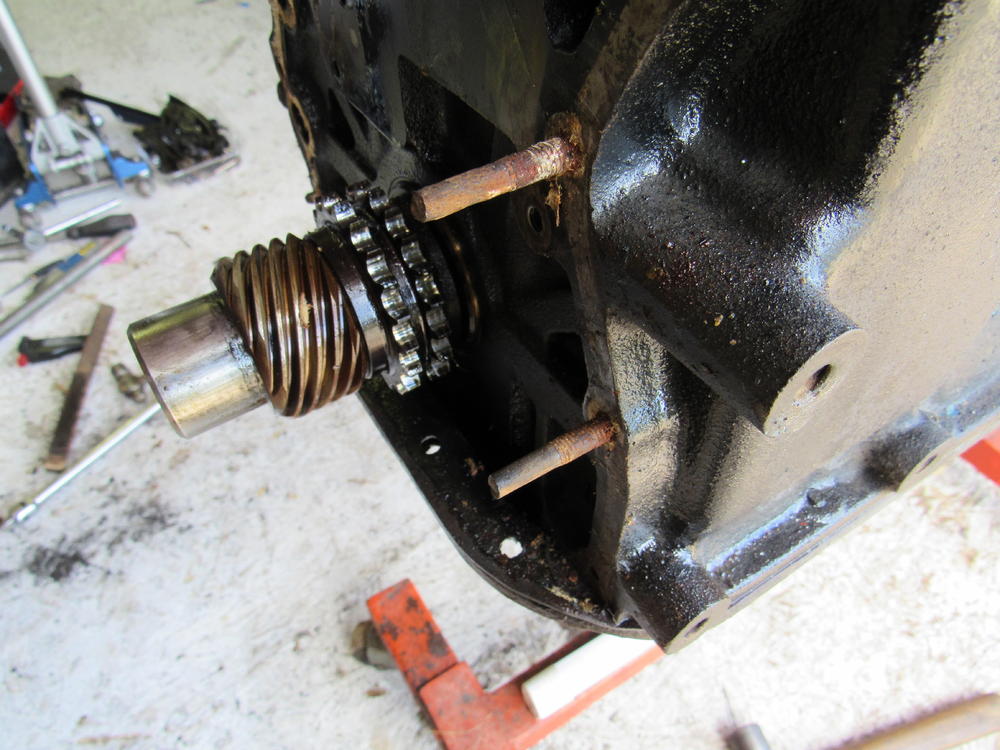
In the first pic, is that an oiler just above crankshaft sprocket?
-
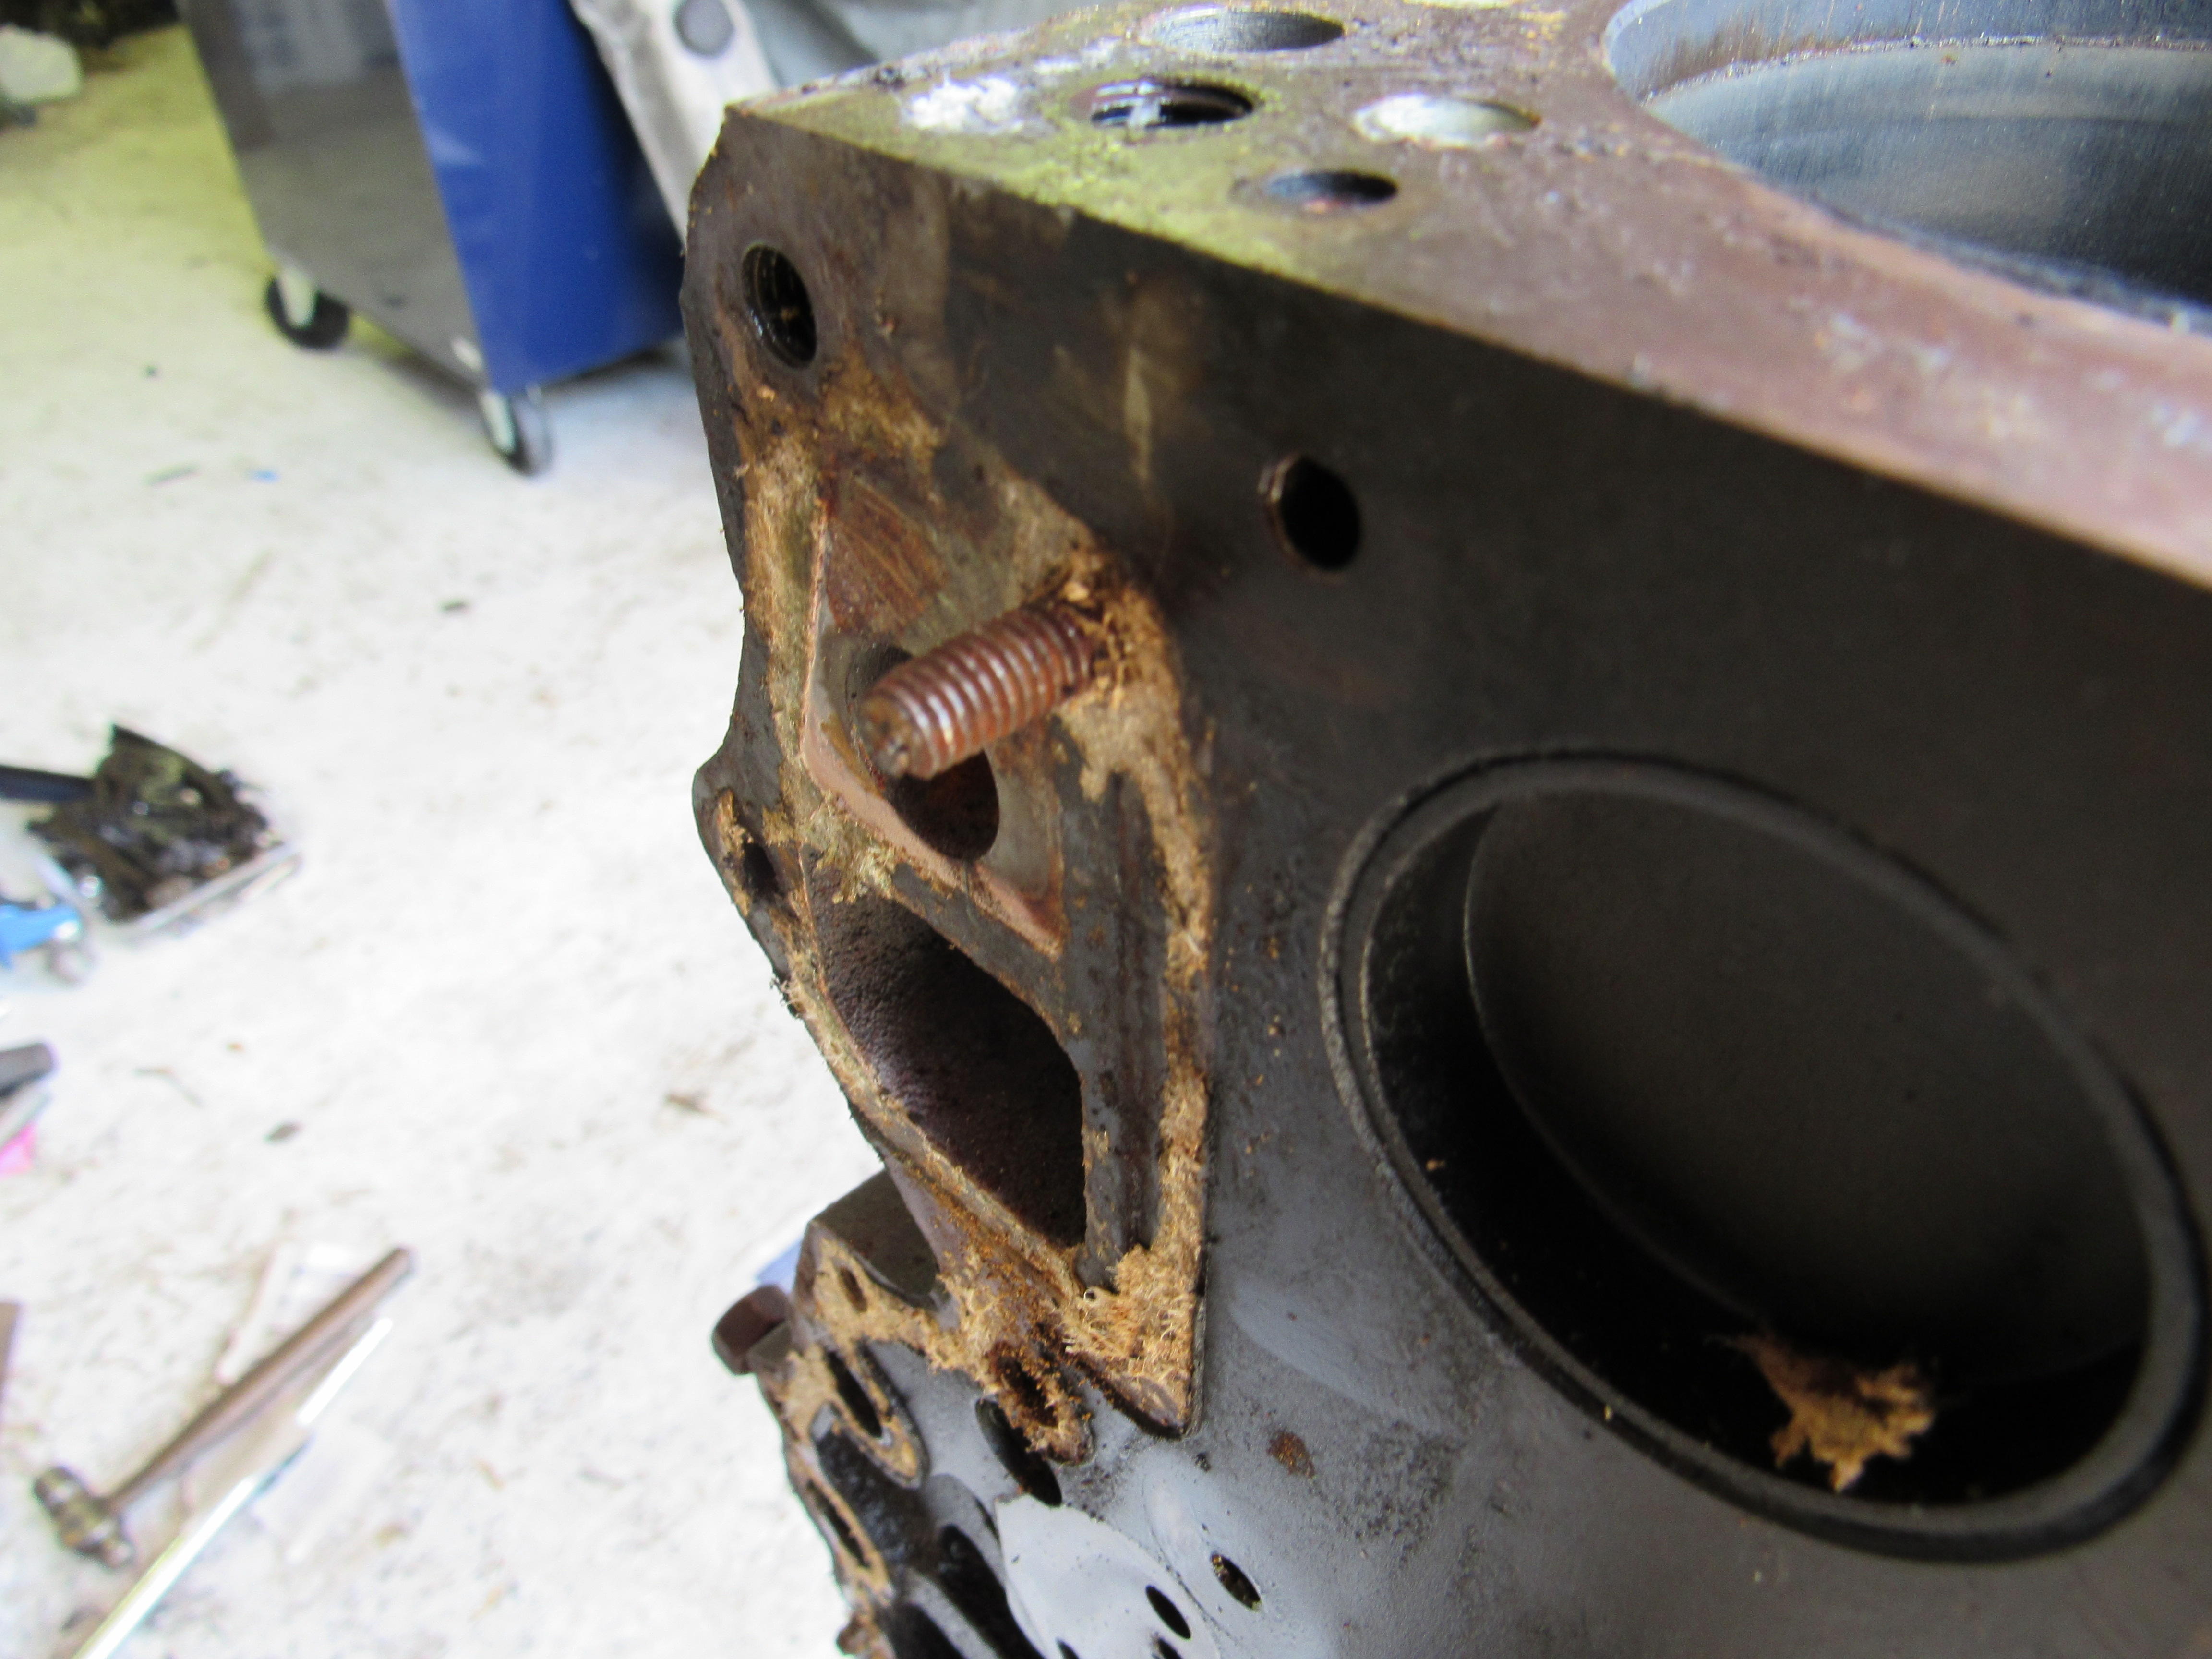
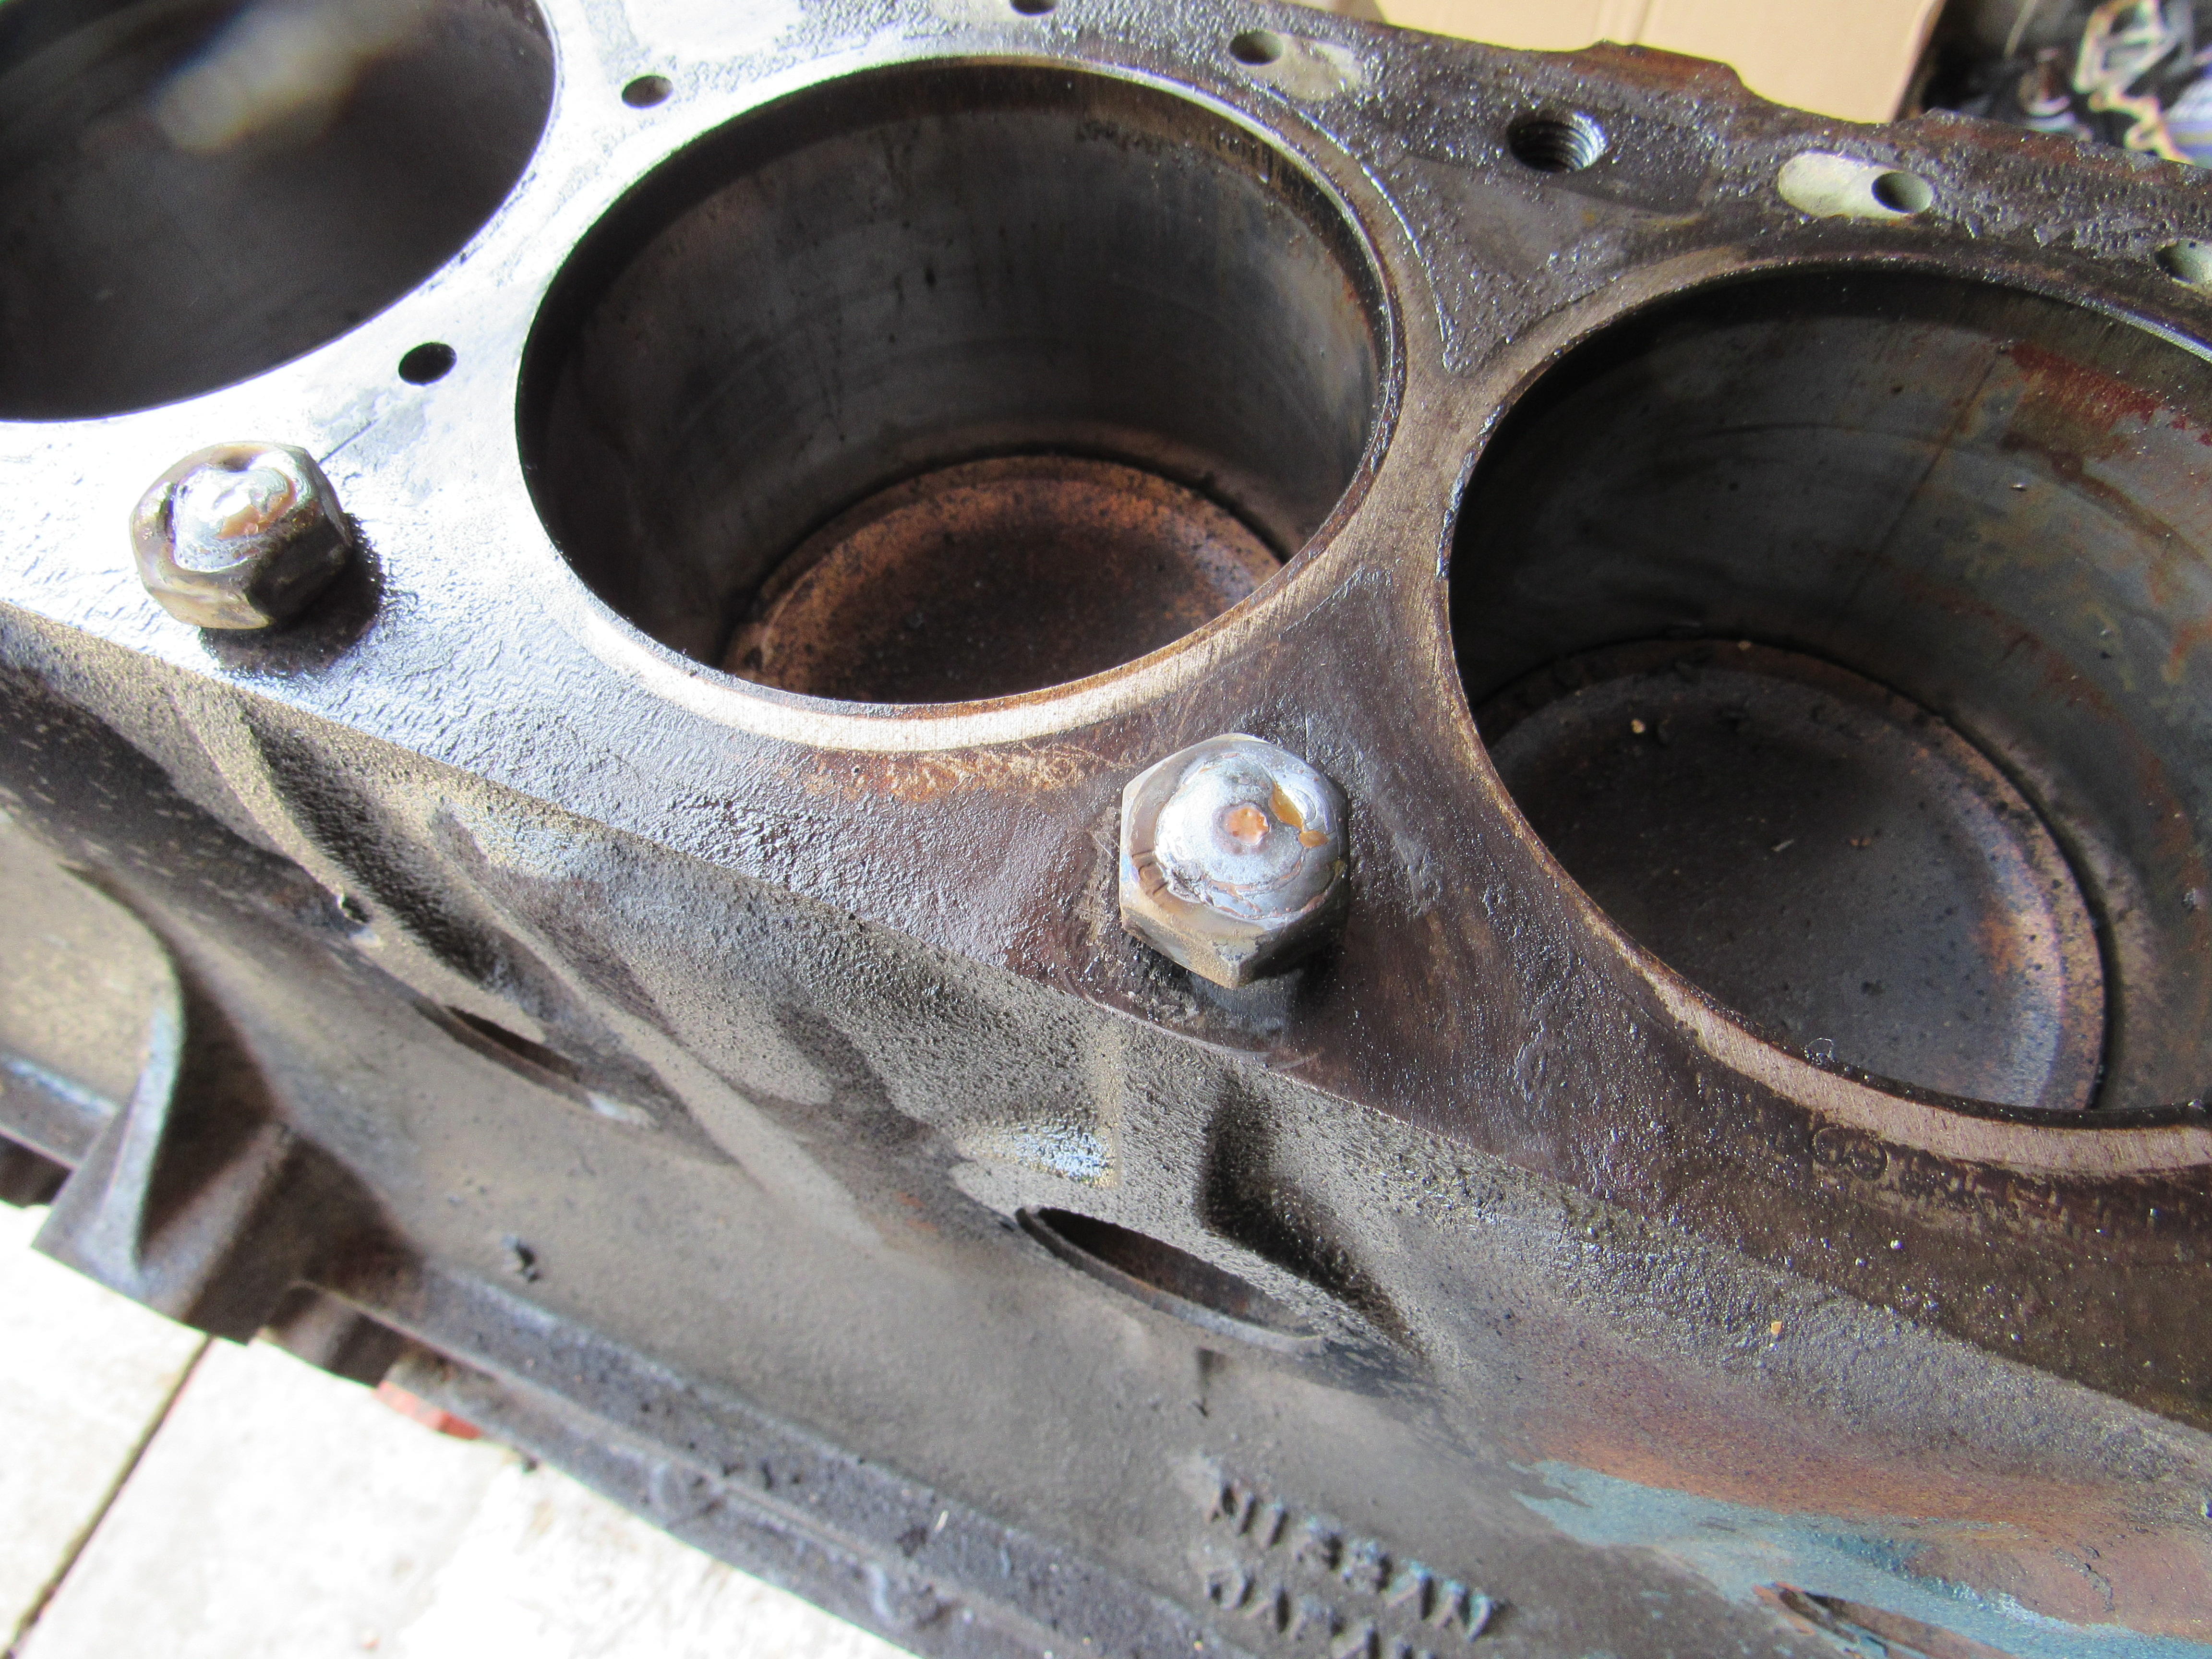
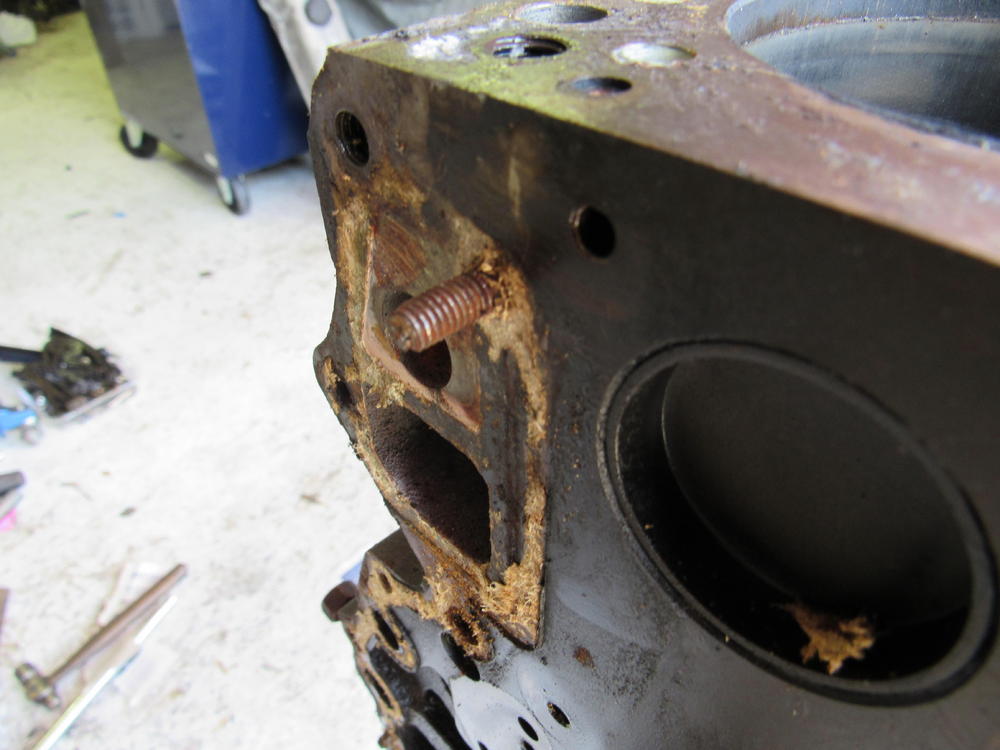
I like that. With the M6x1 bolts I just put the flame on them from the side and got them glowing and quenched them with WD40, and did that a couple of times then did a double nut on each one and they came right out. The head bolts I dropped the pistons as low as possible and slowly heated a six inch area around the bolts then after a minute put the flame right on the bolt until red then WD40 and repeat. Welded on the nuts let it cool right down and they came out with no effort, I was concerned about the thermal expansion of cast iron vs the steel bolt so went slow with heat. That is a complicated area with water jackets (air gaps in this case) on either side of the head bolts and a steel cylinder sleeve on the inside.
-
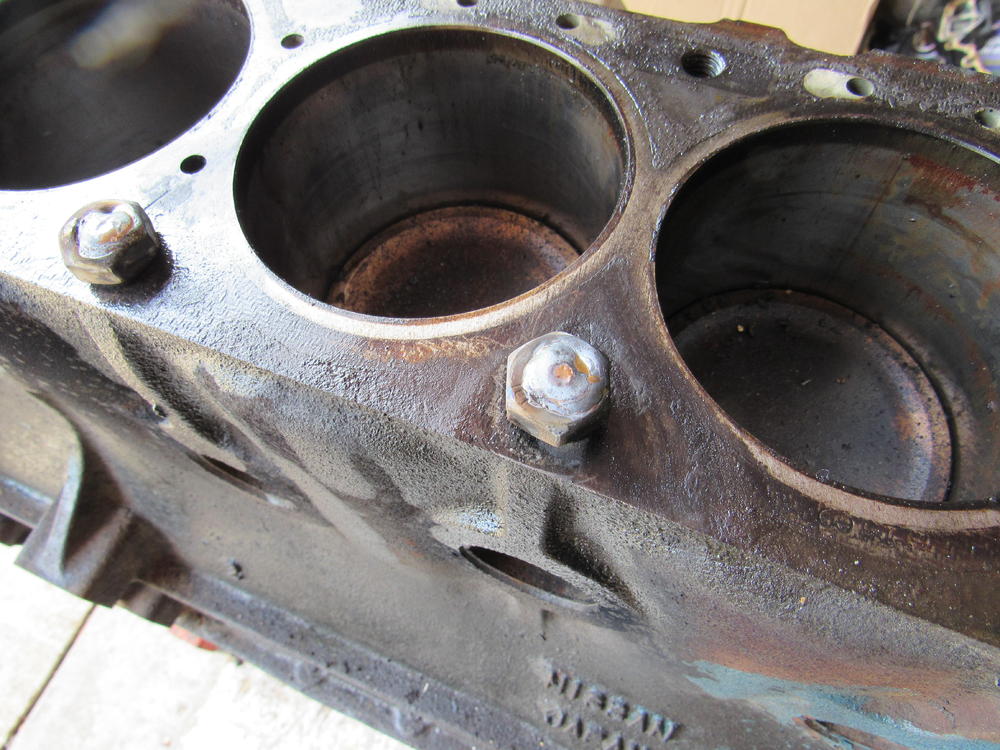
First pic is the 2 broken bolts I knew about, second pic is another one I discovered when I removed the timing cover, last pic is just letting the block cool down before removing the broken head bolts. I pulled out the Oxy Acetylene torch and got them all cherry red, they all came out easily after that.
-
Back from the grave! Good work Tim, love your front air dam, don't think I've ever seen that one before.
-
Personally I like your list of mods, none of them are seen and improve the power, handling and braking. Where you are going to take a hit is your personalizing of the paint, I know it looks great to you but probably won't to your buyer, also you are out in the Great North West where there are a lot of Z's so that might bring your price down too. What price are you thinking about, what do really want for it?