siteunseen
Free Member
-
Joined
-
Last visited
Everything posted by siteunseen
-

-
-
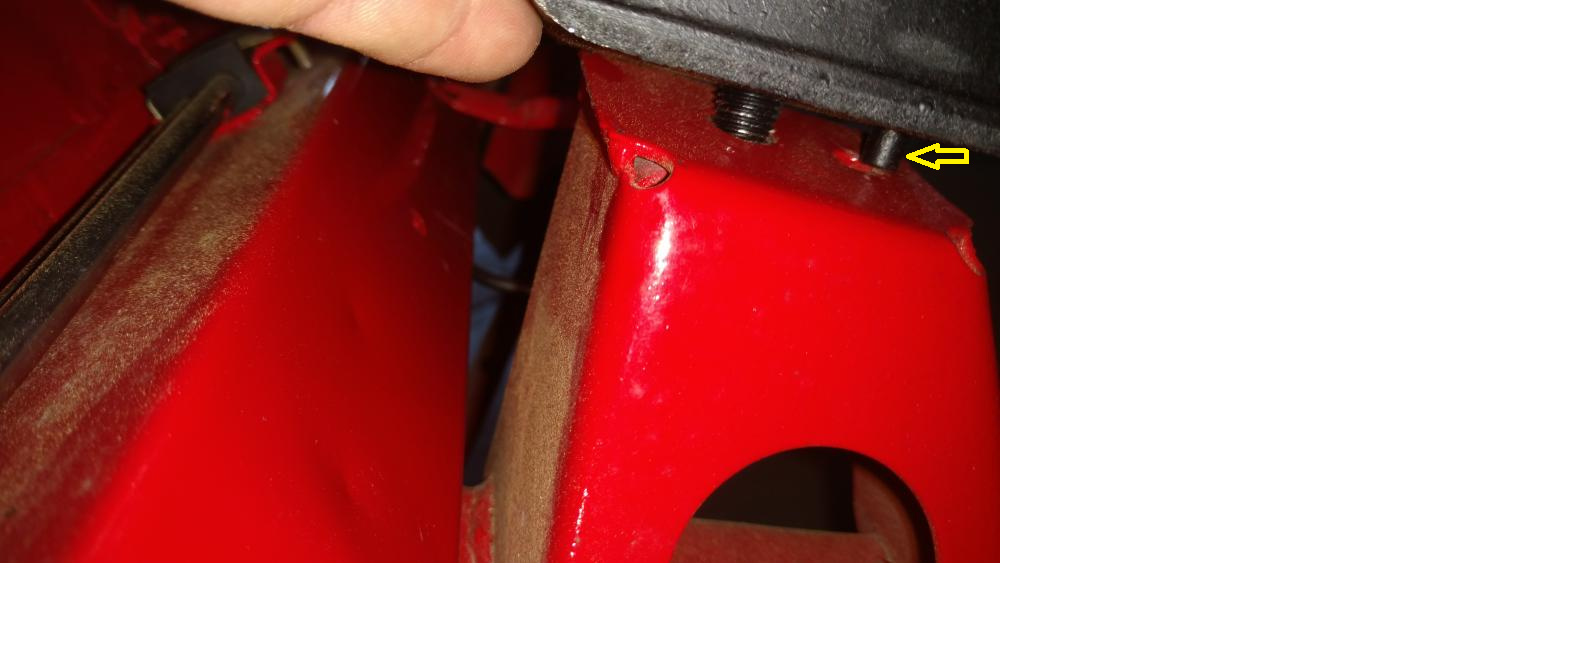
I thought about that too and decided it was more for orientation purposes. With the transmission mount added into the overall stability of the motor you would probably be okay doing that. But having what little bit of peg I had left I was able to get the mounts flat on their mating mounts. That centered bolt may need some help keeping it straight up and down was my thinking.
-
-
-
-
I just went through this too! Bought some and found that then bought another set, same thing. I ended up using a modified Beck Arnley set. I wish I'd taken a picture for you but what I did was take a flat file to the circle. I filed it and checked, filed more checked more until it finally sat flat. The best way I can describe it would be make a D shape out of the O. Once you get the it all bolted up and the weight of the motor on there, there won't be any movement. I've checked mine time and time again during the break-in, I've got about 500 miles on there now and all is good. Oh yeah, use the thickness? side of the file and put the mounts in a bench vise. My file was about 1/4" thick and that's about the same as the dimple. One more oh yeah. Those cheap a** "Anchor" brand are trash, the rubber doesn't even line up with the motor mounts. The Beck Arnley's were the best I could find on my budget.
-
Same for me, I think they're just jealous we do the work ourselves.
-
In my opinion here's what drives the prices up, unfortunately.
-
I missed something, no TSB in Geezer's post. Did you guys see an attachment?
-
Man, that makes me sick feeling seeing how close the door is to the steering wheel. I'm thinking you're a very lucky (skinny) guy. Glad you're okay? Hopefully you can get back somewhere close to what the cars worth. Get well soon.
-
As always, PERFECT. You do some amazing stuff and are a great asset to the forum. Way to go! Cliff
-
What's RAL Pumpkin? I'm going to bead blast mine and the plan is Chevy orange with a second coat of dupli color matte clear. Hope to start soon but it's too hot for me now. I have the flapper style, '72 model. Yours look nice but I think some type of filler would have been better on those pitted areas, I know that will bother you. I've always kept up with your projects and they are top notch.
-
-
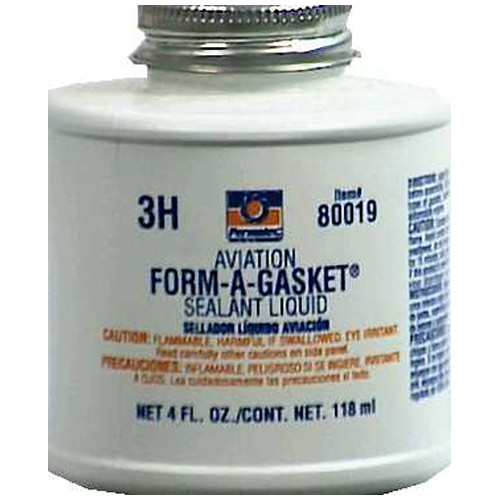
Permatex aviation sealant with it. I go a little overboard but who cares. If the pick up tube leaks it'll just go back in the pan I guess but I like " bullet proof " when I can.
-
This is what I bought. http://m.advanceautoparts.com/h5/r/shop.advanceautoparts.com/p/felpro-gasket-materials-3157/5189950-P
-
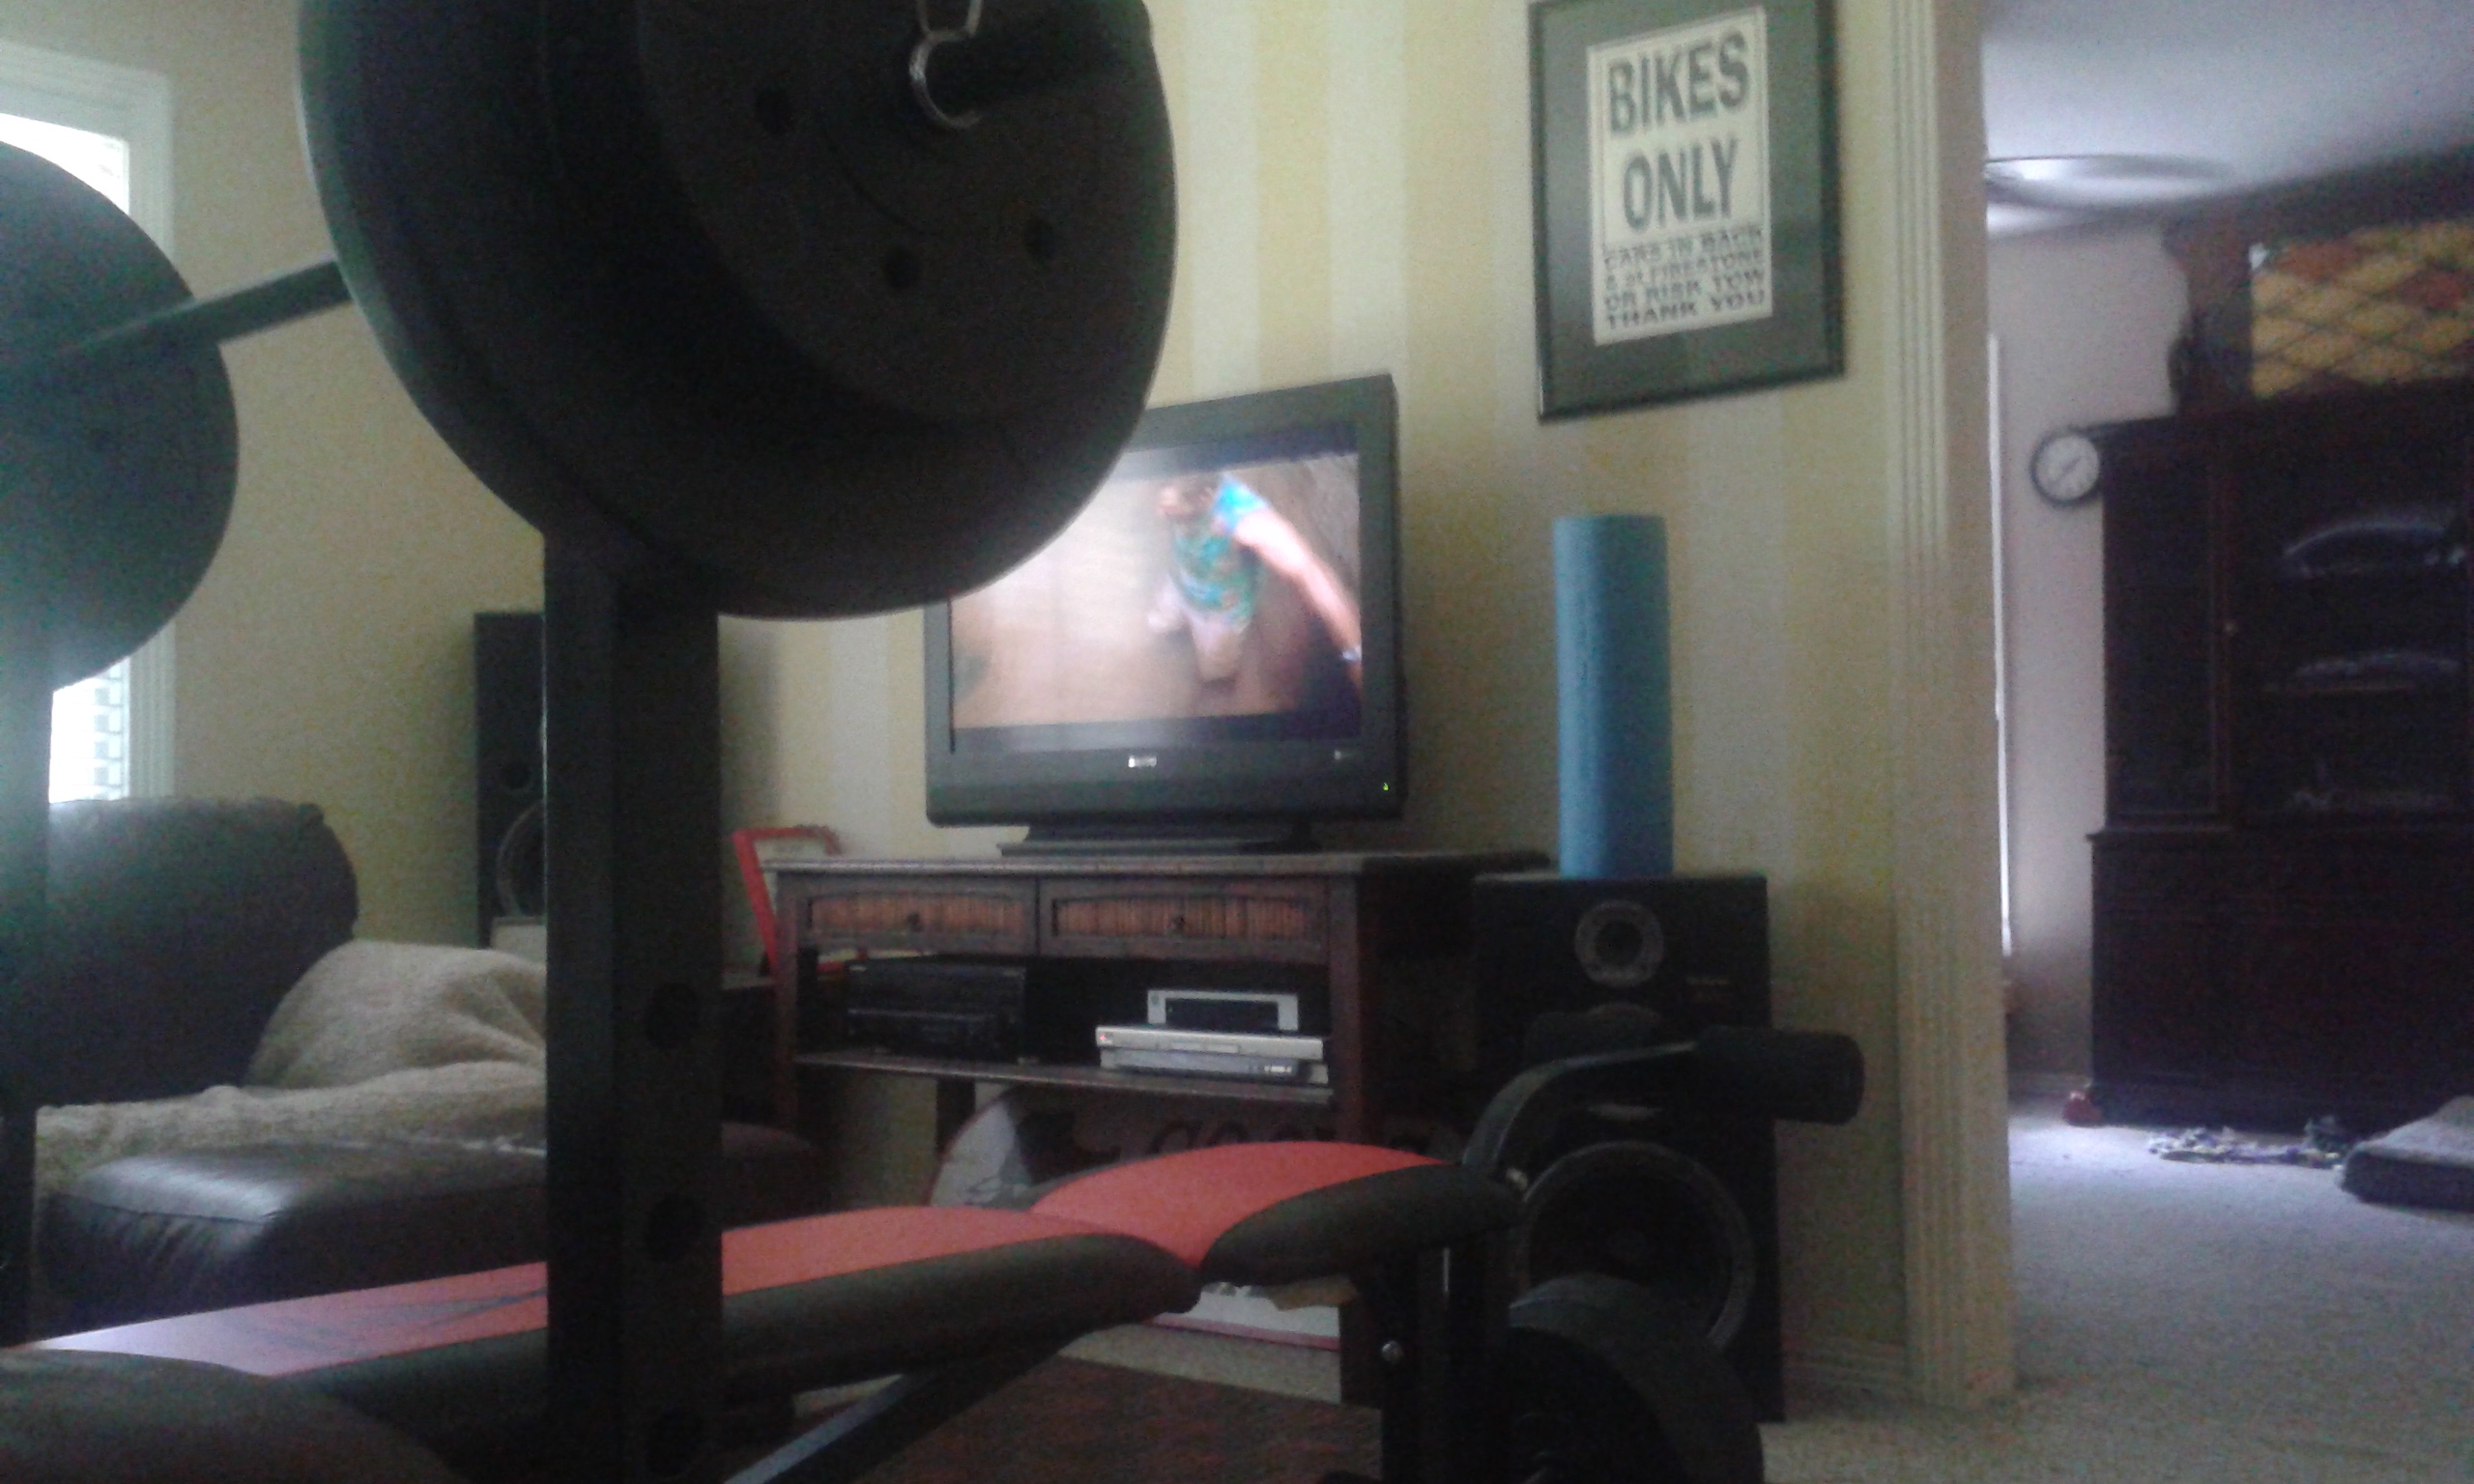
I didn't realize I was old and out of shape until I did the work on mine this past year. The exhaust re-do a week or so ago kicked my pansy a**. It has at least motivated me to get in better shape. I have a weight bench in my den.

-
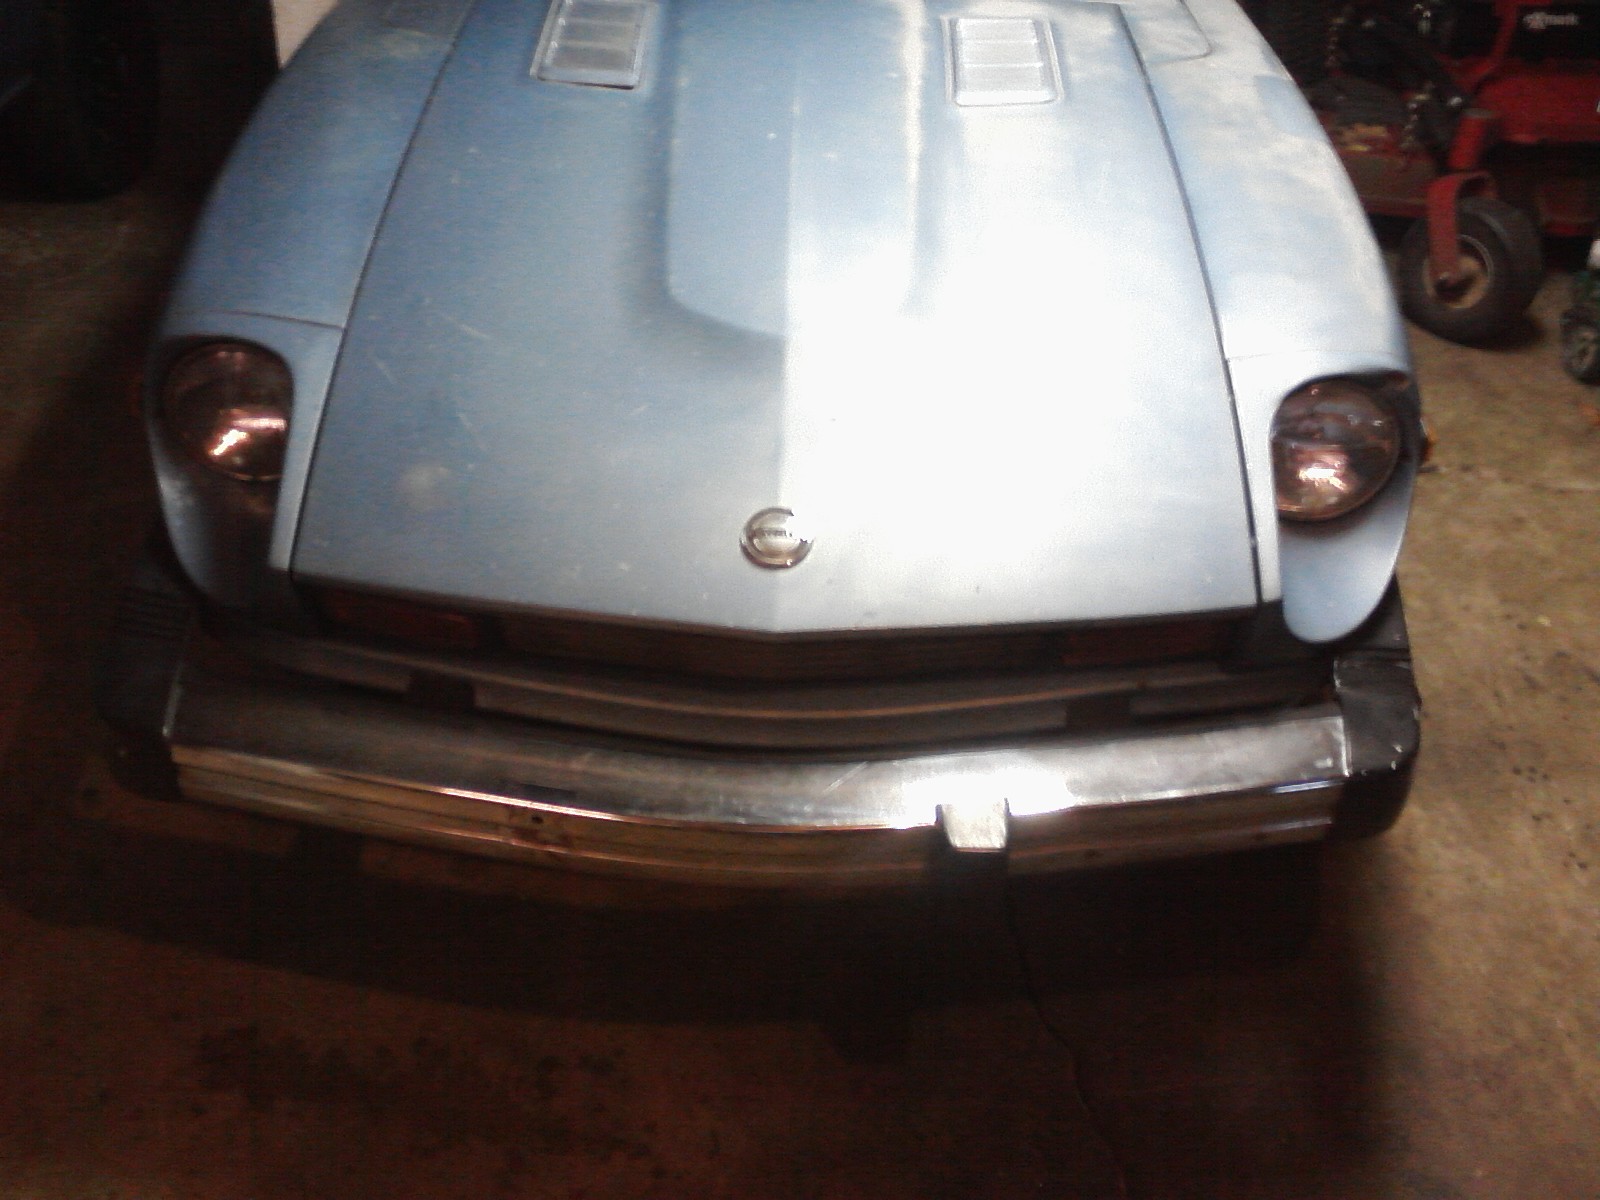
Captain I've got a '77 front bumper, shocks and all. Let me dig it out, hopefully today or tomorrow and I'll see what all I can find. It's stored under a house that I have rented out and will need to talk with the family before I go under there, don't want to be shot. The car was picked up by the front bumper at some point in it's life by a wrecker and I know one rubber side was split. I'm fairly sure I had to unbolt the rubber ends to remove the bumper and I hope I can find them. I'll let you know. Found a picture and the driver's side looks like the split one, I put some black Gorilla Tape over it.

-
Prices and pictures would be helpful for you and everyone else that's interested. I'm looking for an OE steering wheel and shifter knob if you have that too.
-
Jai and Sam, sittin' in a tree...LOL He sounds like a good guy. I'm glad he's helping you. 8^)
-
-
We think alike. I was using one of these until I saw a hole puncher for $1.
-
I was pretty sure you are the one that had that idea. Those pictures look great. Thank you! Cliff BTW That cost $1 dollar at a hobby store. Happy happy, joy joy
-
-