


siteunseen
Free Member
-
Joined
-
Last visited
Everything posted by siteunseen
-
 If the windings behind that cardboard like cover aren't broken that one looks good. I'd guess it's not the original. After the soak @wheee! came up with it'll be like new.
 -
Click on "Diseazd replied to a topic" goes straight to a couple of good pictures of @Diseazd 1972.
-
5 daughters? You needed a small school bus for that basketball team.
-
If a Harley doesn't mark it's spot something is wrong.
-
I plugged that hose then the in on the rear intake, the out on the front intake and plugged the hole in the main thermostat housing. People will say that you need some type of flow but mines been like that for years. I DO NOT romp on my car until it gets up to heat and the thermostat is open. I know where that is on my TEMP gauge so there's no problem for me. That hole @Zed Head talks about in the thermostat is enough for my car.
-
The only janky thing is the plugging you'll have to come up with for the coolant that runs under the spark plugs that hooks to the hardline behind the cylinder head. I put a steel threaded plug in mine with a hose clamp. I don't care though, it's no show car. Function over fashion.
-
The reality is the thermostats on the rear intake "in" are now unoperable and irreplaceable.
-
I deleted mine and all the potential leak spots. Best thing I've ever done too. One of the best things. Ceramic header ranks waaay up there... Talk about chilly carbs! No coolant flow and the ceramic header puts a light frost on my domes. Cooler fuel is best, look at all the people that run nitrous.
It depends on what the sending unit looks like. When you drop the tank take a pic of the sending unit and post it here. It may be newer and not needing a replacement since the PO did the tank already.
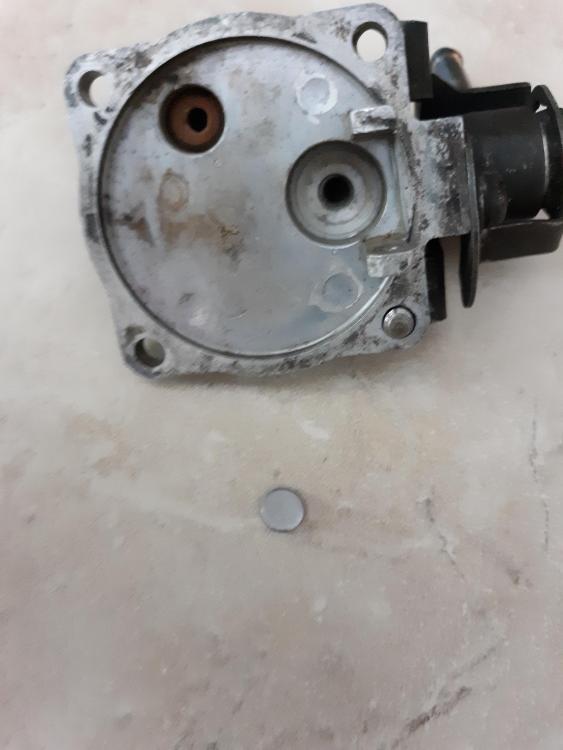
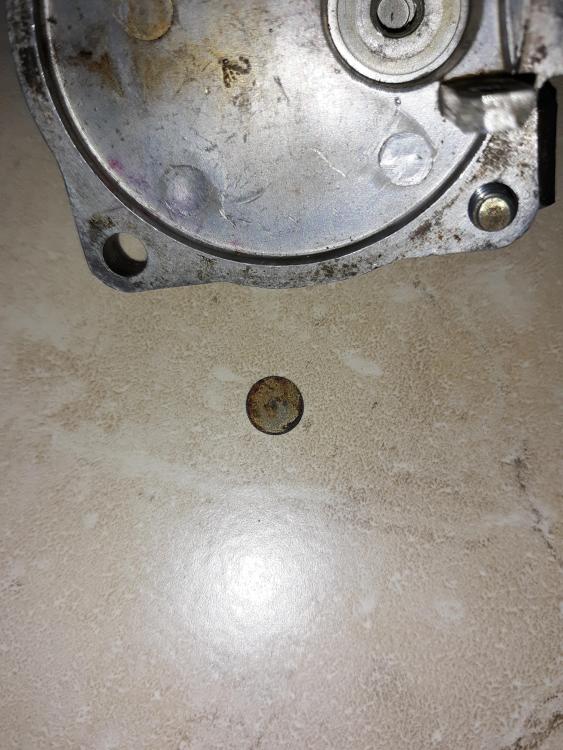
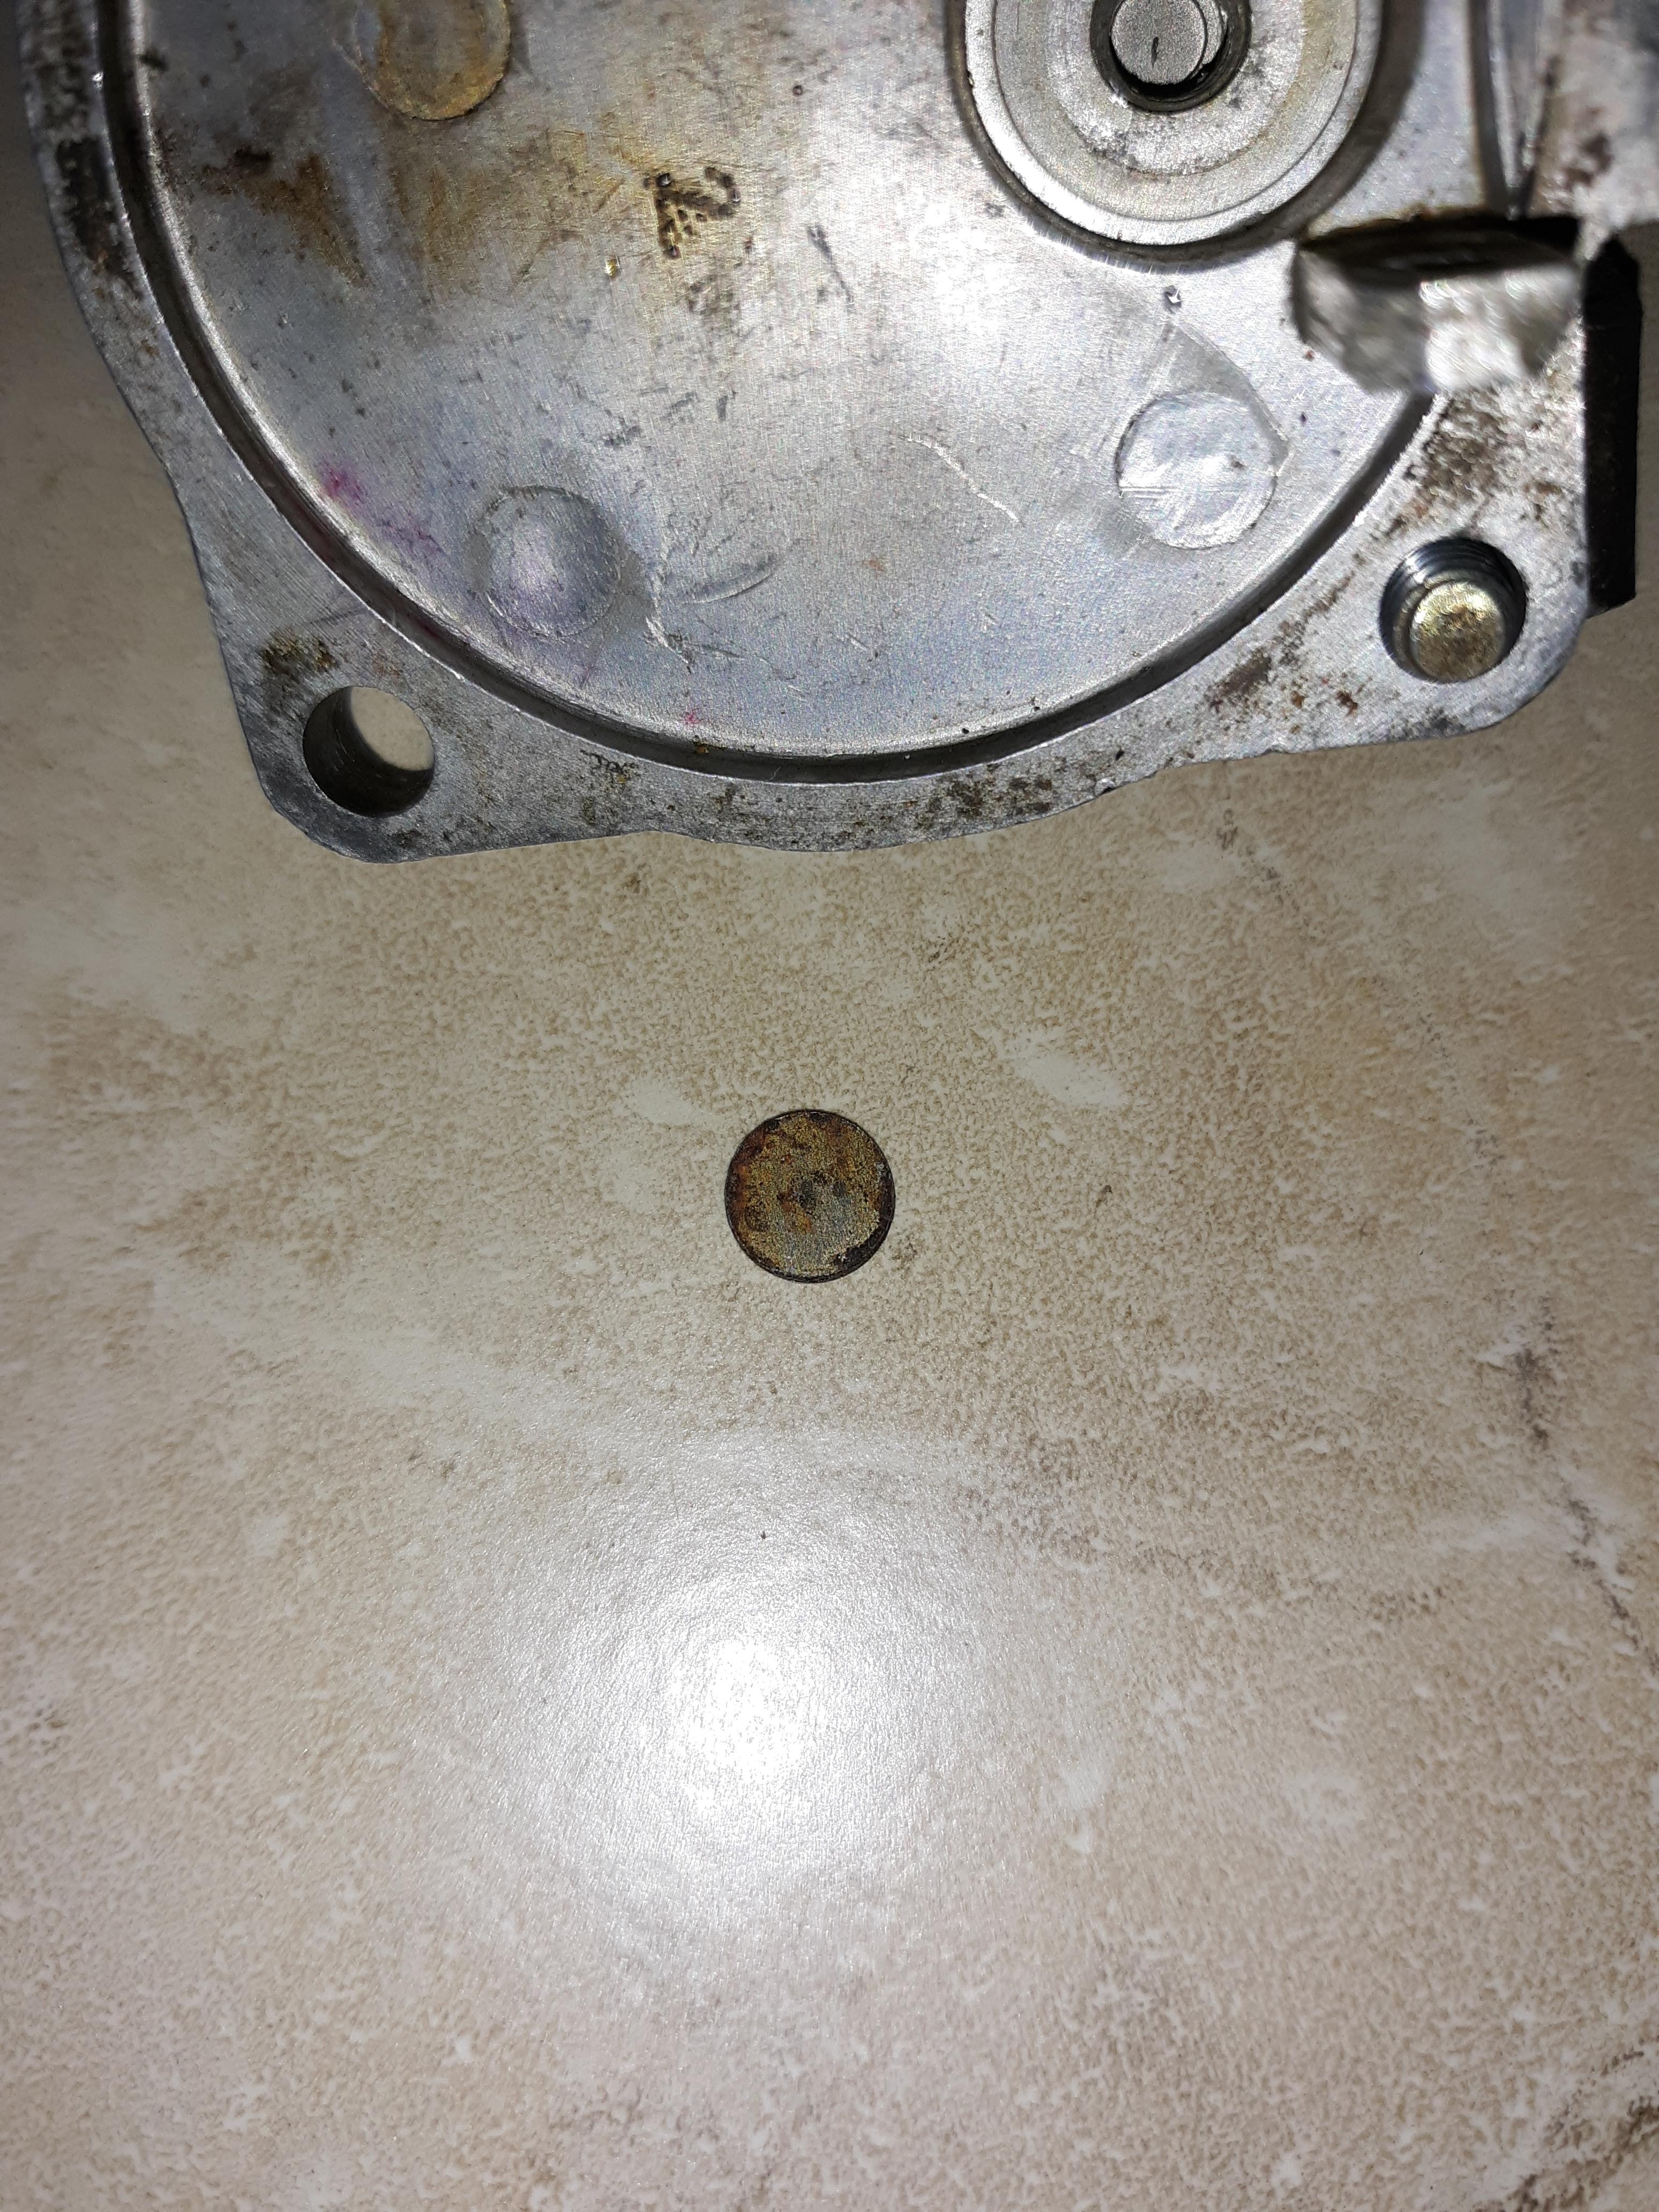
I brought on my float chamber lids upstairs for a picture to show a member where I measured 23mm down. I found this little flat circle on my kitchen floor last night. I can't imagine where else it would've come from? Thanks for any ideas.
 Could you share your acid only on Blue's tank? We have a new fellow that can't decide. Thank you! @240260280
Here's what I do. Dried beef coated with cream cheese. Spear cut dill picles laid on top. Roll it up like a cigarette or doobie, whatever you kids are into these days. Cut them into 1" sections. Serve cold with bloody Mary's. You will be remembered forever as the guy that has good get-togethers. Party on Wayne!
Could you share your acid only on Blue's tank? We have a new fellow that can't decide. Thank you! @240260280
Here's what I do. Dried beef coated with cream cheese. Spear cut dill picles laid on top. Roll it up like a cigarette or doobie, whatever you kids are into these days. Cut them into 1" sections. Serve cold with bloody Mary's. You will be remembered forever as the guy that has good get-togethers. Party on Wayne! That's the Vacation car! The Wagon Queen Truckster. https://en.m.wikiquote.org/wiki/National_Lampoon's_Vacation
 Leave the acid in for a bit longer since it has the coating. Once you neutralize with soda look in the big hole, take photos and post them here. If you don't think it's clean enough then do a second acid wash and soda neutralize. It should look solid silver when it's really clean. You can't let it sit for a few days or you've wasted your time and money. Let it sit until you cannot smell any type of chemically smell. Putting it outside in the sun will speed the curing process and make sure all the holes are open so you'll have plenty of air flow. Main tip from me, slowly rotate the tank. With the acid. With the soda. With the coating. You want 100% coverage, top bottom and the sides.
It looks like #110 paint to me. Maybe is has been repainted? From zcarguide.com Until Aug. 1971 (replaced by 110 red) 905 Monte Carlo Red From zhome's color chart. 905 Monte Carlo.
If you do it right it will be okay. It has to fully cure and have a good clean surface to stick to. I'm hoping the Tech Tip guy will let you know about his tank with just an acid wash. He works a lot and then is off for a week or two and is very active on here when he can. If you don't want to coat it call a radiator shop and see if they can vat it to clean it. Ask them what they do with fuel tanks. Good luck whatever you decide.
Okay the 4 screws are the same length front and rear. No stacking washers.
I found a thread with the different valves and something I totally forgot about. '72s have different length mounting ears for the floats. Fronts are longer or deeper to make up for sloshing back on acceleration. You have to use multipile washers on the front valve. They call it stacking.
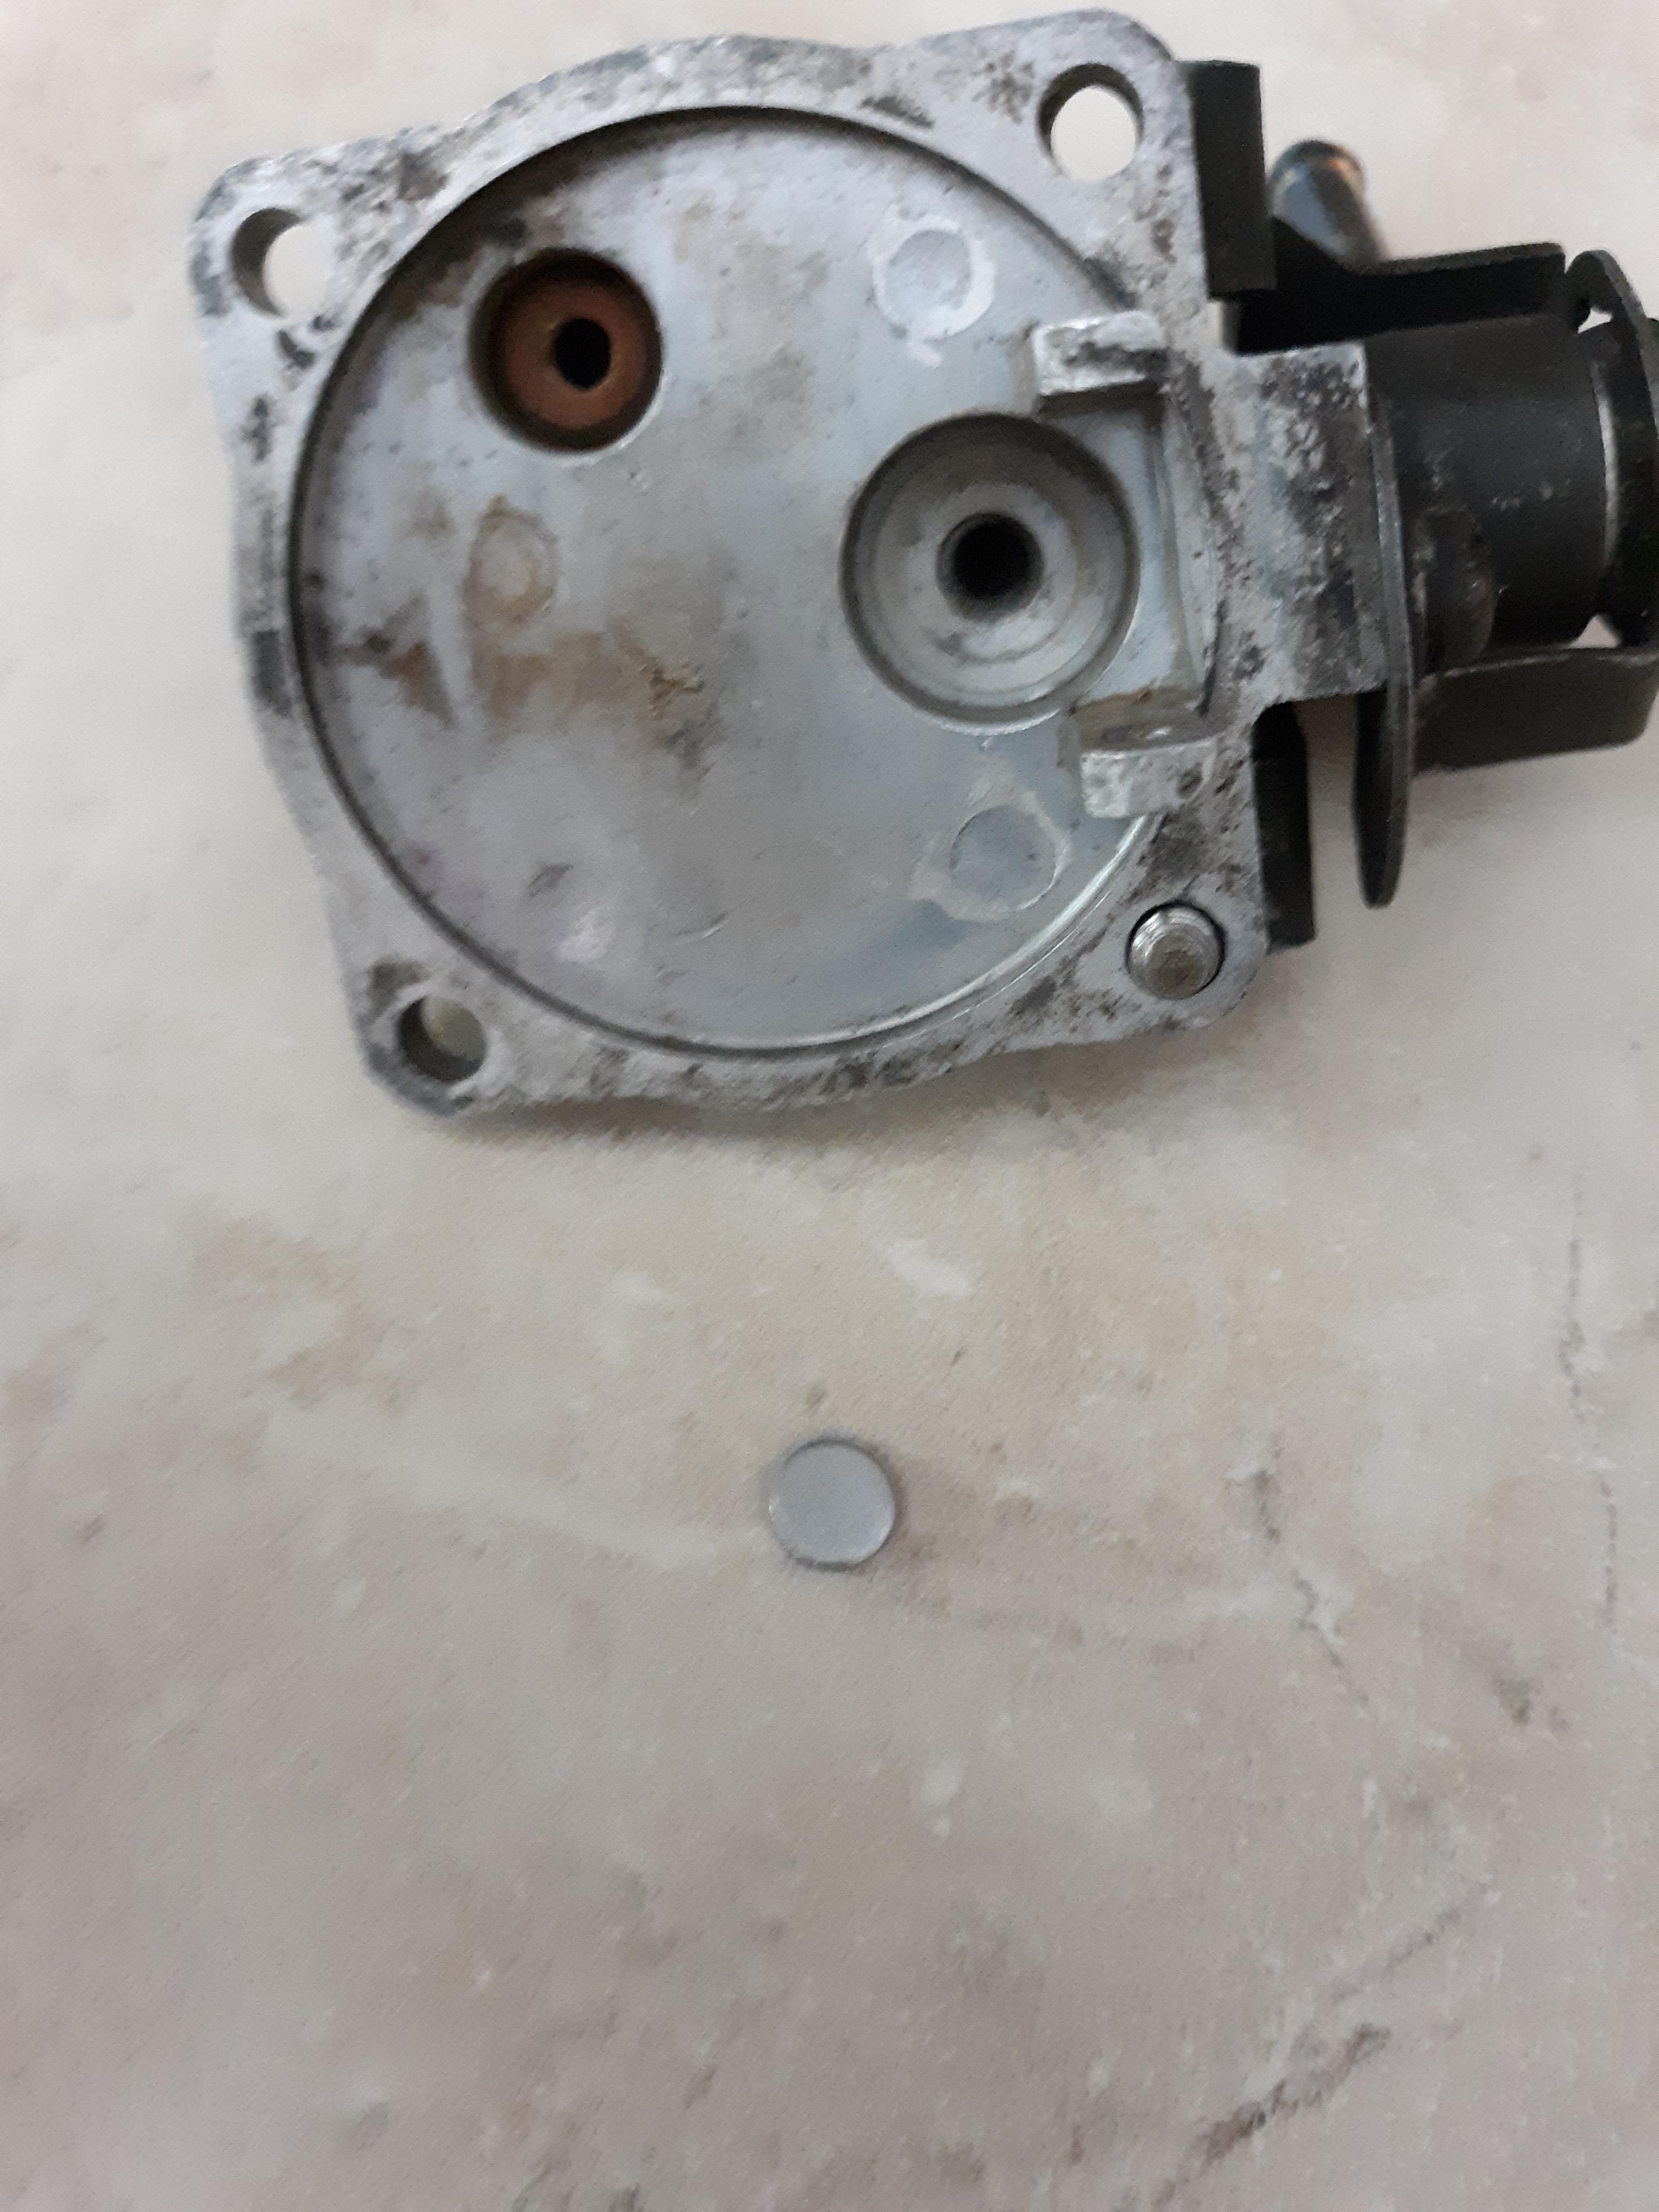
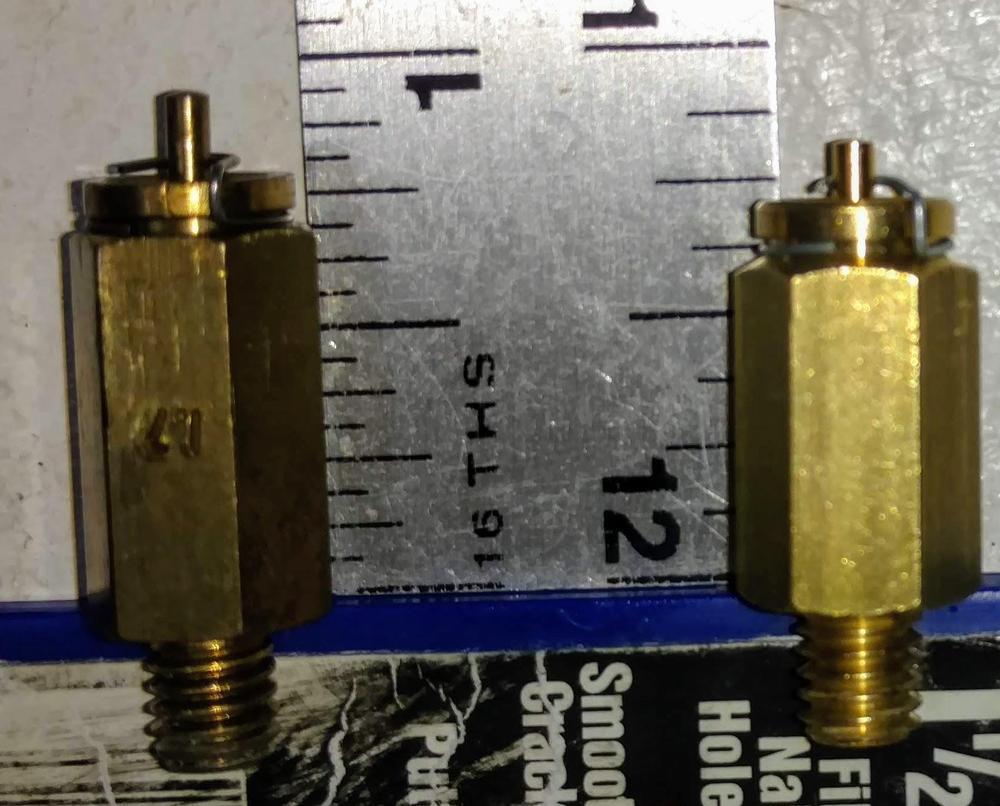
I just noticed you don't have the needle valves like I have. Are those the original ones from 100 years ago? I don't think they are. OE Nissan has a rounded tip. Your's are squared off. Maybe they were from a closed Z supplier now, Black Dragon? They sold rebuild kits.
Is that water or gas? Seems like i read it makes a difference but DANG! thats way off from mine. I have know idea Sir, sorry. It should sit level in my opinion. Another thought. Maybe your glass is so much wider allowing it to do that? The float chambers might keep it level because of their smaller diameter. You need some dried beef!
Leave the acid in for a bit longer since it has the coating. Once you neutralize with soda look in the big hole, take photos and post them here. If you don't think it's clean enough then do a second acid wash and soda neutralize. It should look solid silver when it's really clean. You can't let it sit for a few days or you've wasted your time and money. Let it sit until you cannot smell any type of chemically smell. Putting it outside in the sun will speed the curing process and make sure all the holes are open so you'll have plenty of air flow. Main tip from me, slowly rotate the tank. With the acid. With the soda. With the coating. You want 100% coverage, top bottom and the sides.
It looks like #110 paint to me. Maybe is has been repainted? From zcarguide.com Until Aug. 1971 (replaced by 110 red) 905 Monte Carlo Red From zhome's color chart. 905 Monte Carlo.
If you do it right it will be okay. It has to fully cure and have a good clean surface to stick to. I'm hoping the Tech Tip guy will let you know about his tank with just an acid wash. He works a lot and then is off for a week or two and is very active on here when he can. If you don't want to coat it call a radiator shop and see if they can vat it to clean it. Ask them what they do with fuel tanks. Good luck whatever you decide.
Okay the 4 screws are the same length front and rear. No stacking washers.
I found a thread with the different valves and something I totally forgot about. '72s have different length mounting ears for the floats. Fronts are longer or deeper to make up for sloshing back on acceleration. You have to use multipile washers on the front valve. They call it stacking.
I just noticed you don't have the needle valves like I have. Are those the original ones from 100 years ago? I don't think they are. OE Nissan has a rounded tip. Your's are squared off. Maybe they were from a closed Z supplier now, Black Dragon? They sold rebuild kits.
Is that water or gas? Seems like i read it makes a difference but DANG! thats way off from mine. I have know idea Sir, sorry. It should sit level in my opinion. Another thought. Maybe your glass is so much wider allowing it to do that? The float chambers might keep it level because of their smaller diameter. You need some dried beef! Math escapes me on Sundays, my only off day sort of, my shortest work day. But it sounds like you have it. I got lucky with that jar. It's barely larger than the float chamber. And yes from the roof. This picture is dissceiving.
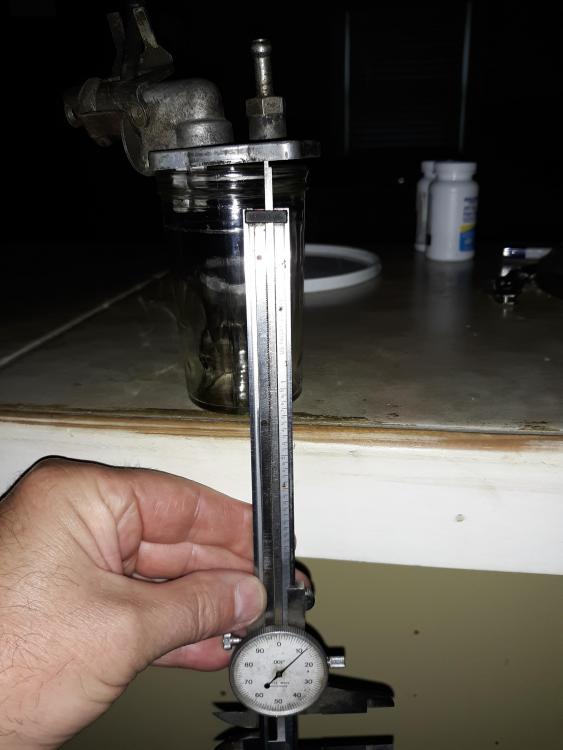 I wouldn't. You'll get flash rusting. The man that did the Tech Tip, @240260280, didn't coat his without issues. So I suppose after the acid then neutralize with baking soda it doesn't rust? May he'll chime in and shed some of his vast wisdom on this. Oh yeah, order the coating as soon as you can if you've decided to go that route.
What about these? They're cheap enough to try. https://zcardepot.com/products/su-carburetor-air-horn-velocity-stack-240z?variant=31930200850545¤cy=USD&utm_source=google&utm_medium=cpc&utm_campaign=google+shopping&gclid=EAIaIQobChMIv4Pu66ut7AIVDY_ICh3d2QA4EAQYAiABEgID5PD_BwE Don't know if you've seen this thread.
I wouldn't. You'll get flash rusting. The man that did the Tech Tip, @240260280, didn't coat his without issues. So I suppose after the acid then neutralize with baking soda it doesn't rust? May he'll chime in and shed some of his vast wisdom on this. Oh yeah, order the coating as soon as you can if you've decided to go that route.
What about these? They're cheap enough to try. https://zcardepot.com/products/su-carburetor-air-horn-velocity-stack-240z?variant=31930200850545¤cy=USD&utm_source=google&utm_medium=cpc&utm_campaign=google+shopping&gclid=EAIaIQobChMIv4Pu66ut7AIVDY_ICh3d2QA4EAQYAiABEgID5PD_BwE Don't know if you've seen this thread.


Important Information
By using this site, you agree to our Privacy Policy and Guidelines. We have placed cookies on your device to help make this website better. You can adjust your cookie settings, otherwise we'll assume you're okay to continue.