siteunseen
Free Member
-
Joined
-
Last visited
Everything posted by siteunseen
-
 Do you think the dealer installed aluminum 5 slots show better than the OE scallop hubcaps? Just curious how the judges work that in. Great looking car! Both sets look fantastic to me.
 -
I found everything on here. Read a lot of threads for easier ways and viewed a bunch of pictures. I would recommend removing the passenger's seat if you have it off the road for awhile. Quarter inch sockets too. Get the firewall grommets and the 2 hoses, the valve and you're set. I put the hoses on the valve then fed them through the firewall and then attached the valve. Leave the gromments loose also on the engine bay side. They go a certain way as do the hoses. The Nissan hoses aren't braided anymore and have arrows for flow direction. Google "heater core valve replacement classiczcars.com". Read the newer ones then do an image search. @jfa.series1 has the best pictures. One more thing I didn't do I wish I had was mark the wire's position where it goes through the hold down barrel. Luckily I found a good enough kink to go by but it was a pain getting that cable adjusted just right. Good luck! A second "one more thing", just snug up the hose clamps so you can still twist the hoses until you get it right. I think I used a 10" extension and put a pillow over the front seat mounting thing. Don't know what it's called but it'll kill your ribs. Okay I'm out...
-
Same here. It was not the heater core and from all I read they don't leak, it's the water c o c k valve and that small hose that are normal suspects. I changed those out and all is good now. That valve and the hoses are still (were a couple of years ago) from Nissan. I have the part numbers in a file at home if you need them but zcardepot.com has them for about the same money. It's a real pain in the arse though but you really need to fix it or the floor pan will rot. That's a much bigger job. You can bypass the core until you're ready for the fix.
-
I use the front crossmember. It has a square plate thing in the middle that I put my floorjack under. Then once it's up I put jack stands where the A arms meet the crossmember. It's a tight squeeze getting the jack and stands in but it works for me. On the rear I do the same pretty much. Jack under the diff mount I think then stands where the rear A arms meet. I try to avoid under the rocker panel on mine, it's really soft under there. Best of luck! You've found a deep well of knowledge here. Not me though, I'm pretty new to 240s.
-
On my car there's a male on the temp gauge sensor female on the wire and it would plug onto here...
-
I'd think after driving it should drop down a bit. Fill the tank too. Nice looking car. Edit: I know when I rotate my tires it sits higher for a minute.
-
I'd never heard about the Batman Angle so you know I googled it. https://en.wikipedia.org/wiki/Dutch_angle "Dutch angles were used extensively in the satirical 1960s Batman TV series (and its 1966 film spin-off) in which each villain had his or her own angle, as they were "crooked".
-
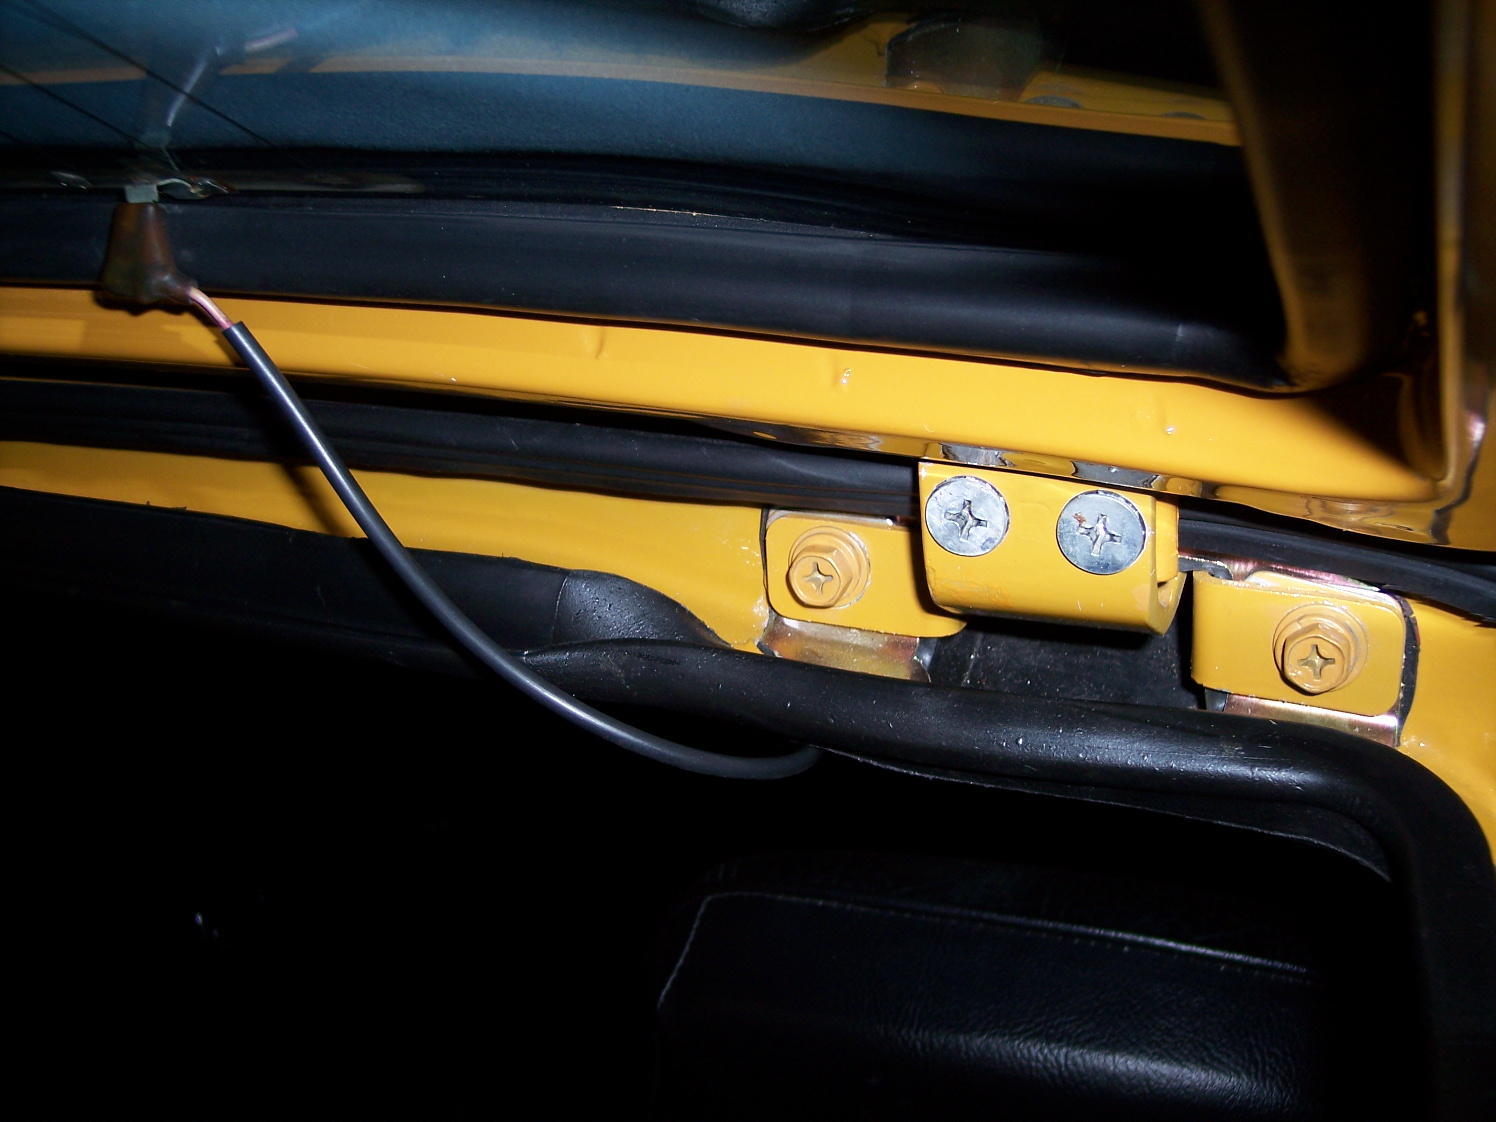
Dumb question, duh it's me, why is his connectors pointing towards the distributor and not the radiator? Optical illusion or maybe I stayed out too late last night.
-
They look as good if not better than the NOS ones. I'm planning on using the Dildo adjacent pair on a spare set and if they work as good as I hope then I'll put the NOS set in my shiny SUs. Thanks a million! Cliff p.s Did that radio knob make it to you in one piece?
-
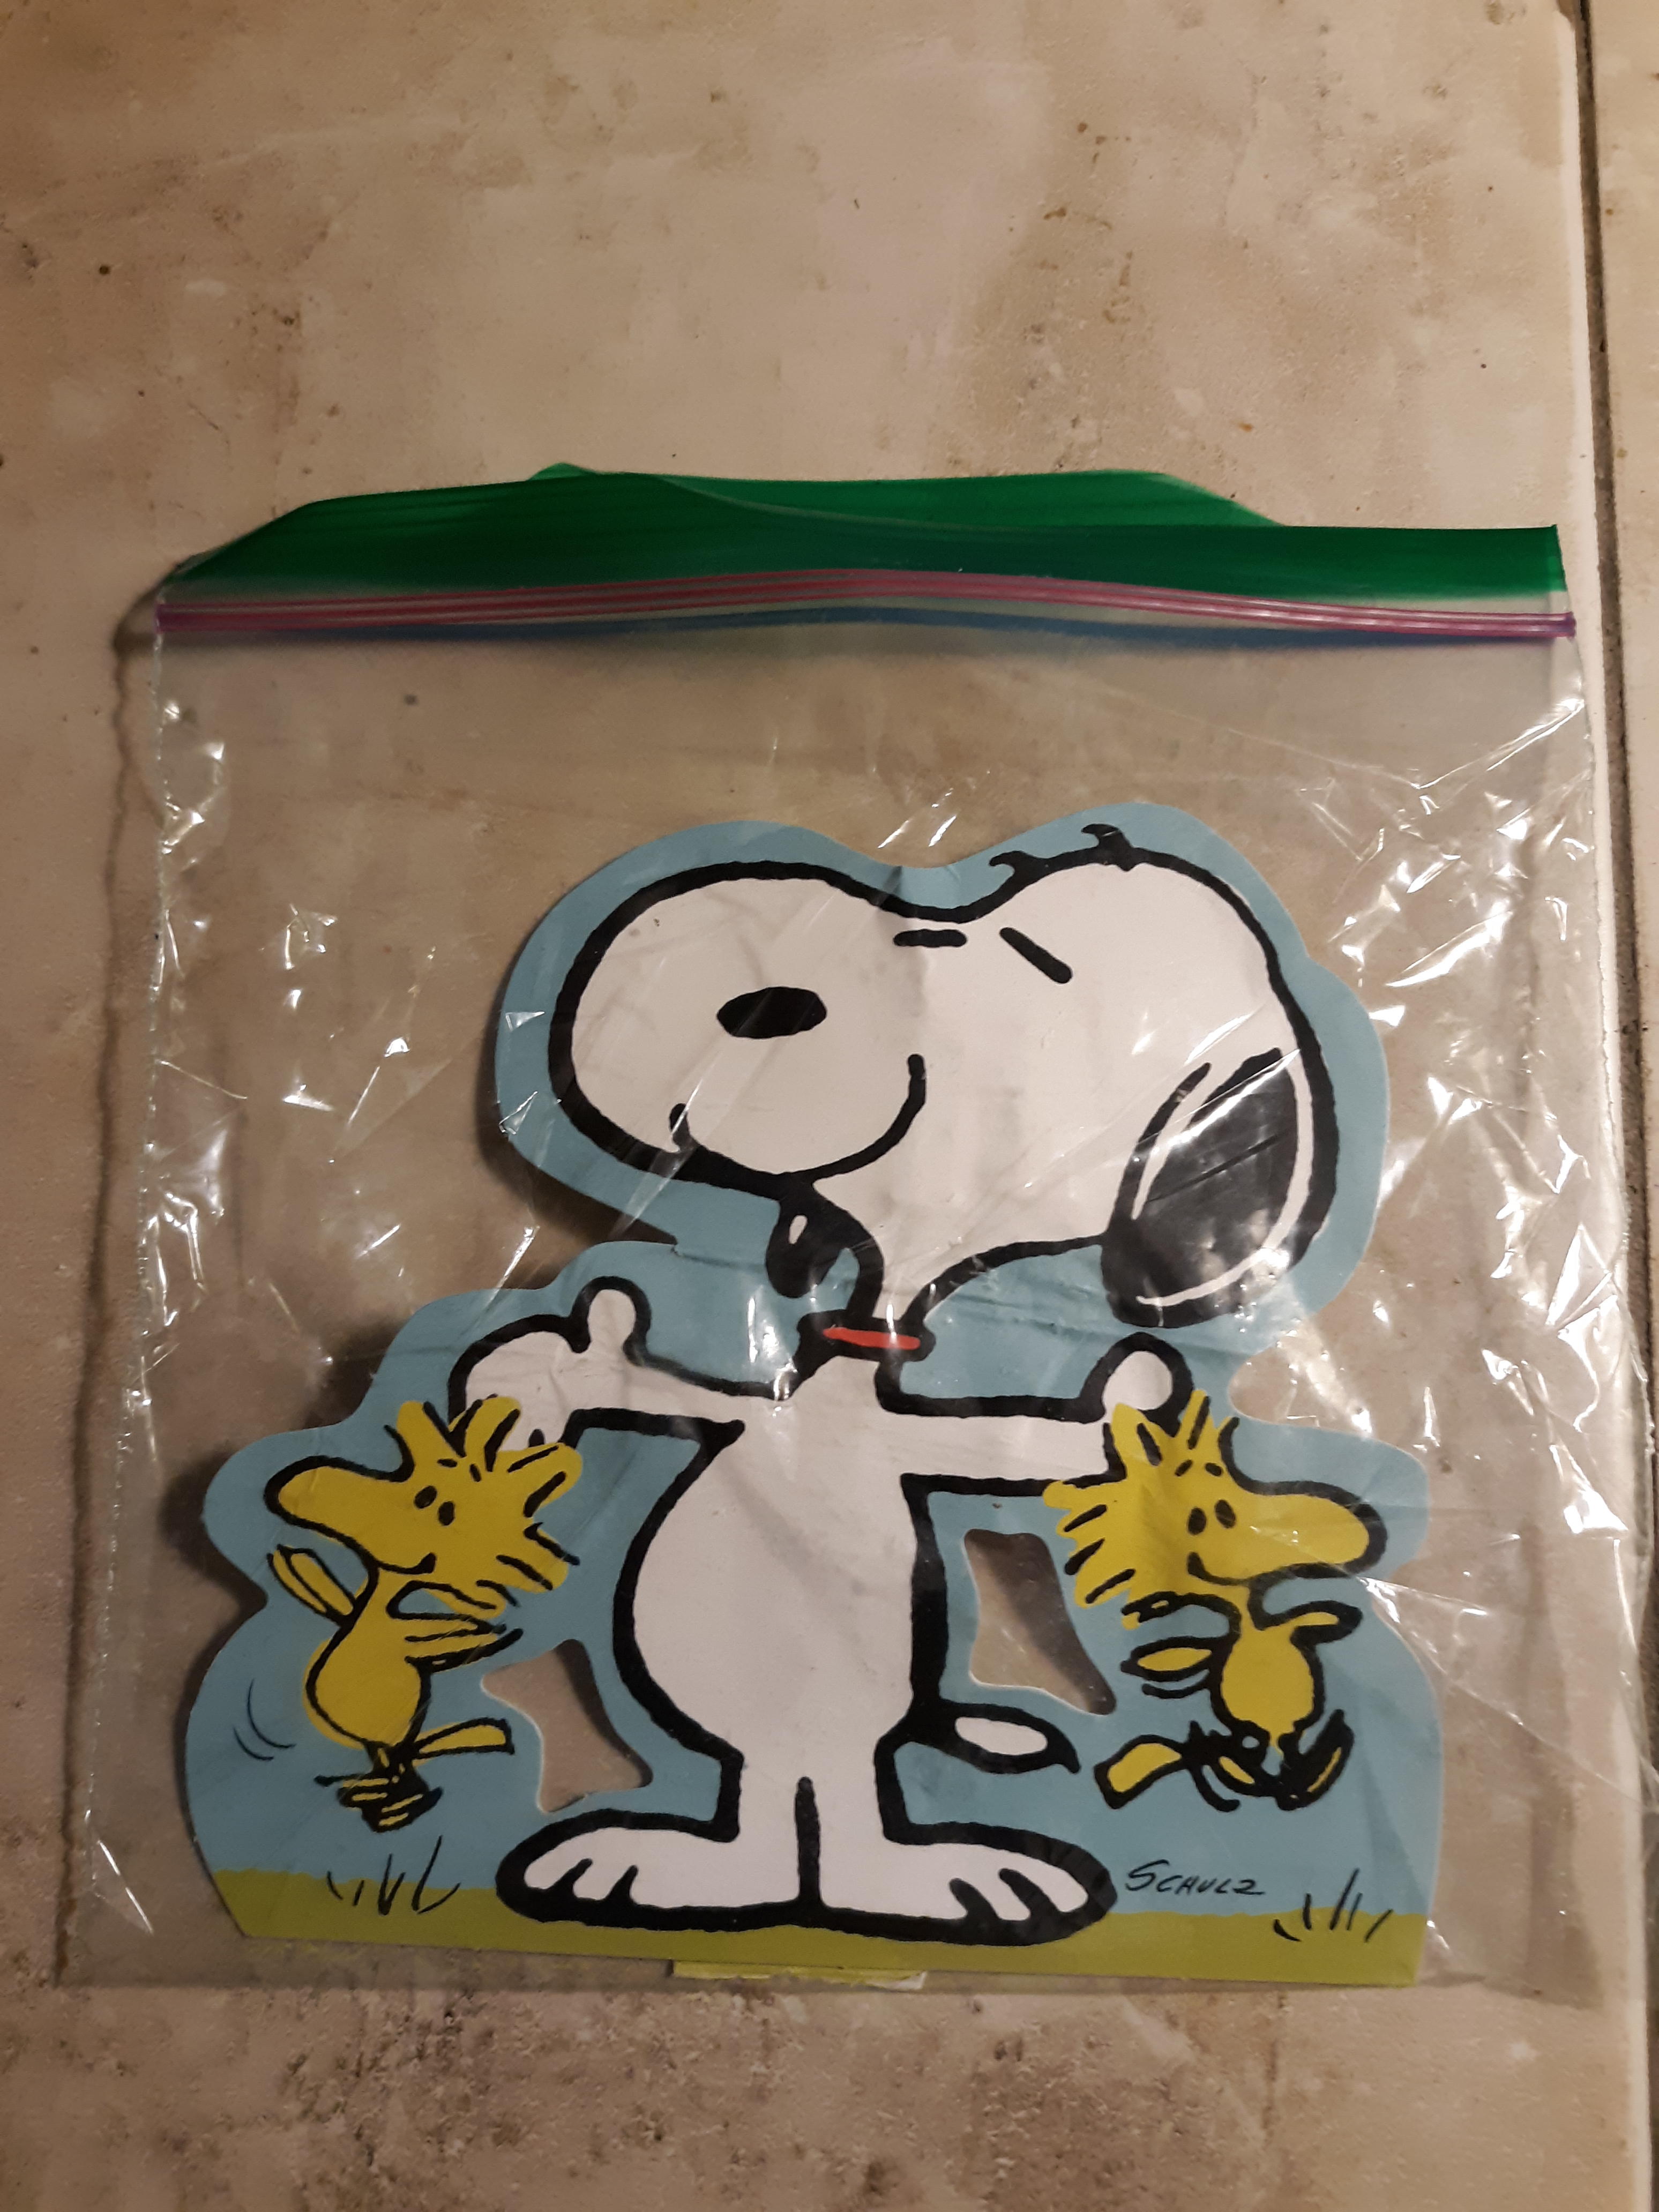
I got one too!
-
It's hot outside! Just call me "mini-vac".
-
The outer side hole is more centered in the picture. Doesn't look too much like your new brackets. The earlier ones are different than my '72. Sorry but I can't say for sure.
-
Stood proud? That's funny. I can take a picture of my '72 and see where the wider mounts point, in or out. You're holding the wider side in your picture. How does the passenger's side bolt up? Here's a good shot. The wider goes out.
-
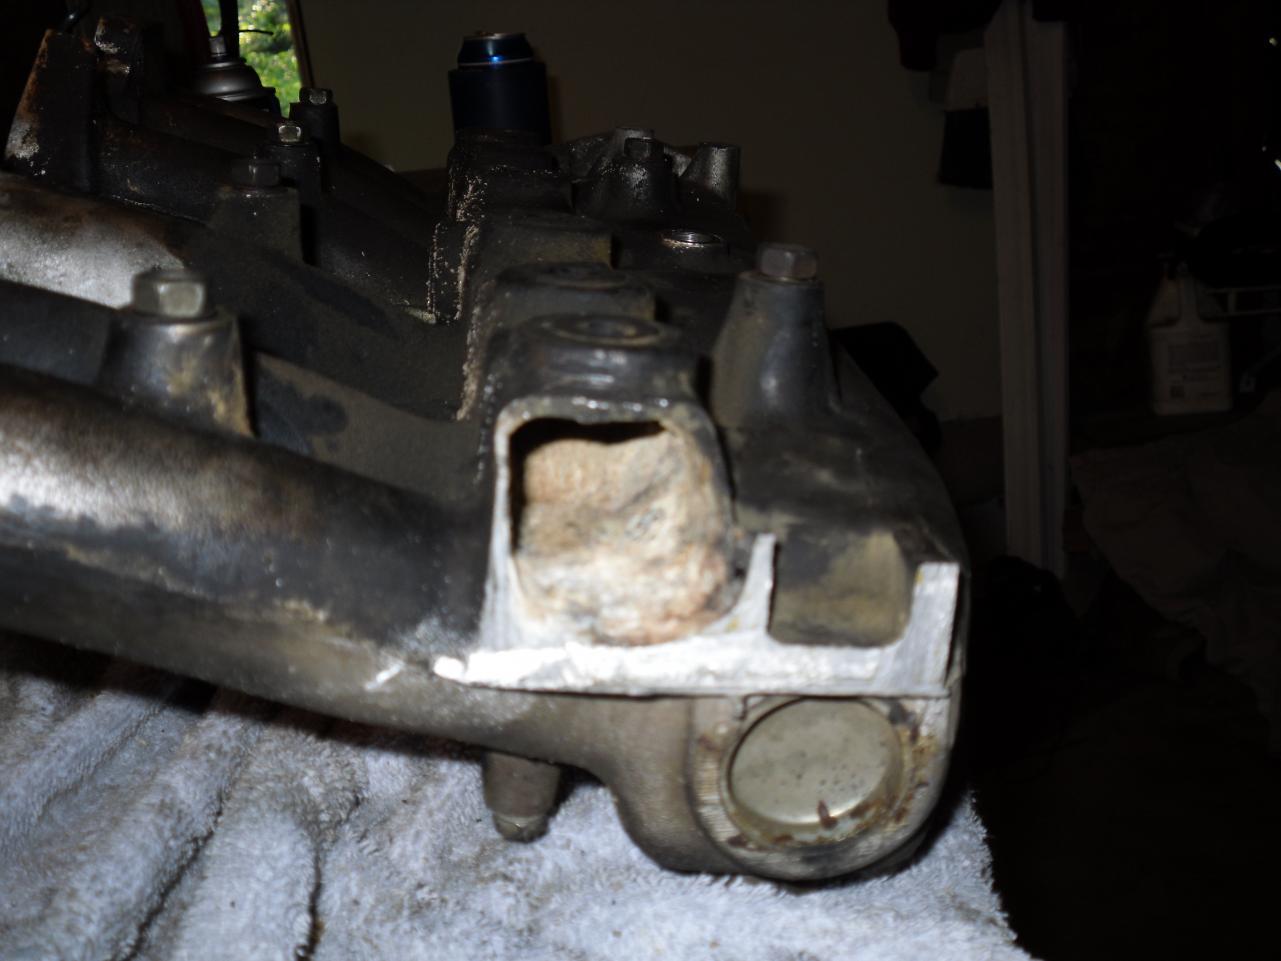
Hell, use your N47 intake! No webbing. I forgot about that.
-
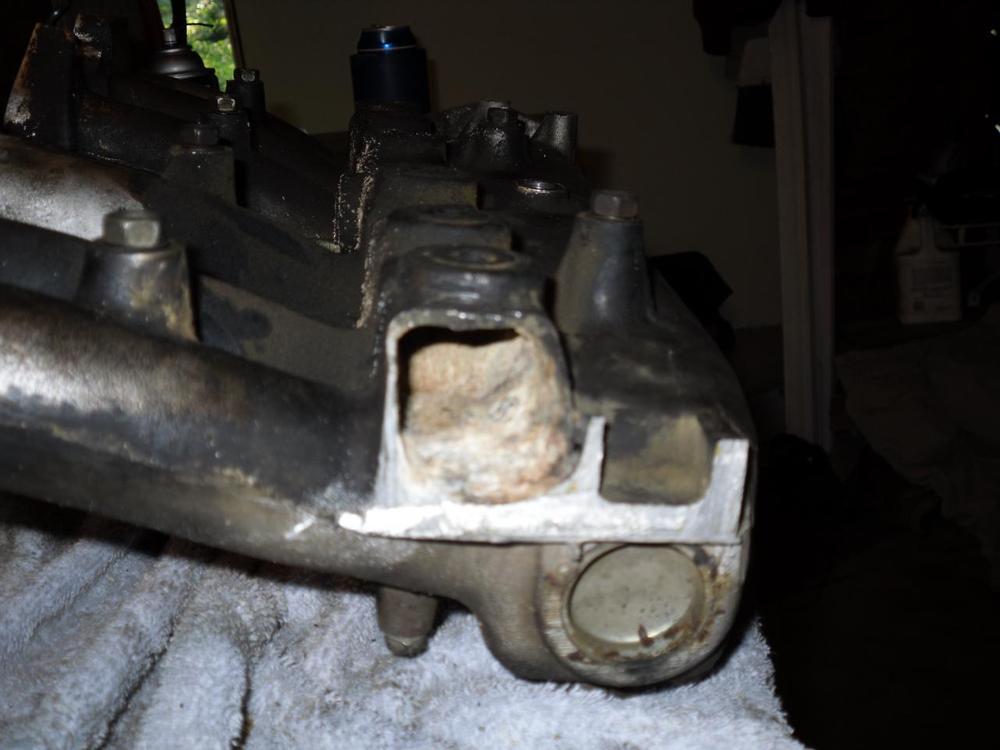
Through the egr mounting hole? Pour some lacquer thinner down there? A can of oven cleaner?
-
I think I have an extra front cover. I'll dig it out Saturday and send you some pics. Your's if you want it. Another thing, that tunnel just has exhaust soot in it. You could take it to a spray car wash and blast it with hot soapy water.
-
That's the egr tunnel and you won't get those plugs loose, I tried. You need an N42 intake. ? And another front cover.
-
I watched 'Smokey and the Bandit' about 47 times and my Dad had one that stayed on channel 19, the Smokeys favorite. Over and out.
-
Read my edit above.
-
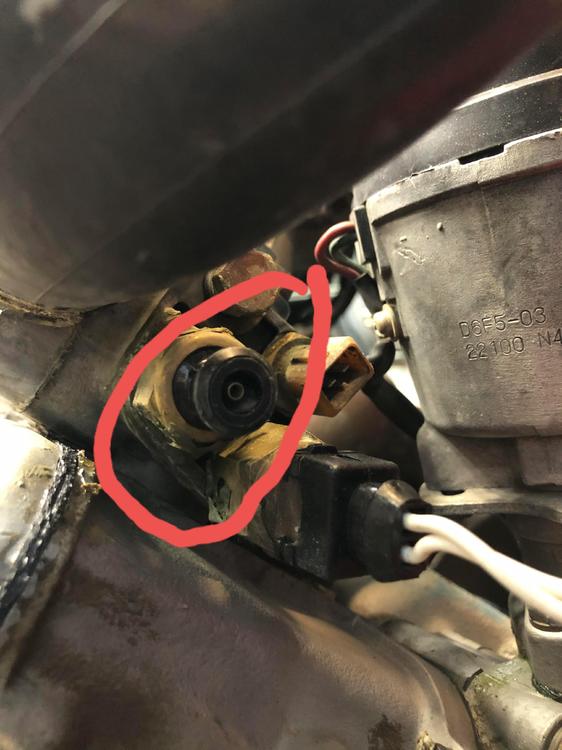
That looks familiar. When you get a minute plug up the barbs for the injectors and hook a fuel pump up, check for leaks before you install it. I had to find a better thread sealer as mine leaked a little. Looks damn good!
-
I called Xfinity's tech line. We buddies now!
-
I put new timing components on mine one time and forgot the oil slinger. Oh $^!#! I thought but the "how to modify" says leave them off. Everything seems to be fine after all these years so thankfully I didn't have to do a heart transplant after putting the new stents in.
-
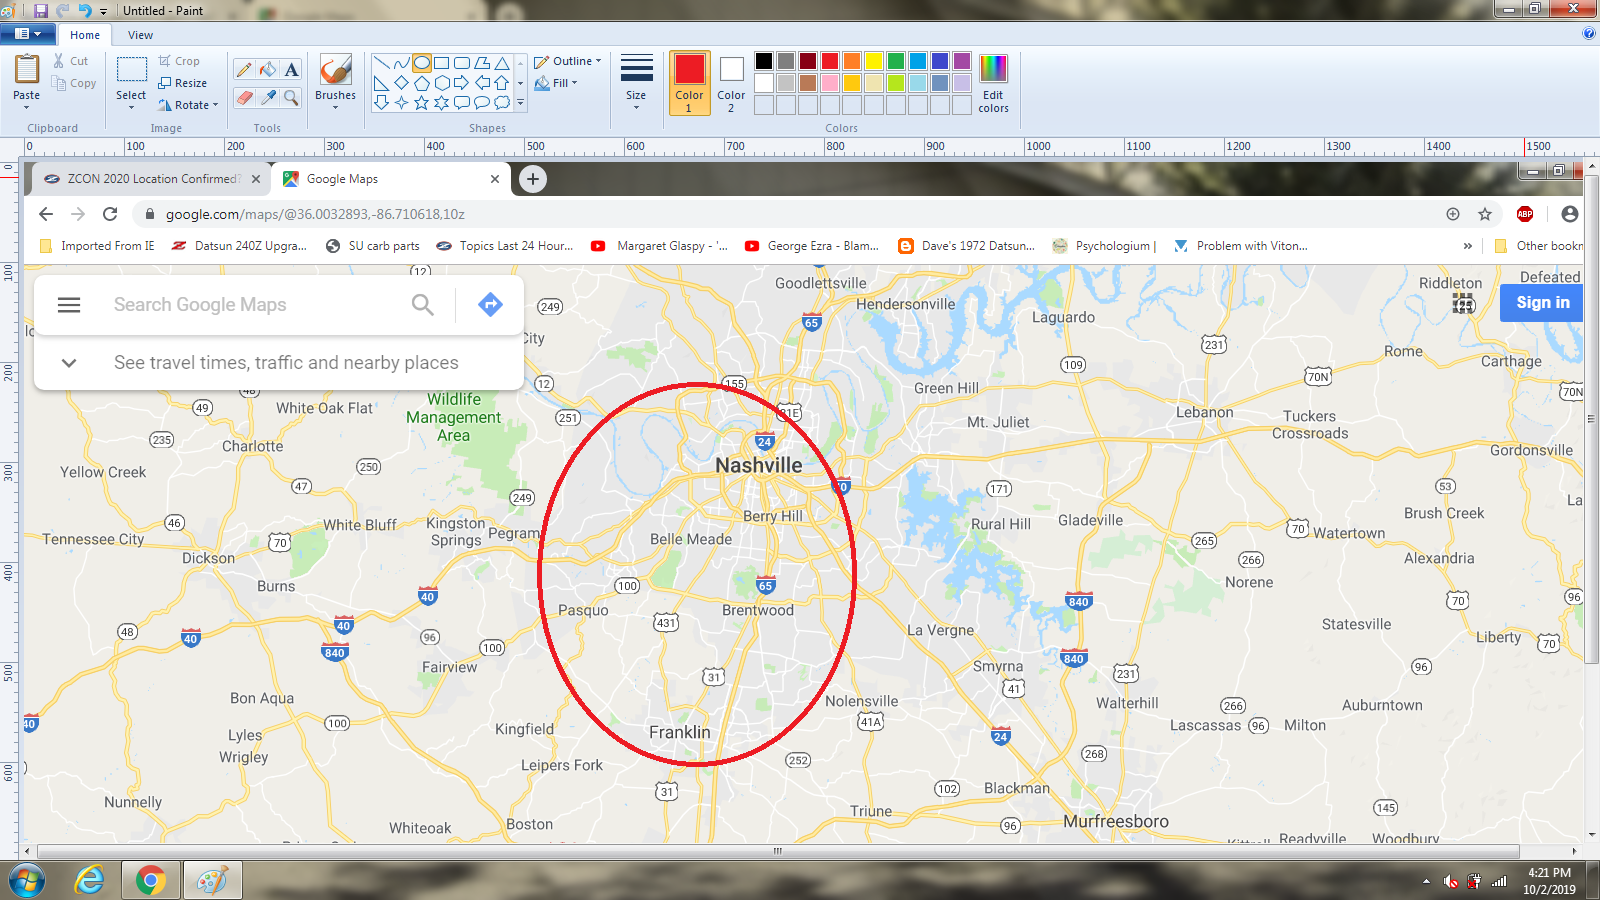
You would definitely find something in Nashville. Franklin is an "outskirt" Nashville. Good luck!

-
I bought a $250 Bosch OE fuel pump before ever putting a gauge on the existing one. This forum, couldn't live without it.
-
My guy asked about the rings I'd be using. Different honing for steel versus chrome faced. May be just him but I'd ask if I were you or research it out yourself.