Patcon
 Subscriber
-
Joined
-
Last visited
Everything posted by Patcon
-
 It's my understanding that many things don't transfer well chassis to chassis. I believe even the window mechanisms are a little different. I suspect the dash might be too. Although you're pretty good at fab work. But if I am going to add all that work, the chassis needs to be pretty good to offset it.
 -
I would encourage you to not get into the "while your at it" syndrome. I did that with my current project and most of my kids have grown up with out a running Z car. It has been a long term fixture in my shop. Your life is only going to get busier for a while if you have small children. All of mine are either in college or getting close. Get your car running and enjoy it. Then your kids can have great memories of riding around with dad in his Z!
-
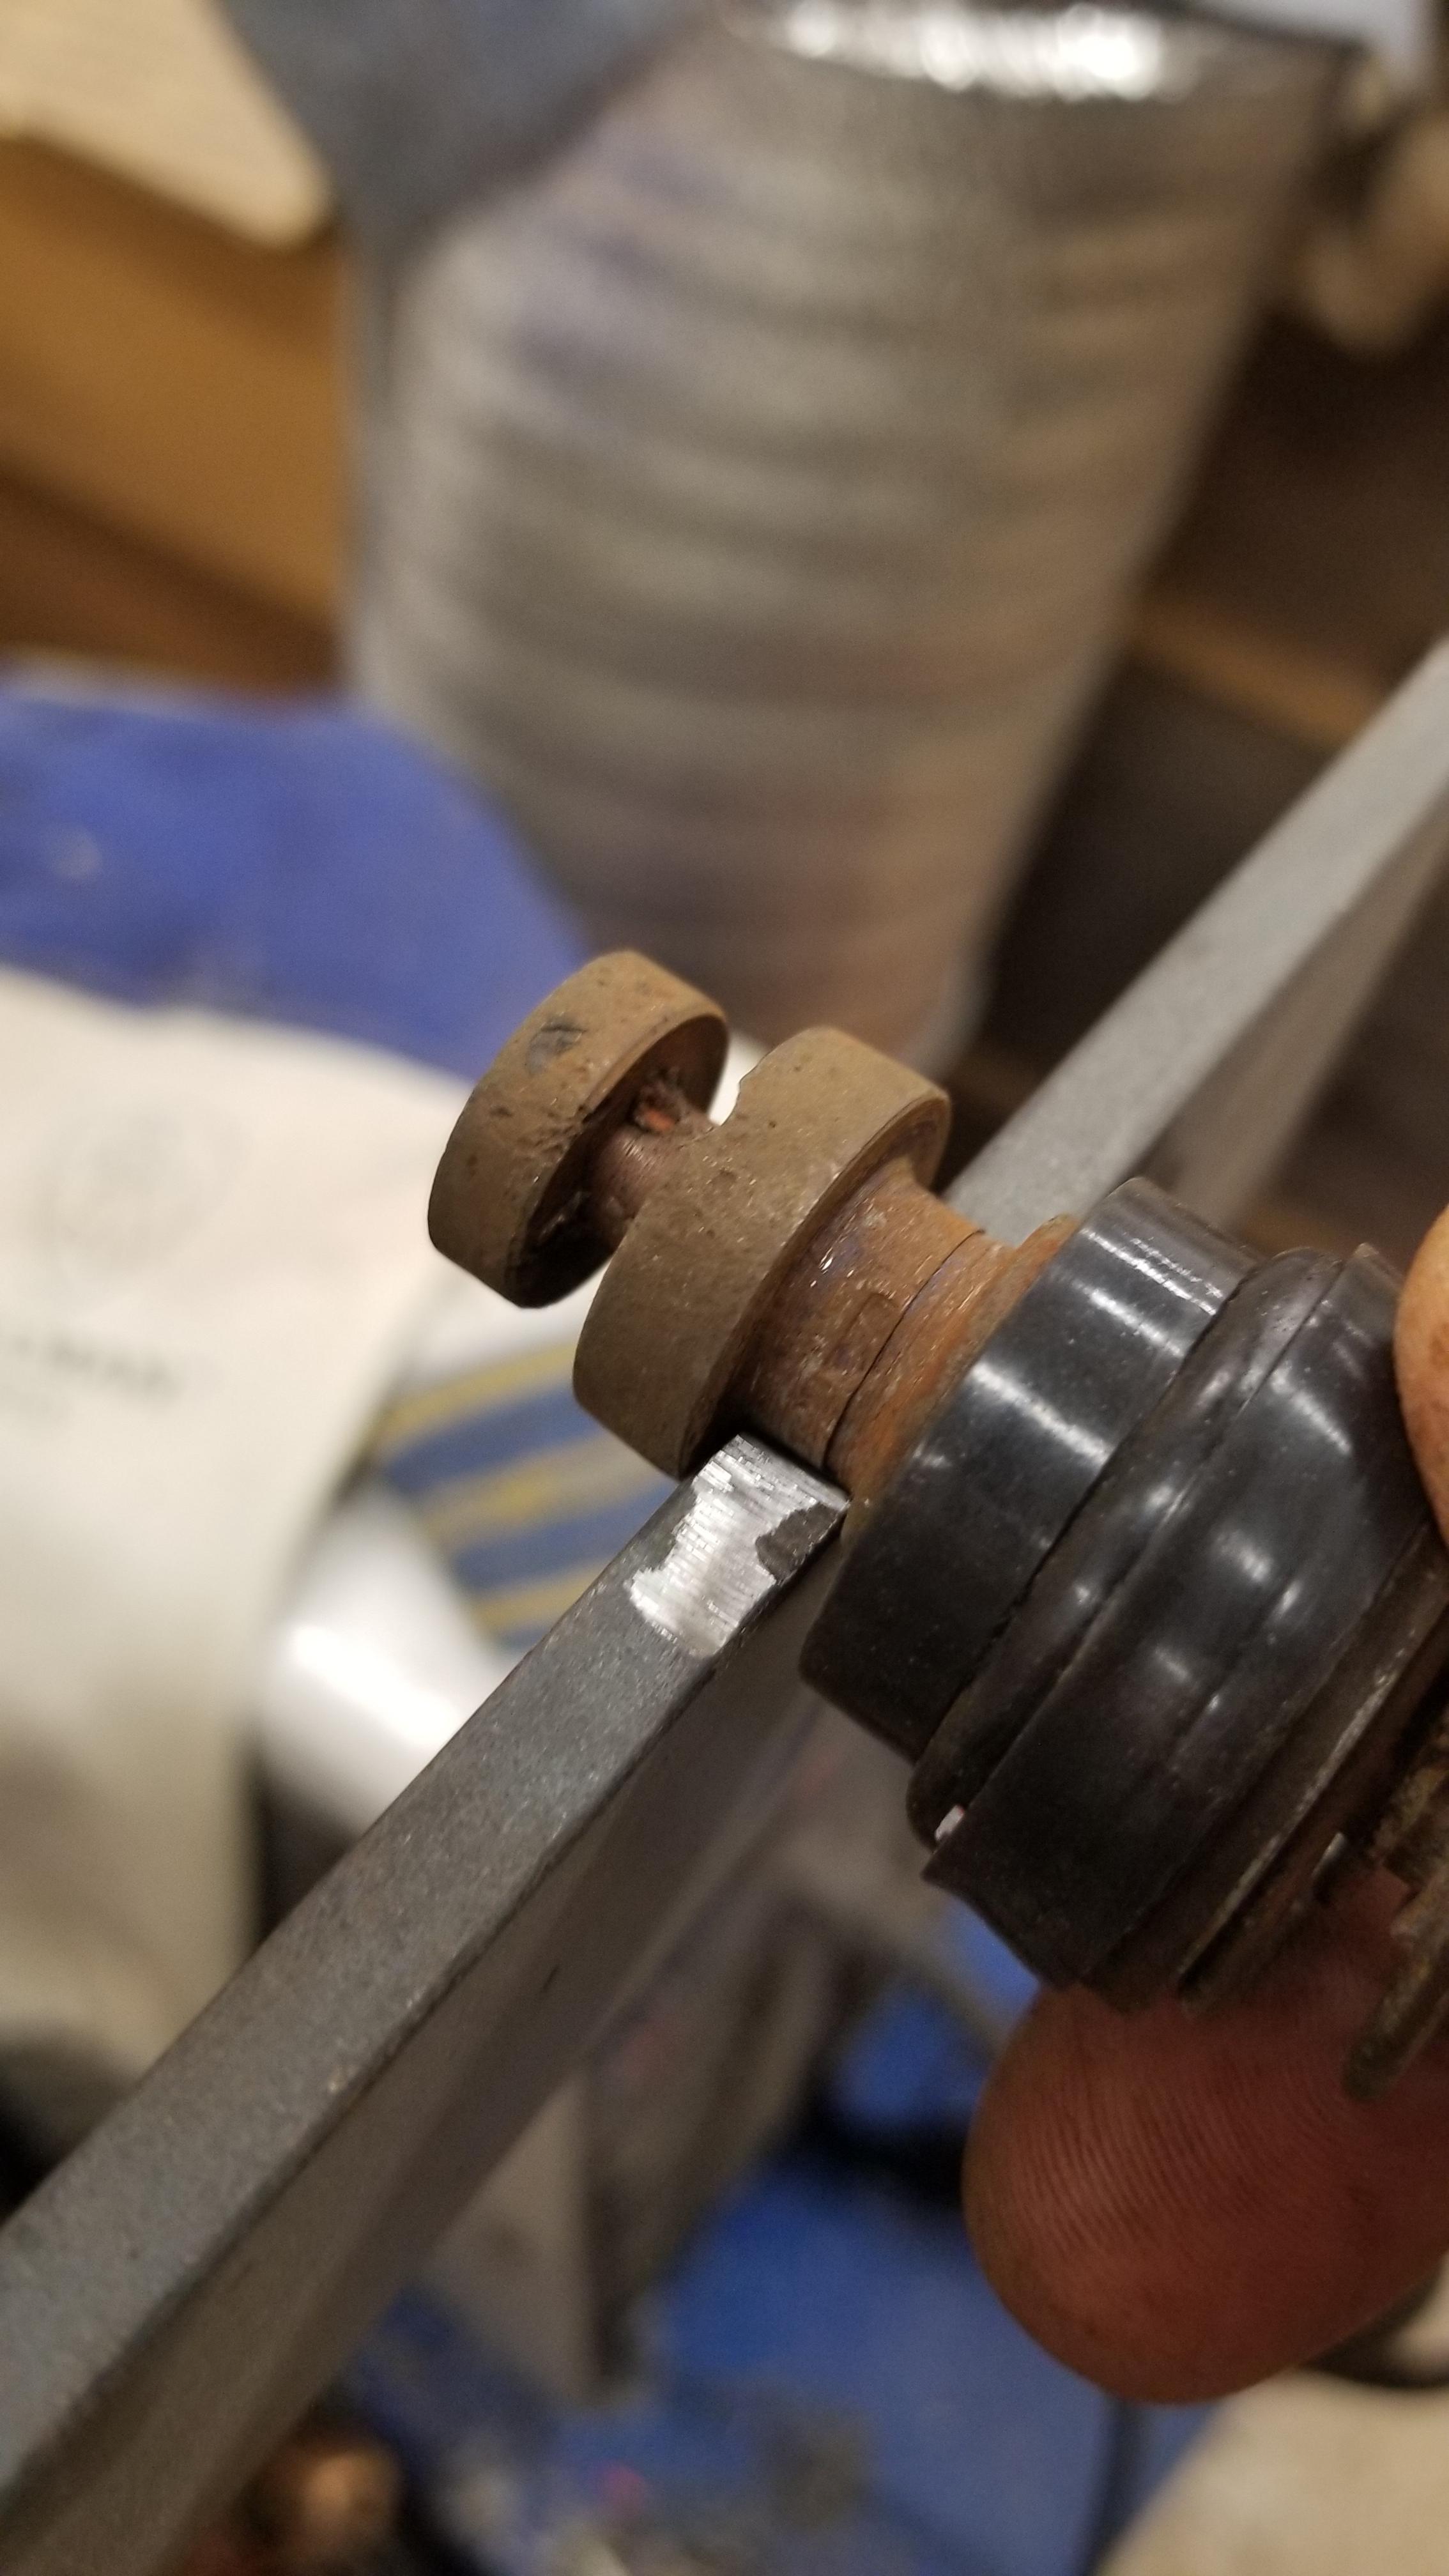
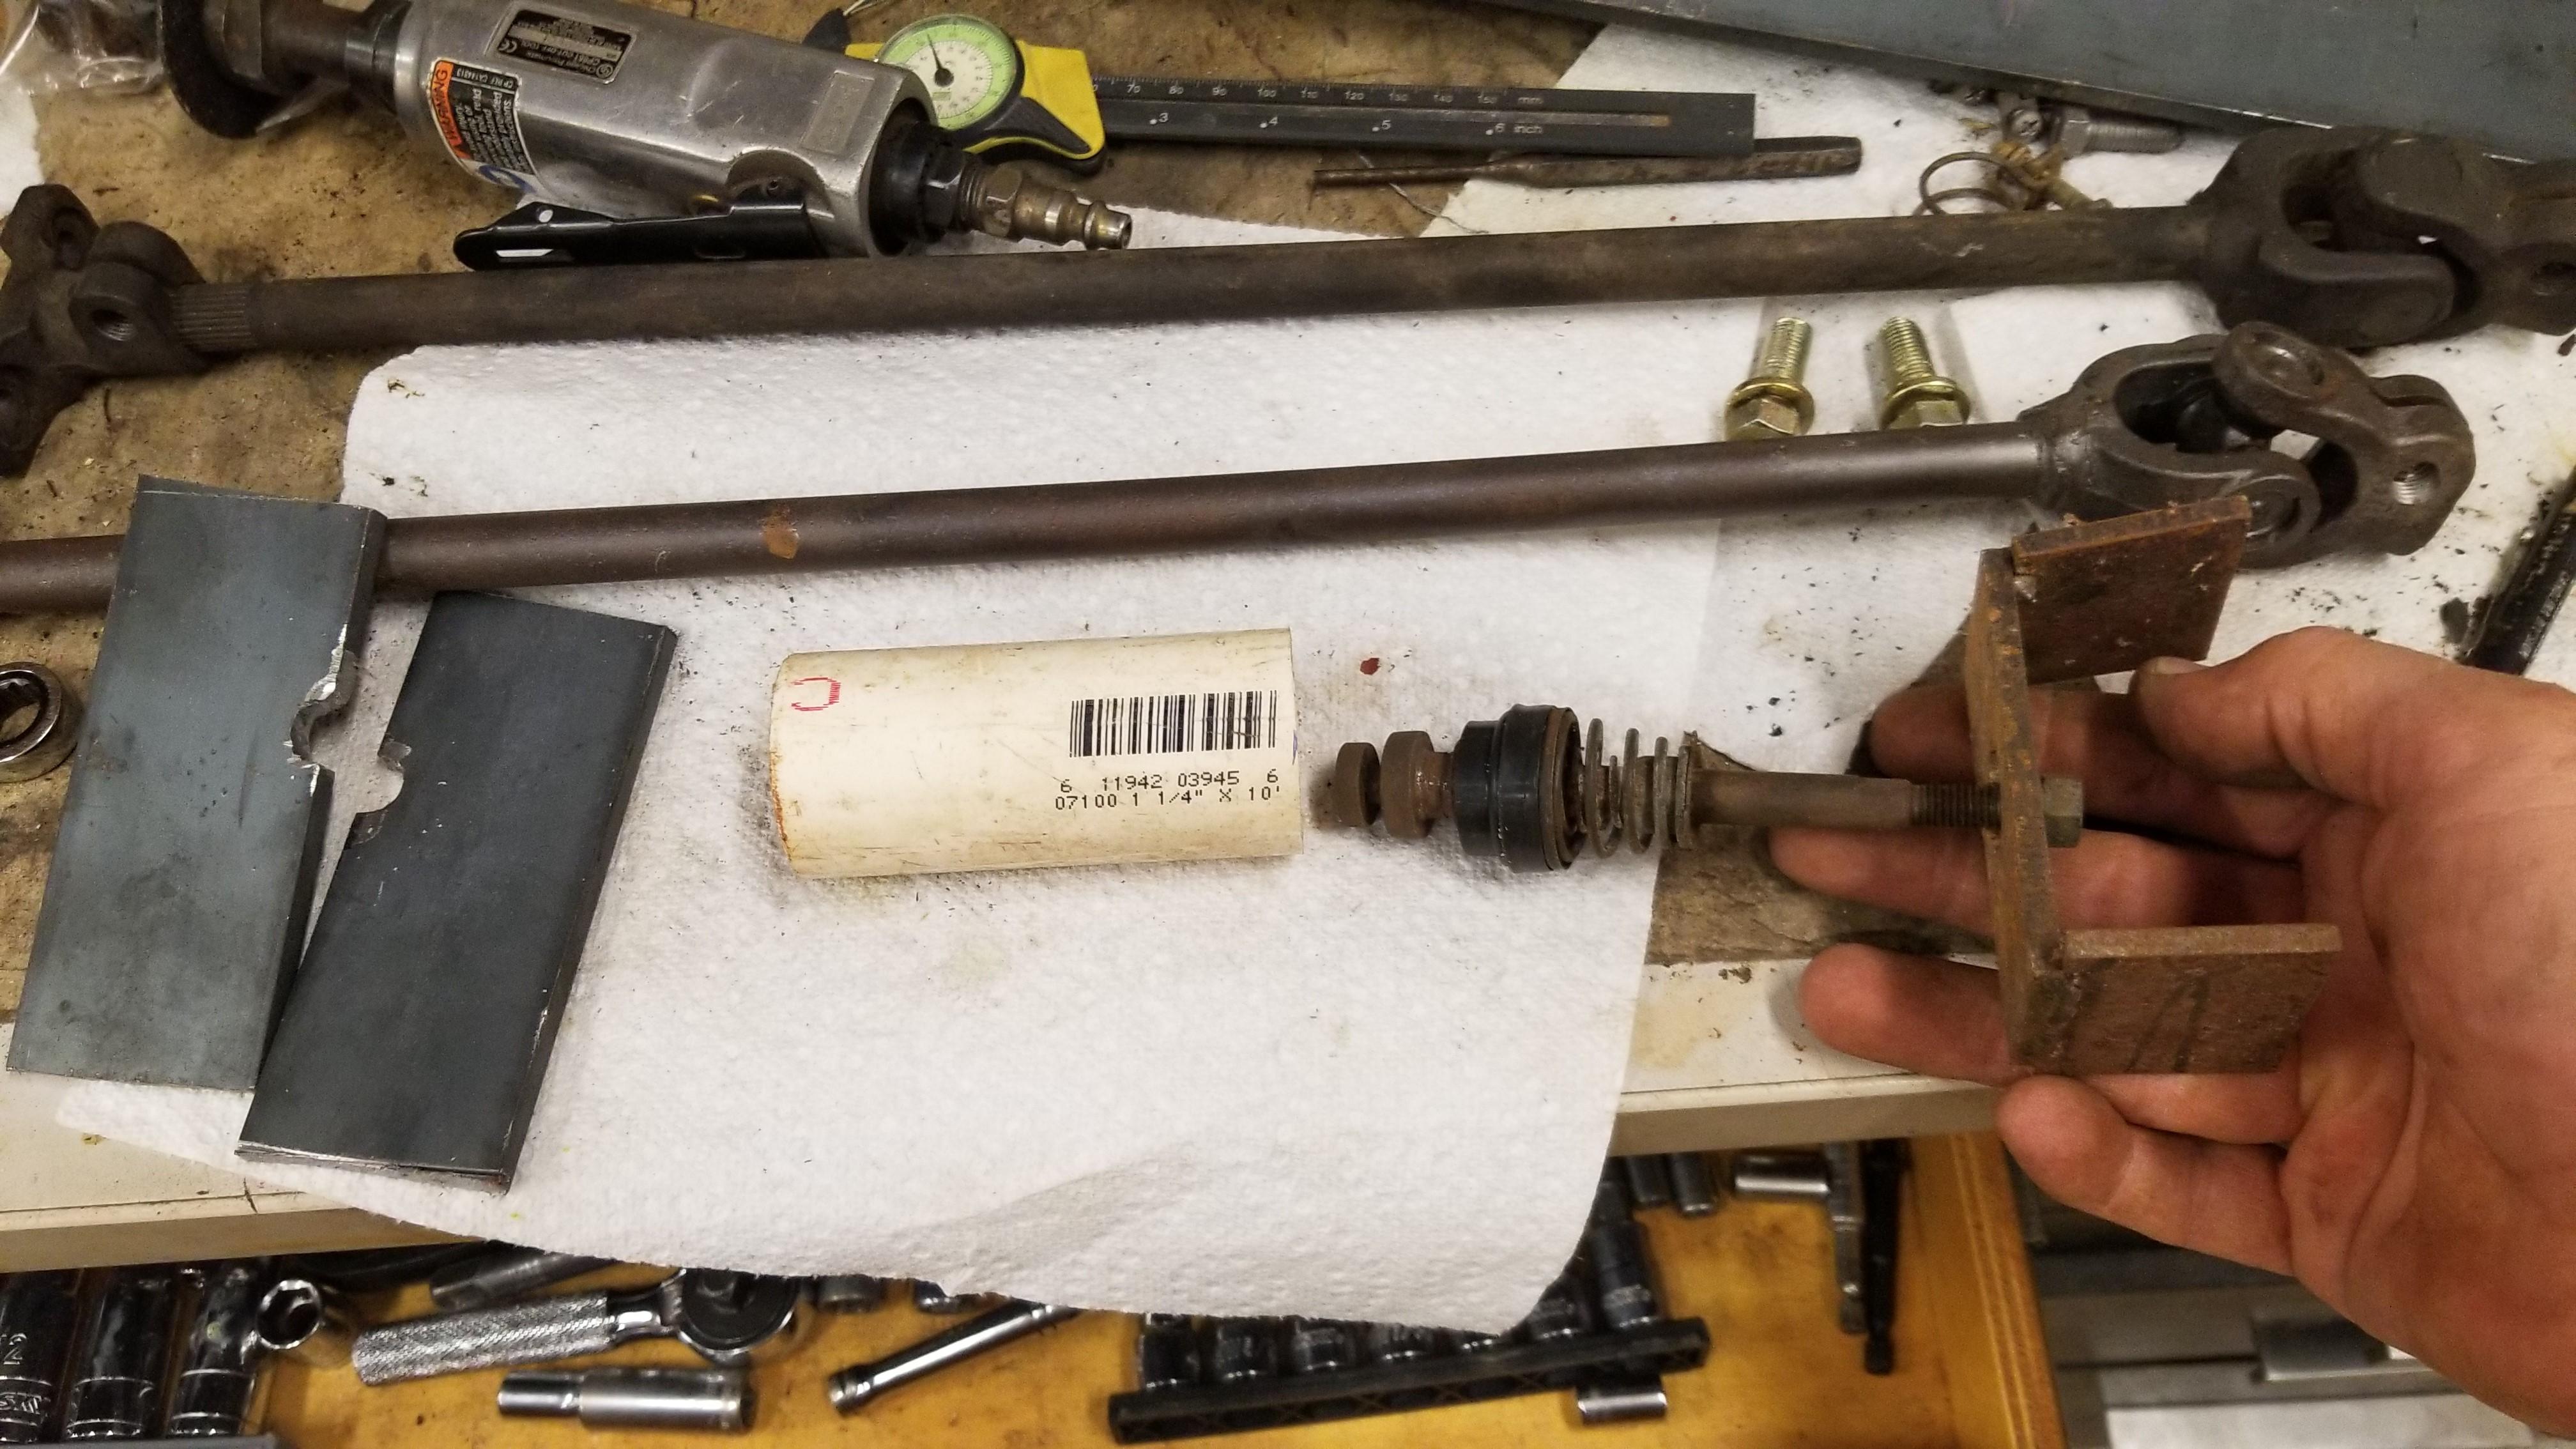
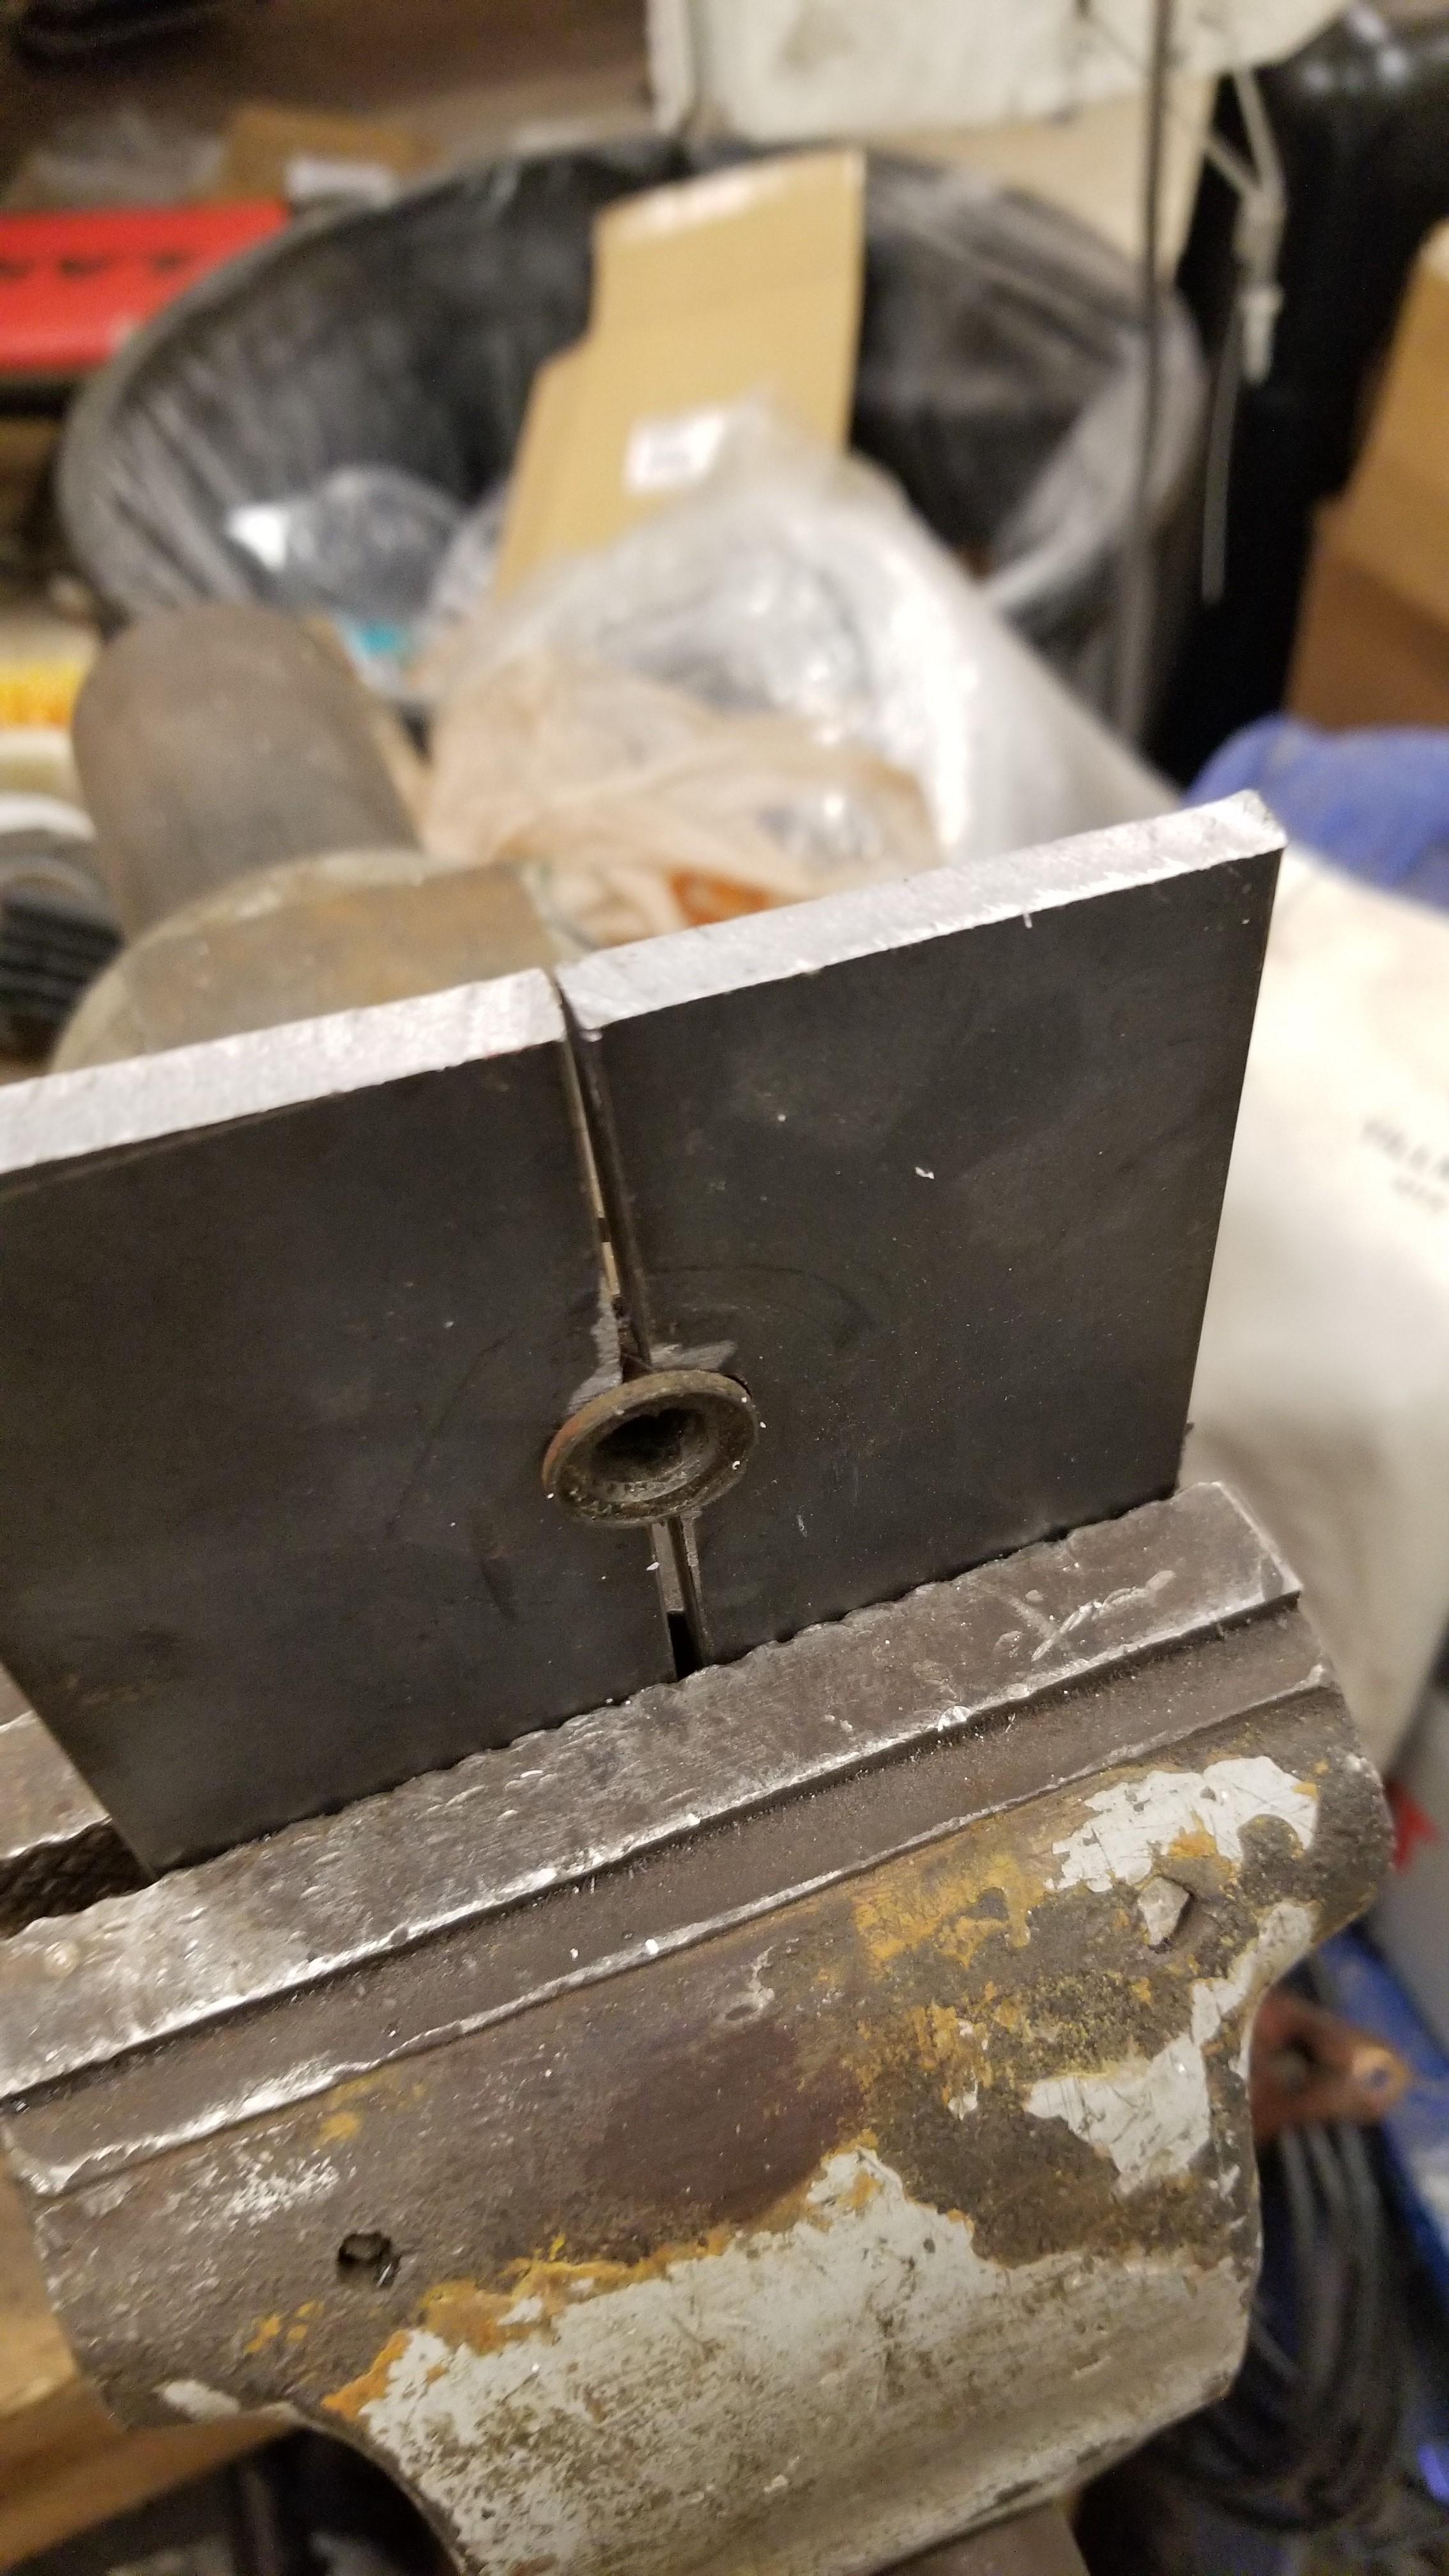
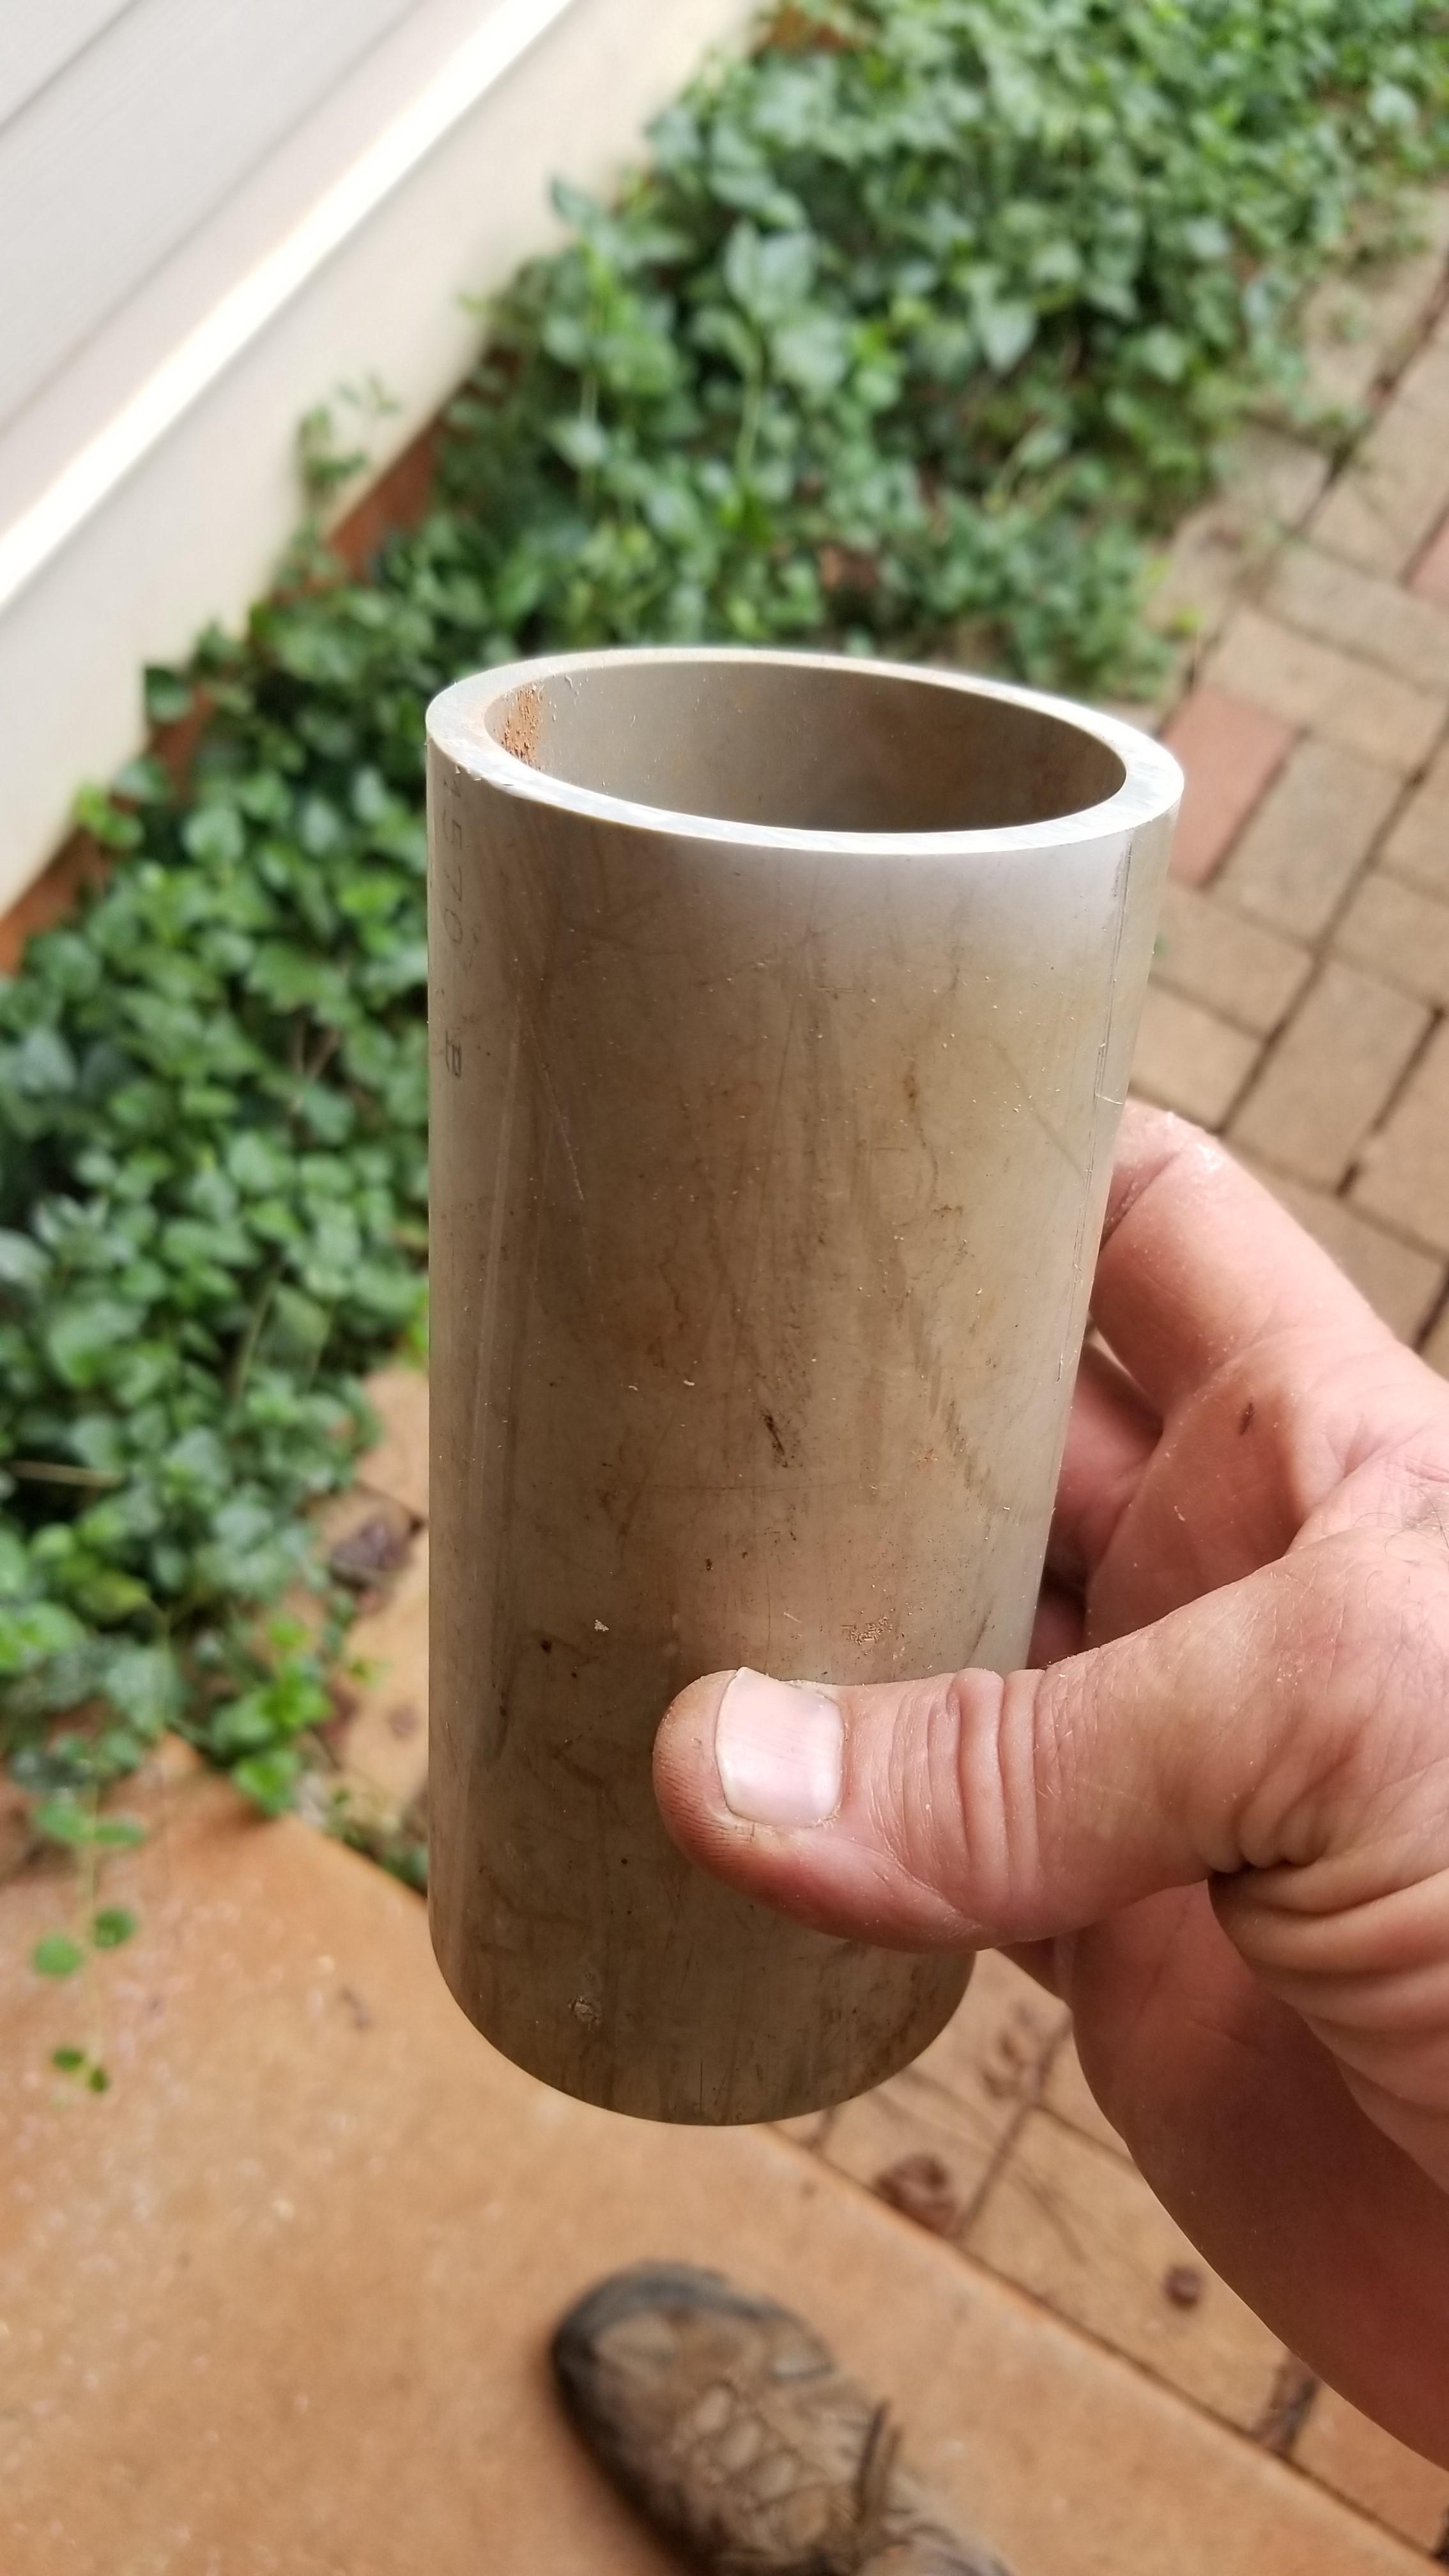
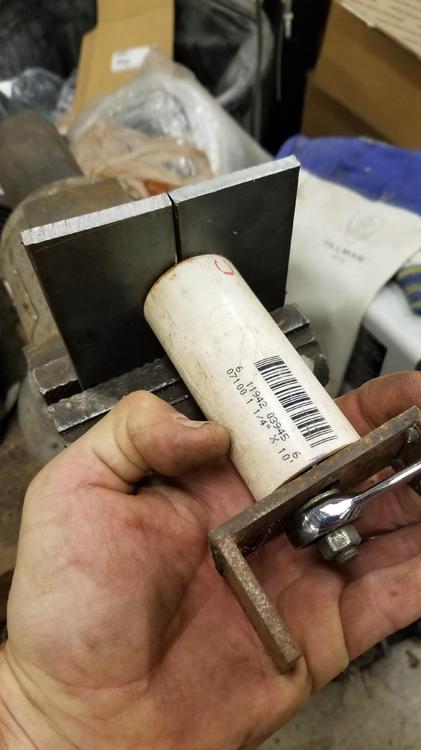
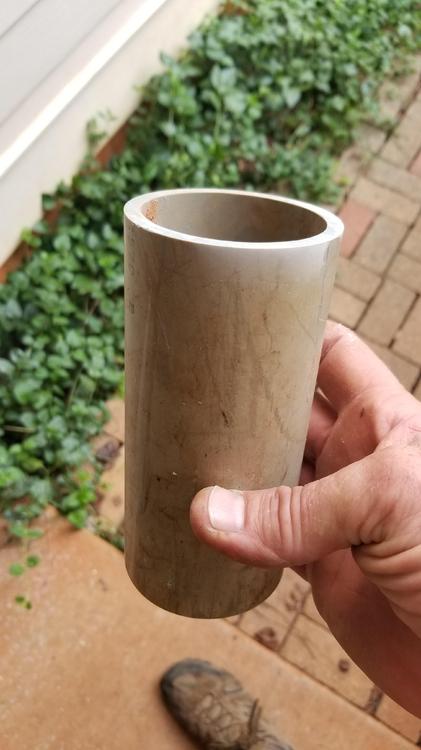
That's a good question and I don't know the answer. No real instructions in the kit, just the exploded diagram. I searched online and only really found one Bendix booster rebuild video. It's ok but not really helpful. Really only has the tear down. No rebuild video and it's 2 years old. So I assume a second video is not forth coming. I made a set of "anvils" yesterday. They are sort of down and dirty. Not nearly as elegant as you would have made Bruce, but I think they will suffice. I made a quick tool to pull the plunger rod. 2 anvils and a short section of 1 1/4" pvc and a plate with a hole across the end. Set the anvils in the vice and tighten a nut from the other end and it pulls right apart. Really didn't take much pressure. I will have to come up with a punch now on reassembly


-
Start with a fuel pressure gauge. You need some real information. That will tell you if fuel pressure is dropping off when it dies or if it's spark. Spark could be a bad module or coil overheating. Could even be rust in the fuel tank or several other things. You may have to add a test port in the fuel line after the under hood filter
-
That was a nice car. It could be fixed if properly motivated but is probably worth half that
-
-
@kats This may be one situation where those of you in Japan could order rebuild kits for these booster from a vendor in the US. I haven't completed the rebuild yet but the early Mustang kit seems to have all the right pieces
-
-
It's an interesting looking car
-
What is the car above the #98 Cobra? It almost looks like another Pantera but I'm not positive
-
Of course I was ? By the way when will you be shipping that fixture to me? ?
-
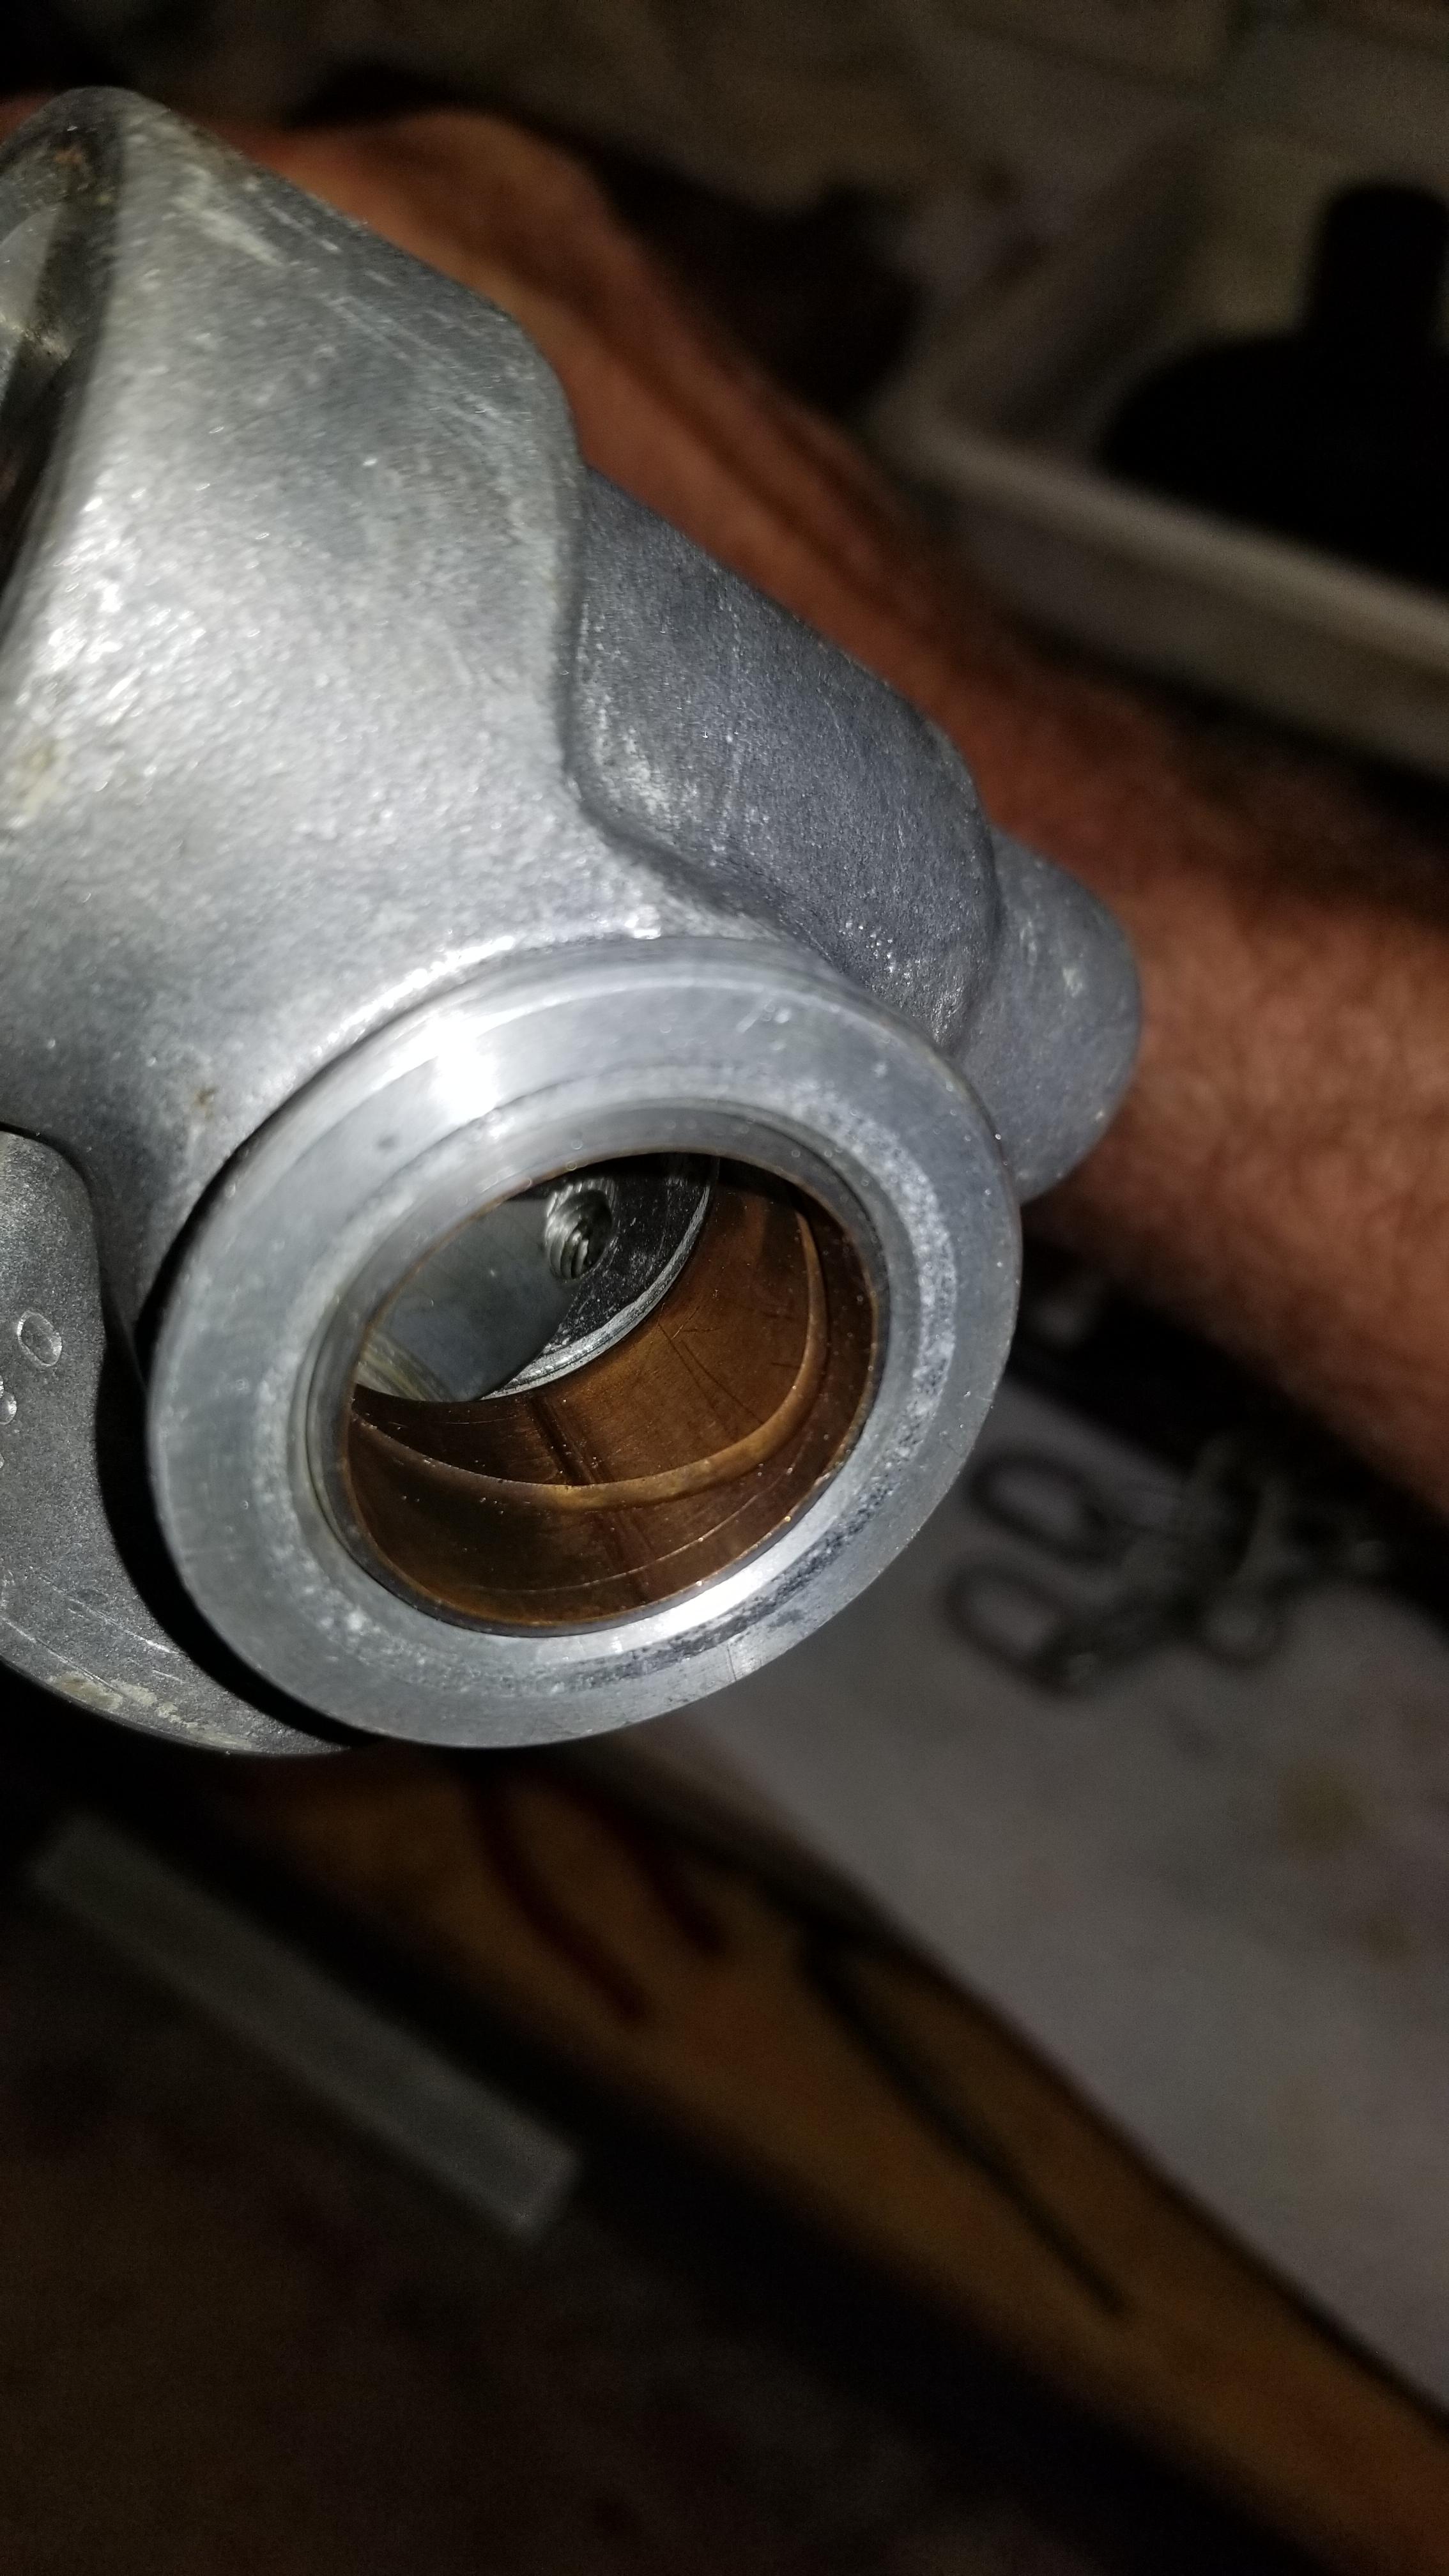
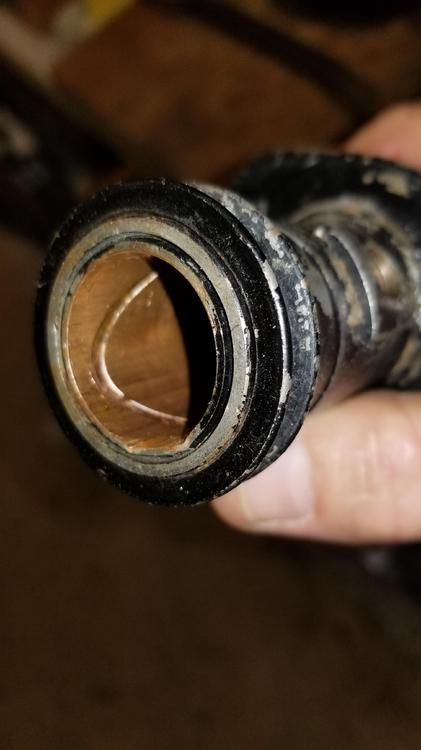
That's an interesting read. Both bearings are clocked the same way on each end with the top of the ellipse a little down and towards the front of the car. Does that suggest that side of the rack is lightly loaded according to that article? On another note I got the other bushing out using the die grinder. It is a steel shell with a layer of brass inside it
-
That's funny. I think my poppet seal is ripped, so I will probably need it. I think you could call Ed at Harmon Classic Brakes and he would send you one. Is that seal just supposed to stretch over the plunger or do you suspect they disassemble the plunger and then repeen it? I would like to clean all the parts and plate some of them to make them last a little better. I thought about trying to use magnets to pull it out but I figured if banging it repeatedly on the counter didn't move it at all then the magnets weren't going to help. Oh well, "tuition"... I wonder how difficult it would be to repeen the fixture? I will still probably JB weld the flange. The only thing it really does is gives the disc a slot to seal in so it's worth a try. If the booster holds vacuum then I'll go from there
-
We have a few here but you have to know where to find them. They are getting rare in salvage yards, even for us
-
It is my understanding that you run the left cable to the right side and the right cable to the left side. The cables mount into two brackets up in the transmission tunnel. They are about 4" apart. so take the one in the passenger side bracket and loop it across to the drivers side and vice versa. Then rehang the springs to the spring clips to keep them up away from the drive shafts
-
I would source another if I could. As I recall they are almost like spring steel and I am afraid even if you could weld it, that it would fatigue and break beside the new weld. Also you might melt the wheel unless it was removed first. You could always give it a shot if you have a welder just for giggles
-
I think I could make the elliptical shape. I still haven't quite figured out how that is supposed to work though
-
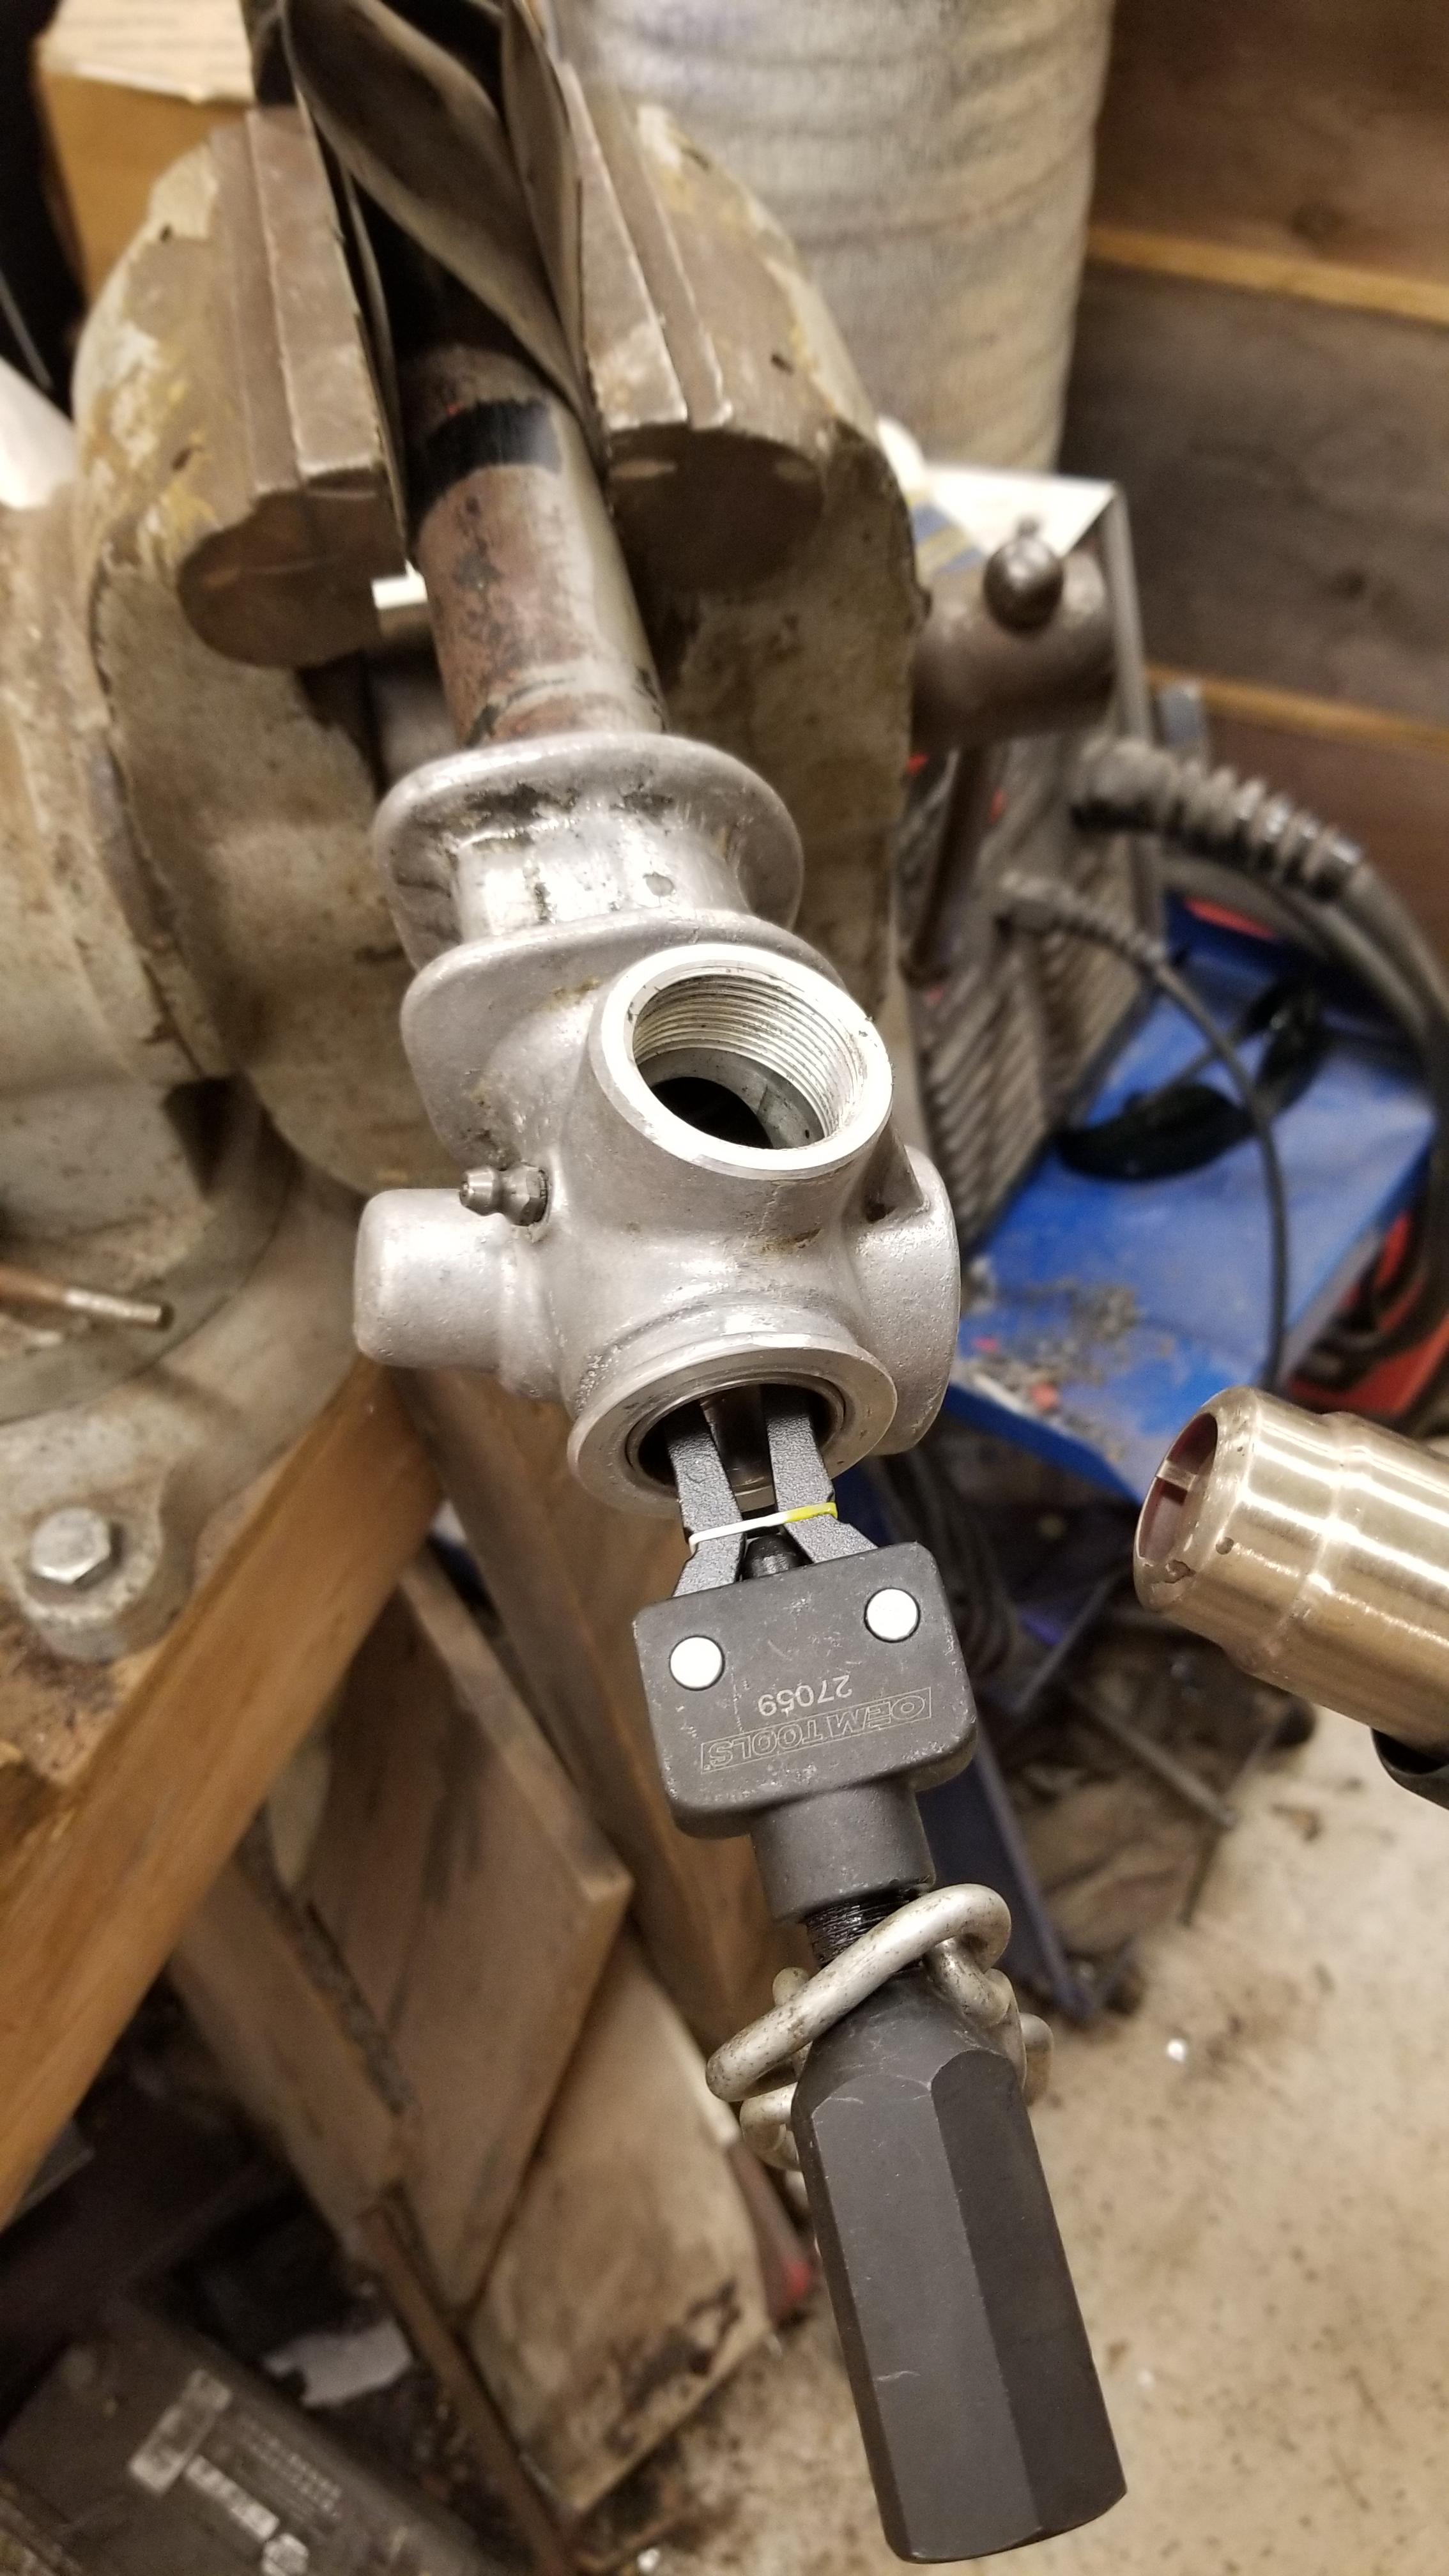
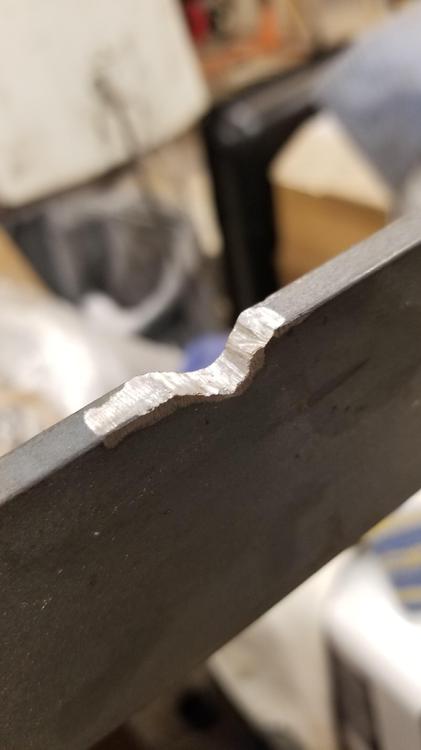
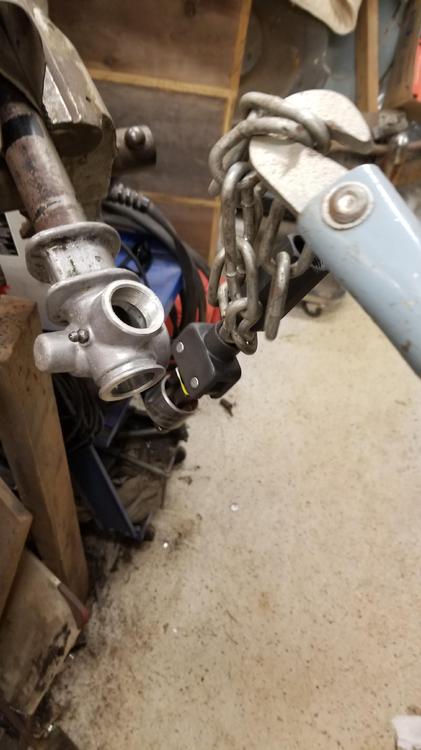
Well I've been working on building a serviceable brake booster in another thread, but I have also been working on refurbishing the steering rack. One of the issues is the bushings in each end of the rack. The passenger side was still pretty tight but the pinion end bushing was really sloppy. So I am working on sourcing those or possibly buy something close in size and reworking them. We'll see how that pans out. The bushings on each end have a groove in them that is set the same on each end. How do you think that is supposed to work? How necessary do you think that groove is? So I bought a pilot bearing puller from Summit Racing Now coming up with a way to hold the steering tube and hooking the slide hammer up was an issue. The puller is threaded inside for 2 different and thread pitches but none of my 3 slide hammers have that size or pitch. so I "engineered it" a little. Used the 20" slide hammer I heated the aluminum housing with heat gun first and it still took a good bit of "convincing" to come out. The other end was a no go! Tore the tool out of the bearing twice. that one will have to be cut out. I had considered trying to add that groove to what ever bearings I can come up with, but my concern is they are not very thick and I could easily cut through one. Also I won't be able to make it a square cut groove. I would use a dremel tool to cut a U shaped trough in roughly the same pattern. Thoughts?


-
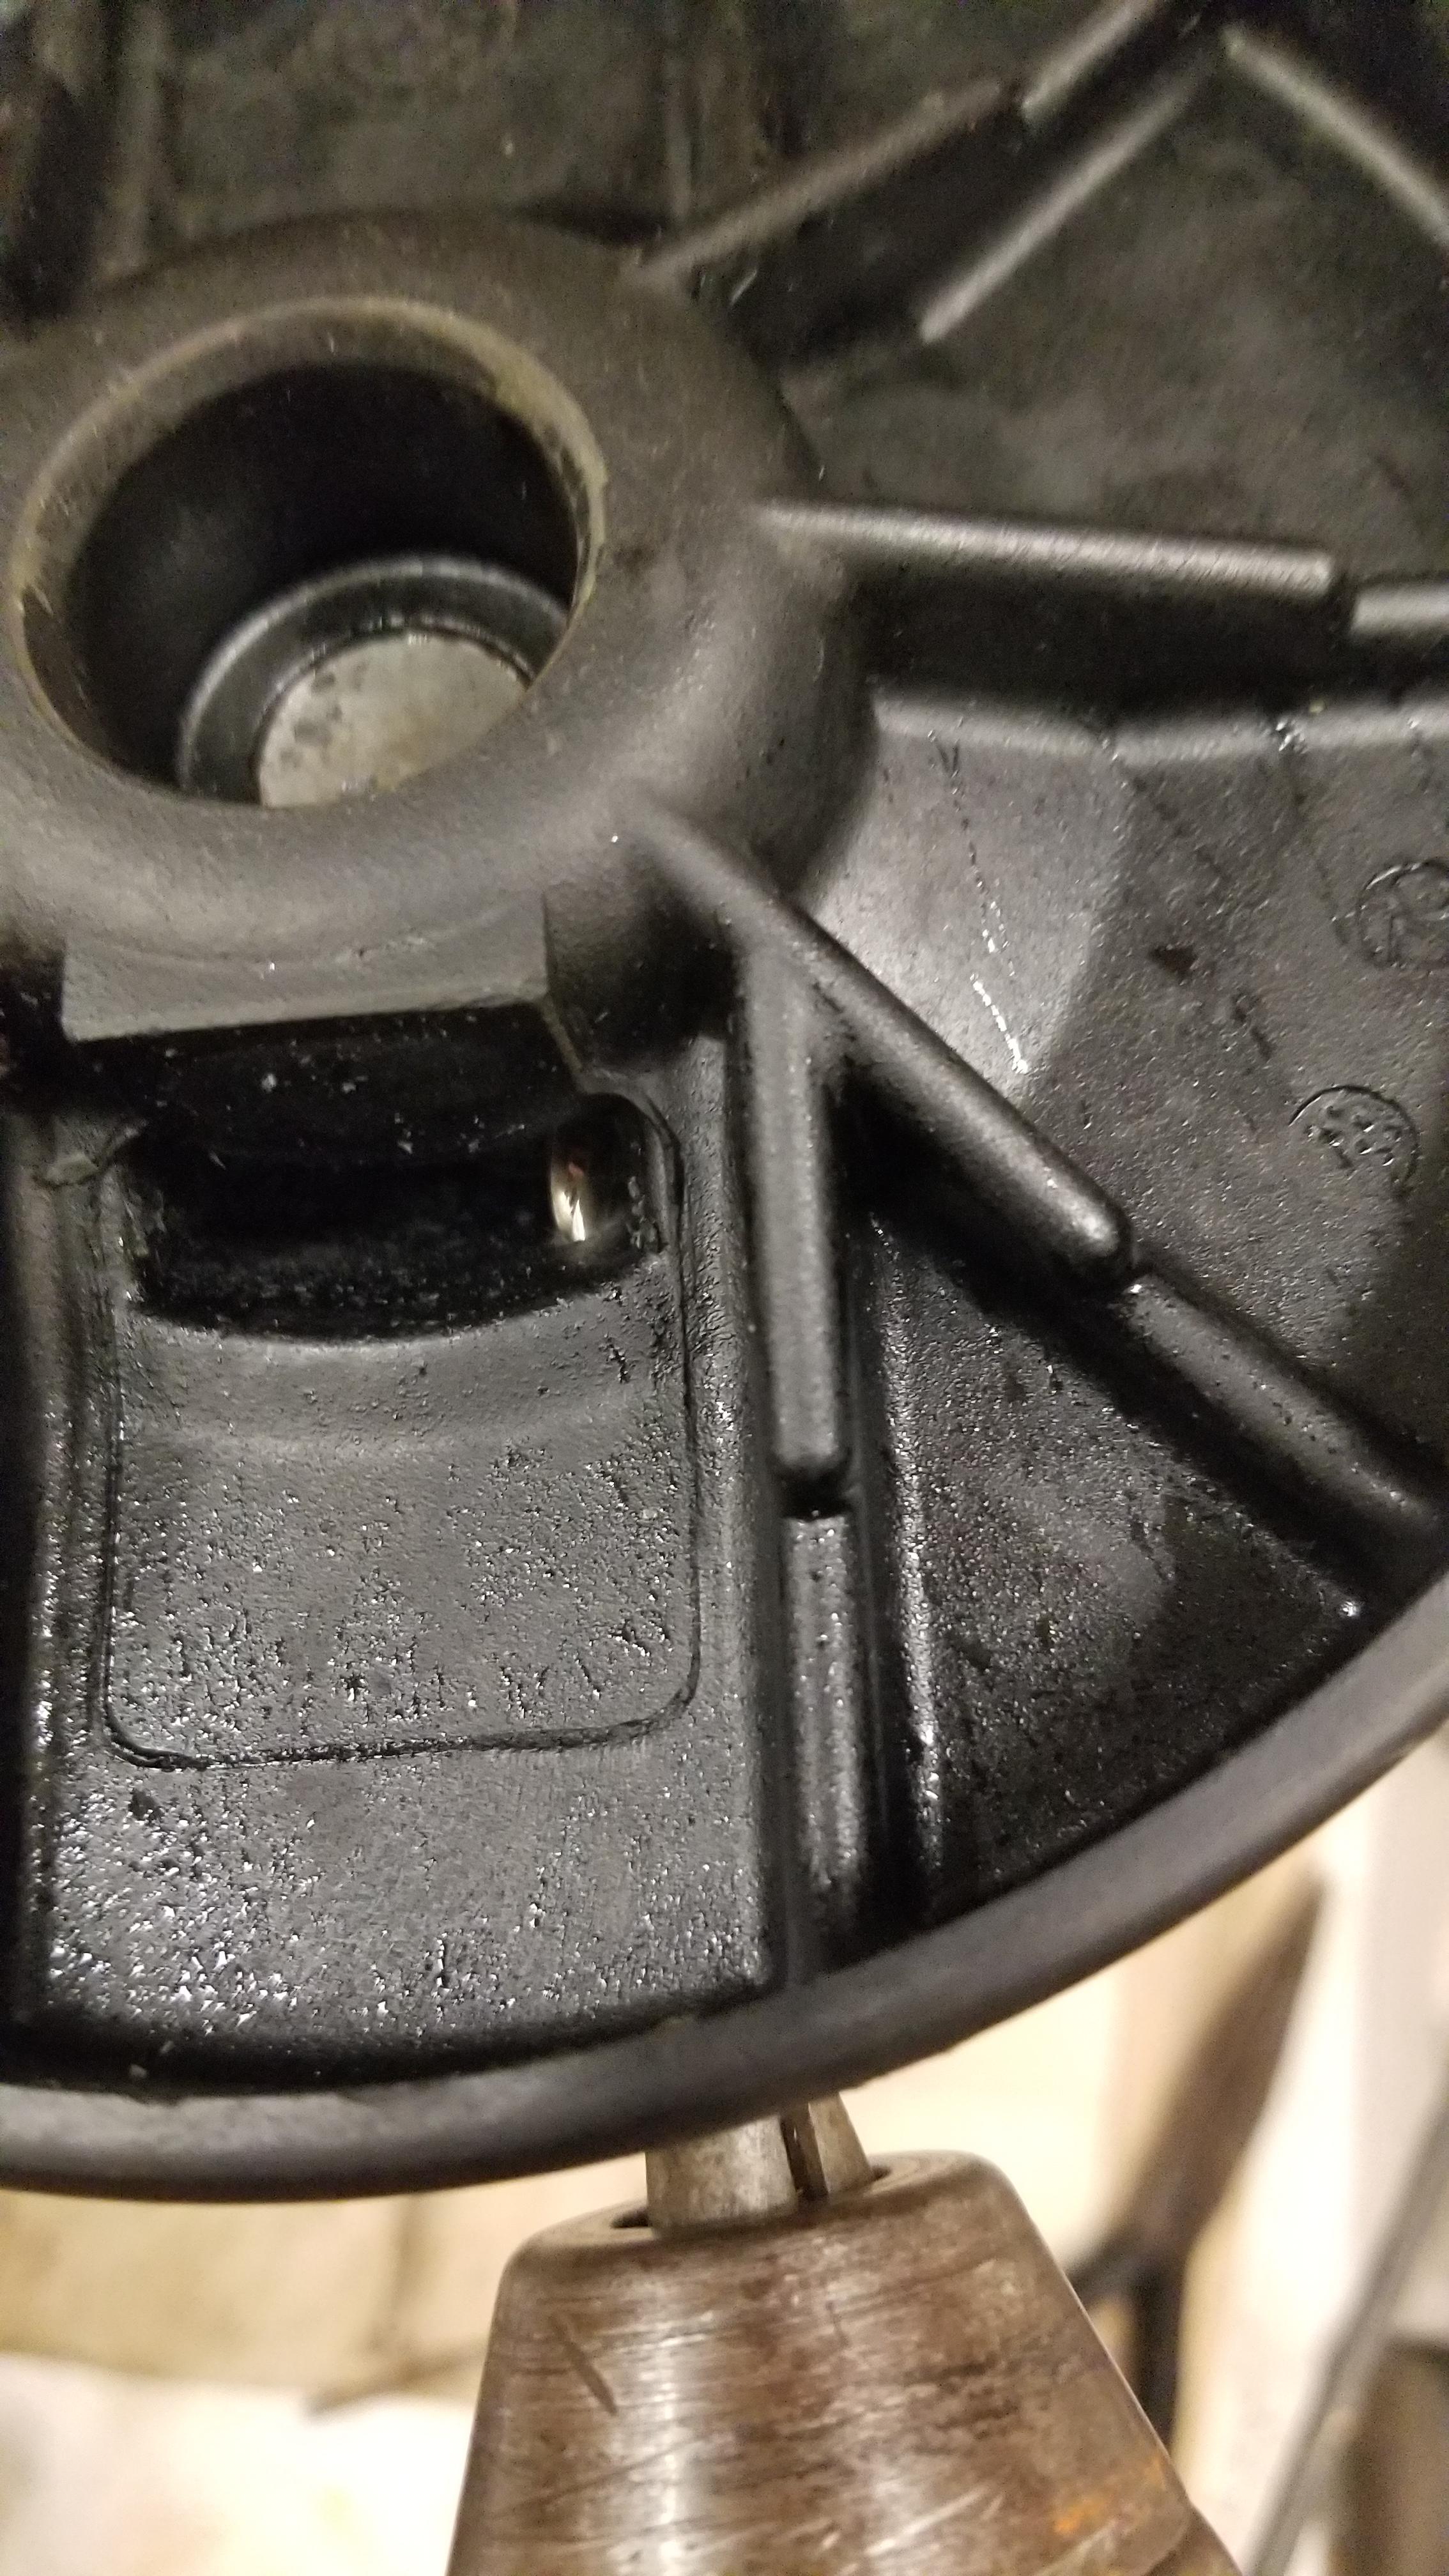
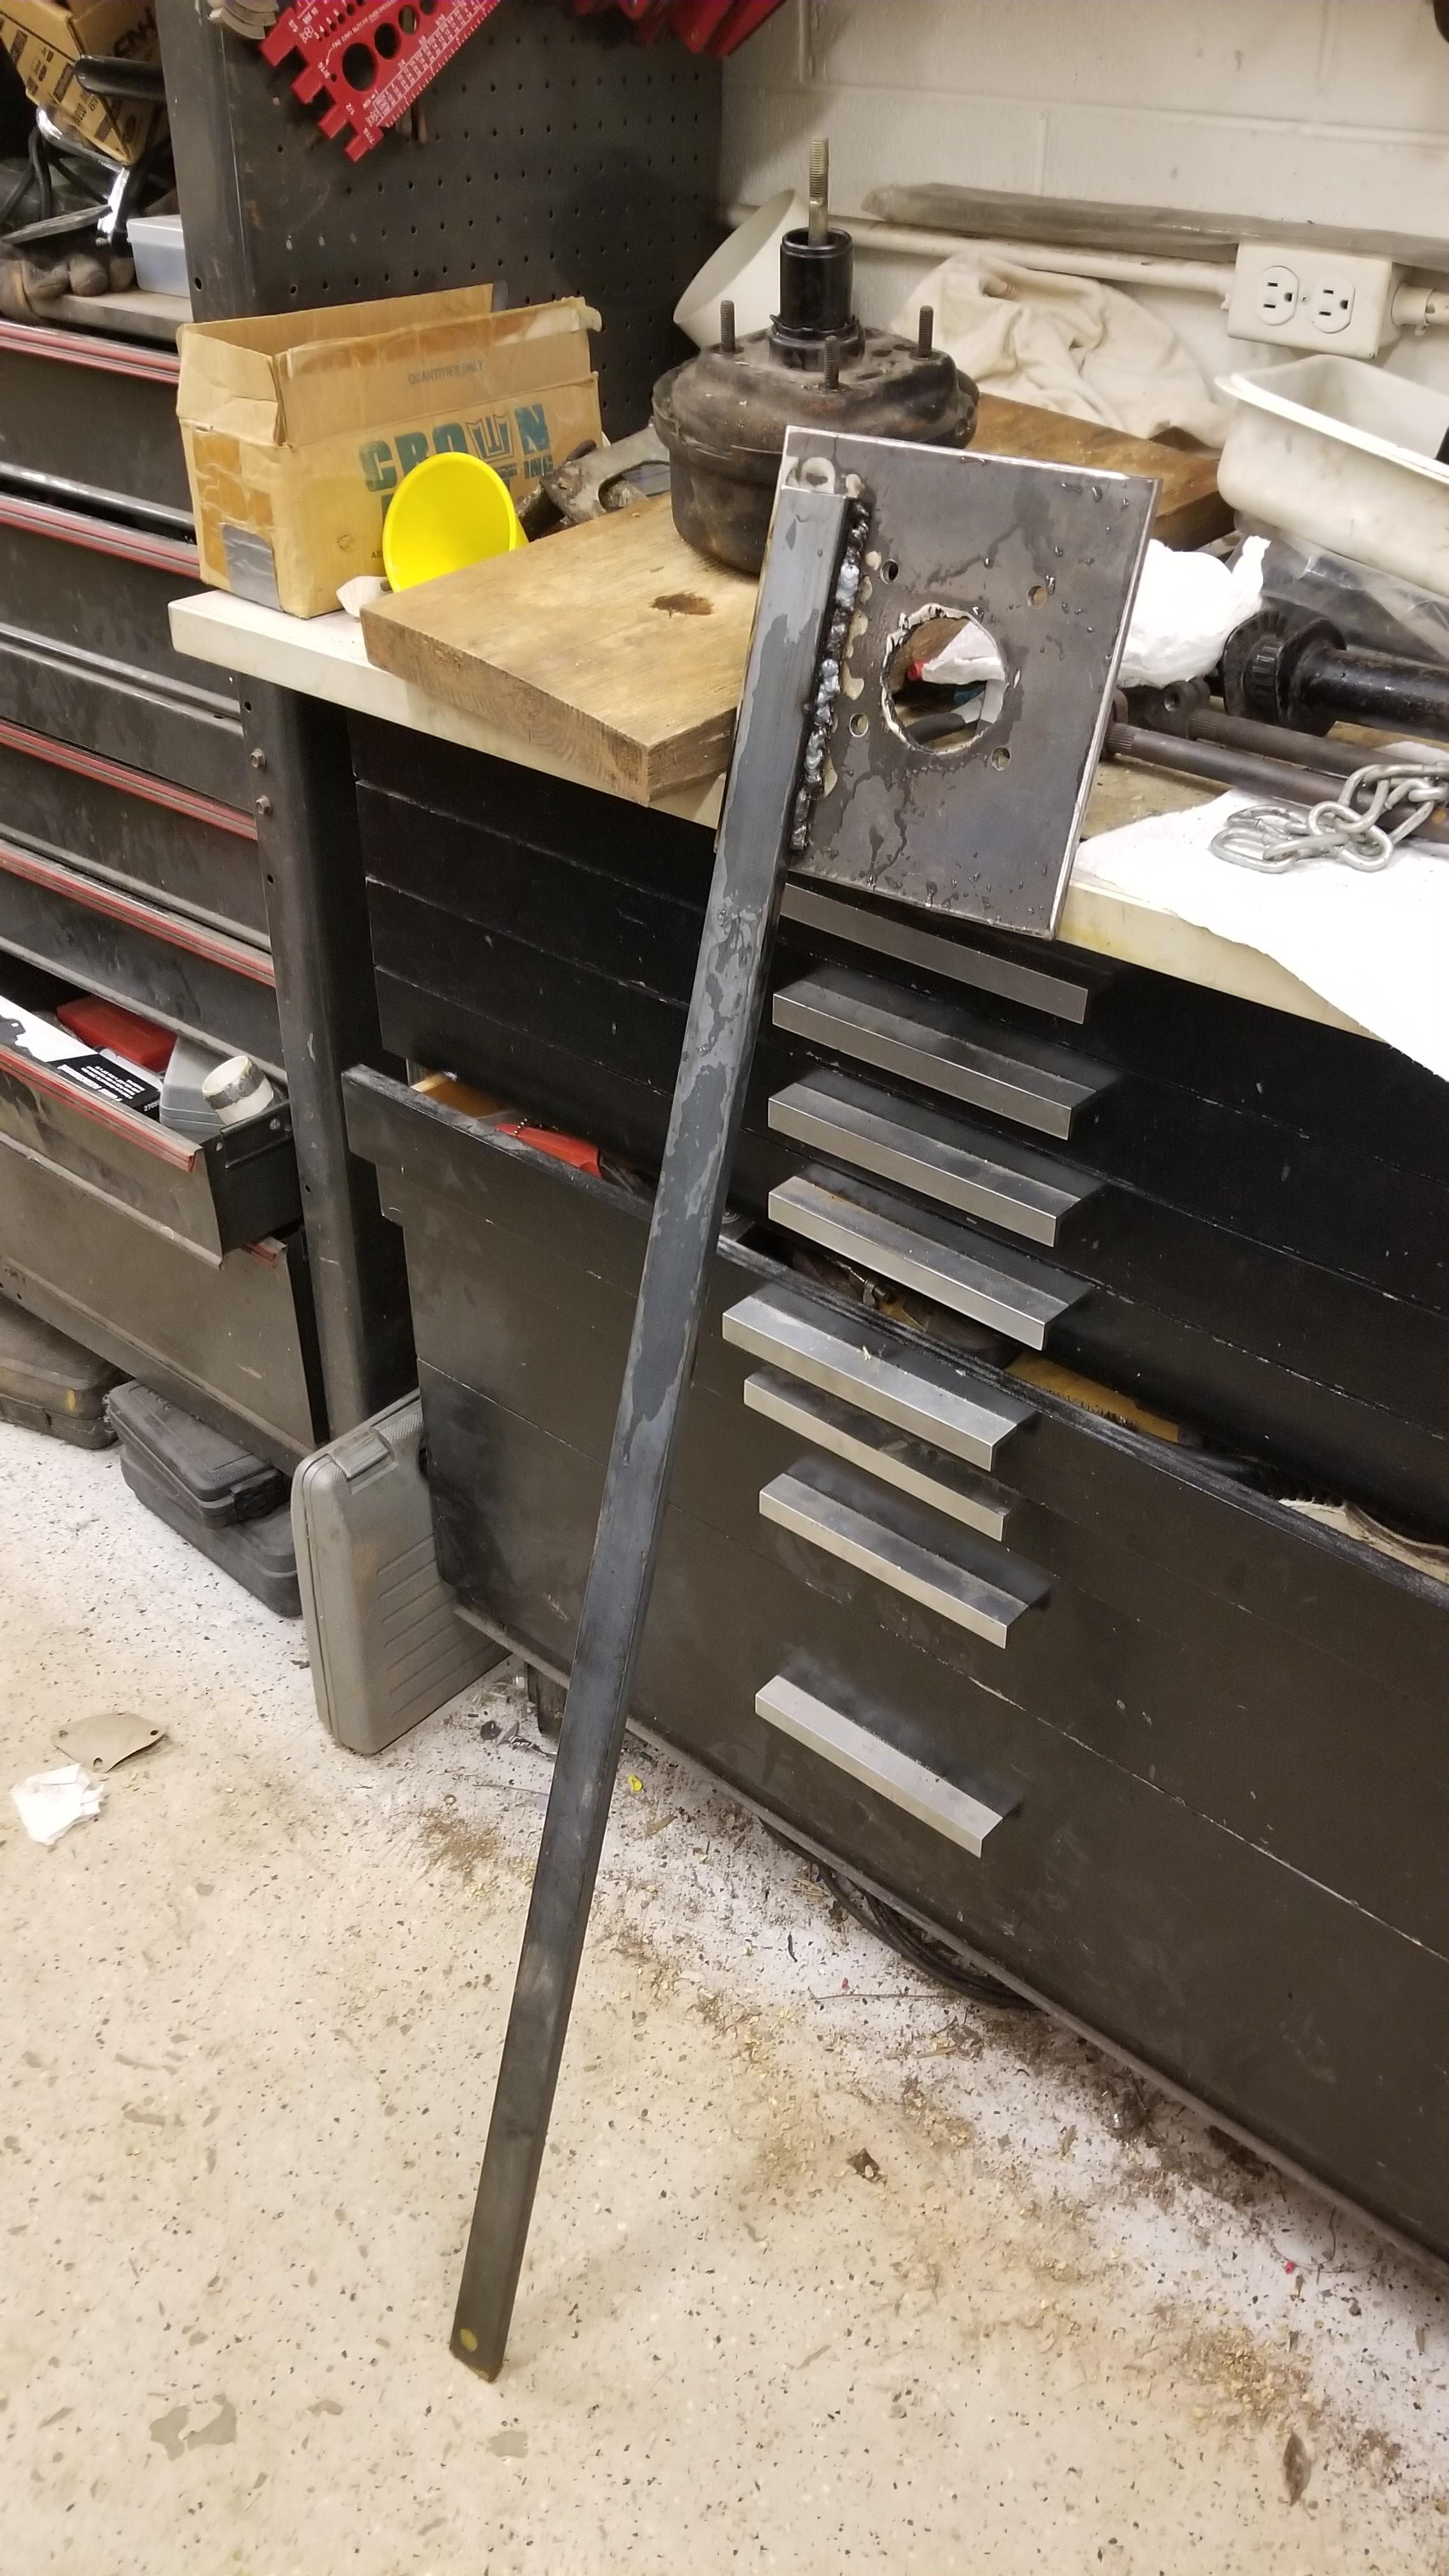
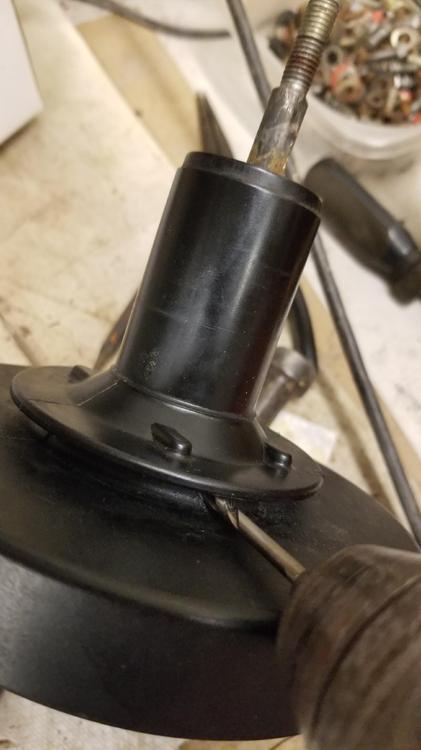
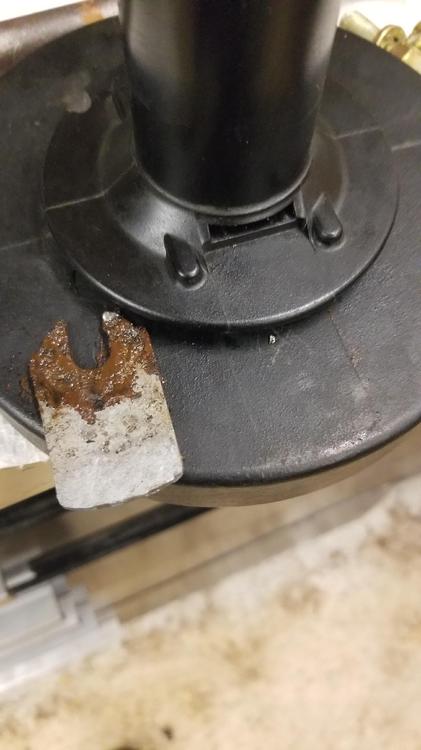
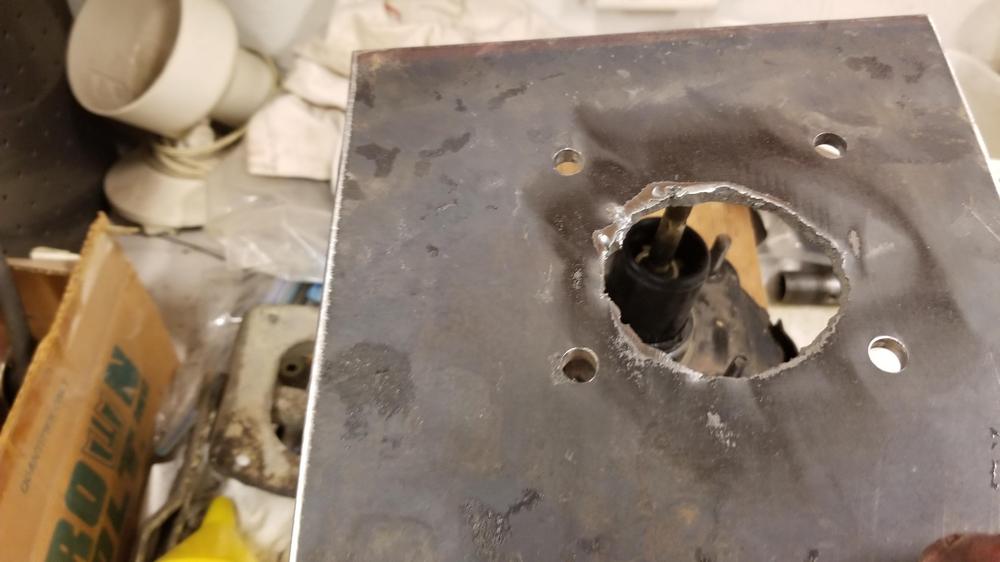
Ok so I may a little progress disassembling the booster but I also damaged it some So I was tring to get the piston keeper out. Banging it on the counter, pressing on the piston and not. Wasn't coming out, so I soaked it in undiluted Muriatic over night. The keeper was much cleaner but still not coming out. The keeper side and the reverse side So I didn't want to break the disc banging on it so I drilled some holes in it so I could punch it out Now this will create four holes that I will have to seal up. I will probably use JB weld Keeper is out. Even after soaking in acid over night there was still a lot of rust. If I had left it longer it might have come out then But I damaged the disc My punch had a flair on it and when I drove the keeper out the flaired section cracked off the flange. More JB weld. shouldn't be a big deal because it just needs to seal. No real pressure there on the flange Now I need to figure out how to break this plunger down. Can't figure it out even from CO's picture Worked on my booster tool some too Made the metal plate and welded on a lever arm and a piece of 2 1/2" PVC conduit about 6" long to help squeeze the can


-
Did you contact Chuck (post #85) ? He is in PA You can PM him by clicking on his name
-
Yeah, I was wondering how close the camber was going to be...
-
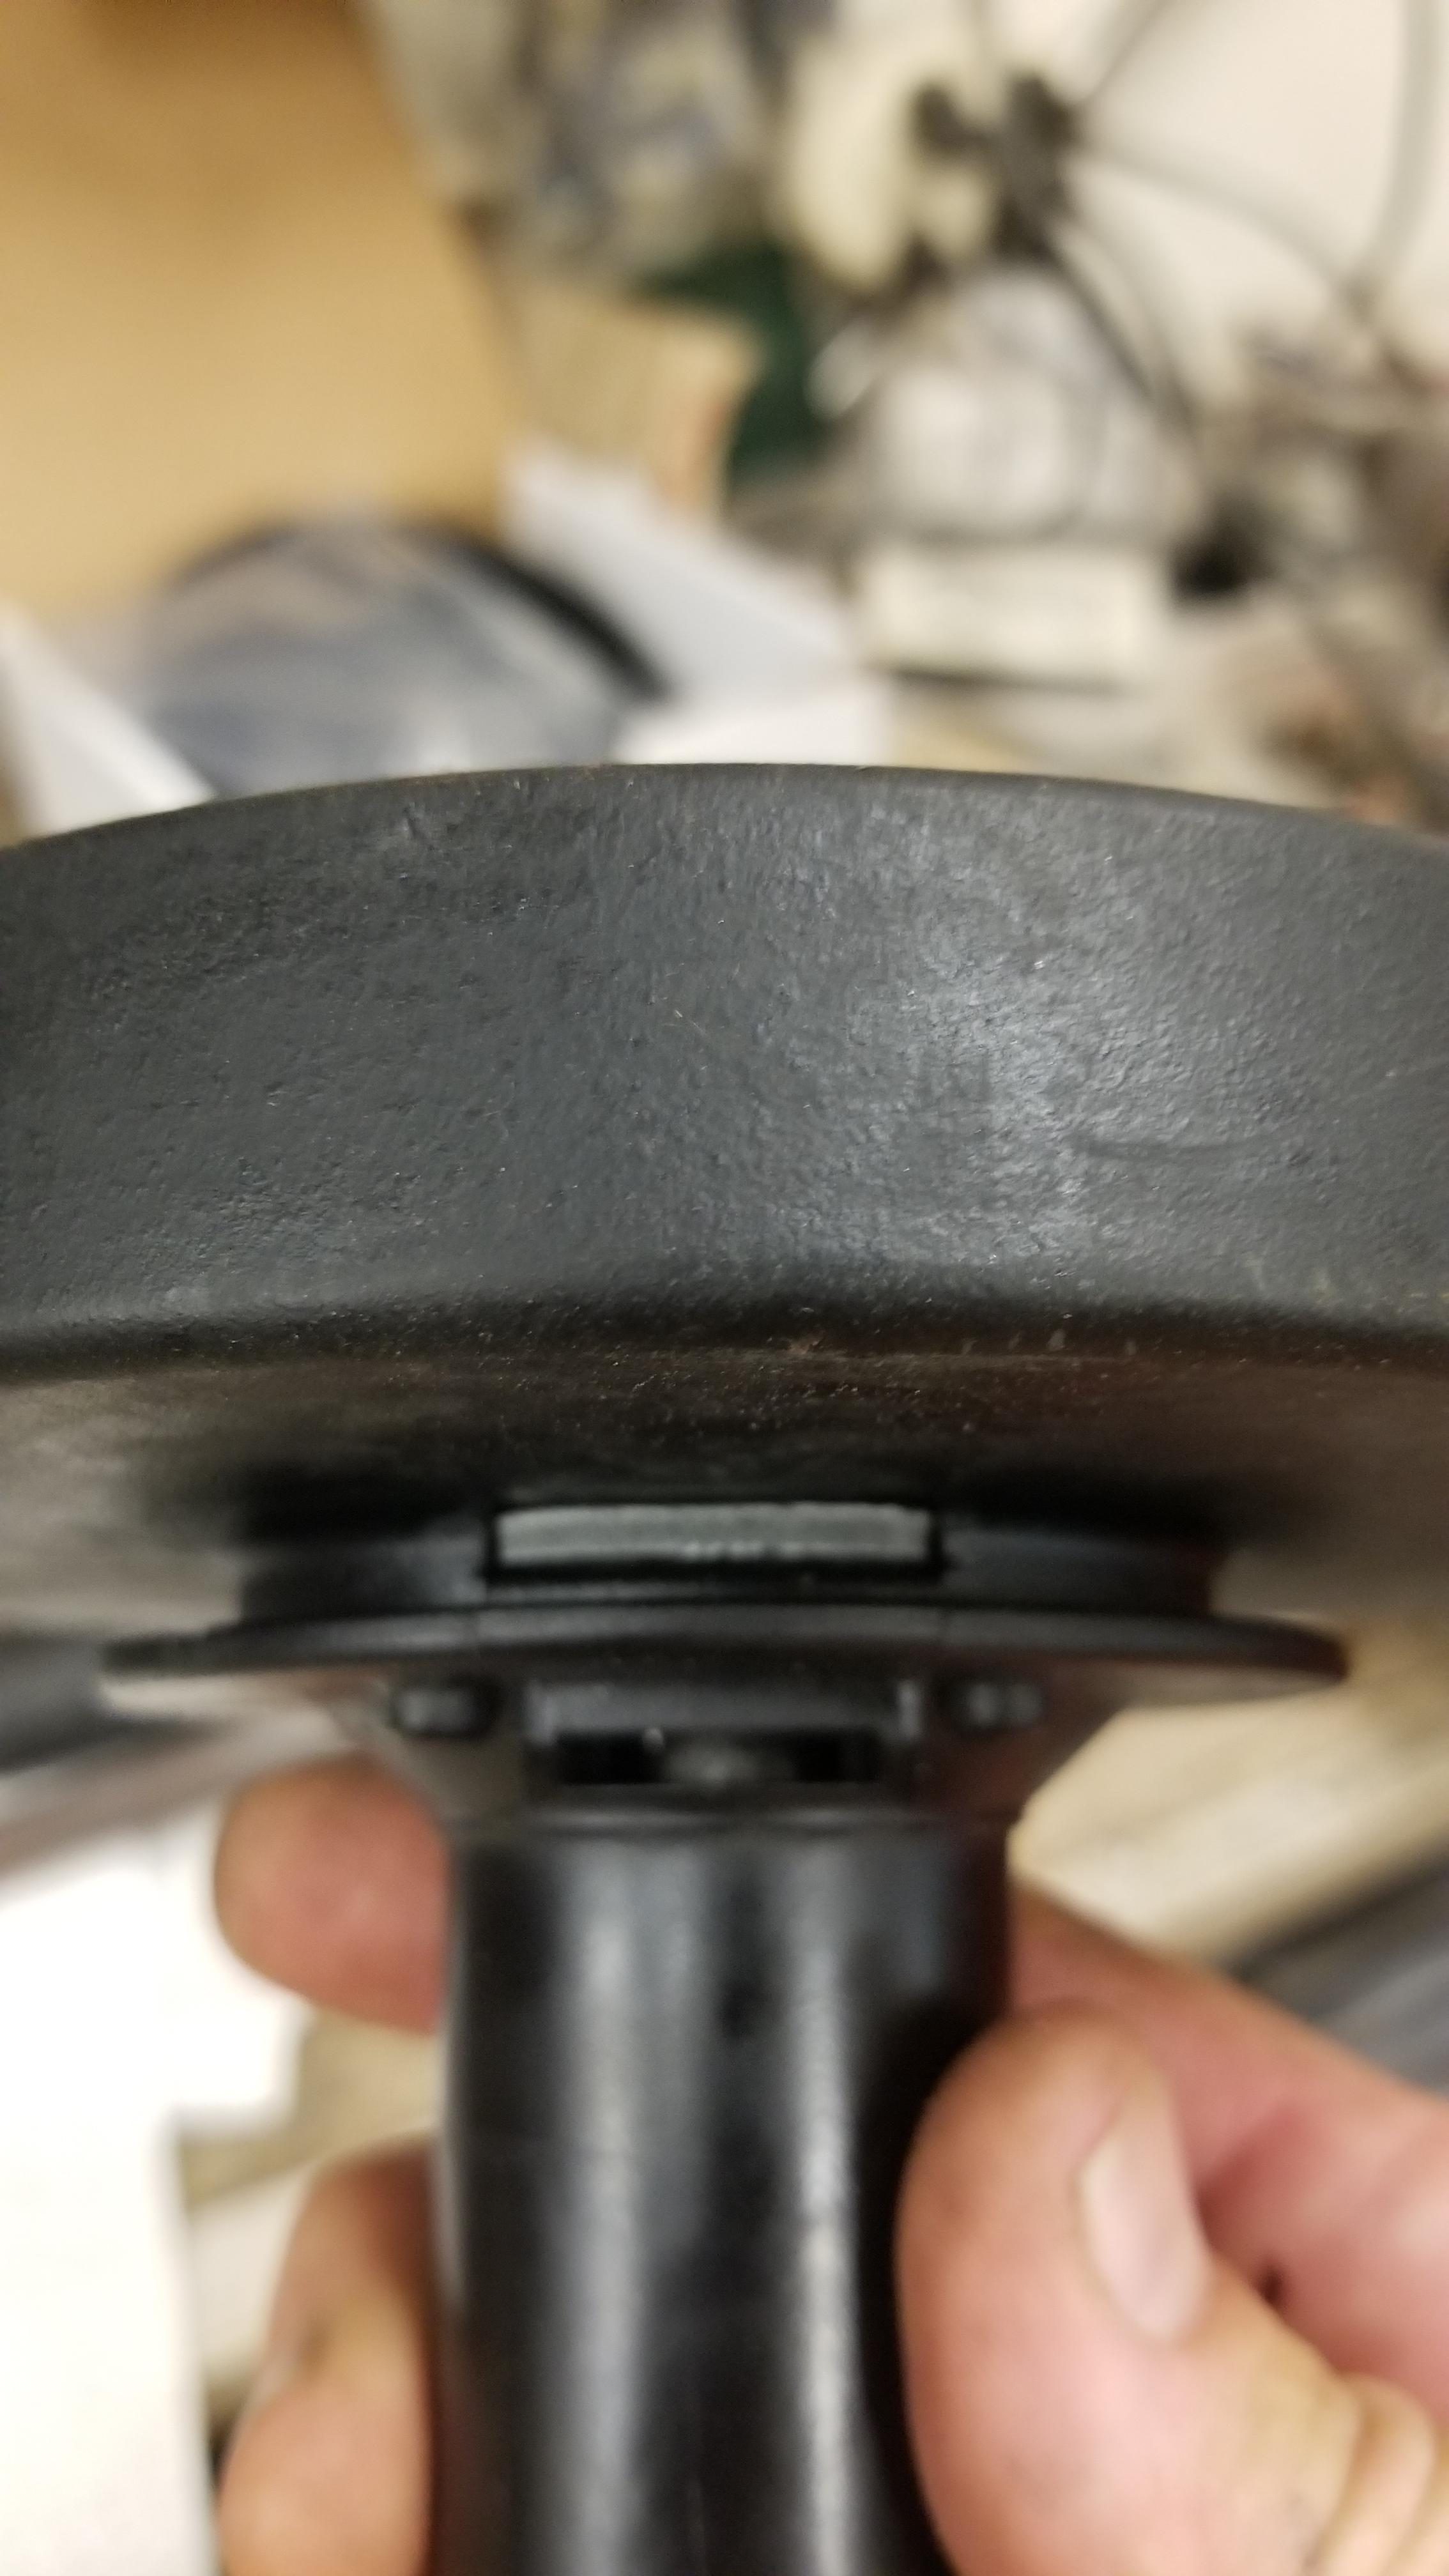
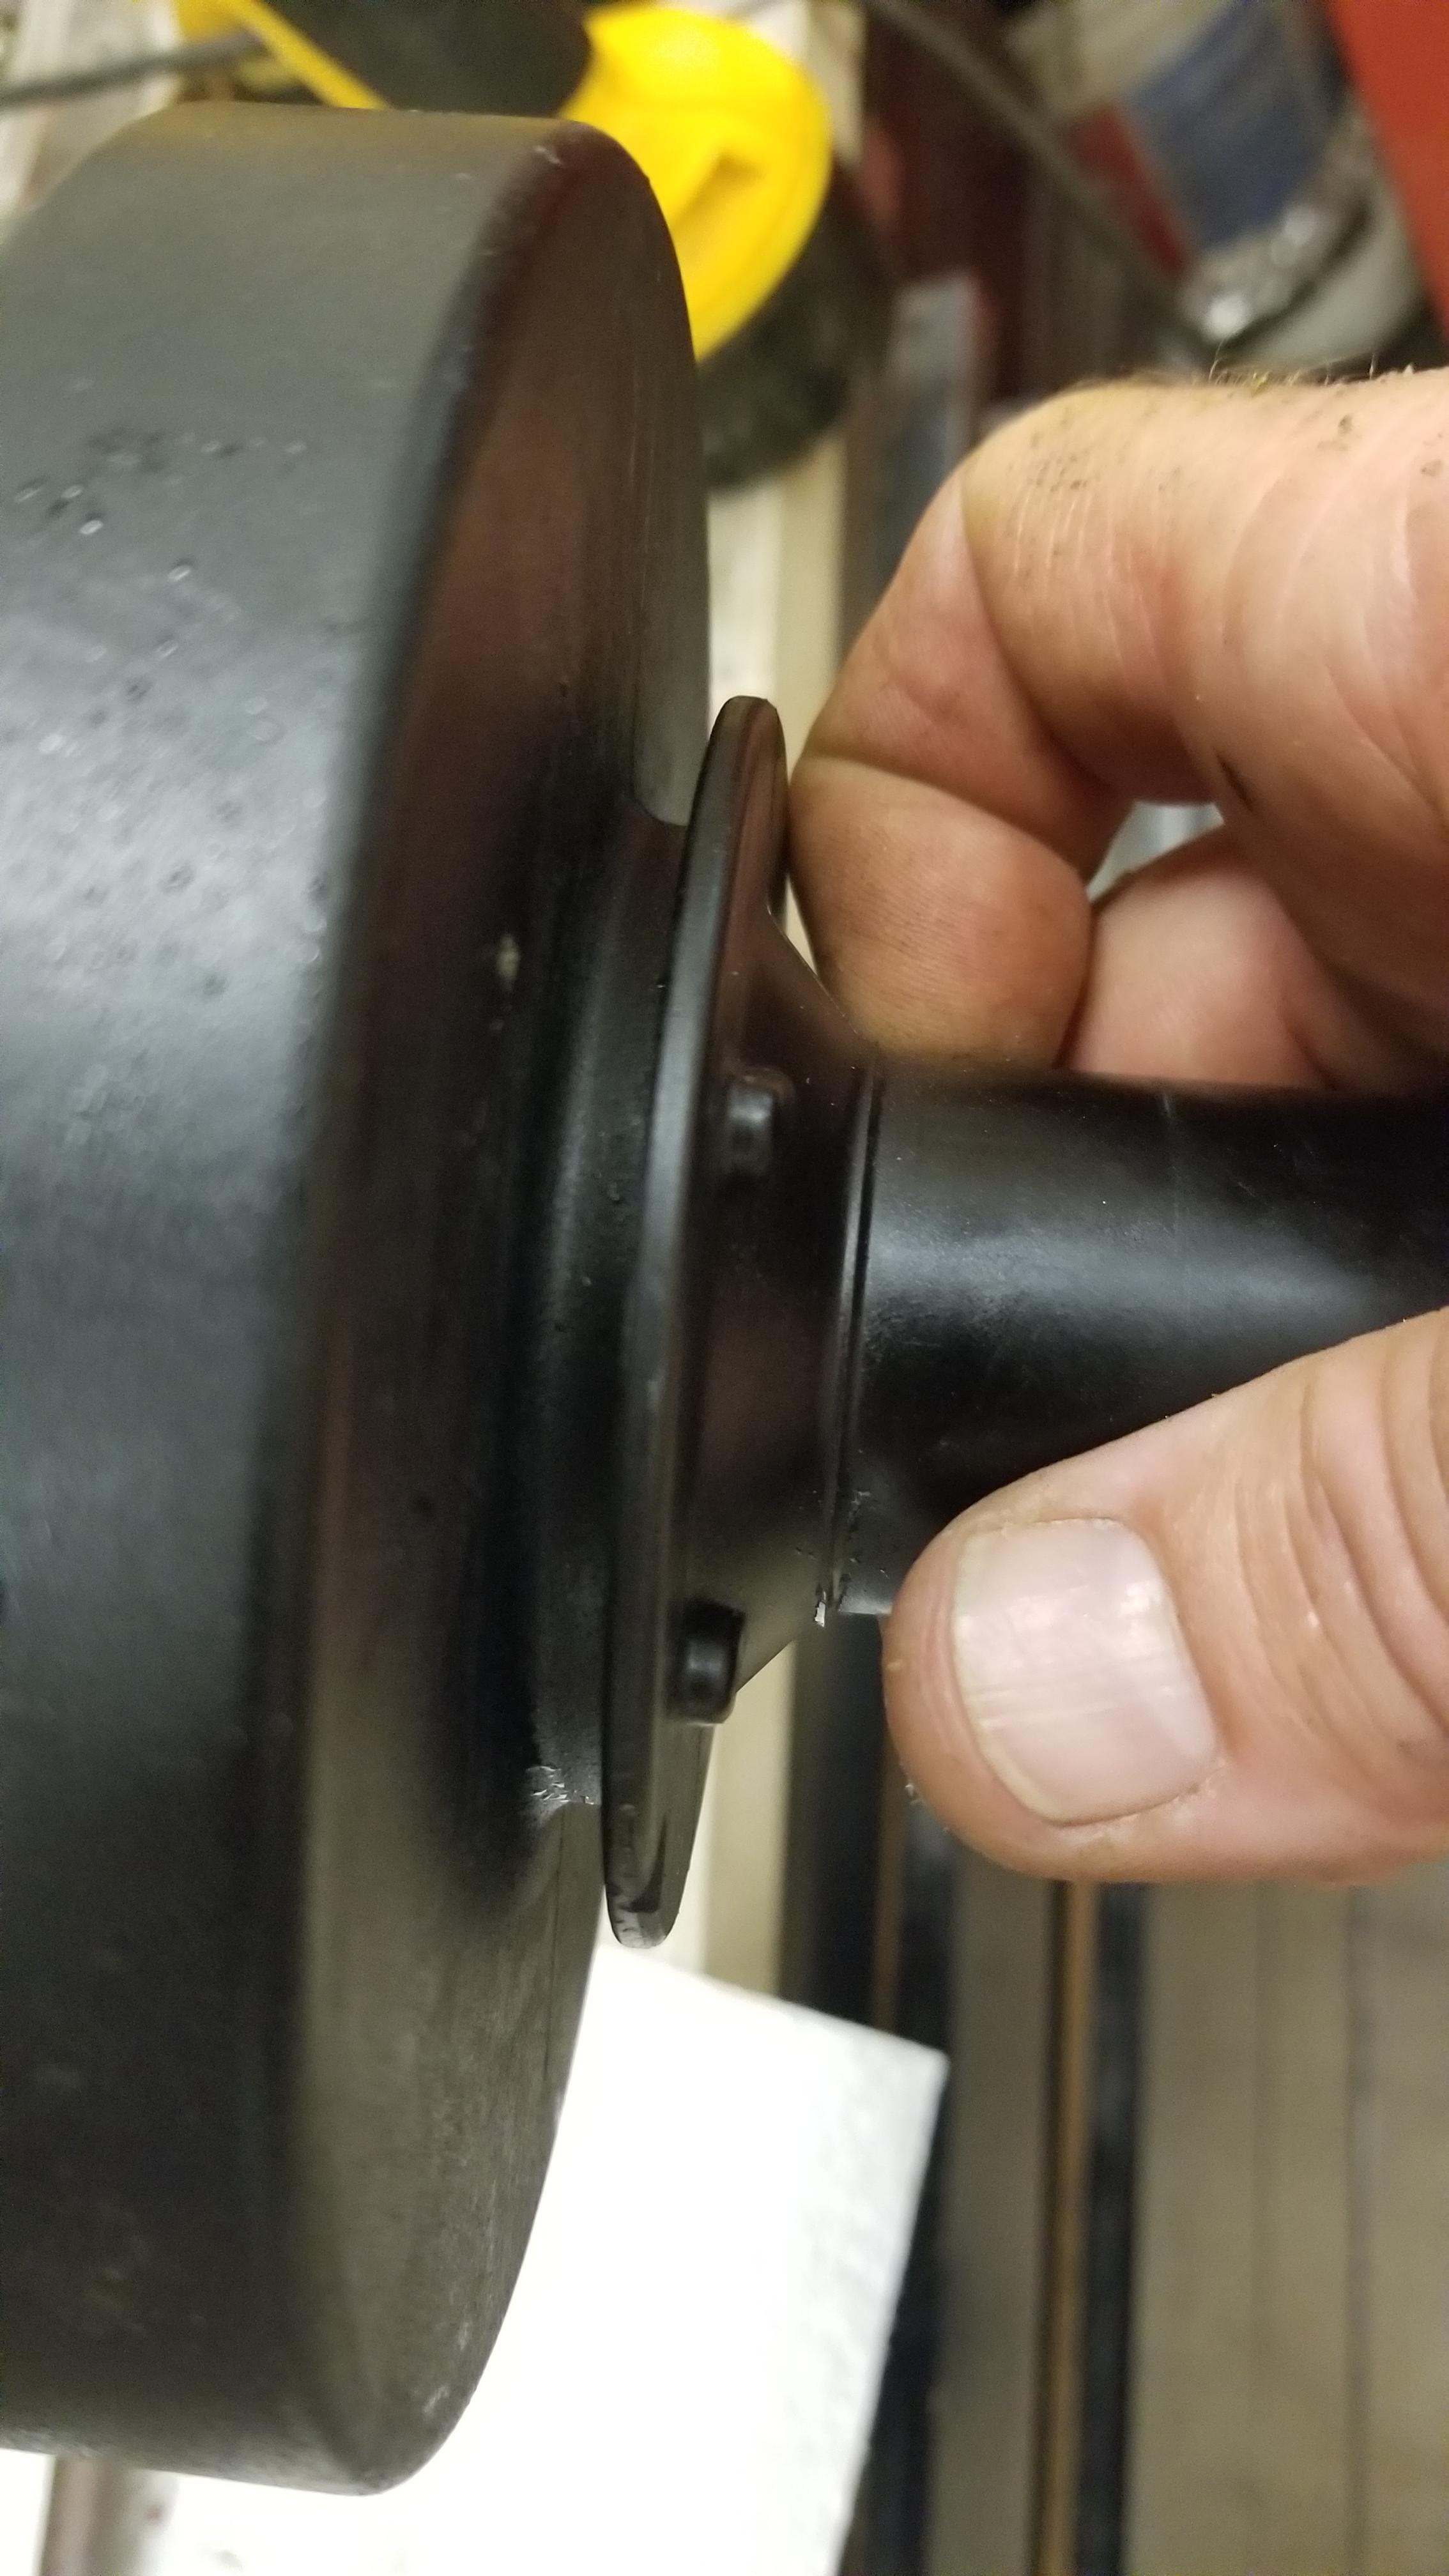
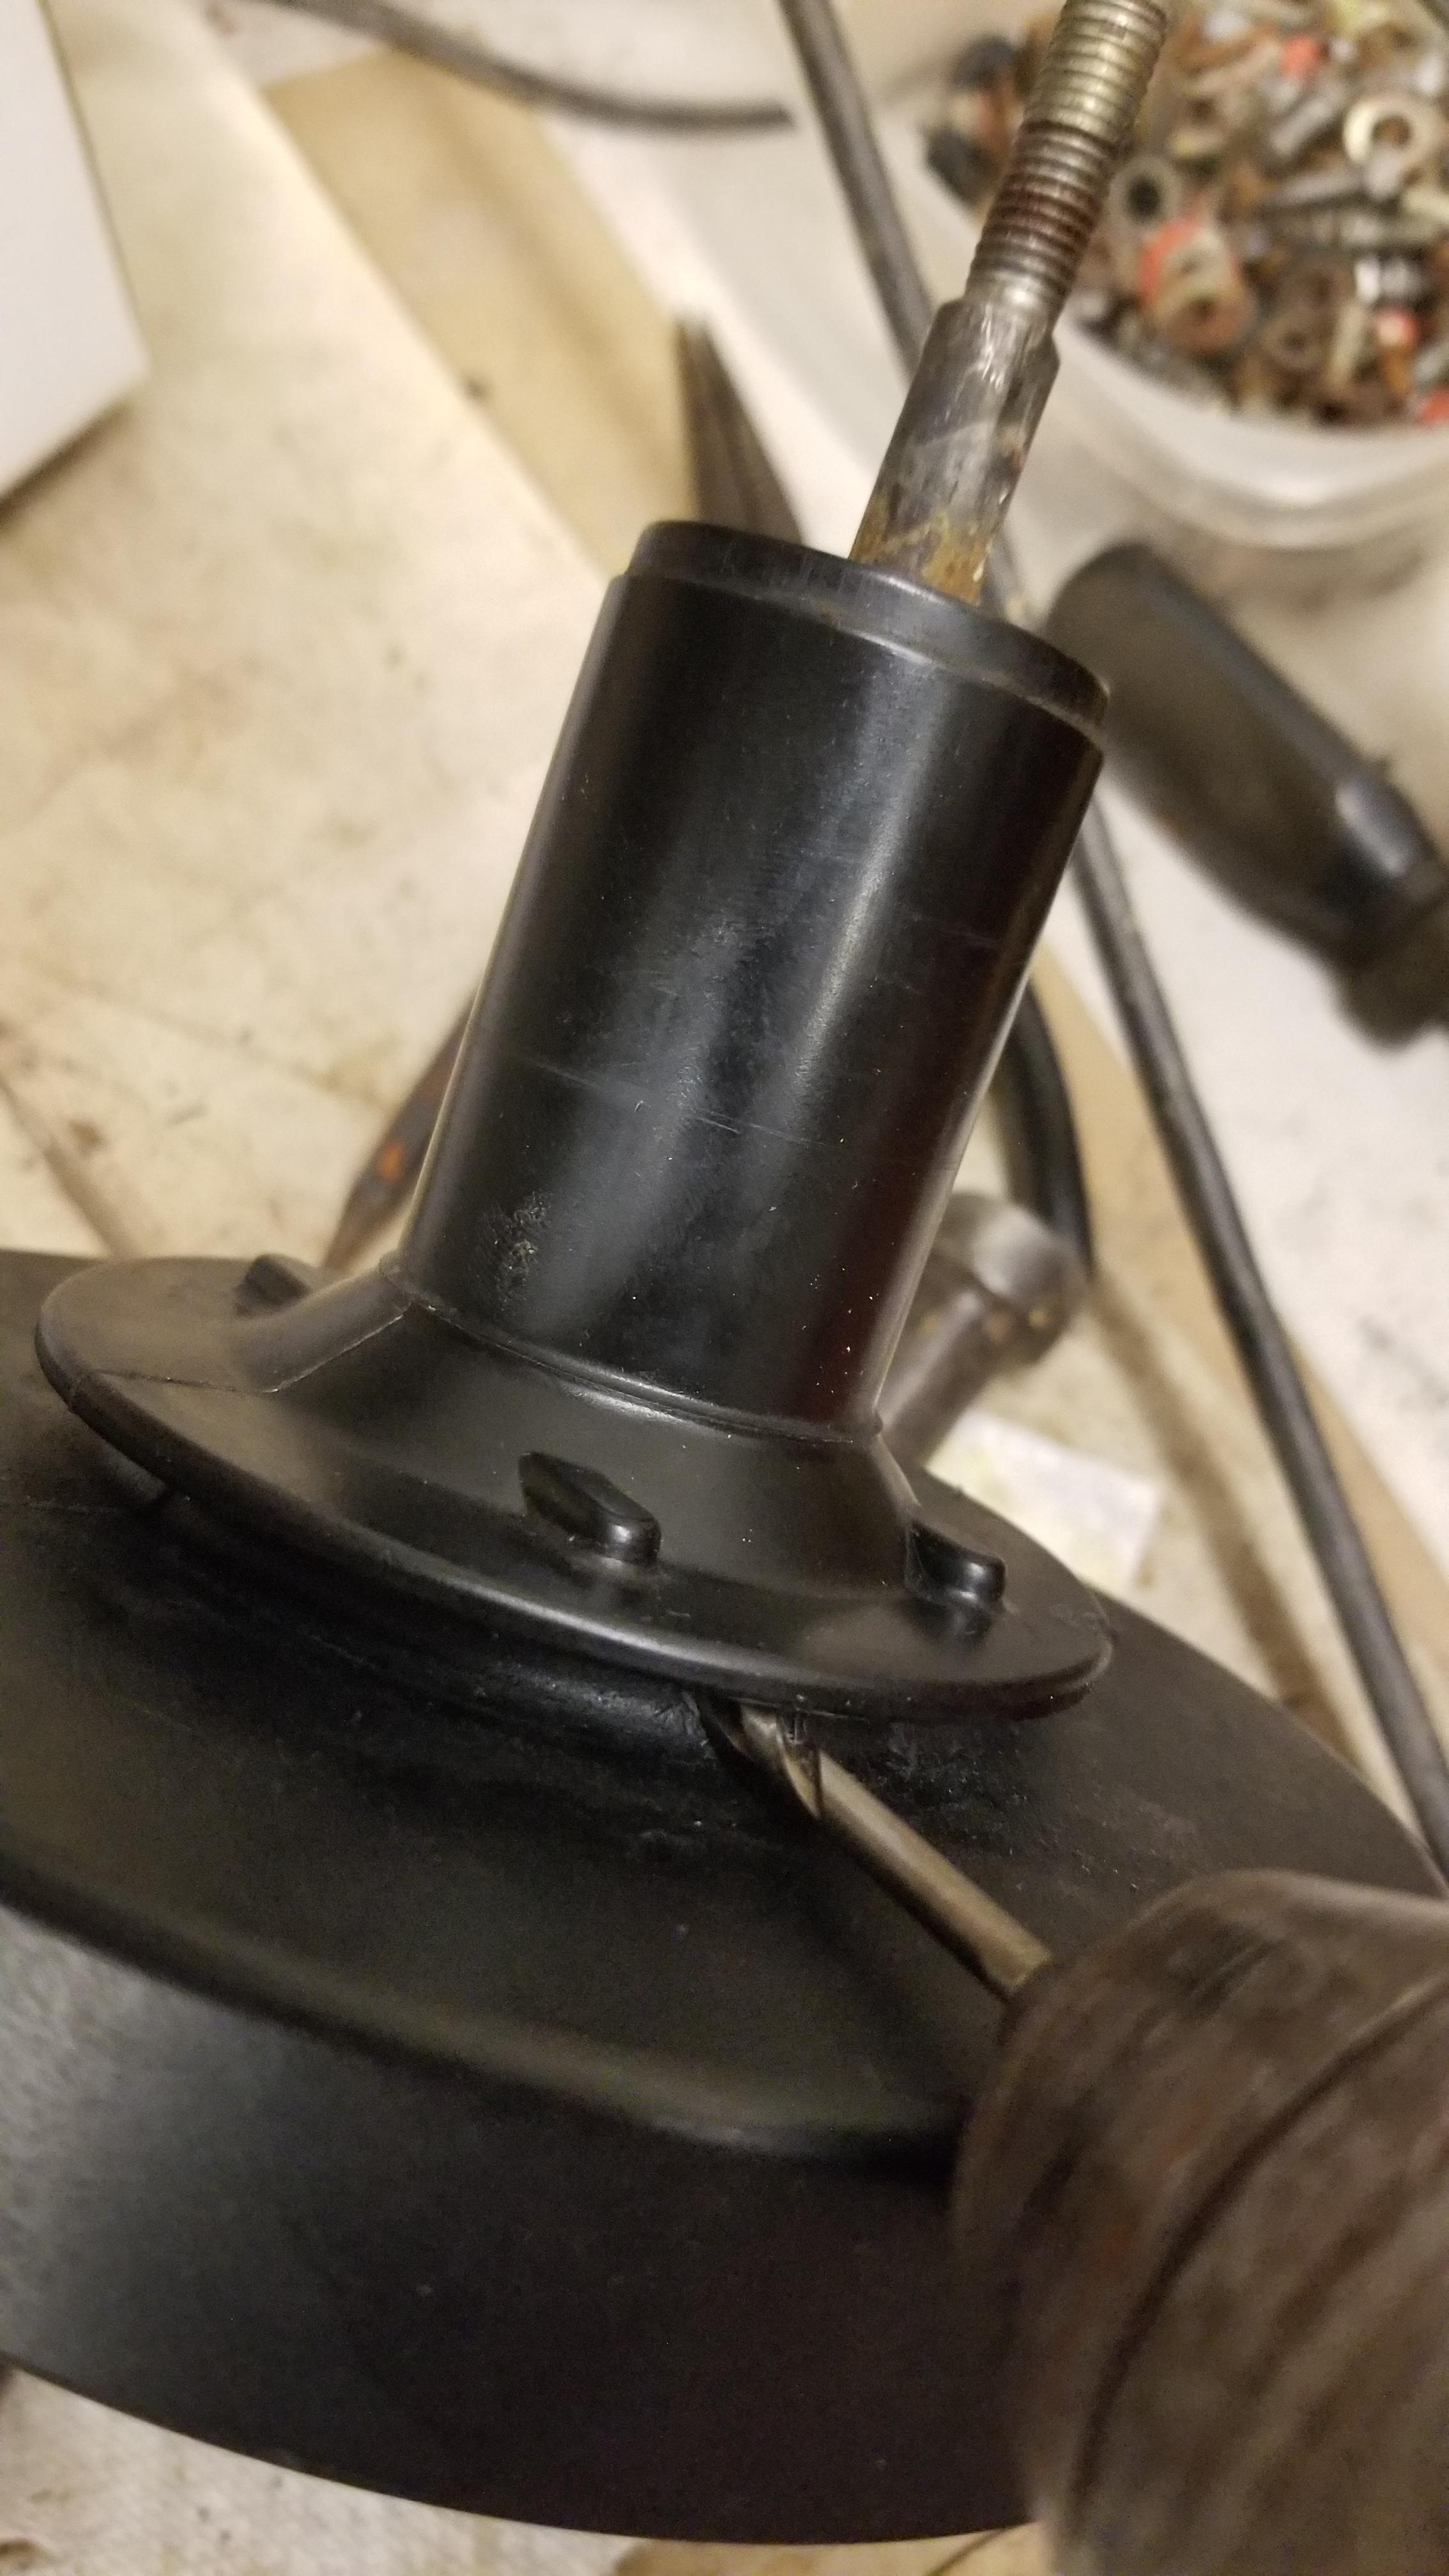
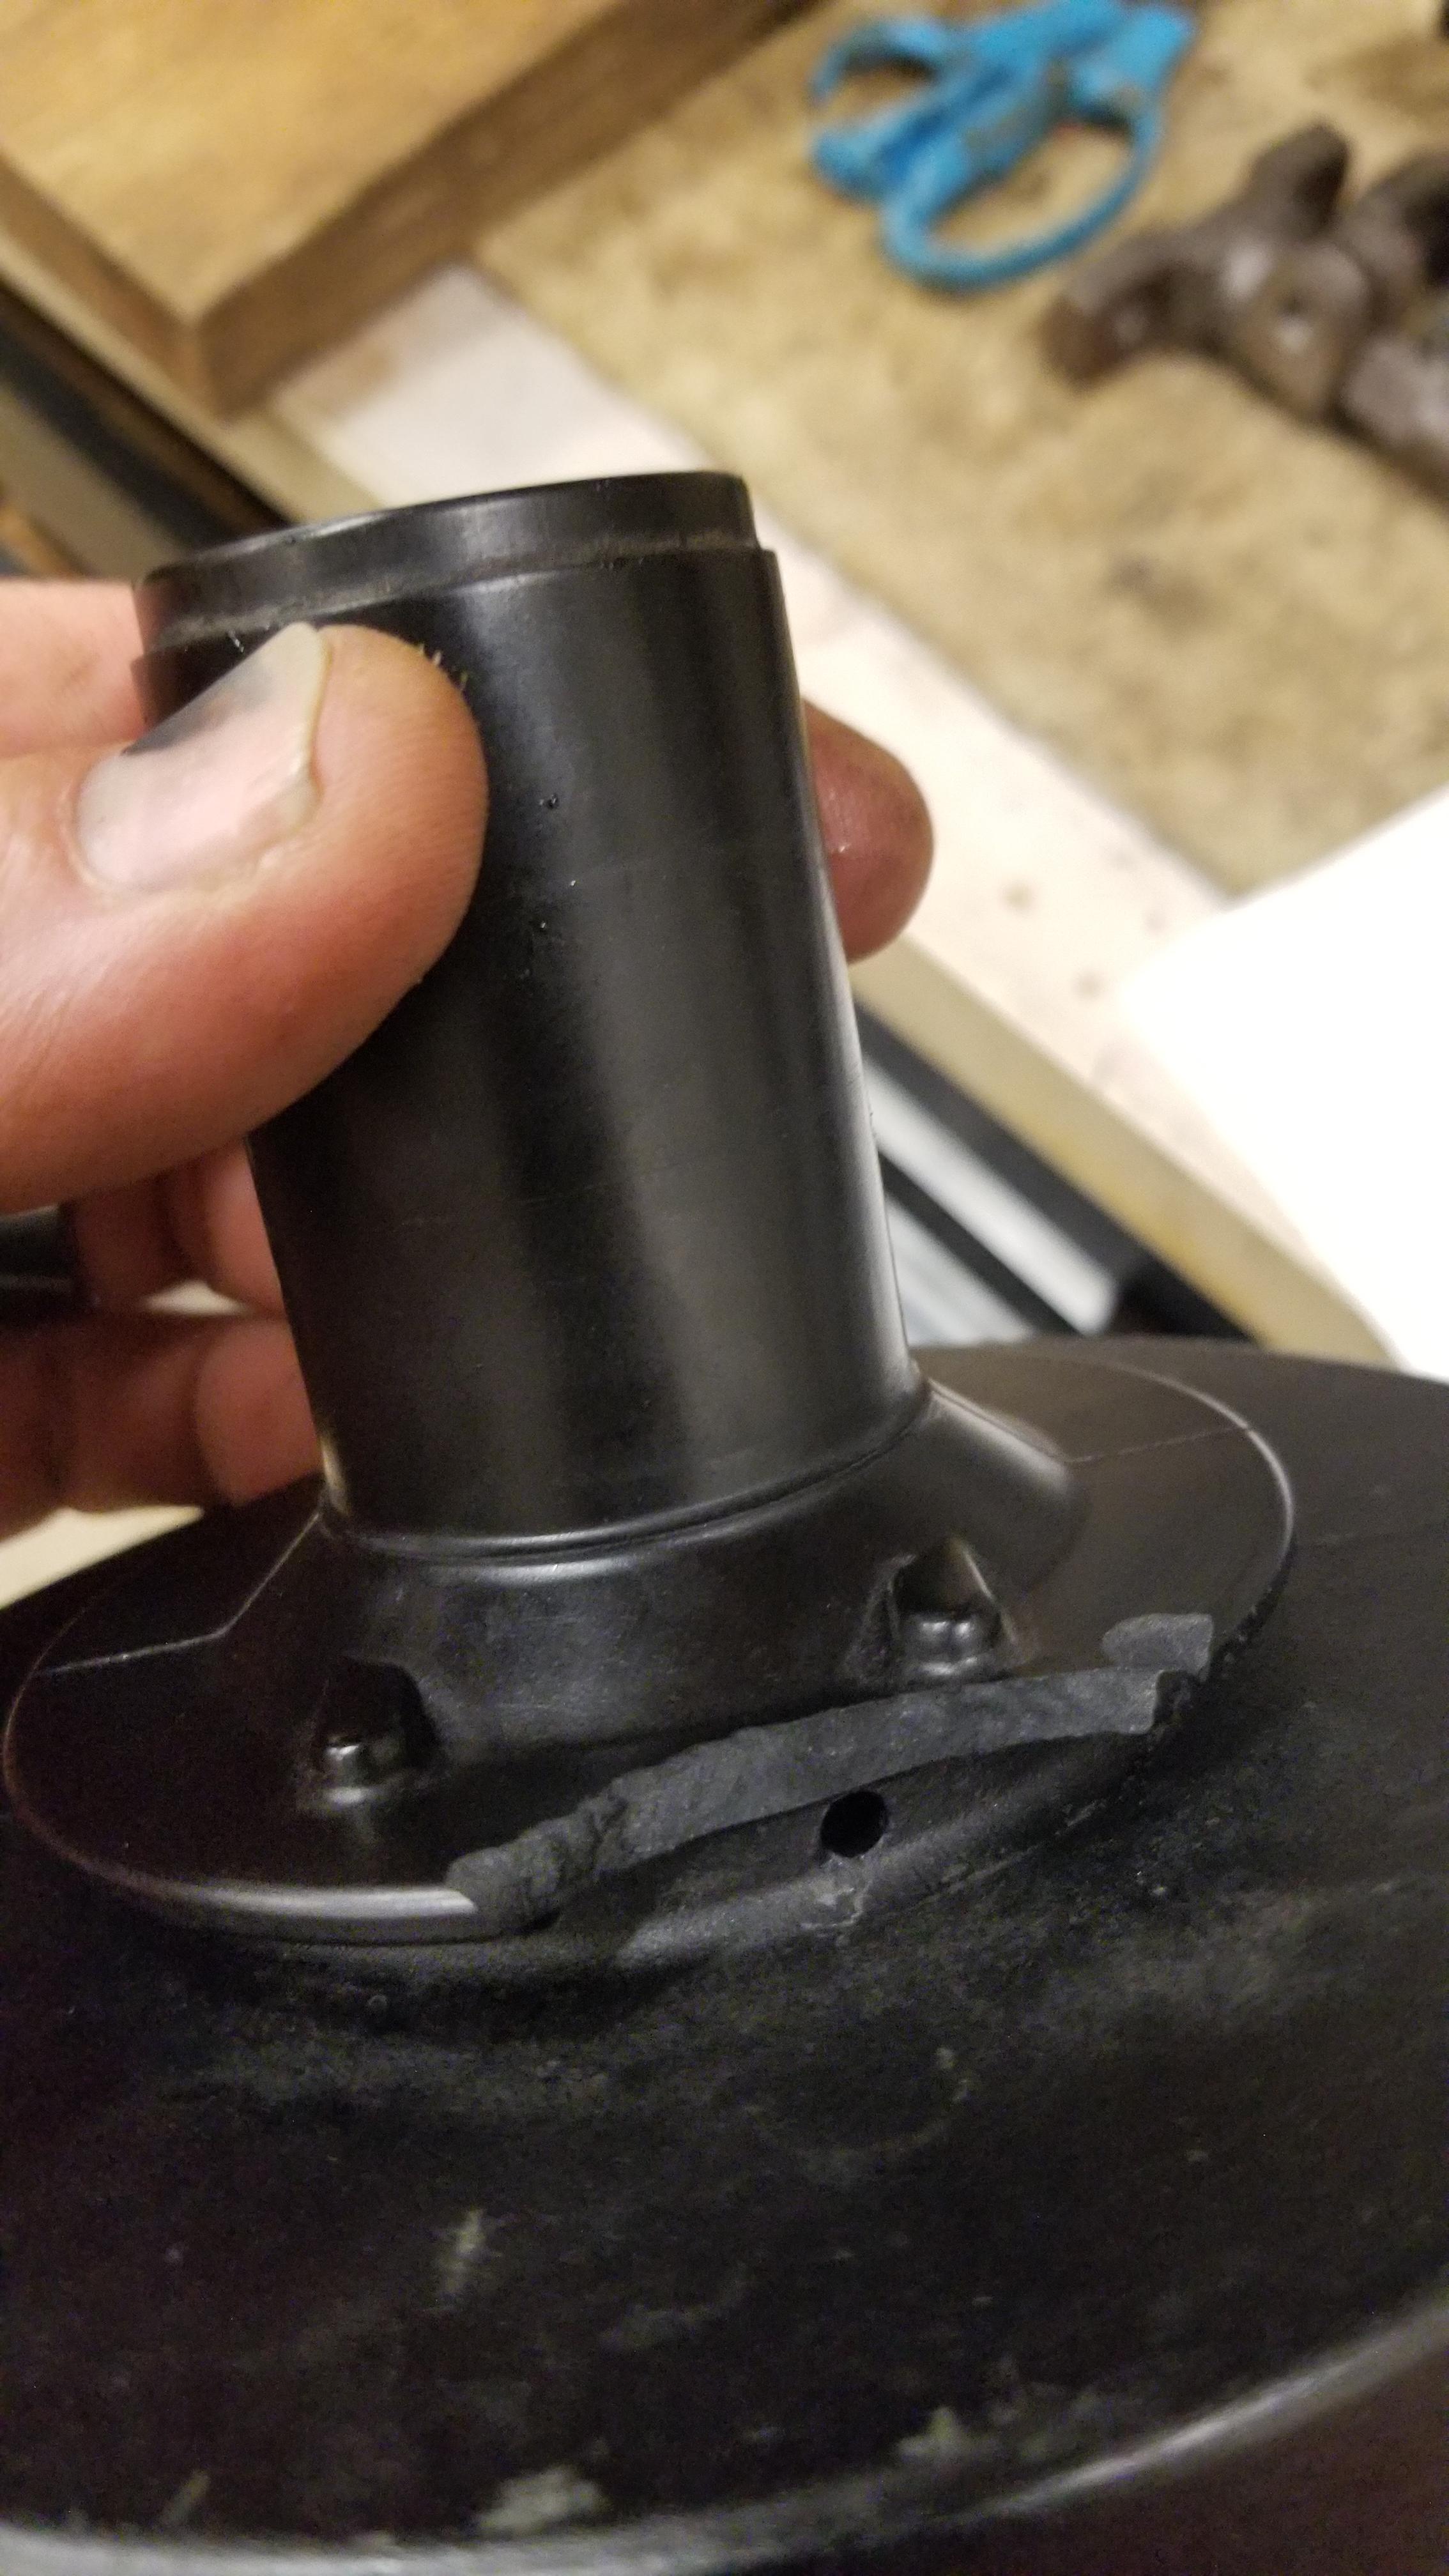
How does this disassemble? I finally got the plunger out but I can't figure out how to break this down. Does the metal end just snap onto the round rod head? I sort of got medieval getting the plunger out. I don't think it's irreversible I will post pictures later...
-
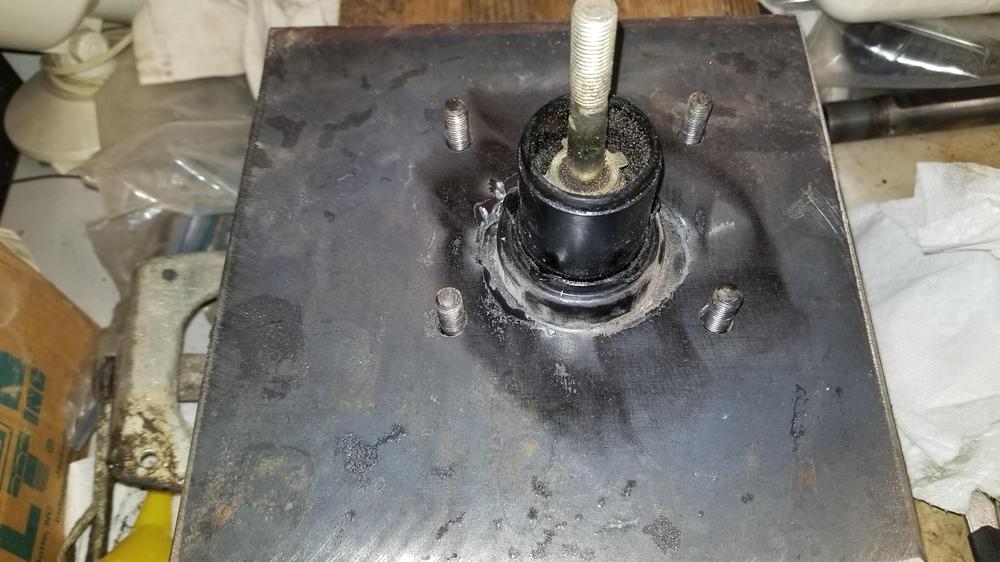
The 2x material has the advantage of protecting the whole length of the studs and vacuum port Do you have any better pictures of the booster plunger and how it's held in? I know there is a U shaped clip on the bottom, but in the current booster I am working on, that clip is rusted in. Do I have to take the pressure off or something?
-
Of course it does! I don't know of anyway to turn it from the perimeter. On the first one I opened up I tried to drive it open like a fuel sender ring and started to cut the tab off the case. Then I built a couple of wooden templates with long 2x4's and that worked. It is easier if you apply clamping force to the case. So I will make the new setup work in the hydraulic press
-
But a larger diameter than a 240z, I don't know about the 260z diameter