Patcon
 Subscriber
-
Joined
-
Last visited
Everything posted by Patcon
-
 Well you will be really looking for Yellow Zinc and clear zinc. Very few companies do traditional CAD plating (mostly DoD stuff), and it's expensive. Talk to Asheville plating (Asheville, NC). I have spoken to them and they will work with retail customers. When I was exploring farming my plating out, I spoke to them and they had real promise as a vendor.
 -
Are they metal or chromed plastic One of the interior frame pics doesn't really look like metal
-
4 required. They are unique and I am not sure you can source a proper replacement new if you tossed them...
-
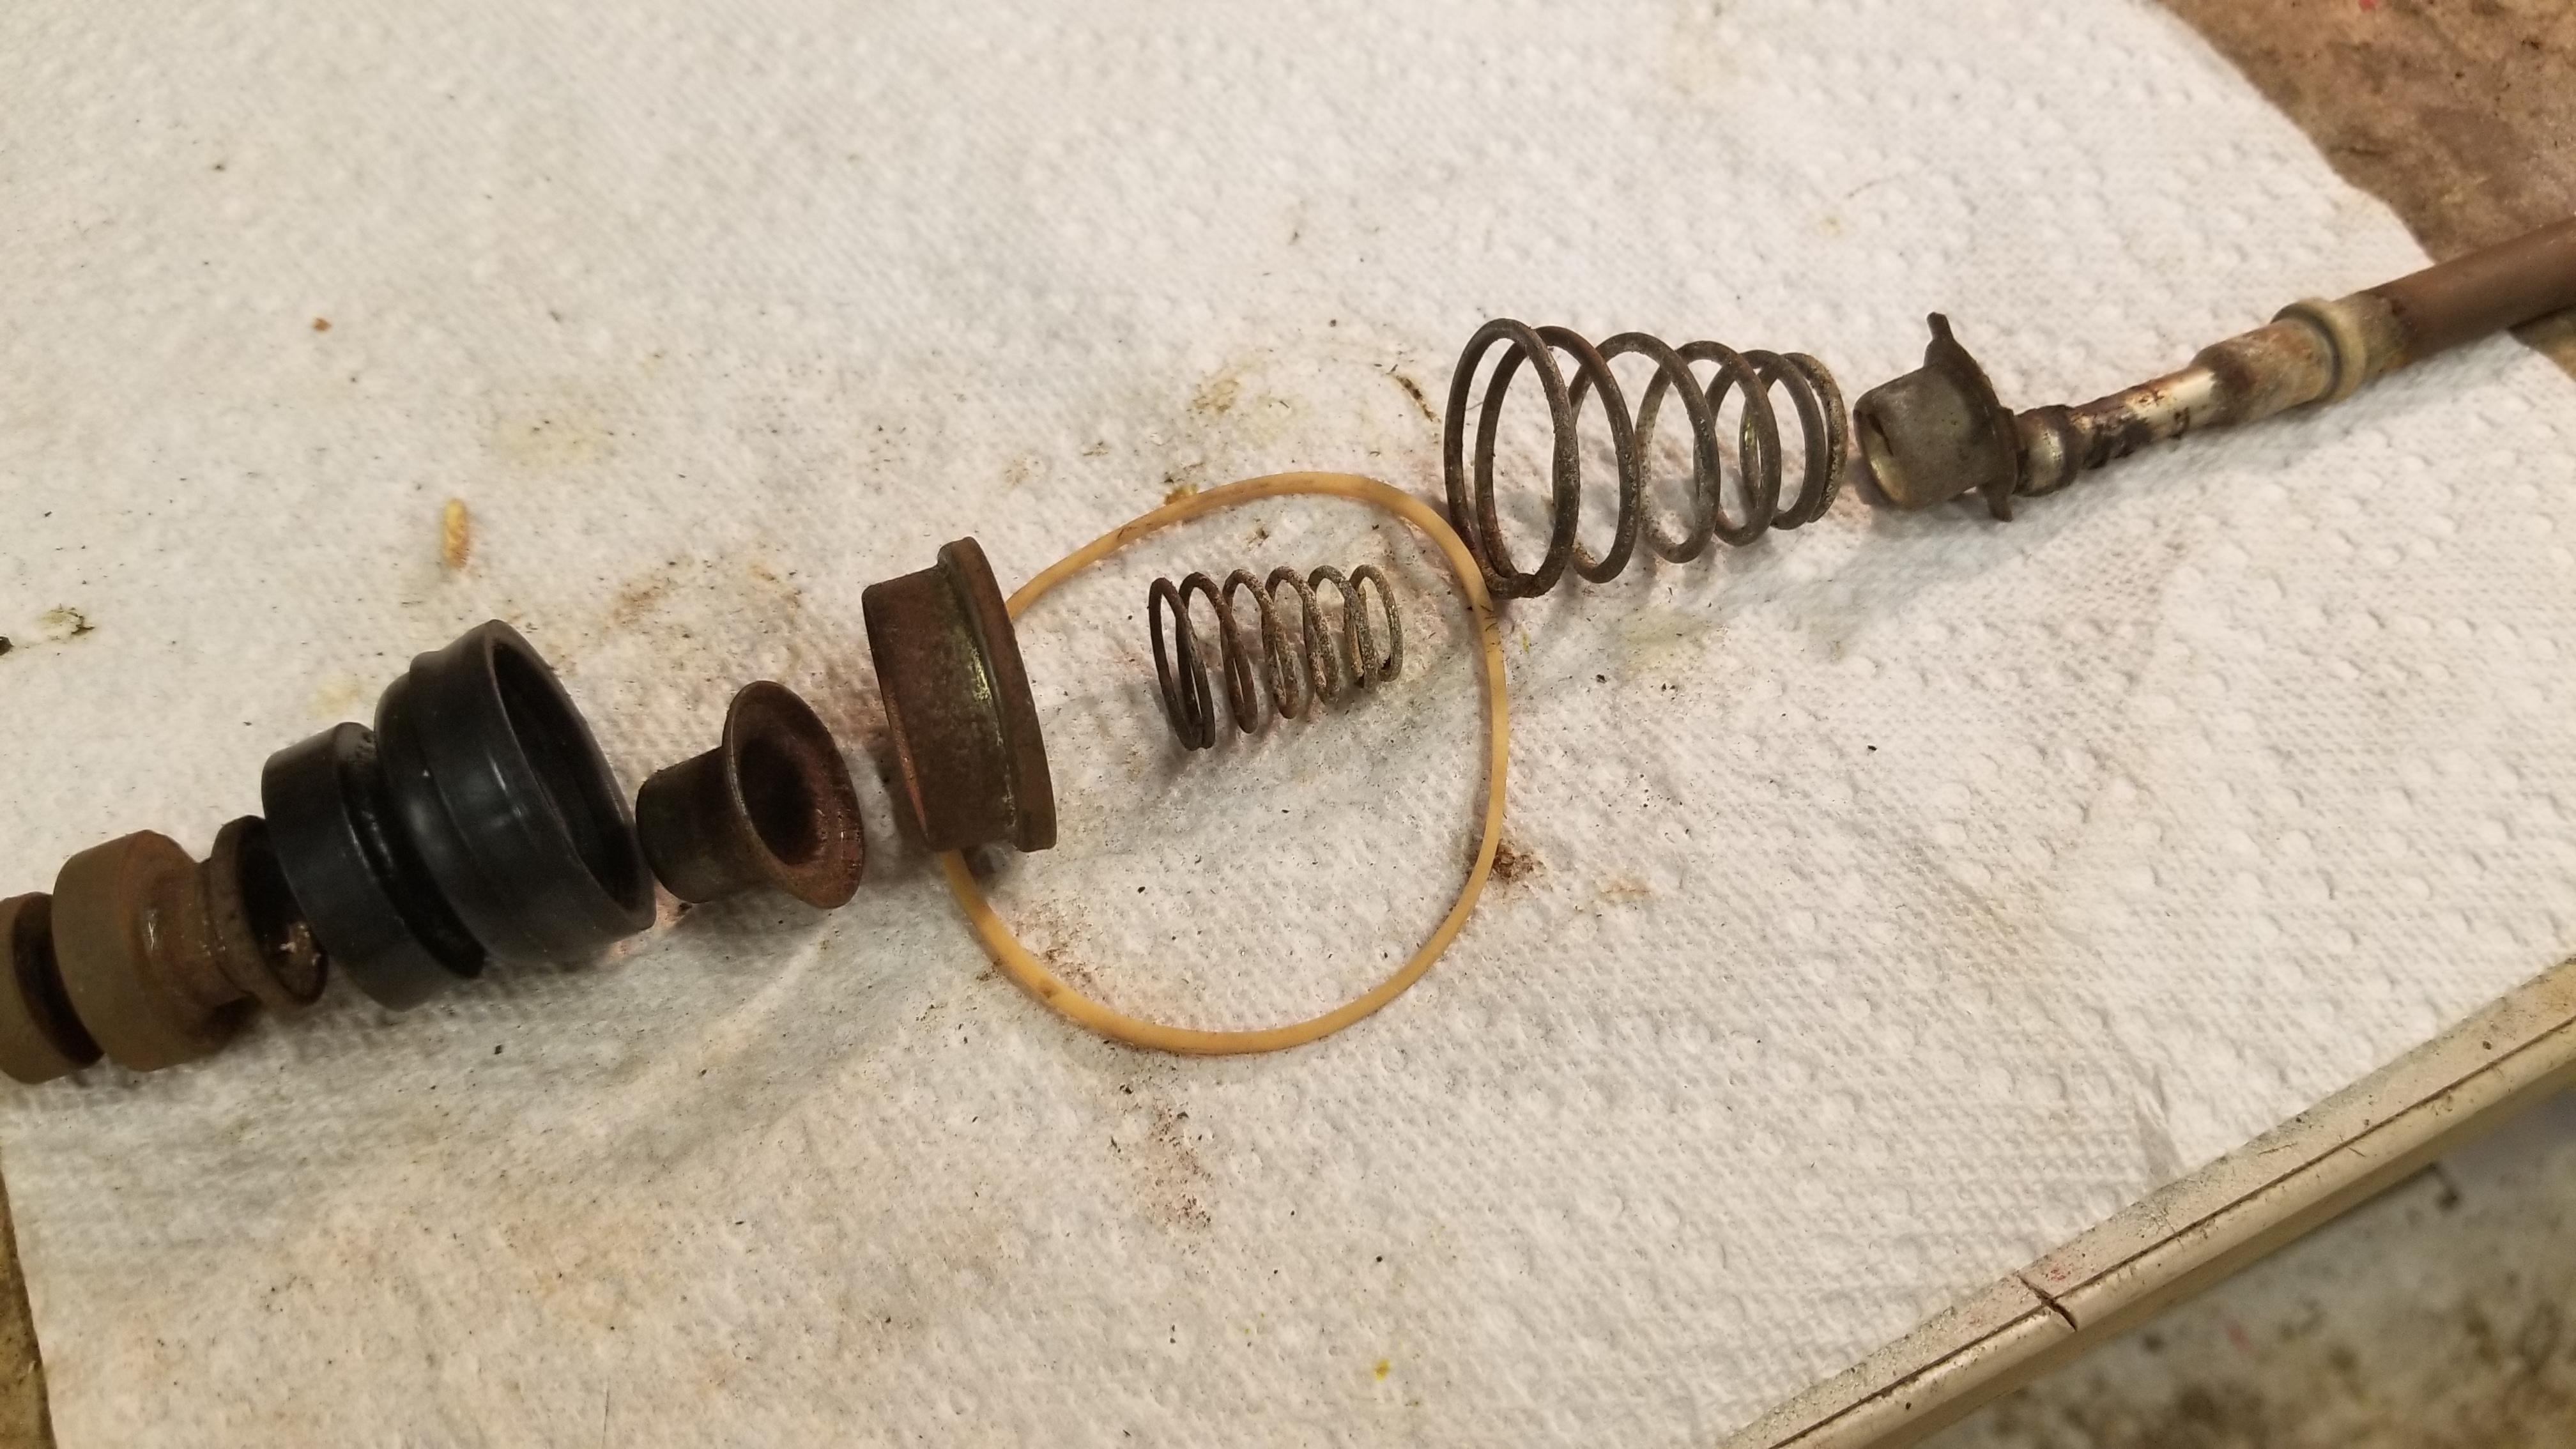
3.55" long OA .86 dia at the coils One hook is about 1 1/4"L and one is 0.85"L Hook ID is .50" Don't have any info on spring weight
-
@Mark Maras I believe I am incorrect on the interchangeability. I was looking at the pedal springs tonight. I think the clutch spring is lighter # wise. They appear to be exactly the same in dimensions, but I mic'd them and the clutch spring is a lighter gauge wire. It also feels lighter. The issue though, is I can't be much more help than that, because I left them in the plating "pickle" and destroyed them. So I need to find a clutch pedal spring myself. I have another brake pedal spring...
-
$200 tops, provided that's a 5 speed. Probably some good fasteners. I would be amazed if there was a single good panel on that car
-
Beautiful work Jim!
-
There are a few of them, but they are easy to get to and then the tub comes right out. With the gas tank out you should have pretty good access provided the sub frame pieces aren't damaged. They are a little beefier and are more difficult to persuade
-
I posted before, when I was looking for parts several years ago when I first broke this booster down. I just needed the "Hoover" to point me in the right direction
-
I have read where the rear pan that is available needs some work on an English wheel to really be right. Have you considered drilling out the spot welds in the tire well so you have access then weld it back in when you're done?
-
I would think the rounded head would want to back the pins back out
-
That's no longer a tank; it's an overgrown ashtray!
-
That car would have to be #200 or lower for me to even dream about
-
-
I agree if your primer looks good and it guide coats well to 400 grit then you can go straight to color, no sealer. Guide coating will probably reveal some areas that need some work. I prefer the powder guide coats
-
Doors are good my butt!!!! $1200??? "Crack heads"!
-
Look at Disepyom's thread. He was selling these parts but I think he has stopped but he has some great pics in his thread
-
I buy steel from a local family owned shop. They will cut, brake, drill and shear for reasonable prices
-
That sounds above my paygrade. ? You know I am going to end up at the Whack-a-Mole method? I figured I would hold it assembled with a clamp, because you have to resist the spring pressure. Then mount the semicircular anvil in the vice and punch it. It's true it's not very precise. I am more worried about too little crimp than too much. I can always use the puller tube slightly to provide some free play if it's over punched. I figured I would use a handleless flat head as a punch.
-
Yes 3 punch marks and they are like little rectangles. Sort of like the head of a screwdriver. That's why I thought it might be a good candidate as a punch. I wonder how hard that part is? It's steel because I checked it. Maybe the body is thin right there?
-
Be sure and treat any rust you see. I think part of my paint failures I posted about in Cody's goon thread were places near the edge of the panels where we sanded down to the metal and didn't retreat for rust before painting
-
I took them both off the pedal box I am refurbing. I believe they are (95%). I could do some more investigating if needed
-
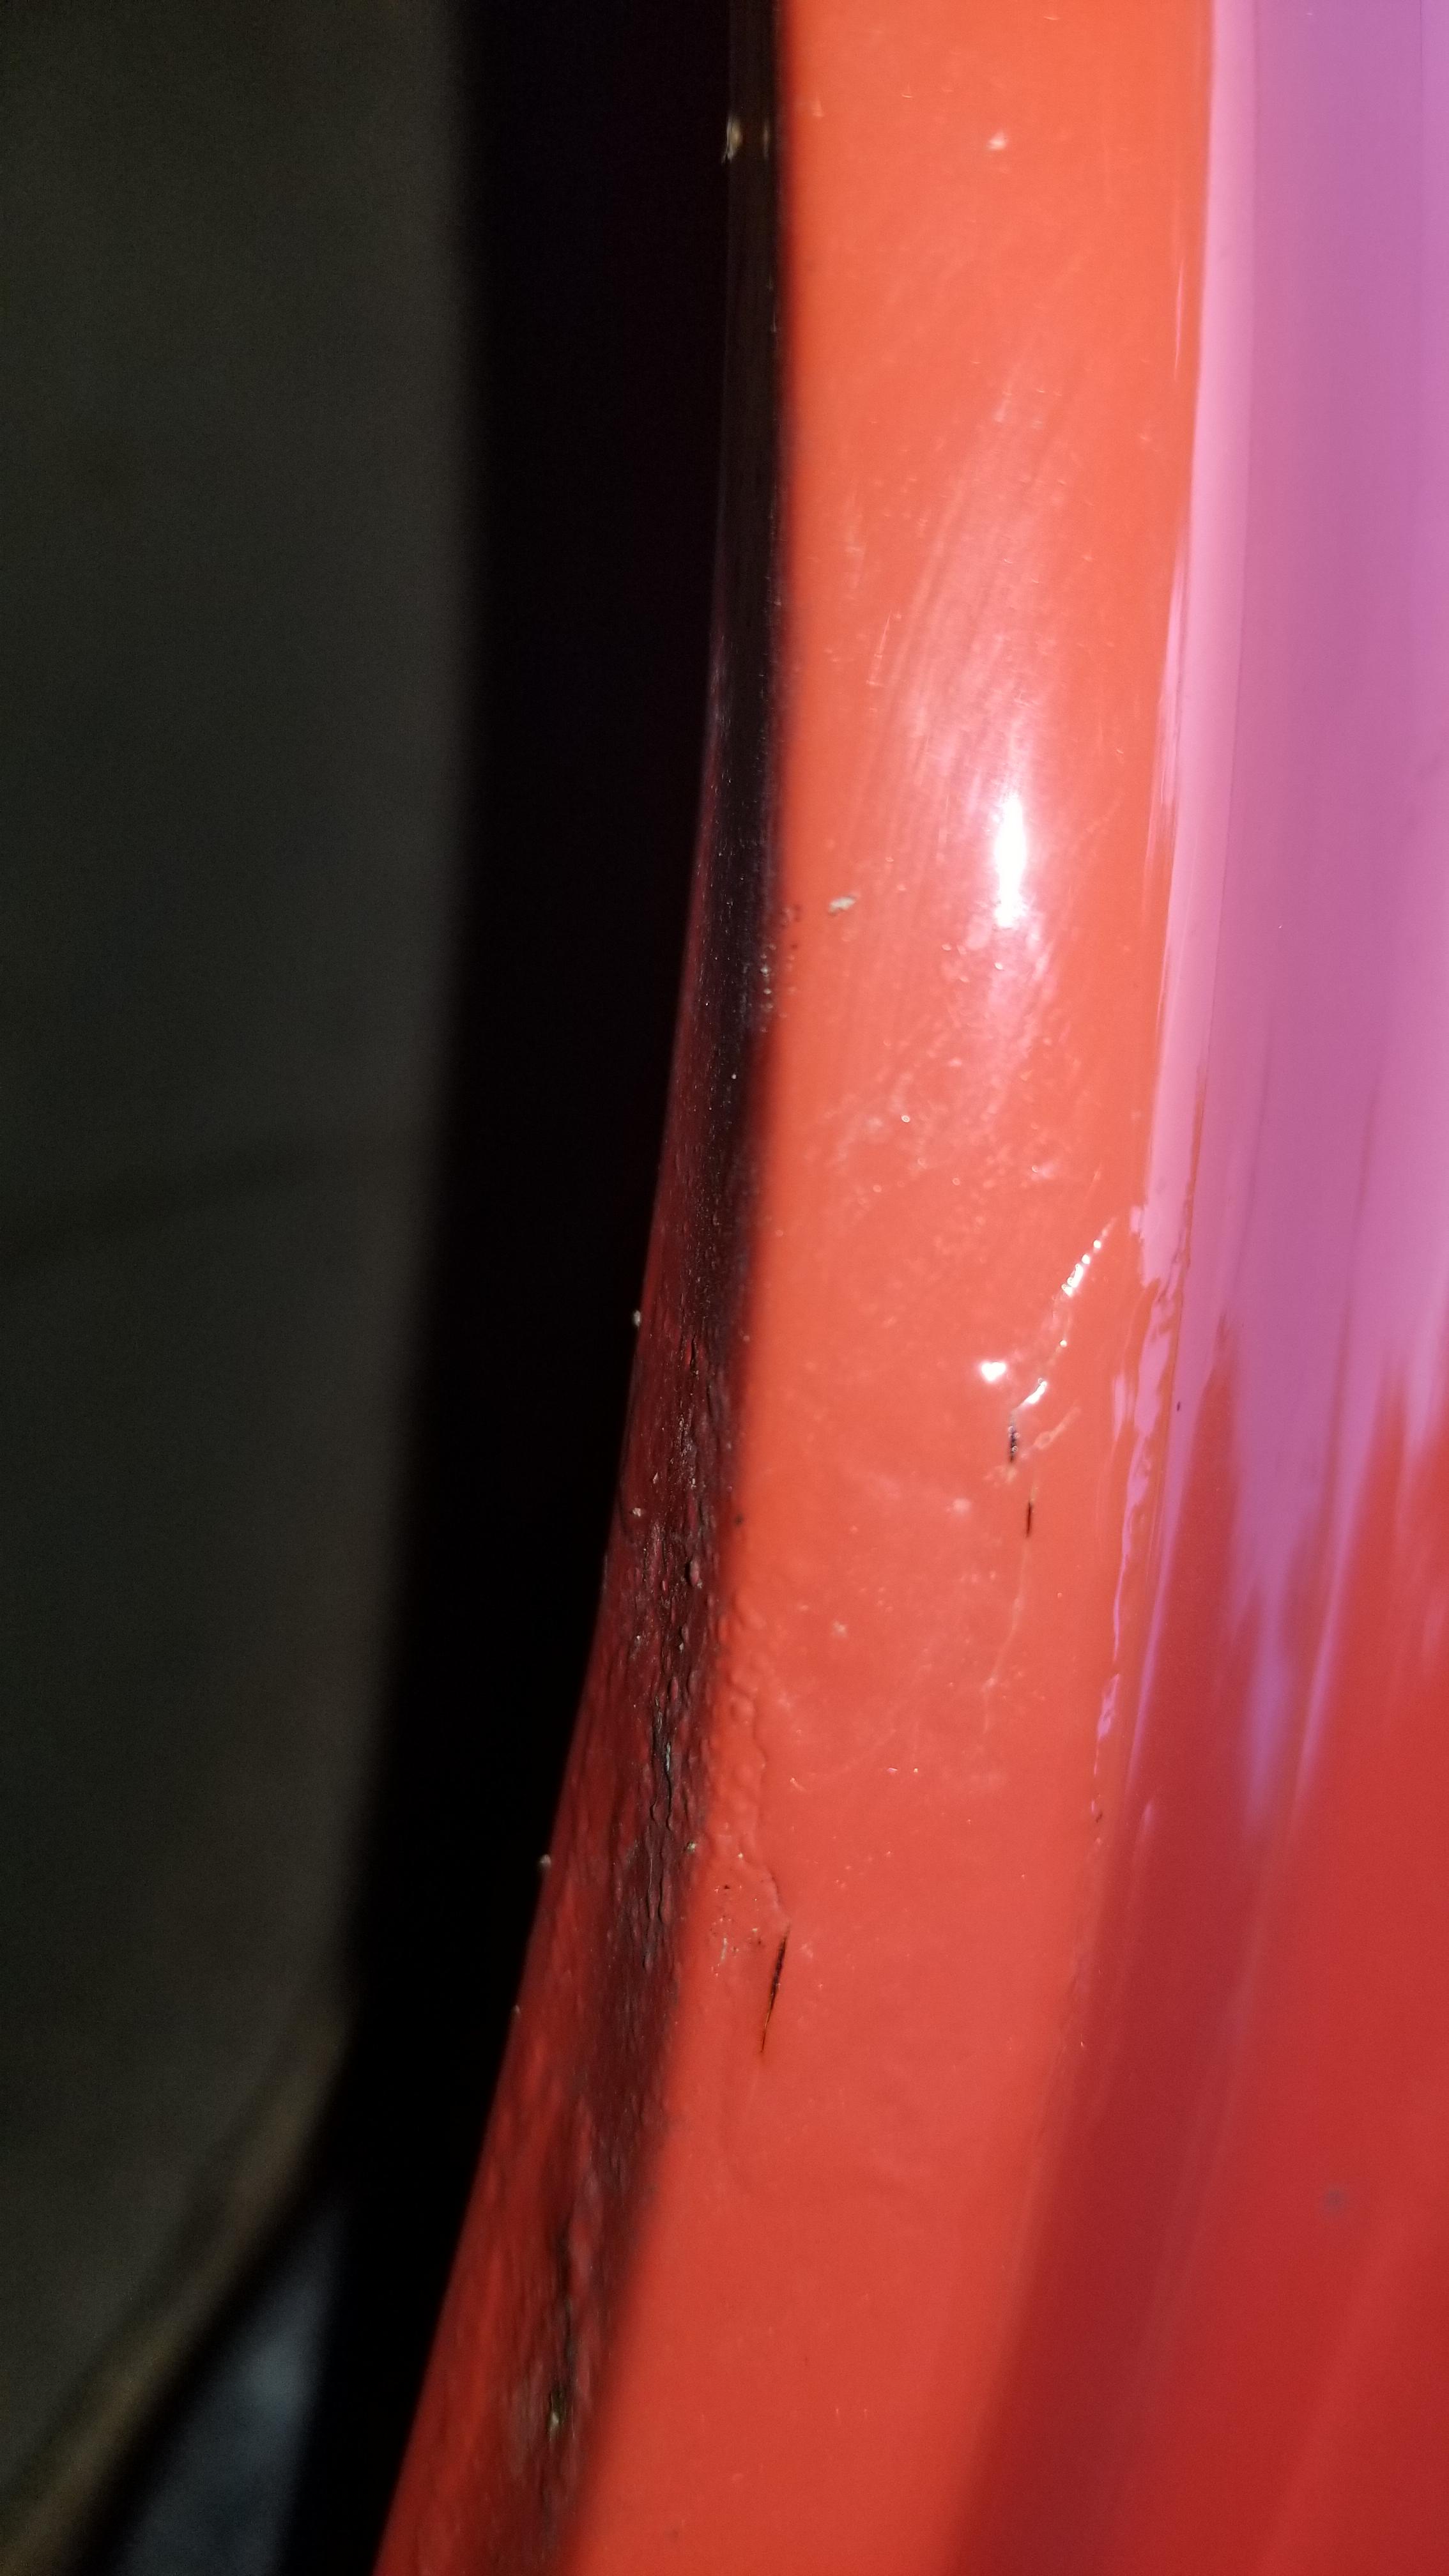
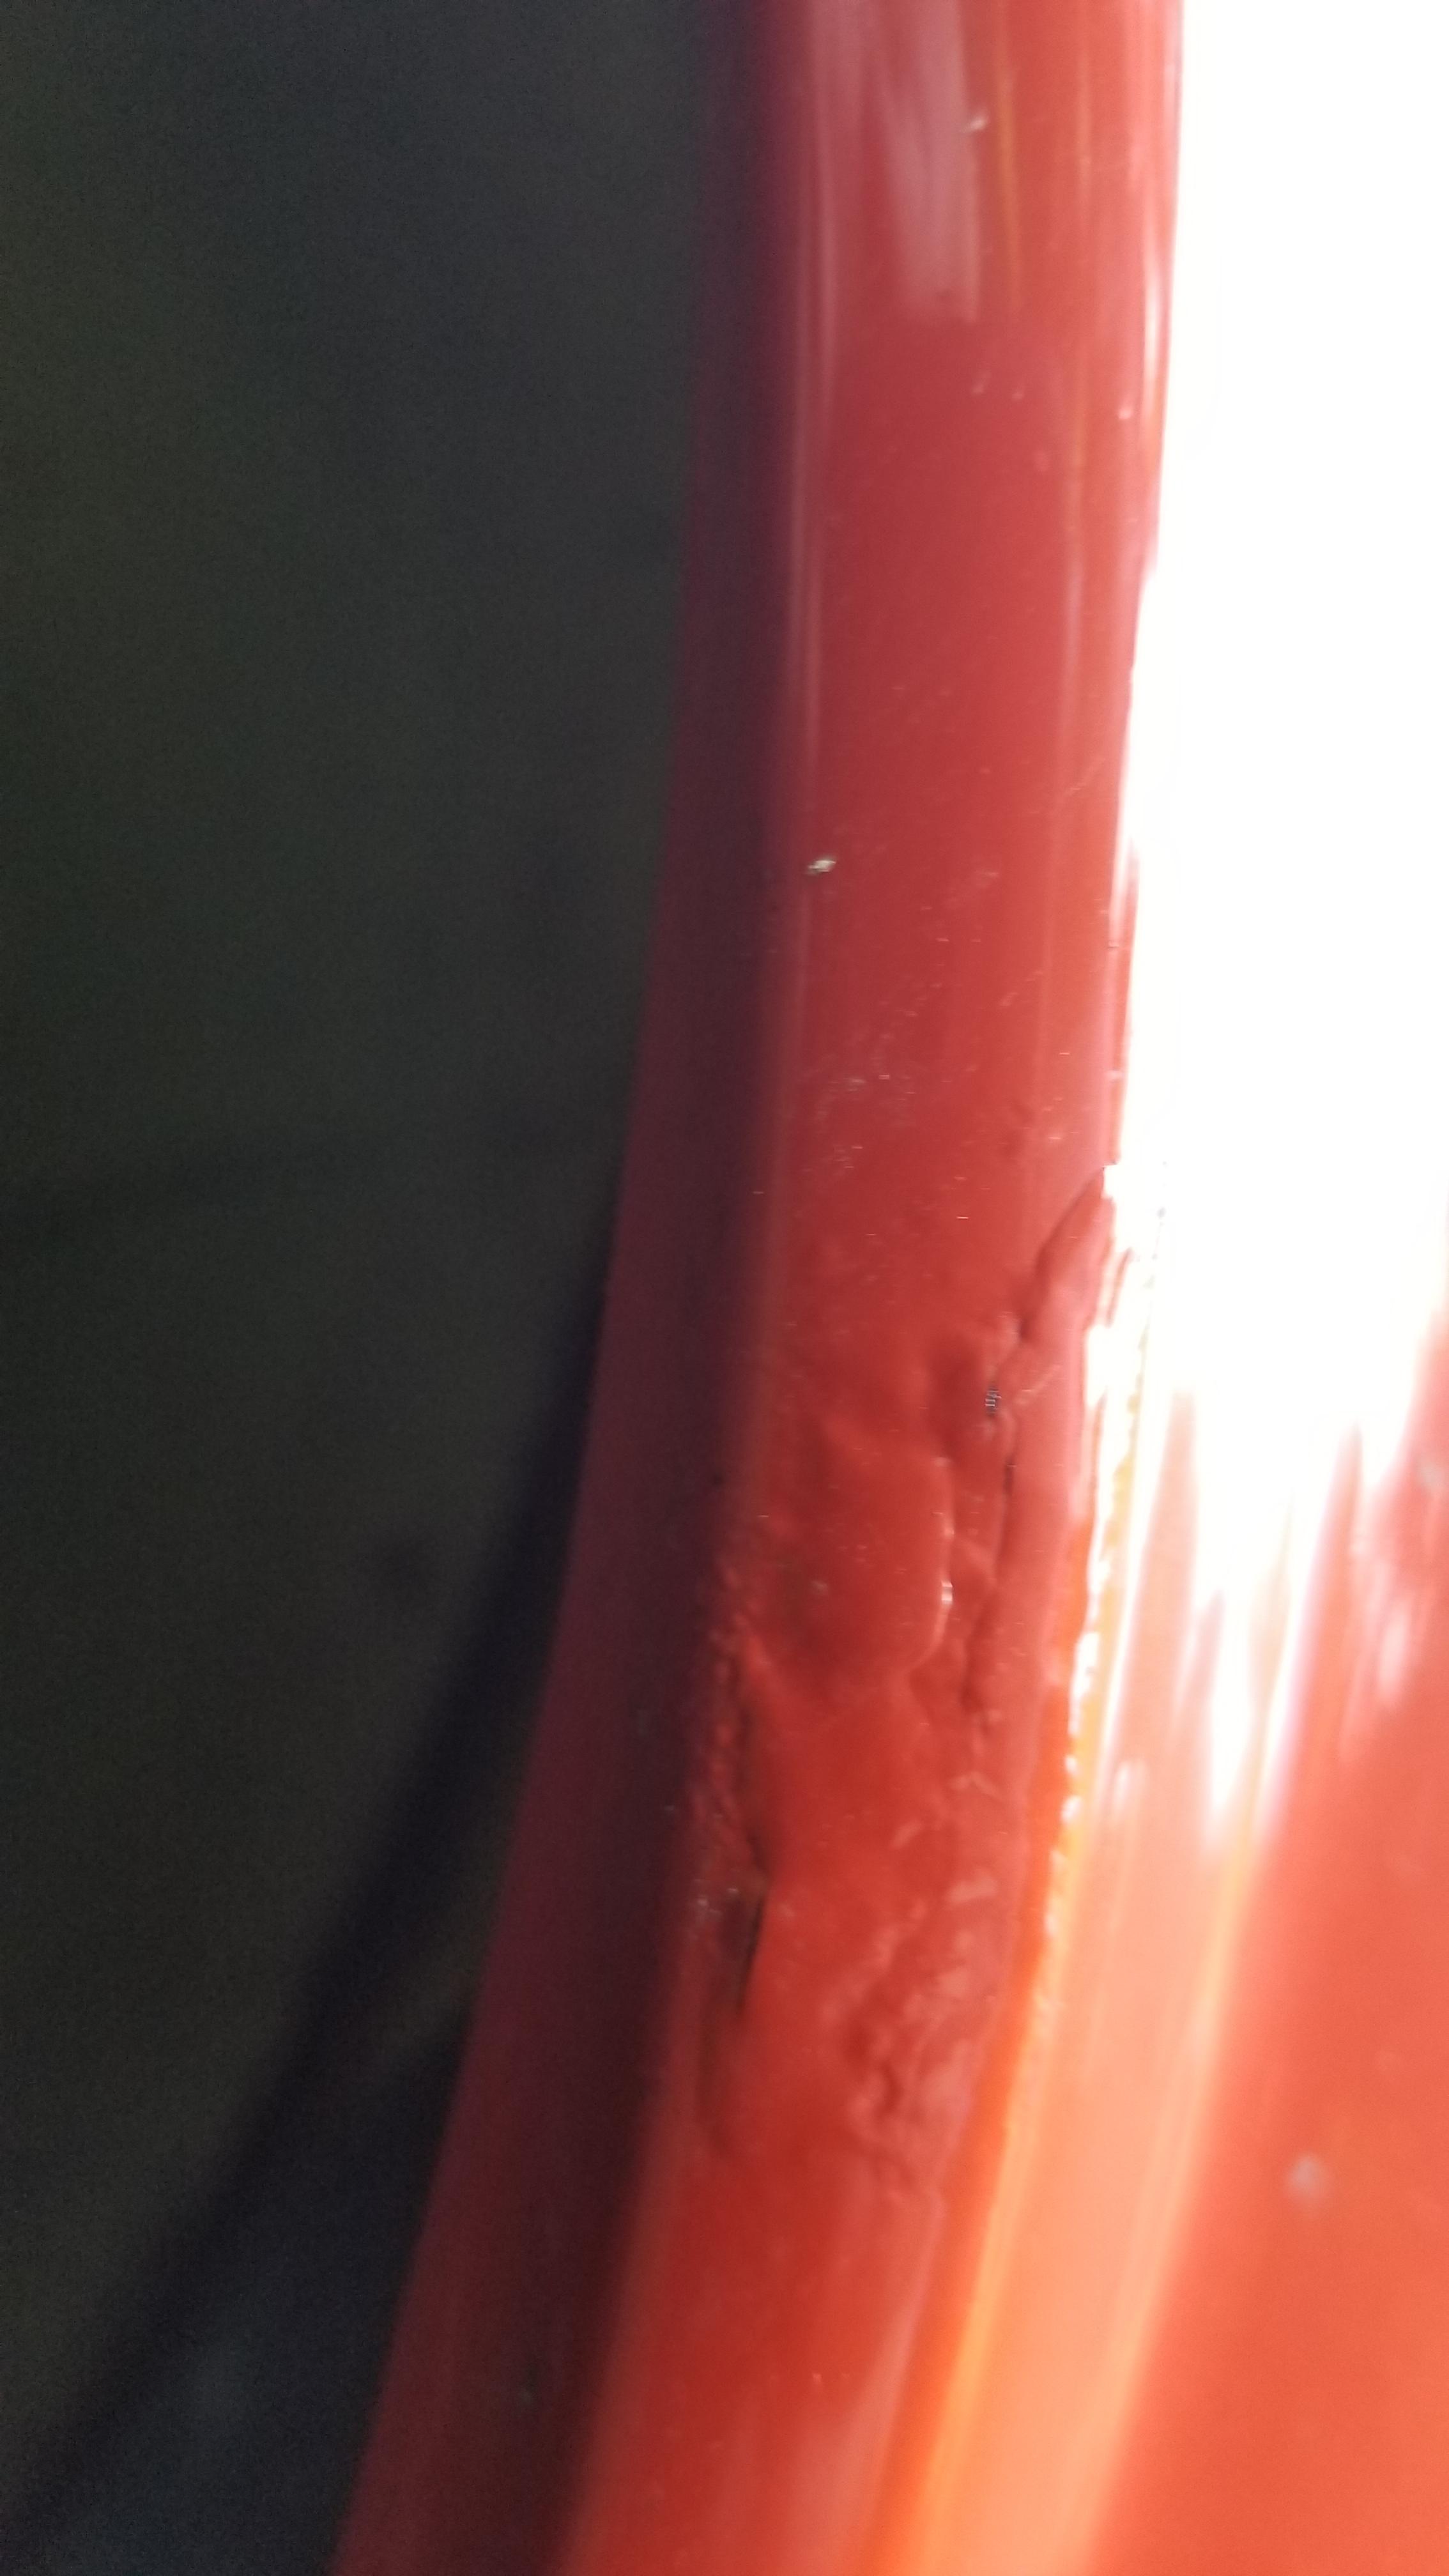
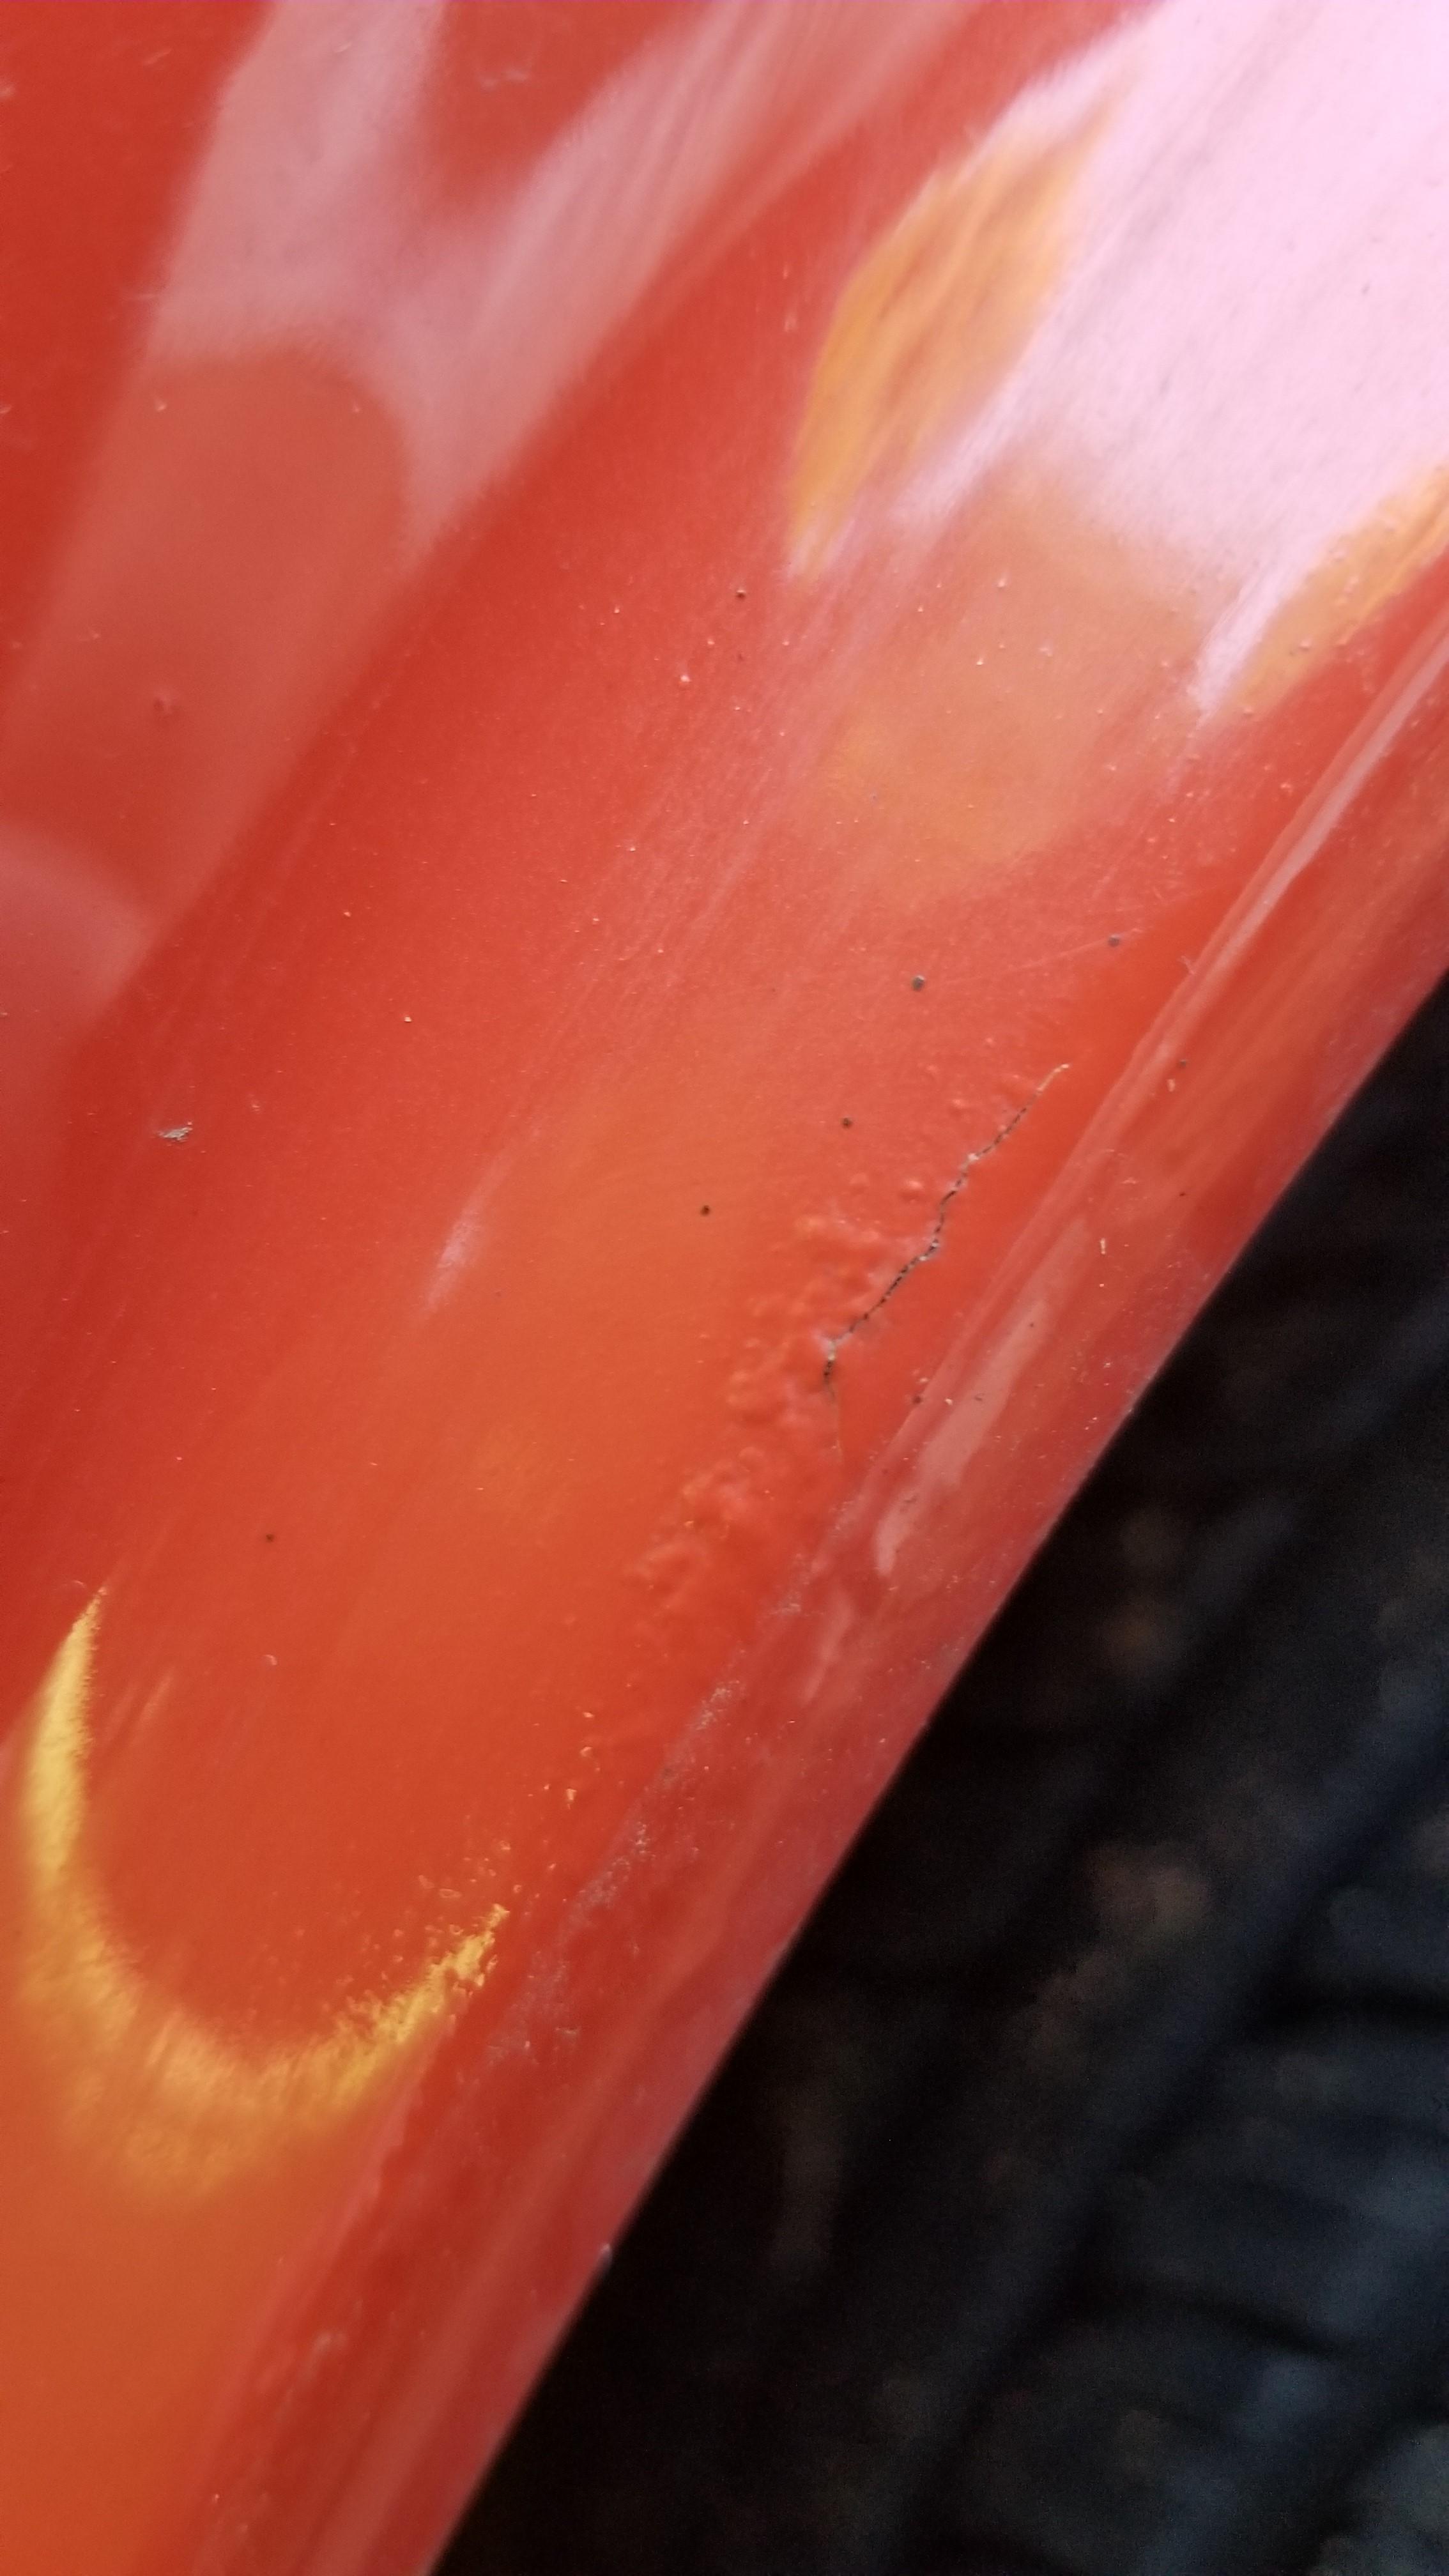
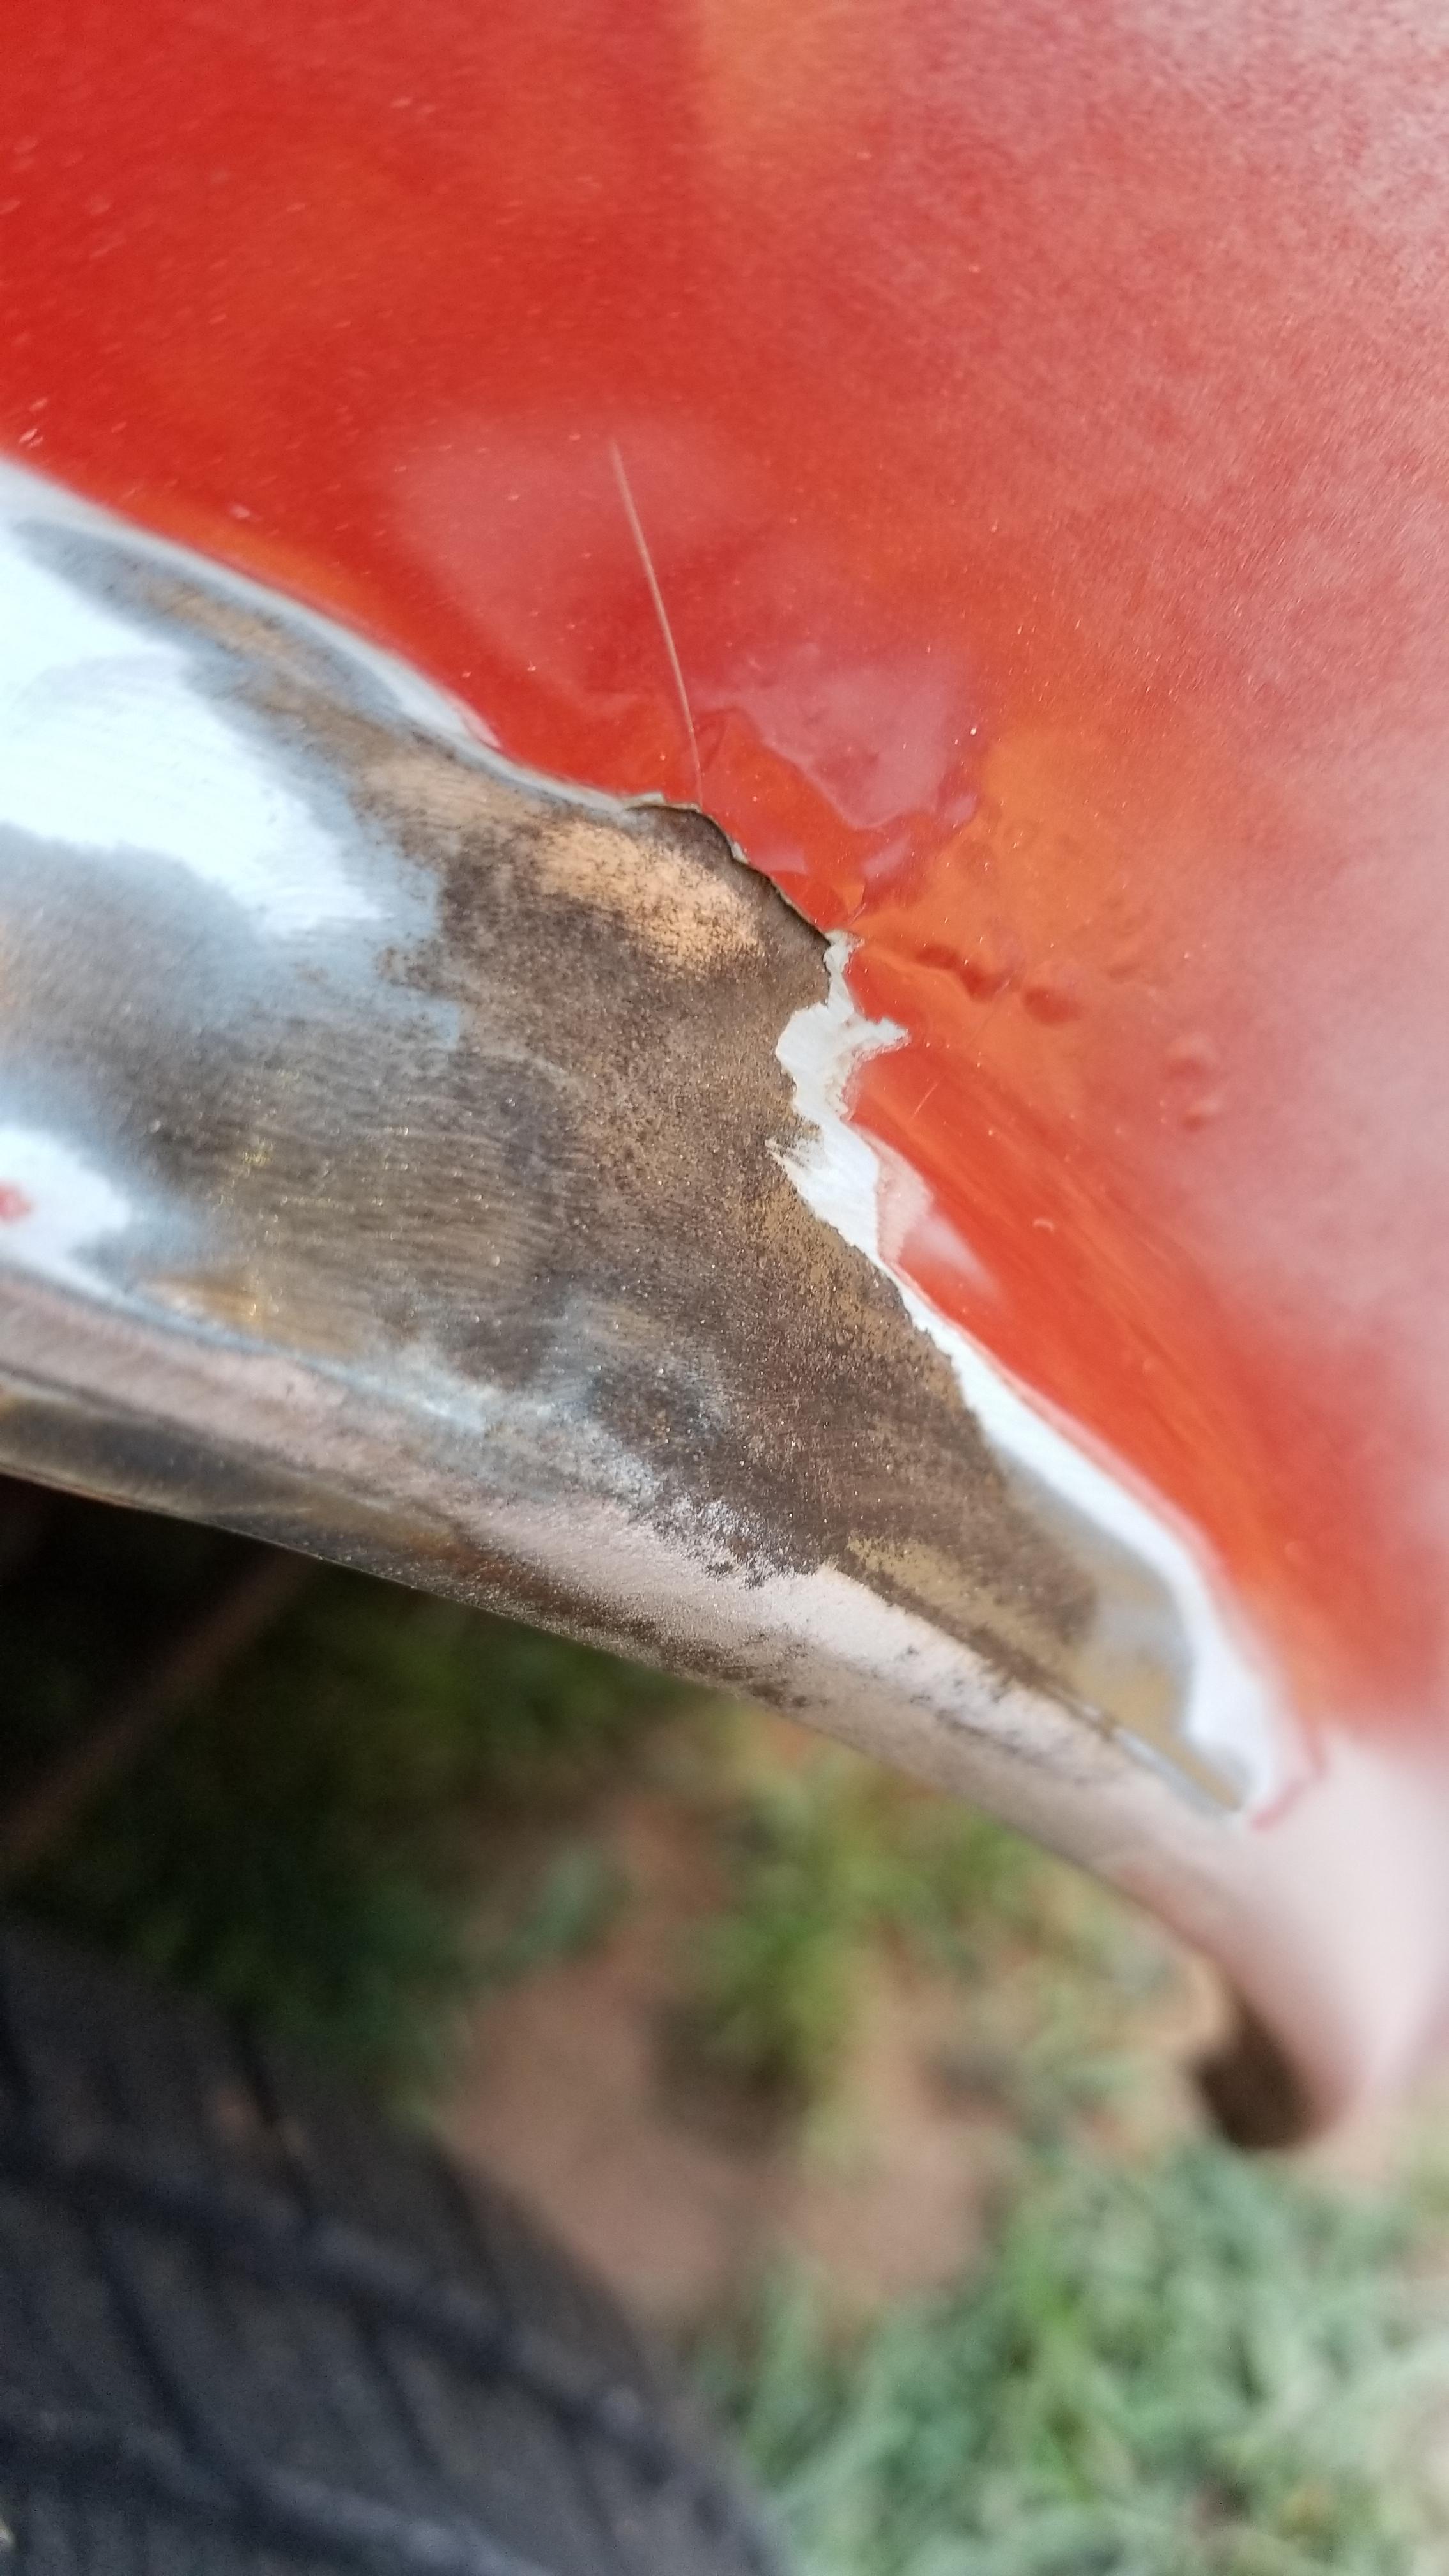
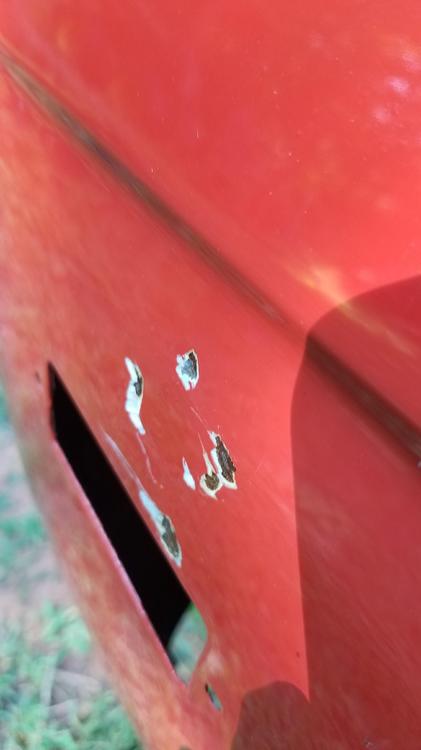
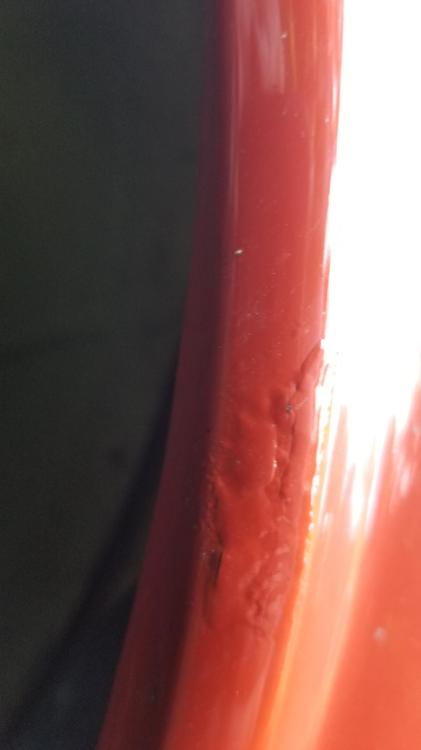
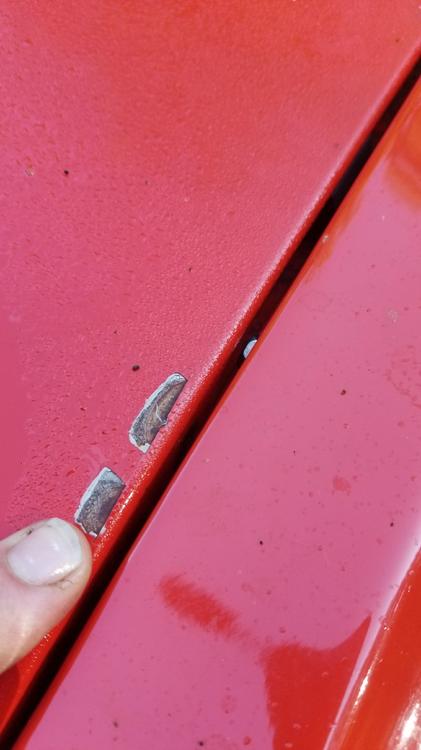
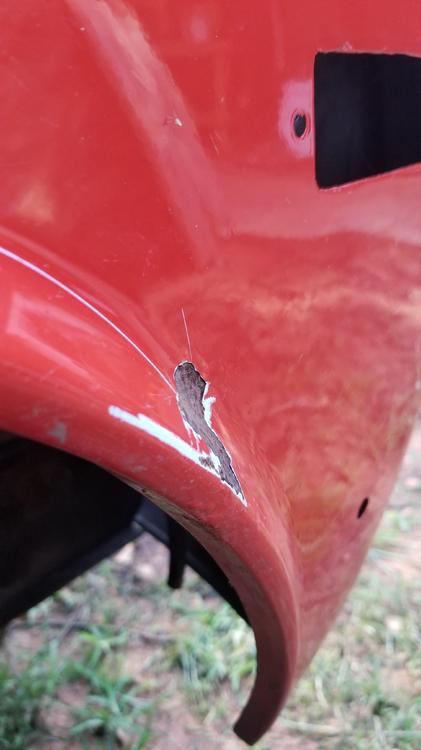
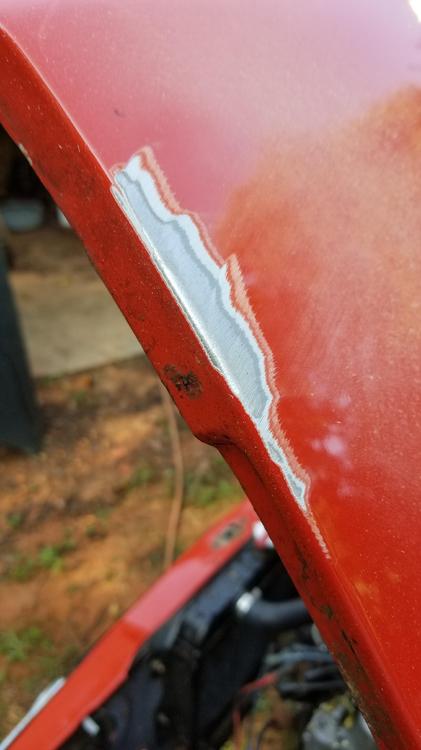
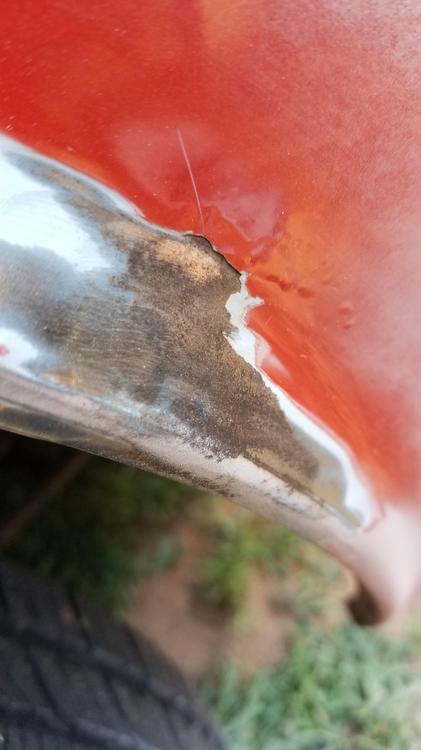
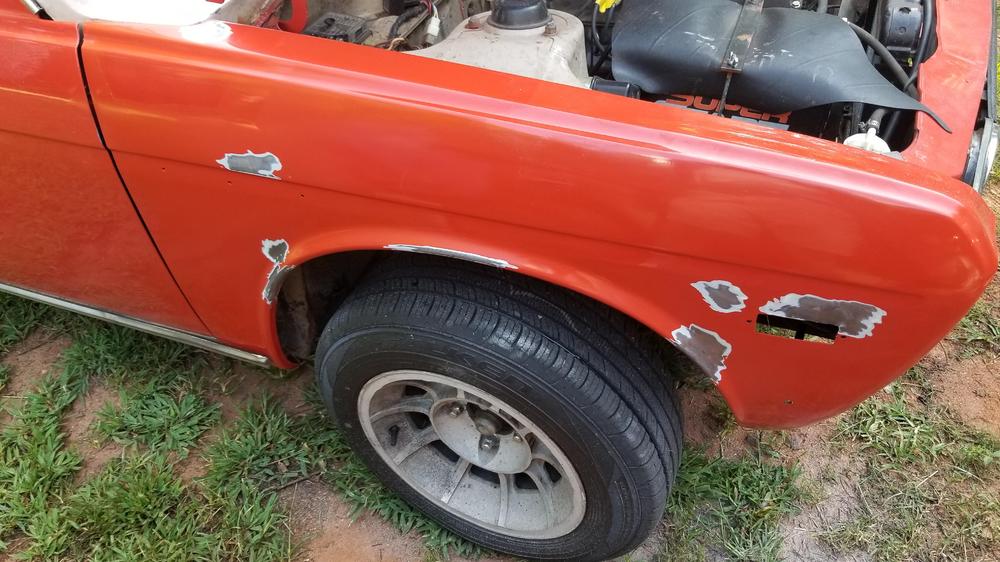
Well I mentioned we had some paint failures a while back. I had been waiting to take Cody's car by the paint shop to figure out what I did wrong. The experienced guys at the paint shop suspected solvent popping. It had been a number of months since they had been painted. They didn't feel like it had been long enough to be rust. Well when we started digging into it, it was rust. They told me I have to sand them to bare metal and then epoxy prime the same day. They want me to strip the panels and start over. I am not going to do that right now. I sanded the bad spotted and epoxy primed them today. If the rust down't come back then I will repair the primered spots and refinish the panels. I probably have 20+ hours in the hood and the repair spot is really small. We don't always get the in epoxy the same day. I usually after blast then get them primed at some point. He said there had to be rust there when we painted even if it's really not visible. It is possible we didn't after blast thoroughly the first time. I had the rotated correctly but they aren't when I add them You can see the rust discoloration under the paint. What most people would call "surface rust" The upper right picture shows what it looks like under the paint. We used a die grinder with a 60 grit Rolock until all of that rust was gone. Then I after blasted again and epoxy primed Both fenders had about the same numbers of spots. Most weren't very big until you started chasing the rust. Really frustrating!!!! So maybe it will stop and we can move forward without stripping the front end again...?


-
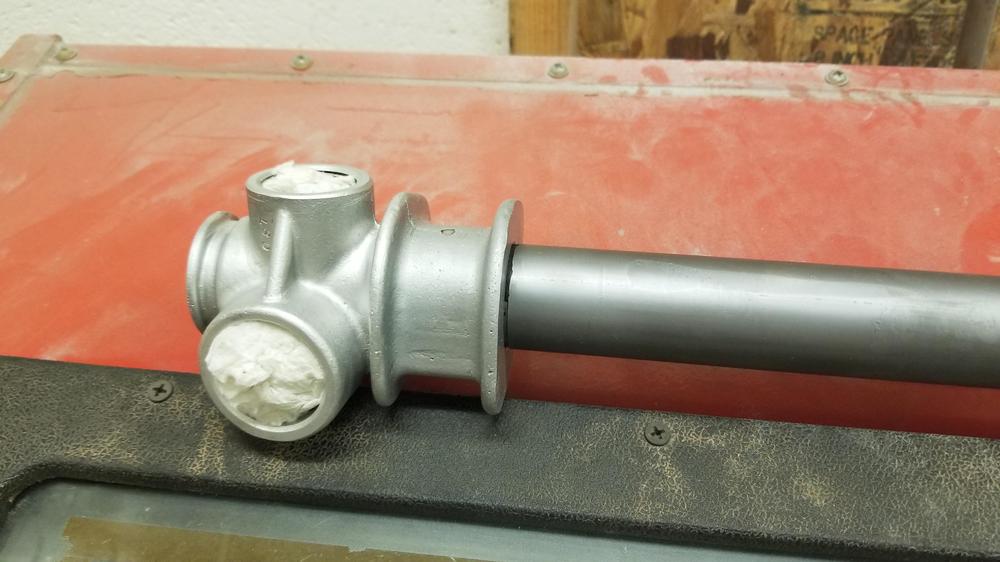
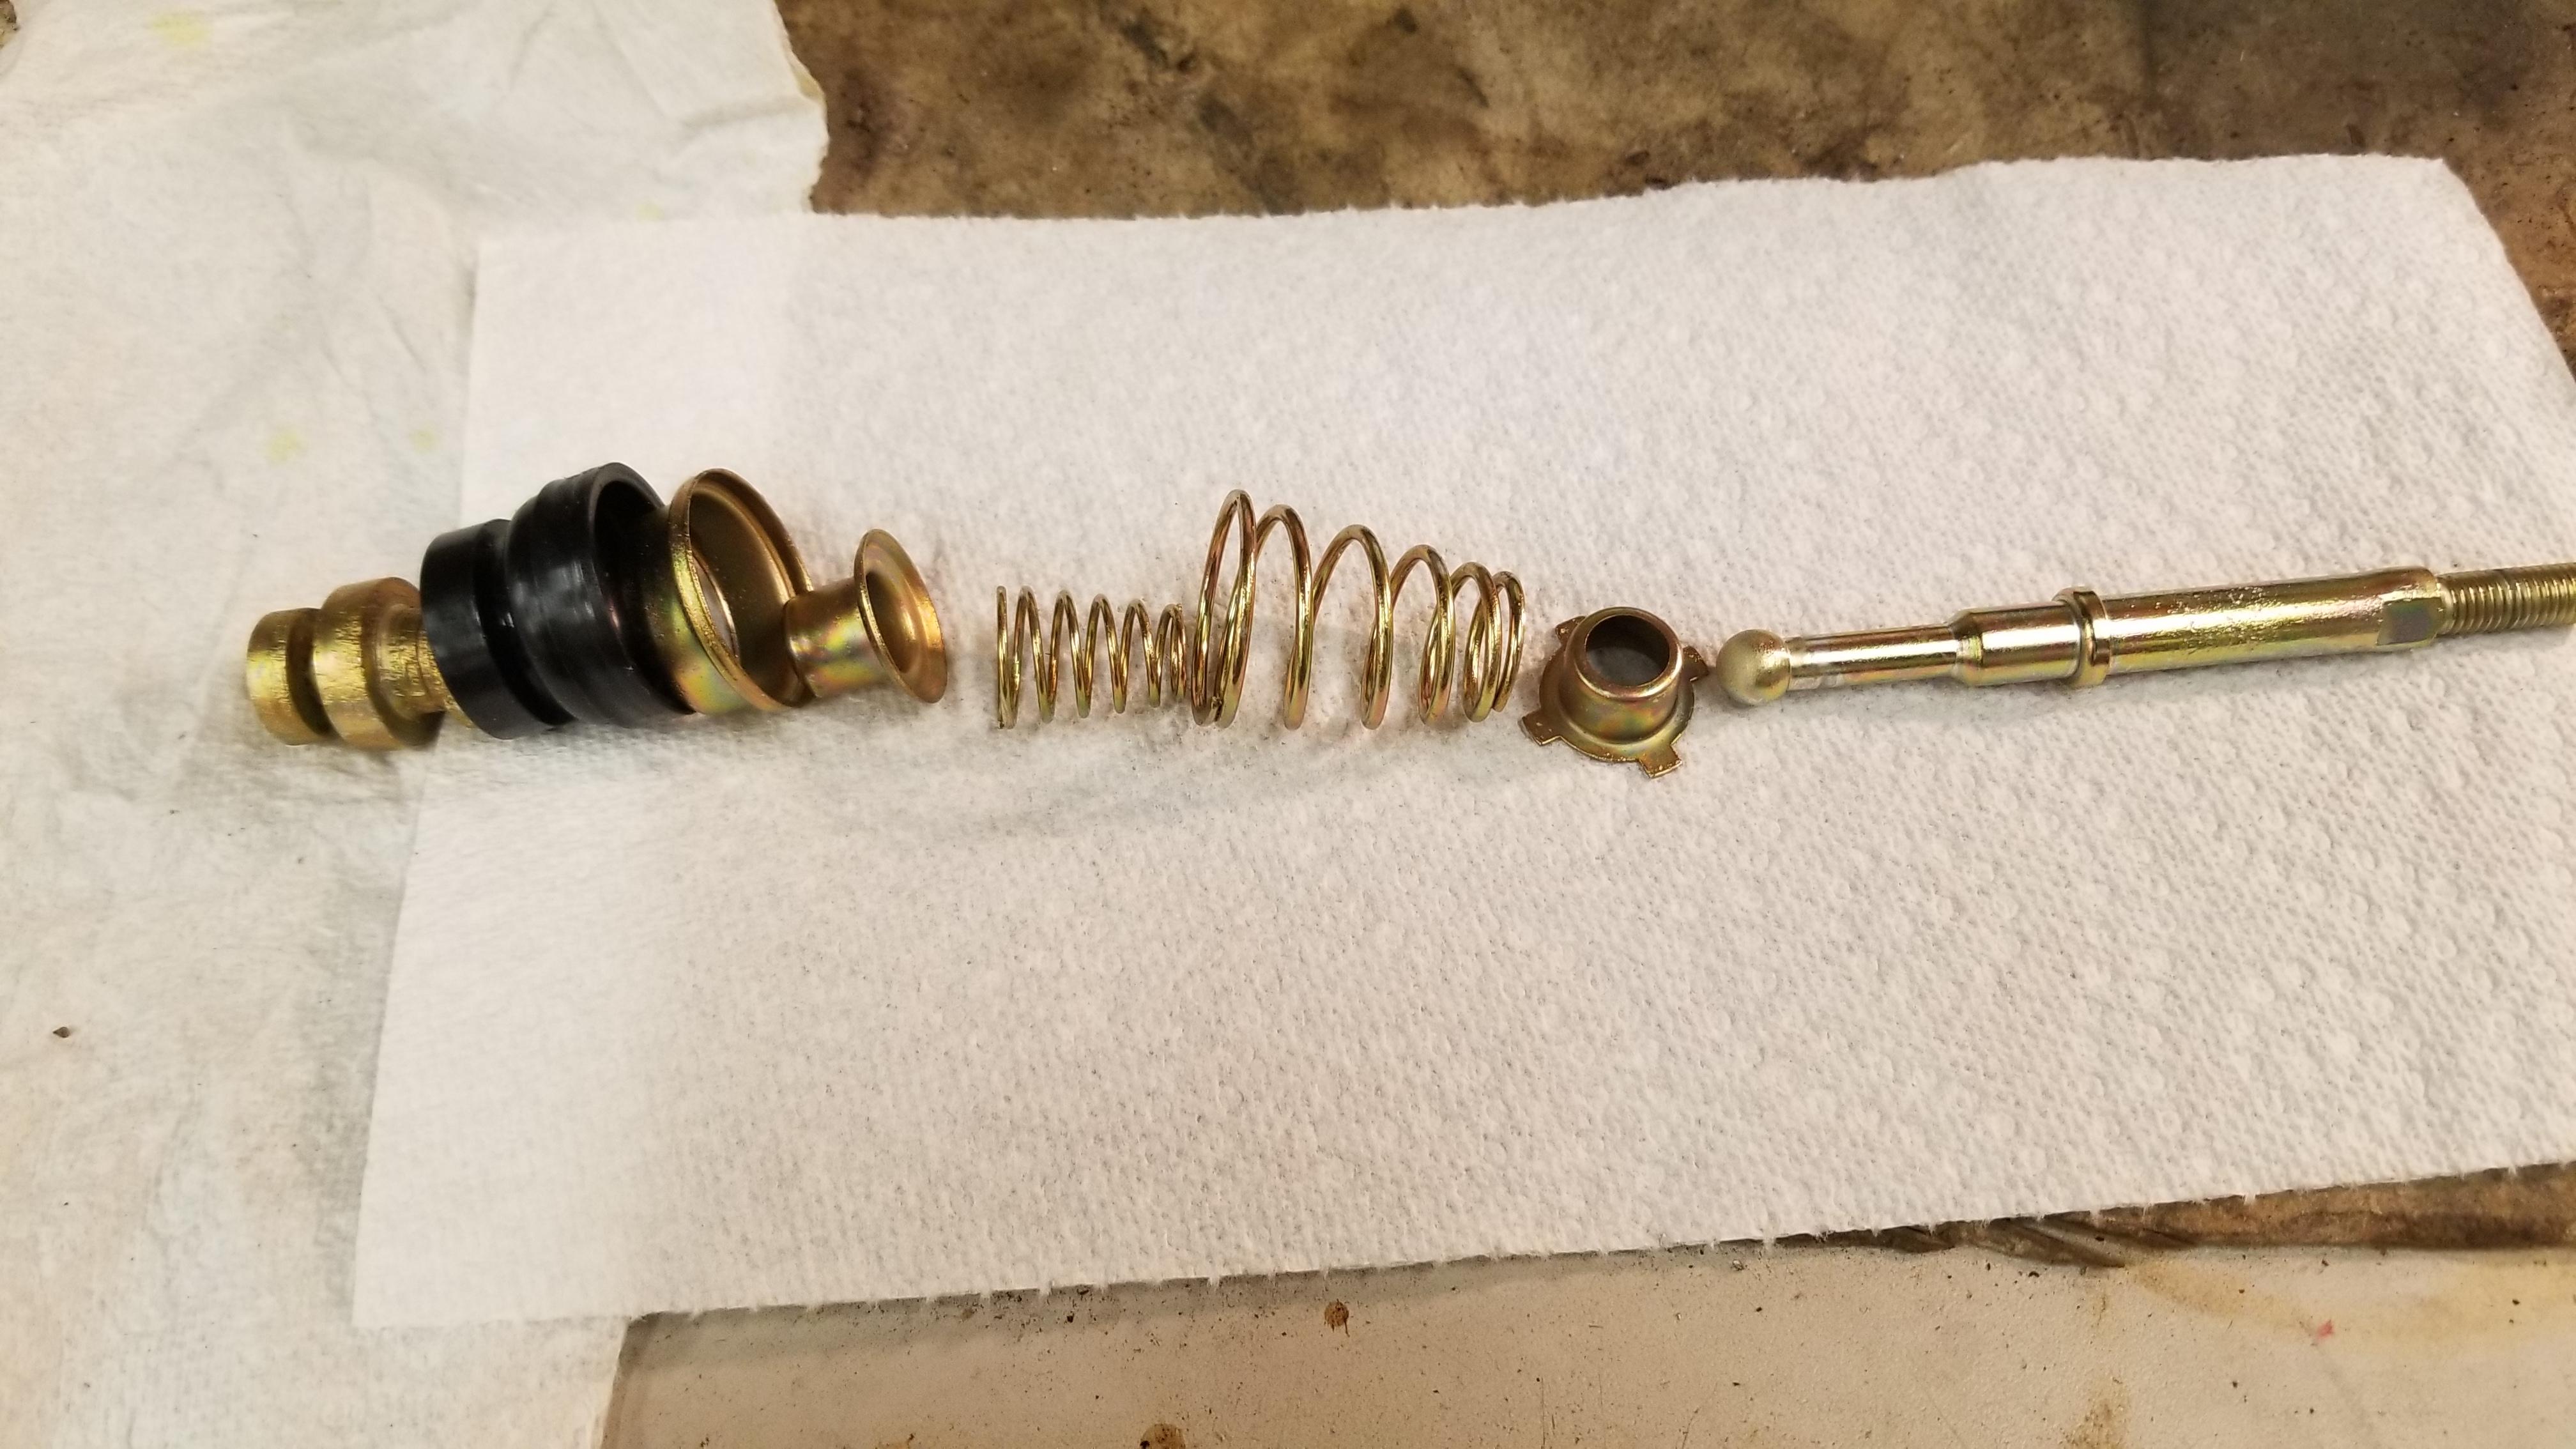
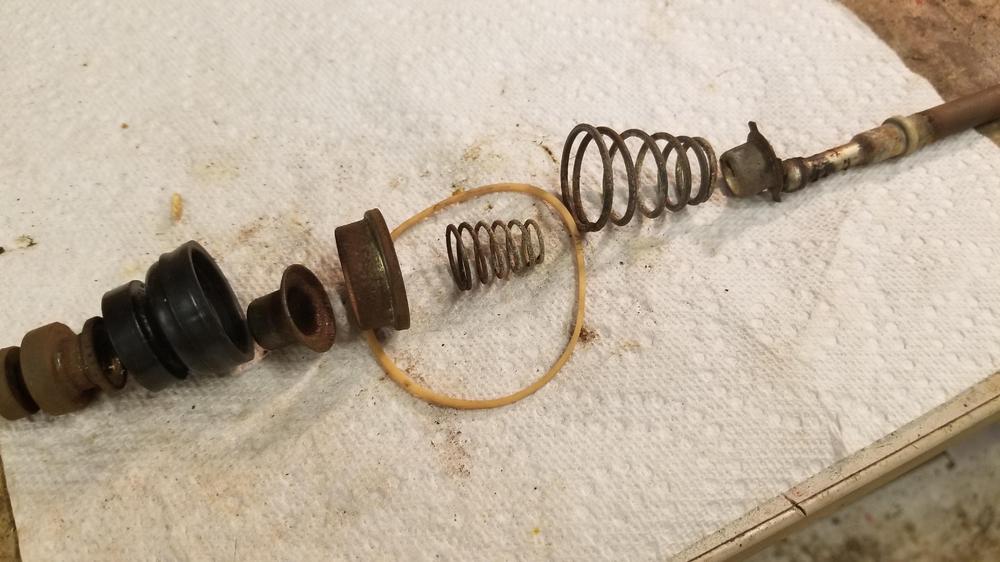
Exploded view of the plunger and after plating Now I need to come up with a punch. Maybe a reworked flat head screw driver

-
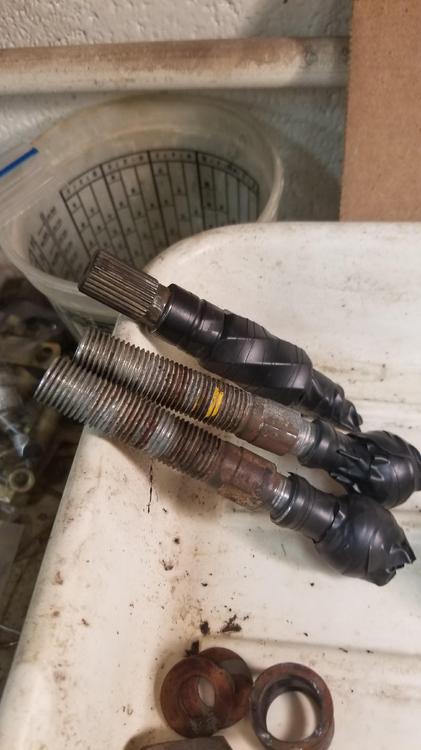
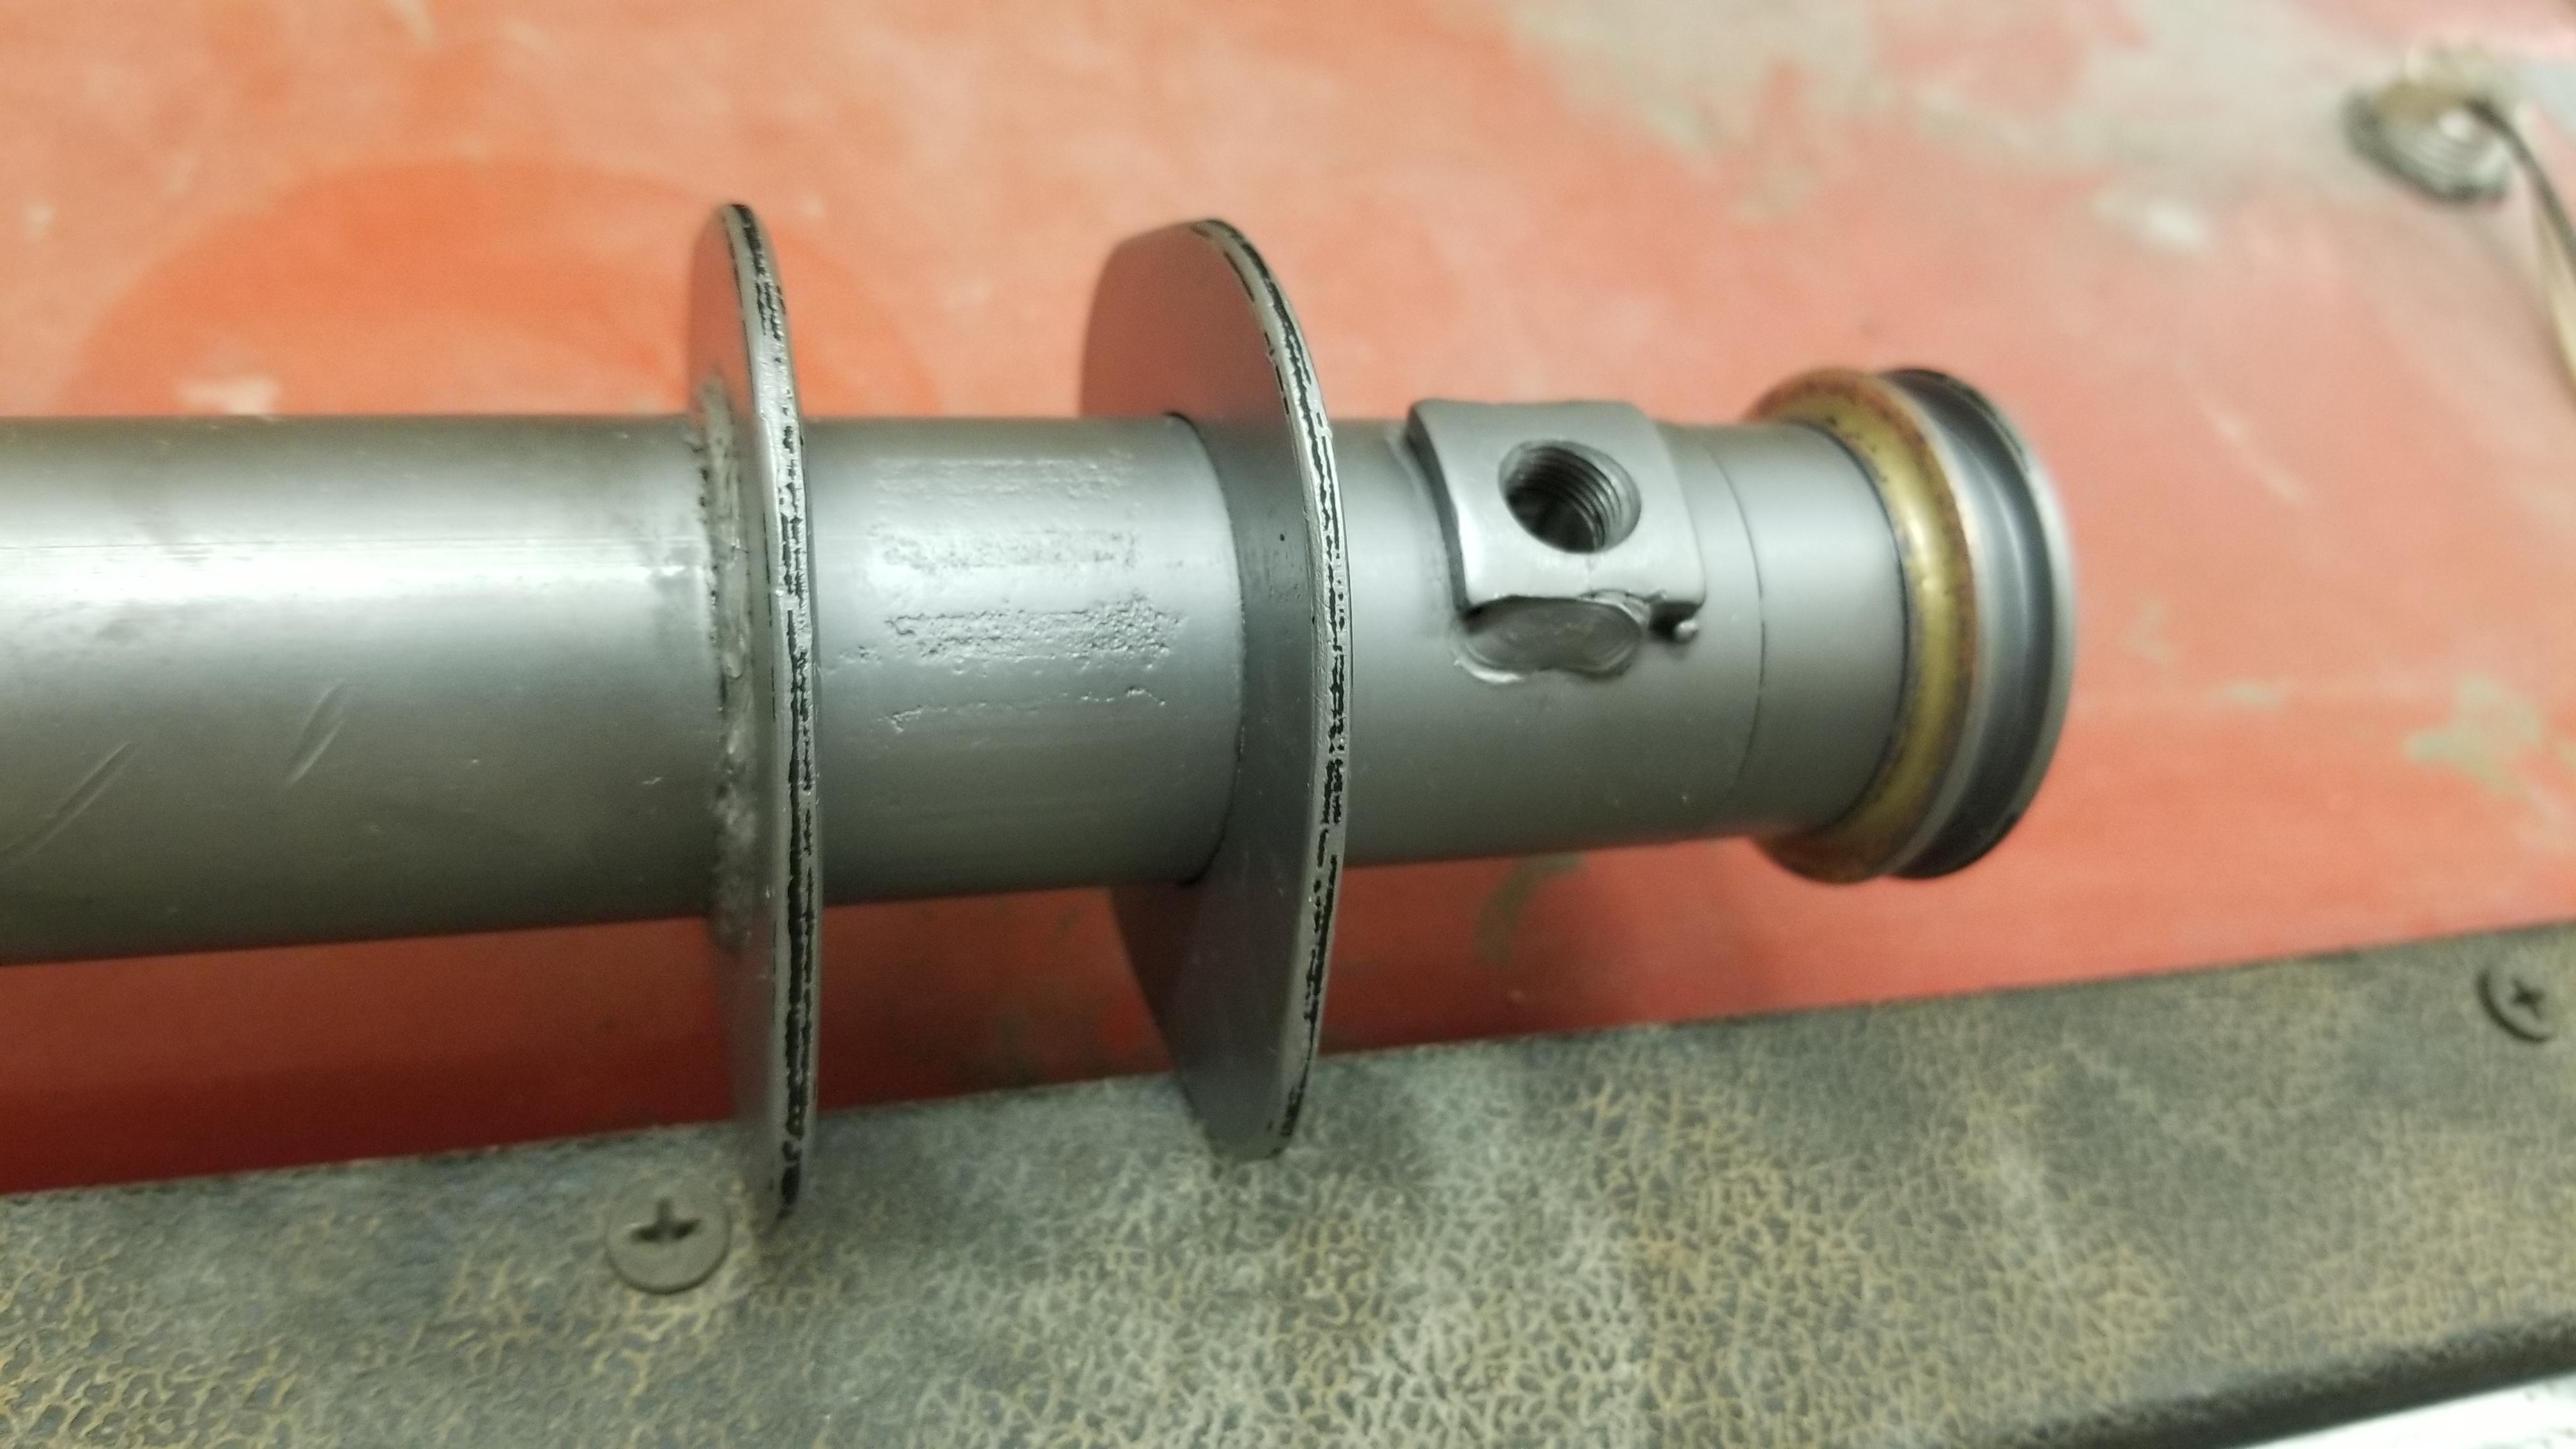
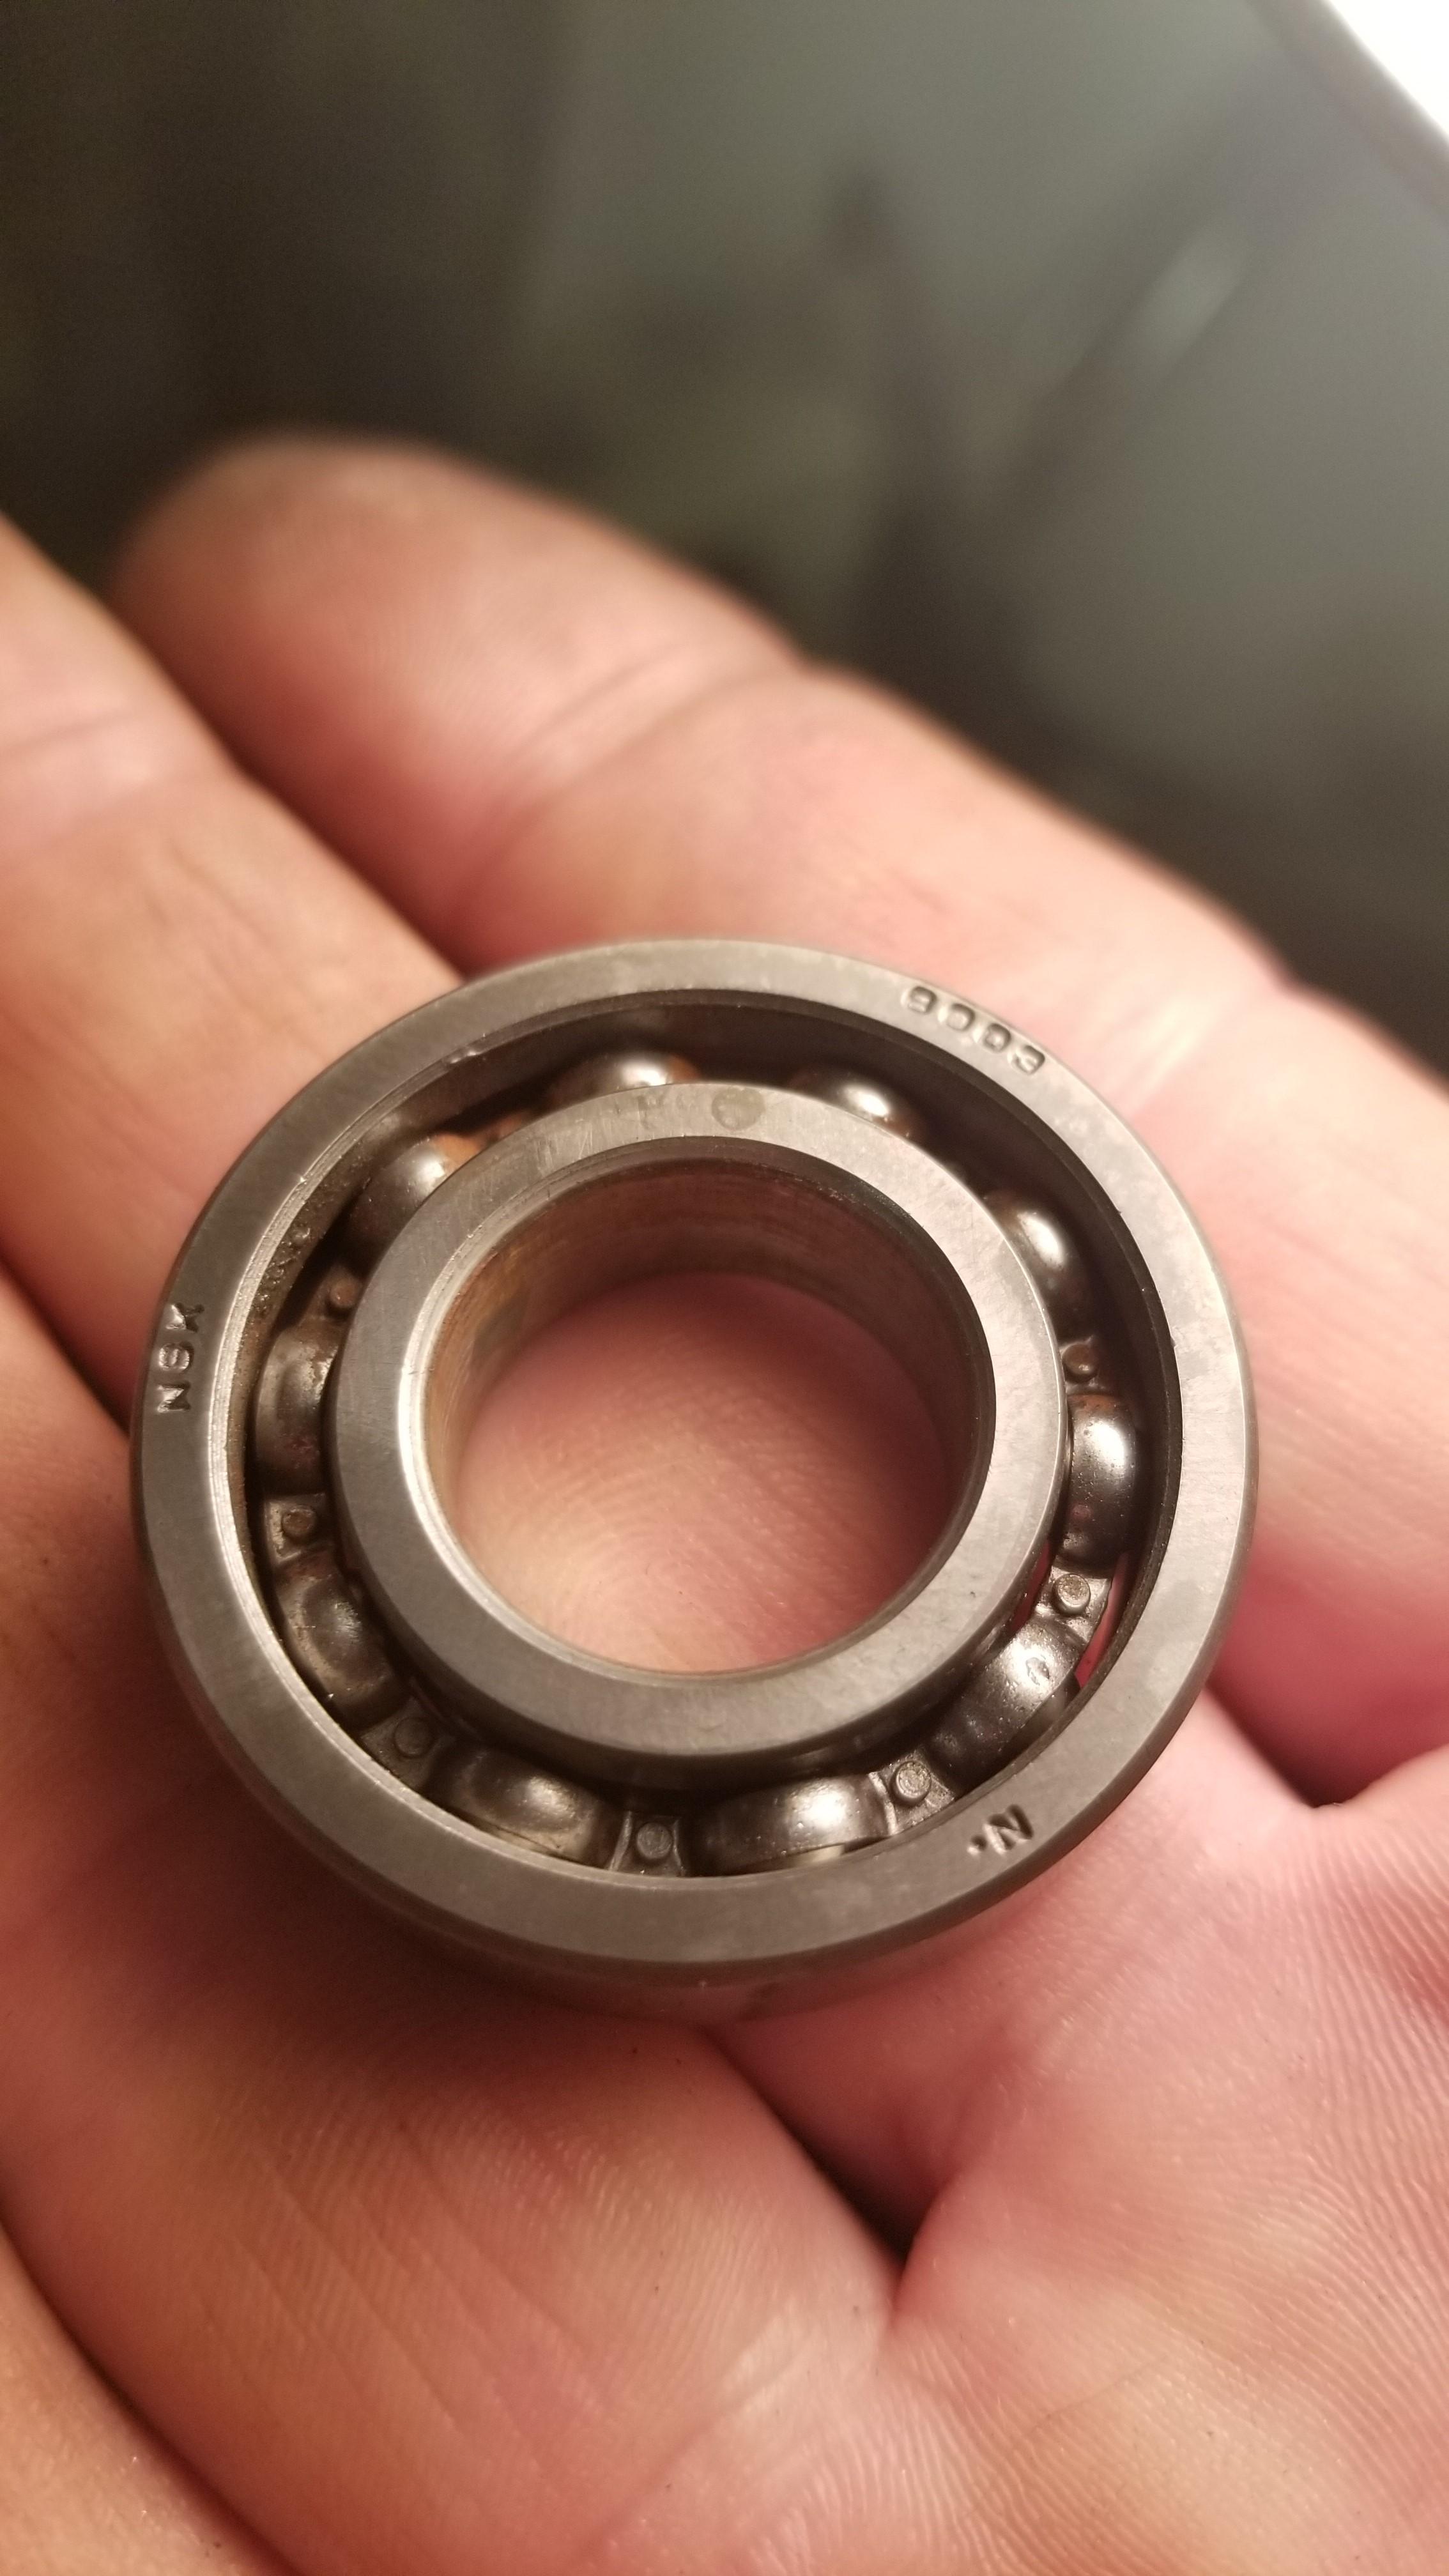
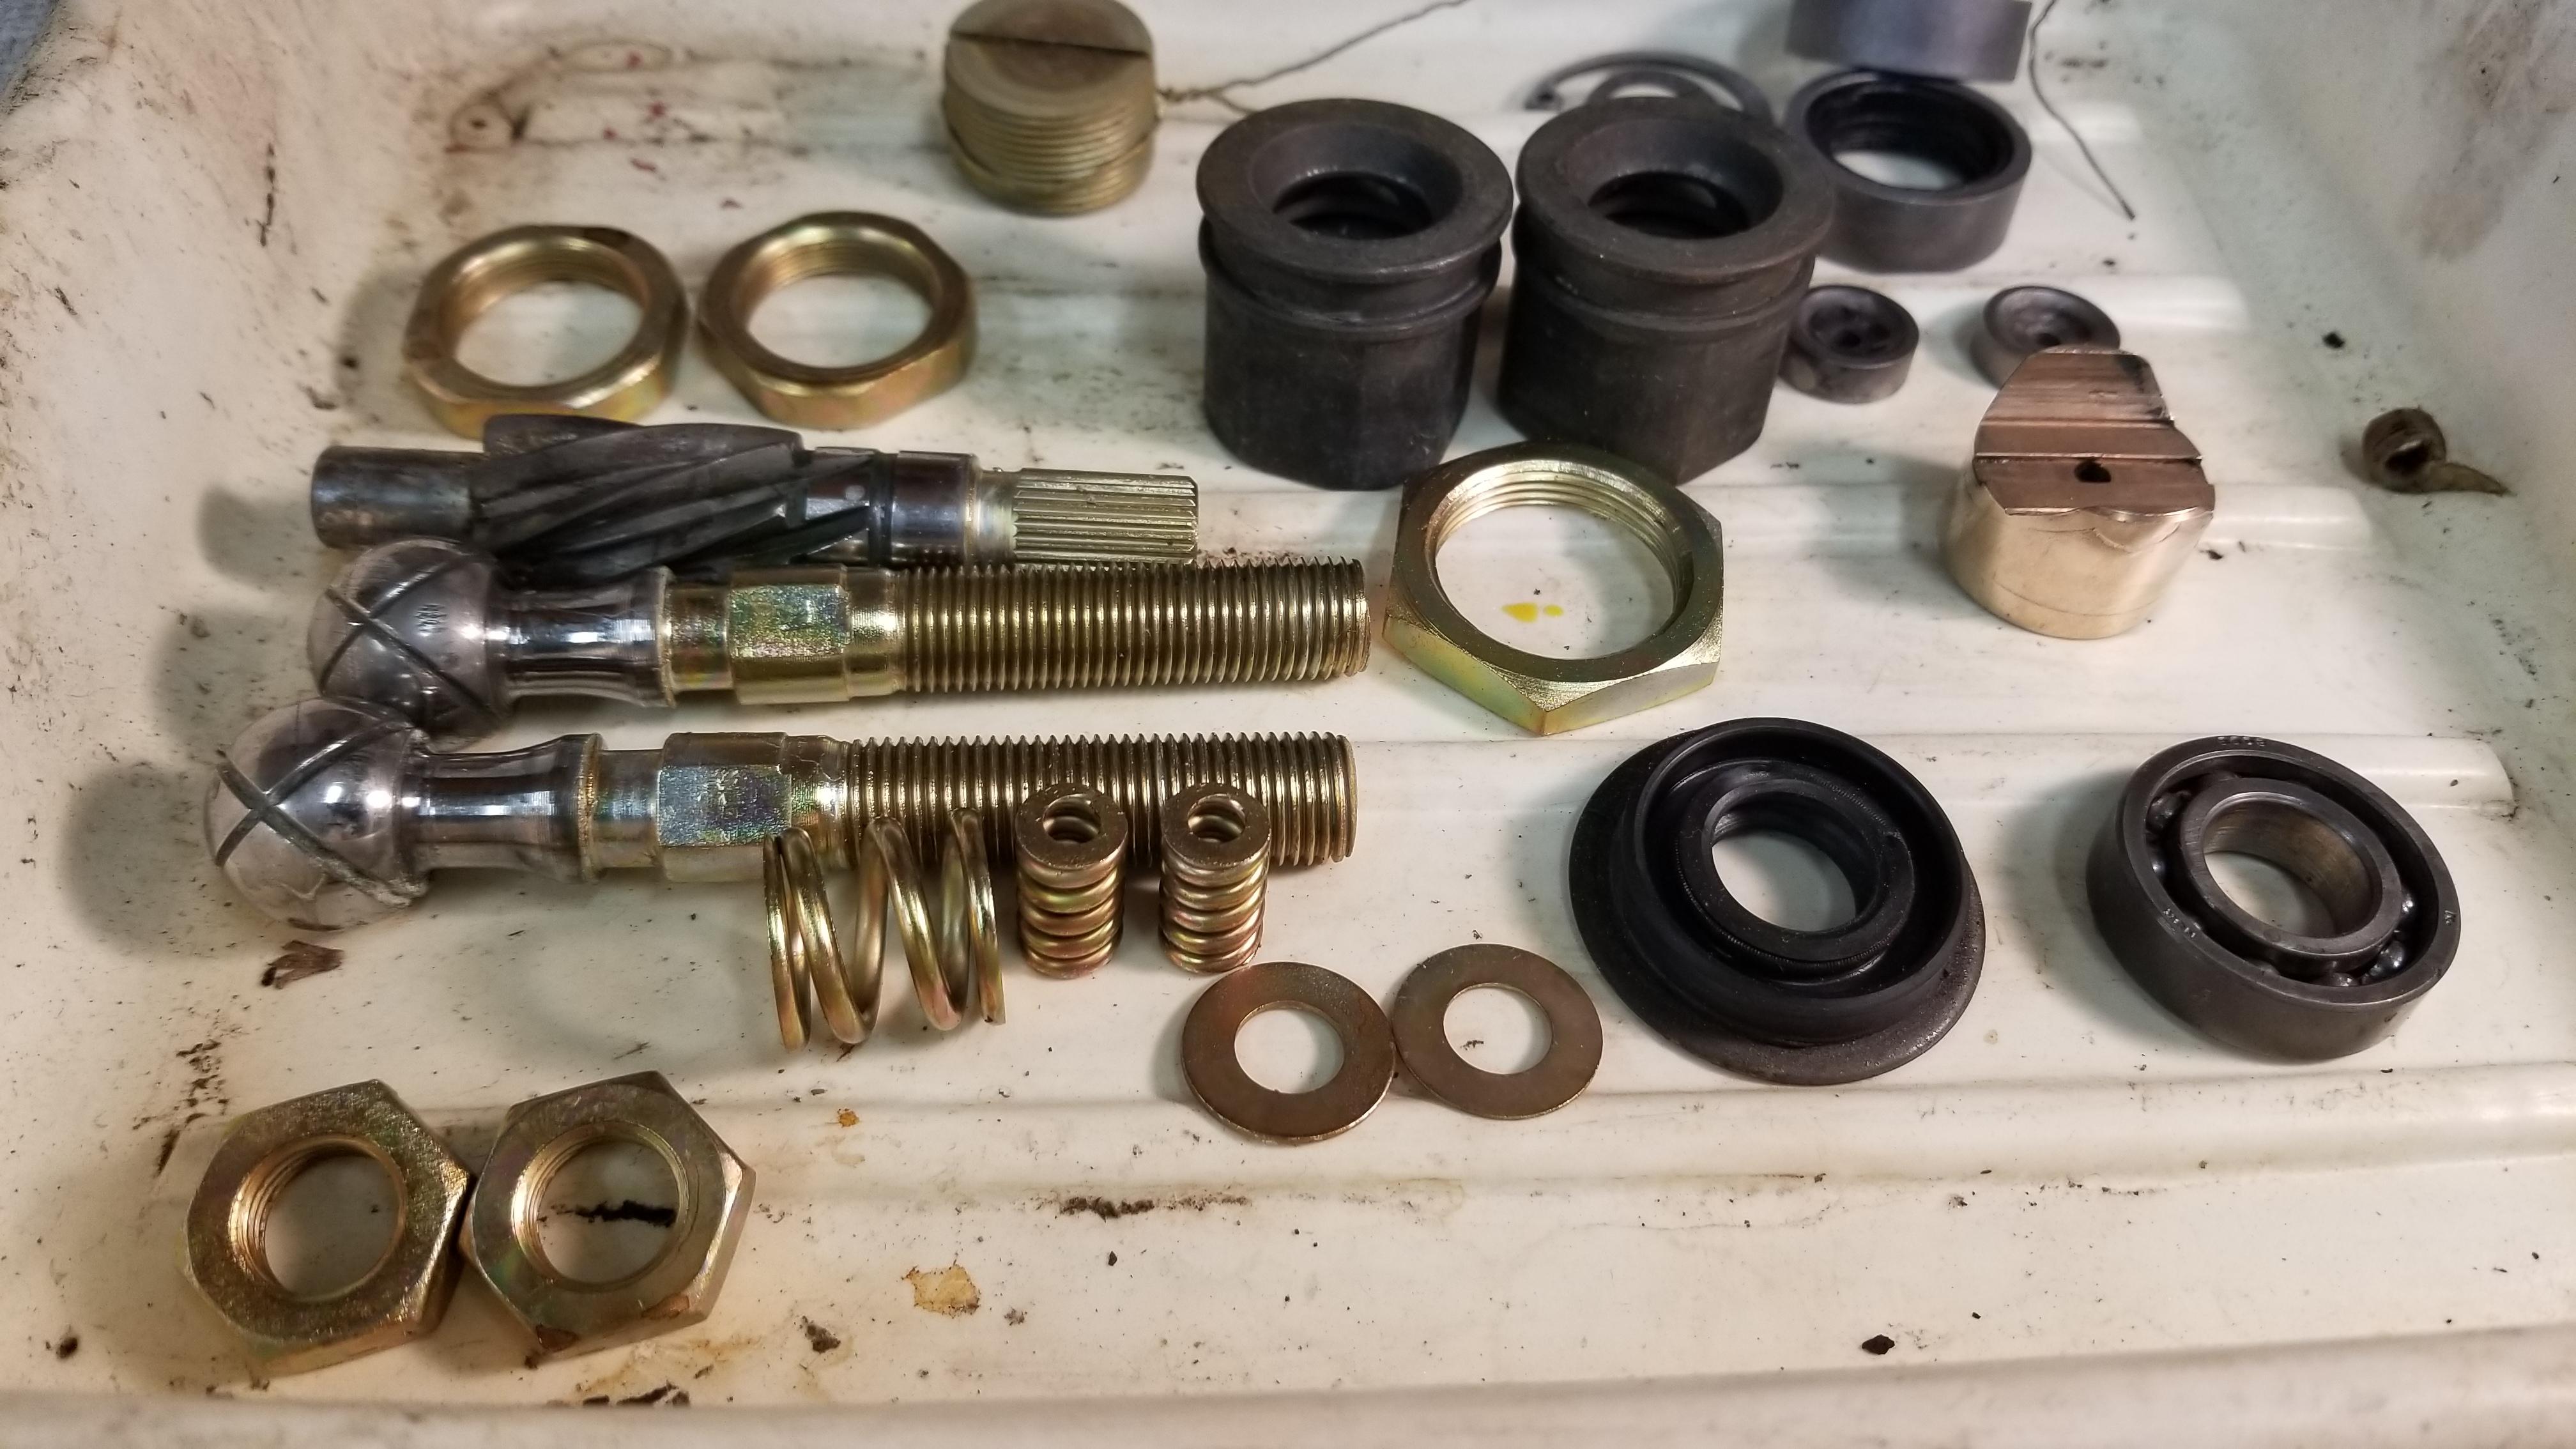
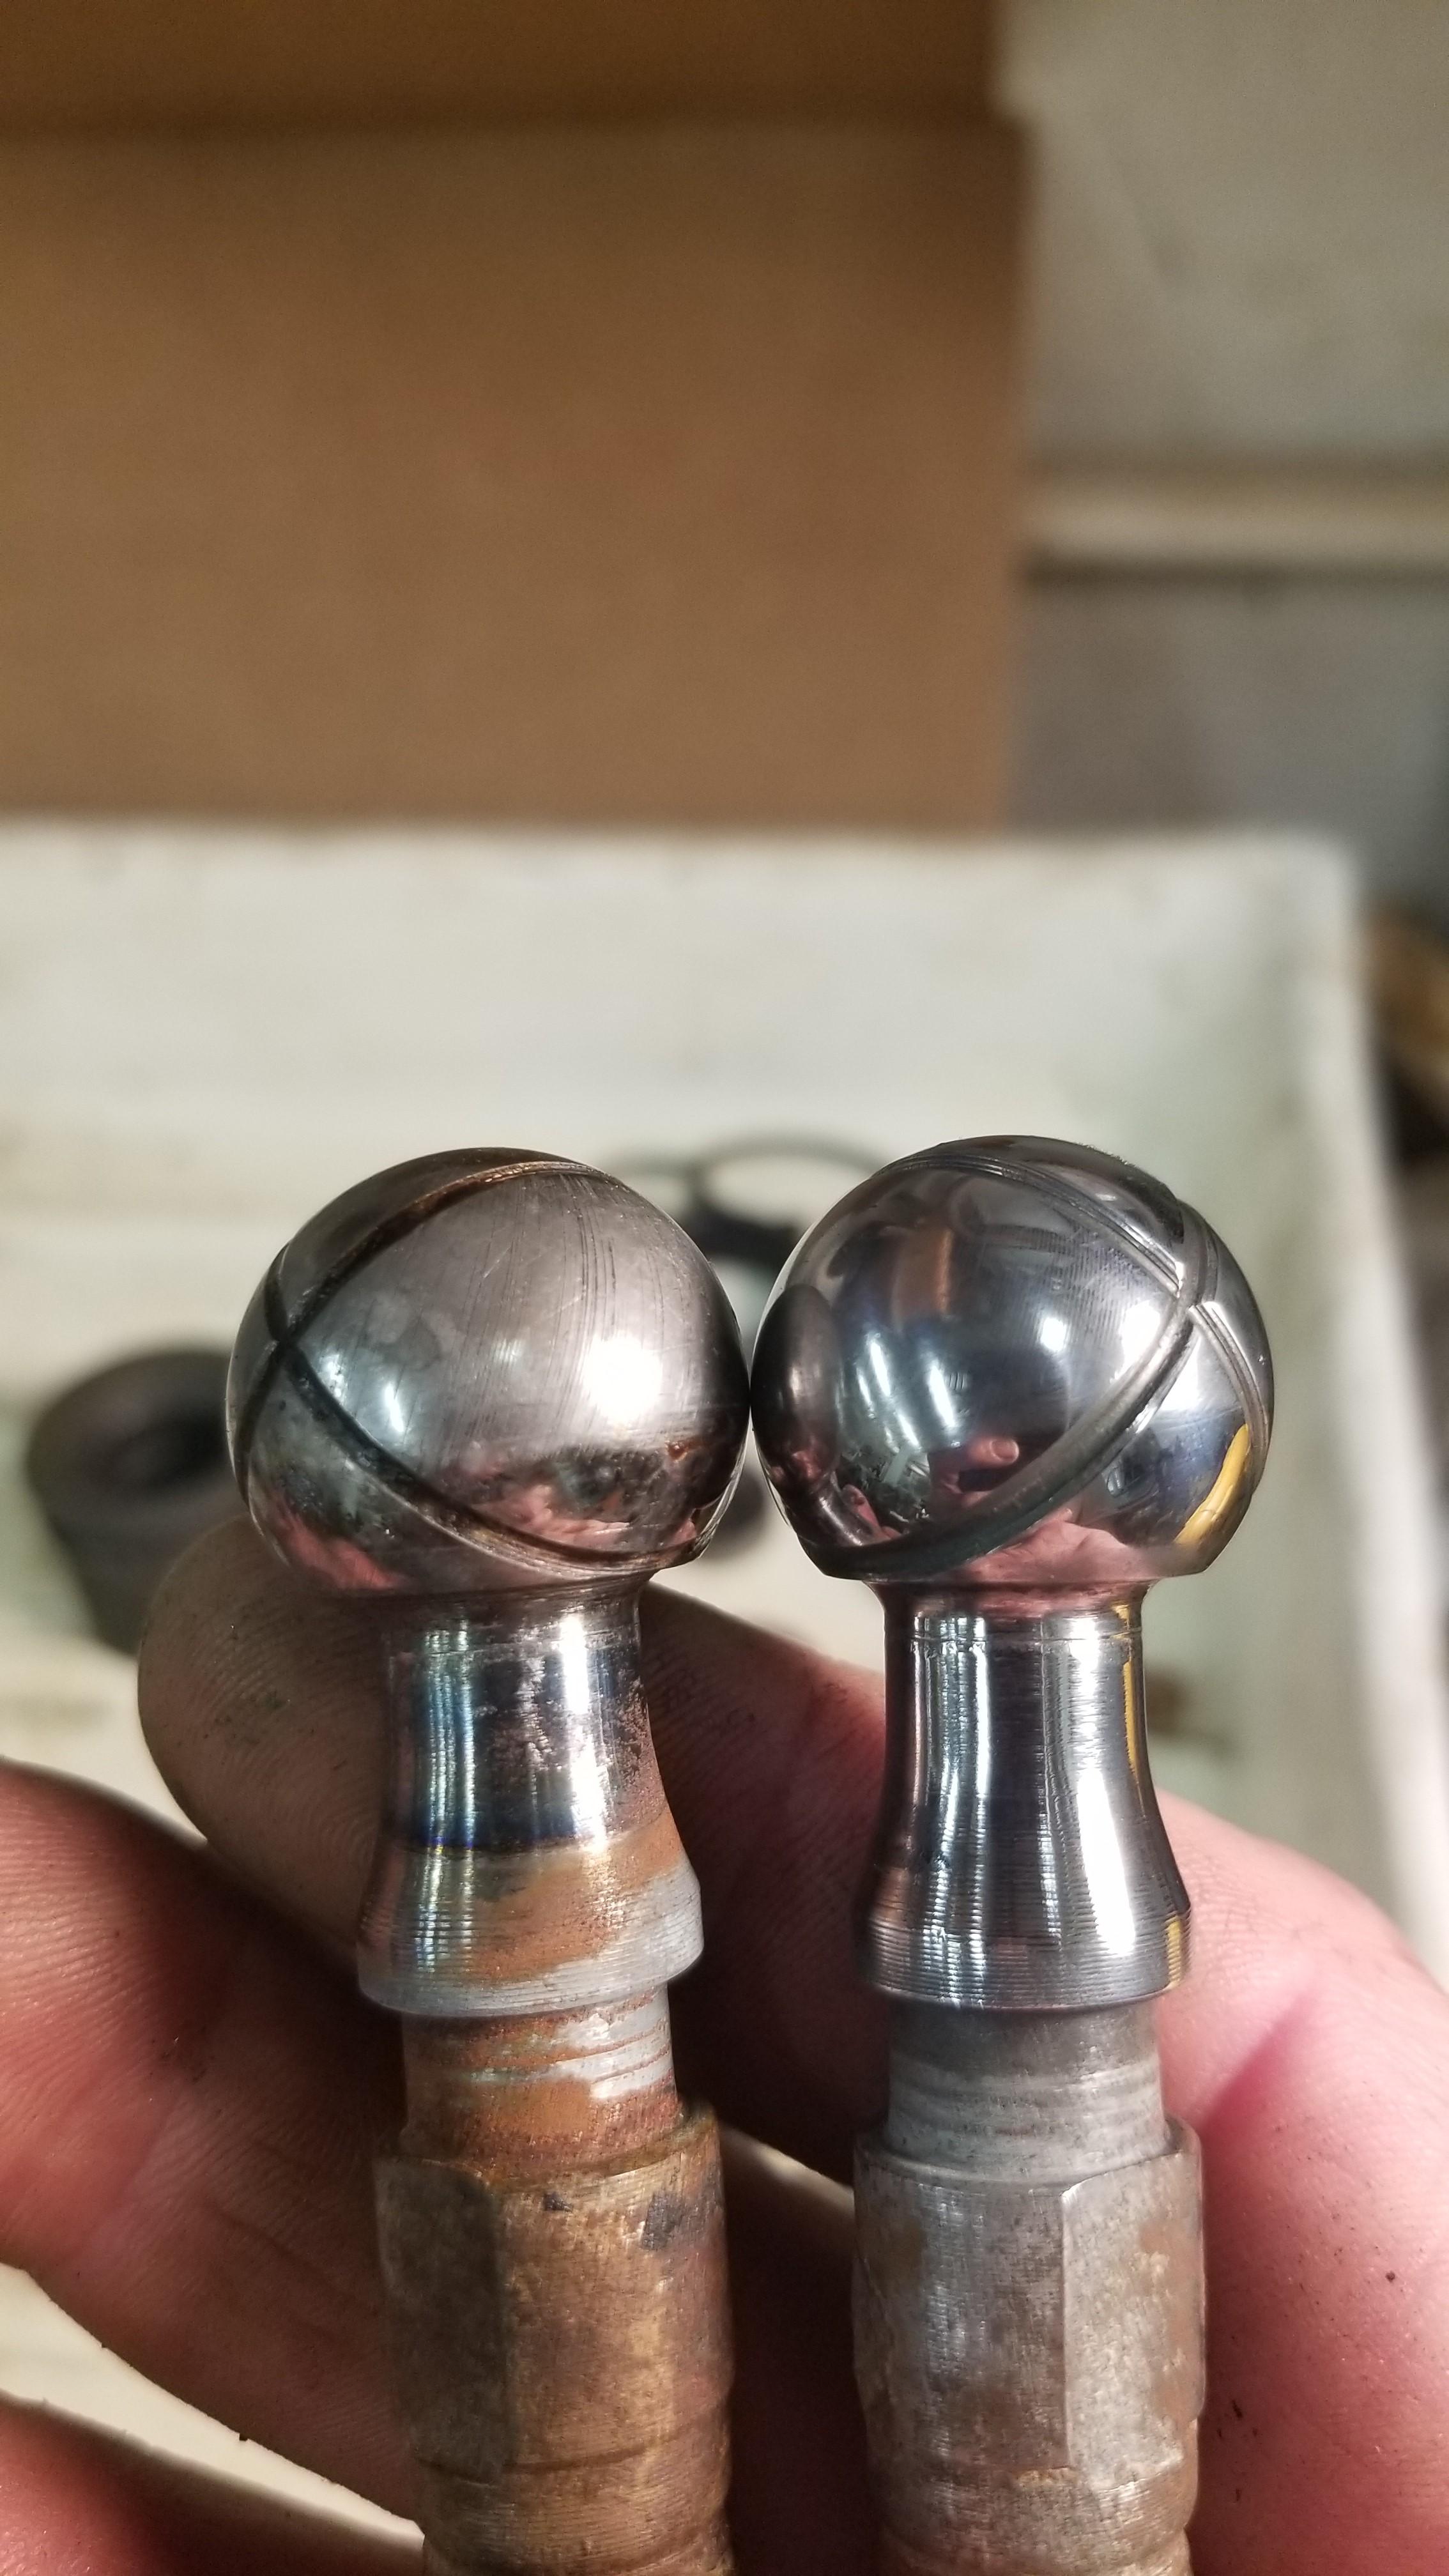
I bead blasted the rack tube. then I diamond cleared the aluminum end. It's interesting the other end is brazed on Here is the bearing from the steering rack. I believe it is an NSK #8003 So I buffed up the inner tie rod hard chromed ends. Then I wrapped them up in electrical tape and plated the other ends Here is some of the finished plating I will have to redo one of the inner tie rods ends because I plated it too long and the threading is tight and I have the same problem on the adjustment screw but not too bad overall