


jfa.series1
Supporting Member
-
Joined
-
Last visited
-
Here are some pics of a OE license light. Compare yours and how it is assembled to see if there is anything different. The OE light has a rubber gasket between the two pieces, light should only be visible thru the two lenses that face down towards the license plate. Hope this helps.


-
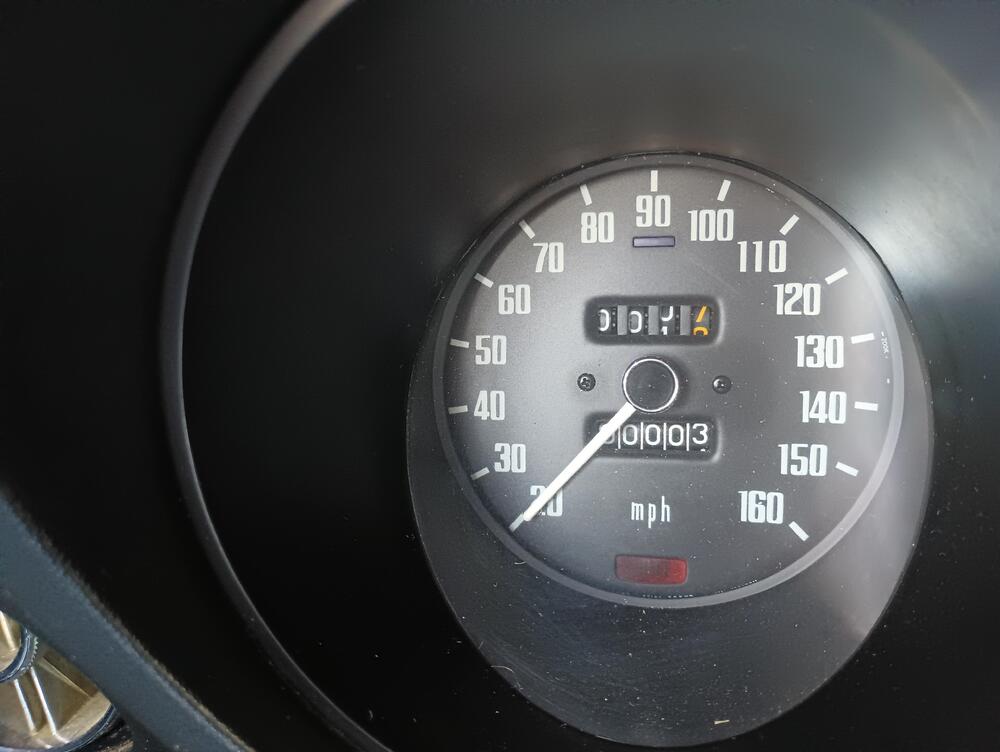
We hit the big 100k miles yesterday. I was able to get before and after pics but I was on a busy tollway headed to a club meet-up at the time of the rollover so I could not capture the all 9's or all 0's. I know, poor planning on my part! One more month and we celebrate our 55th anniversary together.

-
What an amazing restoration! I only wish I had this much reference material available when I redid my car 15 years ago (not that I could have approached this level of quality). I see what appears to be light reflected on the spokes of the steering wheel, suggesting the finsh is a semi-gloss or gloss. The original finish on the spokes and hub was a non-reflective satin black.
-
The Right/Left placement of the wiper arms is coded on the arms. "LA487R" AND "55R" are for the Right side, the one with "55L" is a Left side arm.
-
-
-
-
-
-
-
First and foremost, WELCOME TO THE GROUP!!! Stick around long enough and you will find us a positive and supportive bunch, probably the best on the web. If your heart is set on a 240Z, expect to pay a premium price for a solid and well-sorted car. The one in your link seems to be very well done. Any 240Z under $15k is likely to be a project car to some degree and may require a serious commitment to complete it. If you are open to other model S30's, look into the more available 280Z's.
-
Here's a diagram that you can use to bench check the functions of your switch as a starting point. This chart is correct for all S30's.

-
FWIW, my 12/70 car came from the factory with 4-screw carbs, heat riser, and flapper airbox installed.
-
-
@Patcon Charles, this style is a match for mine - original to my car. Pretty sure the heat riser was added several months prior to our builds. Jim


