zKars
Supporting Member
-
Joined
-
Last visited
Everything posted by zKars
-
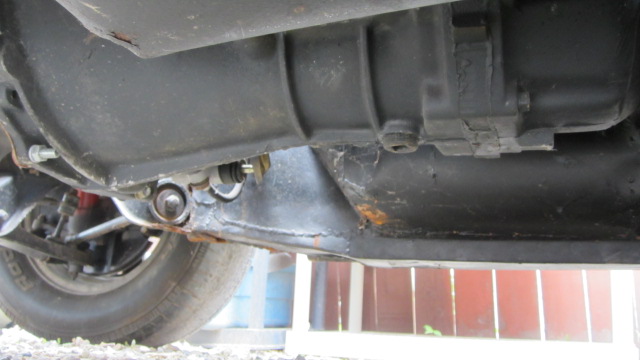
The clutch slave plumbing bracket absence indicates that chassis was likely a automatic originally. Not a required item, but should fab up something similar to prevent flexing of the hardline at that connection point. The flat top carbs on 73 have a slightly different pivot as you found and the mating bracket that pivots is correspondingly different but does the same job, other than that same-same, nothing important. Only body difference other than internal strengthening in the doors and such is the front bumper mounts on a 73 are much larger and different and attach differently. 72 don't have the same frame holes to mout the 73 brackets, and the ends of the 72 brackets won't mount to the 73 bumpers, different position and spacing of the two holes. 73 does have the same holes to mount 72 brackets, so use the 72 bumpers if you can. Look better, fit closer. Nothing a little fab can't fix. The wiring harnesses are quite different, at least in the connector plugs under the pass. dash.
-
And now you need advice on taking the liner out. Two methods. Out the front, which if not done "just right" will cause harm to that fragile piece of rotting, soft, (checking to see where your from...), yup, soggy, cardboard. Some claim you can collapse it inward and remove it without harm. So far, I've never done it without harm. The other, from the back, requires removing the heater fan and the air handling box it attaches to. One cable, 3 screws and one connector for the fan, then 3 bolts holding air handling box to the fire wall. Your call.
-
Take out the glove box liner. Please put some details of your z in your signature line so we can be more helpful and targeted with the advice. Thanks!
-
74.5 260 and up to 76 280 door panels "fit" with the mentioned cavets for arm rest mounting. Also the mounting holes in the harboard for the retainer clips are meant for the round plastic pop in style rather than the steel ones, so it difficult to get the steel ones, which press over one edge of the hole is specific orientation to line up correctly, but it can work. The over all dimensions are identical. As mentioned, stay AWAY from the later 77-78 panels. They have different lock button hole location on the top as you know, and the rear edge angle is quite different, so they don't fit worth crap. The chrome trim strips are different, so do both sides if you can. There's a pair for sale over on hybrid right now. http://forums.hybridz.org/index.php/topic/107494-door-panels-19745-1976-style-for-260z-280z/ Be quick about getting them if you're serious!!!! Jim
-
I had to know the sizing to get quick google hits. Not easy to find these are....
-
Tie rod end threads are 14mm x1.5mm thread. A little googling found me this. http://www.hrpworld.com/index.cfm?form_prod_id=6123&action=product
-
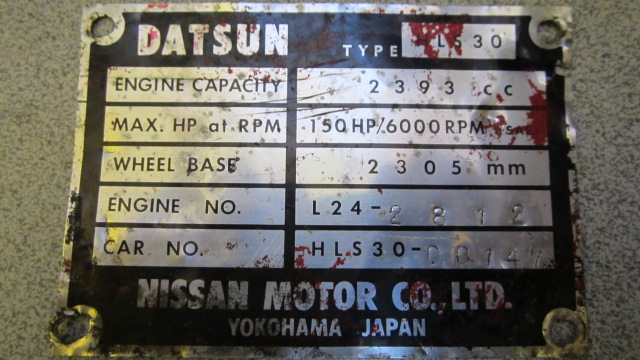
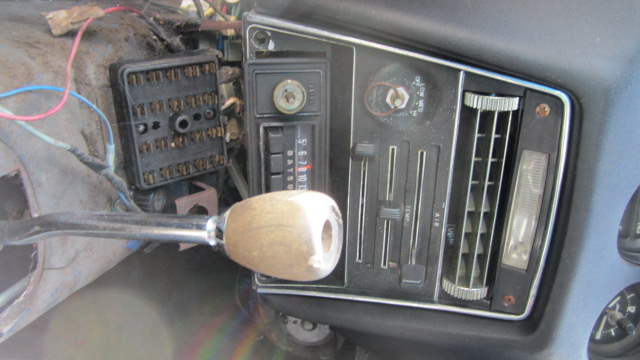
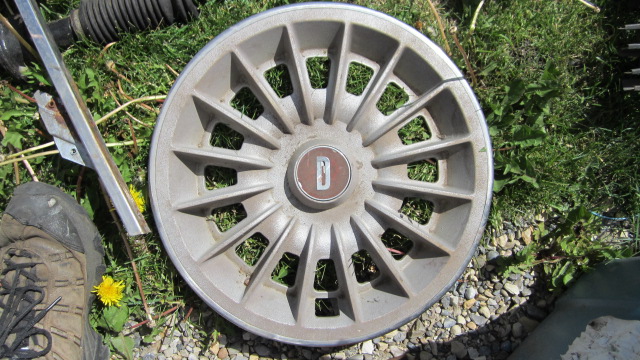
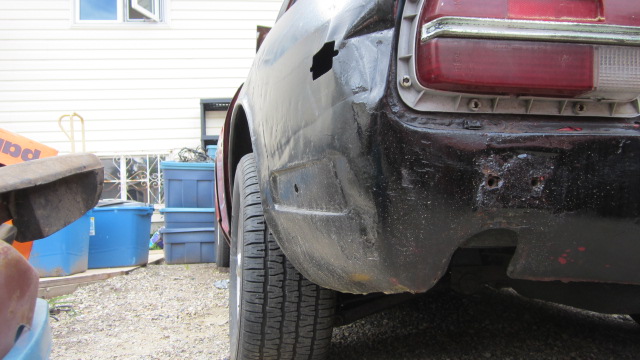
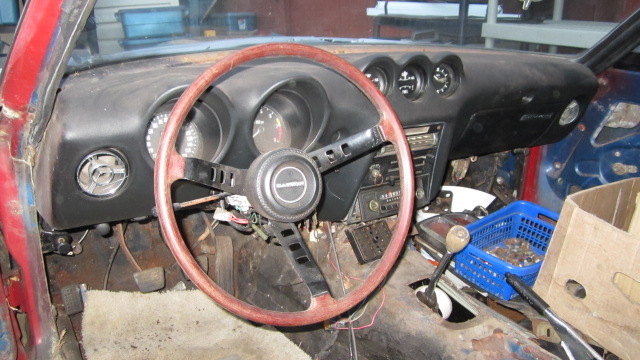
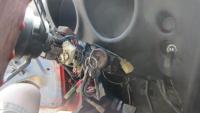
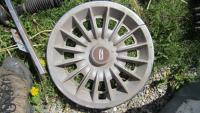
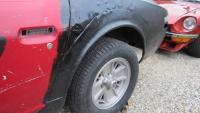
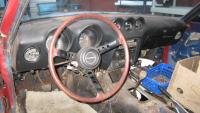
Had a chance to clean out the interior and get some "real" pictures of the beast. About the only good things I've found is the HCP is not al broken up, and the fuse box isn't melted! Don't you love the "D" hub caps it came with? "Yeah, and it has 3 of the original hub caps too!" Anyone silly enough to take this rust bucket on let me know..... When I said it will rise again I meant I'll put more air in the tires...


-
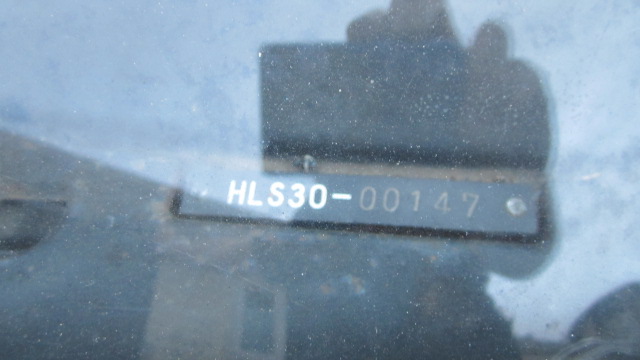
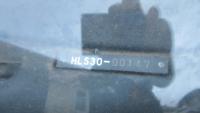
There is a shell in Edmonton I'm thinking about getting. Theres just so much of is one that is not 147. Just how much of 147 has to be in the new one so its still 147? the age old question....
-
Other than firewall sound deadening, the one item that made a remarkable difference to engine noise for me, was the addition (replacement actually) of the weatherstrip across the lip where the hood latch is located. After applying this strip along with an overall WS replacement binge some years ago, I remember getting in my triple powered z for a drive, pulling away, and thinking "oh oh somethings wrong! The motor sounds wrong and gutless!" Nope, the noise coming back to me through the hood/cowl gap was sealed by that strip!
-
Thanks Blue, but I'm not sure a new body is going to fit in the mail!
-
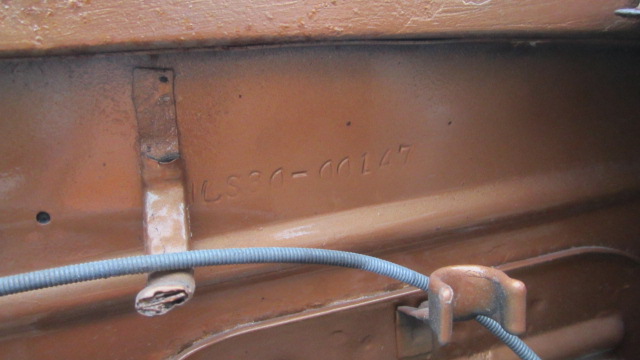
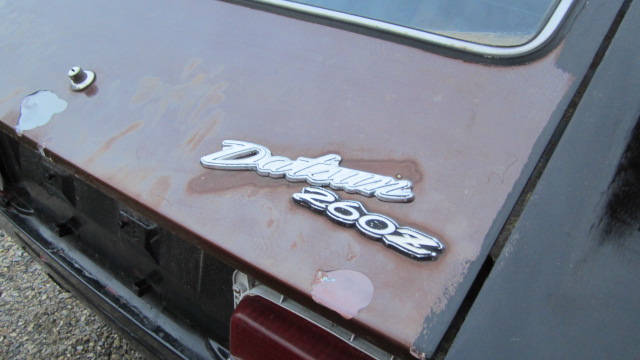
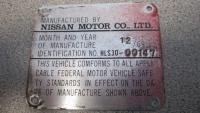
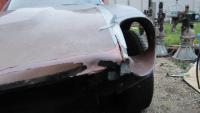
As you can see there are some challenges. It has the big four VINs all the same at least. pictures of the other two coming, they are safely tucked away. Hard to see any 147 at all in the pictures, there is a lot of 260 substitutions on the car. At least it has a new good friend to sleep with tonight.


-
Home now, all unpacked and tucked in for the night. Great trip, thanks to persimmon240 for swamper duty! Pictures coming, I promise! its so ugly its pretty...
-
way too late prob, but they are 10x1.25 bolts at the tips and brackets to body
-
got the app! Thanks Mike! hey where are the pictures?
-
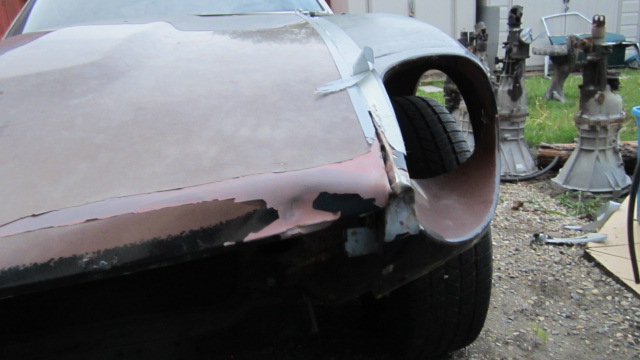
Well its my possession now. Just strapped it to a trailer. Can't finger out how to add pictures here from my Ipad, no file system to browse... I will try the czcc app. The car is not as good or complete as we'd had hoped. It is, how do you say, in need of a great deal of love.... It is far from a basket case though!
-
You could try Nissan. Or put an ad on the classifieds here for a complete cross member.
-
They didn't even have to say that it has a velvet diamond tuck interior, I knew that just by looking at the outside! Again, not my taste, but it looks well done!
-
Dave: First, my condolences. I respect what you're trying to do for your dad. I'm too far away to be of any help, so, if no one else is able to come in person, you have AT LEAST two alternatives for excellent phone help. The "best" guy is Bruce Palmer of ztherapy, who hangs around here, though you can get him via his website too I'm sure. He'll be the first one to call if he can. Second, call me four oh three six twenty eighty five seventy. I can talk you through it. It's nothing that can't be talked through. And, I know you'll be getting about a hundred offers of help in the next 30 minutes from this group of excellent individuals, so just stayed tuned. Some one will help. Also consider the possibility that its more than just carb adjustment, and there may be little you can do about getting it run for Thursday. You're dad will understand.... God bless Jim
-
bent one first on the header. put a couple of bolts into each collector and loosely hang it up there to be sure.
-
Everything on the engine side pulls through into the passenger side. Reverse your thinking.
-
Well well, the secret is out. Lost 137, wasn't going to let 147 get past me too. I saw the ad almost 36 hours after it as posted, thought for sure it would be gone, but it wasn't. I feel very fortunate. Sorry Phillip! Beer is indeed owed! Your always welcome here, Ross too. I'll post pictures of it once it gets home.
-
One more test. Car off, put it in first gear, foot off of the clutch. Can you push the truck? If not, then put your foot on the clutch. Can you (someone else, your foot is busy) push the truck now? This test will determine if you are getting clutch release with the pedal. If it does in fact release, then you should be able to shift with the engine running too. It sounds like you are are not getting the clutch to release with the pedal. I assume you see movement of the release arm at the clutch slave when you push the clutch in? About 3/4 inch or so? If you do, then you have the wrong release being sleeve in there, and clutch is never releasing. May have come to that way, or the pivot ball in there is busted. Just some more clues. Good luck!
-
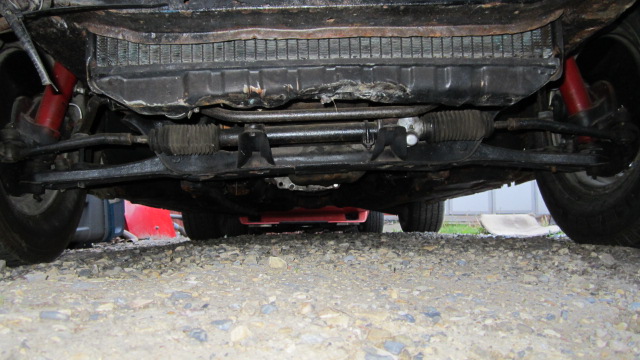
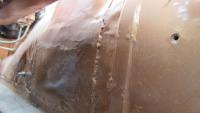
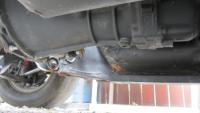
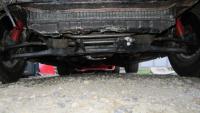
Its the body mounting points that are shot, not the suspension components that attach to them. All the shiny stuff in the world will not solve the issue. Is this issue with the front diff mount crossmember bolts or the rear hanger plates that come down and support the rear end of the control arms? Either way, you have no choice but to drop everything and evaluate just how bad the rust and damage is. It very likely will require removal and replacement of the frame metal and attachment points. No simple job to get it all back in the right place and strong. Consider this carefully.
-
You know what's next don't you? Wheels completely flat with EXTRA hidden wheels underneath so it can roll. You wait, its coming. How does that go, "Just because you can, doesn't mean you should"...
-
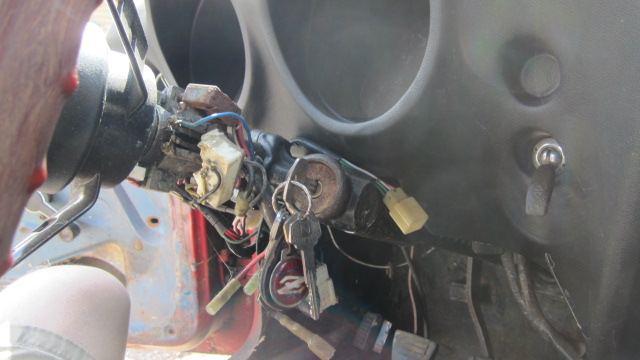
Heat created by corrosion on the contacts, both in the fuse box and in the switches. Nothing magical, just lack of moisture seals pretty much everywhere.