


Leaderboard
-
DrFeelGood
New Member3Points1Posts
Popular Content
Showing content with the highest reputation on 03/24/2026 in all areas
-
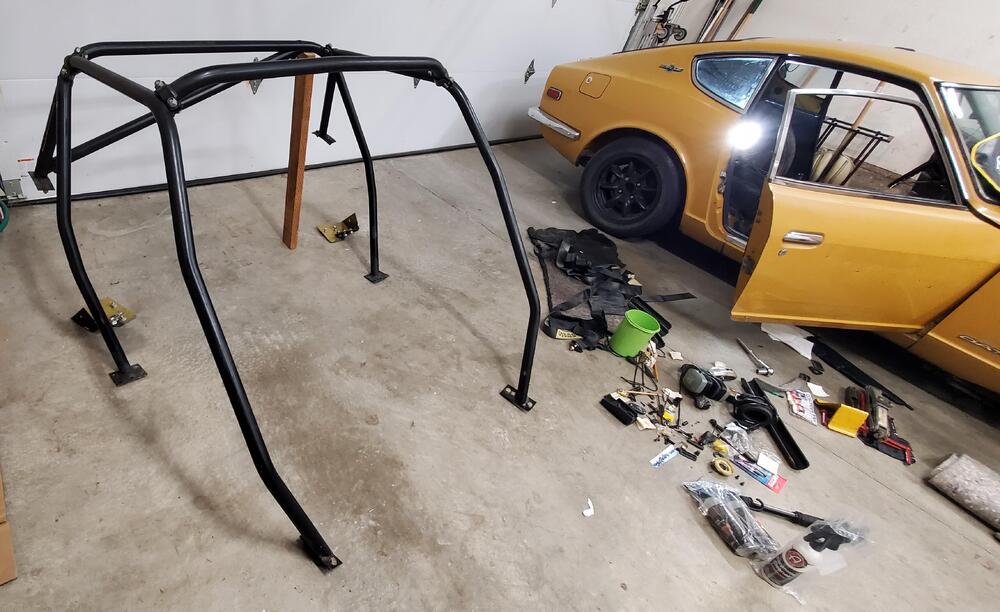
3 pointsHello everyone. I thought I would make the first post here. I am back in a 240z, again. This is actually the car I learned to drive in 36 years ago. My father bought it new after Vietnam and it was a garaged daily for decades. For a time by brother used it after crashing his 72 but abandoned it for 15 years when he moved out of country. I saved it from being discarded and started to bring it back to what I remember 3 and a half decades ago. Here is a picture with the roll cage out (So I fit) Cheers everyone.
 3 points
