Leaderboard
-
Captain Obvious
Community Member4Points10,150Posts -

siteunseen
Community Member3Points15,183Posts -
madkaw
Community Member3Points4,378Posts -
conedodger
Community Member2Points13,006Posts


Popular Content
Showing content with the highest reputation on 09/22/2025 in Posts
-
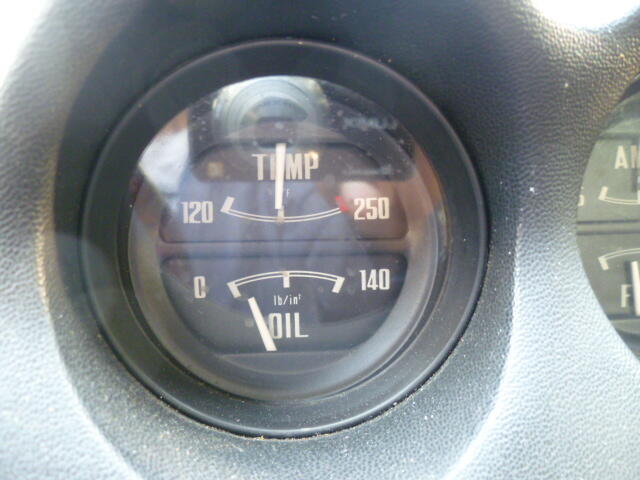
3 pointsI really needed one more week to work on the OG before I left for Zcon. Just one more week would have made the whole drive so much less stressful. I would have known that I had a radiator problem and I would have mitigated it before I left. But I lost that week waiting for struts because Amazon screwed up. So here's where I am today. I took the leaky radiator I got at the show to a local radiator shop. They sealed up the leaks and pressure tested it. I swapped it into the car, and.... Driving around with no thermostat, it wouldn't even reach proper temperature!! Way better than what was in there! So just to see where the gauge would land, I put a 160 degree thermostat and went for a drive. It stabilized about here: So next chance I get, I will swap out the 160 for a 180 thermostat and check again to see where the gauge lands. But the bottom line is I'm a whole lot better off than I was with the previous radiator! I blame Amazon. And photobucket.
 3 points
 -
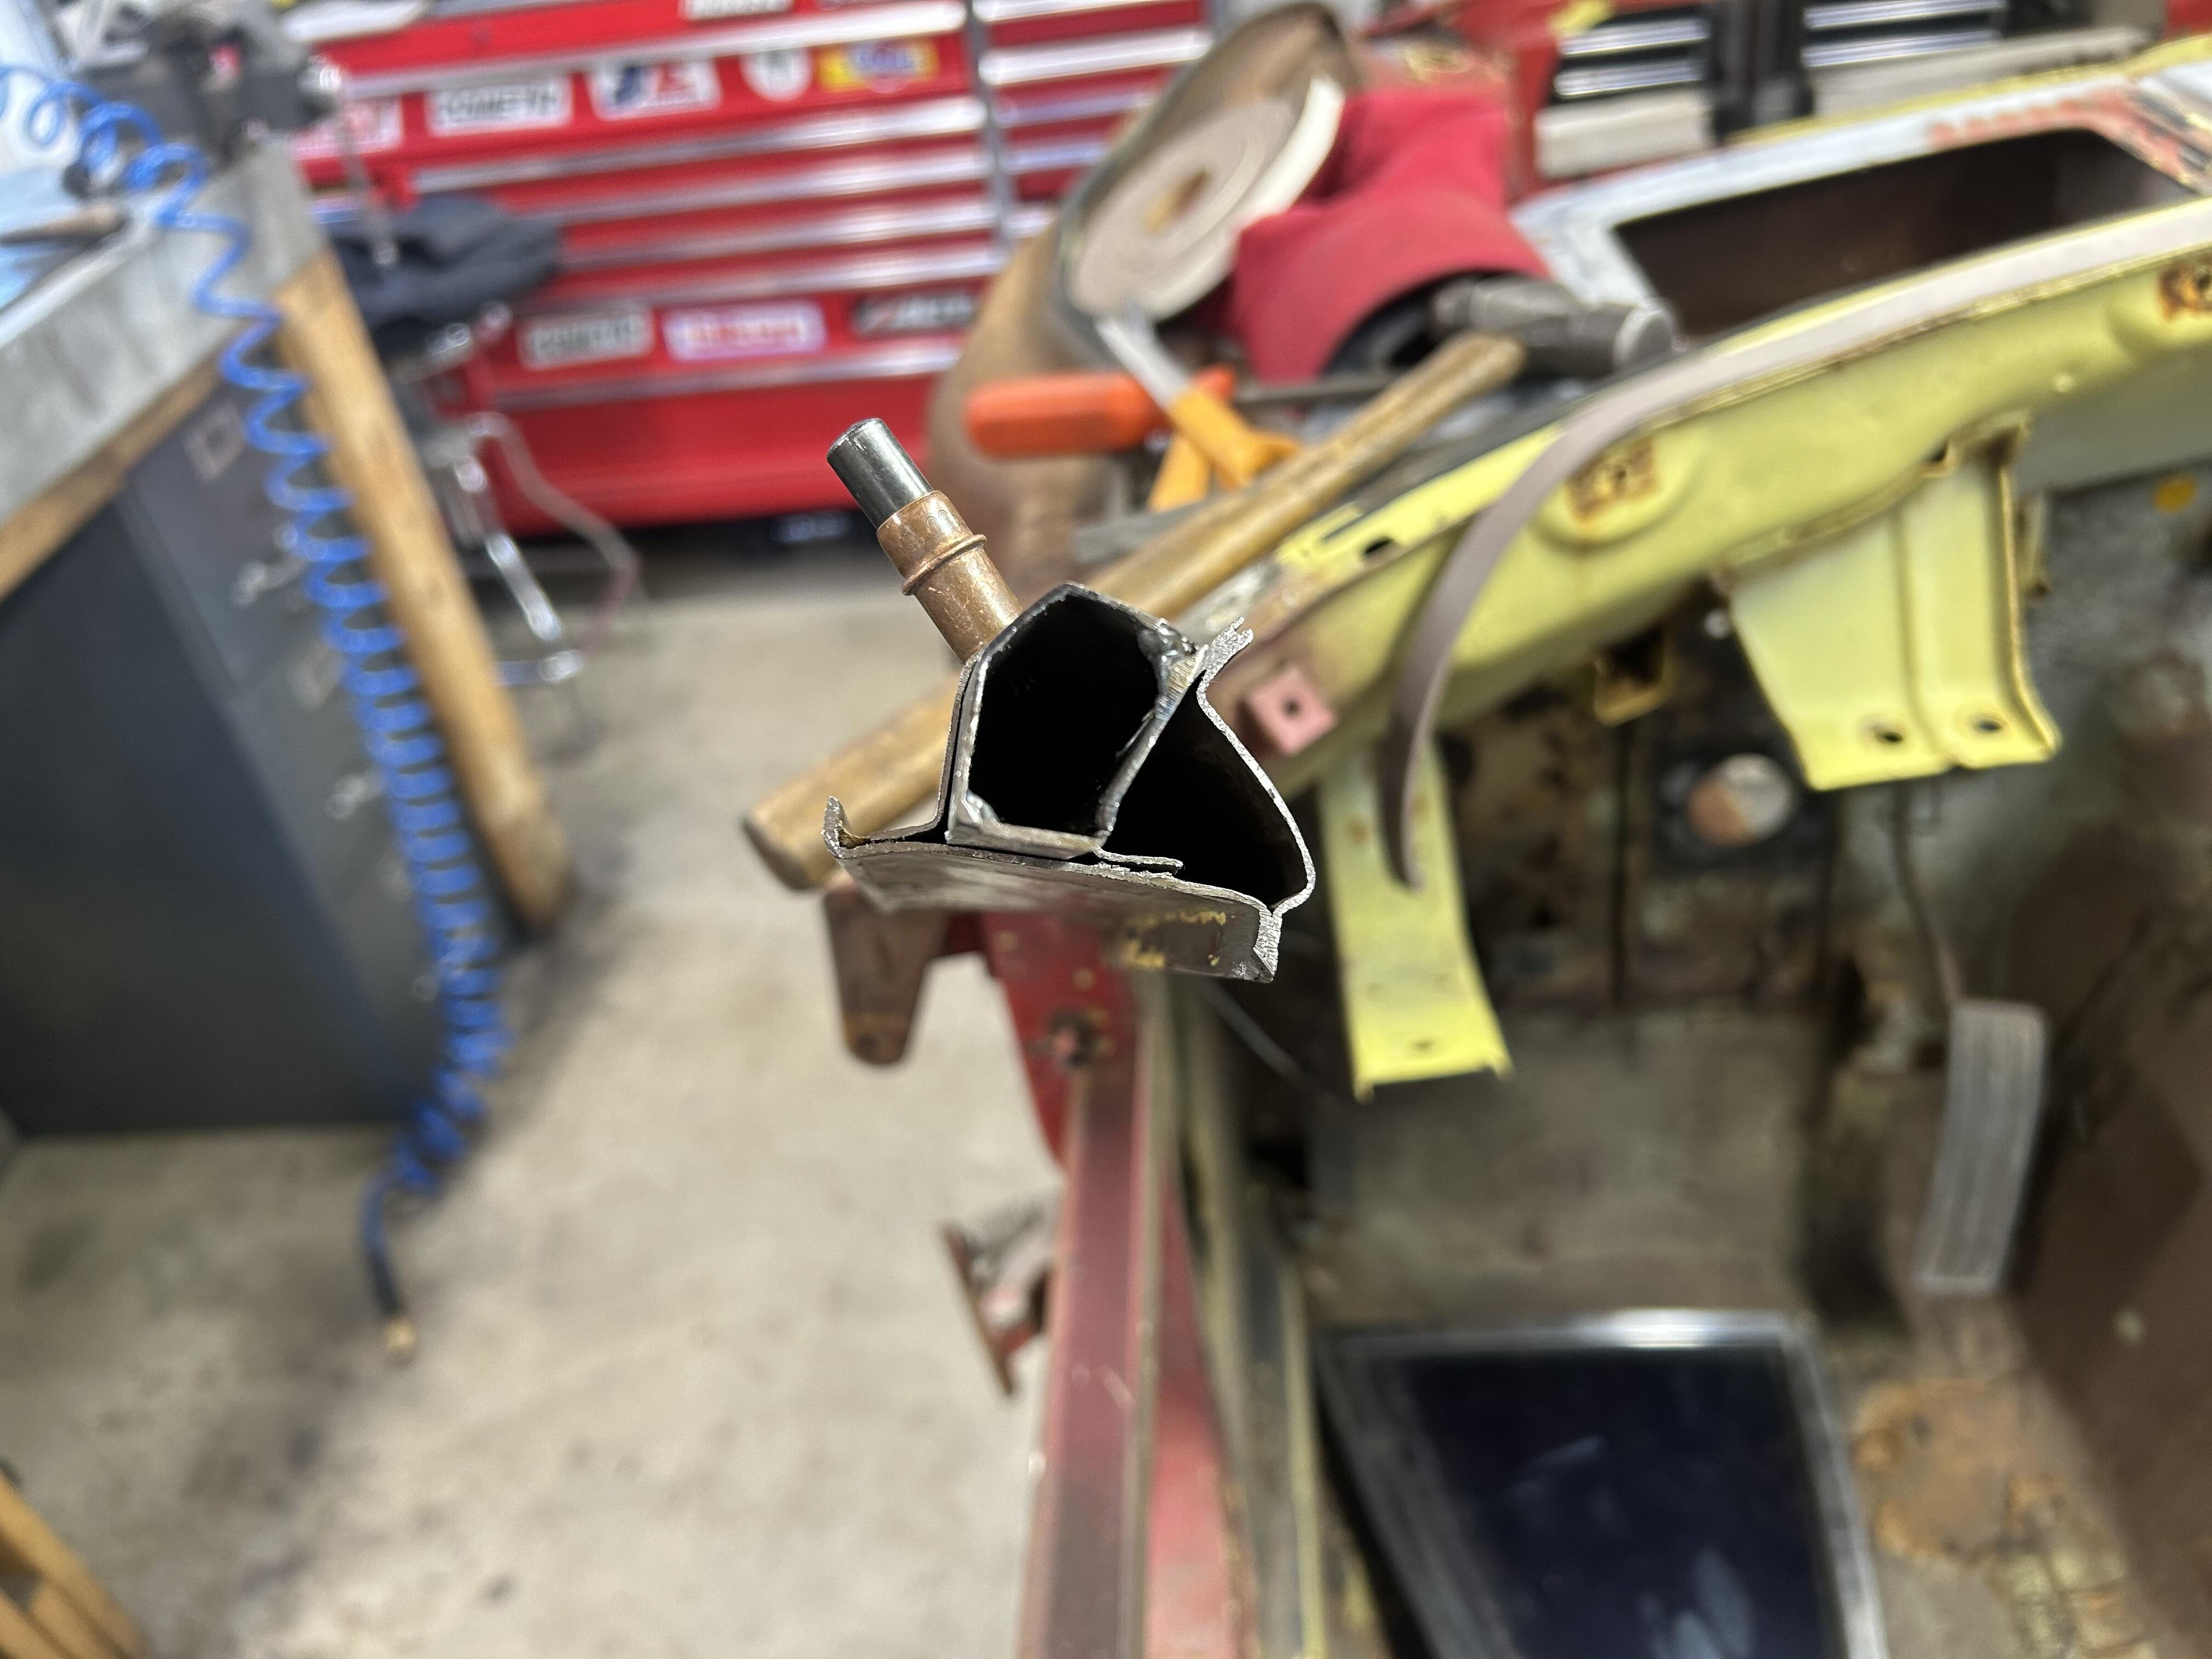
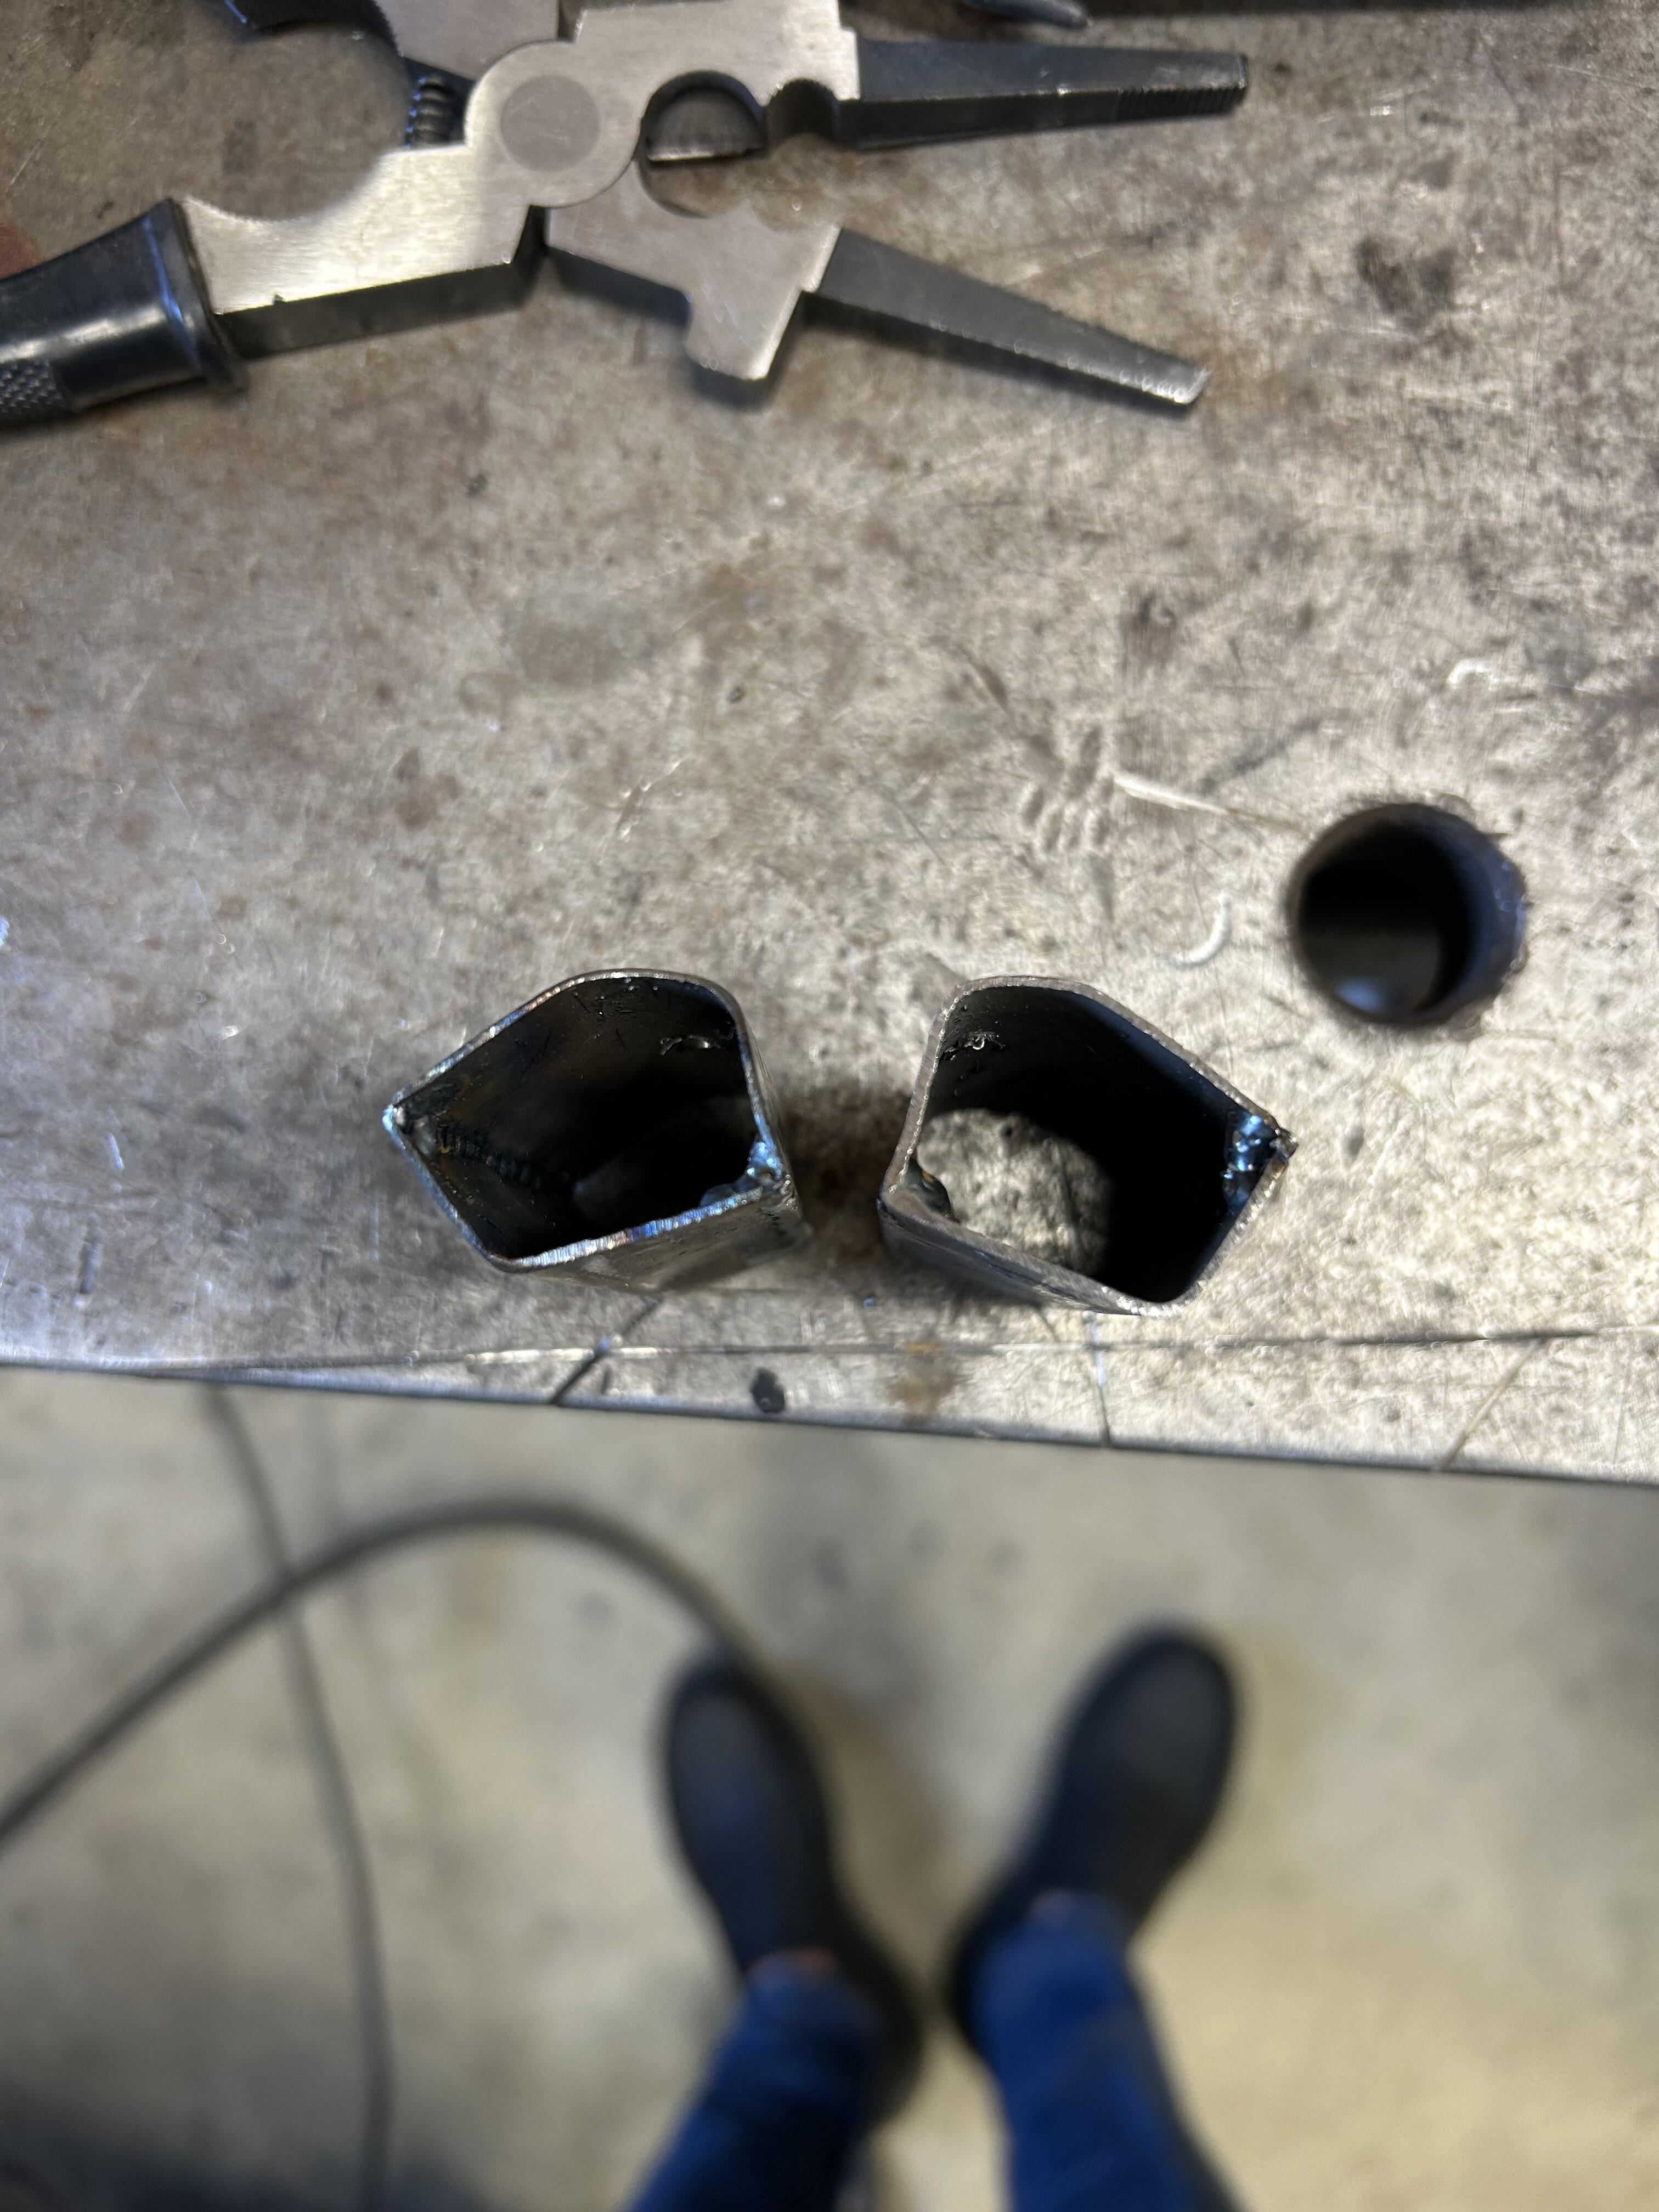
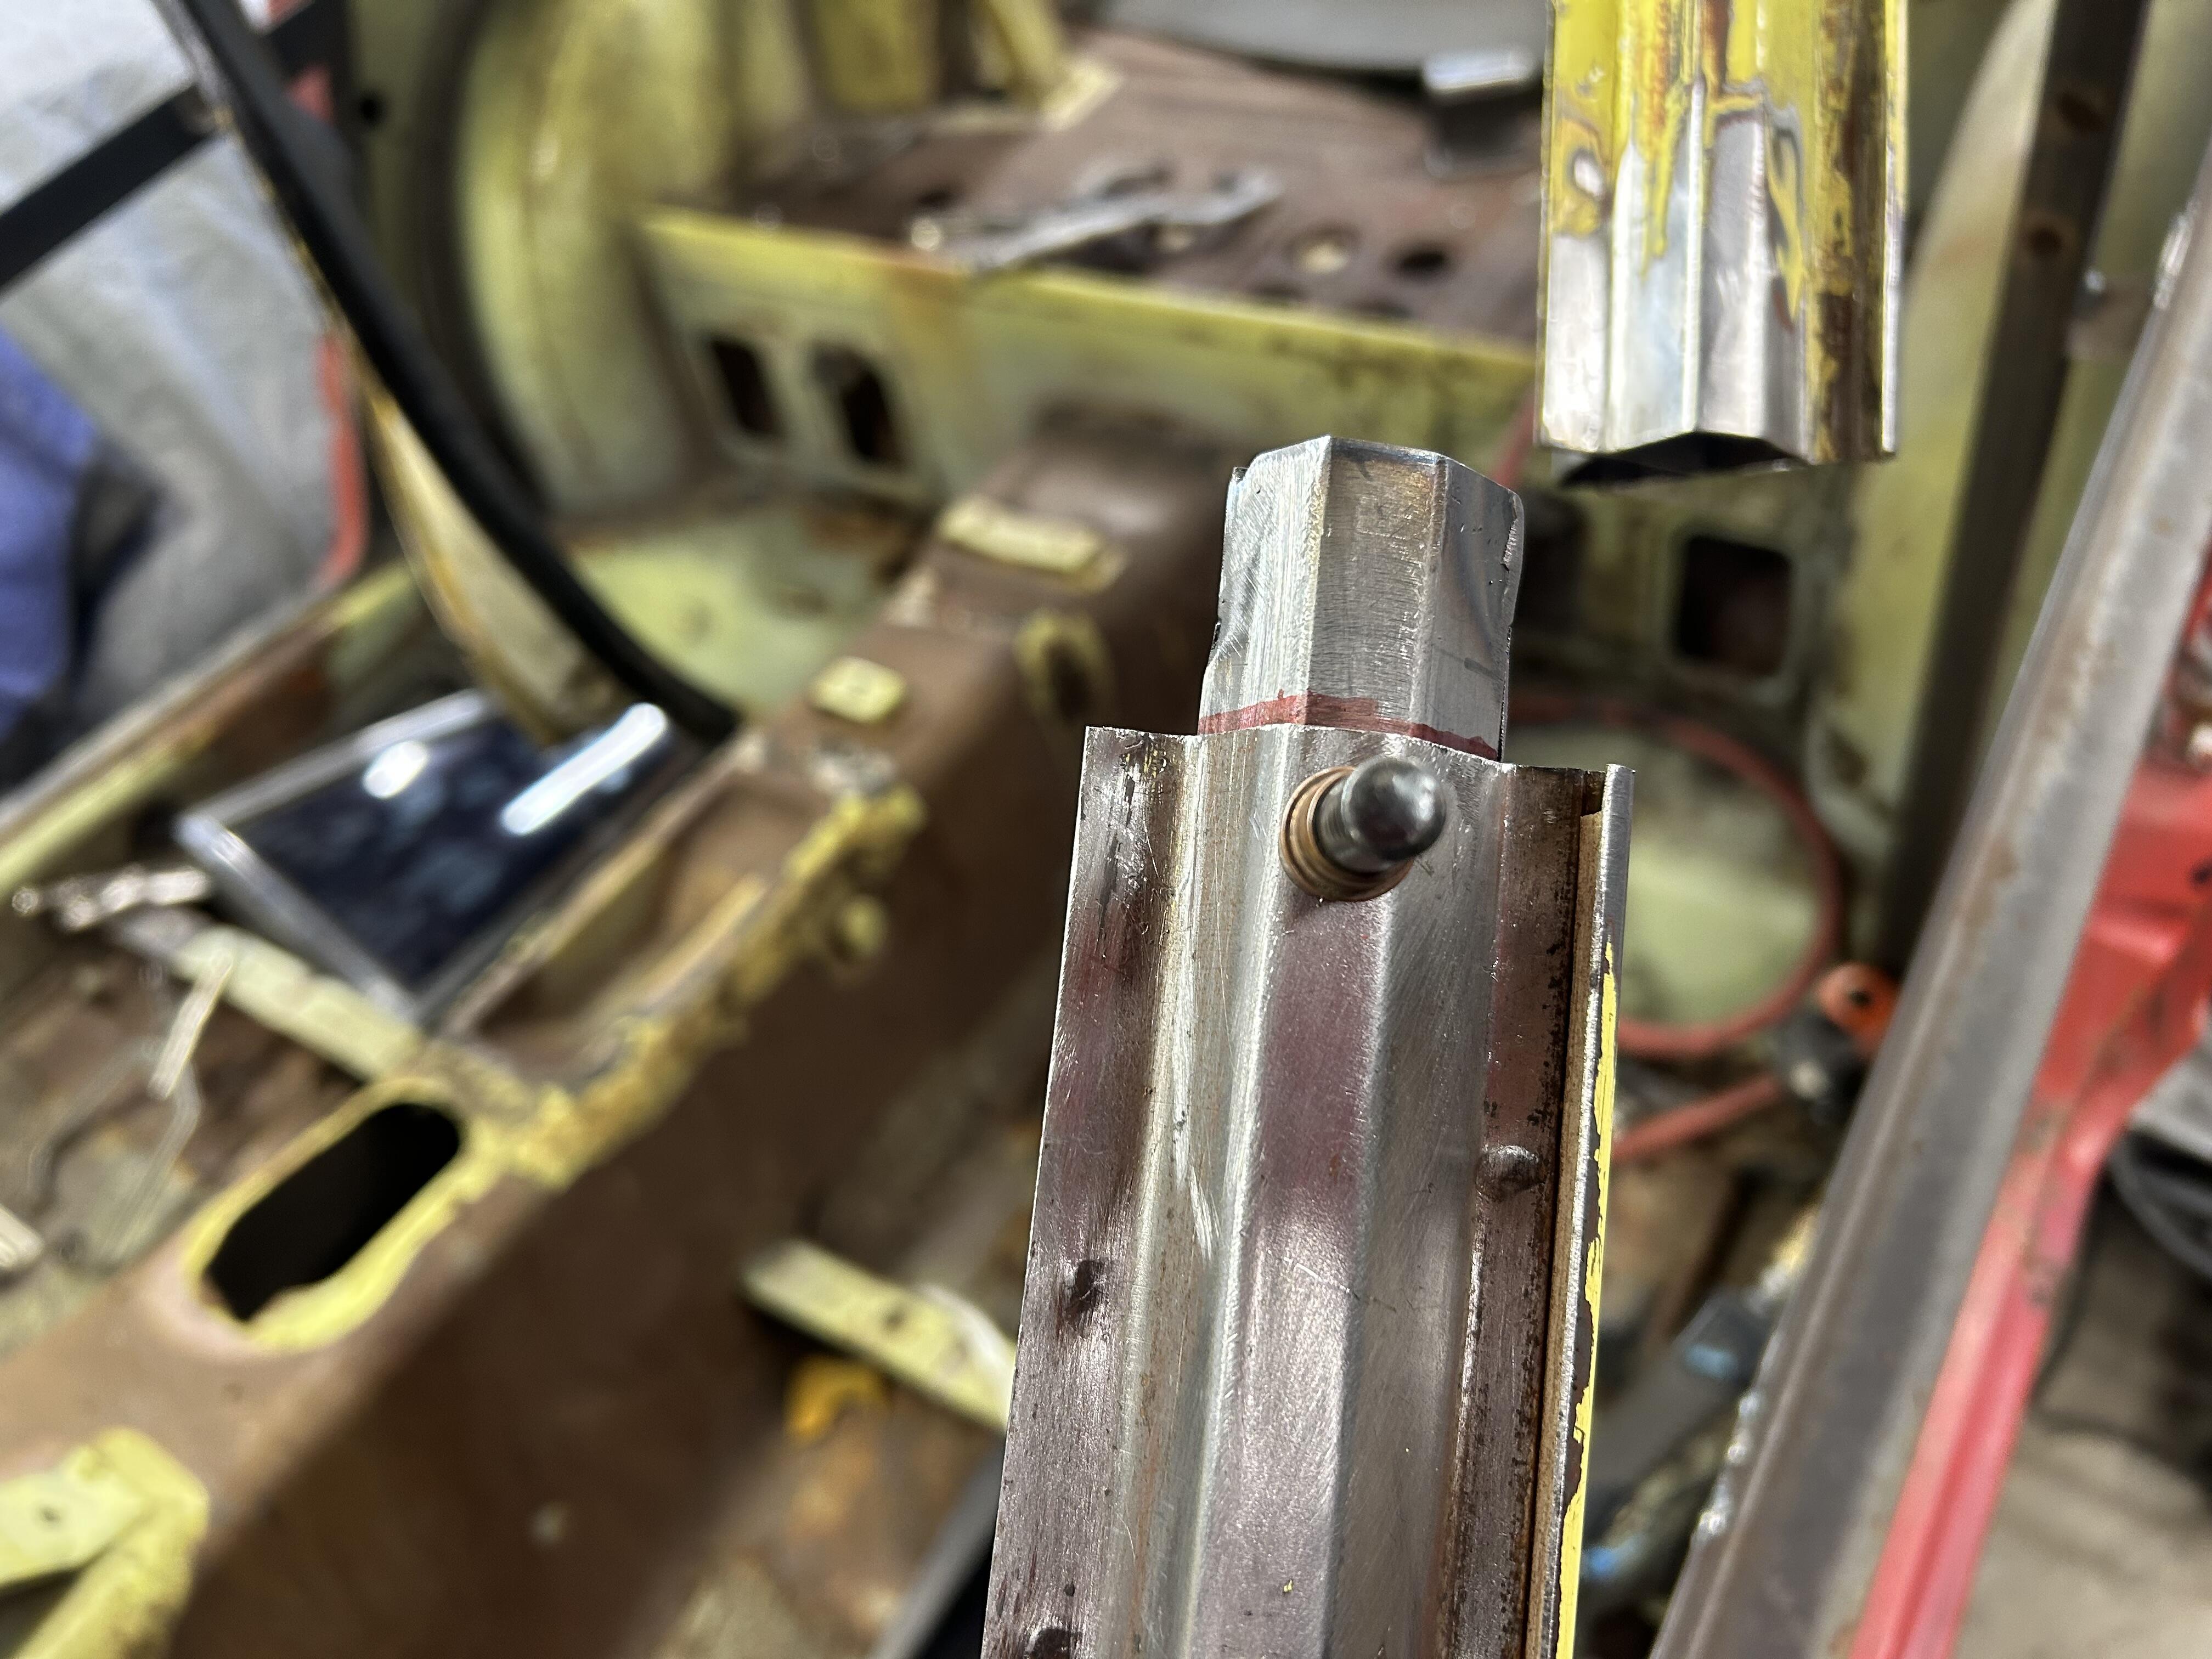
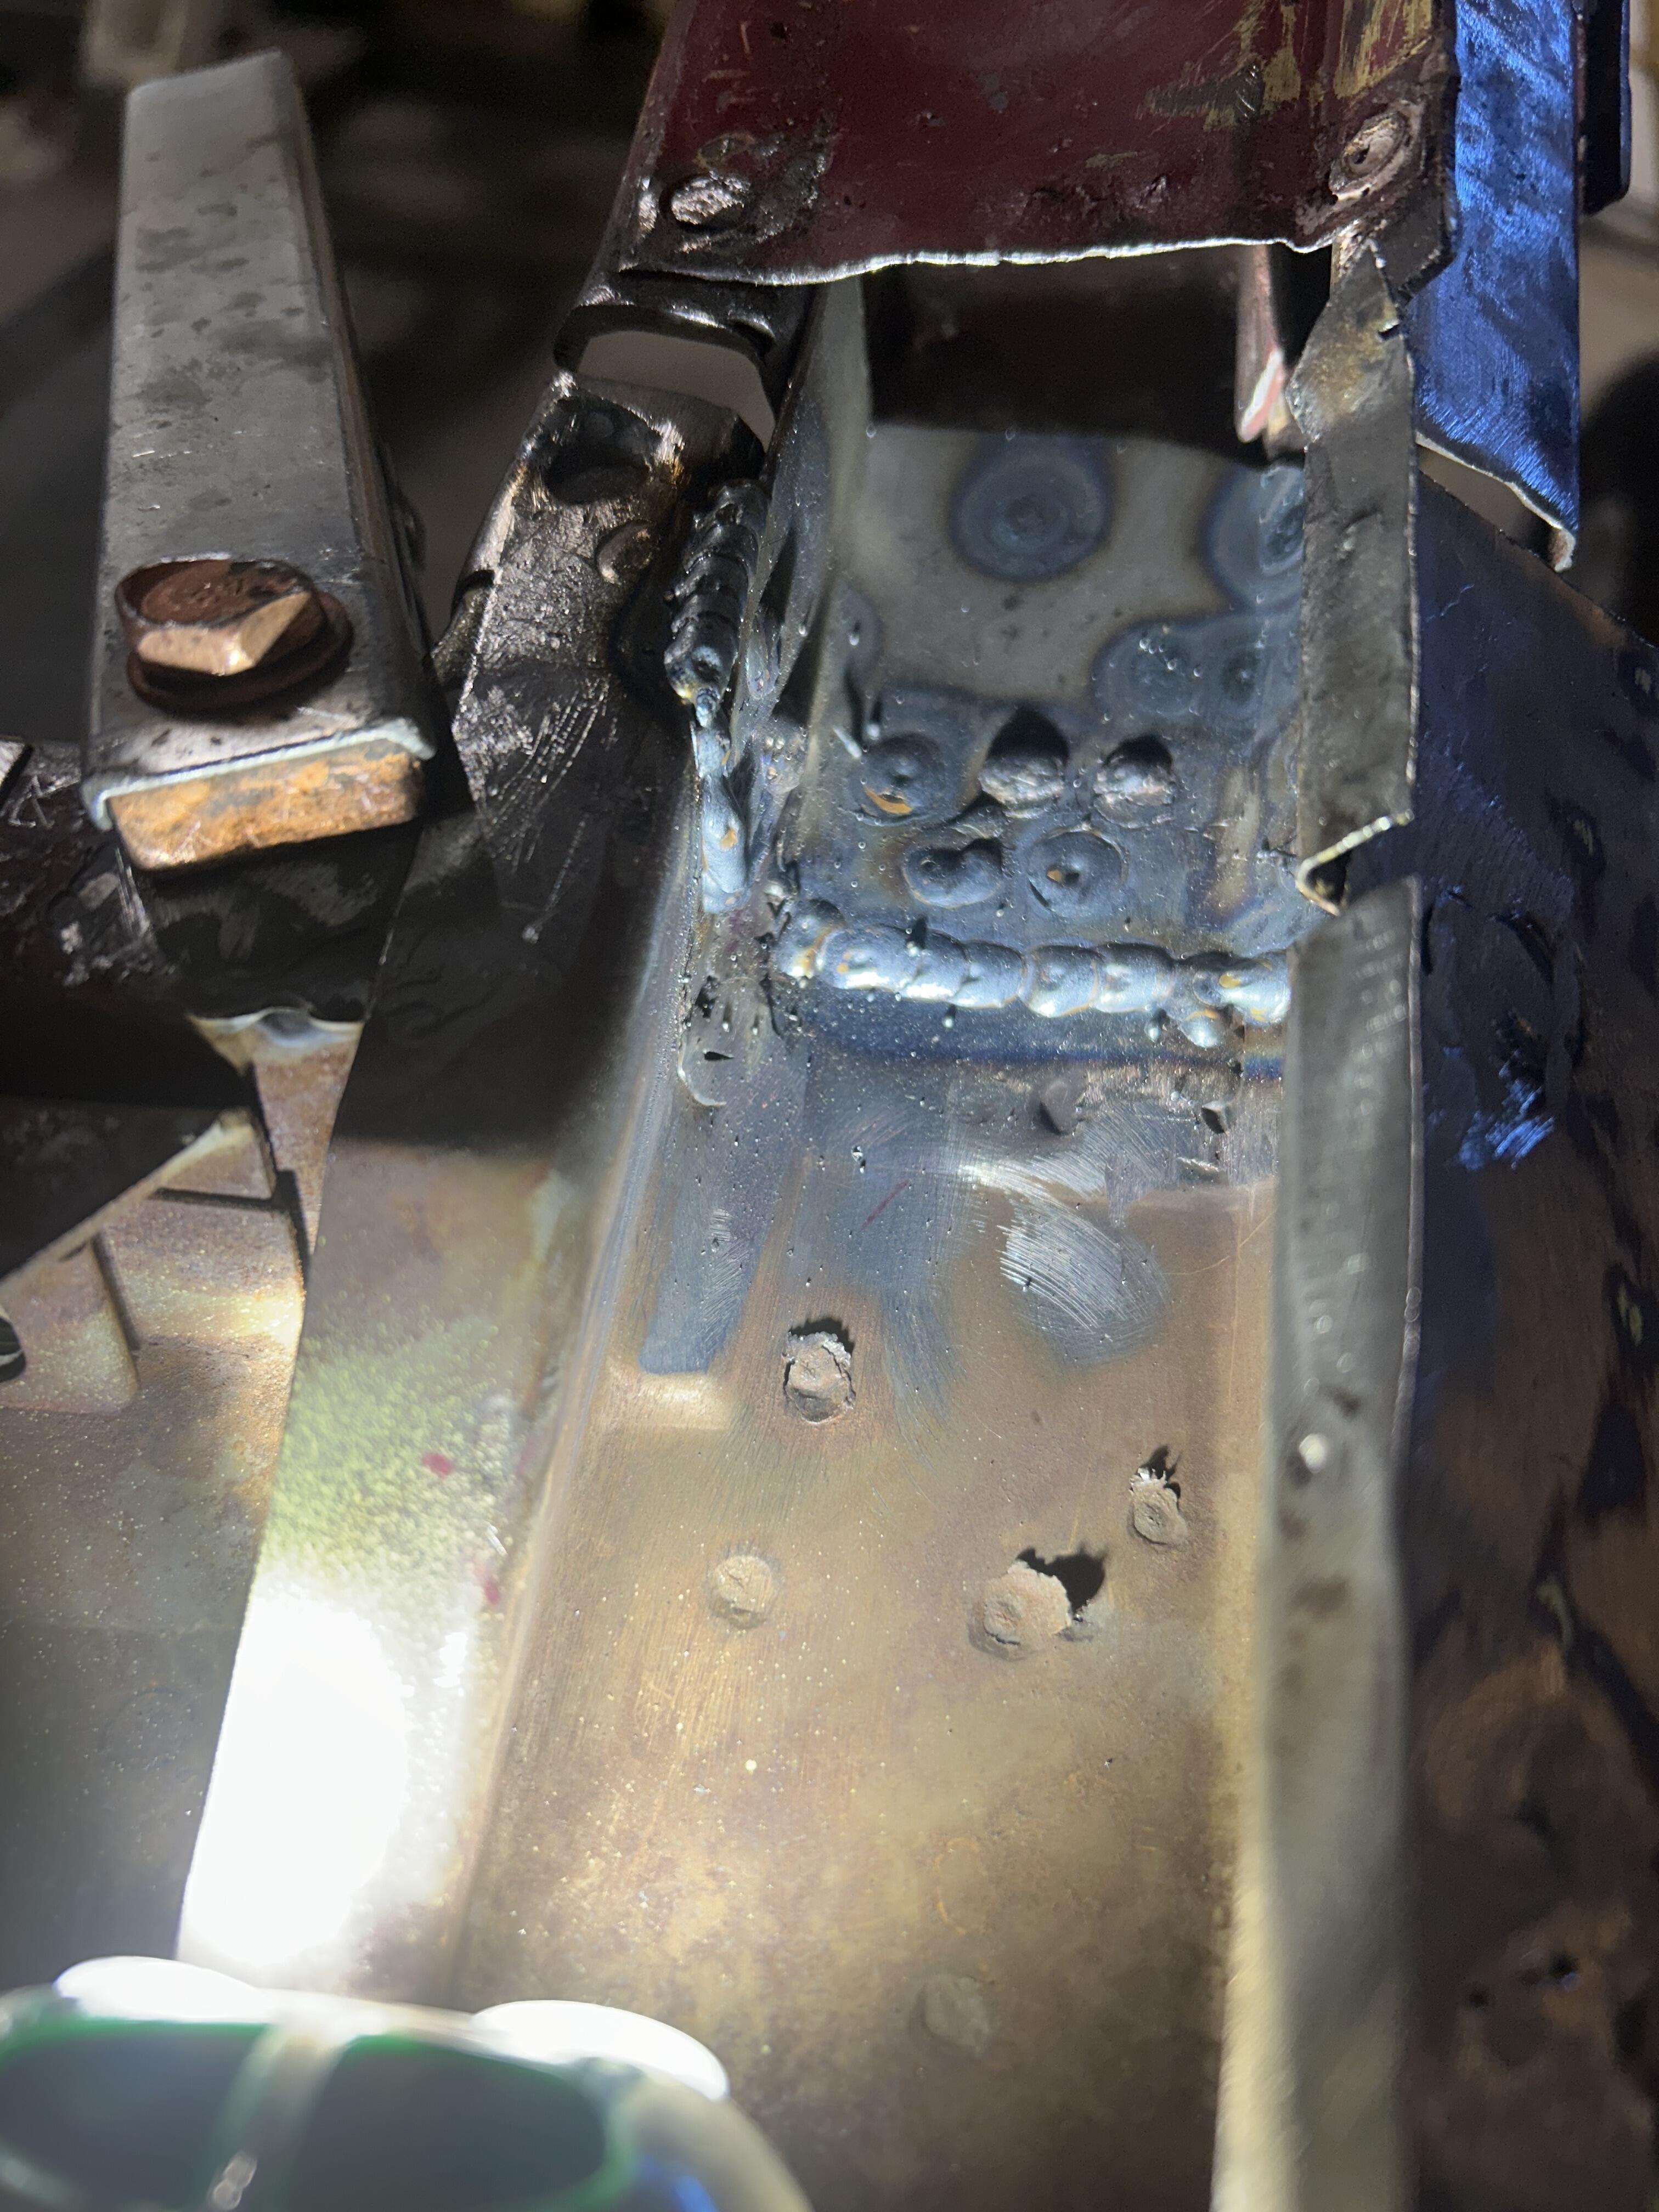
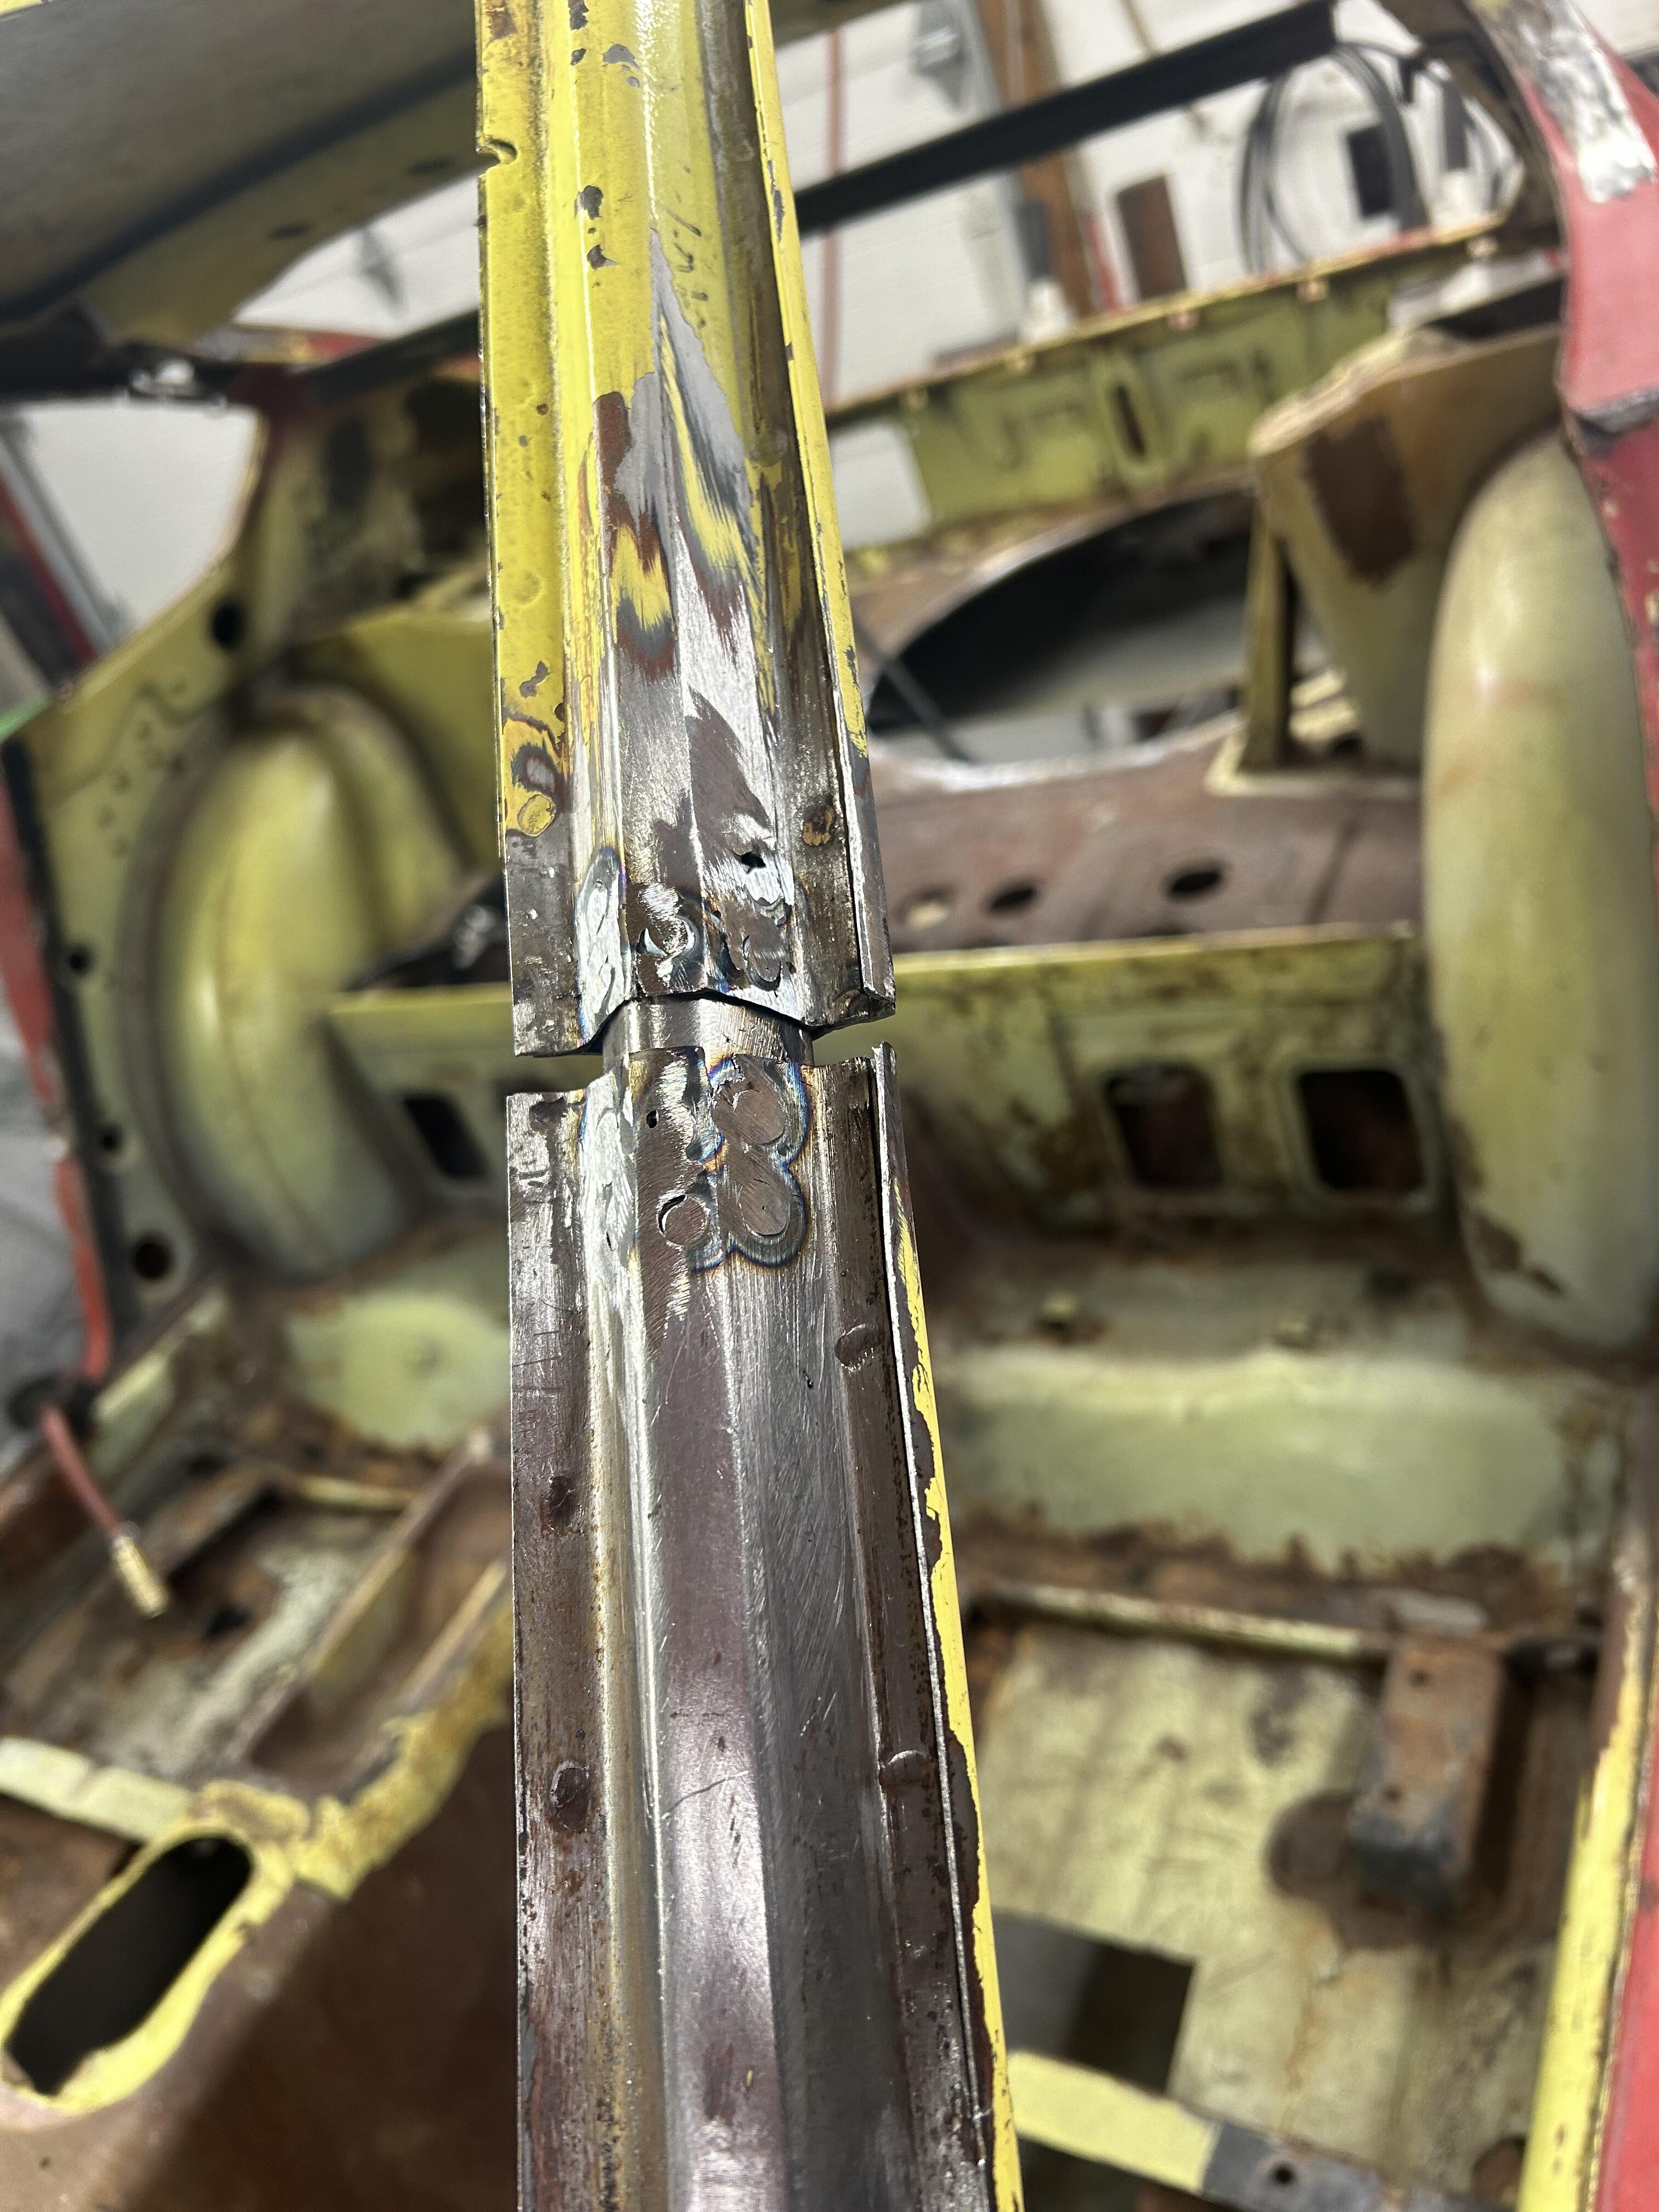
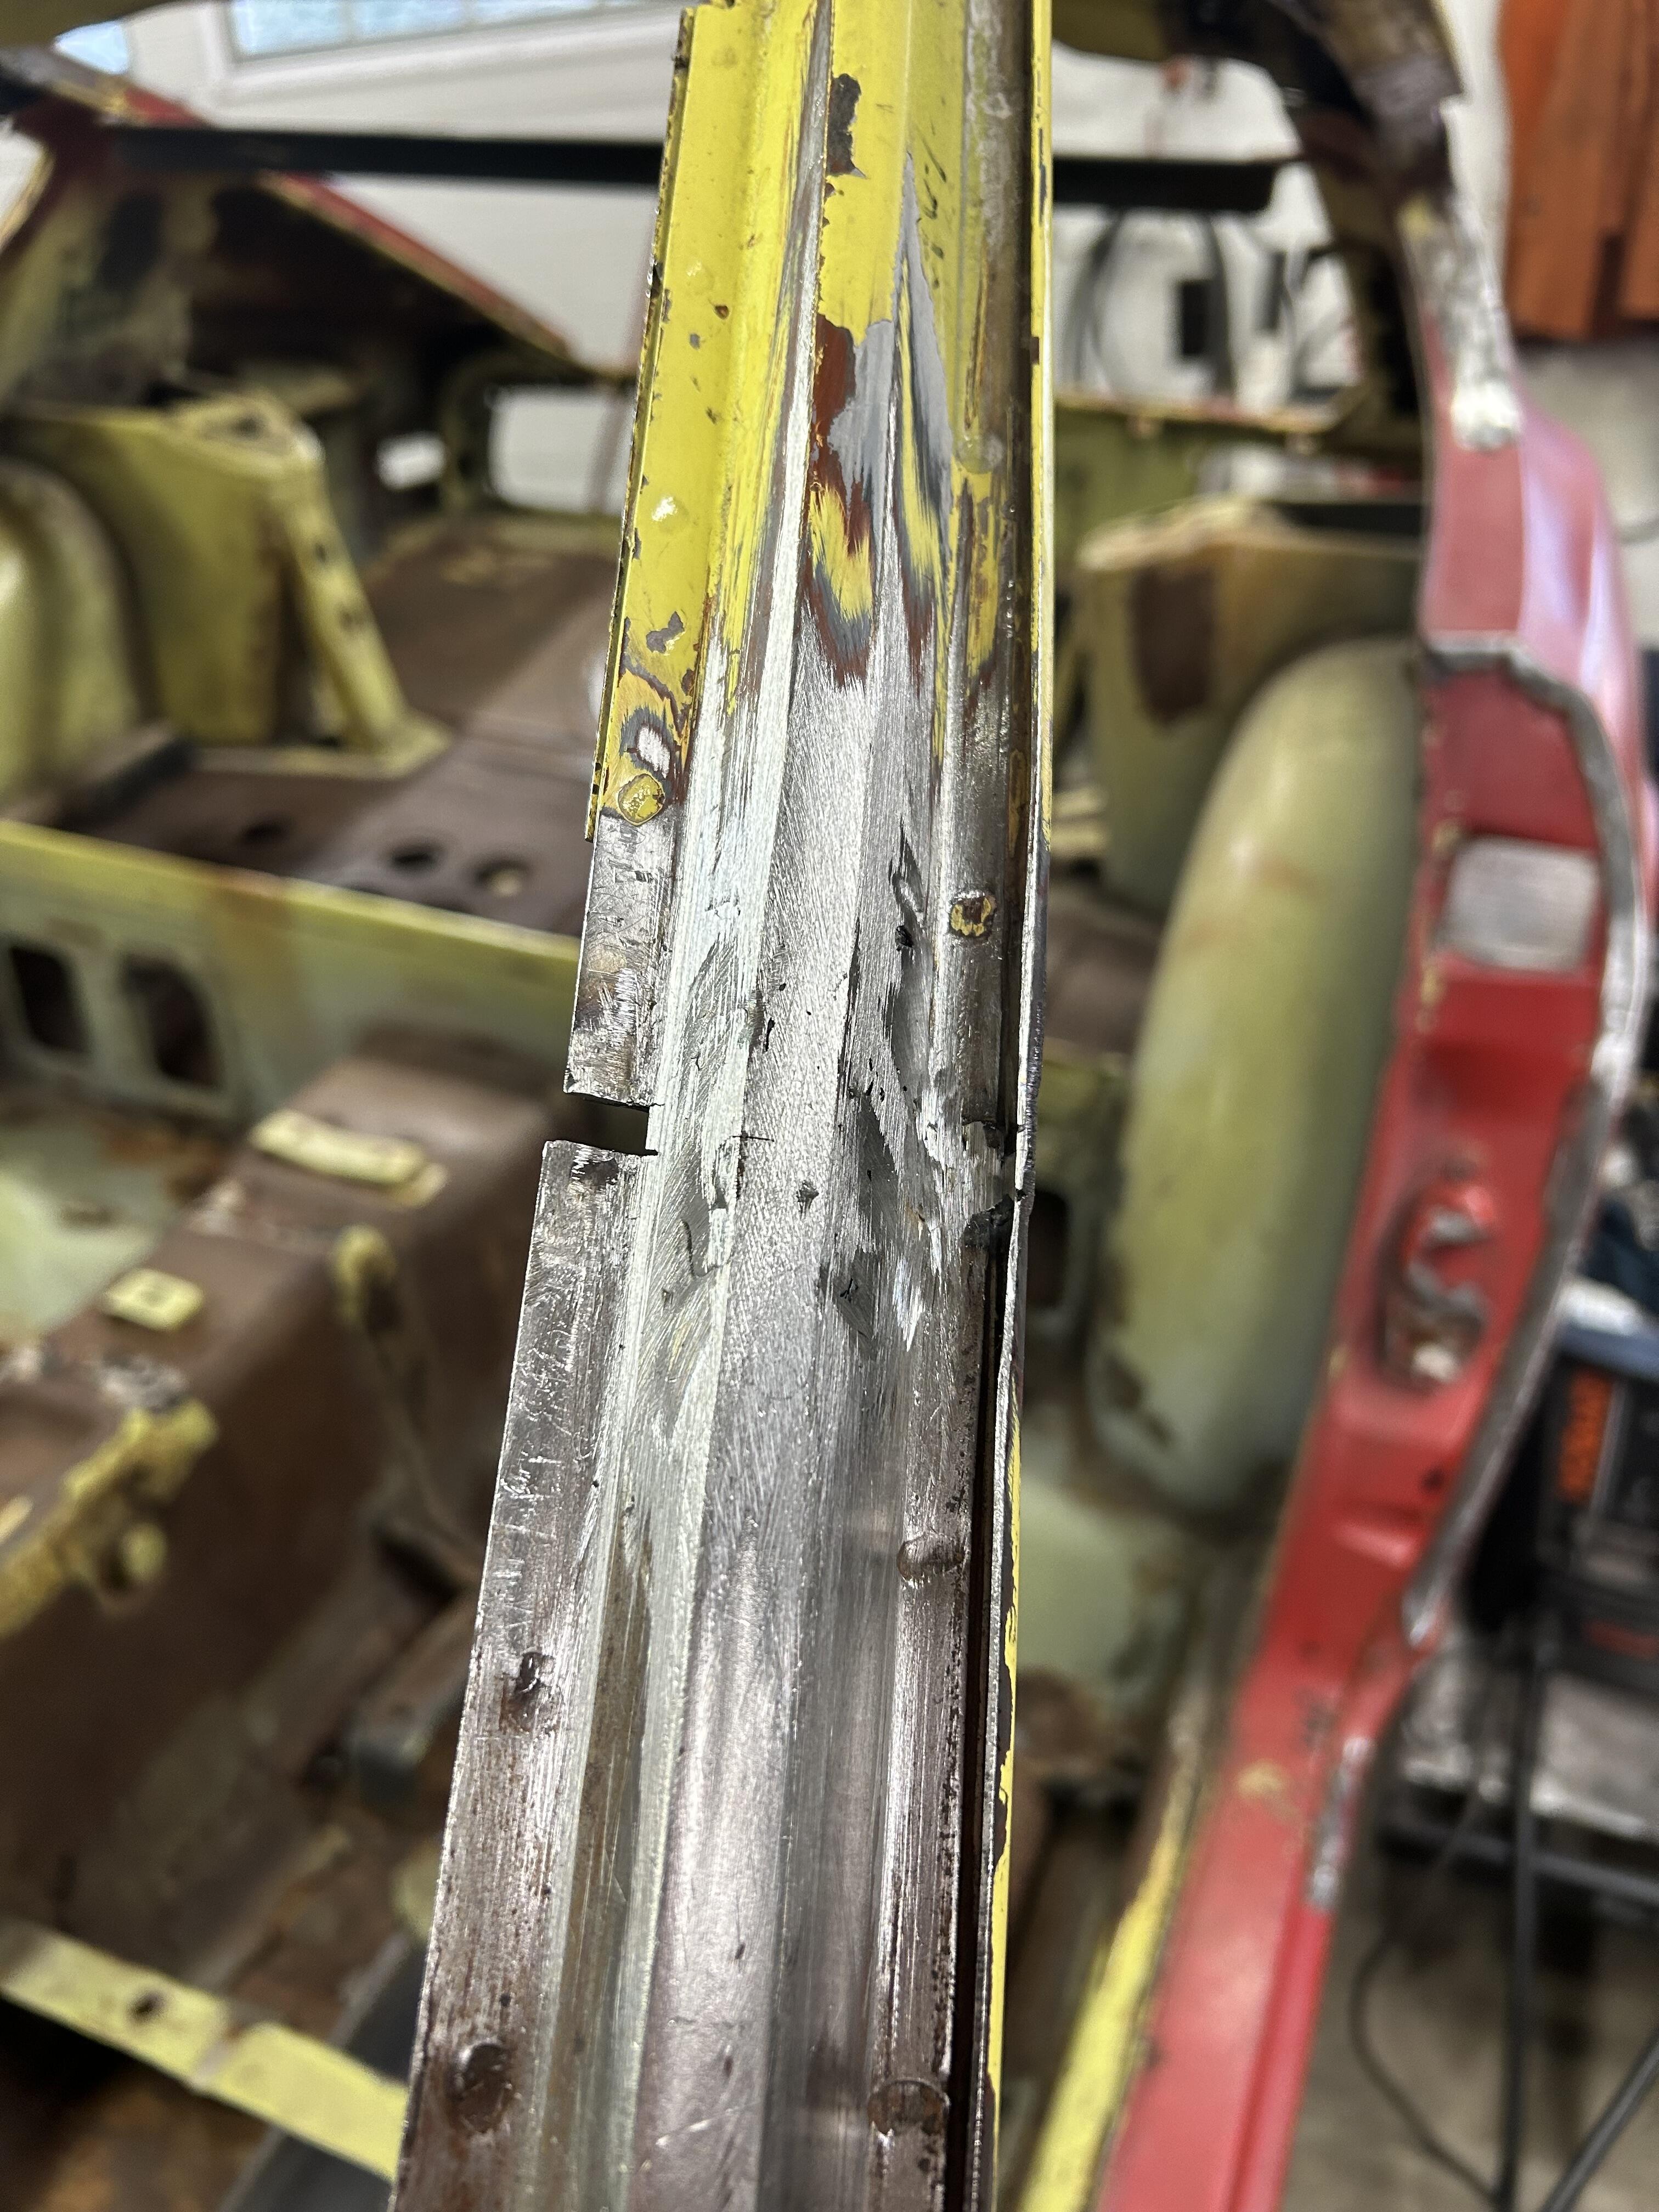
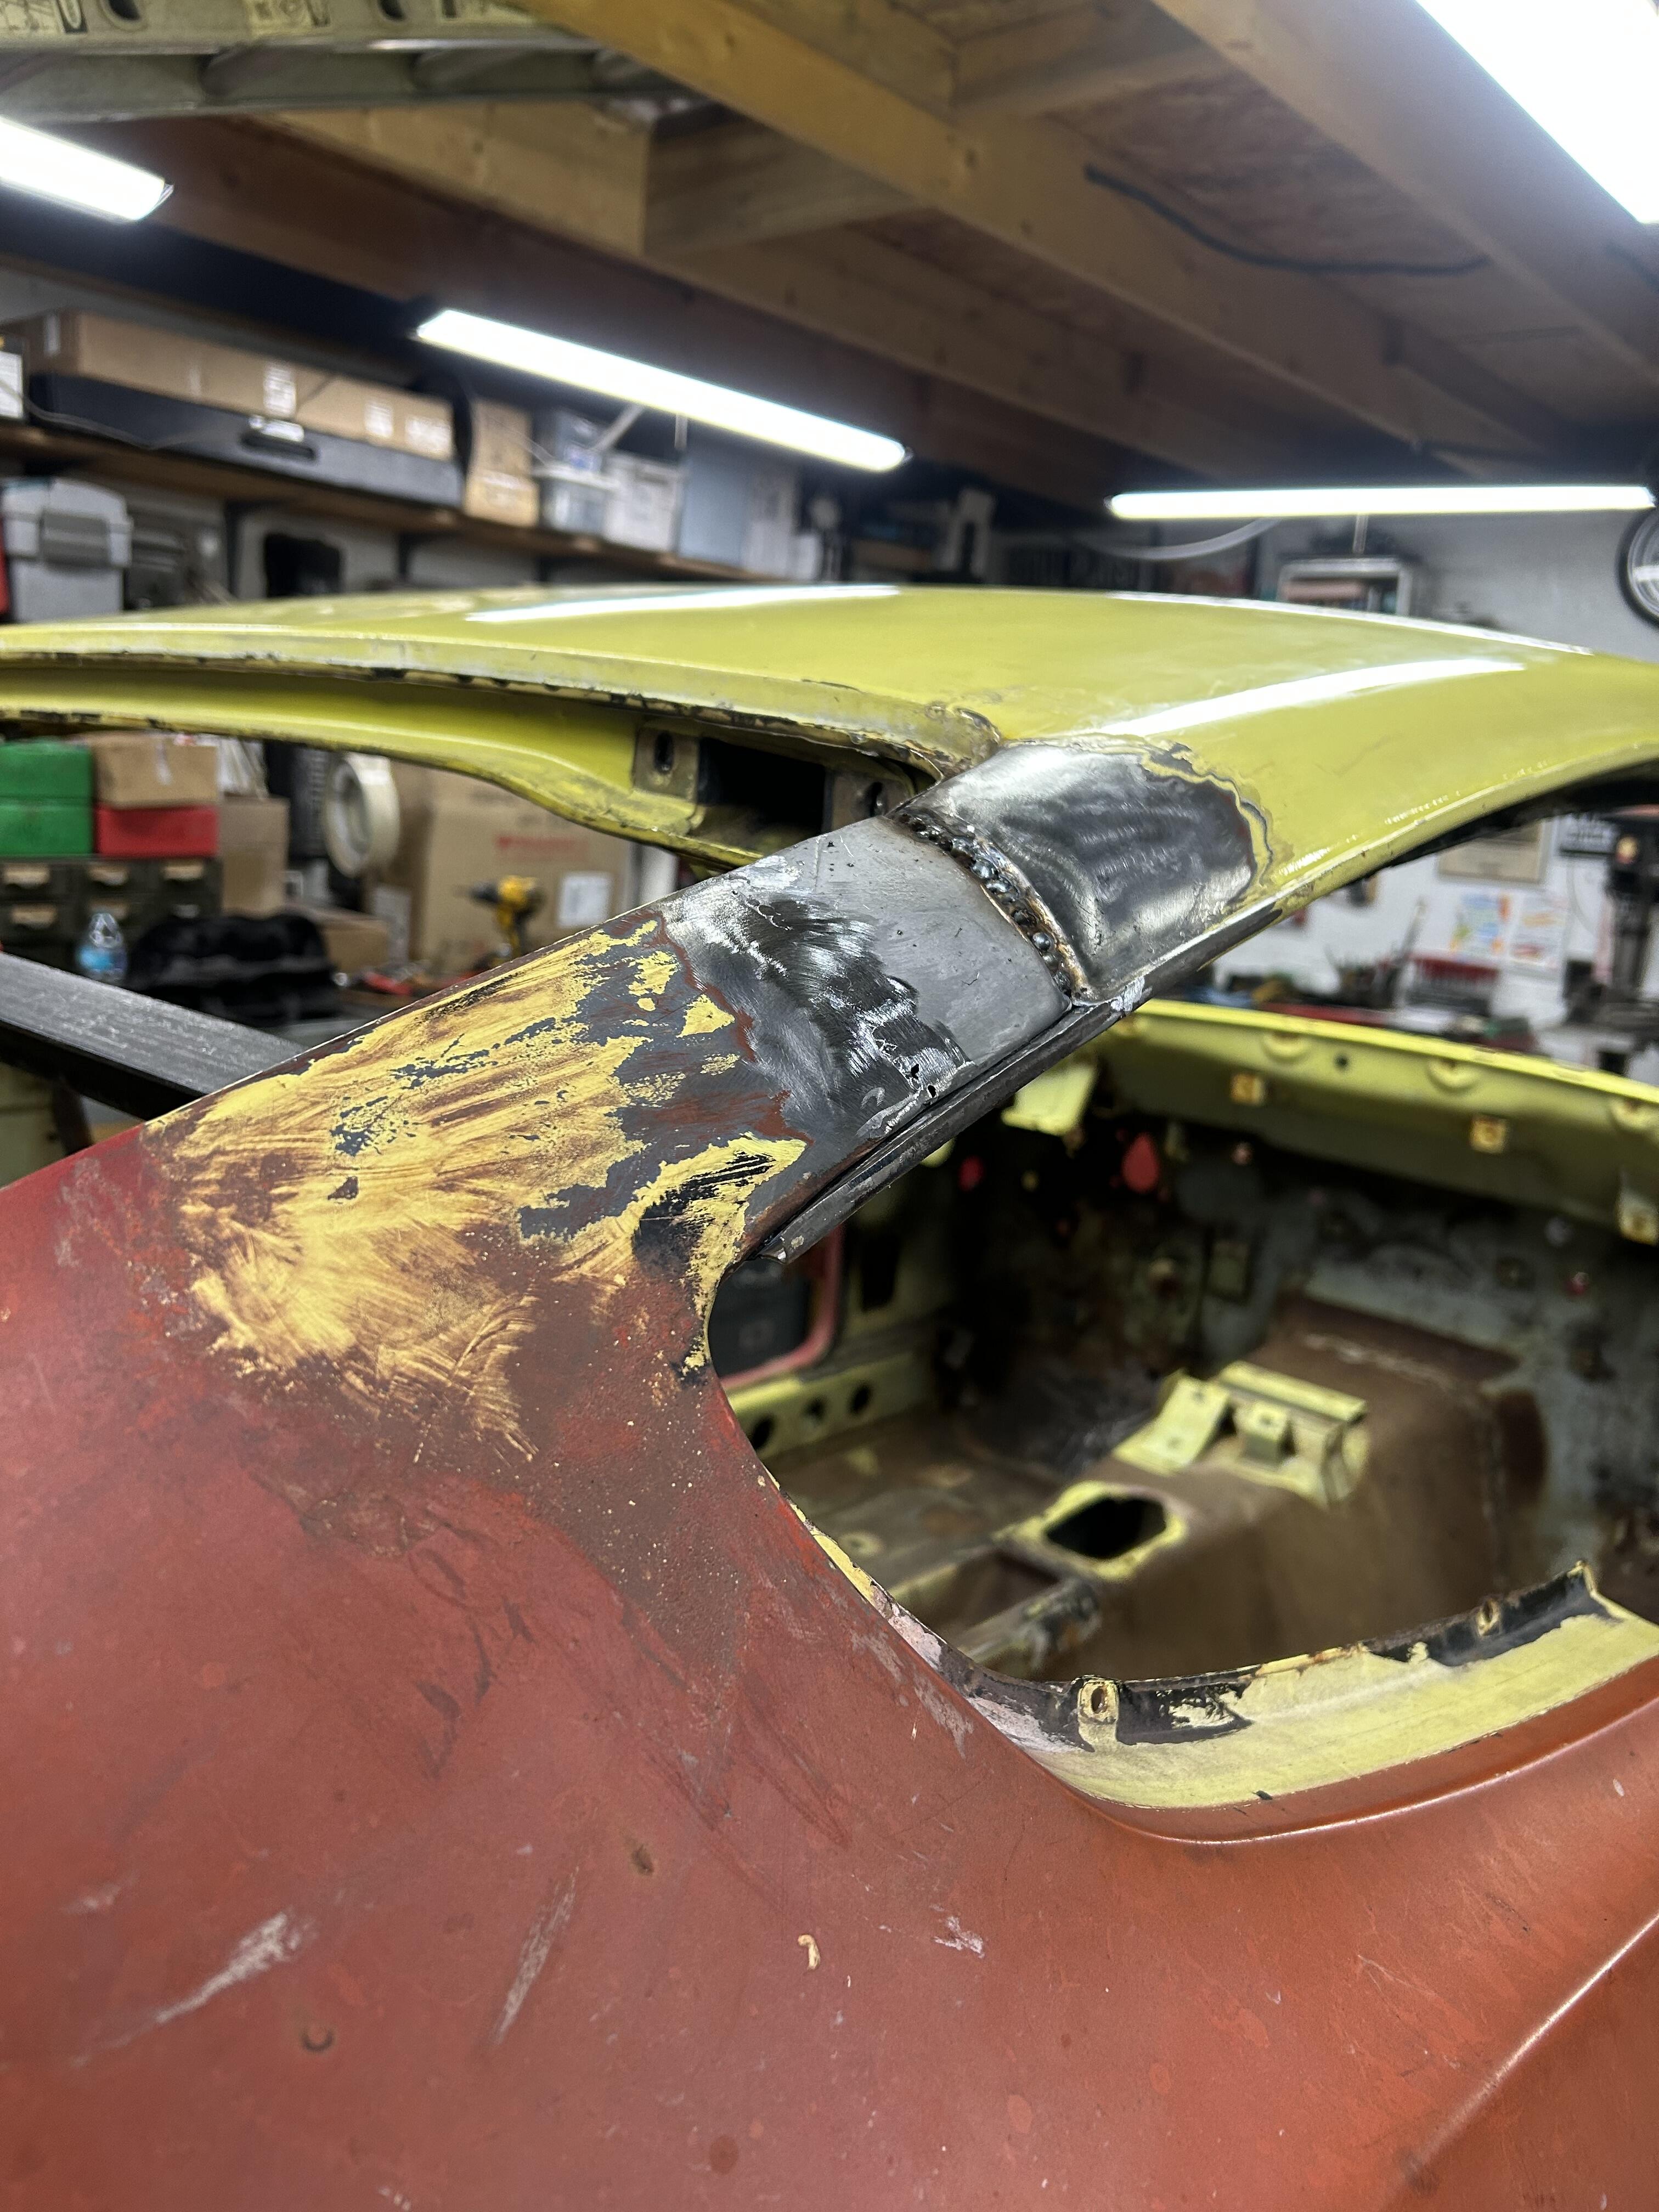
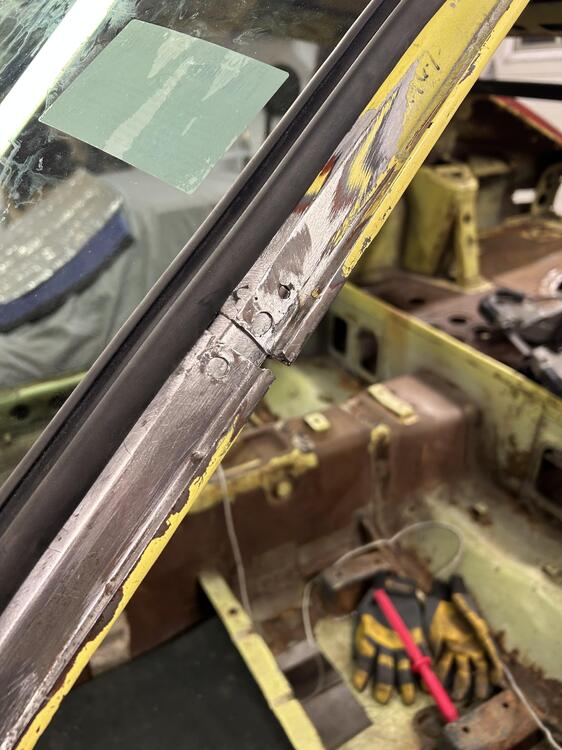
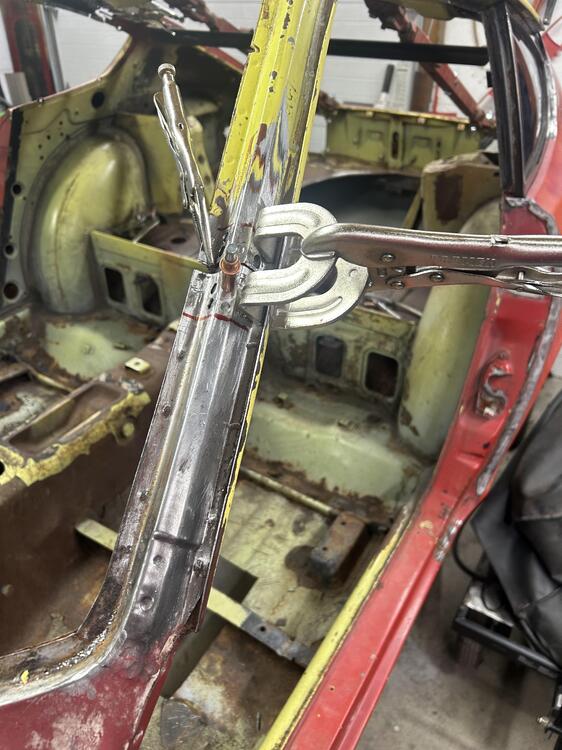
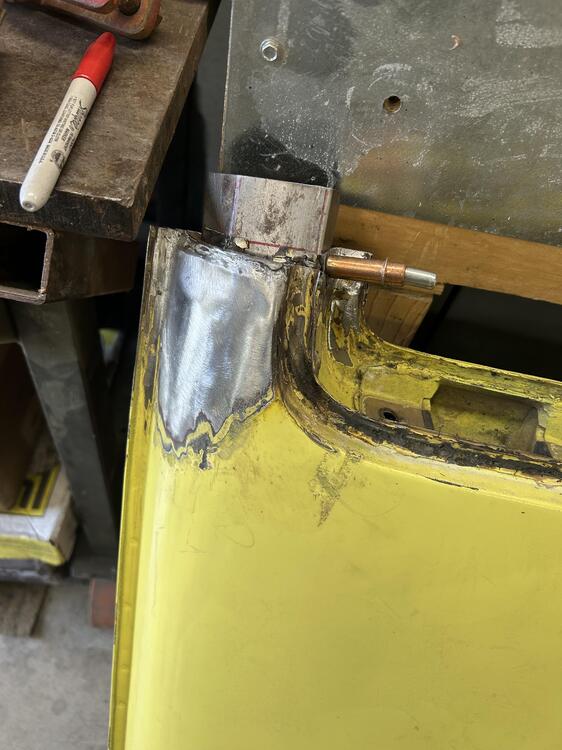
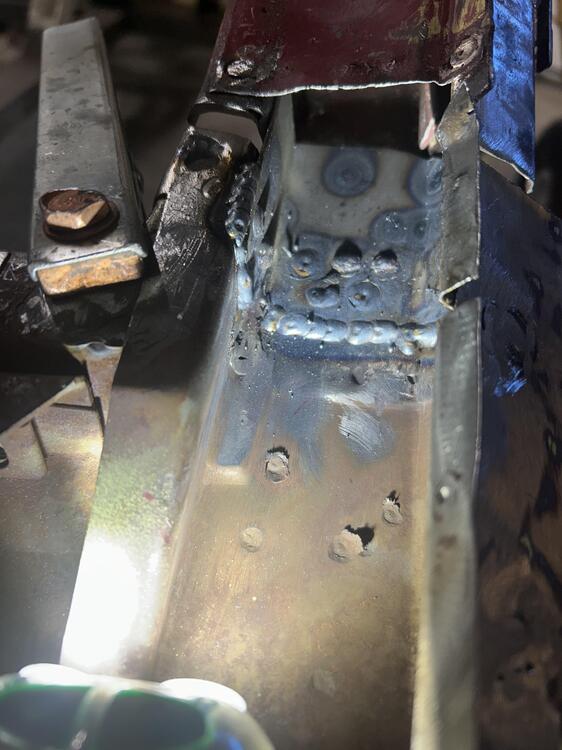
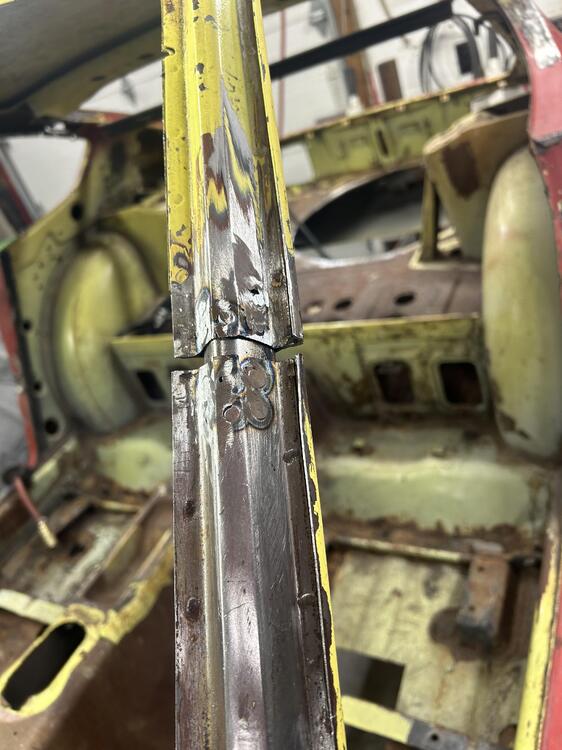
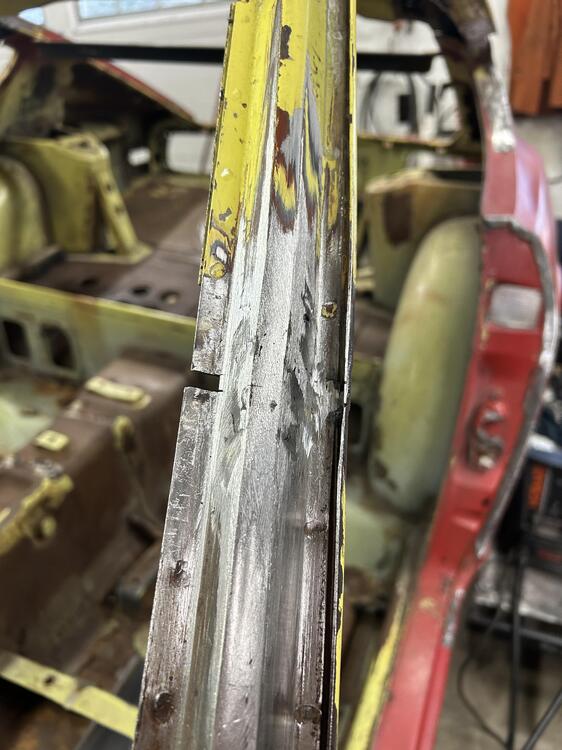
3 pointsWell here is a look of the innards of a A pillar on a Z. The way it was designed made plugging it a challenge to say the least . I had plenty of A pillar material laying around so I made some plugs to slide down inside the A pillar . I think they were less than 3” . I wanted to be able to plug weld and butt weld from all sides . I peeled back the skin on the inside of the pillar . That allowed access to weld all the way around the plug . On the back side of the roof I made a plate to help join/bridge the new roof to the rear quarter . Of course the ideal scenario was to have as small of a gap as possible . I thought I nailed it the first time - but I made the error of relying on measurements . I welded it partially and got the fit too tight and couldn’t fit a windshield . I had to undo welds and clean things up . I should have attempted to install the windshield and then welded . In the end I ended with a .250” gap which was acceptable to me . It sucked having to grind out mistakes - but I was determined . At the rear I had the quarter windows to help me line things up . Since they have 4 screws and they share with the roof and quarter - I just had to make them line up . The problem was the roof was a bit sprung and I couldn’t pull it in place without some heavy equipment. My friend of the bodyshop told me he had these big turnbuckles I could try . They were the ticket .


 3 points
 -
Cliff, you can buy a lot of Powerball tickets for $12,000 😎.1 point
-
1 pointI decided to go through all 14 pages of this thread. I spent many hours trying to get my fuel level in the bowl correct, whatever "correct" is. I even fabricated a plexiglass model of the fuel bowl so I could actually test the float in combination with the needle valves, which I know are NOT grose valves. I also found I was totally wasting my time by measuring the distance from the top lid of the fuel bowl to the top of the float, which we now believe was meant for grose valves. The critical measurement I've learned is the actual fuel level in the nozzle, not the bowl. Either .426" or 10mm would be the level of fuel below the carburetor bridge. That level happens to be based on the fuel level in the bowl, which is determined by how one bends the tabs on the float itself. Some of us have discovered that to get the proper fuel level, the float is actually too high in the bowl and is dangerously approaching the lid of the float bowl. As you can see, CO has fabricated some brass screws that when inserted into the float will help the float attain the proper angle when the fuel level is correct. I have fabricated similar screws and will drill and tap holes in the float as CO did, and hopefully after re-adjusting the tabs will finally have the proper level. I will report back with my findings, but from I've read from CO, I am expecting good results. Jim1 point
-
1 pointYeah, I used a step drill as 3/4" is apparently the one size in my "monster drill" collection that I don't have. It's smart to paint that bare metal (I'll use some of my POR-15) as it will undoubtedly see moisture -- but no salt... not under my ownership at least. Doors to be done tomorrow. Thanks again. This will all go into the power window tech article on which I'm working.1 point
-
1 pointWorked for Grannyknot using zero-forgiveness sheet metal. I don't see the problem.1 point
-
1 pointThey wrote great songs but I can't think of any covers that were done. What a shame.1 point
-
1 point
-
1 point
-
1 point
-
VR1 10W30 $26.97 5 qt. jug, new filter $8 at Walmart. Cleaned and gapped ngk plugs $0. Adjusted valve lash $0. Idles smooth as glass. Took maybe 2 hours. Satisfaction for myself, PRICELESS! Beer:30 now.1 point