Leaderboard
-
conedodger
Free Member8Points12,513Posts -
inline6
 Subscriber
 5Points1,282Posts
 -
Captain Obvious
Free Member4Points10,081Posts -

Zed Head
Free Member3Points19,236Posts


Popular Content
Showing content with the highest reputation on 09/11/2024 in Posts
-
Hahaha!!! That's how I usually roll. Lurk in the shadows with this kind of stuff, but I'm getting pulled out into the daylight. Aaaaaa!! It burns!3 points
-
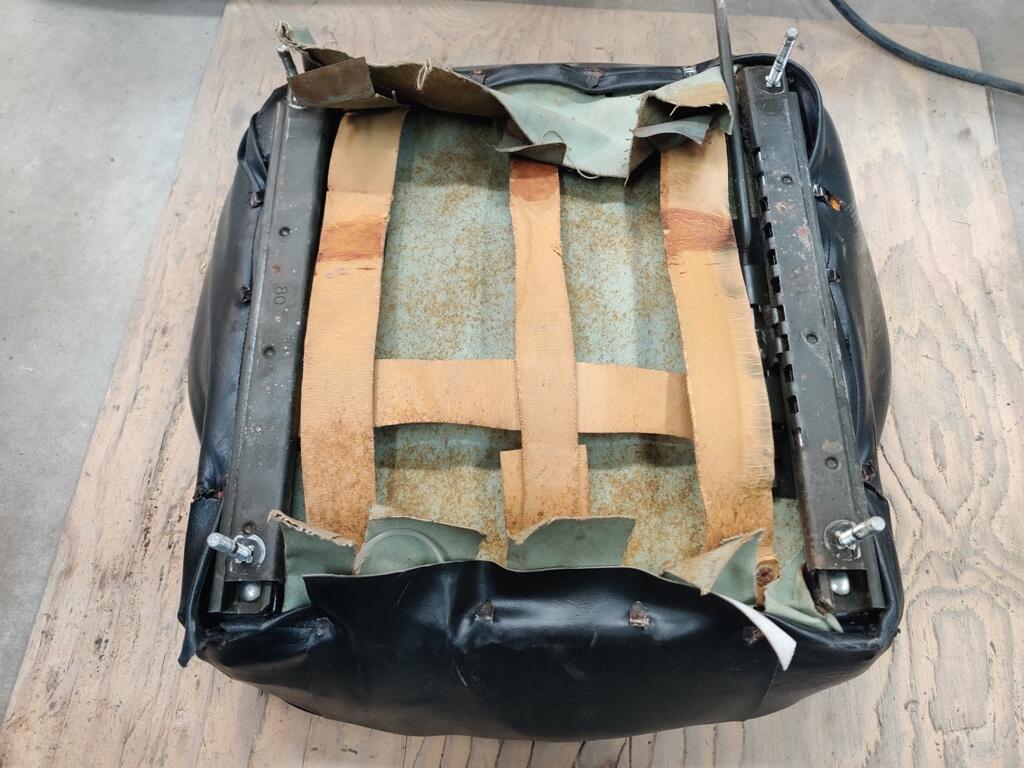
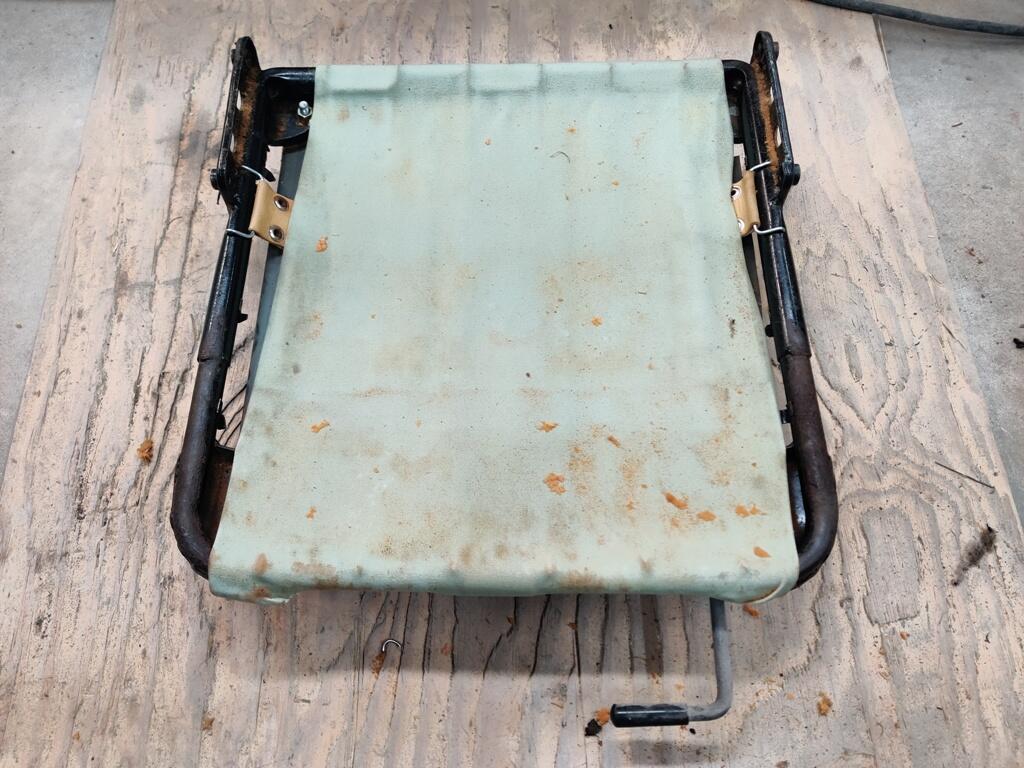
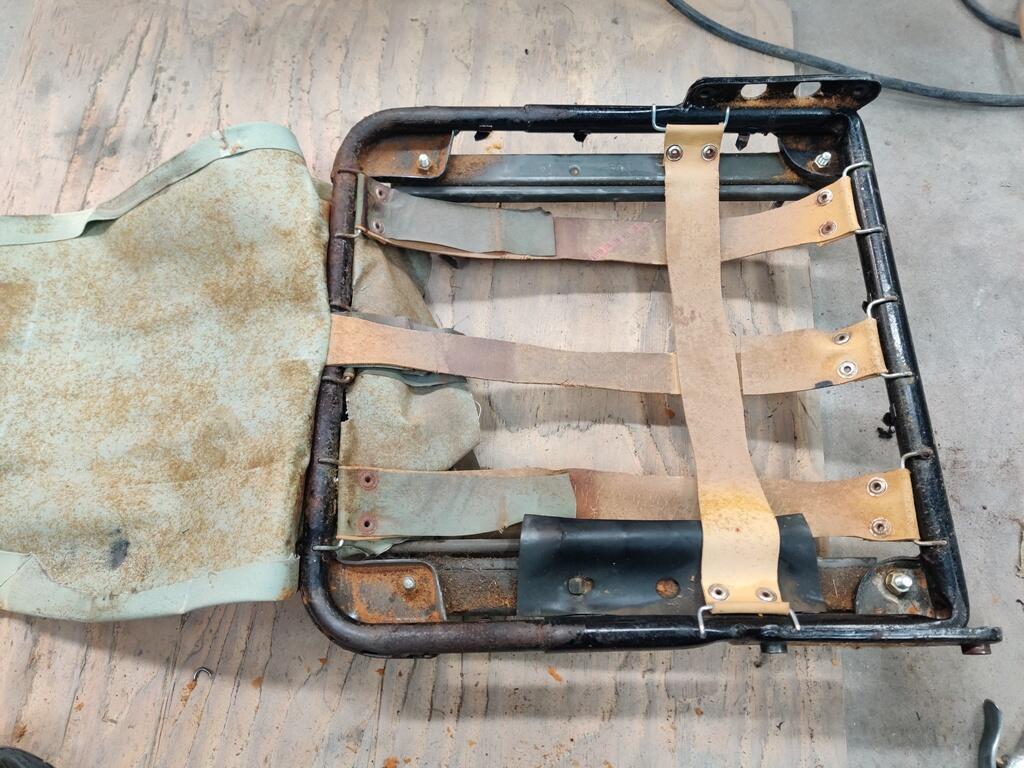
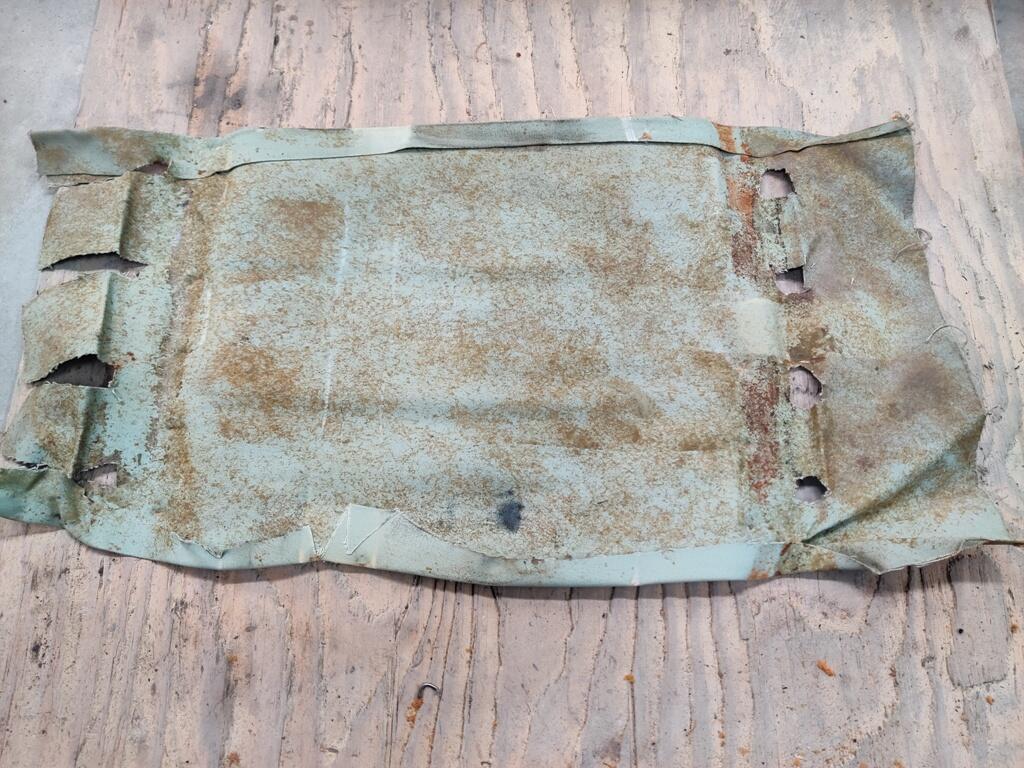
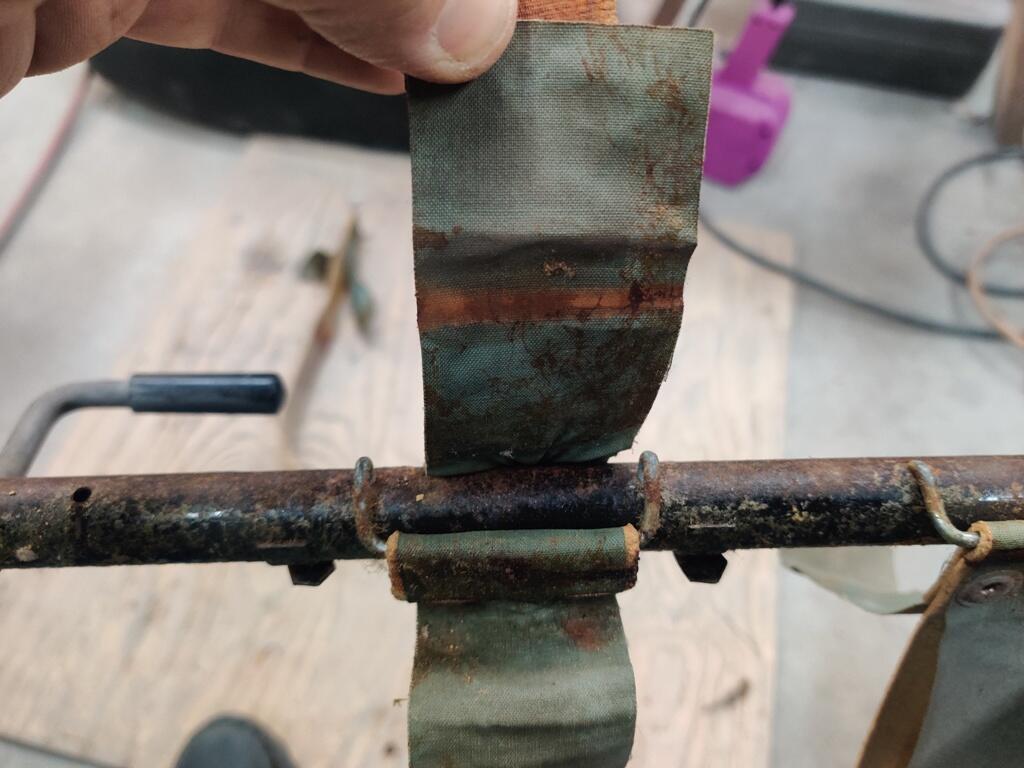
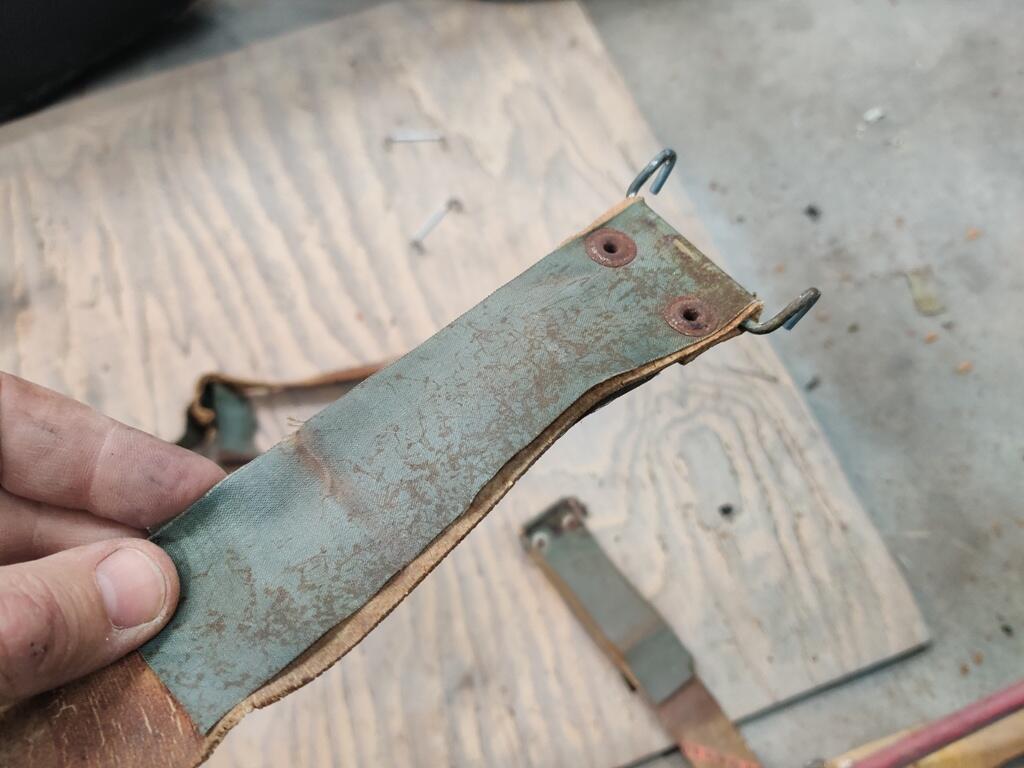
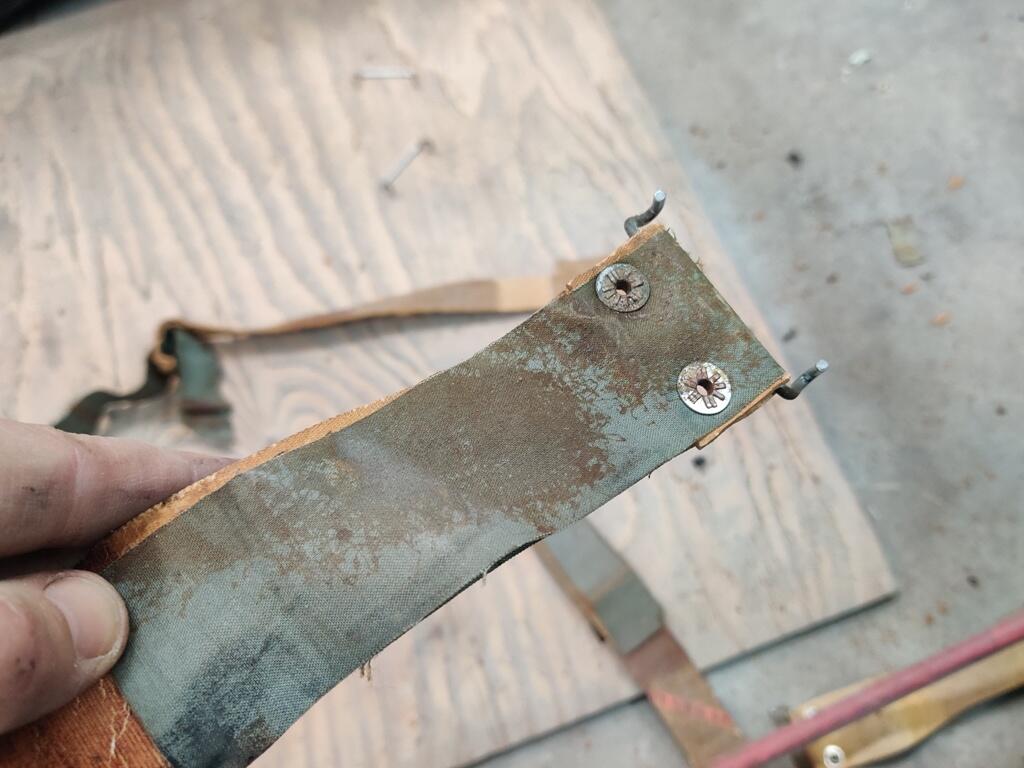
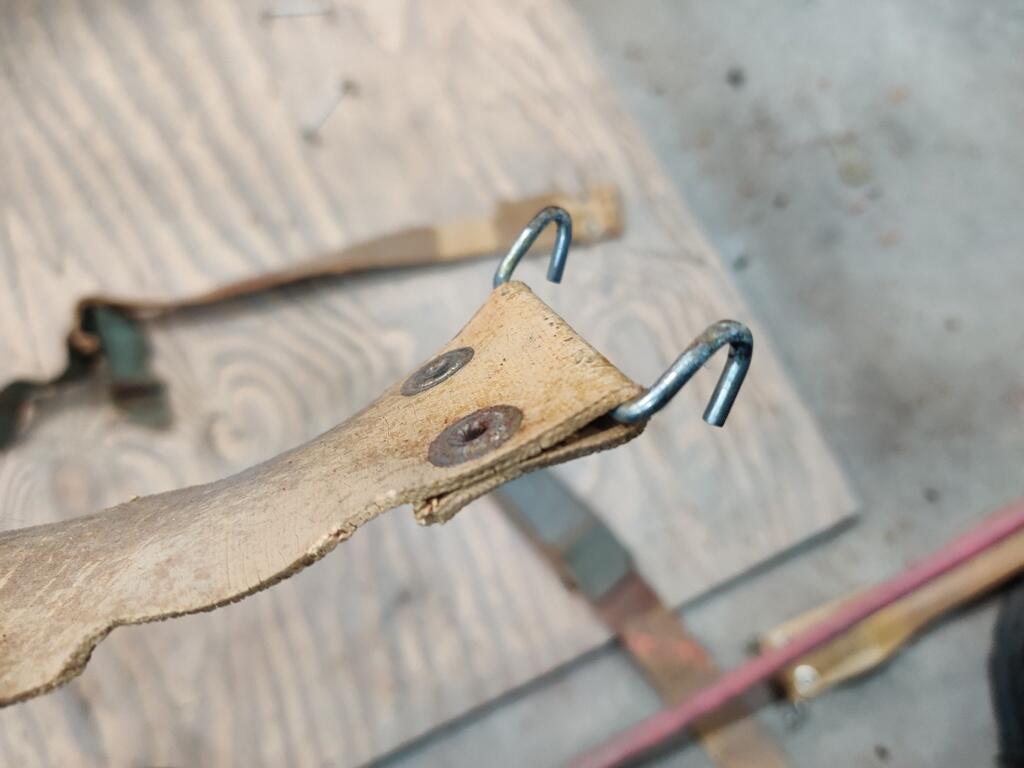
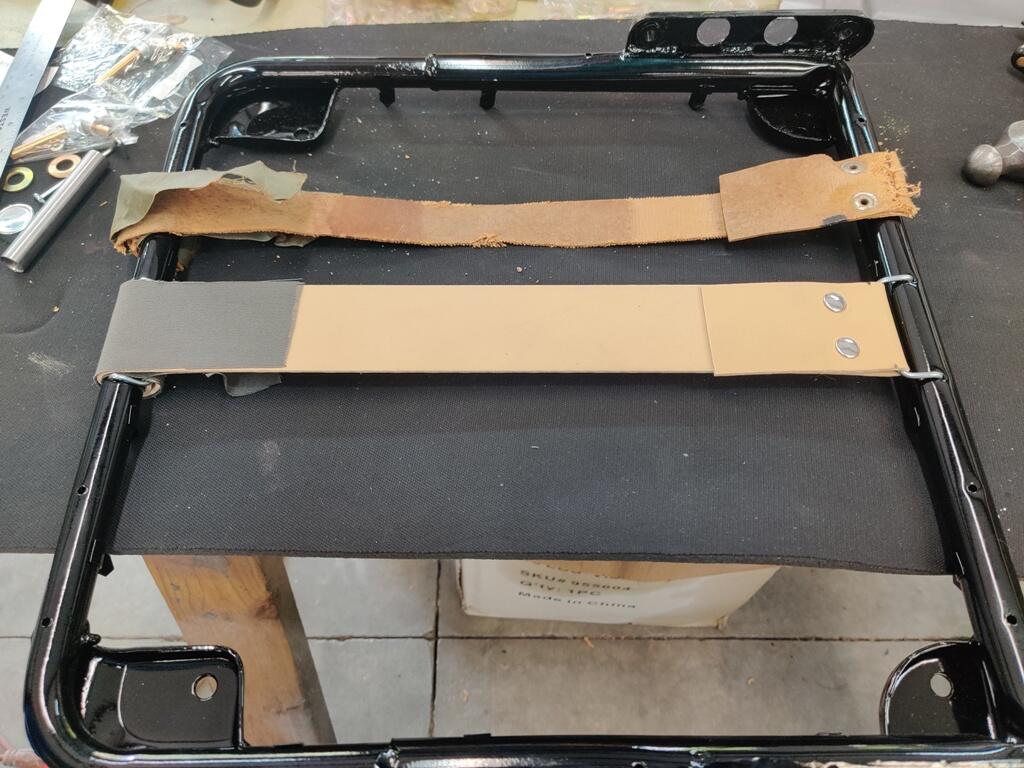
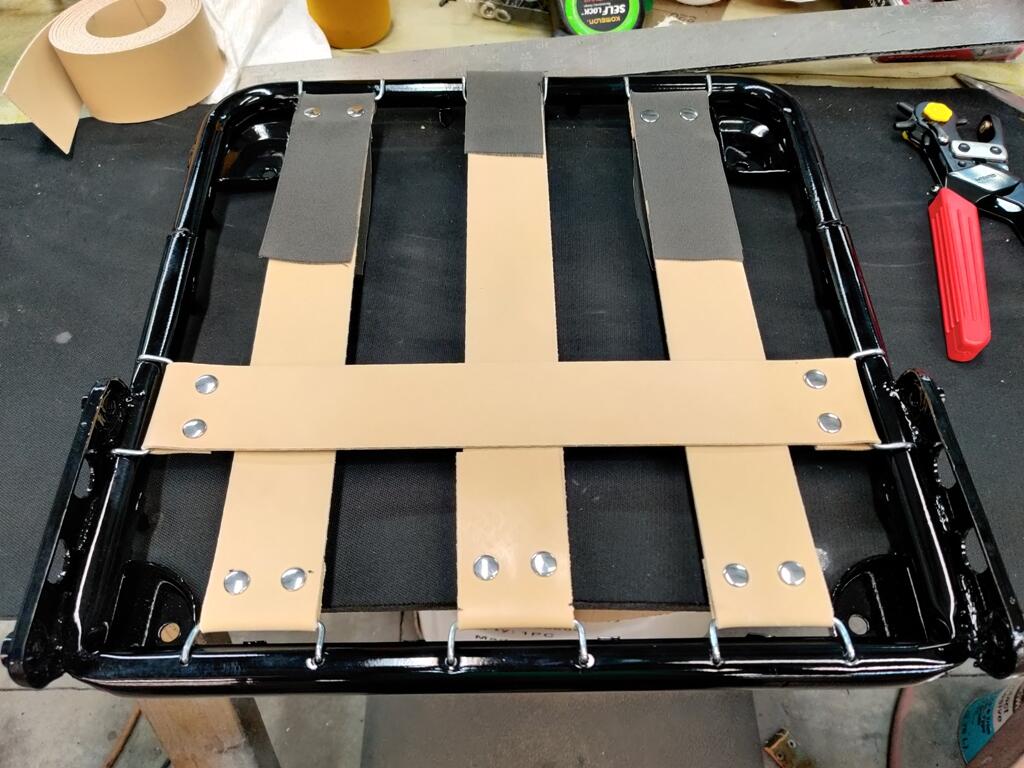
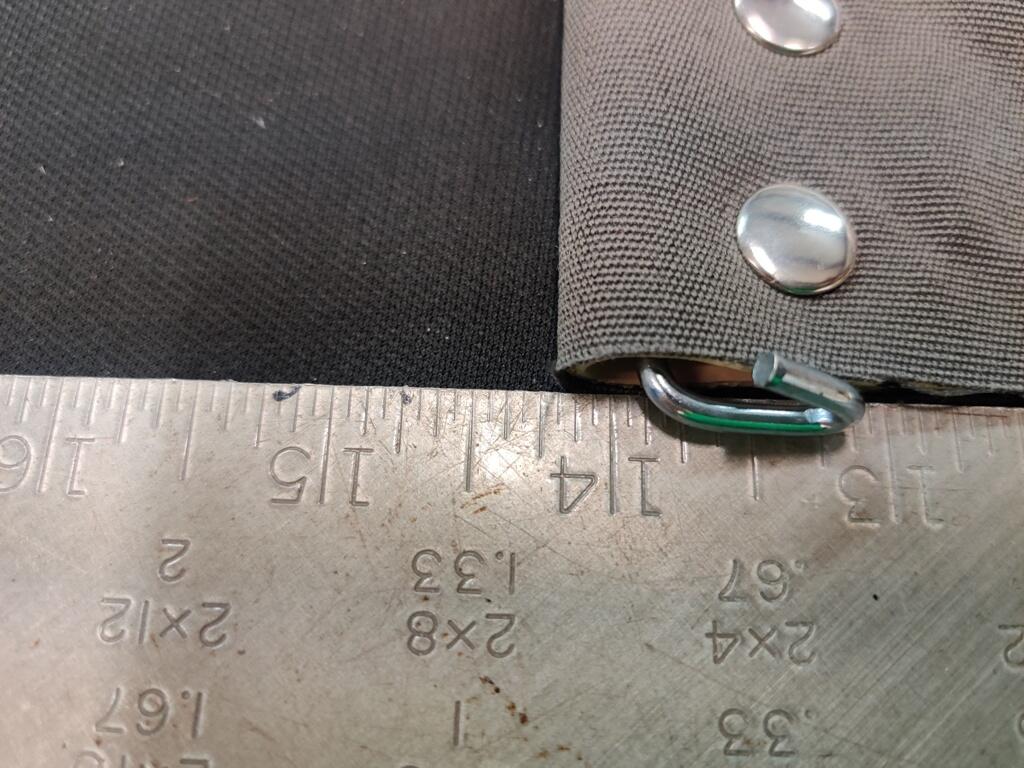
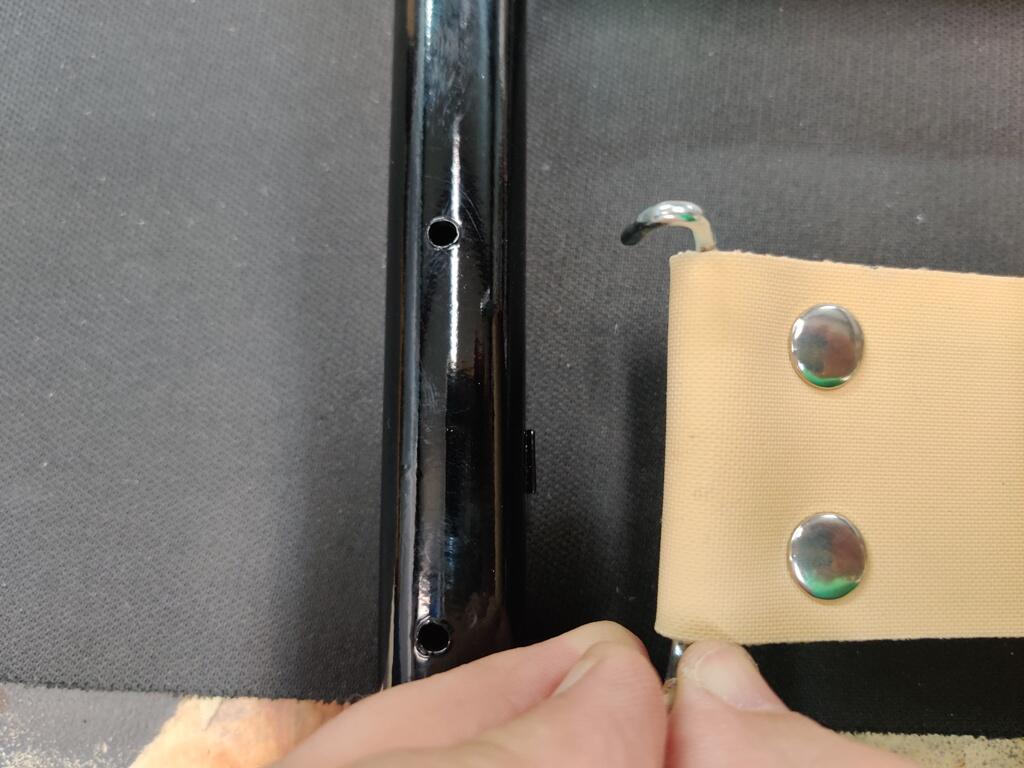
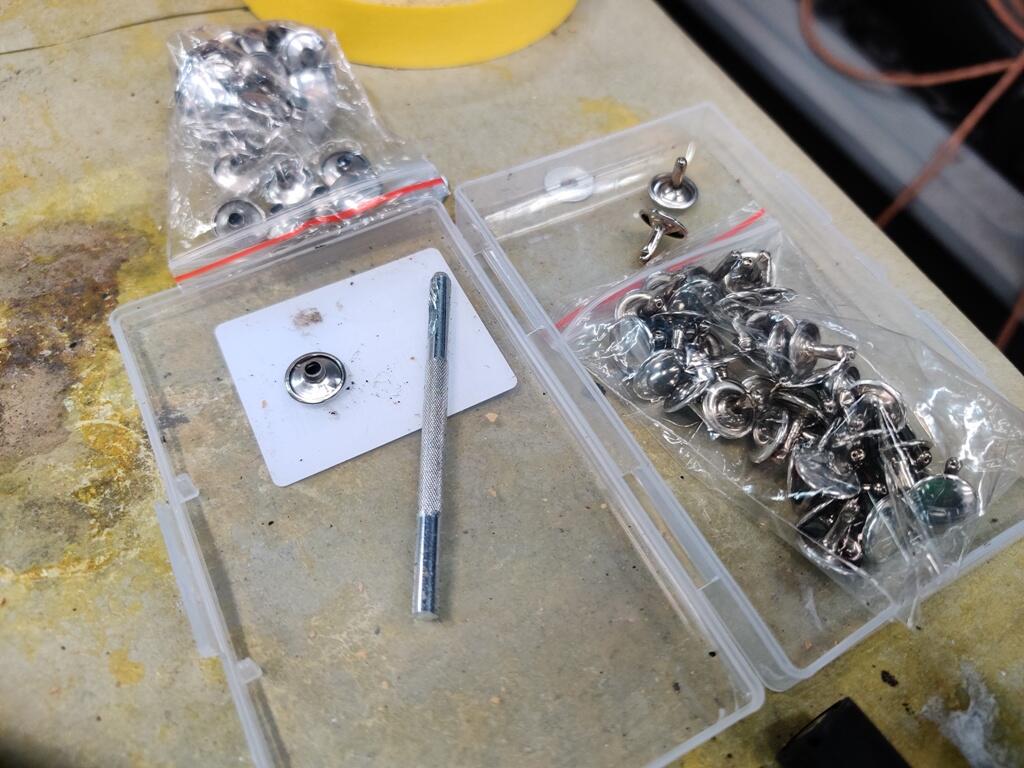
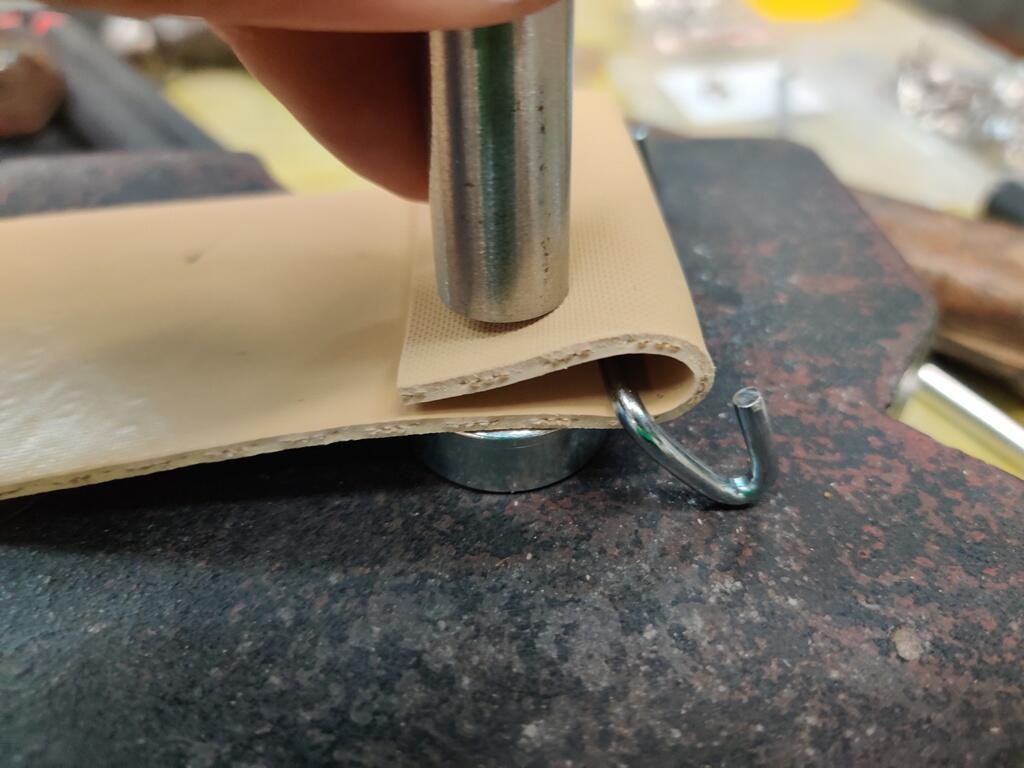
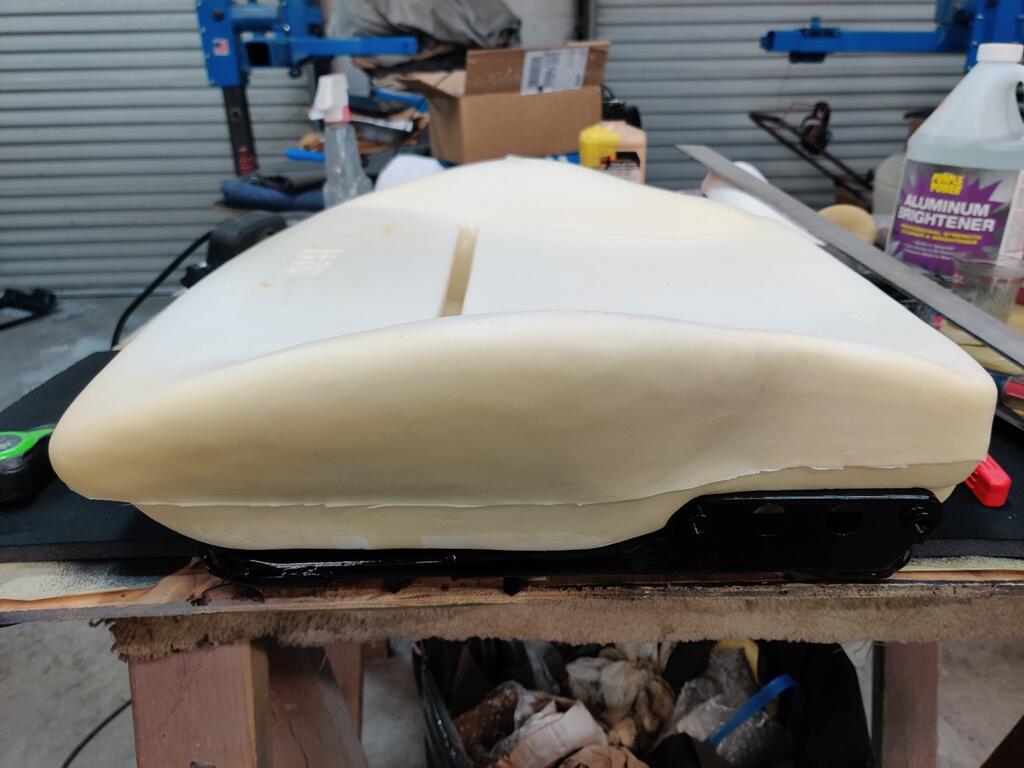
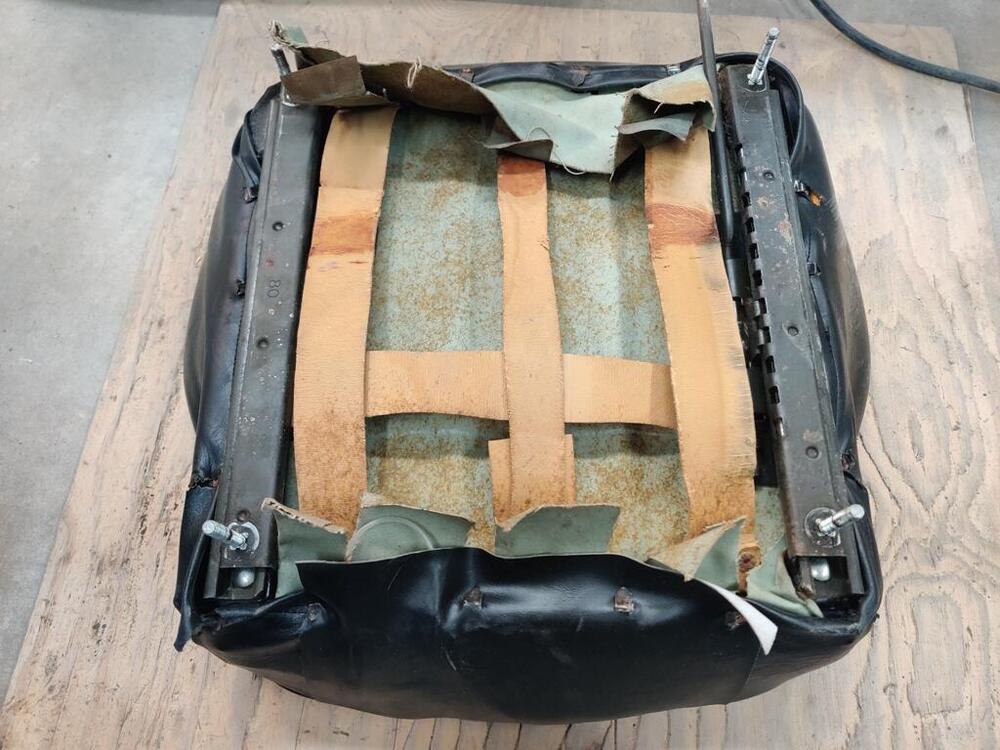
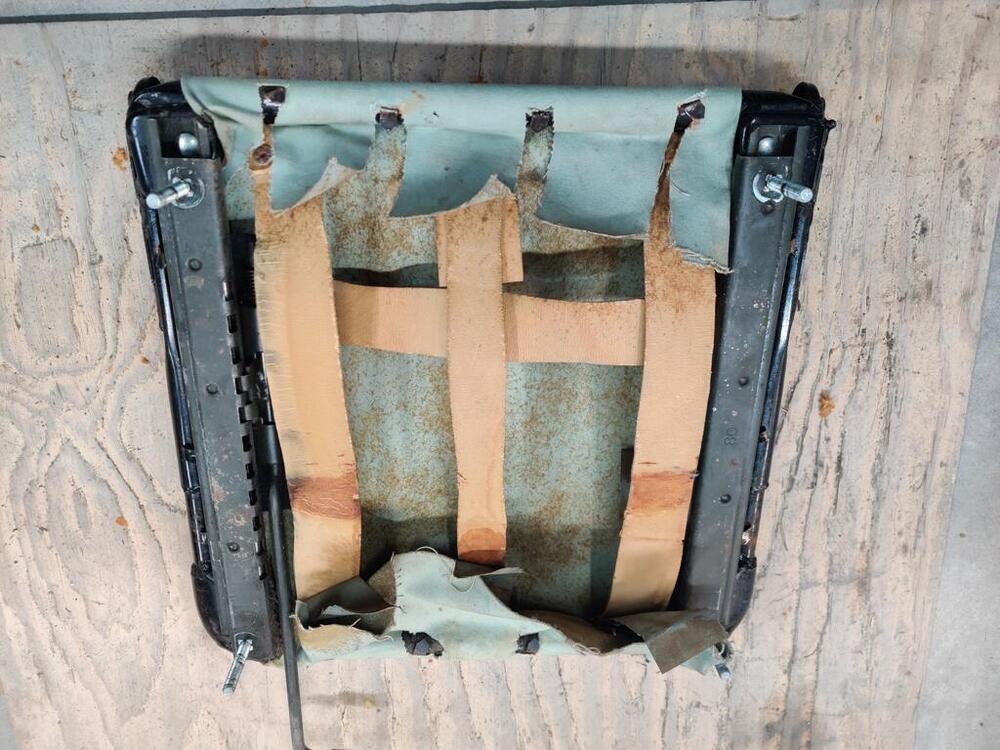
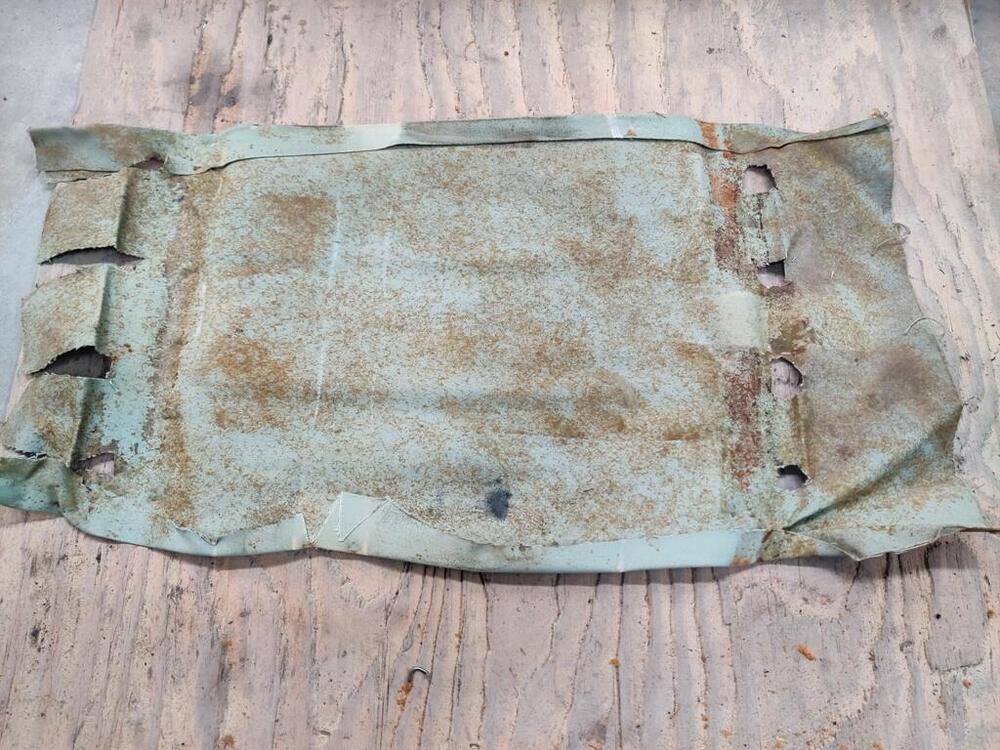
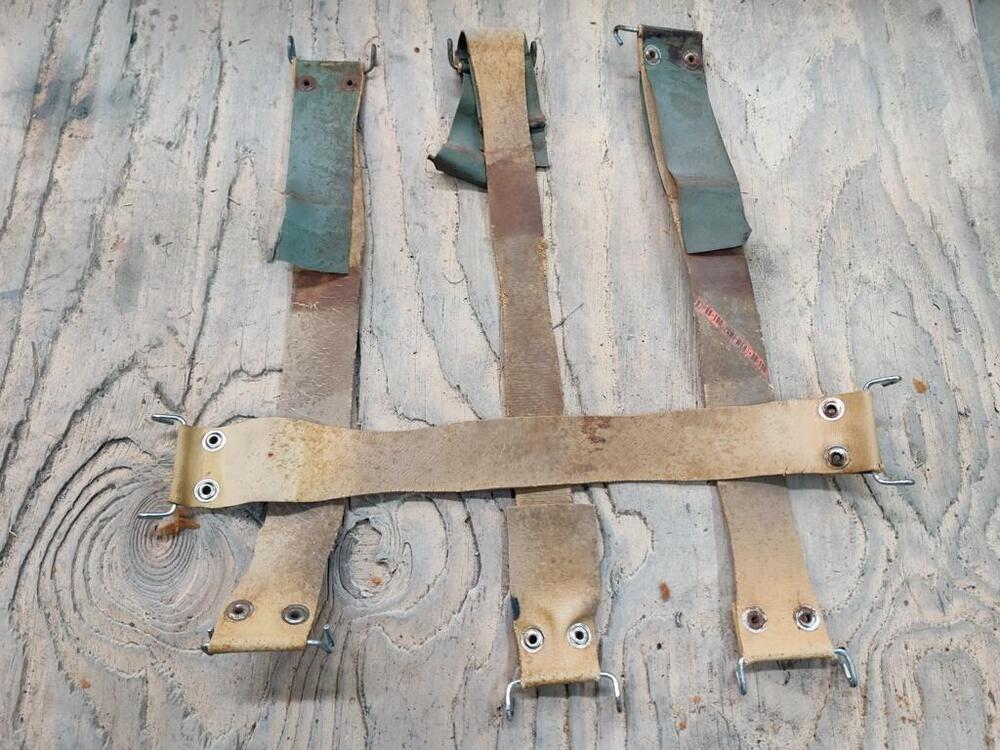
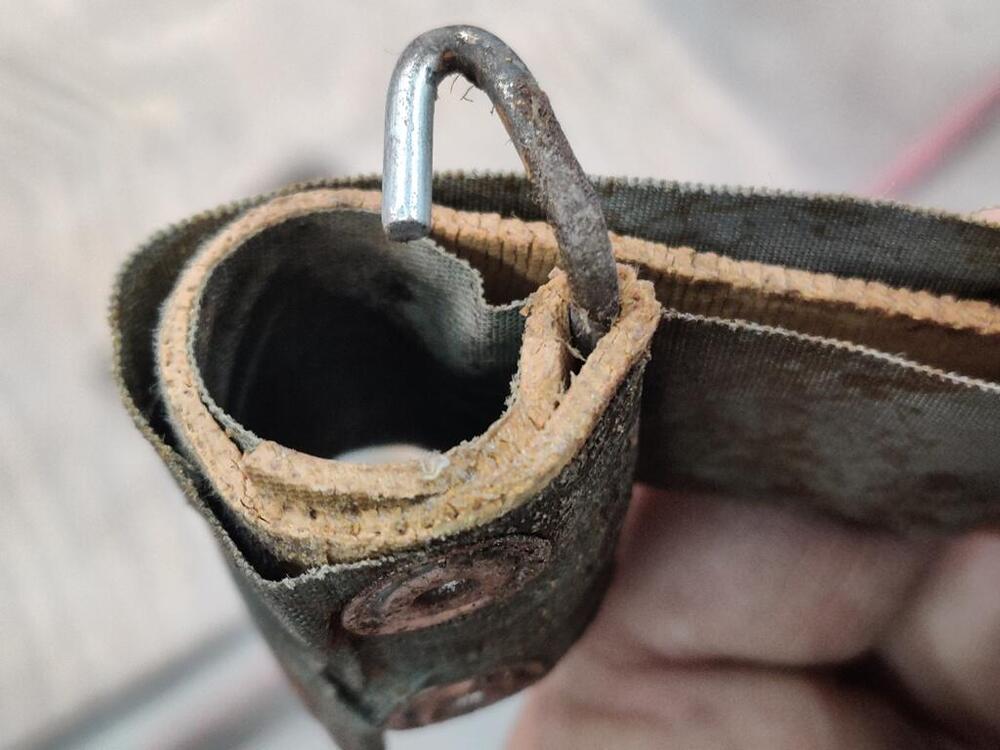
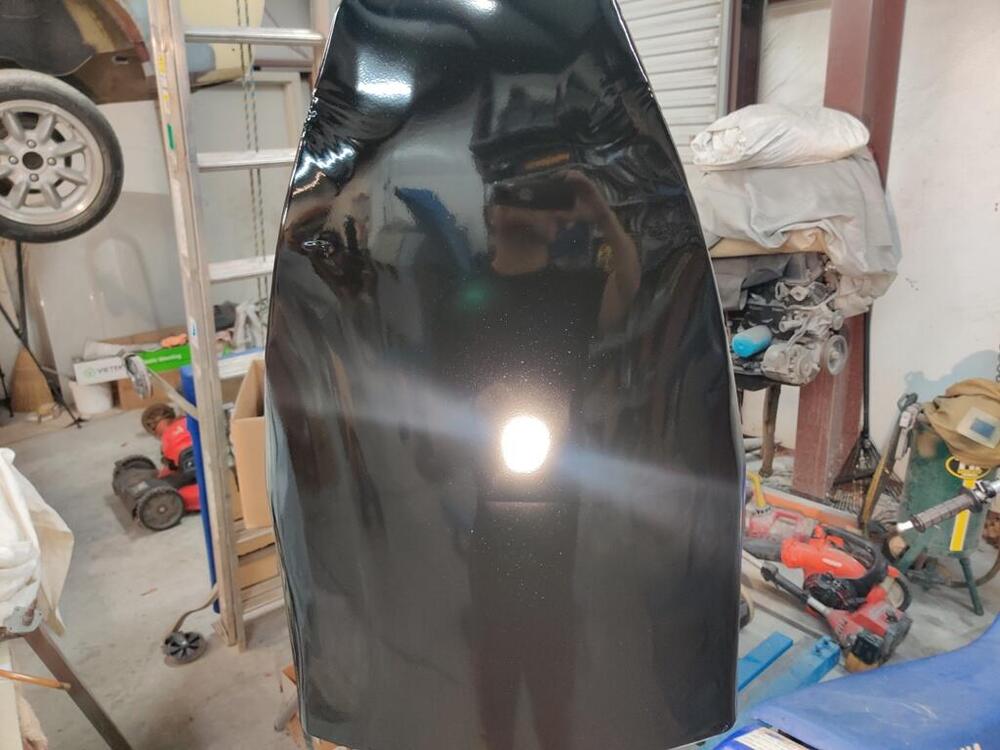
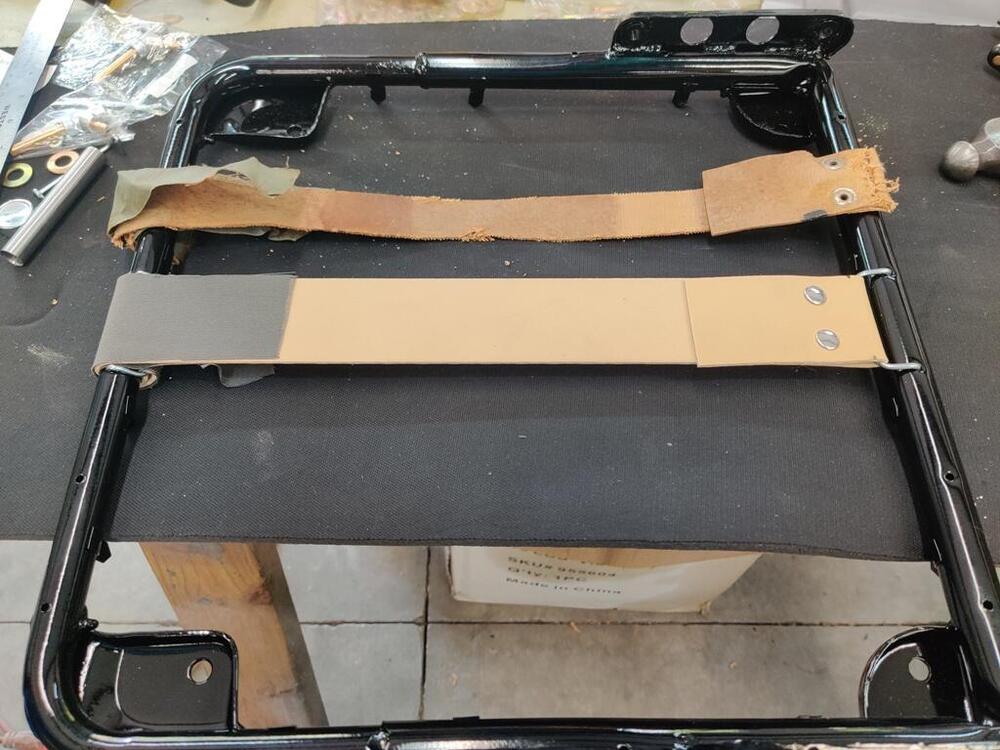
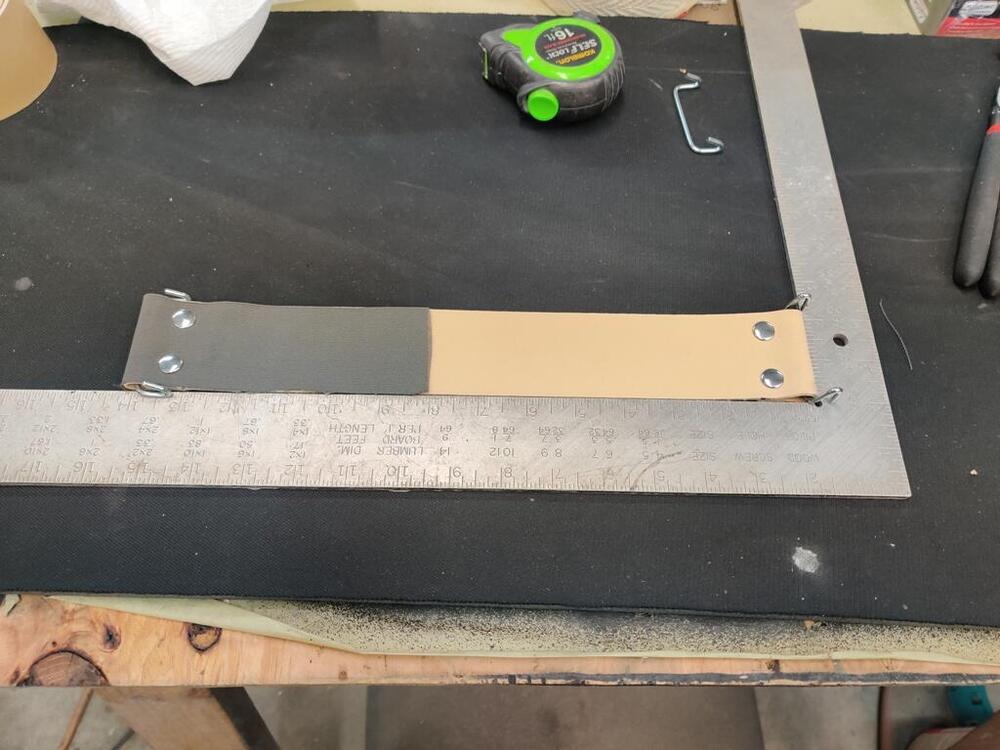
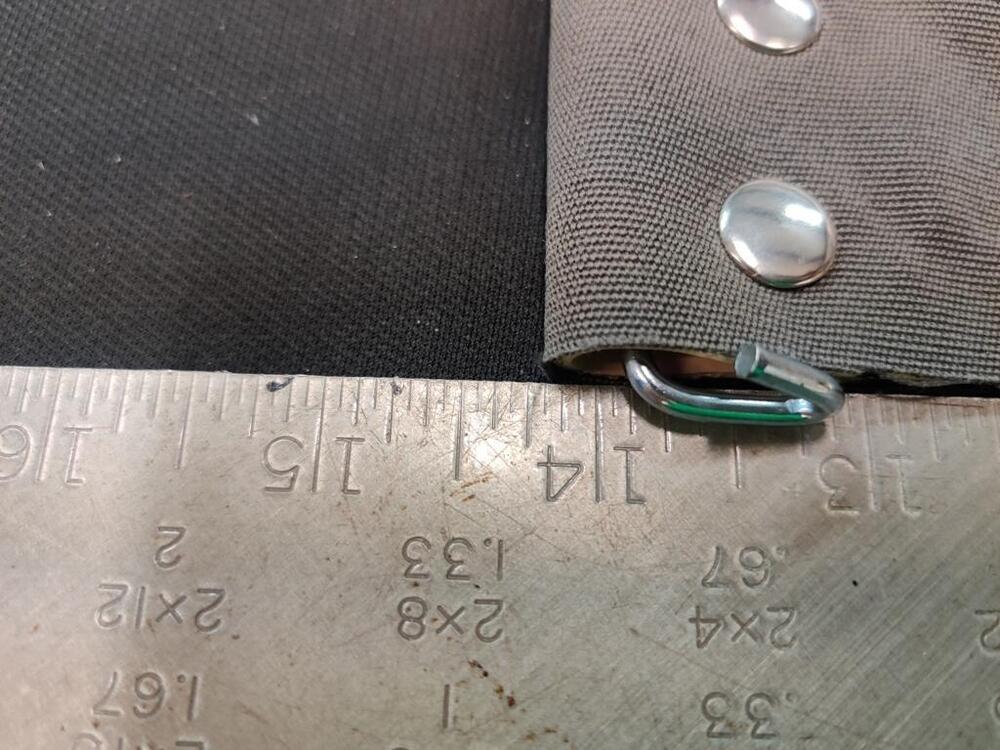
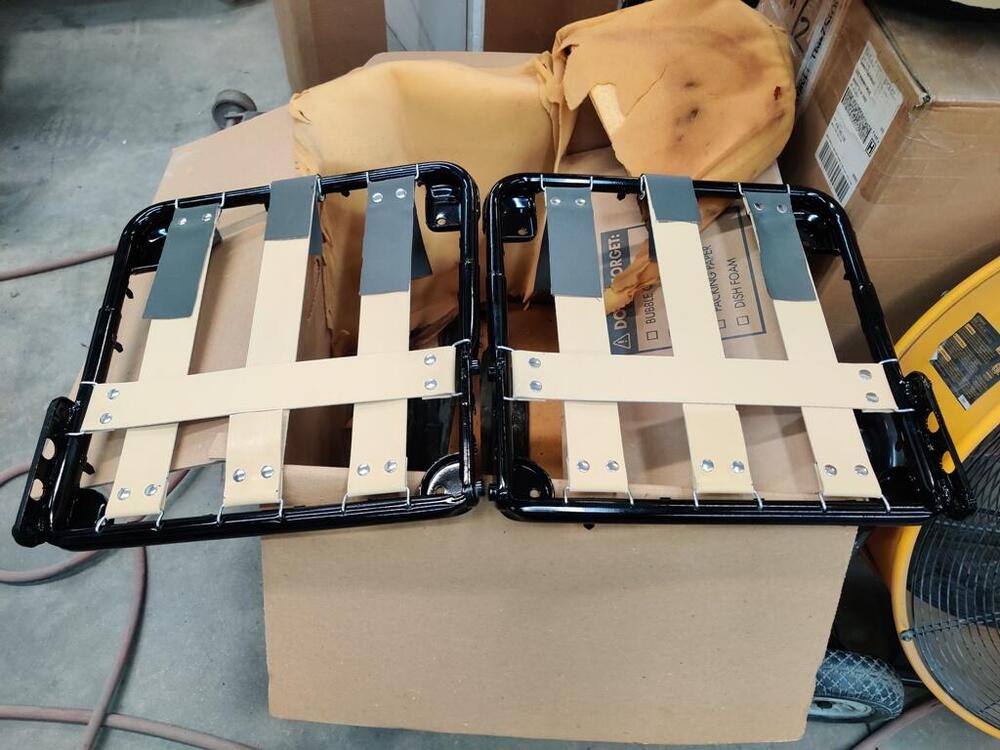
I have started rebuilding the seats. These were reupholstered once before. I have come to realize that this sheet of canvas material on top of the dry rotted straps is not original. I took many pictures as I was taking the seat apart so I would have documentation to refer to when it came time to reupholster them. I suspect that the center strap was folded around the front of the seat frame when the seat was reupholstered. Perhaps they tried to put some tension back in the "stretched out" strap. None of the other straps in the seat were installed that way. I believe I have made a mistake in reproducing this and will revisit to make the center strap not roll around the frame like this. The straps have some cloth tape at their front ends. It doesn't seem to serve any purpose to me. Seat frames and backs were "sand" blasted, epoxy primed, and finished in gloss black. Hardware was re-plated. I bought a re-strapping kit, but decided to go with "Pirelli" strapping instead. I don't know if it is better quality, but it looks more original and feels like higher quality to me. The amount of effort it takes to stretch it feels noticeably more to me. I bought a kit of stainless steel tubular rivets to secure the straps to the clips. Harbor freight sells a nice hole punch tool that I used to make holes in the strap material and the replacement canvas I bought. I installed the replacement canvas just for kicks to make mimic the factory cloth tape. Probably shouldn't have bothered. Assembly of the rivets consisted of pushing the one with the post through the materials and putting the other half of the rivet onto that post. Then I set the rivet with post into the round die and used a hammer and included setting tool to smash the two halves together. I experimented with lengths of strap to get tension where I felt it should be. For each piece, I landed at overall length of 17", and then folded over the ends so that the fully assembled strap was at ~ 14 and 1/4". To install them to the seat frame, I had to stretch the strap and drop the hooks in the holes. I estimate that I had to stretch the straps about 1 inch to install them onto the frame. I think my next step is to put the cover over the cushion material. I will do some online research before I attempt that part.


 3 points
 -
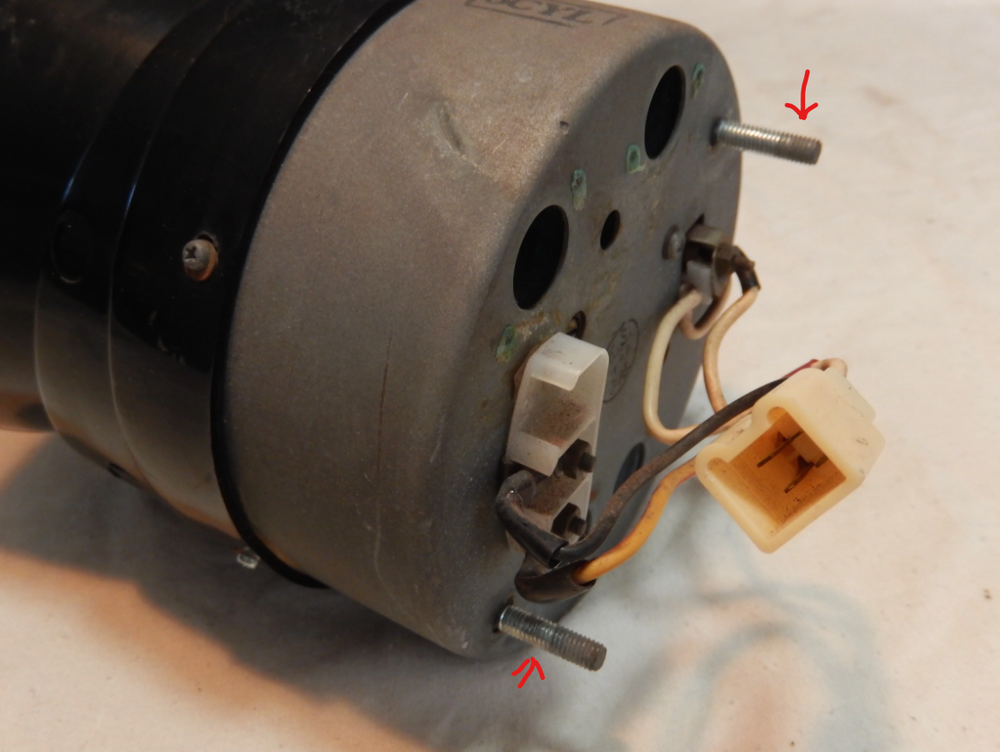
2 pointsThe mounting is different, too. You have to adapt the 260Z tach internals to the 240Z tach or adapt mounting brackets on the 260Z tach to mount it in the 240Z dash. The 240Z tach has studs on the left and right. The 260Z/280Z tach has a bracket at the bottom and a screw that goes through the top front of the gauge.
 2 points
 -
2 pointsI wonder if it will rev with starting fluid? If it will, then that suggest a fuel problem. If it won't that suggest ignition2 points
-
1 pointExactly, fingers crossed! That'd be amazing, and could account for when my tach works perfectly to 4,000 rpms then basically hangs there irrespective of engine speed. Worked great before and I have to say this distributor is a fantastic upgrade. Even with carbs being hot or cold, it bang starts all the time.1 point
-
1 pointI don't believe the 280zx had a ballast resistor. The coil I'm using is the ngk 48776 which supposedly measures out at .93 ohms. I should measure mine...1 point
-
1 pointThe 280zx swap in mine is factory Nissan and the distributor was rebuilt by Advance Distributors before installation. Plus it works verified up to 4k rpms by my timing light so while I'm not adverse to installing an early 280z Distributor with a face plate swap, it would be interesting yo see why some 240z tachs work perfectly with the same swap and others fail at varying degrees. Mine is a 73 tach...1 point
-
1 pointThe modules work the same way. It could be a permanent change.1 point
-
1 pointThe 260Z and 280Z tachometers are interchangeable functionally.1 point
-
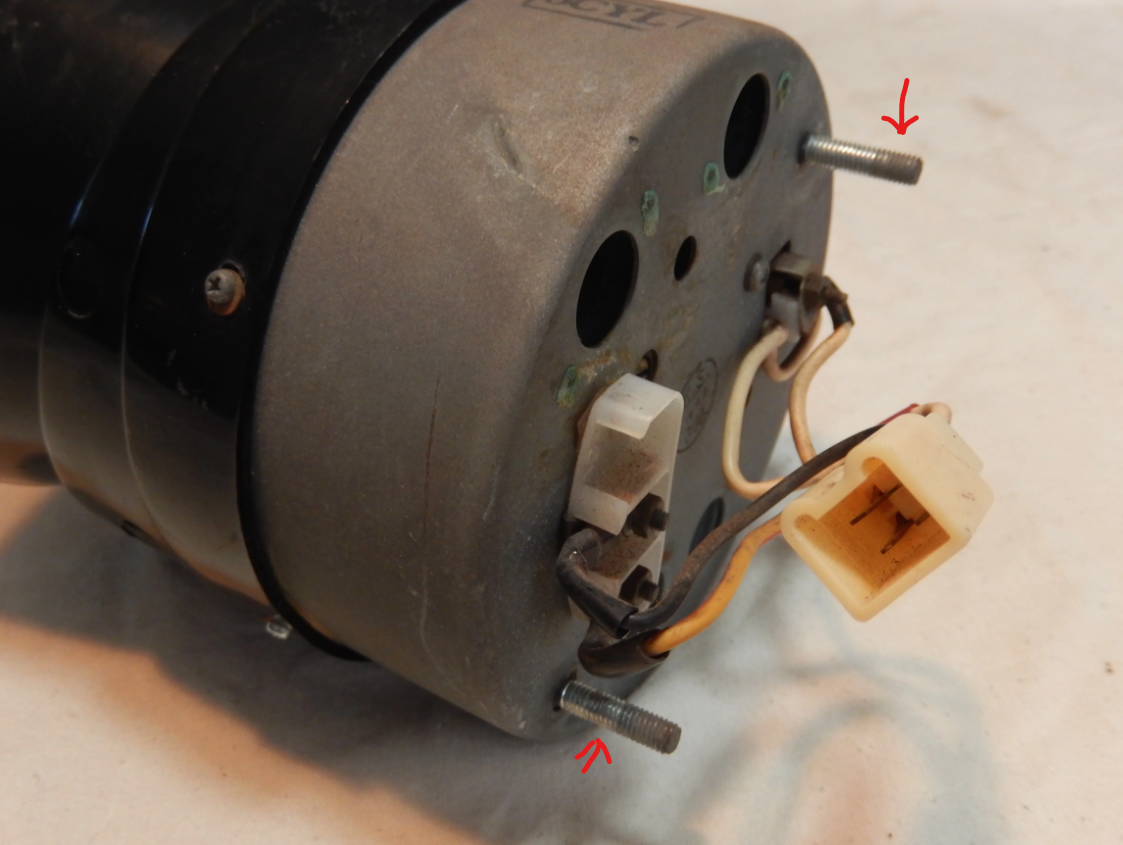
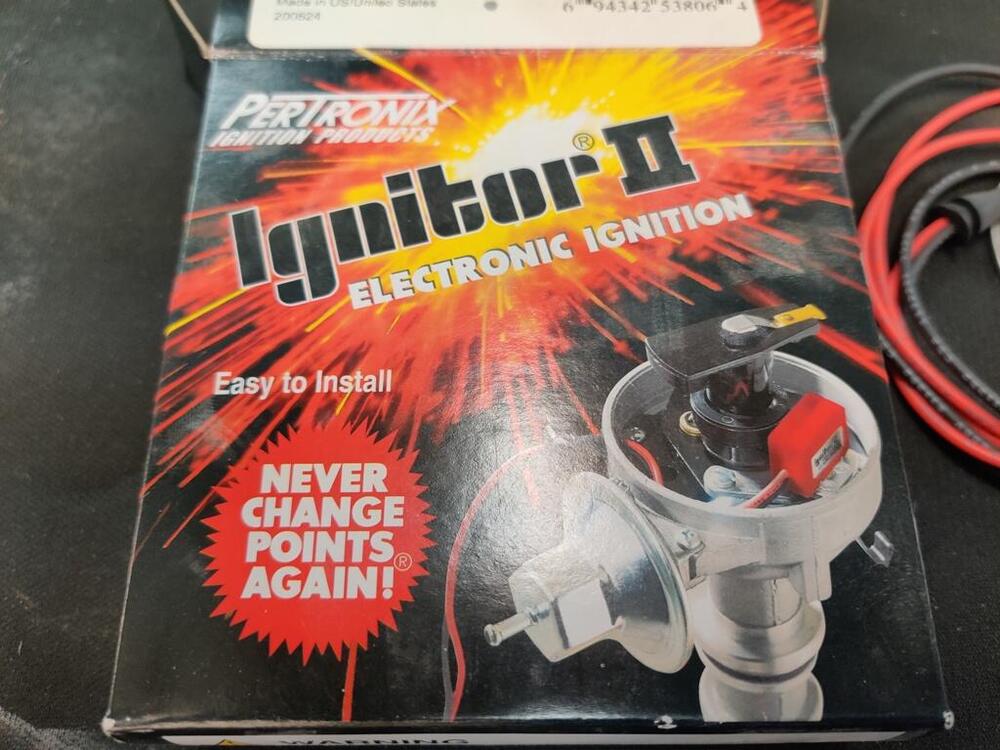
1 pointPulling my hair out, guys. About ready to put this stupid thing back up on dollies, push it to the back of the garage and let it sit for another 2 years while I work on something that makes sense. 😠 So the car doesn't threaten to die anymore. But it runs like total garbage, stuttering & bucking at anything over a VERY light load. It's still basically undriveable. Remarks, in no particular order: I verified the crank pulley was properly indexed to TDC. As mentioned above, I put the previous fuel pump back on. Fuel is being drawn from the auxiliary tank I rigged up in front of the radiator support. ~3-5 psi at idle. Carb float bowls are set to 21mm front, 19mm rear. 2.5 turns down on the knobs, and then I tune it from there with my Uni-Syn & flathead screwdriver. I'm fixated on the thought that the car used to run right, so I've been systematically undoing everything I've done over the past couple years. I moved the oil pump gear back 1 tooth to where it was before. The timing bottoms out at ~20° BTDC (the top mark on the pulley) with the distributor (and the extra set screw on the bottom) turned all the way, but I drove it literally thousands of miles pre-restoration with the oil pump gear in this location, so I'm resetting it. Next up: Ripping off the Pertronix kit and putting the points back on. Will report back.
 1 point
 -
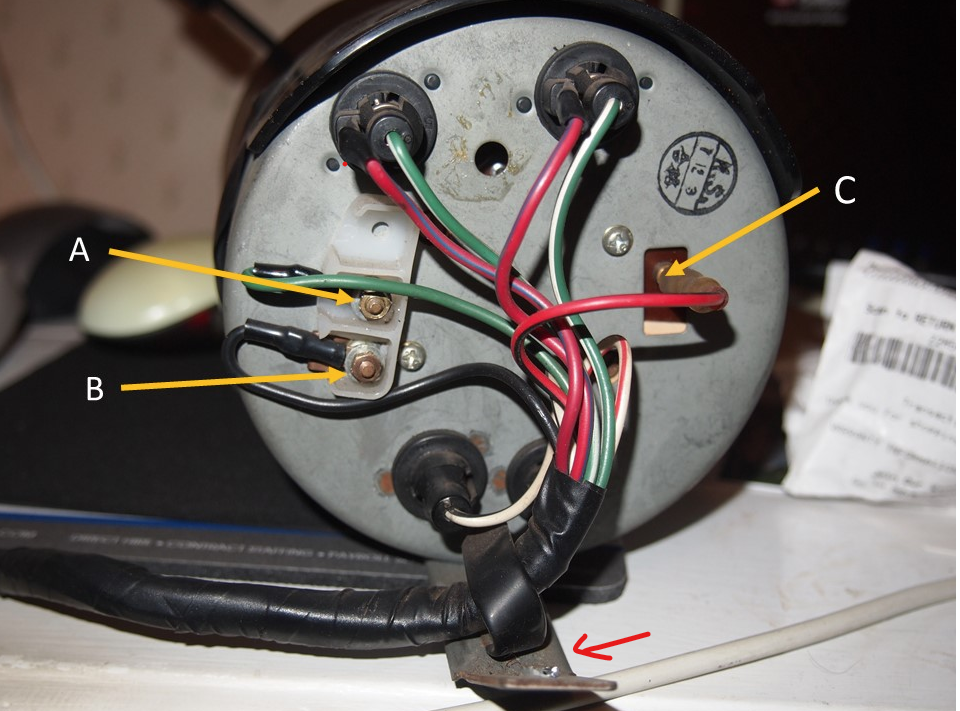
1 pointIf it was mine I'd reach up and wiggle that wire around while the engine is running. If something changes you'll know there's a possibility. I might even attach some extraneous metal to the post that the wire encircles. I don't know what exactly happens as current pulses through that small coil of wire but I imagine that it generates a field in that core that passes in to the body of the tach. Then magic happens.
 1 point
 -
I have one available, but I'm in PA. Send me a private message if you're interested. Does it matter what year? I don't remember the year of what I have here.1 point
-
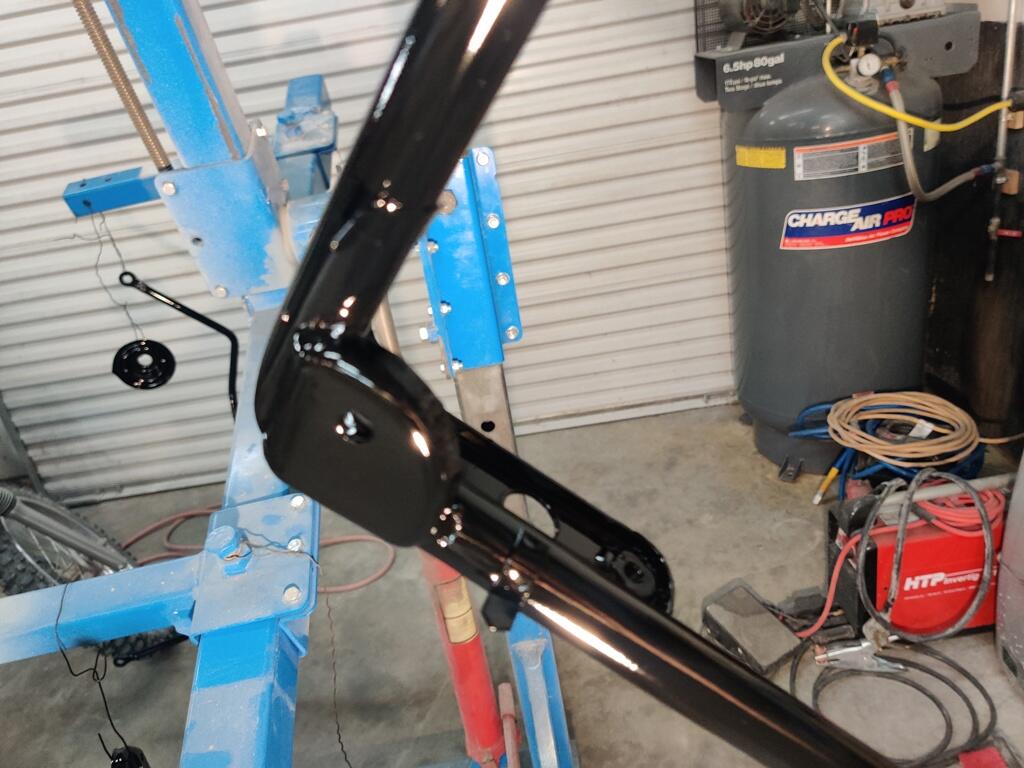
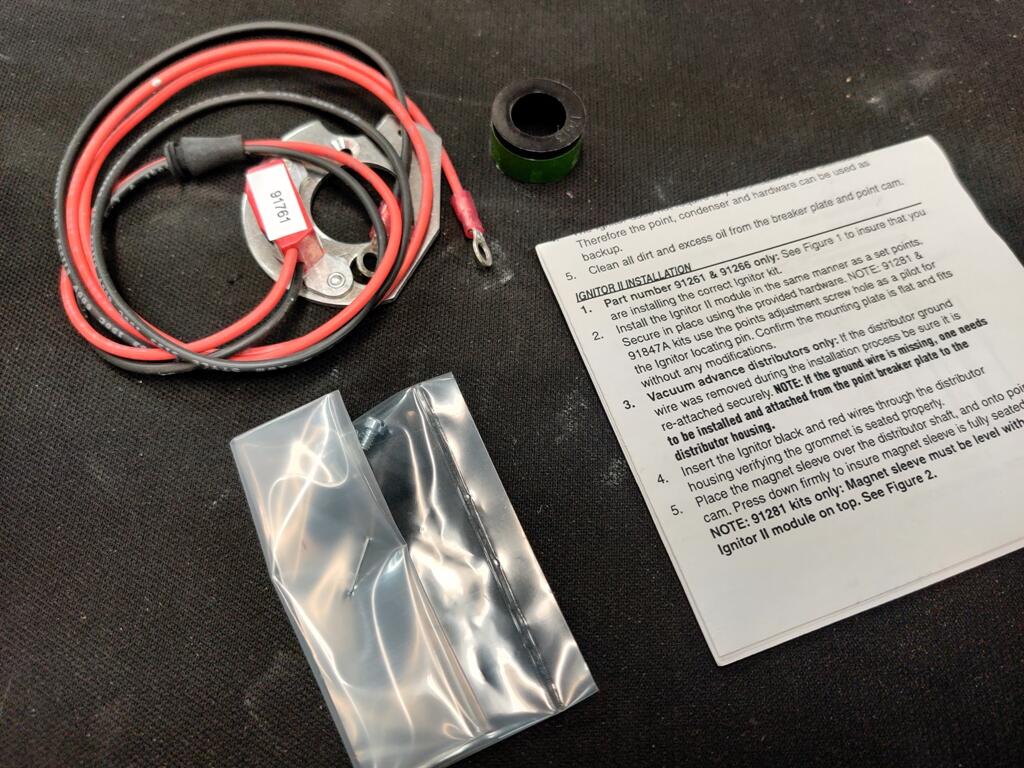
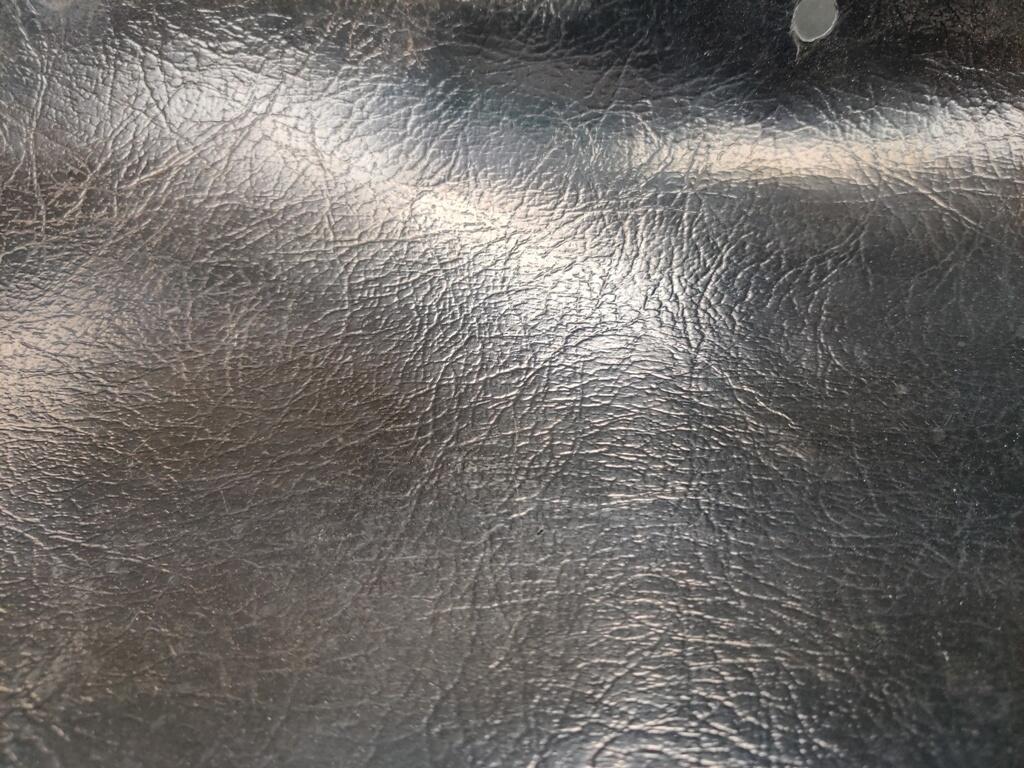
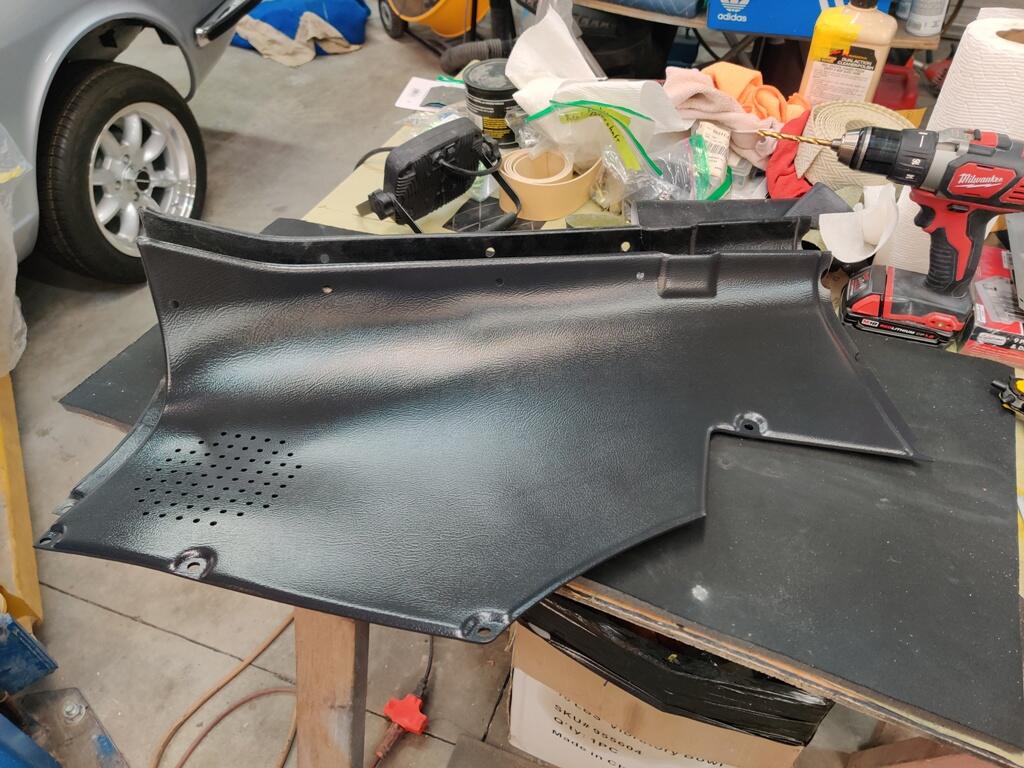
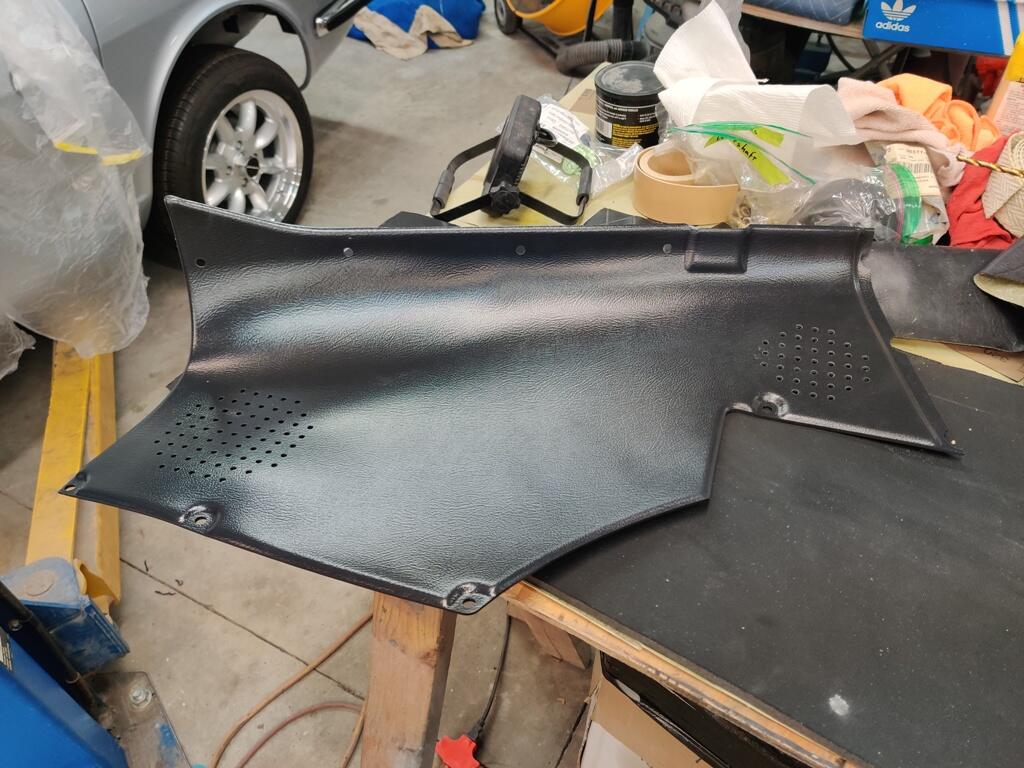
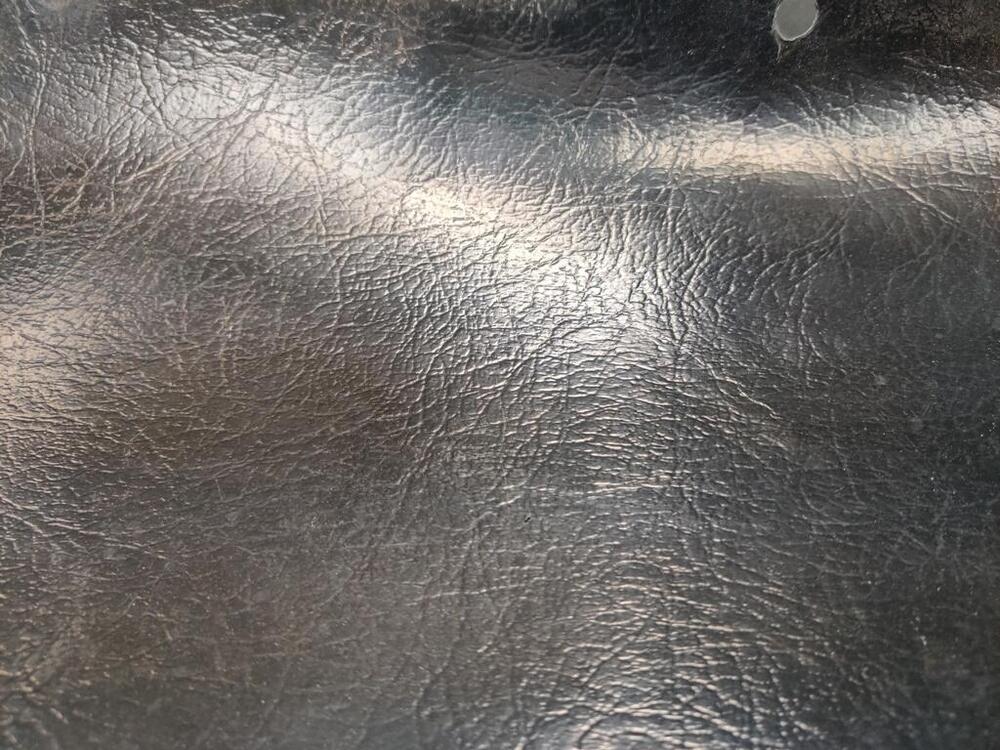
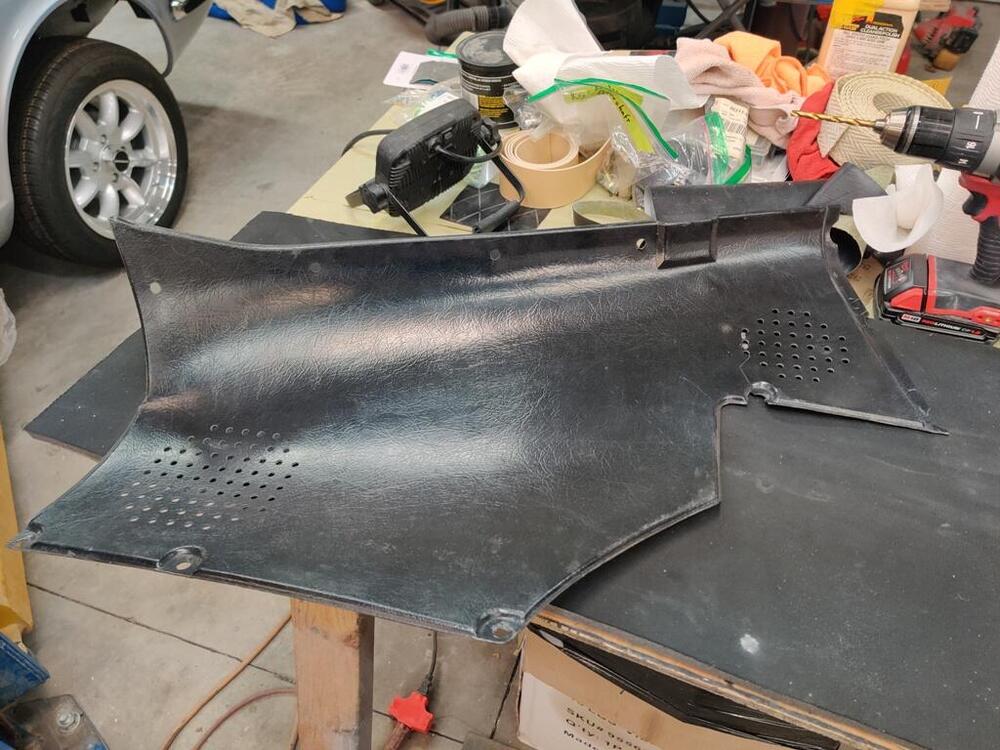
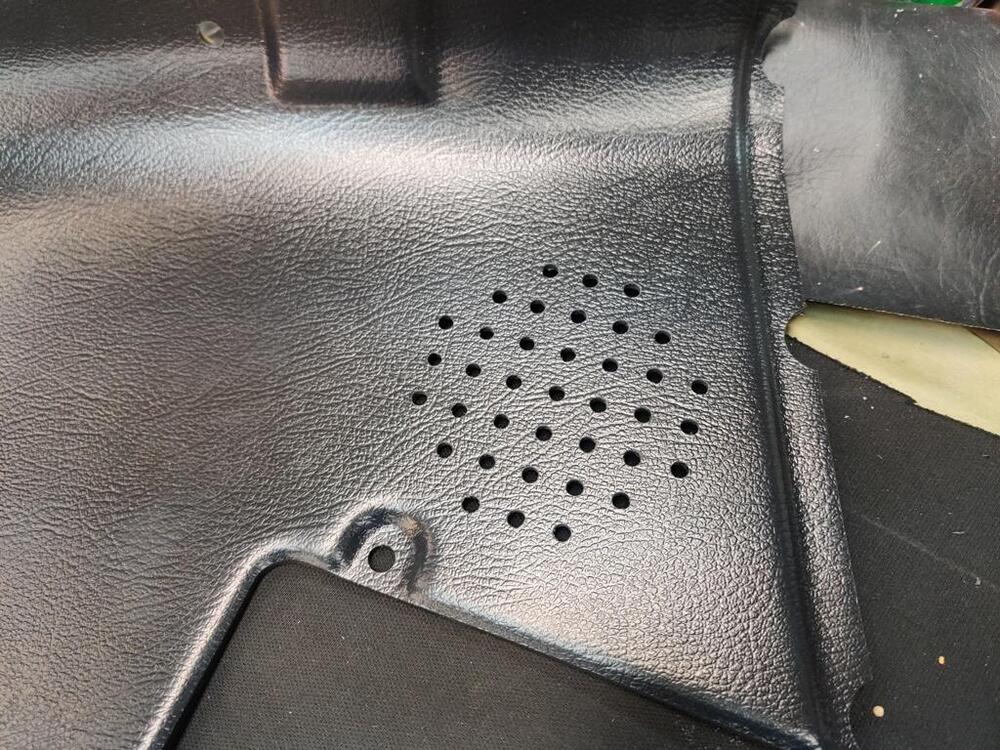
Today, I took a 1/2 day off from work and worked on the car. I was able to get the driveshaft measured properly. I will be sending it off tomorrow for shortening and balancing. I installed the Pertronix electronic ignition. I didn't take pictures, but I ended up modifying the distributor cap a bit to allow the wires to exit the distributor. I just drilled a hole and used a dremel a bit to get the boot that came with the kit to fit snugly. Next, I did a modification to the new interior panels I bought. I purchased the whole set of new, black panels (roof bar, quarter window, rear hatch, and tail light) from Z Car Depot. I also was able to source new SU nozzles from them. First, a comparison of the grain finish: Original and reproduction, in that order: The reproduction panels are nice. They are thicker and heavier than the originals. Instead of the hard plastic they seem to be made out of a slightly softer material. They only come in the early 1970/71 configuration. So, I drilled holes for the side pillar vent. New reproduction panel as received -- factory original panel -- and reproduction panel with holes drilled. I was able to clamp the original on top of the reproduction panel and use the original holes as a template. It came out nicely: Lastly today, I swapped out the new SU nozzles. While I was there I checked proper throttle plate opening when using the starter lever. When you pull the starter lever all the way open, the throttle plate to carb body clearance should be about .023" to .027". I also made sure to secure the cables at precise locations so that the nozzles both activate and move the same distance when the starter lever is pulled. I am getting closer to being able to start it up.


 1 point
 -
Yes, I think I will send my propeller shaft there (https://carolinadriveline.com/) as I had planned, but now it needs to be shortened in addition to getting it balanced. I just very carefully measured my center to center distance again. I got 21 and 1/8". Looking very closely, I think it is maybe .010 more than that. That is 536.829" mm. The factory shop manual says the length from center to center of the u-joints is 540 mm. There is no way this propeller shaft is that long between the centerline of u joints. Perhaps because there is a slip yoke, factory tolerance of propeller shaft length was not strictly held. After measuring carefully, I will be removing 2 inches from the propeller shaft. I suppose if I had the pieces in the car to move the differential back to align the drive shafts, this propeller shaft might fit as is. I seem to recall coming across that before in my internet travels. I could search to confirm, but it is a waste of my time as I won't be swapping in those pieces from a later car. If the drive shaft angularity causes issues on this car, I'll swap in some CV axles.1 point
-
1 point
-
1 point