Leaderboard
-
emccallum
 Subscriber
 5Points428Posts
 -
.JPG.cfcada9cf1c1b502df3f5f2f2ca3ff36.JPG)
SteveJ
Free Member5Points9,646Posts -

cgsheen1
Free Member2Points690Posts -
Matthew Abate
Free Member1Points1,204Posts


Popular Content
Showing content with the highest reputation on 08/03/2022 in Posts
-
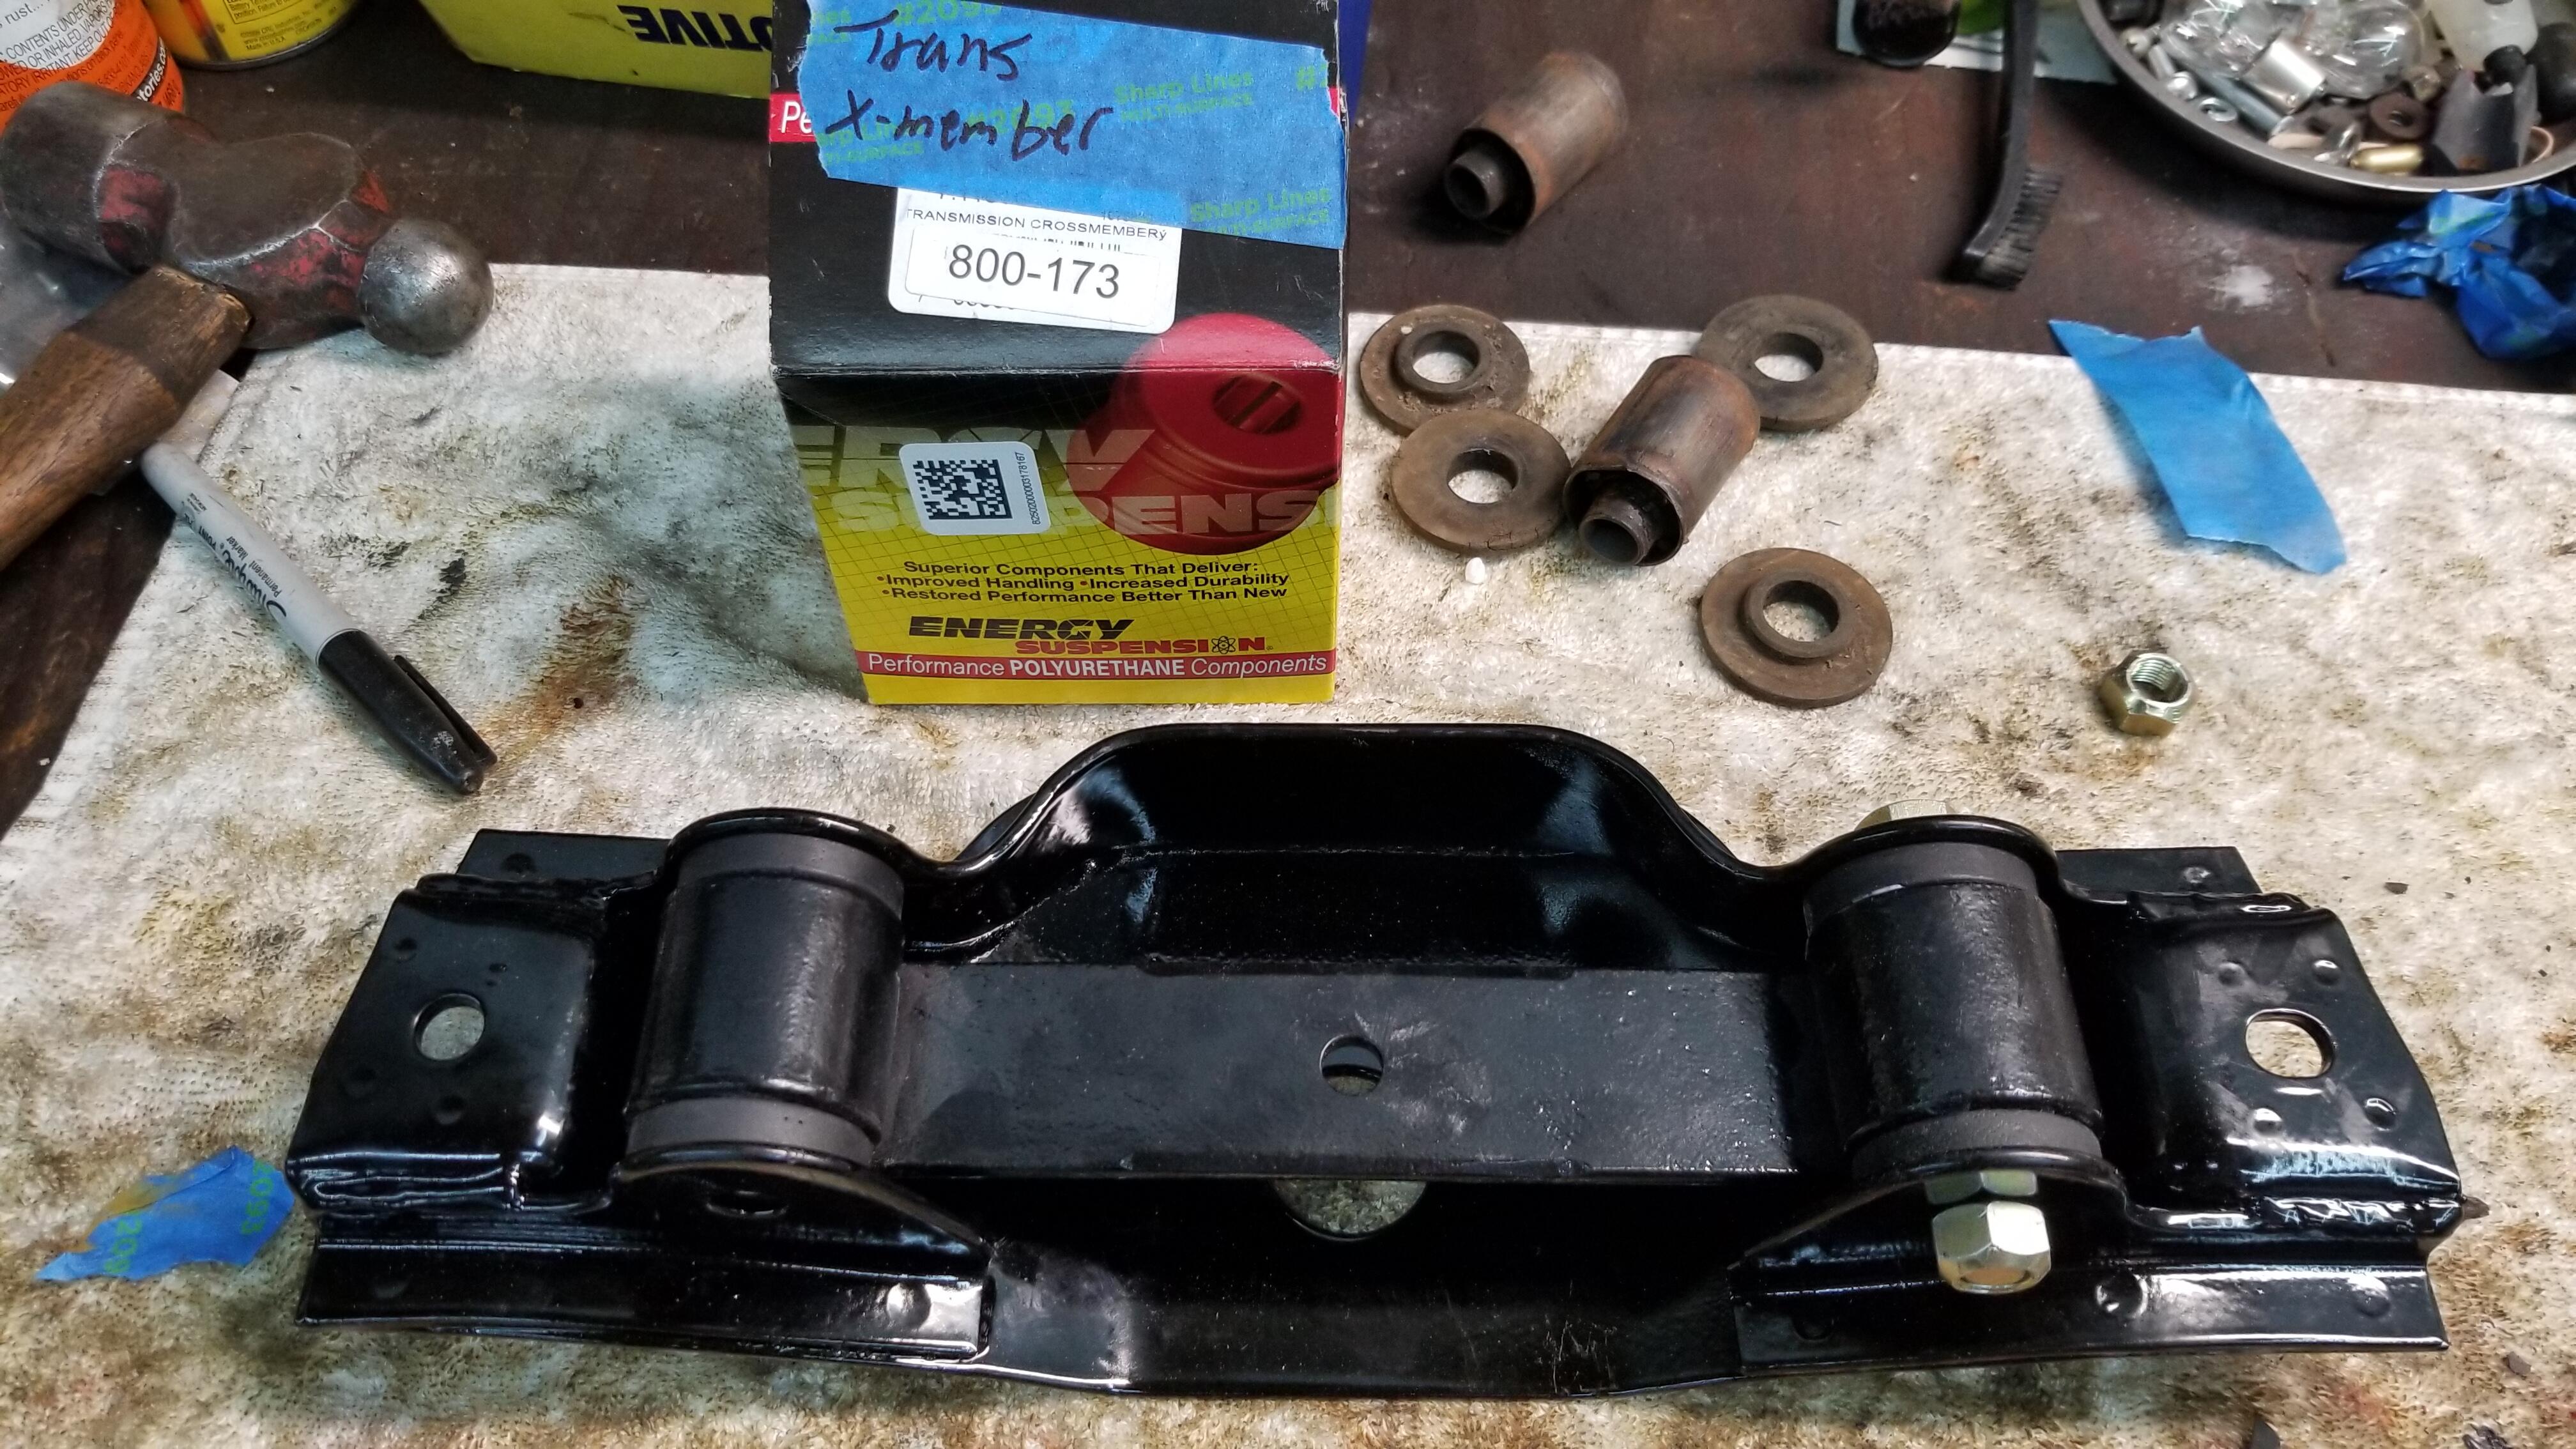
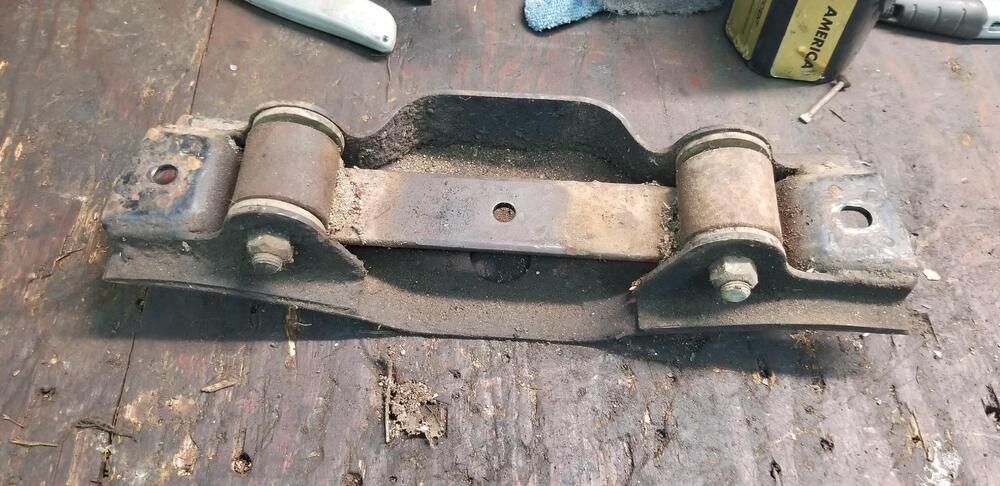
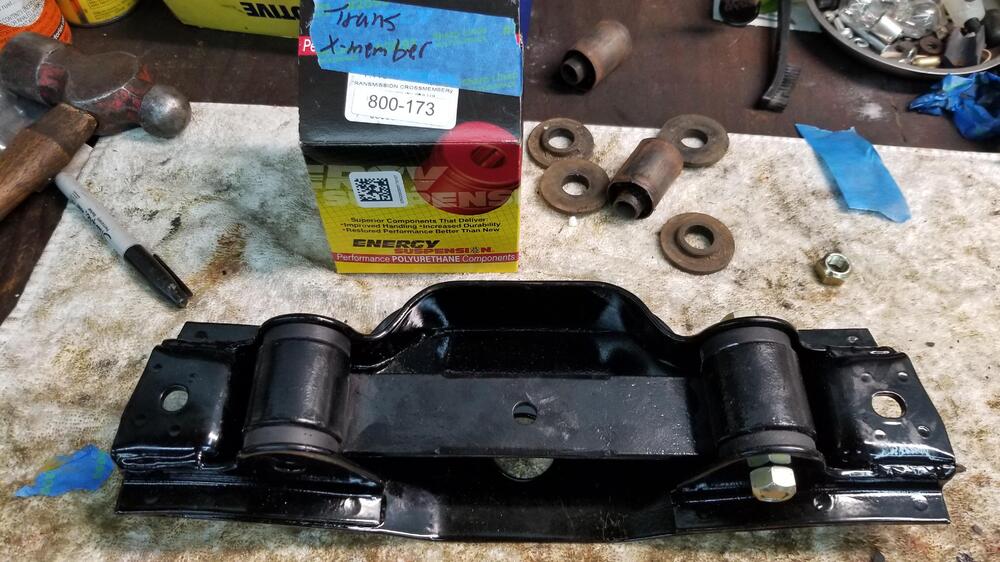
My tranny crossmember bushings were shot, so I pressed them out and read tons of posts on the OEM bushings being NLA. I have a couple of different x members from various years, so I figured I could get something to work. I chose to keep my original x member and make a set of poly bushings work. I ordered the black energy suspension bushings from one of the vendors. They are too big and too long for my style x member. I took them over to my brothers house and we put them on a lathe and turned them down to the right diameter and then shortened to metal sleeve and bushings to fit....Tight as a tick! One problem solved.....ten thousand more to go.
 5 points
 -
Thanks for the feedback, guys. I think that even if it doesn't make a difference on the spindle pin, the induction heater will be beneficial on various fasteners. I'm thinking it will be in the category of better to have it and not need it than need it and not have it. Besides, I've joked around that my nickname should be "Torque to Yield".2 points
-
I'm laughing at reading their description "to add rigidity and strength to the front fenders" as it welds to the chassis and has absolutely nothing to do with the fenders themselves. It definitely is a chassis brace. I would look at what the others have done to strengthen the chassis to prep for racing their Z (even if you're not - racing). But honestly, I think the greatest strength of a Z Car would be the ability to avoid being in a collision.1 point
-
Mine have been in since September, I daily drive my 260Z, and I've actually driven quite a bit using them at night (I have LED replacements for my H4 bulbs in my headlight housings now and they are BRIGHT) - even a couple of 3 hour night trips up in the mountains. After changing all the gauge bulbs, I replaced all my turn signal and brake lamps with LED bulbs as well. Probably should do the same in my side markers... The ones I bought are "short" enough to fit well inside the green lenses of the gauges. If you remove your gauges, it pays to disassemble them and re-paint the inside of the gauge body with flat white paint. I tape over the green lens and shoot the inside of the "can" - that bounces a lot more light out of the can and onto the gauge face and needle. Made a big difference even while I was using incandescent bulbs.1 point
-
1 pointAs much as I hate loading the parts cannon, I'm going to tell you to load the parts cannon. Buy a set of NGK plug wires. They are numbered. Buy a set of plug wire holders. https://zcardepot.com/products/spark-plug-wire-holder-ignition-clips-oem-240z-260z-280z?_pos=5&_sid=cab756a30&_ss=r They will mount on the valve cover. (One of the holders actually mounts near the distributor, but most previous owners/mechanics removed the mount for it.) Make sure your plug wires are seated firmly in the cap and on the plug. If they are not pushed down far enough, you can ruin your cap. Been there, done that. (And found it in the past on my 260Z when I was buying it. Since it "wasn't running", the seller knocked off $700. I just had to replace the cap.)1 point
-
No. The 195 is referring to the section width of the tire. I've mounted 195 and 205 tires to my car on the same wheels. The stock 240Z wheels were 14x4.5 and sported 175mm section width tires. Read this: https://www.lesschwab.com/article/tire-size-explained-reading-the-sidewall.html From the WT section of the FSM, it looks like the stock rims are 5.5 wide. If you are looking for different tires, you need to verify with the tire manufacturer on the minimum wheel width.1 point
-
I unboxed the induction heater. It's about the same size as the ones in the videos I have seen on YouTube. No photos right now since the site won't allow uploads. I'll try linking pictures. It did come with the case in the earlier photo. And of course, I had to play with it. I put an old bolt in the vise, and in about 30 seconds, it got to around 450 degrees. The manual says not to run it for more than 2 minutes at a time. The mass of the control arm might limit the temperature rise with that time constraint. It may take a few cycles to heat it sufficiently. The unit should not be turned on unless it can transfer energy to ferrous material. That should be an issue for removing fasteners, and most body parts are ferrous. I'm looking forward to experimenting.1 point
-
Thanks for the help everyone! I went ahead and made an updated version of EuroDat's spreadsheet with links to where I was able to source OEM Nissan parts so peope can copy the part numbers instead of transcribing them from the screenshot. I didn't get everything on the list, and some of them may not pan out (the ones from Amayama Japan / Part Souq, specifically) but I have a ton of this stuff on order. I'll let you know how it goes. FS5W71B Rebuild Parts List Fiche ID Nissan Part Nr. Replacement Description Nissan Amayama Japan Amazon Ebay Size QTY Notes Tranmission Gear 32203 * 32273-N4800 BEARING - Main Input Shaft Amayama Japan Amazon ID 30 x OD 72 x W 19mm 1 6306 NR C3 (with snap ring) 32276 * 32273-36900 BEARING - Main Input Shaft, Adapter Plate Amayama Japan Ebay ID 30 x OD 72 x W 19mm 1 6306 C3 32275 * 32203-14360 BEARING - Main Input Shaft, Extension Housing Courtesy Parts Amayama Japan Ebay ID 25 x OD 52 x W 15mm 1 6205 C3 32272 * 32272-36910 BEARING - Pilot, Input / Output Shafts Amayama Japan Ebay Needle 1 Same as BEARING - Reverse Idler Gear 32264R / M / U 32264-14601 BEARING - Needle, Main Shaft Gears Nissan World Amayama Japan Ebay 3 1st, 2nd, & 3rd 32604M * 32604-P0100 RING - Baulk, 1st, 2nd, 3rd, & 4th Gears Courtesy Parts Amayama Japan 4 32544 * 32604-E9801 32604-36N21 RING - Baulk, 5th Gear Amayama Japan 1 32241B 32354-E9803 NUT - Main Shaft, Left Hand Thread Amayama Japan 1 280ZX Close Ratio 5-Speed 32241B 32354-A7400 NUT - Main Shaft, Right Hand Thread 1 280Z Wide Ratio 5-Speed NLA 32241B 32354-E9804 NUT - Main Shaft, Right Hand Thread (Early 280zx) 1 Replaces 32354-E9800 & 32354-E9802 NLA Counter Gears 32219 * 32219-E9020 BEARING - Counter Shaft, Front Courtesy Parts Amayama Japan Amazon (CA) ID 22 x OD 56 x W 16mm 1 63 / 22 C3 32219M * 32203-E9800 BEARING - Counter Shaft, Adapter Amayama Japan Amazon ID 25 x OD 62 x W 17mm 1 6305 C3 32231 * 32319-N4870 BEARING - Counter Shaft, Rear Amayama Japan Part Souq ID 20 x OD 47 x W 14mm 1 6204 C3 32283 * 32272-36910 BEARING - Reverse Idler Gear Amayama Japan Ebay Needle 1 Same as BEARING - Pilot, Input / Output Shafts 32210A 32236-E9500 NUT - Counter Shaft, Right Hand Thread Nissan World Amayama Japan 1 Transmission Case 32112 * 32112-08U01 GASKET - Front Cover Courtesy Parts Amayama Japan 1 Replaces 32112-E9001 32137 * 32137-E9000 OIL GUTTER Courtesy Parts Amayama Japan 1 32113 * 32114-Y4000 SEAL - Front (NOK: AH1679G) Courtesy Parts Amayama Japan Amazon 30 / 45 x 8mm 1 32136 * 32136-U010A SEAL - Rear Extension (NOK: 400402N) Courtesy Parts Amayama Japan Amazon 35 / 50 x 11mm 1 Replaces 32114-20100 & 32114-E9000 - NISSAN-62 BUSHING - Rear Extension (Omega Machine & Tool P/N: 71411) ID 35mm 1 DON'T USE (SKU: 303066) Transmission Shift Control 32849C 32855-H1010 BUSHING - Control Pin Courtesy Parts Amayama Japan 2 32861 32861-N4200 BUSHING - Control Lever Courtesy Parts Amayama Japan 1 32862 32862-E9801 BOOT - Control Lever Courtesy Parts Amayama Japan 1 32850H 32858-U6702 SEAL - Striking Rod, Inner 14/20 4.2mm 1 32710N 32710-14600 SEAL (O-RING) - Striking Rod, Outer Courtesy Parts Amayama Japan 24 x 2.5mm 1 Same as Speedo O-Ring - NLA SEAL (O-RING) - Reverse Checking Assembly 22 x 2.5mm 1 32852 32852-24901 SPRING - Return Amayama Japan 1 32831N 32830-20100 SPRING - Checking Courtesy Parts Amayama Japan 3 Speedo 32703 32703-78101 PINION - Speedometer, 17T (Black) Nissan World Amayama Japan 3.54:1 Diff. 1 32703 32703-78102 PINION - Speedometer, 18T (White) Courtesy Parts Amayama Japan 3.70:1 Diff. 1 32710 32710-14600 SEAL (O-RING) - Speedometer Pinion Courtesy Parts Amayama Japan 24 x 2.5mm 1 Same as Striking Rod O-Ring 32709 32709-14600 SEAL - Speedometer Pinion Courtesy Parts Amayama Japan 10/16 x 4.2mm 1 * = Parts in Major Overhaul Kits Red = Parts No Longer Available Through Nissan O-Ring Sizes are Inner Diameter + Cross Section1 point
-
I'm hoping one day you'll paint that air dam...1 point
-
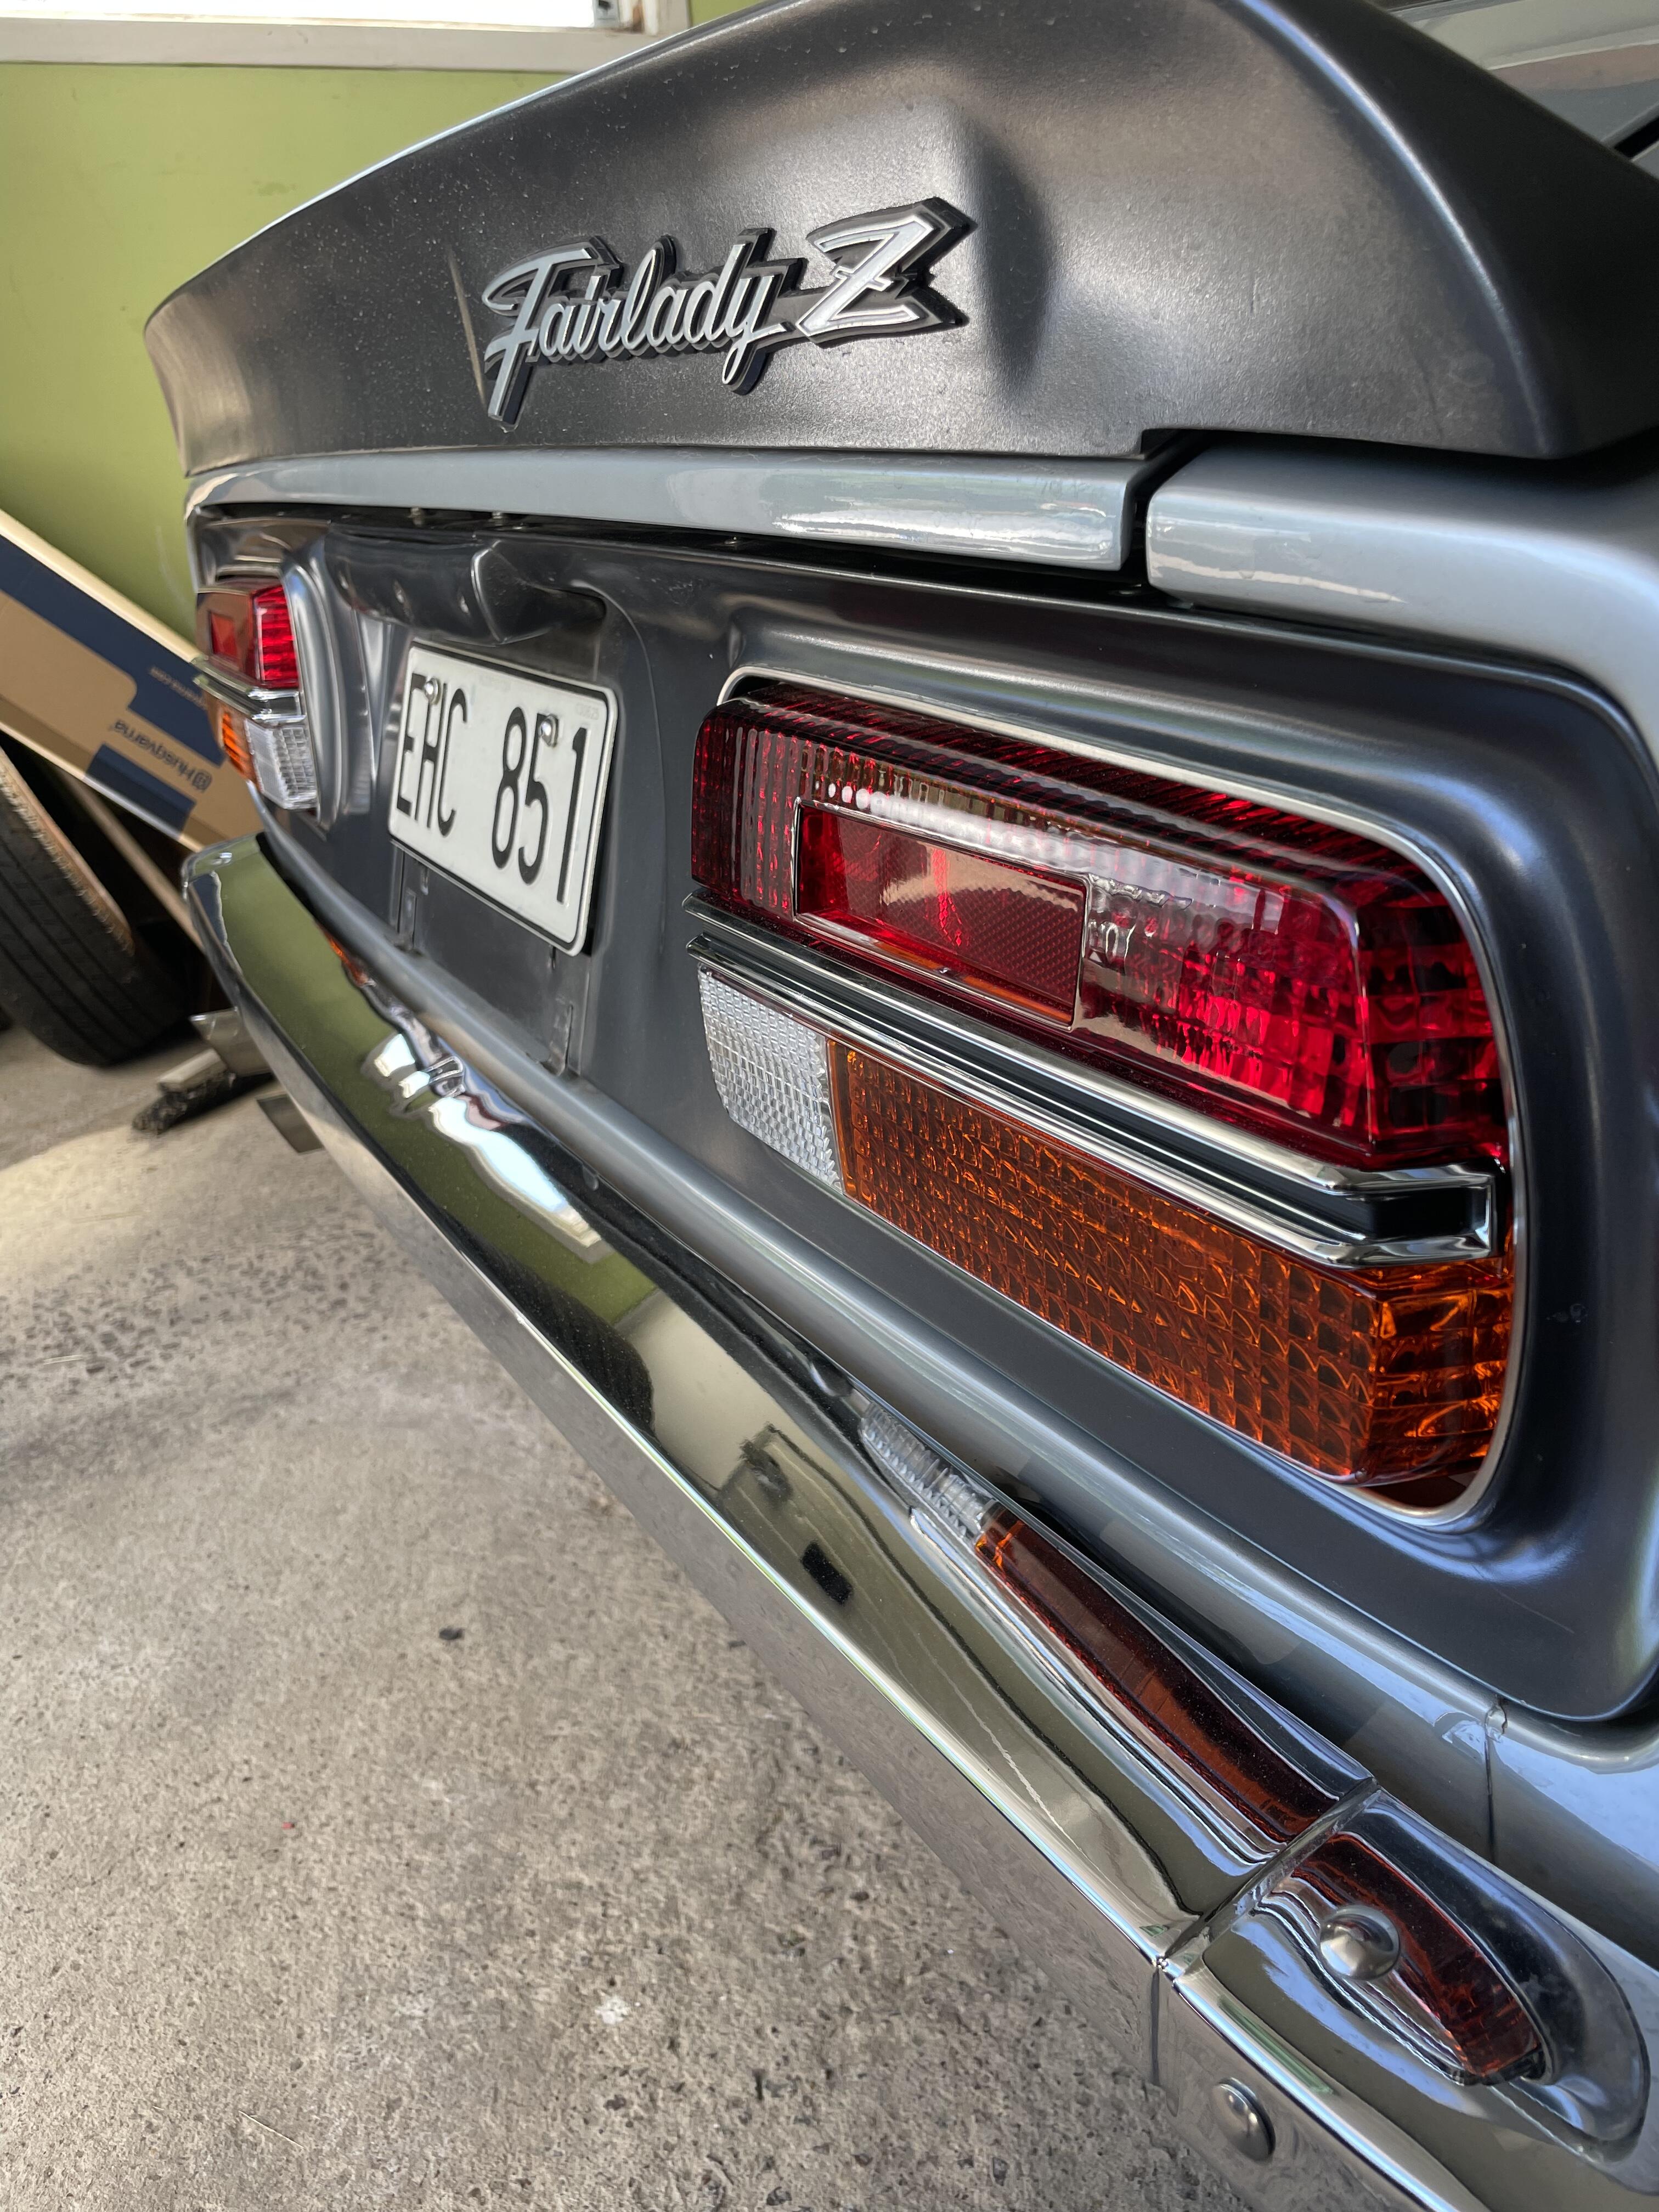
Installed my new replica tail lights. looked at guidelines from the web, all suggested to cut a wire under the steering column to separate the brake light from the blinker. Couldent understand why you would have to do that? Theres a connection at the brake light switch, used that and used the new harness from the replica tail lights and everything workes. Ofcourse the oem tail light 4 pin connection doesn’t match the 6 pin connection from the replica tail lights, you have to swap these so they match.


 1 point
 -
Not necessary, only when you see/think that it comes back from the blaster with half a roof or so?? It's more important to check if the doors and windows fit before going to work on any paintwork and... thats not happening this year i guess.. Your bracing is good, but don't exaggerate it.. Nice to see you working on it again! 👍 Mart1 point
-
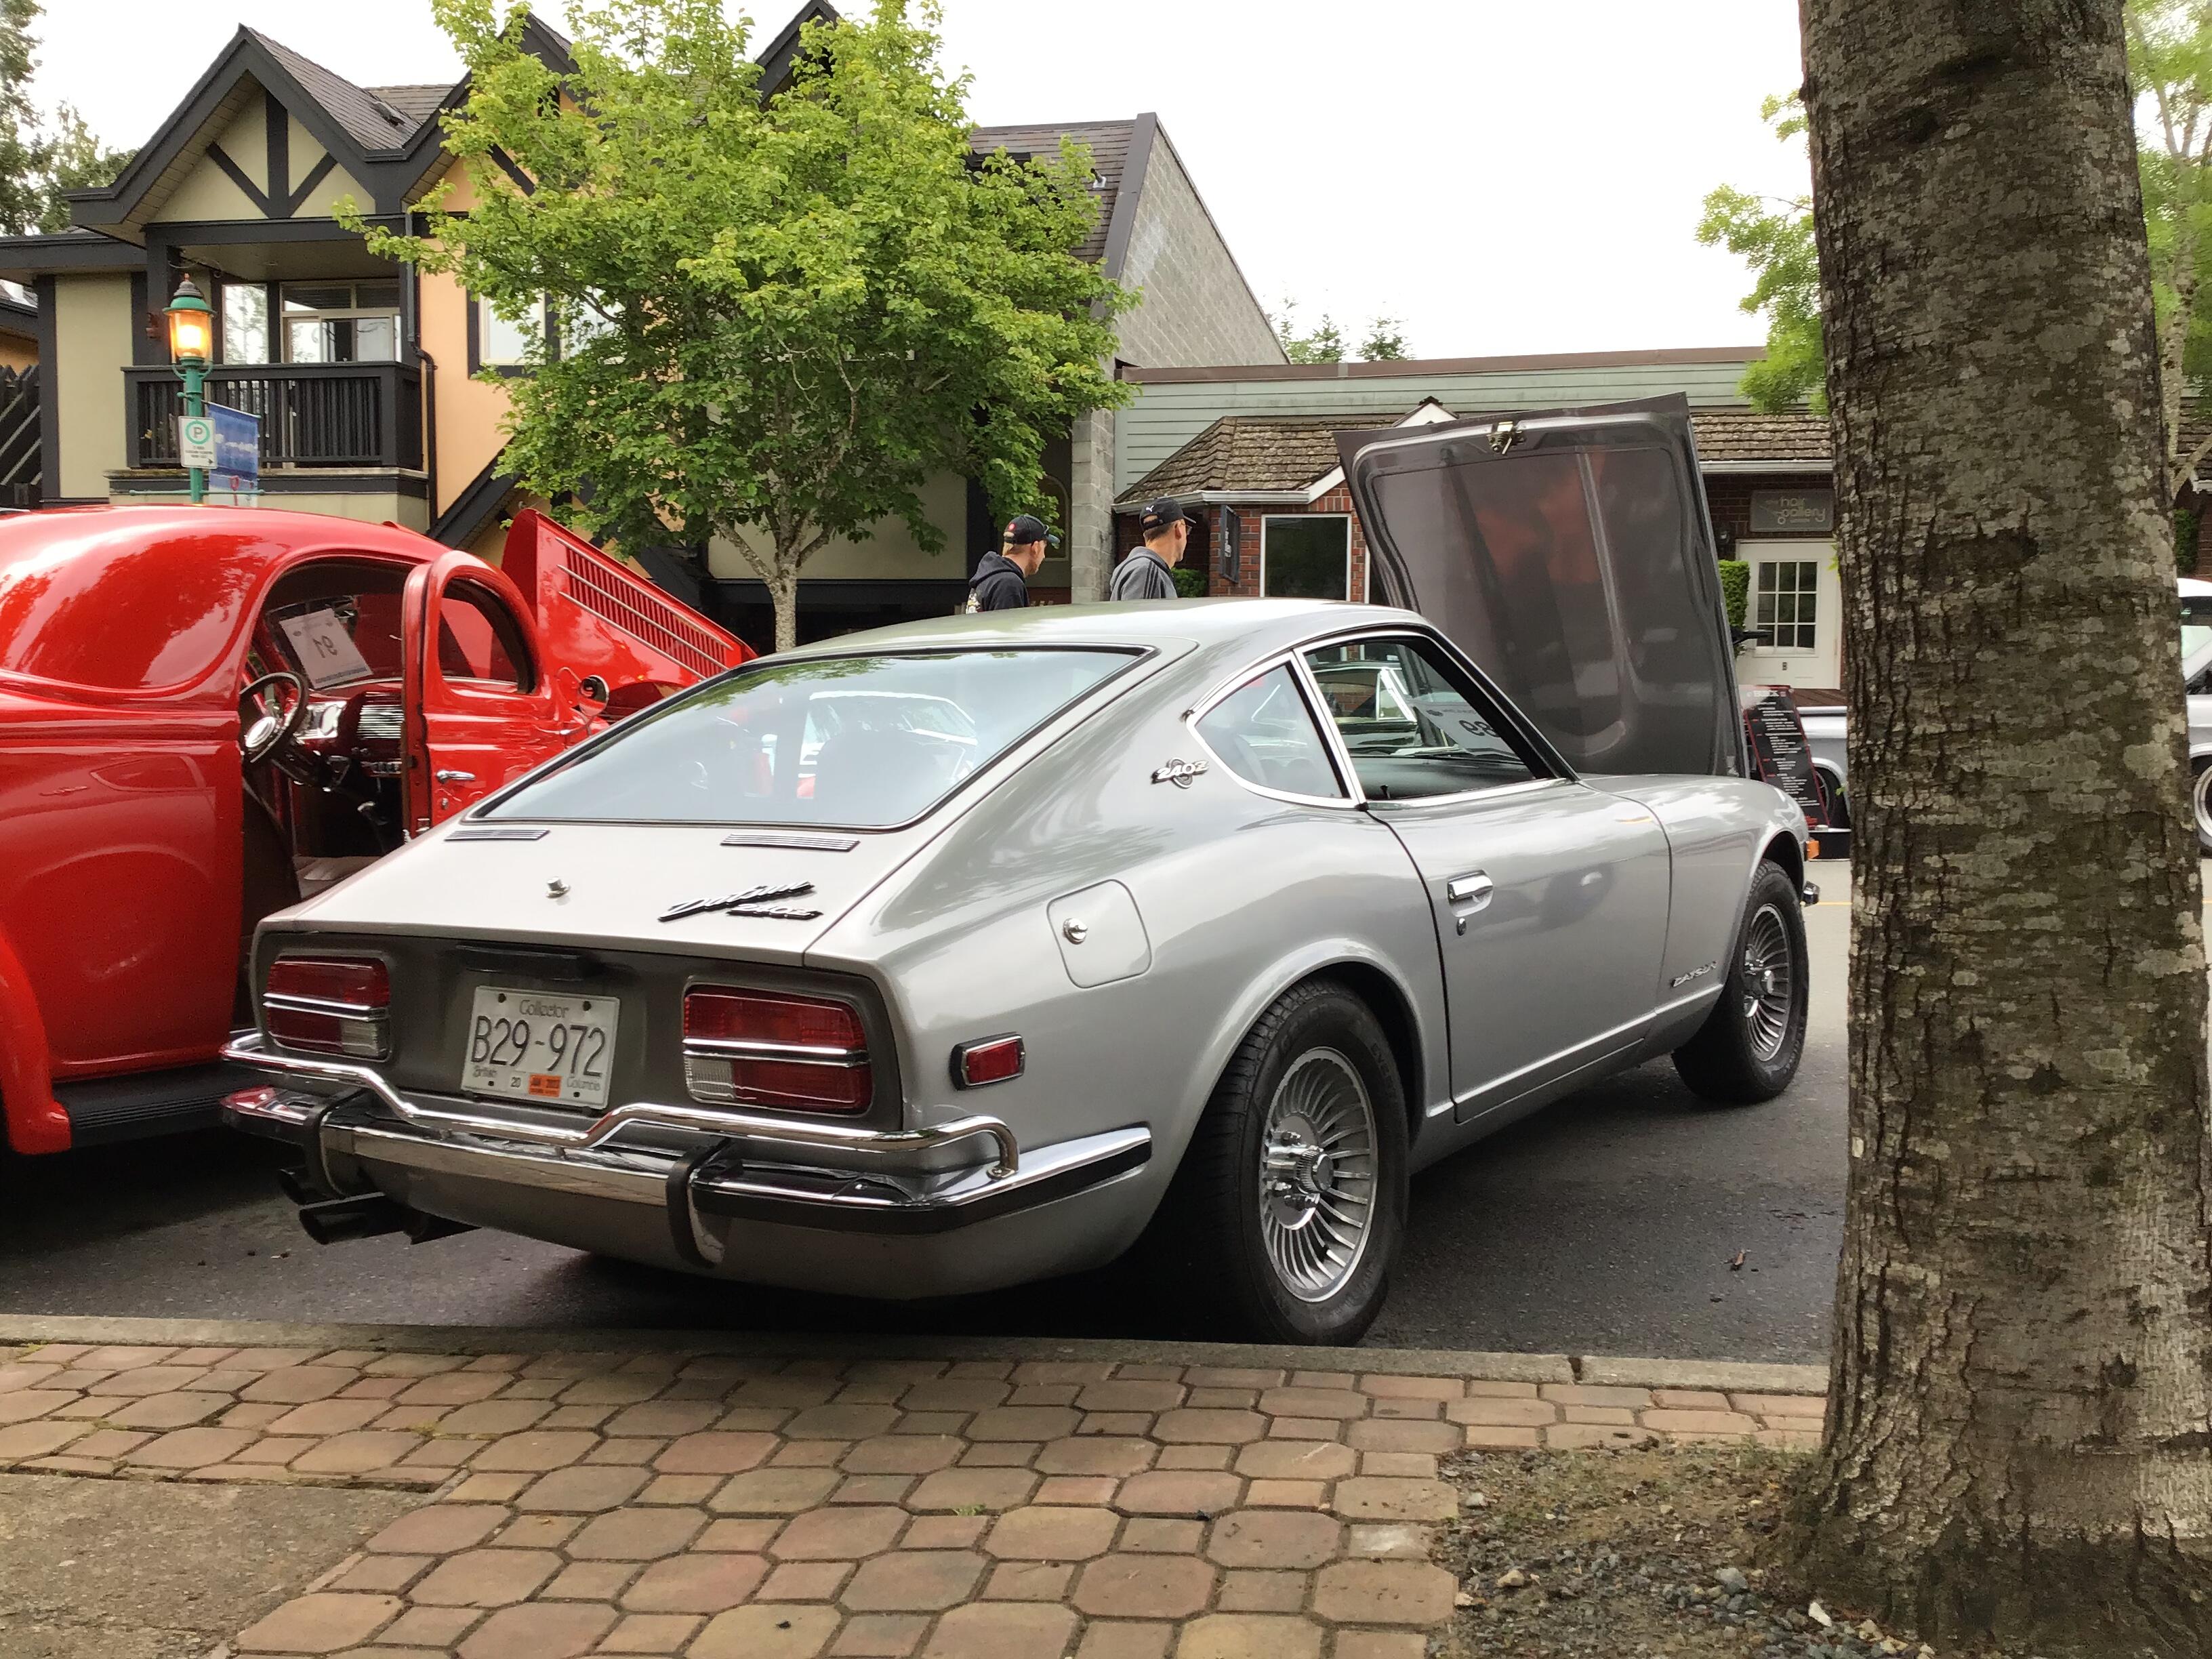
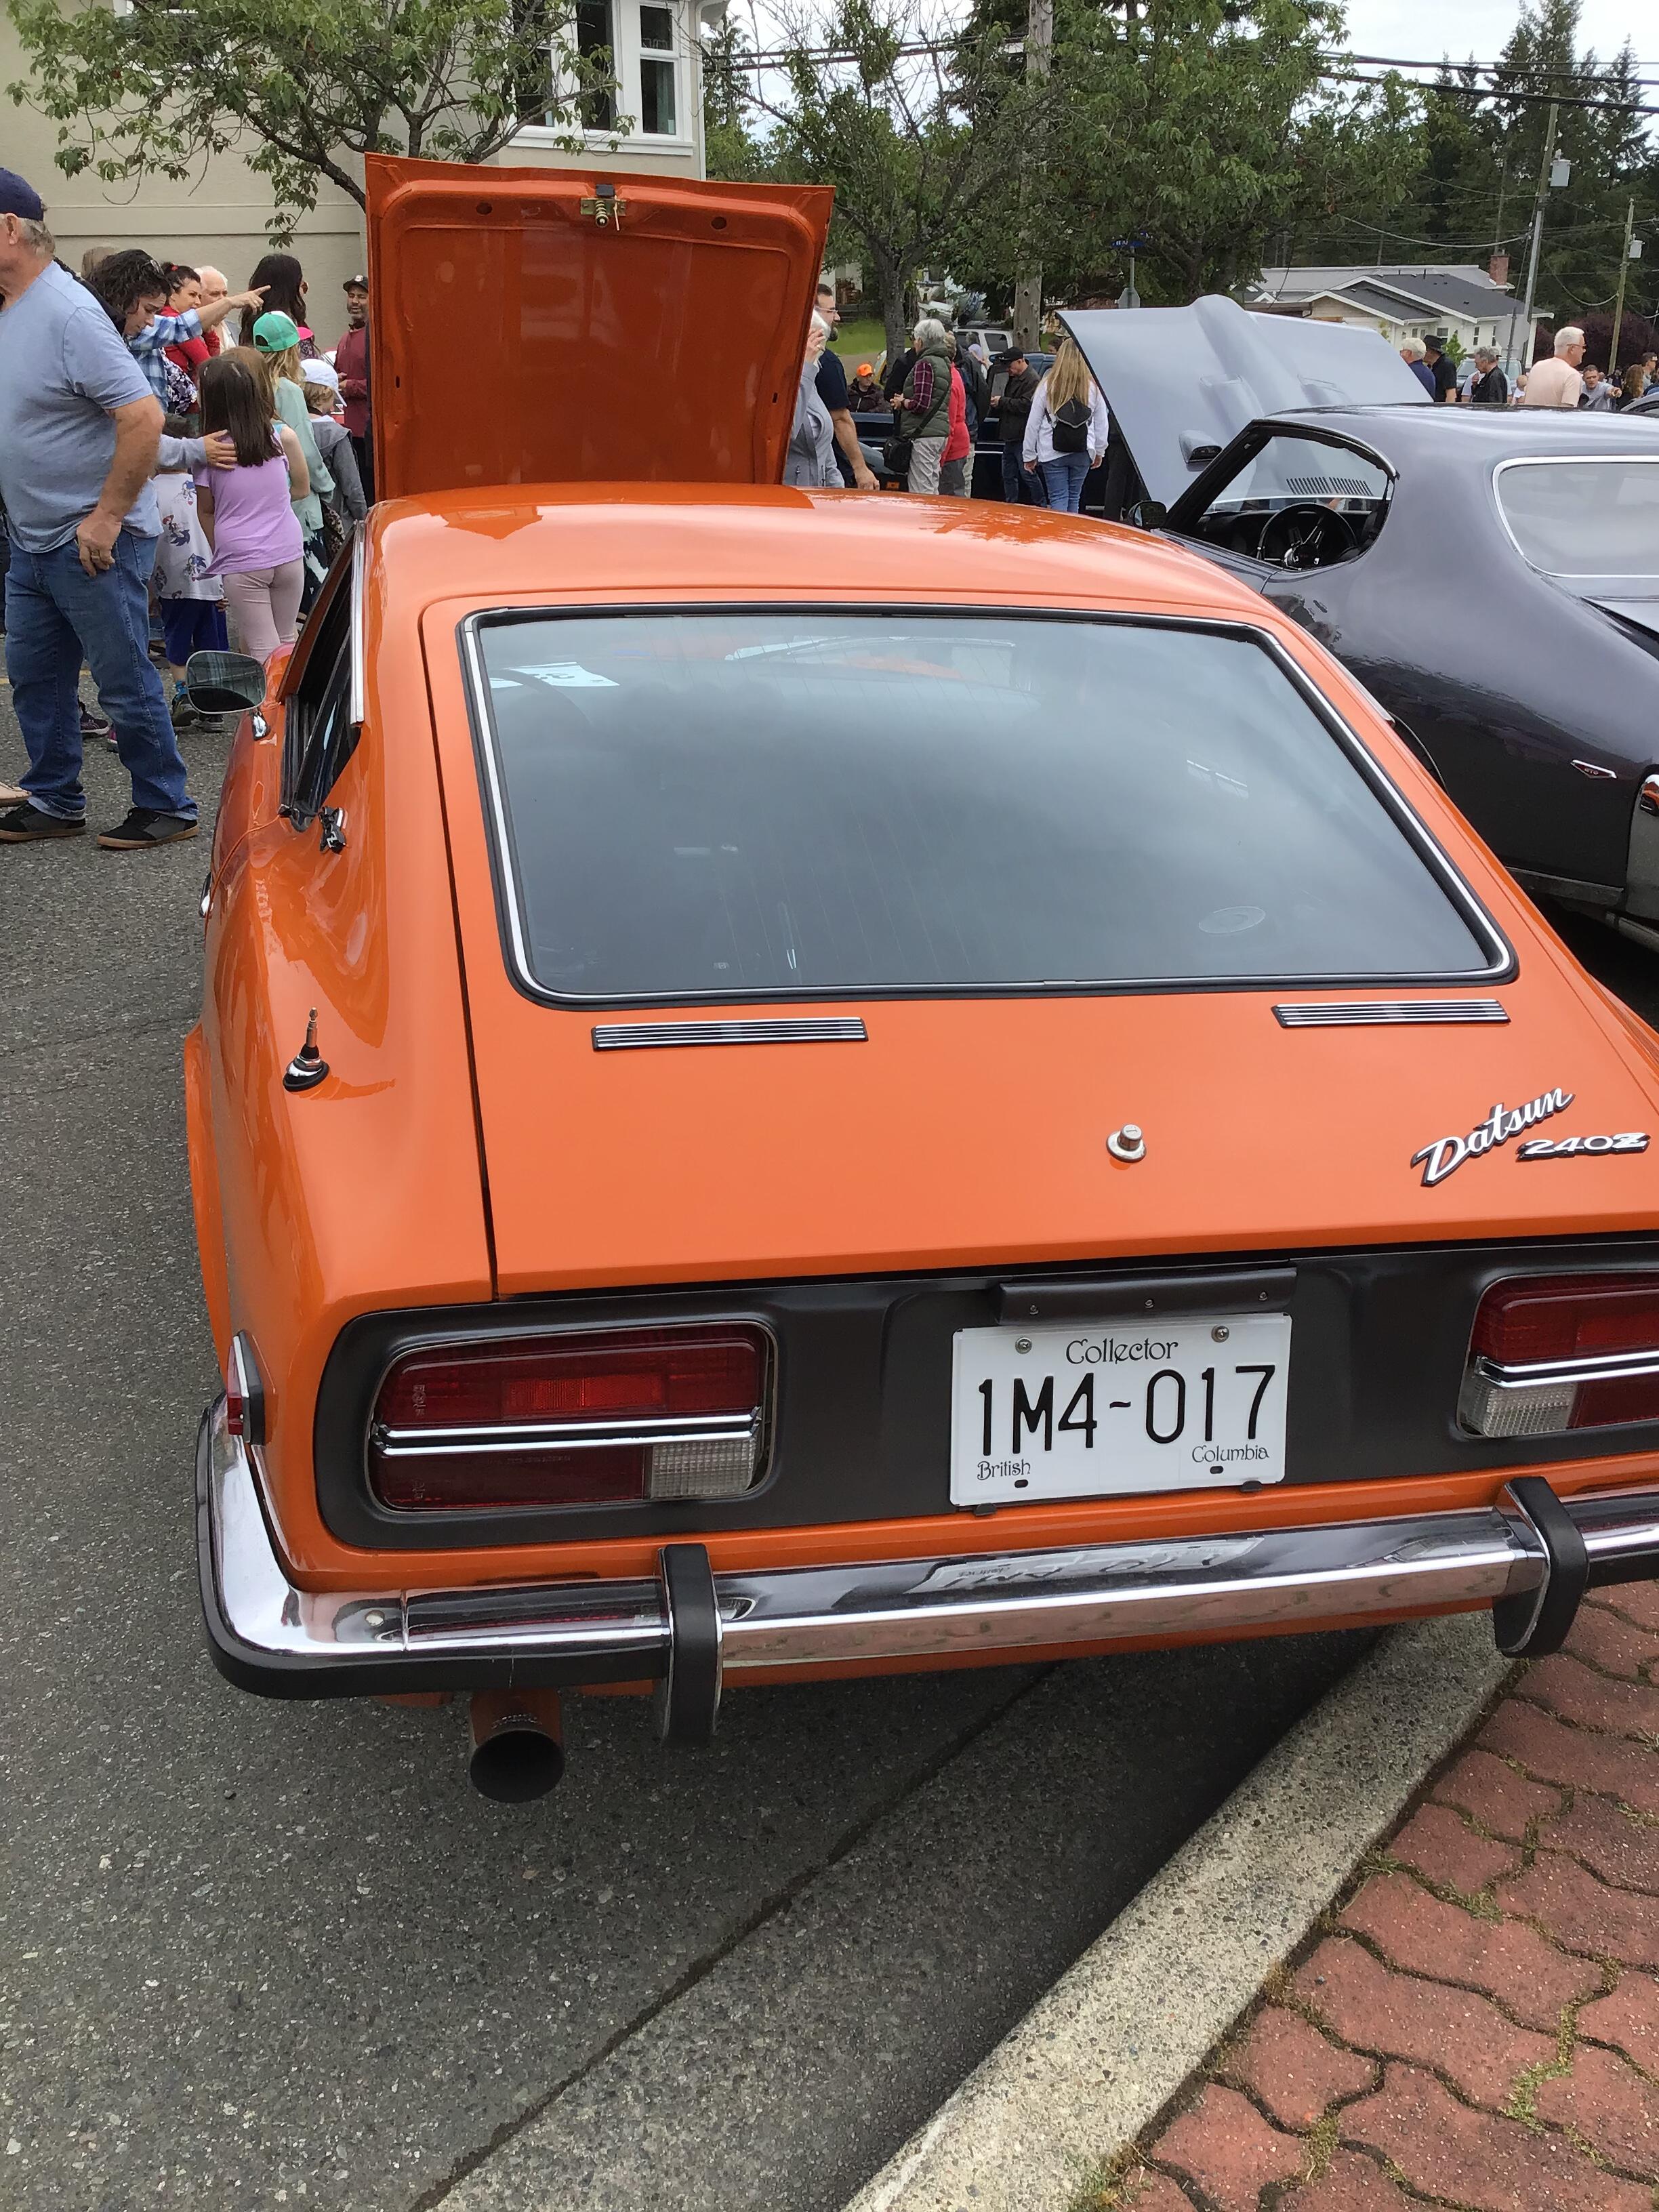
Went to a very large car show on Vancouver island for Father’s Day (625 + cars) there was a very nice orange early car there Vin 957, young gentleman that inherited it from his dad.


 1 point
 -
1 pointI was scrounging parts off my parts car and decided to take the cowl panel and the wiper motor off before they get stolen. Thought I might clean up the wiper motor and assemblies to put on my recently painted stock restoration '72. Just a perfect October Texas day with nothing else to do, I took the wiper motor and hooked it up to my '73 driver to see If it was in working order. No such luck! Well, I had nothing else to do, so I grabbed some tools and went to work. I'm no genius, and not an electical wizz, but with a 7ml and 8ml hard wrenches, some dental floss, and some axle grease, I had that wiper motor working perfectly in an hour. This process is so simple, you have to try it. First, take the plastic cover off of the wiper motor assembly. Next, take a 7ml wrench and remove the band around the motor for the relay. Next, take an 8ml wrench and remove the two 8ml nuts that hold the motor to the gear drive. you can now remove the motor stator (?) from the housing. Take some 600 grit sand paper the clean the surface where the three brushes make contact. I also sanded the motor surfaces to remove rust. Clean the inside of the housing (magnet) with some thinner and remove all lose corrosion by hitting housing on flat surface and blowing out housing with air gun. I used dental floss to hold the three brushes back in order to reassemble the motor to the gear housing. Before tighting the two 8ml nuts, remove the dental floss, which I tied around the three motor mounts to keep the brushes from popping out. I greased the worm drive and both bearing surfaces too, before the reassembly, so don't forget this. finally, I took the motor over to my '73 driver, and it worked perfectly! you might also want to clean all the contacts for insurance. All this in an hour. Go for it!1 point