Leaderboard
-
JSM
Free Member2Points1,253Posts -
joe newsom
Free Member2Points231Posts -
Takhli
Free Member2Points45Posts -

wheee!
Free Member2Points4,607Posts

Popular Content
Showing content with the highest reputation on 09/20/2018 in Posts
-
2 pointsThat is the one I have. If you want it, I'll ship it to you for you to try. If it works, pay me what you feel if it worth. If not, you can ship it back.2 points
-
2 pointsThe polished valve Matt posted is the test mule, but I have since completed one full set of intake valves. I started at the drill press, spinning each valve to check for head run-out and wobble. If they checked out (and all of them did) I weighed and measured each one. Eventually, we had two sets of valves fairly consistent in length and weight. We also have a third set but the measurements are not so consistent. The polishing work started on the combustion faces, spinning the valves at about 650 RPM while using a Dremel tool and grinding stone against the direction of rotation, to smooth away the casting marks. Working with a gentle, steady pressure it only took a few minutes to clear the marks from the valve. I followed the grinding with 80-grit abrasive cloth until the grinding stone marks were no longer visible; then moved to successively finer wet-dry papers until I had the finish I wanted. A small bit of WD-40 on the paper helps, and it didn't take more than fifteen-minutes to polish each valve's combustion face. When I was done with one set of six valves I moved to their transition at the valve stem base. Measuring often until the transition blended smoothly, I used a very fine file to carefully turn down the neck of the transition. After this I polished the head and stem transition the same way I did the combustion face, but stopped at the 600-grit finish. Next, I'll re-face each valve with the factory angles, and dress their tips. Admittedly, the mule is way over the top, and 600 grit paper will achieve a very nice finish. Next I plan to experiment to get a swirl pattern on the port-side of the valves, but the combustion chambers are polished so I want the combustion face of the valves polished, as well. More photos to follow, but I'll let Matt do that.2 points
-
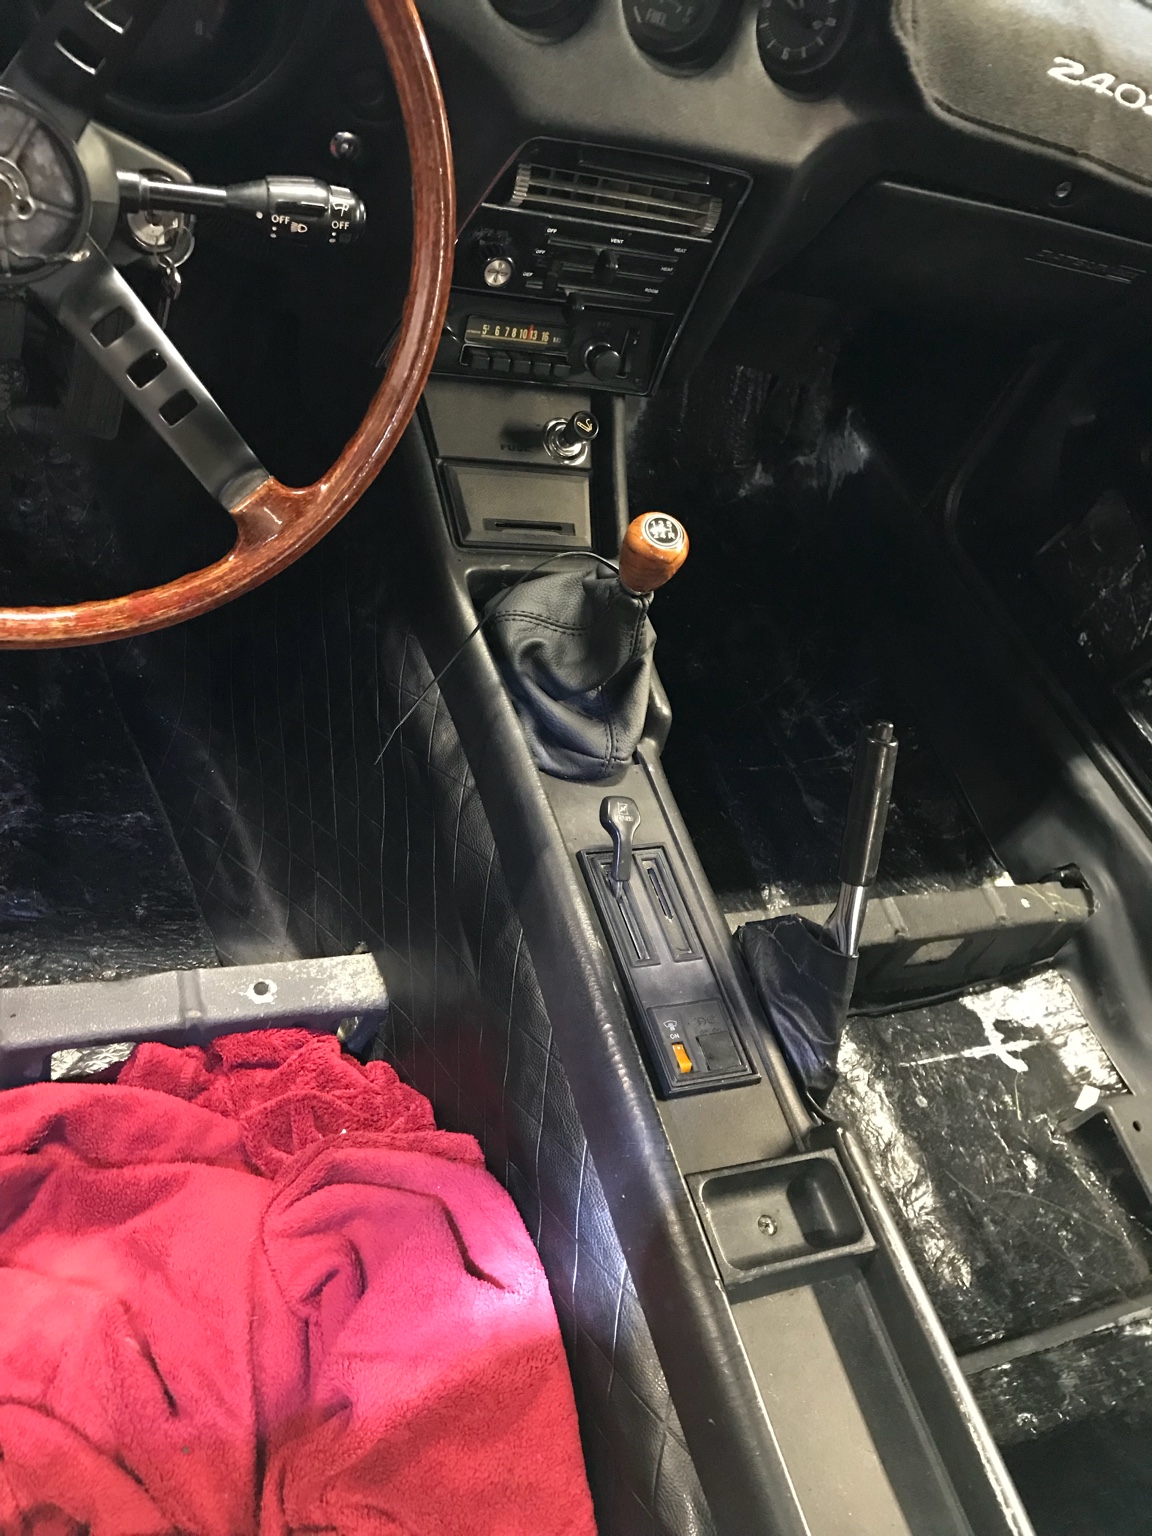
It seems to go into gear fine but it hits the 71 console and pushing it forward in 5th noticeable. It stays in gear with the engine not running so we will see. I may need to do more console trimming. I really want to keep using my 71 console as its original.1 point
-
1 point
-
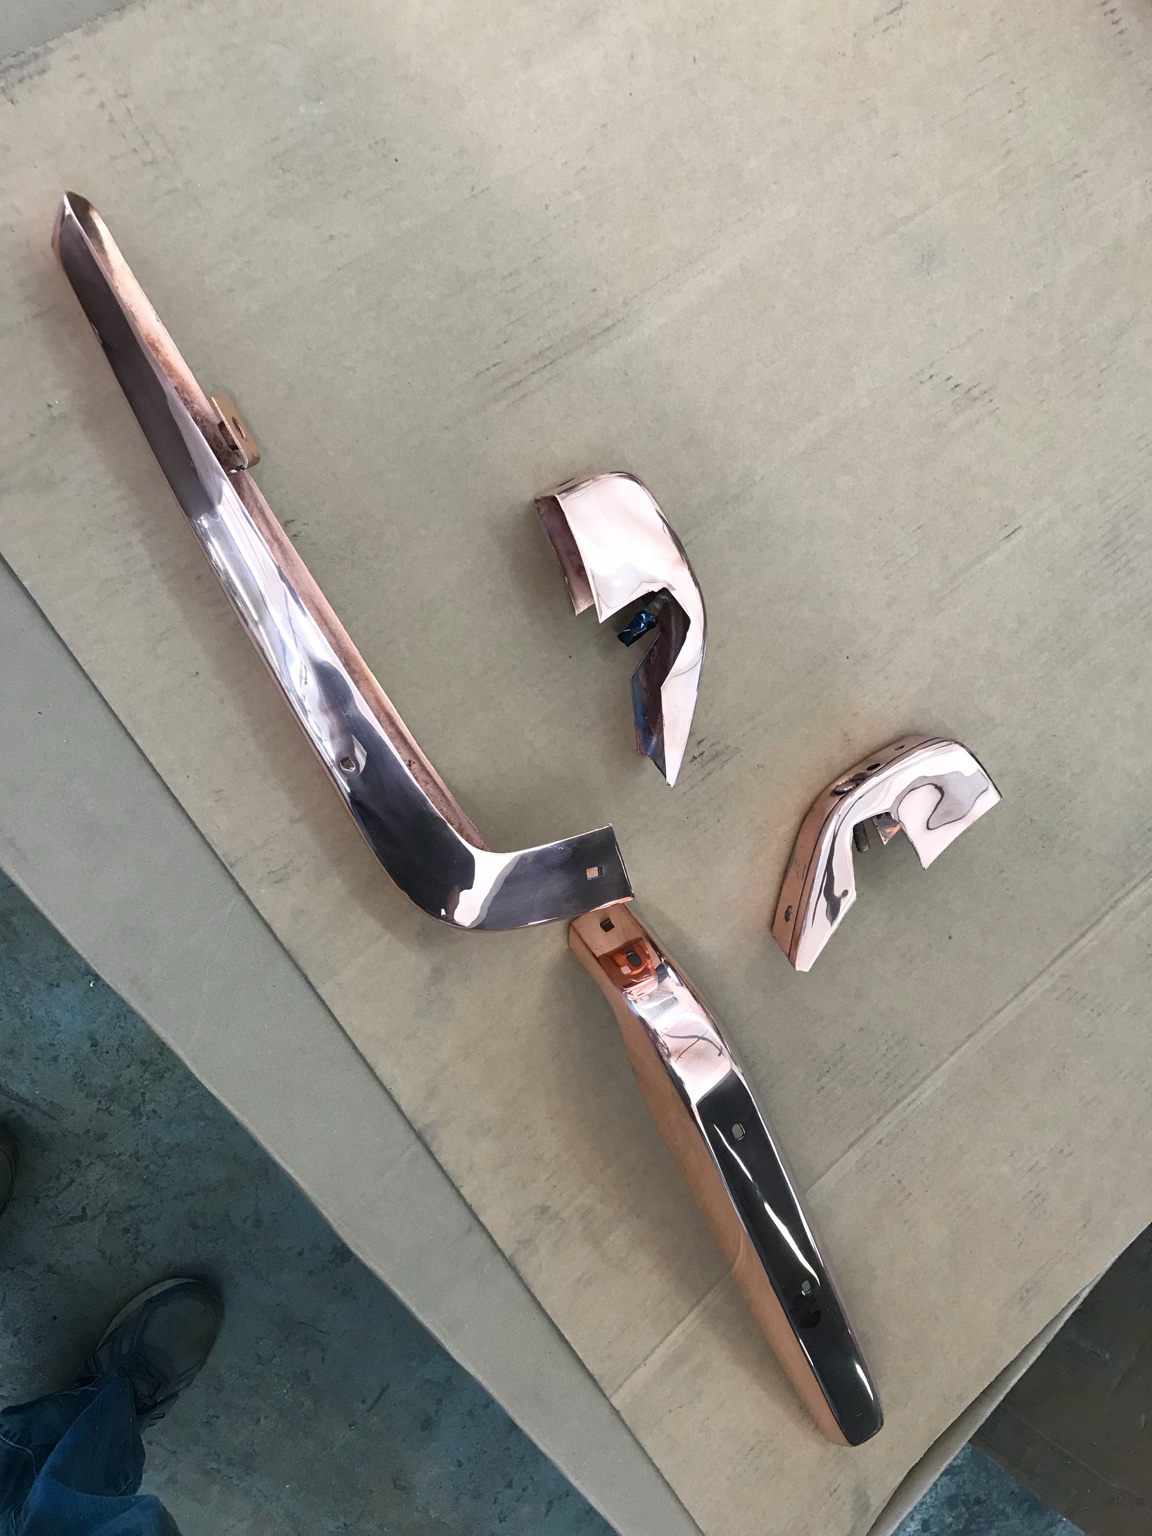
1 pointWent to the chrome shop today to pick up some bumper parts. Thought it was cool to see some of the pieces in copper Sent from my iPhone using Classic Zcar Club mobile

 1 point
 -
I use that same 280Z 5 speed for 20 years now. Plenty good. No need for a ZX gearbox at all really.1 point
-
1 pointI am just planning ahead on the project and just thought it would be nice to have the factory original unit still in place. I am an assistant manager at a nation wide 5,000 plus store company and we do offer 1 year warranty remans, lifetime warranty remans, as well as new units on some applications. For the obvious reasons a new unit is not offered for the Z, but a lifetime reman is available. We changed suppliers for our reman electrical components about 2 years ago due to a high rate of failures. The new supplier has been much better quality but details are very vague about what actually gets replaced. Just thought it might be an interesting challenge to attempt but have no experience in rebuilding alternators. The commutator looks real nice, brushes still intact, bearings still free, but unit was covered in grime and the pulley pretty rusty. The last time this car was running according to the seller, as well as the inspection tag still on the window was 1996. 20 years of use and 20 years of sitting. Neither one a good option. Keep the helpful tips coming and I will continue to do some more research. Thanks again, John-Lugoff, SC. Thankful to the LORD for sparing us from the main fury of the hurricane and praying to the LORD for those who lost so much due to the storm.1 point
-
1 pointSorry for the extremely late response. Unfortunately I am unable to do high volume production. I can do seat brackets, but they are really time consuming to make as I dont have much time to spend on making things for others anymore due to my work keeping me busy and the time I need to put into my own cars. But there are times when I can put time into making stuff for others. Well all id like to update this and inform everyone that Charlie at Zedd Findings called me up and talked to me about he wanting to start making the inner rockers. I told him I have no issues with it as I think competition is healthy to have in any business. Honestly he didnt even have to talk to me about it, I wouldnt had cared if he made them with out speaking to me, not like I have a patent on this, but its nice to know he wanted to talk to me about it first. I told him that I dont have time to keep up with the requests I get in providing these panels, thus the reason he wanted to start selling. I am currently making a set for him as he wanted it to use as a prototype. I think be better to have the actual Factory panel to mimic off of but I guess he doesnt have any on hand. I dont know when he will be getting his inner rockers ready for production, I dont know how he will be making them and what he will be charging, but I will keep this updated for when that happens or you can just get in contact with him or regularly check his site. Ive already told some people about him, so hopefully he is motivated to get this going. Id love to keep this up and even making other products like talked about in this thread, but still dont have enough of my own time to give up on this. Hopefully in the future ill be back at it and be able to provide for all that wants. Well anyways, stay tuned!! P.S. sad news for my project 240Z is it hasnt gotten any attention since I left off in my build thread, for those wondering. I actually have some surprising news about it, some may think im crazy....but wont say it, so you will have to stay tuned!! Edit: I should add that the best way to contact me is at bpeck@prospect-d.com if you call me and I dont pick up my phone, then leave a message. I hardly answer the phone when its out of state callers. You can check out my site as stated in my email.1 point
-
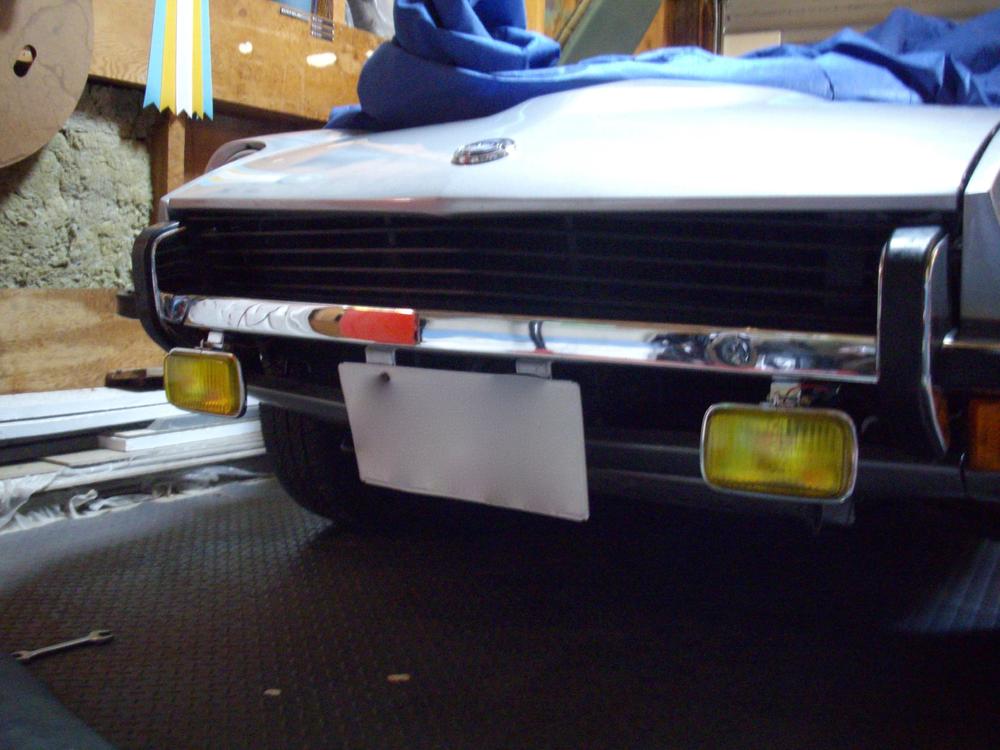
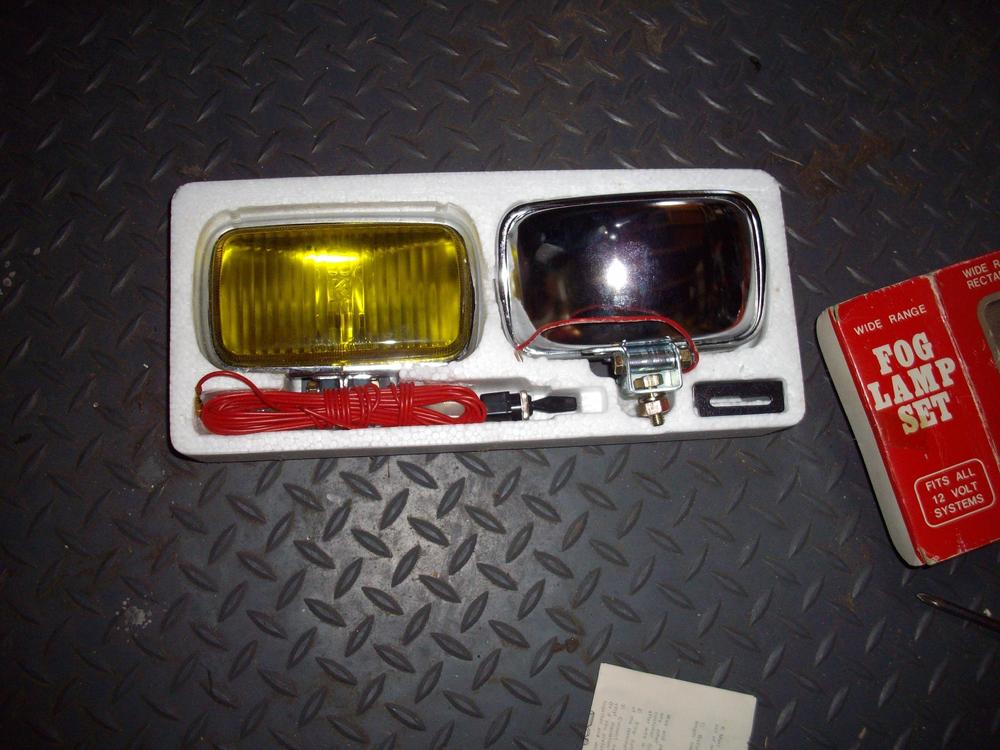
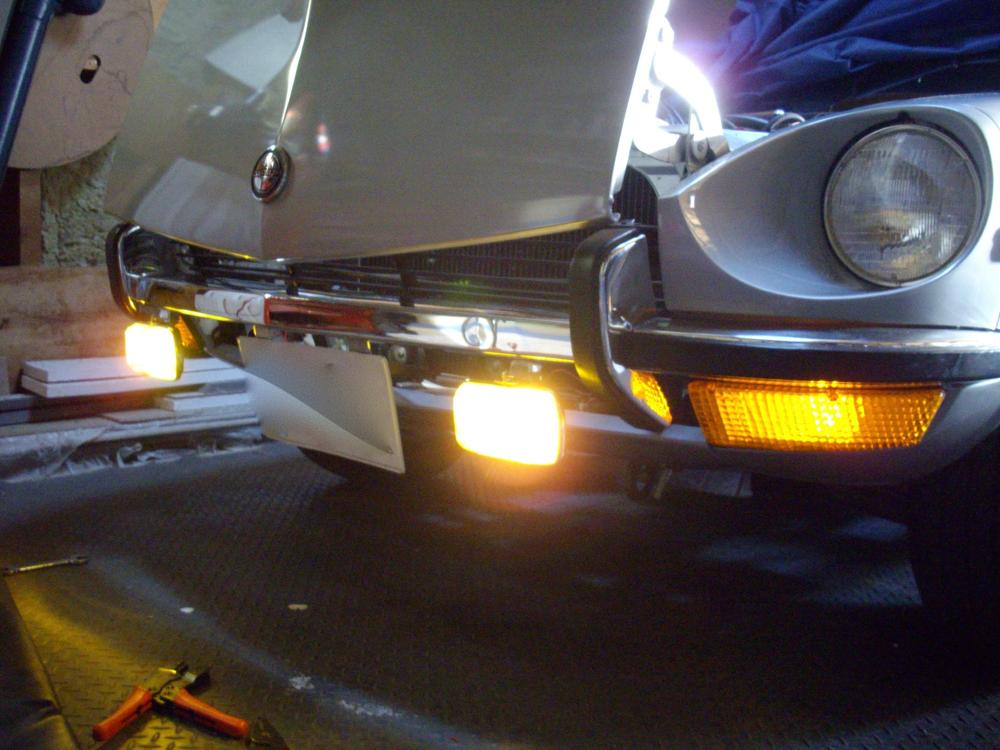
installed a set of amber fog lights, they are a NIB set made in Japan for Kmart. I used a spare Hazard switch i had.

 1 point
 -
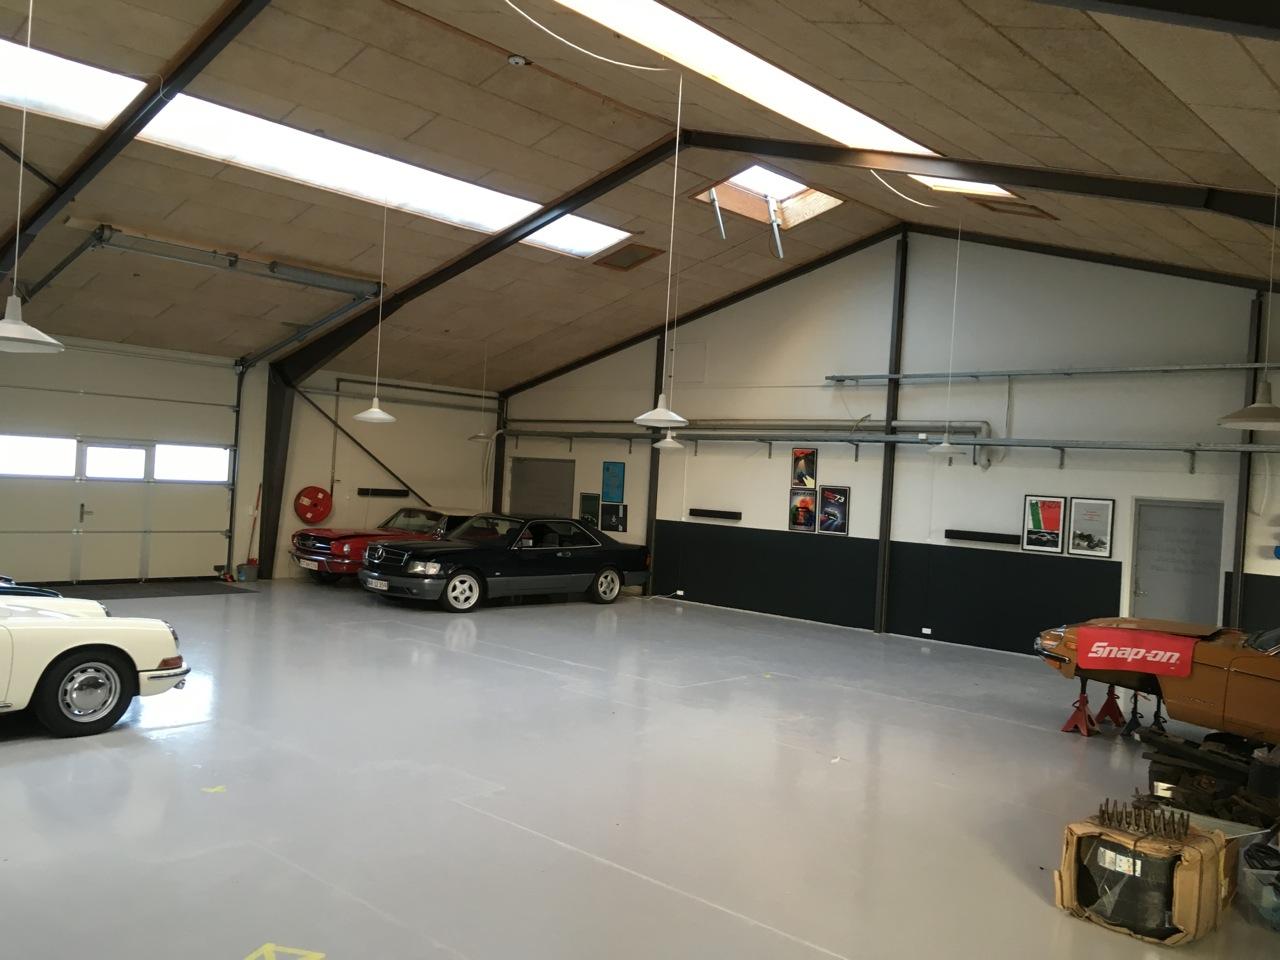
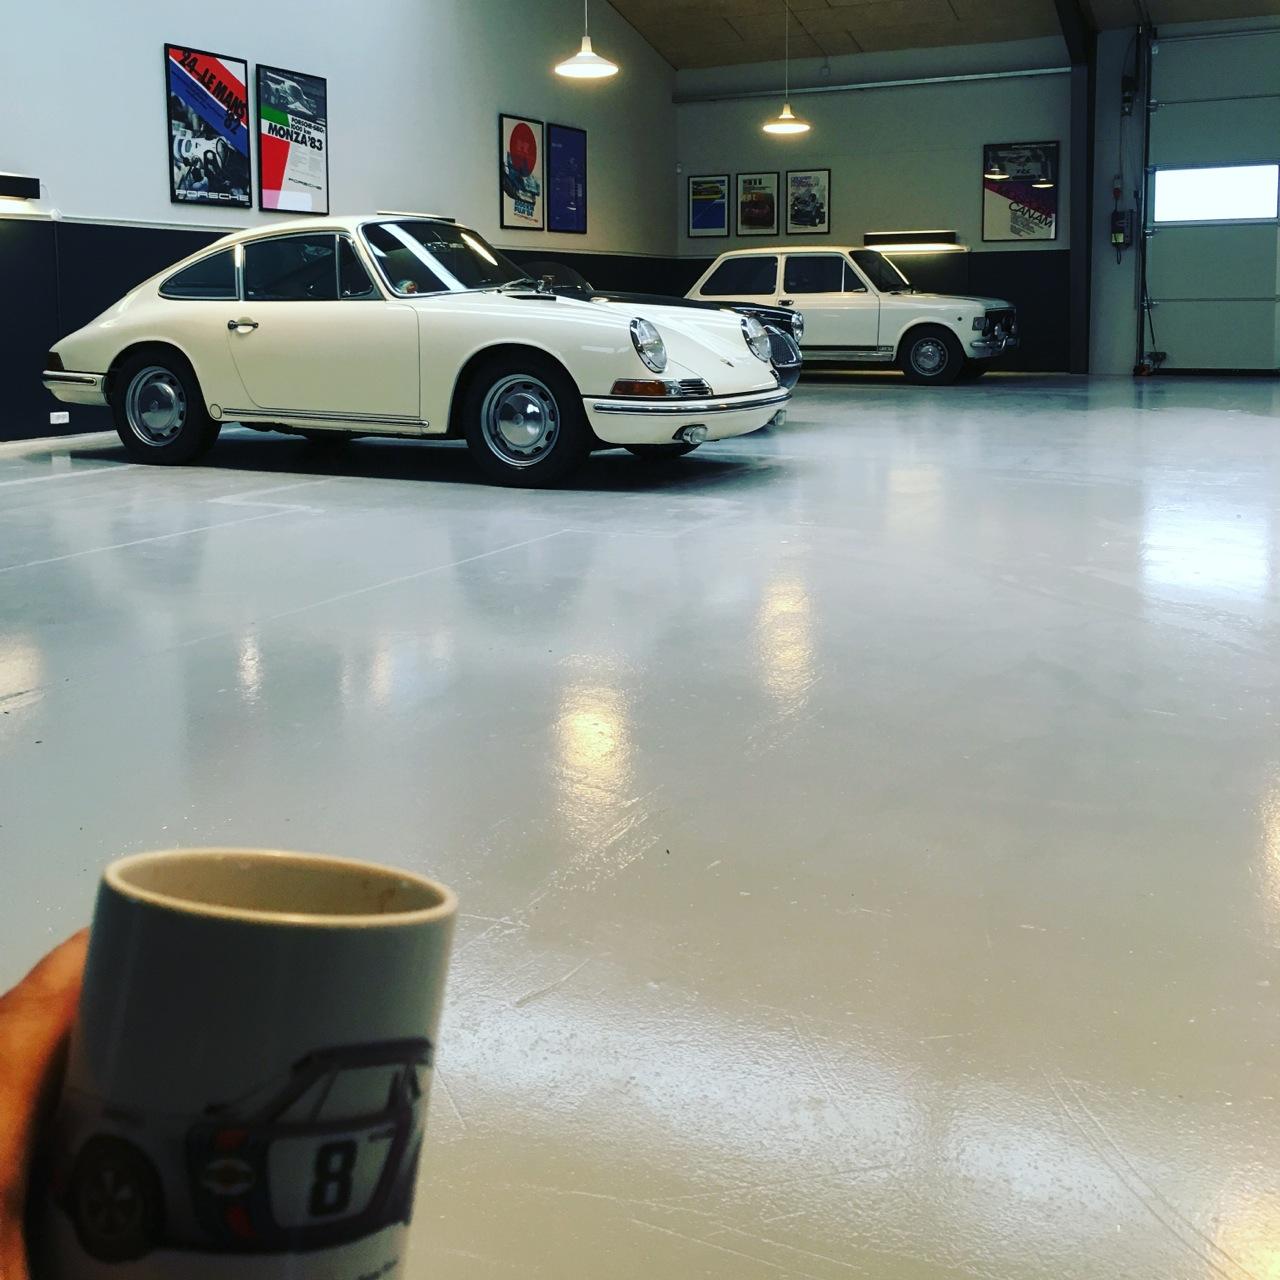
1 pointIt´s 350 sq meters, is´nt that around 400 sq. ft.? Anyway, it is a very nice place, lot of natural light, space to work around the cars, and space enough to rent 9 parking spots out...

 1 point
 -
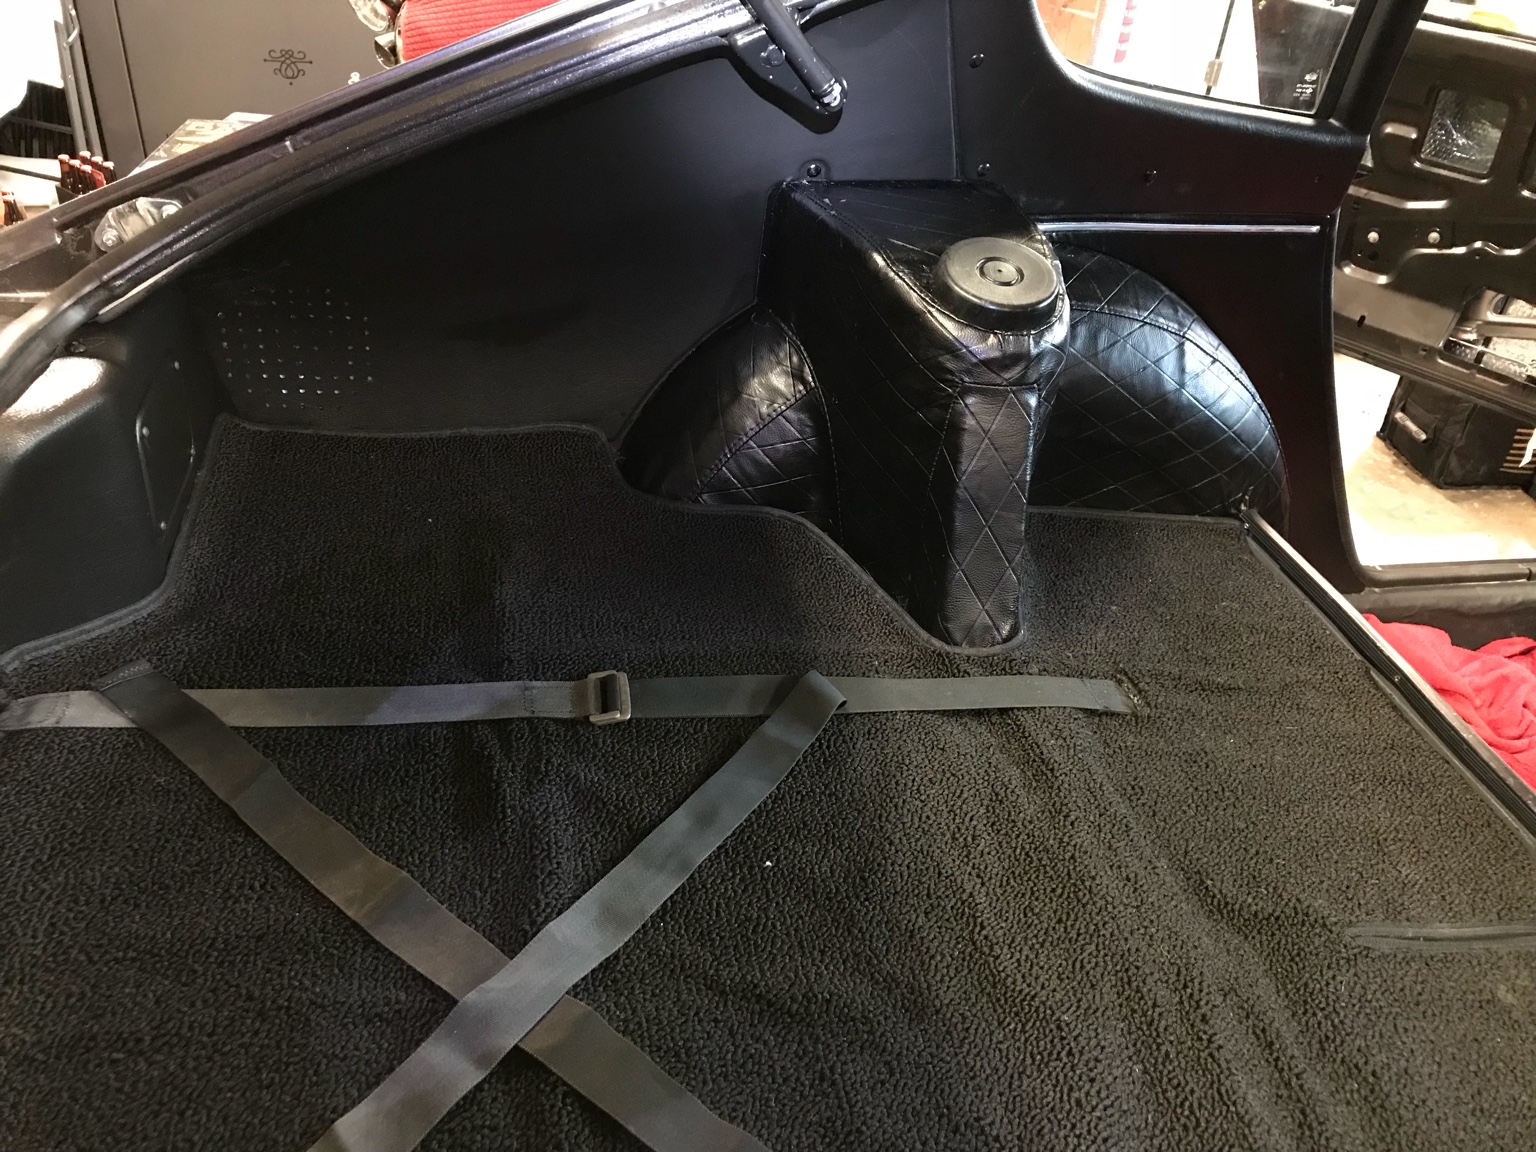
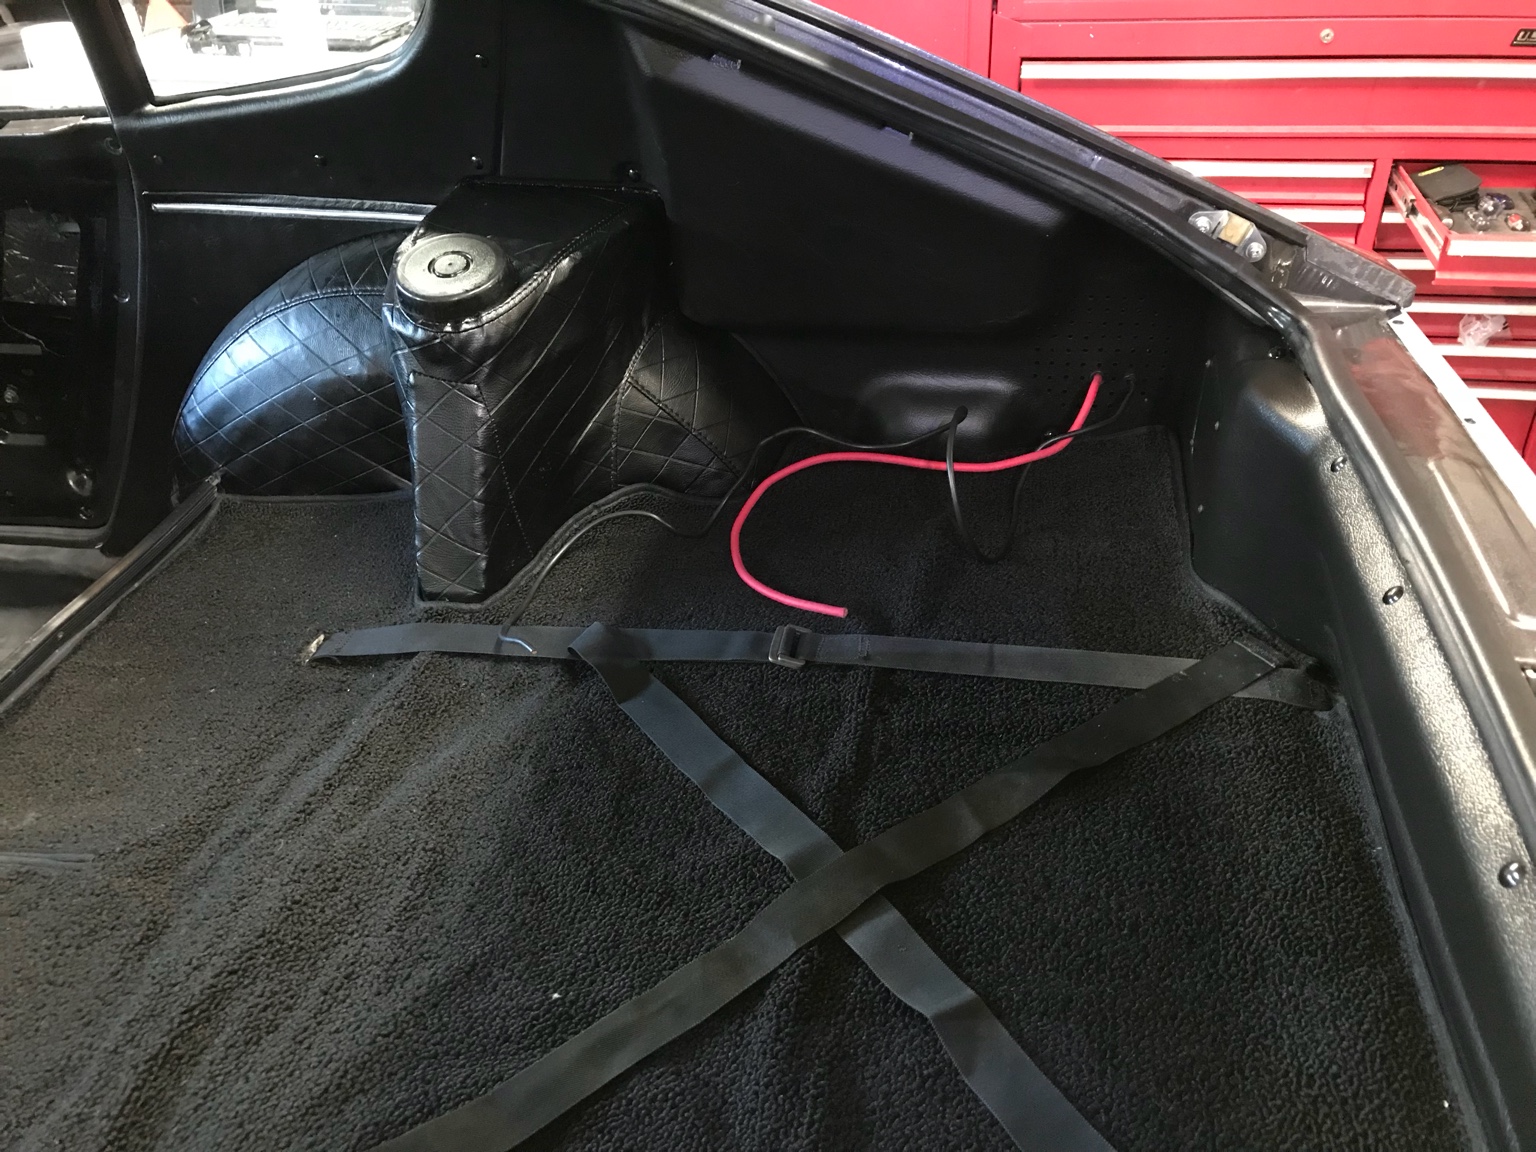
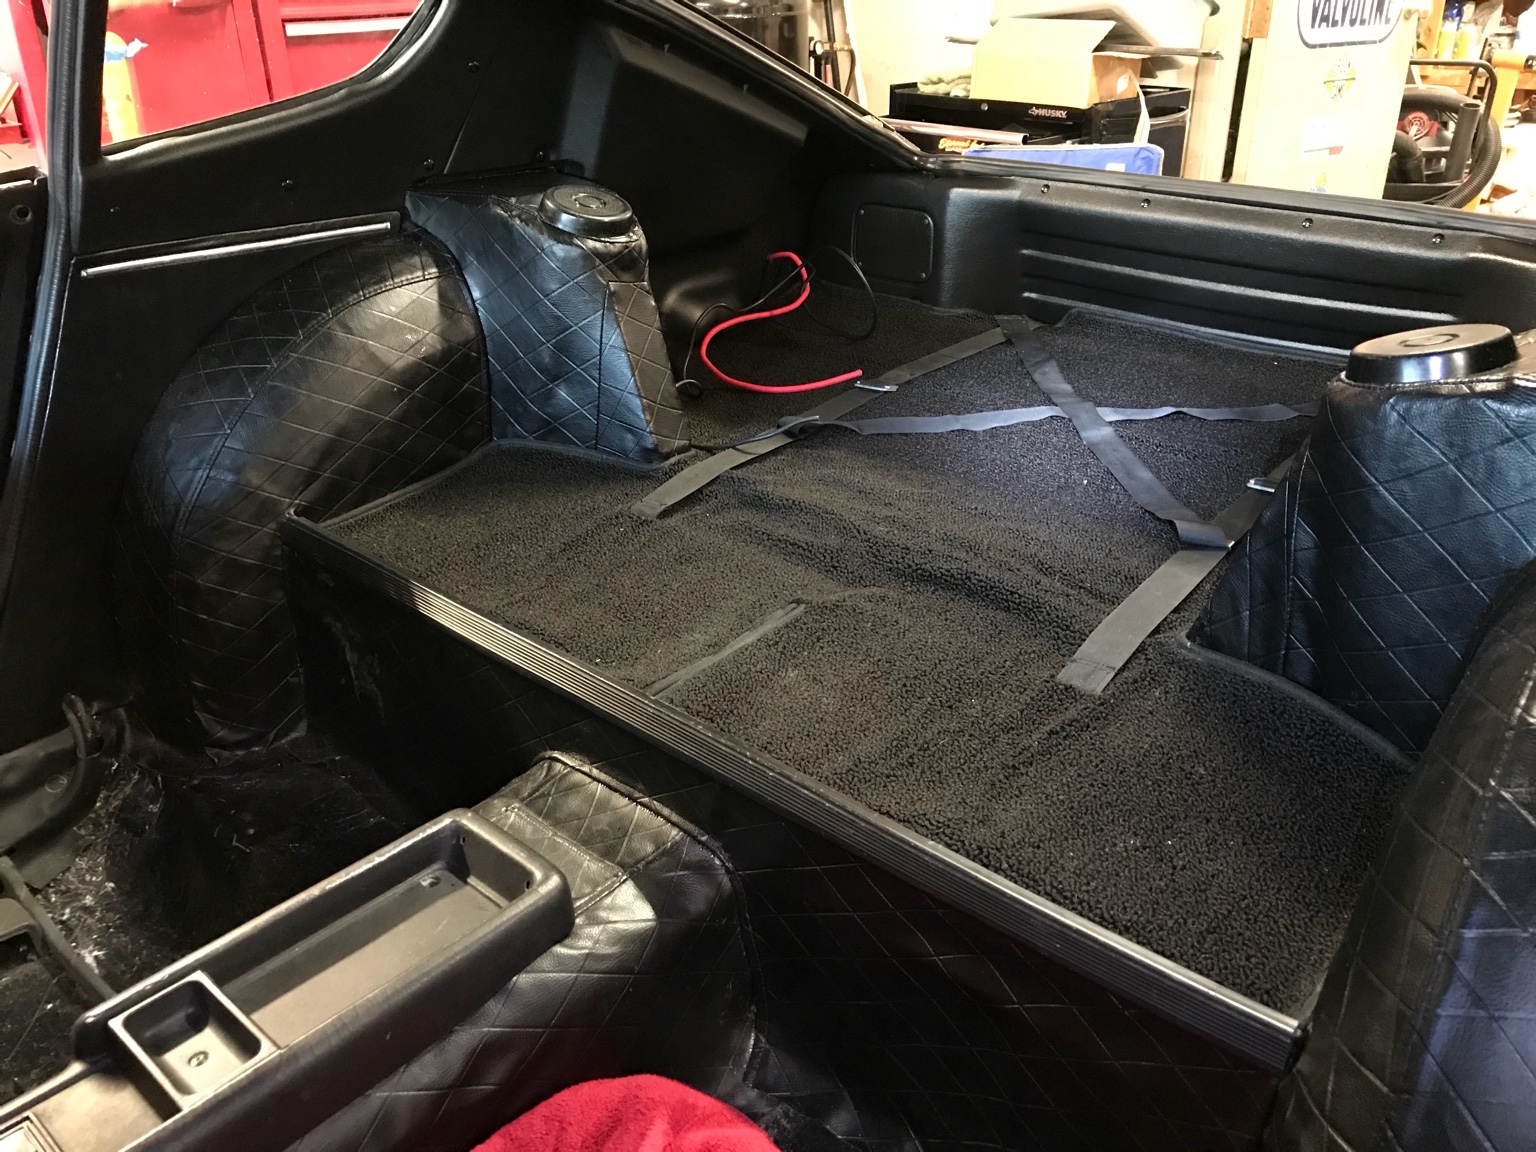
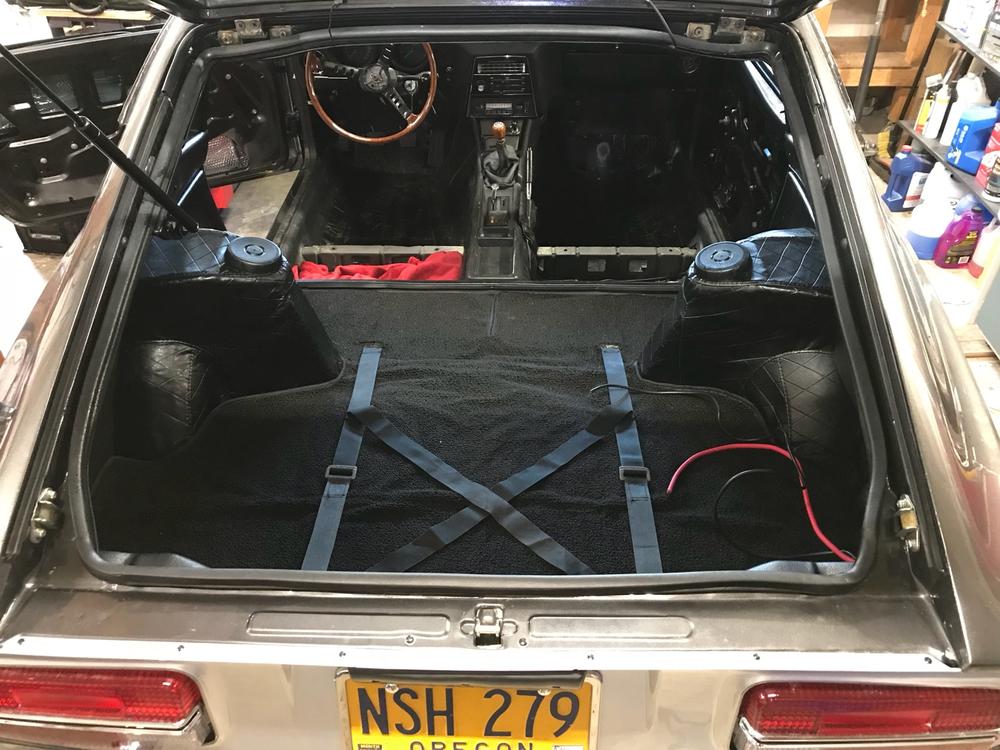
1 pointCouple new pics of the interior coming together Sent from my iPhone using Classic Zcar Club mobile


 1 point
 -
1 point
-
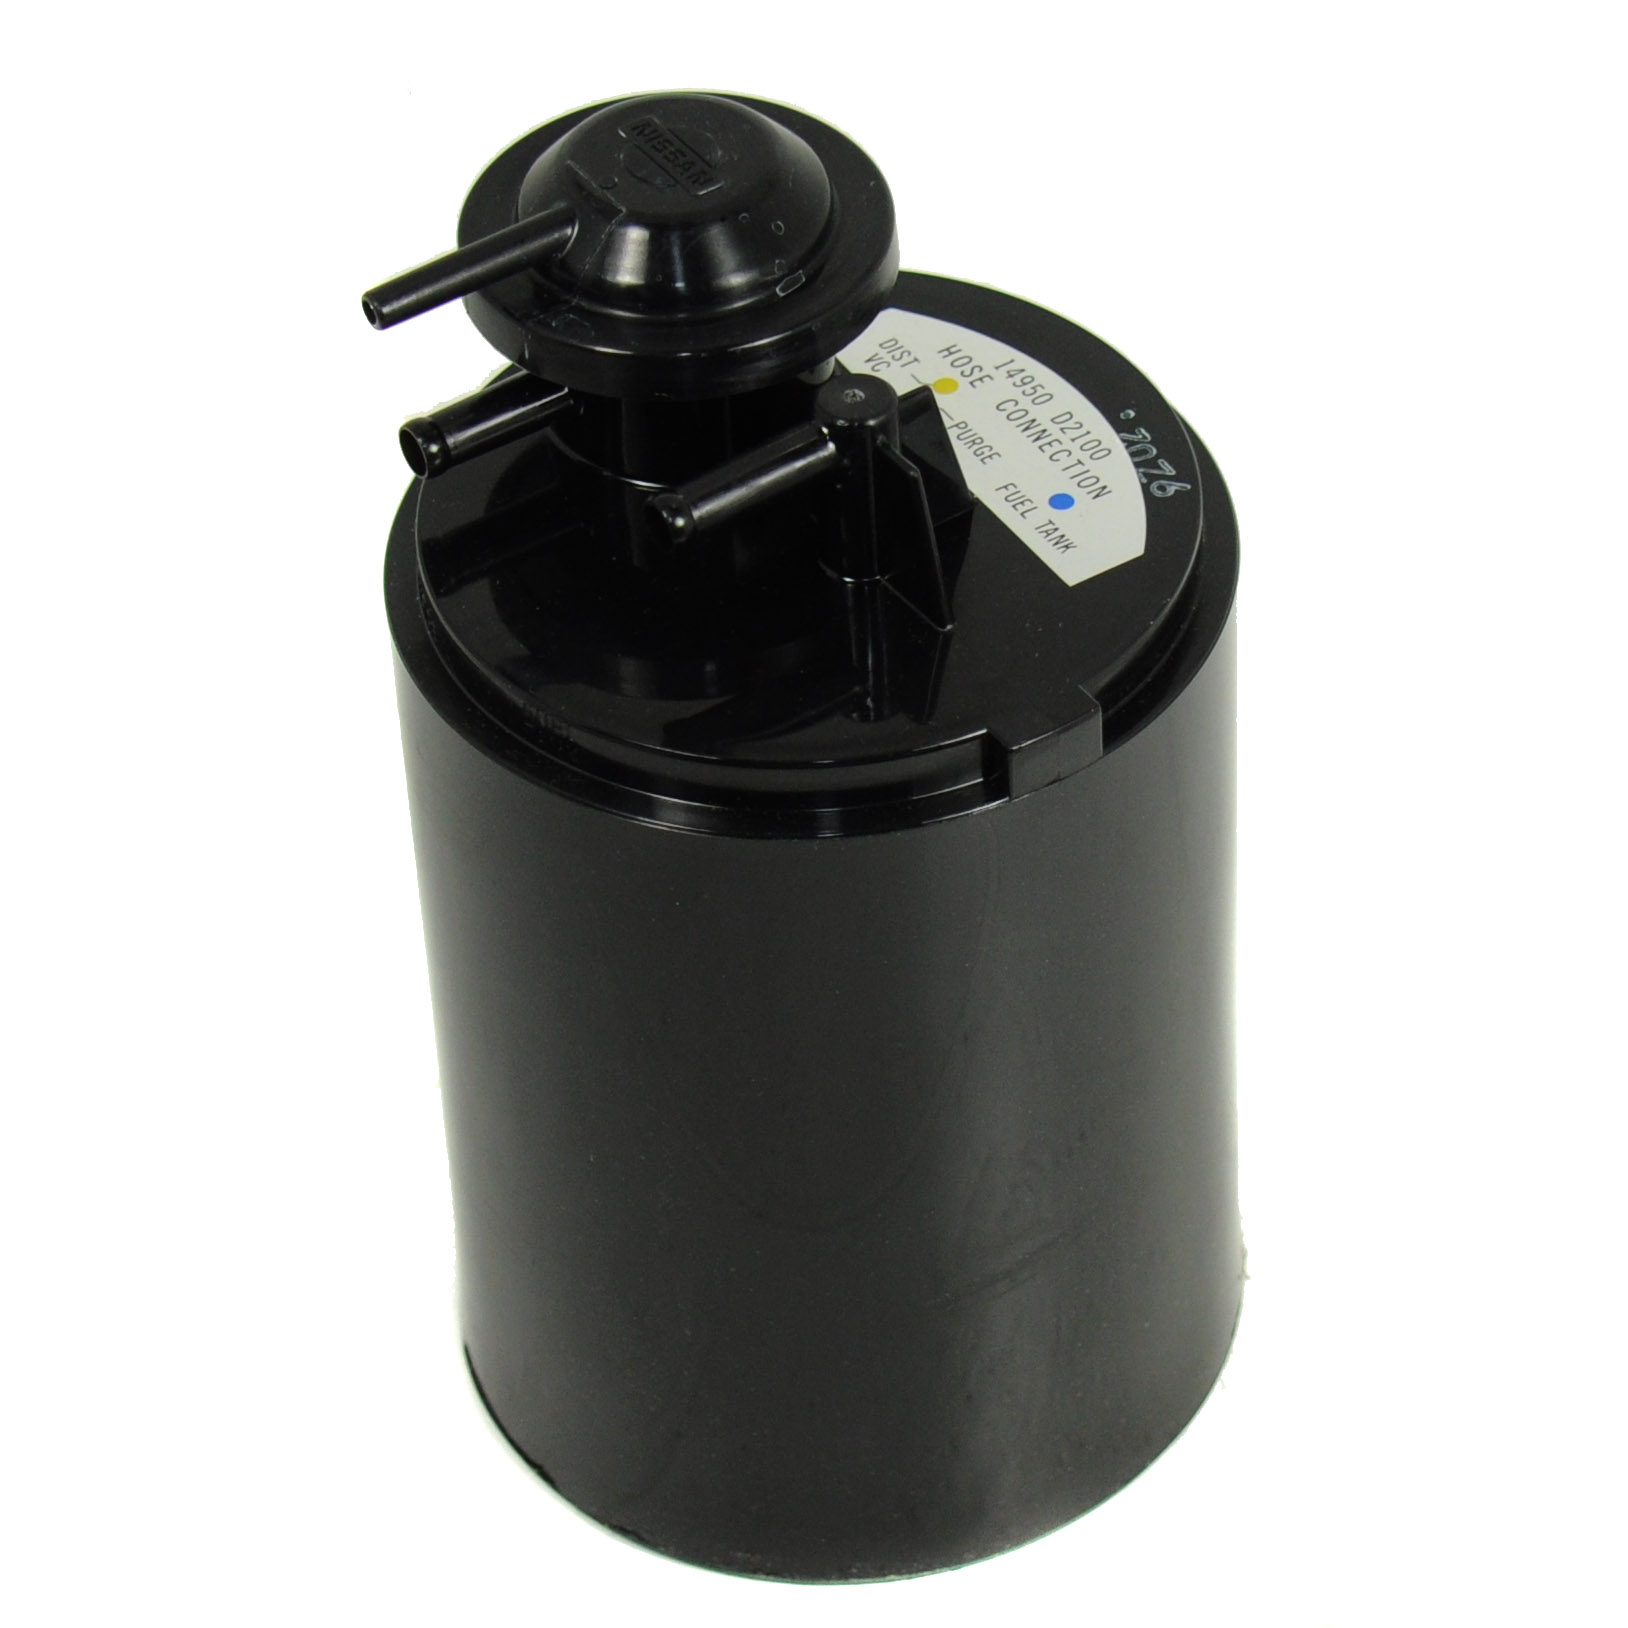
1 pointI am thinking of relocating a smaller canister (from a Sentra maybe) up to the firewall. I will have a fuel return line after the FPR so that's not a problem...
 1 point
 -
1 point
-
If you're looking for sane people you're probably on the wrong forum, just sayin.....?0 points