Leaderboard
-
Captain Obvious
Free Member2Points10,081Posts -
ksechler
Free Member2Points544Posts -

siteunseen
Free Member2Points15,115Posts -
MattSaint
Free Member1Points64Posts


Popular Content
Showing content with the highest reputation on 09/07/2016 in Posts
-
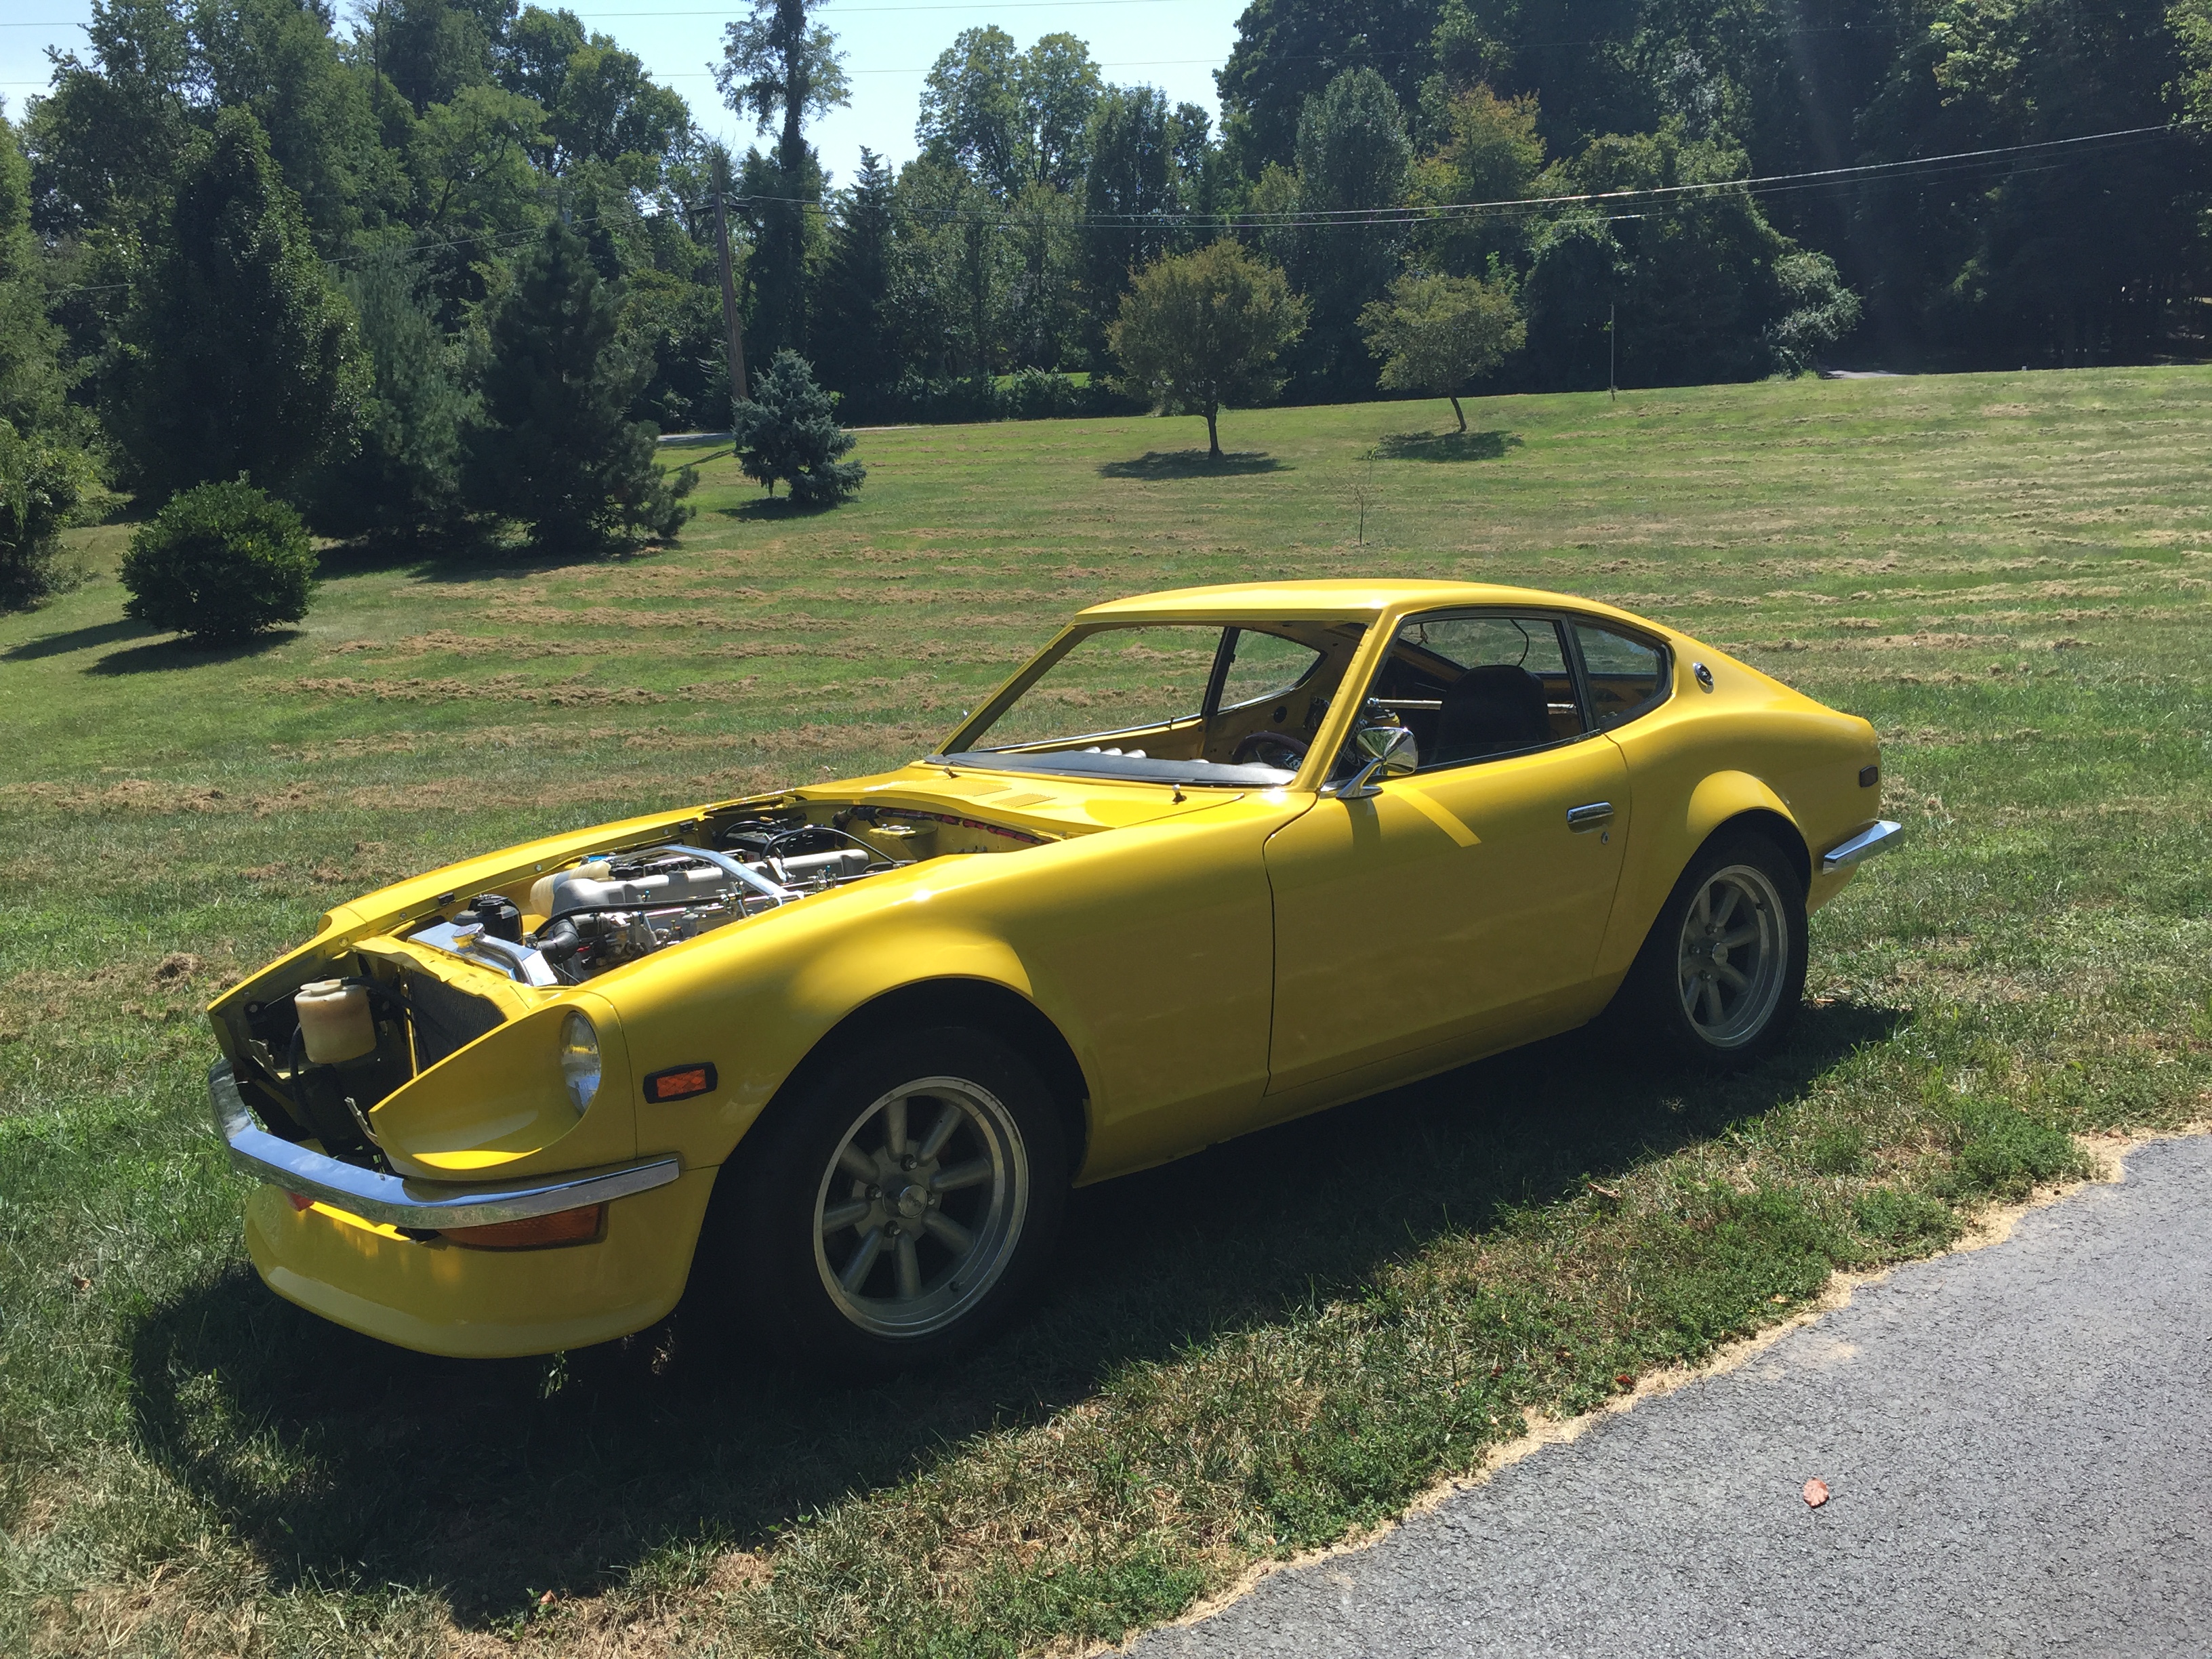
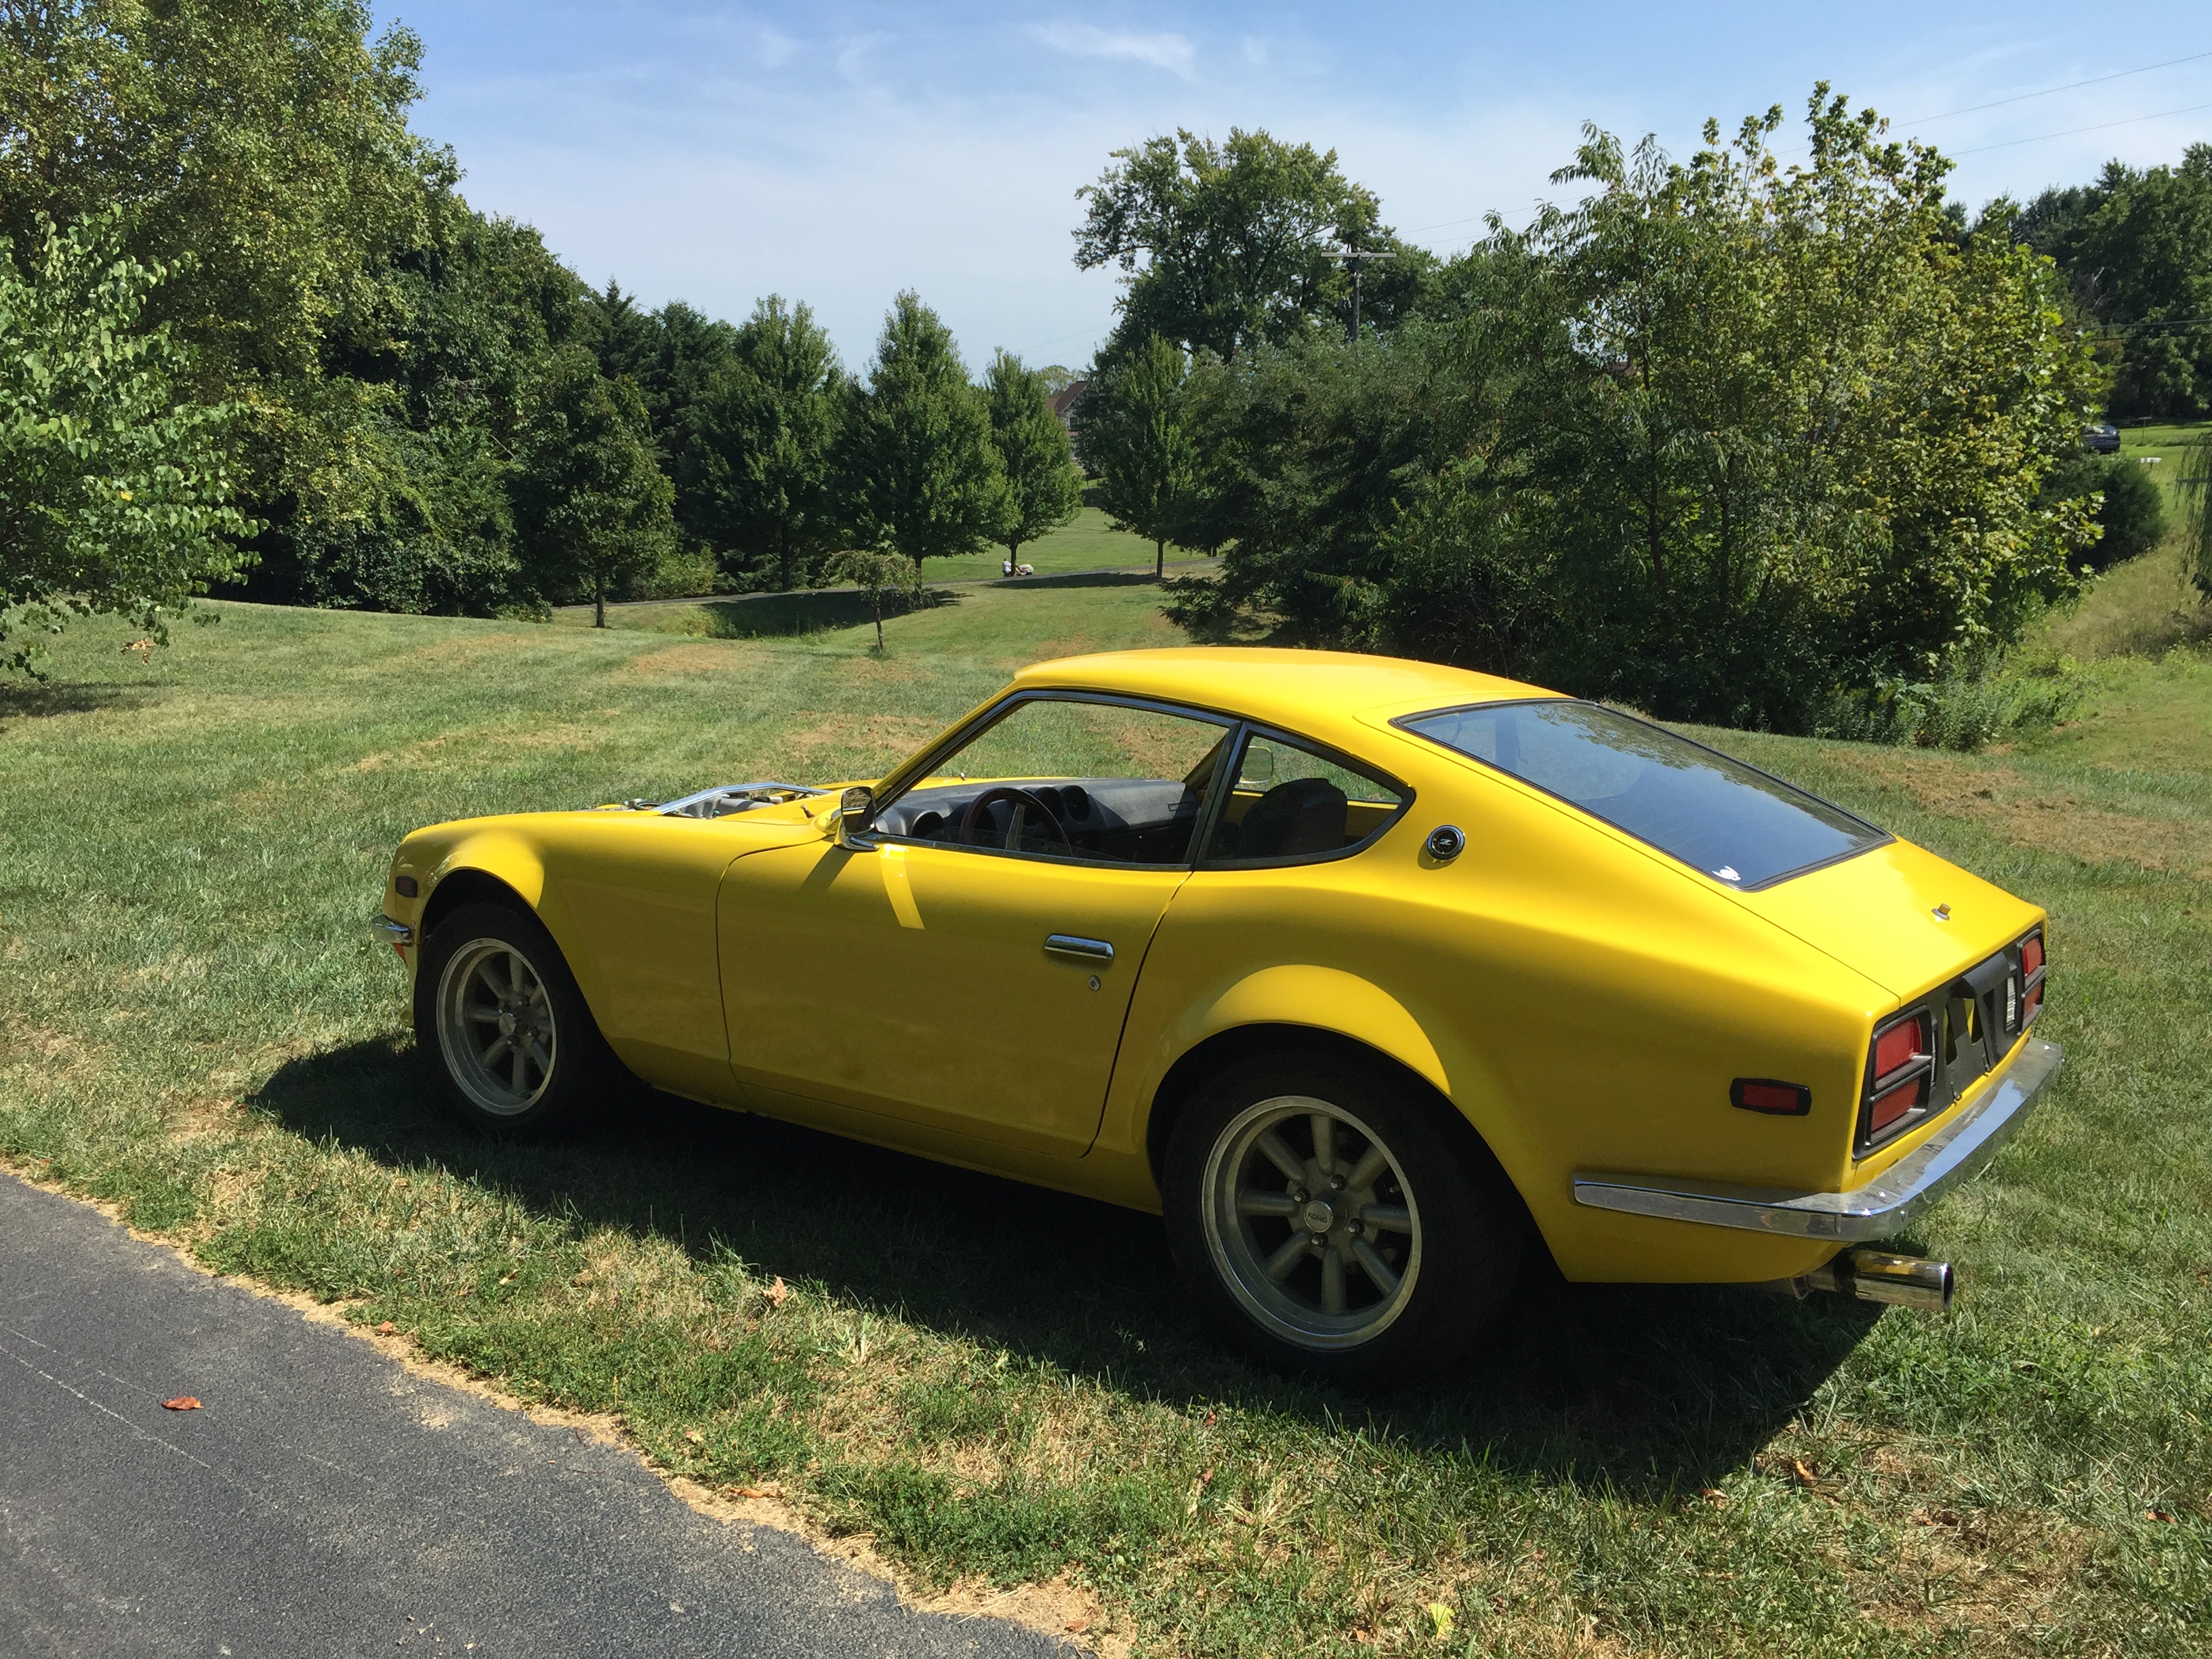
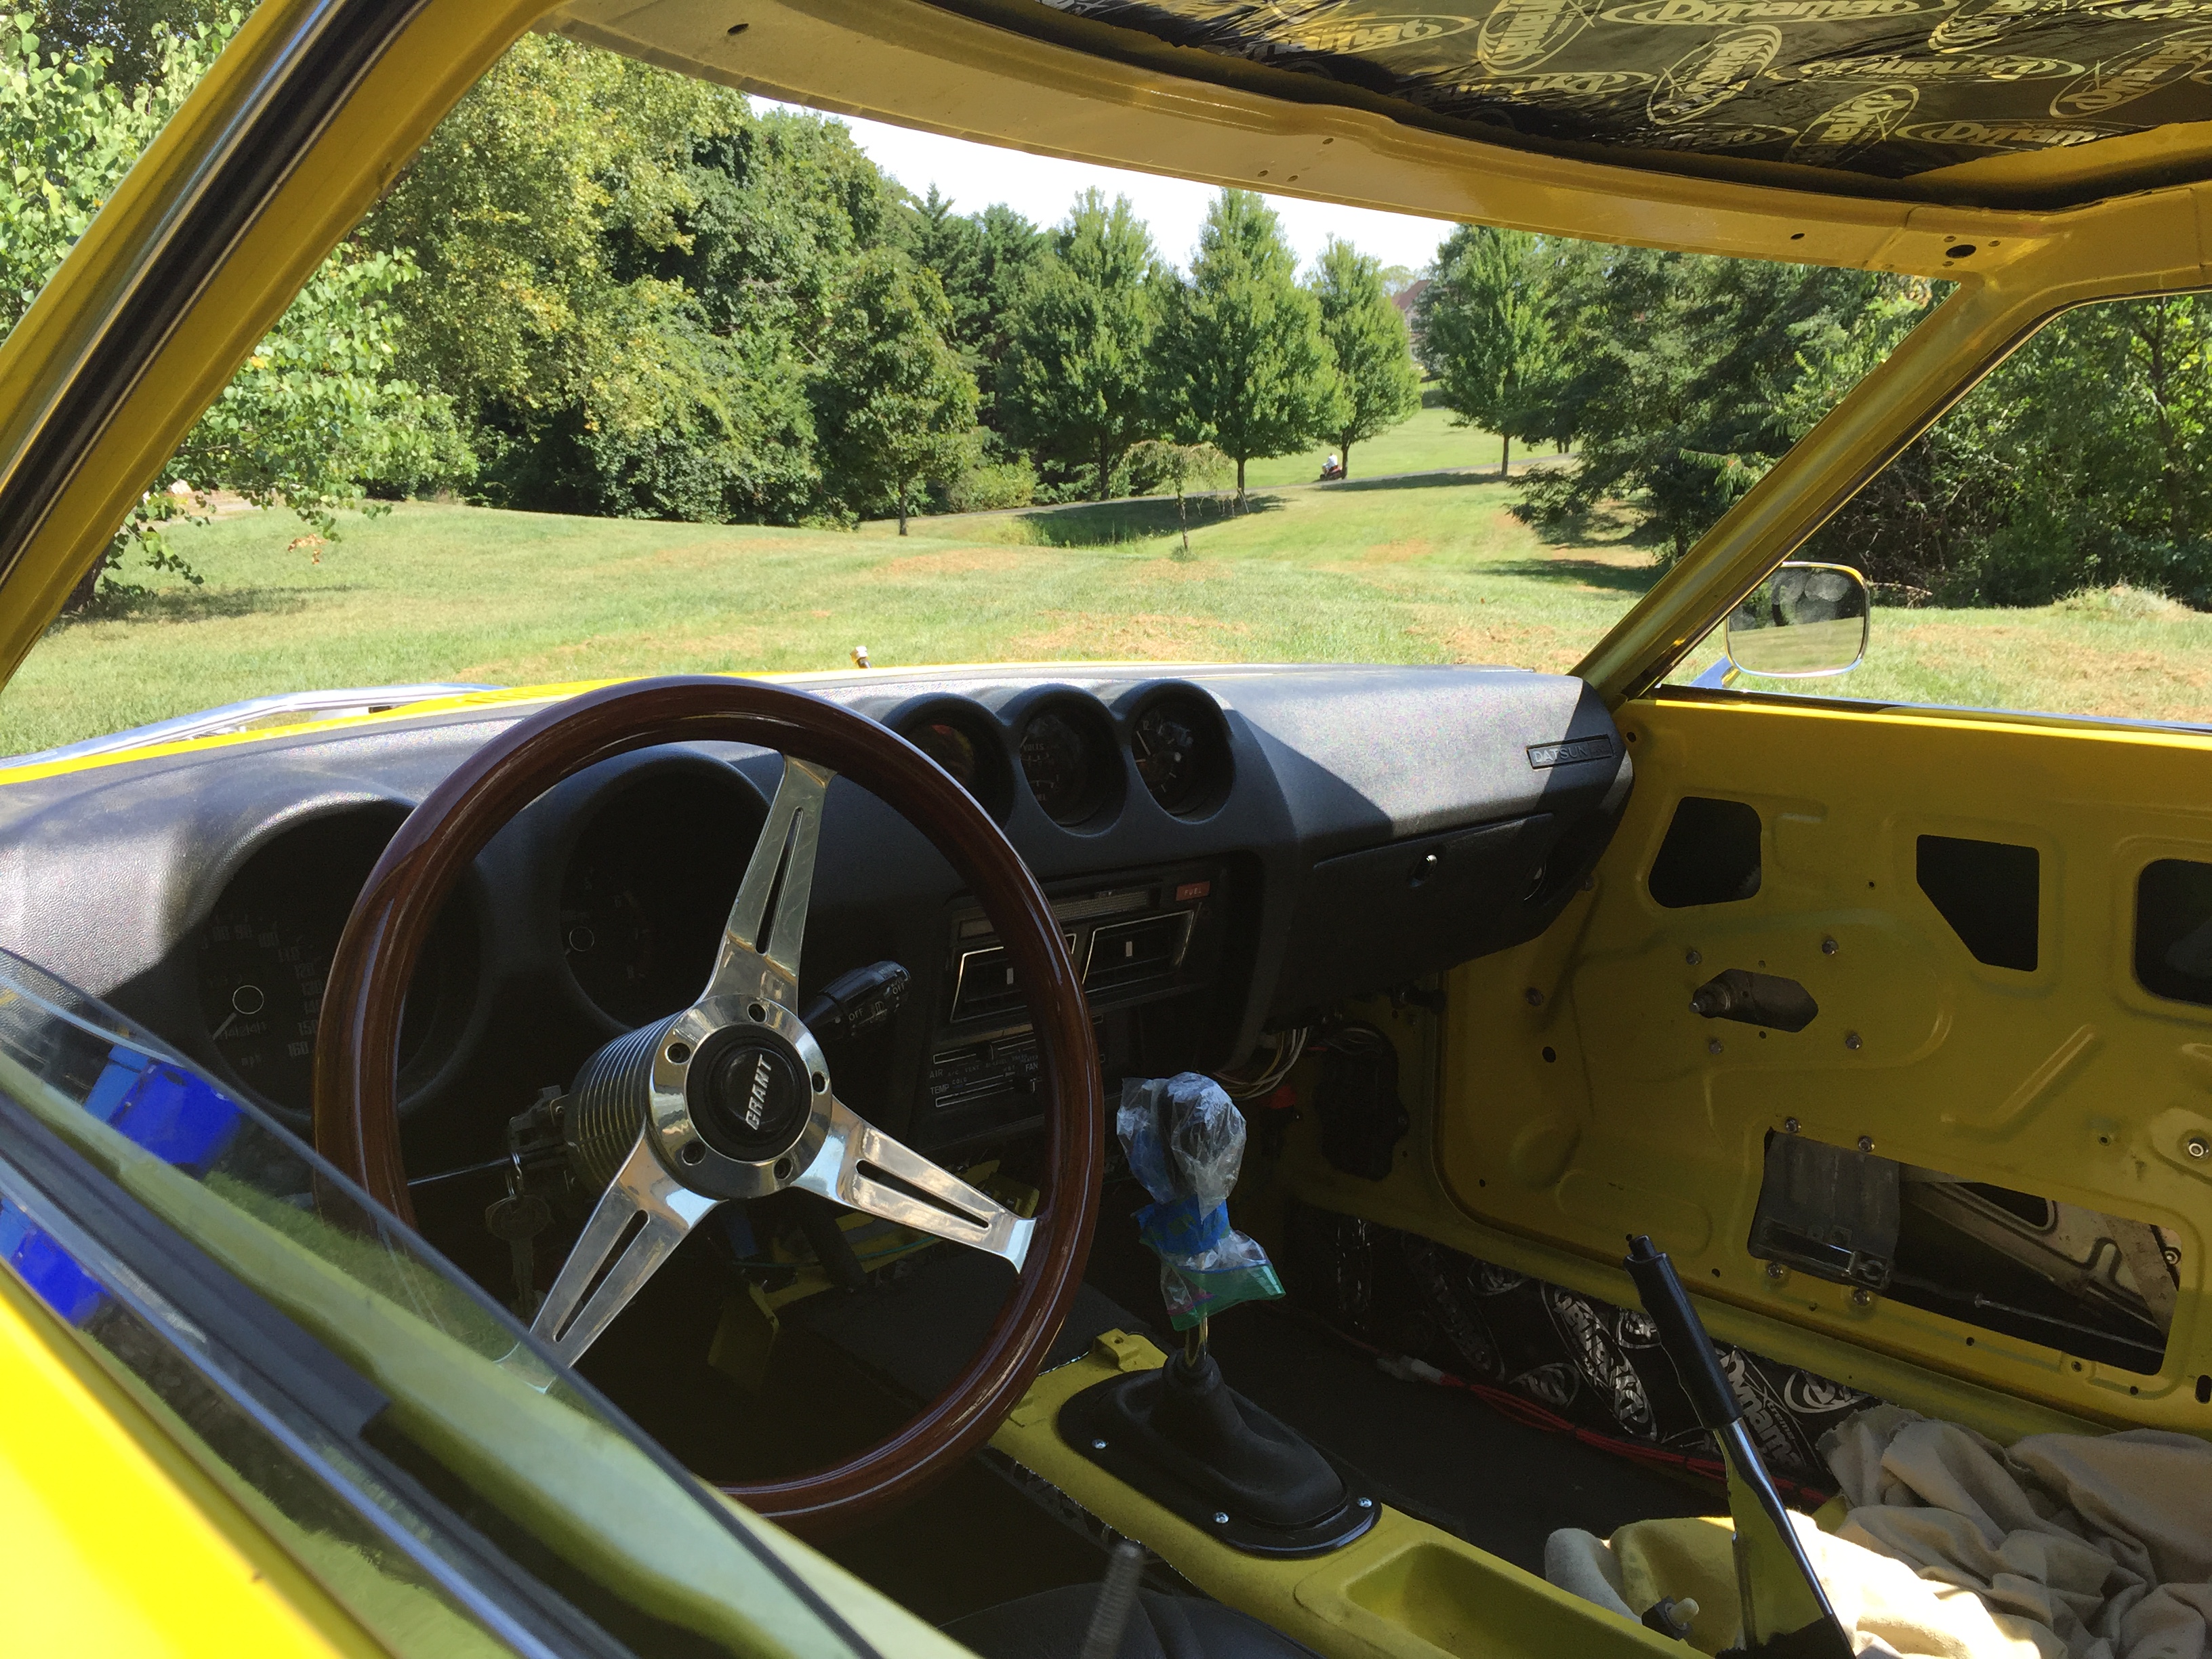
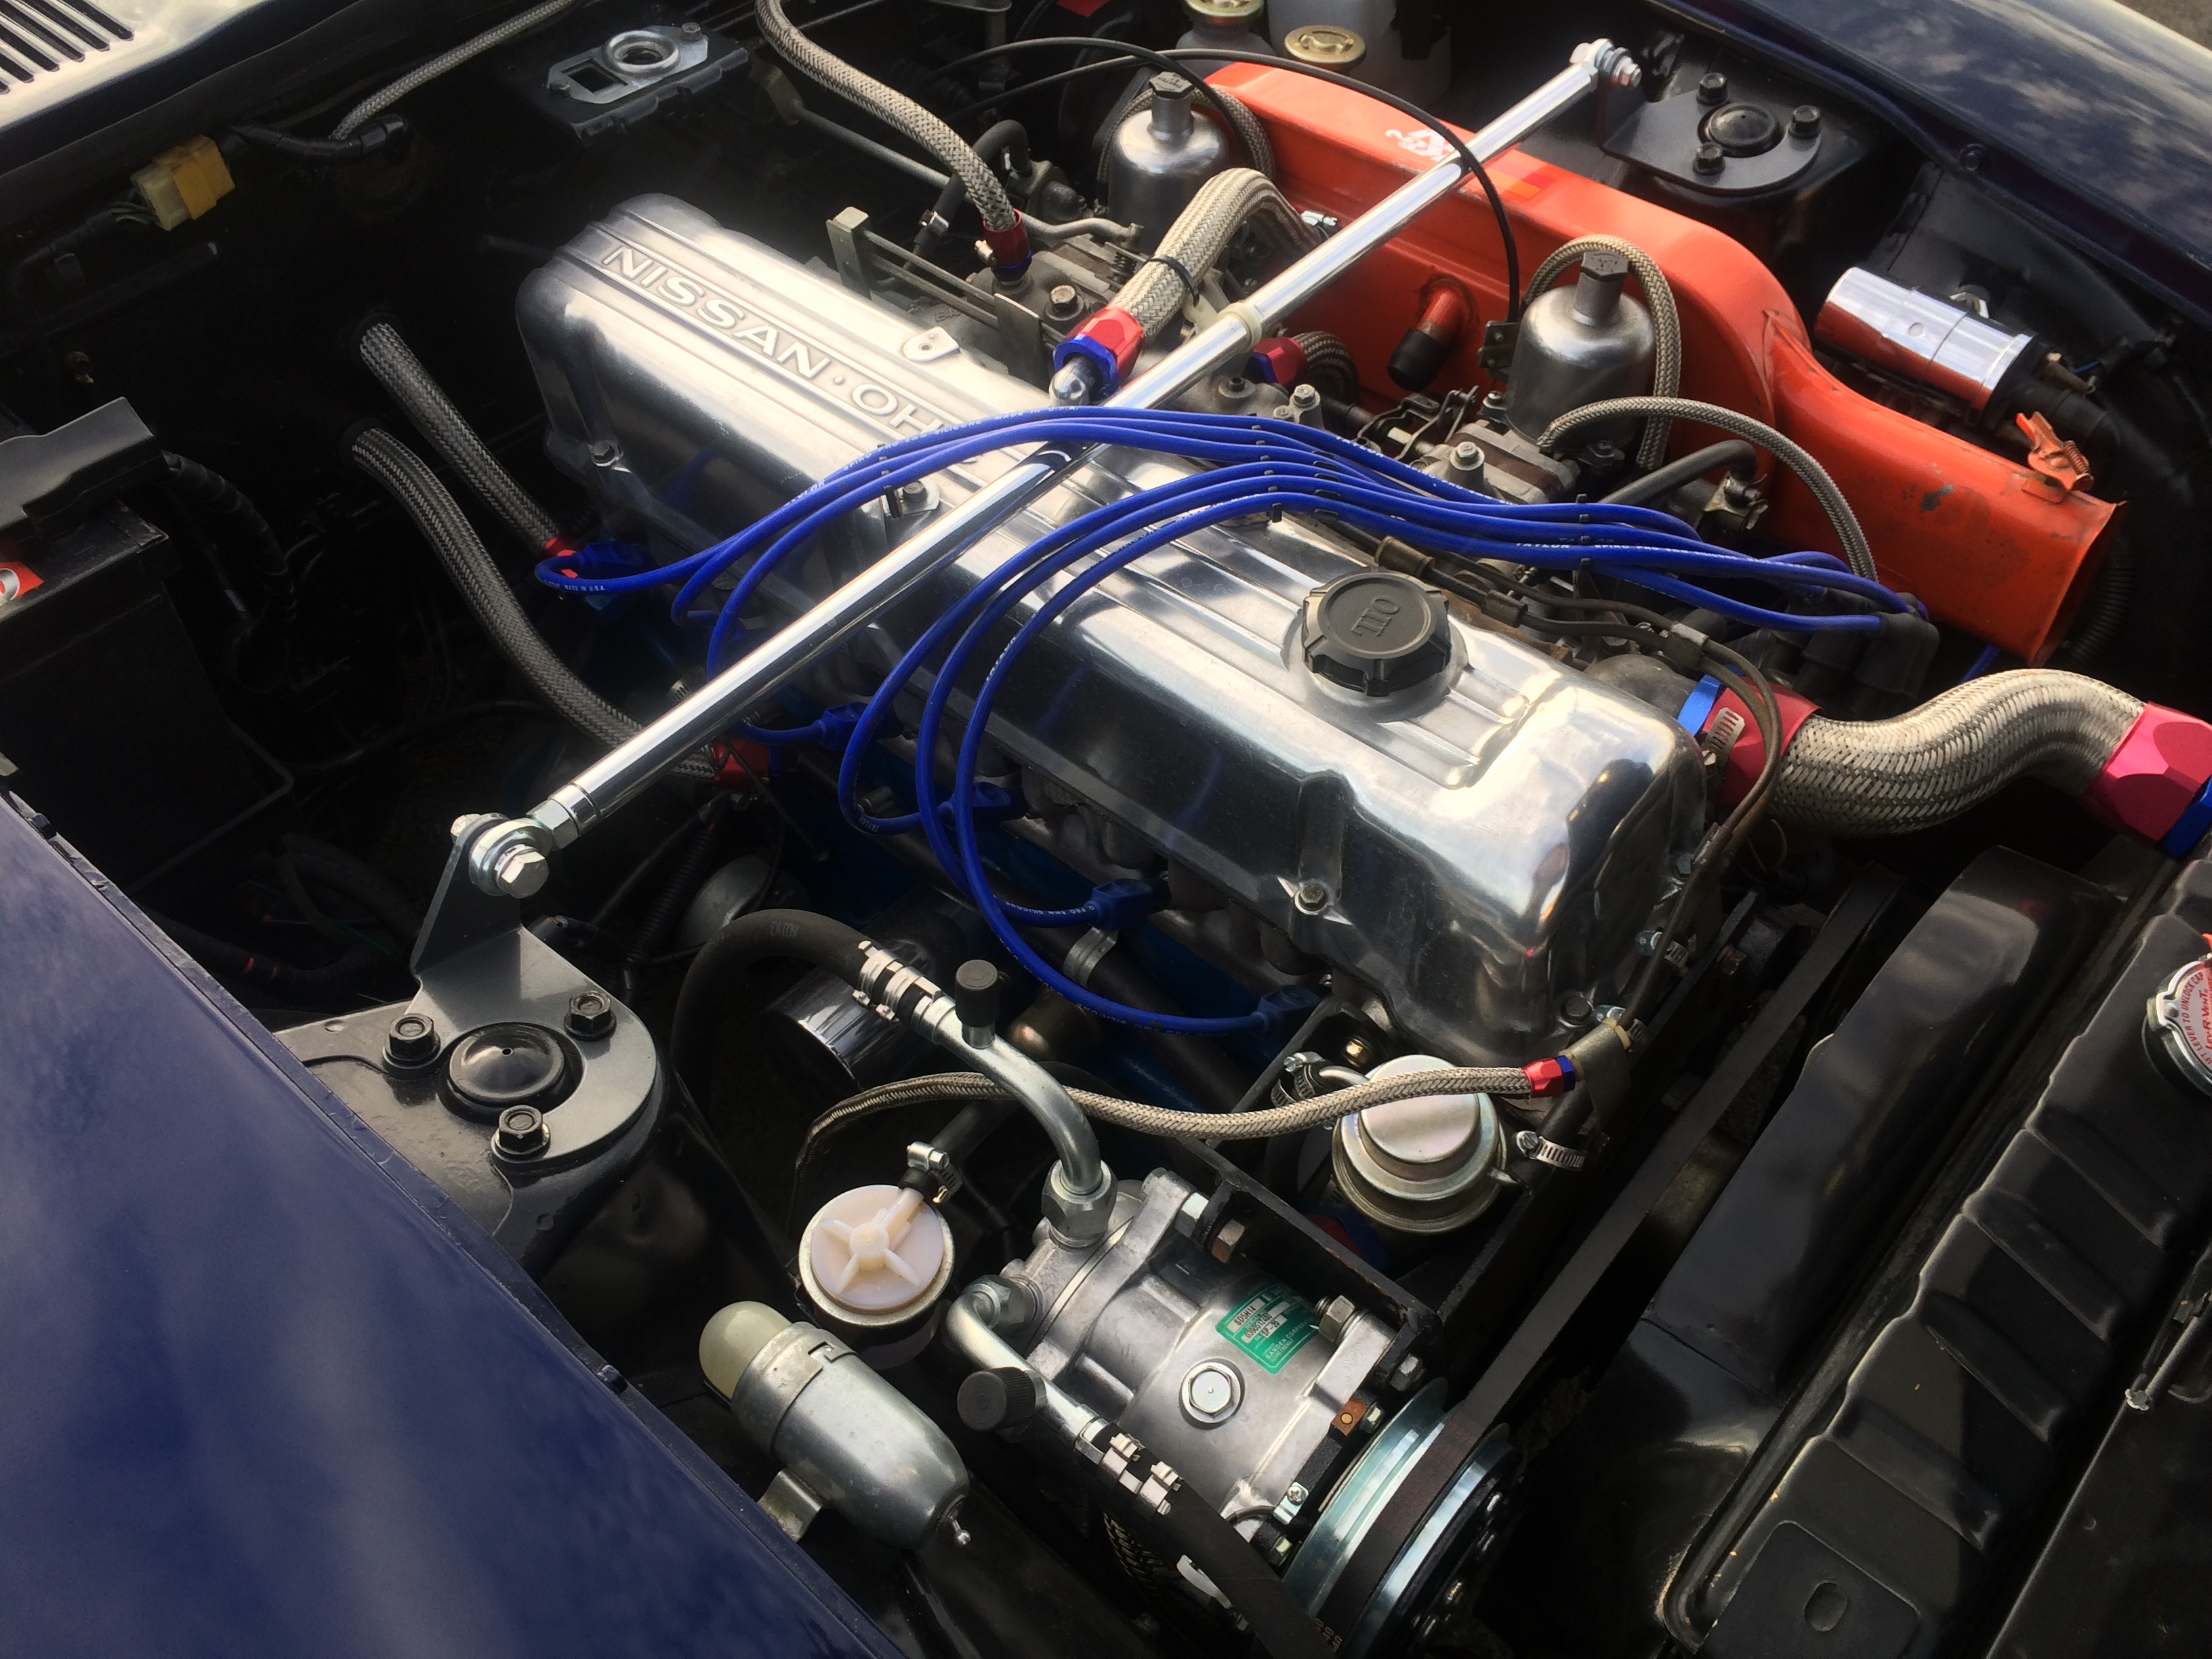
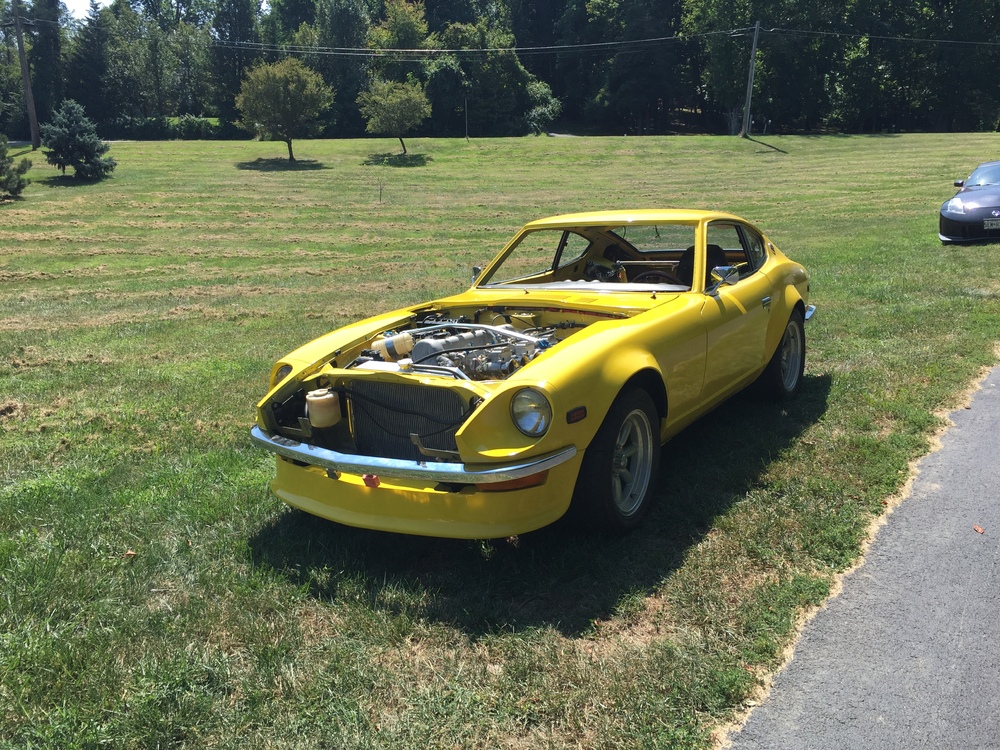
2 pointsI'm getting very close to finished with my car. This weekend was very productive. I got the front fenders, valence, and cowl painted and installed. I replaced the temperature sending unit, too. So with the exception of the tach I have fully functioning instruments. Probably the first time in twenty years that the gas level worked! I still need to paint the hood and install it. Otherwise, I'm done with painting. The car can be moved under it's own power now. The engine, brakes and clutch are all functioning.


 2 points
 -
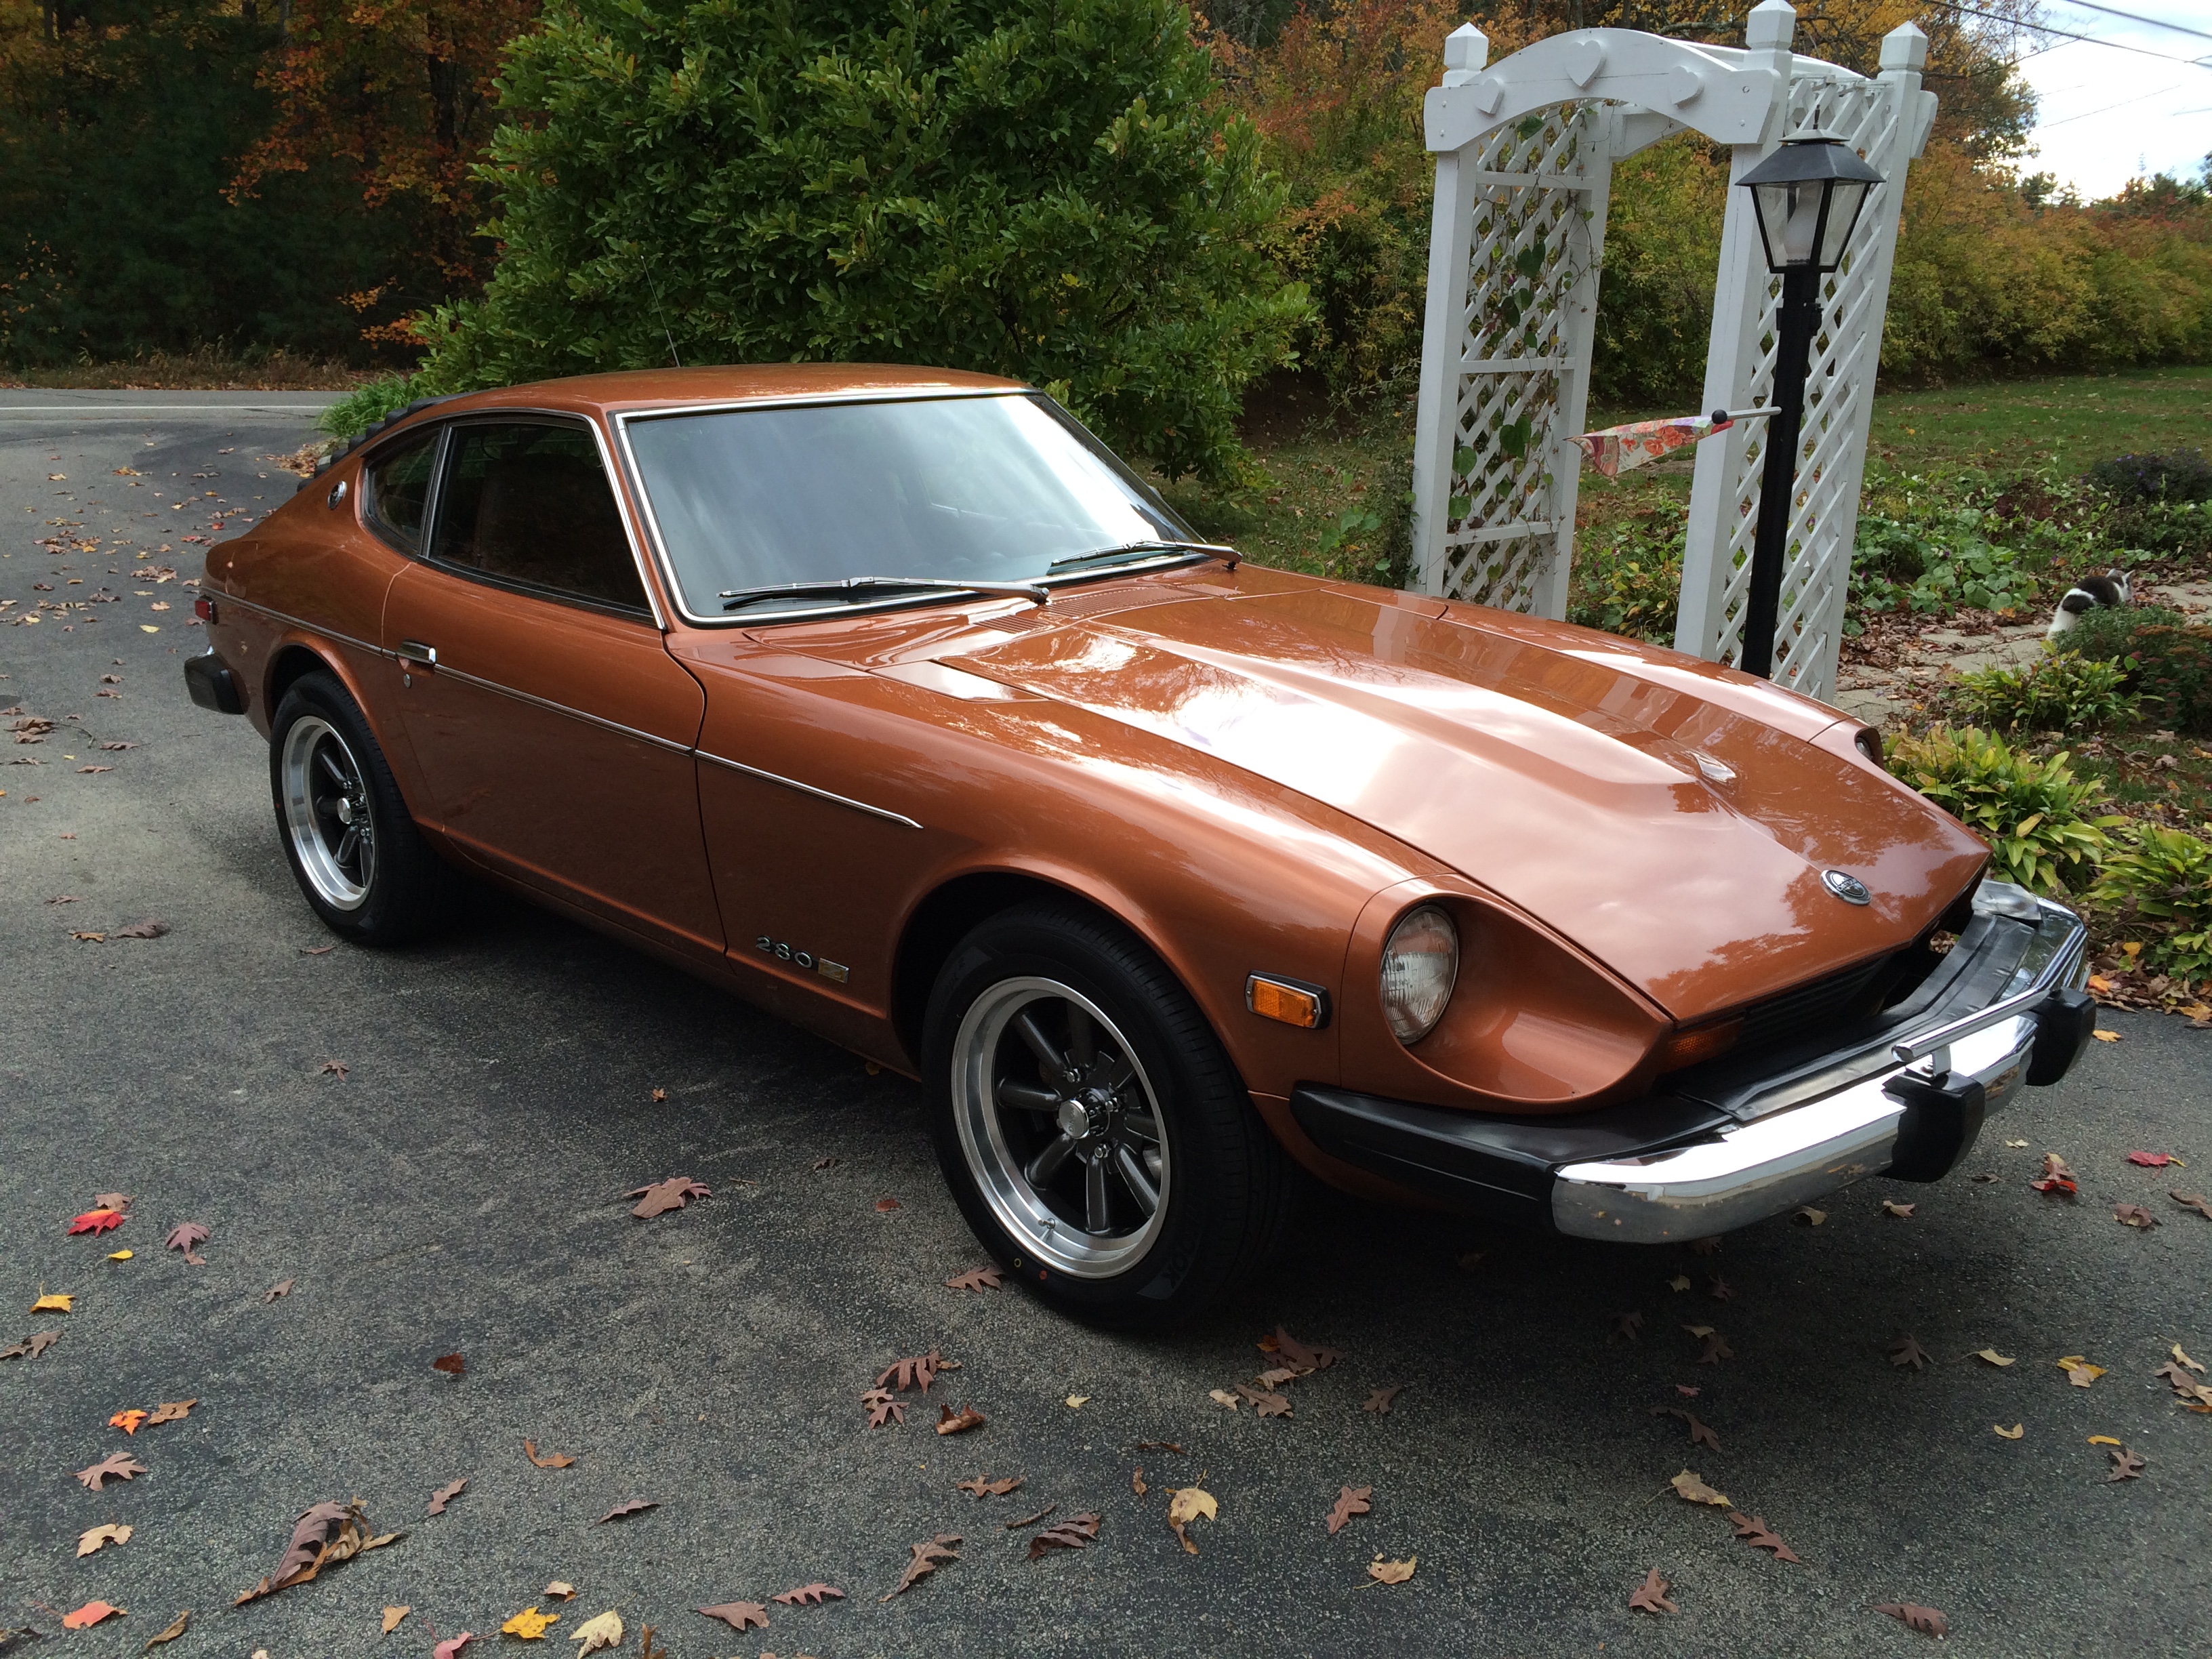
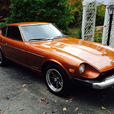
1 pointGreetings Fellow Z enthusiasts! I've been lurking ever since I purchased my 76 280Z about this time last year. I figured it was high time I finalized my account and joined in. You have already been very helpful with various posts and how to articles. I really enjoy being a part of a dedicated and enthusiastic community of like minded individuals. Attached is a picture of my new (to me) toy. She is a 1976 model year 280Z (manufactured 9/75). This was a very well taken care of one owner car. Aside from a few unique touches the previous owner had installed she is a true survivor with original paint, motor and interior. I've been refreshing some wear and tear items with either new or used factory parts. I am on the look out for a few items and will likely travel to Carlisle PA next year. Not many parts to be had in New England. Cheers! ~MattS
 1 point
 -
1 pointI had seen articles about homemade Lizard skin products. In this whole process (car restoration) I always look at the cost savings vs. benefit. If I make a DIY Lizard skin and I have a failure or problem later, was it worth it? There will be thousands of dollars tied up in this car by the end. Am I willing to take a chance on a DIY product to save $100 or $150, for me the answer was no...for some the answer is yes. As I get older I am less inclined to gamble on getting the results I want versus saving money. I don't have time to do this car twice...FWIW my 2 cents1 point
-
1 pointThanks guys. Hope someone comes up with a couple pics. I know there was/is a special tool recommended for the job, but I'm looking for homemade cheap caveman options. And I saw some references to pics on Blue's site, but unfortunately the site is still dead. Here's to hoping that wonderful reference source comes back soon. My unsuccessful attempt was to bolt the booster back to the firewall (to hold one side of the shell) and then try to turn the other side using a two foot long bar I made out of angle iron which I had drilled for two of the mounting bolts and the center plunger. Fit great, but the angle iron couldn't take the force and started to buckle. The case didn't budge. I'm not sure what I'm going to find when (if?) I get it open. All I know at this point is that the main diaphragm is intact at this point. The booster holds vacuum, but doesn't boost. I theorize that the valve is gunked up with crud due to drinking brake fluid from a master cylinder failure that occurred before my ownership. I figure the worst that happens is that I tear the diaphragm splitting the case and I'll have to replace it with remanufactured sooner rather than later. I'd like to nurse this one along until the off-season and do a more permanent replacement then. I'm hoping that if it's just a clogged valve, maybe I can clean it out and continue to use this one until I take the car down for the winter. I'm thinking that even if I tear the diaphragm, it'll still be a suitable core, so no loss there. And besides... I've never been inside one before and it would be a learning experience.1 point
-
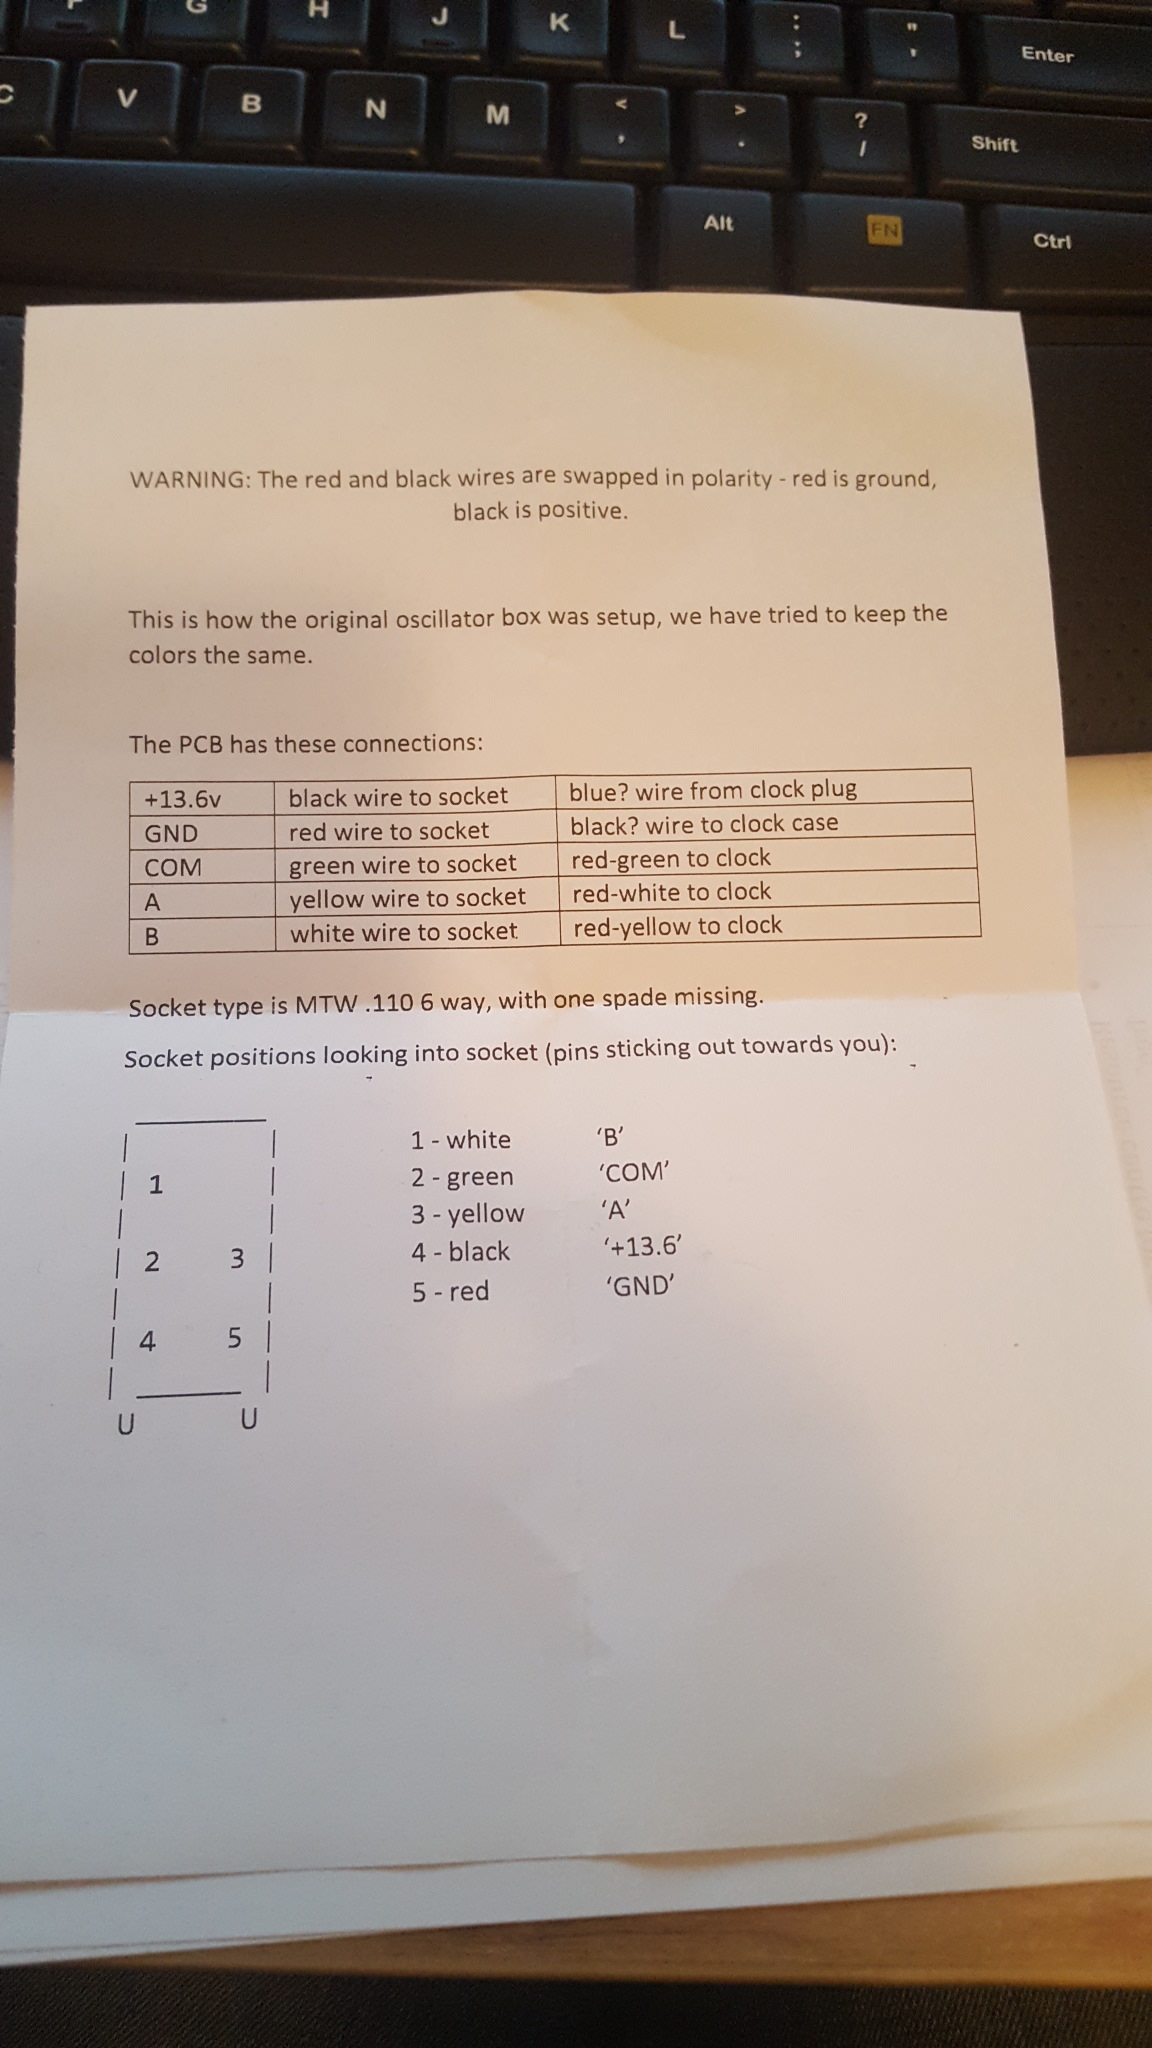
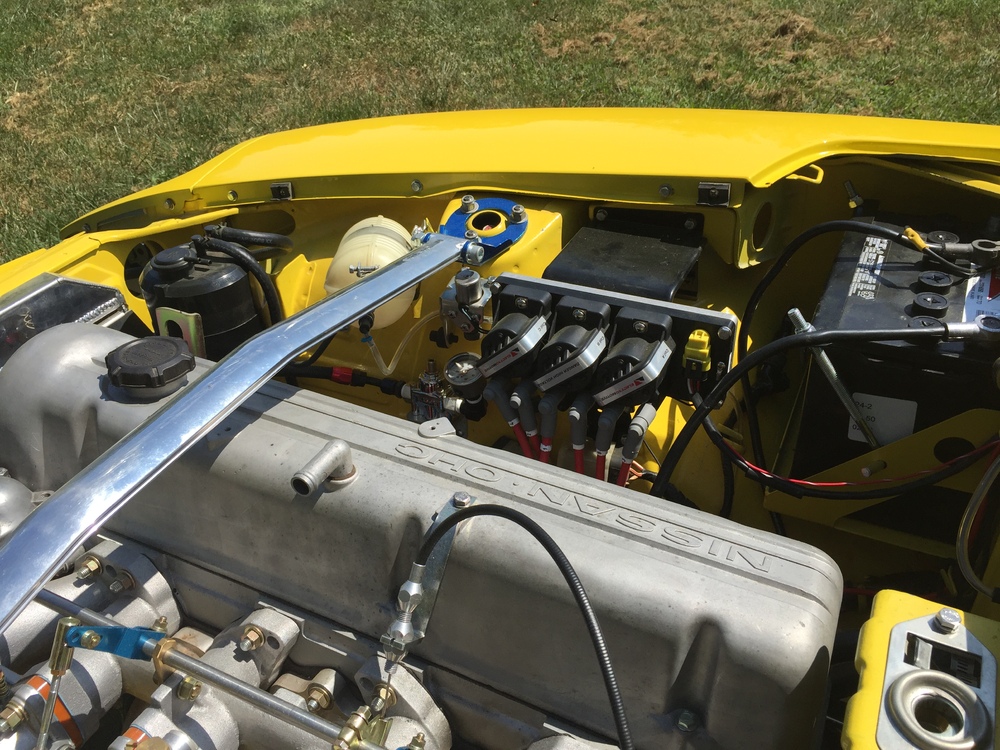
Yeah the red wire going to the stud is an earth, just like the green and red on the main harness outside the box. The black wire inside the box is positive and yellow and white are the 'signal' wires. Gav your units that are now in the post come with wiring guides and pin-outs that explain what everything does to wire our one up to the stock plug.
 1 point
 -
1 point
-
Haha!! So you were thinking you could use tighter staples as a country facelift? Nice!!1 point
-
I told them to bring it in tighter, I'm almost 50 and got carded a month or so ago. Turns out the girl just started and was in training, but I was happy for a few days. 8^)1 point
-
1 point
-
Three heat sources are there - conductive (what you're talking about above), radiative (anything hotter than the fuel line will radiate heat across space to the colder object), and convective (hot air blowing over colder objects and losing heat energy). They're all in play and hard to tell which way the heat is going, in or out, or which one is more powerful. I feel nerdy now... At the other end of the circuit, the return line in to the tank, the fuel is bringing heat back from the engine bay. The tank contents warm up over time. Could be that deadhead systems don't benefit from insulation and return systems do. Or the size of that orifice is critical for more than just pressure. Cool fuel. Didn't someone mention insulating the mounting points of the fuel rails, somewhere back in this thread or another. That could remove the conductive path. Interesting topic. I've put lots of thought in to the EFI analog. I have insulation for both convective and radiative heat sources, heat from the exhaust manifold, but left the rail (aluminum) uninsulated so that it could lose heat from the injectors. The convective effect seemed to be pretty large, lots of heat coming up from the hole in the center of my exhaust heat shields. Tiny hole, lots of channeled hot air. How about a radiator for the fuel?1 point
-
Yeah, when I pulled that panel out and removed the antenna I raised up and hit the bottom corner of the hatch with my head. That's the "after" picture Jim, like Greg says the before was;1 point
-
1 point
-
Hey Mike, congrats on your new Z and welcome to the forum. Anything you need to know about your car you can find it here, either in the archives or from just asking. I think you got a pretty good deal, I hope you are not put off by the stigma of the 'automatic', it's nonsense. If you don't like it it is easily changed out for a 4 or 5 speed manual and has been mentioned above, auto's are only going to climb in price as familiarity with the stick disappears with us old farts. Chris1 point
-
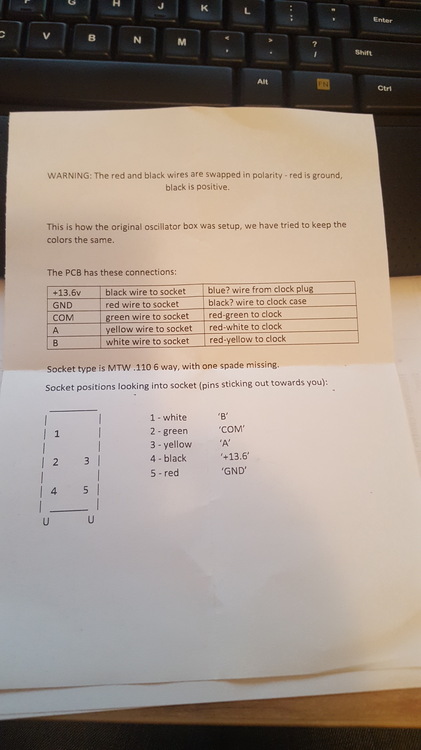
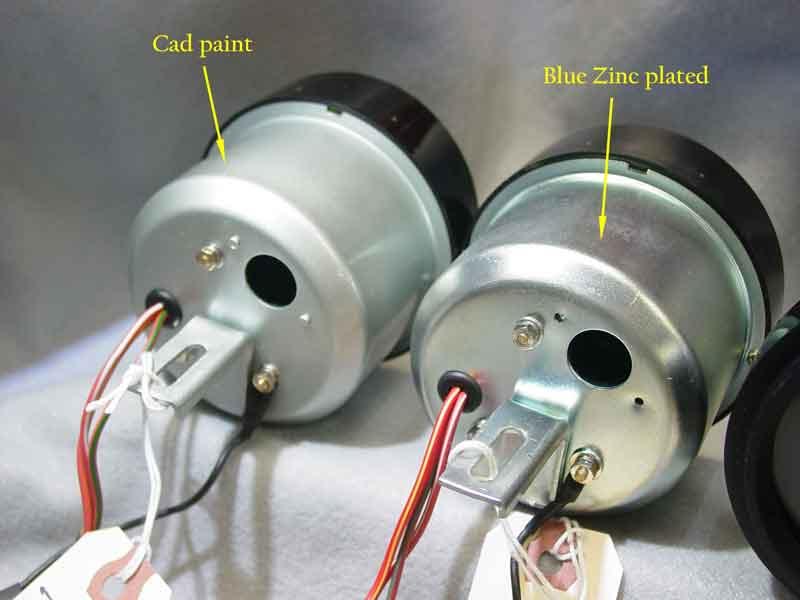
The wiring diagrams you have above look correct at first glance to me. I'm attaching a bunch of photos from the repairs that have been done to my rally clocks over the last couple of years and show a lot of detail of the internals of a Rally Clock Oscillator, 1 thing you may need is to see how the wires are aligned to the pins on the plug? I'm not sure if Ron replaced all the wires with the exact same colour coding used on the originals. I assume he did. But never make assumptions.
.jpg.865598d091dc5456fca1c6c77ed10636.jpg)
.jpg.3c8160f20d0cc41cafe2e63640f4dab4.jpg)
.jpg.d4466d7903d86d9dd83762cf8b06db11.jpg)
.jpg.81daa98527b2b50087a9019501a7556a.jpg)
.jpg.45b57c7995c158d0b938900a1e413d96.jpg)
.jpg.f1e1bad67a69814bc5d8c36c207cad81.jpg)
.jpg.d18e9b9eb5ceb4904d8b9e056ab0d1fd.jpg)
.jpg.dfd008eff0ca9b7a0e547a189d38edaa.jpg)
 1 point
 -
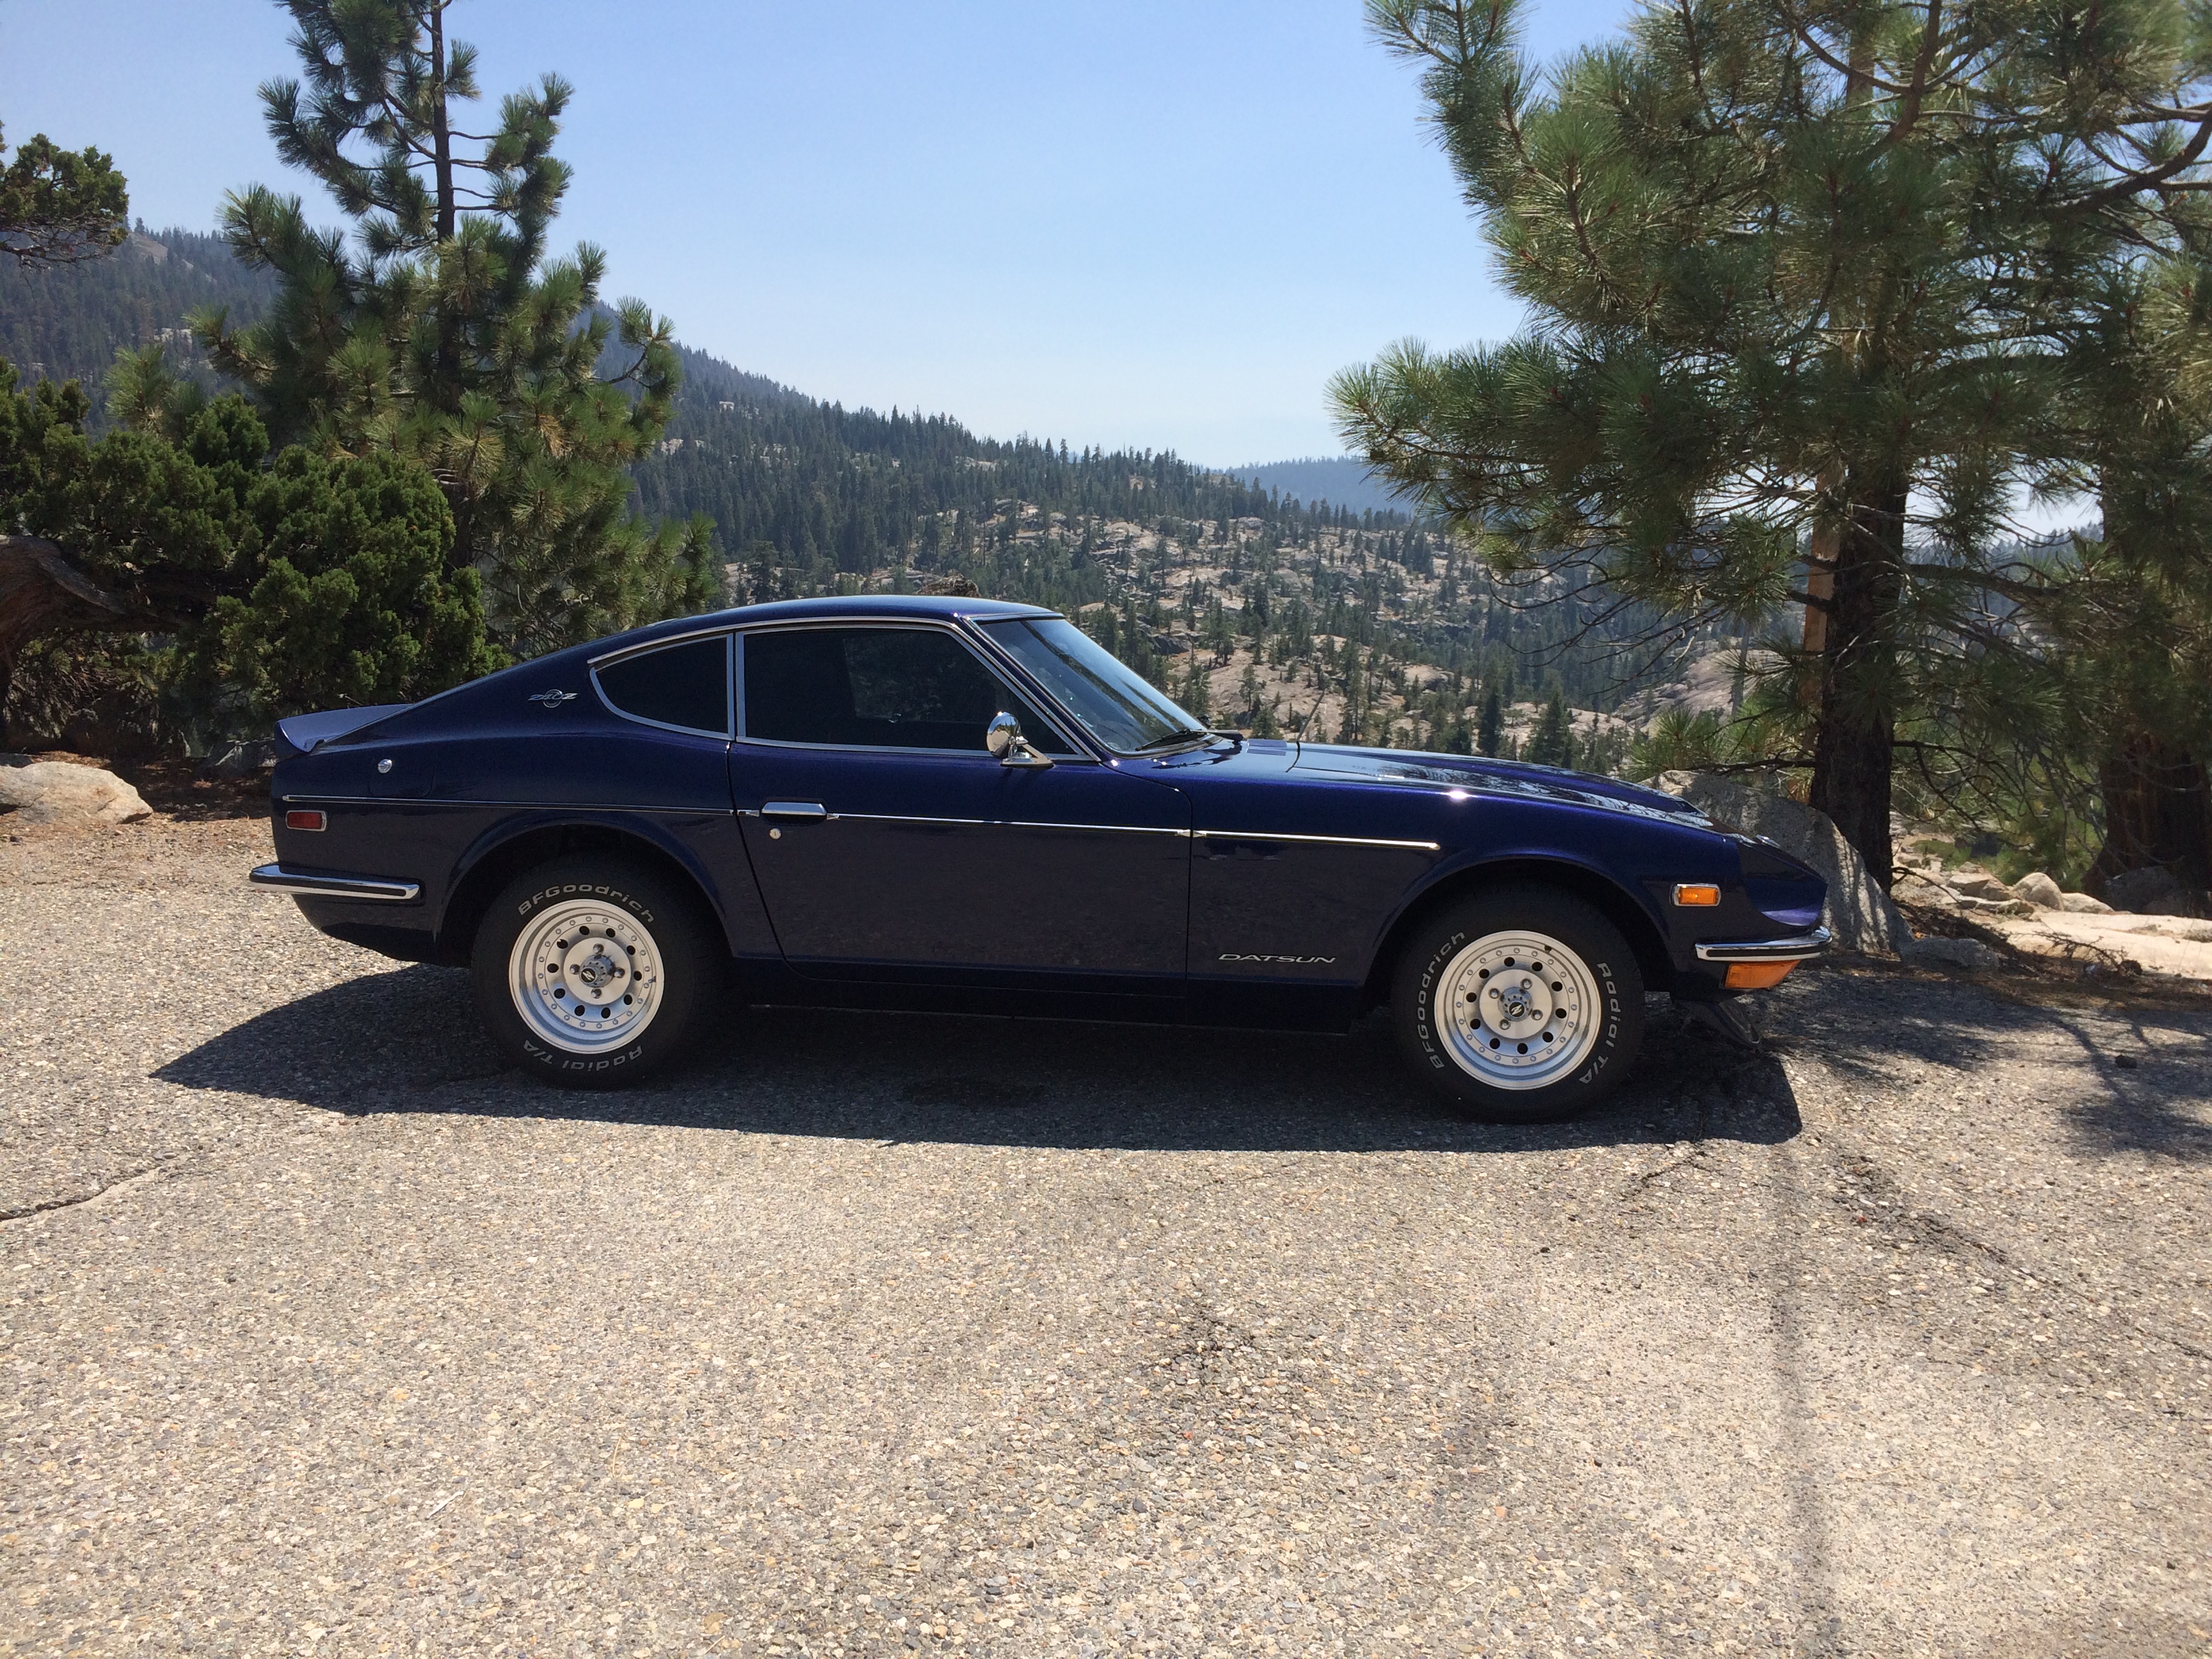
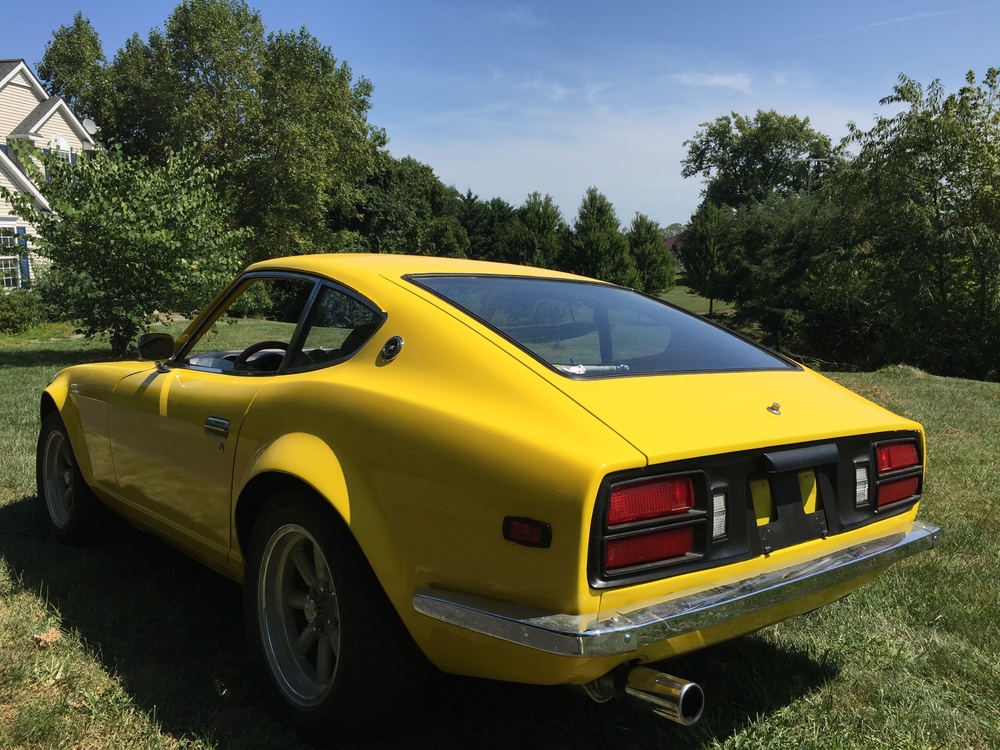
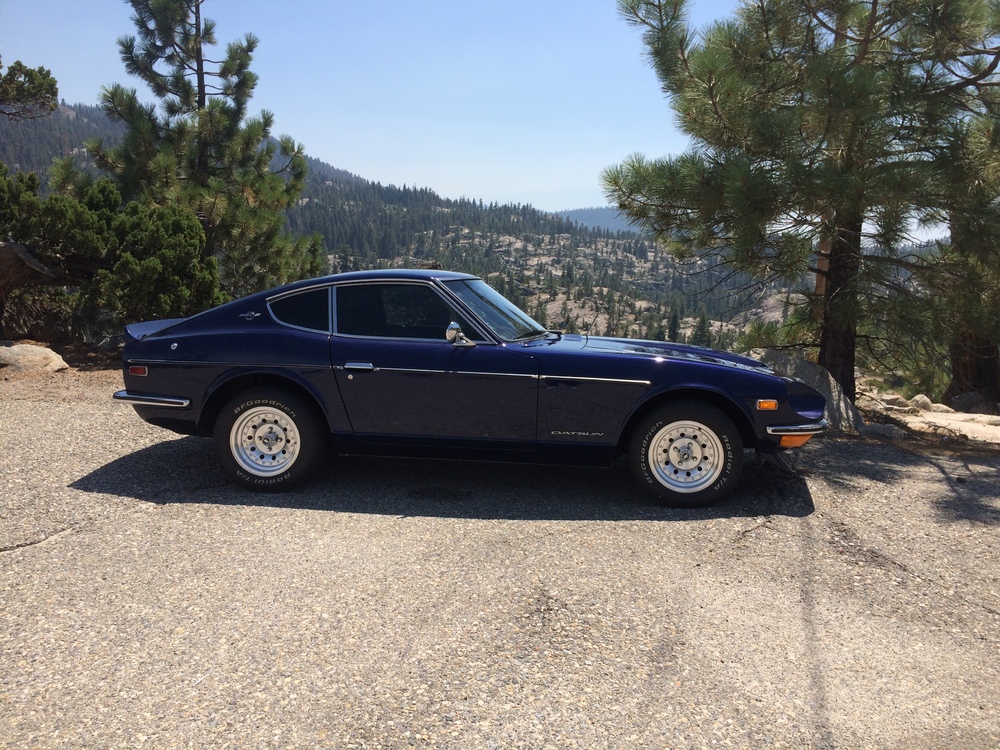
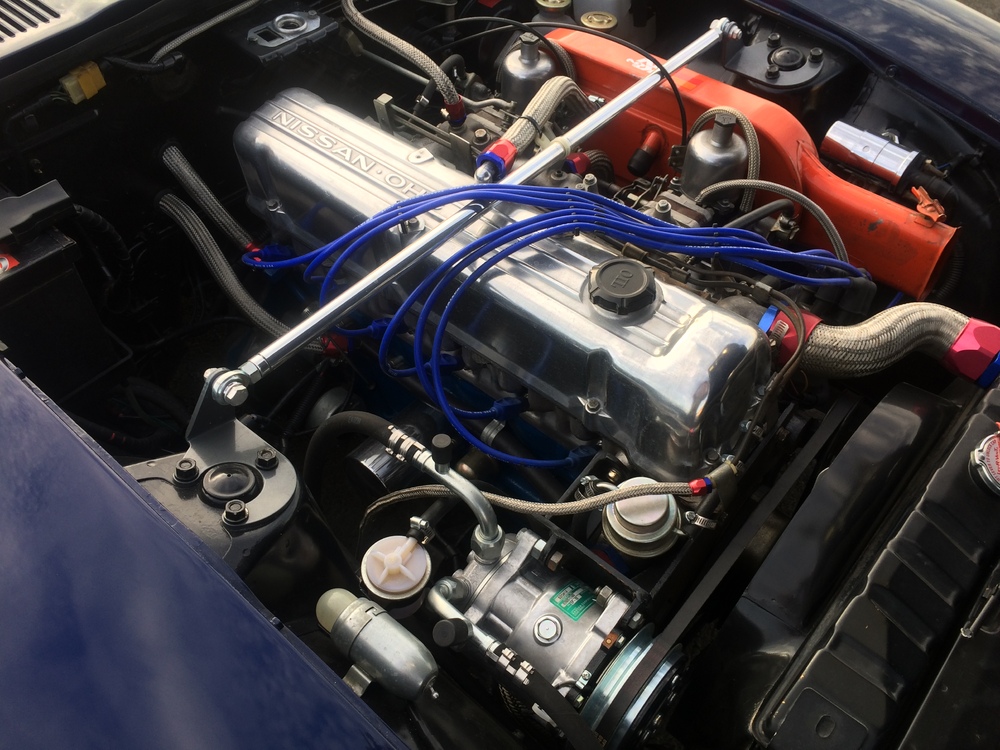
1 pointNew Paint: Limco Supreme Plus Dark Blue Metallic two Stage Base Coat/ Clear Coat Pertronix Electronic Ignition Upgrade K&N Air Filter Taylor Hi-Pro Plug Wires Chrome Flame thrower 40K Volt Coil American Racing Outlaw Wheels B.F.Goodrich Radial TA’s Urethane Bushings Master Set KYB Shocks MSA Adjustable Front & Rear Strut Tower Bars 70 Amp Alternator Upgrade Kit JVC Bluetooth Remote Control Stereo Custom Interior Lighting Grant Racing Steering Wheel Vintage Air - Universal AC, Heat & Defrost Climate Control System Eibach Performance Lowering Springs New motor mounts New remanufactured 4 speed transmission New wiper washer kit New windshield and rubber gasket New carpet kit All new weather seals New firewall grommets and boots New JVC Bluetooth stereo Added 2nd hatch strut New U-Joints New Front Air Dam & Rear Spoiler Upgraded headlight harness kit New Corbuea Seats New MSA Street Roll Bar New Clutch Kit New retractable seat belts New SU Carburetor Kits Complete records and receipts Can be contacted at pag3@sbcglobal.net or 559-852-0481
 1 point