


Leaderboard
-

siteunseen
Free Member5Points15,115Posts -
Zedyone_kenobi
Free Member2Points3,440Posts -

Dave WM
Free Member2Points3,591Posts -
Jon St-Louis
Free Member2Points4Posts


Popular Content
Showing content with the highest reputation on 07/02/2016 in Posts
-
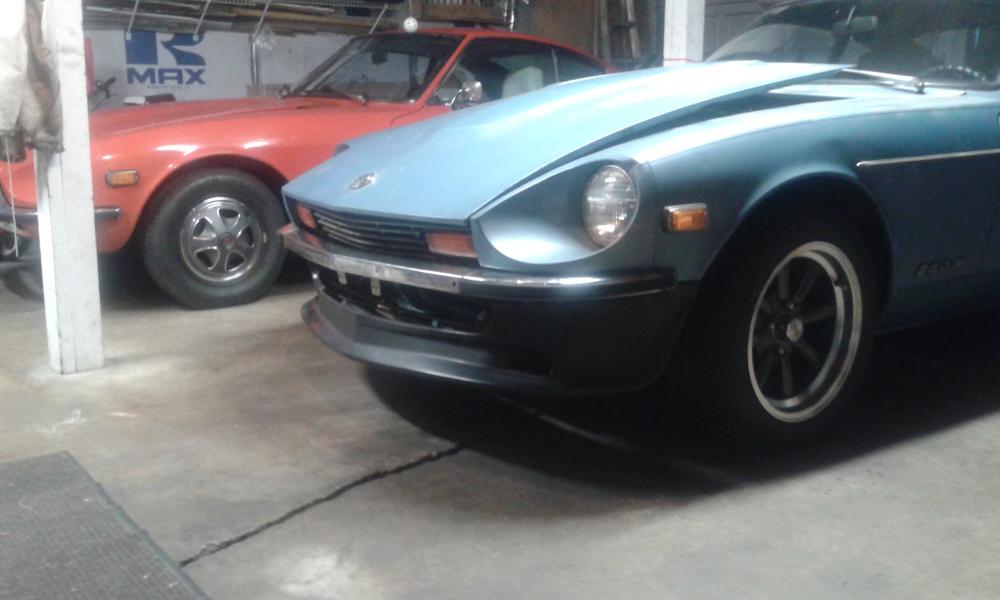
Finally had time to use Chas's brackets. It was tough getting the ends bolted down below the front marker light but after loosening the front spoiler and inner fender I was able to access that area with my hands and the tools I needed. The brackets to the frame and my 240 bumper were super easy, 30 minutes. The 10mm bolt on the ends took about an hour. It's nice and sturdy and ready to be painted, not by me though, I'm selling that car most likely. Thank you Chas!
 4 points
 -
Got my seats back from the upholster guy. I am blown away from the results.2 points
-
2 pointsHello all, My hoses had dried up, they were cracked and if I touched them they would fall apart in my hands. I replaced them with 1 1/2 ich flexible sump pump hose and connected them to the heater box with 1 1/2 inch ABS fittings. Perfect fit and the hoses are flexible enough to go around the different components under the dash. As for the oblong ports on the heater box, I used 2 1/2 inch to 1 1/2 inch reducer ABS fittings. I put them in a vise and slowly heated, the 2 1/2 inch end of course, with a propane torch while tightening the vise. I put a 1 1/2 inch ABS pipe in the fitting to prevent it from deforming. They took an oblong shape and fit perfectly on the ports.2 points
-
1 pointHi All, I have been recently diagnosed with bad allergies that keep me indoors during the summer heat and humidity. To the point of I'm nearly going to pass out. This is a real bummer for a fun living Z car driver, without air conditioning. I have been given an increase of my social security with the passing of my husband. Both bad and good news. This has enabled me to have some extra $ for things needed on my lovely 1976 Z, RedBird. I am asking you all, just what is involved with getting her non-working AC, or needing to be totally replaced AC, in her working? How do I find someone that is skilled with Z's to do the work? What do I need to know before starting this adventure? I have asked Gwri8 if he knows a local person to do the work, as he is about 30 min. from me, and has told me good info before for local help. But one needs more than just who to take her to. That is why I'm asking the group. I need all the help I can garner for my precious Z.. I'm very excited, because I would have to save all the $ for this project, conceivably by next summer it MIGHT happen. . But I just now discussed this with my son Bill, and he is willing to pay for the work and parts, with me paying him back in monthly installments. Hippo hippo hooray!!! How about that????? Oh my gosh, I am soooo thankful for his assistance. Can't hardly believe it. Wowzeee! Now... what can you all say to get me going in the right direction??? Ready, set, GO..... As always, I am so thankful for this group and their excellent assistance! Thanking each of you in advance. With all my Z love, Jai1 point
-
It's california datsun. hint hint Hey, Dave, you're in key biscane. You don't need to spin over a really cold engine. Stock is fine for you. You need to get that clock and tail lights installed first anyways.1 point
-
1 pointI have a D6K80-03 from a 1979 280ZX AT in my Series I. I found the following specs for it and used it in setting my timing. Doubt it will be significantly different than yours. Centrifugal advance 0 @ 600 RPM, 8.5 degrees @ 1250 RPM. Vacuum advance 0 @ 5.9 inches of vacuum, 5 degrees at 9.8 inches of vacuum. Please remember that vacuum decreases as you open the throttle, so the only time you would see both high rpm and high vacuum is letting your foot of the throttle at high speed. During this period of engine braking, you are at low pressure during the compression stroke and actually need the additional spark advance and won't see a knock. If you are drawing vacuum from the carb port, check to see what vacuum you are actually drawing at idle. These ports are designed to only port vacuum while decelerating and will read zero at idle. If you are porting vacuum off the manifold, disconnect and plug it when setting the timing. The timing spec given in the factory manual is for engine off with a test light (not a strobe) directly connected to the points. This is known as static timing. When setting timing with a strobe, there will be a component of centrifugal advance as well as this static timing. If you have vacuum connected, the two advances will confound your readings and idle speed as you set the timing. To figure the expected timing at your desired idle speed you have to calculate the amount of centrifugal advance at idle. For mine at 750 rpm, it is 150/650 times 8.5 degrees or about 2 degrees. (650 rpm is the difference between no advance and max advance rpms.) If the static timing was 5 degrees at 0 rpm, you should observe 7 degrees at 750 rpm and no vacuum. If you see significant change in idle speed as you adjust your timing, reset your idle speed and then idle mixture and recheck your timing. repeat until your rpm and timing are on spec and you have adjusted for best idle mixture. All that said, the idle timings specs for our cars has varied over the years. As a rule, they are retarded to control pollution rather than to avoid knock. This gives you some room to err on the advance side without risking harm to the engine. While most manuals typically set timing to 10 degrees BTDC at idle, I routinely set mine to 17. This conforms to the earliest non-pollution controlled models.1 point
-
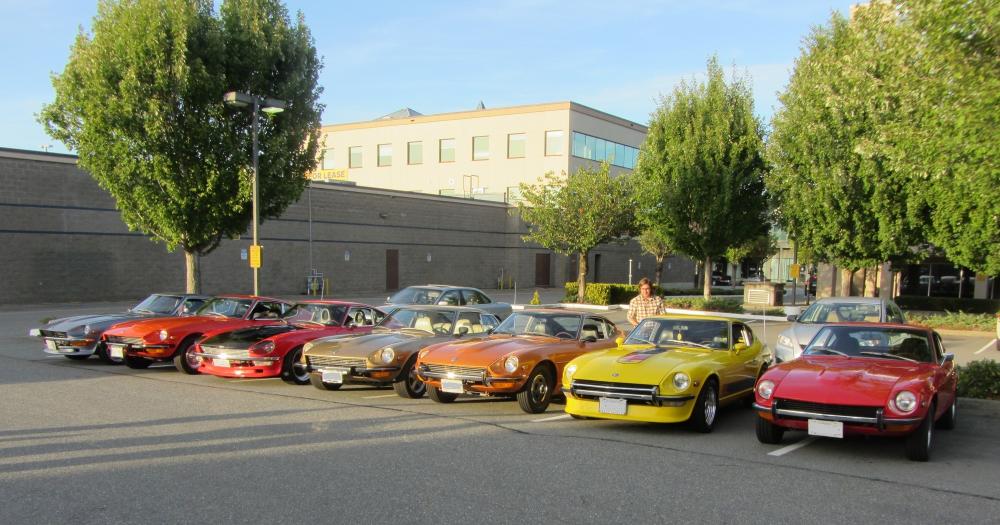
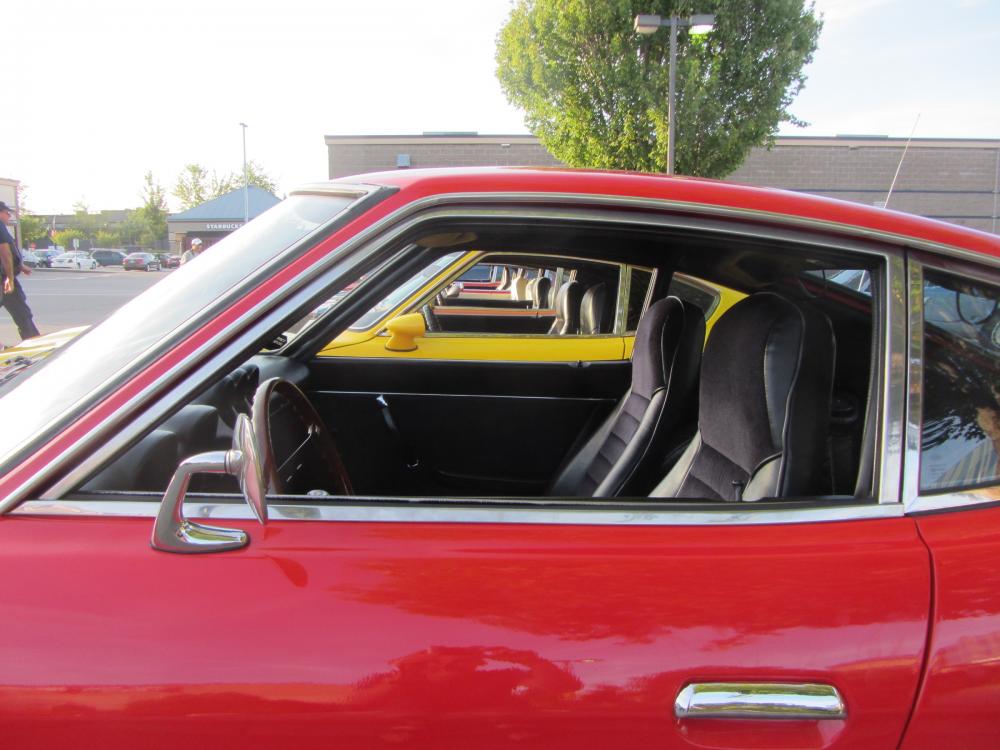
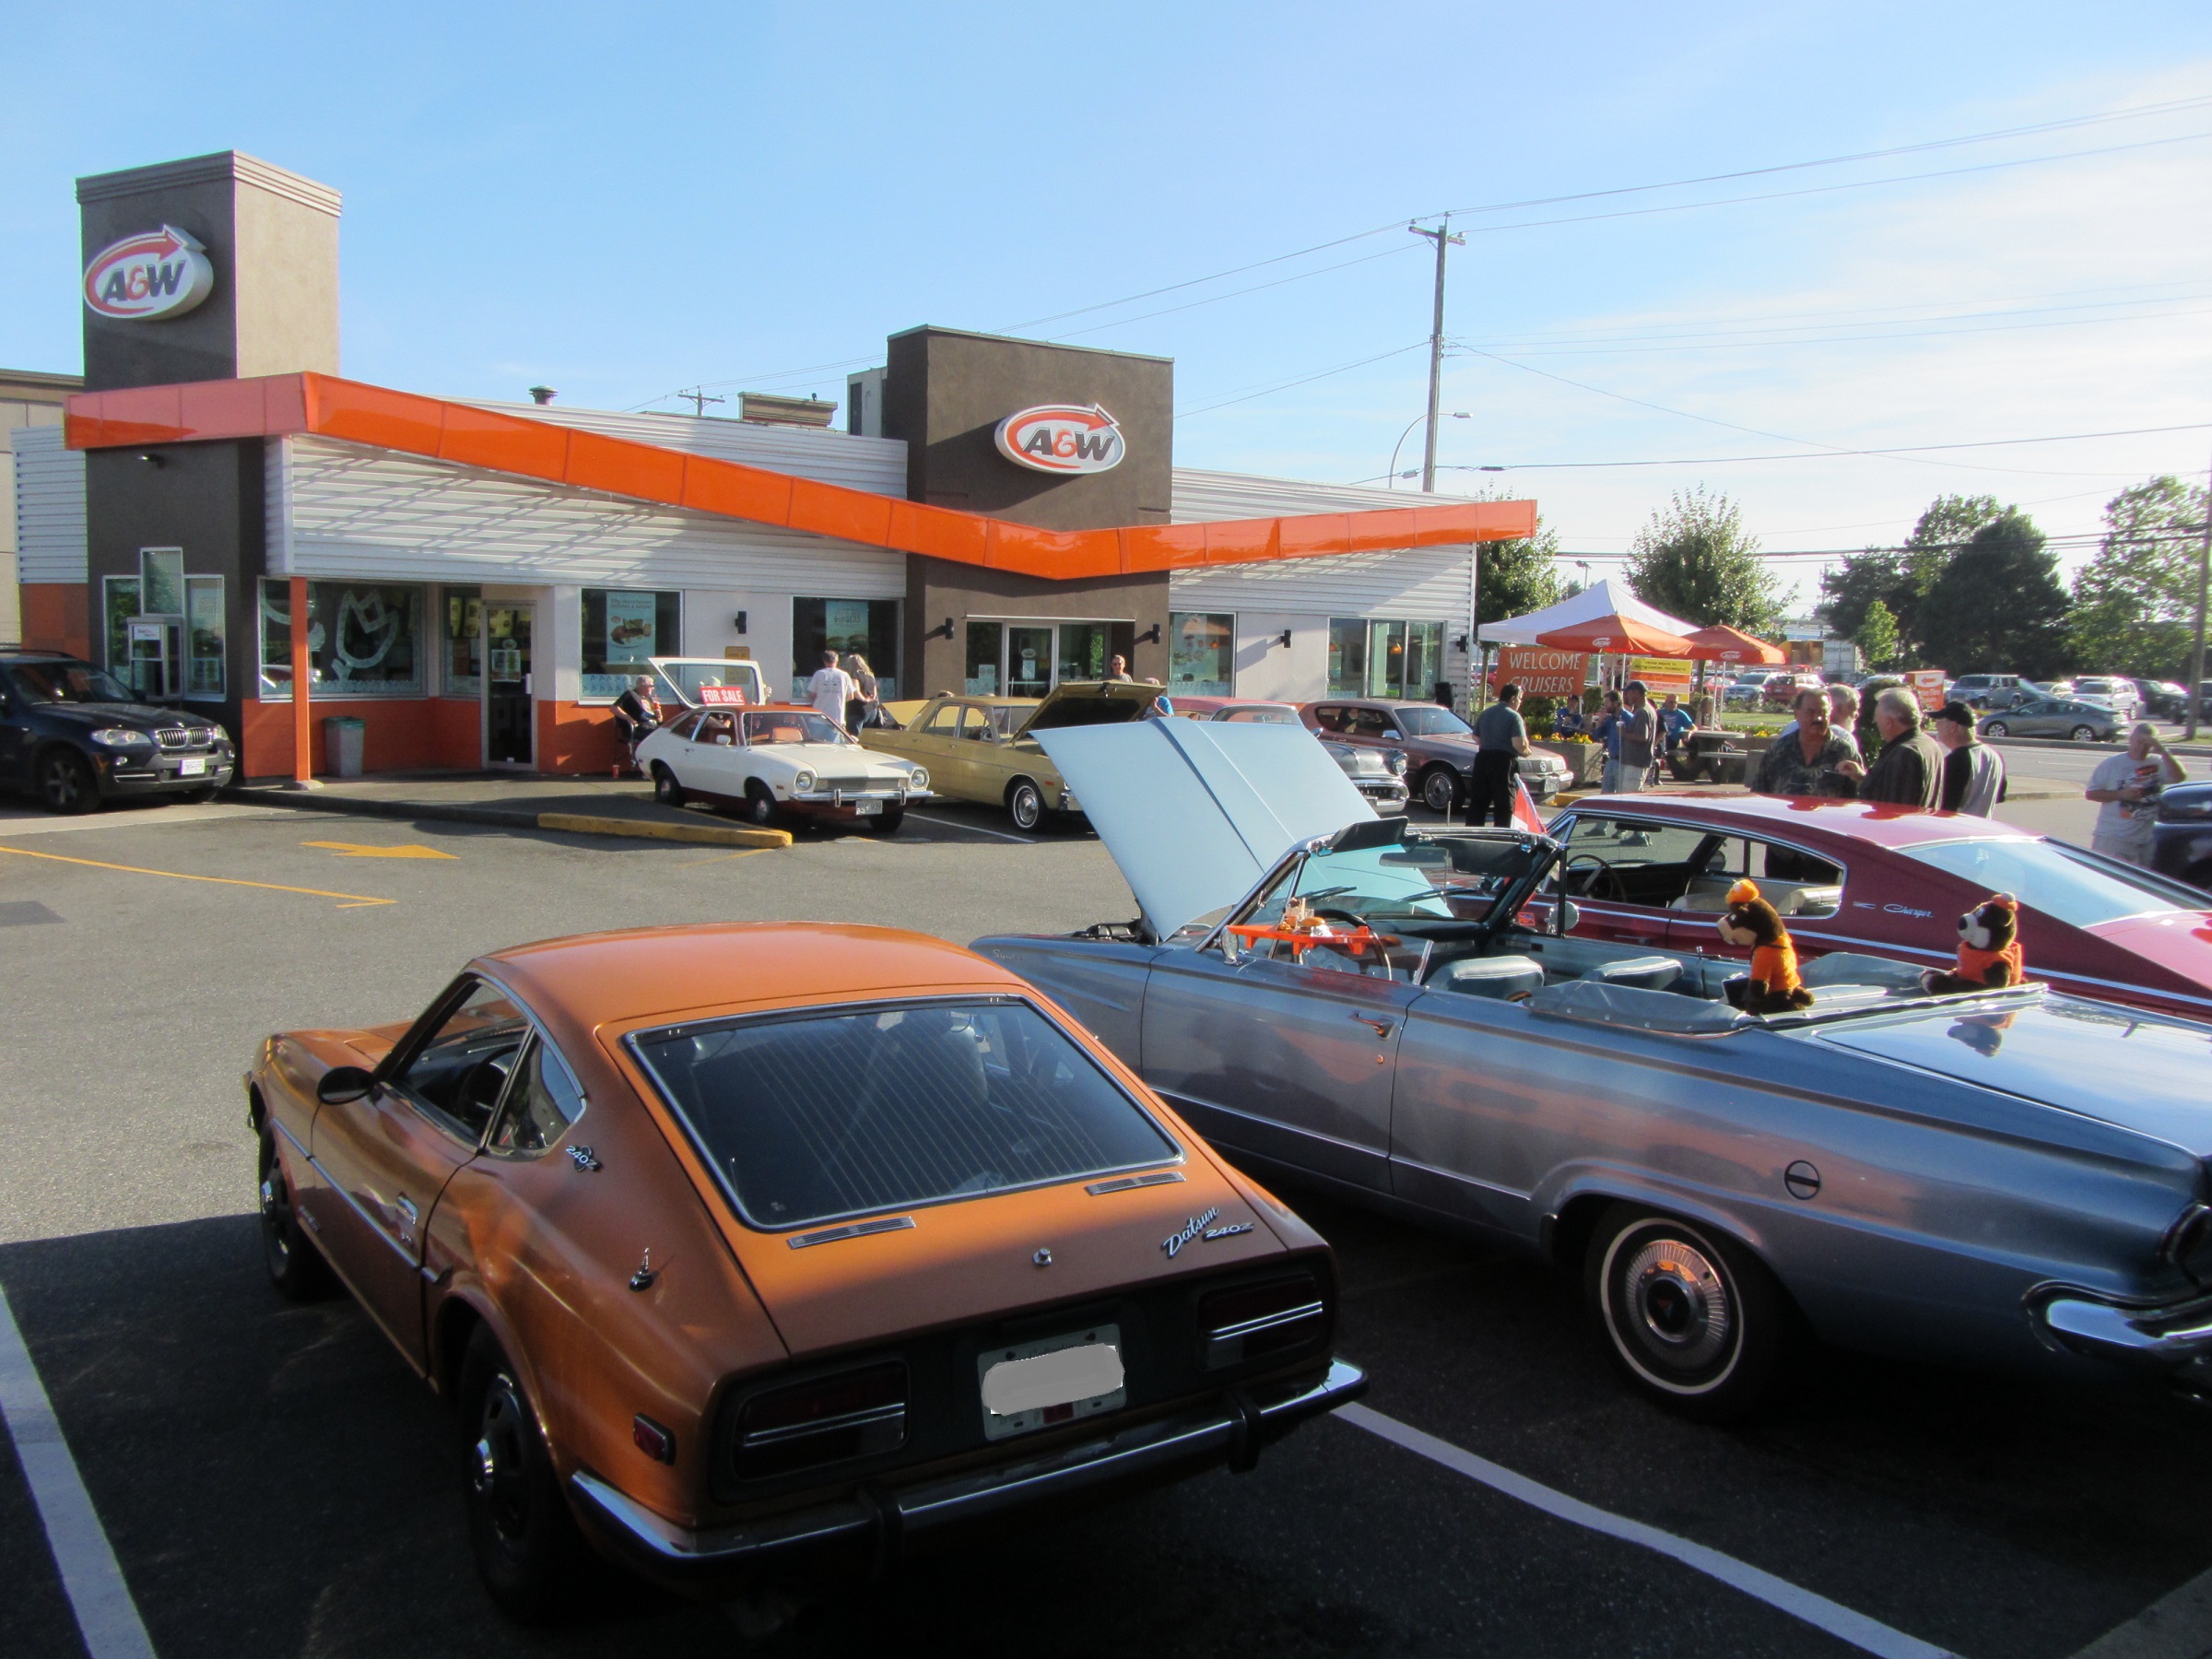
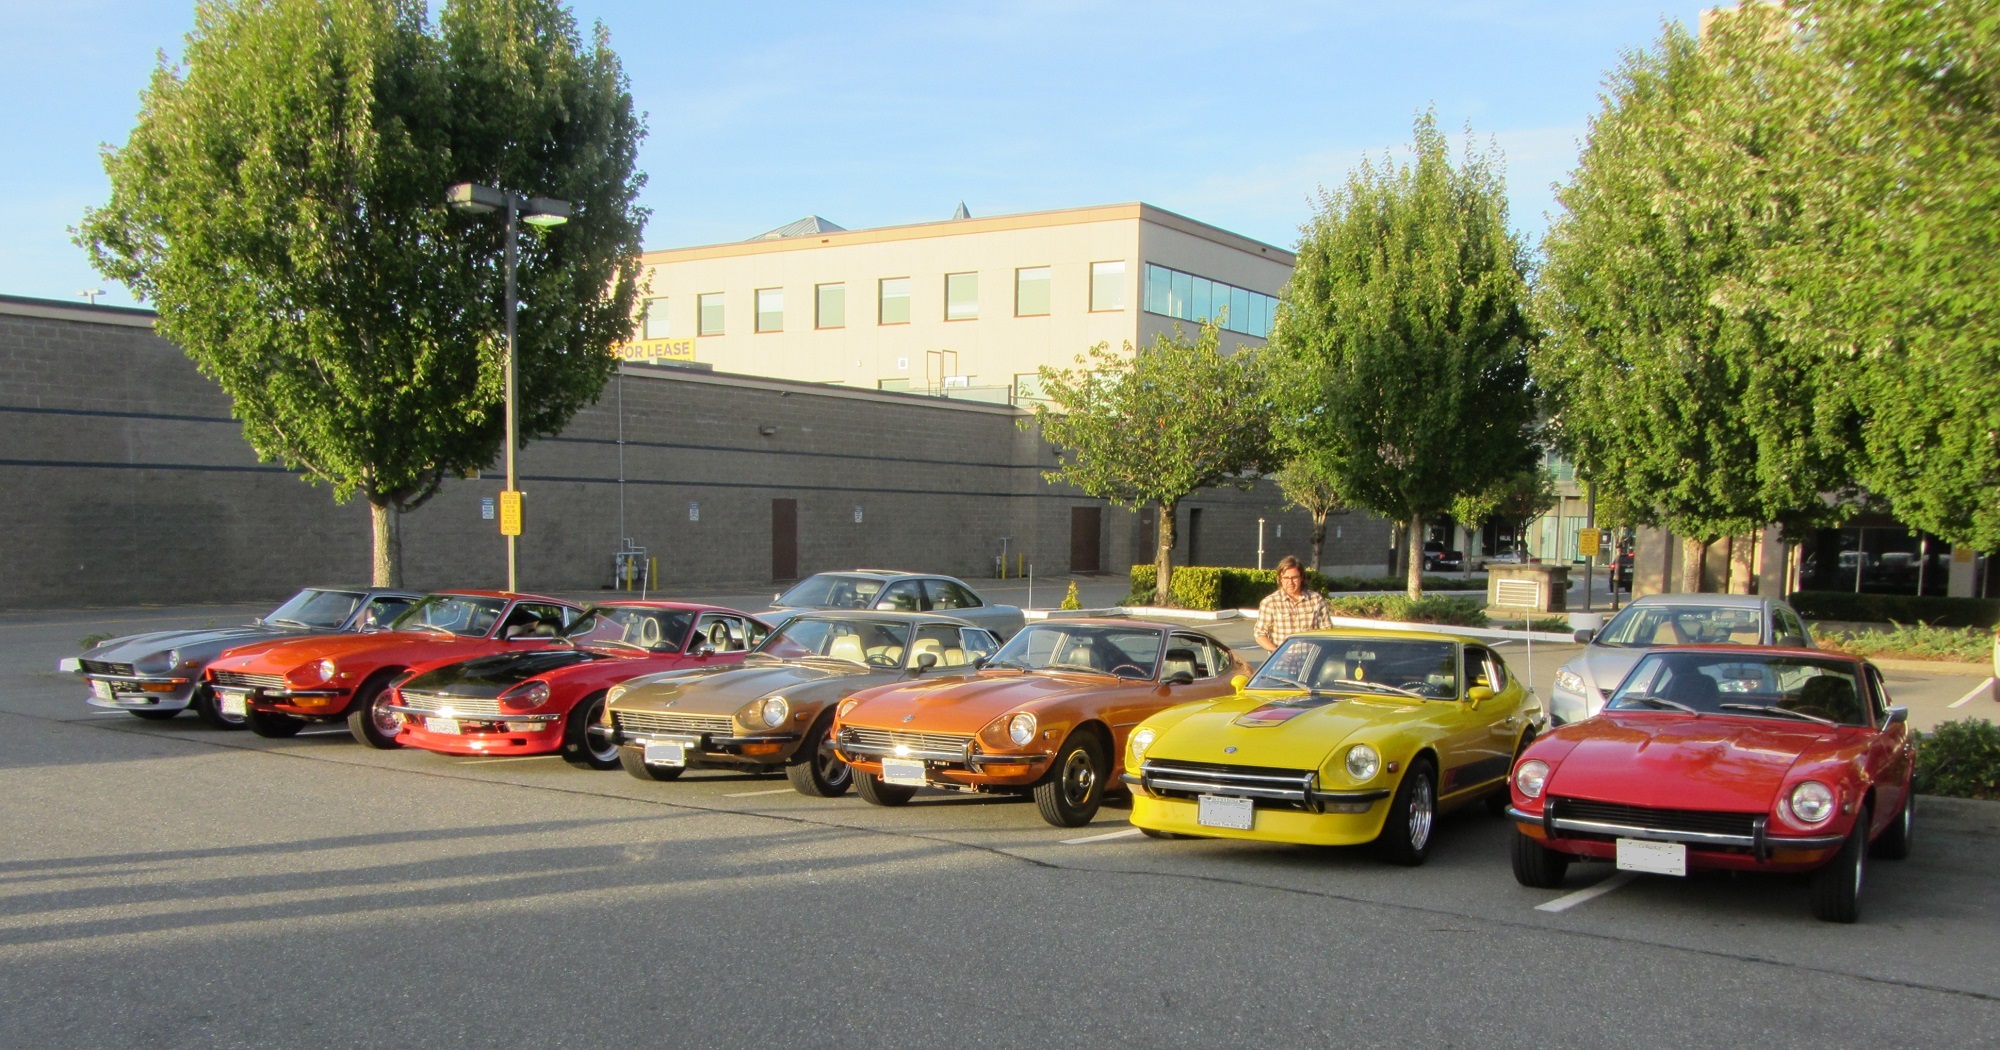
1 point1 point1 pointreally depends on why its not working, if it still has Freon in it (gauges will tell) and If the compressor is not locked up then you would need to find out of the compressor cluch engages. If it does not that would be the 1st thing to sort out. More likely the Freon has leaked out (very low pressure if any on gauges). If that is the case AND the compressor is not locked up, then pull a vacuum, see if it holds. If it does then add some dye and R-12 and see if the compressor will work (checking gauges again). Prob will but may leak which is why the dye. run it for a few days and look for the leak with UV. After the leak is found (prob the condenser or shaft seal of the compressor) R&R it as needed, pull vac charge and you are good to go. The system is very simple just find an older mechanic, should be no problem.1 pointThey may not be NLA but Nissan would be high $$$. Try and find a part number, Courtesey Nissan would have one. I think a reman would be fine, for what thats worth. 8^)1 pointGreat information, all! I can see a clear picture emerging now . Is a ZX starter really NLA from Nissan? All I can find are remans.1 pointThere is no "they" it's just one guy named Al. And he will spin you a story. His member name on this site is URGELUS or something like that. He's saying that the ZX starter is stronger and lighter than the Z starter. Which it is. But you can buy the same starter for less money elsewhere. Al sells inexpensive stuff for a high premium. The real question is how he stays in business. The answer is people who fall for his stuff.1 point1 pointI connect clear tubing to the bottom of the float bowl, use a remote starter with plugs out to get the float bowl filled up. Empty the bowl and hose between each adjustment. rinse repeat until level is where you want it. Do the same with other carb. I can get them within 1mm of each other. On the three screw carbs, I will put a longer fuel hose from the fuel rail to the float bowl lid so you can twist the lid clear when taking it off. The four screw carbs can be done using the stock length hose from the fuel rail since the lid just lifts straight off.1 point1 pointFantastic! Way happier to hear it's fixed then you have to spend thousands to buy mine! (that's a joke son, relax....) I'd pull that shaft real carefull from now on.. Wait, maybe I should rephase that....1 pointTook my car to the weekly Thursday night car show at a local A & W restaurant, and met up with a group from the BC Z Car Registry. there were seven of us attending. Here's a few pics,

 1 pointDitto! I bought them and am happy as well. I believe it was about 3 years that I installed them.1 point


Important Information
By using this site, you agree to our Privacy Policy and Guidelines. We have placed cookies on your device to help make this website better. You can adjust your cookie settings, otherwise we'll assume you're okay to continue.