madkaw
Community Member
-
Joined
-
Last visited
Everything posted by madkaw
-
The 123 ignition could help with performance and to help pass emissions - IMHO . A fully programmable ignition curve would allow a more aggressive power curve without giving too much vacuum advance . Your engine/ head combo is not the greatest for performance . Added compression would make a stronger case for adding a programmable dizzy . Cheap way to add a little power is to advance the cam to hole 2 or 3 . This would add noticeable power/ torque down low . Once again this would be better if you had full control of ignition . A cam and programmable ignition would be best bang for buck
-
Can you guys get away with a 123 dizzy ?
-
I don’t know guys - I’m not going to try and figure out Nissans engineering , but the larger capacity of the piston assembly in the BMC needs to go to the front brakes . My intention now is to get Classic Tube the correct info for when folks order lines . I made them aware that the early BMC’s are not readily available and most would be going to a later BMC - which means they need different lines than what’s in the early kit .
-
Why do I think F goes to the front lines ?
-
Whatever is done the F of the MC should go to the front brake lines- and R should go to the rear lines - regardless of the reservoir size .
-
-
-
Okay- I got the word from my parts expert . This probably old news or non-news but I’ve just ran into this and was having difficult time finding the correct info 240z 69-8/71 used first series of BMC - E4602 plumbed F-R 8/71 - 6/72 uses the E 8702 series BMC - it is plumbed R-F 7/72-7/73 also uses the W8702 but the safety switch is moved so it’s plumbed a lot different . If anyone has contrary info I’d be glad to hear. If not I am going to notify Classic Tube
-
If the larger reservoir is up front then more than likely the front brakes worked off of that side. So the lines to the warning switch would have to run differently - correct . The early lines stayed separated where as the later the lines cross - because the warning switch stayed the same ?
-
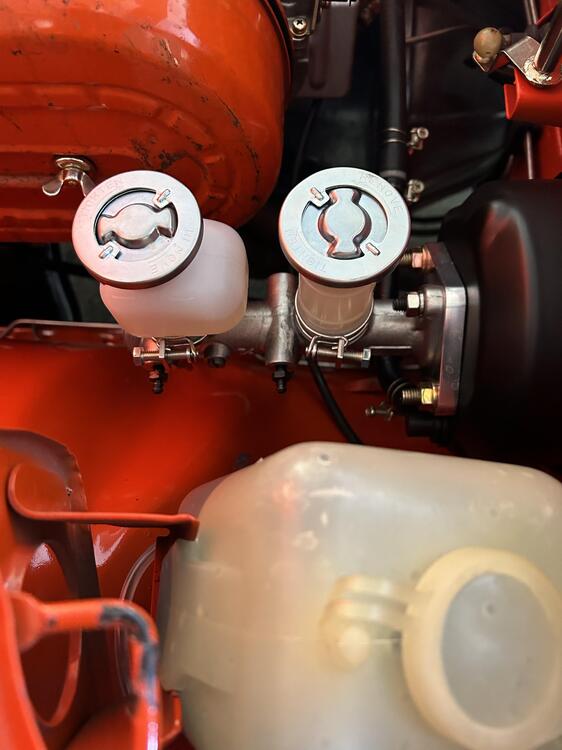
The MC seals are all oriented the correct way. The Nissan unit matches up with the aftermarket fine - see pic . So I reached out to Classic Tube since it seems their kit doesn’t have the correct line routing MC to warning switch correctly . They show 3 kits by year . The first kit supposedly goes from 1969- 6/72 . The second kit goes from 6/72 until the 280z?. Am I wrong that the earliest BMC had front and rear oriented differently and thus had the lines routed differently to the warning switch? If so - when did the MC change ? Classic tube wants to get this right also .
-
-
That IS the issue . It seems that EPDM O-rings are what’s best for brake fluid . Then you need the exact size . I believe the seal need to be 6x10x2
-
You are correct - I should use the proper name .
-
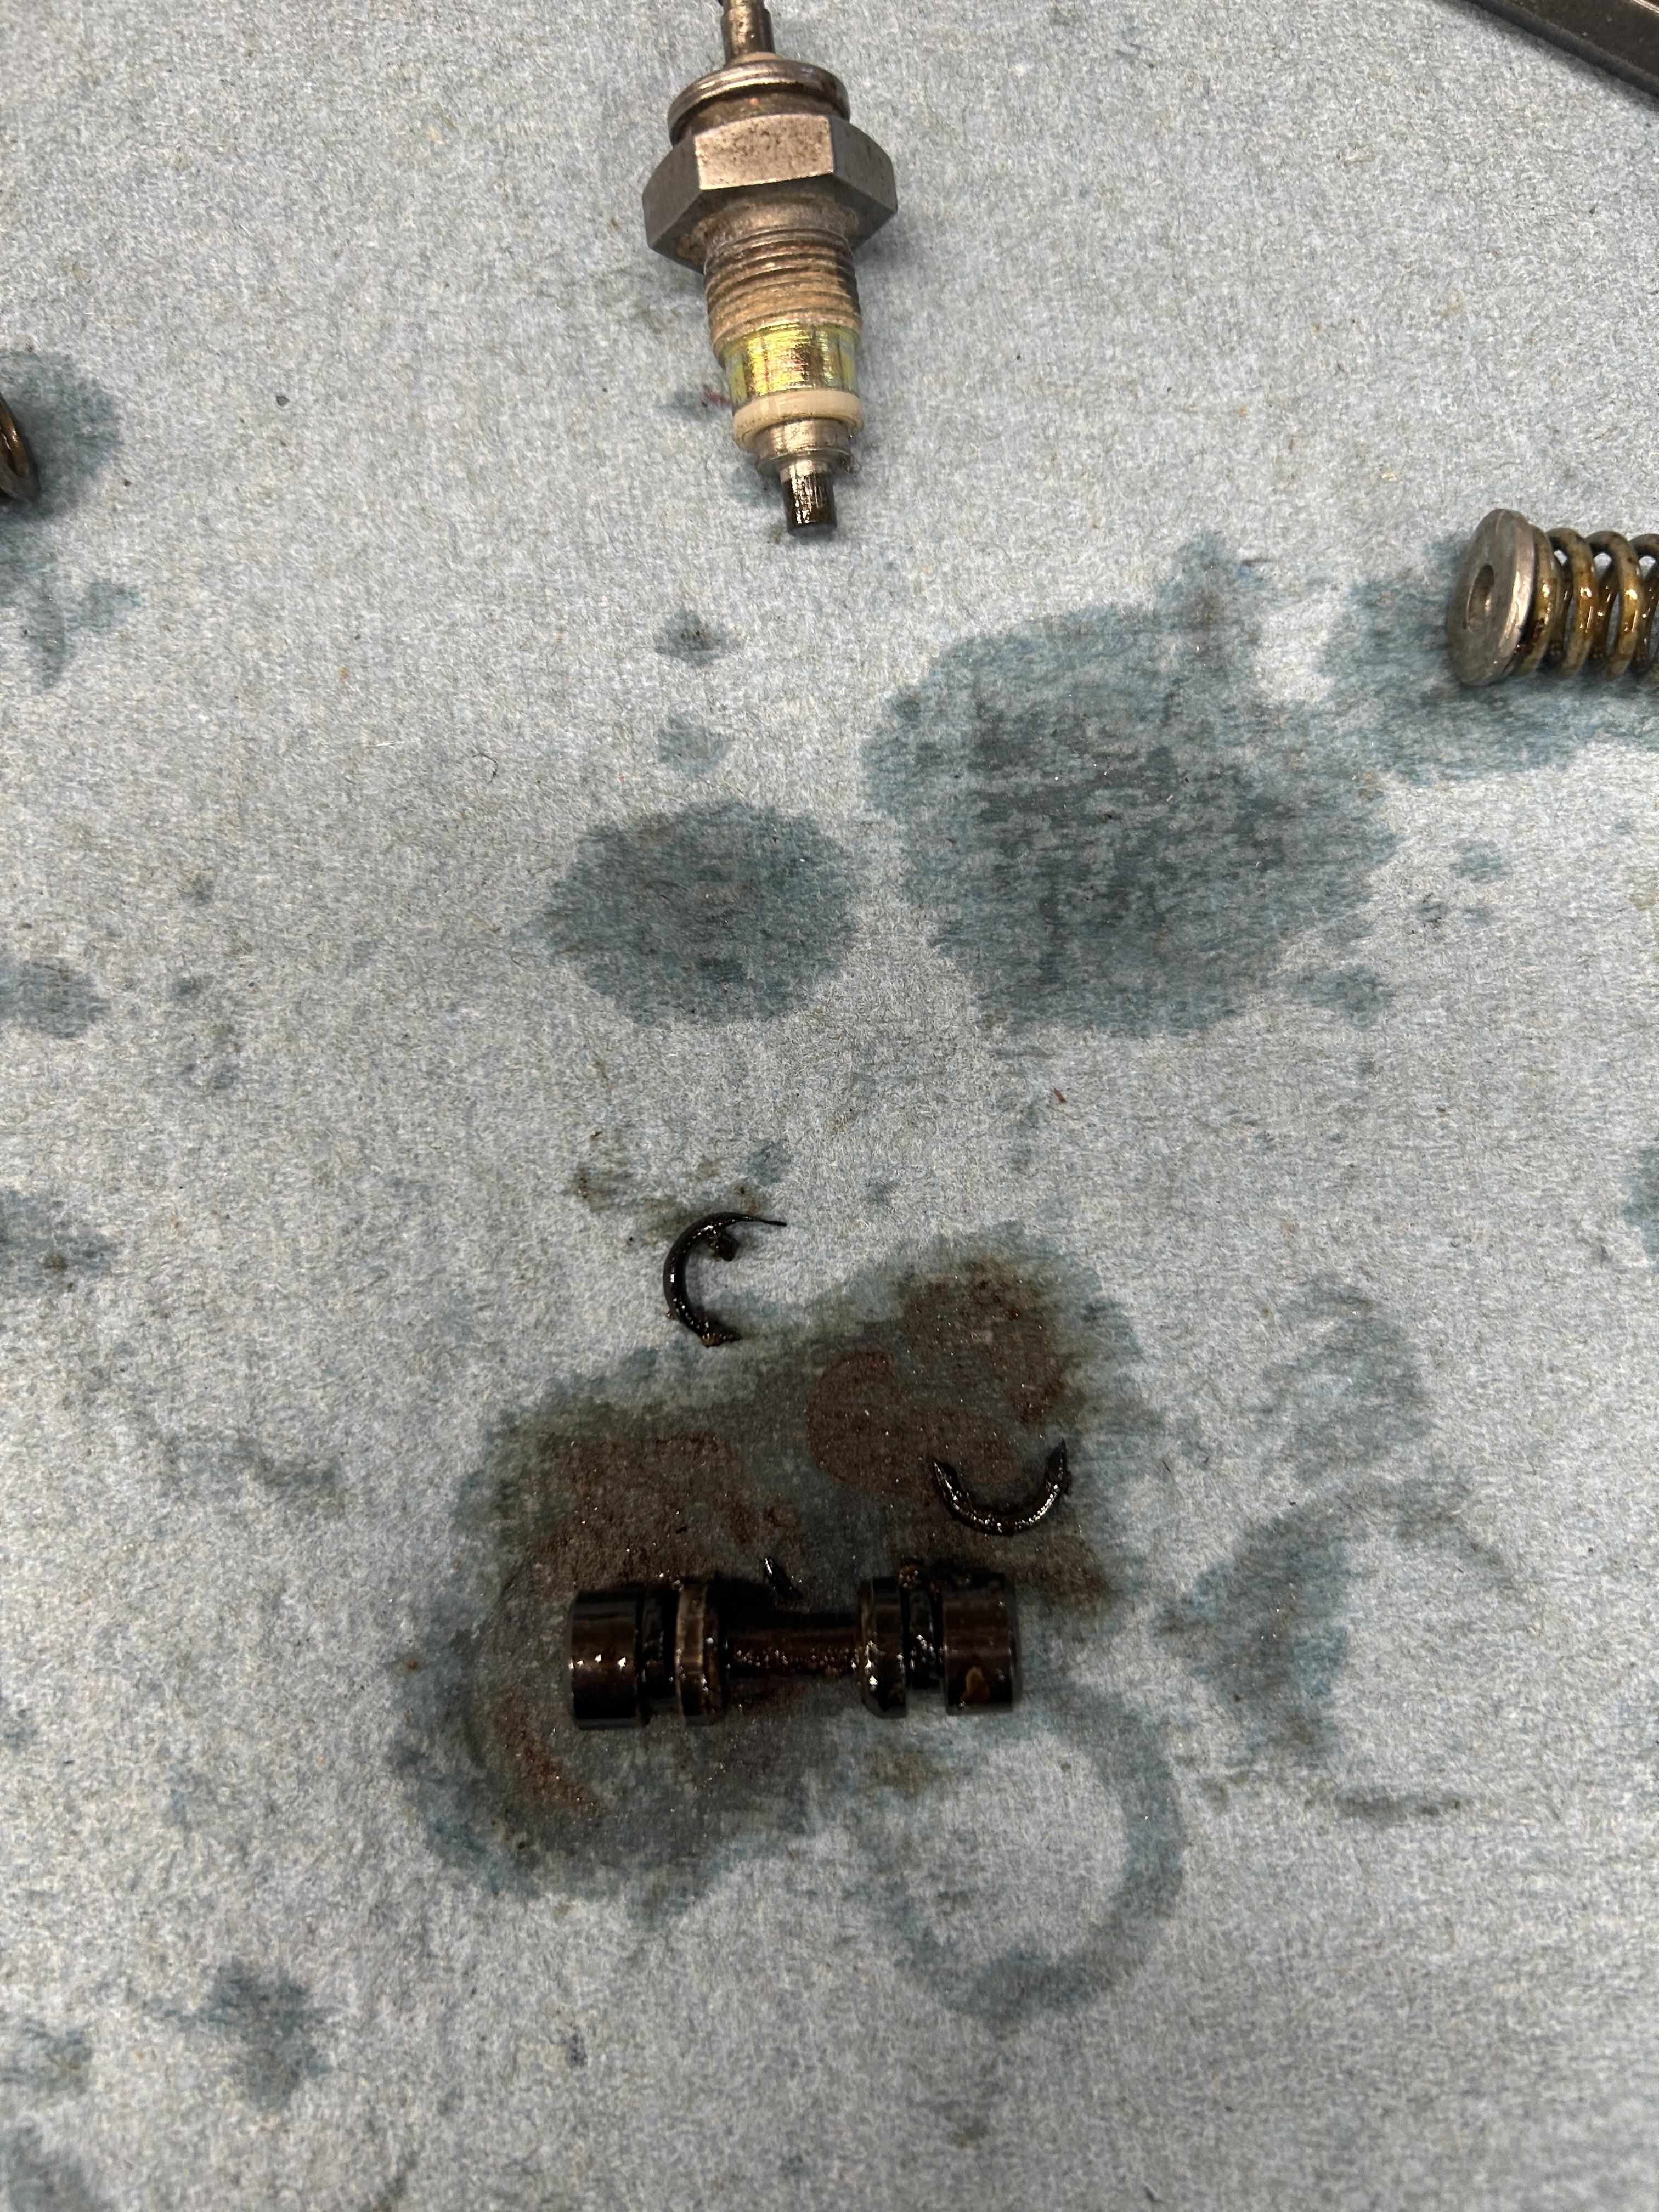
Not a very good pic but you might be able to make out the busted O rings on the piston . I’ve ordered some O rings . I will “ rebuild “ the prop valve and reinstall the MC with the lines routed properly

-
Well I guess I have my lines crossed . I replace the originals with SS - but the replacement lines were routed the same way as the originals . I contacted my Datsun part expert and shared a pic that helps . The F&R lettering on the BMC didn’t seem to correlate with the plumbing of the proportioning valve . Still not sure that would cause the transfer of fluids though

-
There is a transfer of fluid happening between reservoirs so it is overfilling - that’s the issue
-
1972 with all new brakes . Master cylinder is a NABCO , or whatever is being sold by Nissan - but made in Japan . I am losing fluid but in a strange way . After a long period of driving I check the MC and the front reservoir is low while the rear is full to the top . I have brake fluid oozing out somewhere from the rear reservoir . Not sure if it is somehow getting pressurized and coming out the bottom or what . I’ll have wetness around the band clamp and around the MC body . The band clamps are tight . This is driving me nuts . I’ve never read of this situation . The front brakes are upgrade with the S12 calipers .

-
Another reason to get to HB ! Lol
-
Another job that I utilize the dead blow is valve adjustments. I probably should make a video now because folks will be wondering . Lol
-
Yes- please folks -invest in a good dead blow hammer. It’s great for such jobs as this . A 3lb dead blow is a useful tool and save your hands . Curious is why you didn’t just drop the car on cylinder blocks to weight it? It’s tight , but you can slide under there if all you are doing is smacking them tight . Just asking - thanks for the video Merry Christmas
-
I’ve been working on a 2/72 and the owner wanted to keep it original . I was getting a battery drain . The VR looked new. When I plugged it in it would click and cause a drain . Ordered another one and it did the same thing . So now I think it’s the alternator. Took it to an alternator shop and he said it was fine . He also said he had an issue finding a good VR - period . He could a box of them and they would all test bad . I got rid of the VR
-
Yes - I just went and looked . Only two screws at the top of the frame . Wondered if folks were glueing them in - in order to facilitate a seal .
-
Curious if these can be made to work on the early models ? I saw another sale ad that said they would . These were meant to deal with wind noise I imagine ? I’ve seen ads for the bottom front seals for the quarter window , but not the top . https://www.datsun-garage.com/collections/datsun-240z-260z-280z-s30-weatherstrip/products/reproduction-front-quarter-window-weatherstrip-1974-78-260z-280z
-
This basically how I did mine - thanks Cliff. I think the speed bump tang is important . Floats seem more consistent .
-
My 9/71 has vertical lines