
ETI4K
Free Member
-
Joined
-
Last visited
Everything posted by ETI4K
-
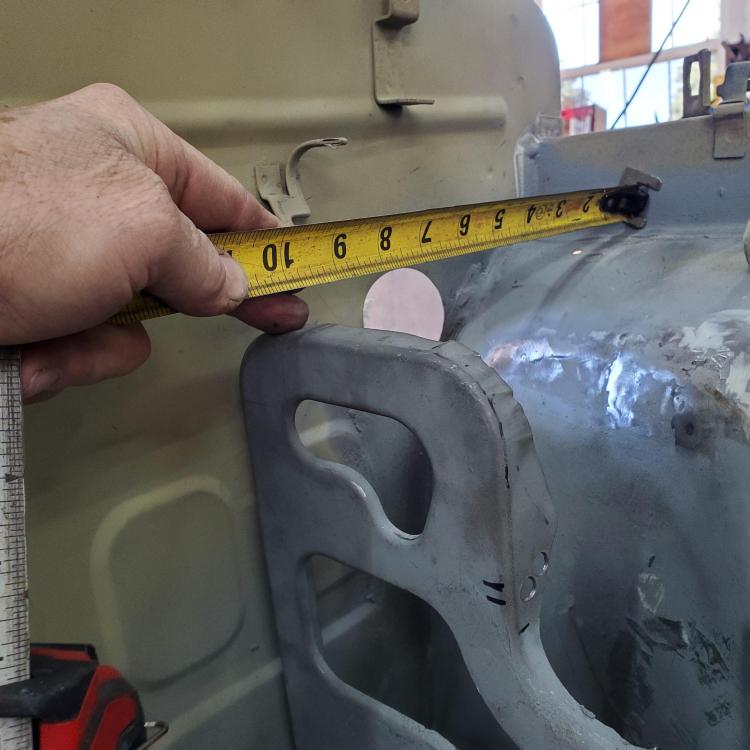
Would anyone happen to have access to measure the height of the battery support shelf from anything fixed, like the front frame rail? Also, the clearance to firewall? Mine has been removed twice and I'm no longer certain where it should be.
-
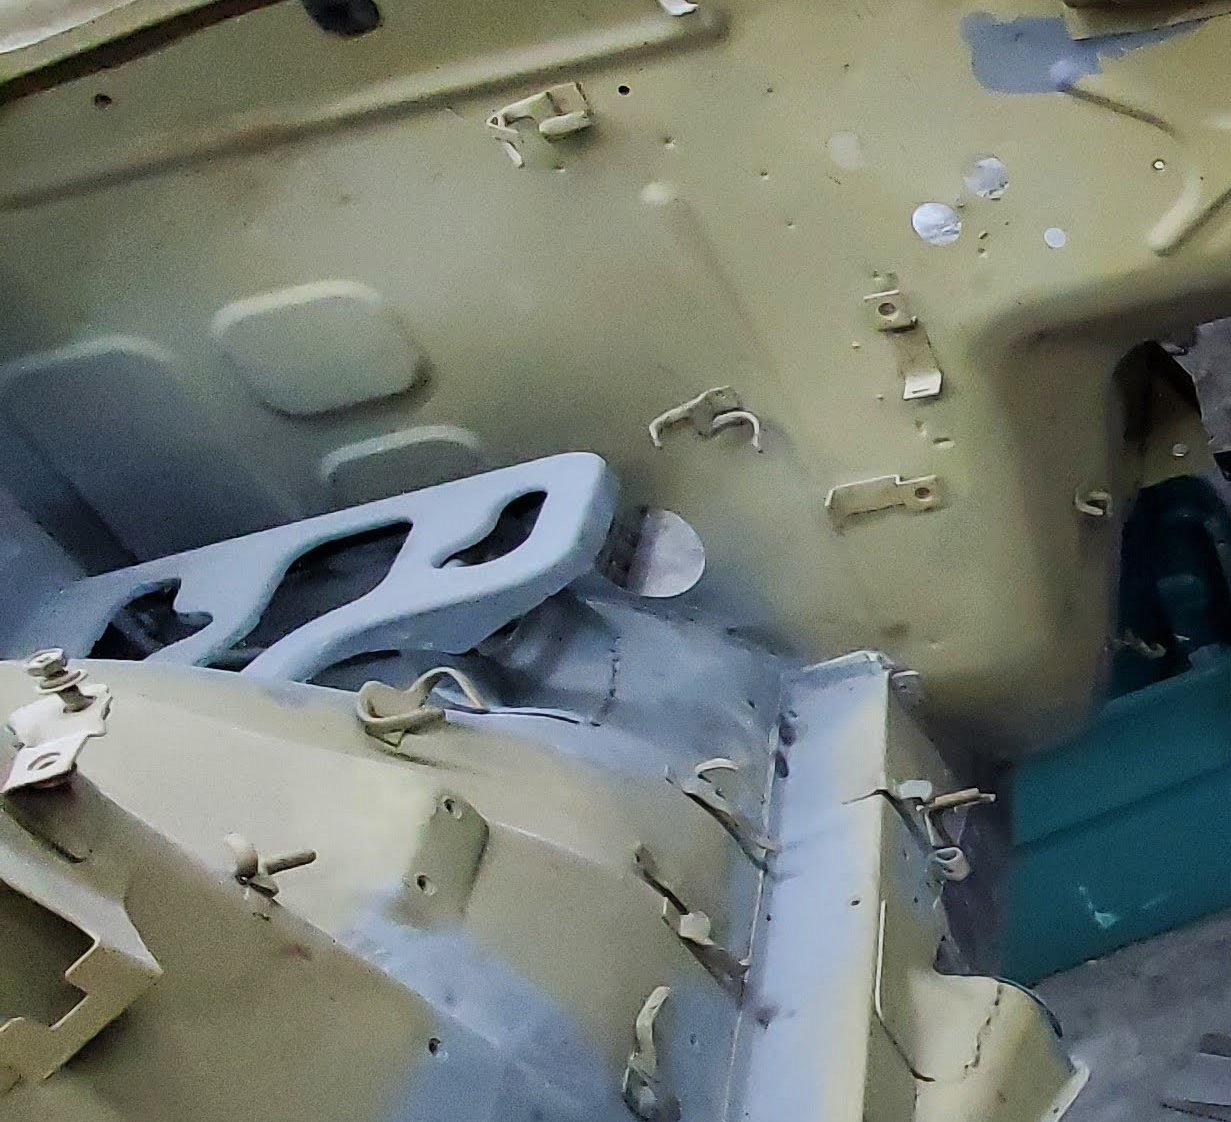
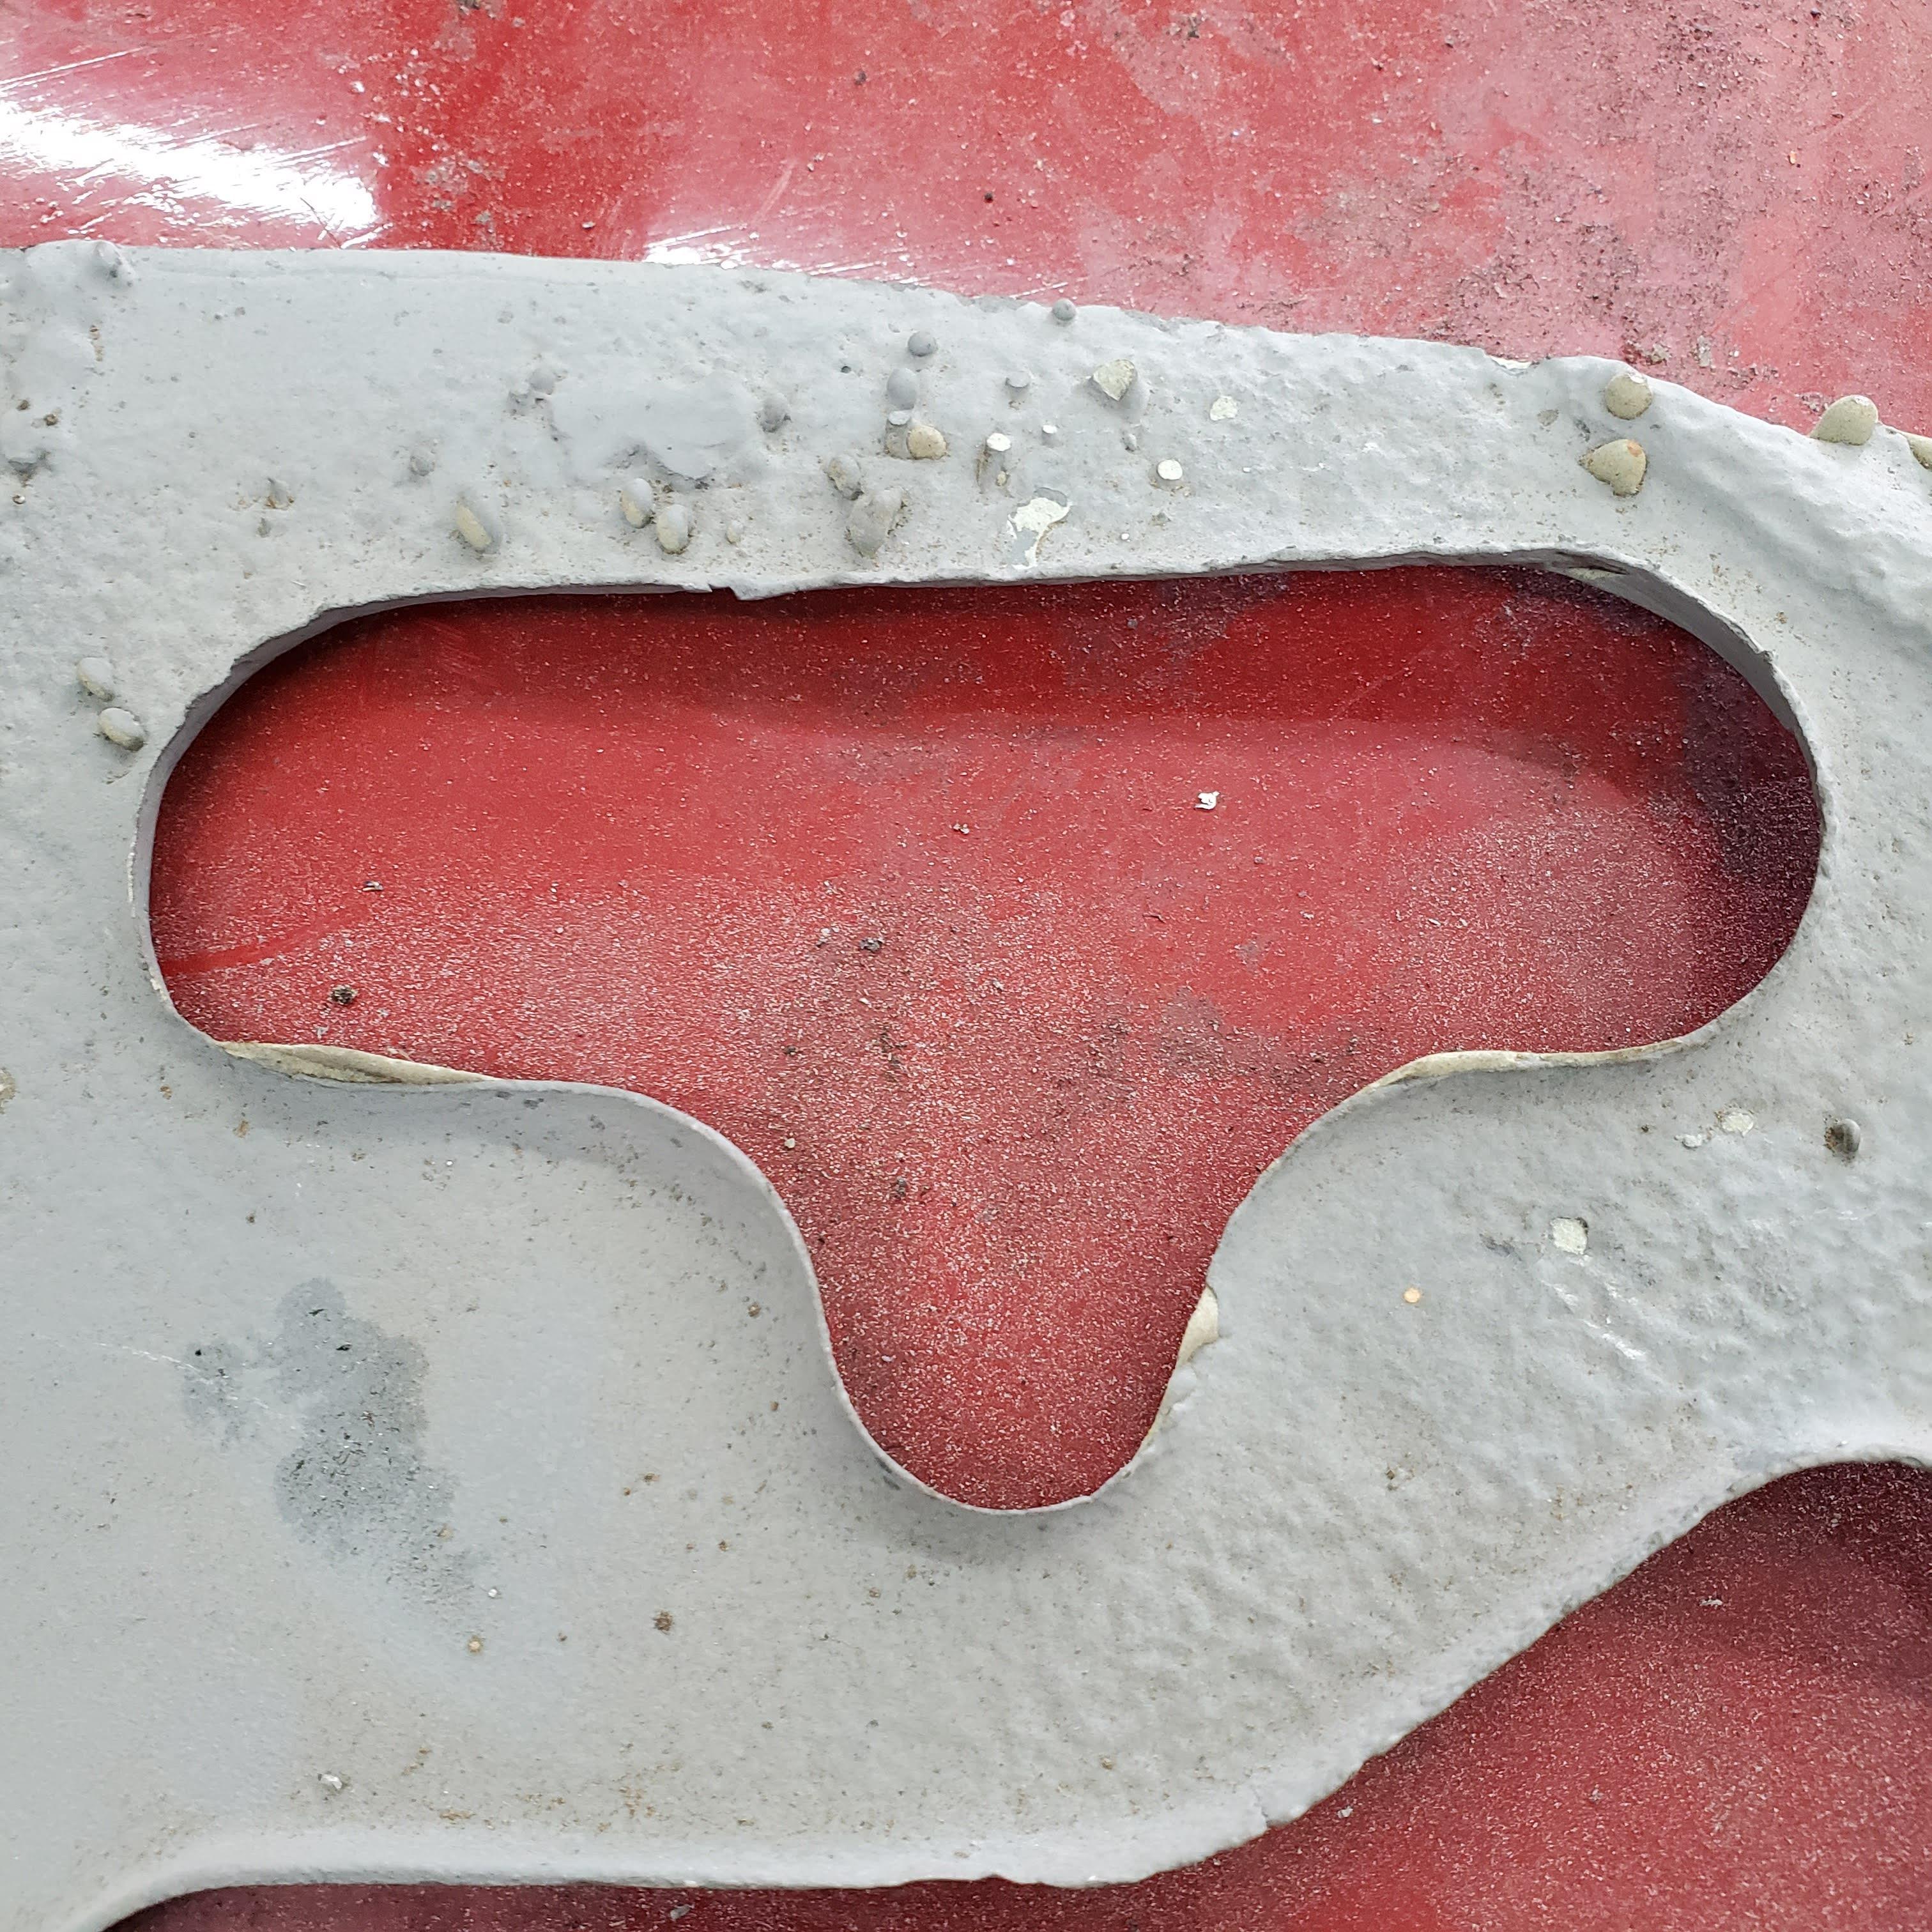
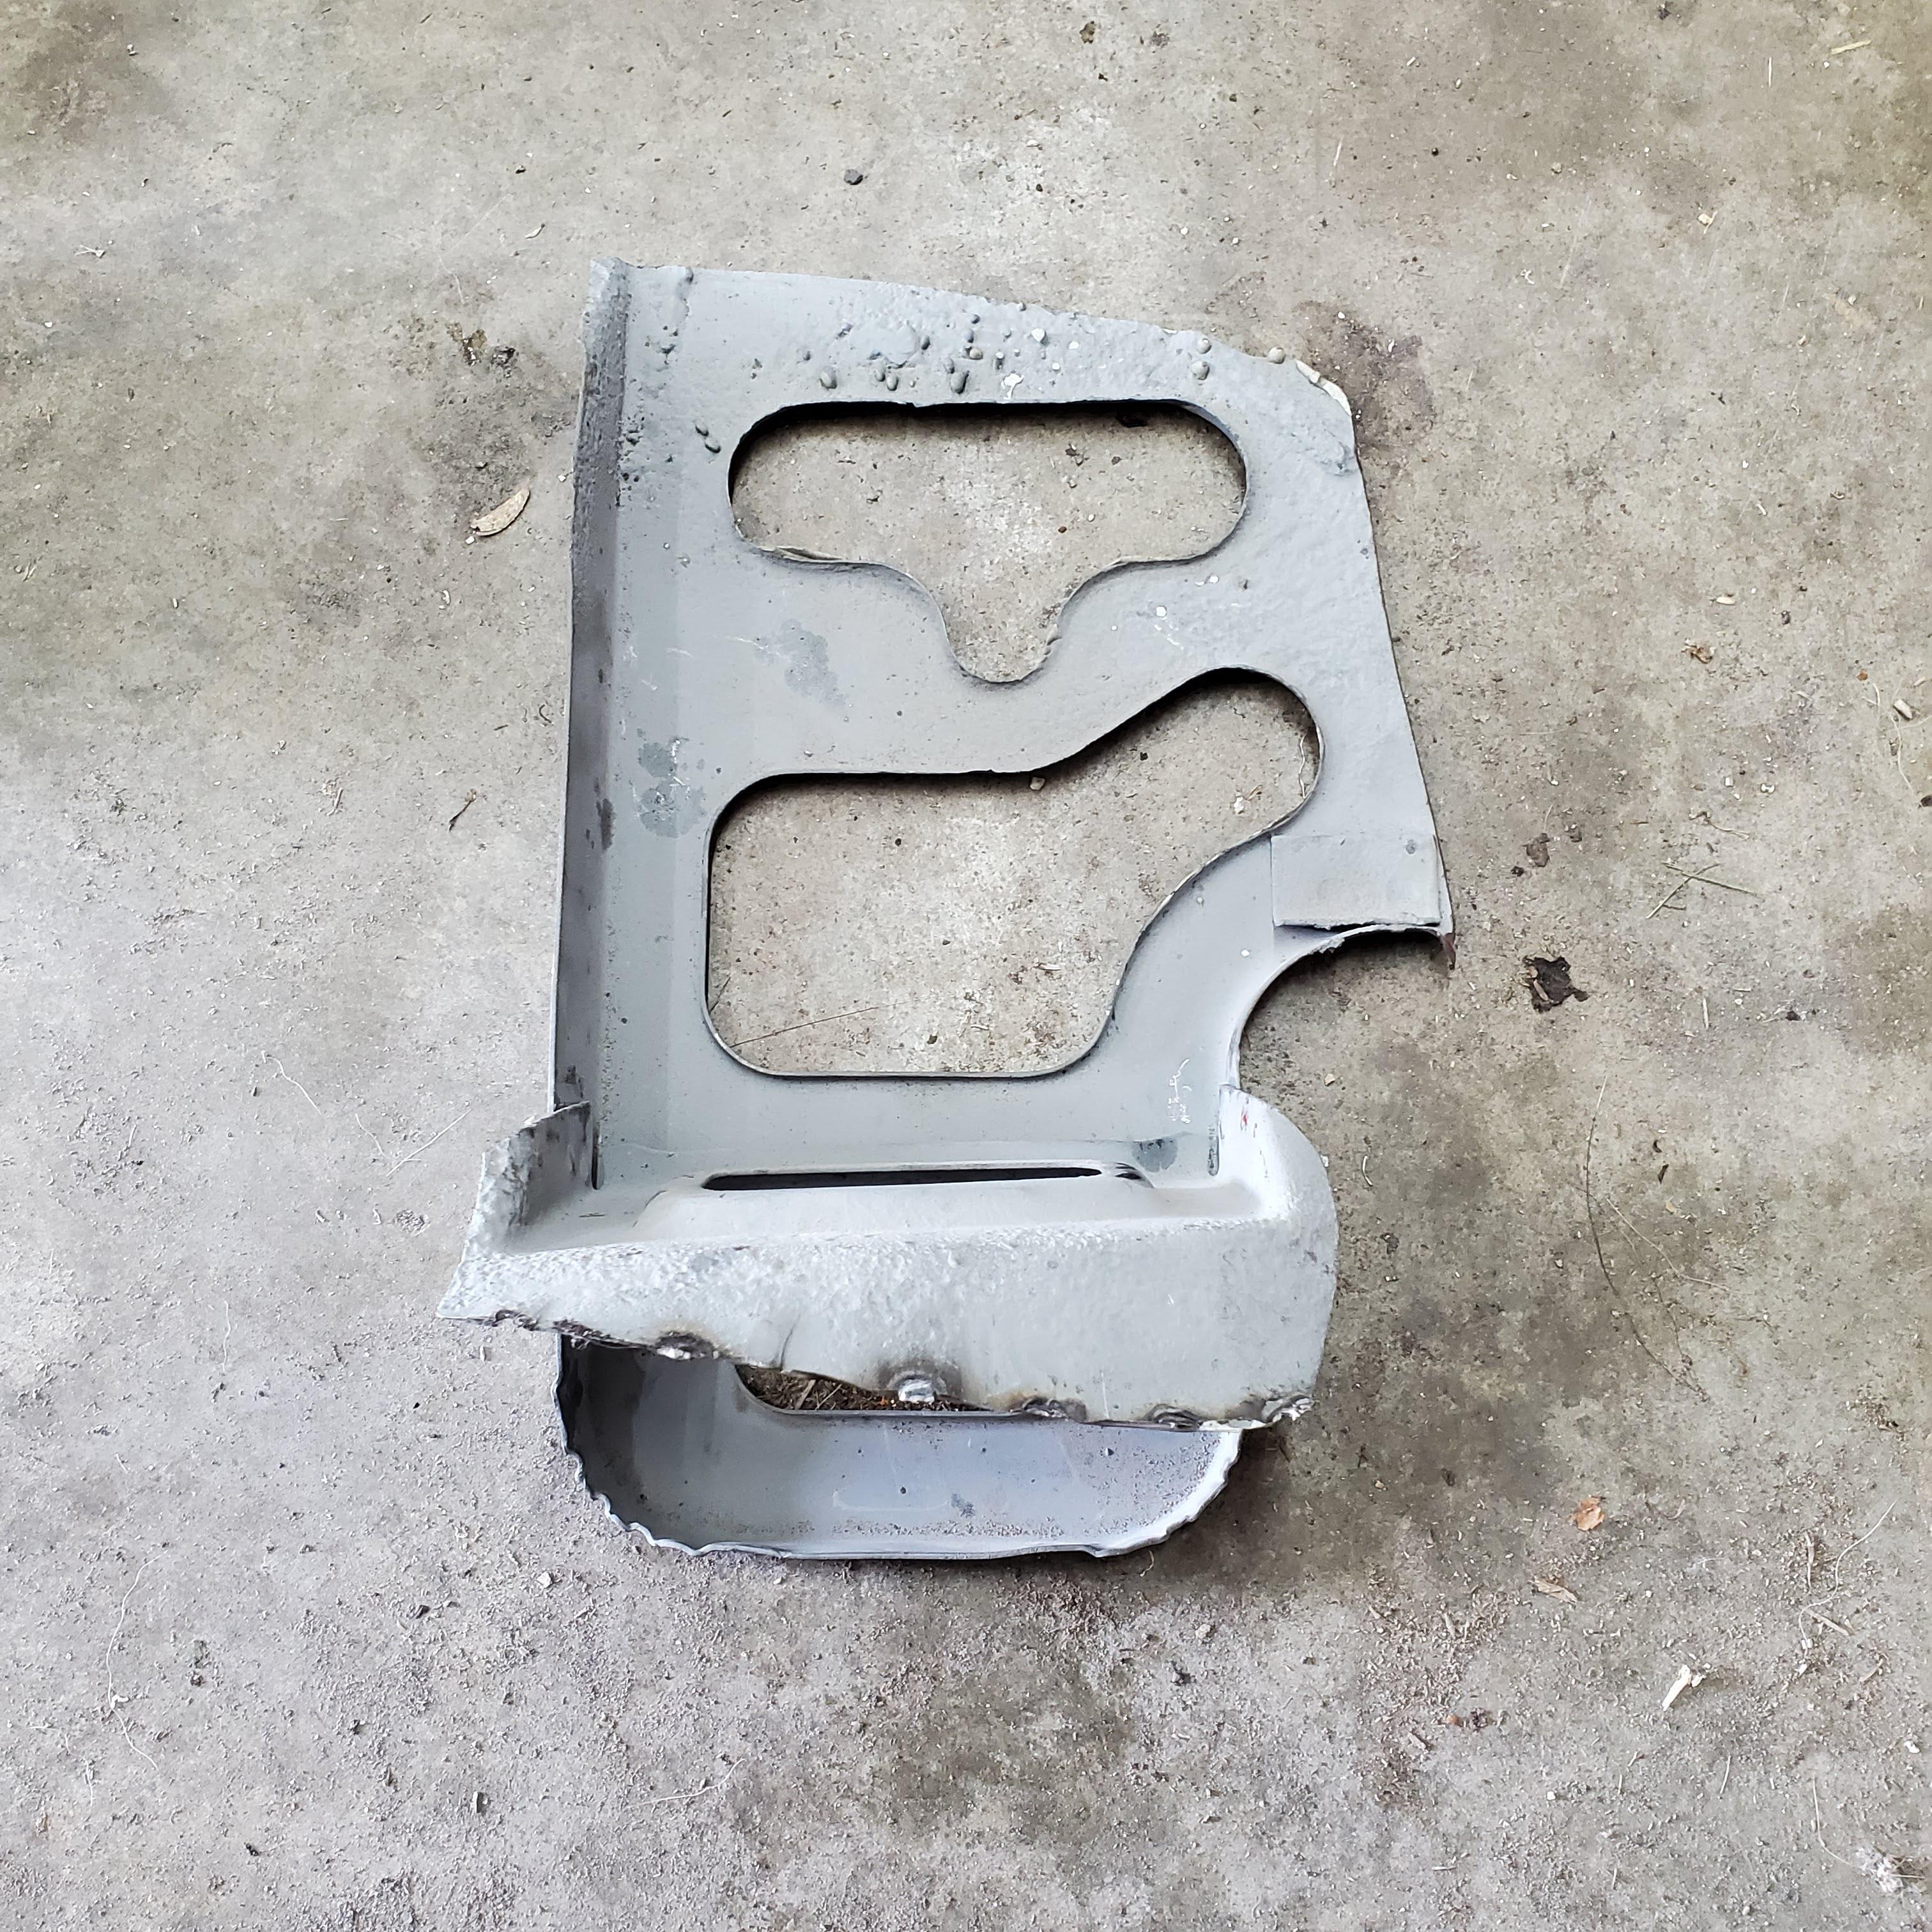
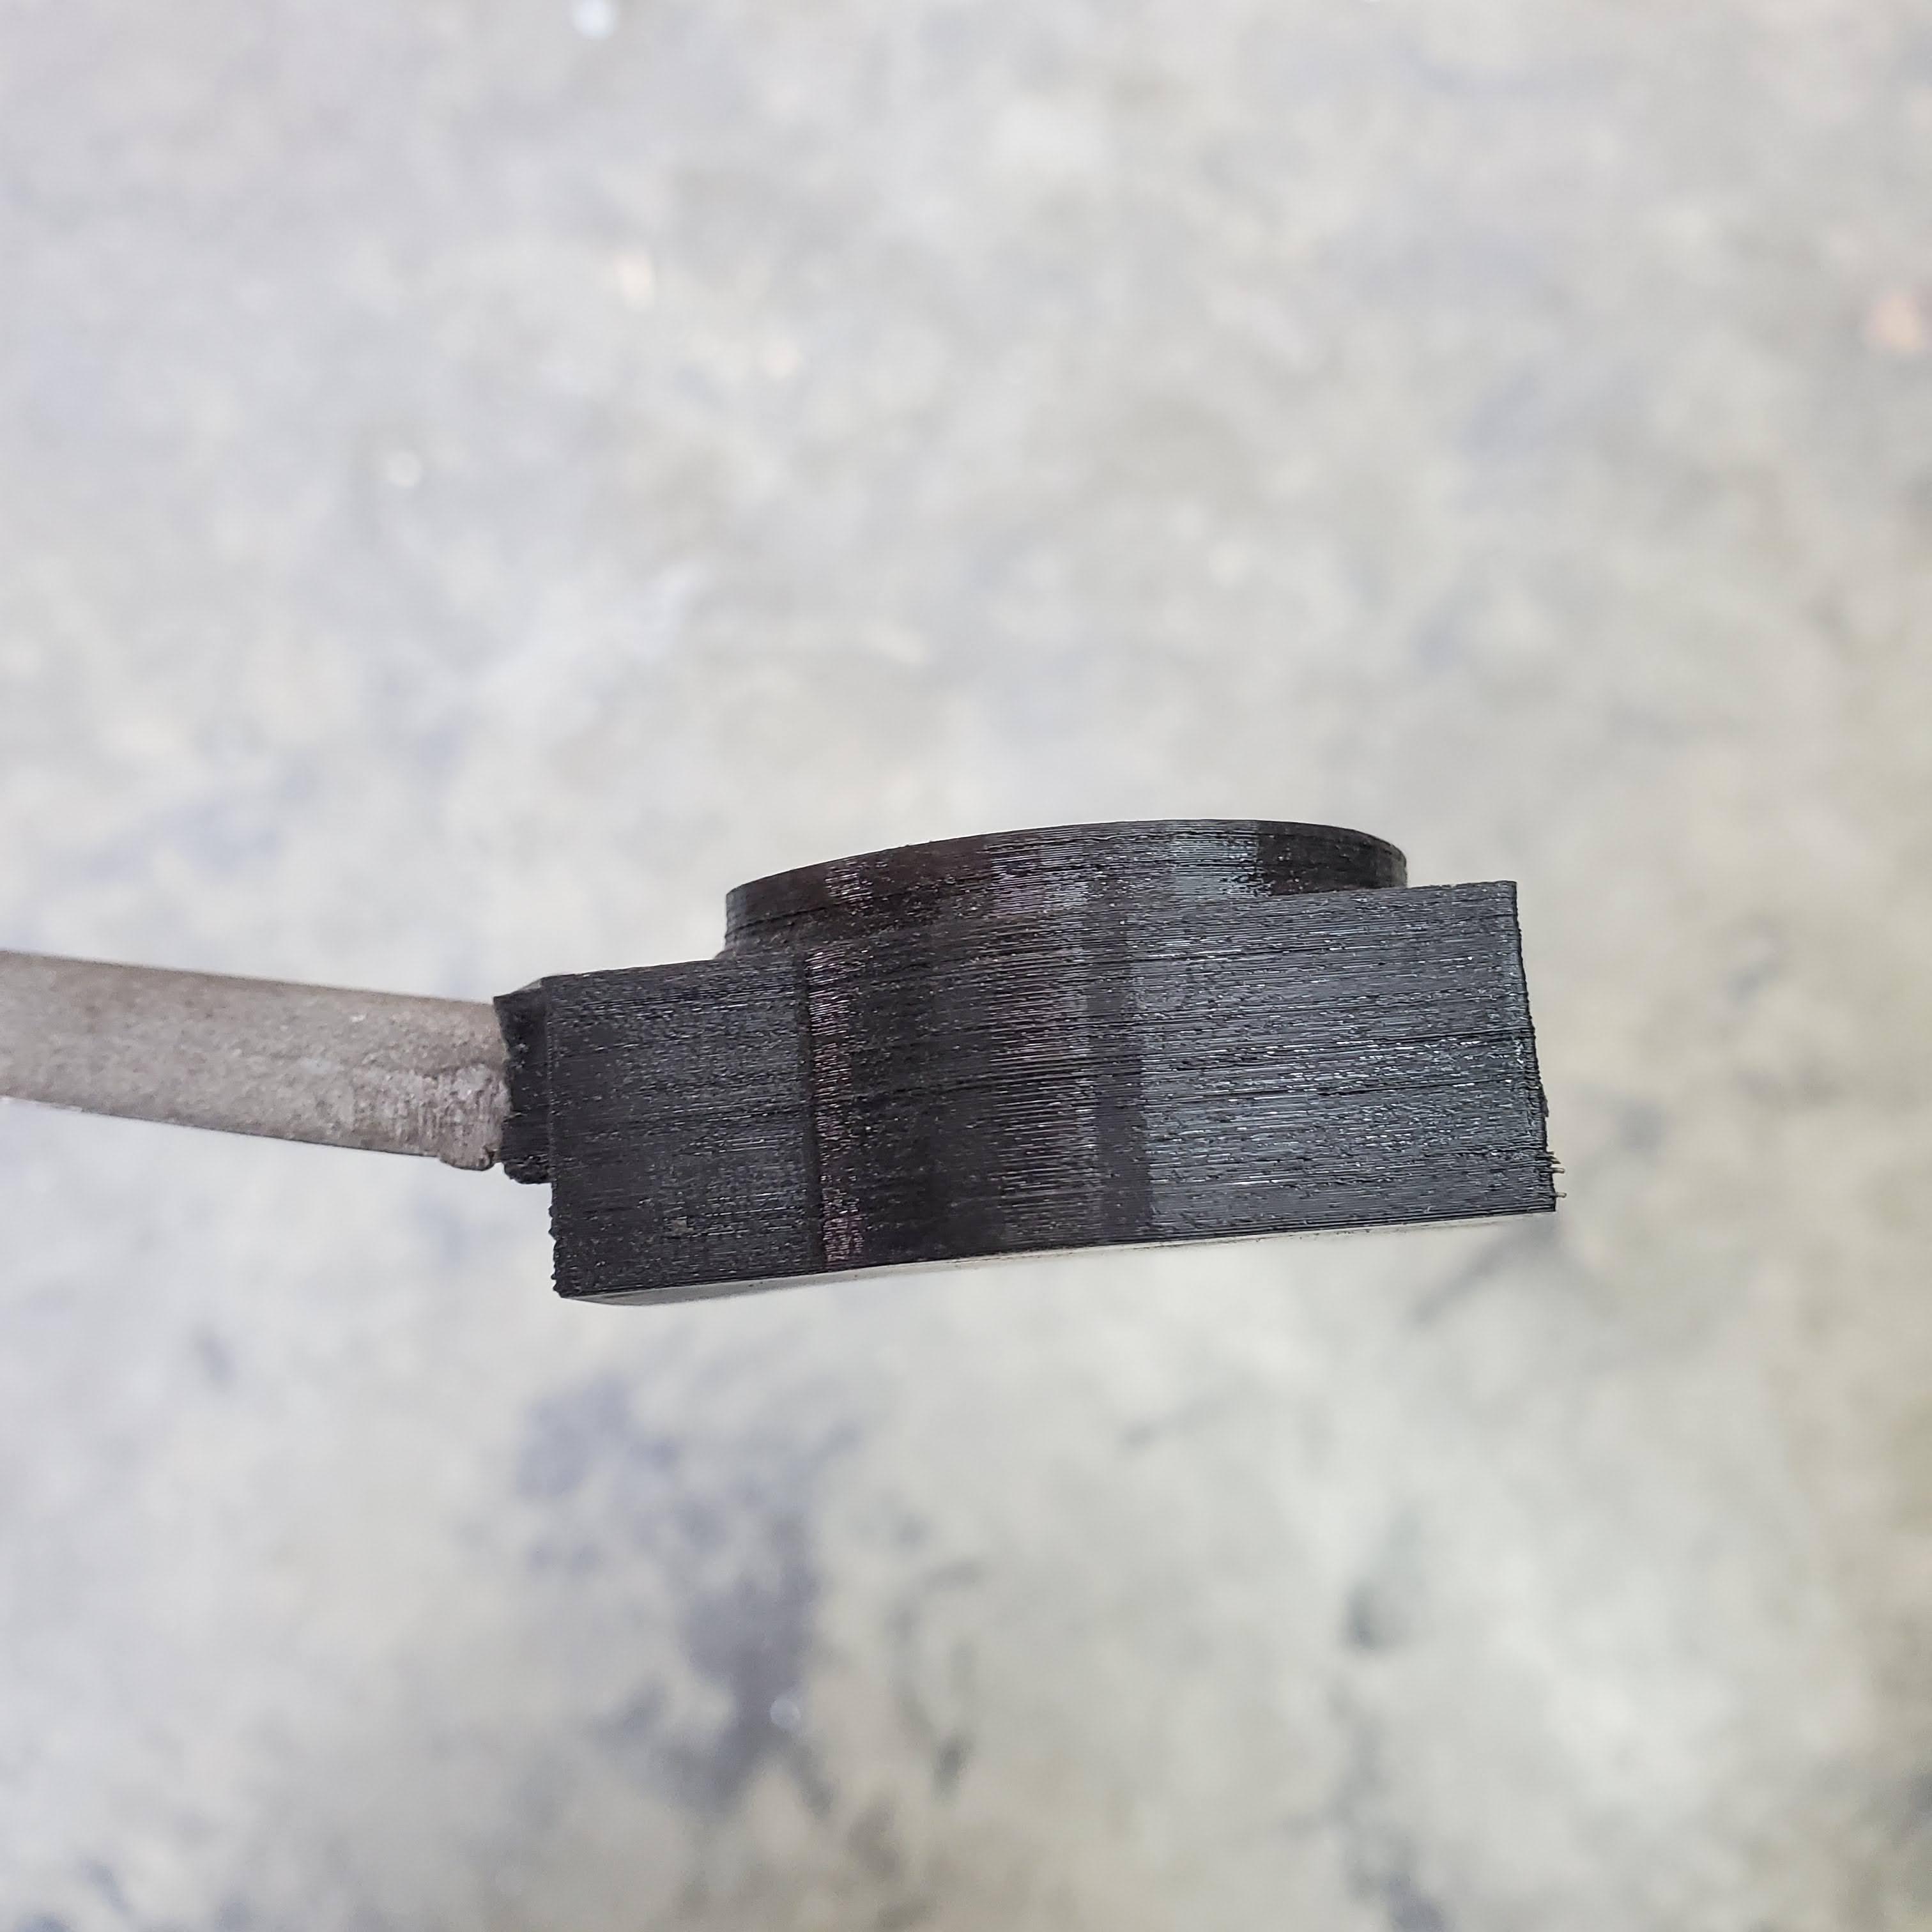
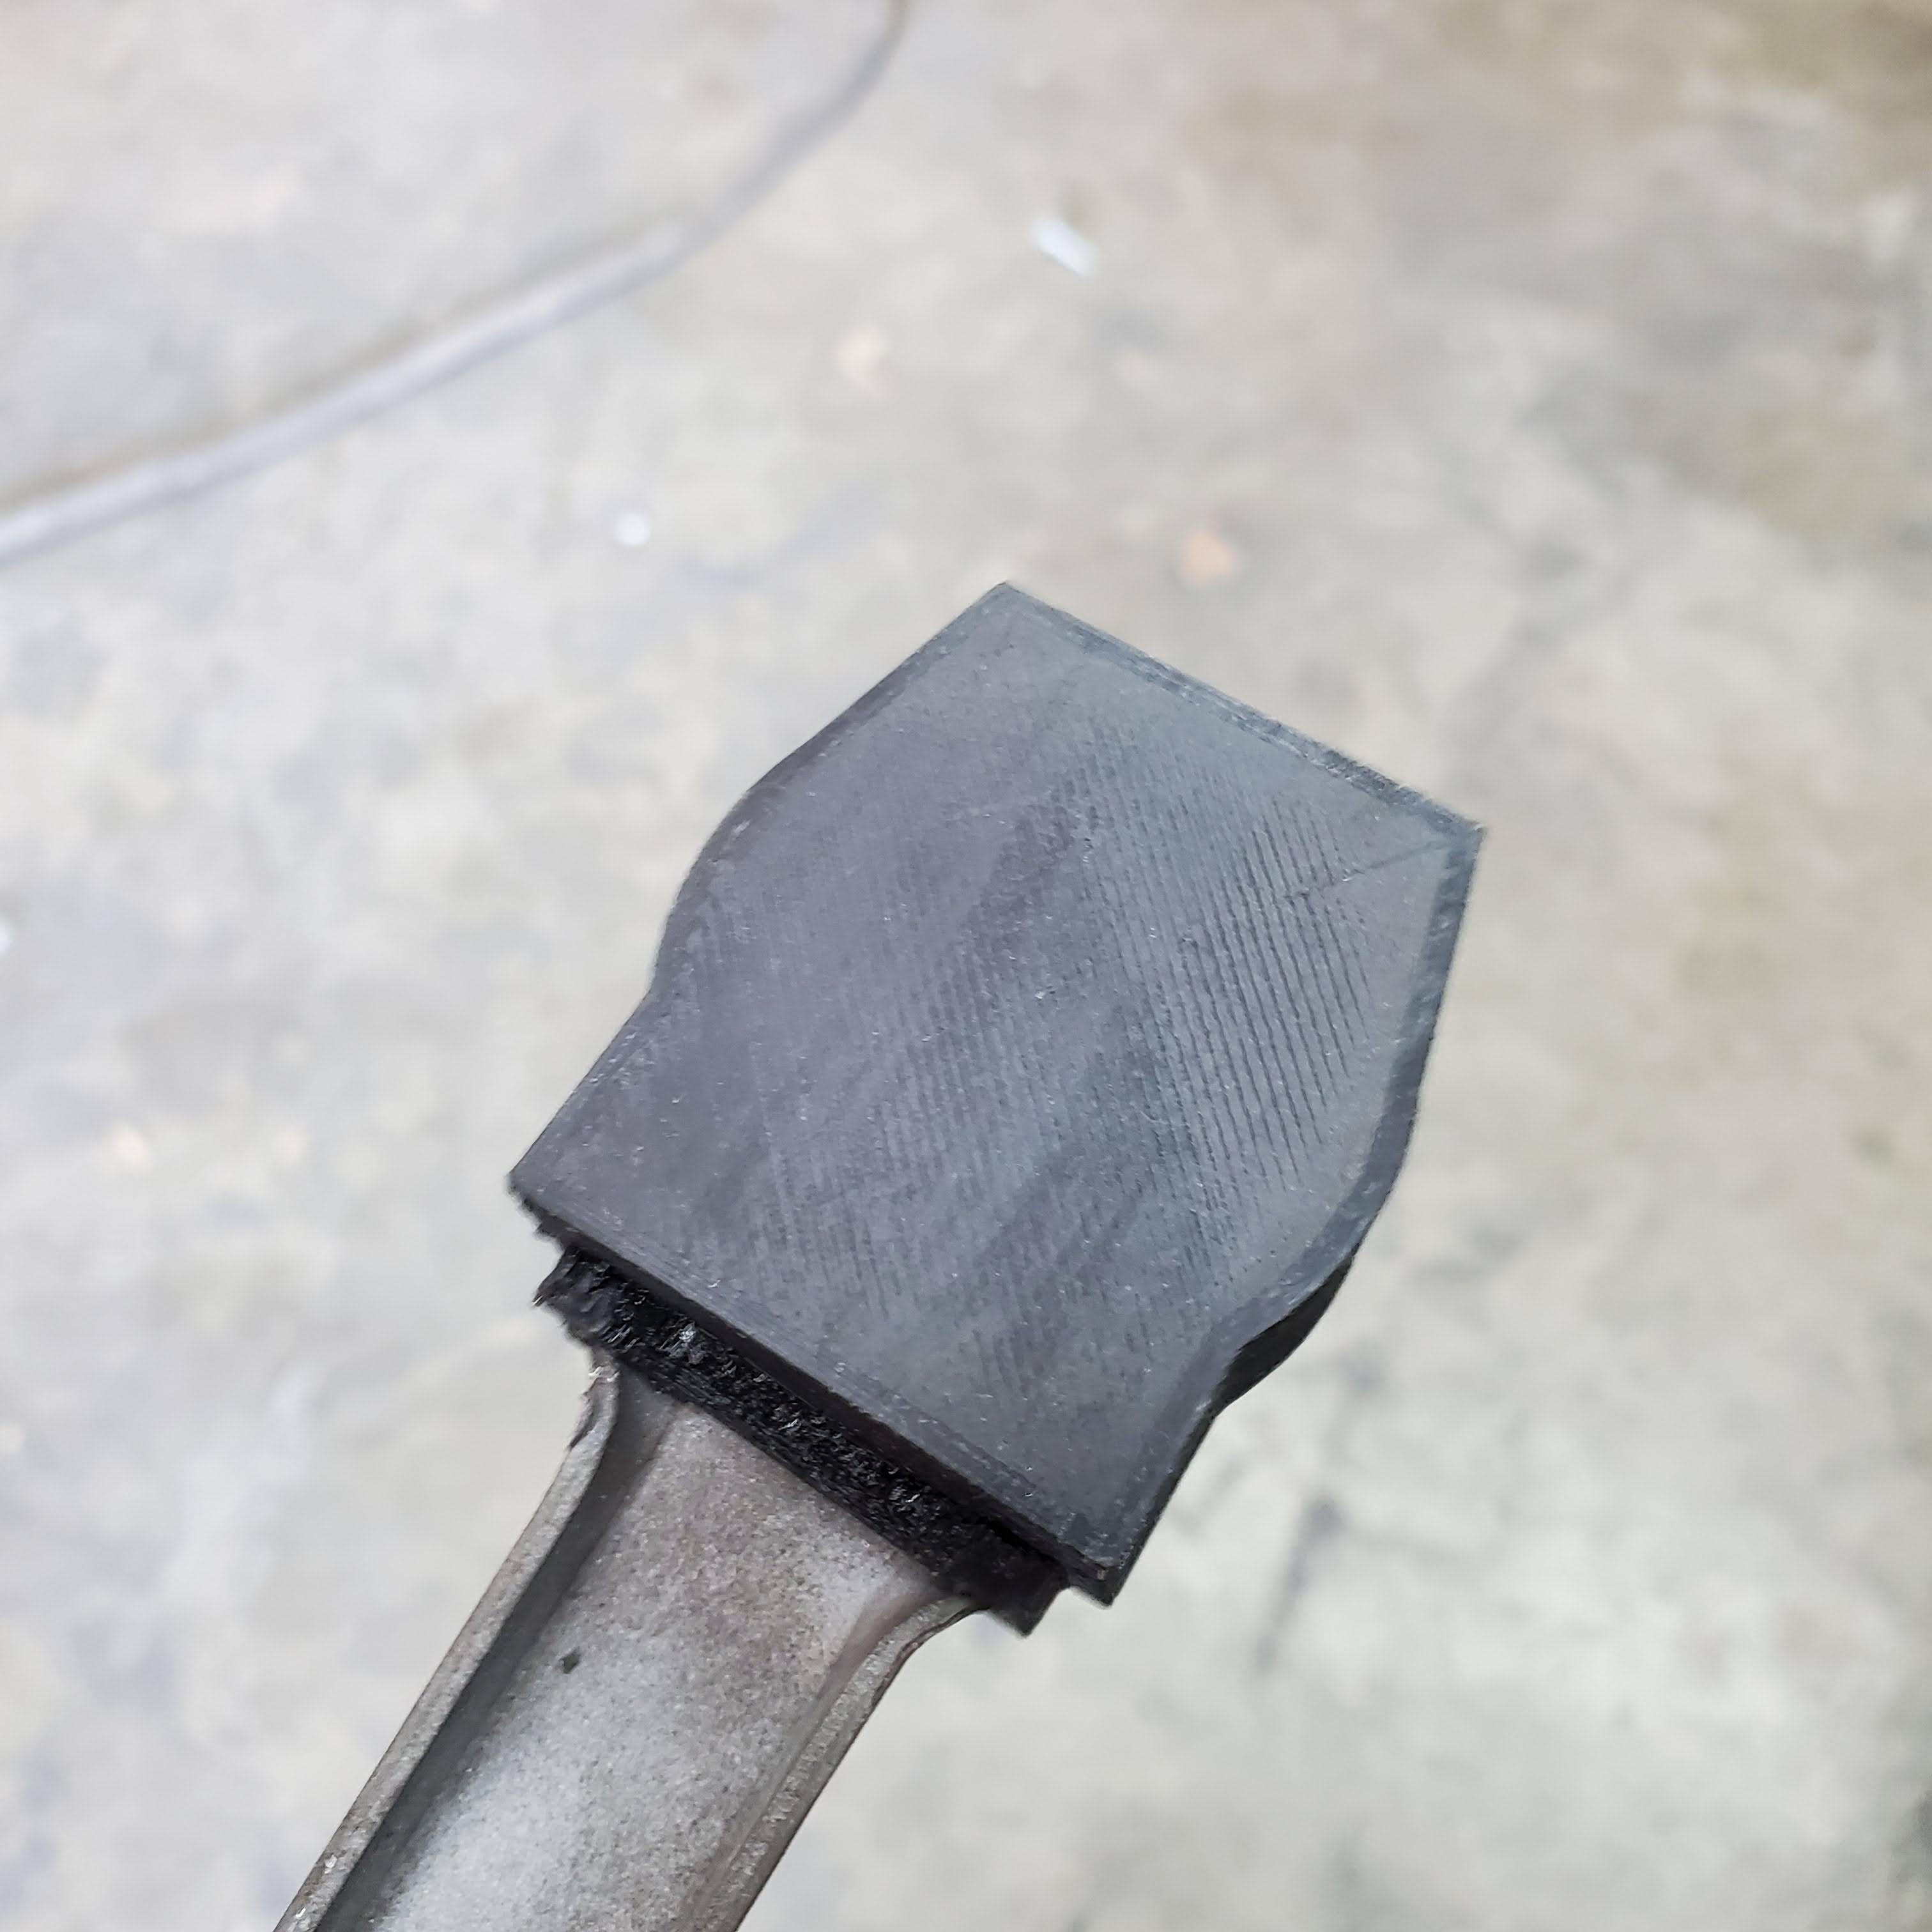
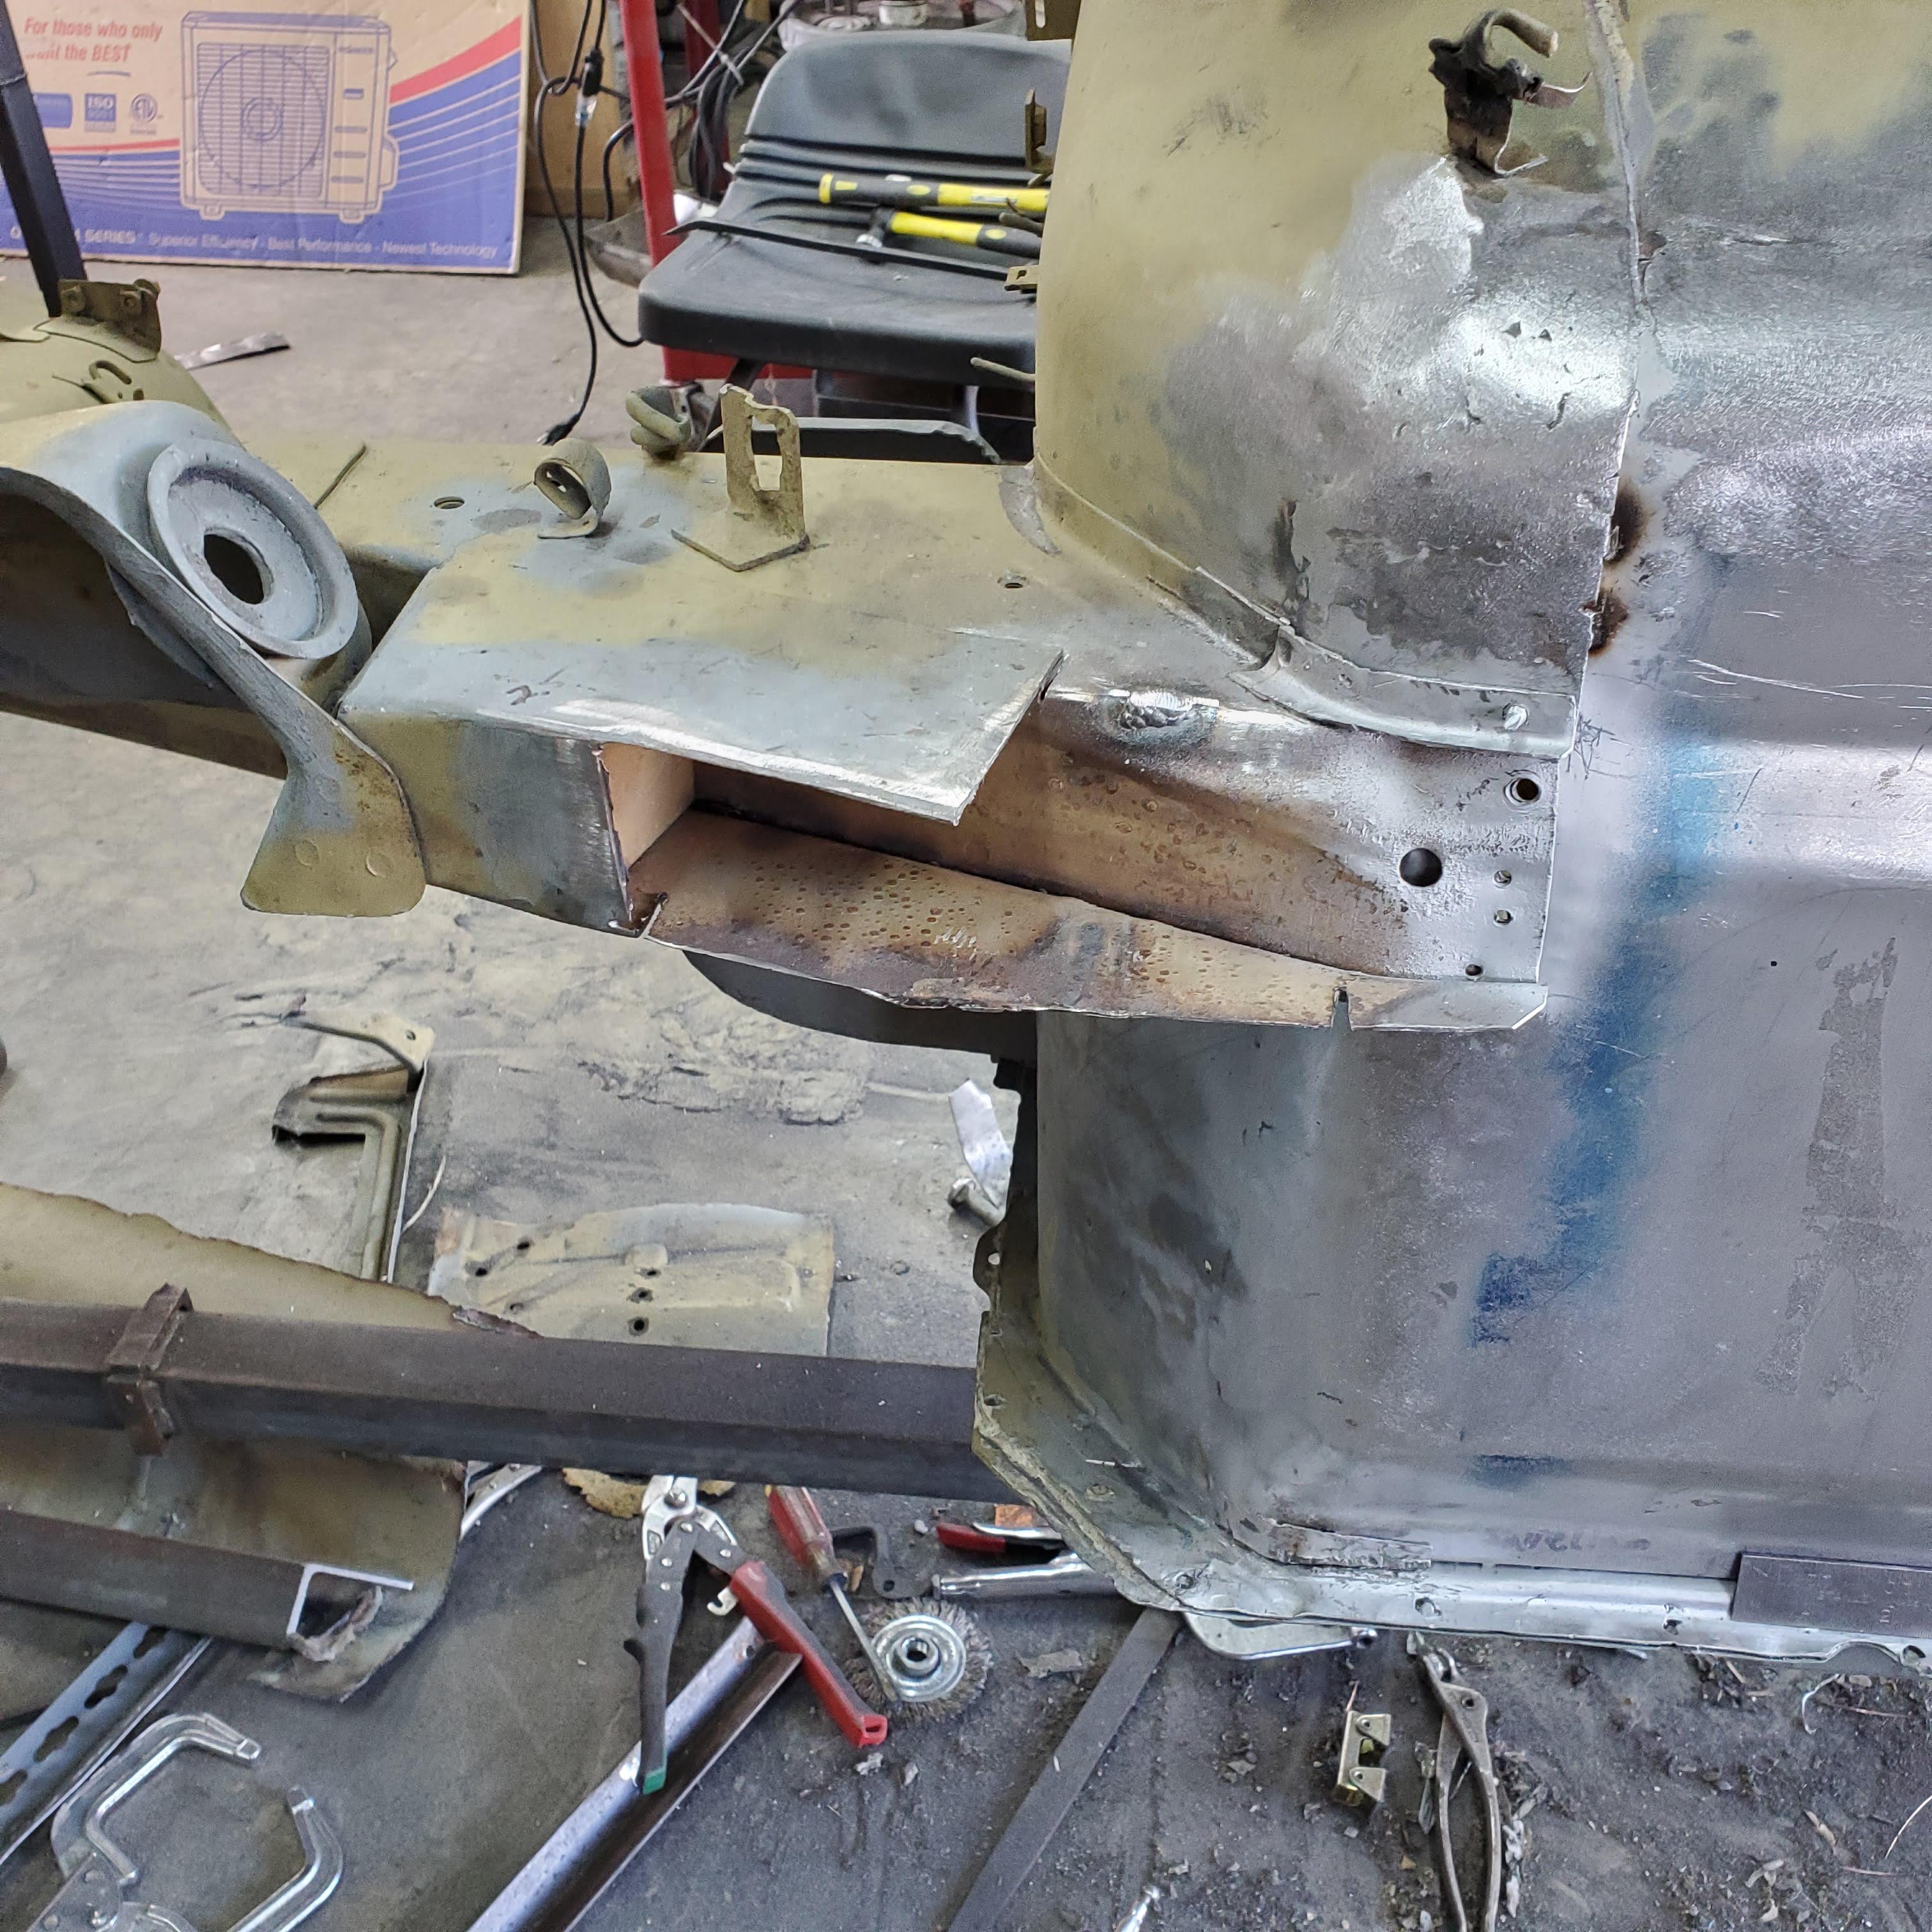
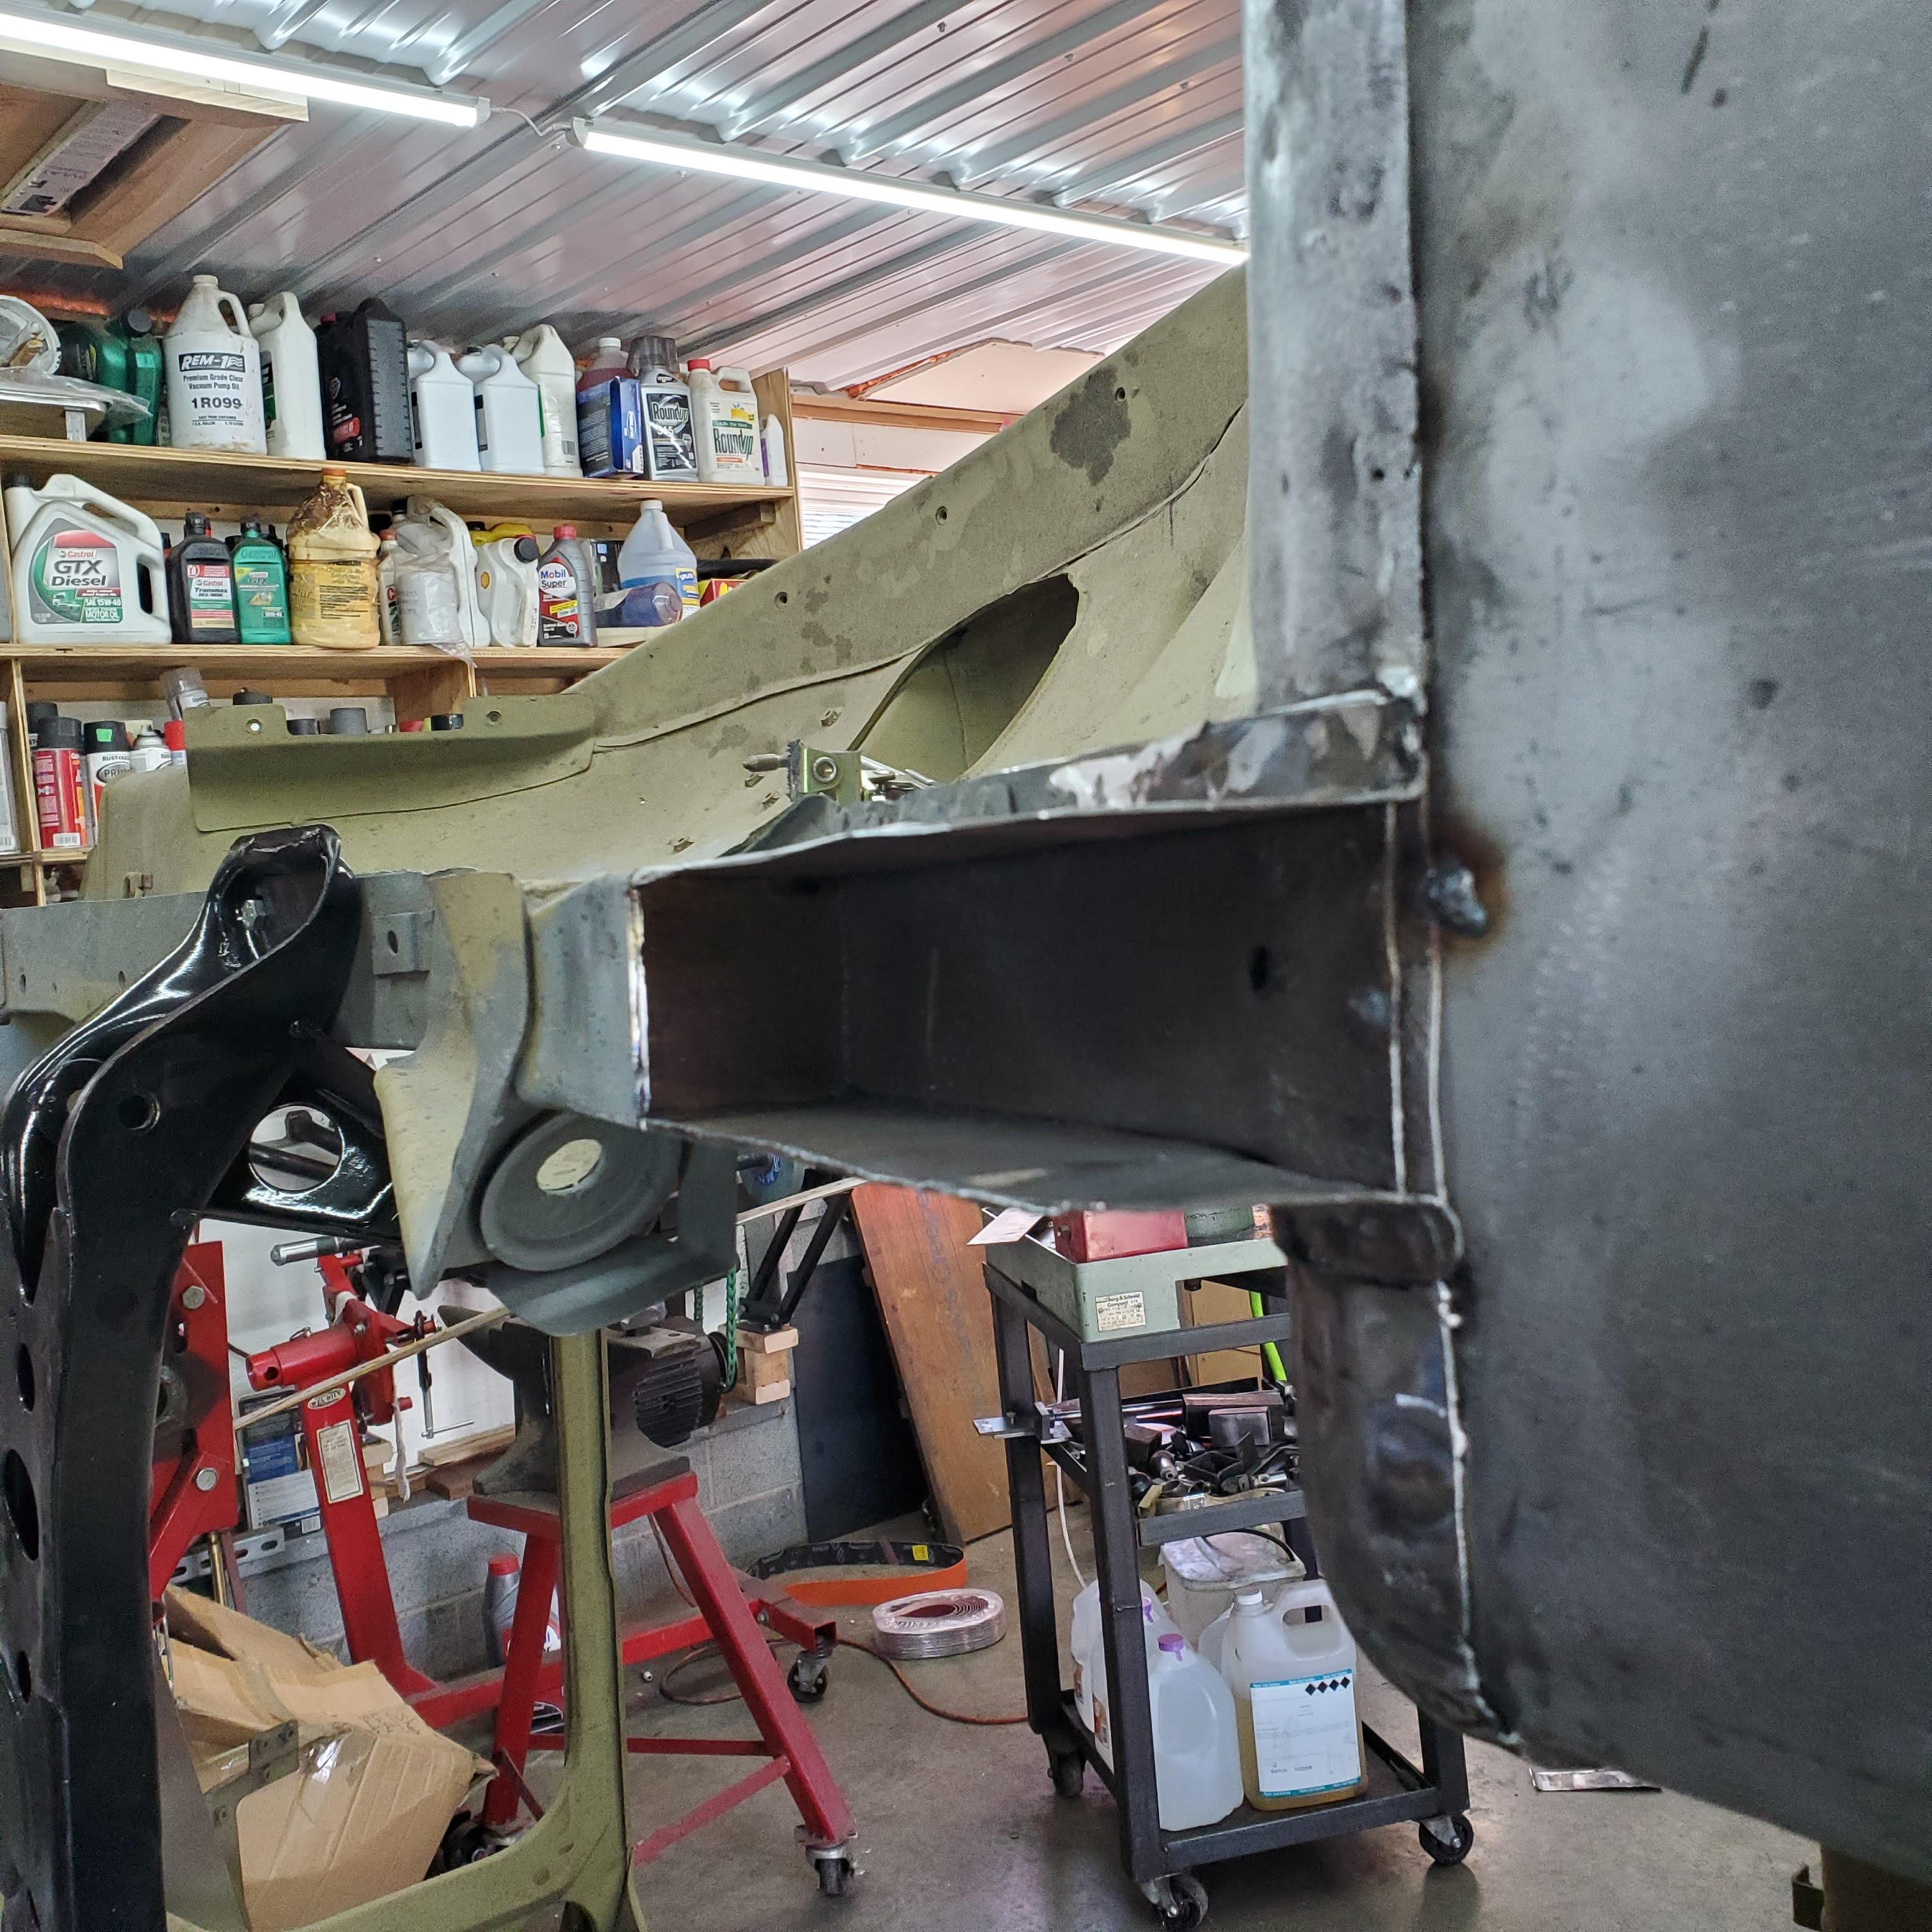
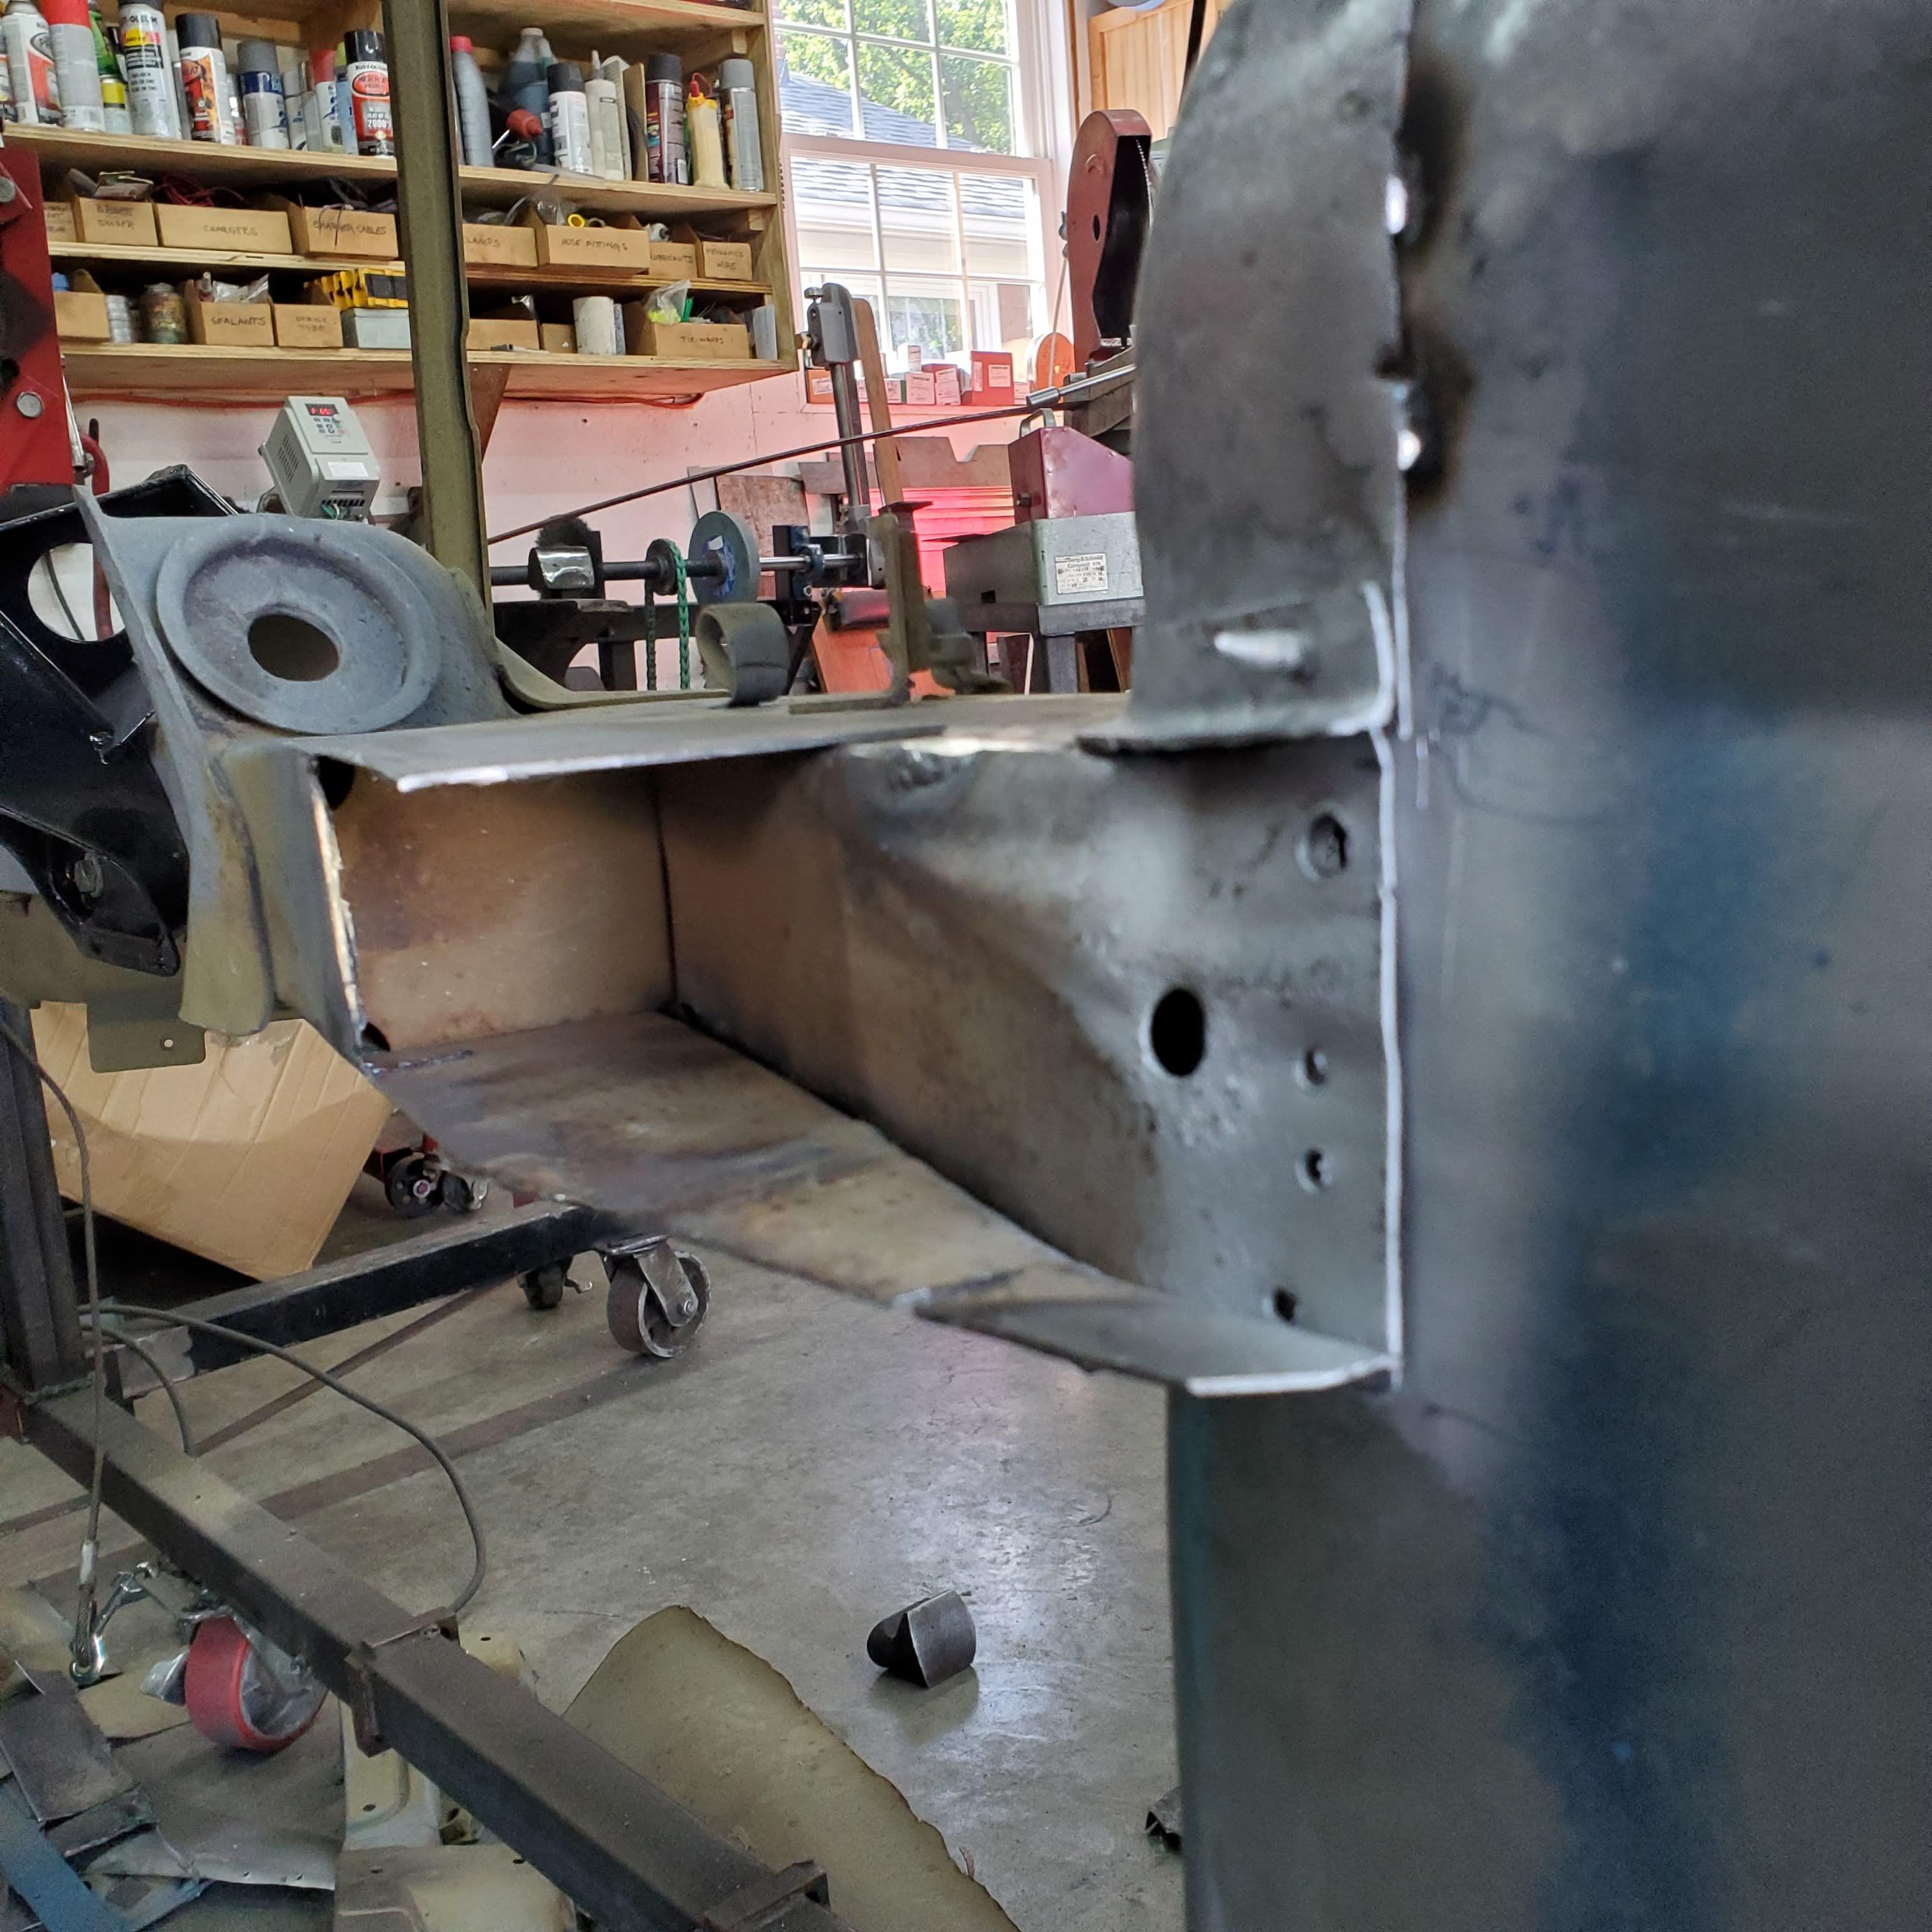
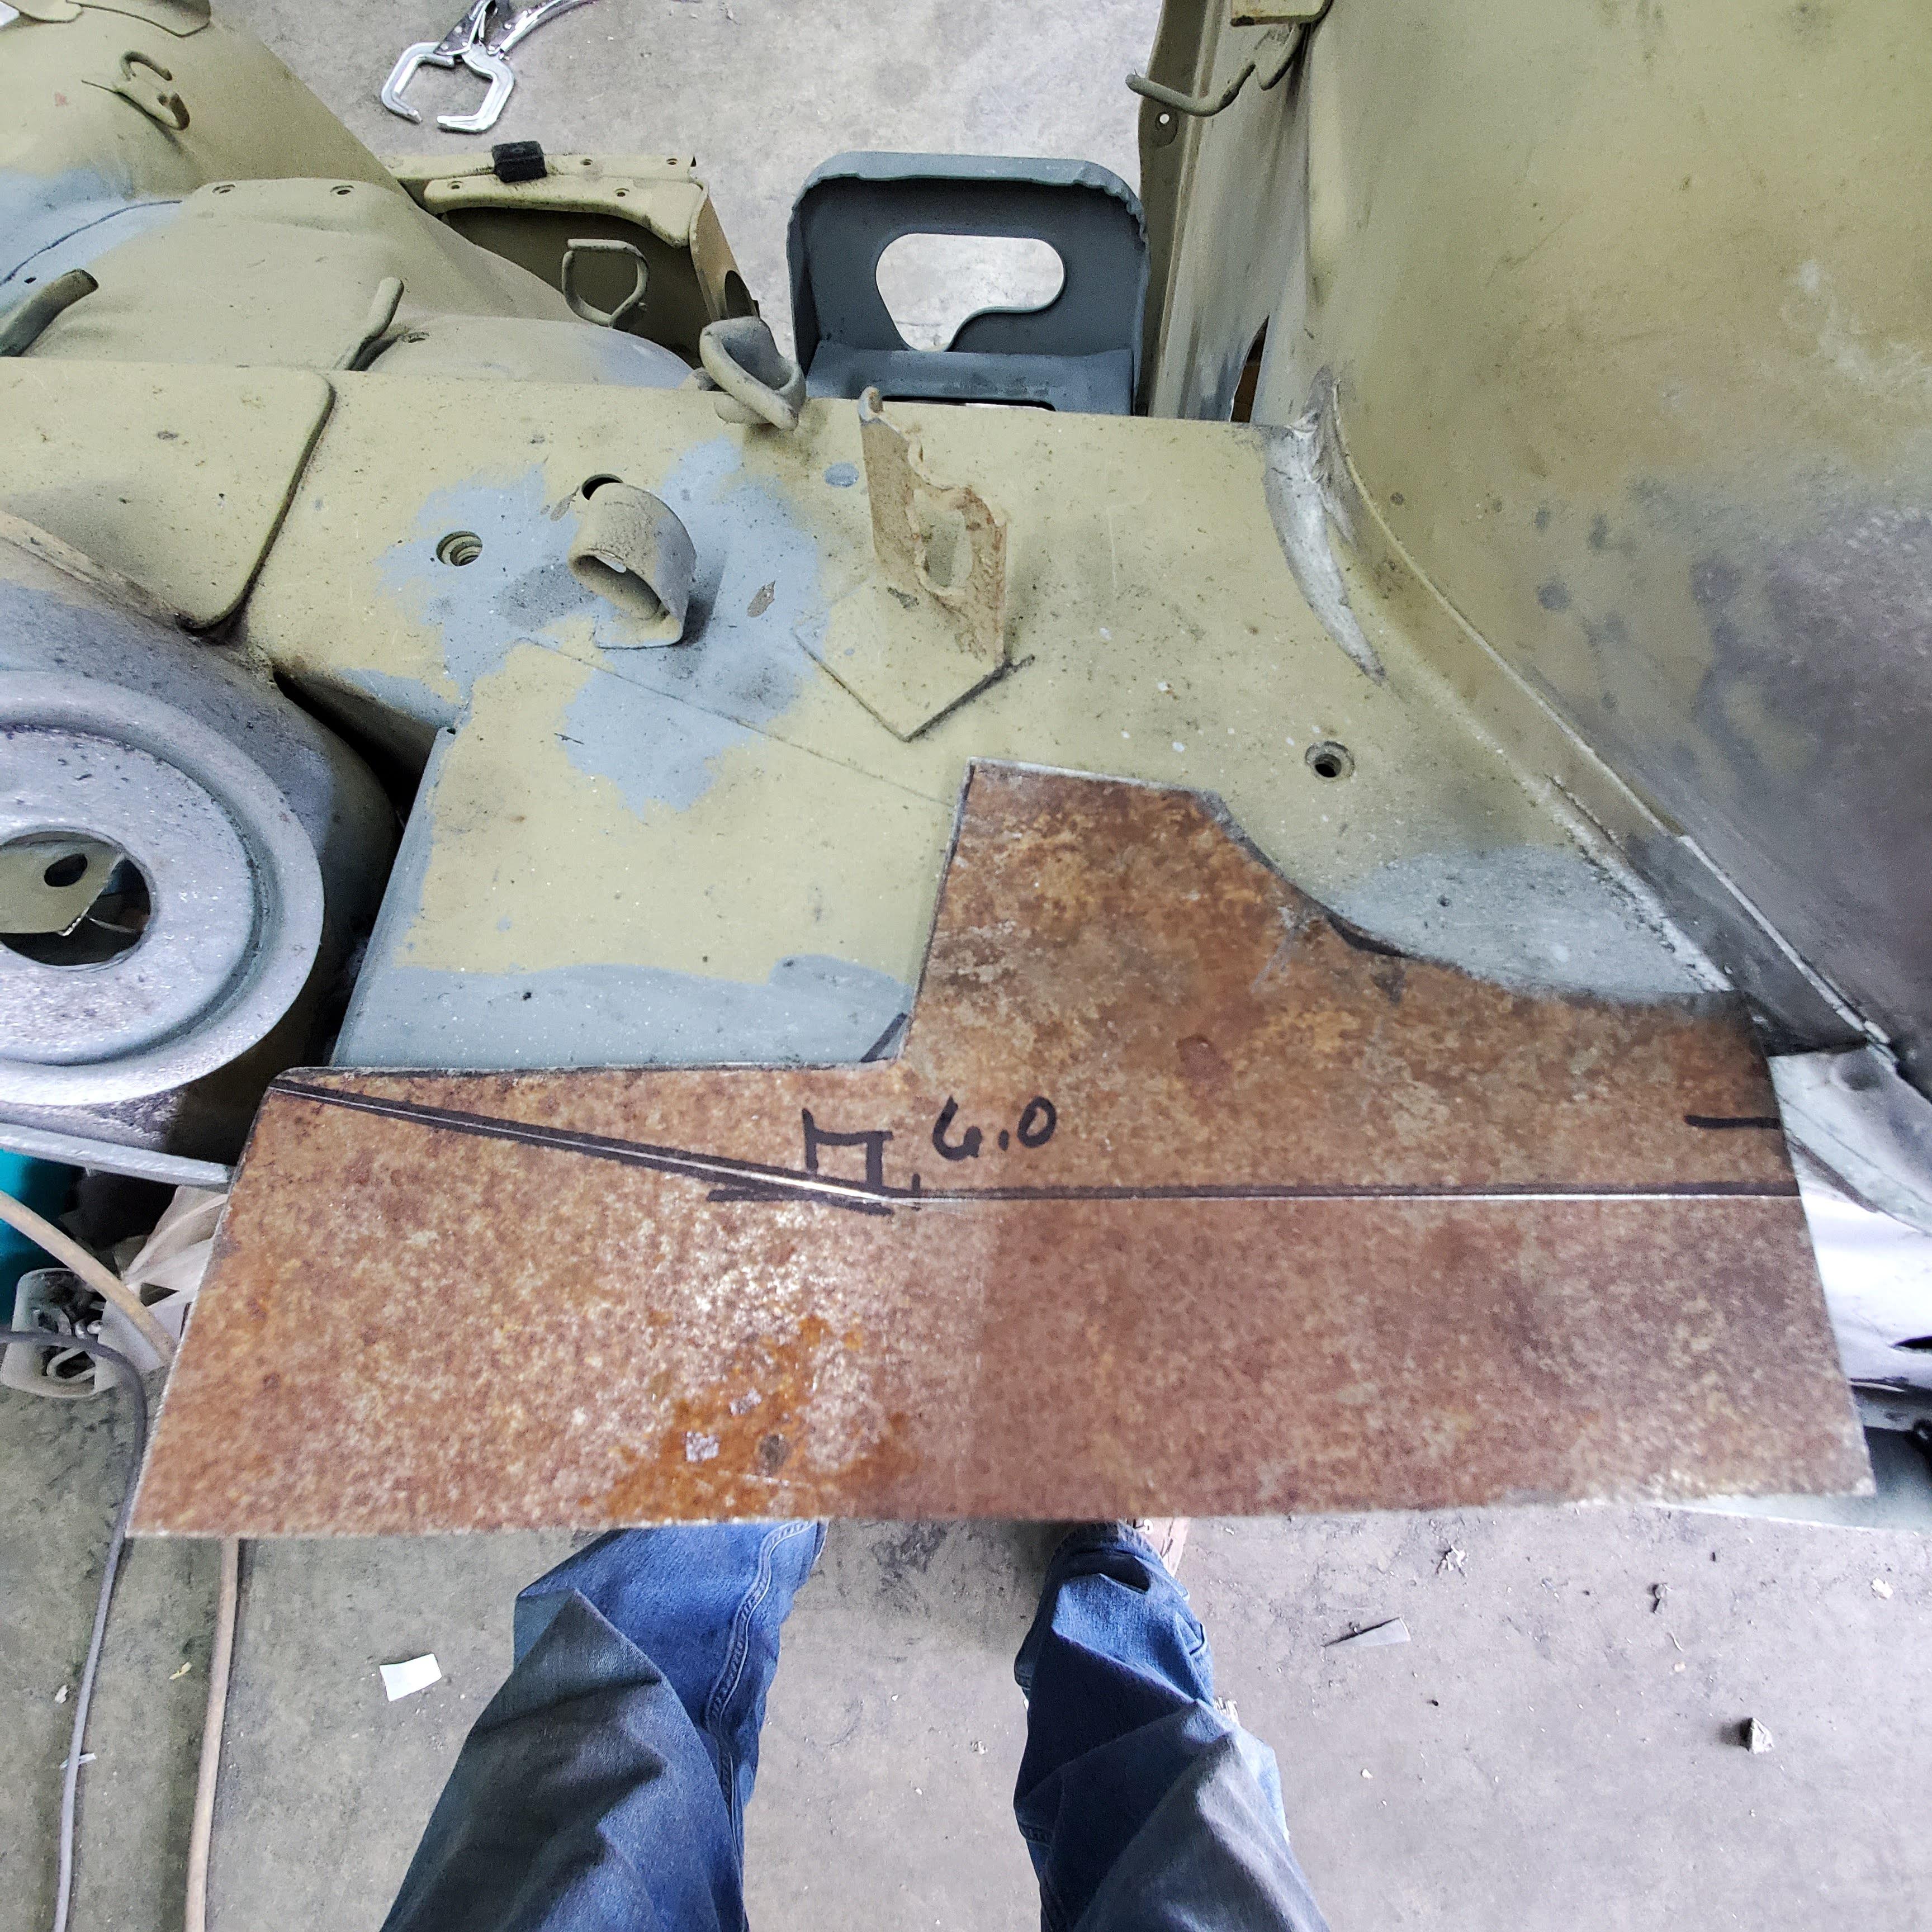
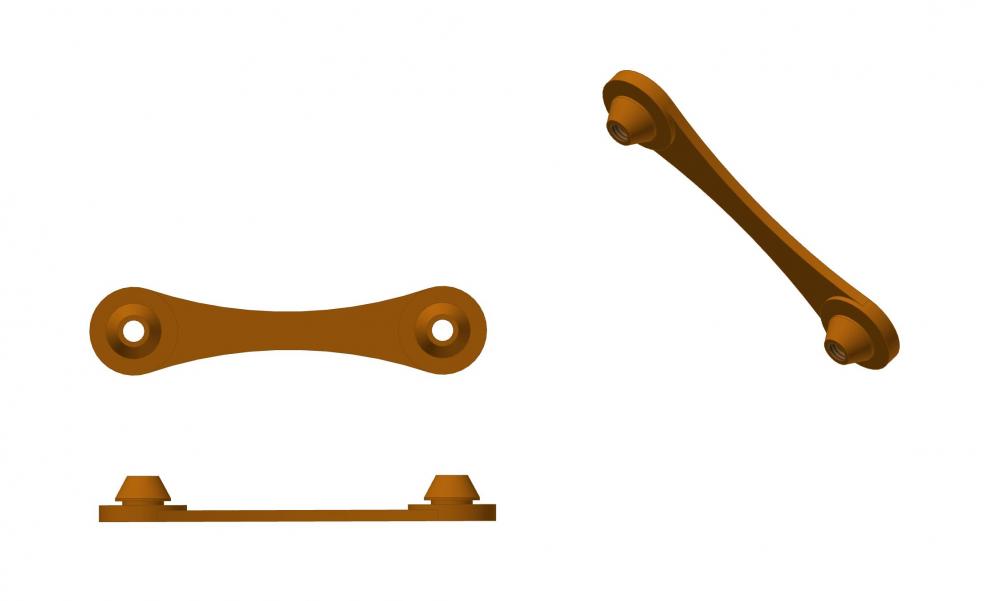
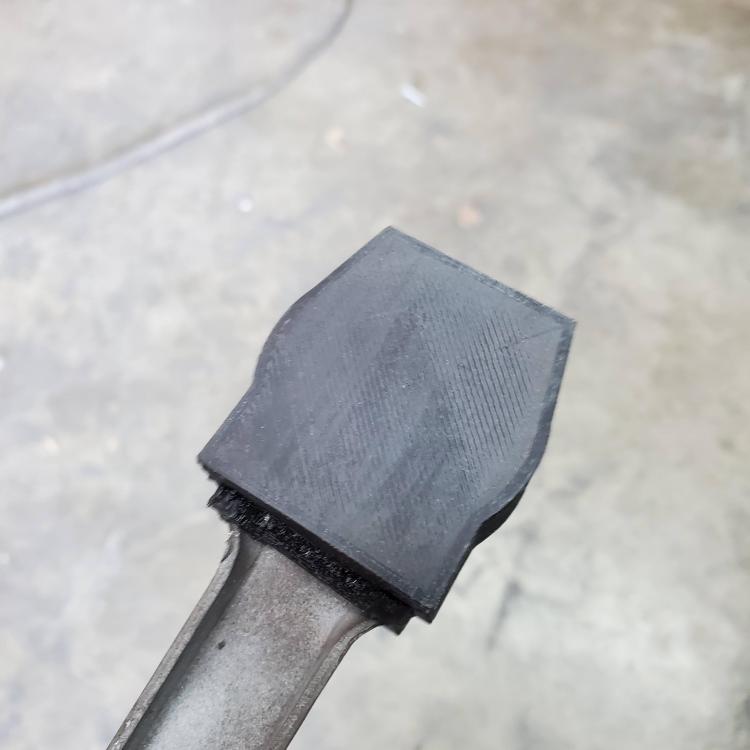
Next up to deal with is the battery support. When I started this resto in '97 or so, I removed the battery support to repair that corner's sheet metal. Had to replace several areas completely. I'm not really sure what my thinking was at the time, but when I put the battery support back in I did an amazingly bad job and have never been happy with it. So I cut it out again to correct it without any real idea as to how I would go about it. This is the only before picture. What's significant is the tack welds I used at the lower support - specifically, I burned off(?) any protective coating when I welded it back in, thereby guaranteeing a future of new rust. The angle between the inner fender and the battery support bracket is so acute, it will hold anything and everything and never let it out. So, sand, dirt, leaves, insects, etc. are all guaranteed a place to stay forever - or least until the sheet metal rusts away again. Upon removing the support, what I saw made me glad I did it. When the car was sandblasted it revealed some good perforation damage. Having had no other way to deal with the problem, I had applied mud to the rust holes in the support. This car has not been wet since 1997 and you can see new rust already forming around the rust holes. After seeing what MSA wants for a new support (the better part of $500!), I decided to make a new one. After taking that decision, I struggled with how to reattach it. It seems the idea of welding in the area is asking for trouble. So I decided to make it removable. Two bolts in each of three flanges to permit easy access for cleaning (though infrequently) and any remediation of rust that may occur. To further improve complicate it, I will use snap-in plastic nuts for the bolts to provide isolation from paint-to-paint contact, allow some air space between the parts, and eliminate the need for wrenching on each side of the fender. If I could cut square holes, I'd just order them from McMaster as individual nuts, but I ain't spending a couple of hundred dollars for a square chassis punch. That means I get to print them. Image below is concept. I will make them a bit more rugged. It's surely be no fun to be driving along with a battery dragging under the car attached by two cables. 😁 I should have the new support finished up tomorrow. More to come.


-
Still uncertain. Was using the benefit of having family in Leadville to help rationalize it. Had tentatively planned to go for the full week, but since many of the events seem to be indoors and the efficacy of the vax is yet to be determined, along with the fact that some are opting out of vaccinating, I canceled that. If we go, it'll be just for Sat. It may well come down to a Tue/Wed of that week decision.
-
Wow, you have an AMAZING garage! That's not even mentioning your cars. 🤥
-
I haven't seen one that looks that nice in a LONG time. Still trying to gauge turnout for ZCON.
-
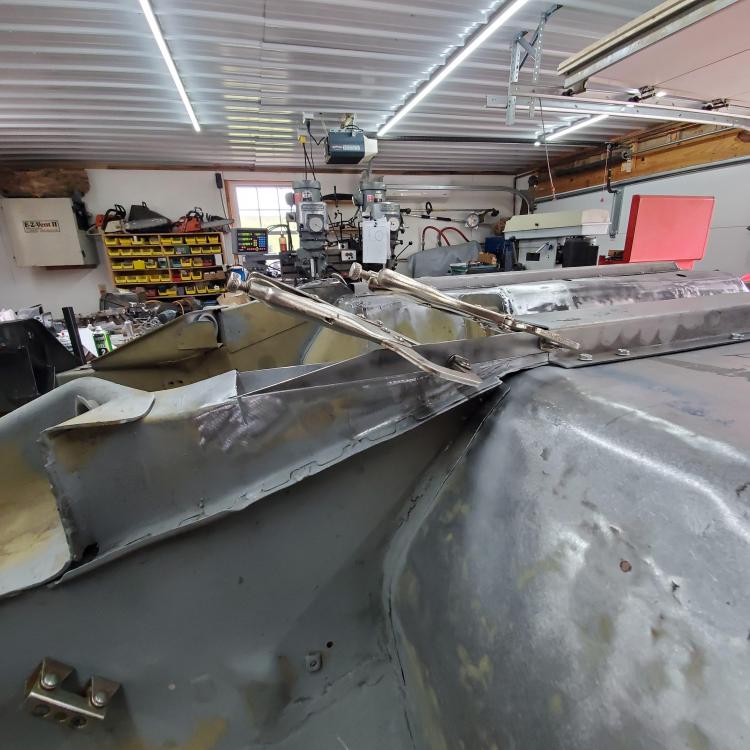
Wow, really nice work. Love the pic of the intake and exhaust runners. Pretty sure that exhaust pipe is gonna leak though 😁
-
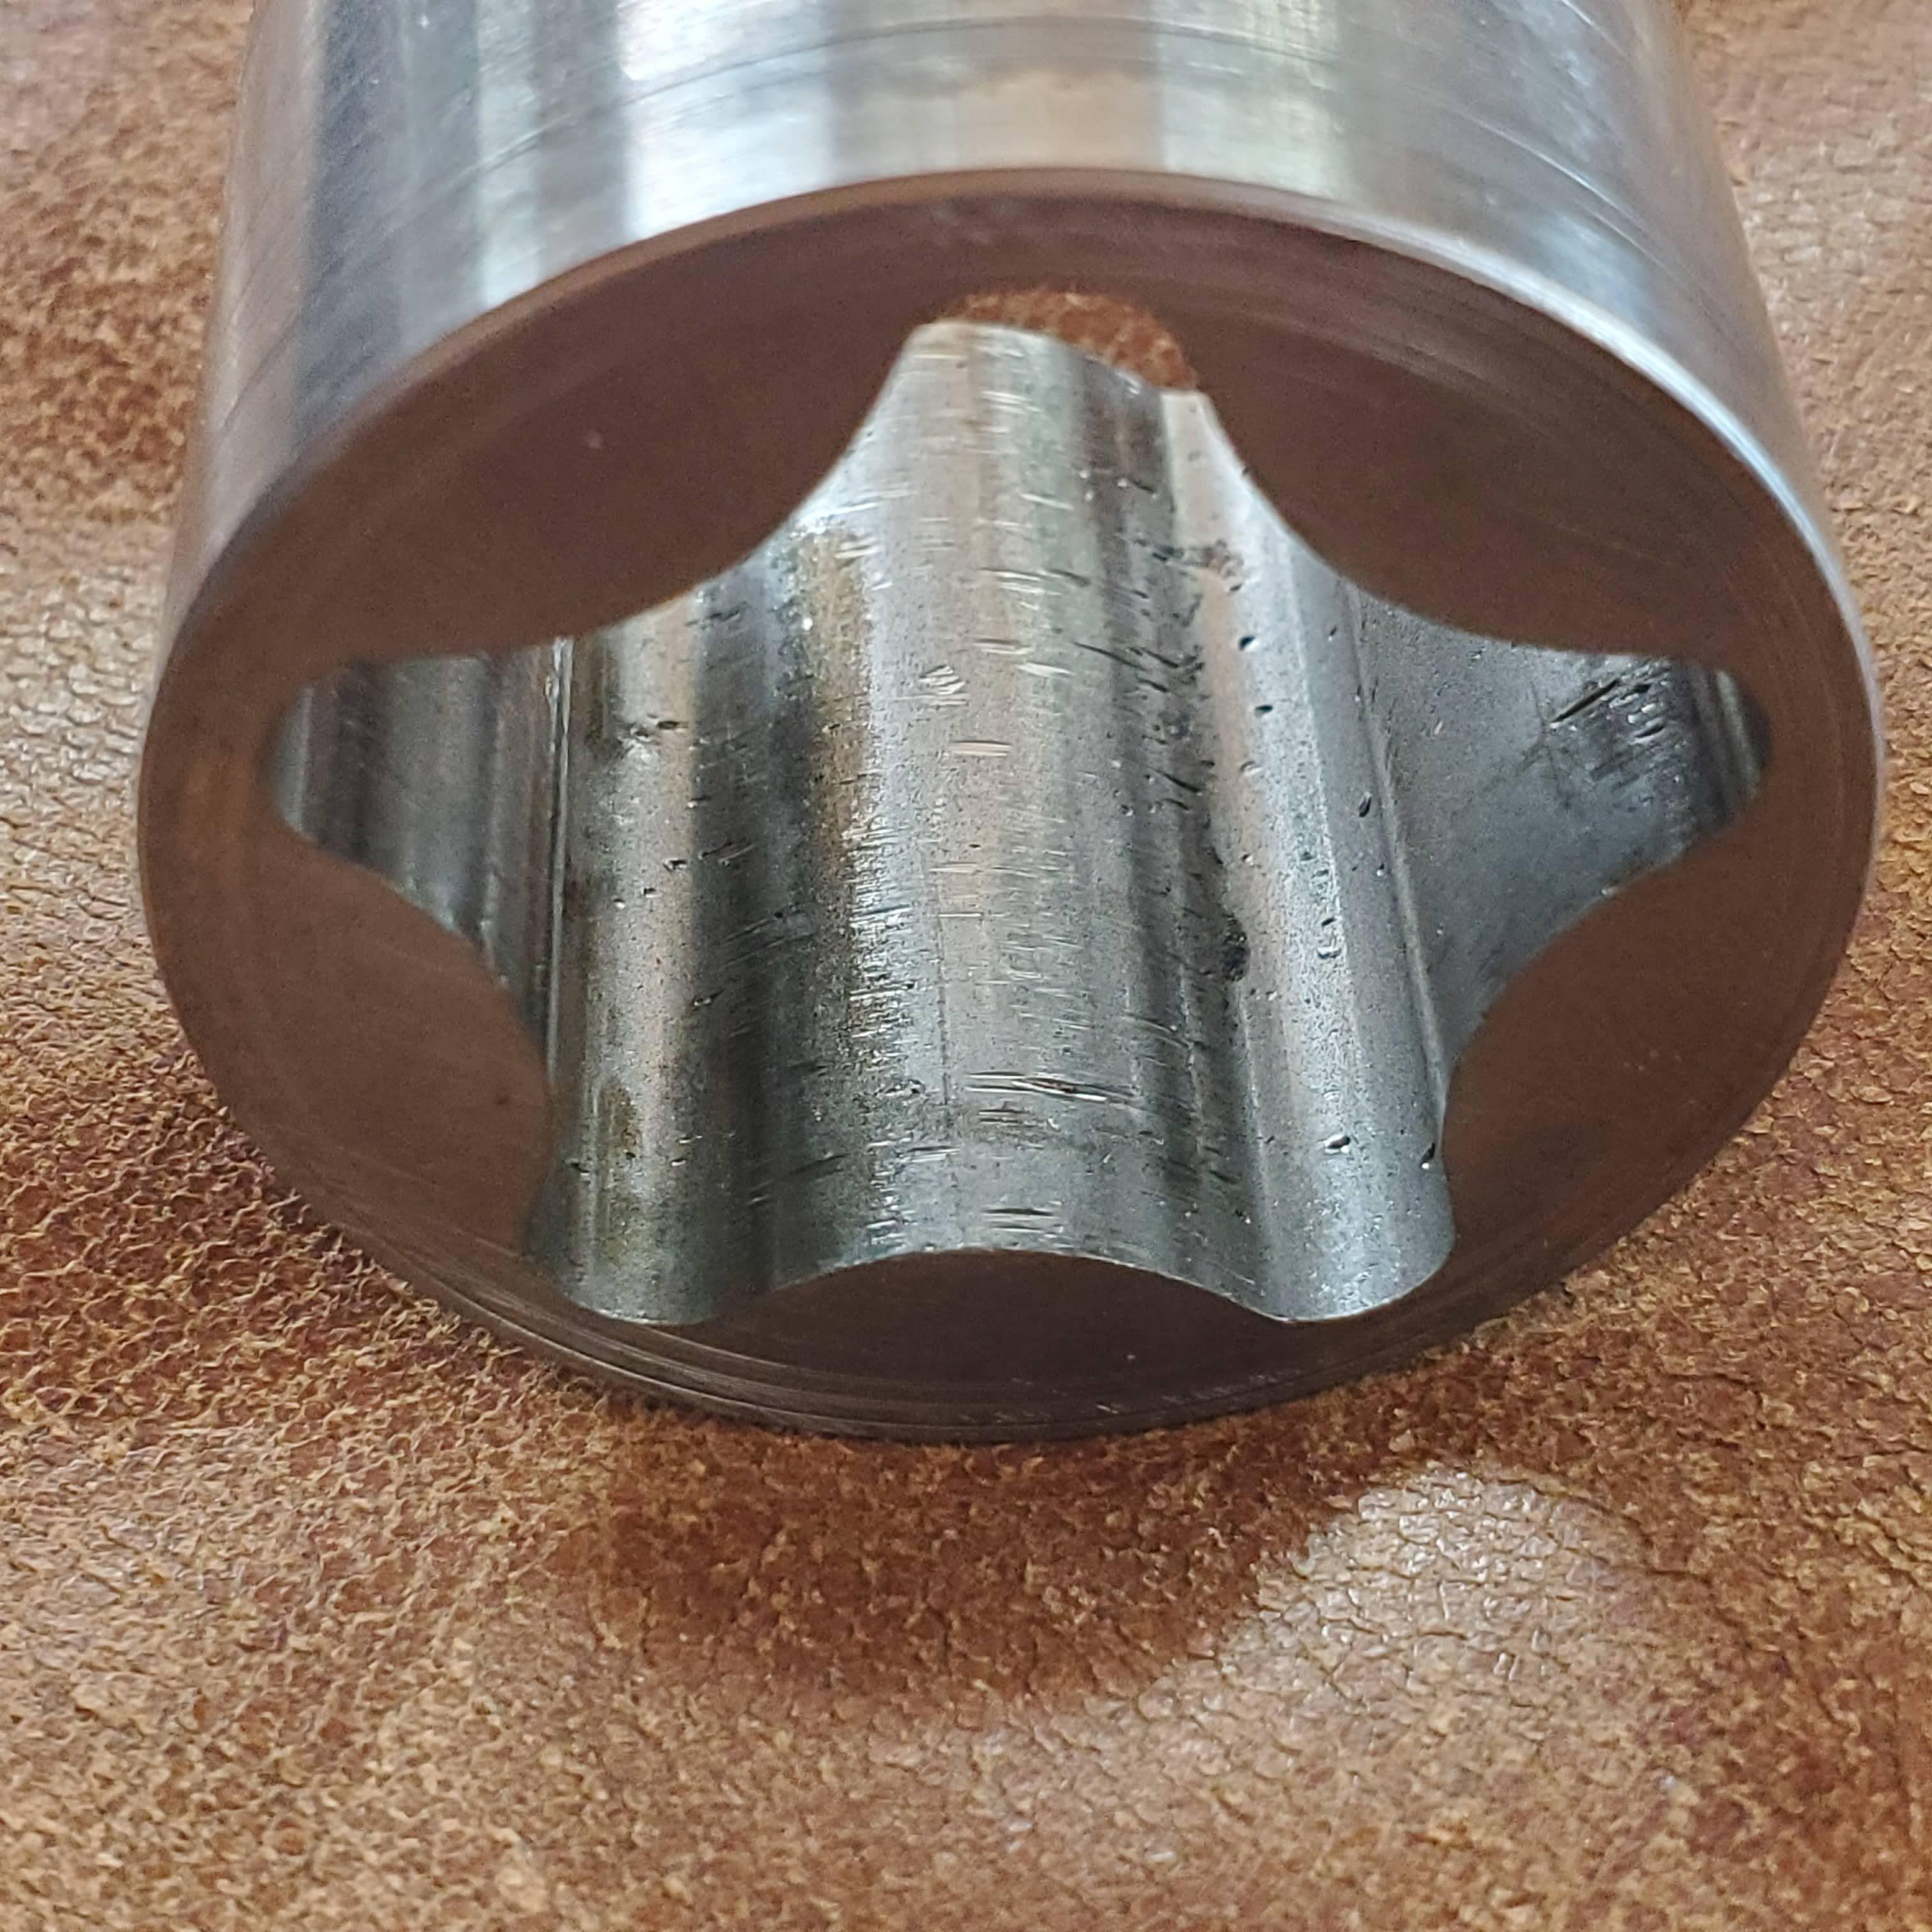
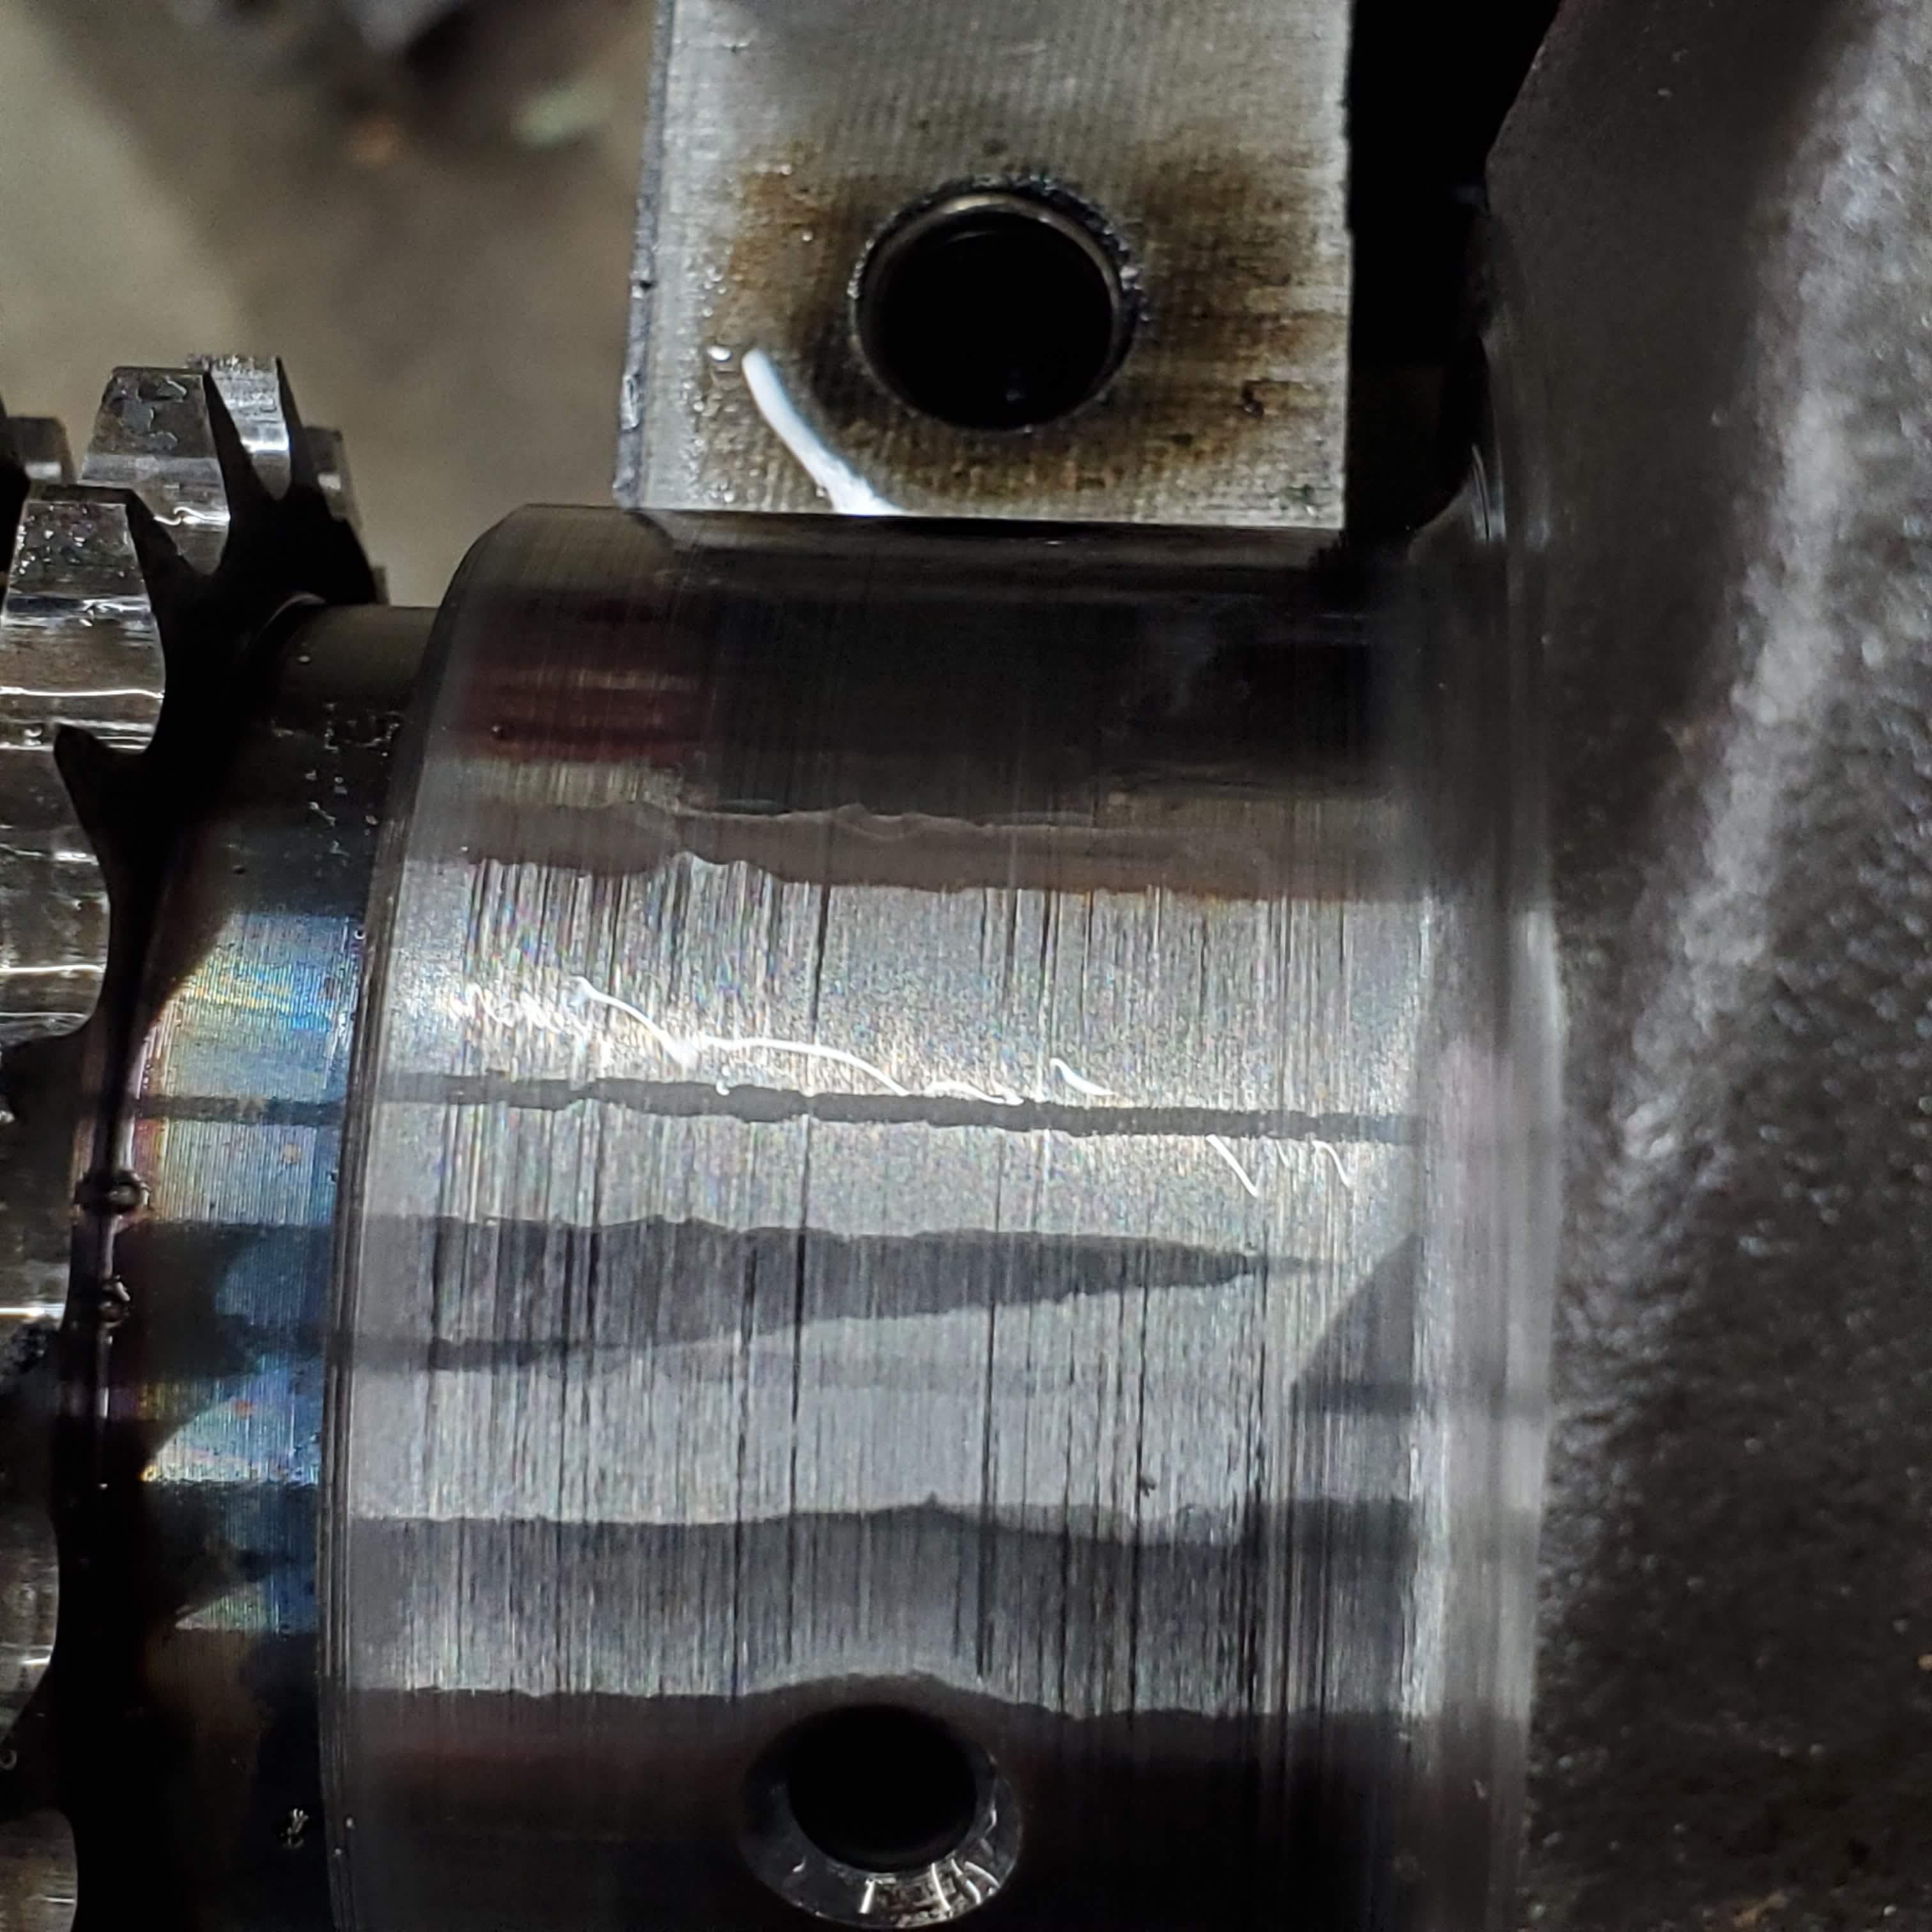
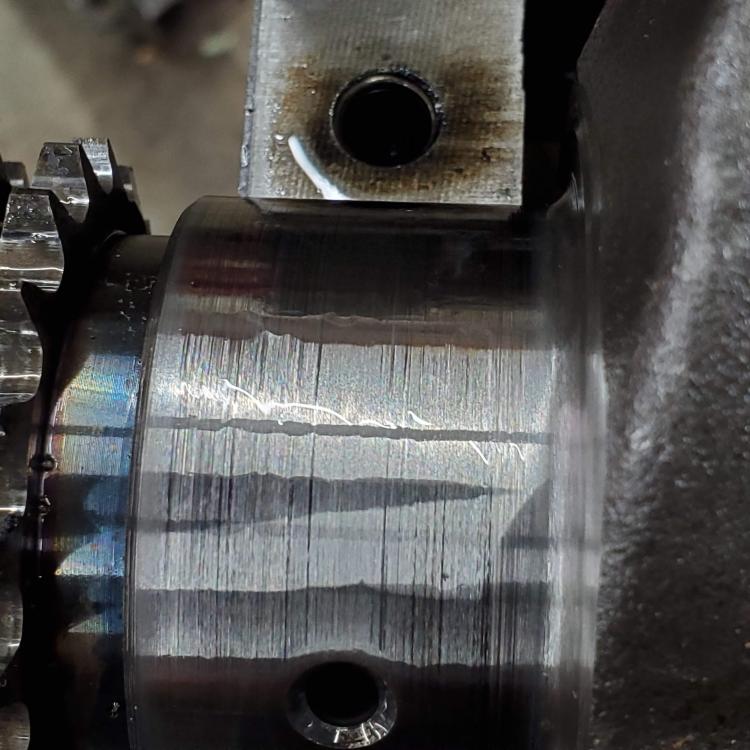
For all intents and purposes, the motor was new when I built it. Block was align bored, decked, cylinders bored. Head was shaved, valve job. New pistons, rings, pins, oil pump, water pump and on and on. Drove the car maybe 10-15K miles before putting it on the rotisserie (1997). Upon disassembly of the motor this past Jan found hard debris and metal shavings in the oil pan and head. The oil pump was badly damaged, journals scratched, cam towers worn past use. Interestingly, the machine shop just told me that one piston/rod was 12 grams lighter than the others which were all within a few grams of each other. When they removed the pins and weighed everything separately, that one piston weighs 19 grams less than the others. I'm going off memory here, but I think that is near one half cubic inch of aluminum. Machinist says the (ITM) piston looks fine. Hoping to pick up everything from the shop next week so I can see for myself. I get the oil pump would be damaged, but can't understand how the other parts ever saw debris to damage them.

-
Comments appended: The filter has an anti-drainback valve that keeps the filter full even when the engine is shut off. - True, and it's generally held that silicone ADBVs are considered "better", presumably bc the others do not reliably seal against drainback. So I am asserting that all oil filters are not full at startup, and in my case specifically, mine isn't. Further, as far as I am aware, there is no mechanism retaining oil in the filter on its discharge side. Leaving an engine at rest for an extended period of time (however much that is?) would likely relieve the filter of at least some of its otherwise retained oil. No differential pressure even when first starting. - There will always be deltaP even if the filter is completely full bc the oil galleries are not full and at normal operating pressure at startup, and all filter media (even when new) offer resistance to flow. Not until the oil system is fully pressurized will the pressure on both sides of the media be close in value. Is the differential enough to crack the bypass? I suppose if the filter has done some work and is loaded to some extent, the oil viscosity is just so, the startup rpm is on a steep portion of the pump curve, etc., etc., that it certainly could. And when you change the oil and put on an empty filter? There's no oil in the filter, so you can't bypass dirty oil. There's no oil to bypass,,, clean or dirty. - When the pump picks up the new oil and sends it to the filter to fill it and then distribute it through the motor, the initial differential will likely be at its lowest potential, and not at all likely to bypass. But consider this. No oil pan completely empties itself. There is always residual oil, and in older motors, often some "light" debris in the pan, at the least. Further, if there is "heavy" debris, like metal pieces, it will rarely be completely flushed from the pan by draining the oil. Adding new oil one quart at a time during a change may or may not deliver that debris into suspension for pickup by the oil pump. But, I believe the quick change places pump the oil in quickly. If that is enough to dislodge debris and get it into suspension, and they start the motor to check for leaks then it's a different equation. Could any form of debris enter the filter and cause a leak in the ADBV by virtue of becoming jammed at the valve (I've seen this type of problem many times in air and water valves)? This is getting too speculative, of course, but I am considering all forms of failure as I have a currently unexplained "bypass" event that damaged my motor. Of course, there are those who believe paper filters will tear, stamped steel bypass valves fail, and some filters are produced missing the bypass valve altogether. I guess these would result in a bypass event as well.😁
-
So, I guess this is where things get interesting. First, my focus is on the first few moments after startup - not when the motor is in some state of 'equilibrium'. During that time, I am assuming an oil filter is not full of oil and there is not enough oil residing in all the passages, etc. to be able to impart any real resistance to flow. Before the engine is started, the differential across the filter media is zero. As oil begins to flow into the filter, its velocity will impart a force on the bypass valve - albeit quite small I'm sure, but important to at least consider since static and velocity pressures are additive. As the filter approaches being full, oil will begin to be forced through the media raising the static pressure from zero on the oil entering side of the media. During those first few moments, the rest of the oil system has not yet filled and offers less resistance to flow than it will after oil has been fully distributed to the motor. This is all qualitative I know, but bear with me for conversation purposes. The differential pressure across the media is likely higher in these moments than it would be after the rest of the system is pressurized. If that differential exceeds the filter's bypass valve cracking pressure, a bypass event will occur. So, without a pump curve, knowing the flow characteristics of the filter media, knowing the actual behavior of the bypass valve (it is most certainly not a precision device), knowing the engine cranking and idling rpms, etc., there'd likely be a fair amount of guessing as to the extent and duration, and therefore significance of a potential bypass event. That said, this is an interesting read. https://www.machinerylubrication.com/Read/29026/engine-bypass-filtration
-
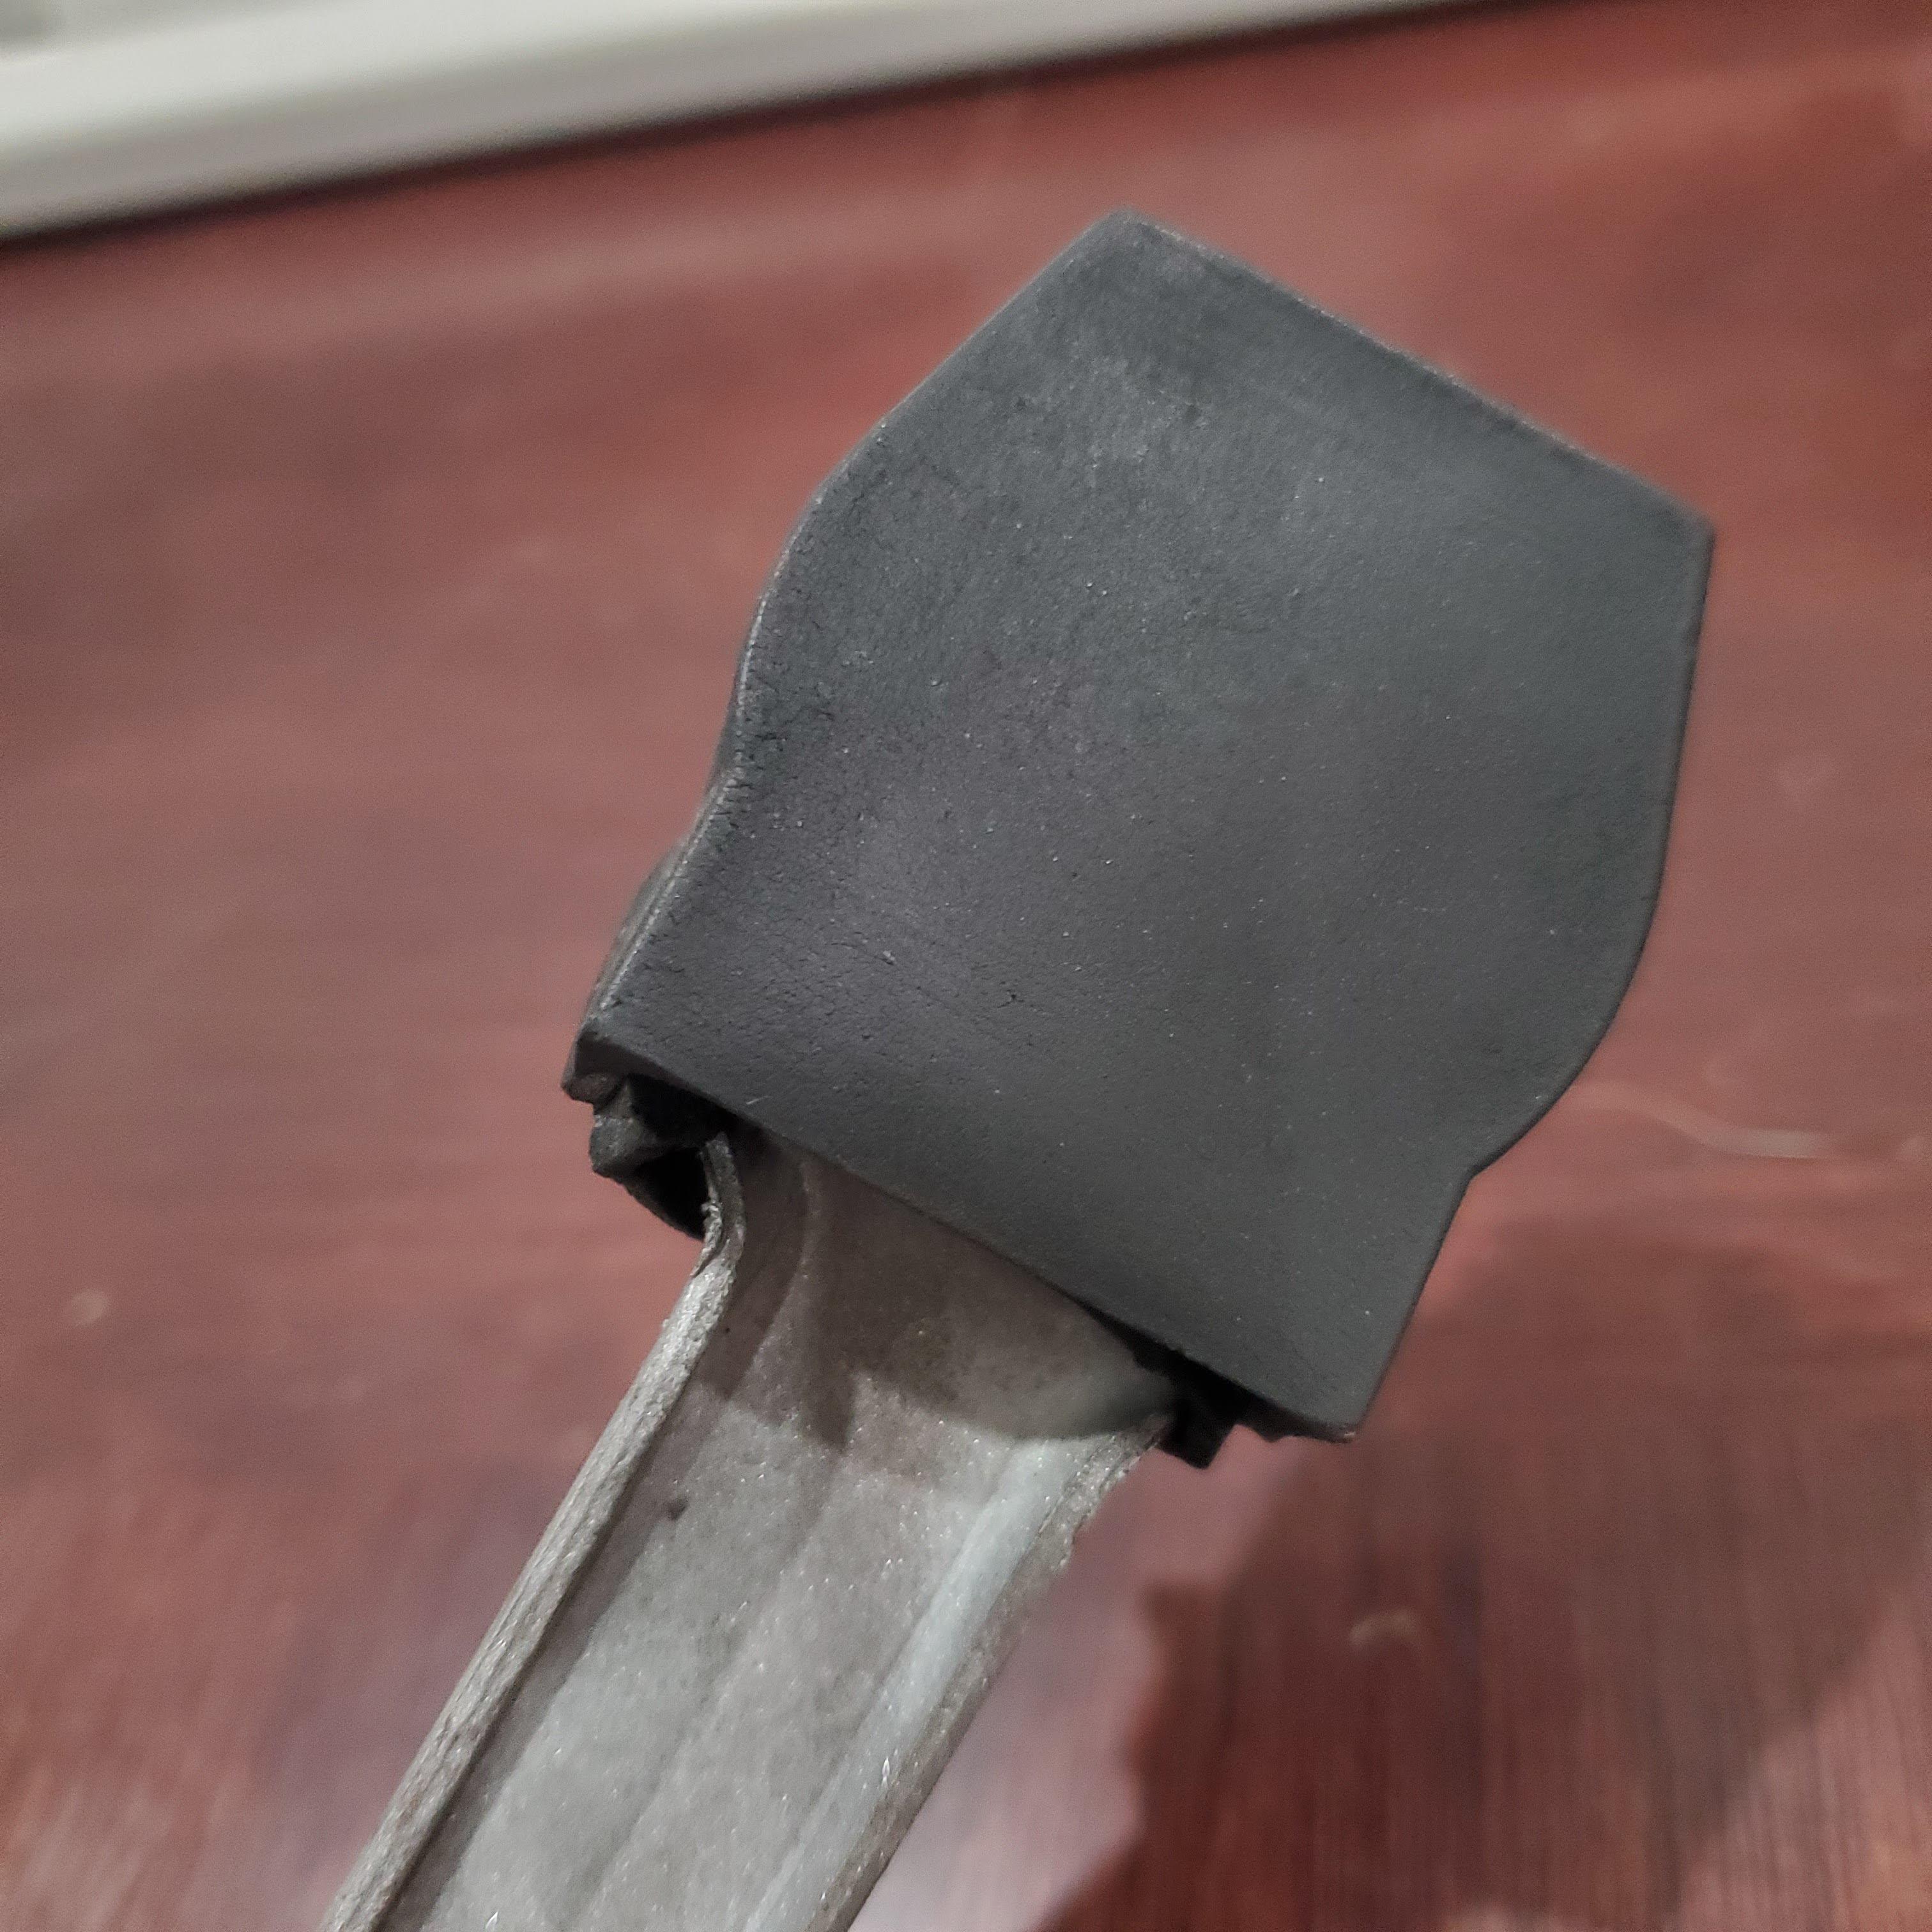
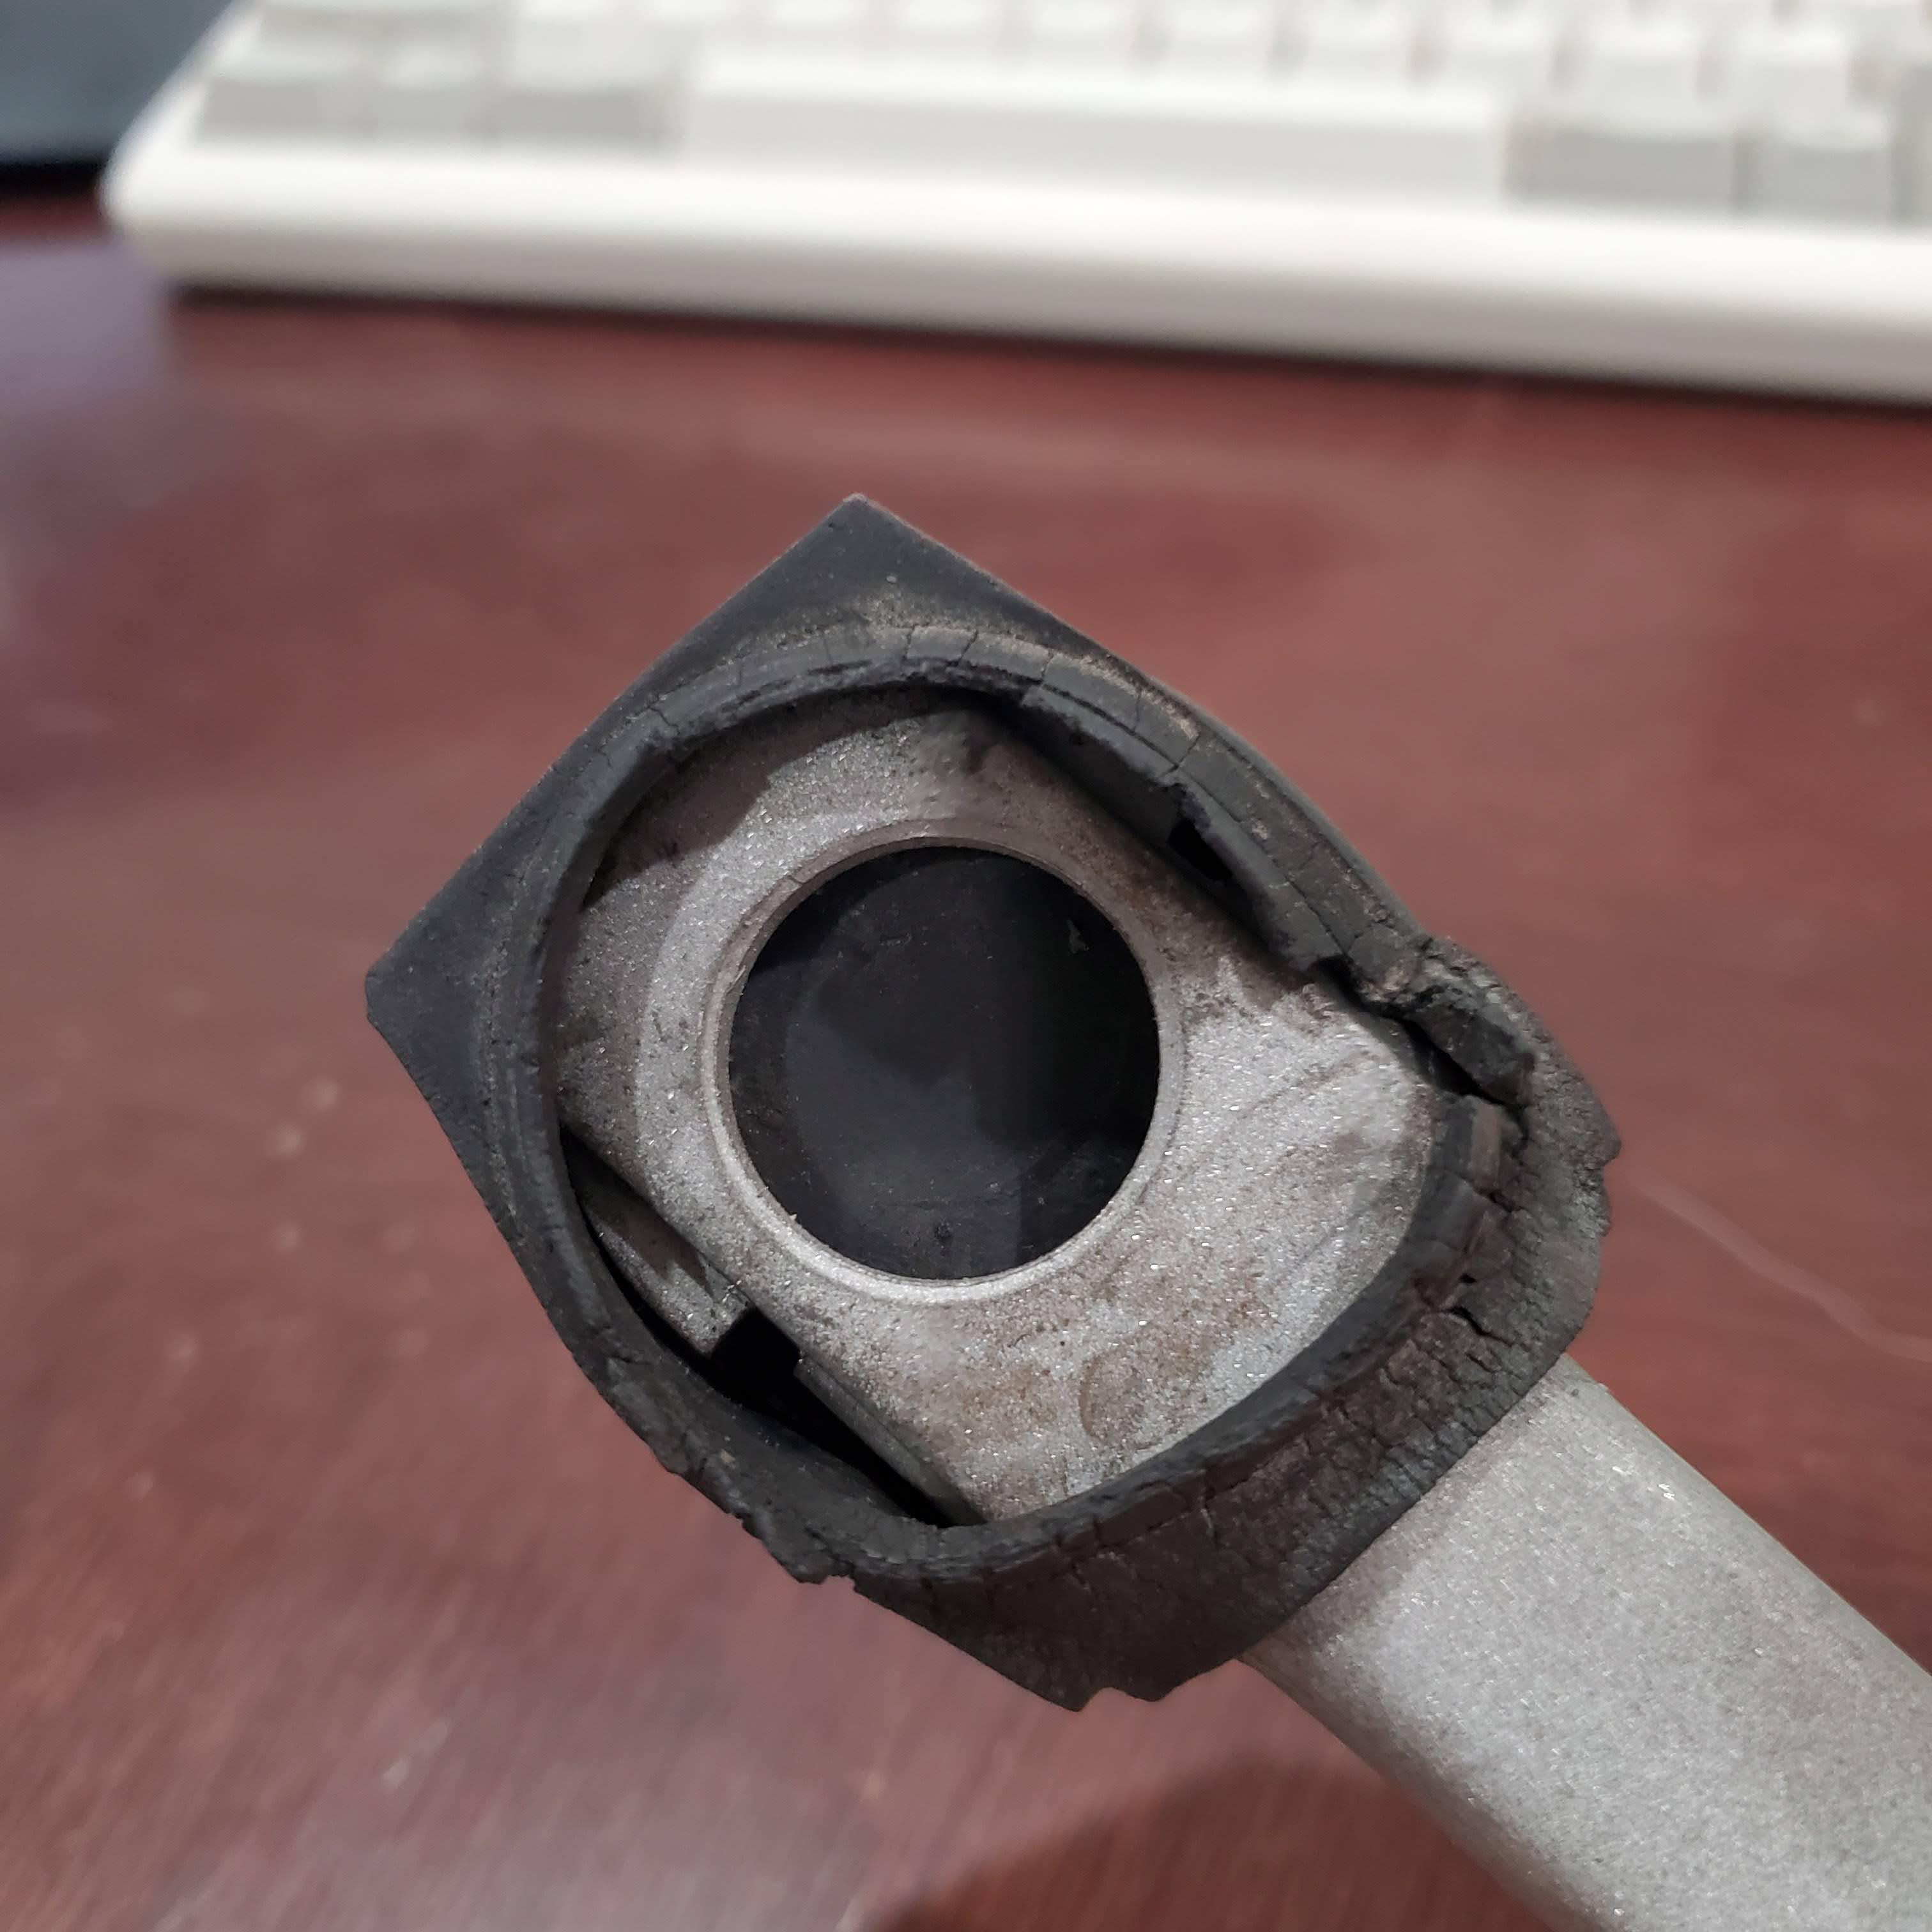
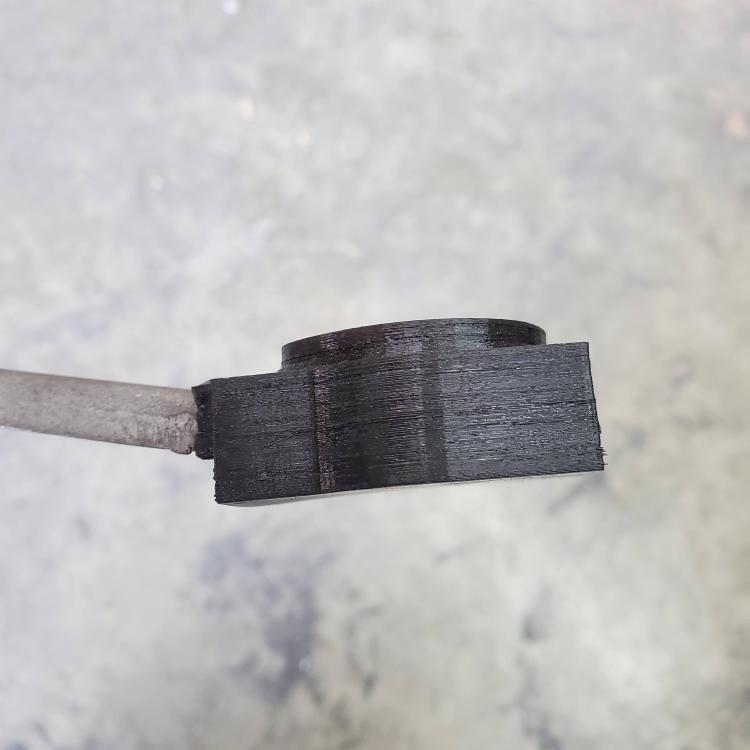
There are rubber compounds that are harder/less flexible and softer/more flexible, to be sure. I can only compare the TPU part to the OEM wiper boot (actually called a Joint Cap) that I have, and the TPU is definitely less flexible. That is why I expected it to blow up when I had to sttrreetttcch it over the rod end. The part has to be modeled in 3D CAD in order to get a file the printer can read, typically .stl. That's why you need the part in hand. Every detail has to be created and dimensioned correctly because the printer will create the part exactly as you define it. If you were to create a rubber boot for the battery terminal, and you weren't trying to recreate something, then you could define it any way you wanted and the first print of the part would be the first realization of it. To account for the less flexible material, you could reduce the wall thickness, or add a bellows to the model to allow for significant extension. If you need such a thing, I'd be happy to experiment some. You just have to provide the parameters/requirements to start with. Maybe we can come up with something that'll make us rich 🤣.
-
@dutchzcarguyI looked it up. The material cost to print the wiper boot in TPU is $0.76. I may have spent an hour creating the model in Inventor, and the printer took about 4 hours to print it with supports everywhere. BTW, the supports were a pain to remove because the TPU is so tough and layer adhesion is fantastic. If I were to make another, I think I'll try using soluble PLA for the supports.
-
That is a serious list. What do the yellow cells indicate?
-
Always good to learn. Please explain.
-
@Patcon Excellent idea! @Jeff G 78 Absolutely. Mine is a Prusa. The real "problem" is having to have the part in hand and it having to in fairly decent shape so it can be created in CAD. @dutchzcarguy Yes, a spool can be $75, based on material. The Prusa slicer software calculates the cost of each part. On a small per part basis, the cost is VERY reasonable.
-
There's a few details missing. If you KNOW you have fuel and spark, then the most likely problem area would be whether they are occurring at the correct time - timing. Also, the fuel rail may show pressure, but that doesn't mean the injectors are supplying the cylinders with it. You need to confirm these things.
-
Yikes, not really sure what was. Besides oil wars, folks are having filter wars. My concern with filters lies mainly with the fact they bypass oil directly to the motor whenever the static+dynamic pressure exceeds a threshold - usually when it's quite cold and oil viscosityis at its greatest. Unfortunately, the vid didn't provide anything quantitative to consider. The reason I am focused there is my motor suffered some fair damage from debris that I believe bypassed the filter. Sorry, don't mean to hijack your thread, just thought I'd offer up what I am learning and what there is yet to be learnt 😁 The more you look into something, the less certain and more confused you become. I'm thinking our motors need two filters. The normal OEM style filter, and a second filter for bypassed oil. If nothing else, one that filters out rocks and birds 😉
-
That is serious attention to detail, and not the least excessively so. One of the biggest problems with restoring anything is finding detailed information such as that you've provided. Good onya lad, I say. Now, we just need a database of all this good info. Anyone need a full-time job?
-
Definitely not enough stroke. Likely to be either air in the line or a master cylinder that's leaking at the piston. Is it perhaps leaking fluid from the M/C into the interior? If you believe the M/C is okay, I'd start over with bleeding. In fact, I'd prolly replace the piston seals in the M/C (just for fun and certainty) and replace all the brake fluid. Start clean. Bench bleed the M/C, then reassemble and bleed the system.
-
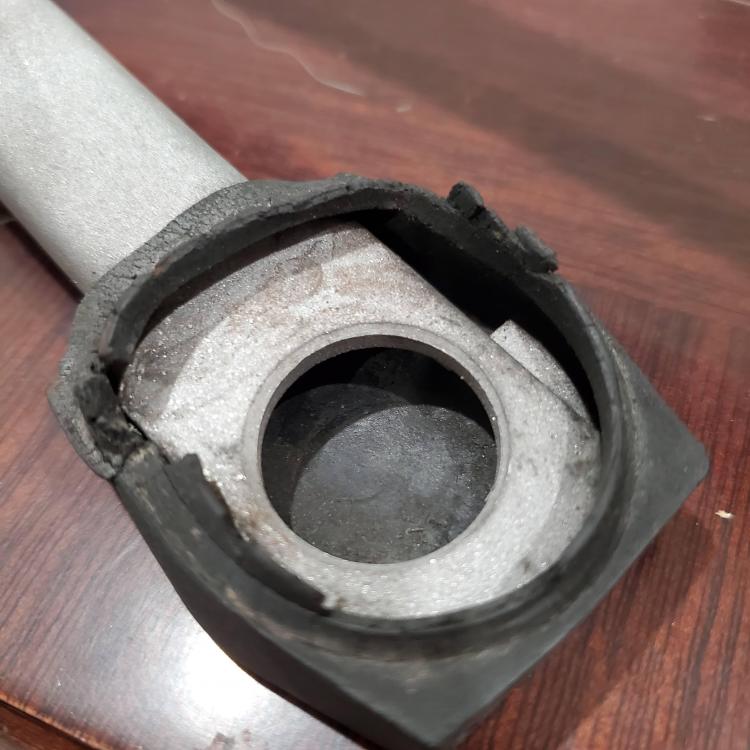
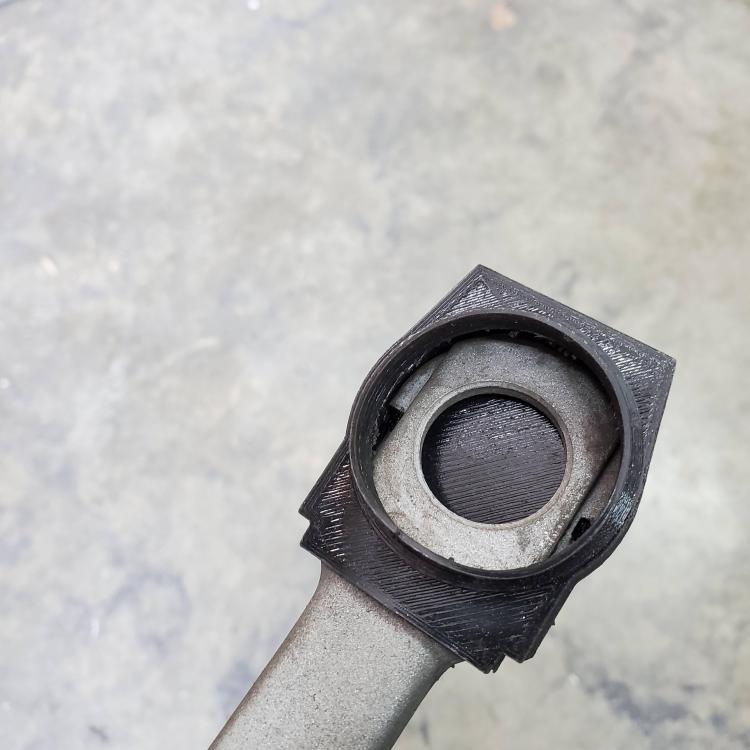
As a very cool aside, I recently acquired a 3D printer. This is a tool that I absolutely needed so I could make parts that are NLA. Seemed like a good story. Anyway, I needed a new boot for the wiper linkage. Used the one I had, with bits missing, extrapolated where I needed to, and printed it using TPU (first use of TPU). I tried it on for size last night; TPU is flexible, but it's not as flexible as the OEM part. I thought for sure the new boot would blow apart as I stretched it over the end of the linkage. Well, it held and the fit is nice and tight. I haven't checked its fit over the motor yet. I expect that one day I'll unearth it for the purpose of reinstalling it. That'd be a good time to check the fit, I think.


-
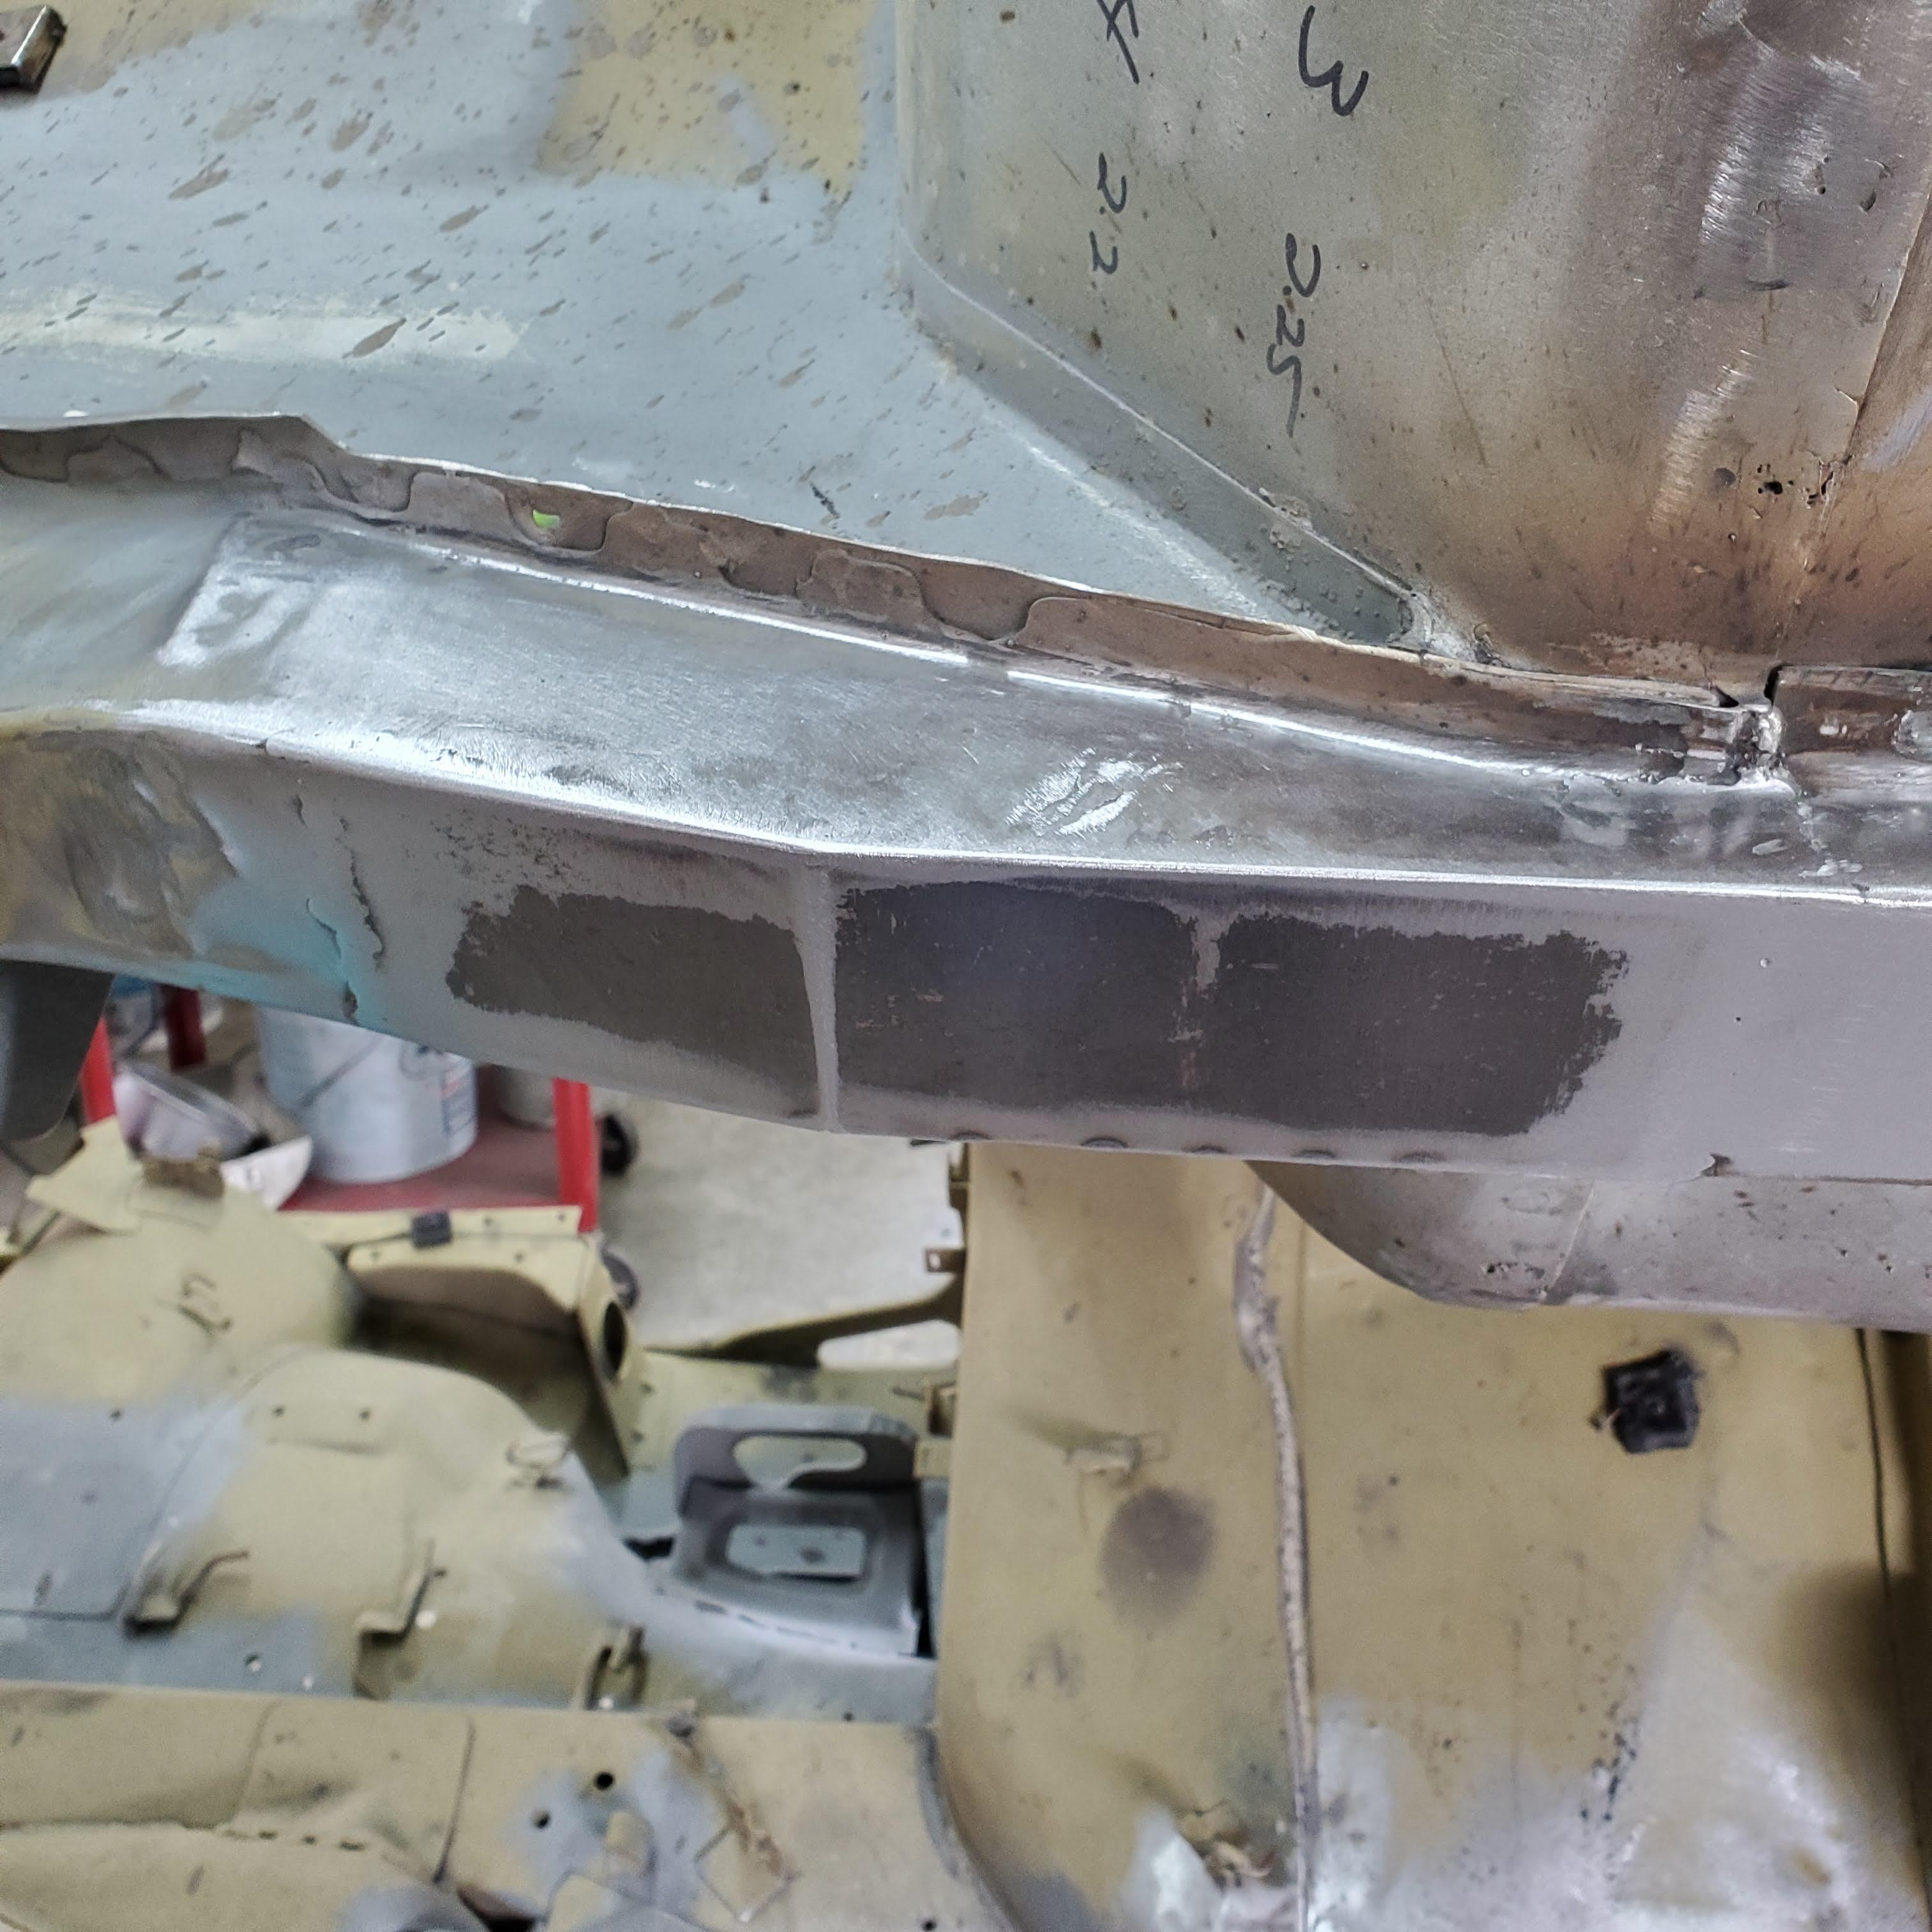
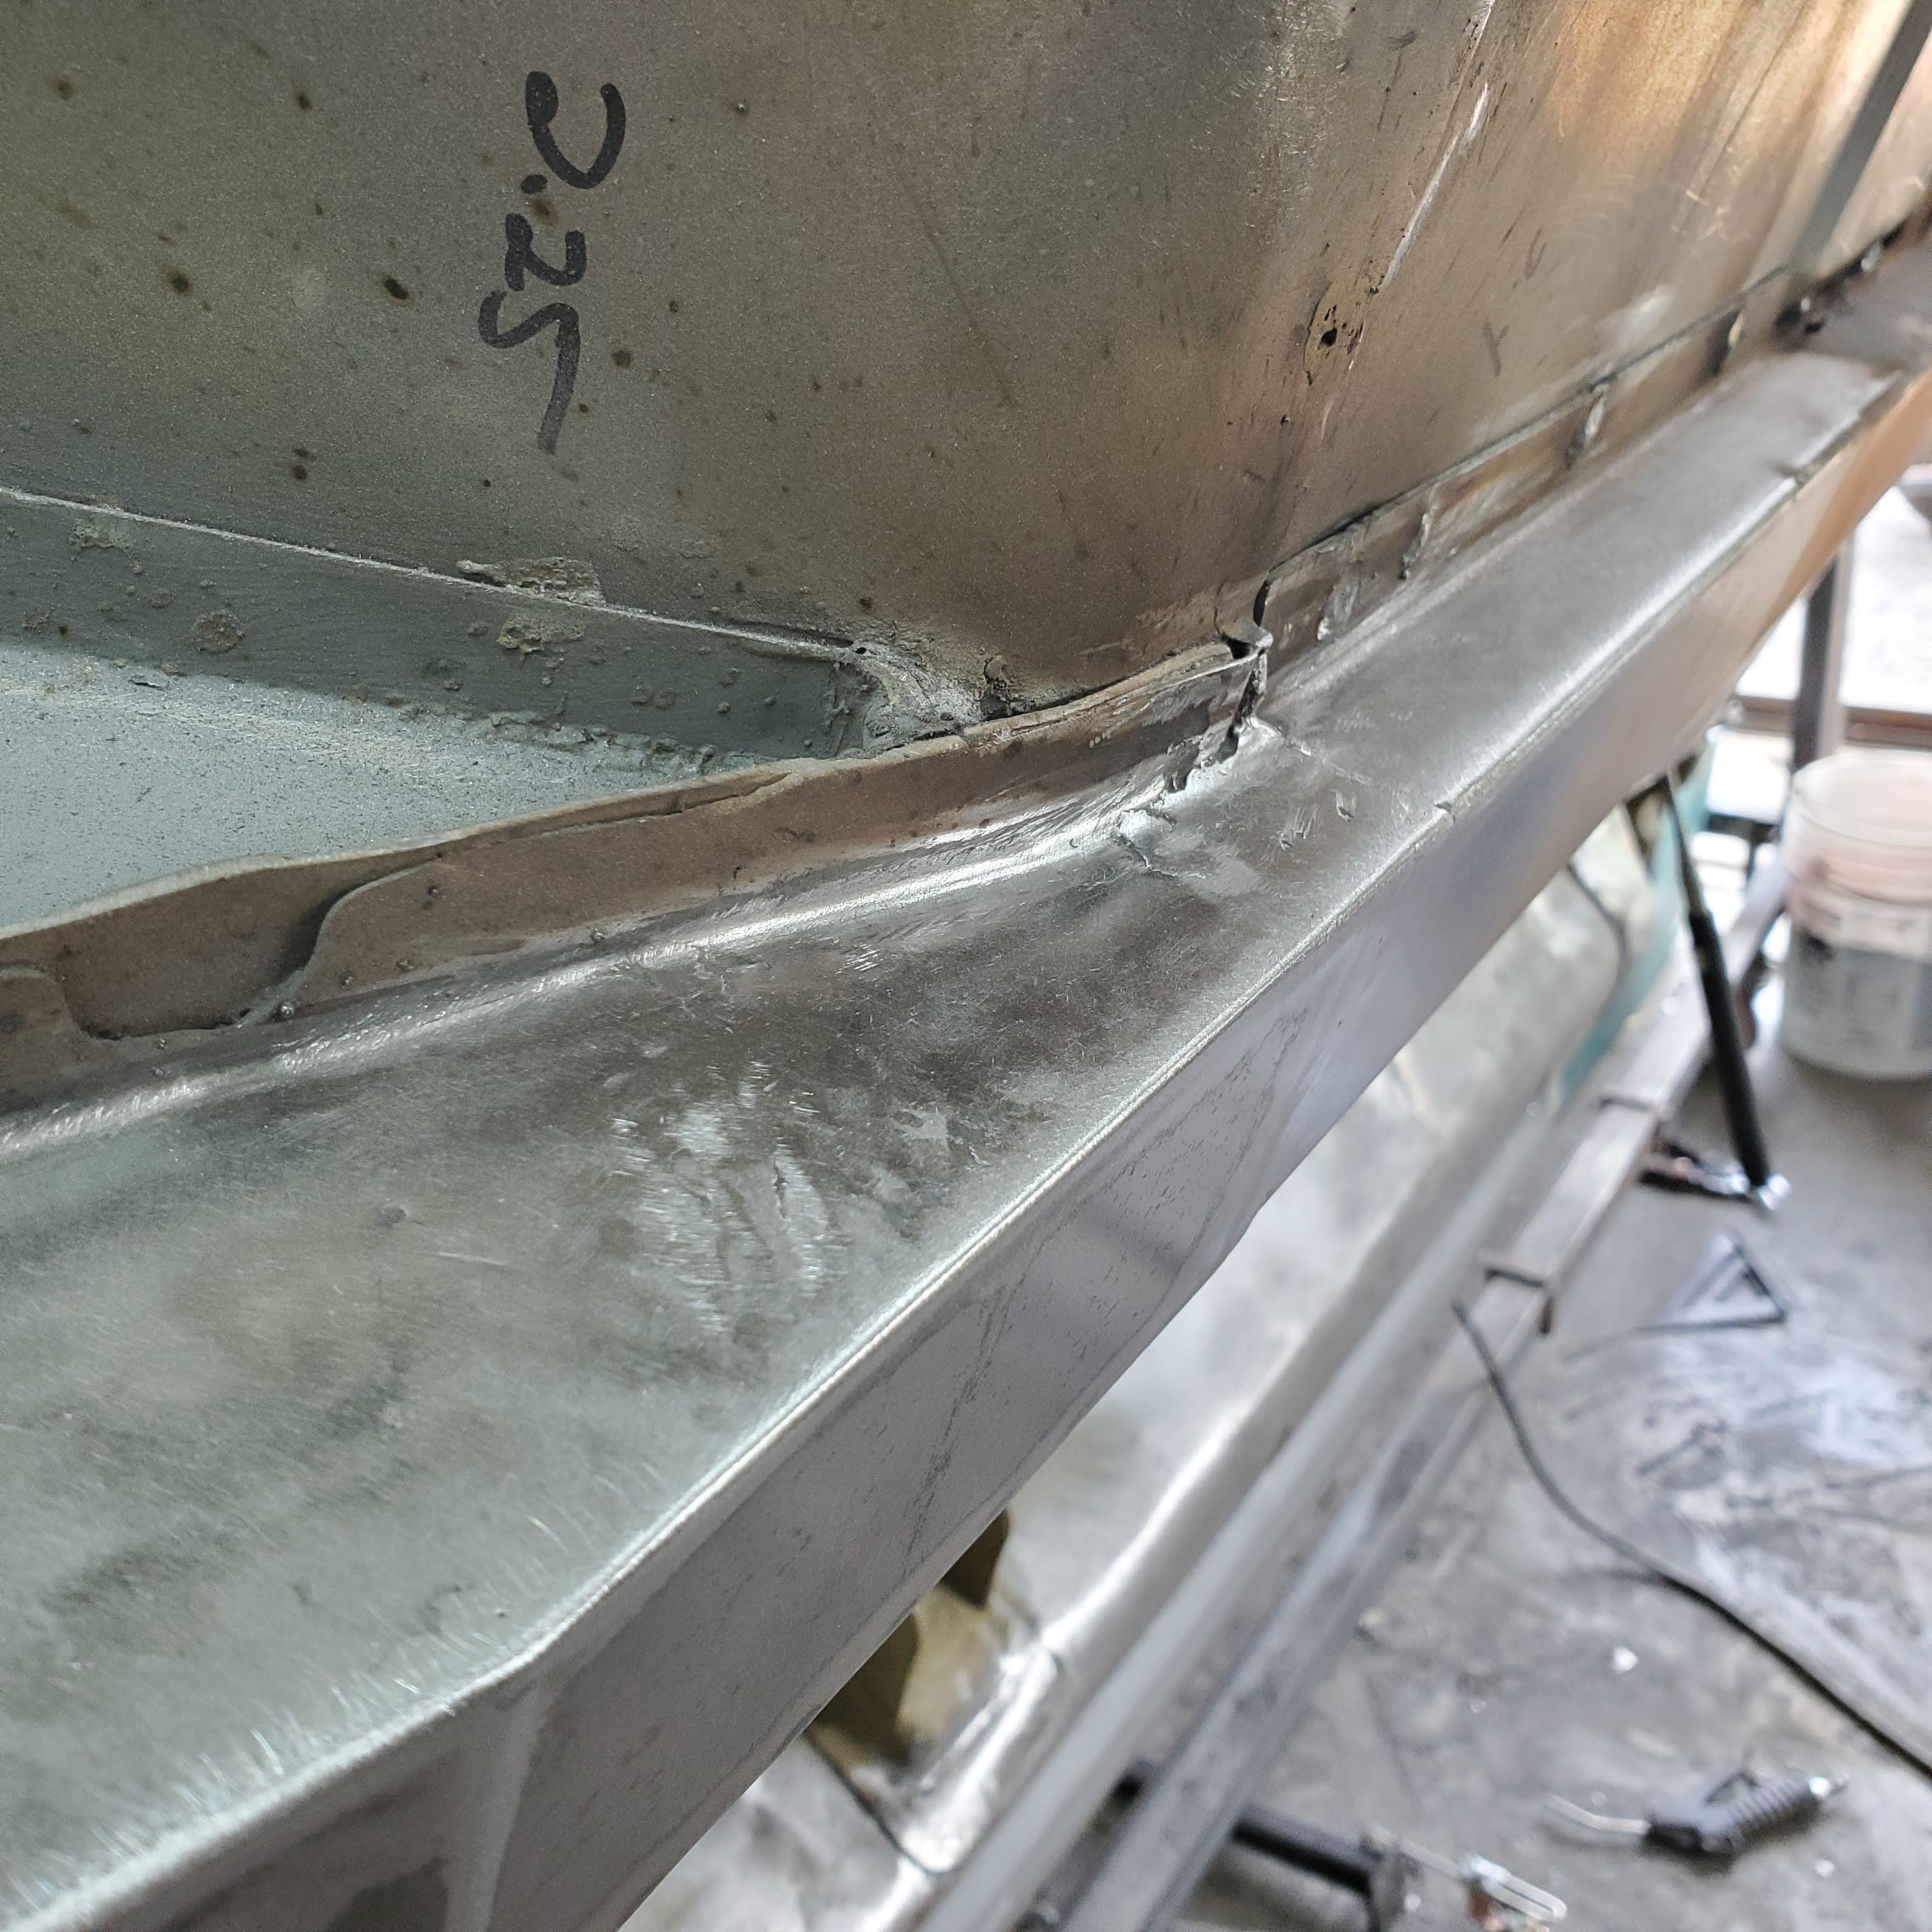
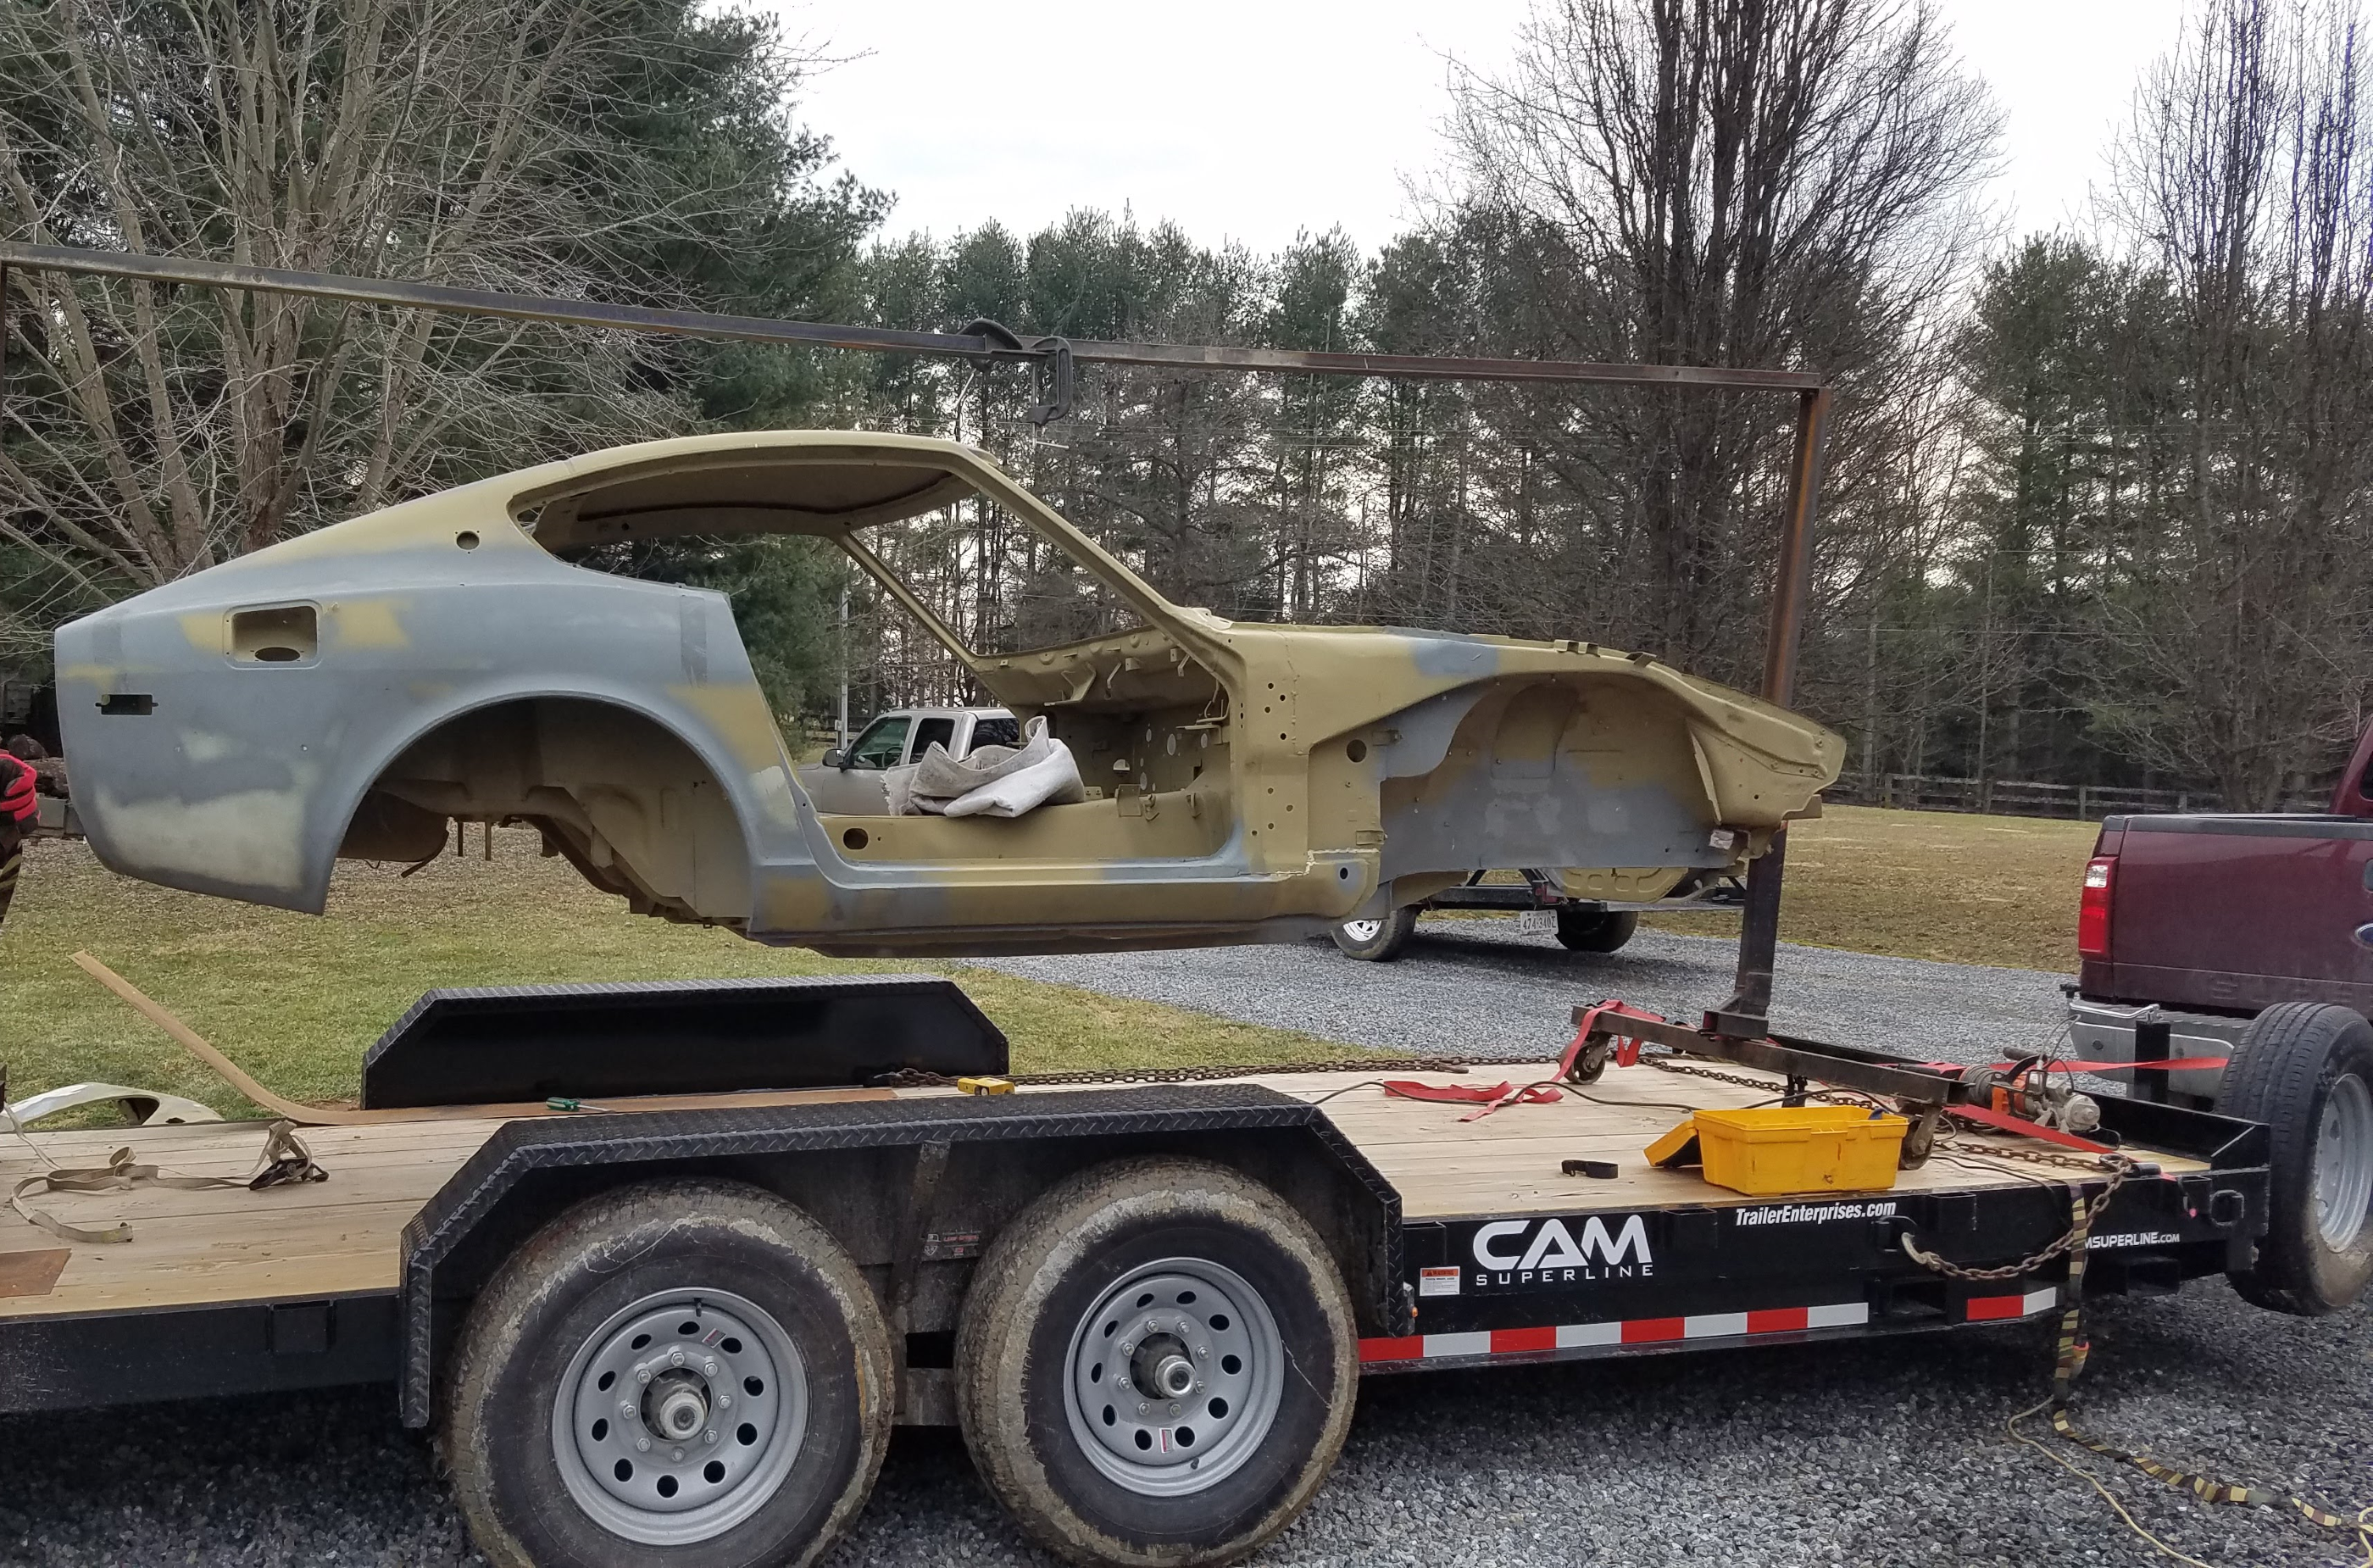
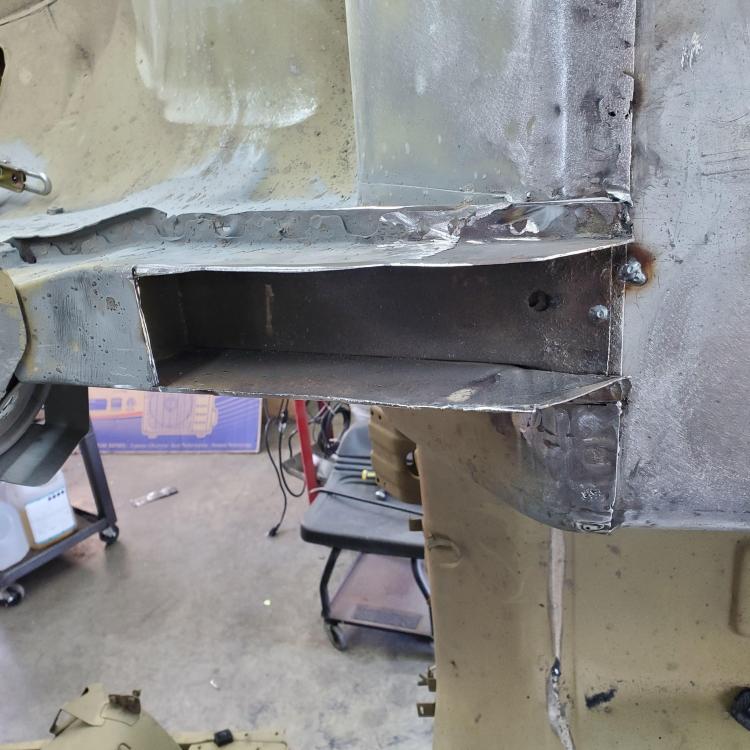
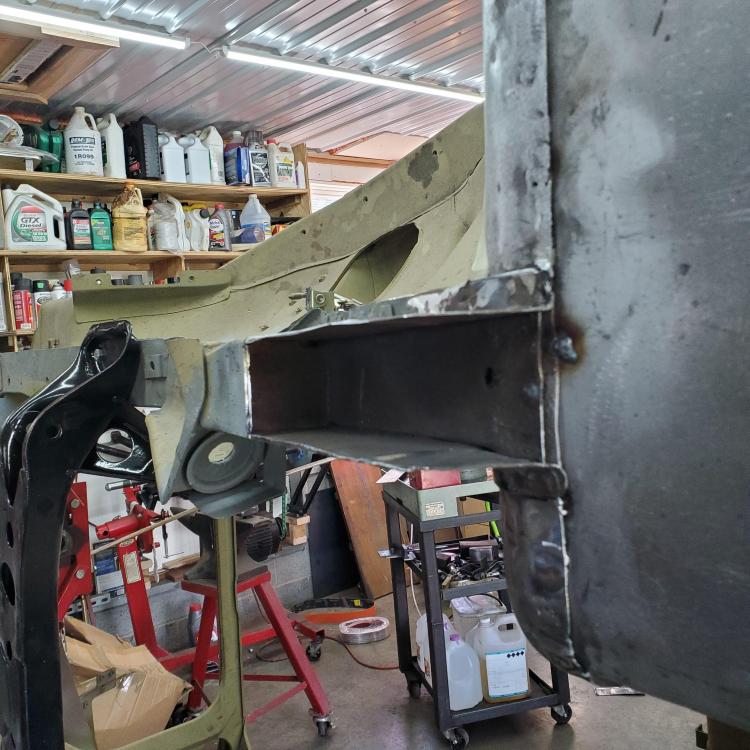
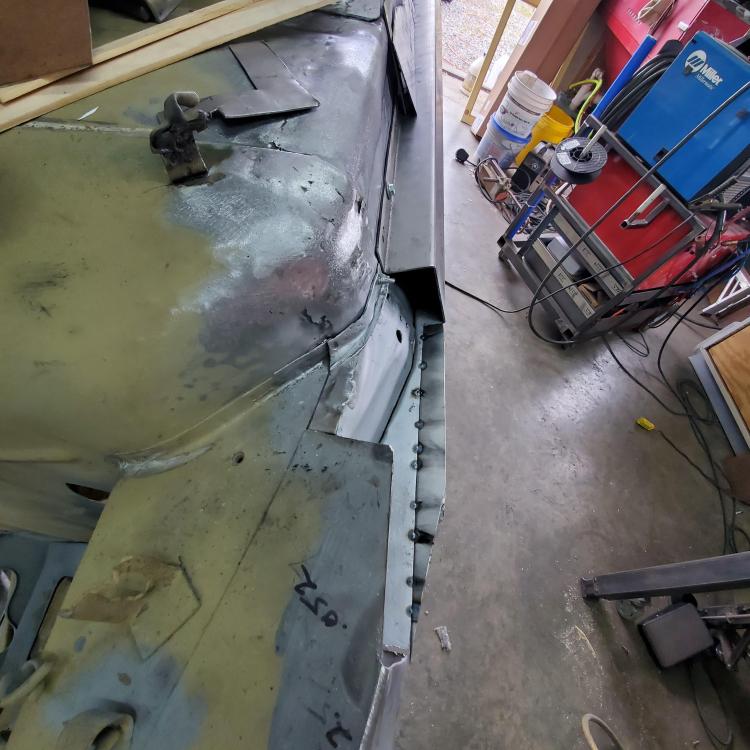
So after final fitting, the internal supports are in place and the frame connectors fully restored - except for some bodywork for pin holes and some hammer blows I can't get out. My wife didn't seem too thrilled when I asked if she would mind holding a dolly on one side so I could hammer from the other. I don't get it. Oh well, she's the one missing the fun.


-
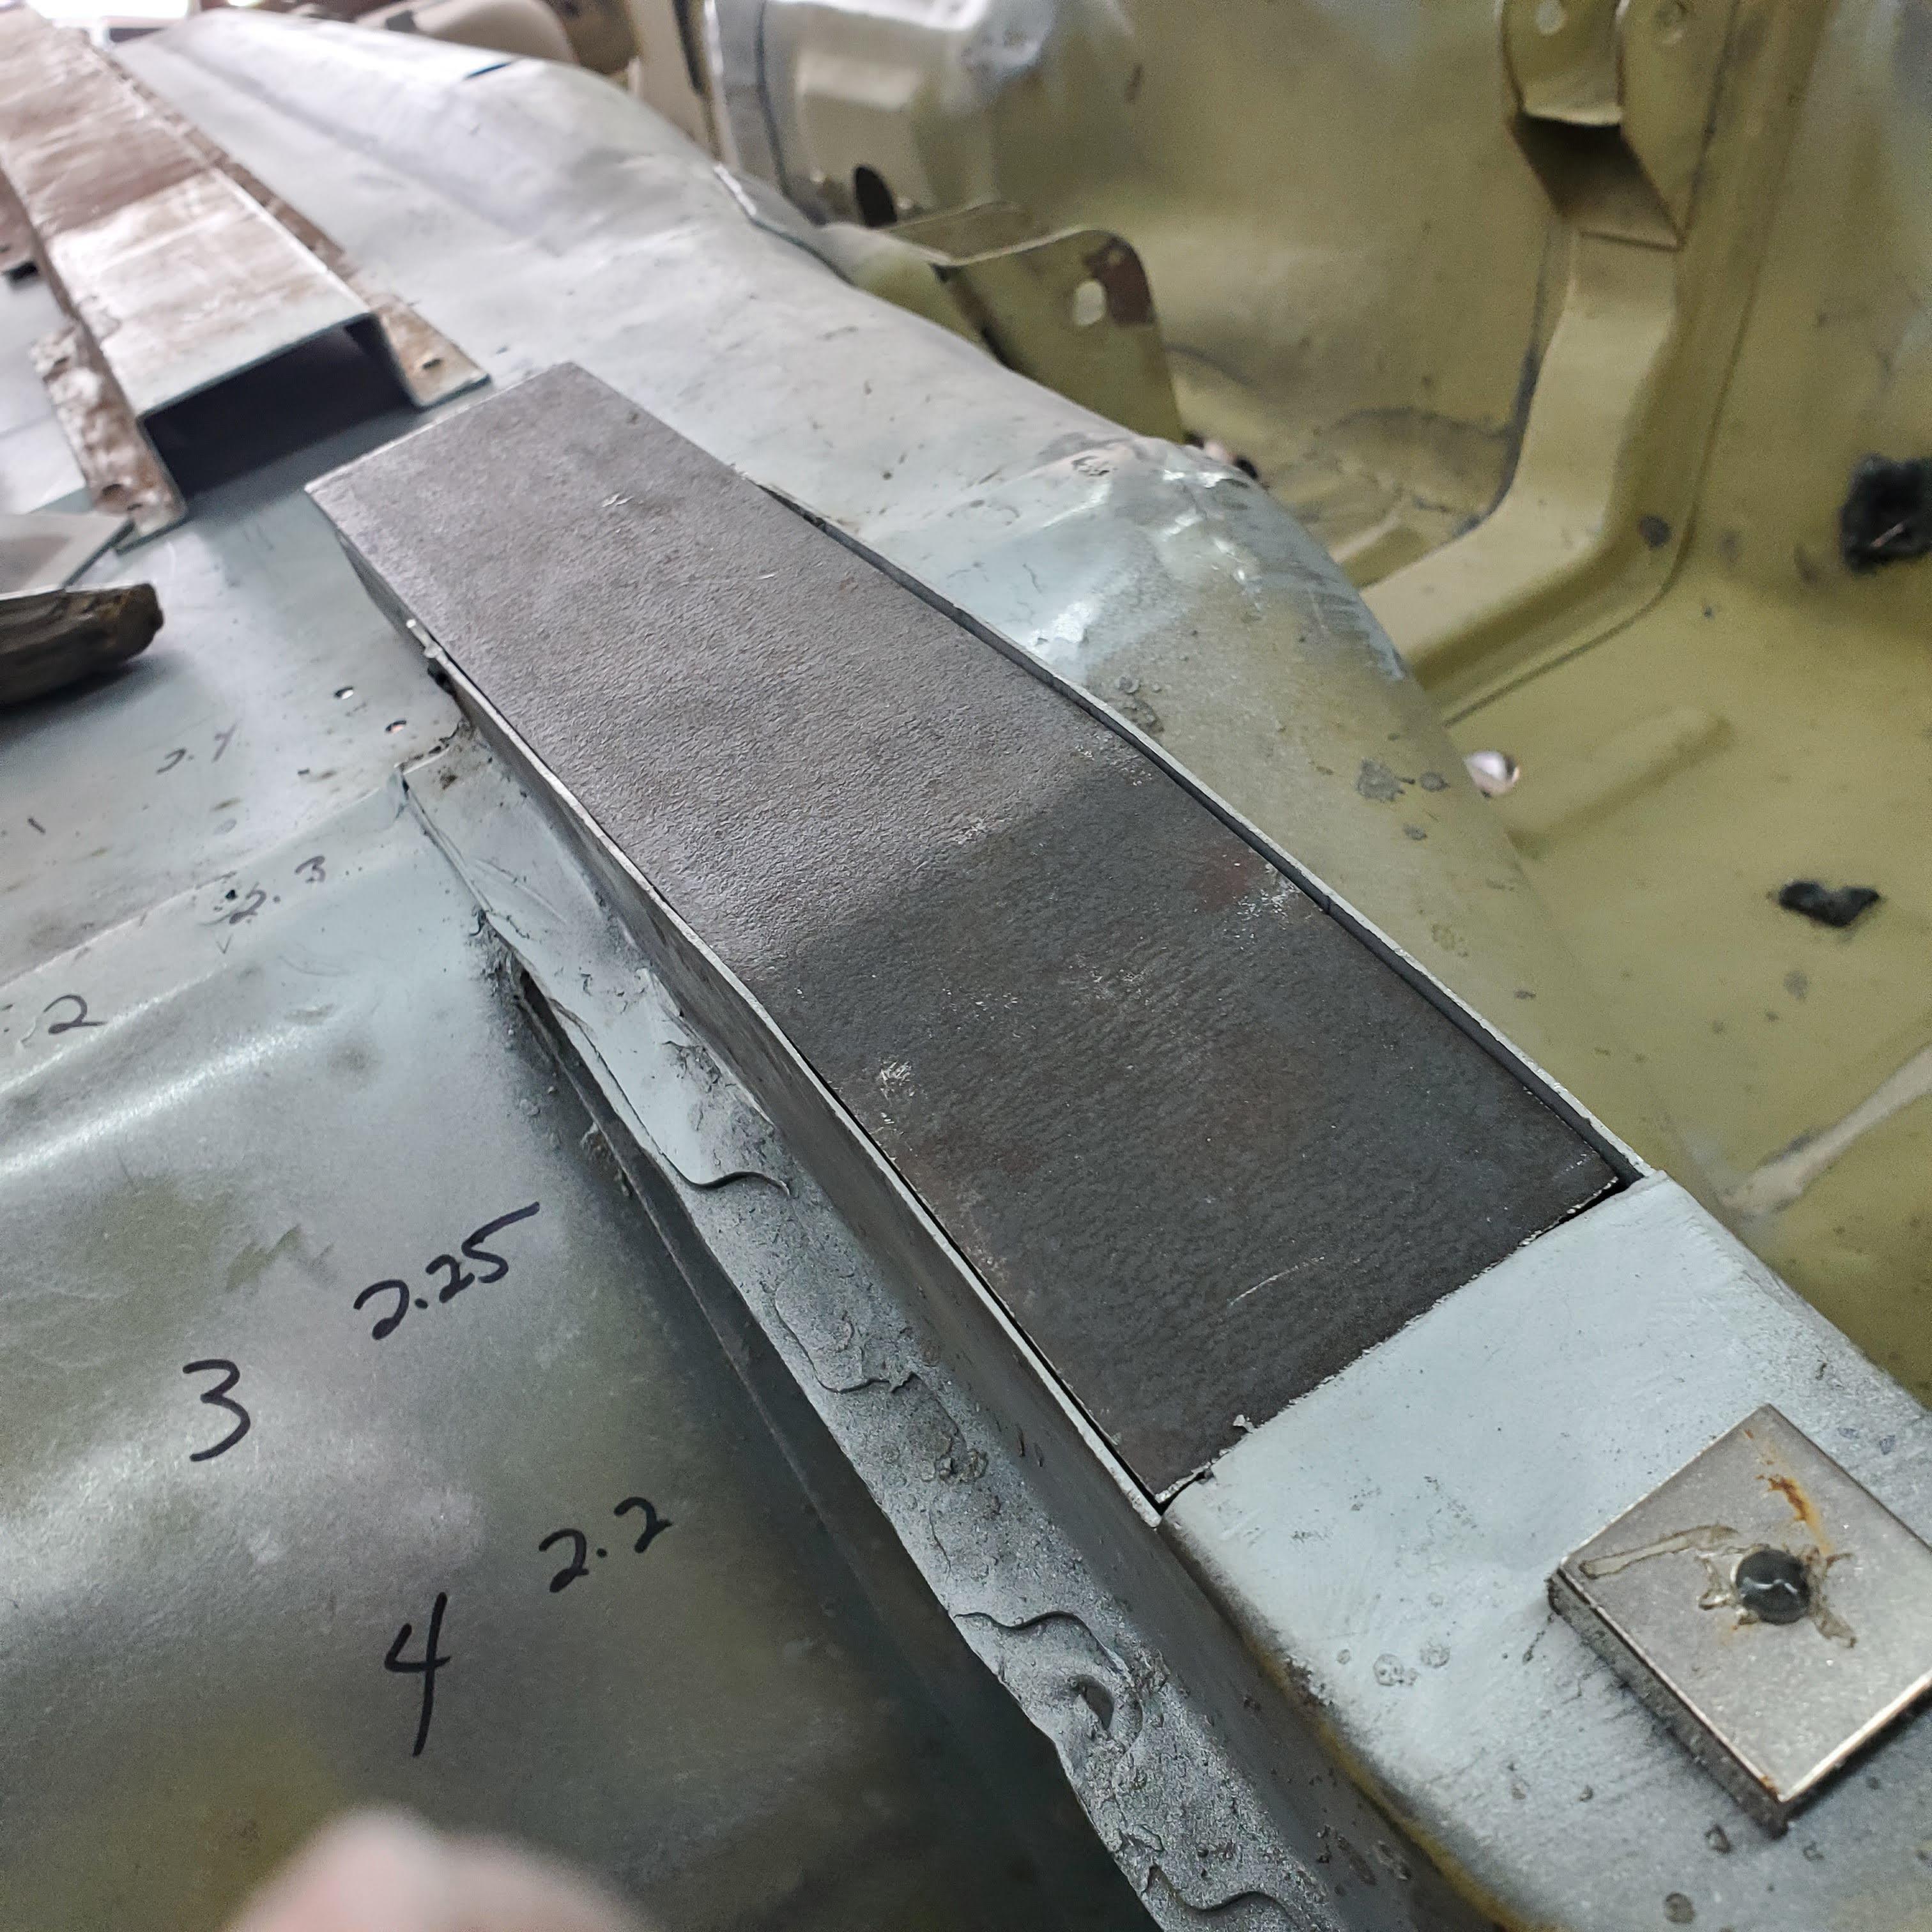
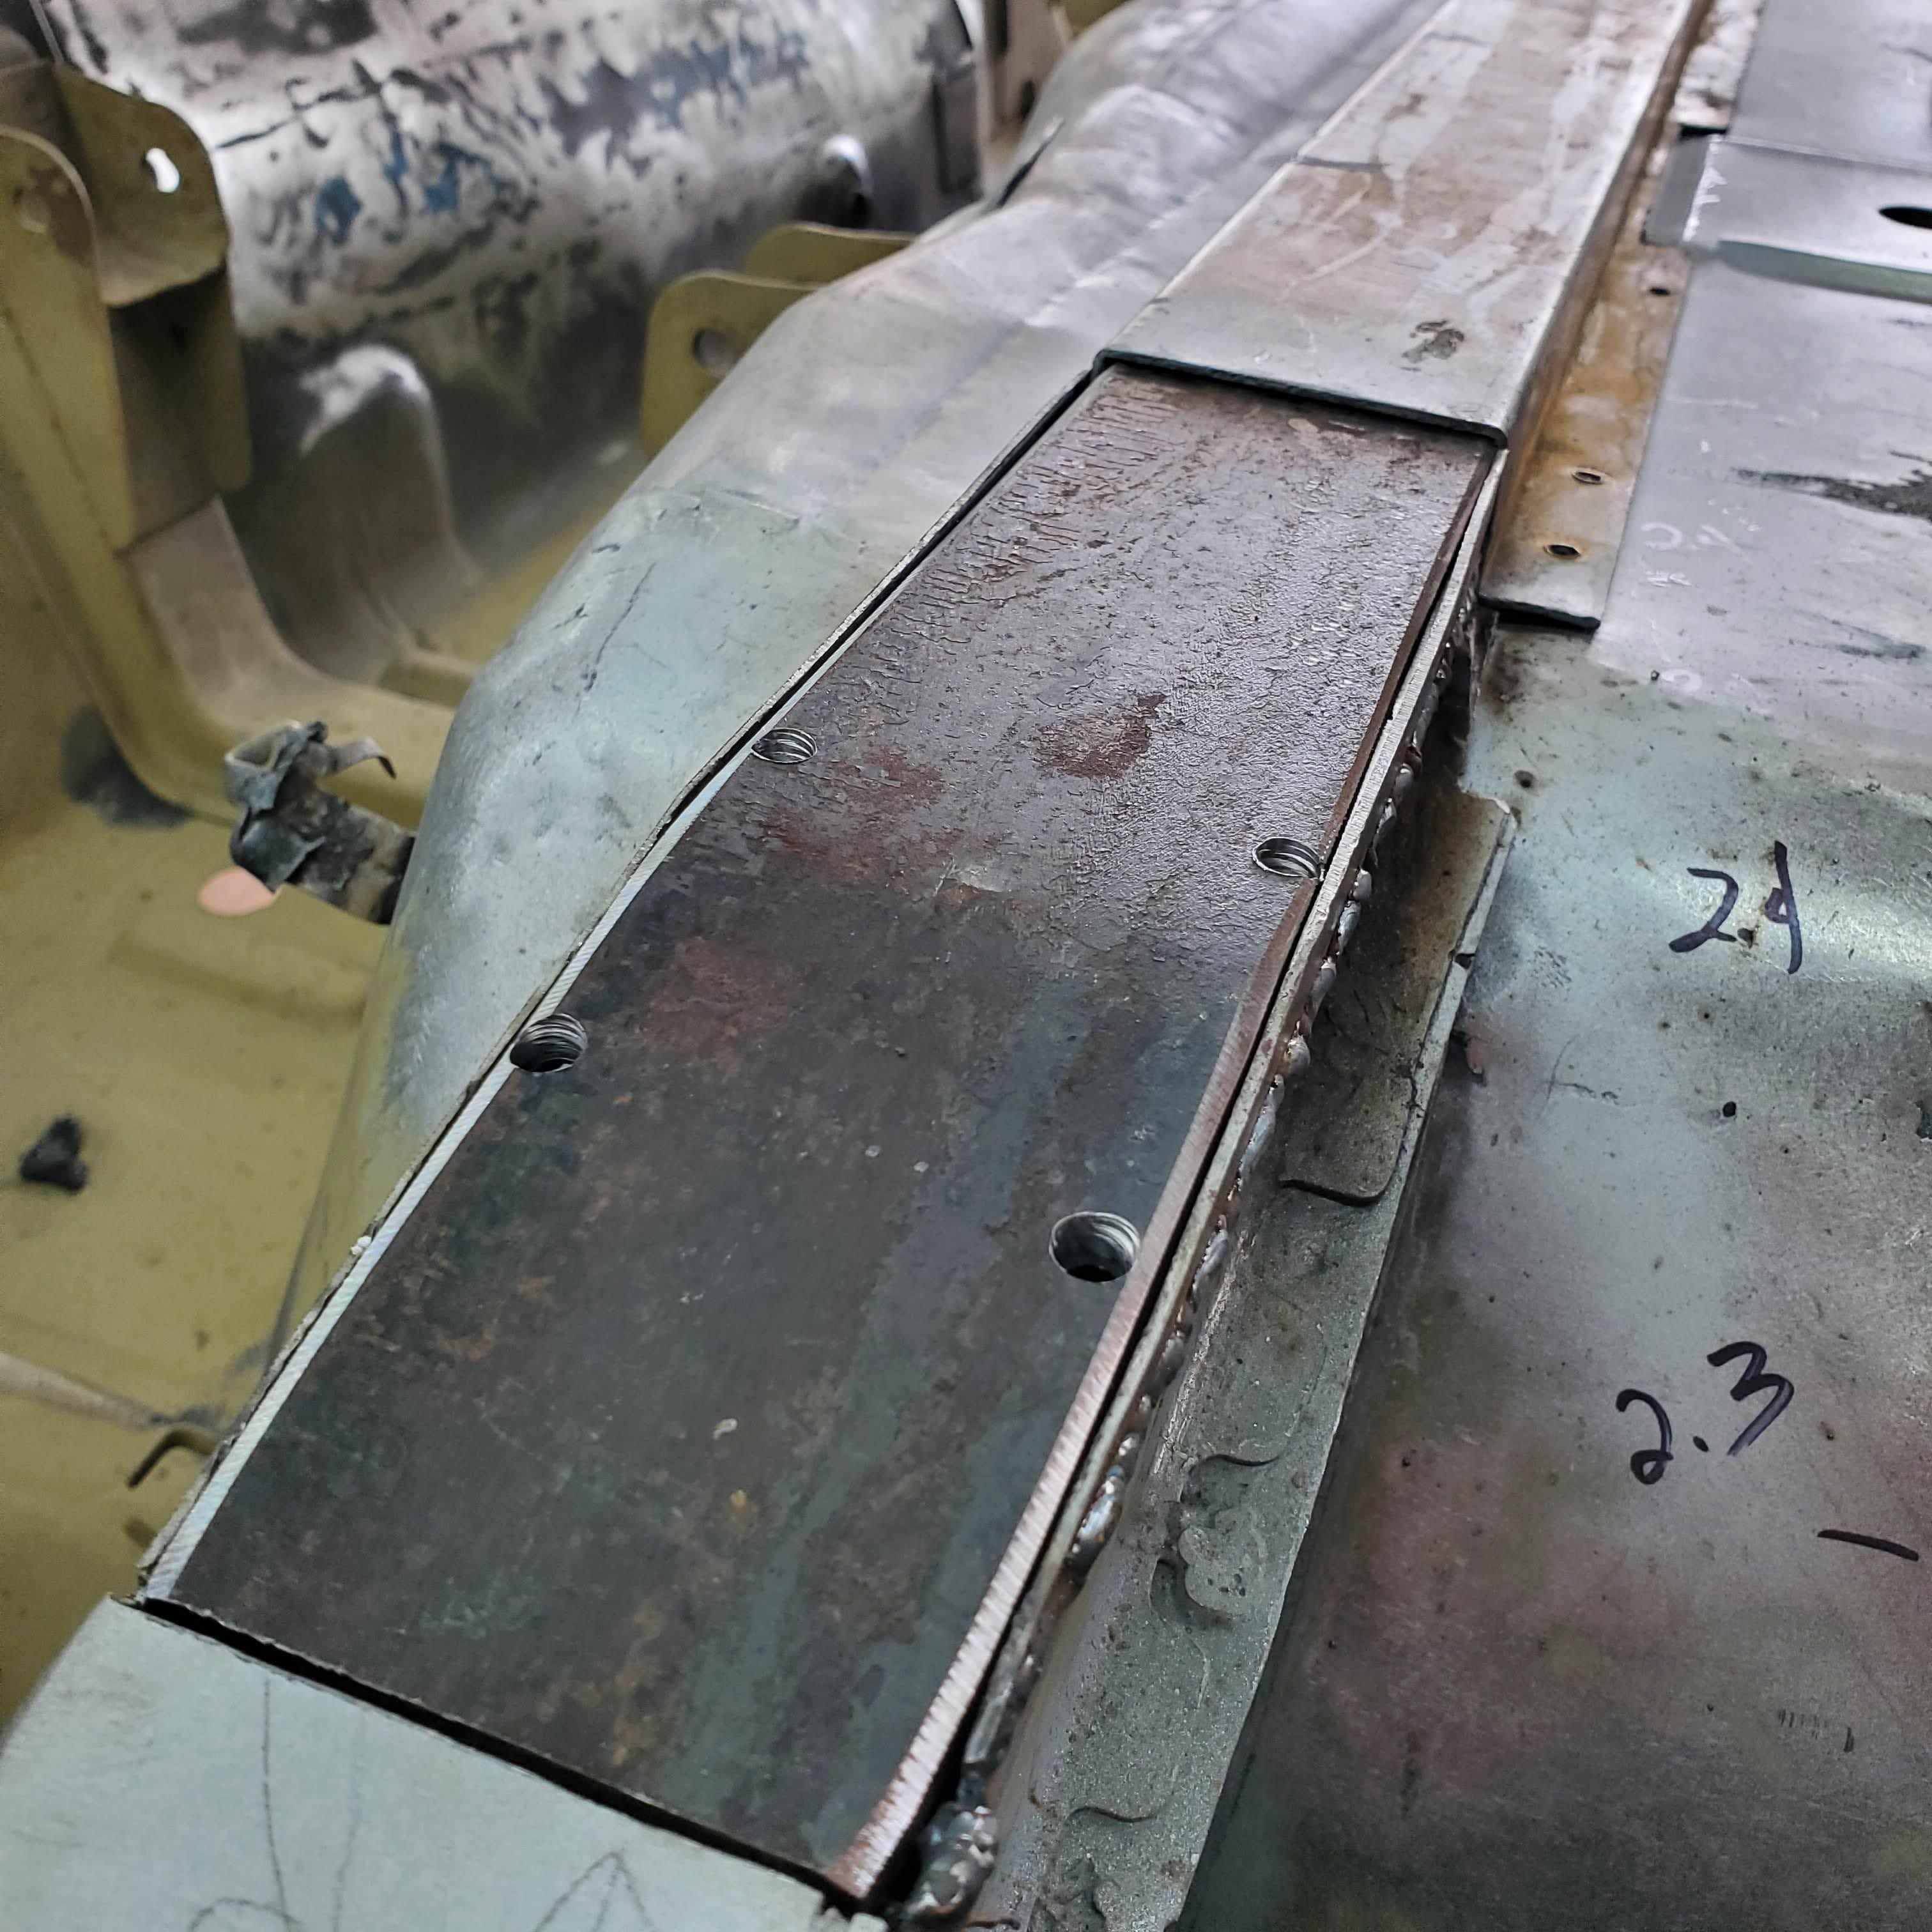
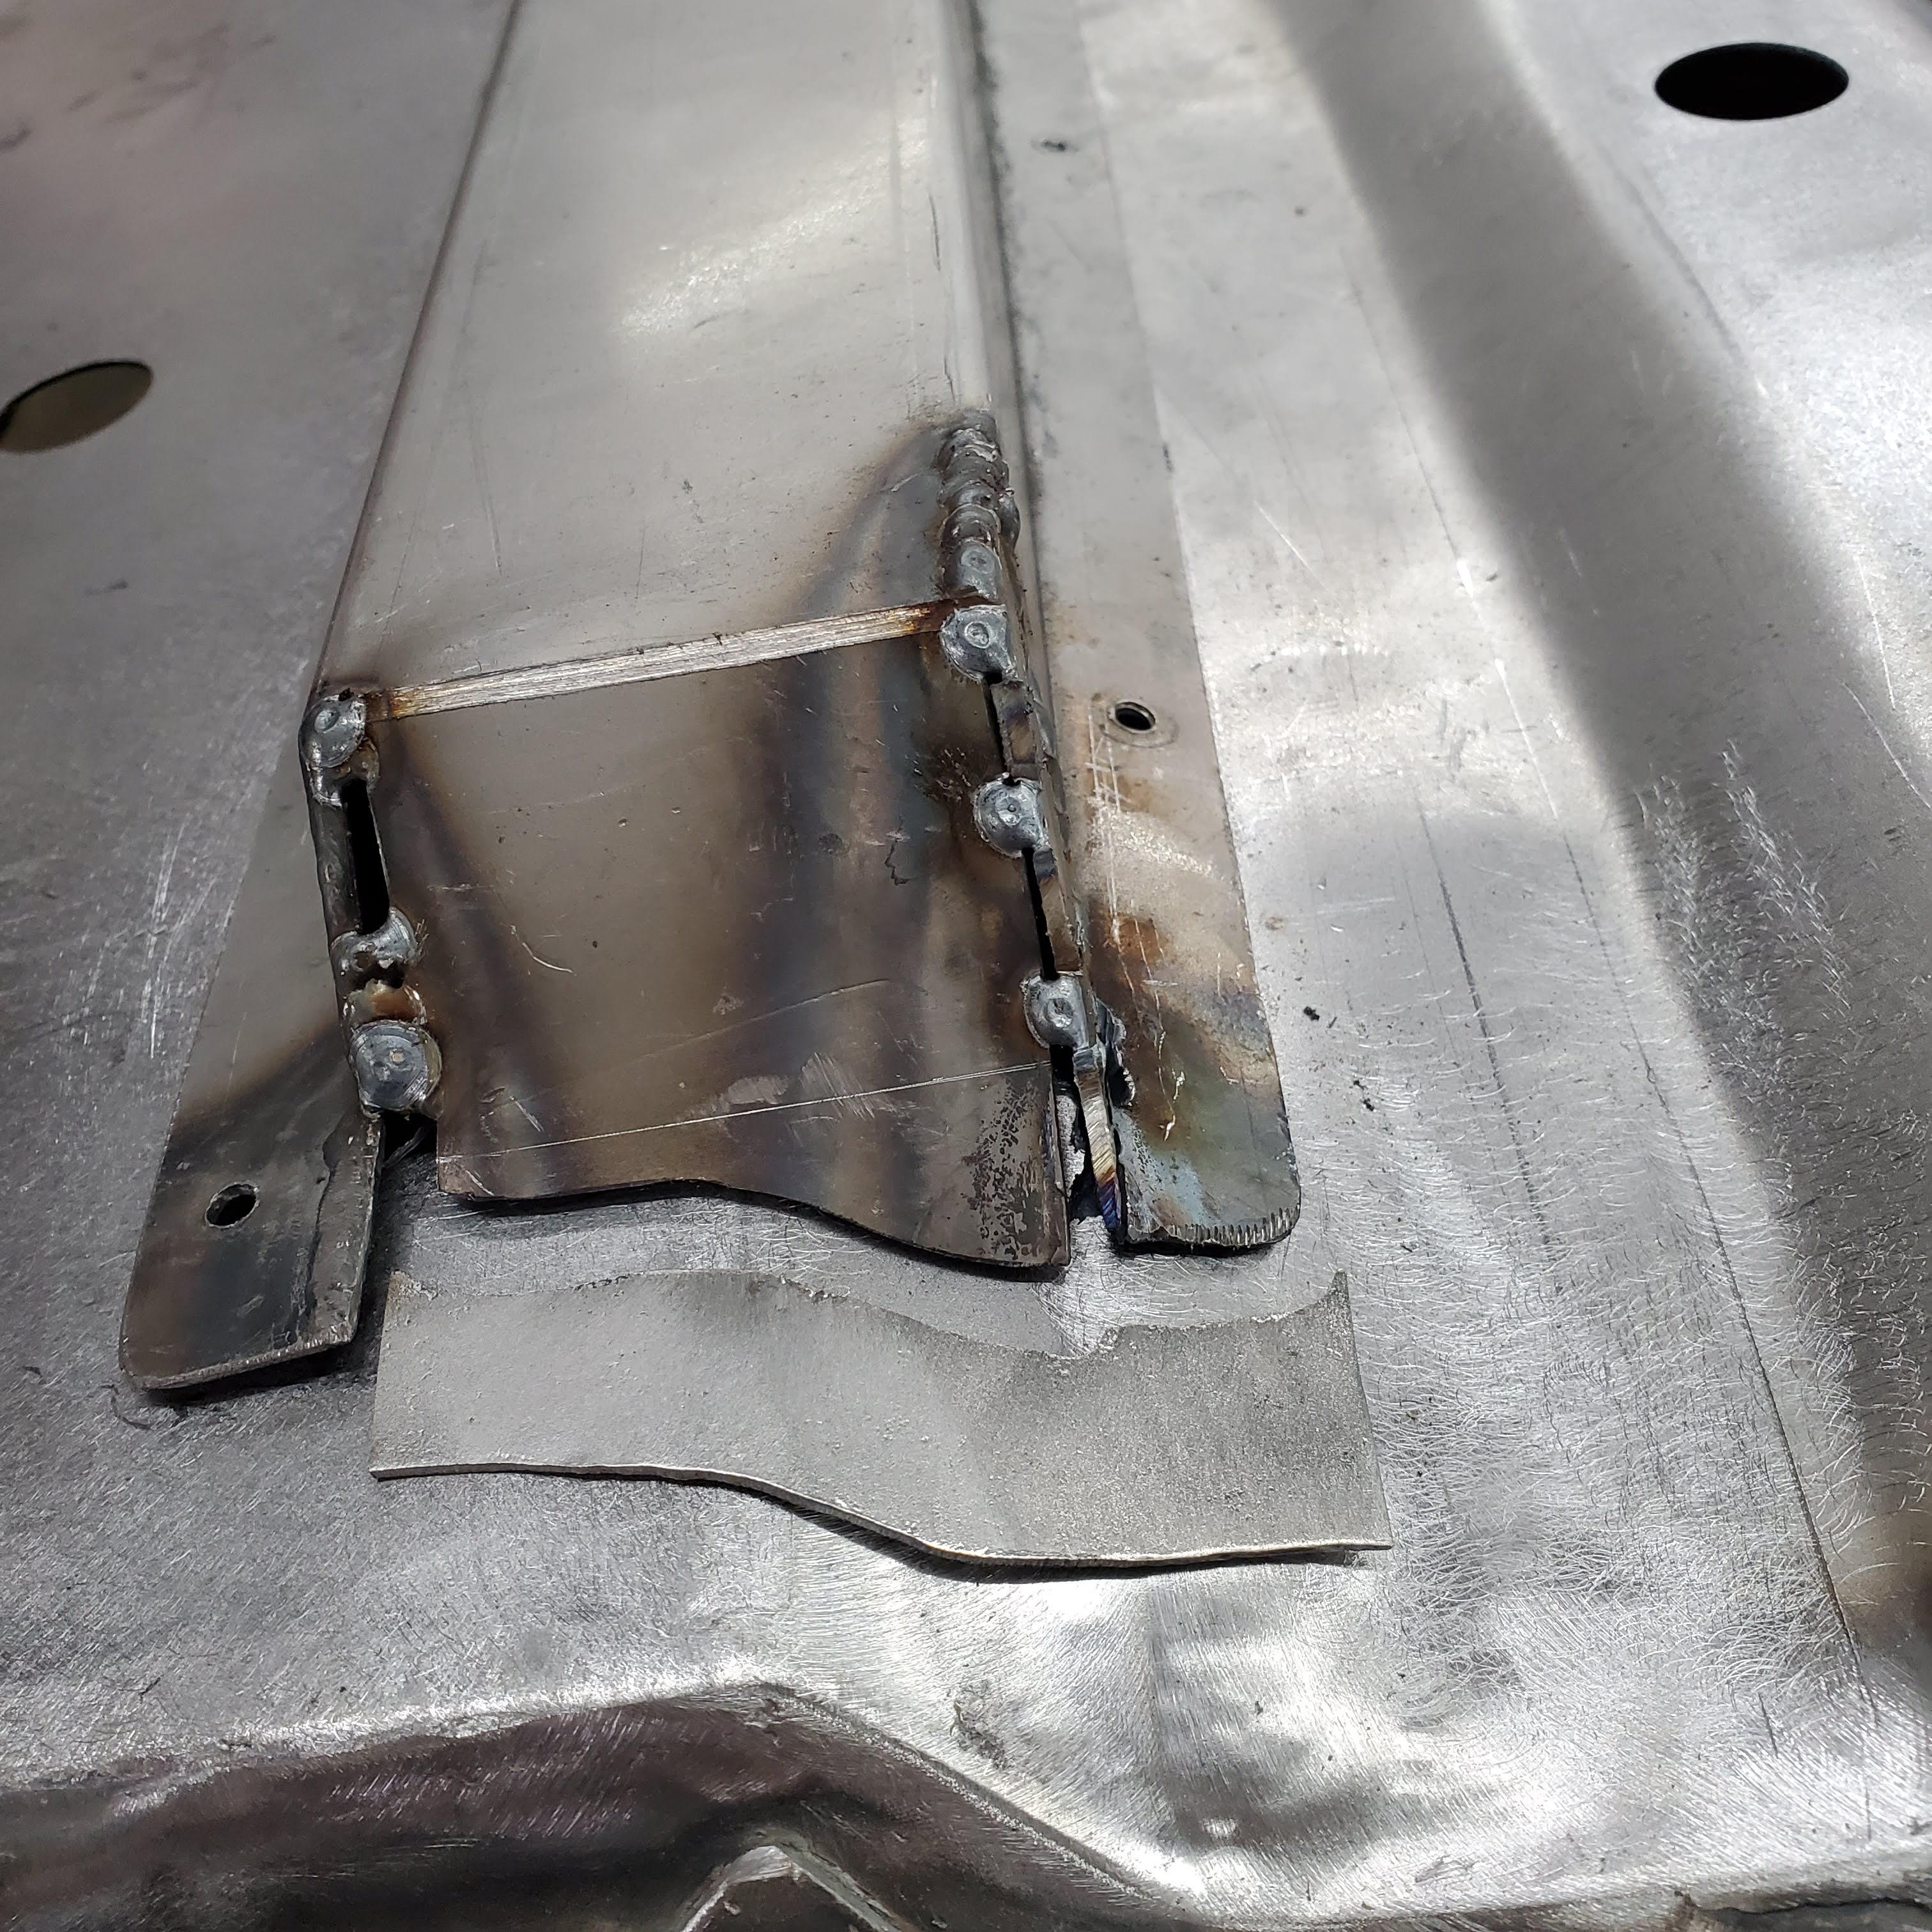
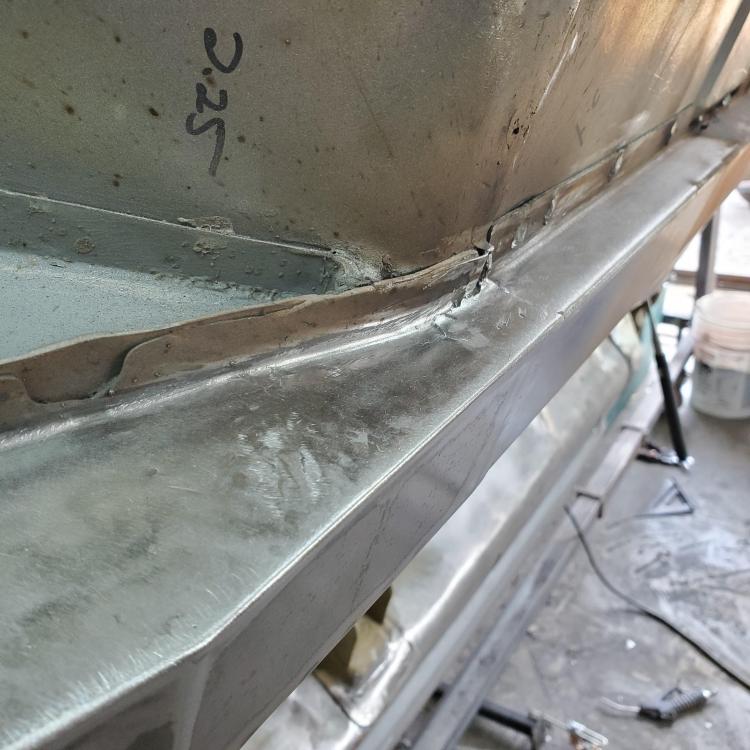
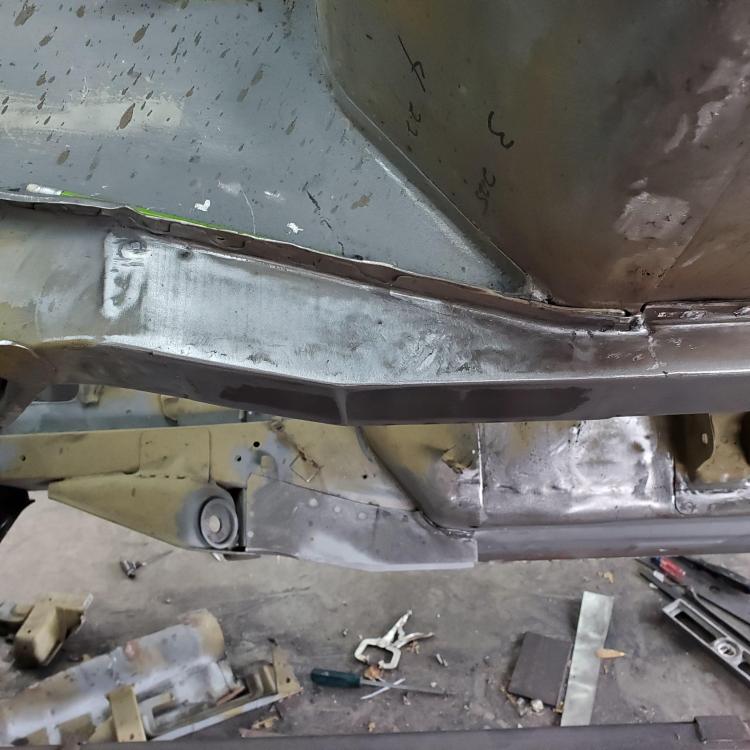
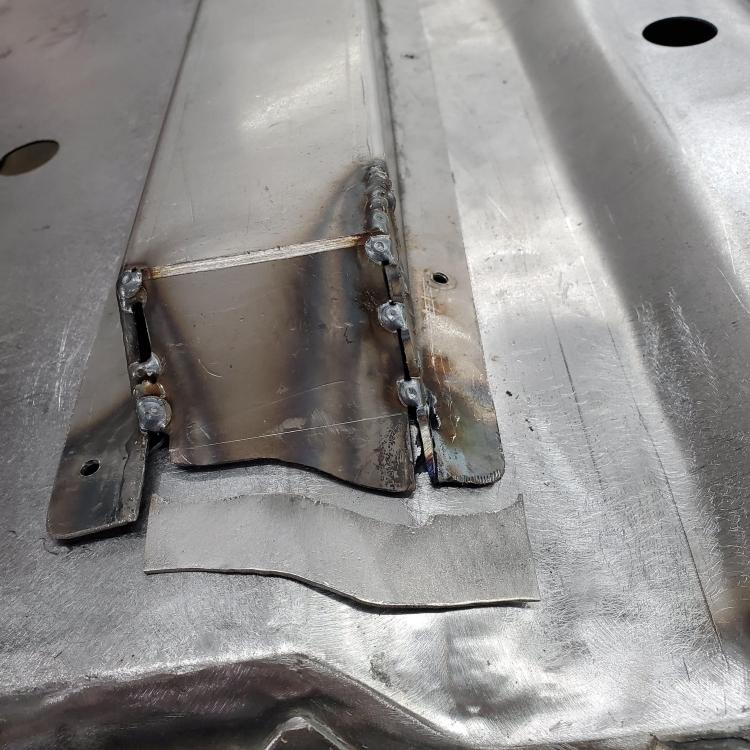
I didn't really like the way the Zeddfinding's floor support terminated at the rear, especially since the vertical flanges (sides of the rail) were drawn together making the rear section narrower than the rest, so I modified it. Cut the welds with the thinnest cut-off wheel and tacked it back together where they should be. Then just made a new piece to look like a flange. Then just drilled some holes around the supports and plug welded them in place. The floor supports have flash rust because I used muriatic acid to clean the insides before treating for corrosion protection. I'm telling you, that stuff is amazing at removing rust...and oil...and anything else I guess that might keep metal reasonably well protected while you're working on it.

-
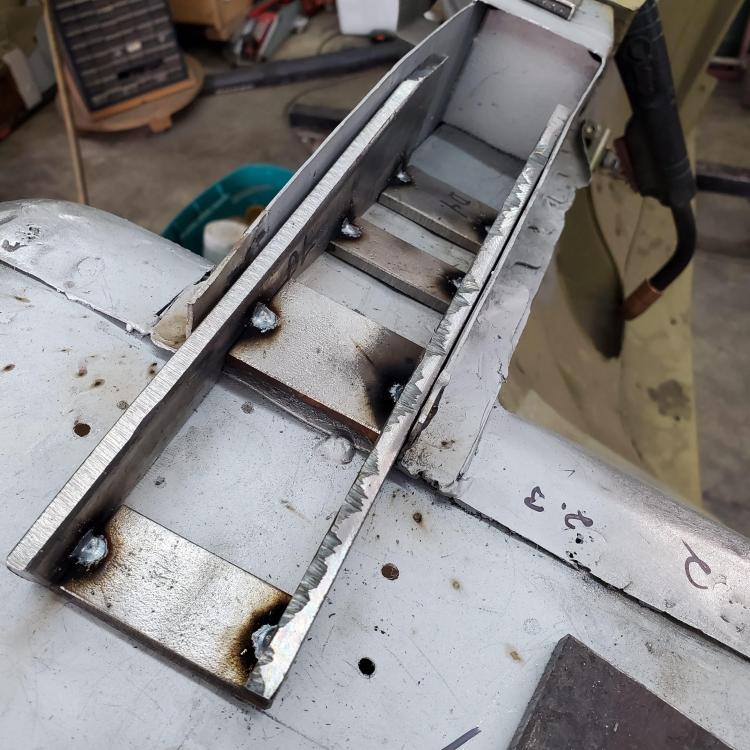
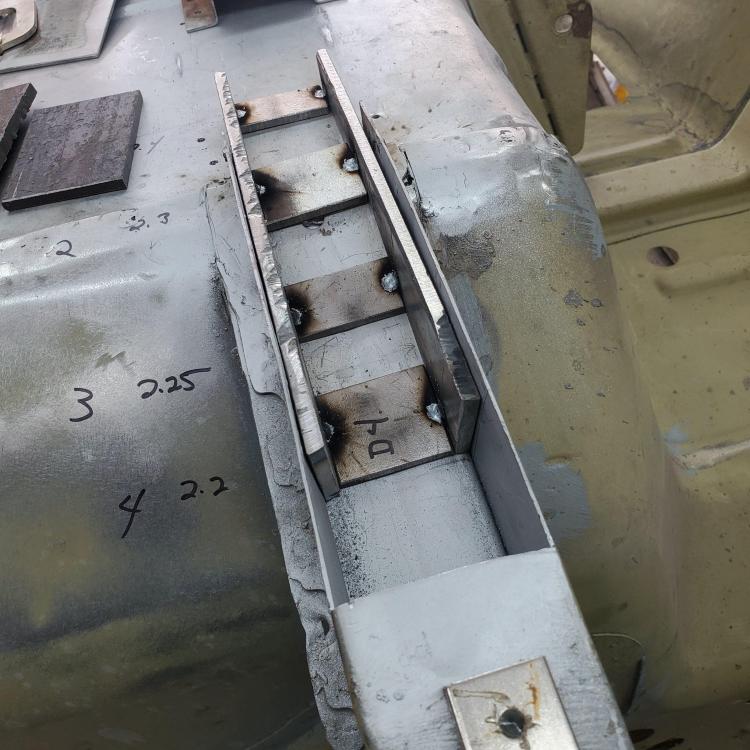
A little out of order here. Had to piece together the frame connectors before I made the frame internal supports. Nothing fancy - just cut and paste. Of course, all the weld penetrations had to be removed so as not to interfere with the internal supports I was adding. Since the original frame connectors were essentially gone (from previous work), I had to choose the slope of the forward portion. I extended a straight line from the floor support rails and then used the remaining inch or so of the sloped portion to figure out where the two planes should meet.


-
I need to learn how to manage picture uploads.
-
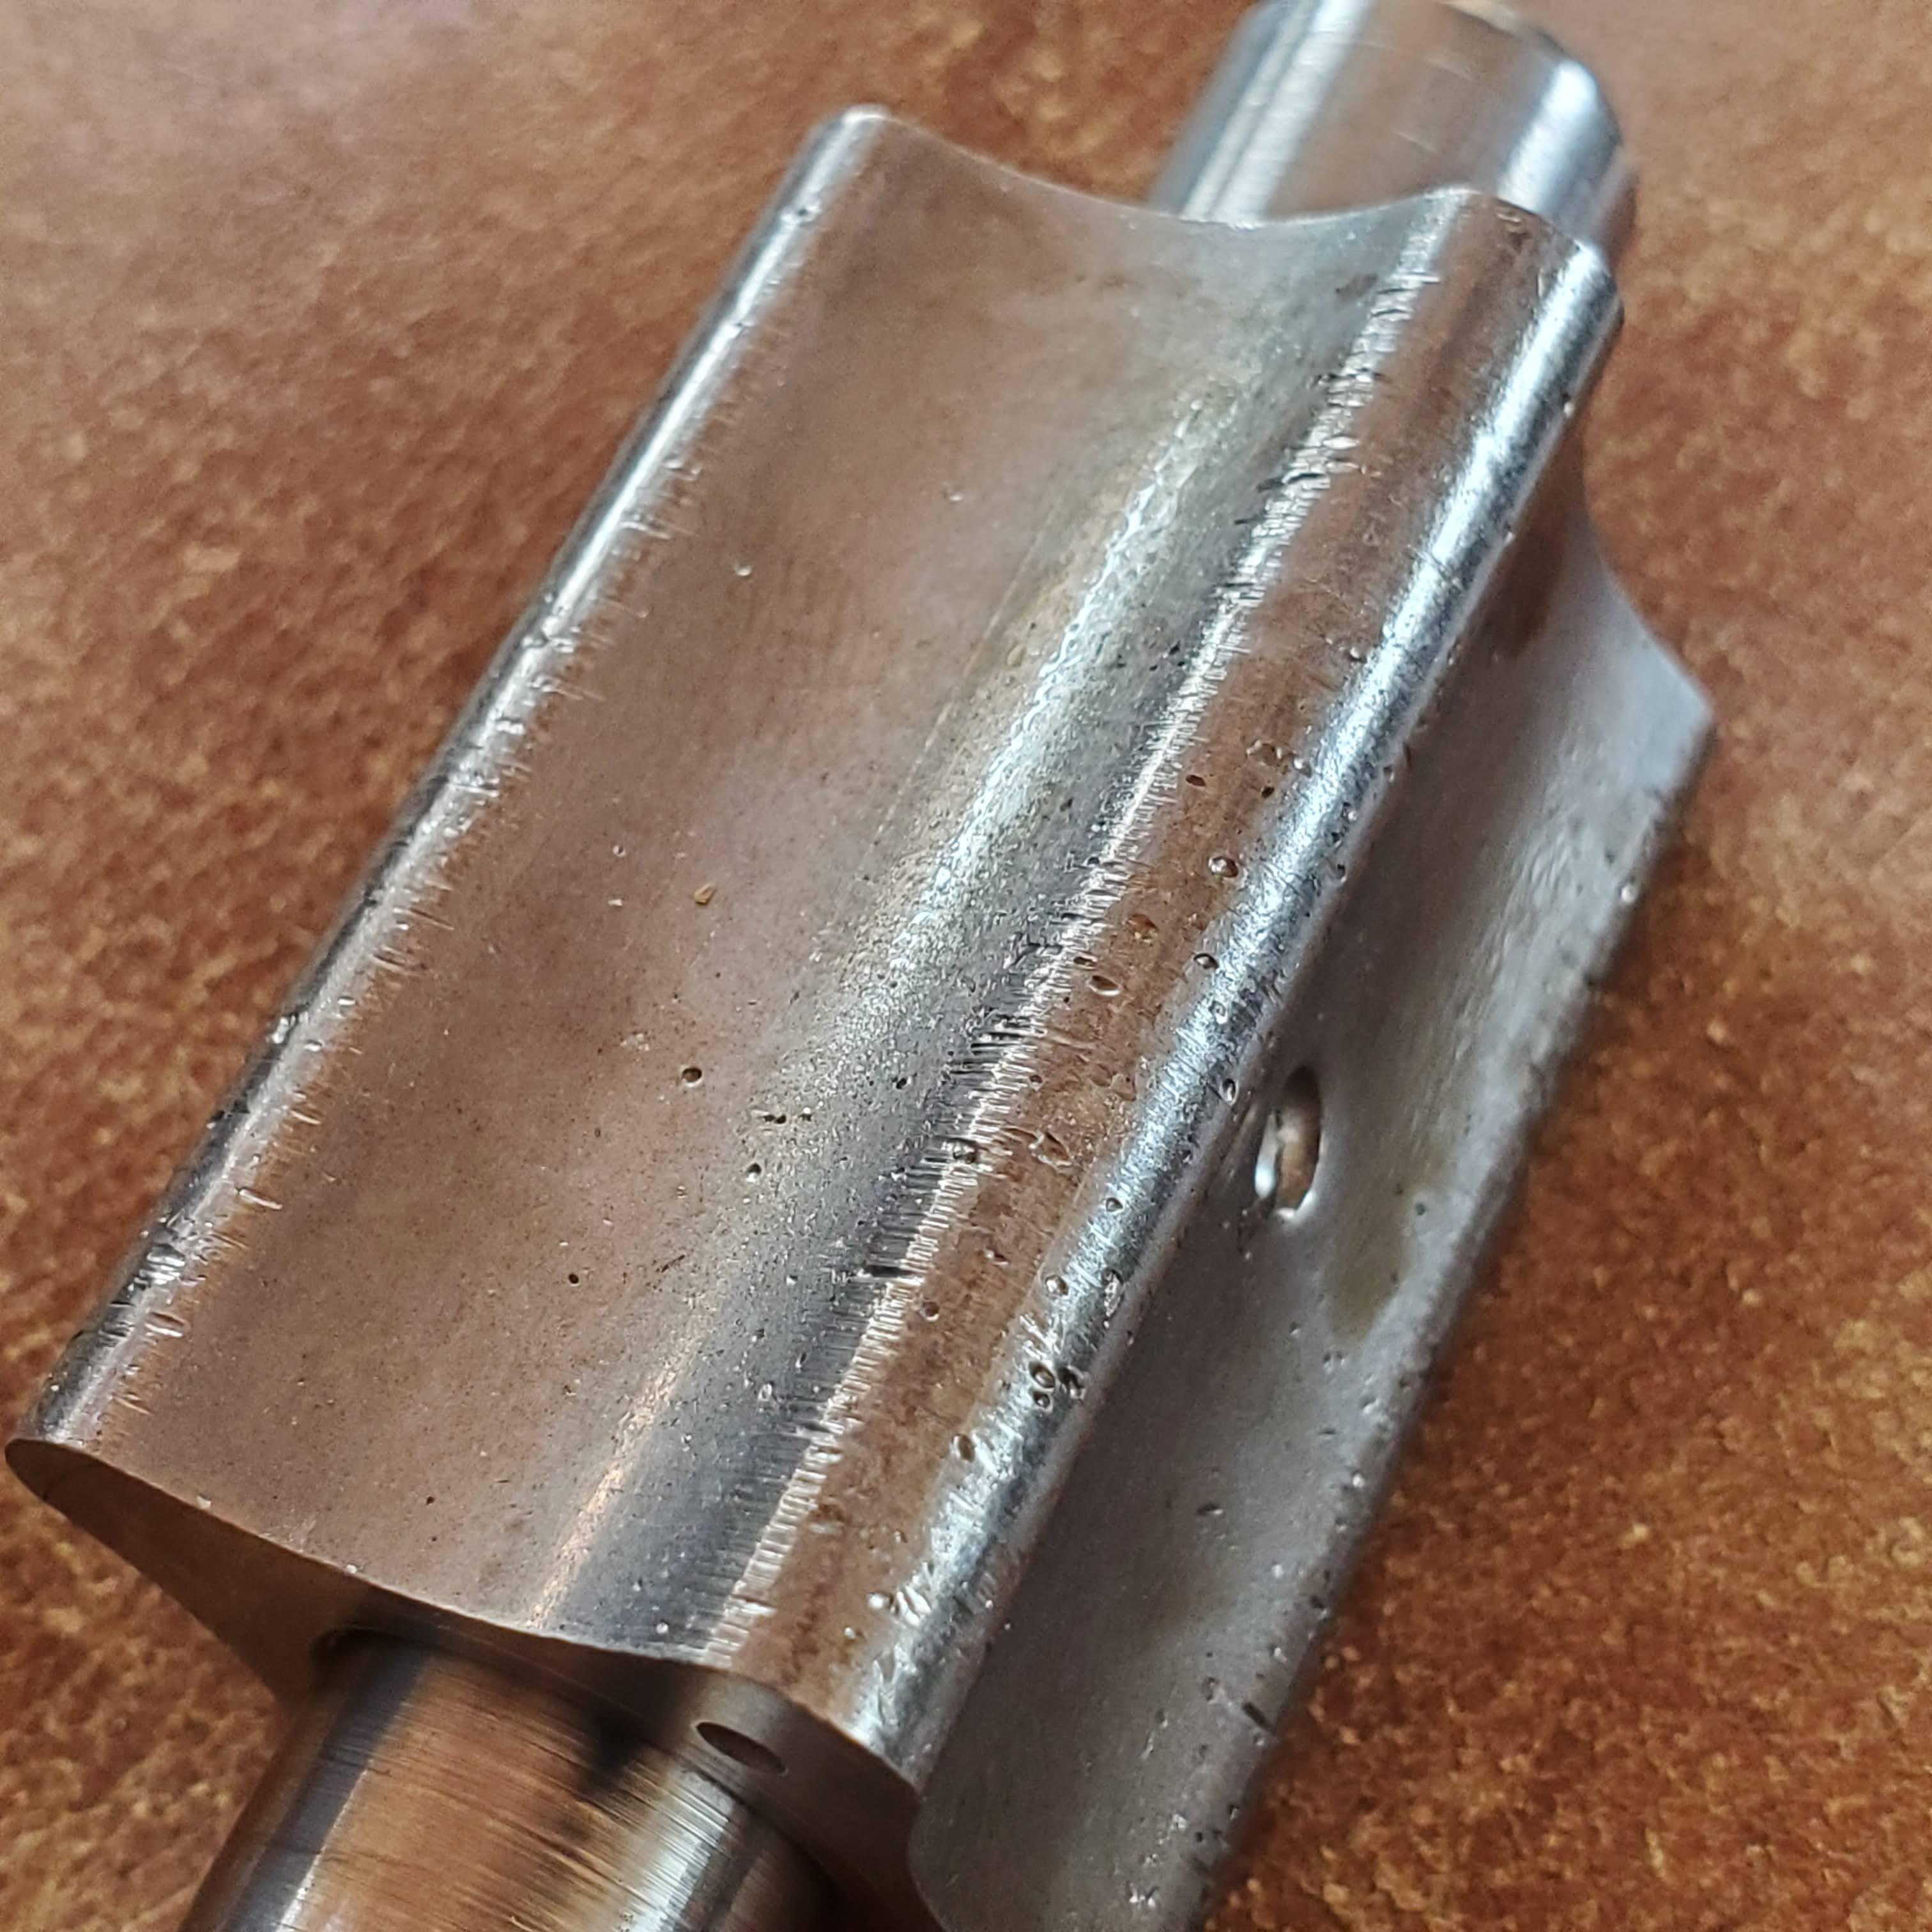
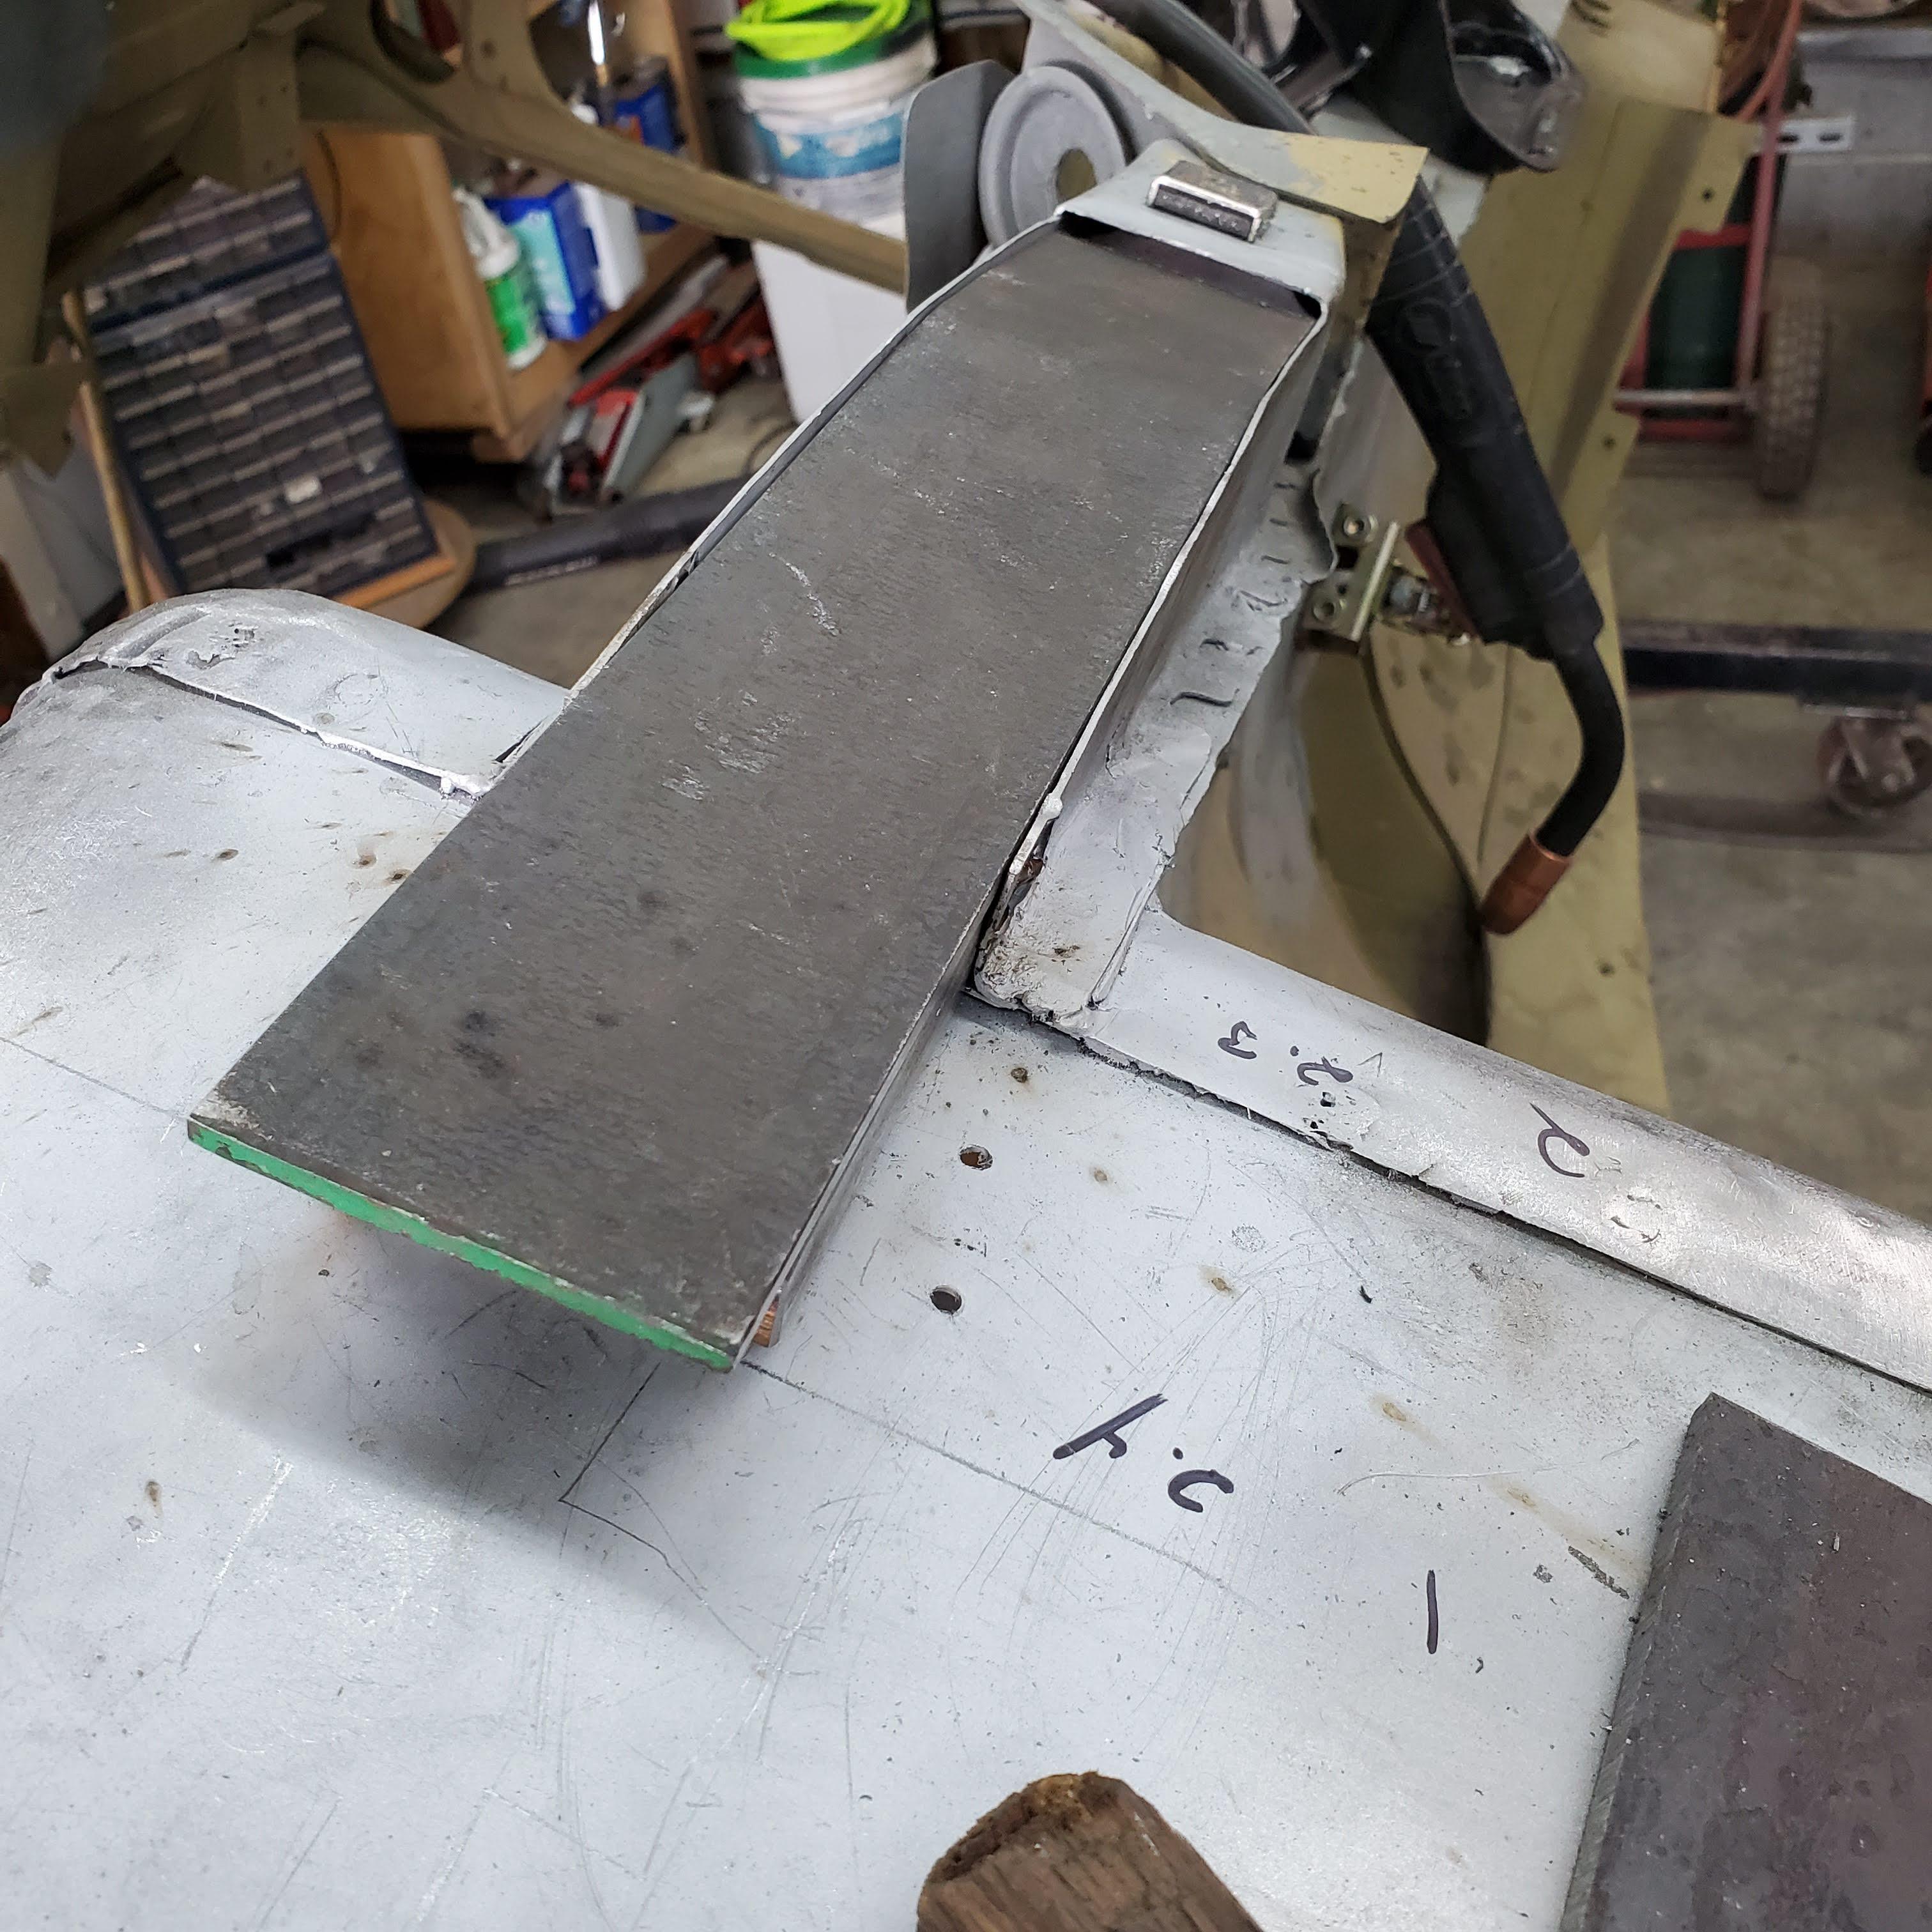
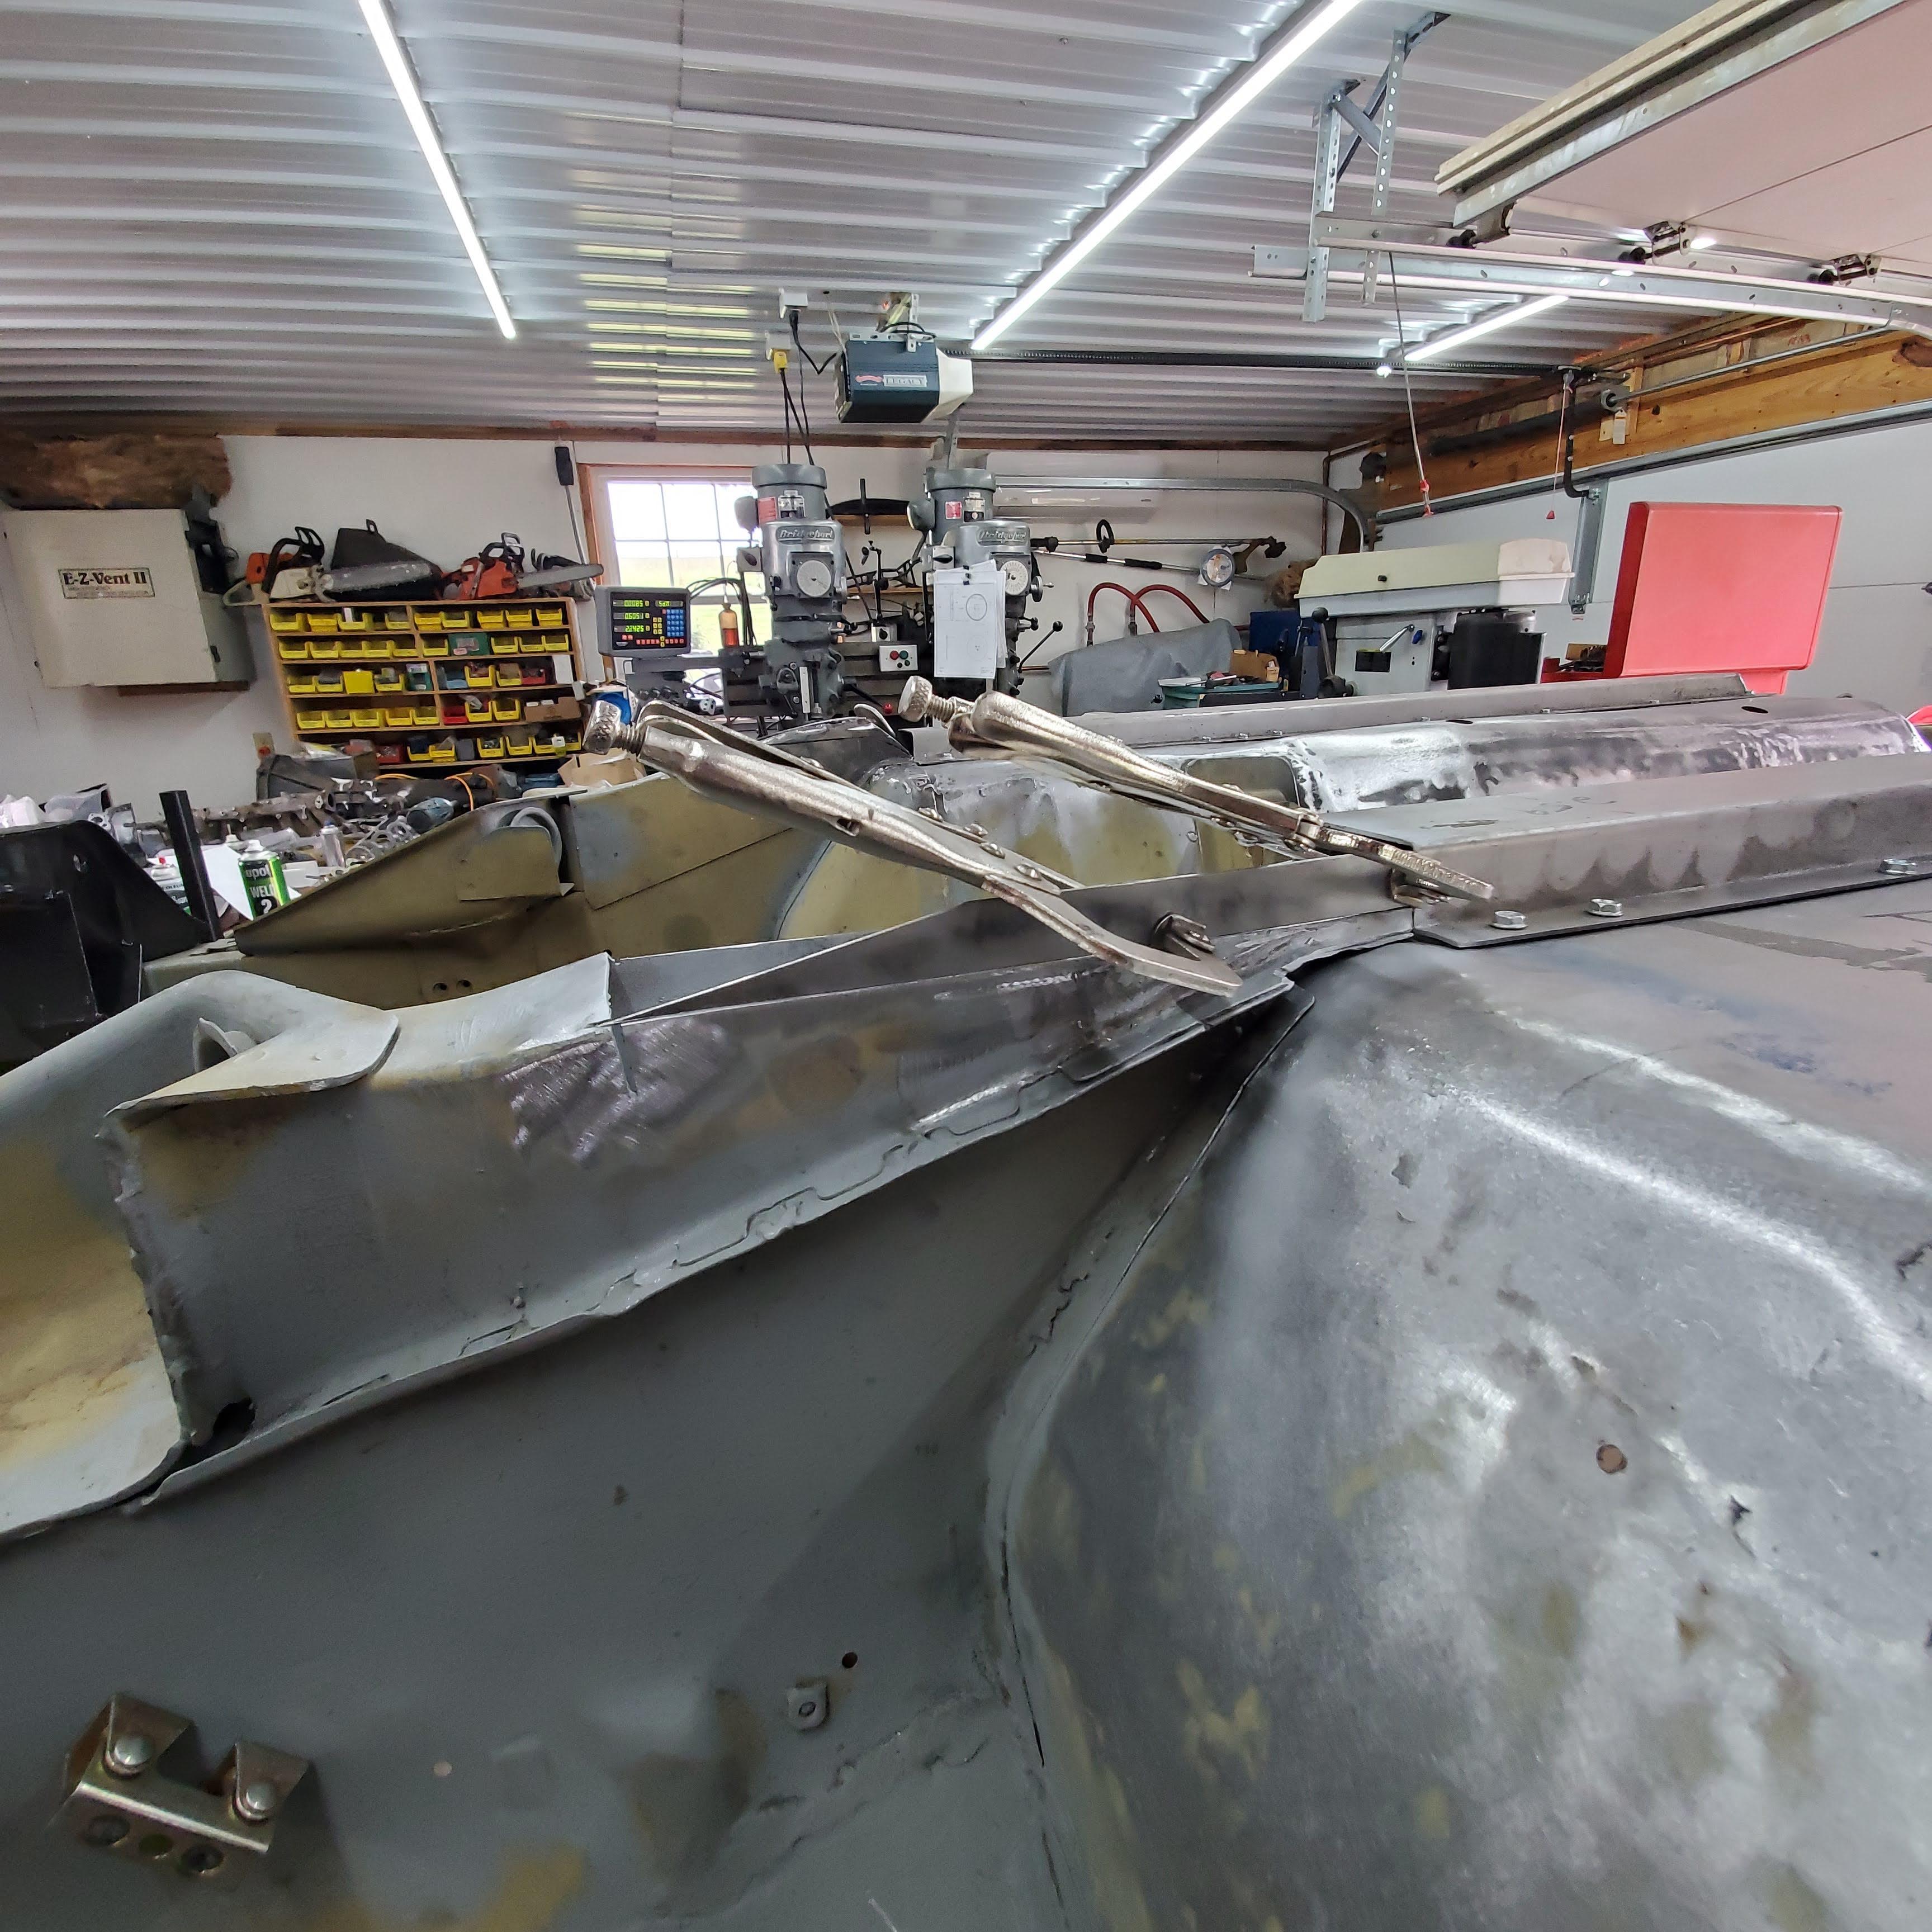
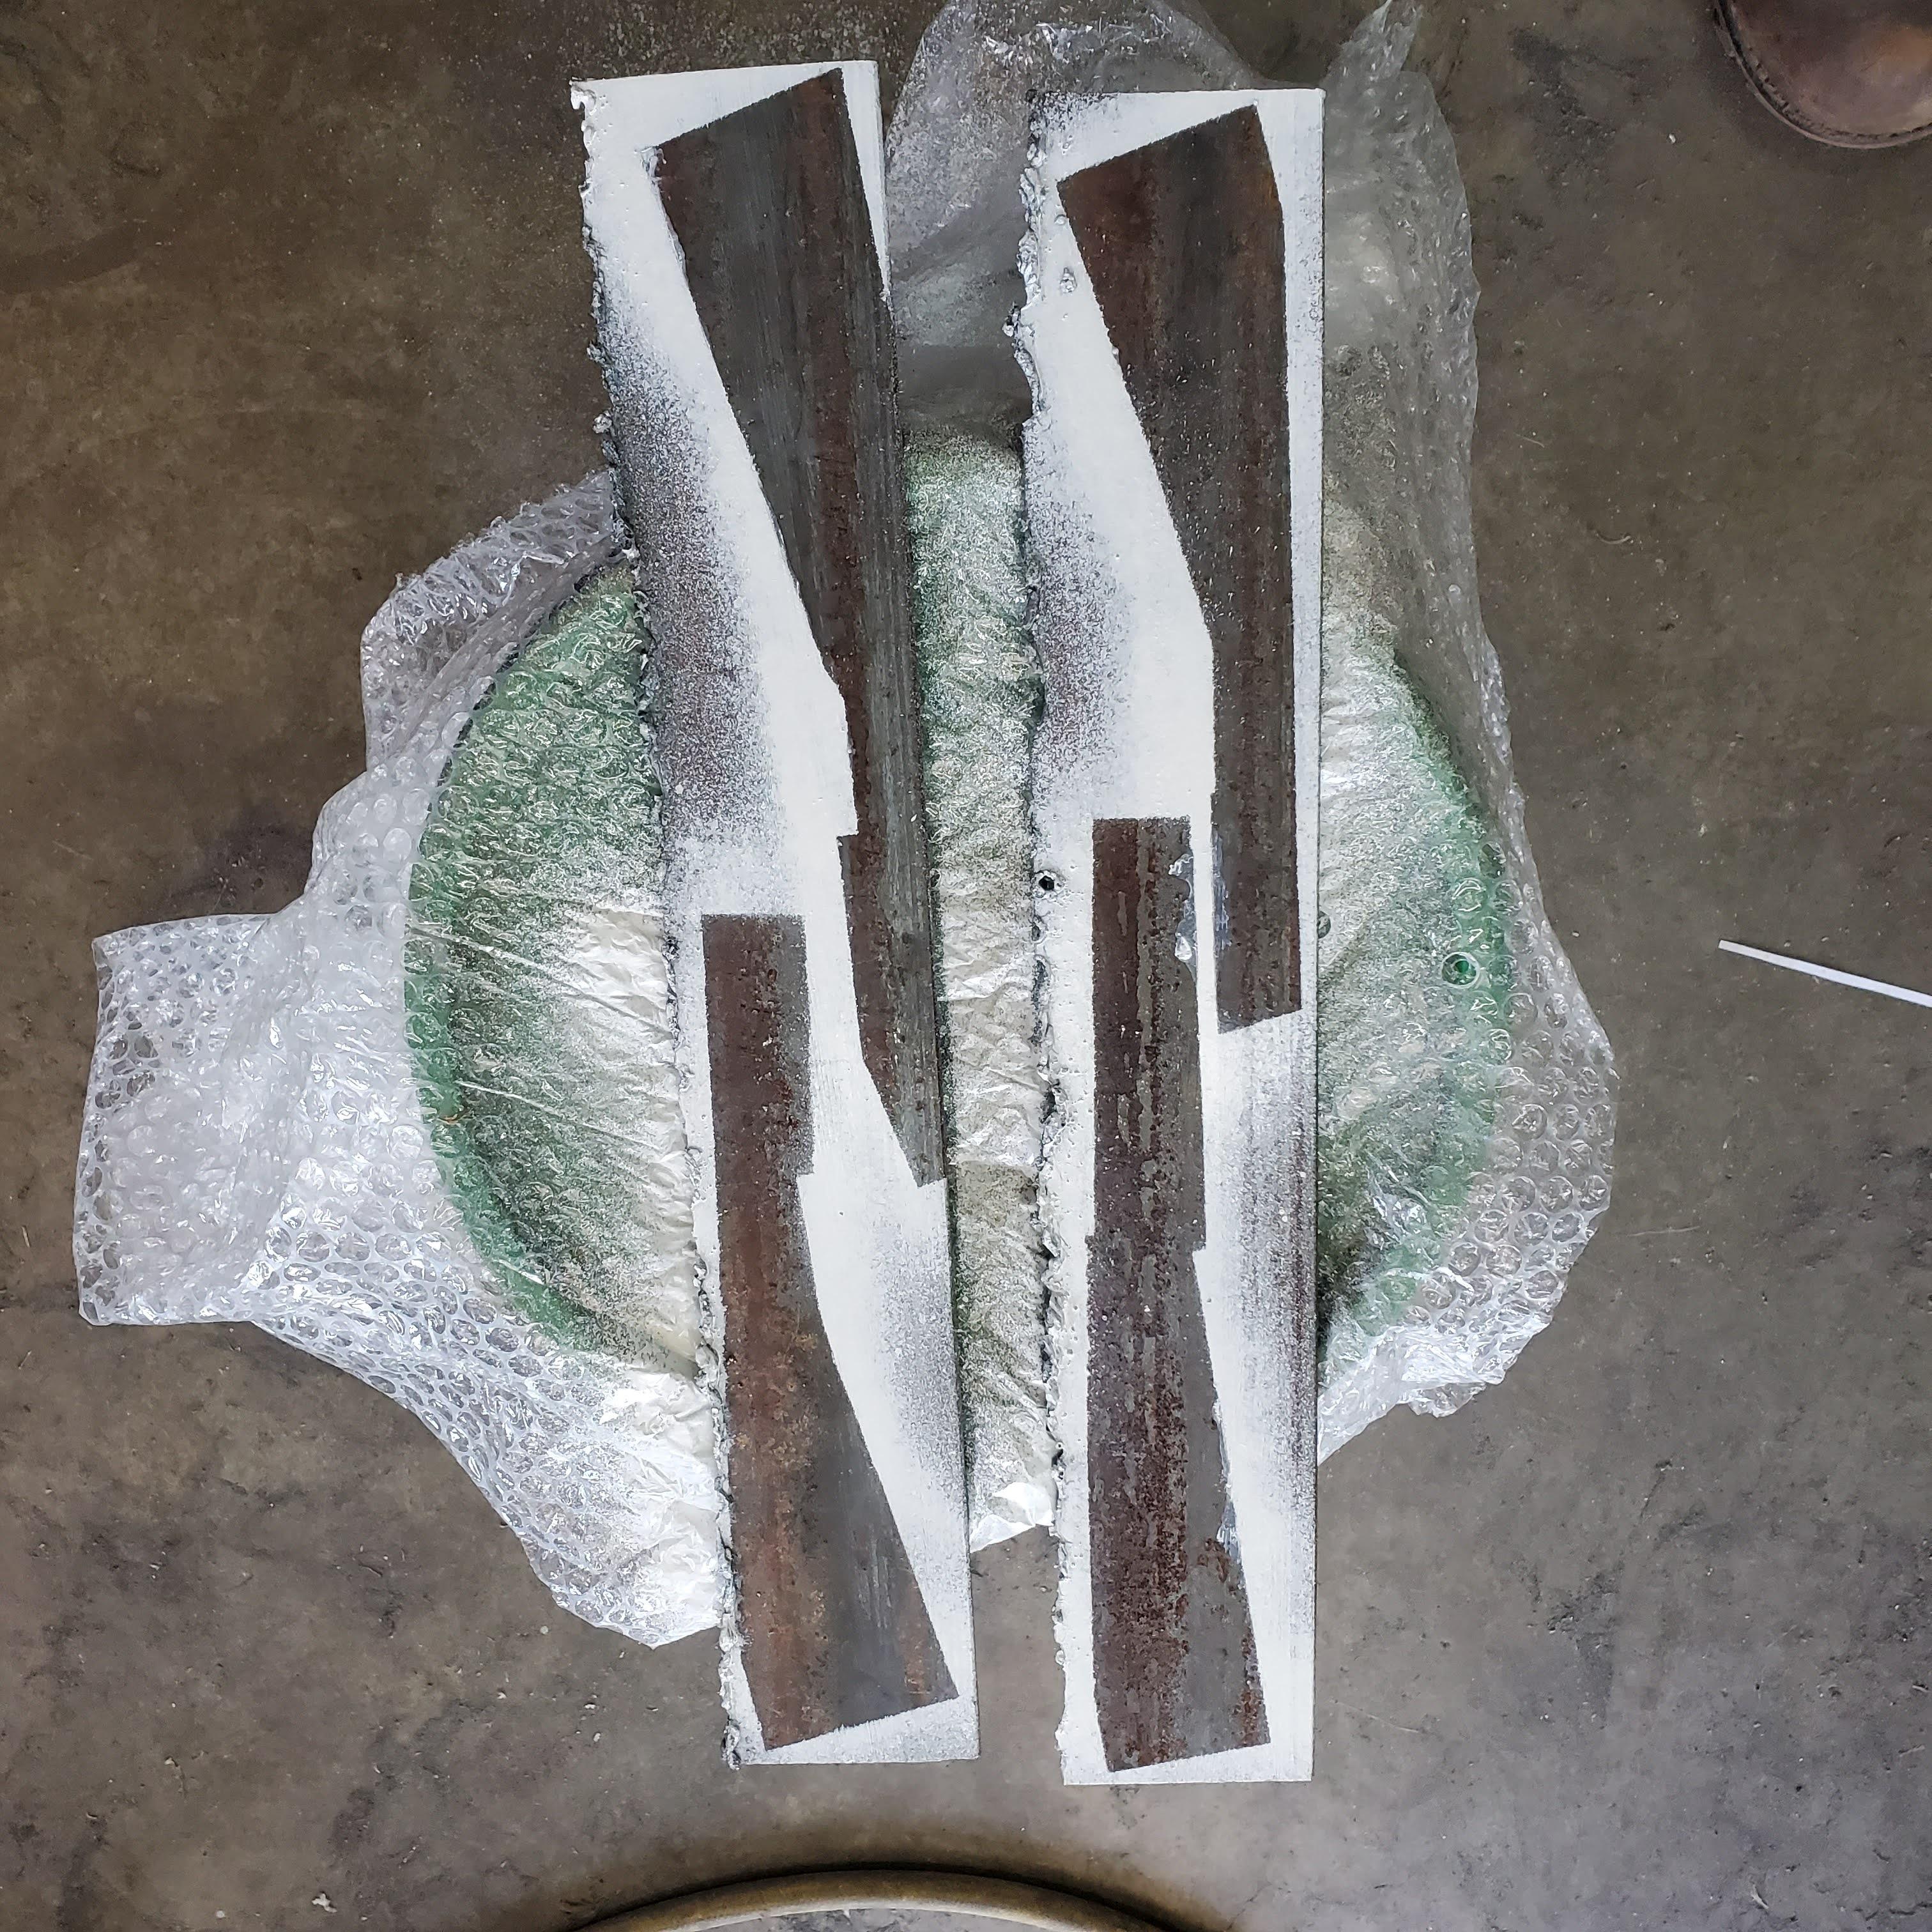
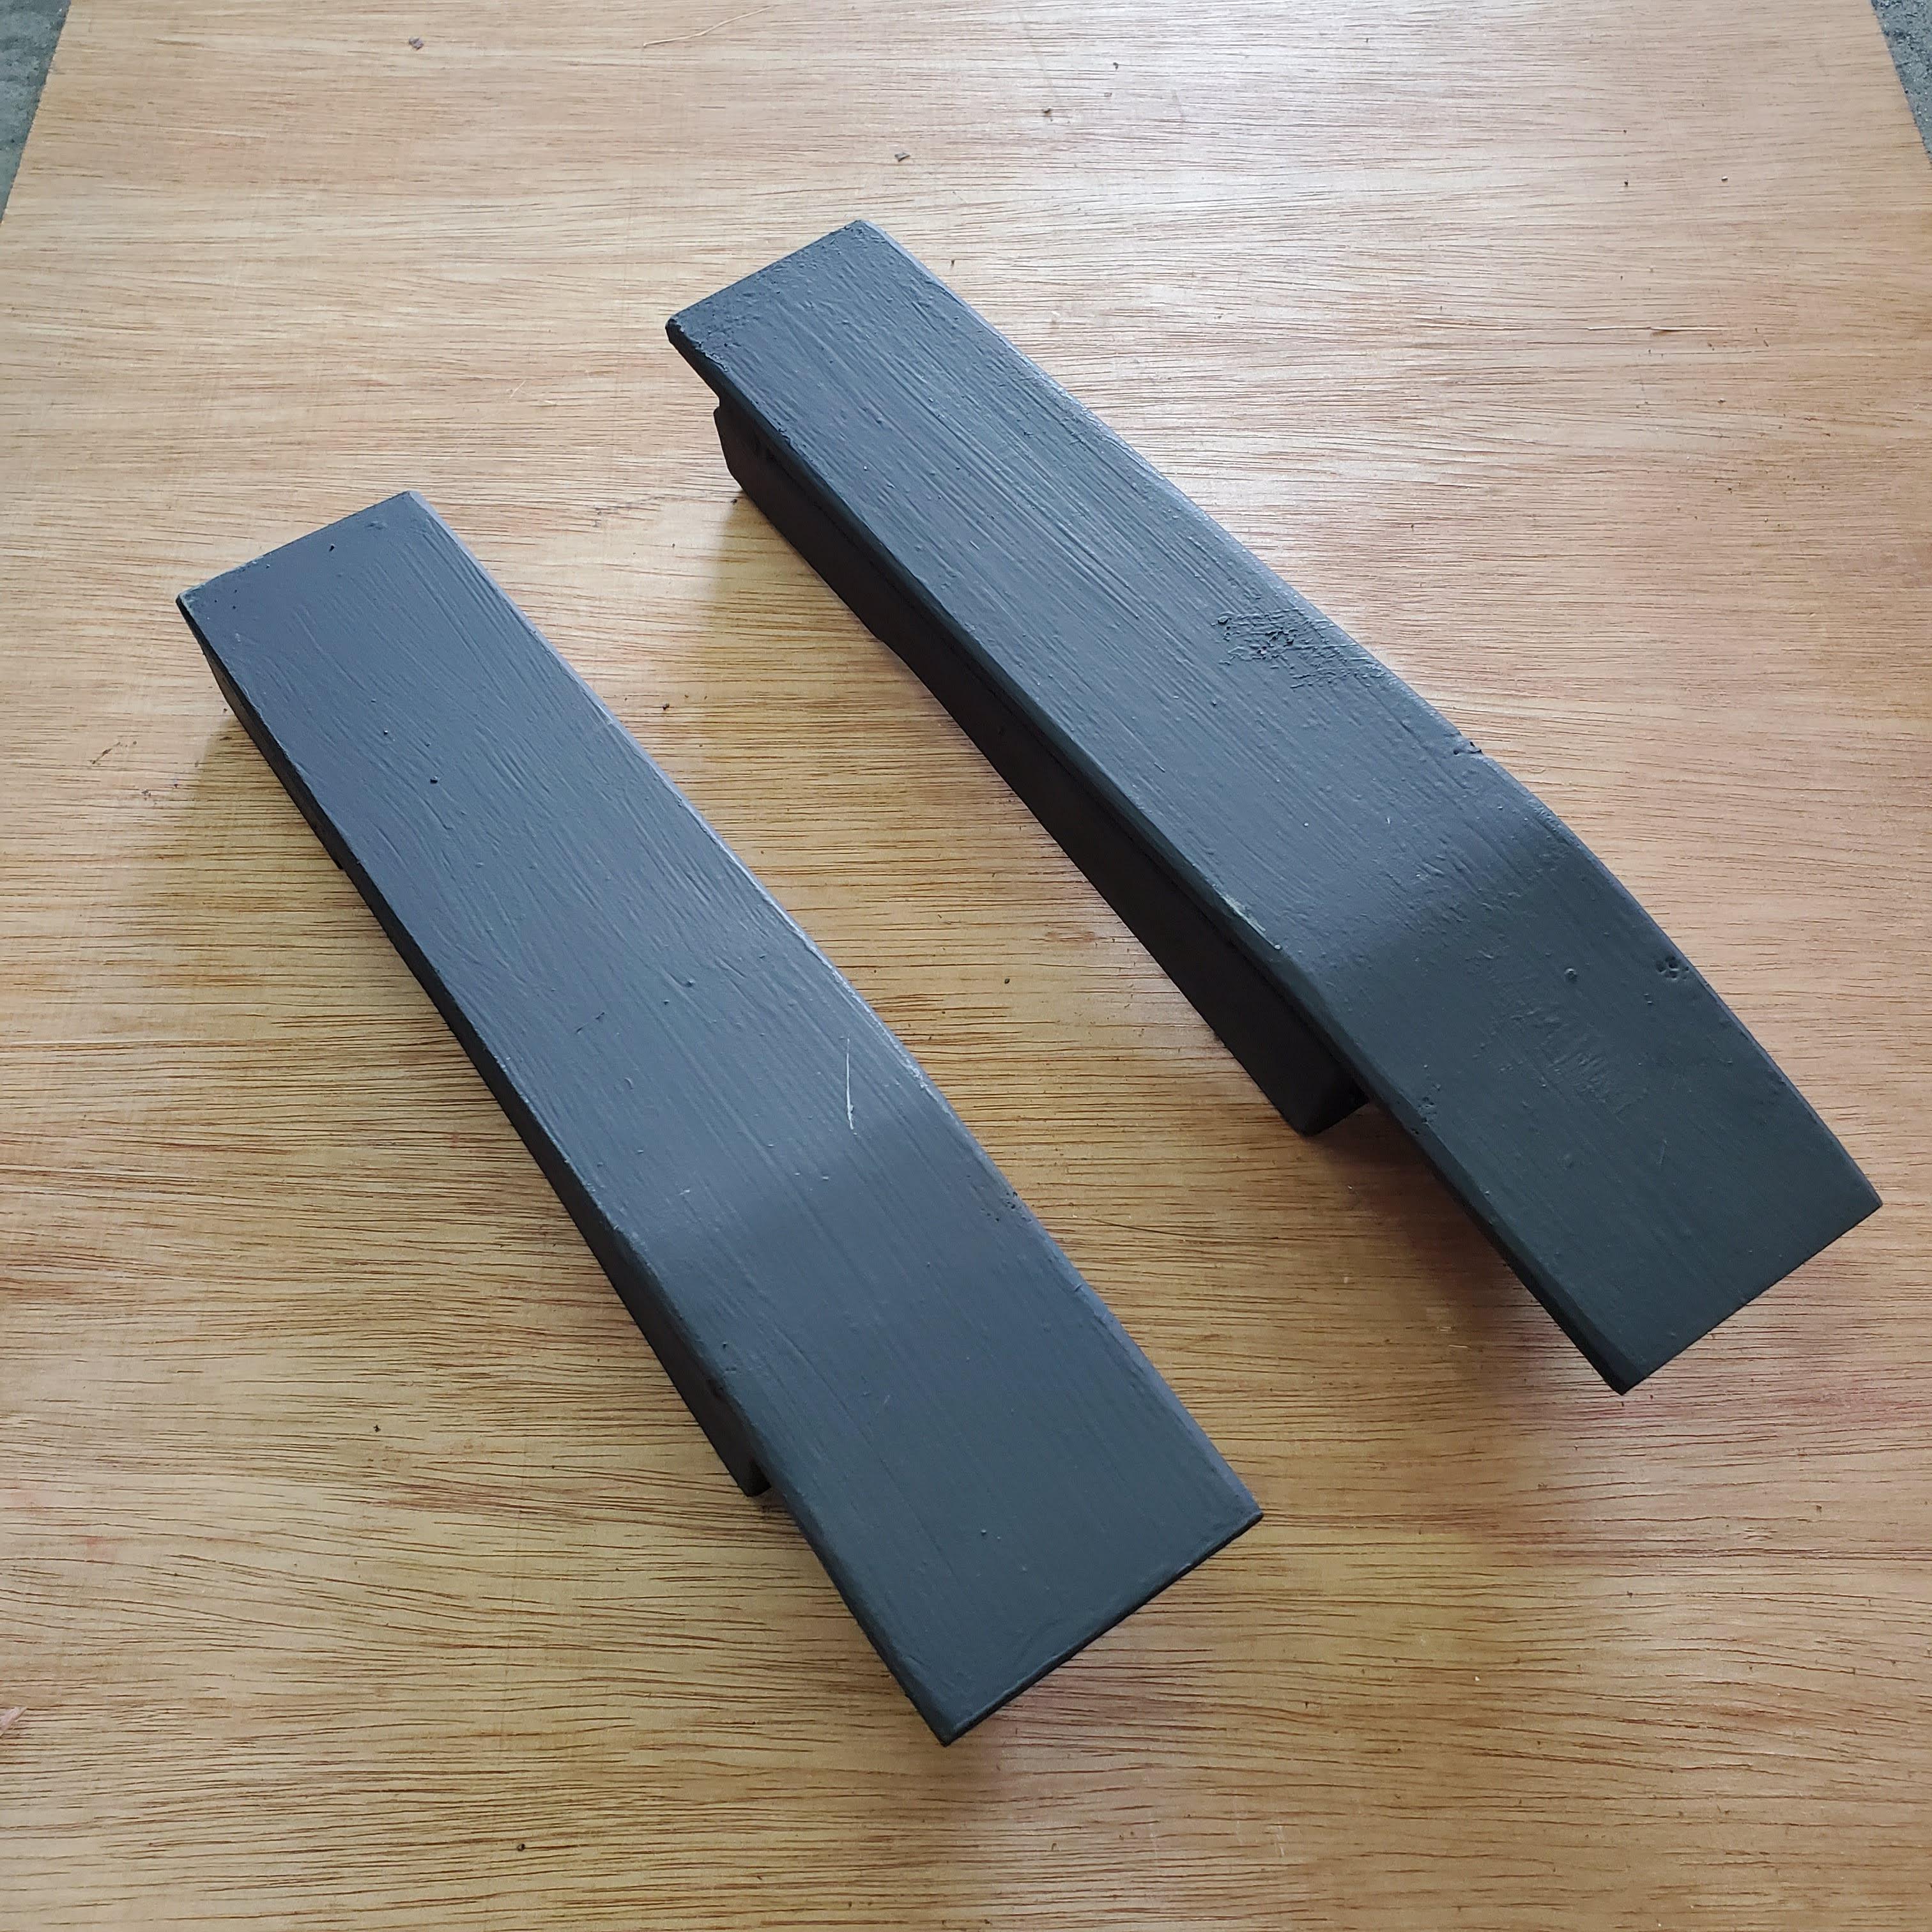
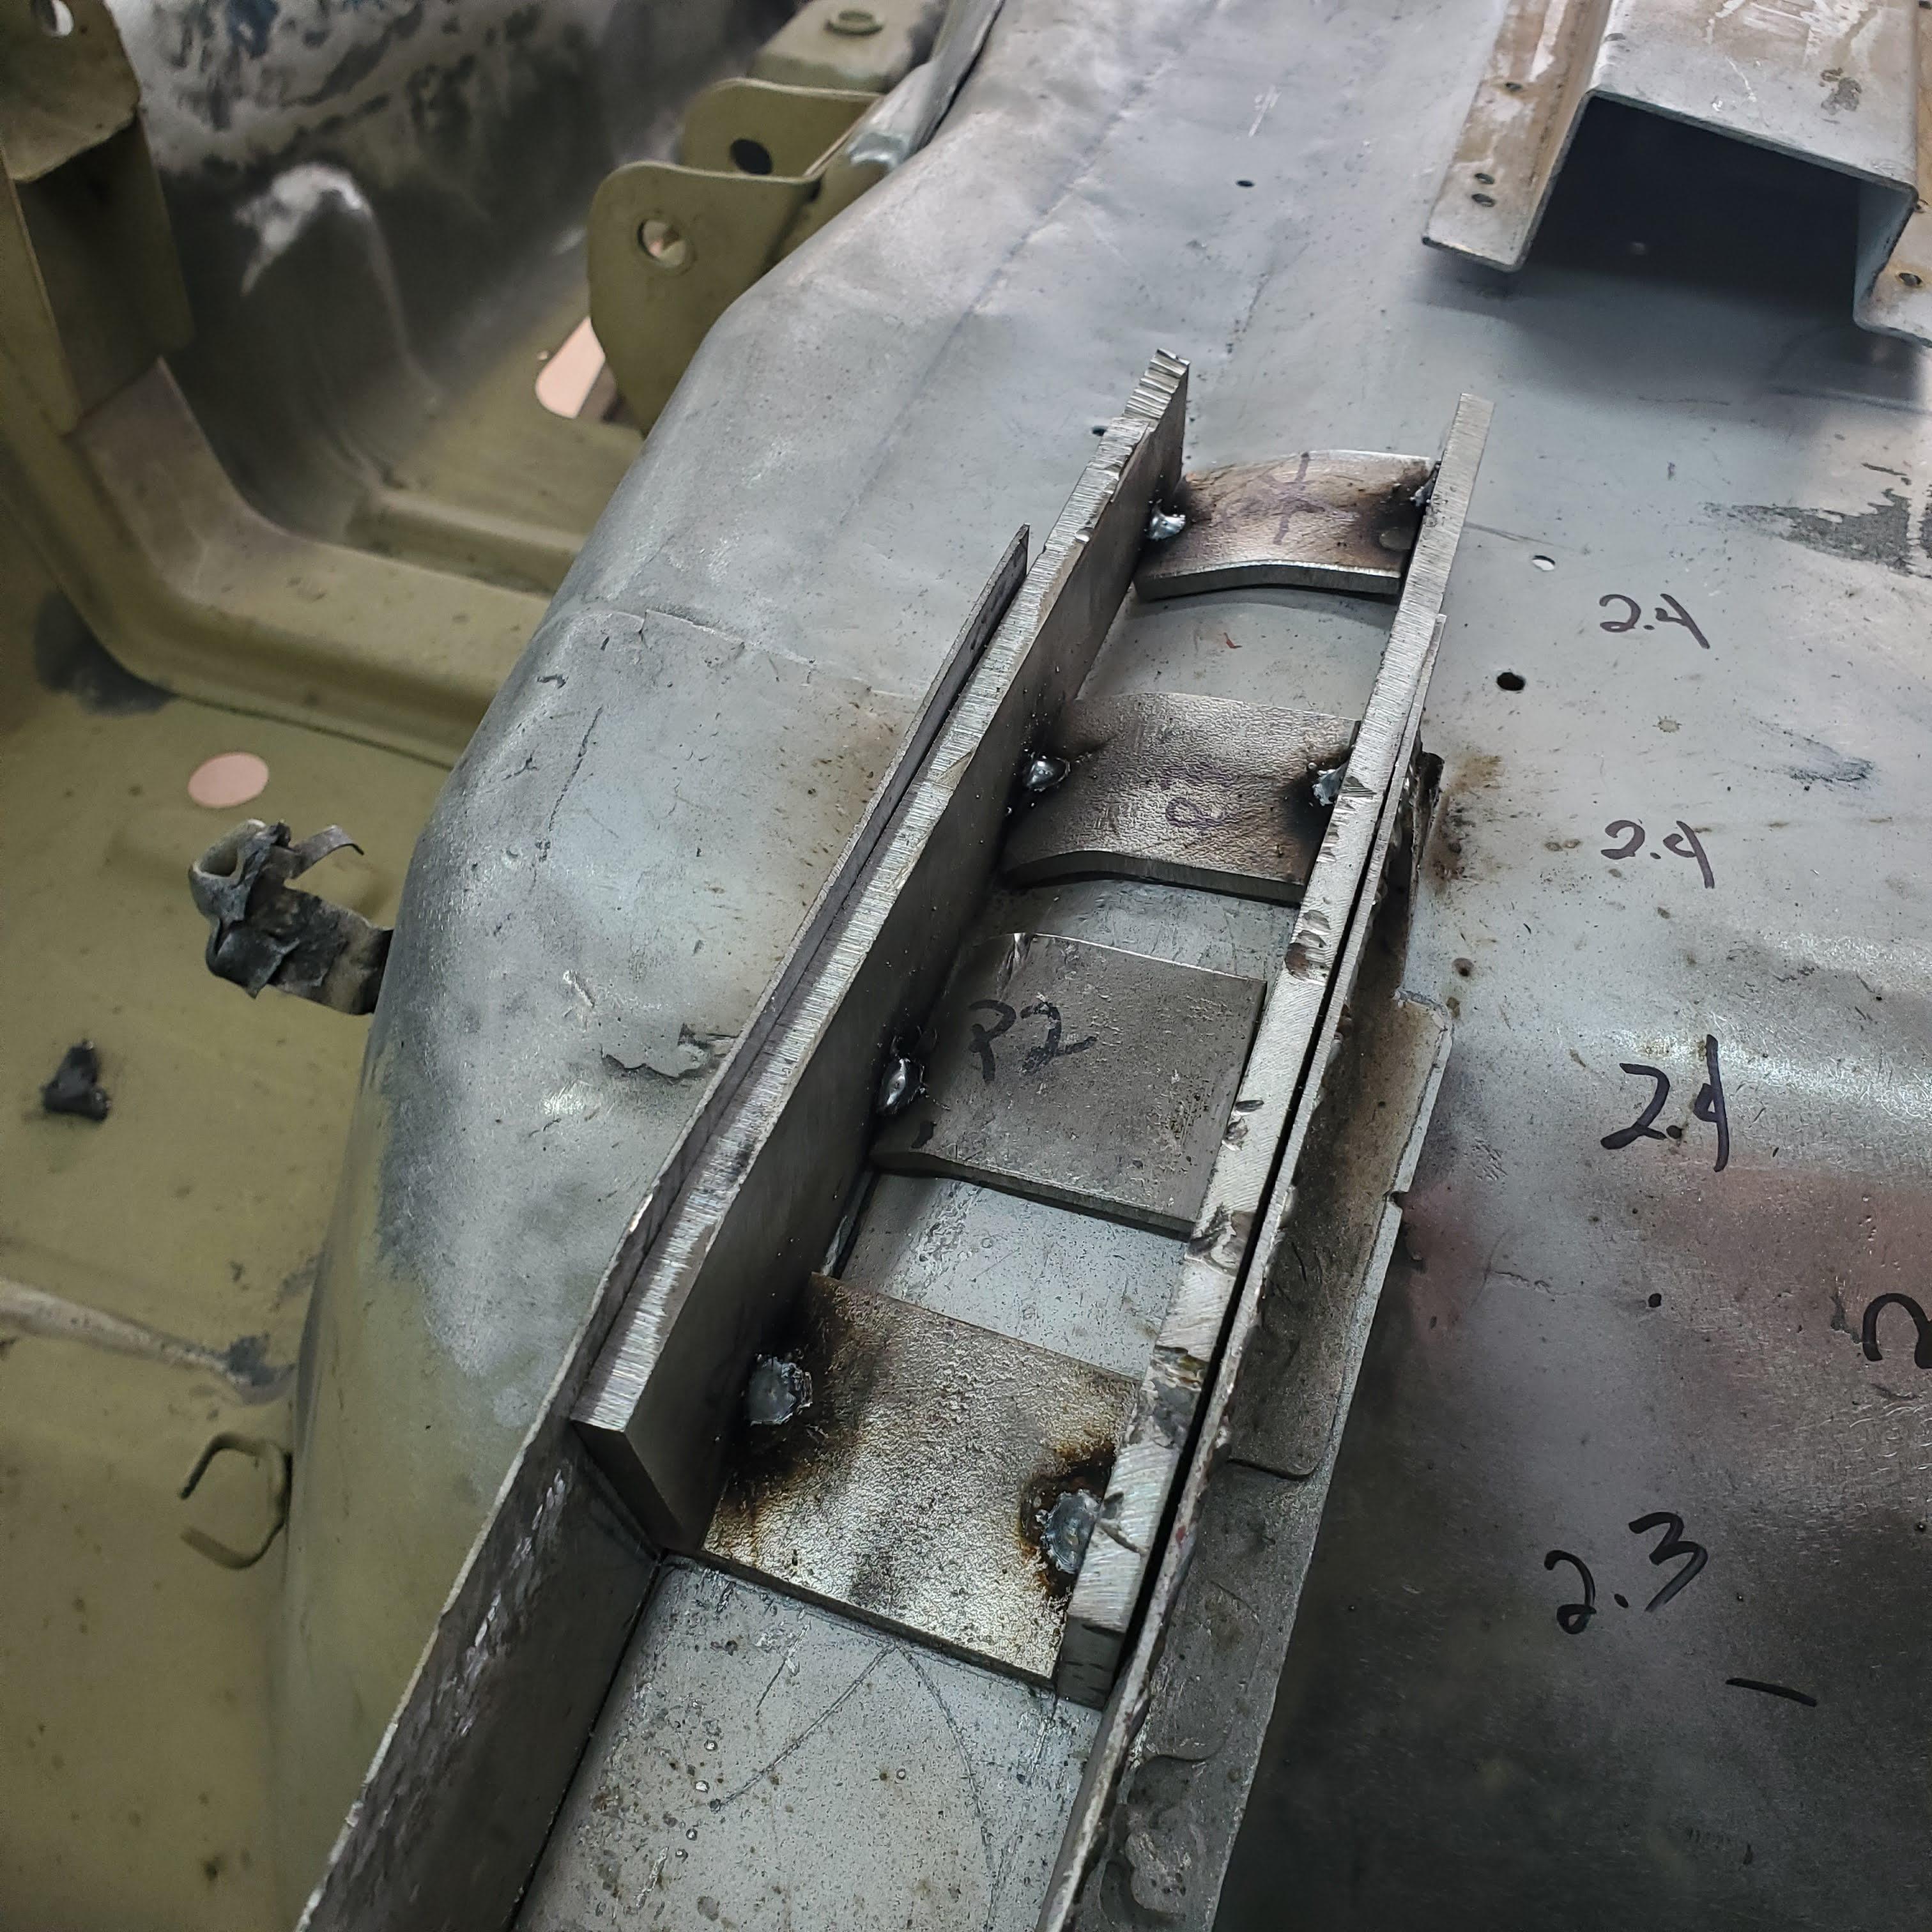
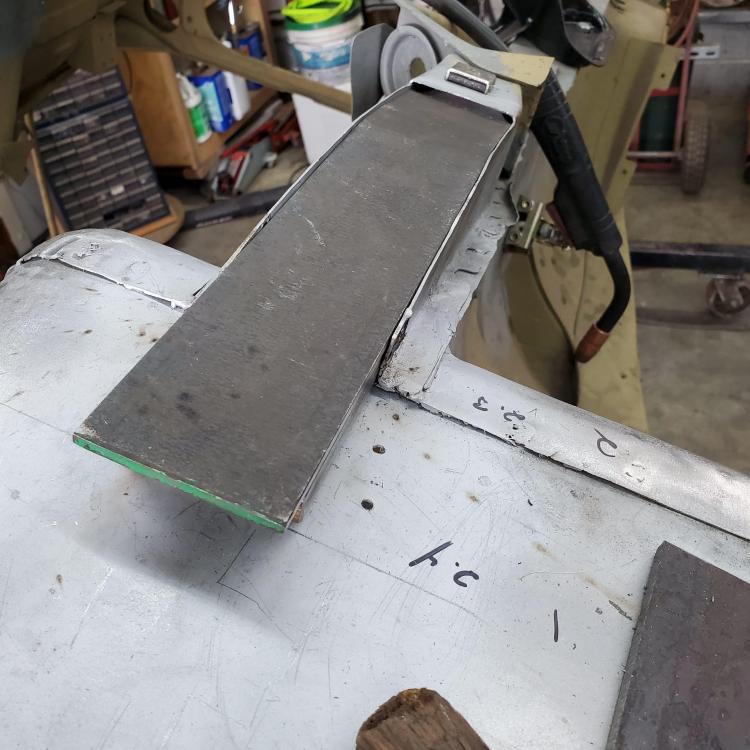
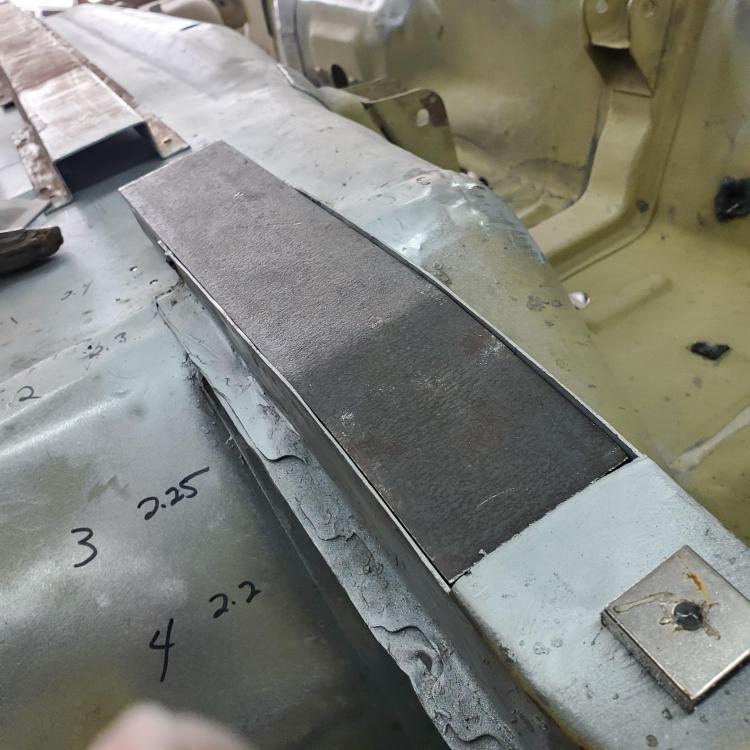
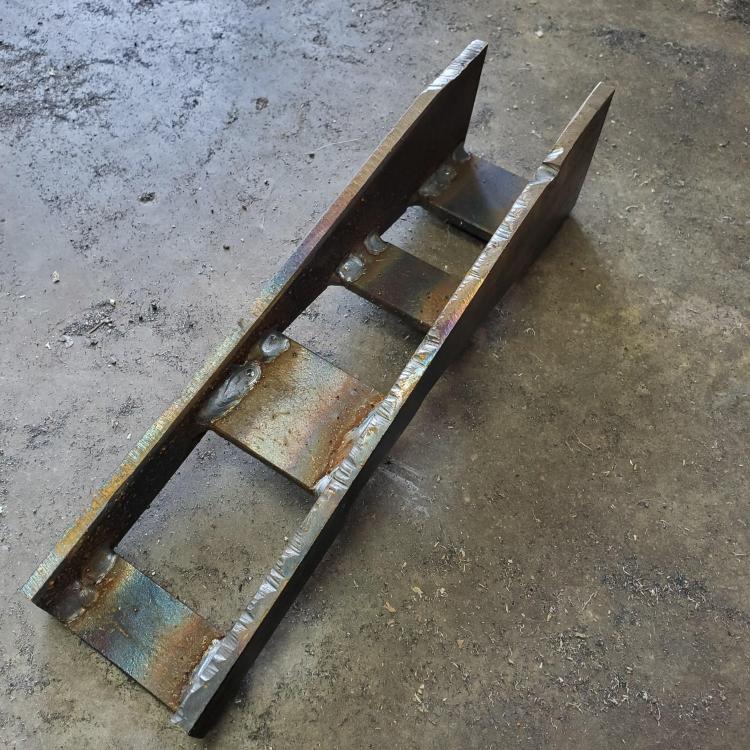
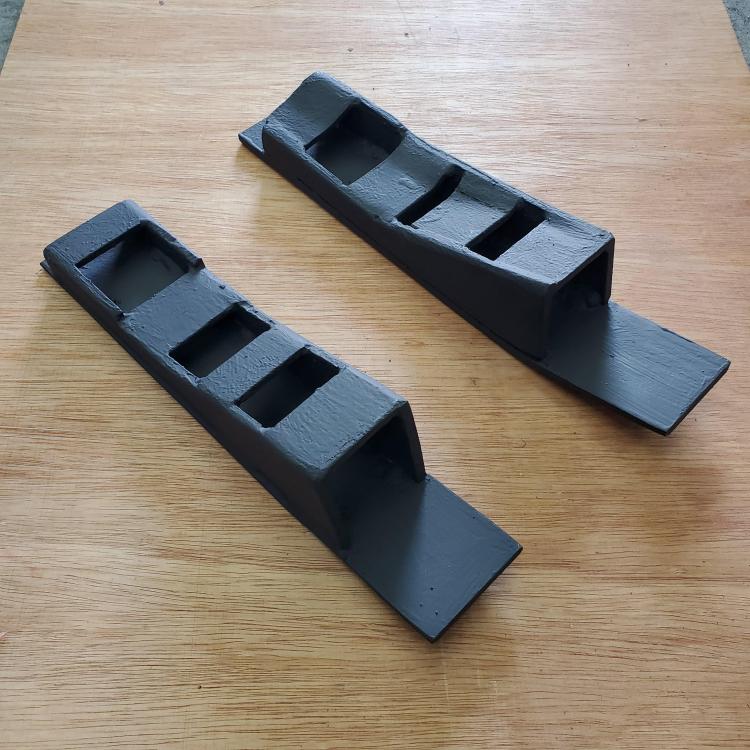
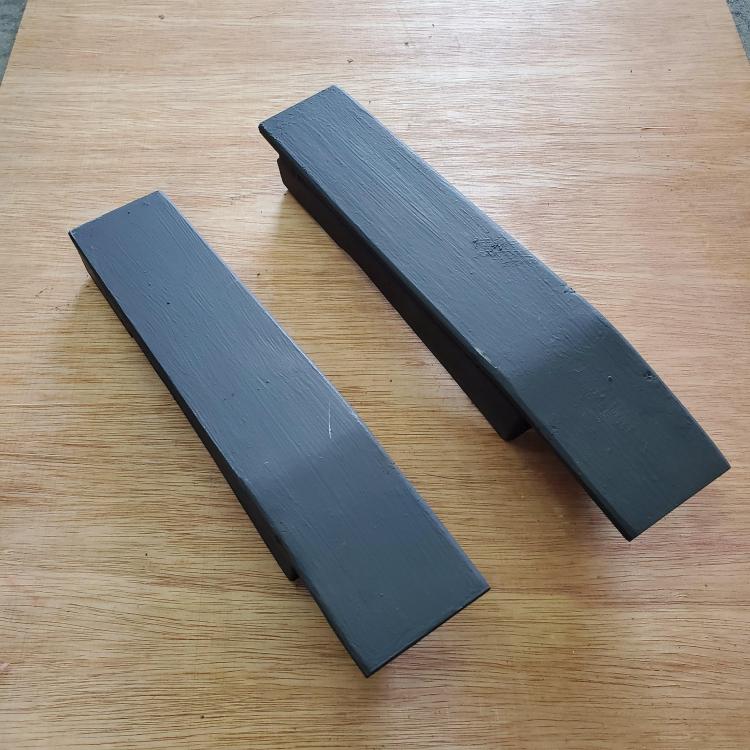
Started work on the frame supports. Started with paper templates on the steel. That's when it dawned on me it would take a lot of shaping to get the fit tight. Made from a 1/4 thick ell that I cut into two. Had to change the implementation somewhat. Since the floor pans are not perfectly flat in that region, I decided to make several smaller pieces on the topside rather use one large piece. This enabled me to follow the contours of the floor much better, but also reduces the contact area between the supports and floor pans. I specifically located one piece under the floor pan/lower dash union - only because my car had some good whacks on that location which took a lot of hammer work to make right. After welding, it still took a bit of shaping to get a very tight fit inside the frame connectors/floor supports. When I was finally happy with them, they spent a few minutes in the wet blast cabinet, then I painted them in ZRC. After two days to cure, I realized I had missed a spot inside the support. Two more day's wait, ready to go in. Good thing there's always plenty to do.


-
Gee, thanks to all! Nice to have a recipe.