



Patcon
Supporting Member
-
Joined
-
Last visited
Everything posted by Patcon
-
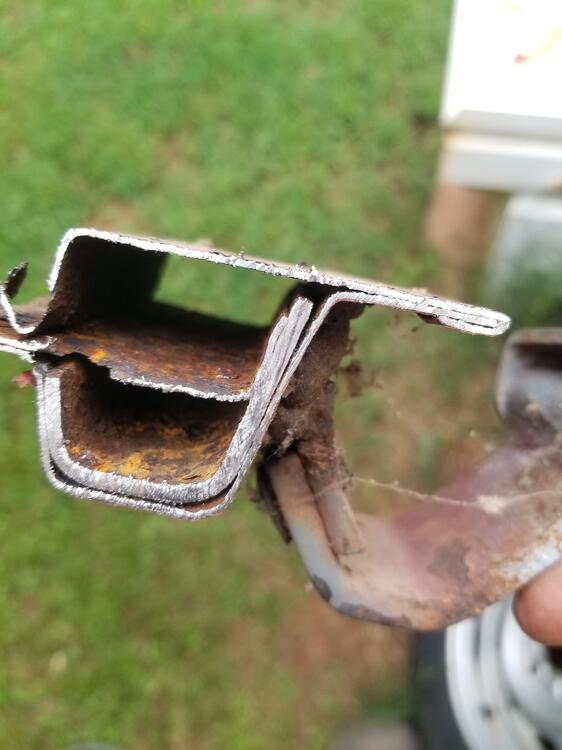
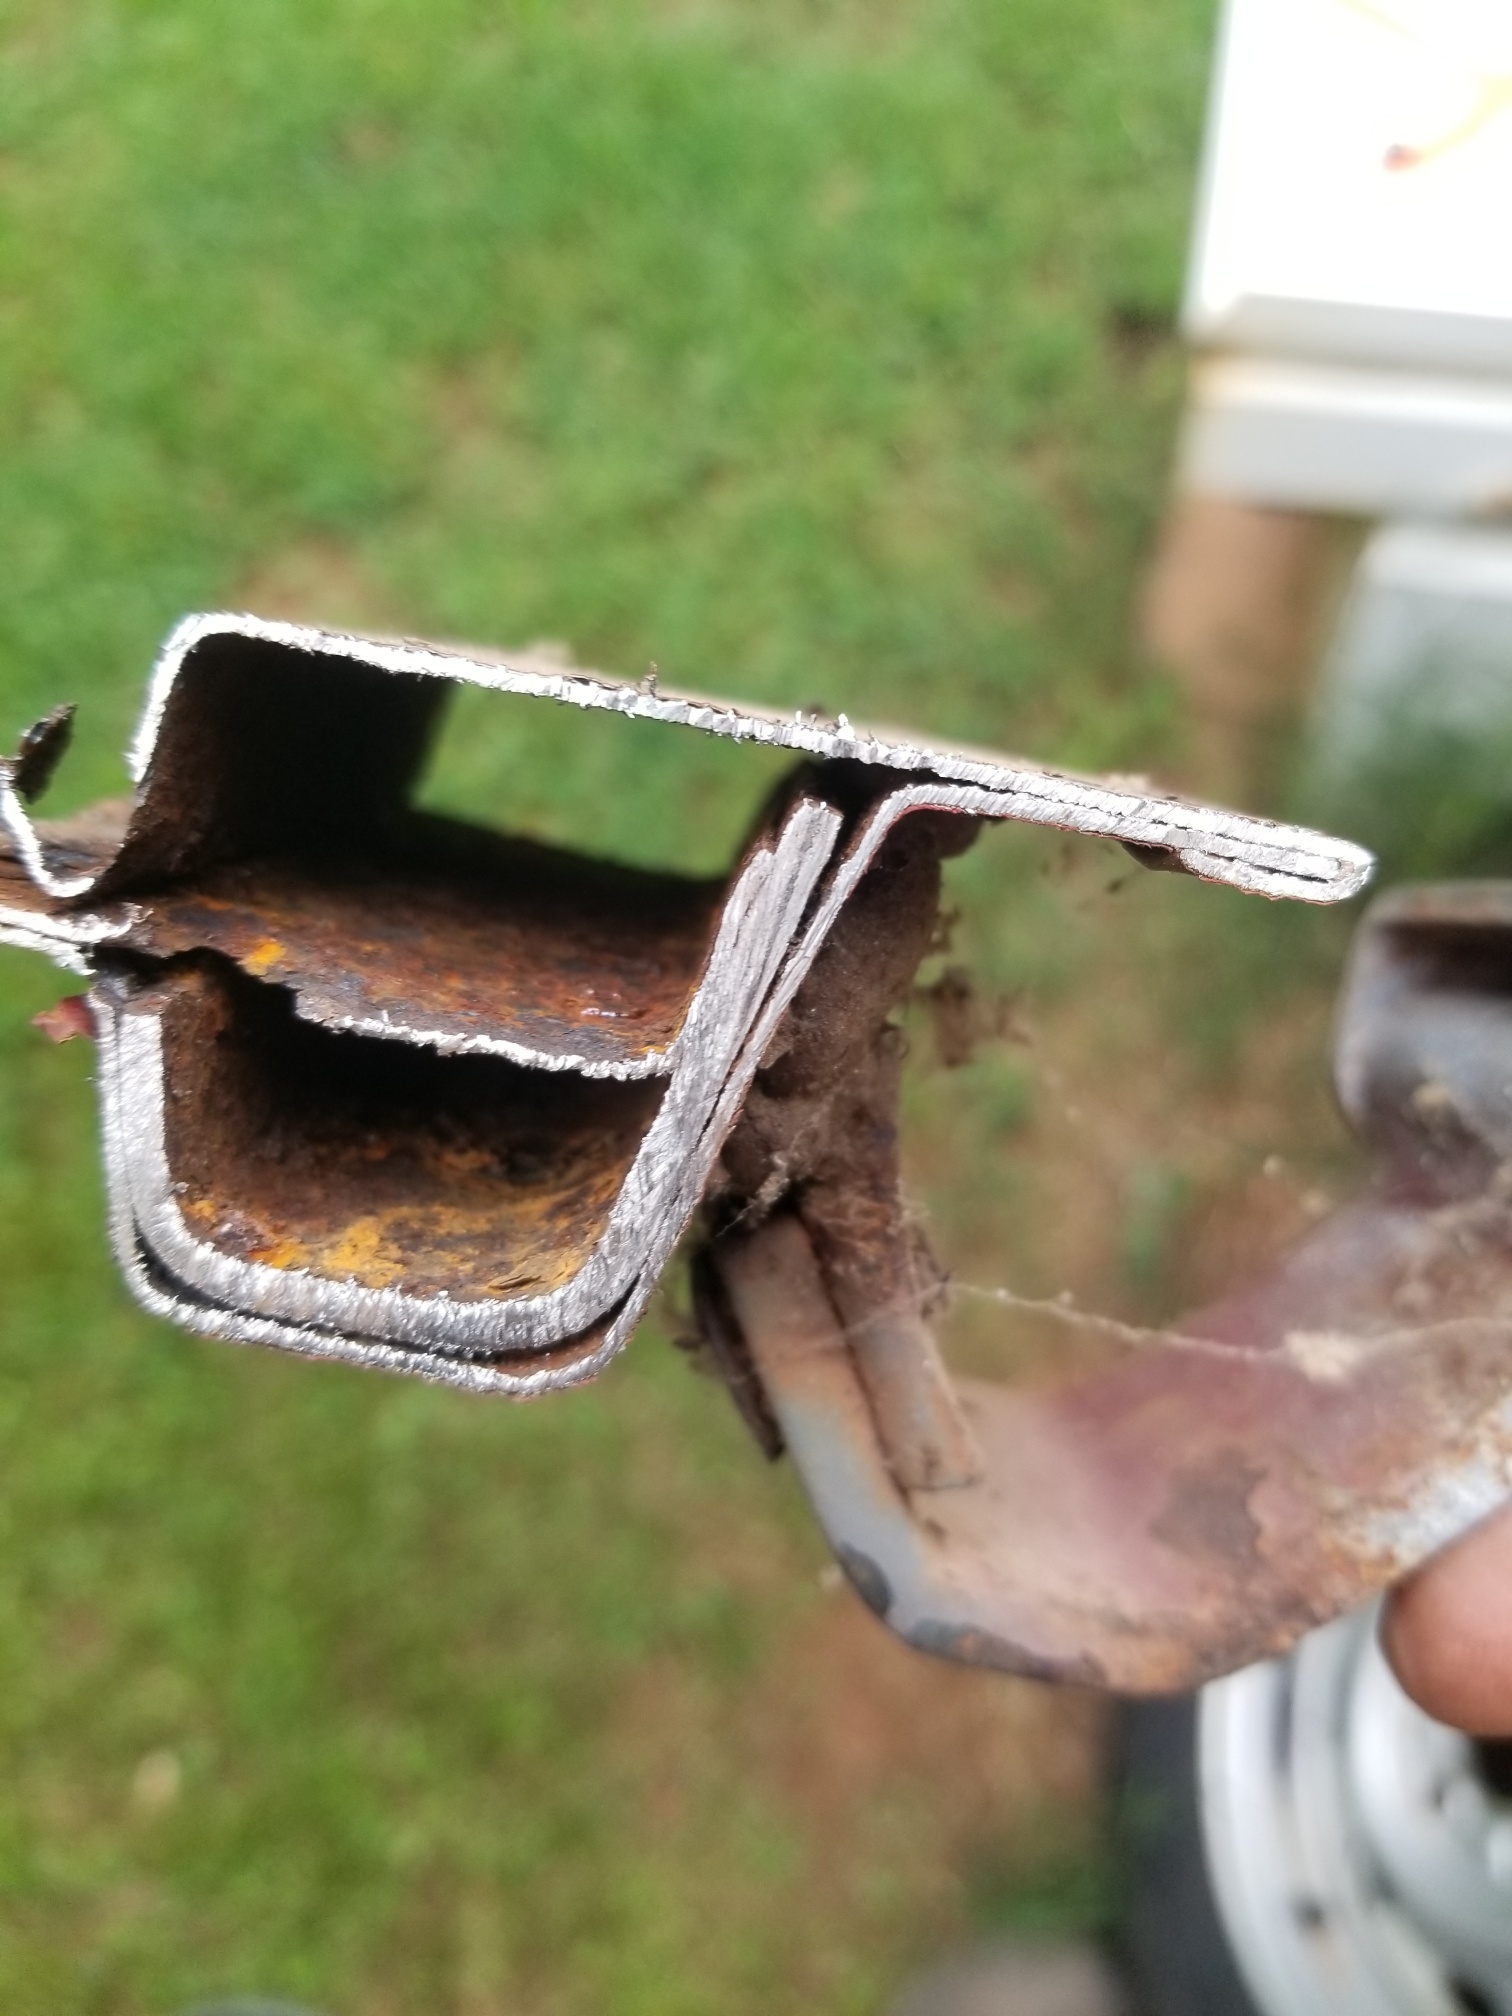
Bondo ( plastic body filler) is really not a suitable material for dealing with rust holes. It is not water proof so moisture can travel through it and continue the rusting process. Grannyknot is correct that the hole is probably larger than you suspect once you get back to sound metal. I also agree with the sentiment that you need to get the metal clean. I would also add a step of treating the rust with a phosphating chemical. This chemically converts what minor rust is left. If I was going to try to fill a hole after this and didn't have access to a welder then I would use short hair fiberglass resin. Fiberglass resin is totally water proof after it's cured. But bare in mind that fiberglass resin gets much harder than filler! It's harder to shape and finish well. Once the hole is sort of filled and sealed up you can use filler over the primed resin to make it smooth.
-
No I haven't checked the part numbers. That would be very surprising if they were available. The only part Im not sure how you would refurbish are the ball joint ends.
-
https://www.ebay.com/sch/i.html?_from=R40&_trksid=p4432023.m570.l1313&_nkw=280zx+turbo+oil+cooler&_sacat=0
-
Both, and recommendations on how to deal with them moving forward
-
The 280zx turbo had an oil cooler with an adapter plate. I have no idea what they cost used
-
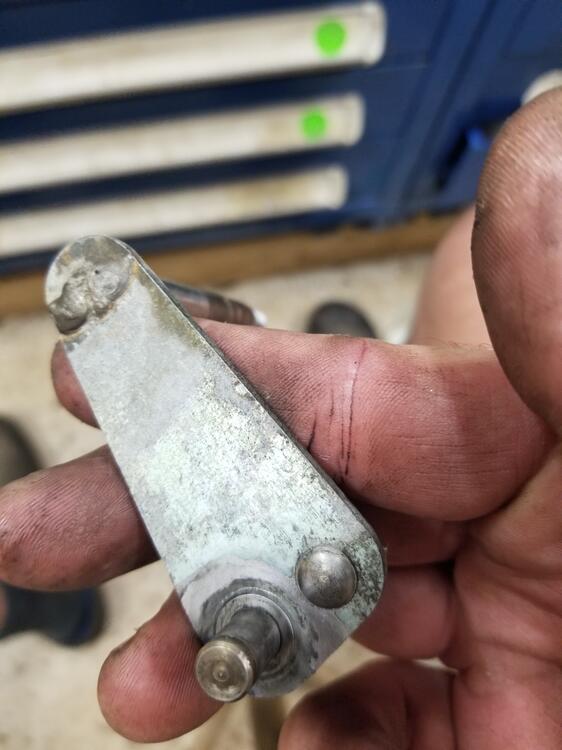
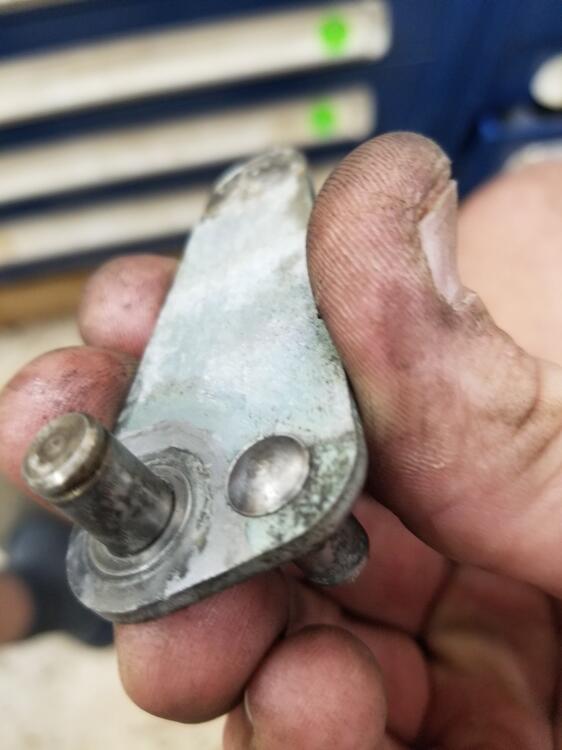
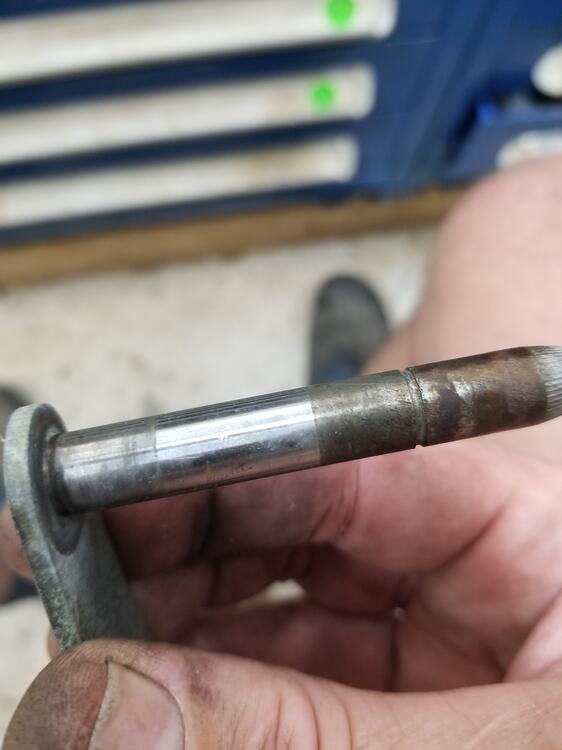
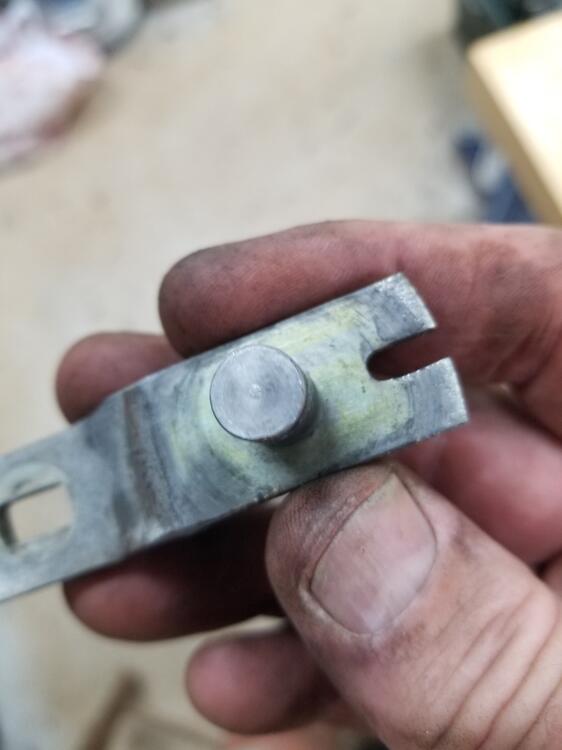
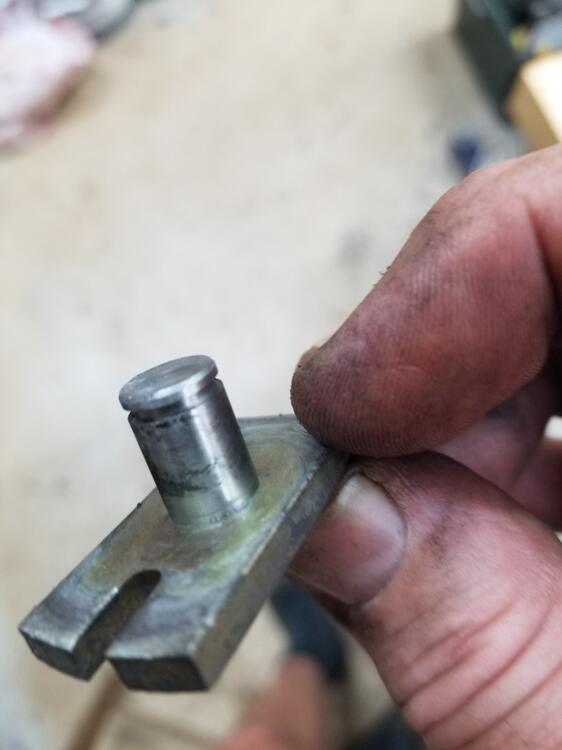
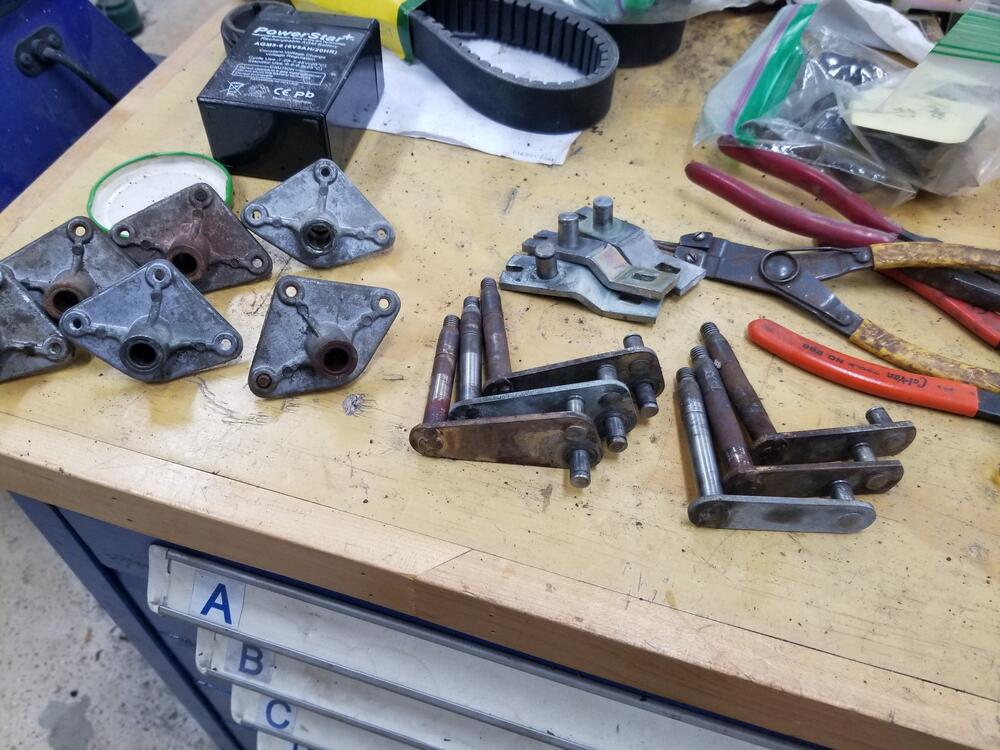
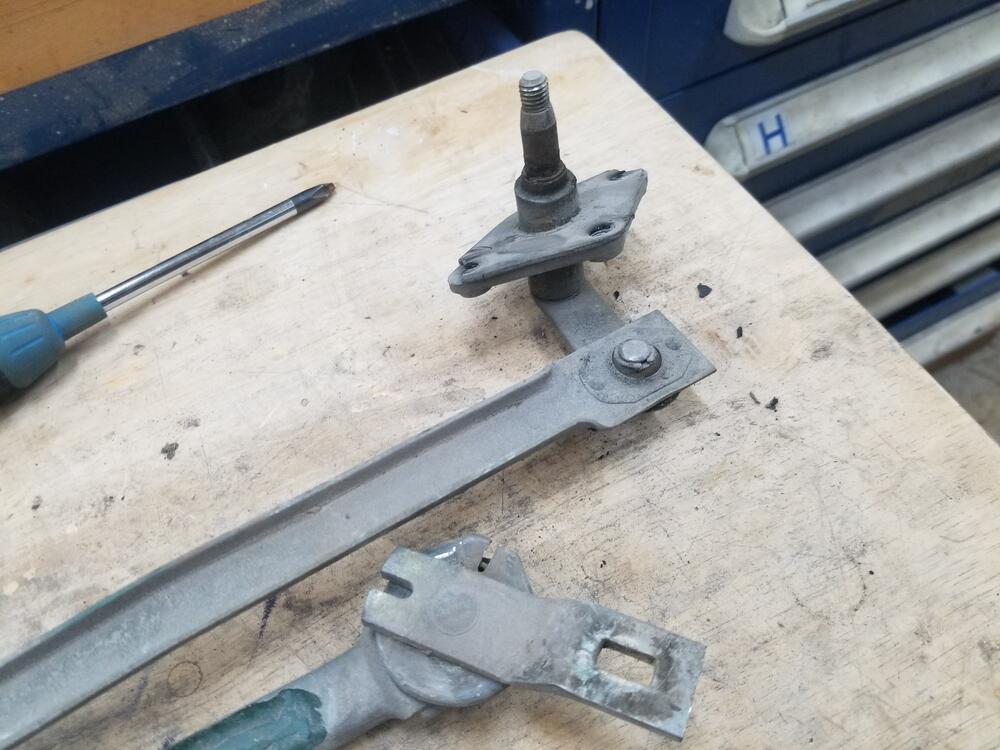
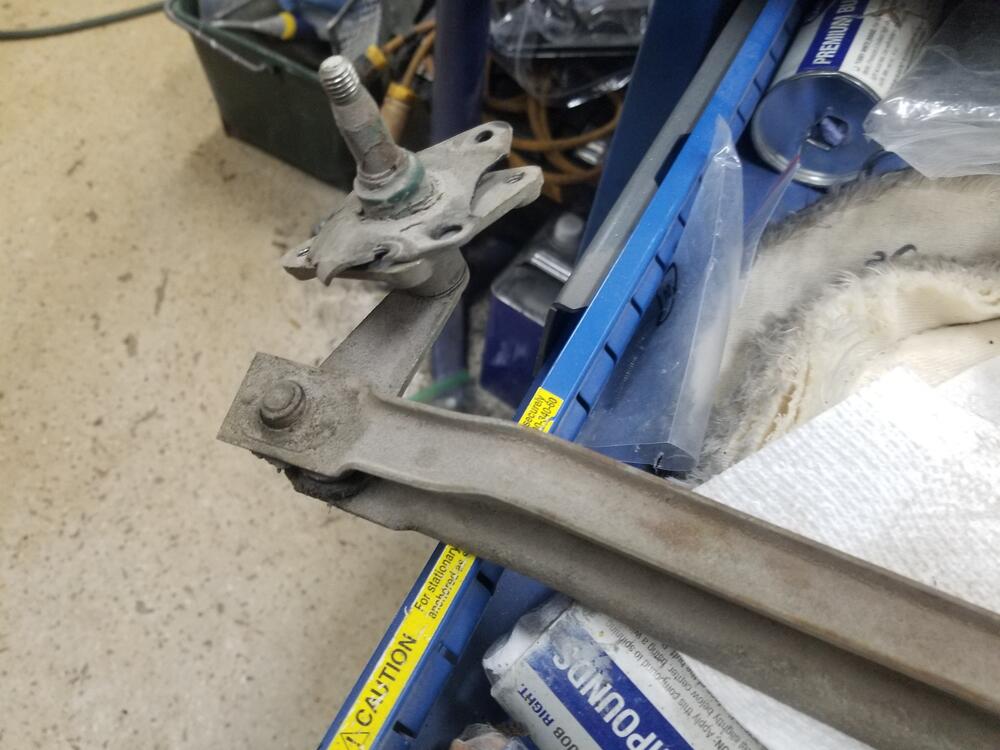
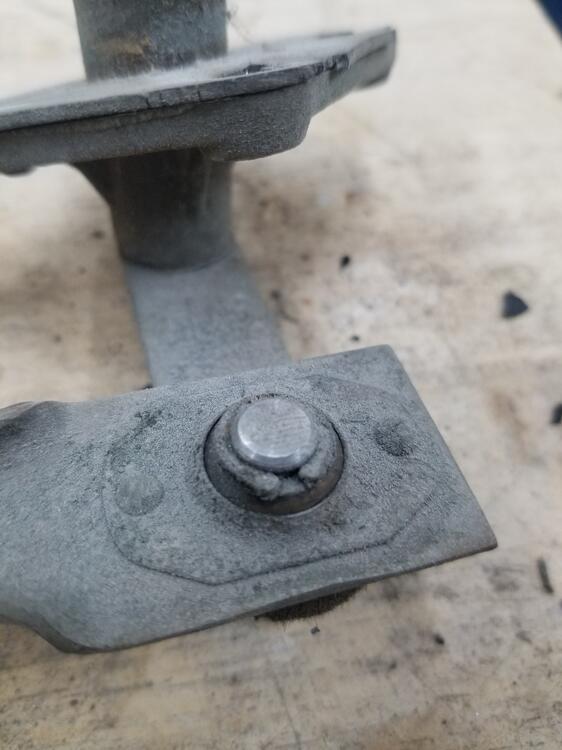
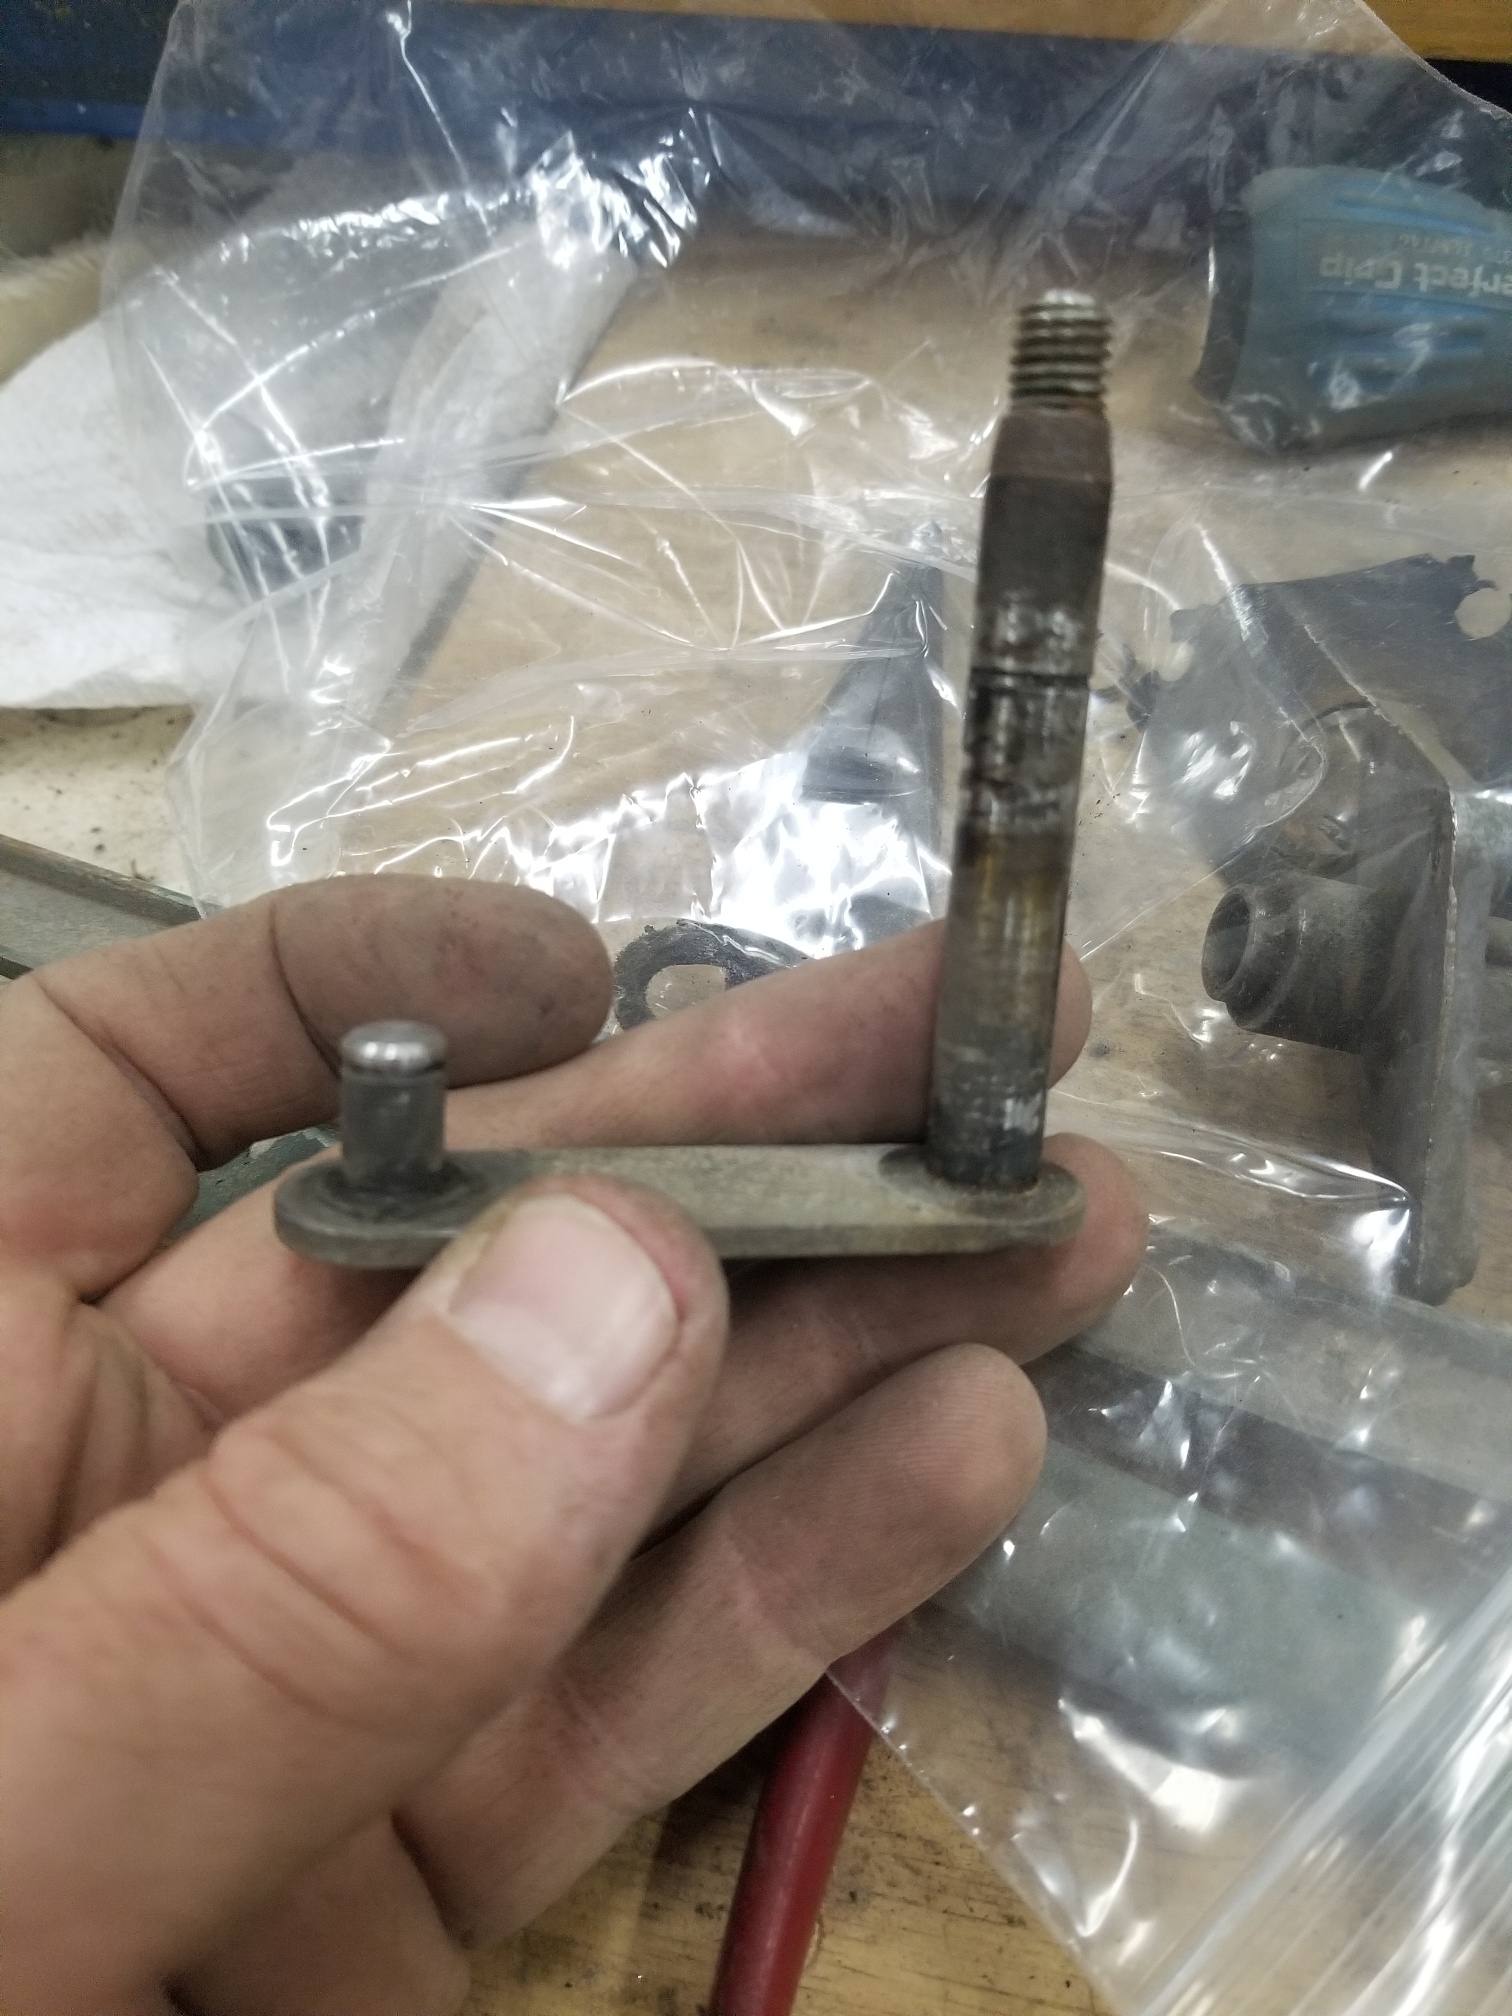
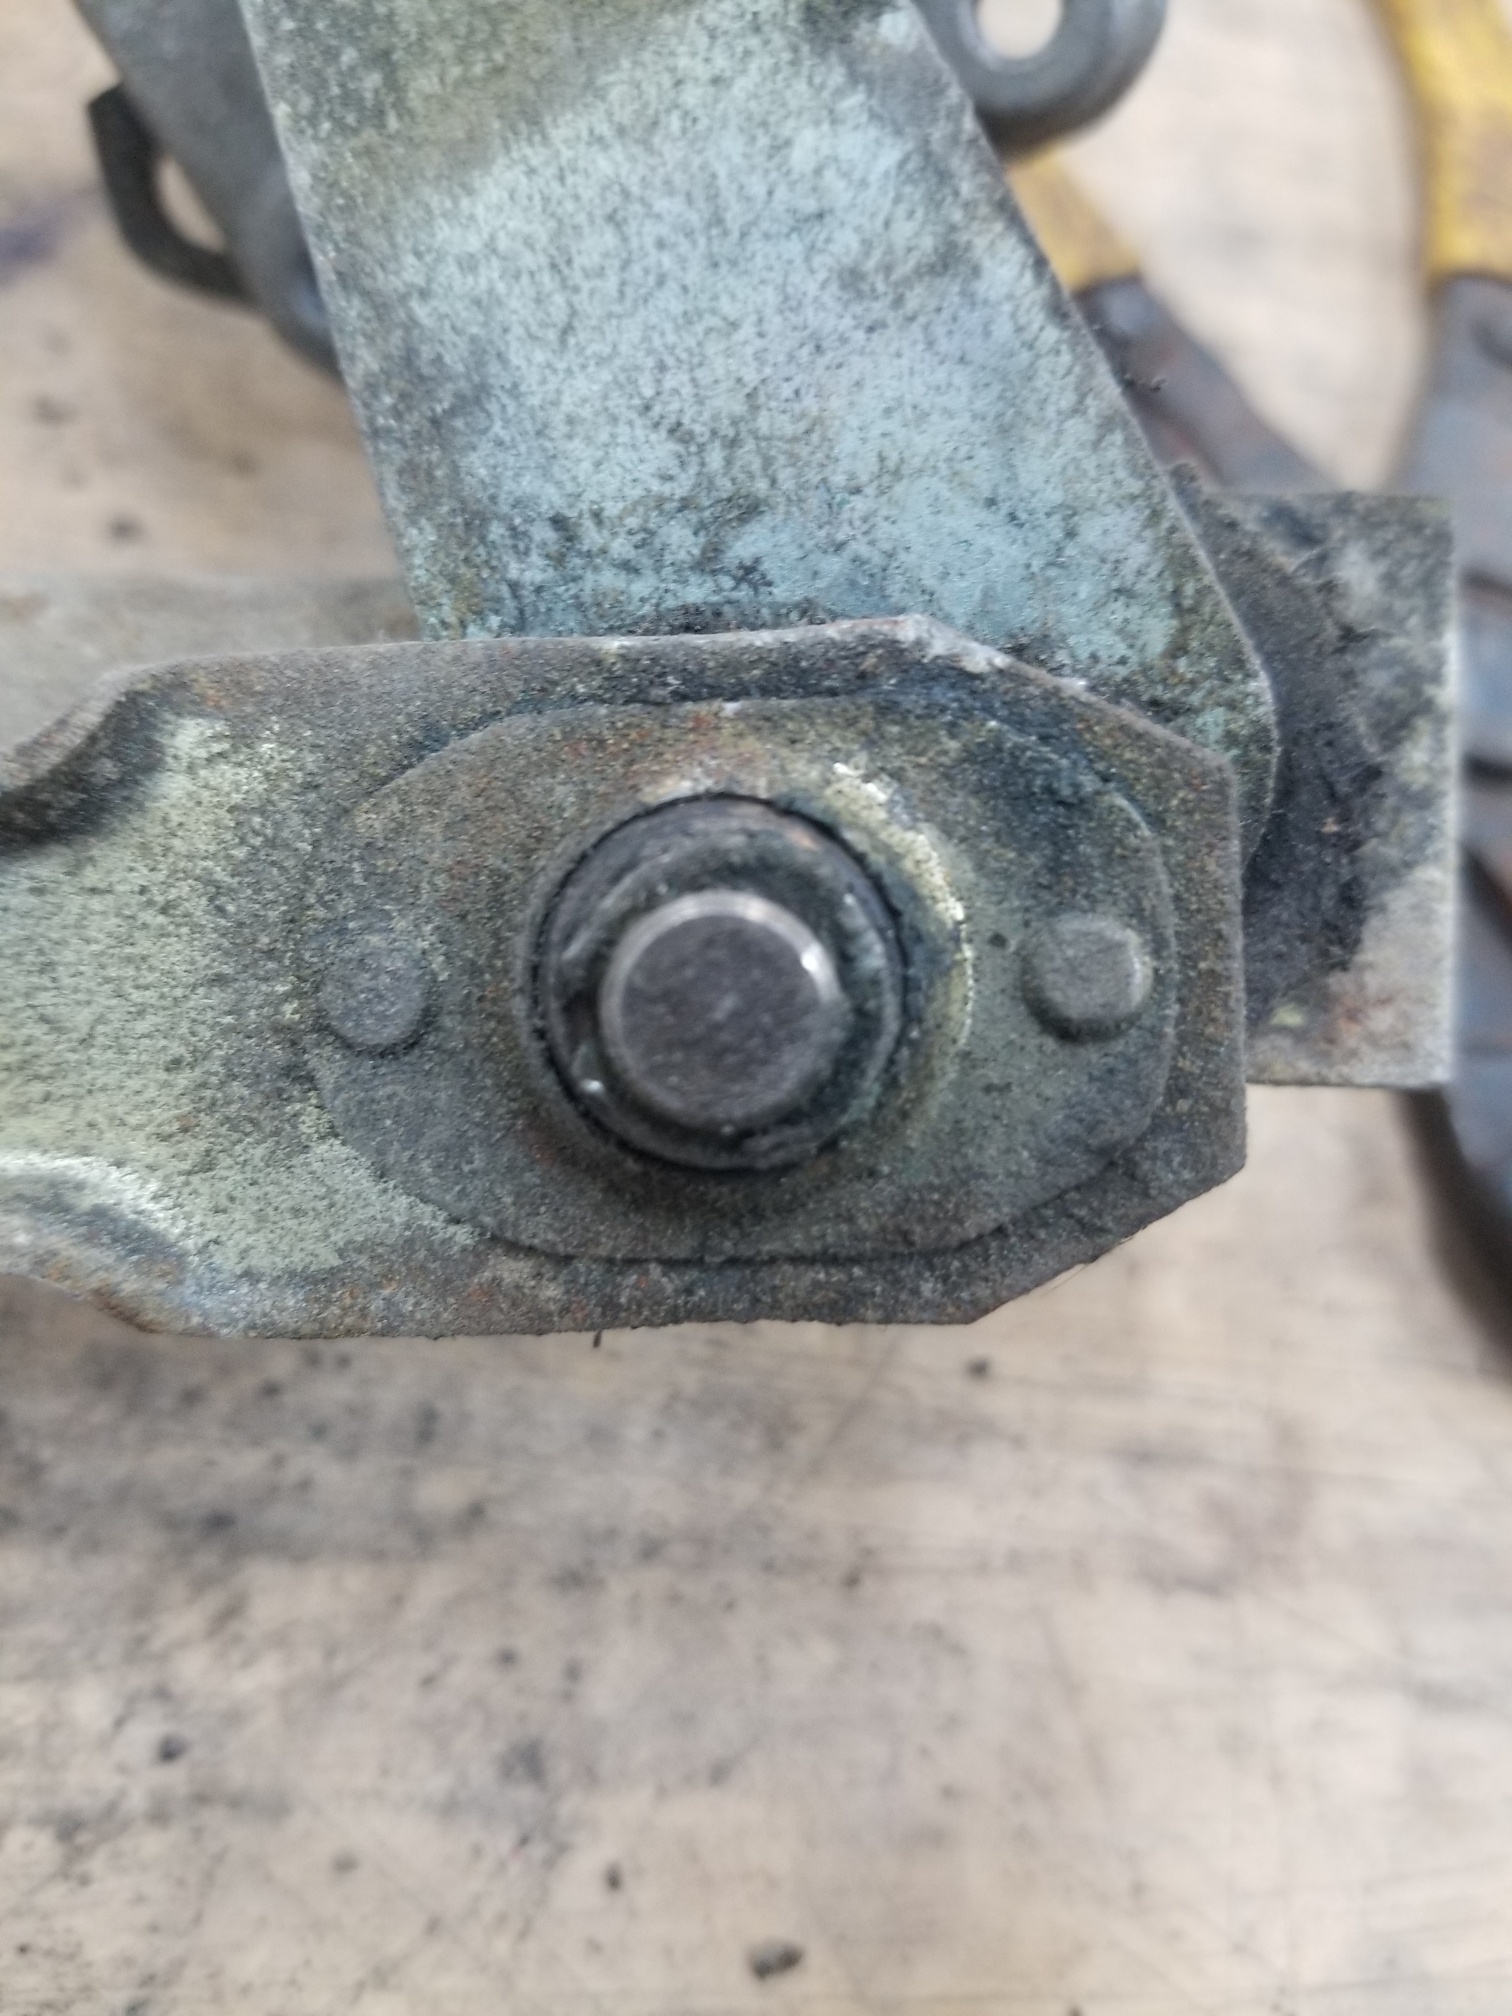
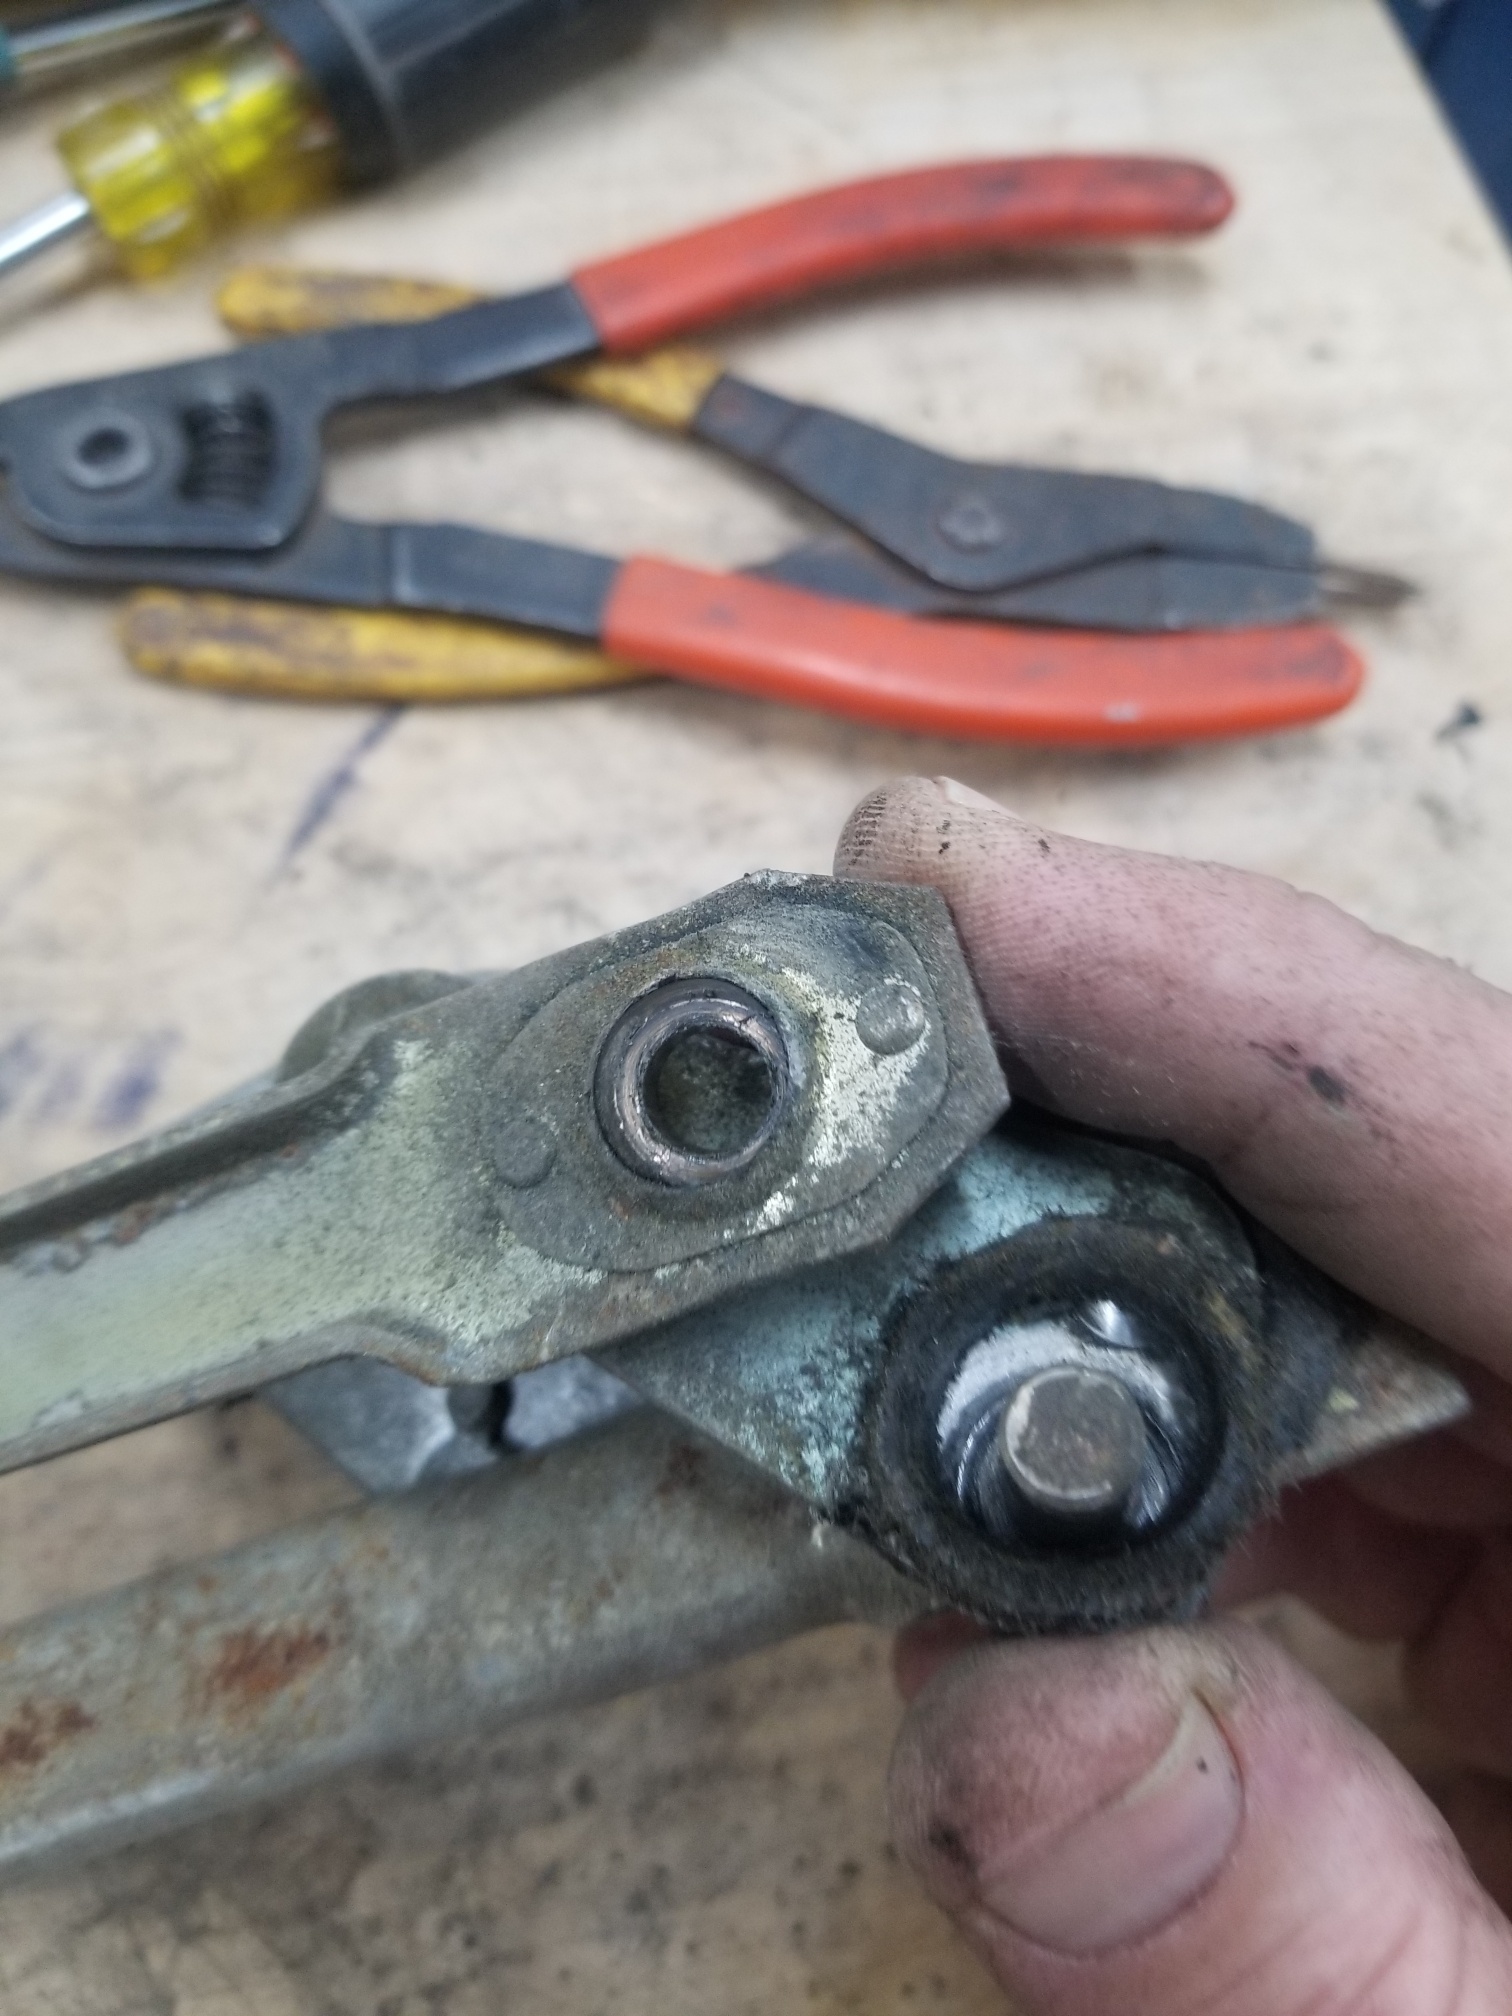
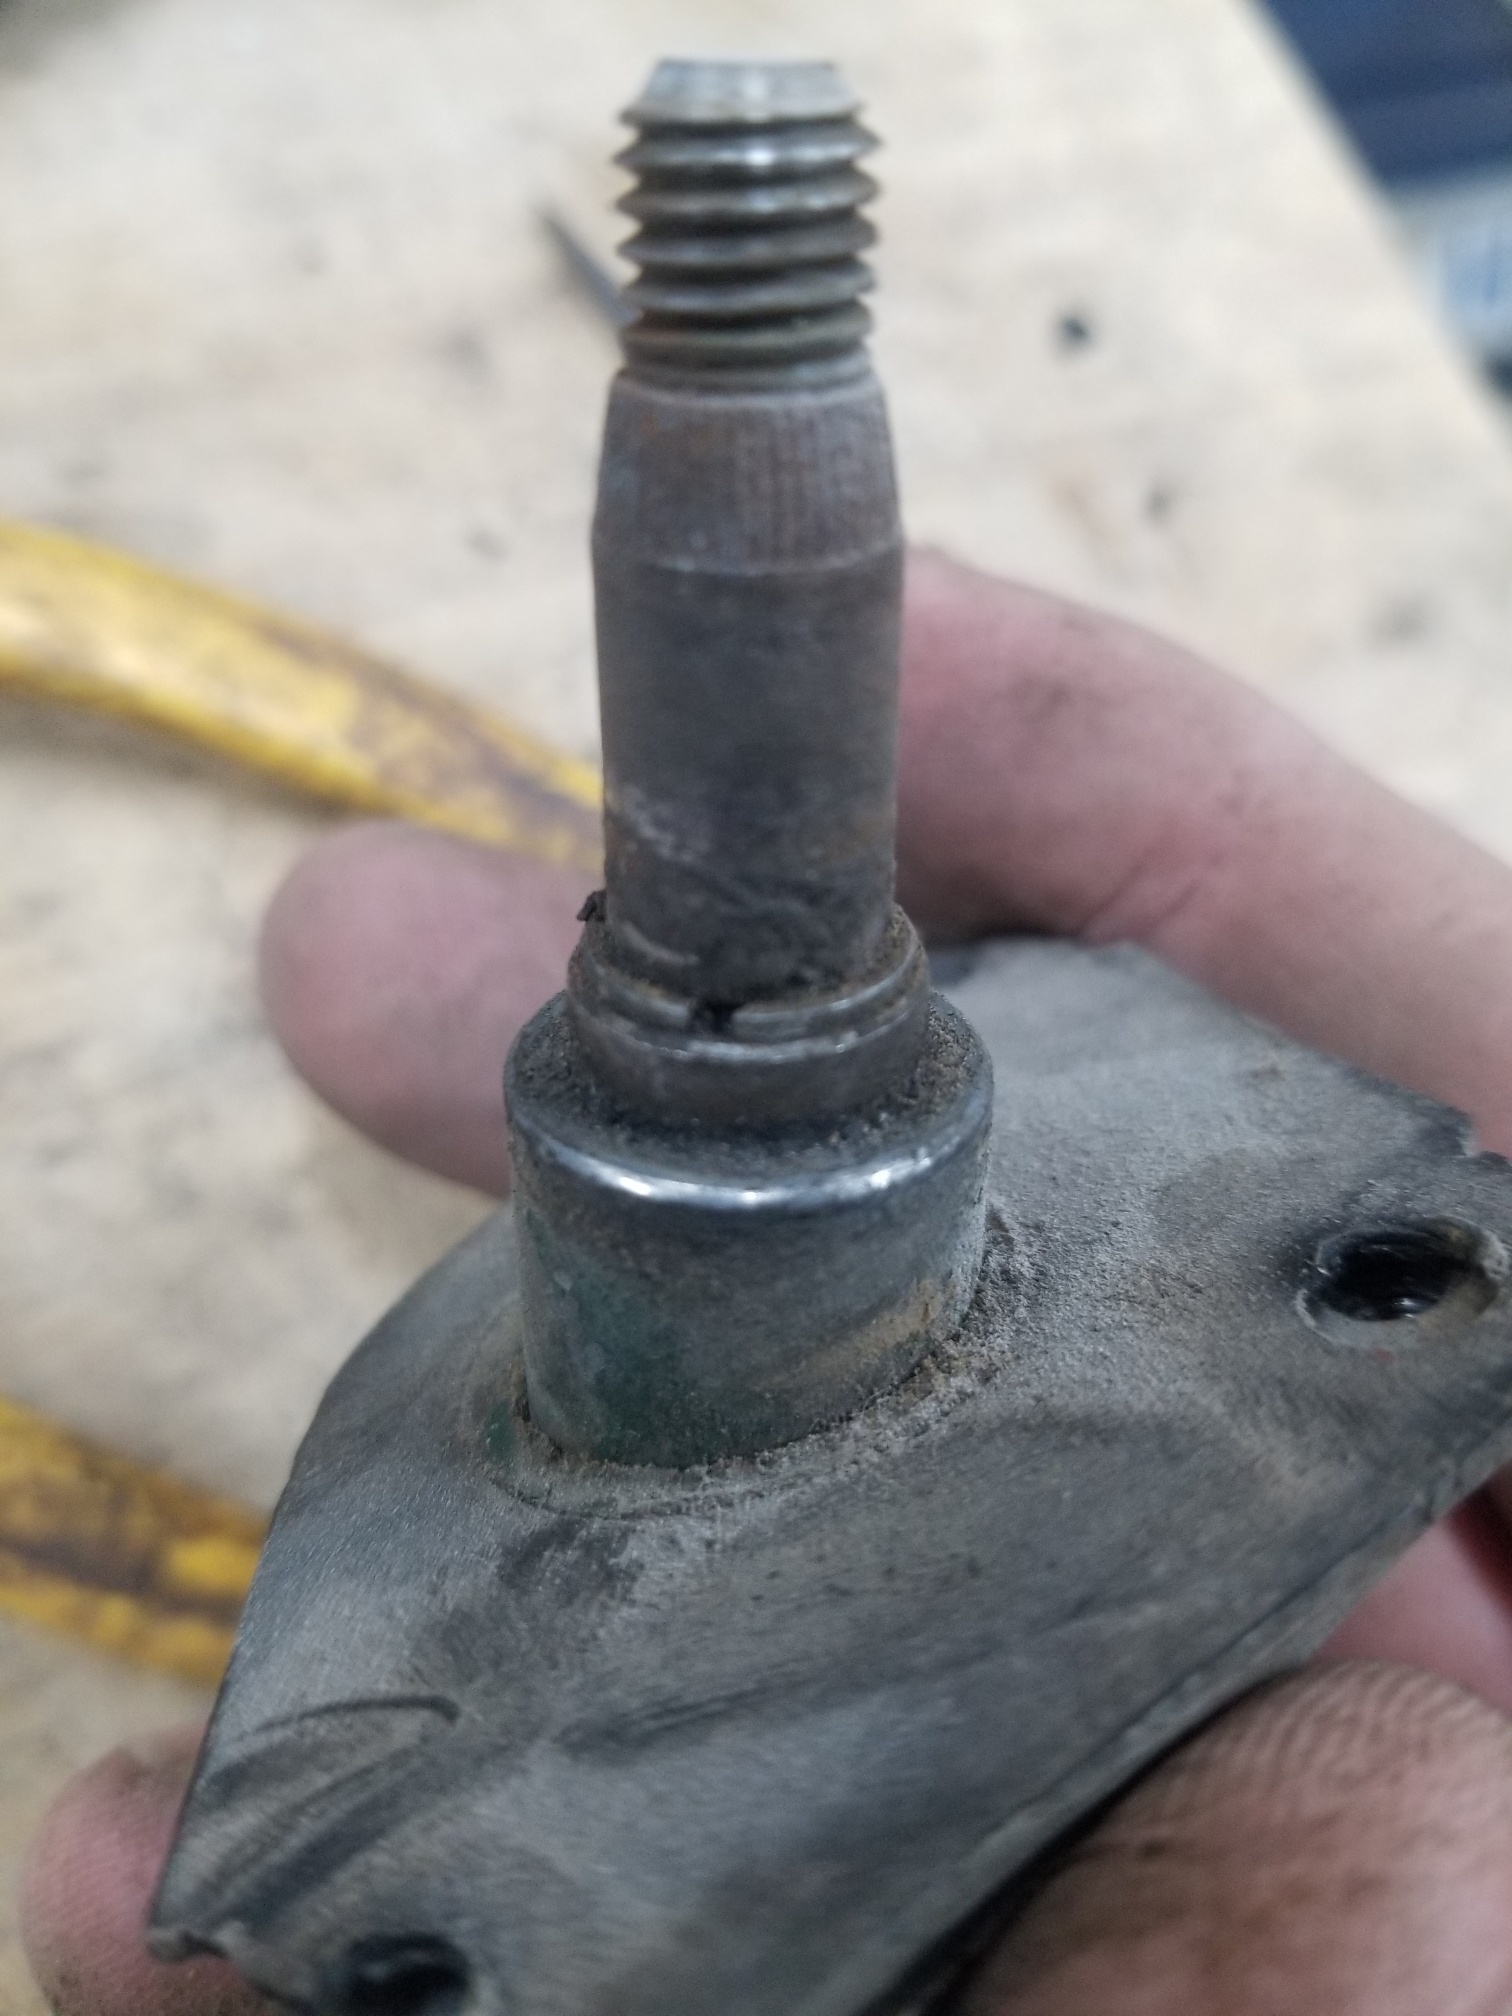
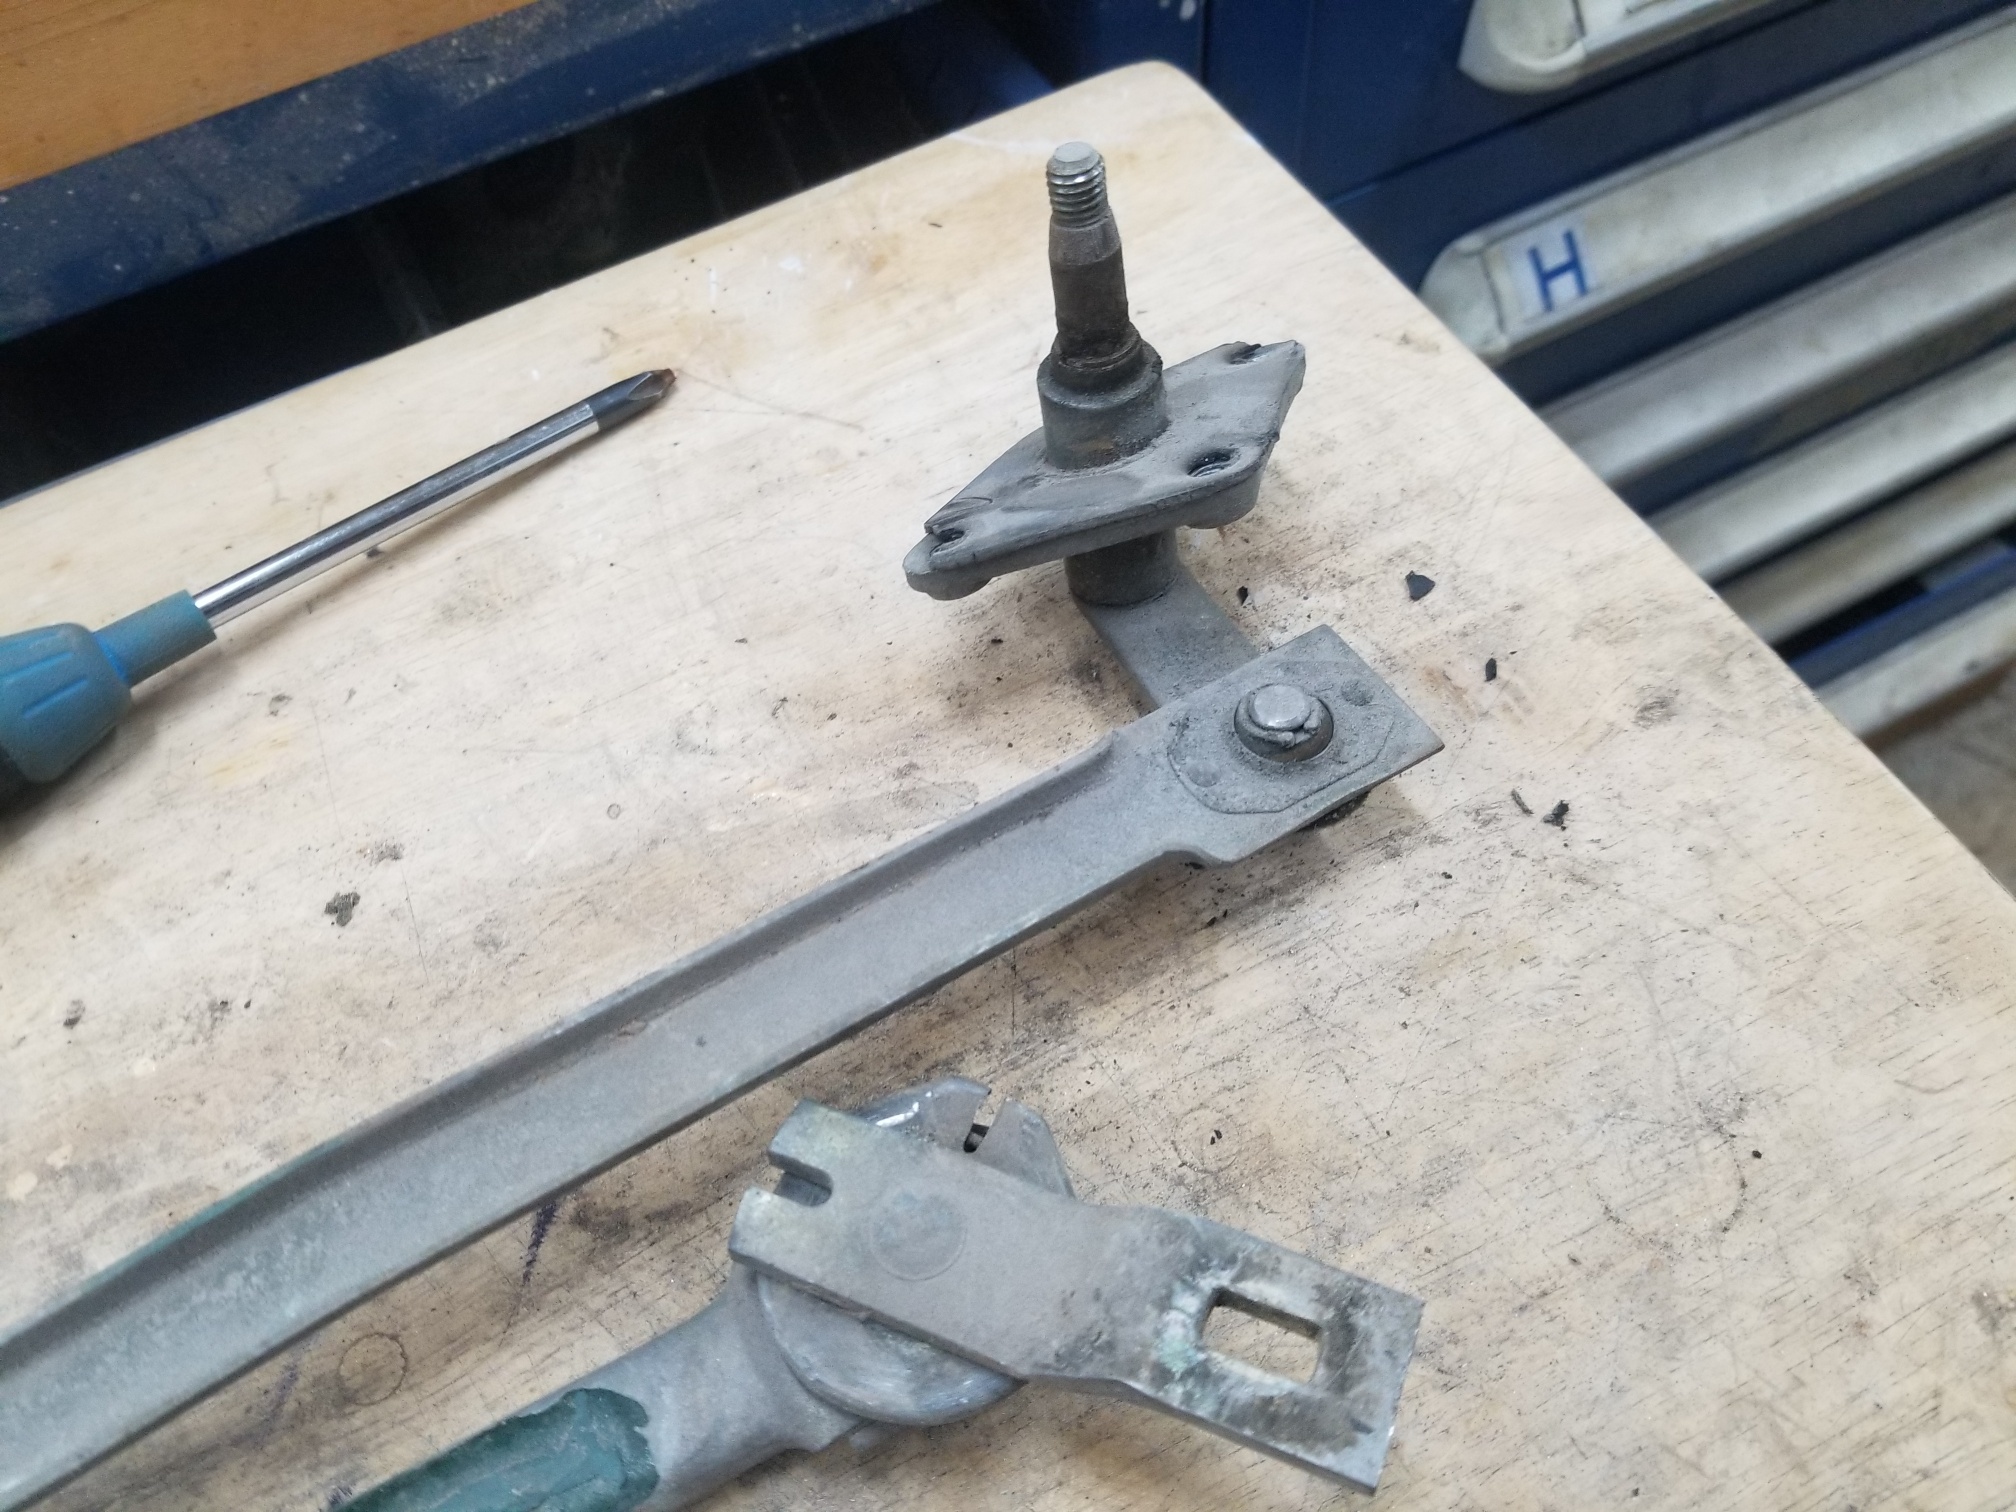
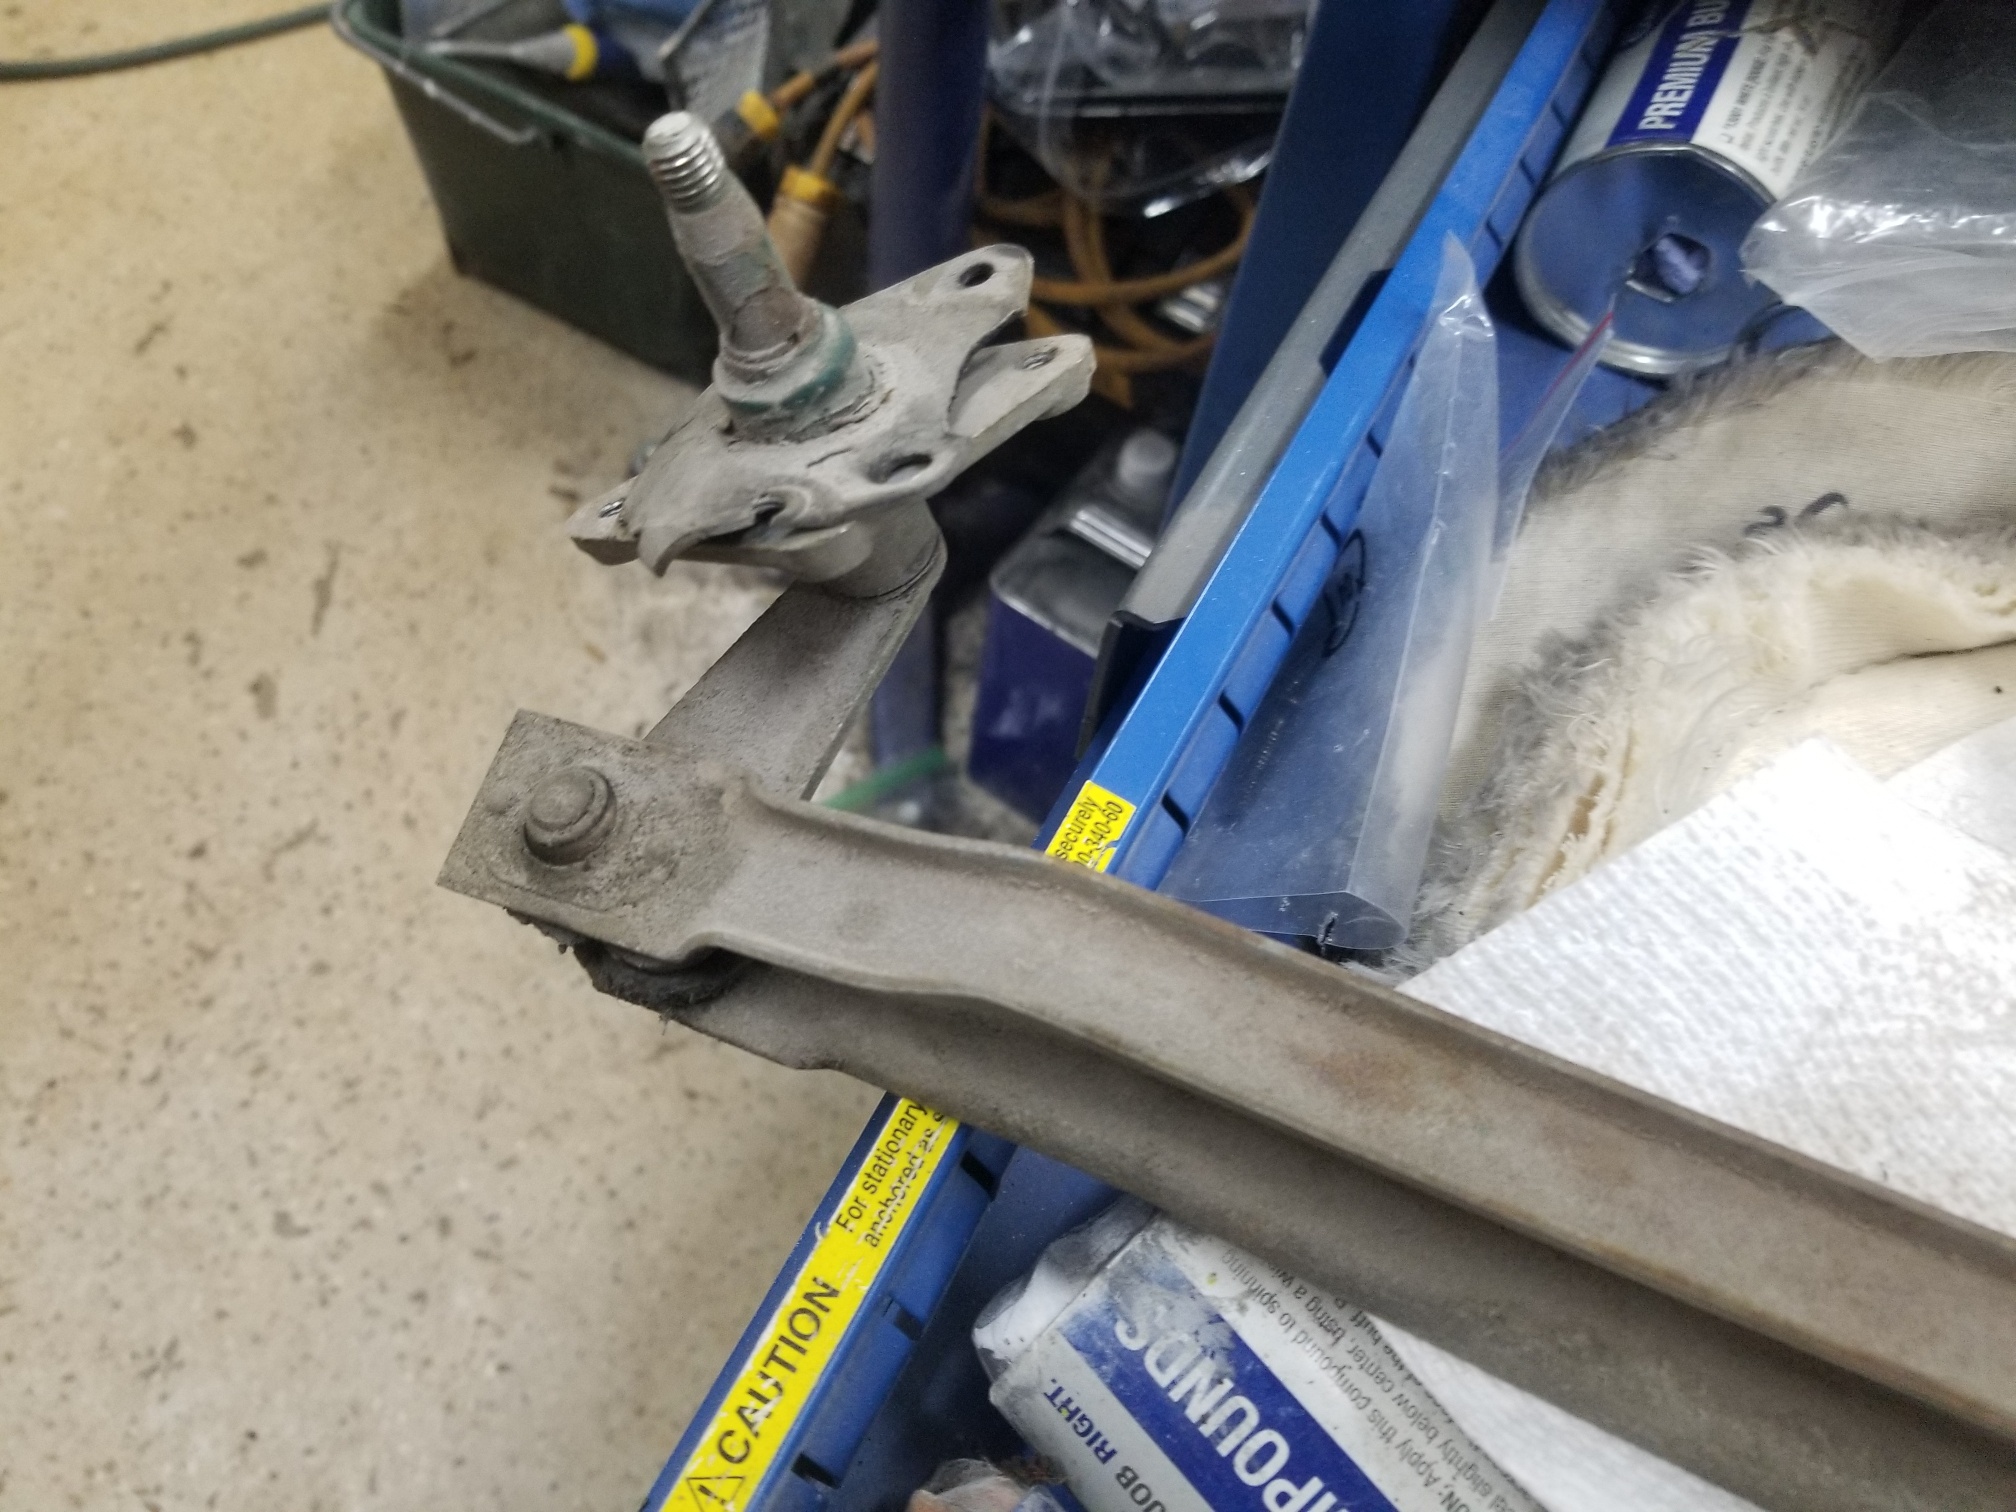
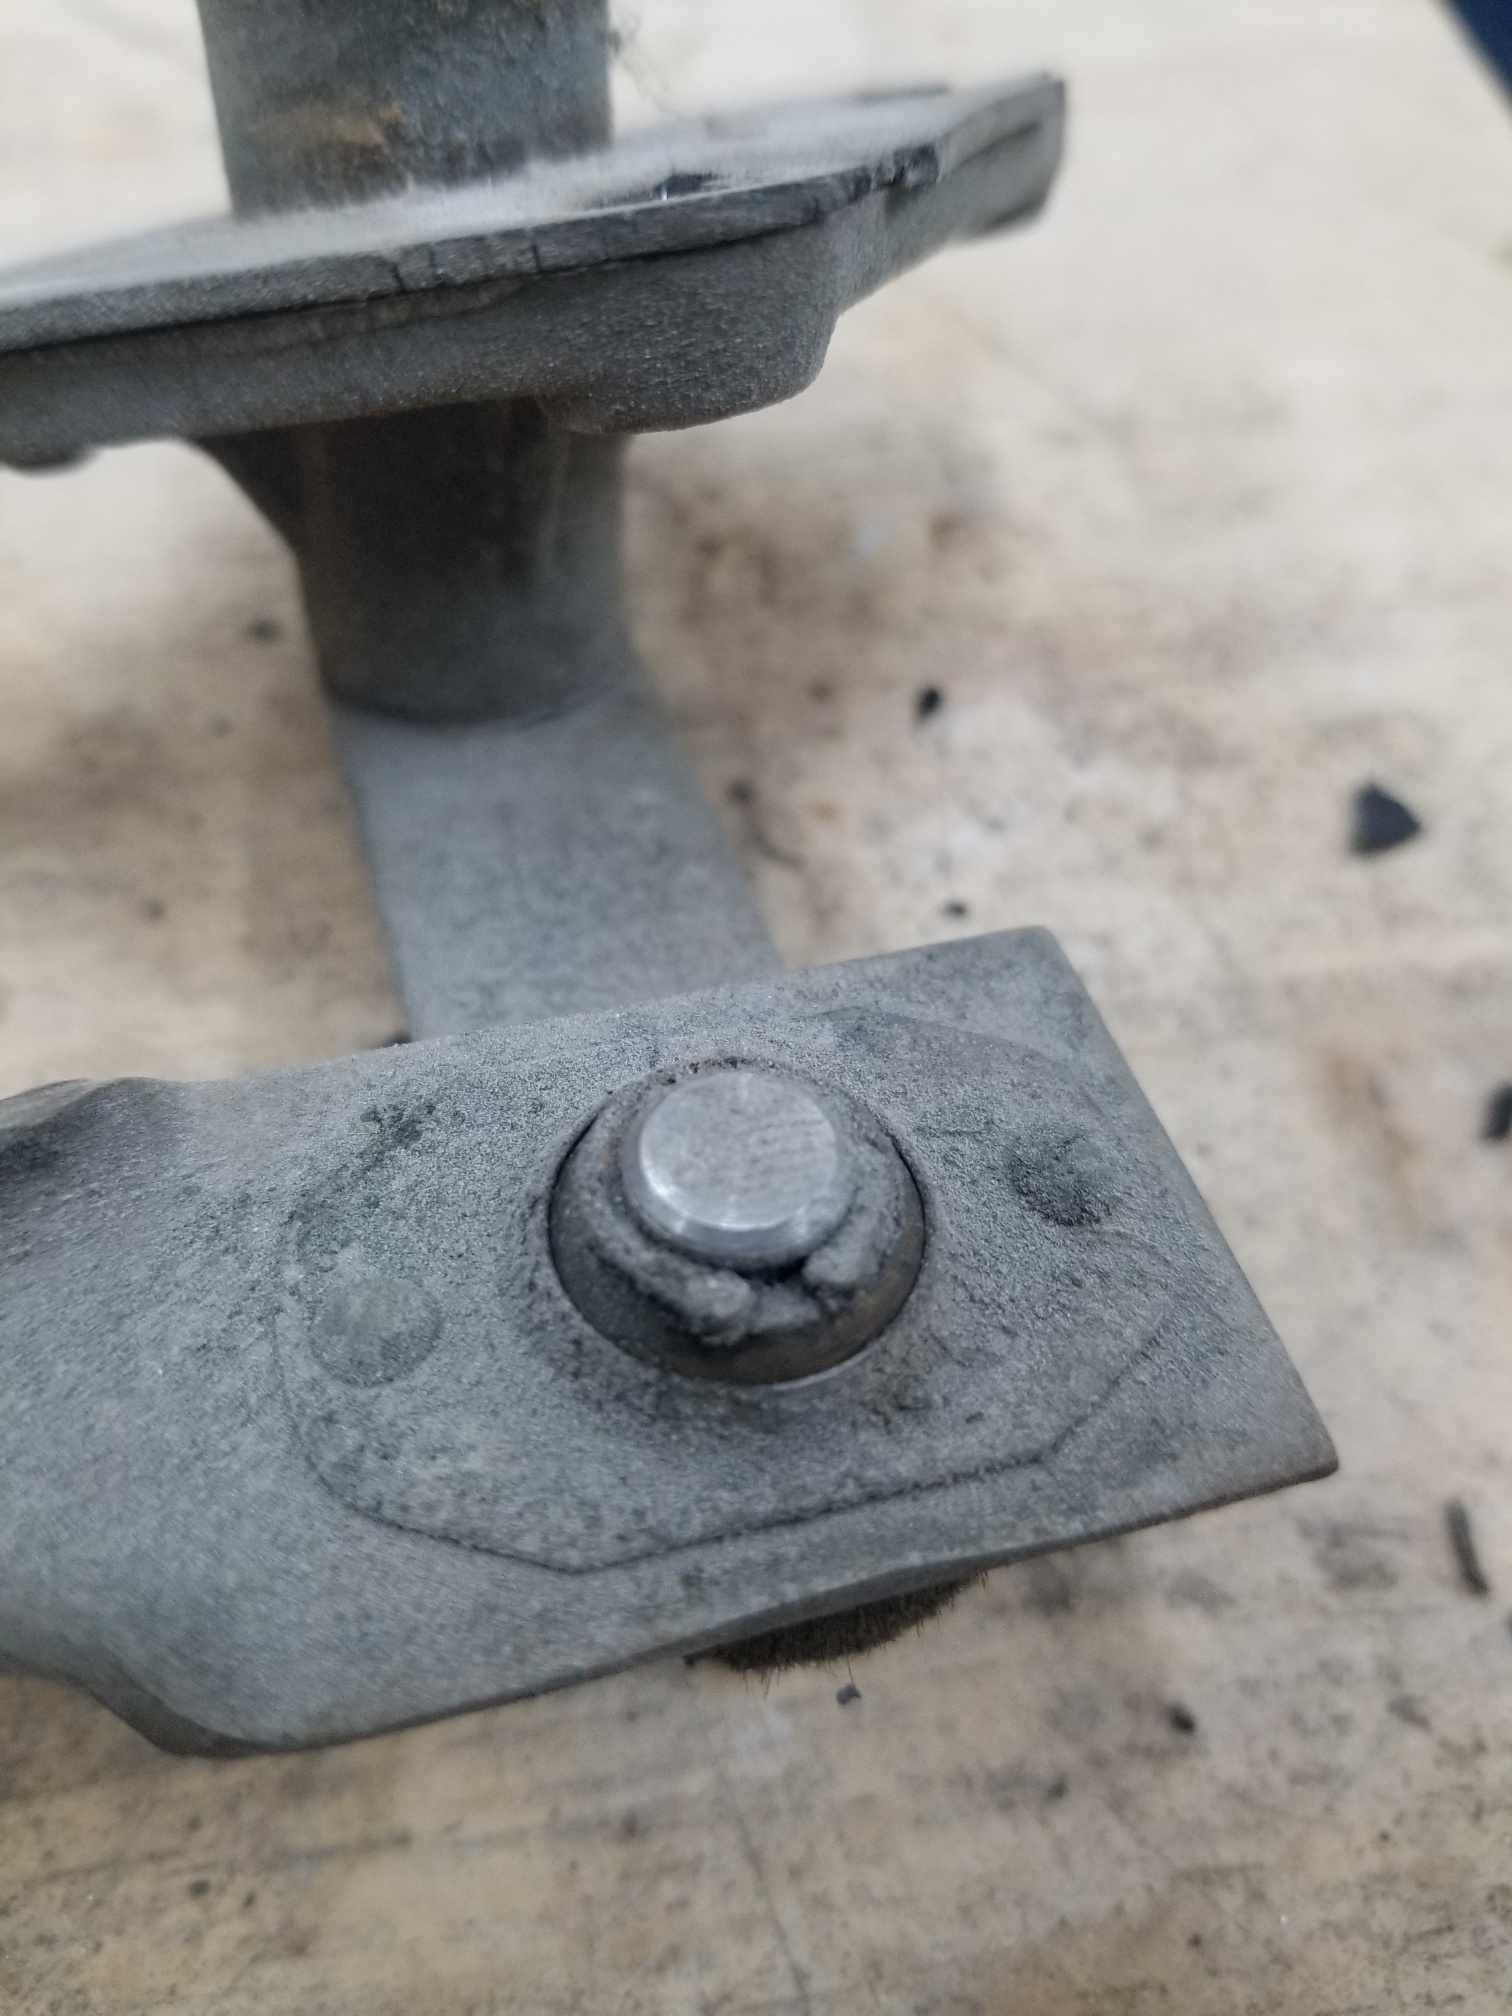
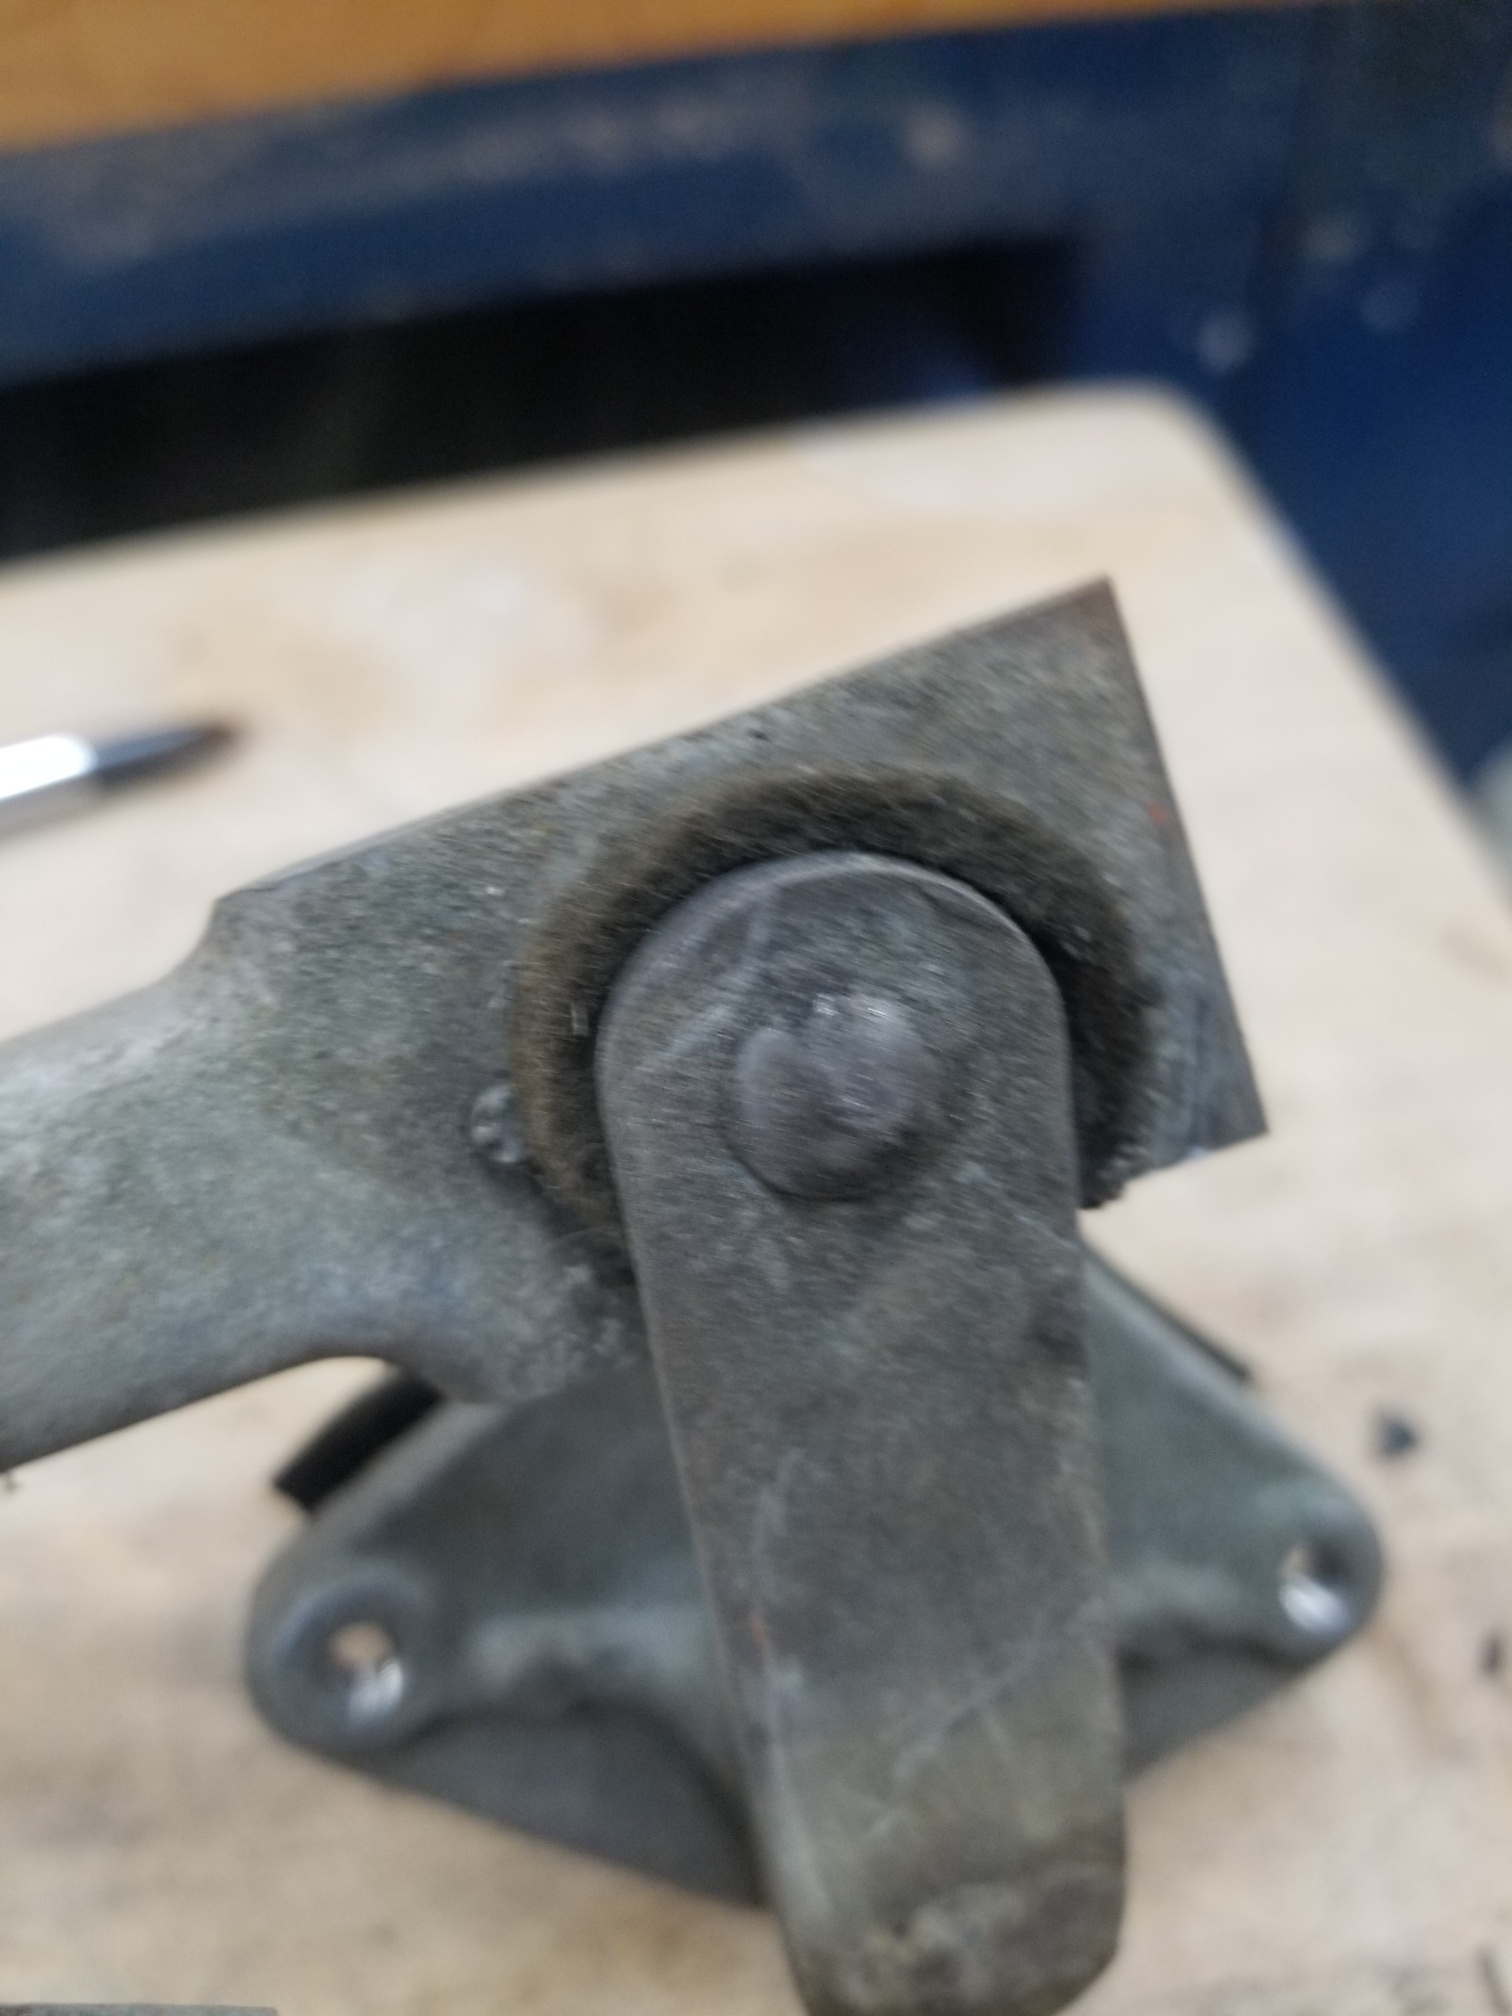
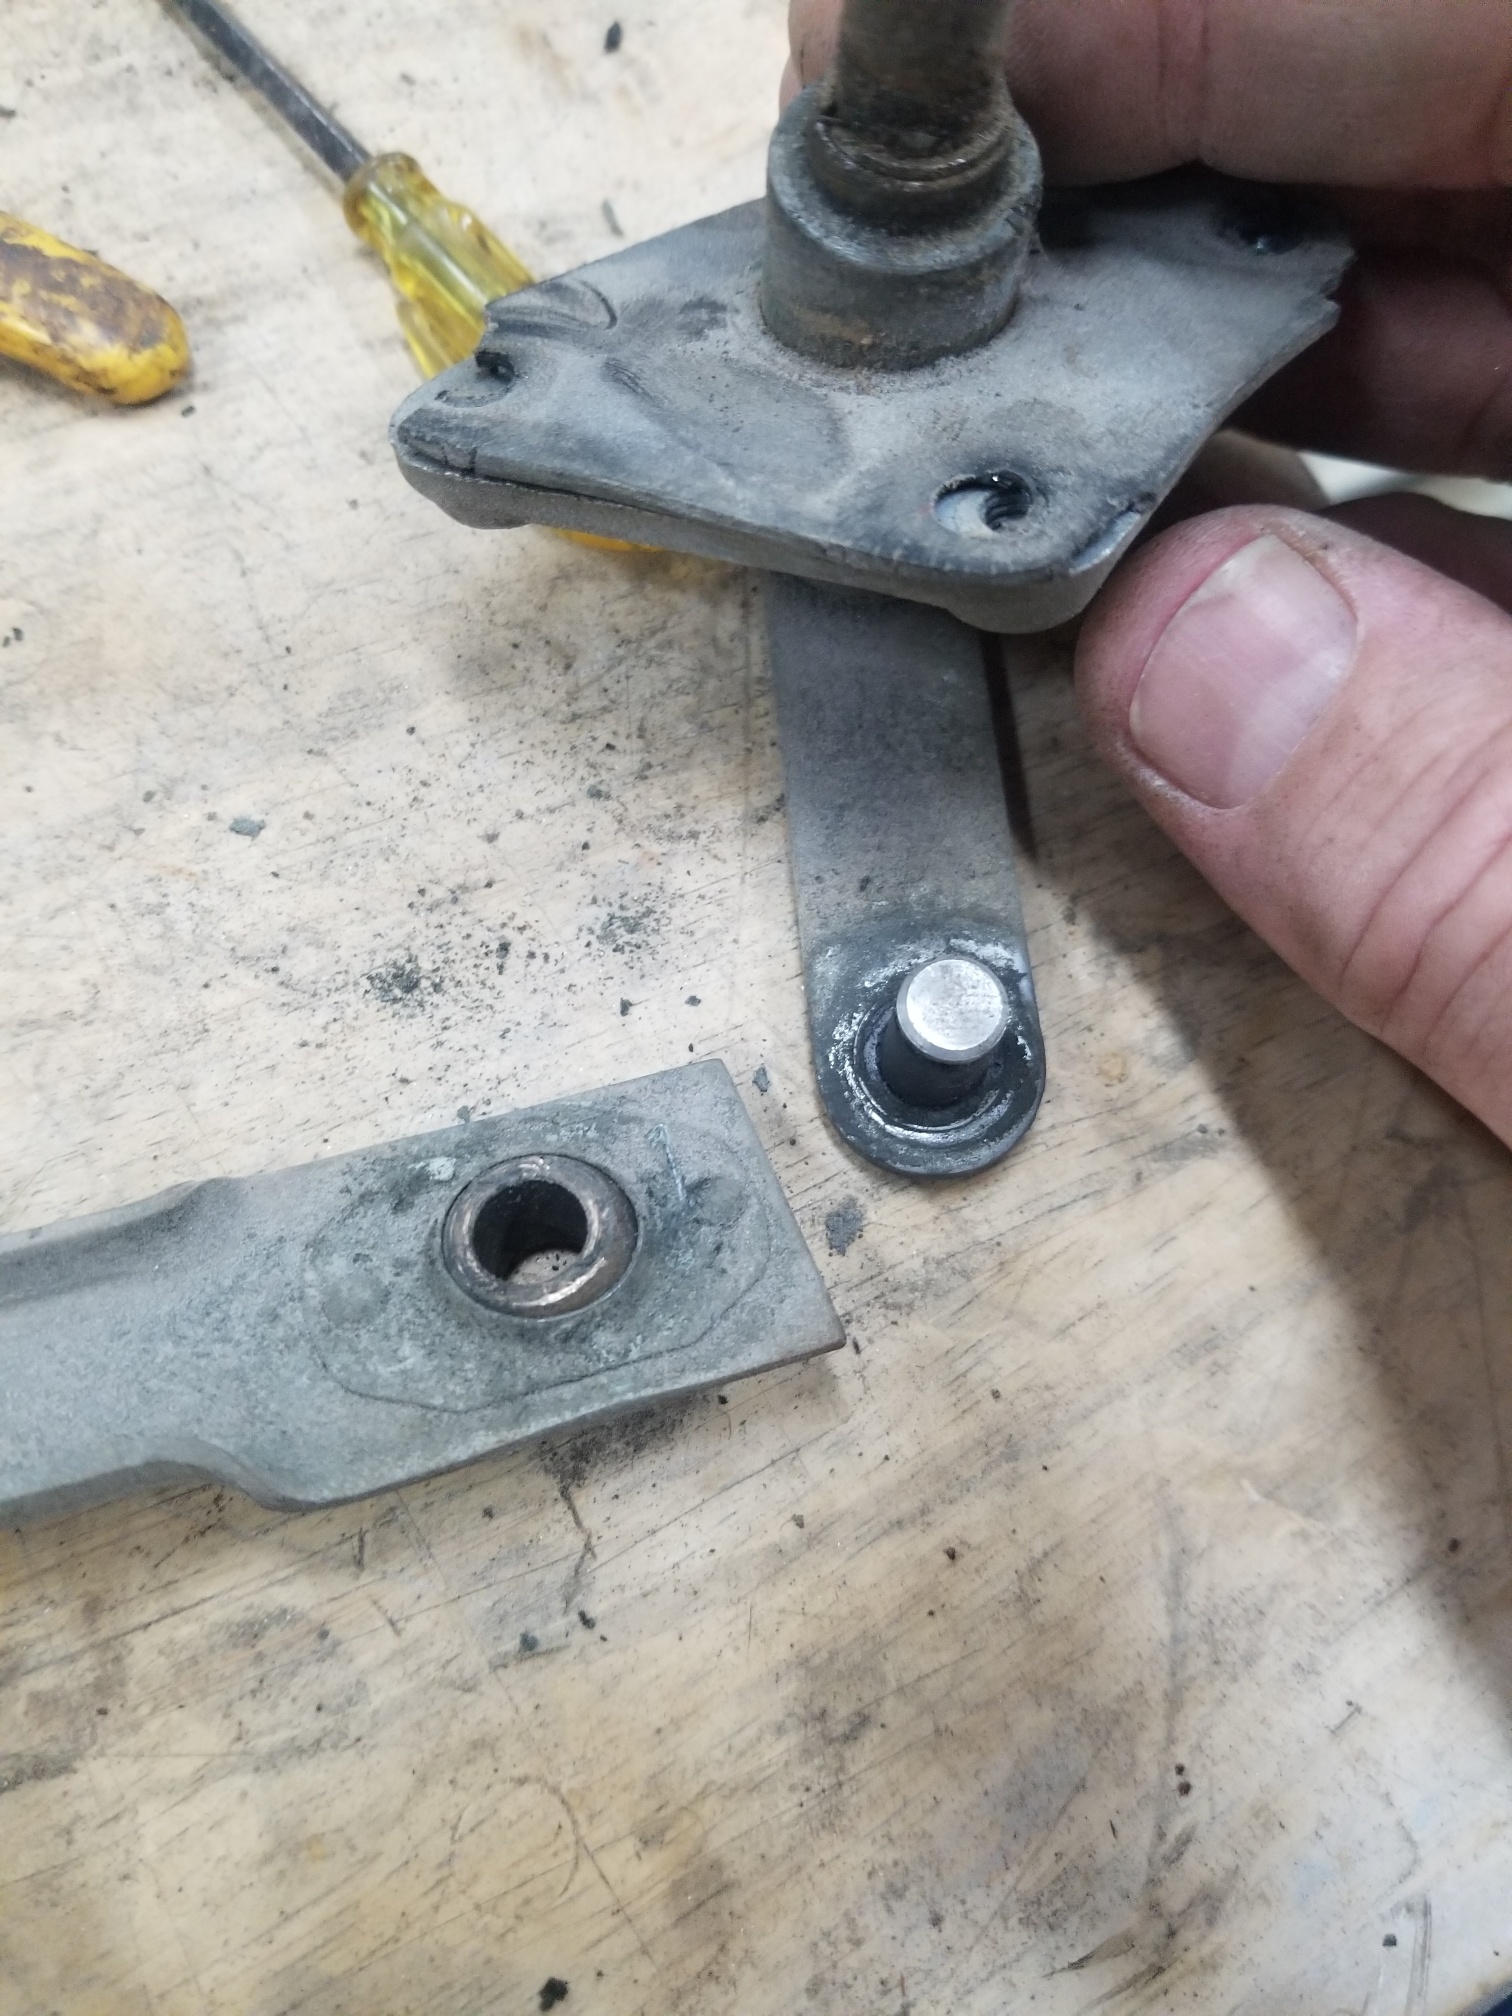
Some of the spindles were bound up in the bases, but we managed to get them all out Now for the questions... How do we think these were made?? I'm thinking the main body was yellow zinc by the looks of it, but the pivots almost look like they are hard chromed (??) then riveted through the main body? The drive pivot was tacked welded to prevent rotation maybe... Thoughts? I have some that are badly corroded. What do you do then? Clean and yellow zinc? @Captain Obvious@grannyknot
-
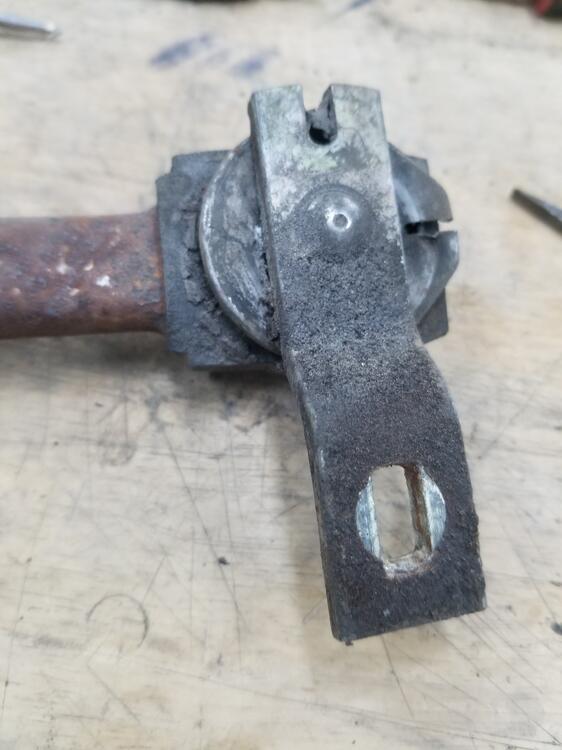
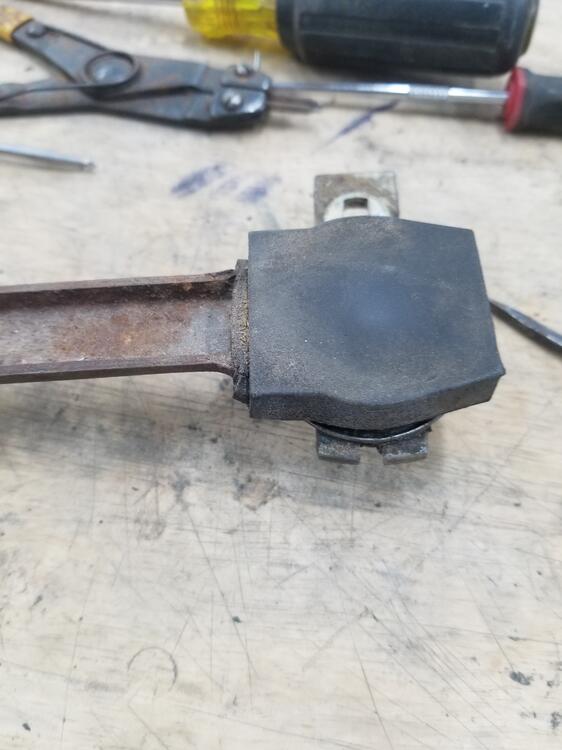
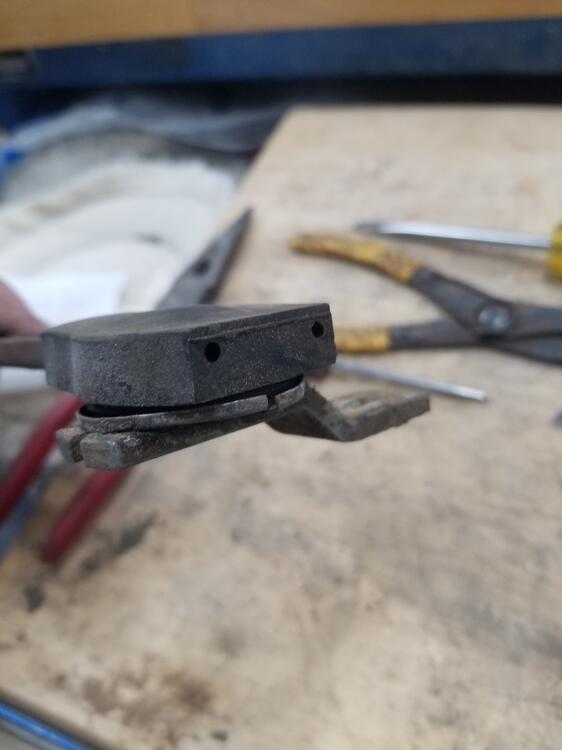
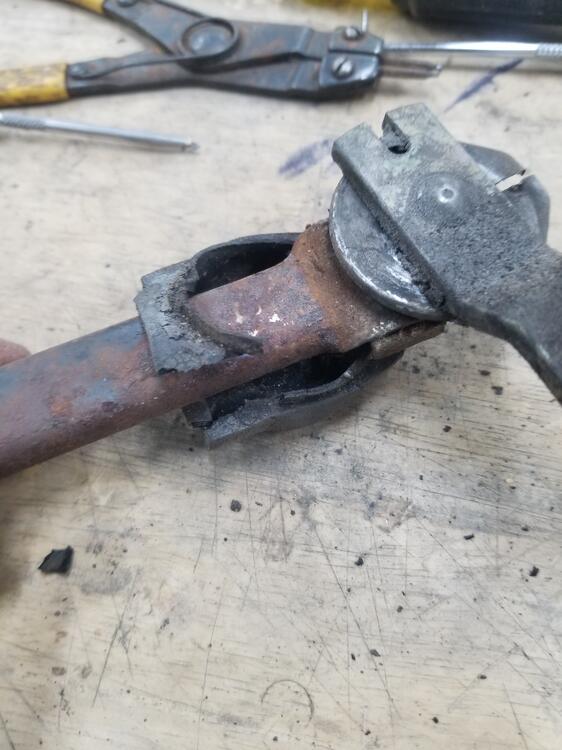
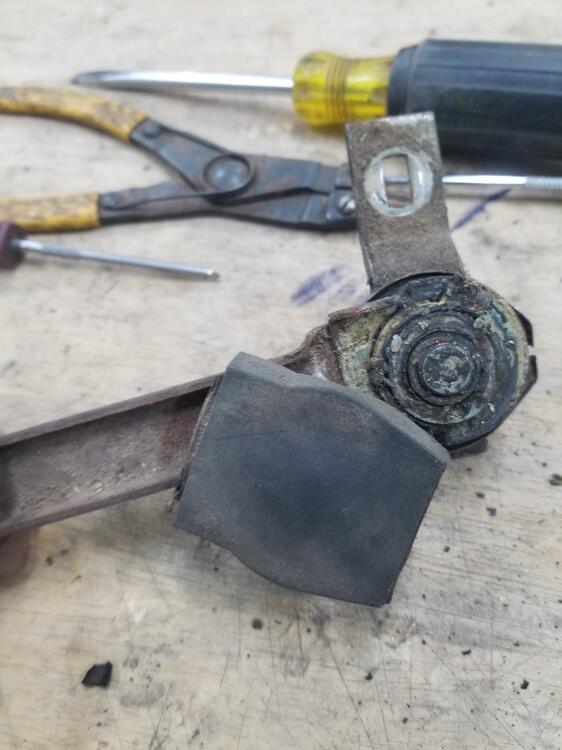
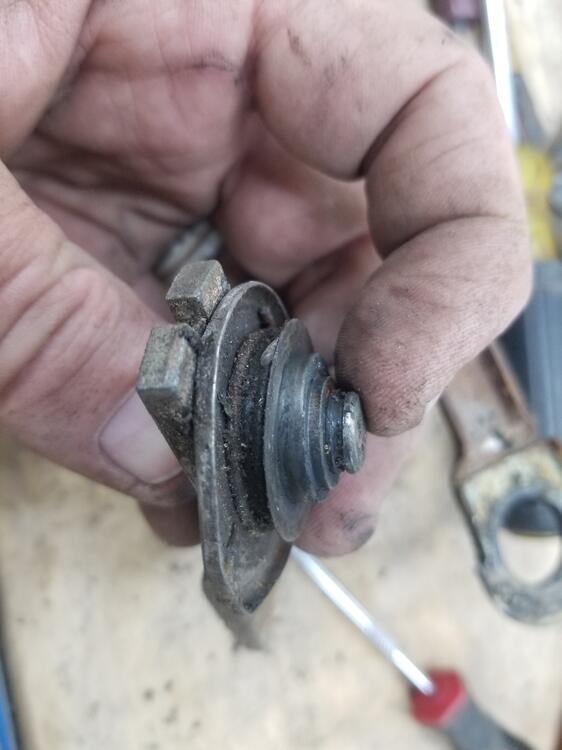
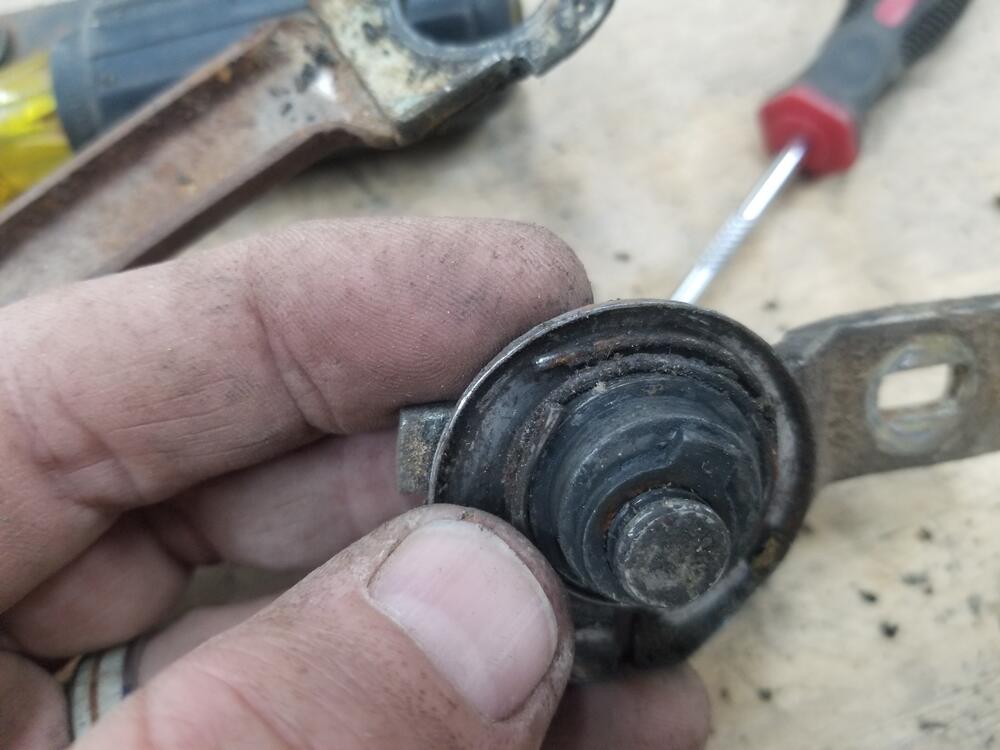
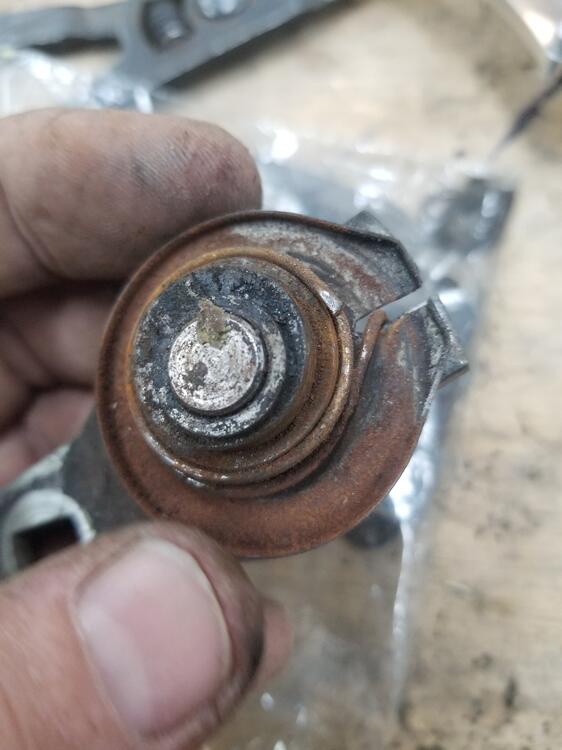
Some of the later mechanism had some different parts This mechanism has a rubber boot on the end of it. I believe Steve Nixon offers this part as a reproduction Here is it half disassembled Out of the 3 mechanisms only had the spring in this orientation, but I beleive this is the correct position The last one also had this little piece of plastic? I'm not sure of it's purpose


-
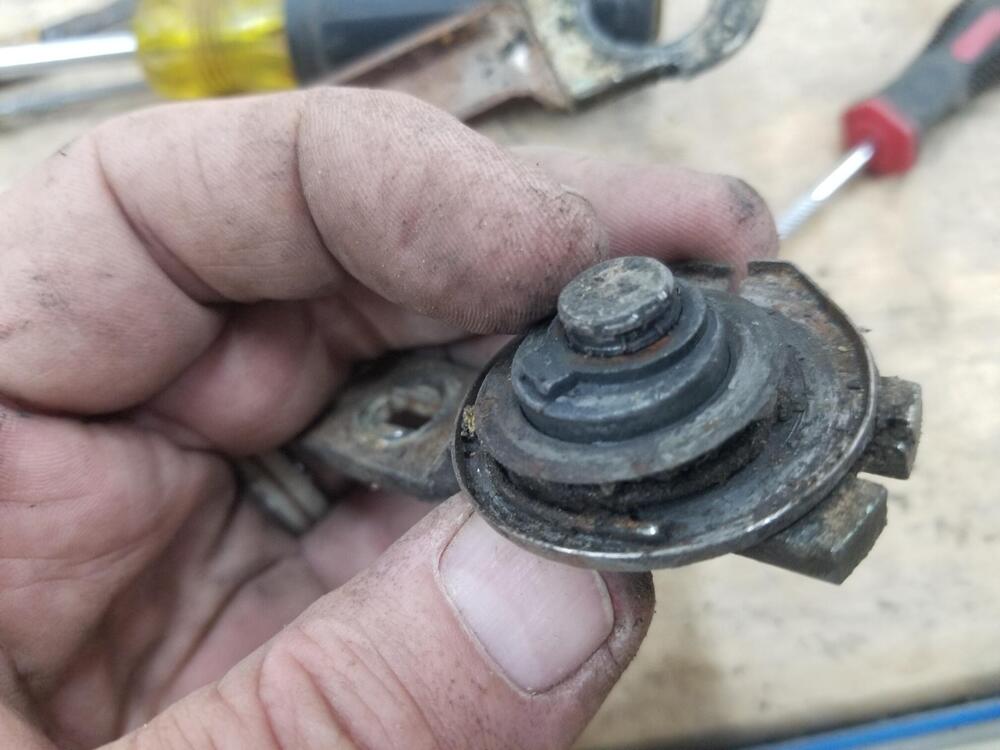
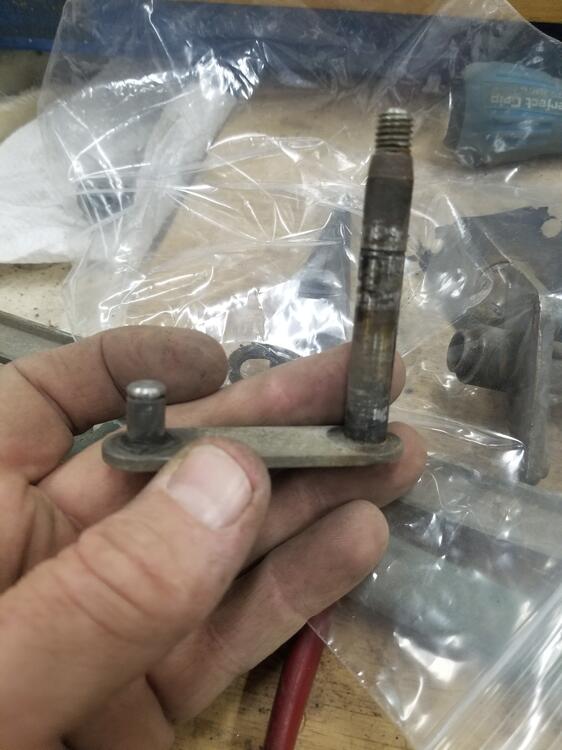
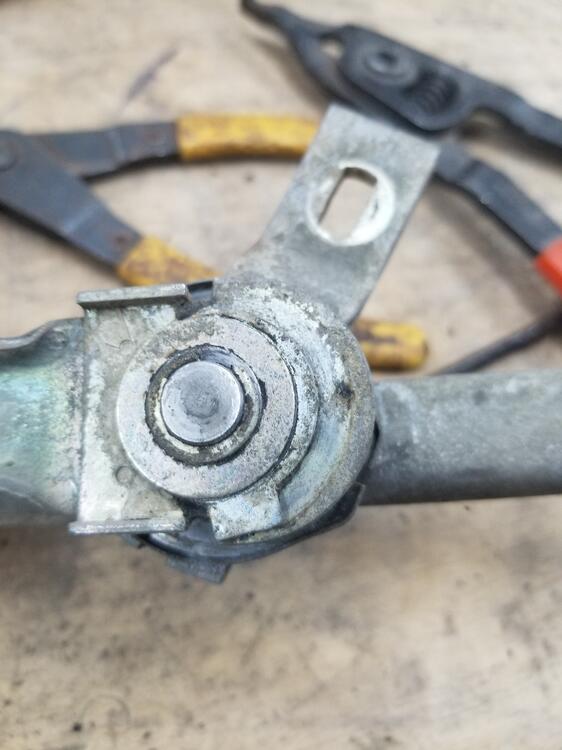
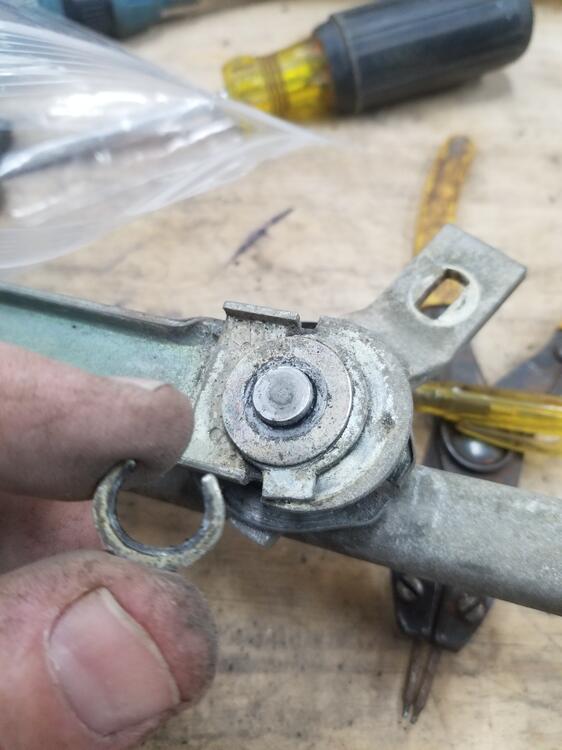
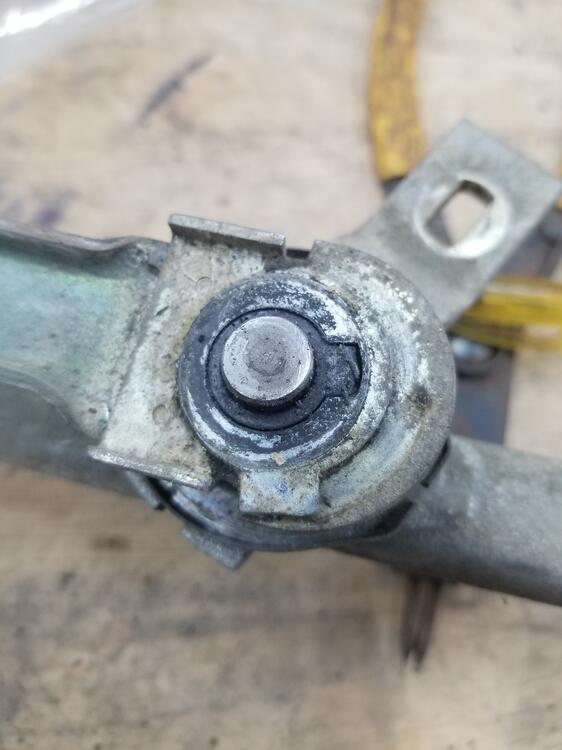
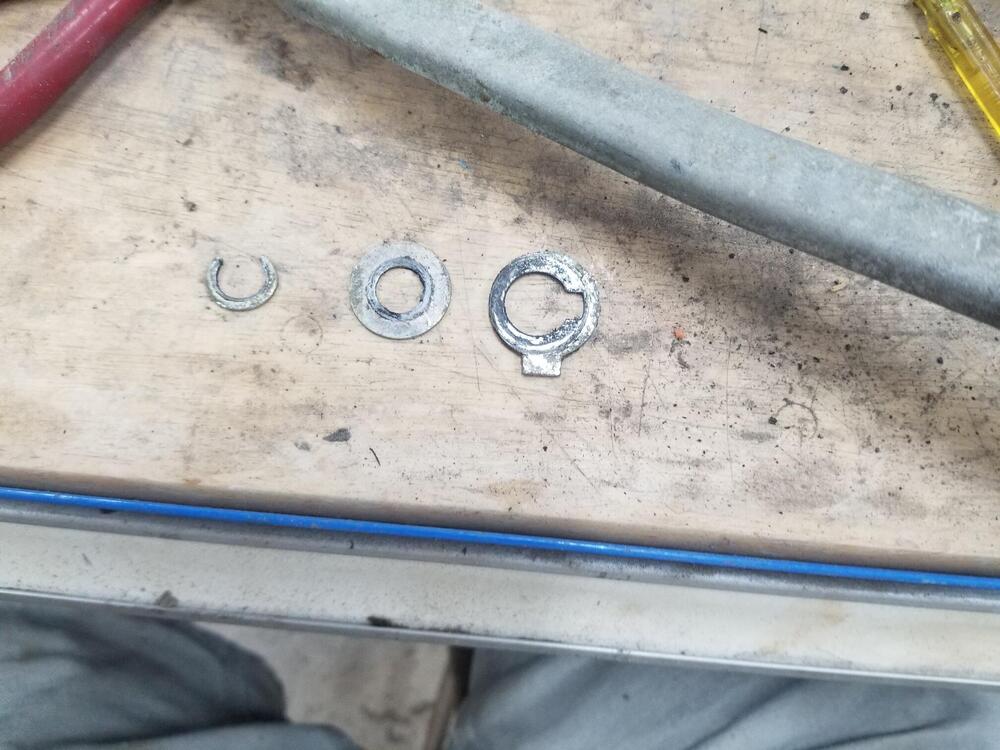
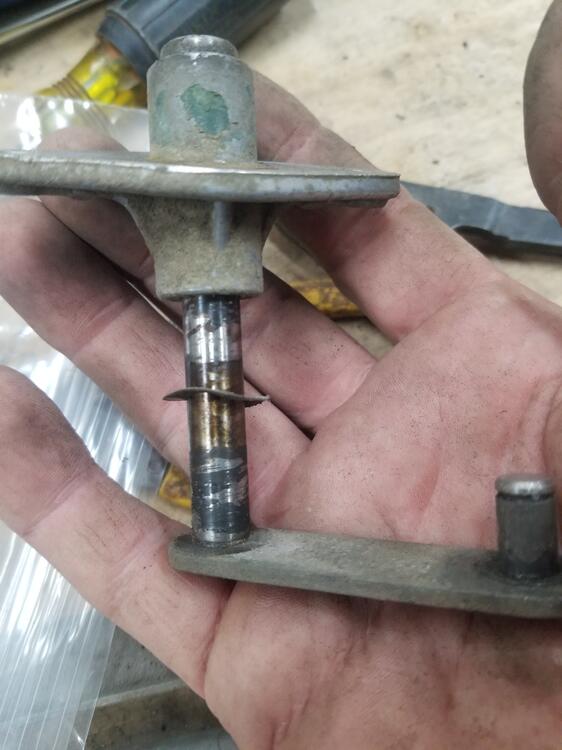
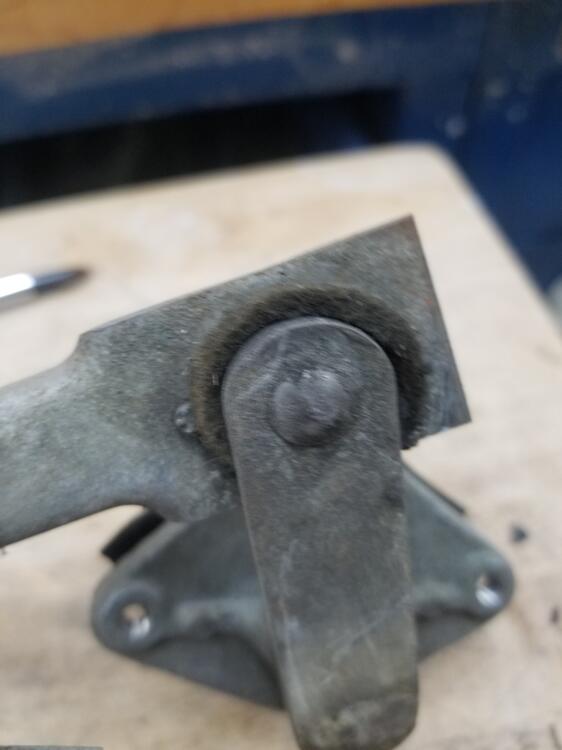
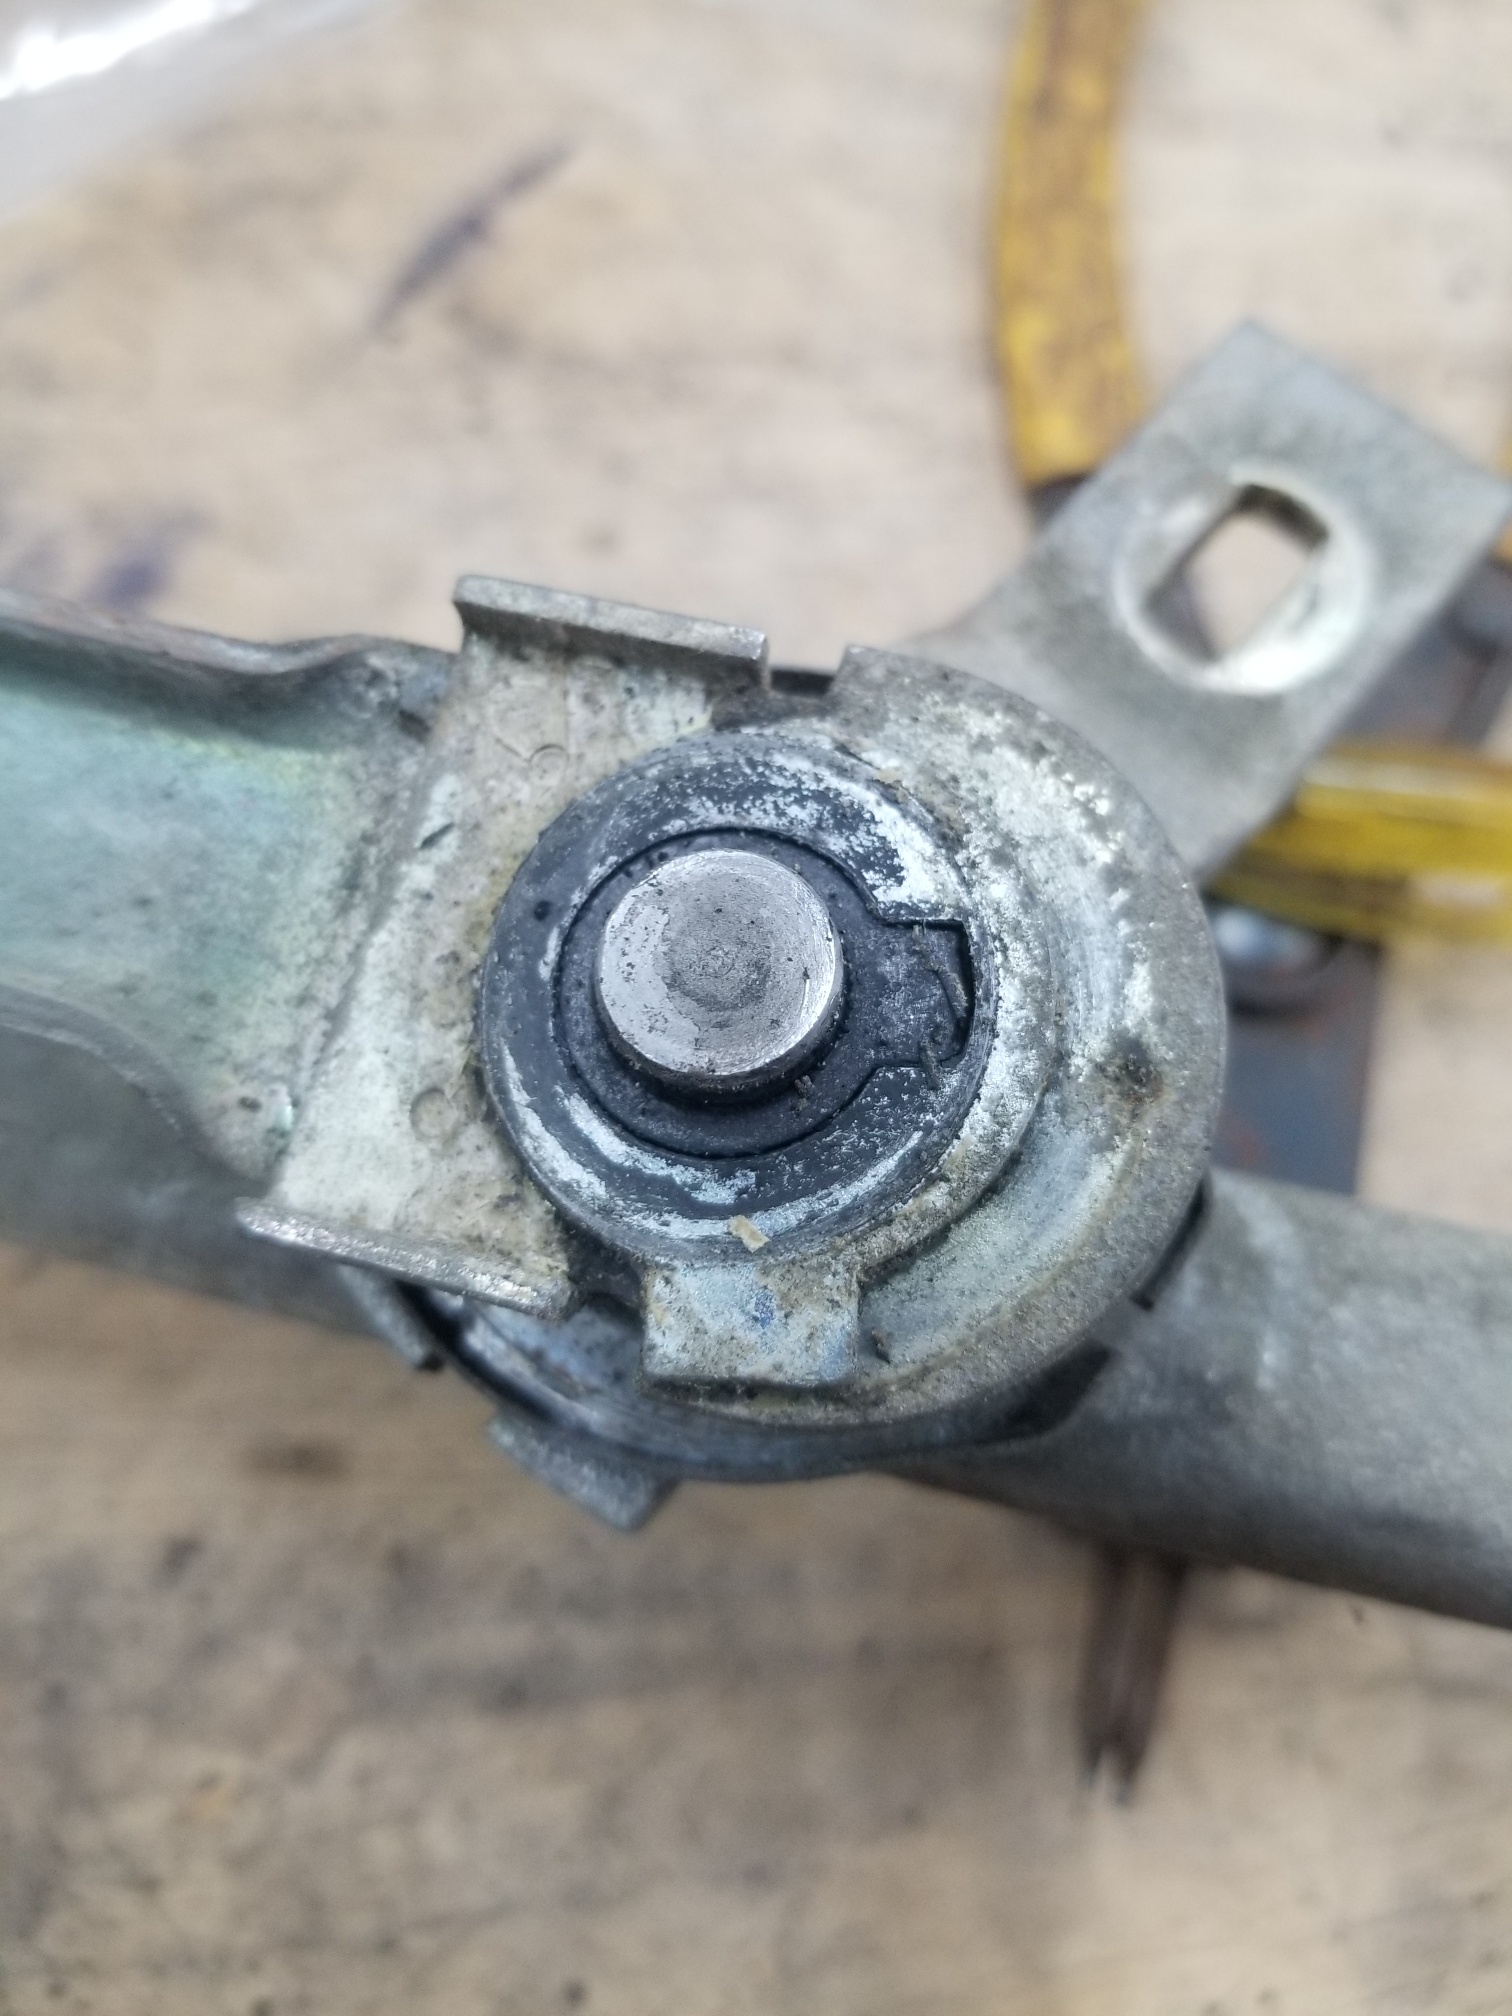
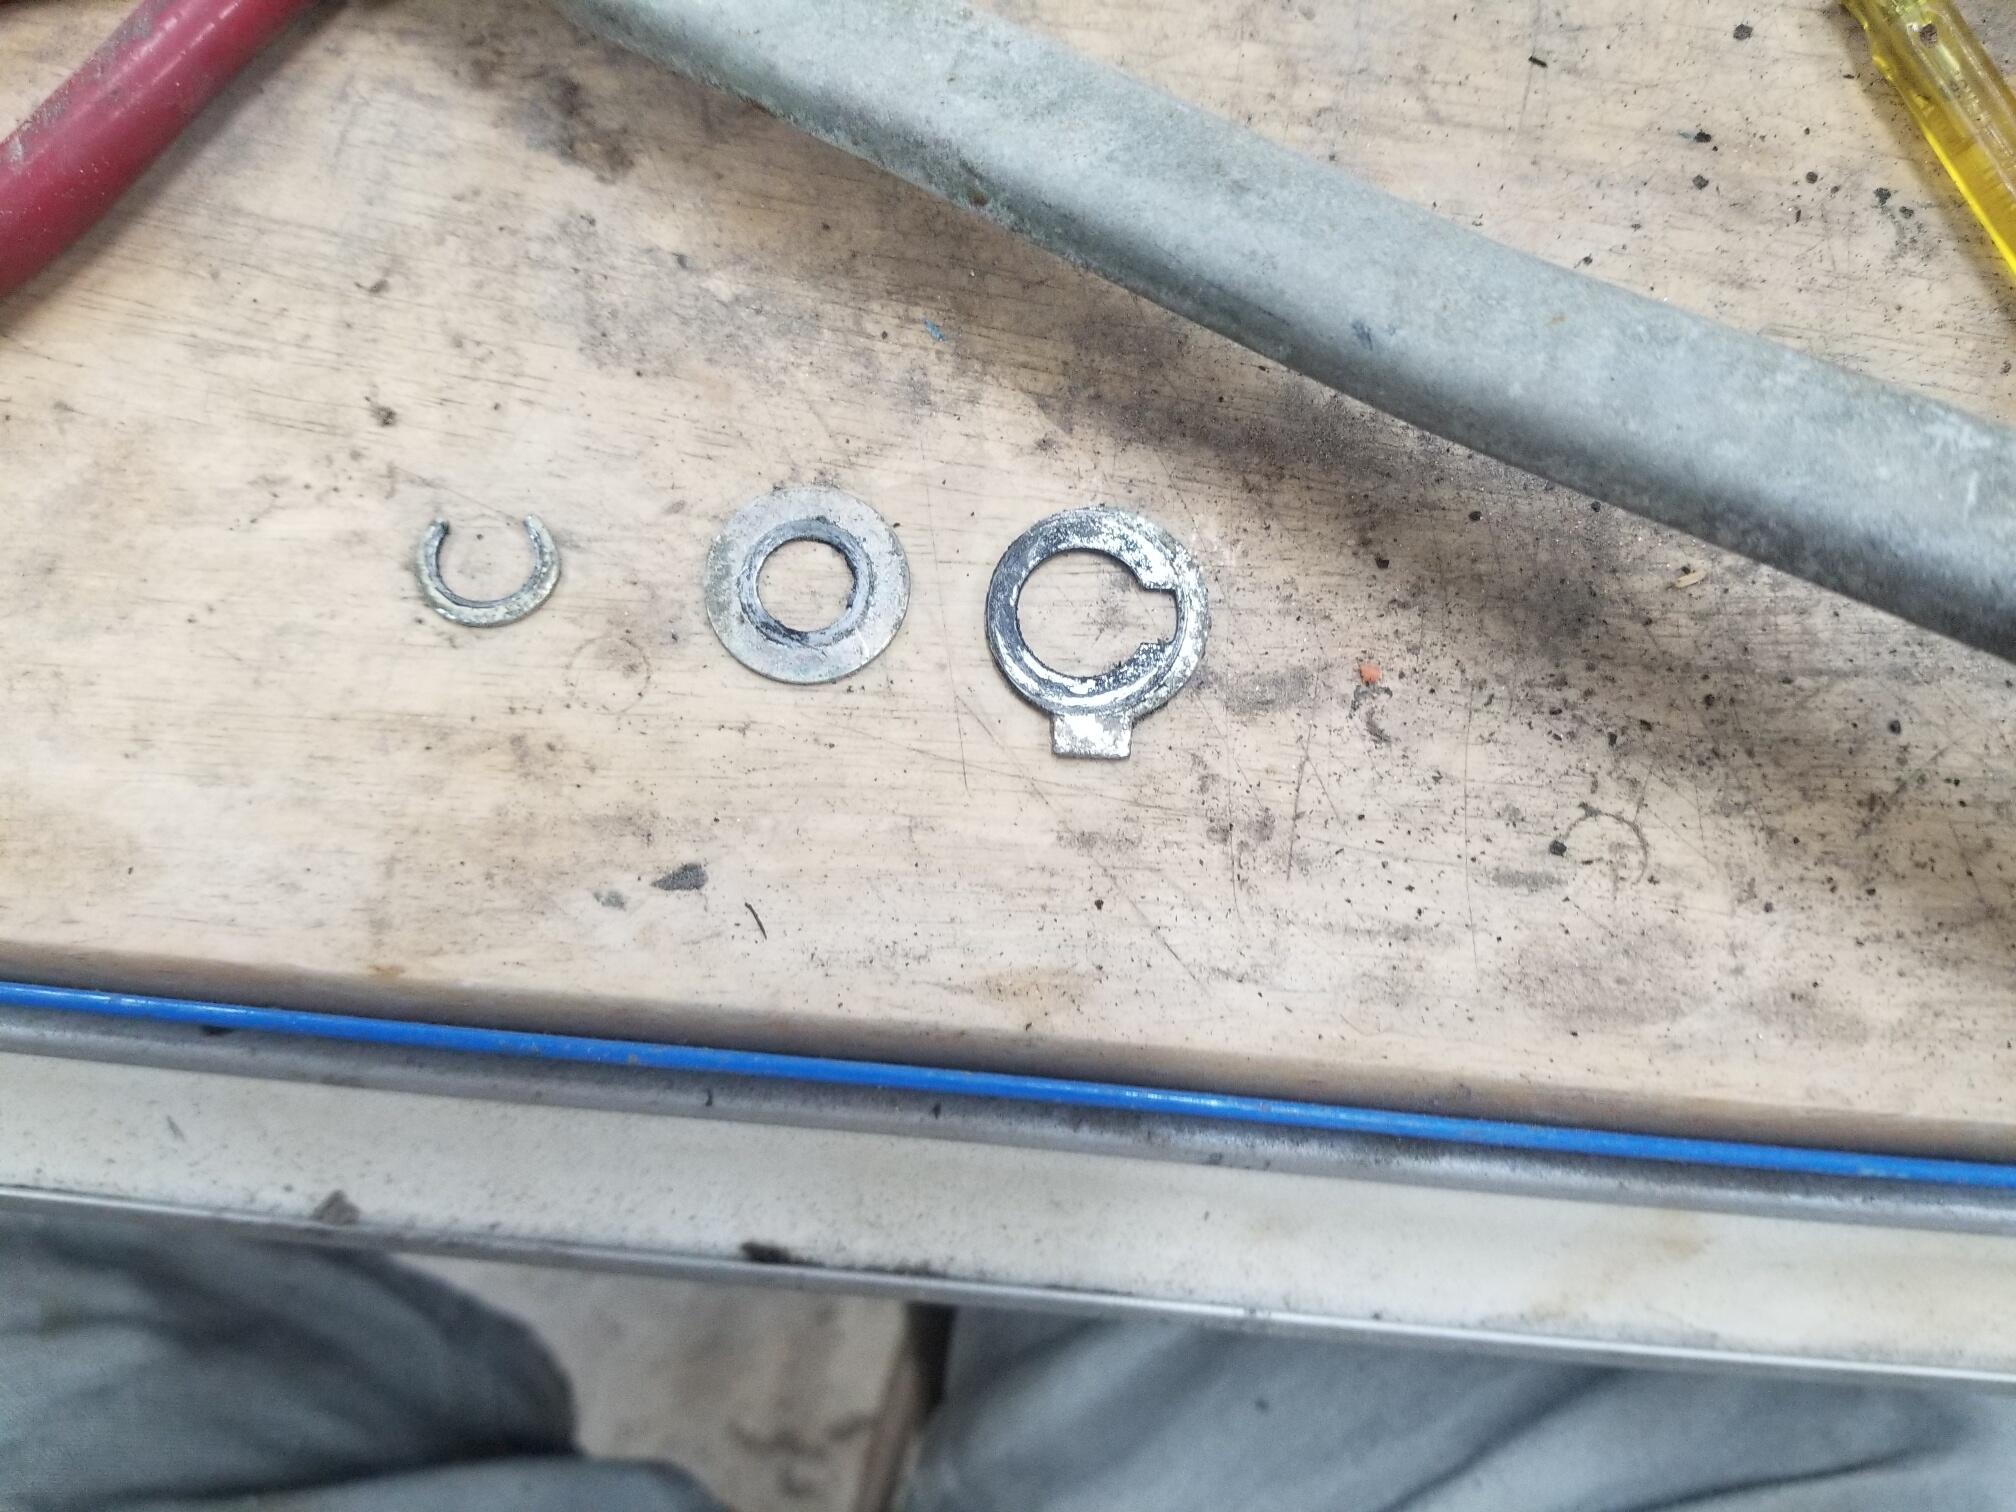
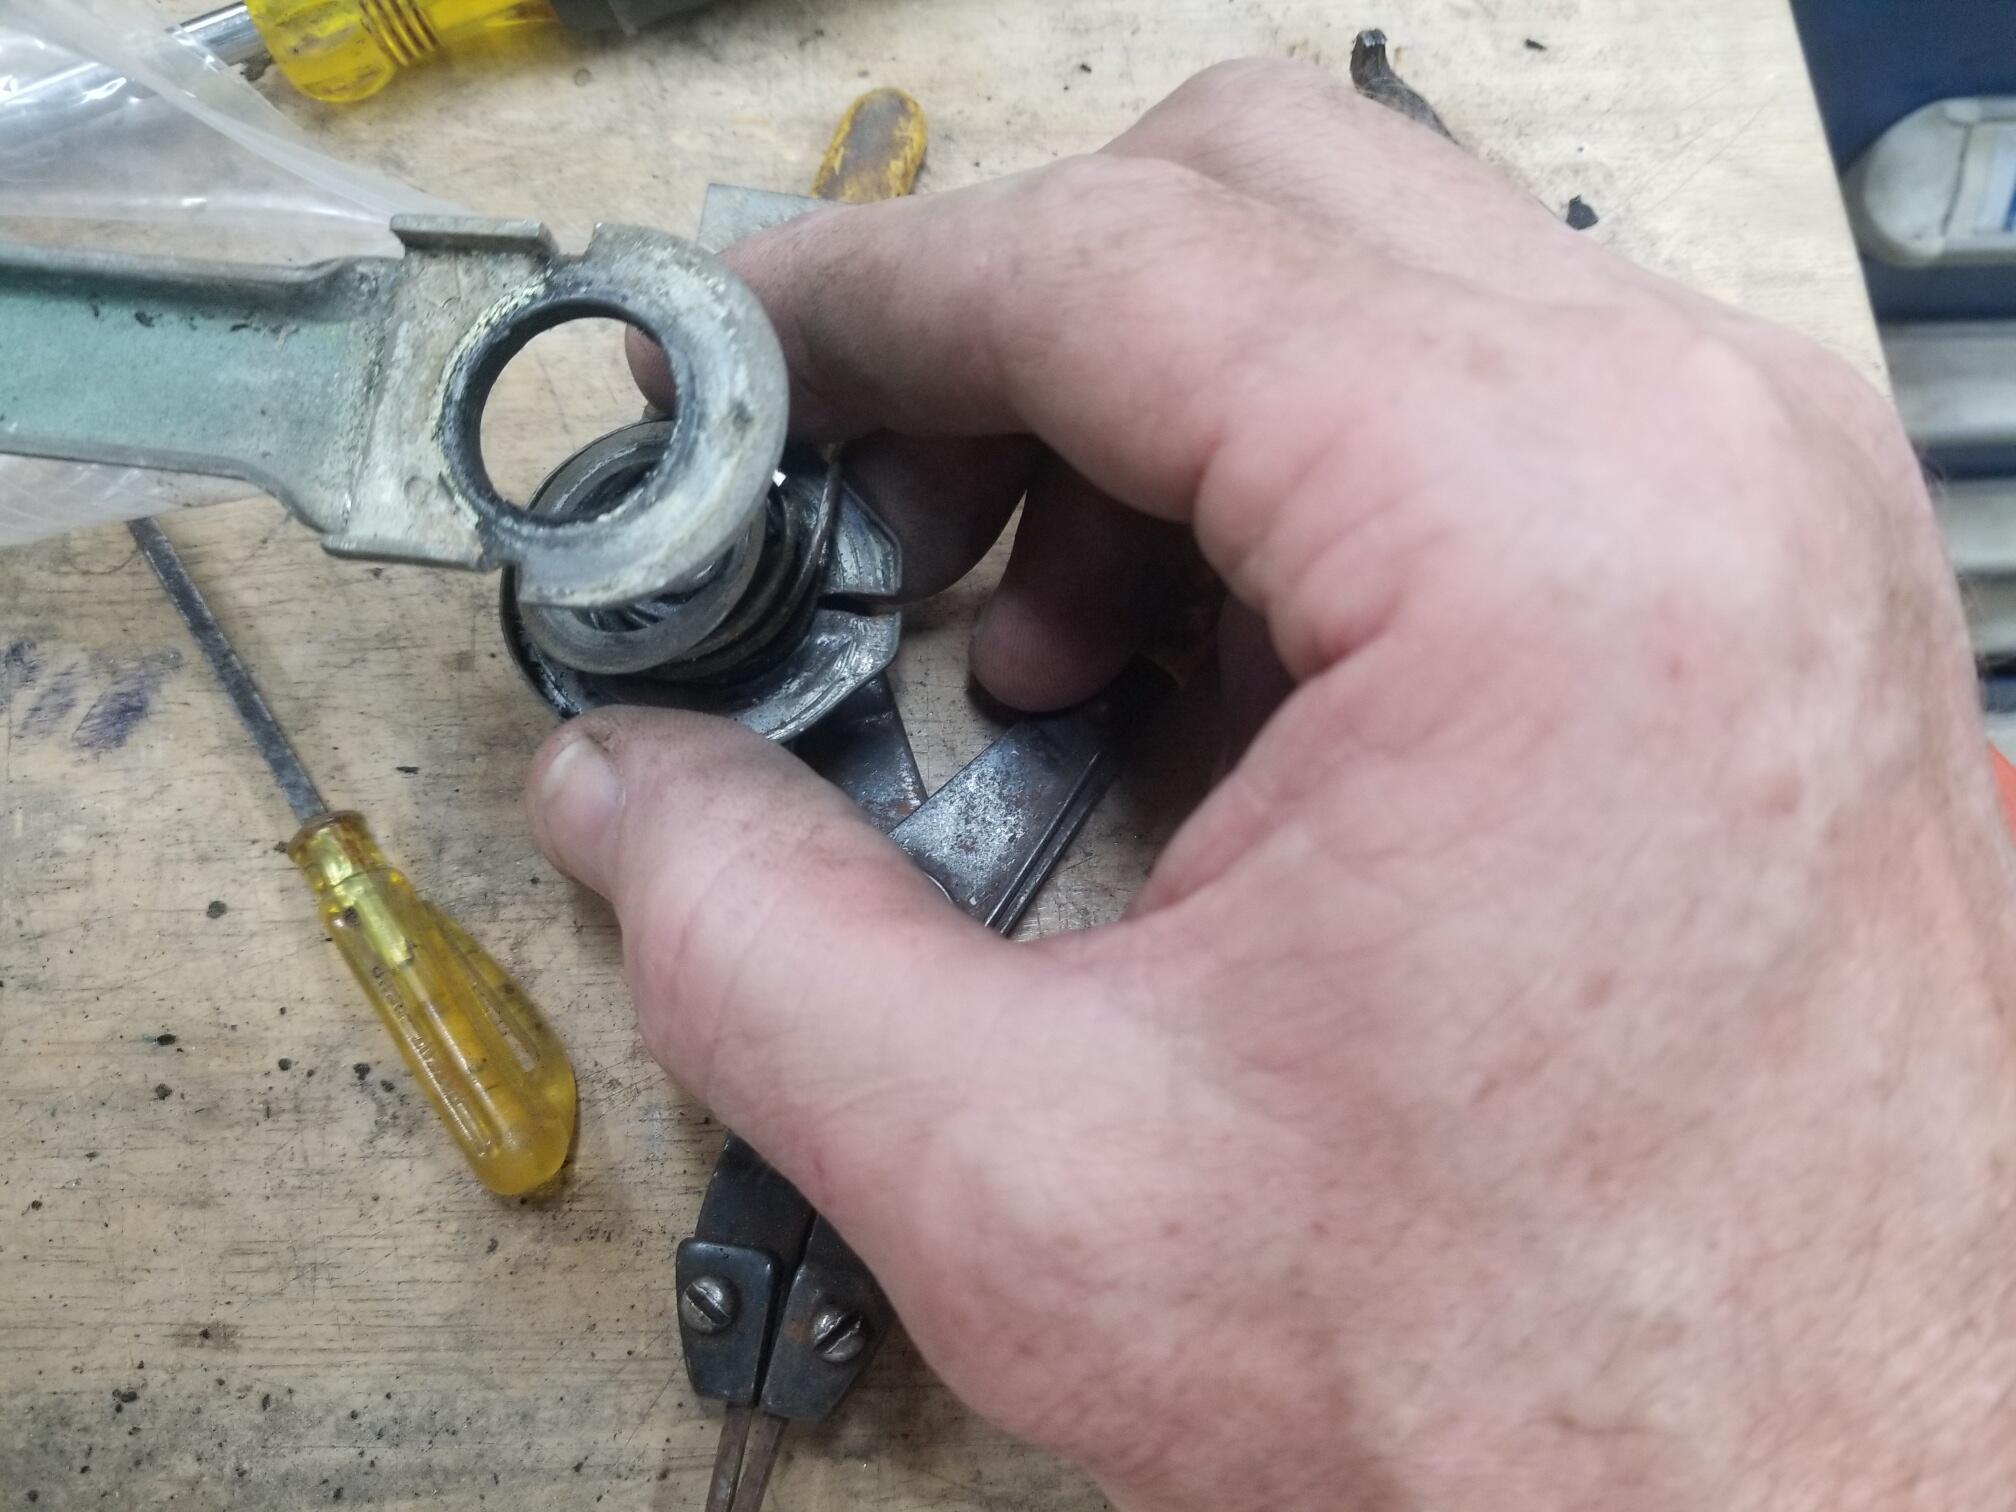
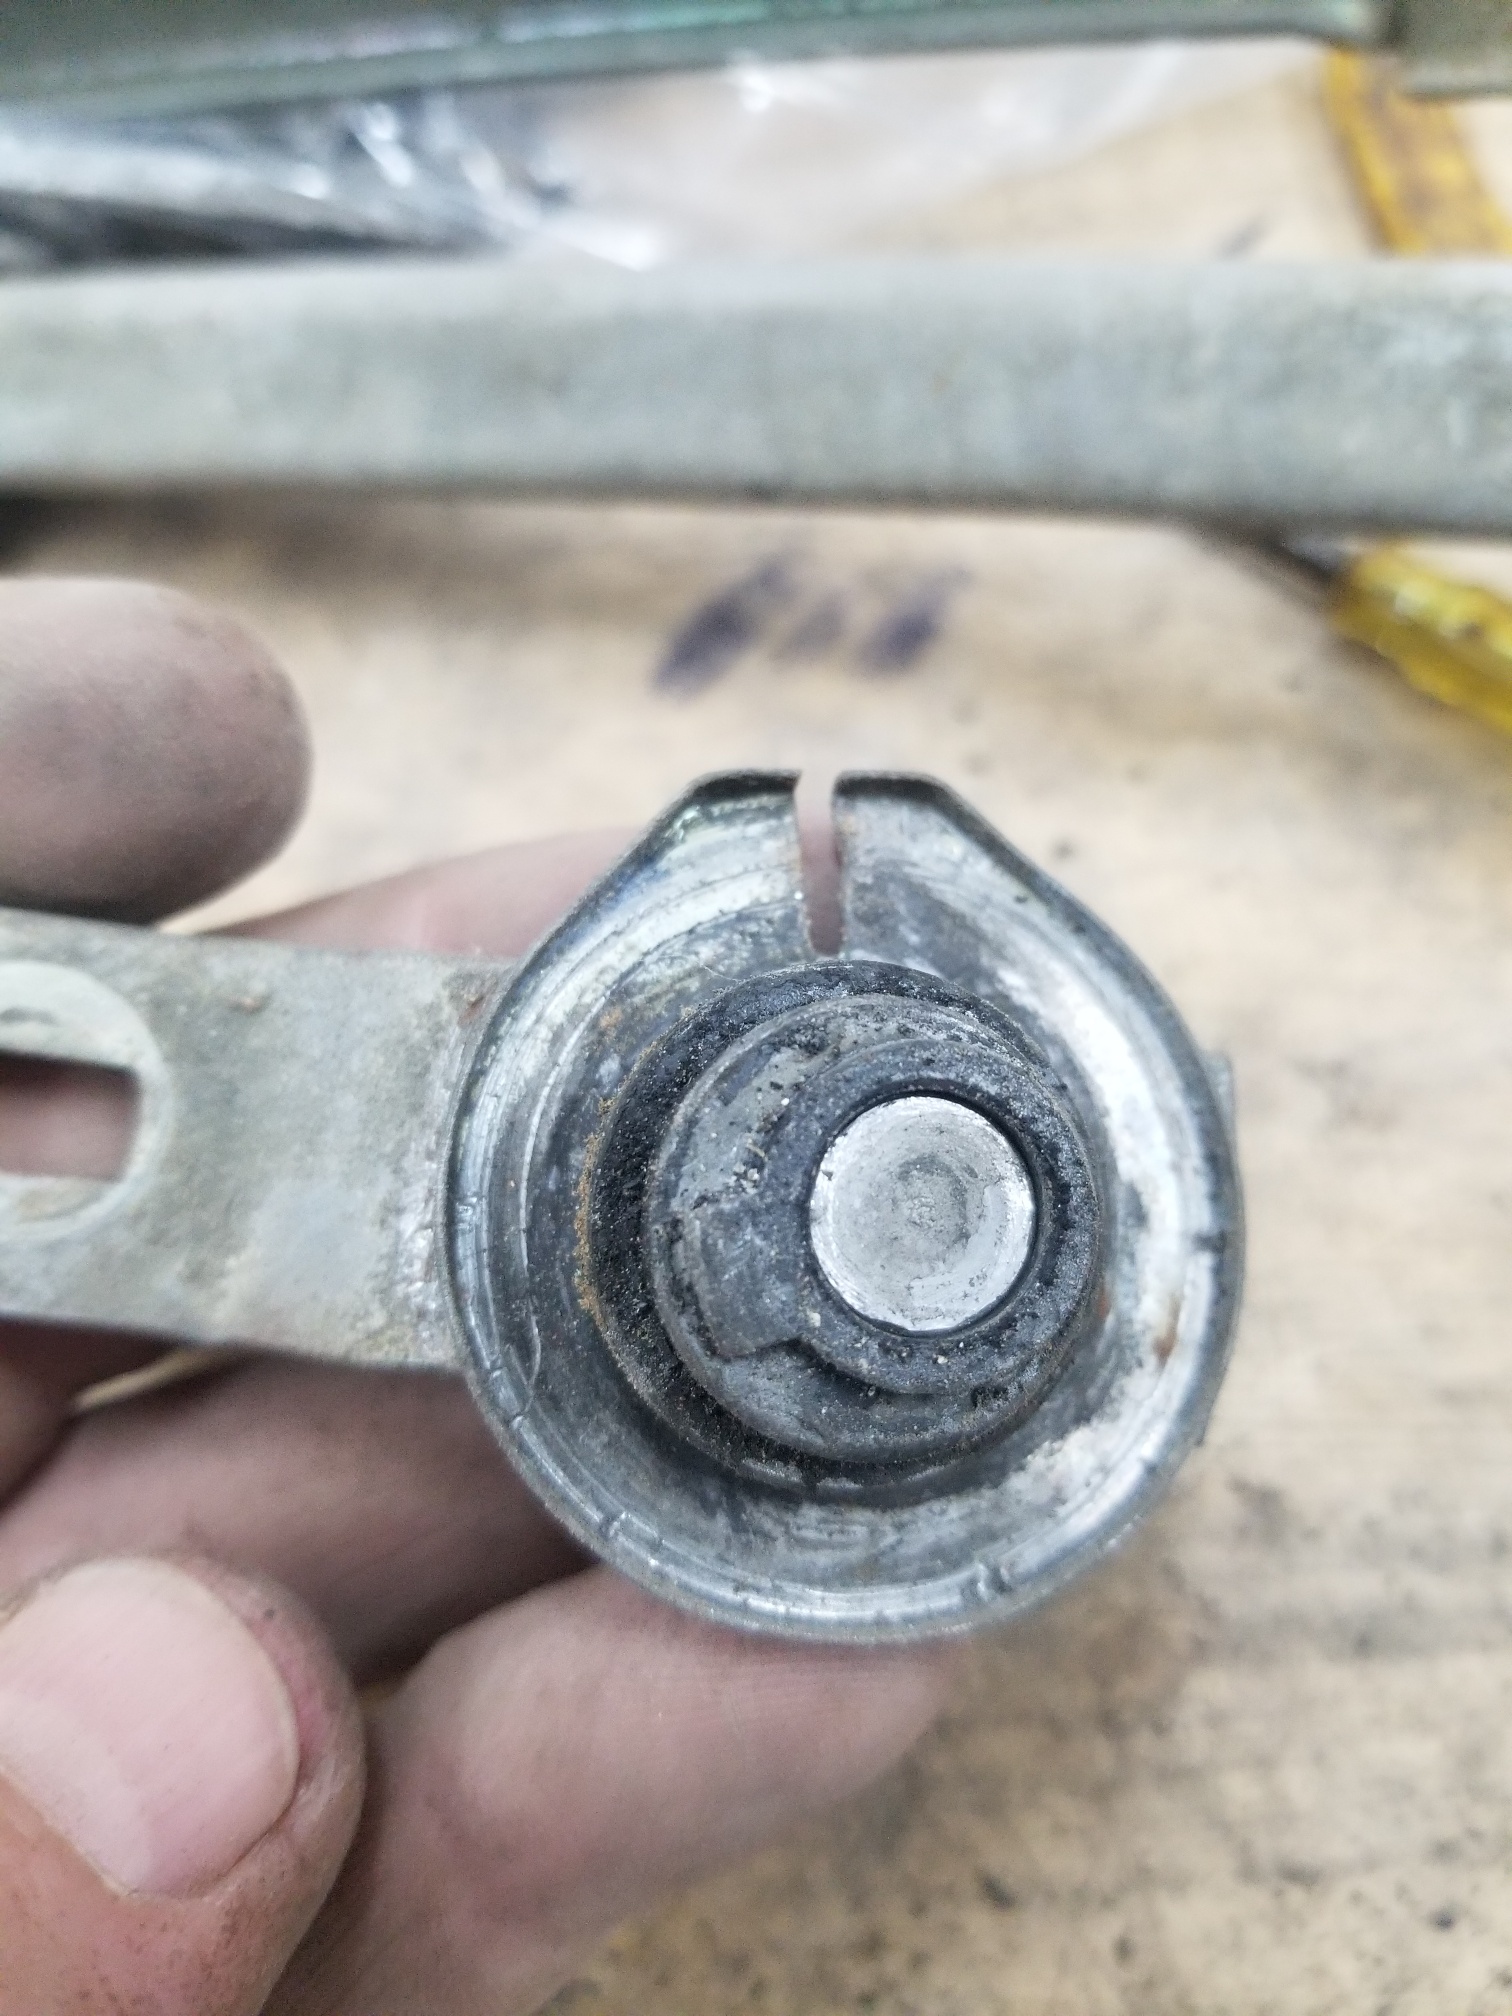
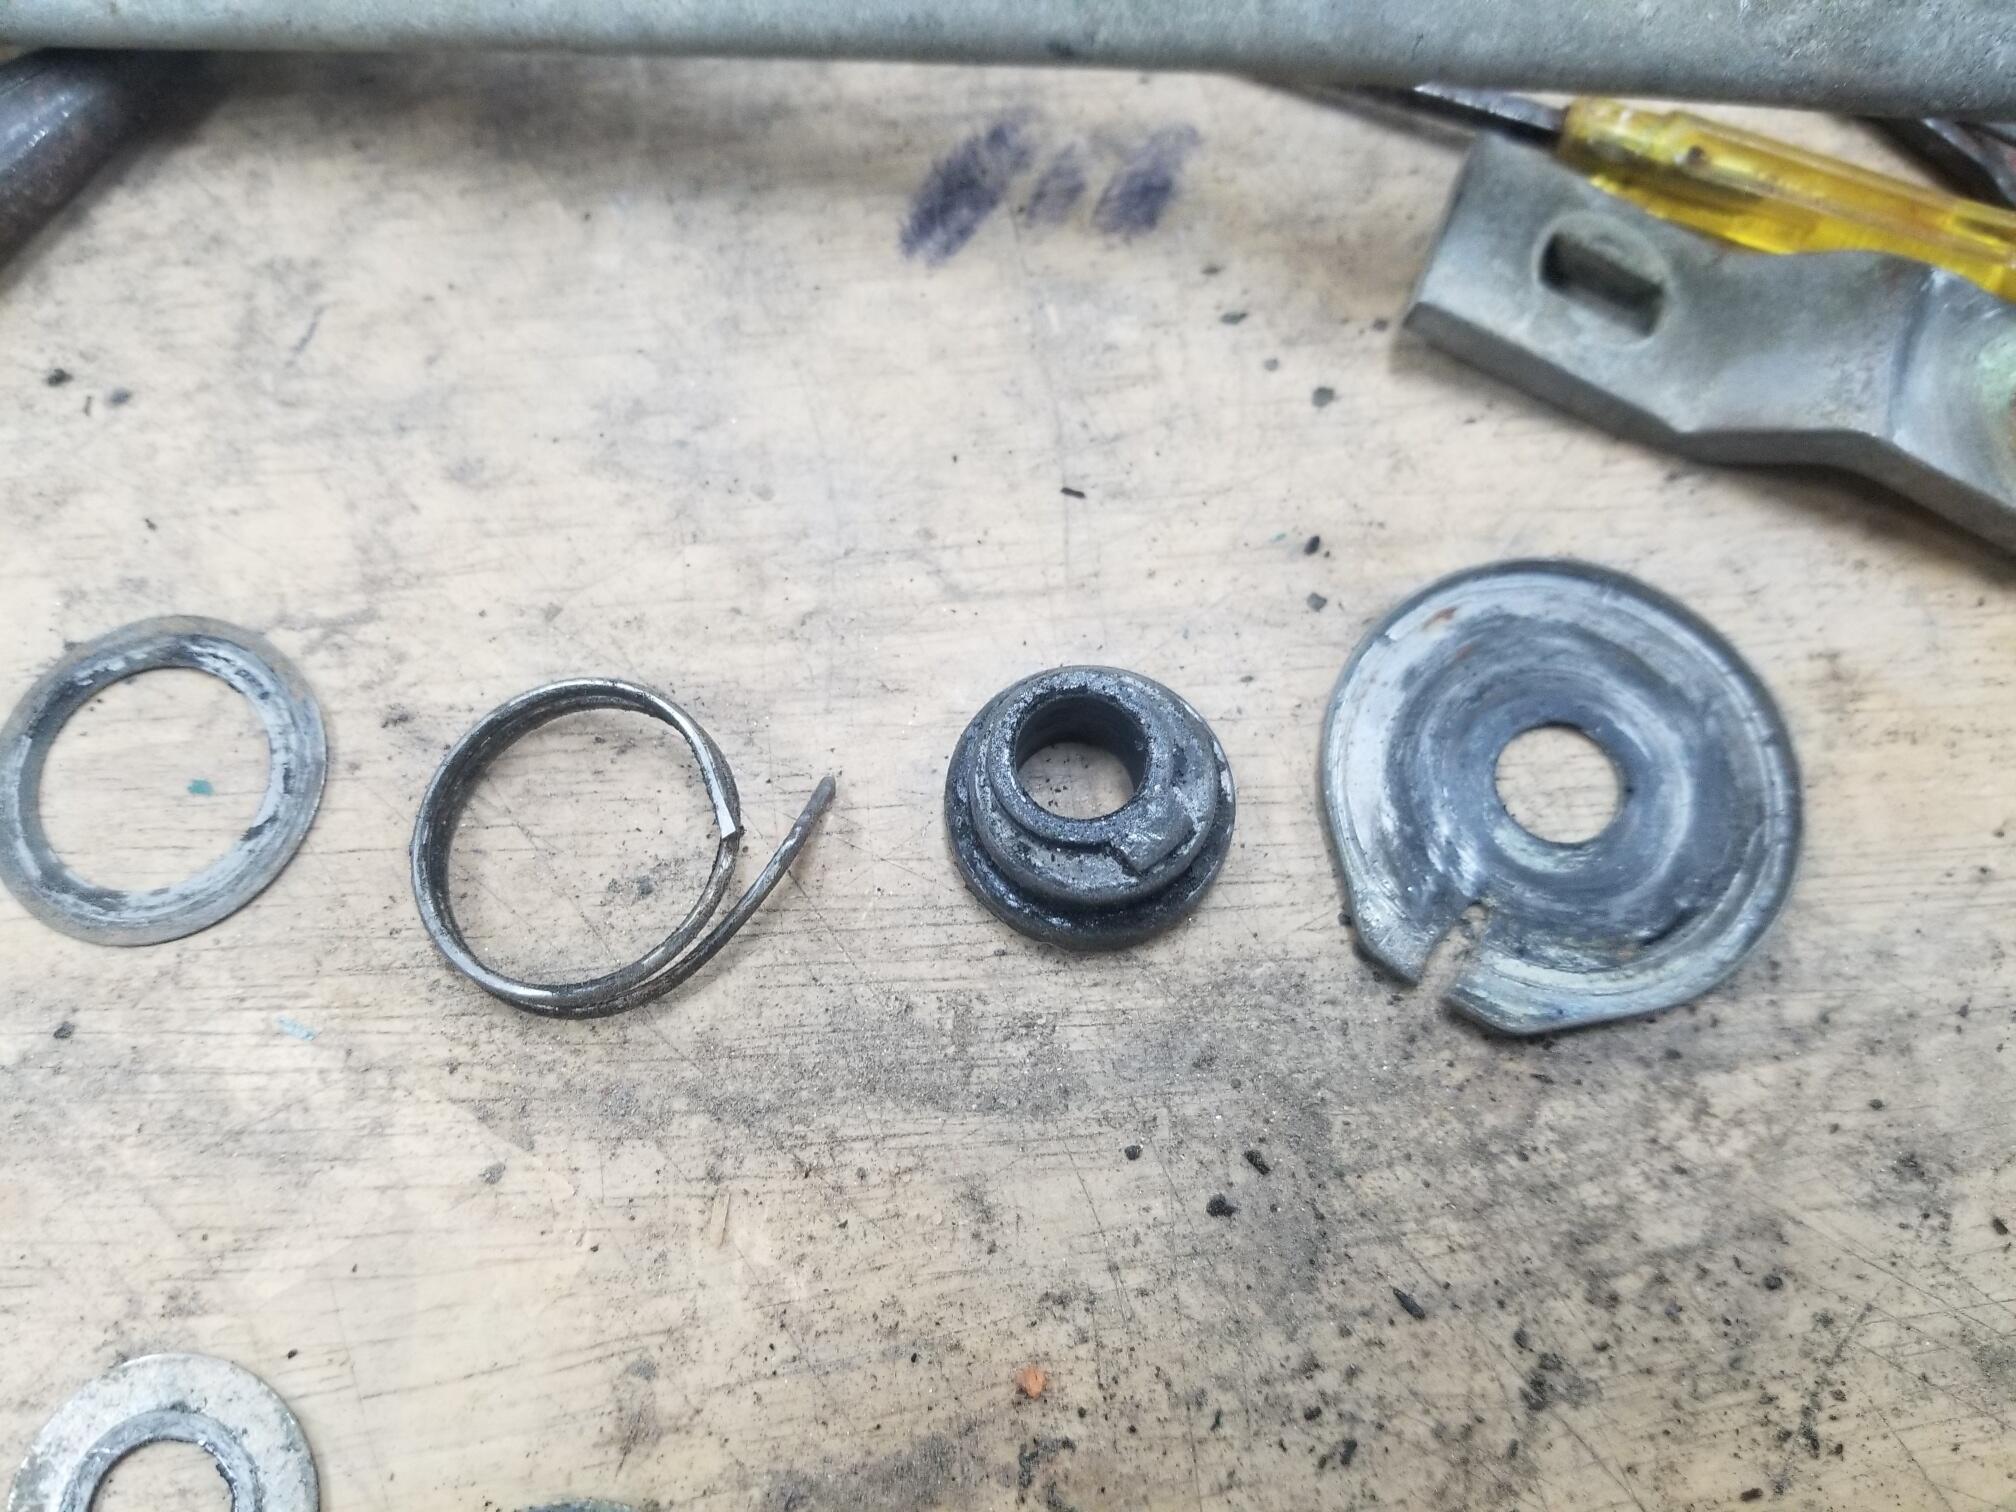
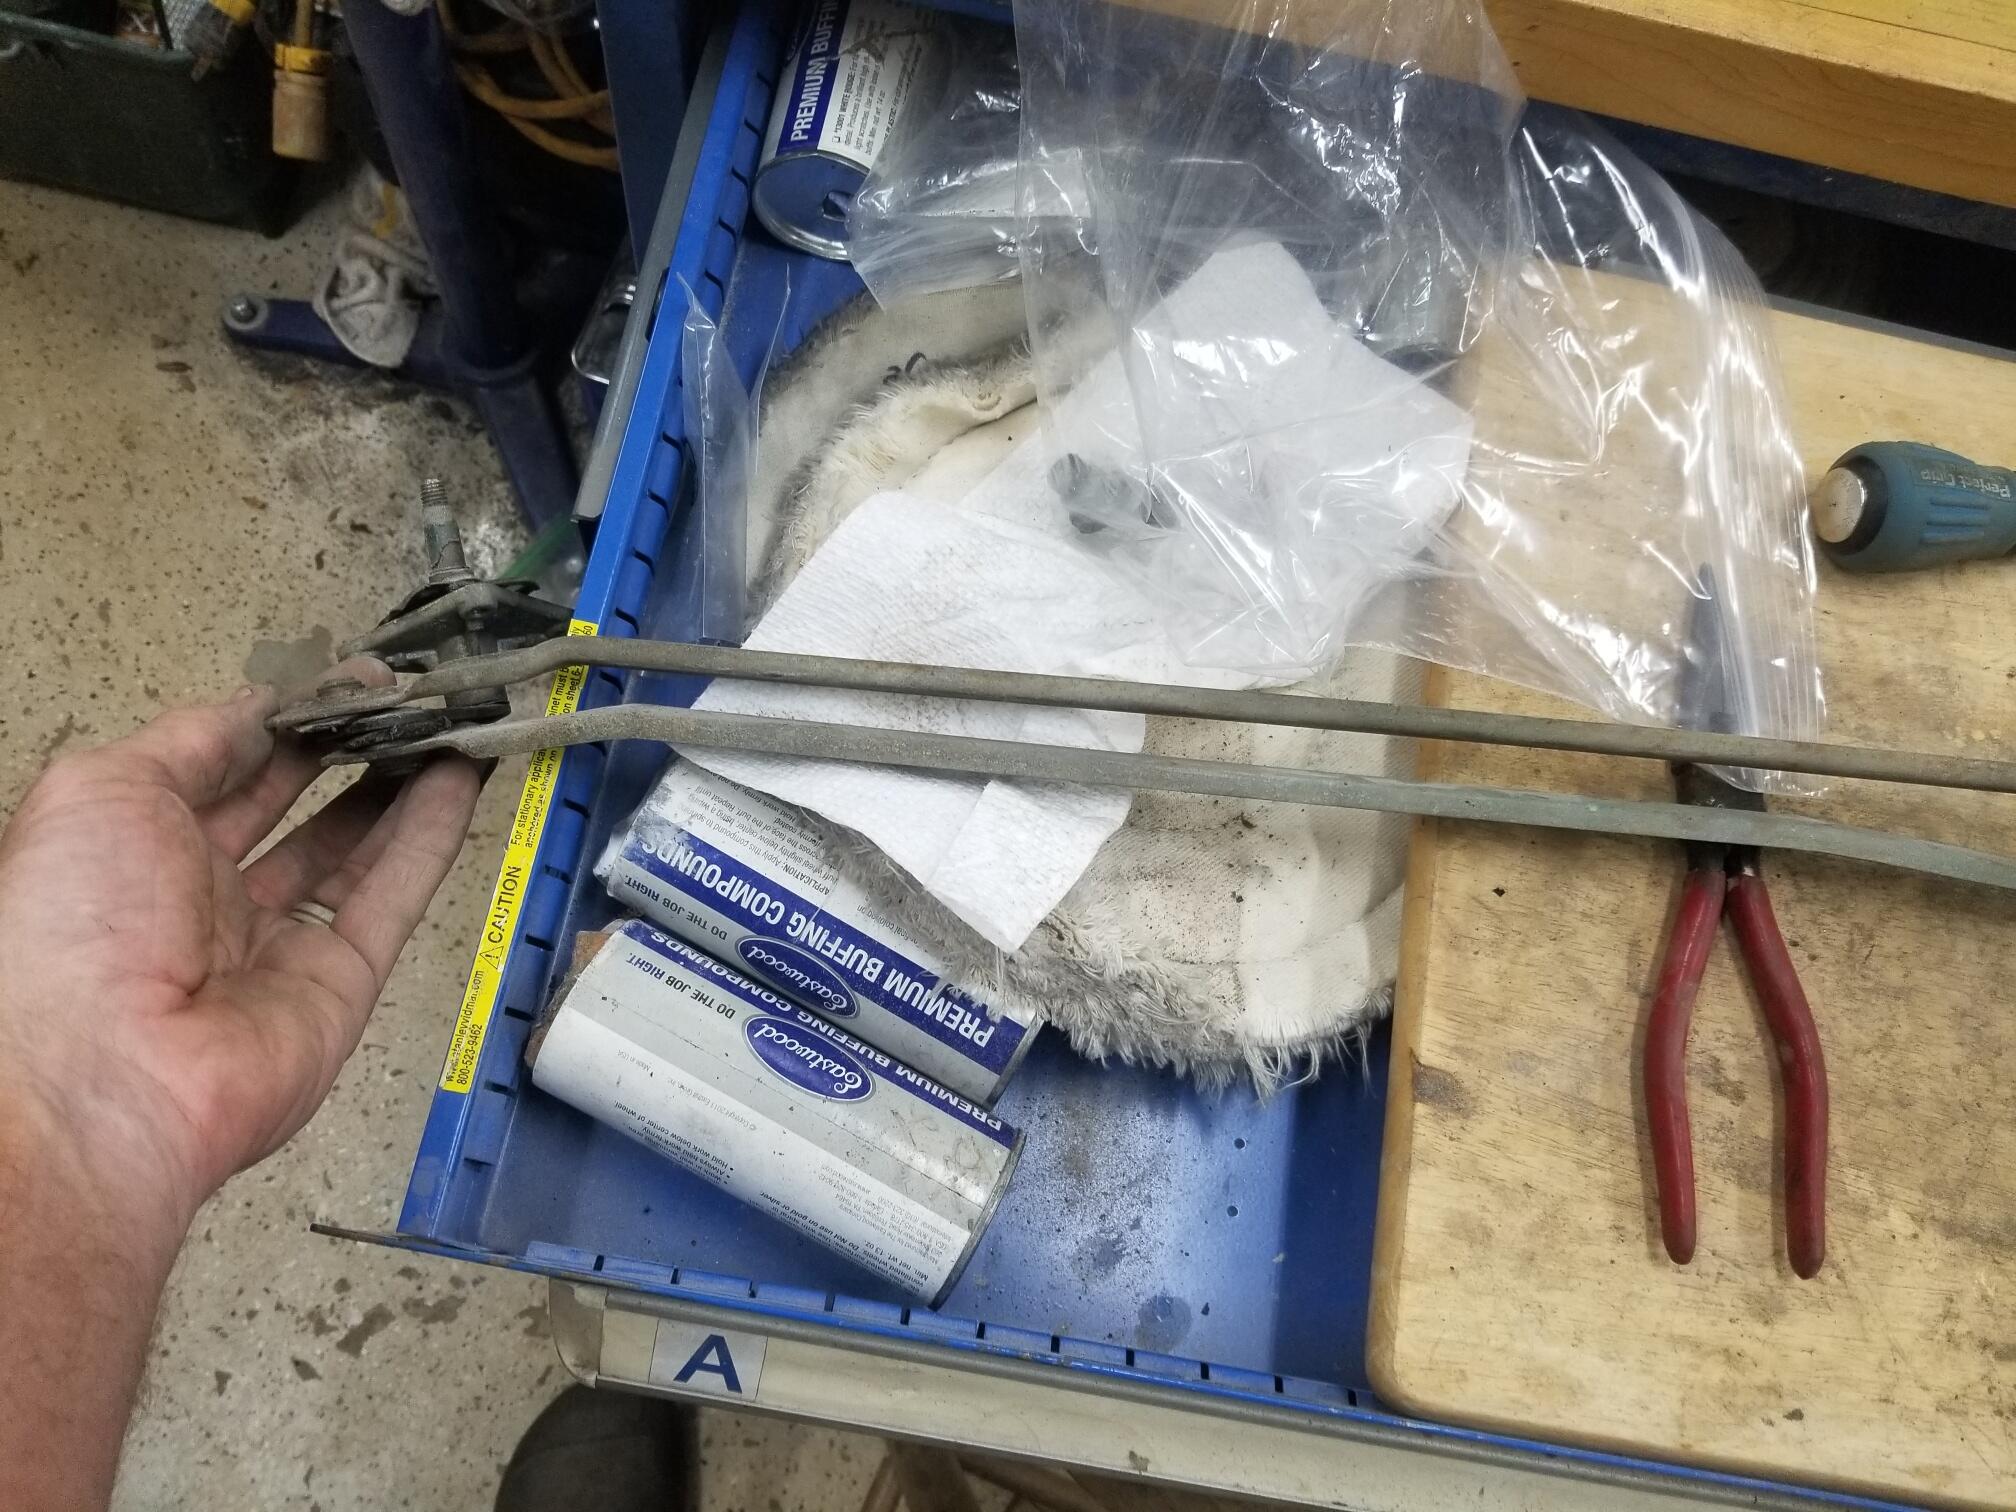
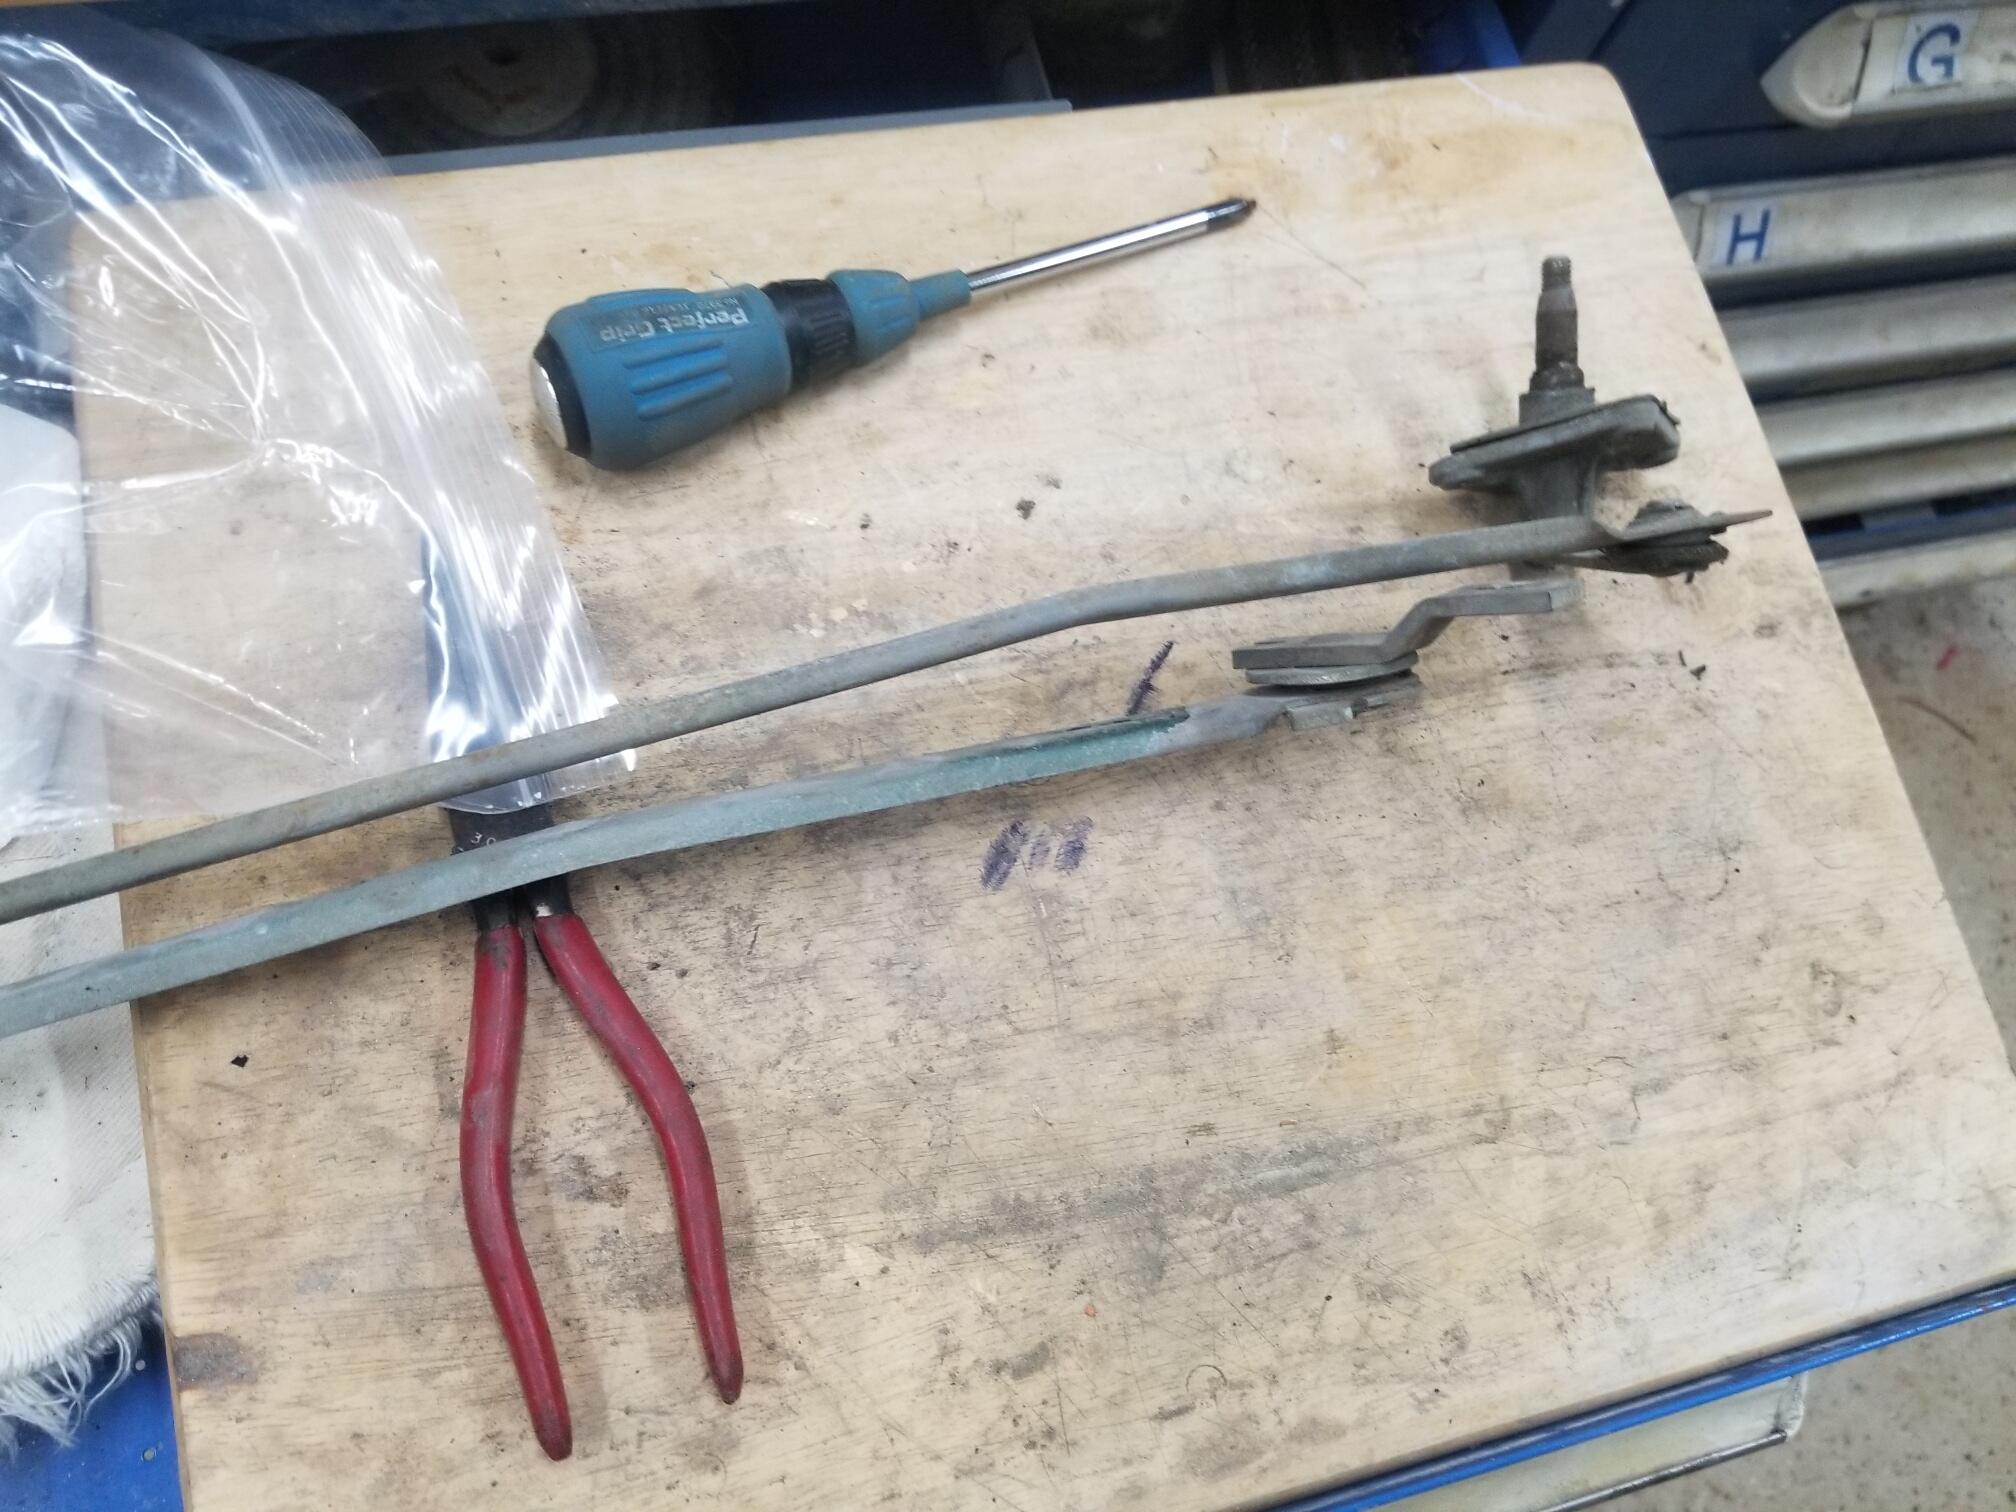
This is what the single side spindle looks like This is the drive end of the linkage Order of the top pieces Be careful when disassembling this! There is a spring under here and the first one I did the spring and washer went flying. Order of the lower pieces Another pivot
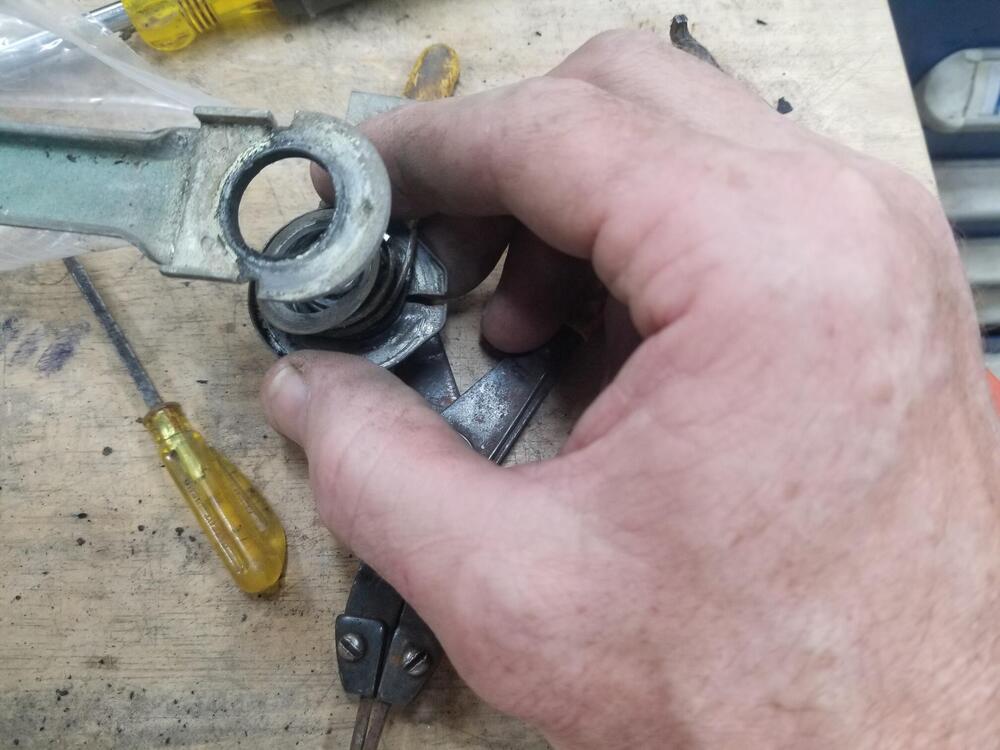
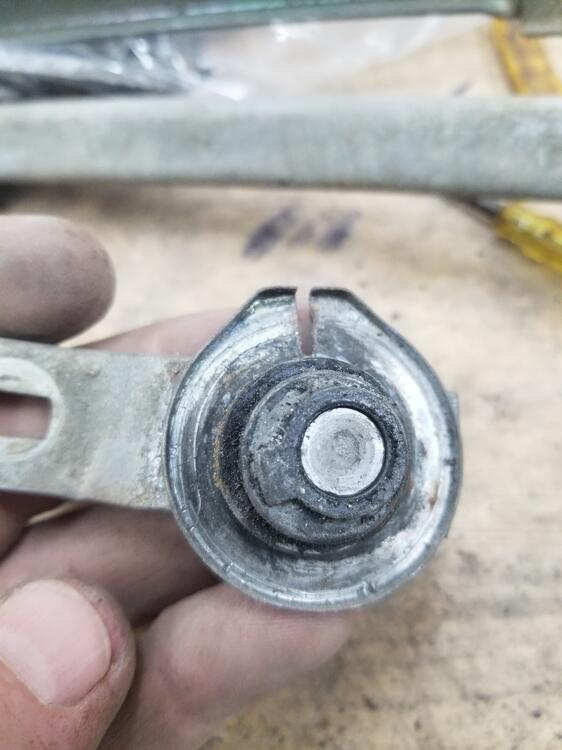
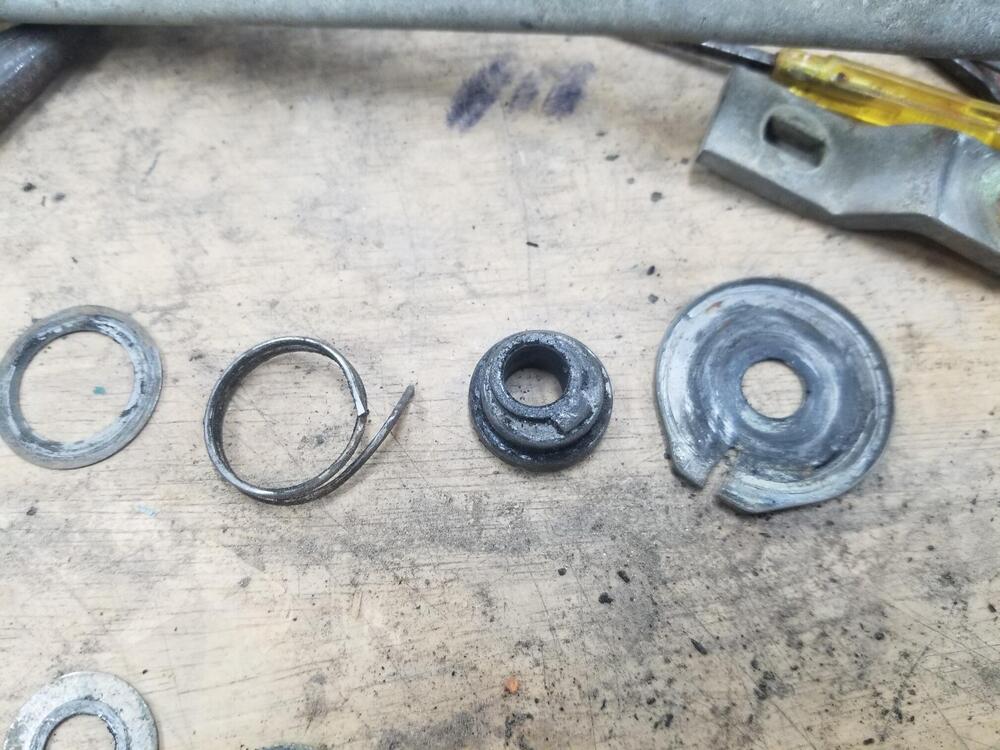
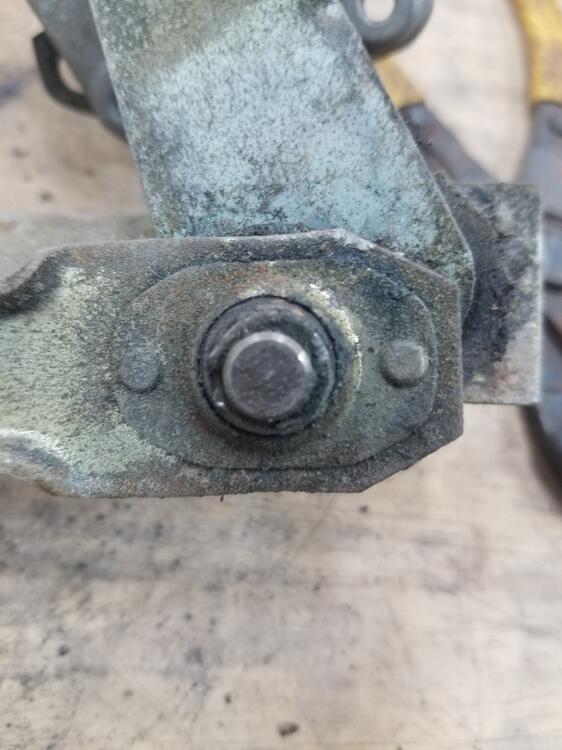
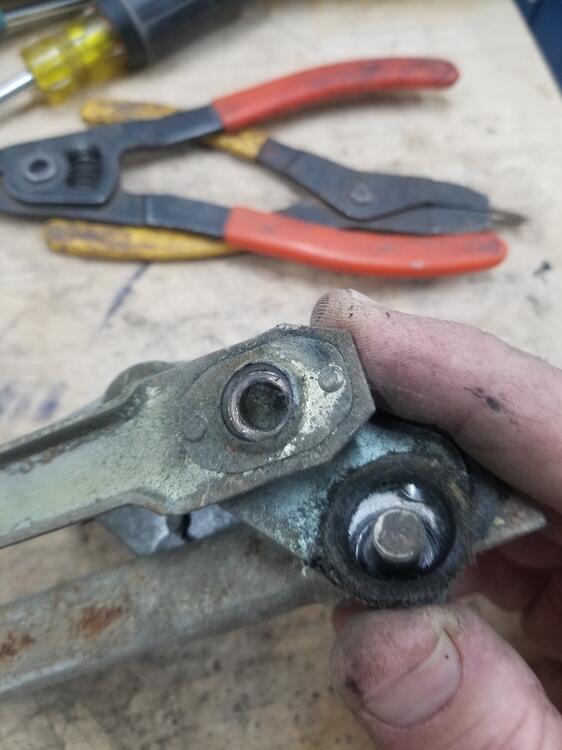
-
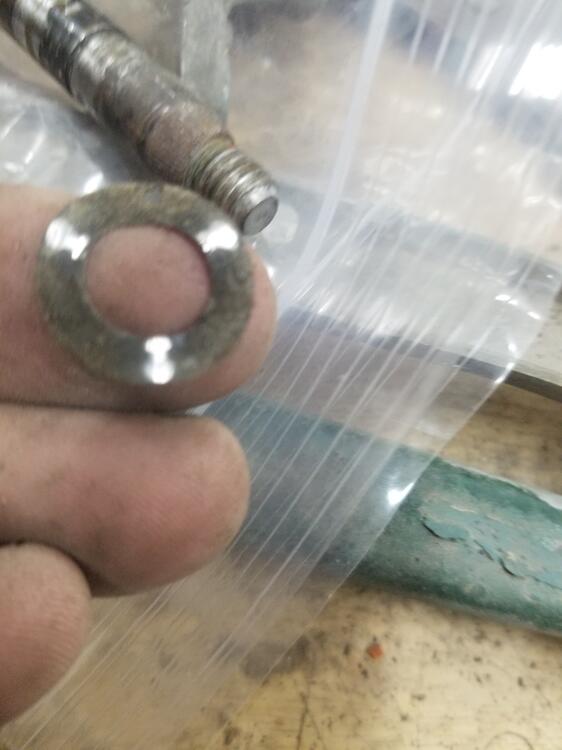
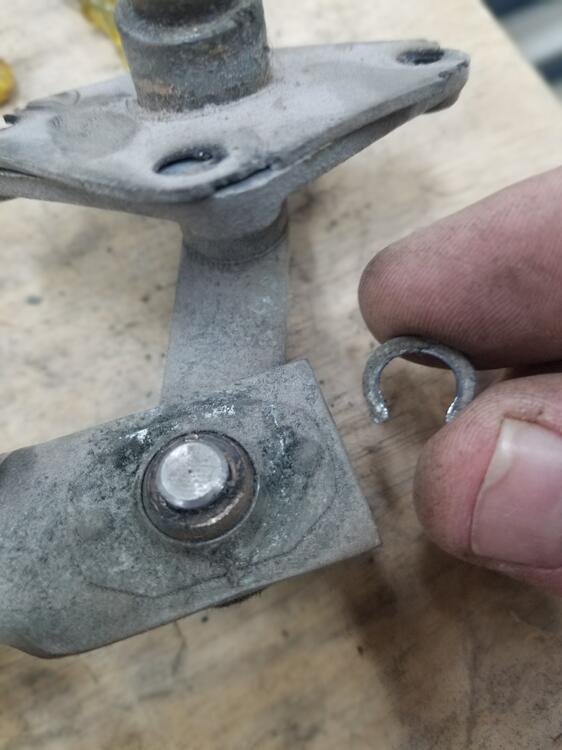
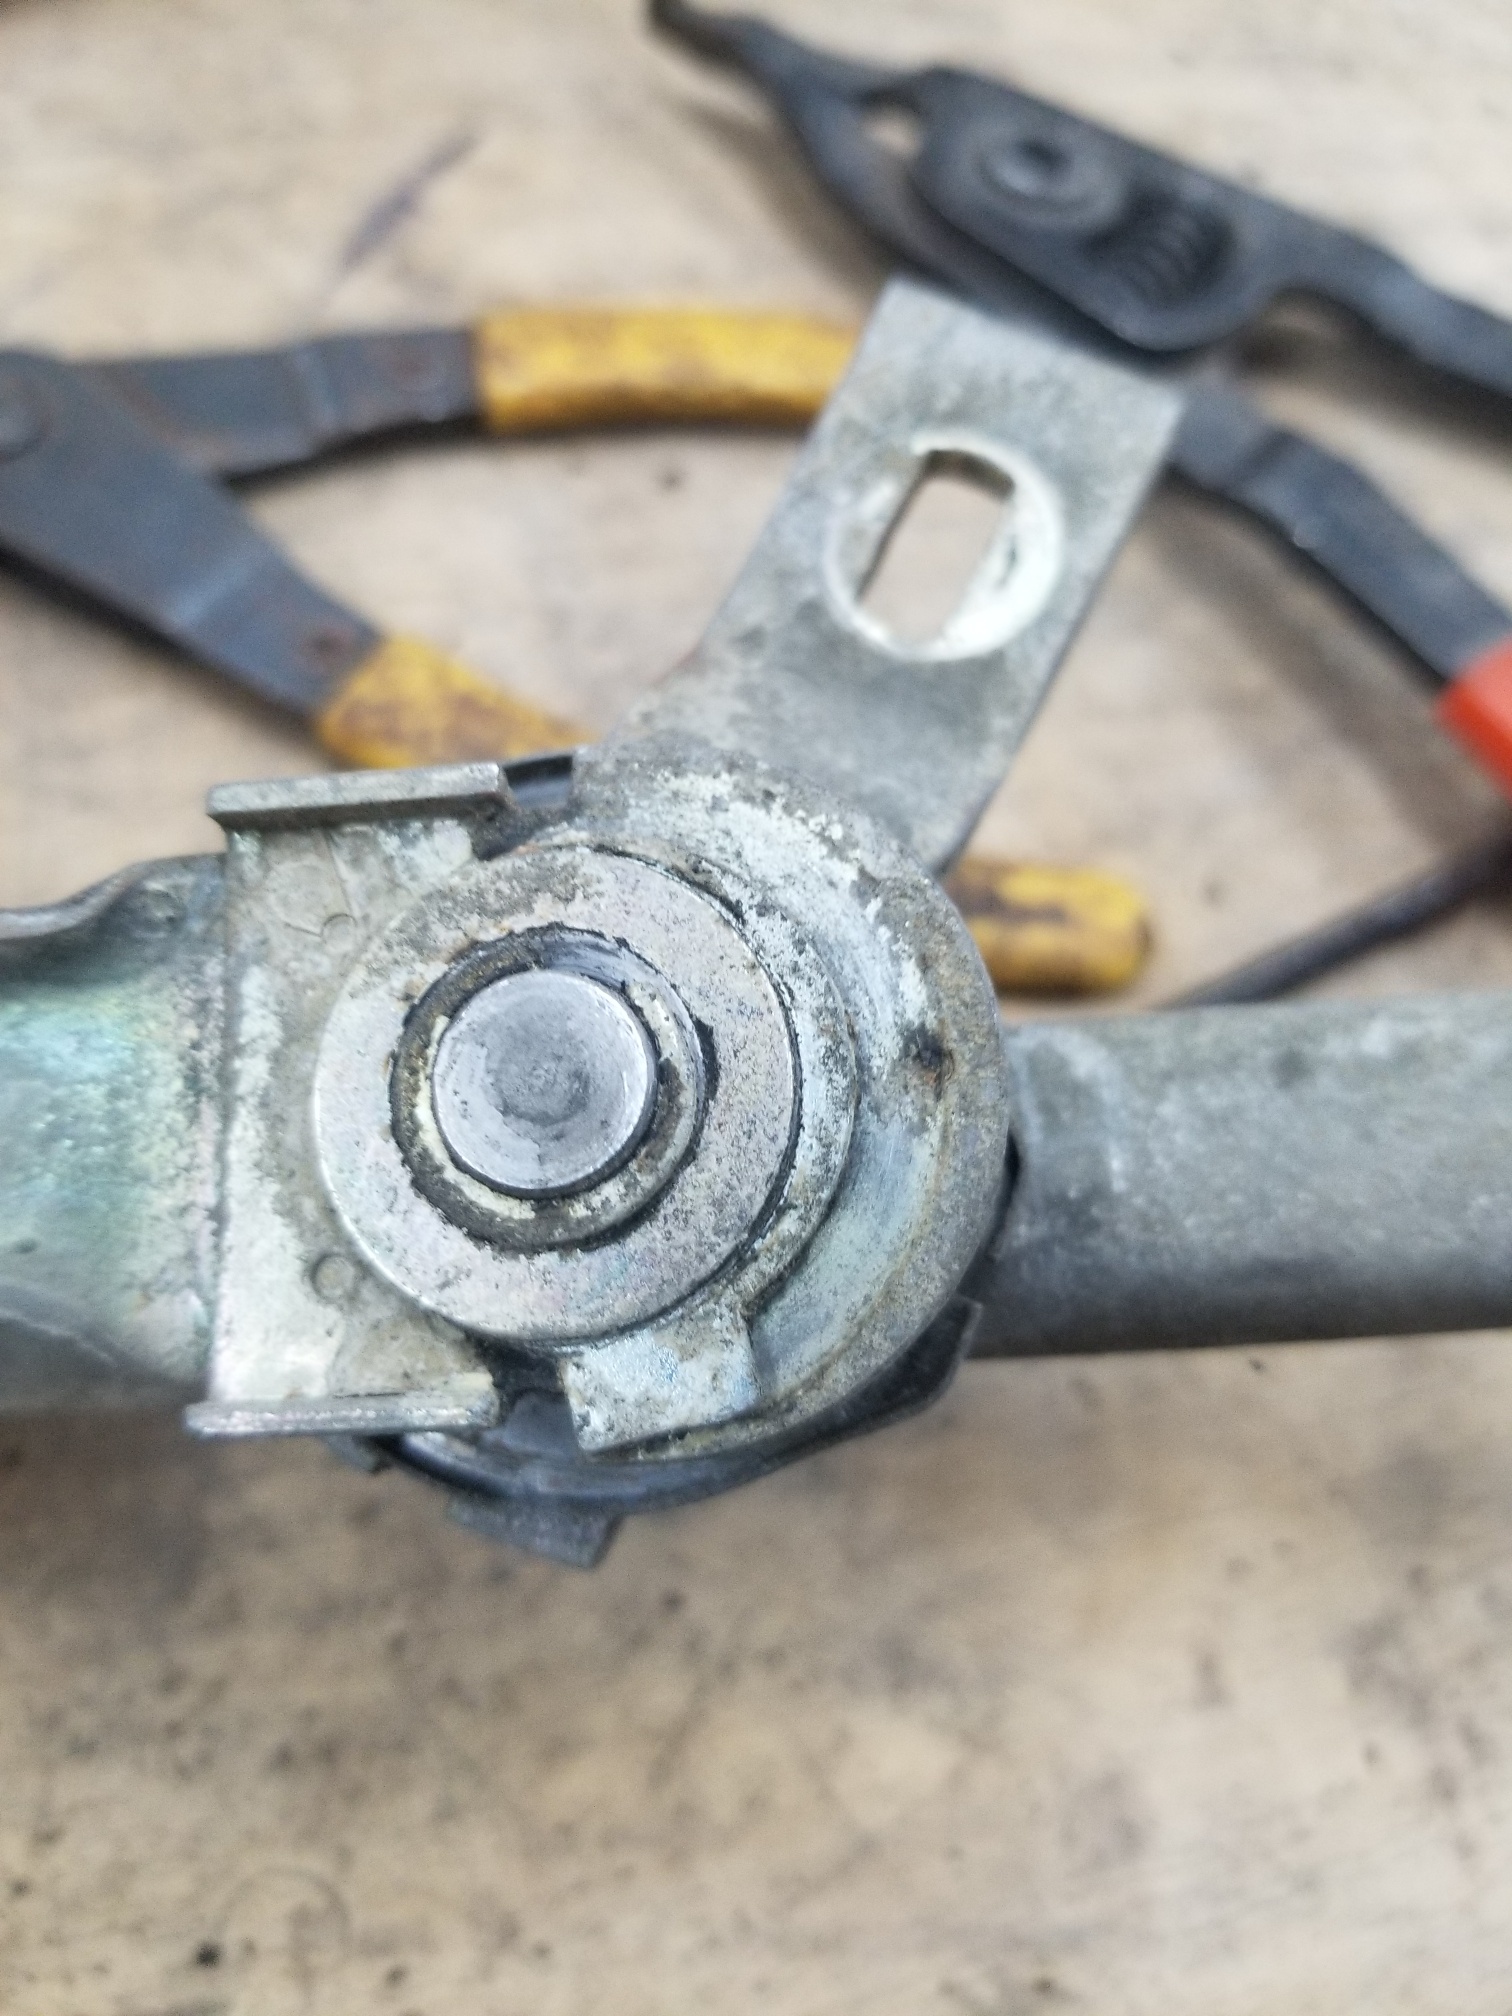
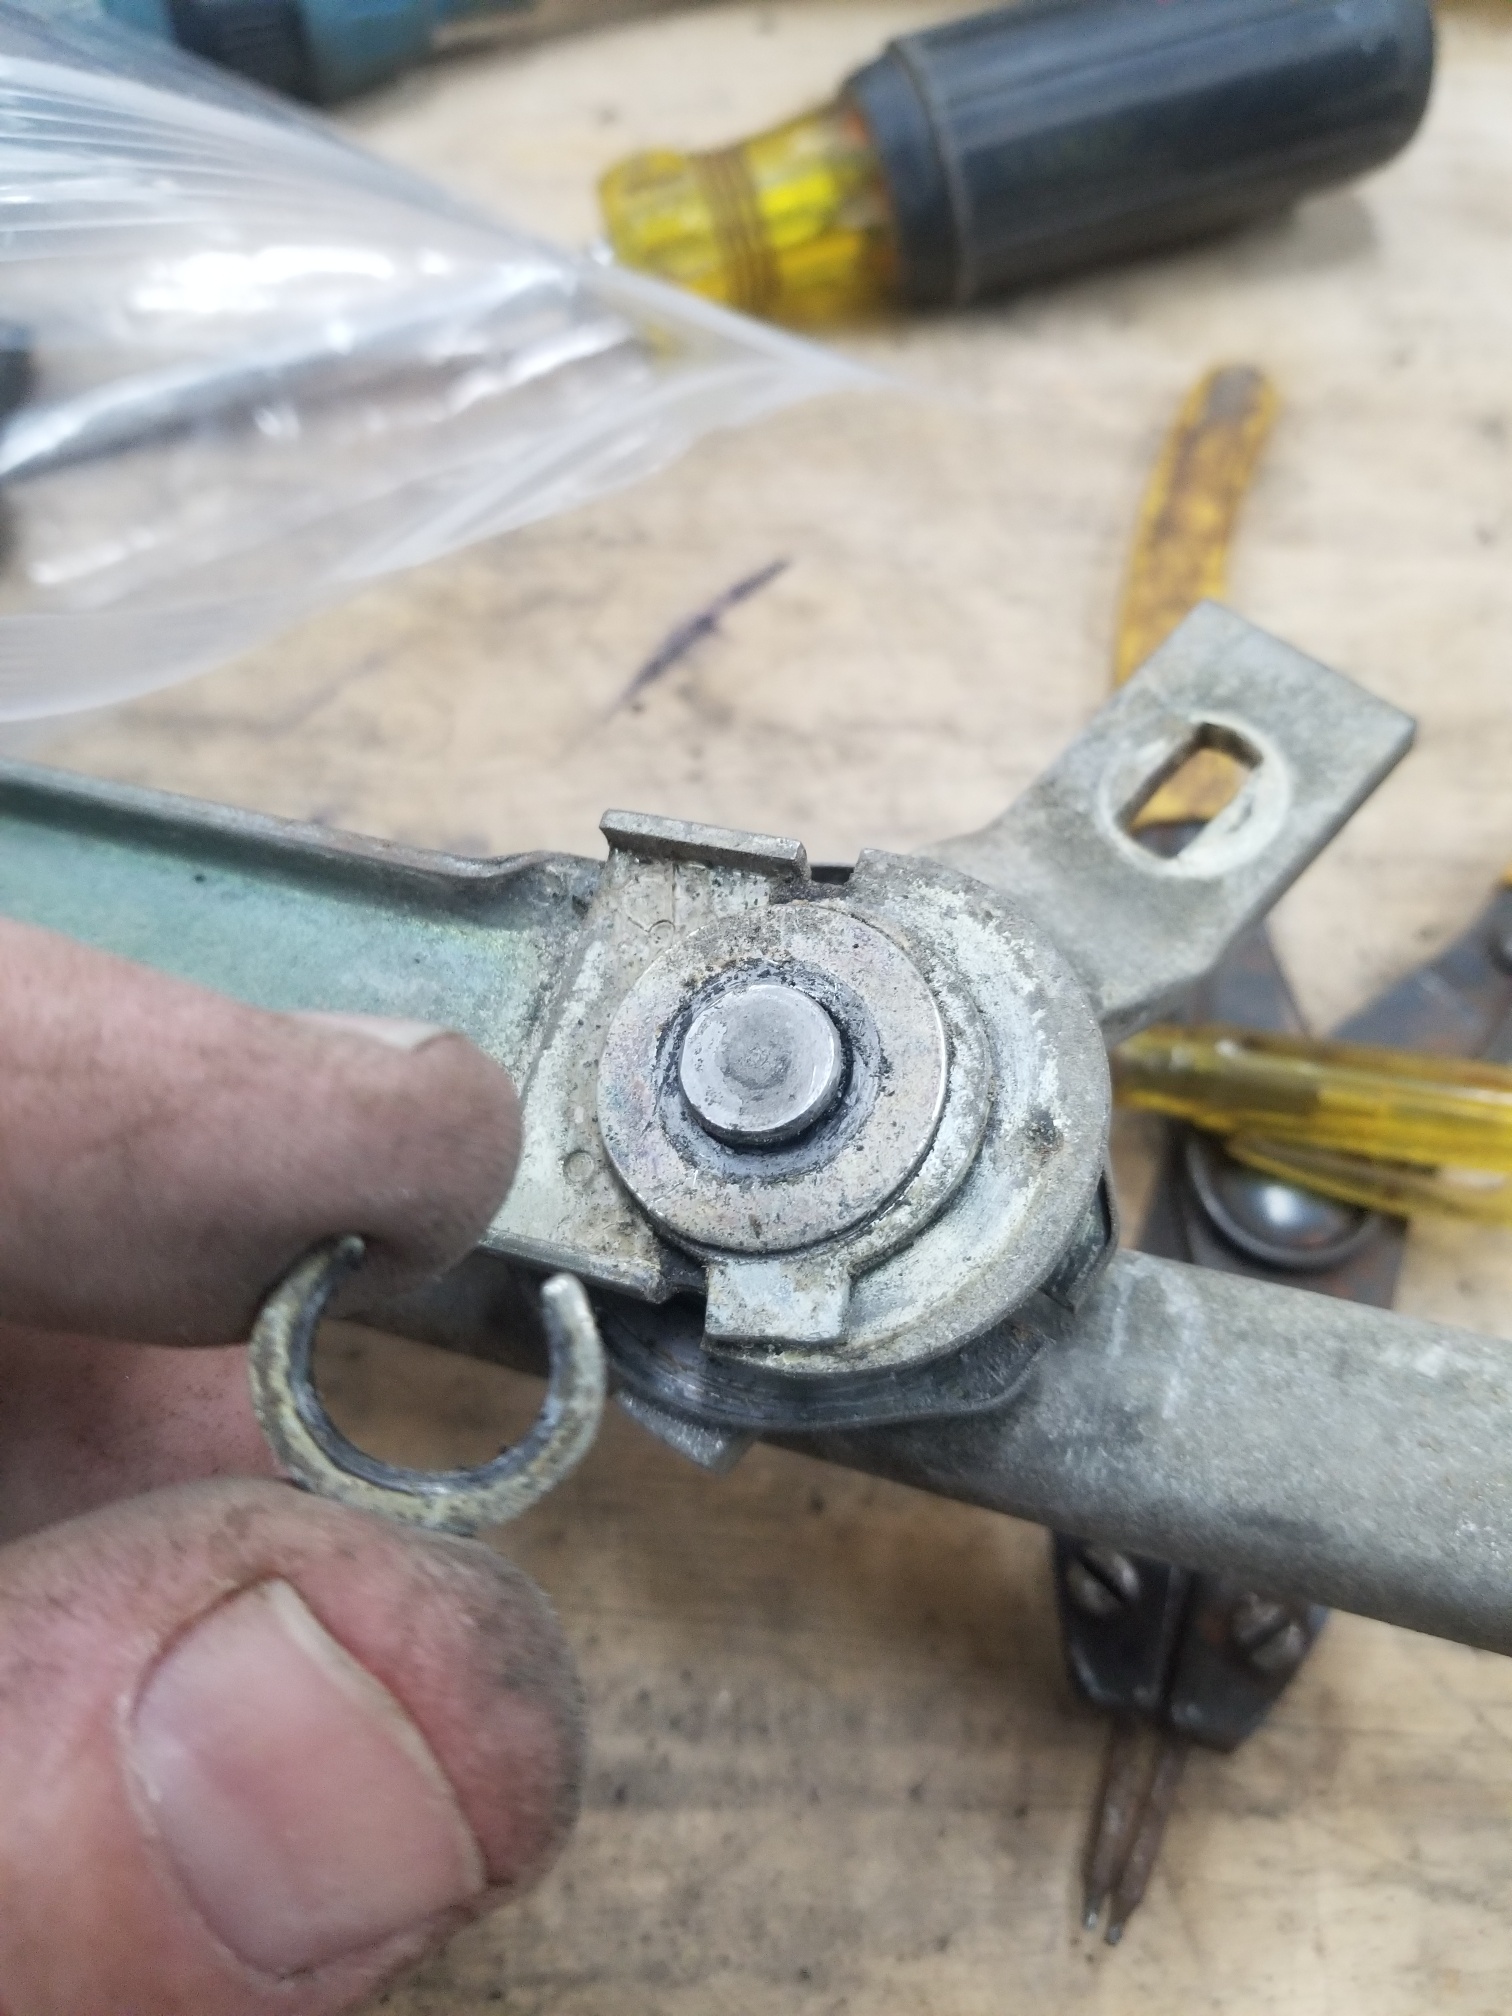
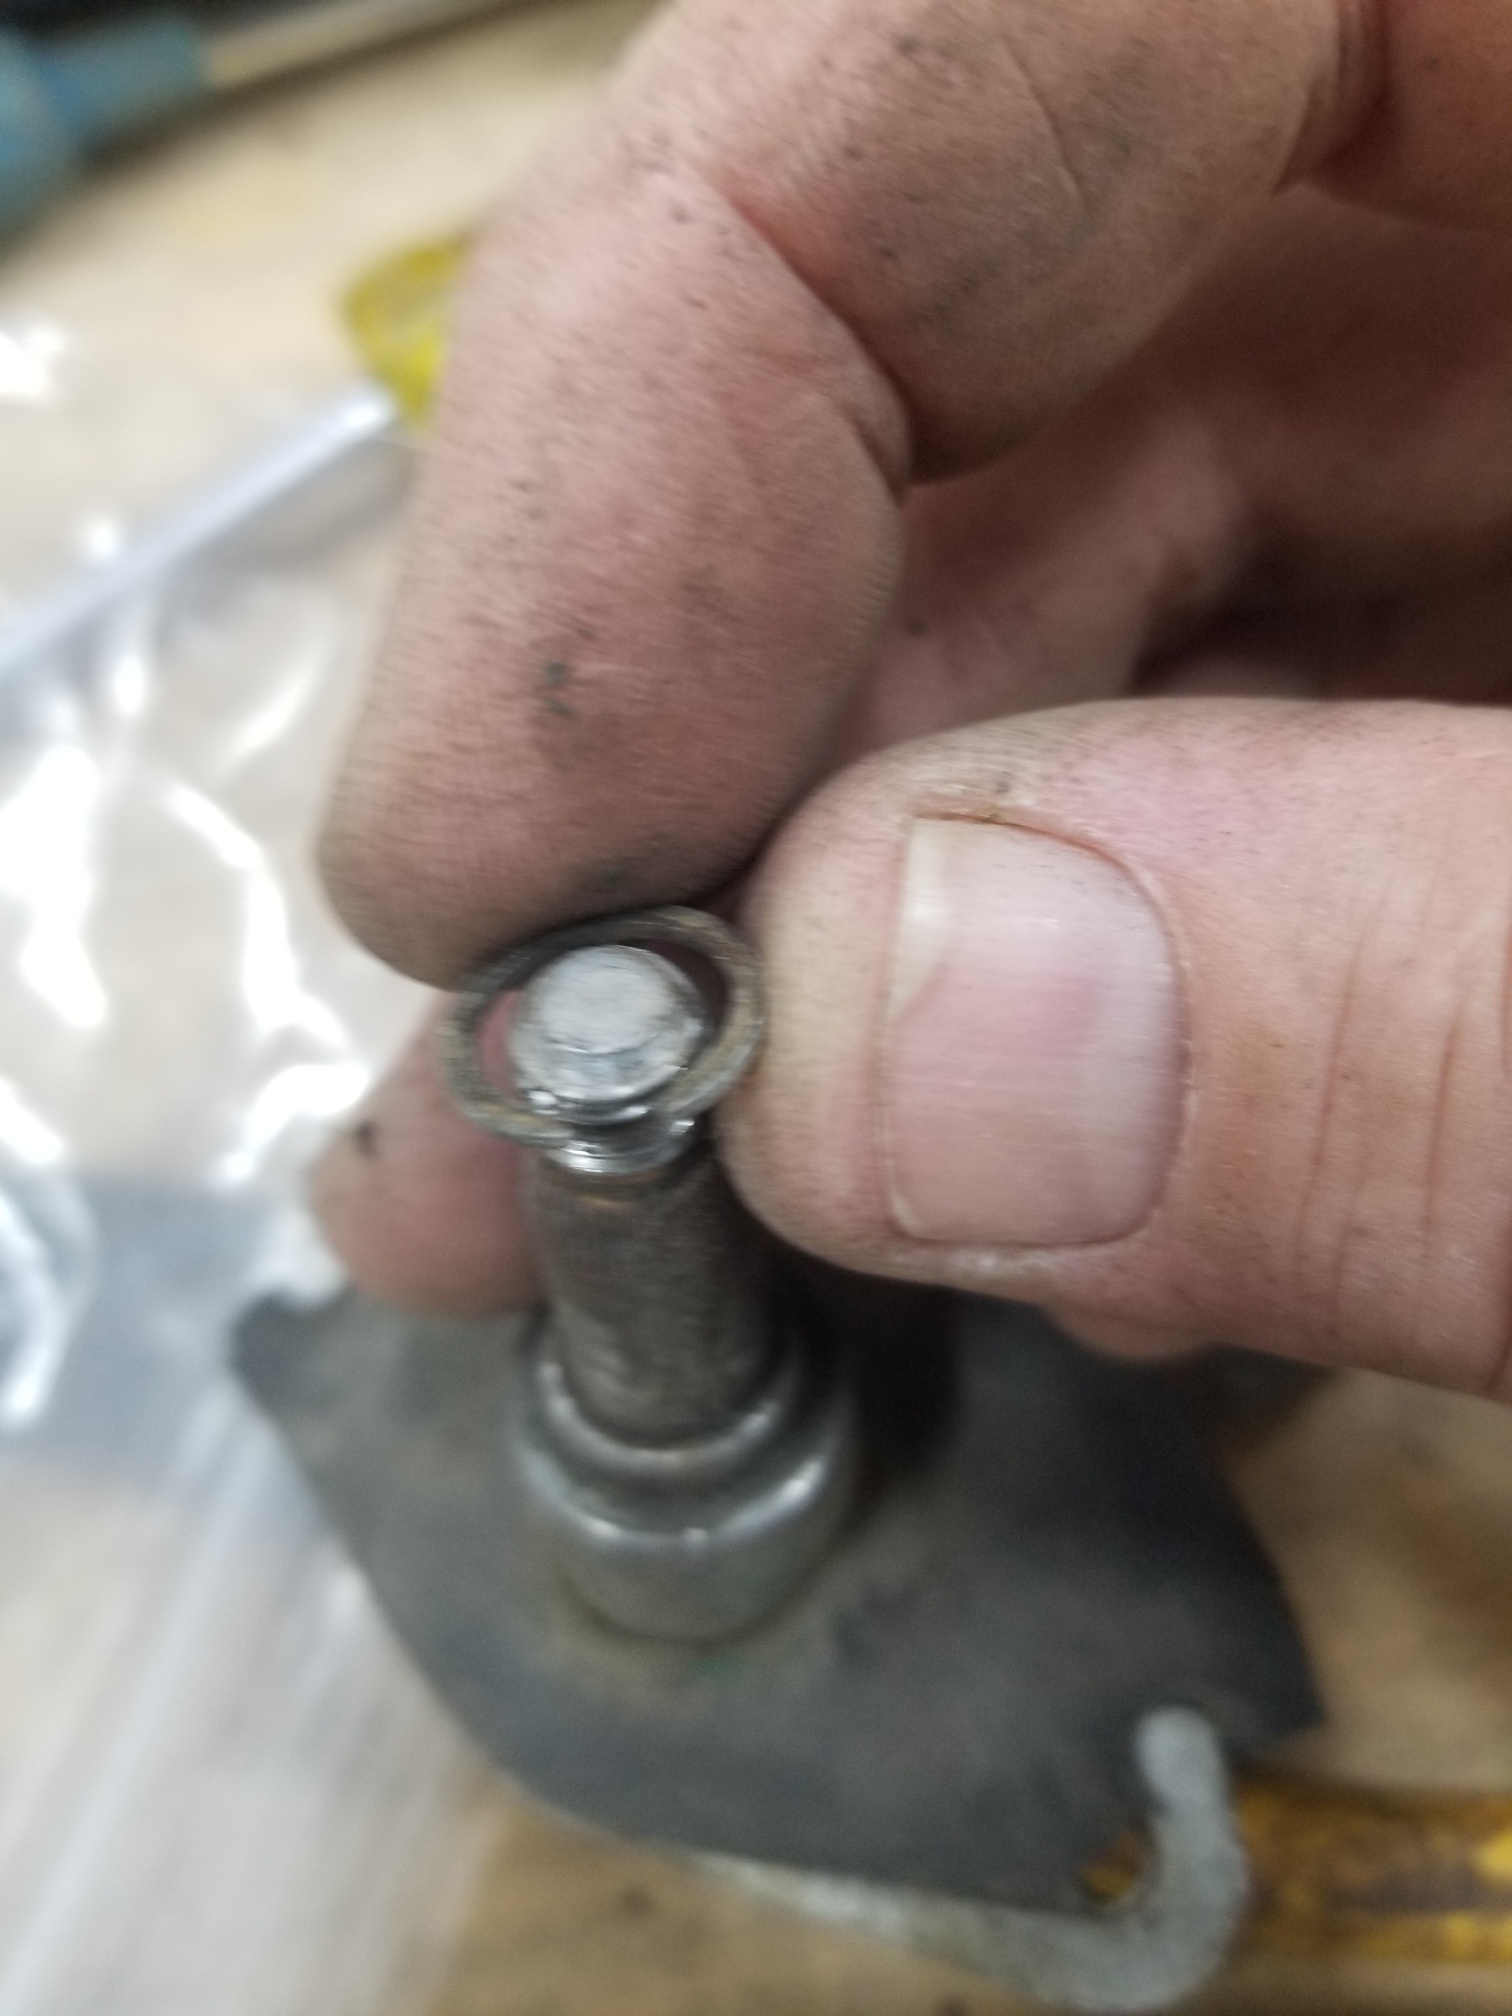
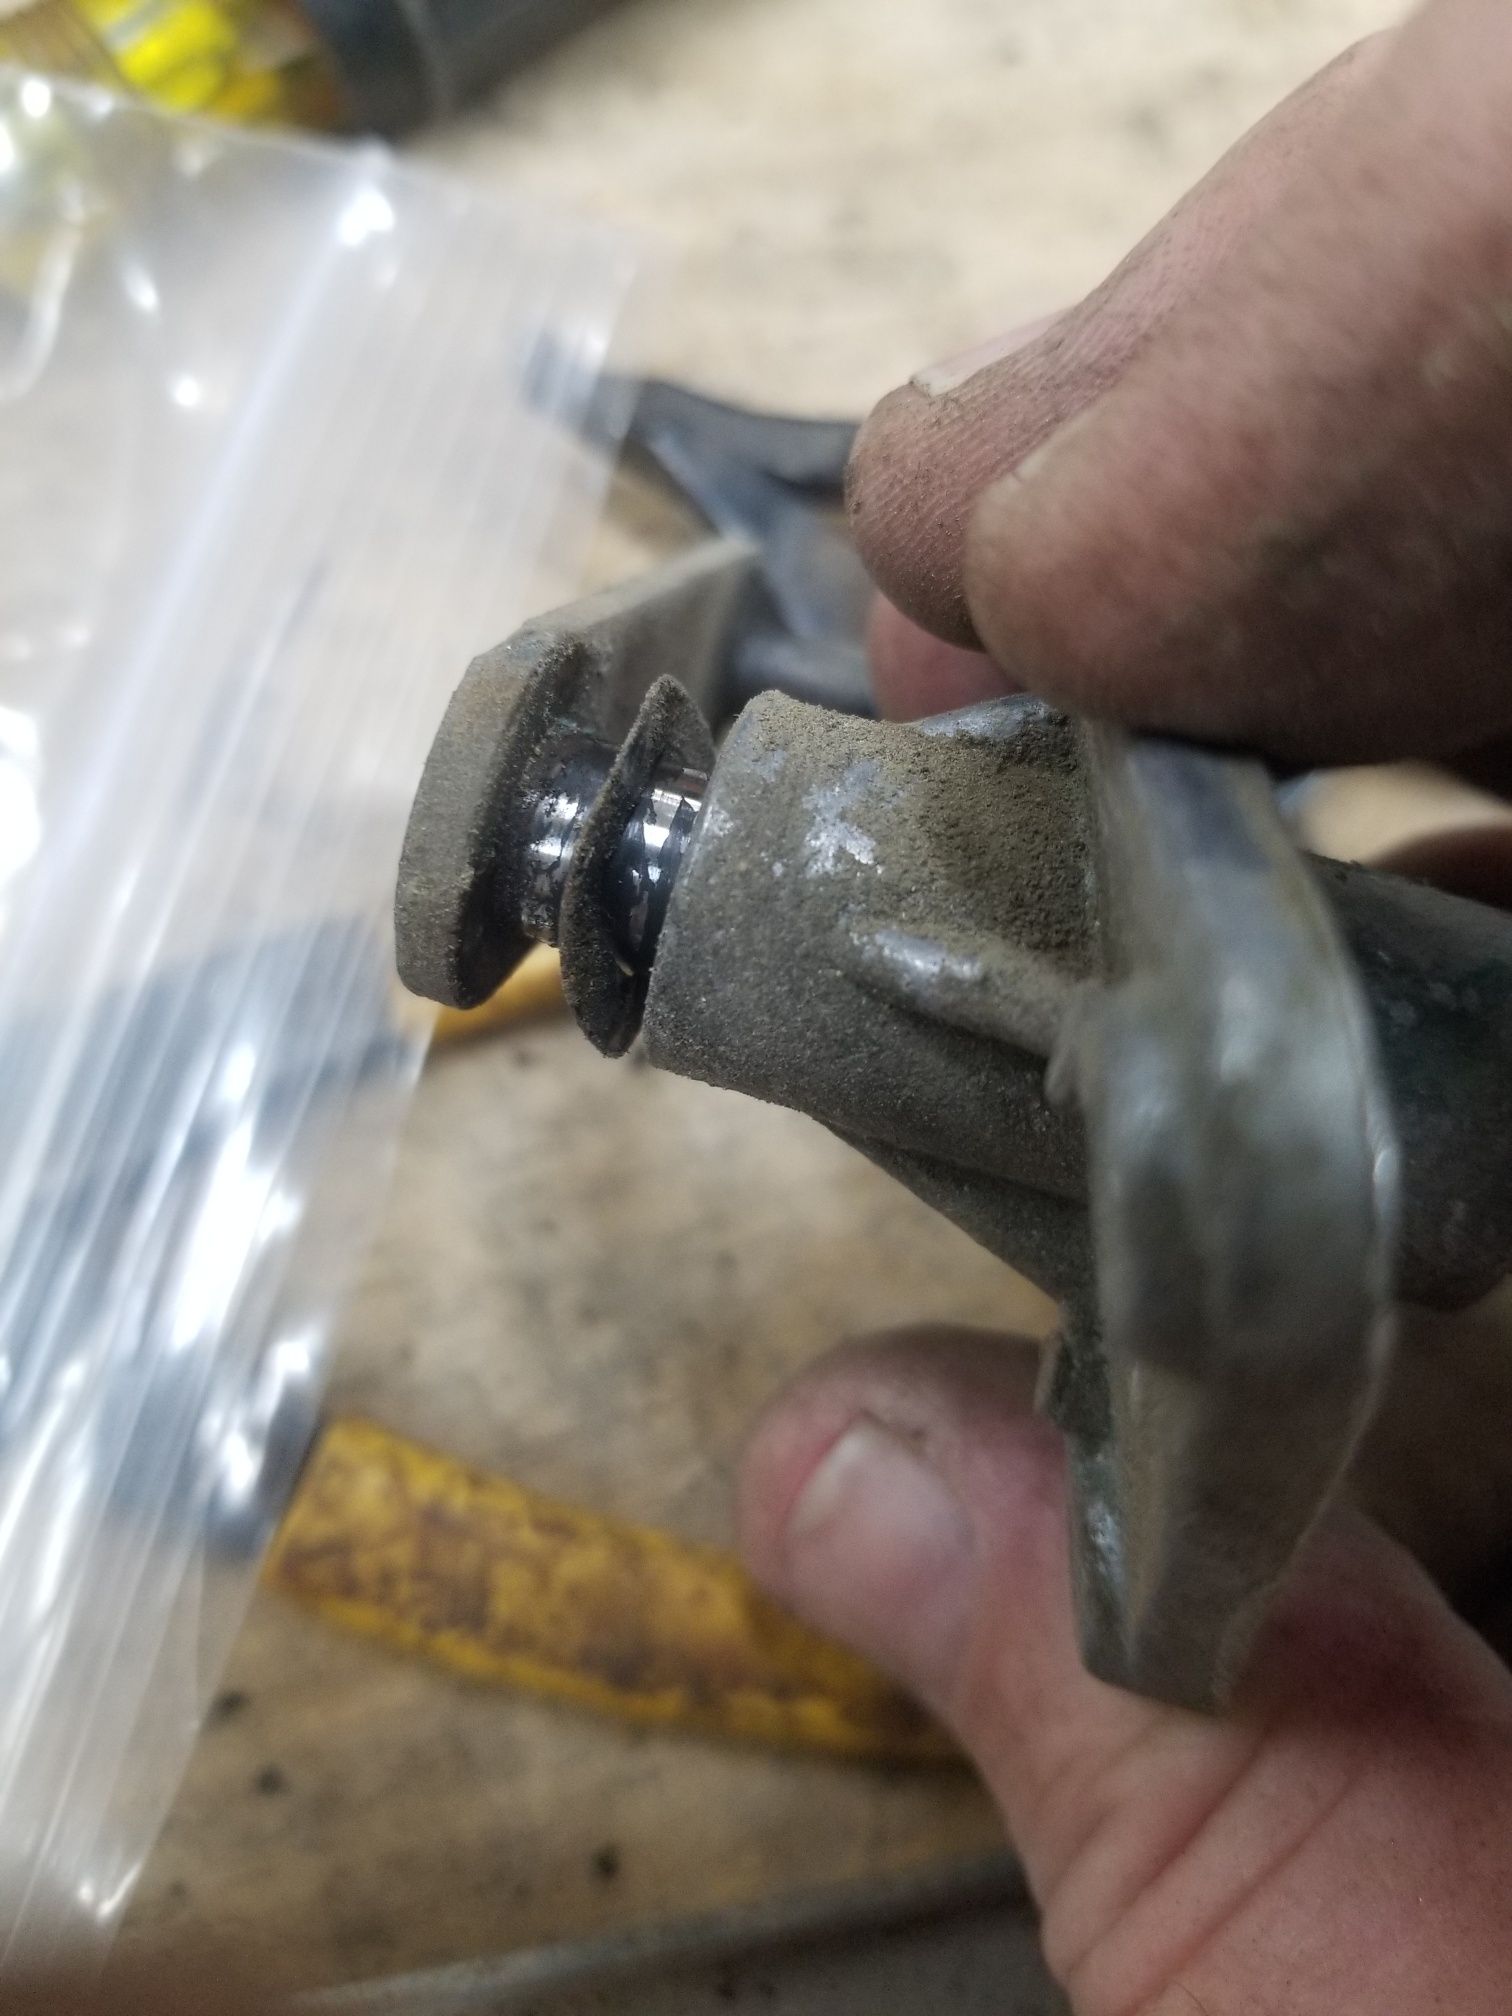
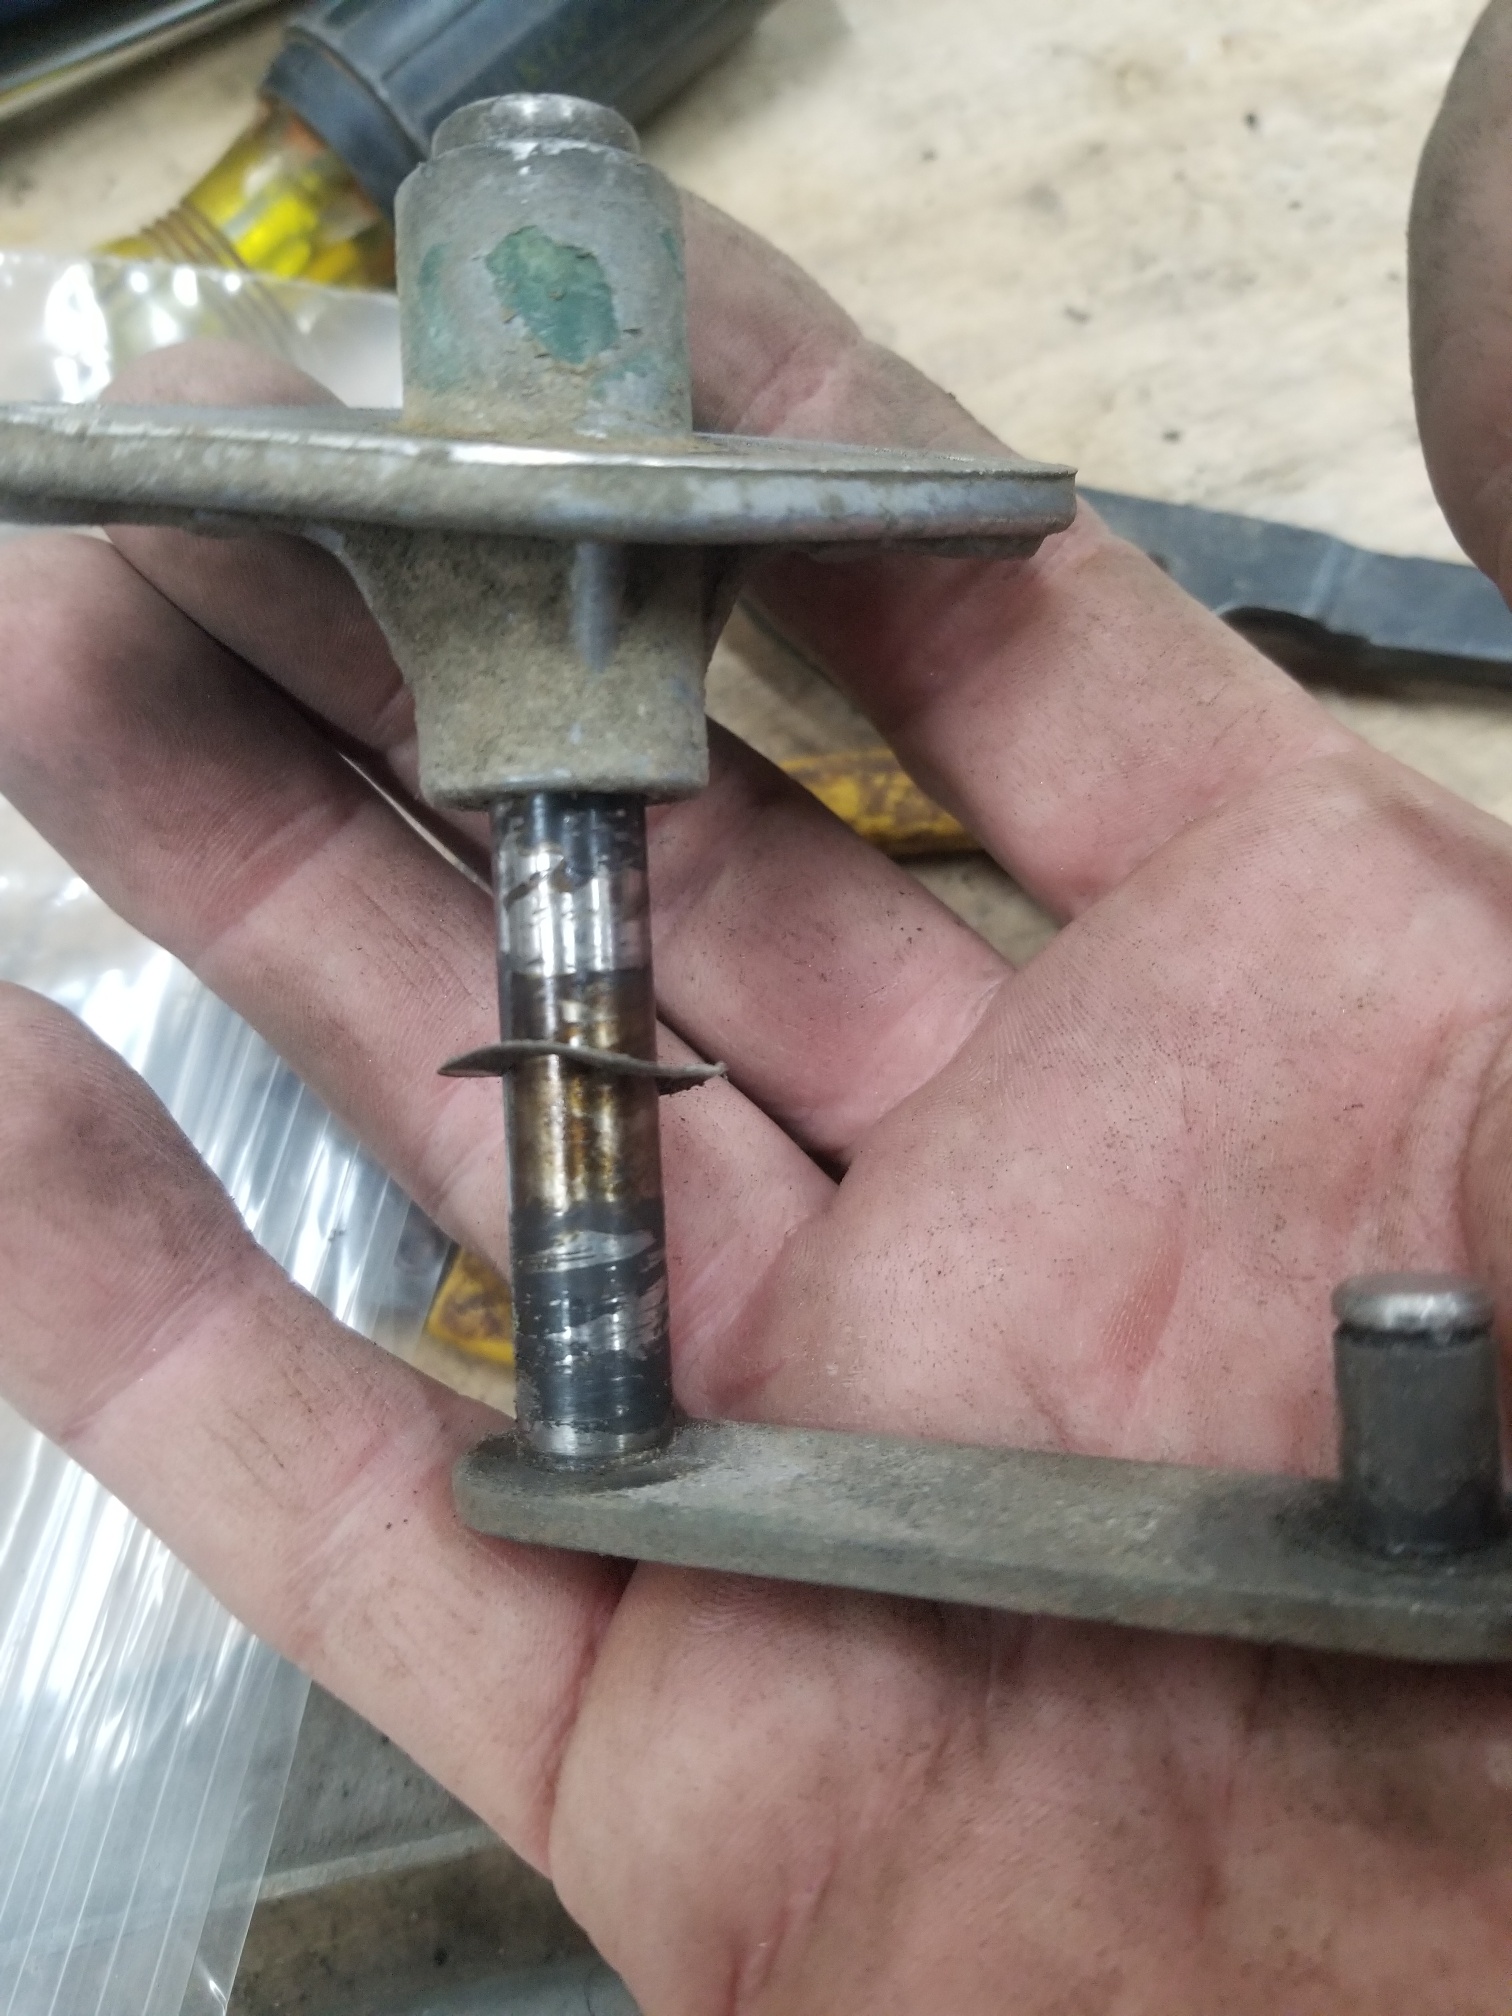
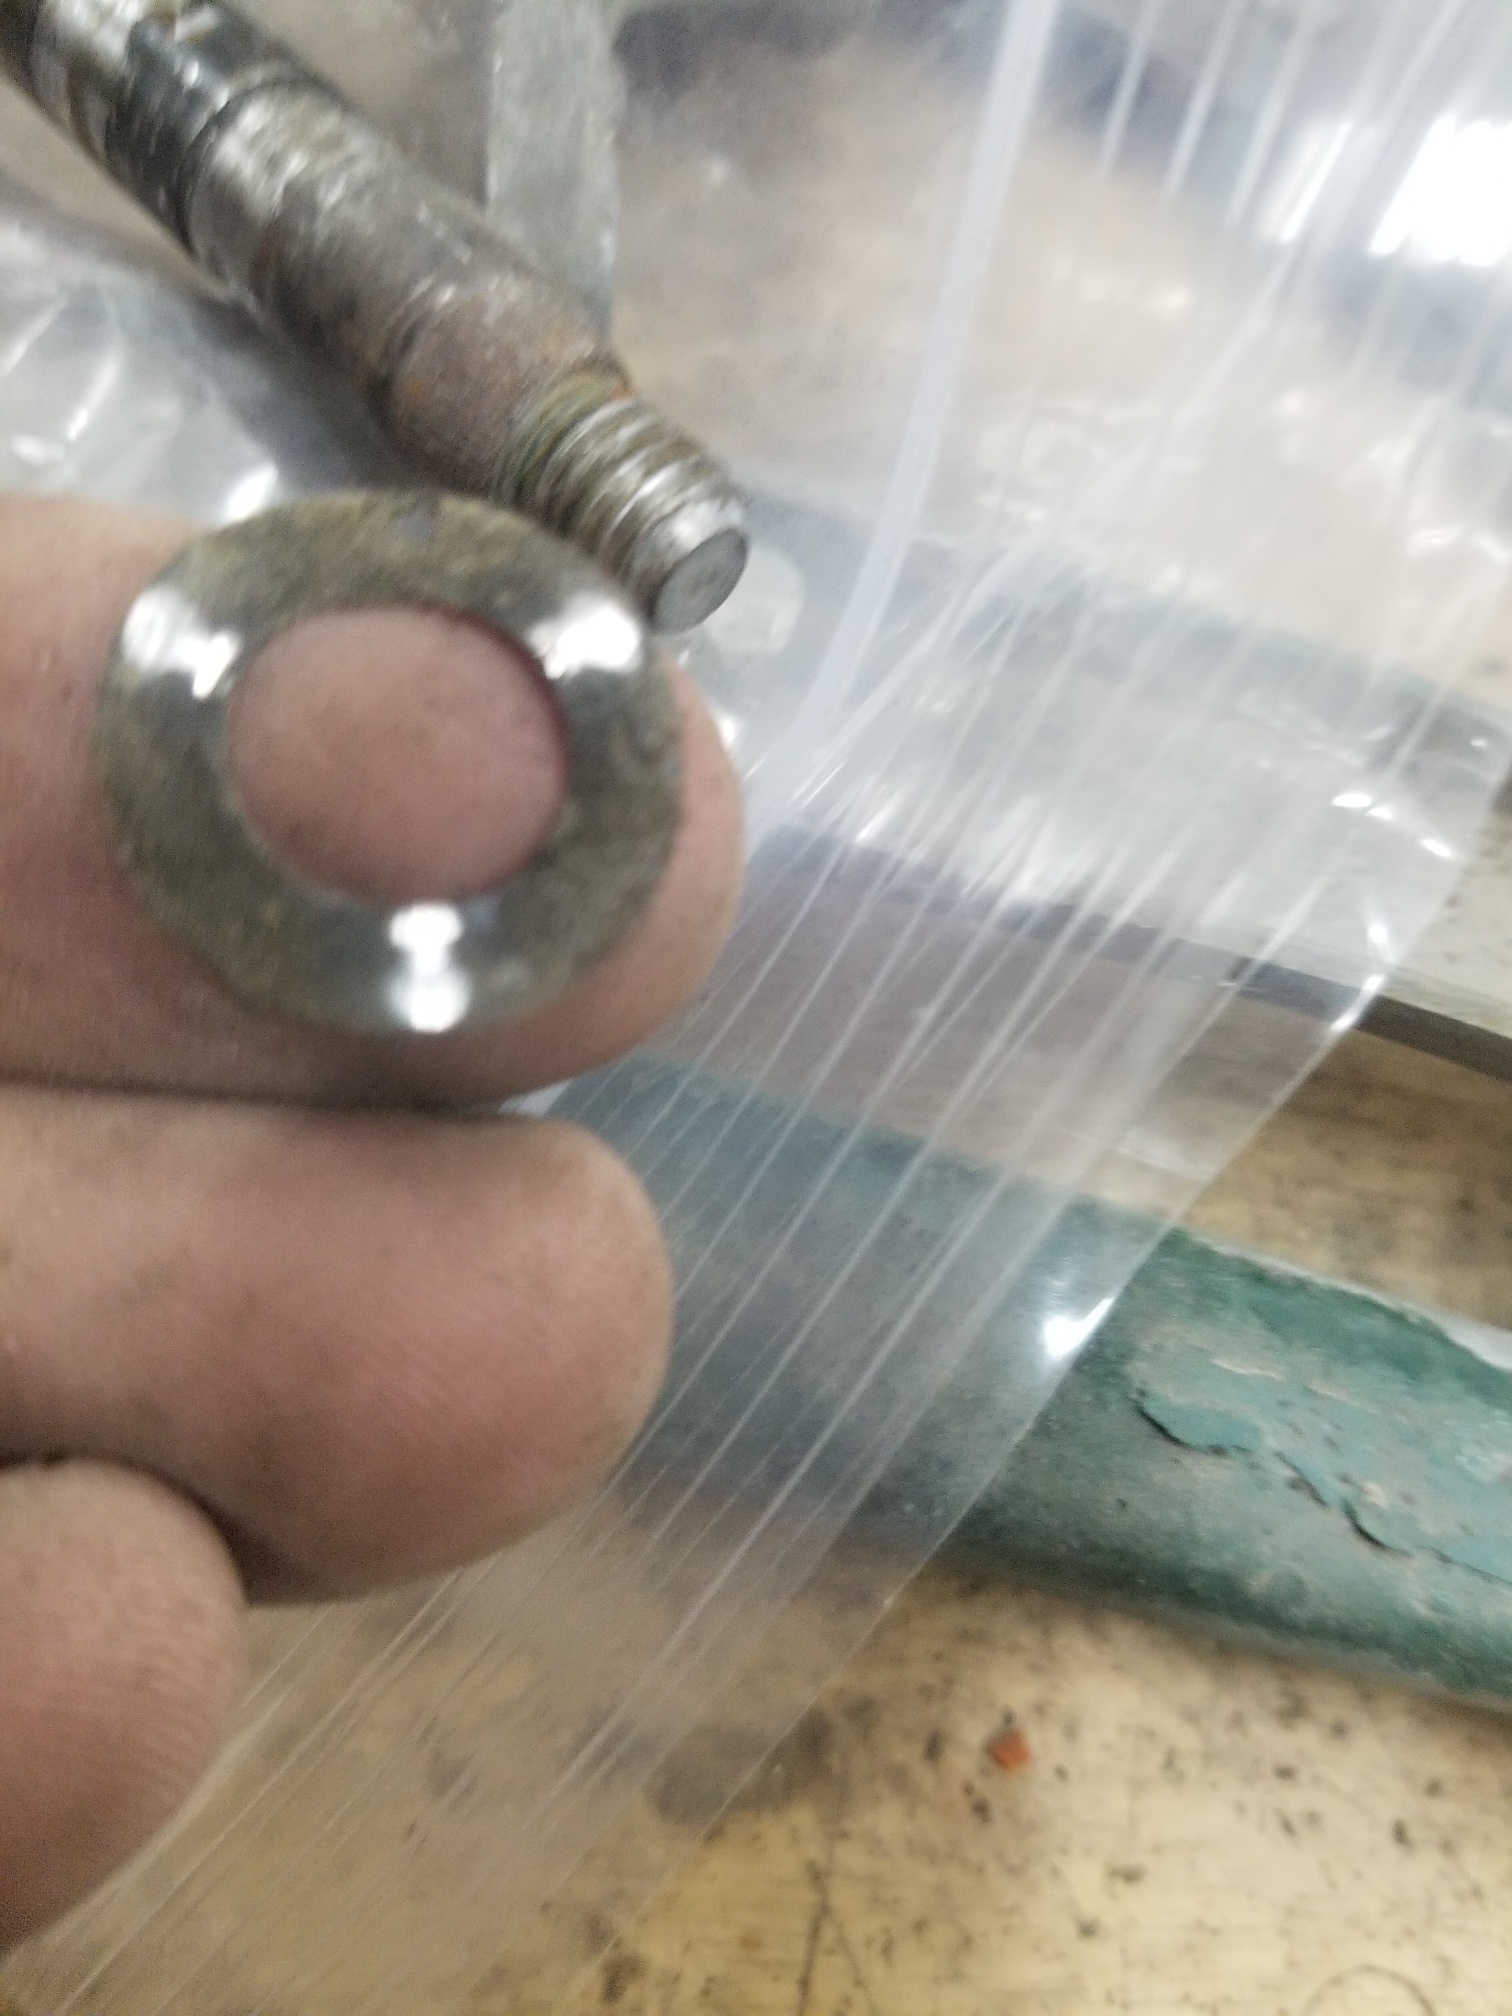
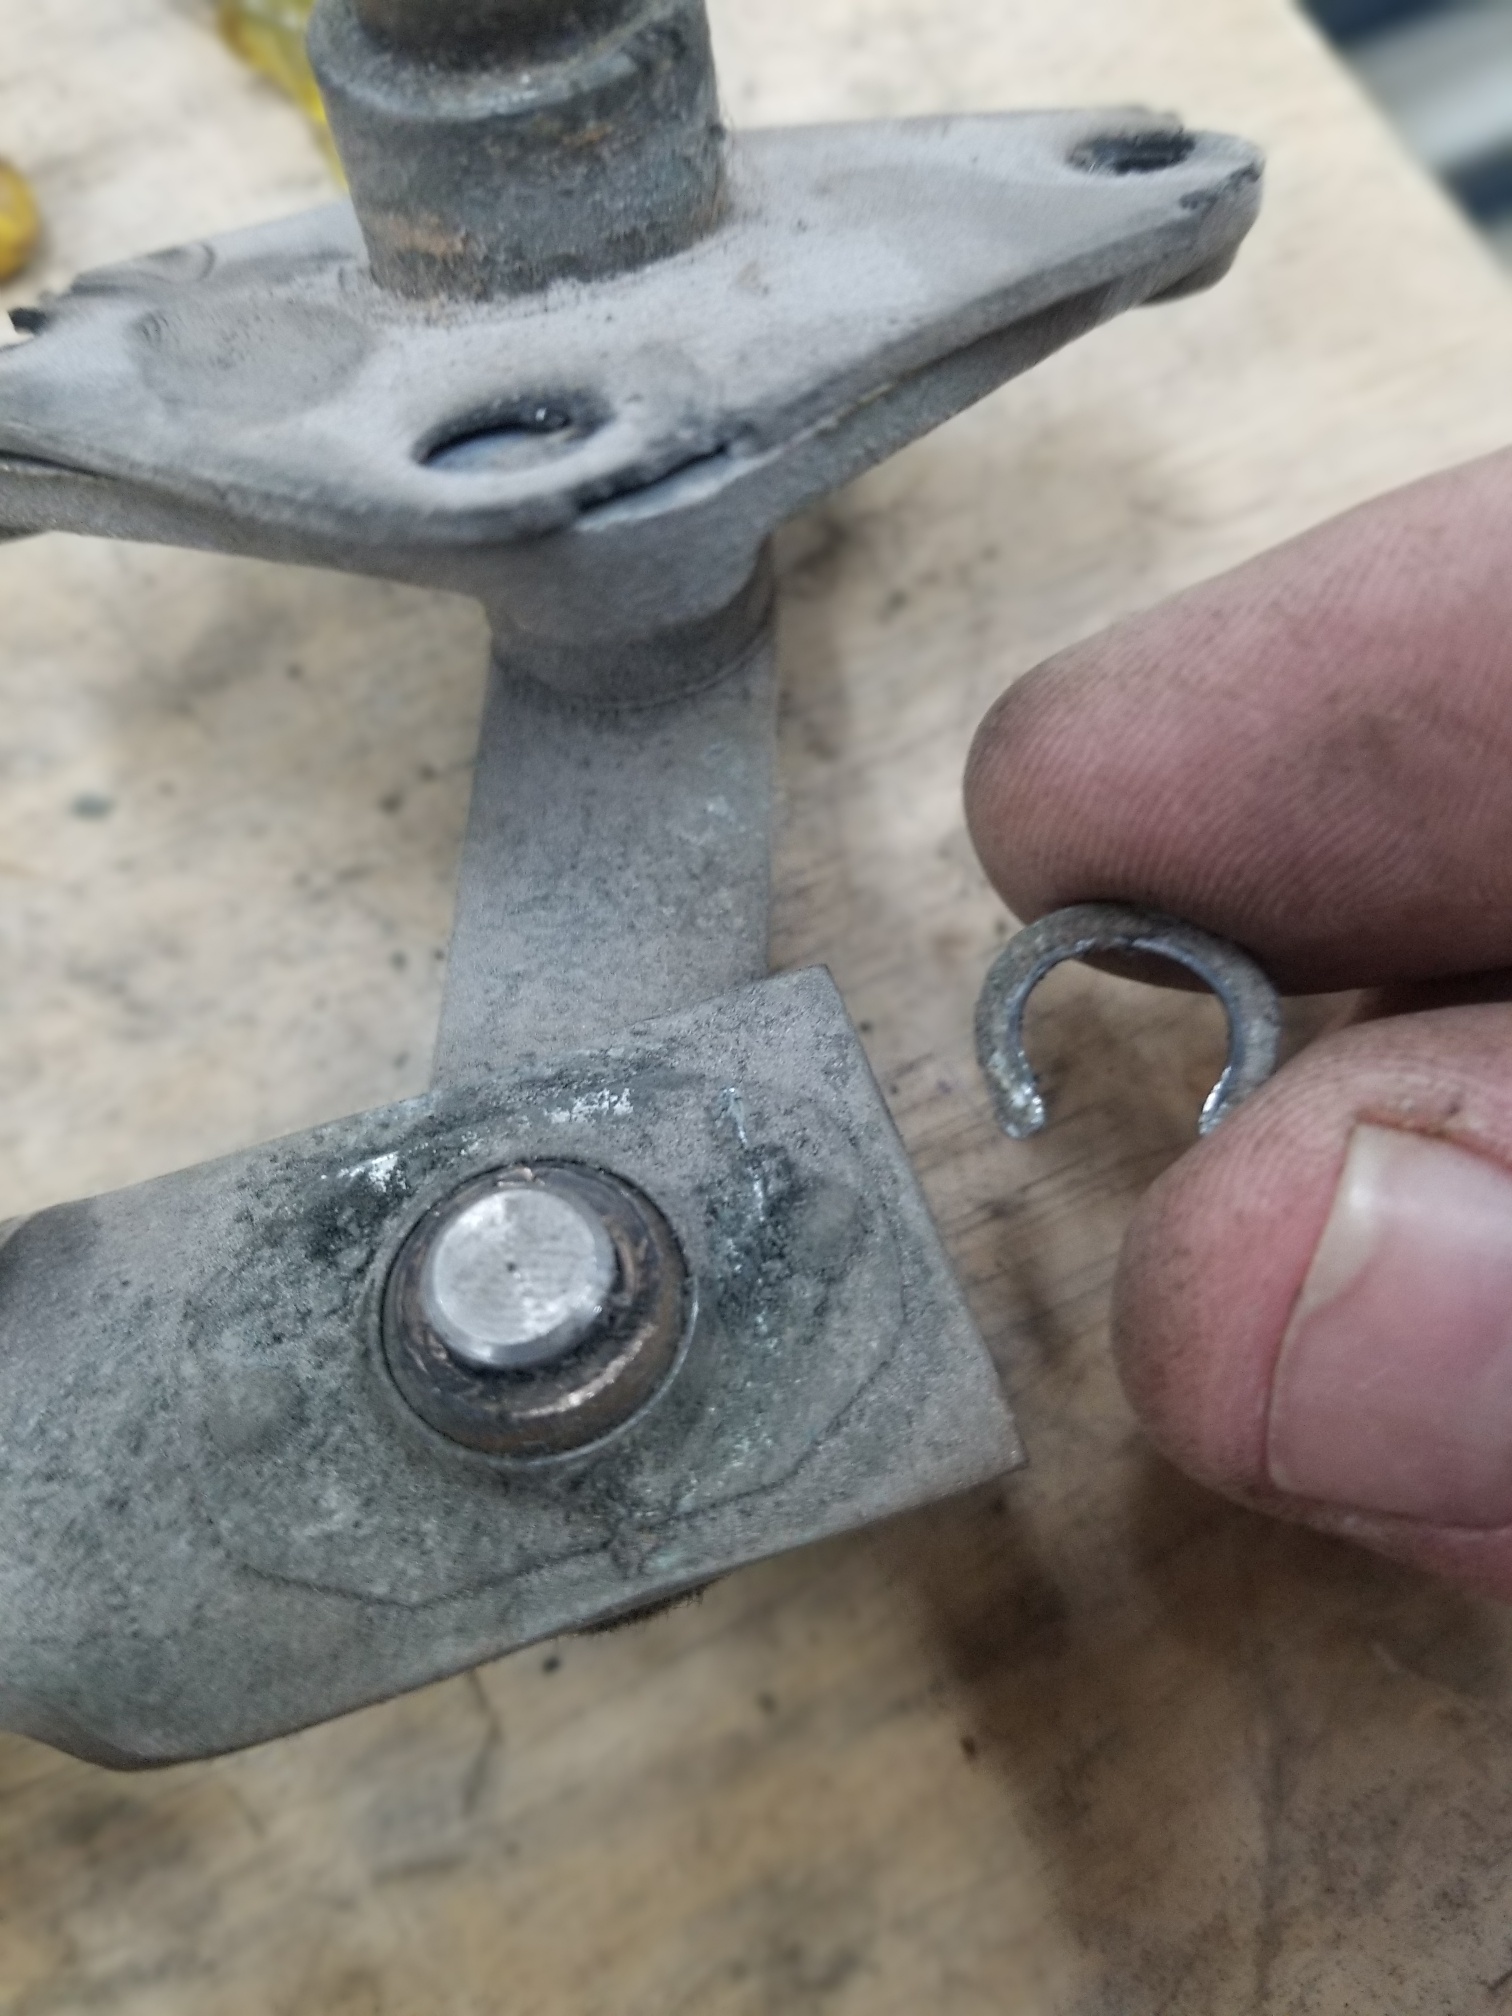
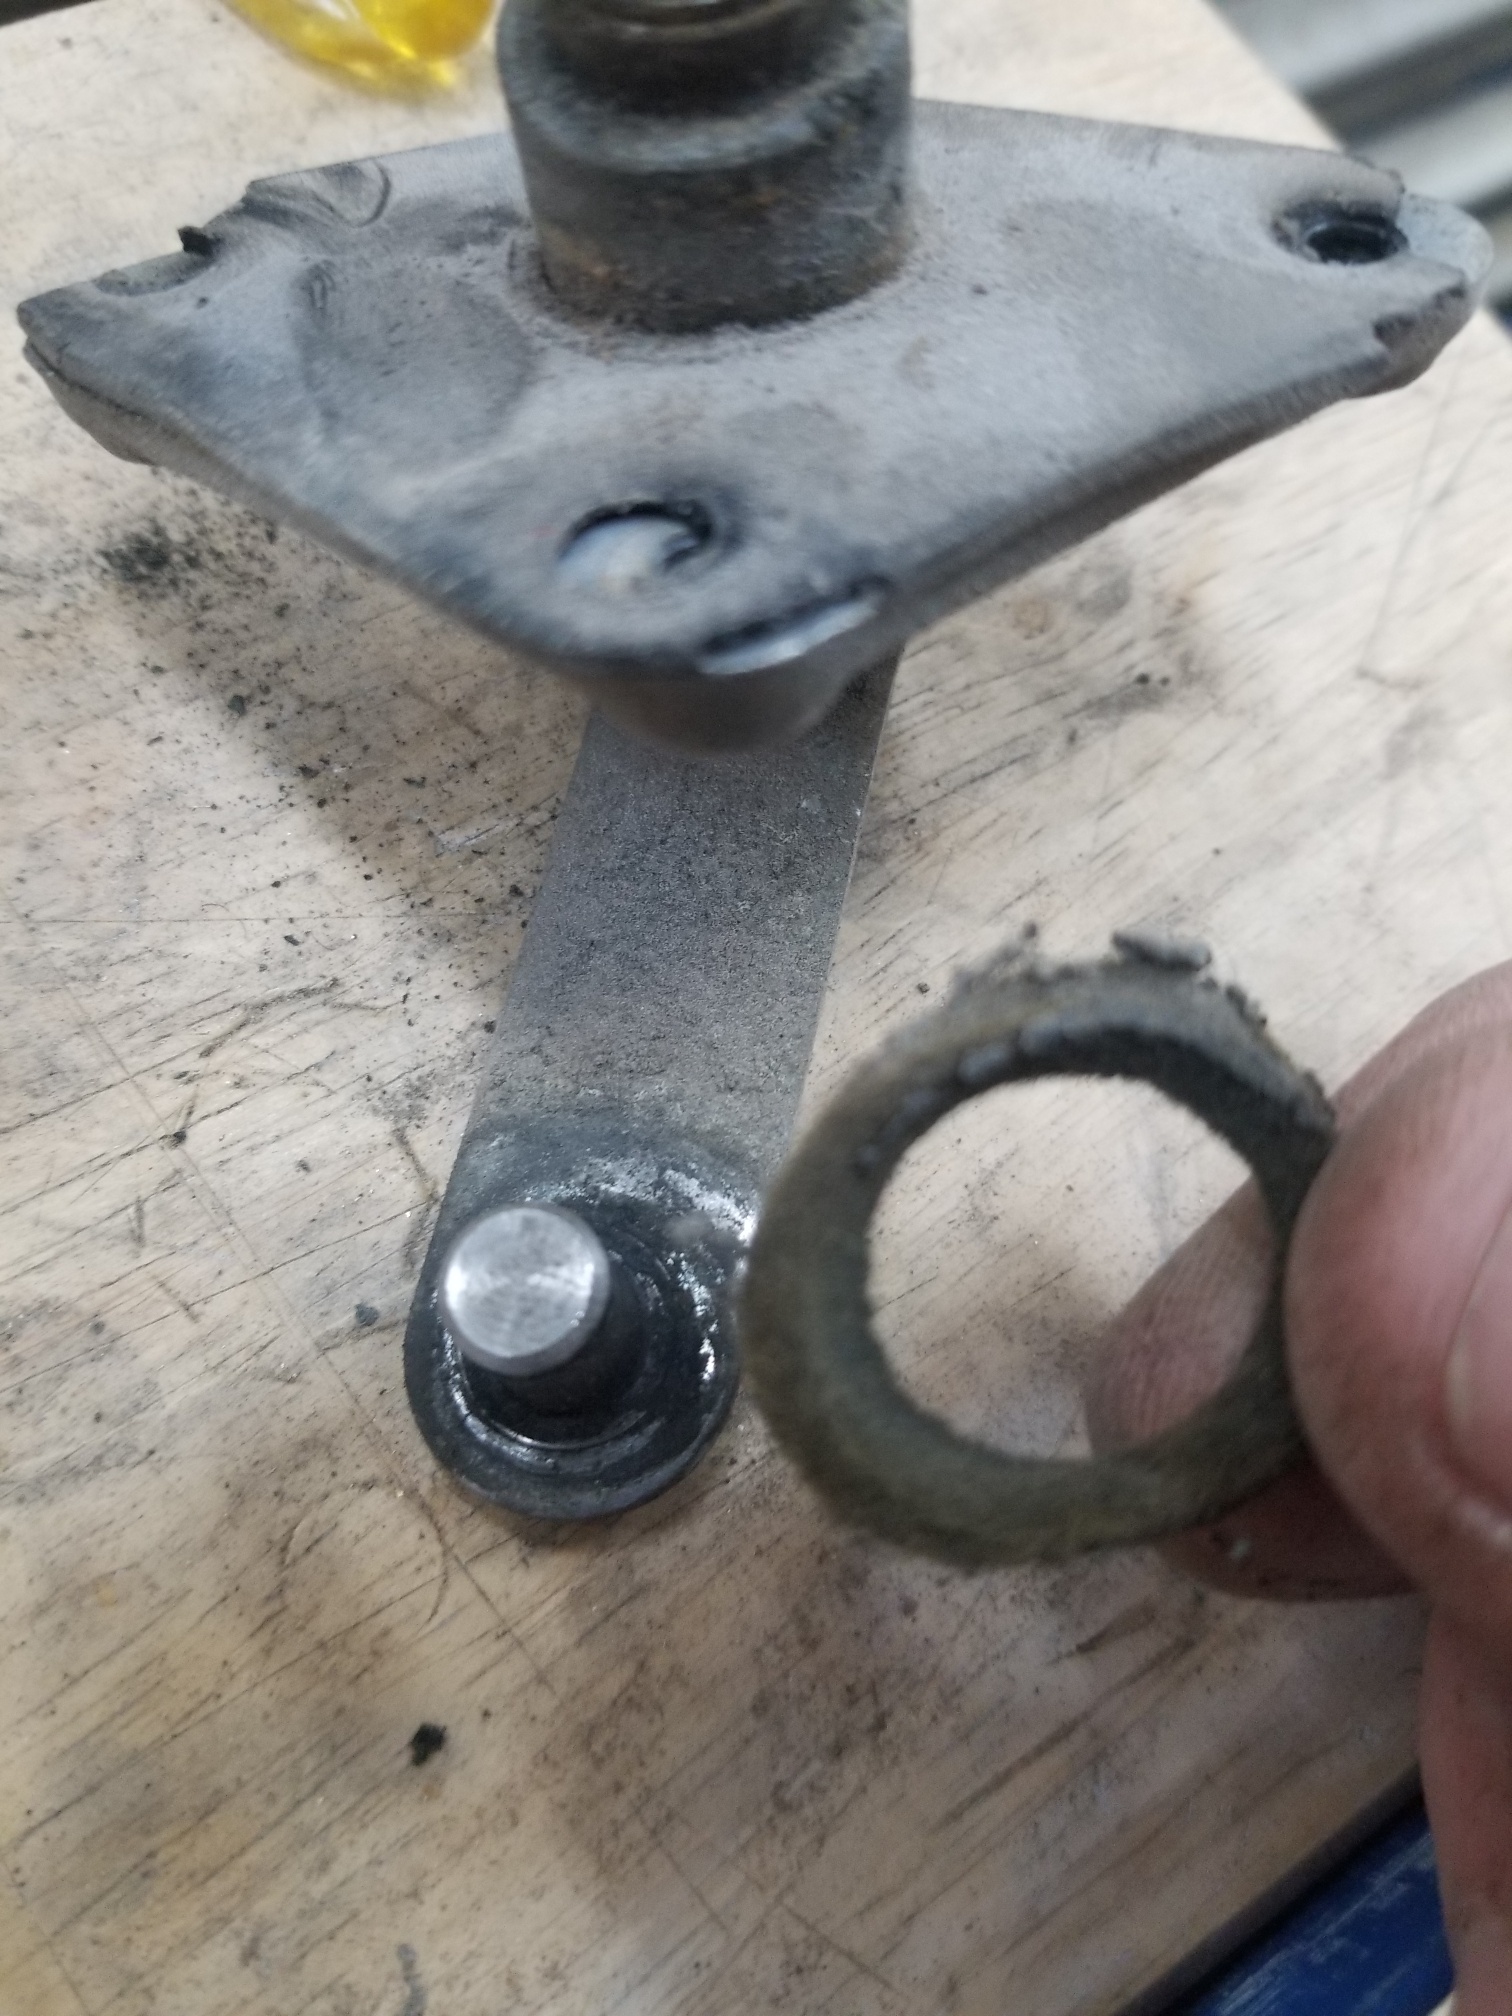
On the wiper side of the pivot there is a tiny spring steel ring. Like a little bull ring. I need to find a source for these. Some of them were rusted away When you pull the wiper spindle out of the base there is a wavy washer at the bottom to prevent wear
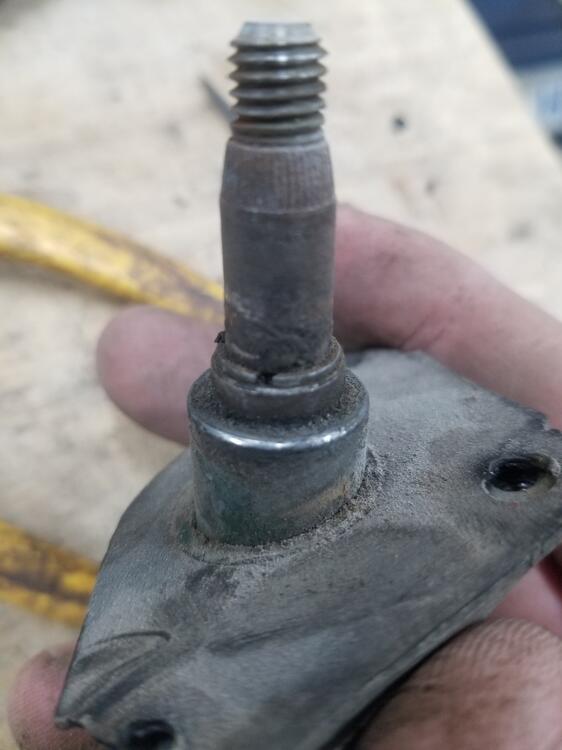
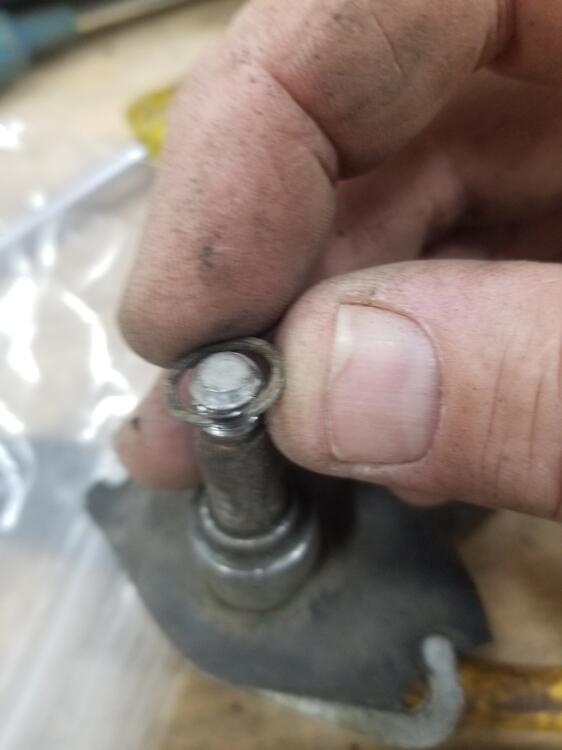
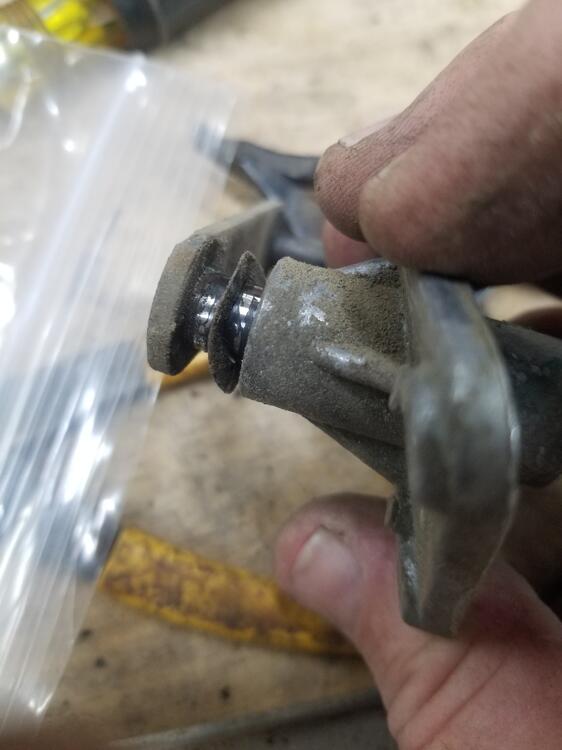
-
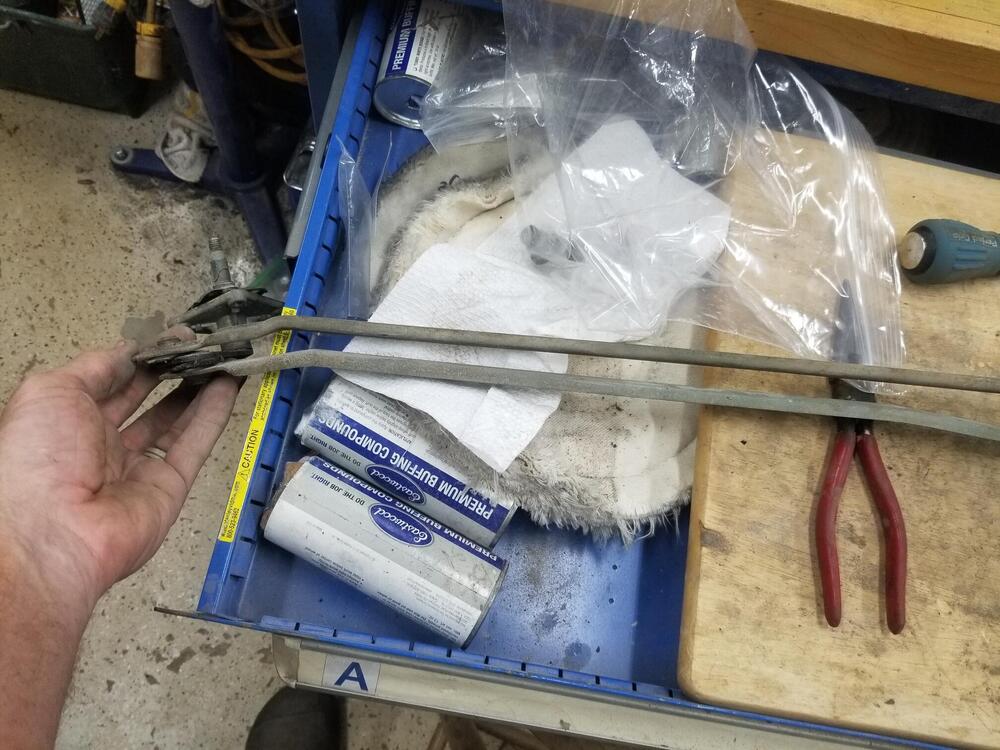
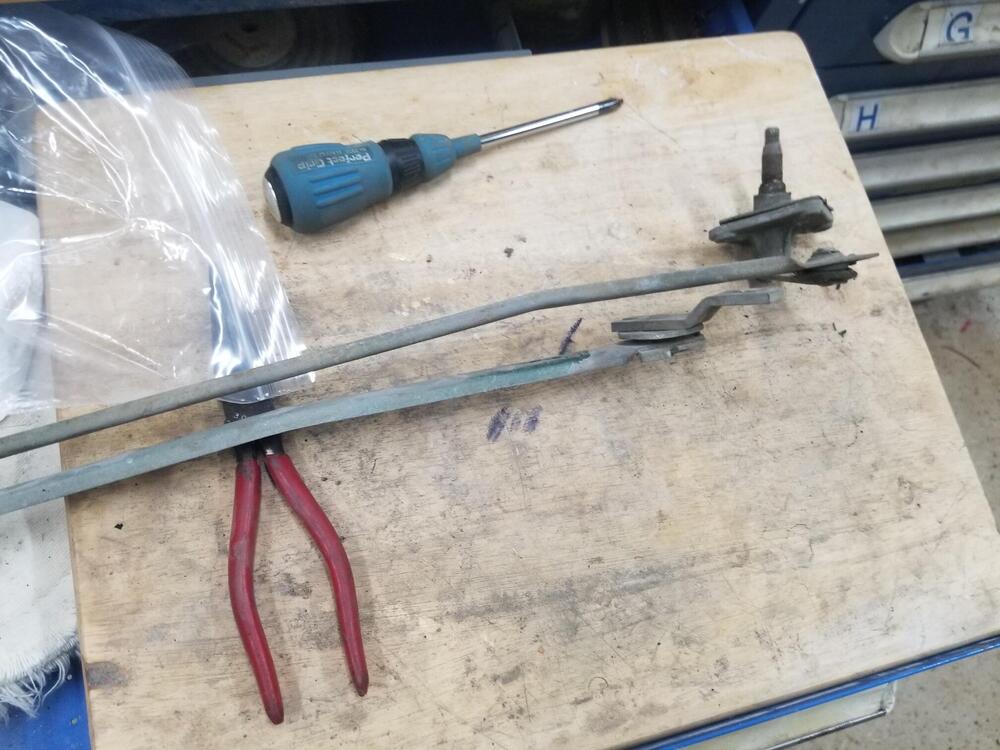
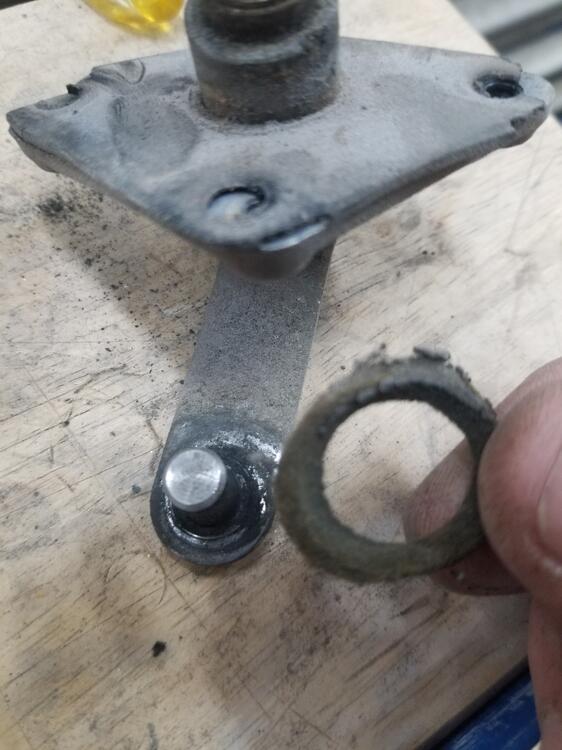
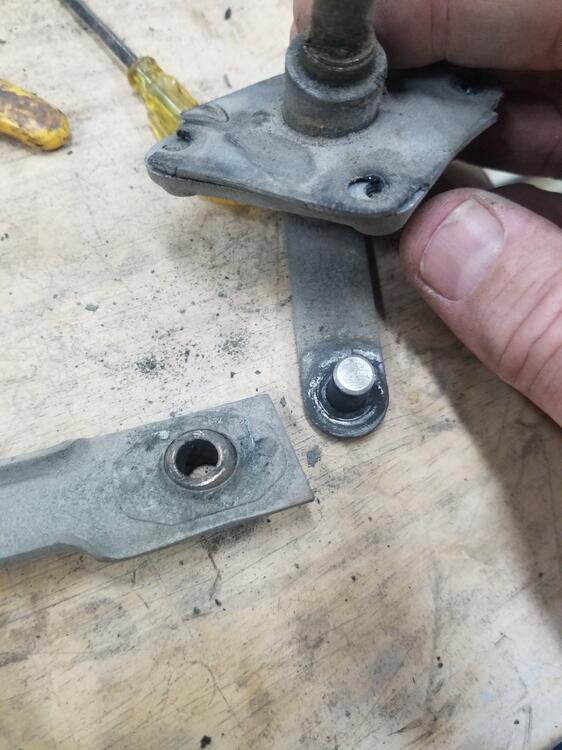
I have 3 sets of wiper mechanisms on the bench. I finally decided I would rebuild them and plate them since I have some other items that need to go to the platers. Since I didn't know of a comprehensive rebuild thread on CZC I thought I would make one I did the break down today So you need to be sure on reasssembly that it looks like this or you're gonna have problems!! I started on the single pivot end The little clips aren't spring steel. The bend open. I might go back with snap rings on reassembly Then the felt. I am working on replacements for these Also shows the rubber seal that is on the face of the wiper pivot base
-
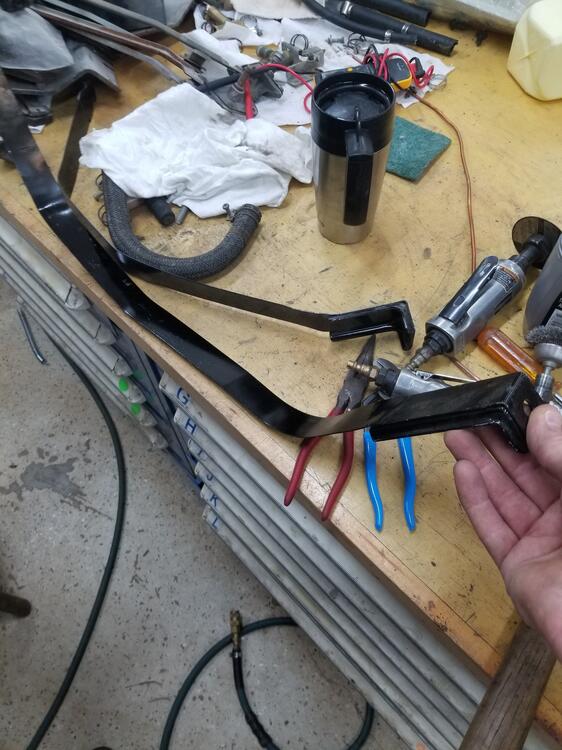
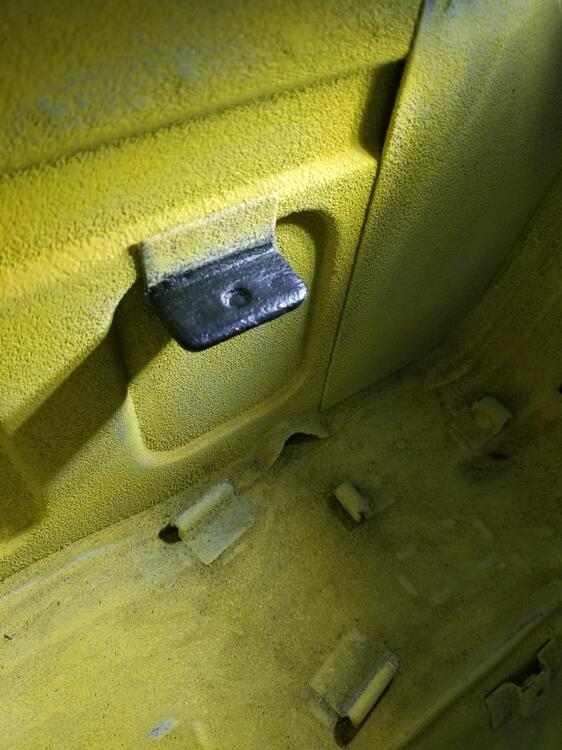
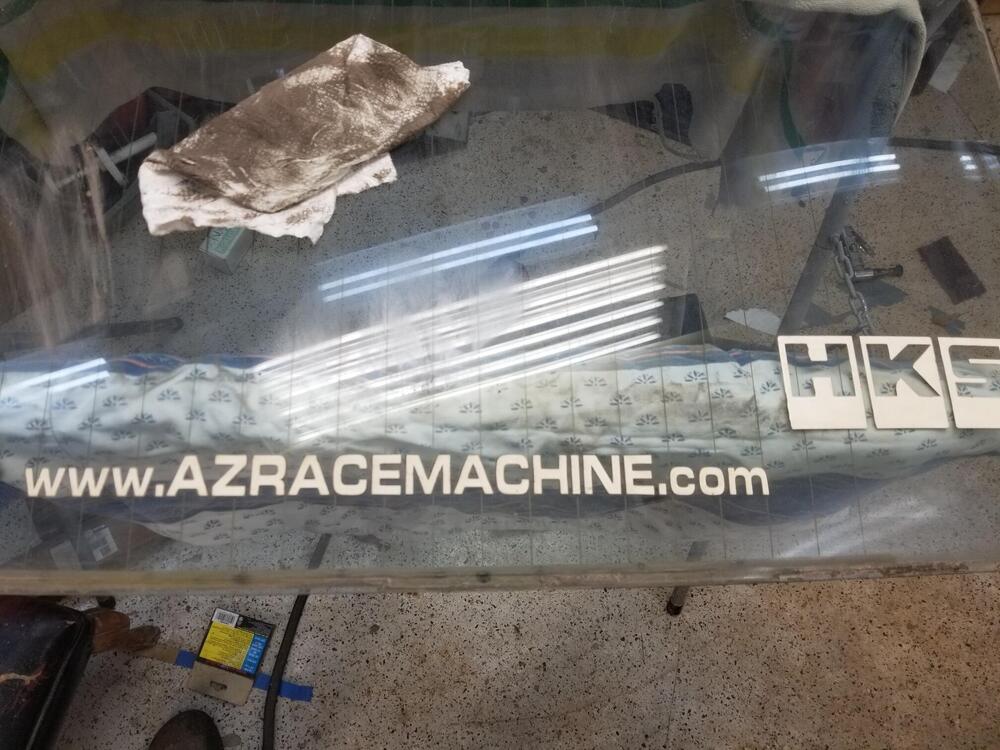
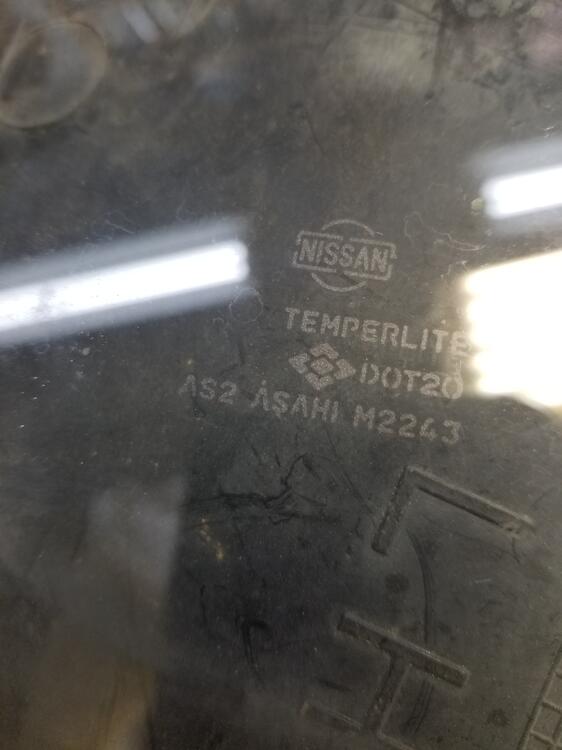
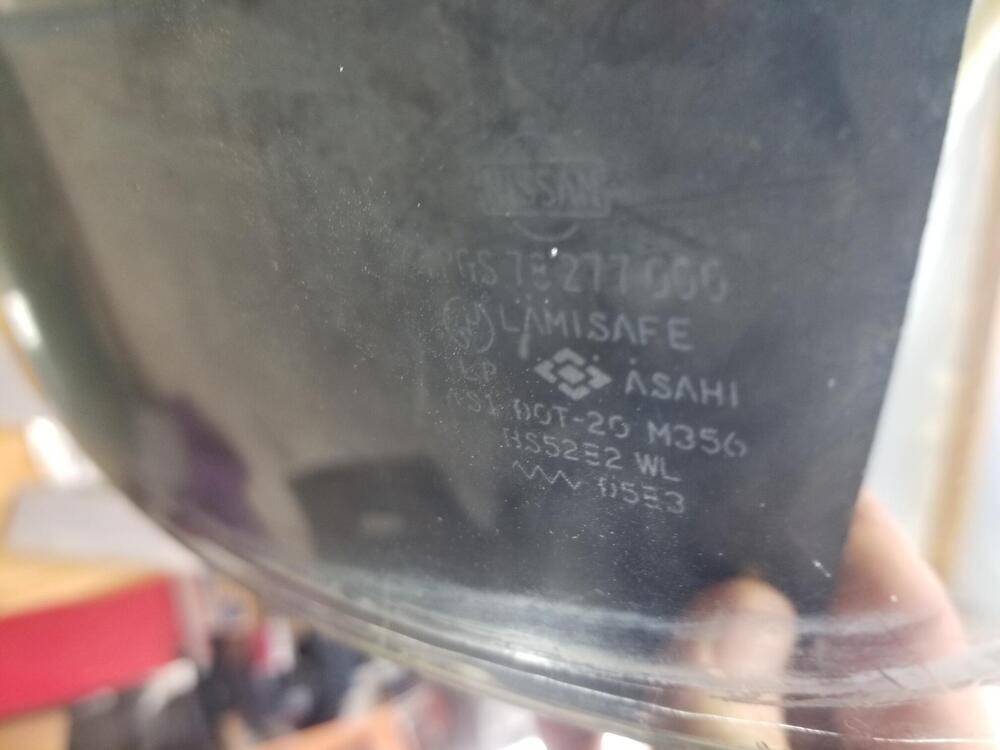
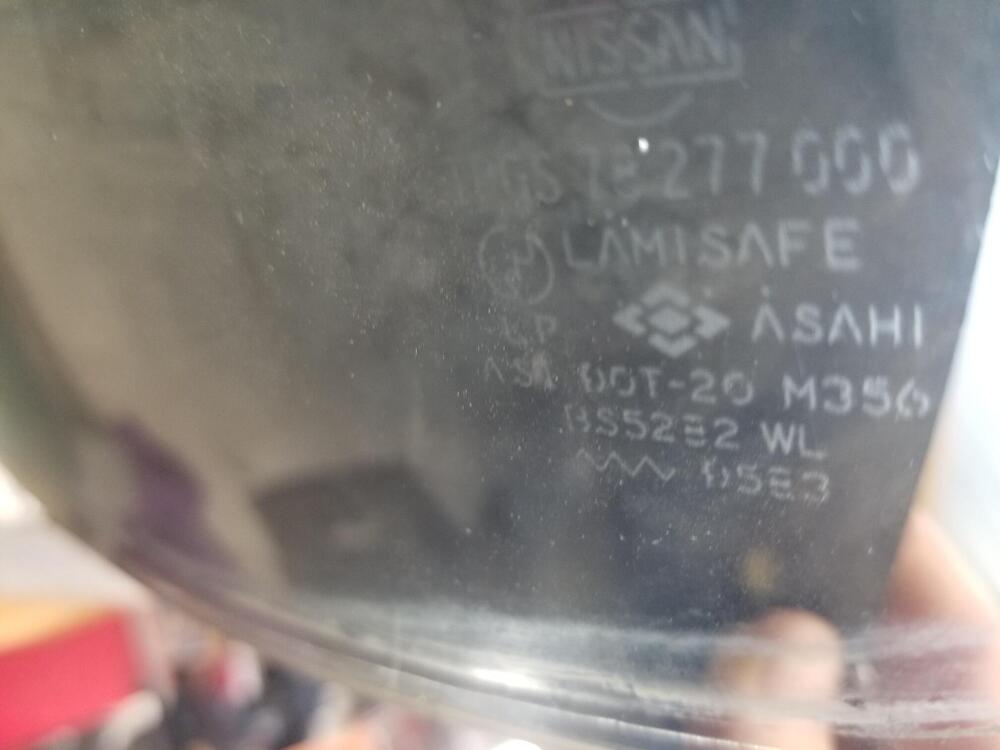
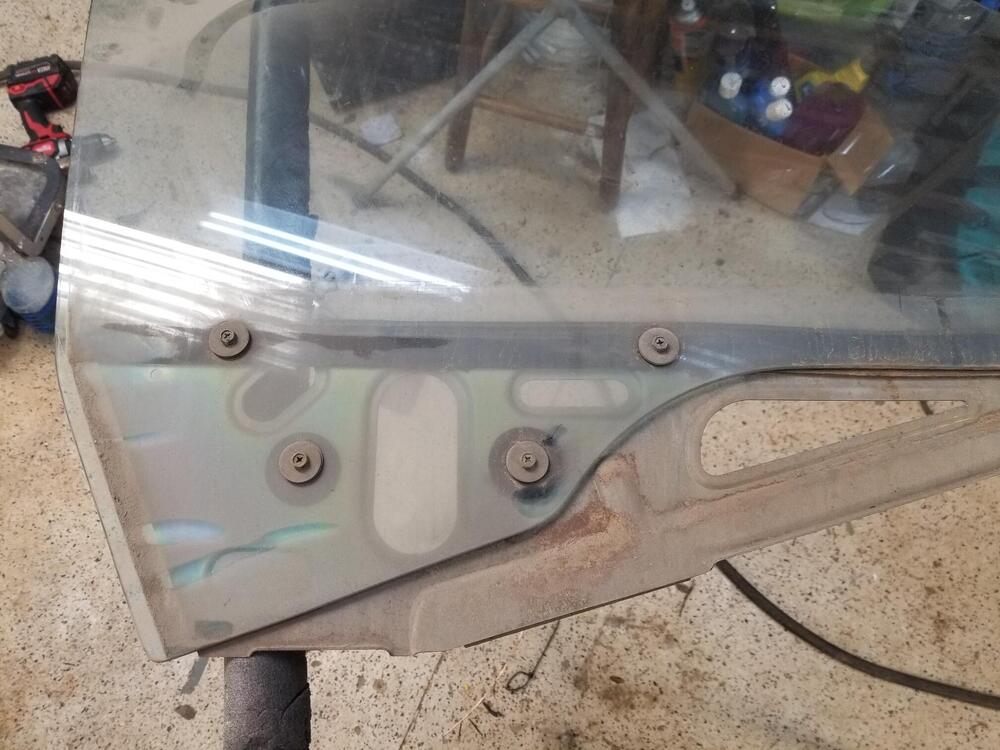
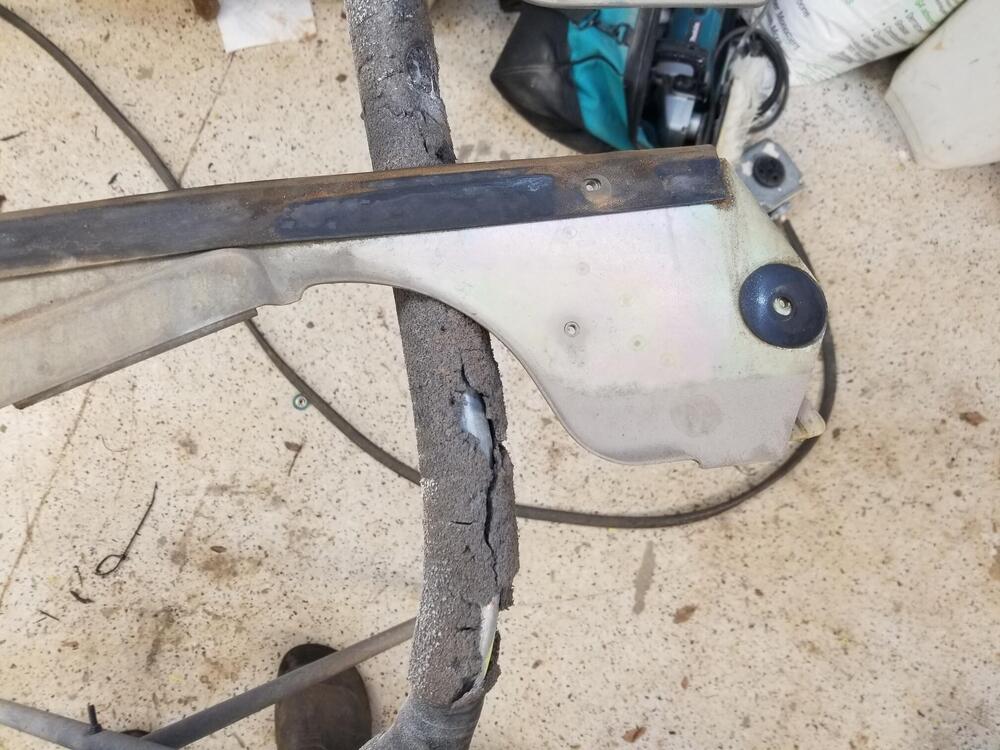
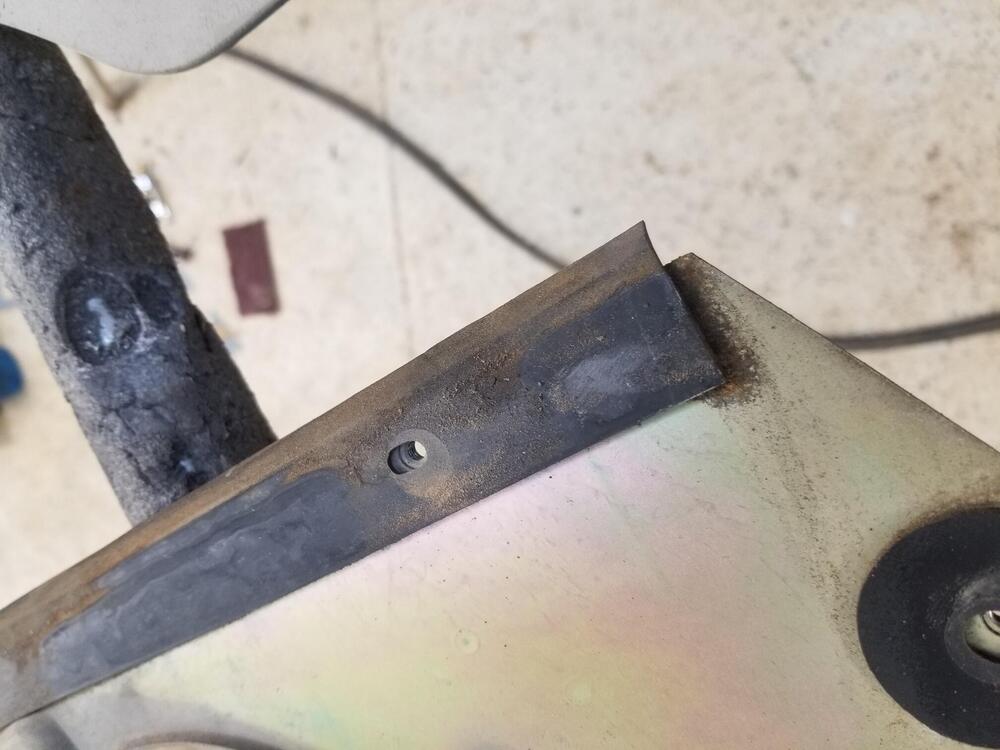
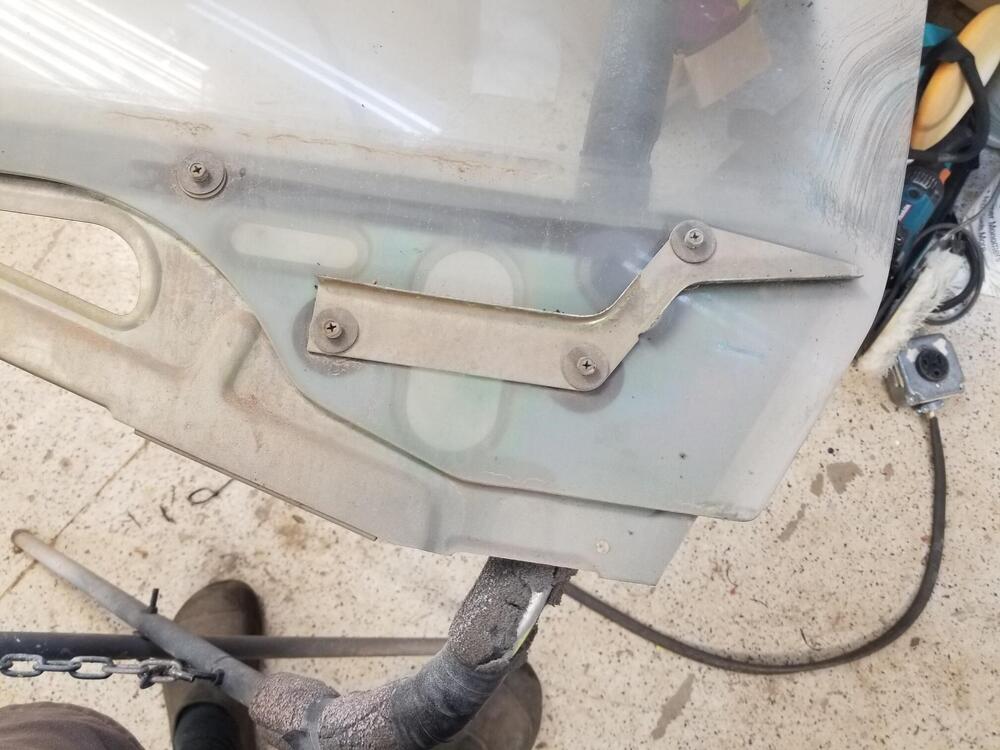
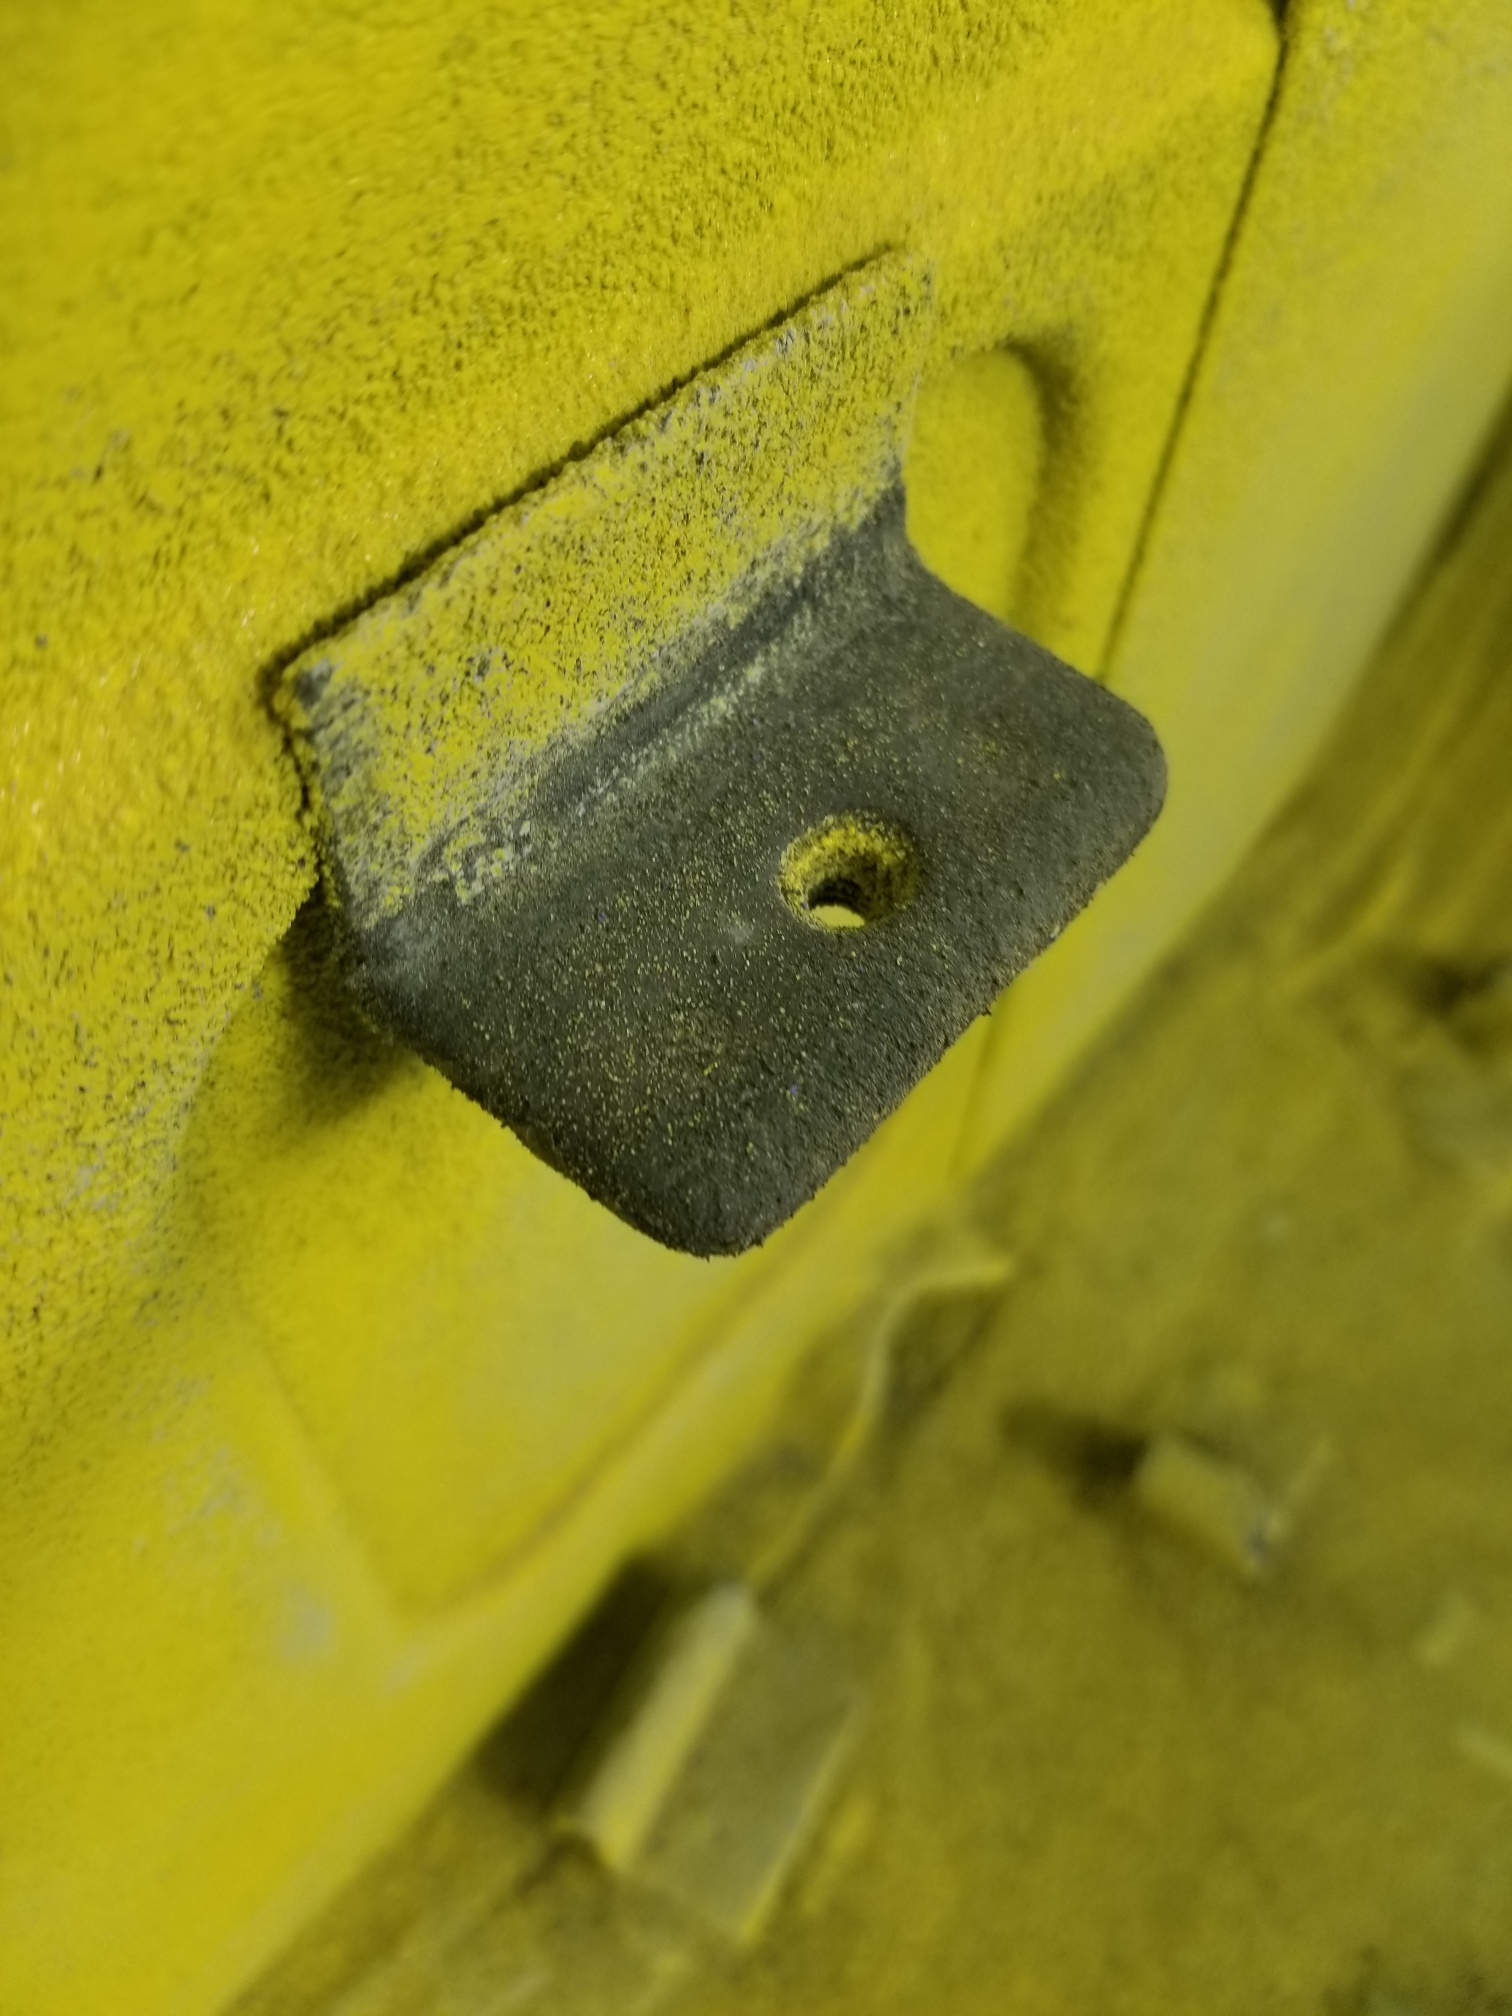
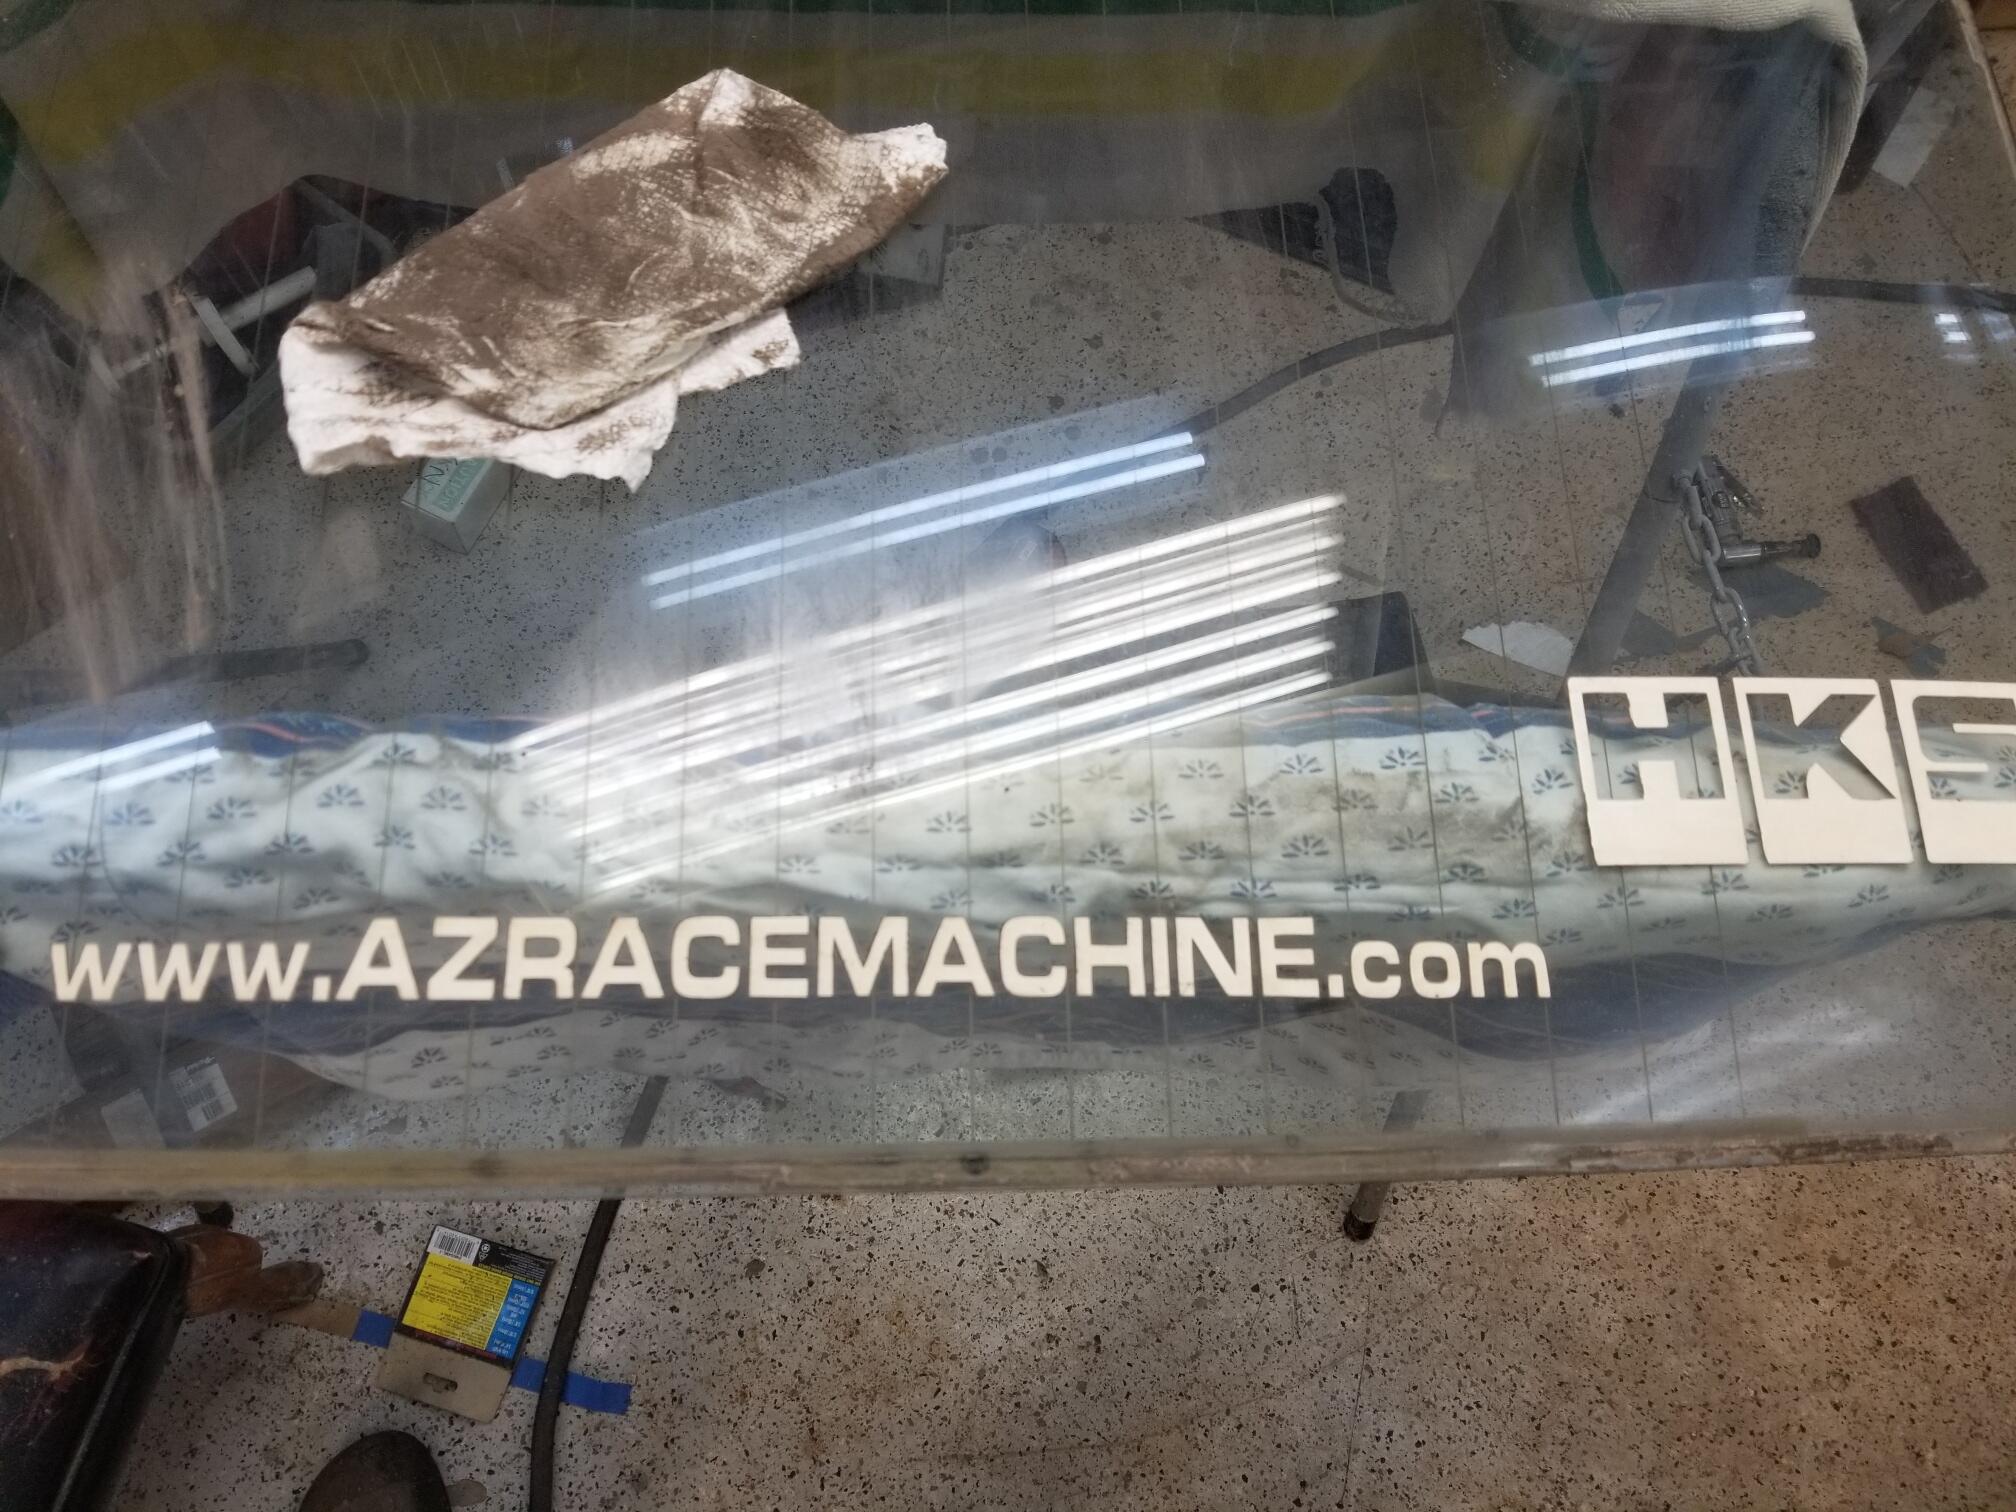
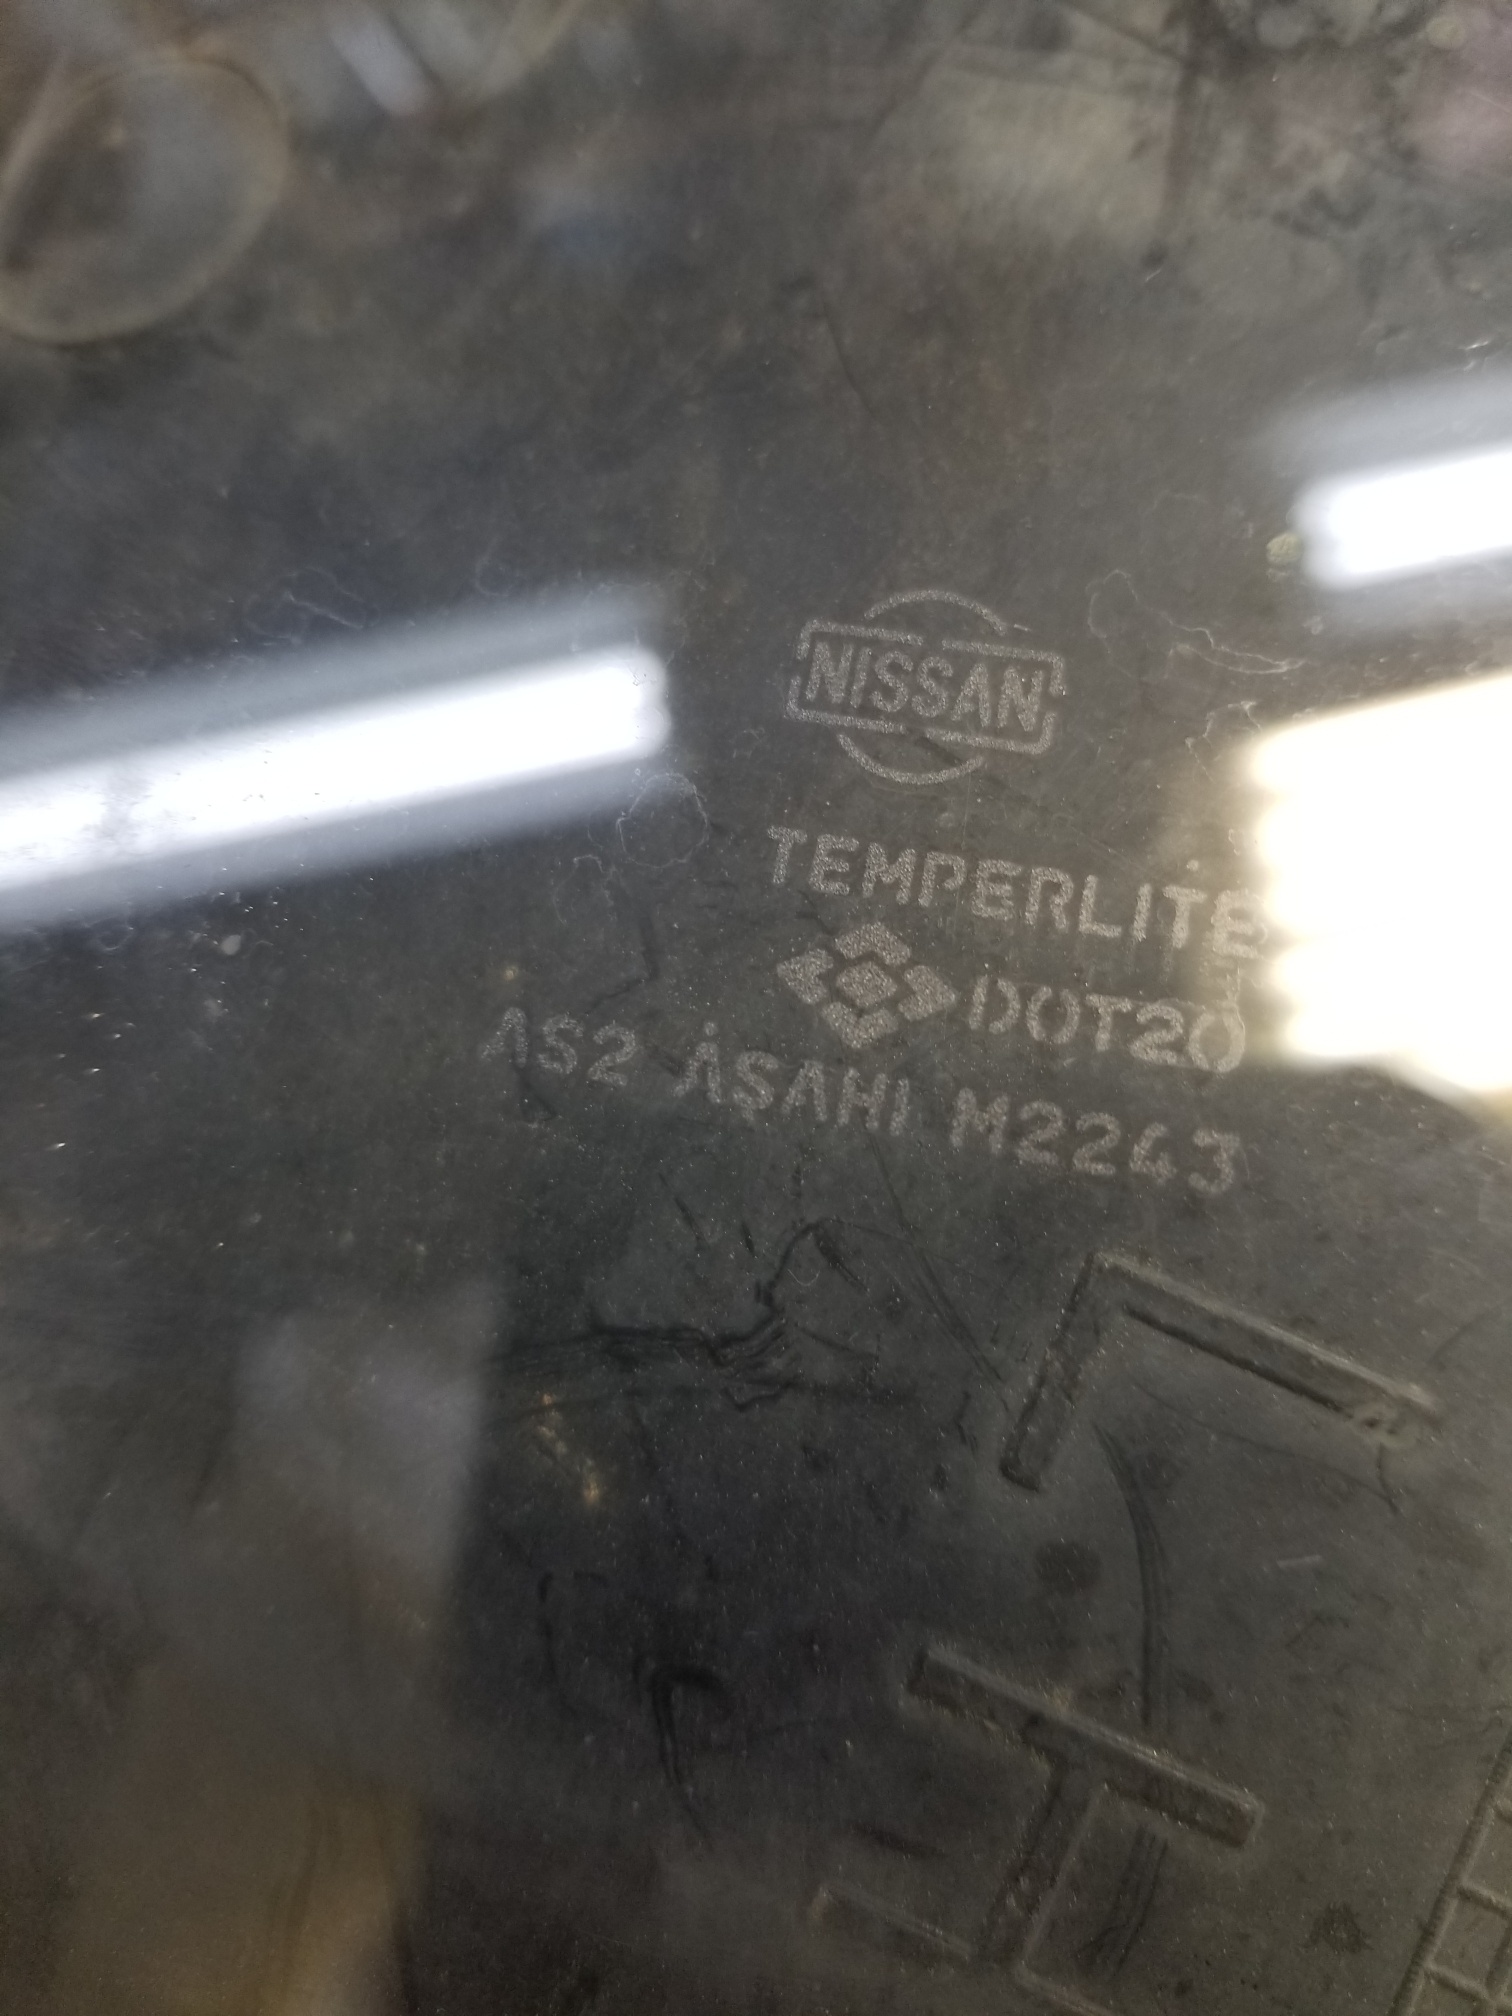
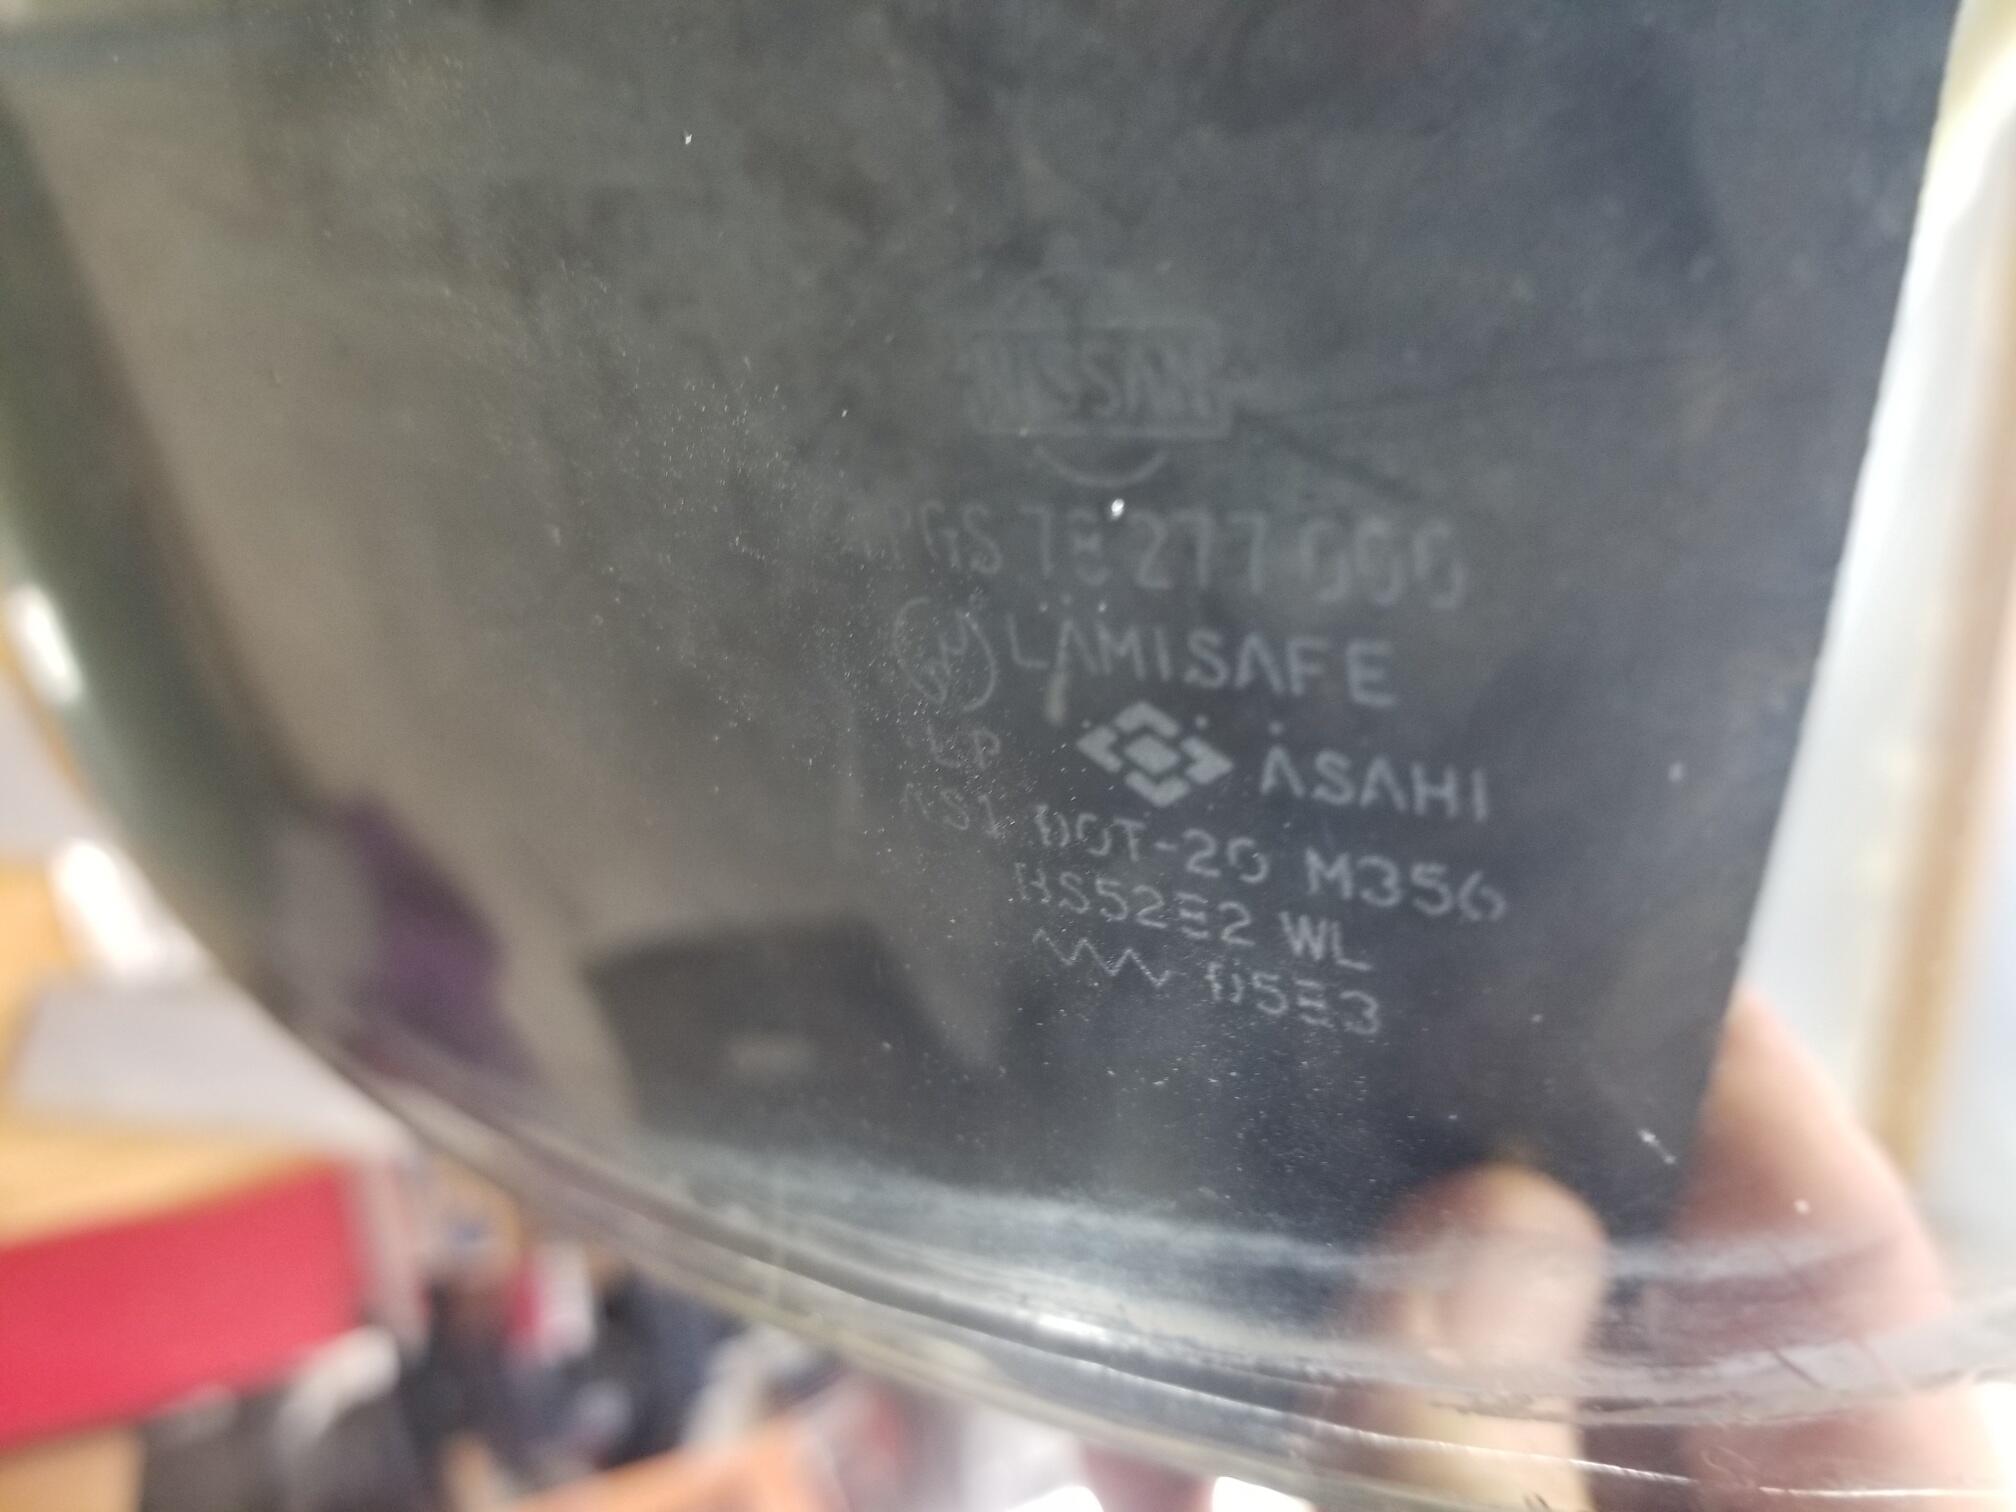
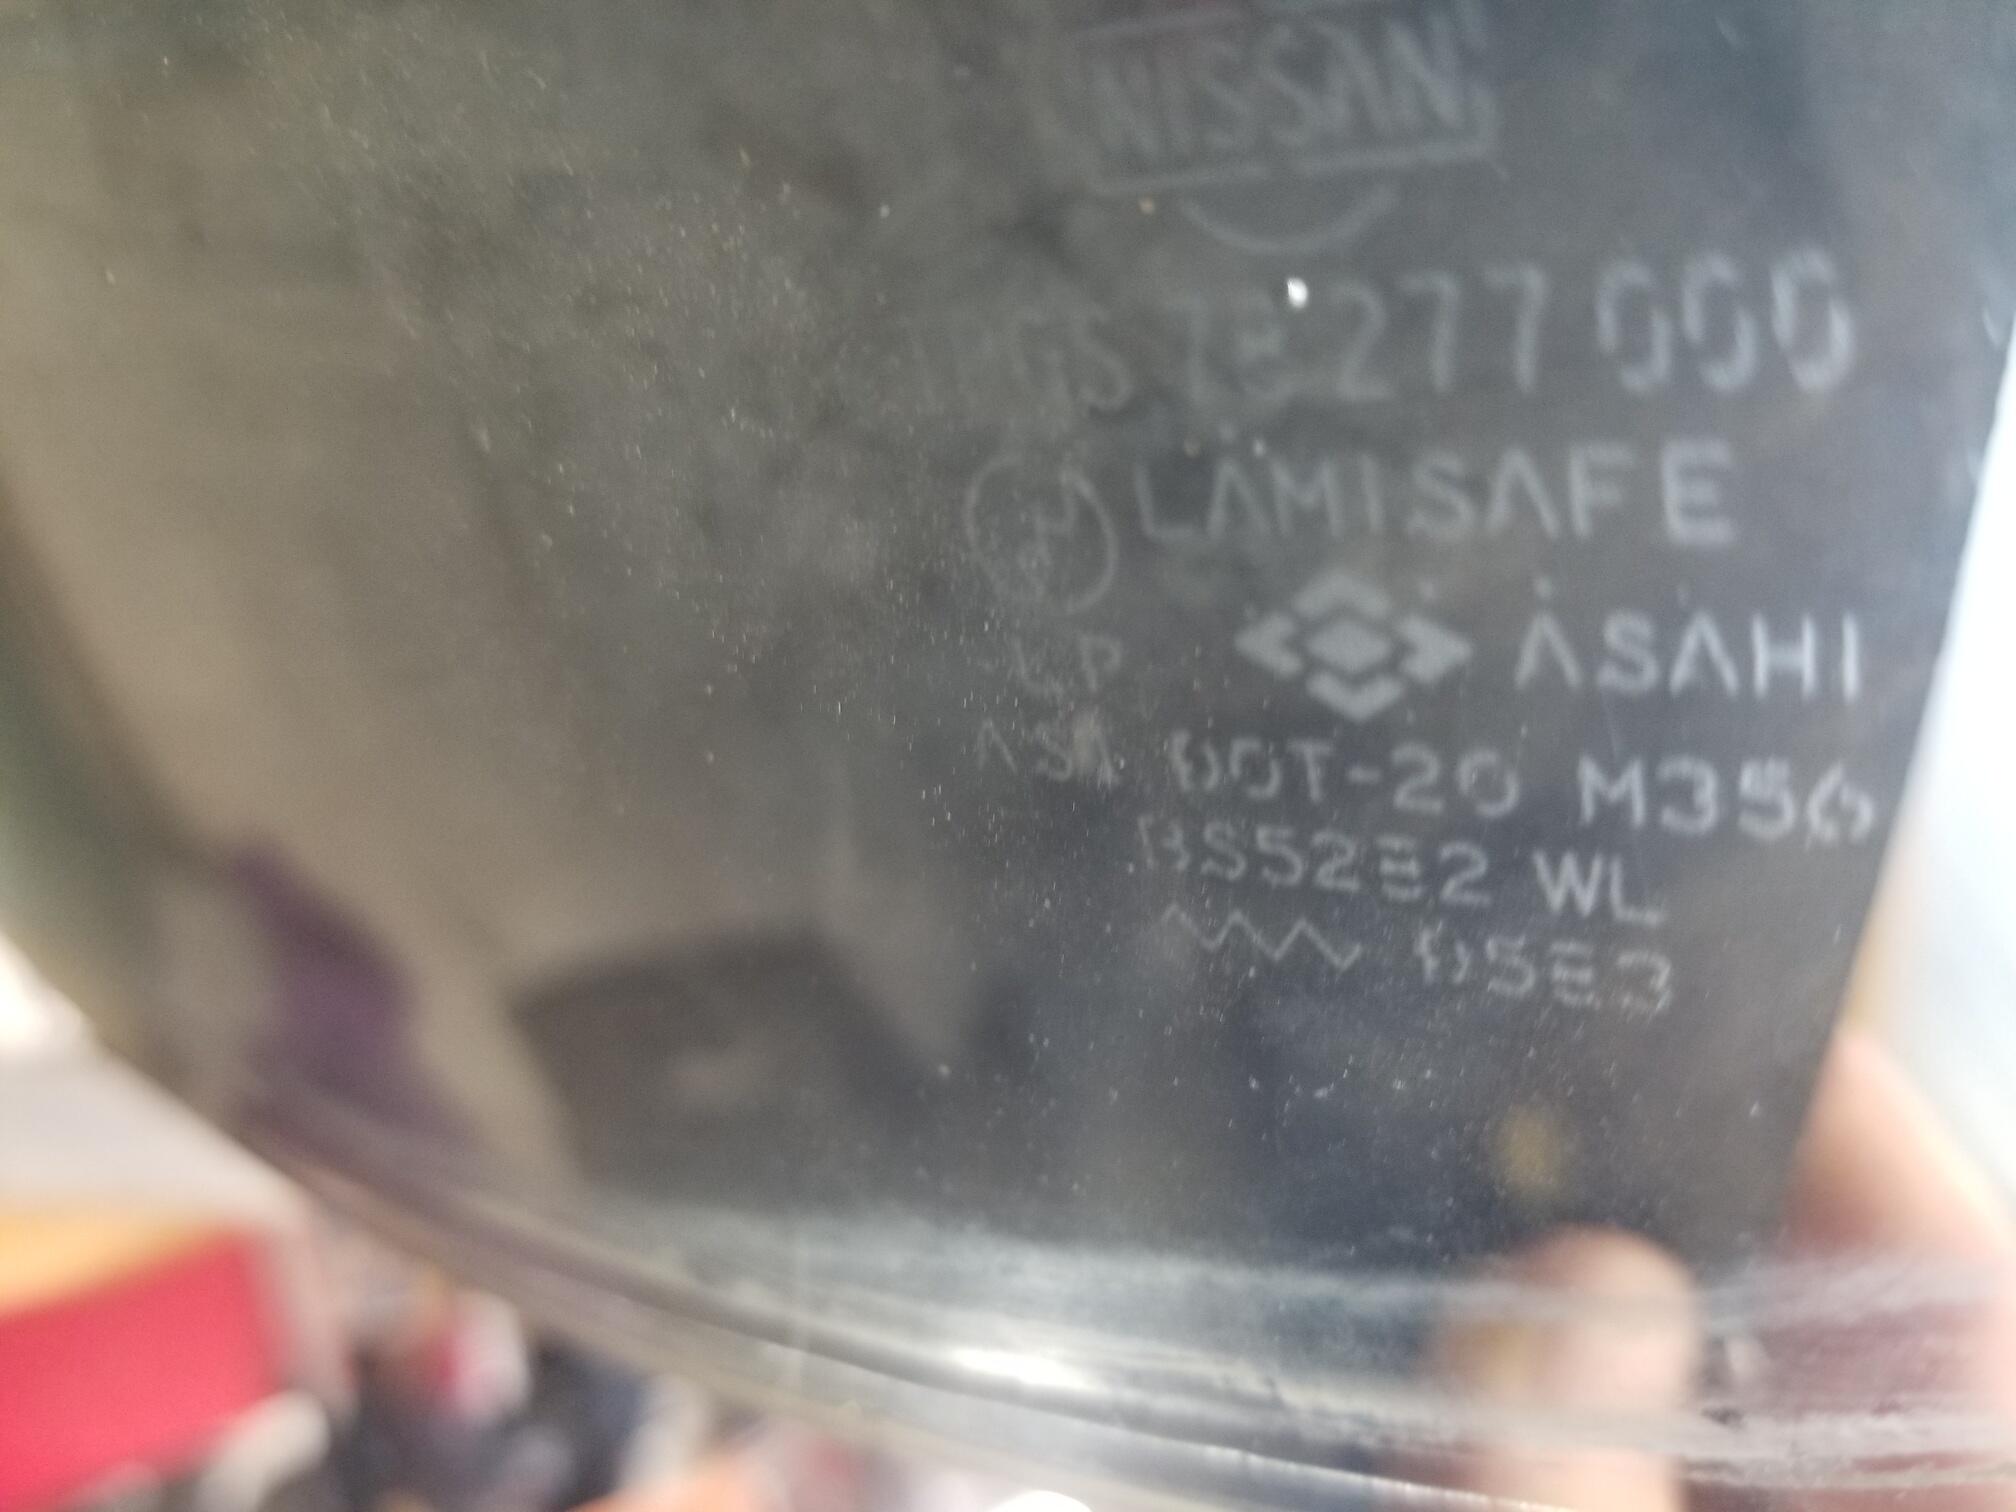
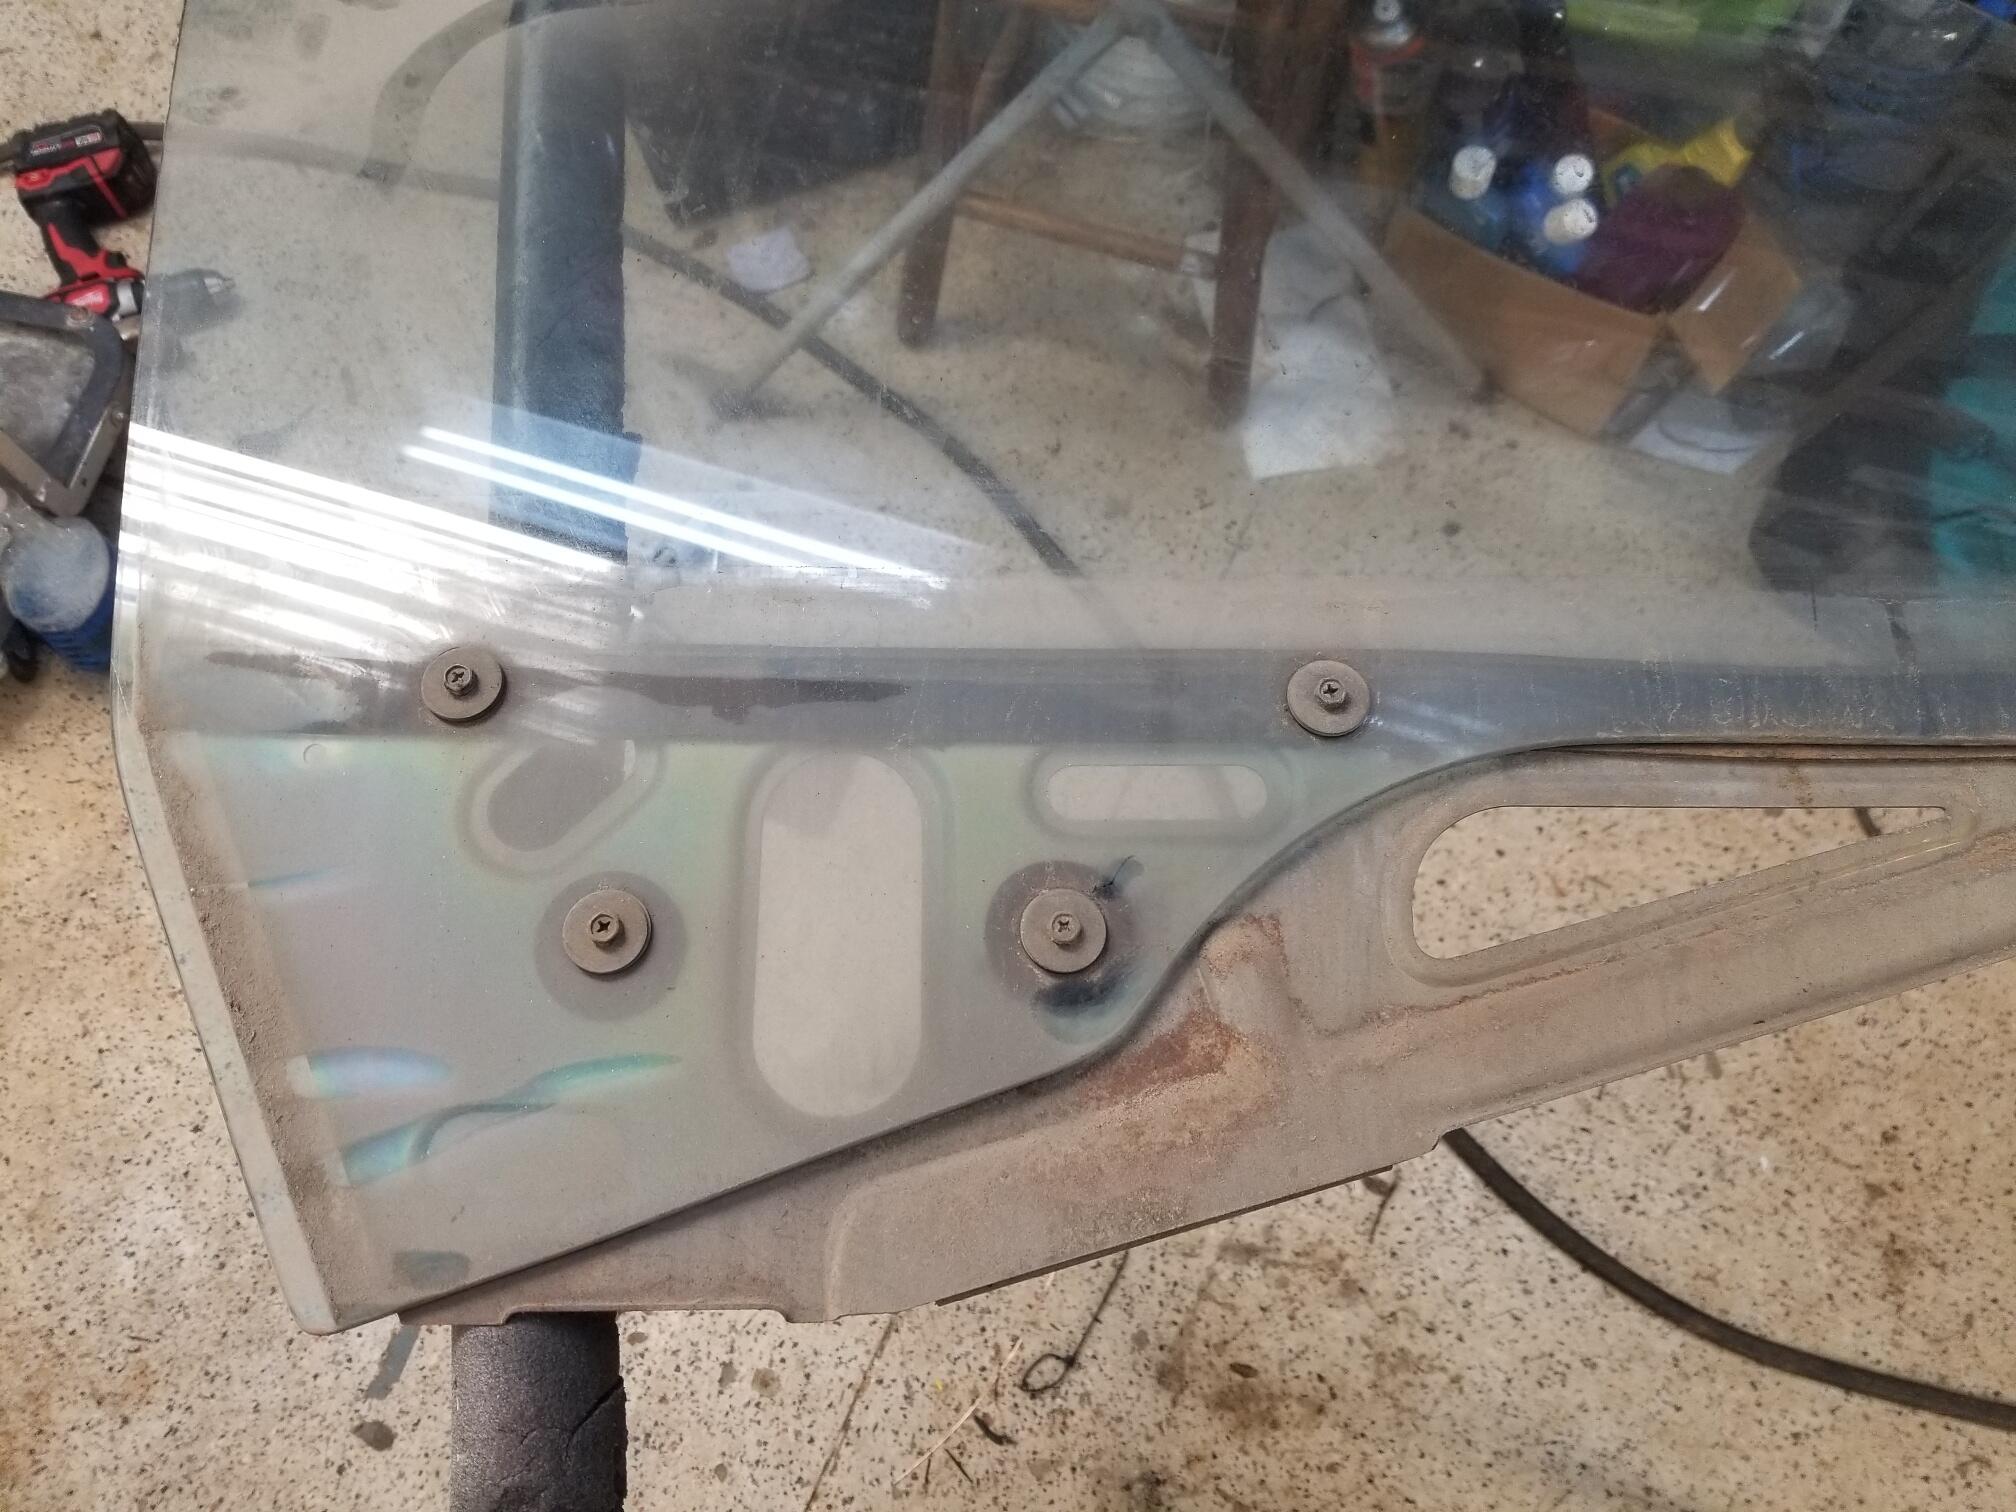
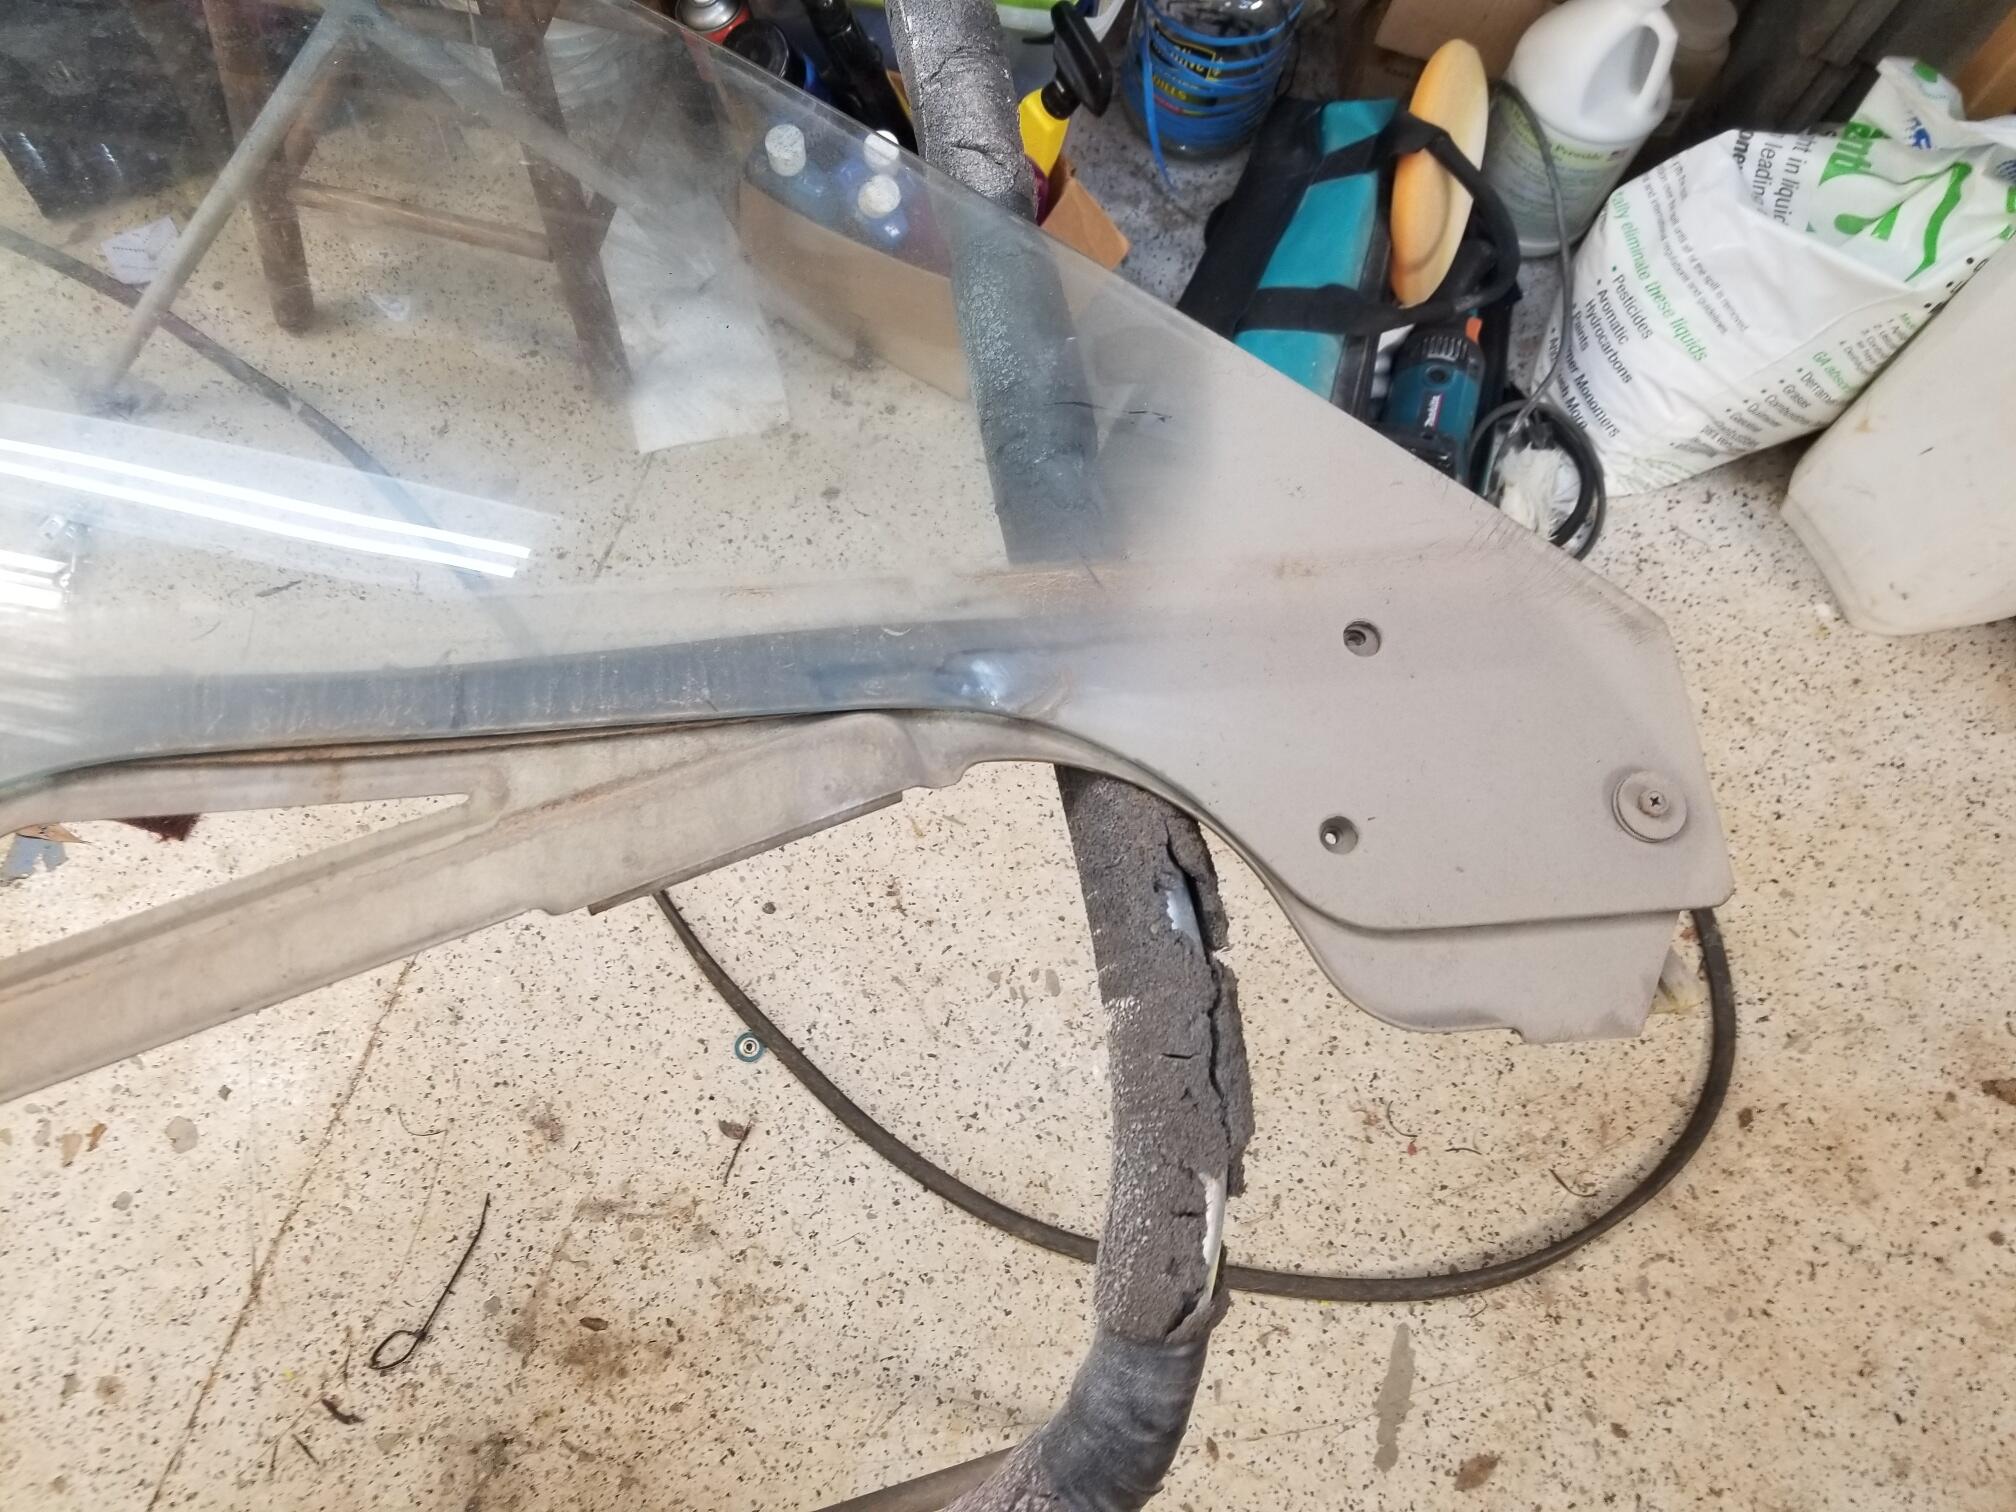
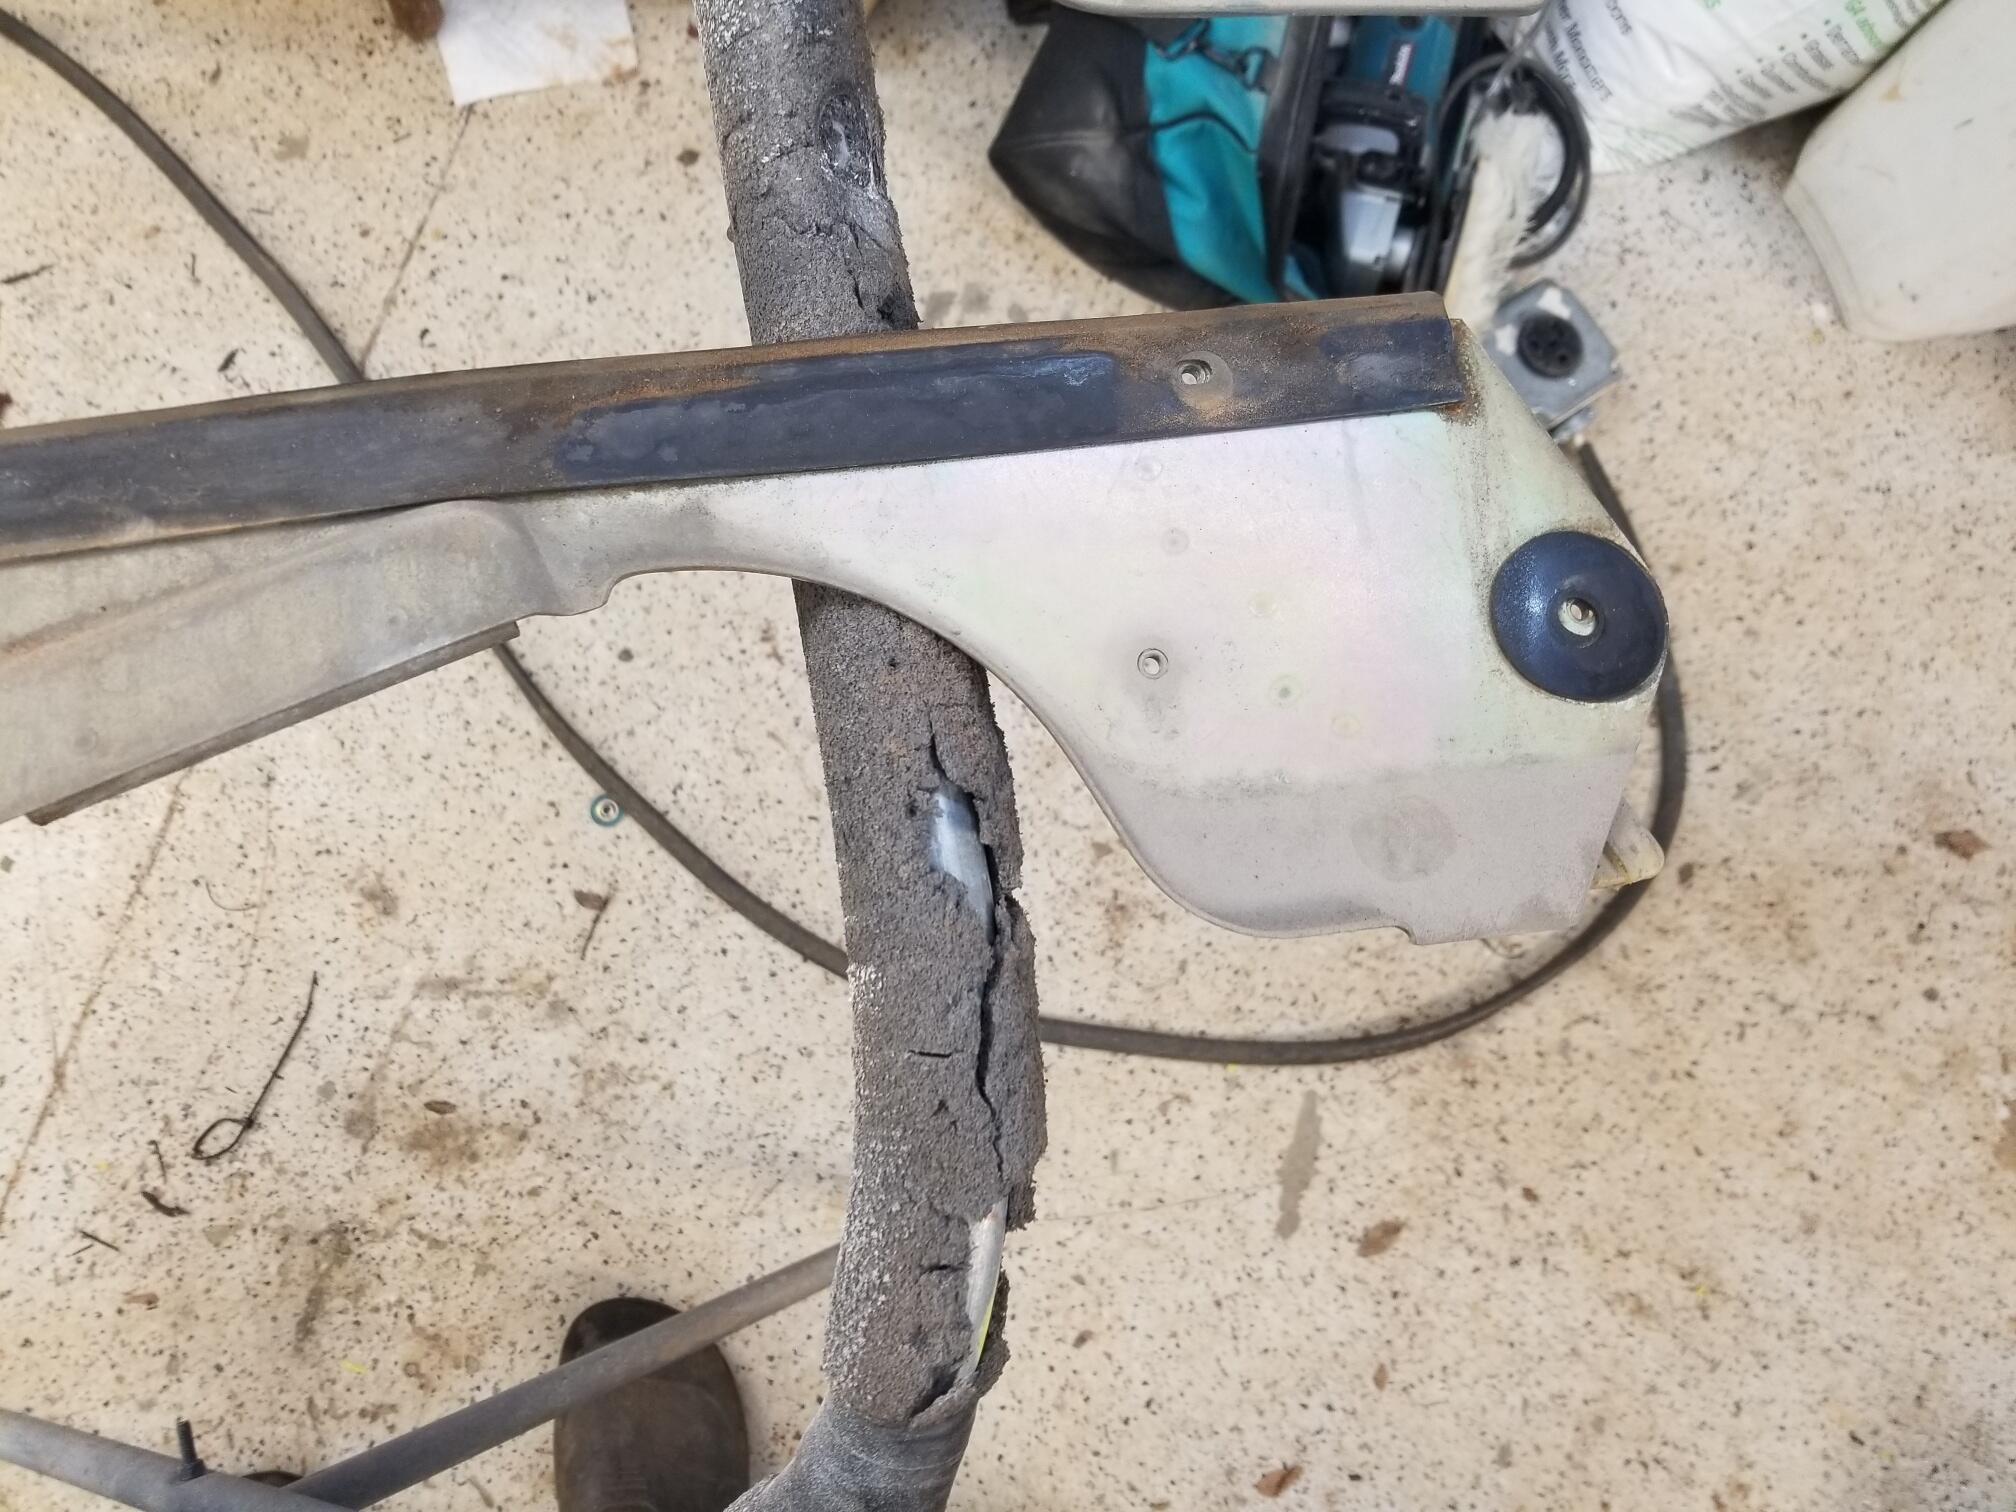
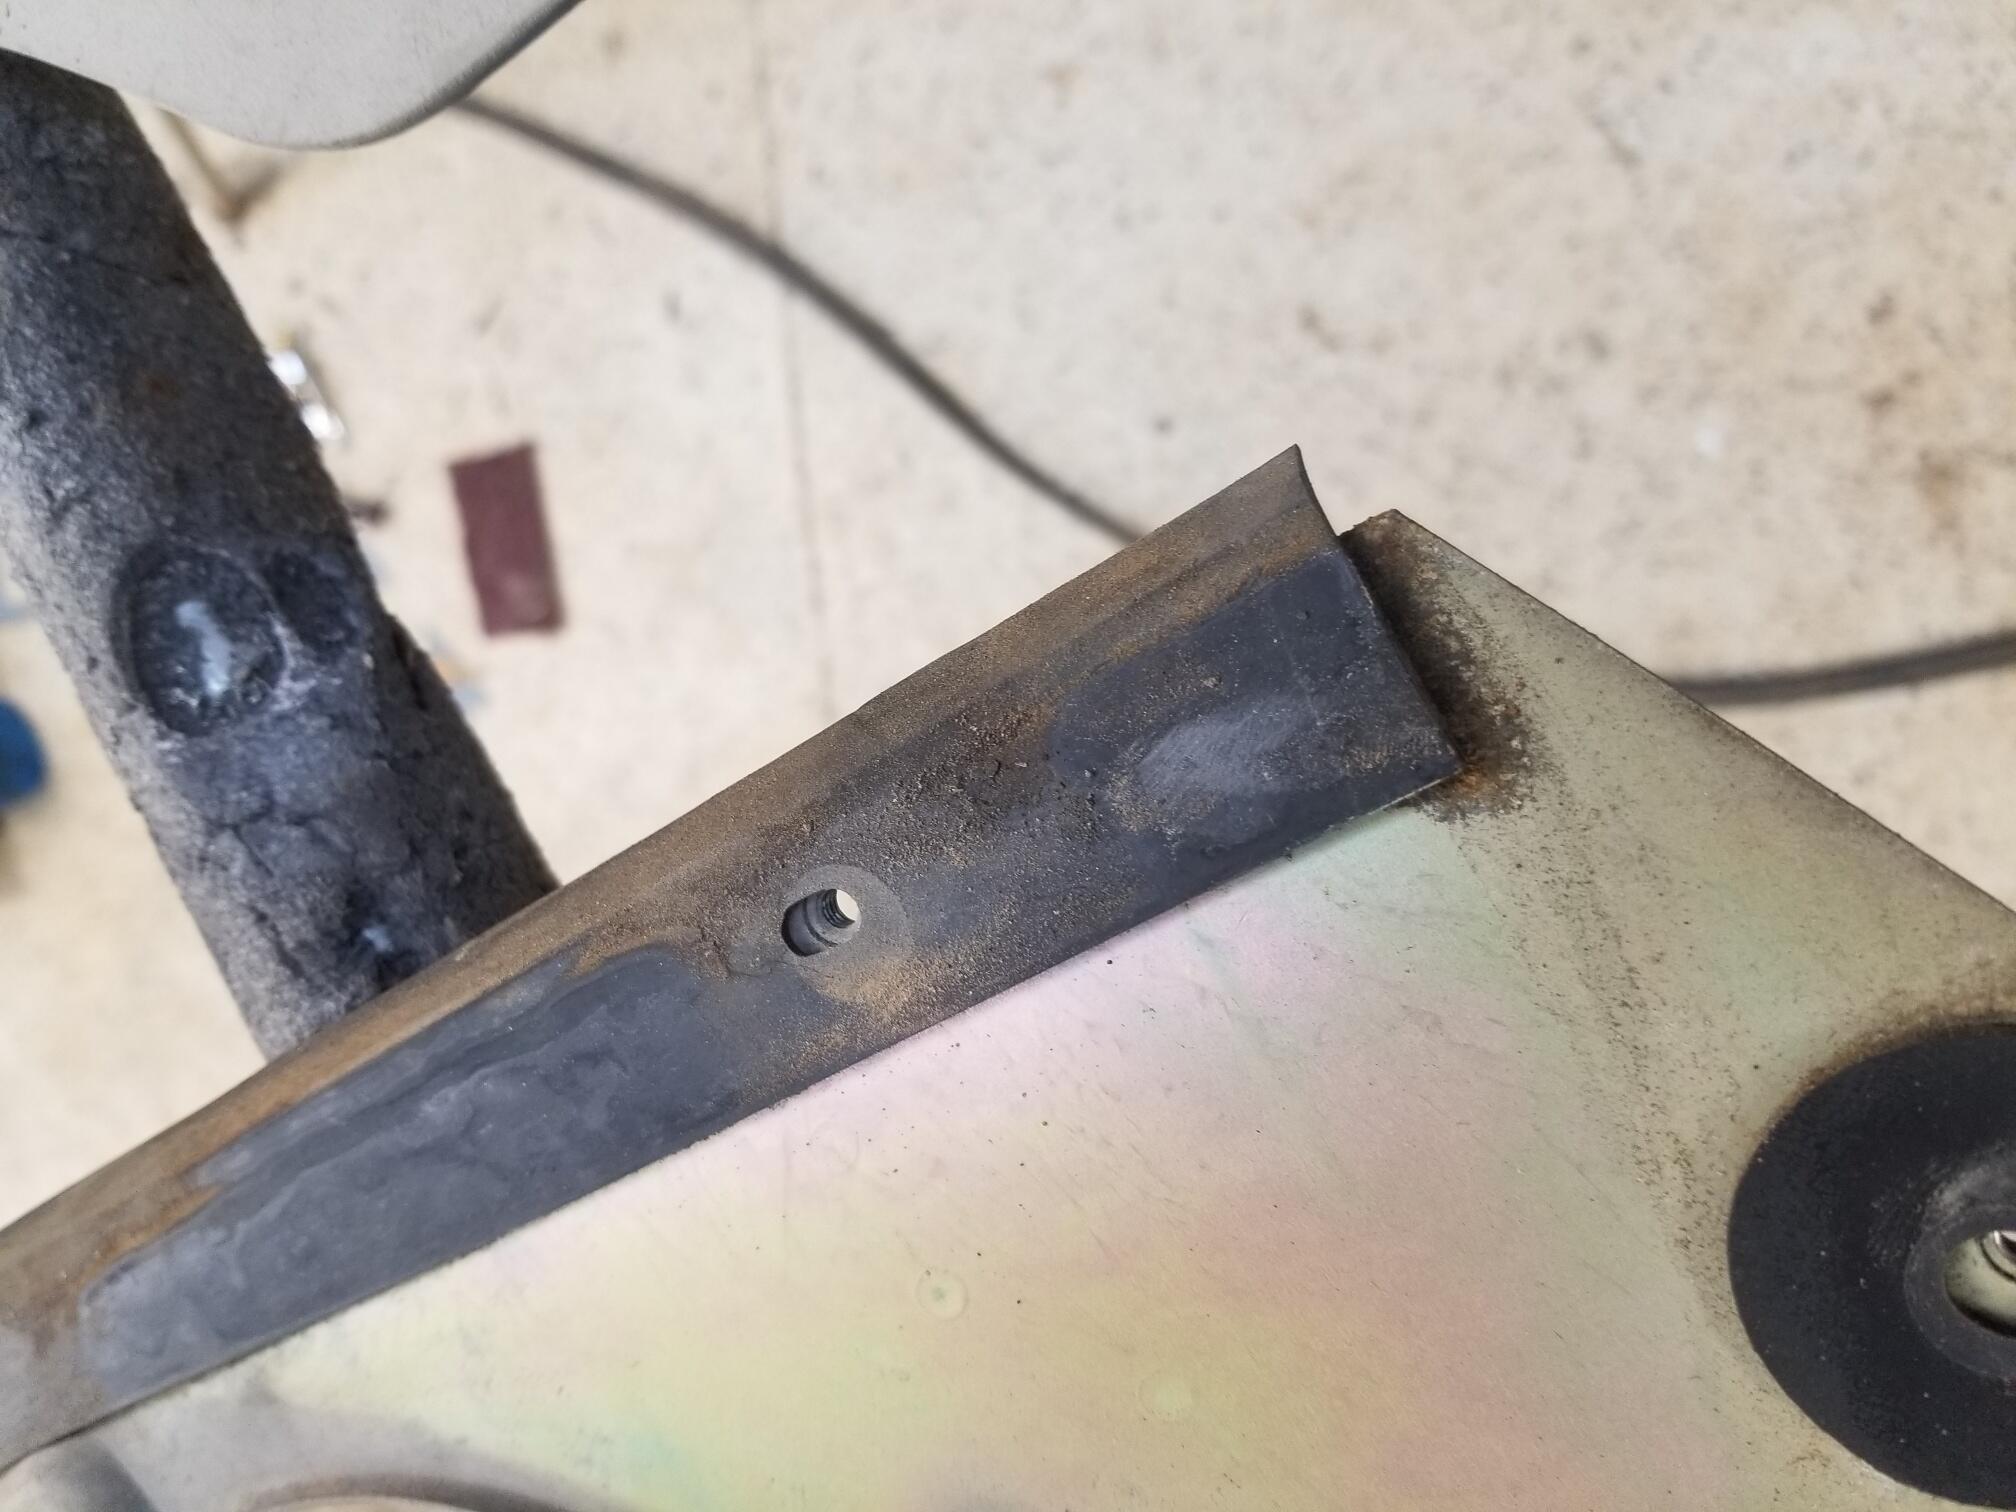
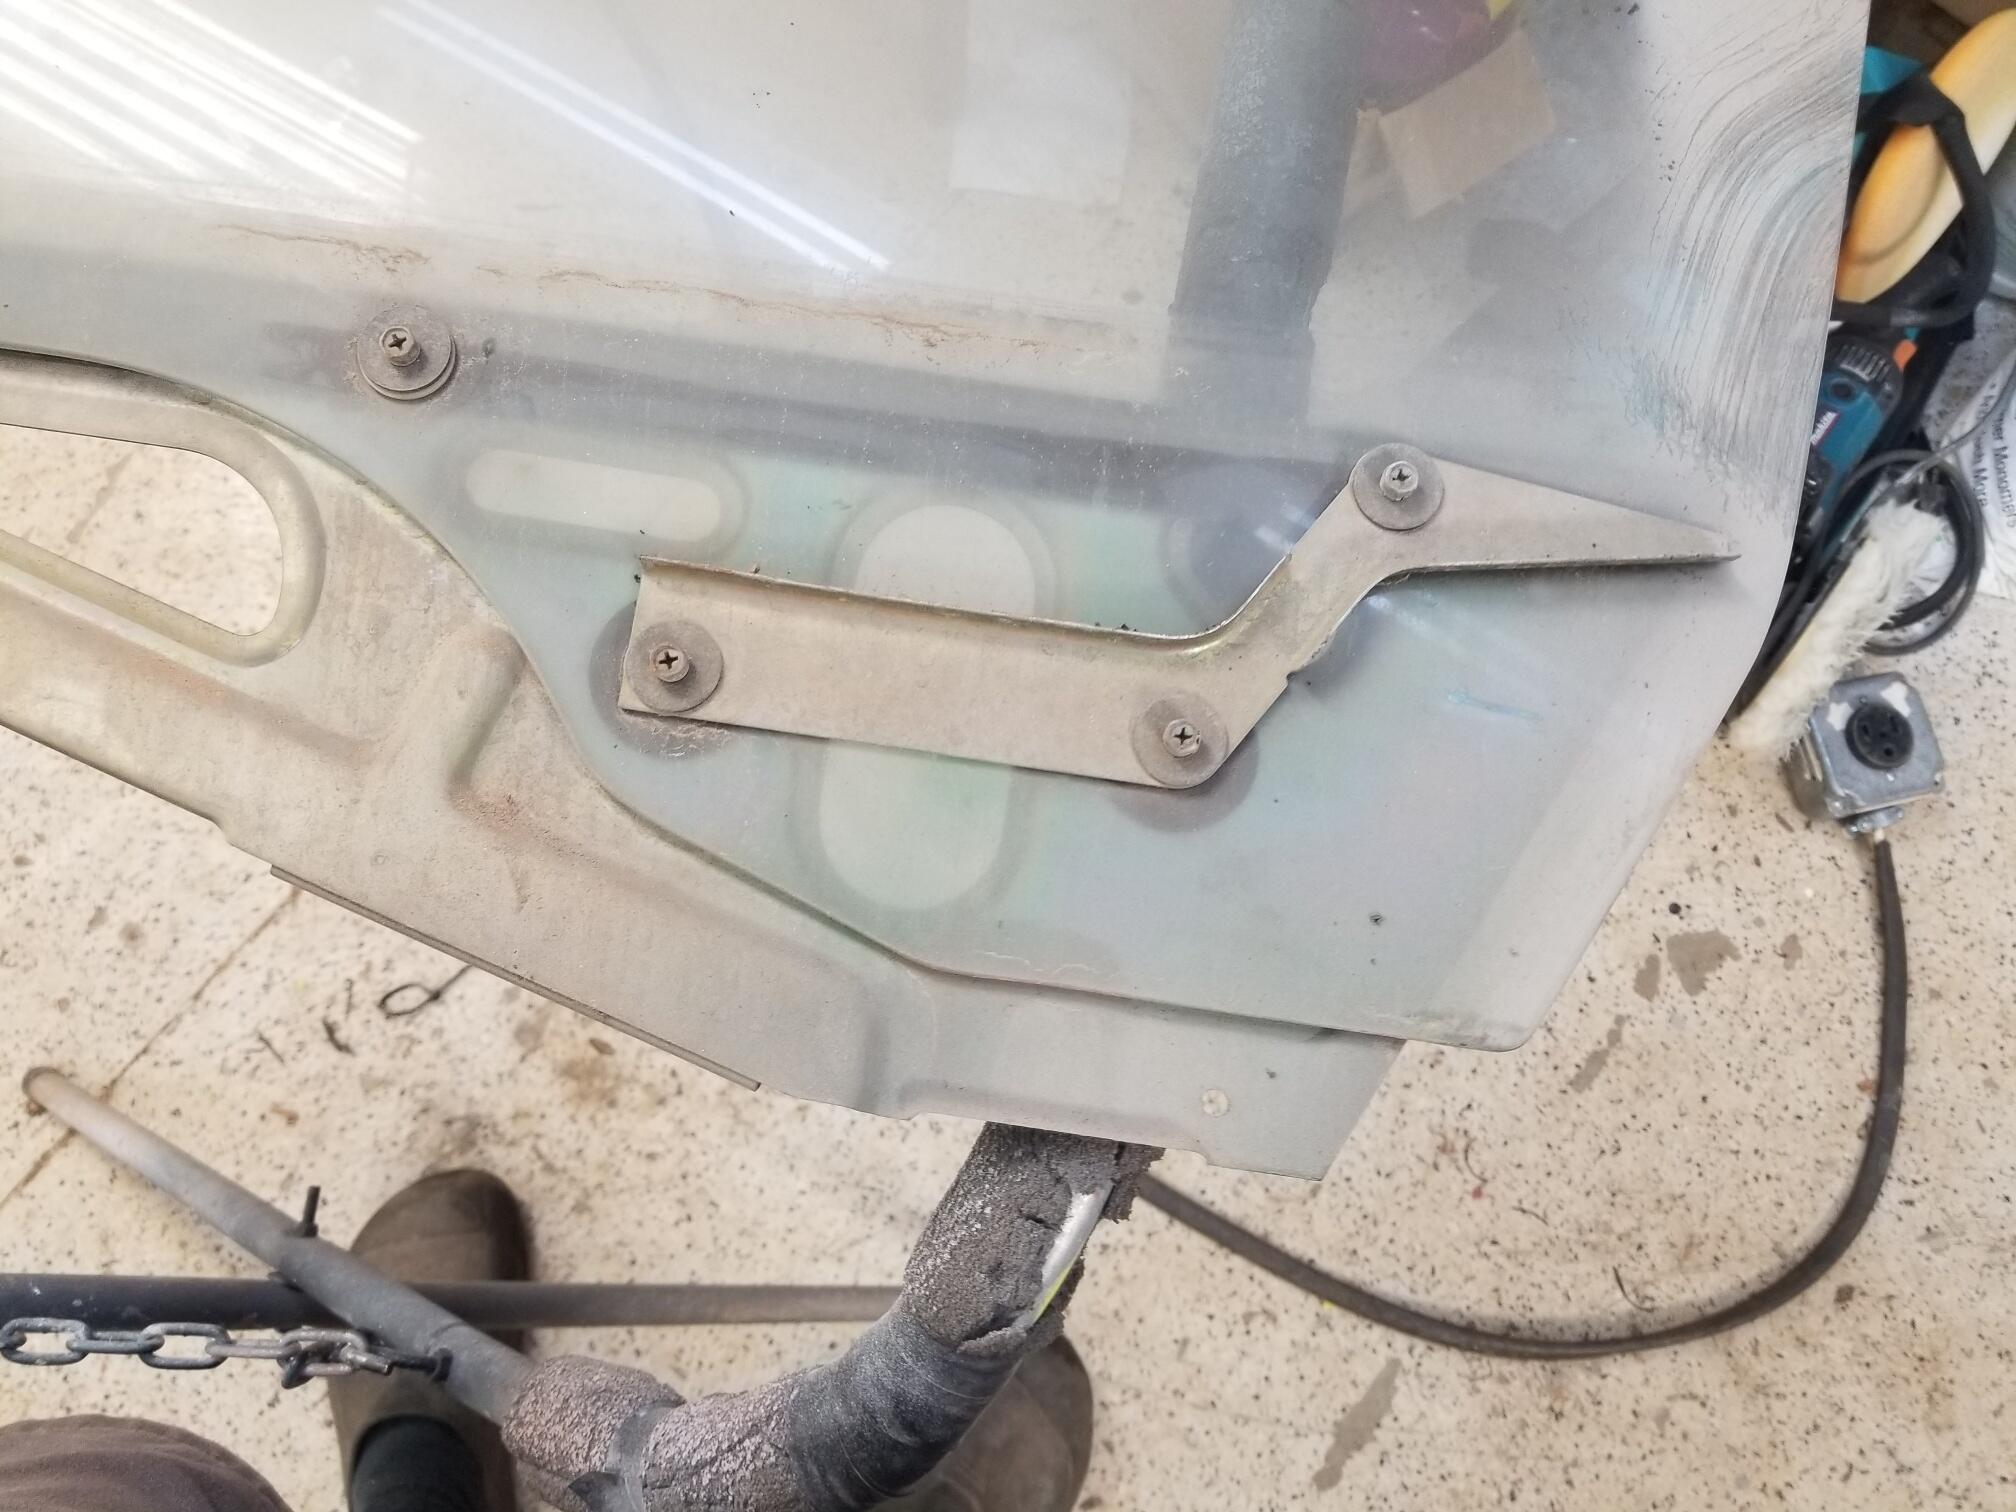
Sometimes they rust and break off. The rest ends up in the bottom of the door.Yes, designed to keep the glass from tipping too far out of the doorMy wife is top notch! She didn't complain at all. I've even had to train my wife not to shop for Datsuns! 🤣It is supposed to be fastened in the bottom of the door but I don't know exactly whereWorked on some glass today too Rear hatch decals @cgsheen1 Do you recognize these? Rear hatch etching Windshield etching. No tint strip Stripped the metal brackets off the door glass. I am going to send a load to the platers There are small white plastic washer sunder the bolts and washers to prevent over tightening to the glass I believe this is an anti theft device. The drivers door is off a later car and is much heavier than the passenger door I cut up an old rusty hatch. Here is what the layup looks like across the top of the hatch When I sound proofed the inside of the car I was careful enough and I got stuff all over the tool compartment tab rubber. So I scraped them back down and brushed some black plasti-dip on them. I also did that to the wire loom tabs along the floor boards, at the fuel tank and the tail light panel. I will get new tab covers for the ones in the engine bay


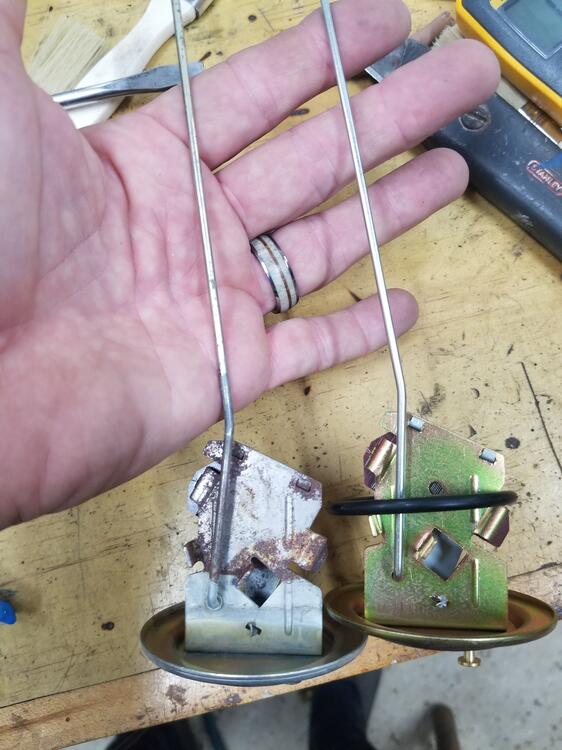
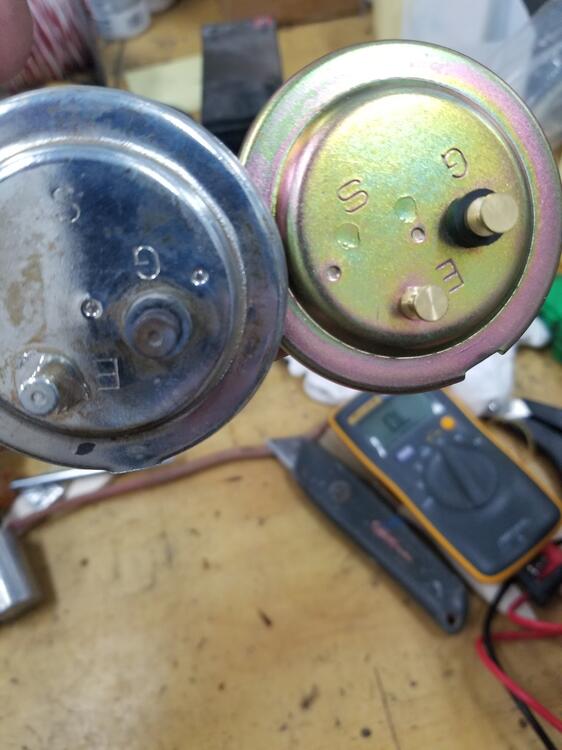
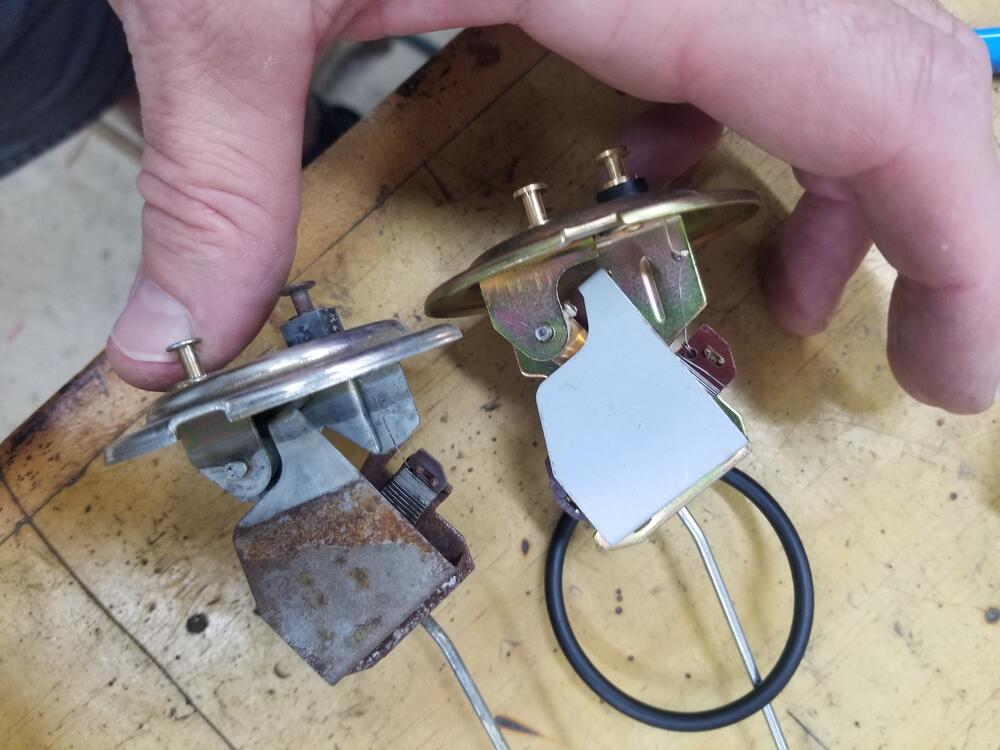
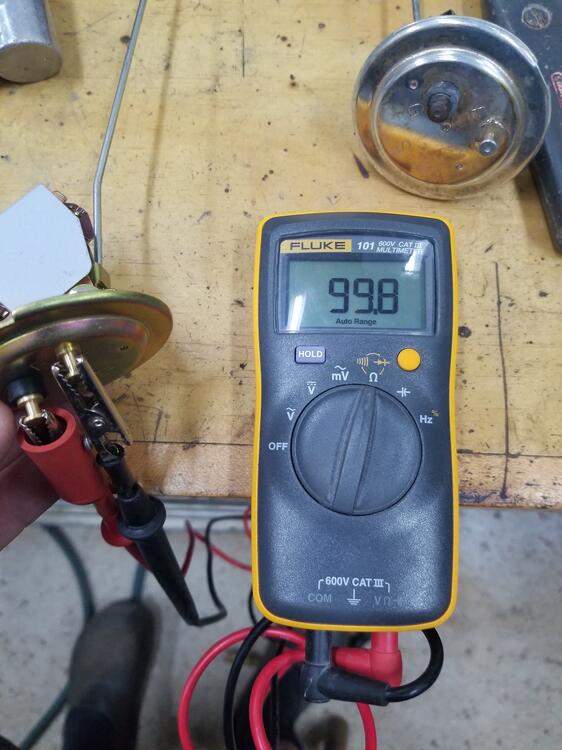
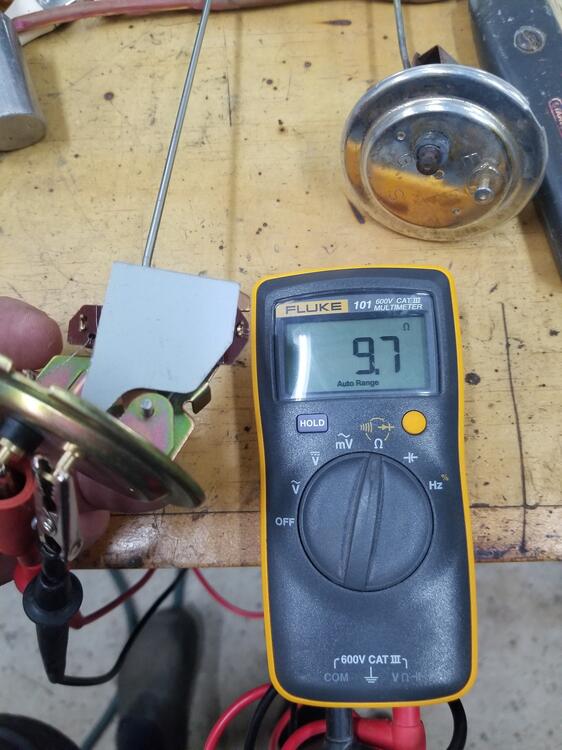
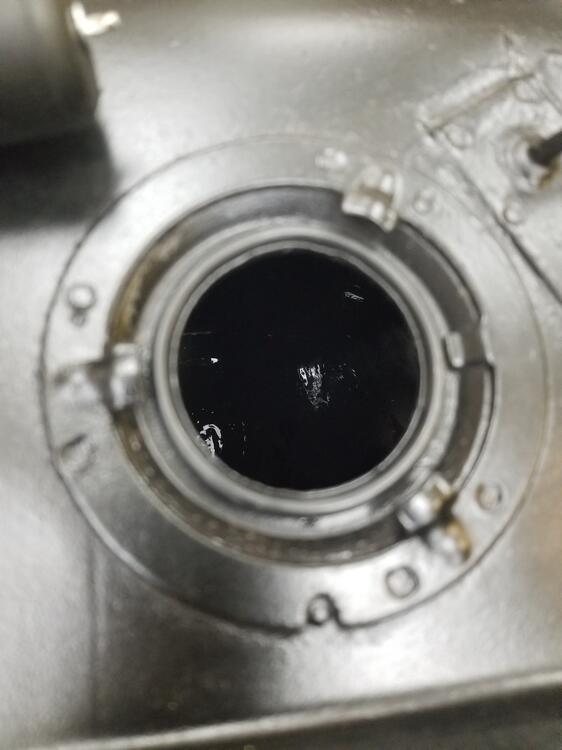
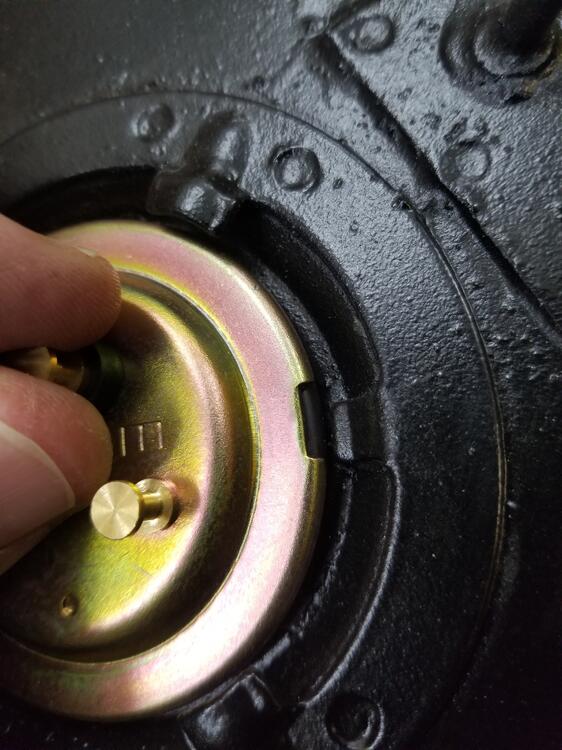
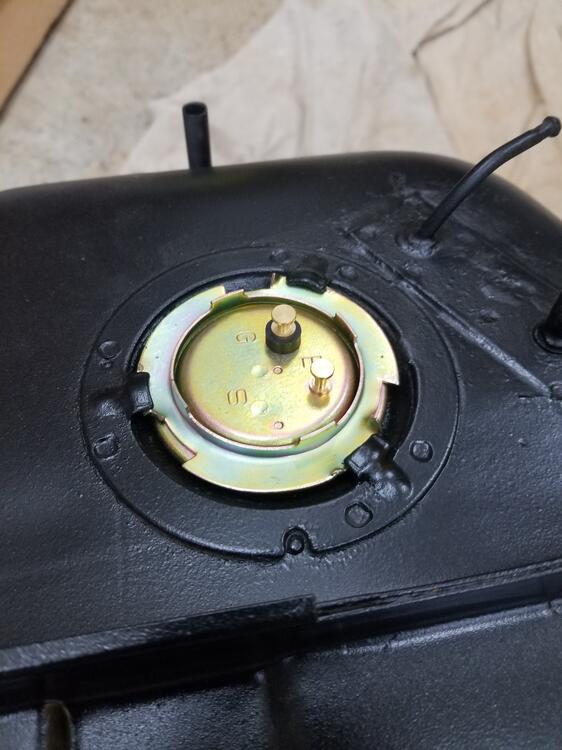
 I got the new fuel tank sender in. It was about $15 total, which I thought was pretty cheap. Matches really well and the resistance seems to be pretty close New O ring Sender set and indexed I had 2 O rings to choose from. I used the one I had from Zcardepot versus the one that came with the sender. The one from Zcardepot fit perfect. The other one was on the small side
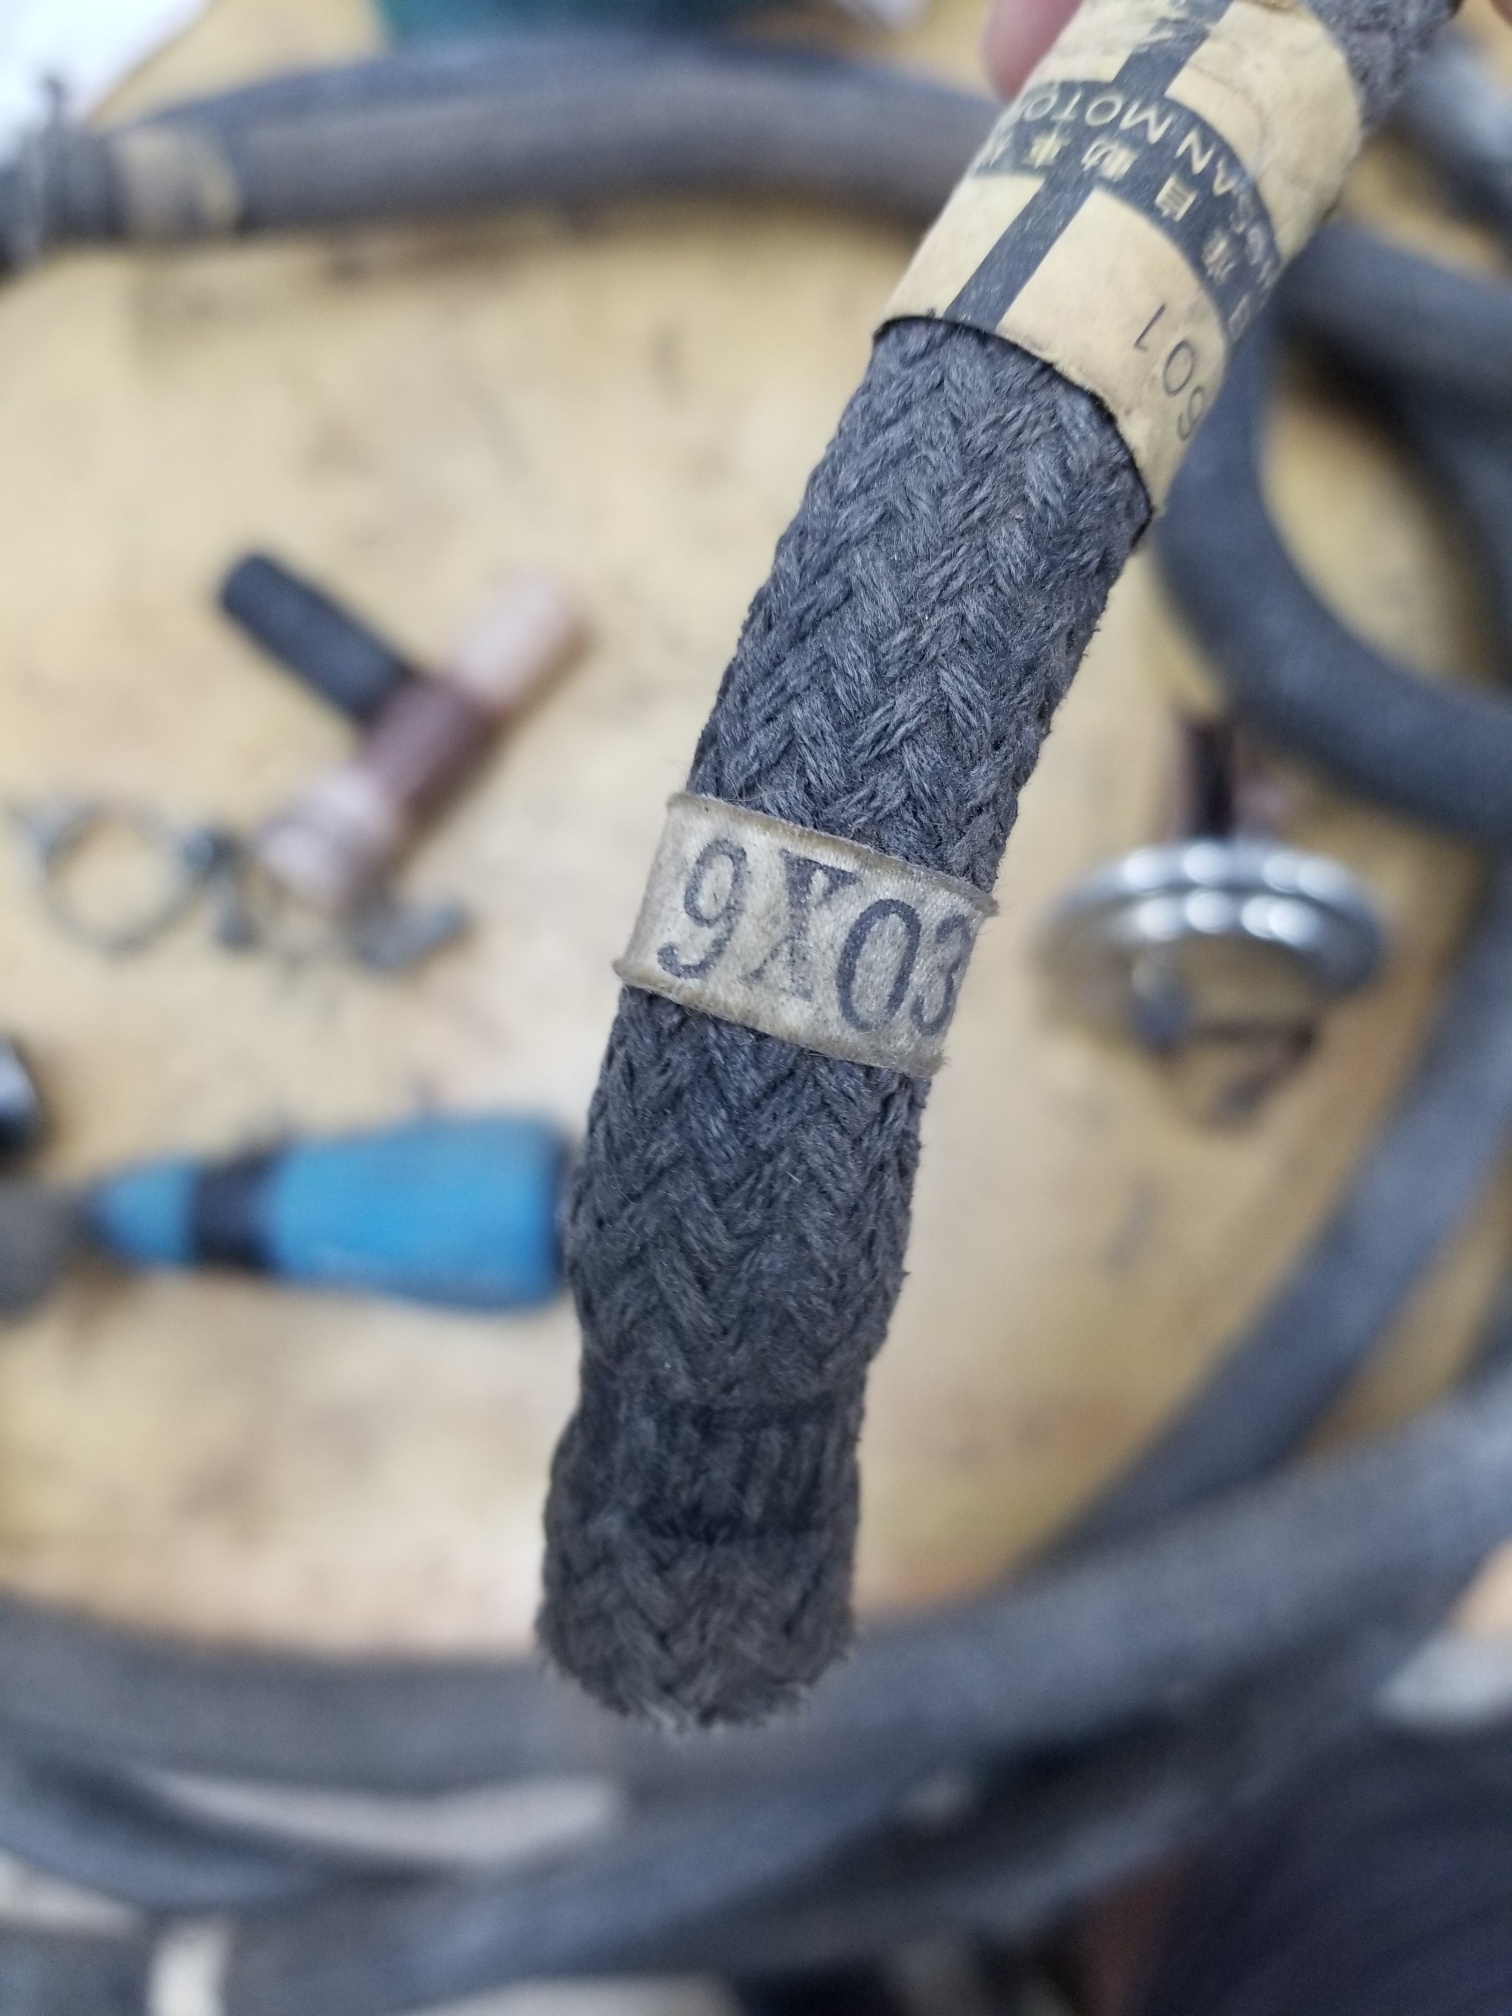
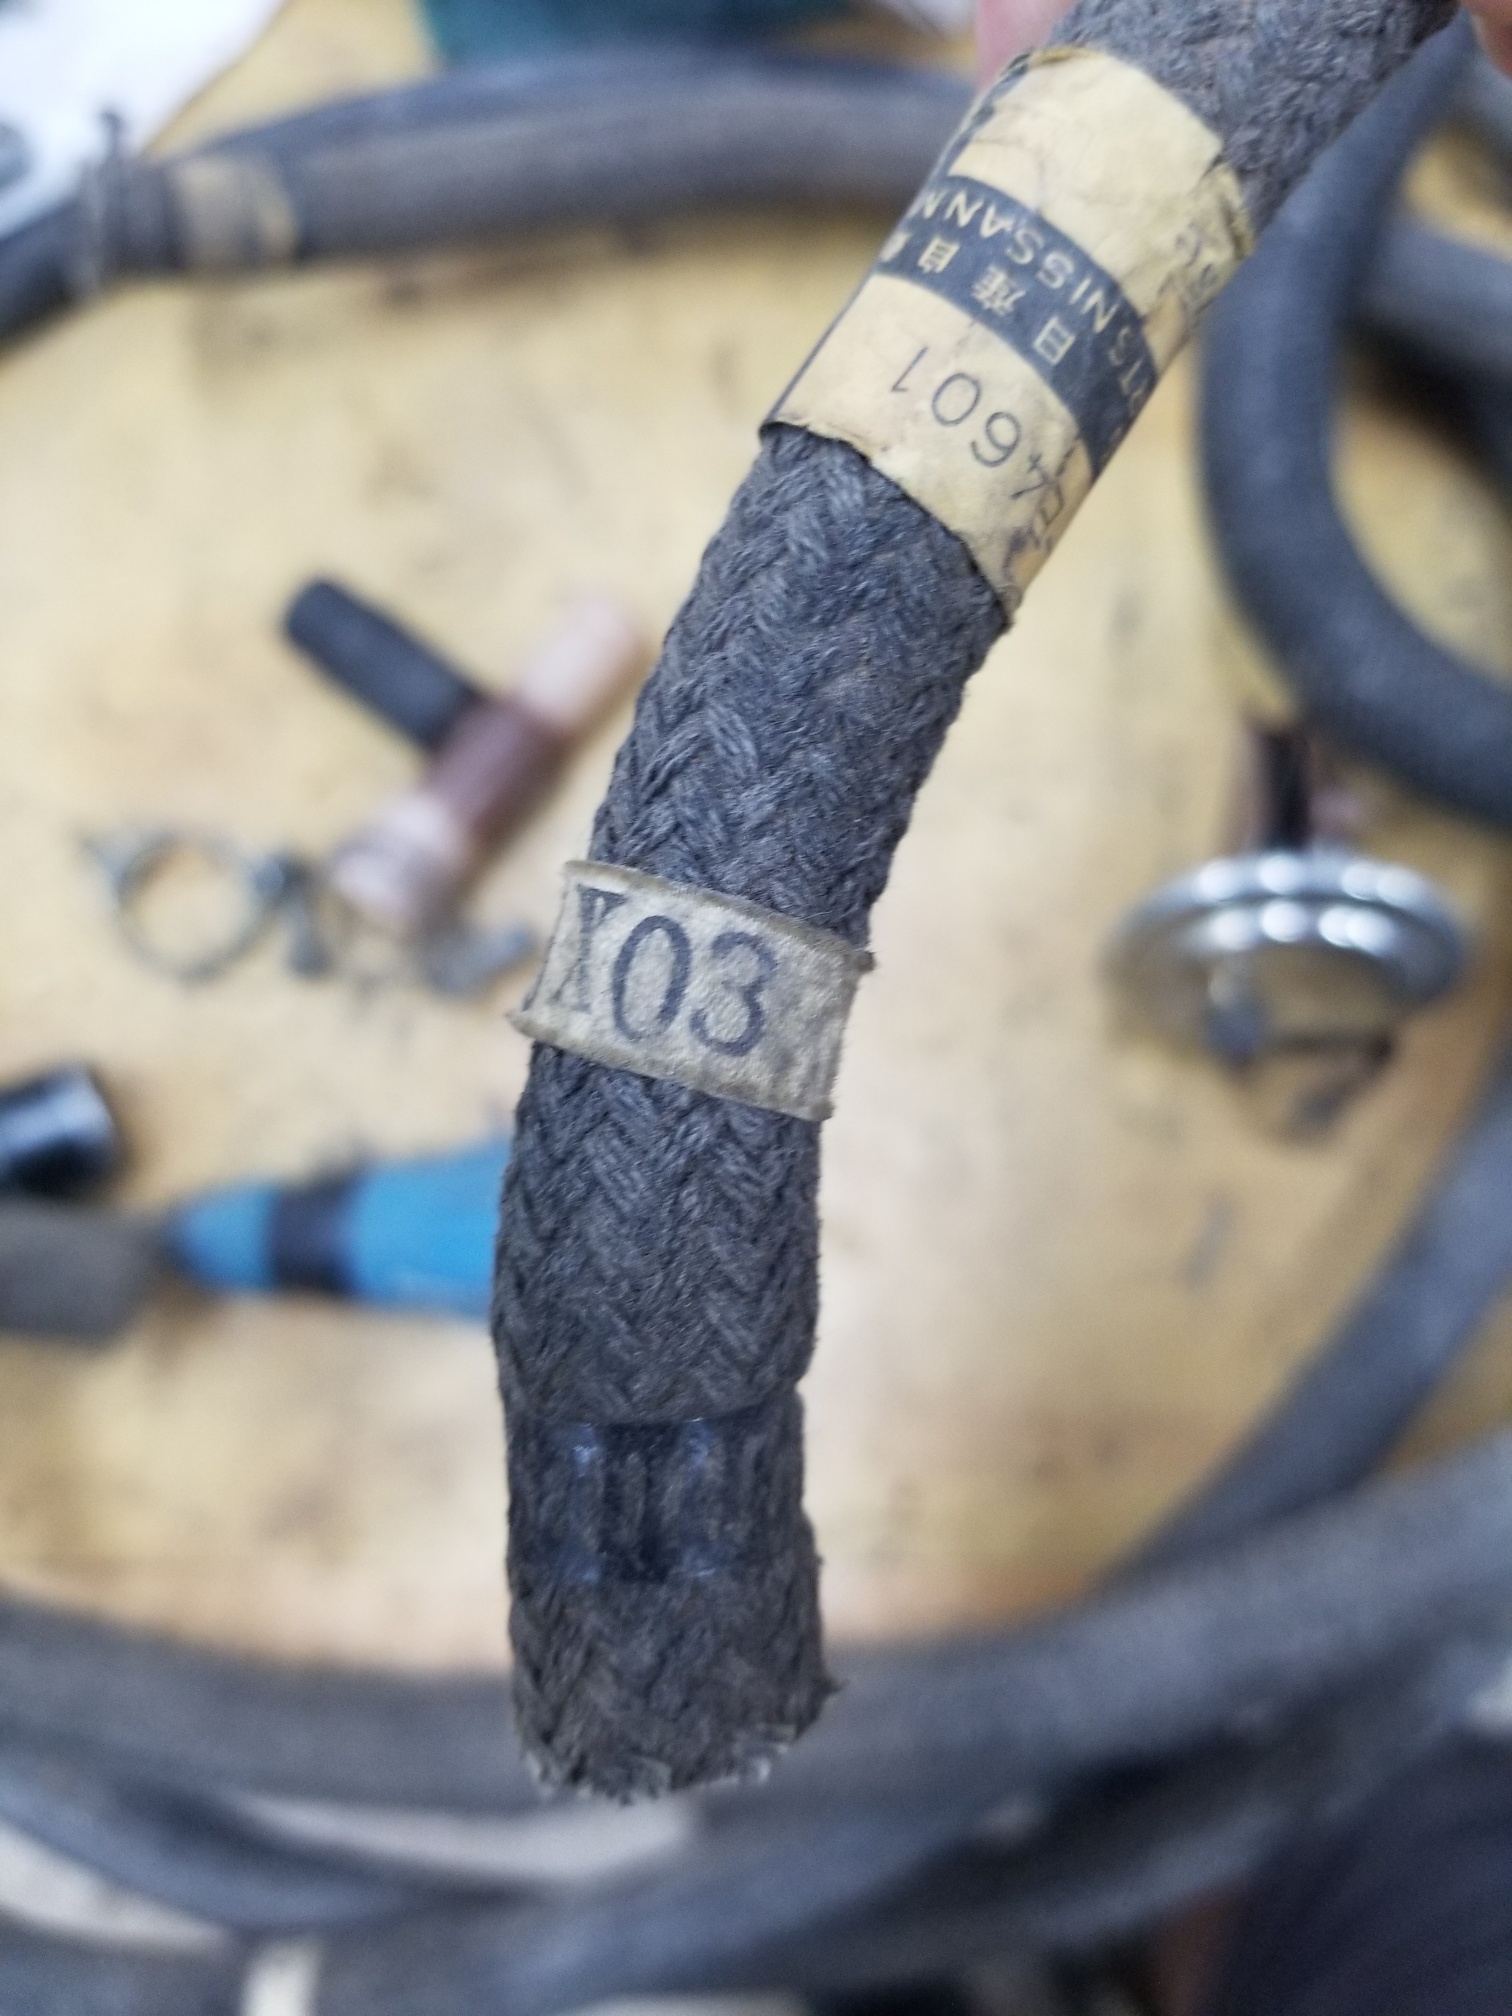
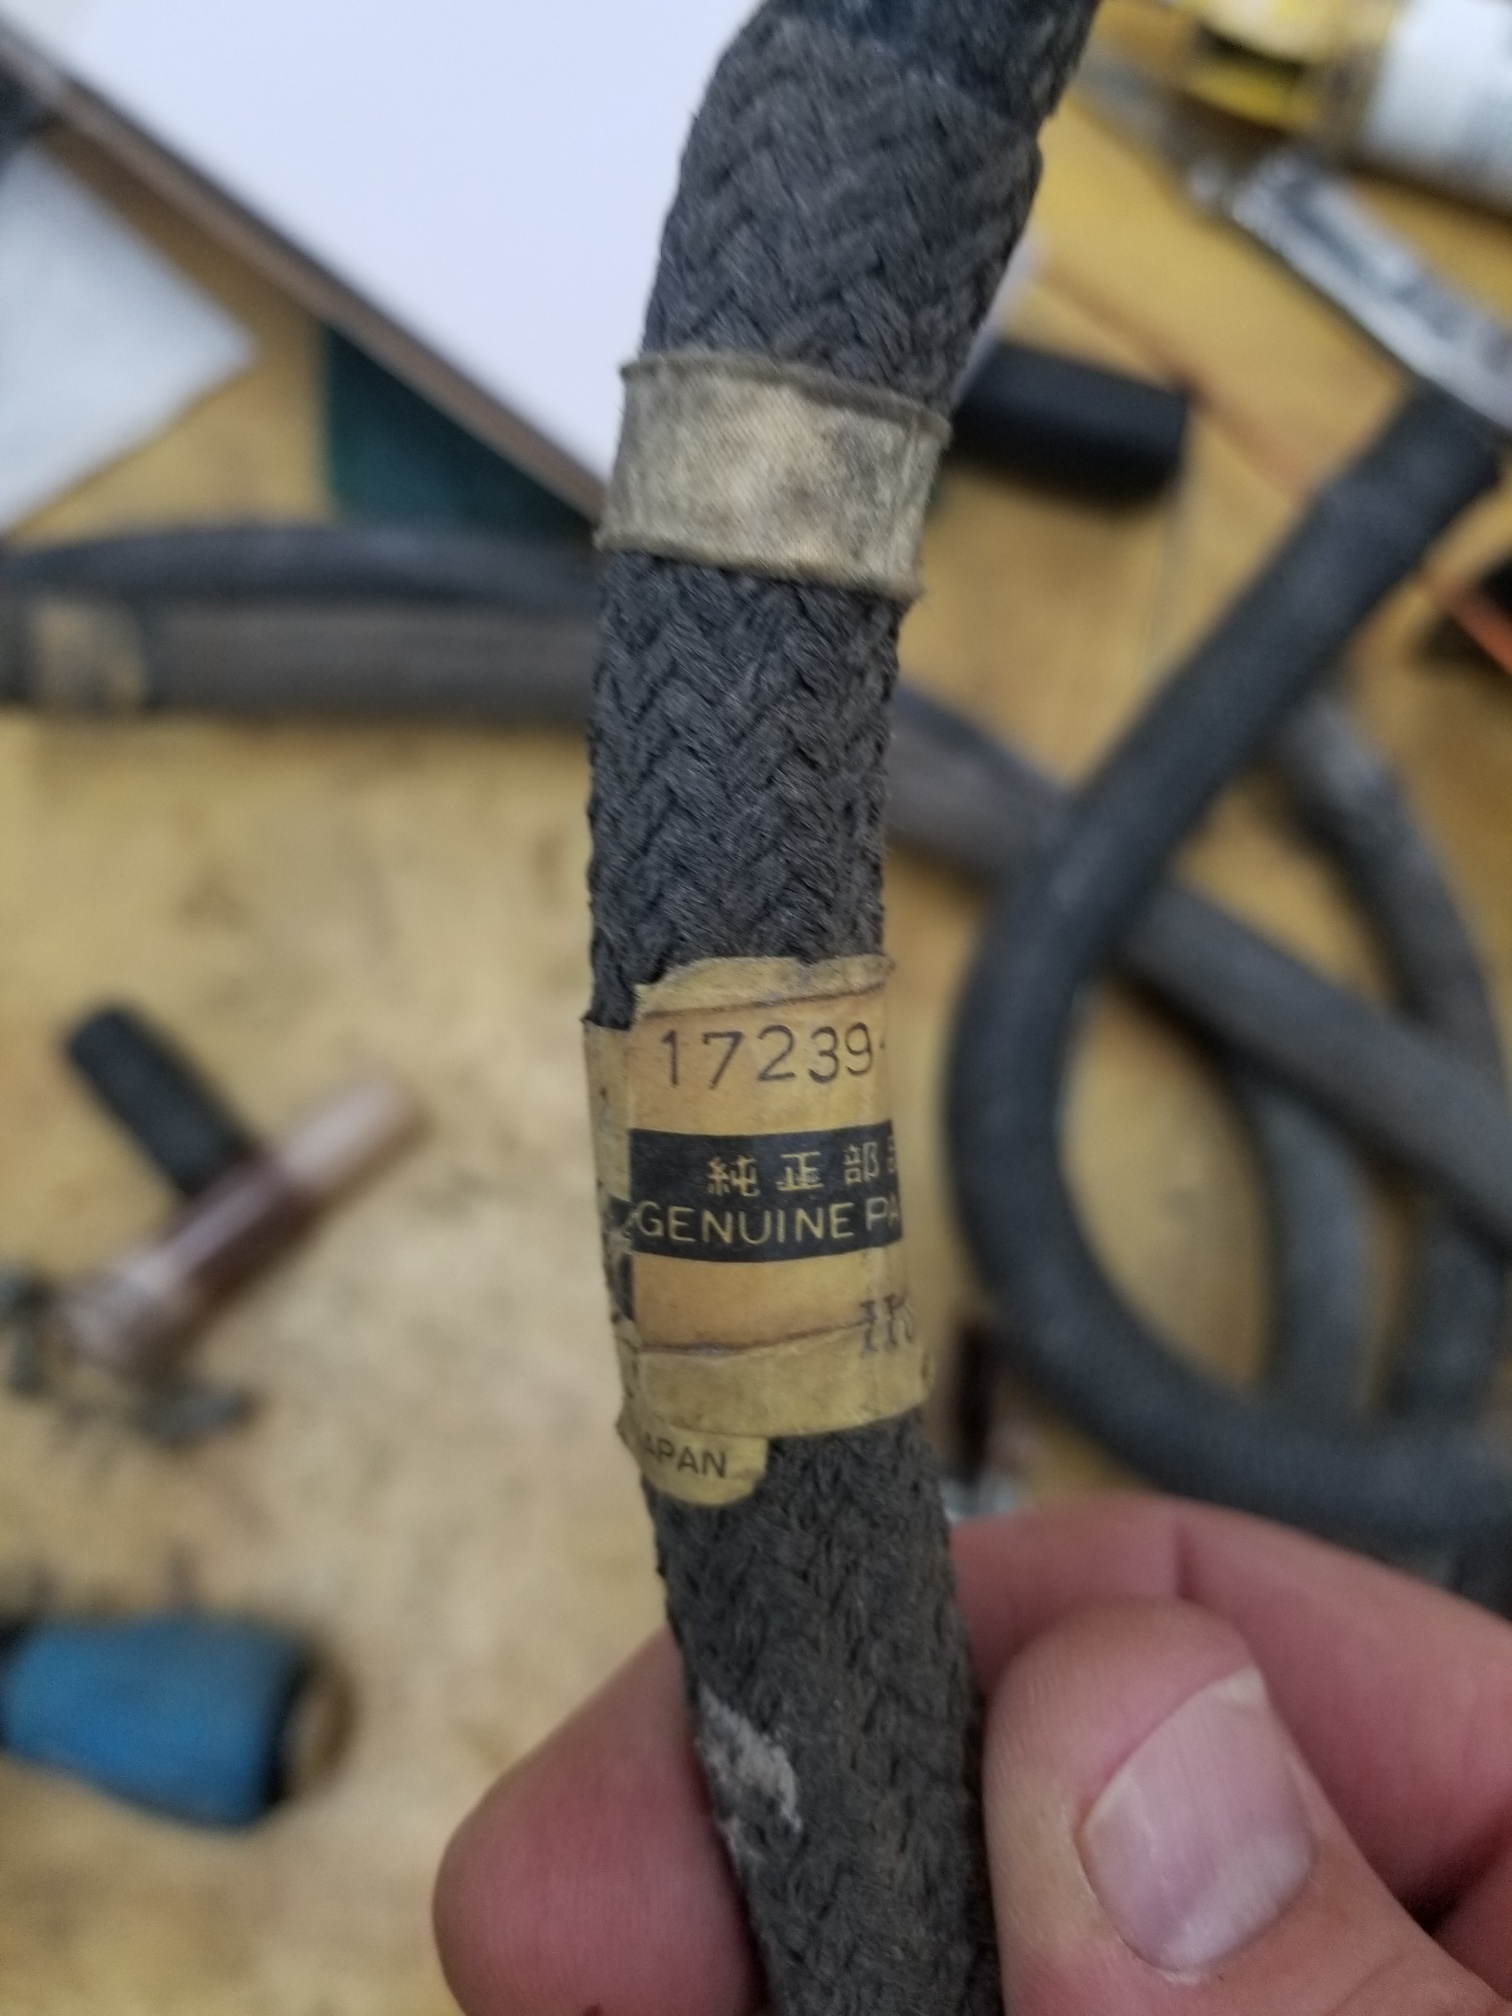
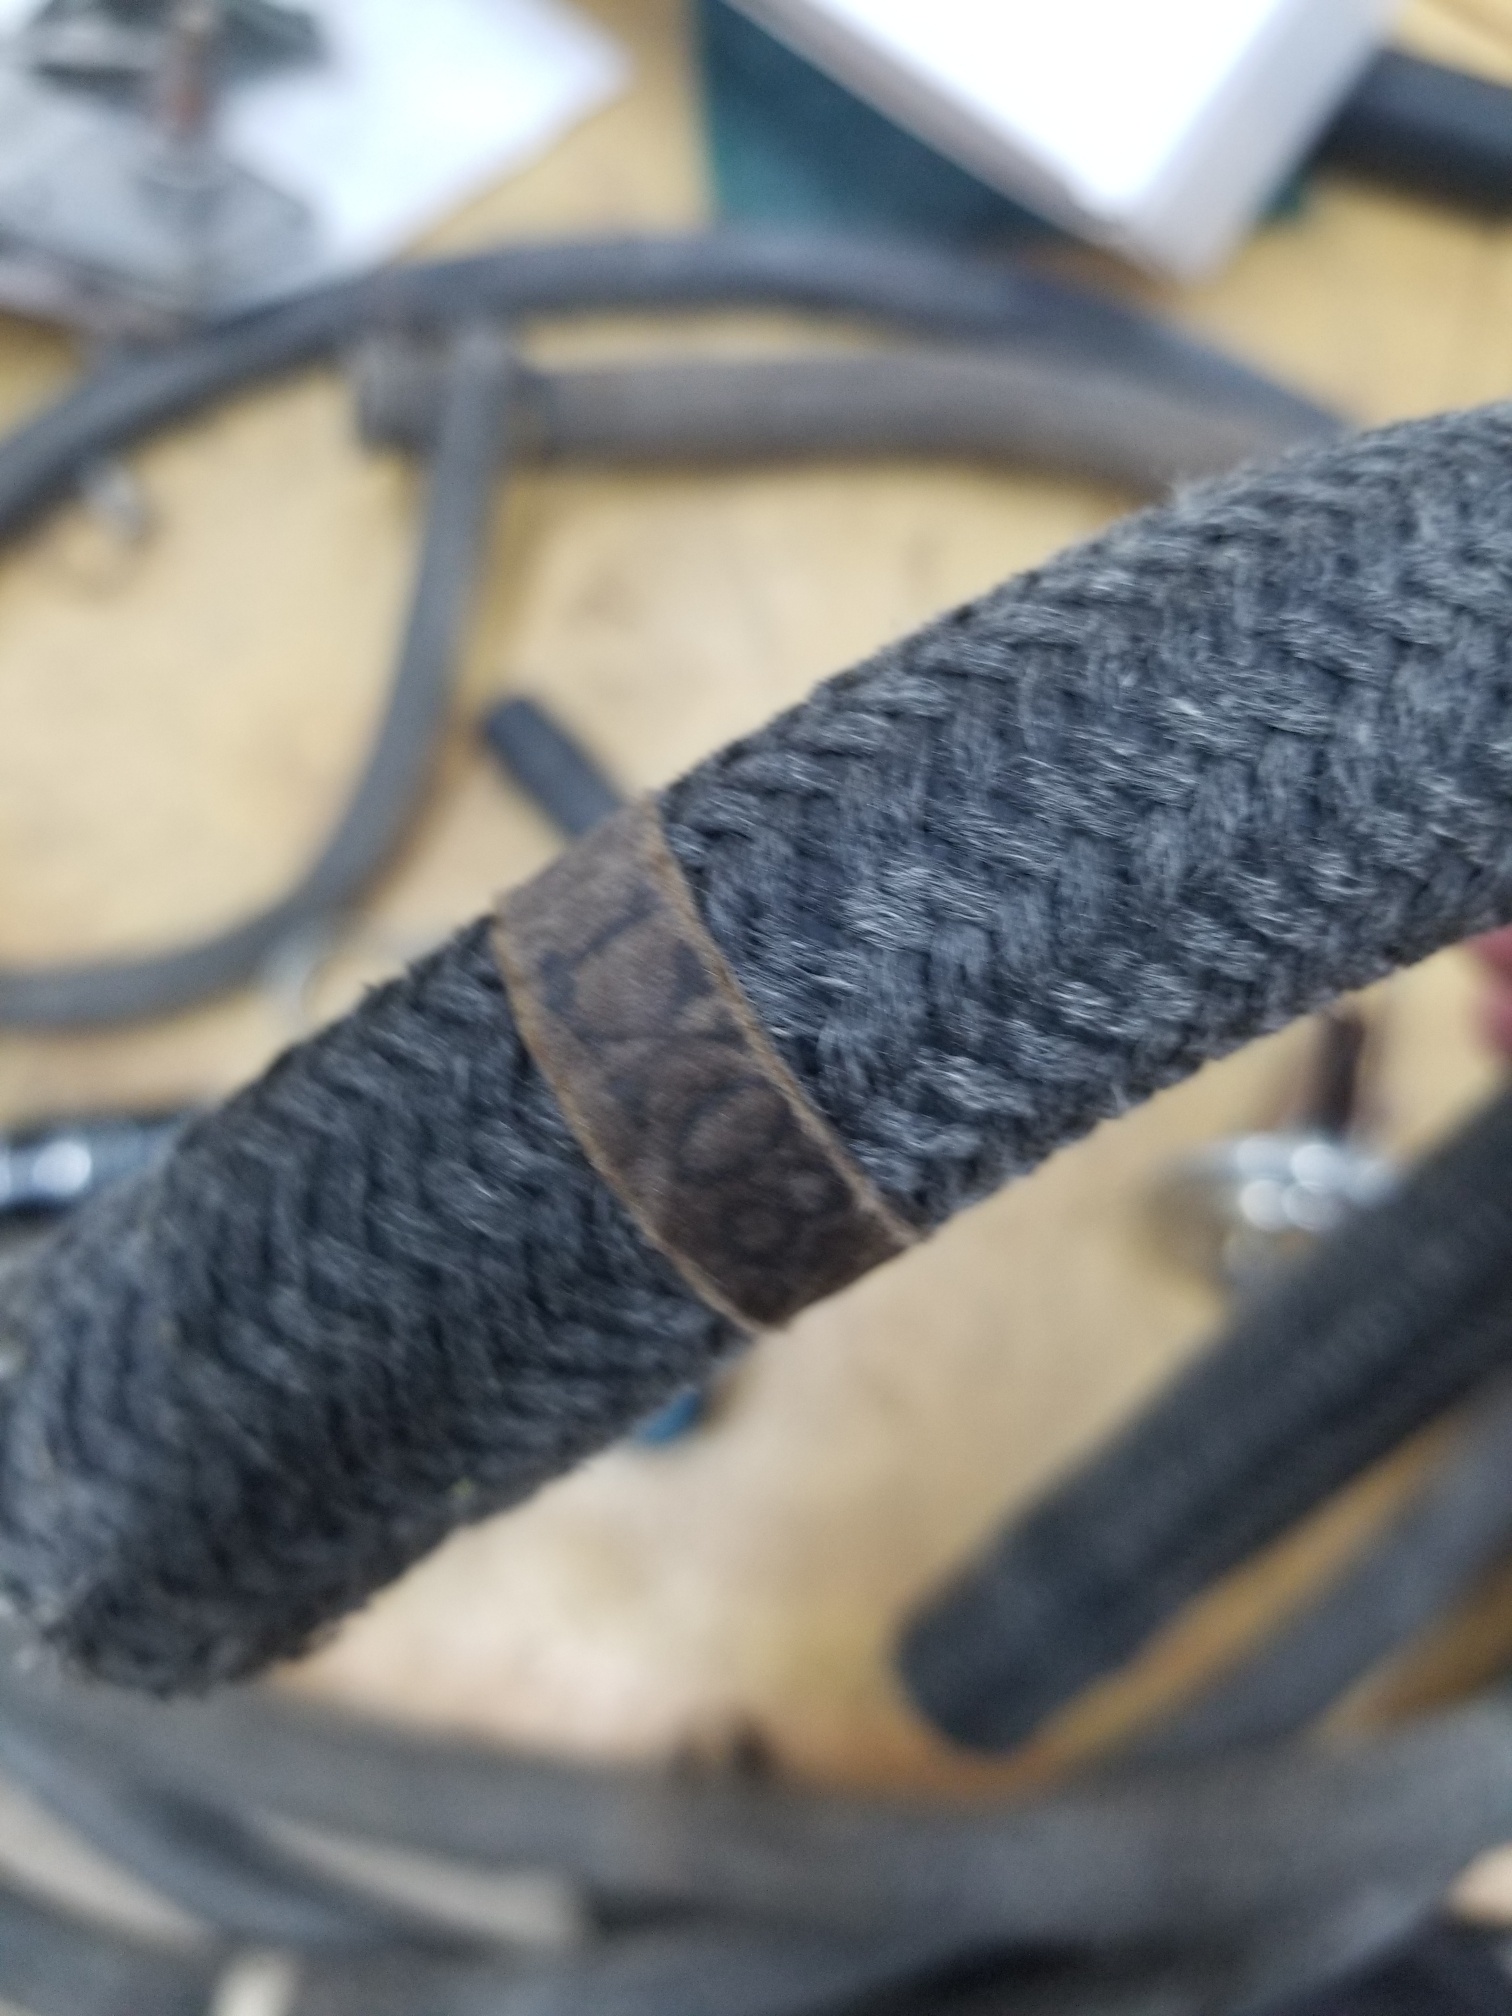
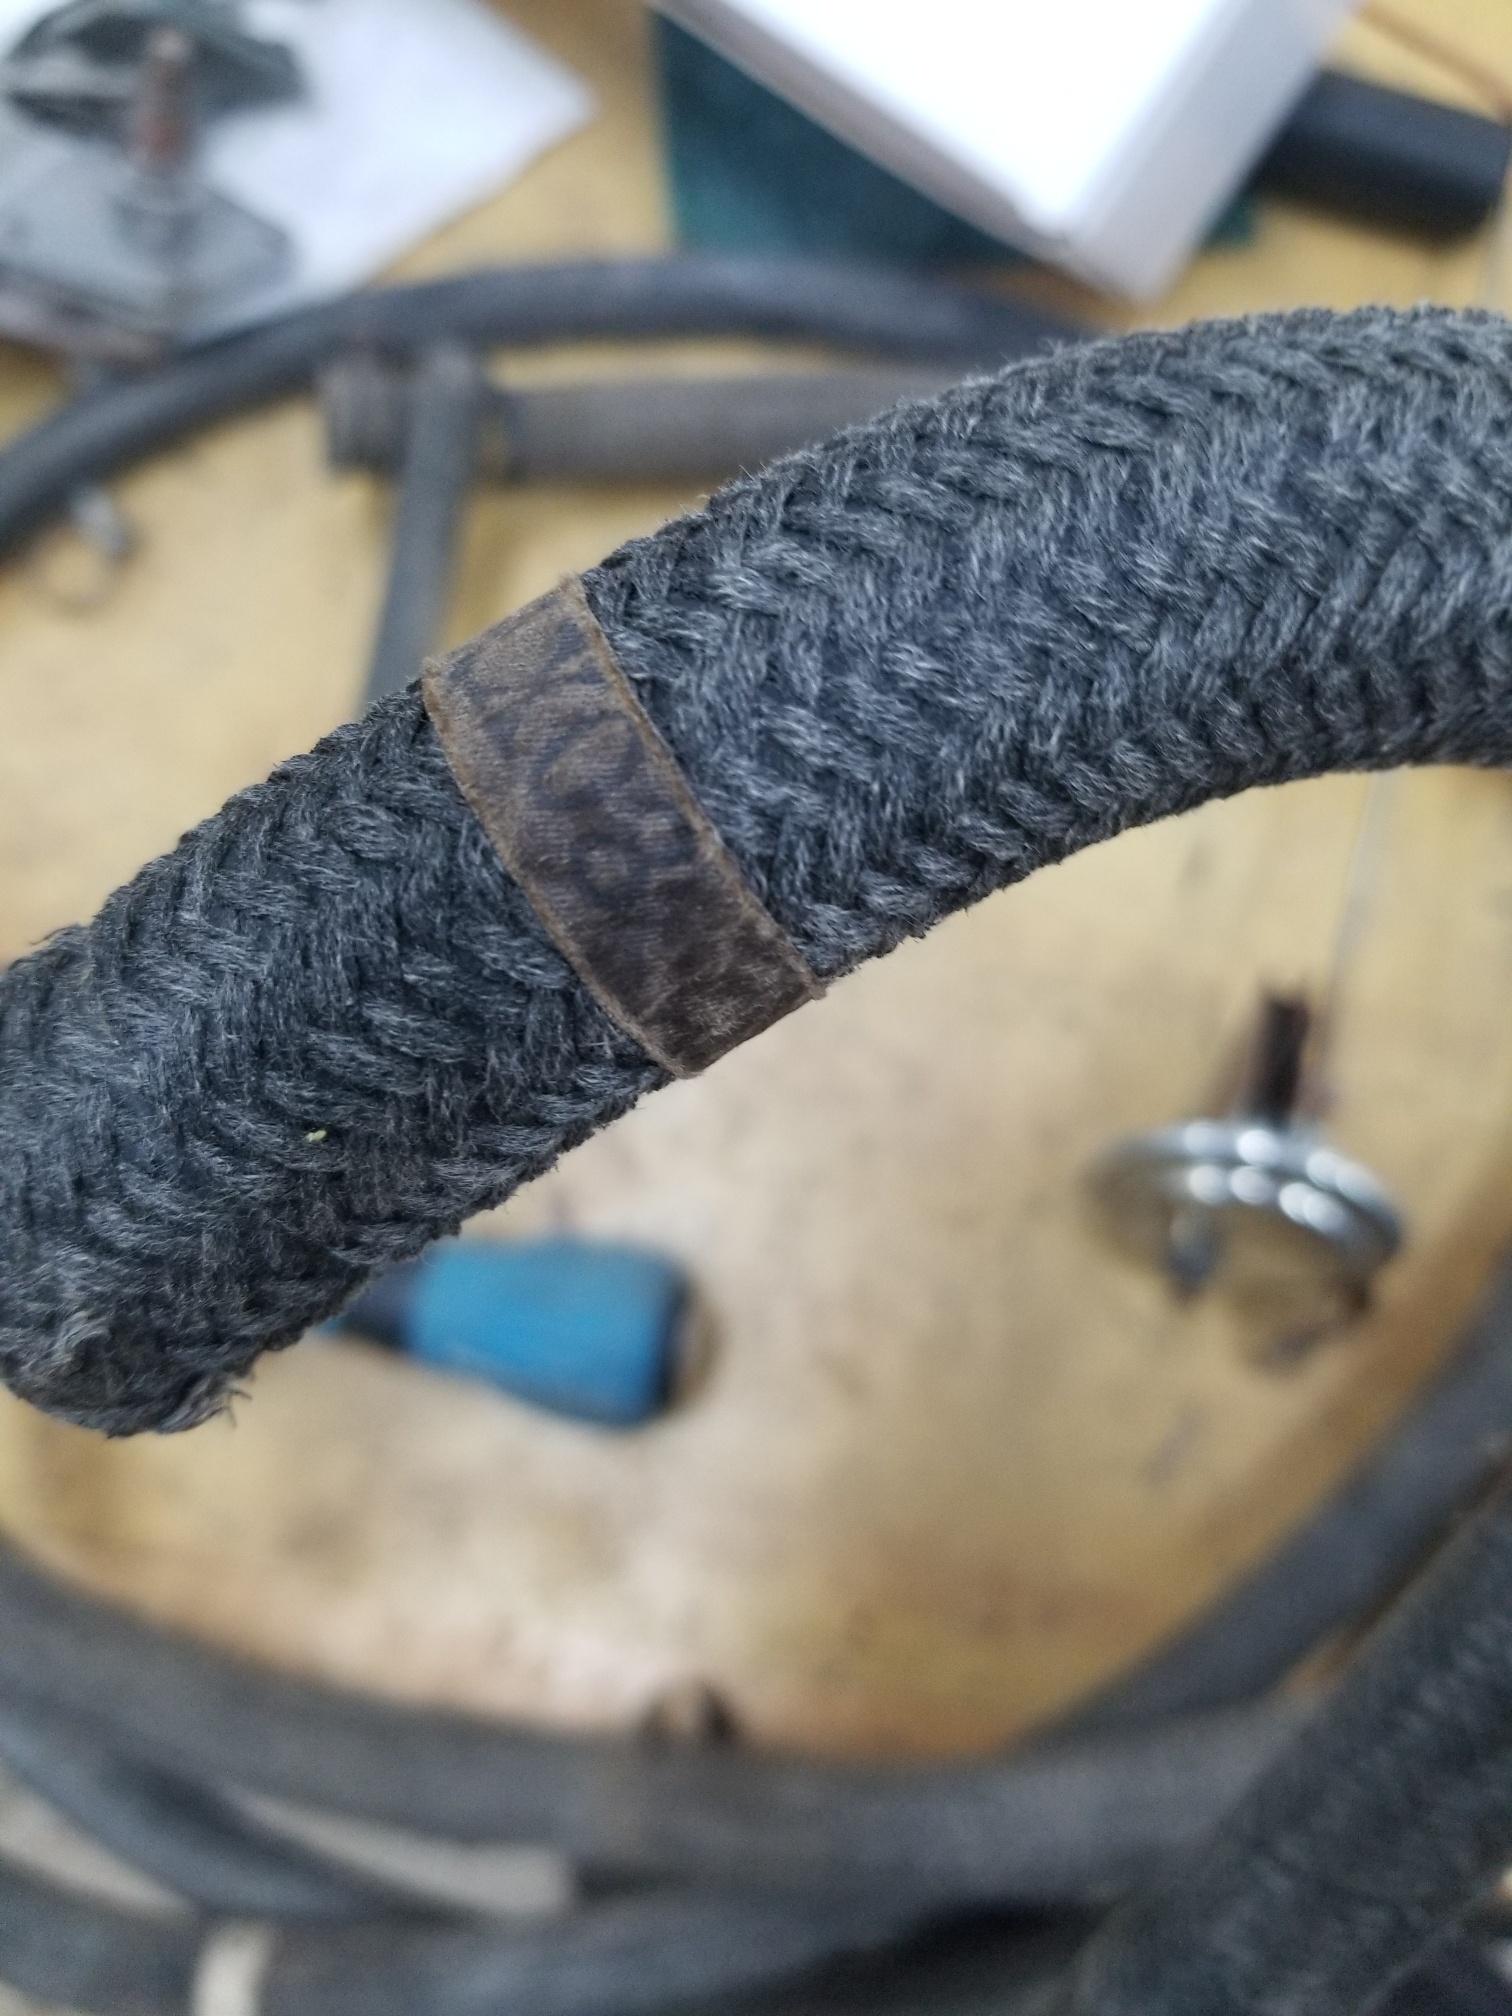
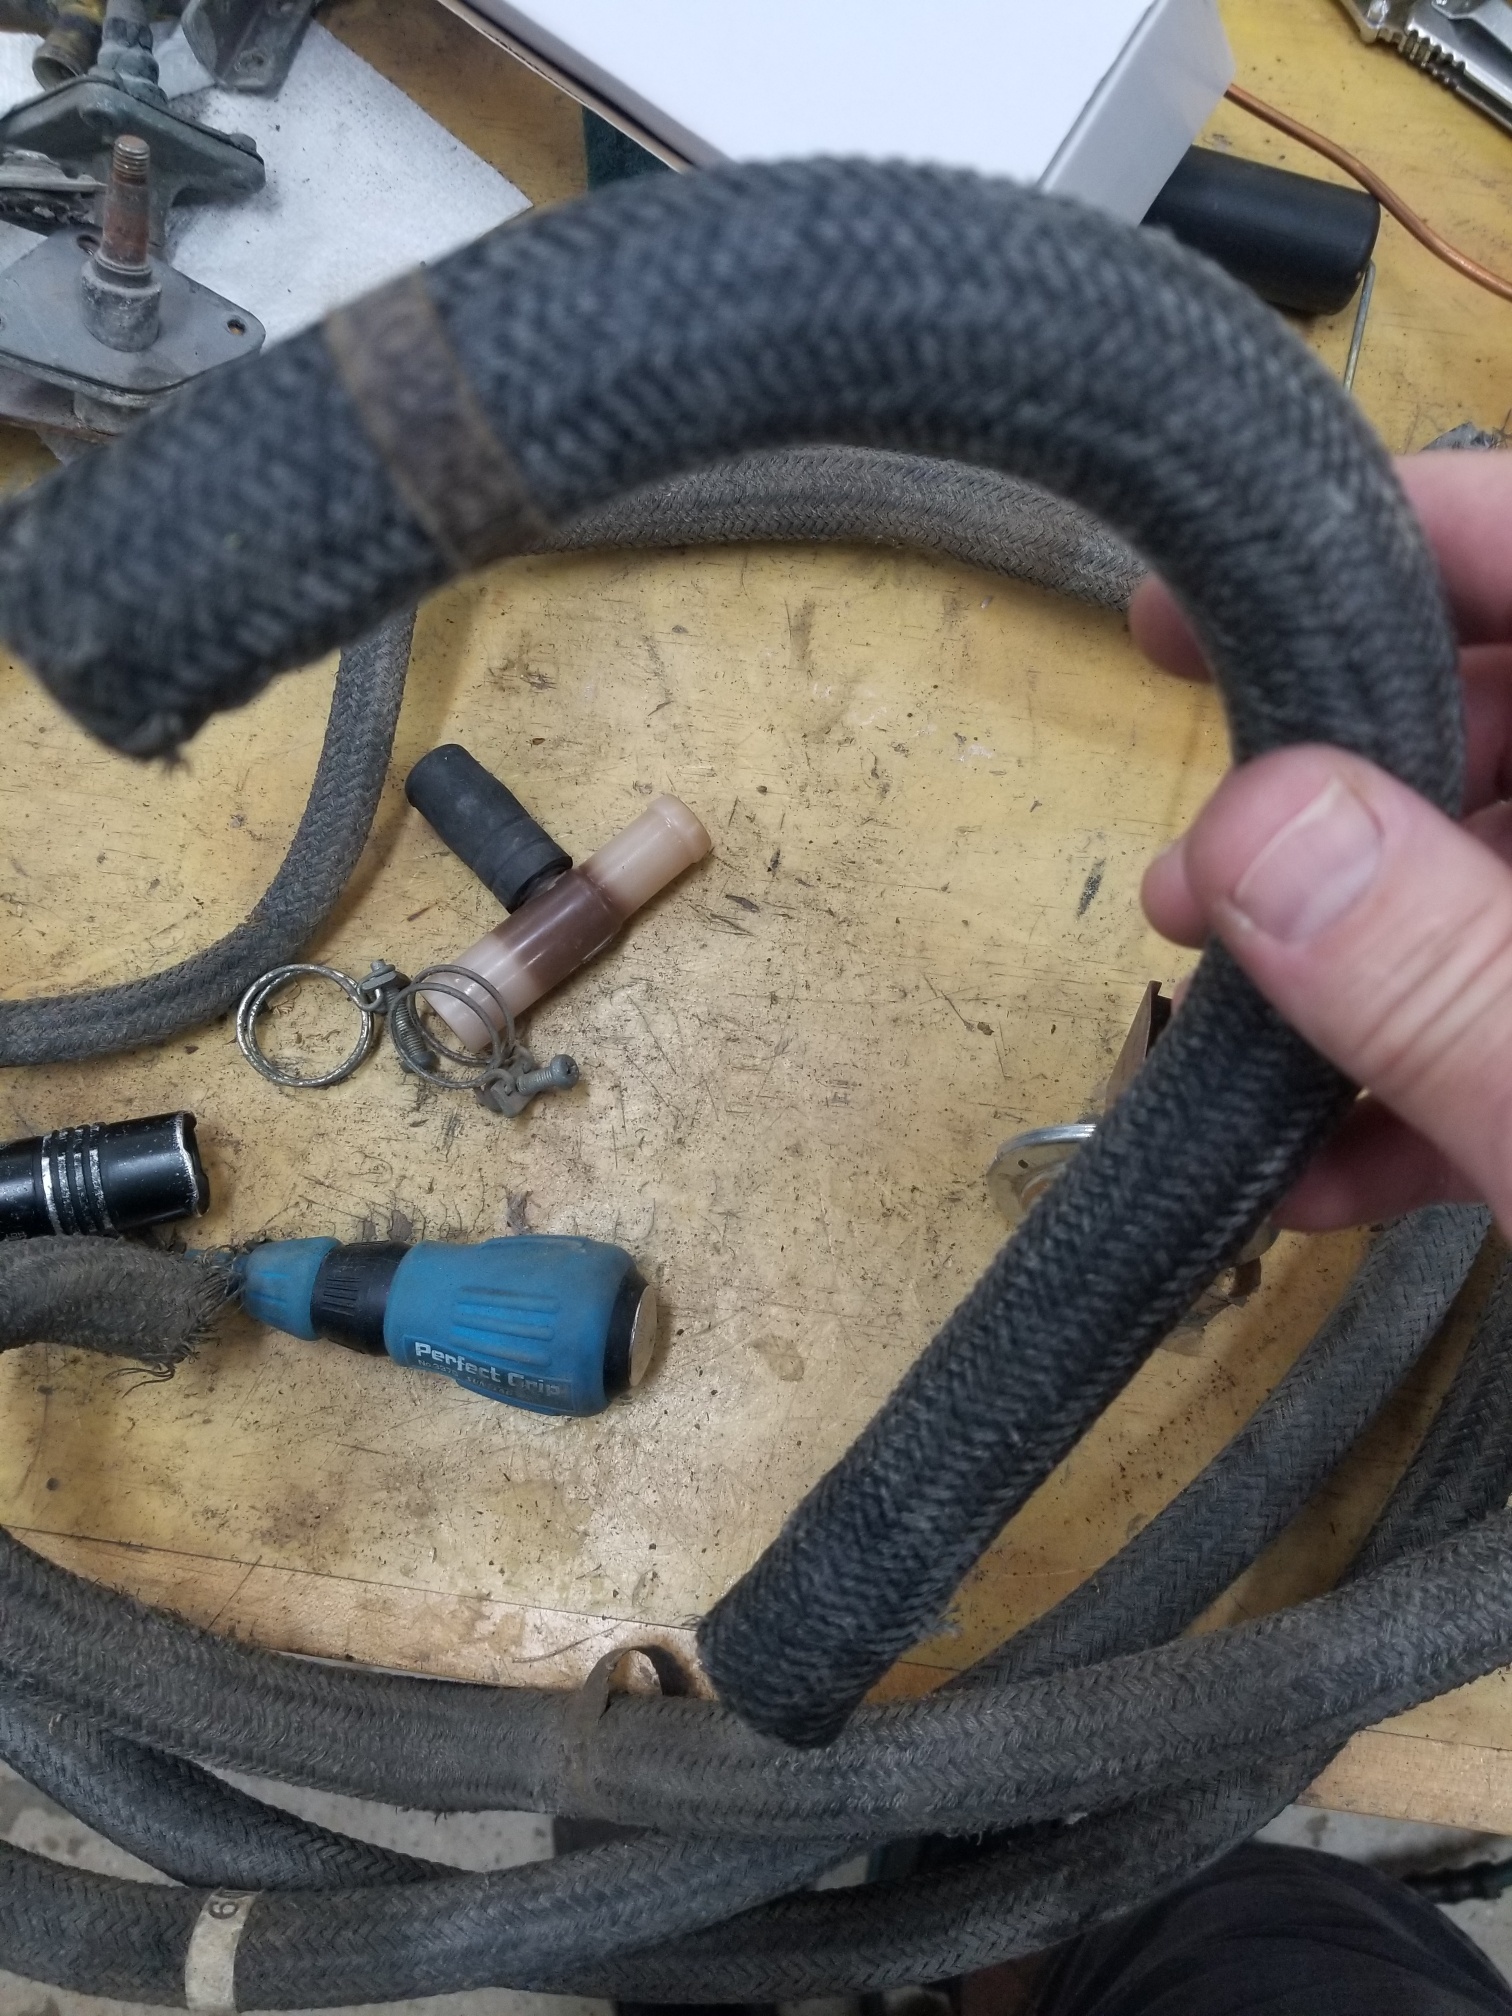
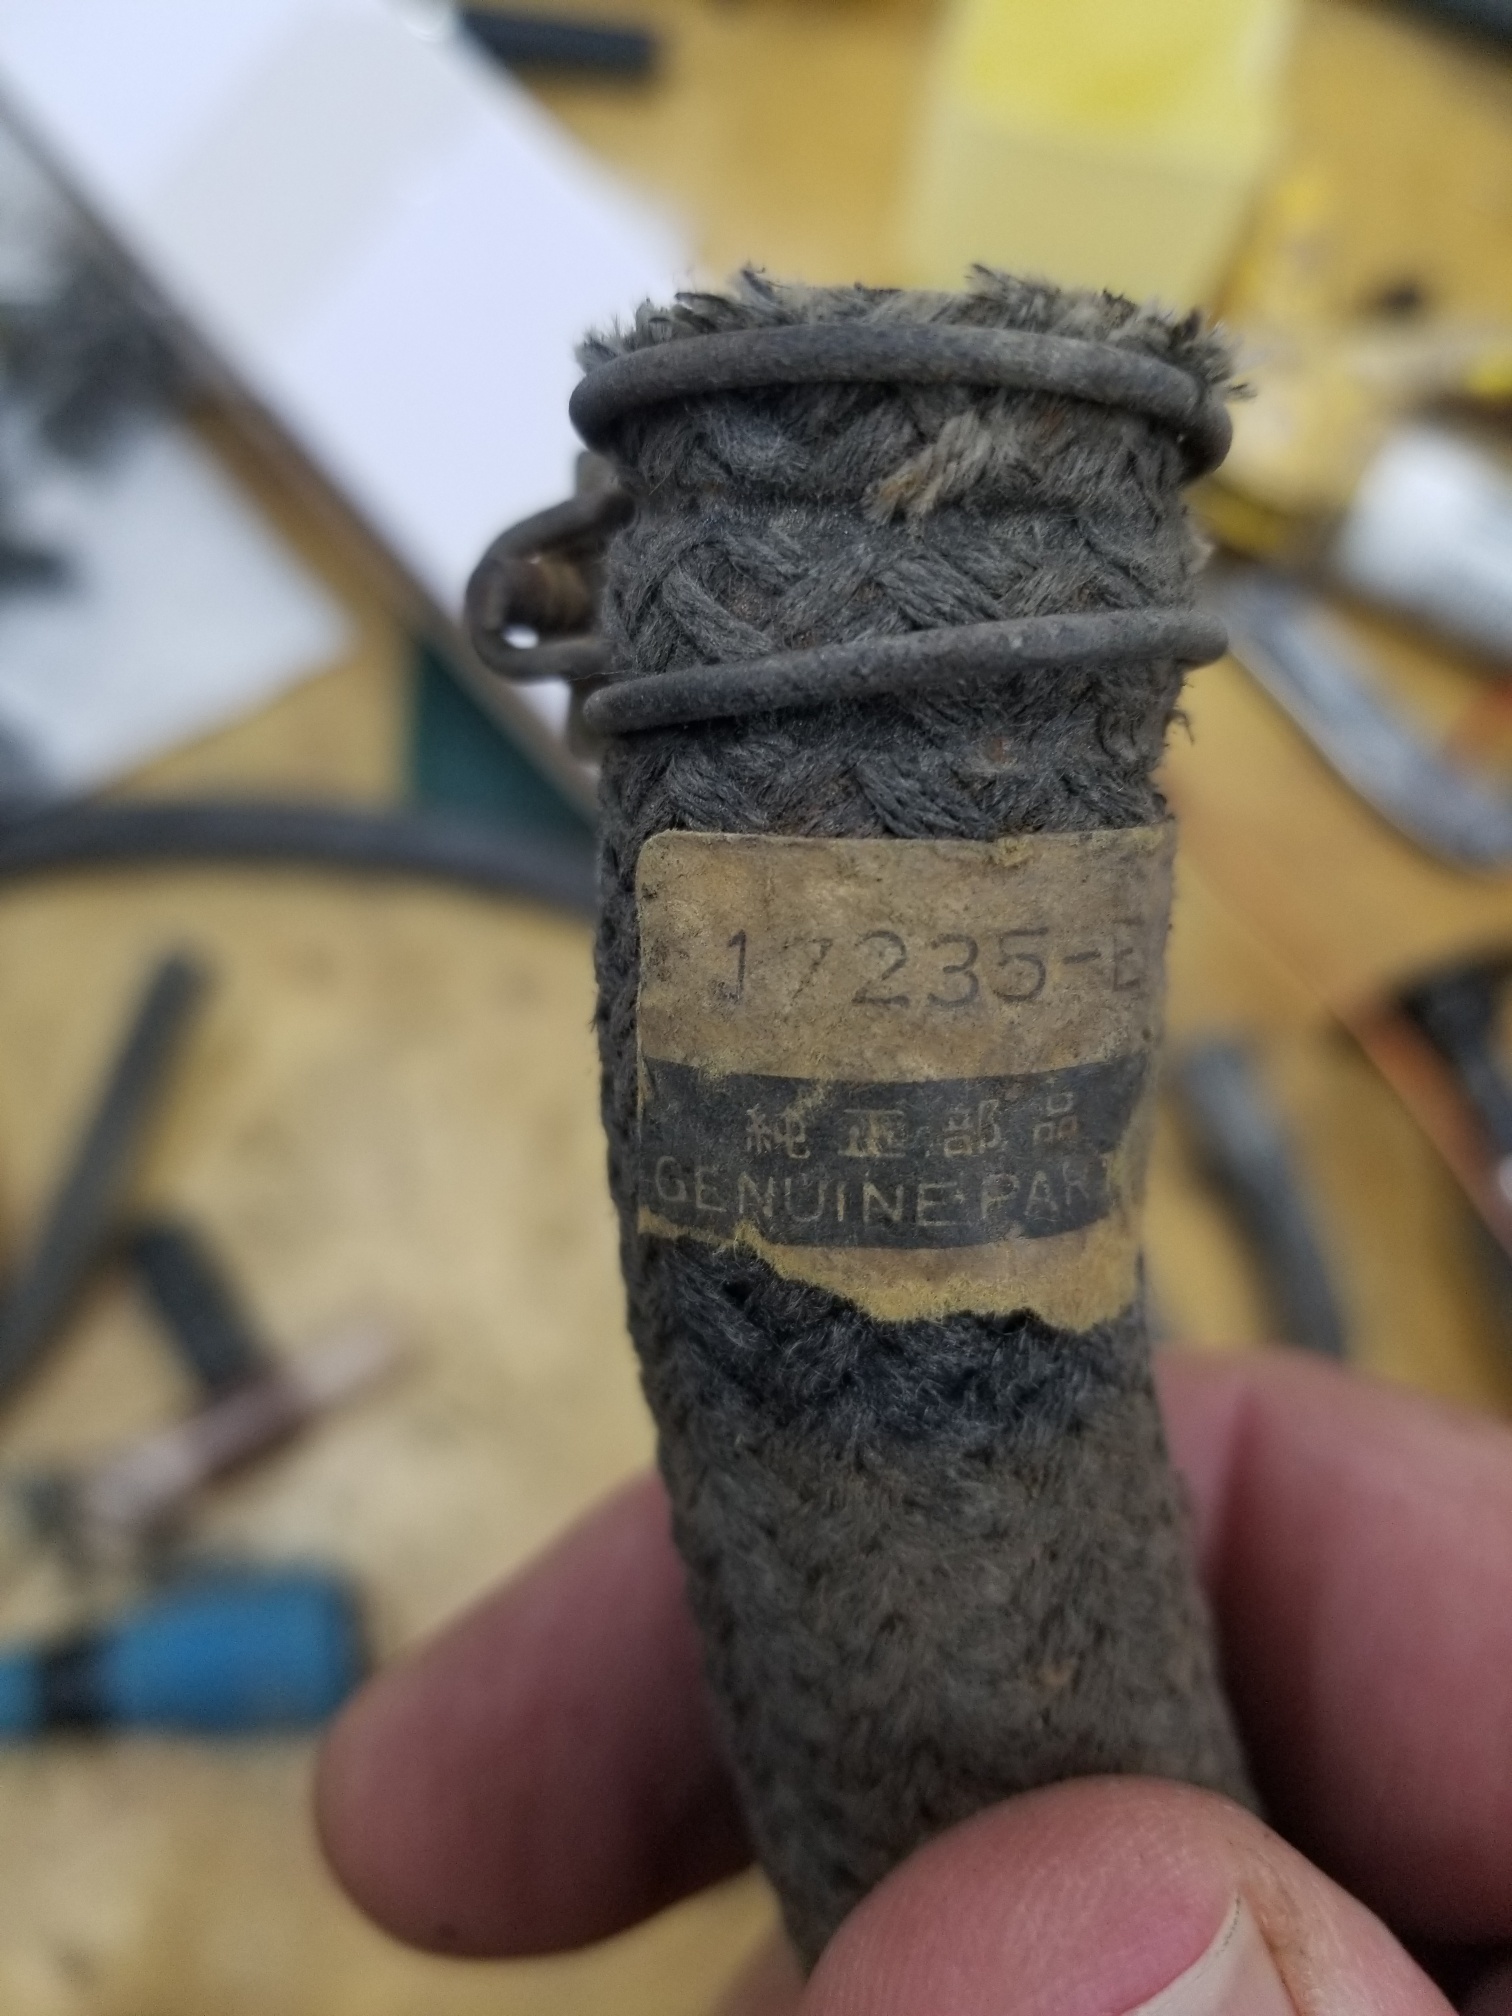
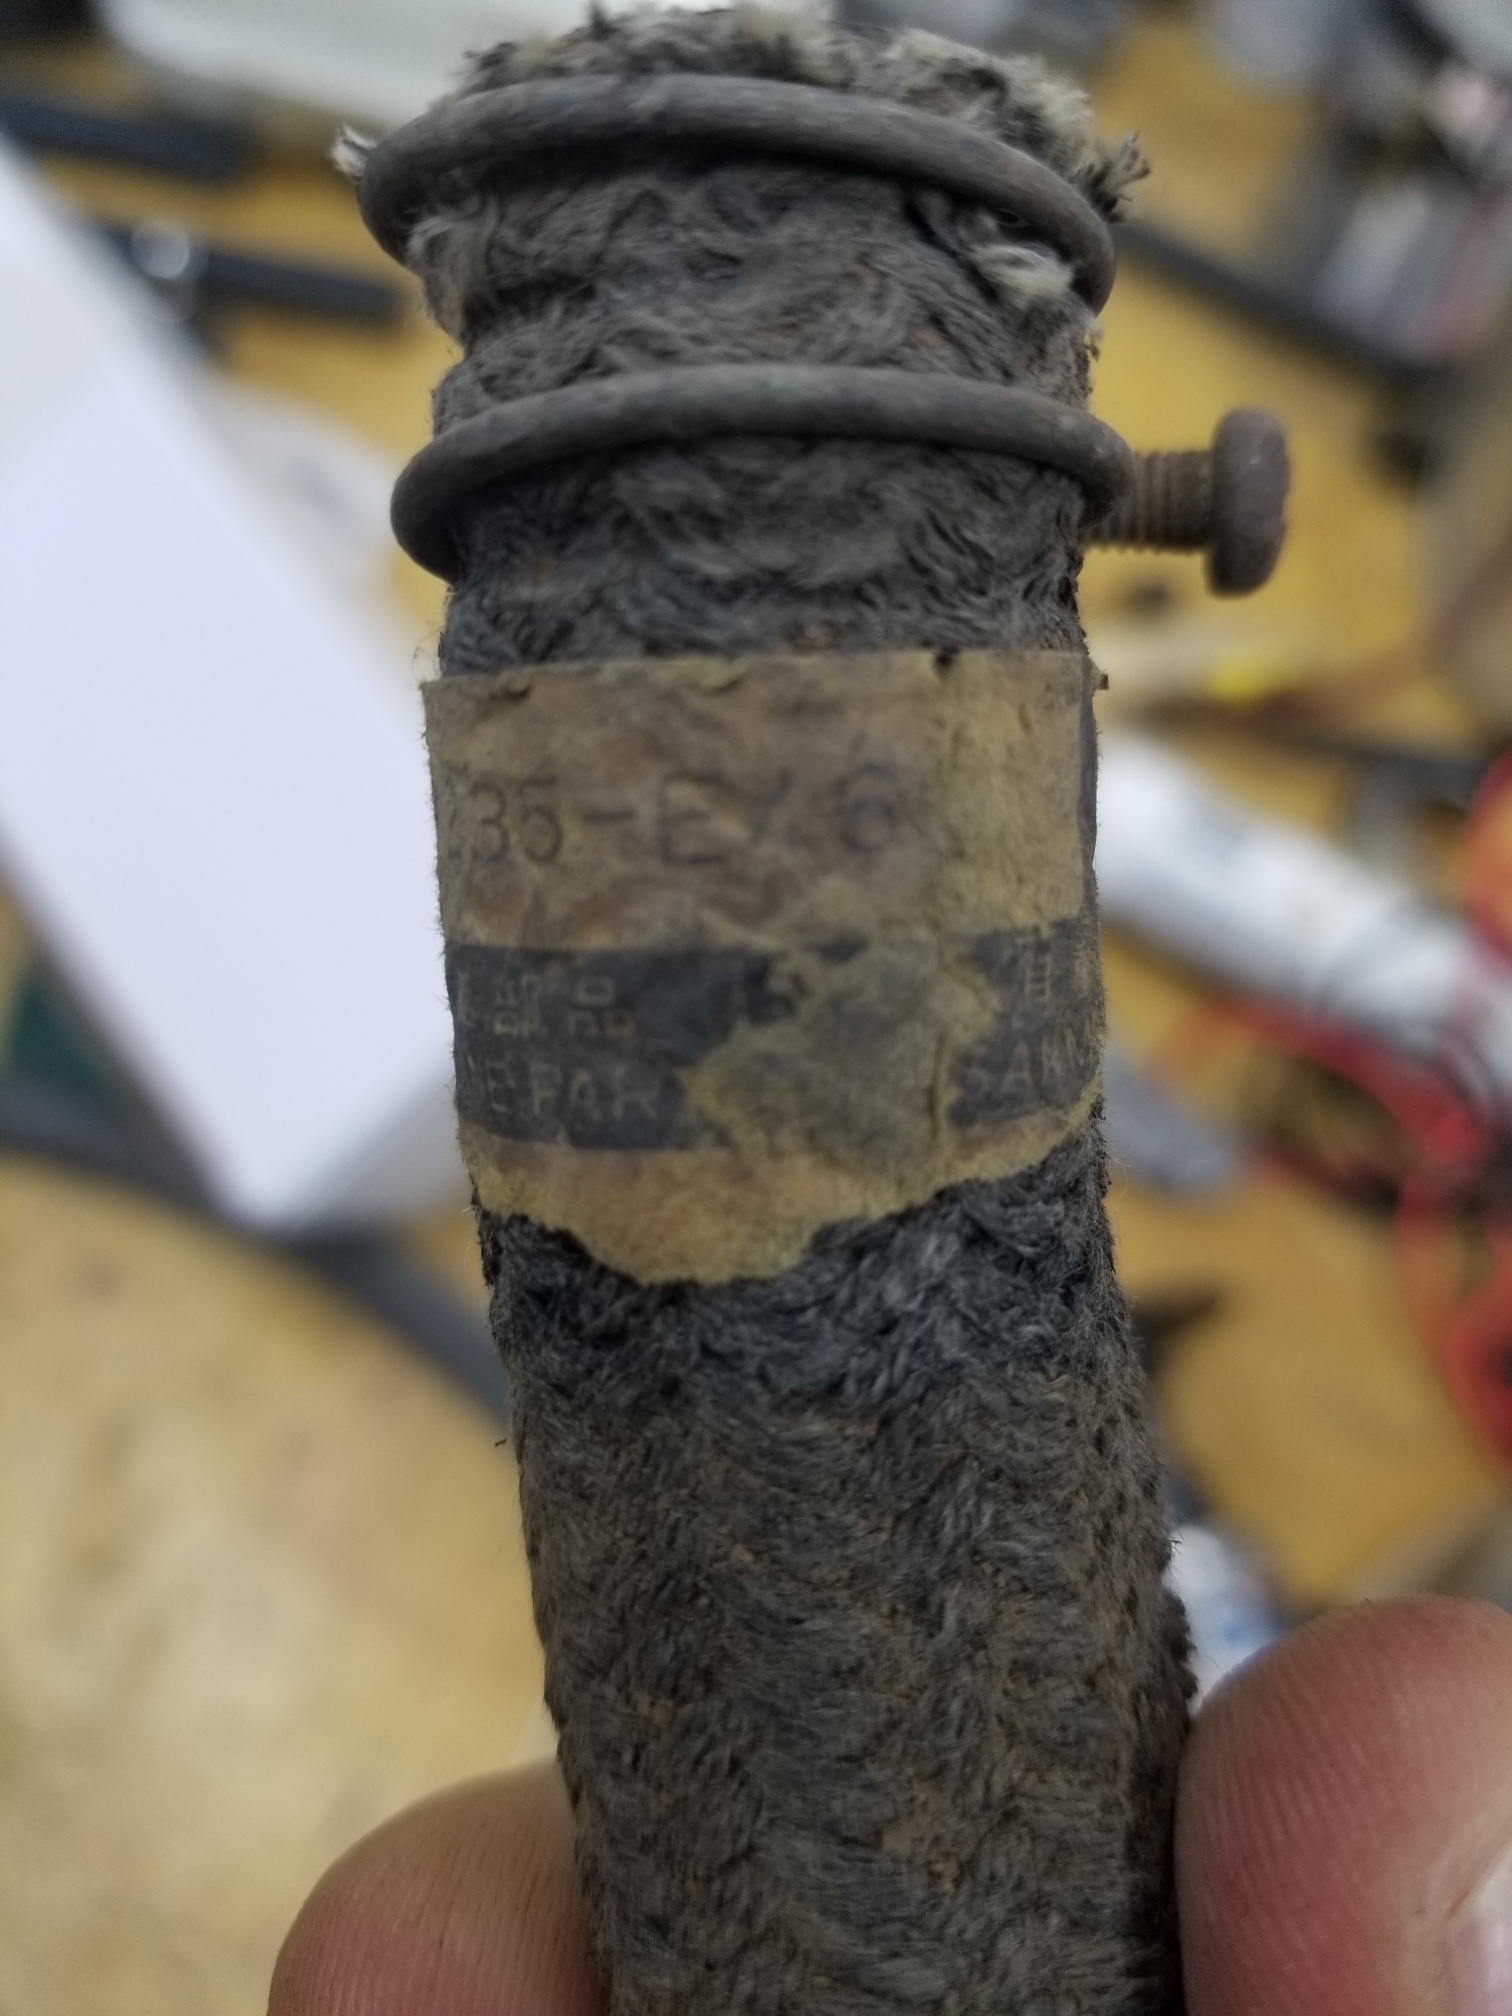
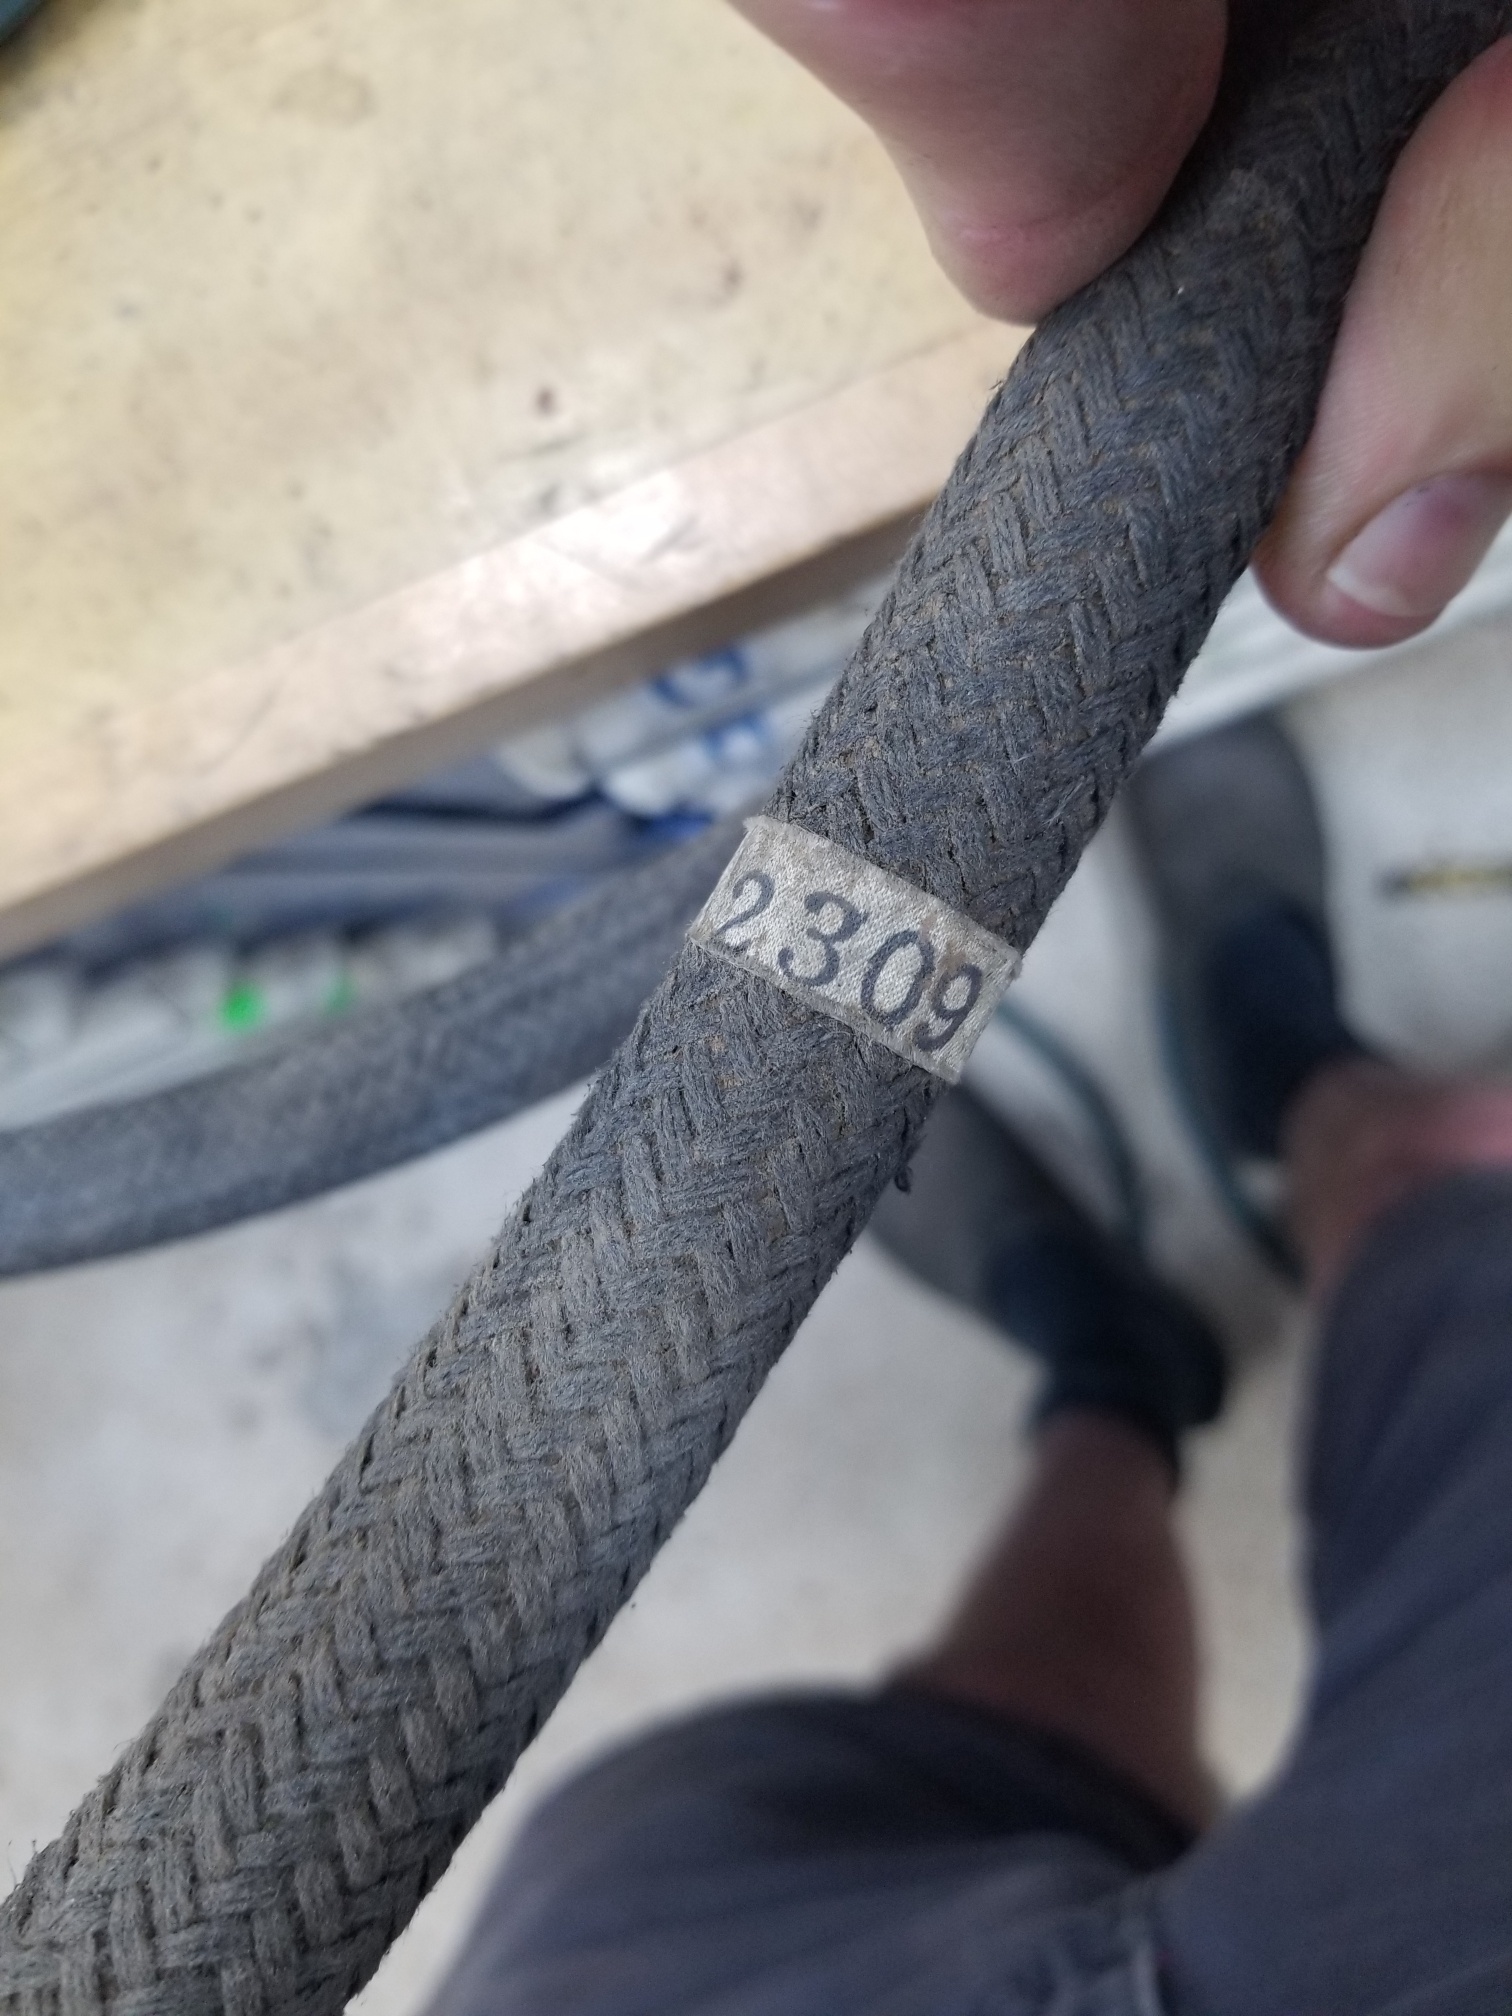
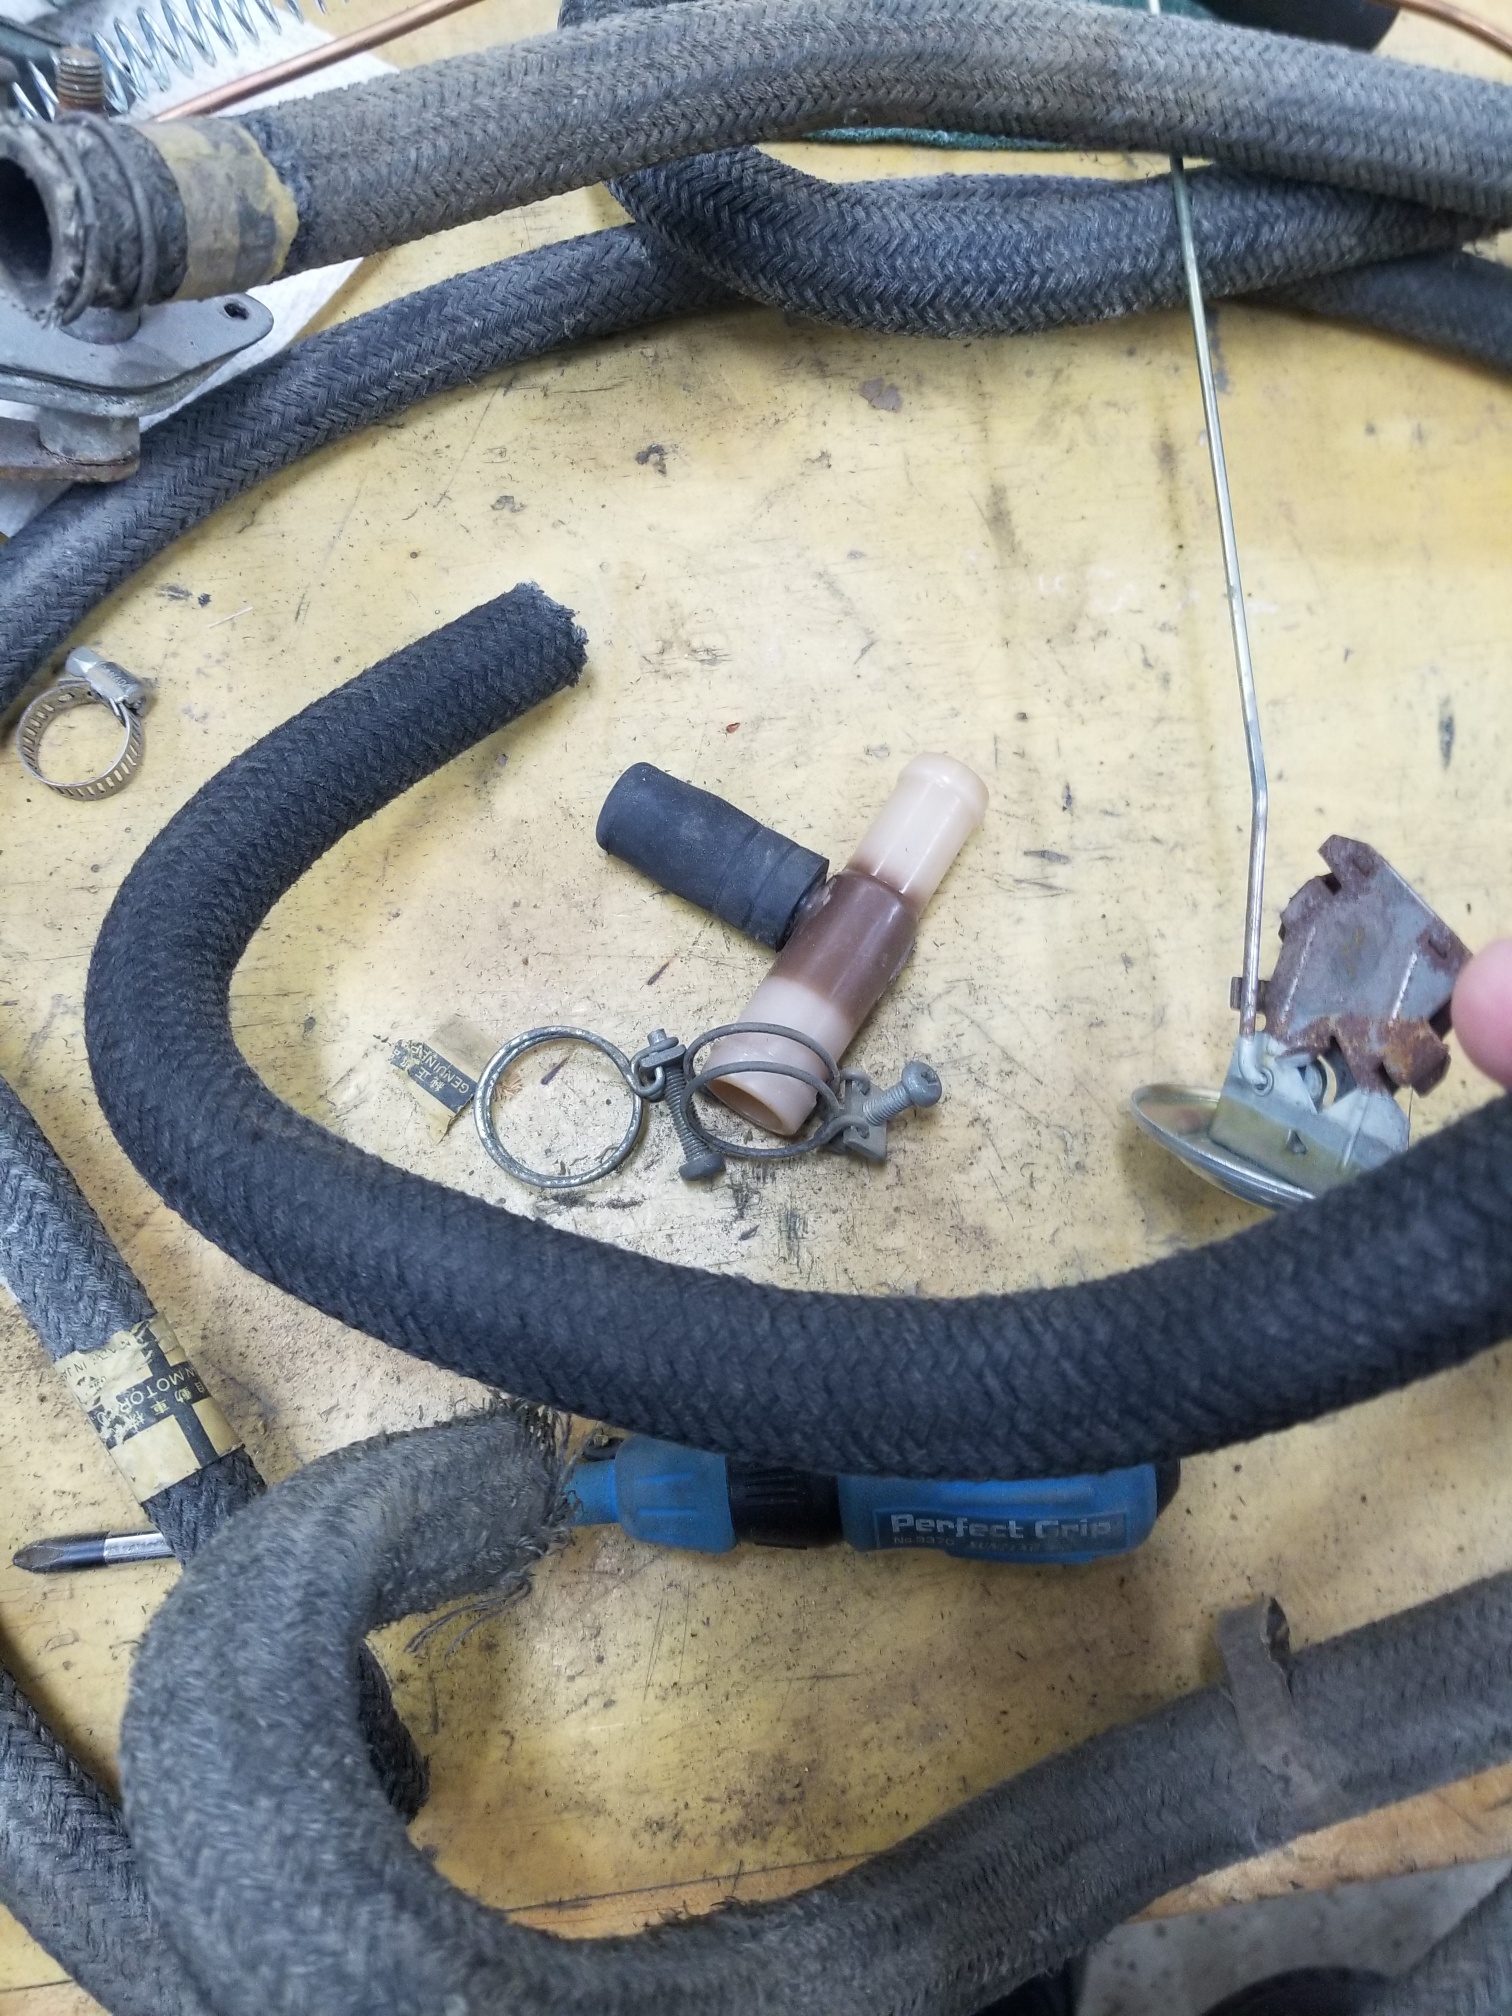
 Here are some of the tags off the original vent lines
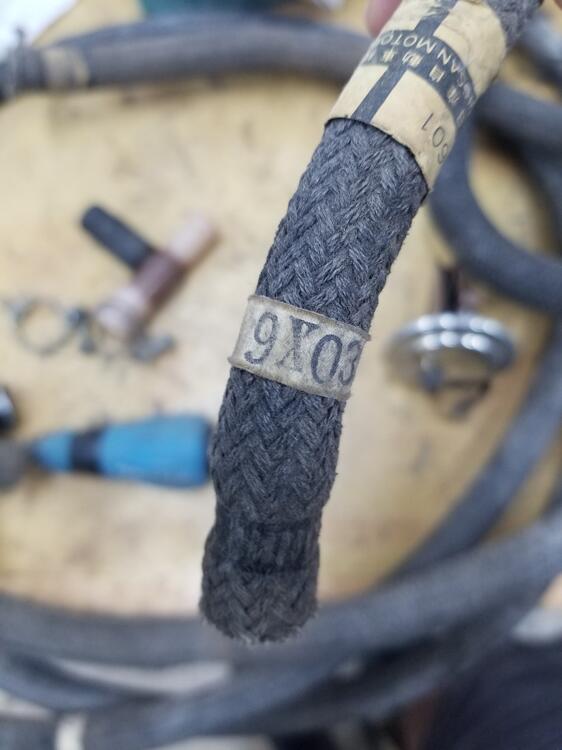
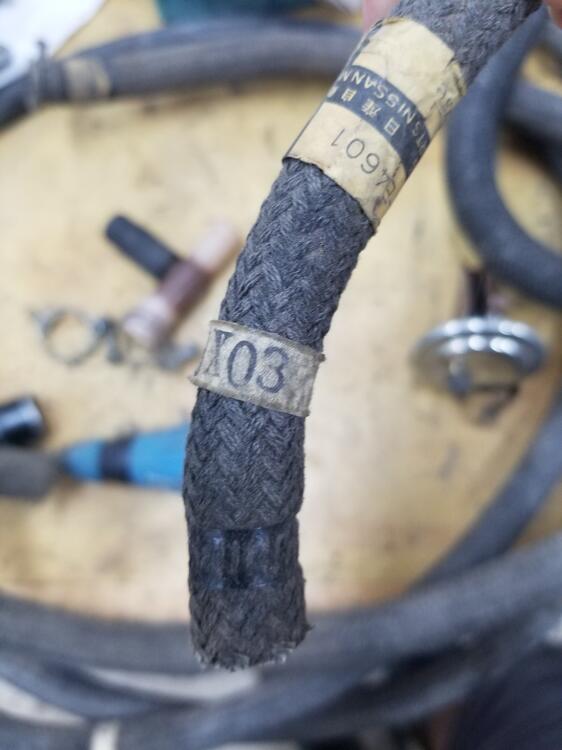

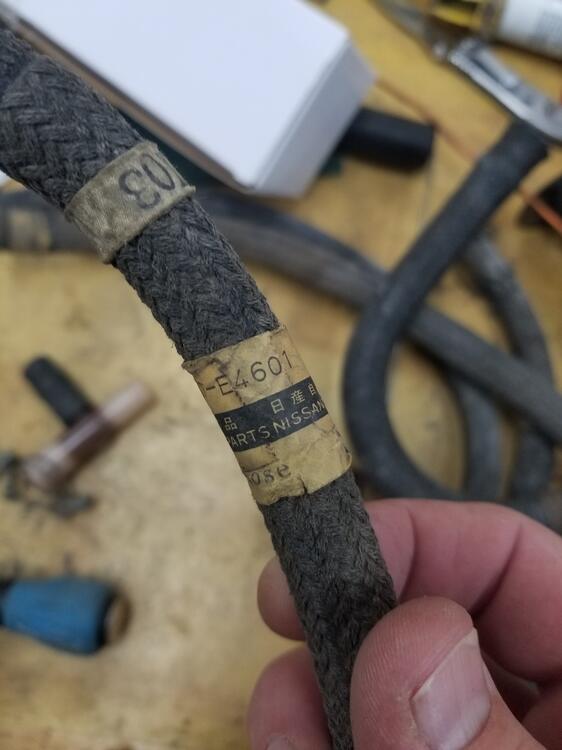
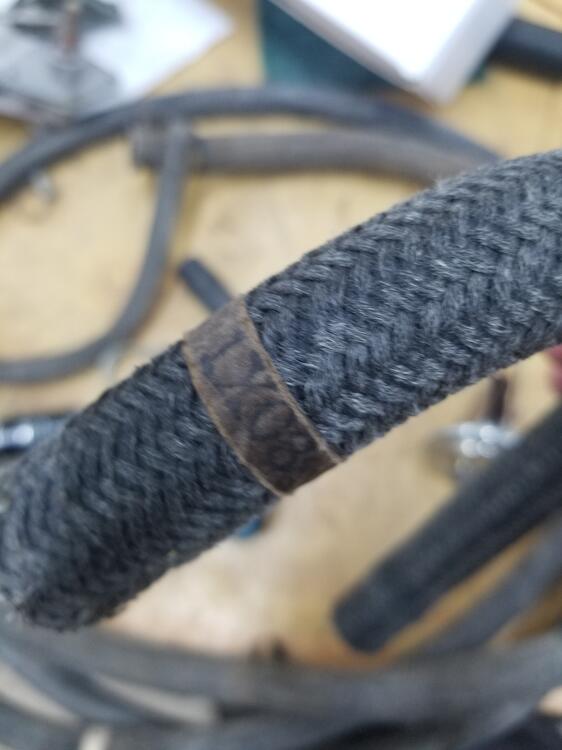
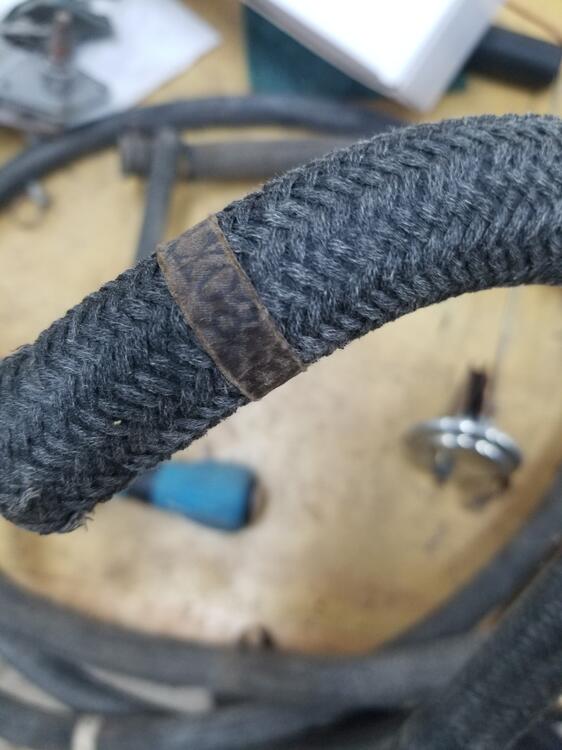
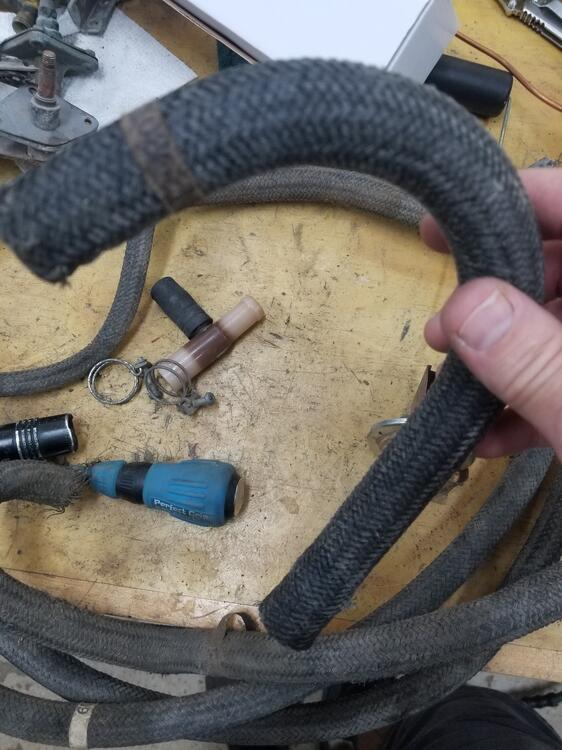
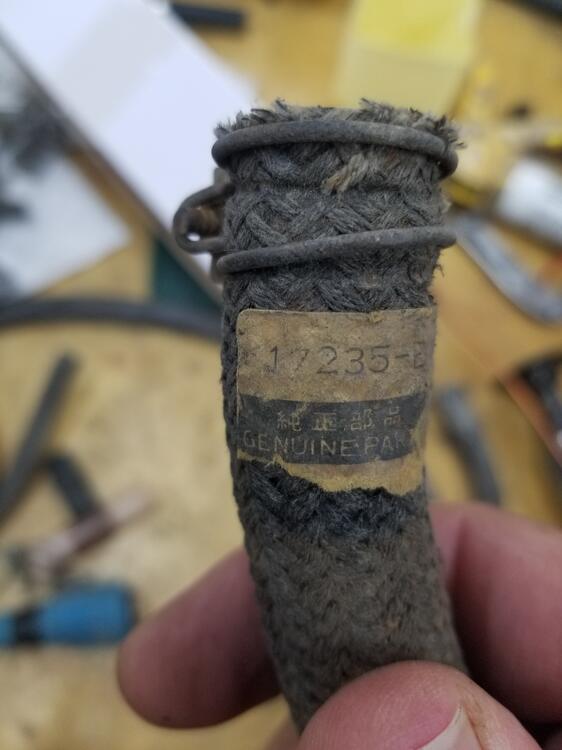
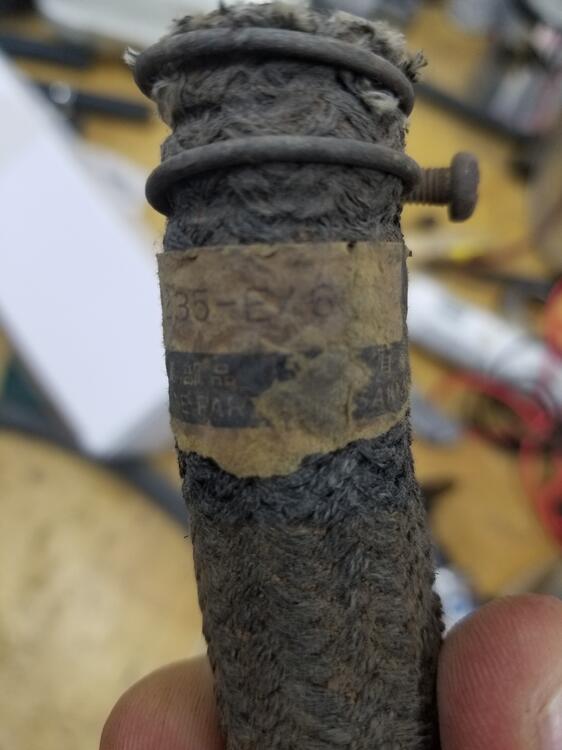
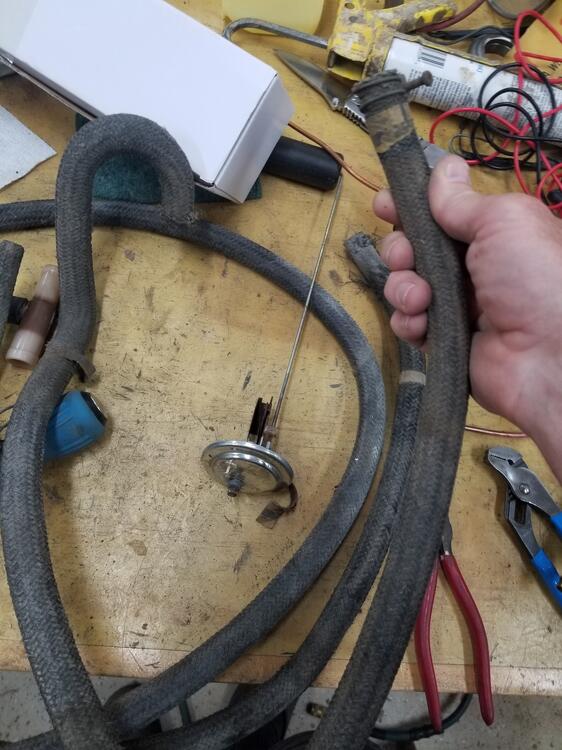
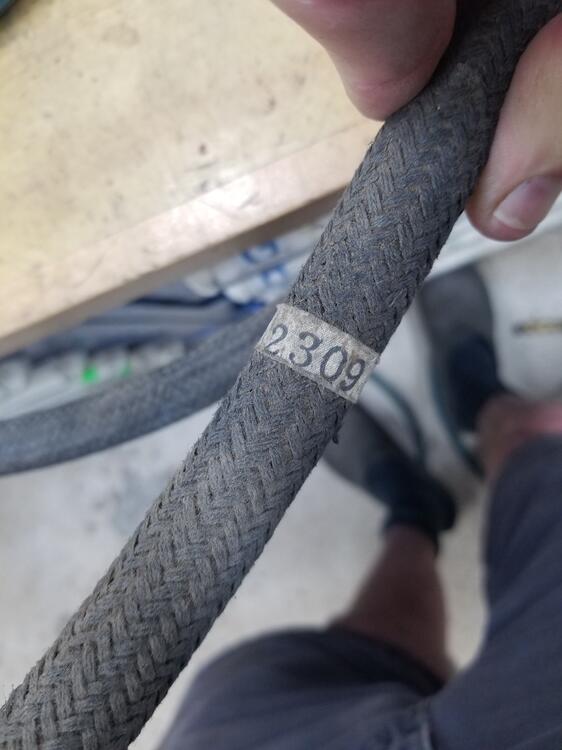
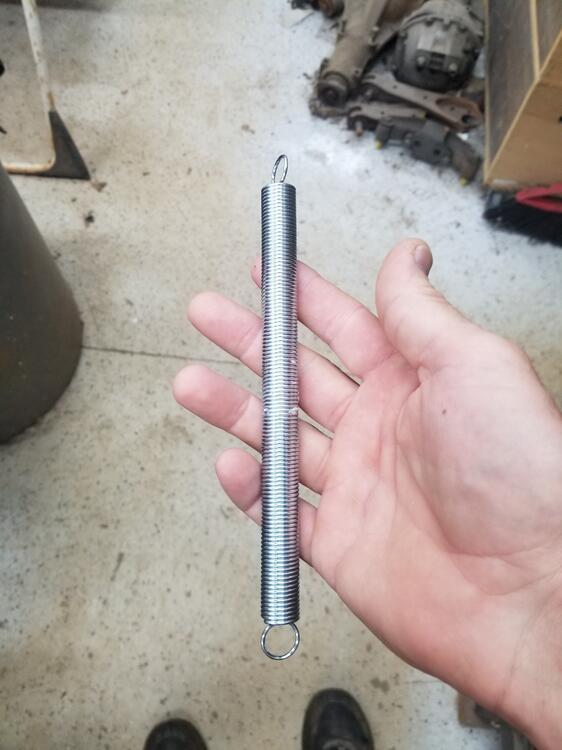
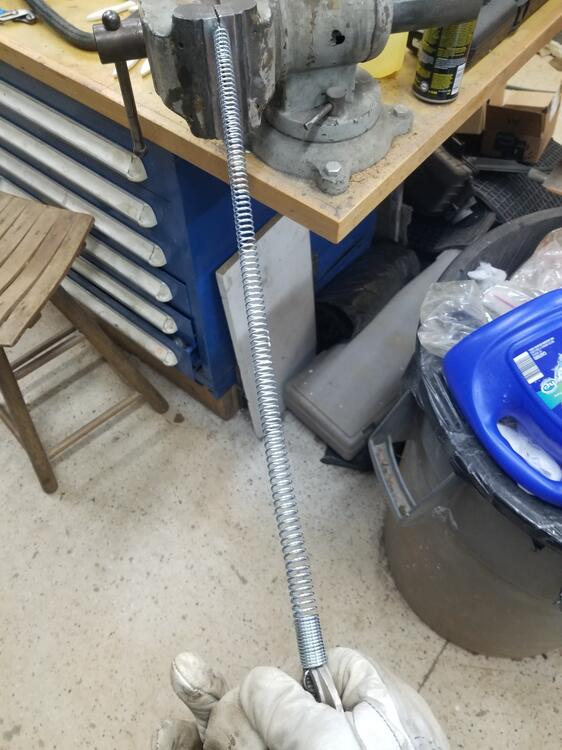
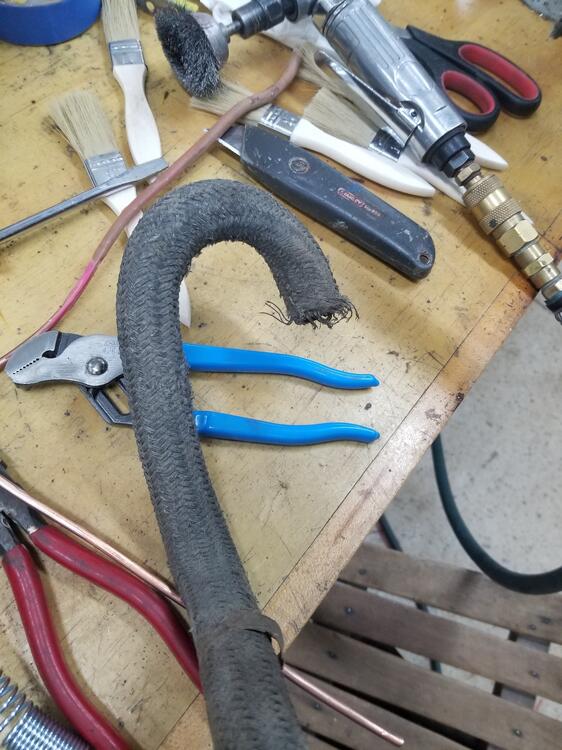
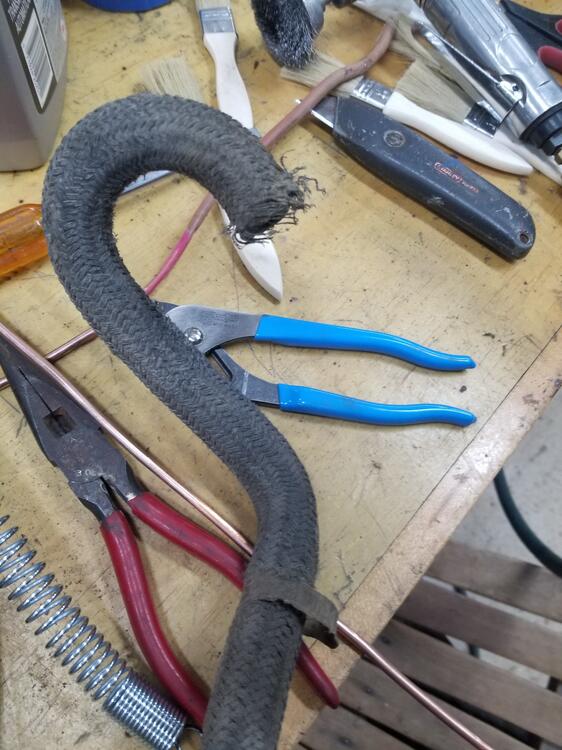
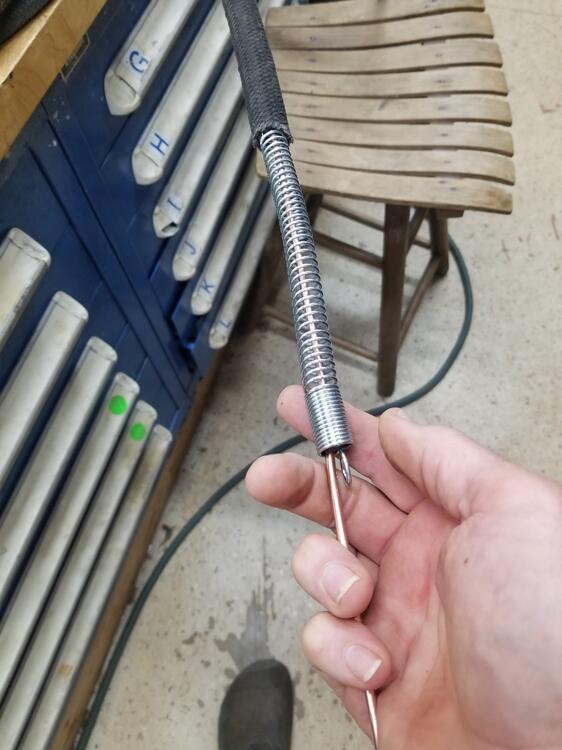
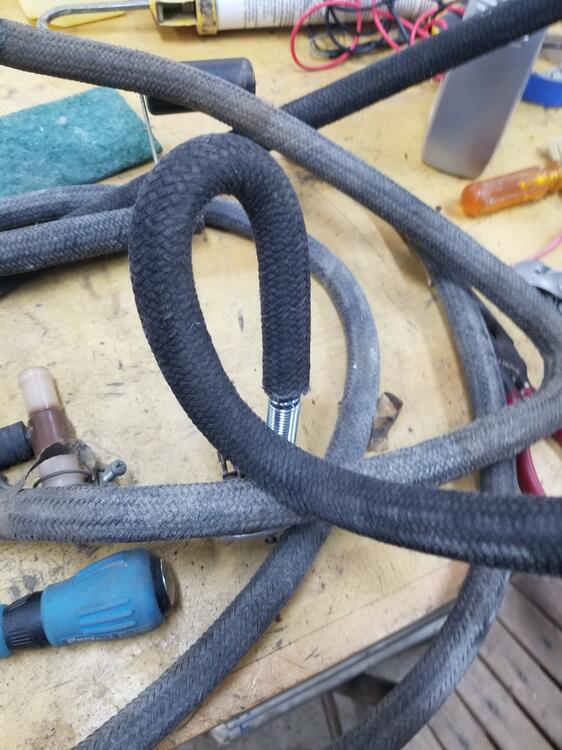
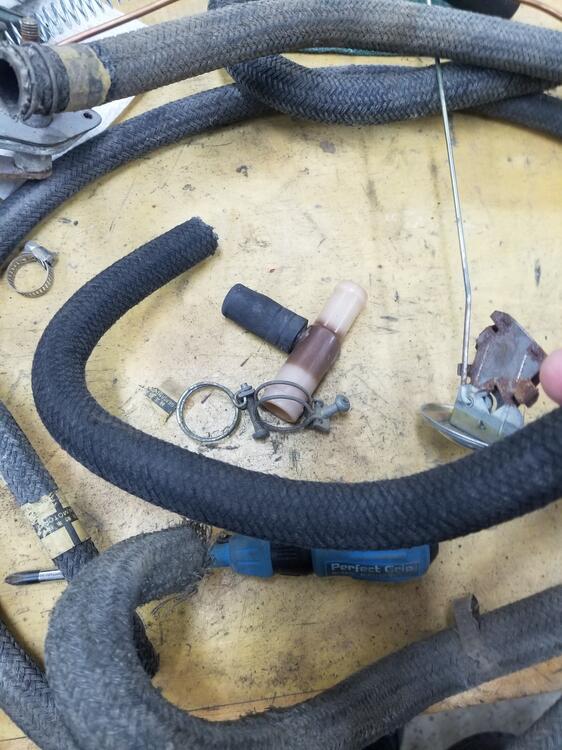
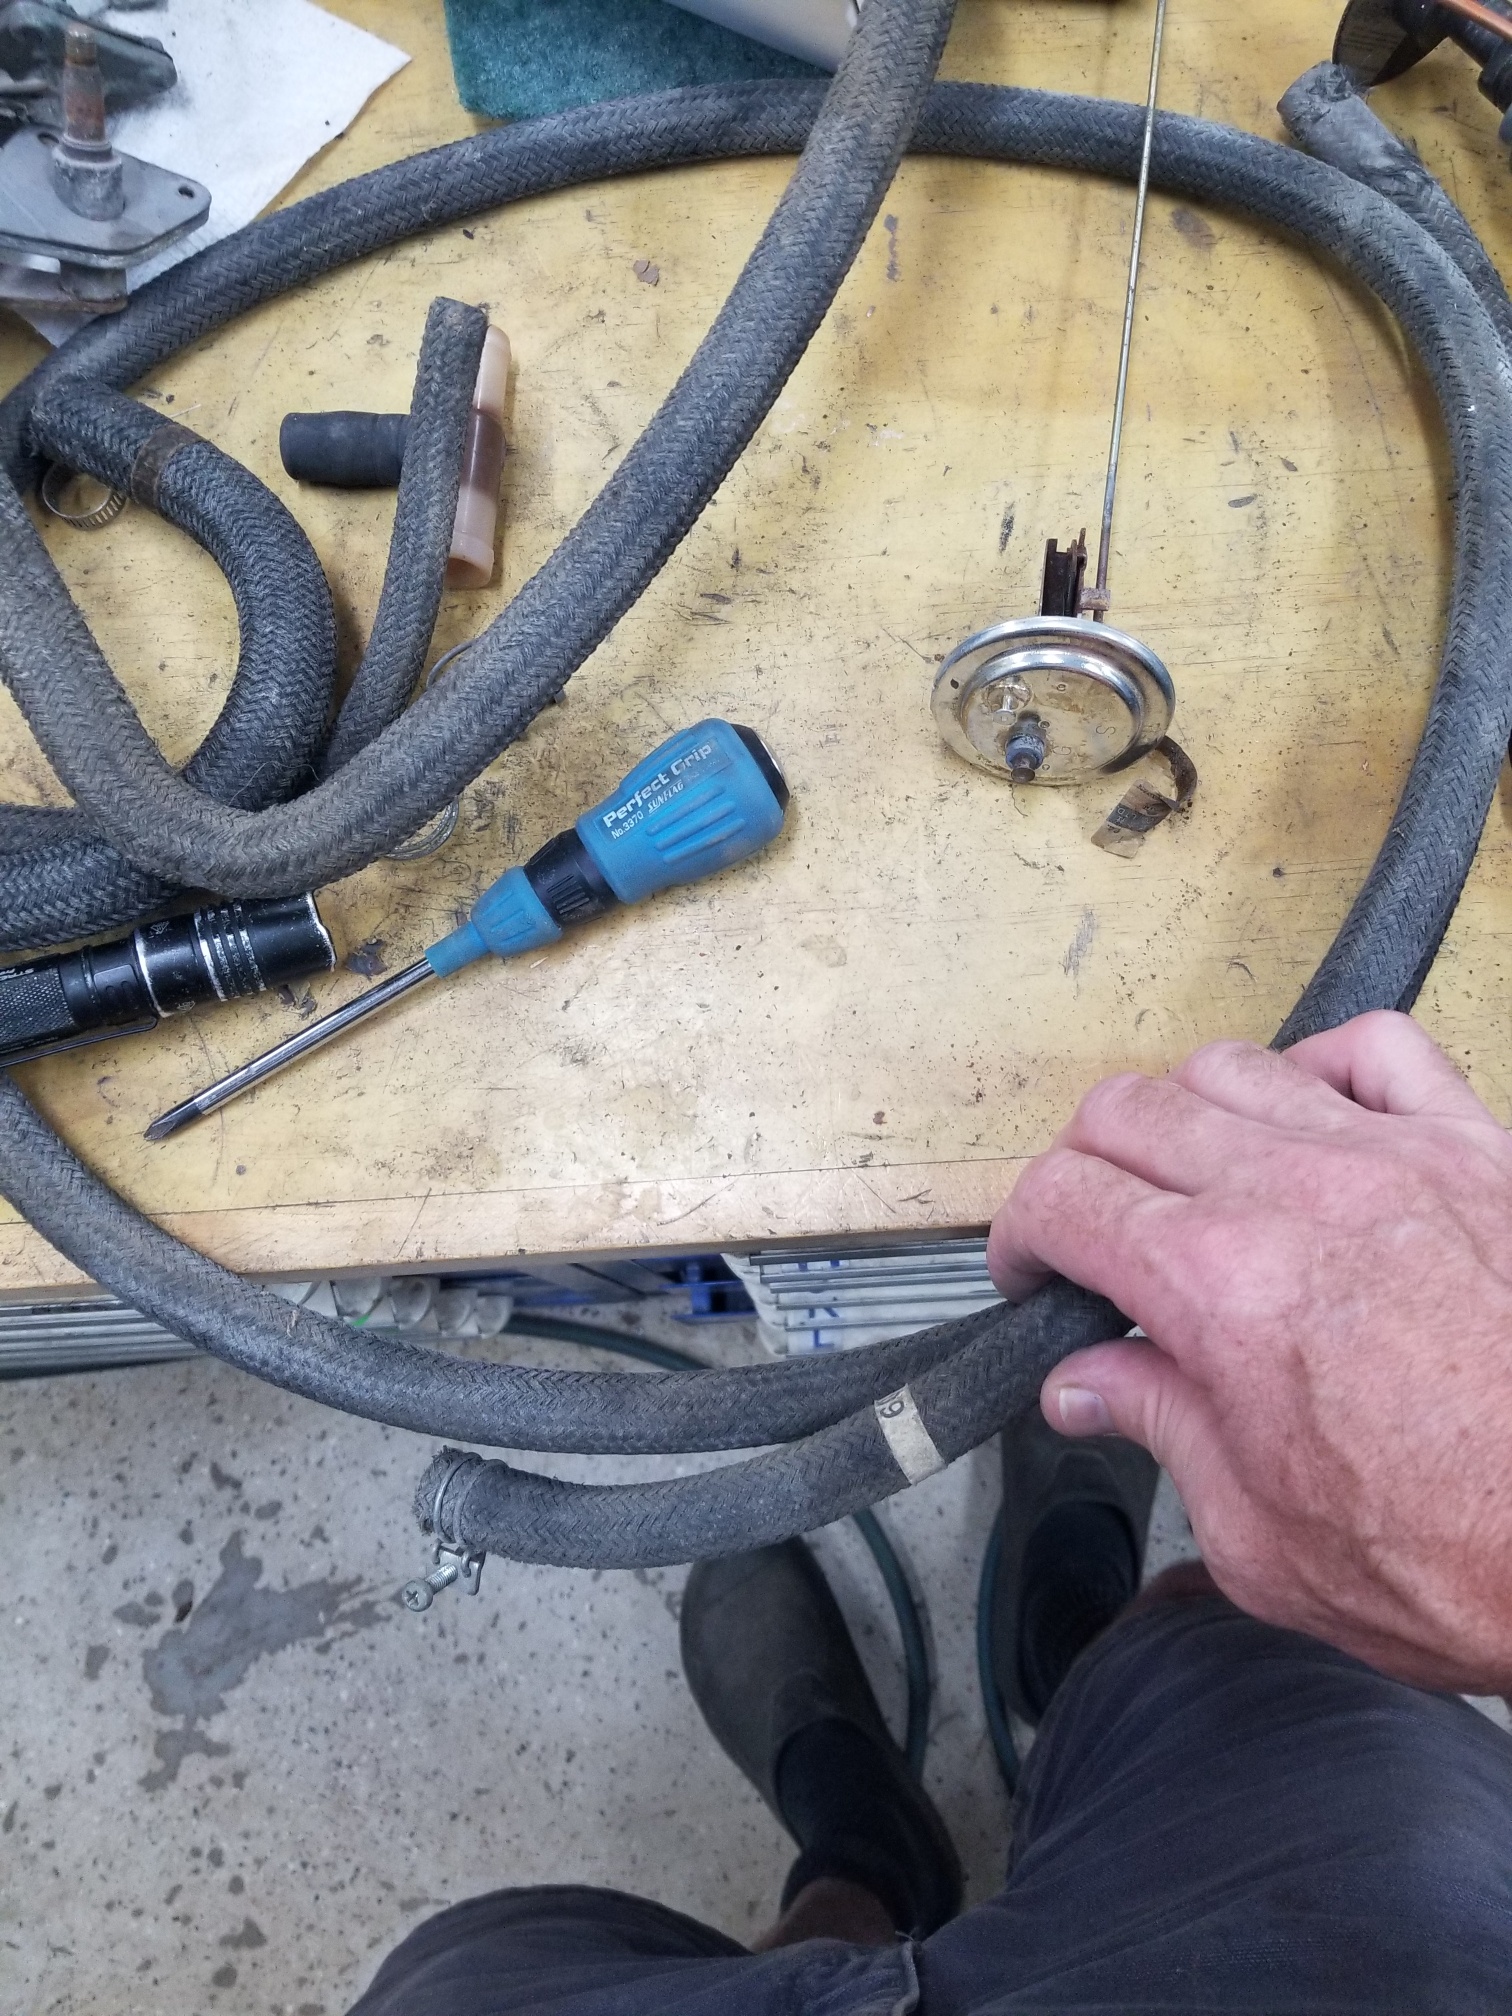
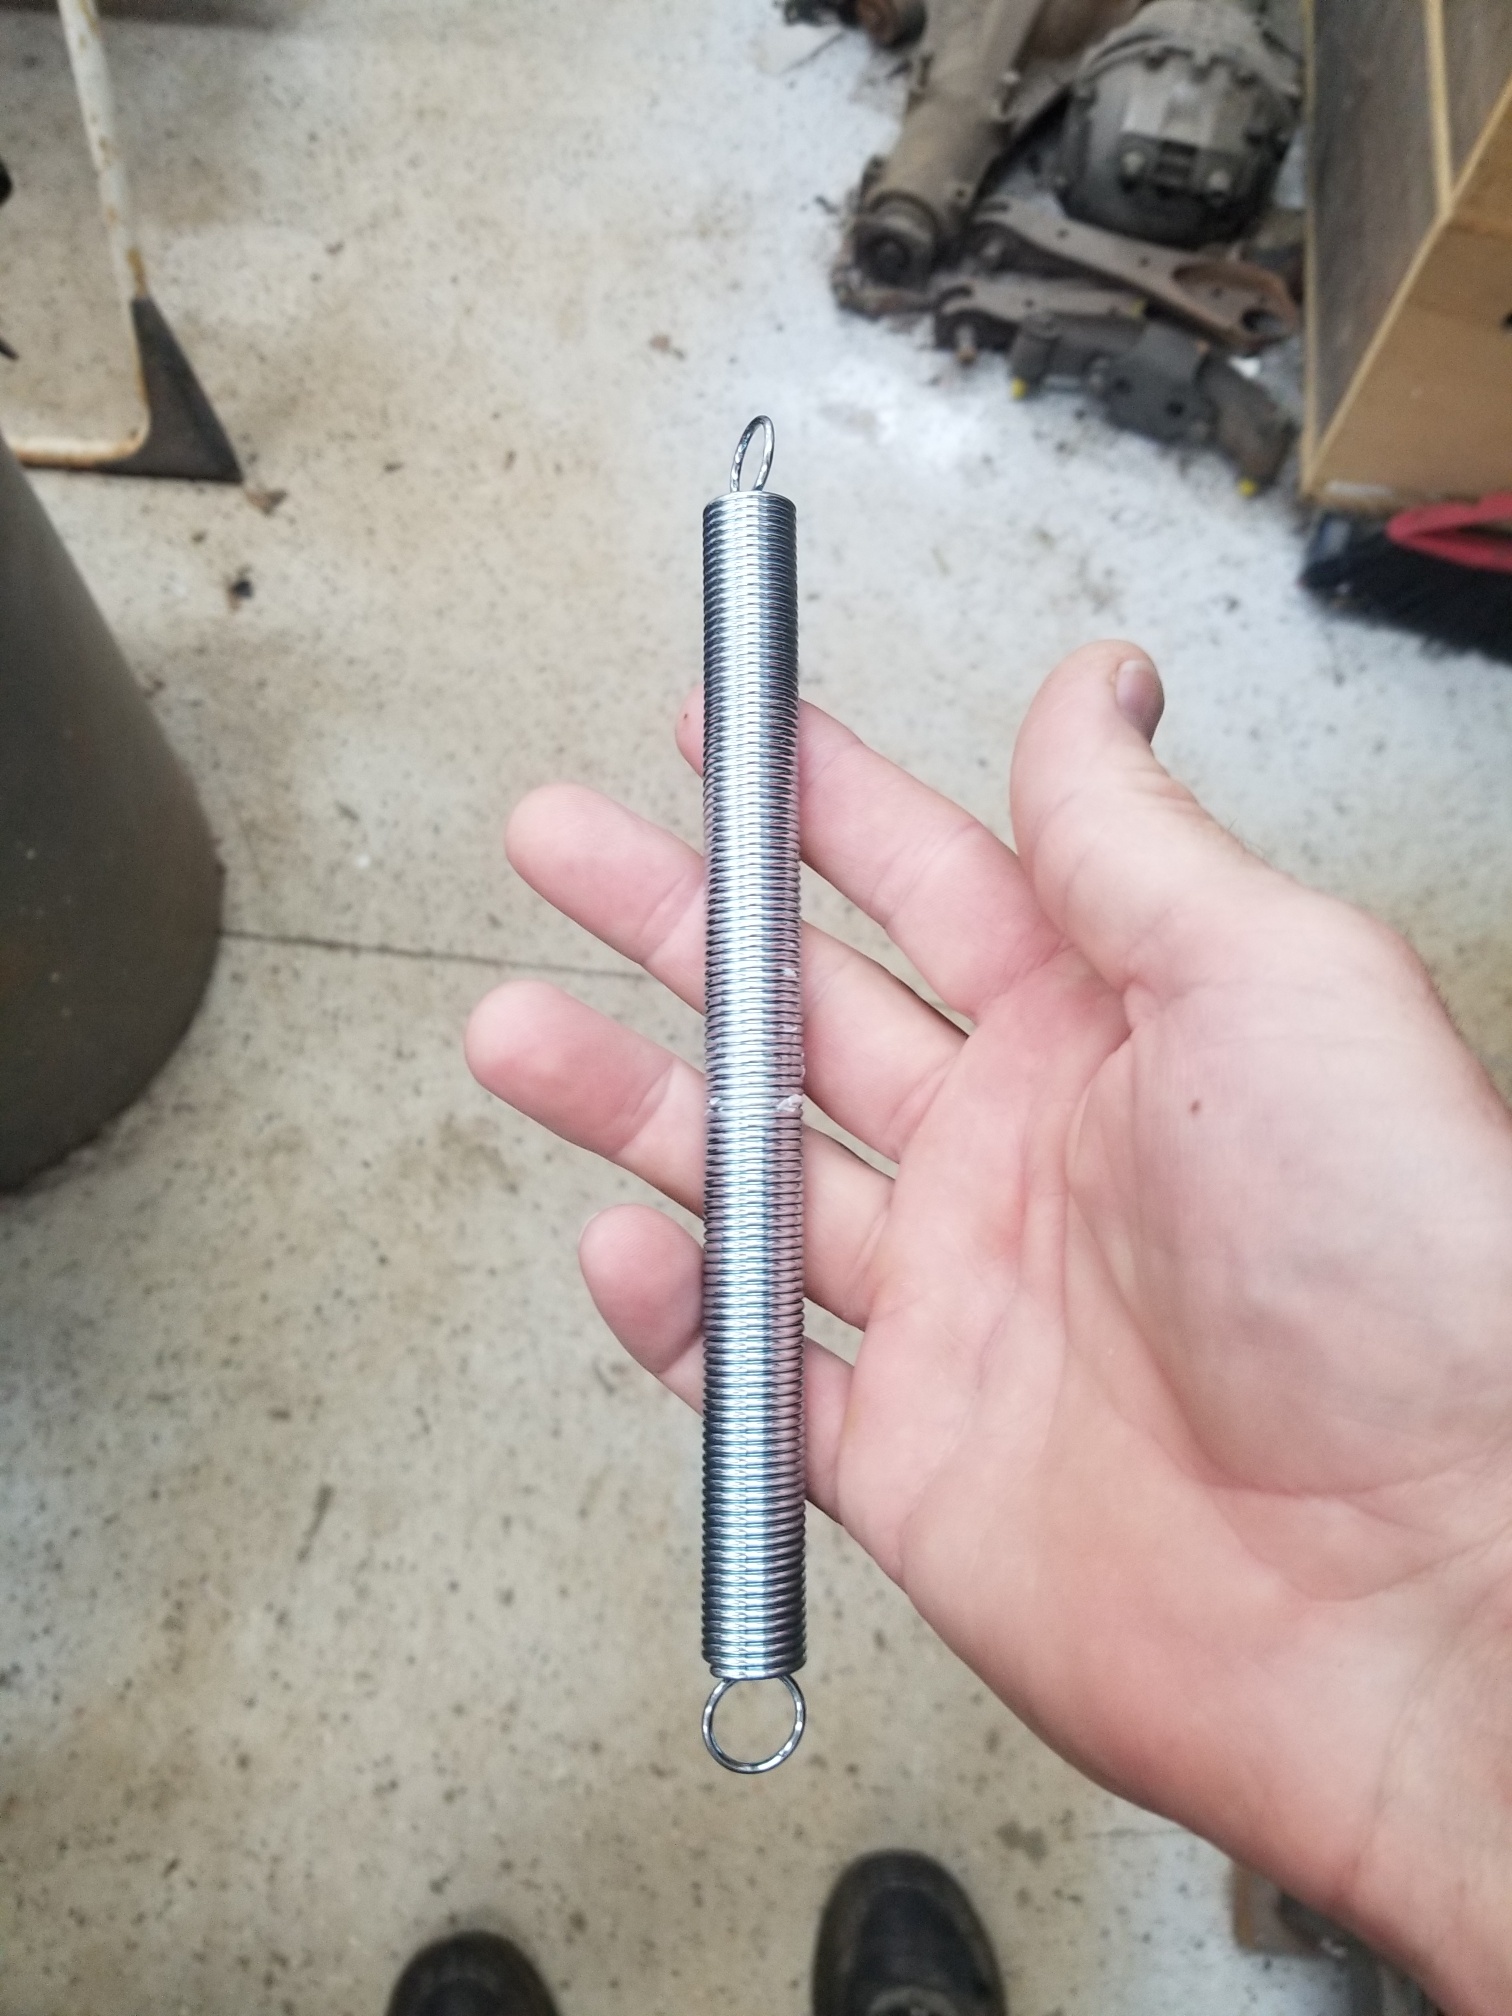
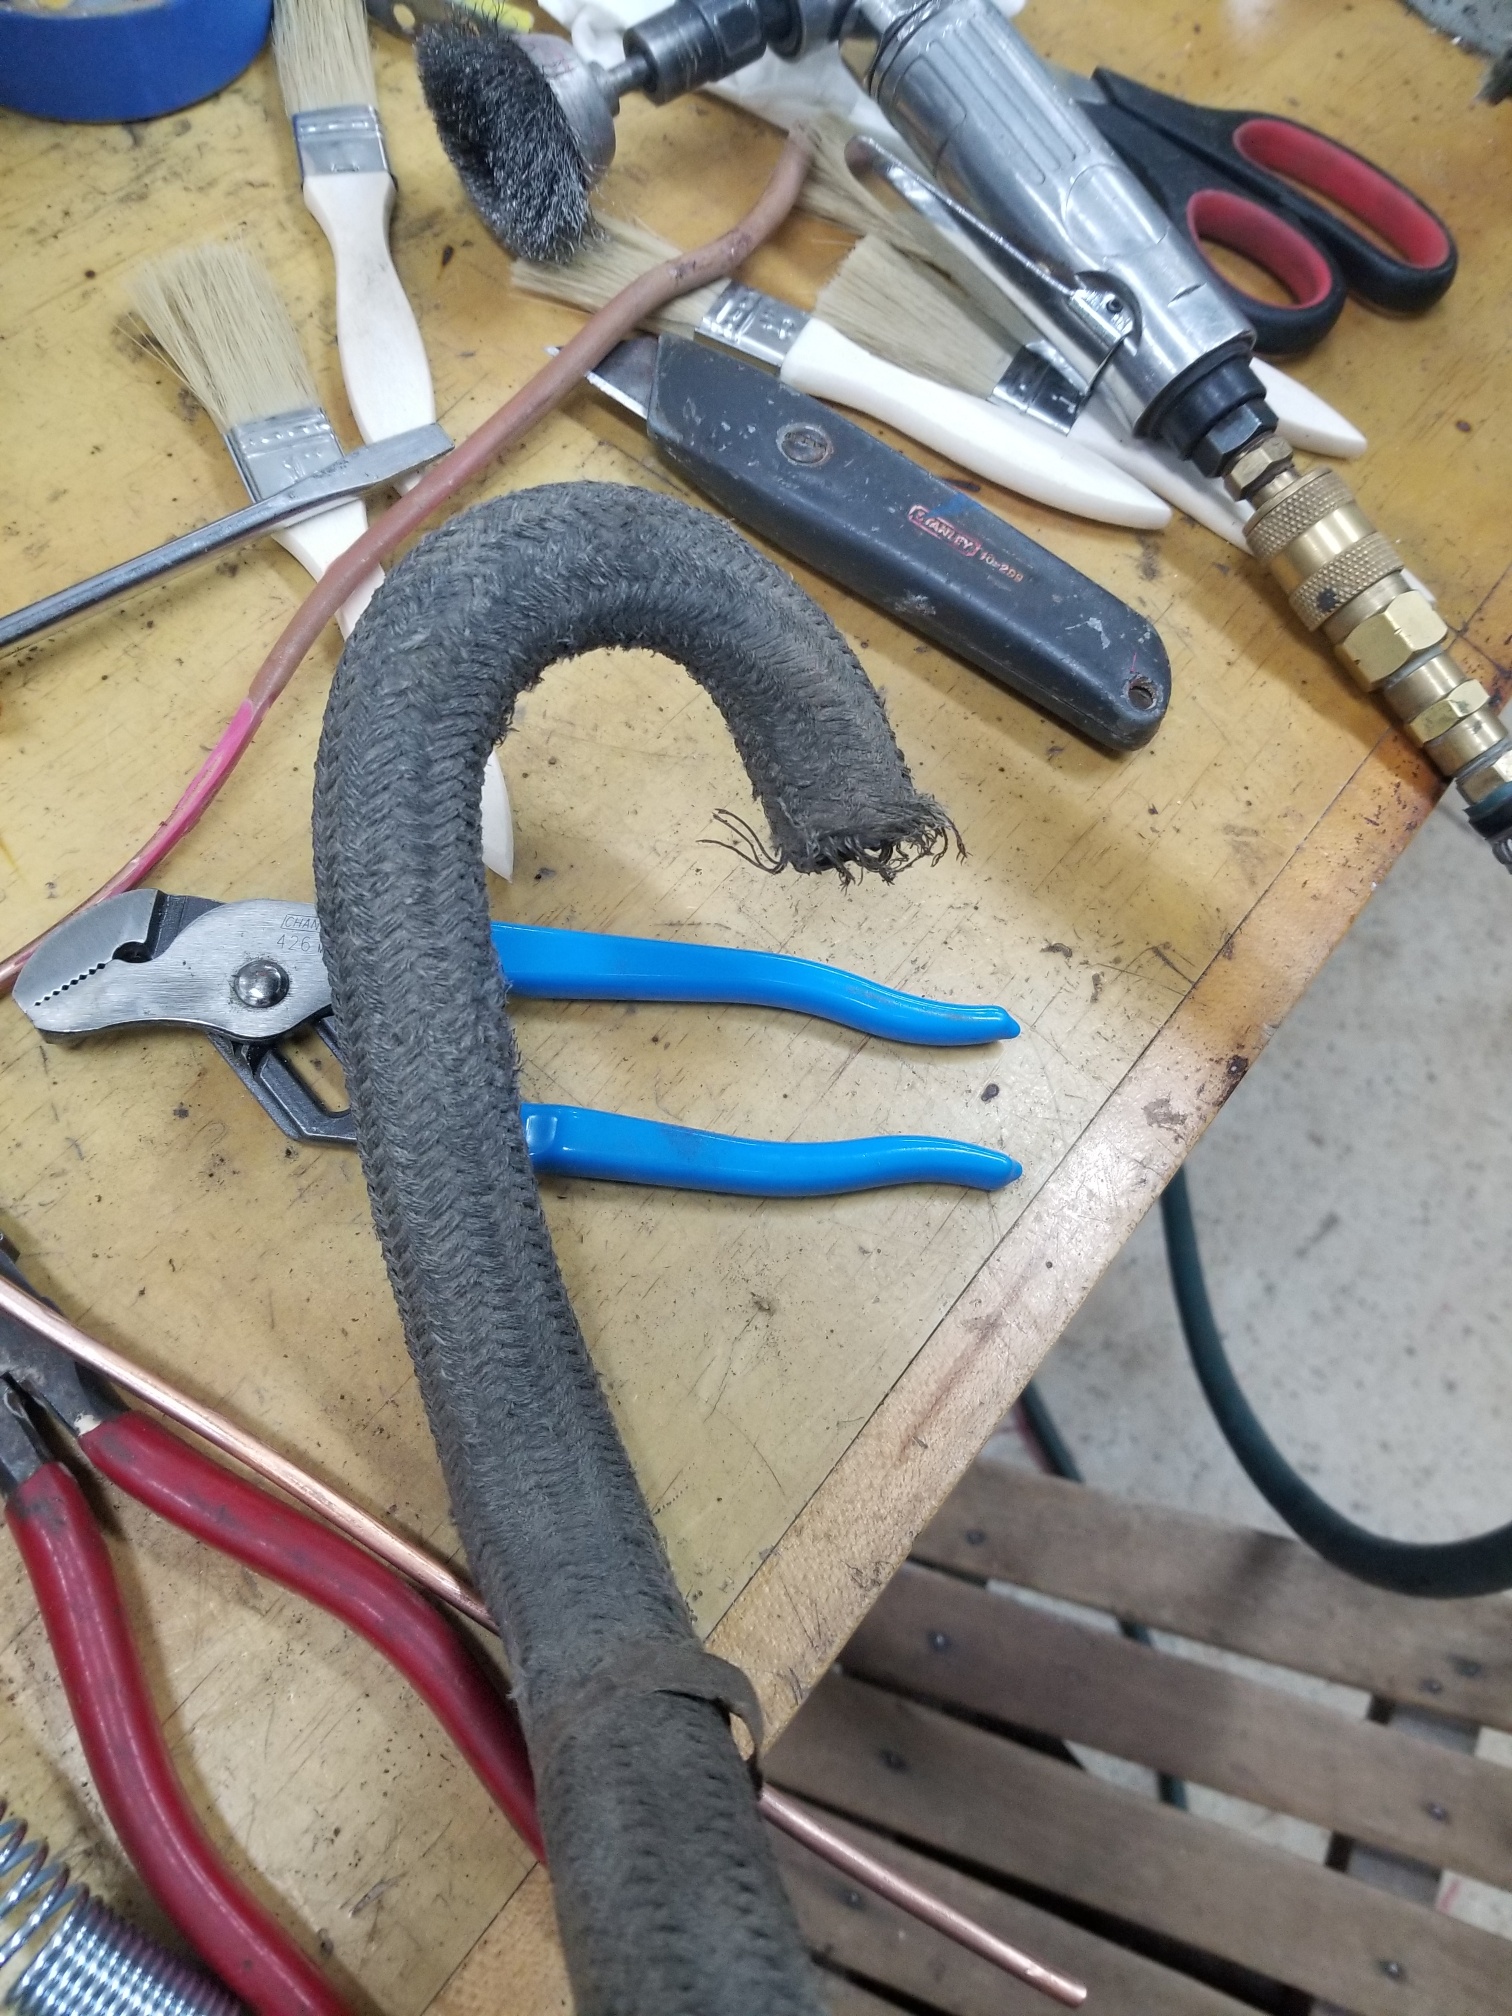
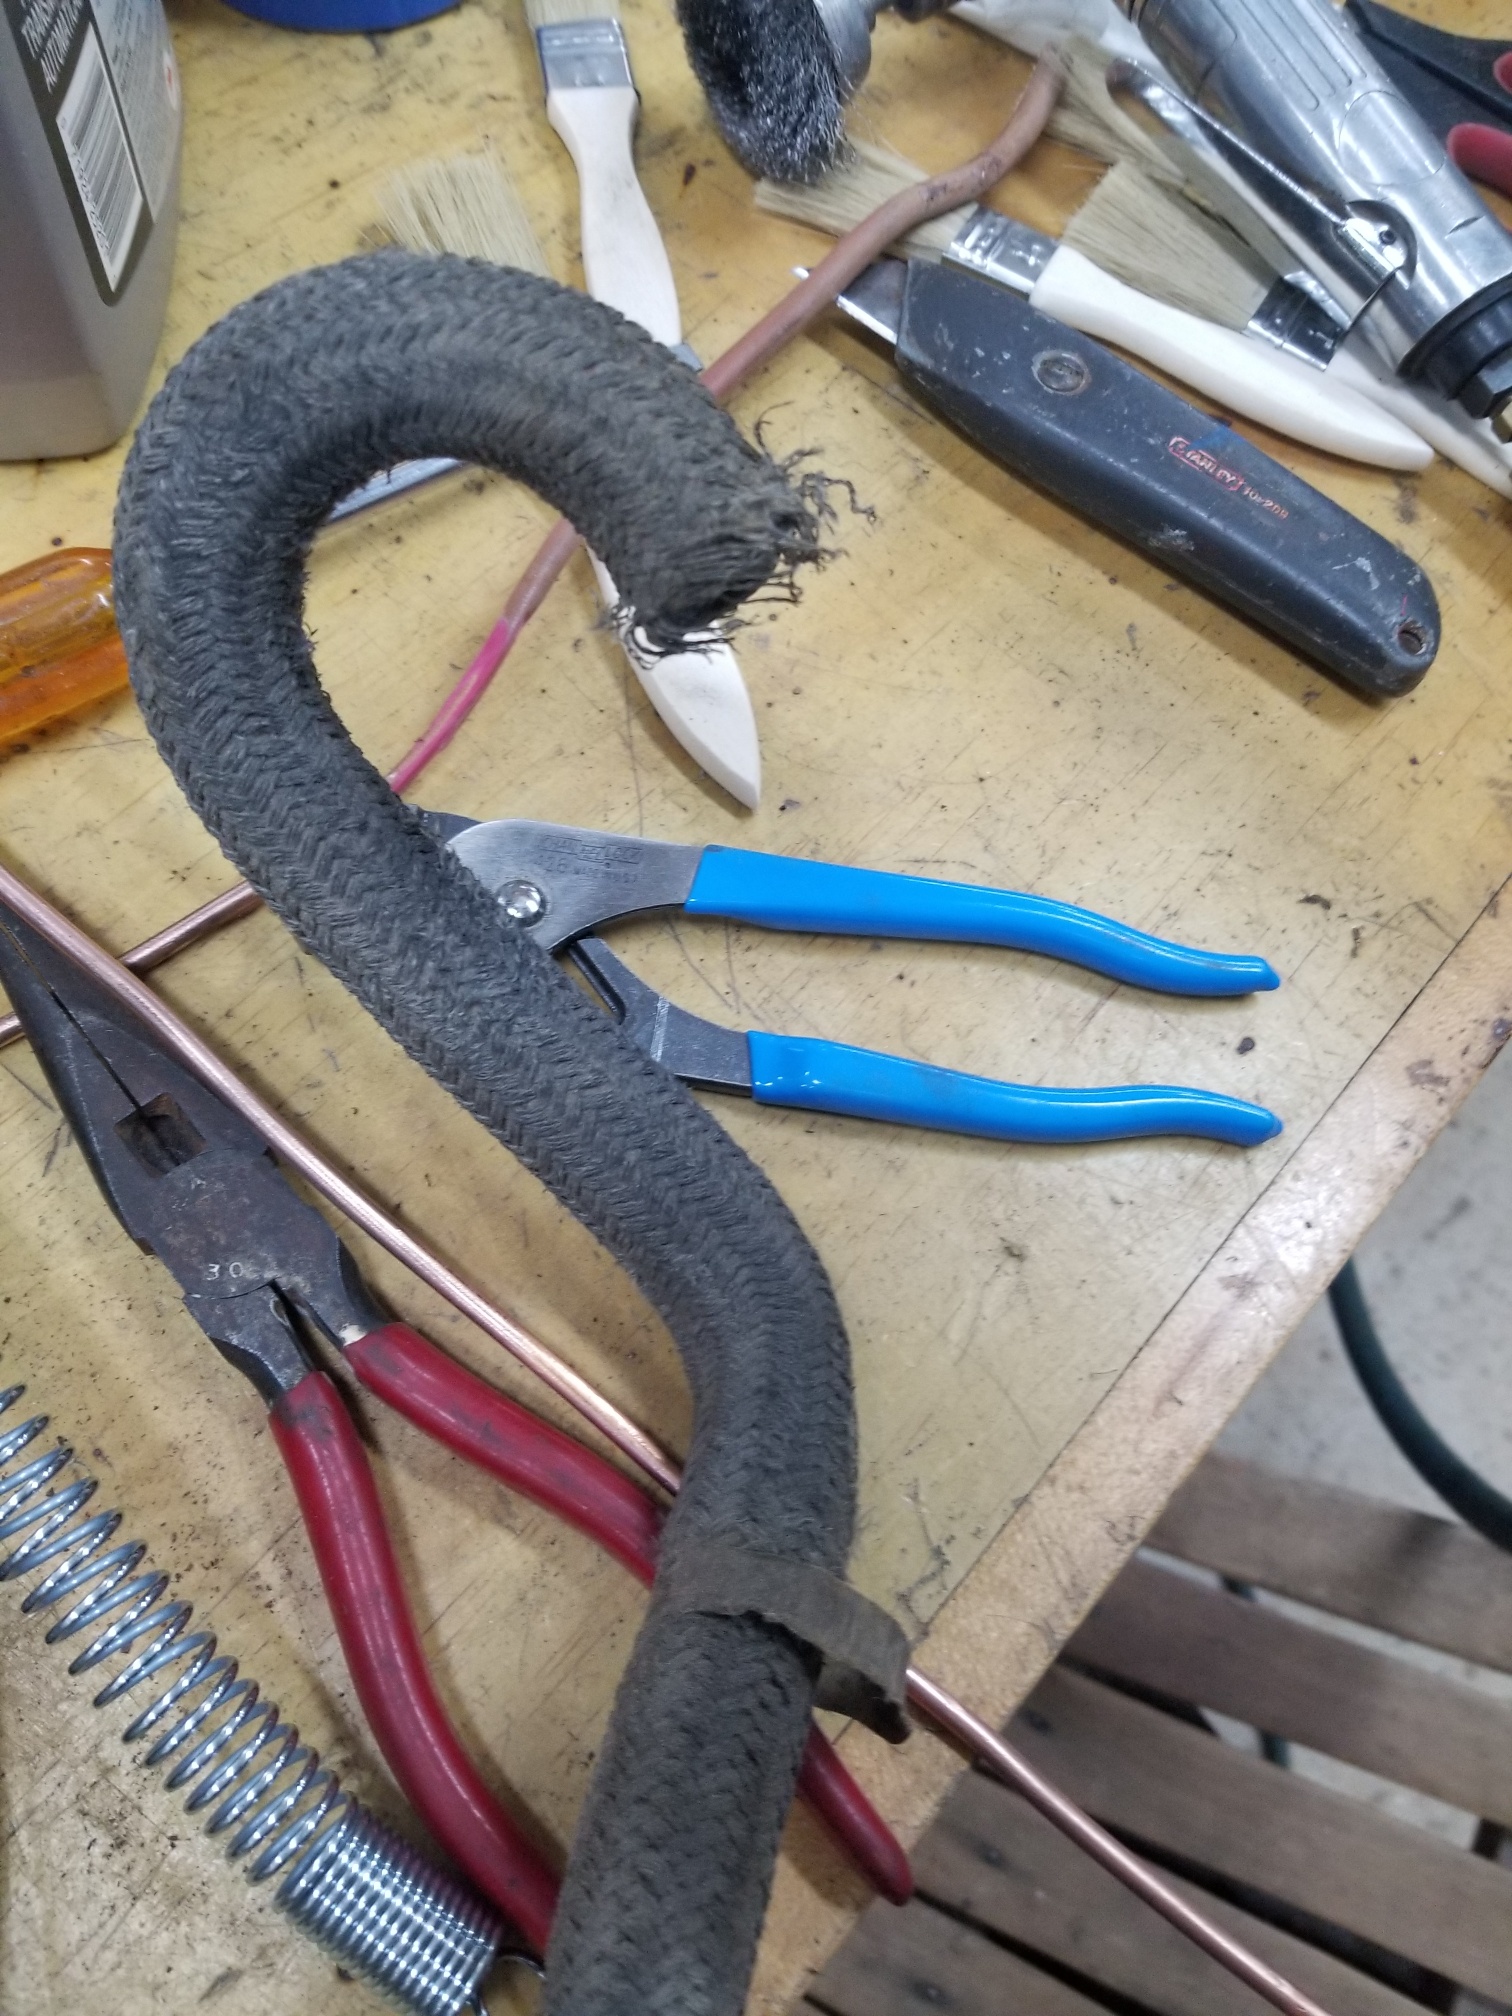
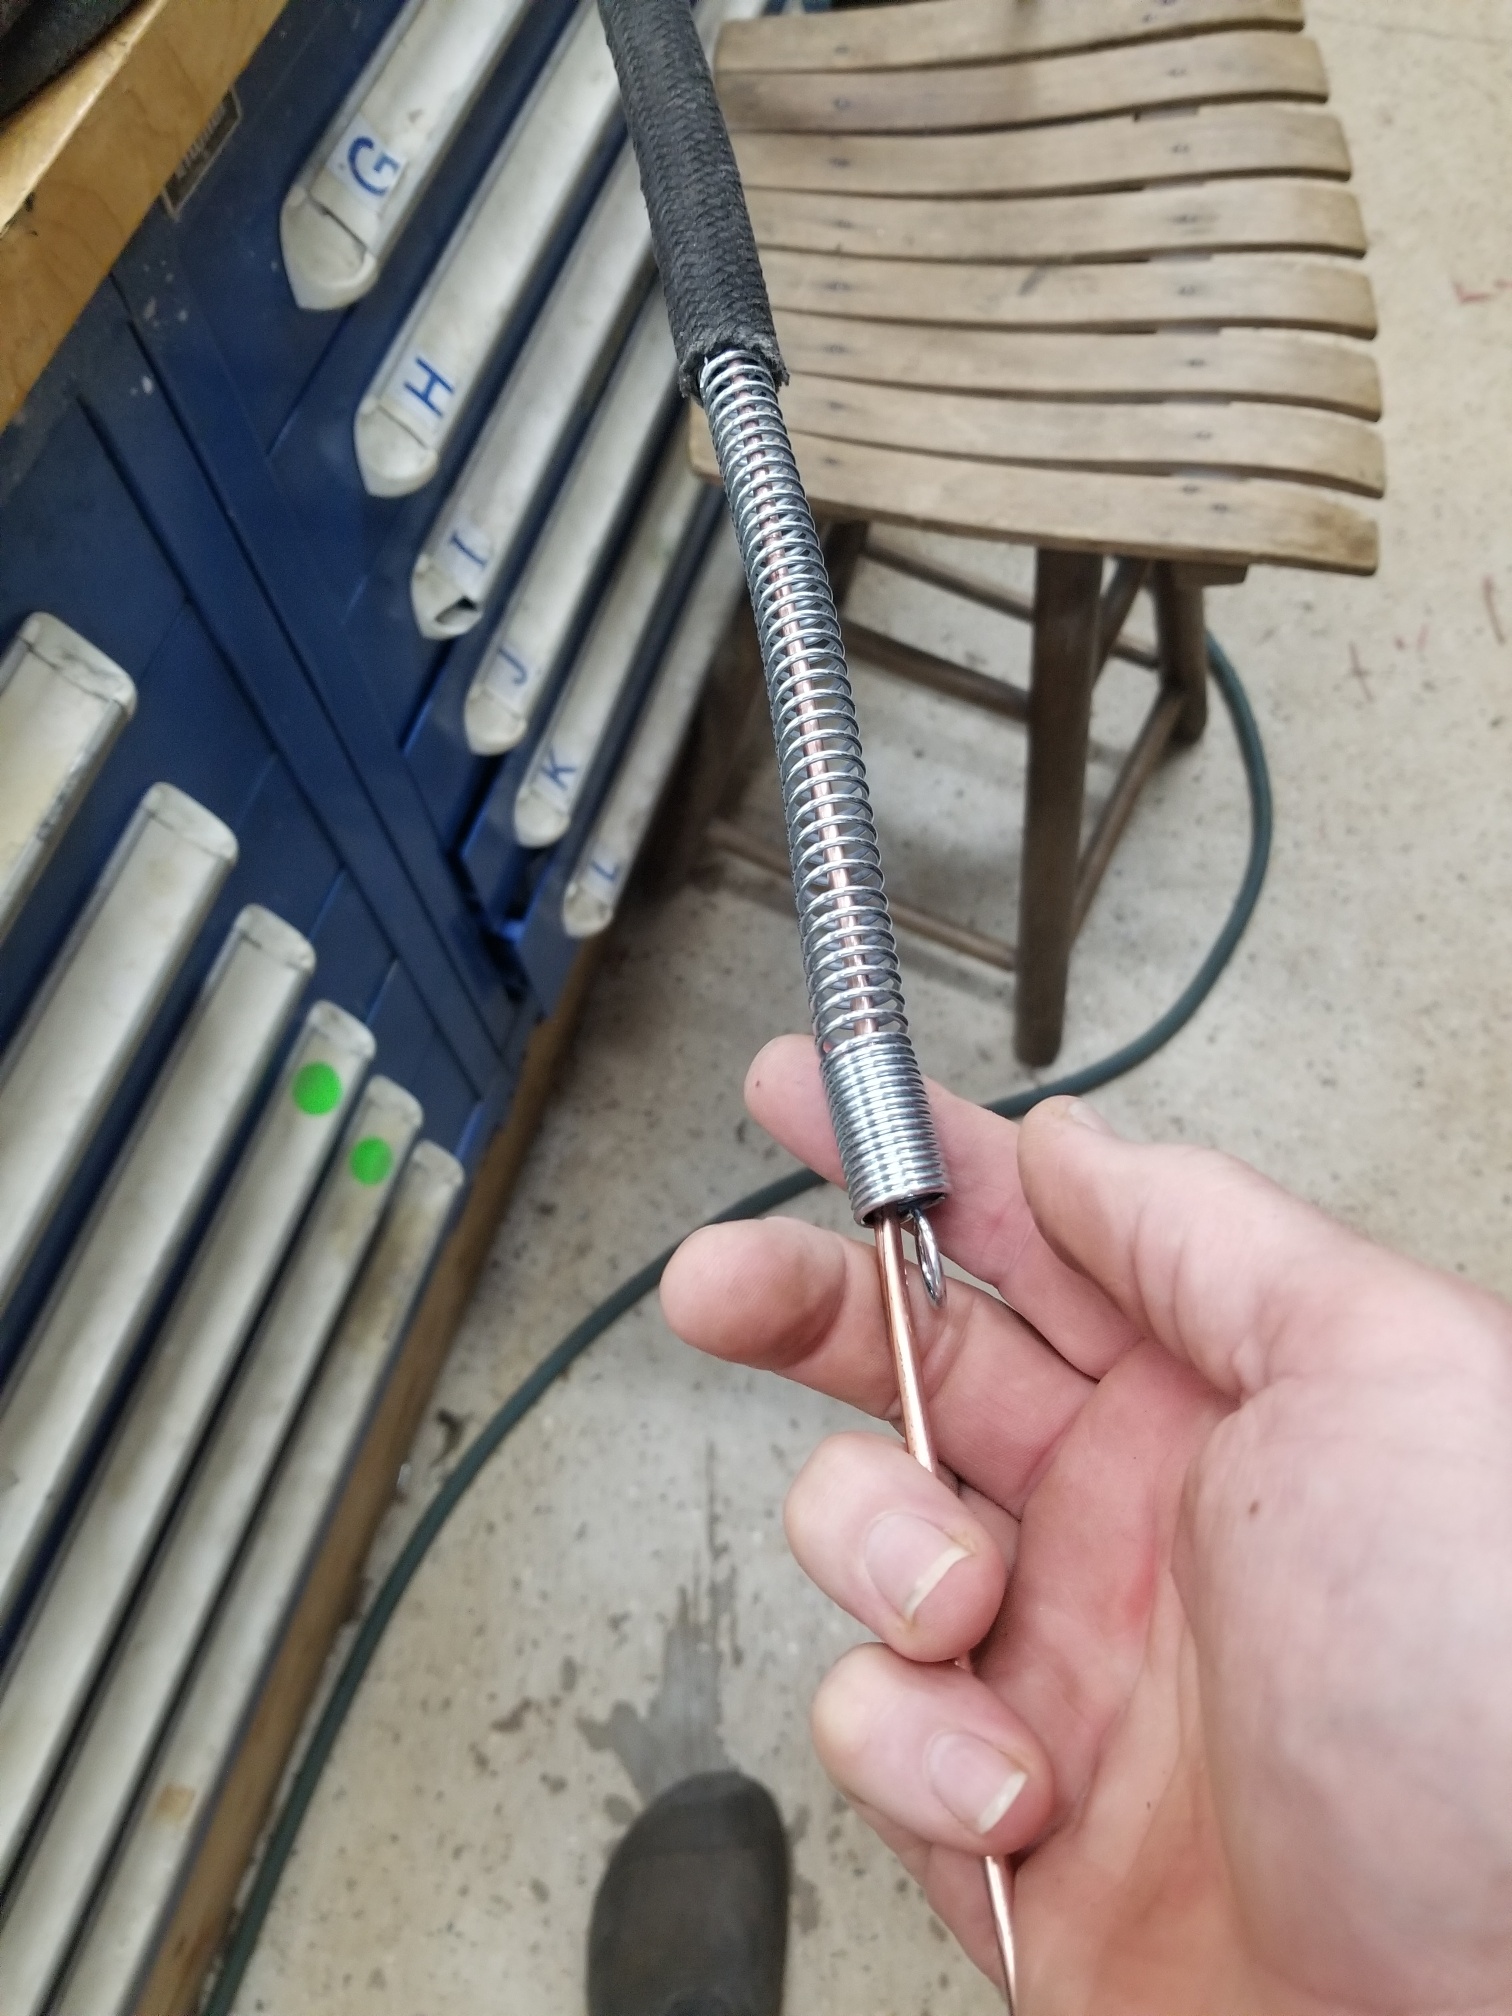
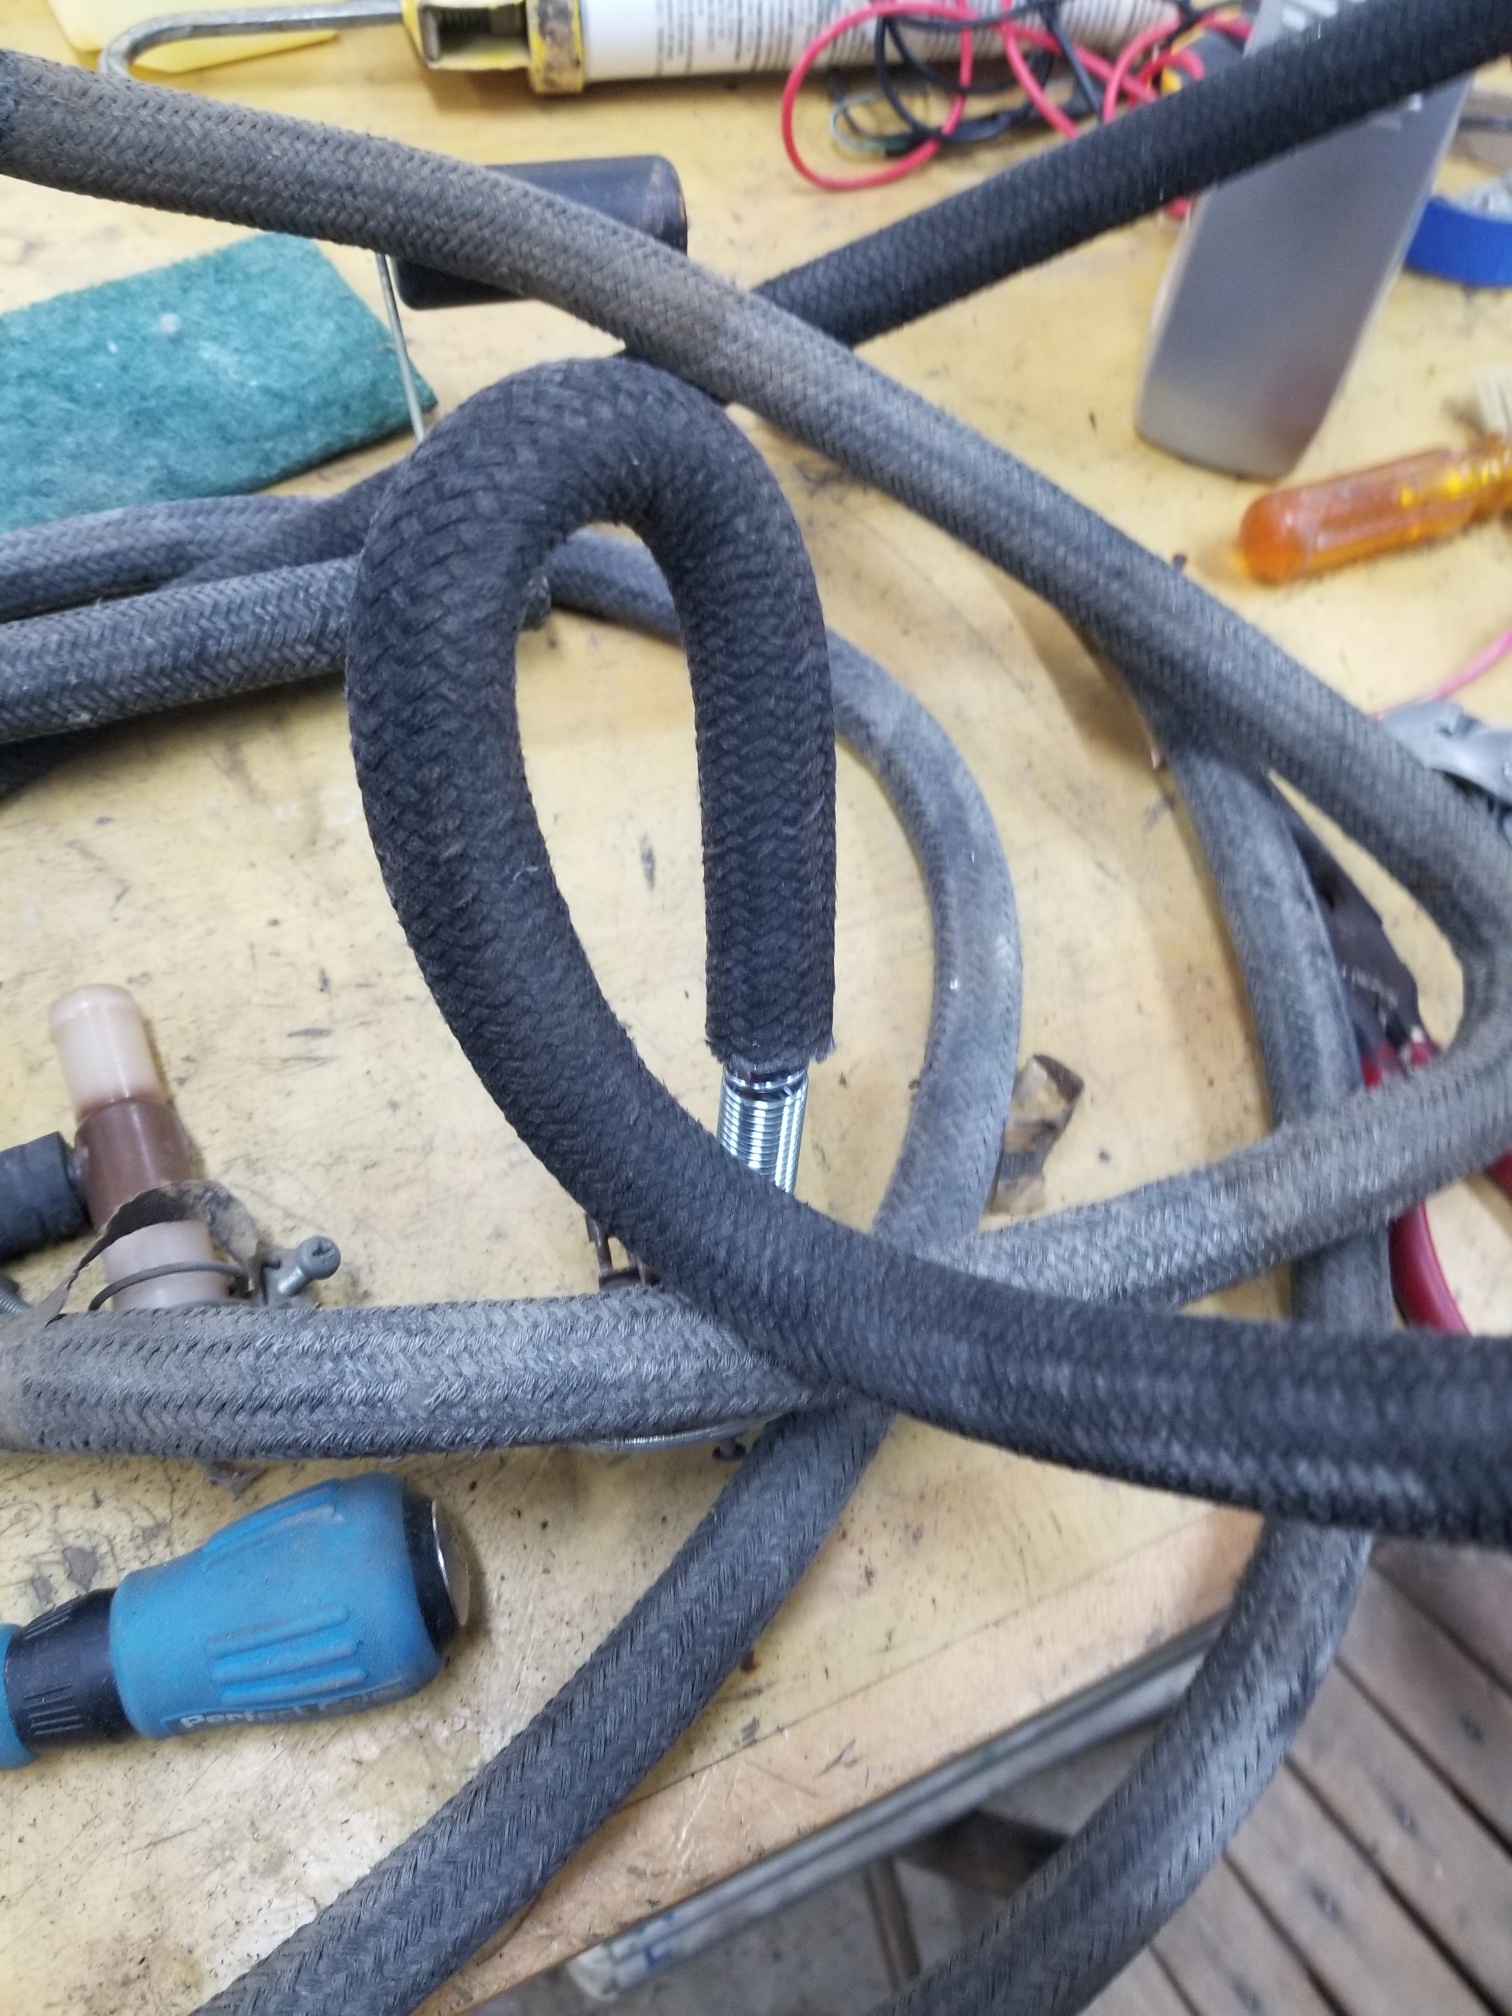
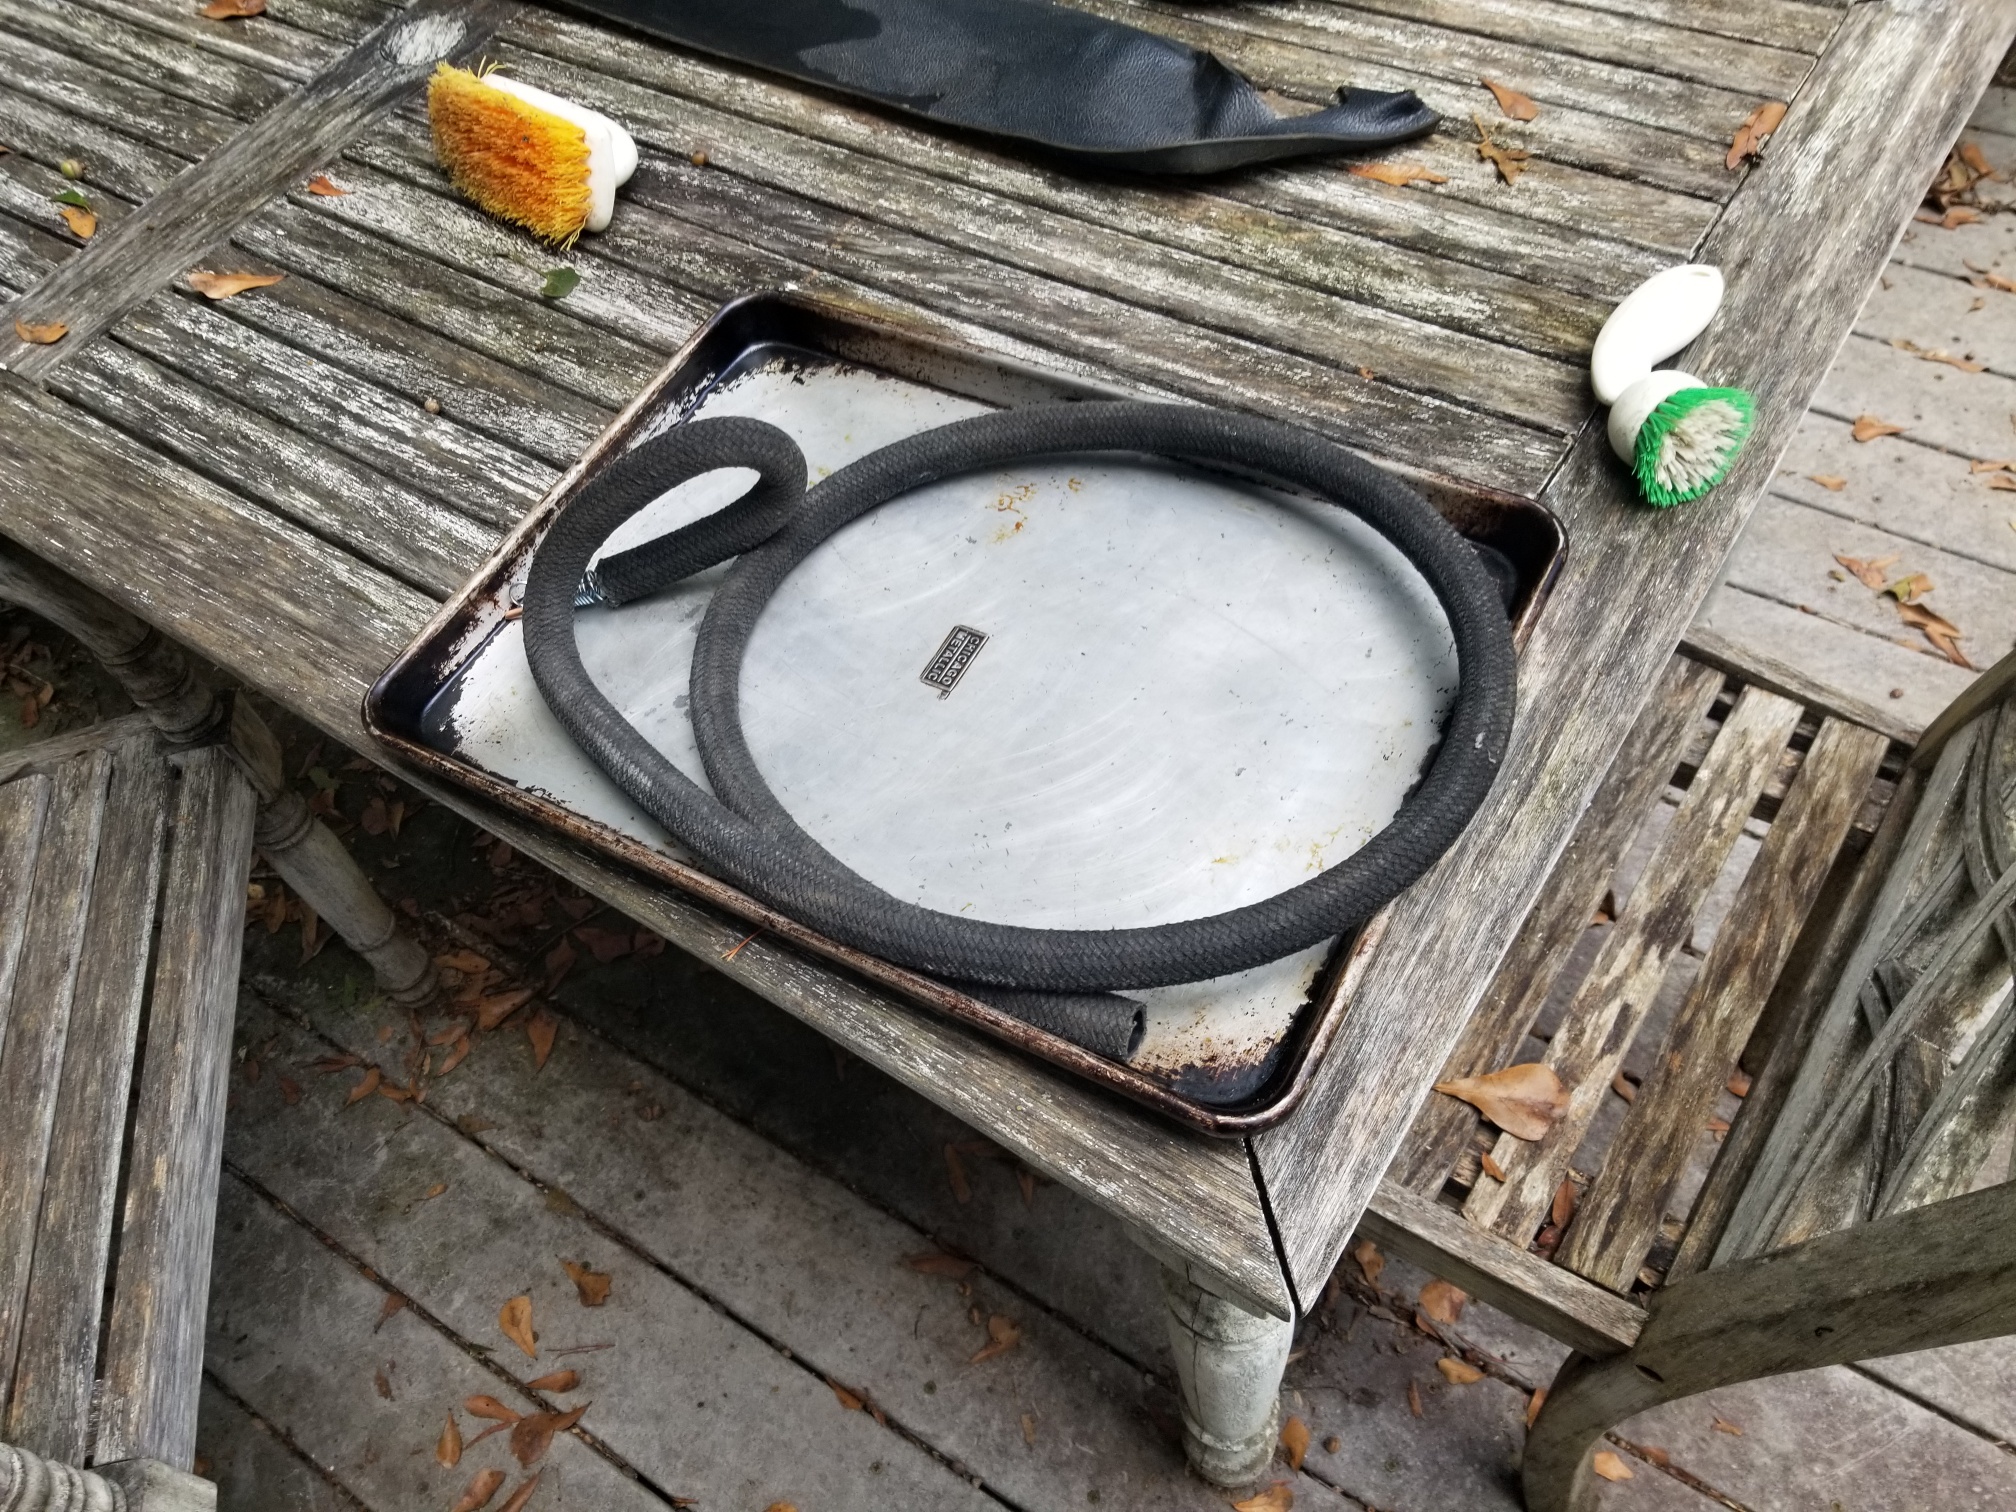
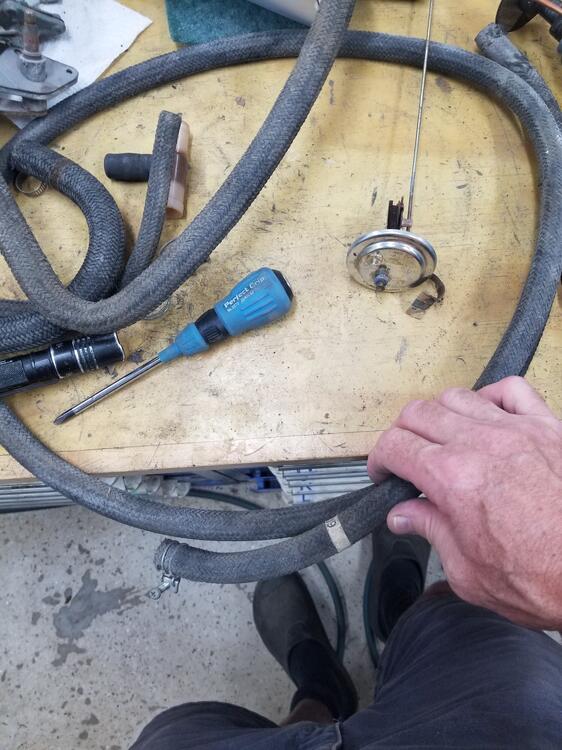 So I have been scheming on how to mold this vent line. So I ordered a screen door spring. Although, I could have picked one up at Home depot for a little less. Then I stretched it out Here is the original hose Then I put the spring in and added a thick piece of solid copper and formed it up Baked it in the oven at 325F for about ten minutes, while my wife was away of course! It sort of held it's shape but not entirely. So, I tried again. 400F for 12 minutes. That smoked up the place pretty good!! It held it's shape better but I still ended up putting a piece of spring inside the line to prevent crushing even though I probably didn't need to. All in all, it's probably just as cheap to buy the molded hose from a vendor when you look at what it costs to buy plain hose in the first place. Then figure in an hour of your time and a spring, etc.

 2000 hours of prep is a lot! Figuring a cheap $50 an hour, adds $10k to the paint job. As long as the shading all matches, I would have preferred that they paint it the way they did. It's not factory exact, but not everything the factory did was the highest standard. It was done for production and these were cheap cars. They're not cheap cars anymore... It looks fabulous!!That's a big difference !What did you use for an adhesive?My concern would also be getting the shaft out of the aluminum. Going to be hard to use any force without breaking the aluminum. I think I would just cut the shaft and add metal in between the halves with the welder. That seems like the path of least resistance to me. Probably quickest too.Thanks anyway, I don't need the exact code. It was nice and glossy like single stage. I thought it might be. Didn't look like rattle canWhat black paint are you using? Rattle can? 2k?












Important Information
By using this site, you agree to our Privacy Policy and Guidelines. We have placed cookies on your device to help make this website better. You can adjust your cookie settings, otherwise we'll assume you're okay to continue.