Everything posted by Patcon
-
The front of my hood sticks up...
I hope she feels better! I can put the hood on and off by myself if I'm careful. Put some towels on the upper fenders. Get the hinges on the car. Lay the hood down flat with the front edge against your legs and with the upper bolt holes lining up, lay it down. Put the upper bolts into the hood, then pivot the hood up and add the lower bolts. Got this from @Home Built by Jeff
-
Home Built Z 'Full video build'
I hadn't ever seen it. It is a nice clean solution and appears to have no return line provided.
-
Where to go with this rusthole
Super Cool!!! You need to start a thread on what you've picked up? Grannyknot's metal working tips
-
Home Built Z 'Full video build'
It's a nice clean looking rail, although it might still have some heat issues, but it looks nice.
-
Where to go with this rusthole
Had you seen him before? I just found him recently. He is very good and you can tell what he is actually doing but I have to watch in small doses. One advantage he does have on us, is it seems like most of the cars he is working on have much thicker panels which are much more forgiving and can be filed to be perfectly smooth.
-
The front of my hood sticks up...
Are they on the car yet?
-
rear view mirror
Is that where we're staying? Bama looked really good in the first quarter. Not so much later in the game. My daughter is talking lots of smack C
-
Home Built Z 'Full video build'
Also Jeff, the part you refer to as the proportioning valve below the master cylinder is actually a brake failure switch. It will light the brake light on the dash if you have a circuit failure. The proportioning valve for the 240z is in the rear of the car. It is a small brass part that acts as a tee connector for the two rear brake drum lines. If you add a hand valve remove the stock proportioning valve in the rear of the car.
-
Home Built Z 'Full video build'
What are these fuel rails? Are they made from a factory rail or sourced some other way?
-
Fan Quiz
I believe I have seen one of those fans in a junk yard. I will need to look again. How does this compare to the 280zx AC?
-
Need pics of INNER dog leg
I don't think I can answer that question, sorry.
-
E brake light dim on speedometer
Yes, you should be able to remove it and clean it but I don't see how it will help
-
49ème salon de l'automobile (Bruxelles, 01.1970) First Z in Europe?
Ouch!!
-
Basic brake bleed on older Z, reservoir-level not dropping
Fluid won't show up in the car. It all ends up in the vacuum booster. Which ruins it. That's what ZH was alluding to
-
The front of my hood sticks up...
Put them on the car and adjust them before you paint them to see if you can get them adjusted properly. Did you try loosing the hood bolts (not the hinge bolts) and pushing the hood down then re-tightening? I know I have had the same issue and gotten rid of it. So I believe it's possible
-
Merry Christmas!
Take a piece of clear packing tape and put it over the face of the pressure gauge. When it gets fogged up from over spray to where you can't read it, replace with a new piece. If need be, clean first with paint thinner, which won't damage the plastic face on the gauge
-
The front of my hood sticks up...
Exactly like this! Perfect description
-
1970 Series1 240z "barnfind"
Bob Sharp letter, super cool!!!
-
1971 HLS30-14938 "Lily" build
Thank you for that! It's nice to see it's consistent with the bumper curve. I had roughly 3/8" on the ends and 3/4" in the middle. I suspected it was 3/8" all the way across. Merry Christmas
-
1971 HLS30-14938 "Lily" build
I found some very good pictures in this thread. Found it through google images
-
1971 HLS30-14938 "Lily" build
Any body got any good pictures of the rear valance behind the tail light finishers?
-
1971 HLS30-14938 "Lily" build
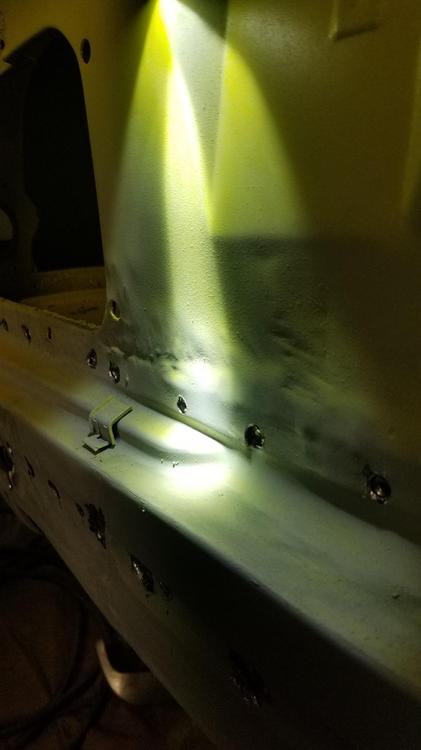
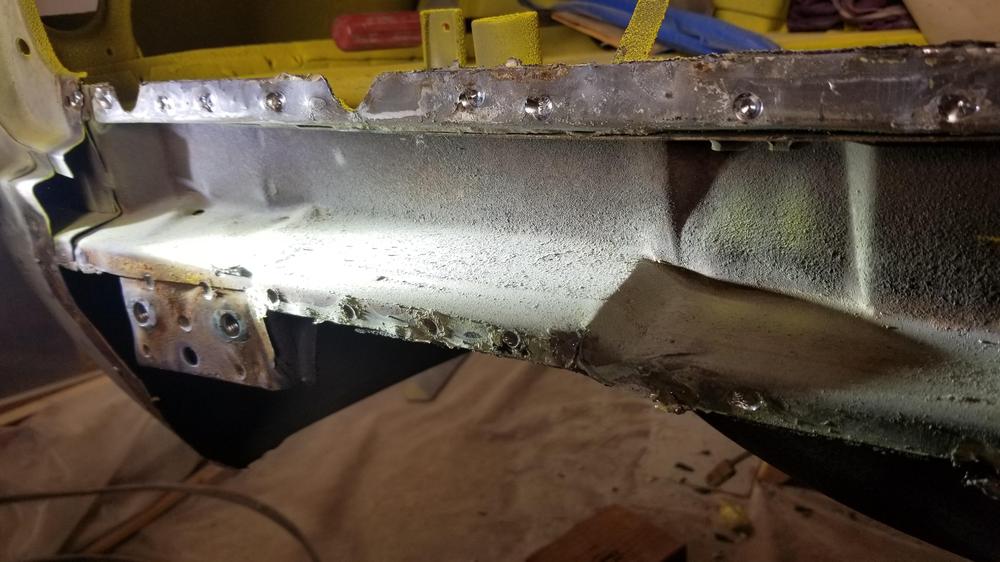
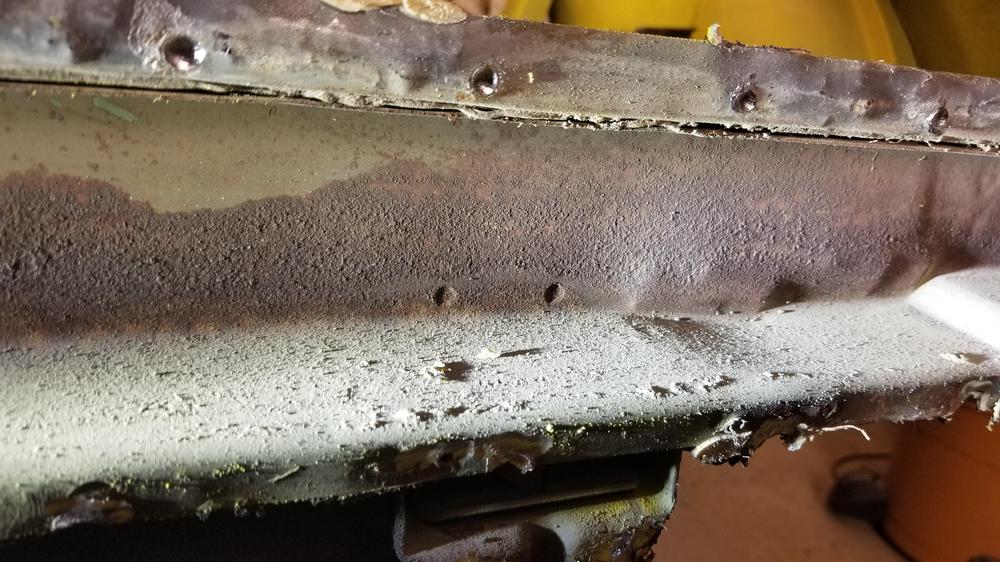
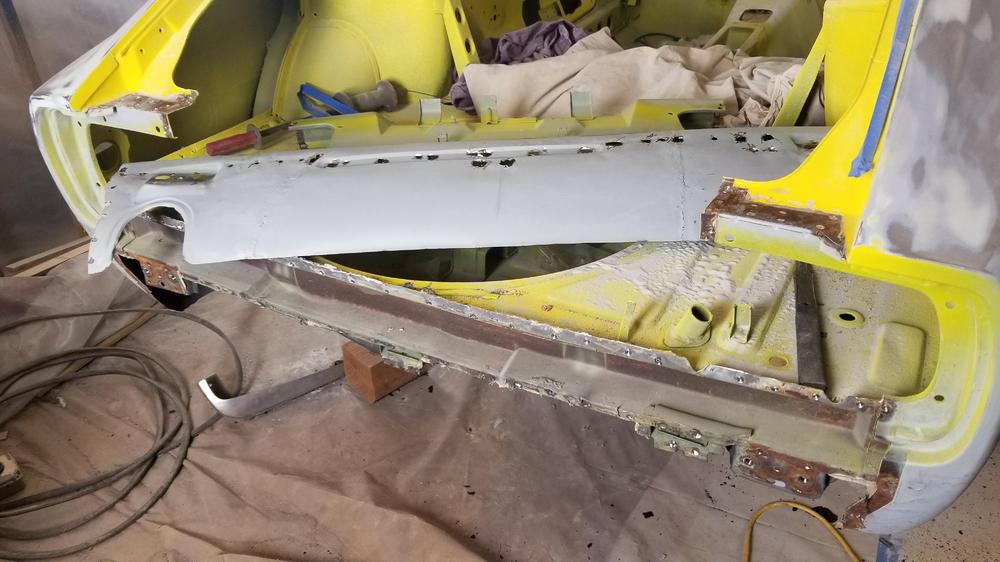
Yes, I have to reuse the valance, since I don't have a replacement and probably can't source a superior candidate. There are several areas of damage that I should be able to pull metal from toward the rear. I am surprised the box section isn't heavier metal, when it's all welded up it is very hard to pull with hand tools. I think there may be some extra metal in the floor too. I order two new frame clamps last night because I am not sure what I have will work. There is a wrinkle in the drivers quarter corner sub-frame that I am going to take a shot at. For a proper repair, the quarter would have to come off and that's not happening! I a made a raggedy mess out of the valance because my previous repairs had large puddle welds so they took big holes to break free. I think I will weld new little patches into the valance after dolly work and then make new smaller holes for puddle welds.
-
Basic brake bleed on older Z, reservoir-level not dropping
The way I bench bled a master was to use short sections of line from the bottom ports looped up and into the reservoirs. Work the master until no more bubbles appear
-
1971 HLS30-14938 "Lily" build
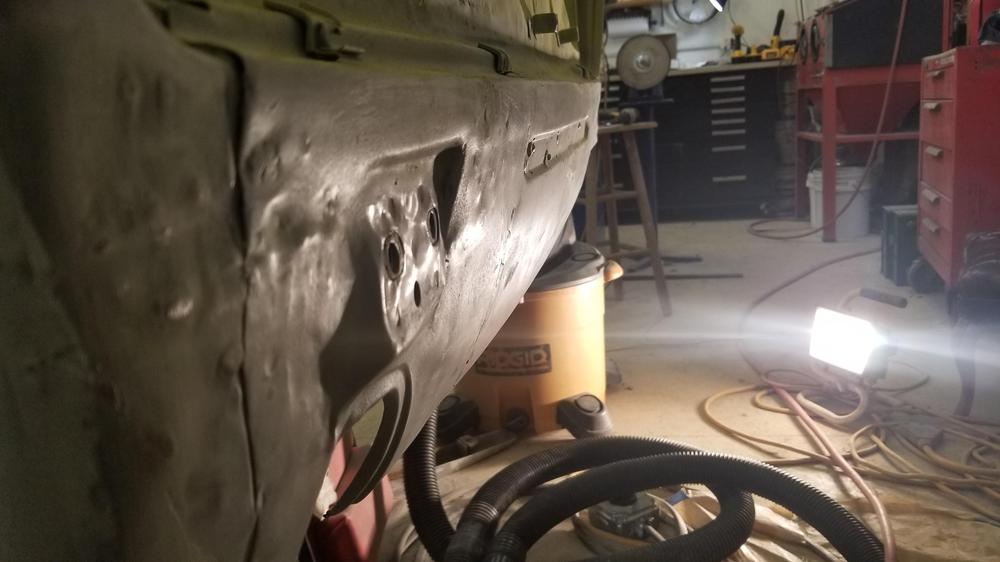
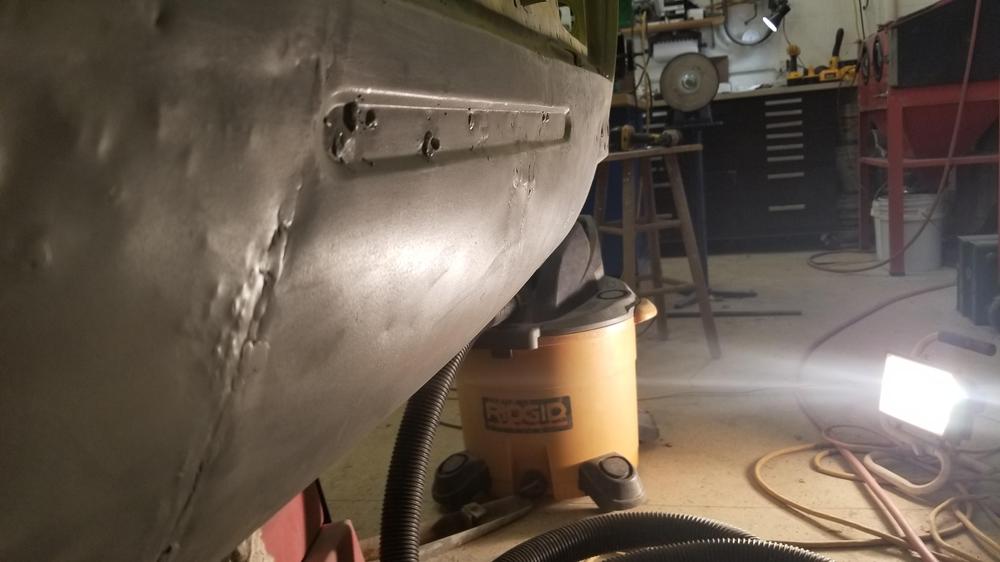
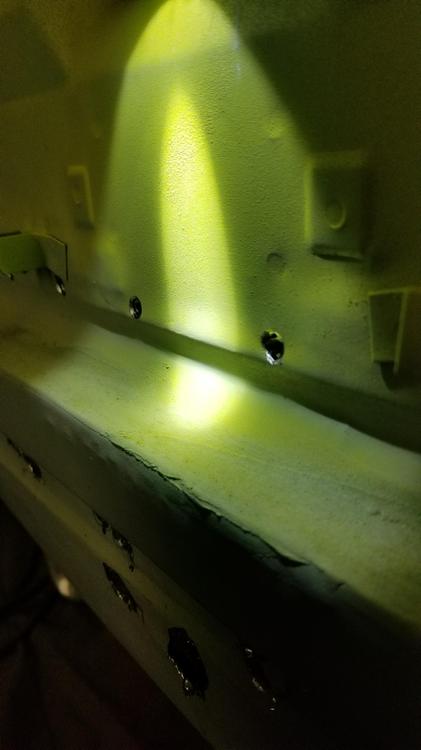
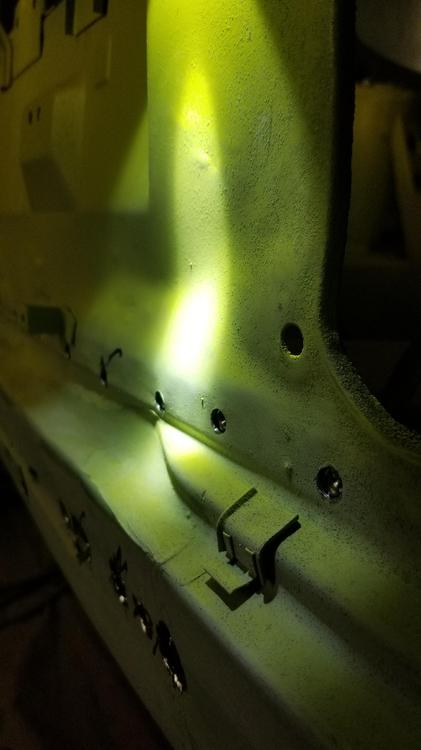
A better view of the current situation 130 spot welds later!! I think you will be able see the damage inside the frame rail Those wrinkles above the bumper mount shouldn't be there The back of this should be flat too There is a dip below the light in the first picture. I don't think that should be there. It is where the panel got forced under the interior floor panel The second picture has a way area. I believe this is supposed to be flat. Can somebody post me a good picture of this panel so I can tell how it's supposed to be? More damage on the left side of the license plate under the finishers
-
Merry Christmas!
To all my CZCars friends. Have a great Christmas. Enjoy family while you can and be safe.


 Subscriber


