Patcon
 Subscriber
-
Joined
-
Last visited
Everything posted by Patcon
-
 Who is Newman talking to?
 -
Question: What do other people use for duplicating the yellow marks on the final torqued suspension fasteners? Material and applicator?
-
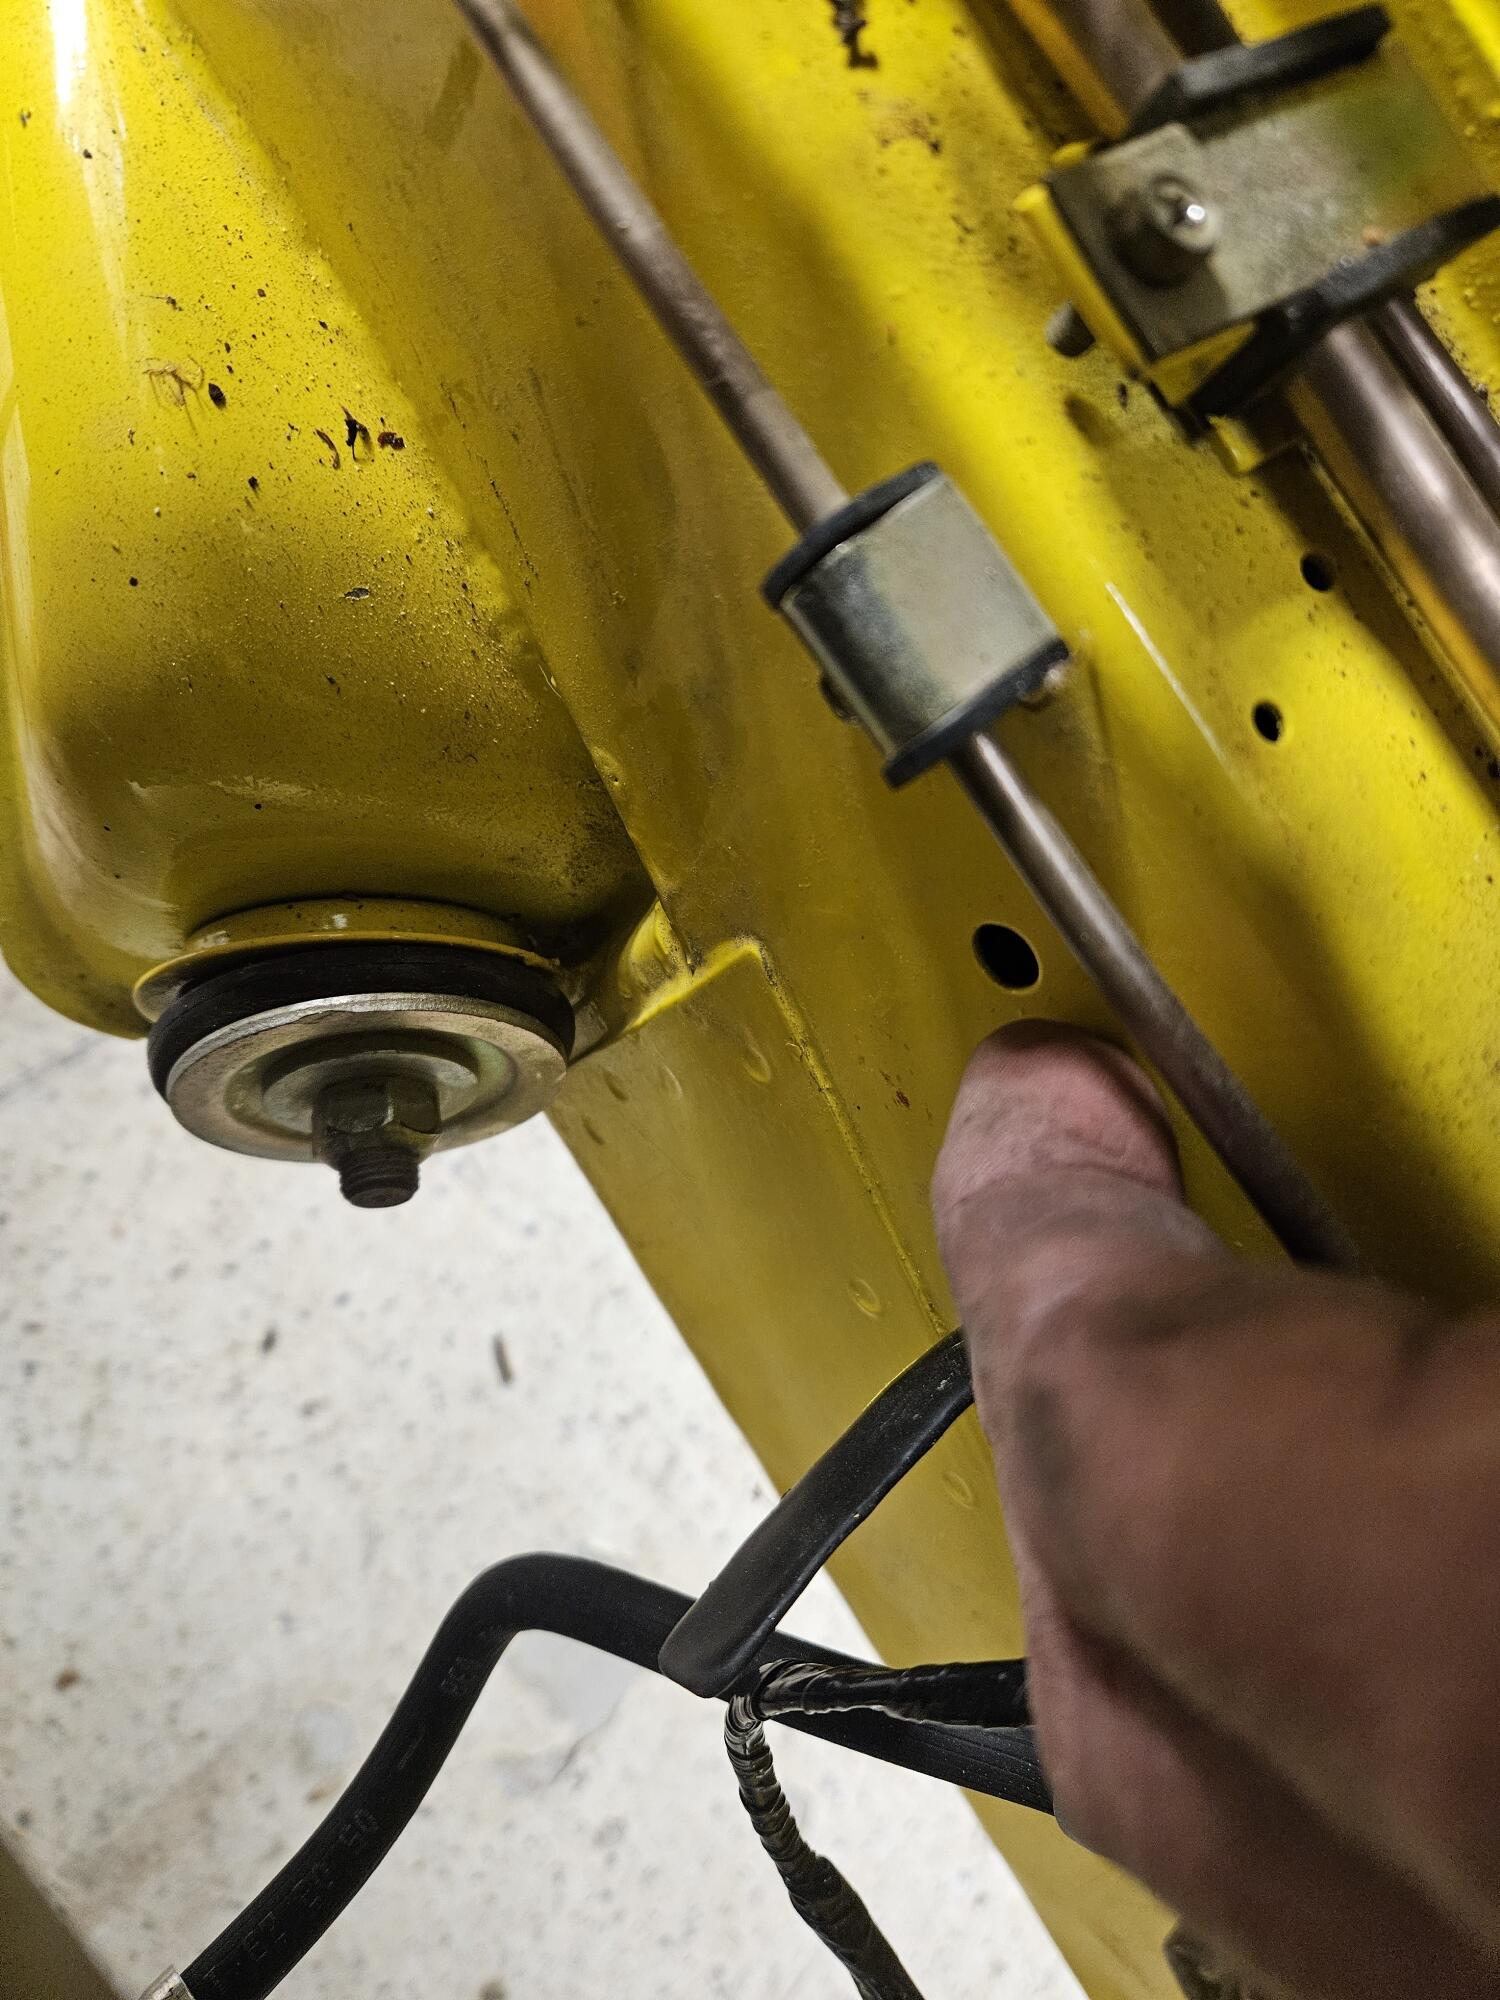
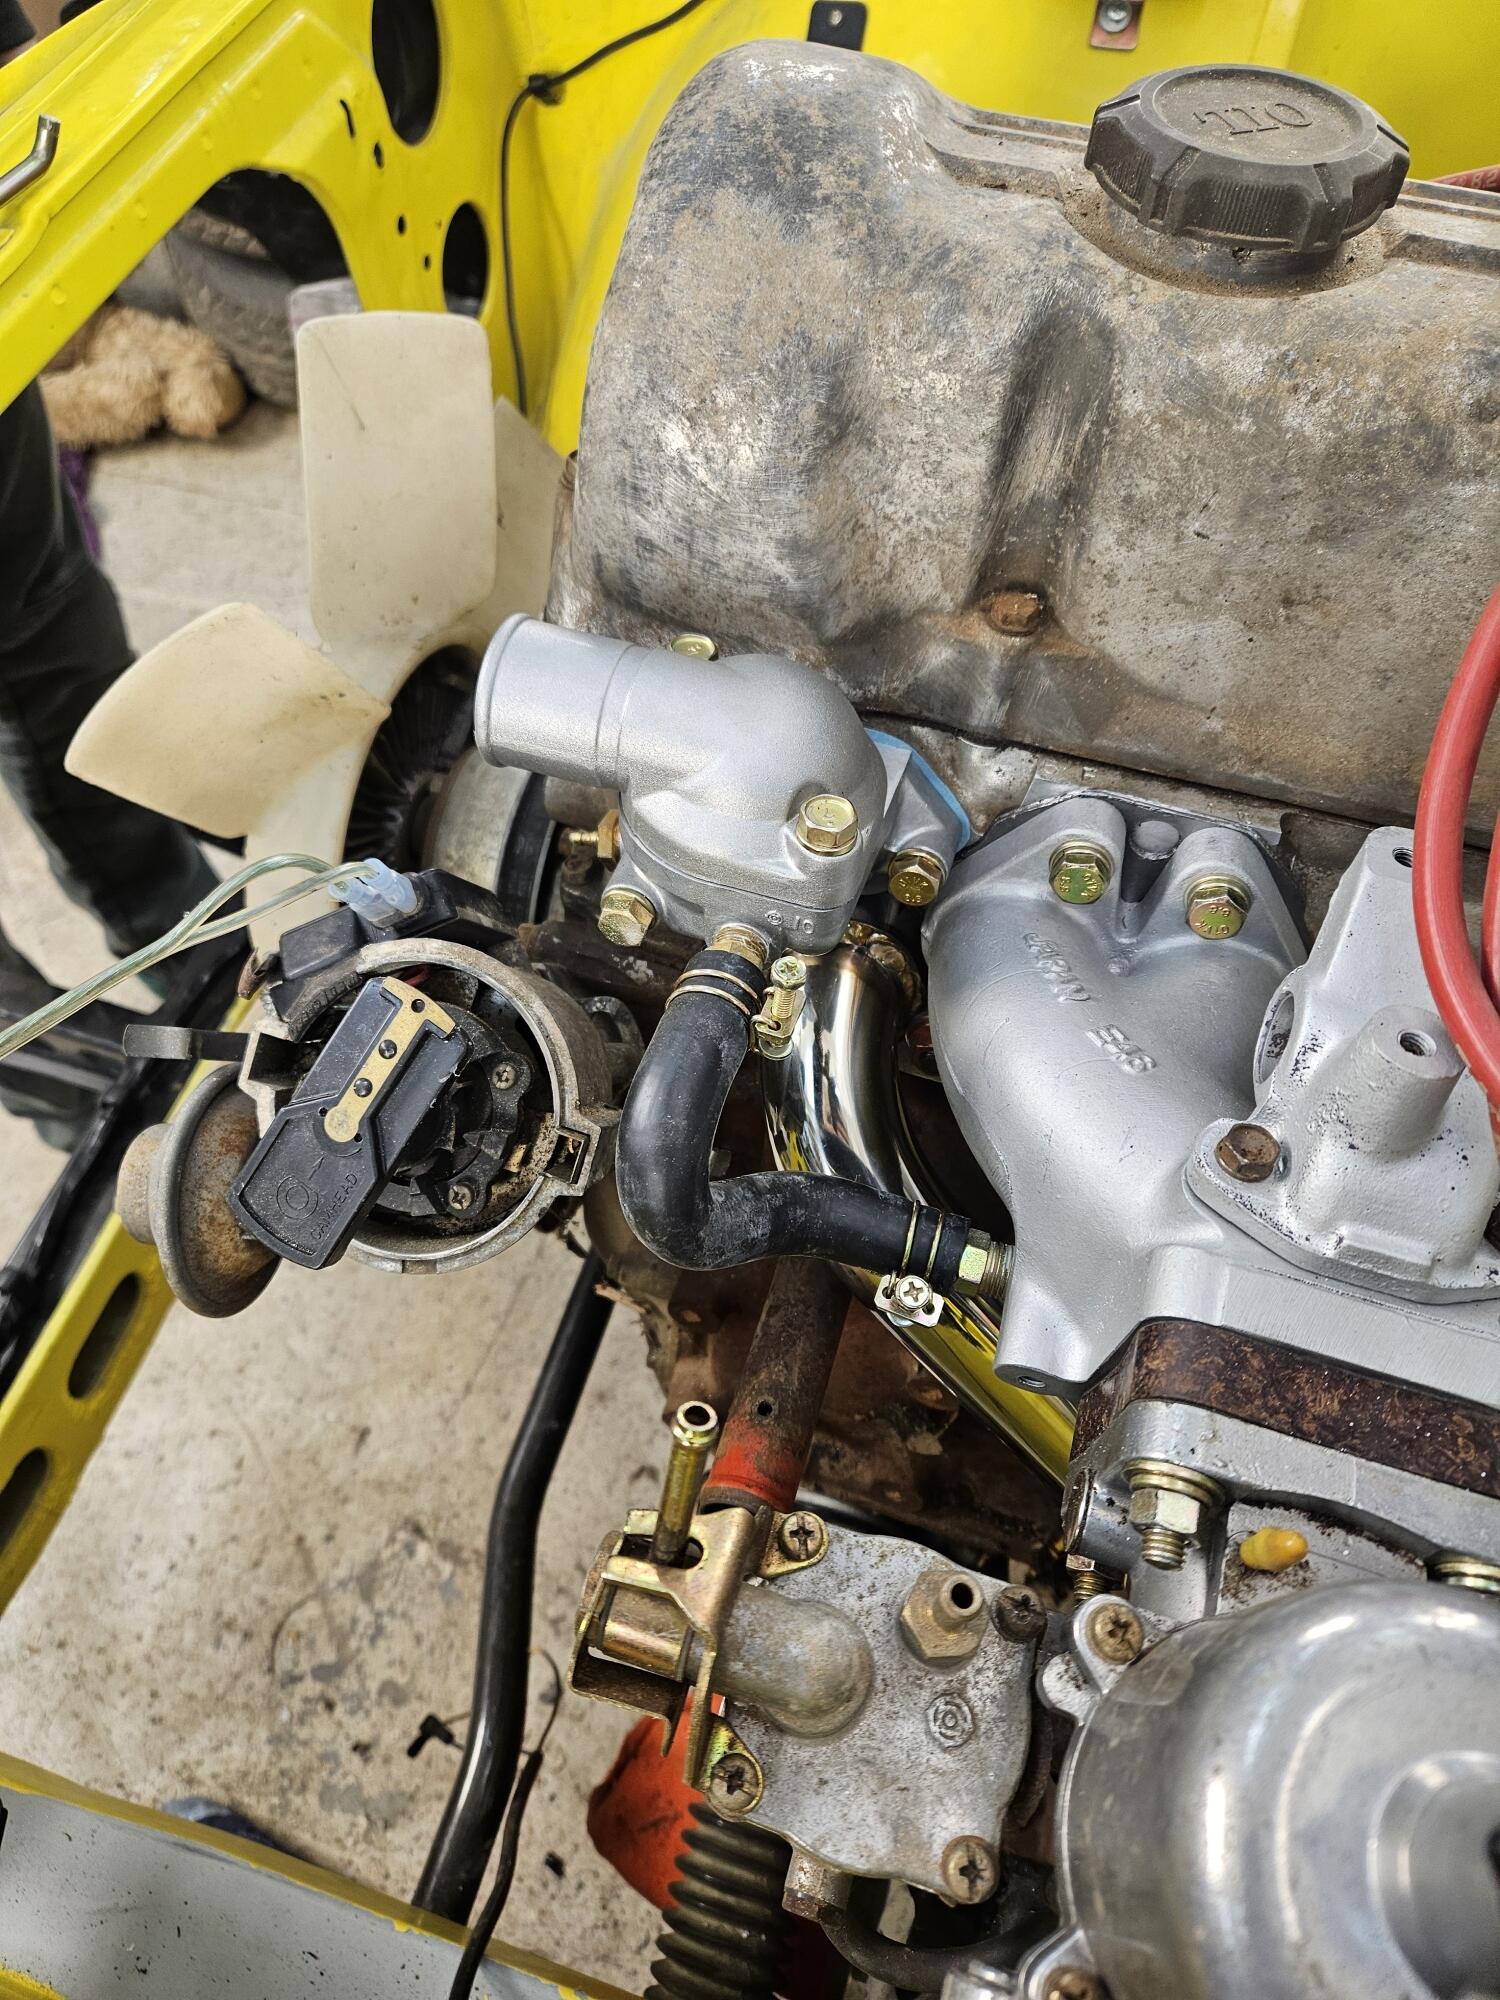
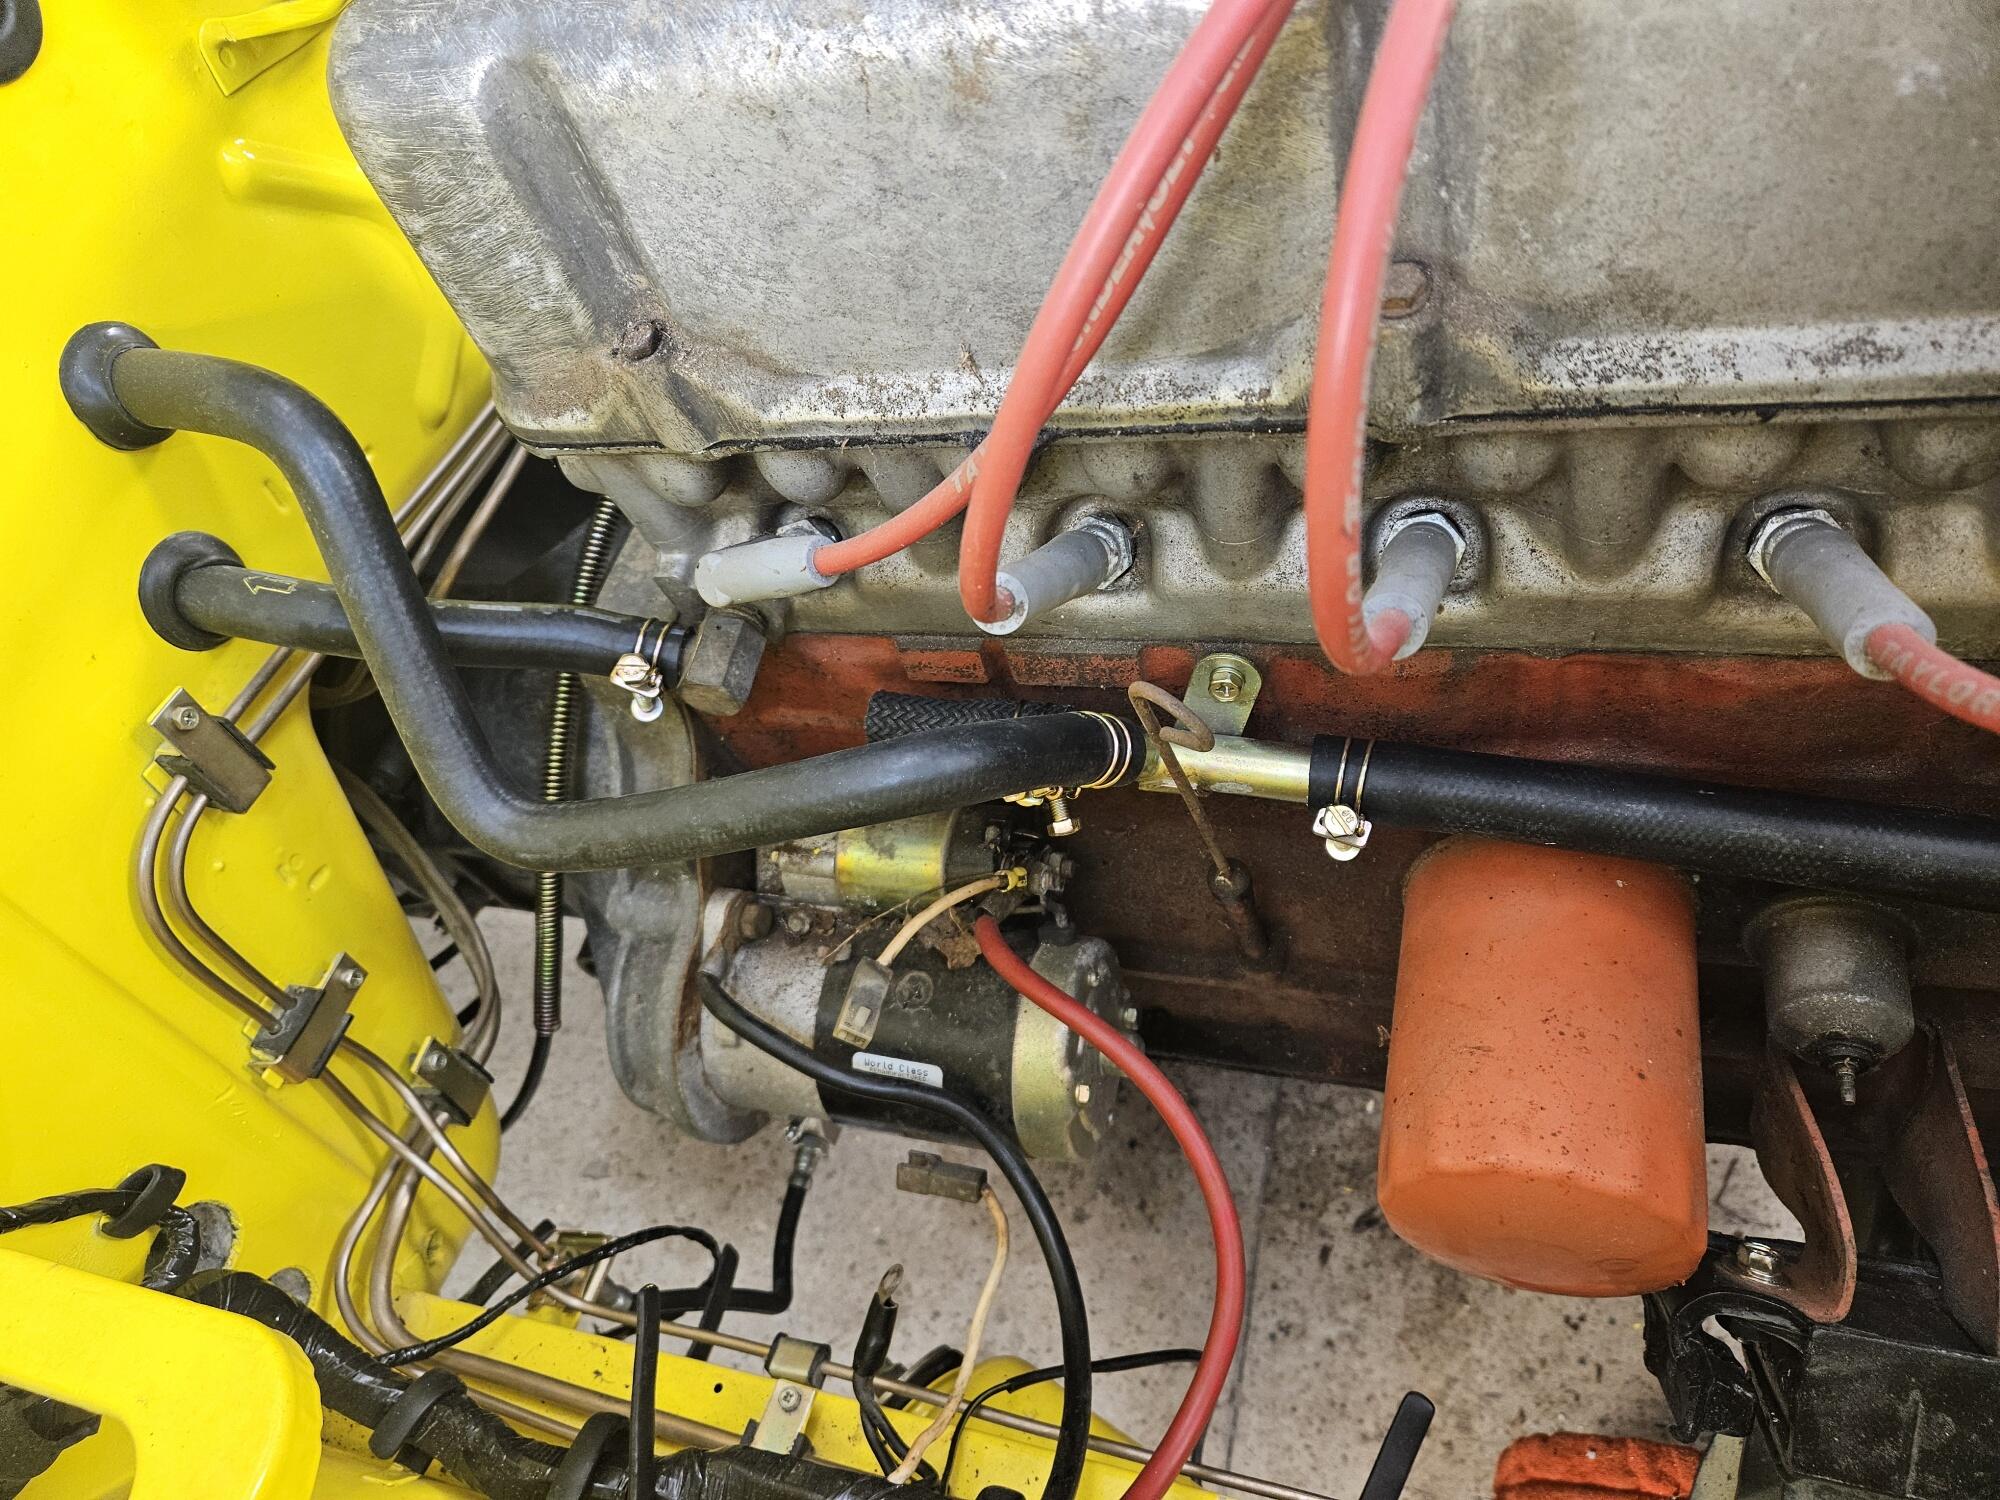
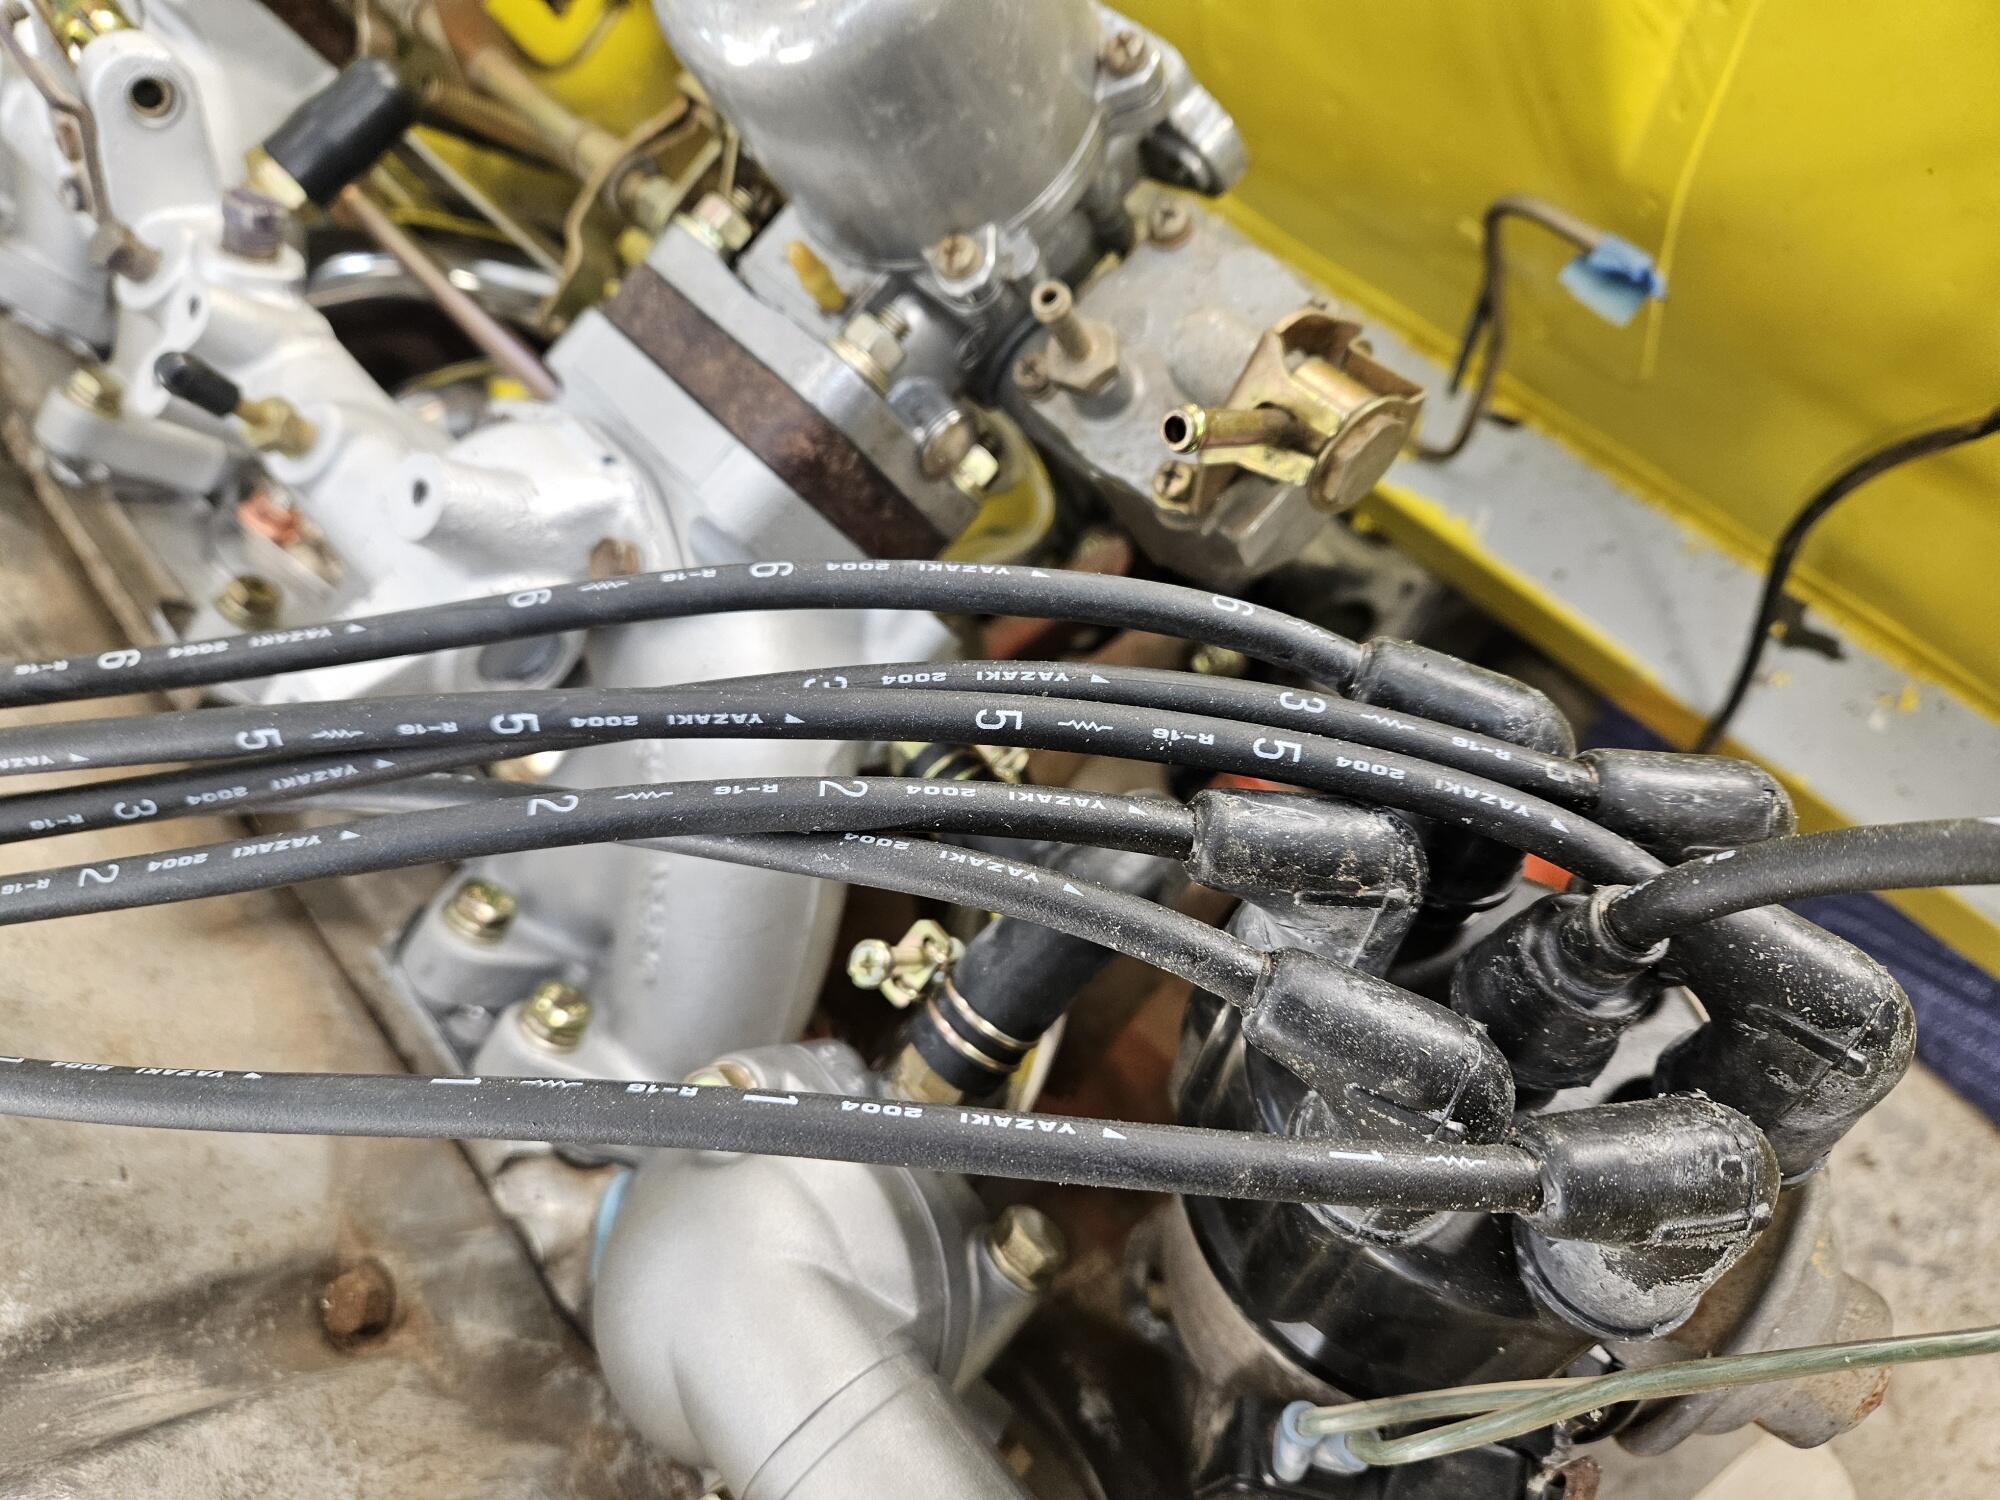
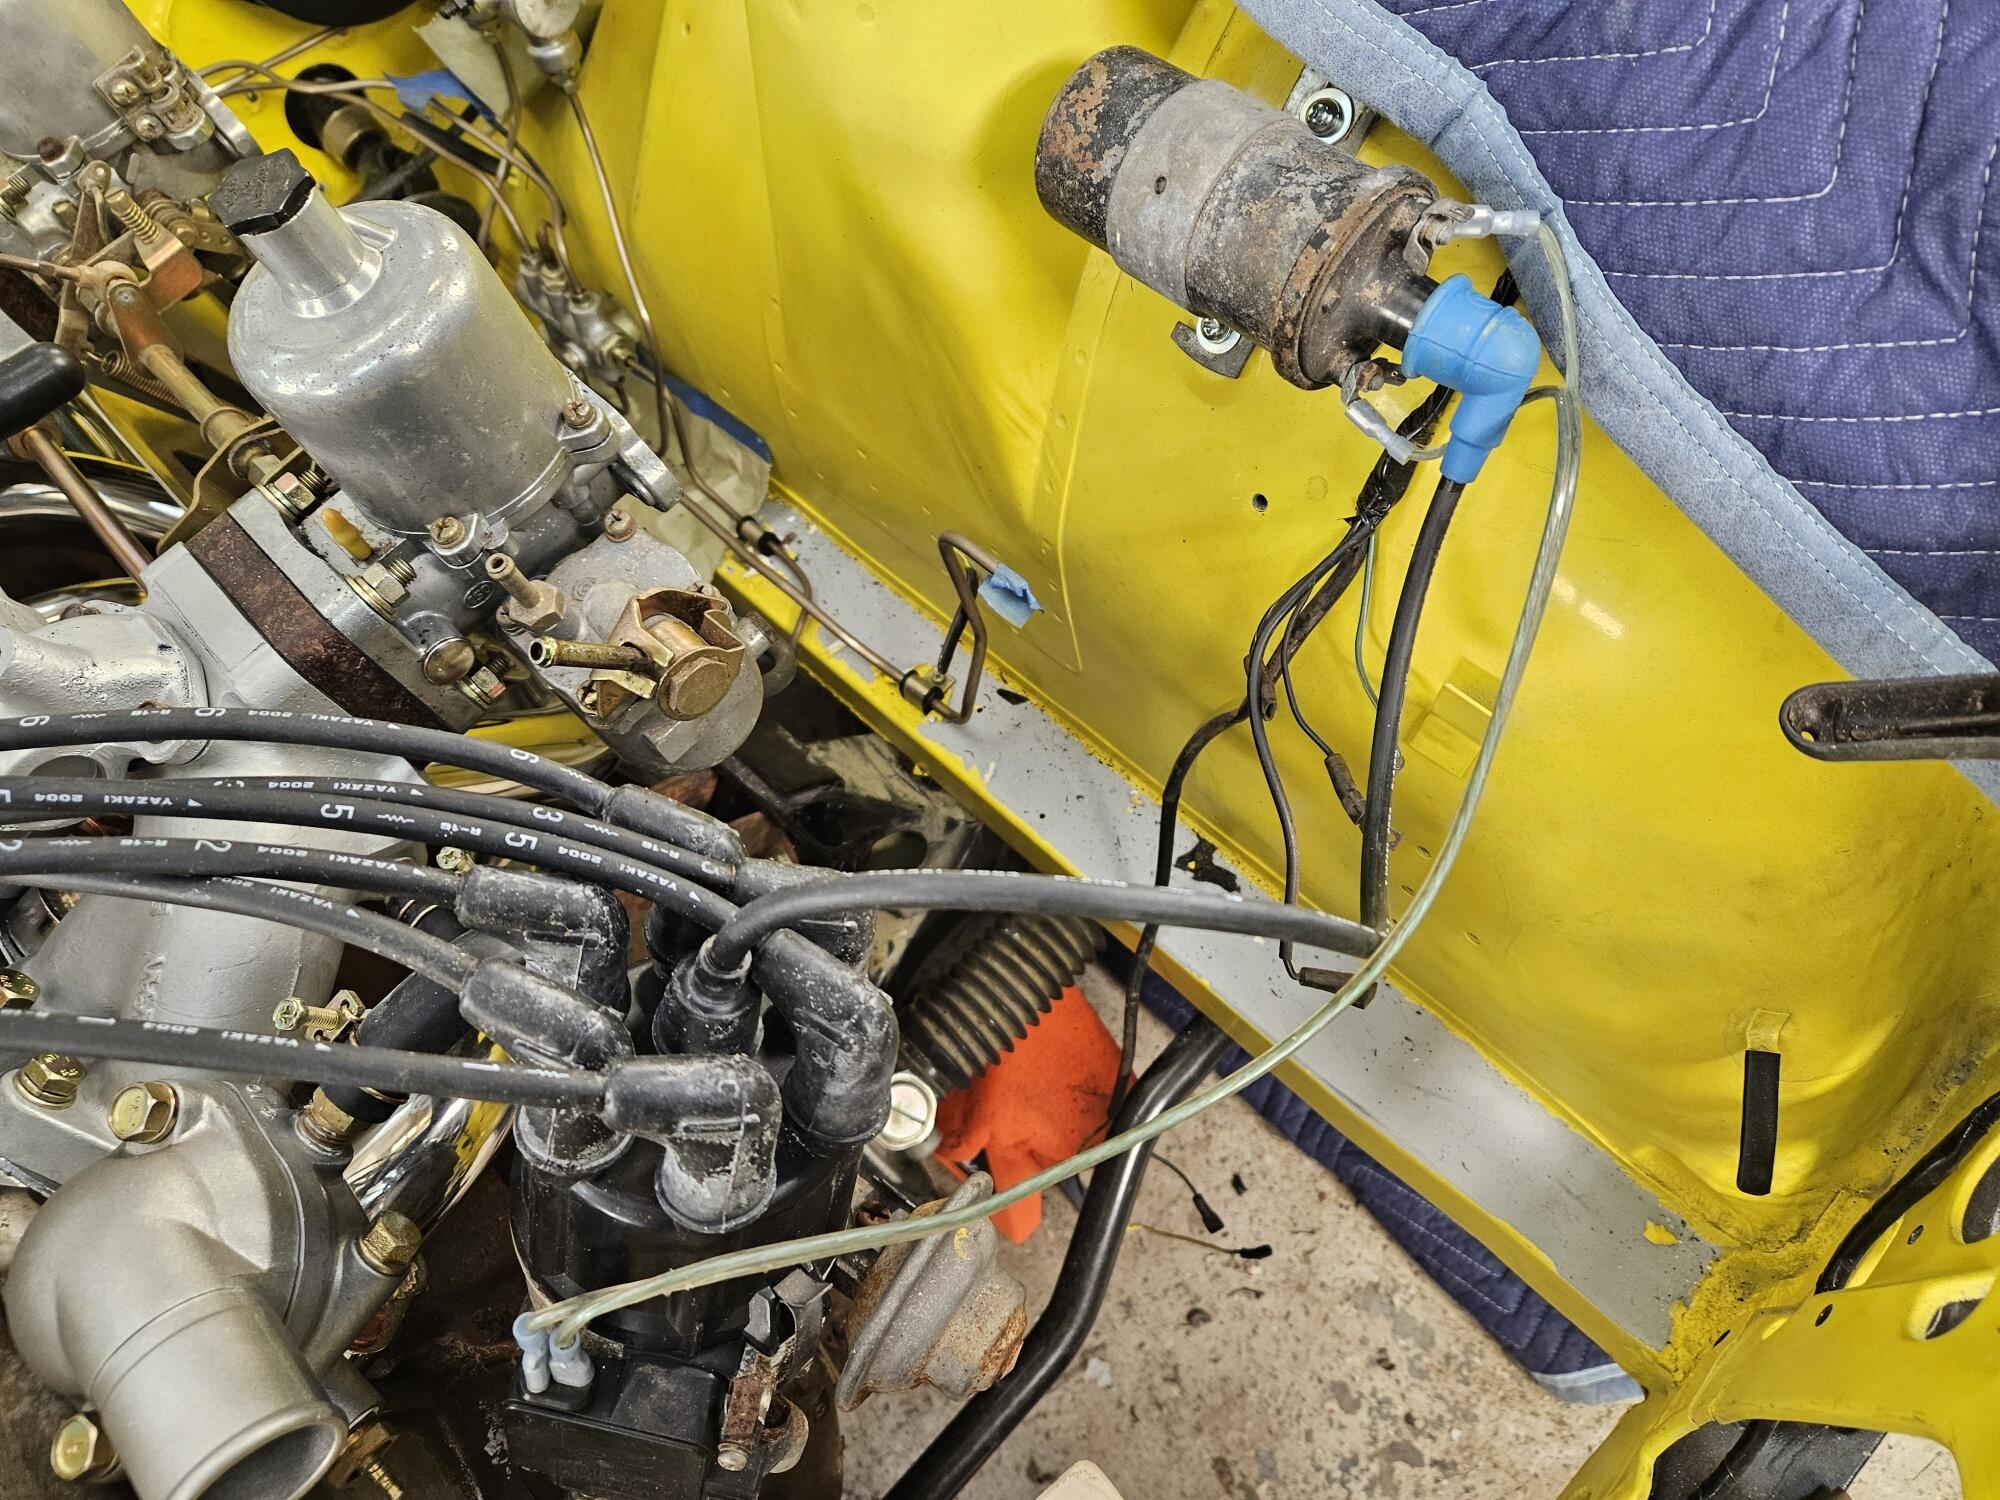
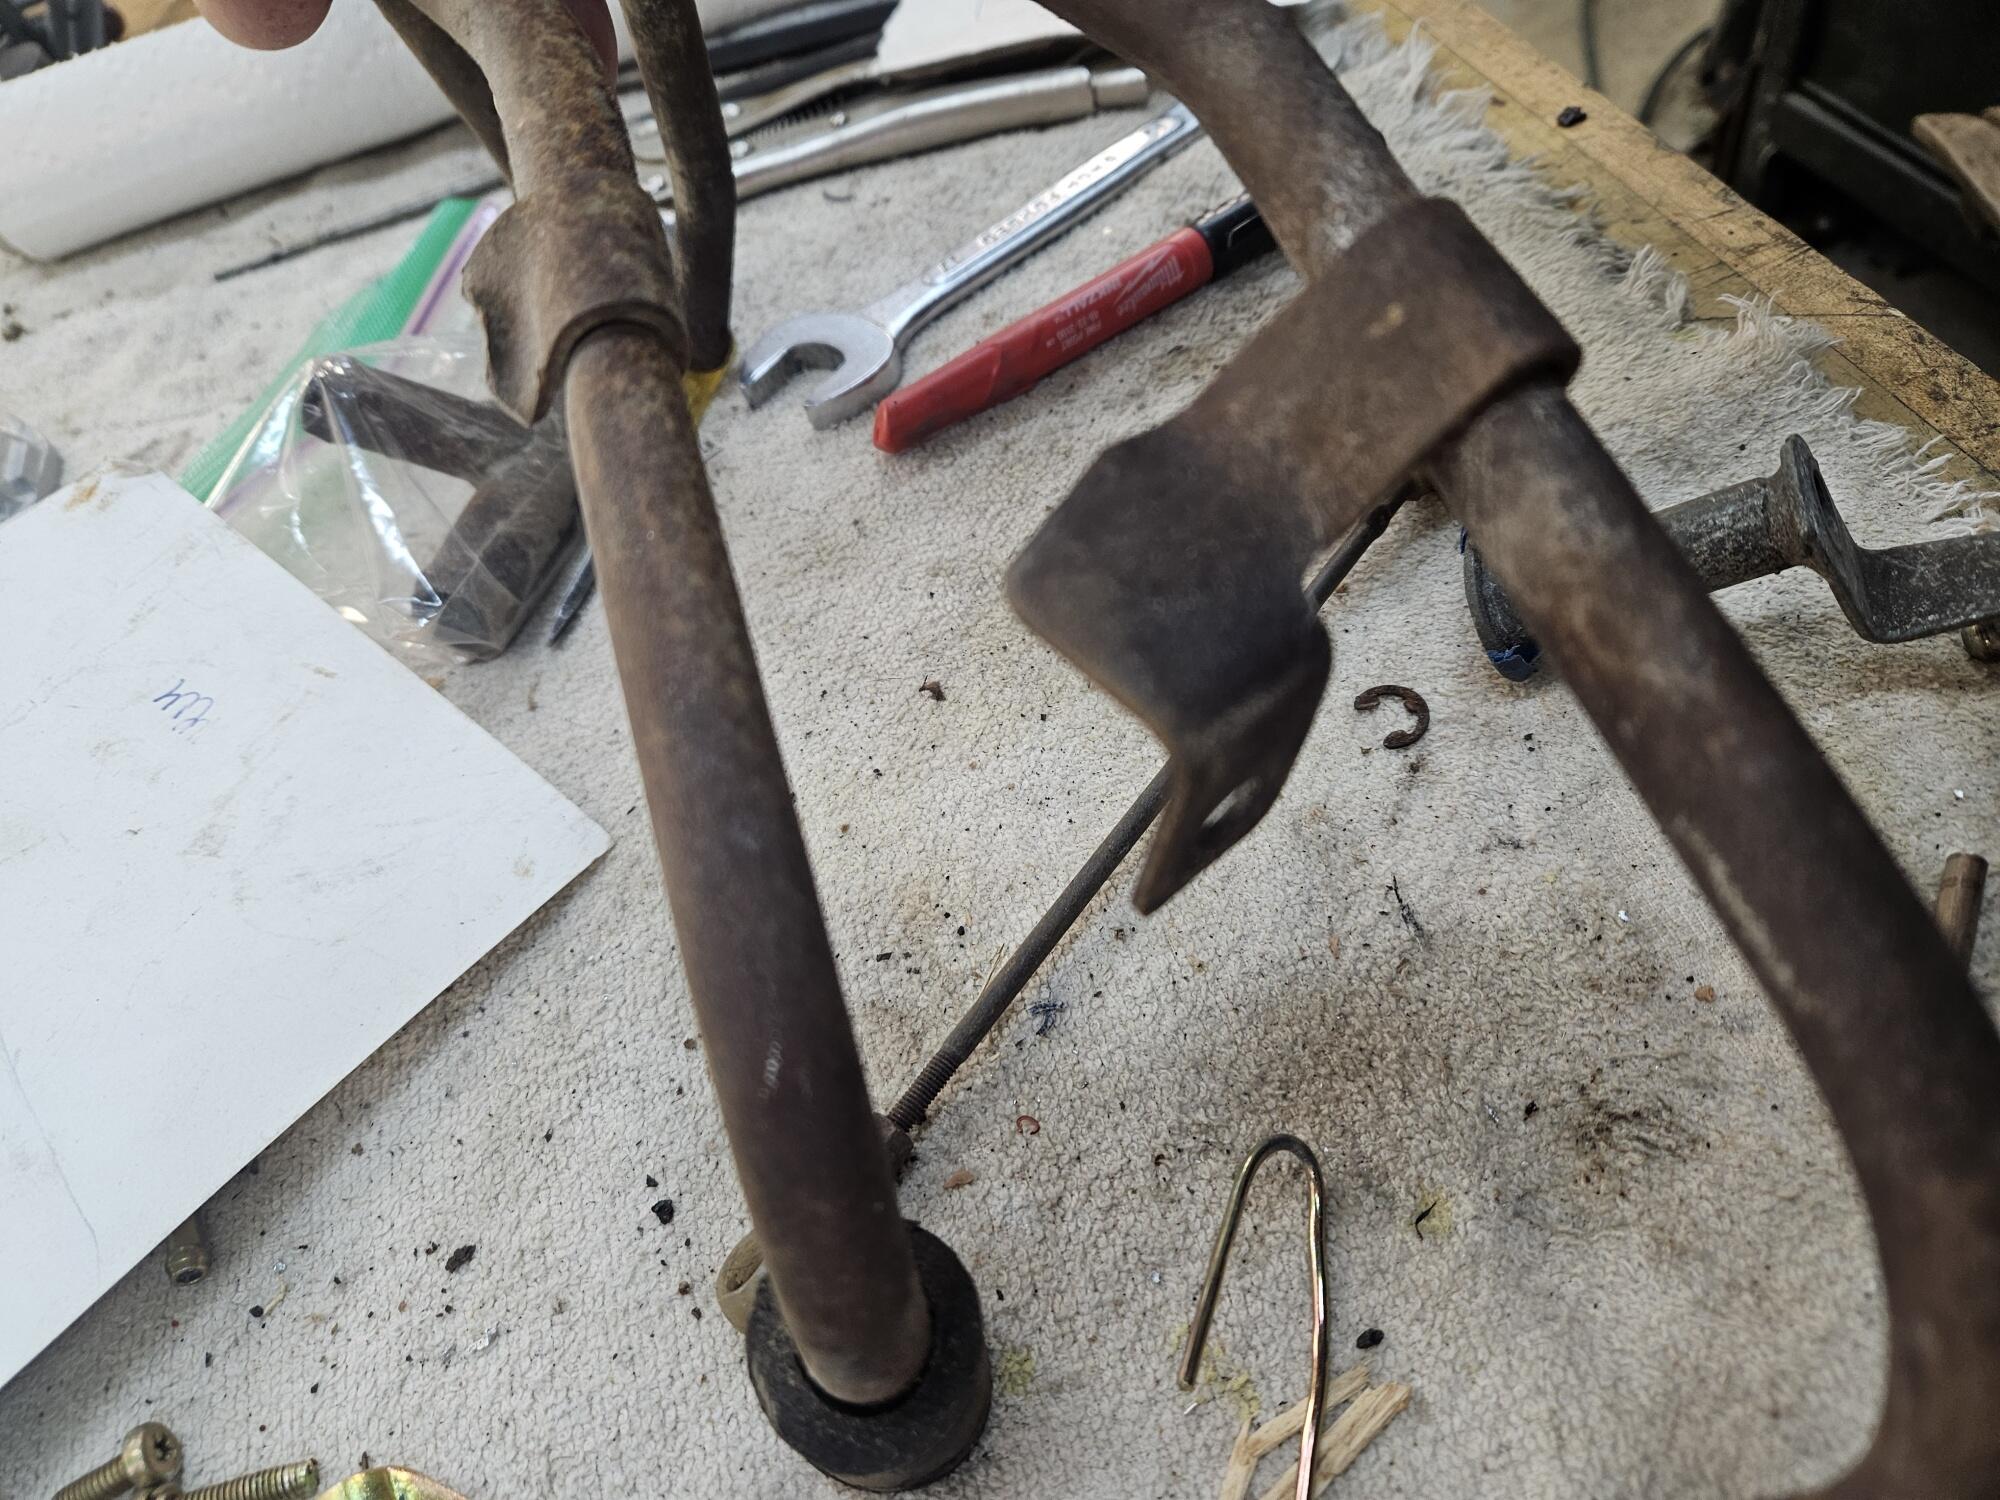
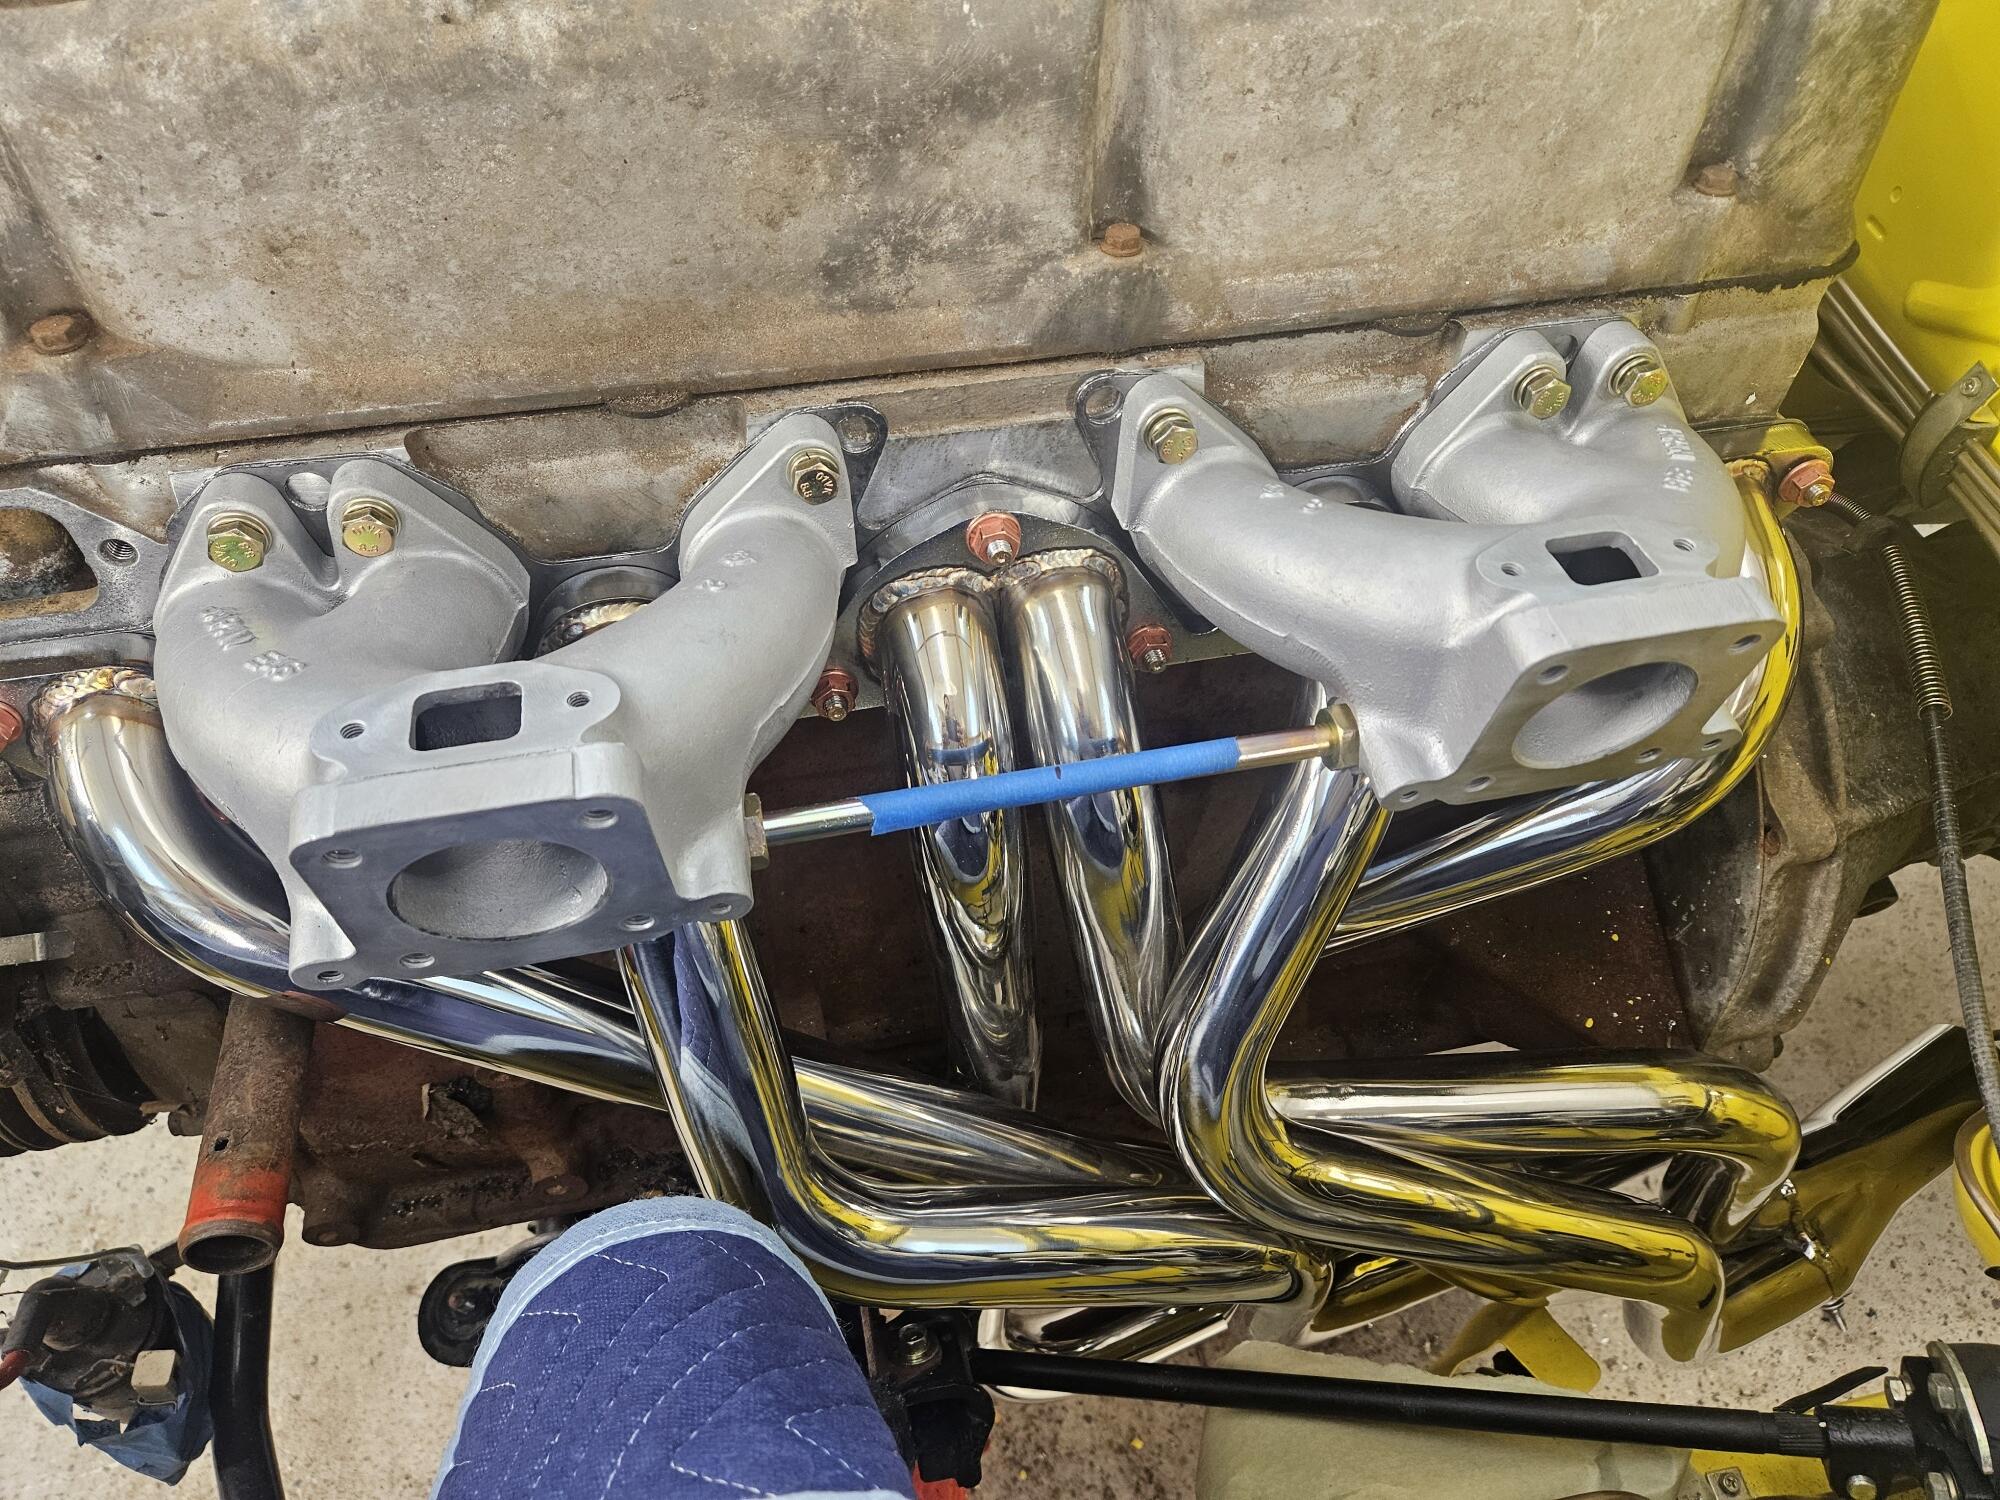
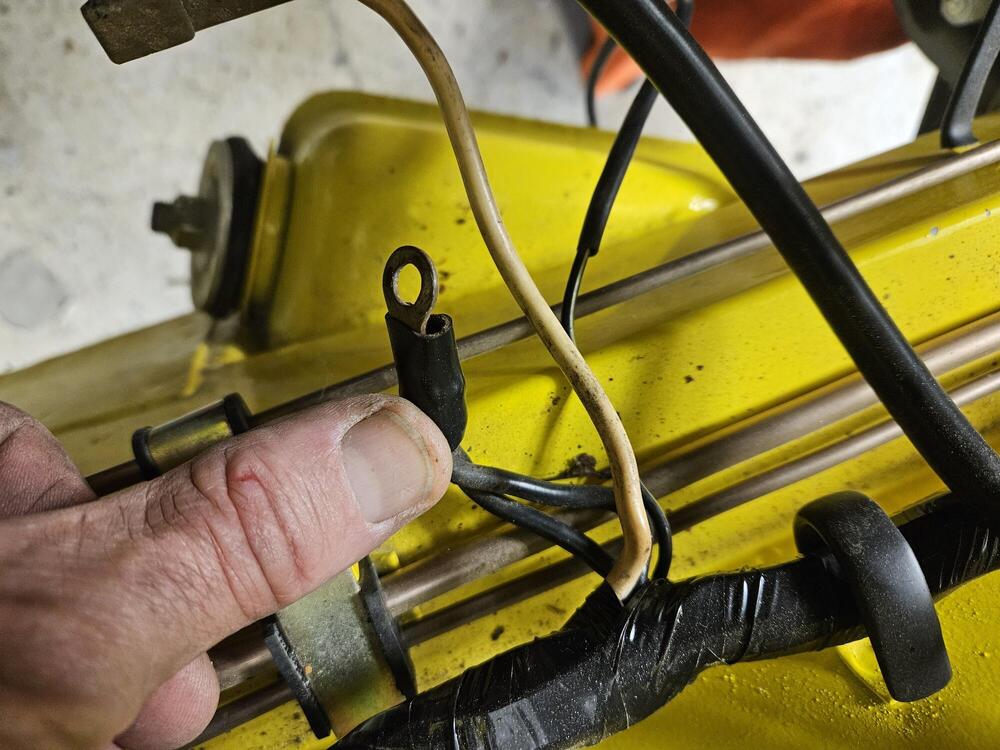
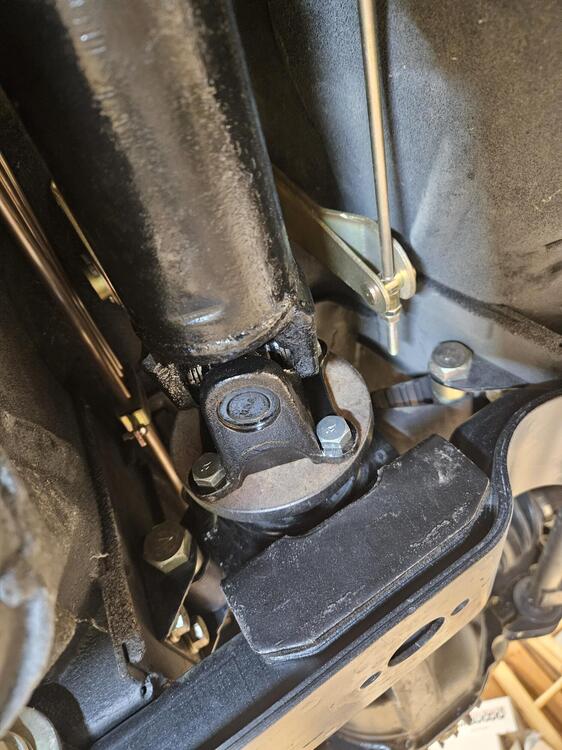
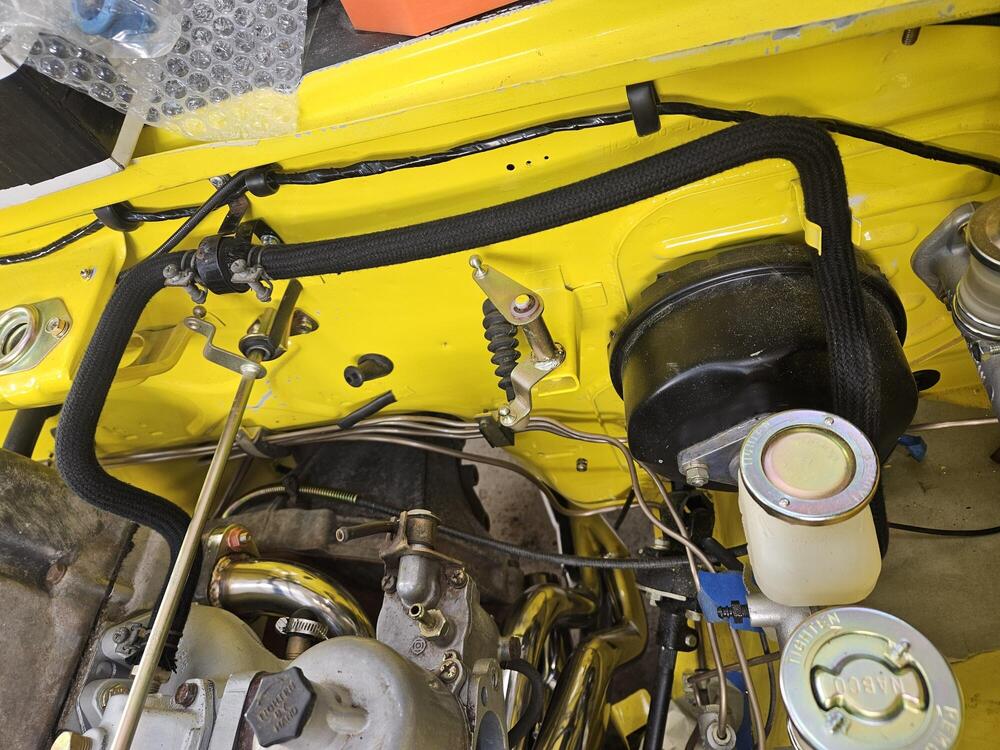
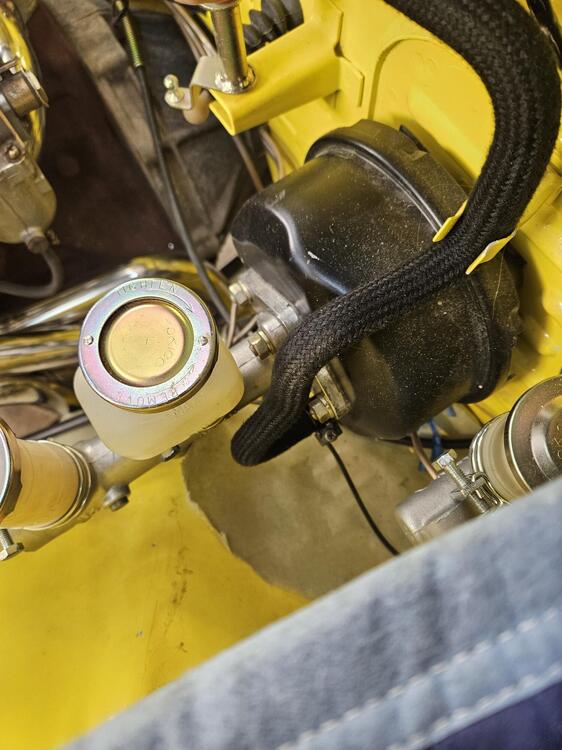
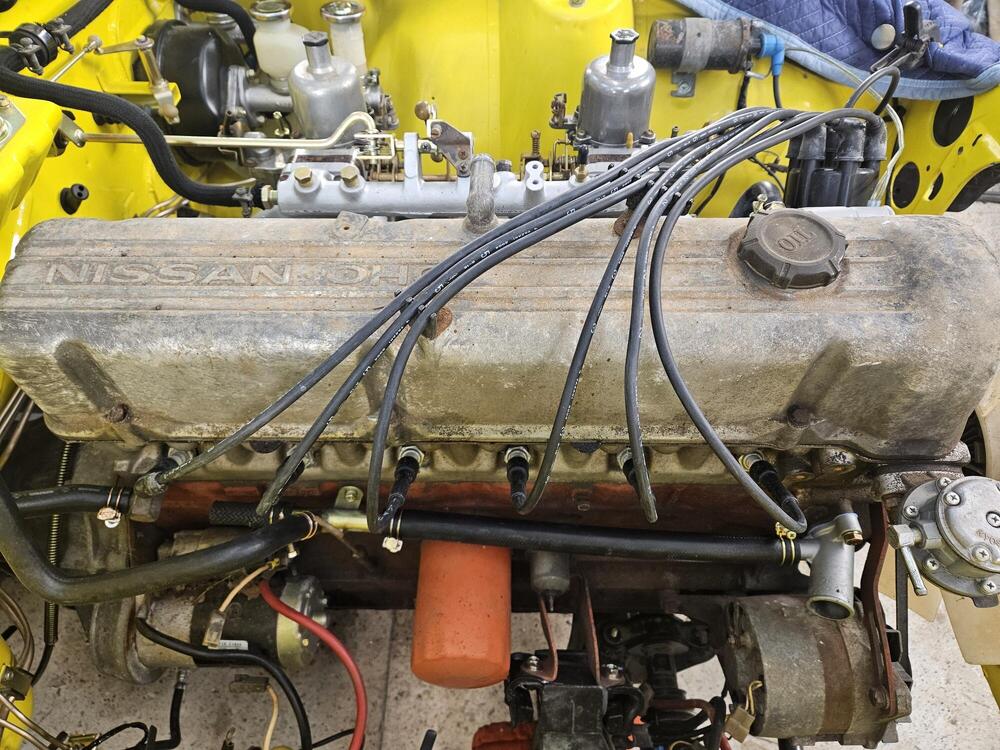
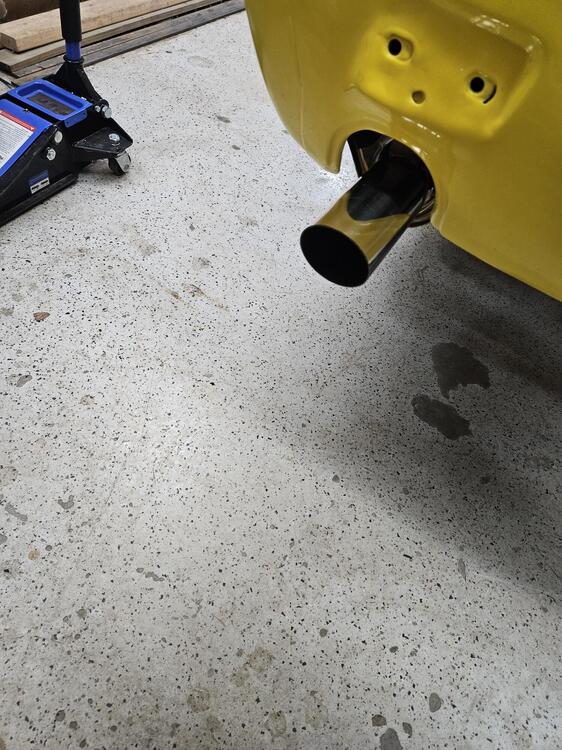
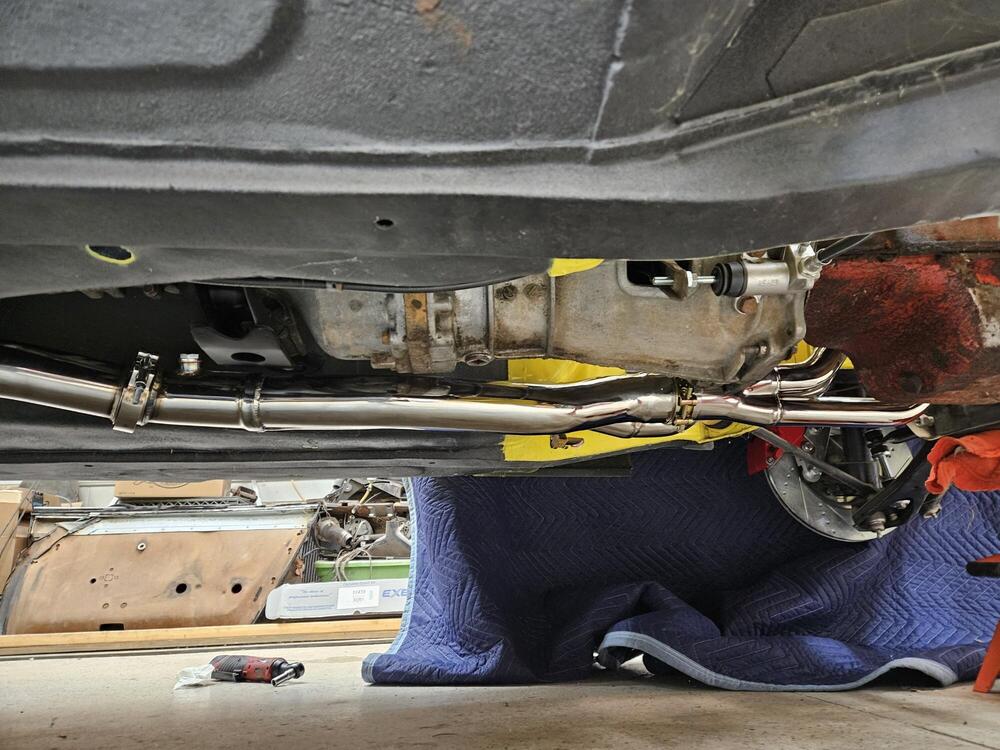
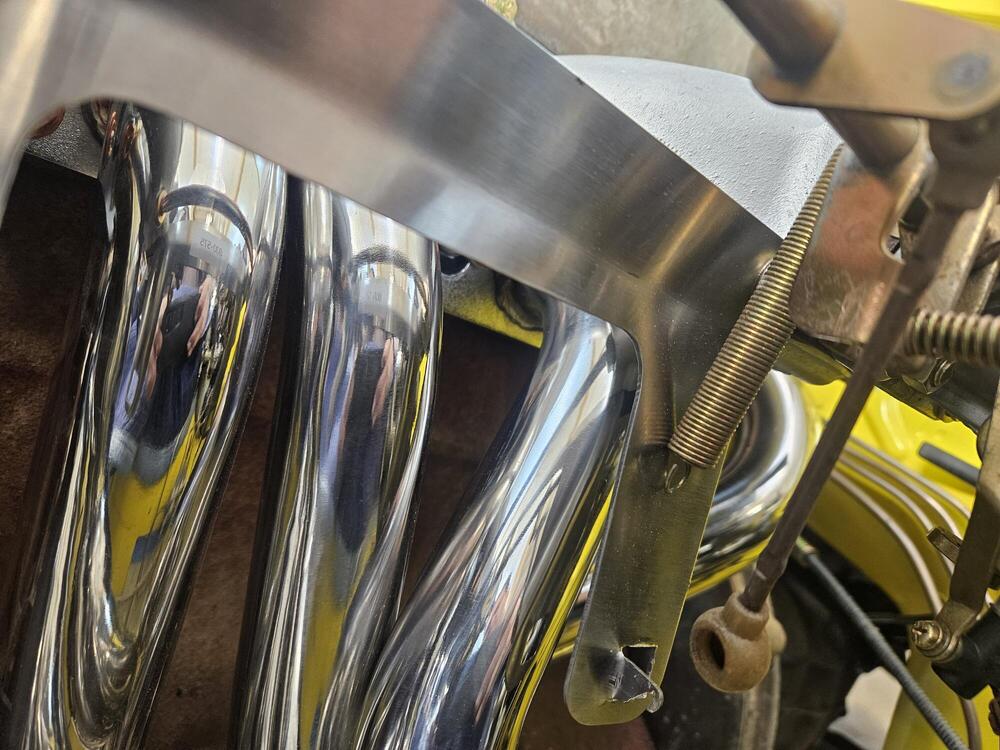
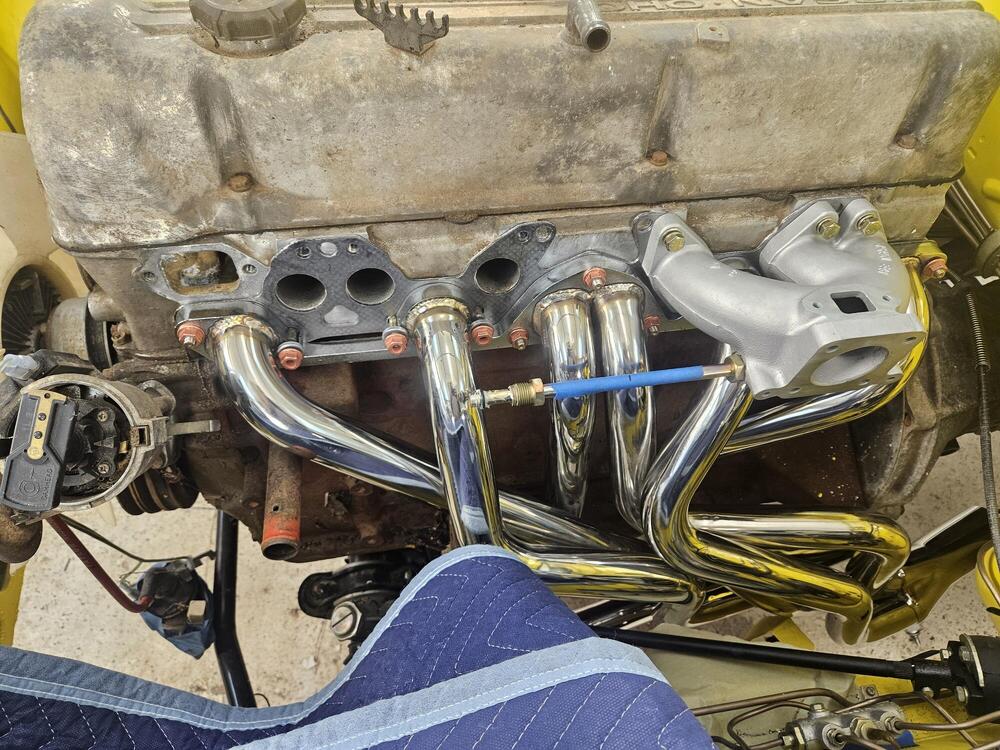
Today my daughter helped me in the shop. We made some good progress. I got the driveshaft in and mated up to the R200 with the Zcardepot flange Brake booster lines and check valve installed Water necks and thermostat housing installed Heater hoses hooked up I replaced the red plug wires with a set of factory wires. They are absolutely beautiful!! Also got Sean's exhaust hung under the car. It needs a few details to finish I assume this ground is supposed to attach to the frame rail here?? Not too far from being ready for some coolant, fuel and a start up


-
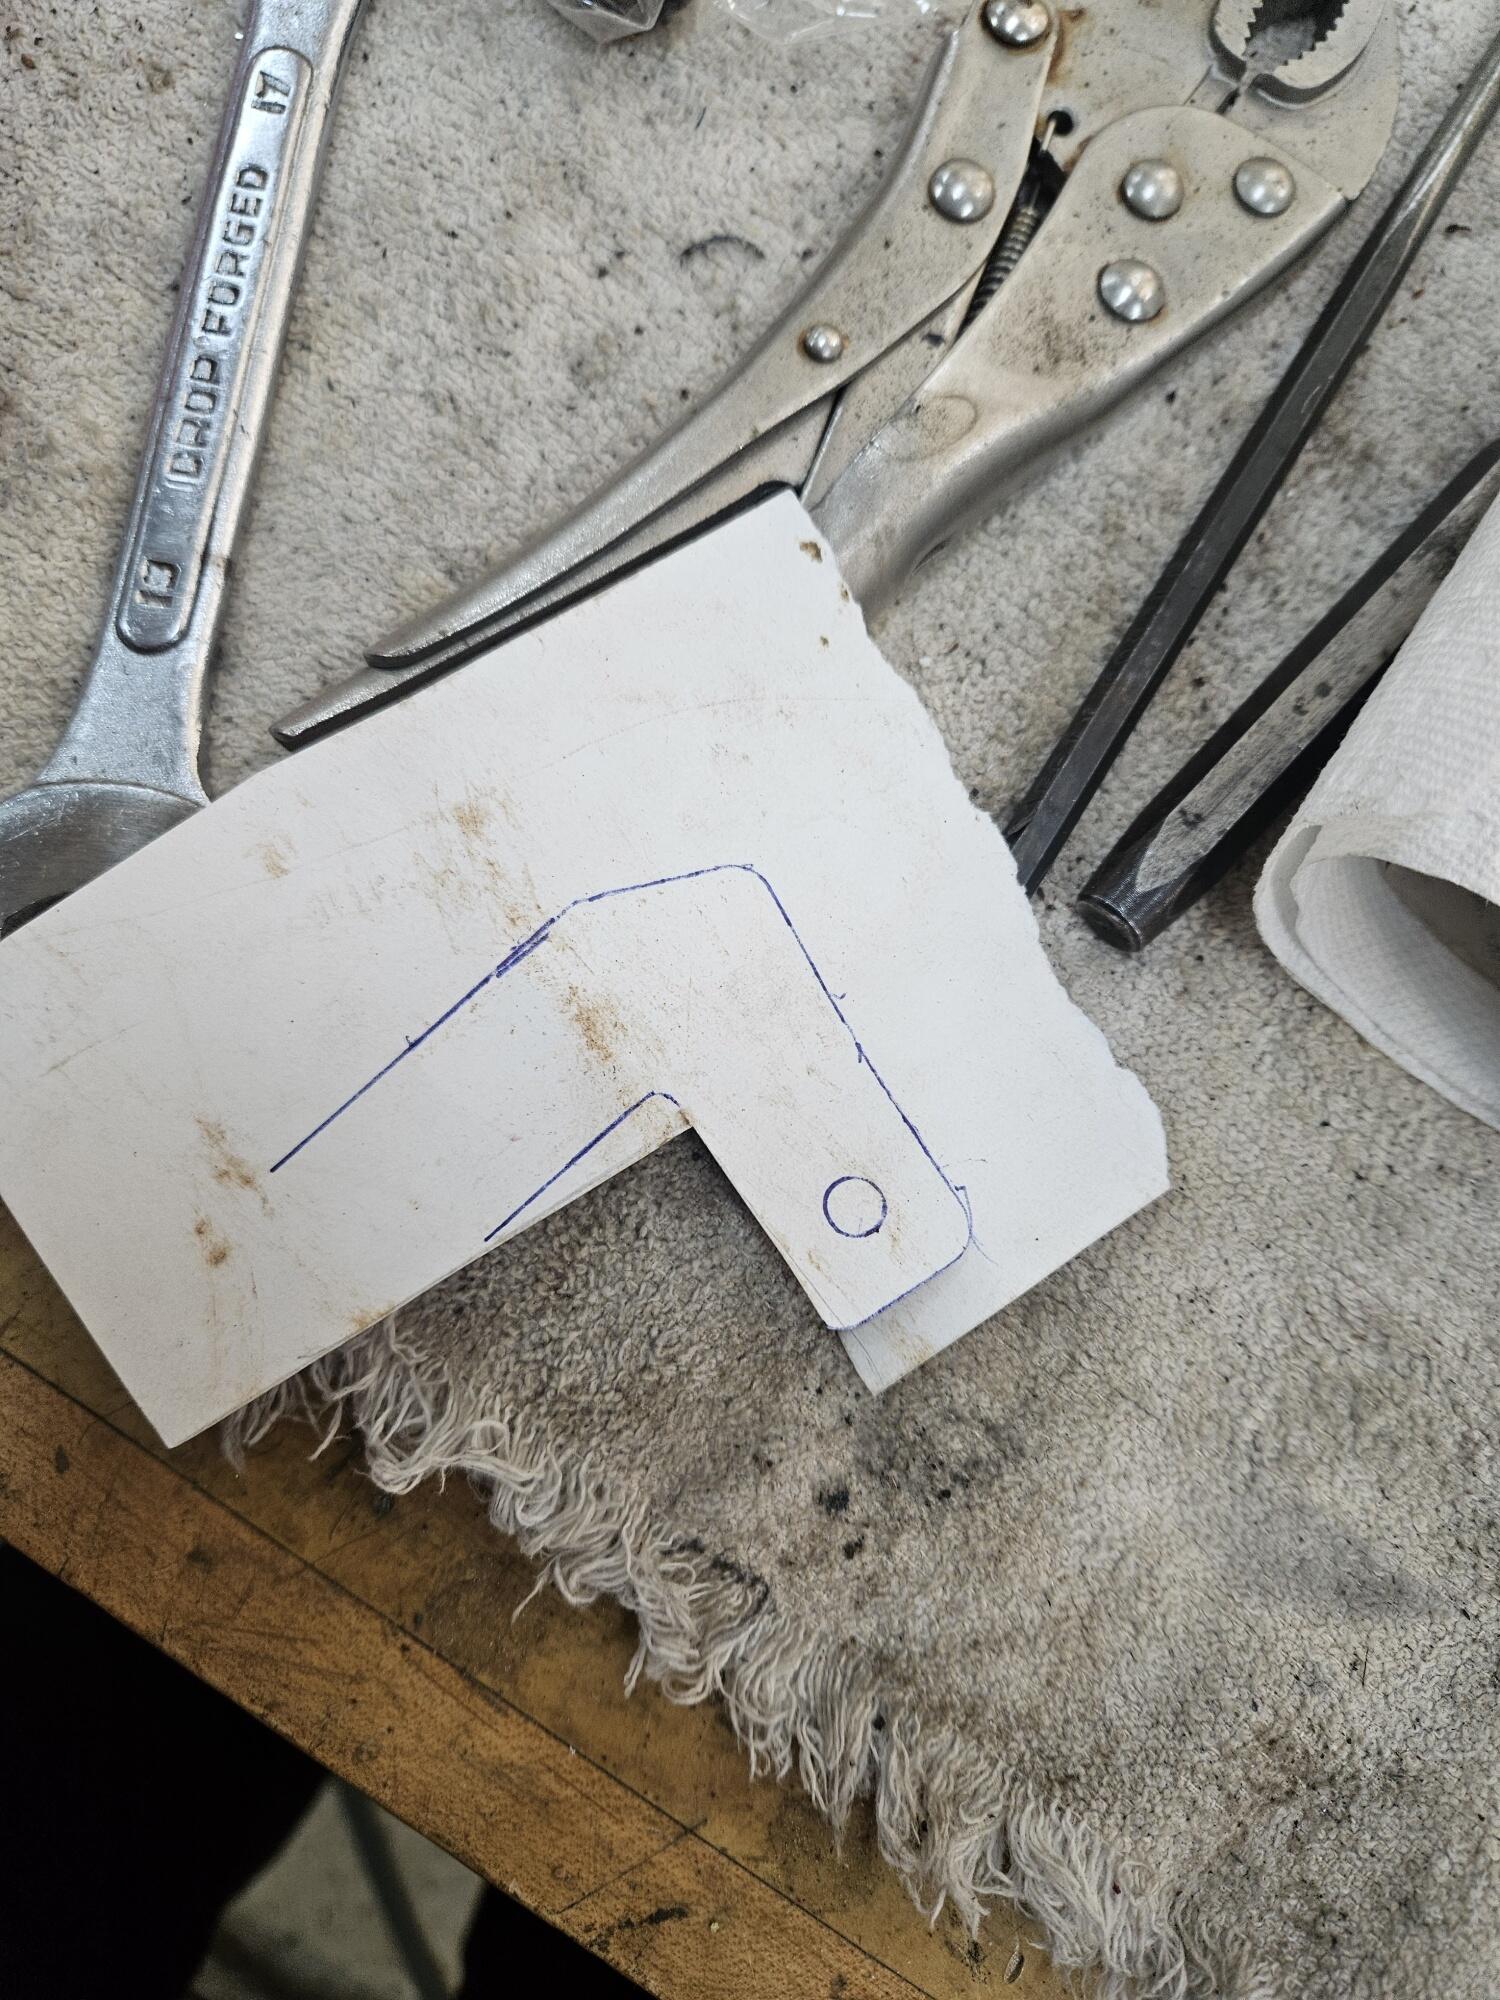
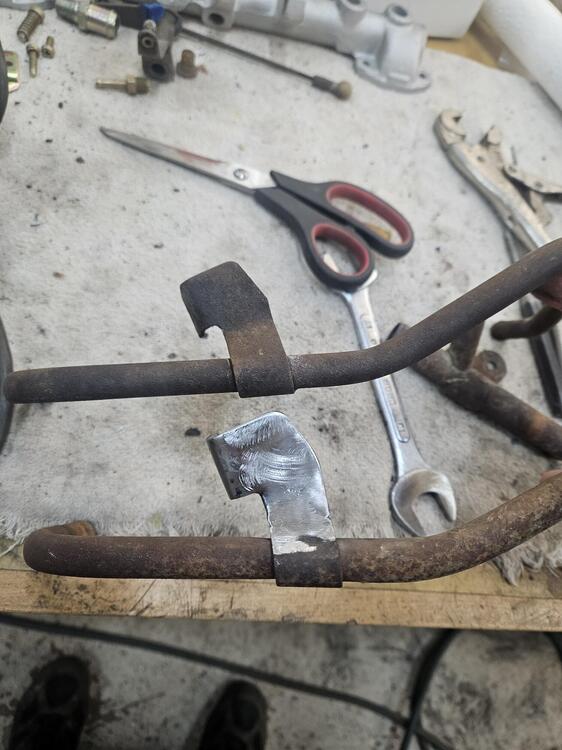
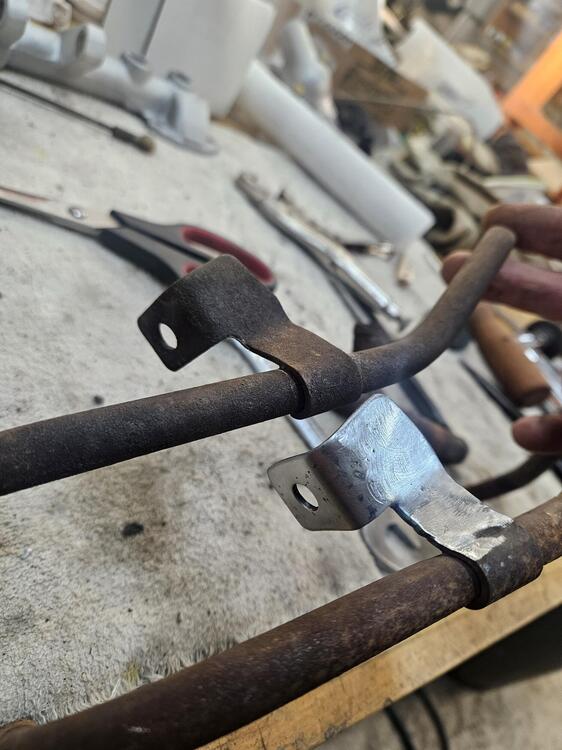
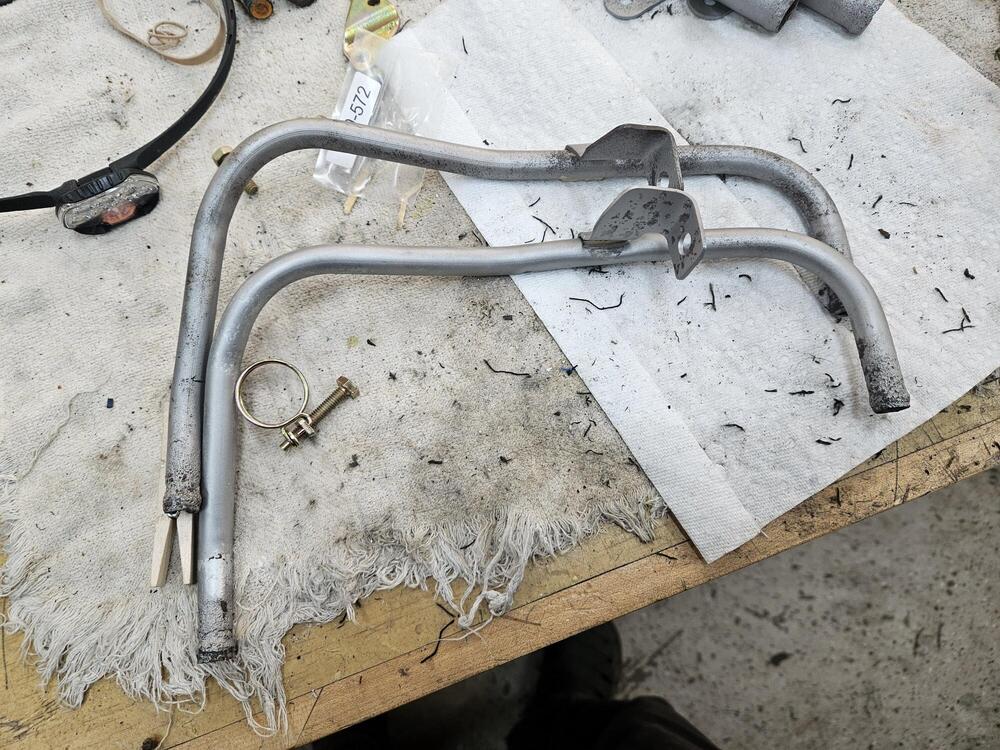
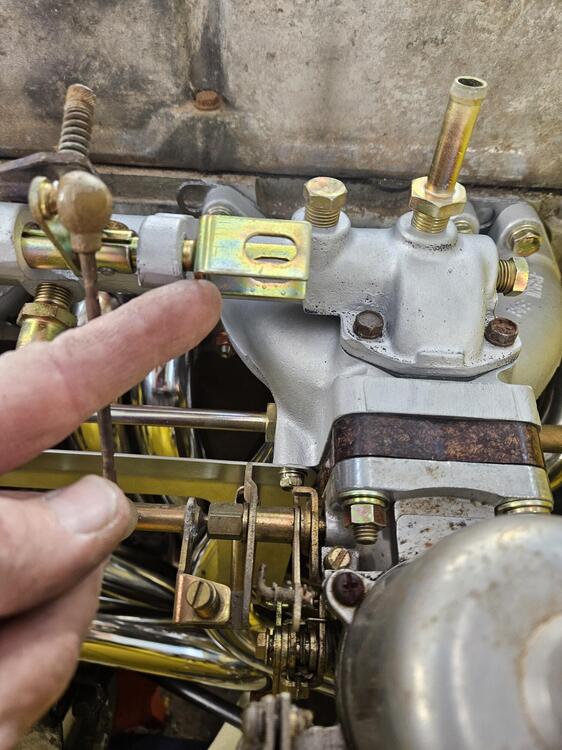
Last weekend I worked on the carb heater tubes. I have one with a decent bracket but it's got a hole in it. I have another that has a damaged bracket. So I worked on fixing the bracket. Made a template and then cut it out and dressed it. I'm going to try to plate them but I'm not sure I can get a good plate on them. It's a shame there are no reproduction sources available


-
South carolina allows YOM plates but you have to know what letter it needs to start with. Not any plate of the same year will do. The YOM plate is used instead of the regular state license plate. We have YOM plates for Cody's goon.
-
37 Zs! Now I can tell my wife I don't really have that many!! 🤣 I bought my first car, a black 240z in 1986 at 17 y.o. too!
-
It can take a good bit of heat. Your hood up to about 1000d F after about 1200 you get aluminum puddles A good electric heat gun. Chuck it up in a vise pointing upward. Add some wd40 and heat it up. I use an IR gun to monitor heat
-
Have you tried heat and penetrating oil? I have found if I heat it to 350f or so and put some oil down it, I can push down on the pushrod with a punch to get it loosened up. Then it will tap right out. The aluminum grows faster than the steel pistons. Rebuild kits is another matter...
-
What areas needed modification?
-
Hopefully this job will be done and off your list soon!
-
I believe this is the one I used years ago. I didn't find them to be a great fit. https://tabcoparts.com/product/16750/ Why don't you post up some pictures of your fitment issues and see if we can address that? KF has a good reputation for quality parts
-
-
I don't know what's going on but you could add to the front edge of the door if you can't come up with another solution.
-
She's gotten a lot bigger!
-
That's fun!! Gotta love cool neighbors who are car people
-
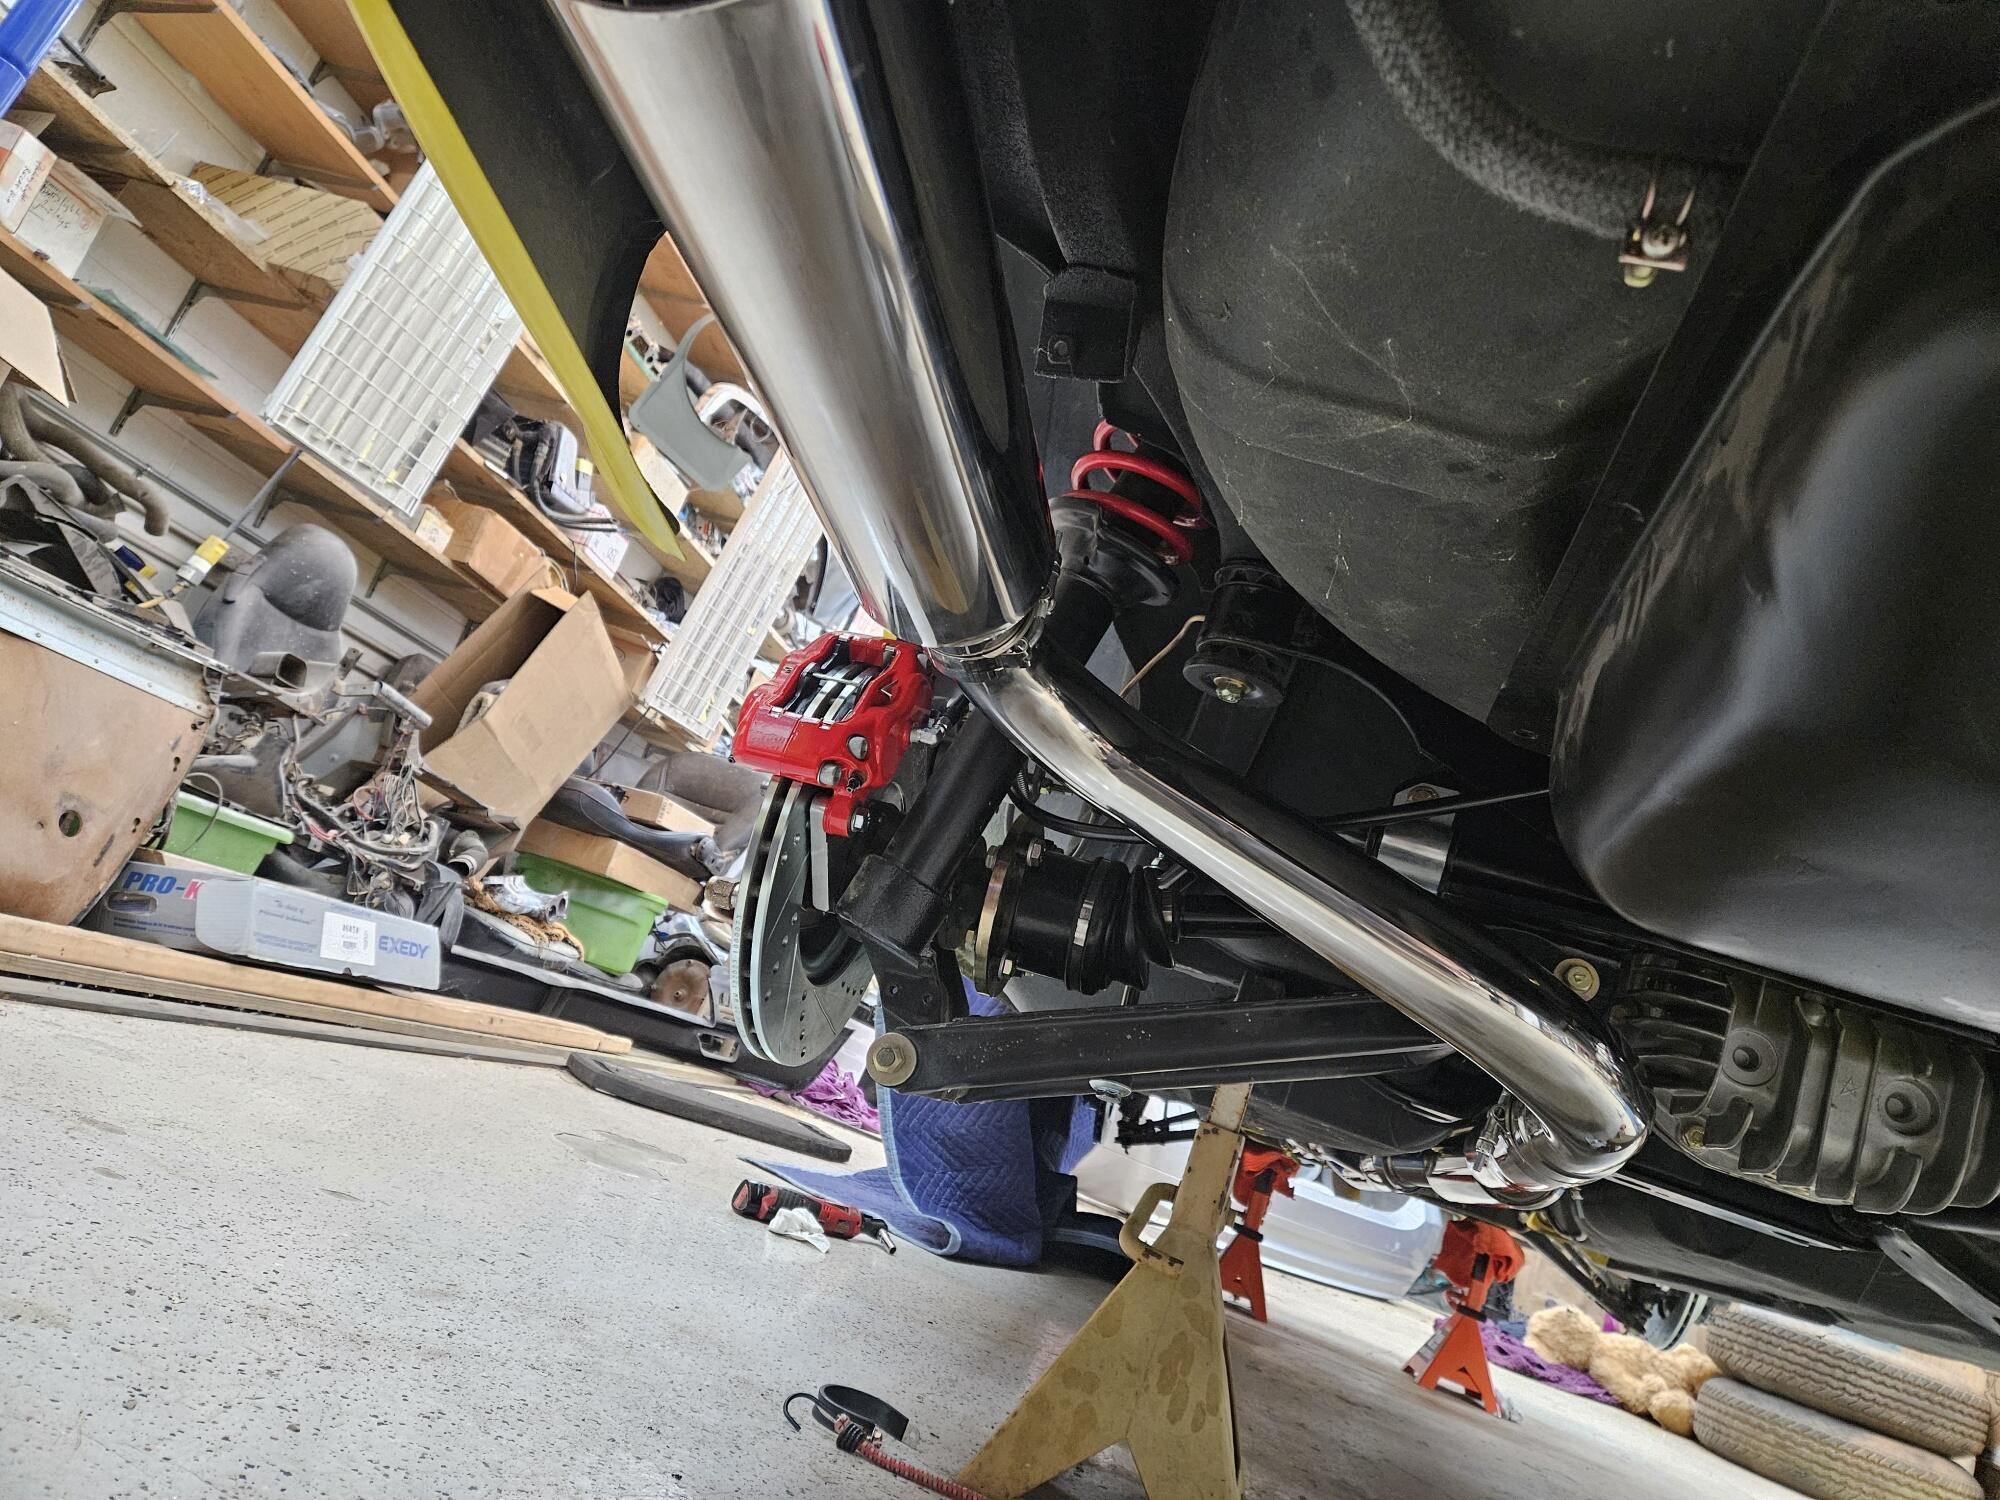
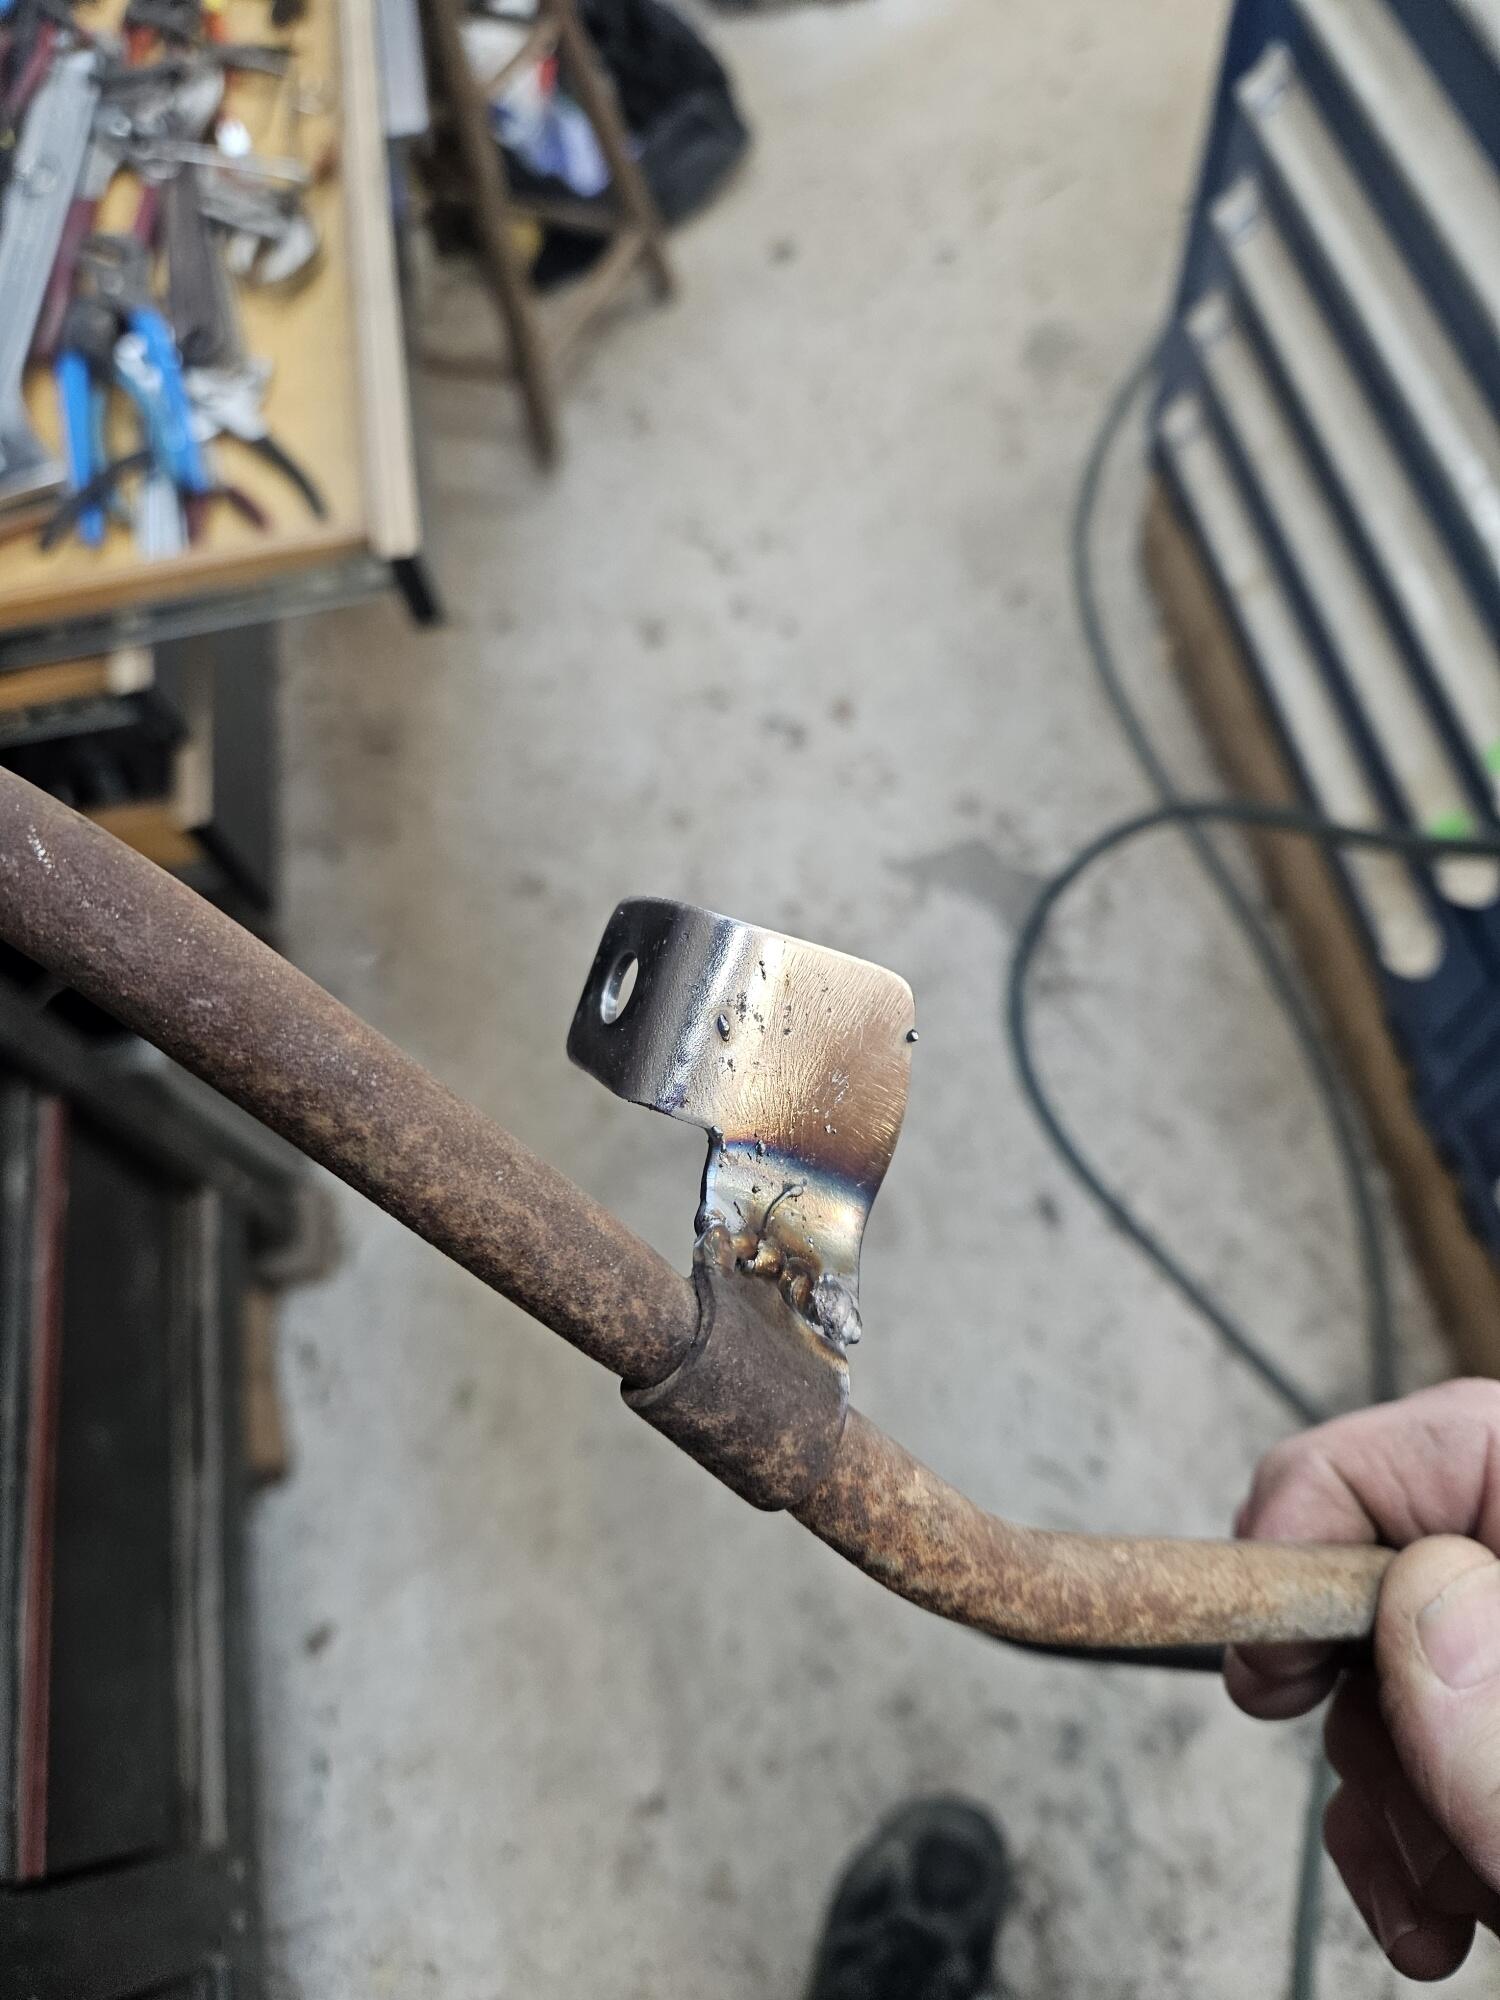
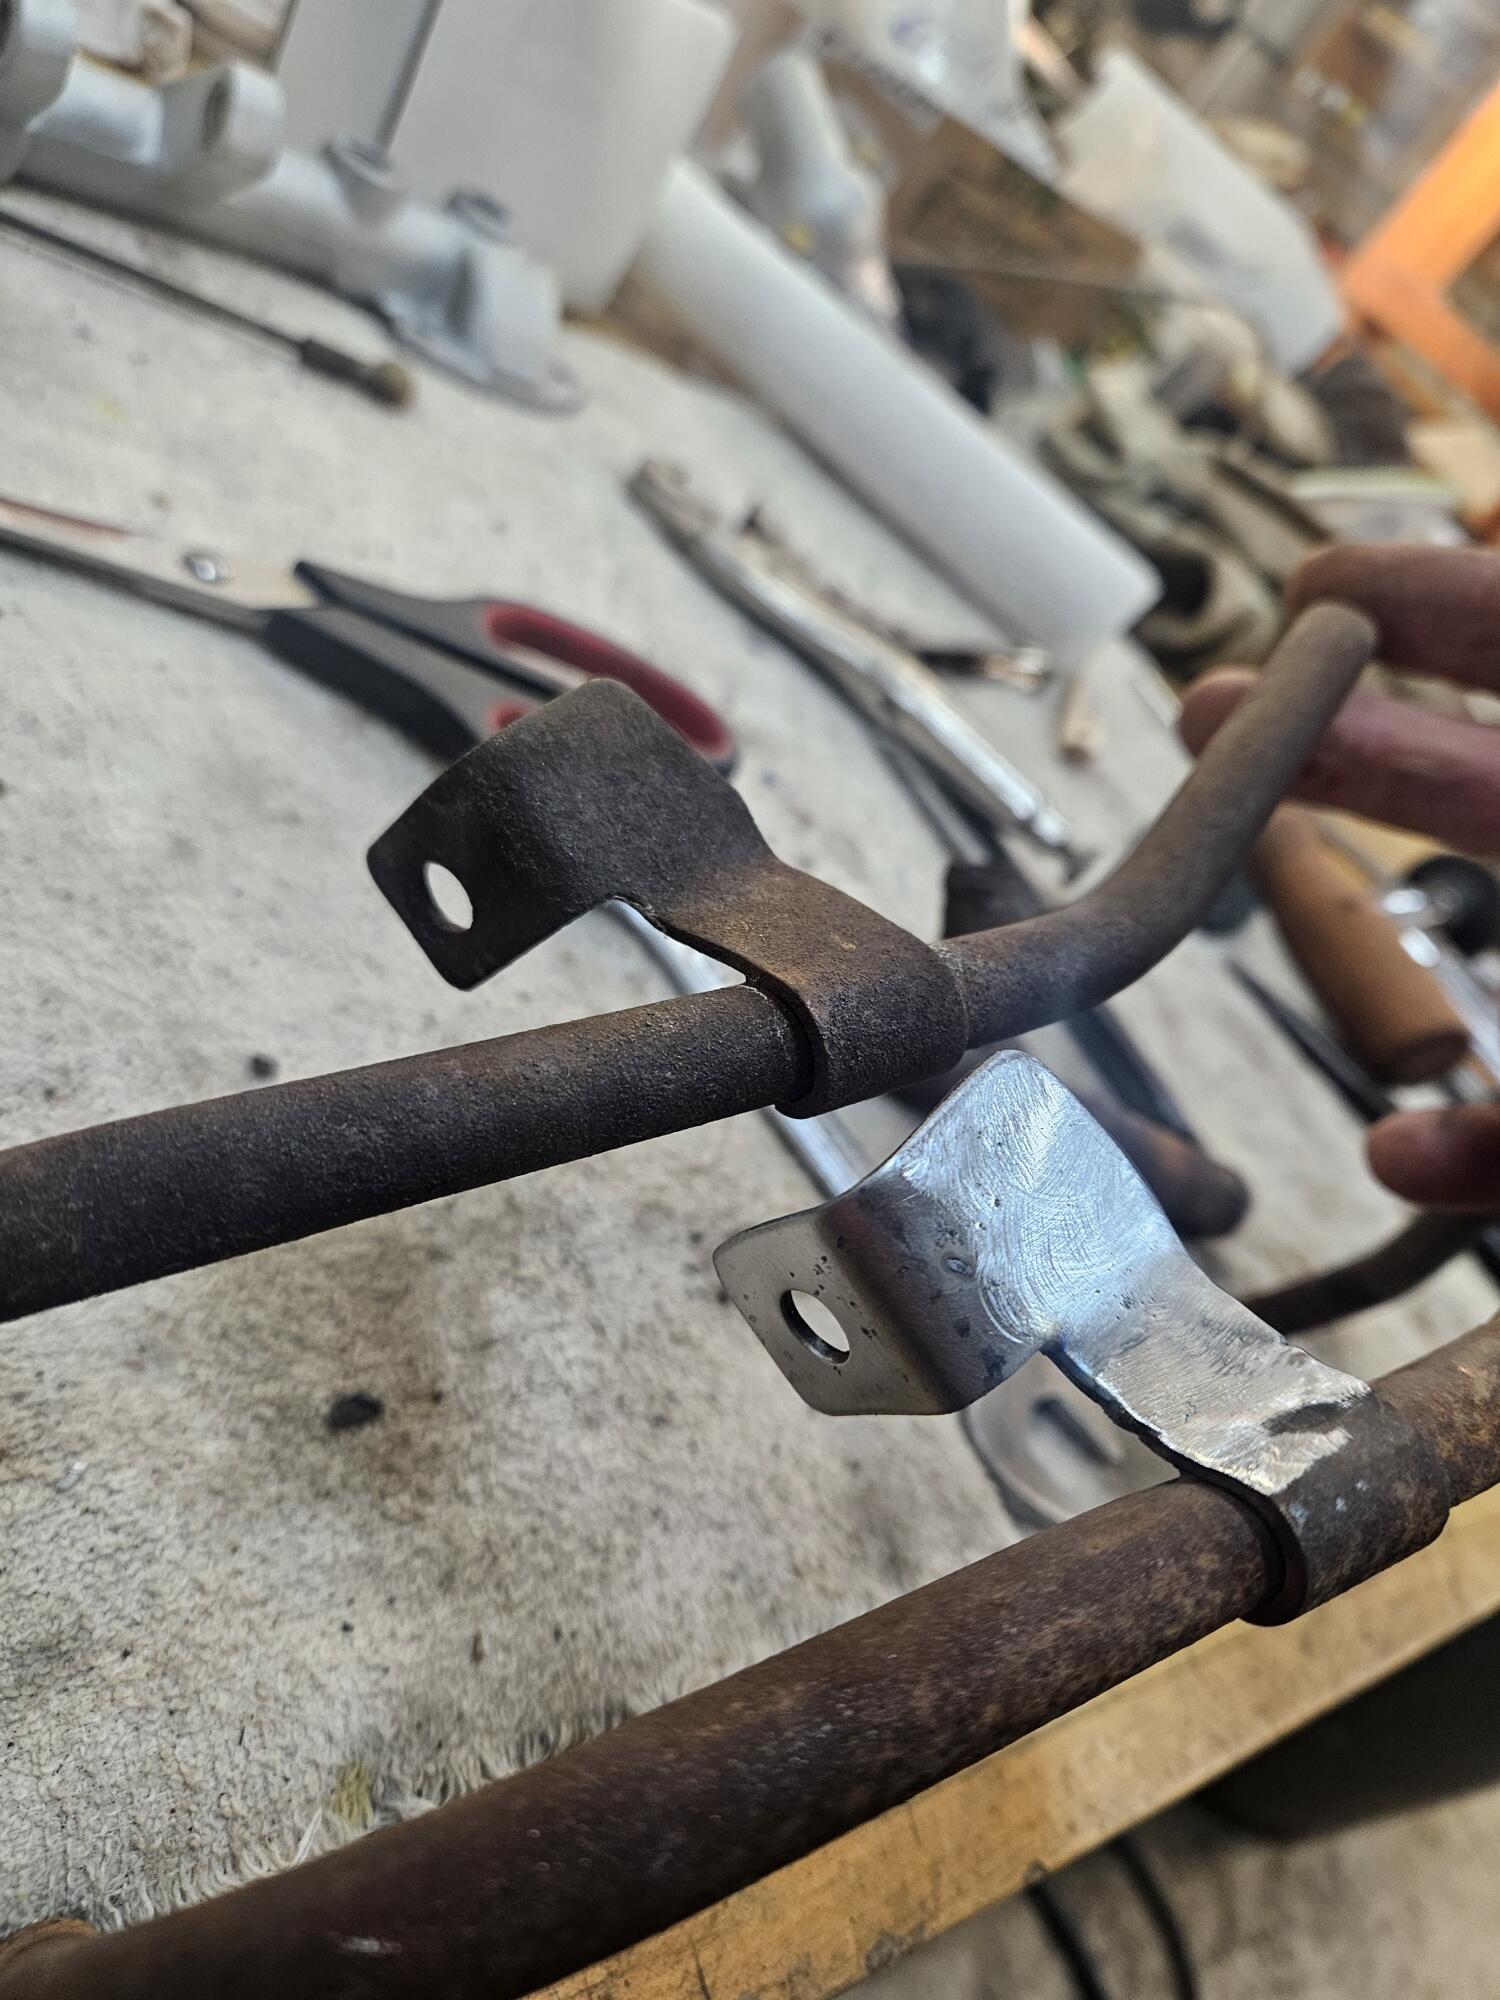
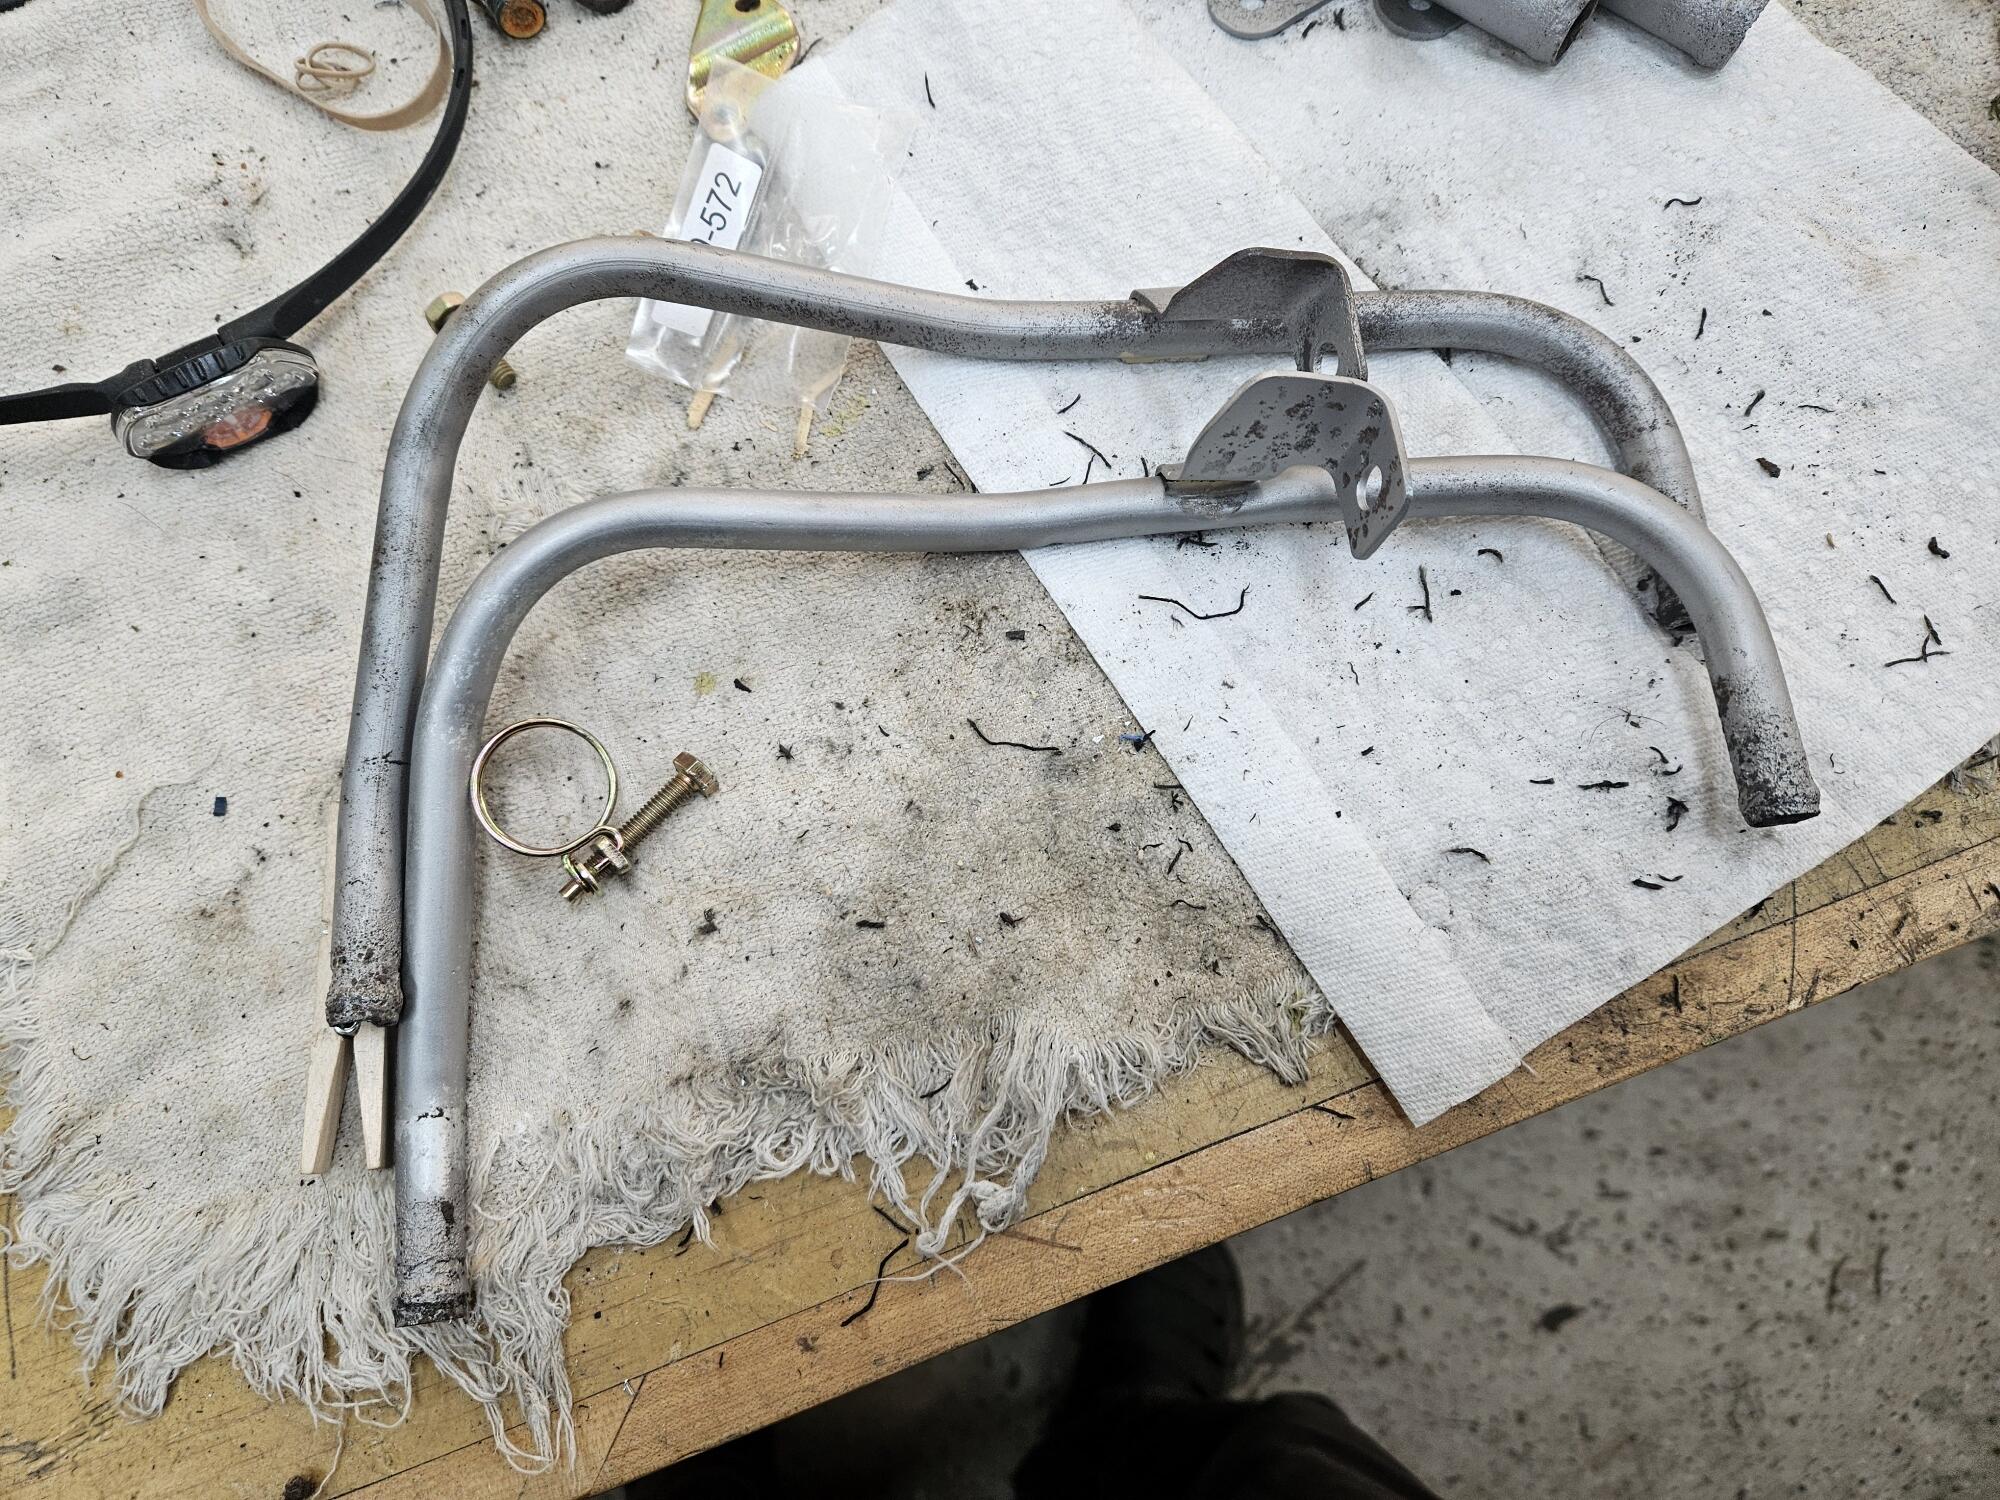
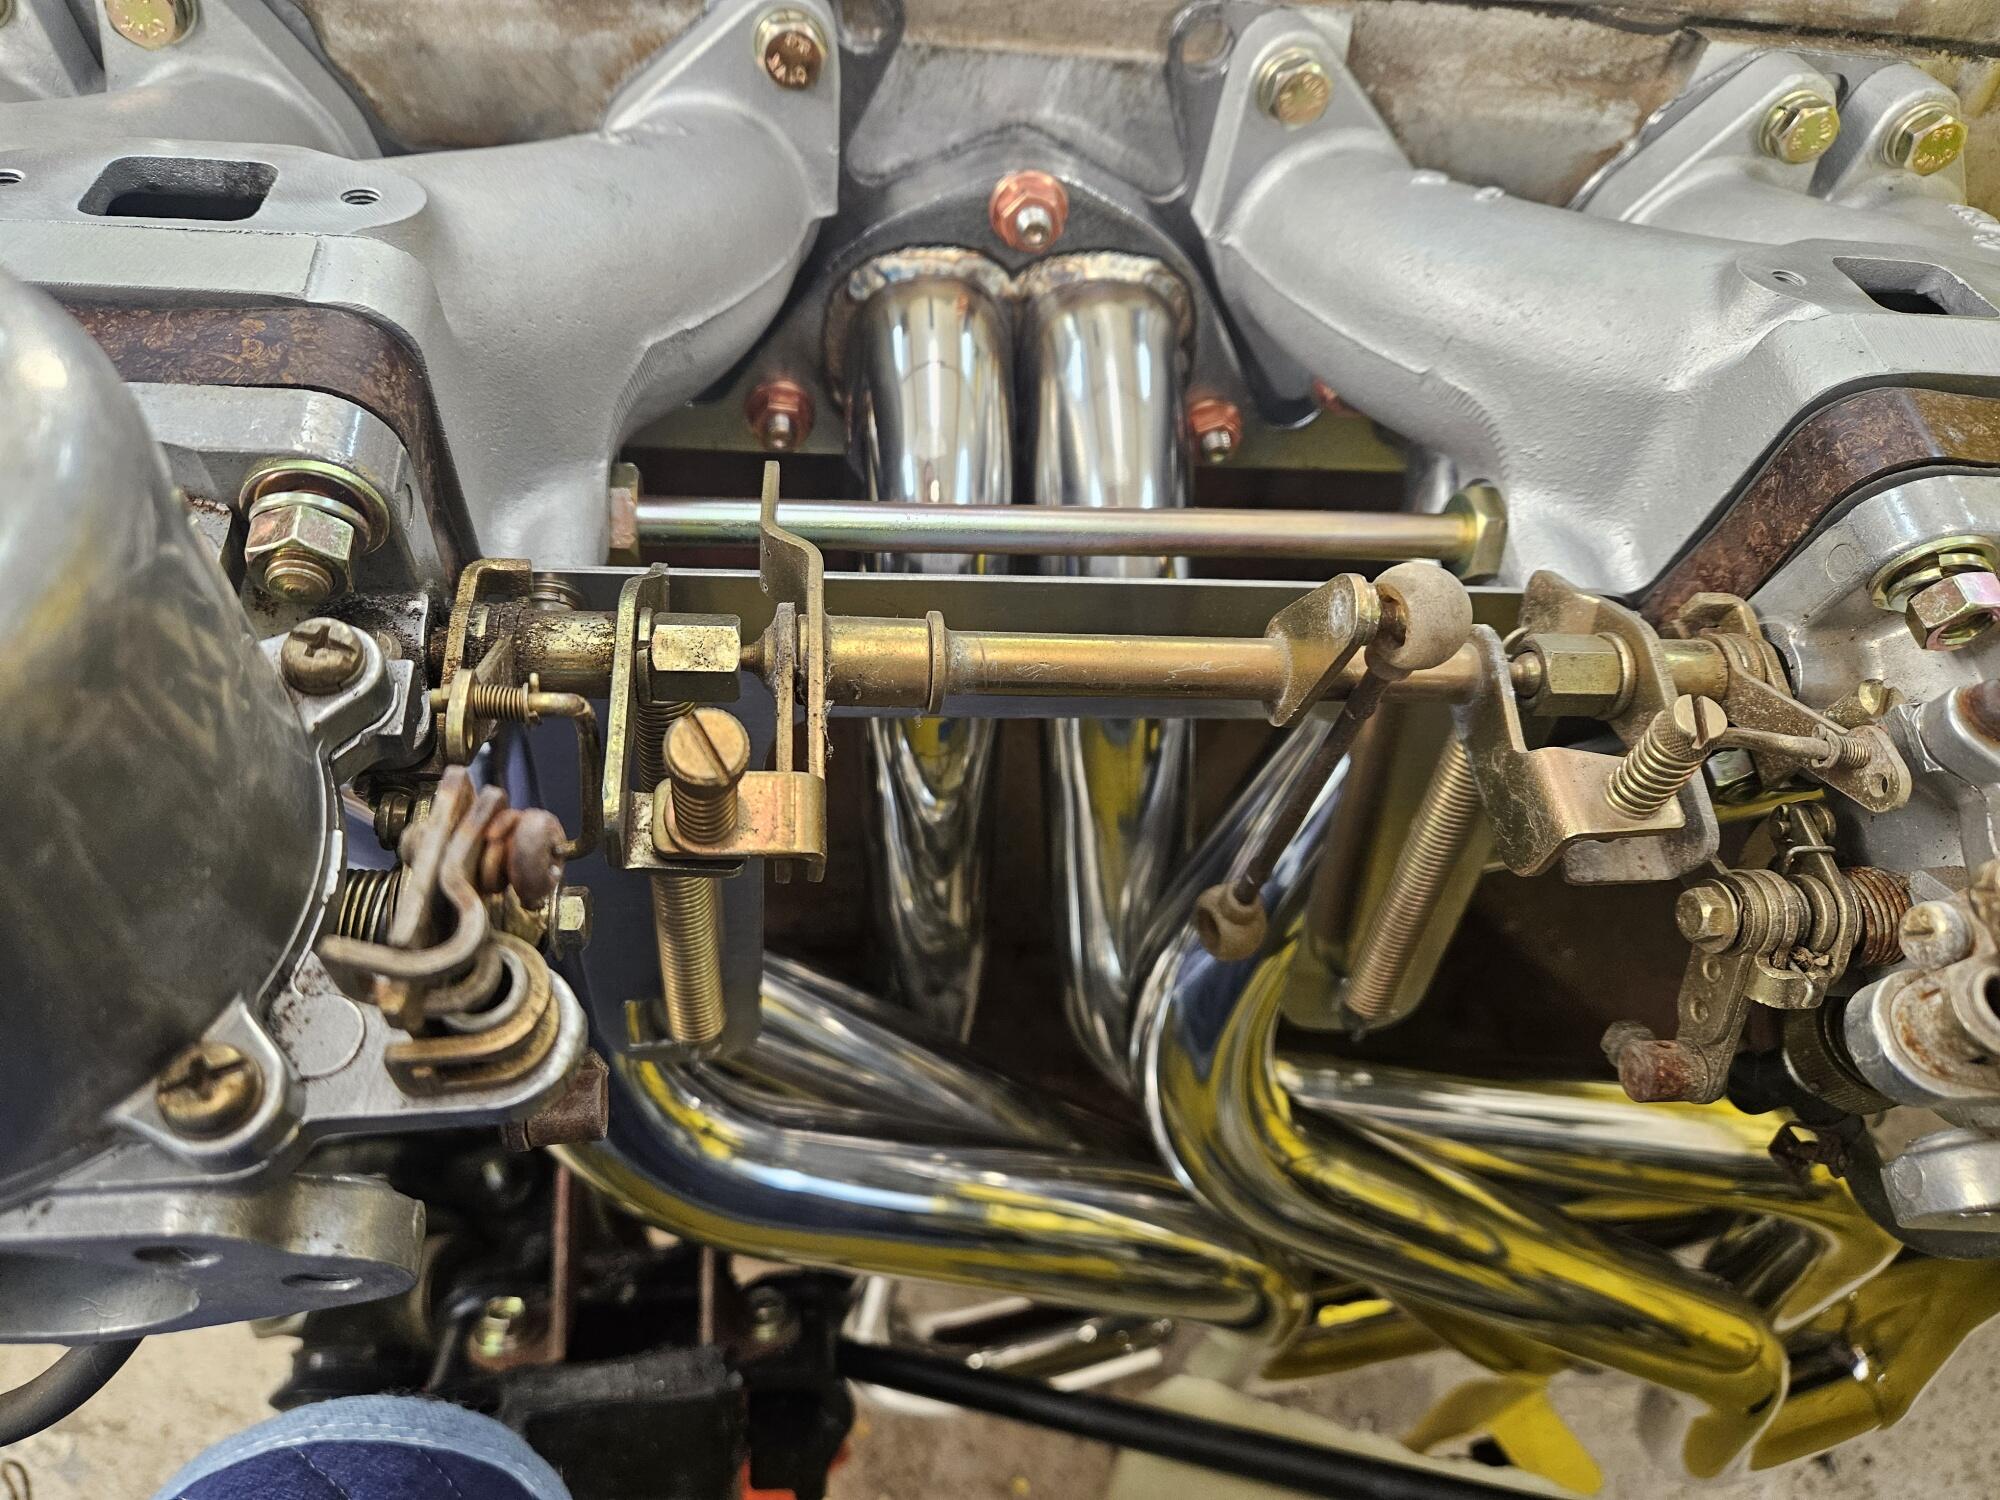
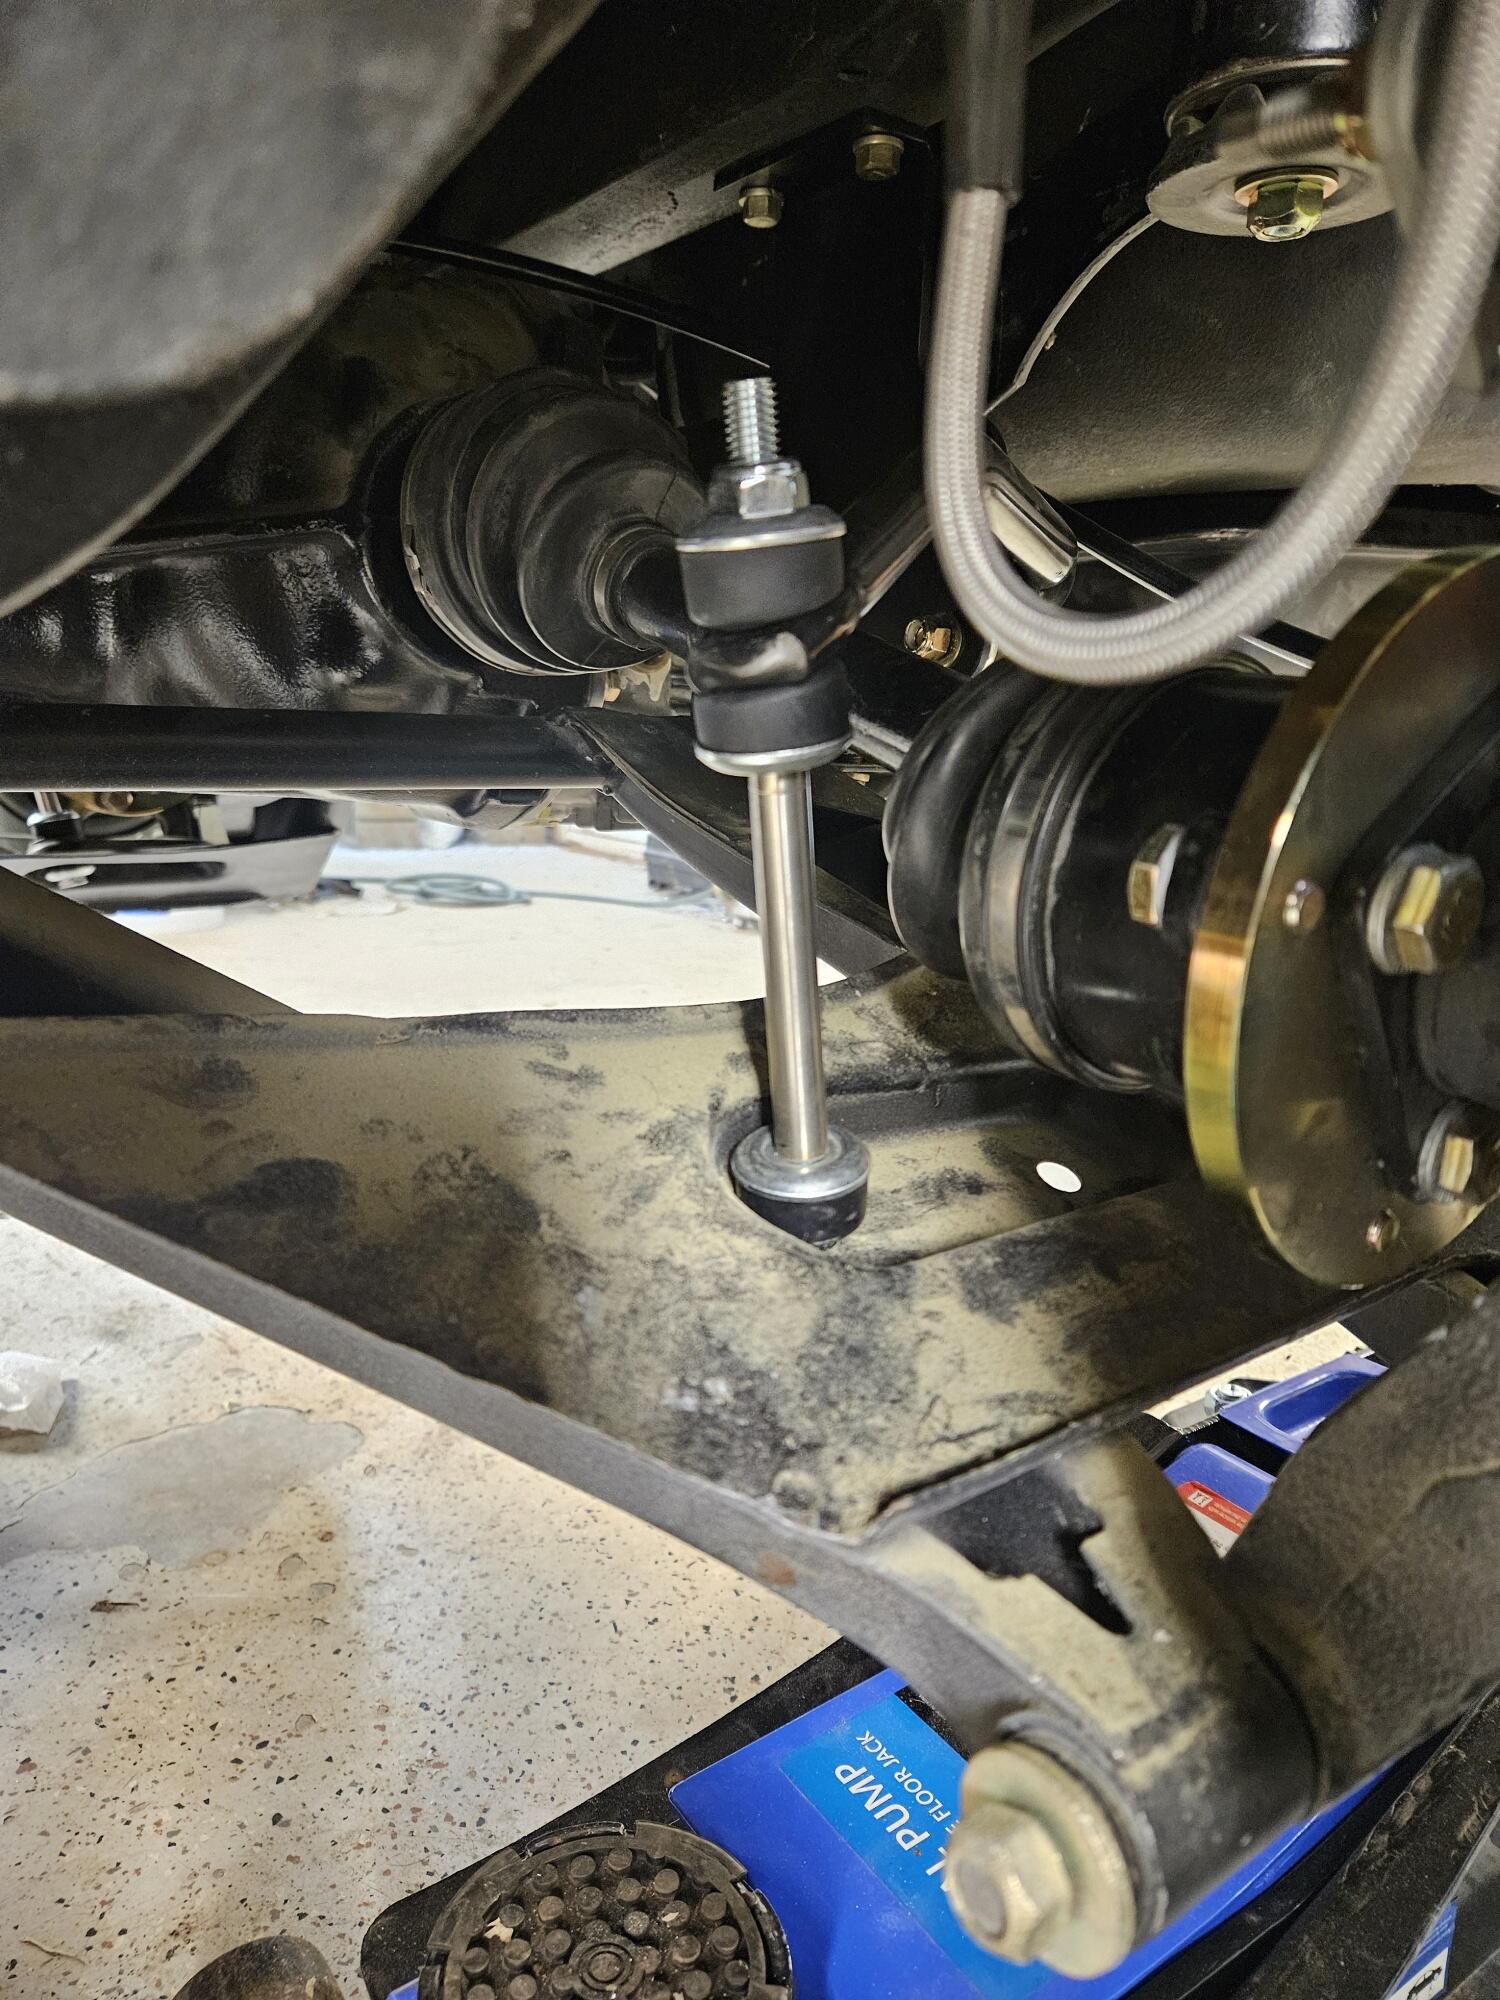
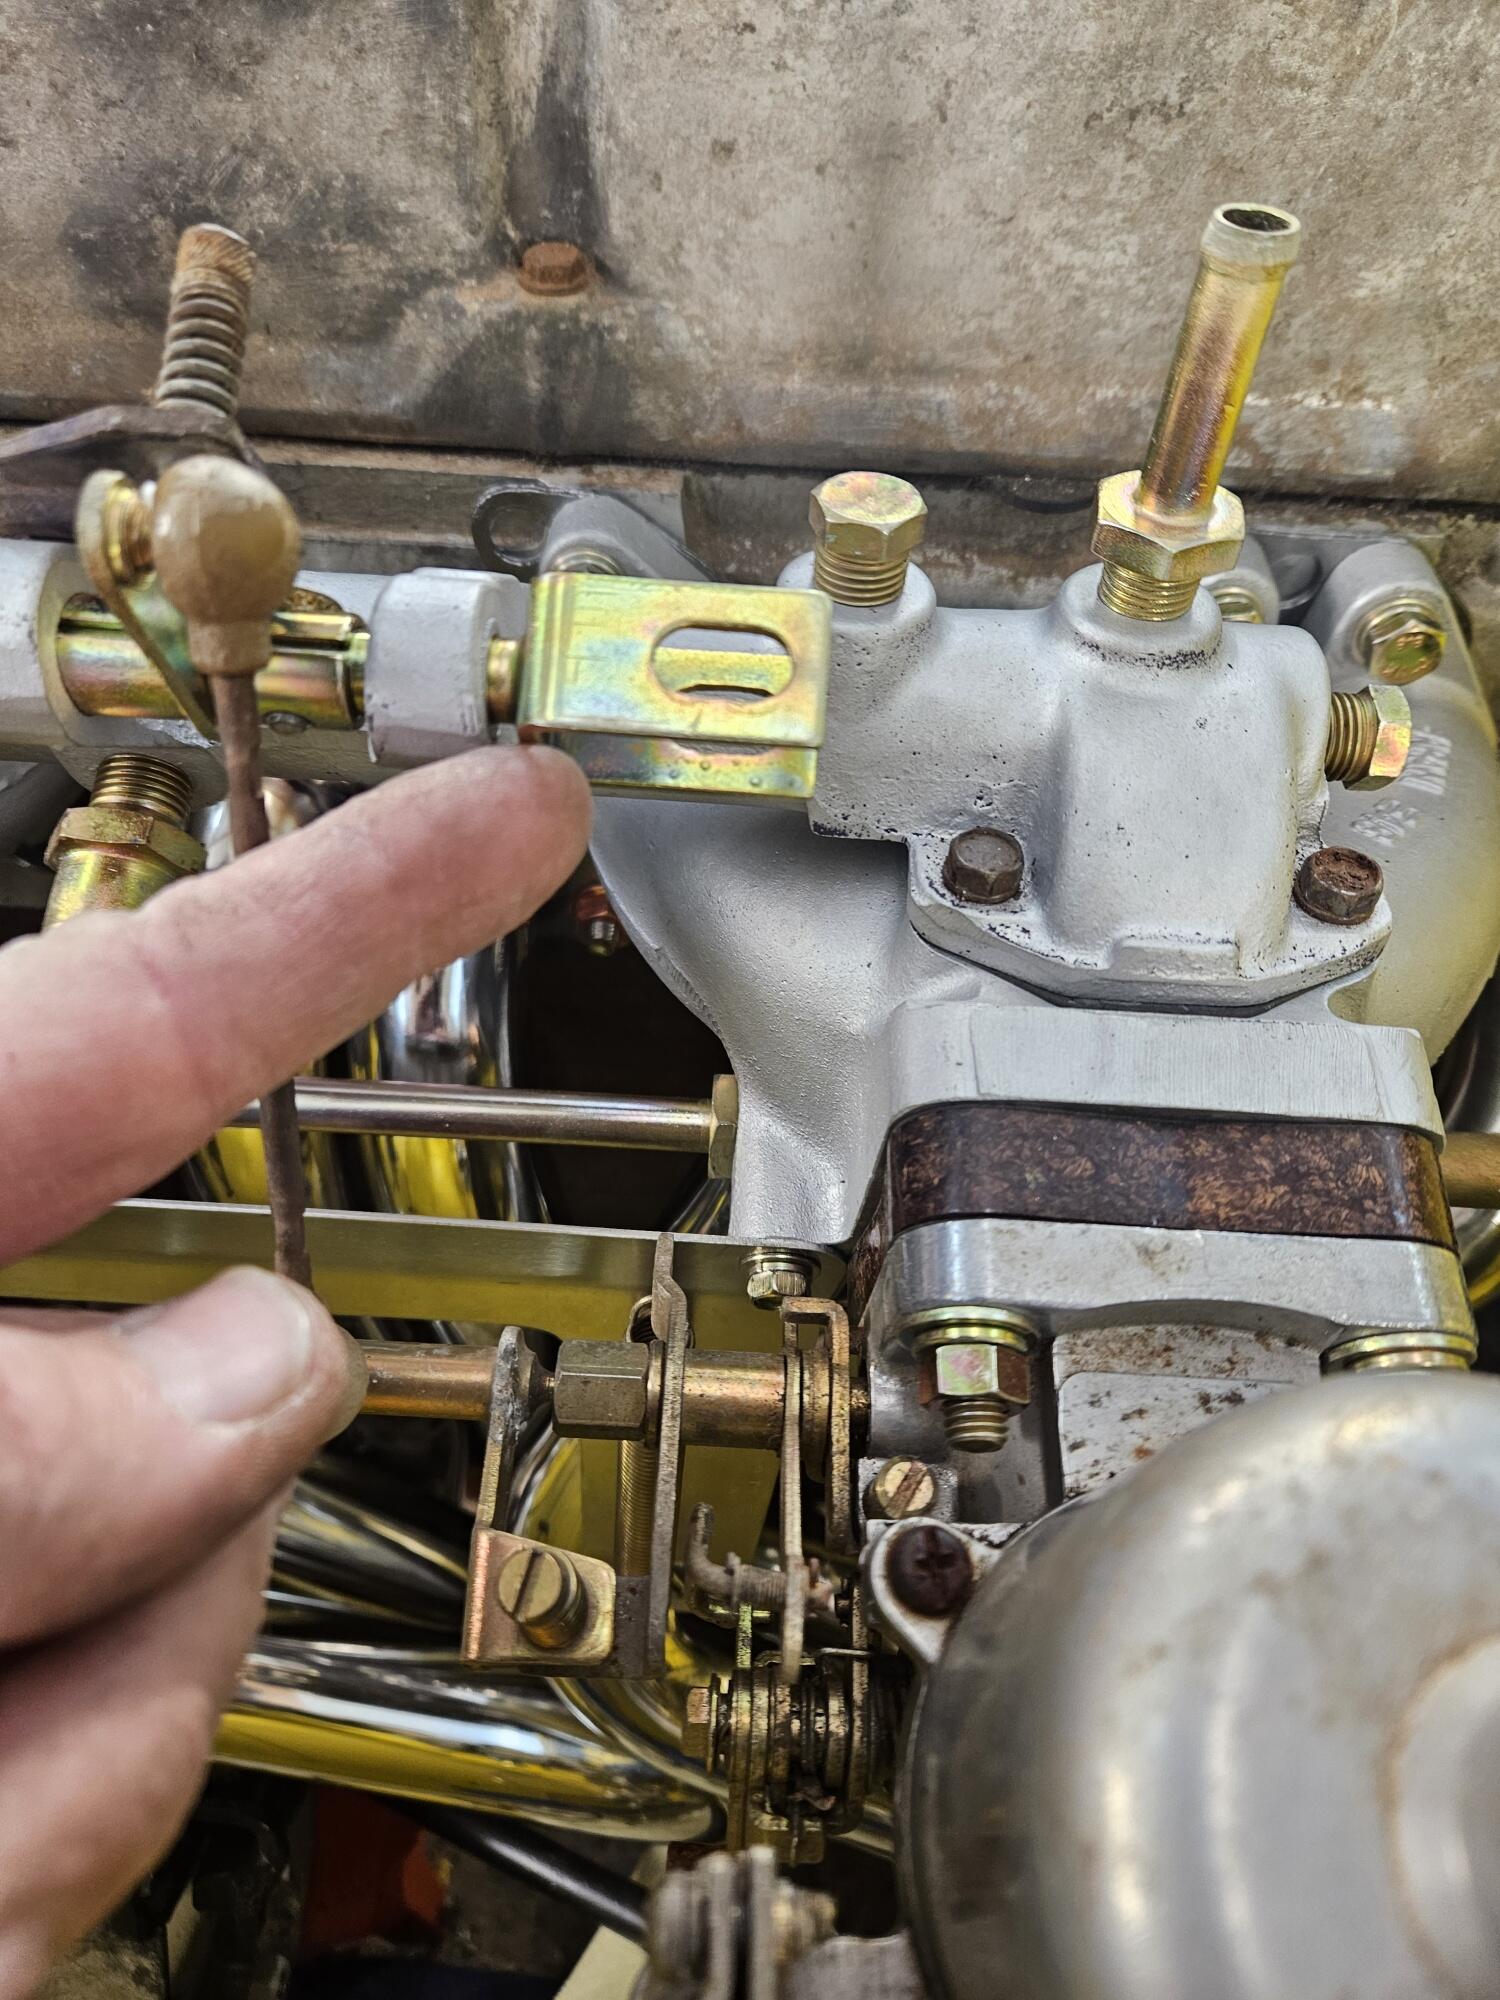
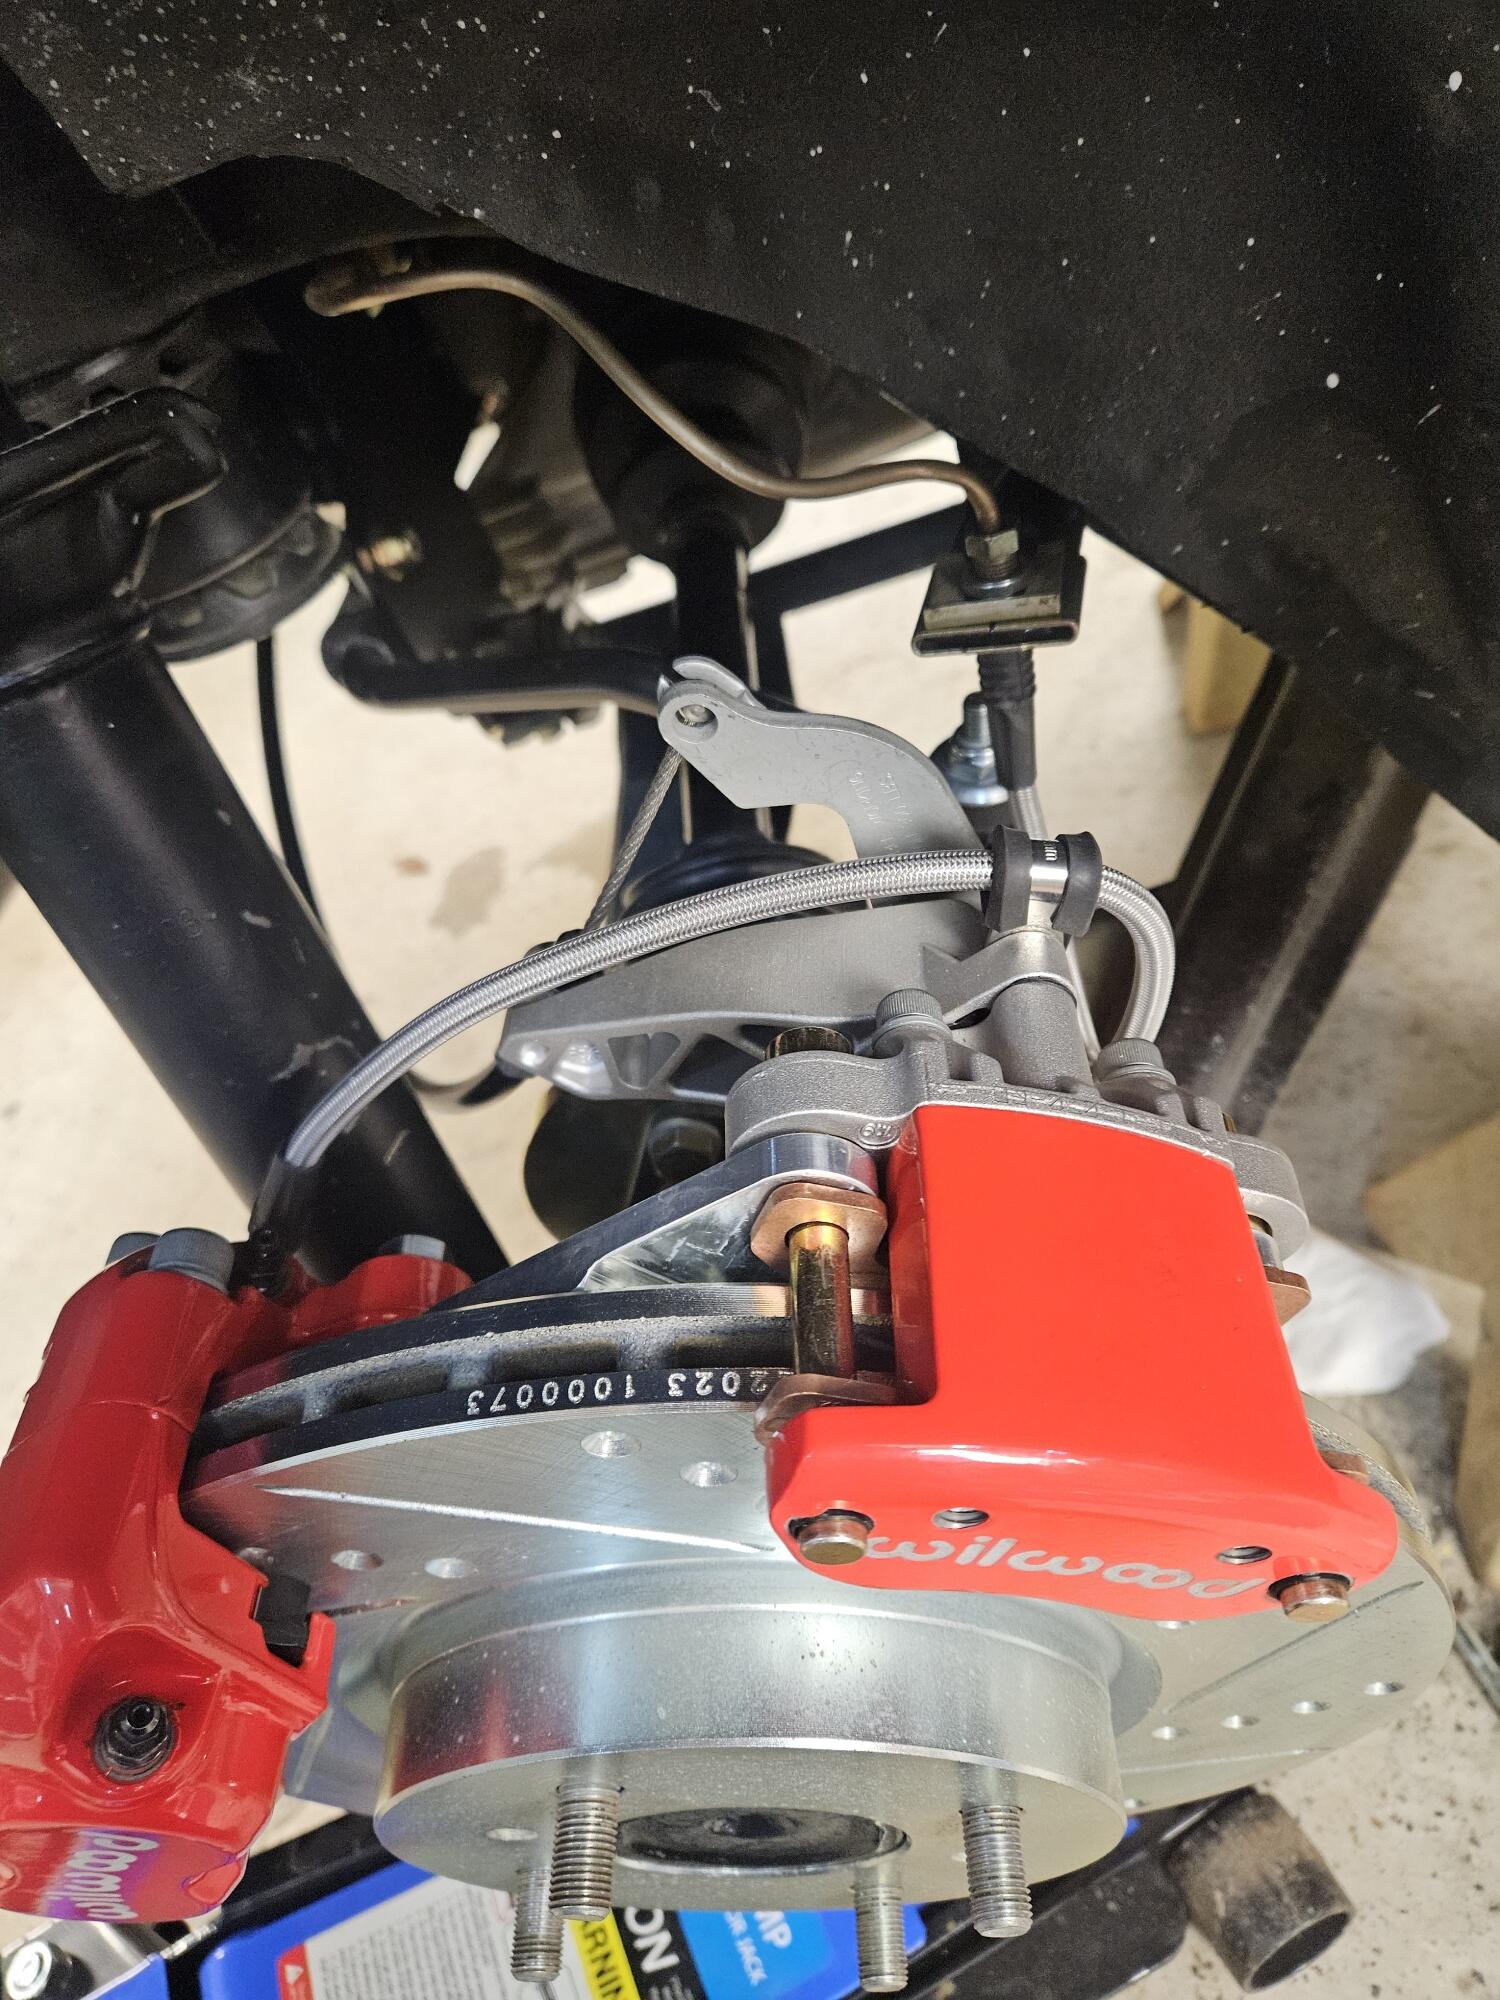
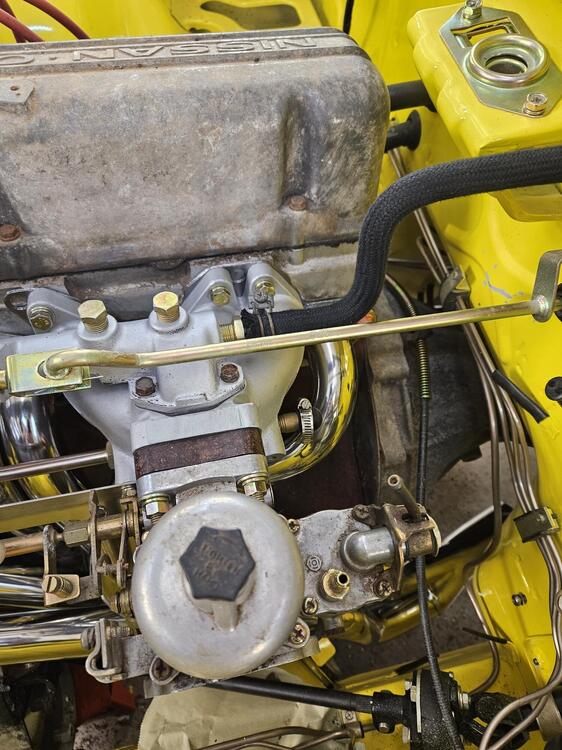
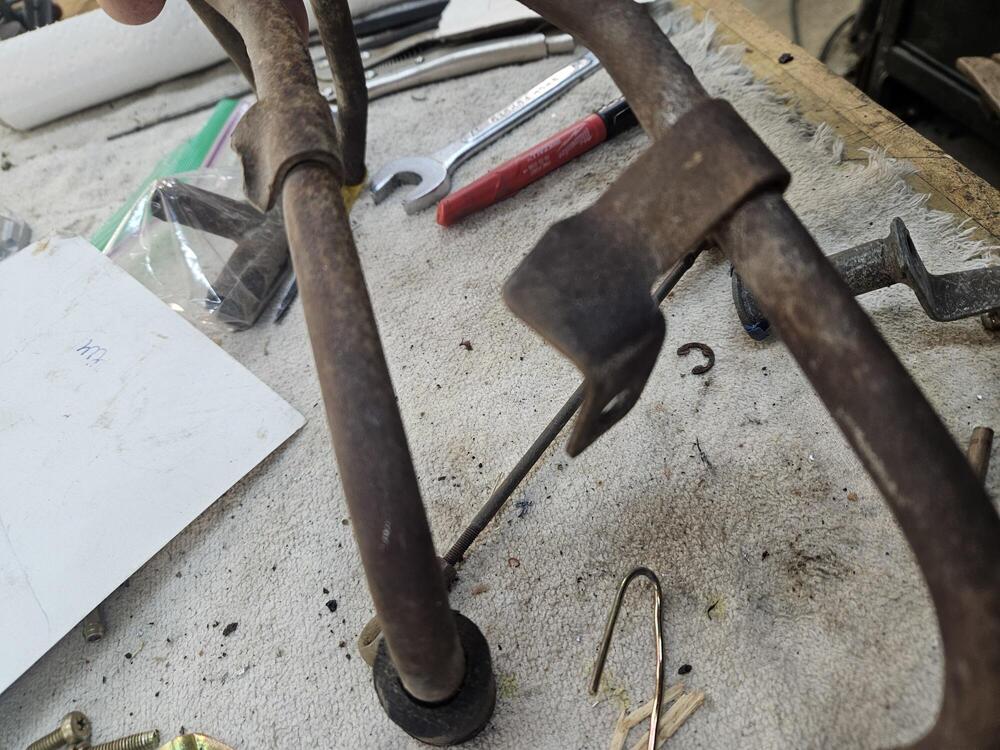
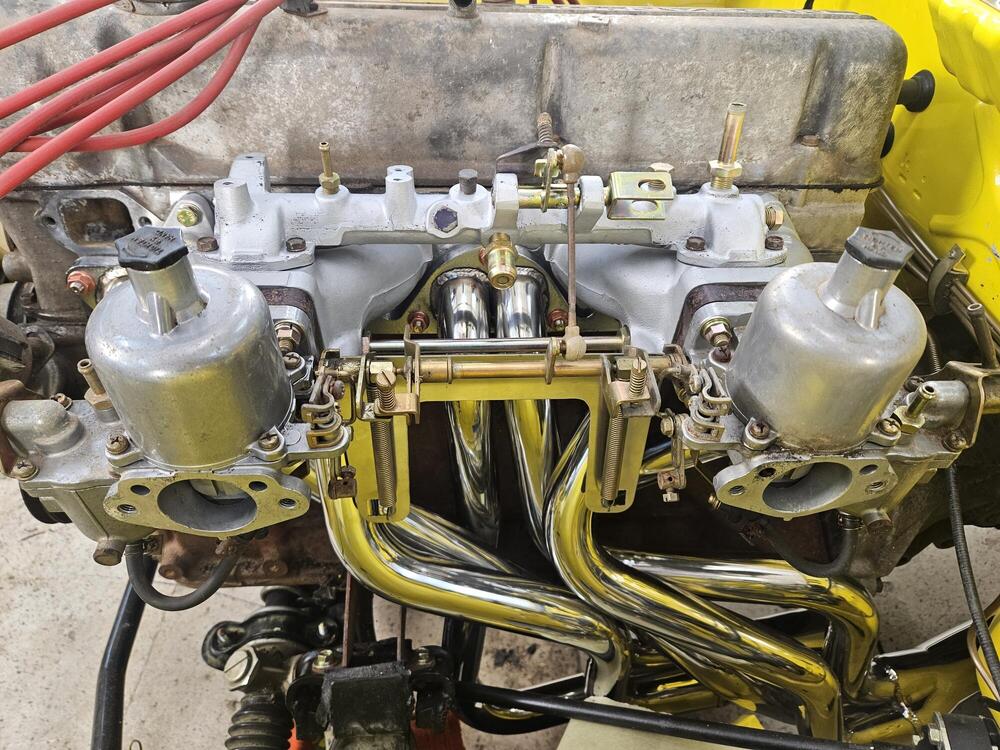
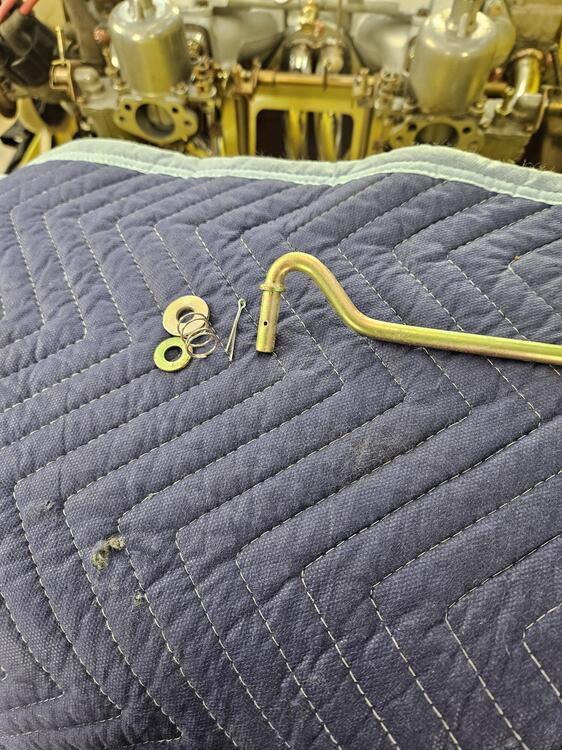
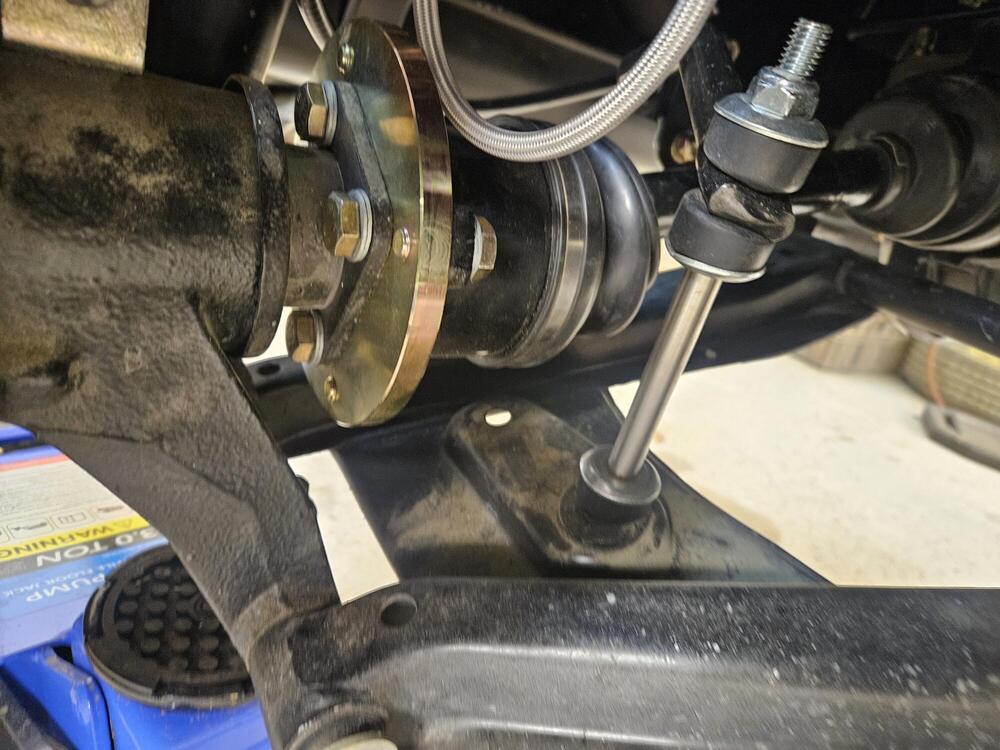
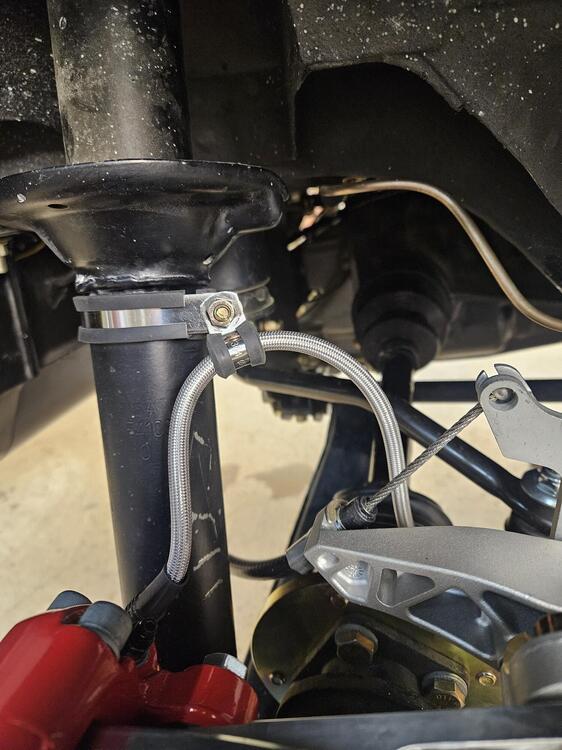
Made some good progress today even after wasting a lot of time trying to plate some stuff. Insulators and gaskets on Added an SS plate that takes care of the carb springs that came from Zcardepot. Carbs are on. I can't locate all the linkage yet. I took an extra balance tube I had and bead blasted for an interim solution I reworked the back brake lines. I had an interference Ended up with this Here is the final rear sway bar setup. At least for now... 😉 Do both of the washers go inside the yoke with the spring?


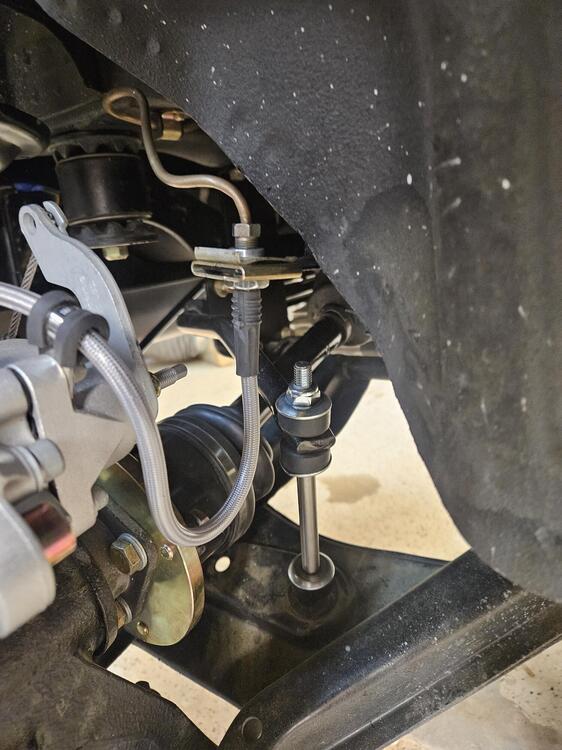
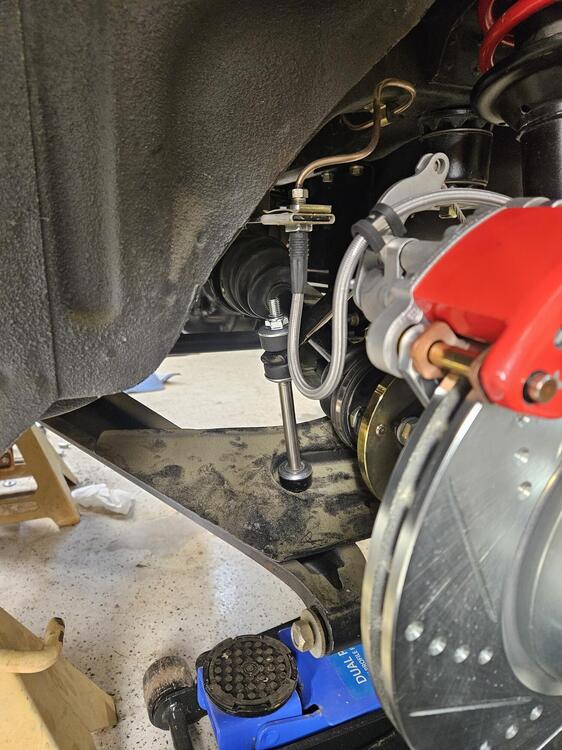

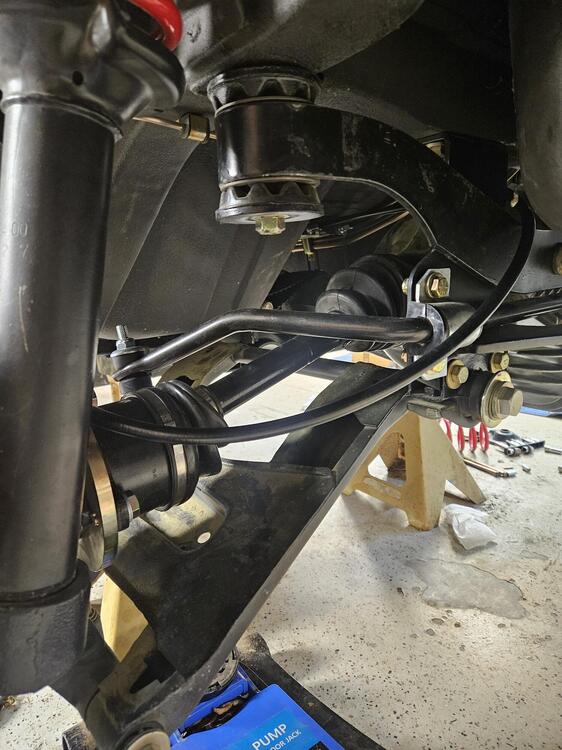
-
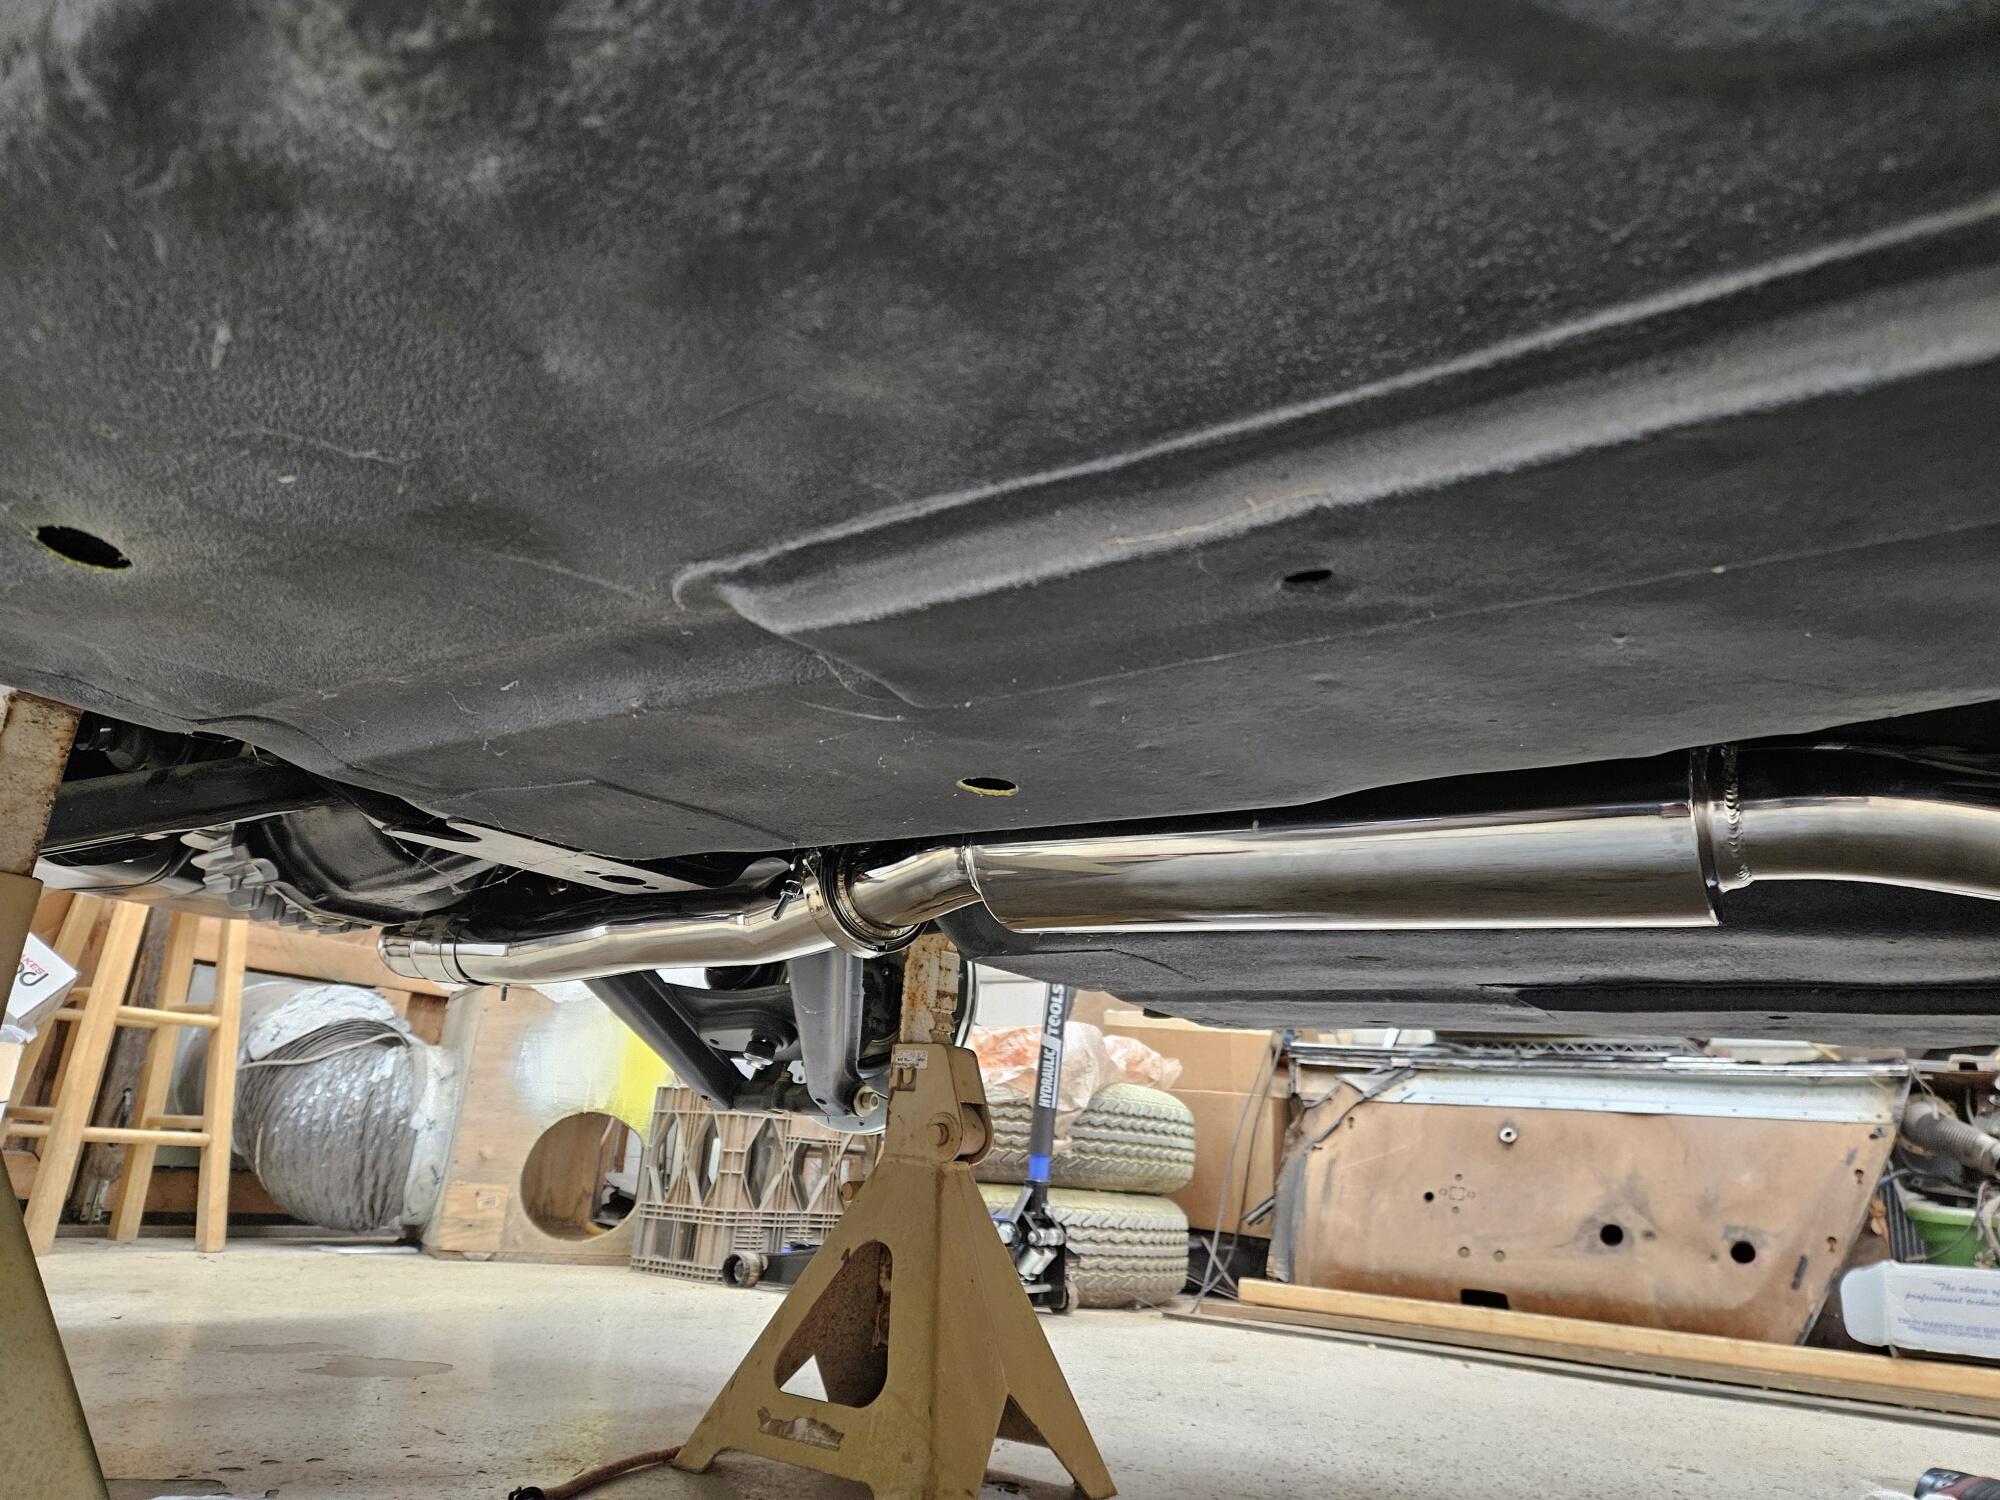
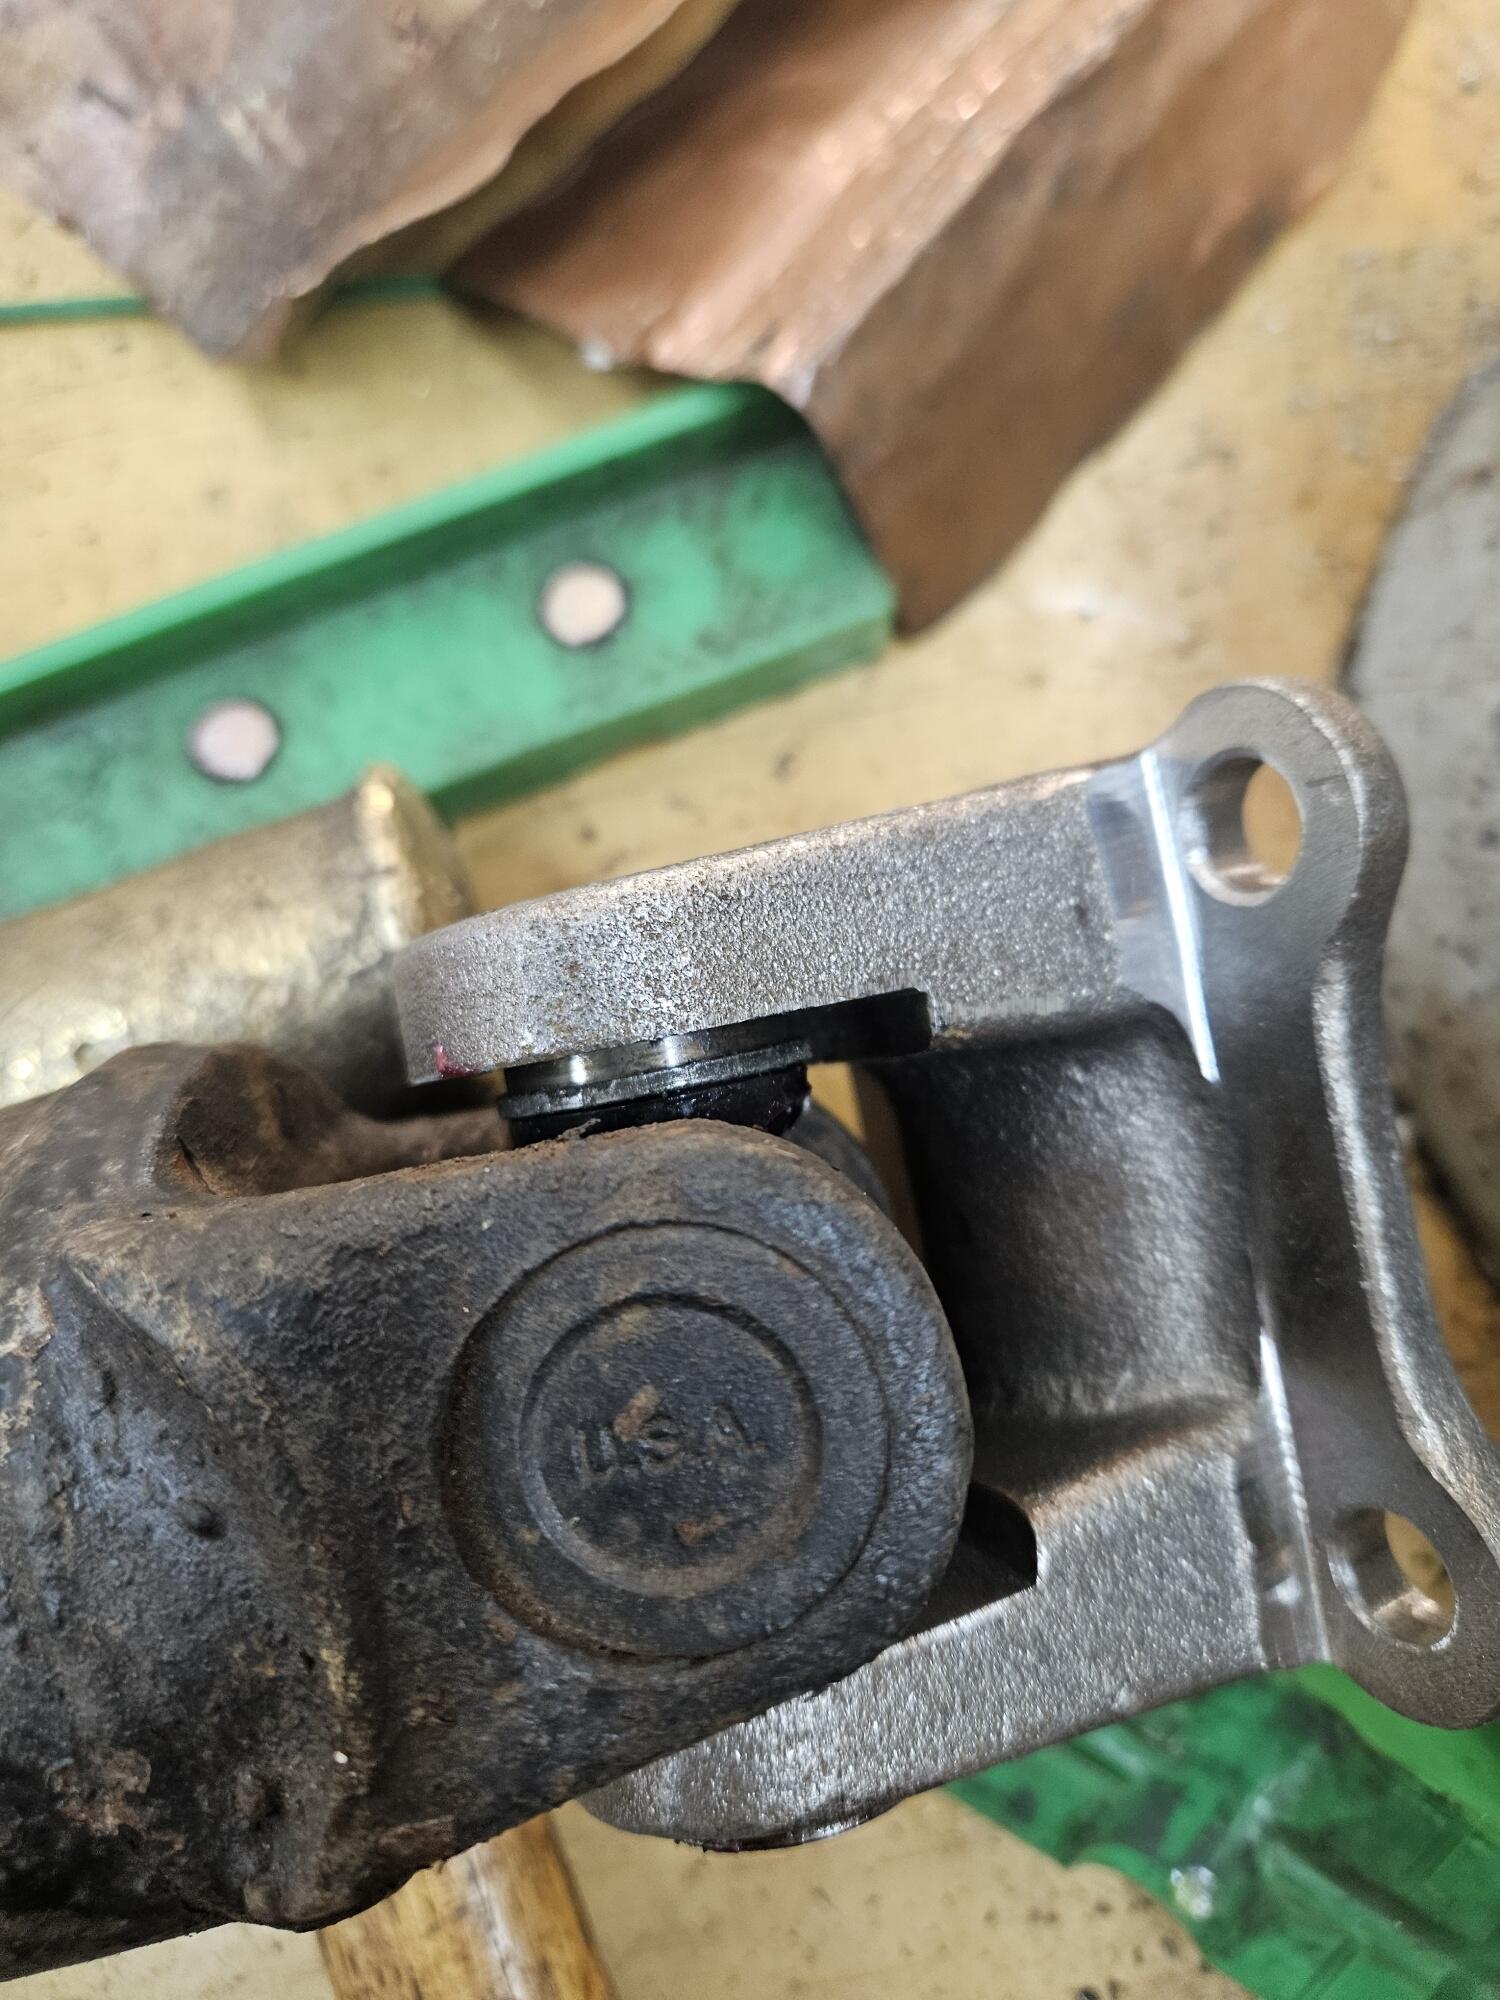
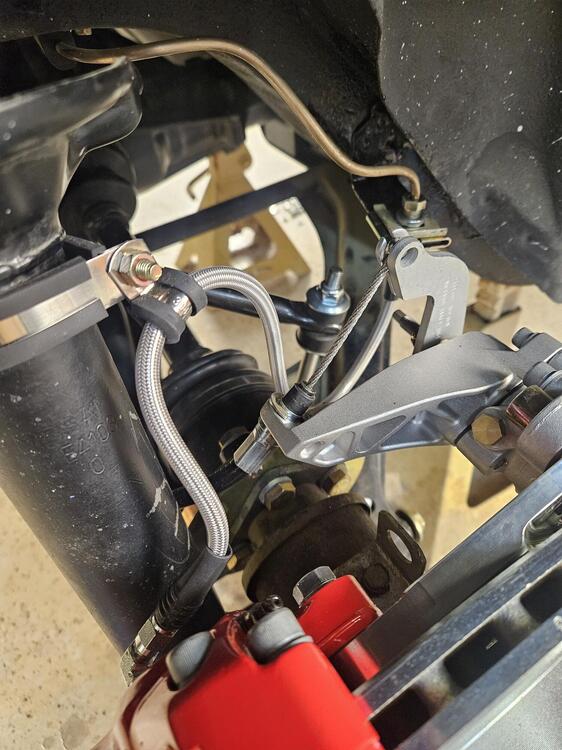
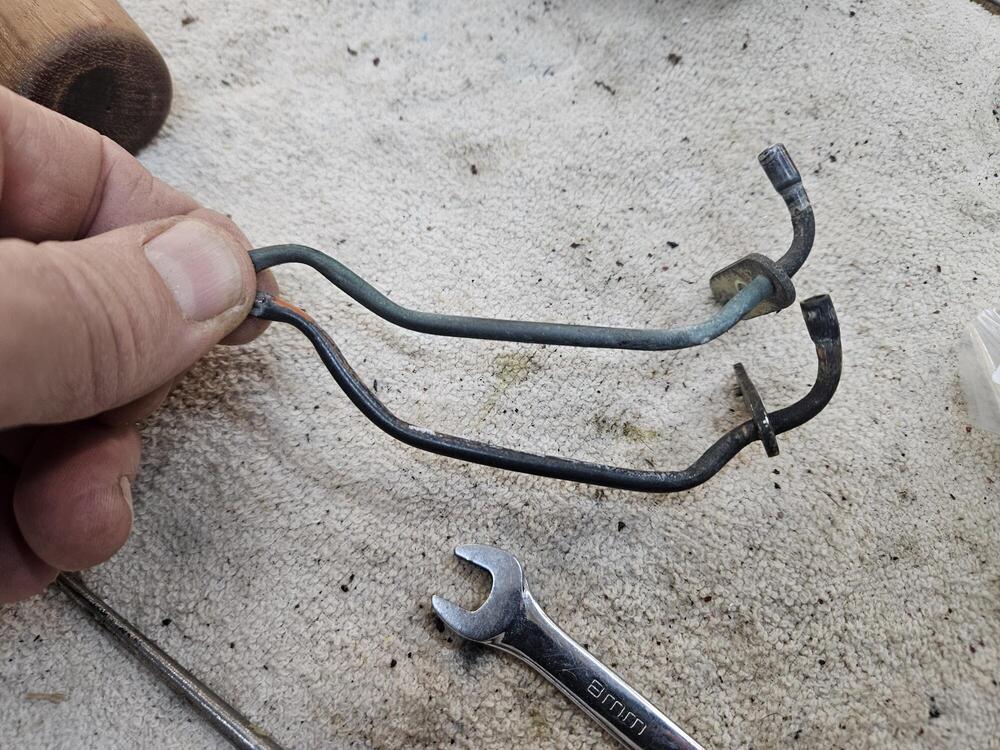
So I took out the rear spring and ran the swing arm through the arc to check for interference's. The brake line was hitting the adapter plates for my CV axles. So I rerouted the line over the top of the parking brake. This is what I ended up with.


-
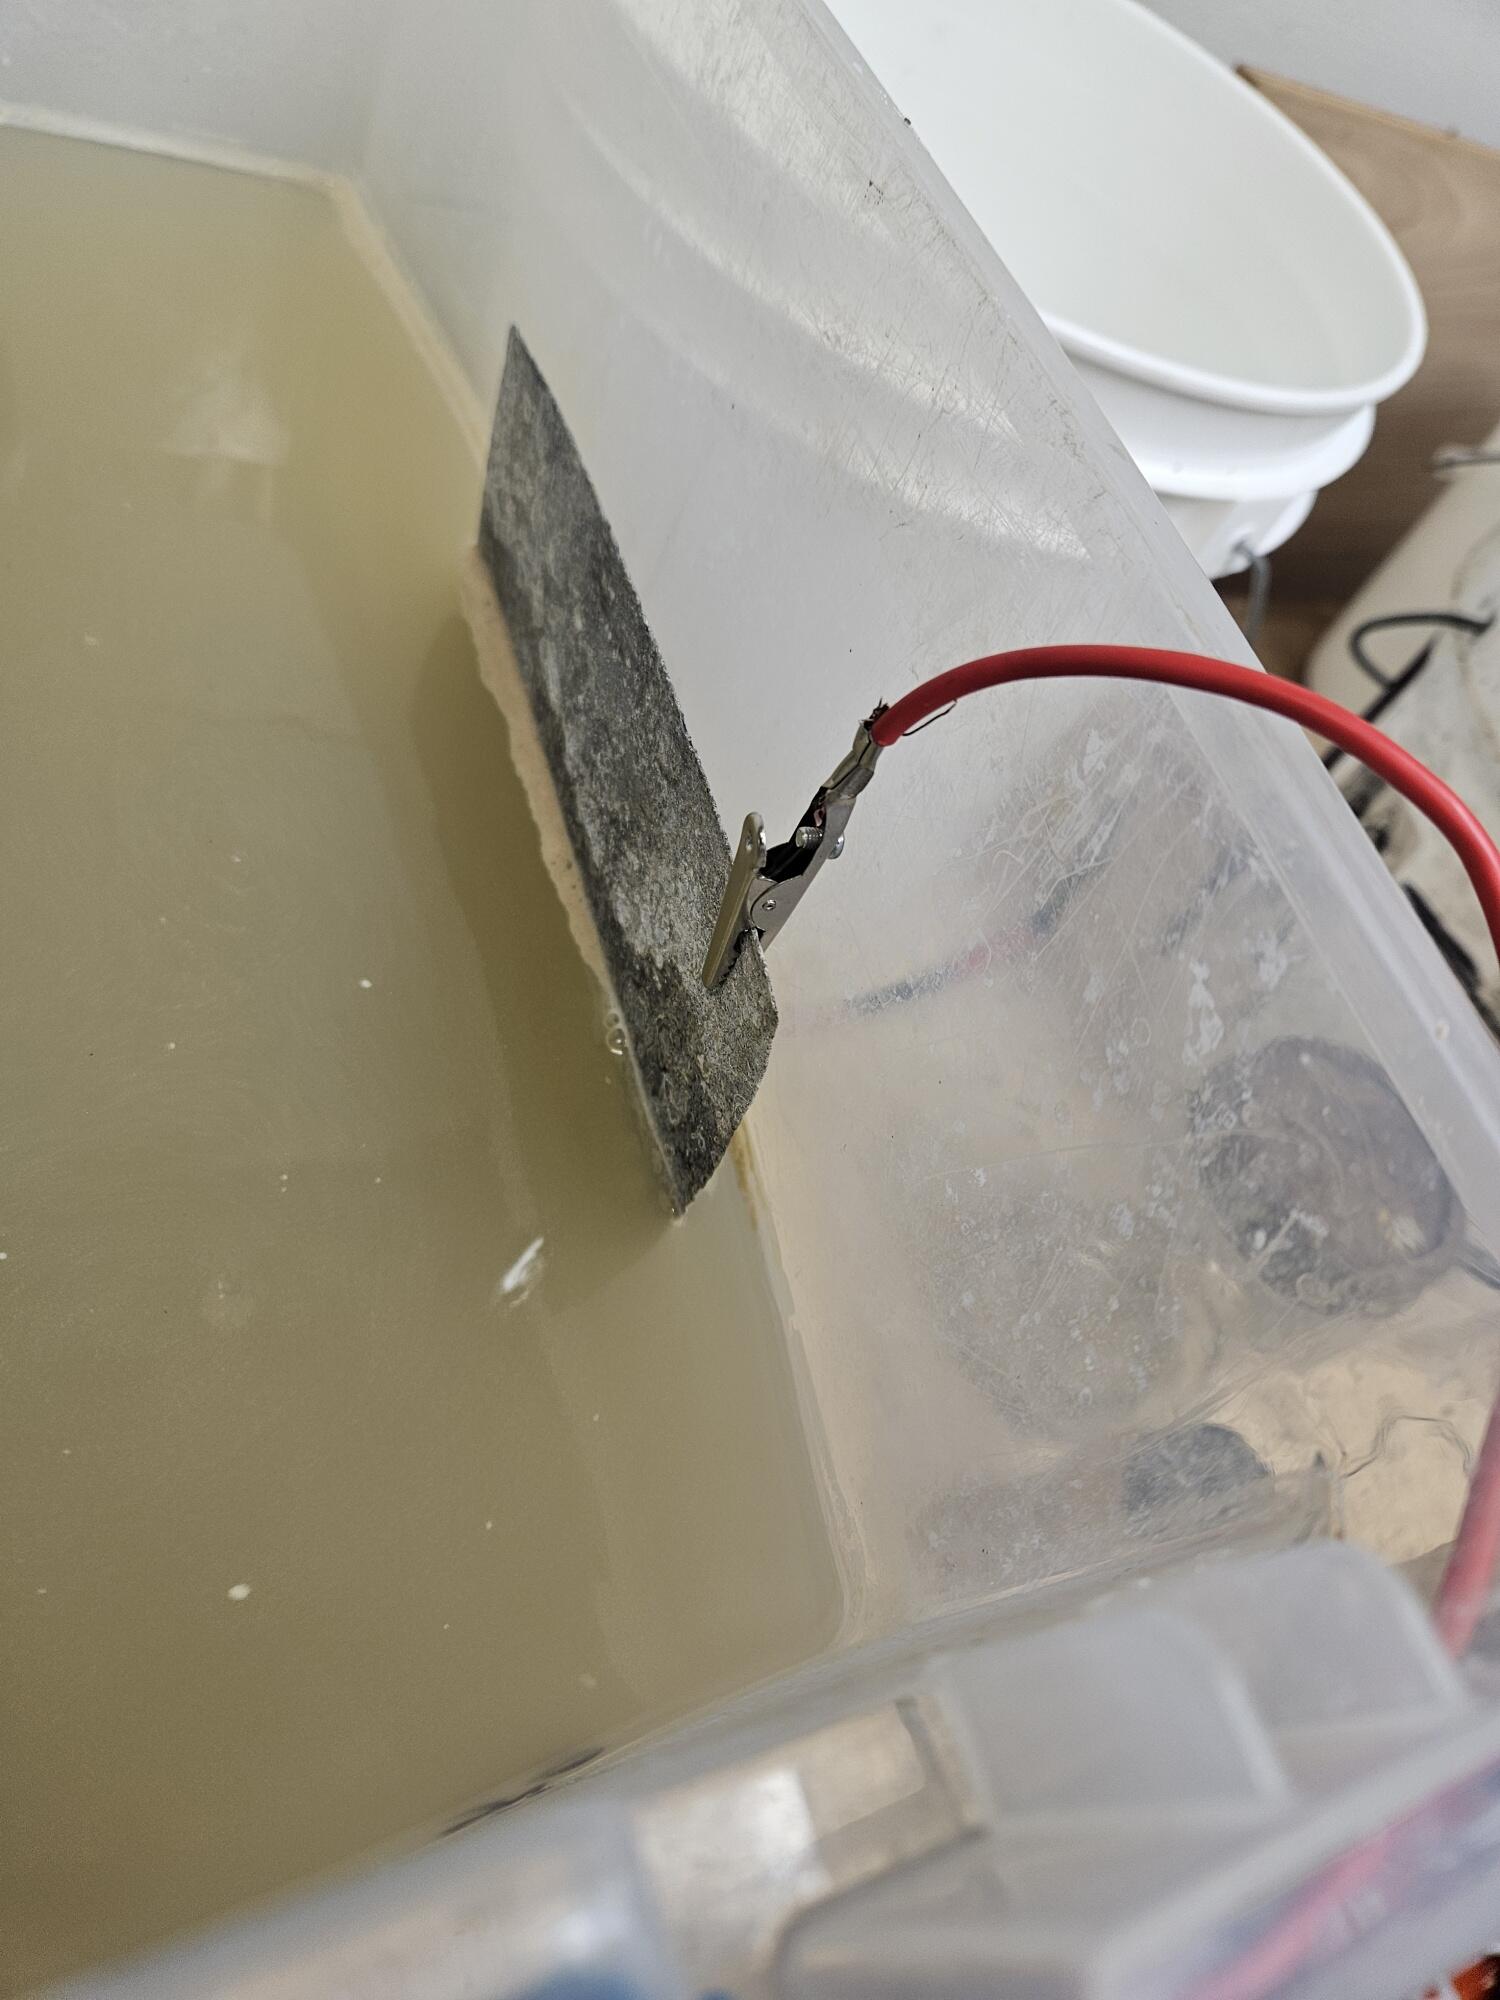
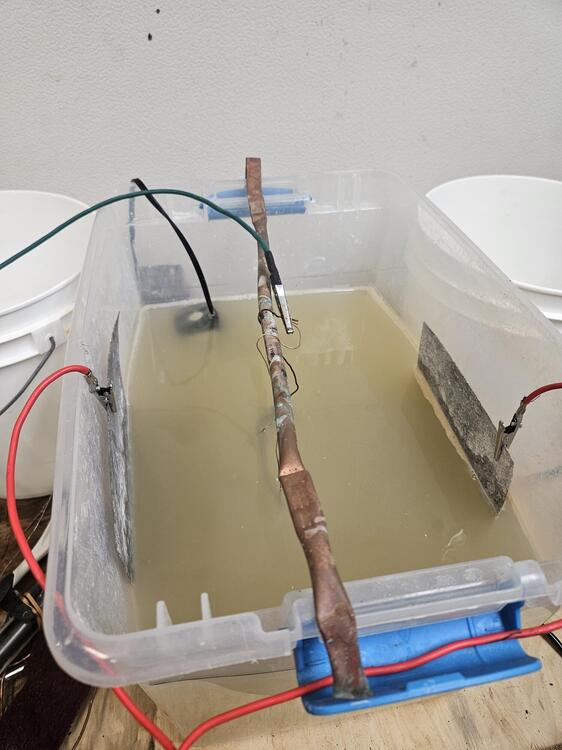
I was trying to do some plating and not getting good results. So I checked the resistance on my leads. The hot leads had decent high resistance, So I redid them and used stainless clips. I also put my ground directly to the copper stringer wires. The plating did improve. I am still having some challenges with brightener. It helps but too much causes blistering, Still working on the solution

-
I sorted the parts that need to be re-plated by color, yellow zinc or clear zinc. I did a quick clean to knock off excess dirt and wire wheeled the areas where there was paint overspray from the previous paint job. I put some shrink sleeve over the plastic portion of the carb linkage to protect them during the cleaning process. I also plugged the holes of the carb and smog accessories to prevent the fluids from entering inside. I then put the small parts in gallon zip lock bags. I had one box of the clear/silver zinc parts, and 3 boxes of the yellow/gold zinc parts. I used three boxes for the yellow zinc because of the excess weight (USPS flat rate shipping box). Each box weighed approximately 20 pounds For the plating process, the 3 yellow/gold zinc parts will be thrown into a single barrel, so the charge will be for just one yellow zinc barrel plate. The plating company does a good job of cleaning the smaller parts in their prep process. I am guessing it is either a vibe or tumble process along with a chemical clean that they use to clean the parts to remove dirt and rust. I spent a bit more time cleaning the long tubes and larger parts as they will be rack plated and I do not think they get cleaned as well. On the long tubes I put in a large diameter bend in order get the parts to fit in my 4 foot shipping box. They said they can accomodate parts up to 6 feet in length. All plating is done by Sav-On plating in Phoenix, AZ. They have done a great job with my parts on previous restorations. Pics Below
-
I have no idea. I just bought locks because the car will live outside a good bit. It was just as easy to get locks as to get hexagonals. The locks might have a little more clearance too
-
I have some chrome valve stems and black locking type lugnuts
-
I don't know
-
-
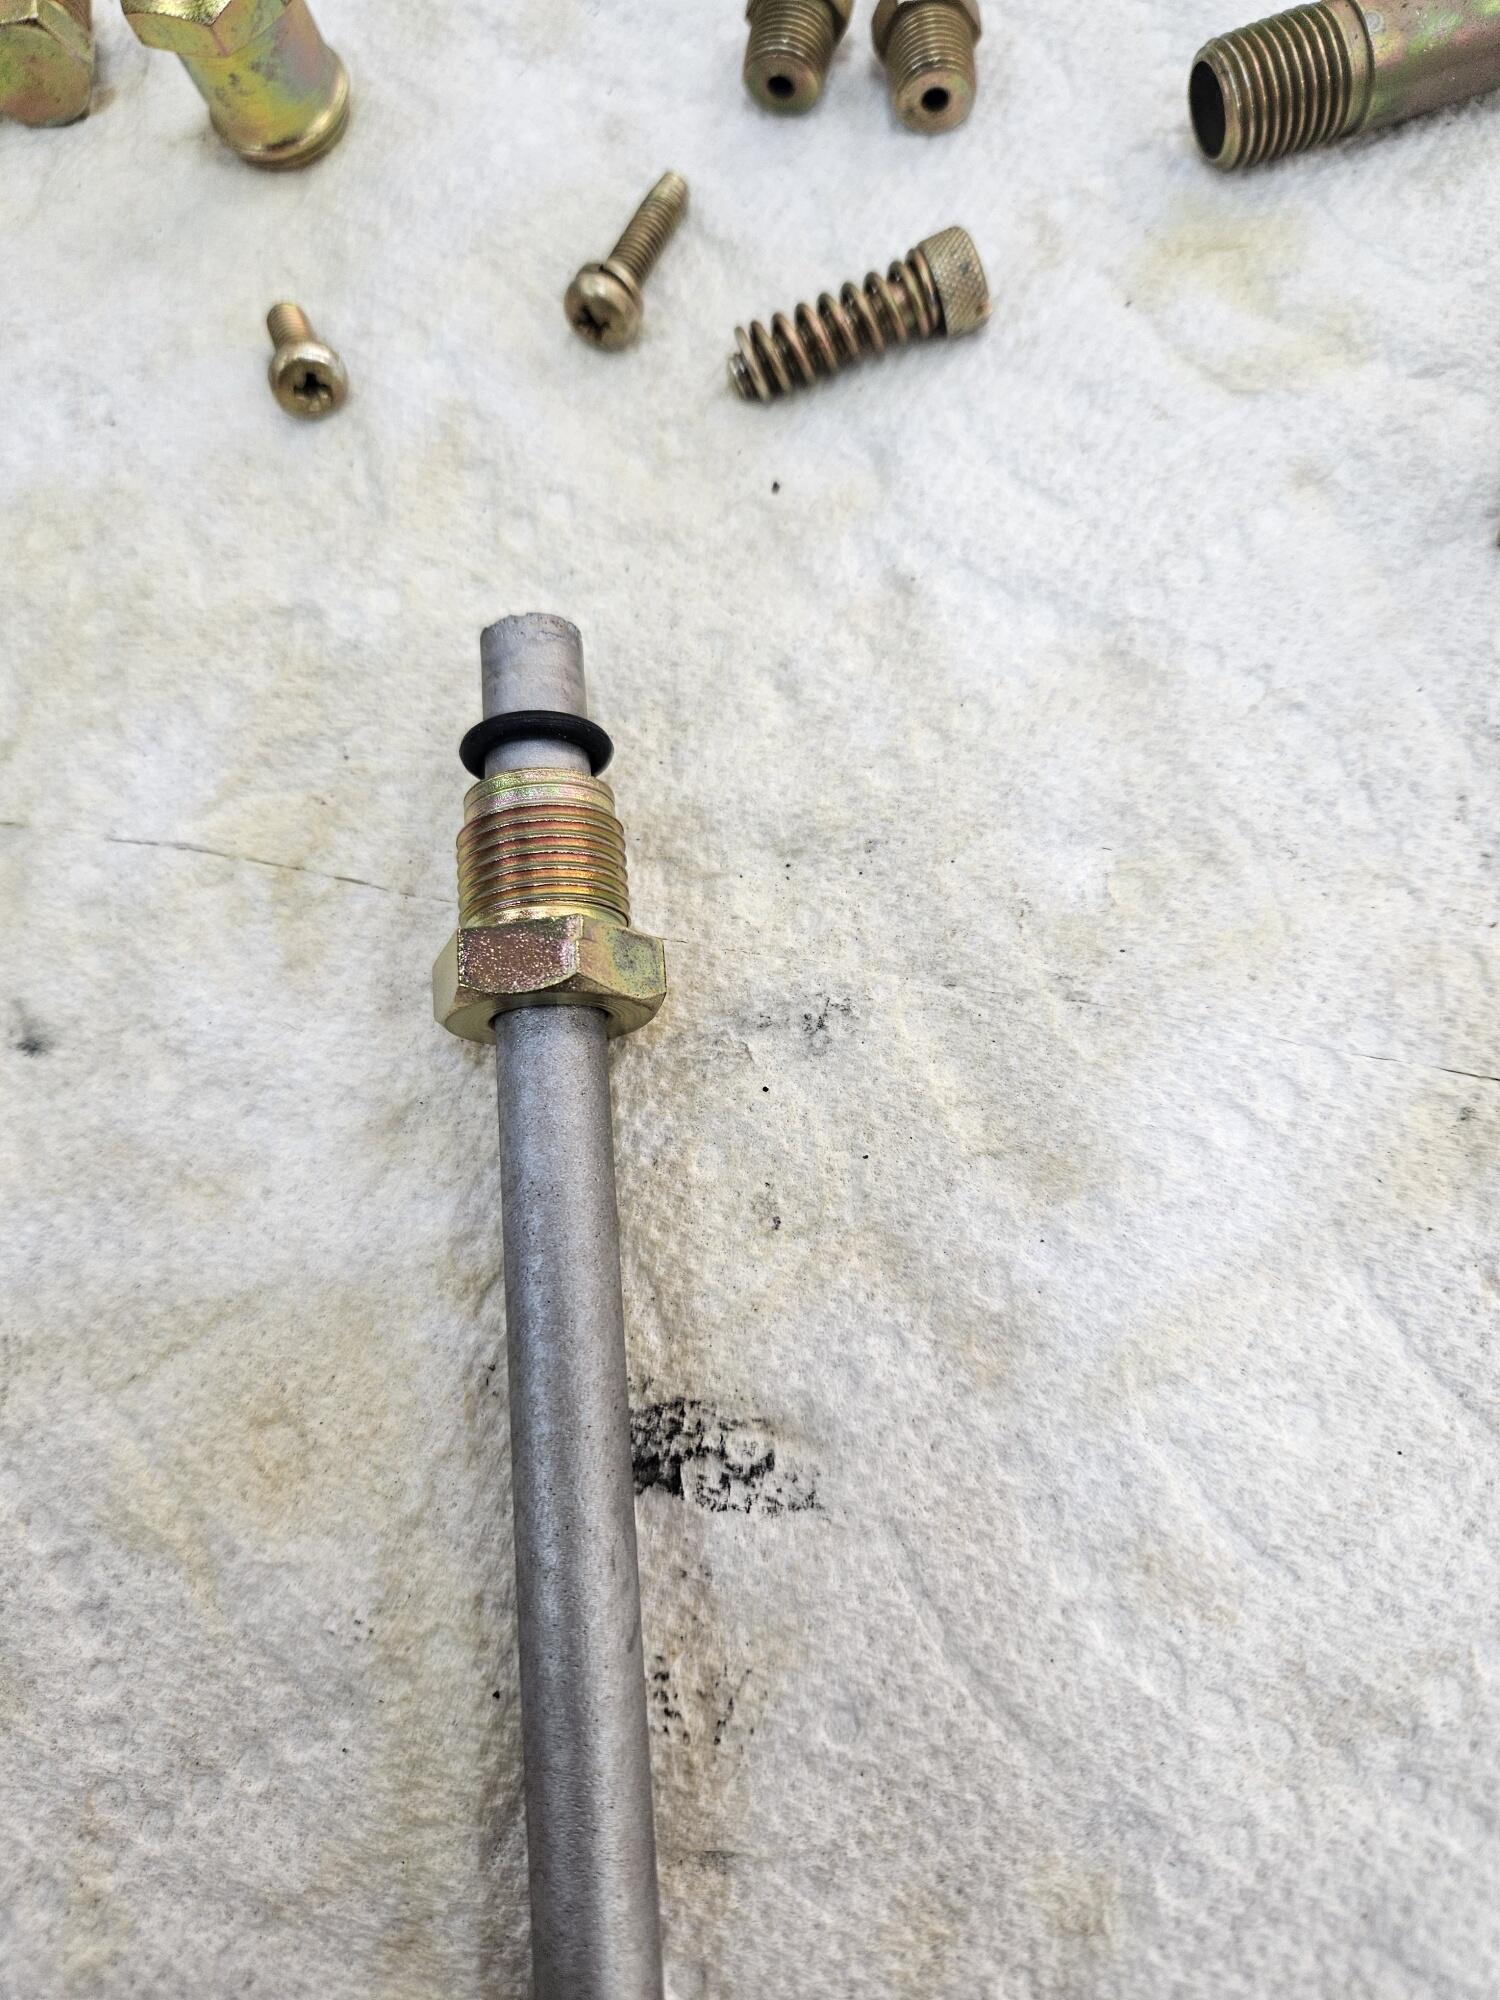
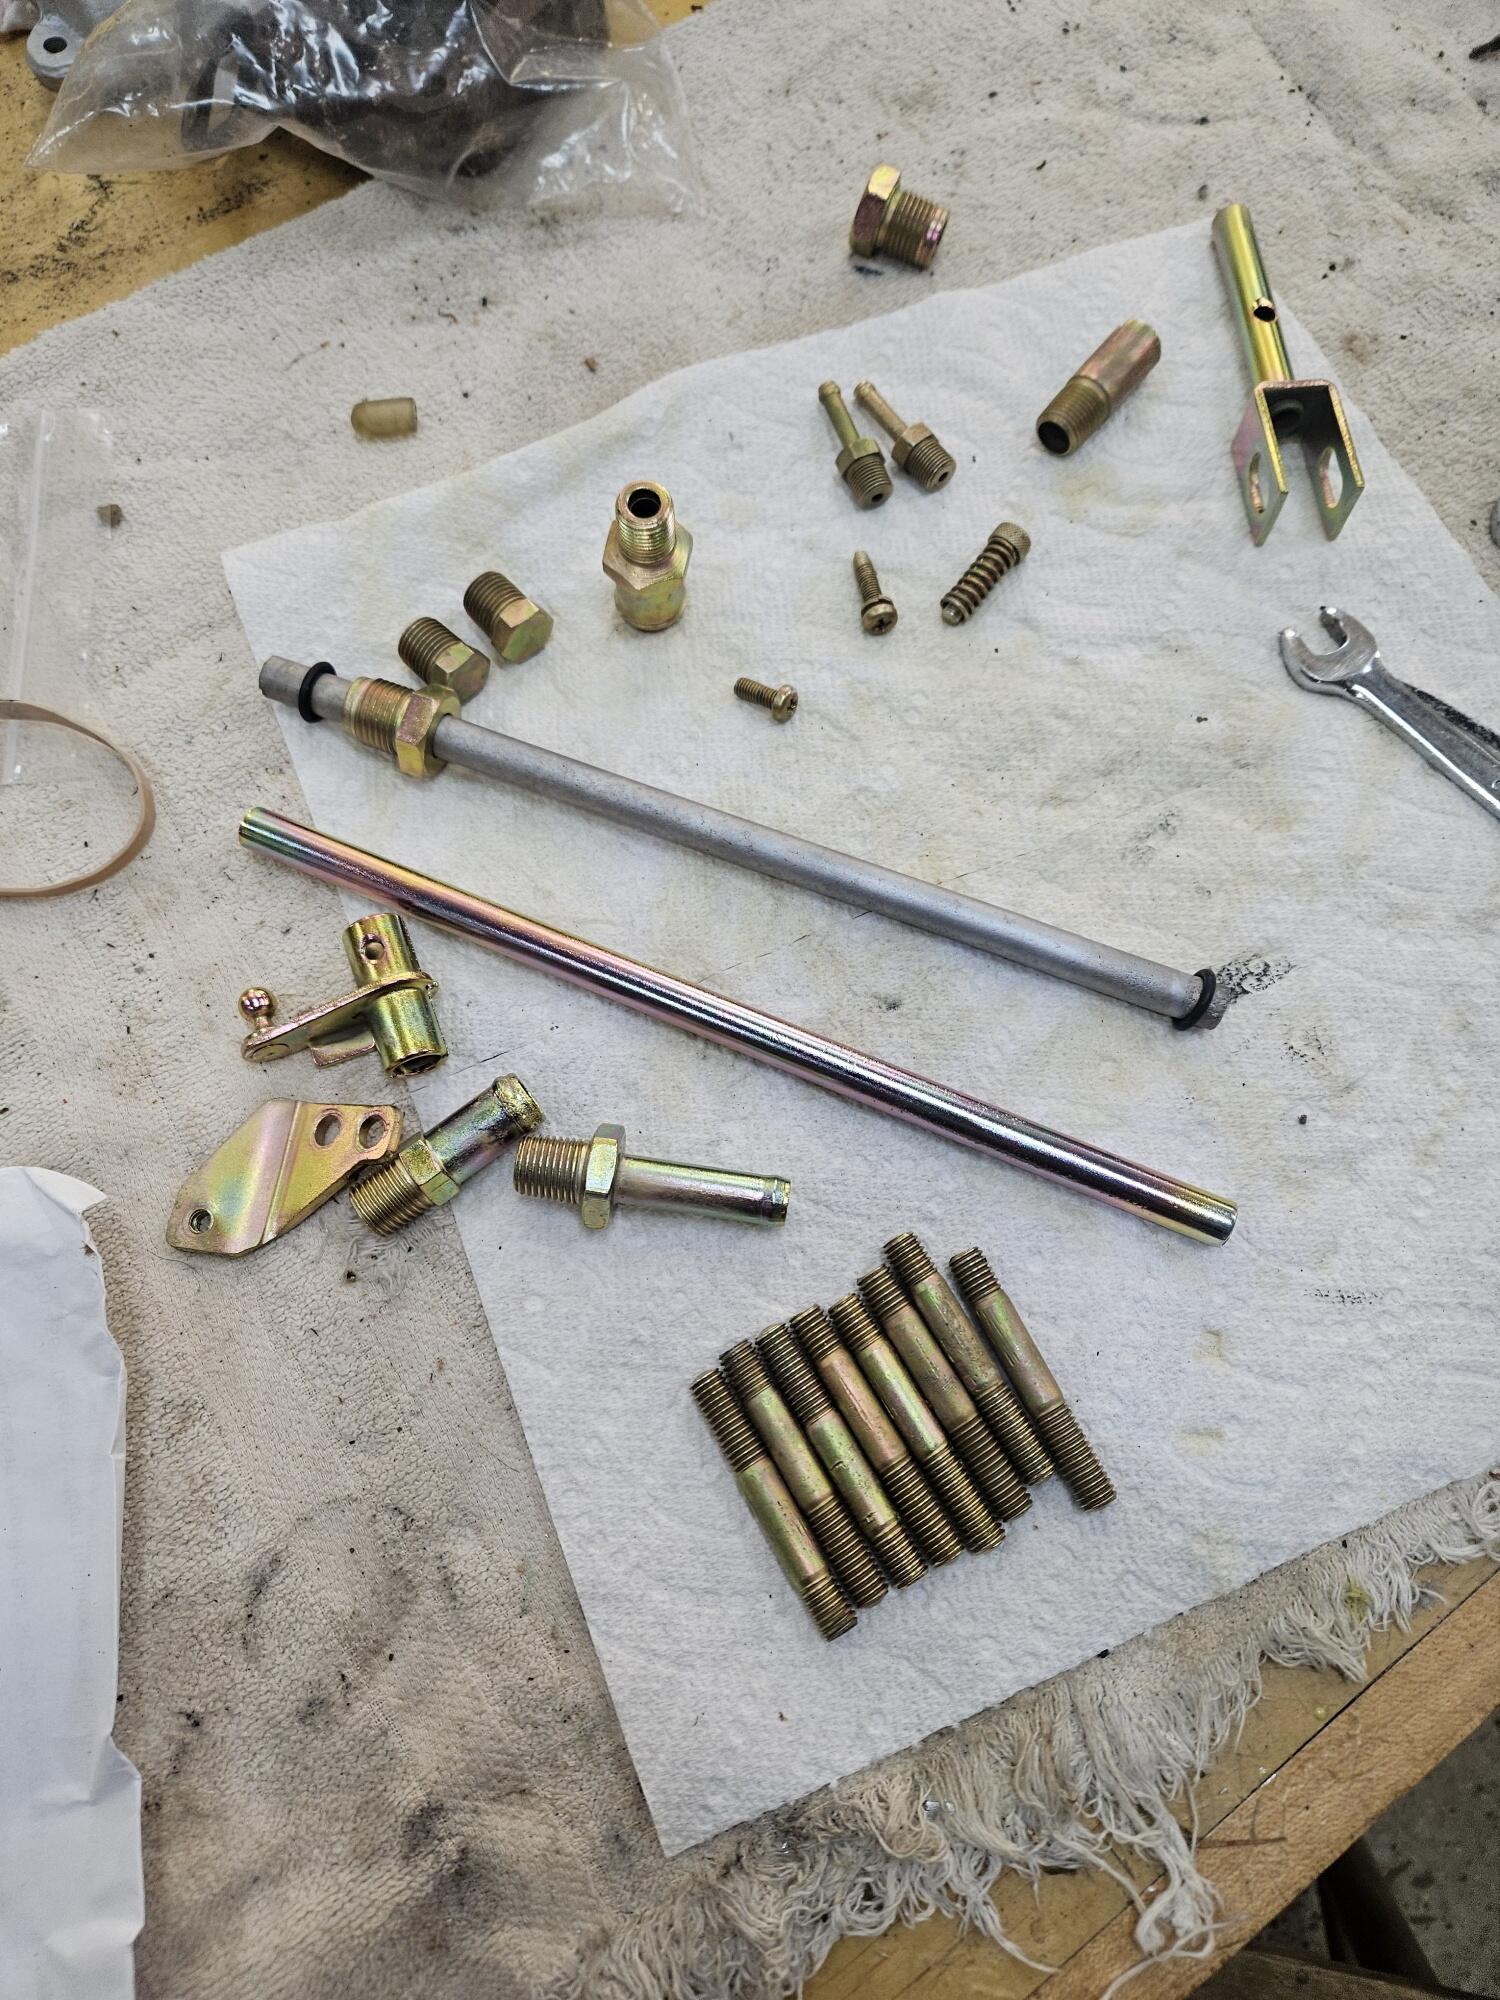
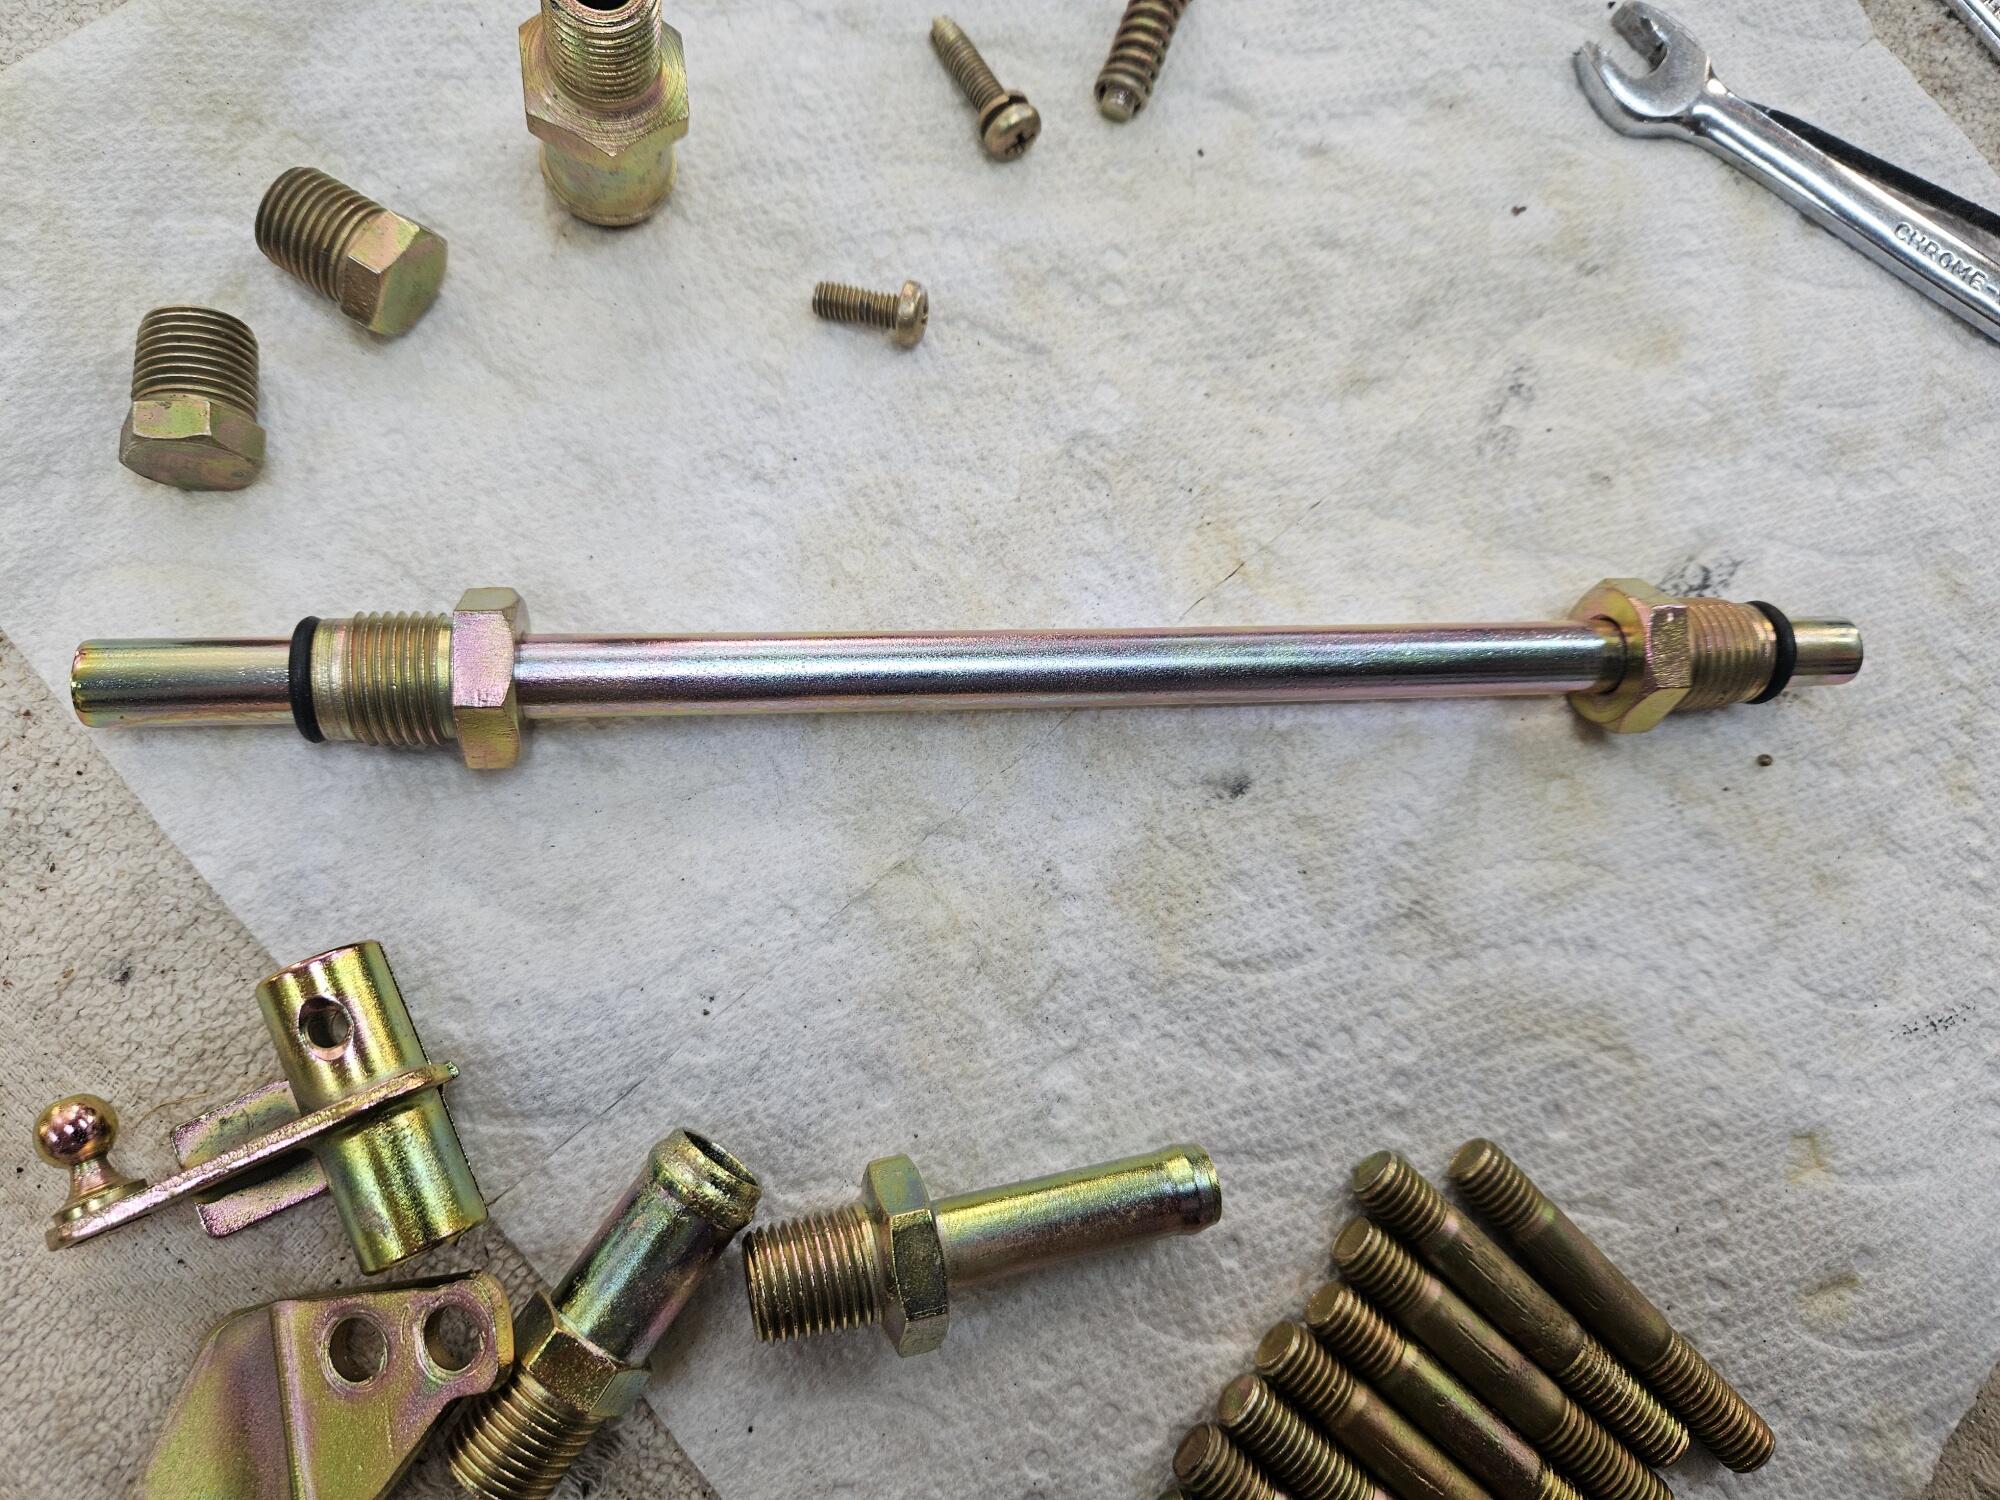
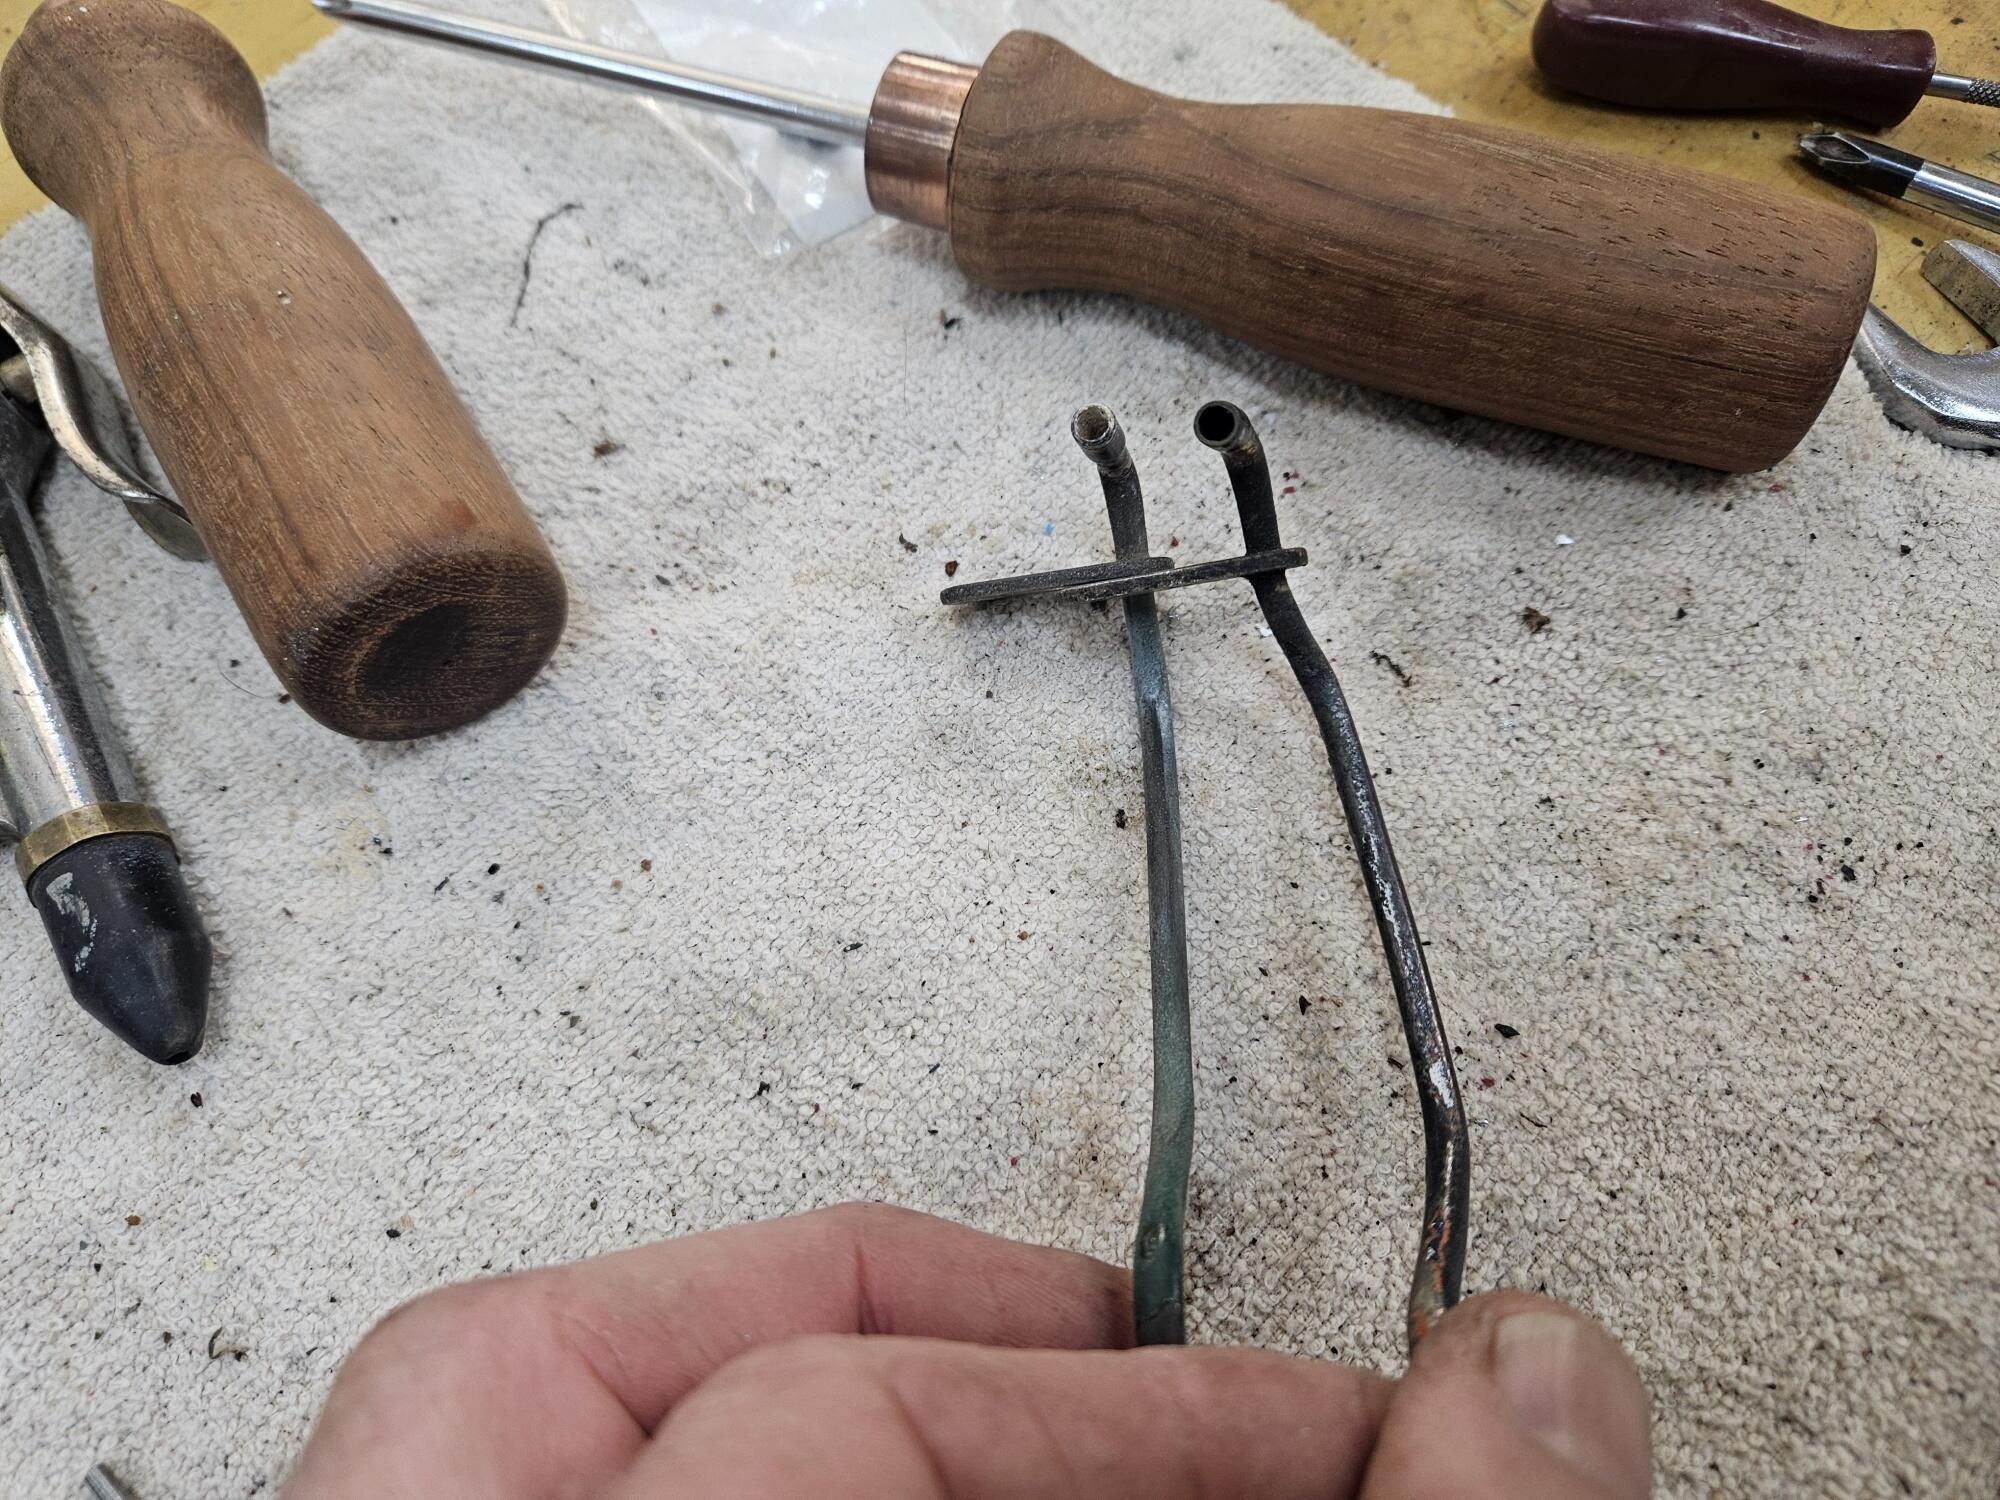
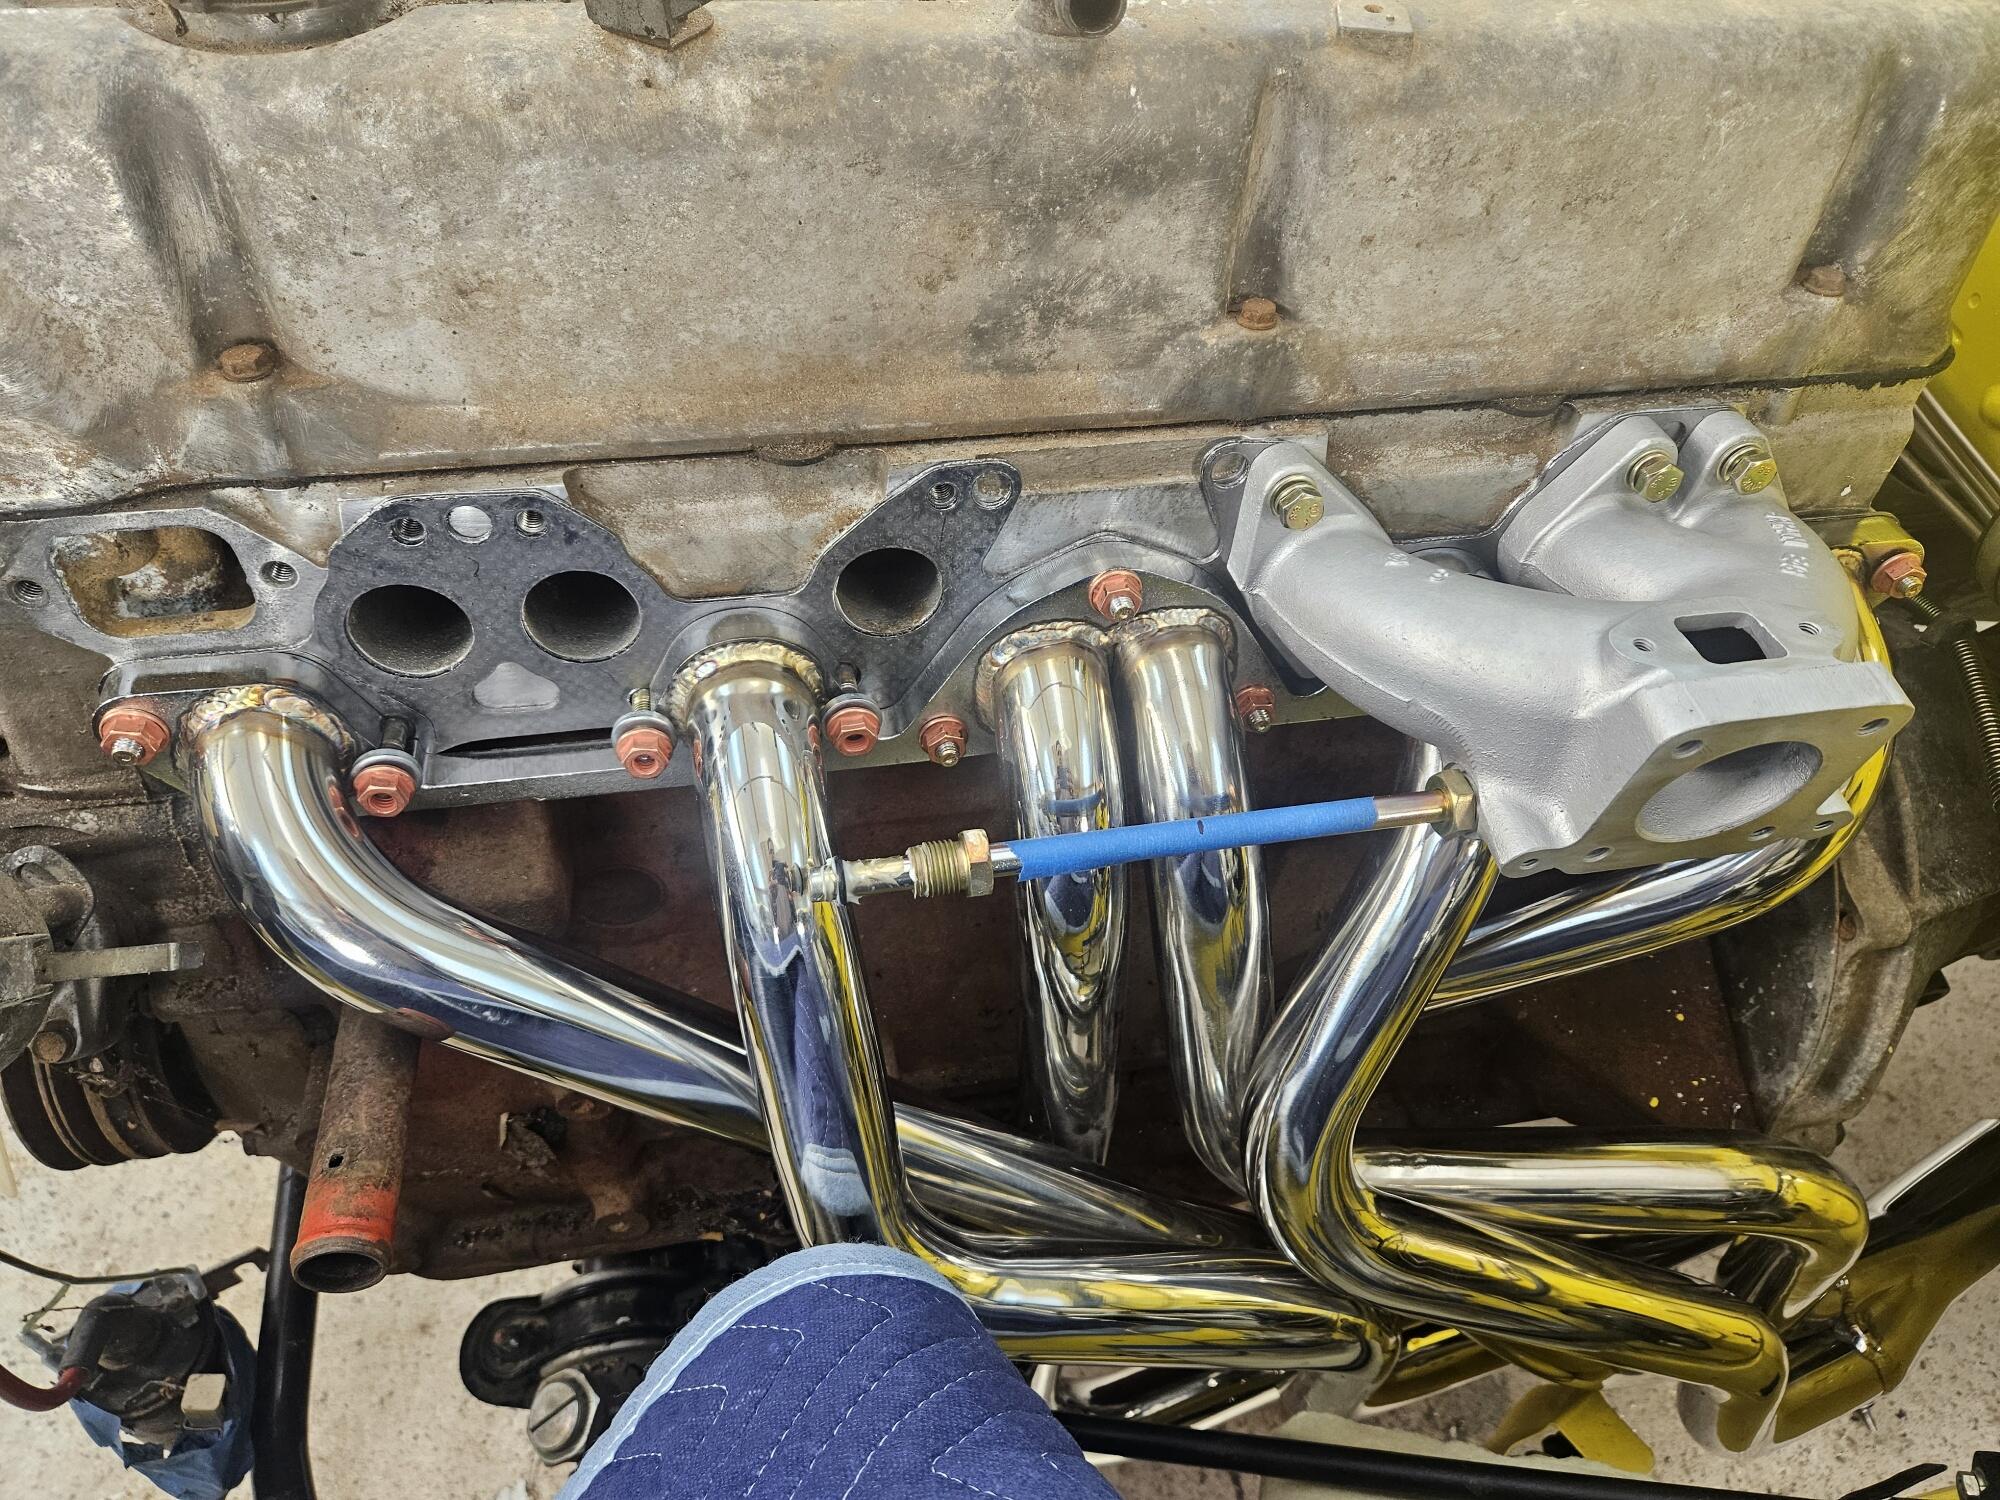
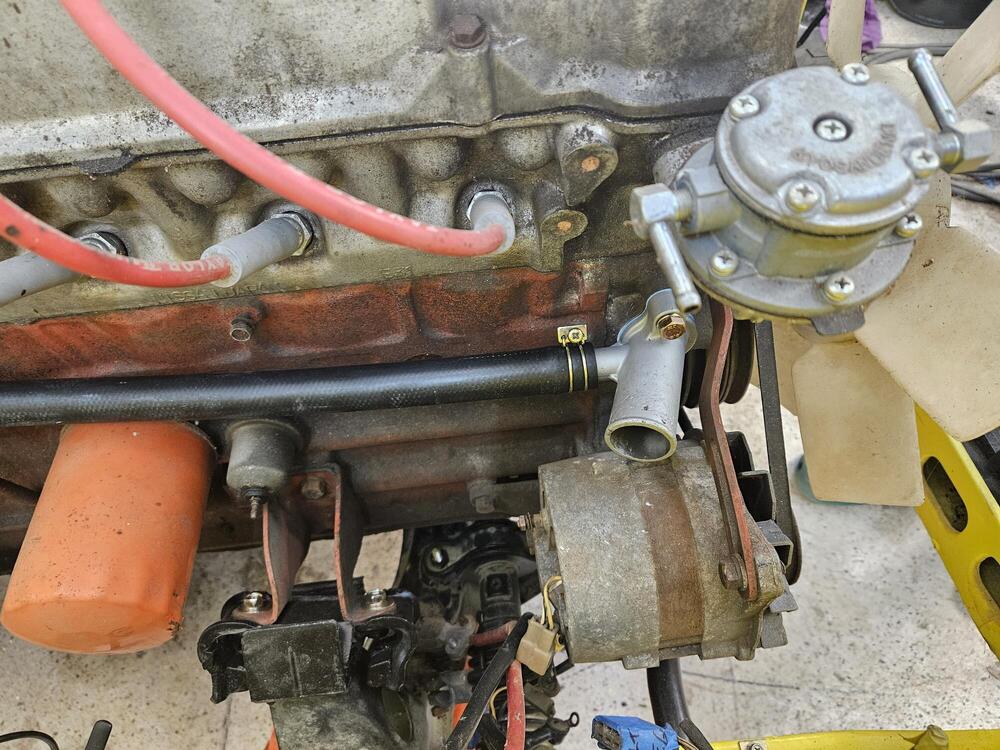
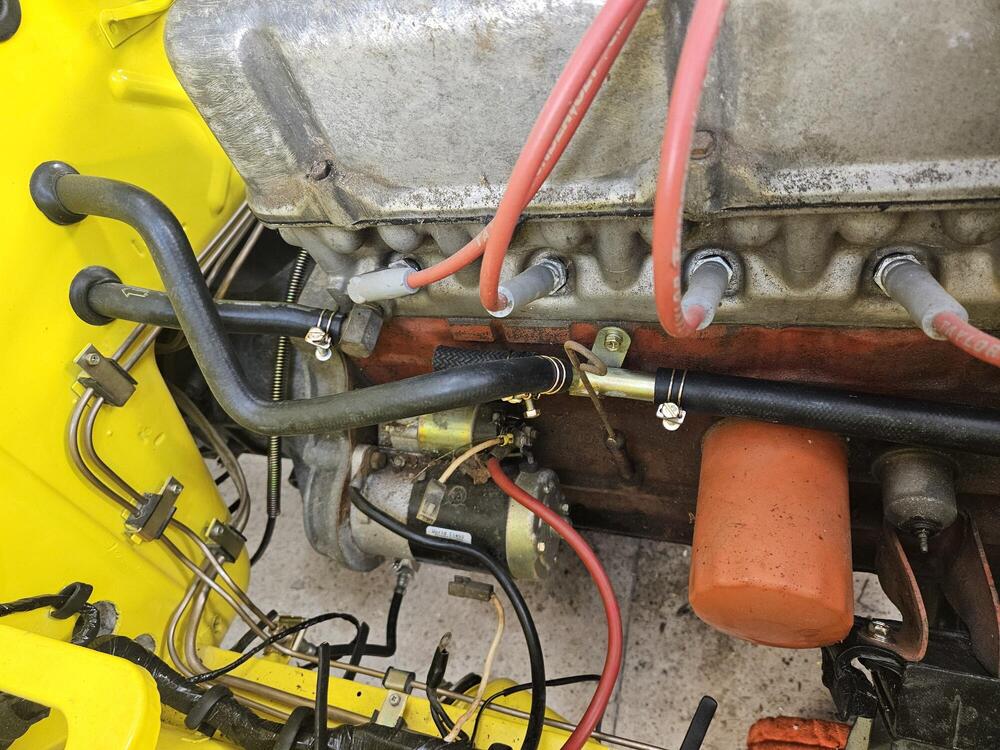
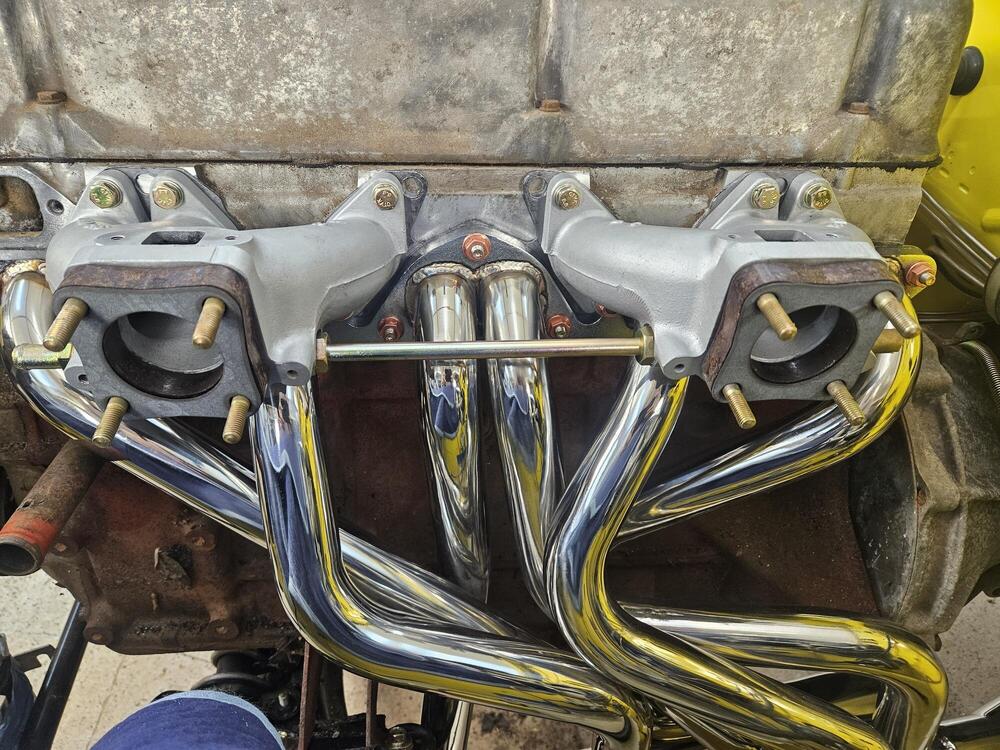
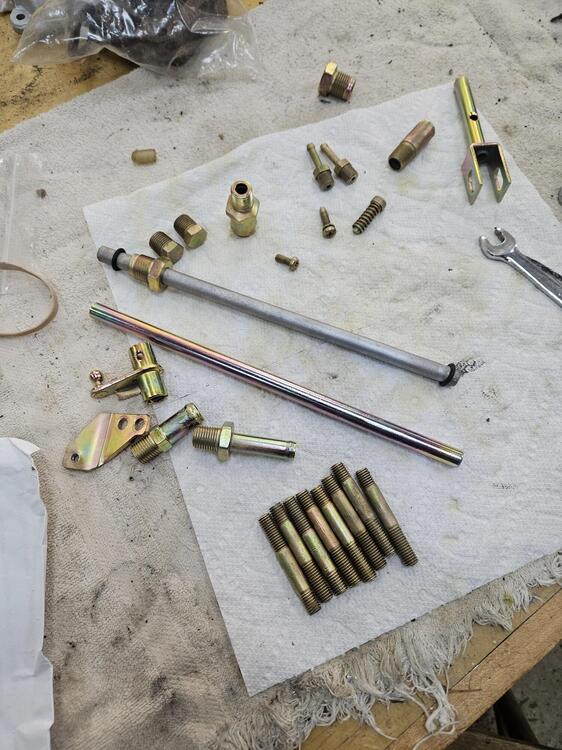
Got the driveshaft reassembled I painted it all black I bought a piece of tubing out of china. Cut it down and replated it last weekend. I used a nitrile o ring on the end. I would rather have a small square hydraulic ring instead. We'll see if it leaks The intakes need to be reassembled on the car to hold the orientation and the spacing I made a center line mark to help get the pipe centered between the manifolds. I also had to drill out the manifolds to get the corrosion out so the tube would go in. I also started working on the washer tubes I have to figure out how to straighten out the tubes


-
I worked on the engine some more today. My baby orangutan put the oil filter on so tight I couldn't get it off without pliers and I didn't want to mark up the pretty blue filter. So I dropped the oil pump out and filled it about 75% full. It was totally dry even after all the attempts to prime. Rotated it a little to make sure the air was out. Put it back on and hooked it up to my truck again. It primed pretty quick after that. You could tell when it started to prime because it started turning faster and the pitch changed. I blacked out the cowl area Put the fan on after some longer 4mm studs came in from Belmetric I tried to bleed the clutch, but it wouldn't prime. I will check the push rod length next time I work on it