jfa.series1
 Subscriber
-
Joined
-
Last visited
Everything posted by jfa.series1
-

-
-
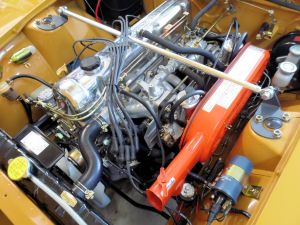
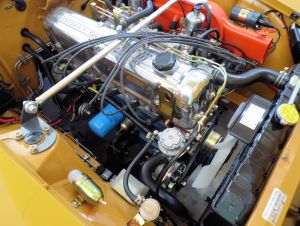
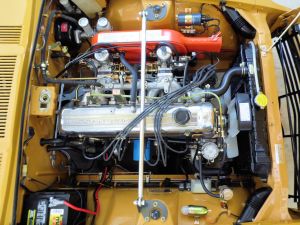 Stock L24 with emissions parts removed. Original radiator tanks and frame, re-cored to a 3-row.
 -
Ditto what Blue said.
-
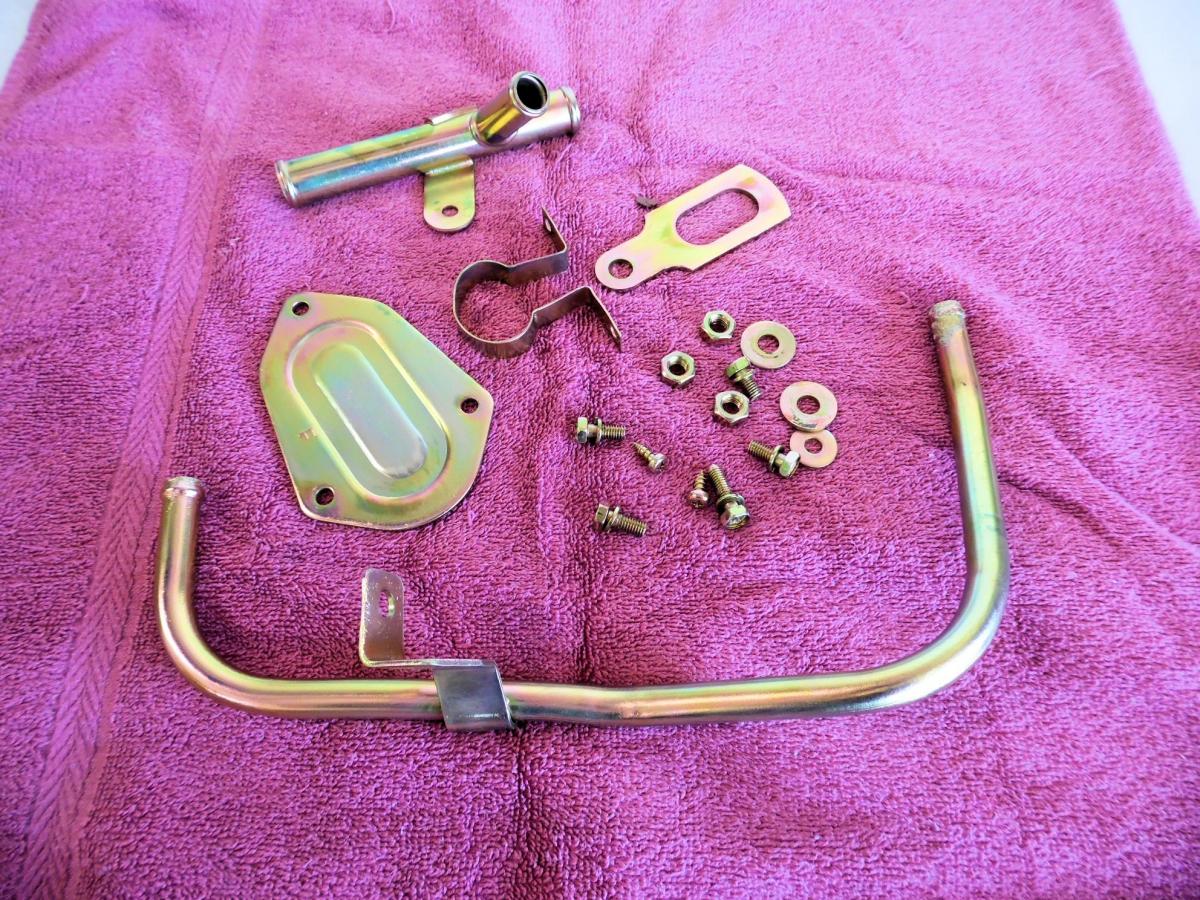
According to the on-line catalog, your P/N is 14053-E8800, NLA from Nissan. You might do some searches to see if one might be available elsewhere. This is mine, just back from plating this week - and NO, it is not for sale. These steel tubes corrode like crazy, mine has damage at one end but not bad enough to total it. Some JB Weld filled in the pitting. PS - congrats on hanging on to your rear engine lift bracket, most are missing by now!

-
No need to pull the diffy but your should expect to drop the tank to get to the lines. The tank should only be partially dropped to reach and disconnect the lines if you intend to reuse them. A full drop will probably stress and break the lines.
-
Coming soon: https://www.yahoo.com/autos/s/latest-laferrari-crash-worst-yet-194000192.html
-
Since the tank will be hidden behind the interior panels, cleaning it will only be for your personal satisfaction. As with any 40+ year-old plastic tank, it will be fragile - especially at all the hose connections and the mounting tabs. Be gentle! Inspect the hose connect points very carefully for cracks before you put it back in. Lube the inside of the new hoses just a bit before pushing them onto the tank - less stress on the tank fittings.
-
Raff - Yes, its a std 5-piece kit: floorboards, behind seats, rear deck. It is a drop-in as you suggest, the rear deck piece secures under the U-shaped plastic retainer just like OE. The heel pad is about 6"X12", ribbed, sewn in - looks very good. I saw your comment about their email response. I sent a note this morning requesting retail contacts, will see what kind of response I get. Jim Follow-up response from Seatz on retail sources: MSA and Z Car Source.
-
The carpet kit is fully finished and edge bound, no cutting or trimming required - the driver's side has a heel pad. Firewall snaps are on the two front sections. All pieces have padding glued to the underside. Your post mentions pile, remember - the early cars had loop style not cut pile.
-
-
This truly must be a Canuck thing! You have been tried in the court of public opinion and found guilty of (wait for it...)... gross humor. You are hearby sentenced to deferred adjudication and directed to appear at a hearing in Memphis TN in July, 2015 at a site to be determined at that time, said site to be selected based upon the availability of copious amounts and varieties of adult beverages. The hearing is to be conducted by a jury of your peers and fellow Z car degenerates at which time you will further confess your transgressions as mentioned above. Failure to appear will find you subject to accusations of improper embellishments, intentional falsehoods, and any other ridicule we can dream up. Z'ya in Memphis!
-
ROTFLMAO!!! Is this a Canuck thing? Did you have on funny looking hats during the drive? Shades of Laurel & Hardy or the Two Stooges. One big question: when do we get to see the YouTube version? Funniest story I have read in years, thanks for sharing.
-
Pretty awesome!
-
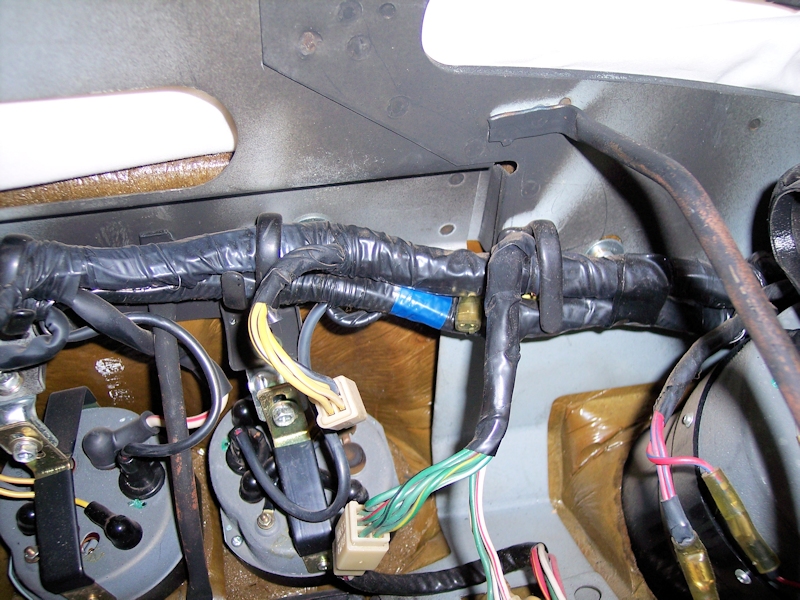
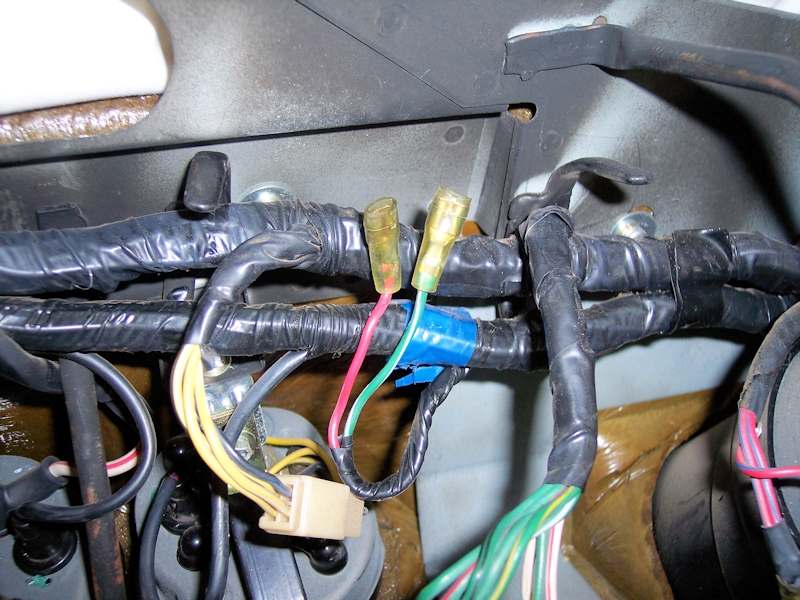
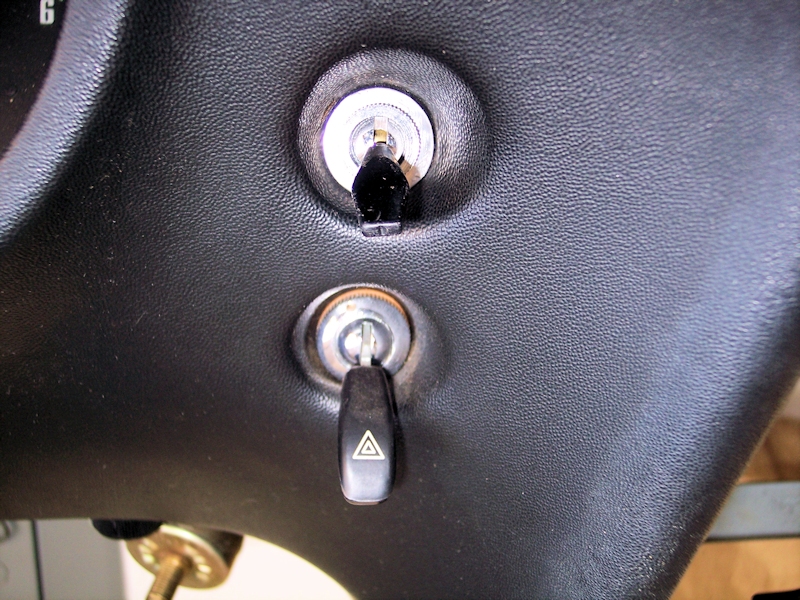
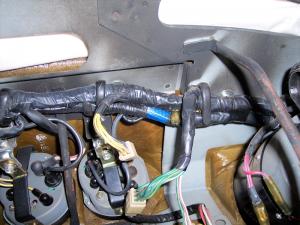
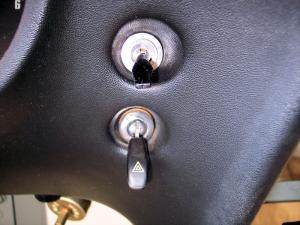
If you want to exploit the factory wiring for a relay AND you just happen to have your dash out, here's what to look for. The blue tape between the tach and the center gauge is the tip-off to the unused circuit, a connector is peeking out of the wiring. Spread the harness a bit and the two connectors for a switch are ready - note how conveniently close they are to the closed hole in the dash face above the hazard light switch. Hmmmm - just what did Nissan have in mind??? I've added a toggle switch to the dash, all ready to go to manage a relay circuit to power aux. lights. Keep in mind this is my 12/70 car and wiring likely changed in later models when the lighter was moved to the dash face.

-
I had some 35's on my car for a while - until they were stolen! The stock bumper already has holes on the underside for the mounting, inboard of the bumperette mounting points. When they were suspended under the bumper, the rectangular form was a good fit with the grill opening. I found them available at this site and at the bottom of the page they offer anti-theft nuts! http://www.alfacybersite.com/ACSCibCtA.html
-
Interesting question. While I'm aware that the wiring harness has provisions for fog lights - connections in the grill area and taped-off wiring in the dash, I've never seen factory lights for the 240Z. If there are none, a very nice rectangular unit if they can be found is the old Cibie' 35. They came with either driving or fog lens.
-
Wheel rub sounds like a wheel offset issue or too fat a tire. Details?
-
Congrats on your upgrade to a modern fuse block - a major step in getting electrical reliability. If you haven't already done so, download the '71 Supplemental Chassis manual from XenonS30 for your electrical guide. http://www.xenons30.com/reference.html
-
One more vote from the "been there, done that, changed back" school of experience. I've got progressive springs and Tokico HP (Blue) shocks which gave me a very firm ride. With the addition of poly bushings, all compliance was lost and the ride was noisy and punishing. OE bushings from Nissan made everything better.
-
At the bottom of the linked page, there are two pics of the Z - one showing the interior. Look closely at the console, just forward of the choke lever. Is that a plaque or tag? Could this be one of the Vintage Restoration cars?
-
Looks like a lot of S30 DNA in this clay model. https://autos.yahoo.com/news/revived-jensen-bringing-gt-geneva-promises-interceptor-successor-113004270.html
-
A new analysis from Hagerty on Japanese cars potential. https://autos.yahoo.com/news/10-japanese-cars-from-the--70s-and--80s-you-should-snap-up-now-151856727.html
-
This link came to me from a fellow Z owner. No idea of $$$. Looks to be an interesting vehicle. http://www.kindigit.com/for-sale.php
-
I've worked with folks at PaintScratch.com and they have just added 920 Safari Gold to their available products. It is listed as a 1971 Nissan 240Z color. FYI - the actual product formula is PPG 23576. Edit: I recommended they also list it for the '70 model. http://www.paintscratch.com/