jfa.series1
 Subscriber
-
Joined
-
Last visited
Everything posted by jfa.series1
-
 View Advert S30 Rear Side Markers Completely refurbished. Disassembled and cleaned, no rust or corrosion. The lenses are genuine OE IKI 5004 units, not cheap reproductions. They have been polished to a like new finish, no scratches or cracks. The stainless bezels are polished to a mirror finish. OE wiring and terminals. $110 for the pair, includes standard domestic shipping, international shipping available at actual cost. Payment via PayPal, PM if interested. Thanks! Advertiser jfa.series1 Date 09/25/2021 Price $110 Category Parts for Sale
 -
Welcome to the group and your introductory dash of irreverance from a fellow member. That's a great looking car, I know we'll all be looking forward to your updates with mandatory pics. Set up your signature line in your profile to include your VIN and build date as it will help everyone when responding to any questions you post. Did I mention mandatory pics???
-
The link almost appears to be a placeholder for details to come, as there is no info and only one pic of the Proto nose. It announces the special edition car as a 2023 model, not the 2022 model we expect to arrive early next year - unless we think Nissan is going to declare all the Z35's as 2023 models. More for the grist mill!
-
I had the car at an area car show yesterday and a couple of guys came up and started talking with me. They said they worked locally at a Nissan facility but were actually headquartered out of Franklin. During our discussion of the new Z35 they mentioned that the first 240 cars will have a special limited edition interior treatment. No details available. Grist for the rumor mill!
-
You are correct. In my haste I misread the specs as a 6mm head but it is indeed a M6 screw dia. Thanks for catching my mistake.
-
Hi Jerry, I did a quick check on my car - the tiny bolts are a 7mm hex head with a phillips slot. Checking with Belmetric, it looks like they are called SEMS Hex Phillips altho these have a flat washer installed. They carry it in a 6mm head but not 7mm. https://www.belmetric.com/sems-hex-phillips-c-10_2345/?zenid=2tdb29vtv11hqsruk3uf0dsk12 Interesting that Nissan used a odd number mm head when everything else is even number. Jim
-
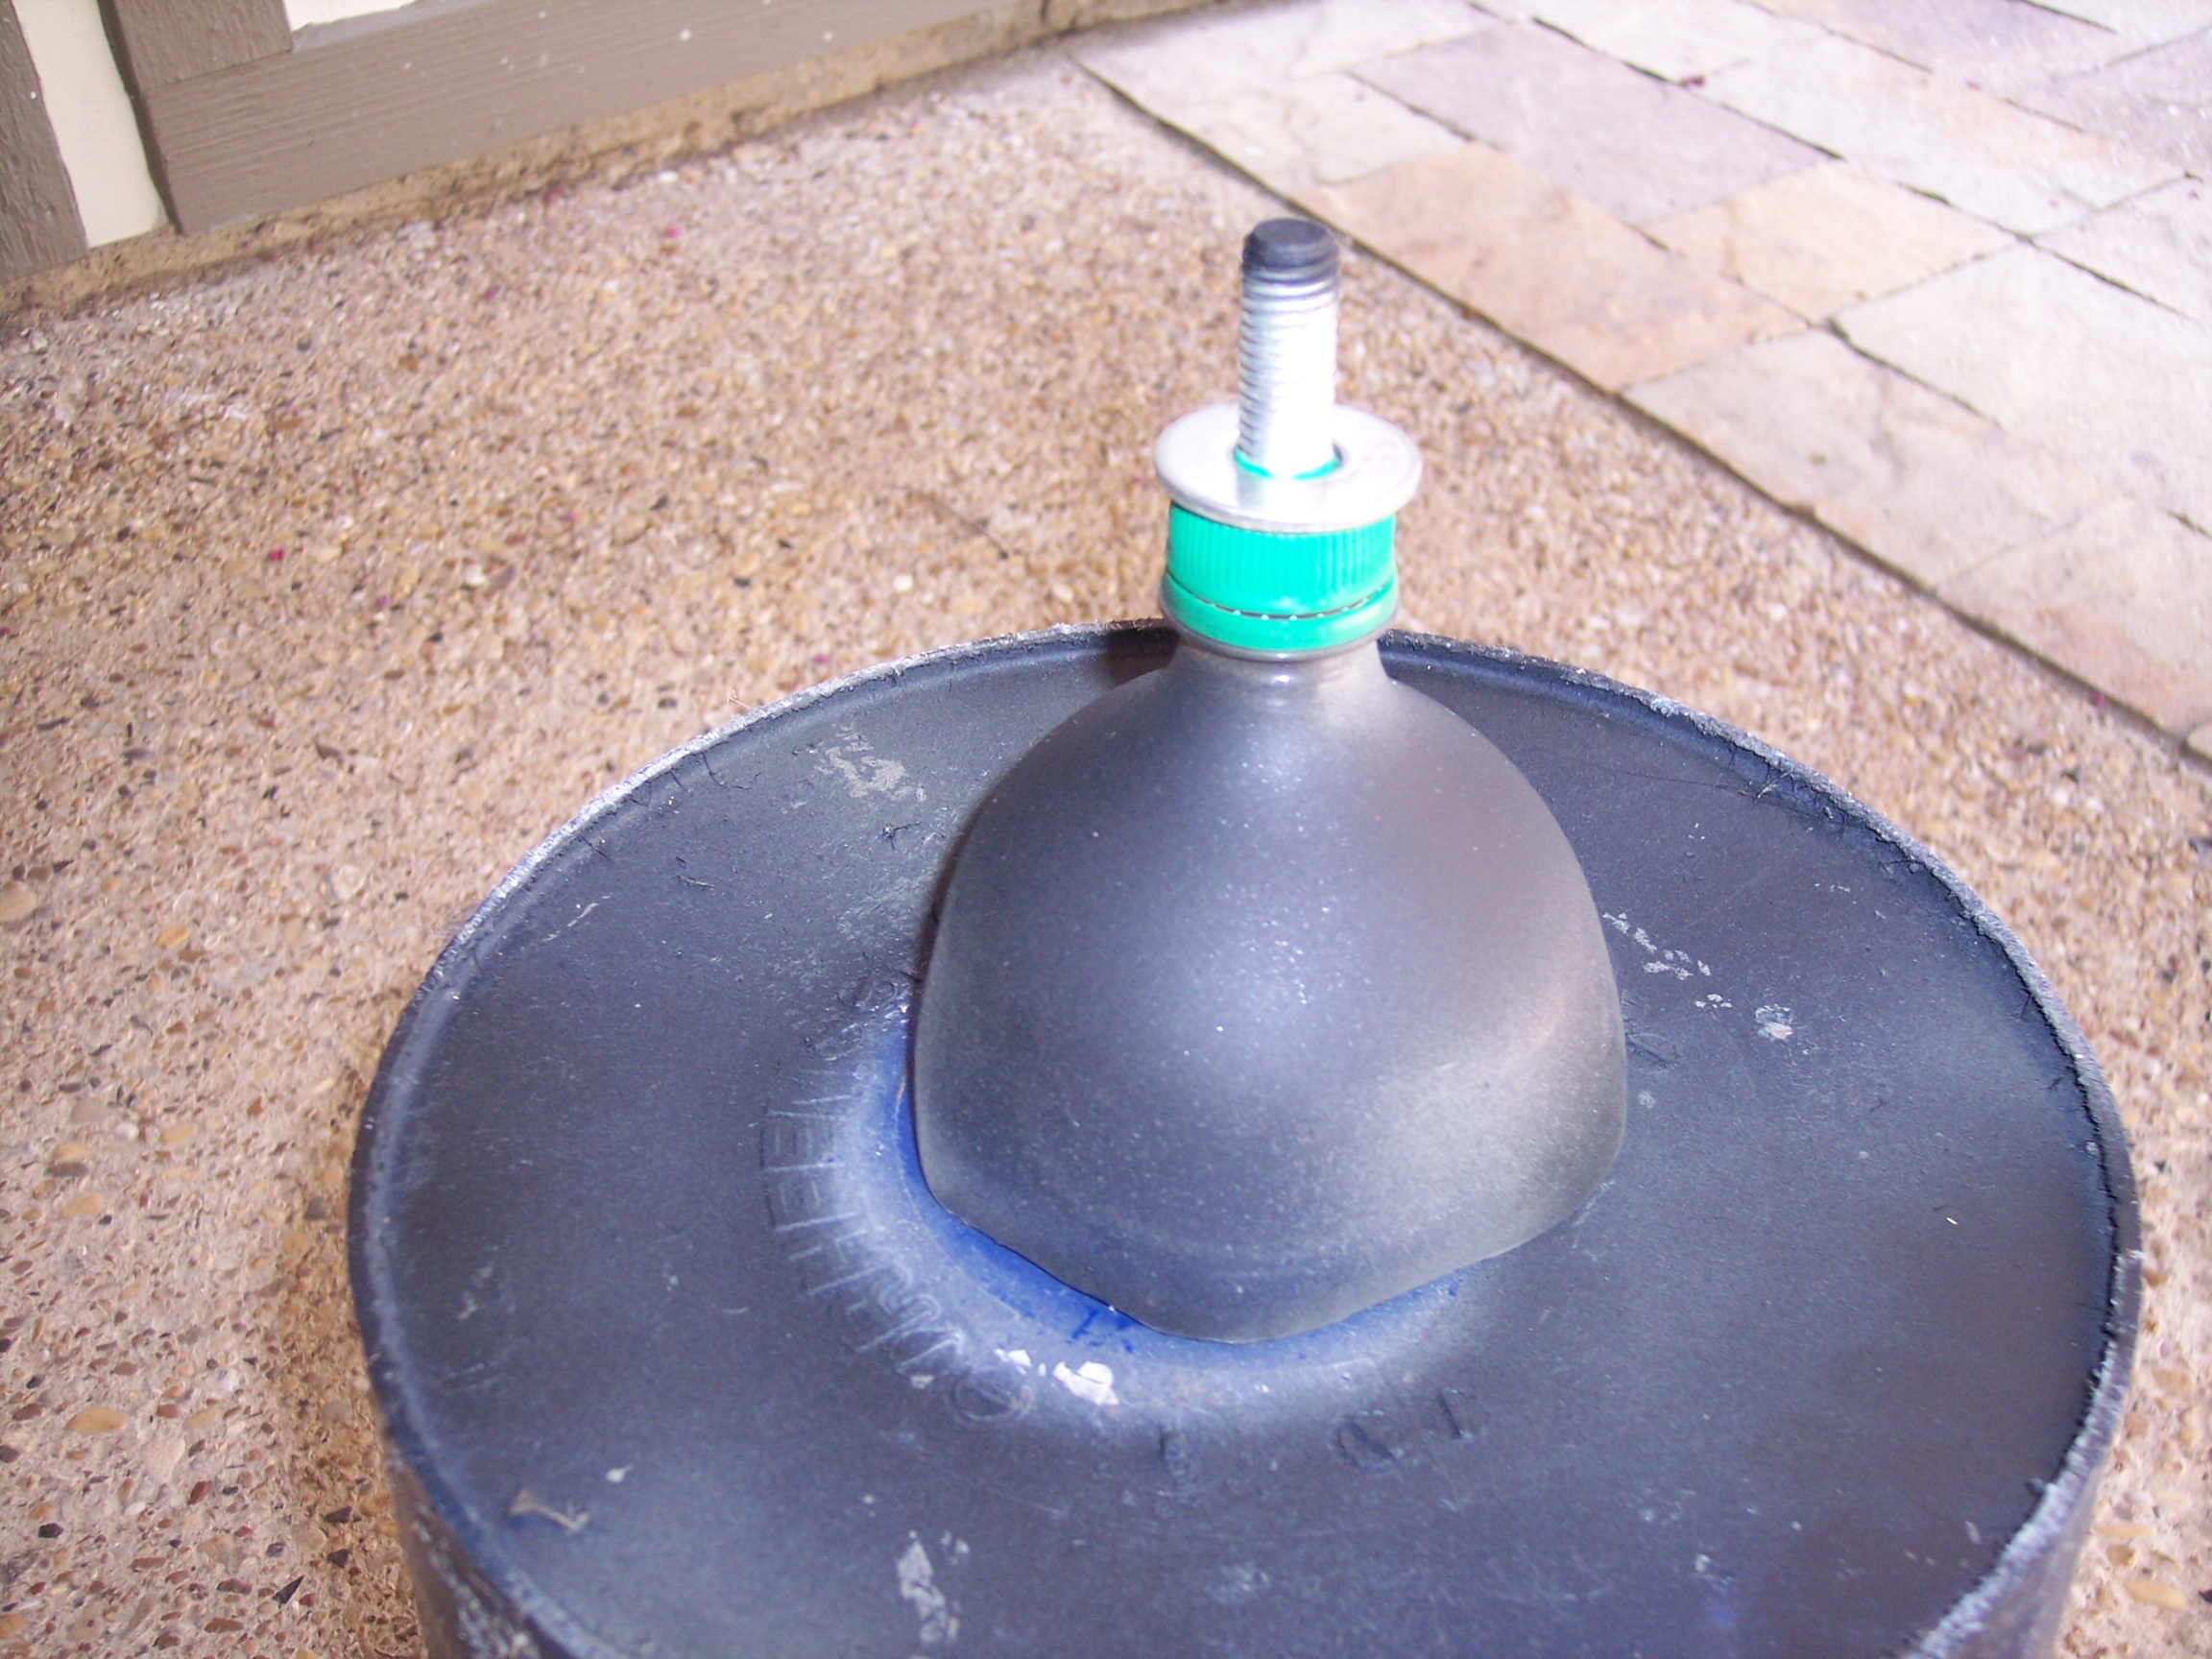
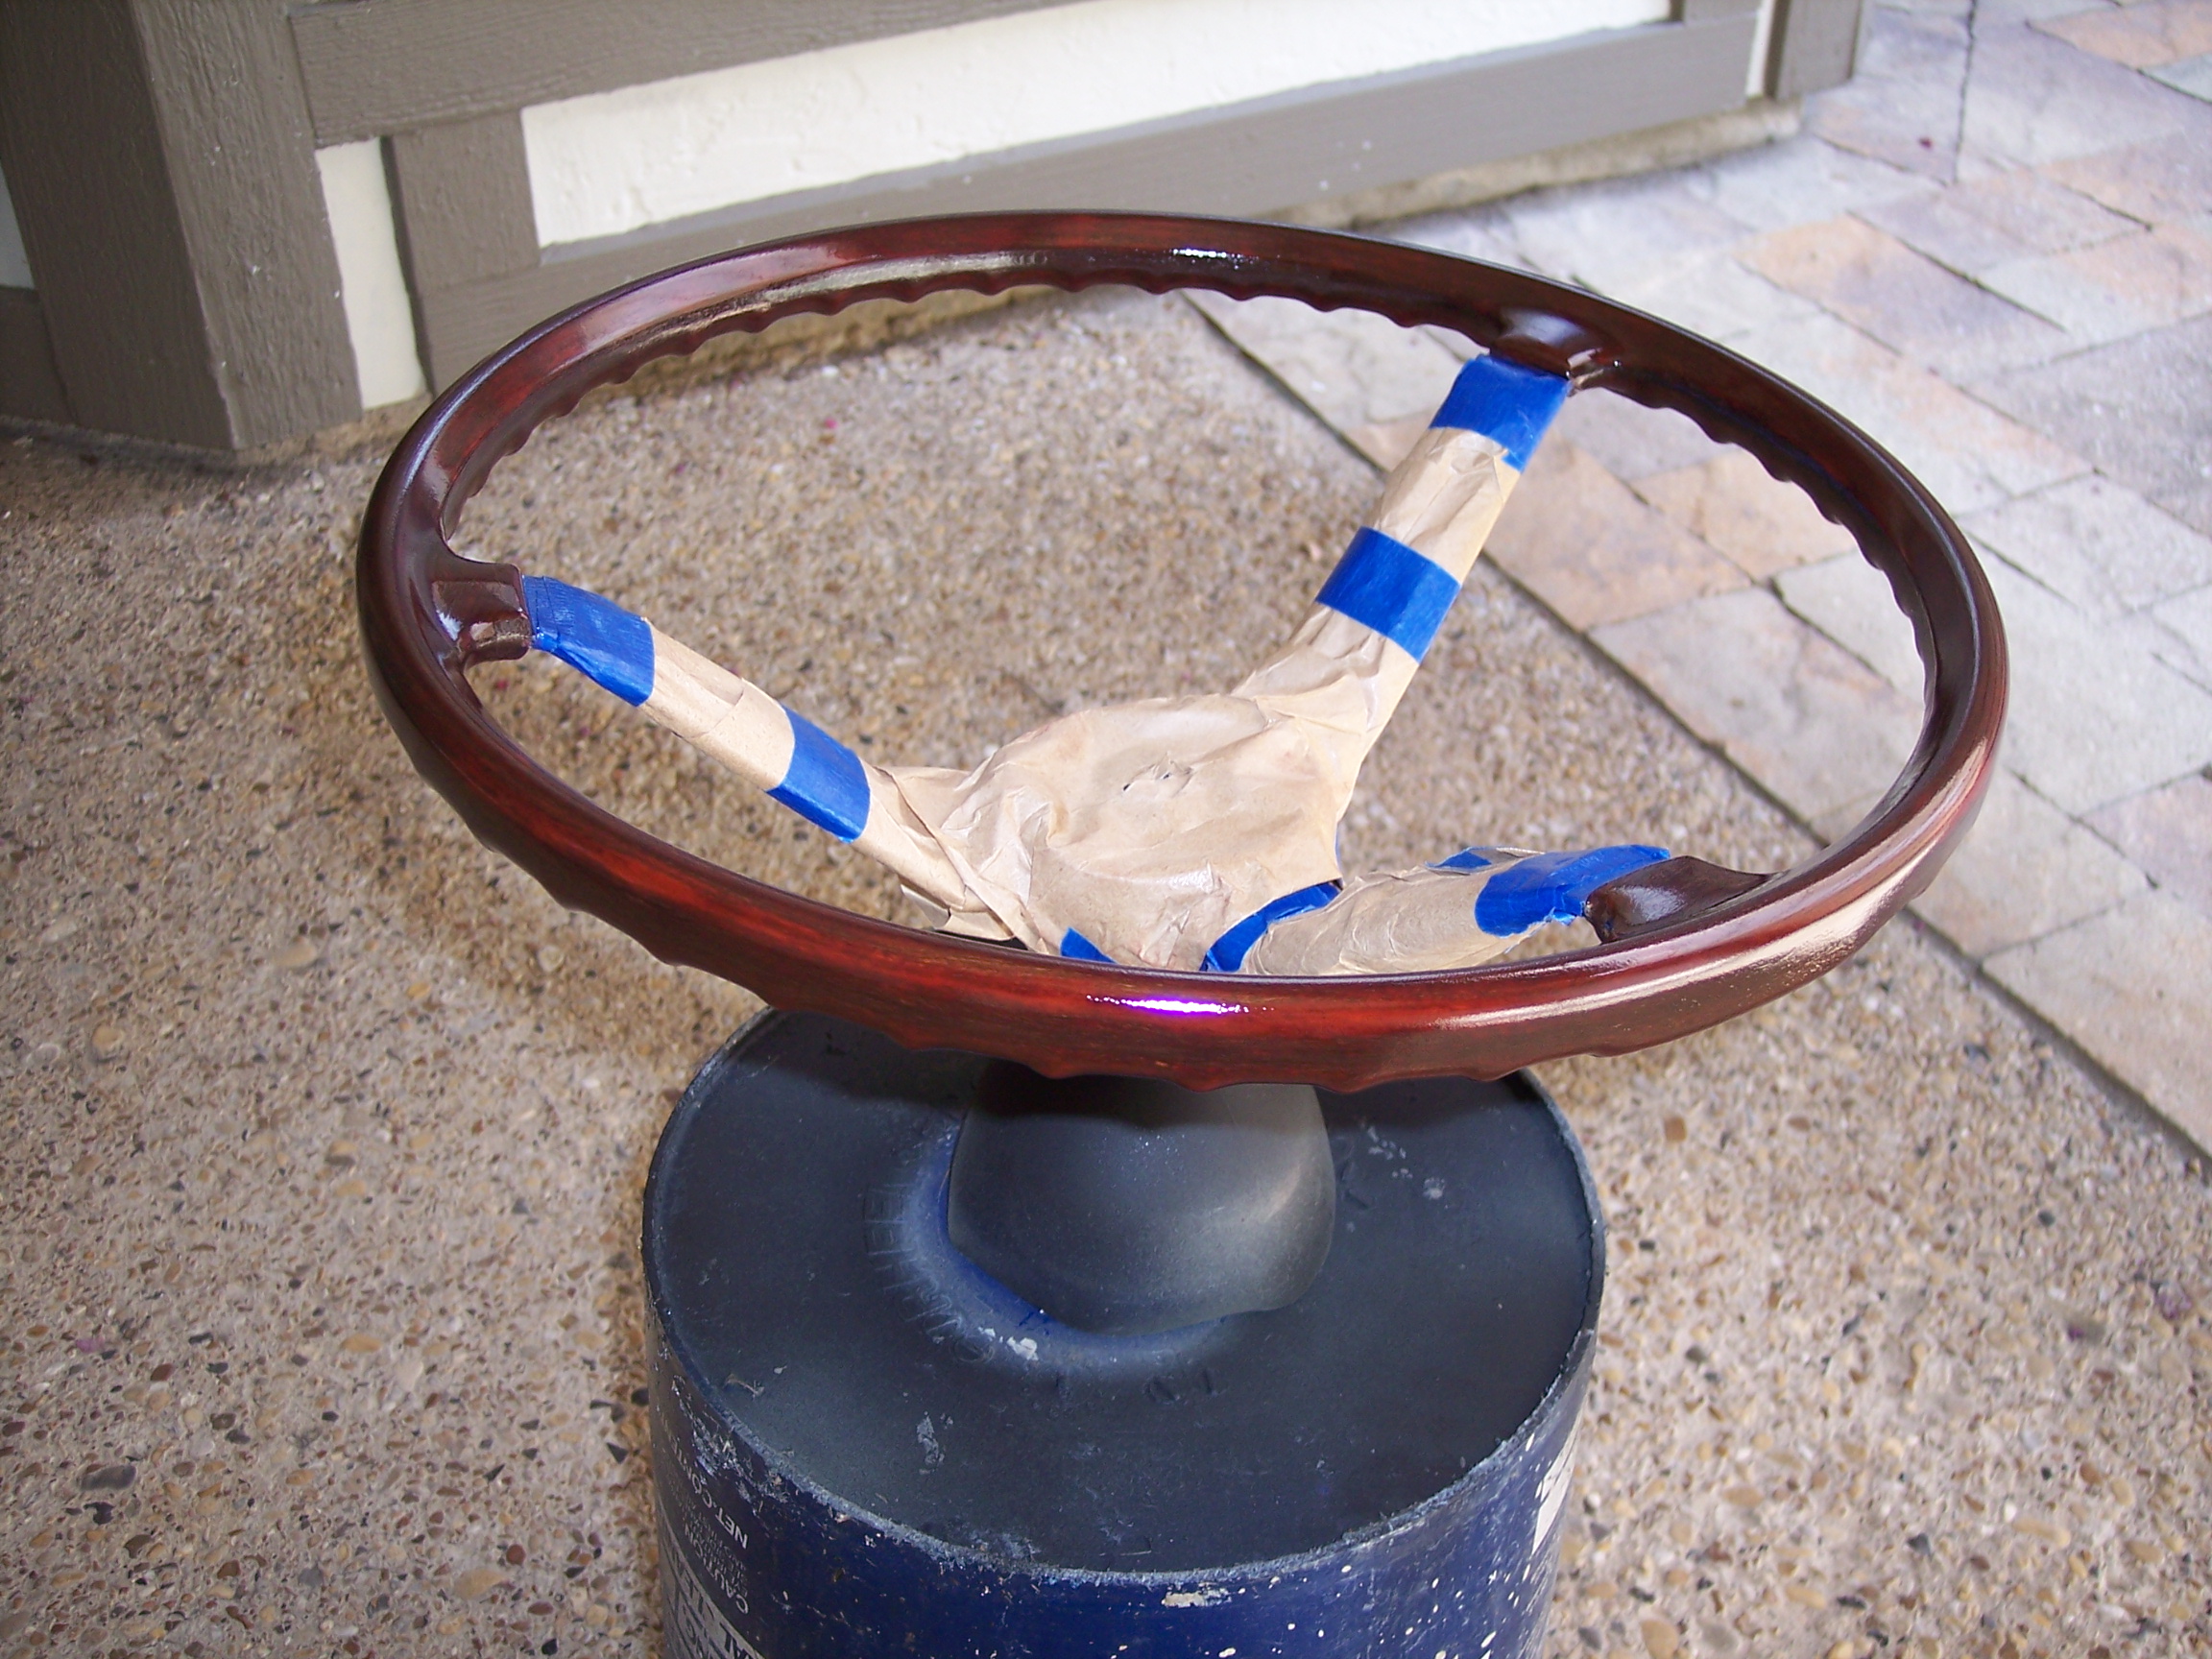
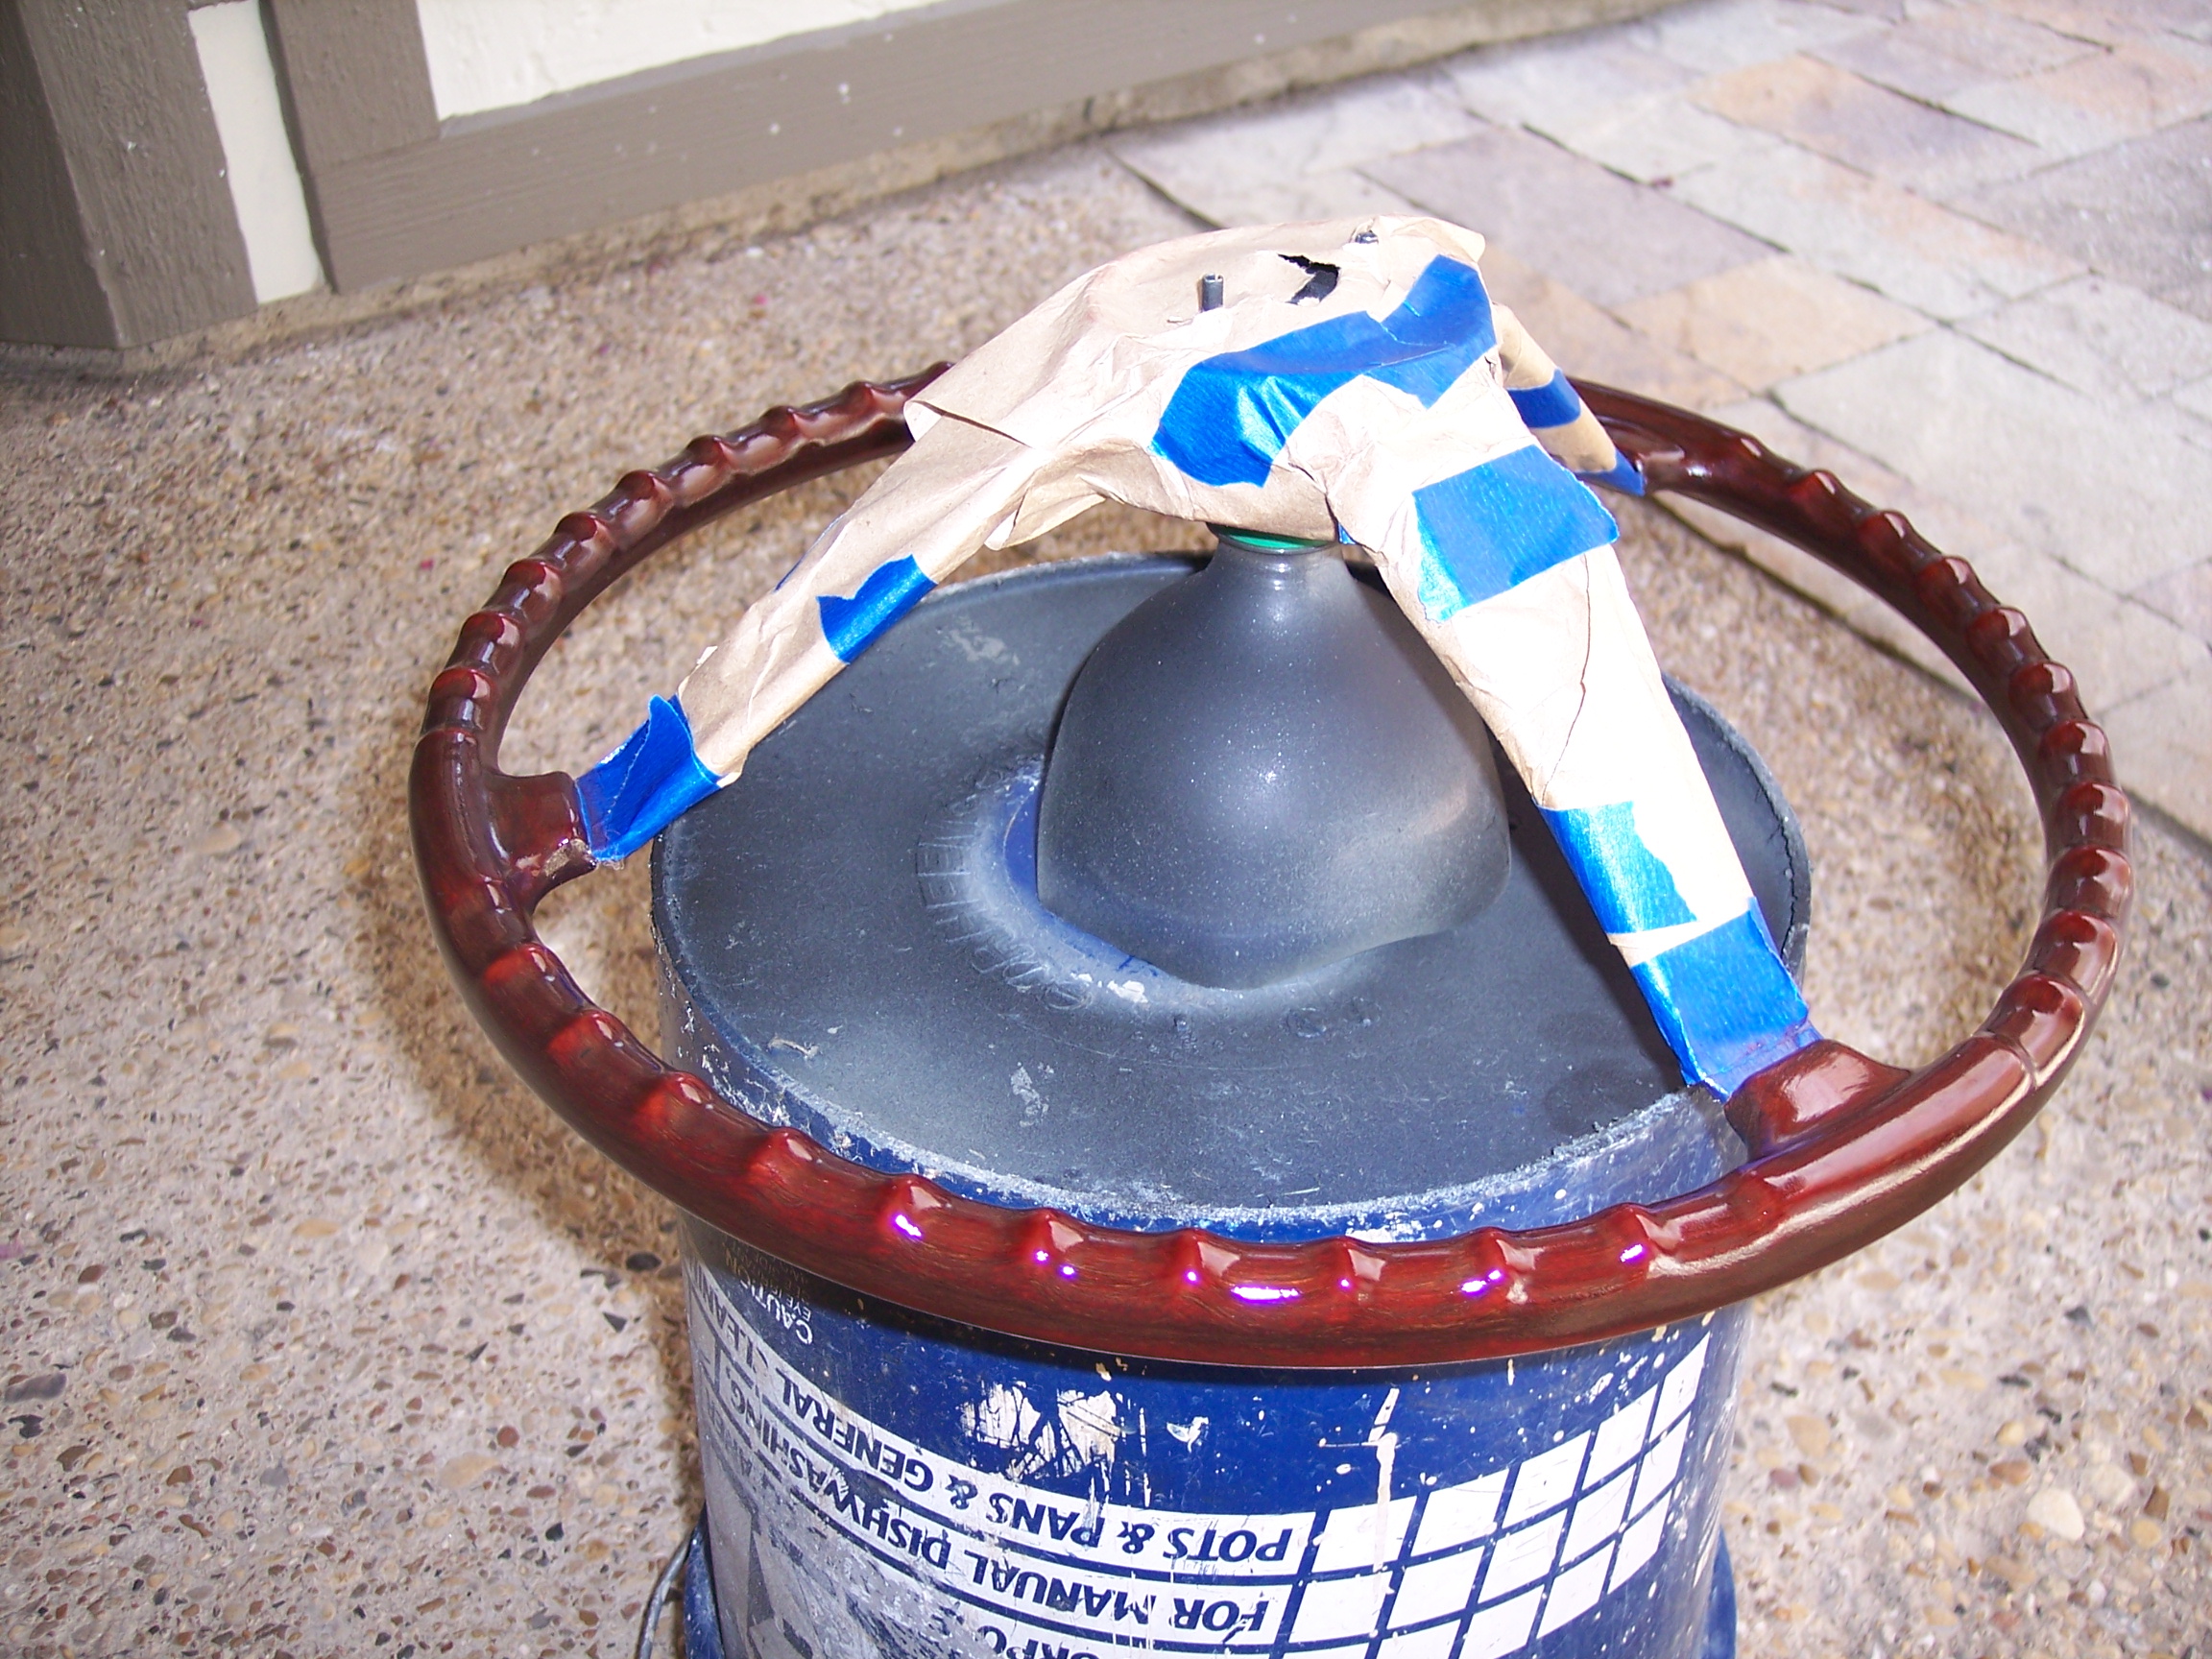
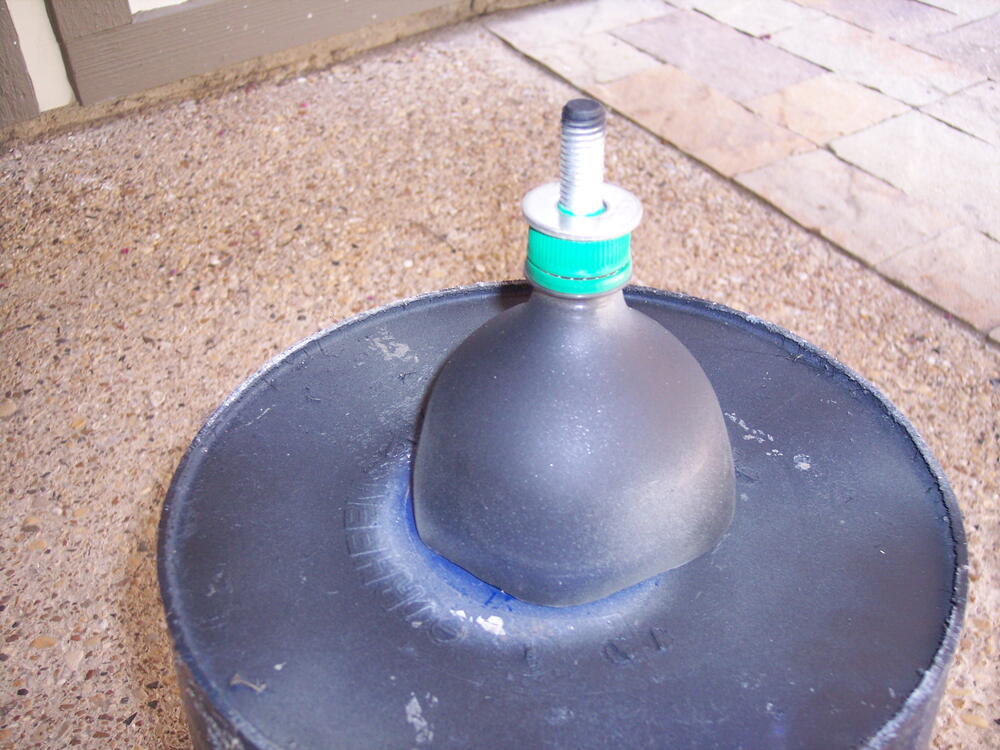
Nothing as exotic as most of the entries in this thread but here is a little paint accessory I made this week to help in refinishing my steering wheel. It is the top of a 2 liter bottle with a nice fat bolt installed in the cap. It served as a stand for painting the spokes and hub and then it provided a spinner base to rotate the wheel evenly while spraying the spar urethane.


-
Very nice work, the different treatment on the spokes looks great! What stain did you choose for the rim?
-
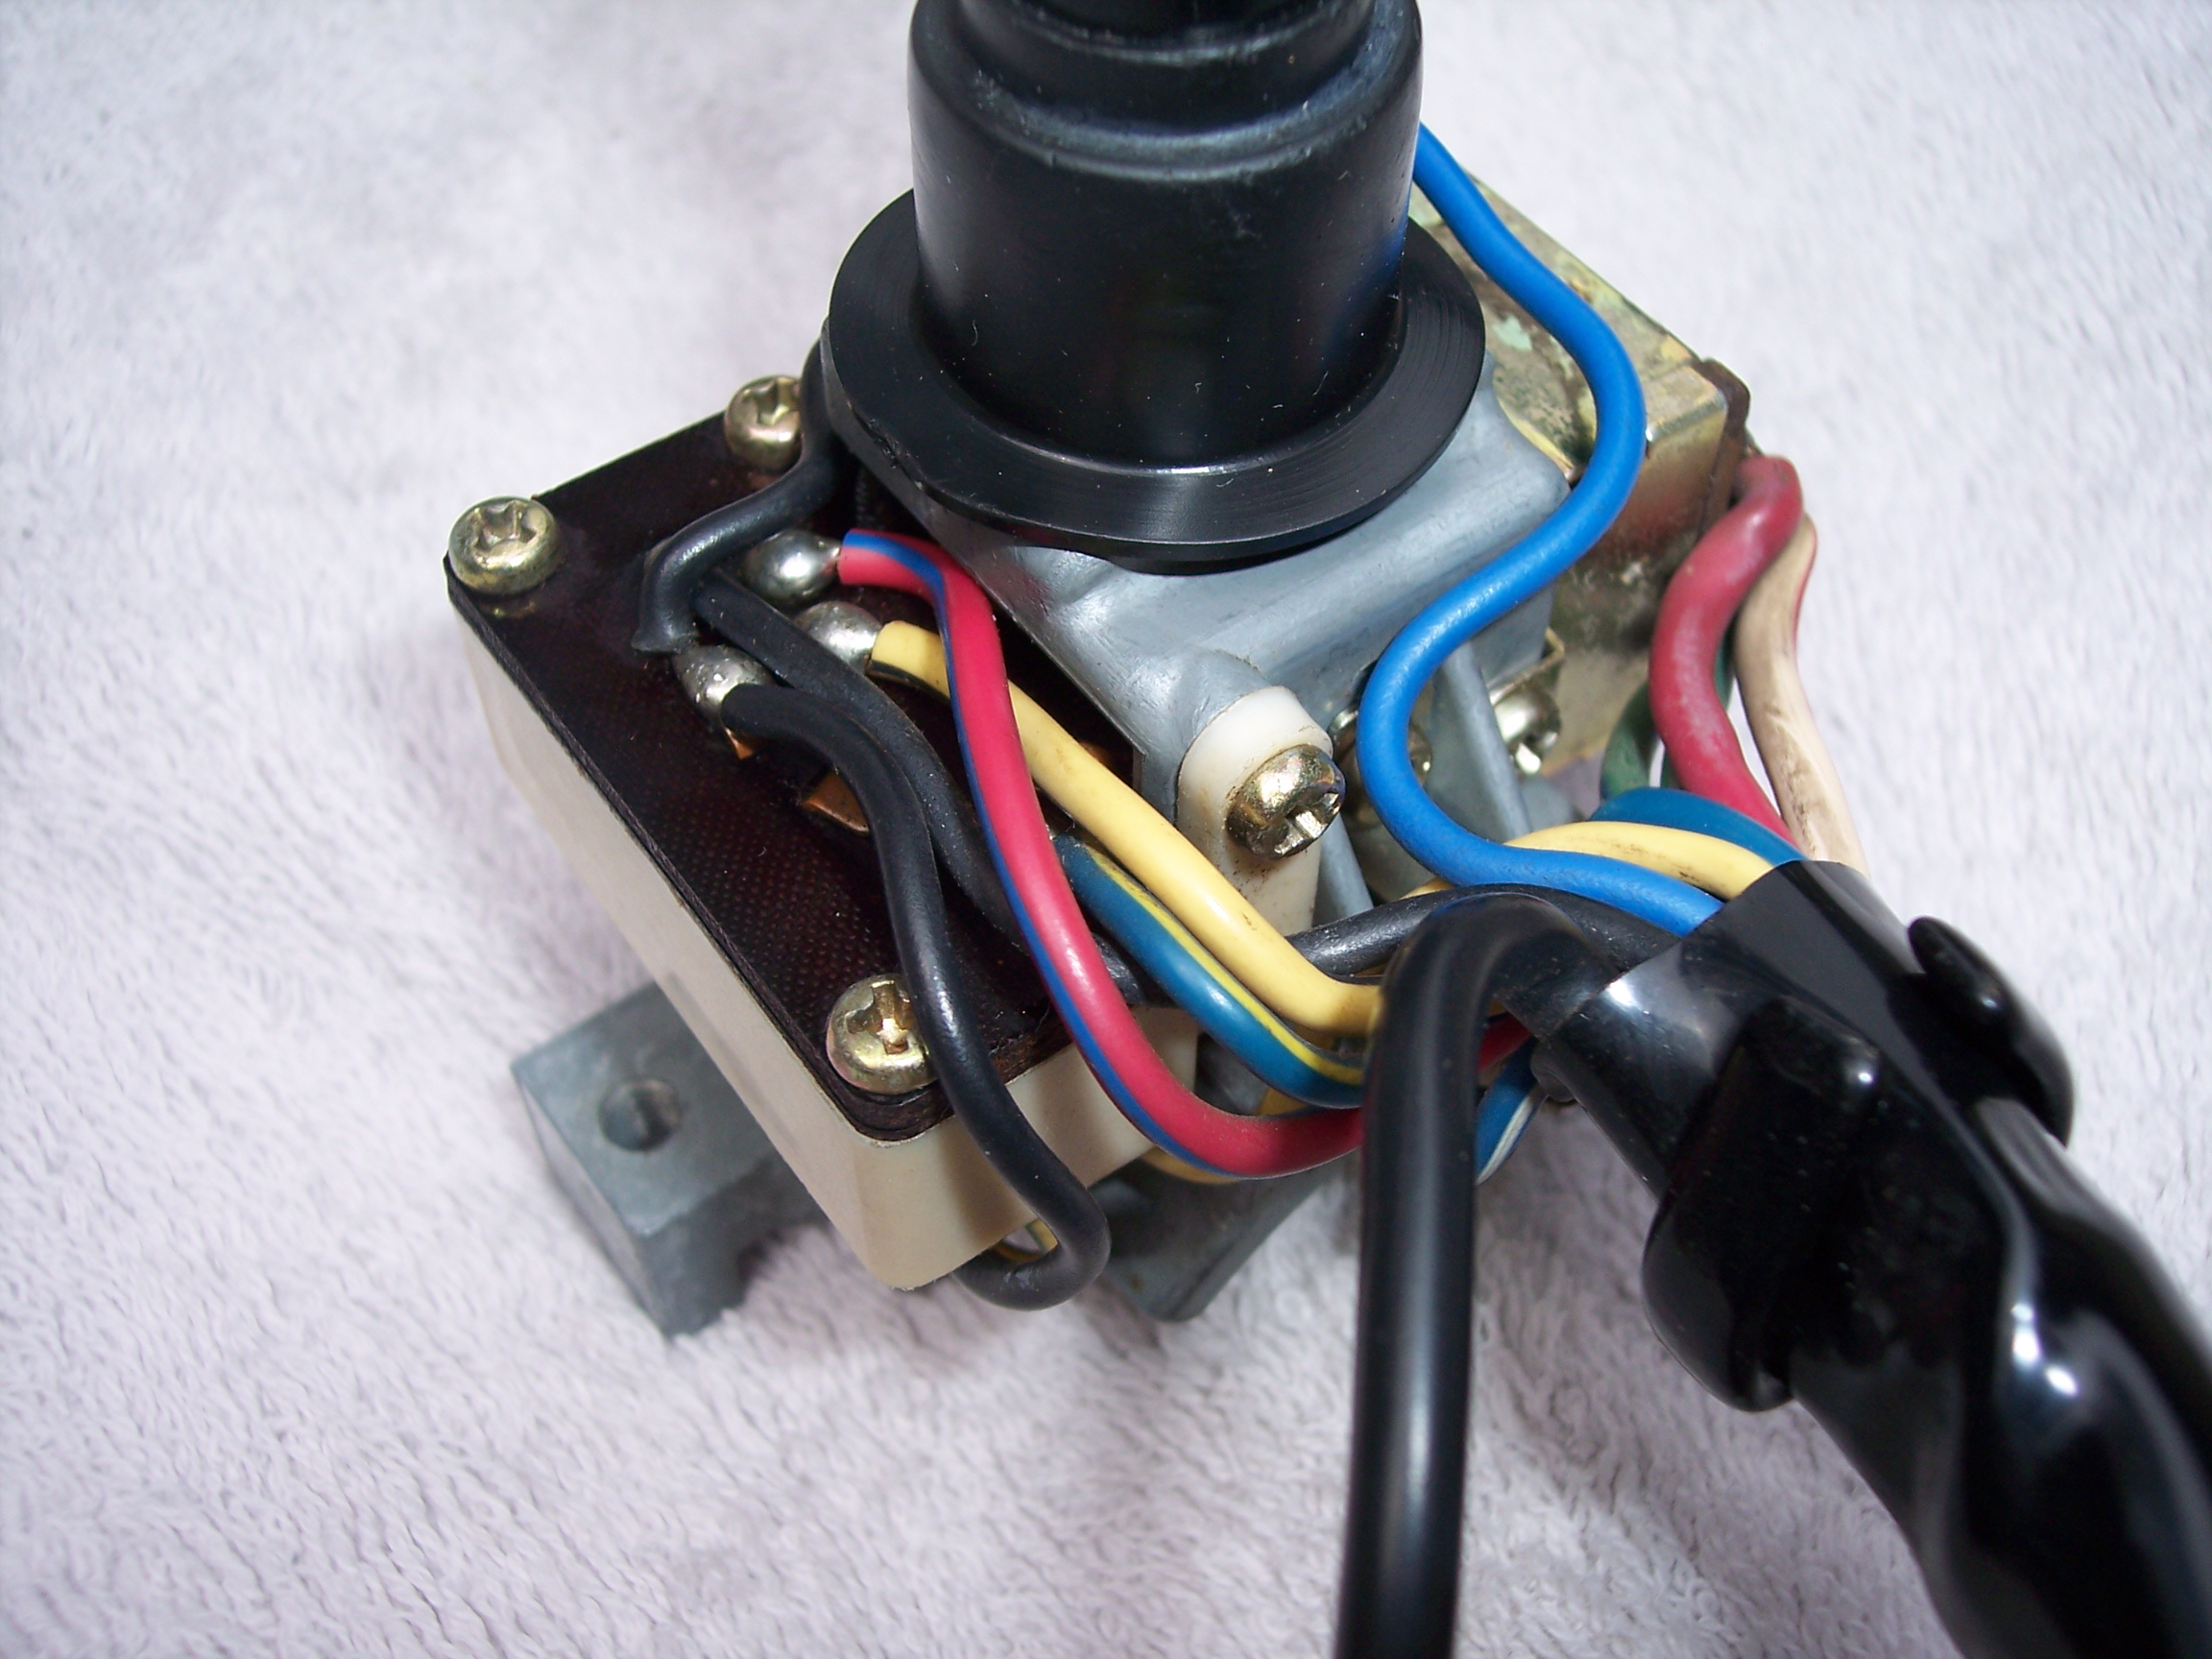
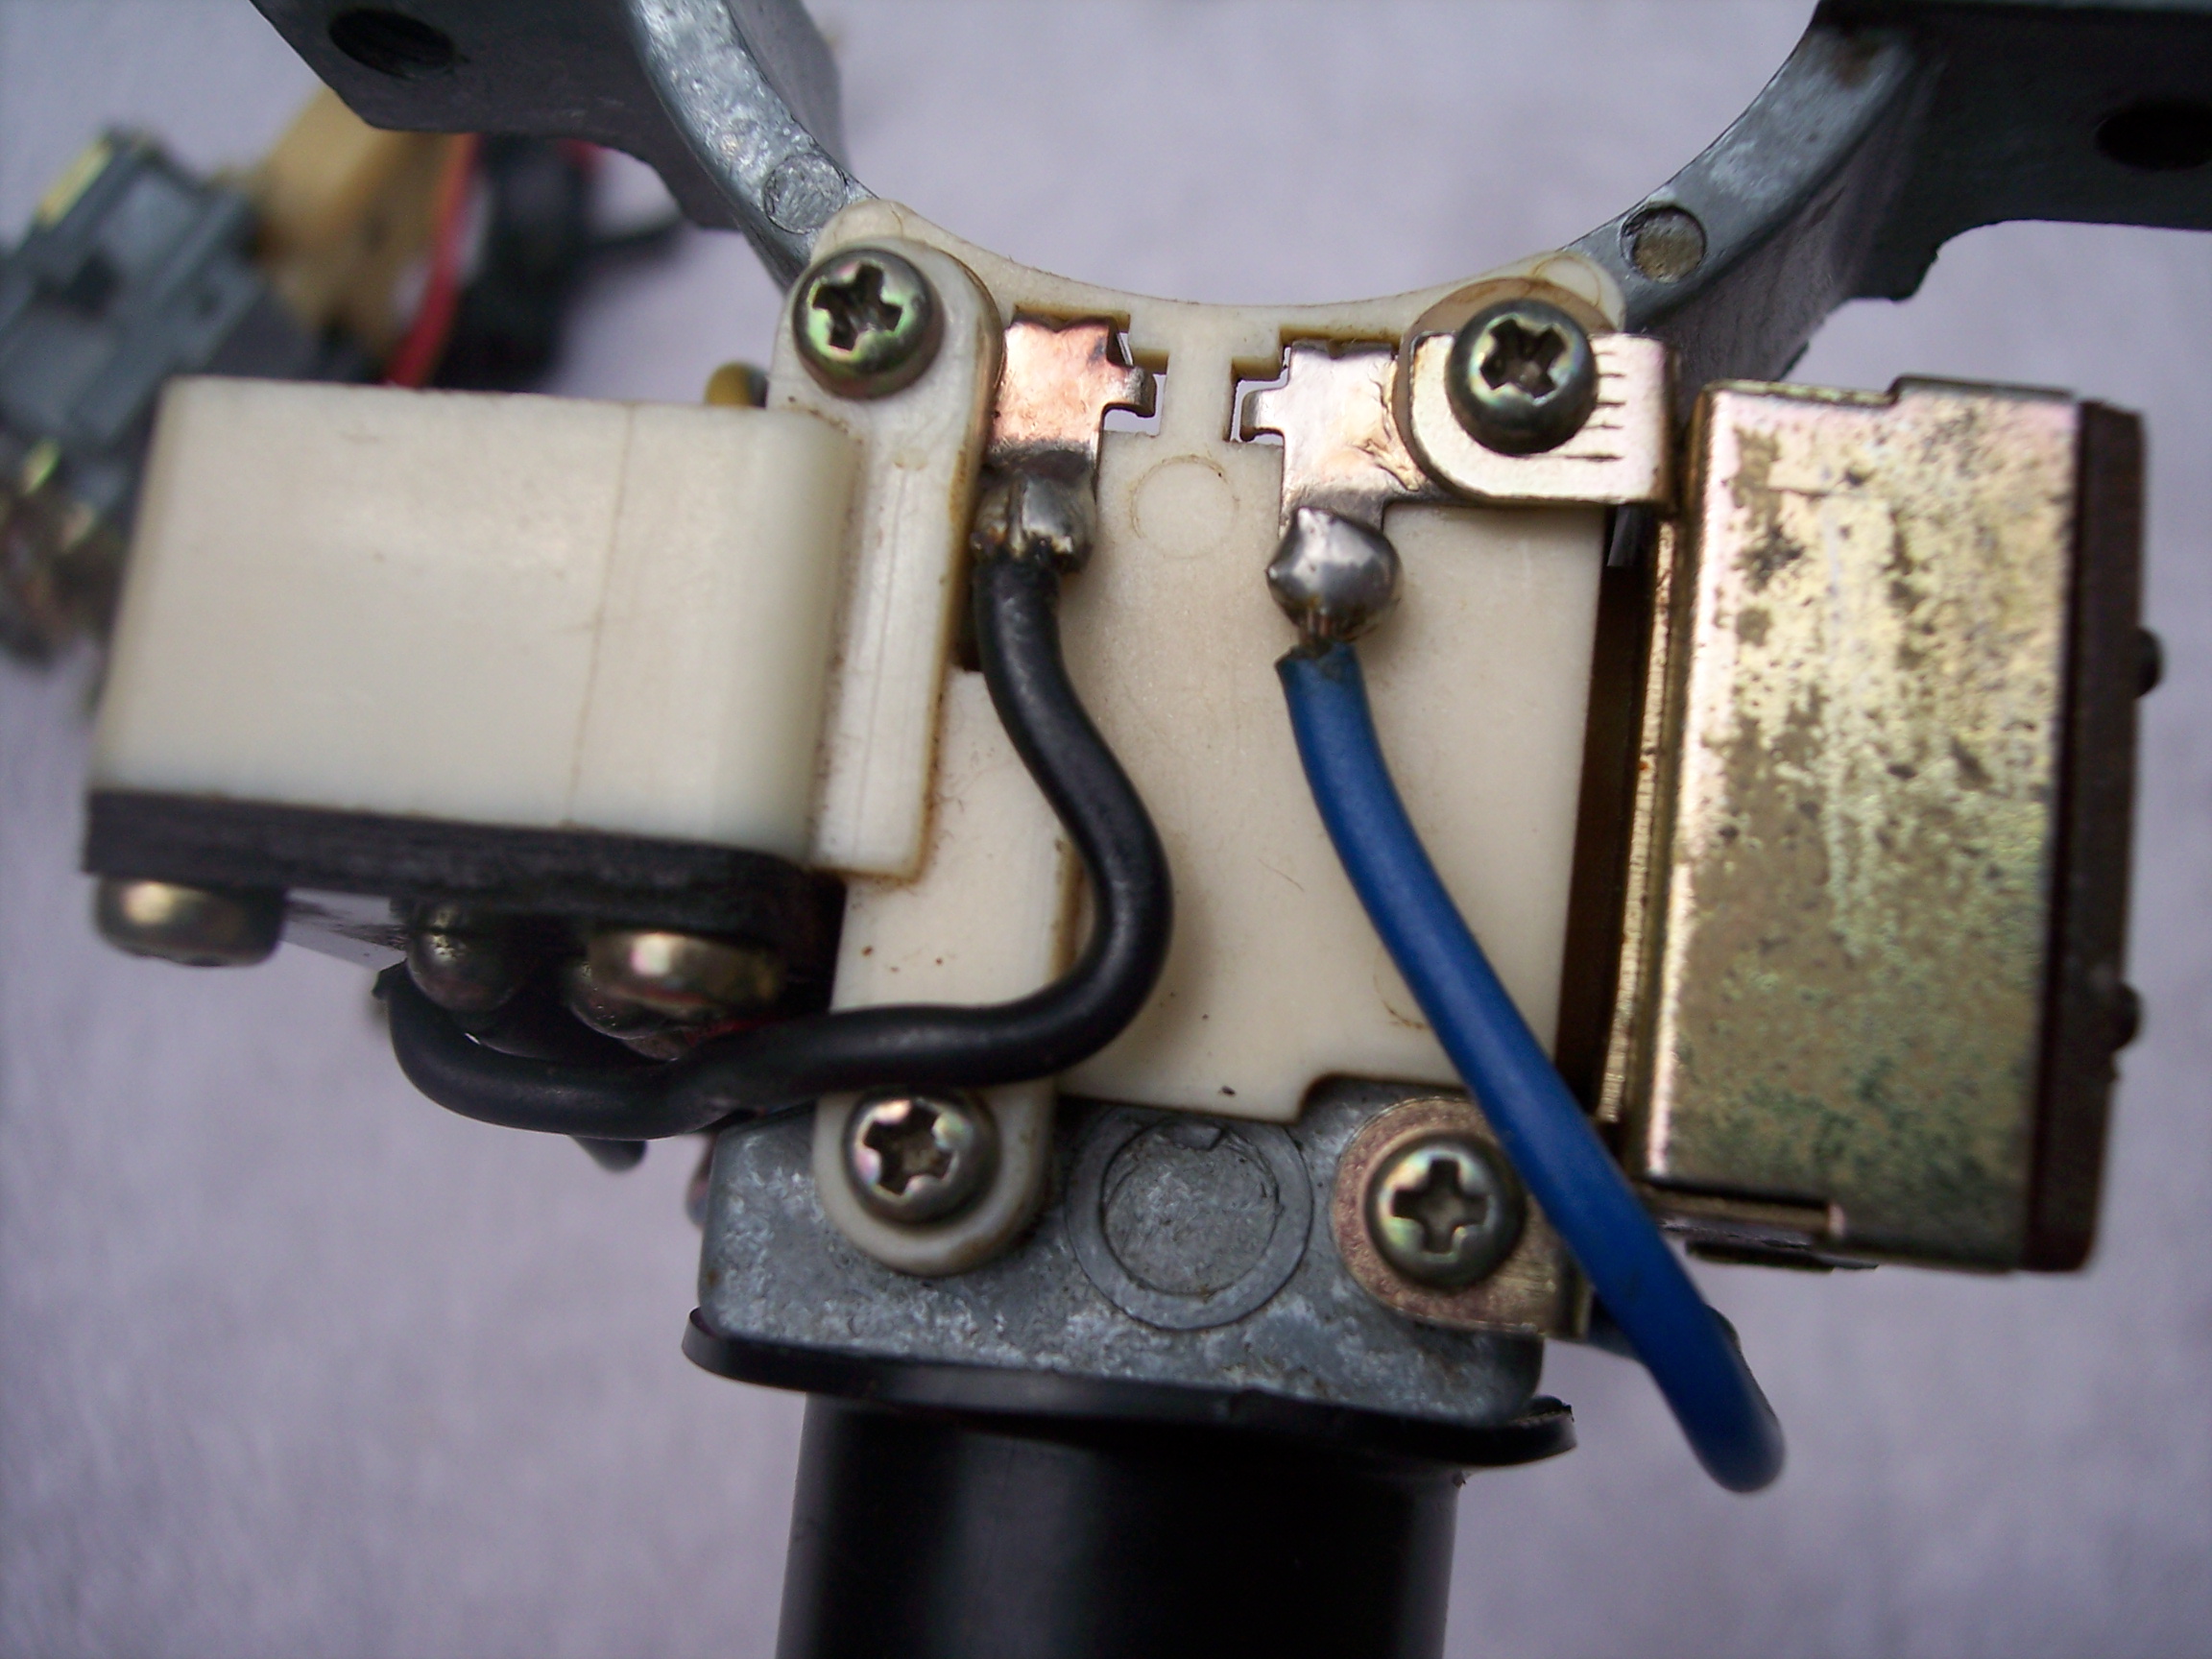
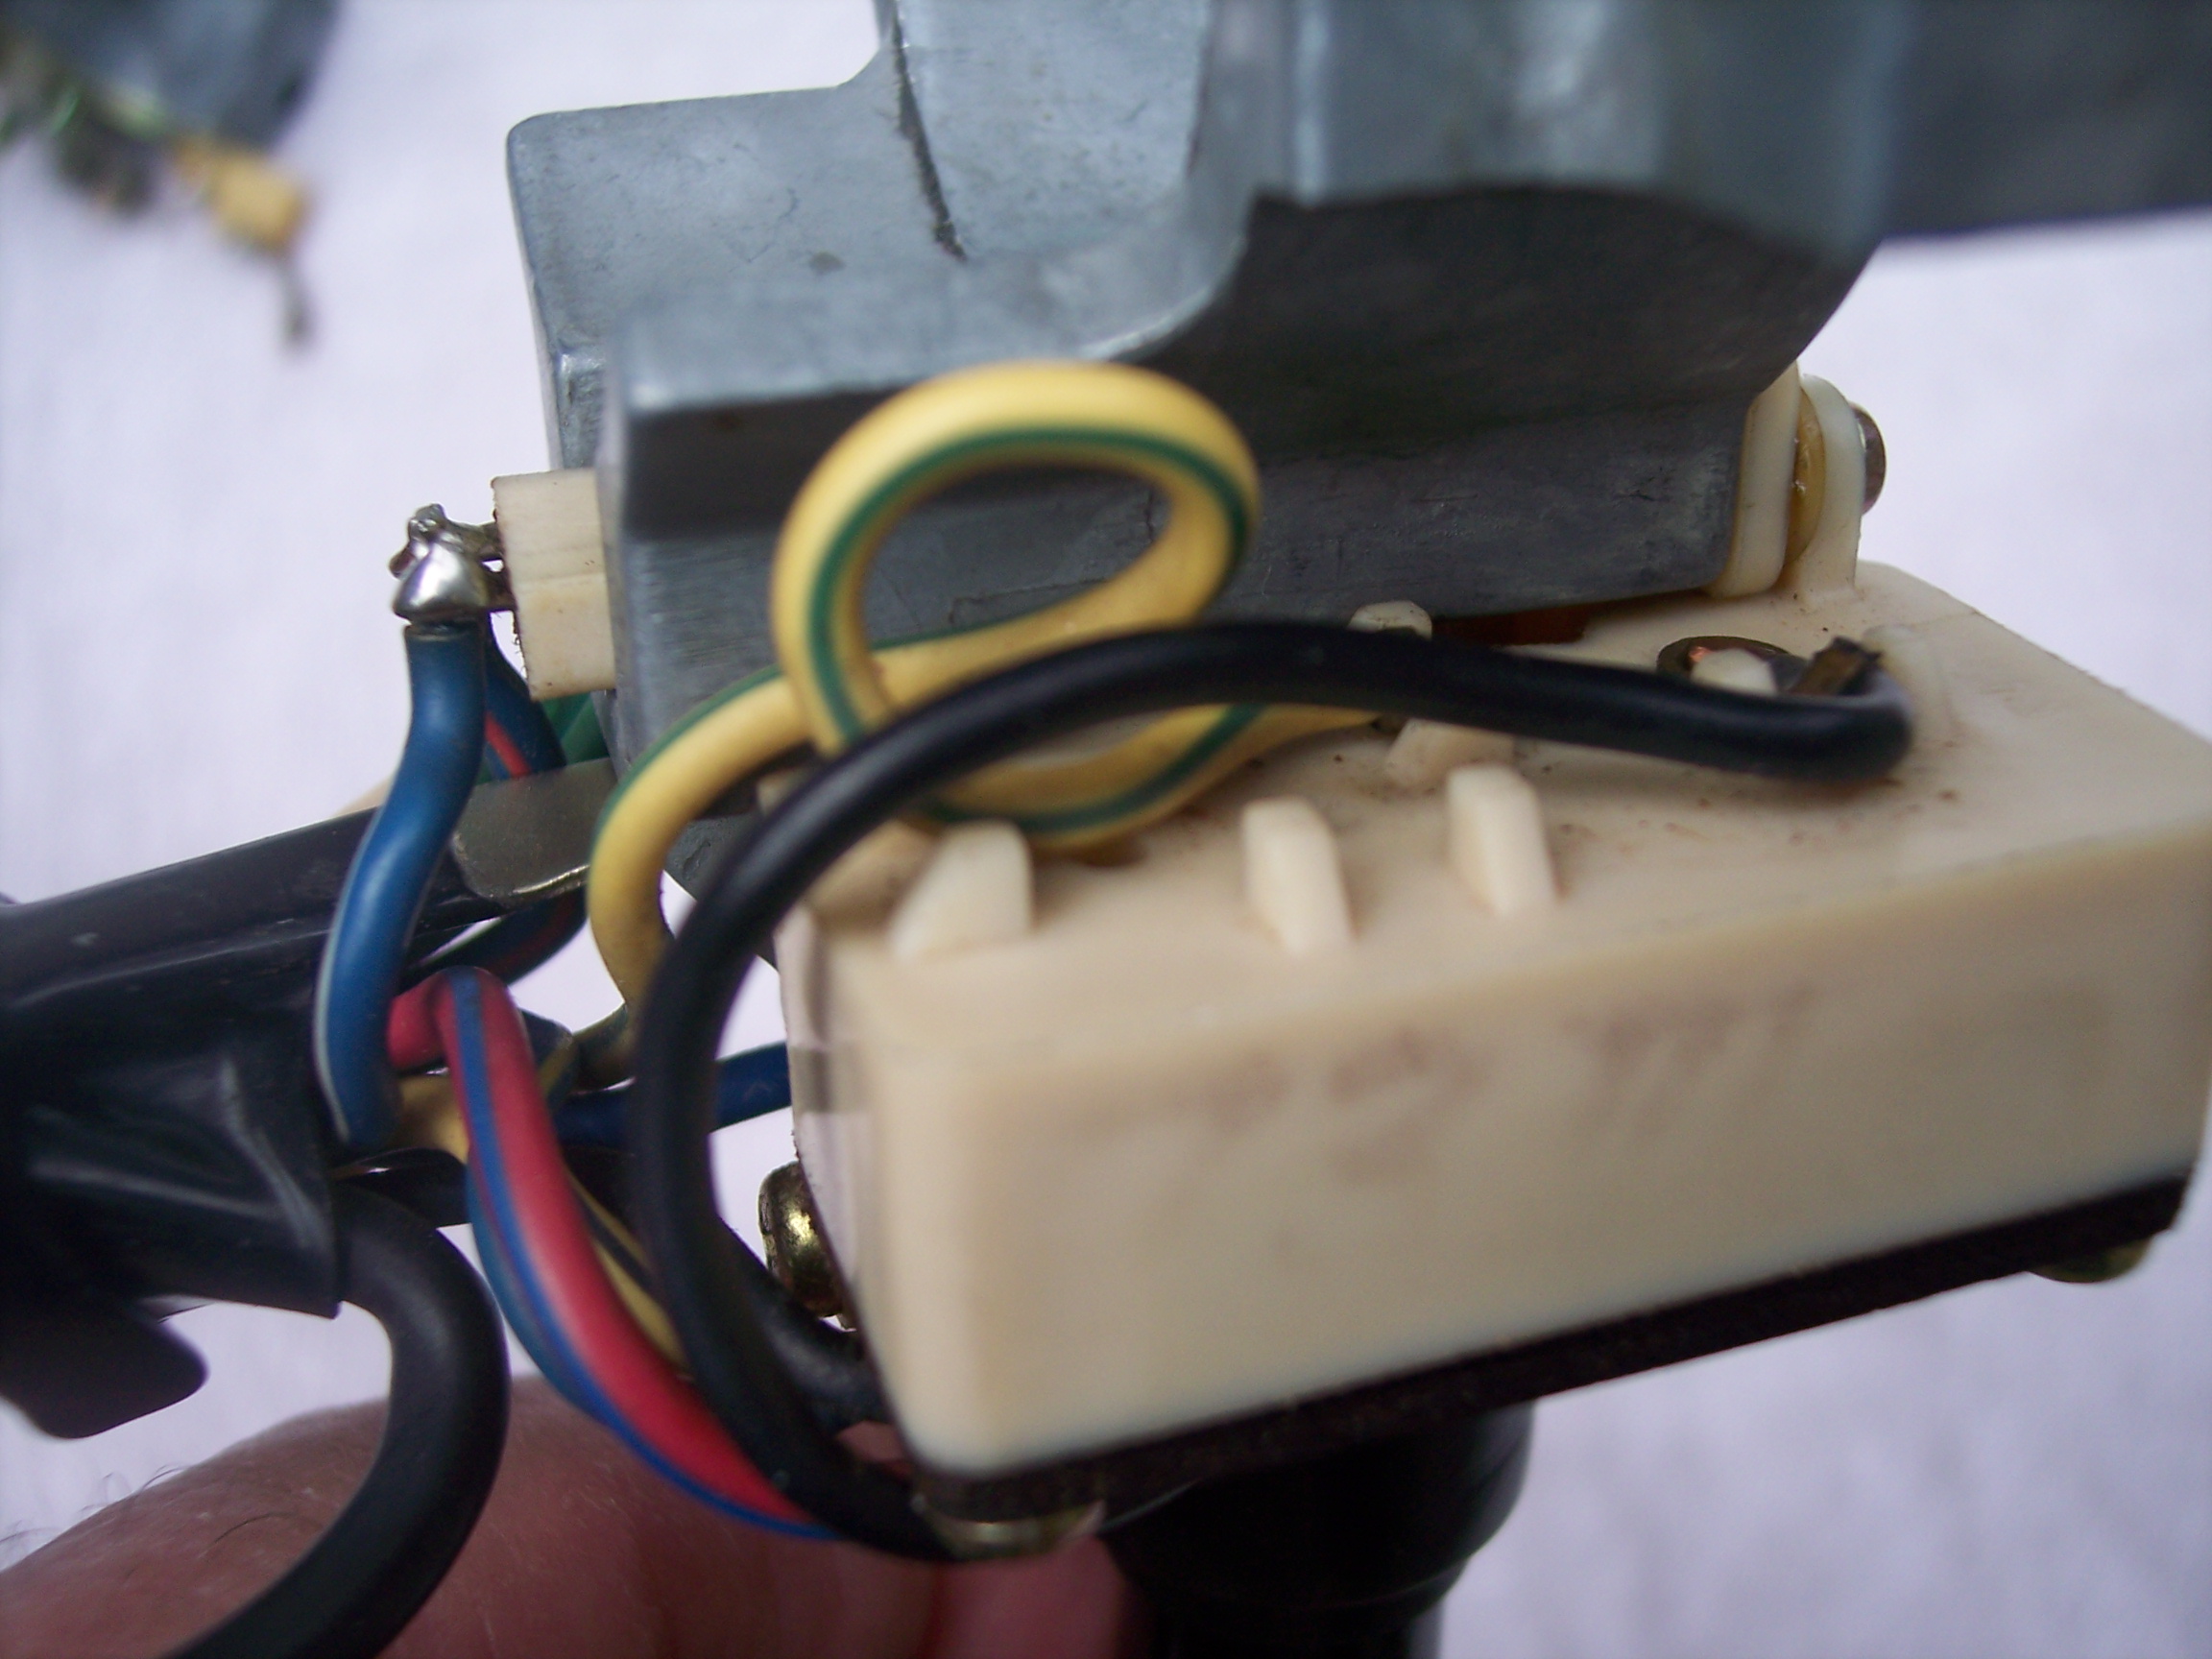
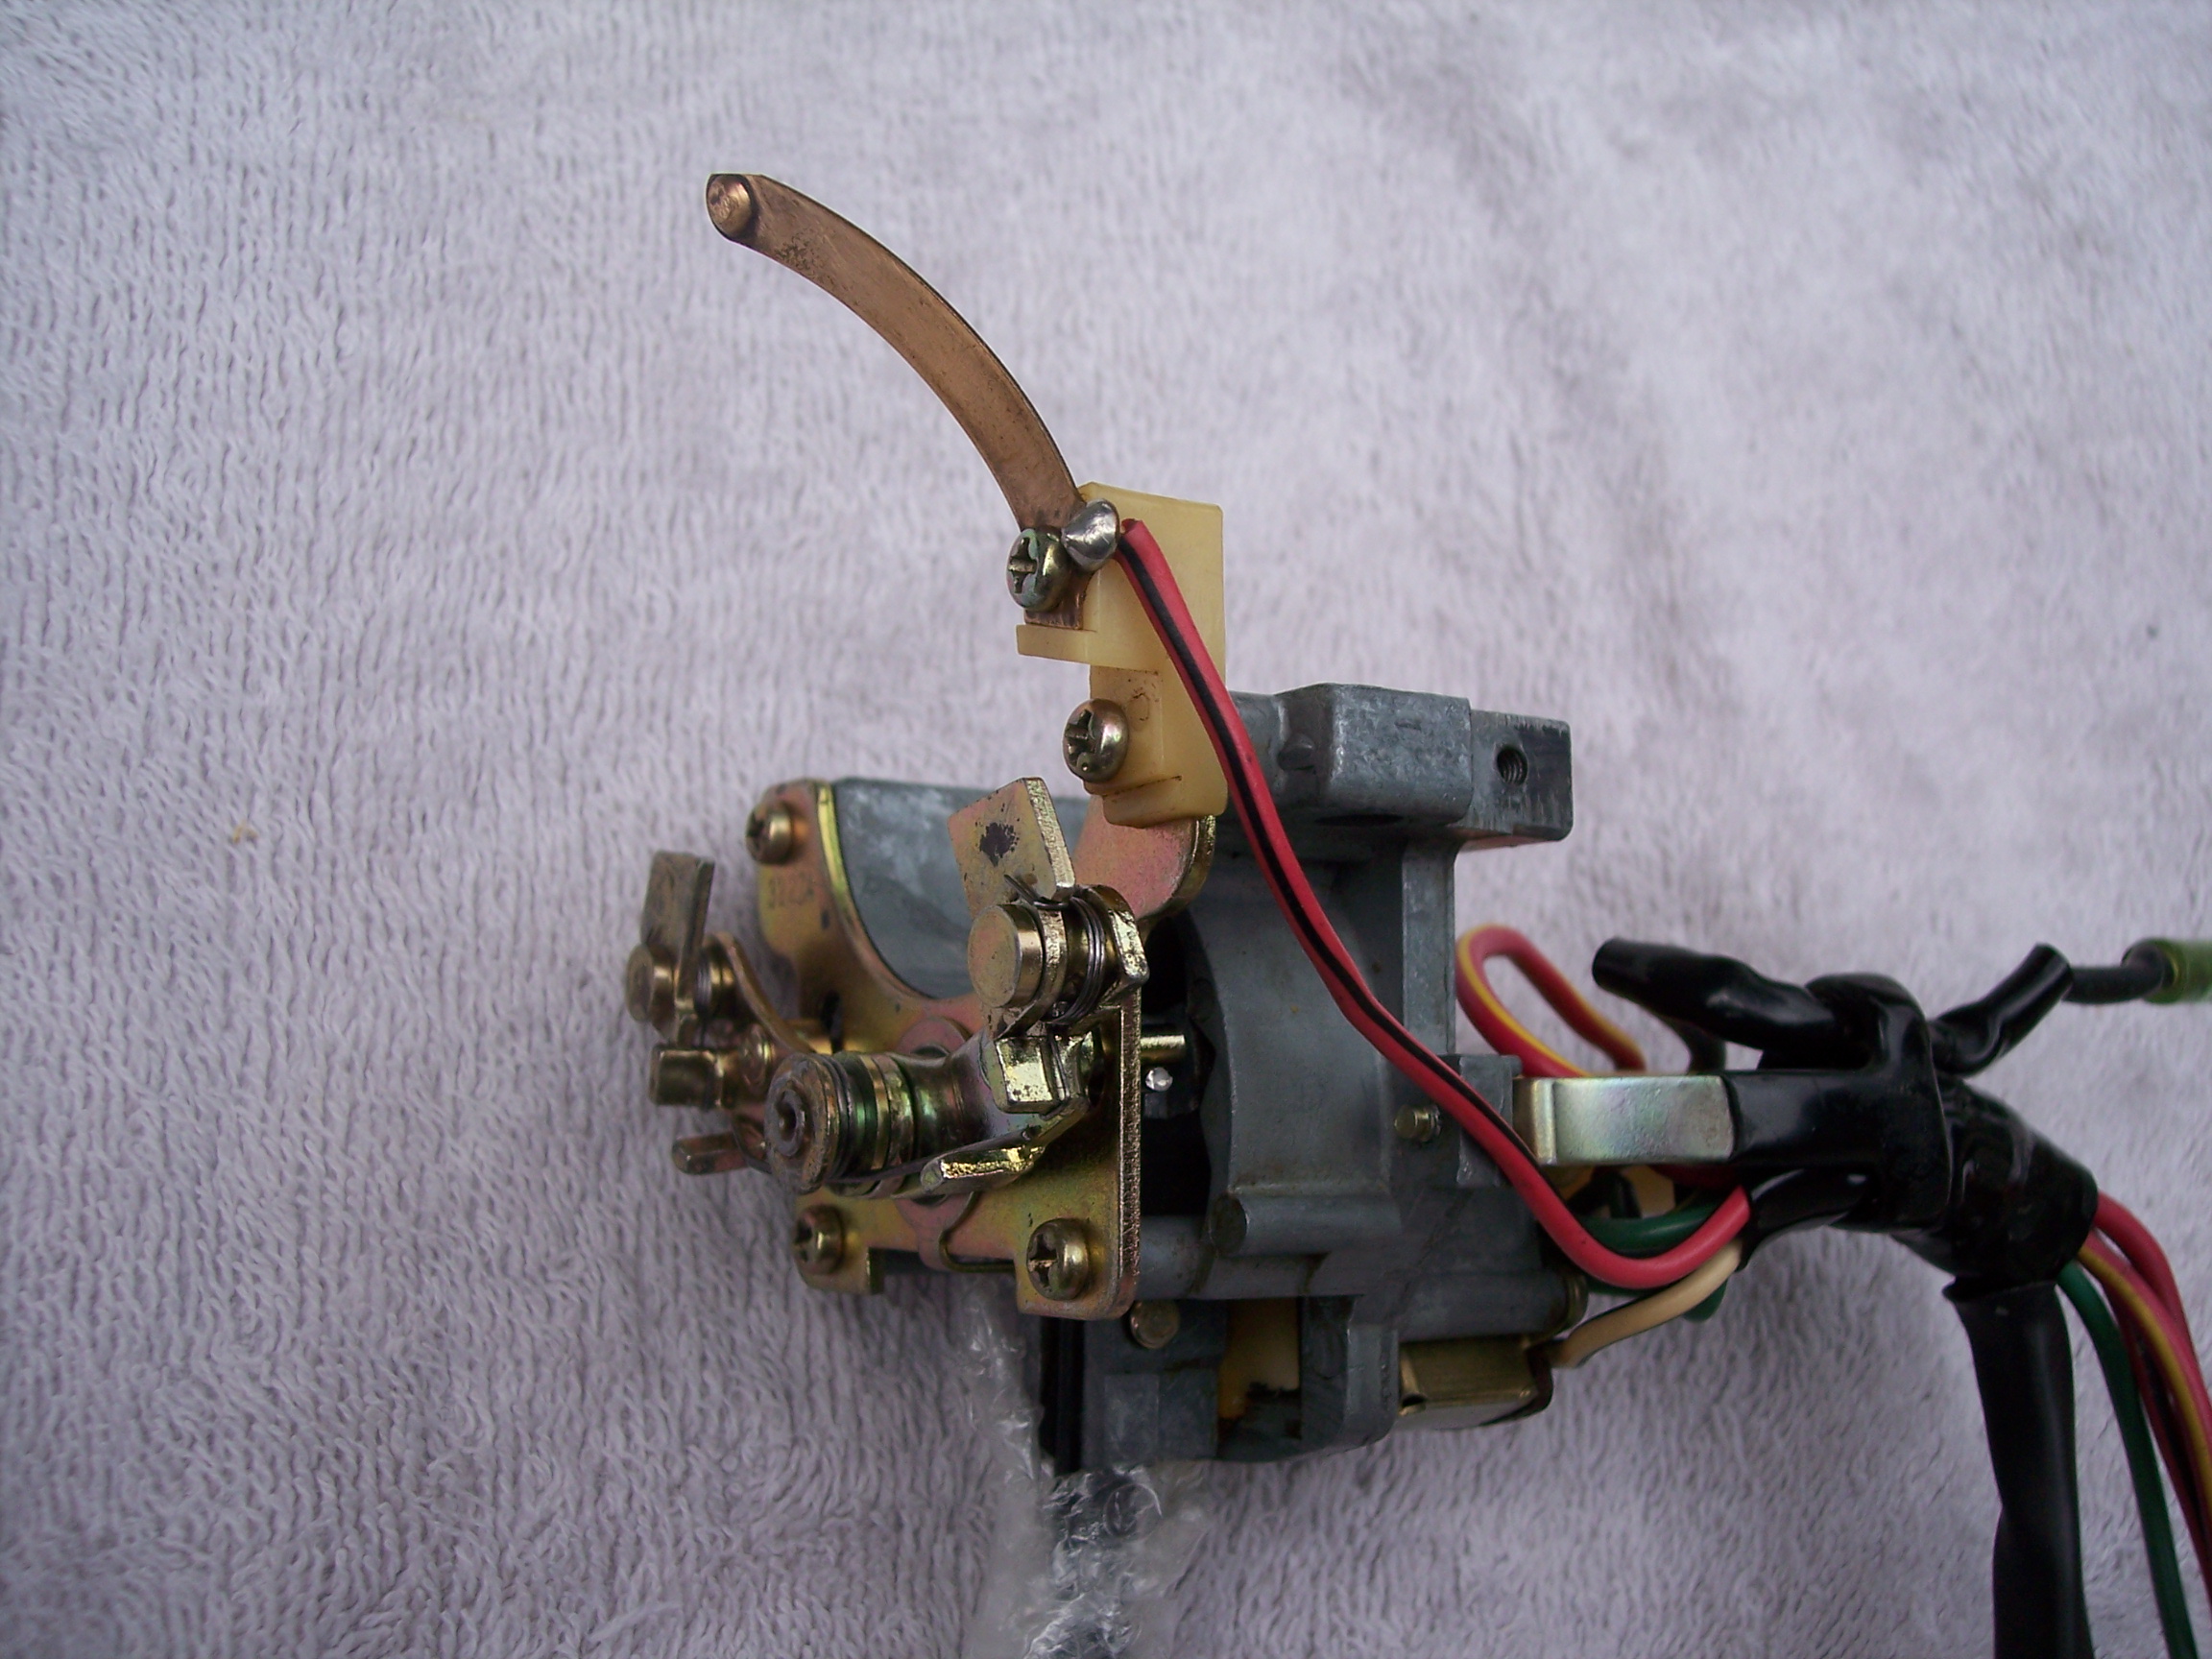
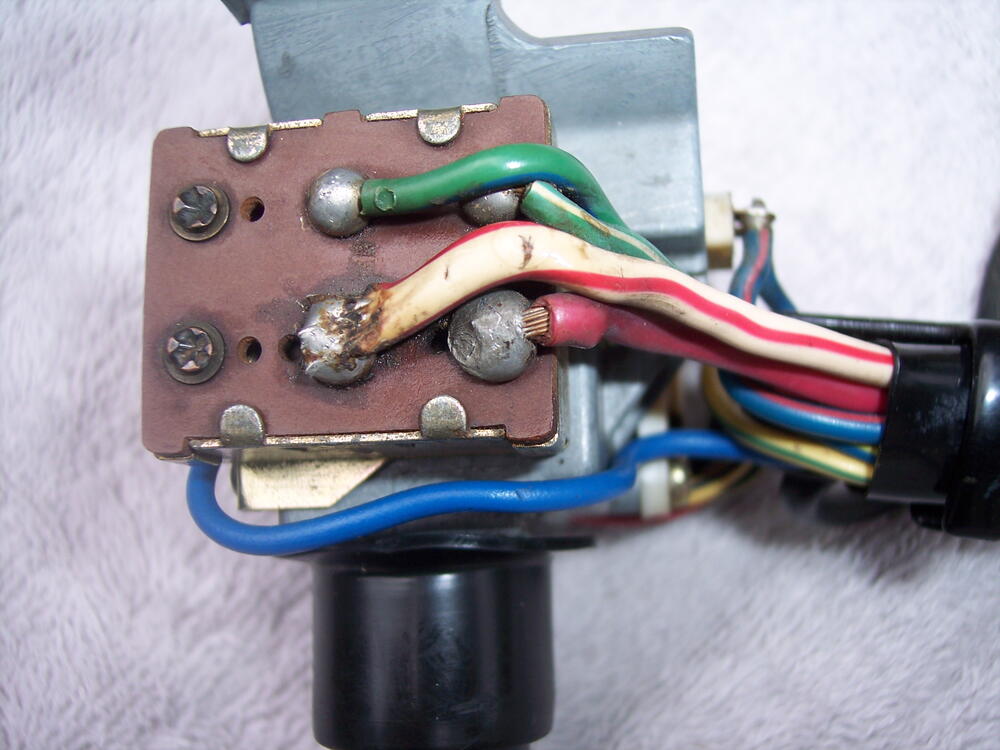
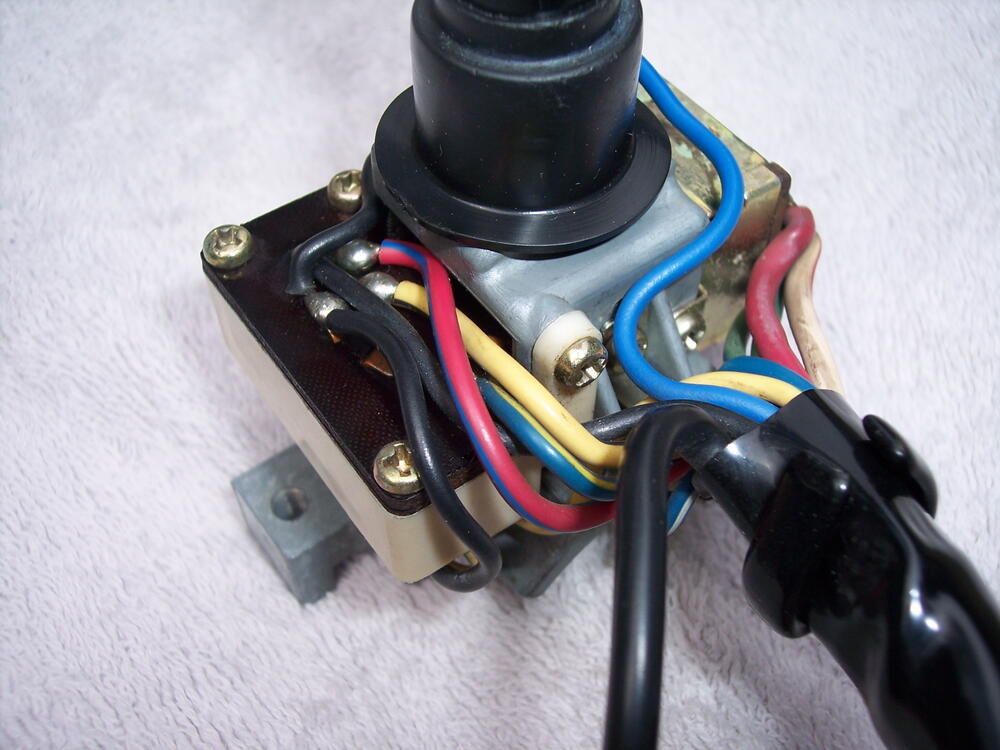
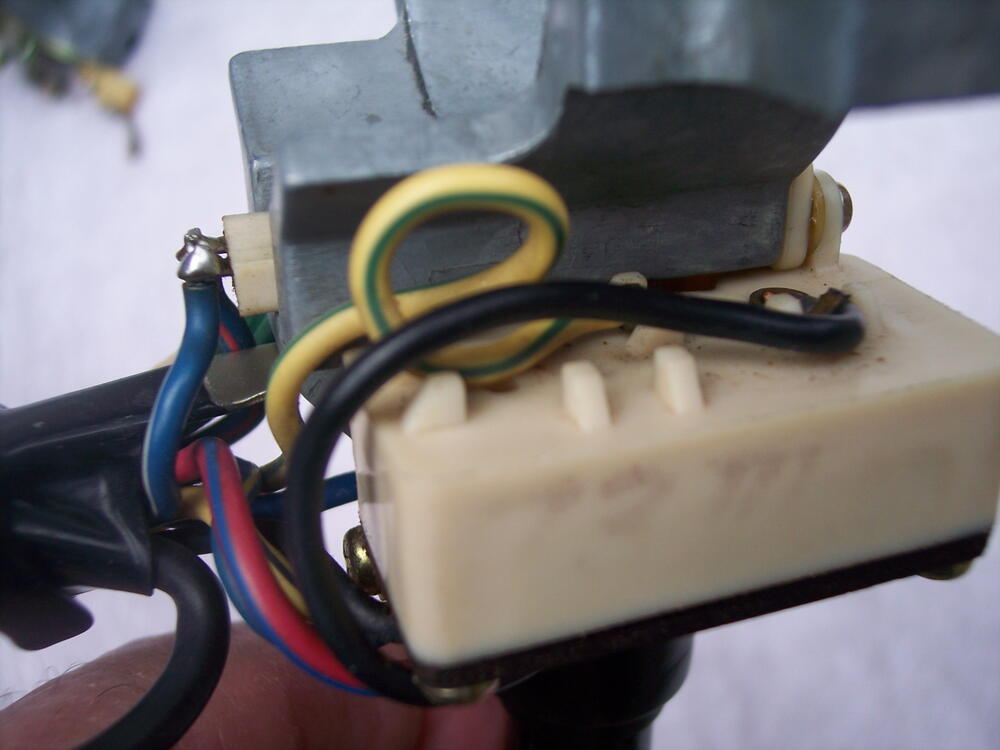
Just as a point of clarification, I am looking at a switch from a '78 right now and the wire colors are different from the FSM diagram. The wires to the beam switch are red/white and red/yellow with black as the ground. If you have not done so already, a continuity test will help diagnose the problem. Touch your ohm meter probes to the black and red/white to check for contact. If none, repeat with the black and red/yellow. One pair or the other should respond. Pull the switch handle one time to change the beam switch and repeat the ohm test on the pair that did not respond the first time. If you get a response then the problem is not internal to the switch contacts. If no response then the internal contacts probably need attention. With a bit of care, the small phenolic board can be popped out - go slow and easy on prying open the side of the white housing. At least the '77-78 version is more sturdy than the uber-fragile earlier housings!
-
Thanks for the information. It looks like I need to market this little gem in Europe and down under. 😉
-
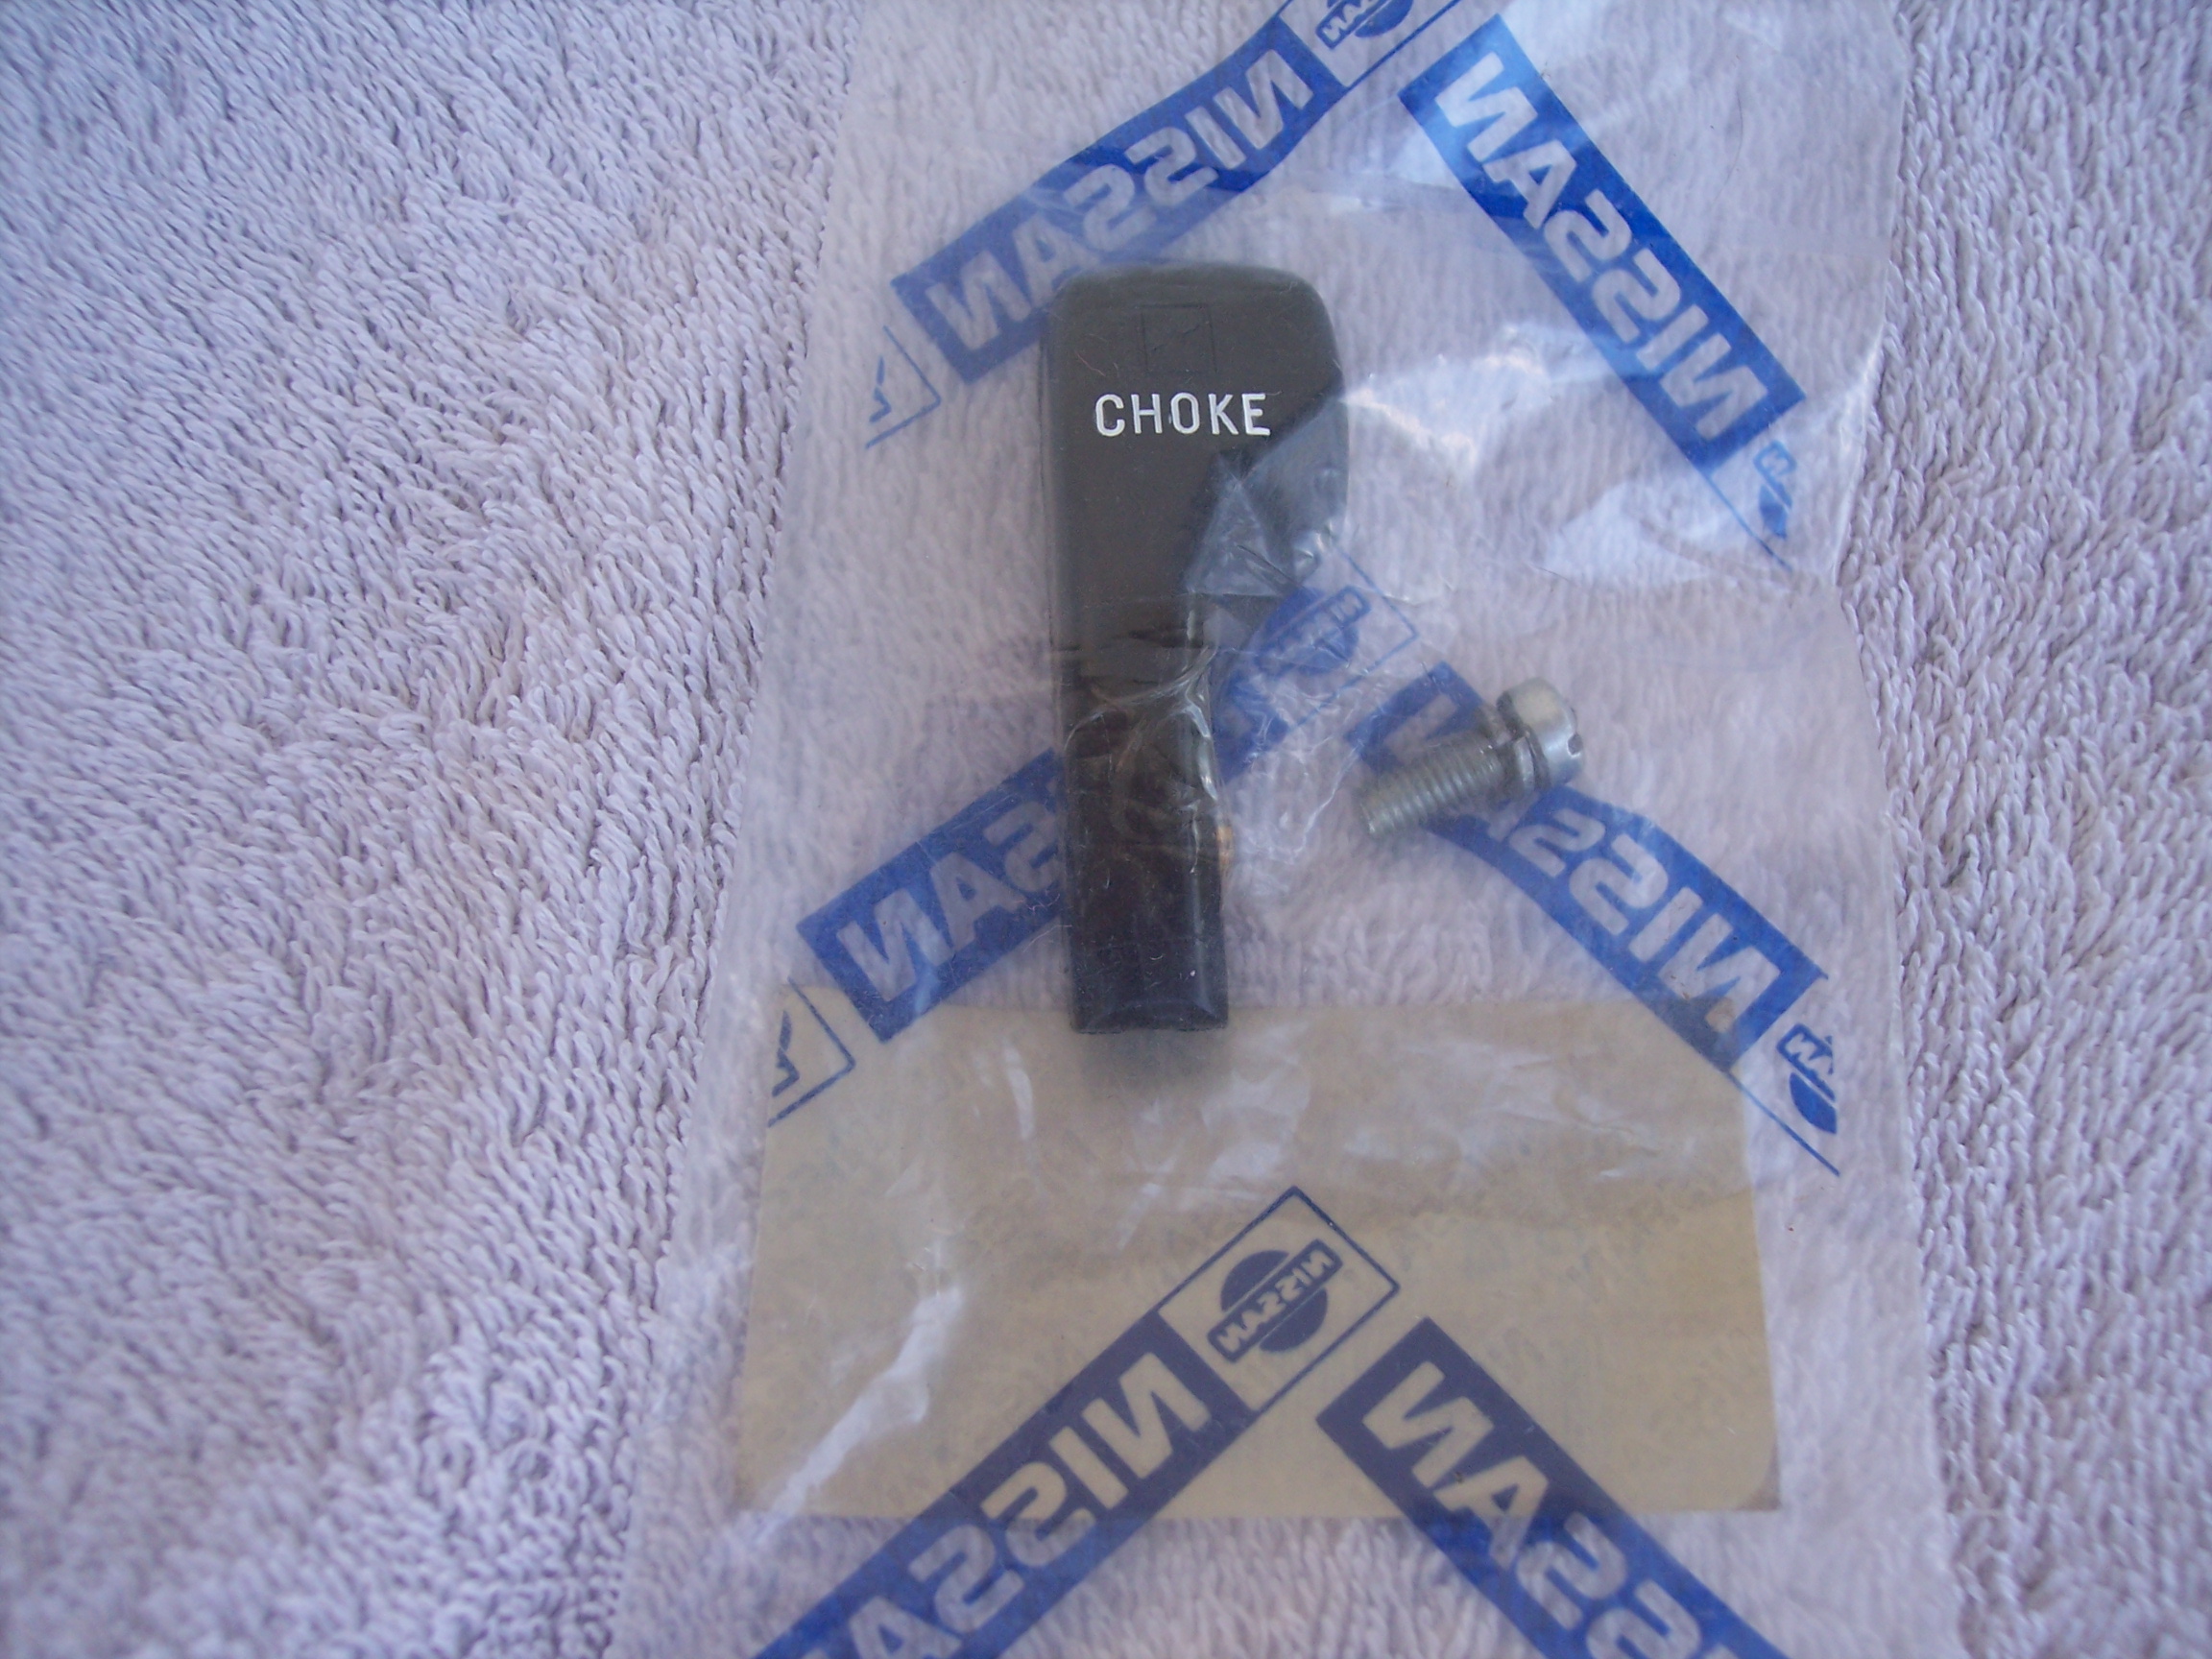
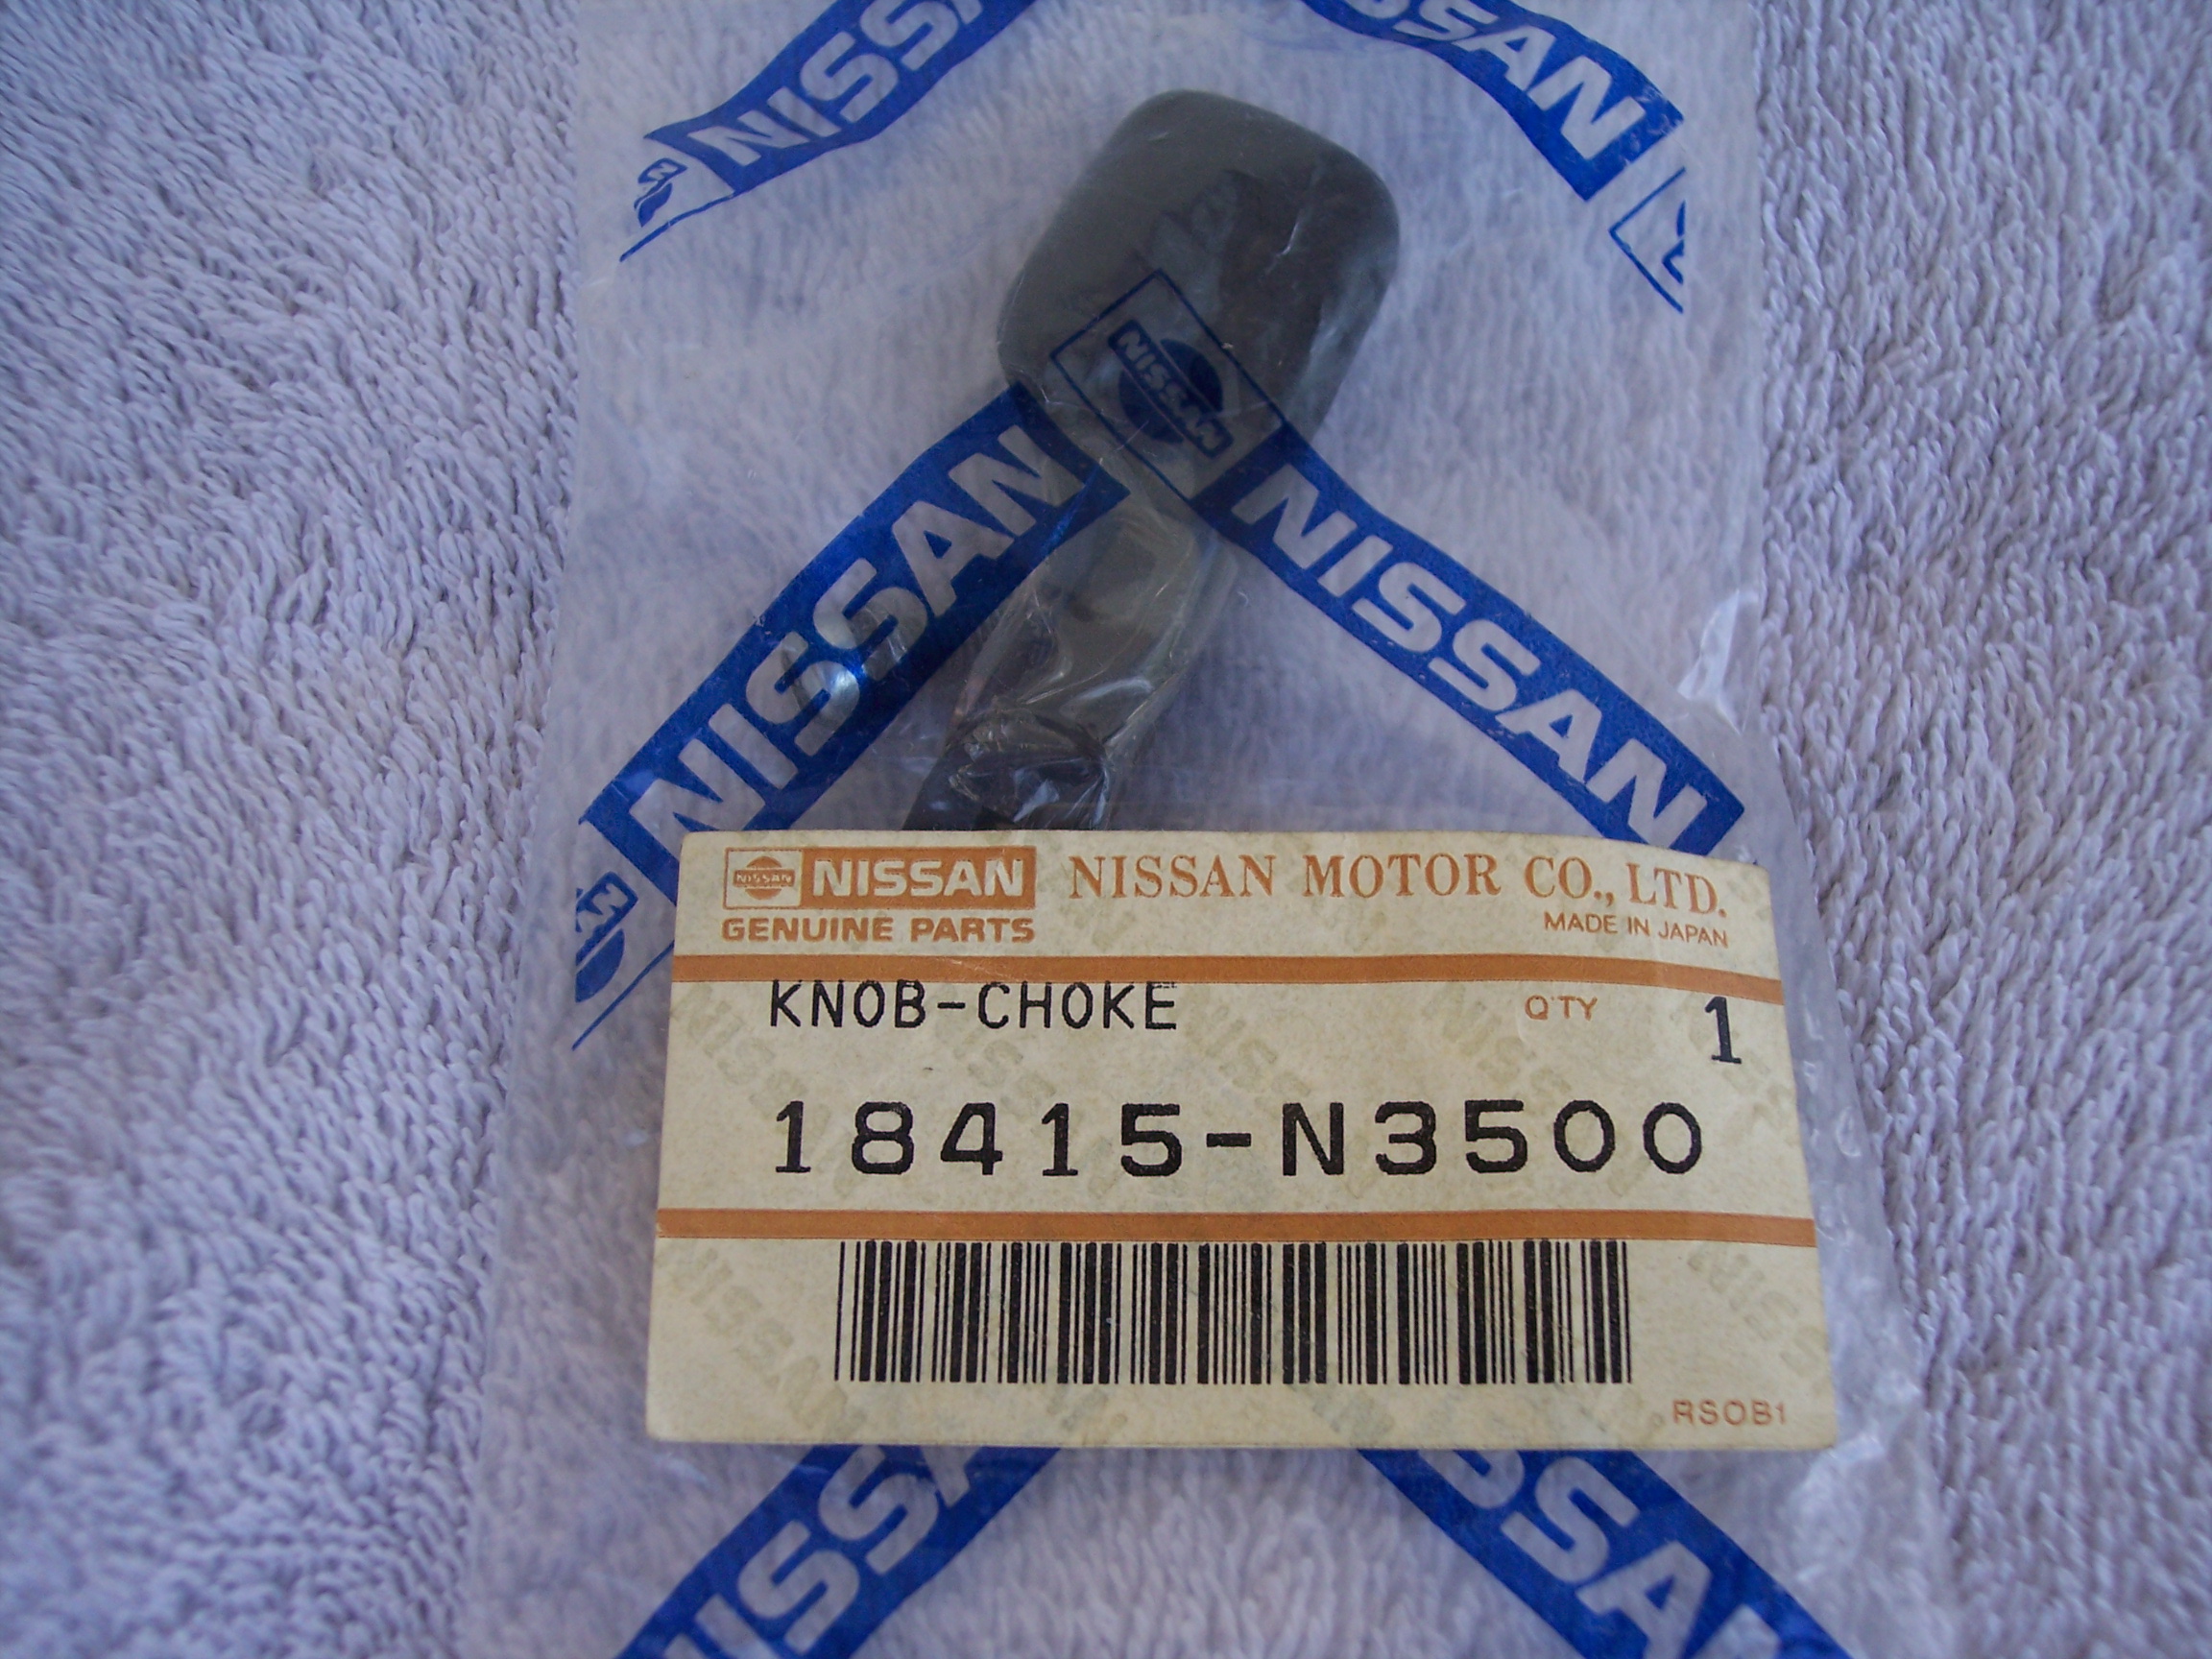
Thanks for the link. I got a chuckle from the Nissan text at the bottom - a choke knob for a FI car???: Fits 260Z, 280Z This product fits 5 vehicle variants. Datsun: 2 models, 5 variants between 1974 and 1978.
-
This NOS choke knob was in a group of parts I picked up a while back, it's not listed in the online catalog for Z's (the 260Z has a number close to this). Any help on identifying what model car it is for? Thanks!


-
Wally, This recent thread should cover all of your questions:
-
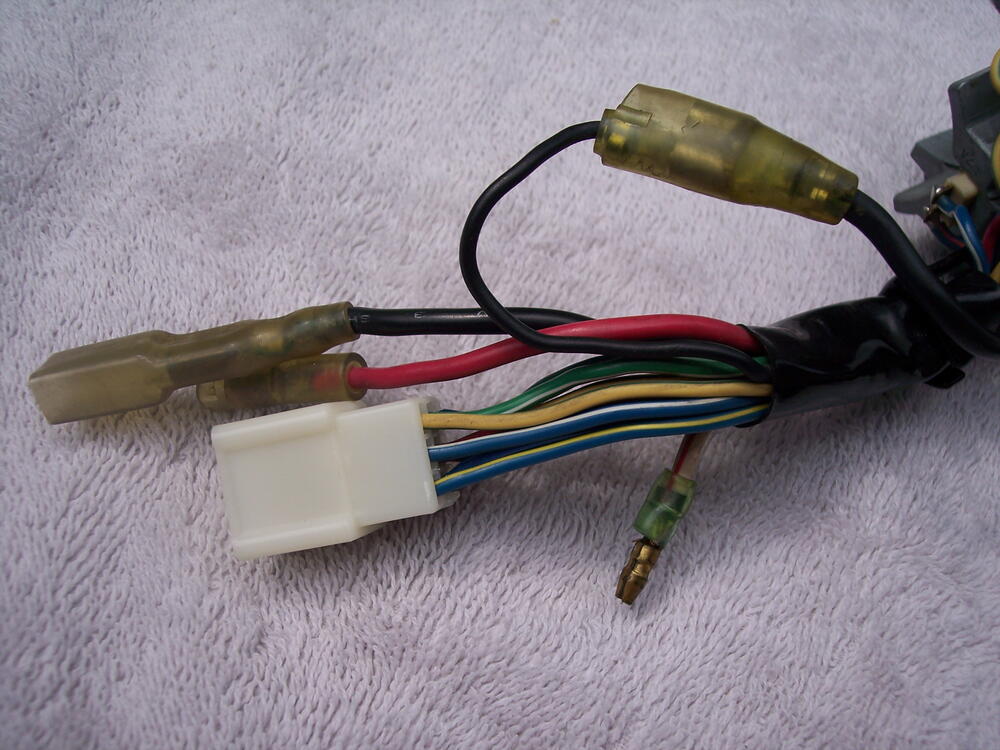
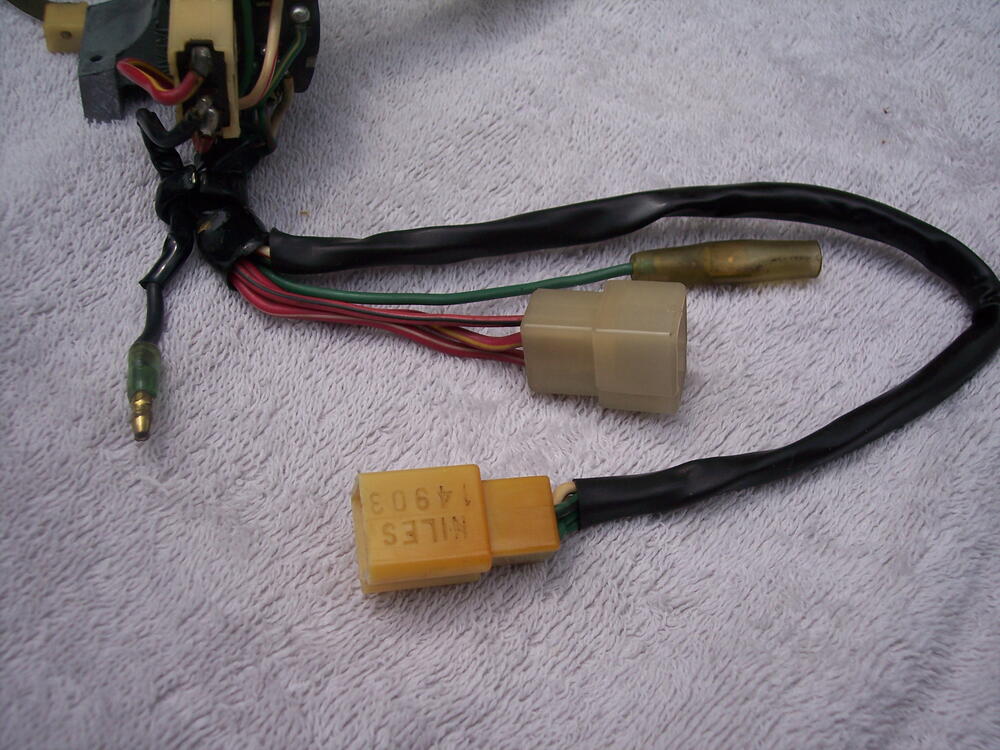
@Patcon @SteveJ @Dcreech0 Ok, Charles and Steve beat me to it. I have several 260Z switches that will probably never sell. I just checked them and the wiring, connector, and dimmer switch are the same except for a different color wire on the horn contact. I'll cannibalize a turn signal switch and send out the dimmer switch. @Dcreech0, PM me with your shipping info. Jim
-
'73 switch pics as promised:


-
I'll get them posted tomorrow.
-
I have both switches for a '73 all cleaned up, can provide pics of any wiring and connectors that might be needed.
-
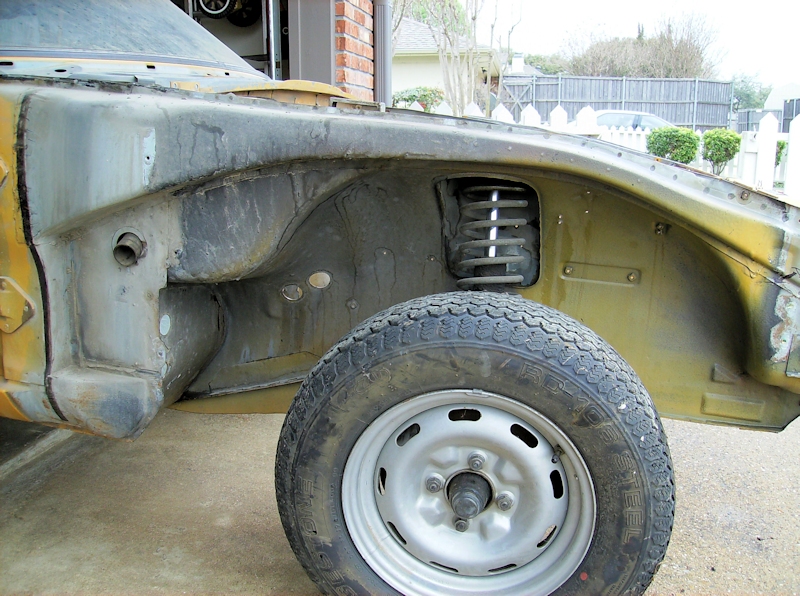
Here's your cowl drain - it exits between the splash shield and A-pillar. Not visible without removing the fenders. One on each side. If a car is parked under trees, the cowl and drains can fill with leaves and trash.
-
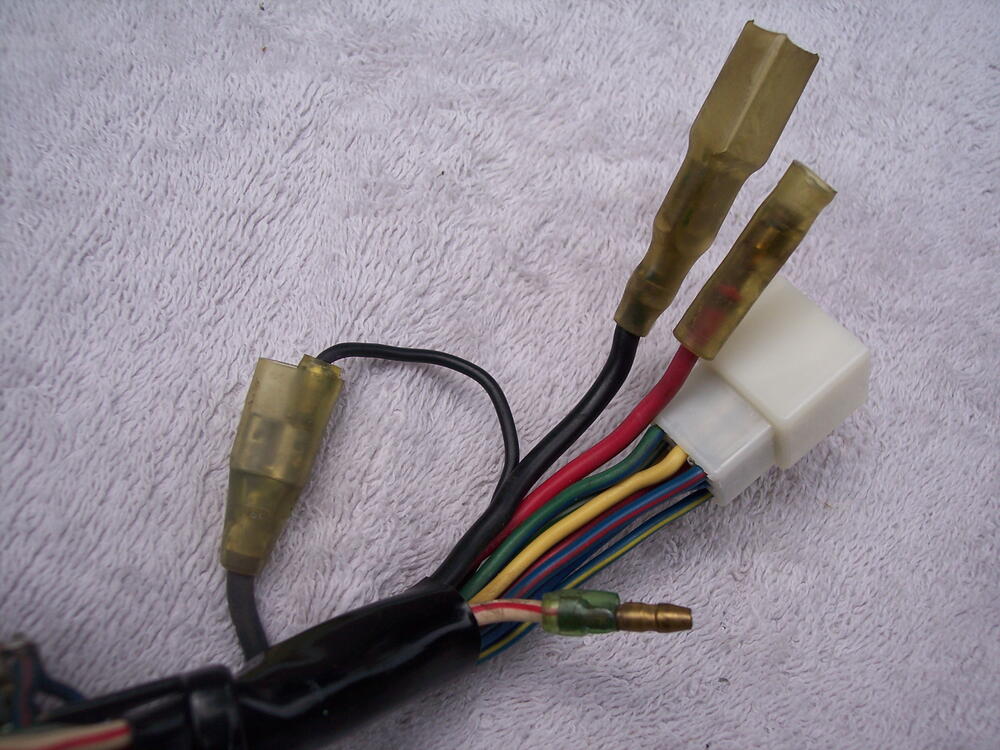
While going thru all these wiring repairs, give some thought as to why the PO made the changes: in all likelihood the internal contacts are burnt or worse. When you finish the external repairs, you'll still be faced with fixing the original problems. If you get discouraged and look for replacement switches, be cautious about anything sold on ebay that is represented as suitable for any S30. That is not the case as Nissan made a lot of changes throughout the S30 run. While refurbing units across all of the S30 line I made a chart that shows the variations in the switches and note they are not interchangeable due to feature and/or wiring and connector differences. You can see there are 4 variations of light switch for the 240Z and 3 variations of turn signal switch. This information came from the online parts catalog. Lights 240Z Applied Date Qty Interchange From To Newer Former Superceded 25160-E4600 7012 1 25160-E4601 7101 1 No No 25160-E4600 25160-E4602 7101 7108 1 Yes Yes 25160-E4601 25160-E8800 7109 7206 1 No No 25160-E4602 25160-N3300 7207 7307 1 Yes Yes 25160-E8800 260Z 25160-N3605 7308 7411 280Z 25160-N3605 7412 7607 1 25160-N4700 7608 1 Turn signal 240Z 25540-E4600 7108 1 25540-E8300 7109 7206 1 No No 25540-E4600 25540-N3300 7207 7307 1 Yes Yes 25540-E8300 260Z 25540-N3605 7308 7411 280Z 25540-N3605 7412 7607 1 25540-N4701 7608 1
-
Once again, @SteveJ hits another home run! The vacuum control valve and the servo work together to slow the rate of deceleration in the carbs to manage unburned fuel in the intake and cylinders. its a very frustrating "feature" when you lift off the accelerator and want to use engine braking to slow down and engine says "nah - I'm just going to slow down nice and easy", it gets exciting when in a panic stop and you've hit the brakes but not yet the clutch!
-
Ditto. Honda upgrade hiding inside, Dave Irwin's relay in the wiring.
-
Pretty sure I've seen that situation before. It had to do with a car that had A/C added and the fuel filter was relocated rearward to the shock tower or nearby. The supply line was cut to better mate to the filter. Major bummer!
-
Got a notification from Hagerty about a new coverage offer: Cherished Salvage. You total it, you keep it! 15% surcharge. https://www.hagerty.com/insurance/classic-car-insurance/additional-coverages/cherished-salvage-coverage?utm_source=SFMC&utm_medium=email&utm_content=21_Aug_3_Cherished_Salvage_Direct_US&hashed_email=
-
Yep, seems redundant to me as well. But... I 'm not a Nissan engineer in 1969 trying to get on top of emissions.
-
There is a check valve in the body of the flow guide. The arrow on the bottom right should be reversed, flow is from the block to the valve. So... you have two inlets (tank and block) and one outlet to the air filter.