


Zed Head
Community Member
-
Joined
-
Last visited
Everything posted by Zed Head
-
I wasn't making fun, I'd really like to see a brand new Nissan 1978 280Z hood.
-
Can you elaborate? It's not clear what you're saying here. Have you run it without a thermostat yet?
-
Not terrible. I'd like see the bonnet hood in the box. "I will throw in a brand new bonnet hood in the box"
-
It's the feedback from the O2 sensors that make the EFI systems cleaner (cleaner burning, leaner) and more fuel efficient (indirectly, overall, cleaner). Plus, the fuel trimming done by the O2 sensor controlled system allows the use of catalytic converters. Which makes the overall system even cleaner. It's just science and logic. The early EFI systems without O2 sensors and/or converters could be just as dirty as a carb'ed engine though.
-
You might be right. If you had the lines open the odds are good that an air bubble got in. But, since all of the work was at the top you could probably just leave the lines cracked and slowly press the pedal to move the bubbles out of the loose fitting. It could be messy. You won't really know until you try the brakes. It's possible that the system gravity bled while you were putting it back together.
-
Did you leave the hydraulic lines connected to the MC? If so, there wouldn't be a need to rebleed.
-
Actually, it was an RNM. Get yours out there quick!

-
I don't see any progress until spring. You seem confident in what you've done.
-
Patcon is right, heat won't work. The resin is a thermoset, like a 2K paint. Once it sets, it's done. Your best bet might be more FRP underneath. Fixture is so that it is where you want it and lay on some fiberglass strips with resin. They will be under tension after curing so should work well. The hardest, most important, part will be getting good adhesion to the material that has already cured. A boat builder/repairer should have the materials and know how. Or >>> hood pins.
-
So you're planning to sell them or hang on to them? Hence the rebuild? They look crusty. I'll bet when you get them apart you'll find that a simple rebuild won't do it. Somebody might buy them for cores though so that they can do the conversion. Good luck.
-
I missed your first post, I see that now. So, basically, you're planning the Toyota caliper conversion. Better study all of the fine details that EuroDat is supplying. Are you going to paint them red?
-
Think about converting back to stock. I don't know if the conversions involve permanent changes. I thought that they were just bolt-on pieces.
-
Good luck with that. Might want to see the cylinders, if you can get them apart, before you buy the rebuild parts. Pretty crusty.
-
Look at BE-94 in the Body Electrical chapter. Nissan really didn't label the chapter sections well. You have to stumble upon it.
-
There's a dirty crusty plastic panel inside the fender well that you have to remove. Easiest with the wheel removed.
-
This is not precise enough. You need the numbers. Yarb makes a good point about things that might be getting stuck. Buzzers, light switches, corroded relays, corroded switches. For example, the dome light has constant power. The light comes on when the circuit is grounded, either by pressing the light itself, or when the door is opened. The switch is in the door jamb (I think). You could also try pulling fuses and watching the current. Eventually you'll find the circuit or circuits that are passing the current to ground. I did take the time to look at the diagram and see that there is a lot of stuff that has constant power. And lots of connectors. Really looks like a PITA. The black and white diagram hurts my eyes to try to follow. One blink and you have to start over. That's why being methodical and taking good notes will really help.
-
Break it down in to pieces. CO narrowed things down above. Keep going. The most important finding so far might be that the problem is not a simple "replace a part" problem. Saved $30 on that VR probably.
-
Thanks Captain. That was kind of in the back of my mind but I didn't follow it out. With the wiring diagram and the knowledge that there must be a path to ground that is not supposed to be there, there are many ways to narrow things down. Even a meter set to beep mode. Unplug connectors and probe pins for paths to ground. Unplug connectors and watch amperage.
-
The four barrel conversion is probably easier to tune and might be more heat resistant. They've been around quite a while you can probably find them on eBay or CL. You could even a 2 barrel adapter on it. https://www.thezstore.com/category/498/four-barrel-conversion
-
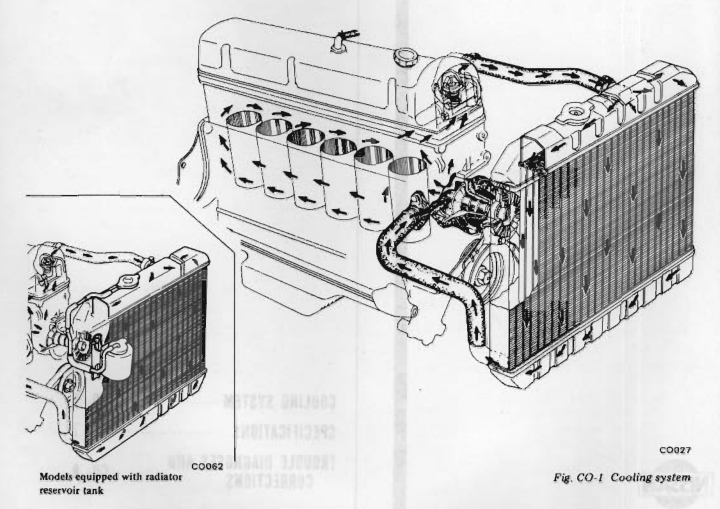
I was thinking of blocked passages in the head gasket. I'd probably back flush the system myself, if I was reasonably sure that everything else was right. Push any blockages back toward the water pump and out the inlet. Disconnect the radiator, hook up a hose to the thermostat housing (outlet port) and see what comes out.
-
This is odd. Kind of implies that you're wiggling a wire when you're removing the link and removing the short. Can't think of how disconnecting the two separate fusible link circuits separately could stop the draw. Weird stuff. It started with removing the VR lowered the draw, then both alt and VR out still had a low draw, now disconnecting either fusible link separately removes the draw. One problem with your posts is that you leave things out in your descriptions. Like in the post above you said either link disconnected removes the draw. But you didn't confirm that the VR and alt are still disconnected. Plus you don't give the numbers. You've had numbers from 0.2 to 3 amps. It would probably help if you made a table showing the numbers with each condition. VR alone, alt alone, each fusible link, combinations of each. Actual numbers.
-
Have you ever had the head off?
-
I was making a general point. Where will you go from here? What does your old Z mechanic suggest? Maybe you really just have a hot spot by your temperature sender. How about that?
-
The bottom line is - if the cooling system can't cool with no thermostat it will never cool with a thermostat. You're probably spending your radiator money on thermostats that you don't need.
-
The thermostat is actually opening and closing continuously during operation at designed operation temperature. If it just opened fully and stayed open there would be no temperature control.


