motorman7
Supporting Member
-
Joined
-
Last visited
Everything posted by motorman7
-
-
Put the show tires on and took her for a short spin in the cul-de-sac. Got the center front bumper filler installed along with the alternator and smog support that came in from eBay. Will do the luggage straps tomorrow night. Motorsport parts are coming in on Wednesday. It's coming down to the wire.

-
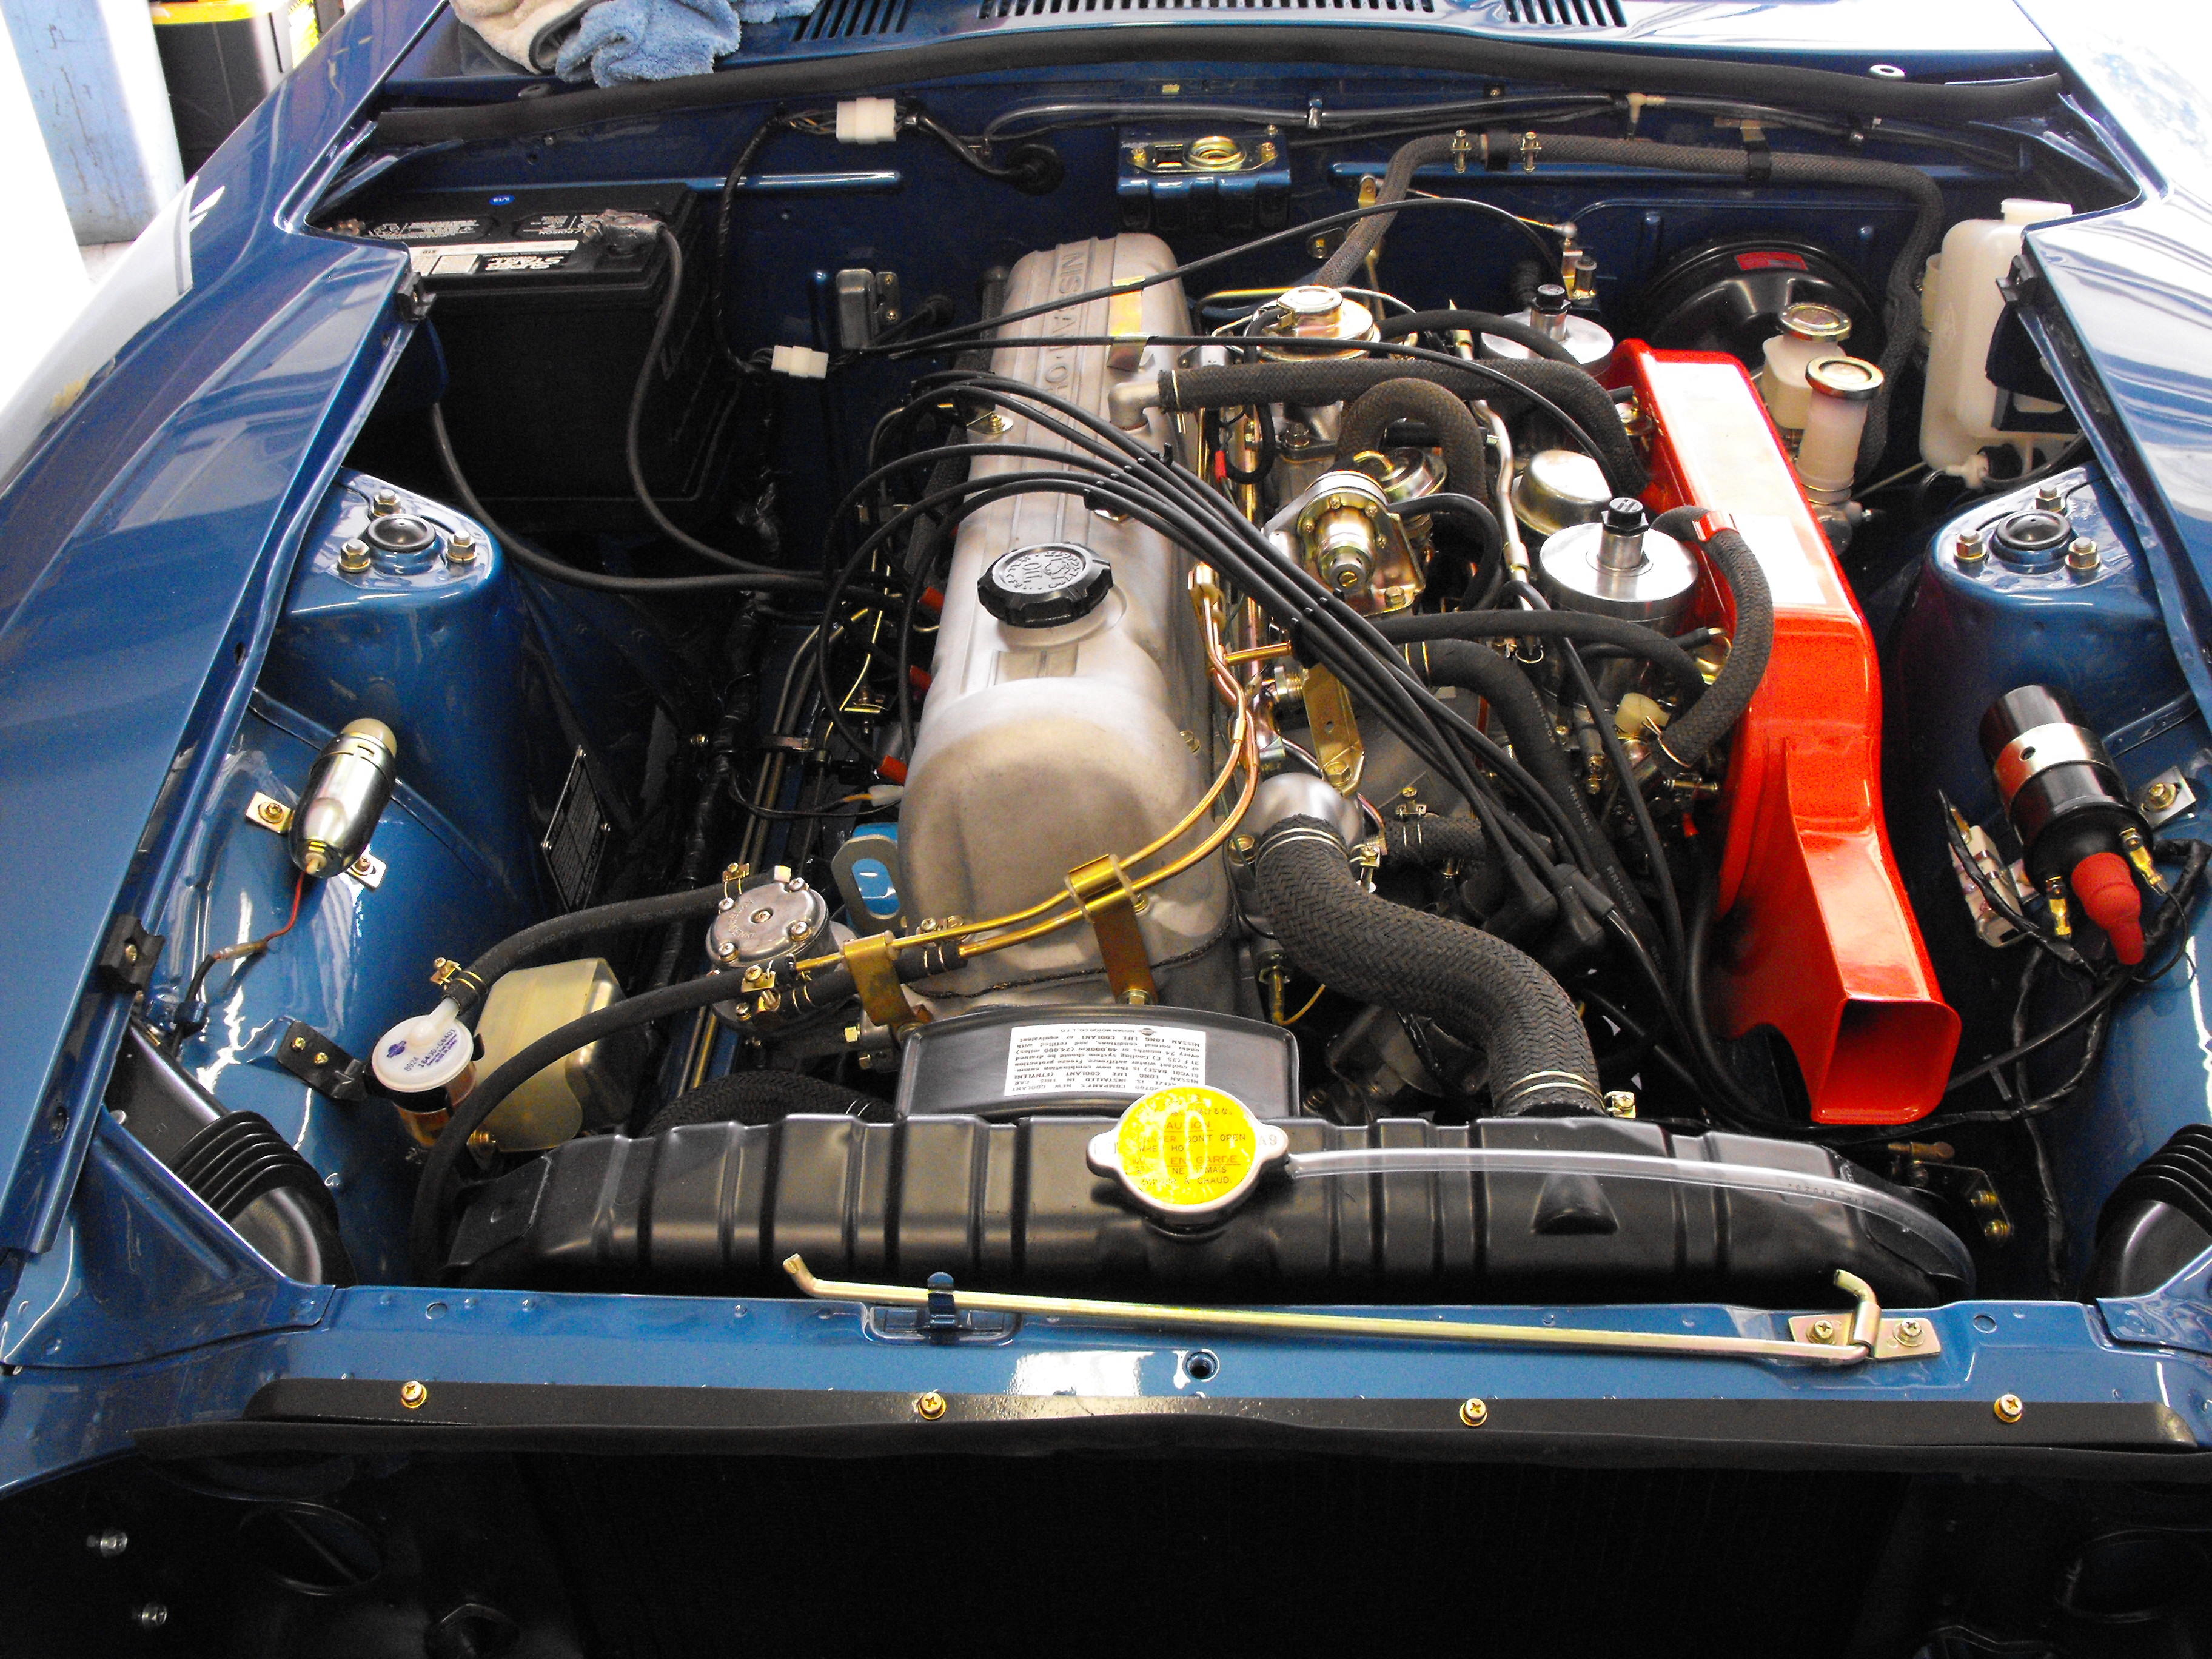
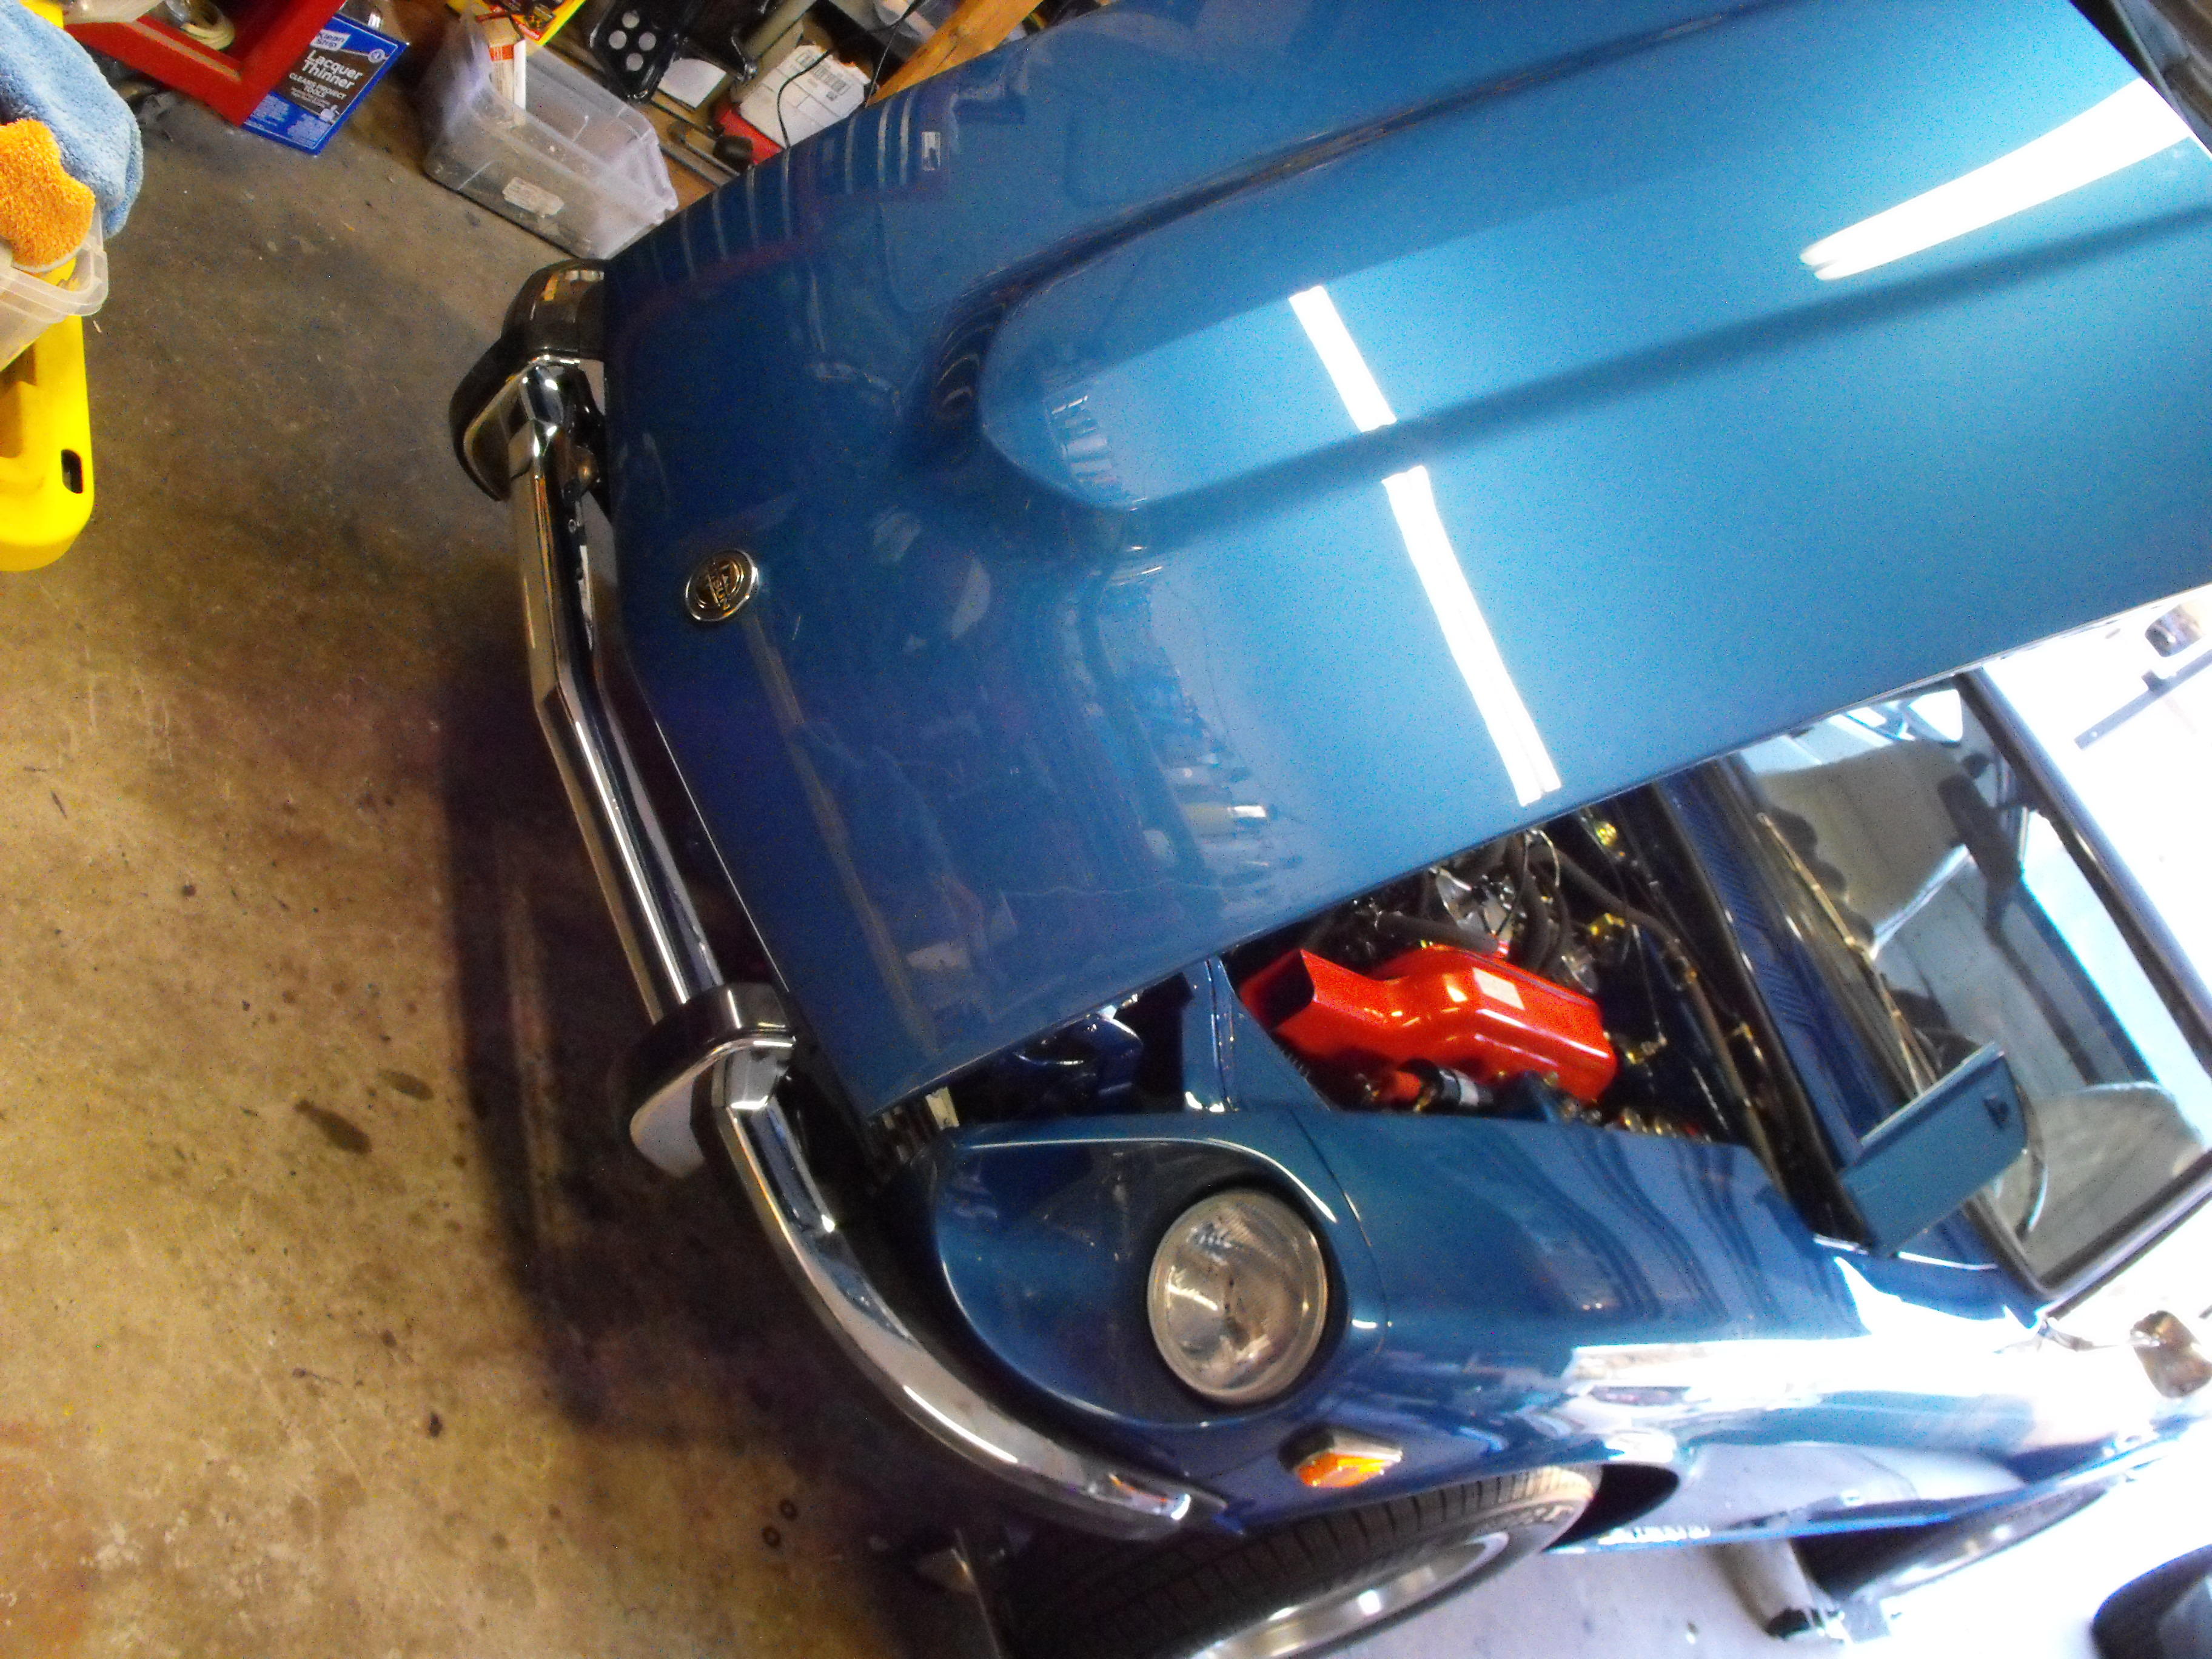
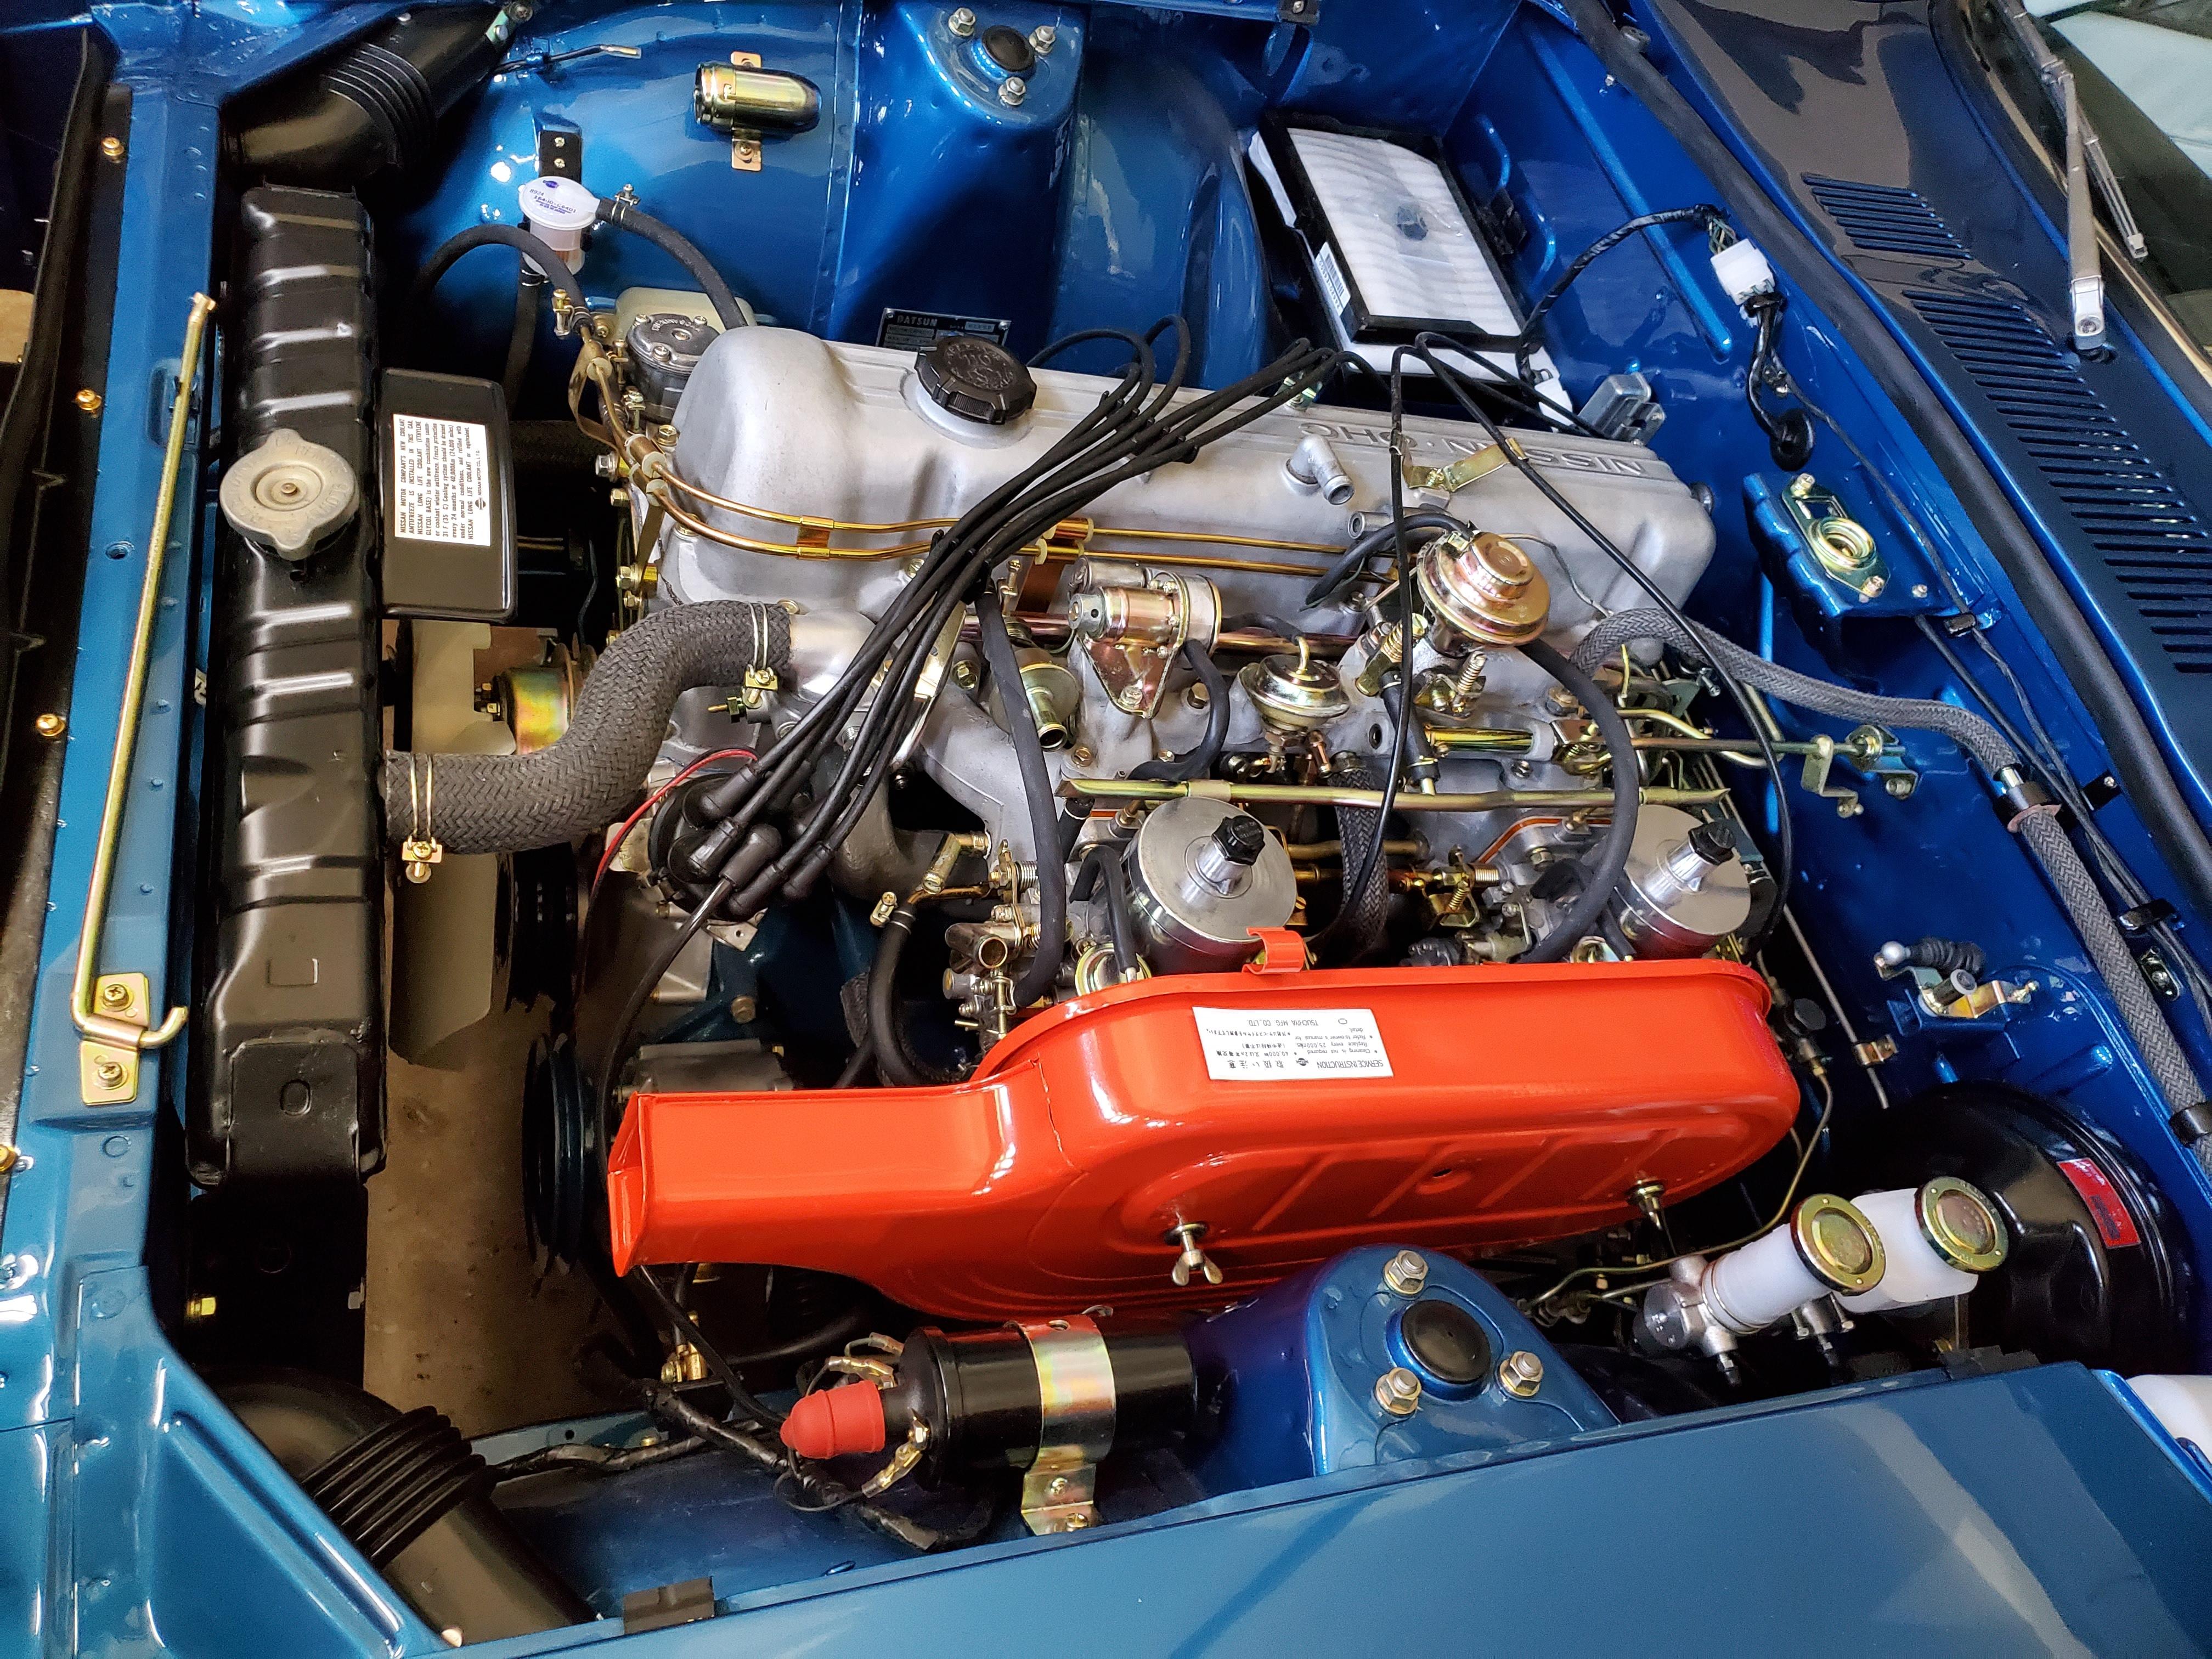
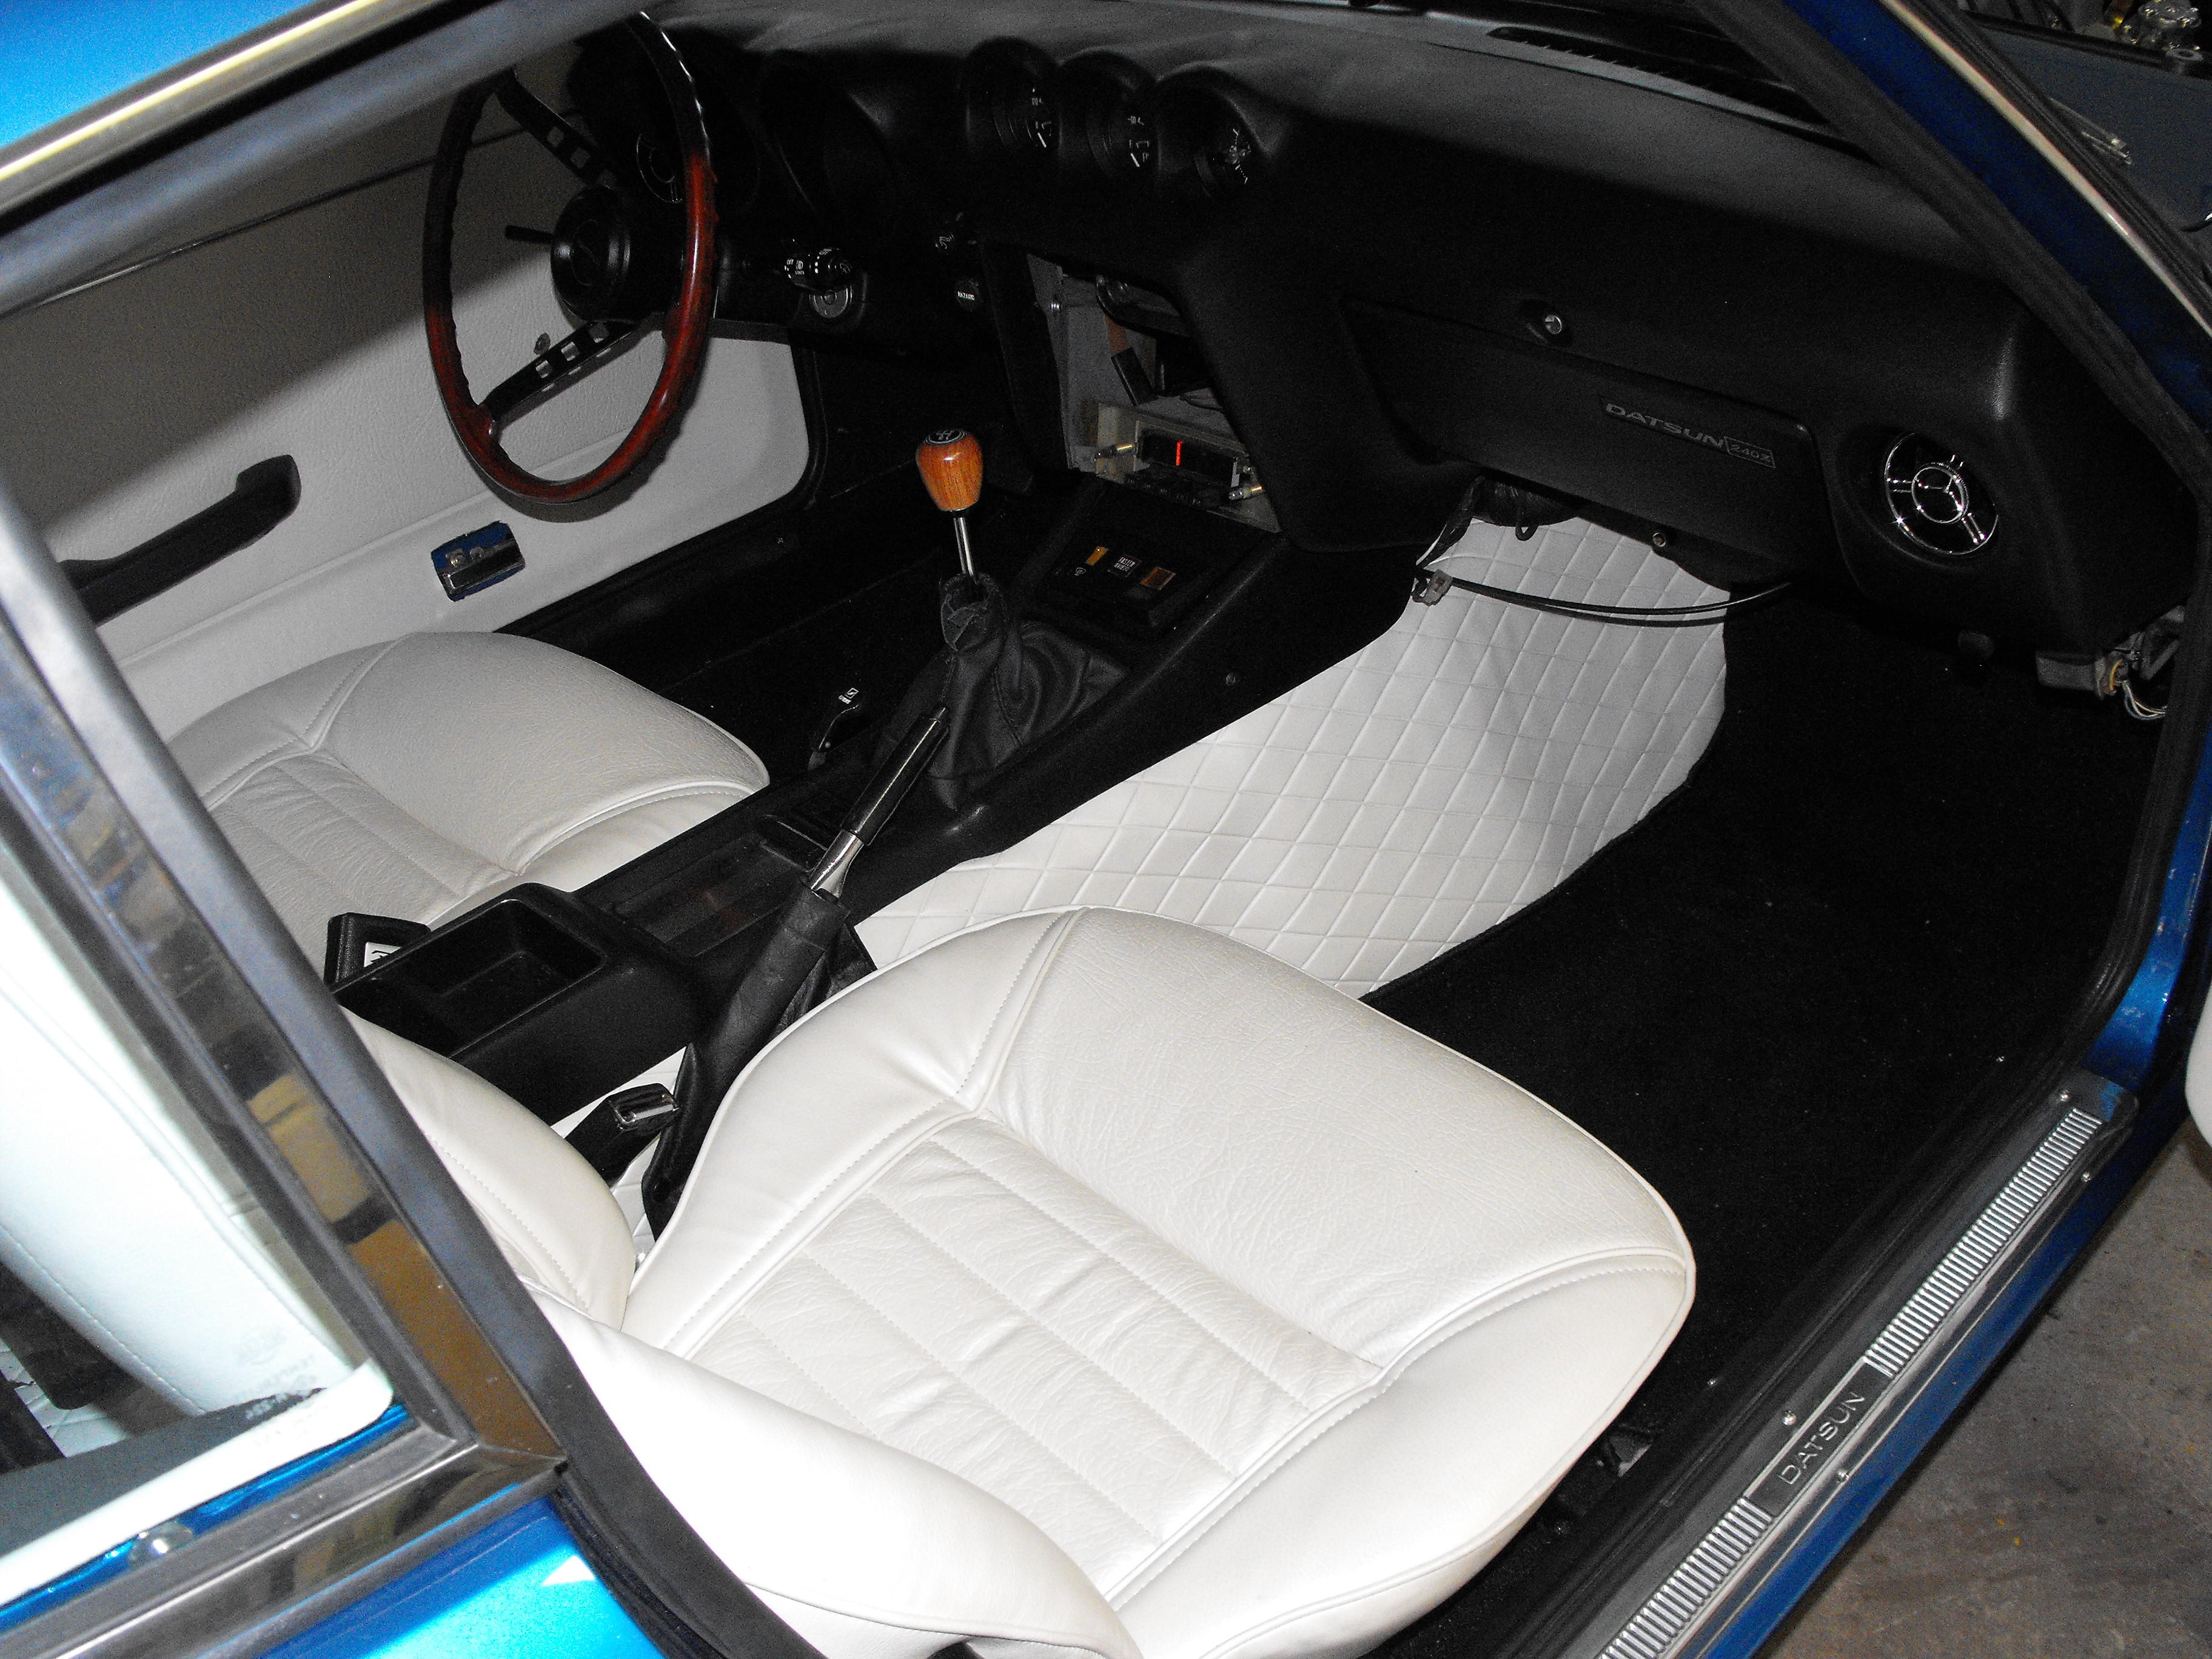
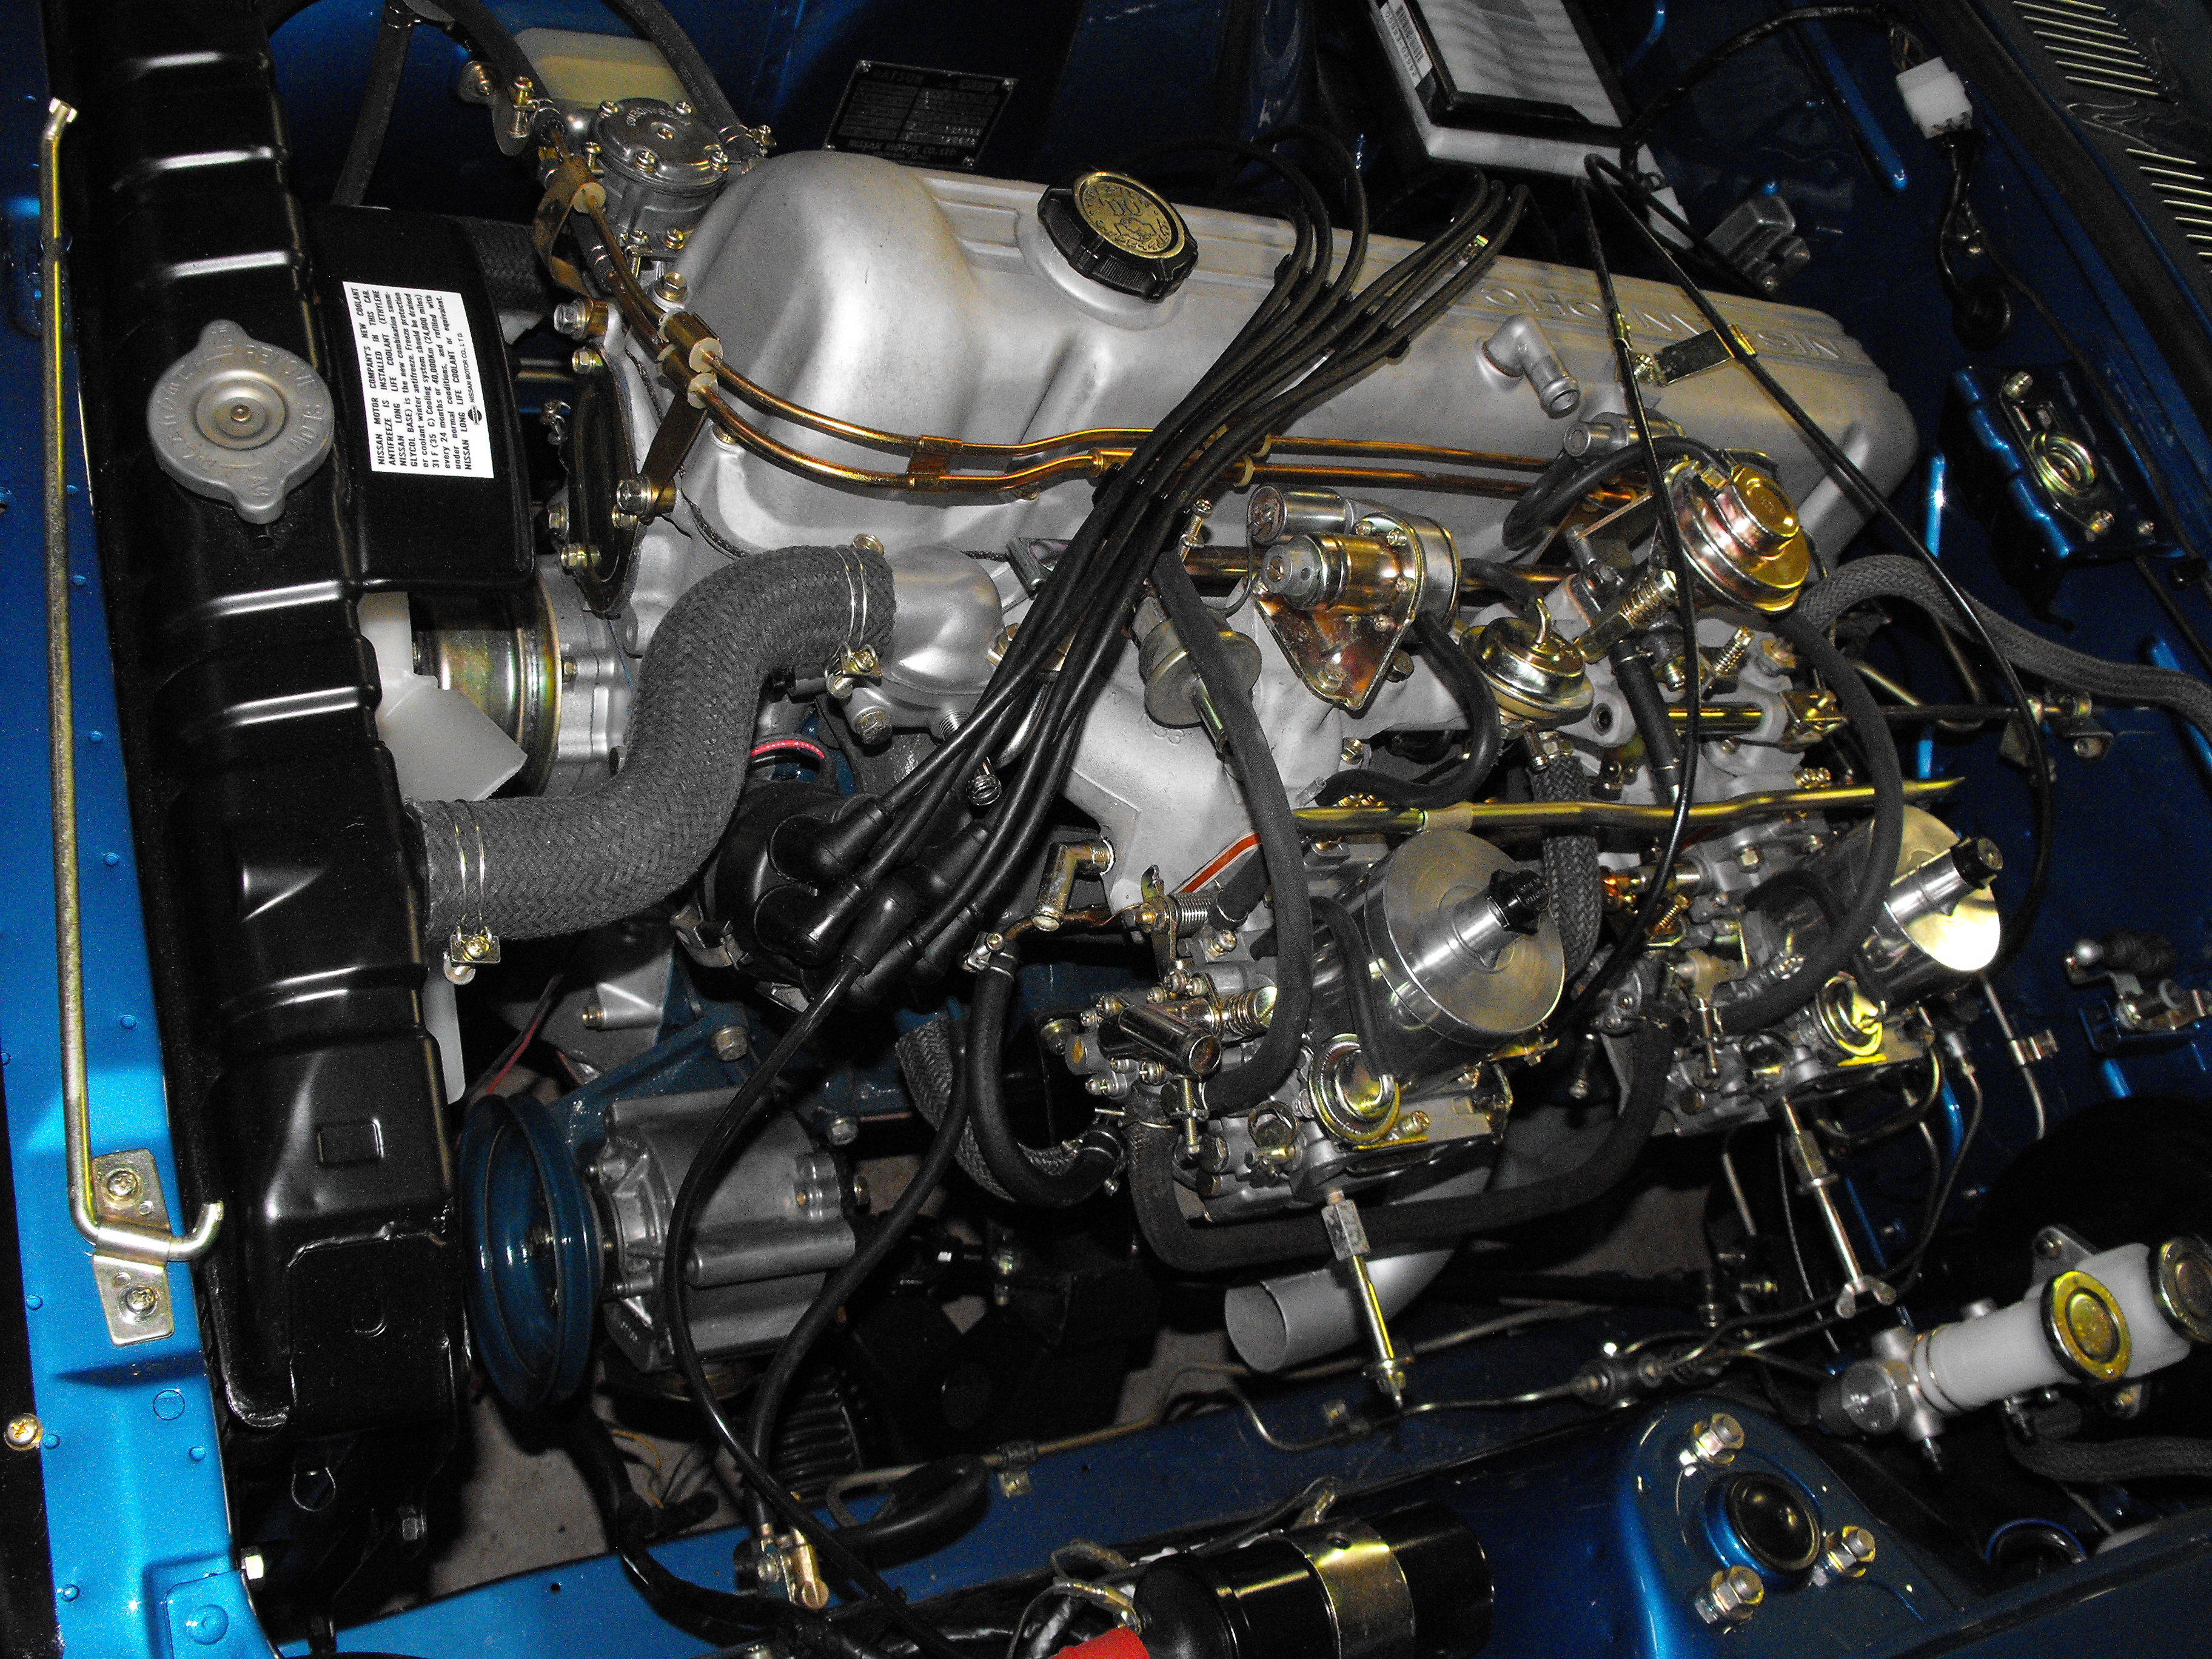
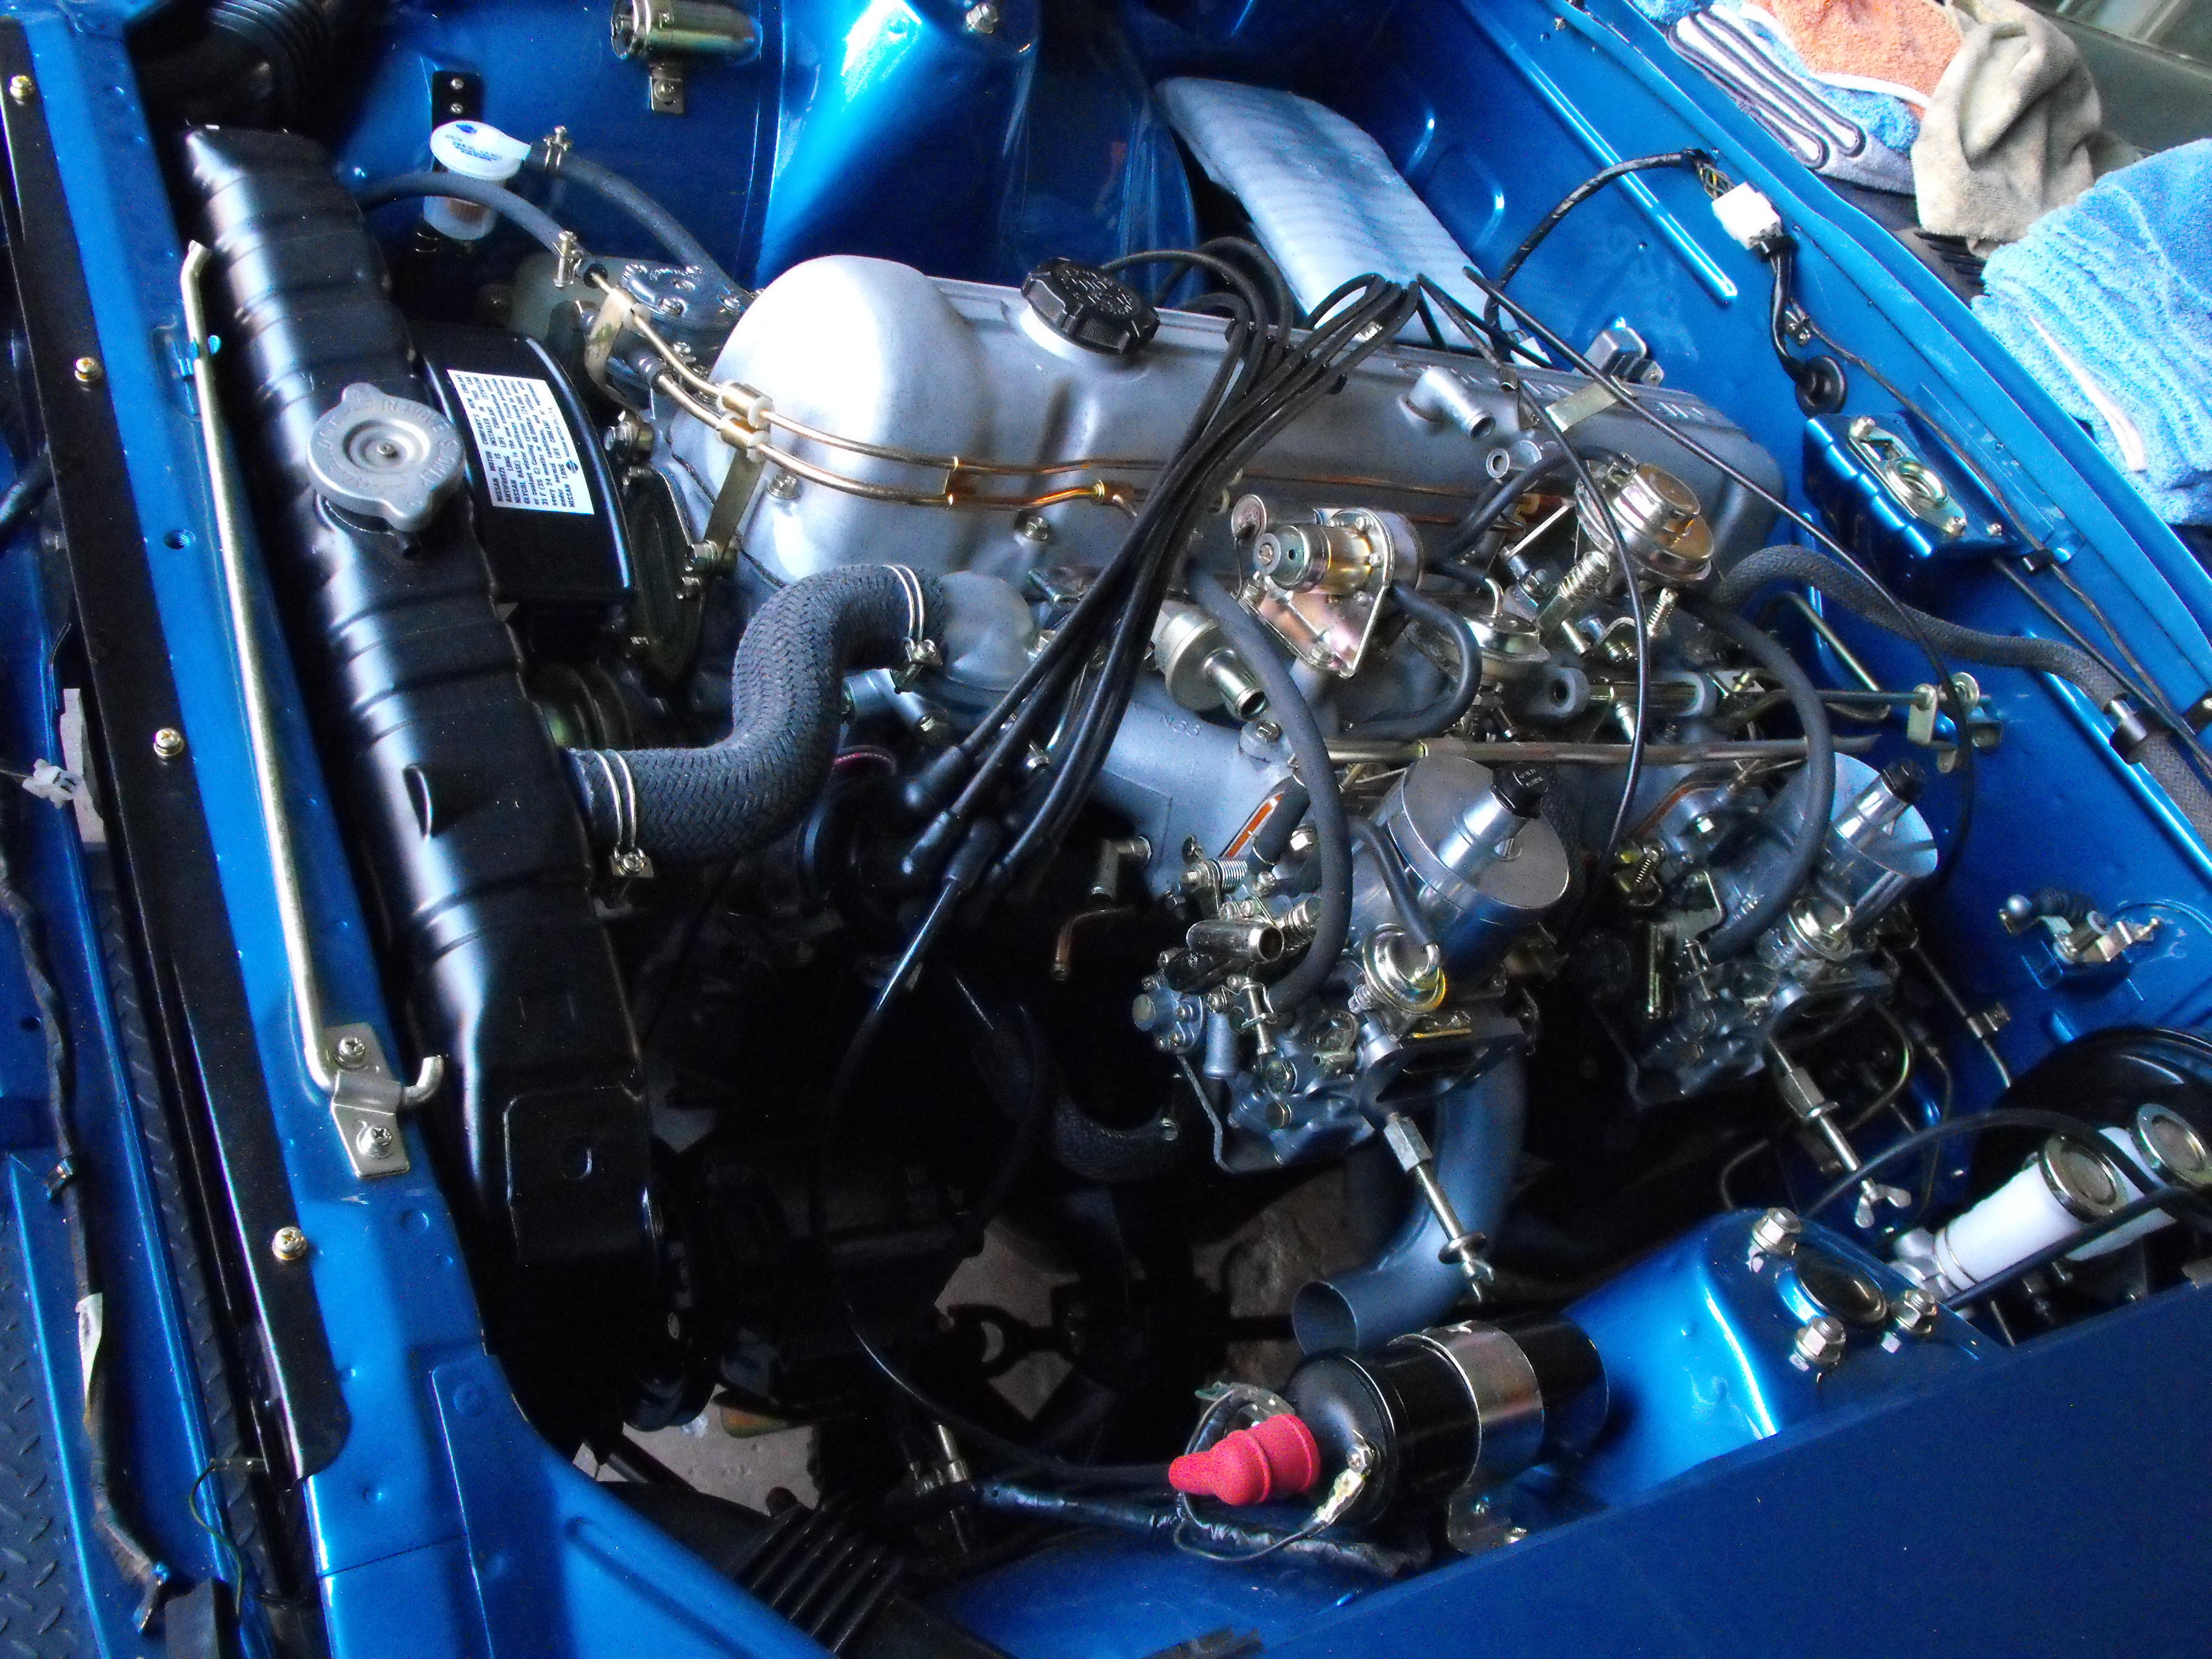
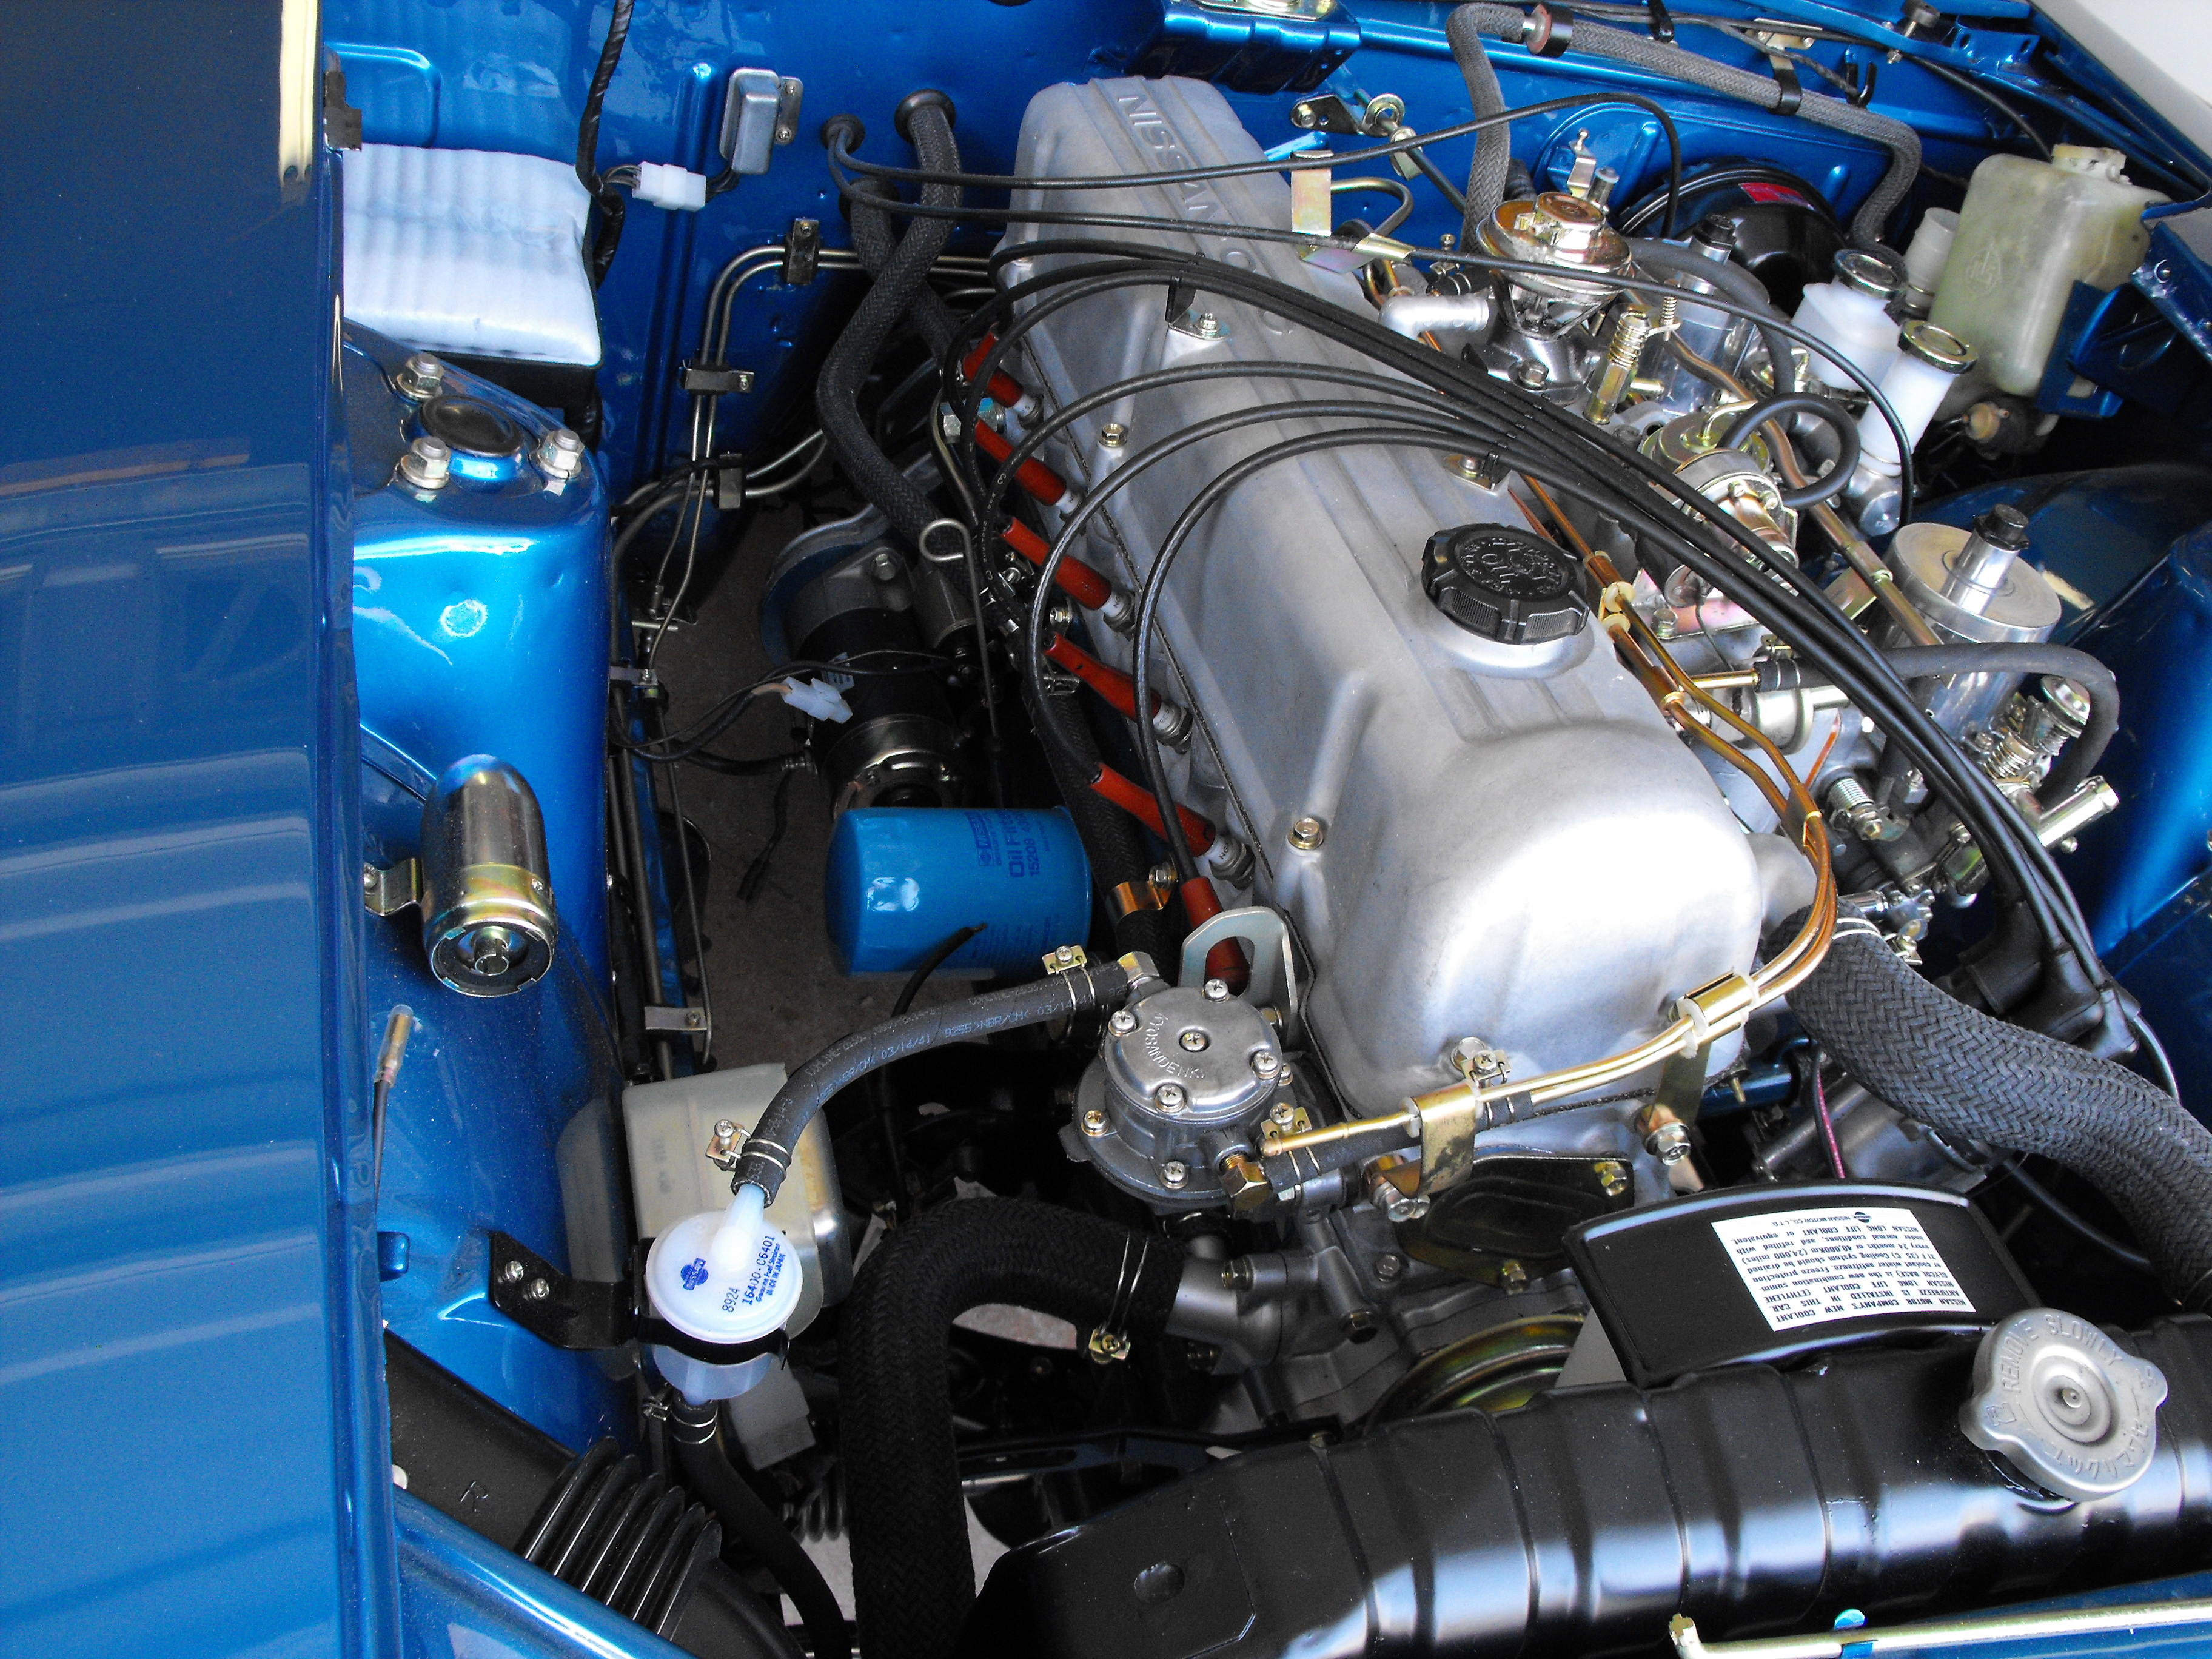
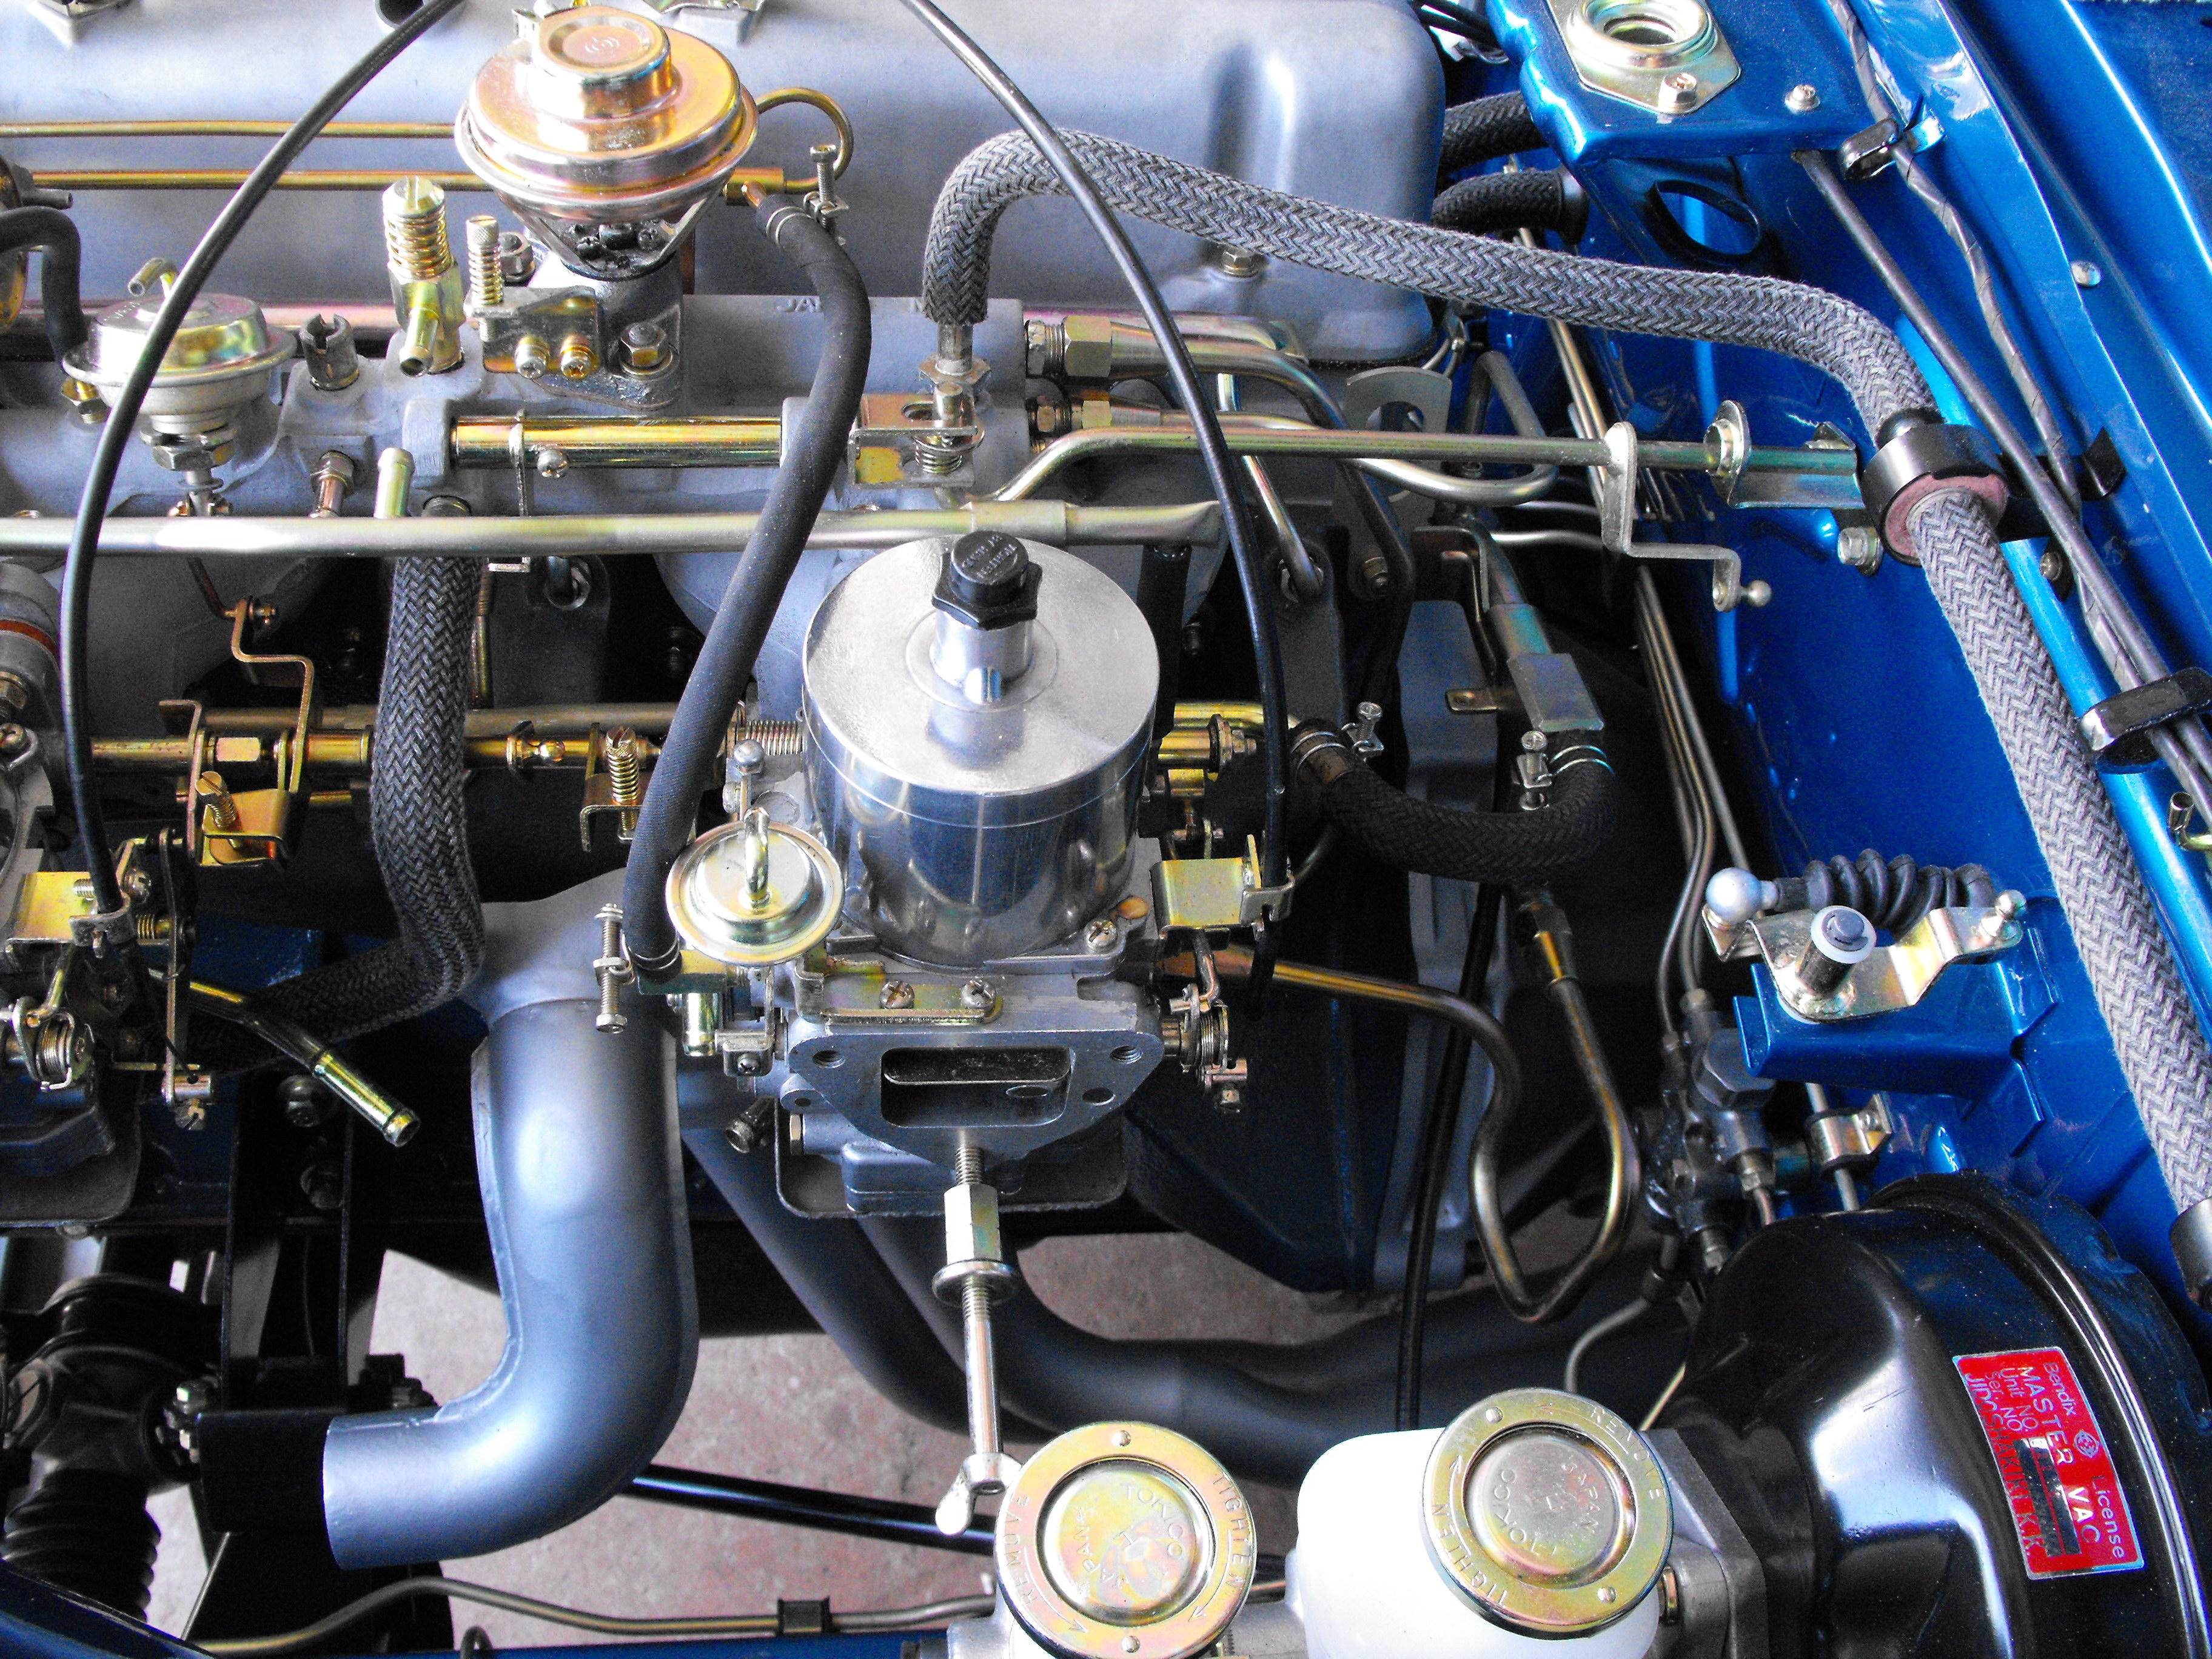
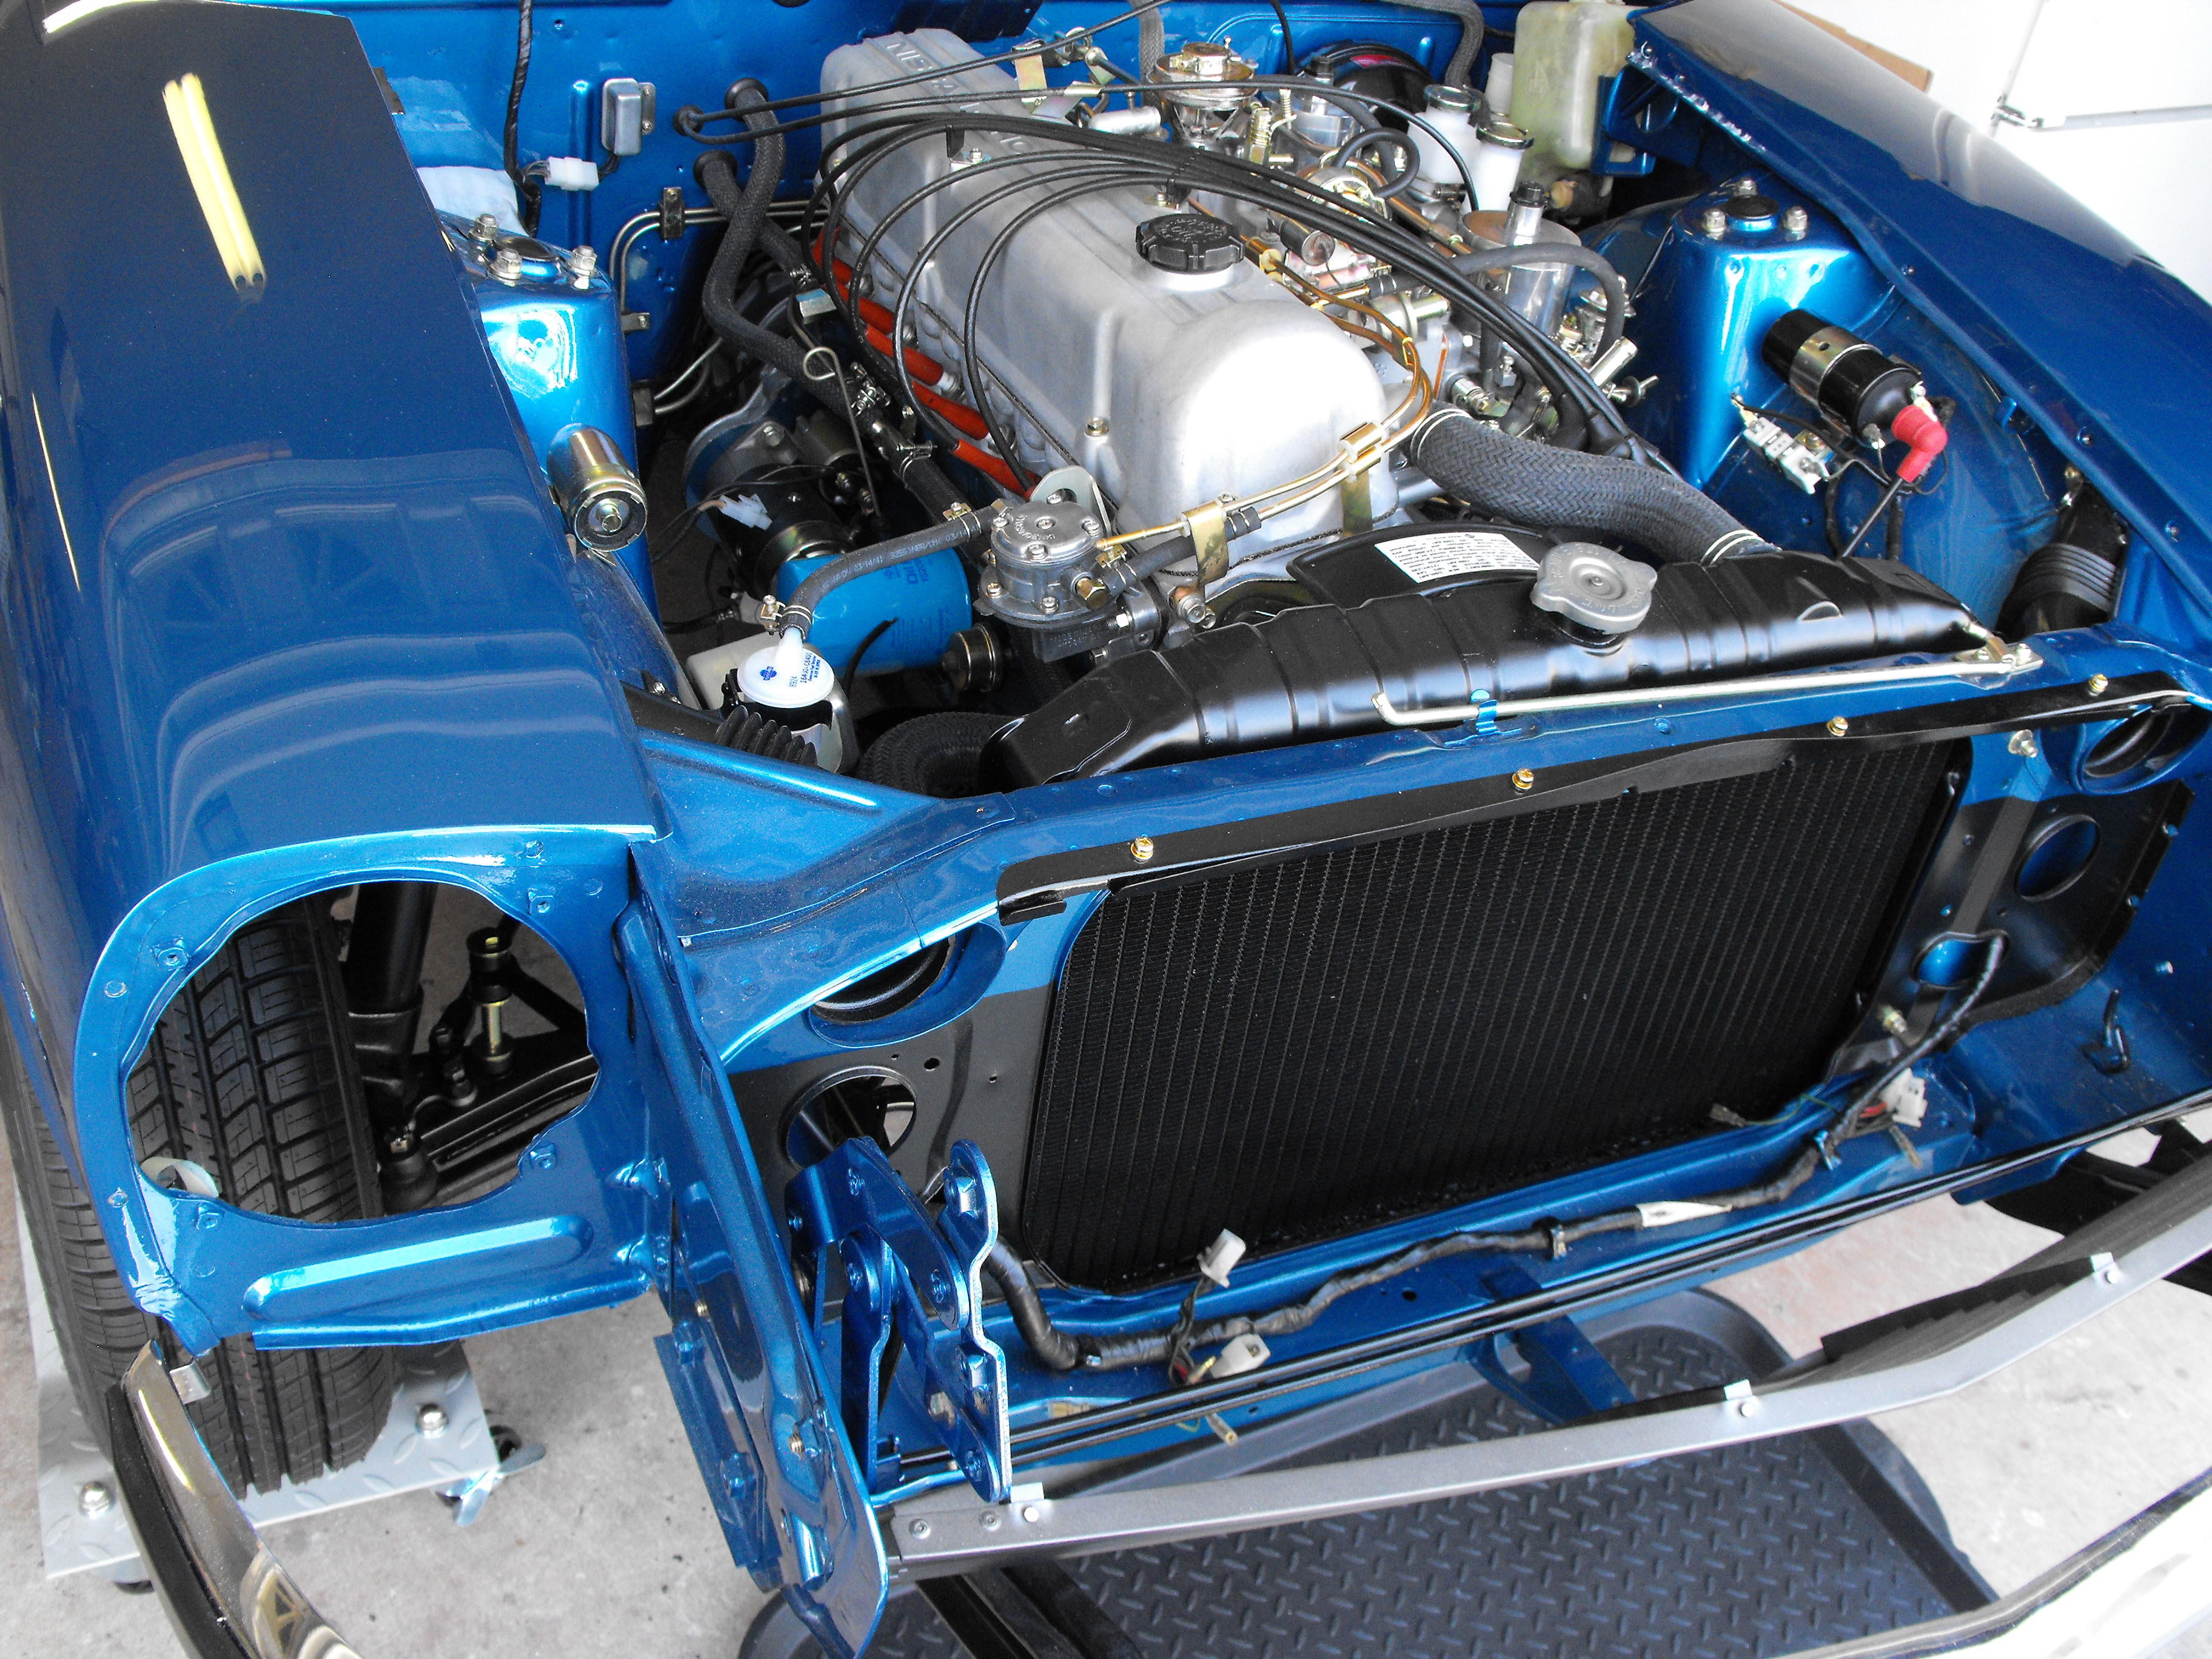
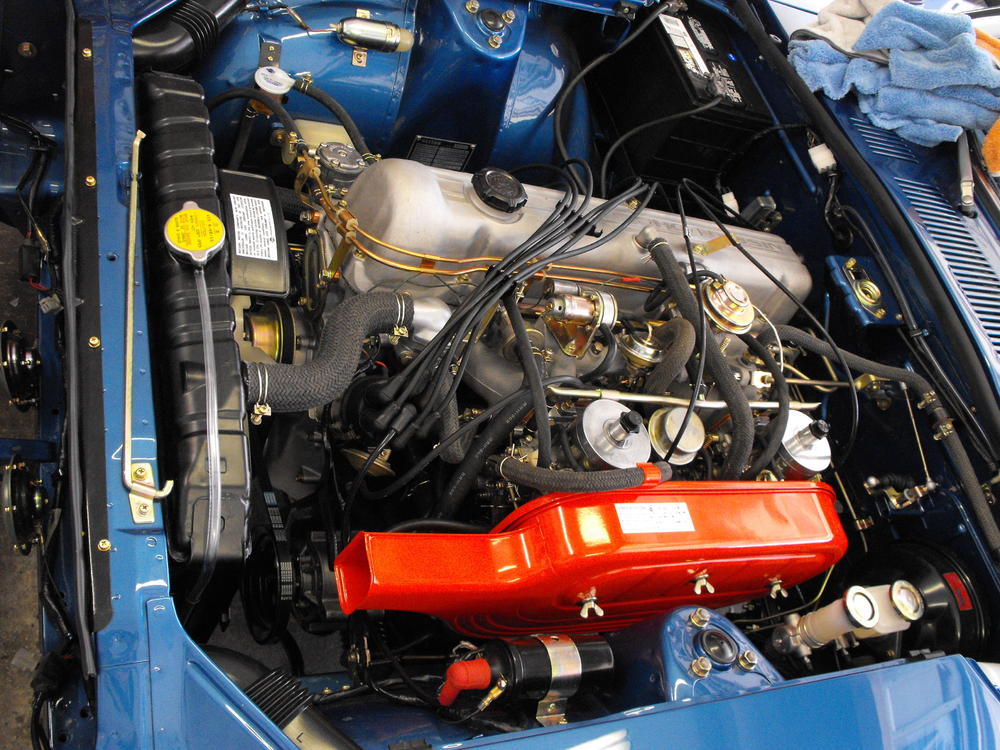
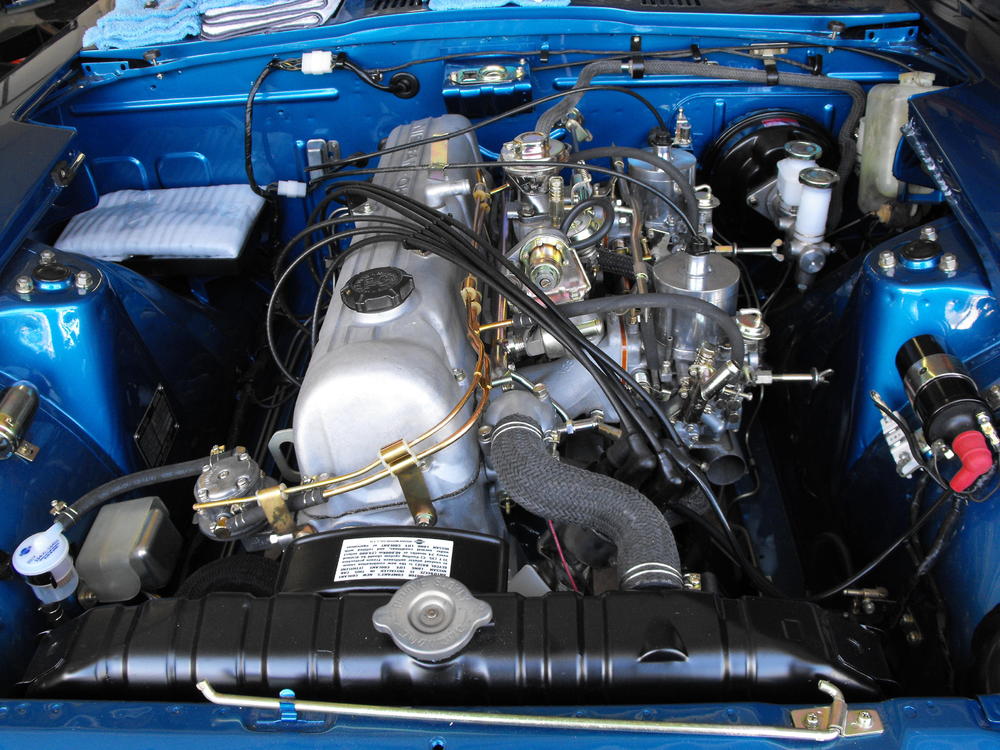
So here is the Status and some of the issues that I ran into: ENGINE BAY: the engine is running nicely now and all hoses are connected. I still have a few small clamps that need to be added to the vacuum hoses, but for the most part, the motor is done. I have some right angle battery terminals coming in today and will see what I can do to replicate the correct style battery cables (240zrubberparts cables are sold out, have not been able to contact via phone or e-mail). Not sure what I can do to re-crate terminal covers, but do have some on order that will be arriving too late. I am missing the original smog pump arm, but picked up one on ebay that should be in on Tuesday. That is about it for the engine items The only issues I had with the motor operation were a high idle and some RPM cycling oscillations. Even with everything backed off, the idle was sitting at around 1200 RPM. Not sure why that is. I remedied the situation by extending the needles in the two flat top pistons. Idle is now at around 700 RPMs. The RPM cycling was odd and I knew it was a result of one of the vacuum systems. The engine would oscillate from 600 RPM up to 1200 RPM and then back down in a continuous cycle (That would drive anyone crazy). Plugging the hose going the the anti-backfire valve fixed the issue. Looks like I need a new valve and those are pretty pricey. For now, I will leave it plugged. I have run the motor for over 30 minutes and temperature remains steady at a bit below 180F. Clutch and brakes have been bled and peddles feel good. INTERIOR: I have a few parts that were in pretty bad shape (the passenger side pull handle and one roll-up handle), so ordered new ones from Motorsport. All gauges work as well as the clock. The LED lights look nice in the dash but do not appear to be adjustable. I also put LED lights in the overhead interior light and the engine light. I am finishing up the luggage straps and should have them installed in the next day or two. EXTERIOR: Just need to install the center bumper finisher which I painted last night and connect front turn lights. Need new lug nuts for the mags and license plate frame. Will probably pick up from Pep Boys tonight. Also, Miguel wants to do one final polish on Thursday night before we load. Can't imagine the paint looking any better, but he wants to do the final polish on the car. That about completes the list. I will try and take the car out for outdoor pics in the next day or two. We load on Friday.
-
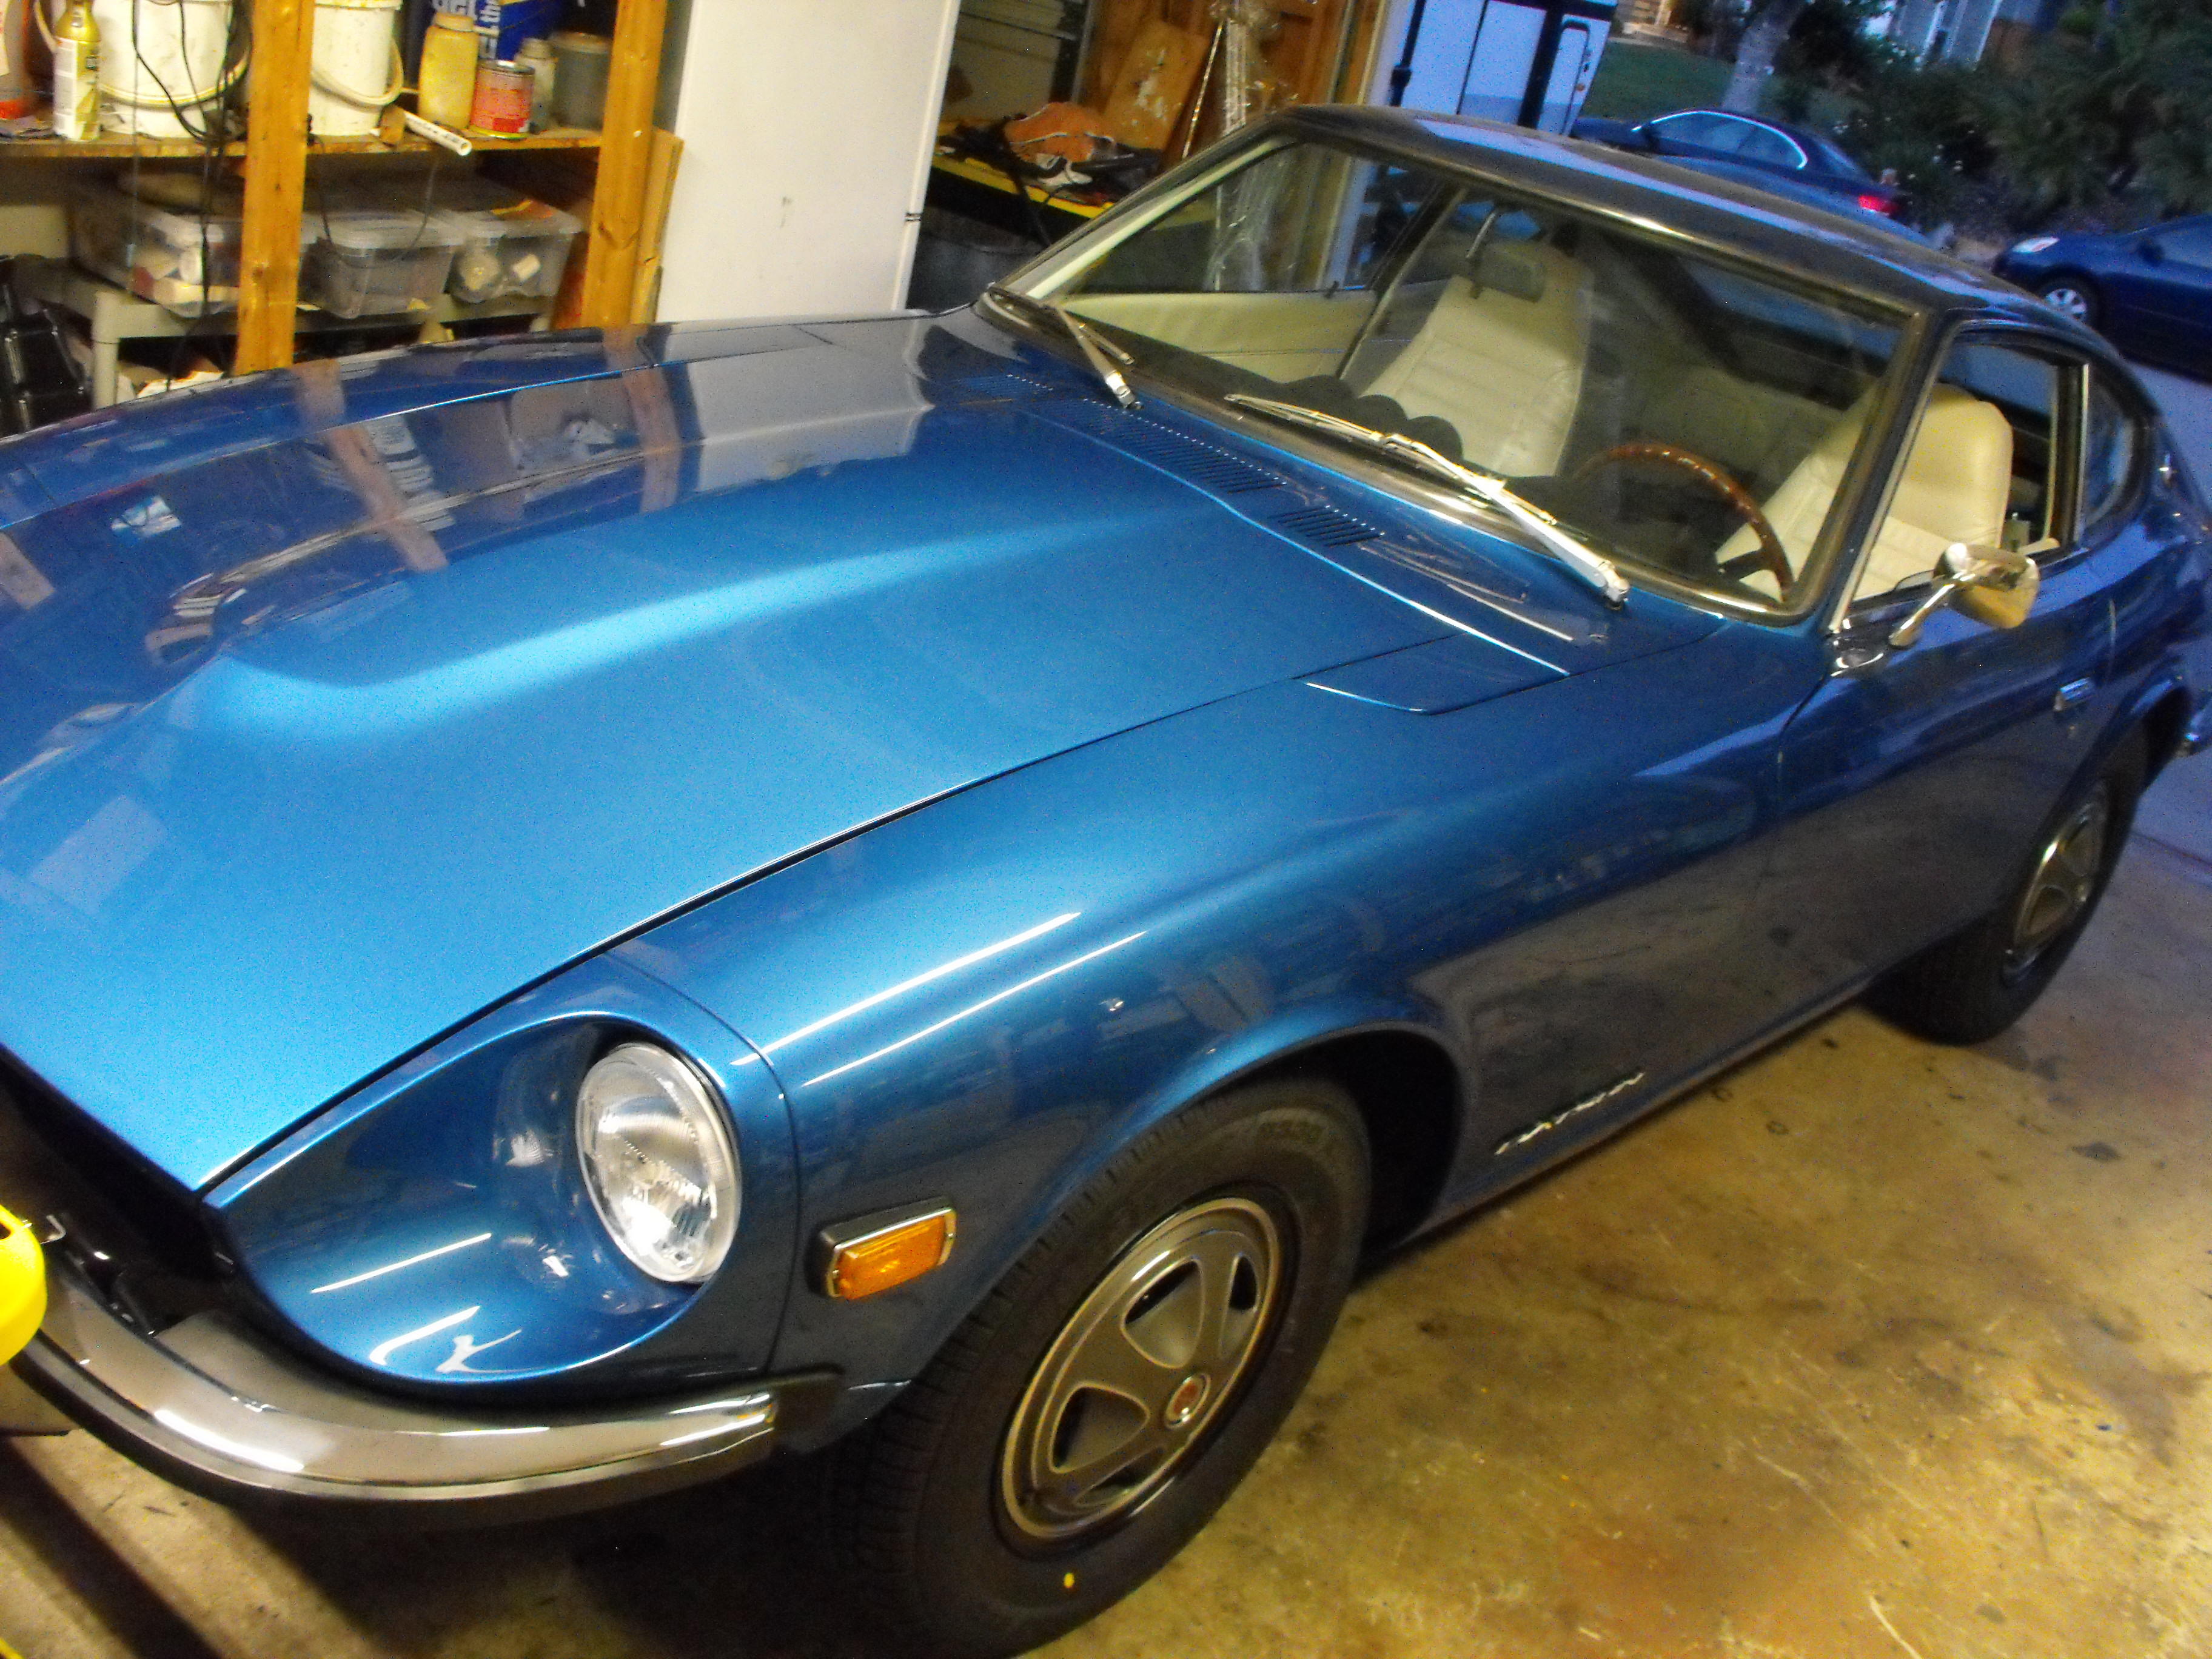
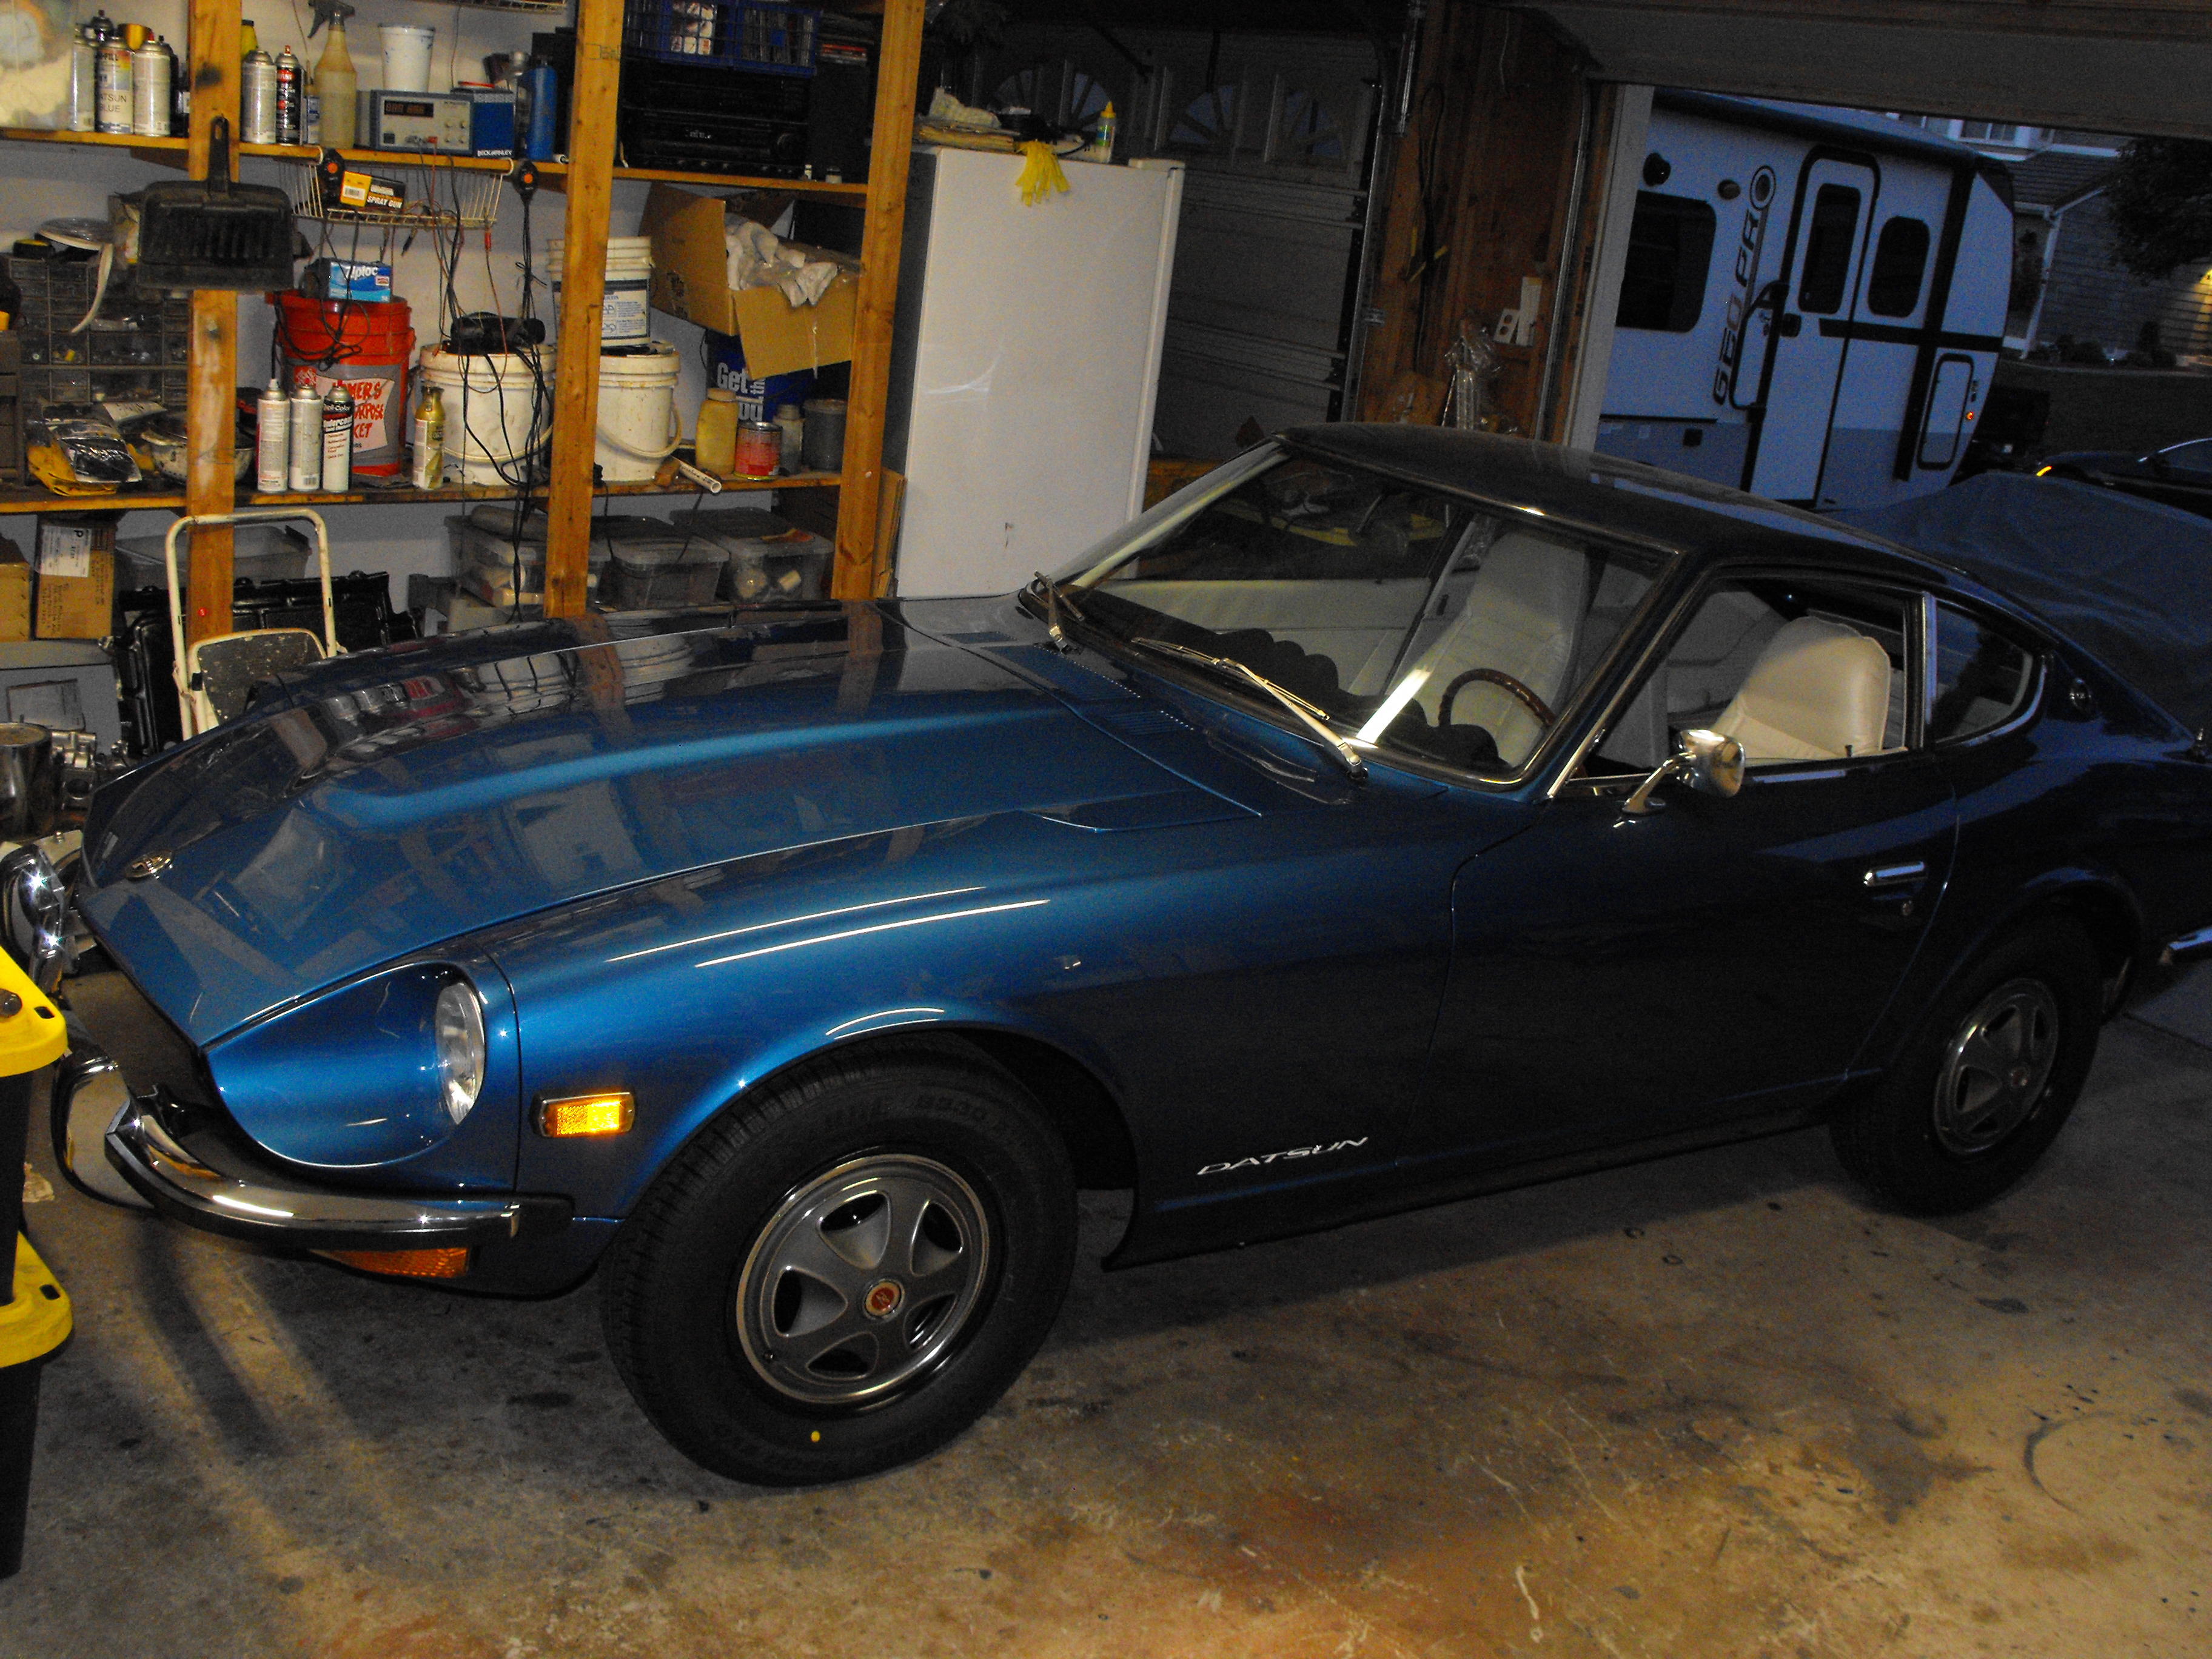
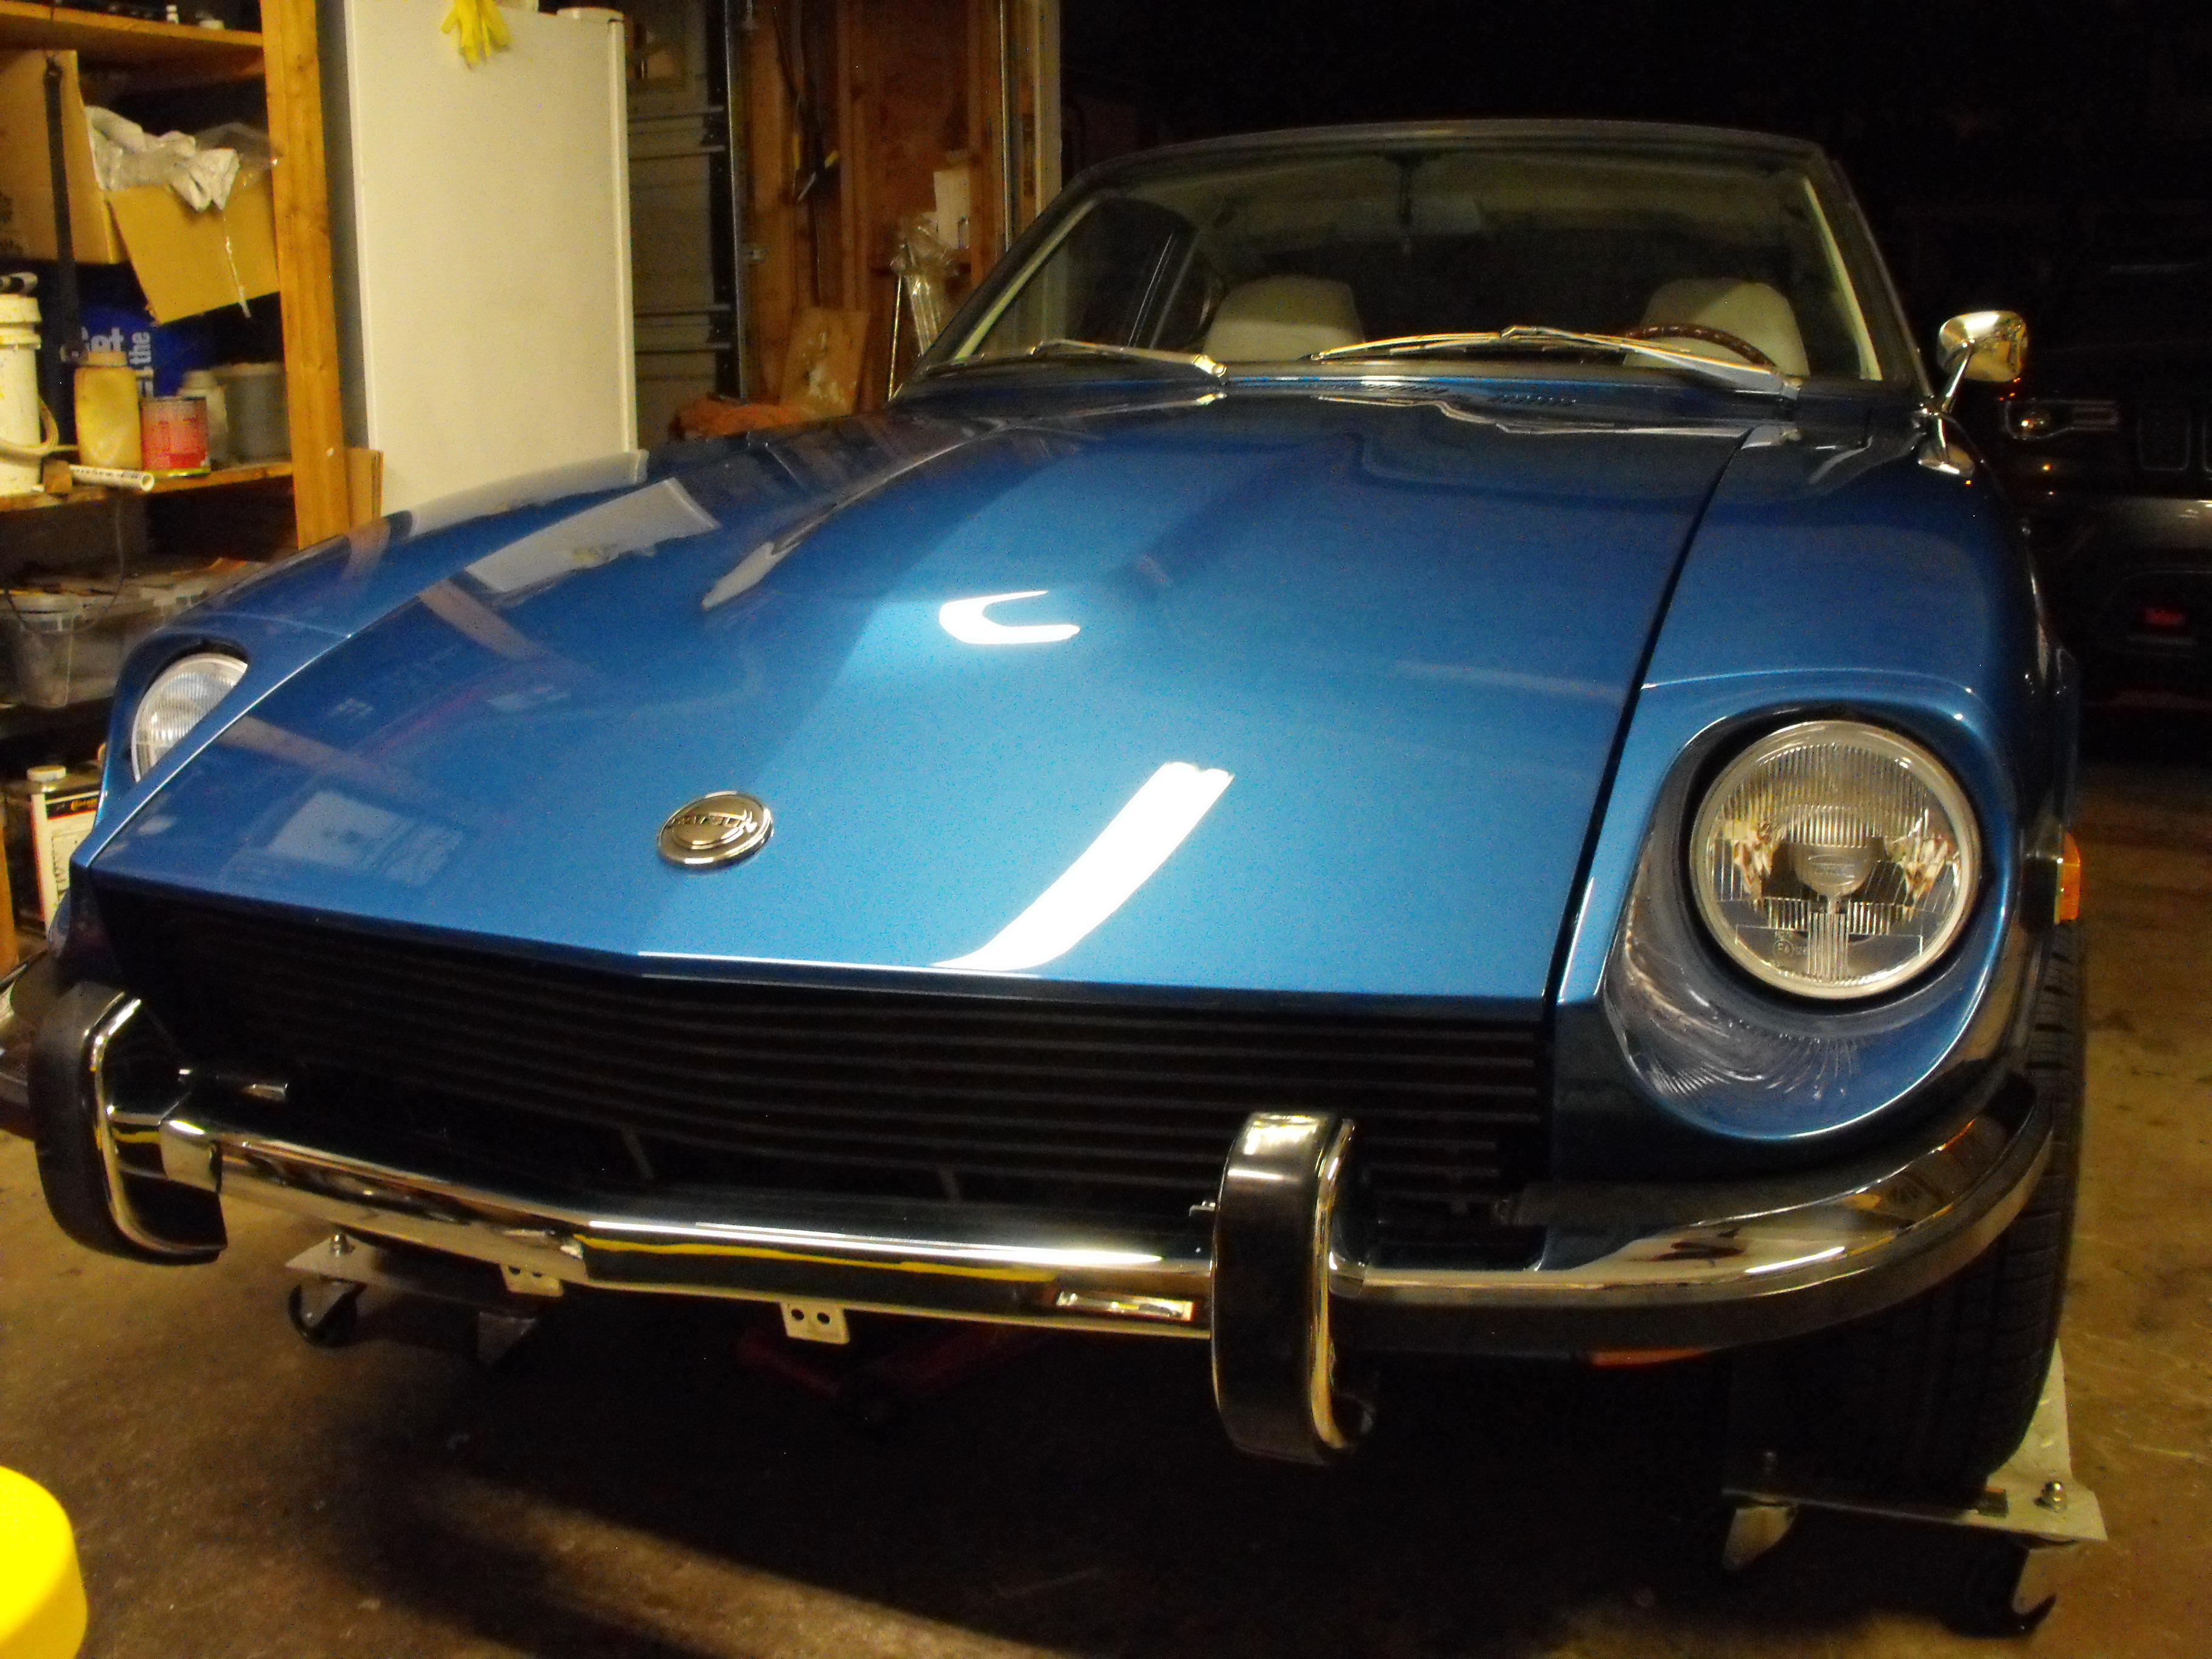
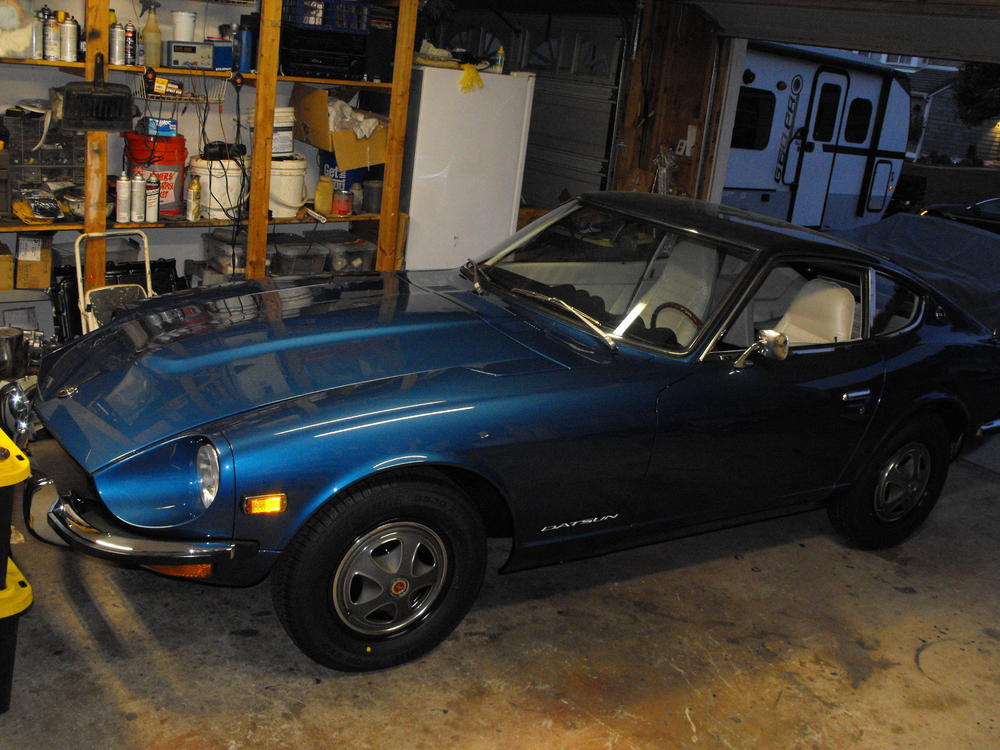
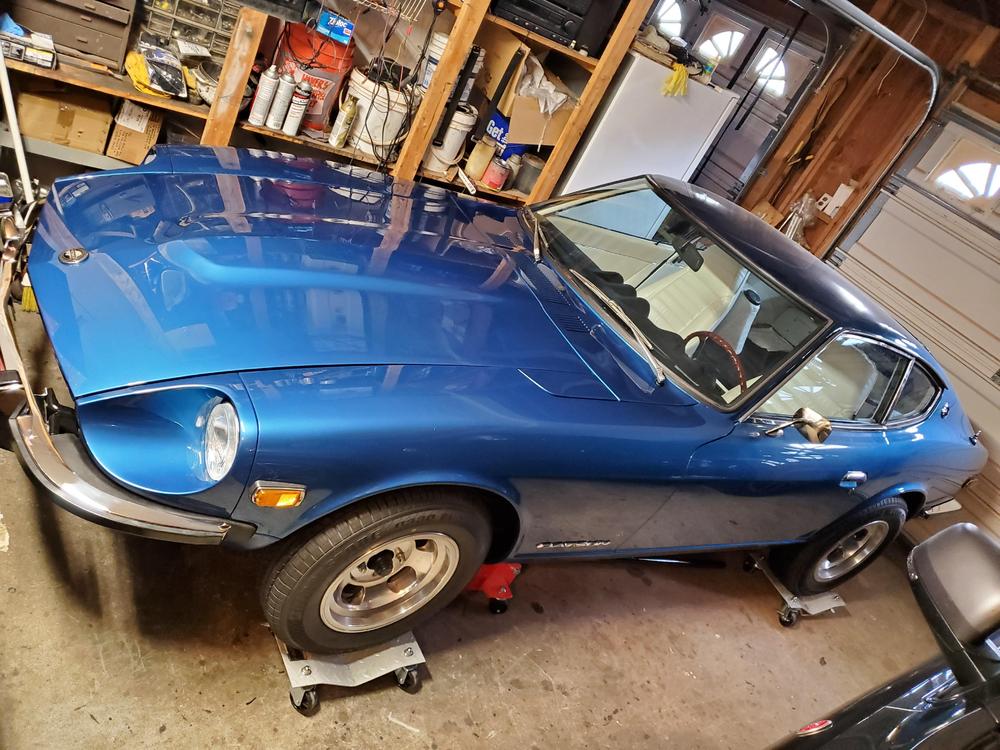
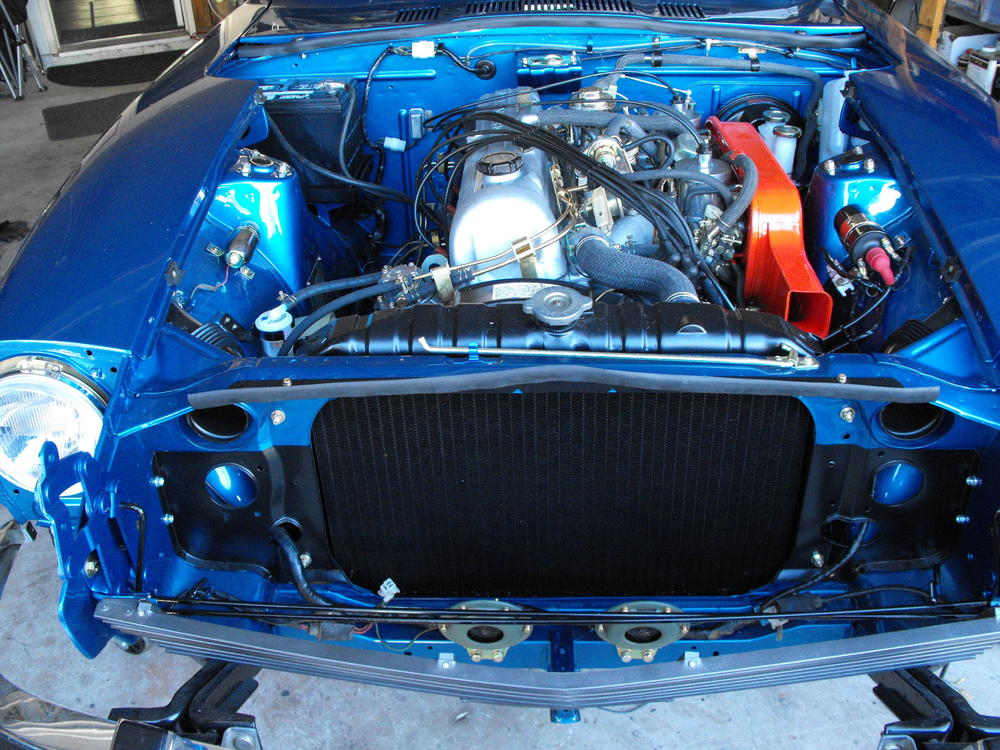
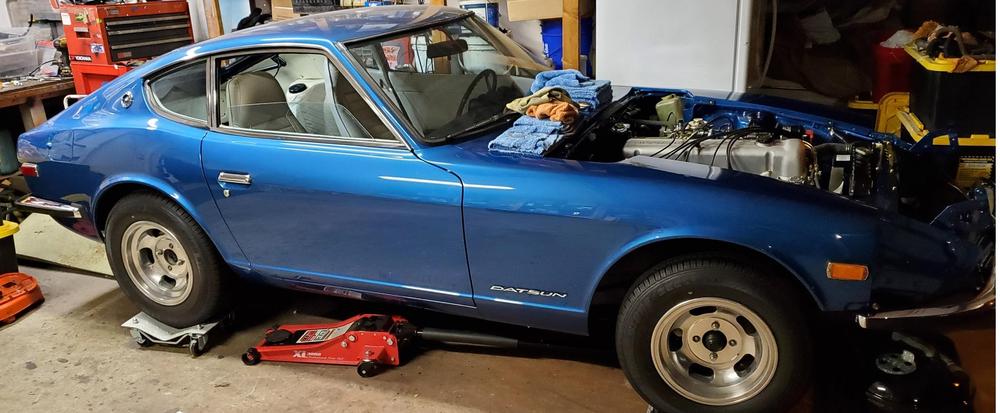
Very close to finishing here. Got the clutch and brakes bled today. Also installed the final body panels. Just a few more details to finish up and she will be good to go. It's the mad scramble before ZCON in Branson. Right now we are in pretty good shape. Here are the latest pics. The body pics still do not show up well. The paint job is pretty amazing.


-
She's alive! Not sure if this video will download but will give it a try. Looks like I have an exhaust leak at the mainfold/downpipe interface. Otherwise, not bad out of the gate with minimal adjustments so far. Surprisingly , the only leak( so far) was the return fuel line near the gas tank. 20190705_135059.mp4
-
I did a little write up on this a while back. It is about 2/3 of the way down on the first page of the link below. Personally, I would not use wd40....you want something that evaporates. For what it is worth, Windex is my best friend with all this stuff, especially for putting in the metal strips. It is nice and slippery and then evaporates. Also good for assembling hose onto metal tubes.
-
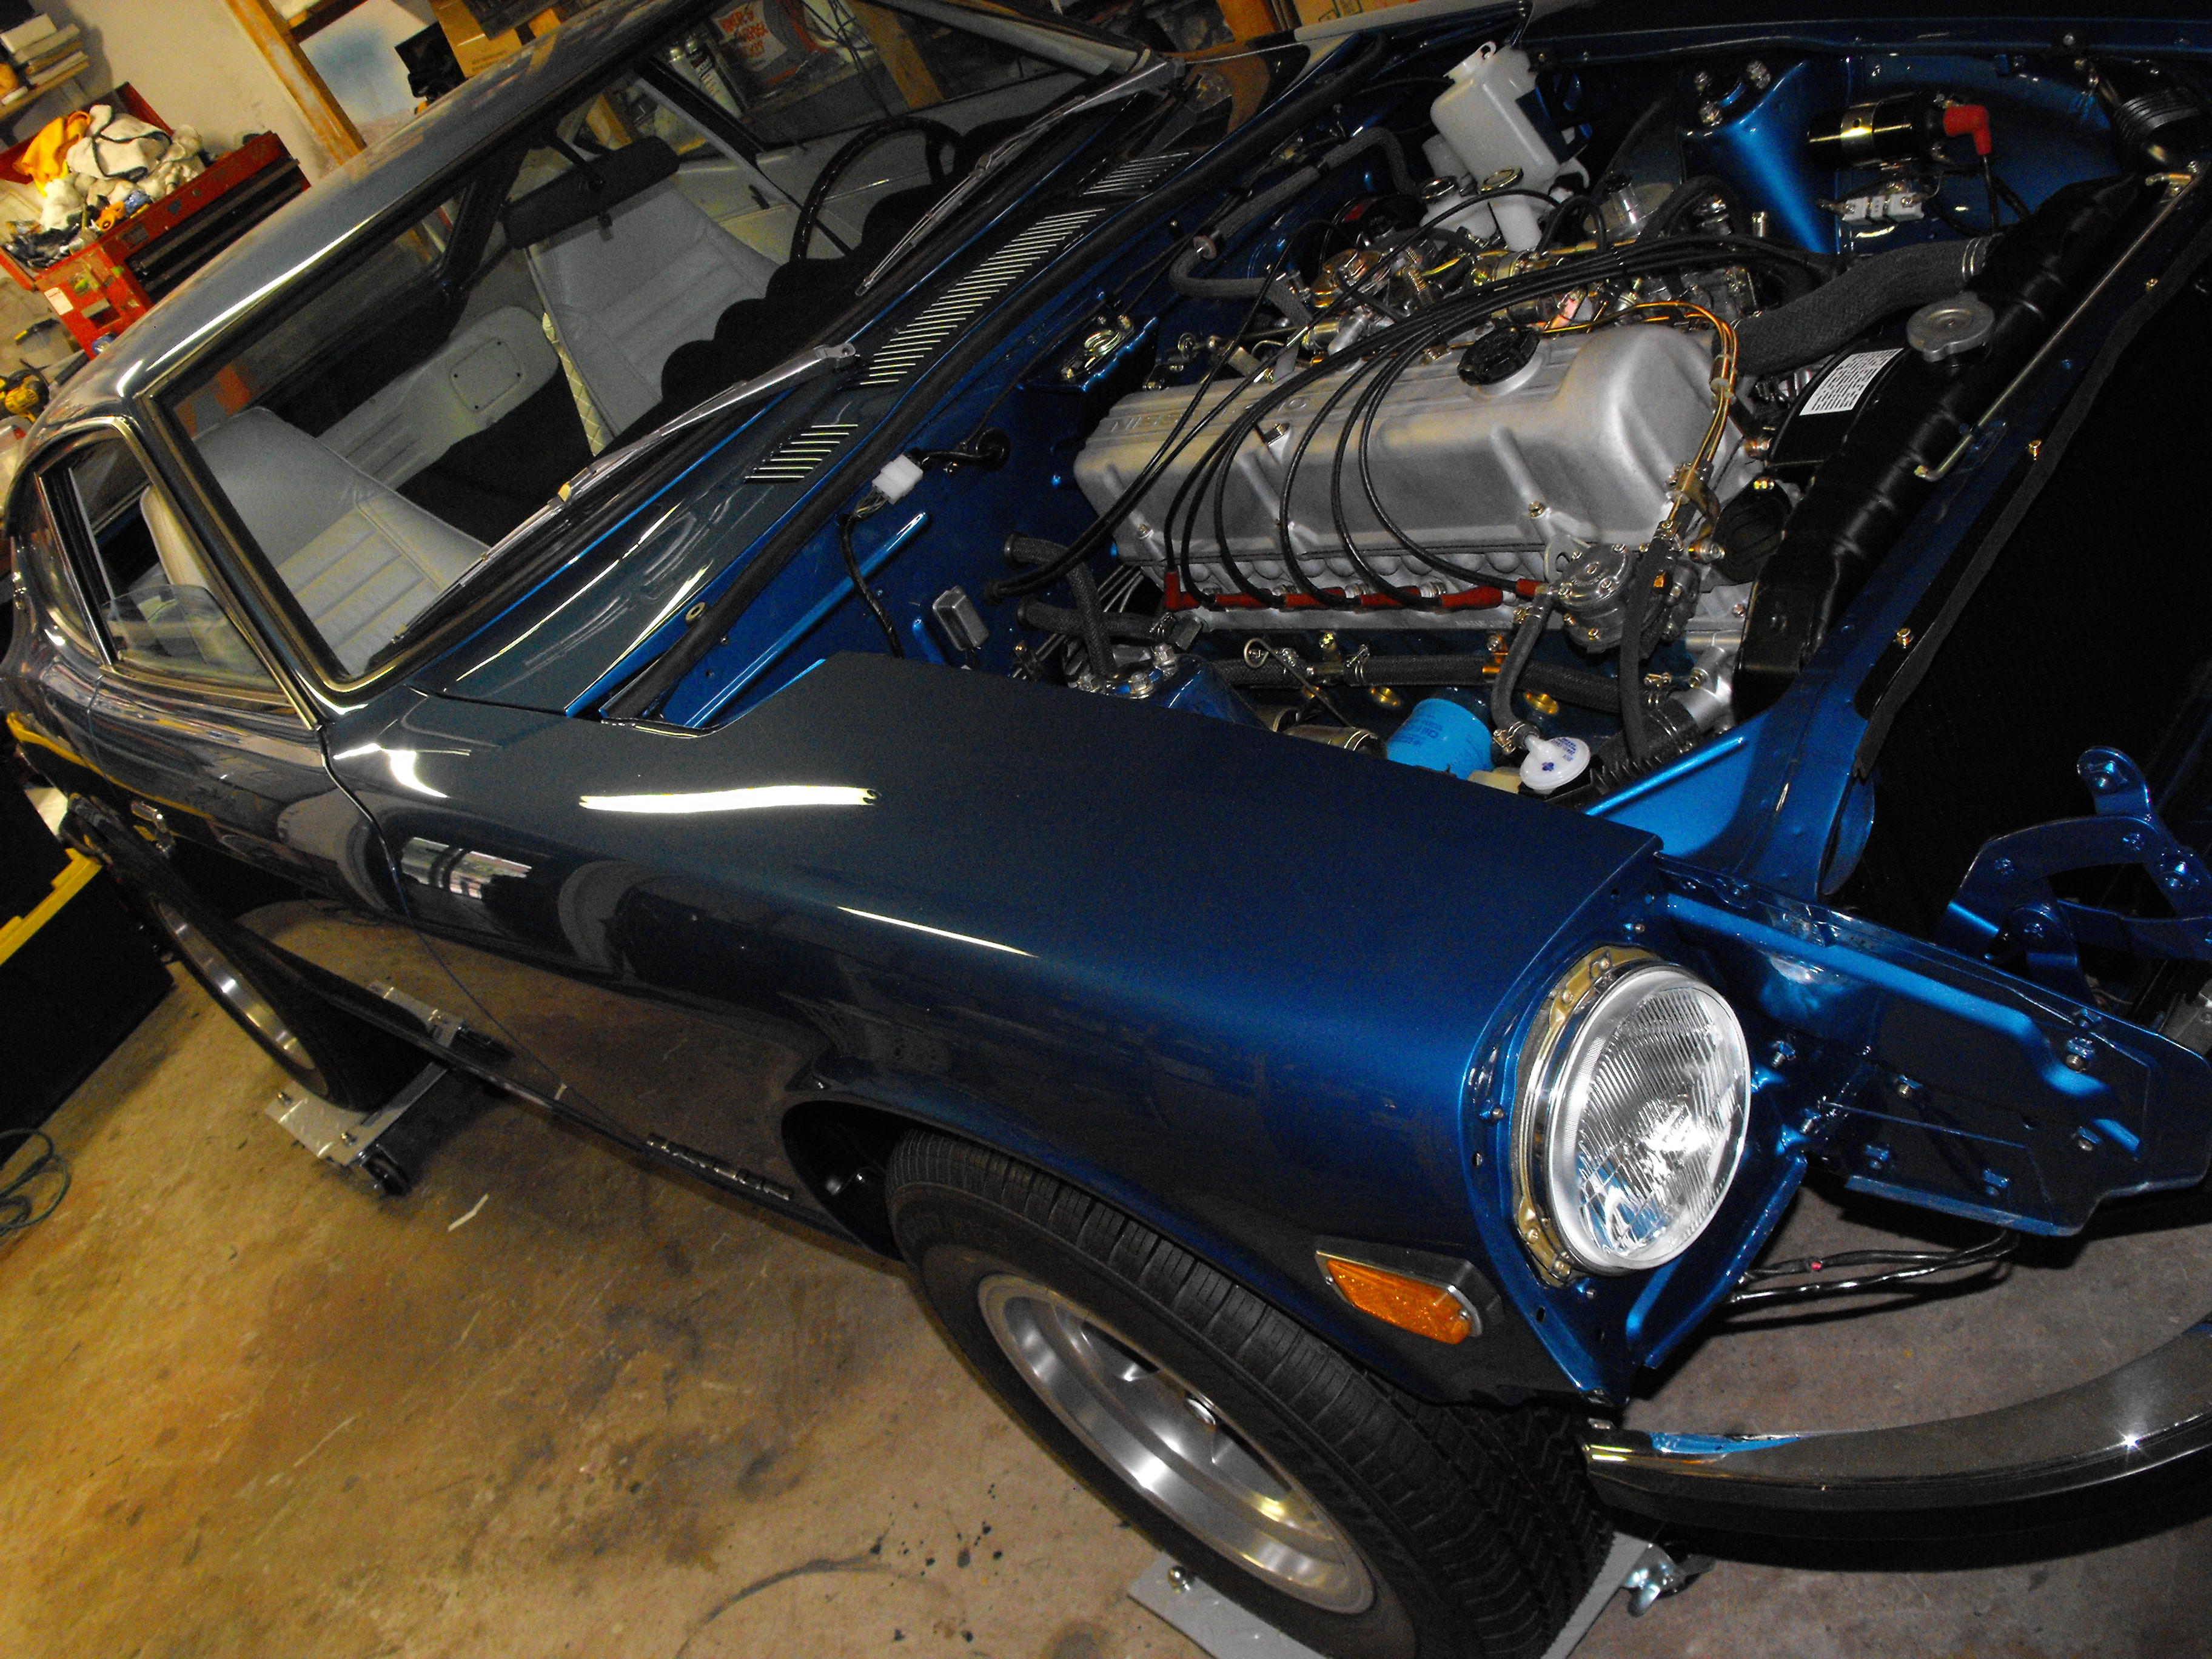
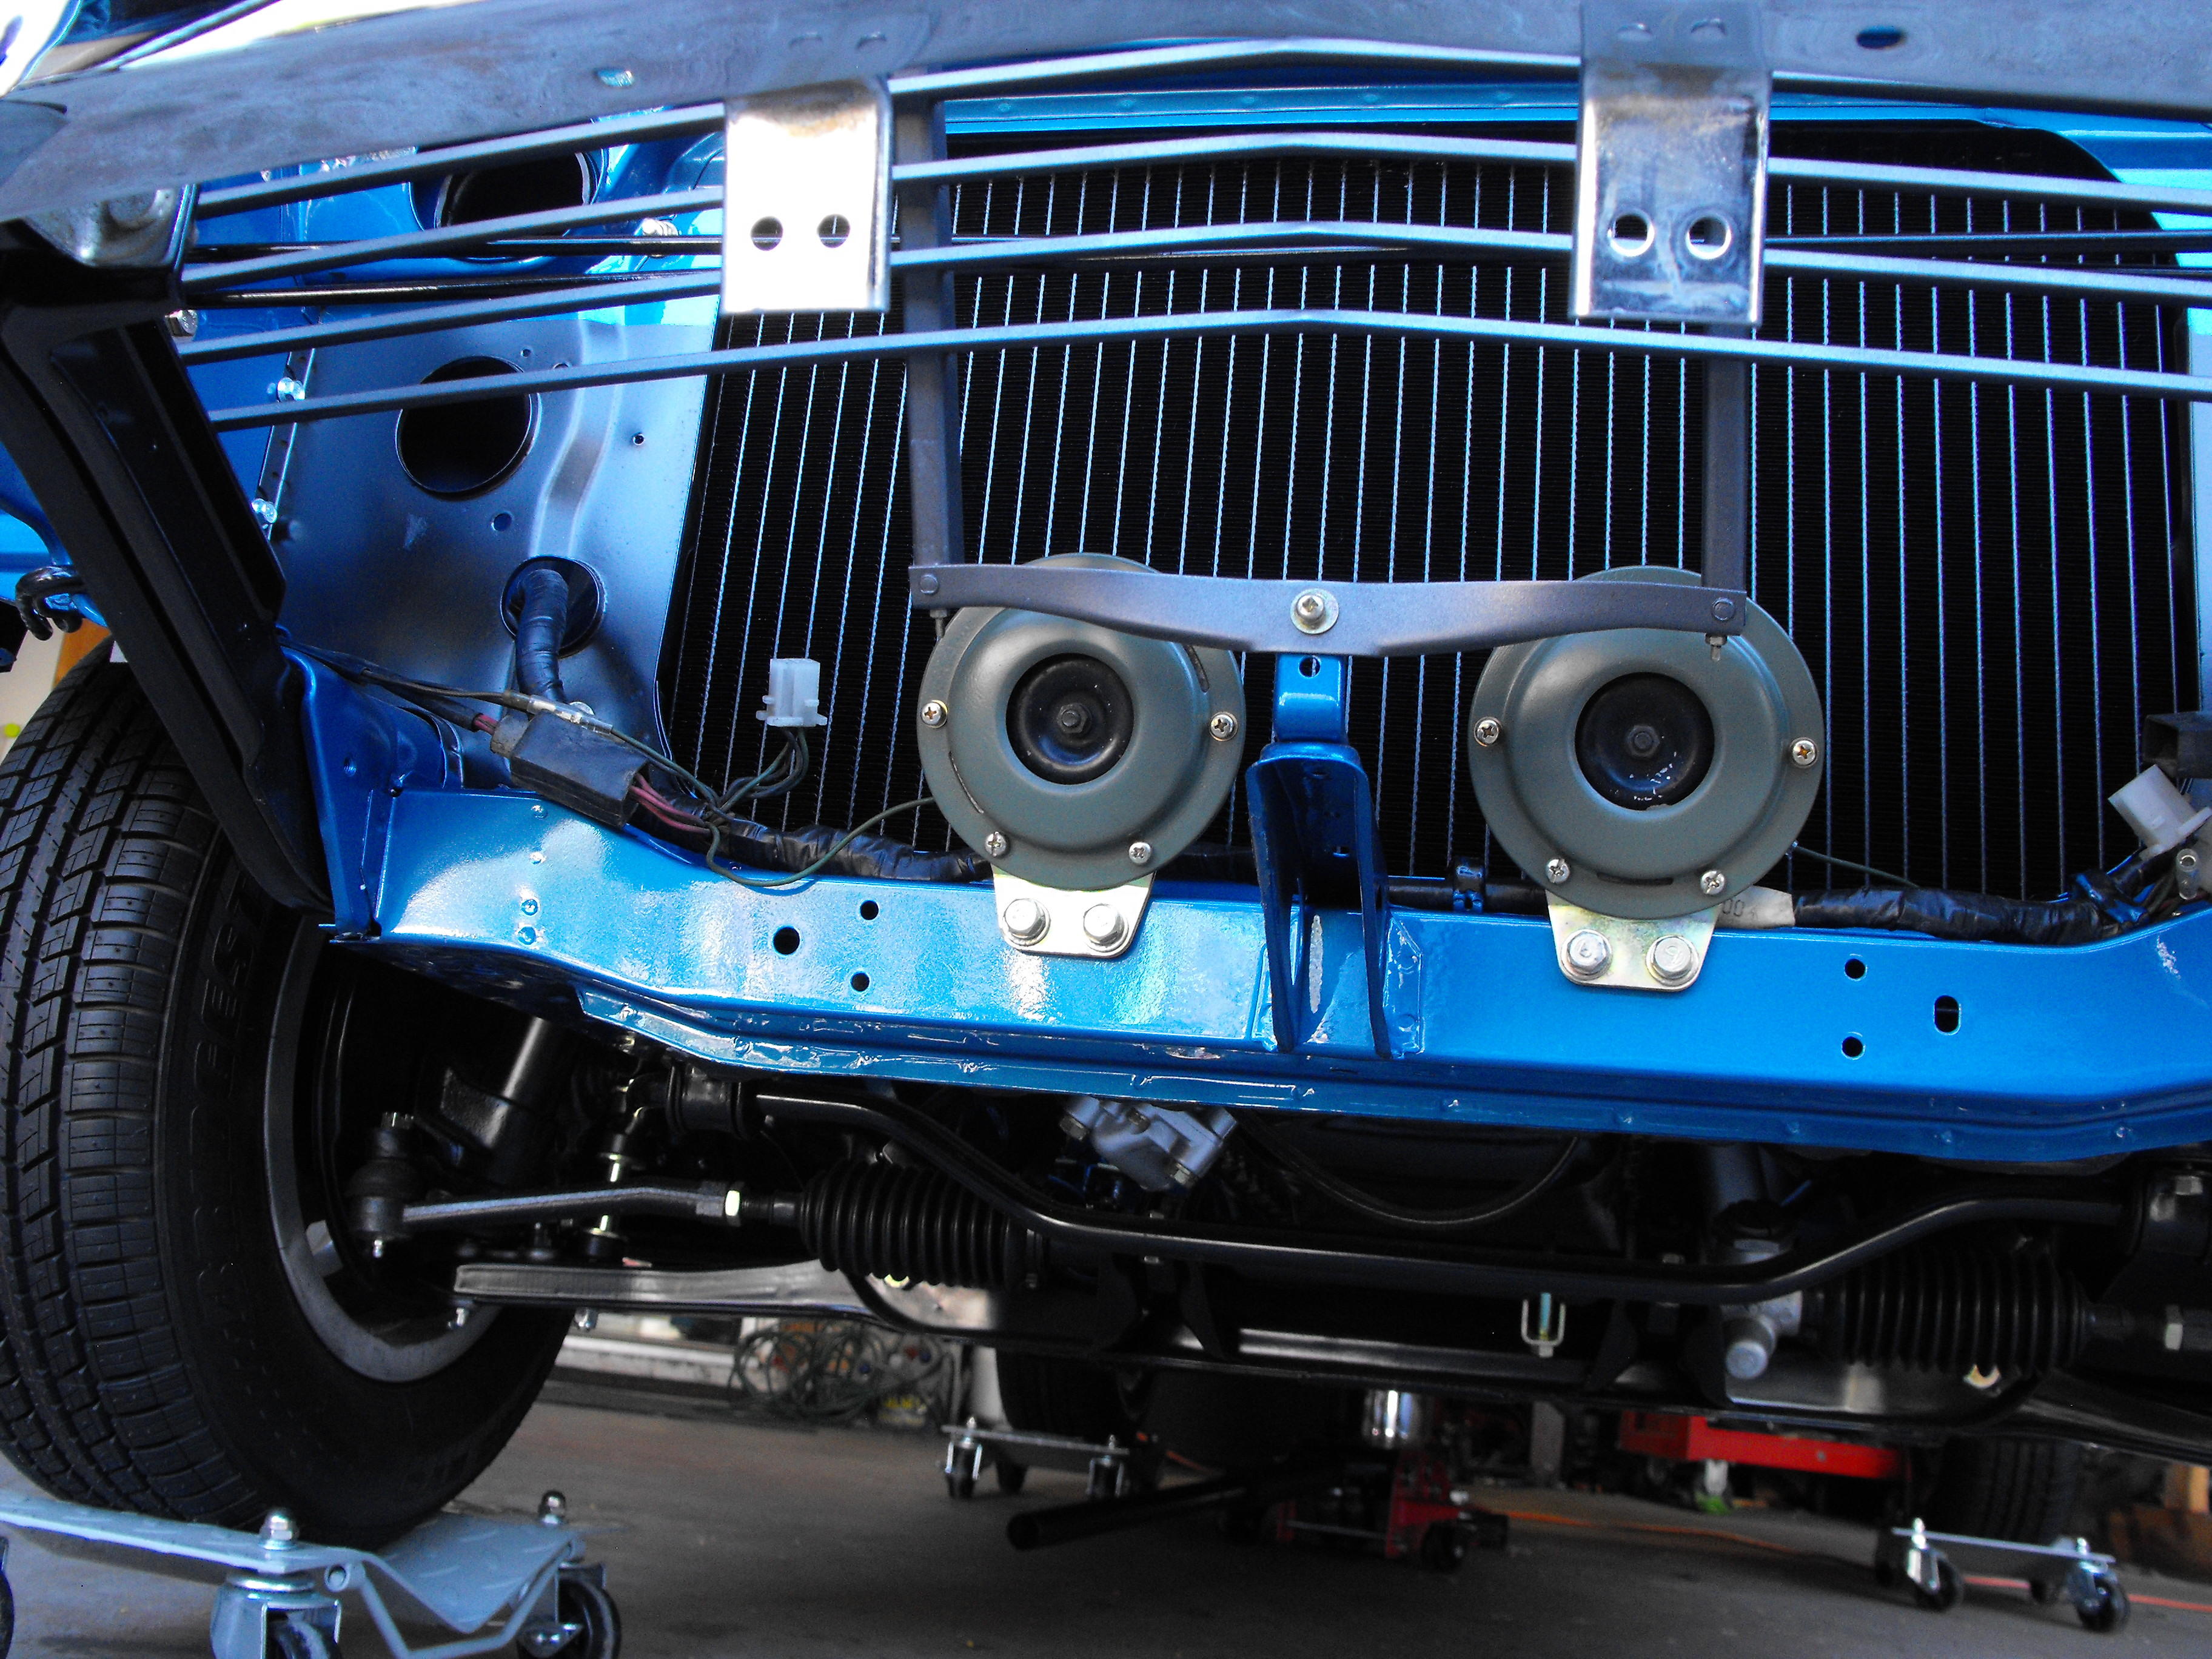
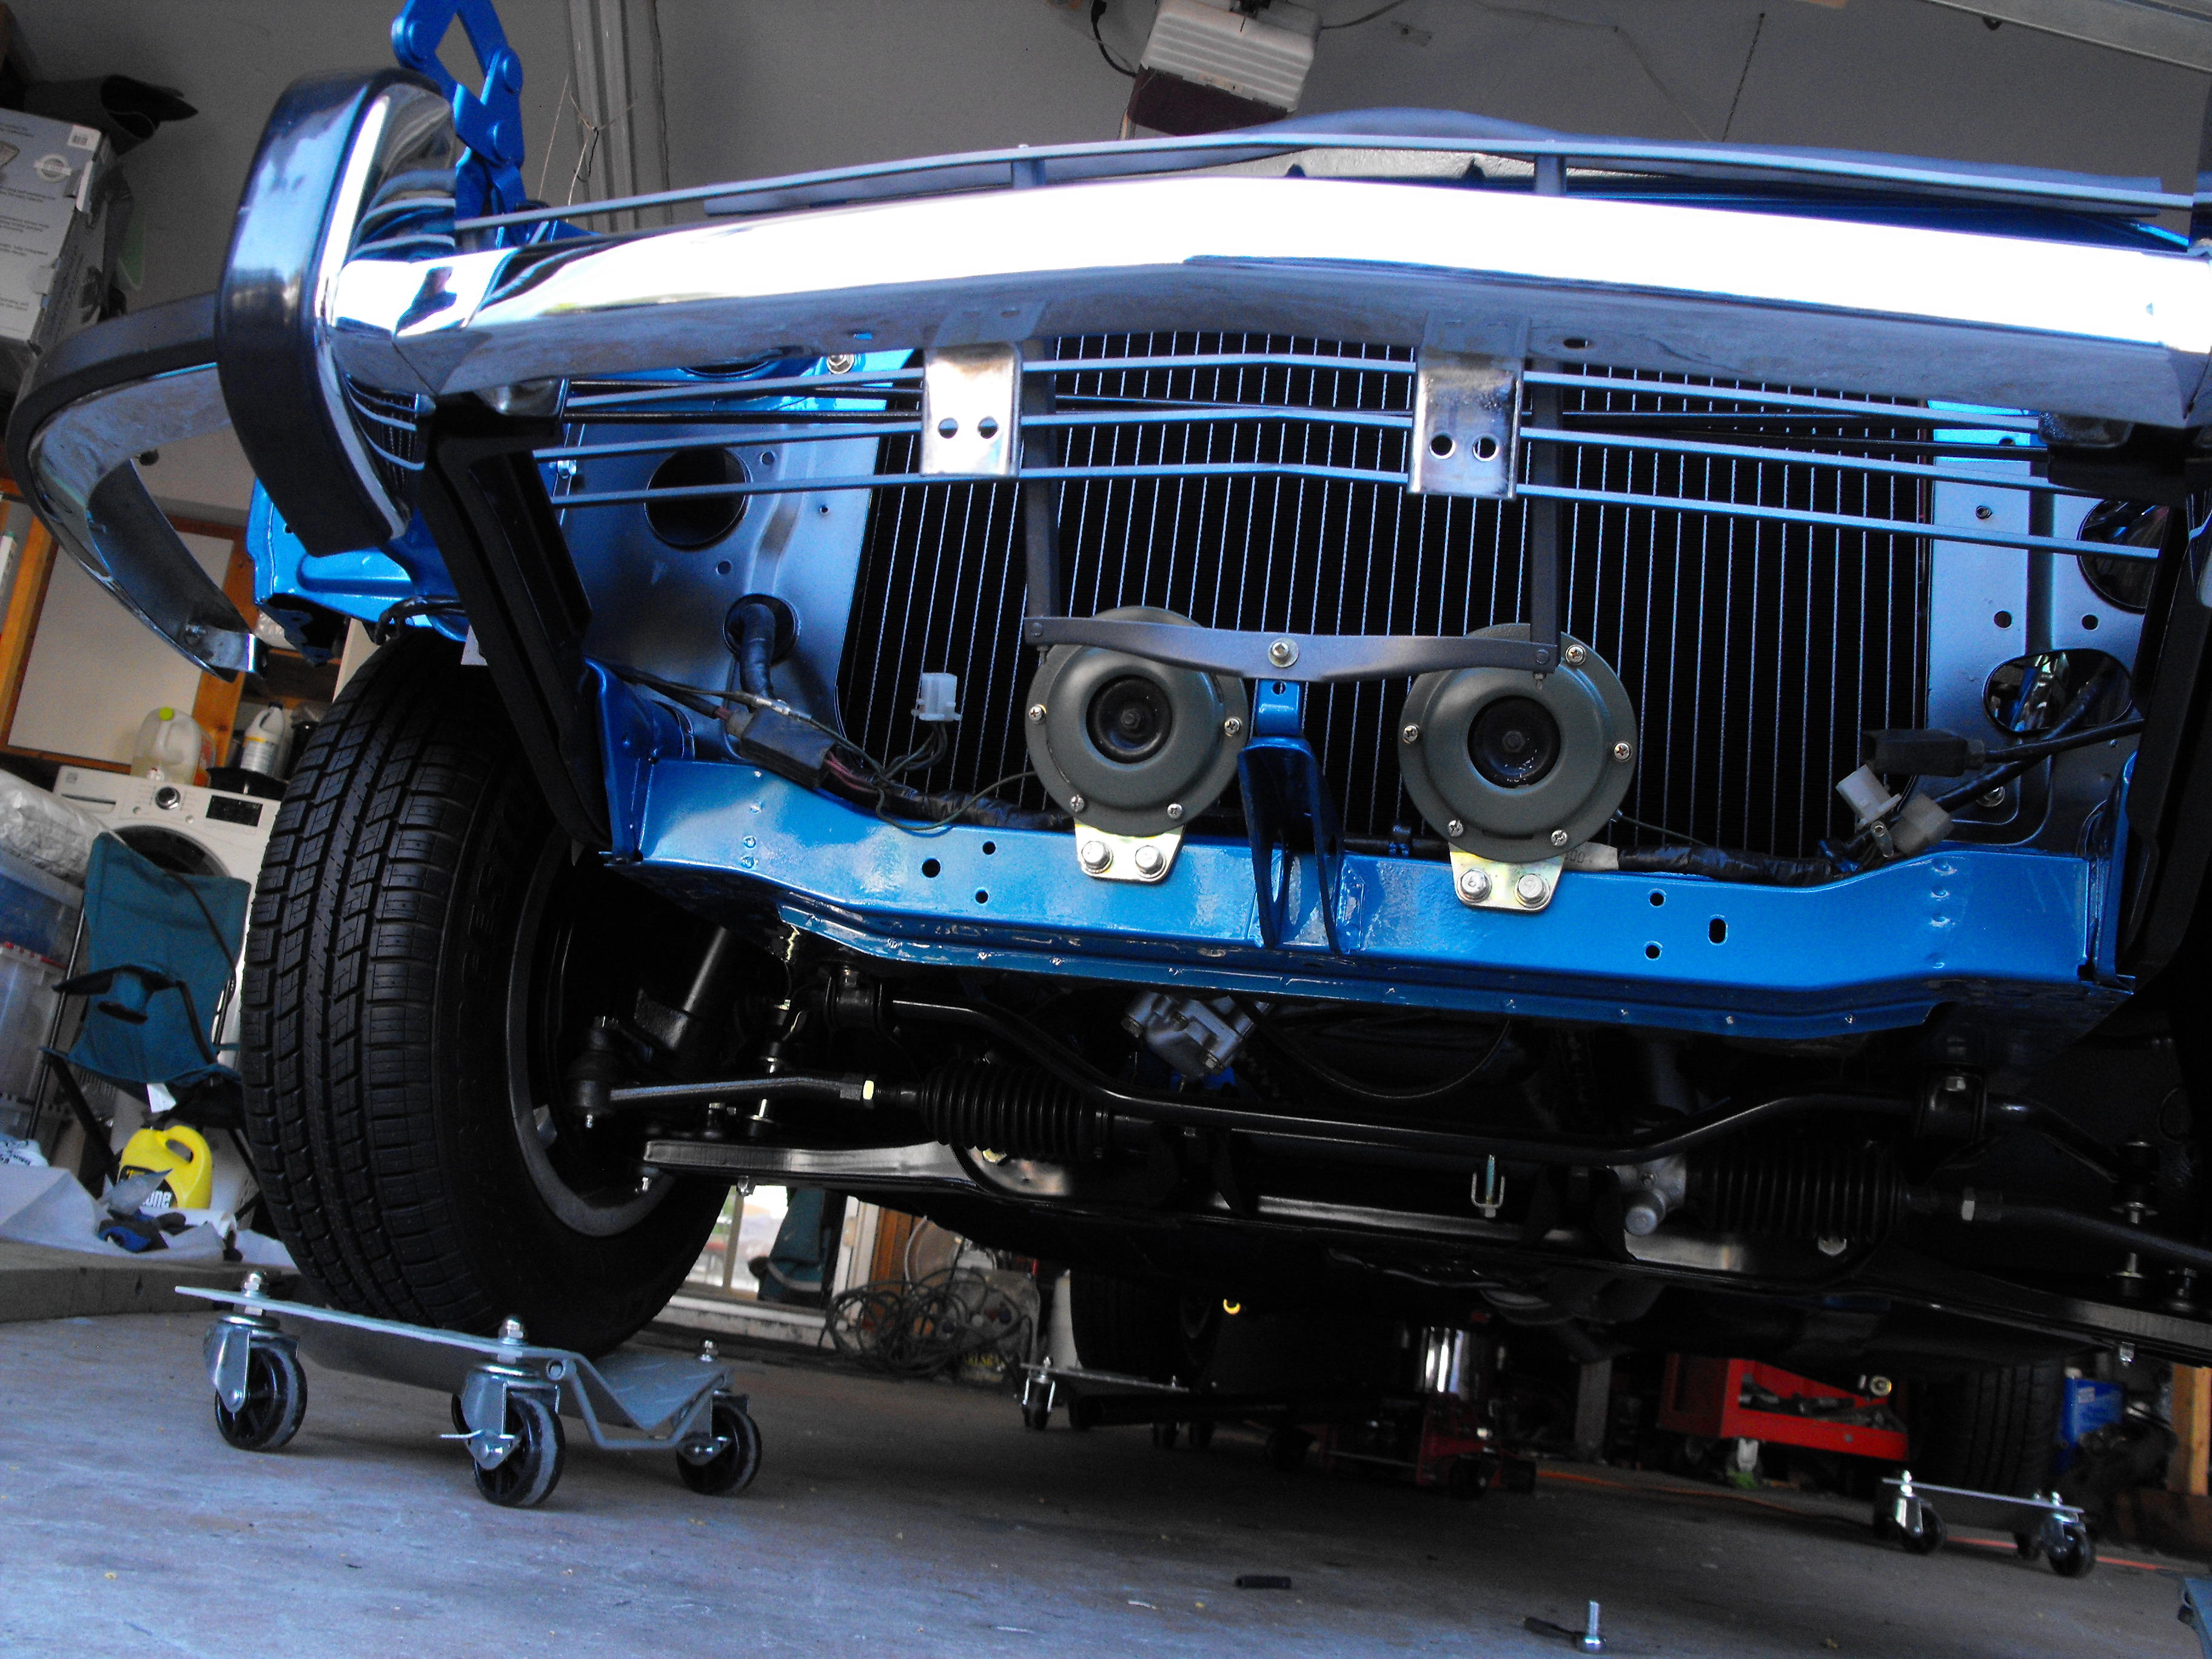
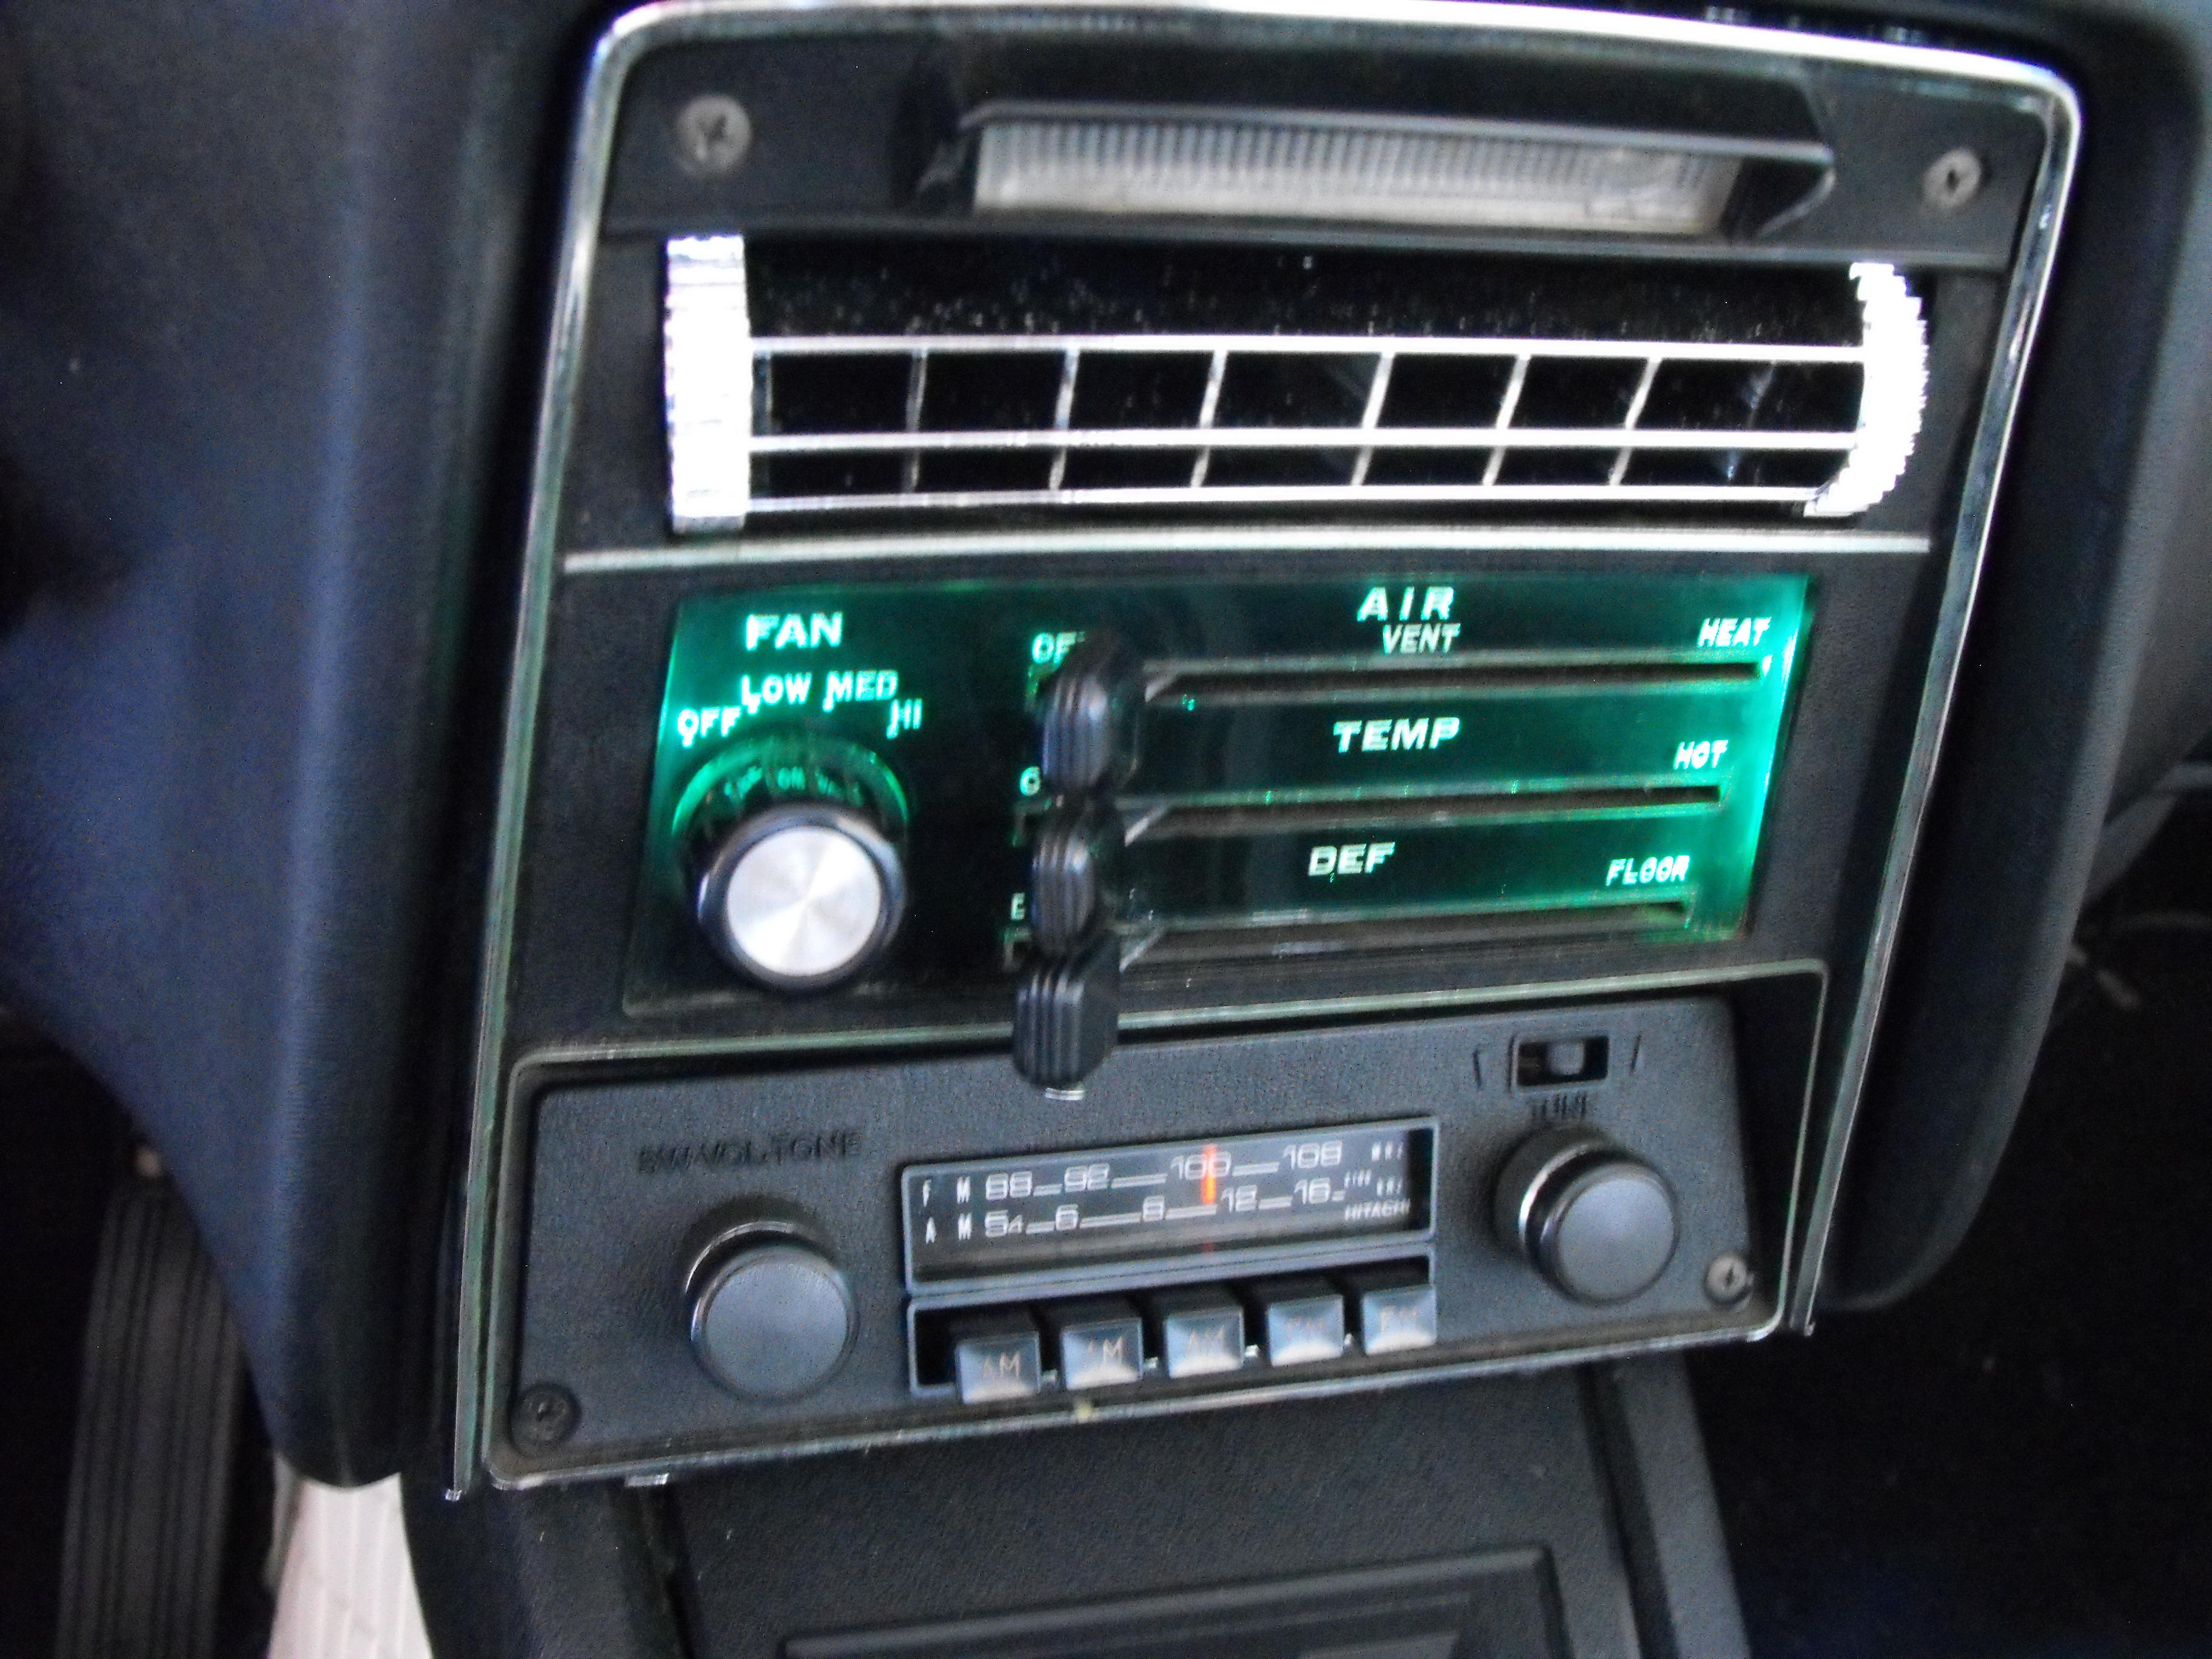
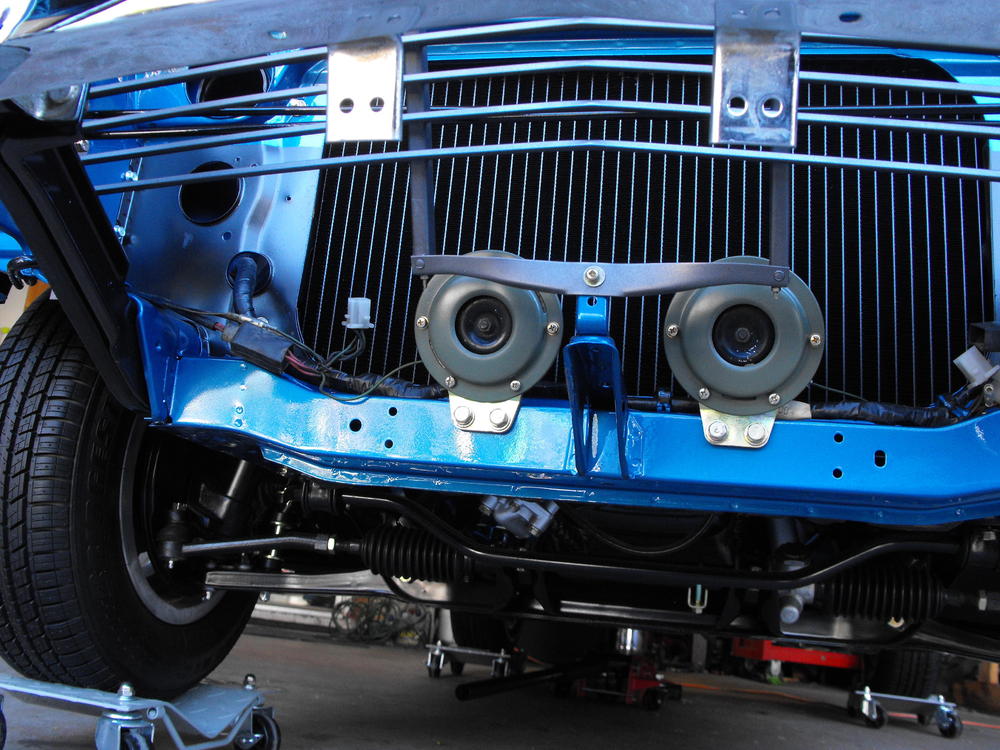
Wife was out of town this weekend so got a ton of stuff done. Also had @jayhawk and his brother stop by and provide support. Got almost all of the engine plumbing in, radio, heater panel along with horns, engine light and a number of other items. Put in the battery and the electrical is in great shape. All of the running lights are working, radio and antenna work well (Andy and I even listened to a bit of AM talk show radio), interior lights and vent control panel lights are working nice. The LEDs work great on the dash, but not sure if they are truly adjustable. Will check this when it is darker. Overall, pretty happy with the progress. Pushing to get this looking nice for the Branson show. Alternator and last of the body parts will be coming in this week. Also put in oil and water. Engine turned over nicely and we have spark. After I double check all the brake line connections and put in fluid, we will put some fuel in her and see how she does. We are getting pretty close. Latest pics are below.


-
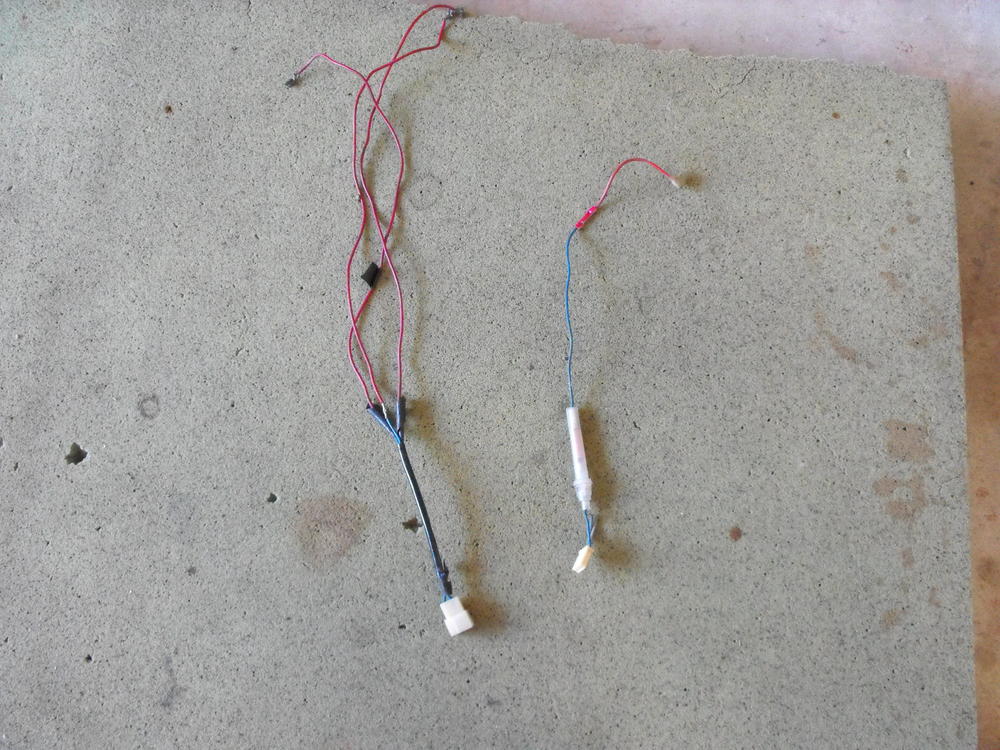
Got the air cleaner back from Powder coating. Installed loosely just to see how everything looks. Meant to comment on the wires above. I thought that I would need to make a new radio and antenna harness after pulling these two cables off of the dash harness. I lucked out however, as these were the cables that were the original radio leads. Somewhere out there is an original radio with the cables cut off. The new OEM radio just plugged right in making things easy.

-
Interesting...My original comment took about 2 hours before it was posted. The sanitized one posted immediately. Guess i need to be nicer...now I have a double post....oh well.
-
They took my sanitized version....glad they did.
-
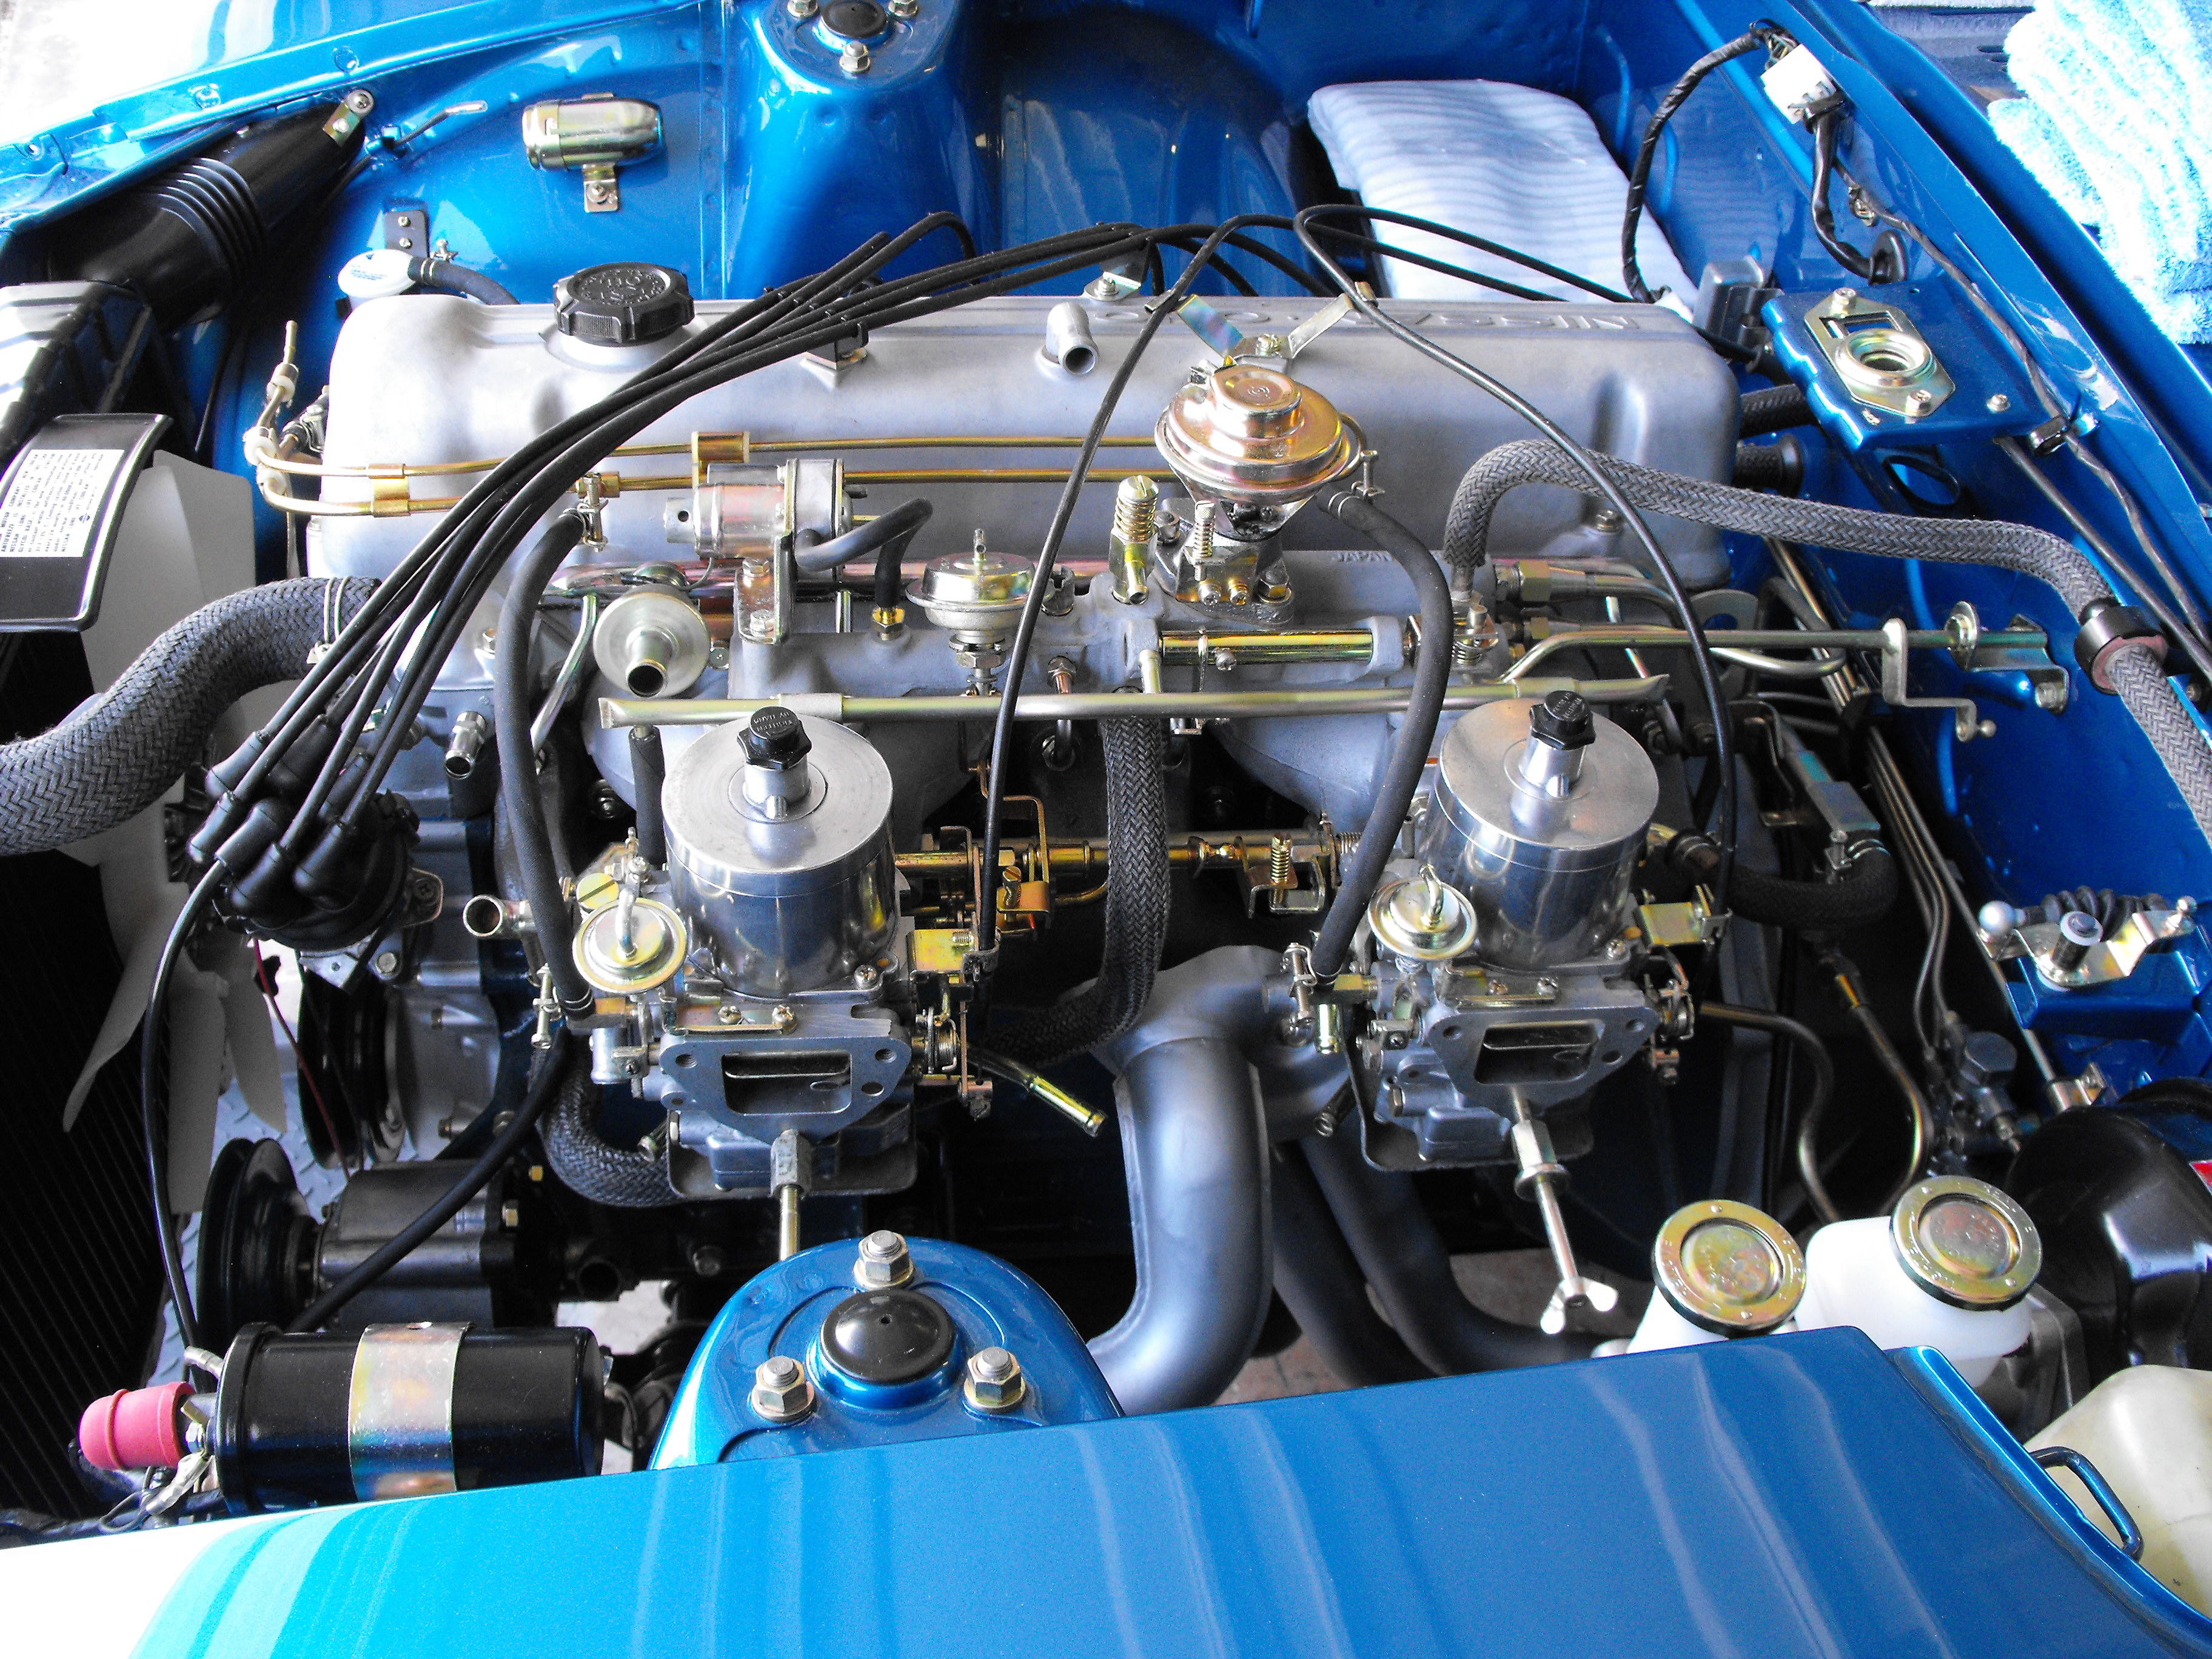
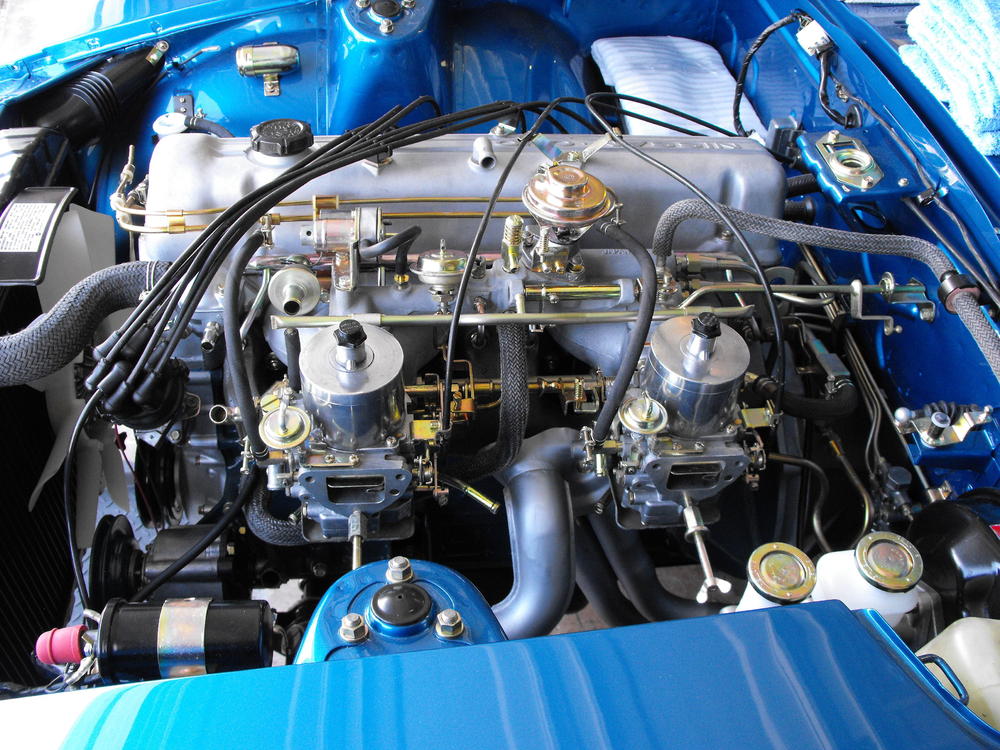
You know I had to chime in here. Still amazes me that people are promoting the technically inferior SUs over the Flat tops, which are stock for this vehicle. I think most do not realize the advances that were incorporated into the flat tops that are not on the SUs. The flat tops feature 1) factory aligned needle and seats 2) a visible glass float bowl level 3) Anti-stall fuel rich mechanism 4) multi-point adjustable fuel mixture screws 5) fuel pump accelerator. I would bet that most who are promoting the SU’s are unfamiliar with these features and have no clue what I am talking about. Personally, this car is about as good as it gets…I even love those hubcaps! OK, no more carb comments from me…I will go back into hiding. I tried to post this comment on the auction site, but looks like they will not allow it....perhaps it is too inflammatory. Maybe I should try to sanitize it and then re-submit.
-
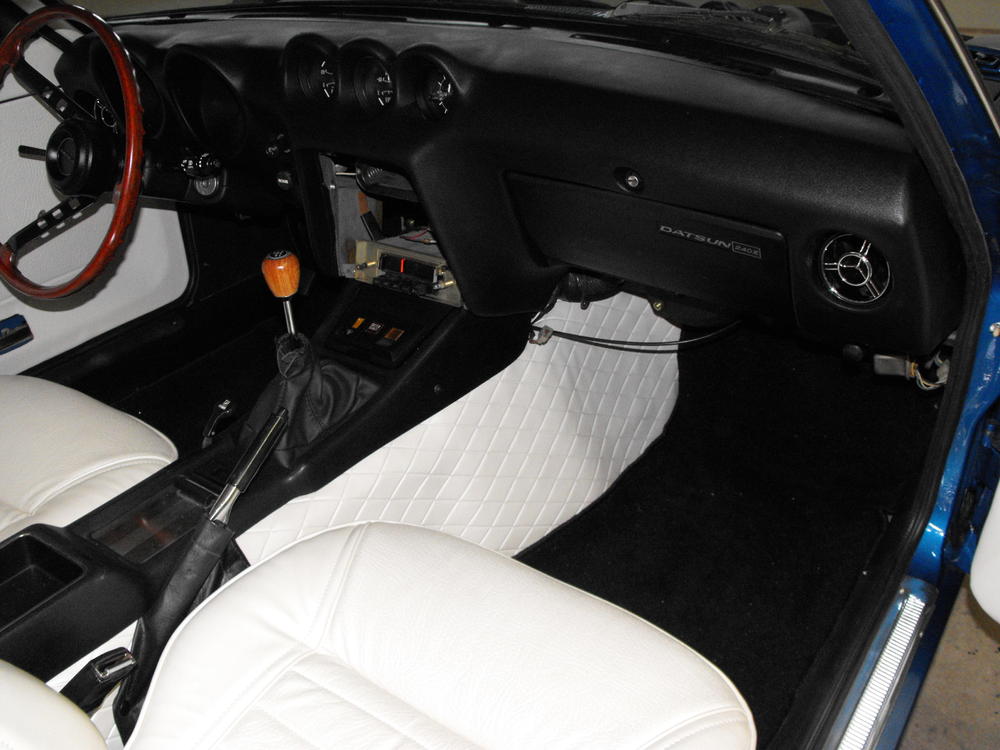
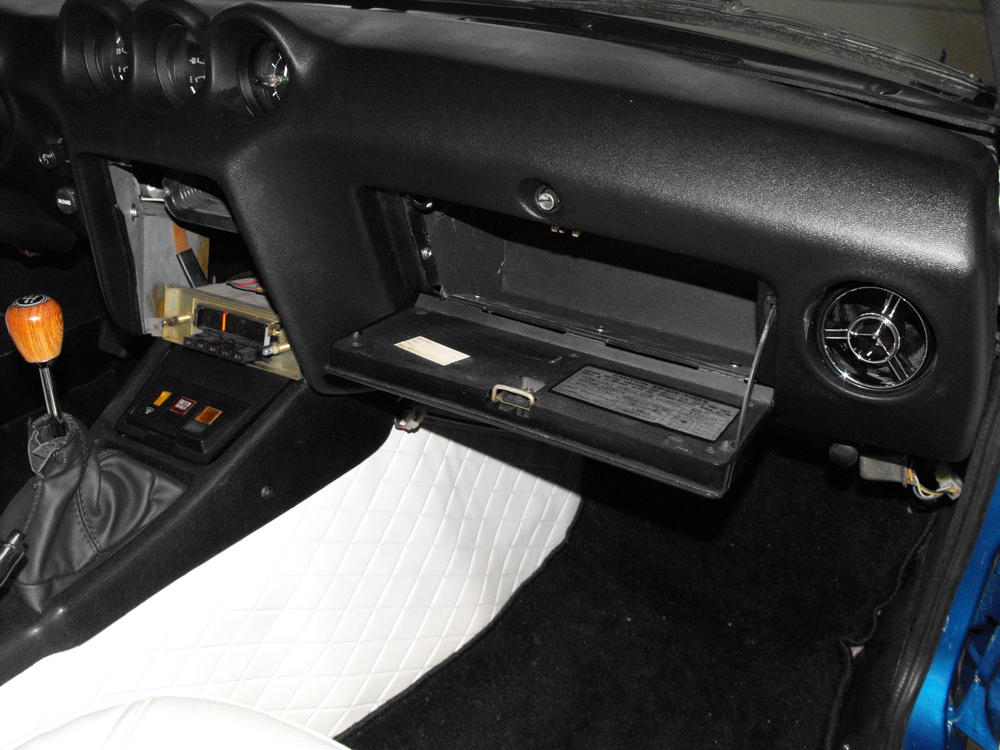
A little more progress. Finished off most of the electrical, added more engine plumbing, installed glove box and partial radio.


-
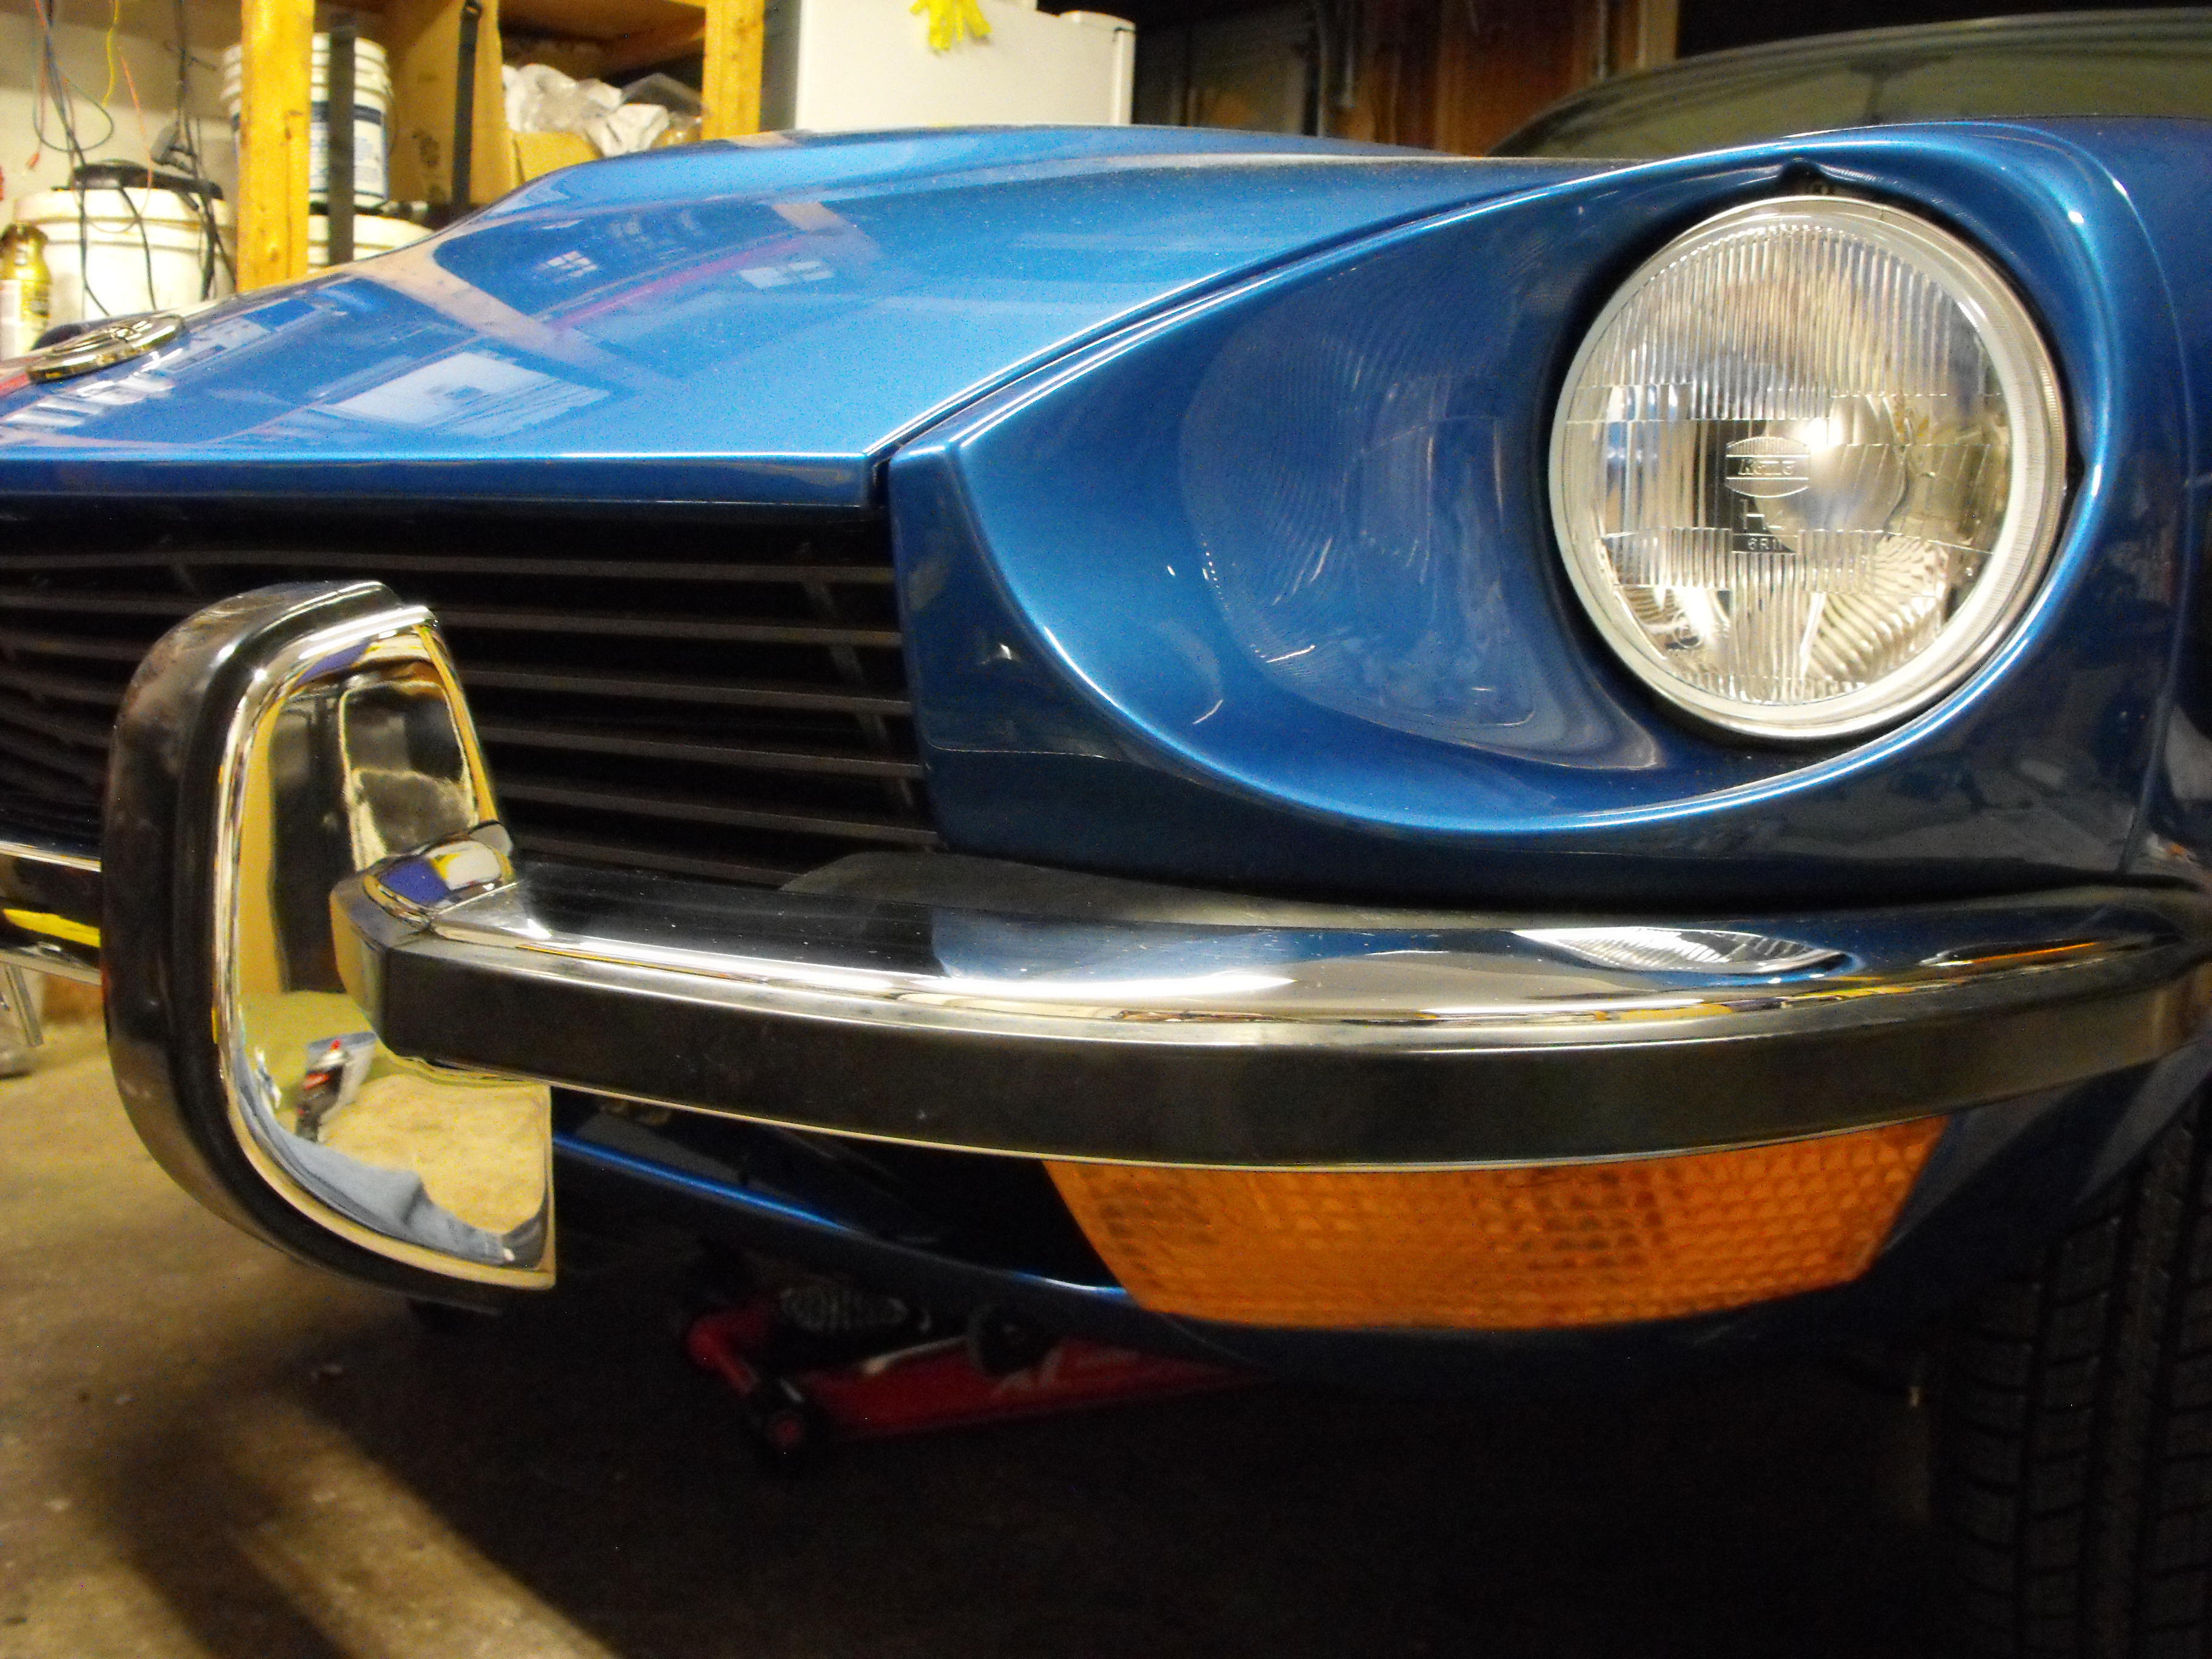
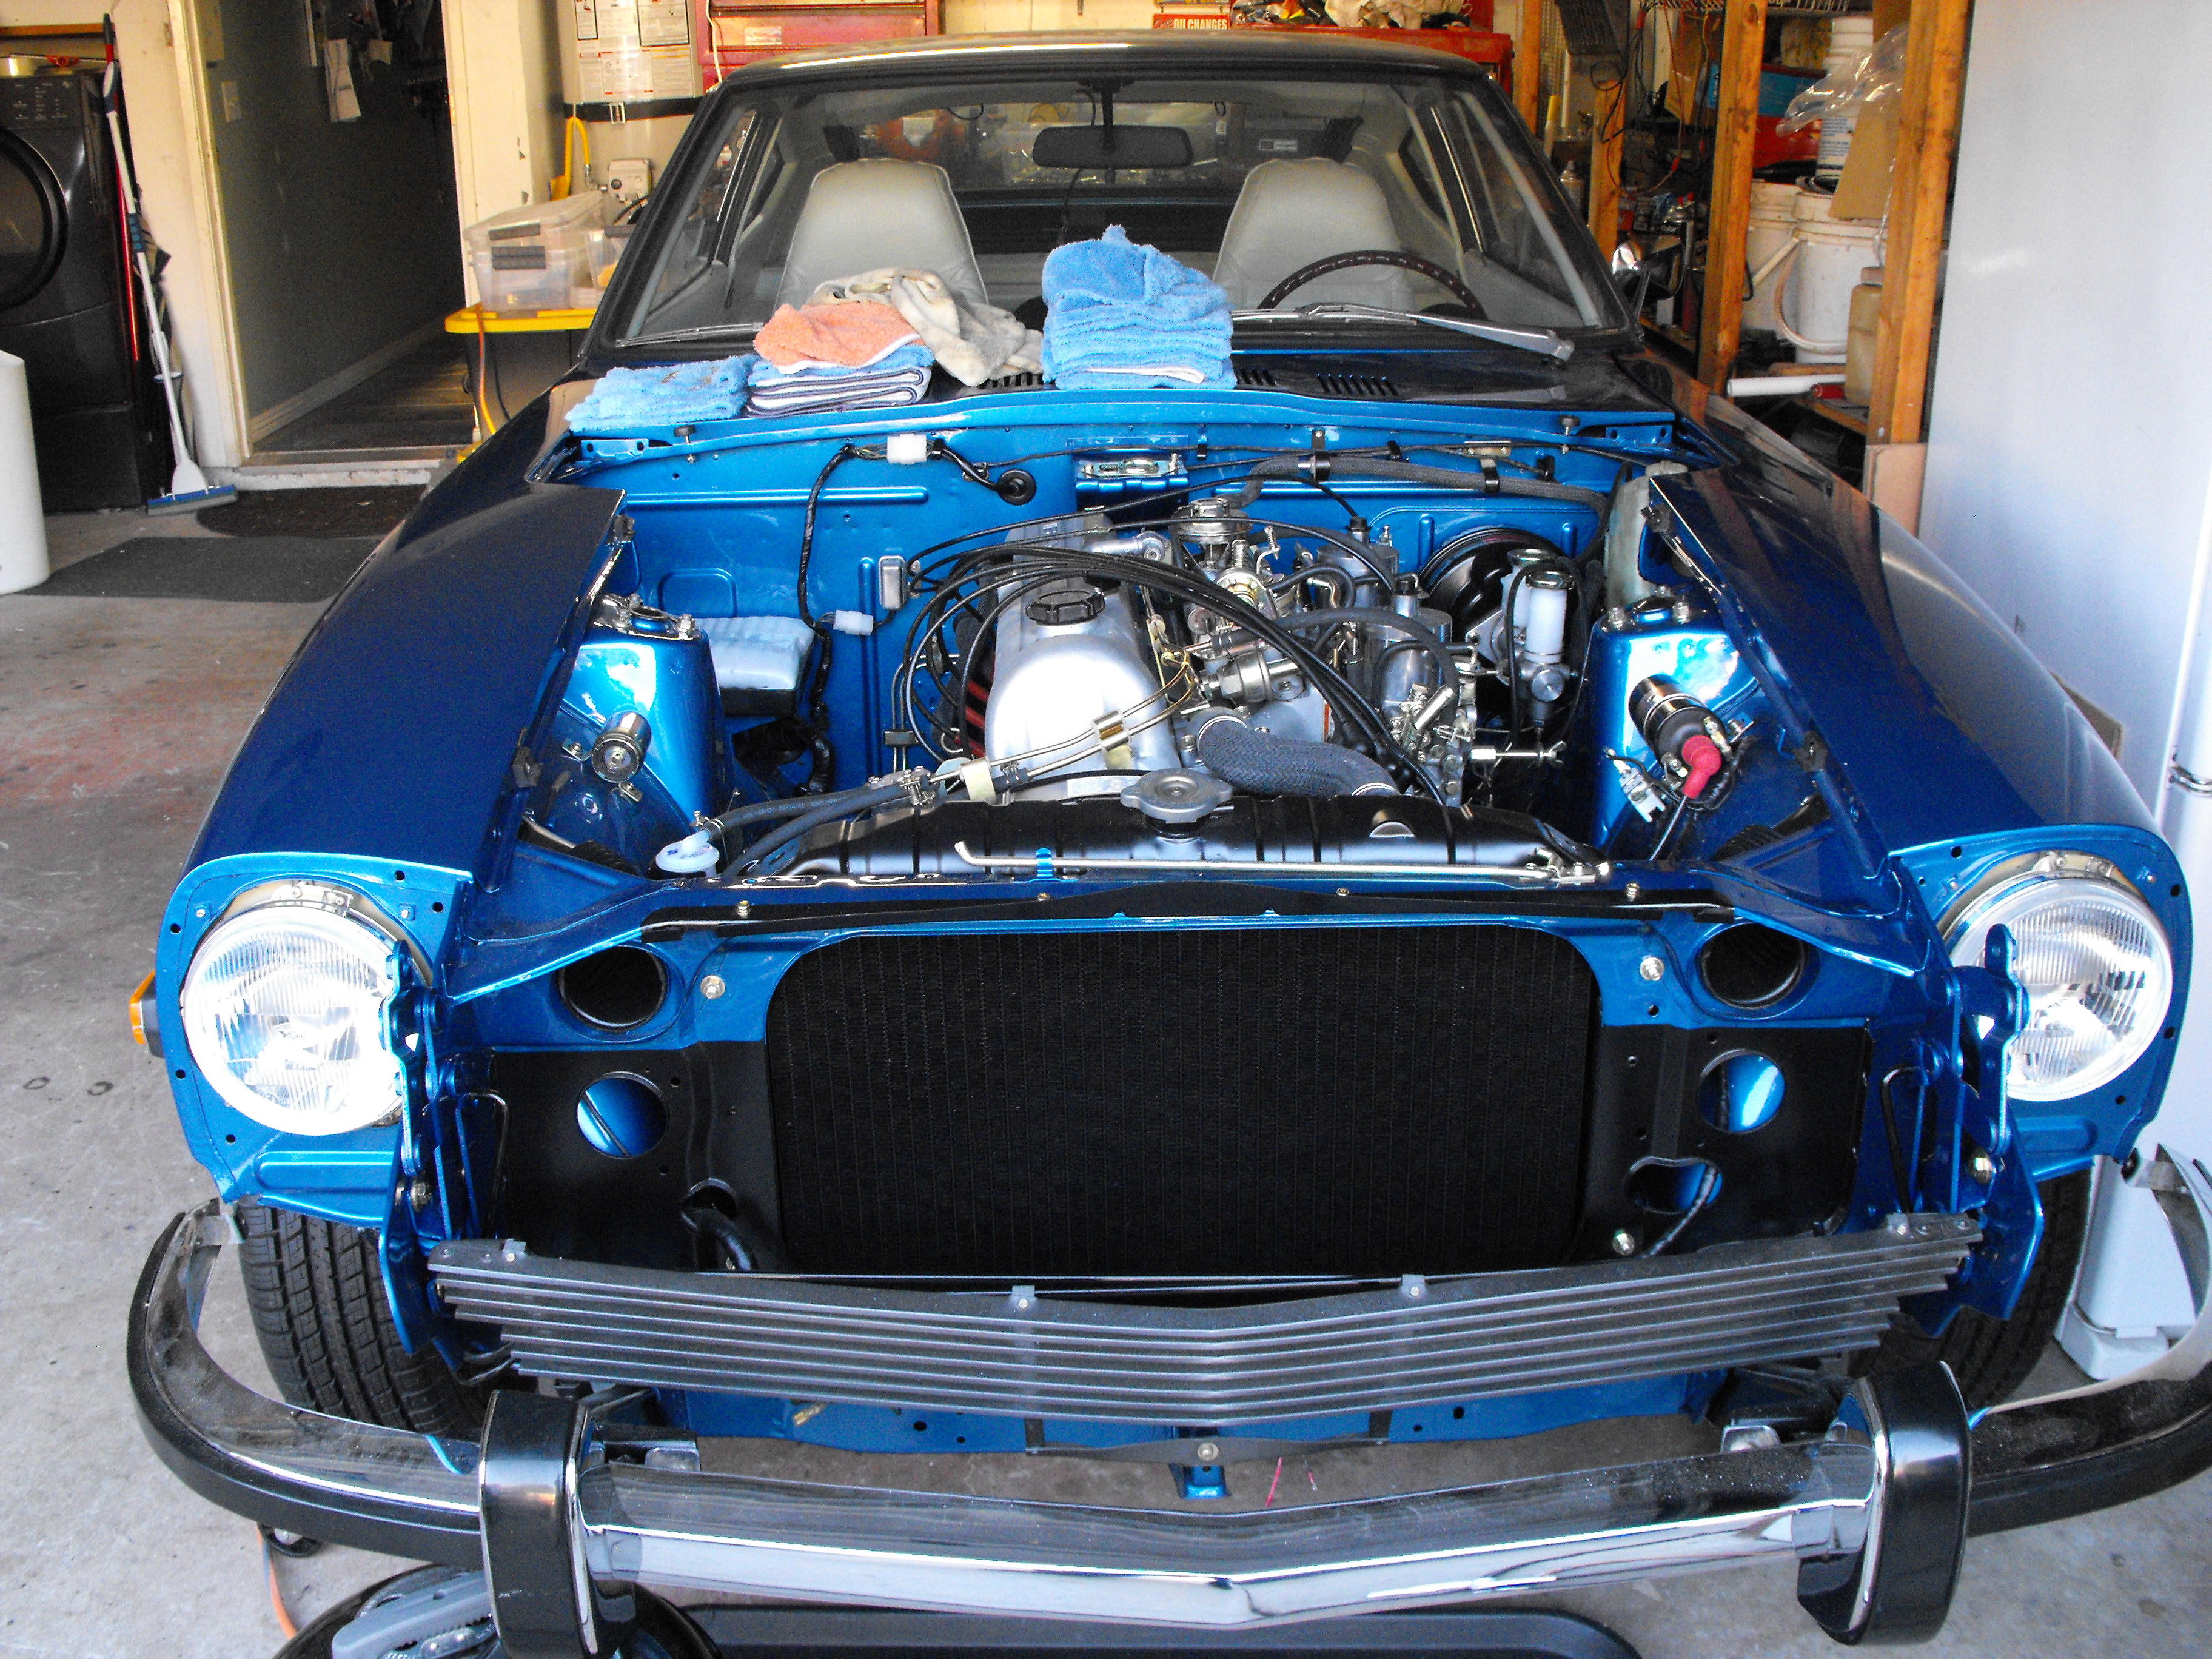
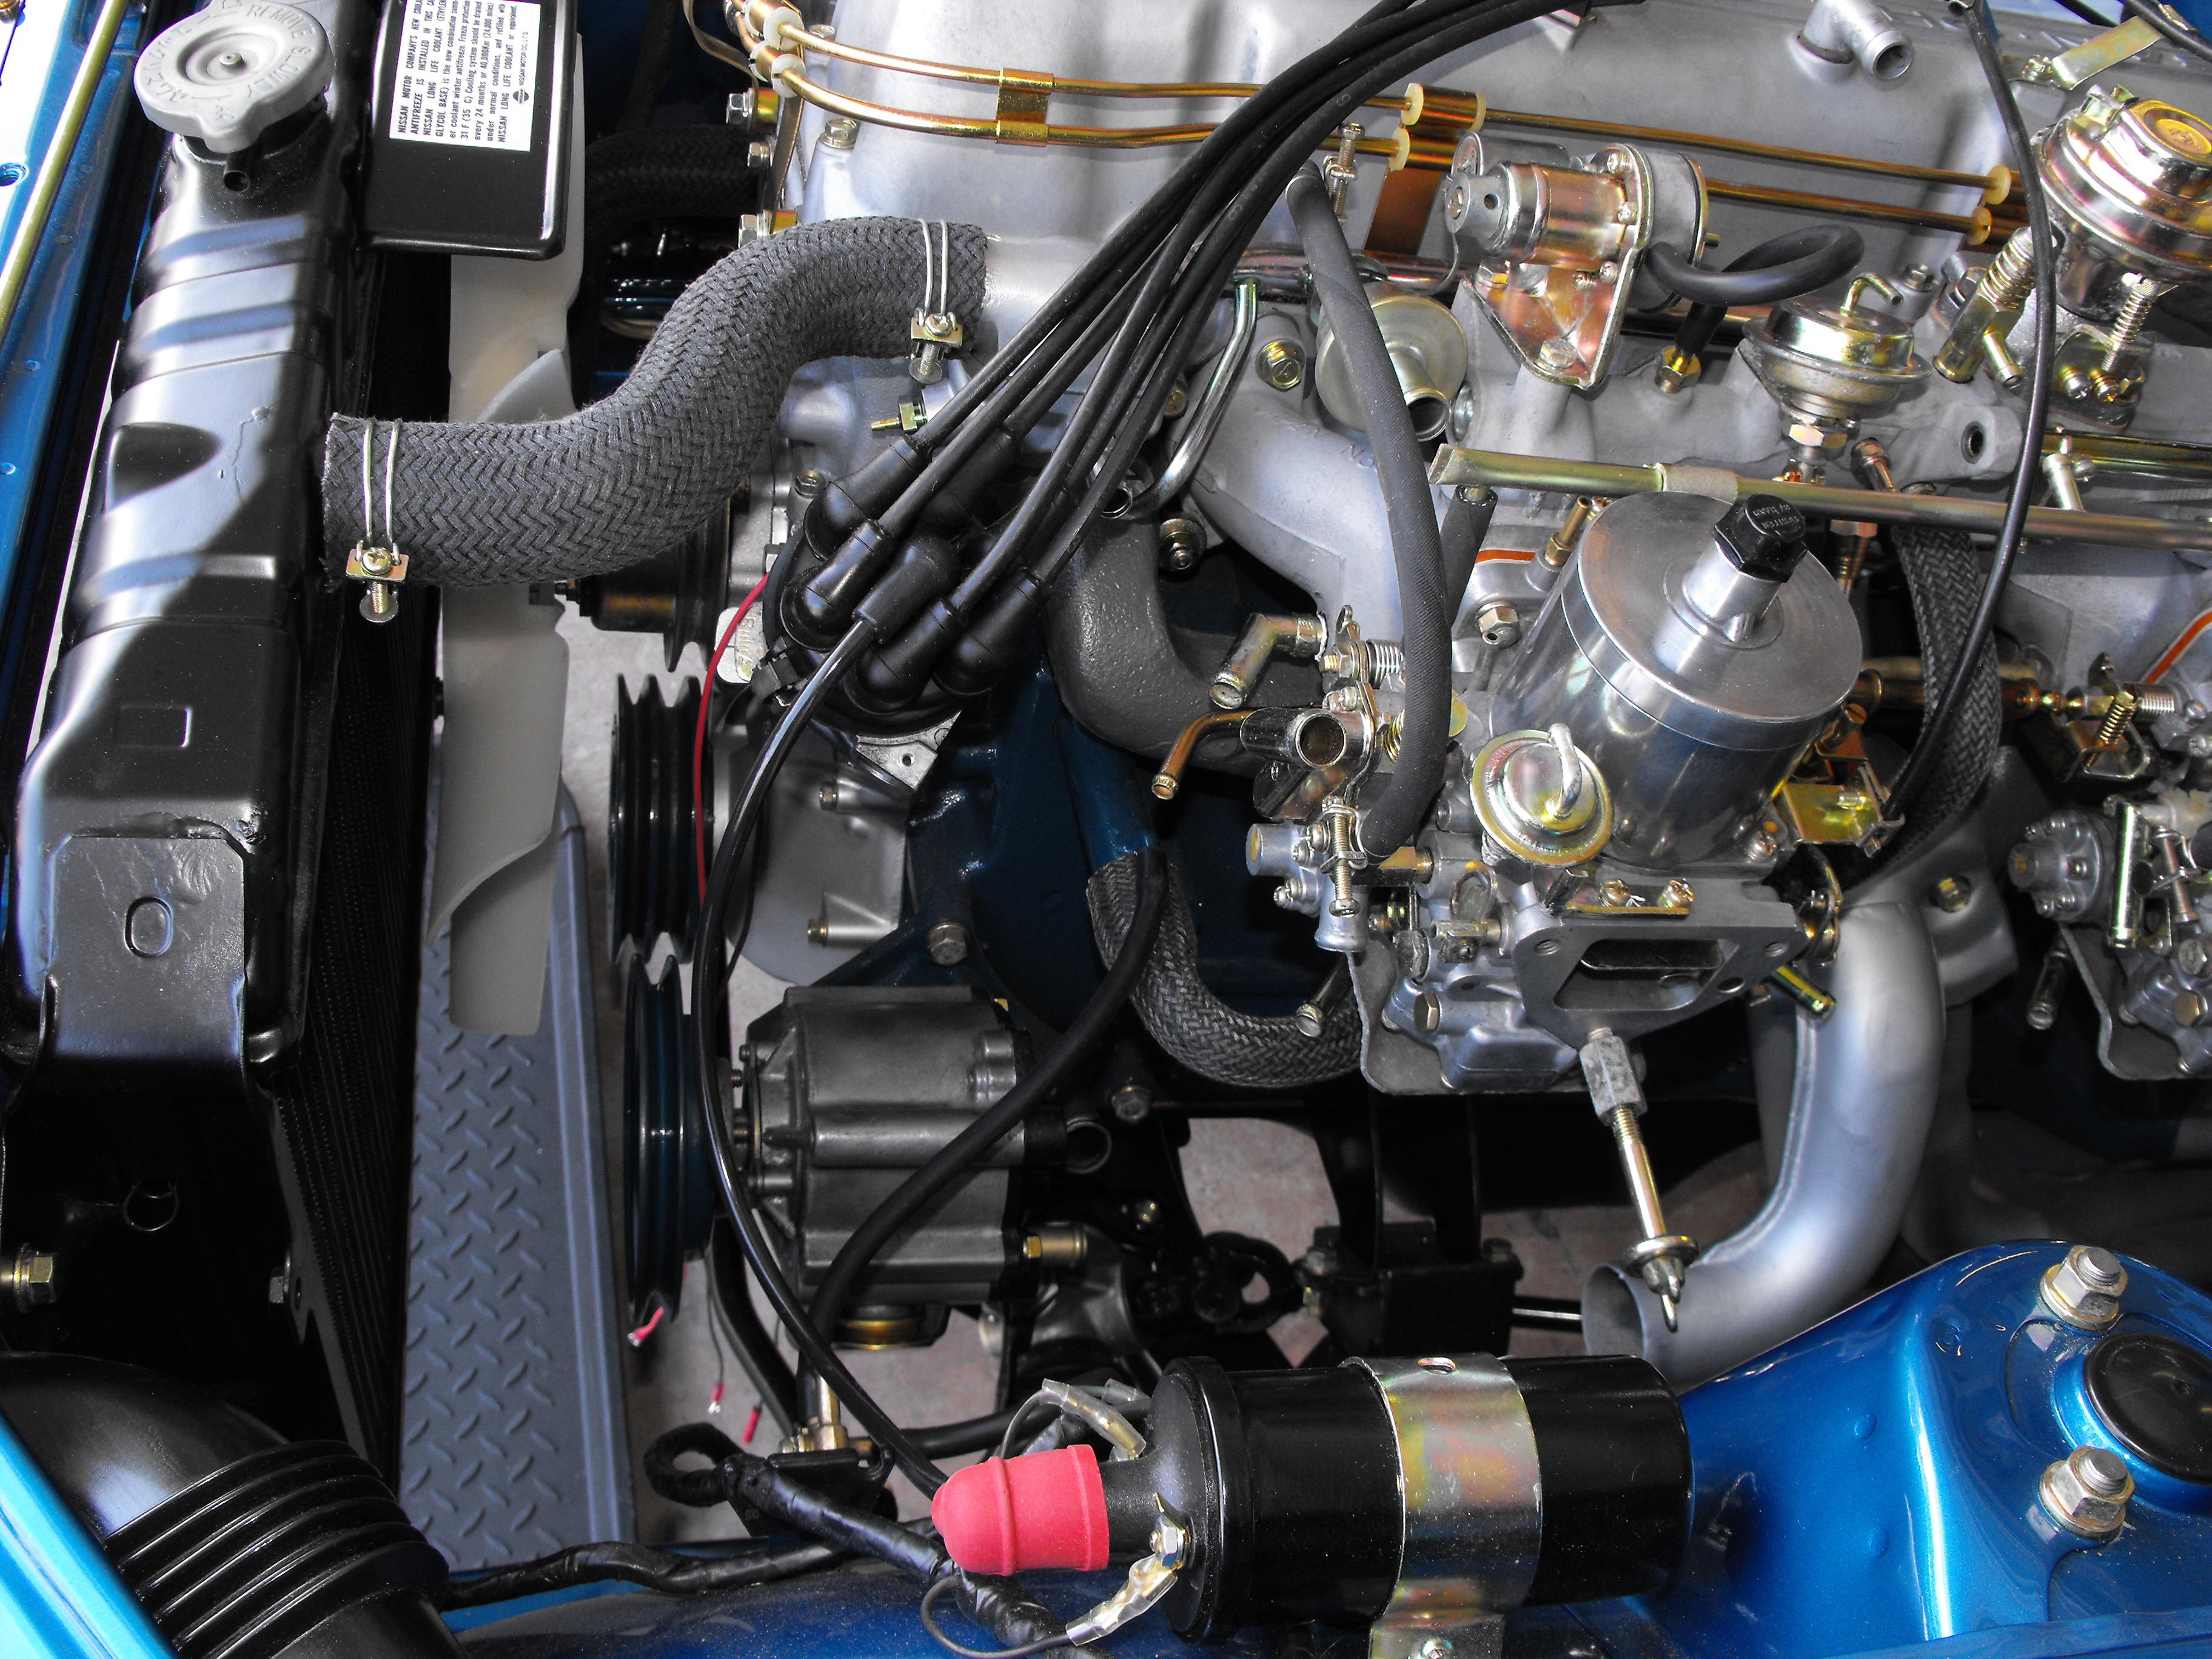
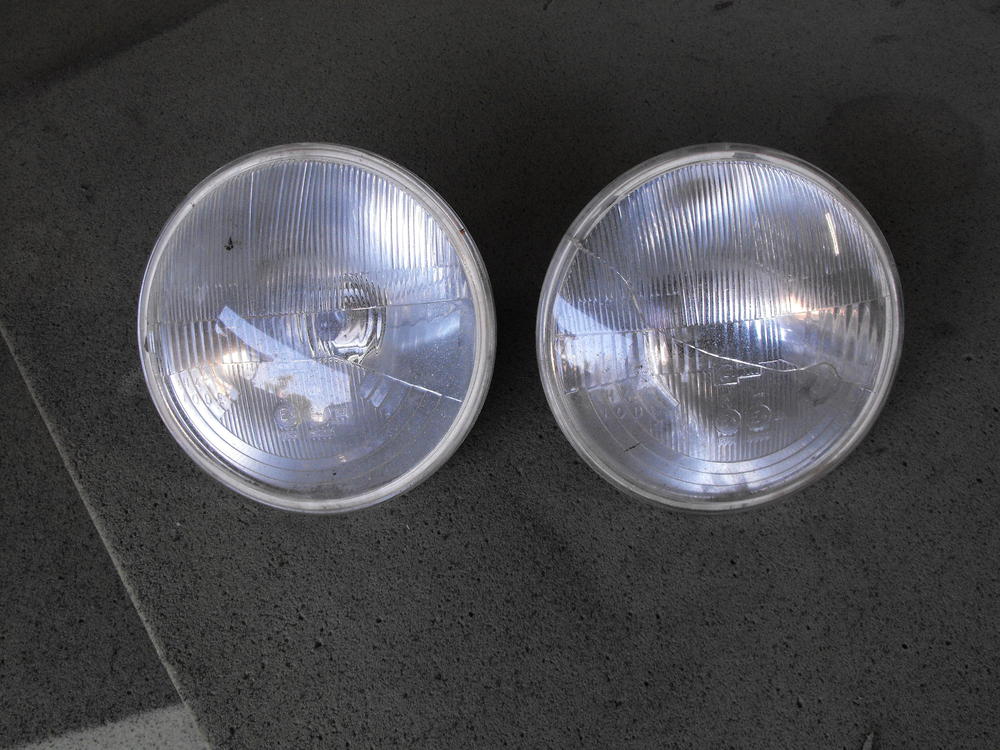
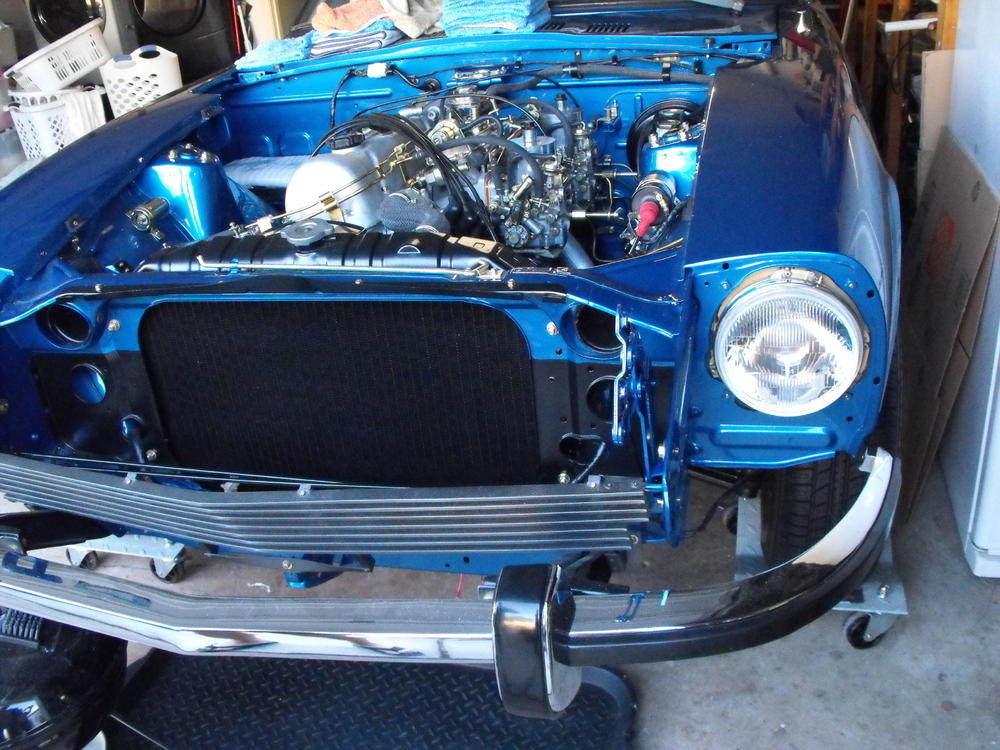
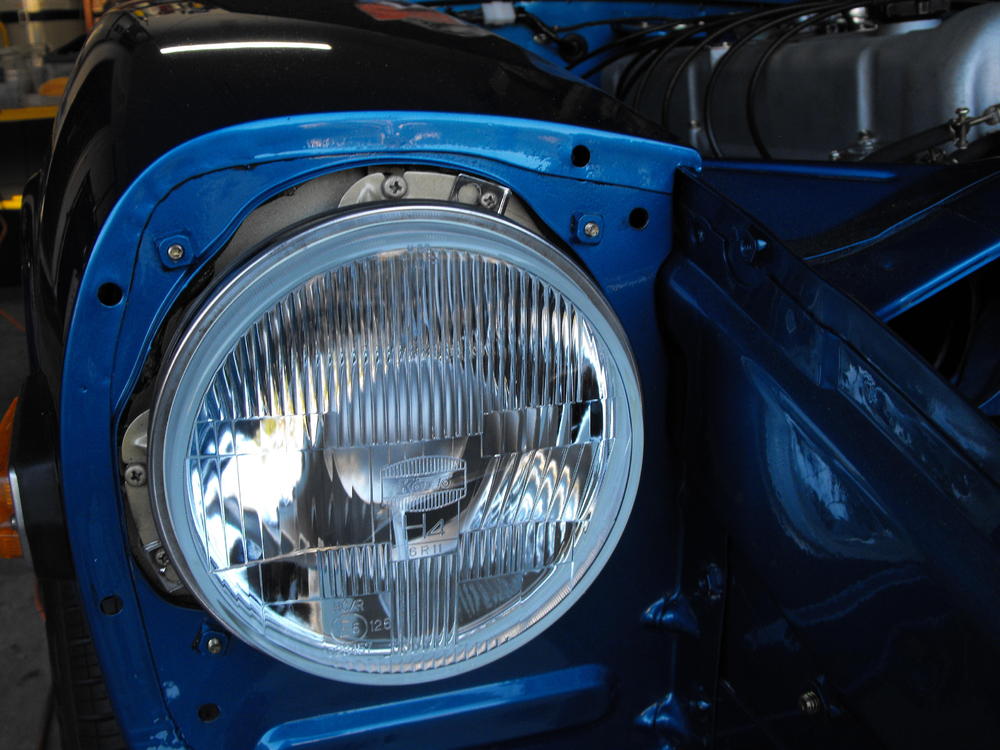
I was a little surprised to find that the stock headlights for the '73 are H4 style headlights. The old ones (aftermarket) on this car are Cibie H4's. I Found some Kioto H4's so I installed those. These are the 'new style' Kioto H4's as the original style had a more rounded face. Also got a few more tubes installed on the engine.

-
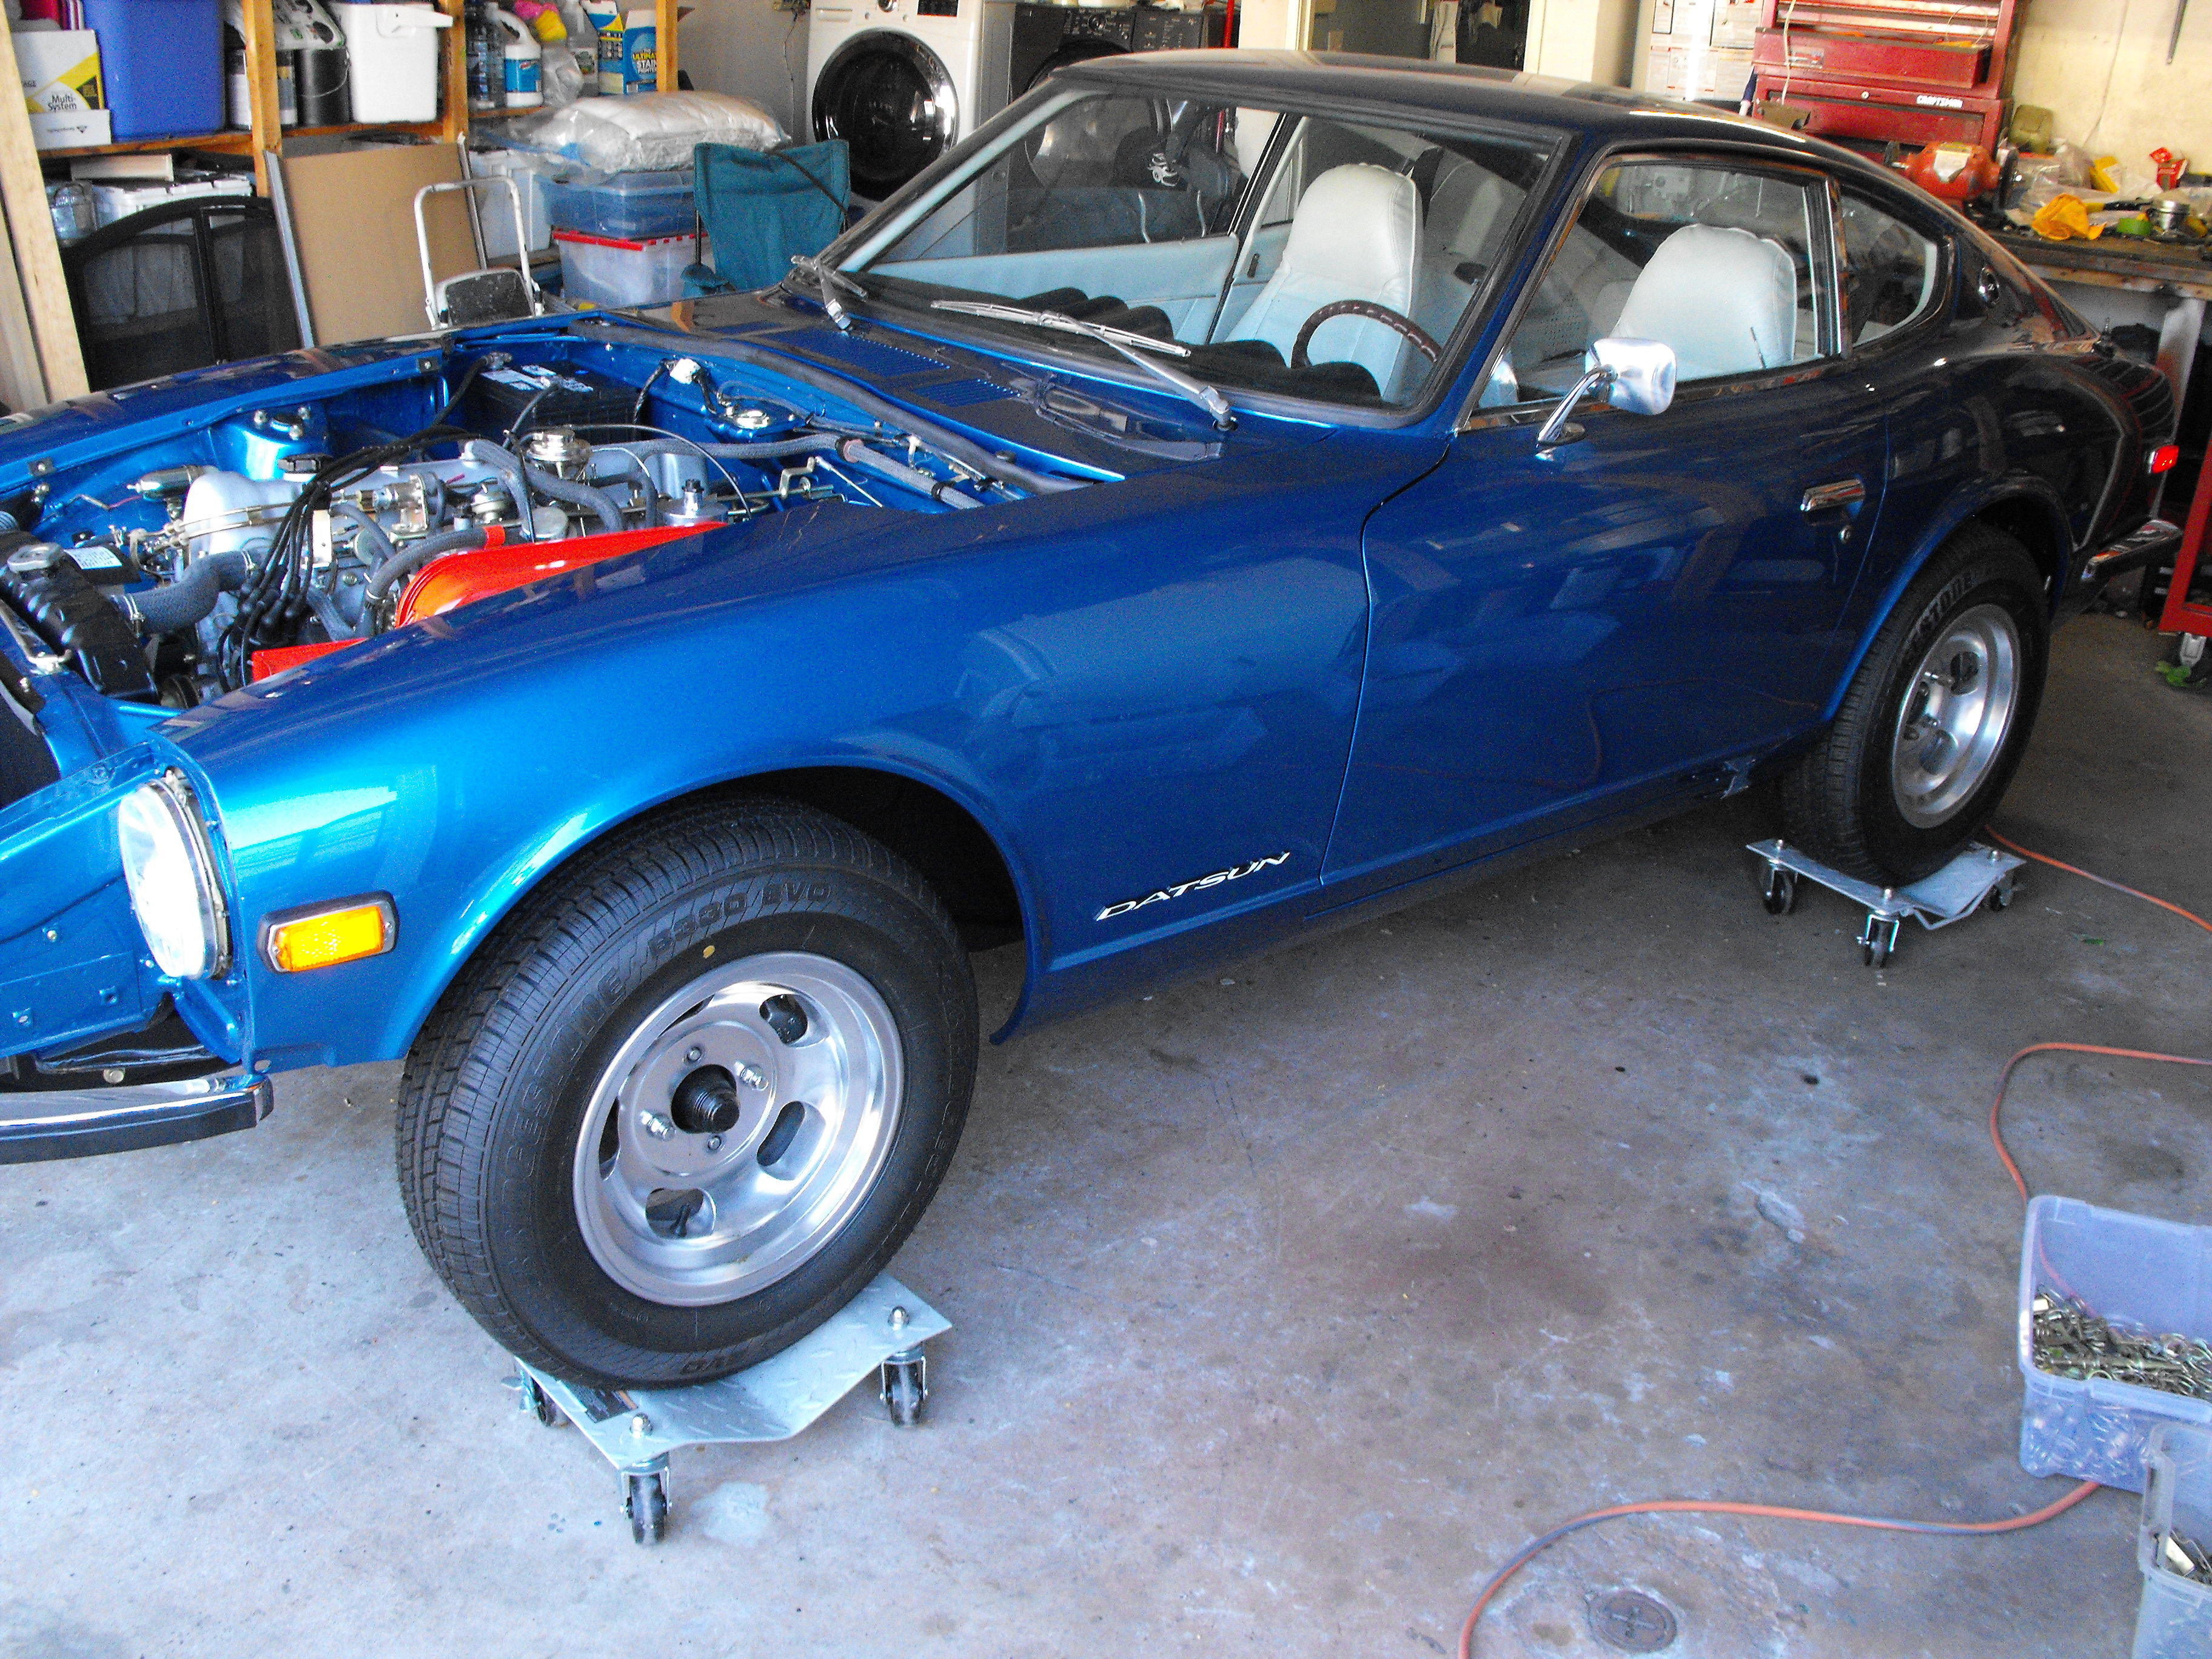
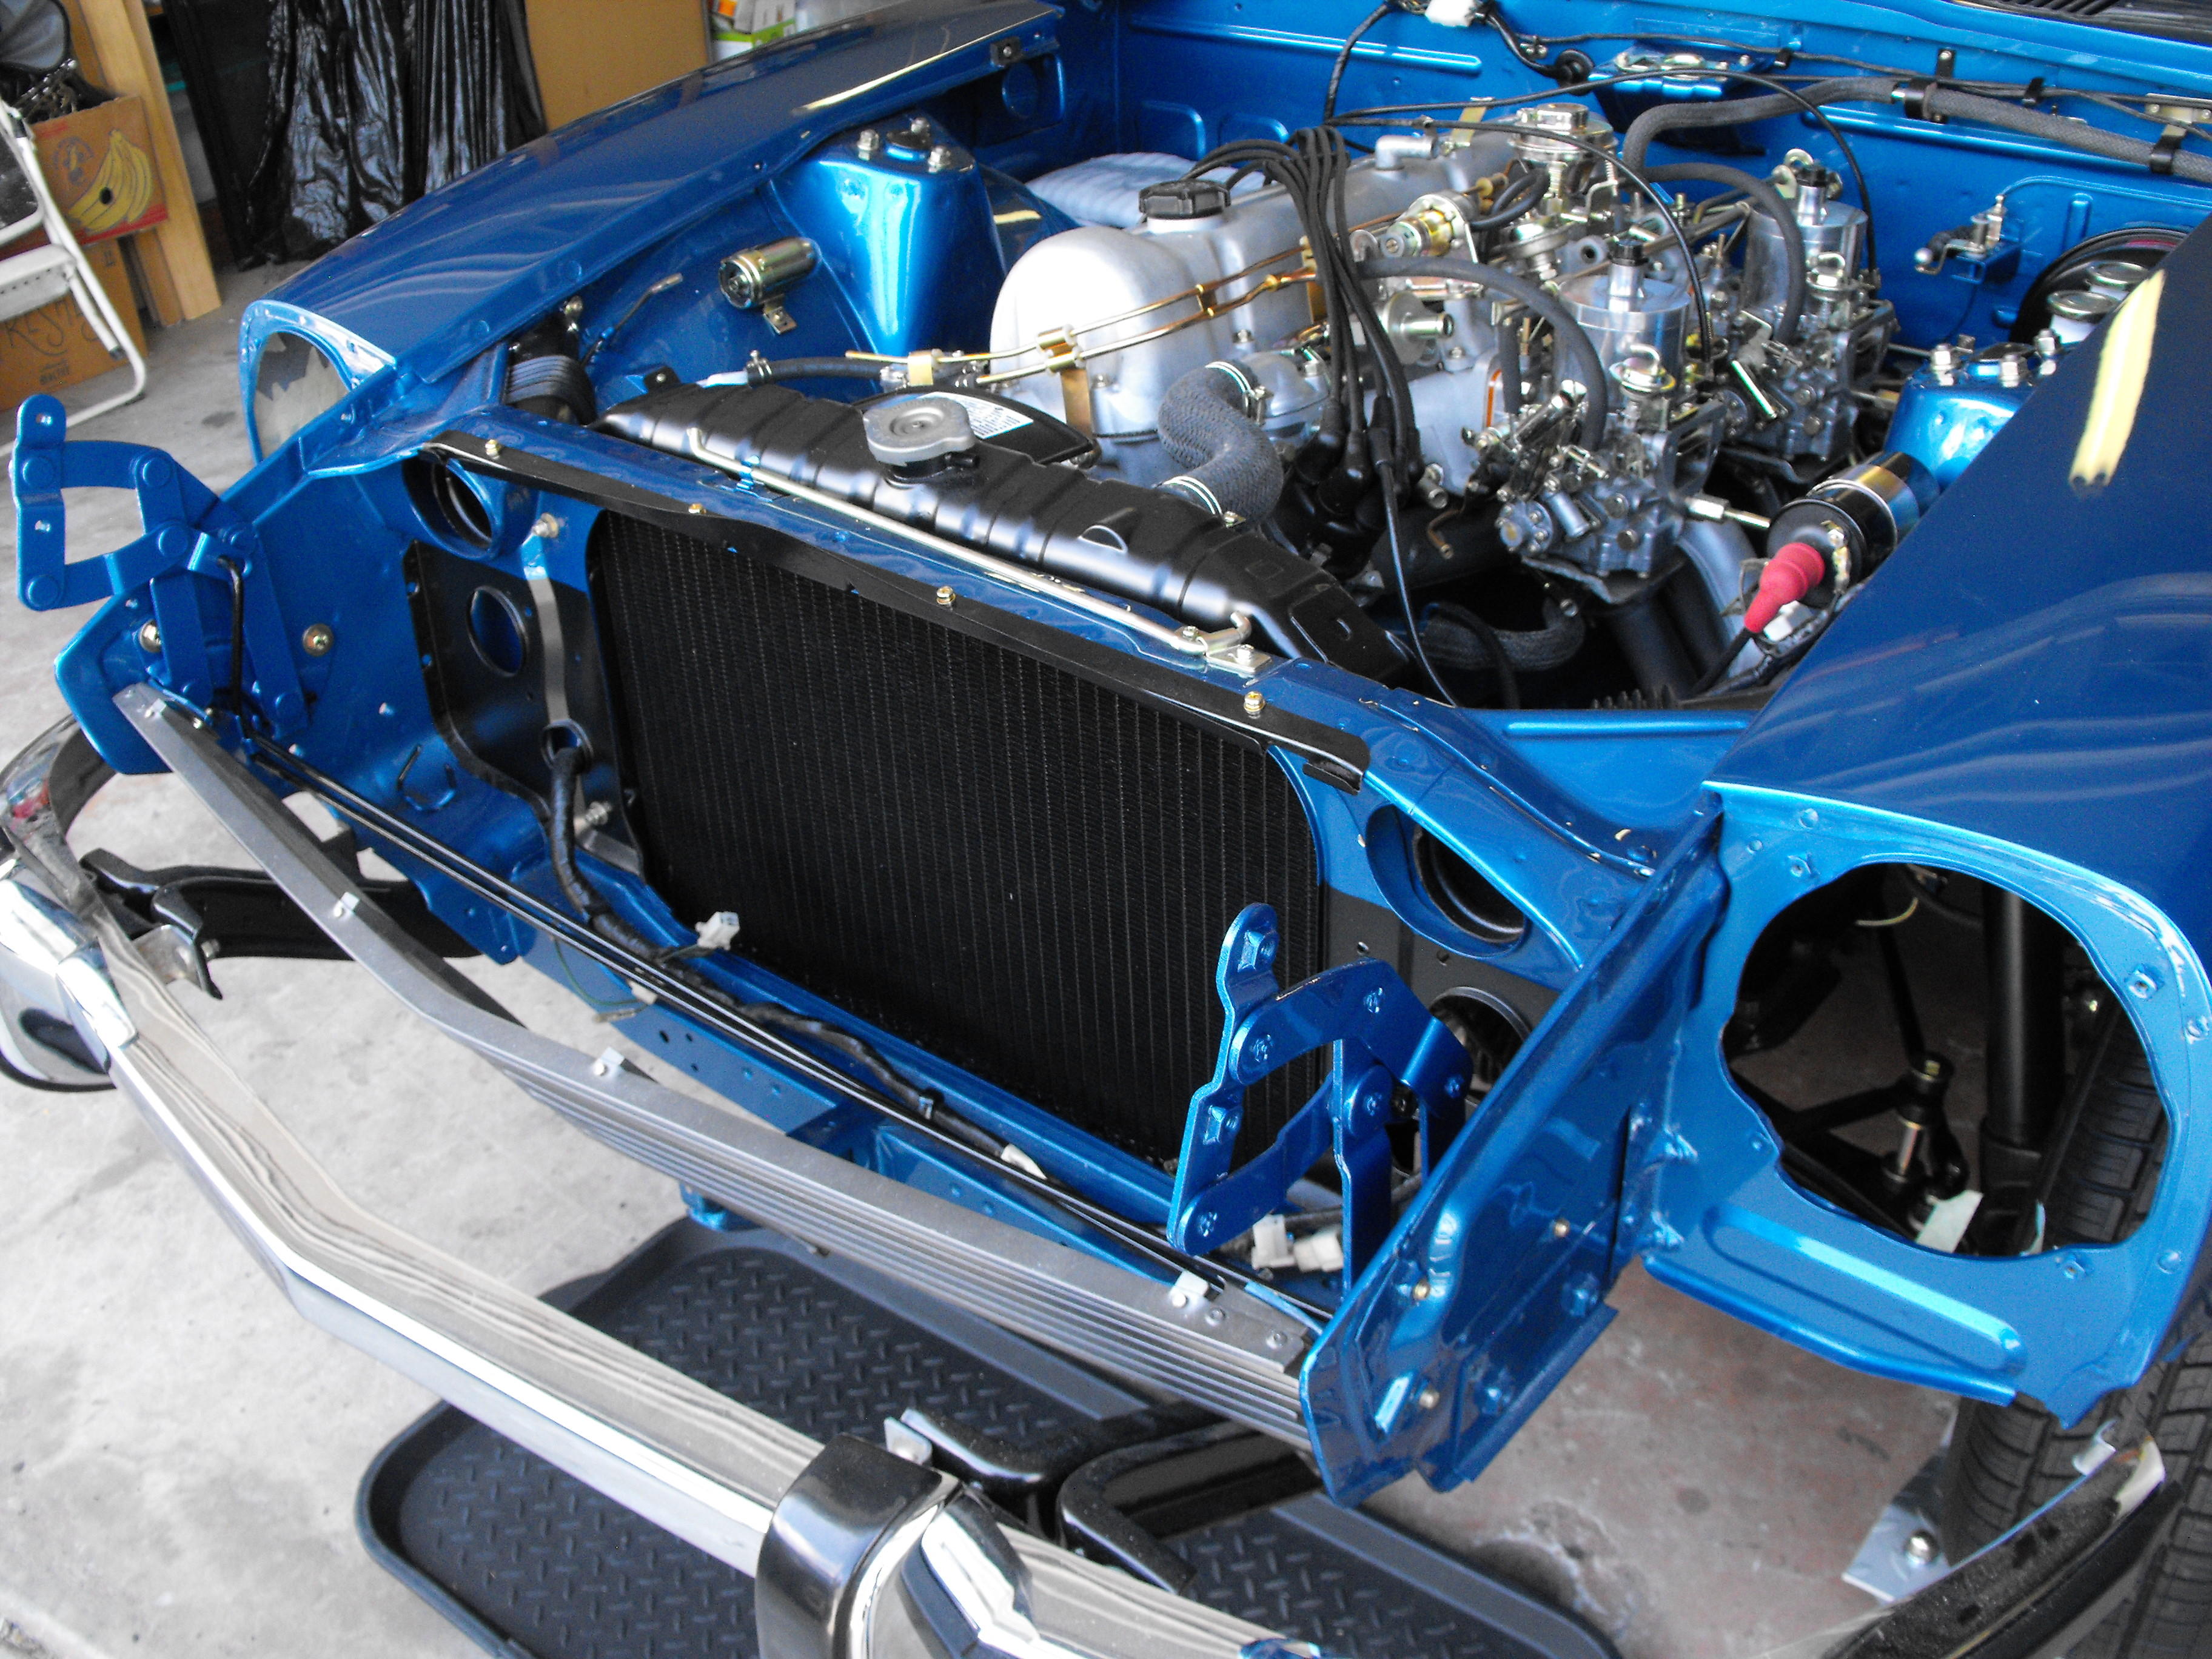
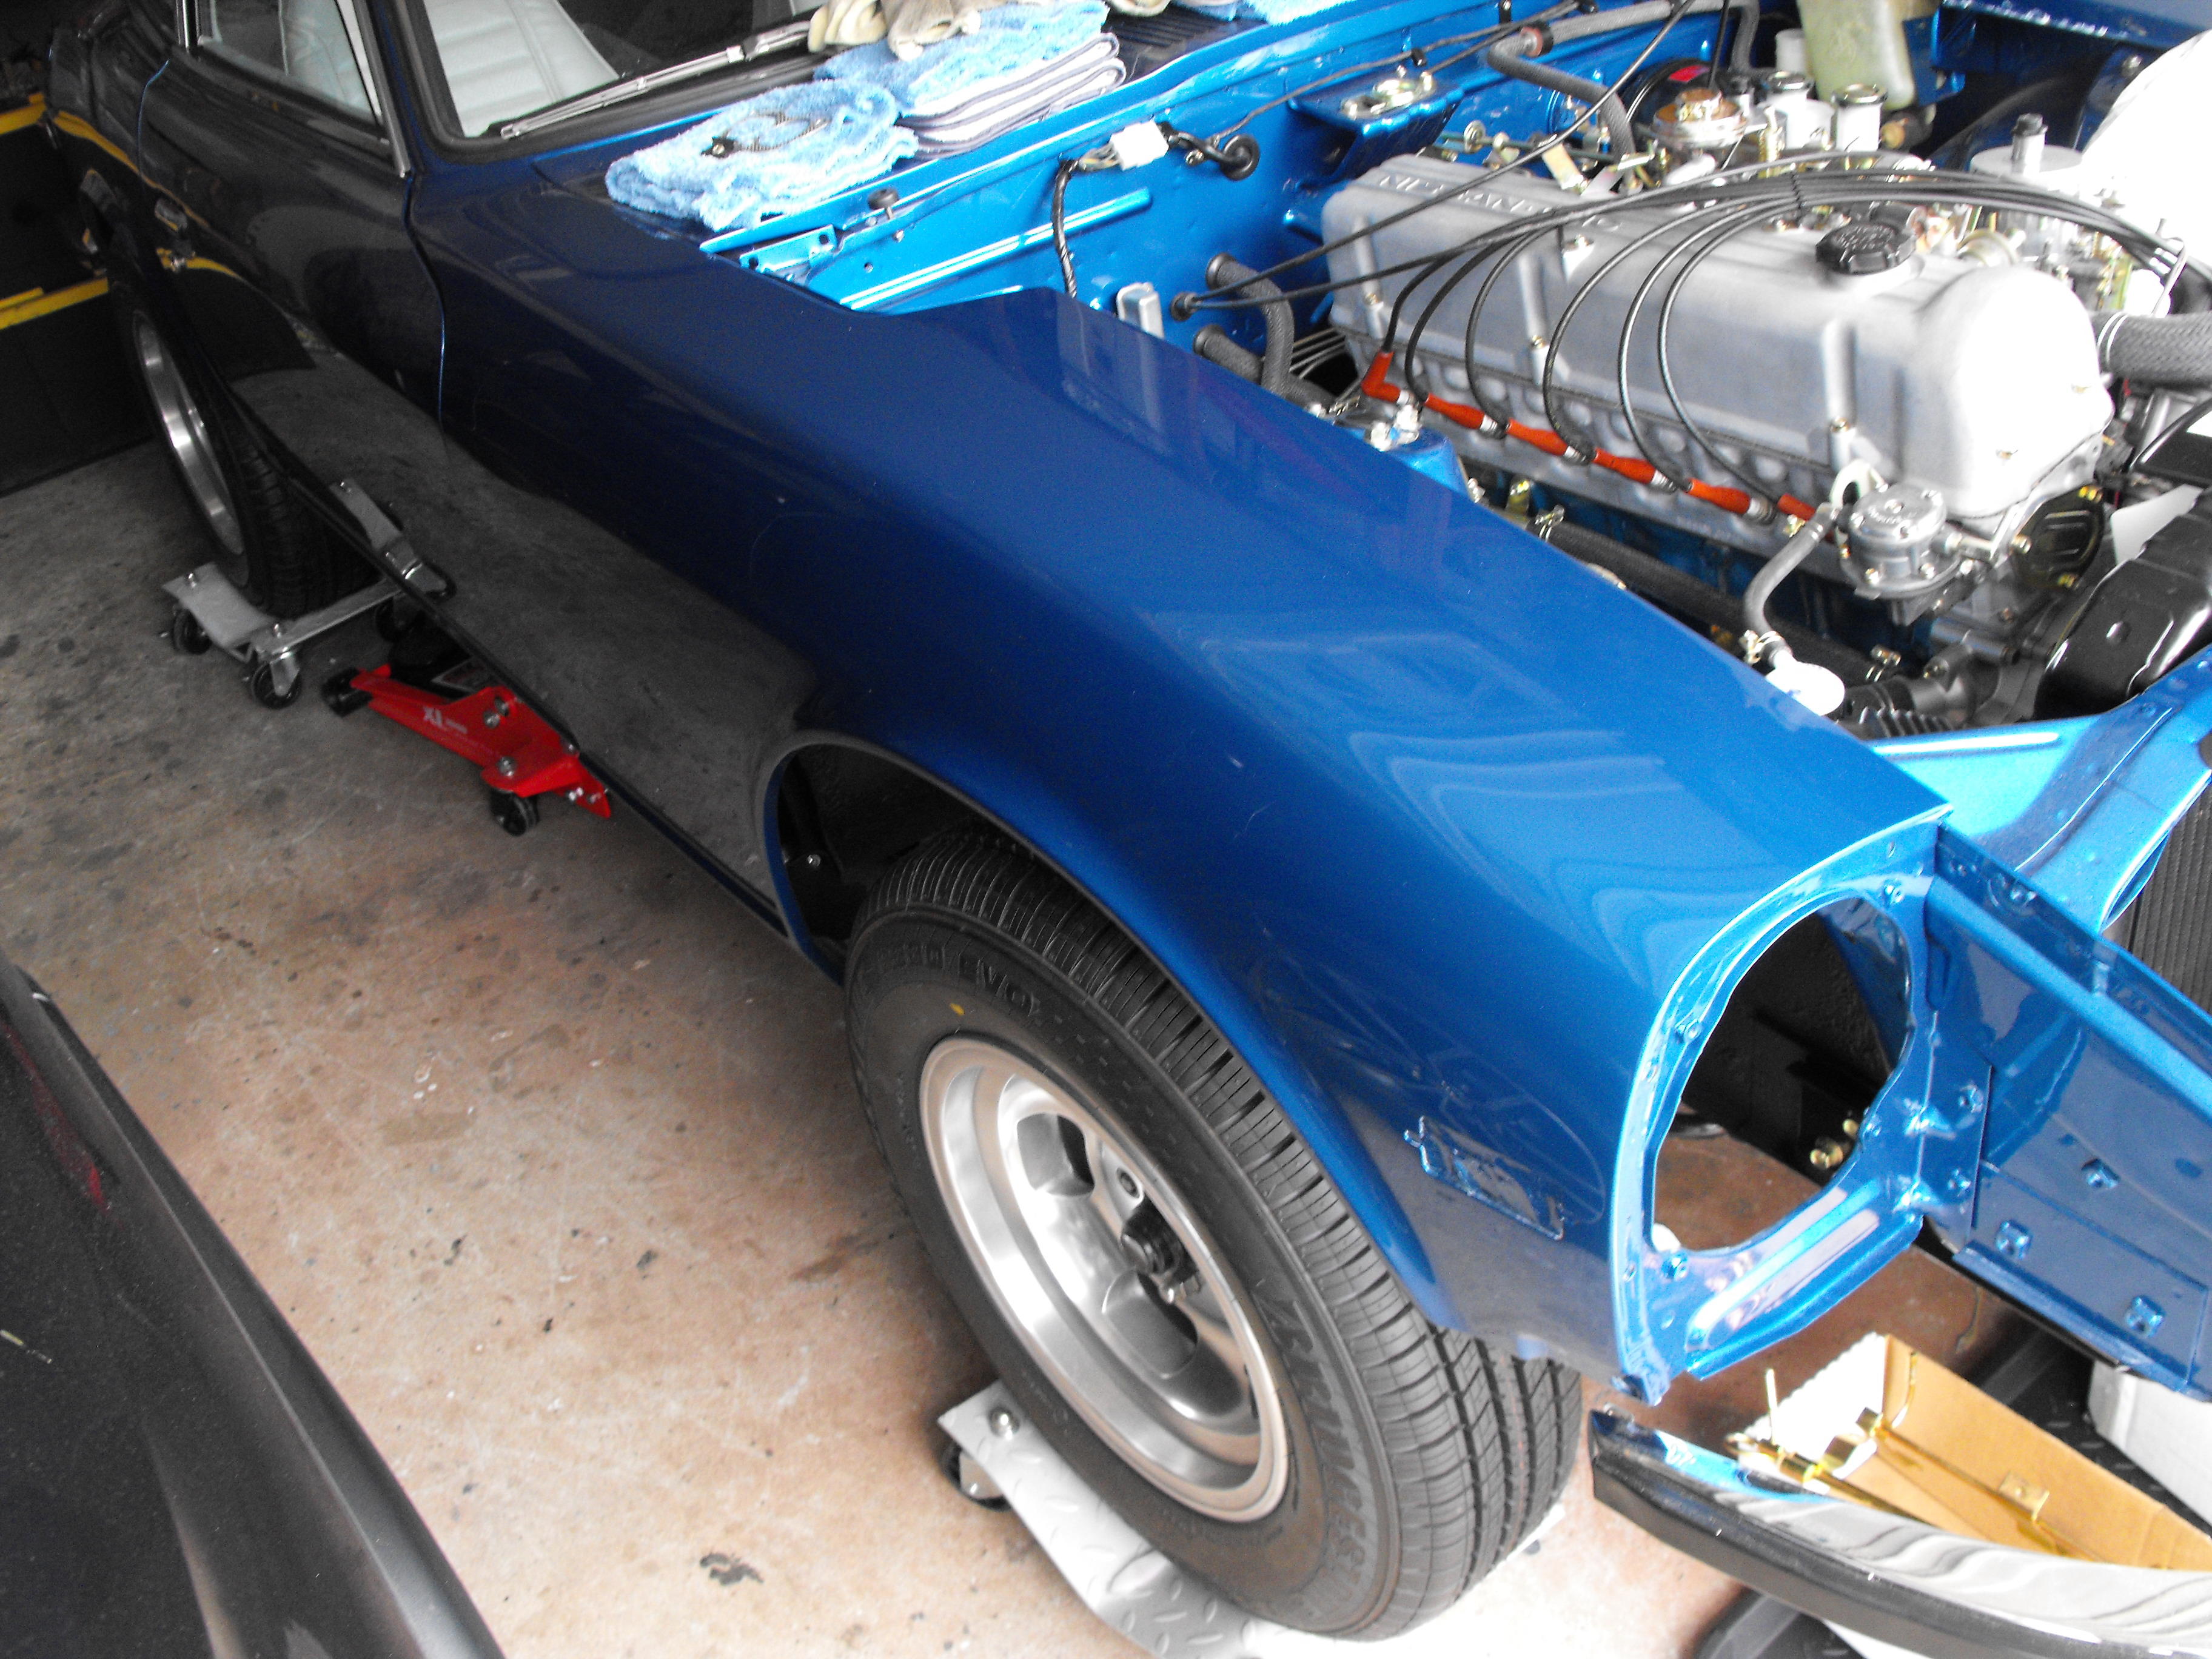
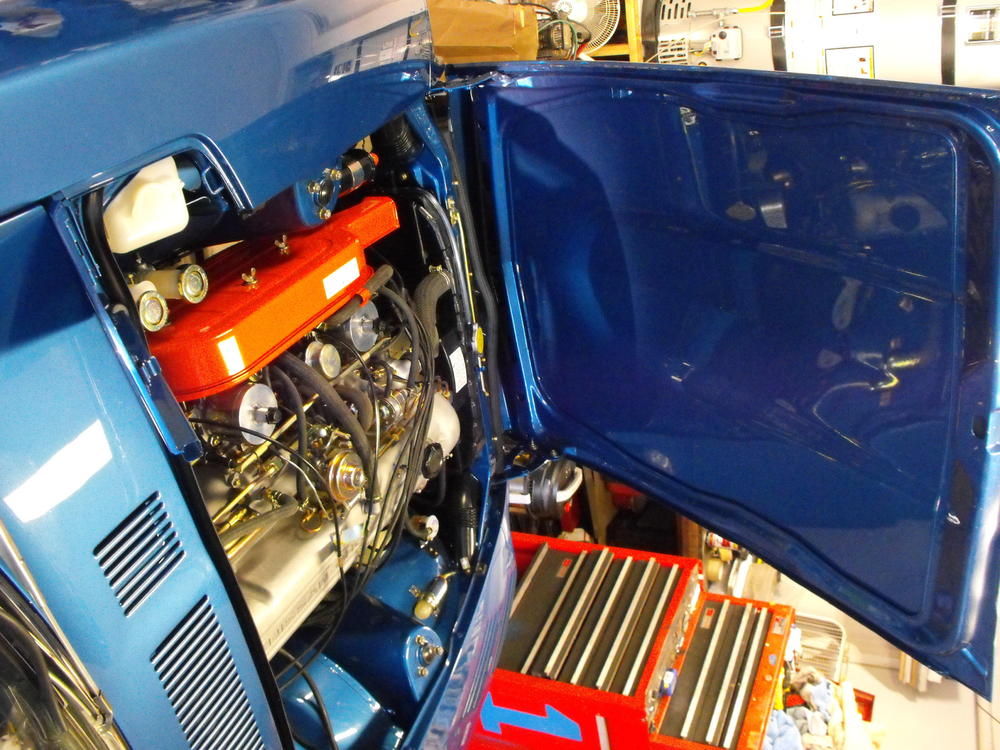
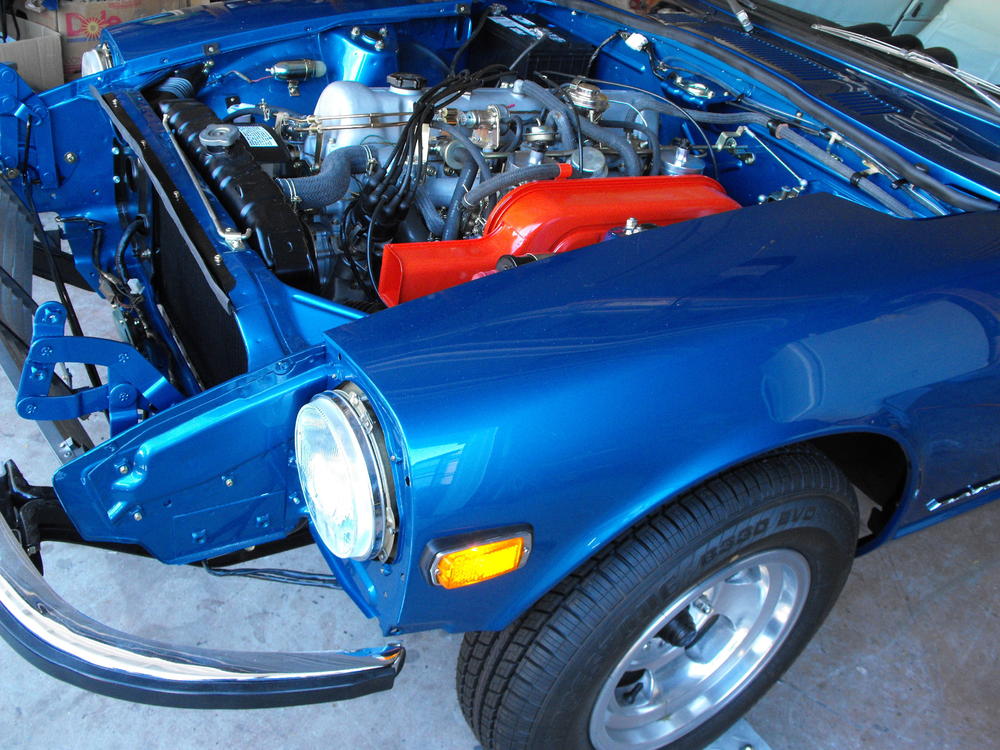
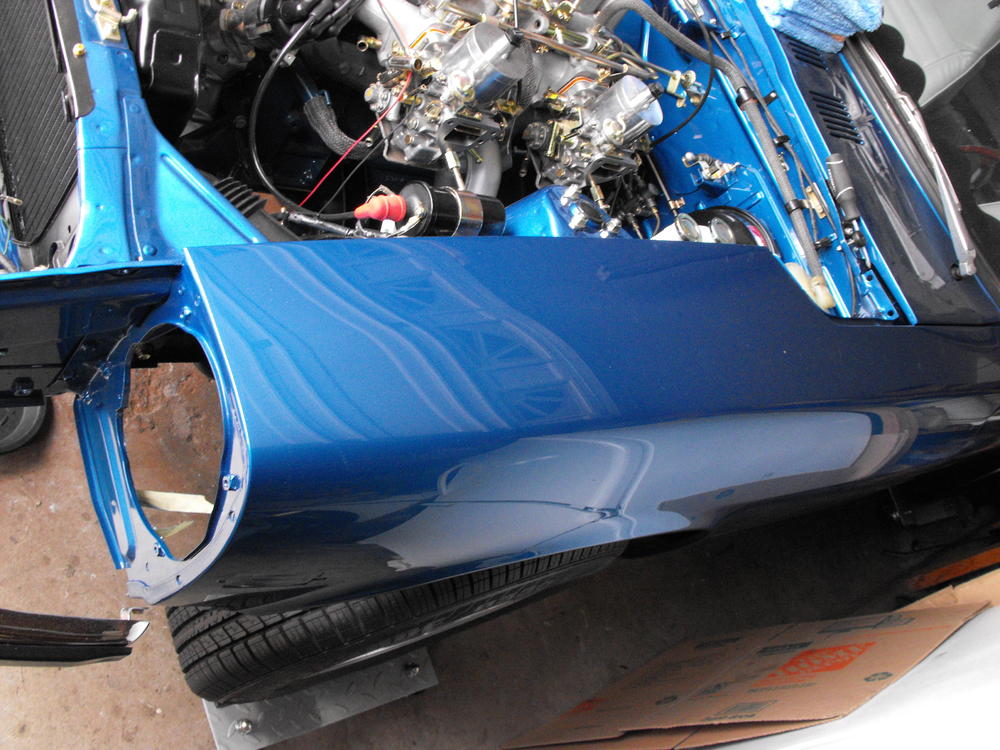
Cleaned then painted the inside of the fenders with POR-15, then a light undercoat. Installed and aligned fenders and side marker lights along with a few engine items. Here is a quick phone pic of the car along with my embarrassing garage stuff in the background. We're getting closer. I really need a larger place. Will pick up the hood and remaining body parts next week.
-
Here is another source. A bit pricey but very reliable. https://jdm-car-parts.com/products/master-vacuum-decal-for-datsun-240z-260z-280z
-
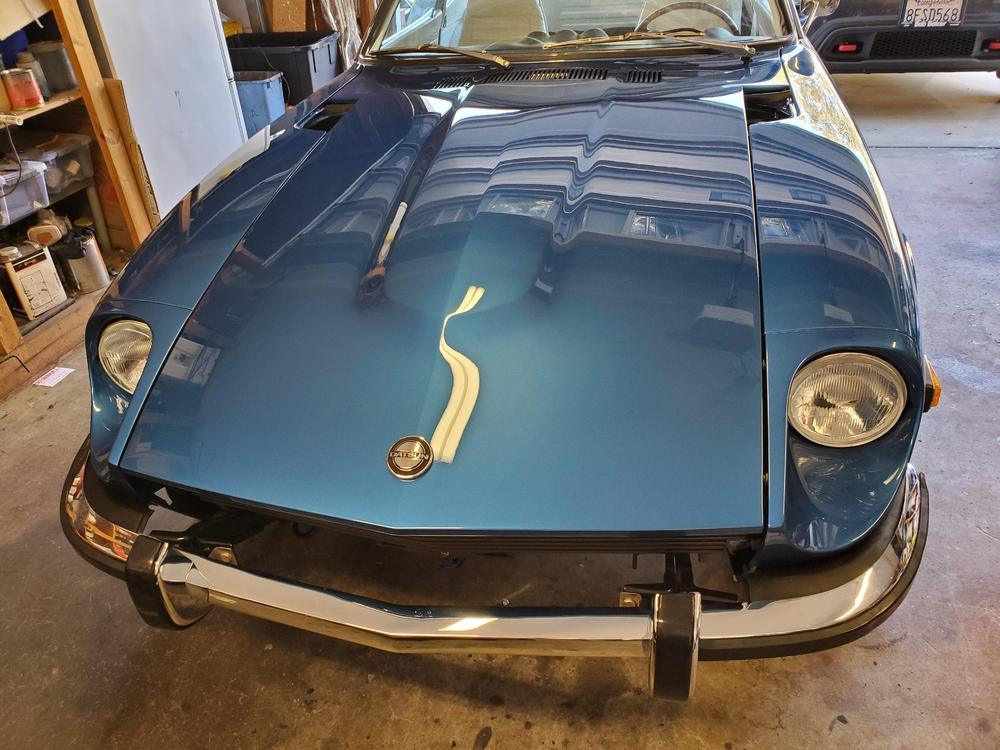
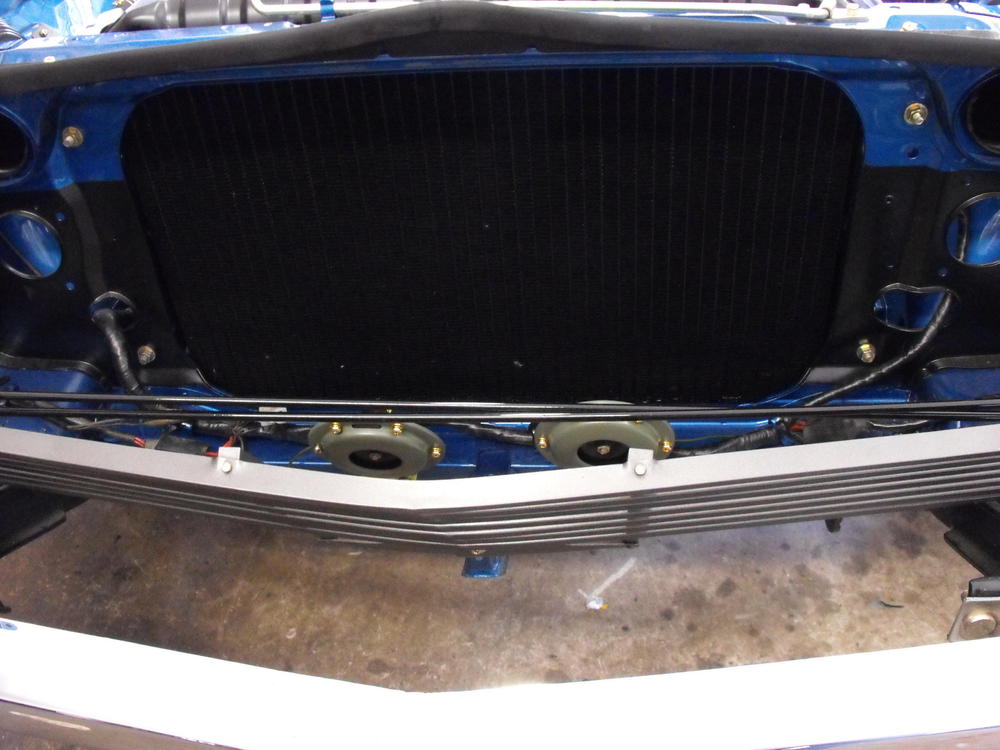
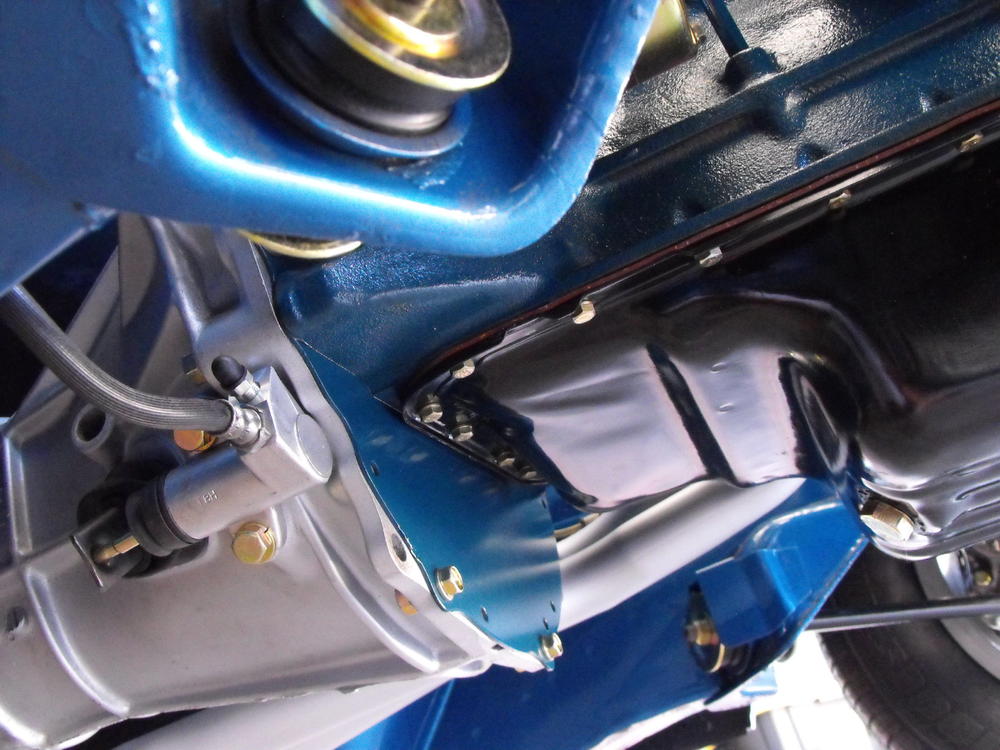
The four screws secure an air dam that is above the radiator. It has the hood profile on top. I am guessing it reduces airflow into the engine bay to improve cooling. I think it is unique to the '73 and '74 model years. I am unfamiliar with it and can't find it in the manuals. @Carl Beck is more familiar with this. I need to find out if I need to attach a weather strip to the top of it. I would think the weather strip would be similar to the cowl weather strip.
-
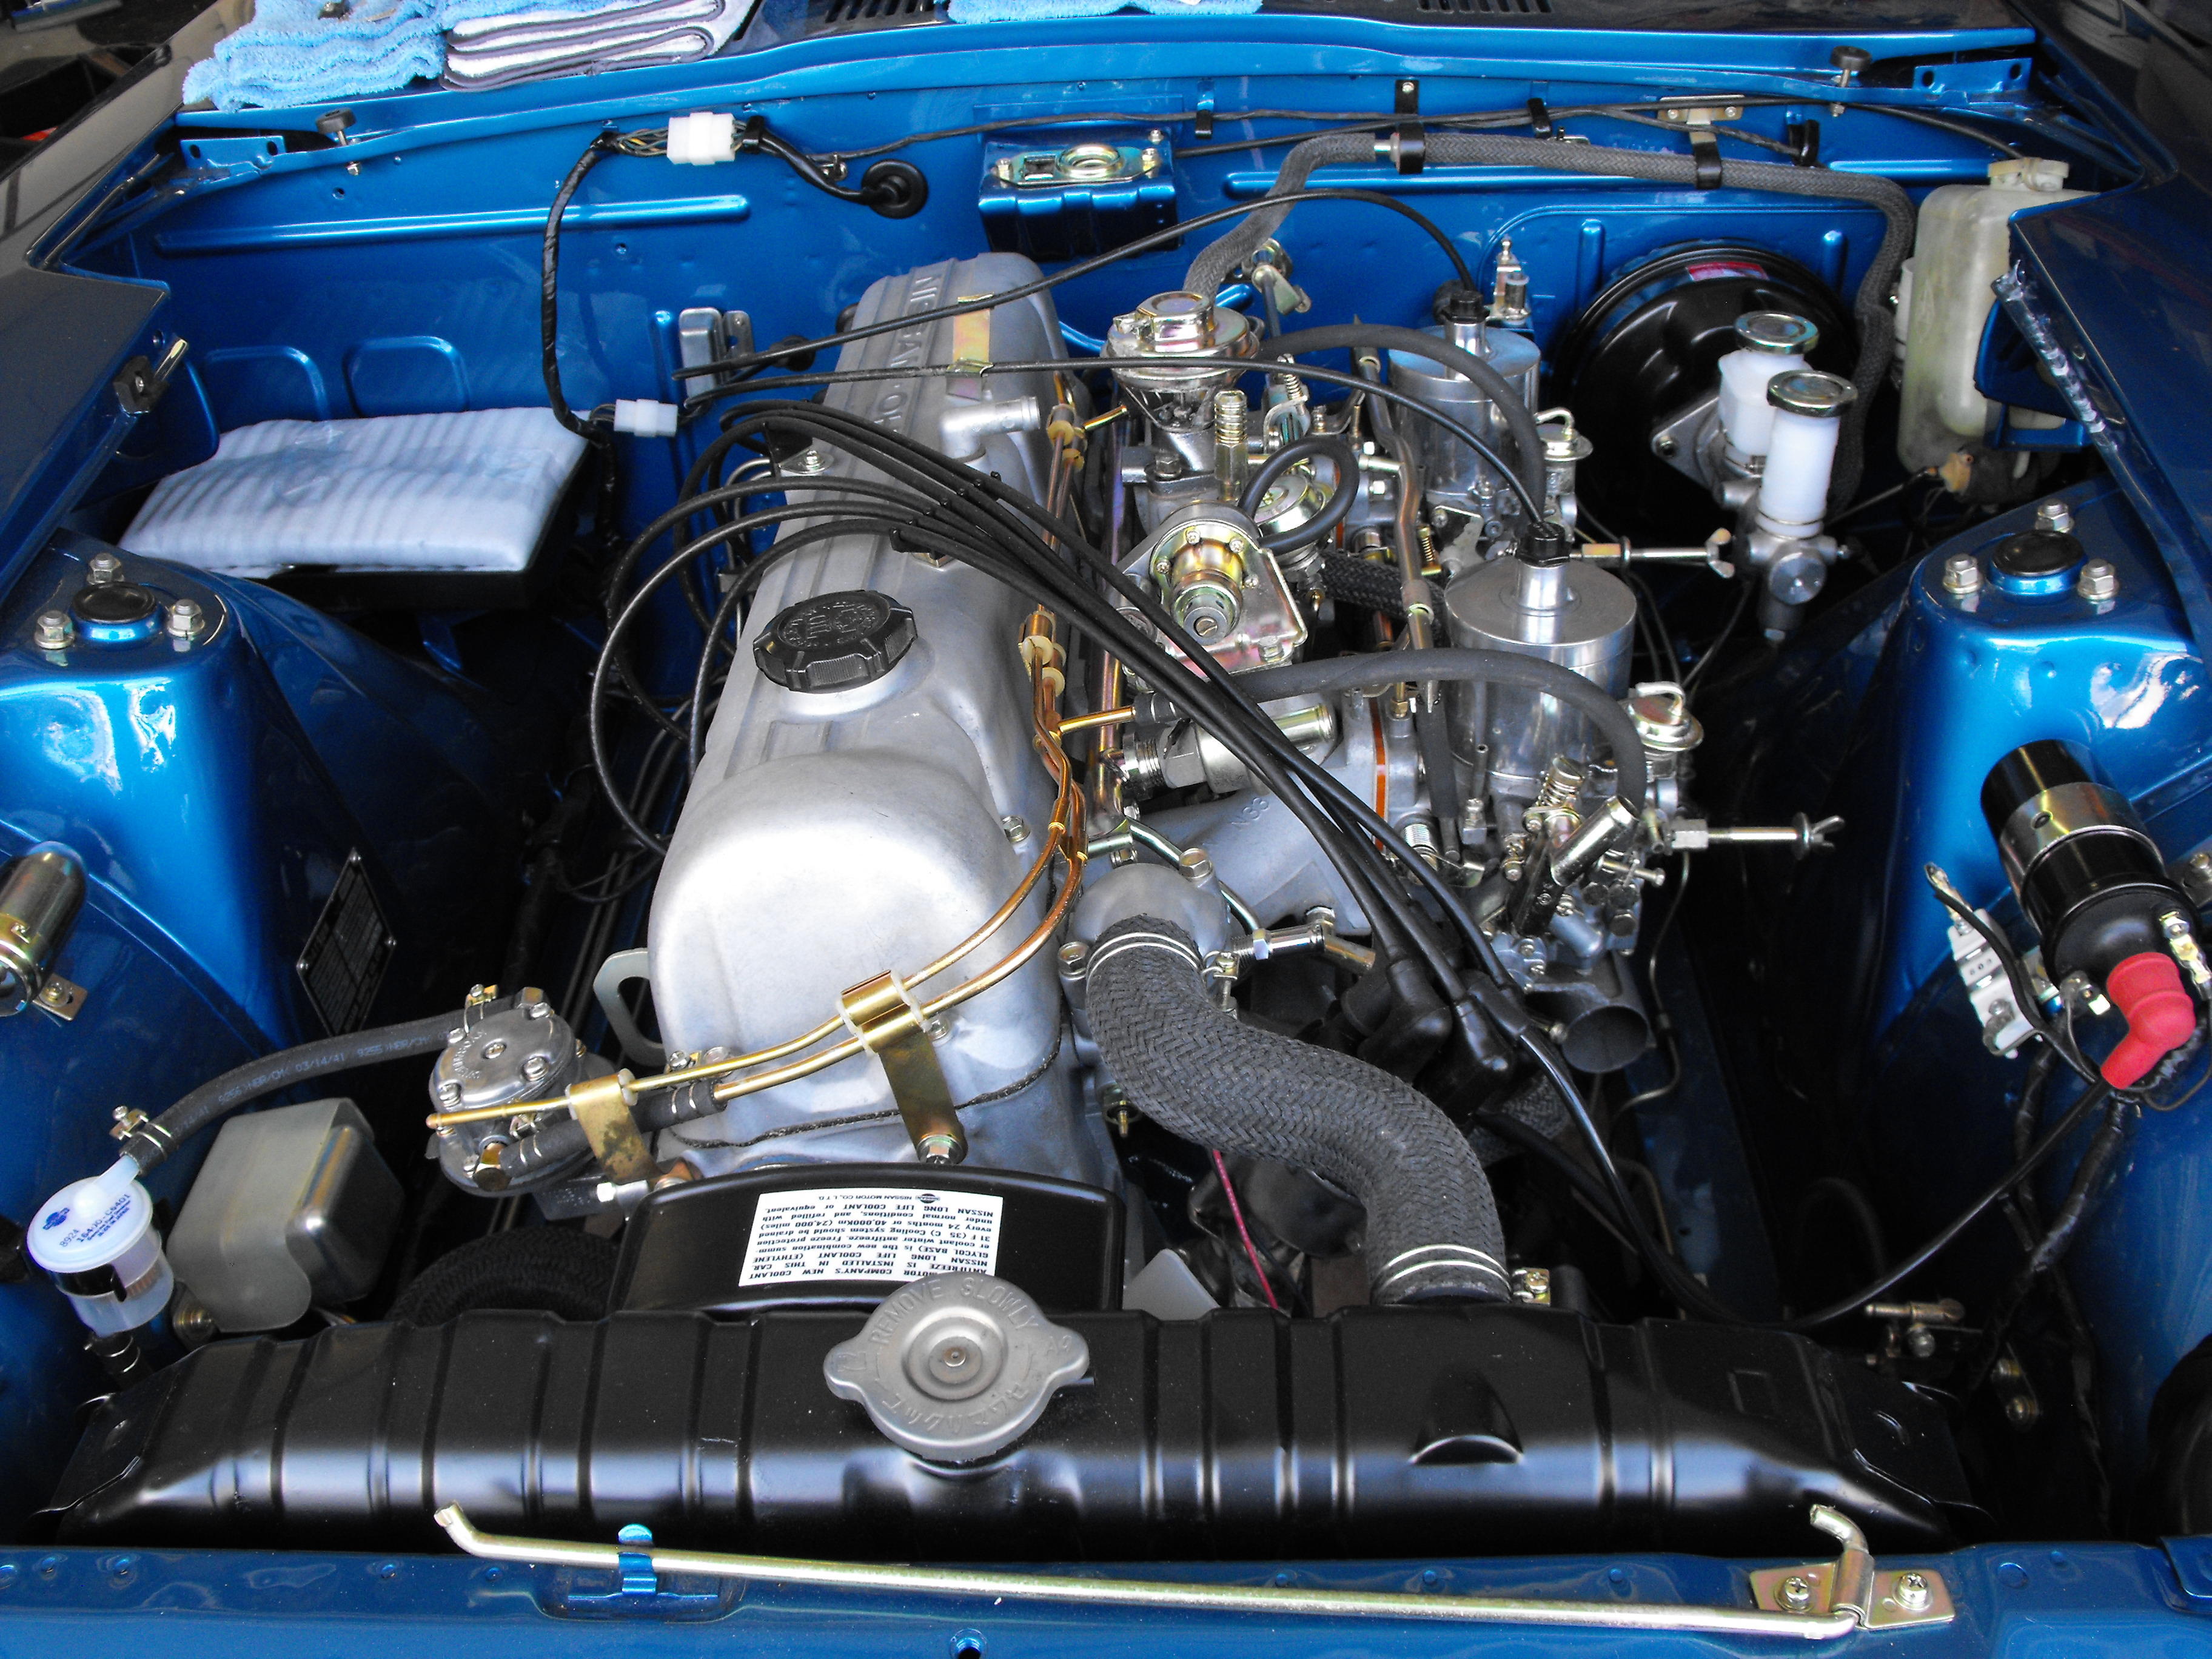
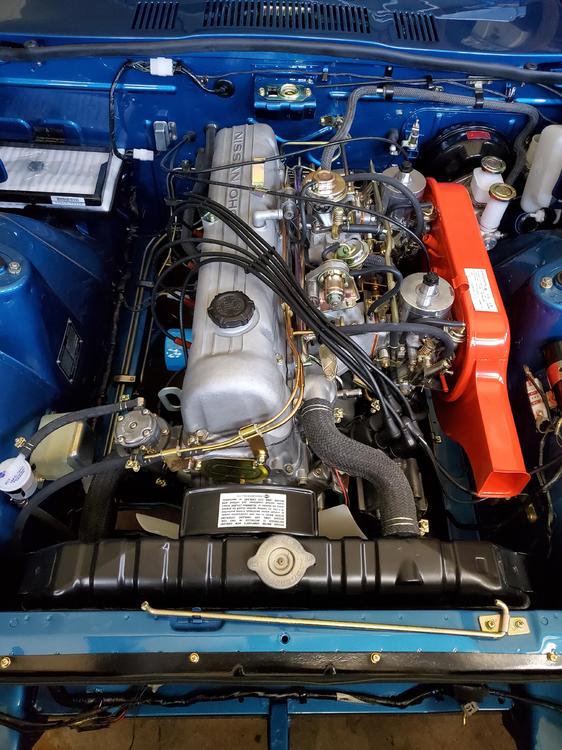
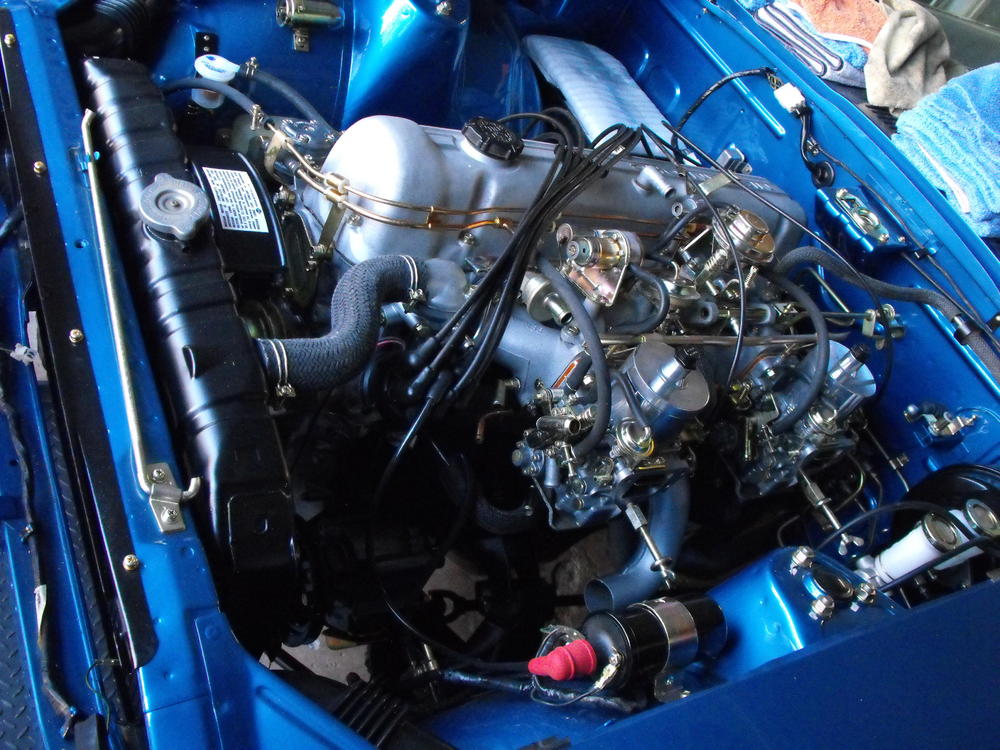
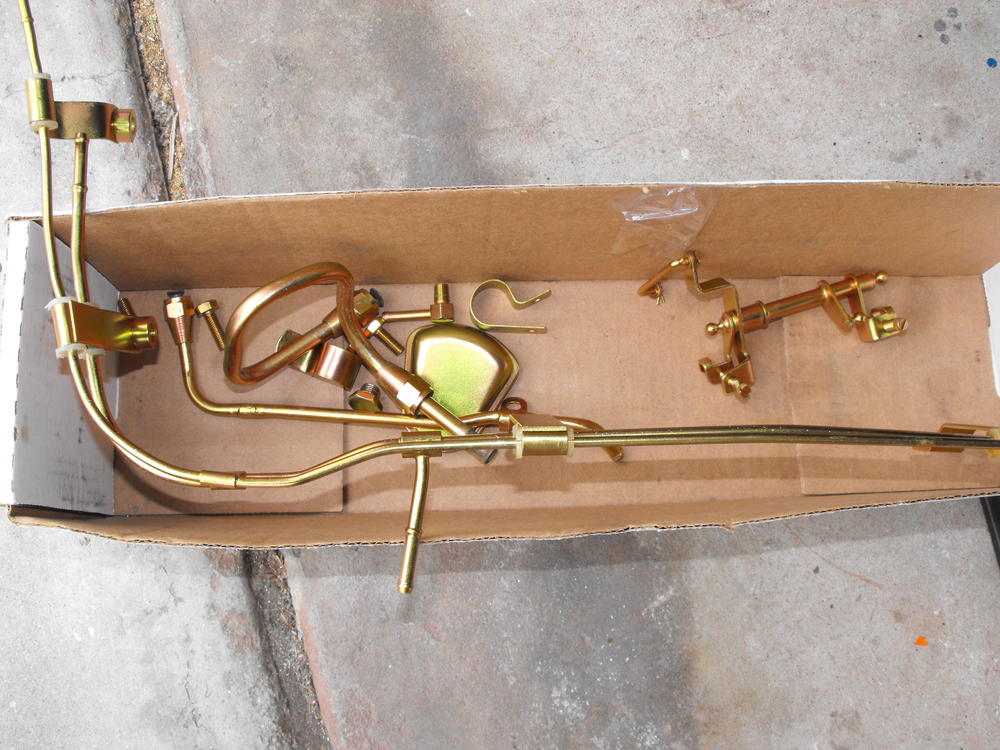
Installed the plated parts. Started the install of the plumbing for the flat tops. Boy, lots of tubes here. Here are the latest pics. Also installed the fuel door and hinges.


-
Awesome! Got my BSME over 35 years ago. In all that time, I think I have only been out of work for two weeks, so it's been a great degree to have. Now I am trying to get unemployed. ?
-
Picked up the fenders, fuel door and hinges yesterday from paint shop. Fenders are just resting in place. Will probably wait till engine is done before I do actual install. Also got the last of my plated items. Will get most of the plated items on the engine tomorrow.

-
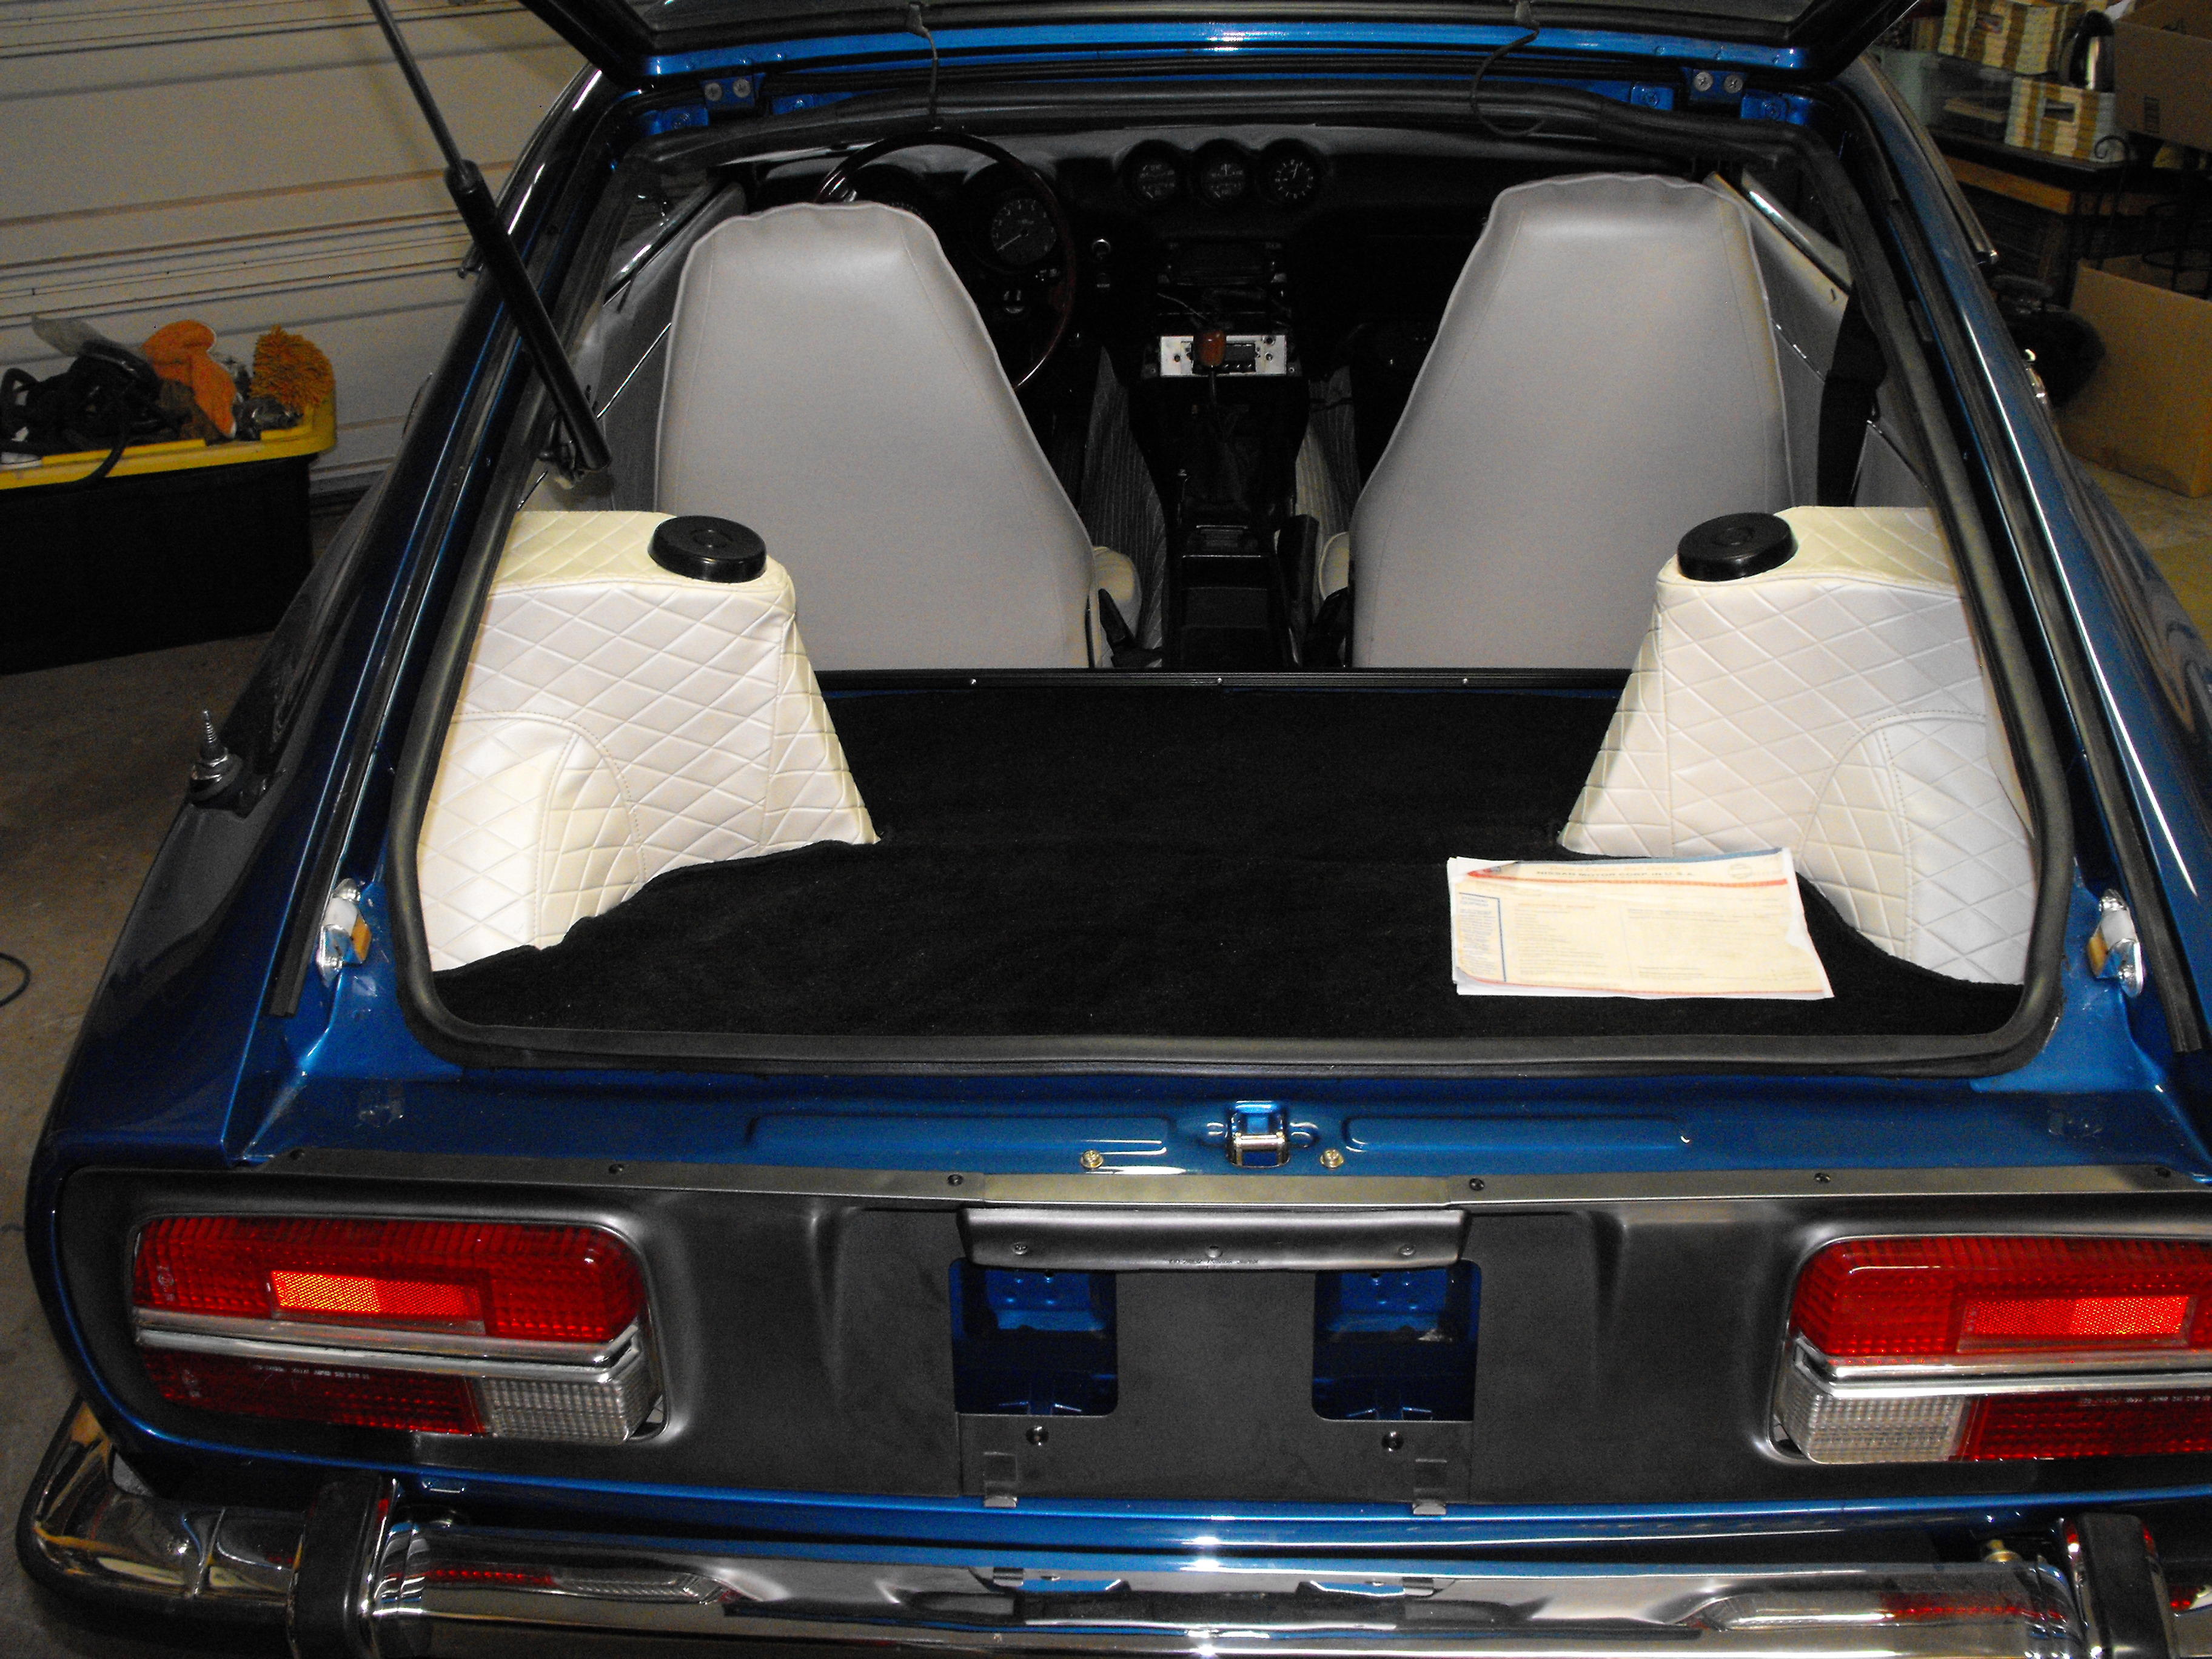
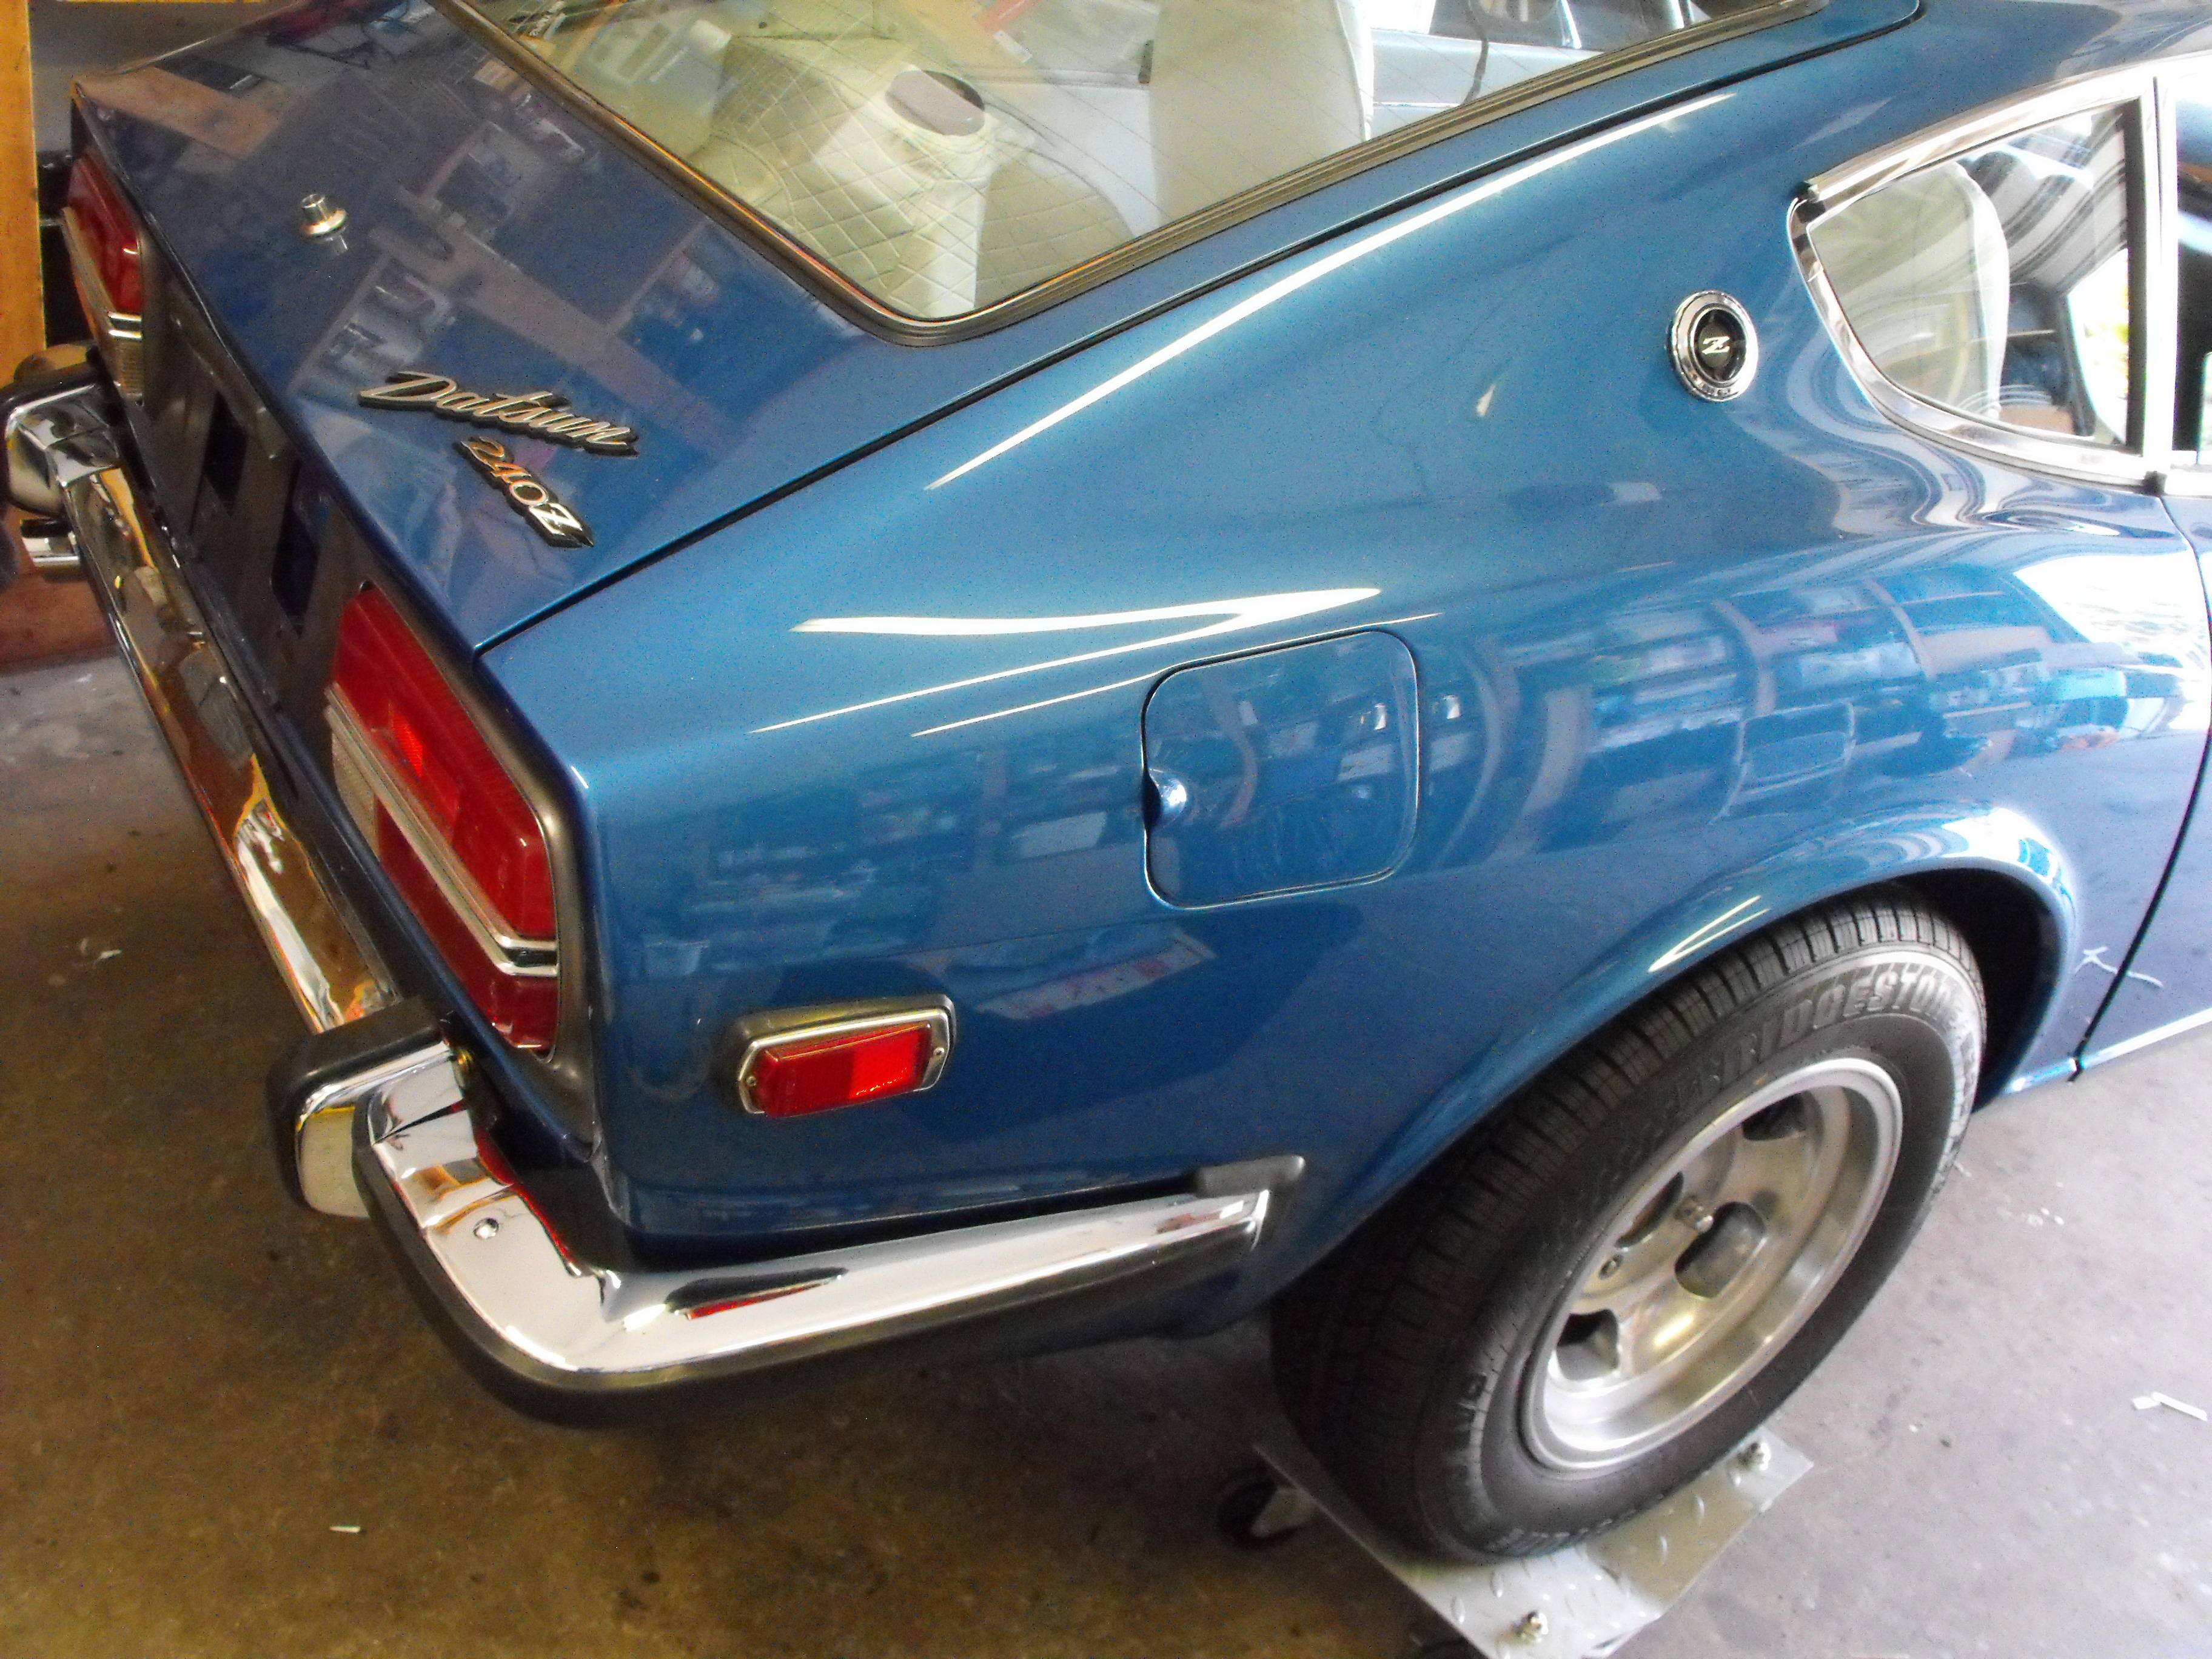
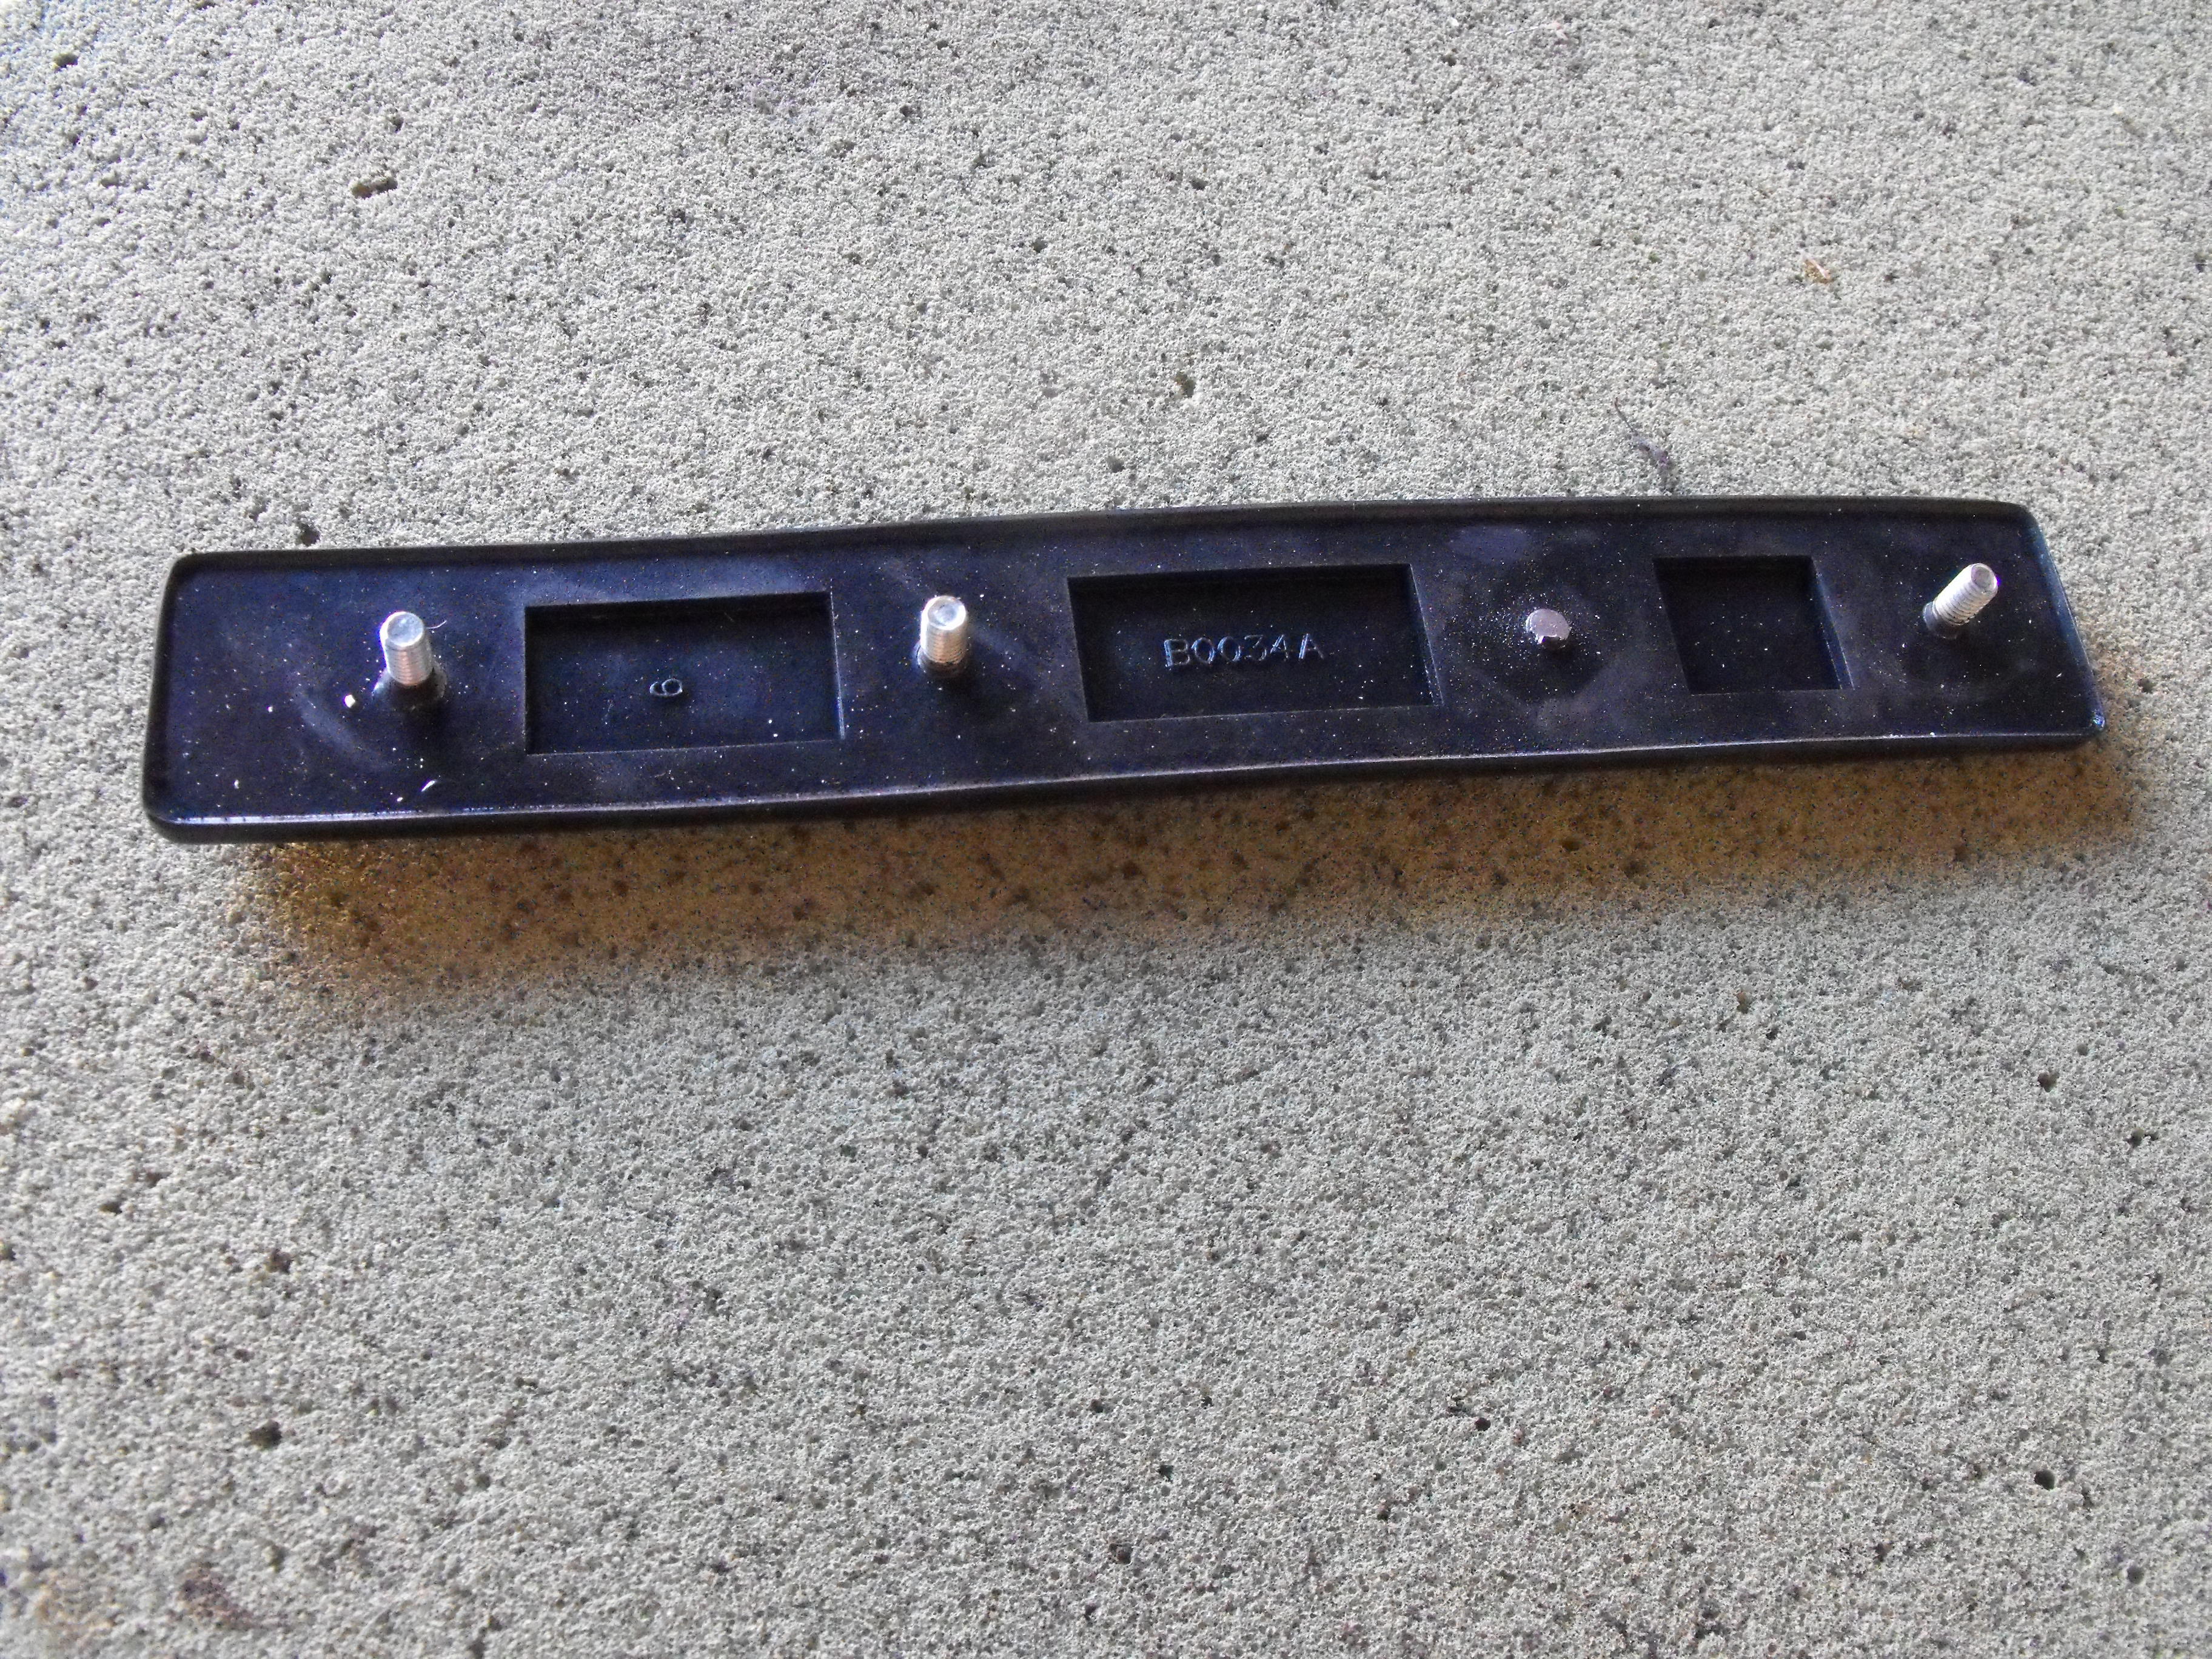
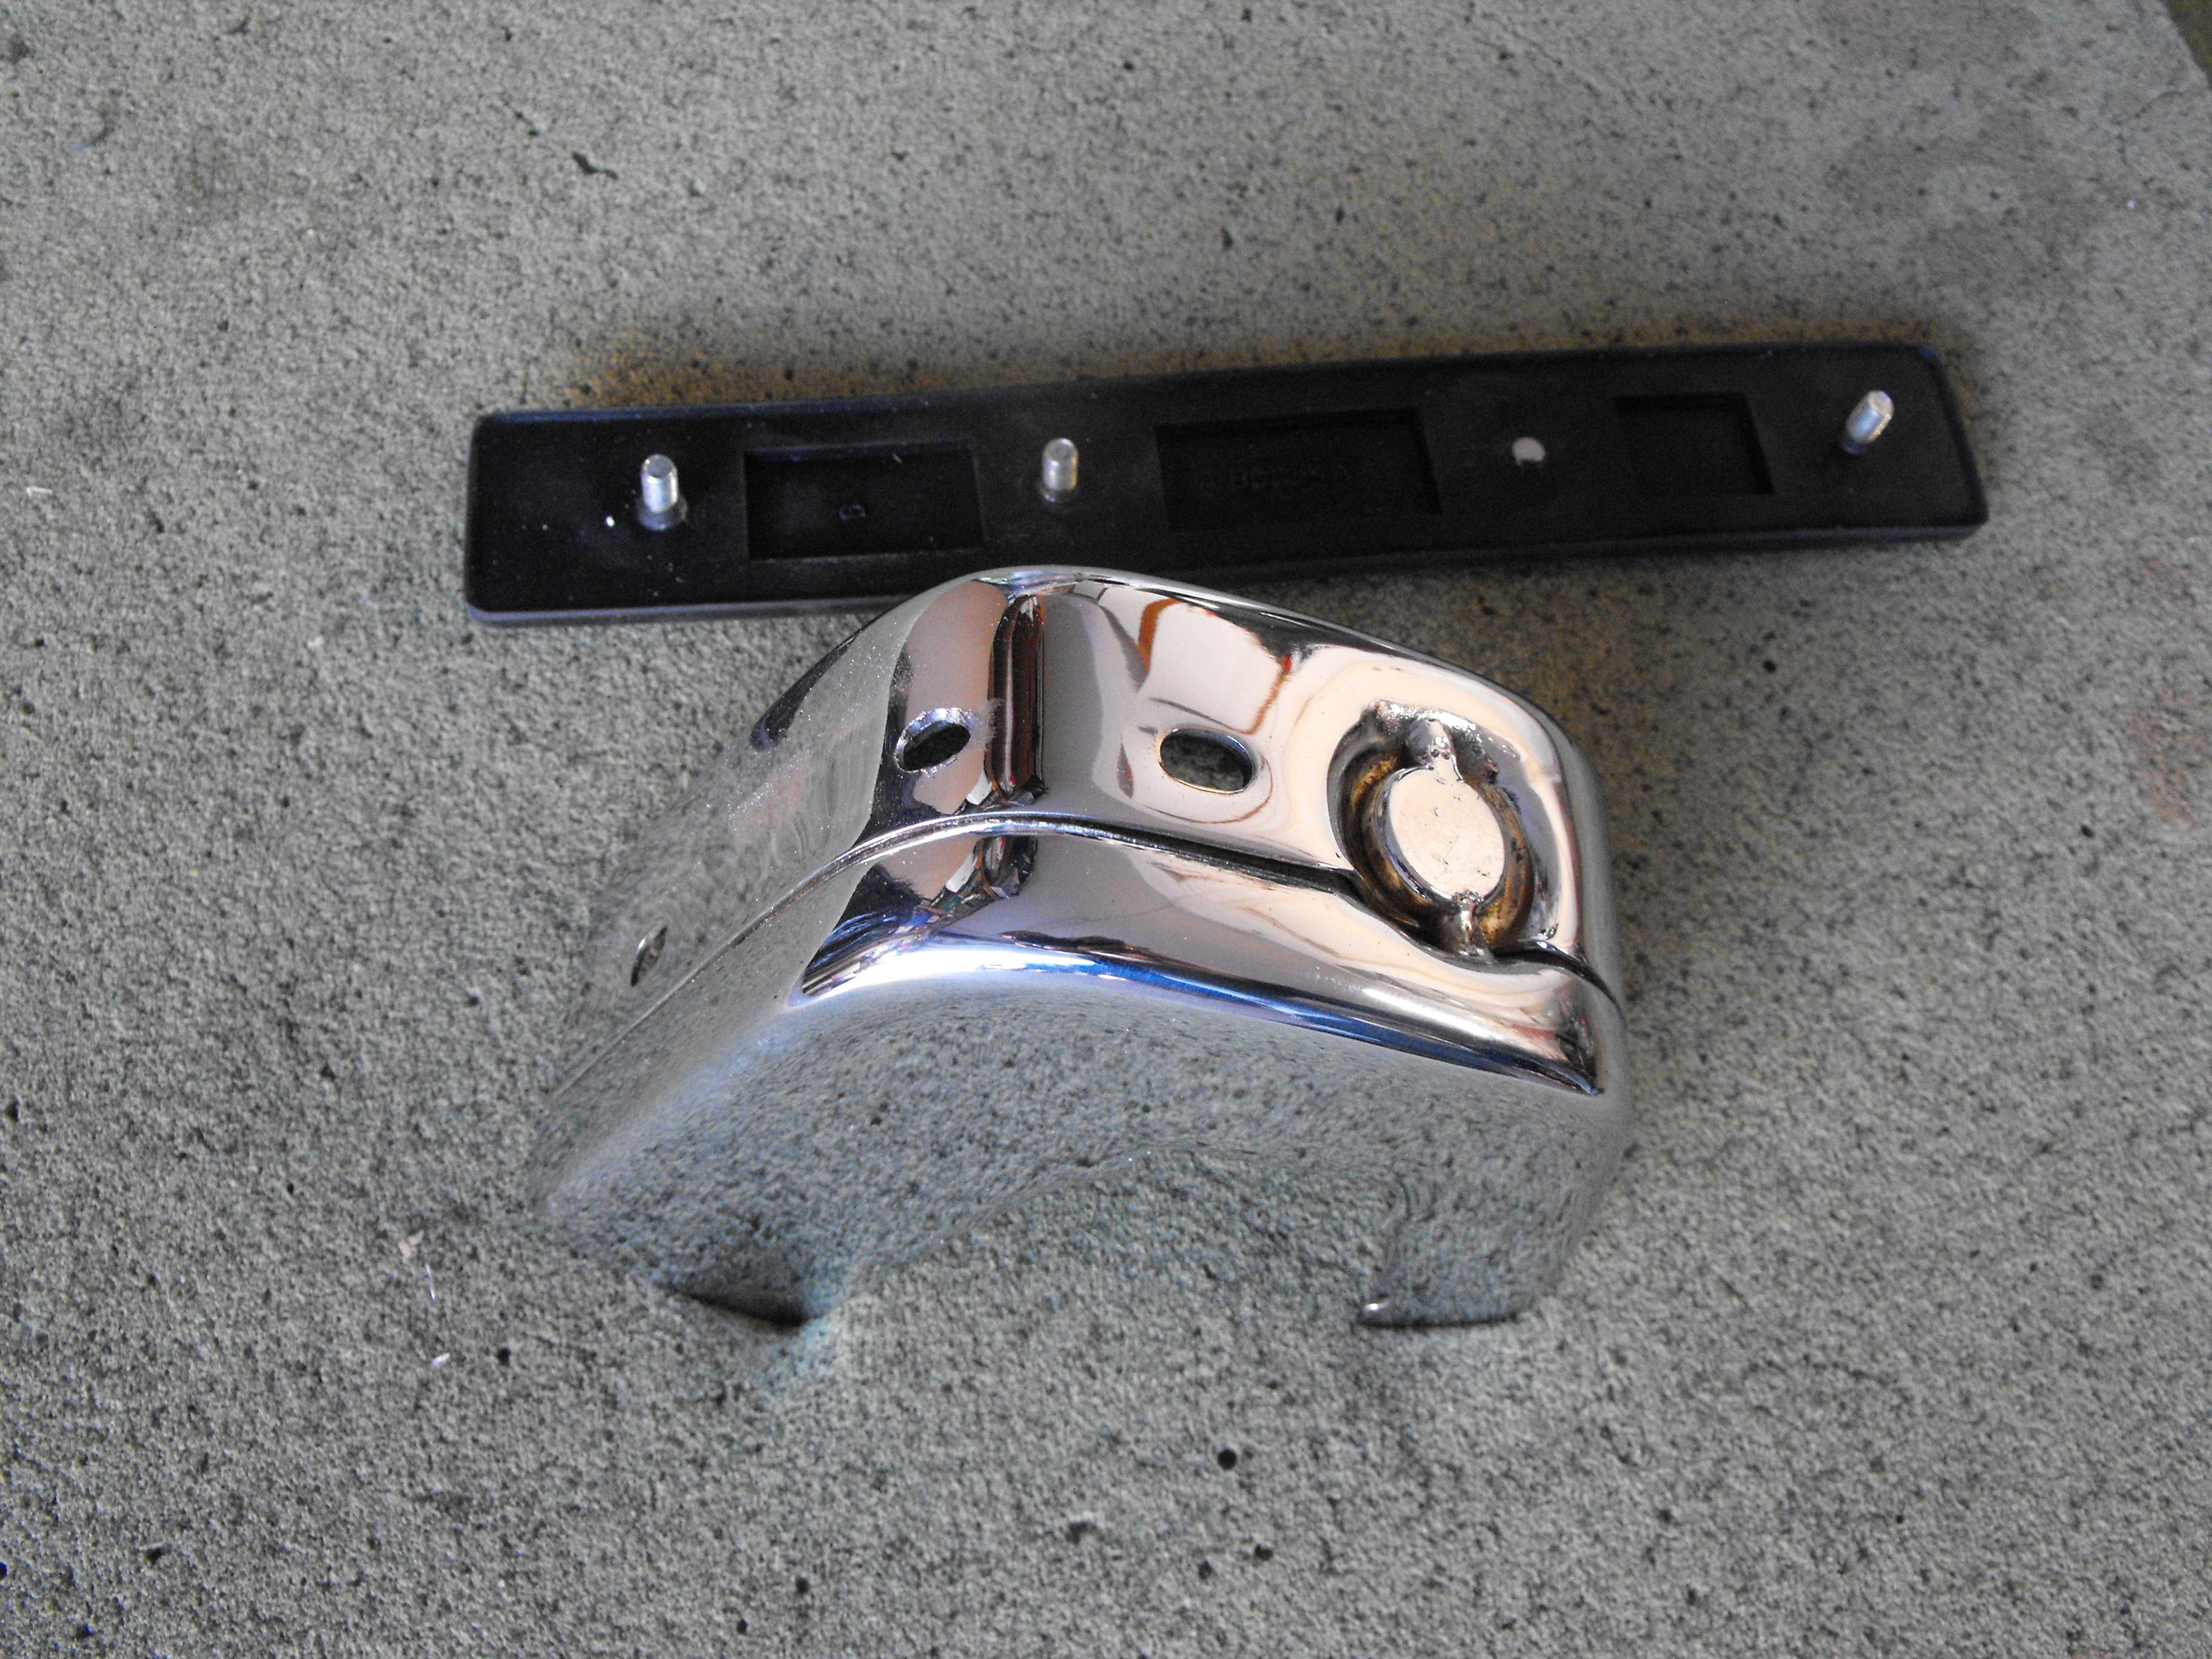
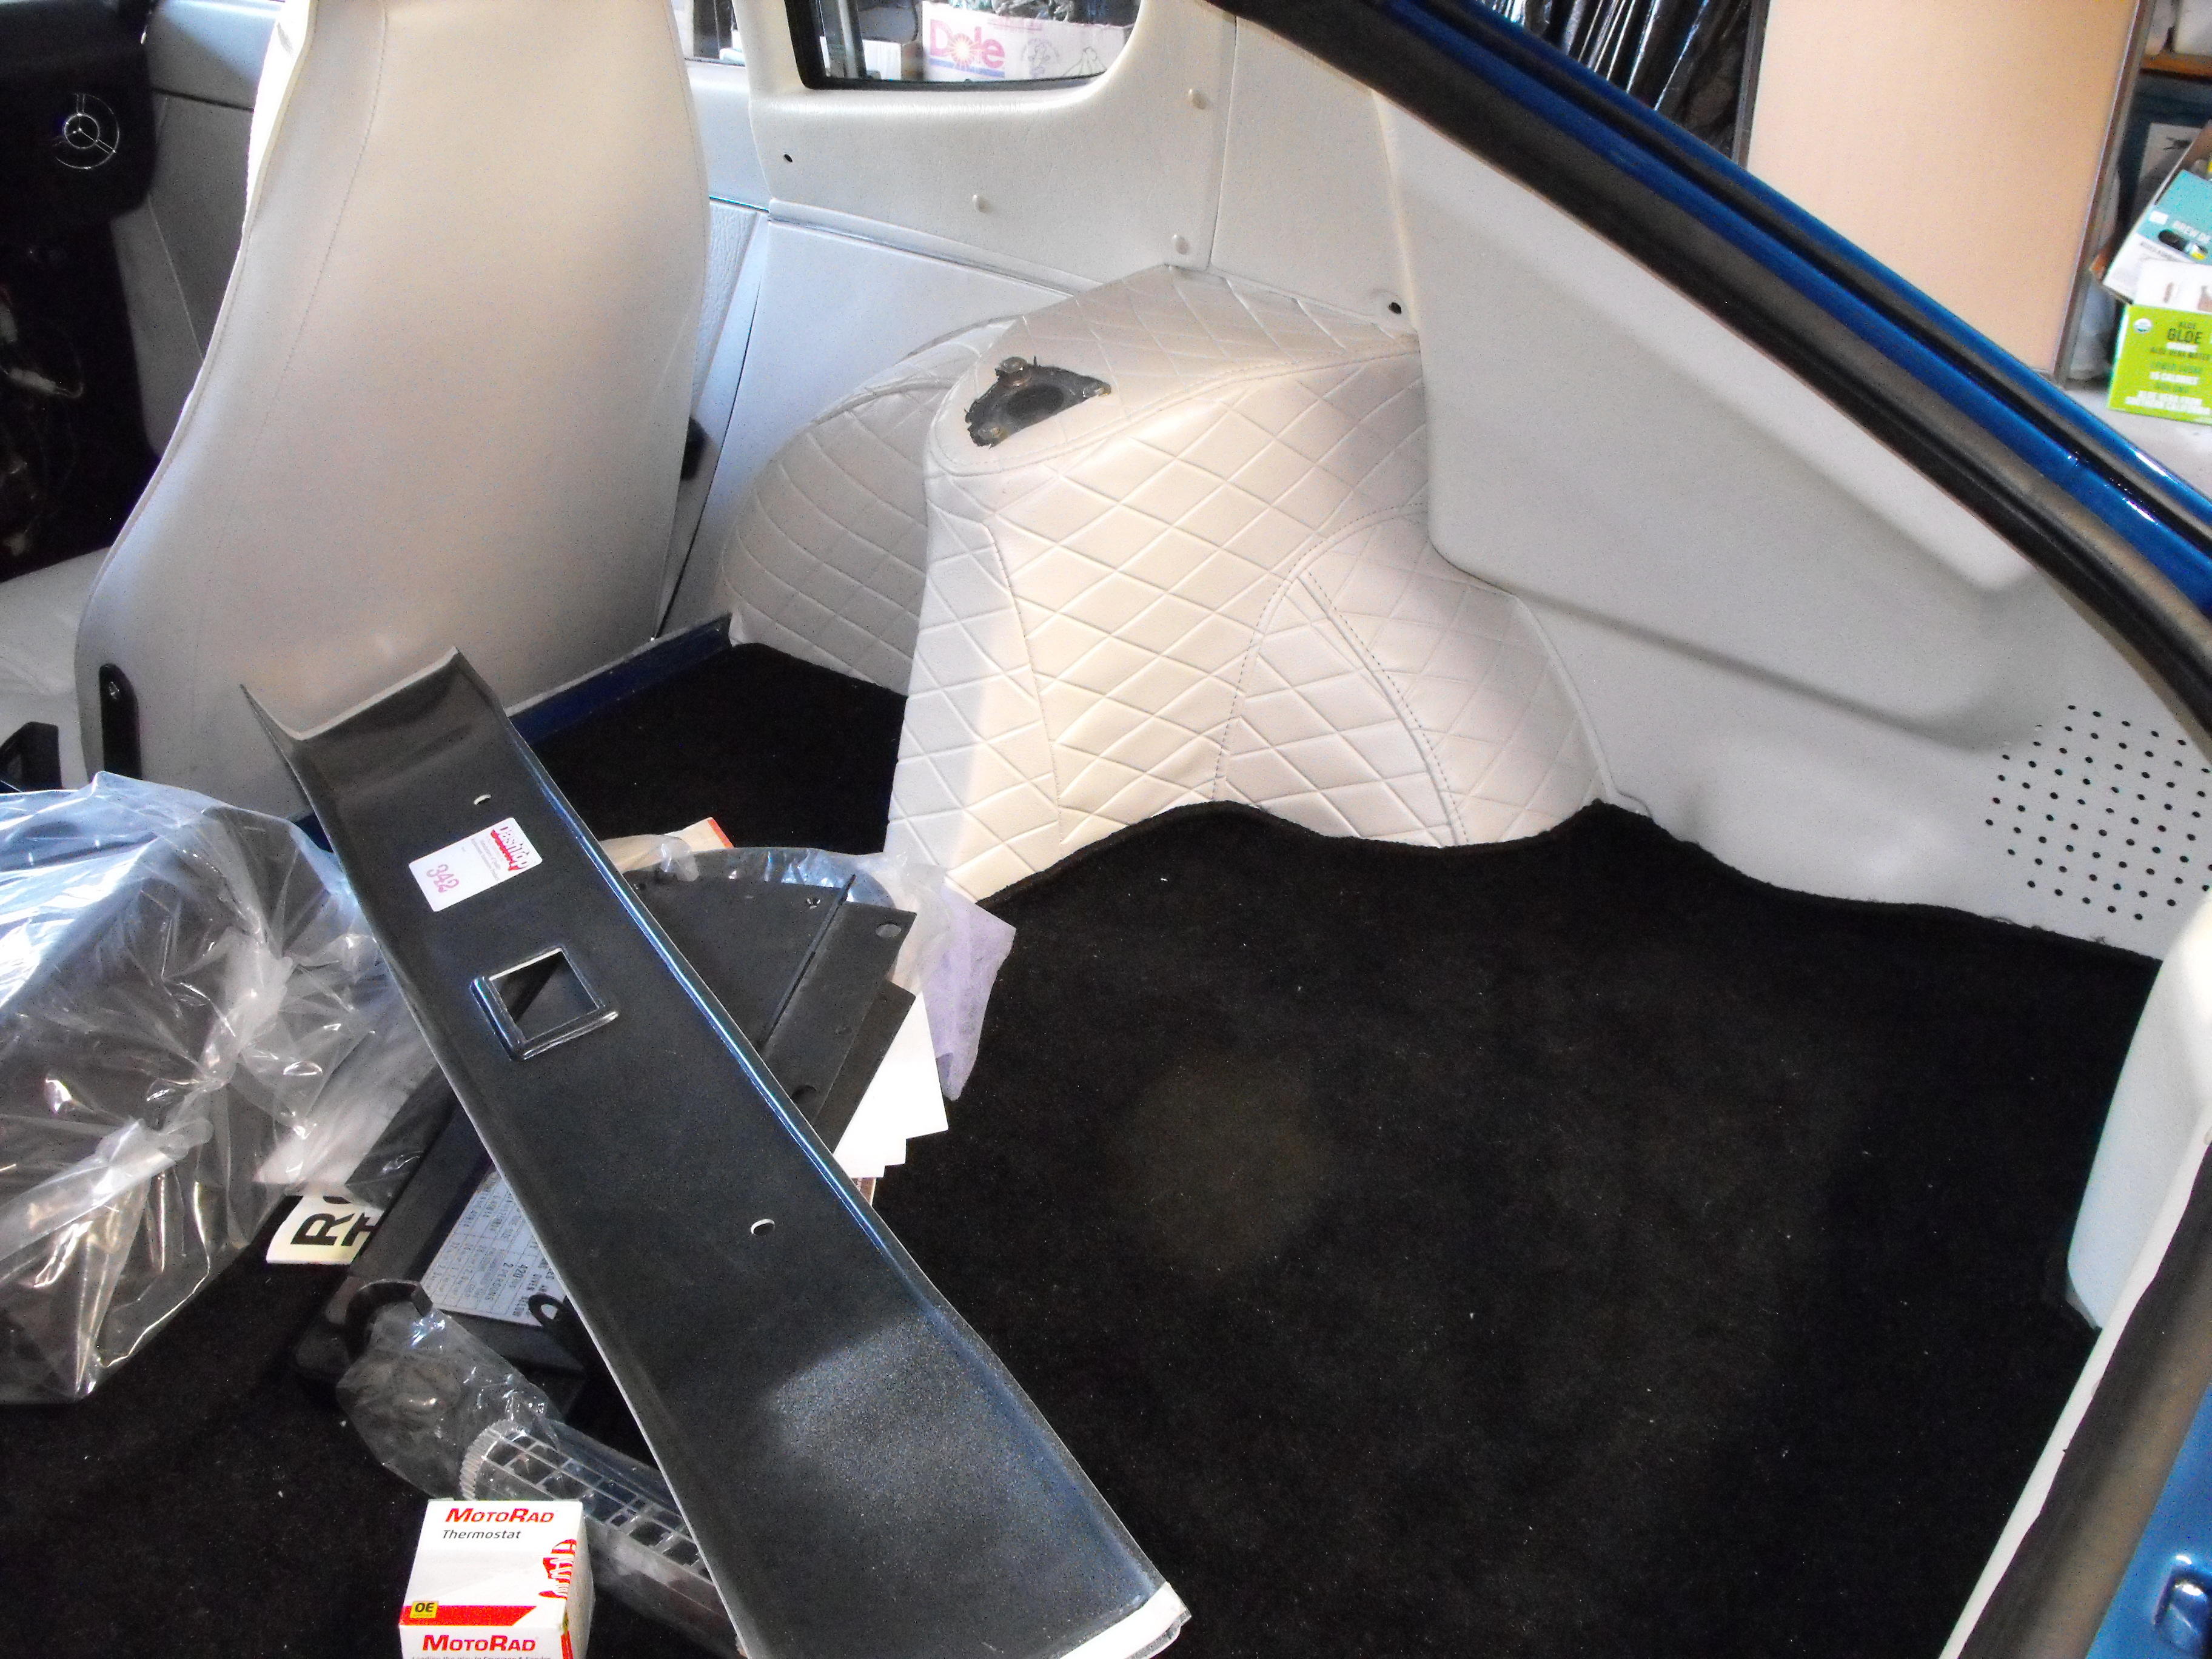
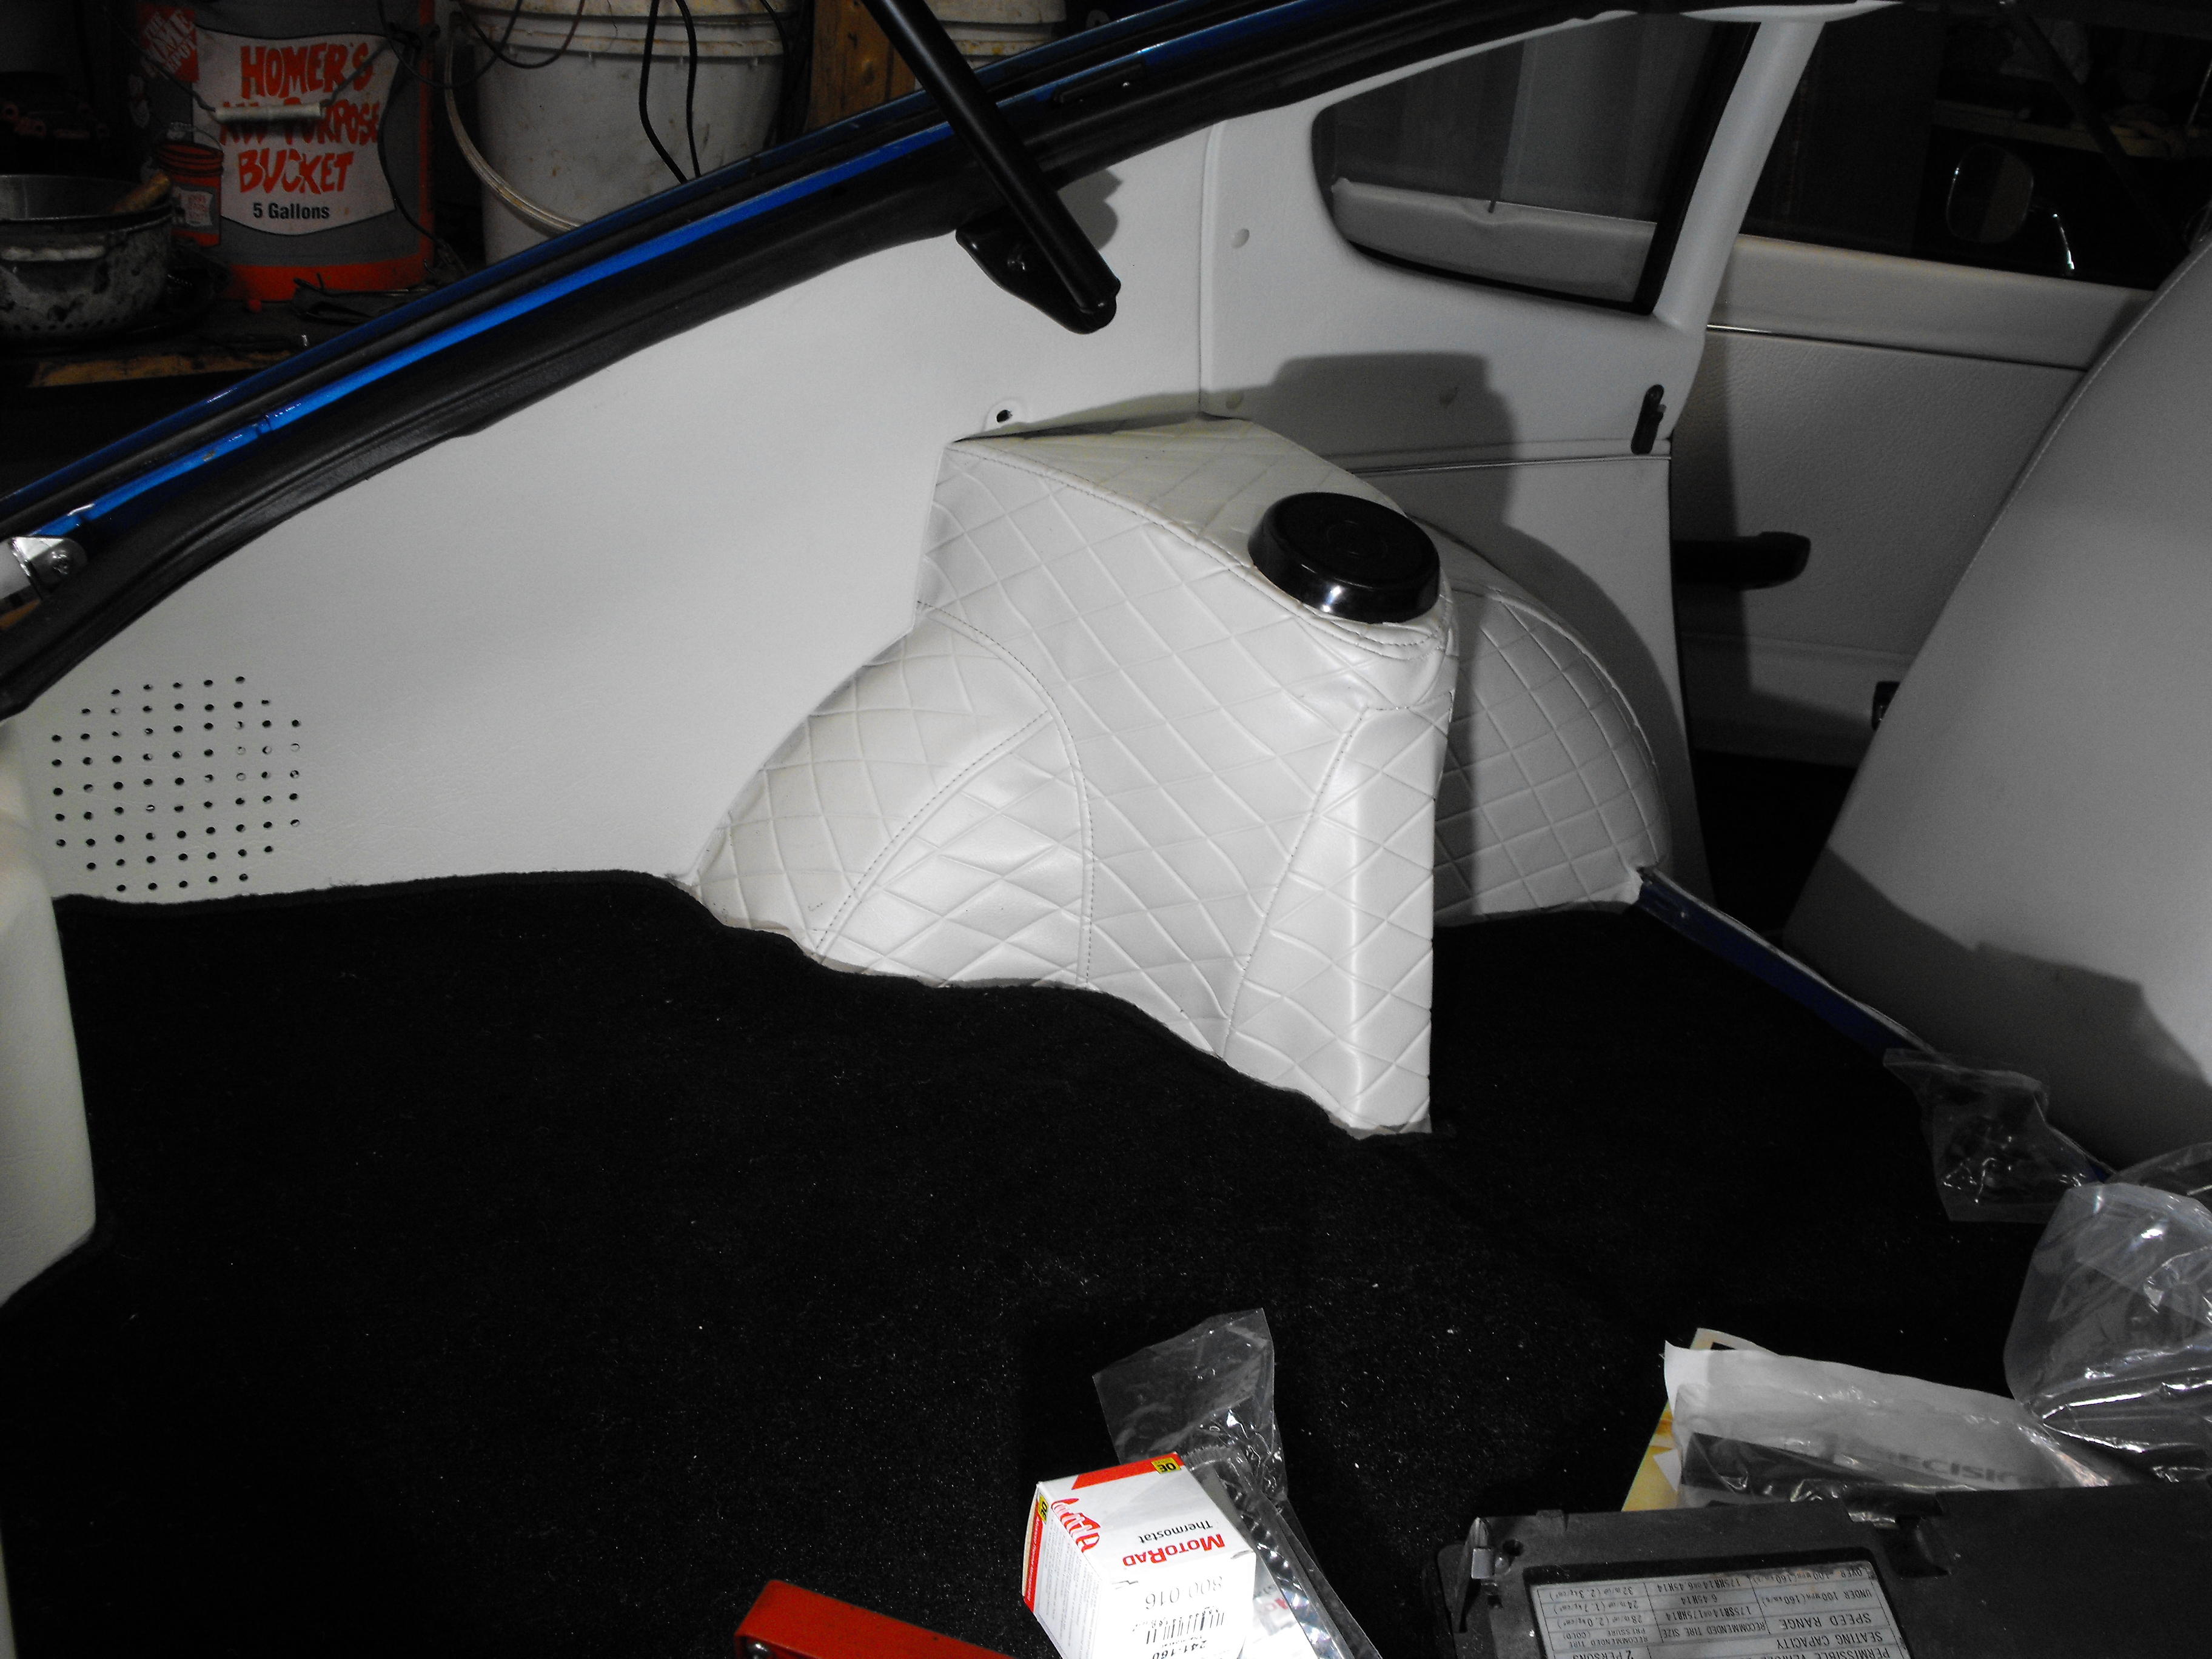
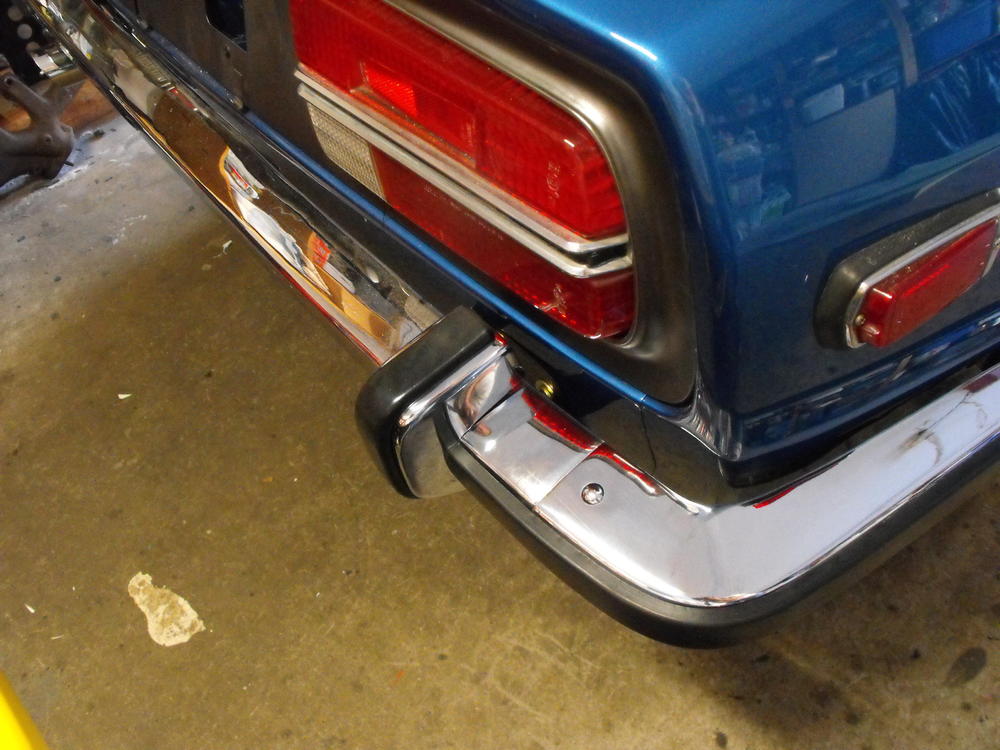
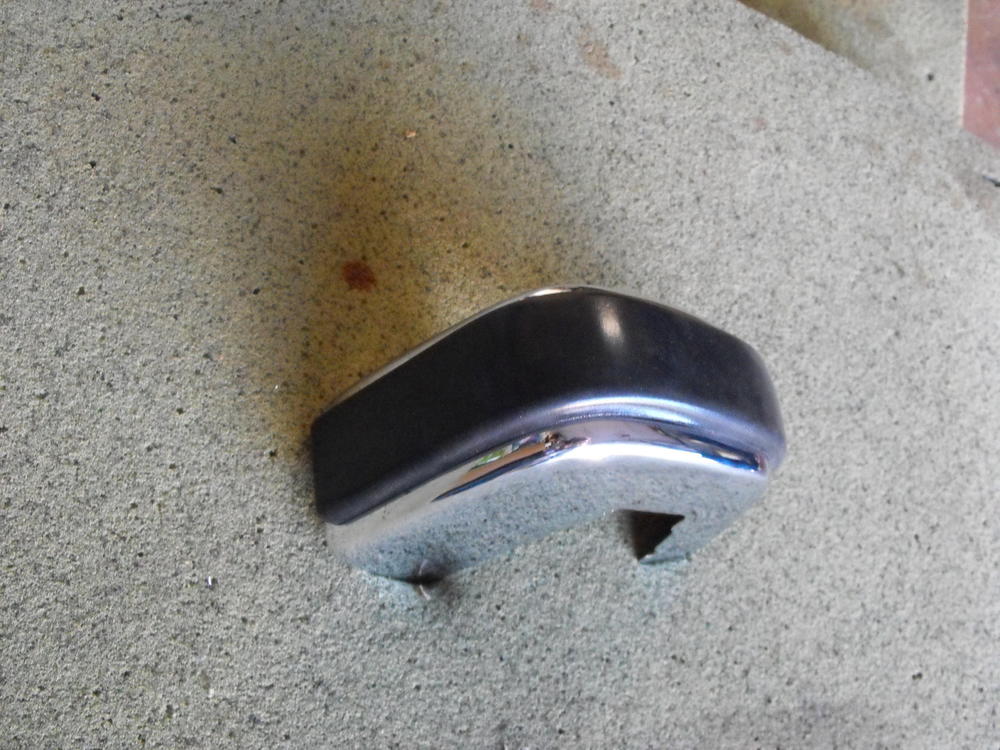
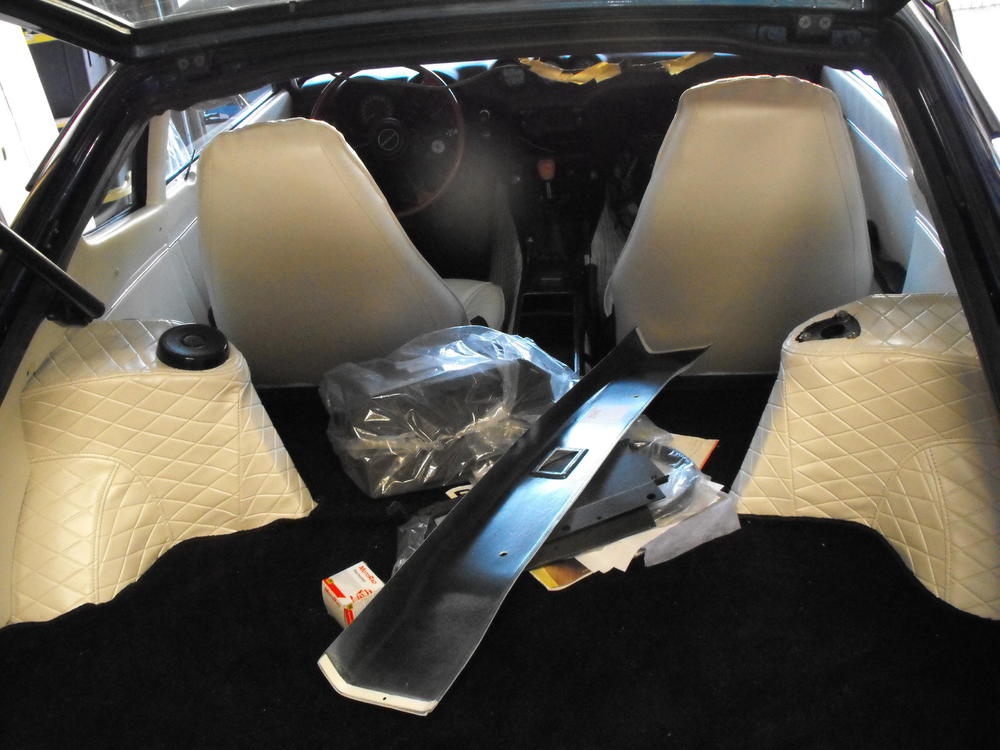
The rubber piece for the '73 bumperette's is impossible to find. So, I figured I would order the earlier (70-72) bumperette rubber and see how that fit. Actually, it fit pretty well. The length of the rubber strip is exactly the same and the two end studs are also in the correct location for attachment. However, there are two center studs on early rubber and just one on the '73, and the locations are different. To make the early rubber work on the '73, I cut off one of the studs (The one that sits on top of the metal stud that attaches part to bumper) and drilled a hole in the bumperette where the other center stud would land. This worked very well and am pretty happy with the results. I put in the last of the vinyl and panels (just a few final fasteners and rivets to install). I ended up going to the local auto upholstery shop to have them hem up the wheel well cover portion that had the missing hem. It took them just 10 mins and was cheap, $10. The vinyl was fairly easy to put in, the panels were again a challenge. The holes do not line up well. I will probably send a note of to the manufacturer, letting them know about this issue. The new chrome vents came in.....thanks @Zup I will pick up the last up my plating items today along with the fenders.


-
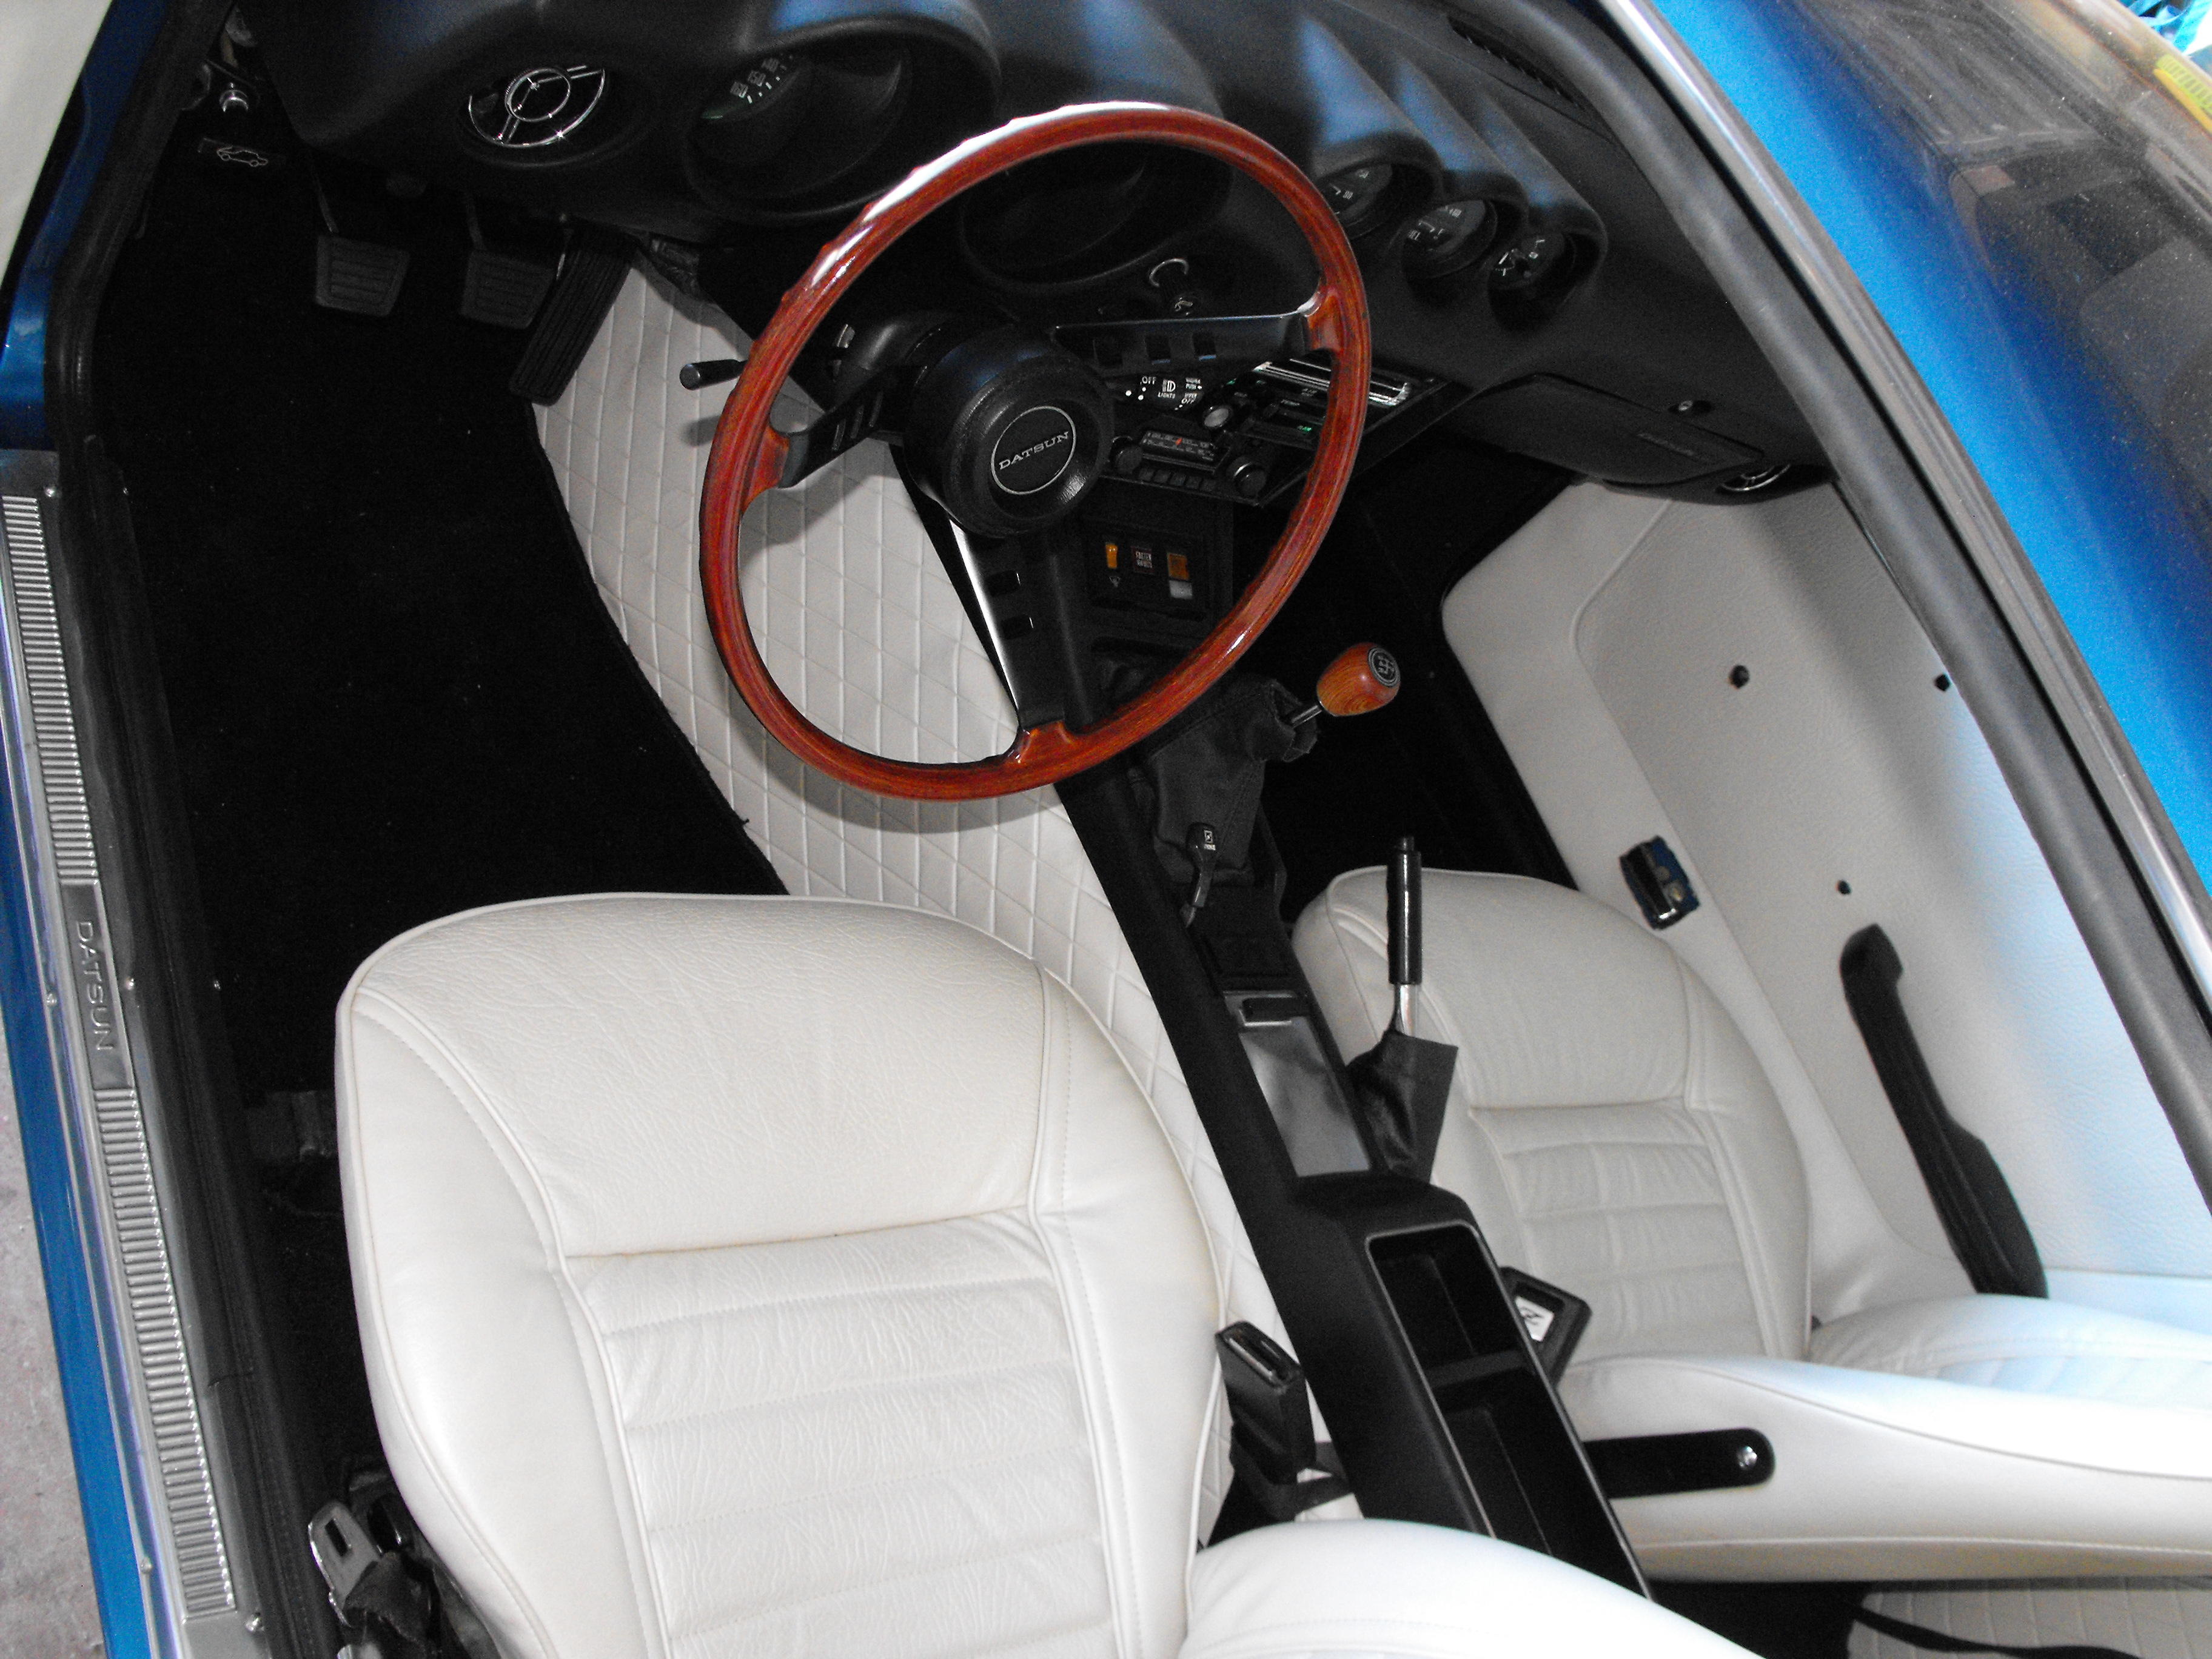
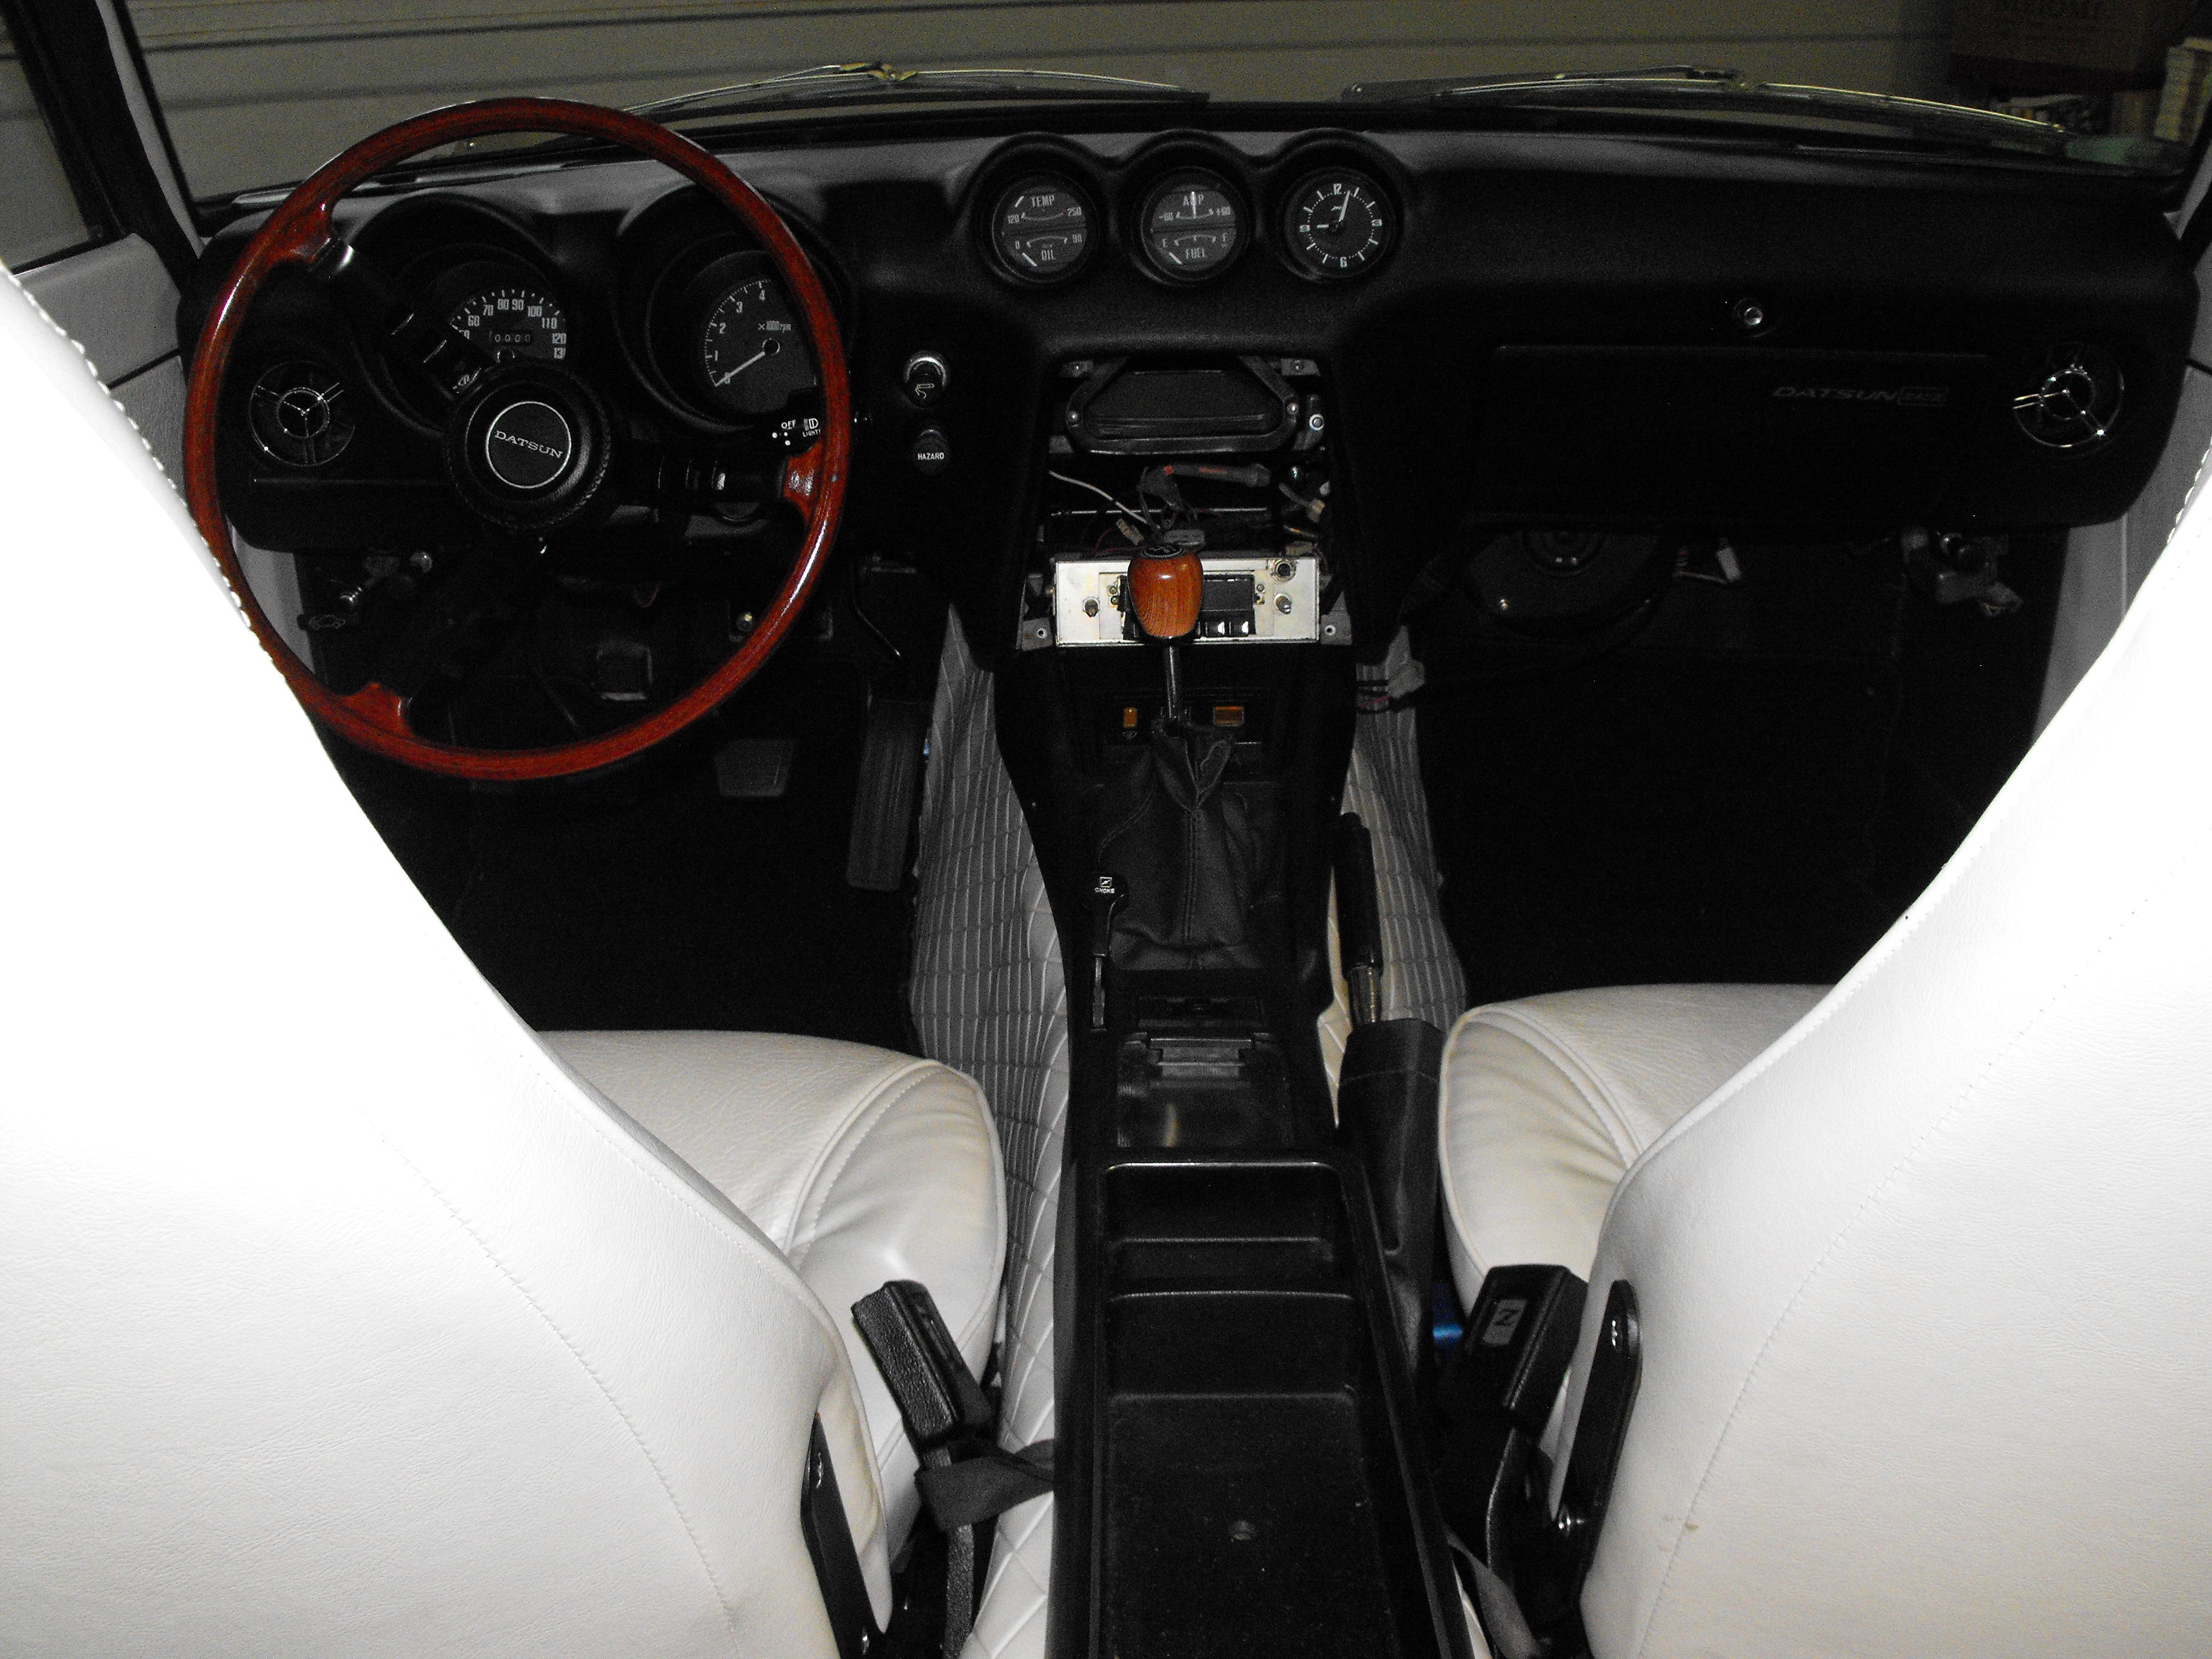
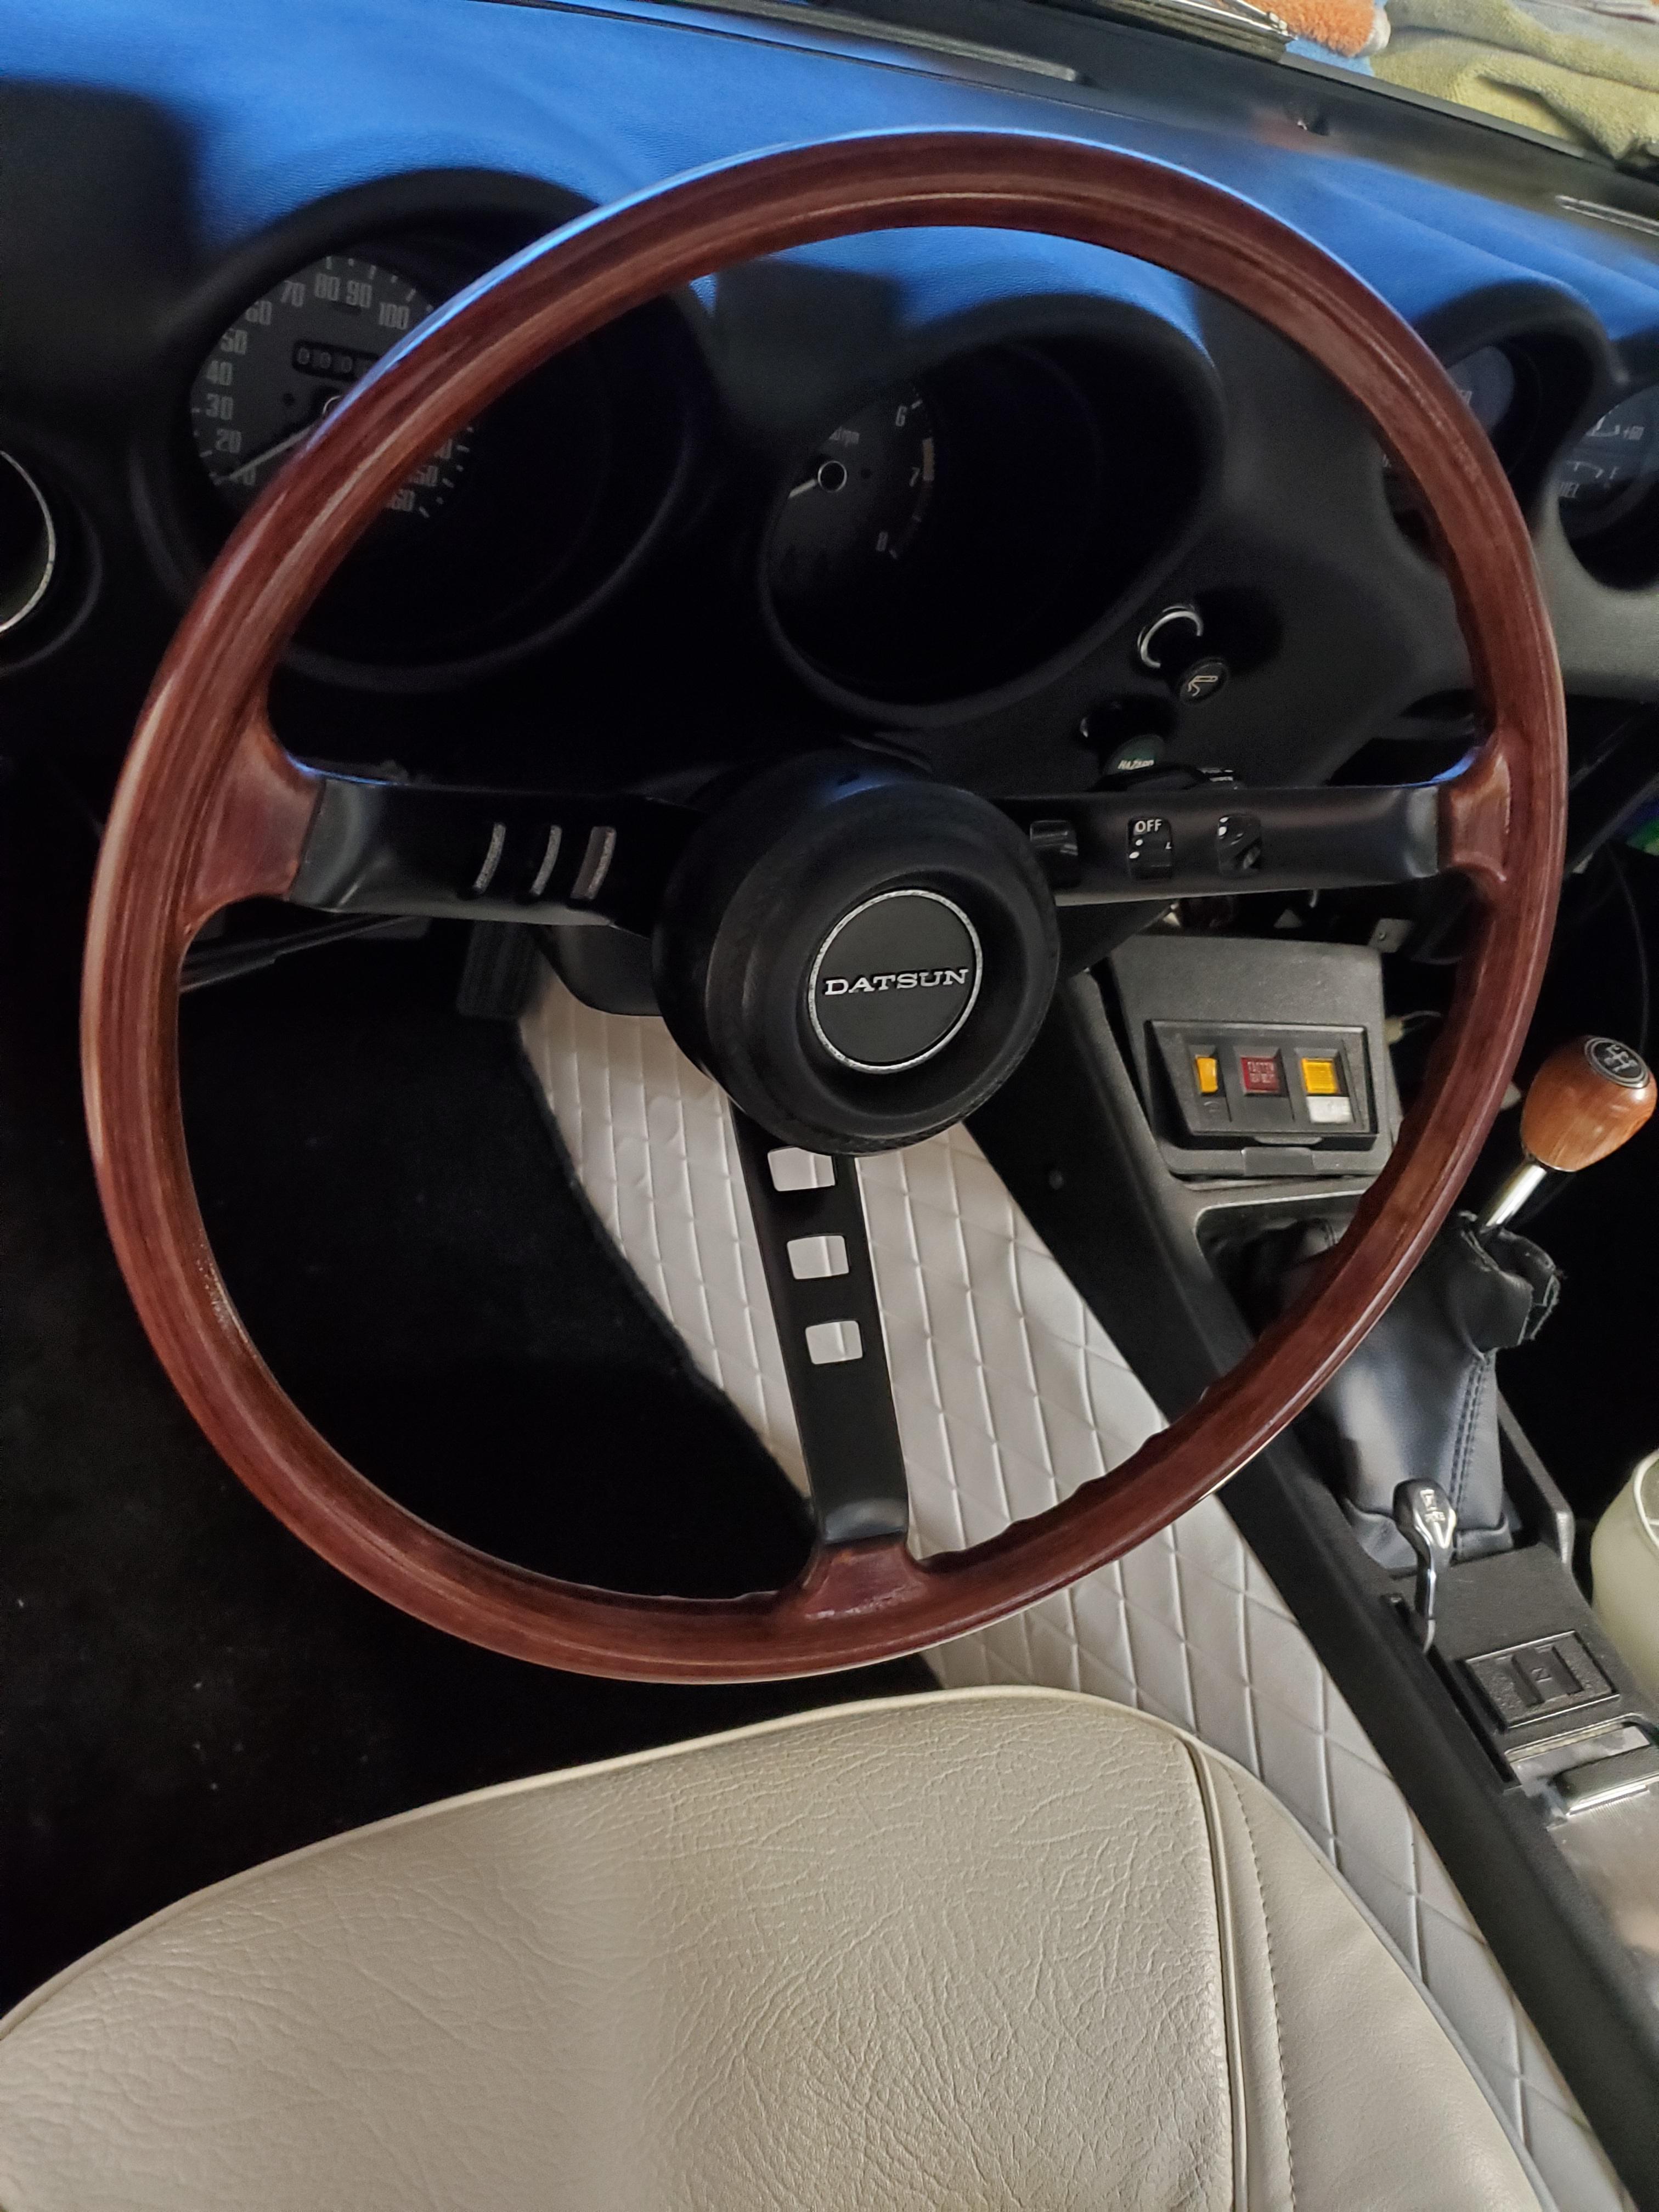
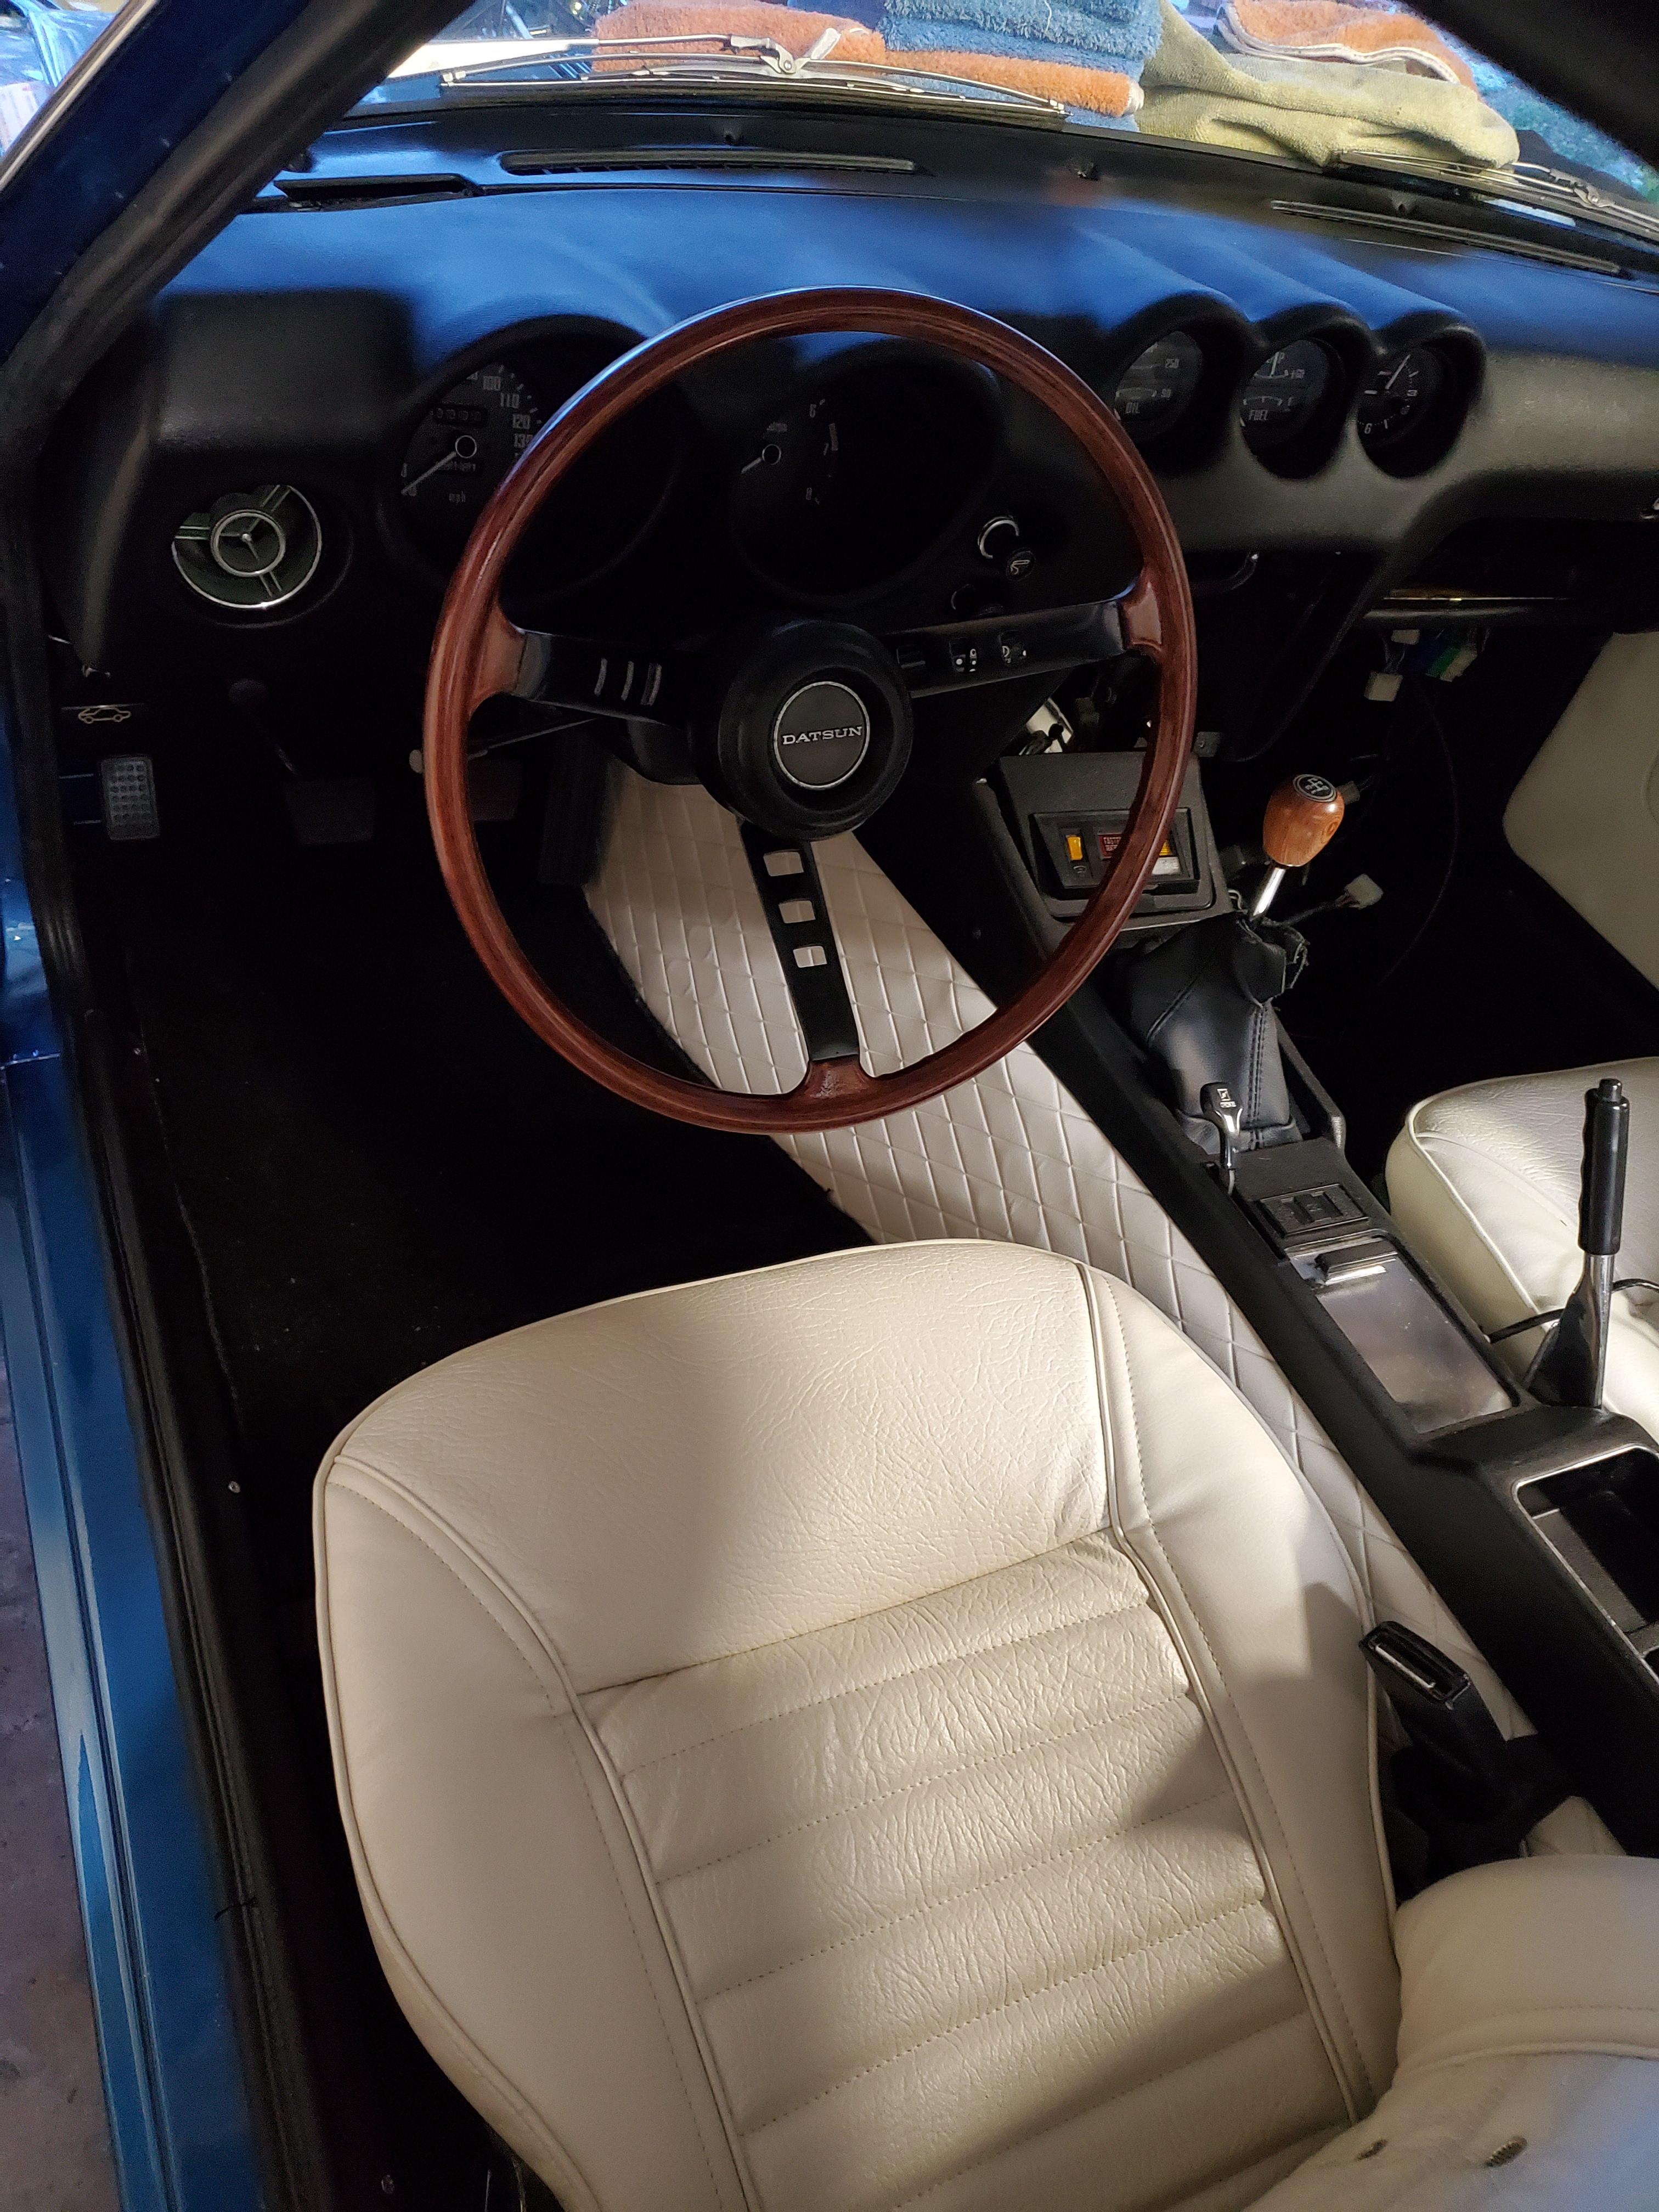
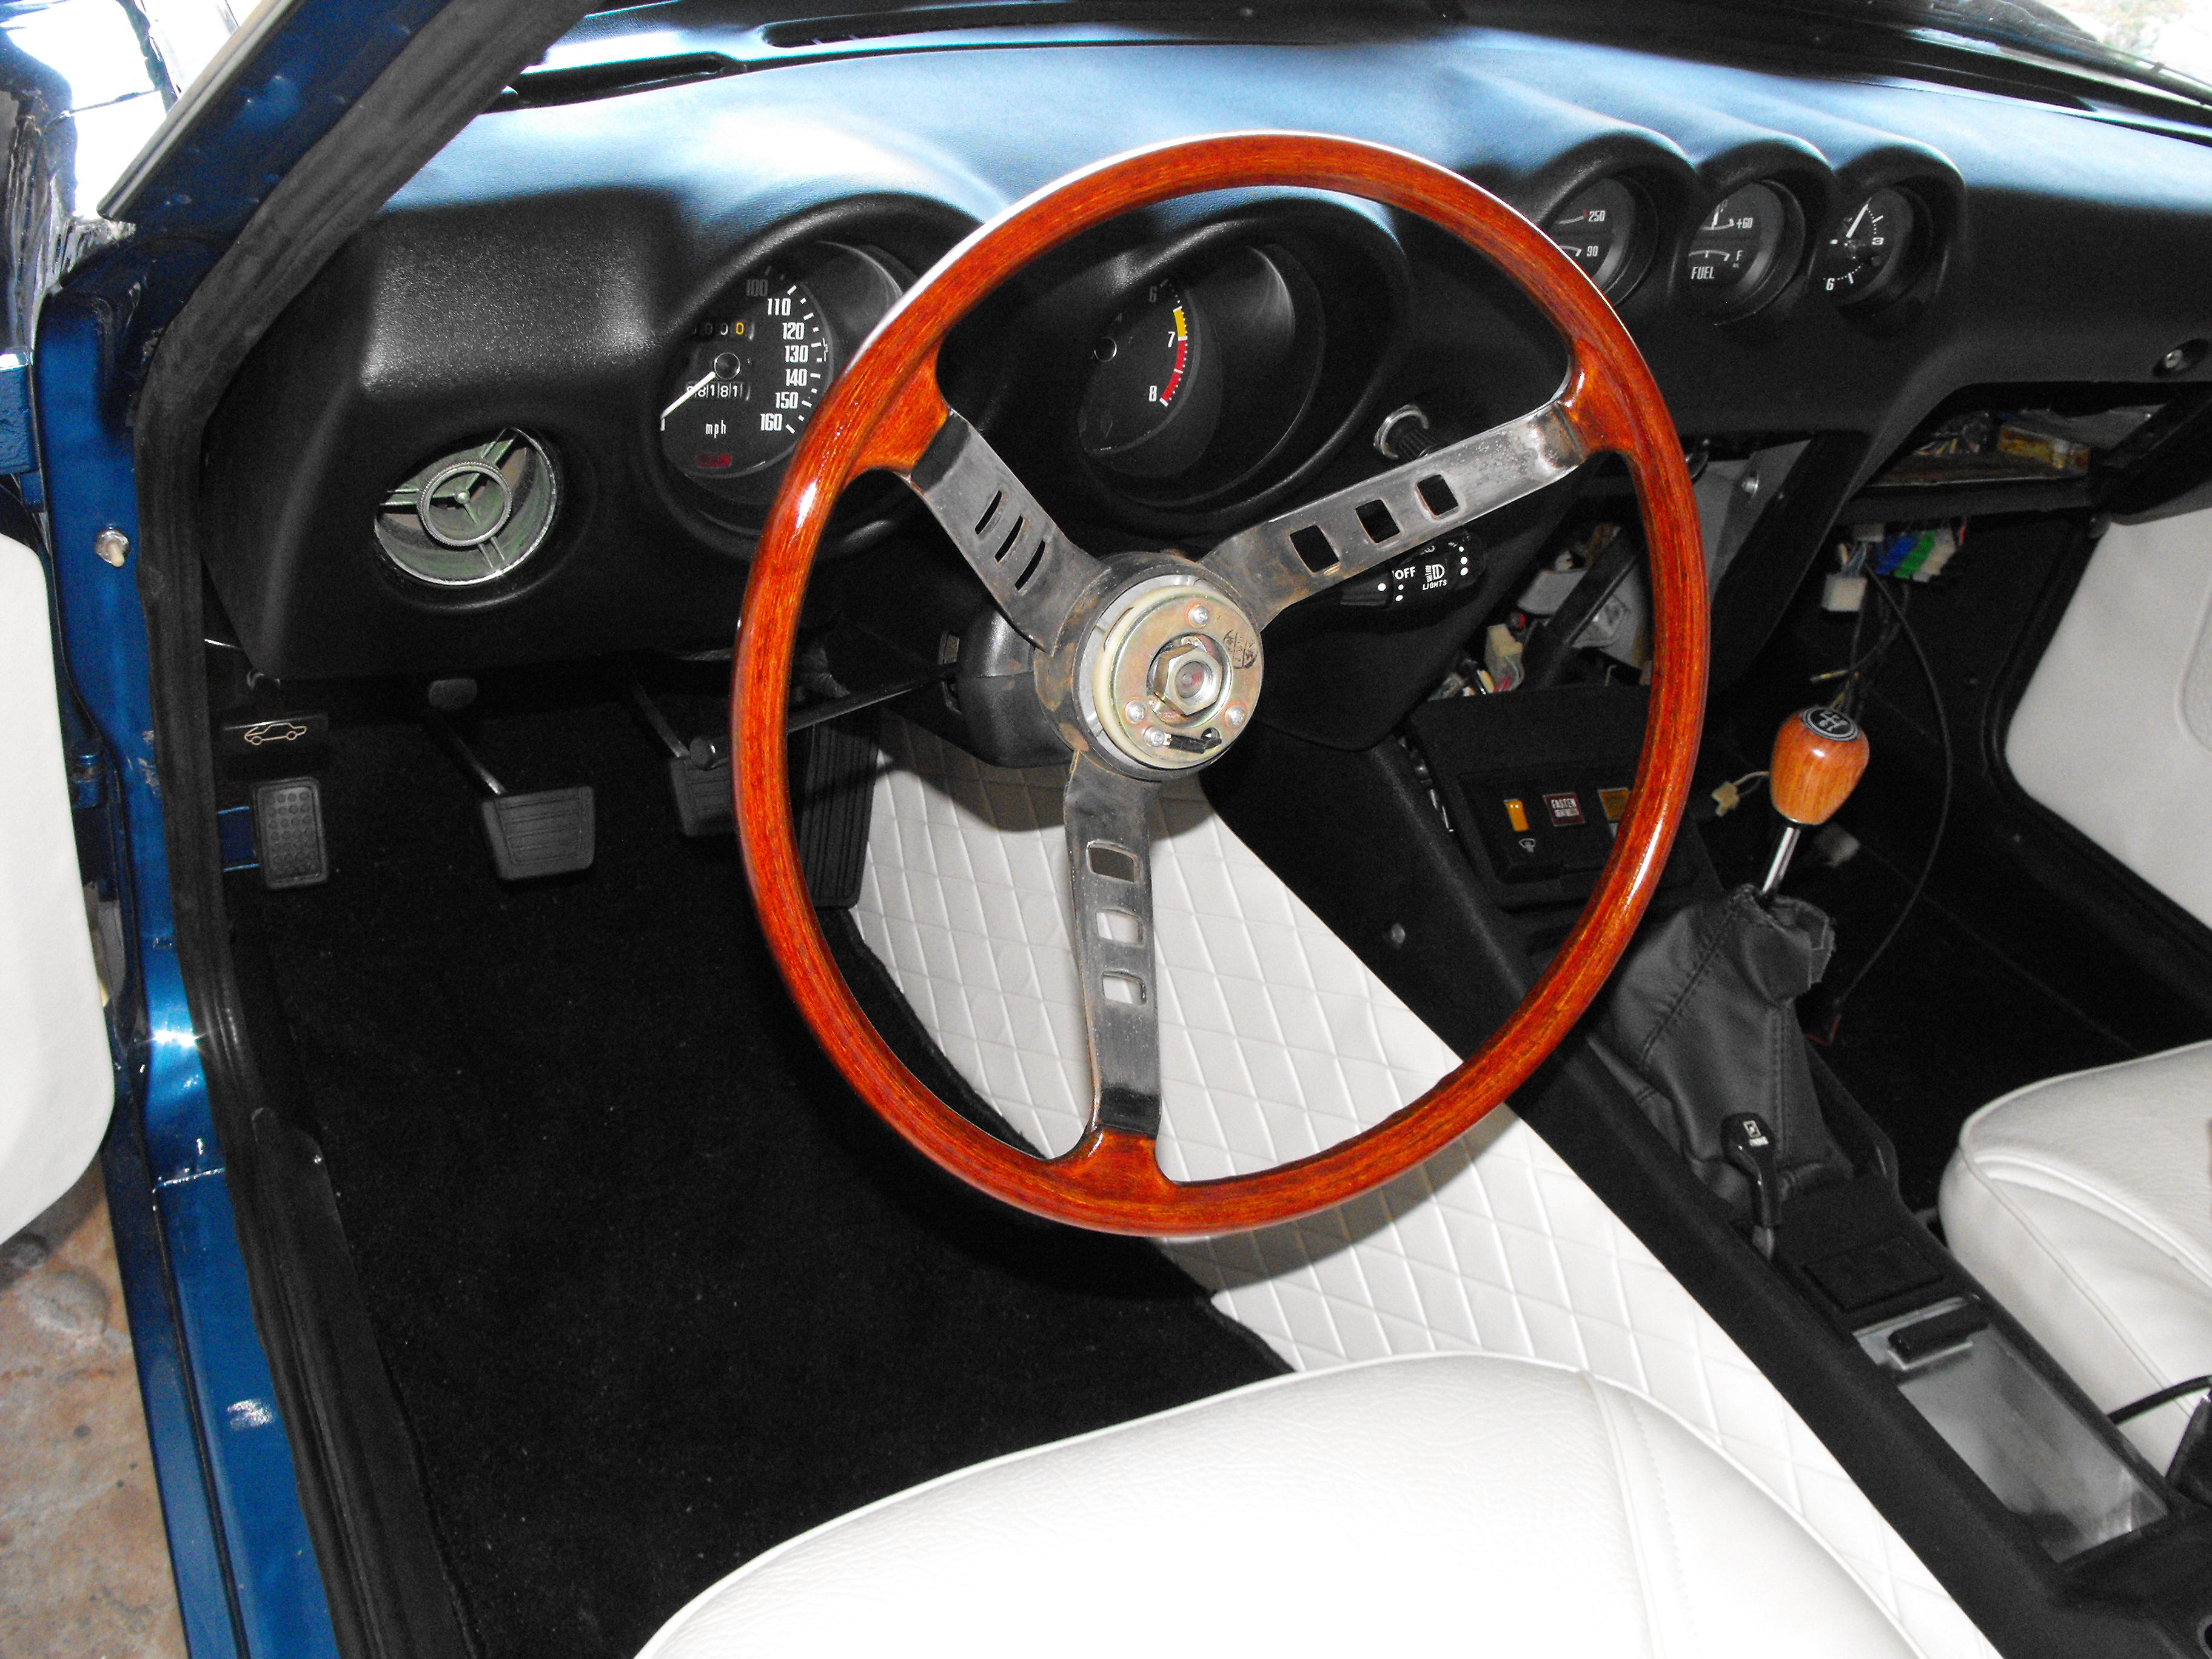
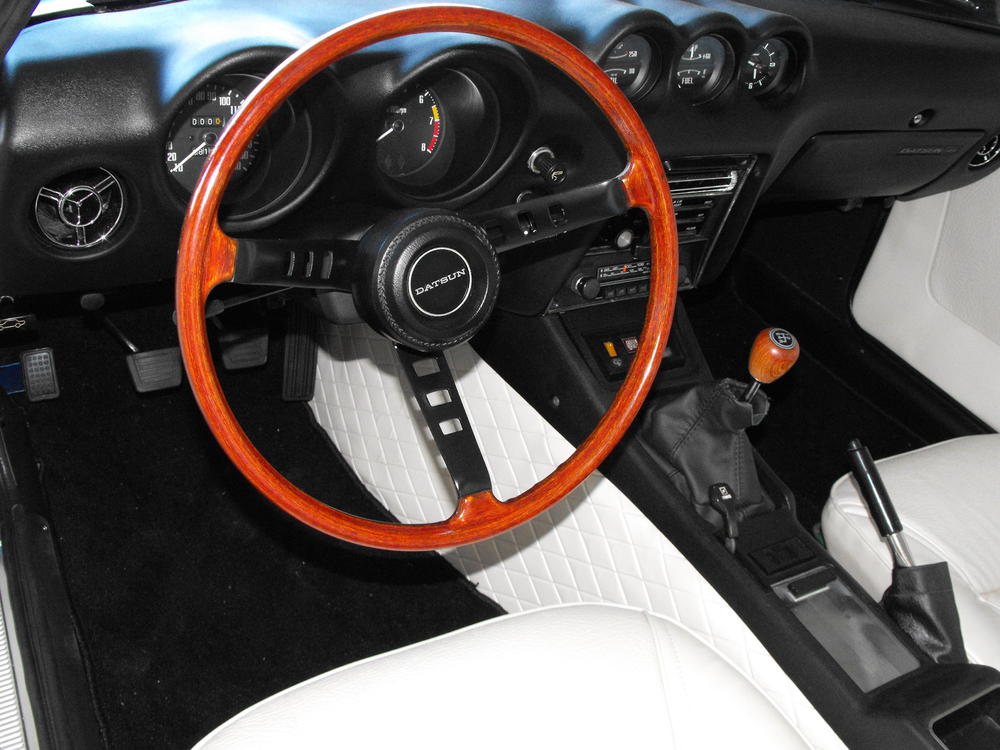
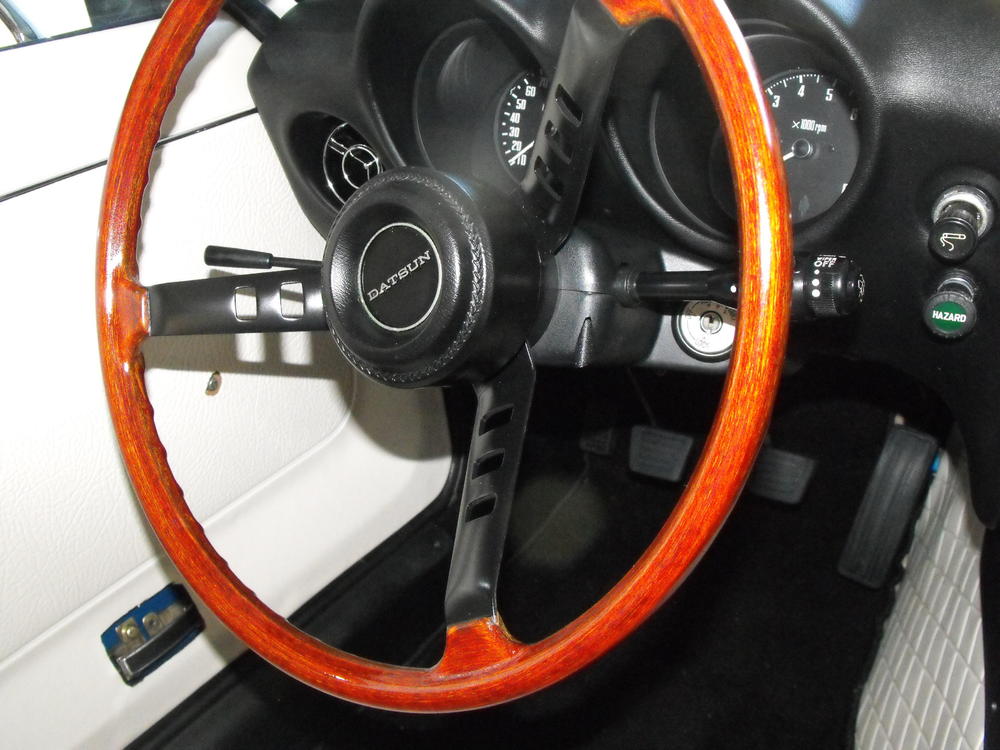
Got the steering wheel finished up.


-
Fortunately, the steering wheel was not in too bad a shape prior to the start as it had a steering wheel cover over it for a portion of its' life. @jayhawk could add a little more detail to that. The steering wheel is pretty much a 'minimalist' restoration. It was fairly dark at the start, which I think is mostly from a lot of crud (accumulated dead skin, oils, candy bar coatings, etc). All I did was wipe down the wheel with paint thinner to remove the dark gummy material that accumulates. Then, I lightly sanded with 220 grit sandpaper till the brown dust started to appear. At that point I stopped and move to the next section. I sanded mostly in a circular direction on the drivers side of the wheel. I sanded, perpendicular to that on the finger or bumpy side, so that the high parts of the bumps were not worn off. If you sand circular on that side the valleys will be dark and the bumps light. The area with the smallest diameter on the wheel was a bit darker than the rest for some reason. I wasn't exactly sure if this was still 'gummy material' of just darker wood, so I sanded this area a bit more, till it was similar in color to the majority of the wheel color. After that, I just sprayed with two coats of gloss clear. I have used some red oak stain in the past, but the color seemed to be just about right, so I left it as is (I sprayed a light gloss clear coat over a portion to verify the color) . I was aiming to get it just a little darker than the stick shift knob shown in the picture. If the wheel would have been too light, I would have sanded off the small gloss section and used the stain. I will spray the center spokes satin black in the next day or two. Need to get new dash vents....
-
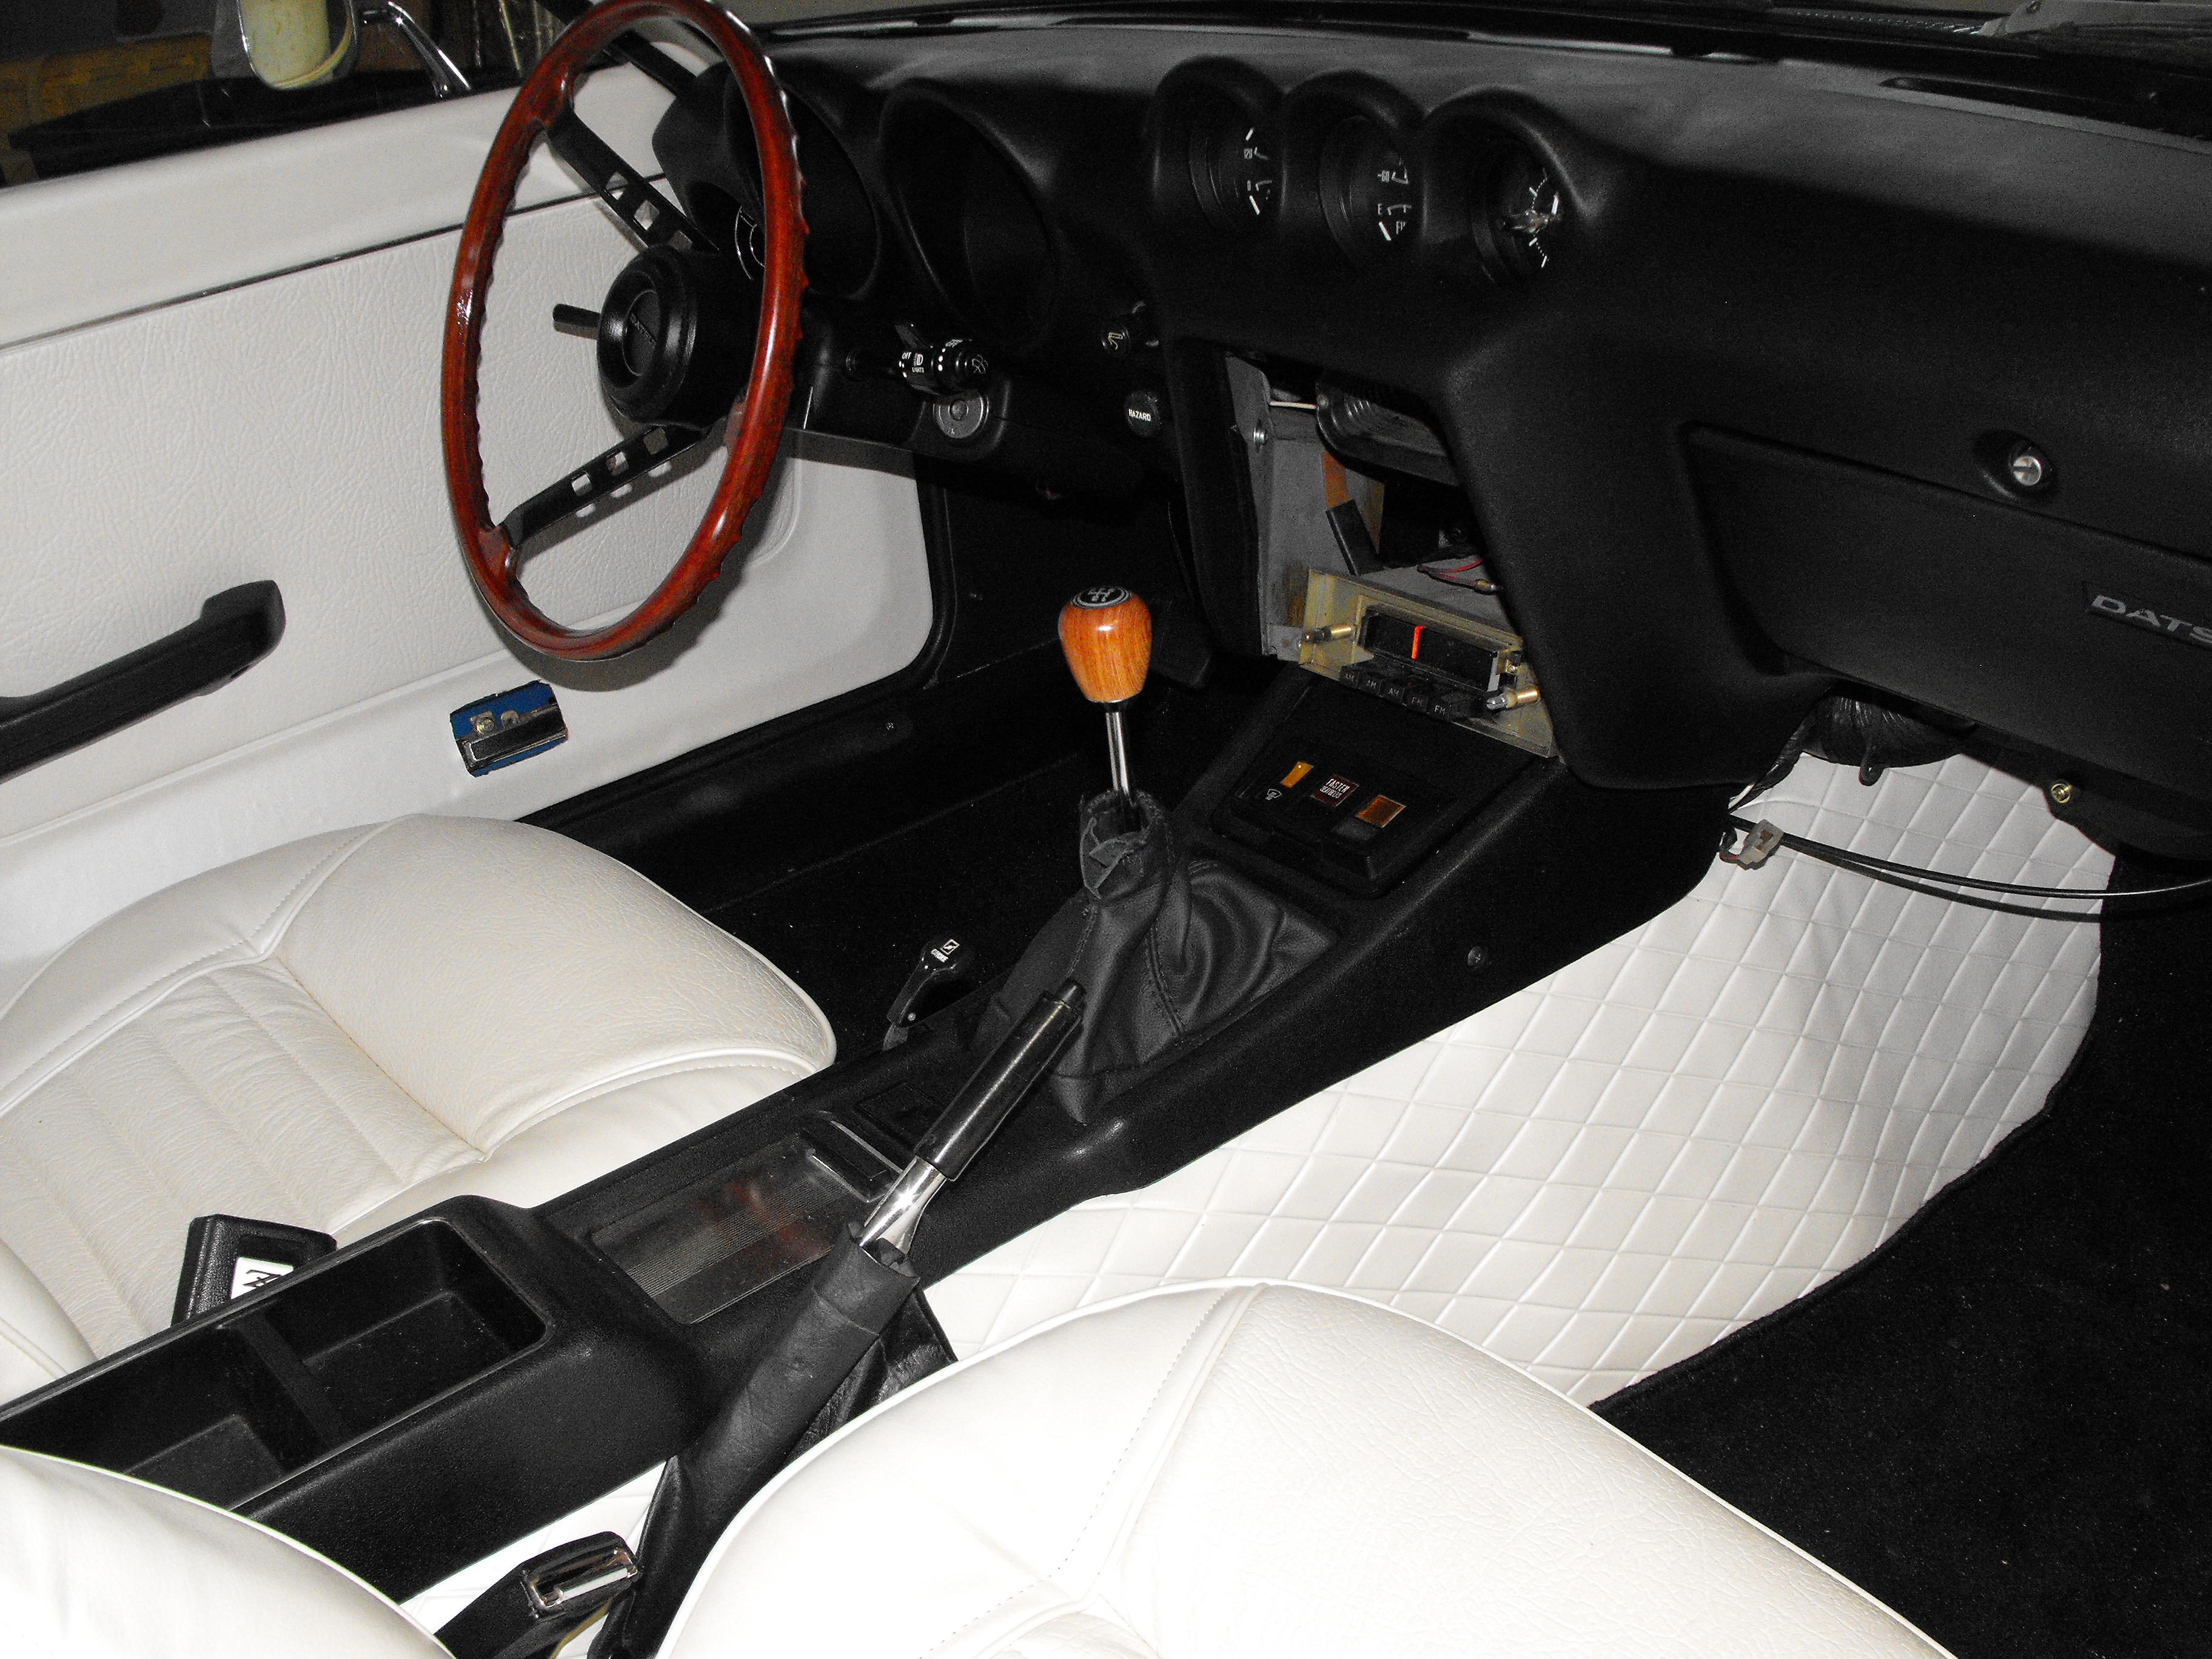
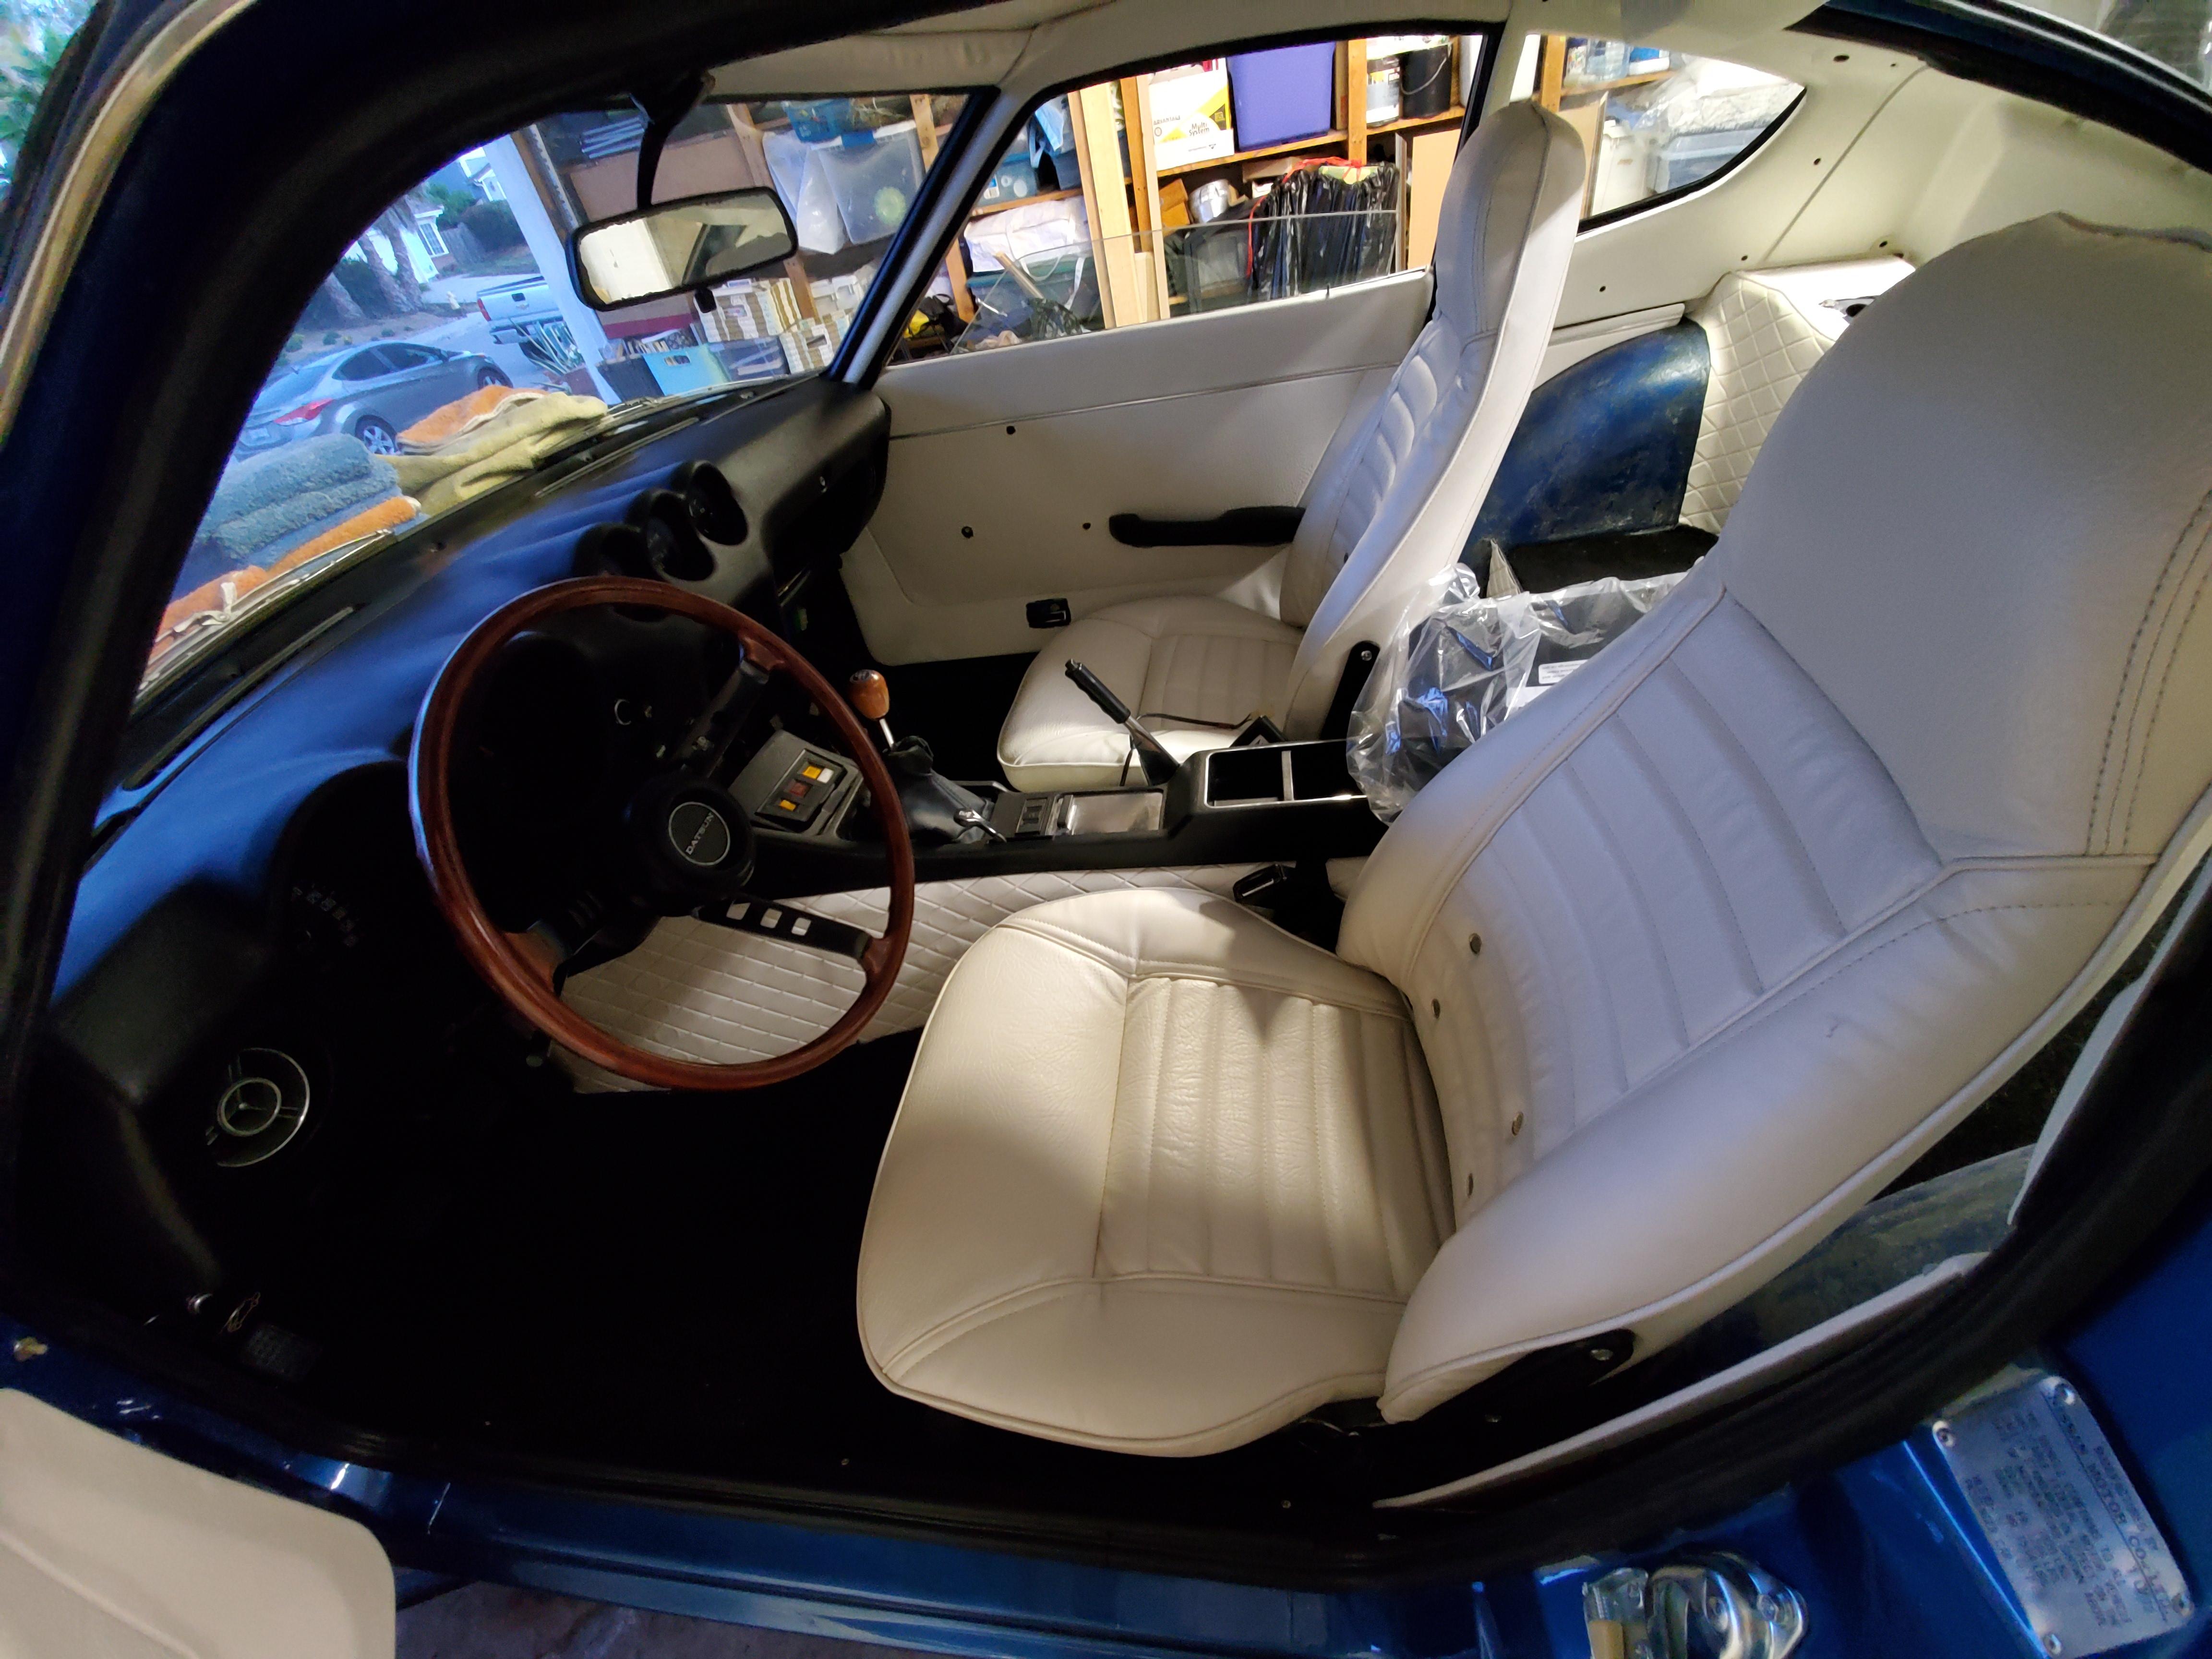
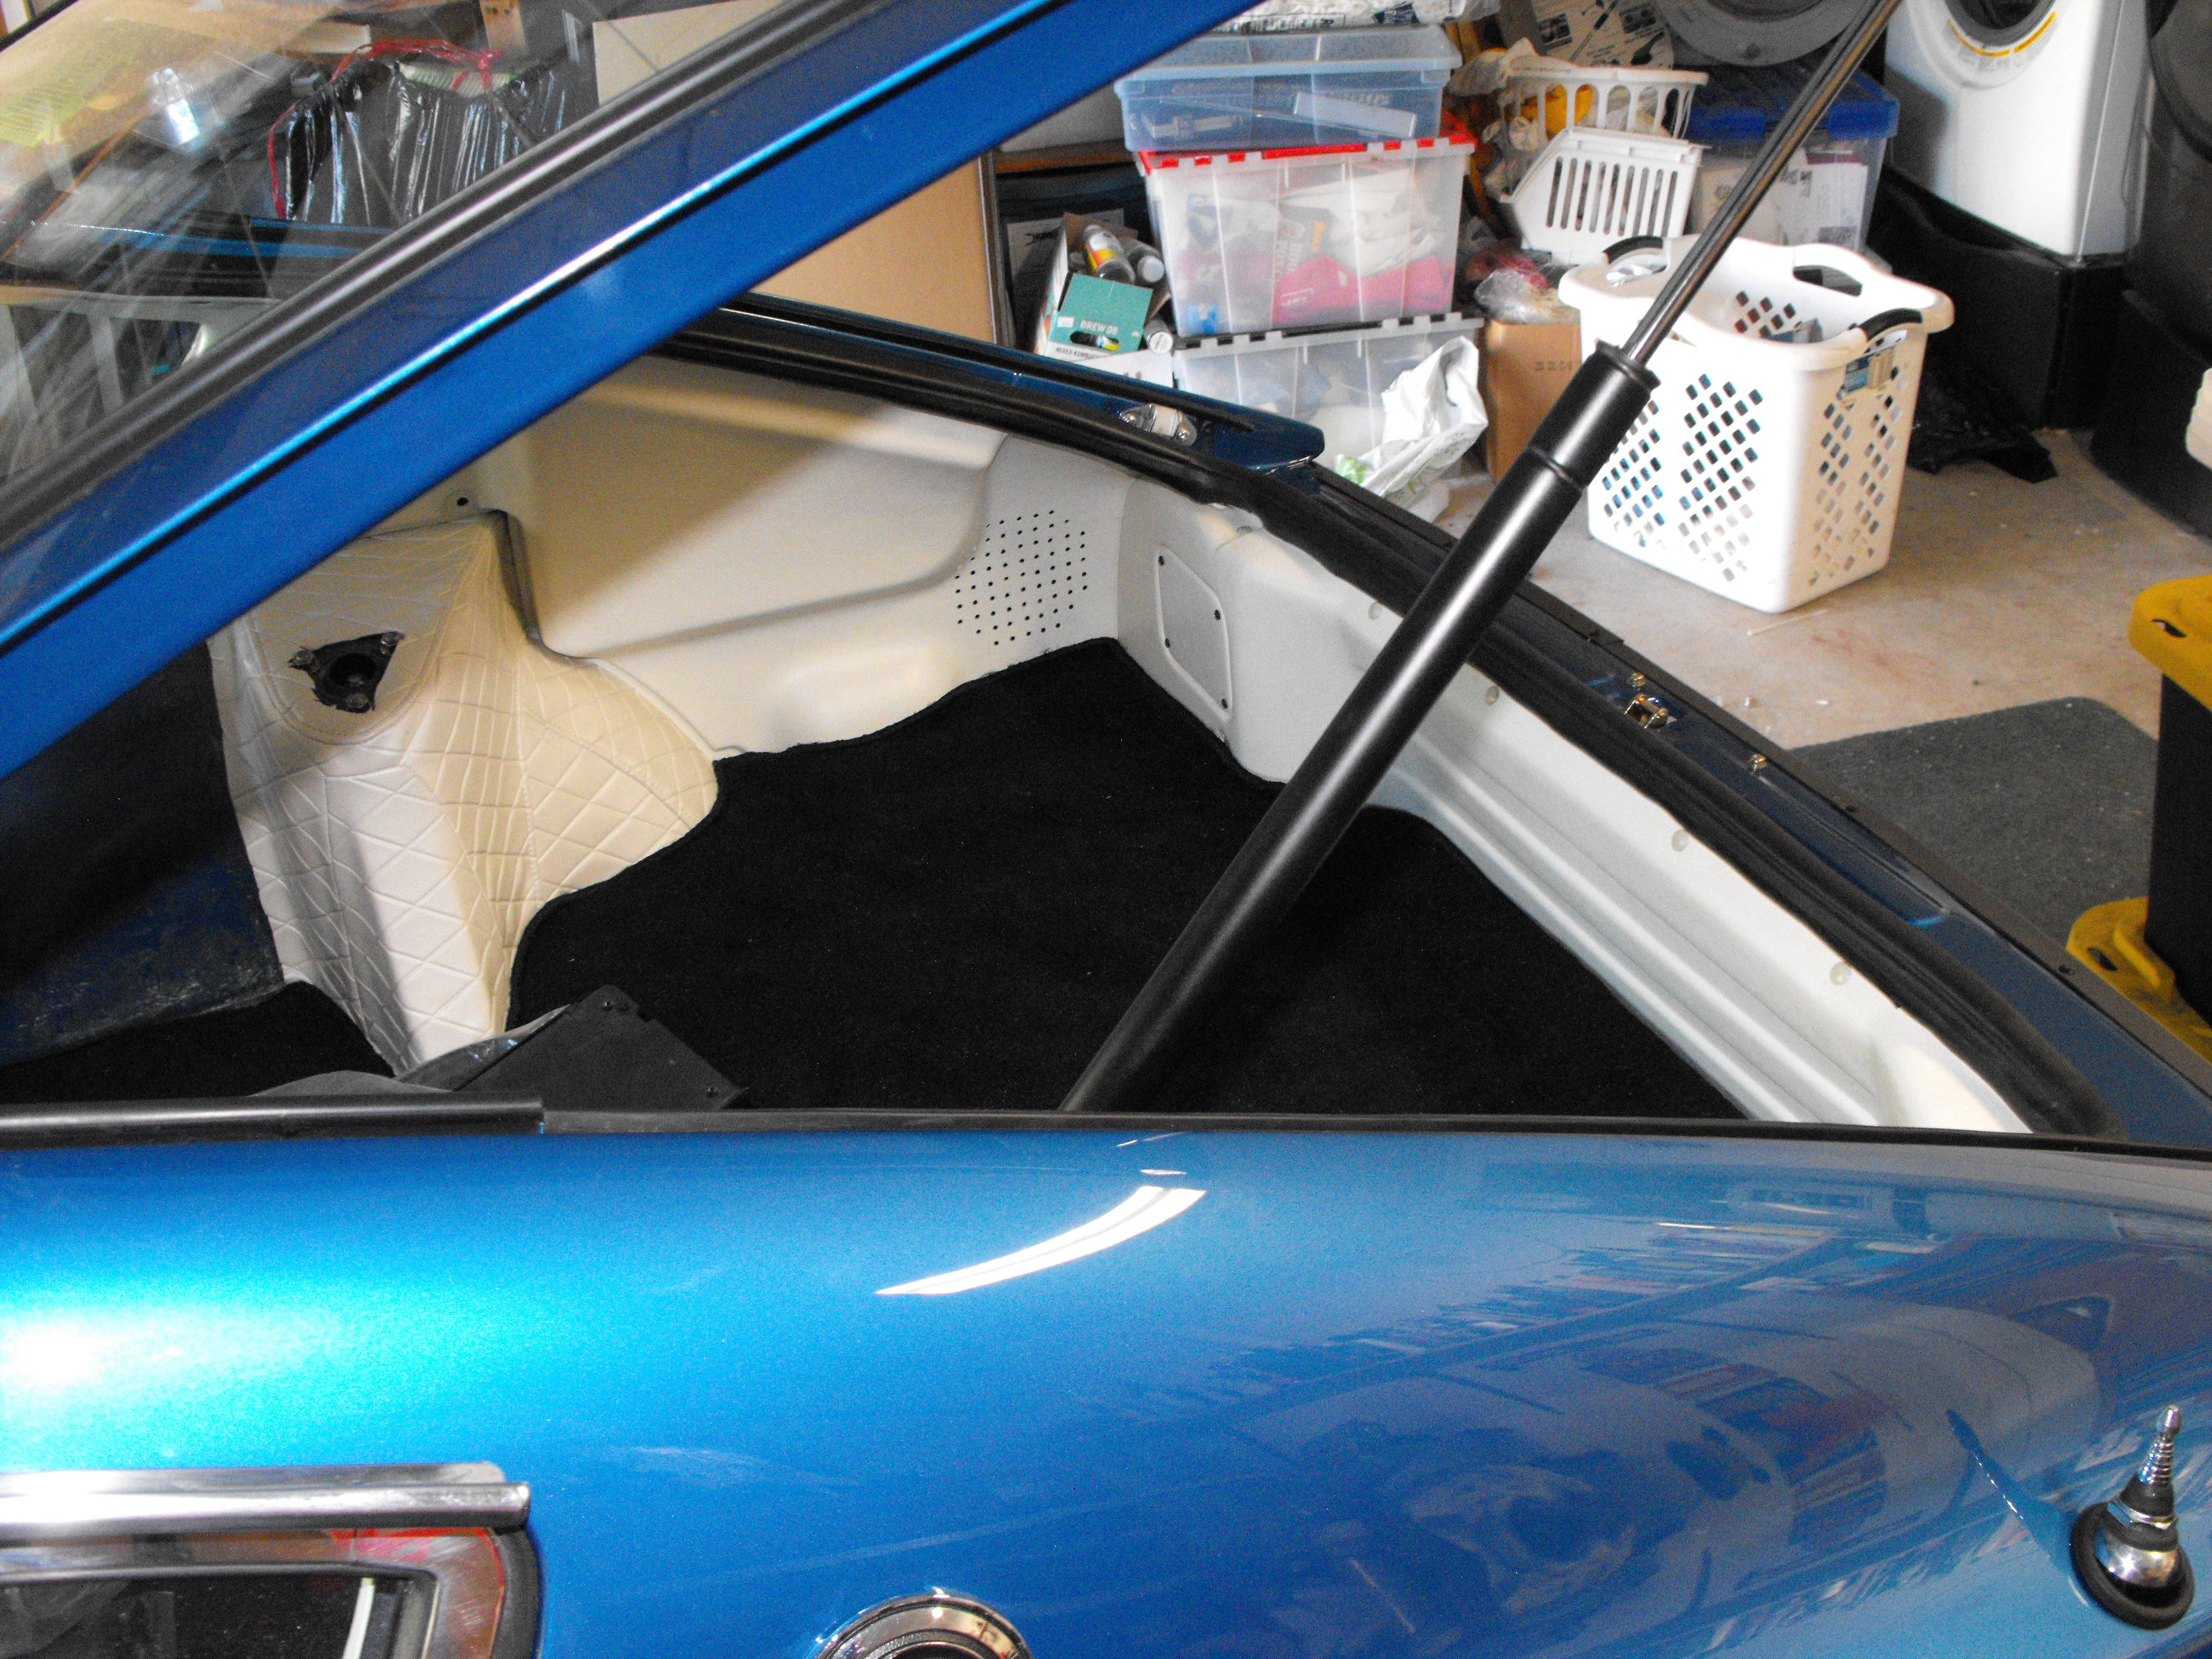
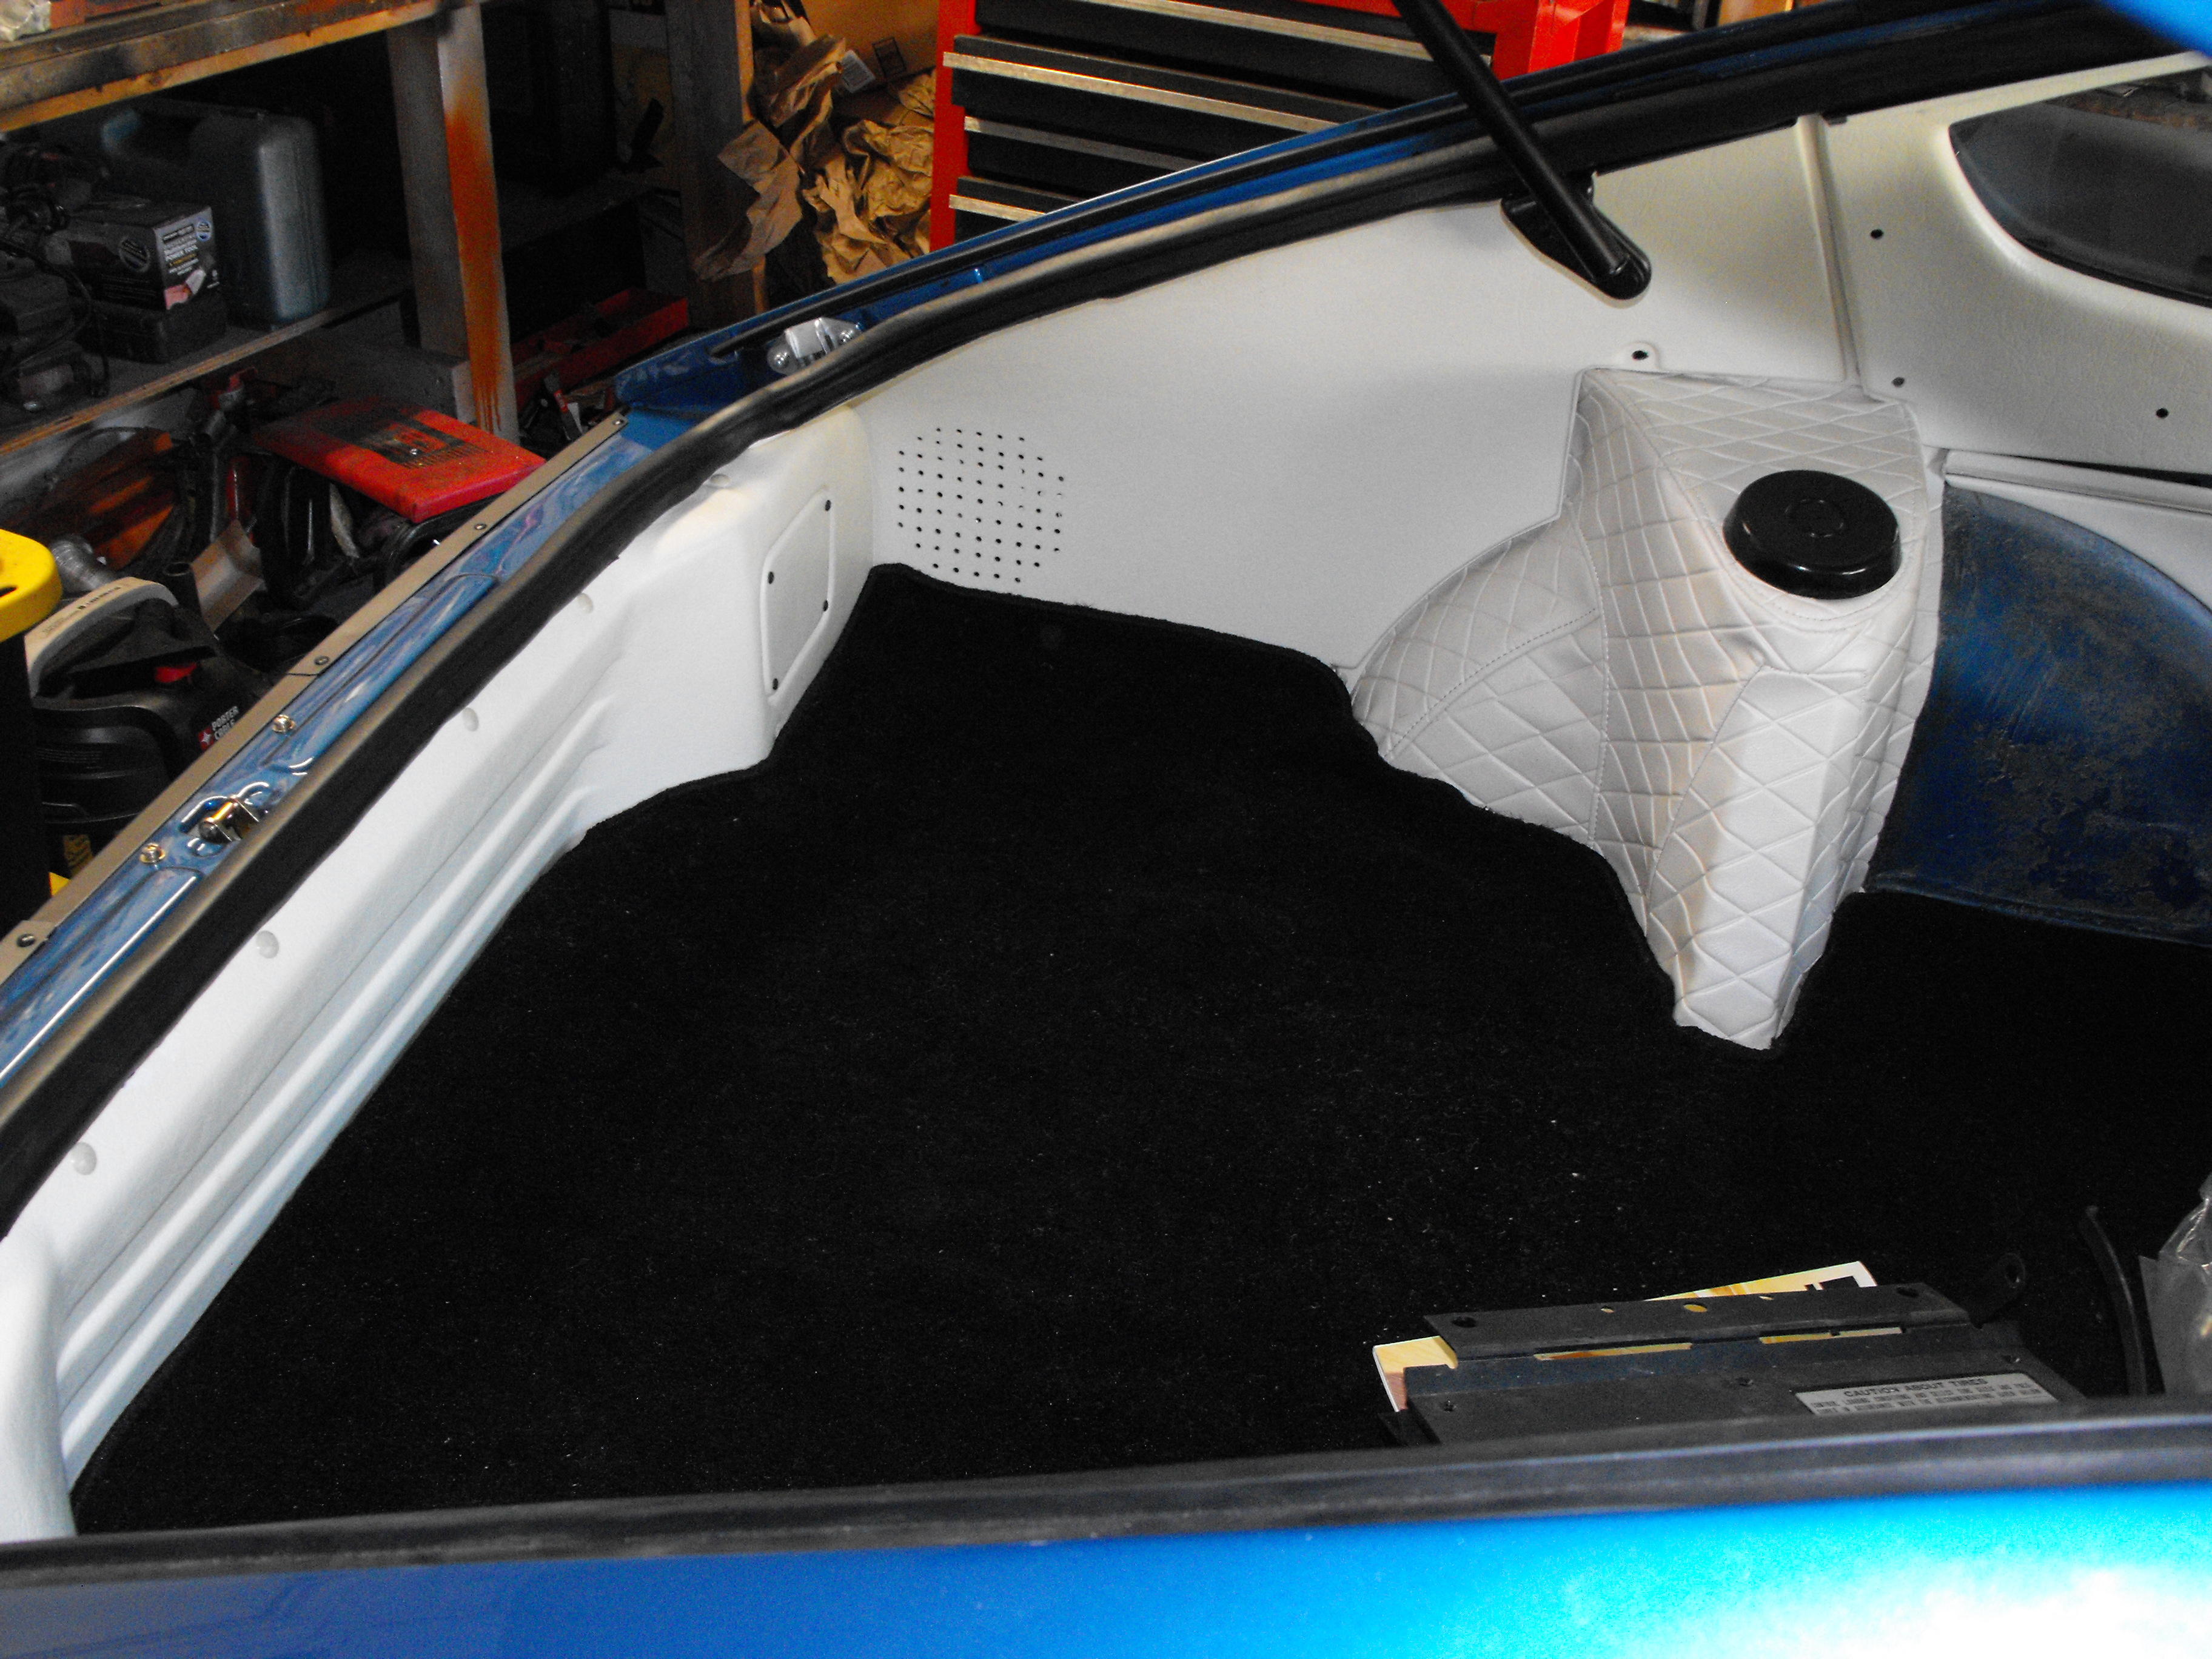
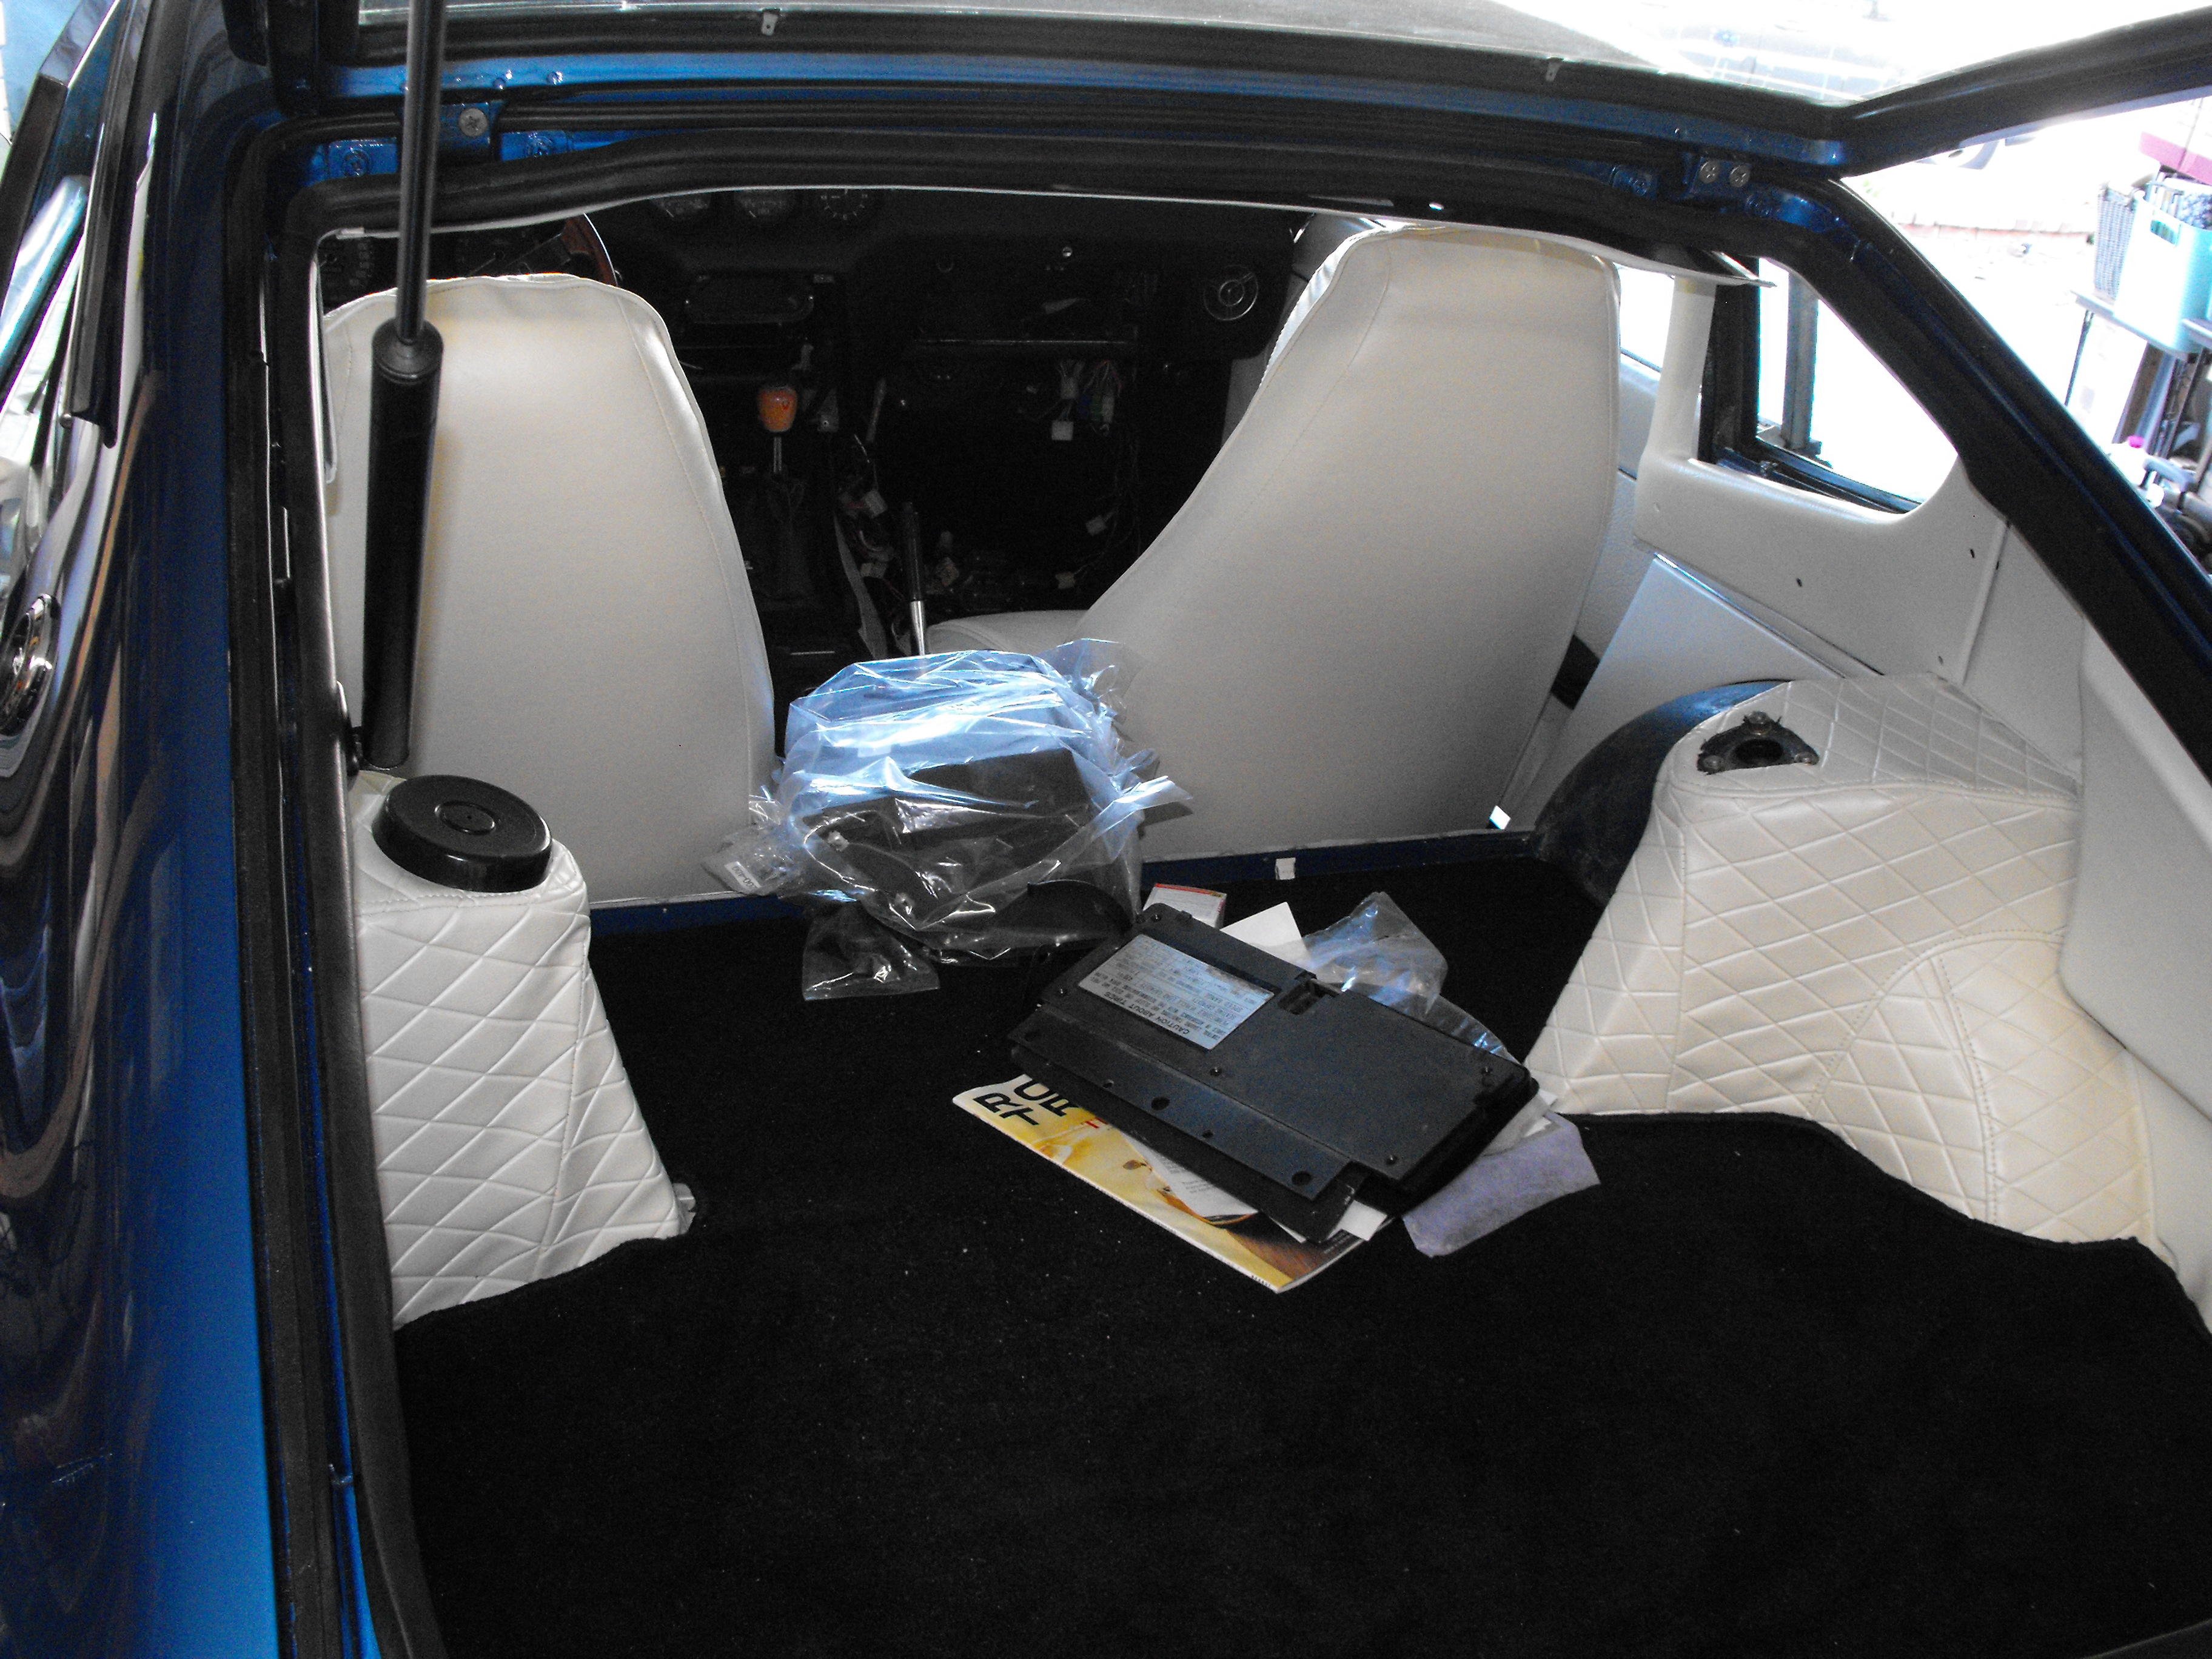
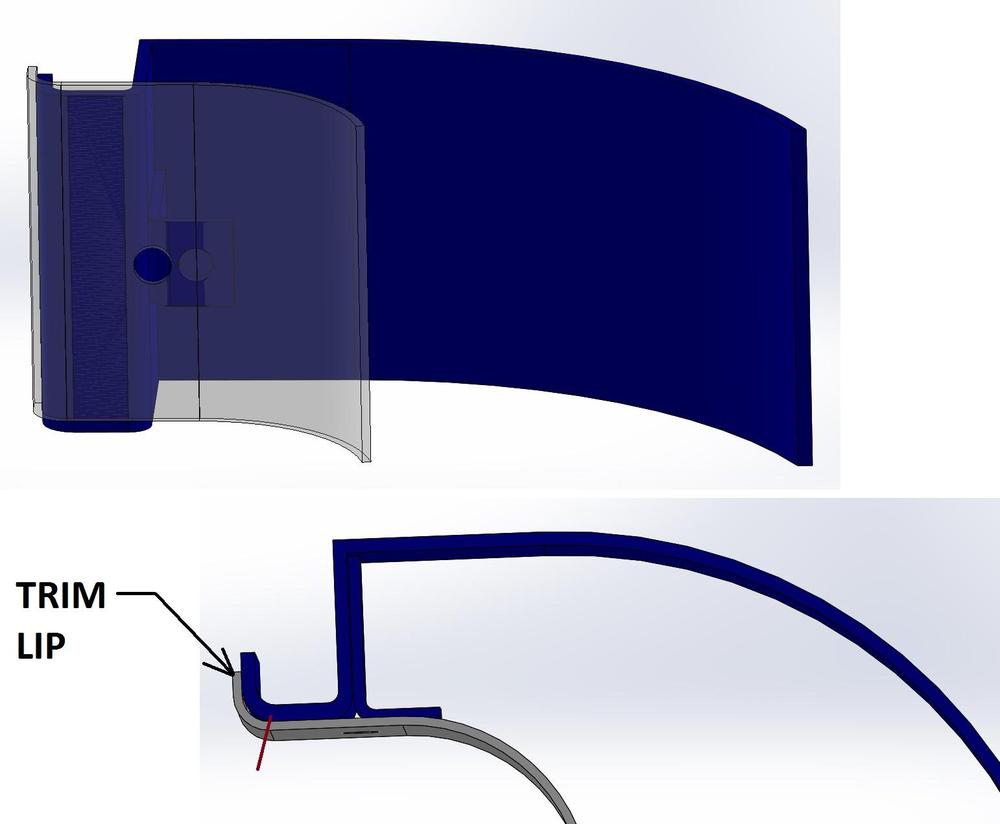
Hi Carl, Yes, the vinyl as received is what I would call 'two-ply'. It seems as though it is heat-staked or glue to a vinyl of the same thickness which makes it a bit puffy. It is very nice material, but is definitely thicker than the stock material which I believe is single ply. The two ply makes it a bit harder to work with. The folds, from when the manufacturer packed everything are a bit difficult to undo. I have had to lay the pieces out in the sun in order to help flatten everything and reduce the creases. Hopefully those flatten out over time. It is beautiful material and high quality, but not exactly like the thinner stuff on the original cars. The panels were really a challenge and all required trimming. Again, they are thick and of very nice quality, however, their are issues with them. The holes for the rivets on the bottom of the panels aligned fairly well, for the most part. The upper part was a big problem. There is a lip on the panel that does not allow you to move the panel hole to where the hole in the body is. The hole was off by about 3/8". I attached a quick CAD pic to show the problem. Not sure how clear that is. In order to install the panels, I had to trim off the lip to install the rivets. Fortunately, the weatherstripping rubber covers over the edge, so it is not an issue. Although, trimming the panel was fairly difficult because the panels are about double the thickness of the originals. The seats, vinyl and panels are all made by Distinctive Industries. This is the same manufacturer that made the seat covers for the Franklin Mint car. You can tell by the deep texture in main part of the seat.
-
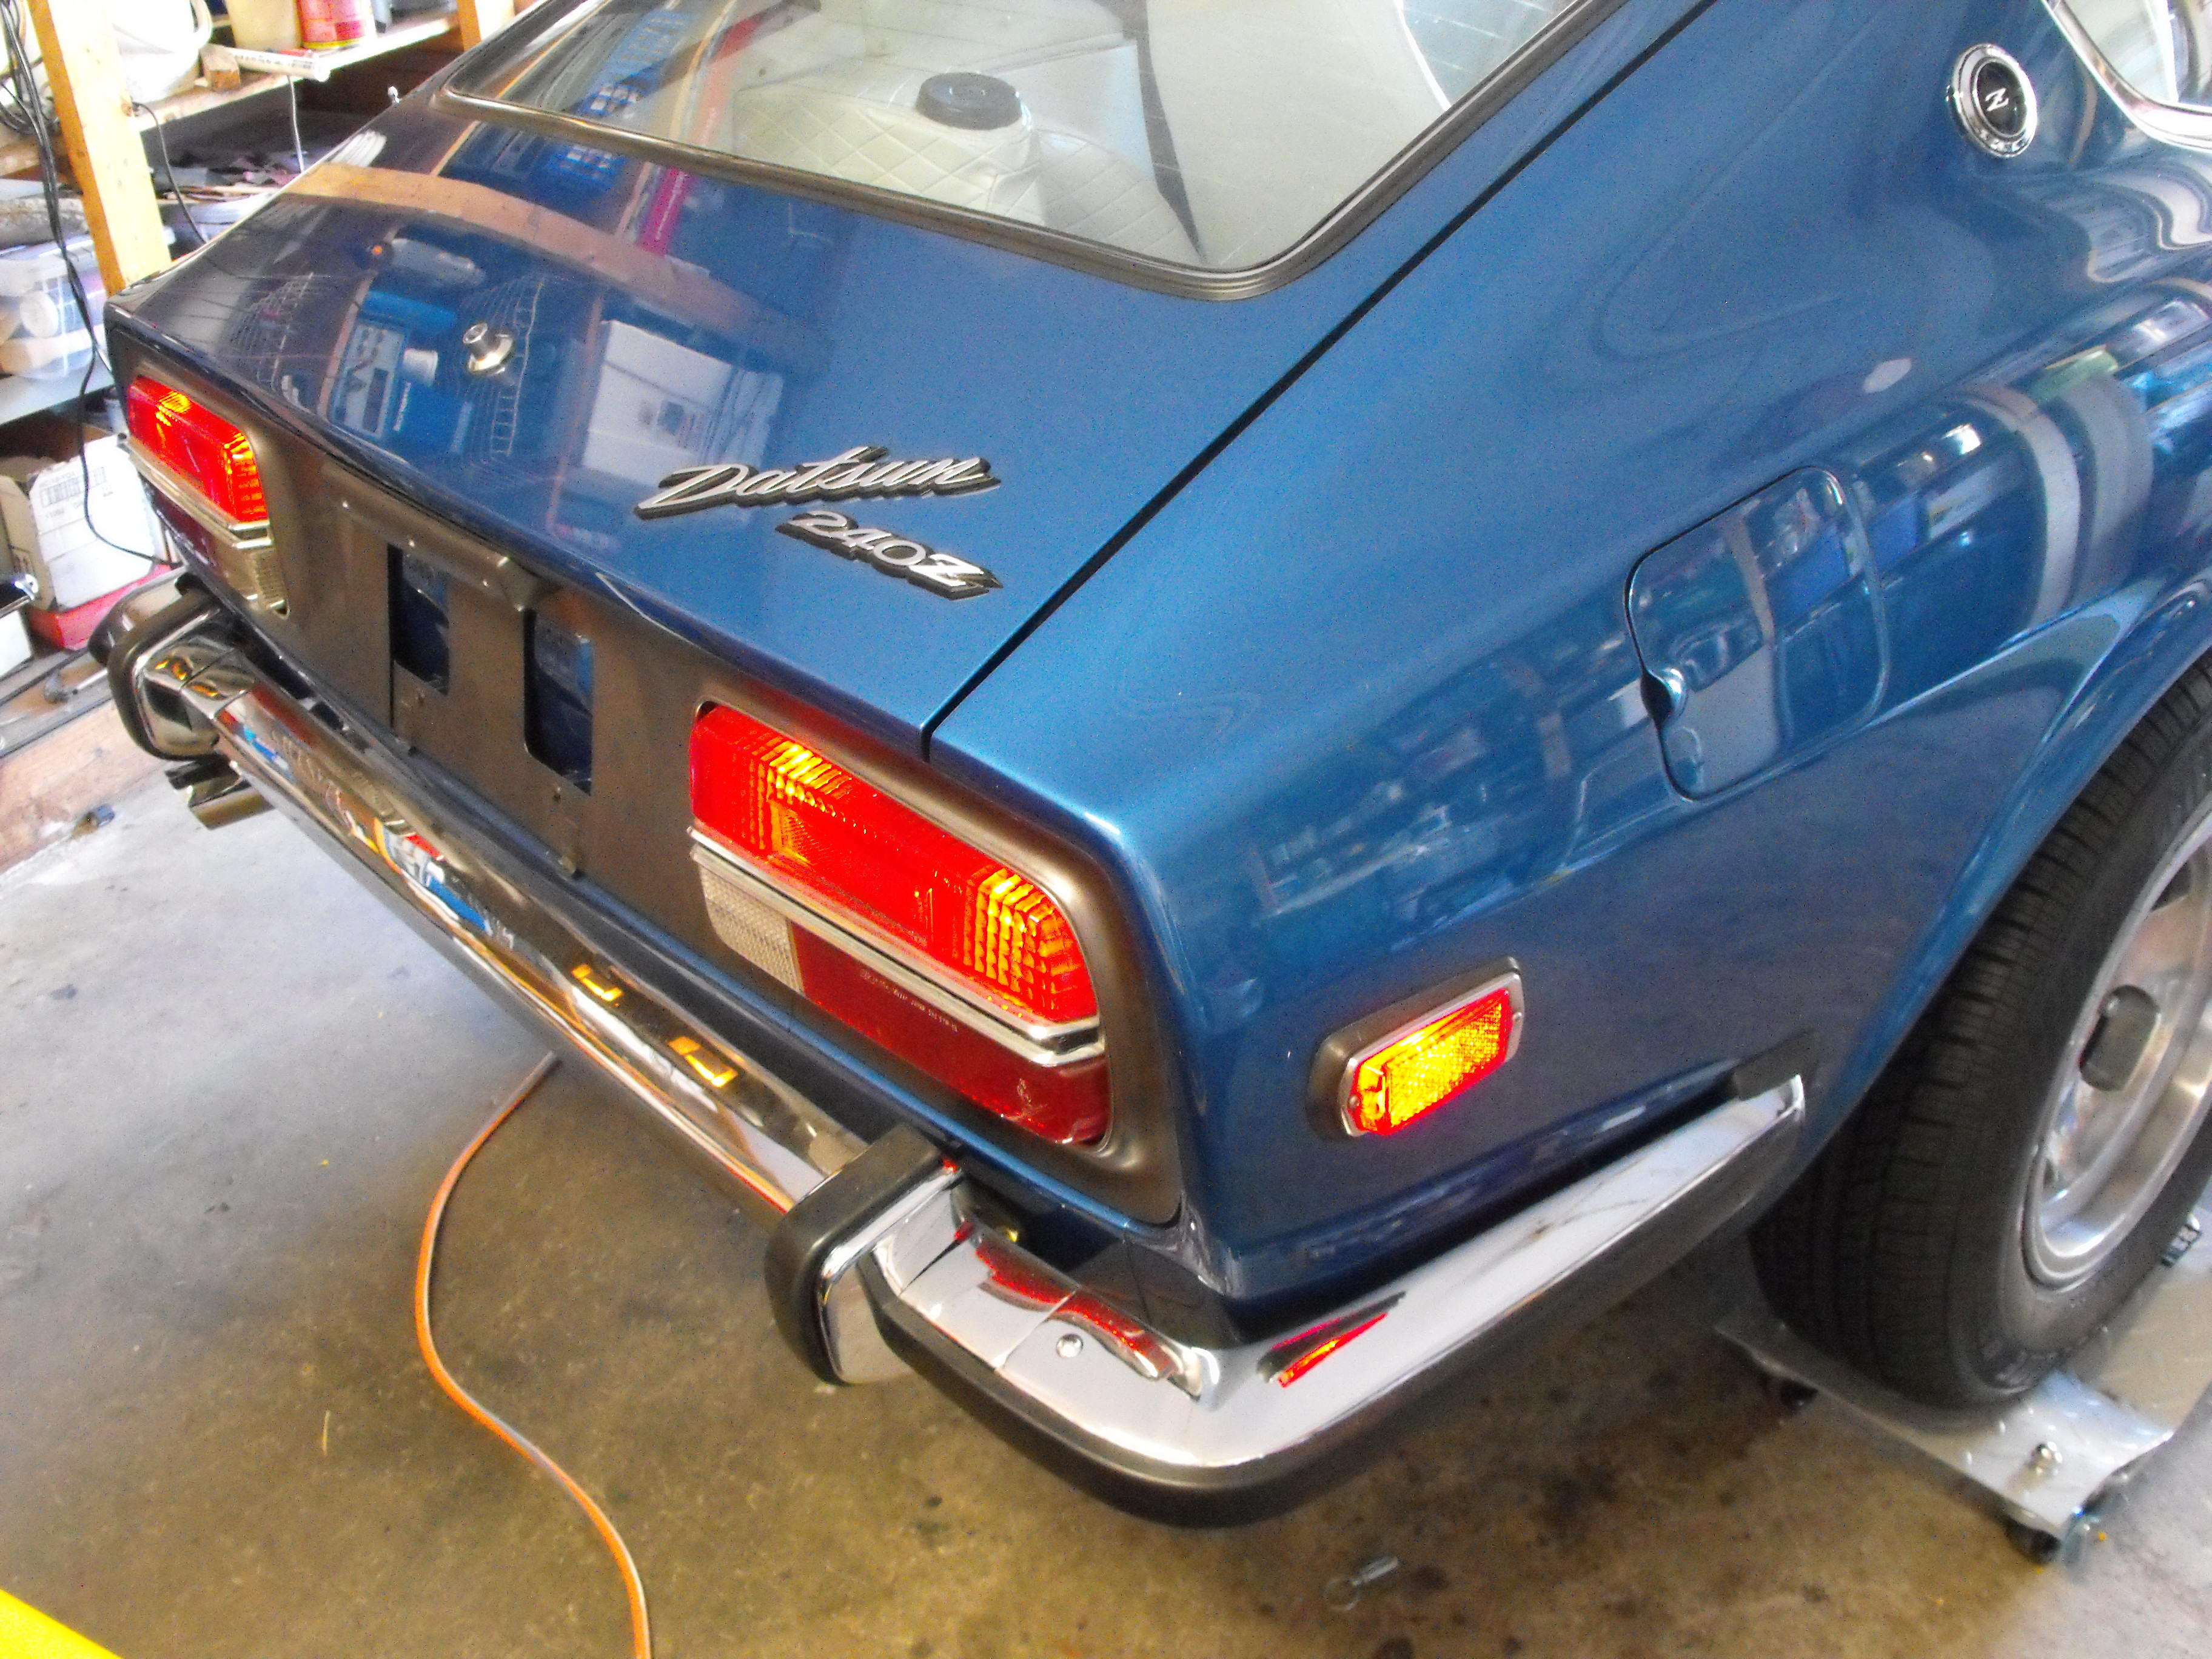
Put in the rear panels, light and turn signal assemblies, and started steering wheel clean up. Will update more later.


-
Wow! That picture of all those Z's is incredible. Amazing...I am in awe. Wow. PS: yes, had good conversation with @Zup. Makes me think I will not put on insulation till after ZCON. Its safer I think