Randalla
Community Member
-
Joined
-
Last visited
Everything posted by Randalla
-
Correct struts are ordered. I'll report back here on progress and results in a couple of weeks. Thanks everyone for the thoughtful replies.
-
Thank you Jeff. Will definitely check that during disassembly/reassembly with the new cartridges. The current condition is that the gland nut holds the cartridge tight with a couple of threads still showing.
-
Thank you Captain Obvious for this. You're confirming where my head is currently at. Re: your inquiry, why I don't know the part number on the insert, I reassembled the strut and installed it back in the car before I had all the information I tracked down subsequently. Looks like I'm moving toward replacing both cartridges with the correct ones for an early 260Z, and hoping I have the correct insulators. I only wish I had a duplicate set of early and late 260 components so I could inspect and mic everything, side by side. Anyone out there have a 260 parts stash that's willing to take on that challenge?🤪
-
Thanks guys, appreciate all the thoughts. A couple of more pieces of information. I didn't mention it in the first post that we checked the spare tire well and down inside the rear quarters thinking maybe something had fallen in and was bouncing around. The bushings, with the exception of the rubber diff mount, were all urethane but were replaced by someone else trying to track down the issue previous to my work. The new urethane bushings didn't make any difference. The sway bar links are tight and the bar is oriented properly. I did find one loose exhaust hanger, but tightening it didn't make any difference. I like the idea of a test ride in the hatch to listen closer to the area I believe the sound is resonating from. I will be trying that. U-joints are good and half shafts are tightly bolted. Gas tank is firmly secured. I've done a lot of work on S-30 chassis cars (probably well over 50) but never encountered this issue before. Thinking at this point someone may have installed the wrong KYB part number, but I'm not sure yet exactly how they differ and what the effect would be of installing the wrong part. To your comments relative to the low amplitude of the bump, that's what make this so strange to me. Going over a big dip where the suspension is fully loaded and unloaded does not produce the banging. I'll soldier on, but am obviously open to other thoughts. Again, thanks for your responses thus far. I'll keep this thread current as I get more information. Thanks for the offer of taking pictures Steve J but everything under the car looks fine. The car has always been in CA or AZ so very little chance of any repair or rust.
-
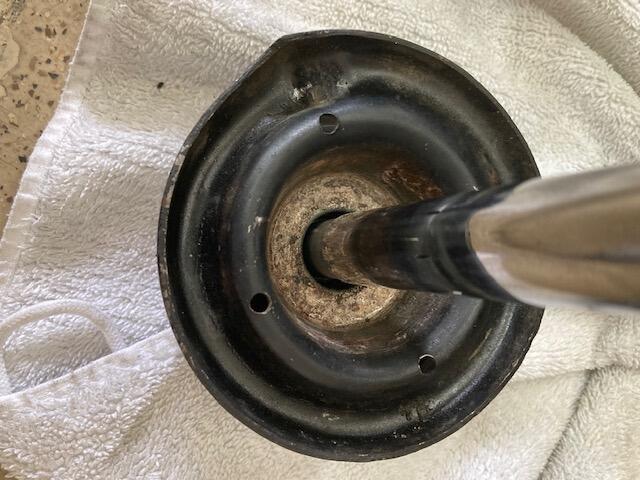
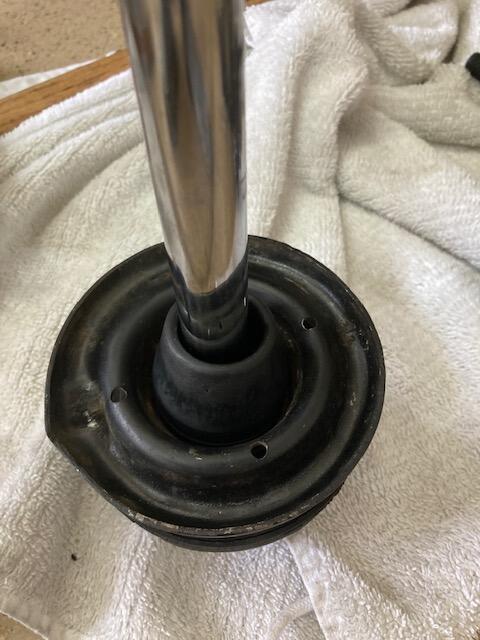
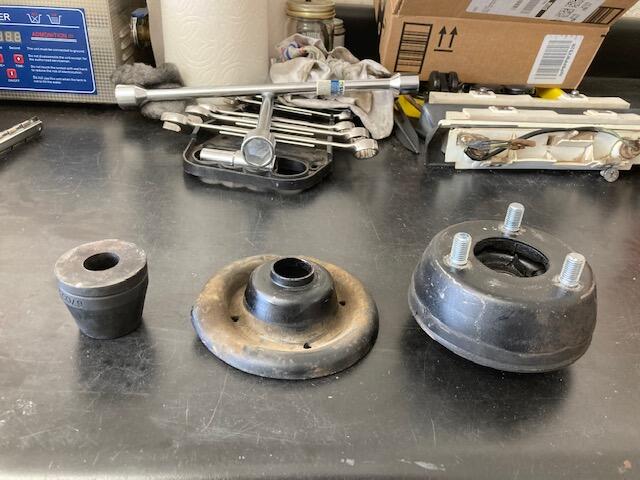
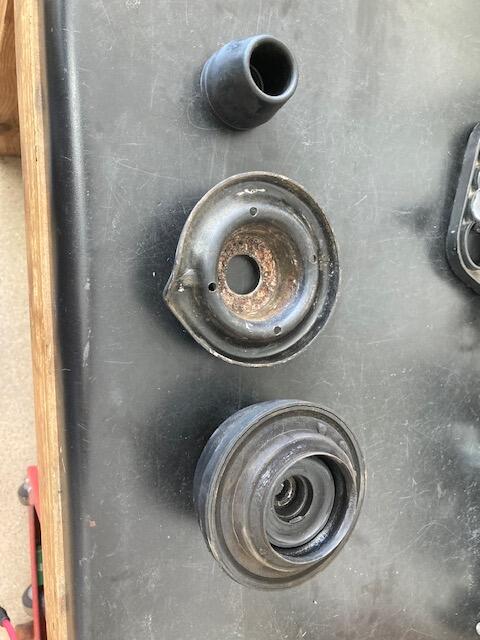
I'm working on a customer's 260Z (1974 narrow bumper/earlier VIN). The car was brought to me after it was worked on by 2-3 other shops who couldn't solve the problem, finally throwing in the towel and giving up. I'm determined to solve this issue for my customer. When the car is driven over a tar strip or road reflector there's a very loud, disturbing banging noise. The sound is definately in the rear, and happens whether it's the left or right tire that rolls over the bump. The car has a pair of recently installed KYB strut inserts and all new bushings through out the suspension, but the problem is no better than before being installed. Car also has a brand new rubber differential mount. When I received the car my first step was a visual inspection, followed by tightening every nut and bolt in the rear end to assure nothing was missing or loose. The banging was still present. At that point I thought the strut insulator may have come apart causing metal to metal contact when the suspension was loaded and unloaded. I pulled one of the rear struts out and disassembled it to look for damage or perhaps a missing part or incorrect assembly. Nothing was readily apparent (see pictures). After contacting KYB, I learned they had two distinct part numbers for strut replacements on a 260Z, one for early cars and one for late cars. Each one is dimensionally different, 12mm vs. 20mm, from the bottom of the threaded portion to the point where the shaft flares. Apparently the correct part number for this car is 361001 (the 20mm version), but I don't know if that is what's on the car or not. I also noticed while I had the strut apart that there is quite a gap (1/4”) between the shaft of the insert and the hole in the spring perch that it passes through. I thought there might be movement/contact when the suspension was loaded and unloaded that could cause the banging. There were also no washers around the strut cartridge anywhere, which I seem to remember on other Z cars I've worked on. At this point, all this is just conjecture, but I'm hoping someone with a similar issue could shead some light on the mystery and suggest other potential causes.
-
I own, and use, both a soda blaster and a larger version of the ultrasonic cleaner pictured above (both inexpensive Harbor Freight products), on Z aluminum castings (carb bodies and fuel pumps). Both work well, but one thing I learned is there are two versions of Simple Green, one green and one purple (both available at Home Depot). The green one will etch/dull the castings, with soda blasting the best way to counteract the effects. The purple Simple Green product says right on the container it will not etch aluminum, and I've found it works quite well when diluted 5 parts water to 1 part Simple Green/Purple.
-
Currently have an AFM gauge wired in, sitting atop my steering column shroud, with the sensor installed in the correct position in my downpipe. It's not super precise, but did give me a way to dial in the needle profile I'm currently running (TF). Will also give me a basis to compare the SUs I'm currently running and the triples.
-
Frankly, I was surprised at the torque number as well. The first pull was a little lower, at 218.2lbs, but still pretty stout given my engine specs. Patcon, agree the triples look great and they sound awesome sucking in all the extra air. May have to try them and see where I'm at. The switchover doesn't take that long unless I scrub the linkage and substitute a throttle cable.
-
Thanks Zed Head for your thoughts and link to the excellent tutorial. I learned a few things I wasn't aware of. Pretty sure my E-88 came from a 49-state 240Z, so likely fairly small combustion chambers, if I'm following you correctly. Car does run exceptionally well, so small gain with high cost is not really on the table. I had the option of installing flat-top pistons when I installed the re-worked head. My desire to get the car back on the road trumped the piston swap. This post was spurred for the most part by curiosity over what my impatience may have cost me. I may still swap on my Webers, though, I've had my triples on one of my other 240's and, honestly, my experience has been well set-up SUs perform just as well on the street, with a lot less headaches. Thoughts?
-
No, I haven't measured cylinder pressures. I know compression numbers are different, but for what it's worth, compression when checked a month ago was: #1- 160 psi #2- 150 psi #3- 150 psi #4- 150 psi #5- 150 psi #6- 152 psi
-
Thank you for your thoughts. A bit more info on the head/engine, the stage II cam specs are 480 lift and 276 duration. Good question about which E88 head I've got. Absent removing the head, I don't think there's any way to confirm that.
-
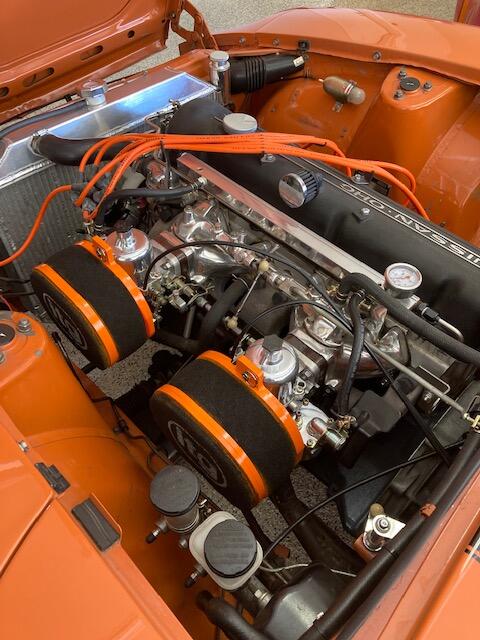
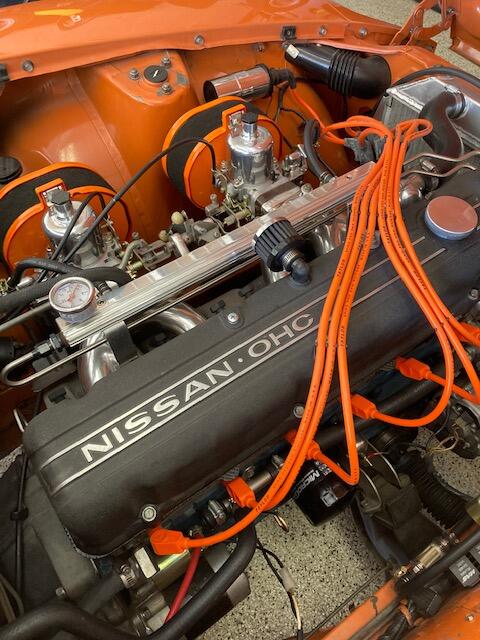
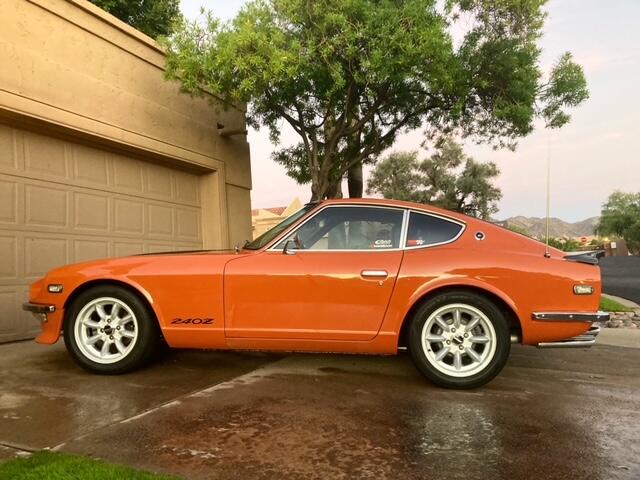
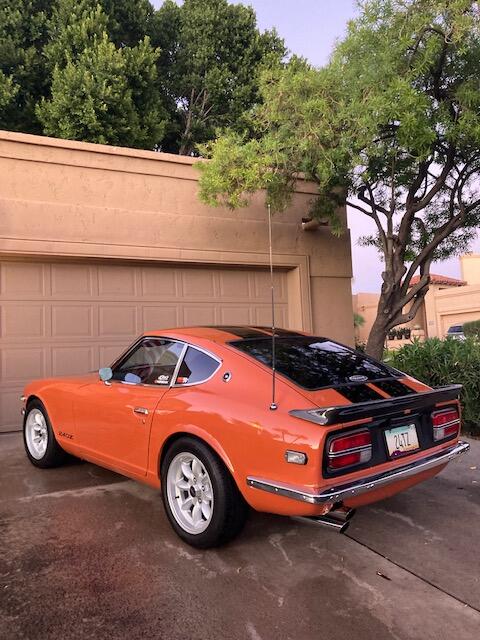
I have a freshly built, SU carbureted, L-28 in my 72 240Z, with about 5,000 miles on the rebuild. The bottom end is a 280ZX block with stock dished (turbo) pistons. The head is an E-88 which has some port matching done, and the valves have been unshrouded. I'm running a stage II cam with total timing set at 34-36 degrees. I run a stock cast iron exhaust manifold connected to 2-1/2" pipes running through a glass pack type muffler. I ran a pair of "SB" profile needles in my SUs for a couple of dyno pulls to assess where I'm at. My goal was to build a very street-able engine, without having to worry about detonation. Of course, now I'm looking at potentially bumping power with some additional mods. The best current dyno run, at the wheels, produced 180.1 horsepower and 224.5 foot pounds of torque. My question is, "hypothetically," how would swapping out dished pistons for flat ones likely impact those numbers. The downside of course is that I may not be able to run as much total timing without detonation and potential risk to my engine. As an aside, I also have a nice triple Weber set up I'm toying with the idea of swapping on. I realize this exercise is pure speculation, but would be interested in any feedback. Thanks!
-
May be interested in your 4 screw carbs if they are still available.
-
I've sent multiple messages but never heard from you. My email is rlewis1957@cox.net. I can PayPal funds immediately. Phone number is 602-312-4038. Thank you. Randy
-
I'll take these if they are still available and complete as they appear to be.
-
Looks like I'm going to be a busy boy tomorrow. I should have said that the first thing I checked were the two fuses, which appeared to be fine. I know, looks can be deceiving, so tomorrow I'll switch them both out with new, just to be sure, before pursuing the other avenues. Will also "hose" down the dimmer switch as that's also an easy check. Steve, thank you for your suggestions and reminders as well. With any luck, I'll report back with positive results tomorrow. Thanks again guys!
-
Thanks guys for the quick response and thank you Chuck for the very through explanation. You've given me an excellent place to start. With this crazy Covid, I've got nothing but time. Very much appreciate the advice!
-
I have a 72 240Z that has a screwed up combo switch. Need to determine if it's fixable or if I need to replace it. Blinkers work fine, left and right and front and back. I have no headlights at all on low beam. On high beam, I have a bright passenger side light and a dim driver's side light. Guidance on where to start would be much appreciated.
-
-
If anyone's still interested in purchasing a Float-Sync, I have just 20 sets left. 30 have been sold since April. Not sure yet if I'll produce additional units or not. They're available on eBay.
-
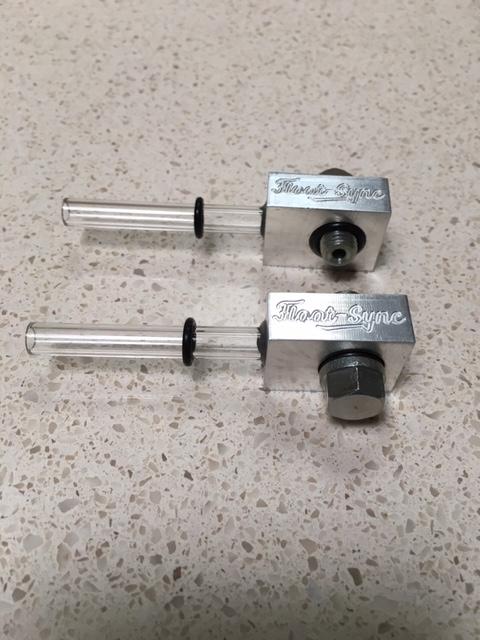
siteunseen's approach is a good way to more precisely check float levels. I manufacture and sell Float-Sync on eBay (pictured below) and have received excellent feedback, if you are interested. Float-Sync is the best way to calibrate float levels between two Datsun 240Z SU carburetors because you'll actually be able to see the fuel level in each bowl, even with the car running. The level of fuel in the float bowls is the first step you should take before making other fine adjustments to optimize “runability,” In my experience Float-Sync gets you to the baseline as quickly and accurately as possible. I learned, like most of us, to set float levels by removing the float bowl cover and measure the distance between the edge of the lid and the top of the float while the cover is inverted. What I've since learned is just how imprecise this approach is because many variables. Those variables include whether the carbs are being run with or without float bowl gaskets, how many turns down the jet nozzles are set, if the float valve is fully opening and closing, if the float bowl lid has short or long ears and if floats are intact and their buoyancy is the same in each float bowl. I'm sure there are a number of others.
-
Any way of knowing which of the two side switches might be causing the short? Not really sure I understand how the circuit works, given there are two very similar switch boxes, one on either side of the stalk. Any idea how the two function together? Is one for low and park and one for high beam?
-
Thank you Zs-ondabrain, this is exactly what I needed! Back to work now.
-
I ran into a similar problem recently on a car I purchased. Make sure none of your fuel hoses are too big for the metal lines they connect to. If they're not the proper size, it doesn't matter how tight you make the hose clamps you will not get good enough suction to fill your float bowls. They should be hard to push on. If they are not there is a pretty good chance they are too large a diameter.
-
Series I 1971