Randalla
Community Member
-
Joined
-
Last visited
Everything posted by Randalla
-
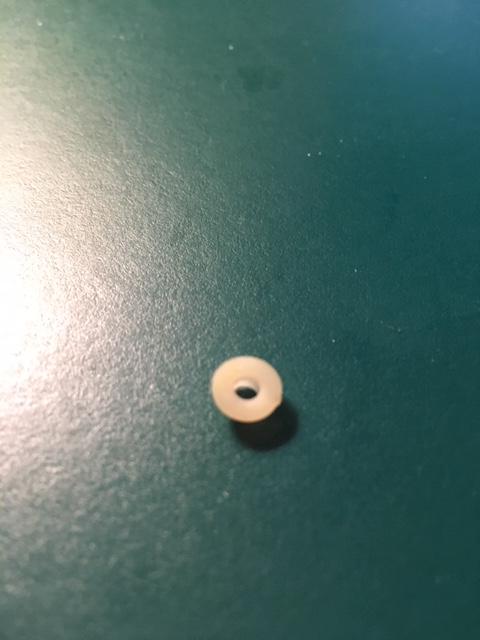
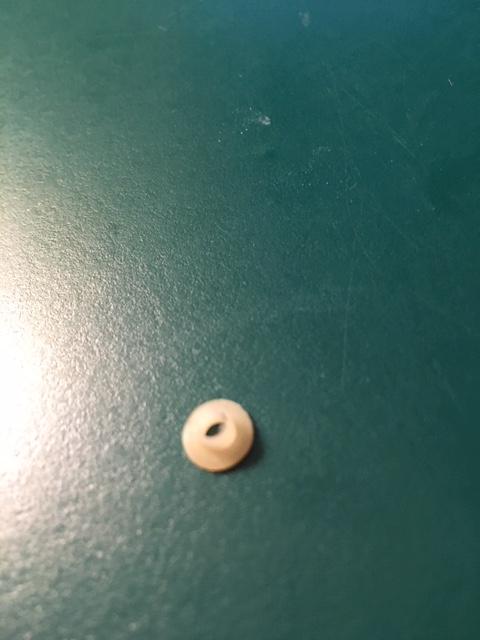
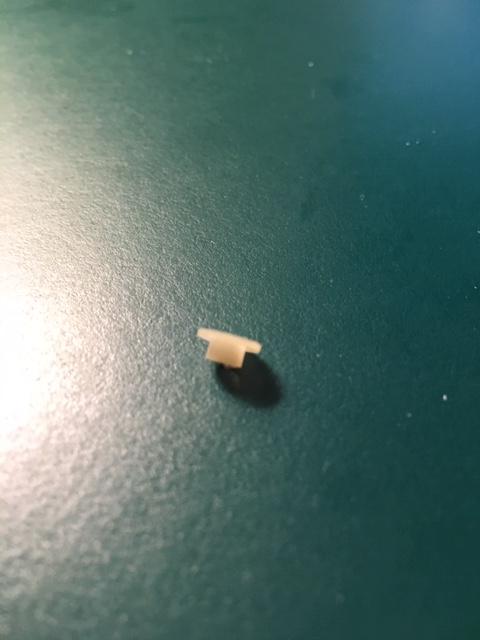
I got brave today and took my headlight switch apart to clean up the contacts, as the switch was working sporadically. Everything went great till I realized I had an extra part left once it was all put back together. The part is a very small plastic bushing that apparently keeps metal parts from shorting against each other. I believe there is a total of 3 of these in the whole mechanism. I have no question where two of them go (they hold down and isolate the two headlight switches from the contact for the wiper washer. I guess the third one fell out when I was disassembling it and I did not see where it came from. Now when I flip the switch I blow the 20 amp fuse, so there are definitely two things touching each other that shouldn't be. Pictures of the bushing are below. Can anyone tell me with where the lone one is supposed to go? Thank you in advance!
-
I've had them apart and they didn't look like any Z buckets I'd seen before. Without the spring and the tabs to attach it to, it sure looks like these are not the right parts.
-
I'm afraid the previous owner may have substituted parts from something else.
-
Wouldn't you know it, I just had the center console out for something else and got it all back together. Thanks for the advice guys. I guess I'll repeat the process, Arghhh!
-
Recently acquired a series I car where the glass lenses for the fuel and oil pressure gauges are so loose that they ratter and lay against the needles so the gauges don't read properly. I want to get them out of the IP to repair, hopefully without pulling the IP or coming in from the passenger side through the glove box and destroying my glove box liner. Is it possible?
-
I have a set of headlight buckets on my series I 240Z, that does not have the spring or tab inside for adjustment like my series II 240Z. Are they different or do I have a set of buckets in my series I car from something else? Not sure there is any way to adjust the light on my series I car currently.
-
I like your idea siteunseen. A little worried the next time I need to take the taillight apart I may have the same issue, given the extra resistance typical with loosening up a nyloc nut.Think I'll try using the old hardware and just add a small flat washer to make sure the nut does not pull through the plastic housing.
-
Thanks for the reply Peter. Actually there are small captive acorn nuts that the Philips screws screw into. They're held in place by the plastic molded around it. Once the bond is broken, it just spins in the plastic housing. The only way I could see to get the taillight off was to carefully carve away the plastic around the nut enough to get a vice grip or wrench on it. Finally got it off. I'll need a washer along with the acorn nut and screw to secure it back together upon re-assembly.
-
I'm in the process of refurbishing my 240Z taillights and have run into a problem. The Philips screws that hold the taillight to the rear panel all came out easily on one side, but two of the screws on the other side just spin, so I can not take the light out. Has anyone had this issue and solved it without damaging taillight housing?
-
inline6, this is excellent reference. Thank you for posting this. What are your intentions on your project? Looks like you're prepping for a re-spray. Will you respray something approximating the original undercoat and then spray color?
-
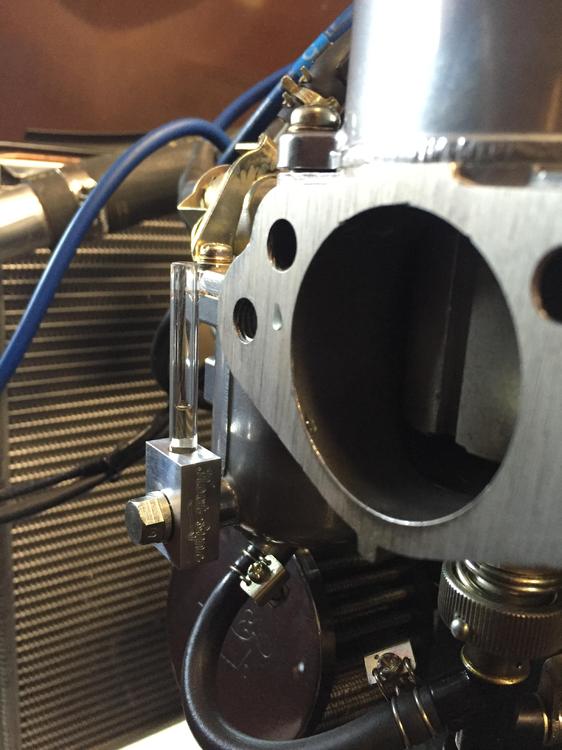
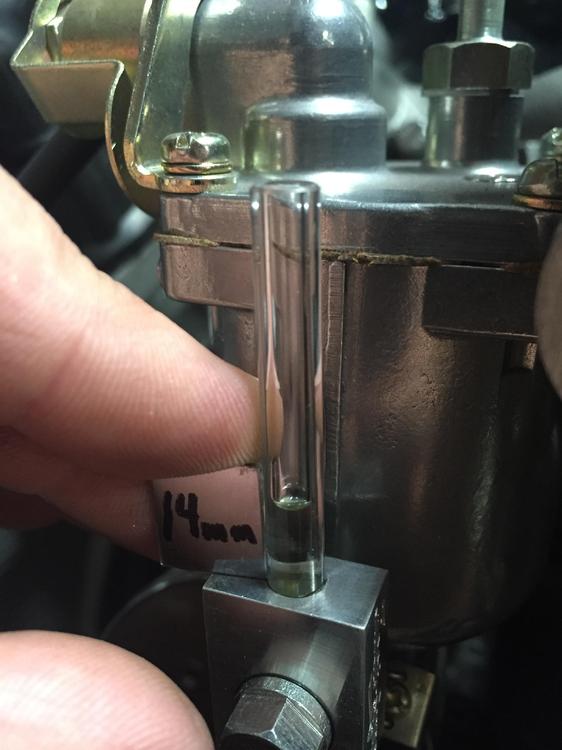
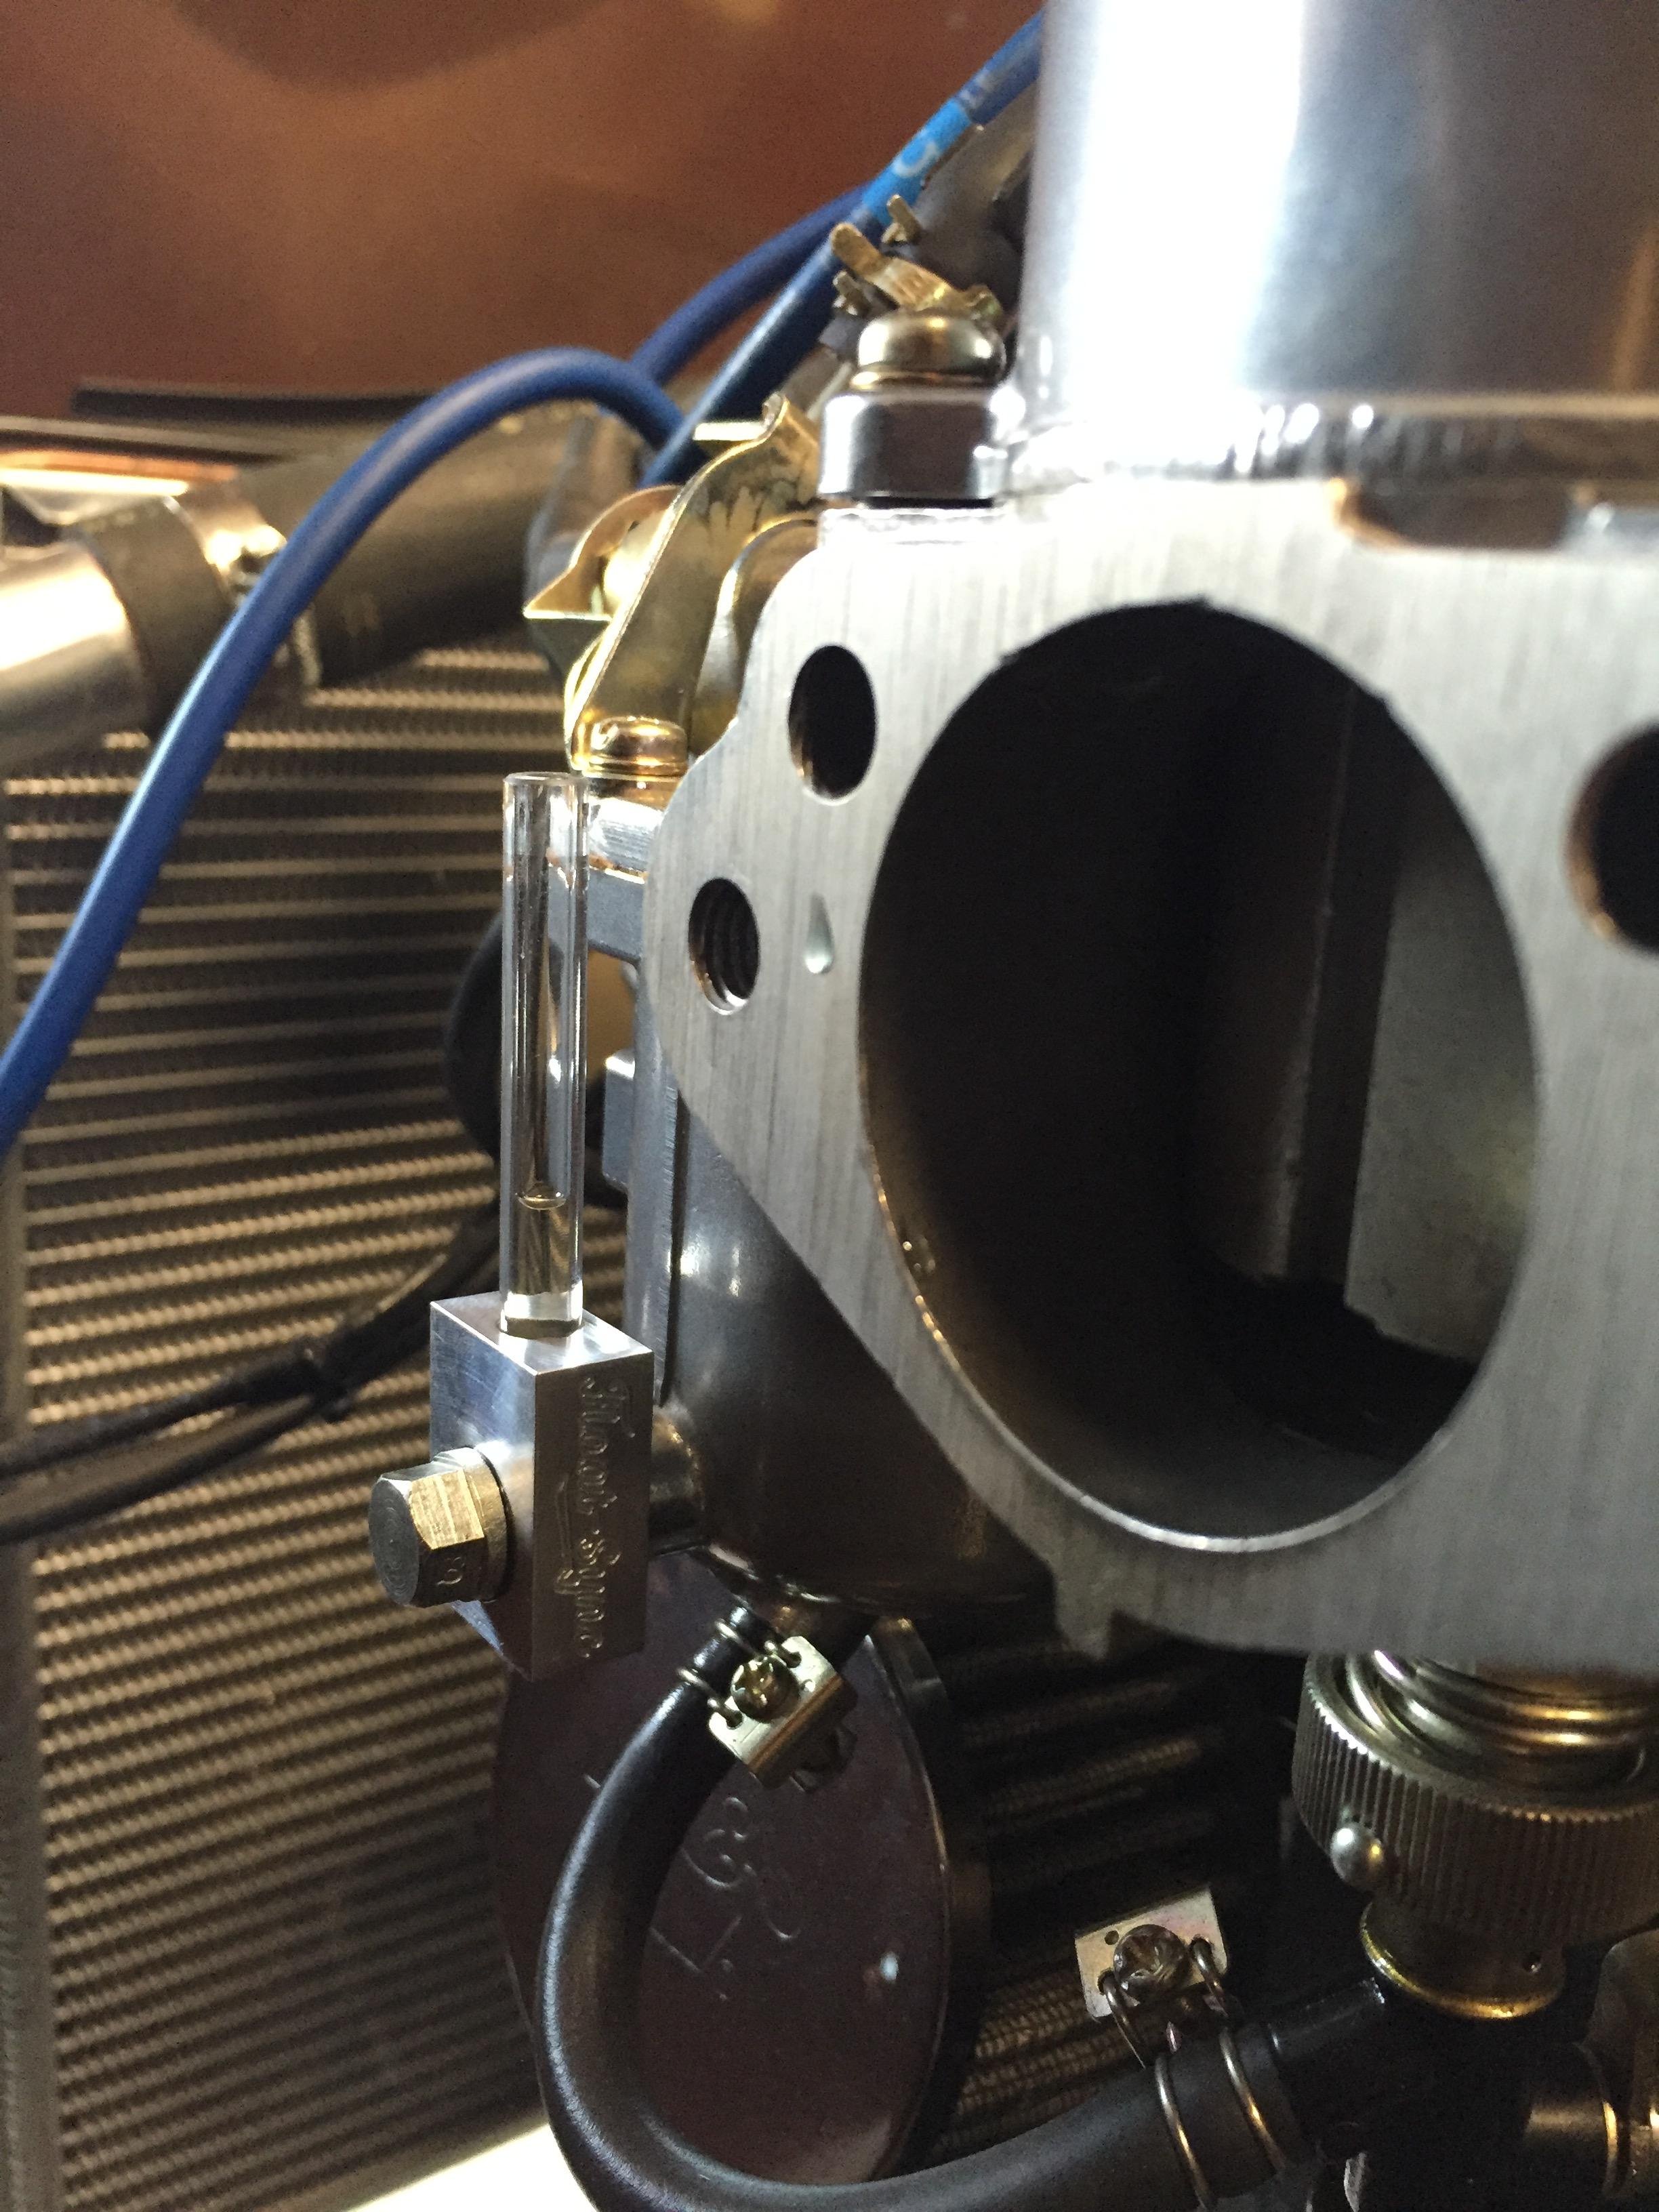
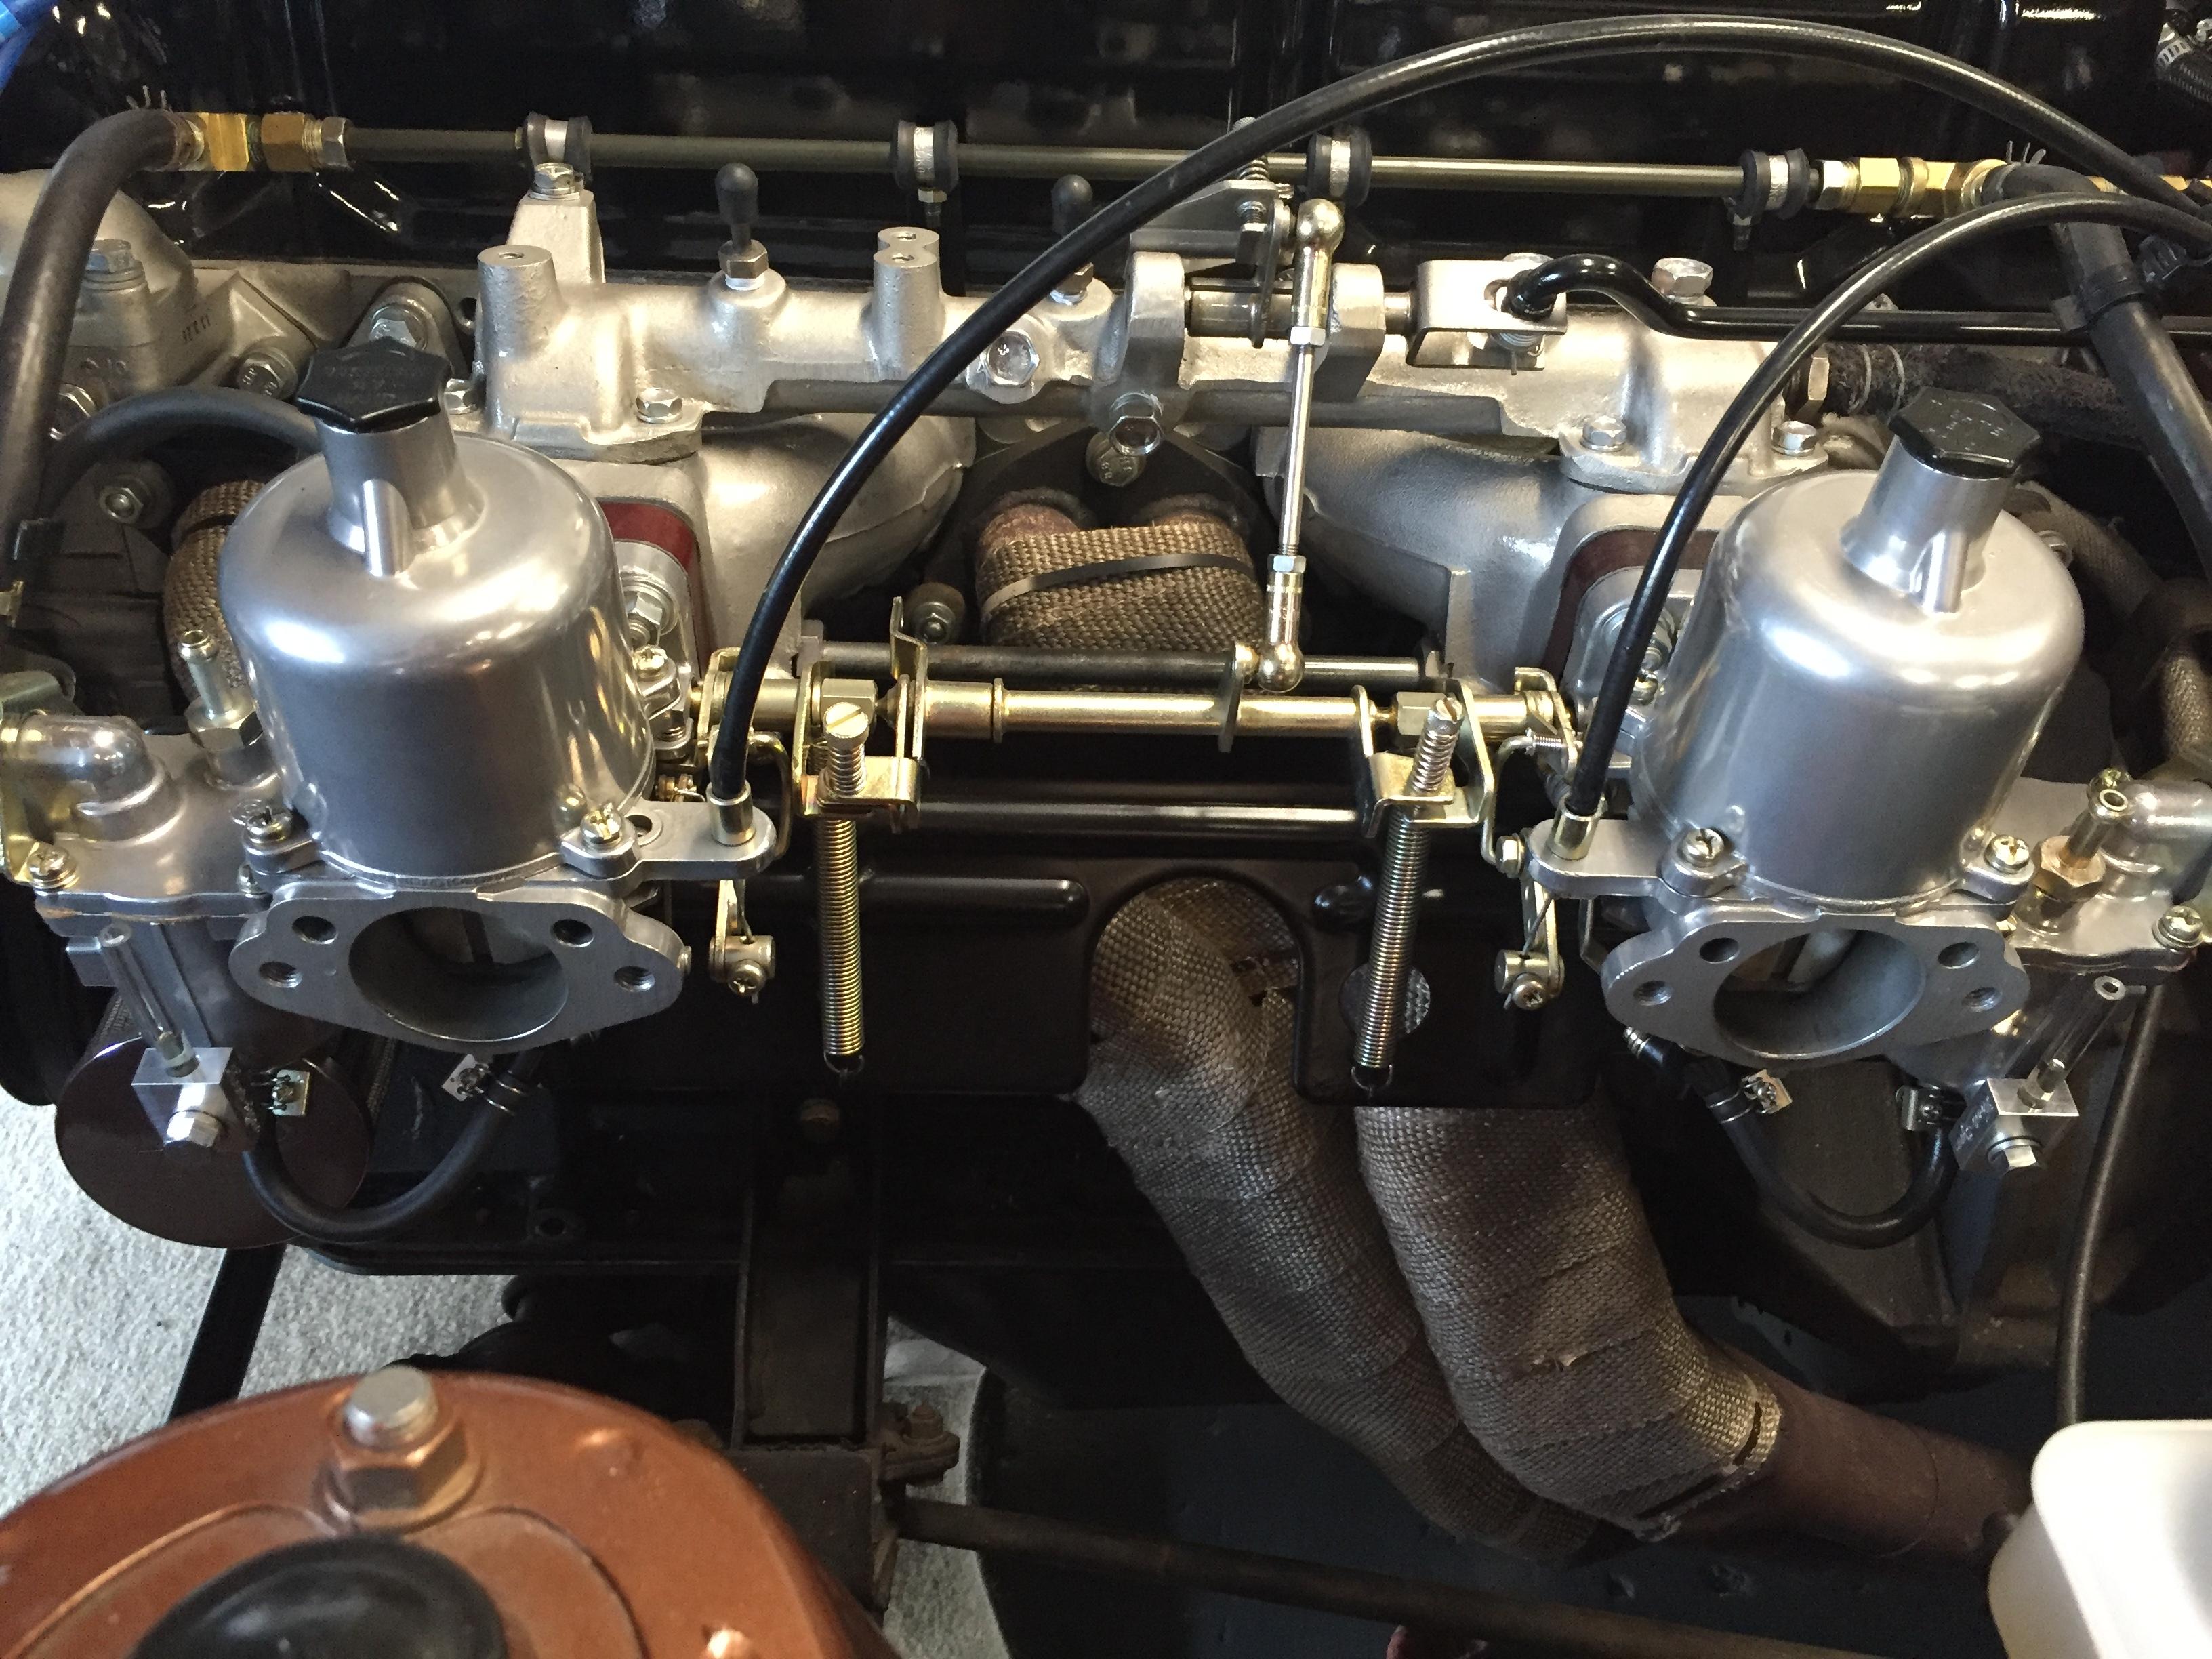
Just a quick update for anyone interested in my Float-Sync tools. I've sold roughly 20 sets since early April and when the stock I have is gone, I'll likely not be producing more. You can find them on e-bay or you can order from me directly at datsun.floatsync@gmail.com, and save yourself $5.00.
-
Very interesting AK260. This confirms my experience running 5-6 different profiles and monitoring an AFR meter I mounted on my steering column. My fresh built 2.8L motor has dished pistons (turbo block), an E88 head with port work and un-shrouded valves. I'm running a 276 lift, 480 duration cam and a 2 1/2" exhaust with straight through glass-pack. I used dished pistons to eliminate any possibility of detonation when setting total timing at 36 degrees, even though compression is down. With the SB needles the car runs very strong on the dyno, 180 hp at the wheels (roughly 220-230 at the crank). Torque was 225 ft. lbs. As a regular driver, the SB needles were too rich at lower RPMs for my liking. Couldn't stand the smell. I ended up defaulting to TF needles, which ended up being a compromise I could live with. Your chart shows exactly what I've experienced. Great to actually see it diagrammed. Thanks!
-
While the picture of the underside of Jim's car is obviously not the kind of paint job the body got, it sure looks like more than over-spray. It has been rewarding to uncover factory paint underneath as I go. As an aside, I'm not a fan of seeing the ragged pinch weld along the bottom of each side, which is typically a little beat up. I've resorted to straightening any "jacked" edges, sanding the outside edge, and then masking and spraying it semigloss black. No, it's not factory but to my eye it really cleans things up when viewing the car in profile.
-
Thanks to both of you for the great reference. My 1972 Z has been in AZ all its life and I've begun cleaning the bottom up. It appears the underside of my car has a lot of road grime, but no factory undercoating. I've found that a combination of using kerosene and/or hot steam loosens the grime, that can then be wiped off with an absorbent towel. It's definitely slow going but the results are looking like it will be worth the effort. I'm probably one of the few anal enough to actually care. I'll post some images as I make progress. Thanks again
-
I'd like to find a complete description of how the underside of a 240Z (floors, inner fenders, components, etc.) was finished from the factory. I have to believe there must be a post on here somewhere, but I have searched on a number of topic descriptions to no available. Can anyone help? Thank you.
-
Looking for a set of 70mm Epsilon Southern Ways center caps, either OEM or reproduction. I found a post here on the site that indicated someone (69clark) was re-producing the caps, but after sending a PM and not hearing back I thought I'd post it here. Thanks!
-
Recently picked up a set of Epsilon 3-piece wheels. They're in great condition but I will be re-finishing the centers and buffing the barrels up. I'm considering having the centers powder-coated rather than painted. Thoughts? Recommendations?
-
Recently picked up a set of Epsilon 3-piece wheels. They're in great condition but I will be re-finishing the centers and buffing the barrels up. I'm considering having the centers powder-coated rather than painted. Thoughts? Recommendations?
-
Do you know if your vacuum advance is working? If not, I would suggest that you check timing at 2500 rpm (total advance). Timing at idle is not all that important, since you spend very little time time behind the wheel at idle. For the best performance, you should set timing at 34-36 degrees with a largely stock motor. If you get detonation dial it back a few degrees. If you're feeling particularly adventurous you can begin experimenting with different needle profiles. In my motor, which is modified, I get the best performance with SB needles, though they are too rich for everyday driving. FYI, I've switched from using ATF damper fluid to 20 wt fork oil, which you can find online or at your local motorcycle shop.
-
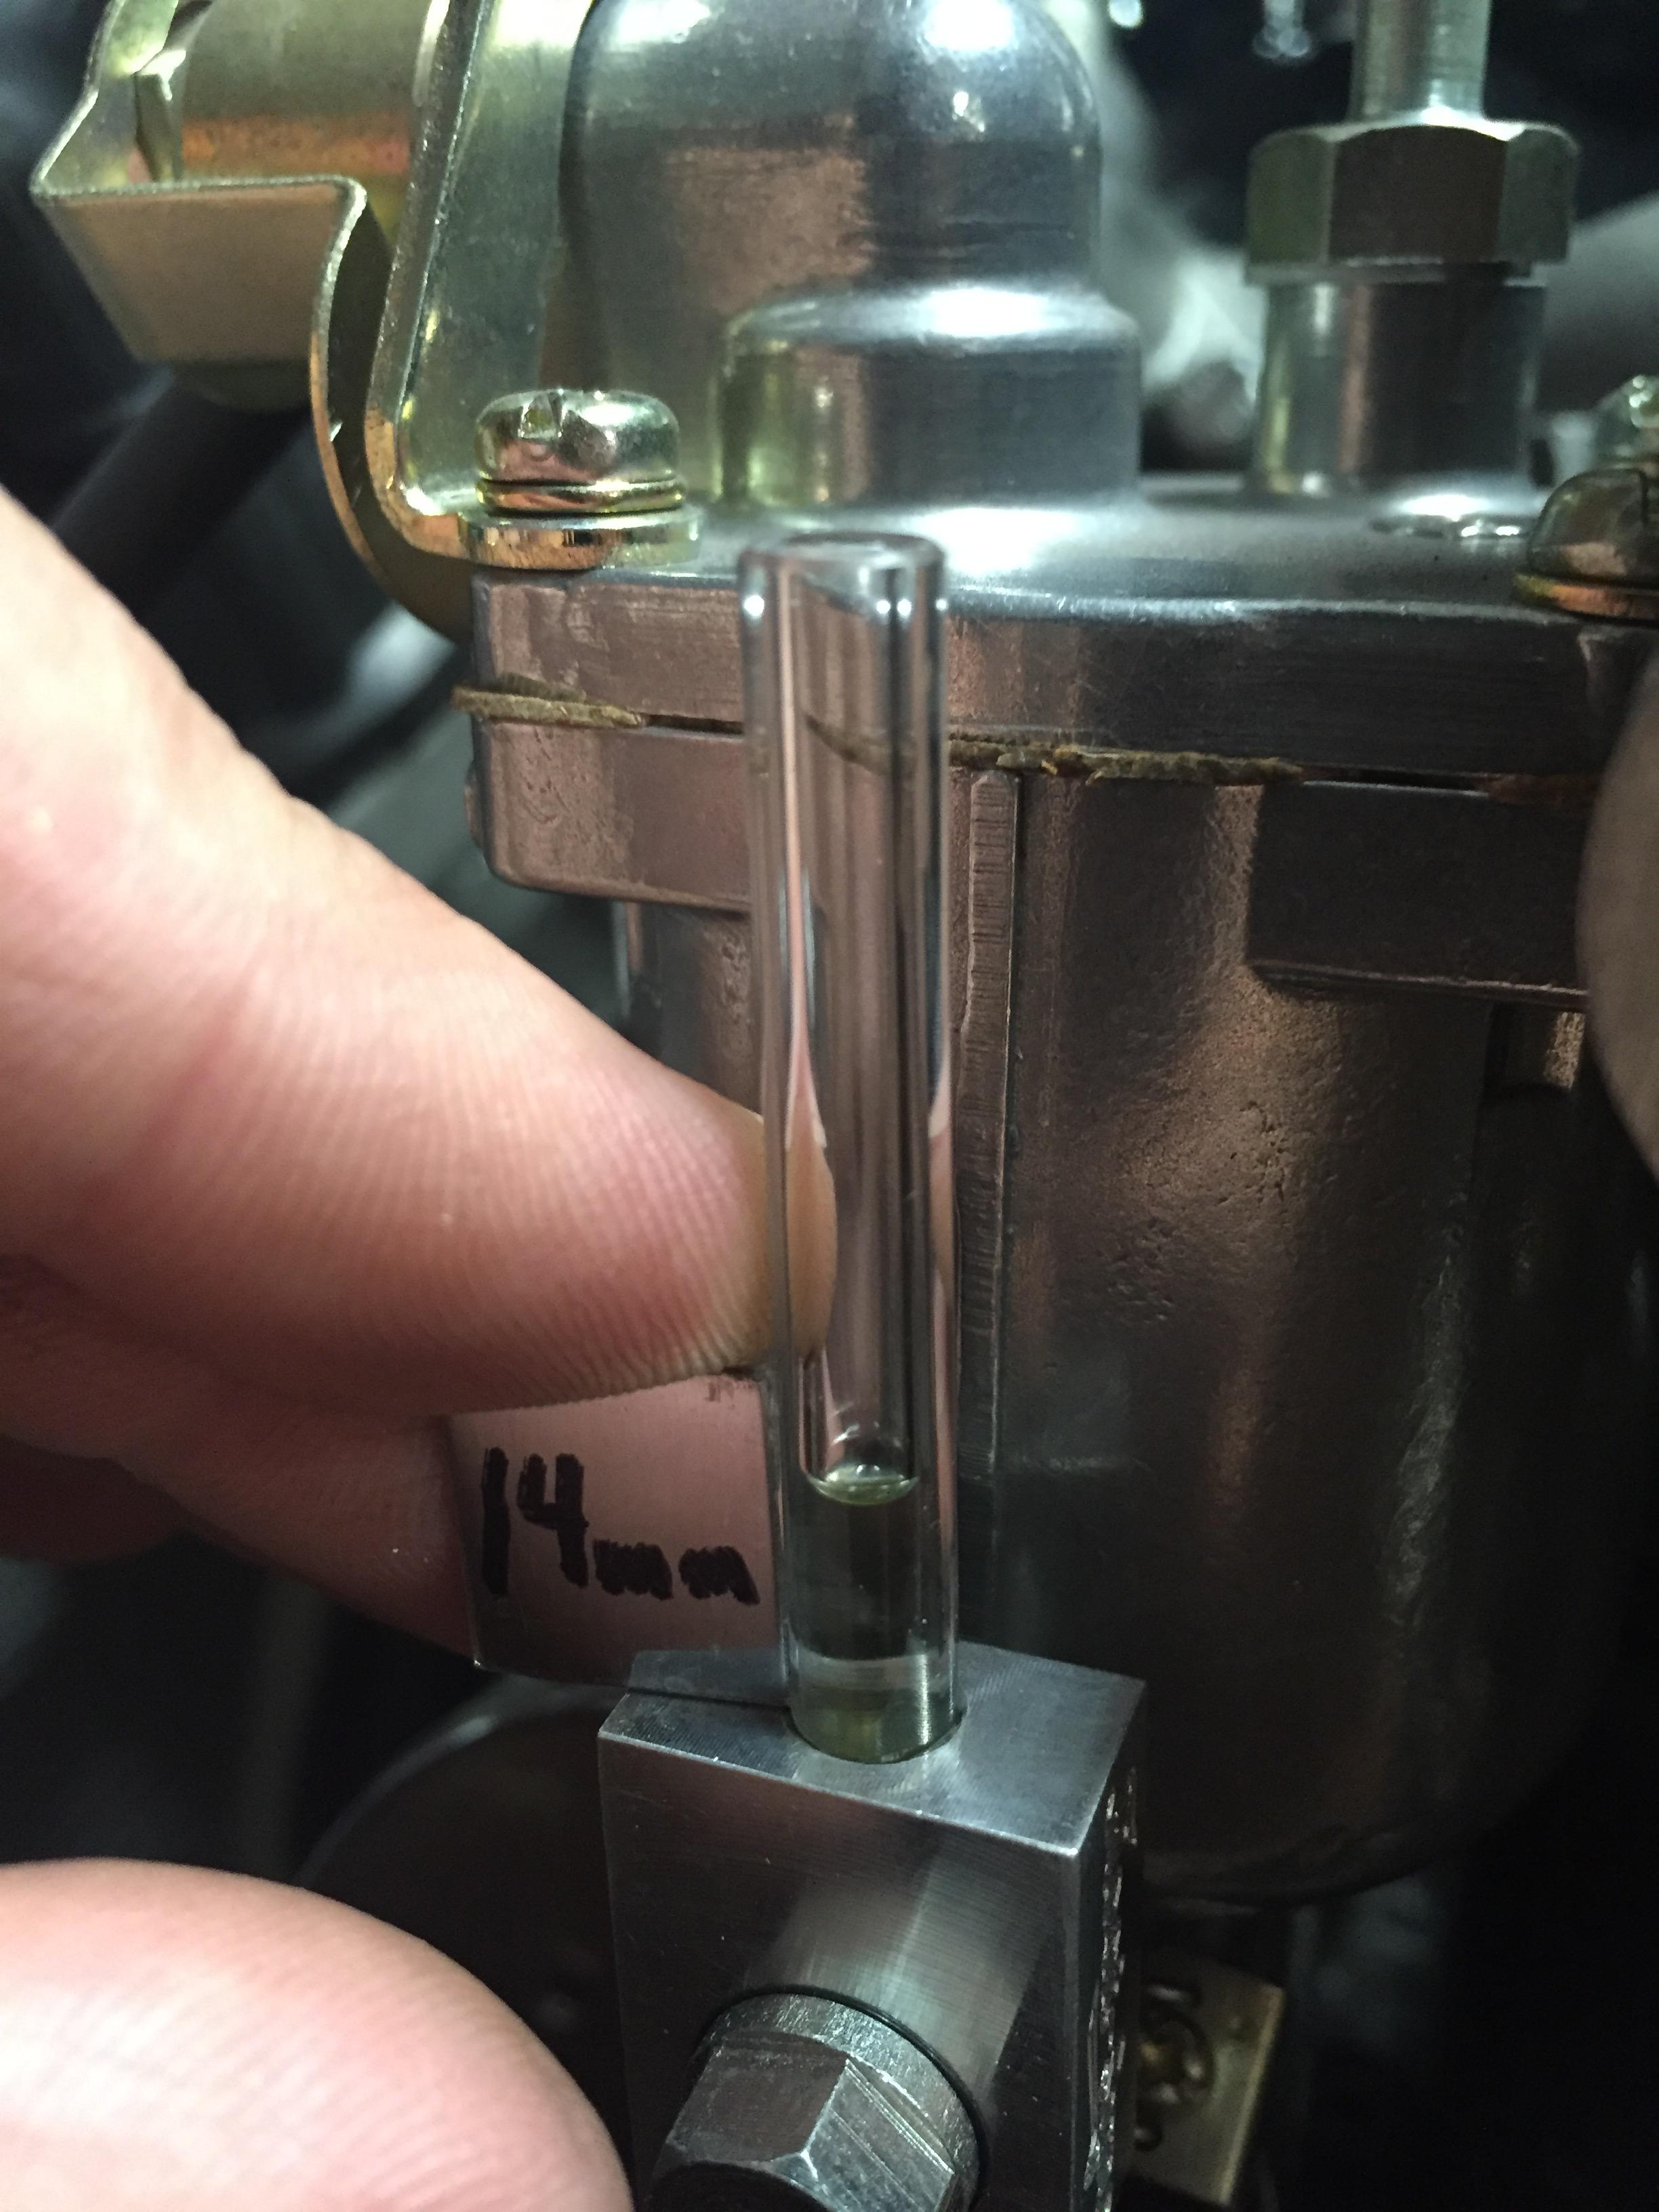
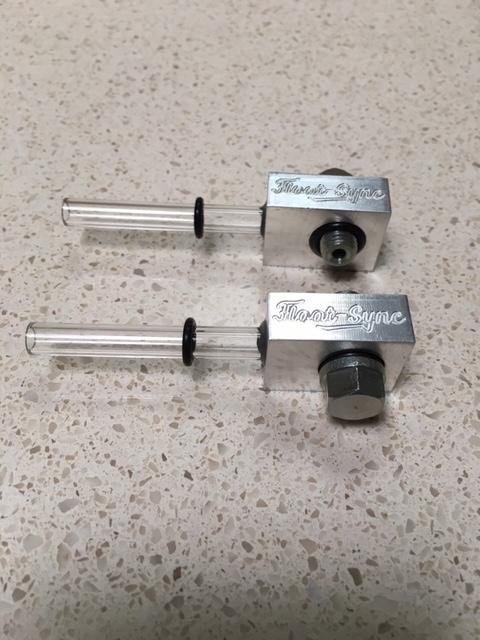
zKars had a great thought using rubber "O" rings on the outside of the site glasses to mark the desired fuel level. I headed down to my local hardware store to look for a pair that would be the right size. For those interested in doing the same, the size I found that seems to work well is 3/16" x 5/16" x 1/16." It's a stretch fit, but they will likely stay put as a result. The only down side is they are 1/16" thick so you can't see the whole tube. I intentionally did not scribe or mark lines when designing the tool as I know some may want to experiment with different levels. The "O" rings are a nice solution, as they can be easily moved to suit individual users.
-
Sorry, I see I said "website" for ordering, in my previous post. I should have said email address- datsun.floatsync@gmail.com.
-
Sorry, I see I said "website" for ordering, in my previous post. I should have said email address- datsun.floatsync@gmail.com.
-
I just received the final components for my Float-Sync tool this morning, and now have roughly 25 sets available for sale. Save yourself $5.00 by ordering directly from my website at datsun.floatsync@gmail.com. Price, including shipping, is $70.95. Product is also available on E-bay for $74.95. Thanks for the interest and the kind words of my previous customers.
-
Please be advised that the new Float-Syncs have glass, not plastic site glasses. Be careful etching a groove as they may be prone to break along that line. I actually like the "O"ring idea. If they're thin and tight they should stay put.
-
I will likely have new Float-Syncs back in stock and ready to ship by next Wednesday. One of my suppliers says my parts are in the mail and I will receive them on Monday. I think you will find these much more precise, and you can see the fuel level in both carbs with the car running. Maybe some of my former customers can vouch for Float-Sync.