Diseazd
Free Member
-
Joined
-
Last visited
Everything posted by Diseazd
-
 Hope this helps......
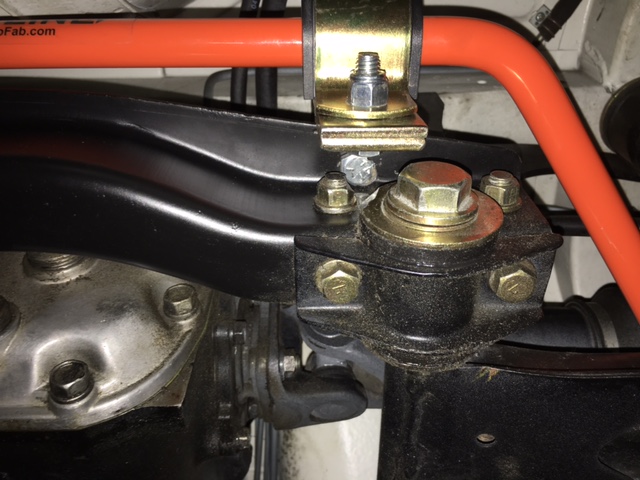
-
Number 47 a 2+2?
-
Jeff G.......
-
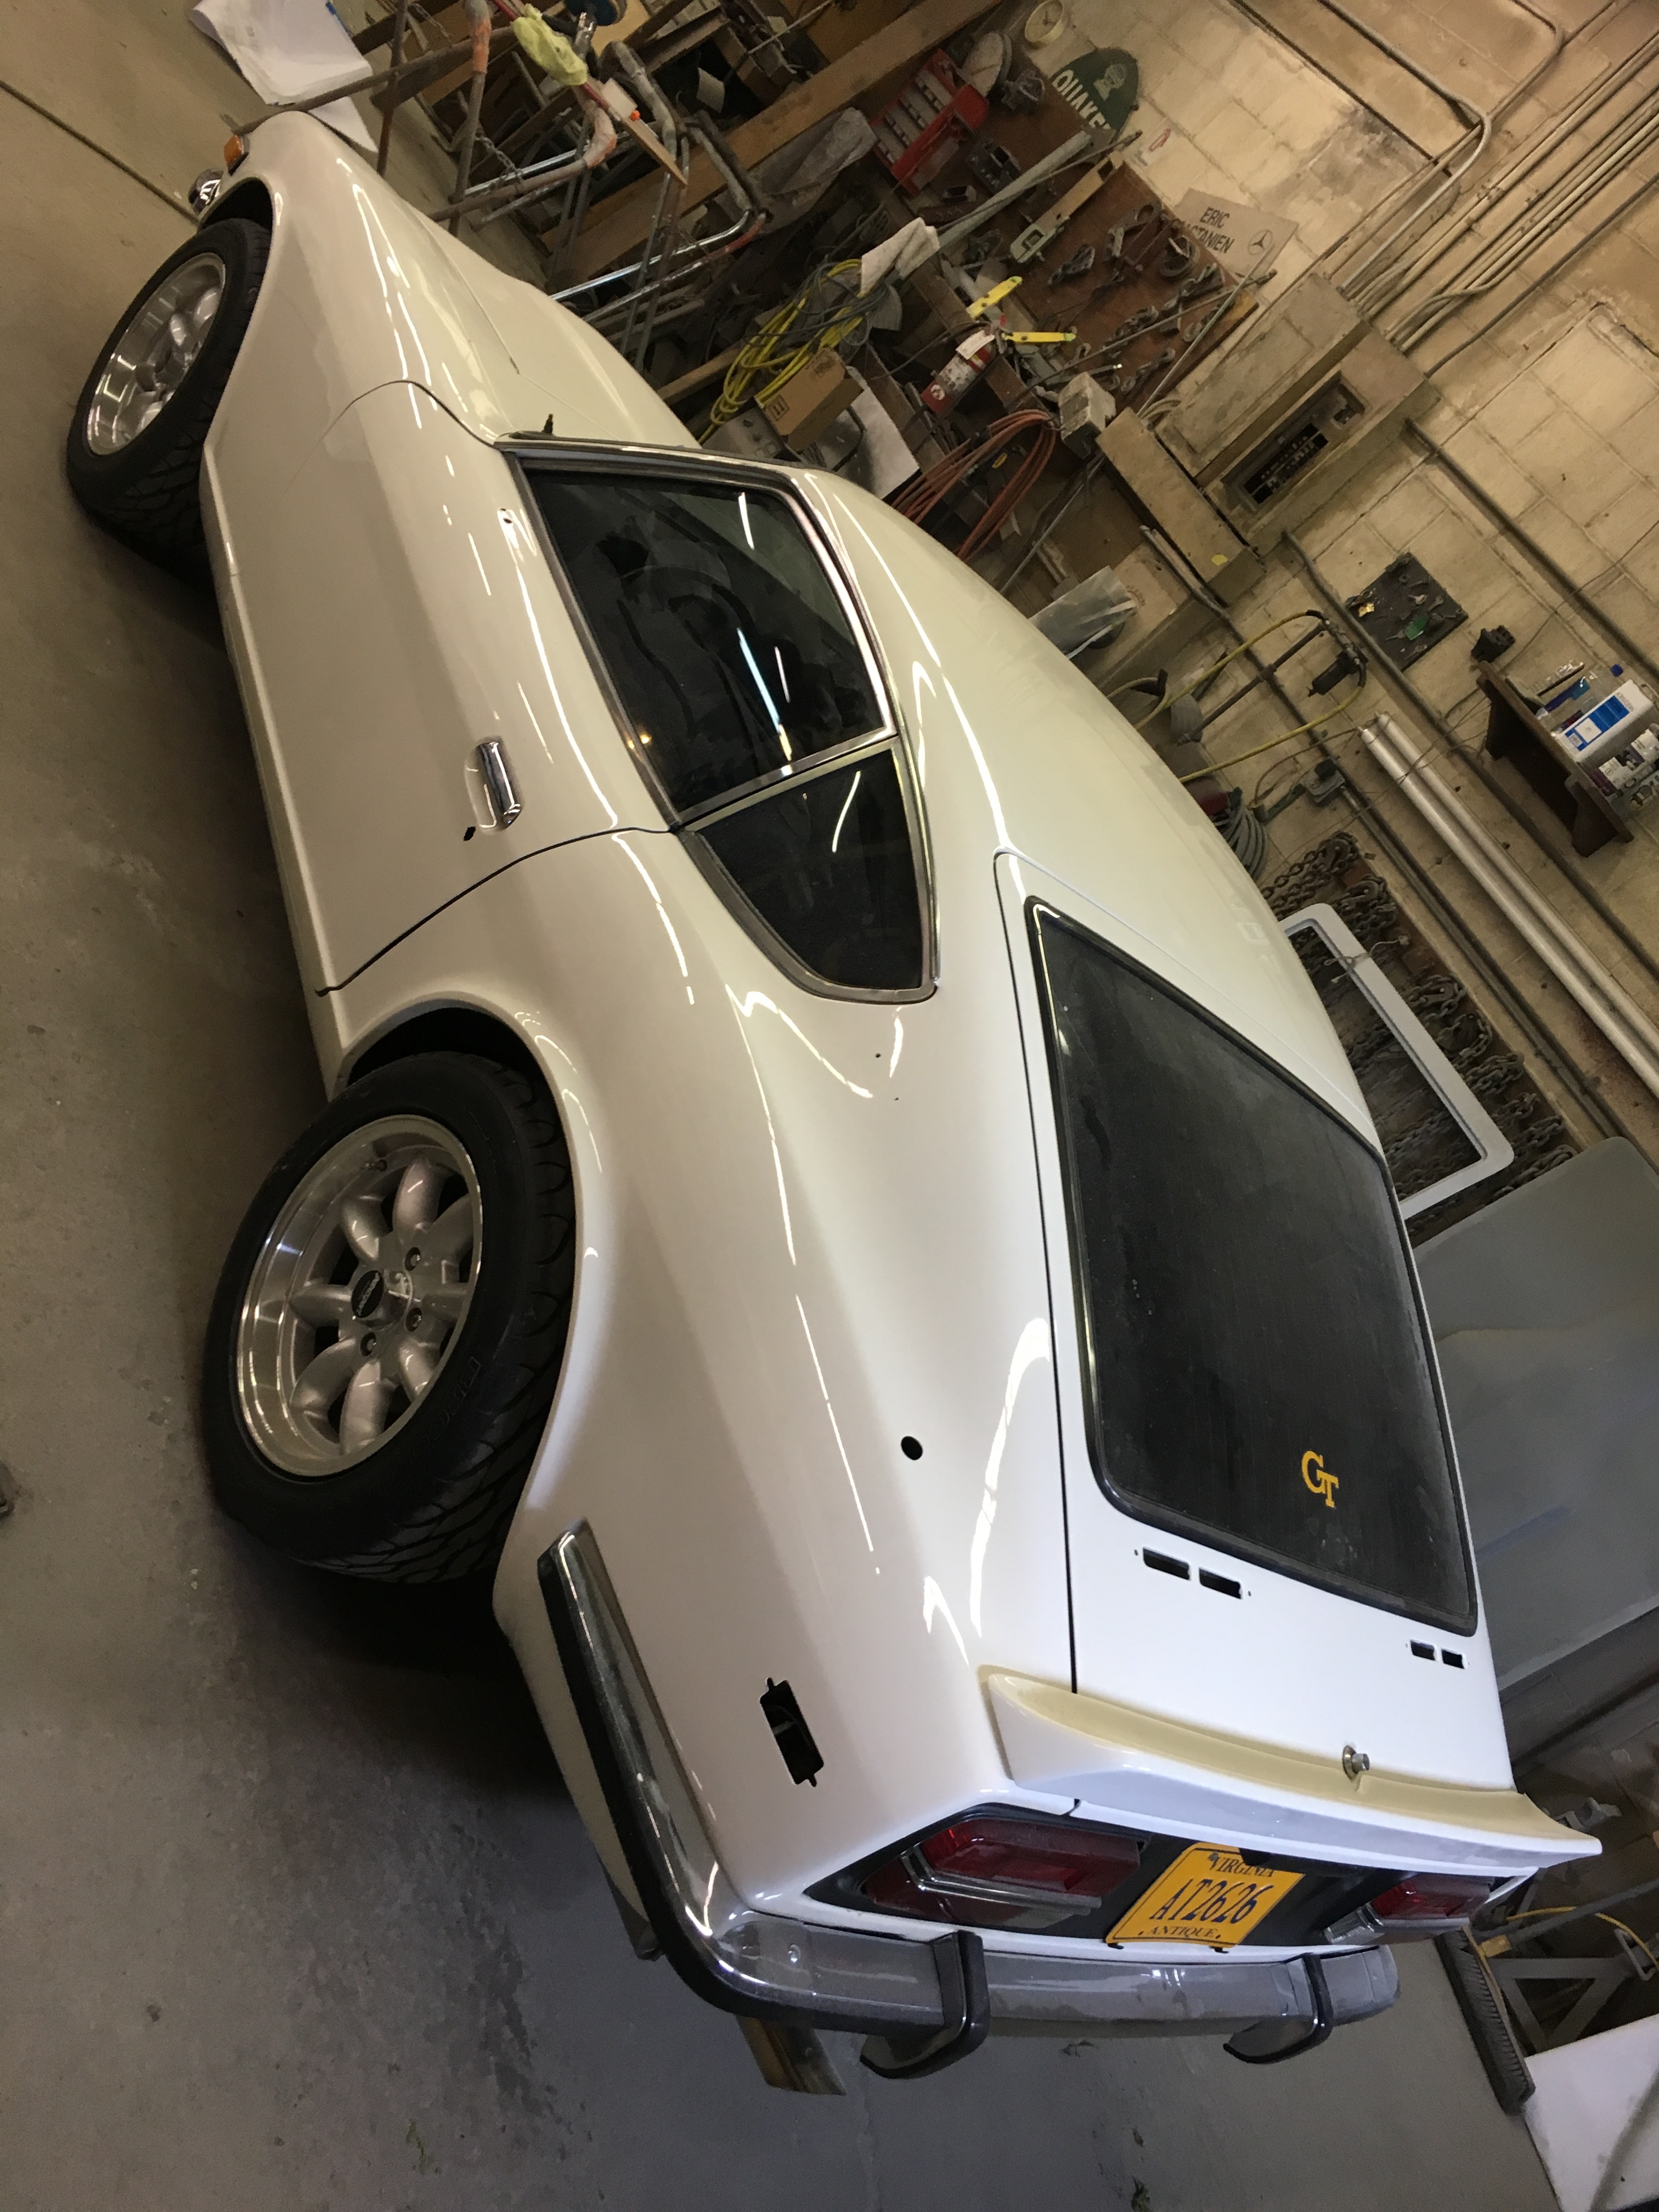
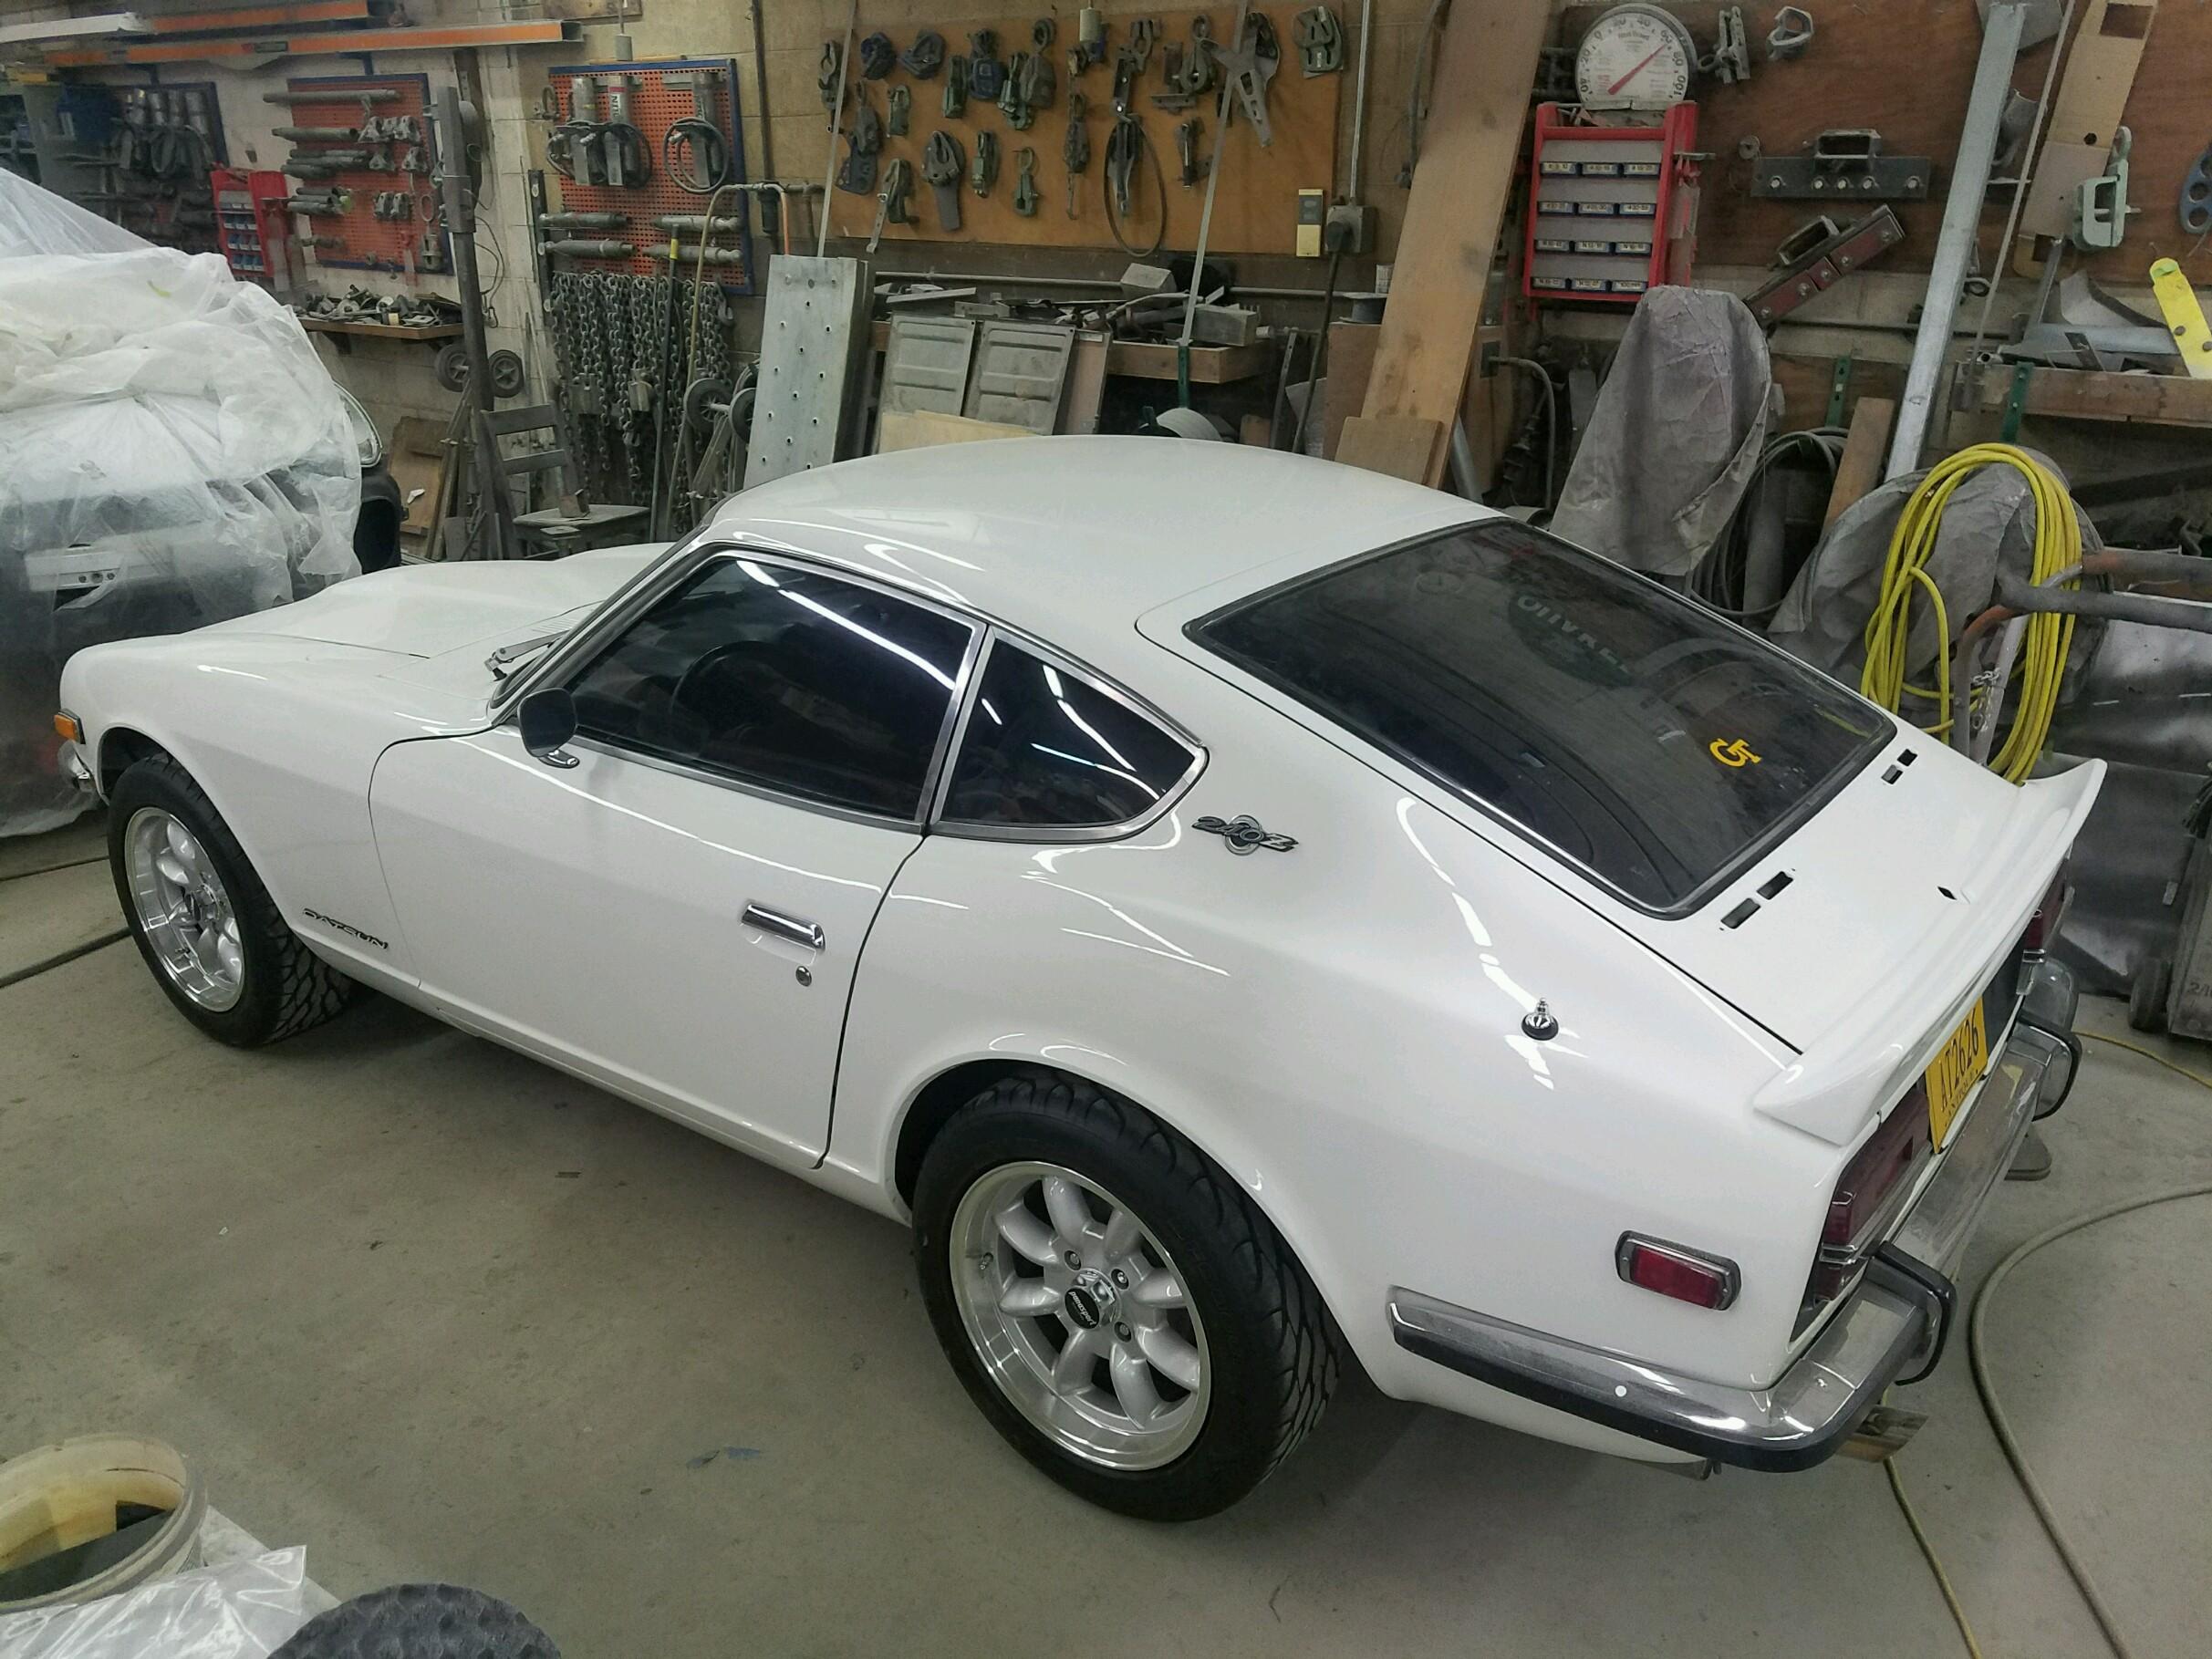
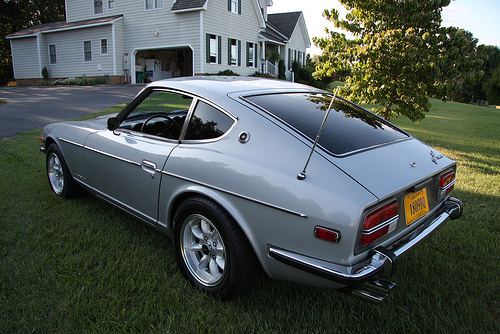
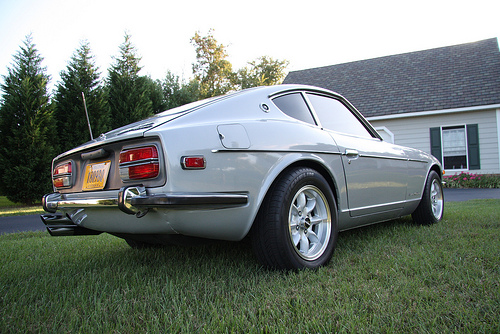
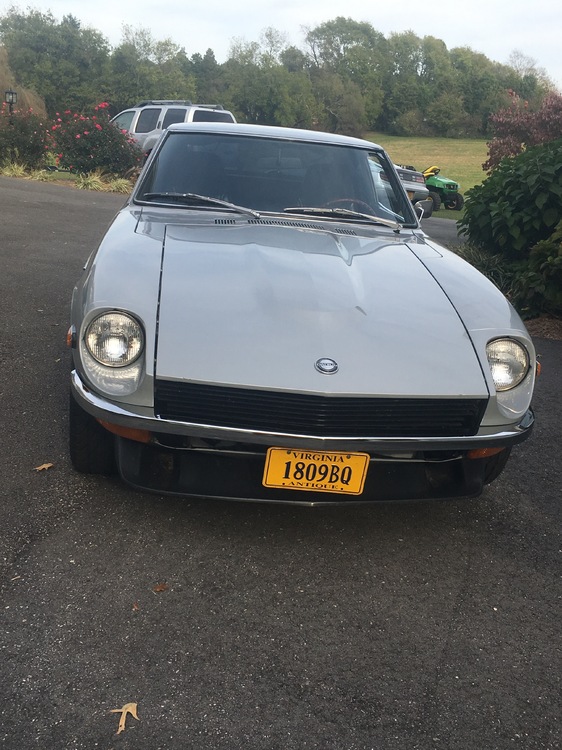
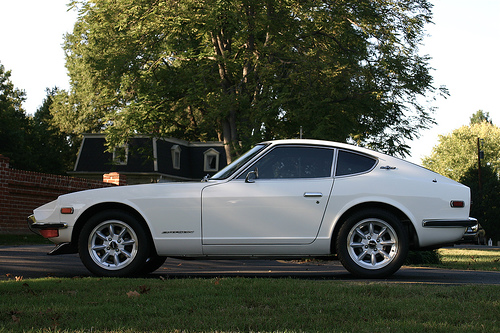
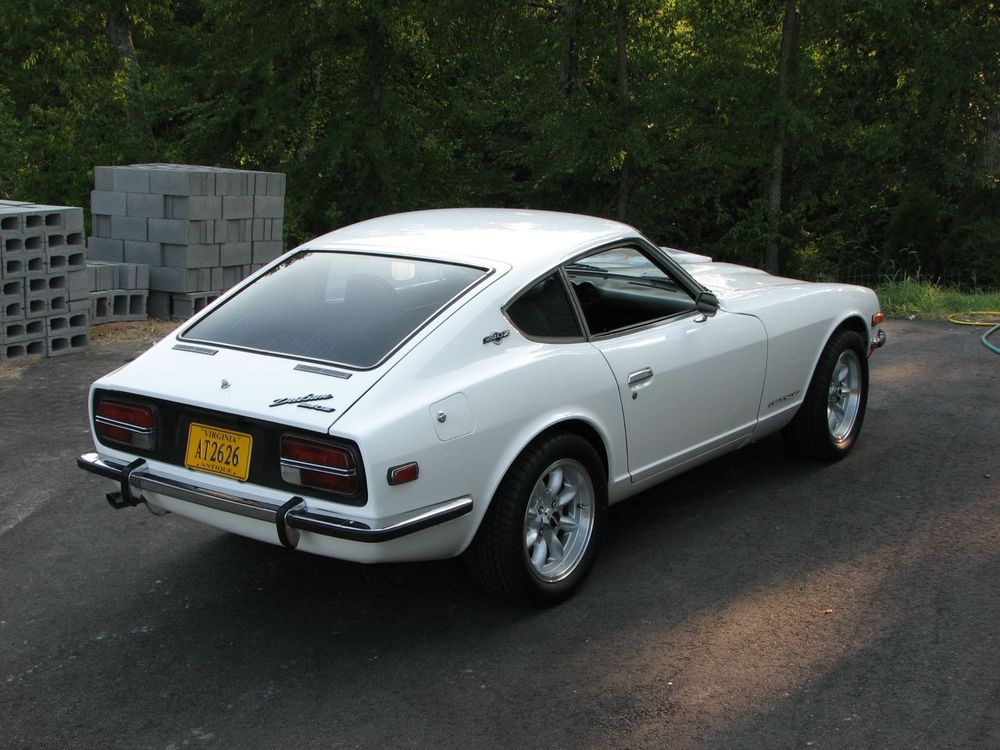
Thanks Namerow.....The white Z is running Eibach springs with Tokico blue shocks. I'm running 16x7 inch Panasport wheels (not sure of the offset) with 205 55 16 Goodrich KDW's. The chin spoiler is the fiberglass BRE Spook from Motorsport. I've since this post, added a rear spoiler.


-
Thanks Stephen... I just think spoilers add a lot to the look of the 240Z. BTW, did you ever paint your rear spoiler the same color as the car? My guess is you'll end up going that route......just a hunch. The 16 inch wheels are my favorite, but my silver 73 has 15's and I really like them too....just can't quite get the selection of performance rubber that you can get in the 16's. Regards to your family. Guy

-
Just came home from Chuck's....
-
You got it......that's exactly what I would do....I've never had the side seals leak in all of the Z's I've owned and built. The rear main seal is the culprit almost always, followed by the pan gasket. Good Luck ole boy!
-
Dave....The flange sealant you showed should work perfect for where the rear main bearing cap meets the block. But, IMO the side seals never leak if properly installed in the first place with proper sealant on the flanges. Besides, that's a PITA job with the motor in the car. The most likely source of your leak is the rear main seal......an easy installation......you can use oil, grease or lithium grease to install the rear seal. Rotate the seal clockwise slightly while pushing it on the crank .....make sure it is perfectly square to the crank journal when all the way installed.
-
Charles....The tires are BF Goodrich KDW's......size 205 55 16. They are no longer available in Z sizes. Guy
-
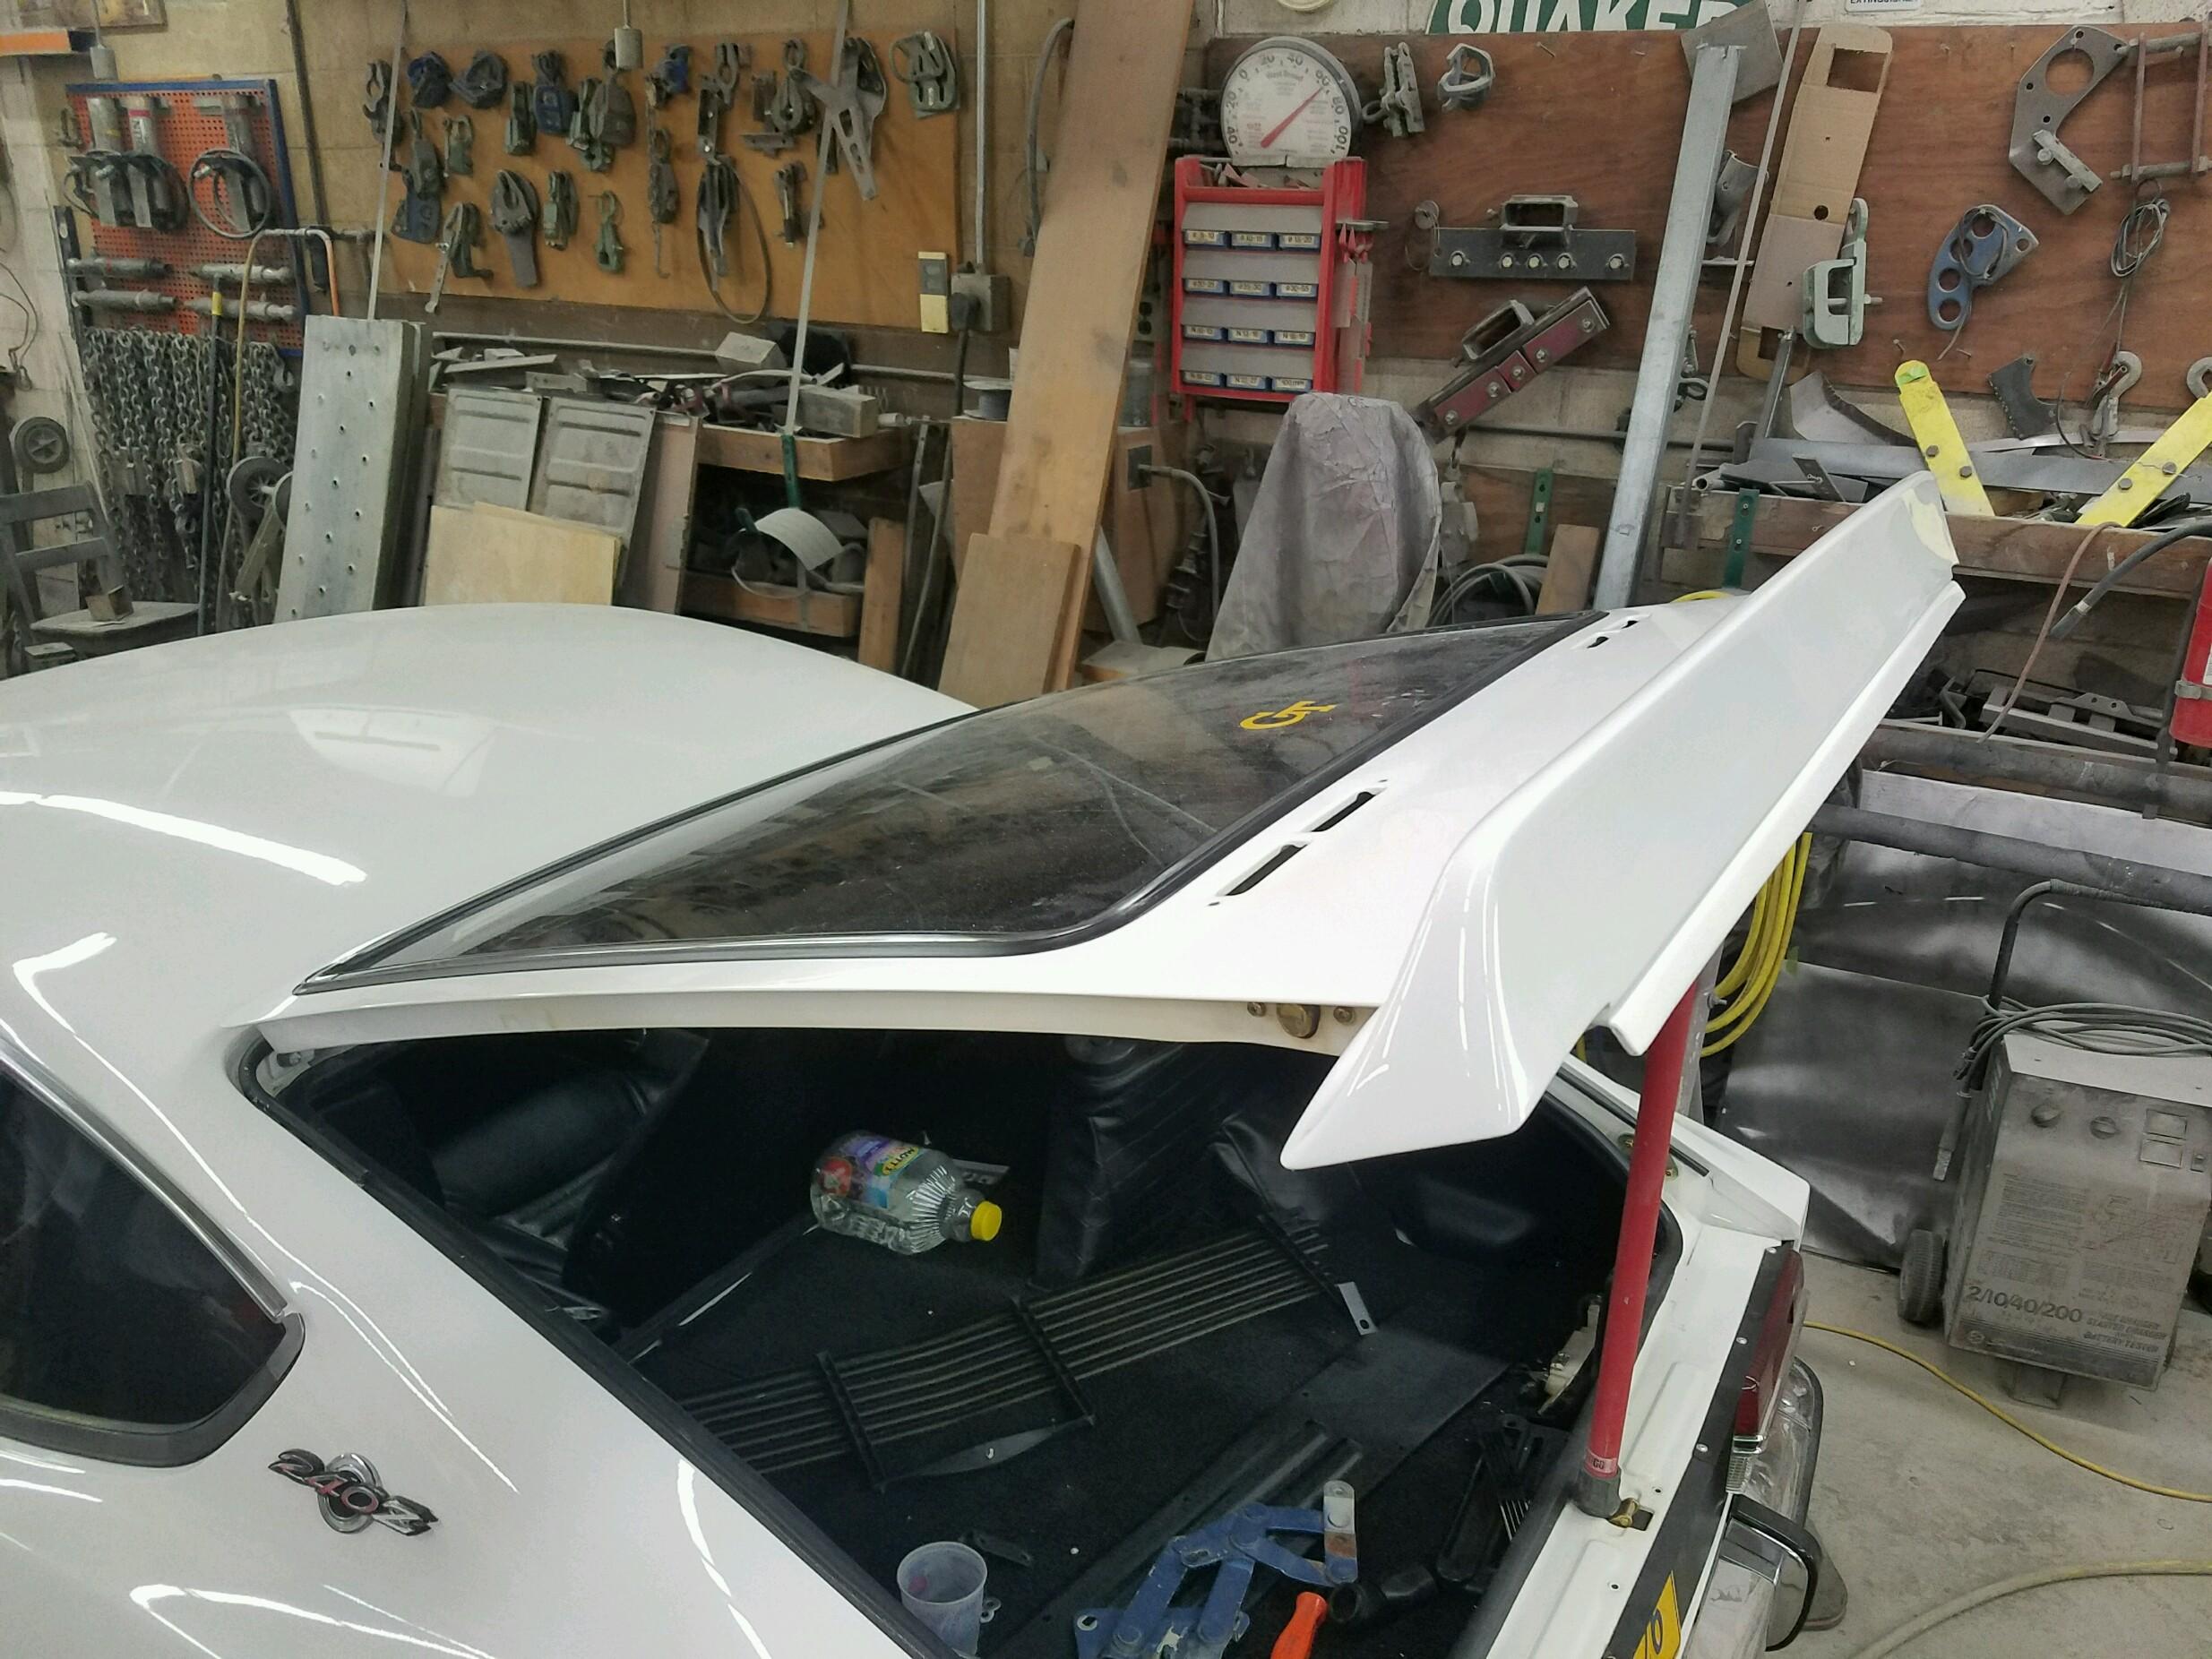
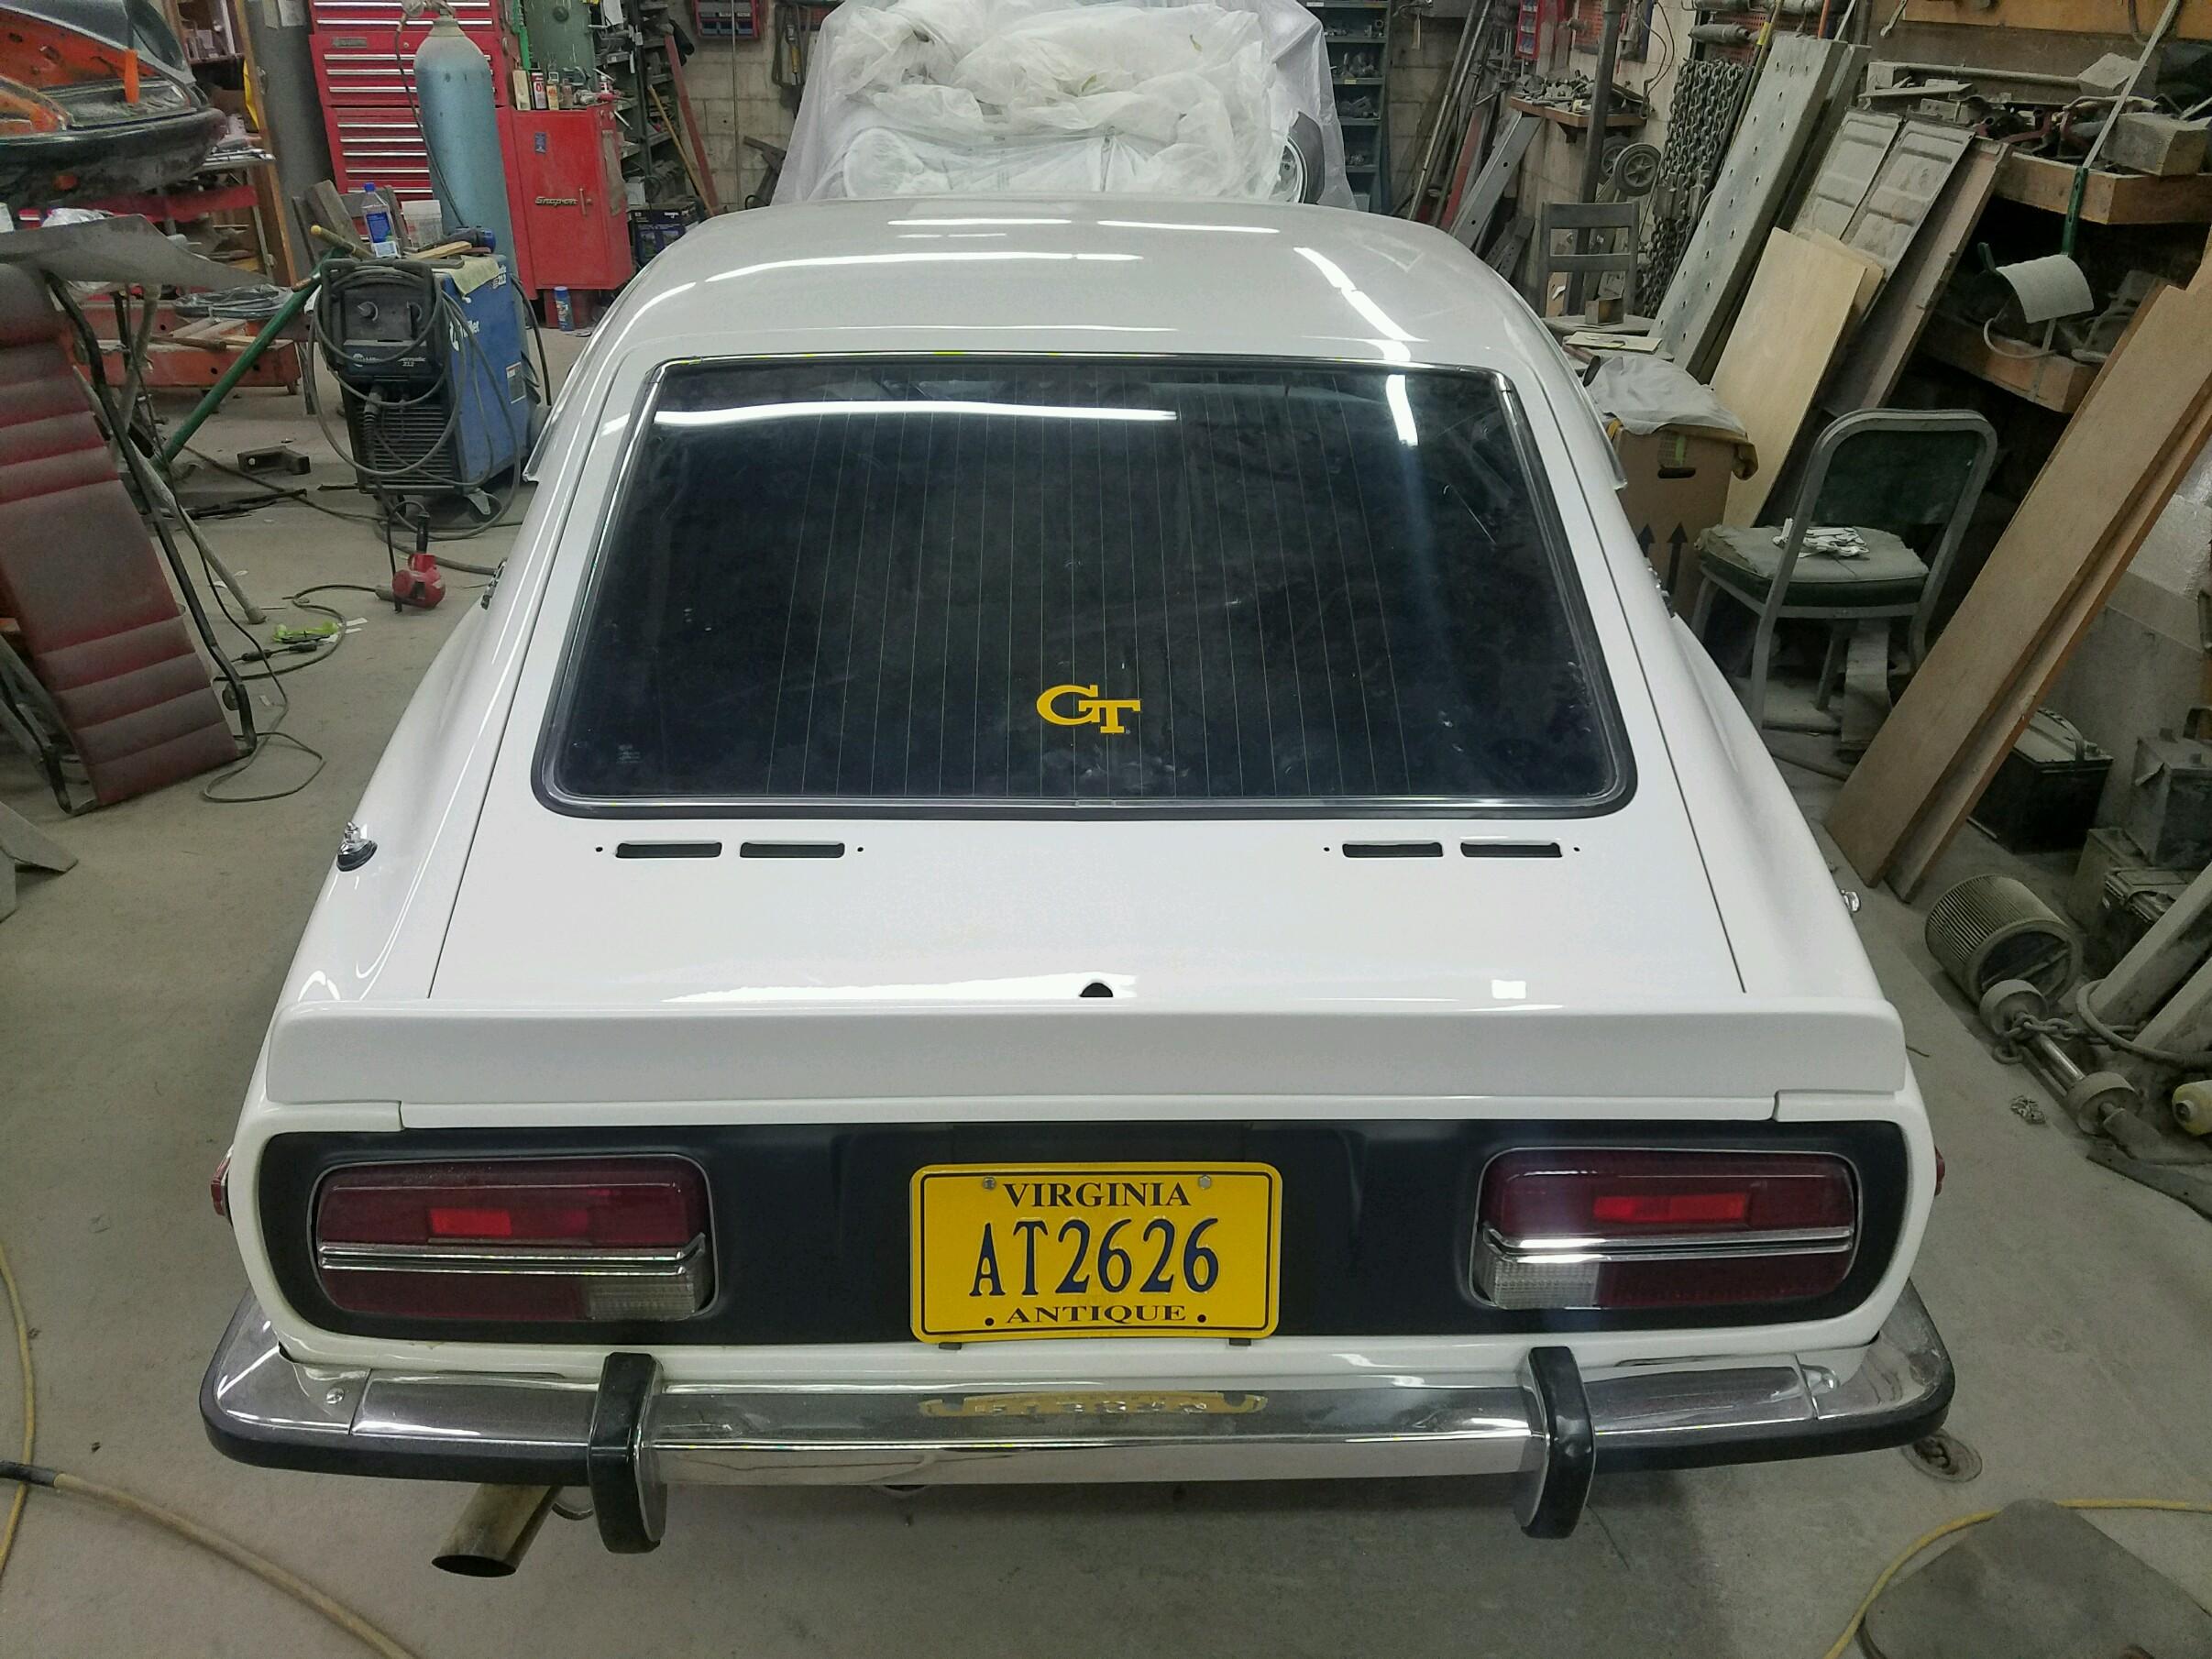
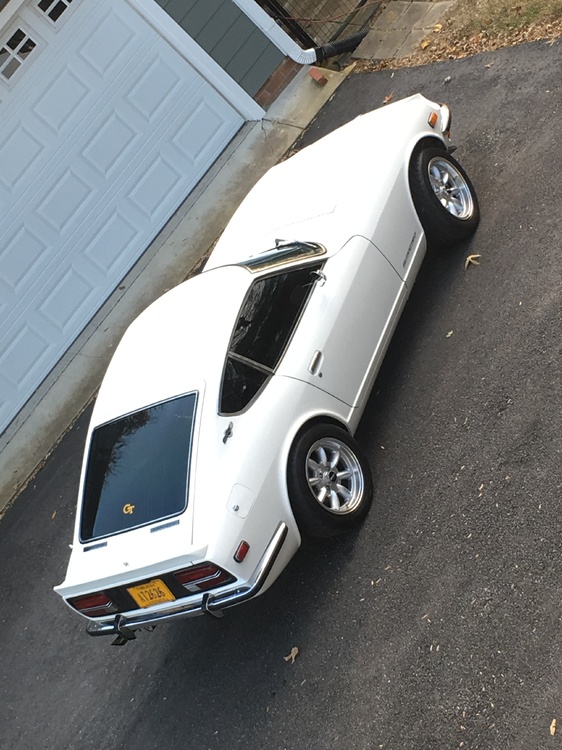
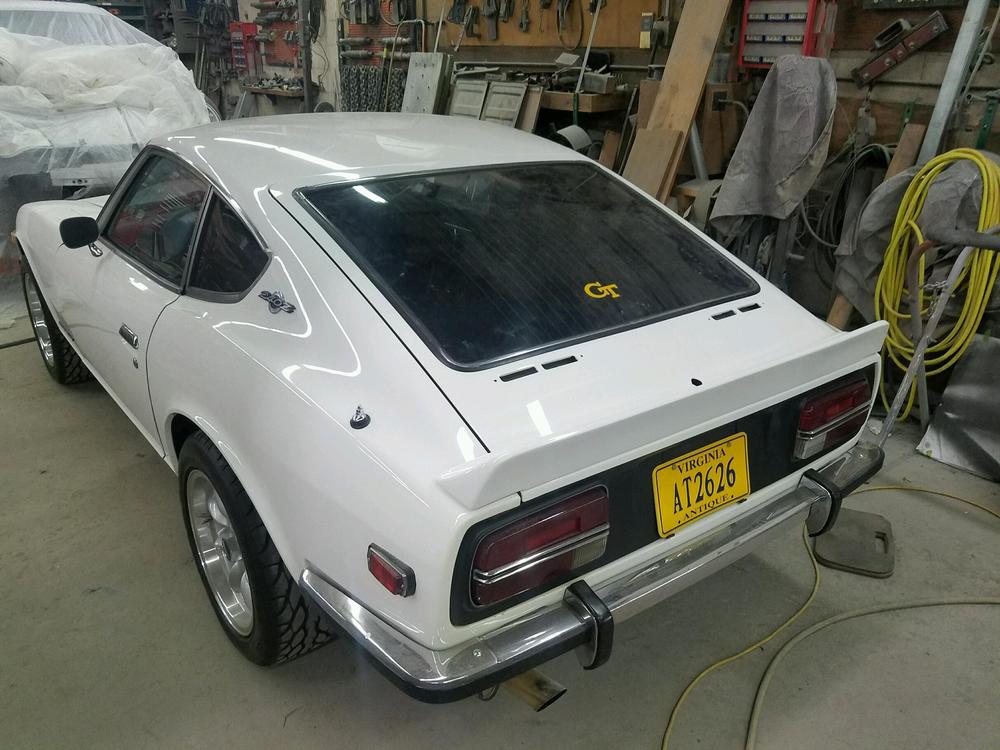
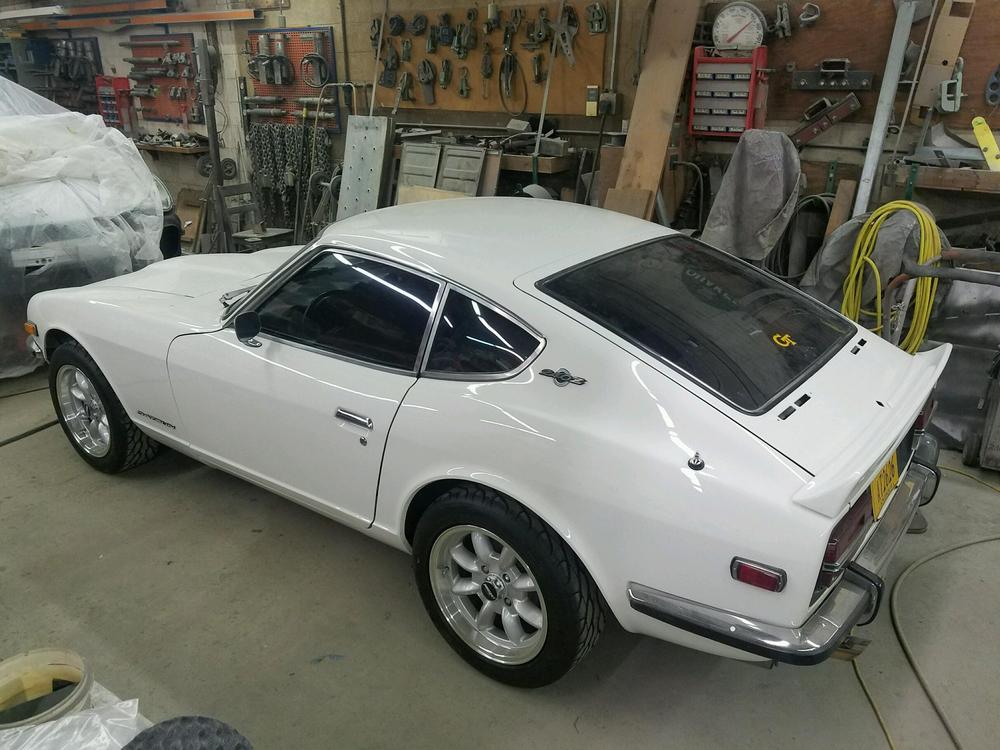
Chuck is adding a rear spoiler on my 70 white Z.....I just like the look!


-
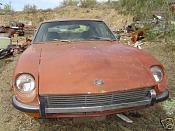
Installed a new Black Dragon front bumper on my 73......much better look!
-
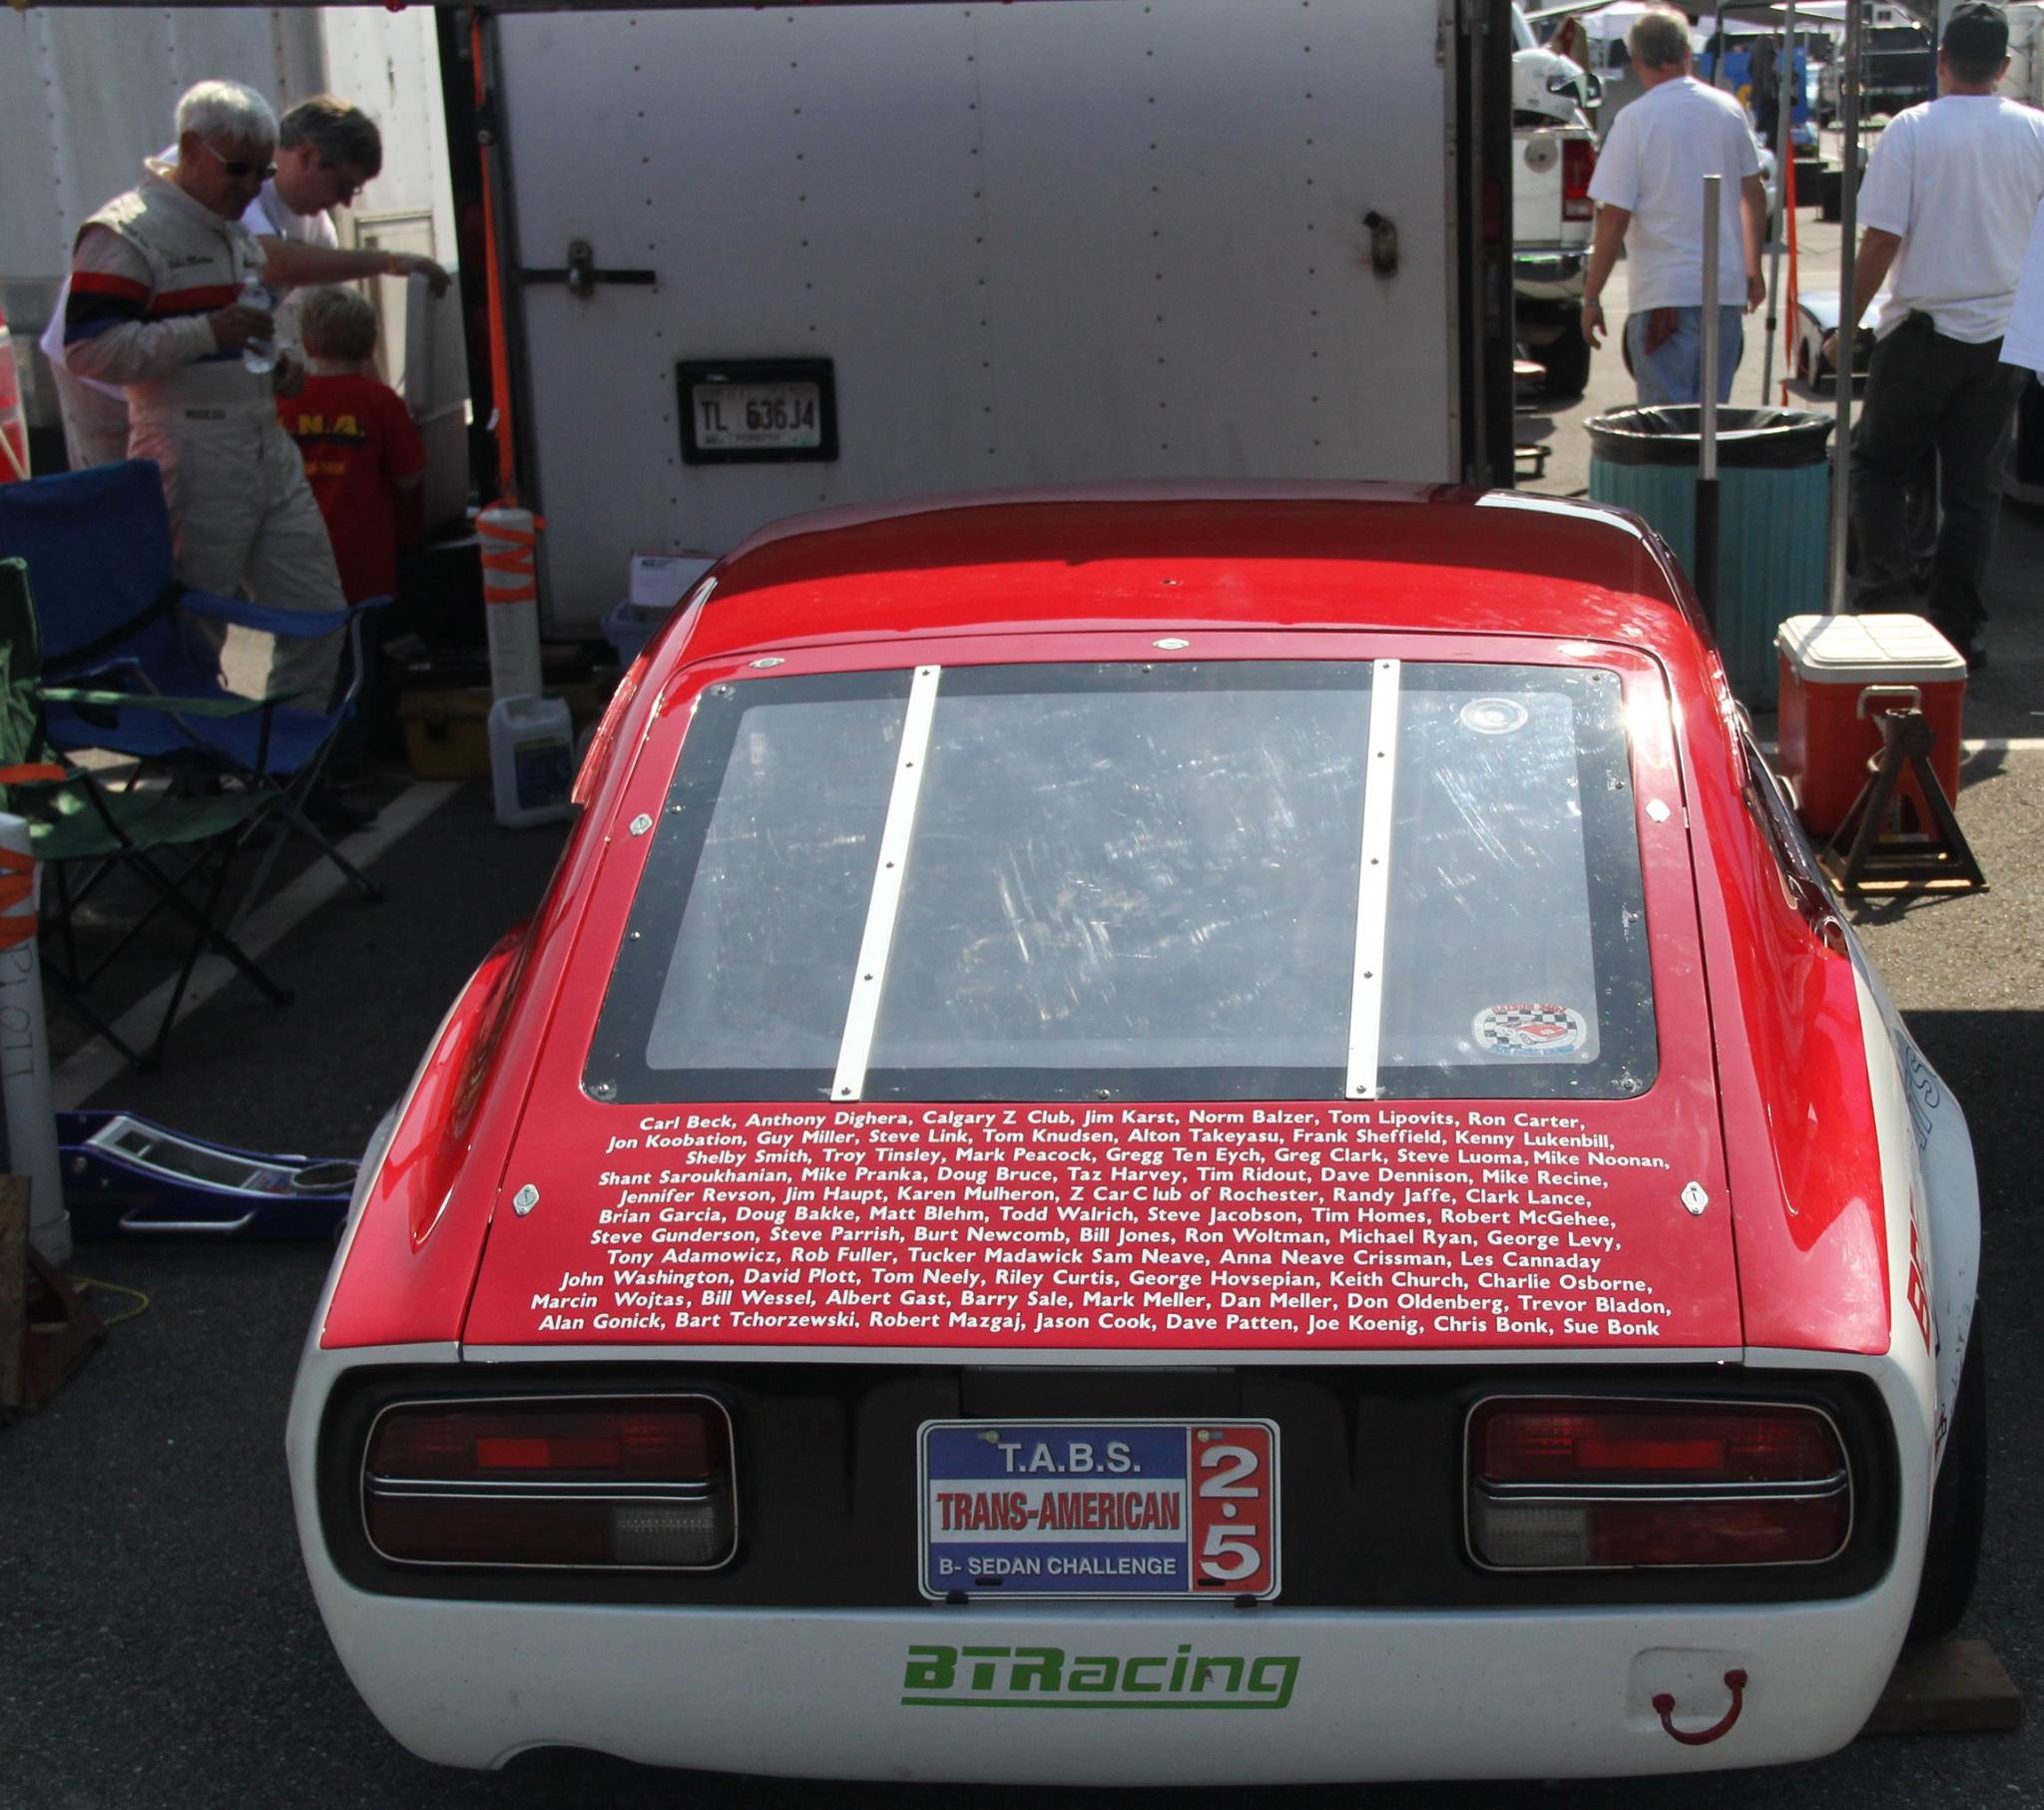
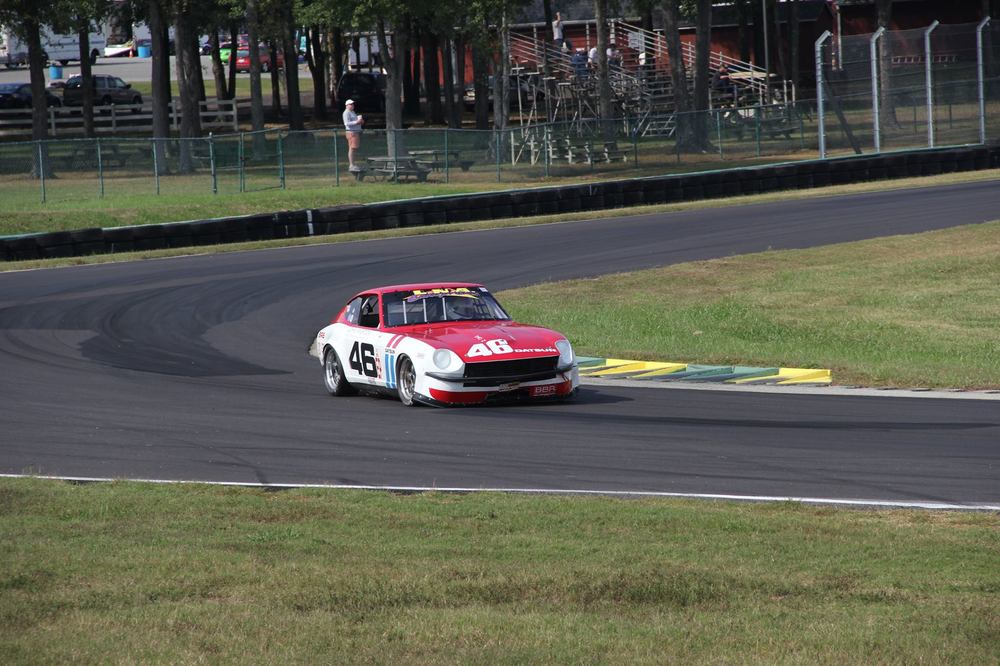
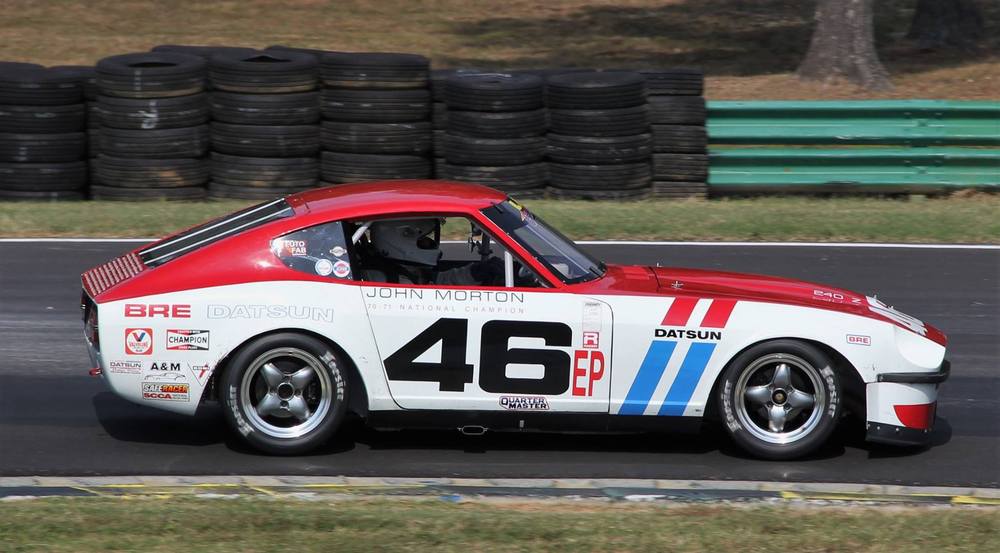
Is last Sunday vintage? John finished first in a 46 car at VIR. Congrats Steve Bonk and Sam Neave too.


-
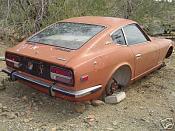
Some cars should just go to the crusher.....obviously you are not going to let this one die.......I agree with Mike....just amazing.......more new metal than old metal!
-
That's correct, the early valves are 2mm longer, so if you have an early head N42/N47, this shouldn't be the problem (valve too long). However in Datsun engines, if you grind the top of the valve, the keeper groove moves closer to the "cupped" lash pads possibly causing the lash pad to contact the keepers and eventually dropping the valve. Valve height should probably be fixed with new seats (old seats ground too deep).....not by cutting the top of the valve stem. With all the problems you've had with this head, you might consider dumping it and while you're at it dumping your machinist. Call someone Datsun savvy (Eiji at Datsun Spirit) or someone else reputable and have them build you a new head.....one that you have confidence in......just my humble opinion. BTW....the engine is beautiful....looks like you've done your part
-
You said your machinist shortened a couple valves. Hate to throw up another point of concern, but if you shorten valves in a Datsun engine (with cupped lash pads), the lash pad can actually hang over enough to contact the valve keepers.....not good. If you have the flat bottomed lash pads, this isn't as likely a problem......Sounds to me like your machinist doesn't know Datsun engines very well....IMO..
-
Fabian....Looks like a really nice Z..,,,,Congrats!
-
You guys are awesome....I love your creativity.....grannyknot, I'm impressed....Careless...where is the final shot of your first Resto? I know how you feel....once restoration is done, you're ready for the next.....the fun is in making something ugly beautiful again. How's this for a before and after.....
-
No....couldn't make the race....nice to see 46 winning again....congrats to Steve Bonk and Sam Neave too.
-
Thanks, thanks! BTW zKars......our names crossed the finish line first at VIR last weekend with Morton at the wheel!

-
Anyone know if 240Z hood hinges are identical to the hood hinges used in the later 280Z's?
-
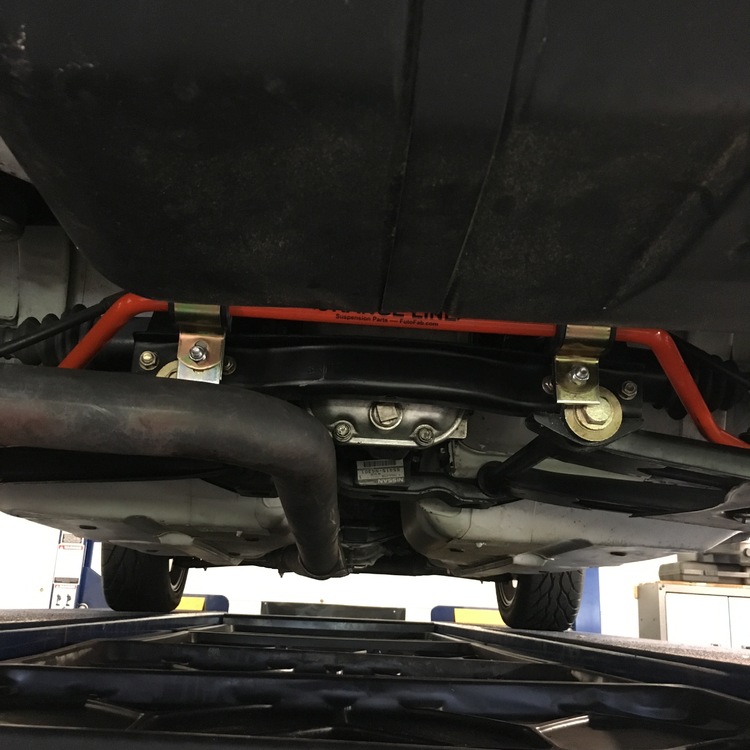
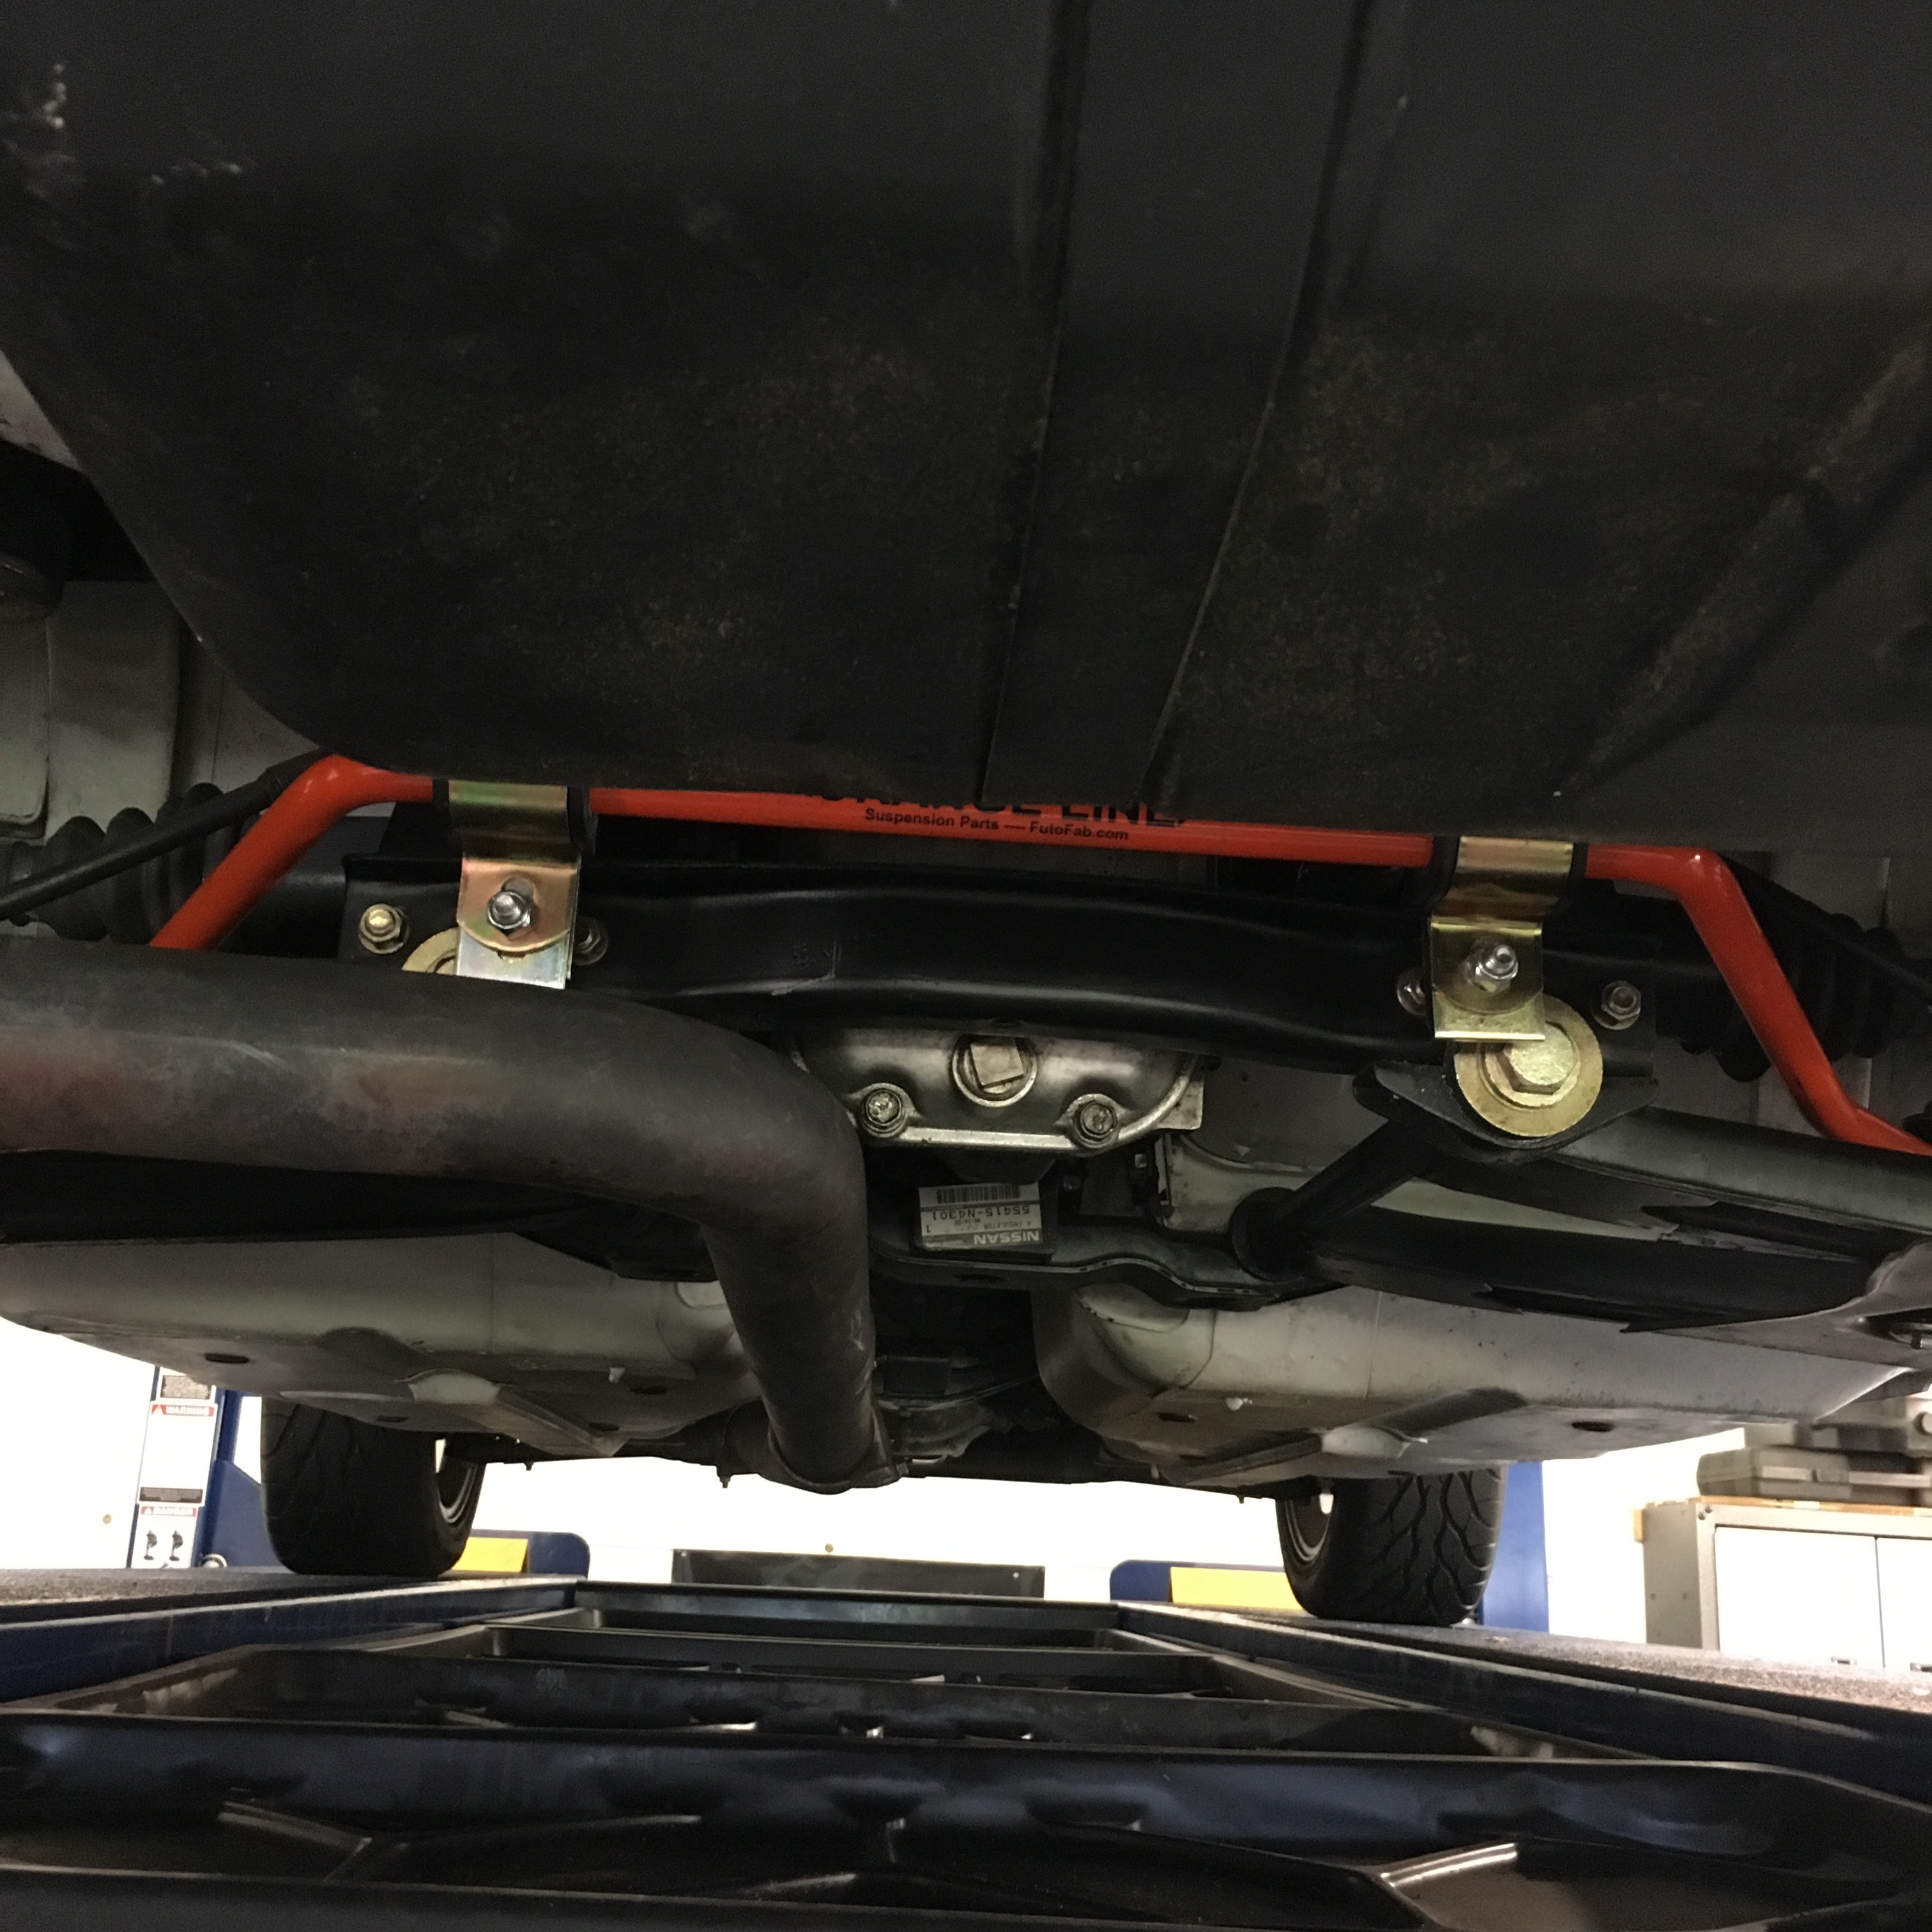
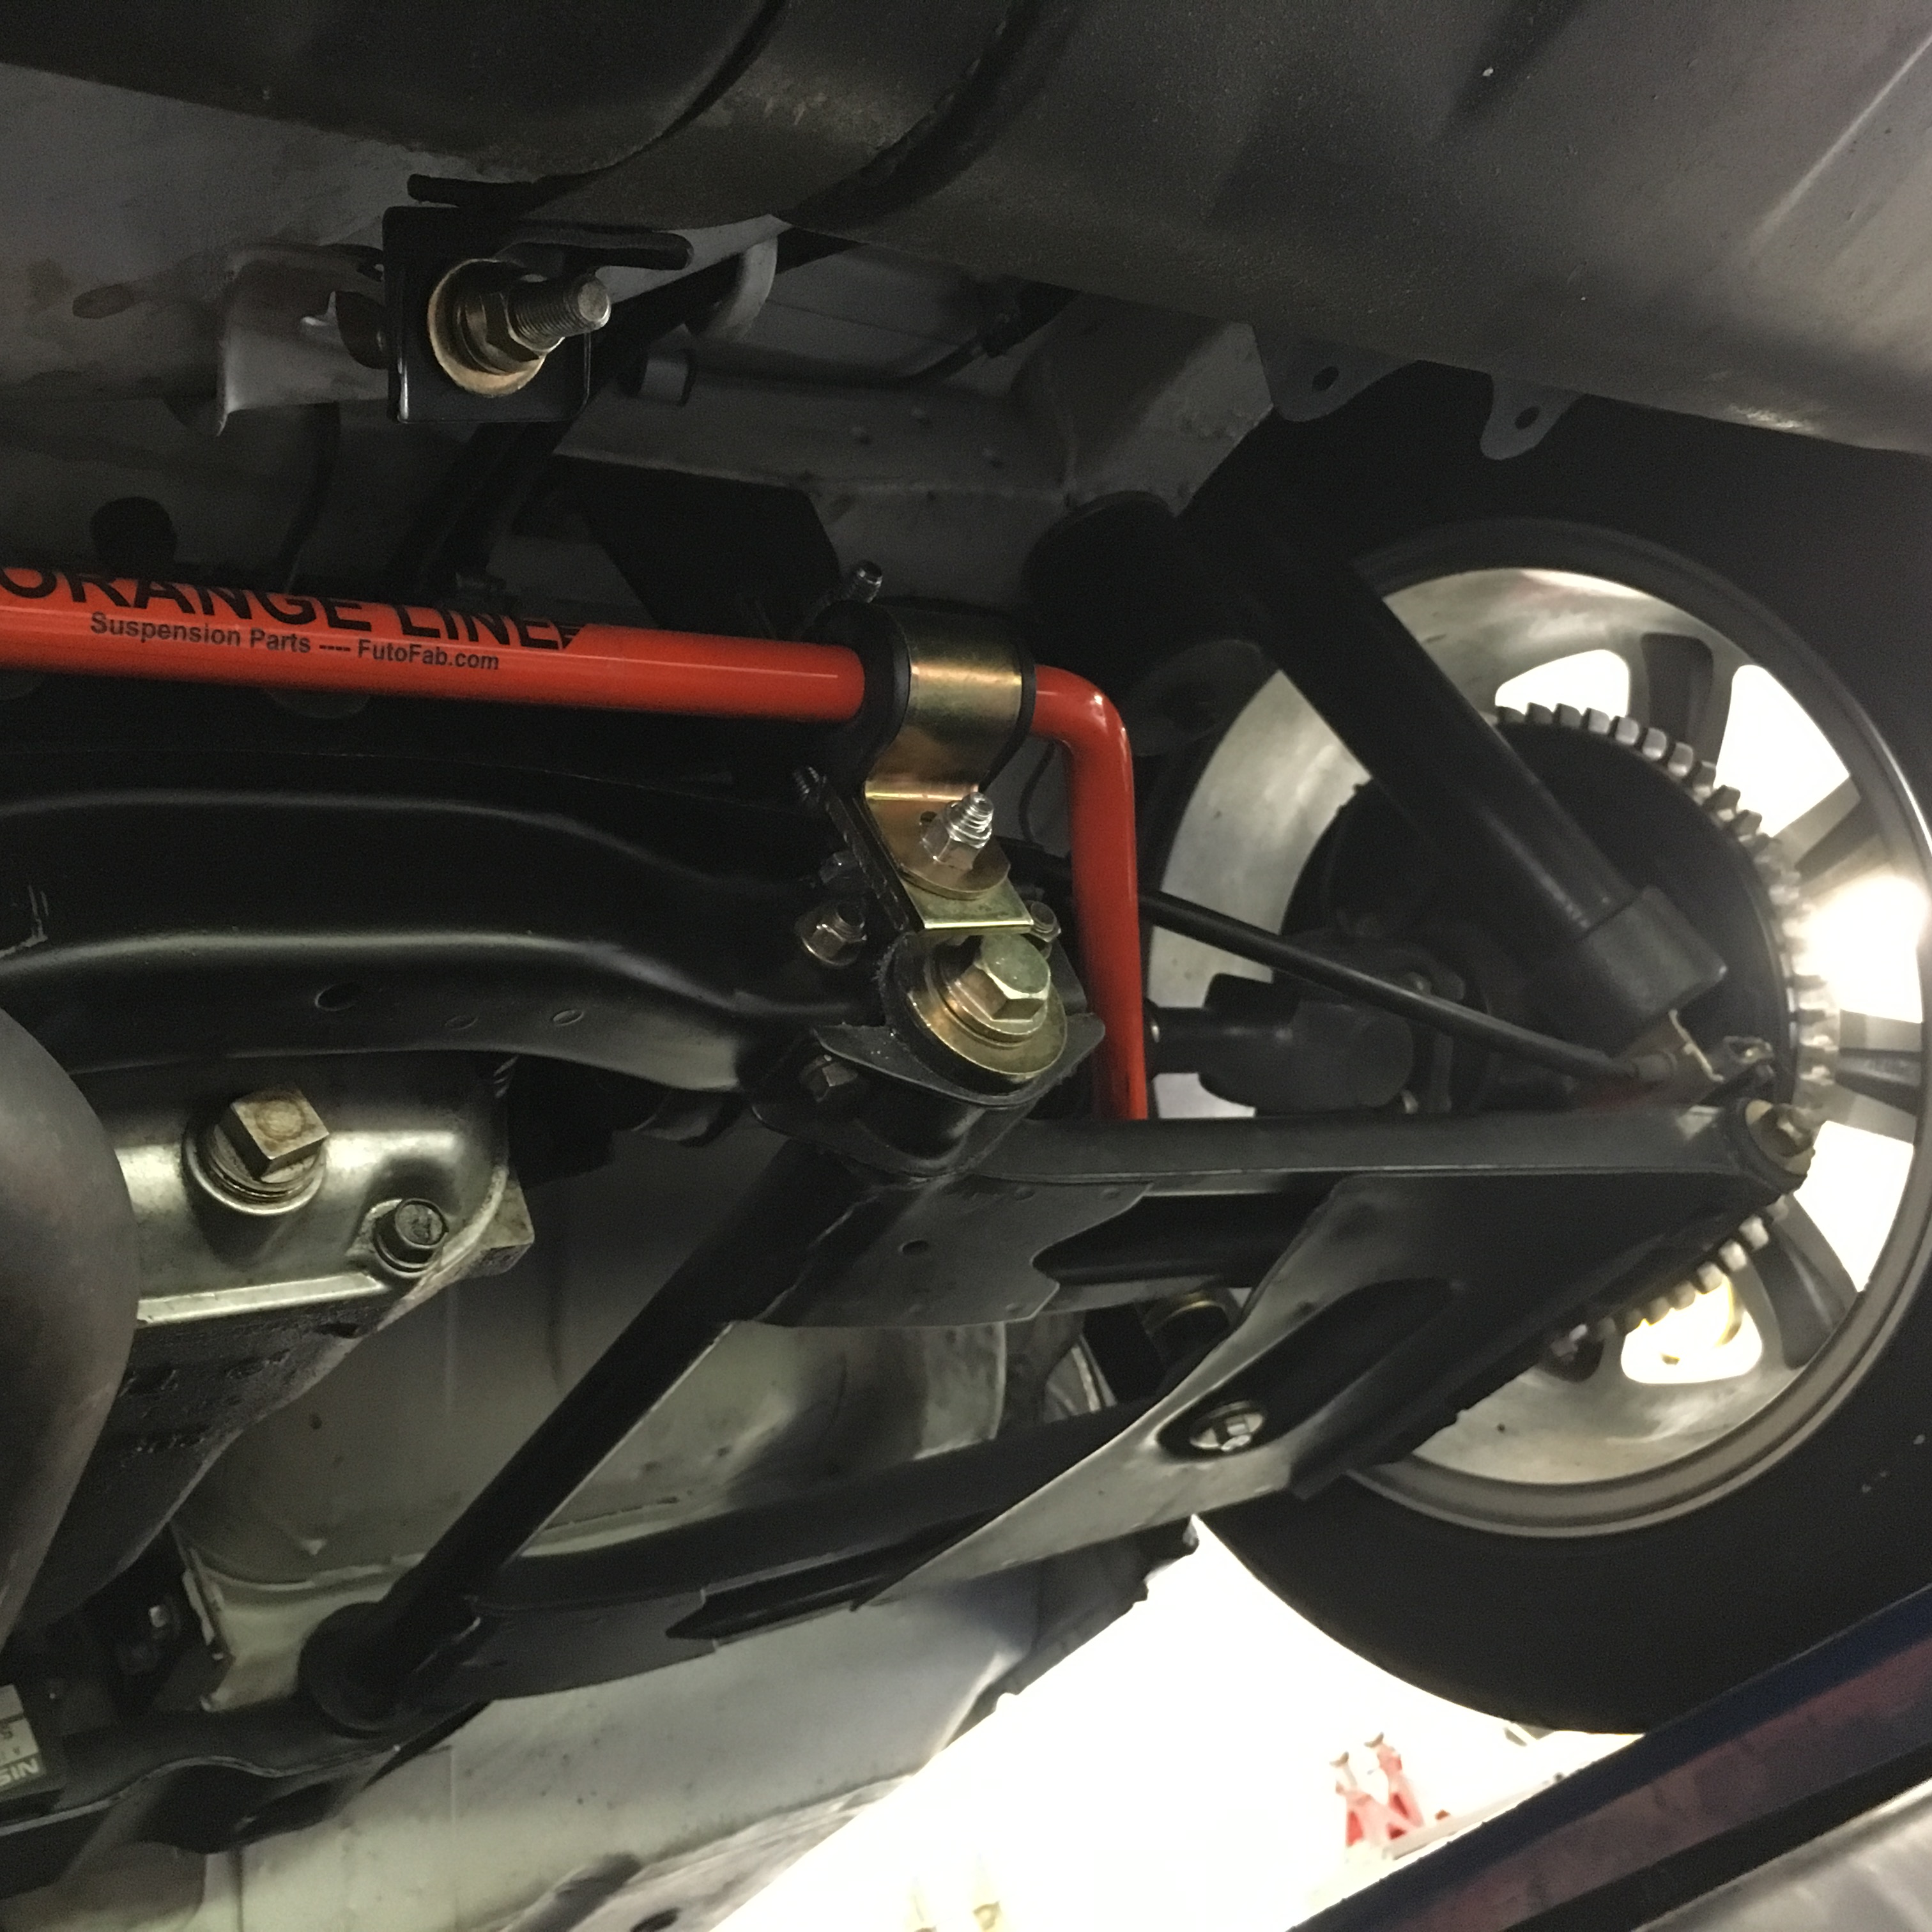
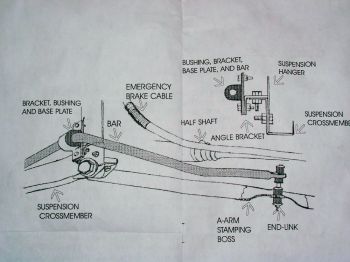
No Mike no drilling holes in the floor boards....just a 3/8 inch hole in the lip (over hang) of the rear suspension cross member. I used a 9 inch extension on my drill so I could drill the hole without taking anything apart or removing the big suspension bolt or the other two small bolts....that's it....the whole job literally takes no more than an hour to hour and a half. Here's a pic from underneath...,you can see that I put the bolt through facing up instead of hanging down like in the instructions. Really ingenious way to get a nice rear bar without destructing anything! Look closely and you'll see the silver head of the bolt .......that's it....everything else just bolts up (all provided in the kit).

-
........no noise.
-
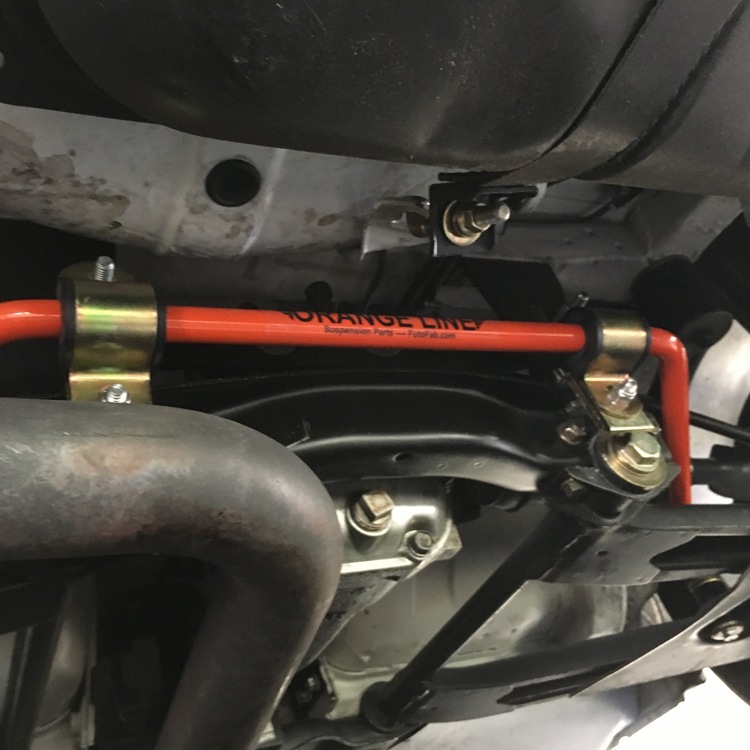
Here's the diagram....you drill one 3/8 inch hole up through the suspension cross member (I used a nine inch drill extension so I could drill through without removing the suspension cross member), then bolt the"L" bracket onto the cross member, then the flat base plate and bracket (with bushing). The end link goes through an existing hole in A arm. .......and yes Patcon, I have driven it and it really flattens out your hard turns IMO.....cheap handling improvement and an easy installation.
-
Go to the Futofab website.....click on 240Z rear sway bar.....they have a diagram for installation. You have to drill one 3/8 inch hole. Only takes about an hour and a half. No fitting issues.
-
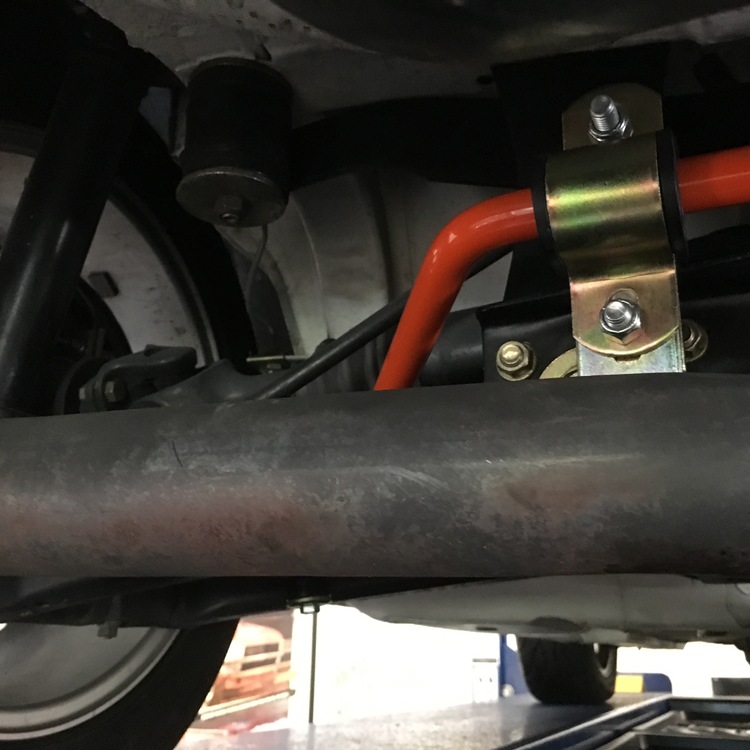
Installed the Futofab rear sway bar in my white 1970 Z!