Leaderboard
-
conedodger
Free Member7Points12,513Posts -

siteunseen
Free Member5Points15,114Posts -
zspert
Free Member3Points382Posts -

dutchzcarguy
Free Member2Points2,674Posts


Popular Content
Showing content with the highest reputation on 10/28/2025 in Posts
-
4 pointsI'm taking a year off from life. 99% of the bad ones are from pushing to fast to get back to work. Not me, I enjoy being at home.4 points
-
WOW! My 6 letter comment that could have meant a host of different things was almost immediately taken by our resident grouch as an insult or slight that I had directed towards another member of this forum. I've had a relationship with Chris for many years and have done business with him on numerous occasions. Before Covid I was to have traveled to The Netherlands on his dime to inspect his collection and offer suggestions. I've always found him to be a gentleman on all levels who is apparently having a problem with lost/missing paperwork. I wish him all the best. While I may be a greasy and now rather ancient mechanic who doesn't know his a@$ from a hole in the ground I've learned a bit about human nature after dealing with the public for the past 45+ years. There are some people who are just plain unhappy. This unhappiness is manifest through insults, cursing, almost consent contradiction, just plain difficulty/impossibility to deal with or all of the above. While my shop was open I had to deal with these types. Thank goodness they were few and far between. From this date and time I will no longer comment on or address ANY missives from the individual in question.3 points
-
1 pointI'm the original owner of a 72 240z, it's on blocks now, I want to get the 260 out of my hair so I can get back to restoring the 240. I'm all ears, been working on cars for a long time but I've forgotten a lot of stuff, I listen to everyone's suggestions. I've known for a long time the hoses can't be too stiff and normal fuel line is too stiff, that's why I used the special plastic tubing made for model air planes, but as it got older, it got more stuff. I have some chores today, when I get back I'll look into the choke linkage and hoses. BTW, the choke lever broke many years ago and was replaced then, it is a weak point, ever since then I would never pull the lever by the end, always at the base of the lever, couldn't believe how much those levers are selling for. I need to step back and look over the mechanism. Keep up the suggestions - Jim1 point
-
1 pointNow that I have confidence in the float levels, I'm still having a problem getting the engine started. Next step is brand new fuel. A reminder, I removed the 260z flat tops and replaced them with 249z carbs. I read the thread about the nail in the carb, I need to takea step back to see what I missed. Hate to say, the car ran fine with the flat tops, I have to remember, if it's not broke, don't fix it. When I run the engine with a puff of ether, it caughs and sputters, not getting fuel, sounds too lean. I was hoping the bowl level would have fixed it. Somebody had messed with the carbs before I got them. Ideas?1 point
-
I would not use any adhesive on the hatch glass seal. If it needs sealing later you can lift the edge of the seal and add a thin bead there1 point
-
1 pointI ones had a neighbor and she had 2! and was up the next day, walking!! this was 15 years ago! 👌1 point
-
1 pointHow do i understand this? your recovering of the OP and in a few weeks your up and walking or do you already walk with it? Is it made of stainless with a nylon cup or is it some other metall? I hope it don't rust! 😄1 point
-
Recently I got two set of two of the missing Pieces from my 240Z toolbox. I had a set which fit the image, but had different part numbers. Funny enough, now i have three different sets, all have slightly different shape or surface. some have different numbers, but appear to be for the same purpose :-) Despite being a bit corroded, i have at least now another missing piece of the puzzle. Thanks a lot to @26th-Z for your support! I had some free time, so i decided to get some small stuff done on the car. First thing to check off was test-fitting the headlights. Luckily, I always have a range of NOS and used parts on hand. I usually try to use old parts for test-fitting, so I don't mess up new parts, but in this case the old ones weren't really usable. So here we go: NOS headlight buckets and chrome rings, with reproduction rubbers (I will use the NOS set for the final assembly). And installed. You got to love the factory stamps on shiny plated parts. As usual, all bolts are temporary only for the mock-up. For the final assembly, I will use original fasteners :-) I wasn't first sure if the order of the assembly was correct, but it appears it is. And the frog got some eyes, again :-) Next was this choke assembly reinforcement plat made out of hardened plastic: As the name suggests, it's there to reinforce the choke assembly, which is usually mounted on the inside of the center console, and can get a bit wobbly. With this plate, it's instead mounted on the transmission tunnel and way more stable. It's one of these (invisble) improvements of the car, which I think really give the car a better feel. It's quite tricky to place correctly, though. But luckily I had a few completely broken center consoles, so the easiest way was just to drill the holes through the console And then sandwich it all together for test fitting. I also installed an old ashtray just to see if it all still works correctly. Now with the holes on the transmission tunnel. I will not use the original sheet-metal screws but instead have nuts welded on the outside and use machine screws, so it looks like it's a factory thing, from the outside. And the interior mock-ups are coming along. Driver side seat rail, passenger side footrest and center console (With choke assembly) is installed and looks good. Ignore where the choke wires go. They're just there for easier installation.1 point
-
1 point
-
1 pointI'm with you on older is better but when my "newer" "fireball" coil goes to sh**...I'll be walking home on my brand new artificial knee. I ran the old one for 55 years and that SOB just quit.1 point
-
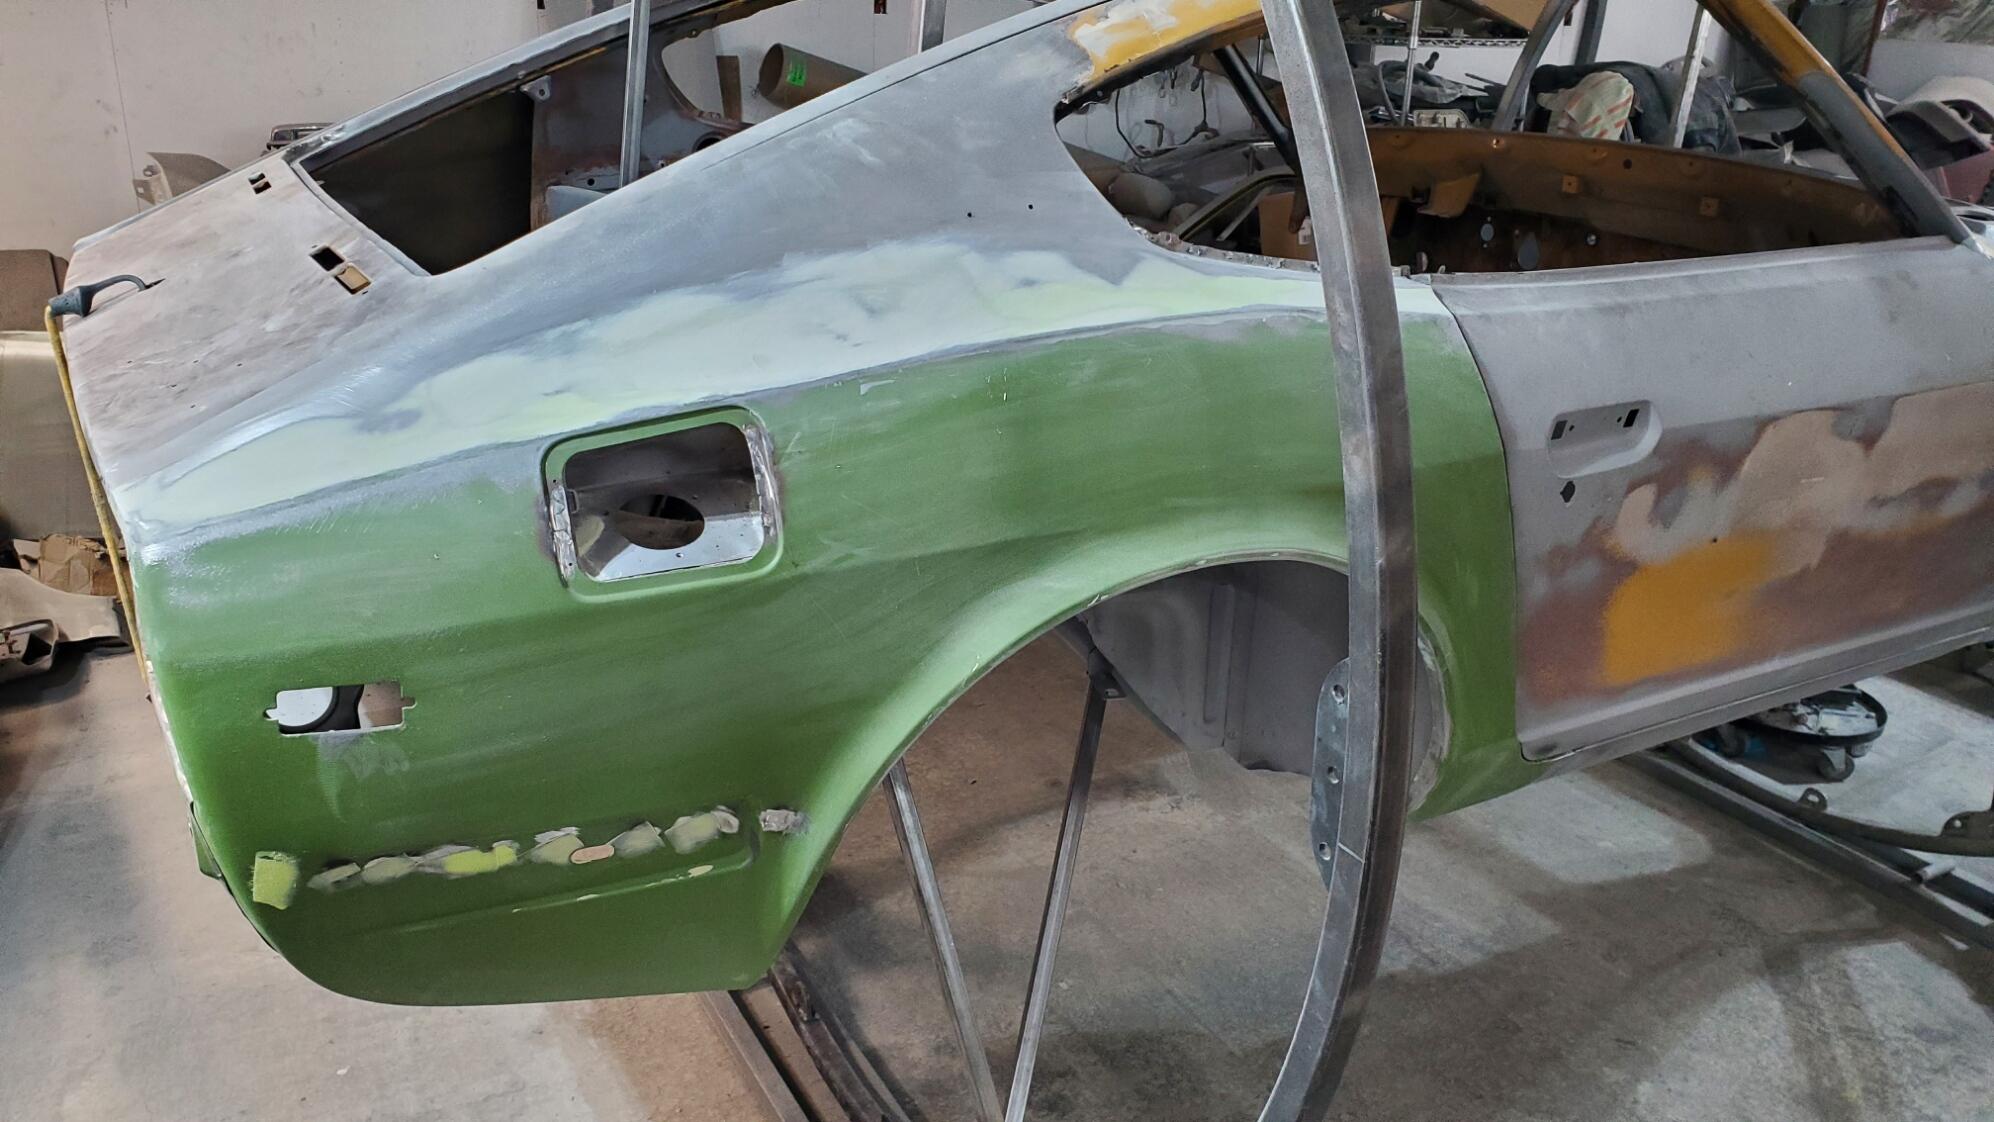
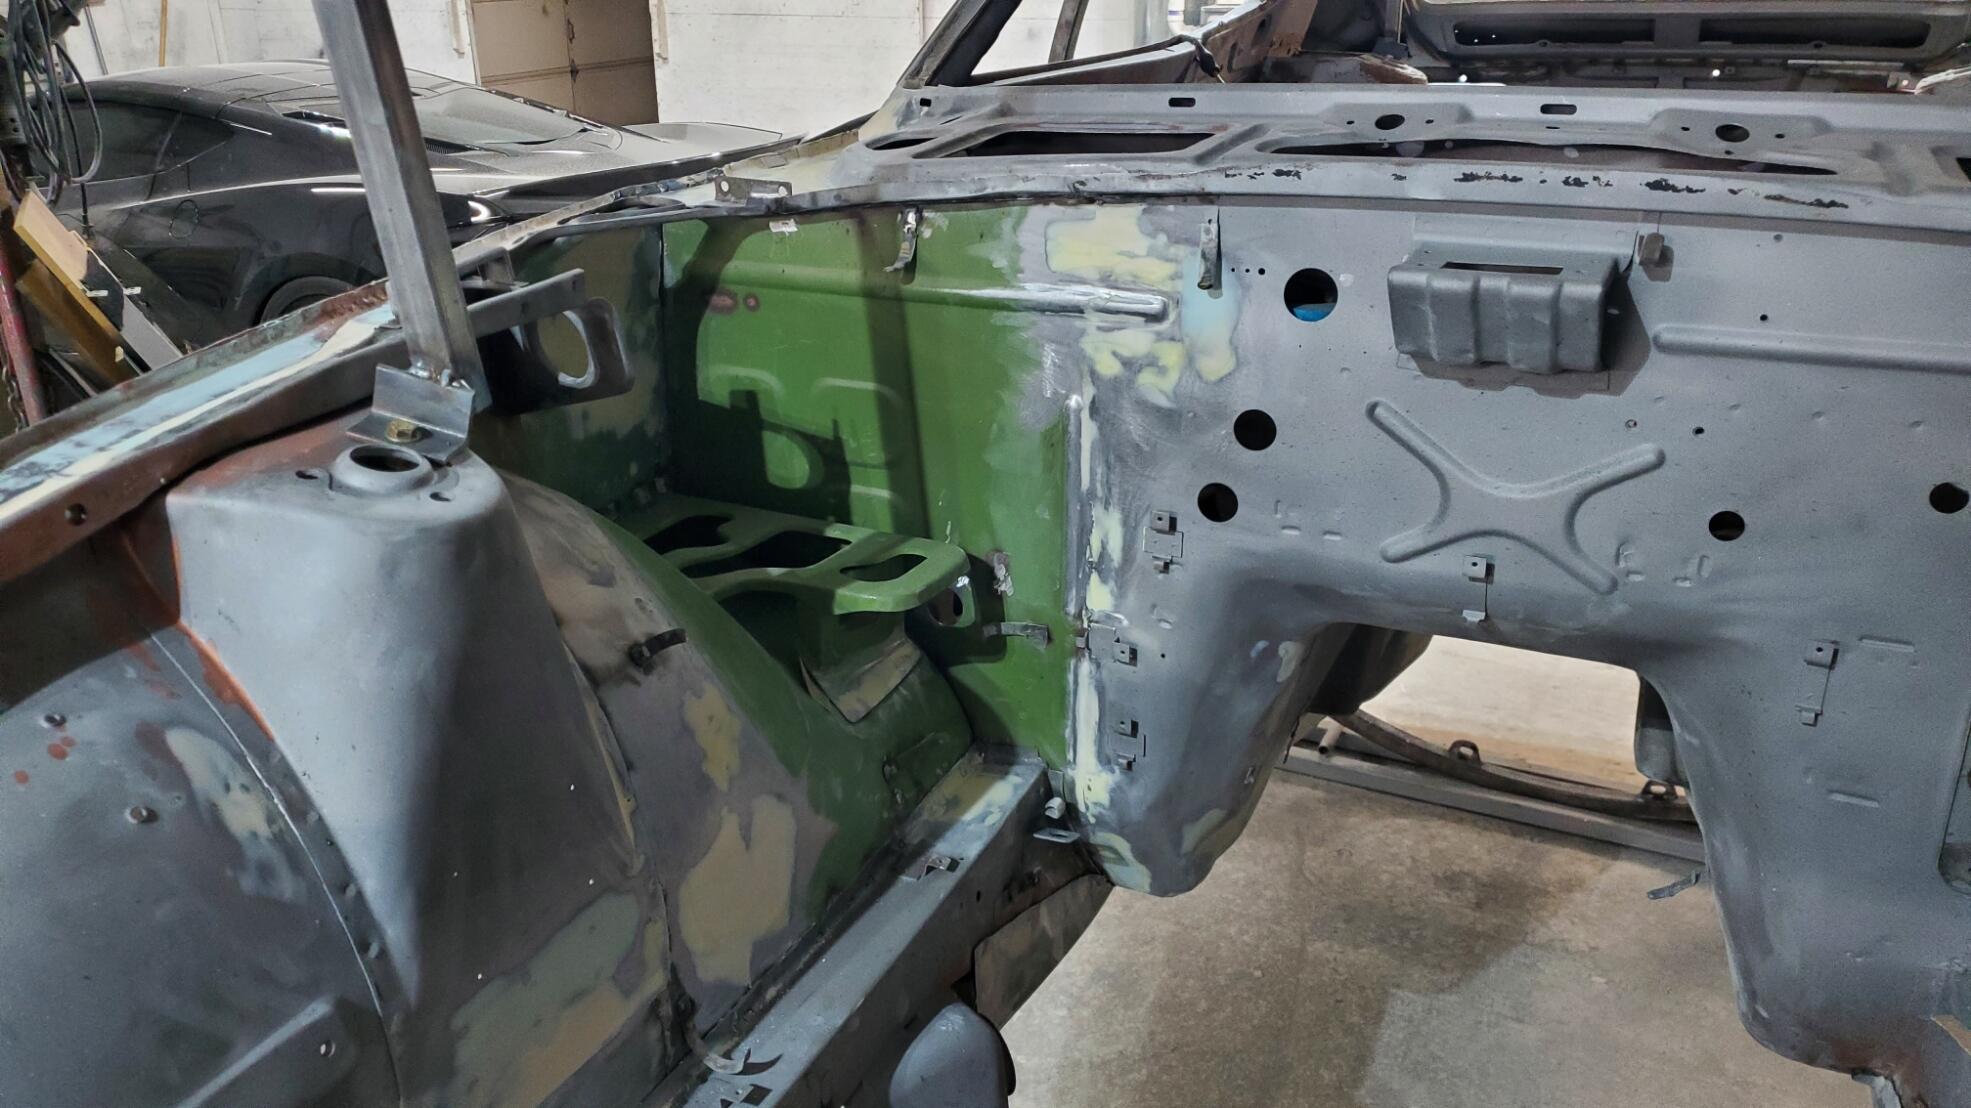
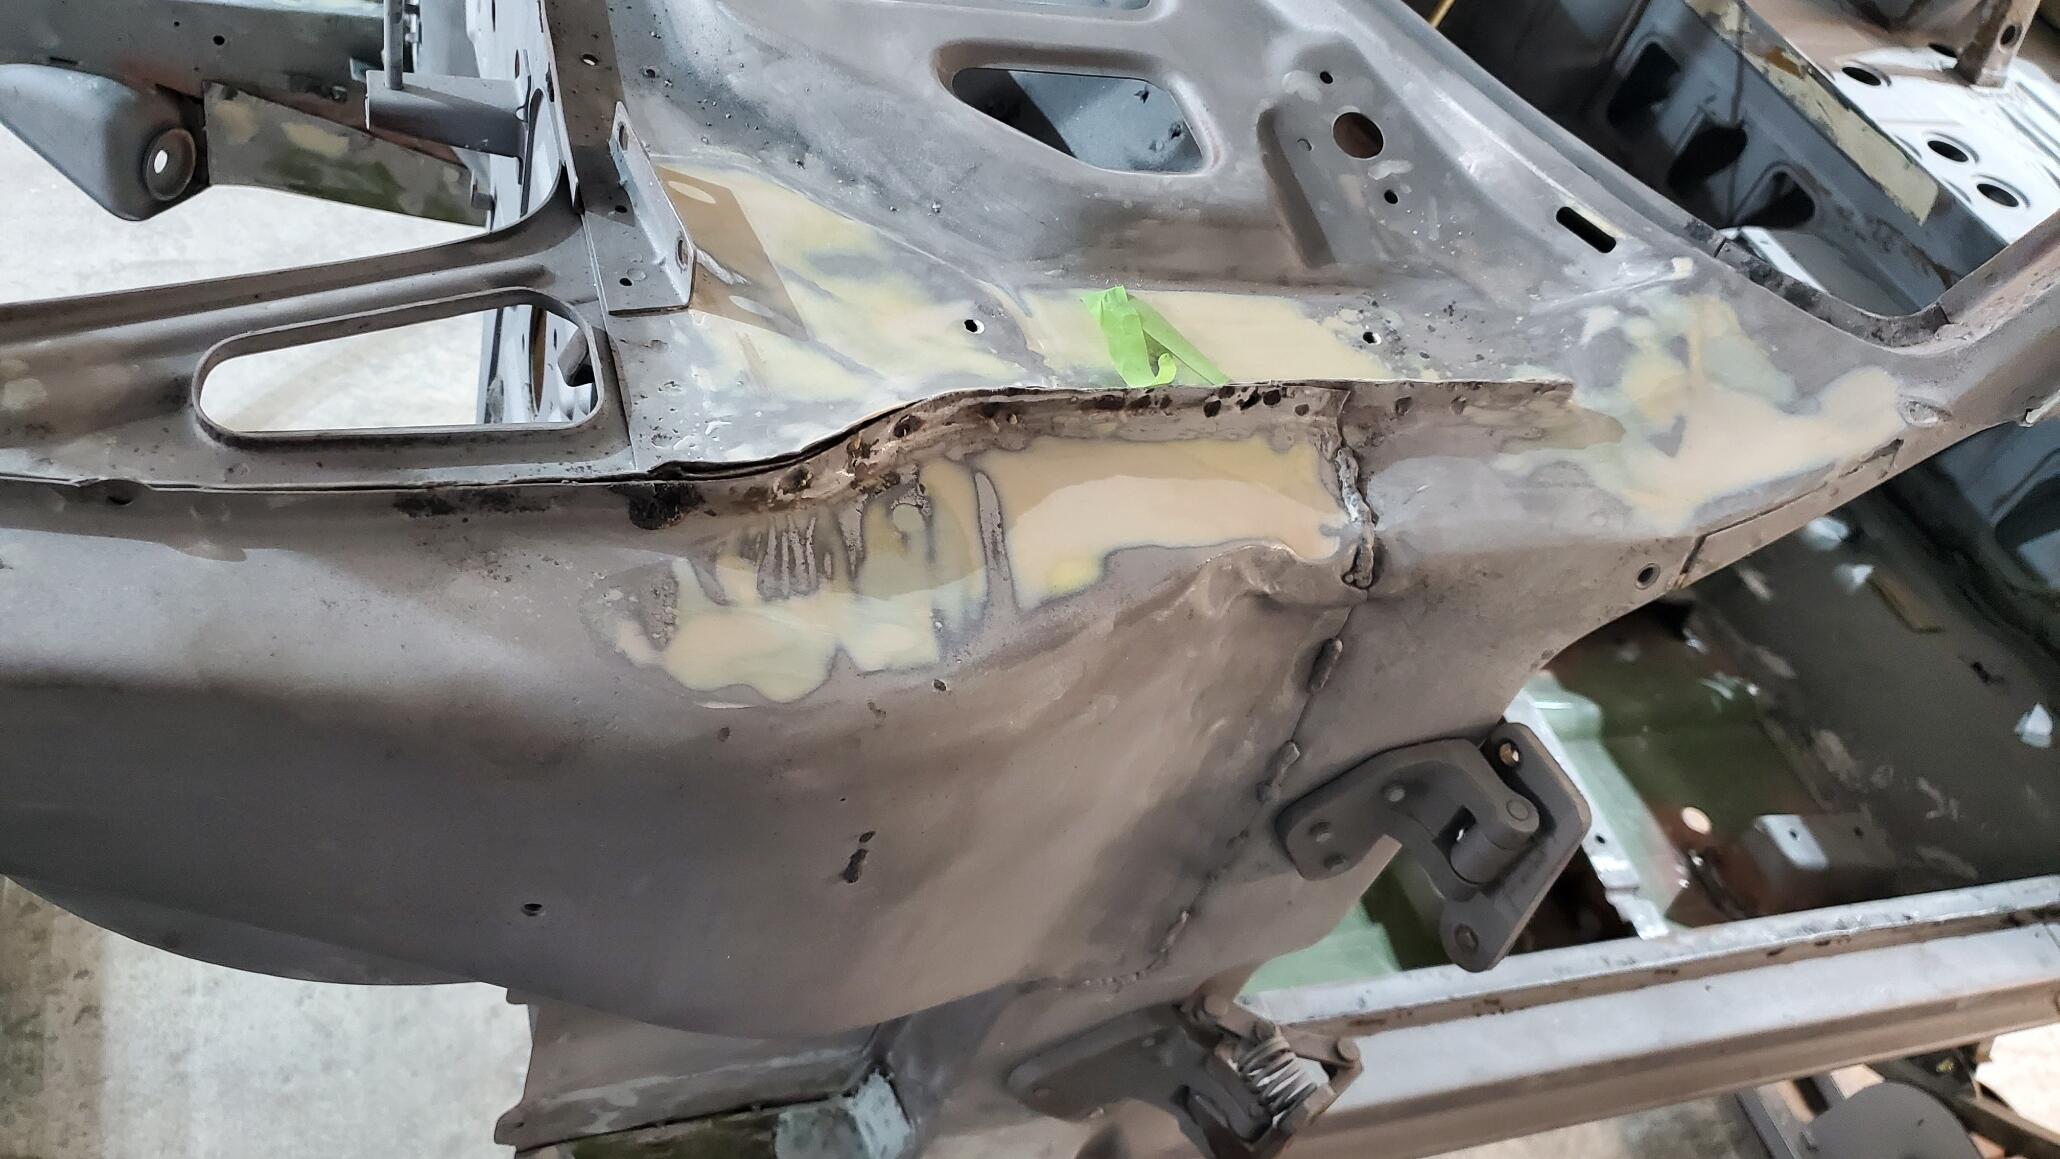
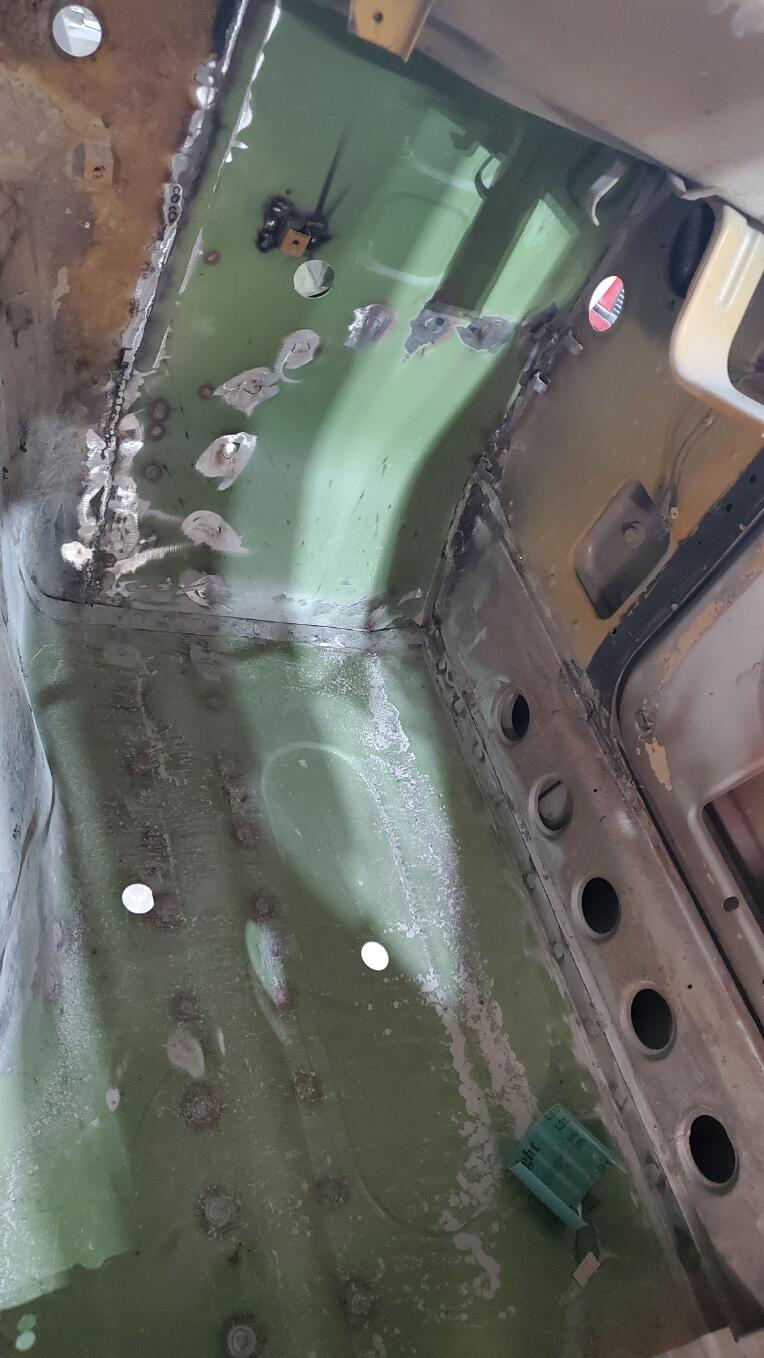
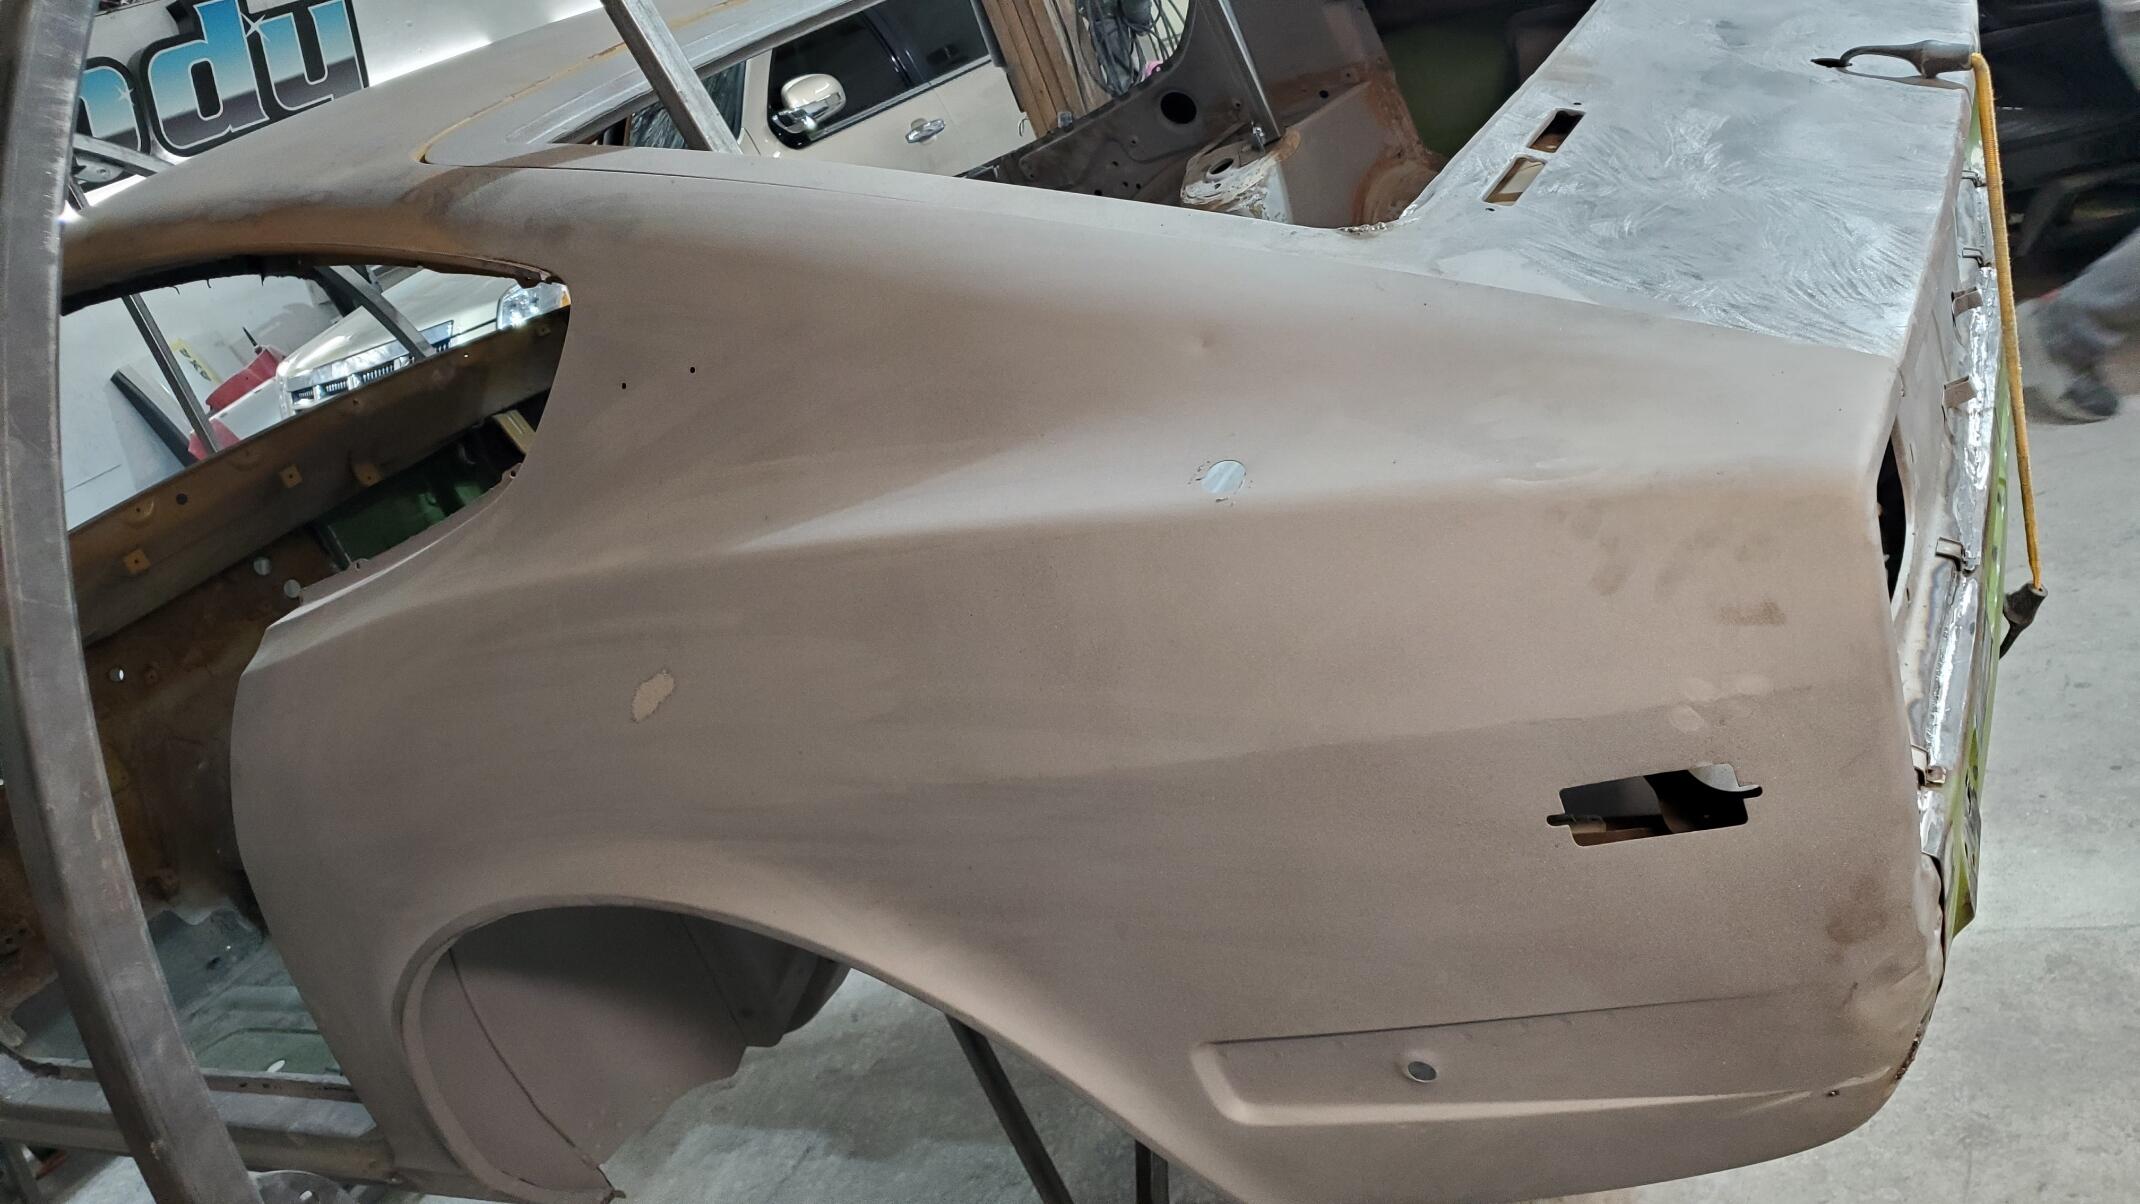
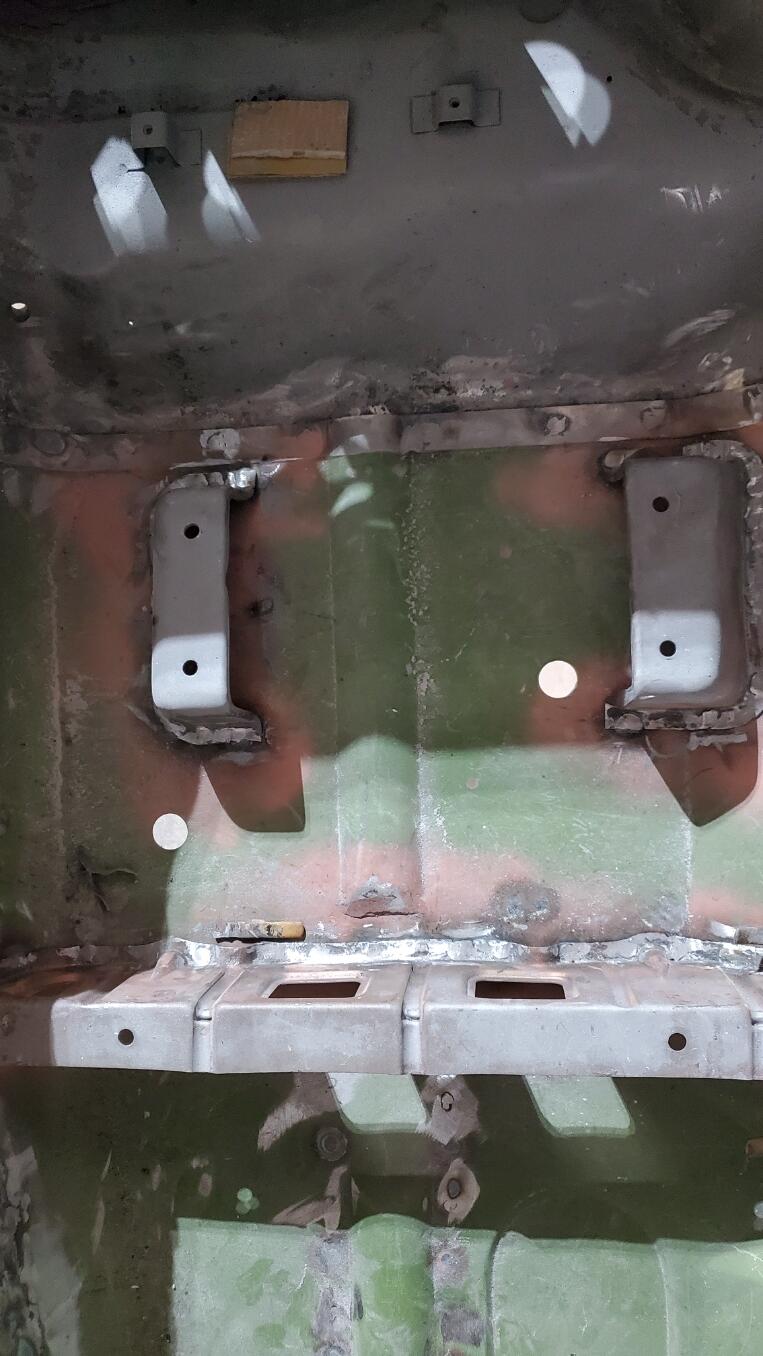
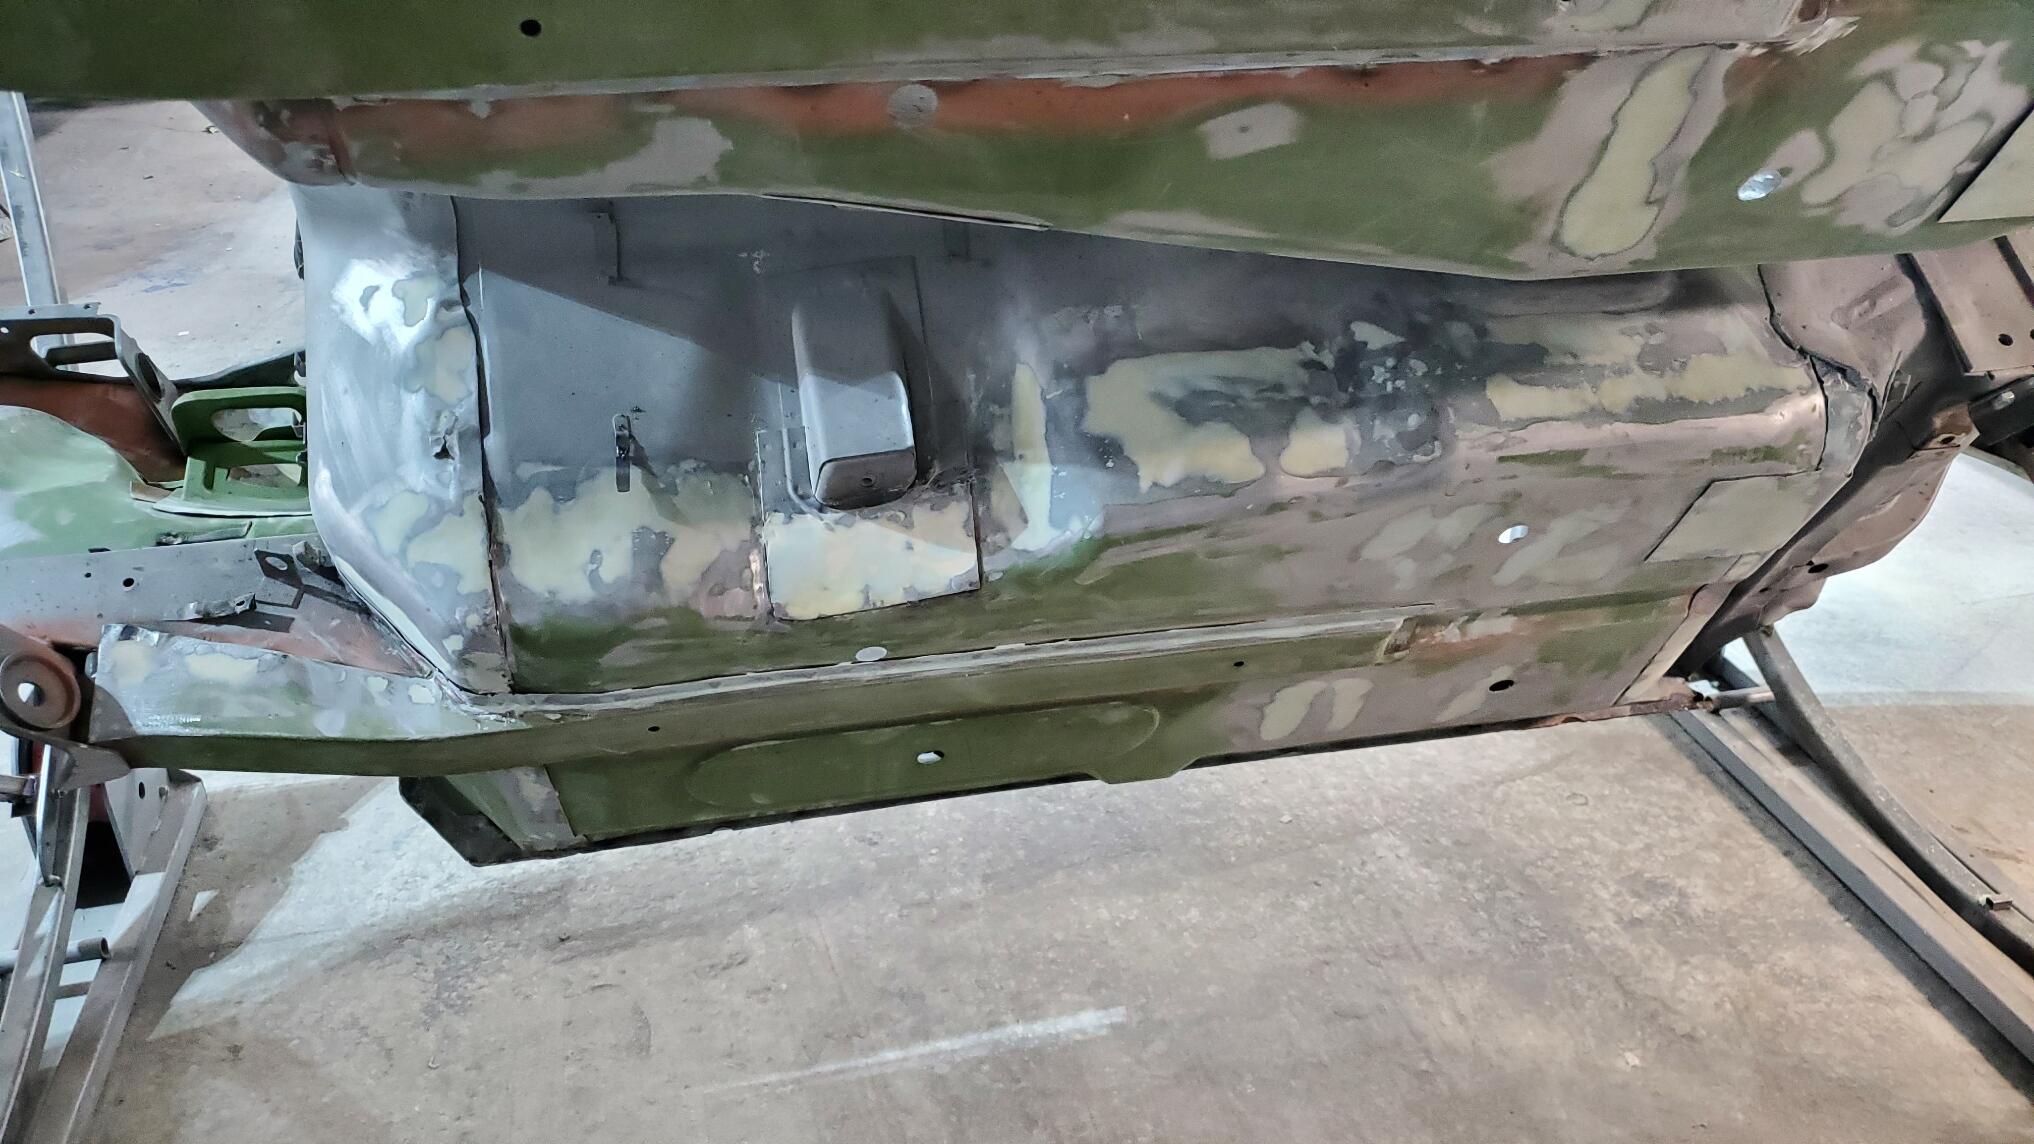
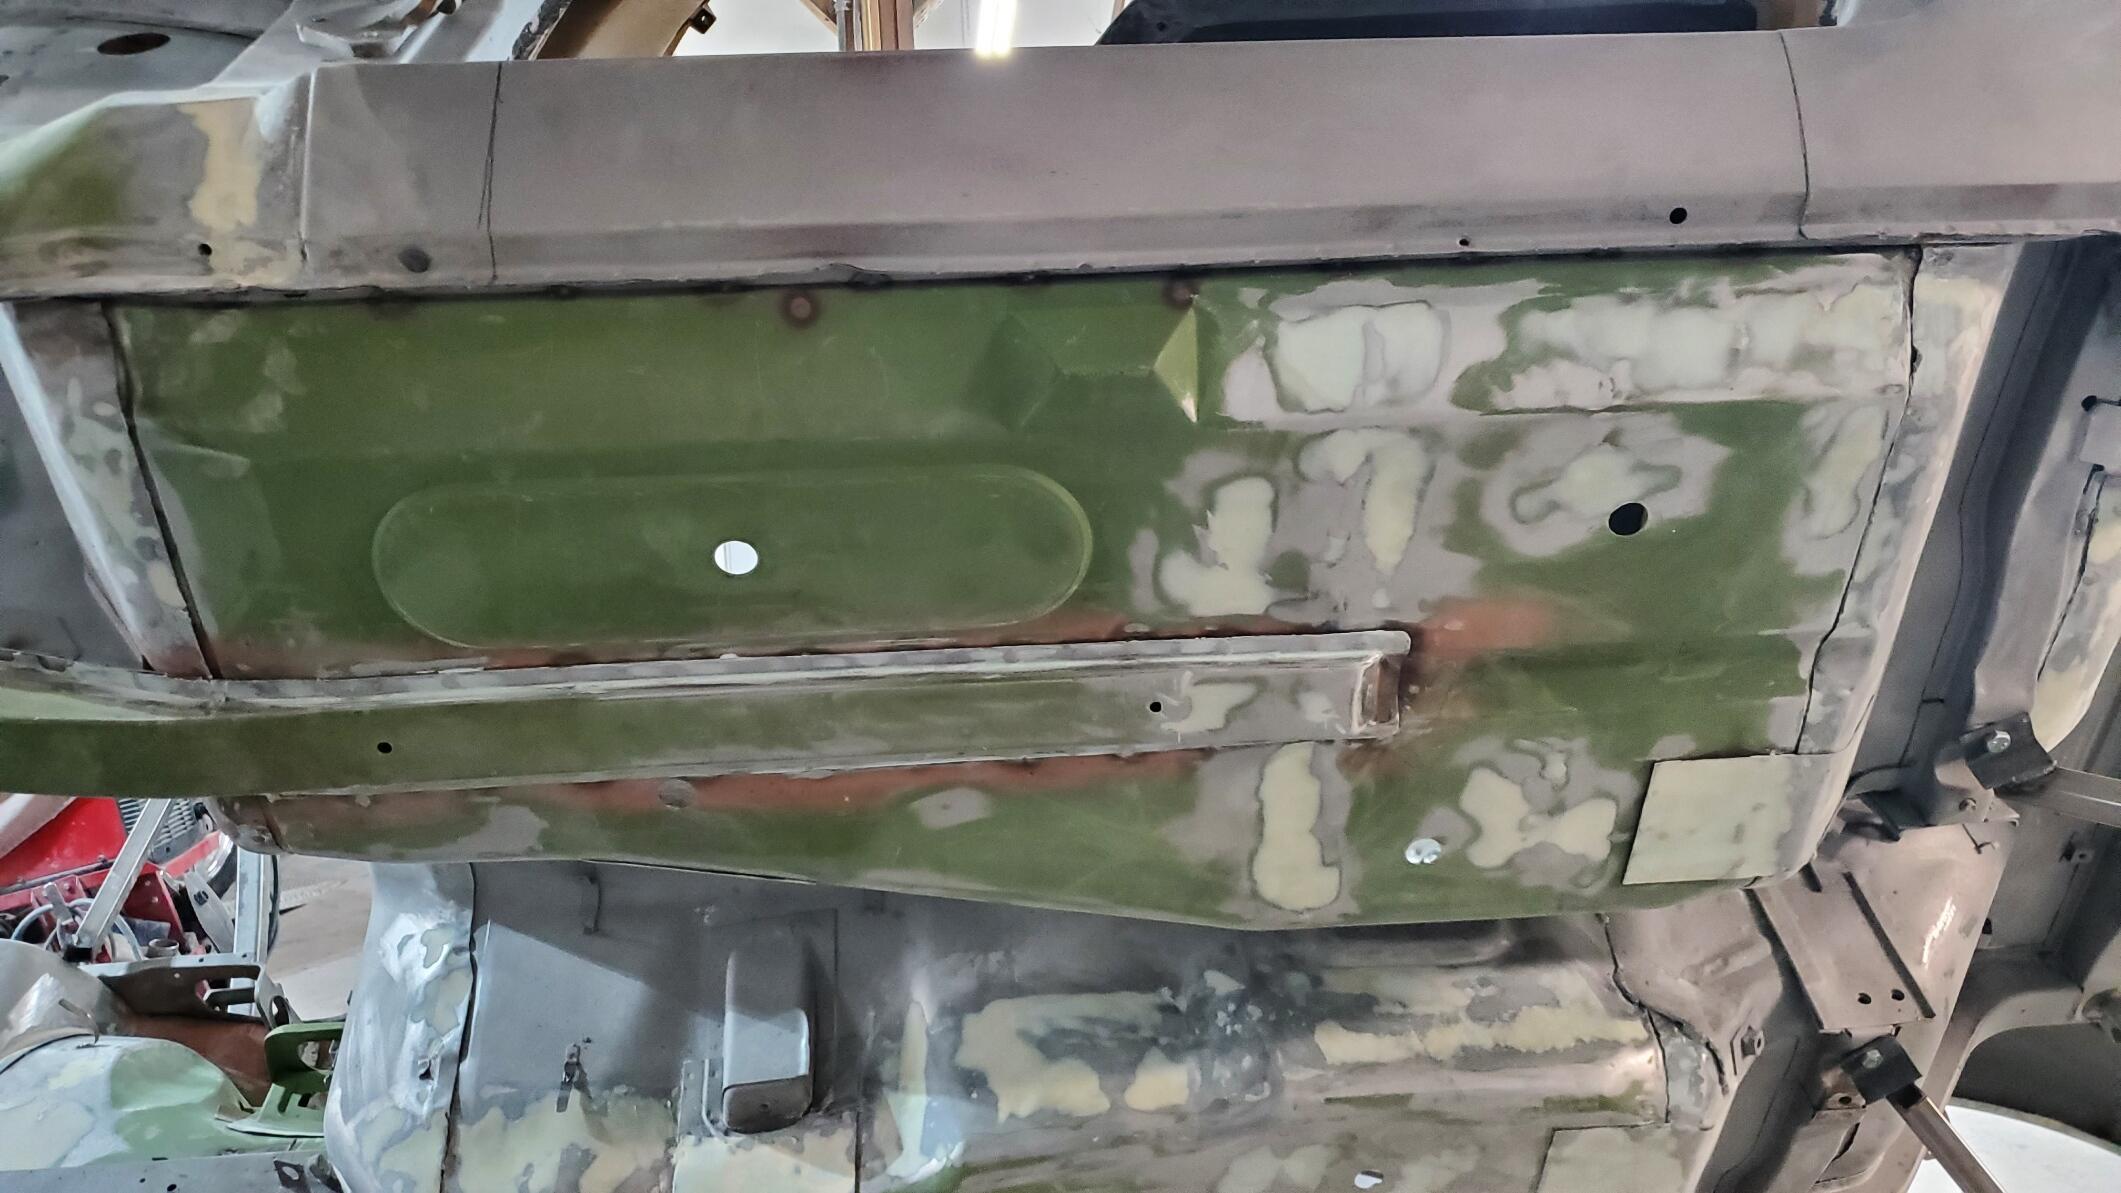
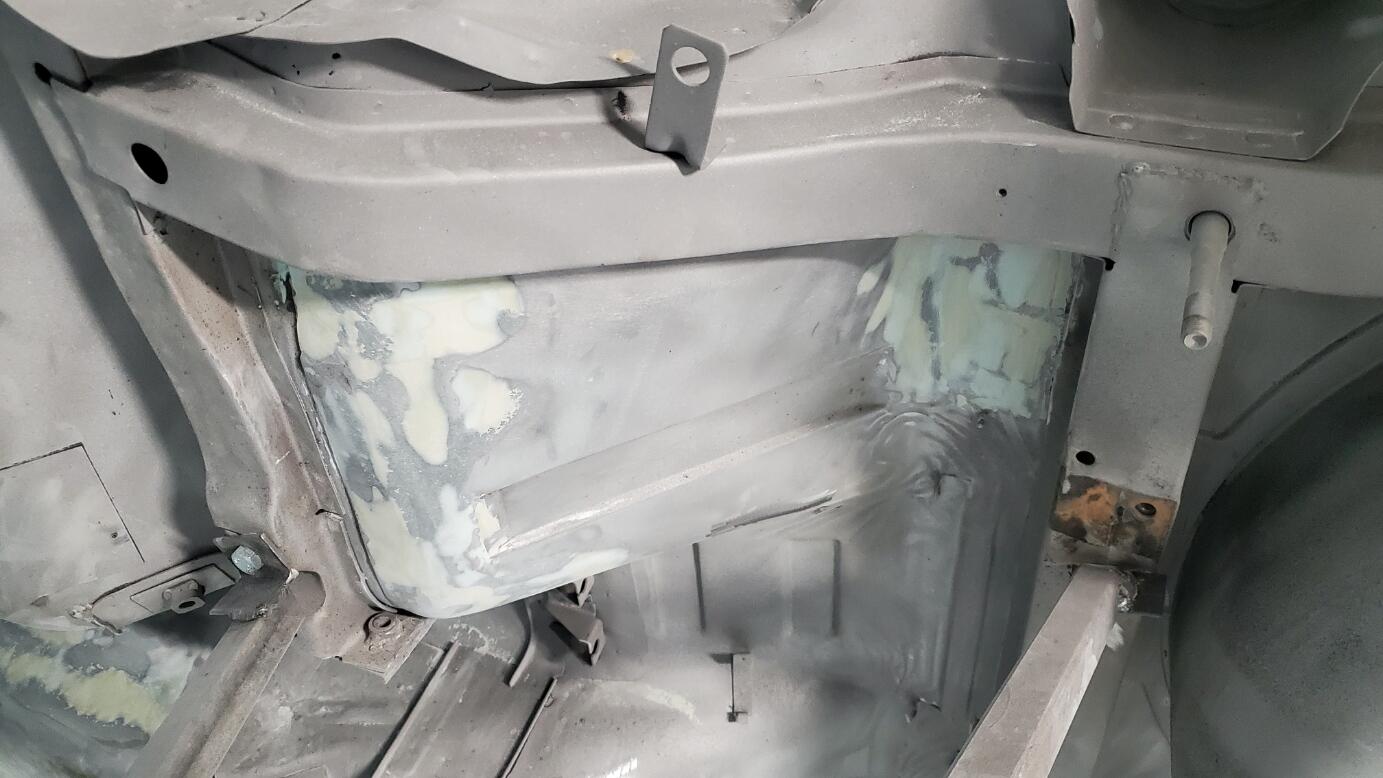
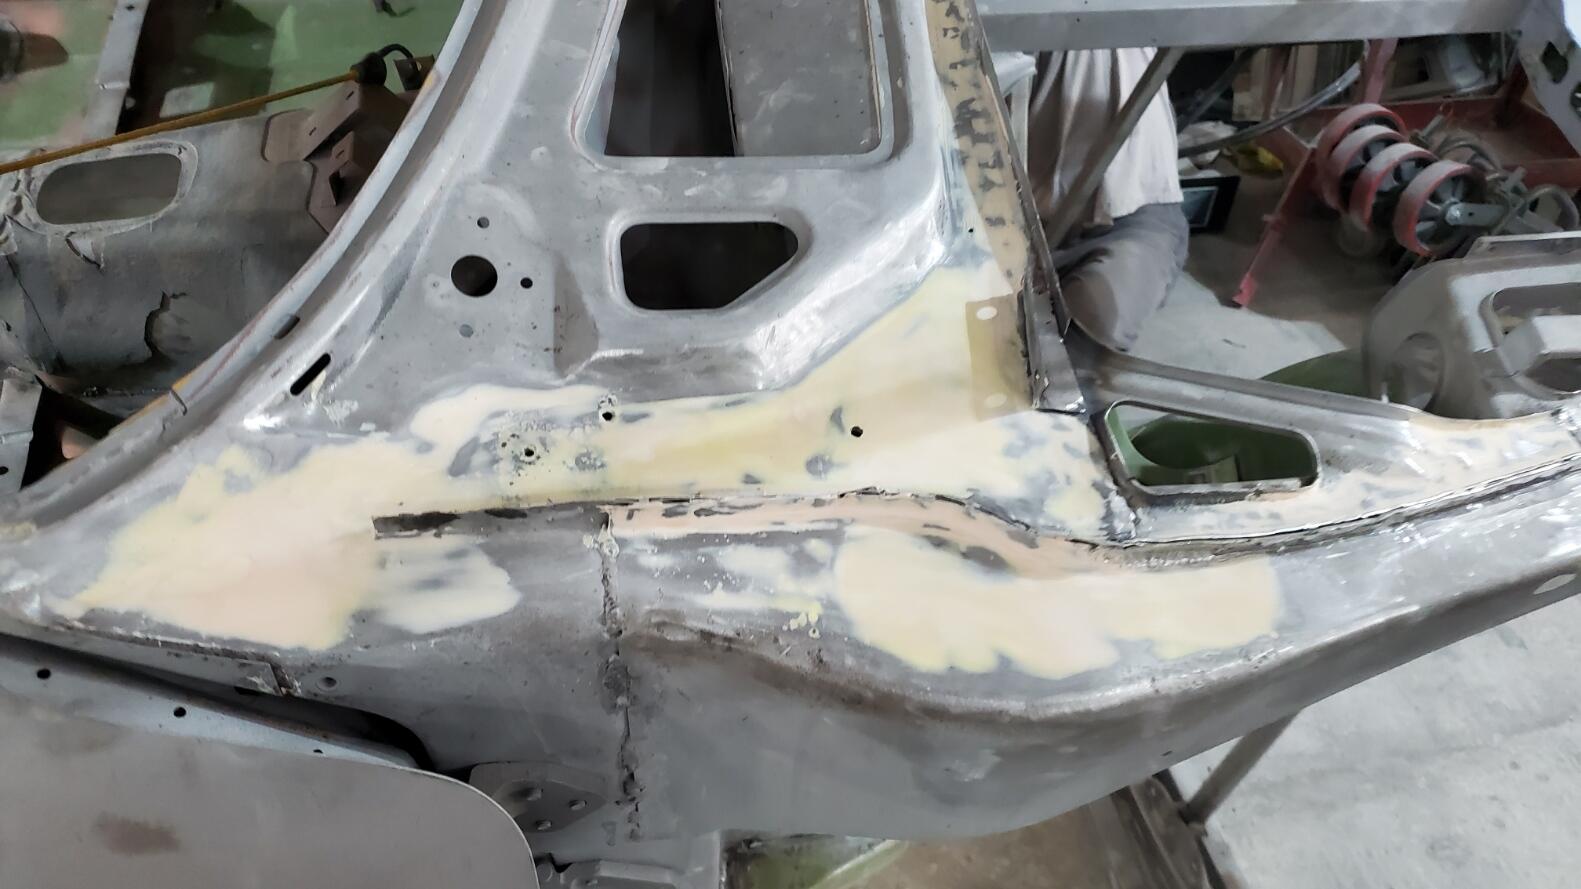
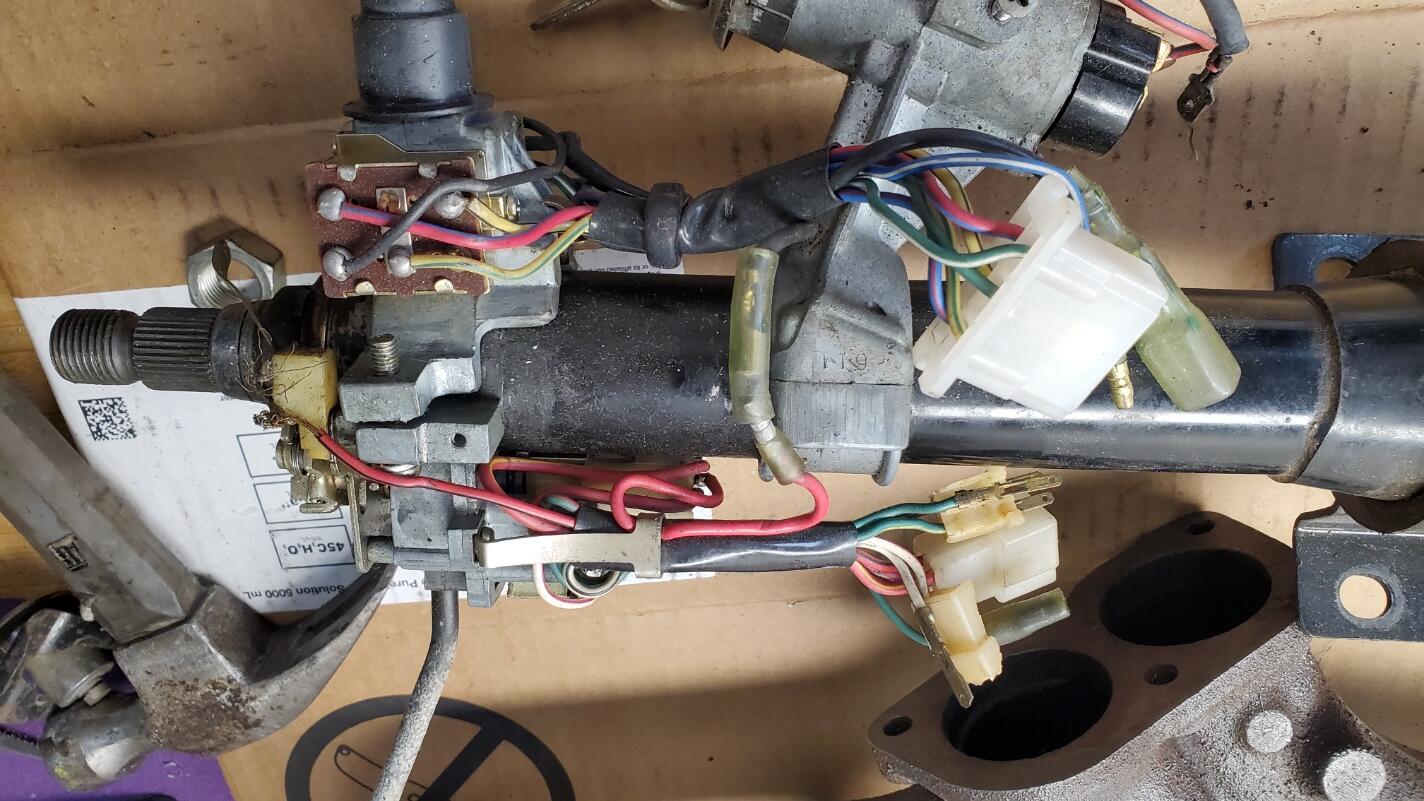
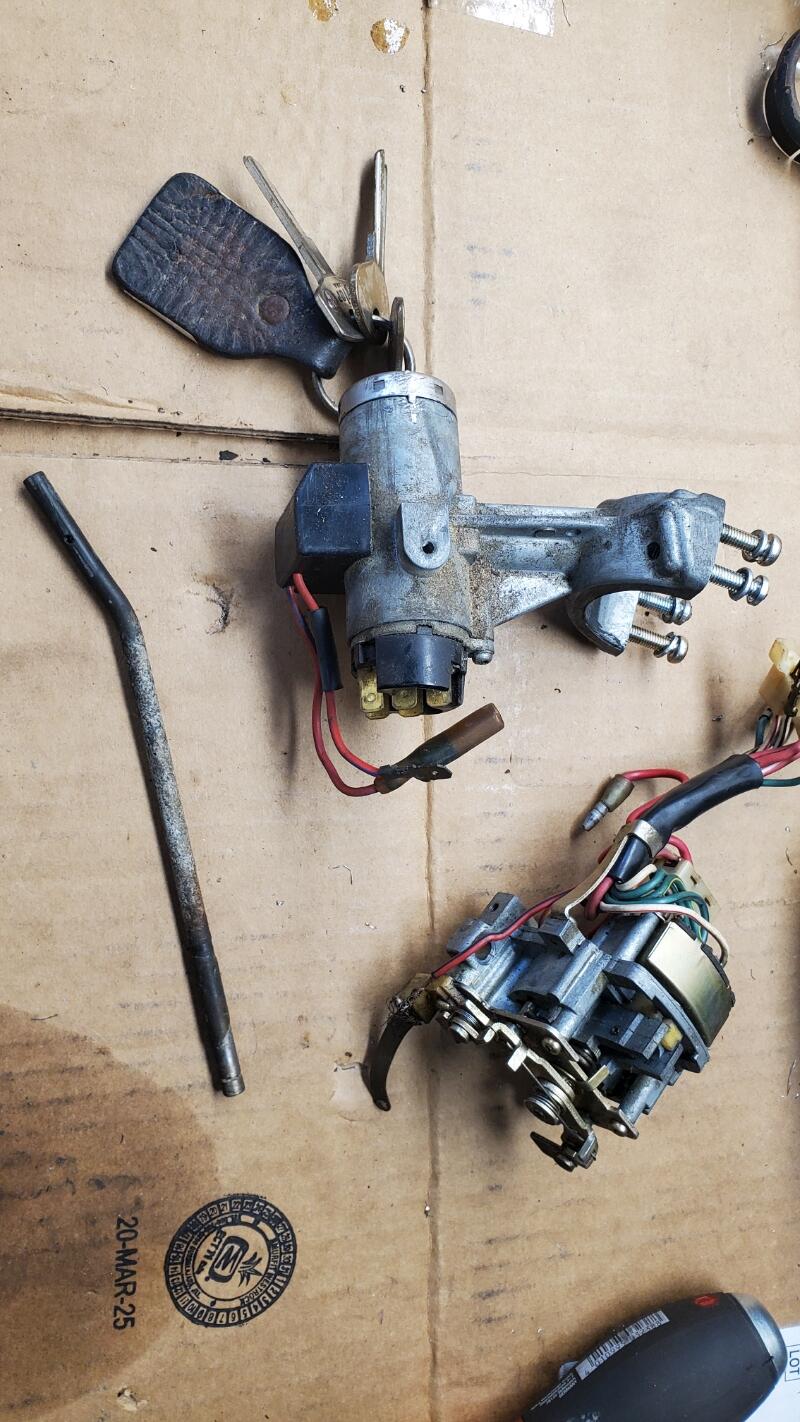
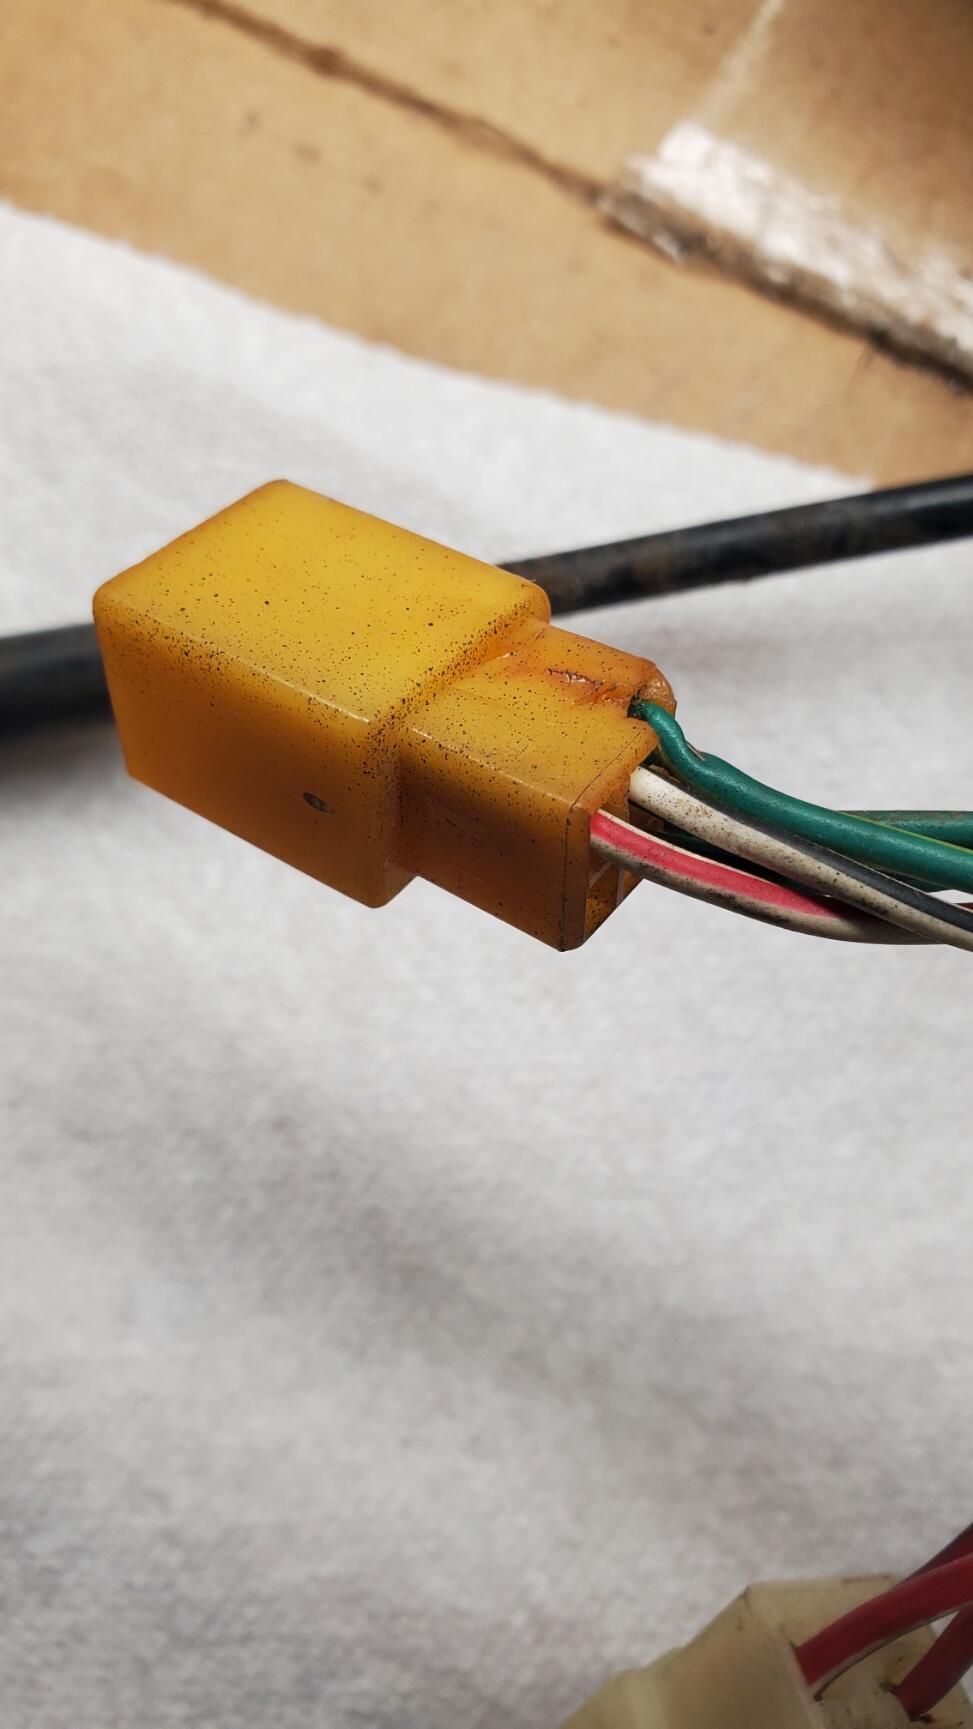
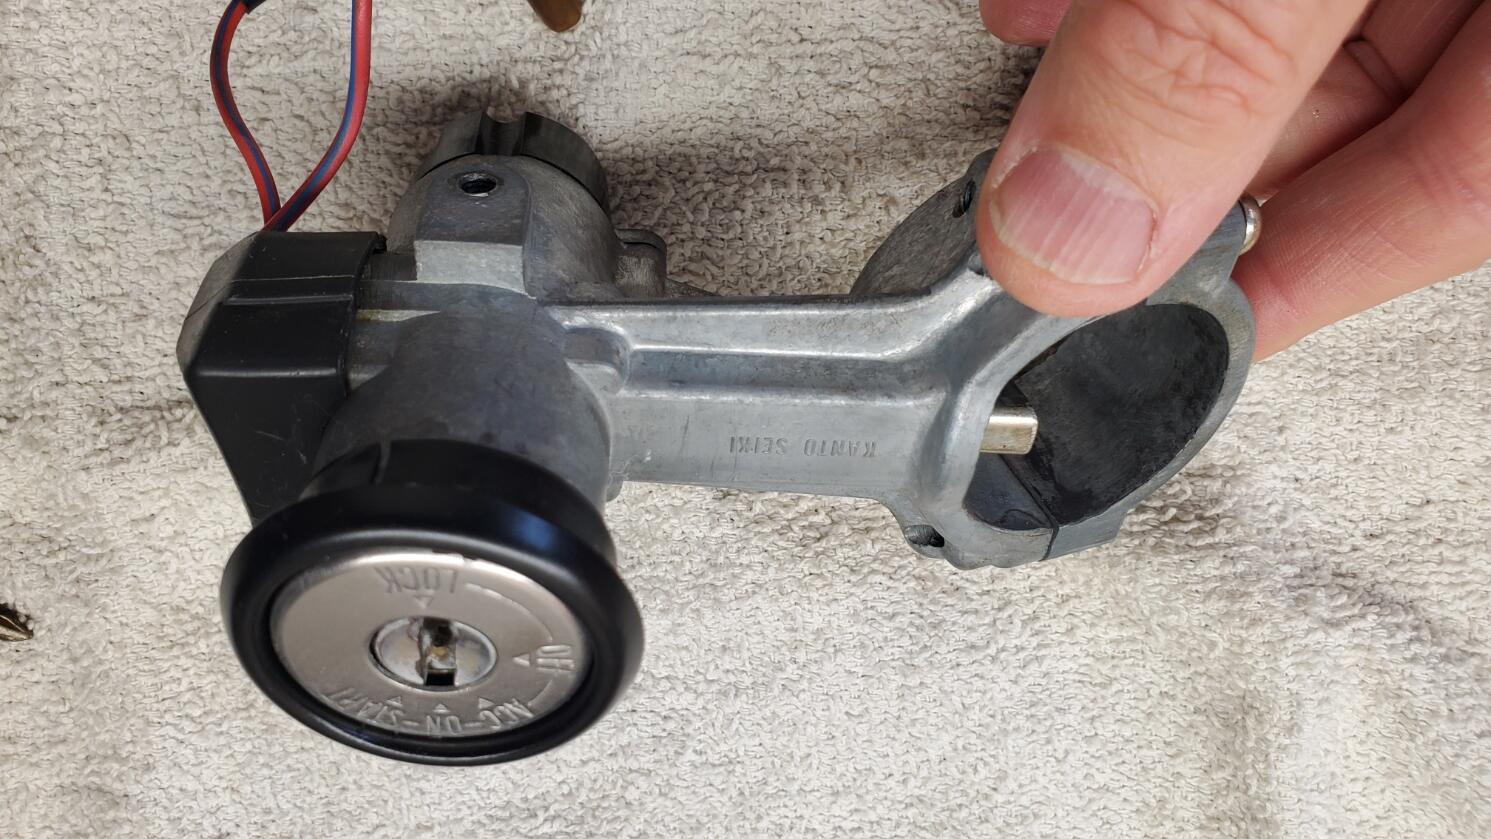
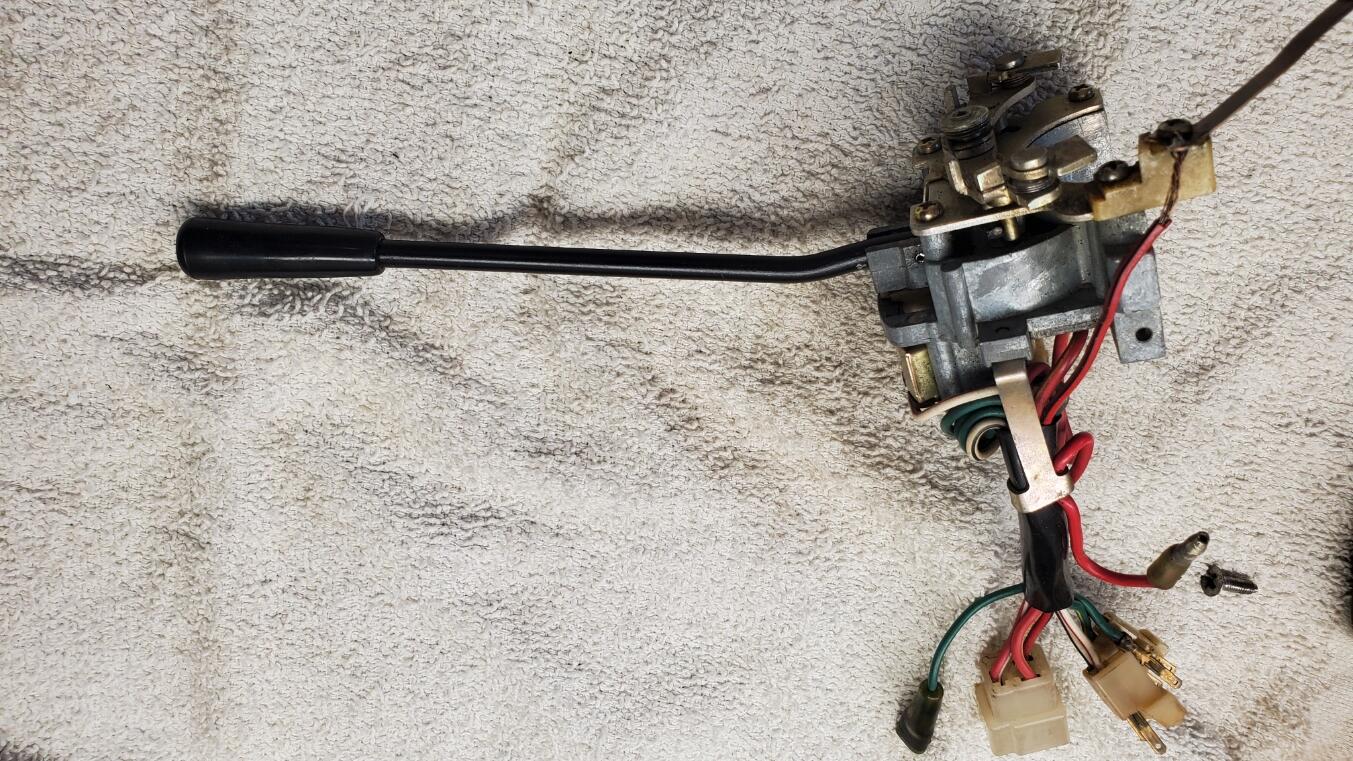
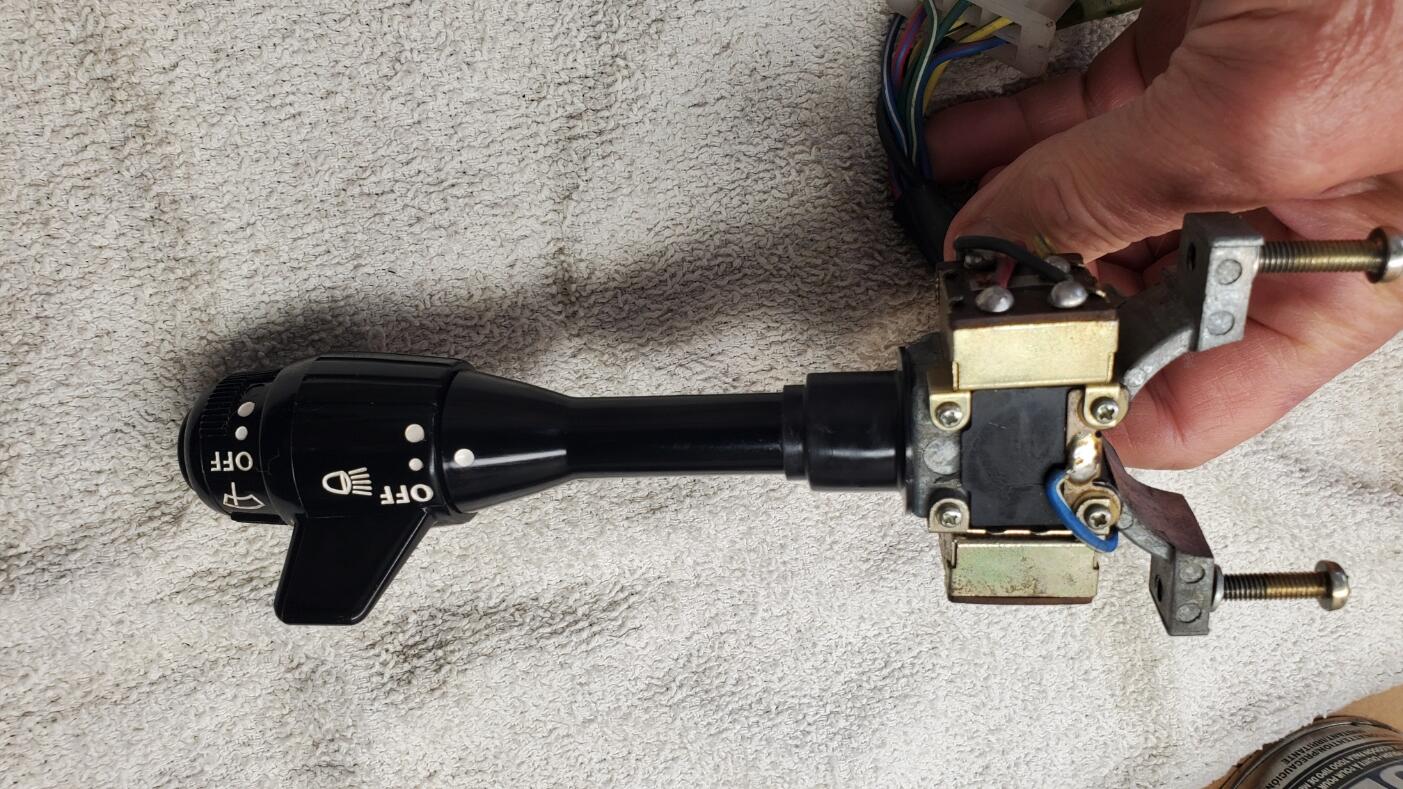
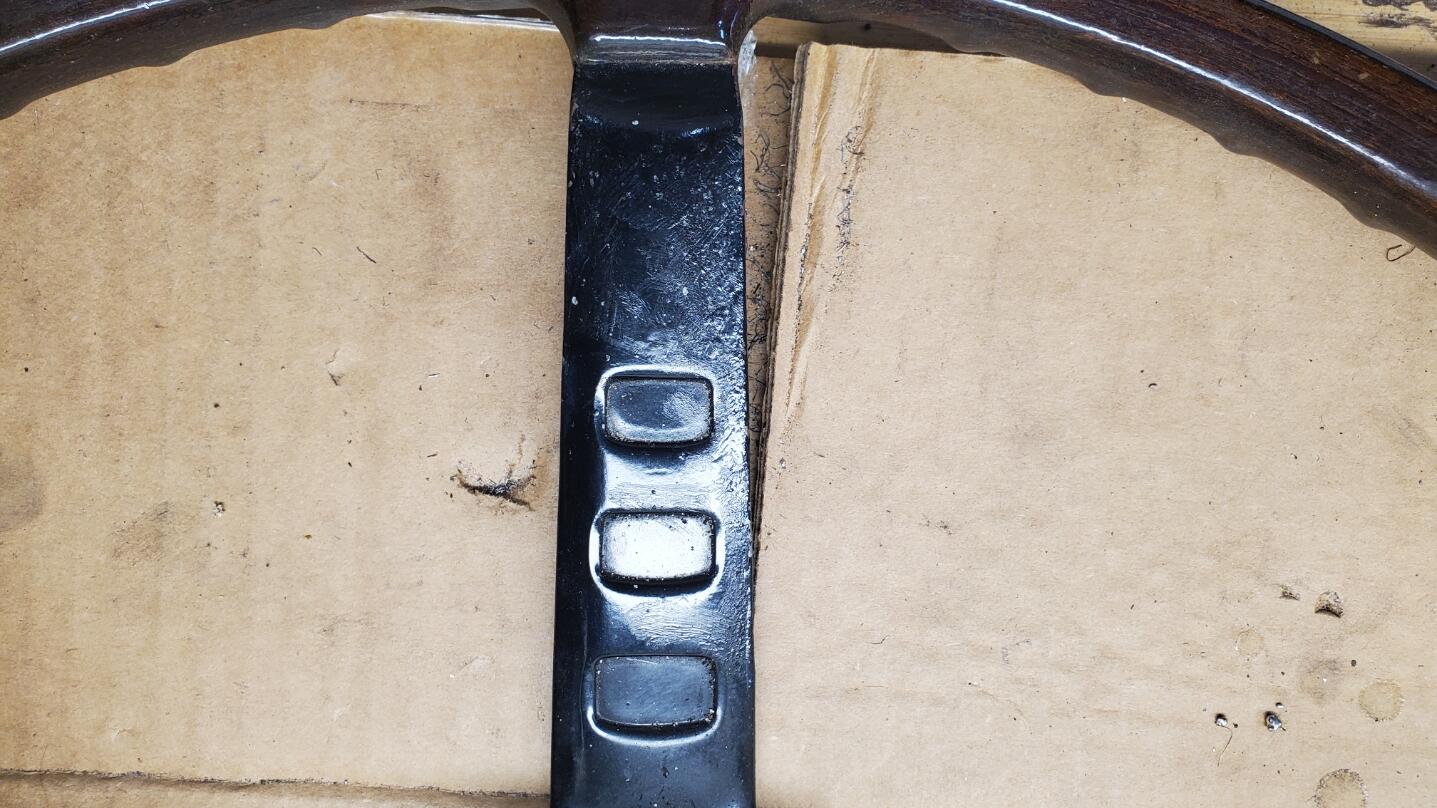
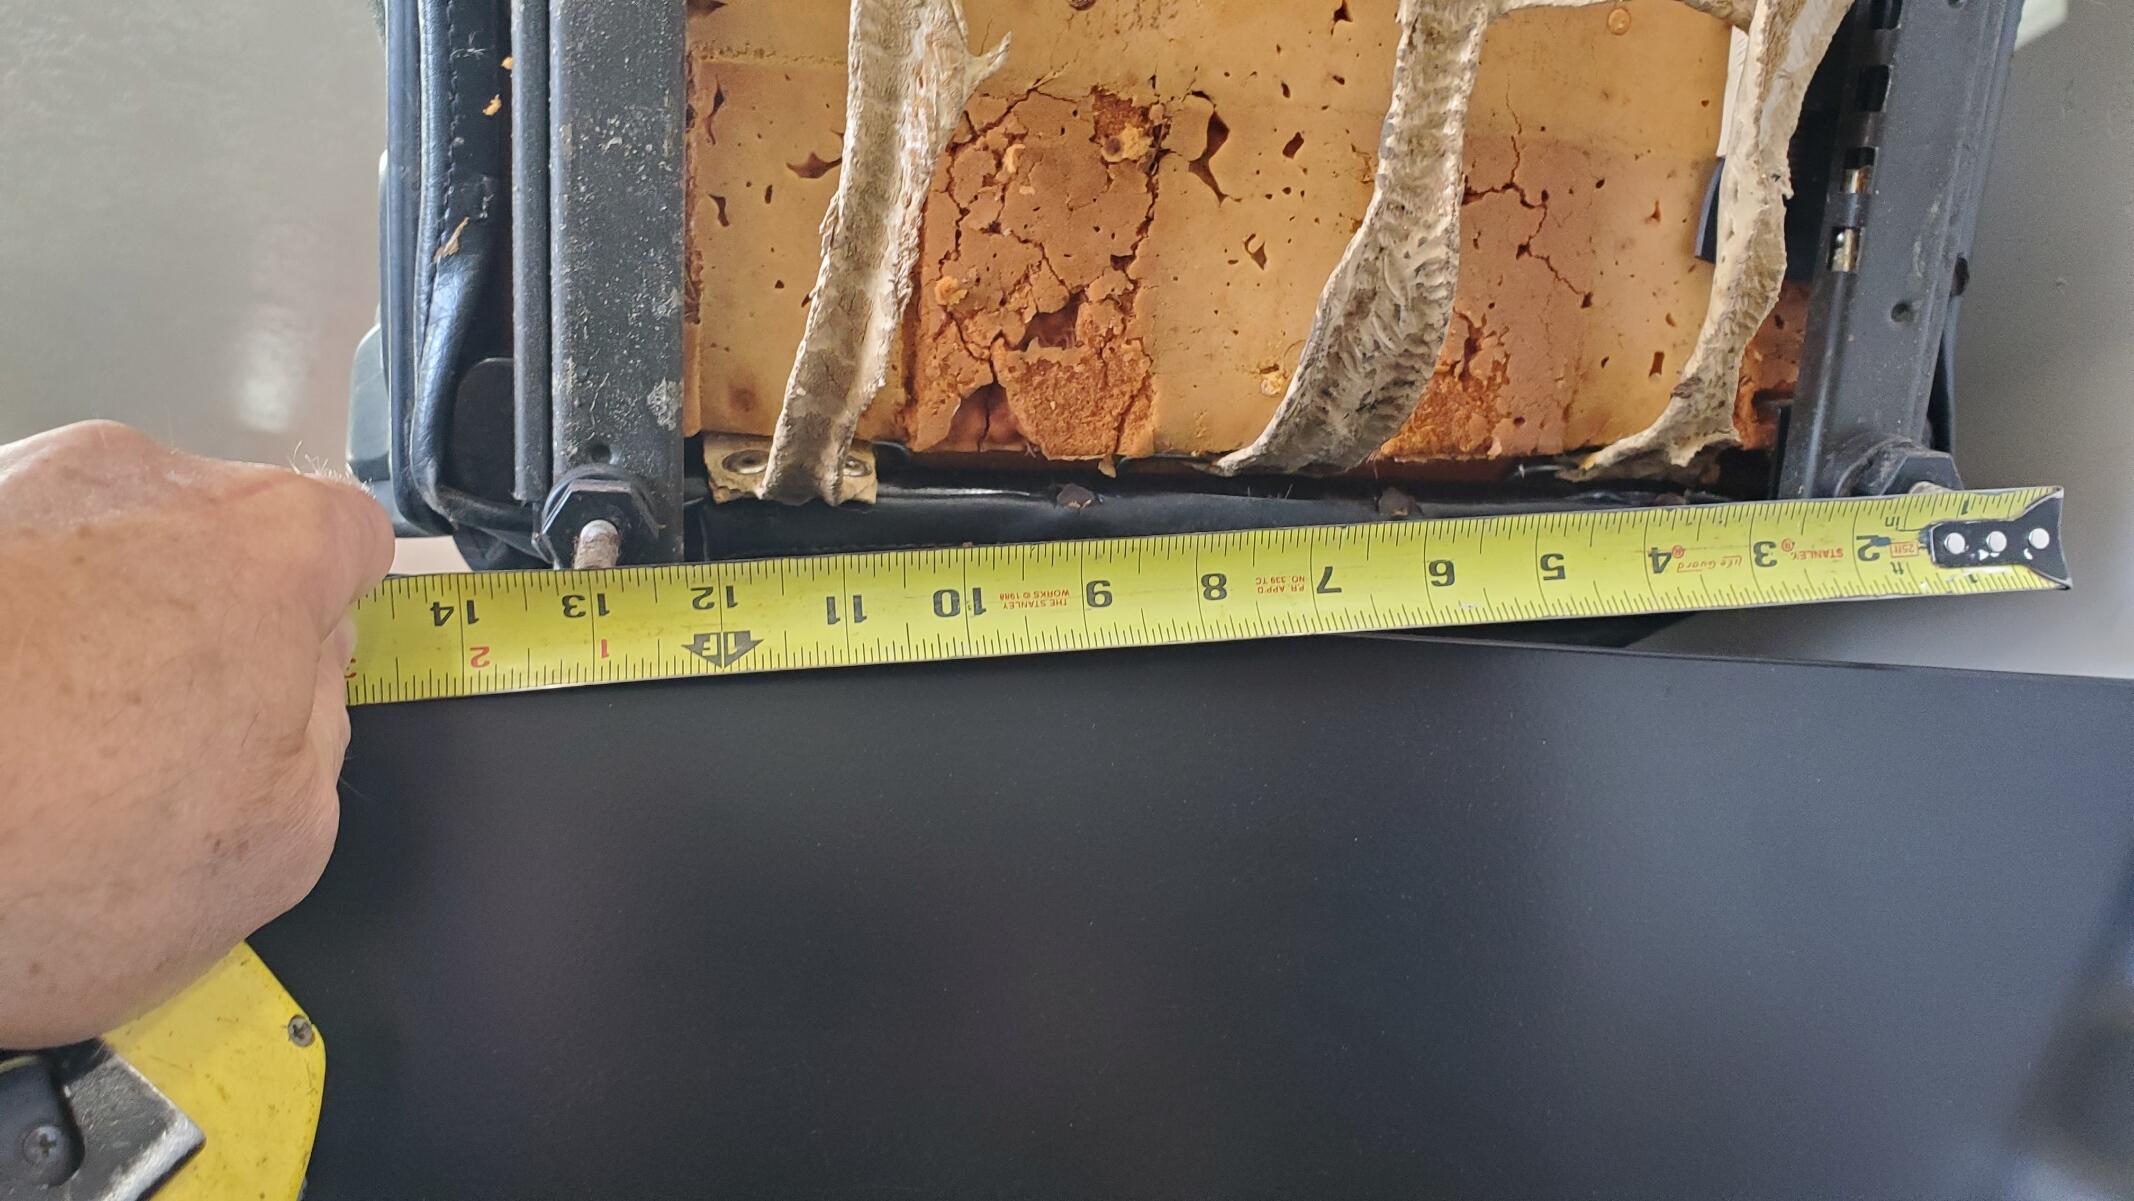
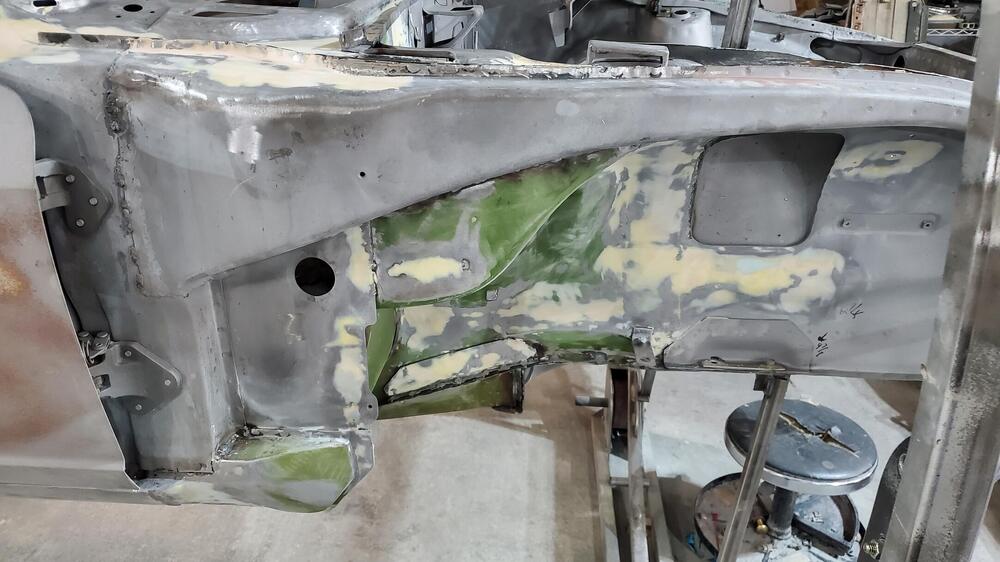
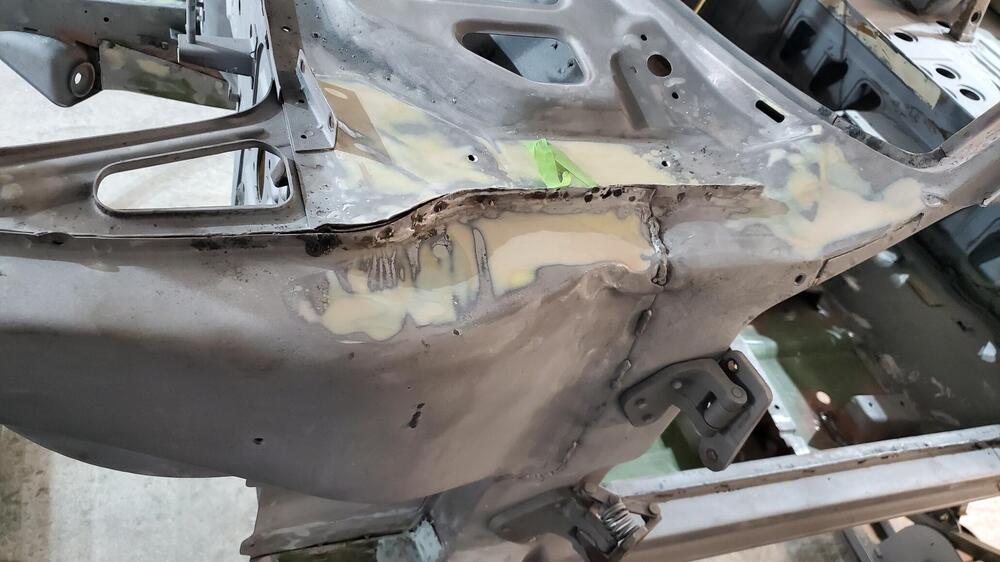
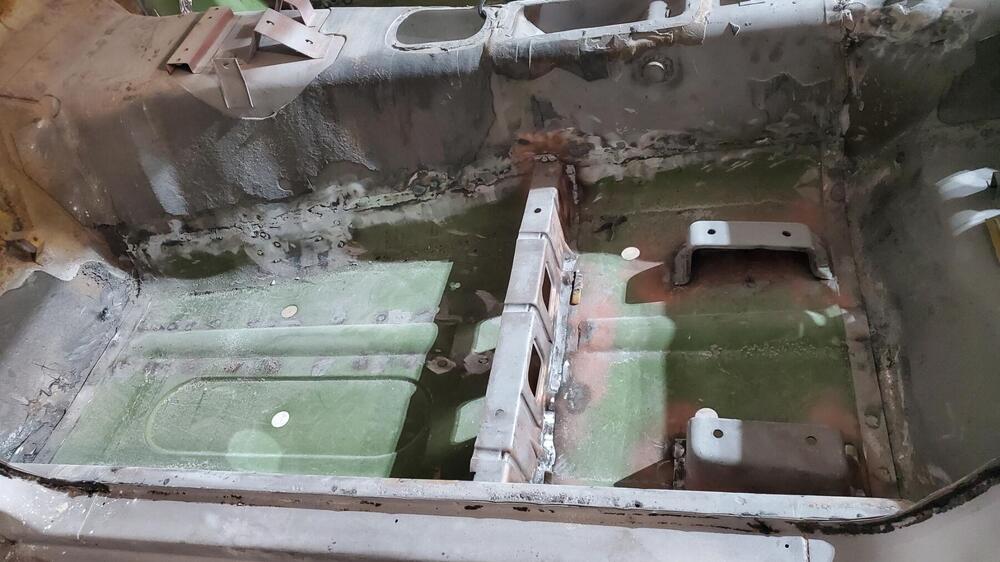
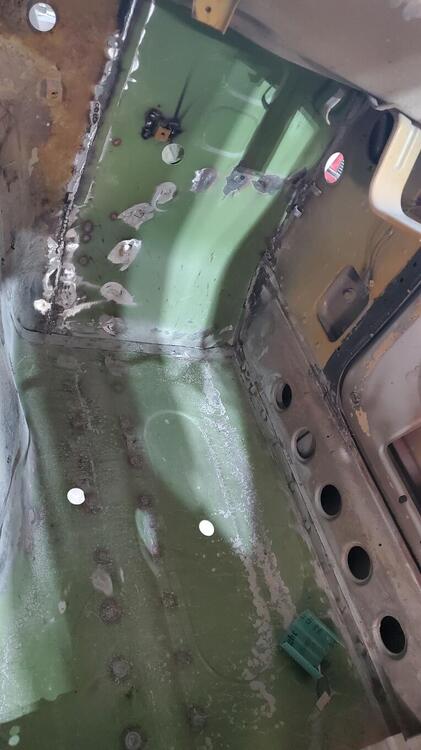
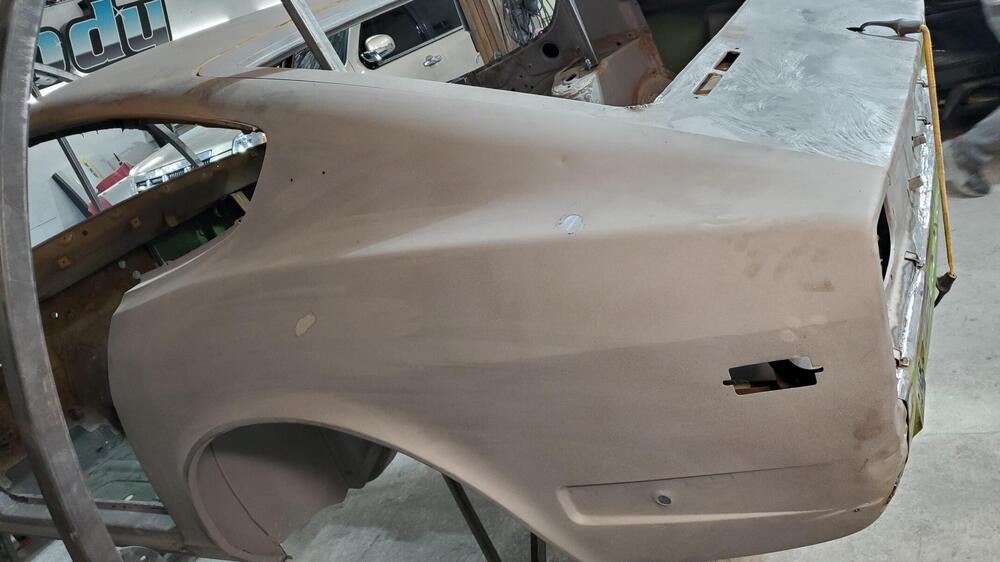
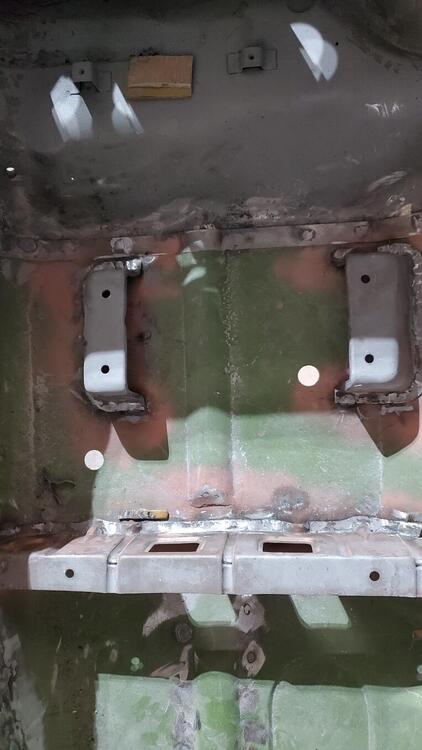
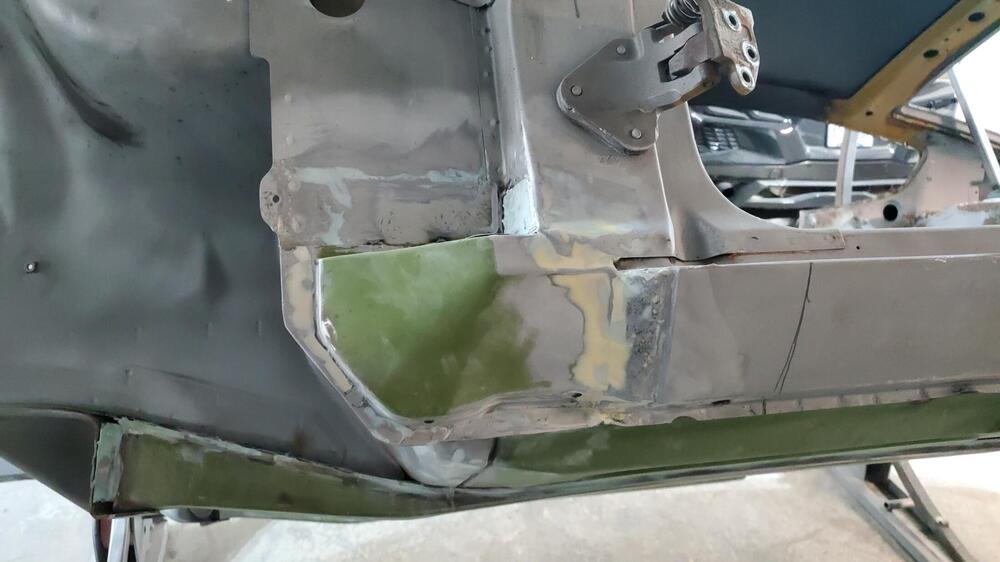
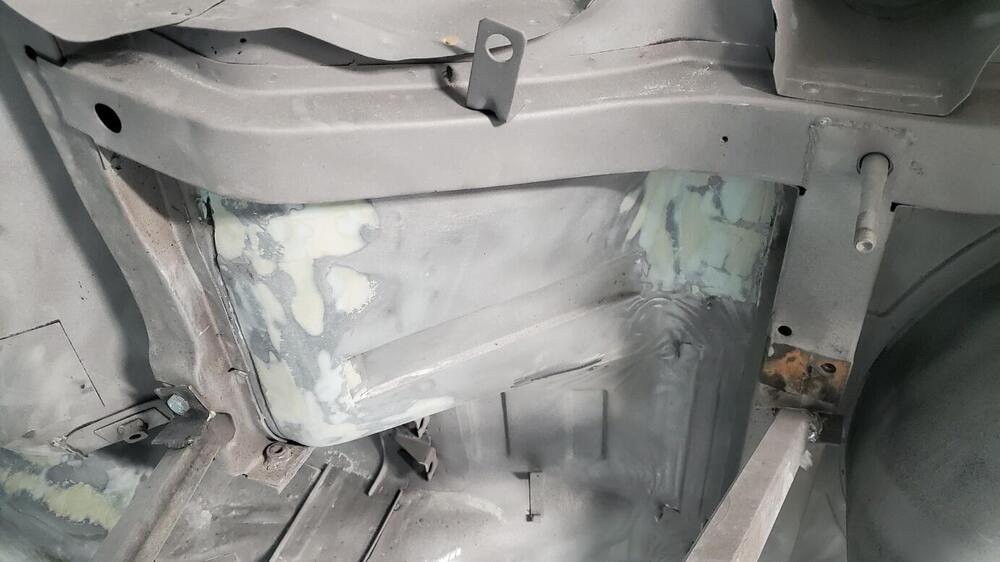
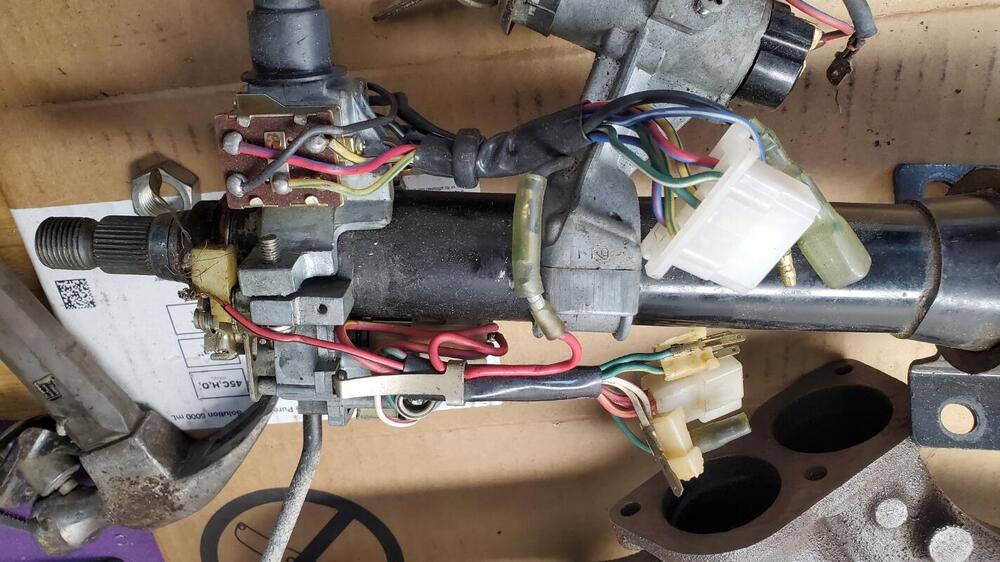
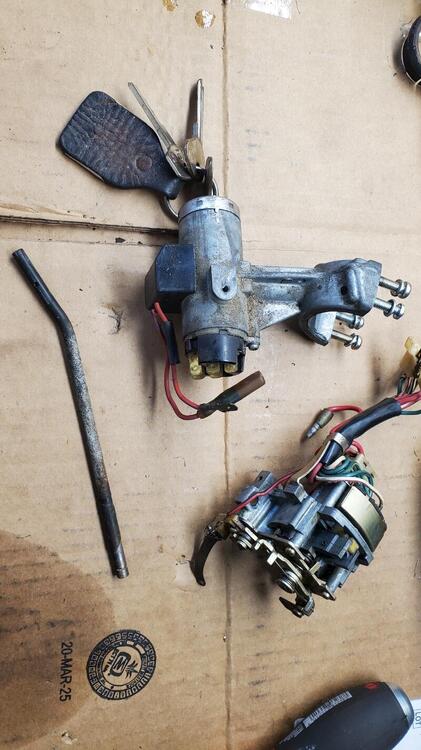
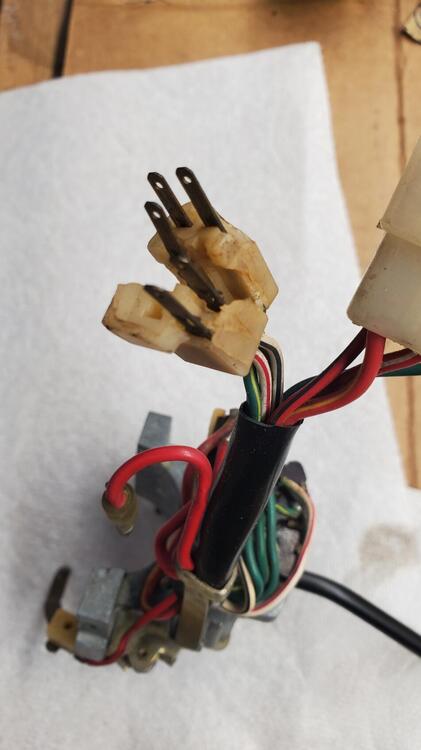
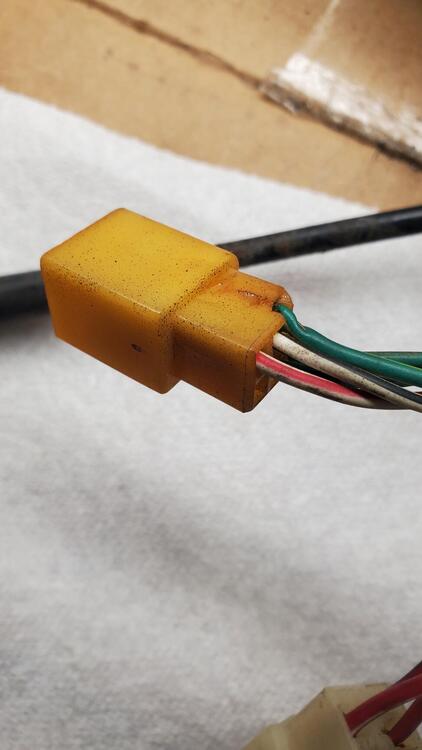
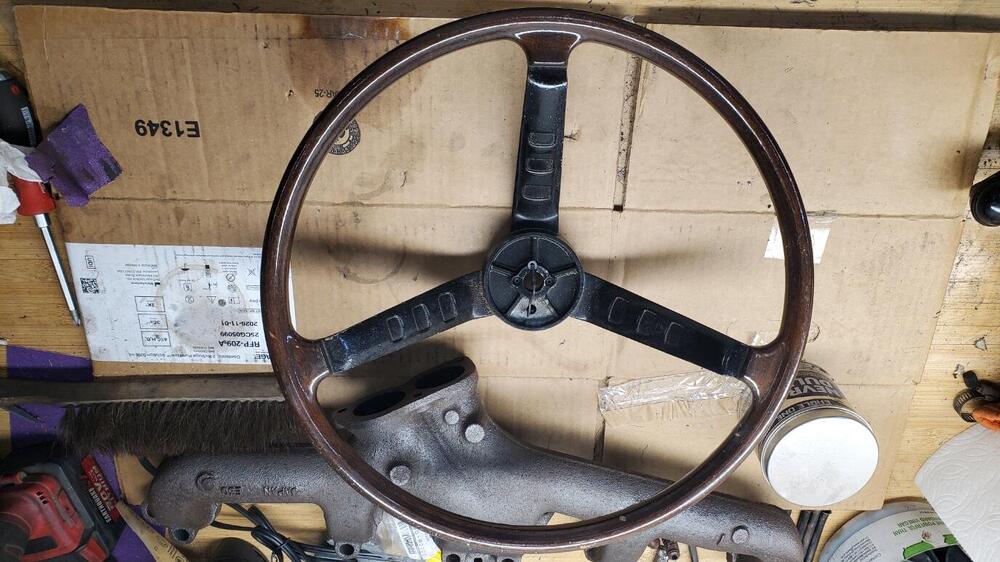
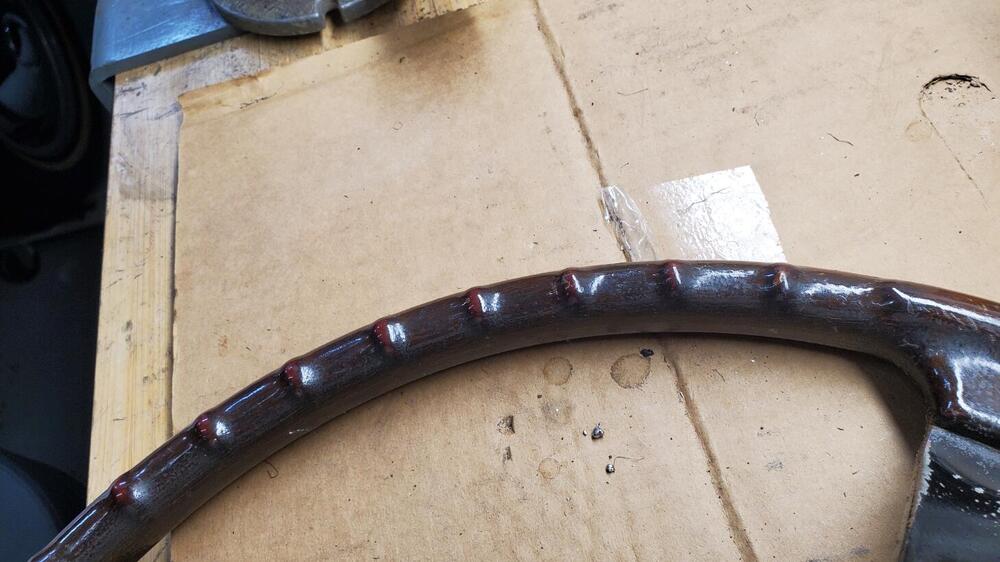
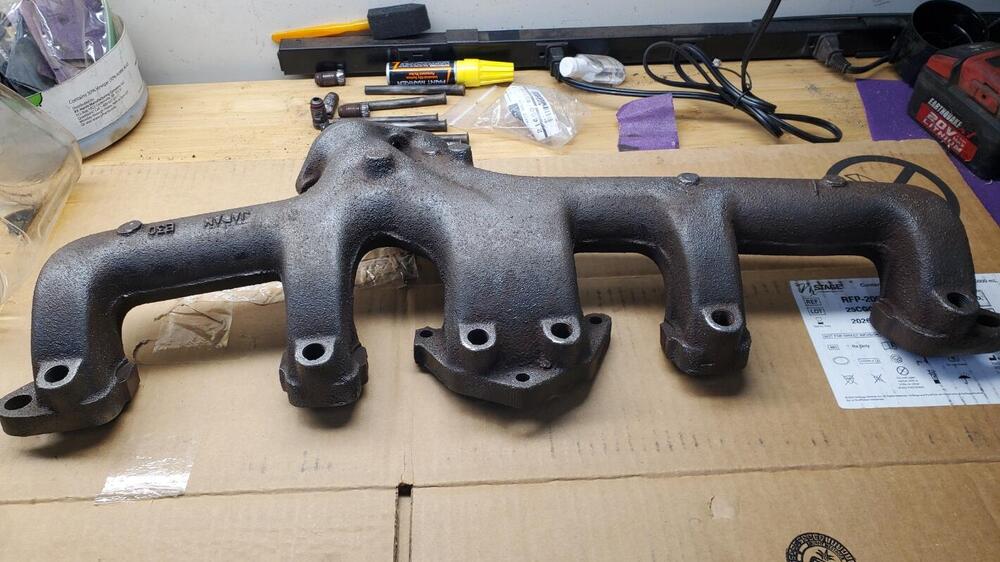
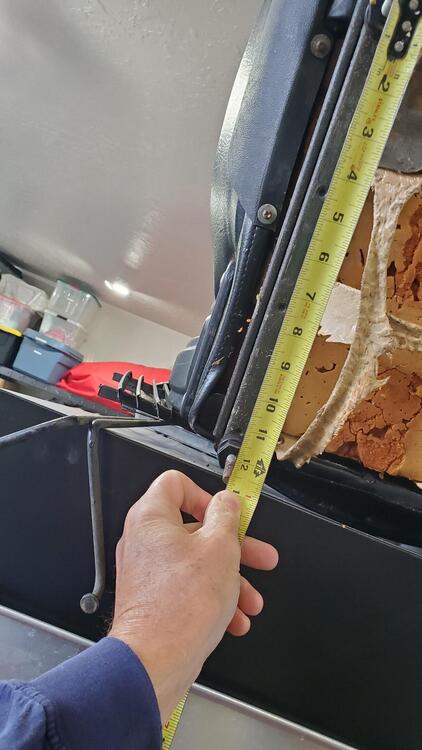
The body shop work continues and looks like things are moving along nicely. I am happy to see that they are being very thorough and even cleaning up areas that no one will ever see. I did check the seat mount locations. The rear inboard bracket on both the drivers and passengers side is off by about 2 inches (both are too far outboard). Carlos has a welder and will do the re-mounting of the bracket. I did contact Larry, the original metal work guy, to point out the error. Looks like we will get that re-mounted for no additional cost. I also sent pics of the dimesnions from the seat rails. The dimensions that I measure are 13.0" wide (330mm) and 12.75" deep (324mm). I removed the air galley from the exhaust manifold, but was not able to salvage it. After repeated heating, cooling and lube applications, I was only able to get 2 of the fittings out. By this time, the hex portion of the remaining fittings were starting to get pretty trashed, so I ended up cutting the tubes on the remaining 4. Fortunately, I did not have to do any re-tapping of the four difficult fittings. I was able to drill away most of the metal in the center of the fittings and sort of peel the threads off of the manifold. This made is easy to save the extension tubes that are secured by the fittings. On all of the previous cars that I have restored, I have always used a gray powder coat finish on the exhaust manifold that Les Cannady at Classic Datsun Motorsports always uses. Since we want to be very exact on the reproduction, I was considering a high temp cast iron paint which would be closer to the original color. However, it was noted that those typically peel even with the best prep and application. POR 15 was recommended, but again, this ends up being a colored paint and softens the texture of the original cast iron and doesn't really replicate the original color. I eventually phoned Rod Schmitt of Rod's Garage (Restorer of the 2025 JCCS Best of Show Red 240Z and John Morton's 1st place Green 240Z in the 240Z category) to find out what he uses for the final finish on the exhaust manifold. Rod says he cleans the manifold well with wire wheel and then uses a couple light coats of graphite spray for the final finish. He says this comes the closest to the original color and finish. It also handles the high temps well. So, this is the current plan for the exhaust manifold finish. I have started cleaning up some of the steering column parts. Some before and after pics are attached. It looks like these components have been accessed previously as the turn signal mechanism had a wire that was just twisted together with an extension on the horn circuit, so I removed the extension and soldered the wire in place. It has a broken connector which I thought I could replace with another signal mechanism that I have but that replacement was just as brittle as the broken coneector, so I just ordered a new one. Also, the headlight mechanism looks surprisingly good, so I am thinking that may have been replaced as it looks virtually brand new. Typically, these are pretty gummed up and the white parts are yellowed and/or dirty. This one looks untouched. I will re-restore the steering wheel as the previous restoration is poor. The black paint is thick and uneven and should be a satin finish, not gloss. The 'wood grain' portion has a heavy gloss finish, should be light satin or semi-gloss, and the back side with the 'nubs' was over sanded so the wood grain appearance is missing on the nubs.
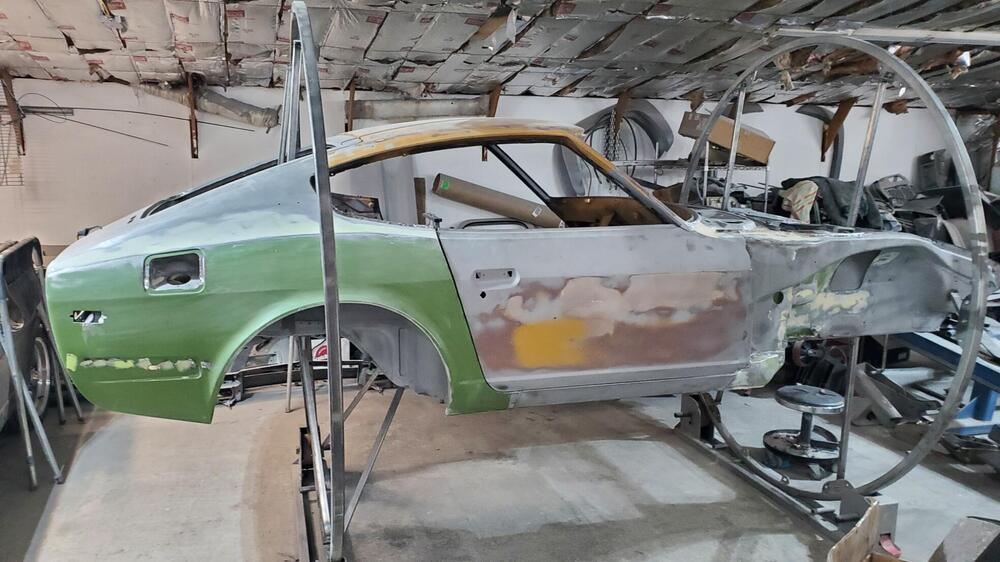
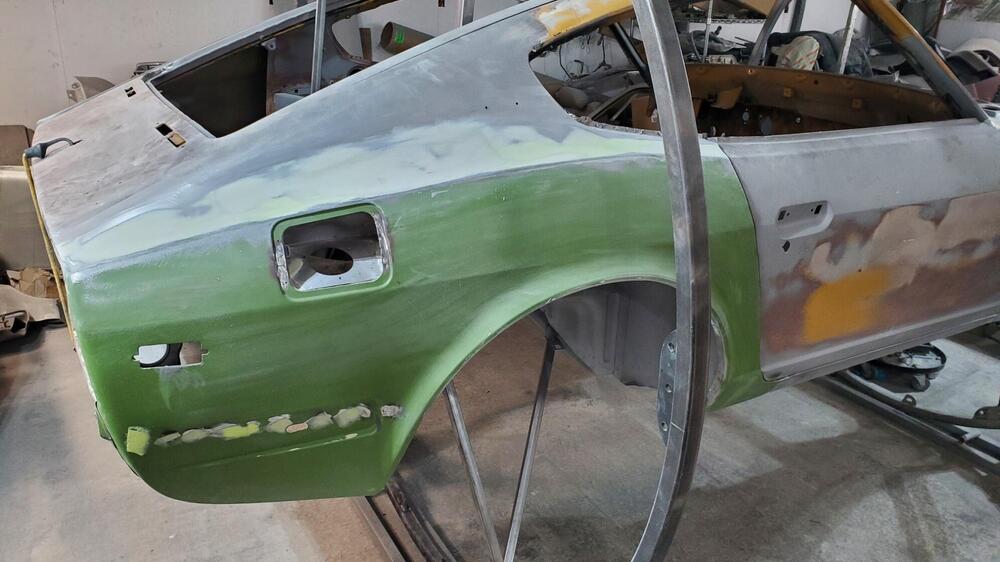


 1 point