Leaderboard

 Subscriber


Popular Content
Showing content with the highest reputation on 08/28/2025 in Posts
-
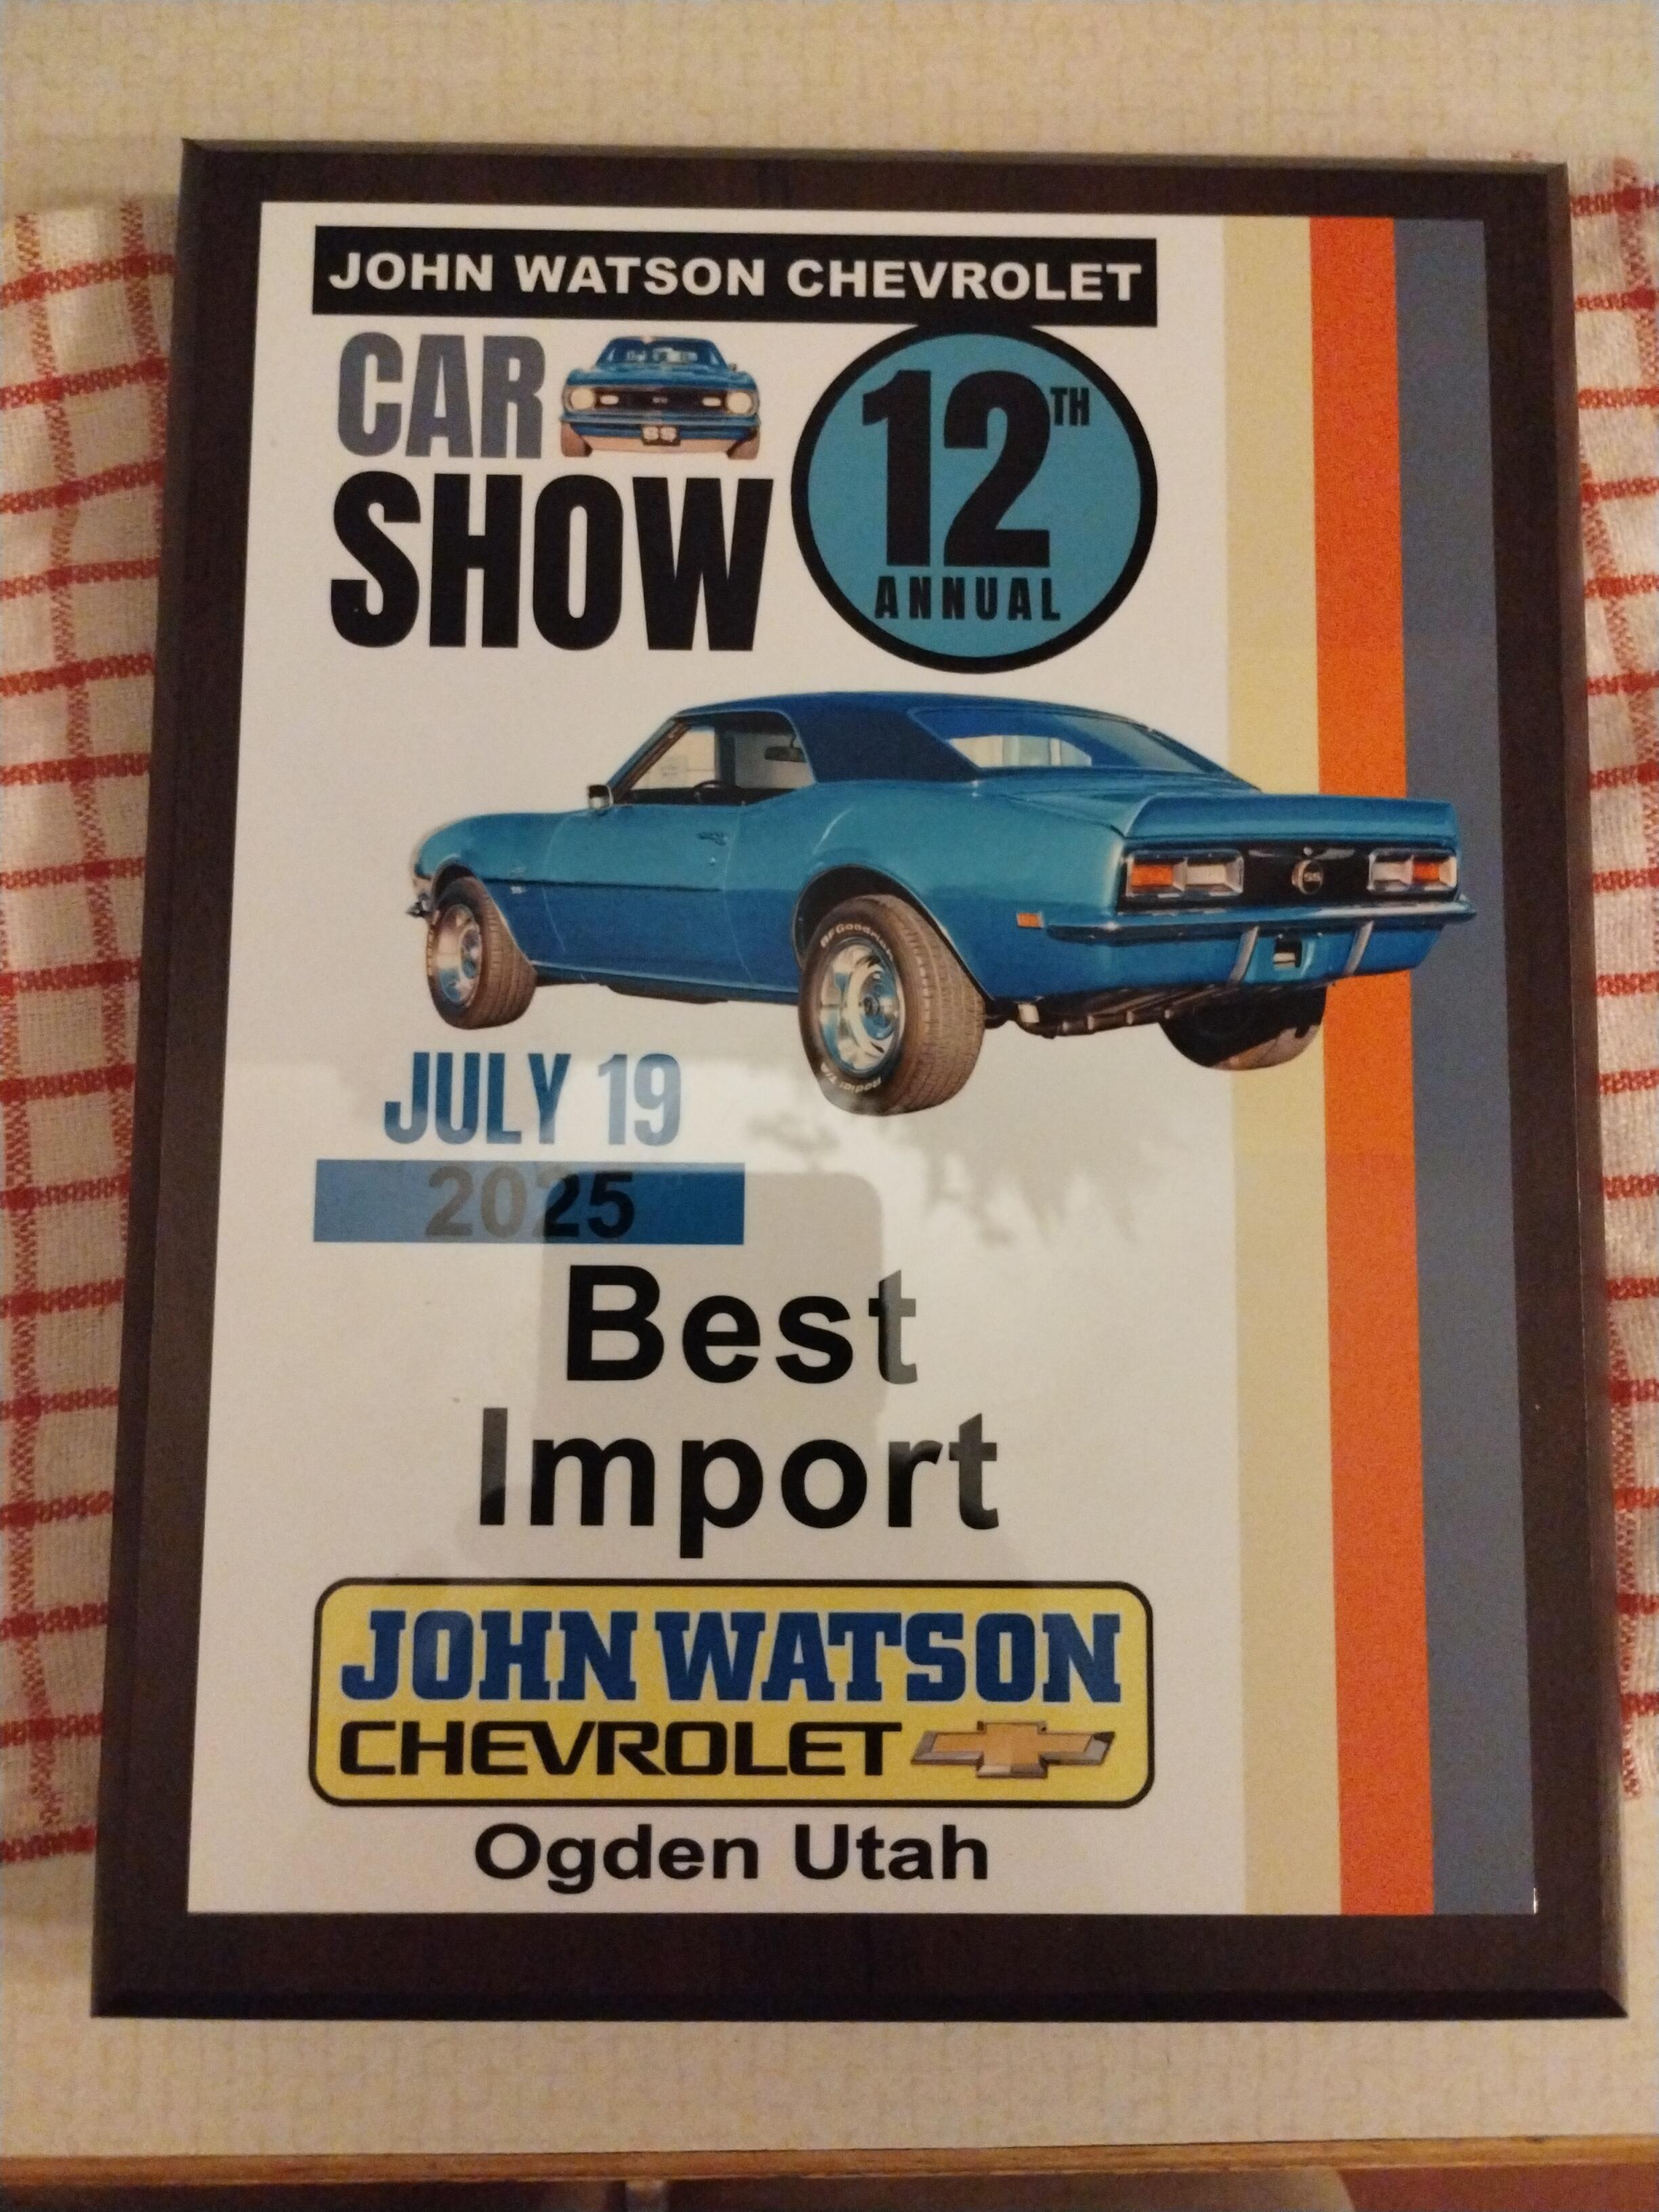
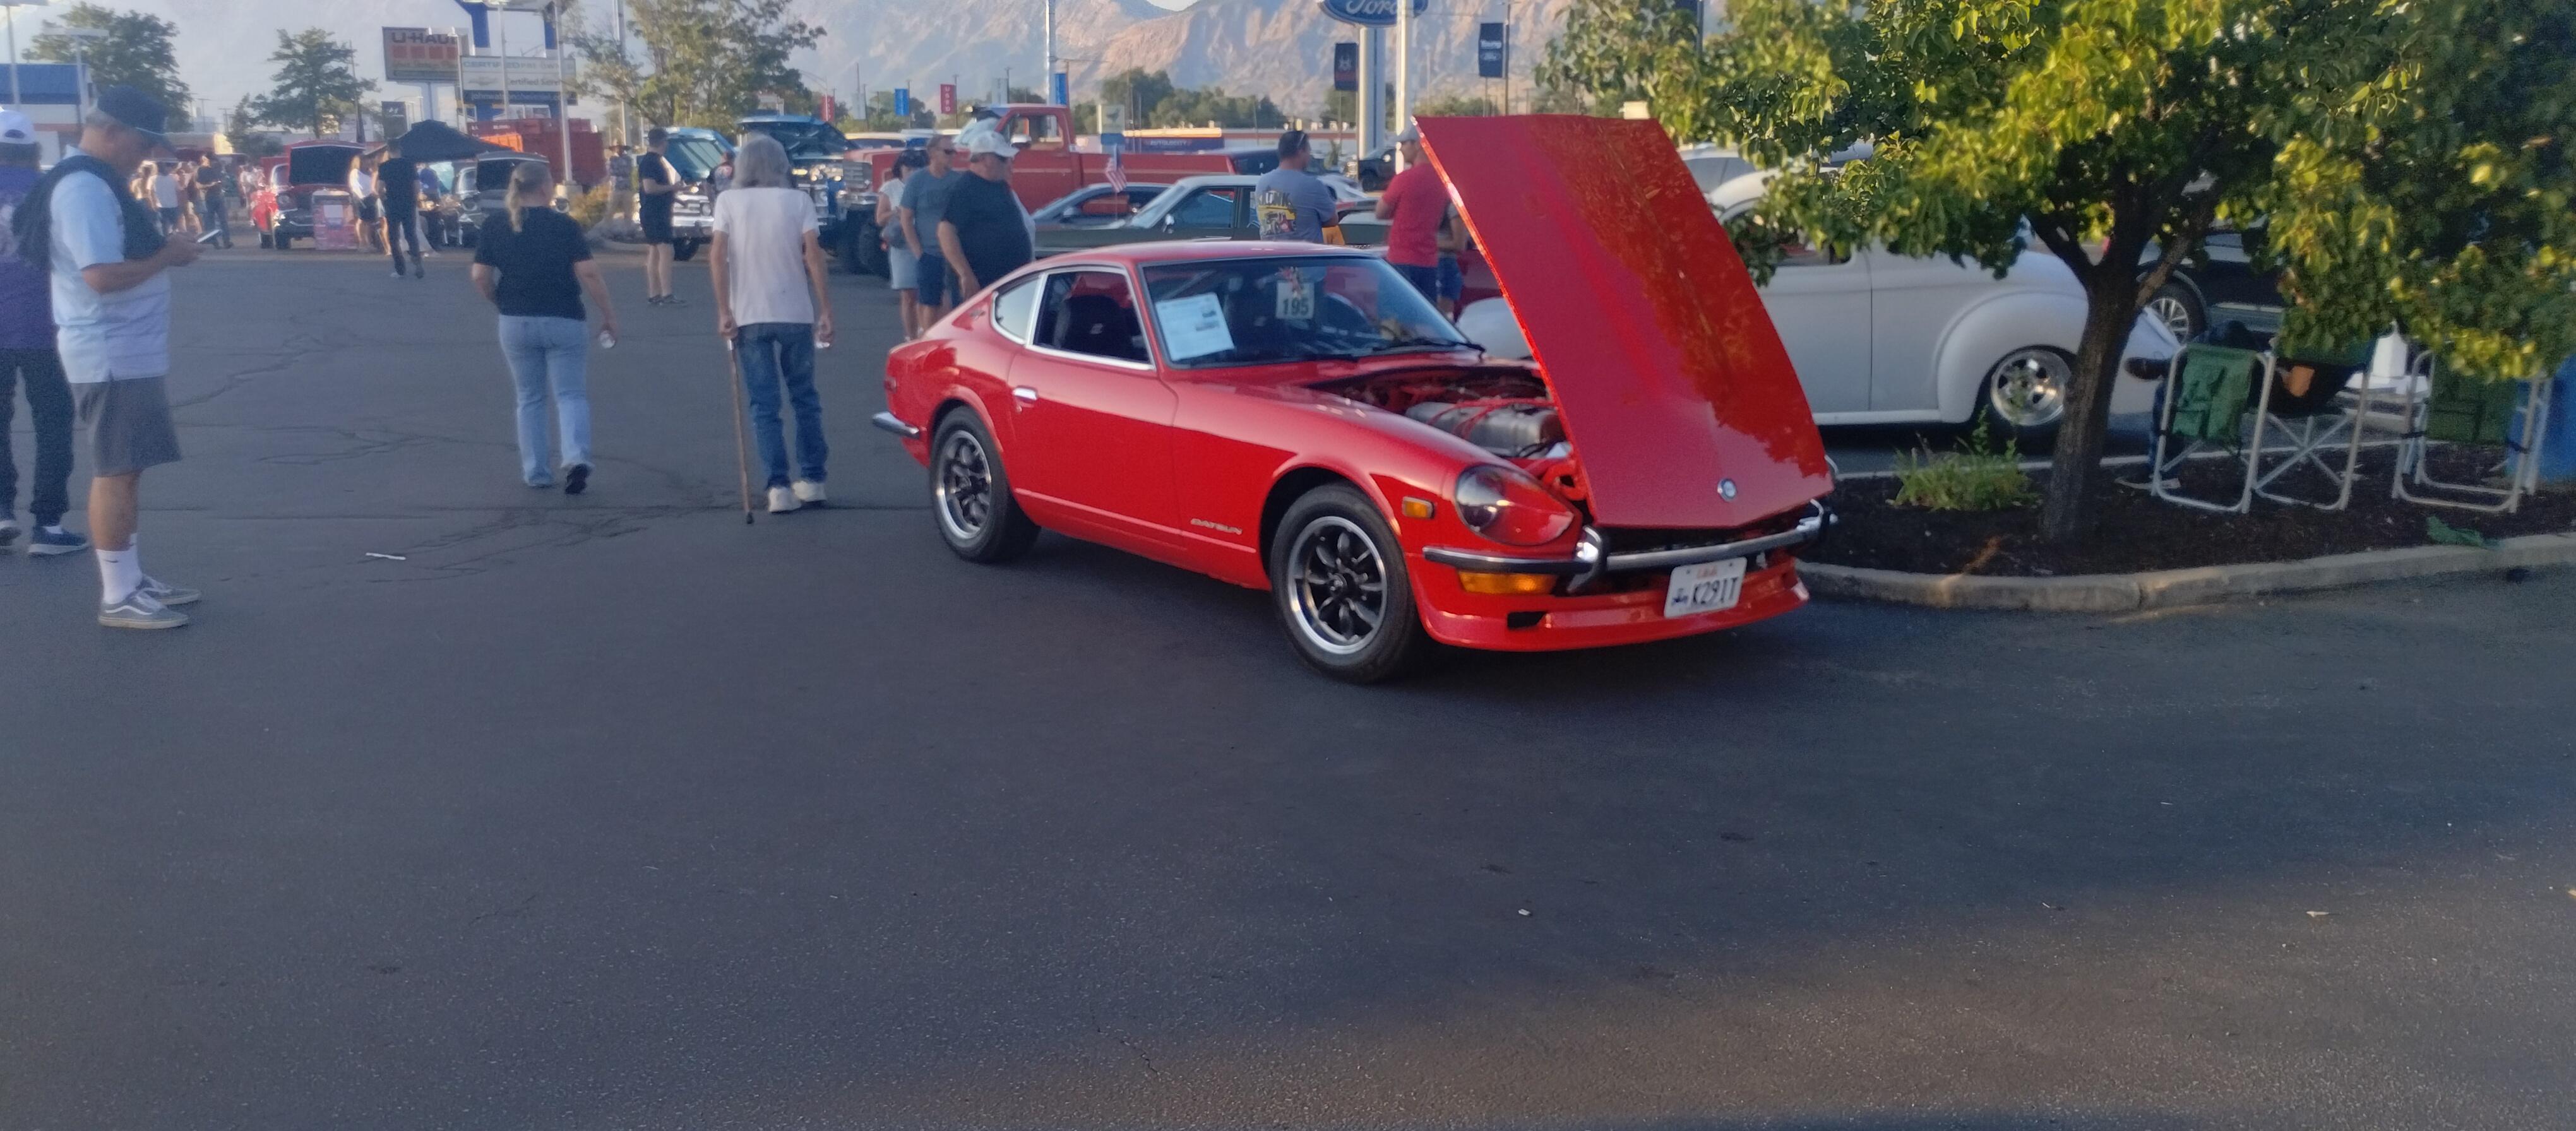
2 pointsTook the Z to a show at a local Chevy dealer. When I pulled in the dealership owner said "We never see these cars, I want you parked at the entrance".

 2 points
 -
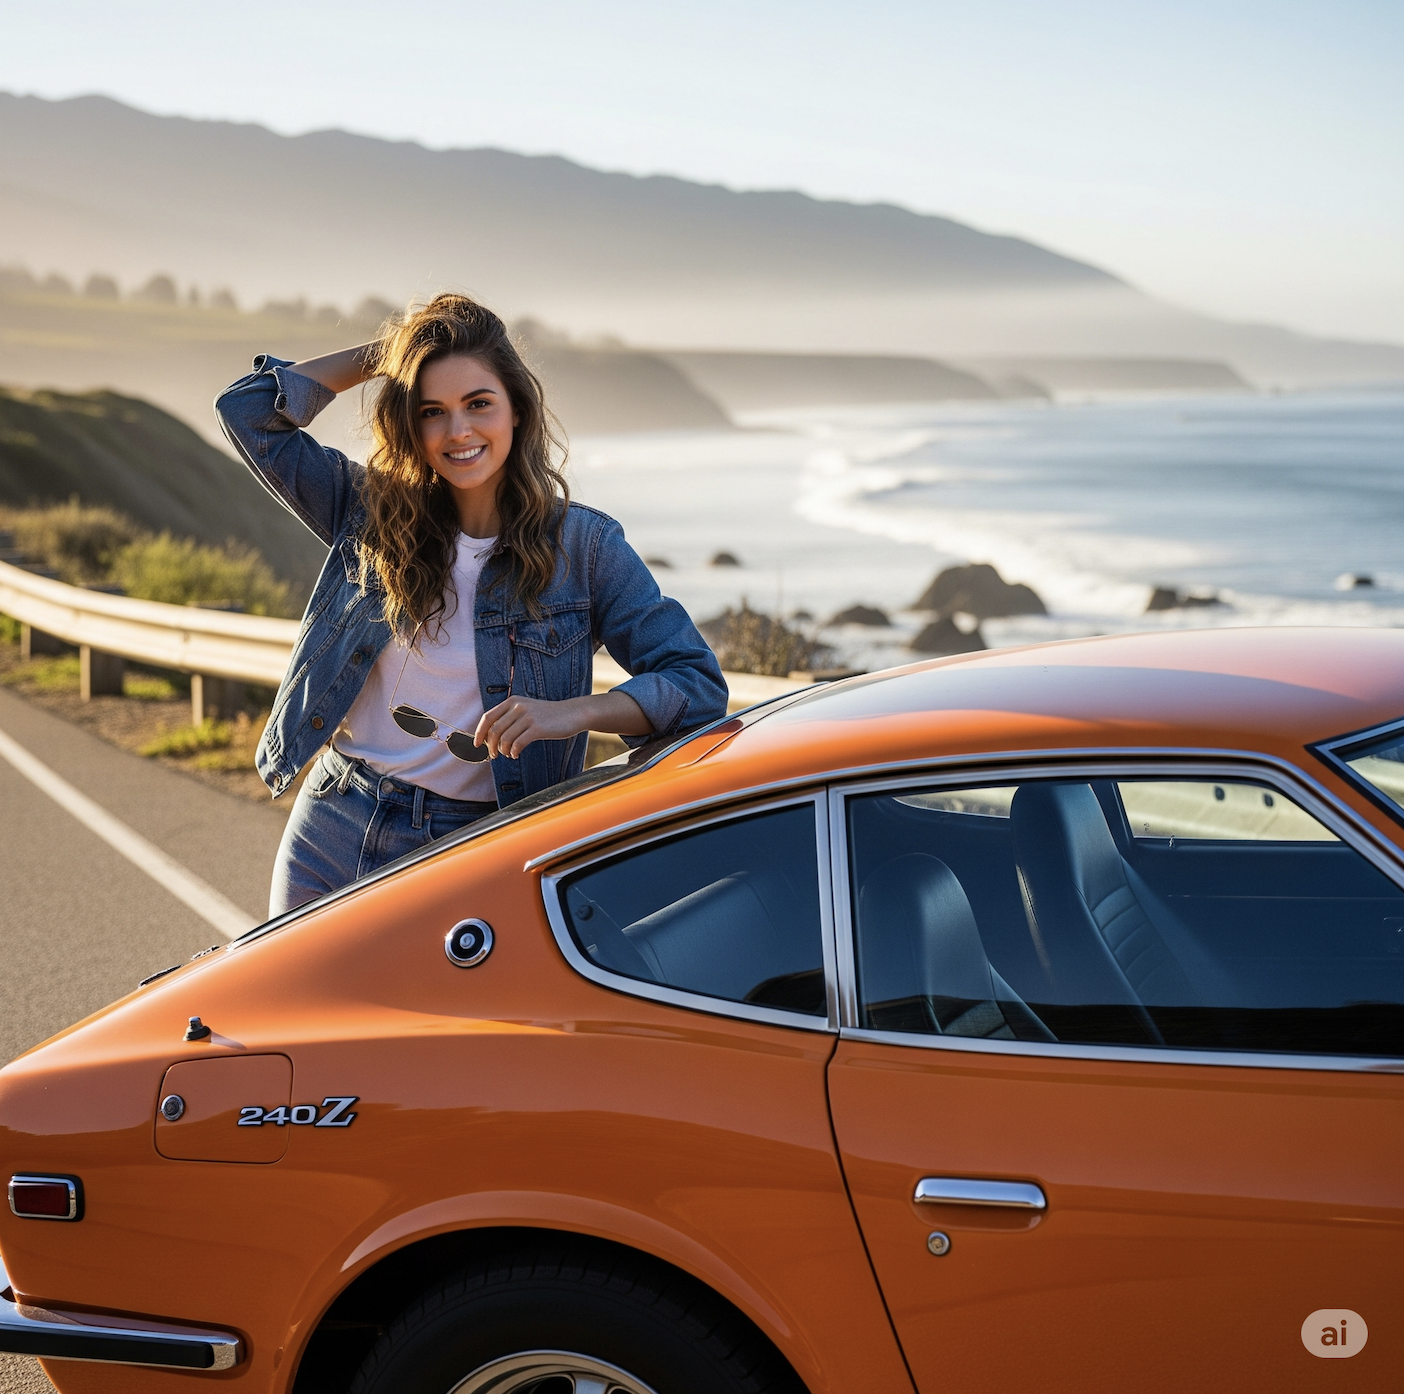
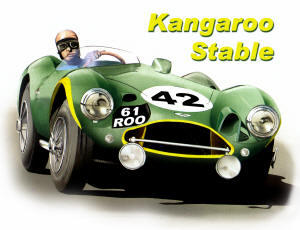
Artificial Intelligence (AI) has made it easy to find answers to just about any question about the cars we drive and maintain. It's also useful in creating "eye candy" pictures of Datsuns and people in scenic locations as Cliff @siteunseen has noted. A new wrinkle in Google's Gemini AI enables children's stories to be created from a simple prompt so we can get our kids and grandkids interested in the cars we drive. Here's an example: https://g.co/gemini/share/3b1d07d81d94 Just click on the book pages to turn them.2 points
-
2 pointsHello, I'm a new member here as of today. I've been driving and enjoying the ride for some 40+ yrs I worked (more like moonlighted) on the Restoration Program for Pierre in 1997 at Pierre Z Service Center in LA. I worked on the Rick Cole 240Z Car, that was auctioned in Pebble Beach which at the time was the first Japanese sports car to ever roll across the auction block. We used the best pieces and parts from approximately 15-20 Z's in the build cycle to recreate one Z car. That was the time of my life, building 240Z's by day and DC-9's by night working 16-18 hrs a day. Pierre, for those that don't know was co-driver to Paul Newman at BSR back in the day. One Saturday, the Shop went up to Willow Springs to test and to let off some steam. I was shown the racing line around the Streets of Willow by Pierre in my then stock 77 Coupe and how to actually drive a Z on a road course at speed. I will be forever thankful to Pierre and Daniel for the opportunity of a lifetime. Cheers,2 points
-
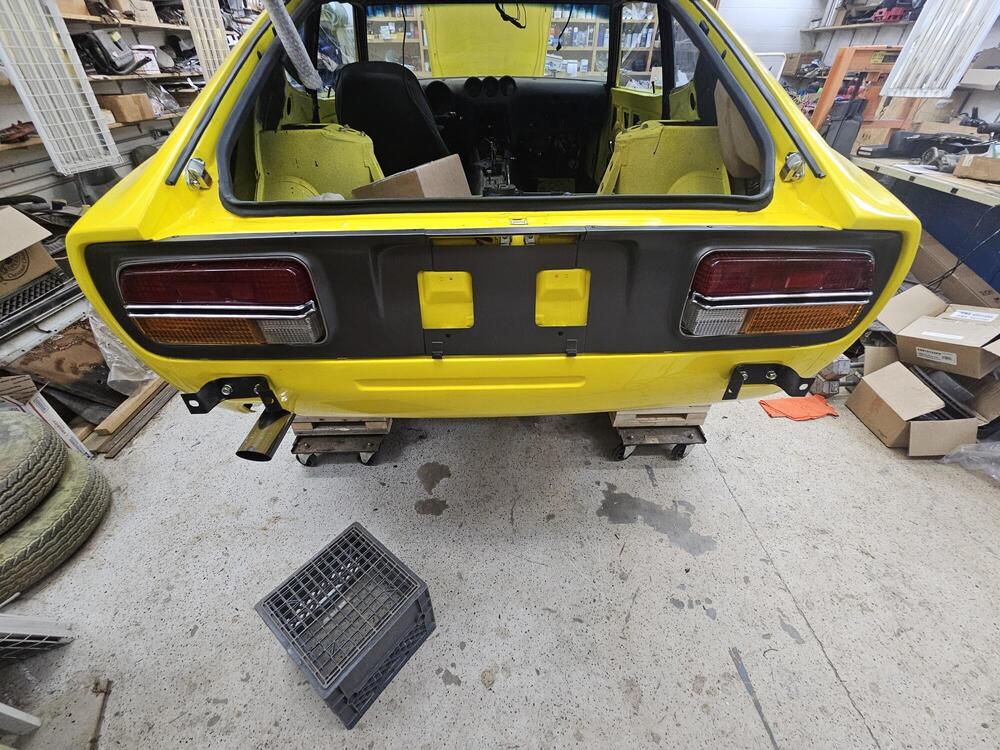
Time for another update: I spent the last couple of days in the Workshop and installed all the hood alignment parts, so the body shop can properly align the hood. I also put back all bolts to the body panels, since they were missing after I had to remove a lot of things for alignment and rework. Not much to see, but all panels are now secured for transport. Slowly, but steady, t starts to look like a complete car again. Well - there is still a lot of work. Next, i decided to test fit the side markers, just to be sure the holes are still correct. I assembled to mock-ups from various used and NOS parts which I had. And installed: (Note plastic wrap on the NOS lens, to protect it) Now the big project. The rear spoiler. As you can see, the inner bolts are missing (compare holes with the missing bolt, left): I thought it had probably rotted away in the past, so they just removed it. That made me want to drill back a hole to install a new one, but it seems the previous owner just cut off the previous bolts and the metal part was still inside the spoiler mounting position. Luckily, I was able to drill out the remains of the old studs by starting with a very thin drill and then working the size up until the original 4mm: I made myself some new bolts from some M4 screws: While sanding off the area to glue back in the new bolts, I found a crack underneath the various layers of bondo, primer and paint, which the spoiler has collected over the years: Now also that glue-remains on the inside made sense:, which chipped off like nothing, once hammered: I was able to clean the whole area And then glue both the crack and the bolts back in with some two-component epoxy glue: The result is not bad, if you ask me. It appears to be quite strong, too: Next, I wanted to get back the holes for the original emblems. After sanding the areas, I finally found some black dots, which is probably black filler, which they used to fill the original holes: While trying to tap-mark the holes for drilling, the black filler bits just popped out. So I only used the drill to clean the holes to correct size. Lucky me :-) And the Emblems can go back again, as intended from the factory: Last but not least, I spent quite some hours today to sand off those dozens (!!) of layers of filler, primer and paint from all the years. You might wonder why? Because in some areas the paint and filler is so thick, that the spoiler almost has a different shape. I'm almost done, but still need to spend a few hours. But it appears I was able to save another Original part for the car, and I hope I can install it back soon...2 points
-
@zspert can't you do one of your award winning restorations on your self and keep going for another 50 years! Don't forget the yellow paint marks on all your tightened joints and use NOS parts, I'd avoid the cad plating though! Roo2 points
-
I never lock my 12/70 240Z. It's garaged almost 100% of the time. When out it's for a show or cruise night or visiting friends. There's nothing in the car that really worries me and I'd rather have it just stolen than having someone break a window to get what they're after!1 point
-
1 point
-
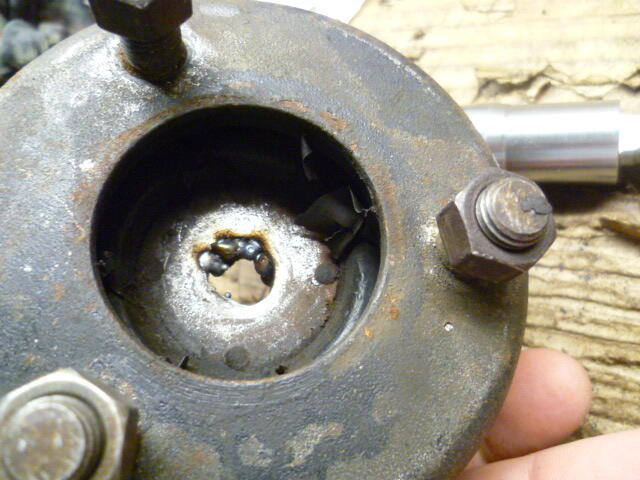
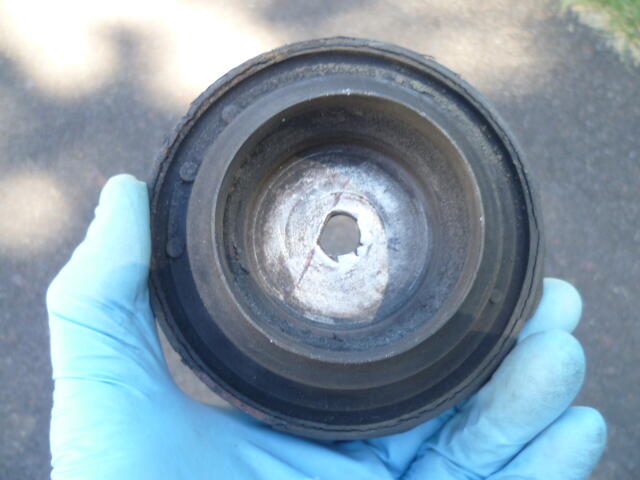
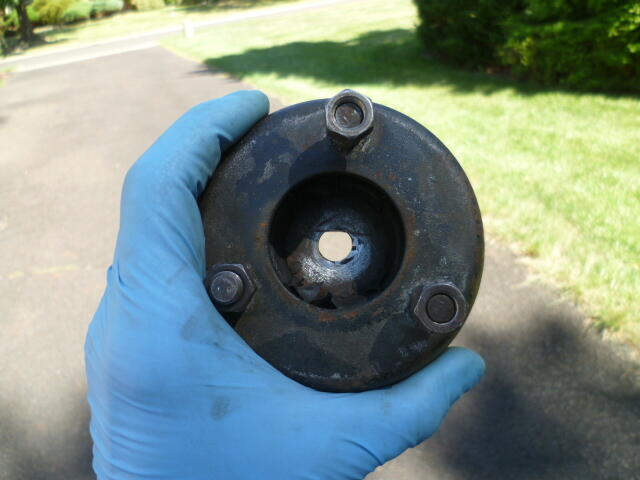
So with the help of some kind generous people from here on the forum, the front struts are back in the car! Here's a recap... I "welded" a couple dots down inside what was left of that "D" shaped hole. Isn't pretty, but doesn't have to be. All it has to do is keep the strut insert shaft from spinning while you tighten the nut. Hard to weld down inside that pocket, but here's what I did: Then I filed the hole back into a "D" shape and ground off a little bit of excess proud of the surface, and in the end, I have this: When you get the contrast right with backlight, you can get a decent look at the "D". Remember, all it has to do is keep the shaft from spinning: So with that crisis averted, put the struts back together. Put 'em on the car, reassemble and bleed the brakes, and I'm back to where I was two weeks ago*. Hahaha!! * But now I have struts that work.
 1 point
 -
1 point
-
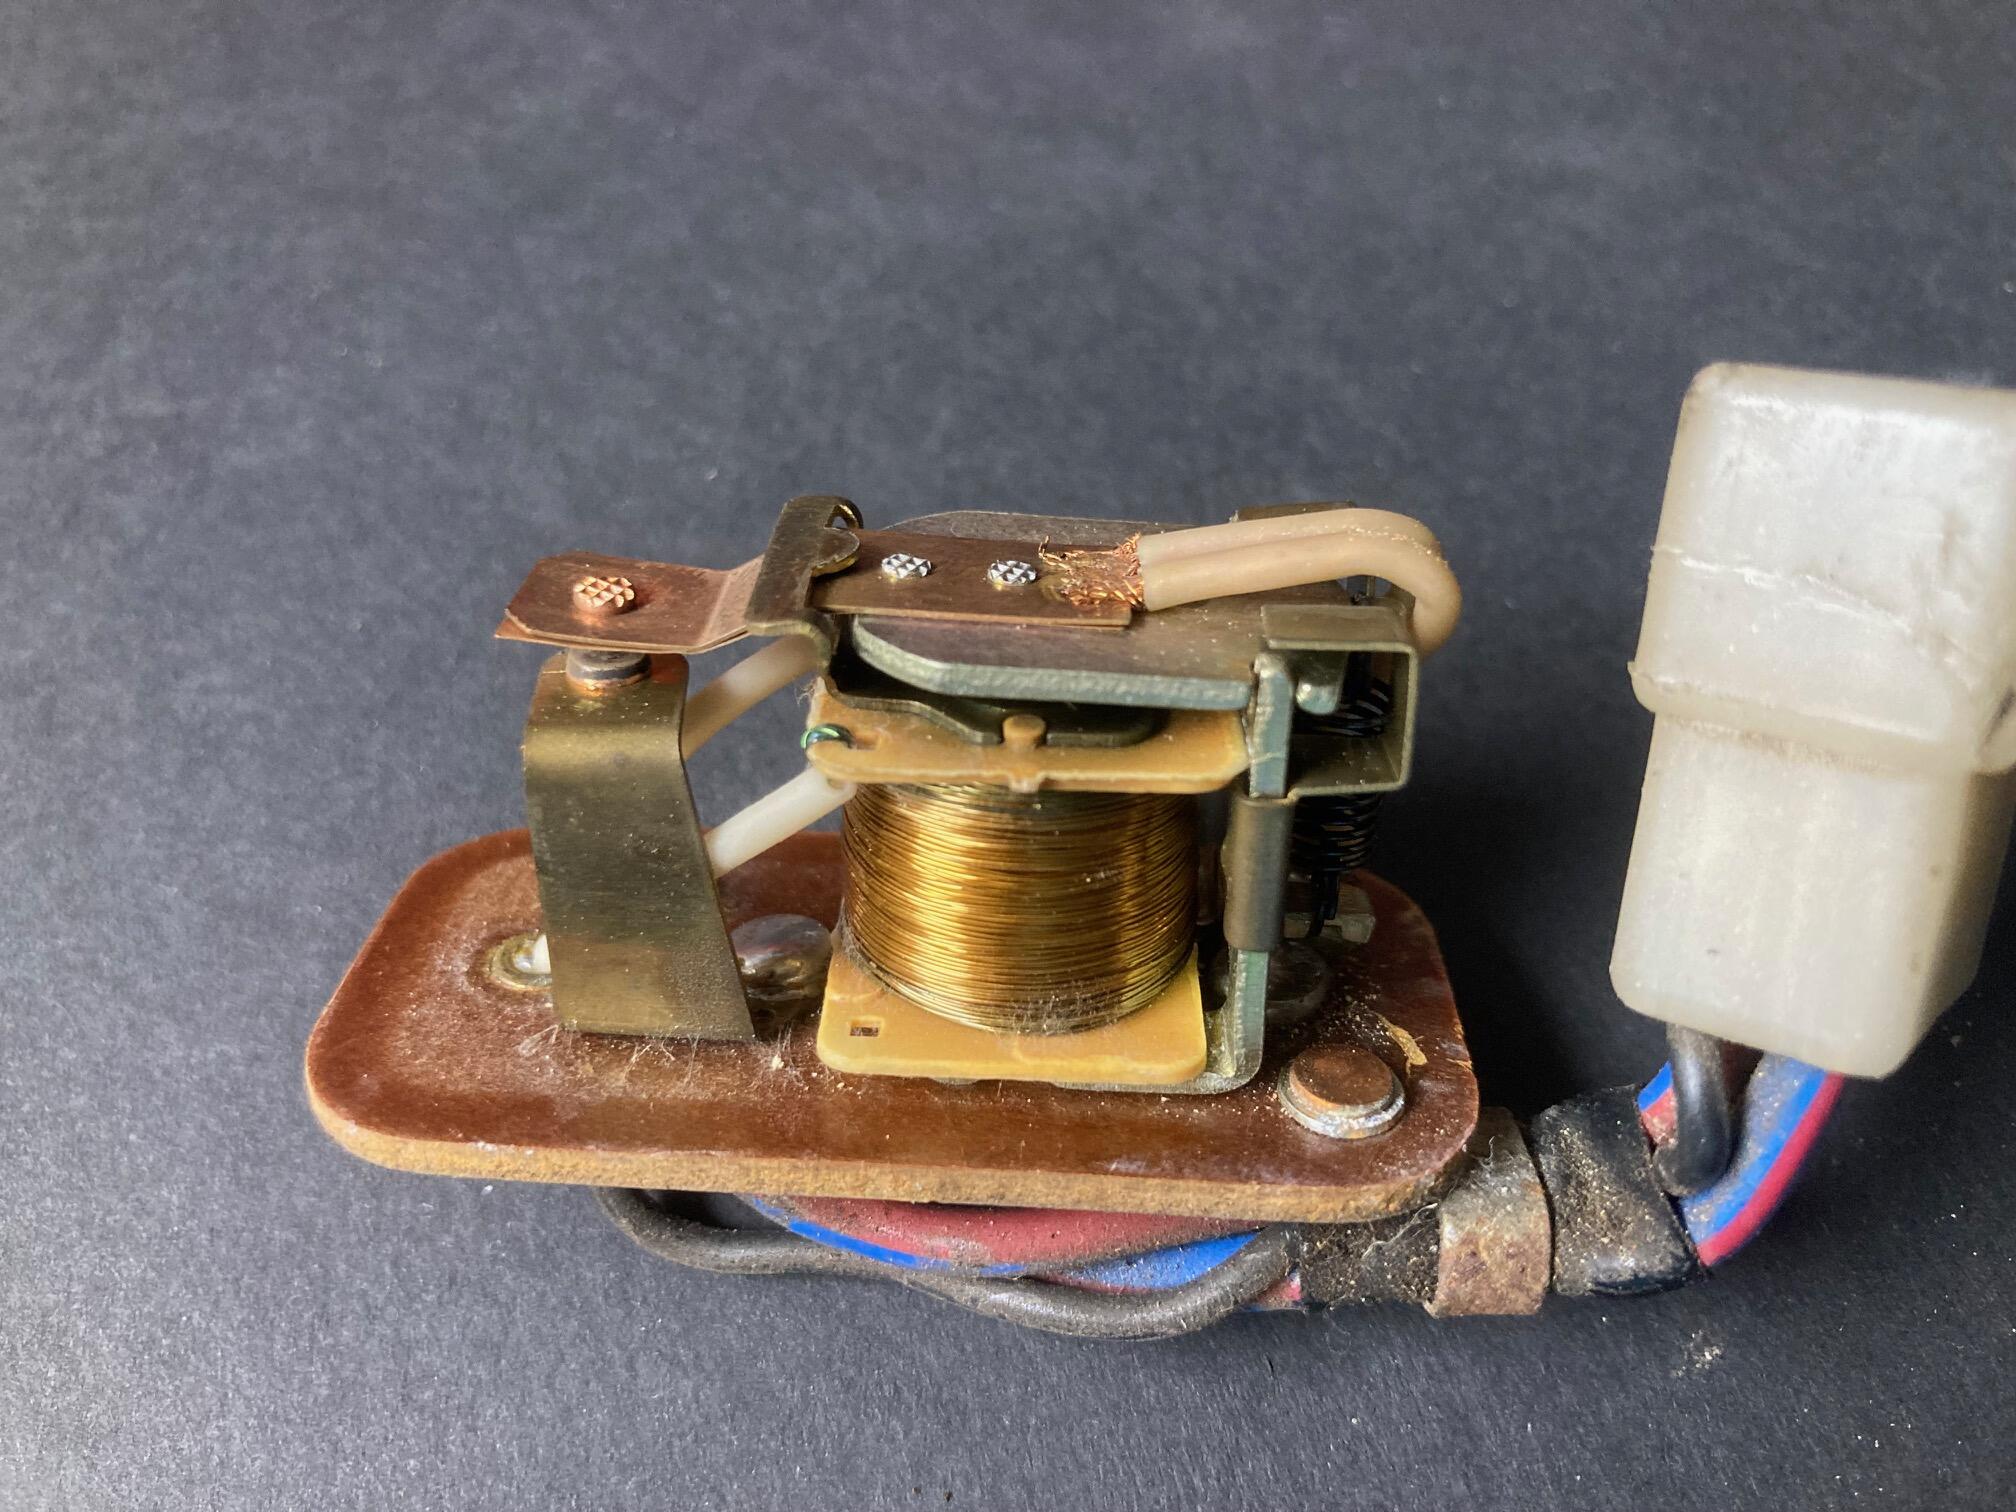
1 pointYes crazy circuit, the JDM and euro are totally different.. much easyer.1 point
-
Cliff, here's another work of art for you. A.I. is a wondrous and amusing thing. 😎 But, not 100% accurate in all cases.
 1 point
 -
1 pointCad plating has much better corrosion resistance than zinc, hence it's use. The Vintage Z program was never about originality but restoring selected 240Z to as new condition with a warranty using parts and processes available in California in 1996-98.1 point
-
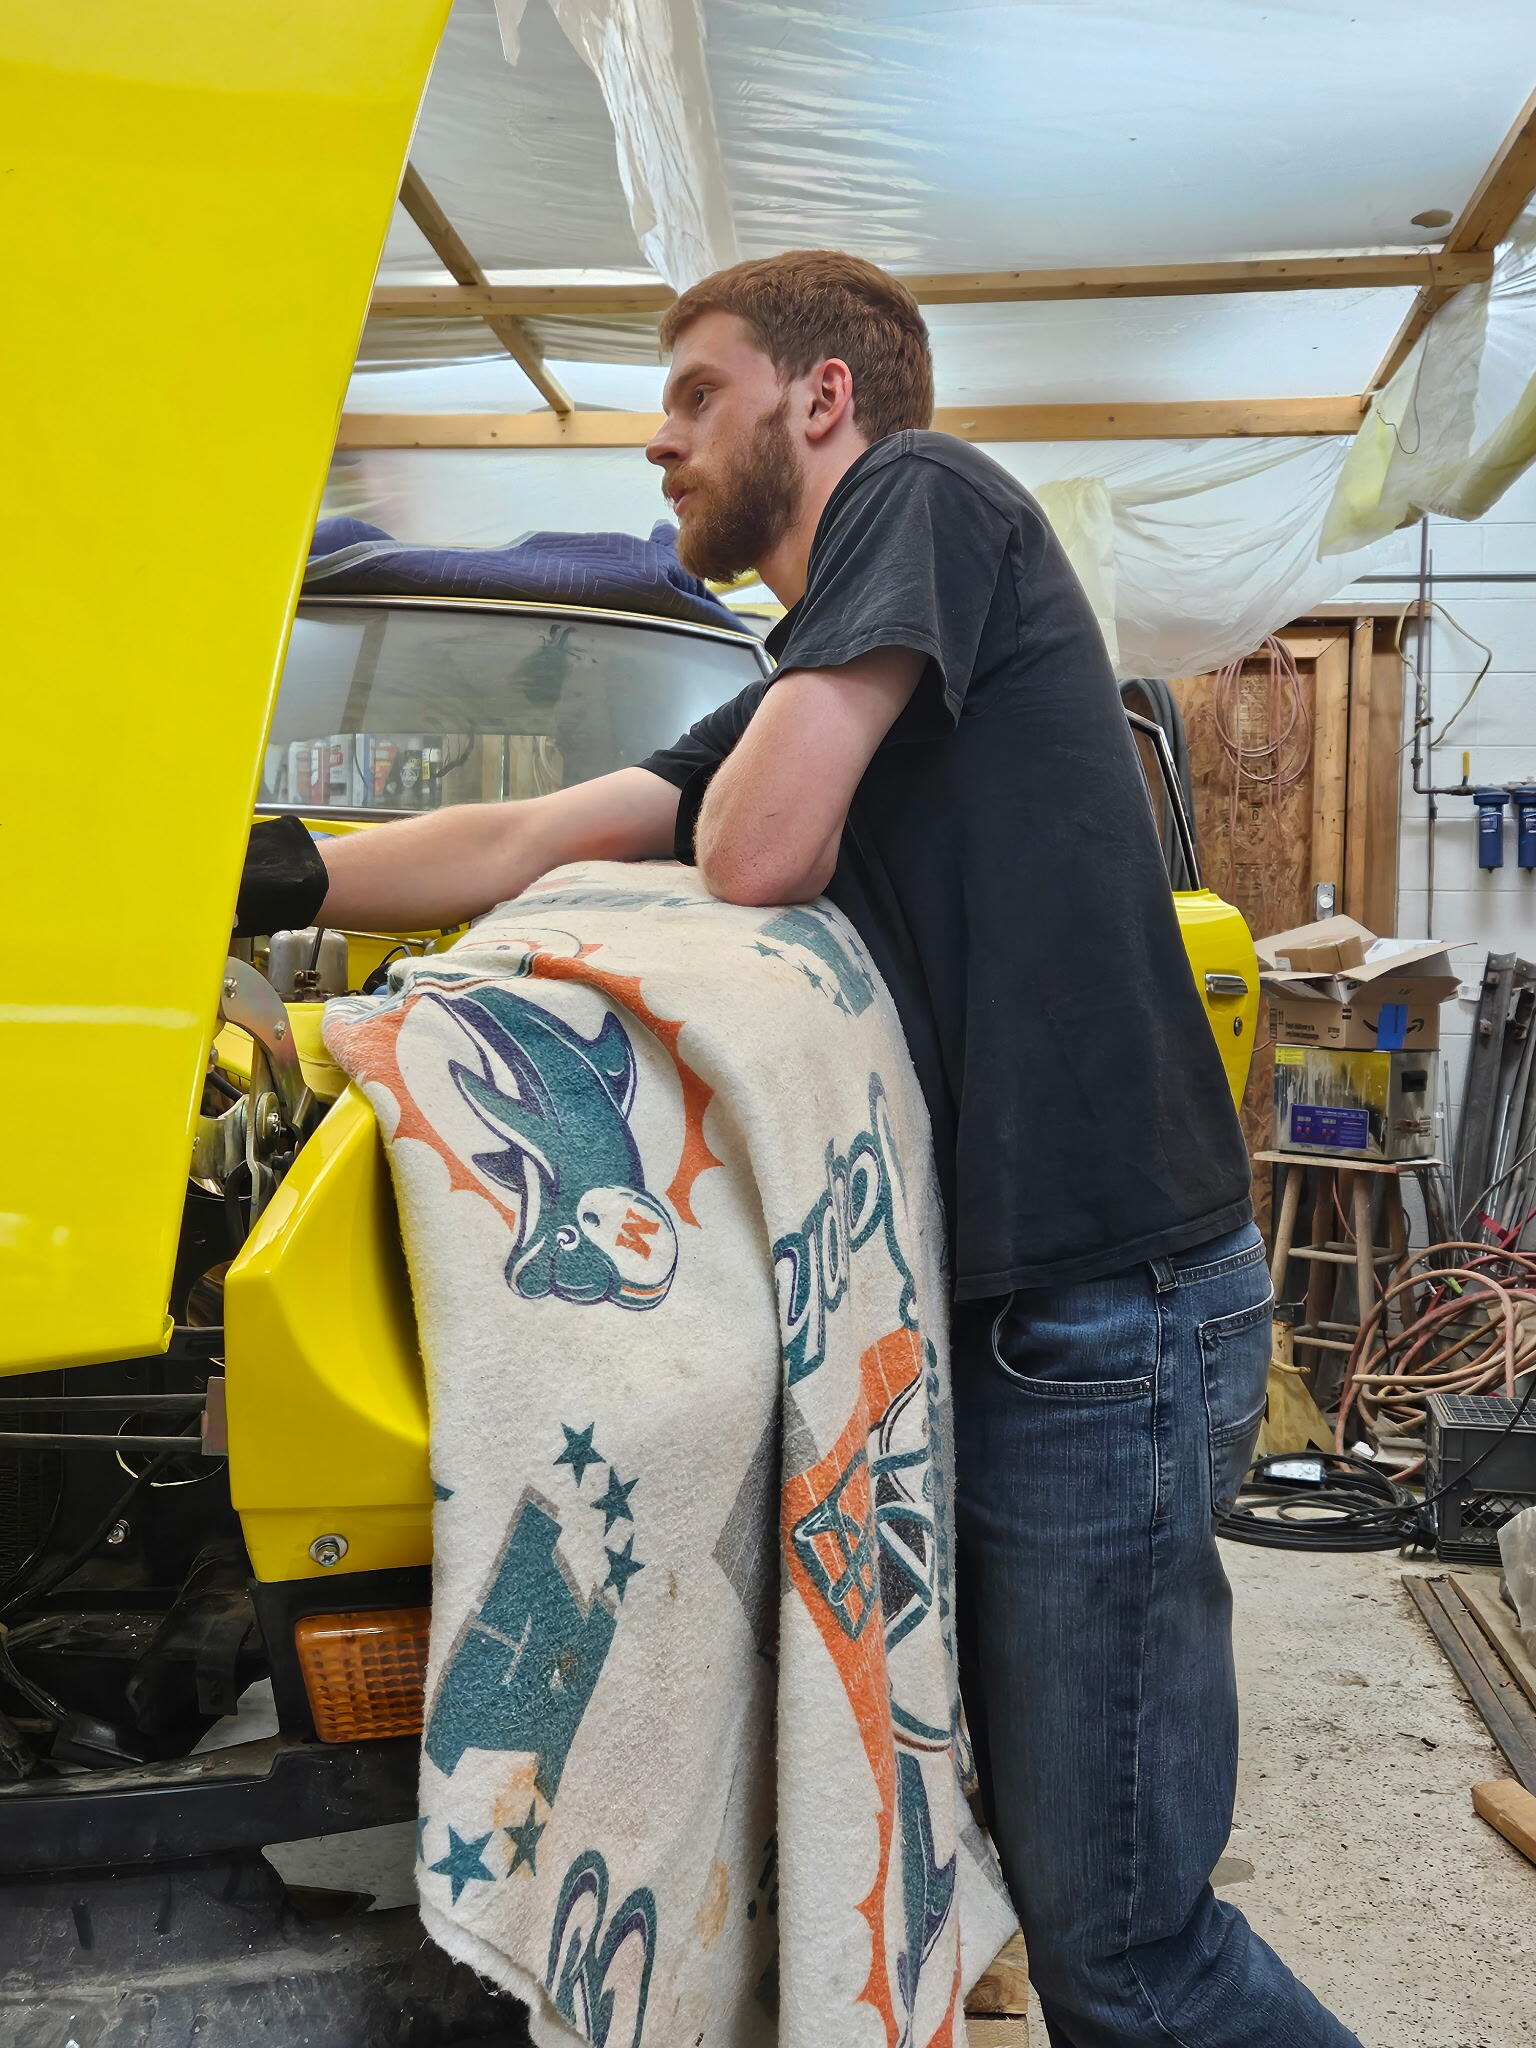
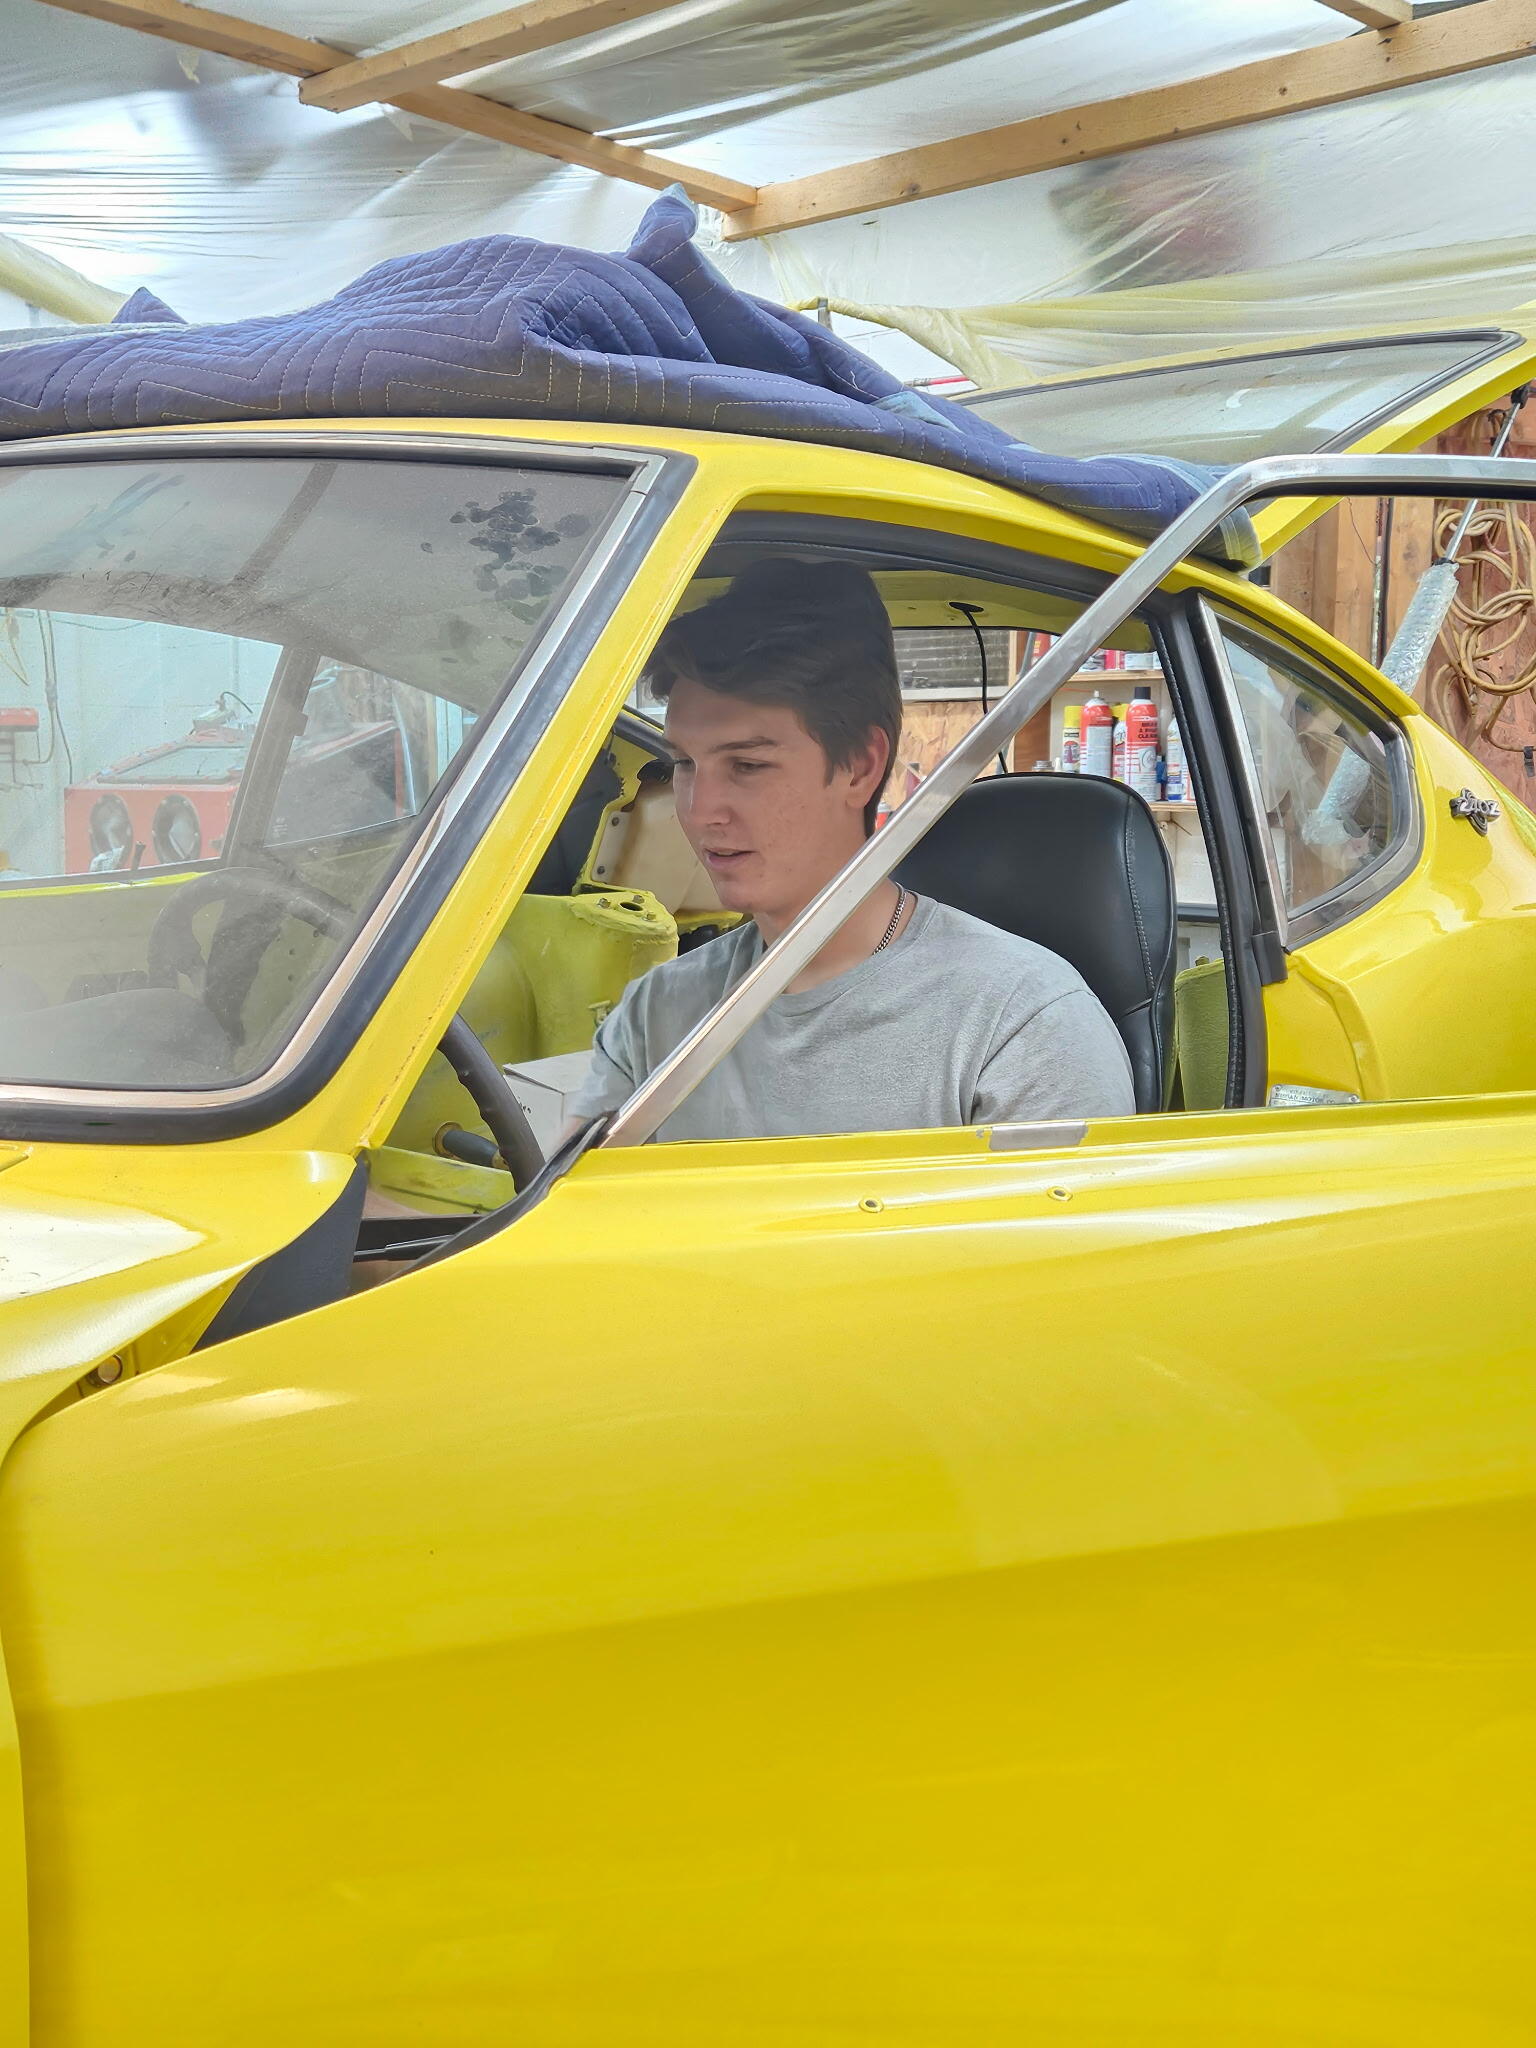
1 pointWe checked the timing. It was about 14 with 32 or so all in Here are my mechanics Morgan is home from school for a few weekends and her boyfriend Mark was here too. They're all good with tools and willing to help


 1 point
 -
1 point@siteunseen Thanks Cliff. I didn't see it in those search results. Part of the problem is figuring out what the OP called that chrome squeegee strip... On another note. I'm all legal now! :)
 1 point
 -
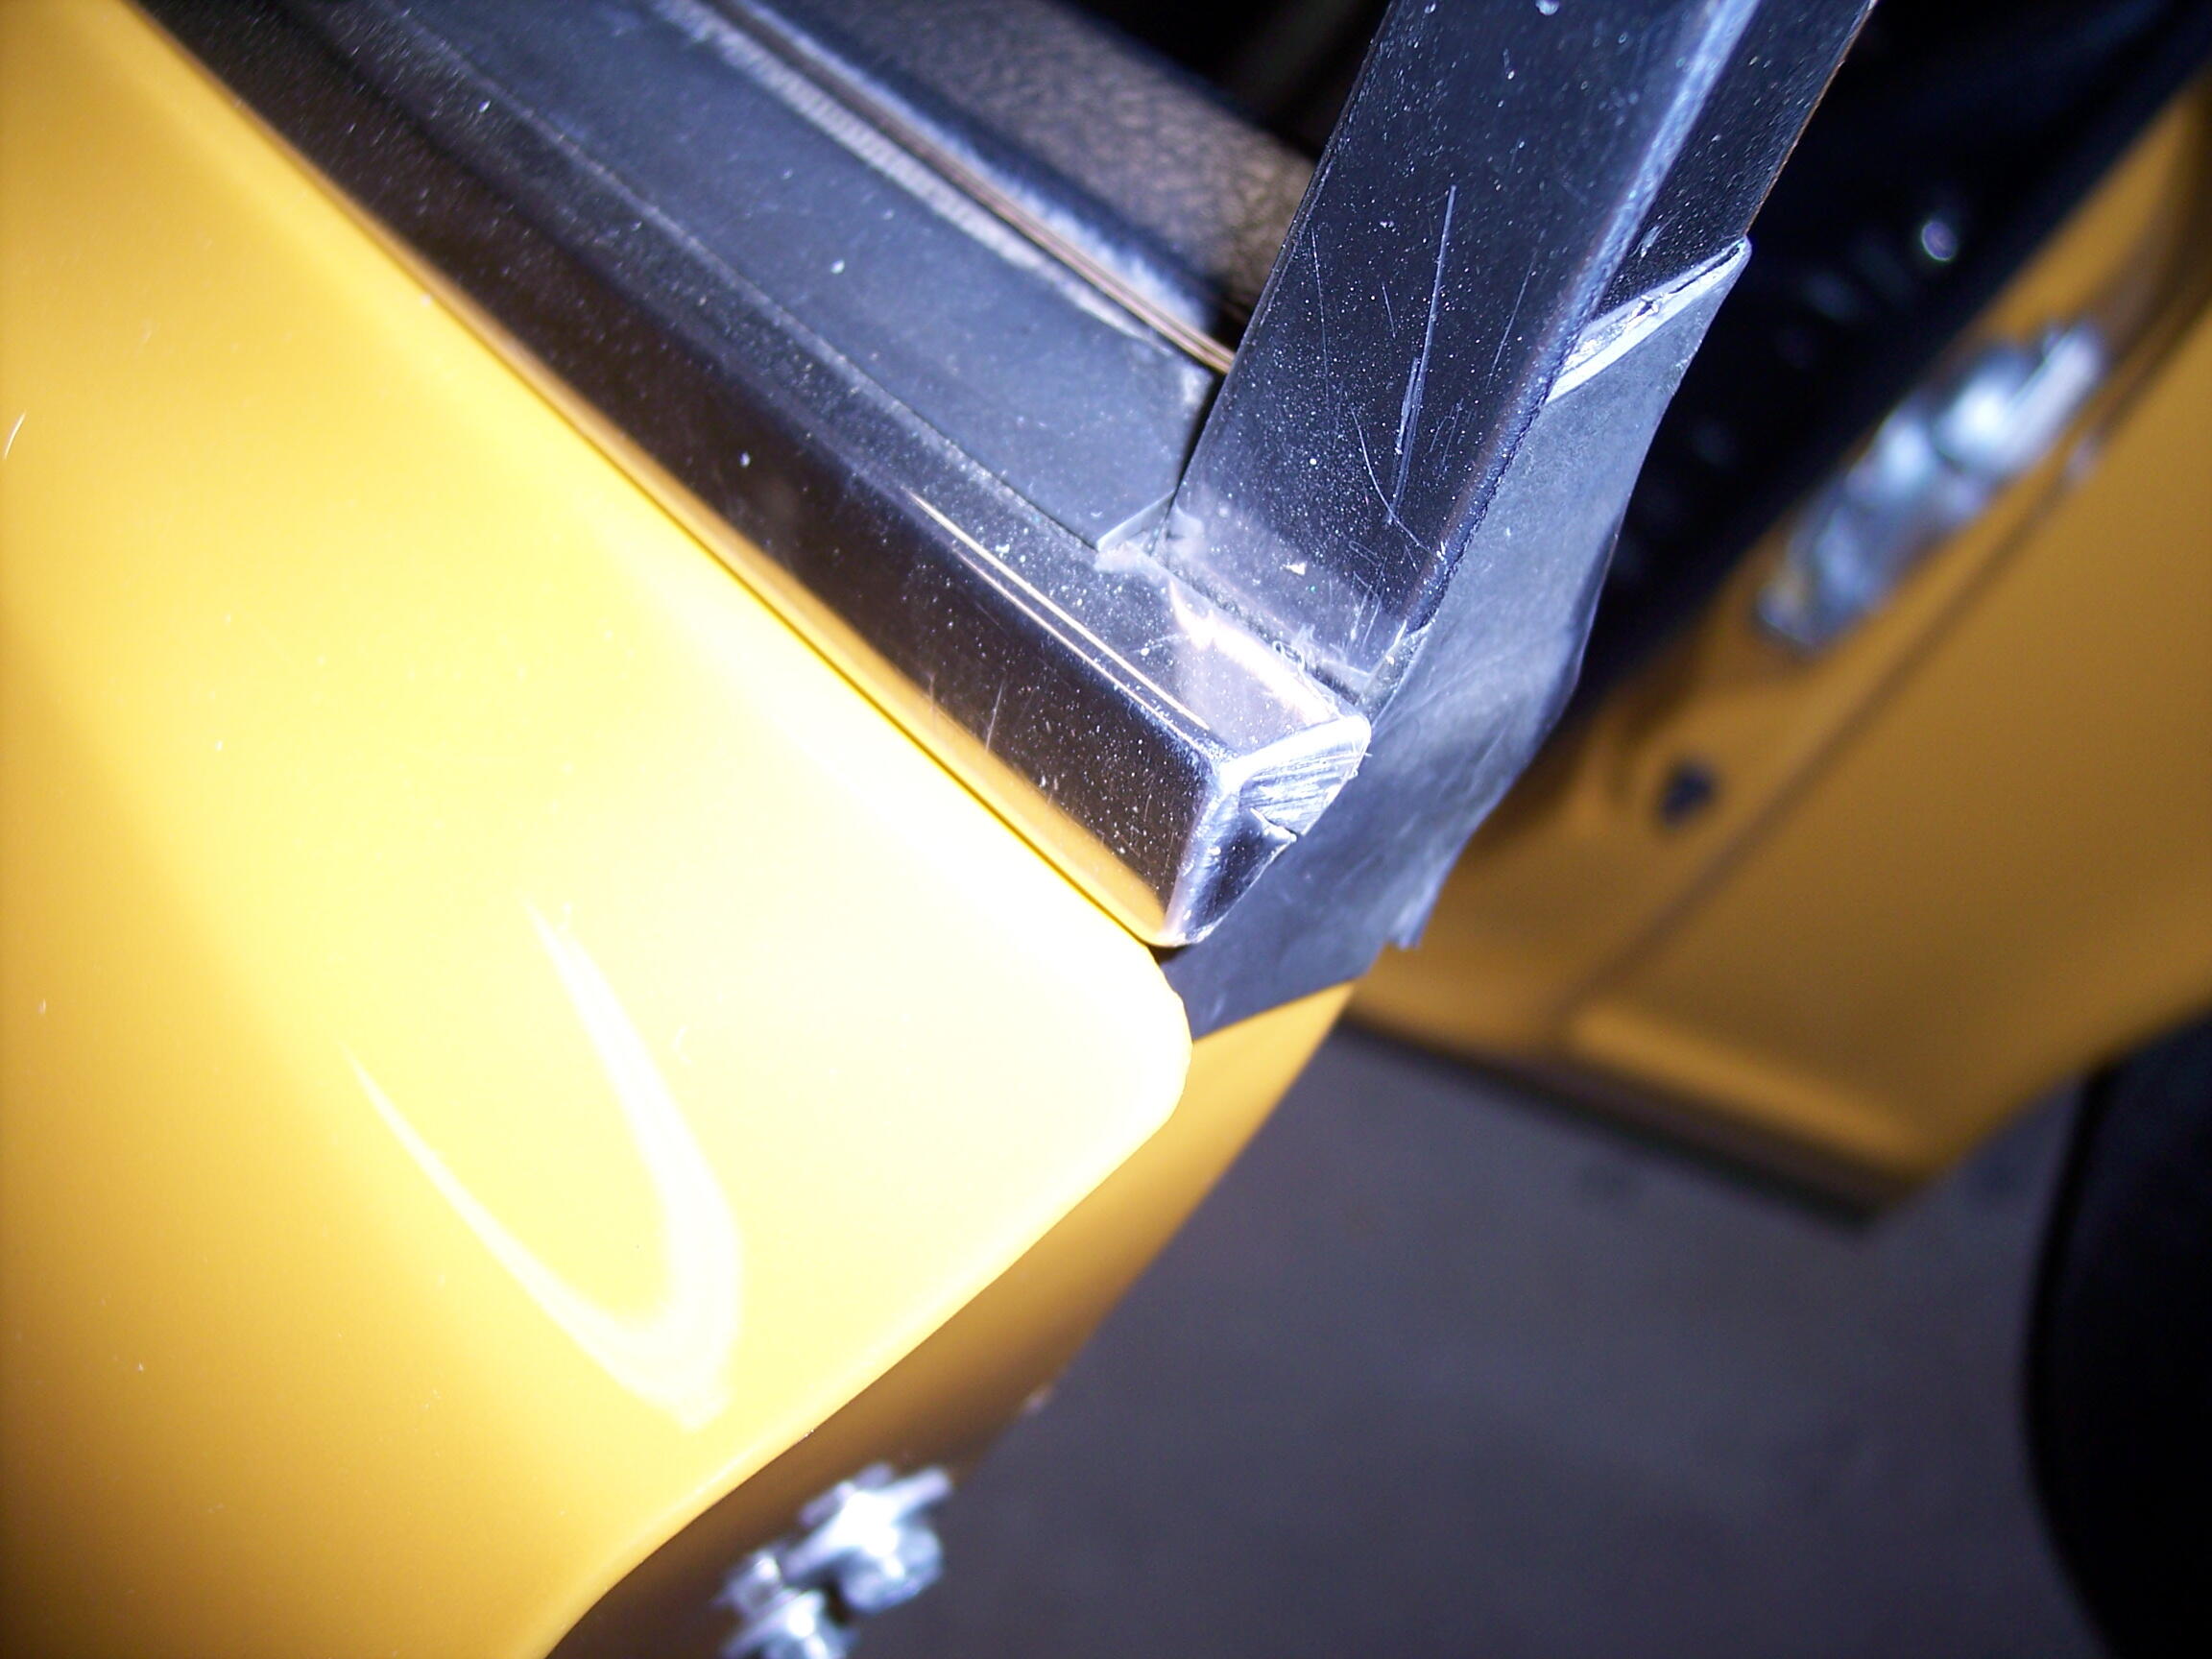
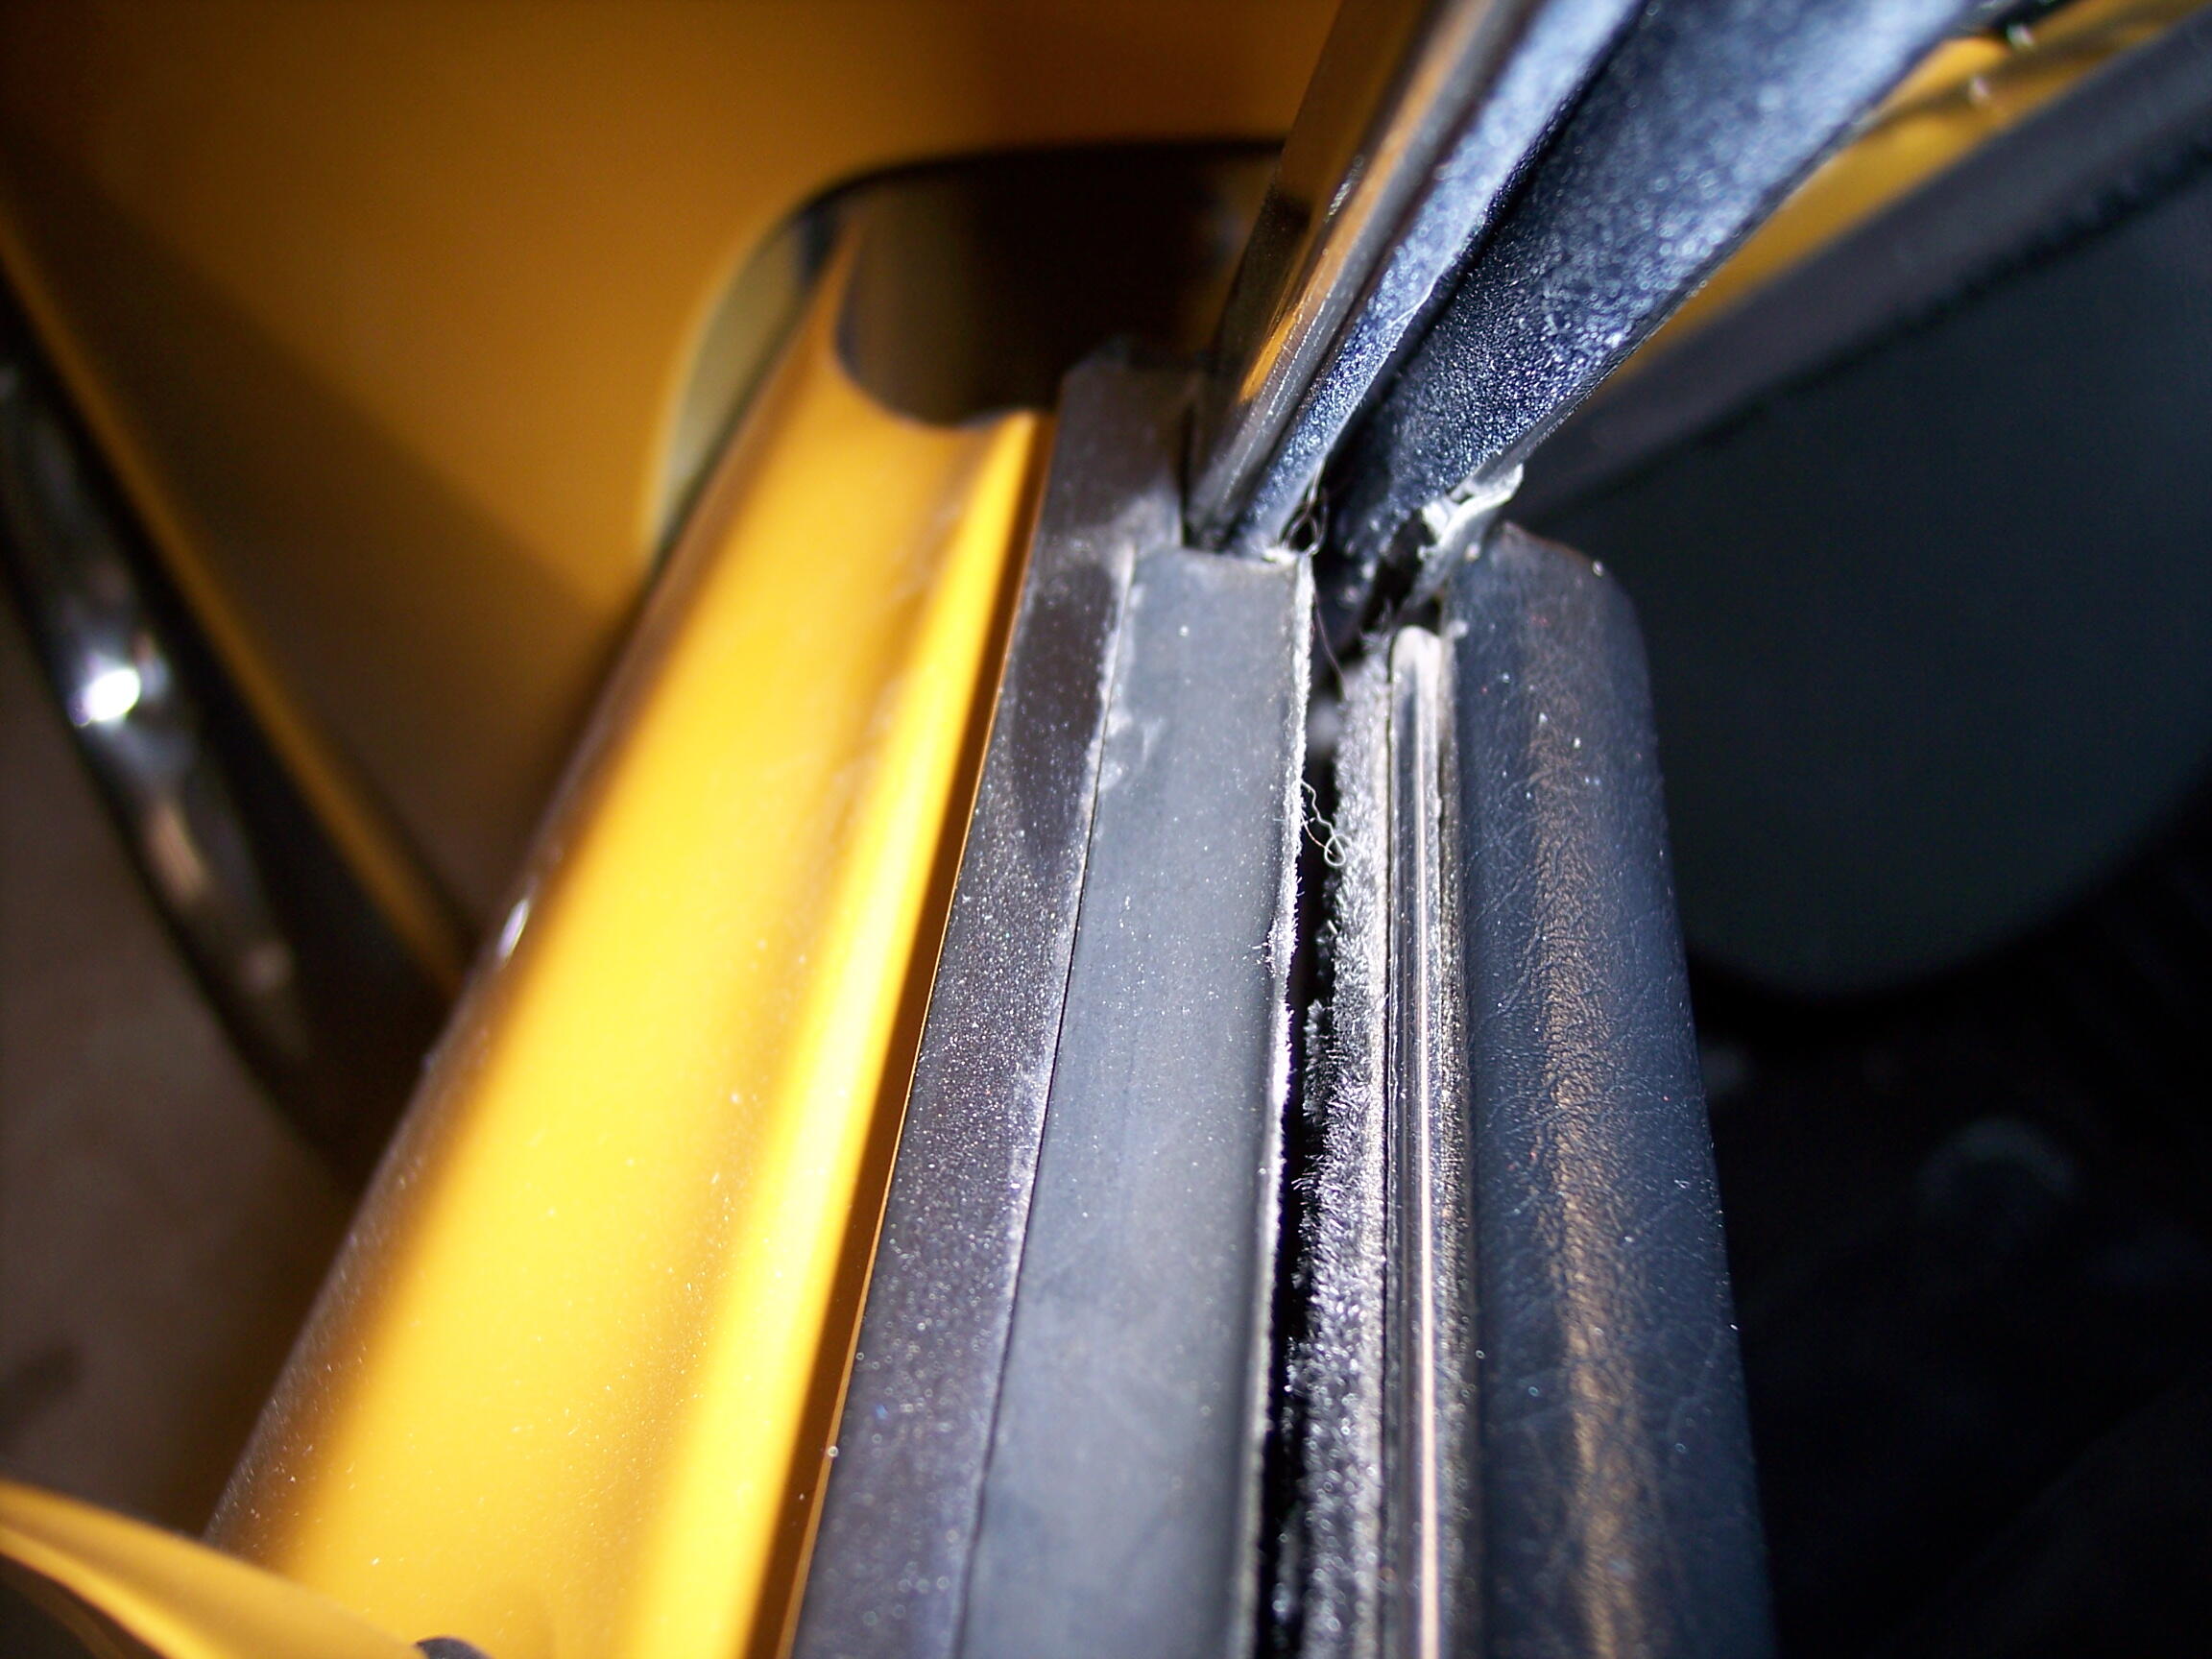
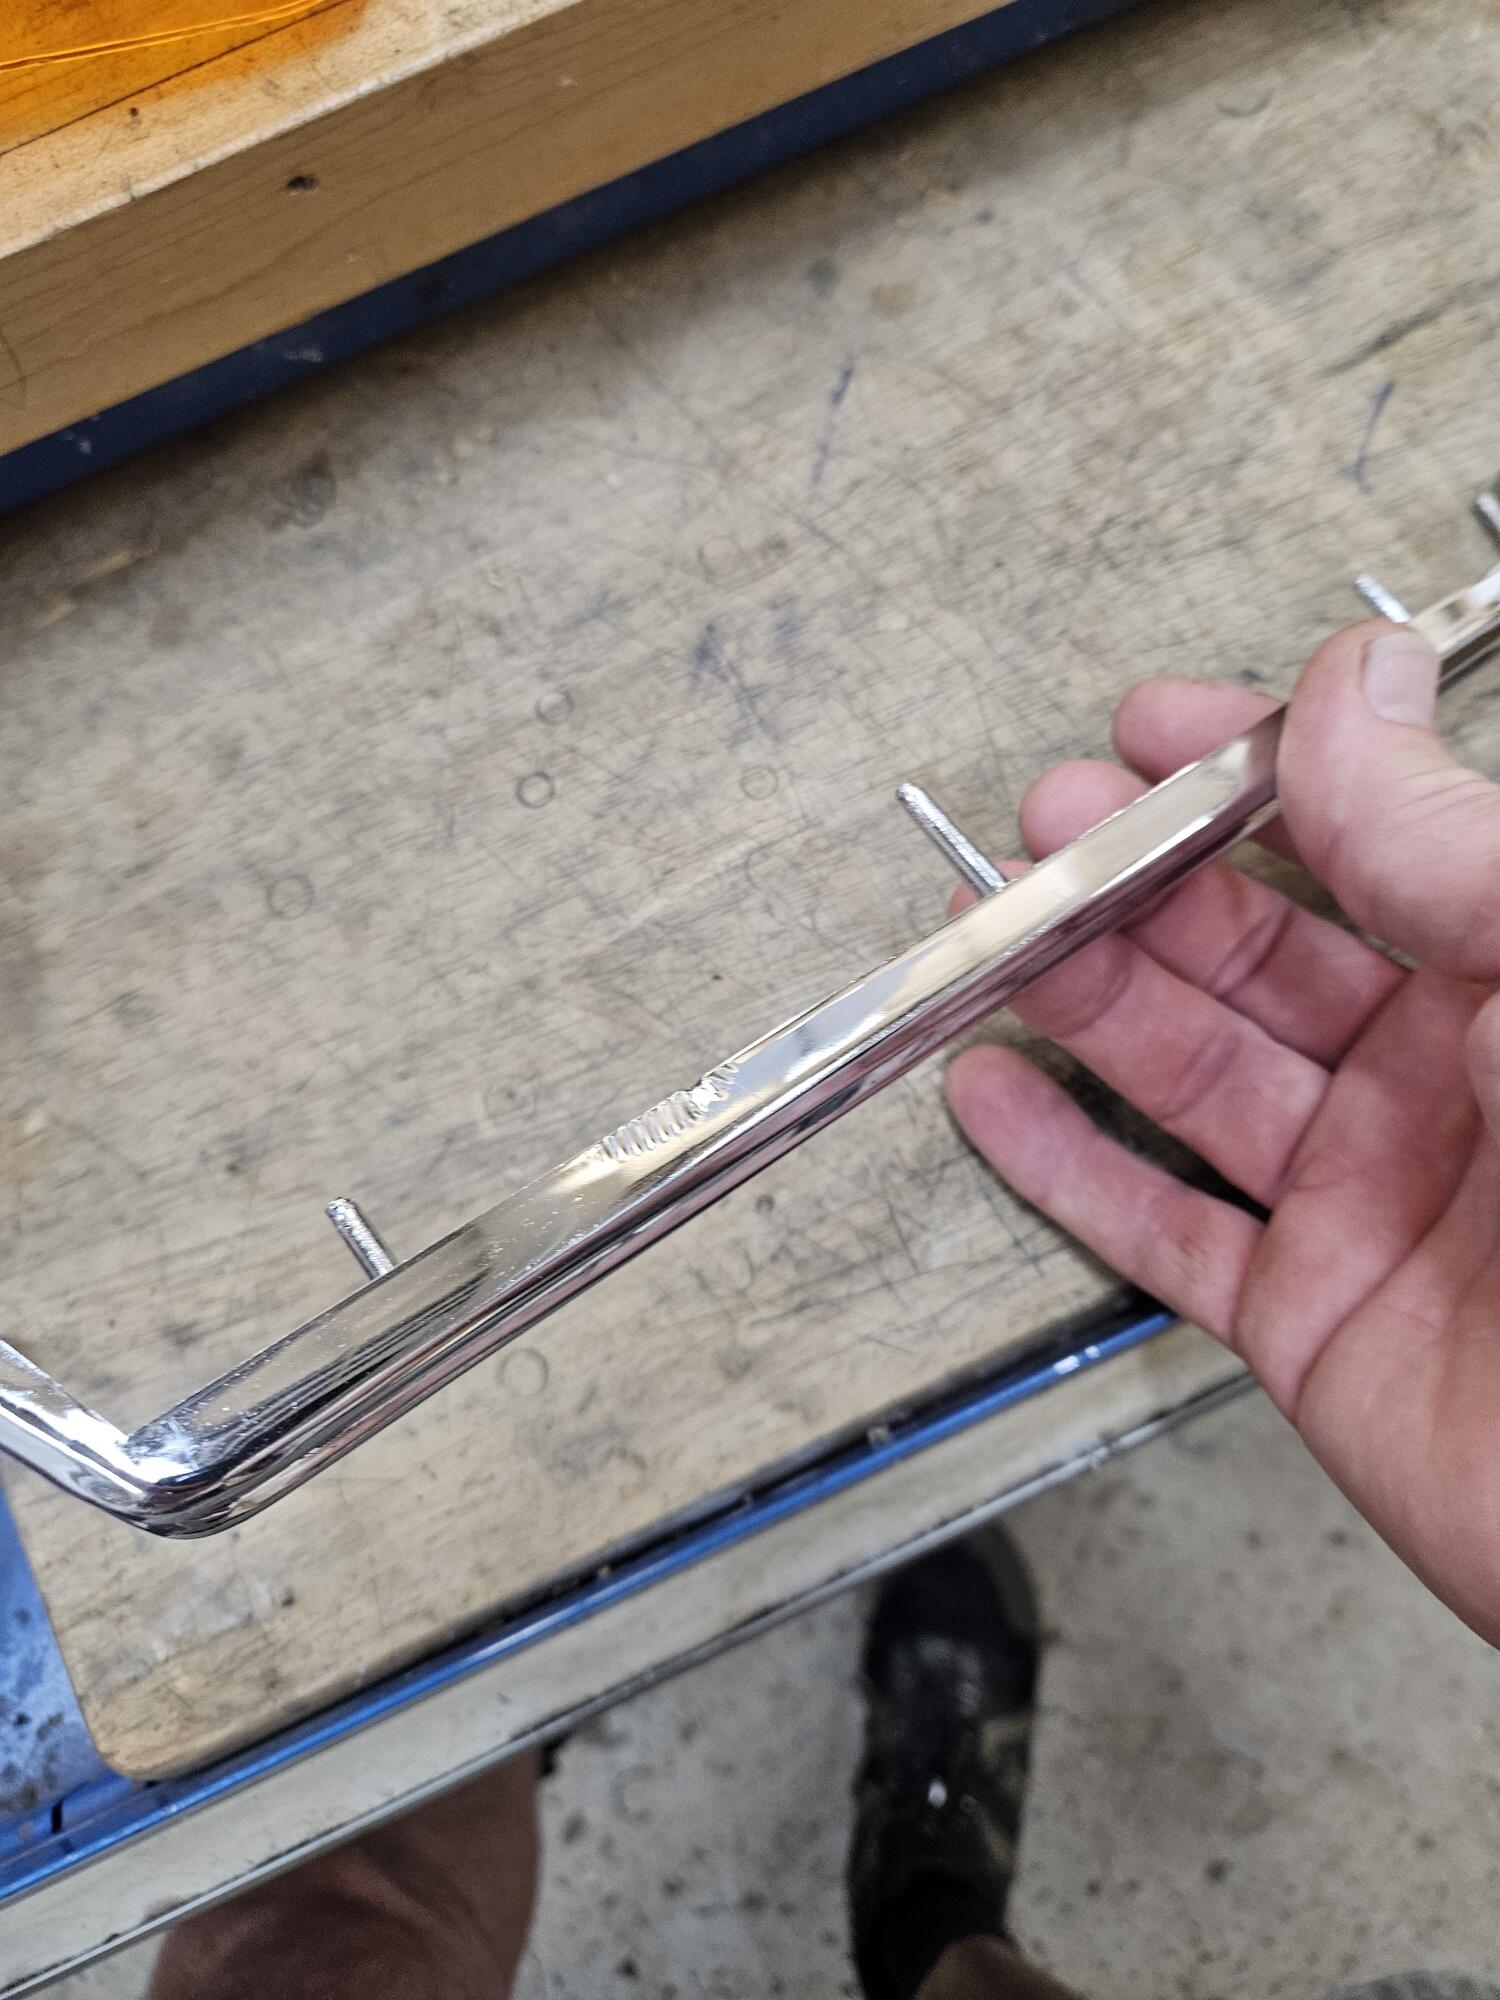
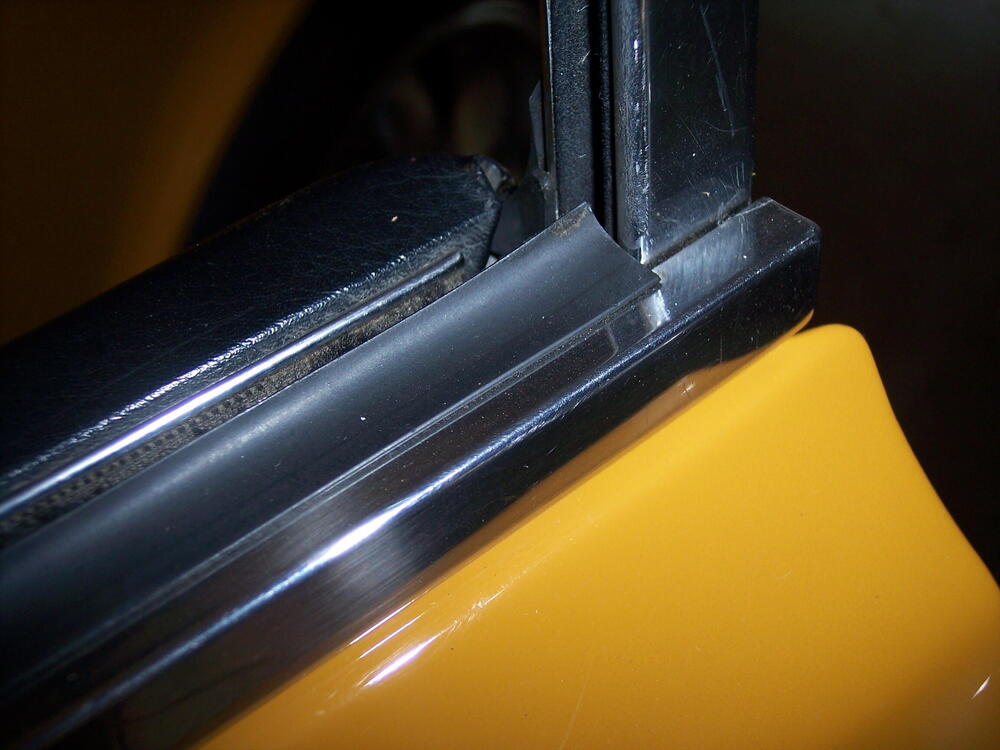
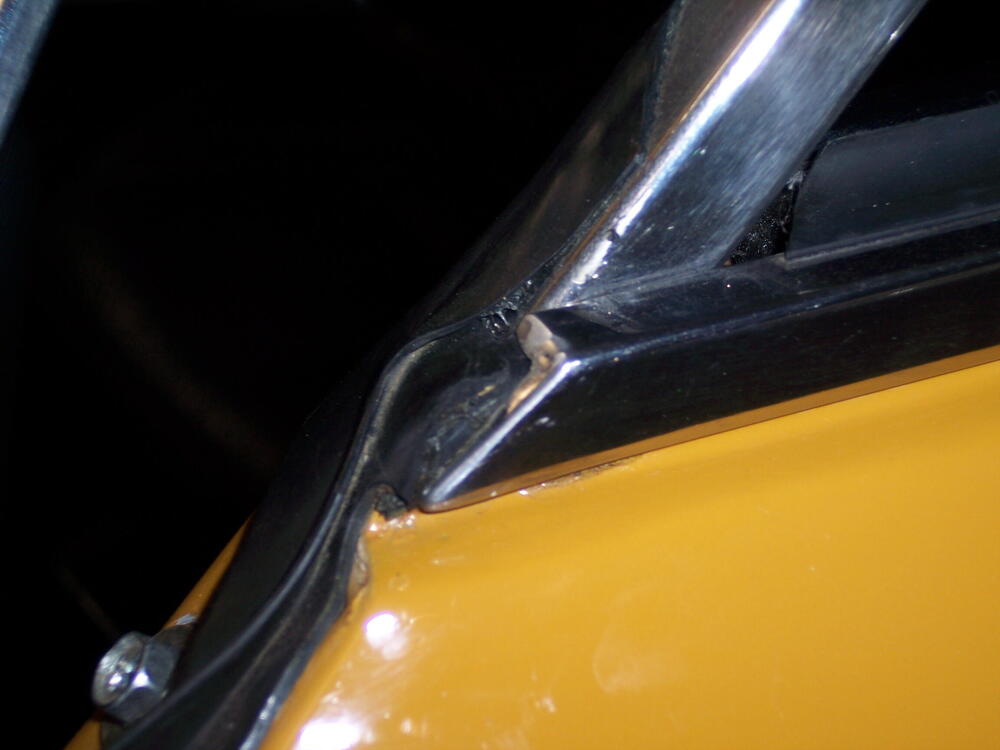
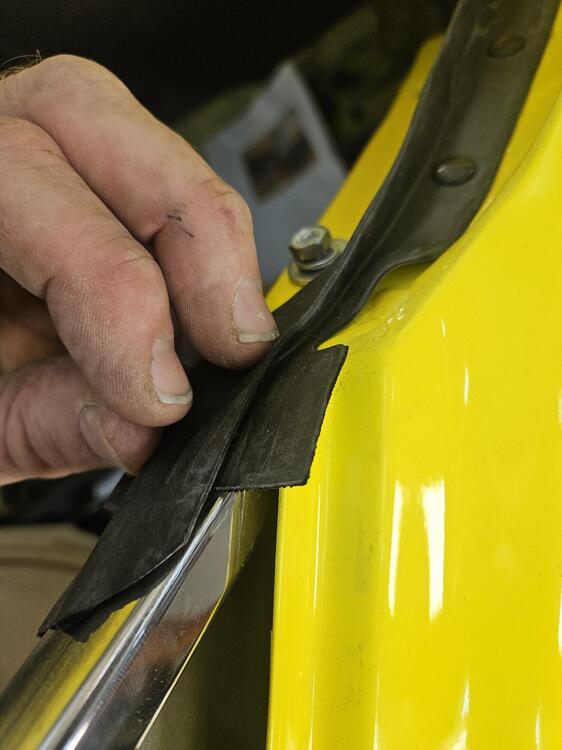
1 pointCharles, here are some pics of the belt molding and squeegee rubber on my car. Hope this helps with your question and yes, the rubber does trim out inside the window frame.


 1 point
 -
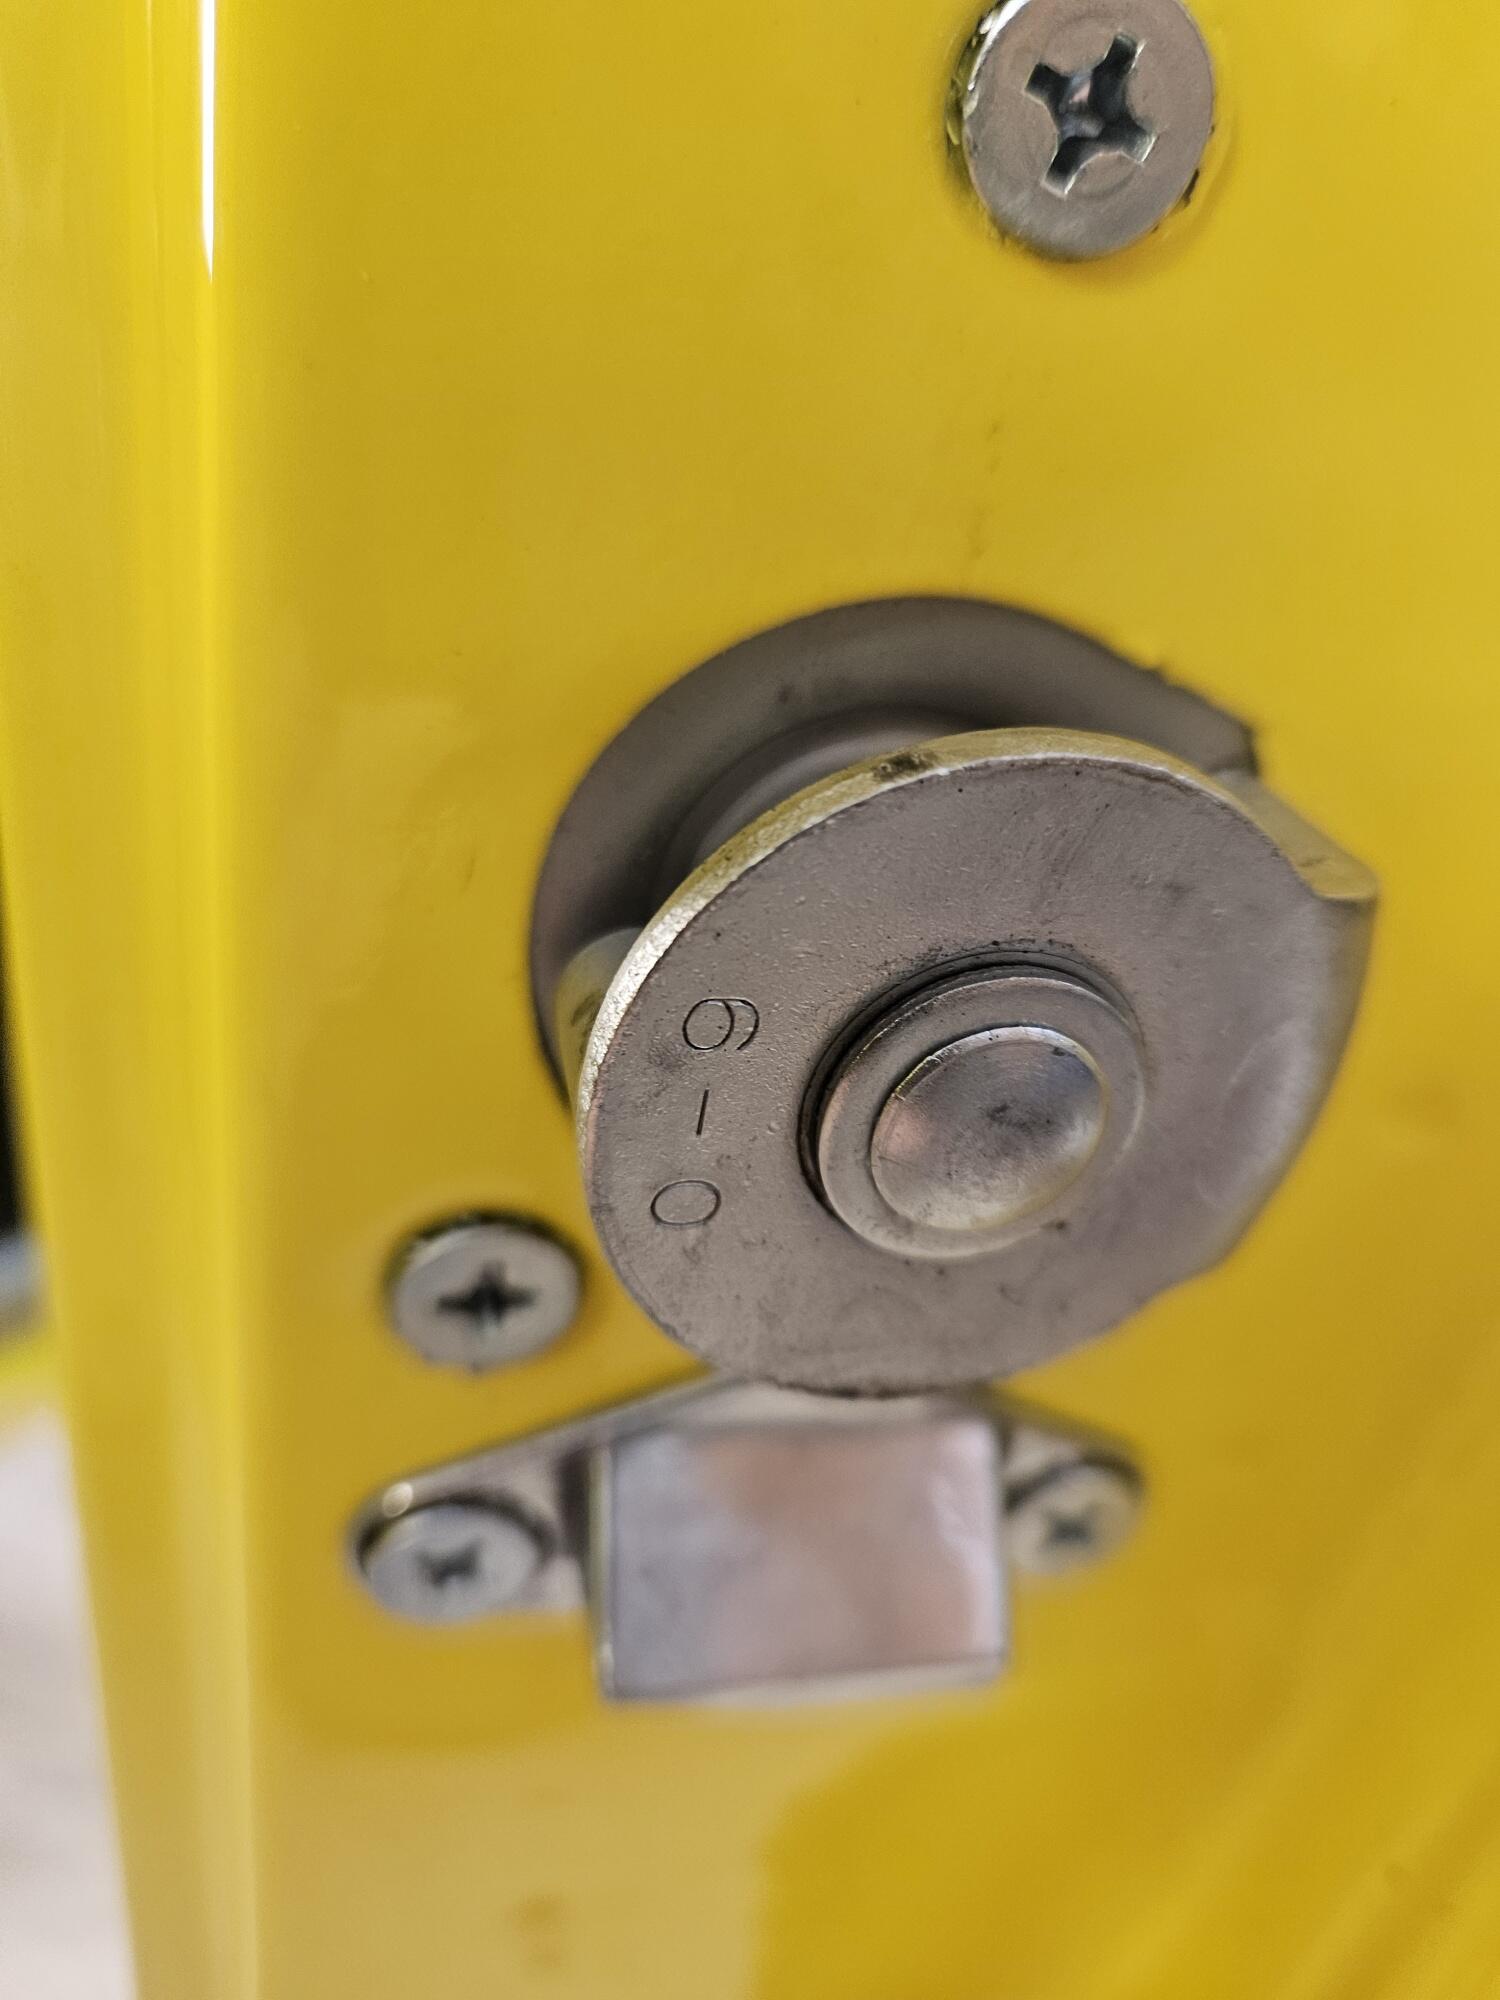
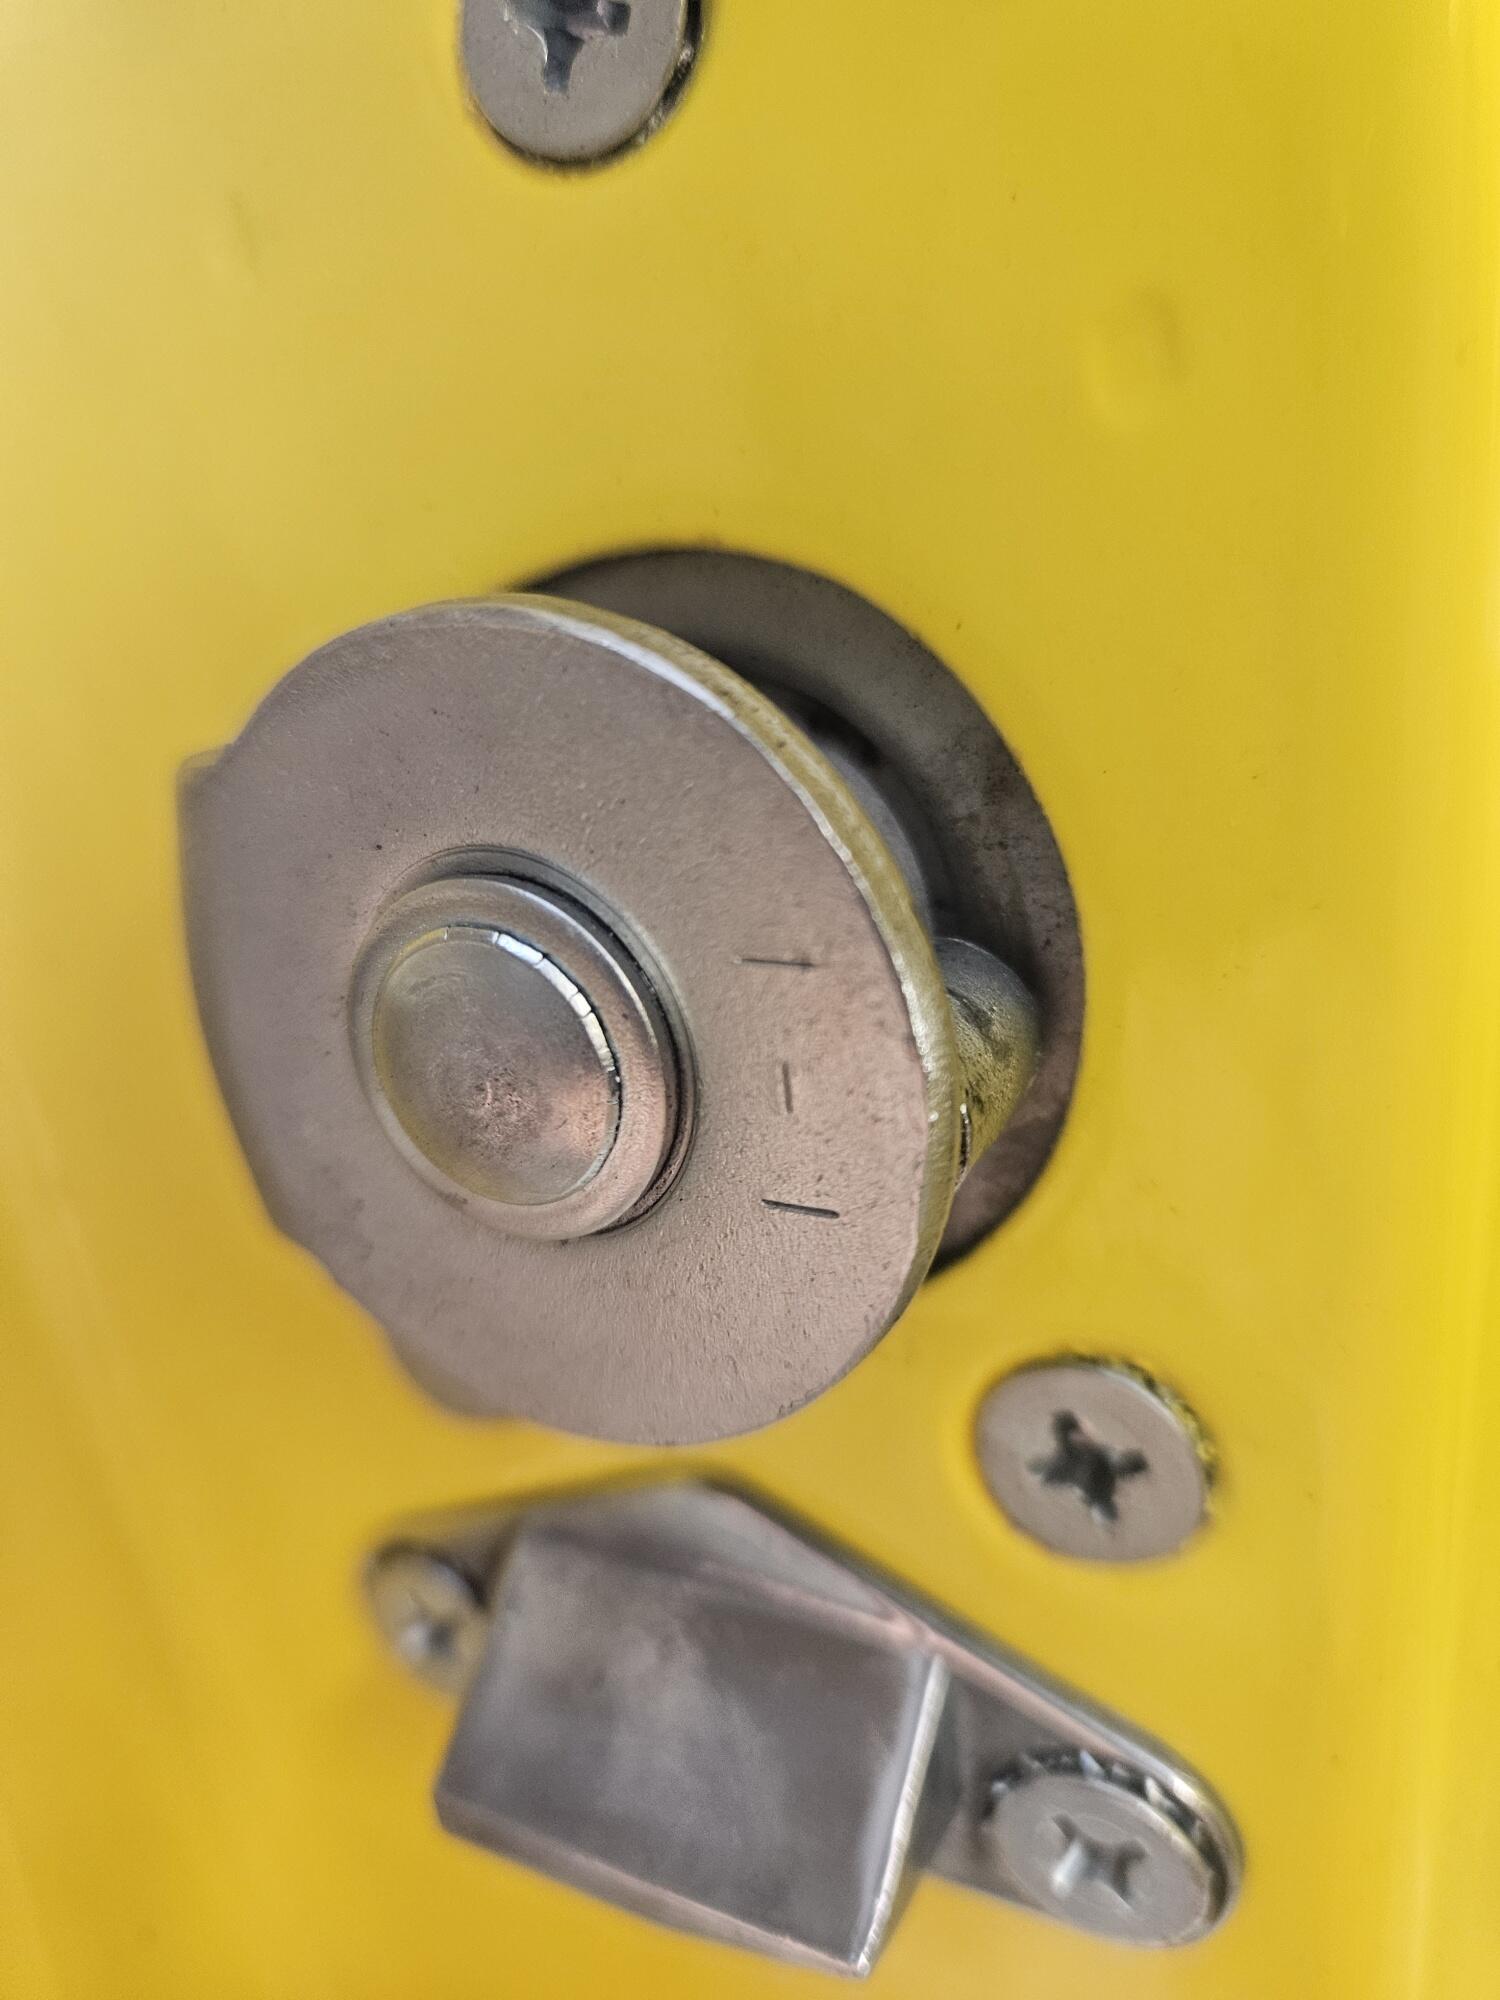
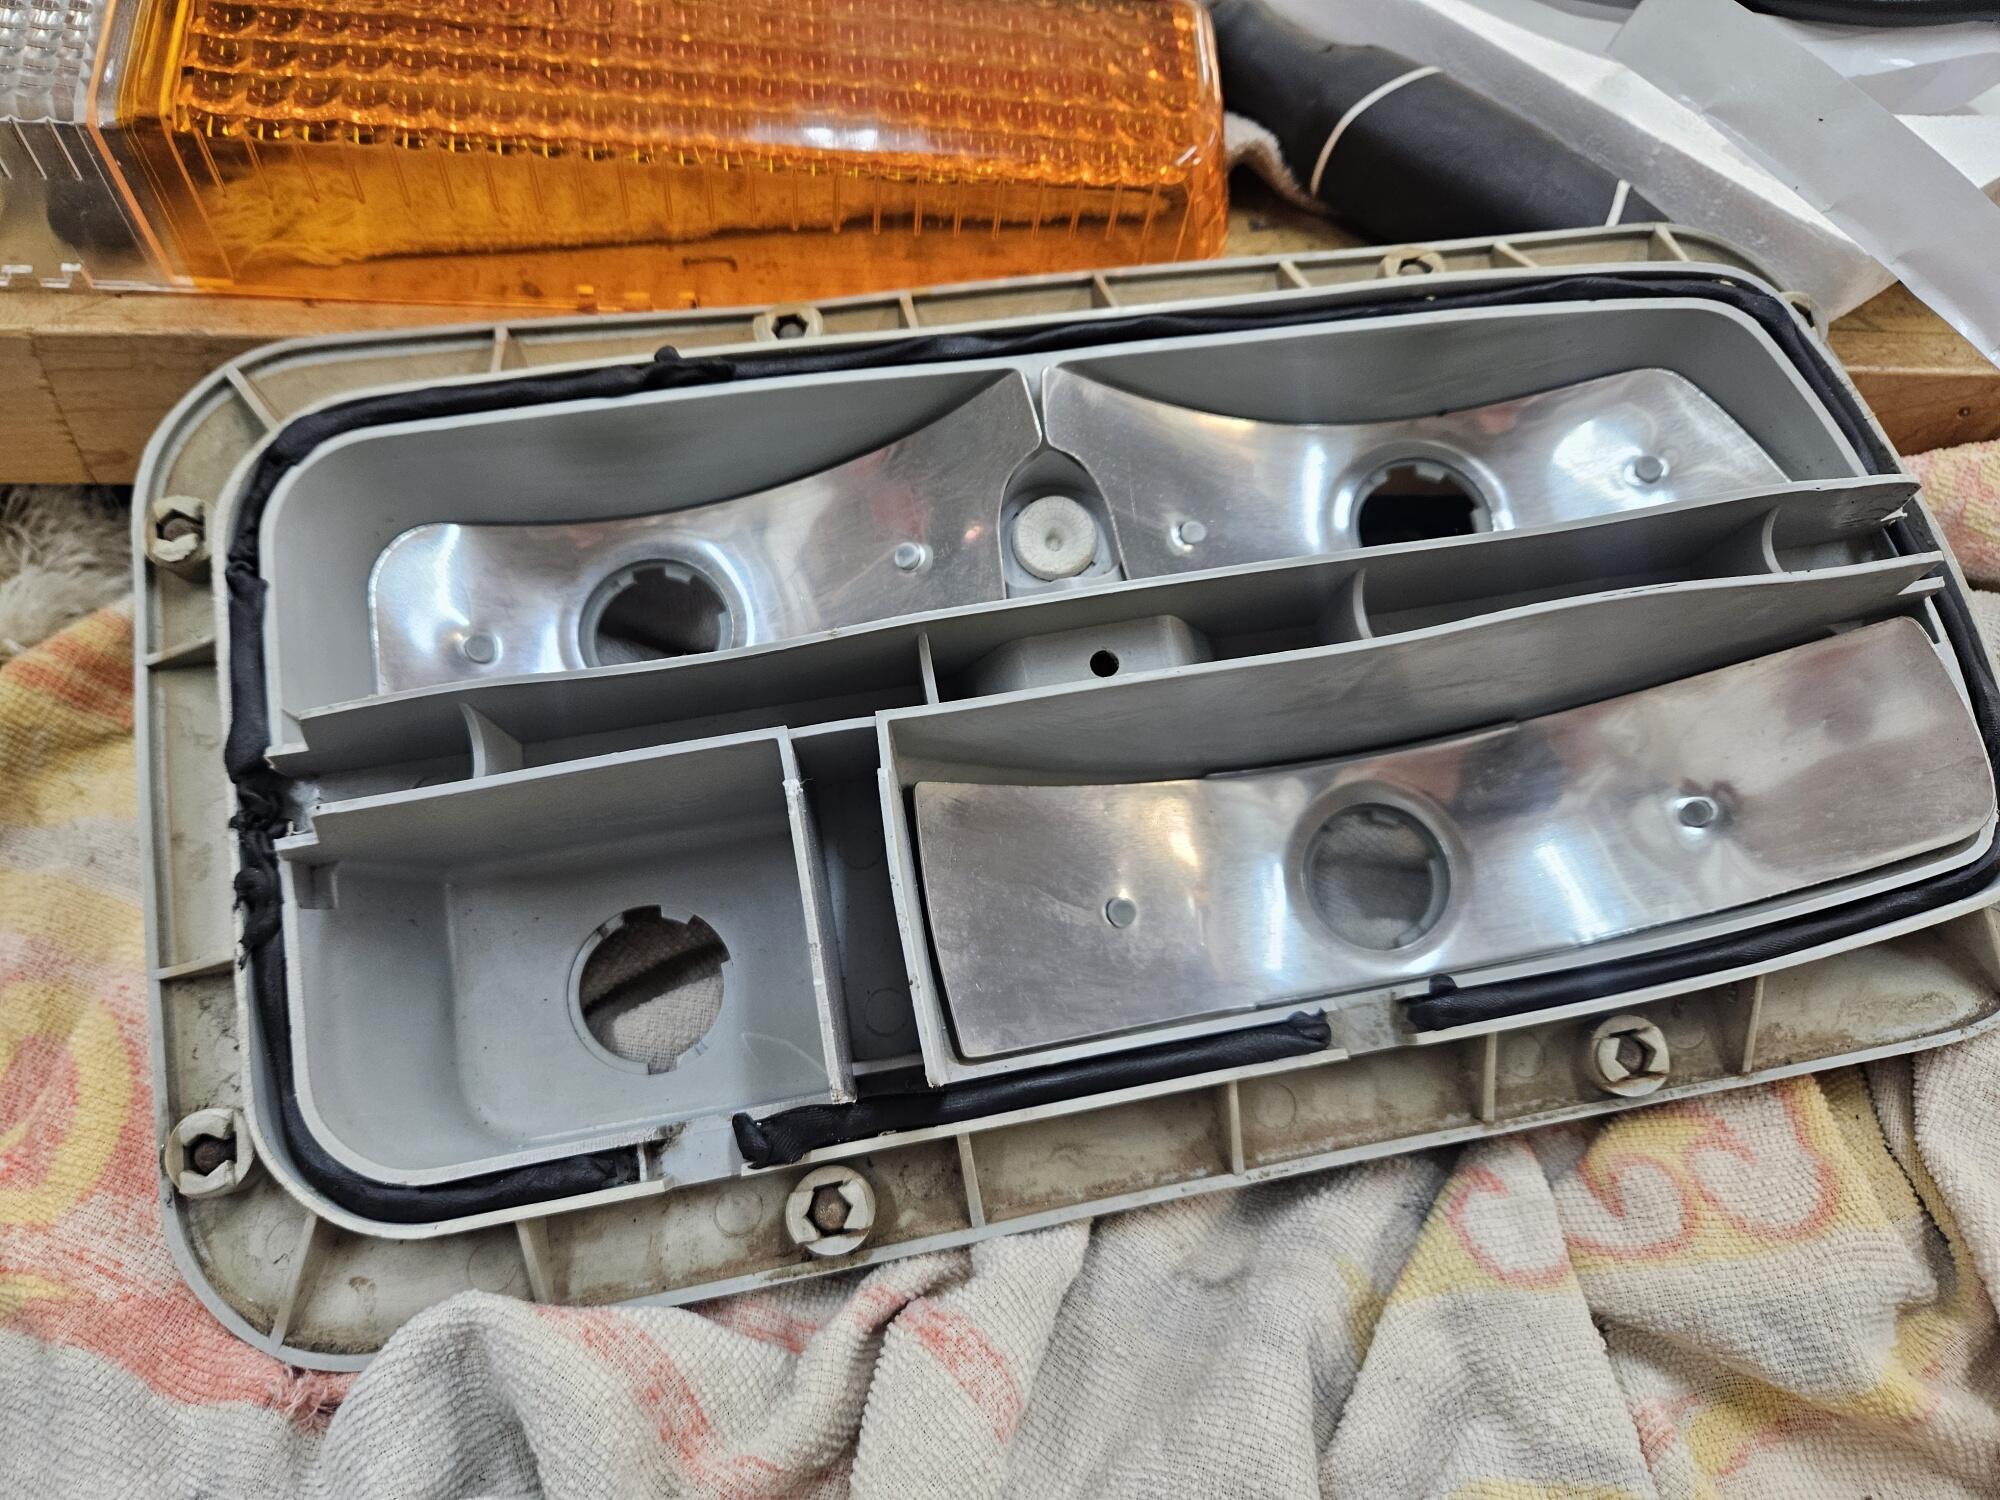
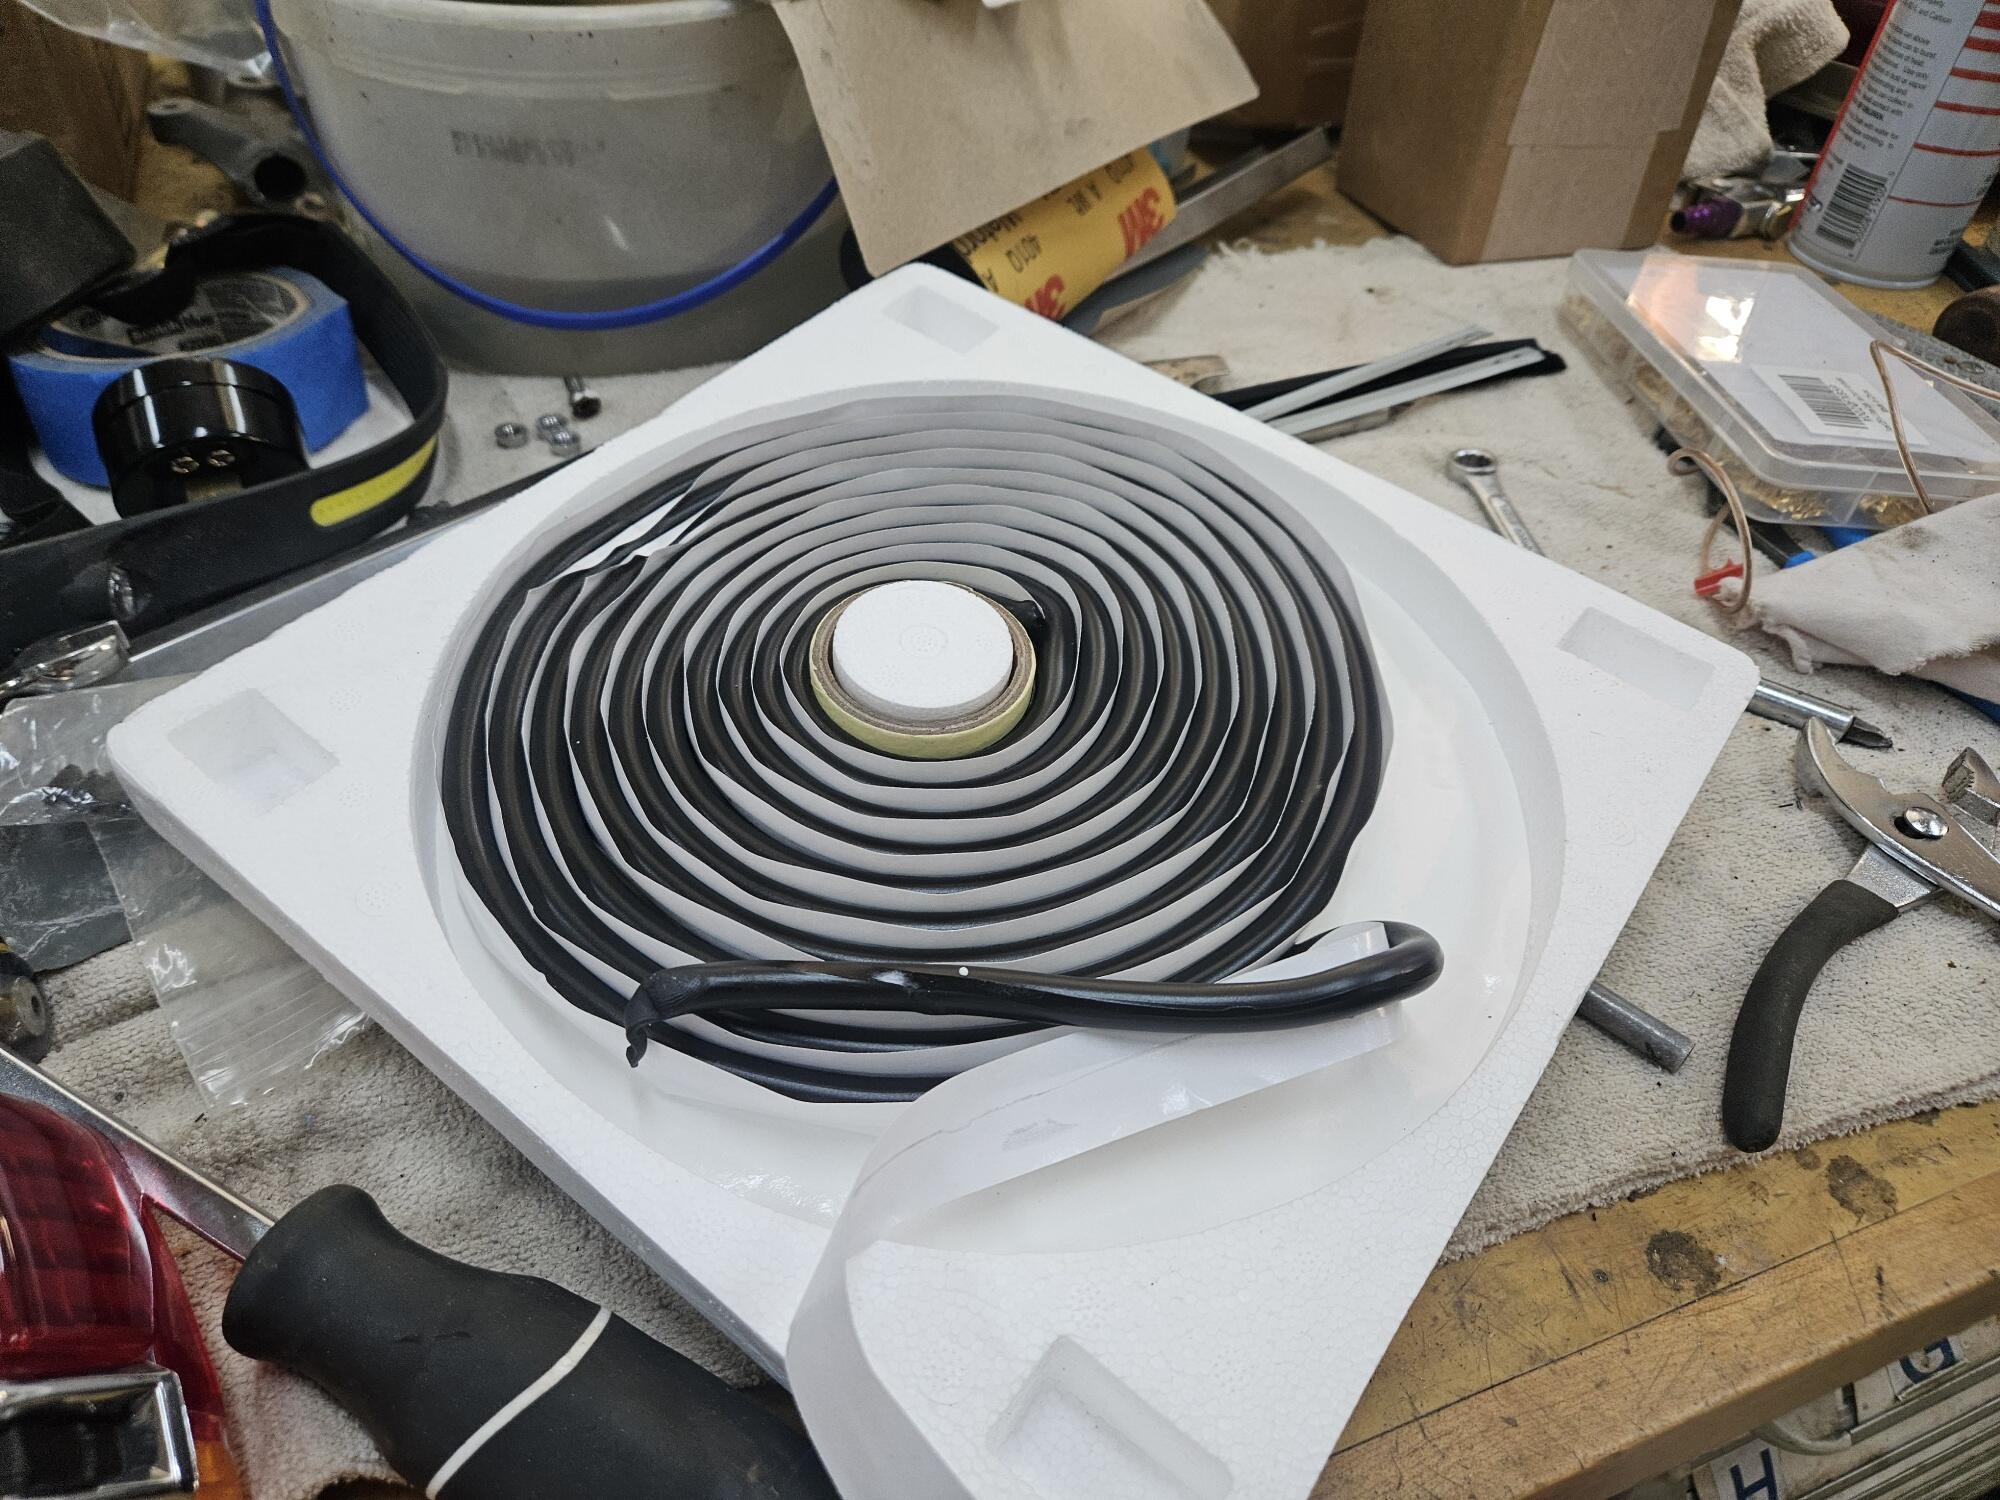
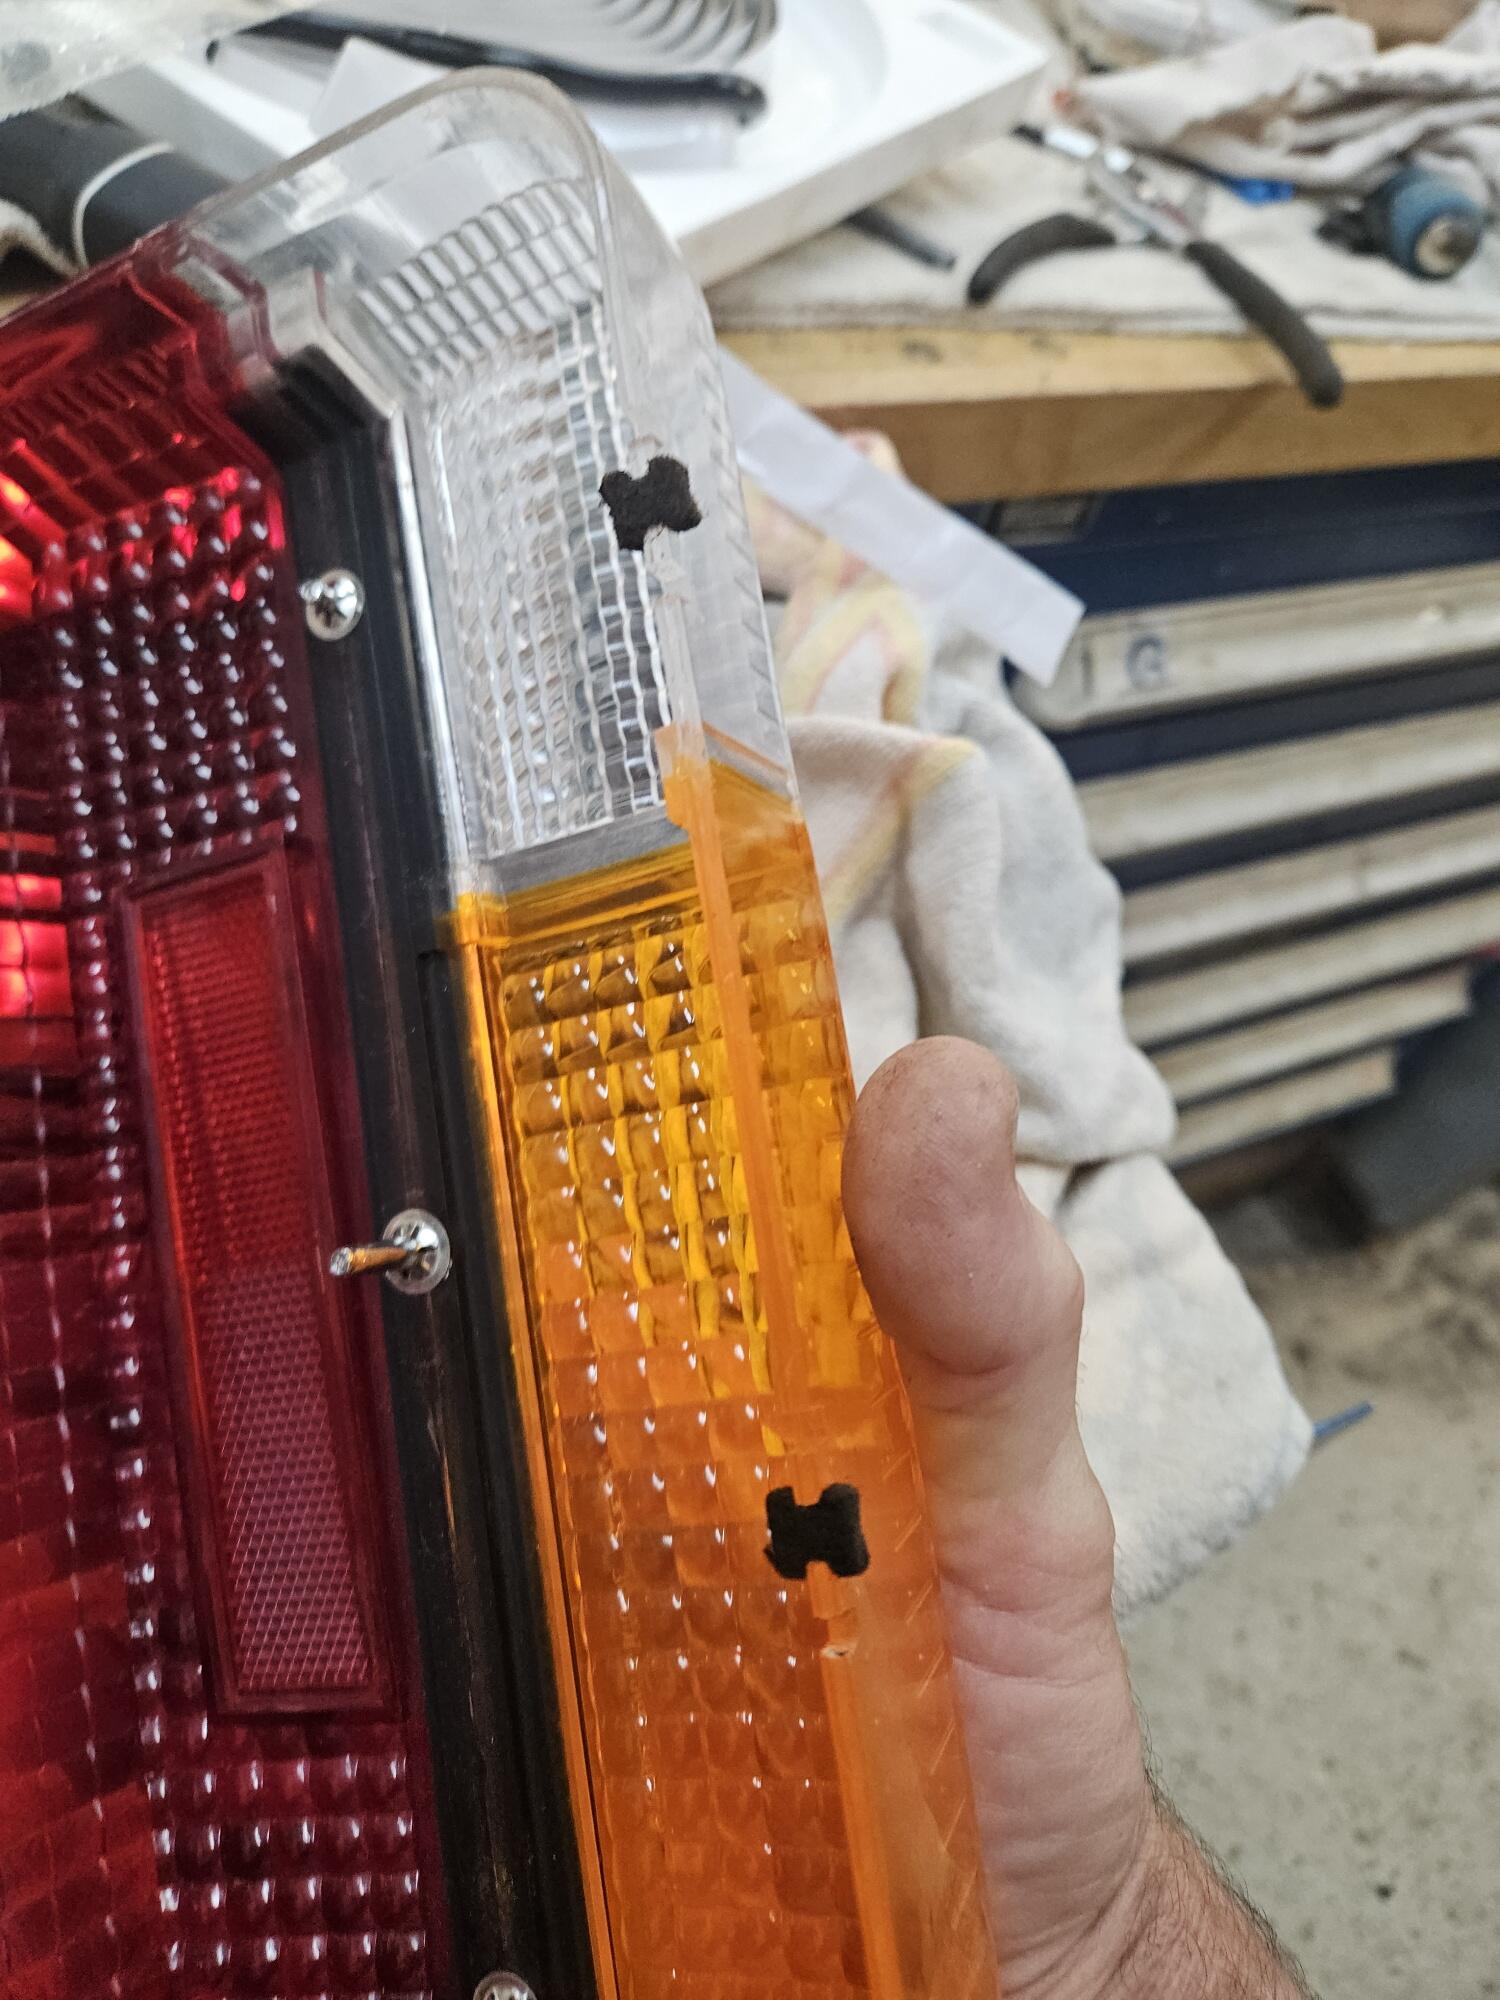
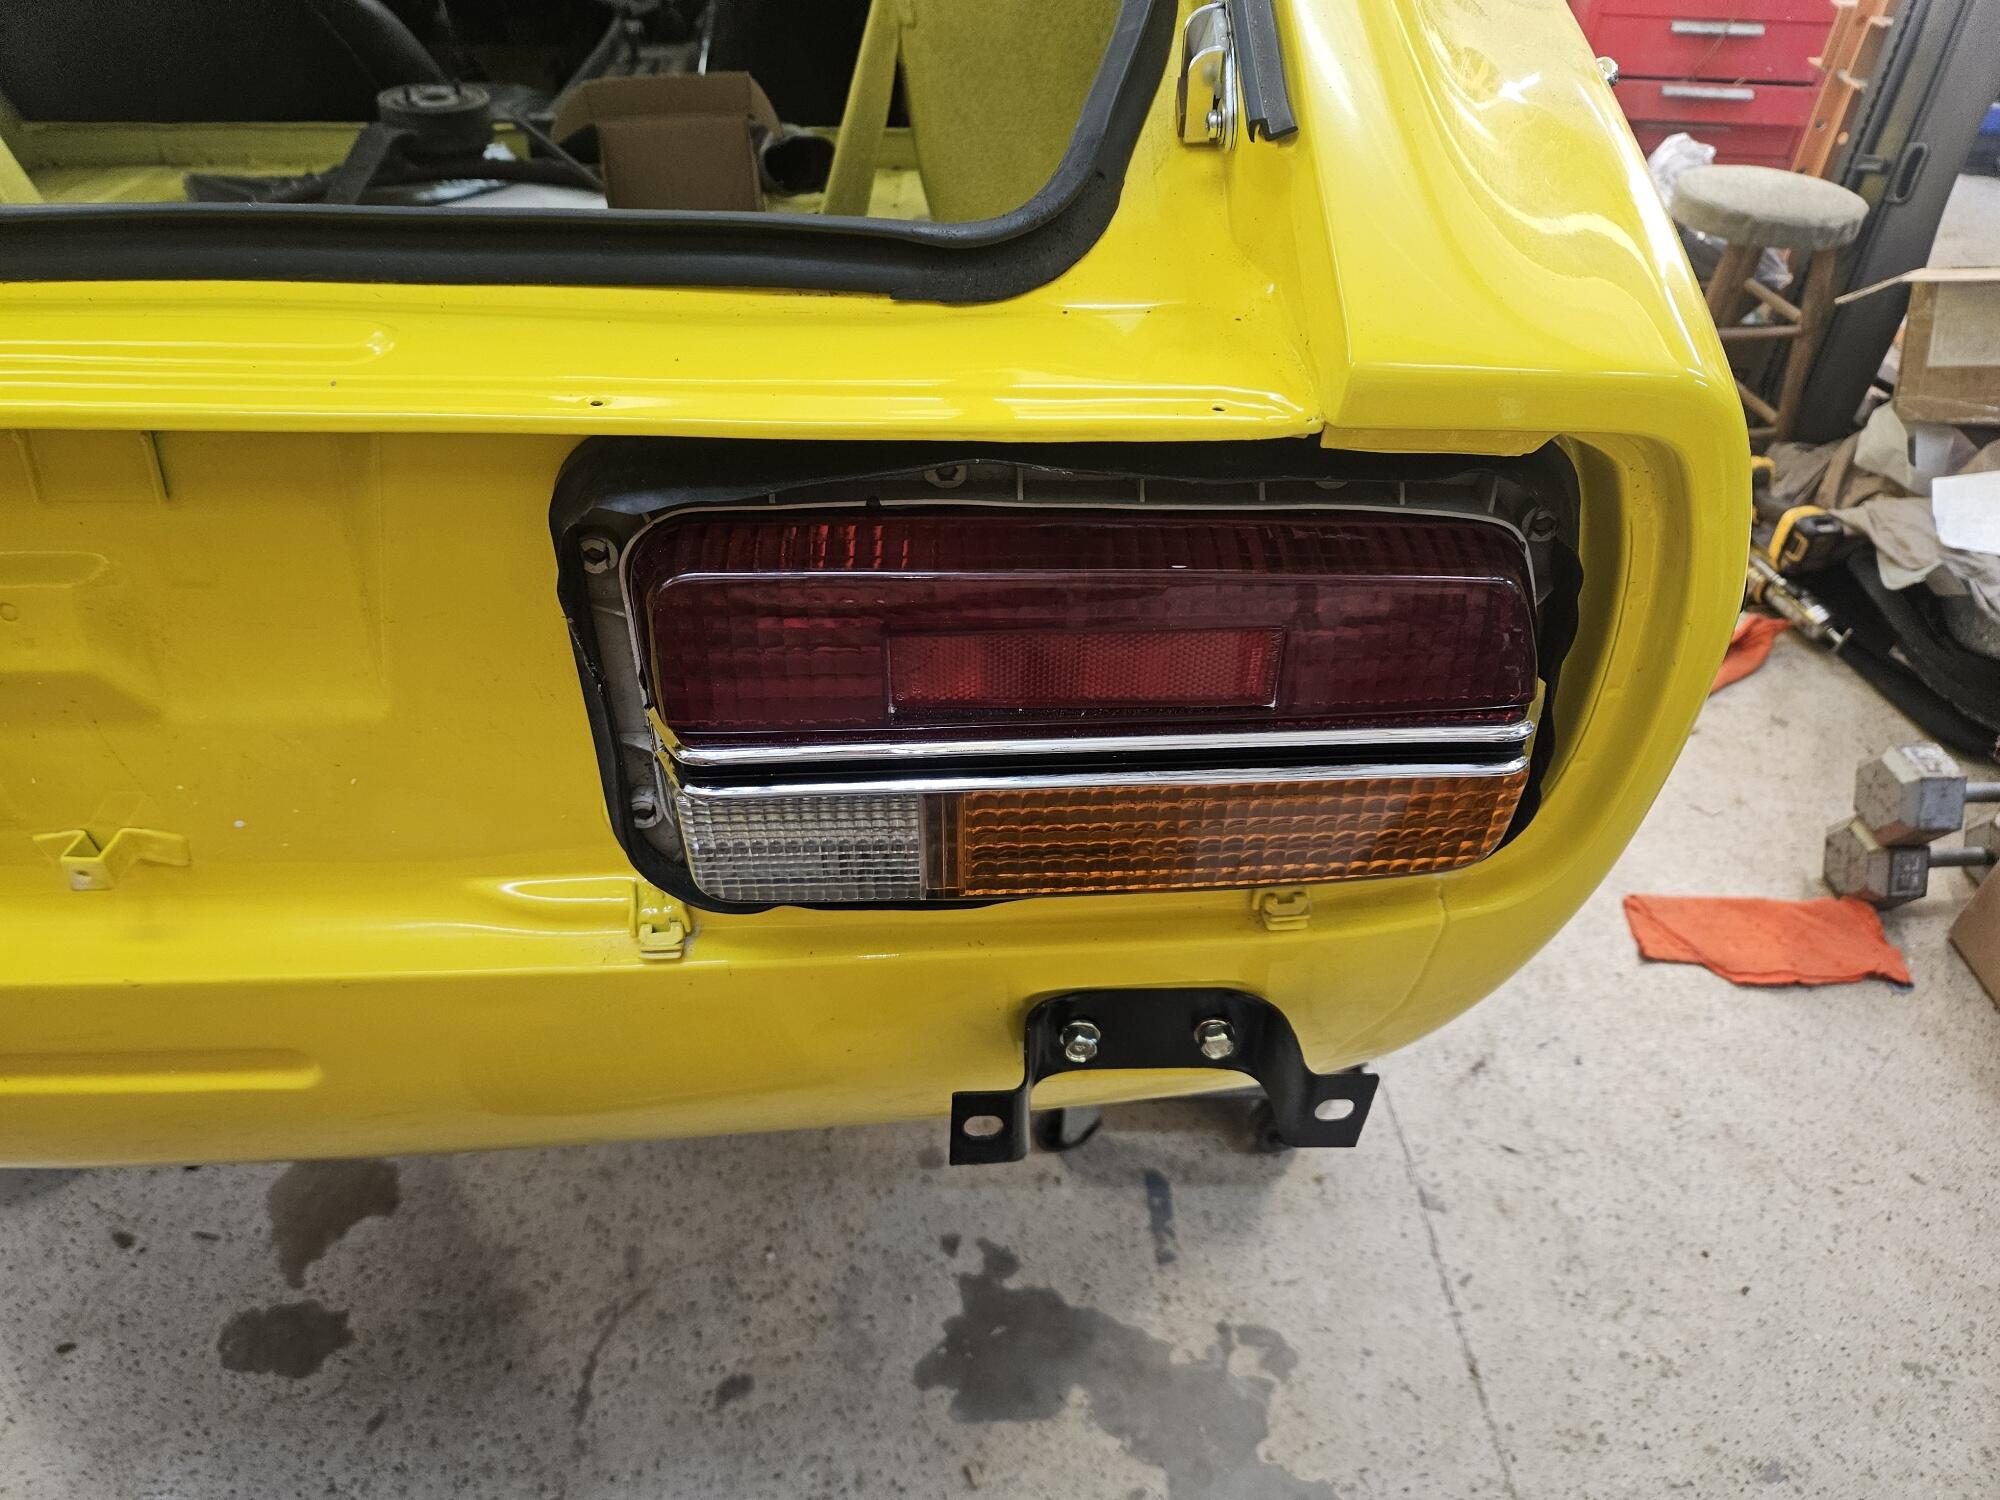
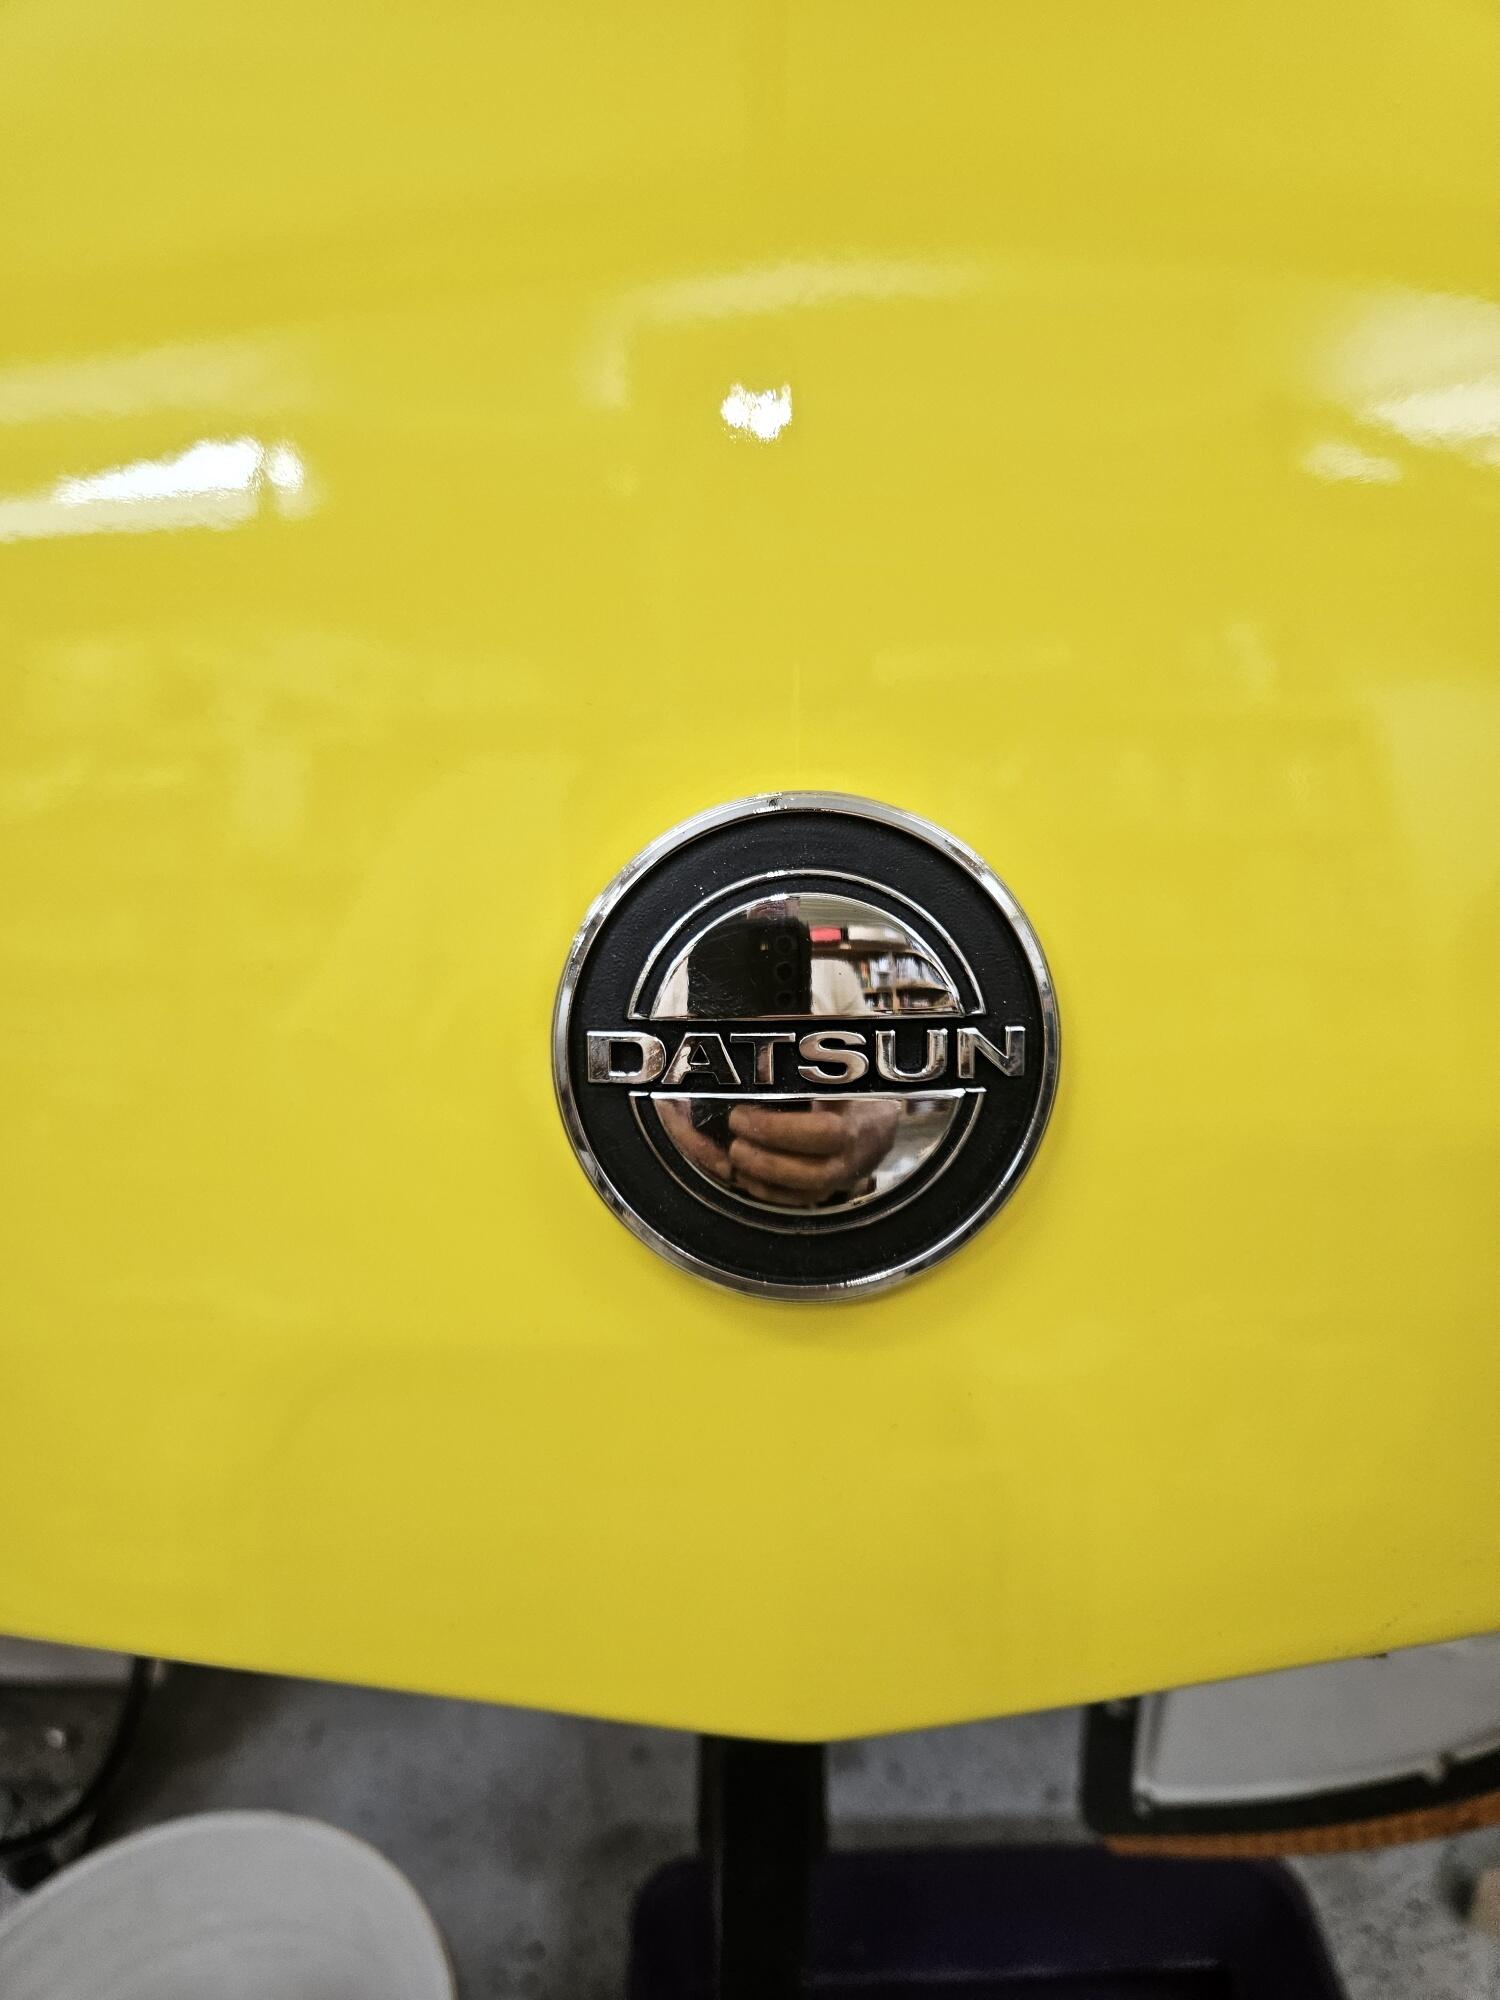
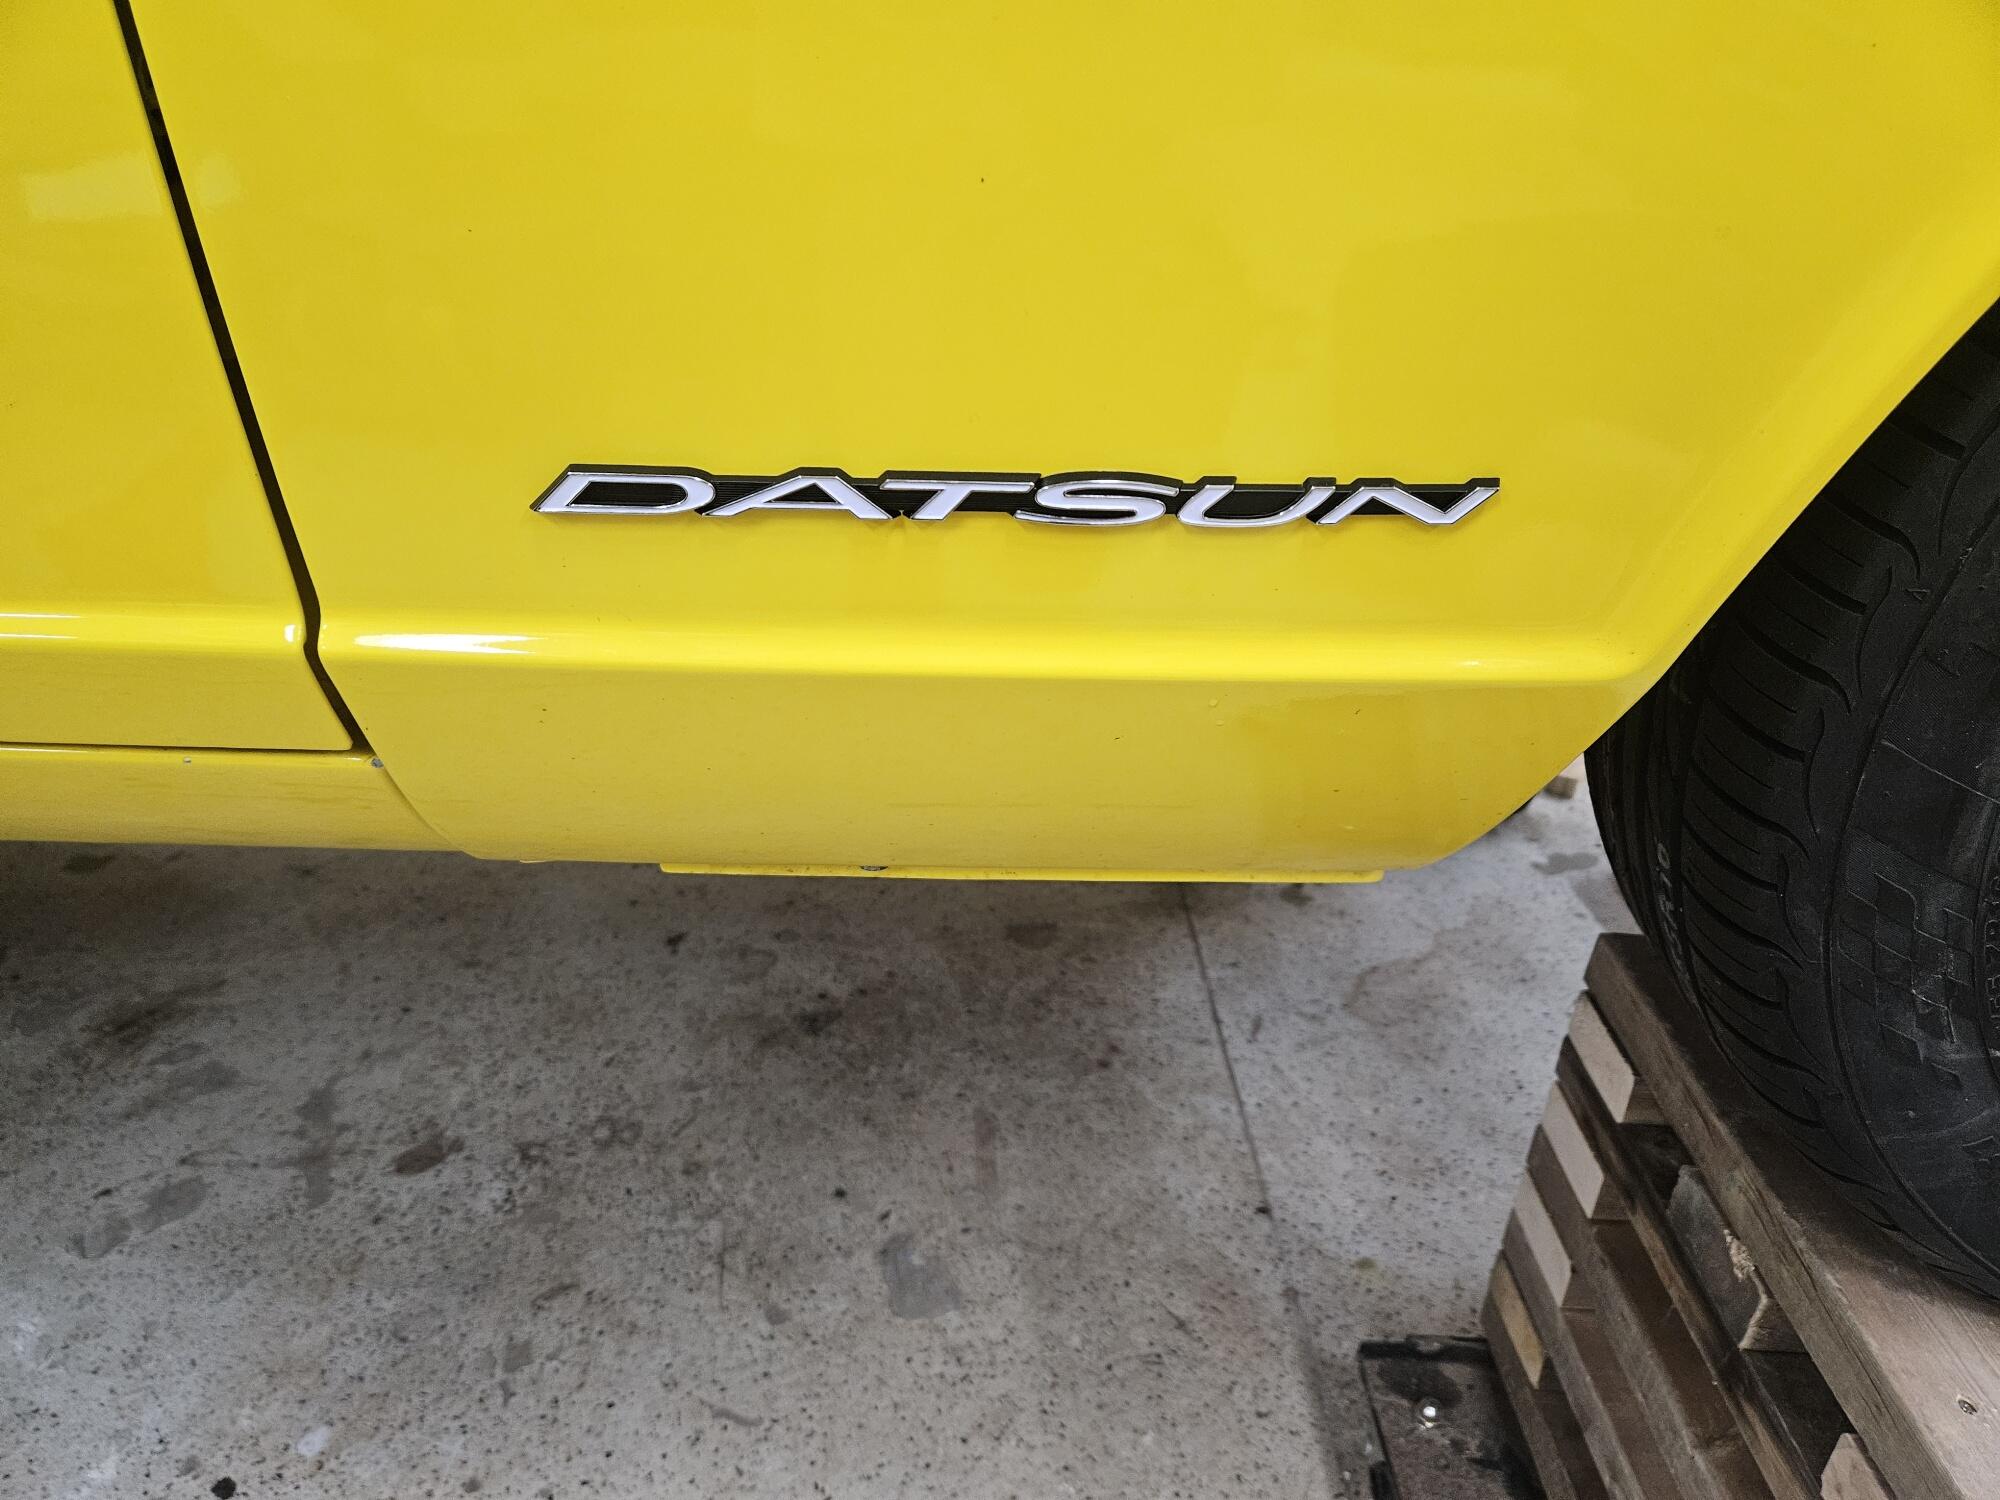
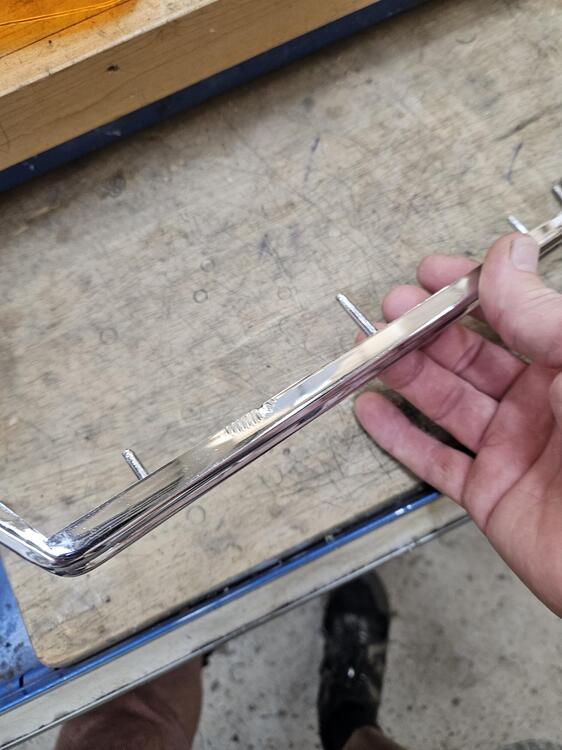
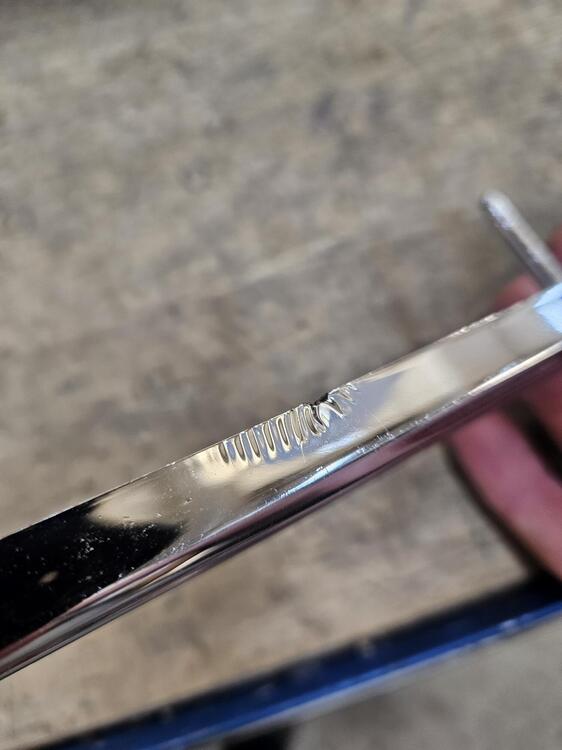
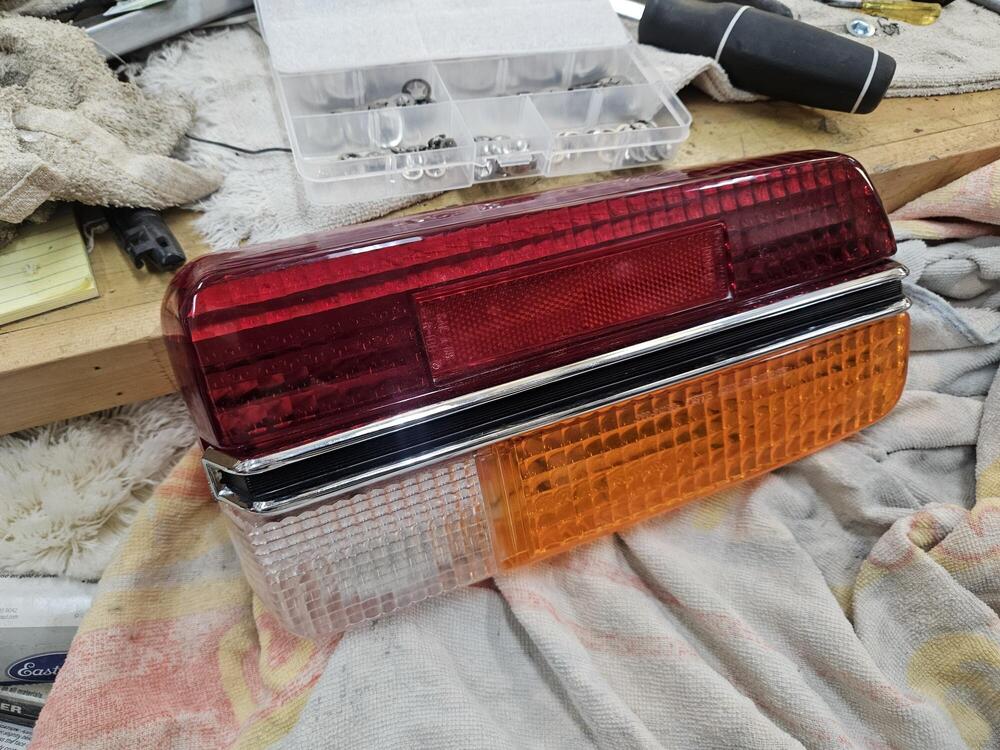
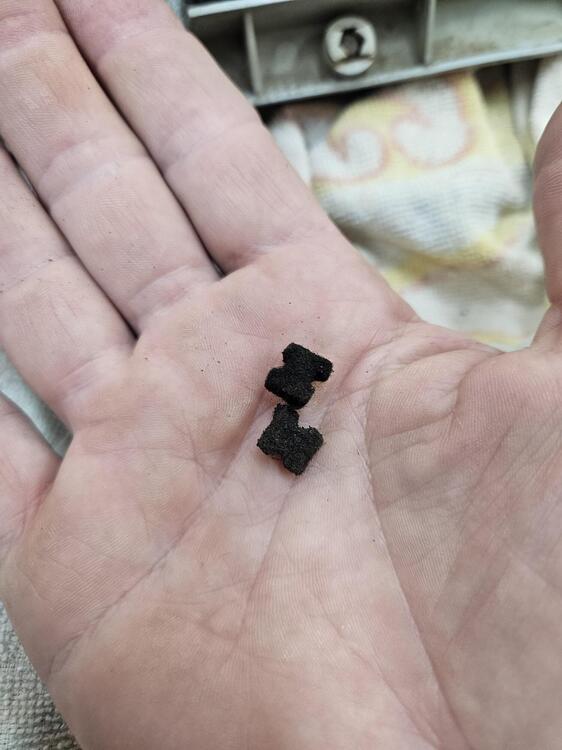
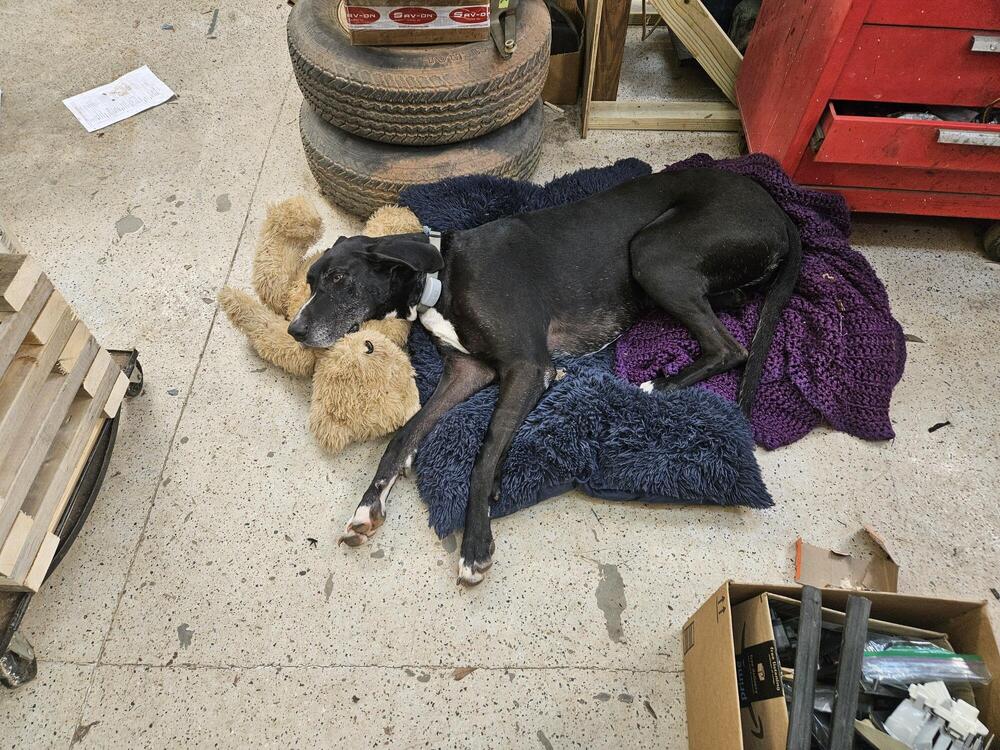
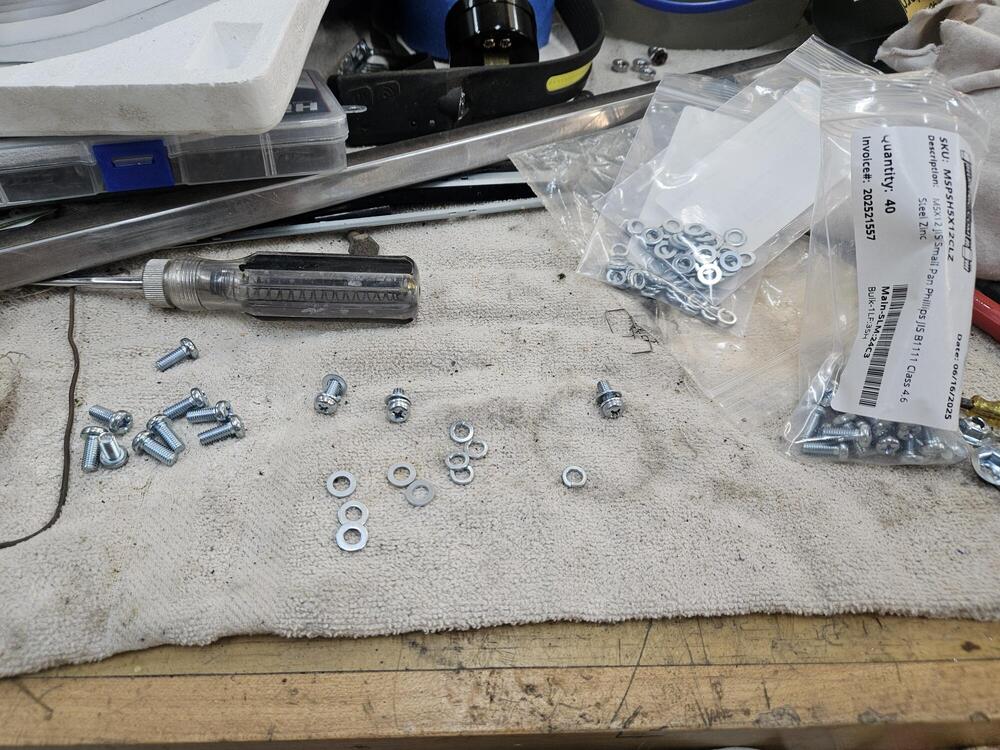
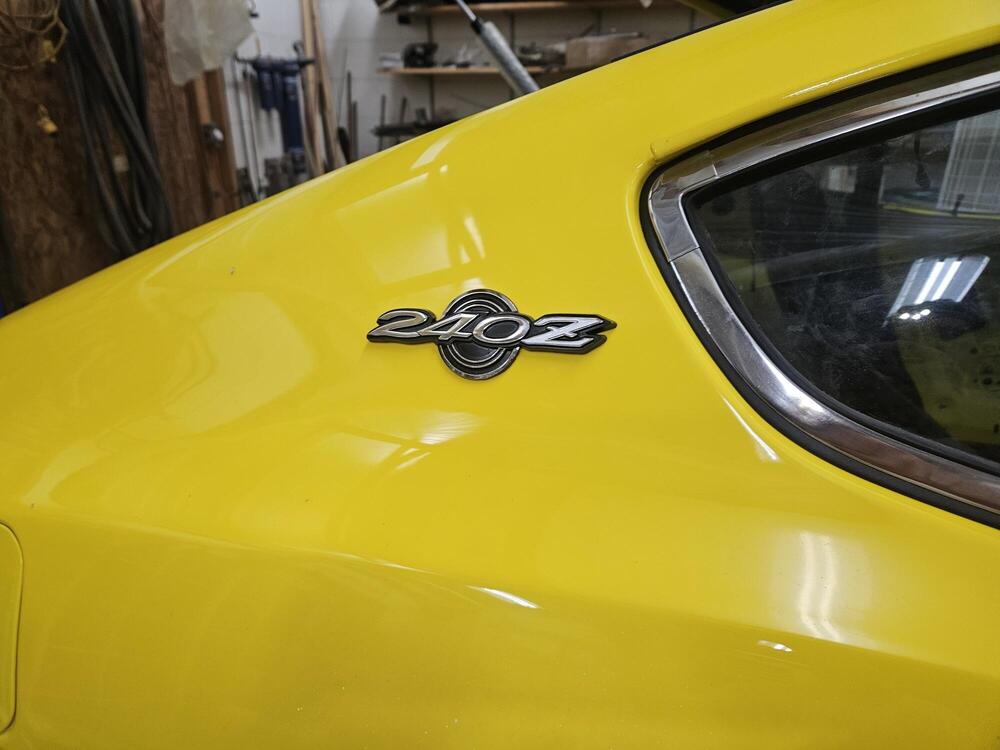
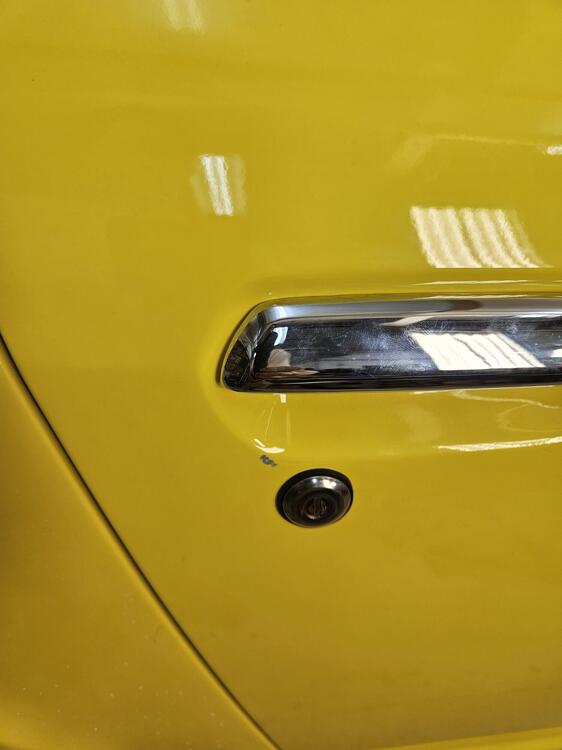
1 pointThe door latches I used Tail light chrome pieces. They weren't very flat. So I heated them slightly to reshape them. I did cause some wrinkling in the finish on the one that was pretty warped. I probably should have sent them back and exchanged them but for now it's fine Bought some washer to hold the trims on Installed Some butyl to hold the lens in The center post of the chrome is supposed to be long enough to go all the way through the back and get another star washer. The posts on my repops aren't long enough for that. So hopefully the lens don't fall out Felts for the bottom lens drains Shop dog More Belmetric Lights in place Finishers Badges, because everyone knows badges make cars run better!! ;)


 1 point
 -
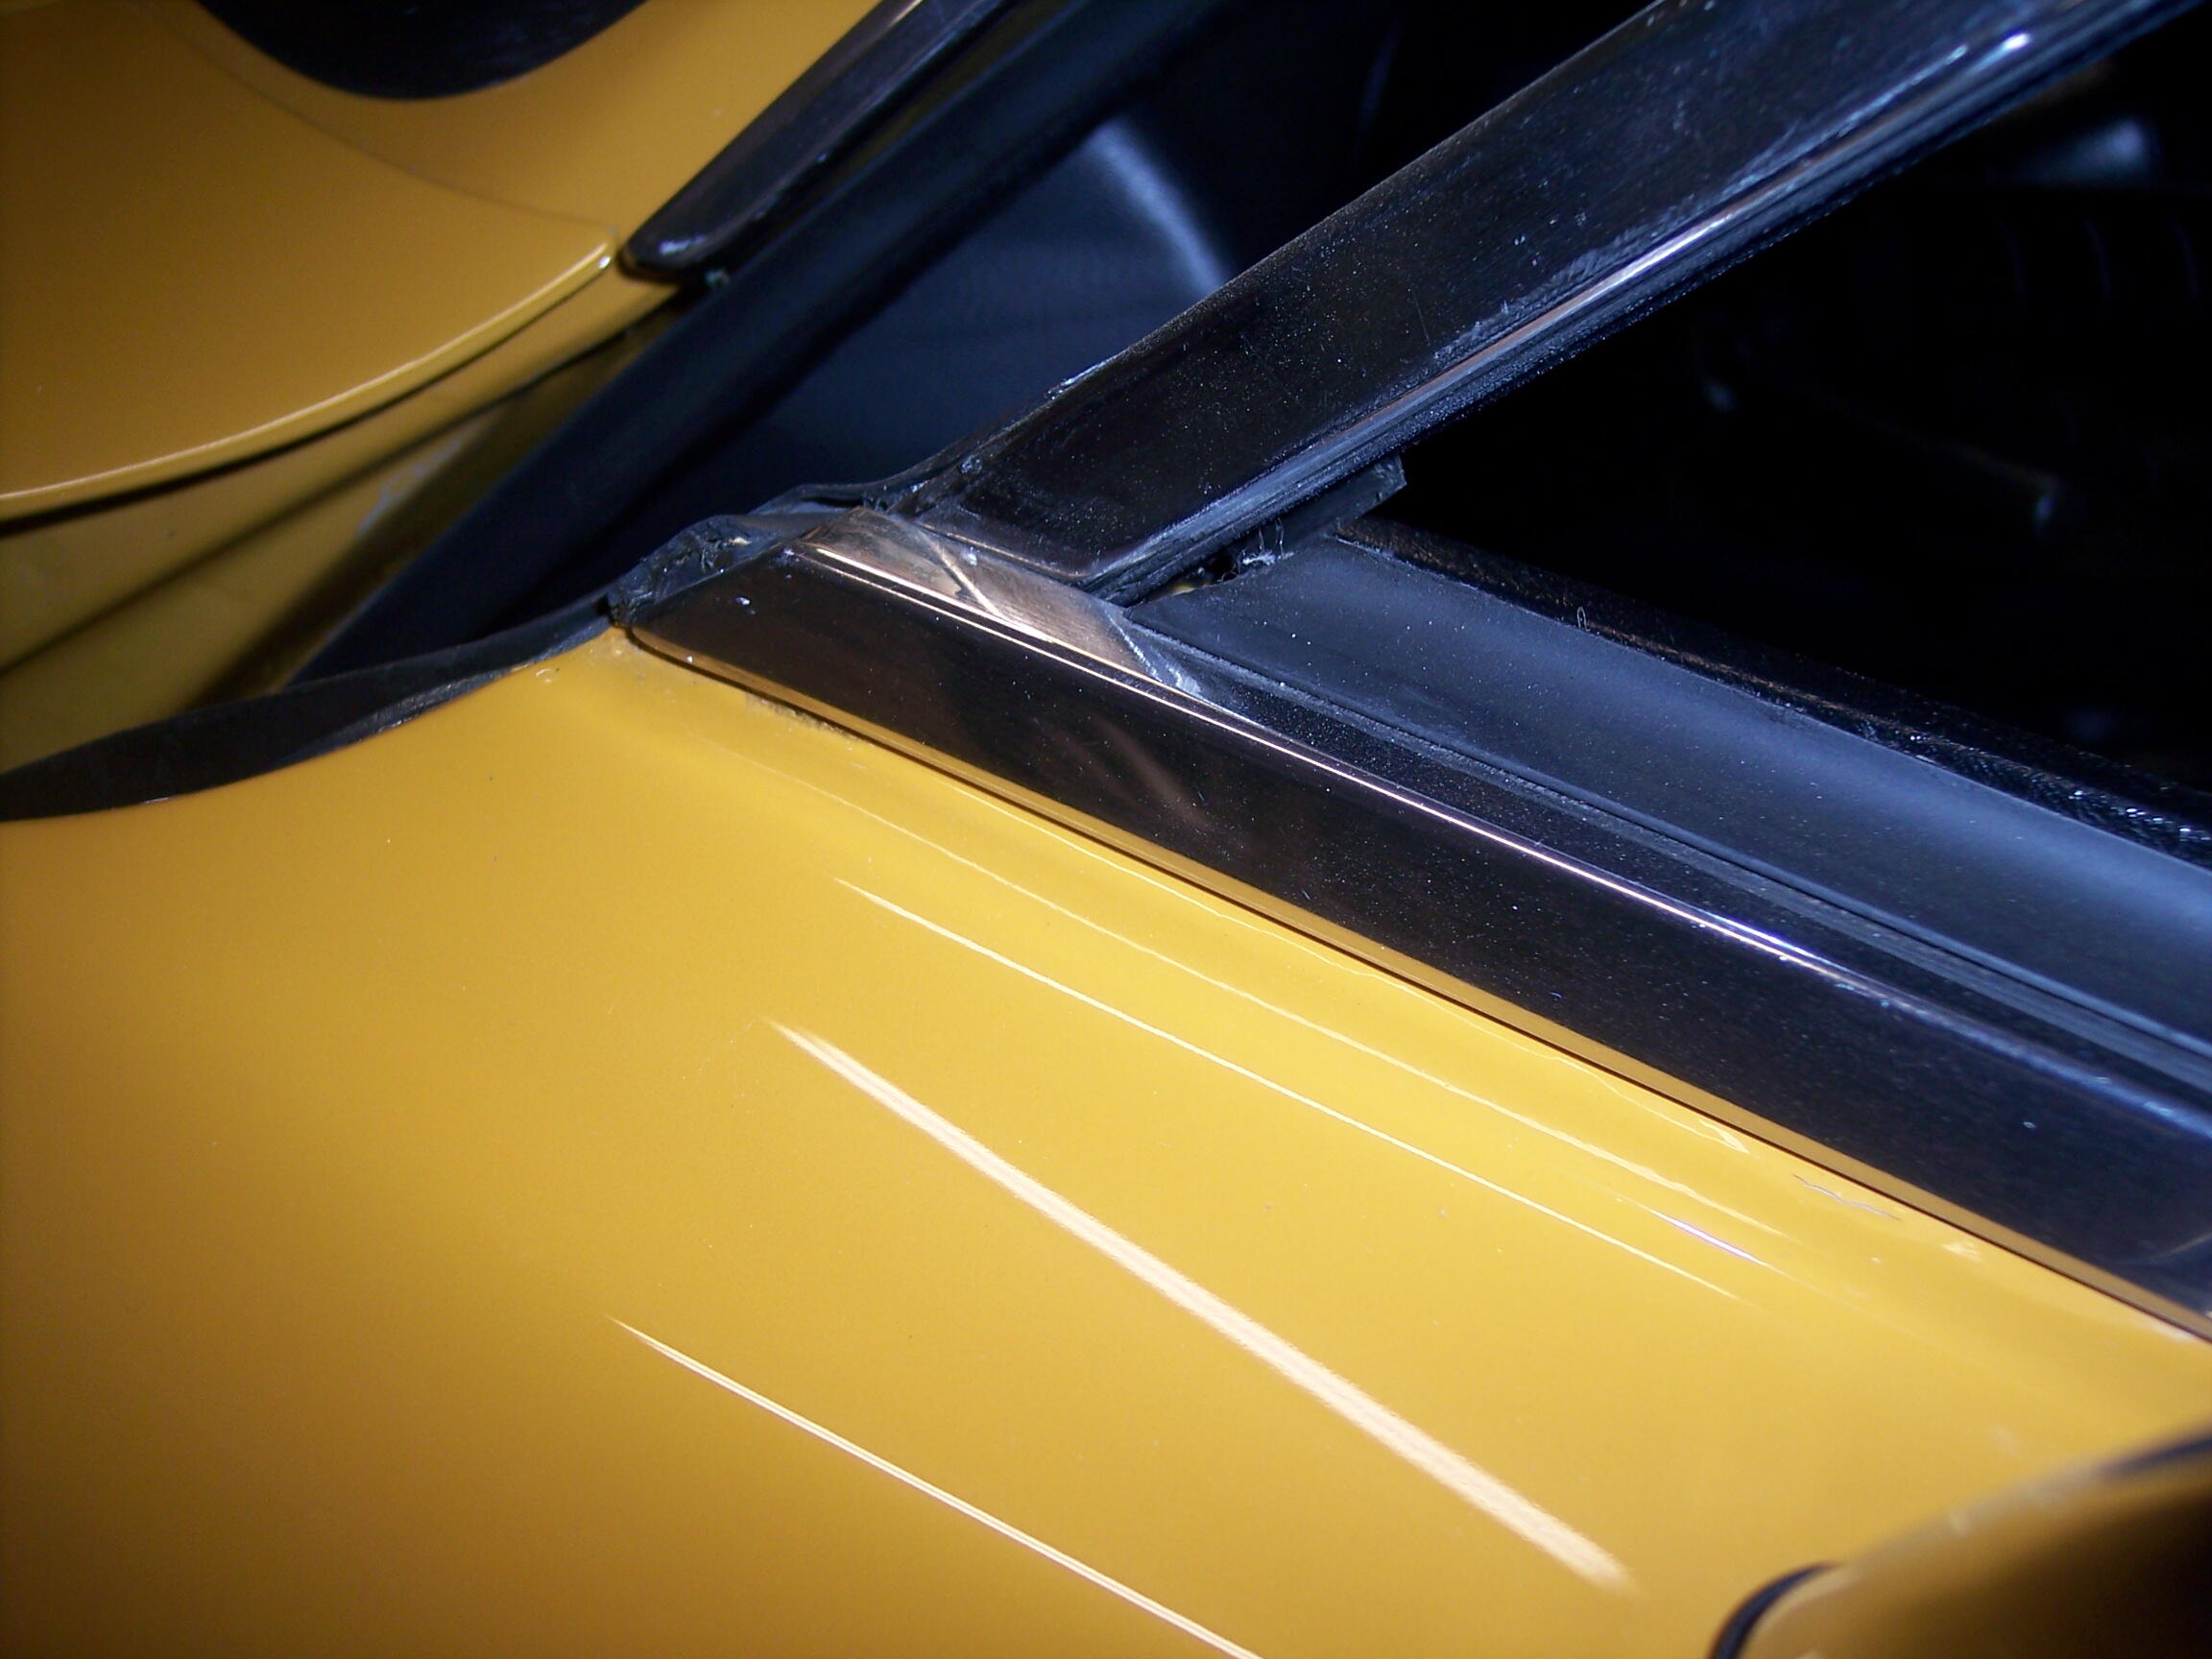
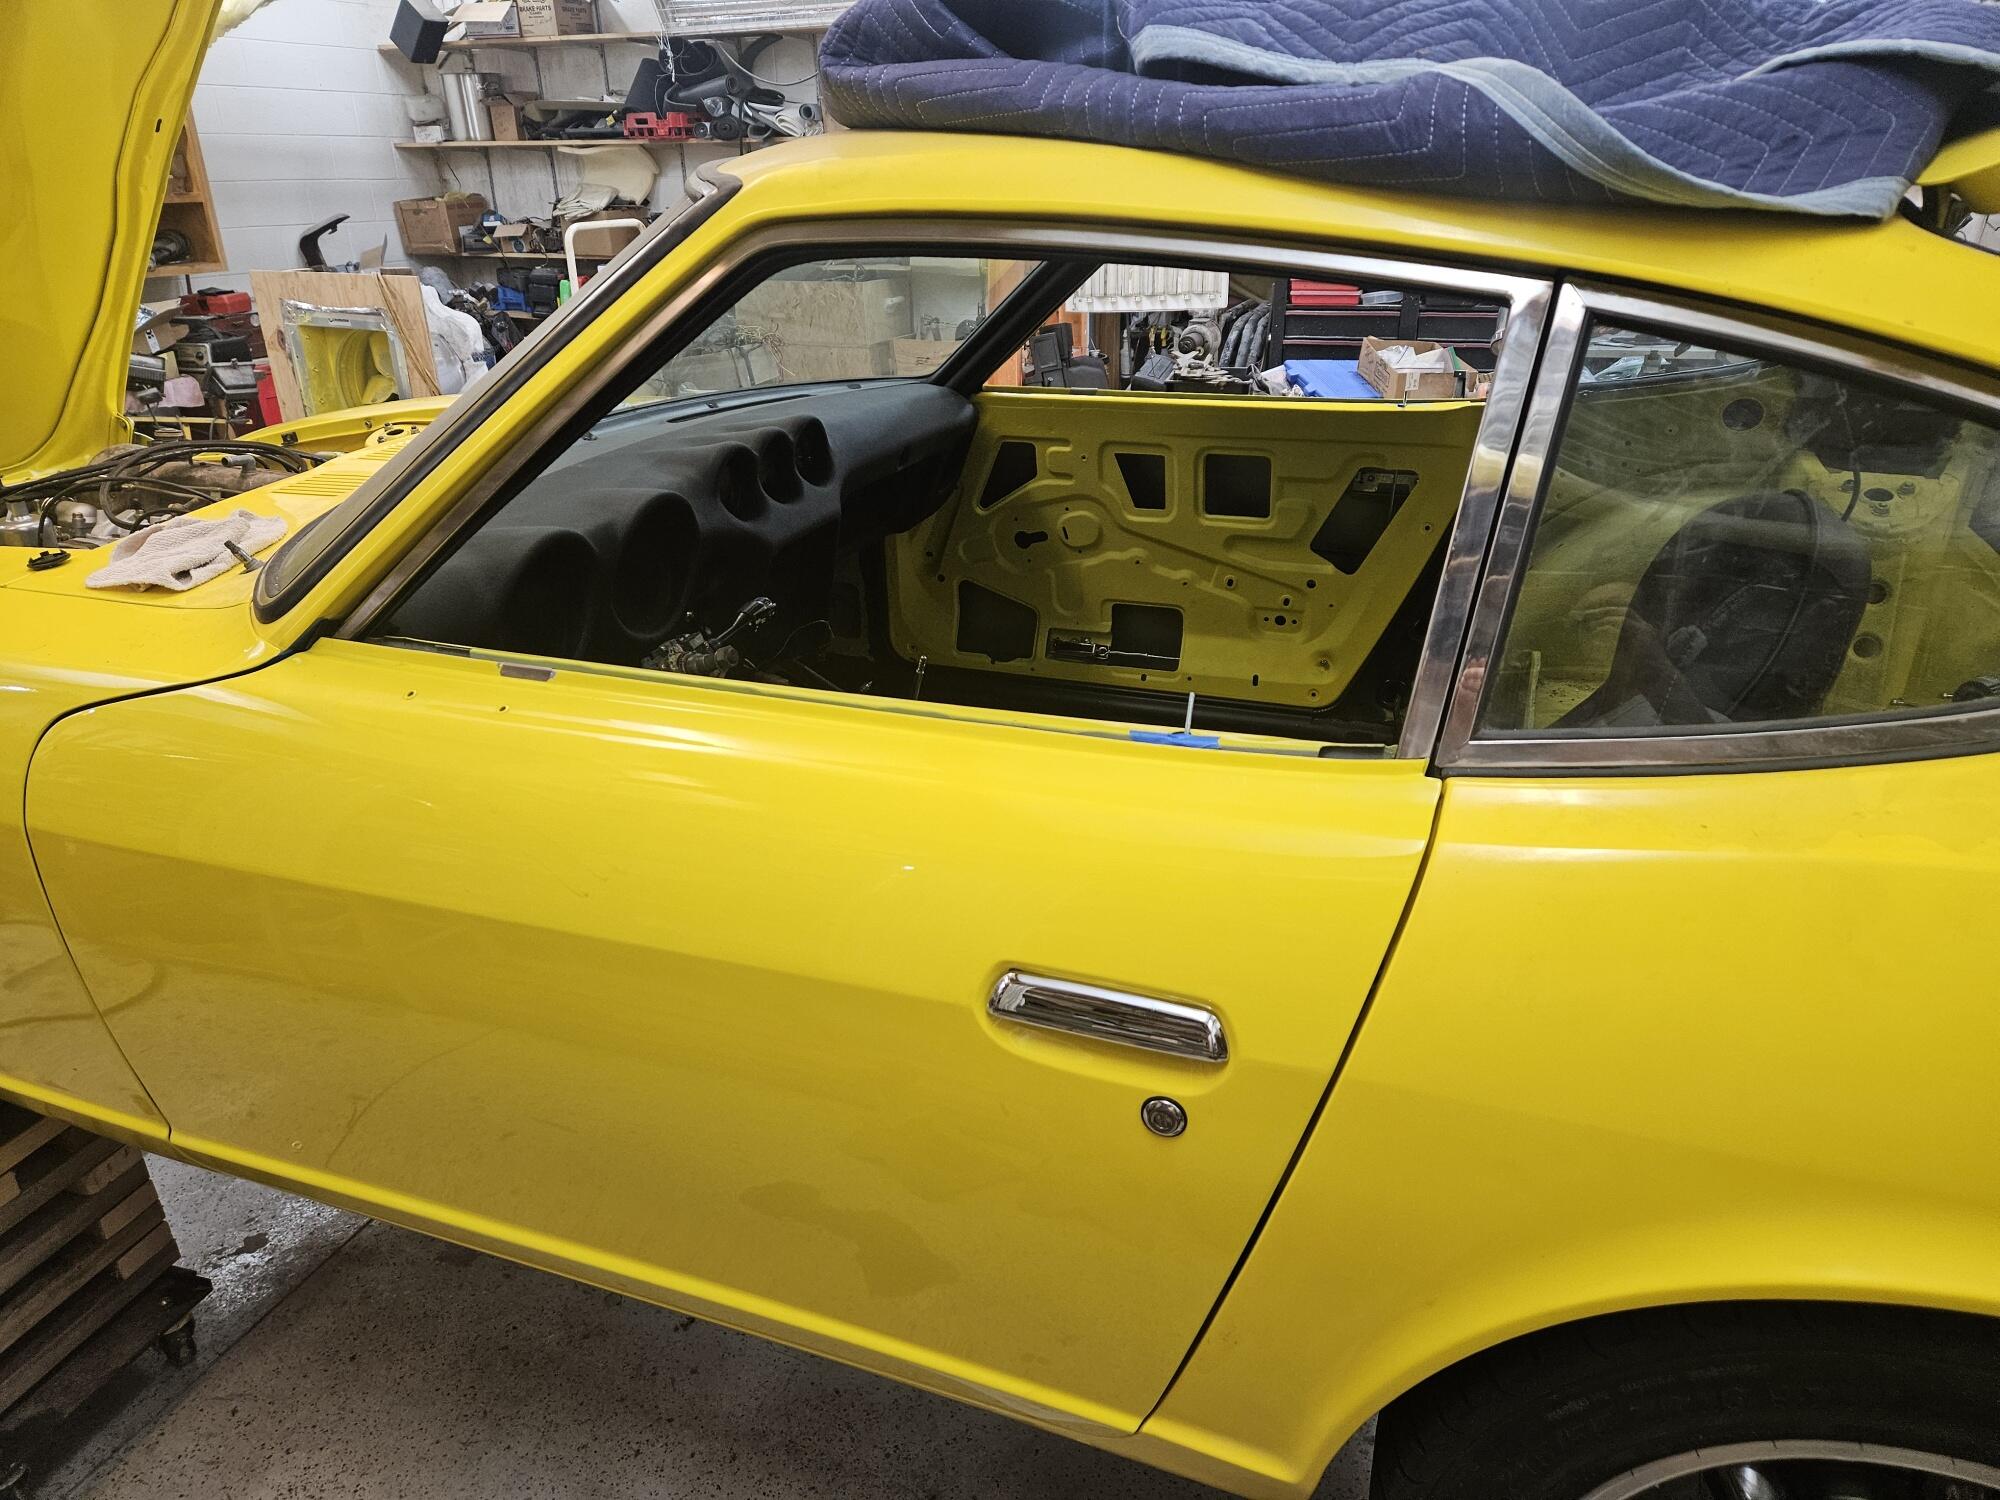
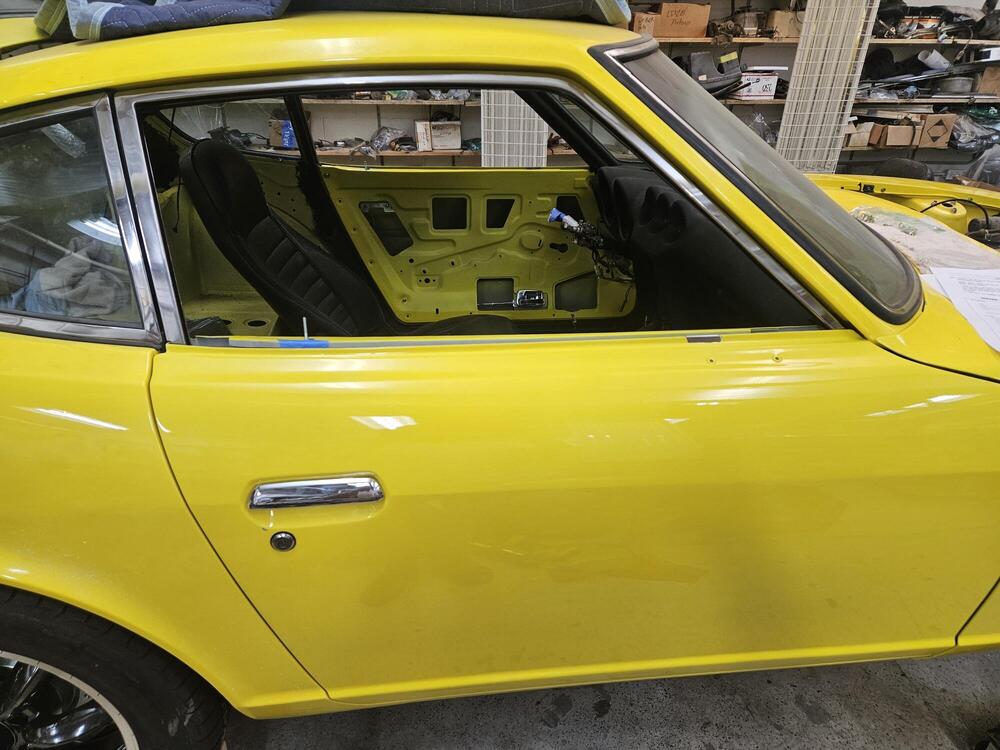
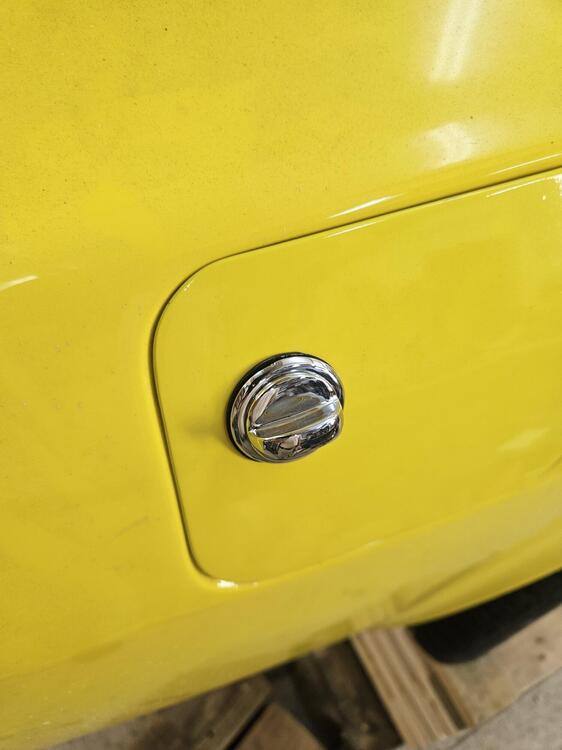
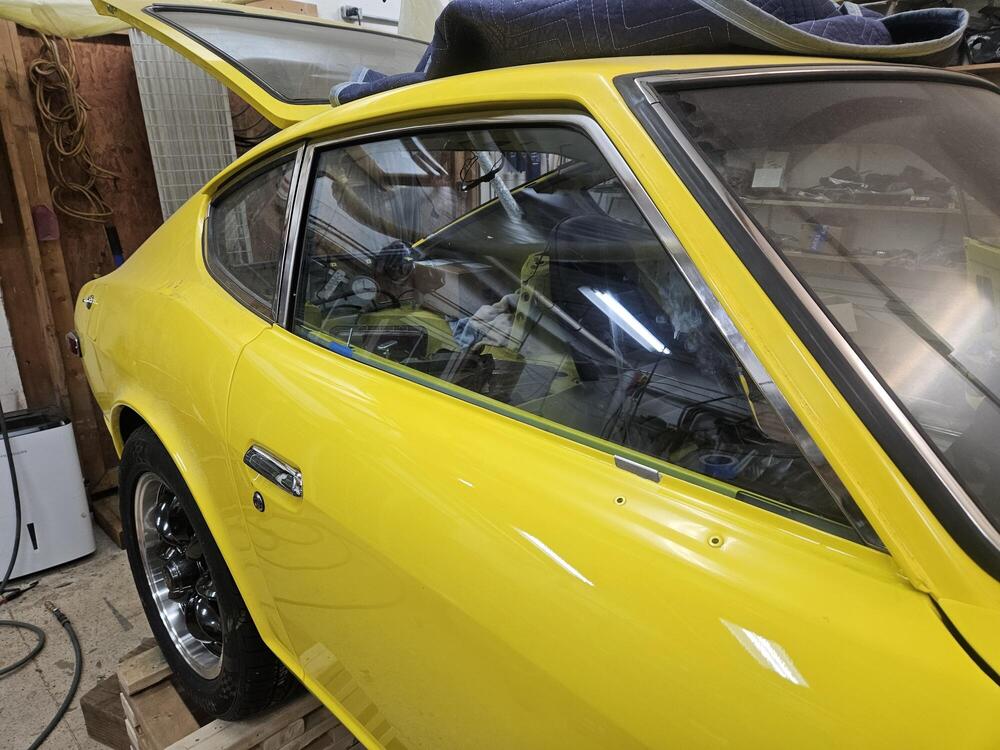
1 pointBack in the shop this weekend I need some help with this seal. How is it supposed to fit to the door?? I got the door locks in the doors,. Although I damaged the paint on the passenger door. Window frames are in and all the internal mechanism is in. I got the window regulators in yesterday. Freshly plated fuel door latch I got the door glass in today after church I will work on door sweeps next weekend, hopefully. Maybe mirrors too


 1 point