Leaderboard
-
conedodger
Free Member14Points12,513Posts -
inline6
 Subscriber
 2Points1,282Posts
 -
Richie G
Free Member2Points254Posts -

Mike
Administrator1Points23,065Posts


Popular Content
Showing content with the highest reputation on 10/21/2024 in Posts
-
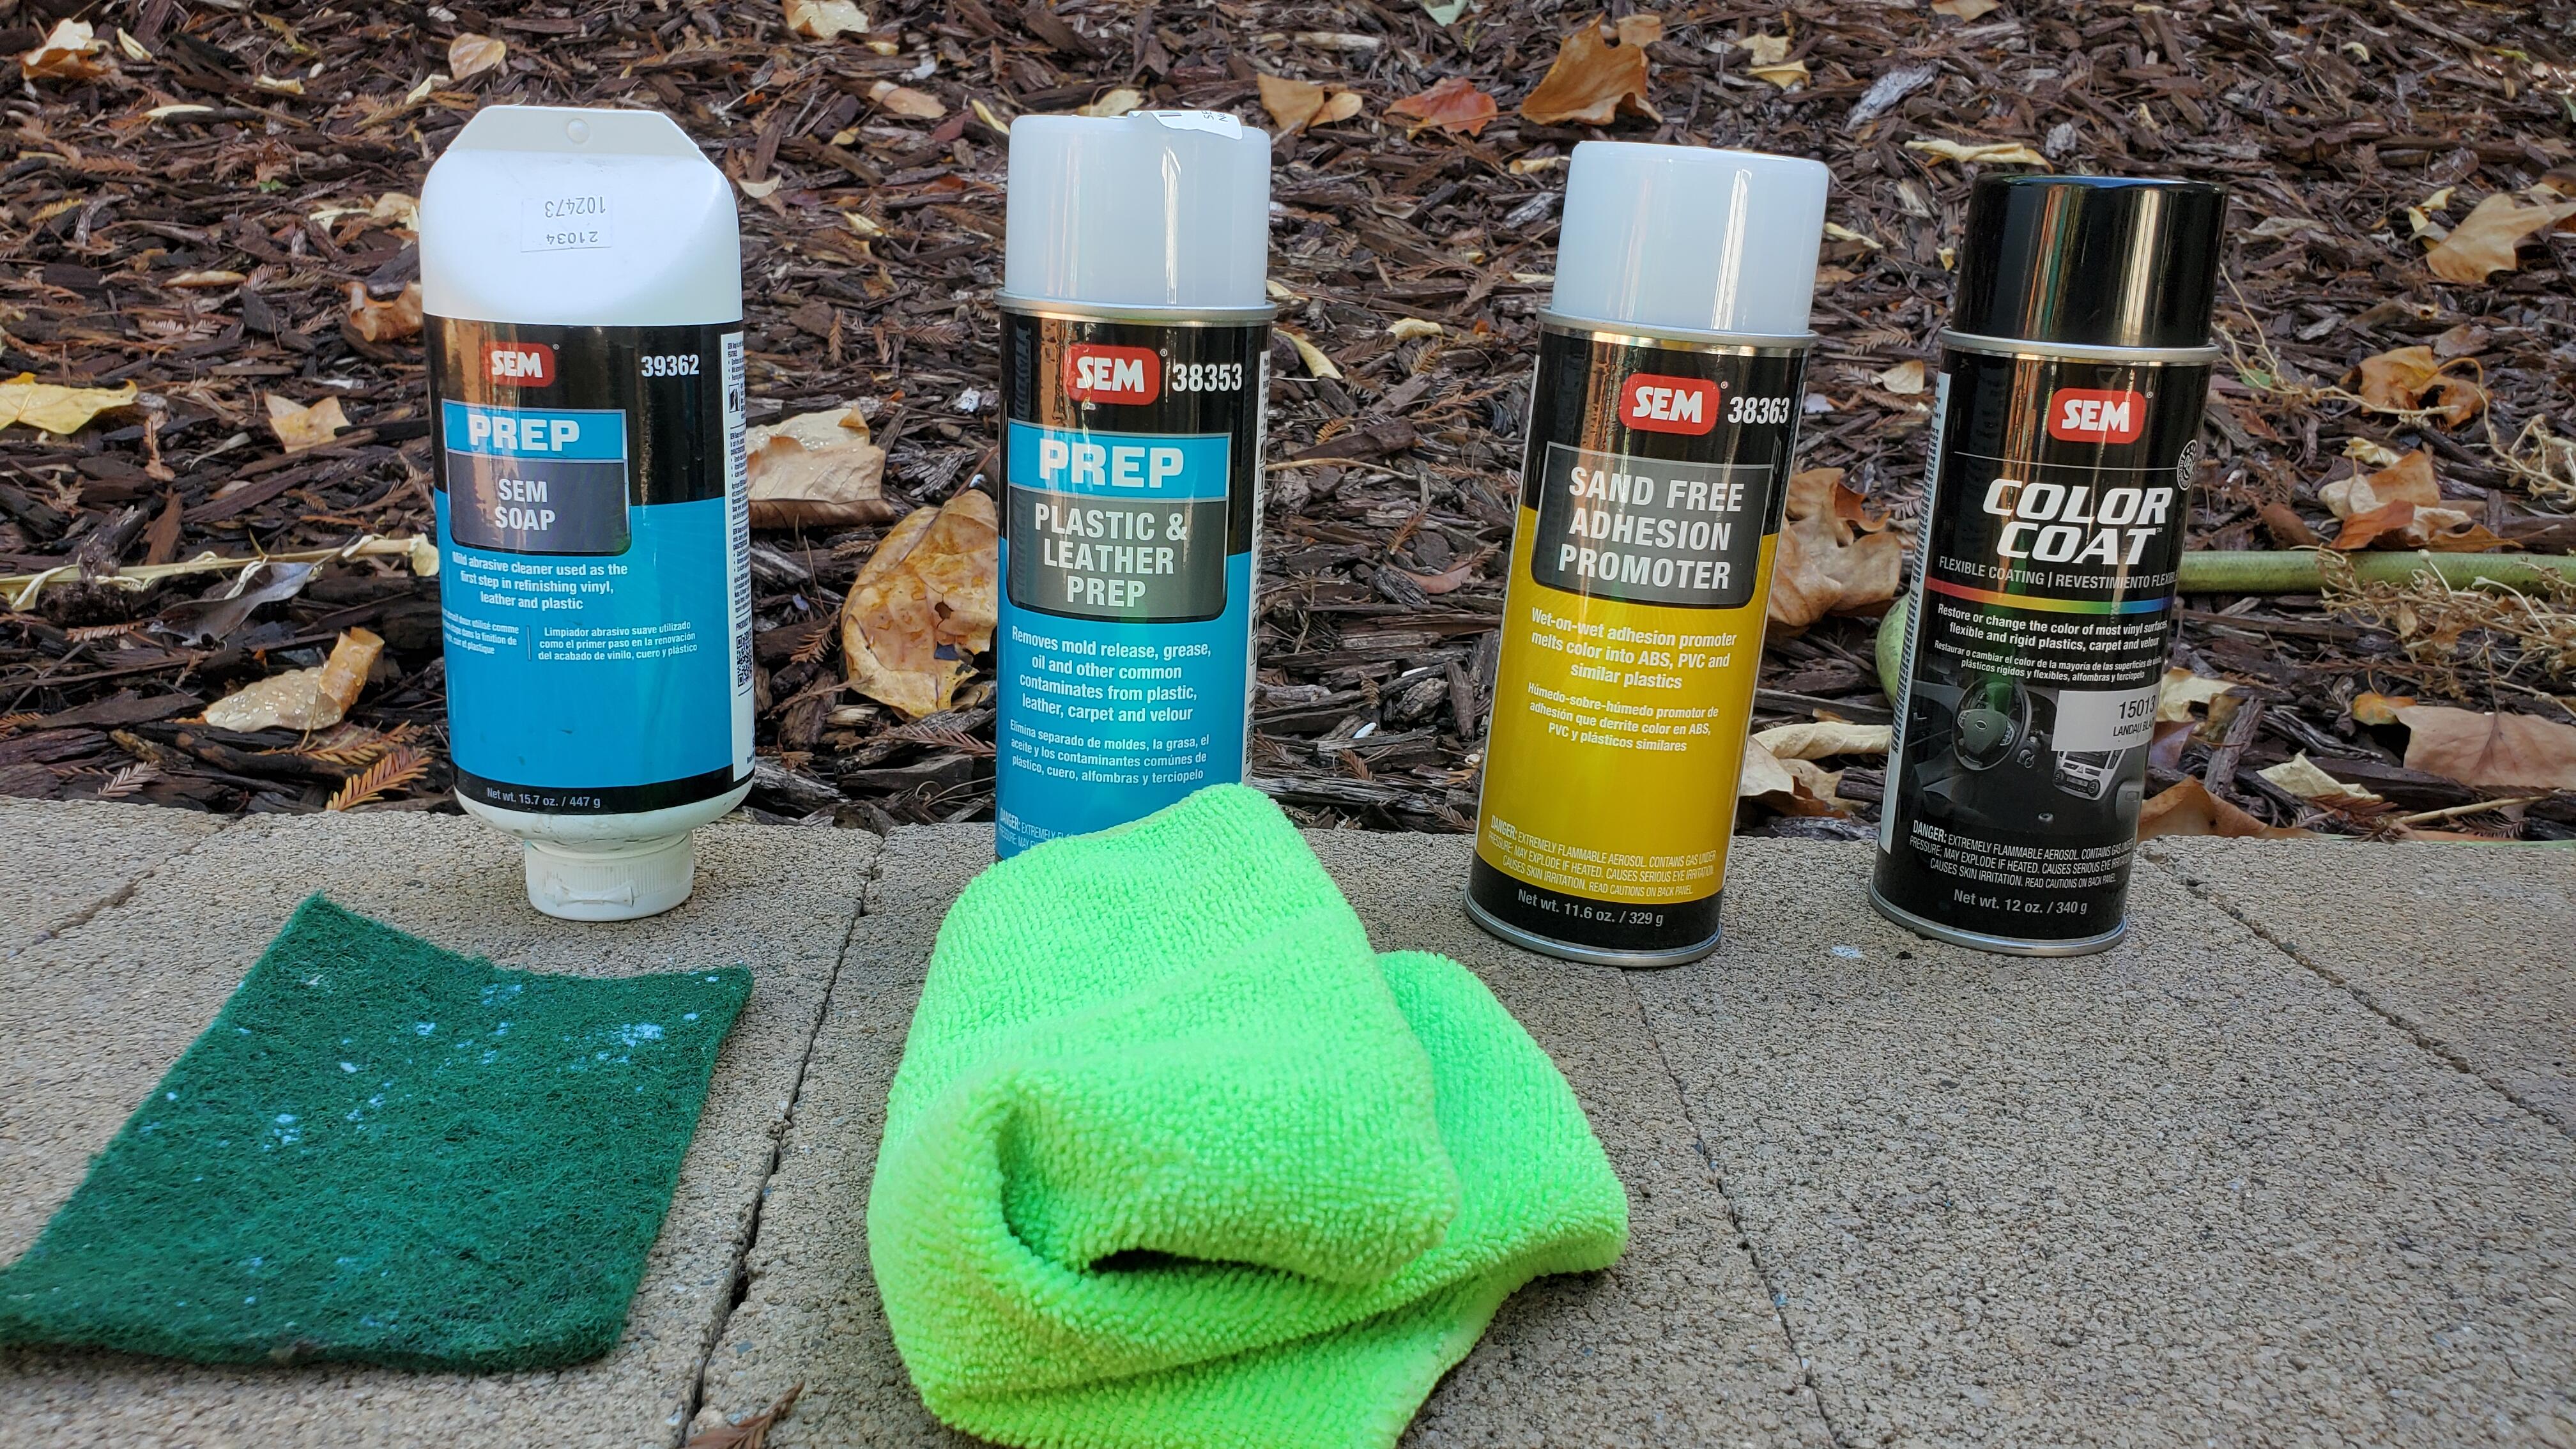
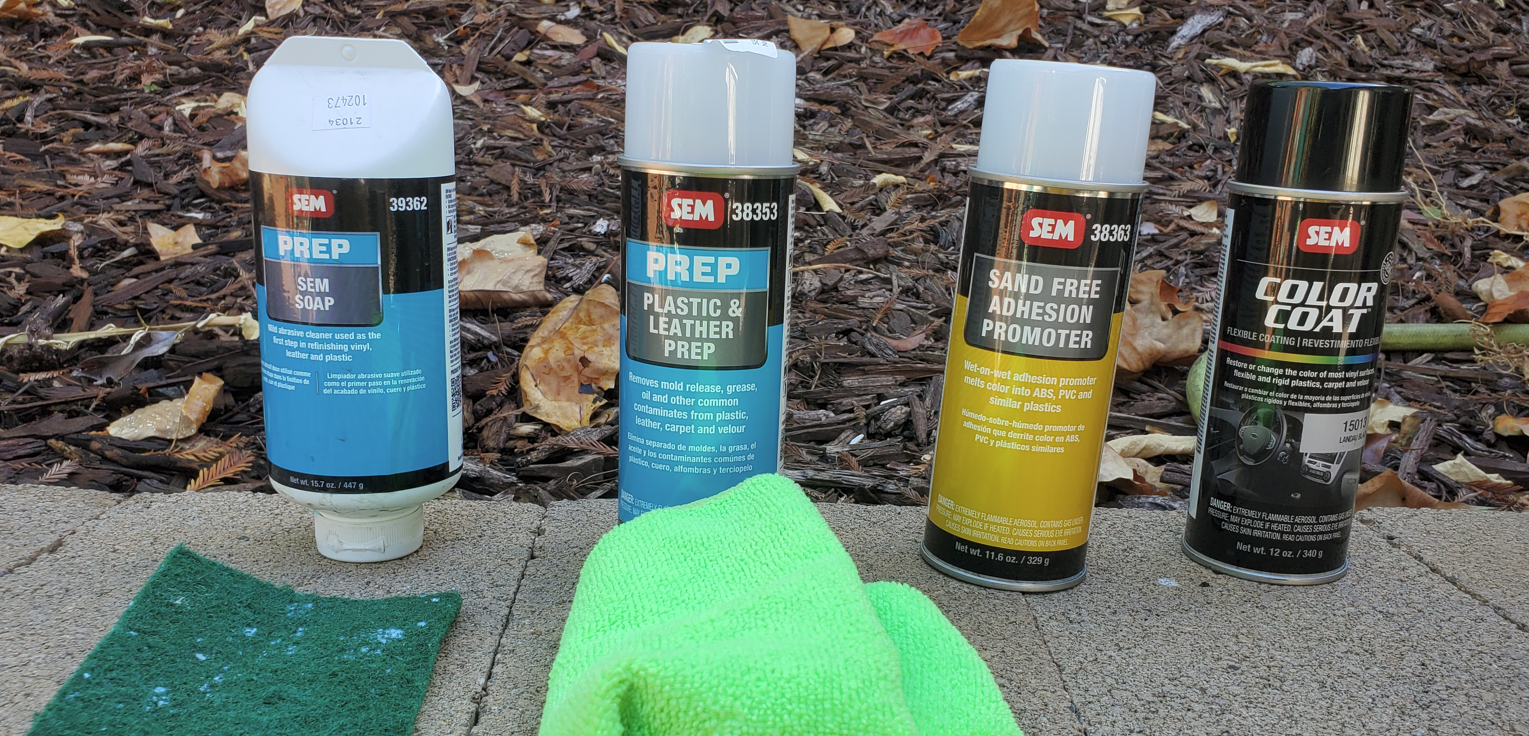
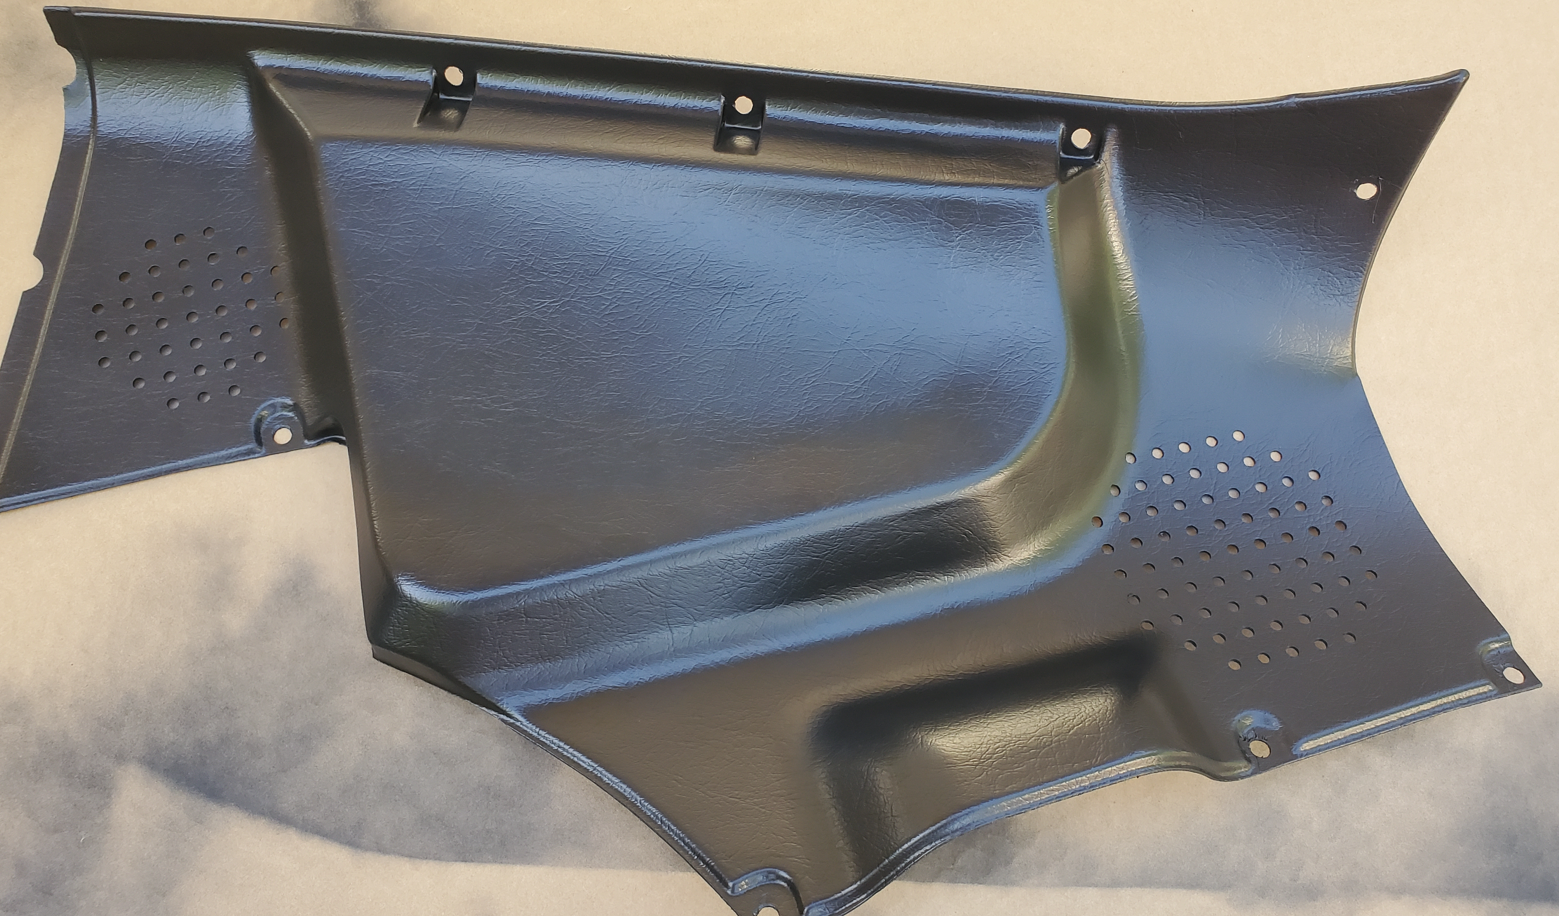
2 pointsI finally got around to doing the plastic trim and tried this rad paint alongside the traditional SEM way. The SEM way was much simpler than I had imagined and the results were fantastic, practically factory fresh. I followed this demo from the product https://semproducts.com/product/color-coattm-mixing-system/system#product-videos I just did one of the rear panels and it literally took me 20 mins from start to finish and that includes total drying time and ready to install. Sounds crazy, but really it was that easy. If anyone still needs to do this here are the products I used I started from left to right, hosed it and washed it with the soap and pad. Dried it then wiped it down with the plastic prep and it quickly evaporated on its own. Then a quick thin coat of the promoter and quickly followed with several light coats of the landau black. Below is a picture of it fully dry, this is not still wet it literally dried in like 60 secs basically bonding to the plastic.


 2 points
 -
1 pointThe coil only gets battery voltage at when the key is turned to the ON position, correct? No voltage otherwise? (The B/W wire(s) on a Datsun should have battery voltage while IGN ON - otherwise zero voltage) This is a fairly simple circuit (considering they looped back the battery voltage feed for the coil from the ballast to the Tach and then to the coil). A couple of things: It's a coil. So when it has battery voltage on the "+" pole, it also has battery voltage on the "-" pole. Which if you connect that (the "-" pole) to one side of the points, it also has battery voltage there. The coil is "fired" by very very very briefly connecting that pole to ground. Check your ground circuit from the distributor to the points, through the points, and through the wire to the coil (removed from the coil for the check). Also check that the points actually break the connection to ground. My final thought is your point gap which at .50mm is at the upper end of the ".40mm - .50mm" spec. - You might try reducing that to mid-range and see if that makes a difference. I vaguely remember back in the mid-70's that I had to buy a dwell meter and learn how to use it for my stinking Ford 351 Windsor engine which I had to tune every three months. Just one reason that once they invented EFI I never went back to a carbed and/or points vehicle... Wait. You get one spark when the ignition is turned to ON? Doesn't that mean the coil "-" is getting a ground right at that moment? Where is it getting the ground? Are the points closed at that time? Perhaps you should check the coil sparking by manually creating the spark condition.1 point
-
Thanks for that info! So, when I took the cap off, I found that the valve was stuck in an open position (makes sense if that is resting position, as the cylinder likely sat for a very long time and got gummed up/stuck in that position). The spring couldn't close it. In fact, there is a hole in the end of the cap, and pressing a flat punch against the valve, it did not move - it was stuck tight. Stuck in the open position, fluid just moved freely in both directions. The rear circuit didn't build any pressure. I just got back from the garage - I am done for the night. This time I was able to bleed the MC rear circuit with no issue. Then, I was able to bleed all four corners. I seem to have a solid brake pedal at this point. Hurrah - I got something done today after all. Now, I have the clutch circuit to bleed. And then, I'll try to fire it up and drive it around the neighborhood a bit.1 point
-
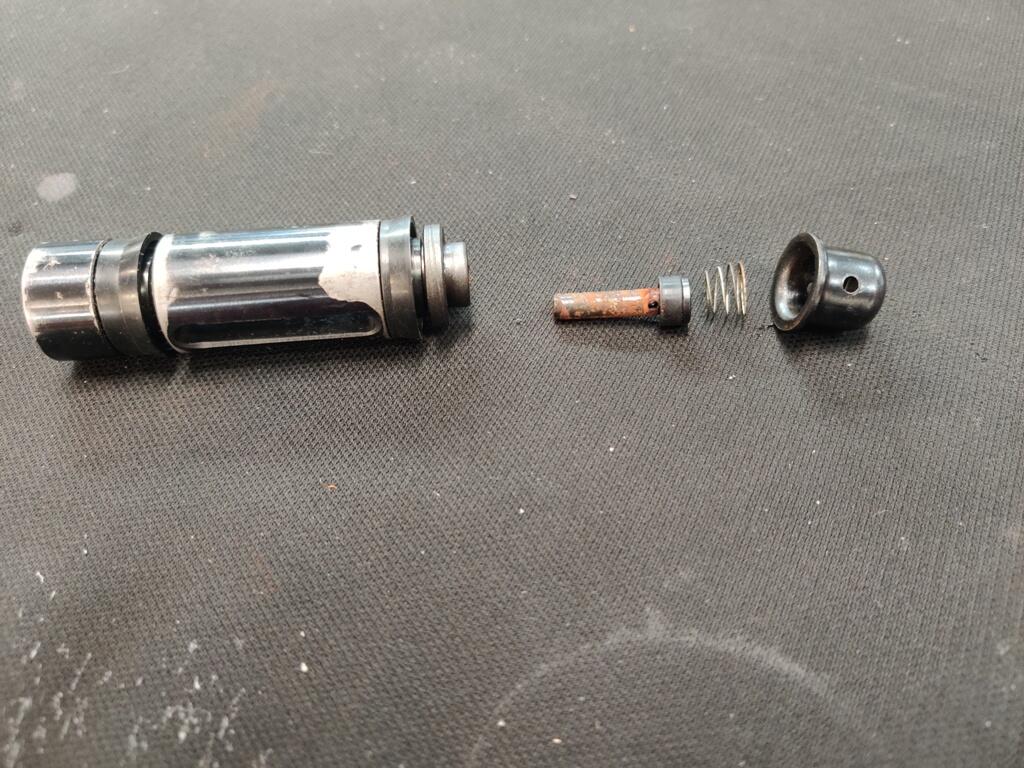
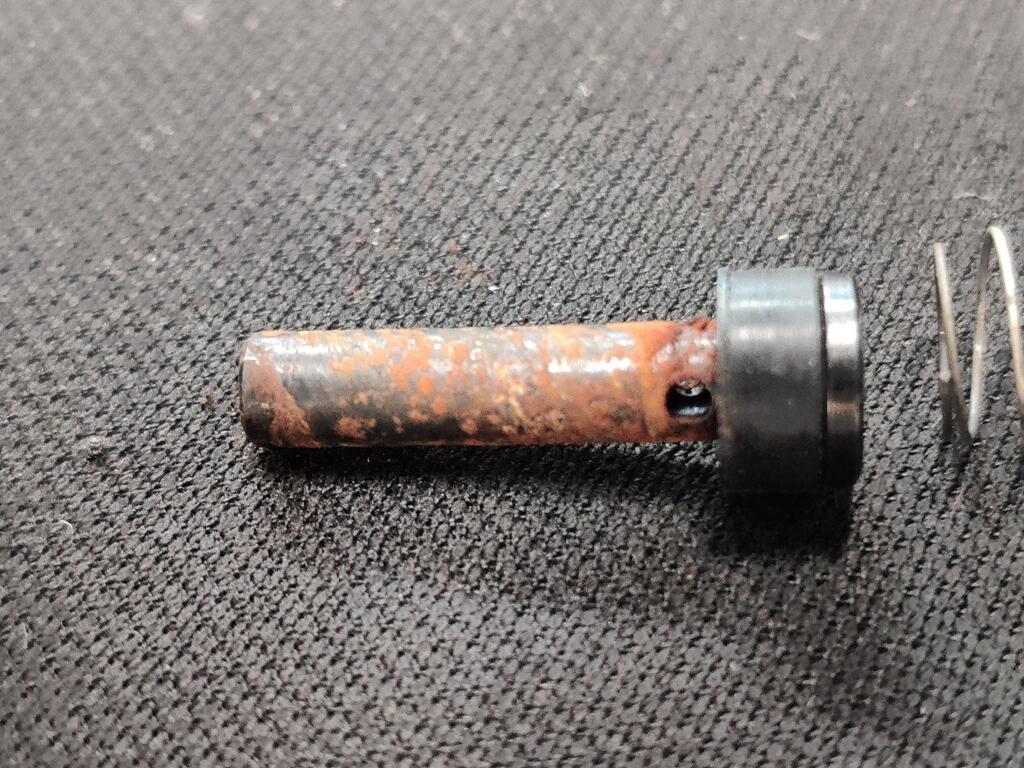
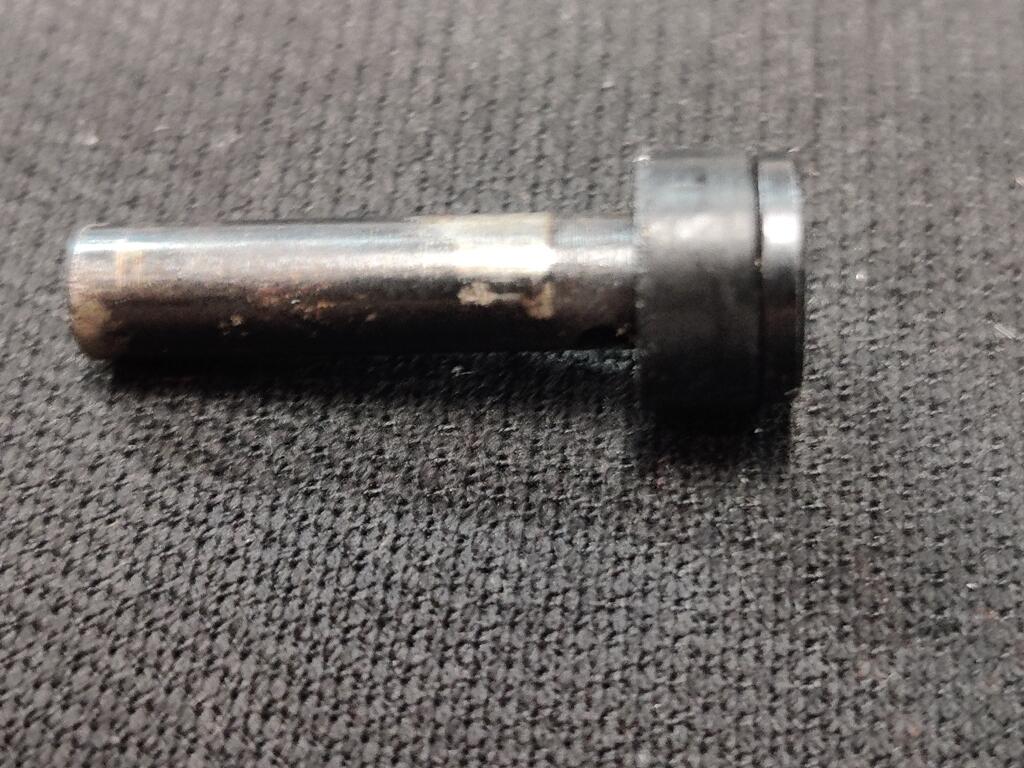
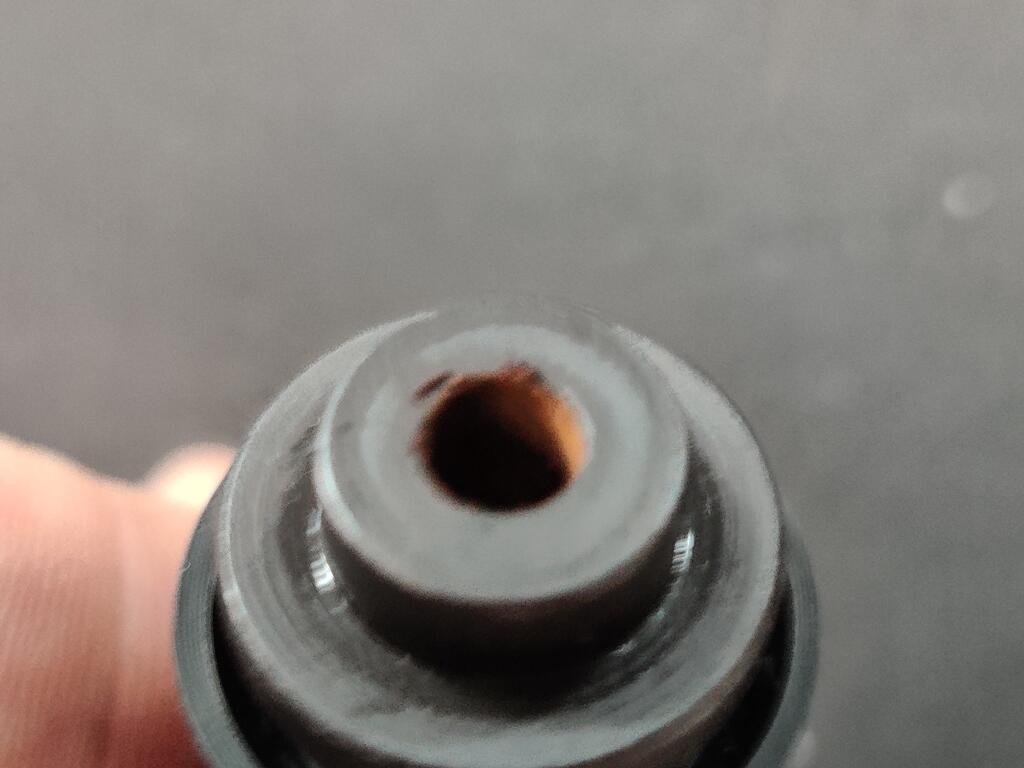
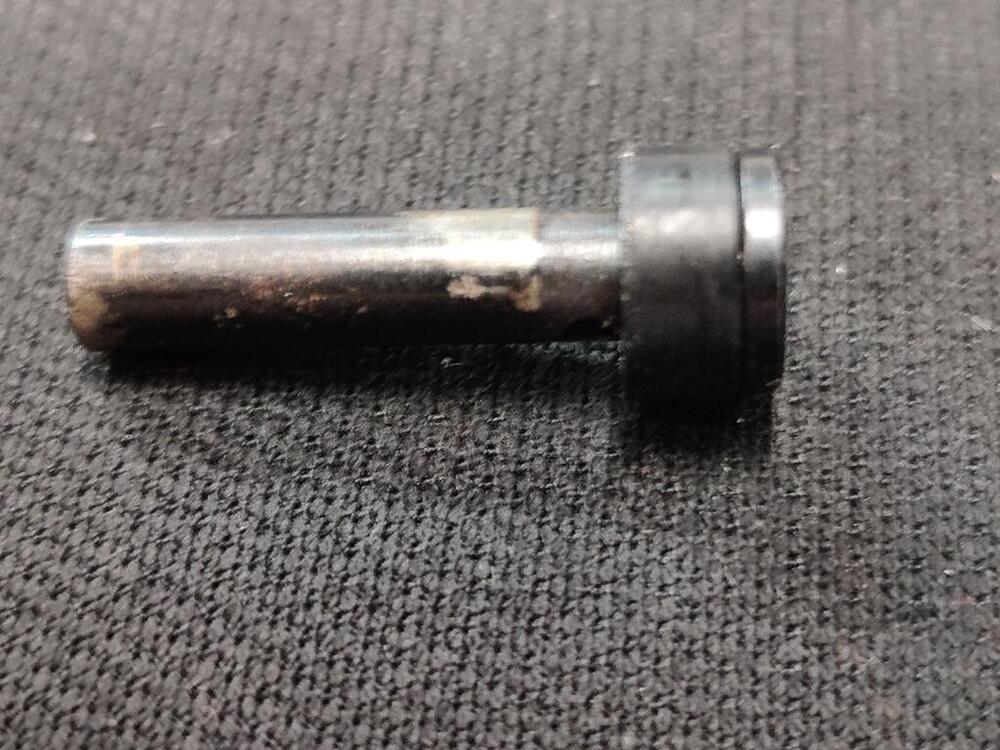
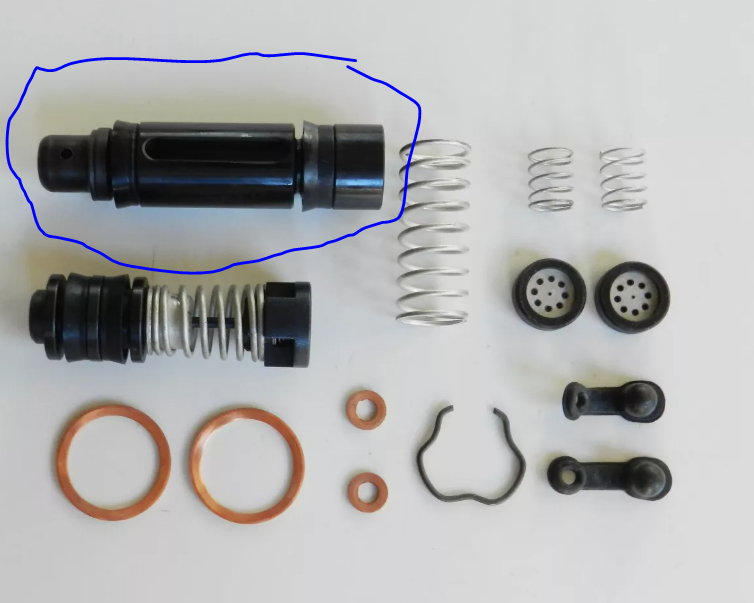
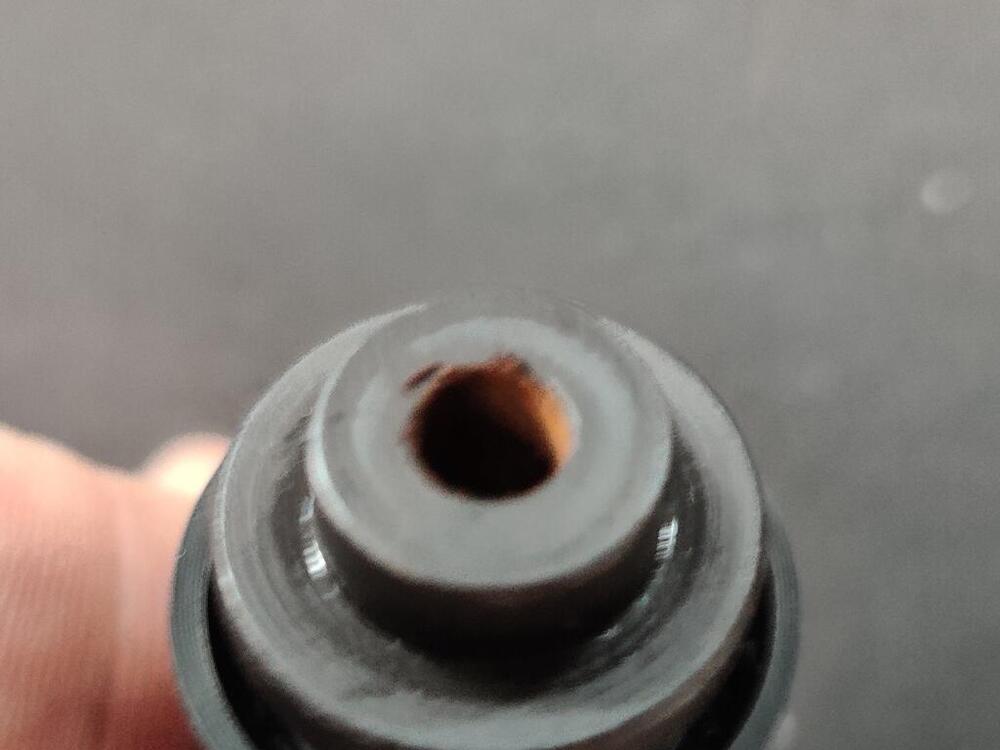
That is because of the way the valve works. When the piston is sitting static on the bench, the valve is closed. That's why spraying stuff into the holes didn't go anywhere. It's not supposed to. Goes like this... Valve is held closed by the spring: When you push on the other end of the little rod (it's actually a hollow tube) it compresses the spring and opens the valve. Fluid flows through the center of this tube and out the two small cross holes that you found all rusty like. Here's a pic of the other end of the tube: When the master cylinder is assembled, this little screw runs across the bore of the M/C and opens the valve when the cylinder is at rest. It pushes against this tube to open the valve: So when the cylinder is at rest (and it is important that it IS at rest), that valve will open and allow fluid from the reservoir into the chamber. So.... All that said. Are you SURE your brake linkage and rod sticking out the front of the brake booster are all adjusted properly such that your M/C was actually at rest when your foot was off the pedal? Because if it's not, that valve will never open and you won't get proper operation of the rear circuit.


 1 point
 -
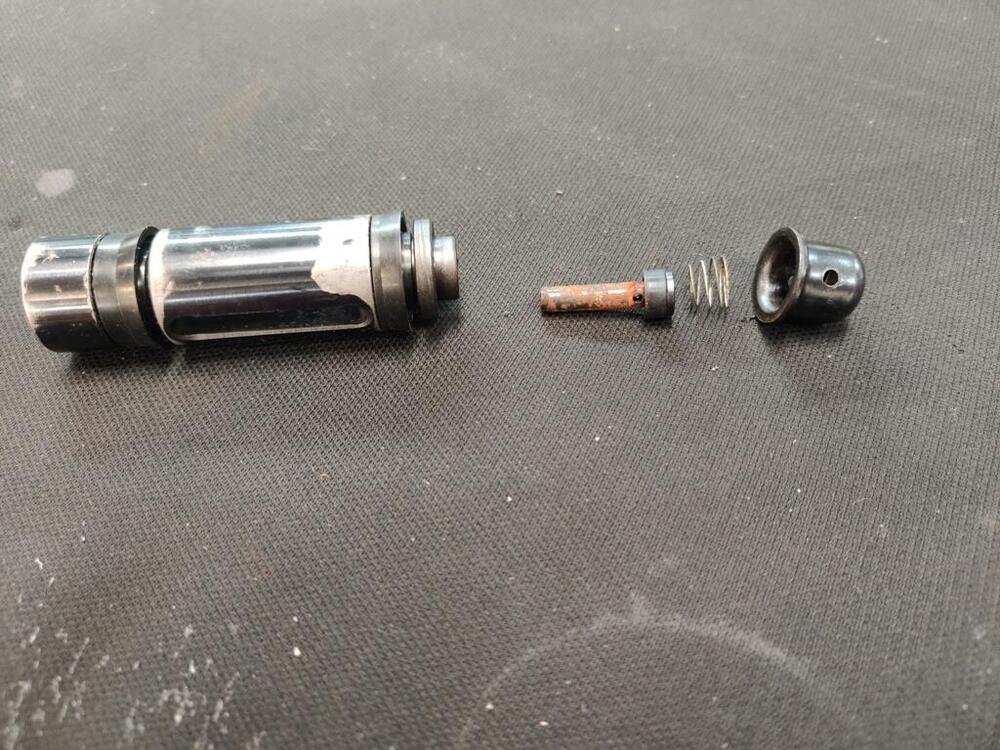
Today, I was excited to do some brake and clutch bleeding and then drive the car around in my neighborhood a bit. It was a beautiful, sunny day, and I was looking forward to it. However, it was not to be! I spent 8 hours trying to bleed the brakes instead. The rear circuit would not move any fluid. I experienced this once before with a "nearly new" Honda S2000 brake cylinder. Each circuit has a little valve that operates. I am not exactly sure how it works, but basically, there are conditions where the fluid will move one way but not back. That valve got "stuck" with the S2000 master cylinder. And I recall it taking me forever to figure it out. That experience was fresh in my mind as I attempted to bleed the brakes and the fluid was not moving either direction for the rear circuit. Though I knew I had a problem, I could not figure out what was going on. For my 8 hours of frustration, at least I can share what I finally found out to be the problem. This is the piston assembly for the rear circuit. Unless you are lucky enough to find a new old stock Tokico master cylinder (and pay big bucks for it), then you will likely want to do what I have done hear to ensure that you will not have the same problem. Here is my rear piston assembly. As you can see, I have removed the "cap" to the far right in the picture. For quite a while today, I tried spraying lubricants and blowing compressed air in the holes of this cap. But that did nothing. Eventually, I became frustrated enough that I put it in my vise (with flat metal plates instead of the serrated teeth) and clamped down on the sides of this cap (with the piston assembly sticking up vertically). I grabbed the piston assembly and wiggled it one way and then the other, unsure what would happen. Luckily, the cap is a light press fit to the end of the piston assembly. And yanking one way and then the other, I was able to pull the piston assembly from the cap. As soon as it came off, I knew I would be able to solve my issue. As you can see, there is a spring... and a little rod with a rubber seal on it (the piece with rust on it, second from the left). Some #0000 steel wool cleaned off the rust from that piece. And a brass "pipe cleaner" type brush cleaned the rust from the hole in the piston assembly: From there, I dabbed a bit of brake grease on these parts and reassembled them. I fitted the spring and tapped the cap back on with a small hammer. Now, this little valve works at it should. Determined to not have wasted some much time today, I am going to go out to the garage and bleed the brakes now like I originally intended to do today.

 1 point
 -
1 point
-
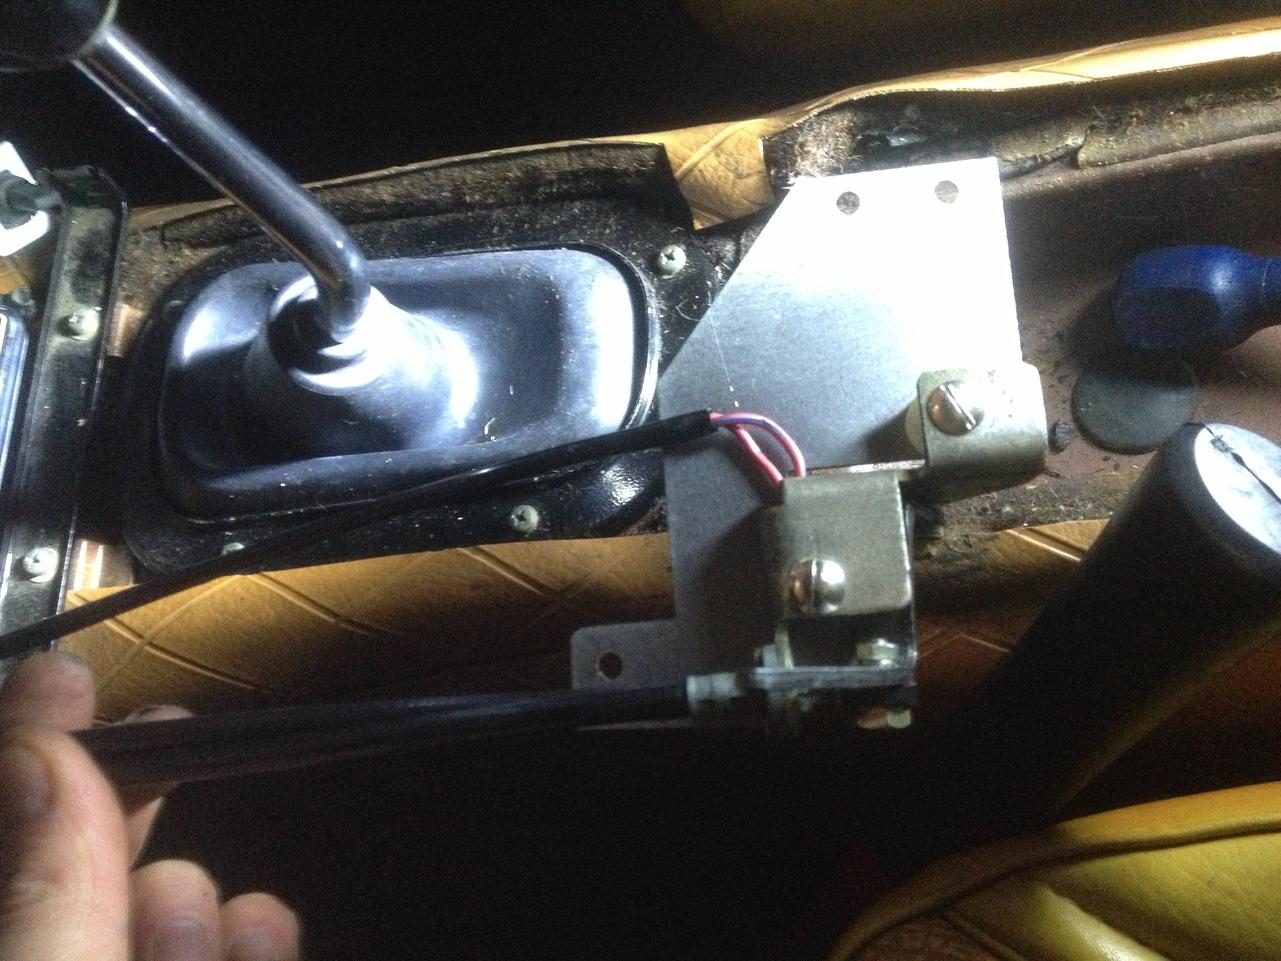
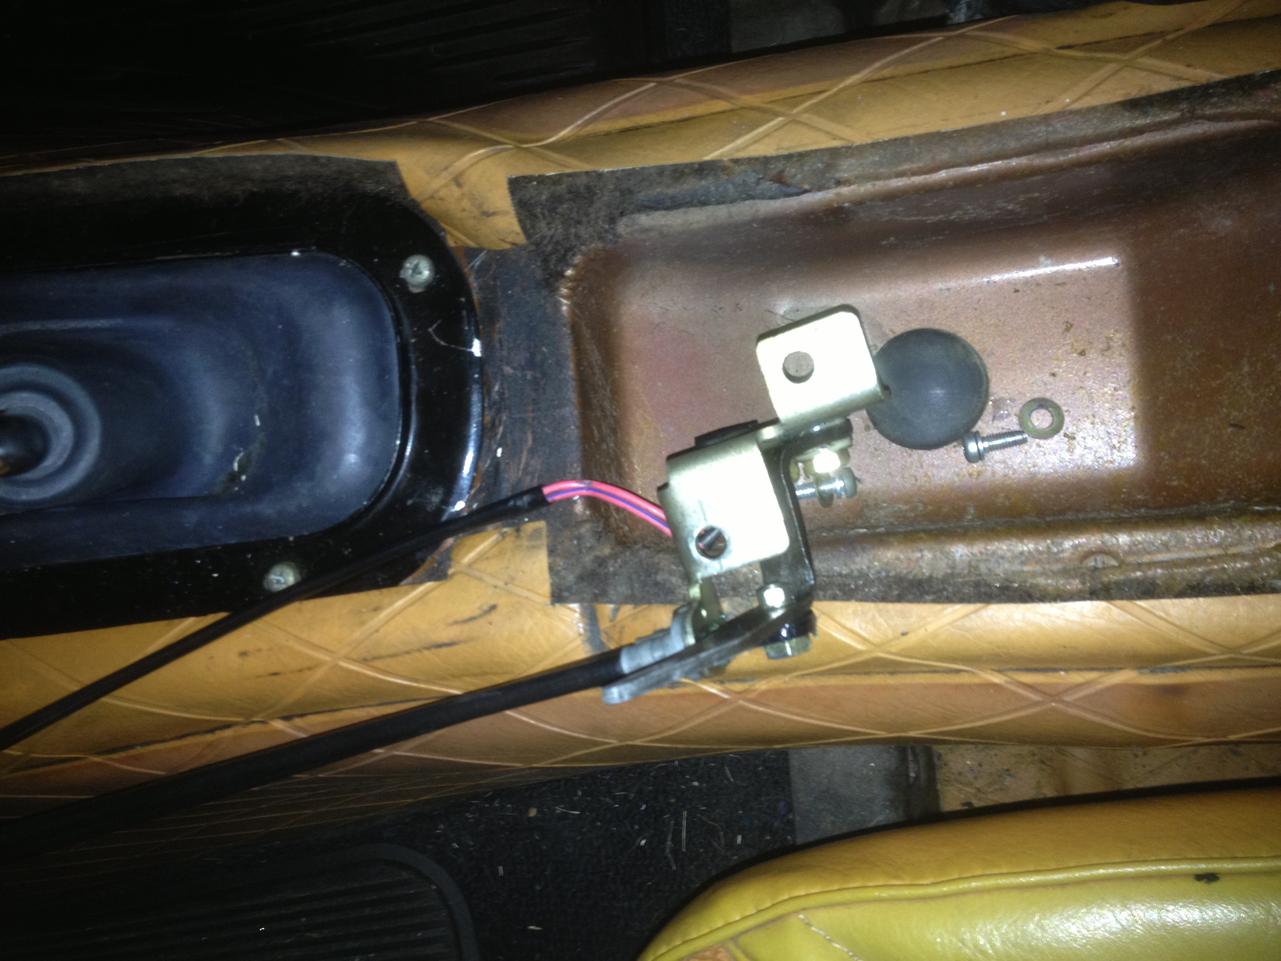
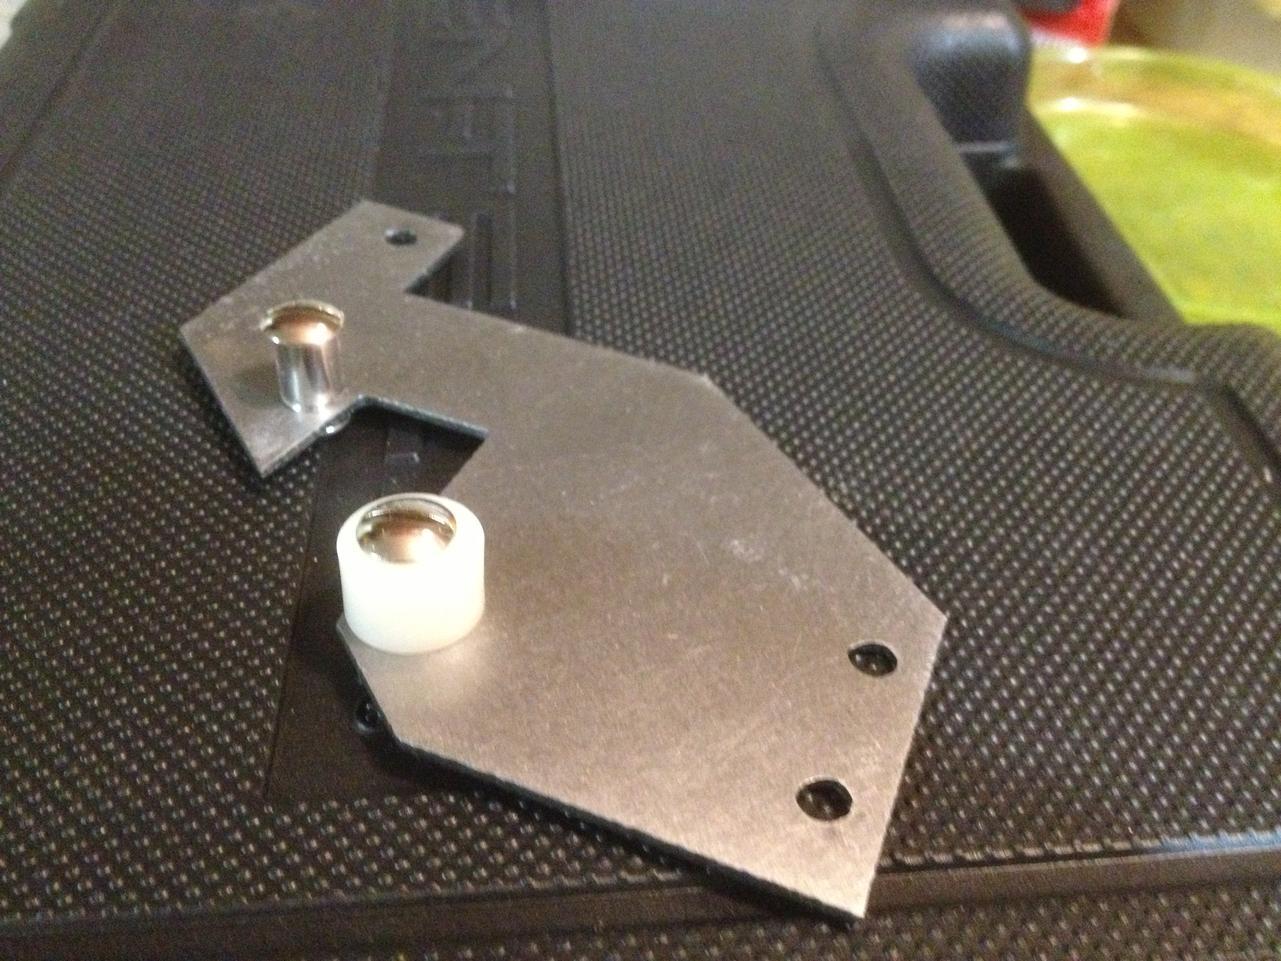
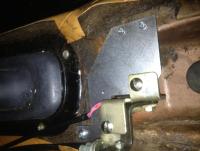
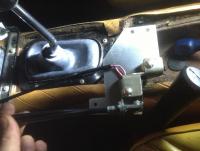
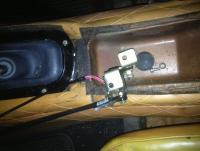
I purchased the bracket a couple years ago & it works great!
 1 point