


Leaderboard
-
conedodger
Free Member11Points12,513Posts -
inline6
 Subscriber
 7Points1,282Posts
 -
Captain Obvious
Free Member4Points10,081Posts -
zKars
Subscriber3Points3,770Posts


Popular Content
Showing content with the highest reputation on 04/22/2024 in Posts
-
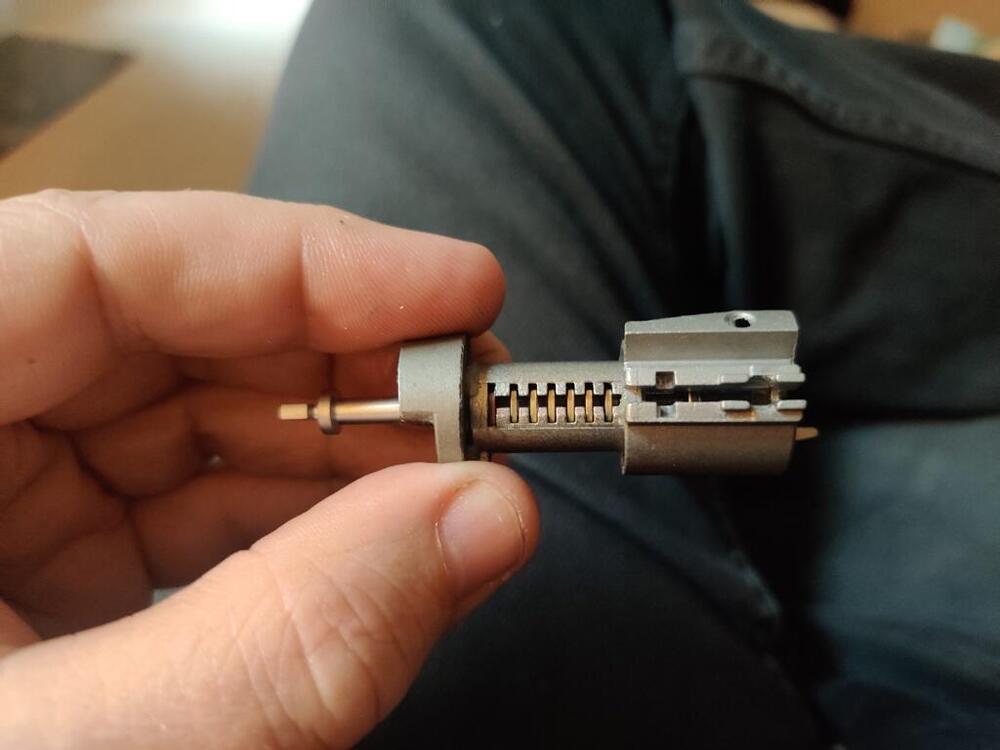
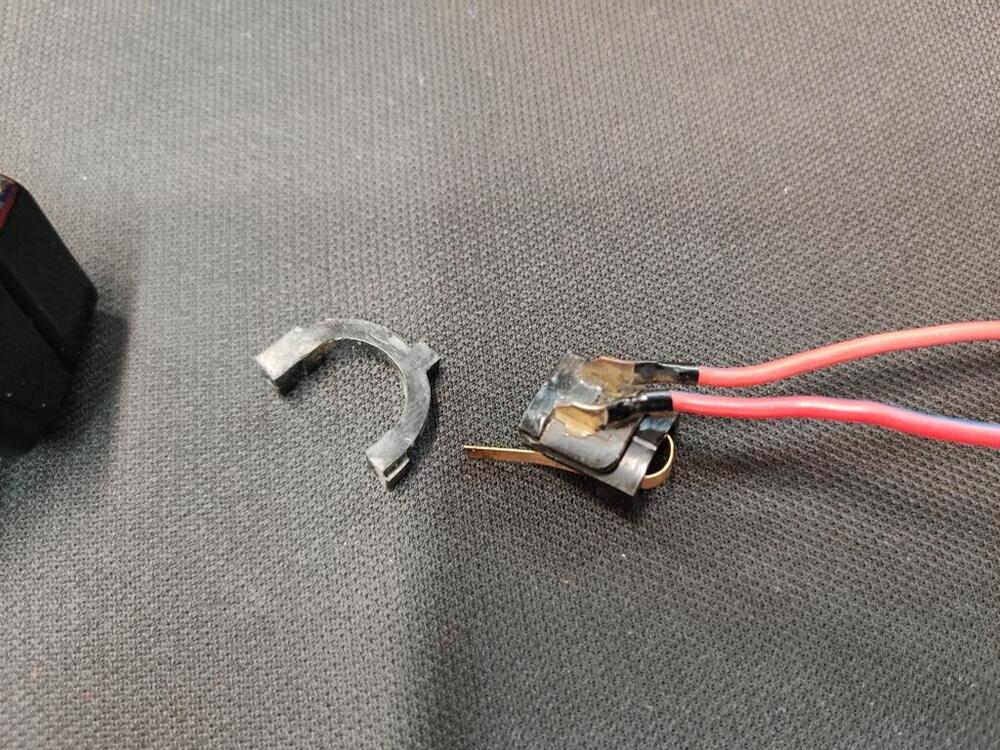
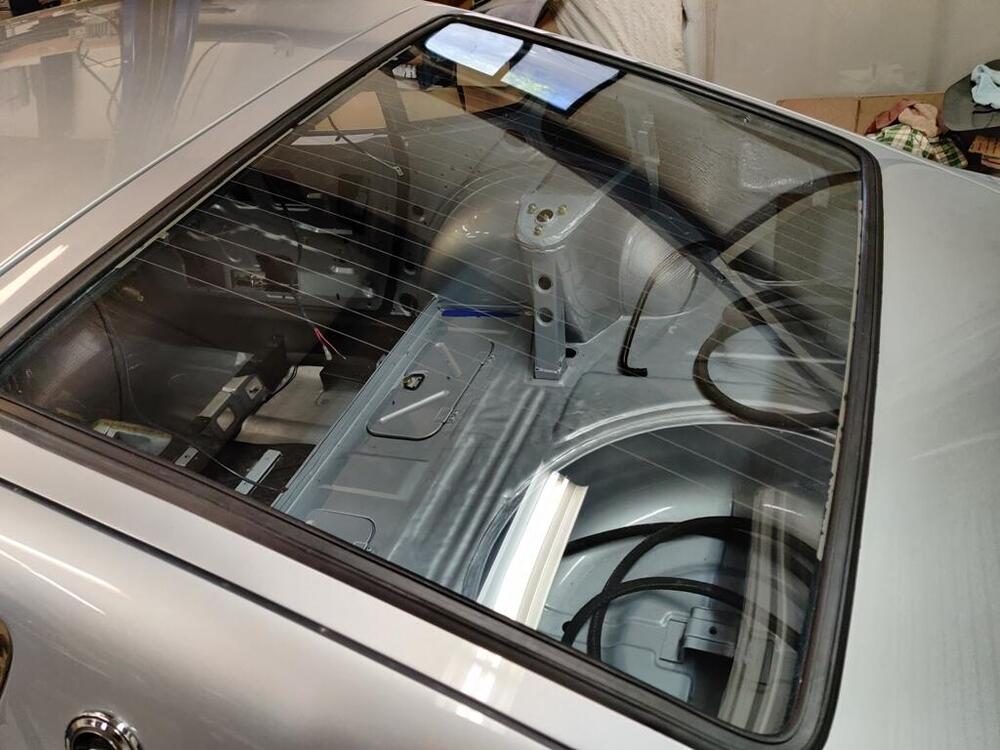
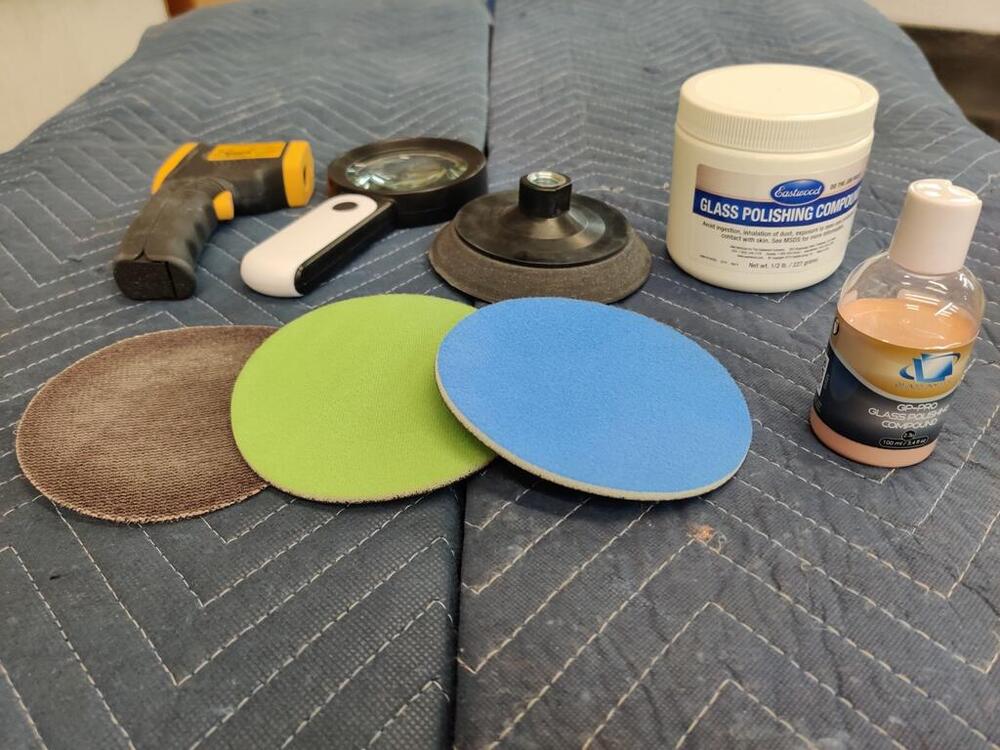
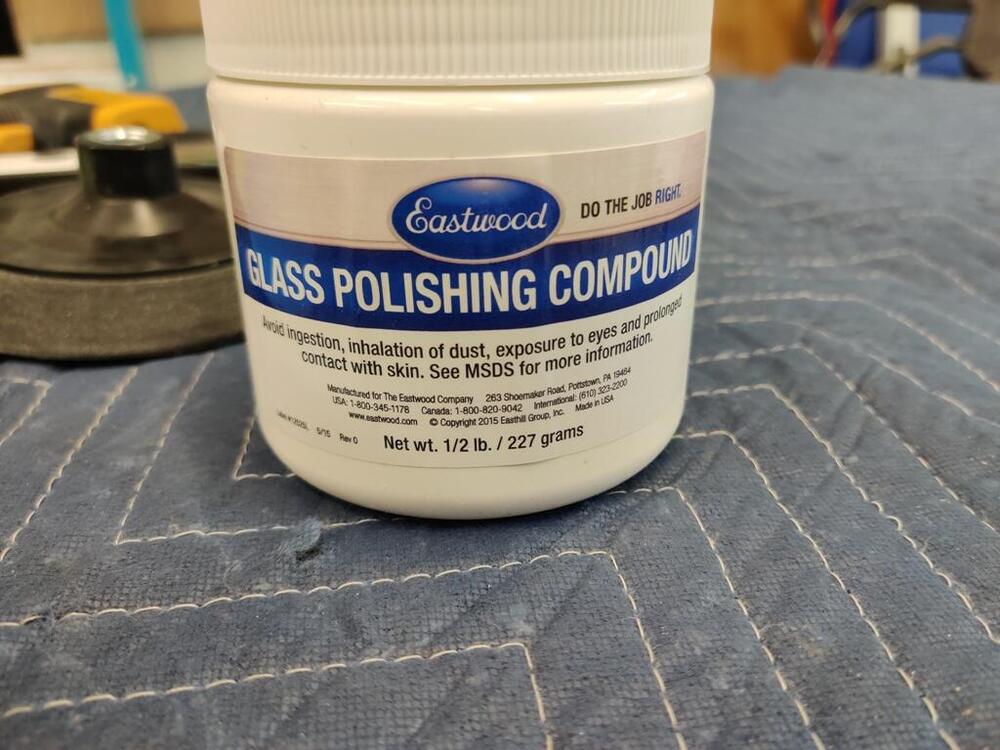
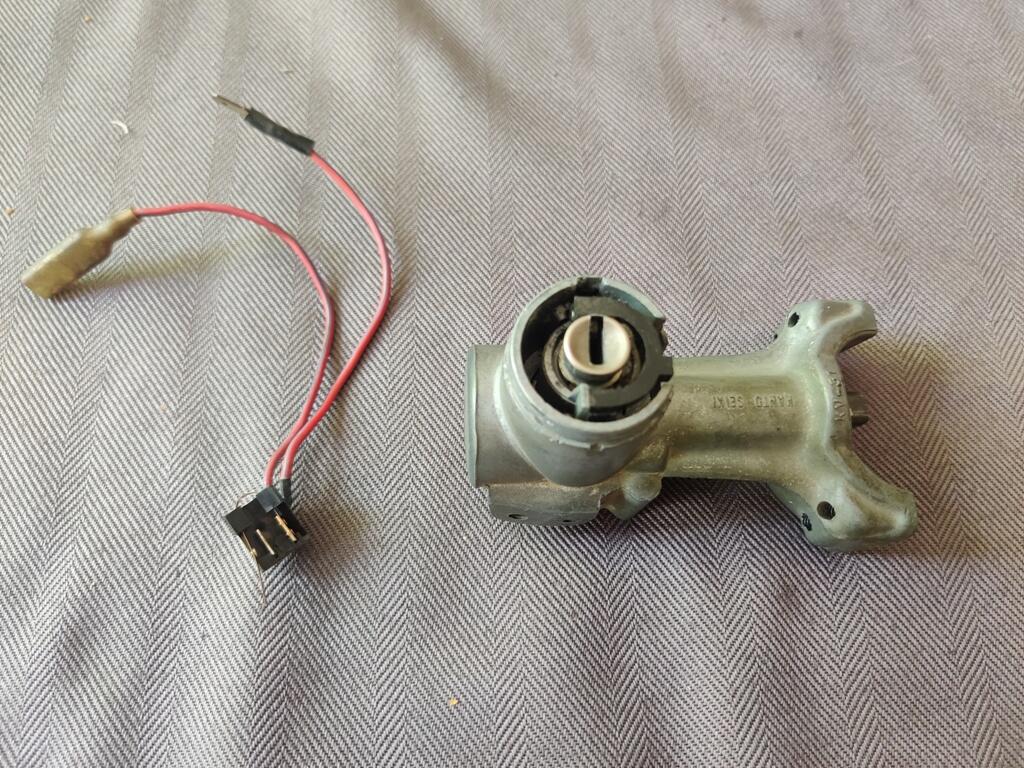
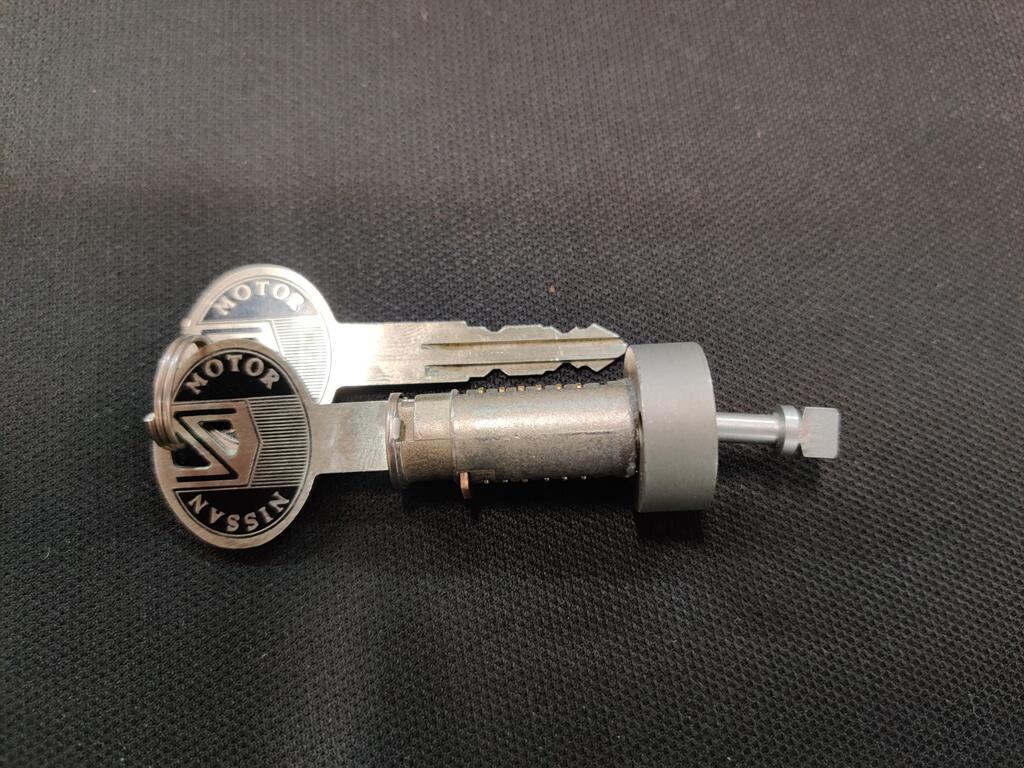
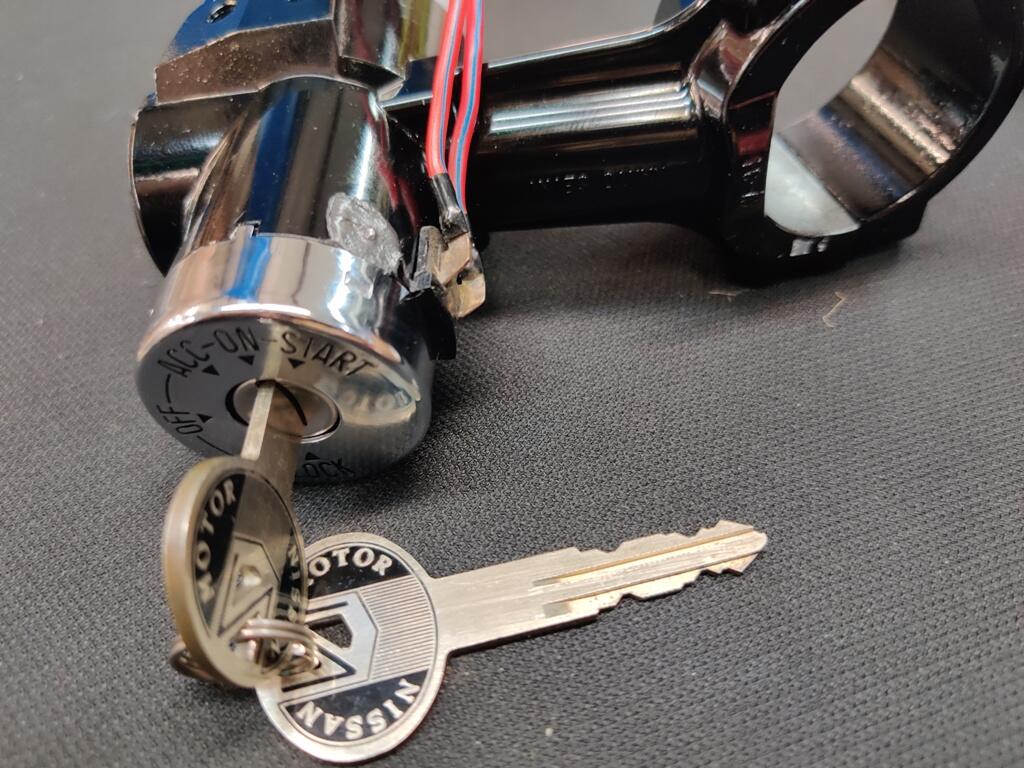
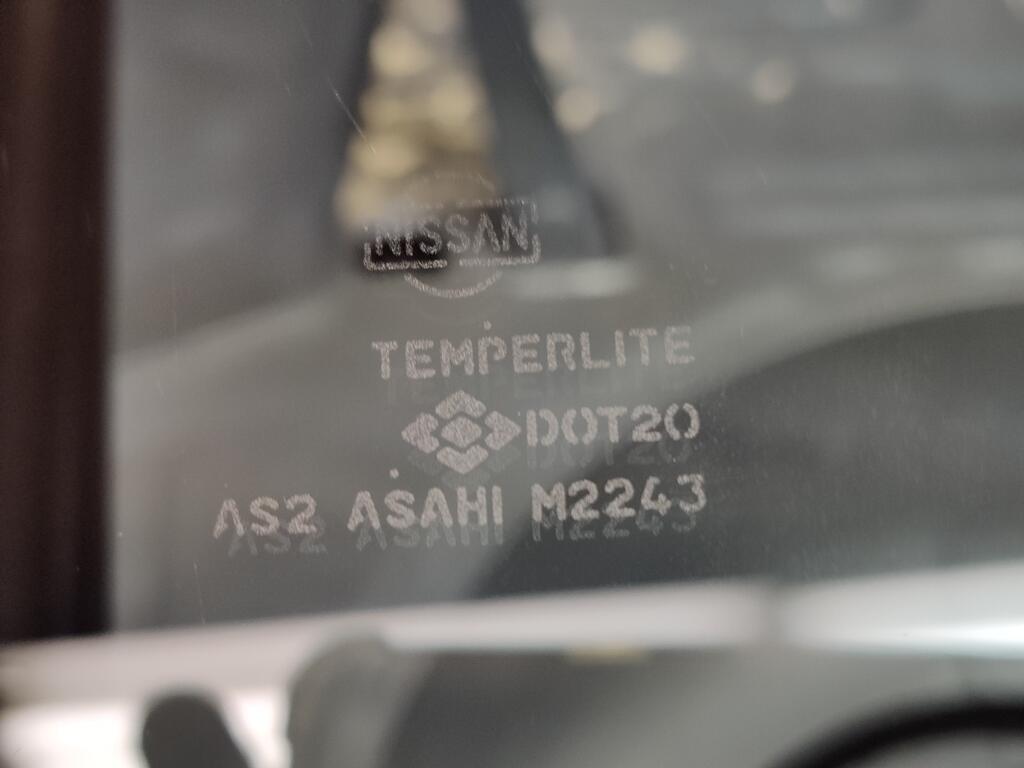
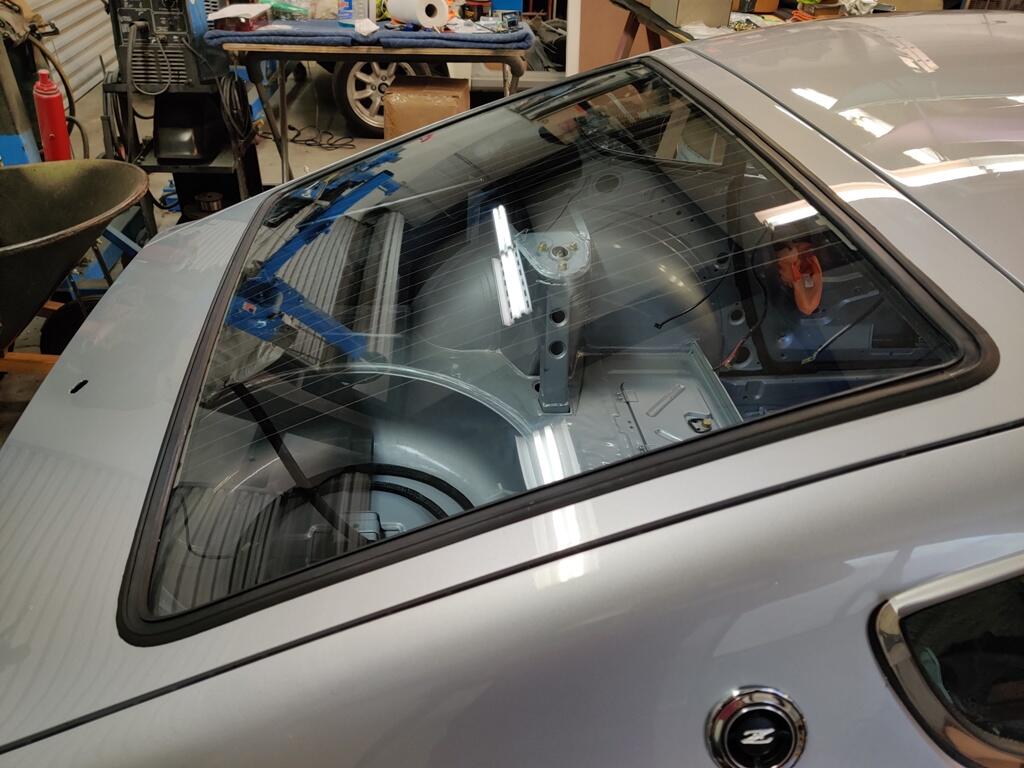
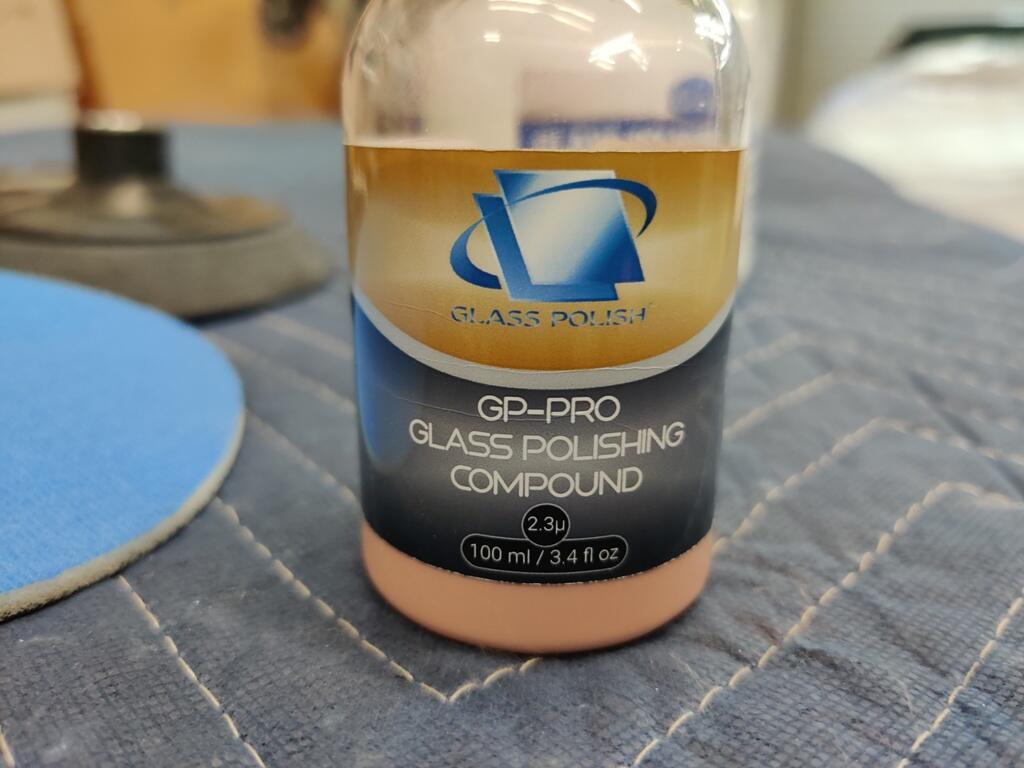
This weekend, I disassembled the new Kanto Seiki ignition switch I got from Japan and changed out the wafers to work with the new, original keys that came with a new old stock hatch lock I bought off of eBay a while back. I found this link to Ratsun forums to be helpful with getting the key tumber out of the switch assembly. In order to get to the wafers, you have to remove the tumbler assembly which requires removing a small steel pin. I drilled as small hole in a spot that allowed me access to the backside of the pin. I was able to push it out and then pull out the tumbler assembly. After I got it out, I swapped a few wafers so I could use the keys with the black paint on them. The new ignition switch did not have these electrical wires. However, these were easily moved over to the new switch. All done: That was the light work for the weekend. Then I switched over to the hatch glass again. I have been dreading getting back to this, because I knew it would require many hours, and I was a afraid that even after investing many more, I would not achieve a satisfactory result. Last time, while I achieving success with removing the deep scratches that were in the glass, I was not having much success getting the glass shiny again. I picked back up with experimenting with the polishing compound that came with the kit. After repeatedly going over a relatively small area, I was unhappy to see I had made next to no progress. I just seemed to be going through polish with no real improvement. The manual said that if the polish wasn't working, I may need to got back to the previous grits. So, I decided to get my magnifying glass and have a closer look. Under magnification, I could see that the polish wasn't doing much even in the area I had concentrated on. I also saw, however, that there were some scratches left over from the first grit. Clearly, I would have to revisit use of some of the prior grits and rework. So, I used the magnifying glass and the green grit (second stage) until I had addressed everything I saw. Then I switched to the blue grit. I went over everywhere that I had used the green. I also went beyond where I had sanded with the green by a couple of inches. For the most part, the sanding scratches looked like )))))))))))). So, when using the blue grit, I went 90 degrees to that, so I could see when all the scratches from the green grit were gone. I used the magnifying glass to check progress. When I was done with the blue grit, I switched over to an Eastwood glass polishing kit I bought a long time ago to polish some wiper marks out of my BMW windshield. From memory, I recalled that the Eastwood kit was able to remove the wiper marks, but also polished that glass back to normal finish. So, rather than using the polish that came with the new kit, I decided to use the Eastwood kit instead. The Eastwood kit contains a powder. To that, you add water. Within a few minutes of polishing with this, I was able to see much better progress with the polishing stage. So, I kept going this route. I also utilized a laser thermometer to check heat, as polishing can heat the glass quite a bit. Polishing glass... is not easy. When I quit yesterday, I had worked on the hatch glass for 6 hours straight with just one 10 min break. And it wasn't done, but I no longer feared that I wouldn't be able to use the hatch glass. Today, I picked up where I left off with more polishing. After another two hours, I called it good enough. I put the factory original weather strip on the glass and proceeded to install it on the car. While that didn't go well, and I became highly irritated, I did eventually get it in. So, I have something like 14 hours of work in polishing the hatch glass. I have learned a ton about how to remove scratches. The kit I bought from Europe will remove deep scratches. But, it takes a lot of time and very careful work with the sander and the grits to get the glass back to a point where you can polish it. I think the polish that came with the kit is worthless. Perhaps it is ok on non-tempered glass. Instead, I recommend using the Eastwood product for the final polishing. Is it perfect? No. But, I got rid of a bunch of deep scratches and I learned a lot. If I had to do it again, I think I could get the time down to around 9 hours which is still crazy, but for what it is worth, I was able to save the original hatch glass:


 7 points
 -
Turn signal light issues, especially those that exist while the hazards work just fine, are often the fault of the hazard switch. Remove it and clean its internal contacts and check for solder problems where the wires attach. Also make sure the battery is fully charged or the car is running, or attach a charger to the battery while you do testing. Low voltage often causes older flasher units to not want to do their job well or at all making diagnosis of related problems difficult.3 points
-
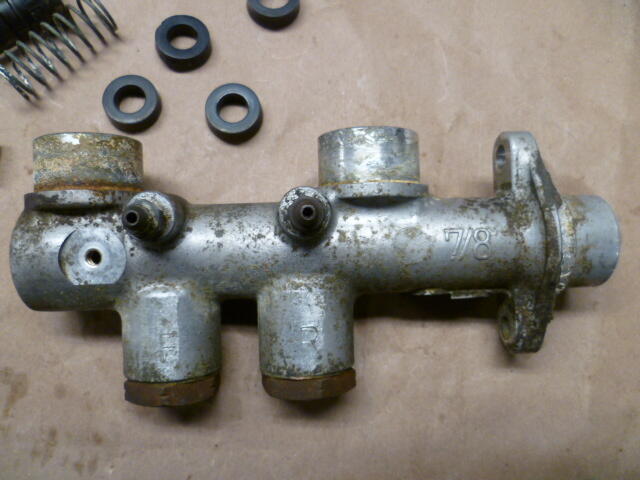
And for comparison, here's the one bought on ebay by @inline6. Note that the "F" and "R" markings are cast into the cylinder body as opposed to mine which are stamped. Now, there's no telling where in the chronology this ebay body came off the assembly line, but it was clearly at some time after they decided where "F" and "R" should really be: I'm thinking that Datsun changed their minds very early on? And then there was a revision to the casting to cast the "correct" locations into the body without having to grind and stamp?2 points
-
2 pointsAre you swapping in a 240Z or 260Z engine? If not, you have to open up the window in the head for the mechanical fuel pump, and you'll probably need to source and install the eccentric for the fuel pump. And let's not discuss the poor quality of aftermarket mechanical fuel pumps.2 points
-
At the Atlanta Z-CON, Charles and I talked with Matsuo-San when that question came up. As I recall he said that joint was intended to flex. The consequence of a stiff C-pillar was the A-pillar flexing instead with the possibility of a windshield popping out. @Patcon What do you remember of this conversation?2 points
-
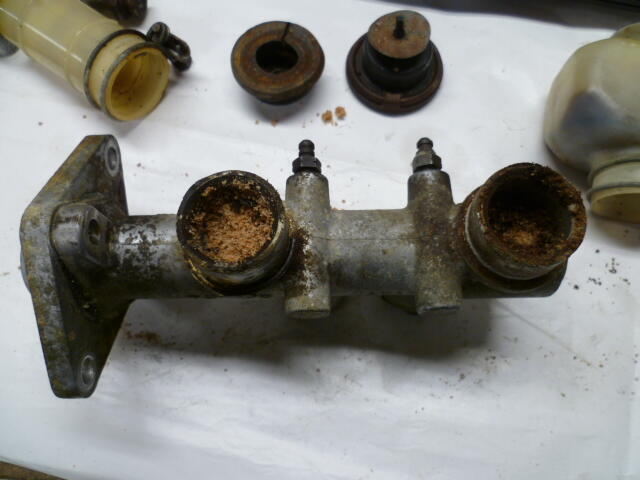
1 pointI'm looking for some of the guts from a master cylinder that looks like this. Note that it has the two output ports located between the two reservoir tanks: Hopefully one that comes apart without a permanently disfiguring fight because it doesn't look like this inside:
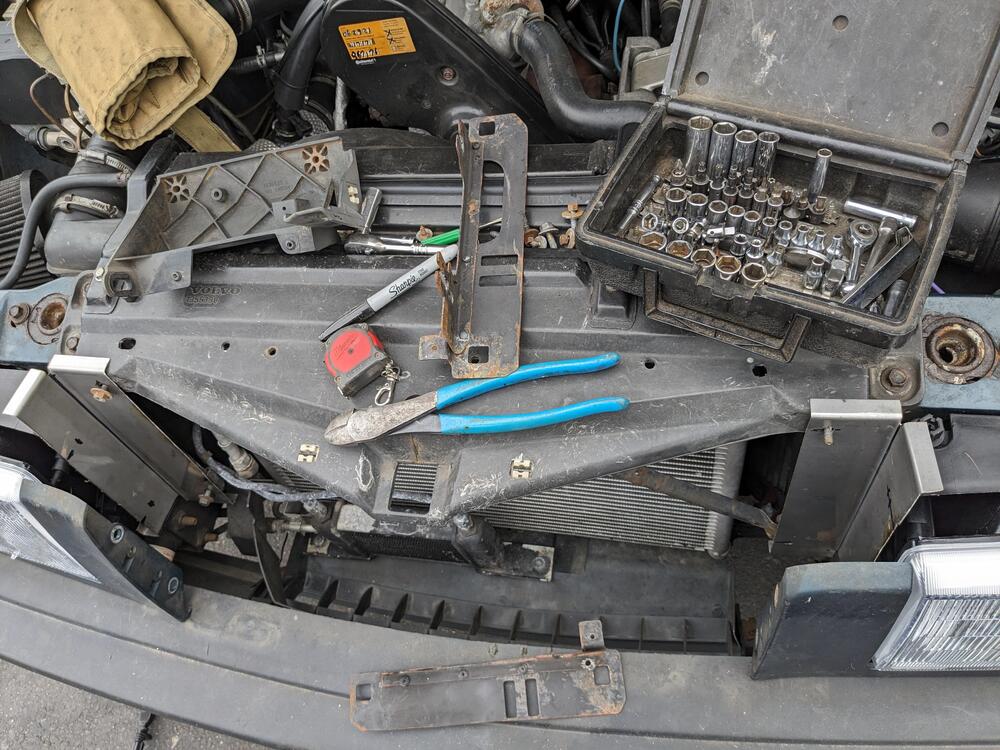
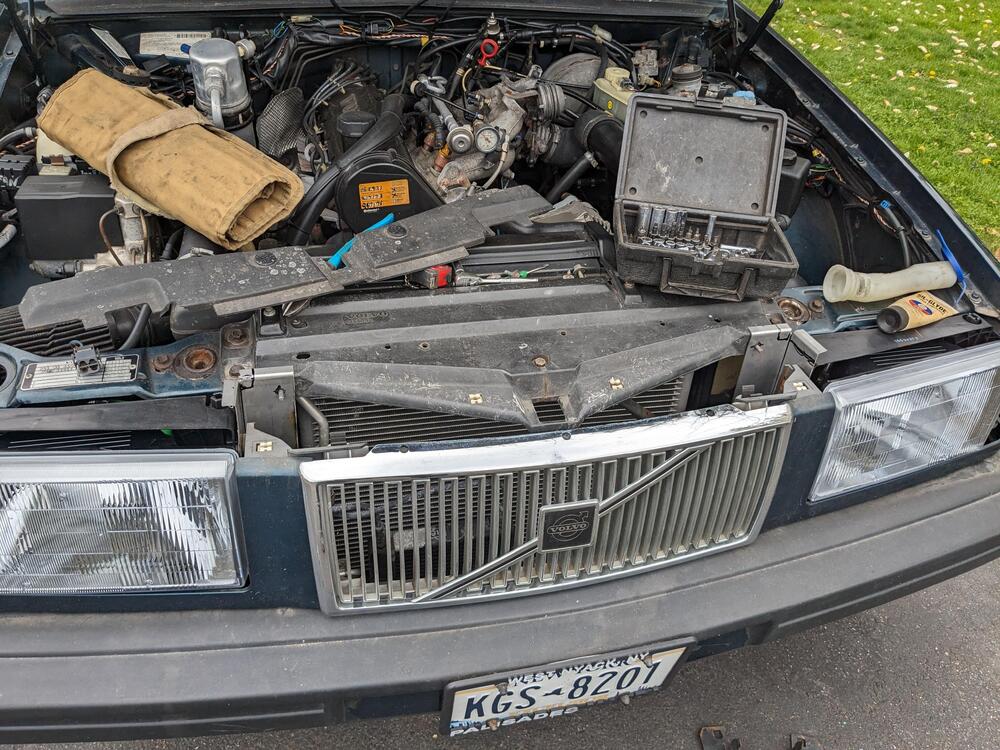
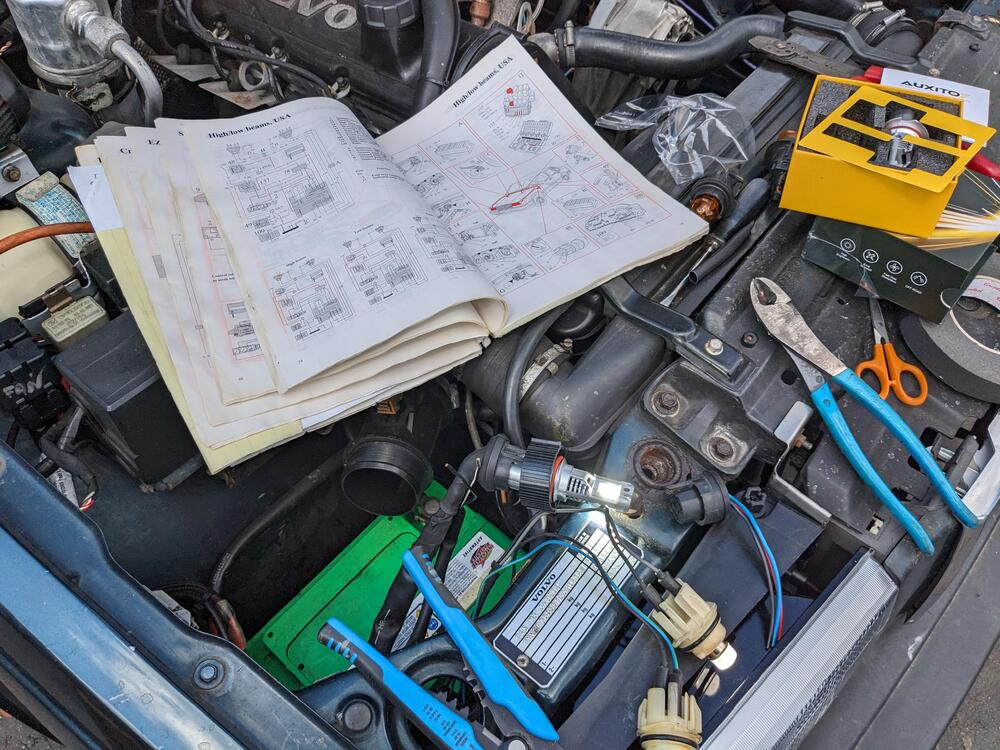
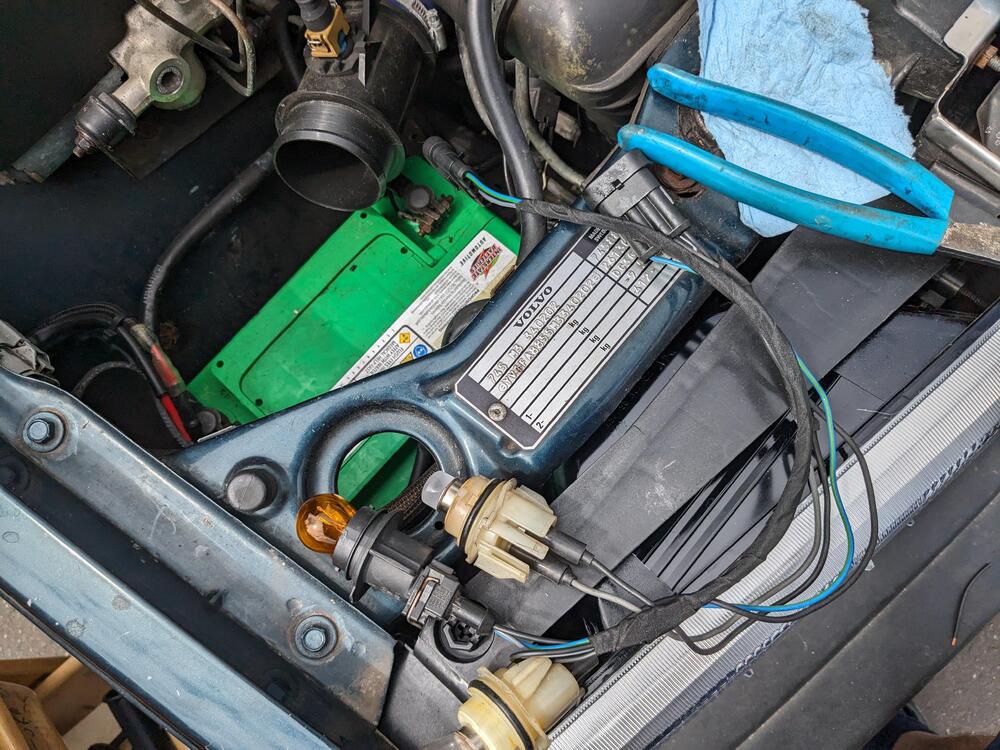
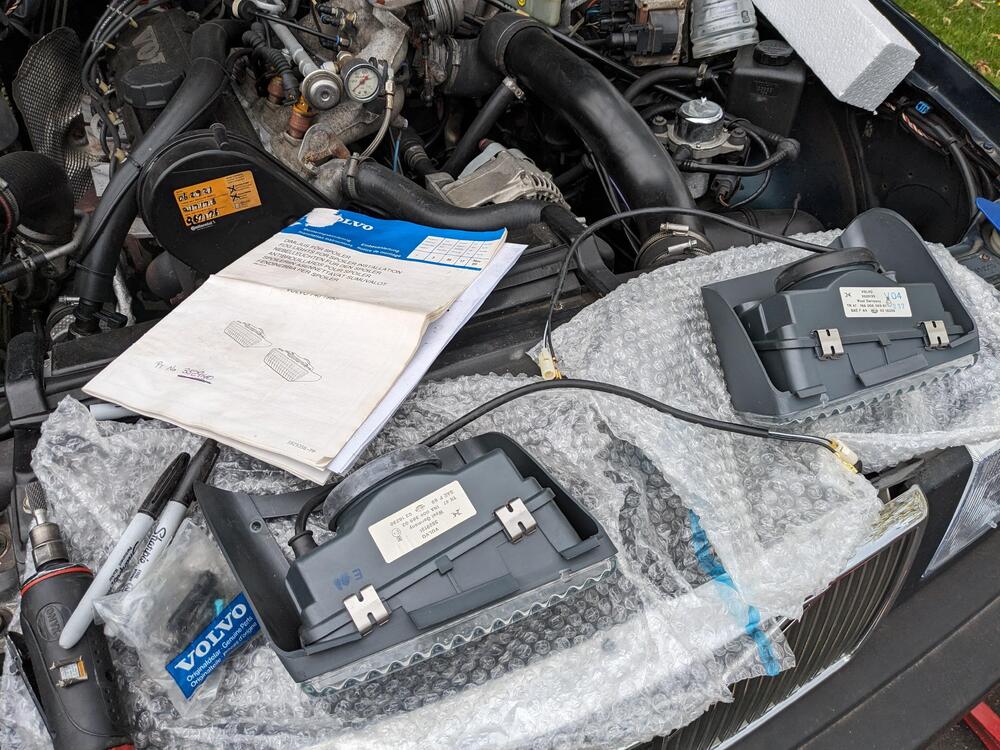
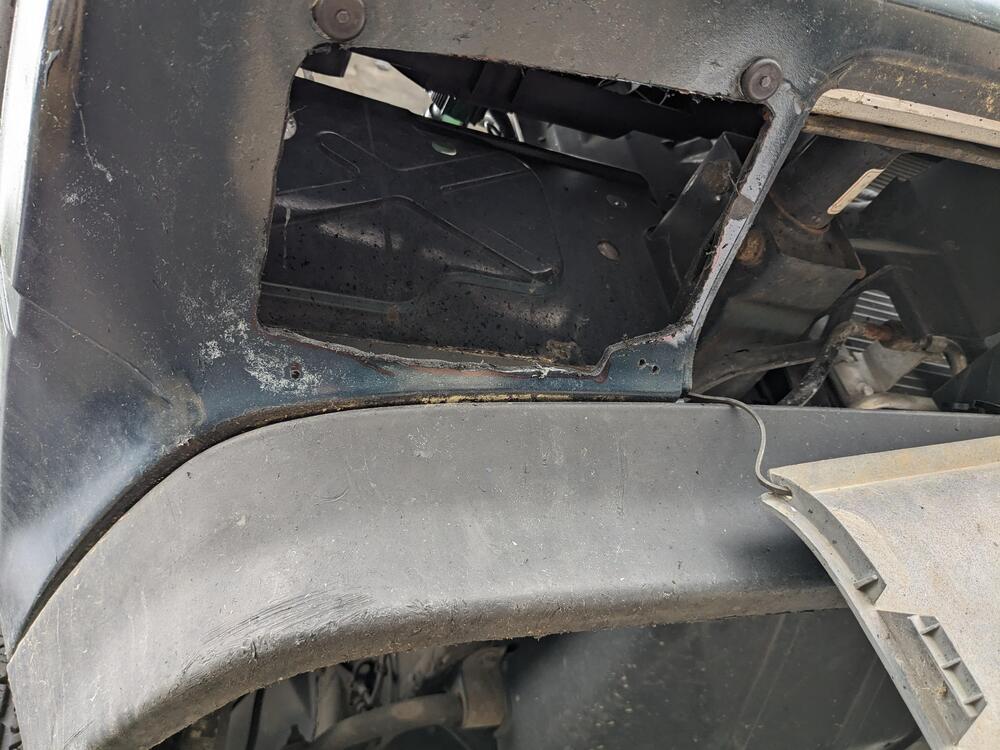
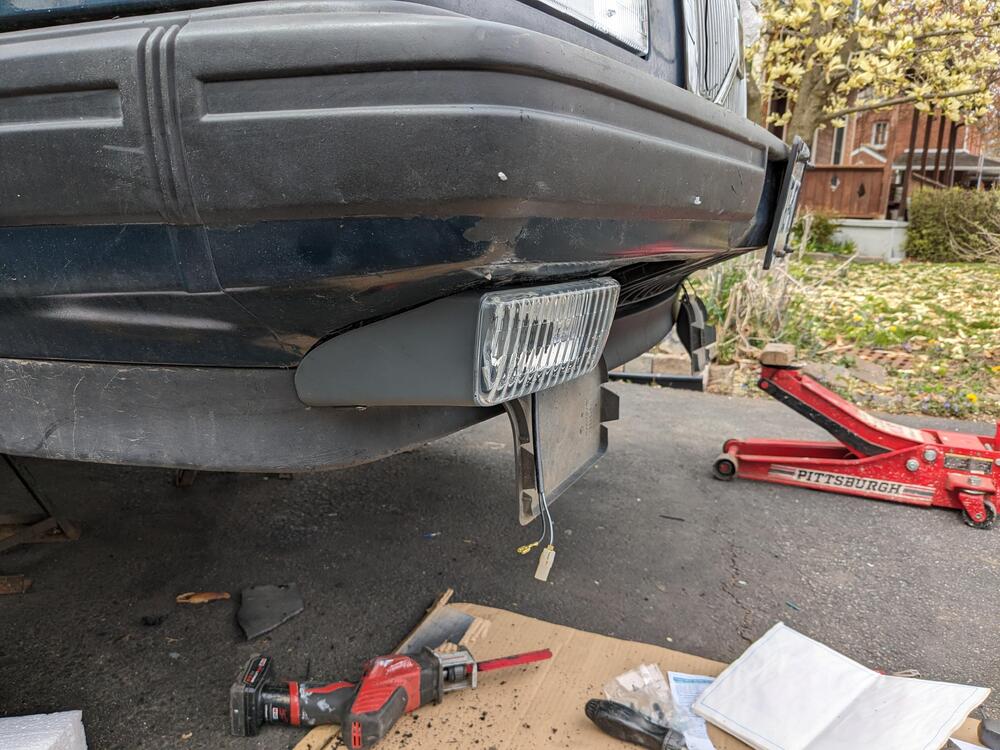
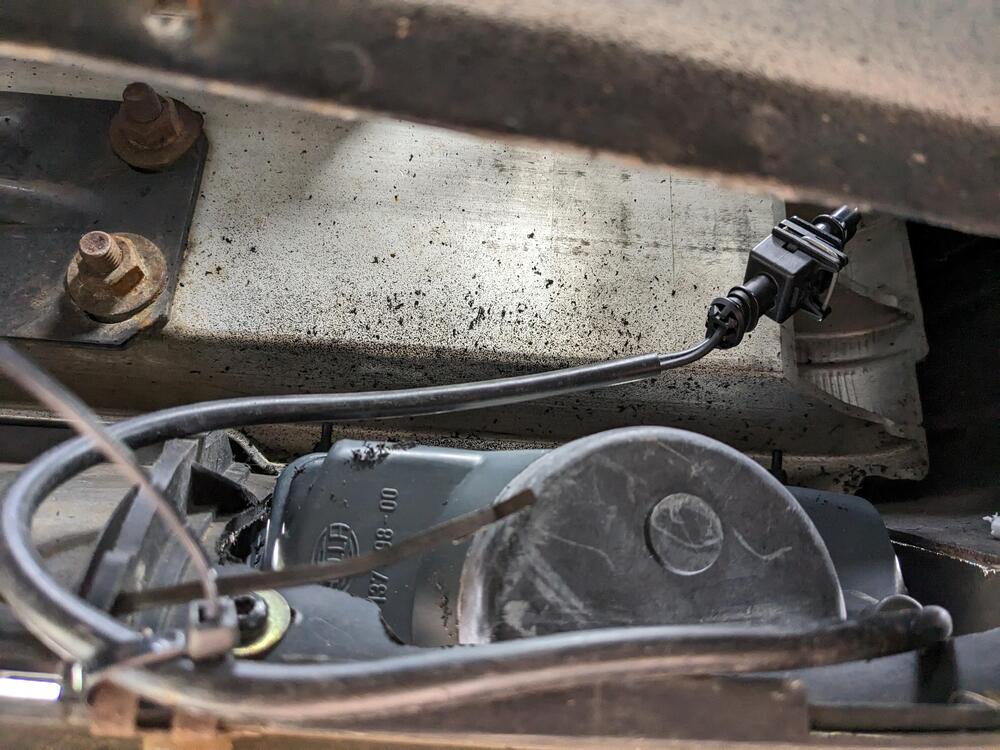
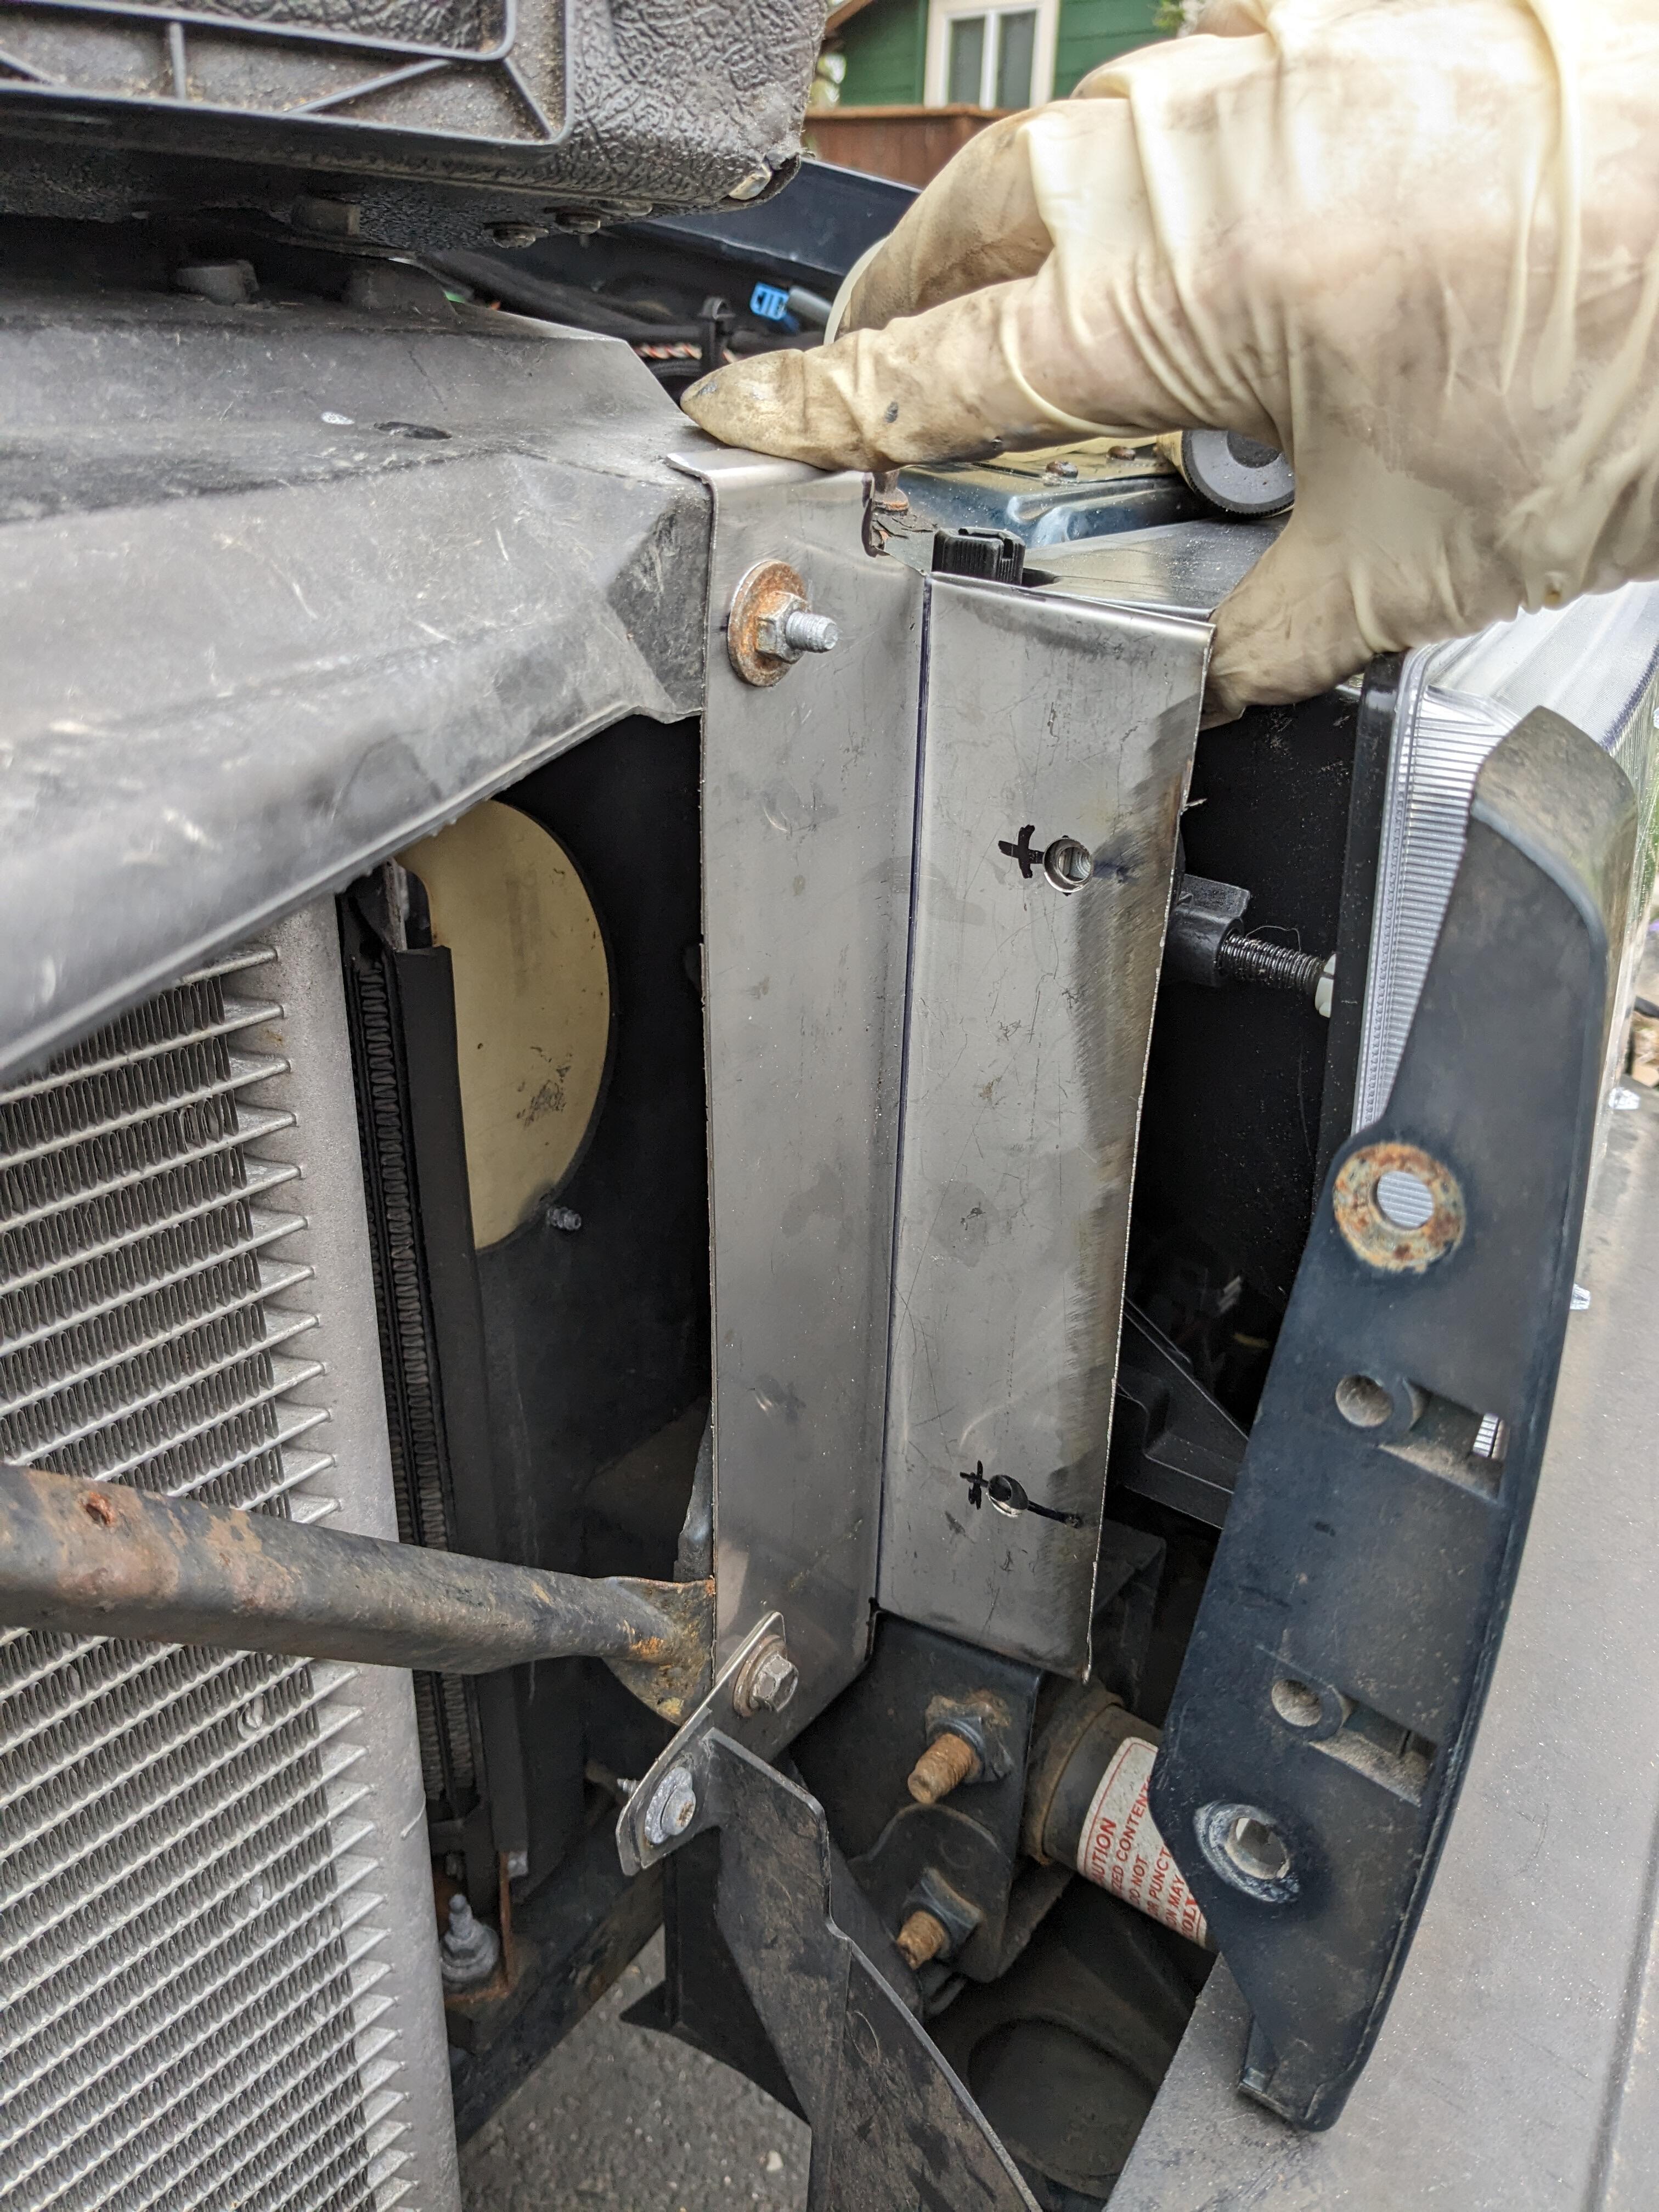
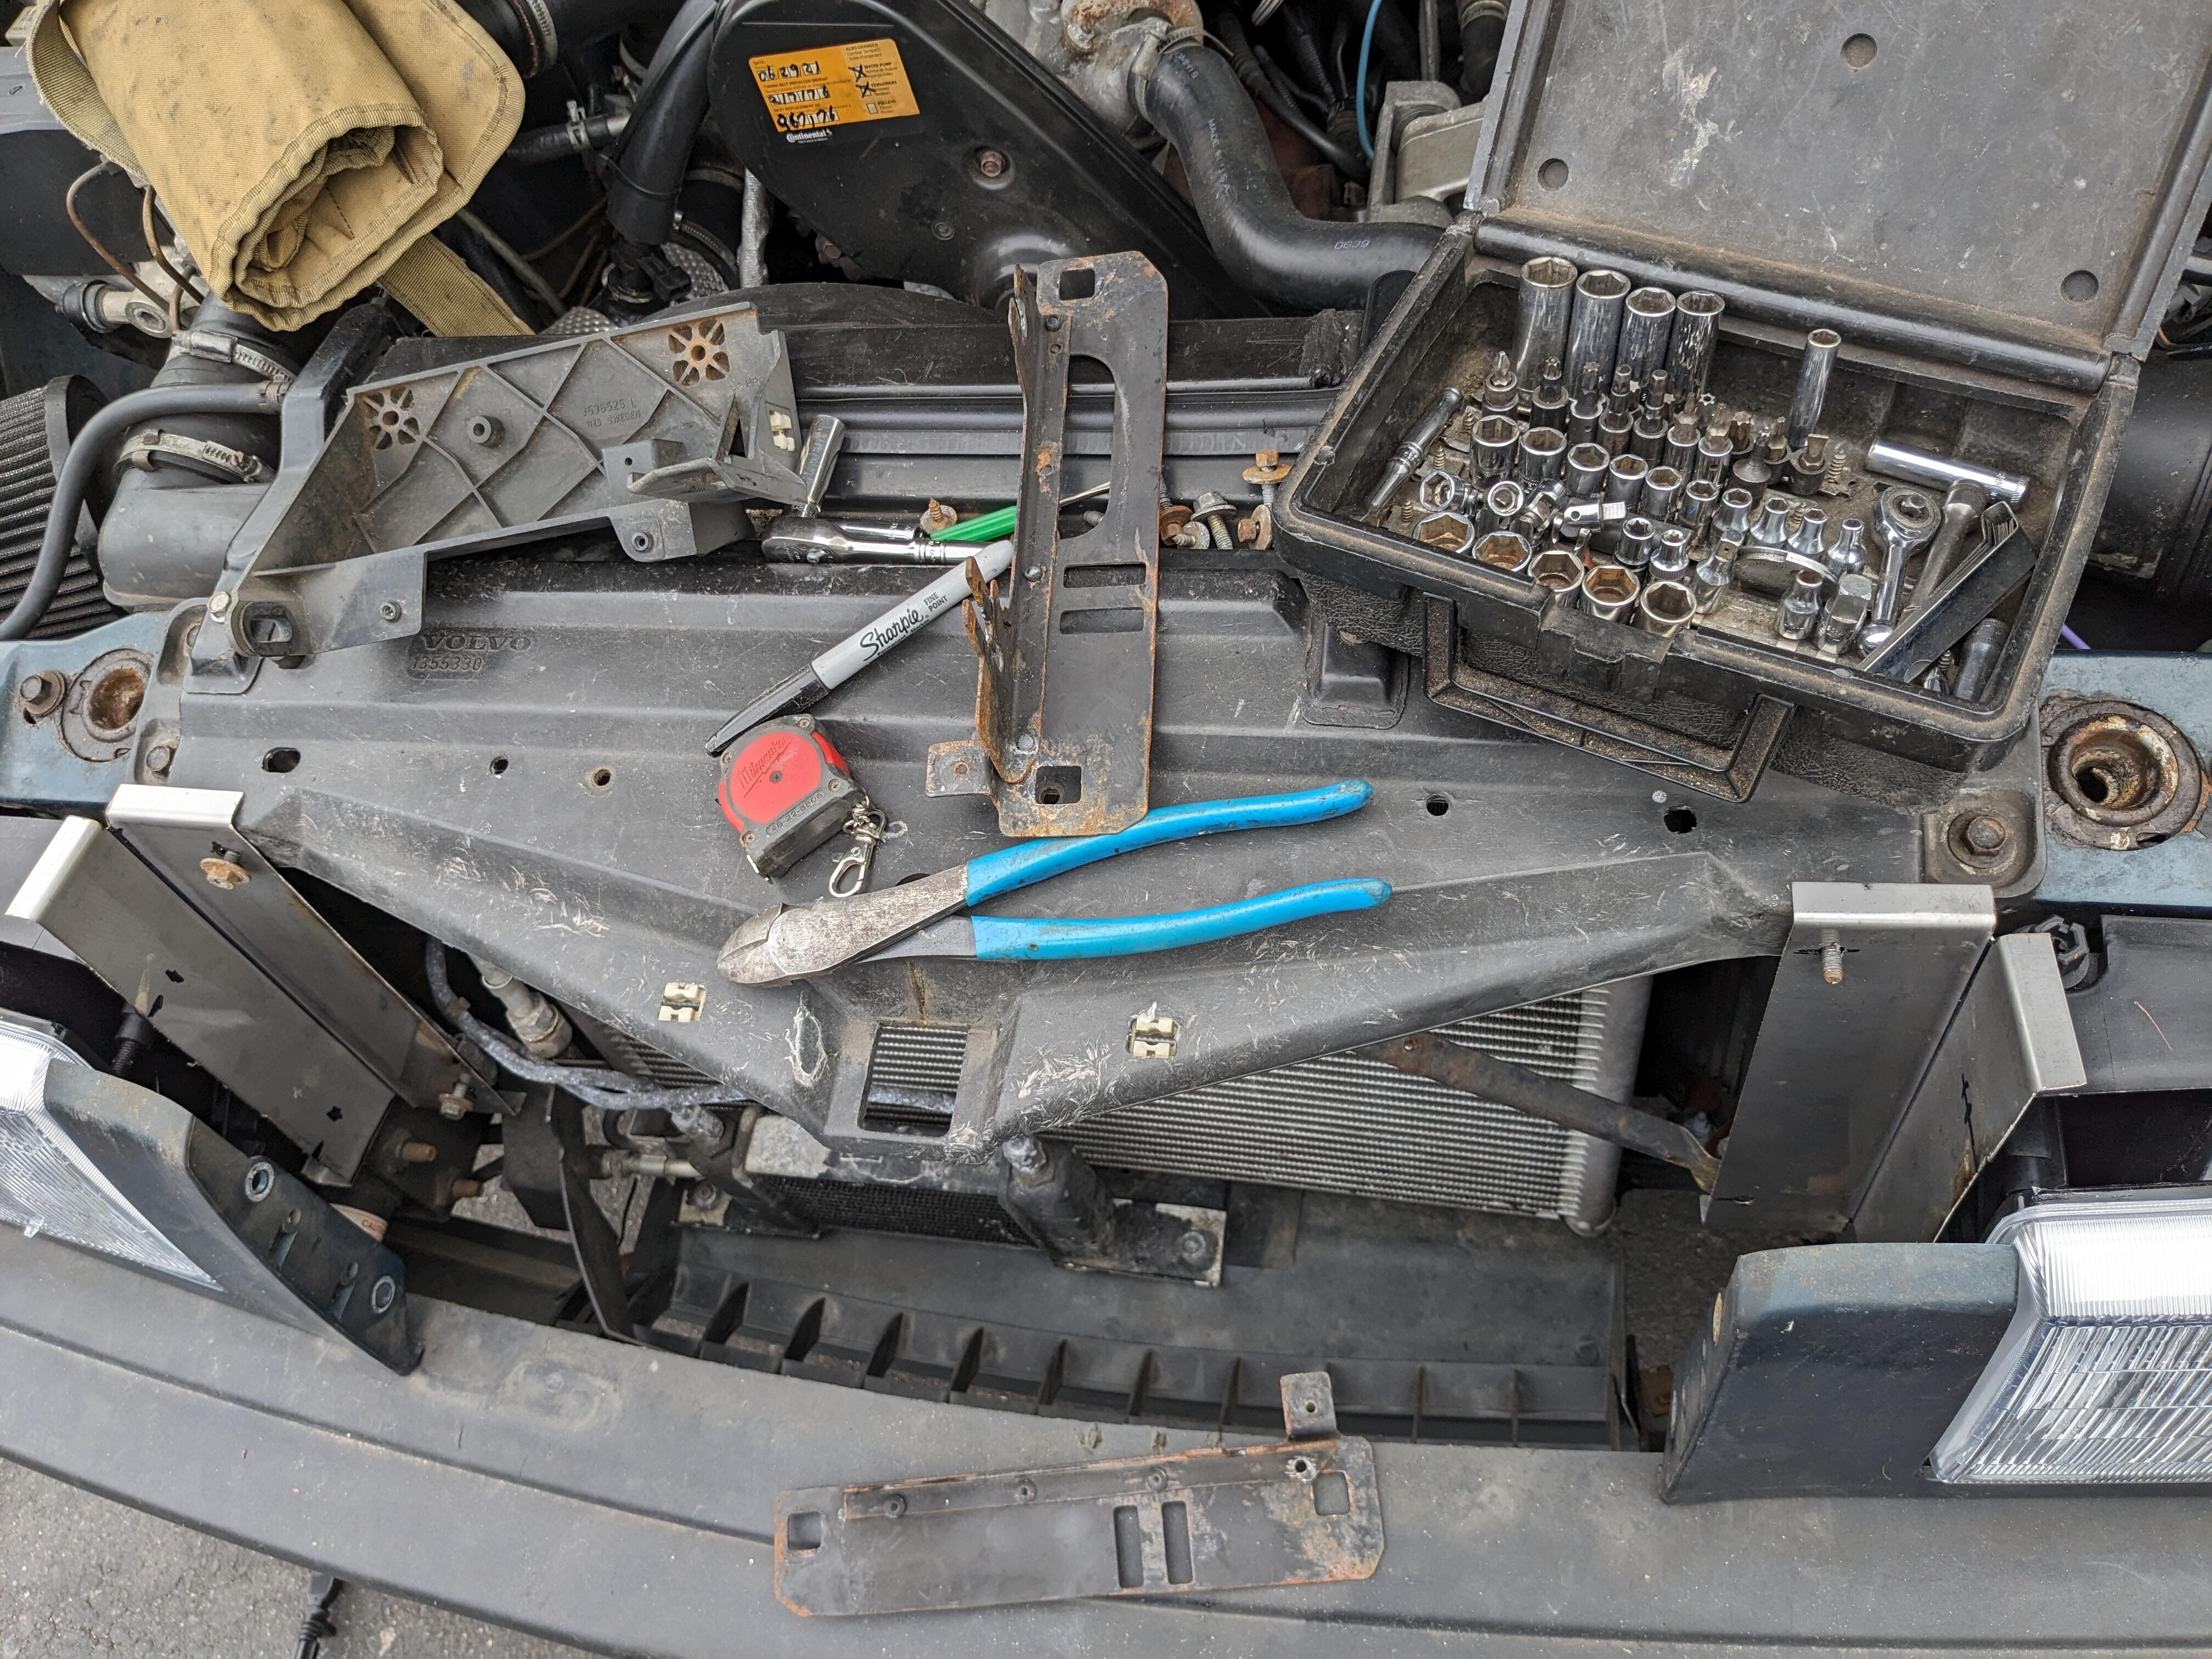
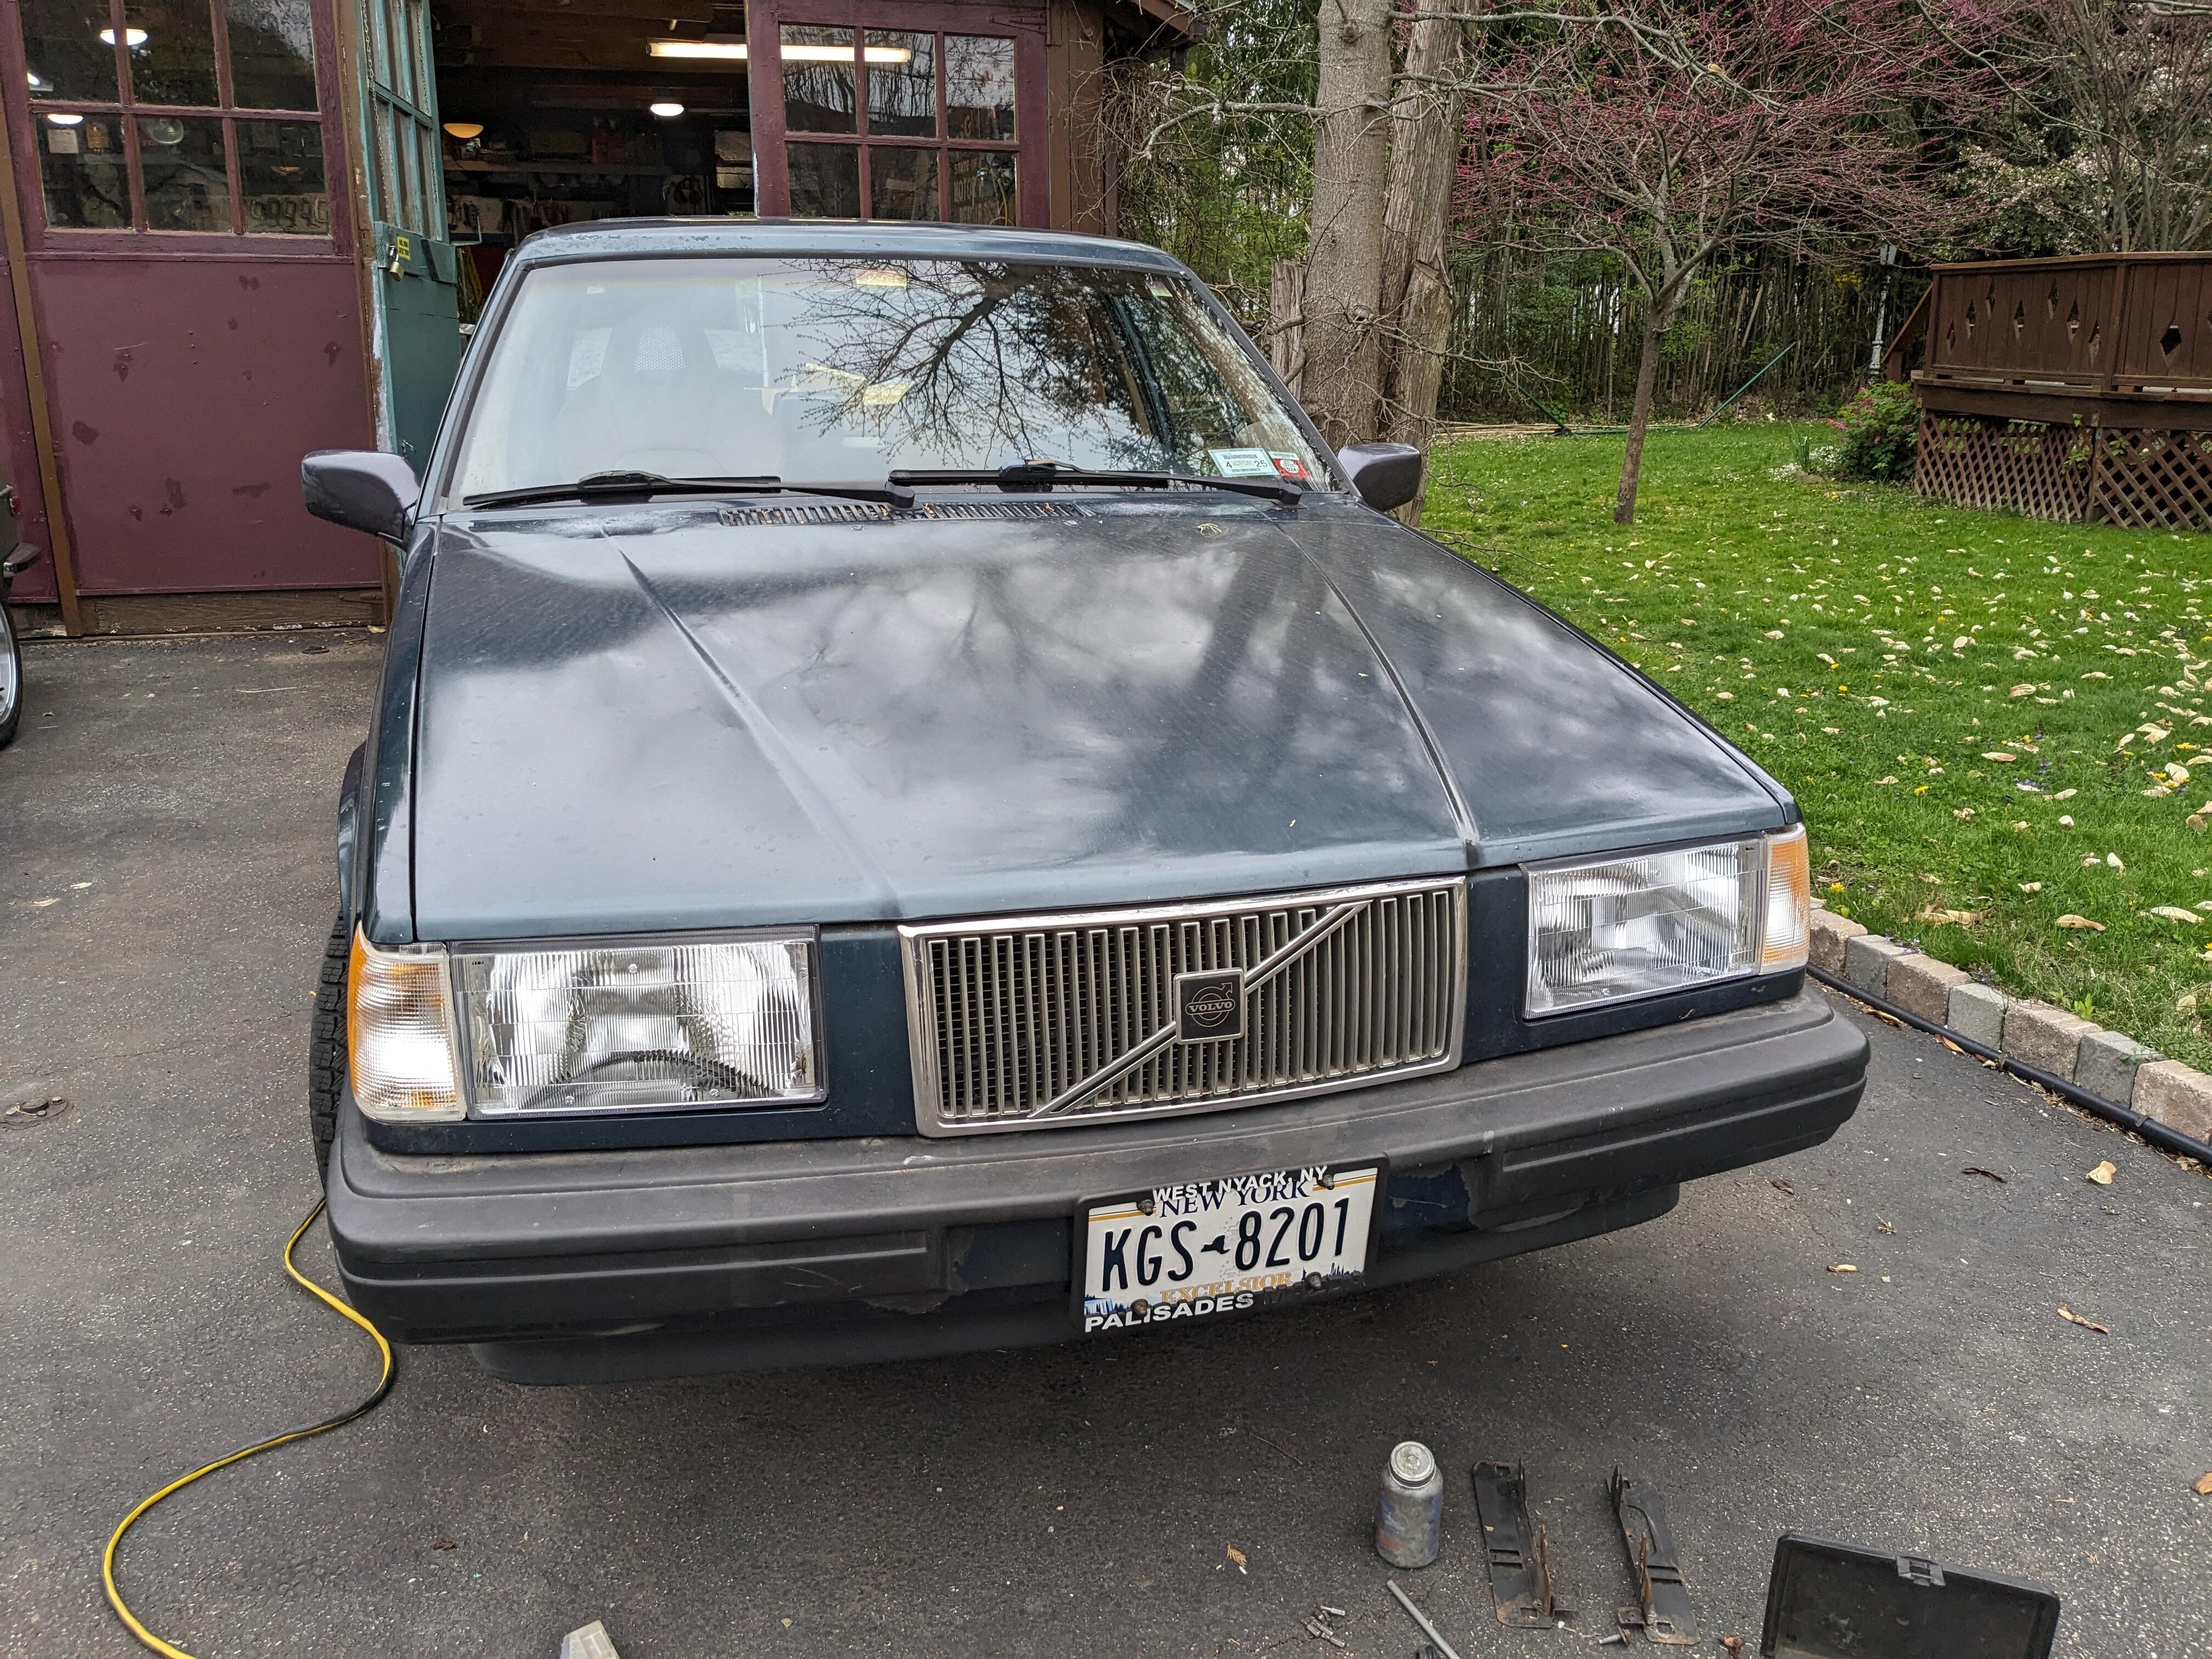
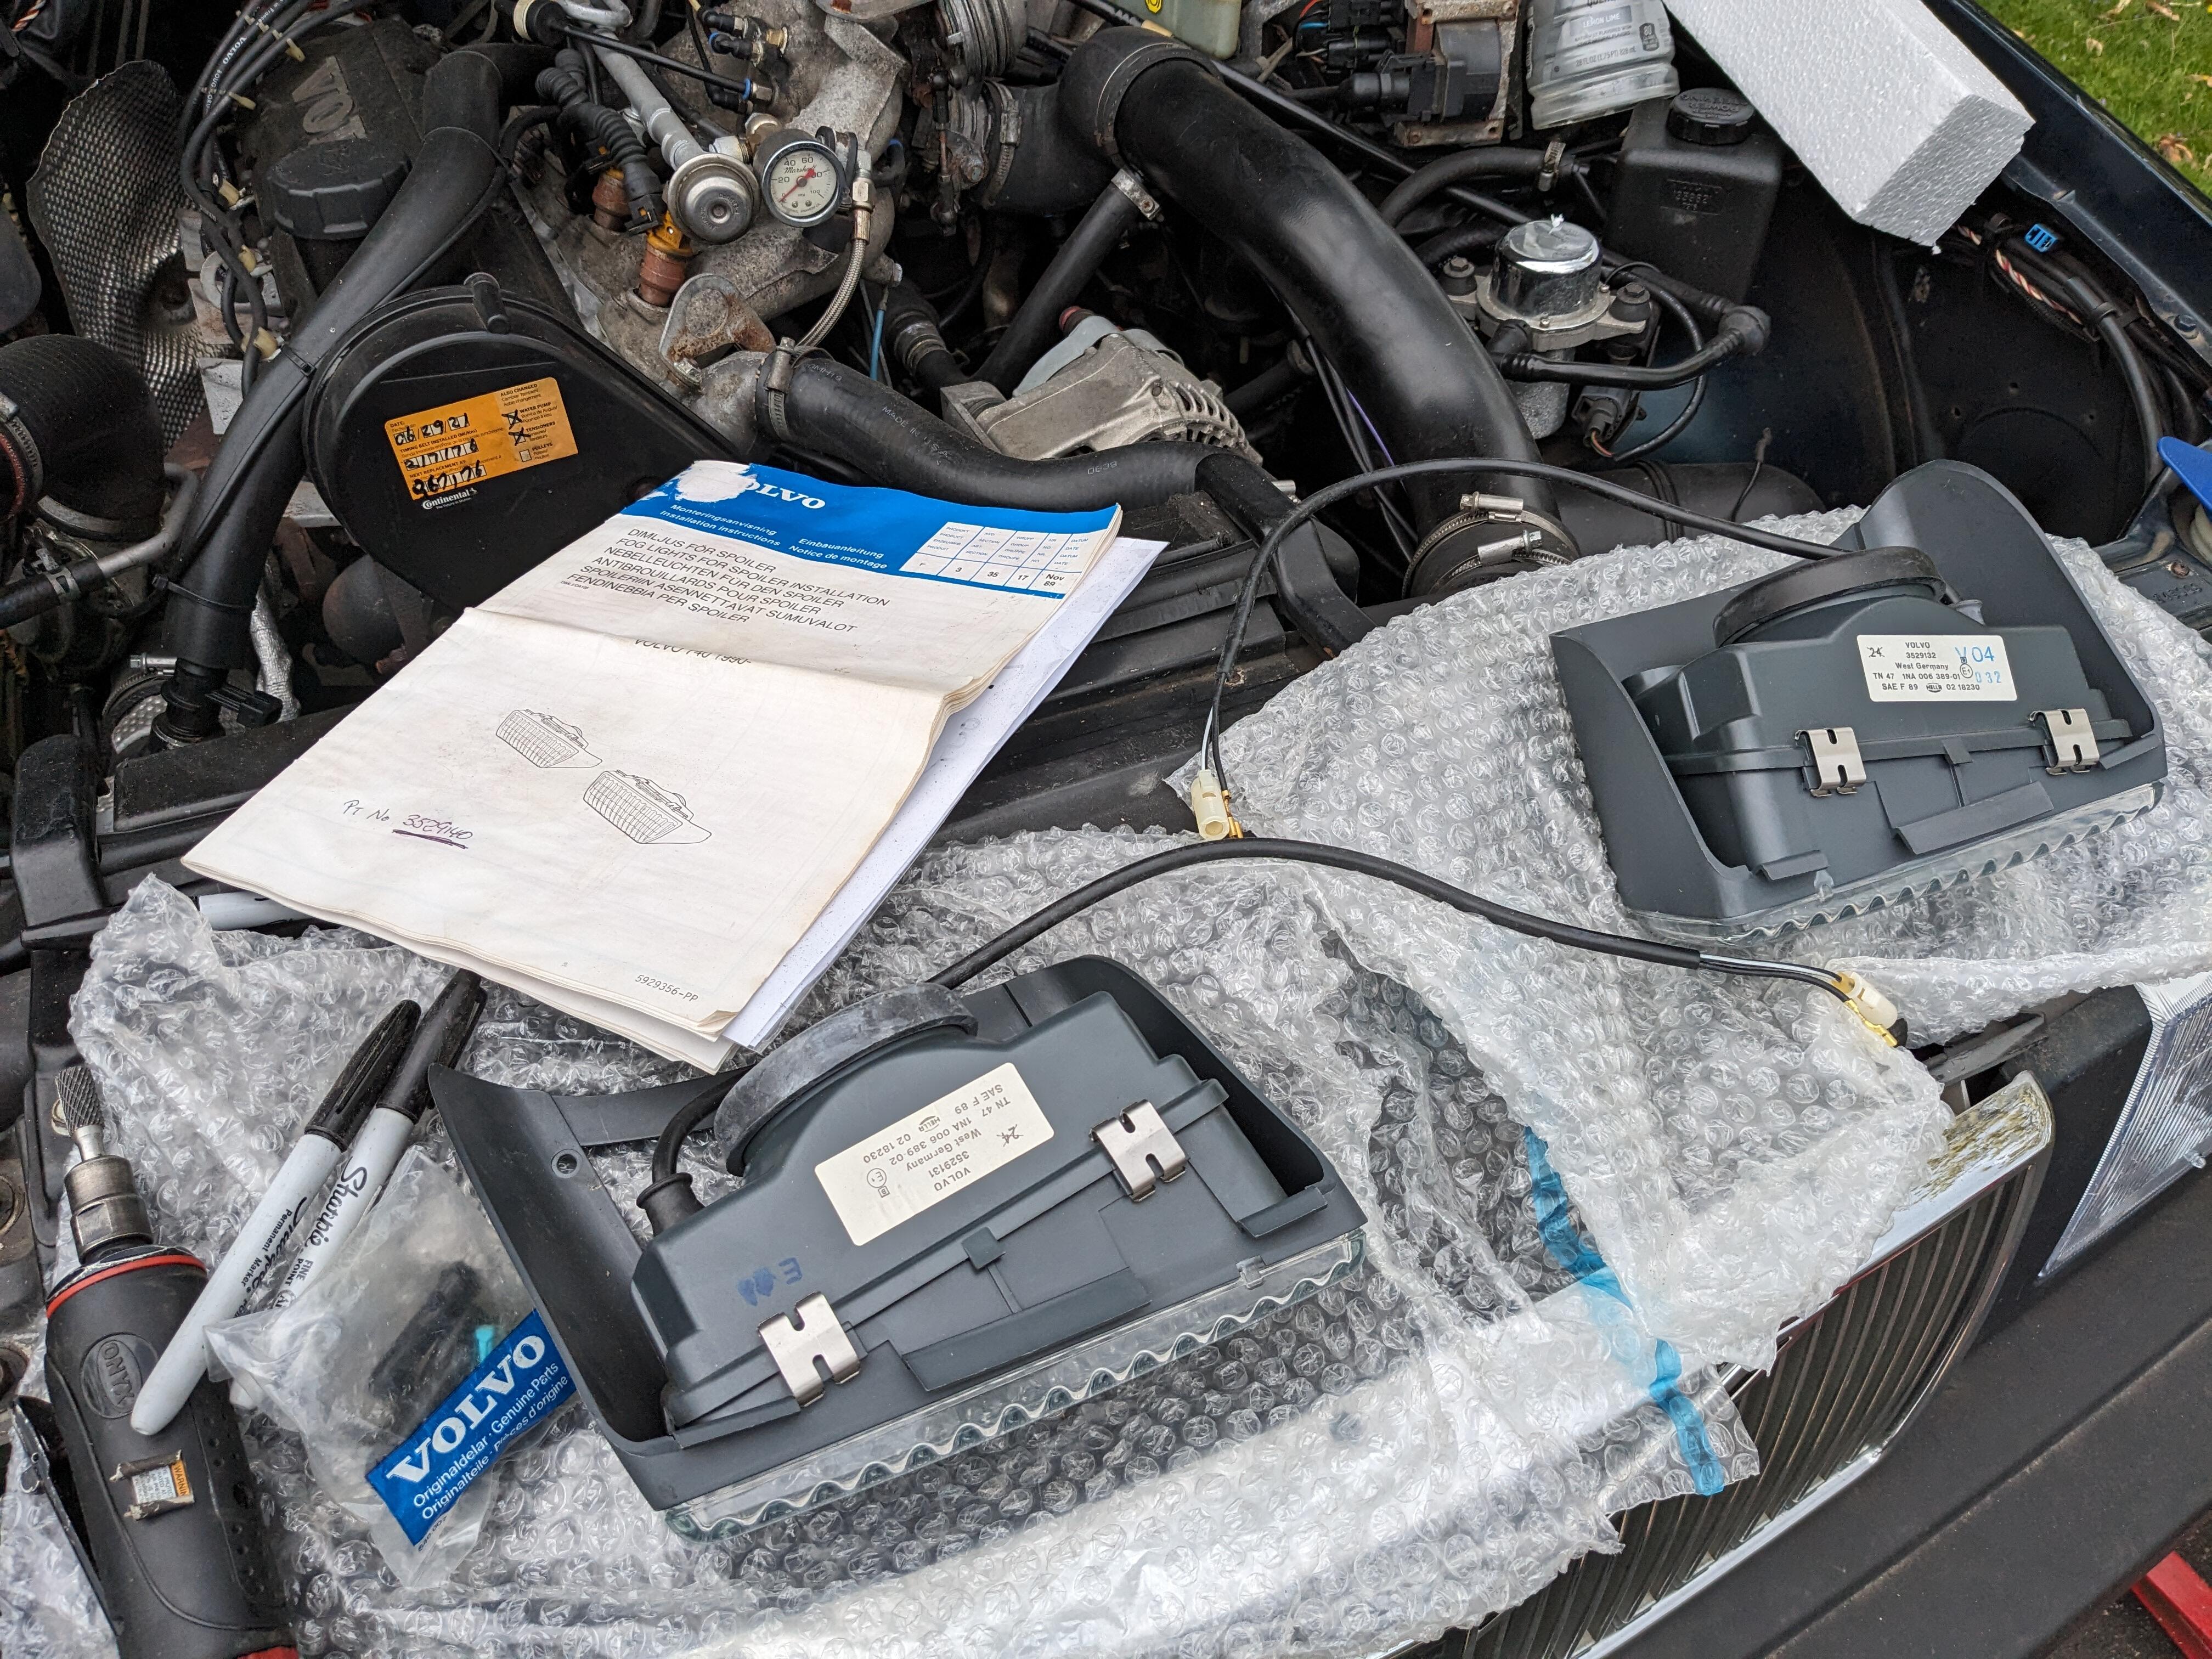
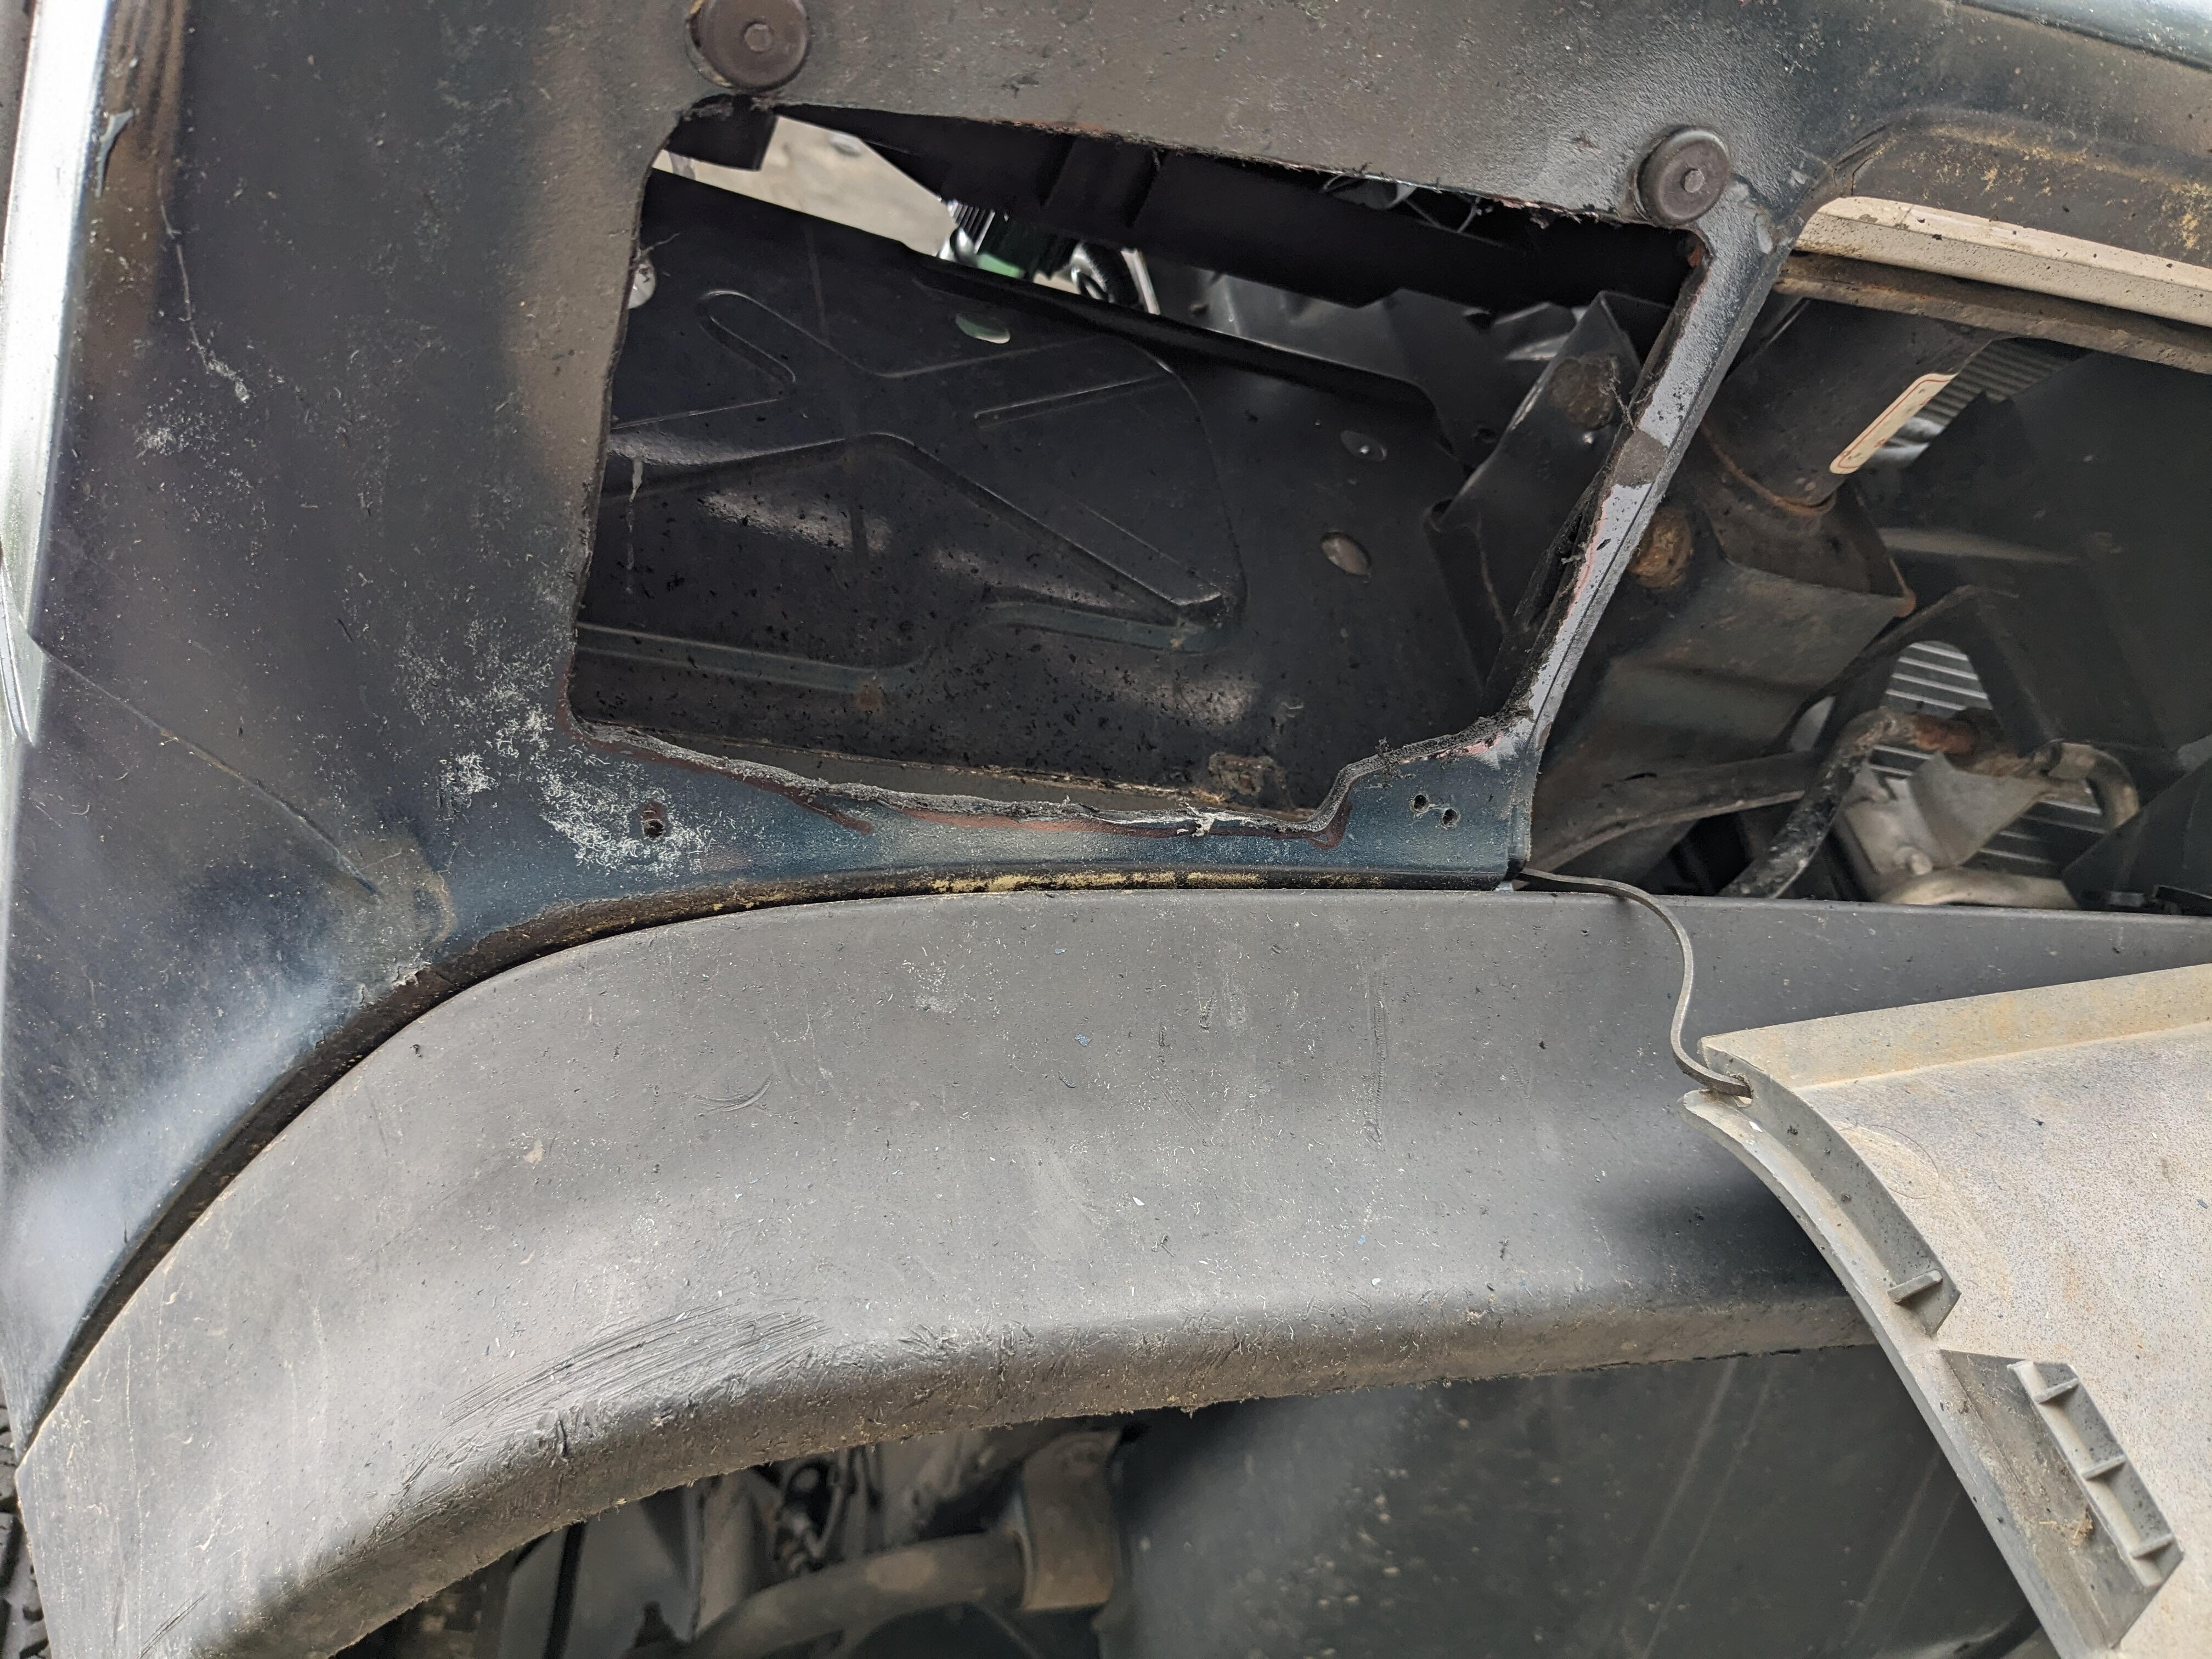
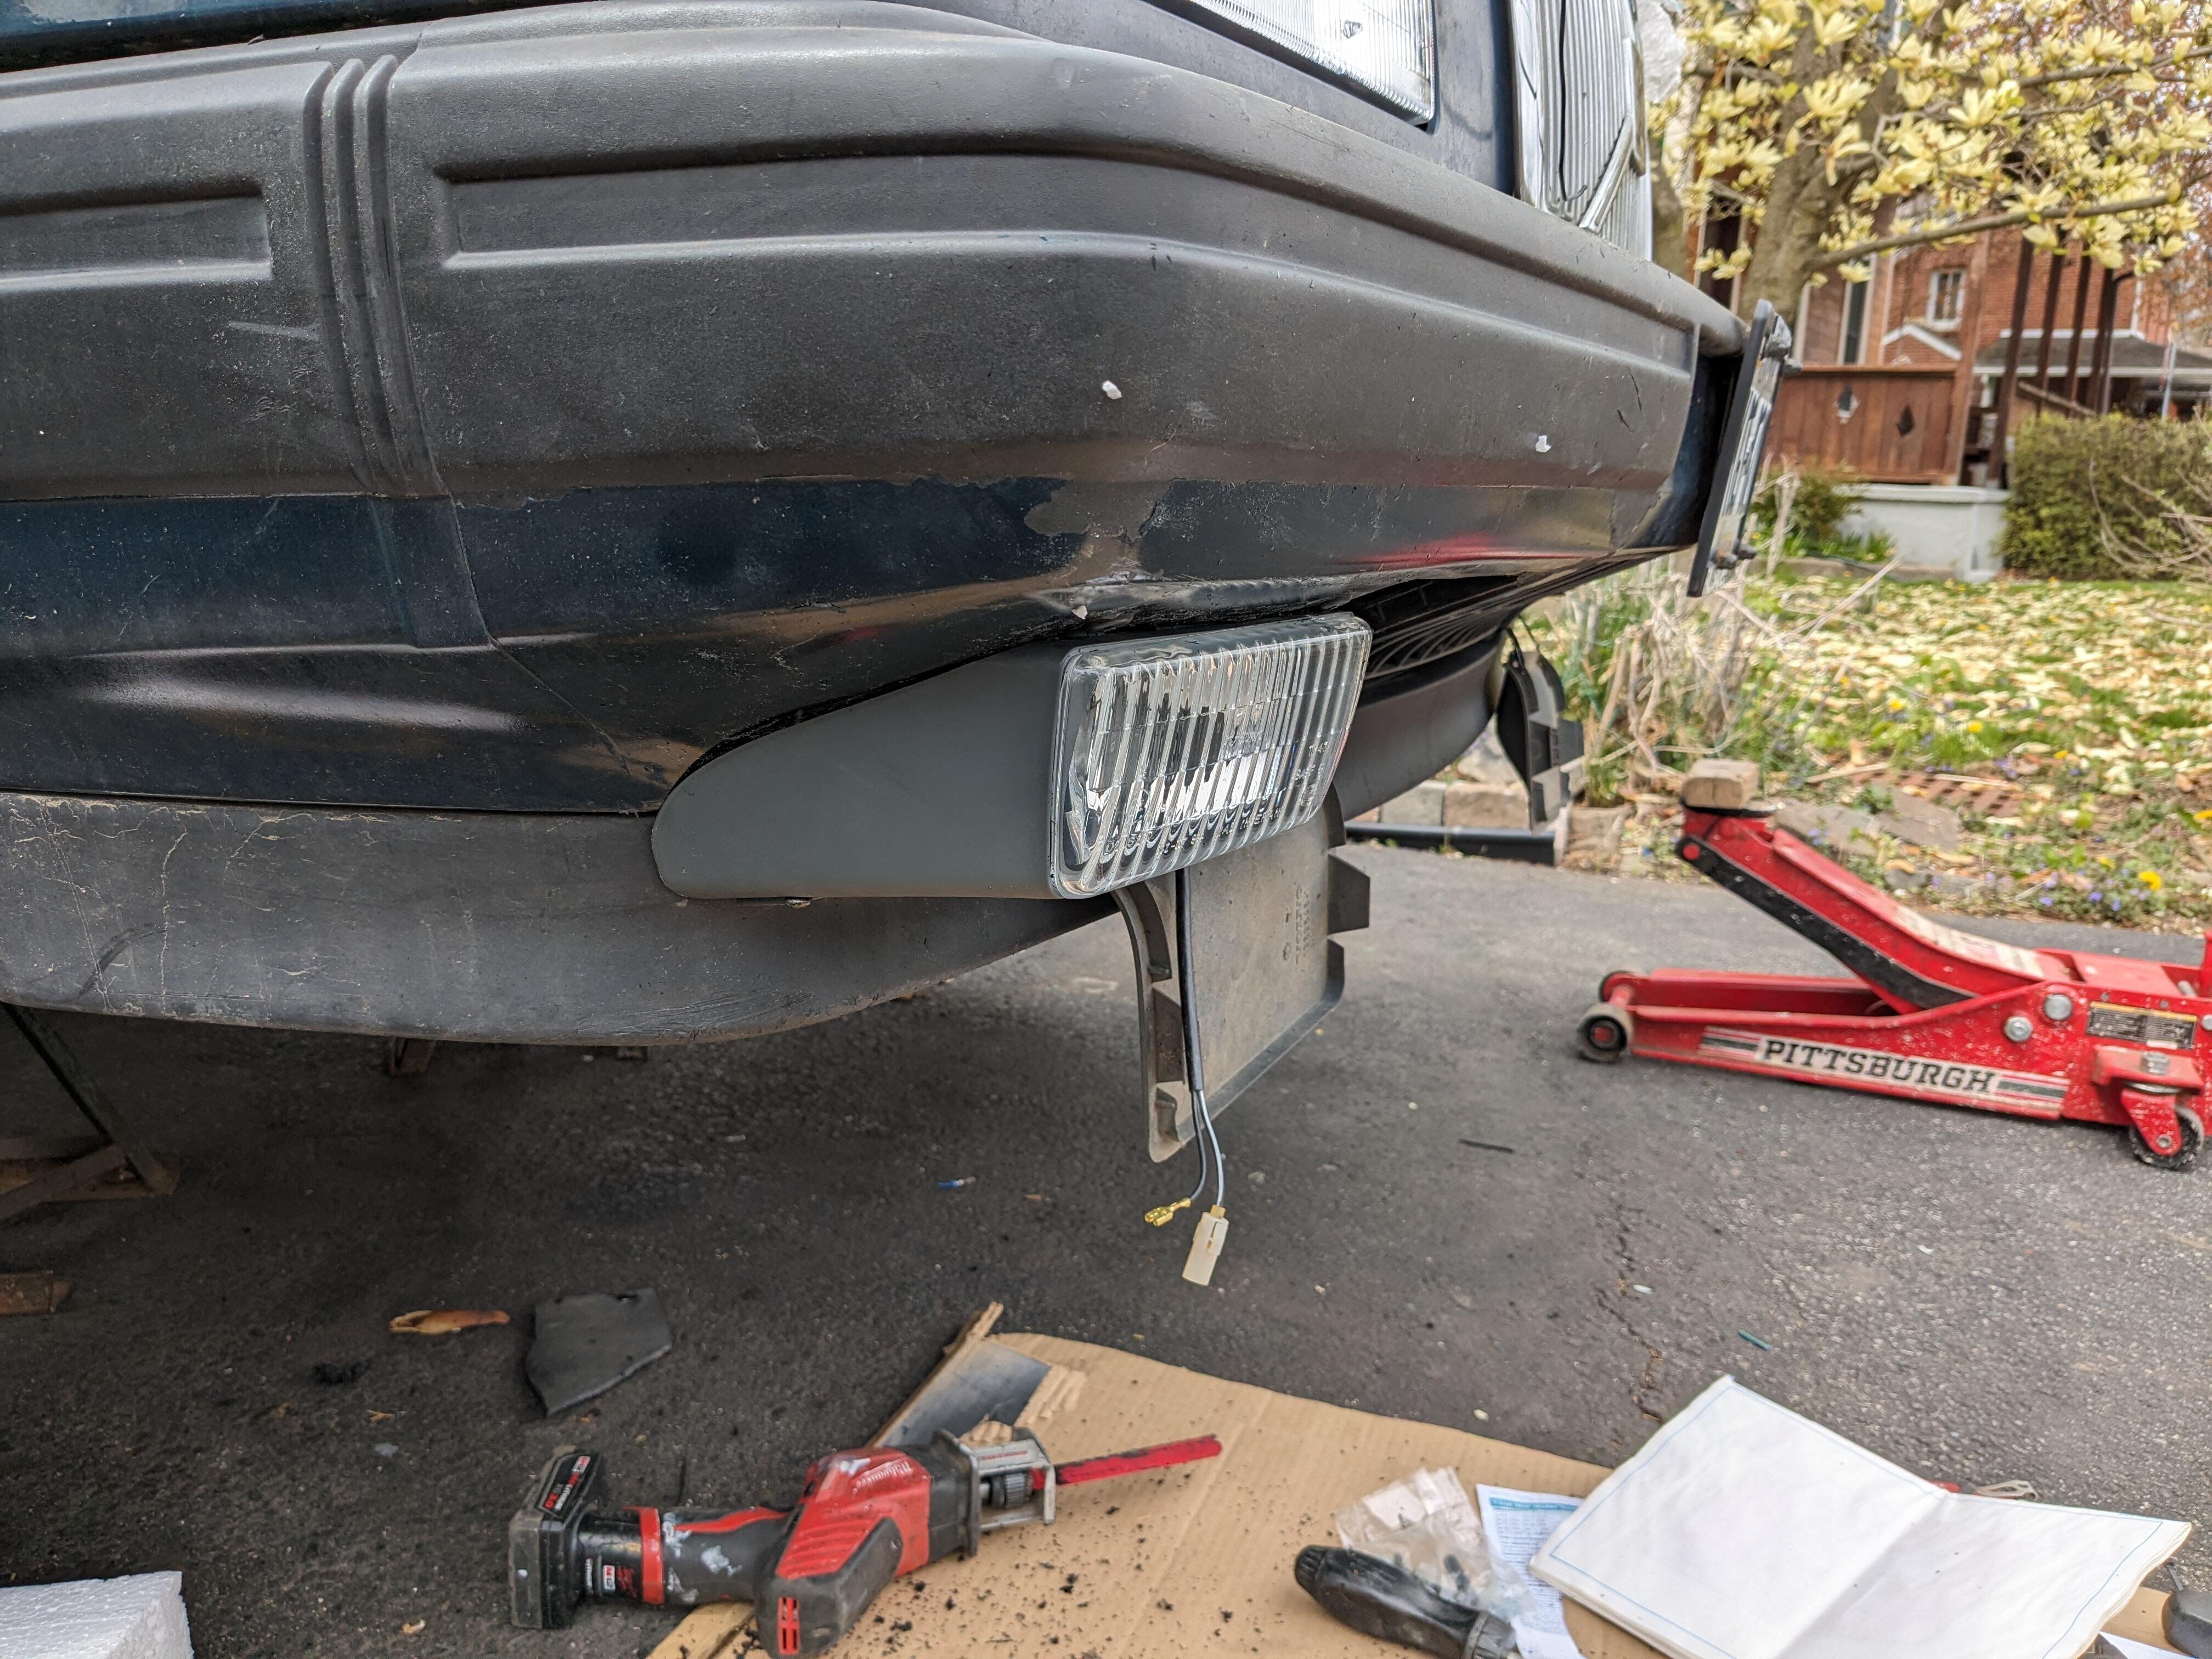
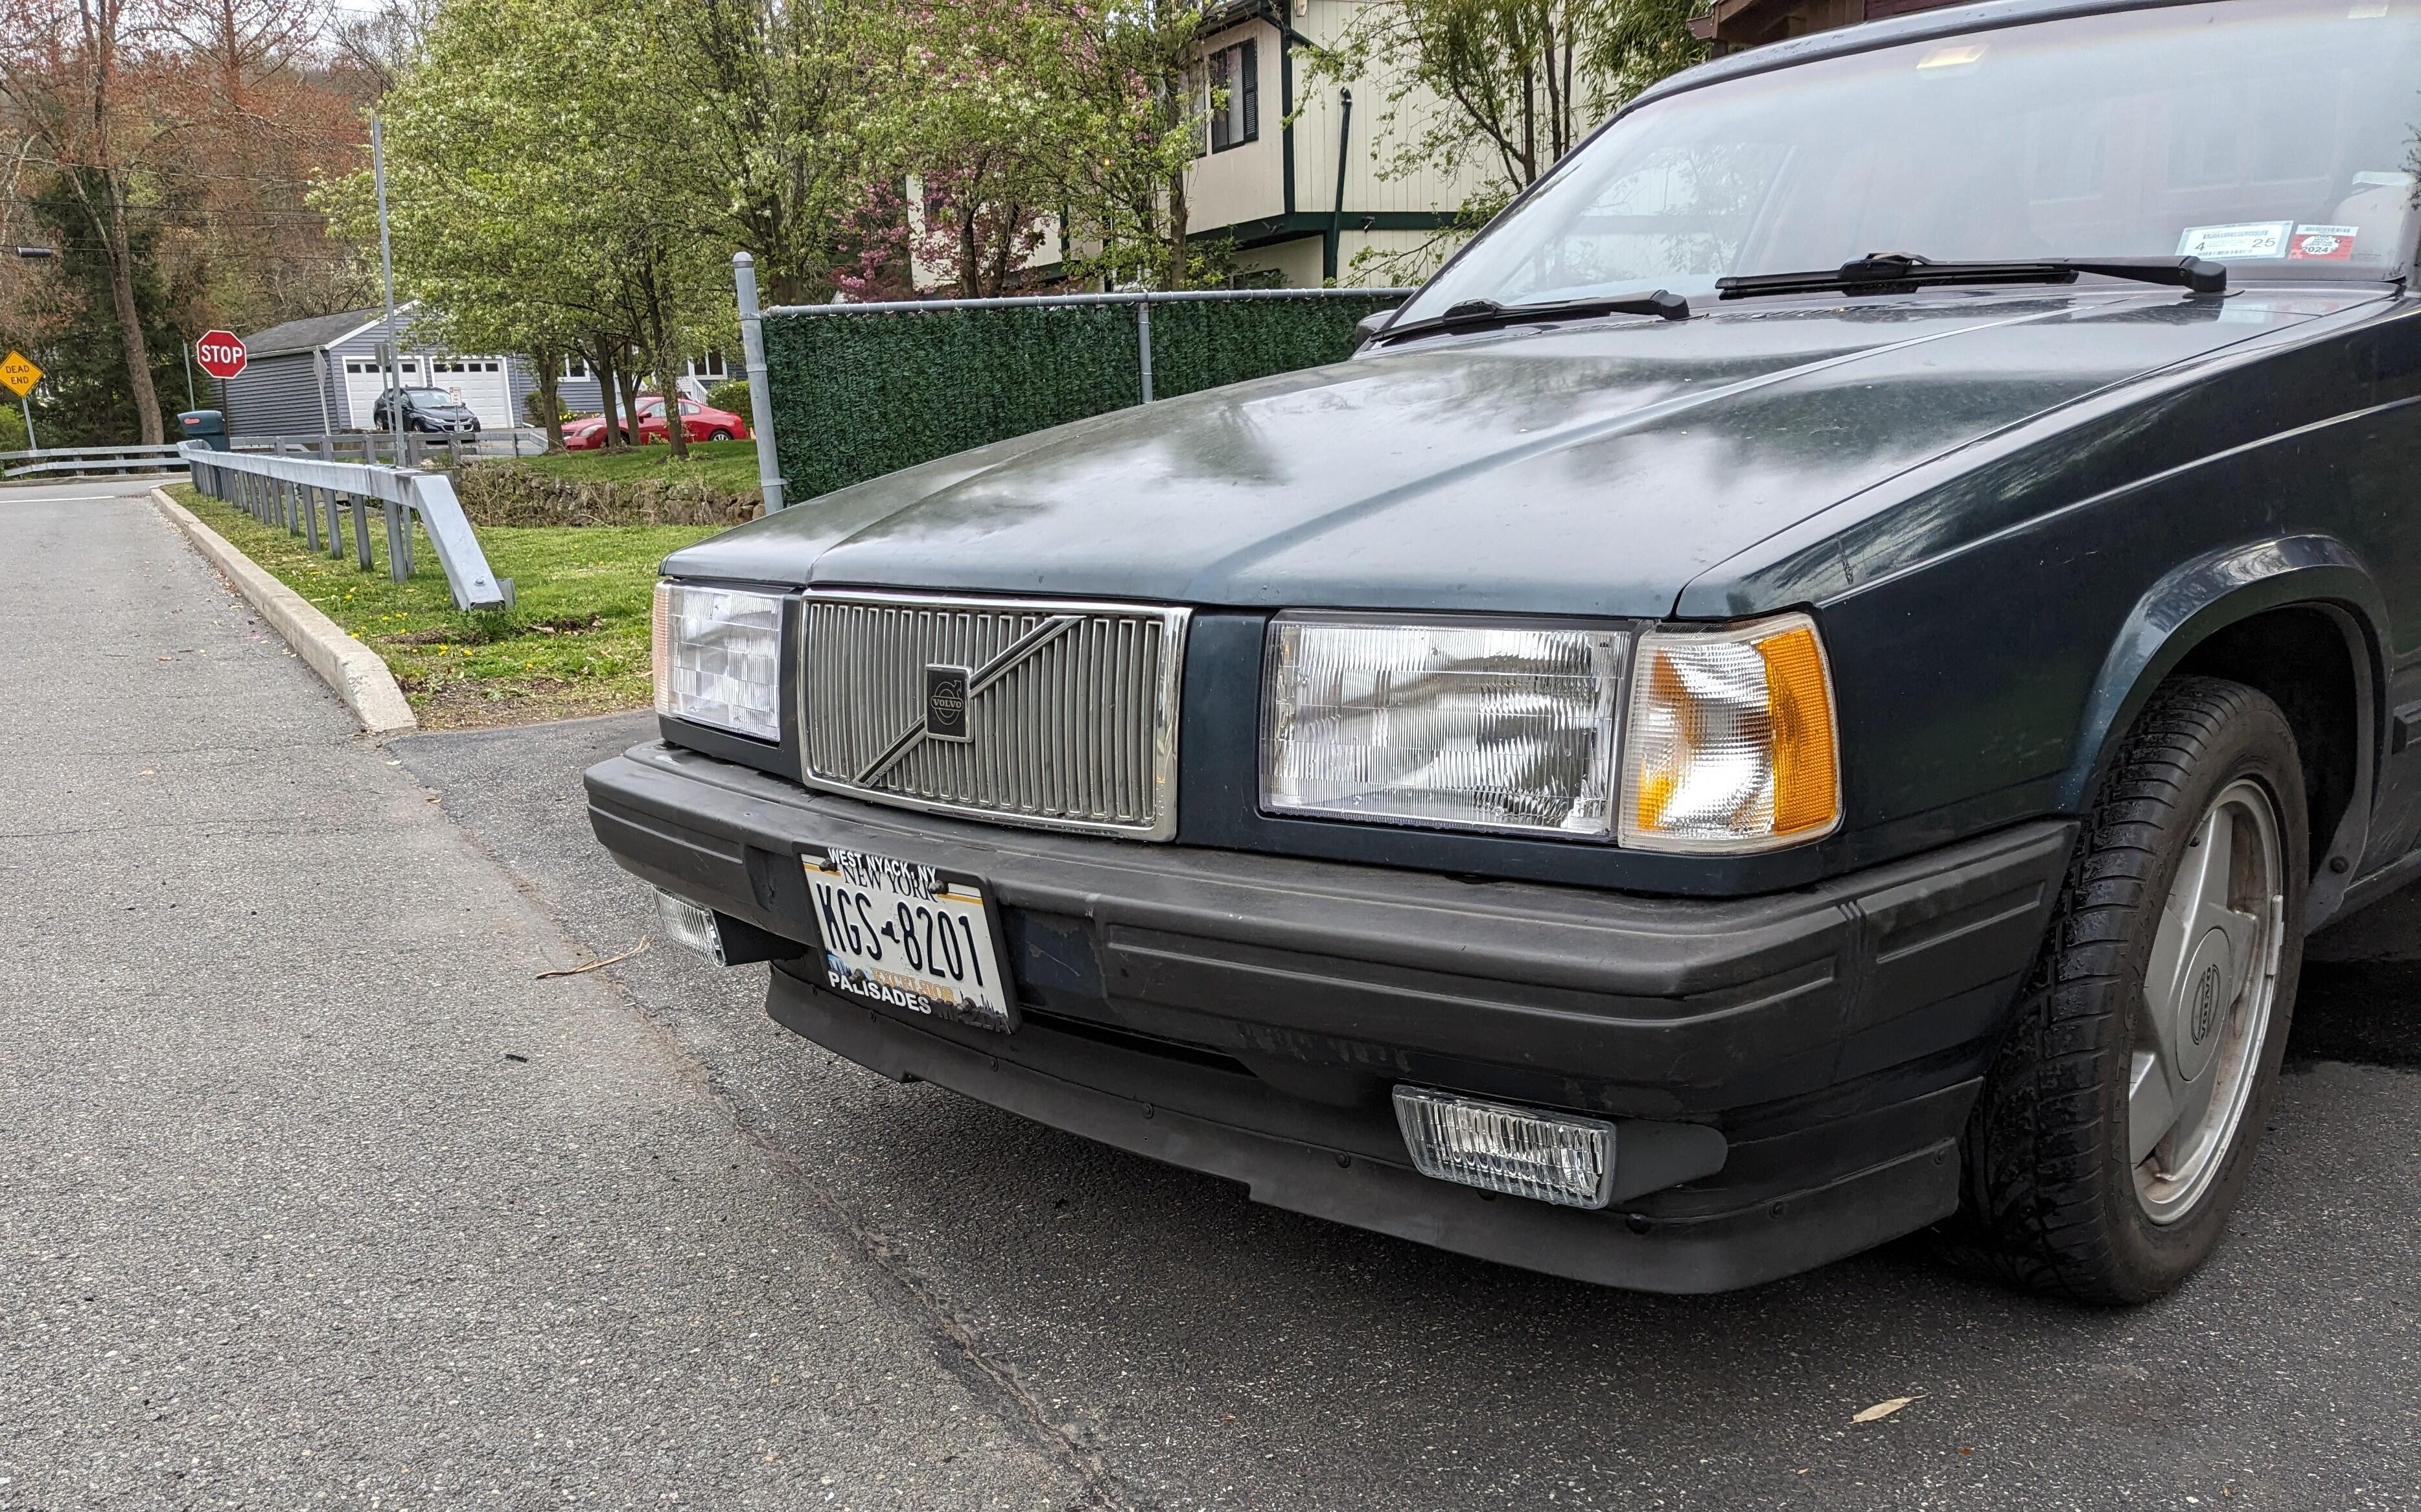
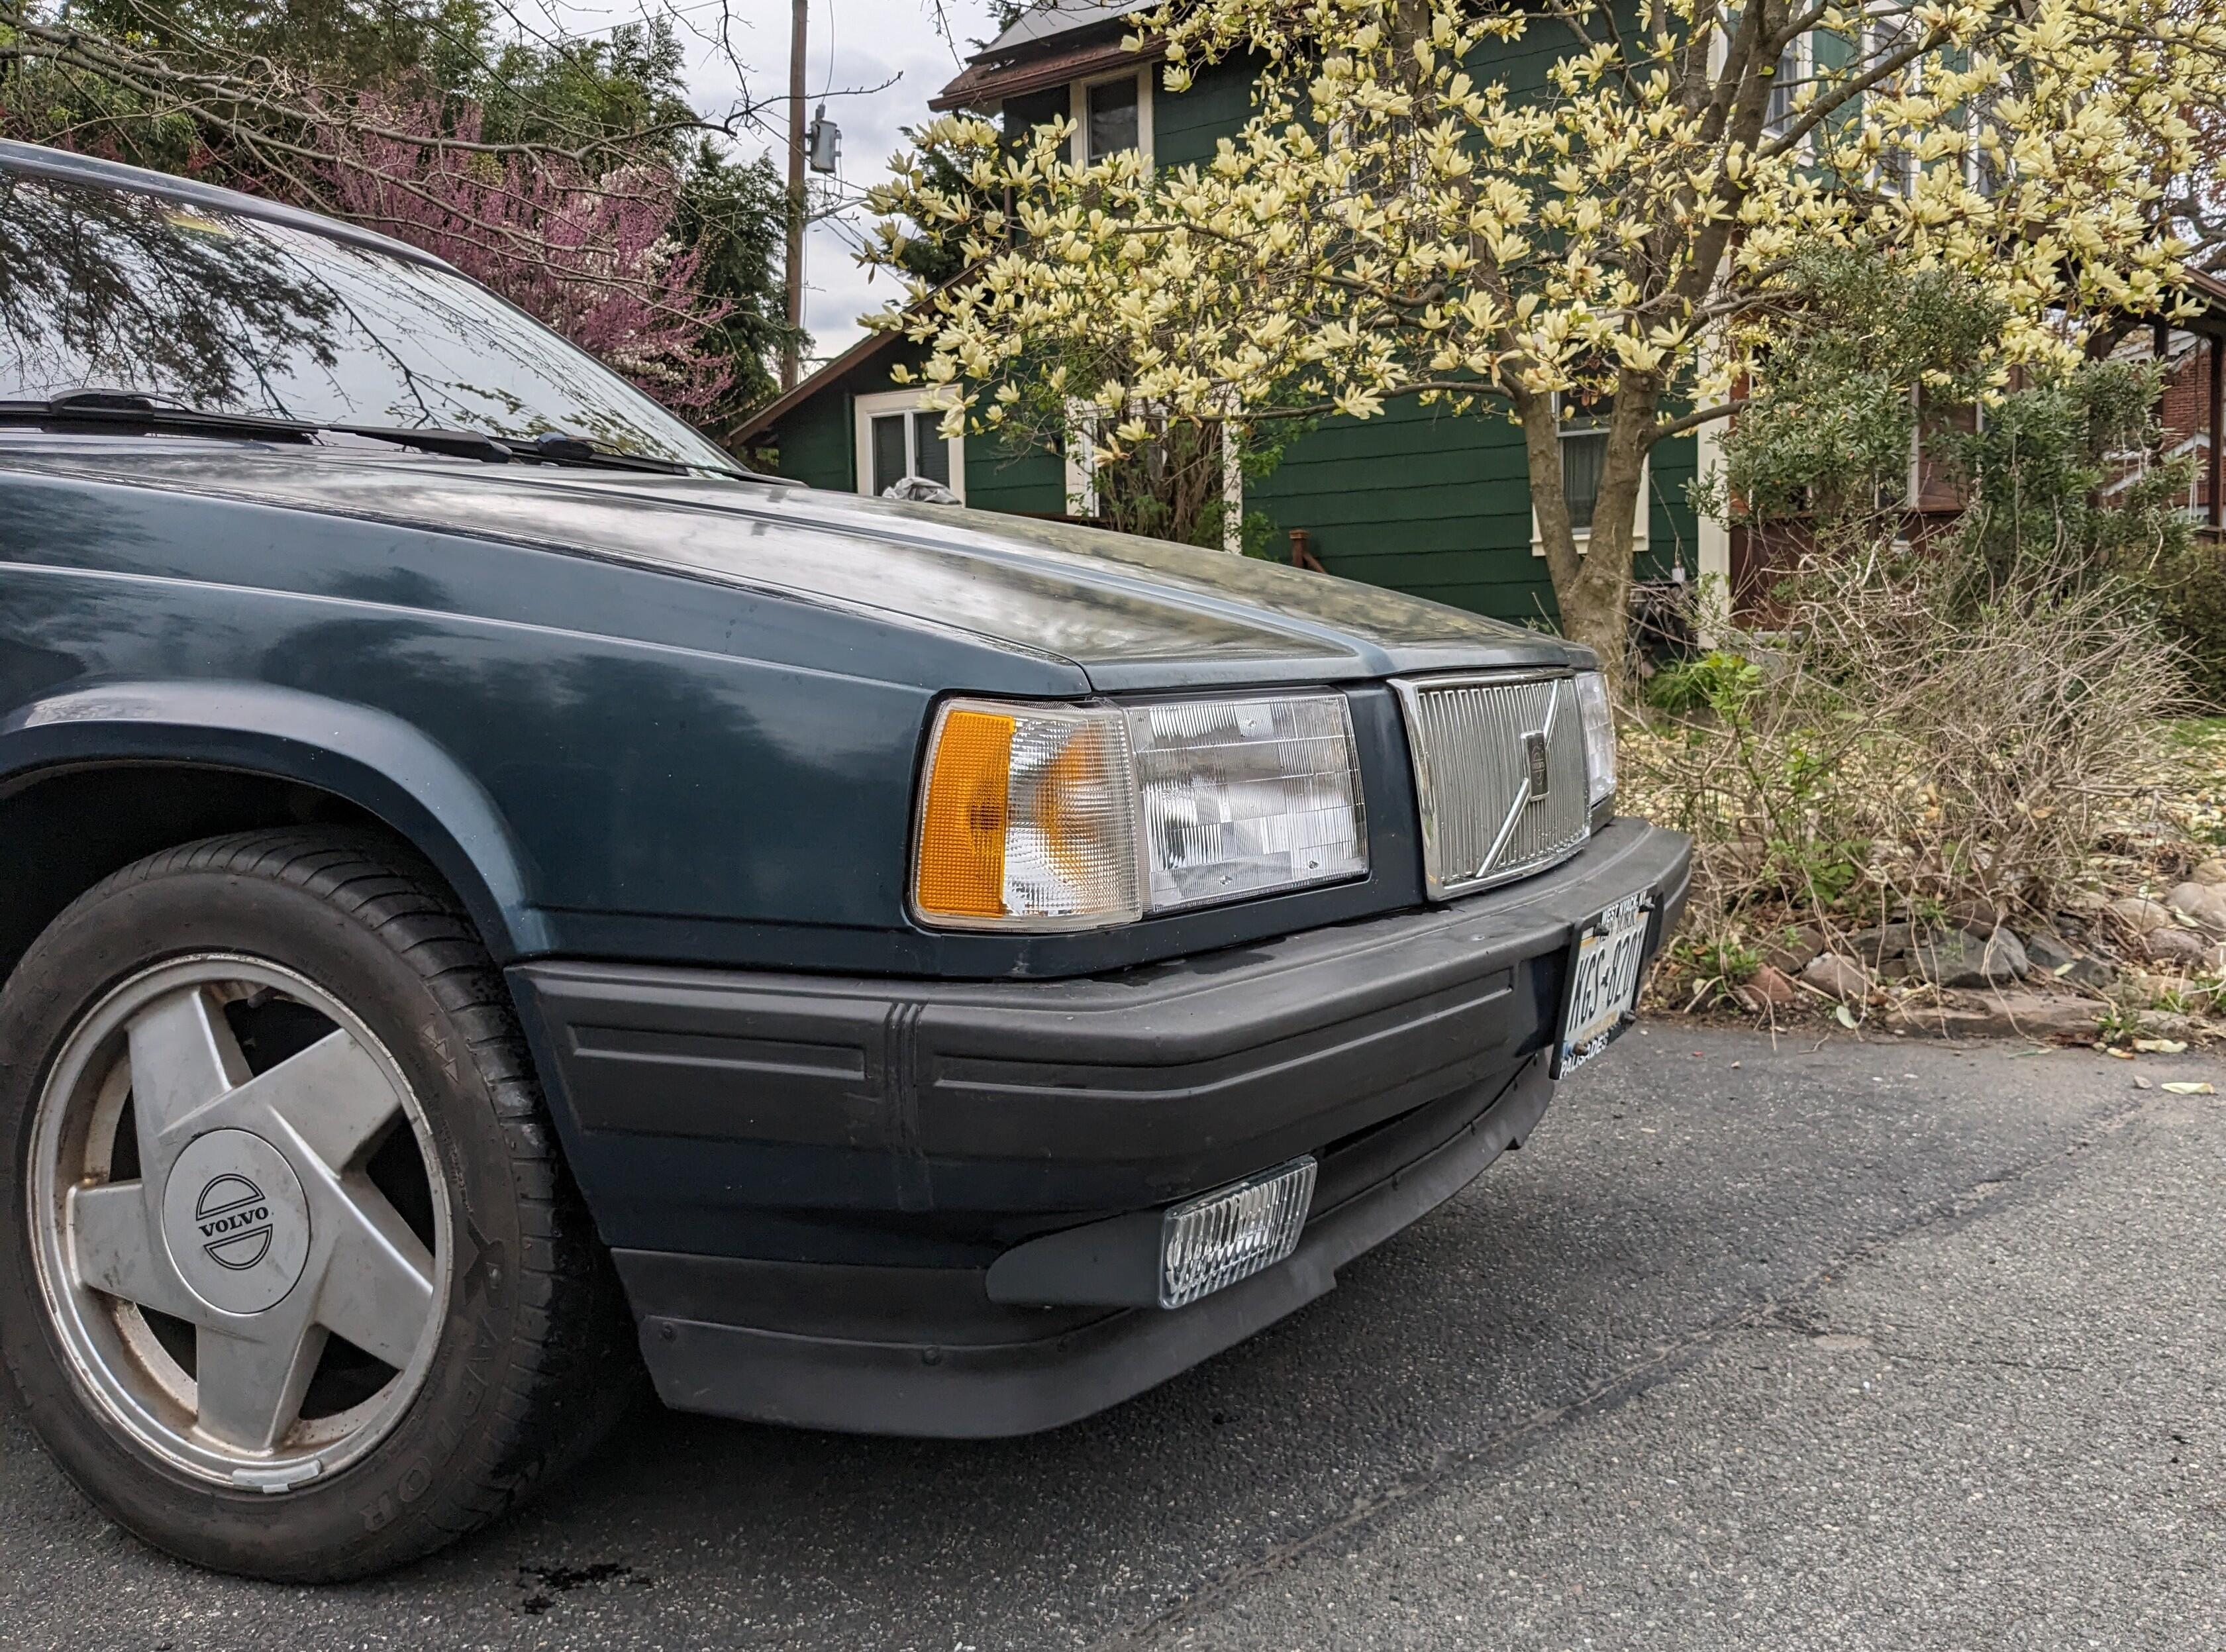
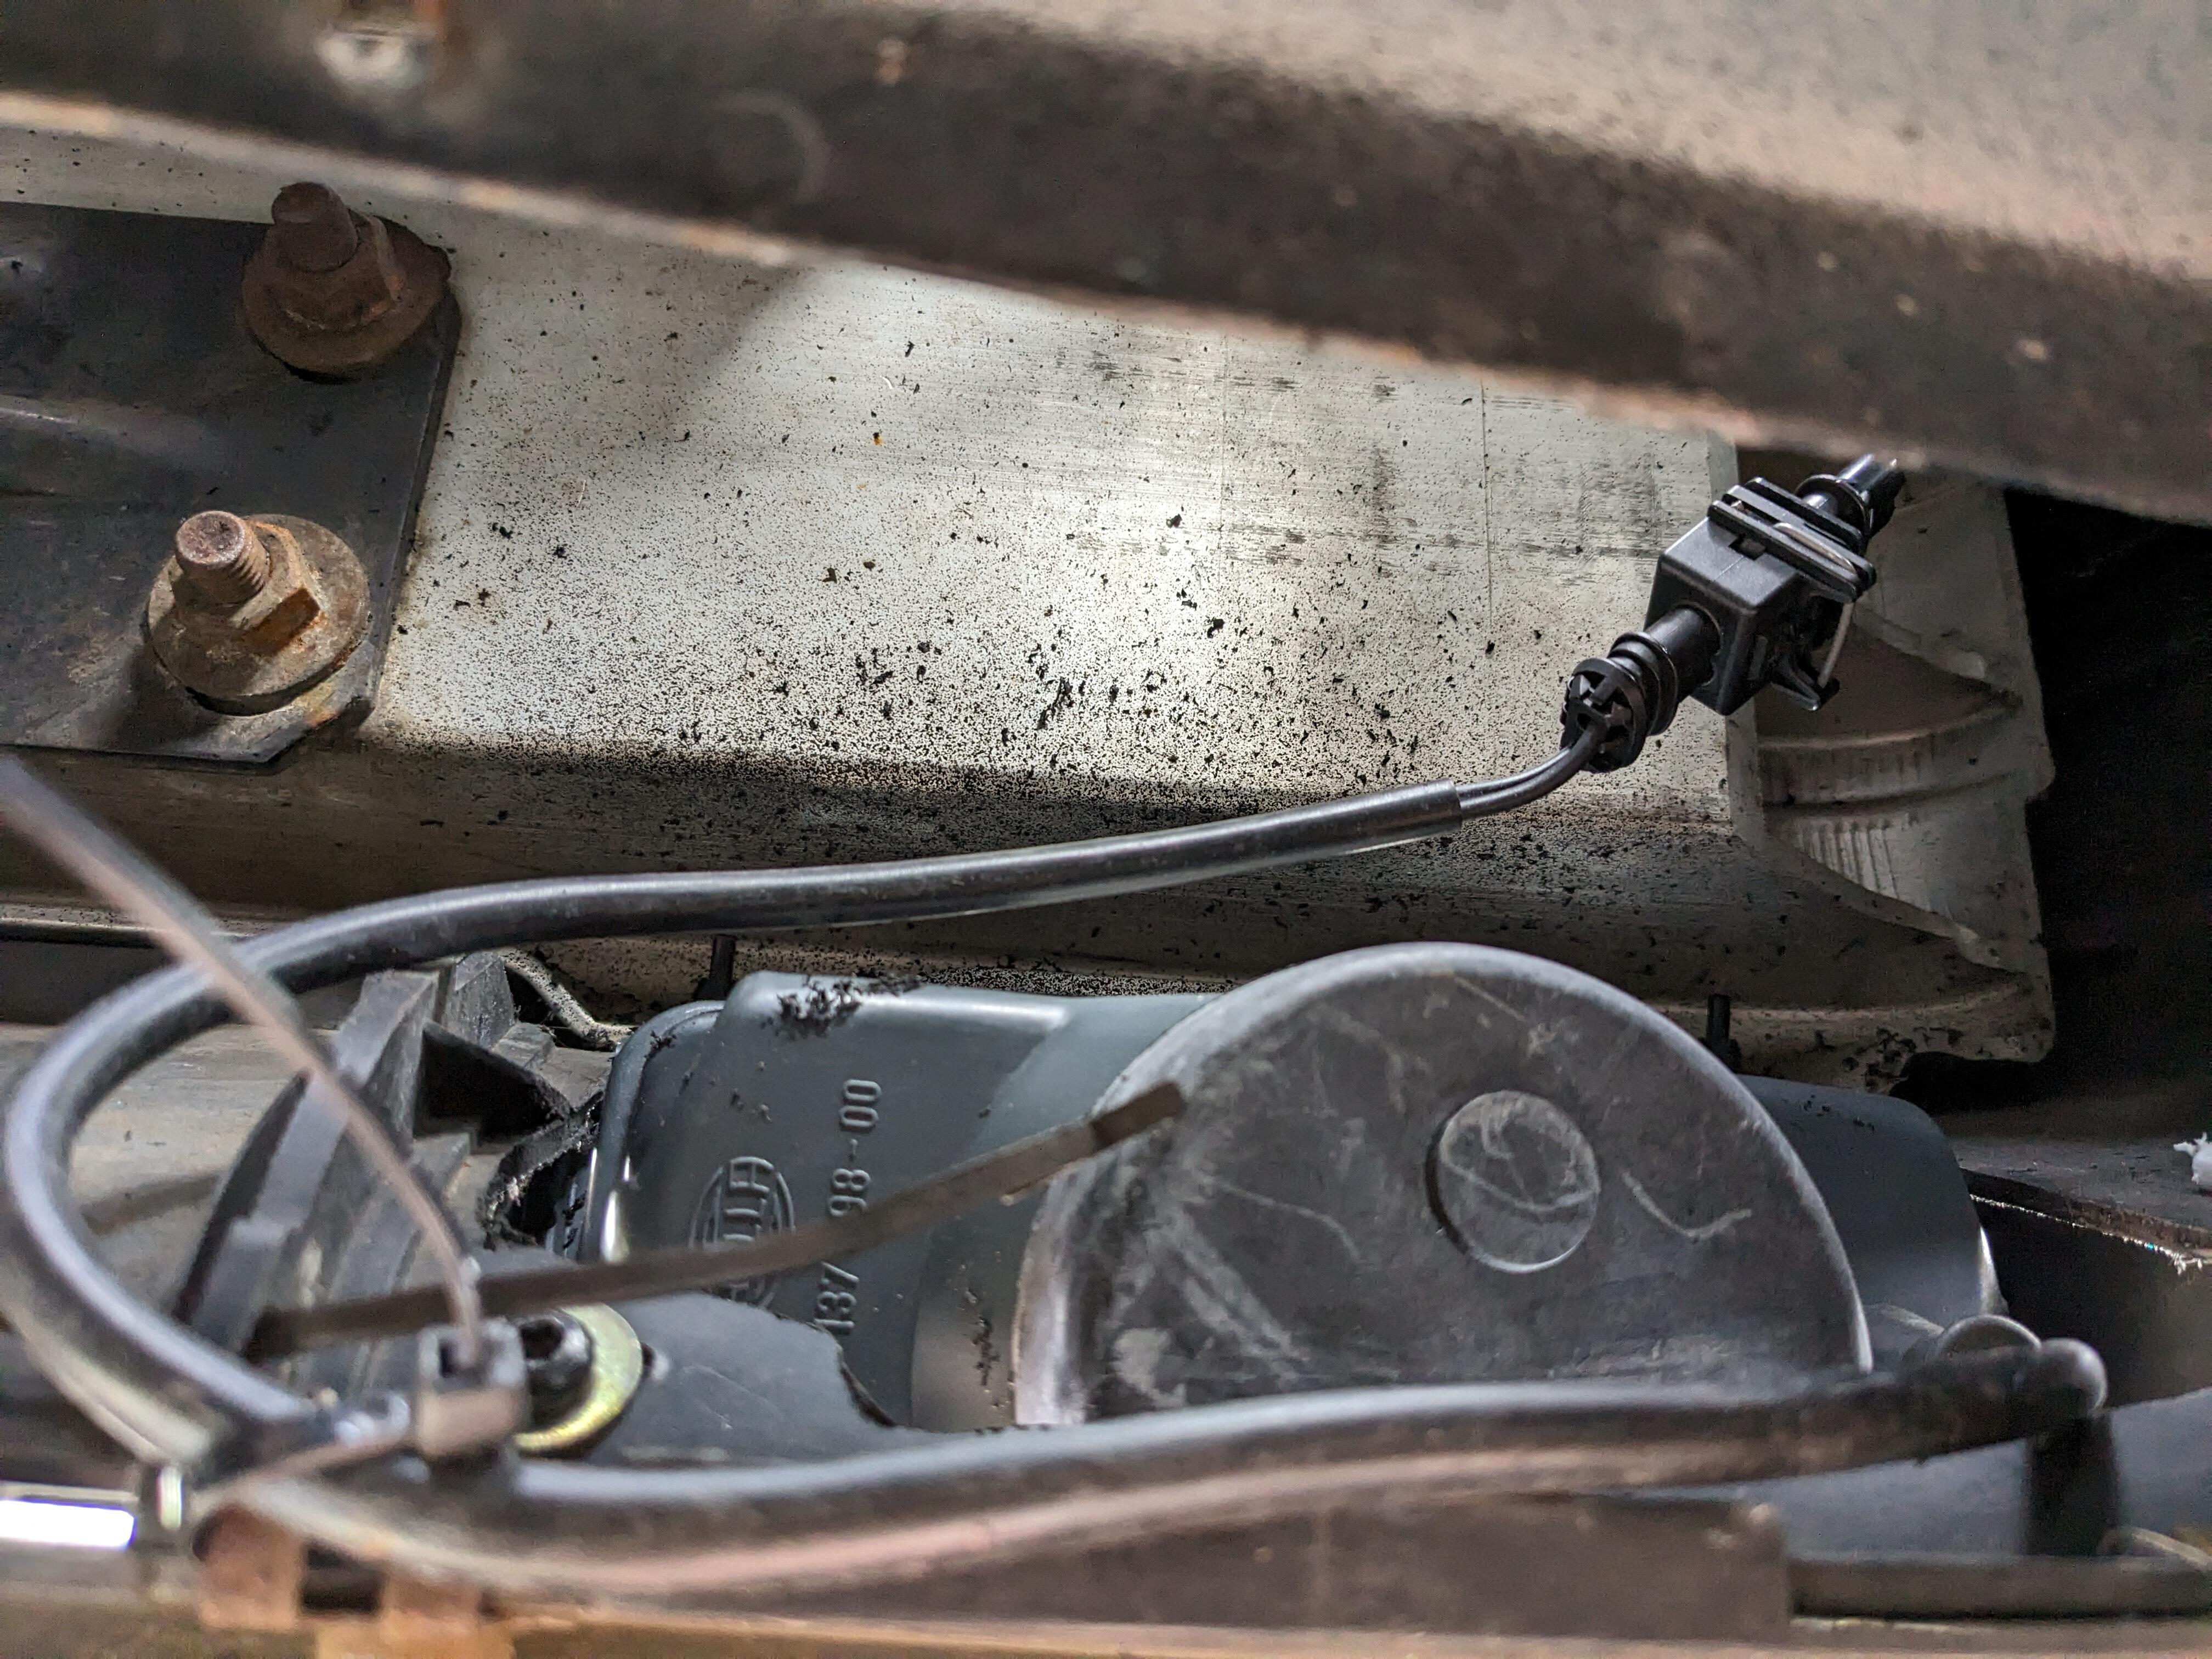
 1 pointNo, no. No apologies necessary! When you posted up a pic of that master cylinder, my immediate thought was "Weird... Why would someone switch the plastic reservoirs from F to R?" Well the answer is "They didn't. It's a new style master that has the "F" closer to the firewall. Duh." Couldn't see the forest through the trees! Oh. and the hardware arrived over the weekend. Looks great. I'm sure there will be something in there I can use for my starter. And the level of patina is perfect! Thanks again @Terrapin Z1 pointYes, that is what Matsuo San told us at the car show.1 pointAnother side step while I'm waiting for the Z spoilers to get painted. On the 740, I reverted to the original headlamp arrangement - these have plastic lenses vs the glass of the EU version I had installed a couple years ago, however they are much easier to get the beam properly adjusted. Also added the factory fog lamp kit I bought a couple years back. Had to make new support brackets for the lamp units , also used to anchor the grille brackets Test fit alignment Rewiring for the US spec bulbs & sockets NOS foglamp kit Cut opening using provided templates Anchored harness just case bracket gets hit


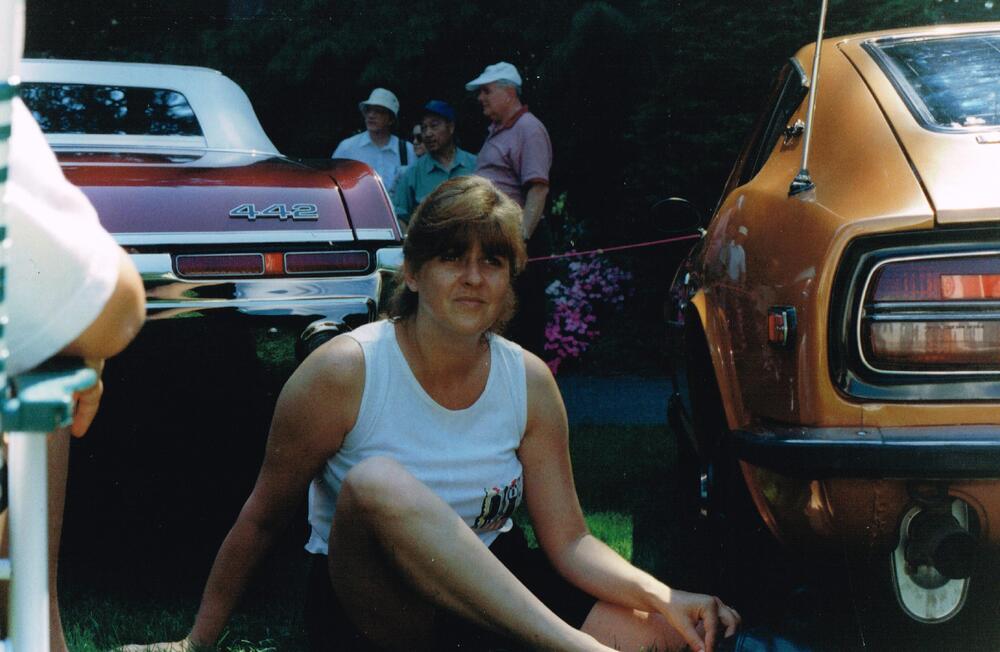
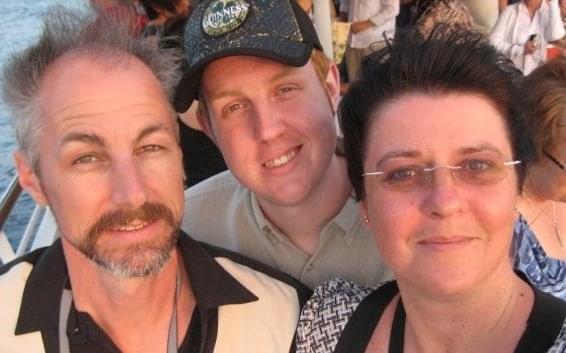
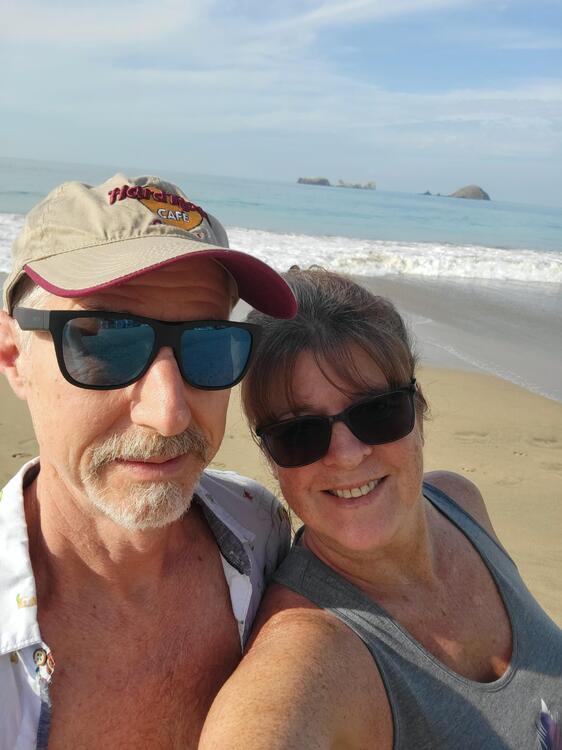
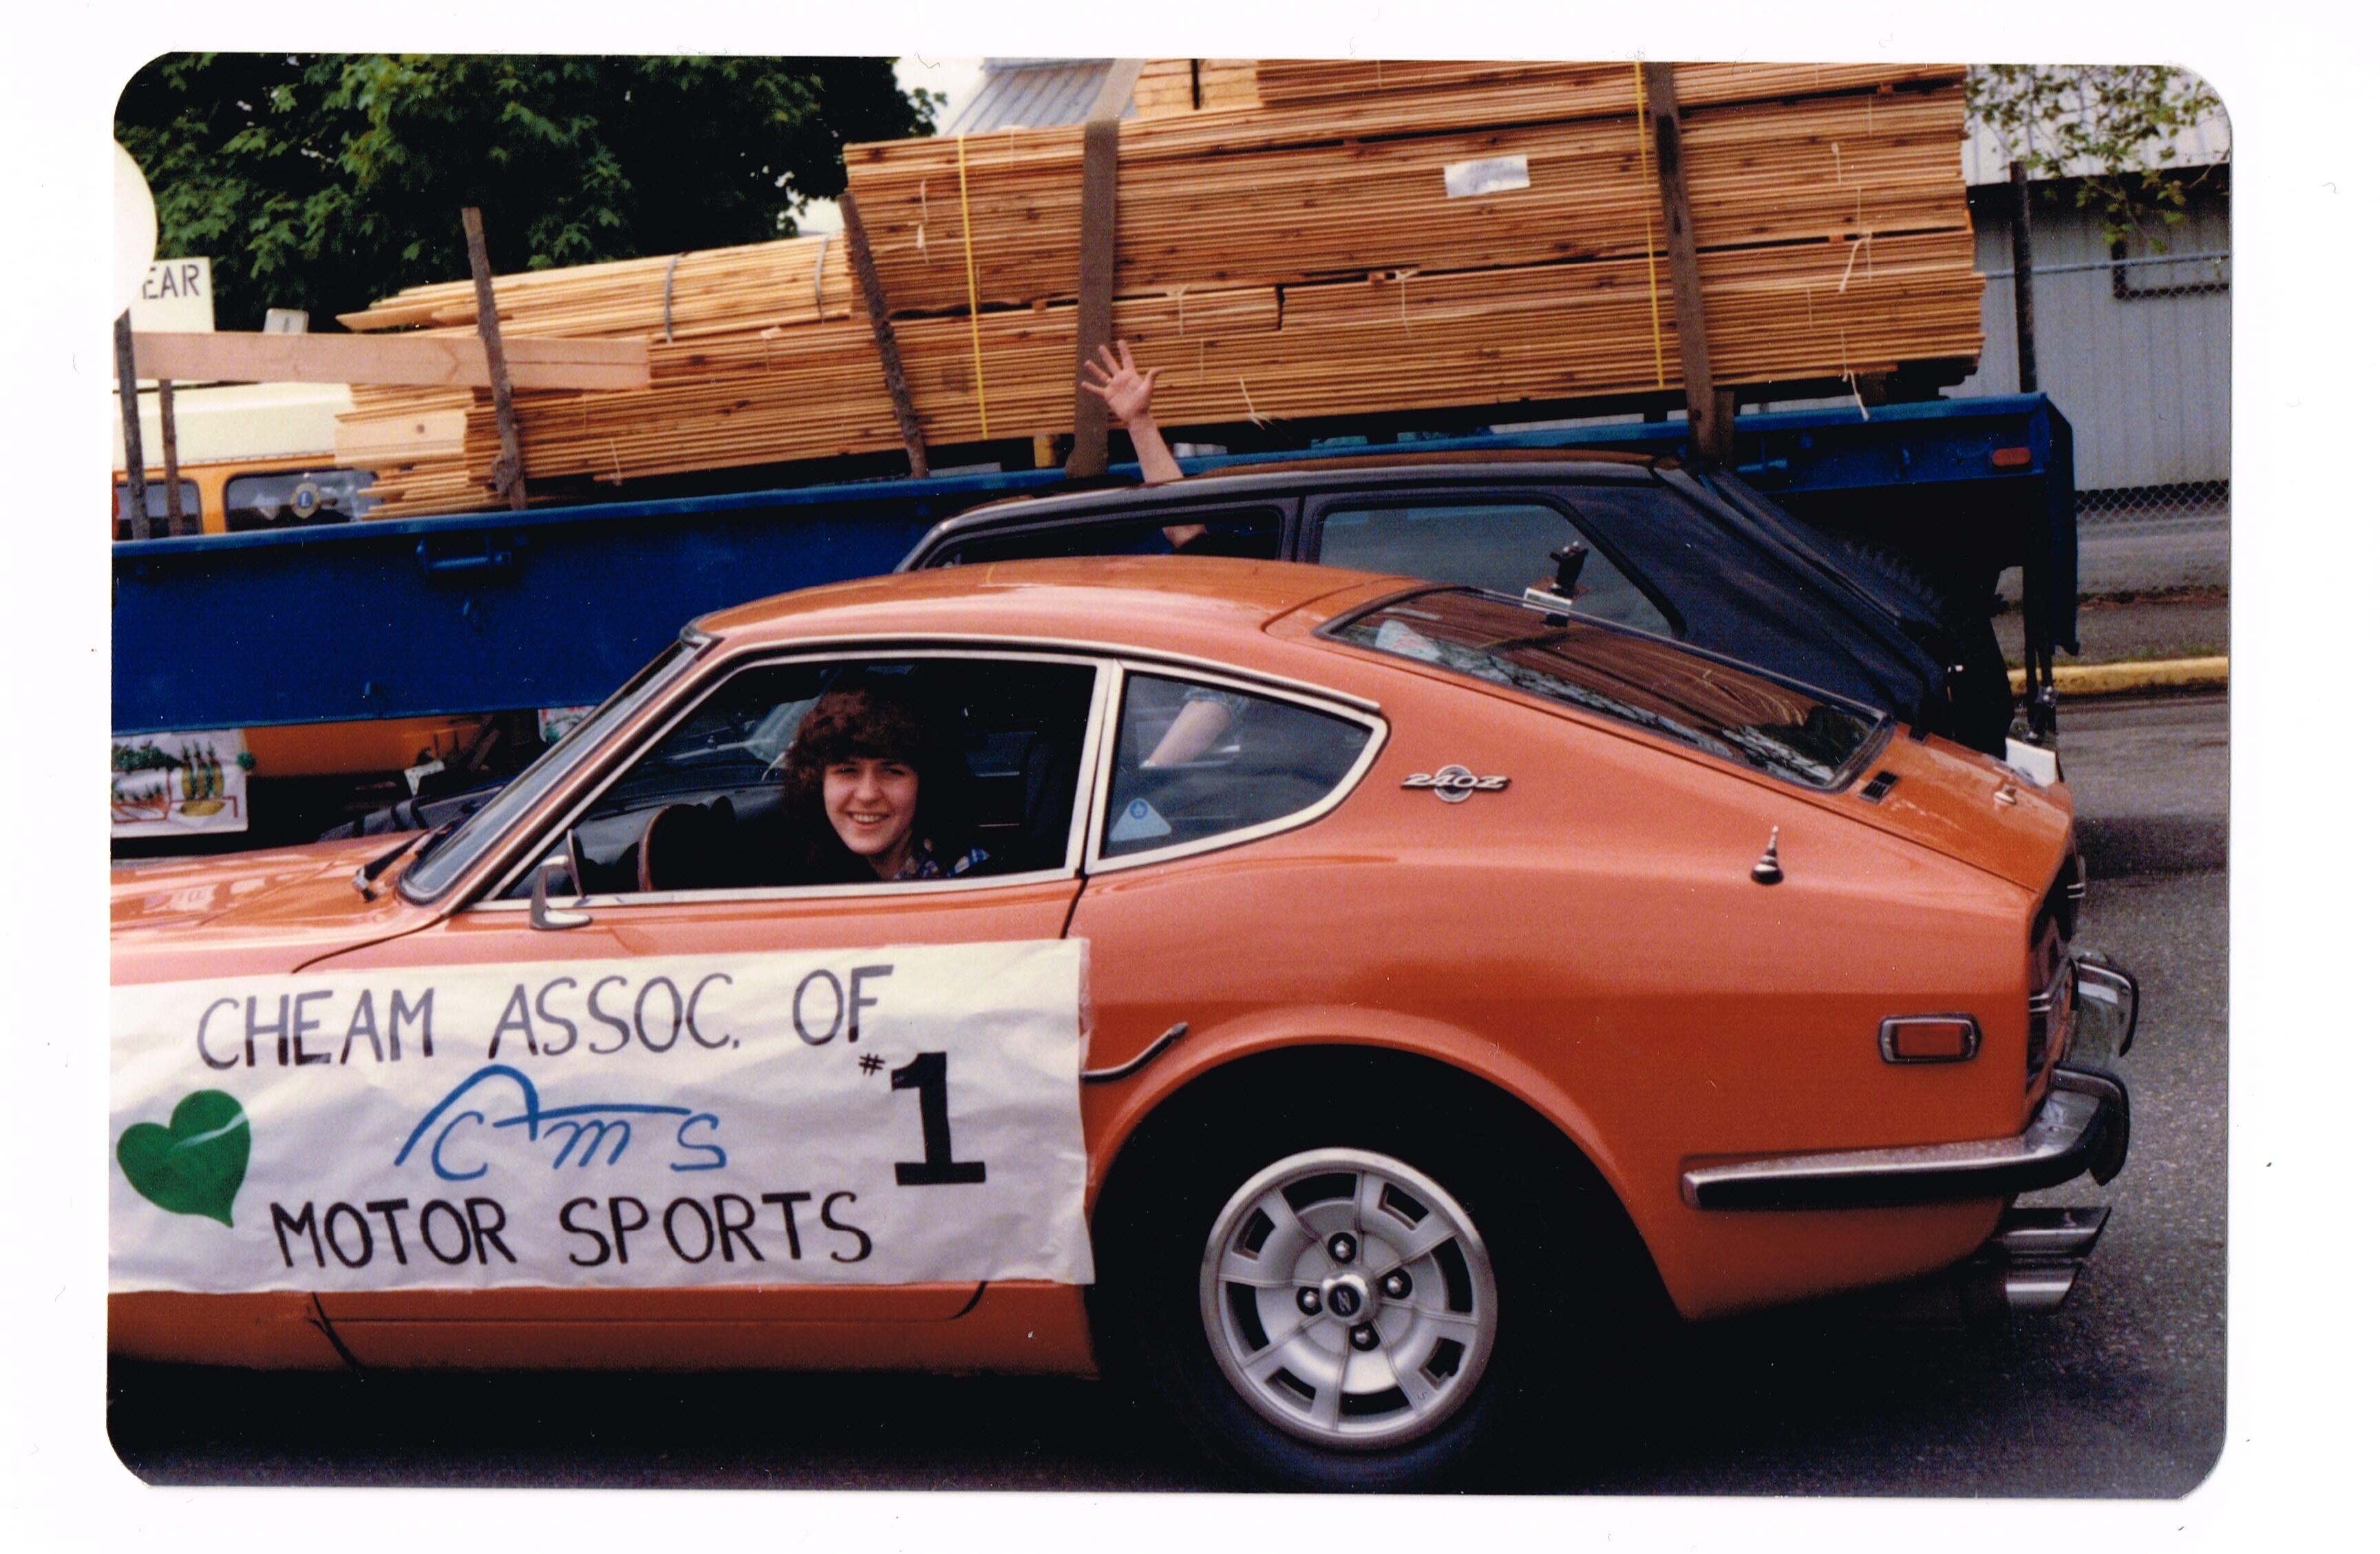
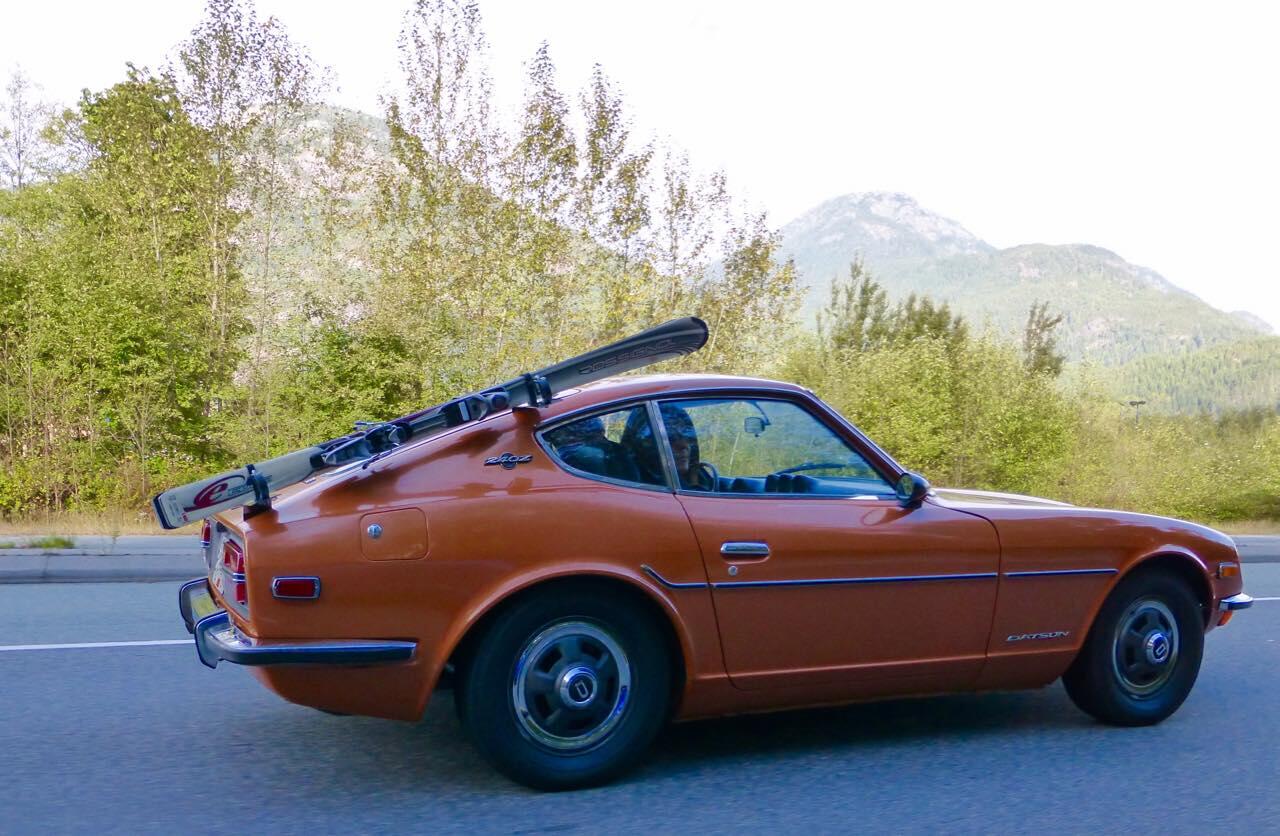
 1 point1 pointIt's been a while since my last update, but it's been a very emotional start to the year for me and my family. The love of my life Debbie, passed away on February 11th after a very short struggle with an aggressive type of lung cancer, and this will be a memorial post to her. I met and started dating Deb in 1980, barely two years after I first purchased the 1970 240Z I'm documenting here. Deb has always been a huge supporter of our Datsun we even took it on a honeymoon road trip when we married in 1983. Sadly I only have a few pictures with Deb and our 240 but I will share them here. First one is from 1981 with Deb driving our Zed in a local parade, representing the club we were members of, Cheam Association of Motorsports (CAMS). We hosted various slalom events and such locally thru the 1980's. Next from 1996, Deb at a Concours car show, at Minter Gardens where we displayed the Zed. Deb drove the 442 on the left to the show and we displayed that as well. The 442 belonged to the owner of the local body shop where Deb worked as a collision repair estimator. We both detailed both cars together on the days before the event. Lastly, from September 2017, you can just see this her in this pic of us driving to Whistler on the Sea to Sky Highway, There were about 30 members from our local club driving to whistler for a club show in our Zed's as a convoy. As Deb was the person responsible or pushing me to embark on this restoration in 2018, I would be remiss not to share a few more pics so that you can get a small sense of who she was. In addition to being my soulmate, Deb was a loving mother to our son, Chris. She was a passionate traveler, a real car person and enjoyed volunteering for various events like crew hosting at the Abbotsford International Airshow. This last pic, is us on a beach in Zihuatanejo, Mexico on our last vacation together, December last year. In Deb's memory I will be completing this resto over the next few years, just as she would have wanted. Rest in peace Deb, you are forever in my thoughts. Feb 6th 1964 to Feb 11th 2024


 1 point


Important Information
By using this site, you agree to our Privacy Policy and Guidelines. We have placed cookies on your device to help make this website better. You can adjust your cookie settings, otherwise we'll assume you're okay to continue.