Leaderboard
-
JDMjunkies.ch
Free Member4Points637Posts -
Namerow
Free Member4Points1,551Posts -
grannyknot
Free Member3Points5,158Posts -
HusseinHolland
Free Member3Points1,031Posts


Popular Content
Showing content with the highest reputation on 02/19/2024 in Posts
-
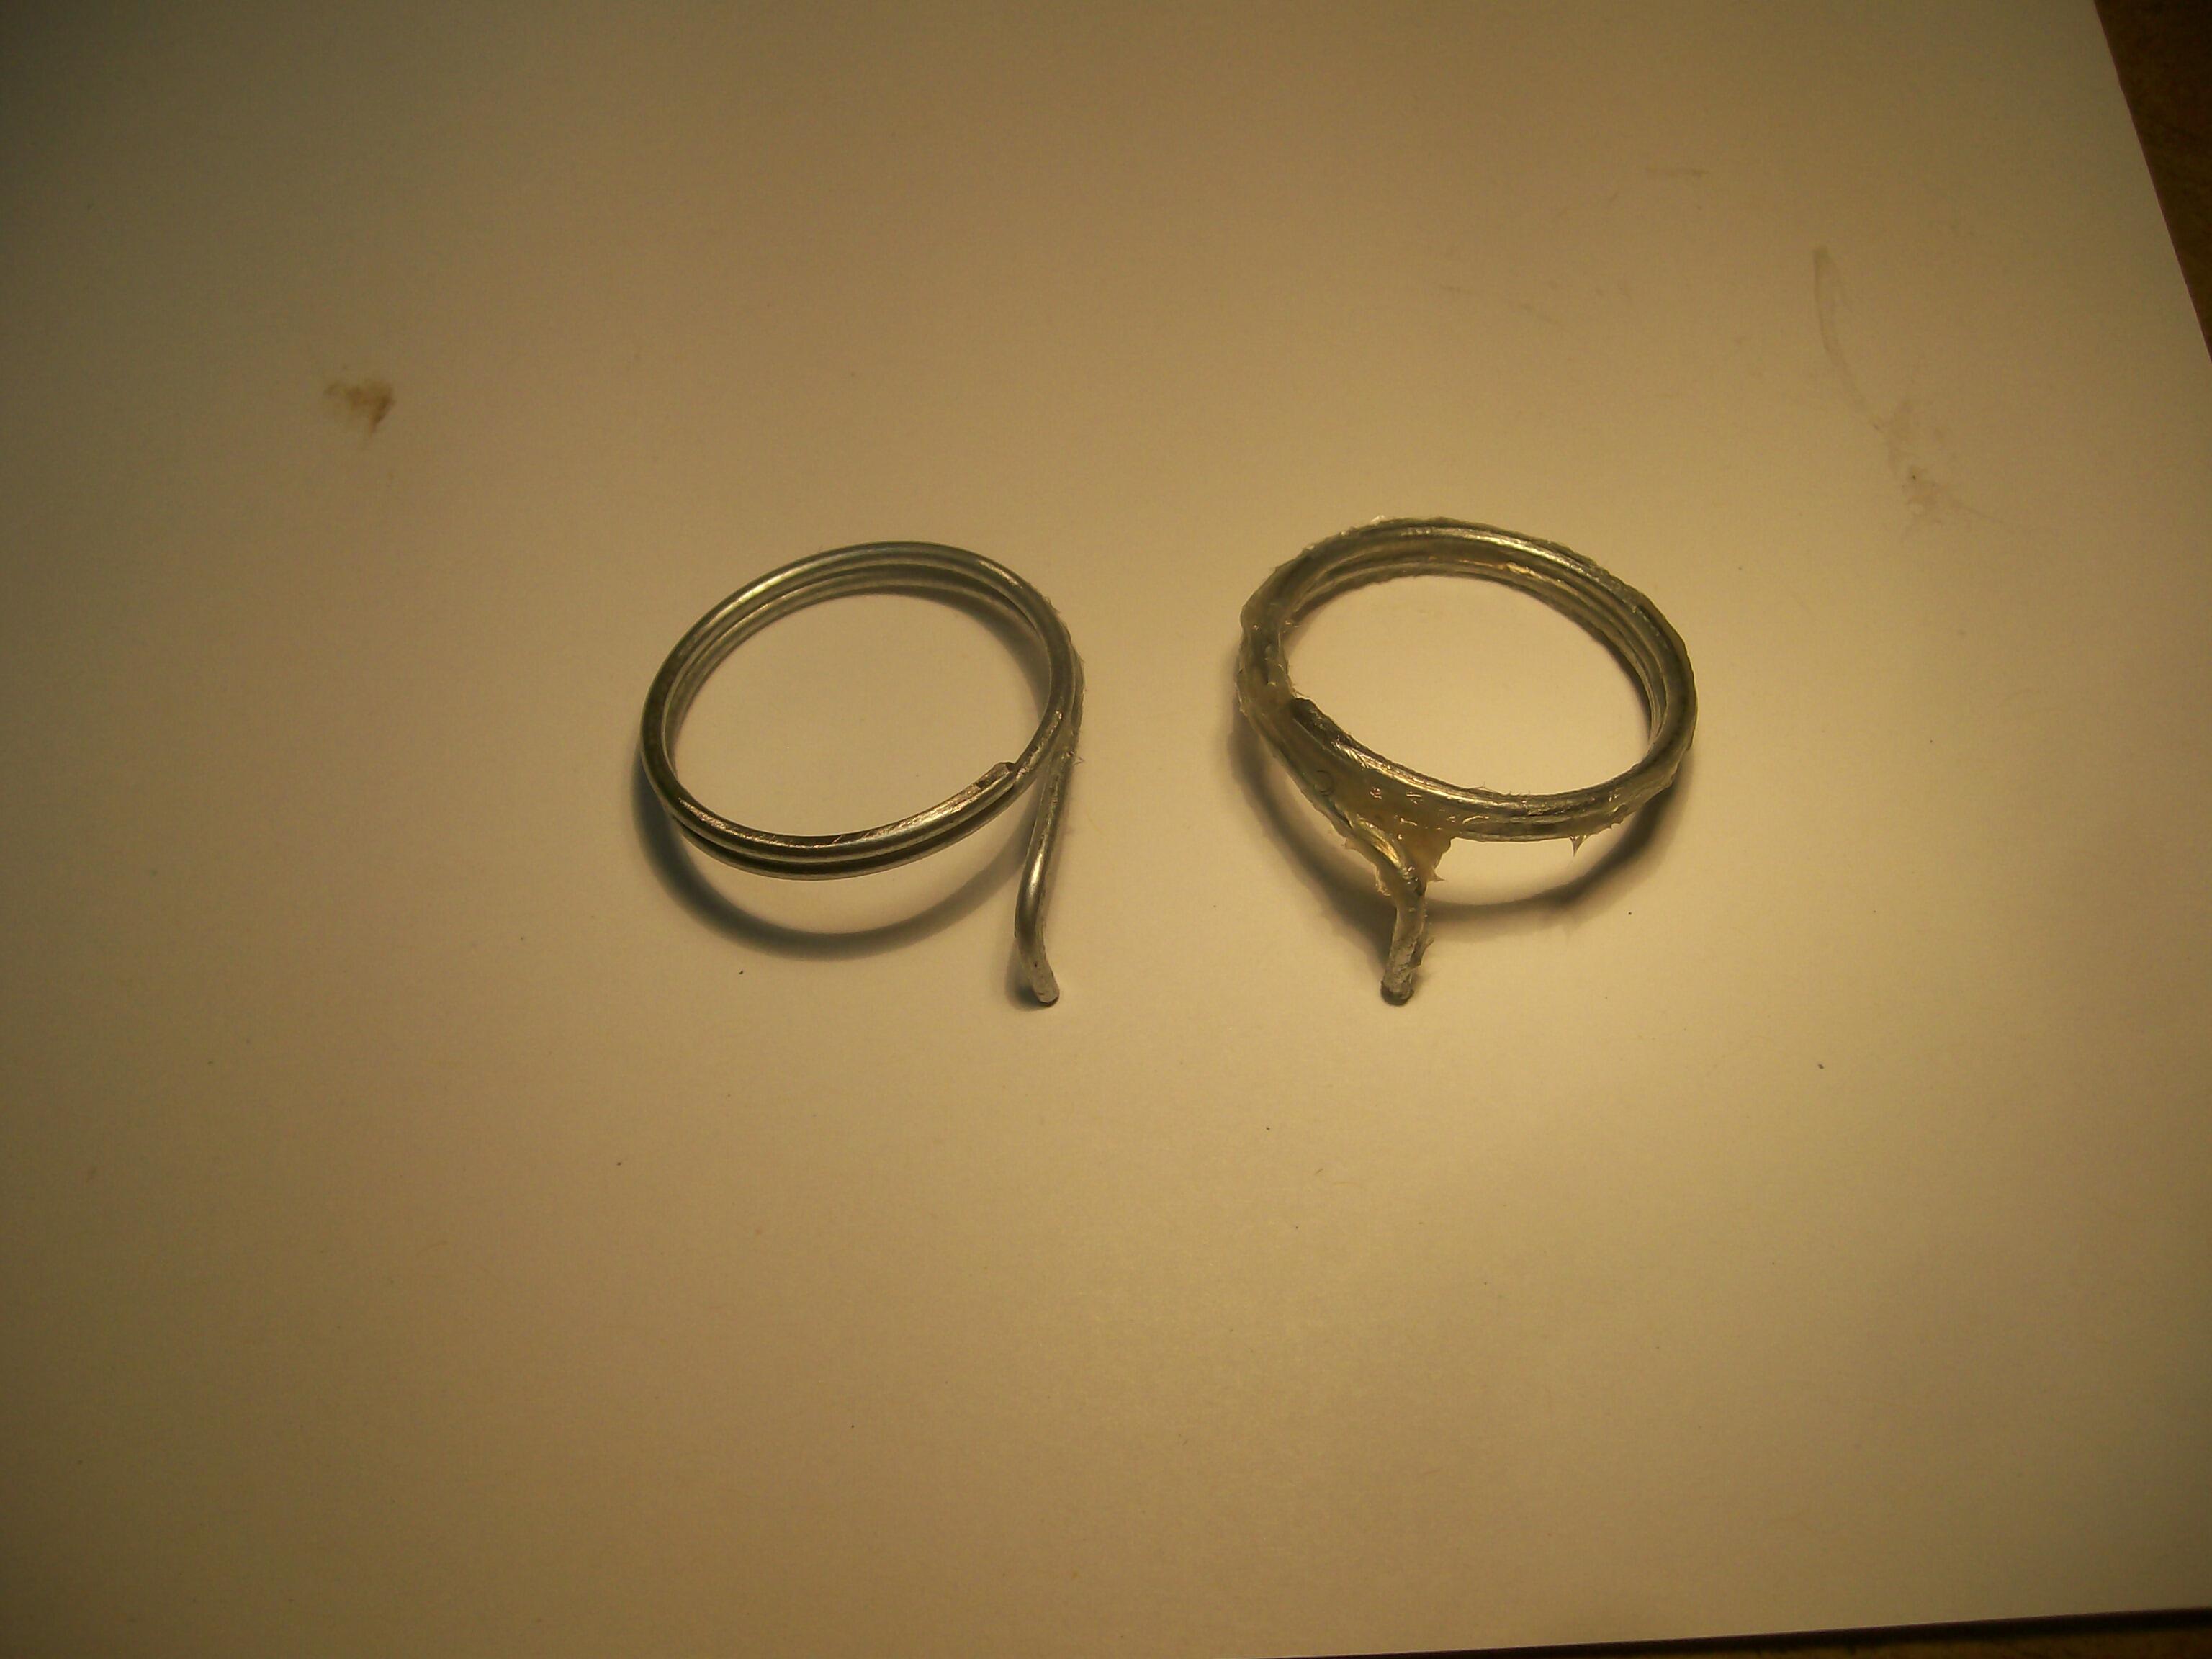
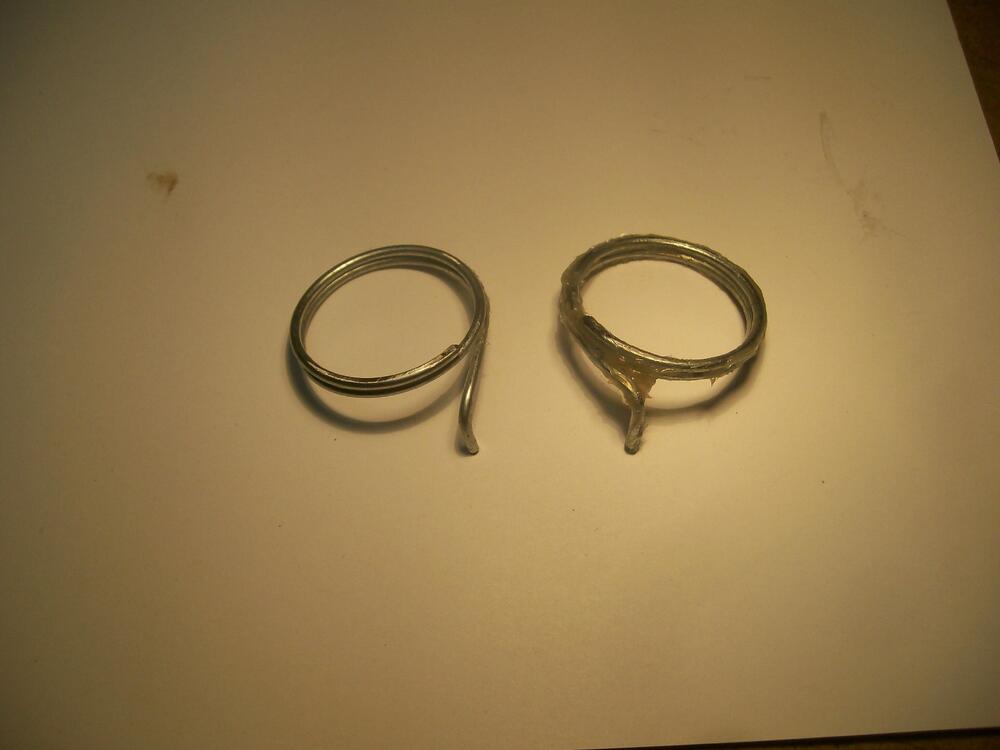
4 pointsAlthough a bit finicky, but it's really not that hard to make a new spring from scratch. Start by finding a socket wrench with an OD that's roughly 75% of the OE spring. Clamp it vertically in a bench vise and then, using plain galvanized wire of ~ the same gauge as the OE spring, wind two turns around the socket. When relaxed, your coils will expand a bit. If the resulting OD is too big, you need to use a smaller socket (or vice versa). It takes a bit of trial-and-error. Fortunately, wire is cheap. Once you get the spring OD about right, cut it back to one coil, leaving enough to bend a 90-degree dogleg at one end. Cut the dogleg to length. Now heat your new spring with a torch to get it red hot and then quench it in a small jar of motor oil. Here's a pair of my homemade springs...
 4 points
 -
Recently i saw a new manufacturer "Eingeered 3D" Pop up, which sells these 240Z reproduction fuseboxes. Long-time owners know that the original tends to melt in some areas where fuses might cause overheating due to bad connectinos or moddifications over the years. so i had planned to restore mine to avoid such failures in the future. When i saw this kit for sale, i thought i'd give it a try and see which route i go. The kit is a three piece set and each one can be bought individually. the Bottom plastic part, the clear top cover with the prints and the two-piece lock button clip: The quality and fitment is great, but the surface (especially of the button clip) is a bit rough and seems more of a 3D print than the original plastic injection molding. Also the black base piece has some kind of structure which the original one doesnt have. Maybe it can be sanded away, but it seems like a bit of work to geth the completely flat original surface. I'm not sure yet if i'm going to use it, but nevertheless, it's nice tht somebody came up with such a product after all.4 points
-
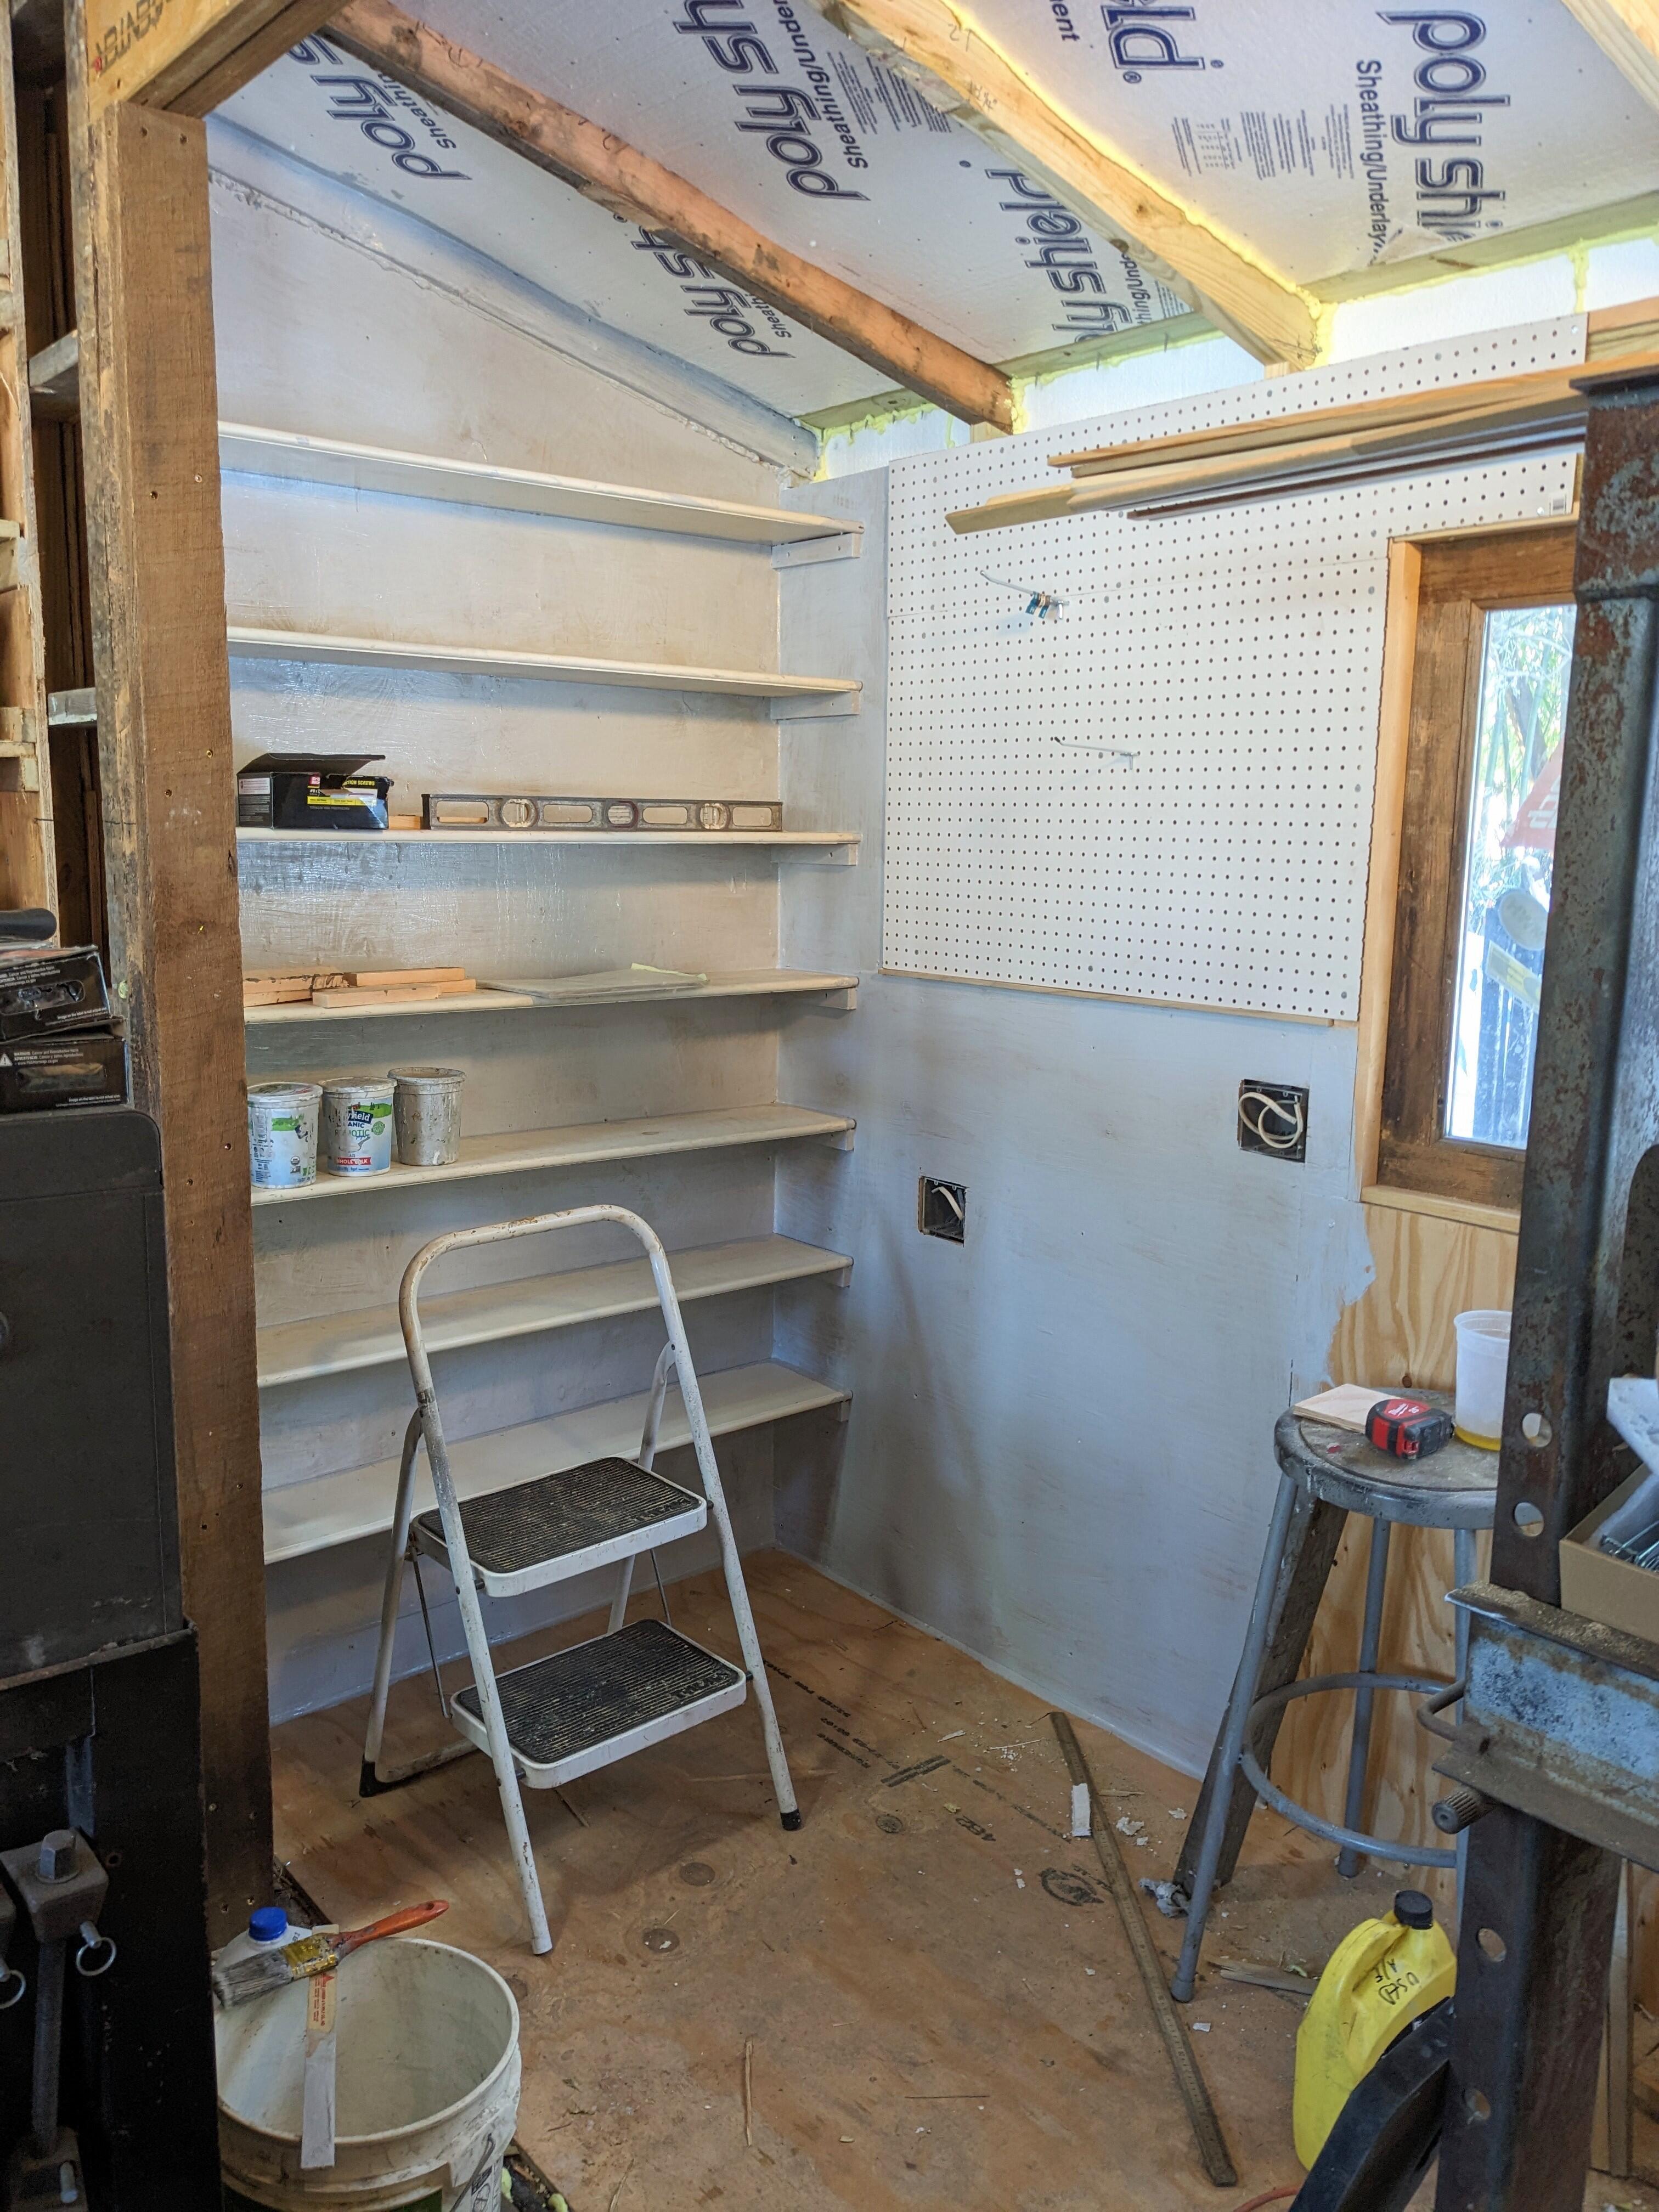
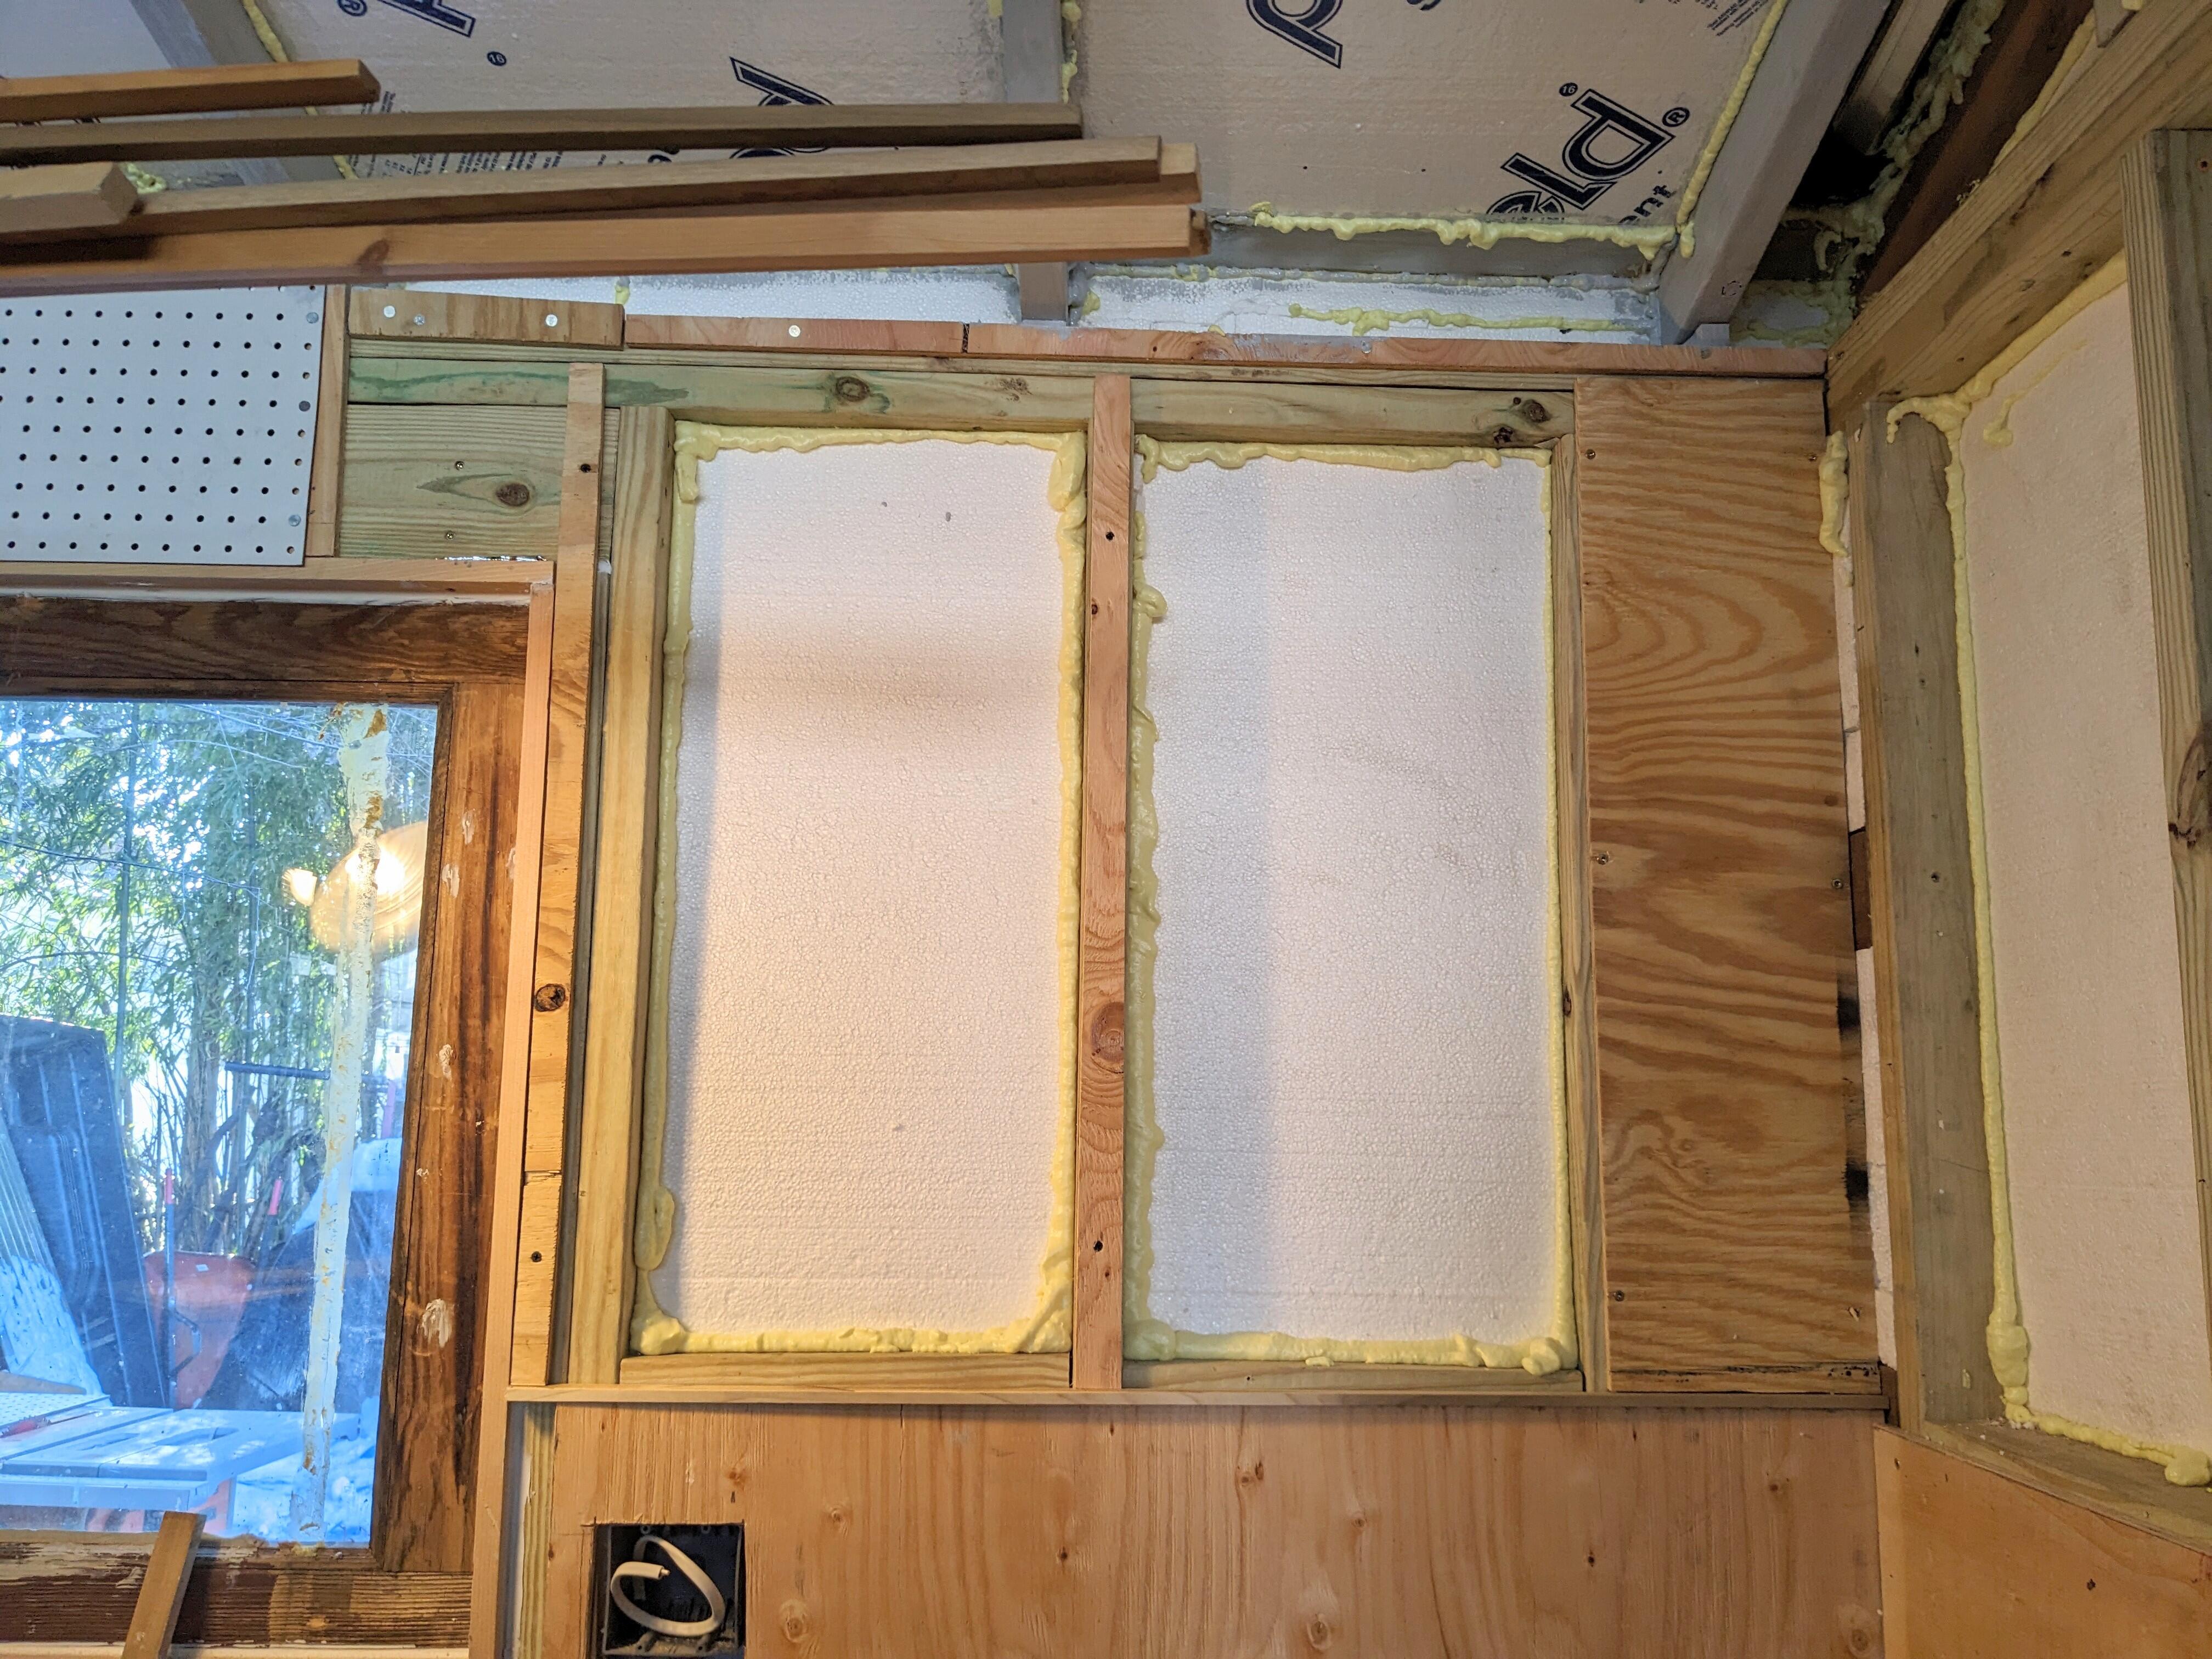
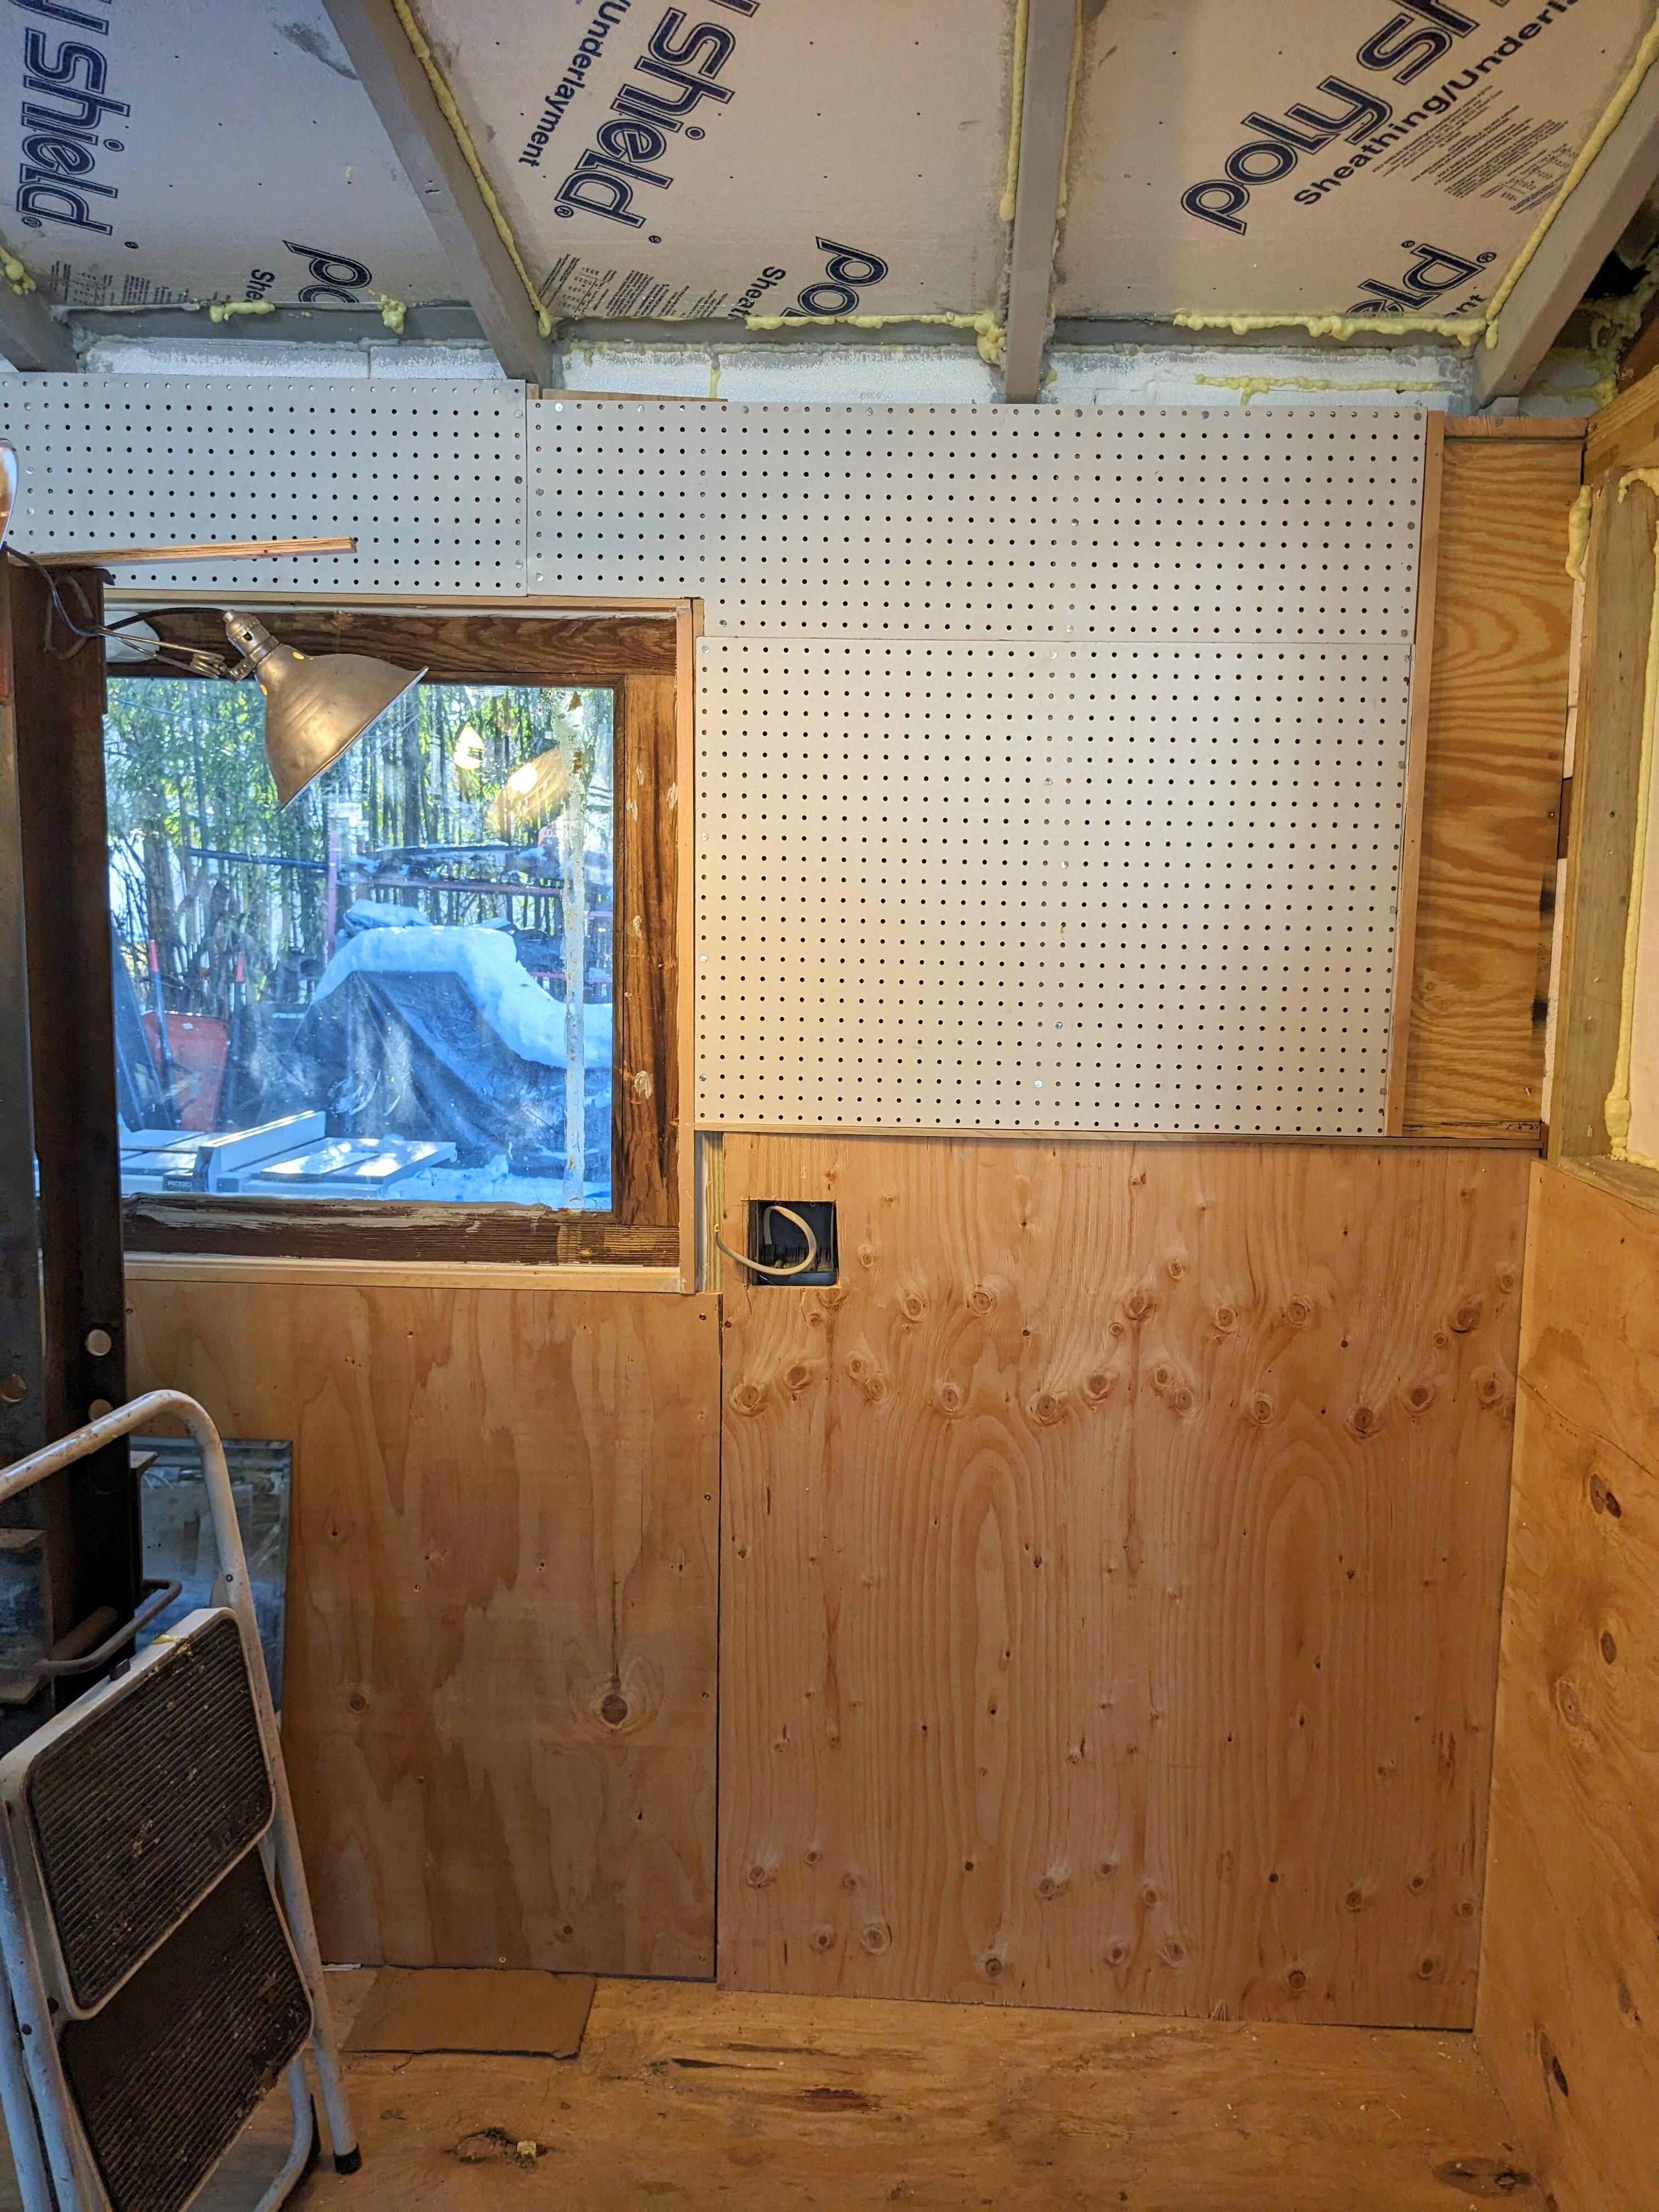
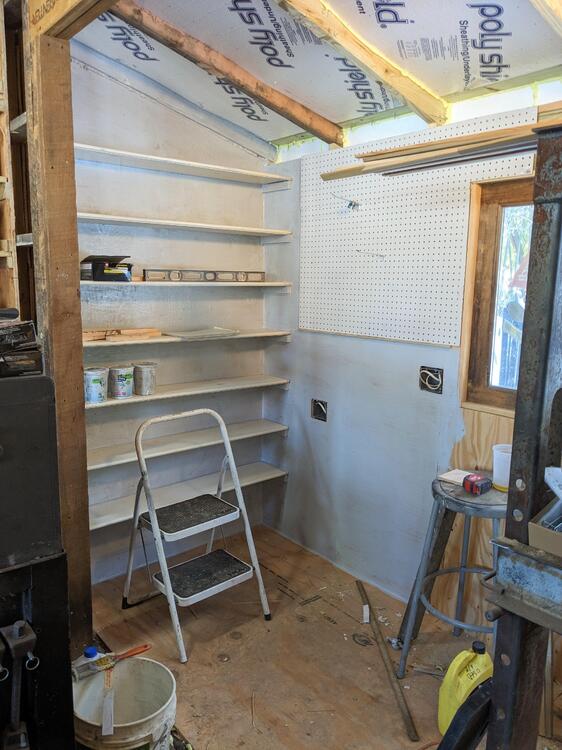
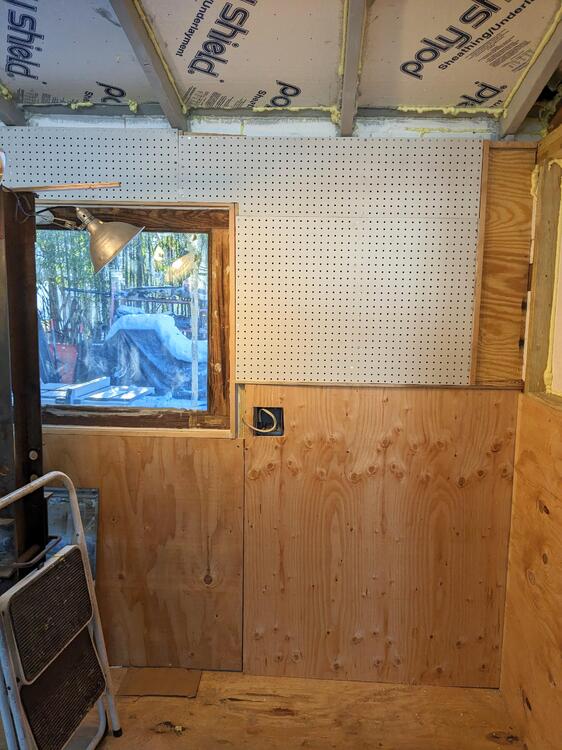
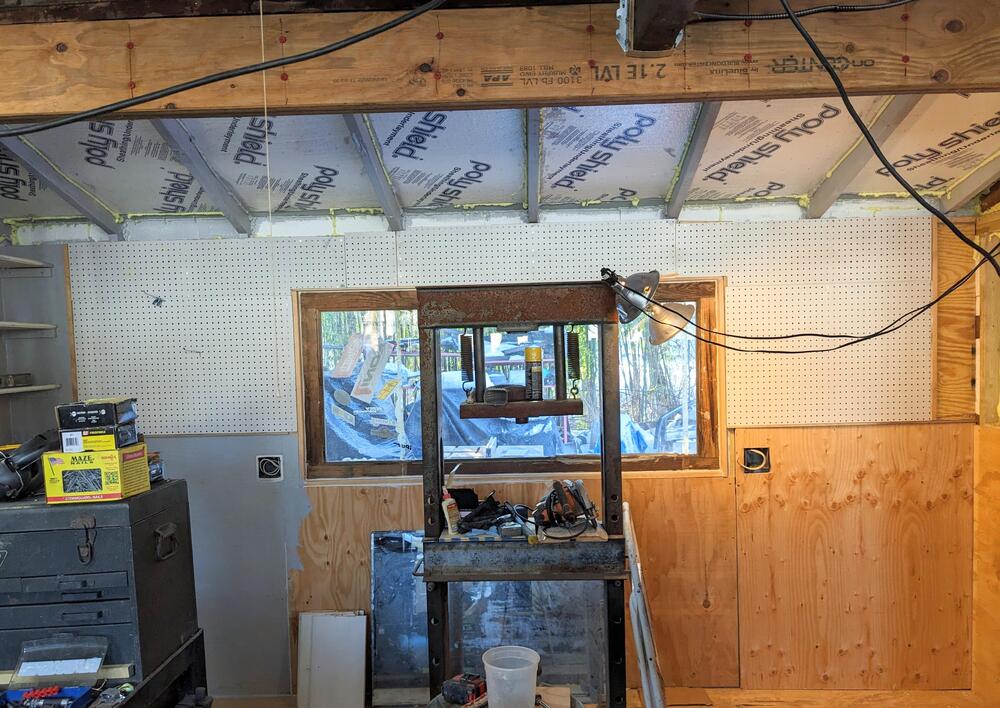
Primed the end wall. It's was about 20° in the garage at that time, so I'm not expecting it to dry anytime soon. I think I'm going to look for a light gray paint for the top coat. Added more foam and sealing foam behind where the pegboard is going, since it can't have that layer of sheathing like the bottom half. I did do the same on the left side. Cutting all the large pieces of wood outside, it was up to about 25°, so not absolutely frigid for short durations. Pegboard on the right is also done now. The panel below it is not secured yet, I still have to do some more wiring. I forgot to add an outlet to the outside wall. So I will run that through that North wall, behind that lower sheathing. Did a little more priming here and there to even it out. Have to do the inside facia for the window trim - I'm using 1x3, the old stuff was that size, so can I reuse some of it, and I bought two 8 ft lengths to do the top and bottom

 3 points
 -
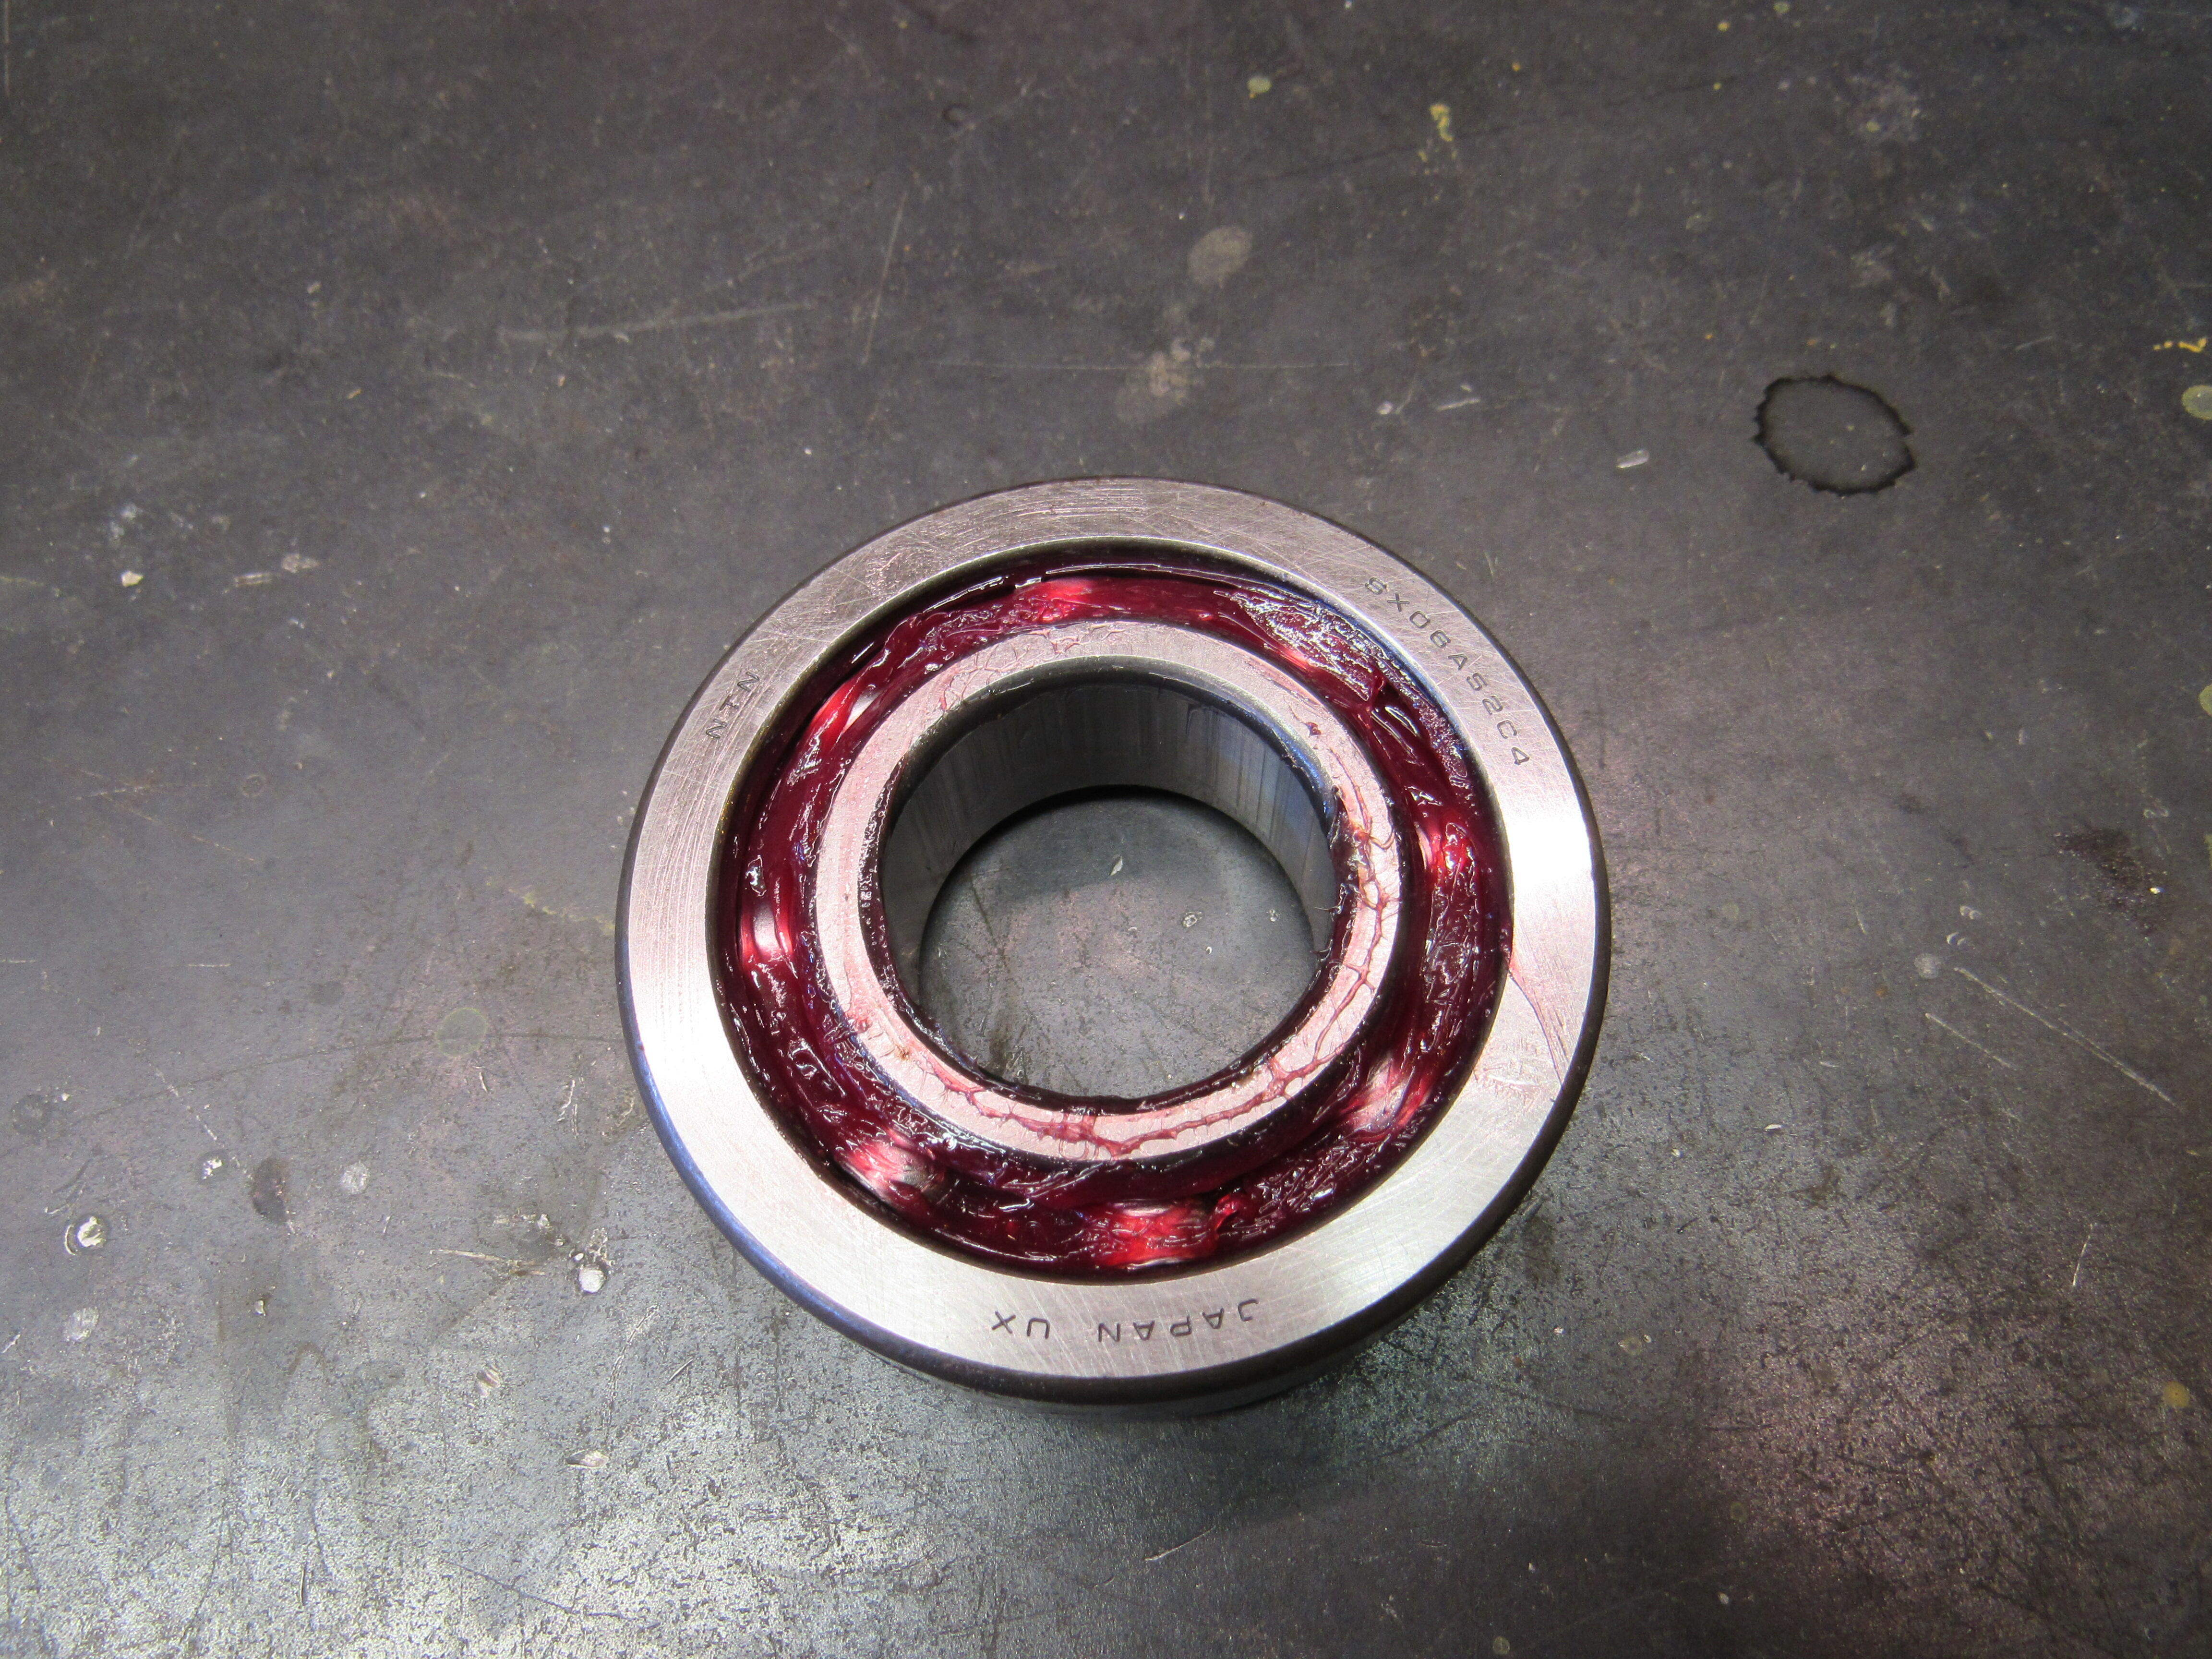
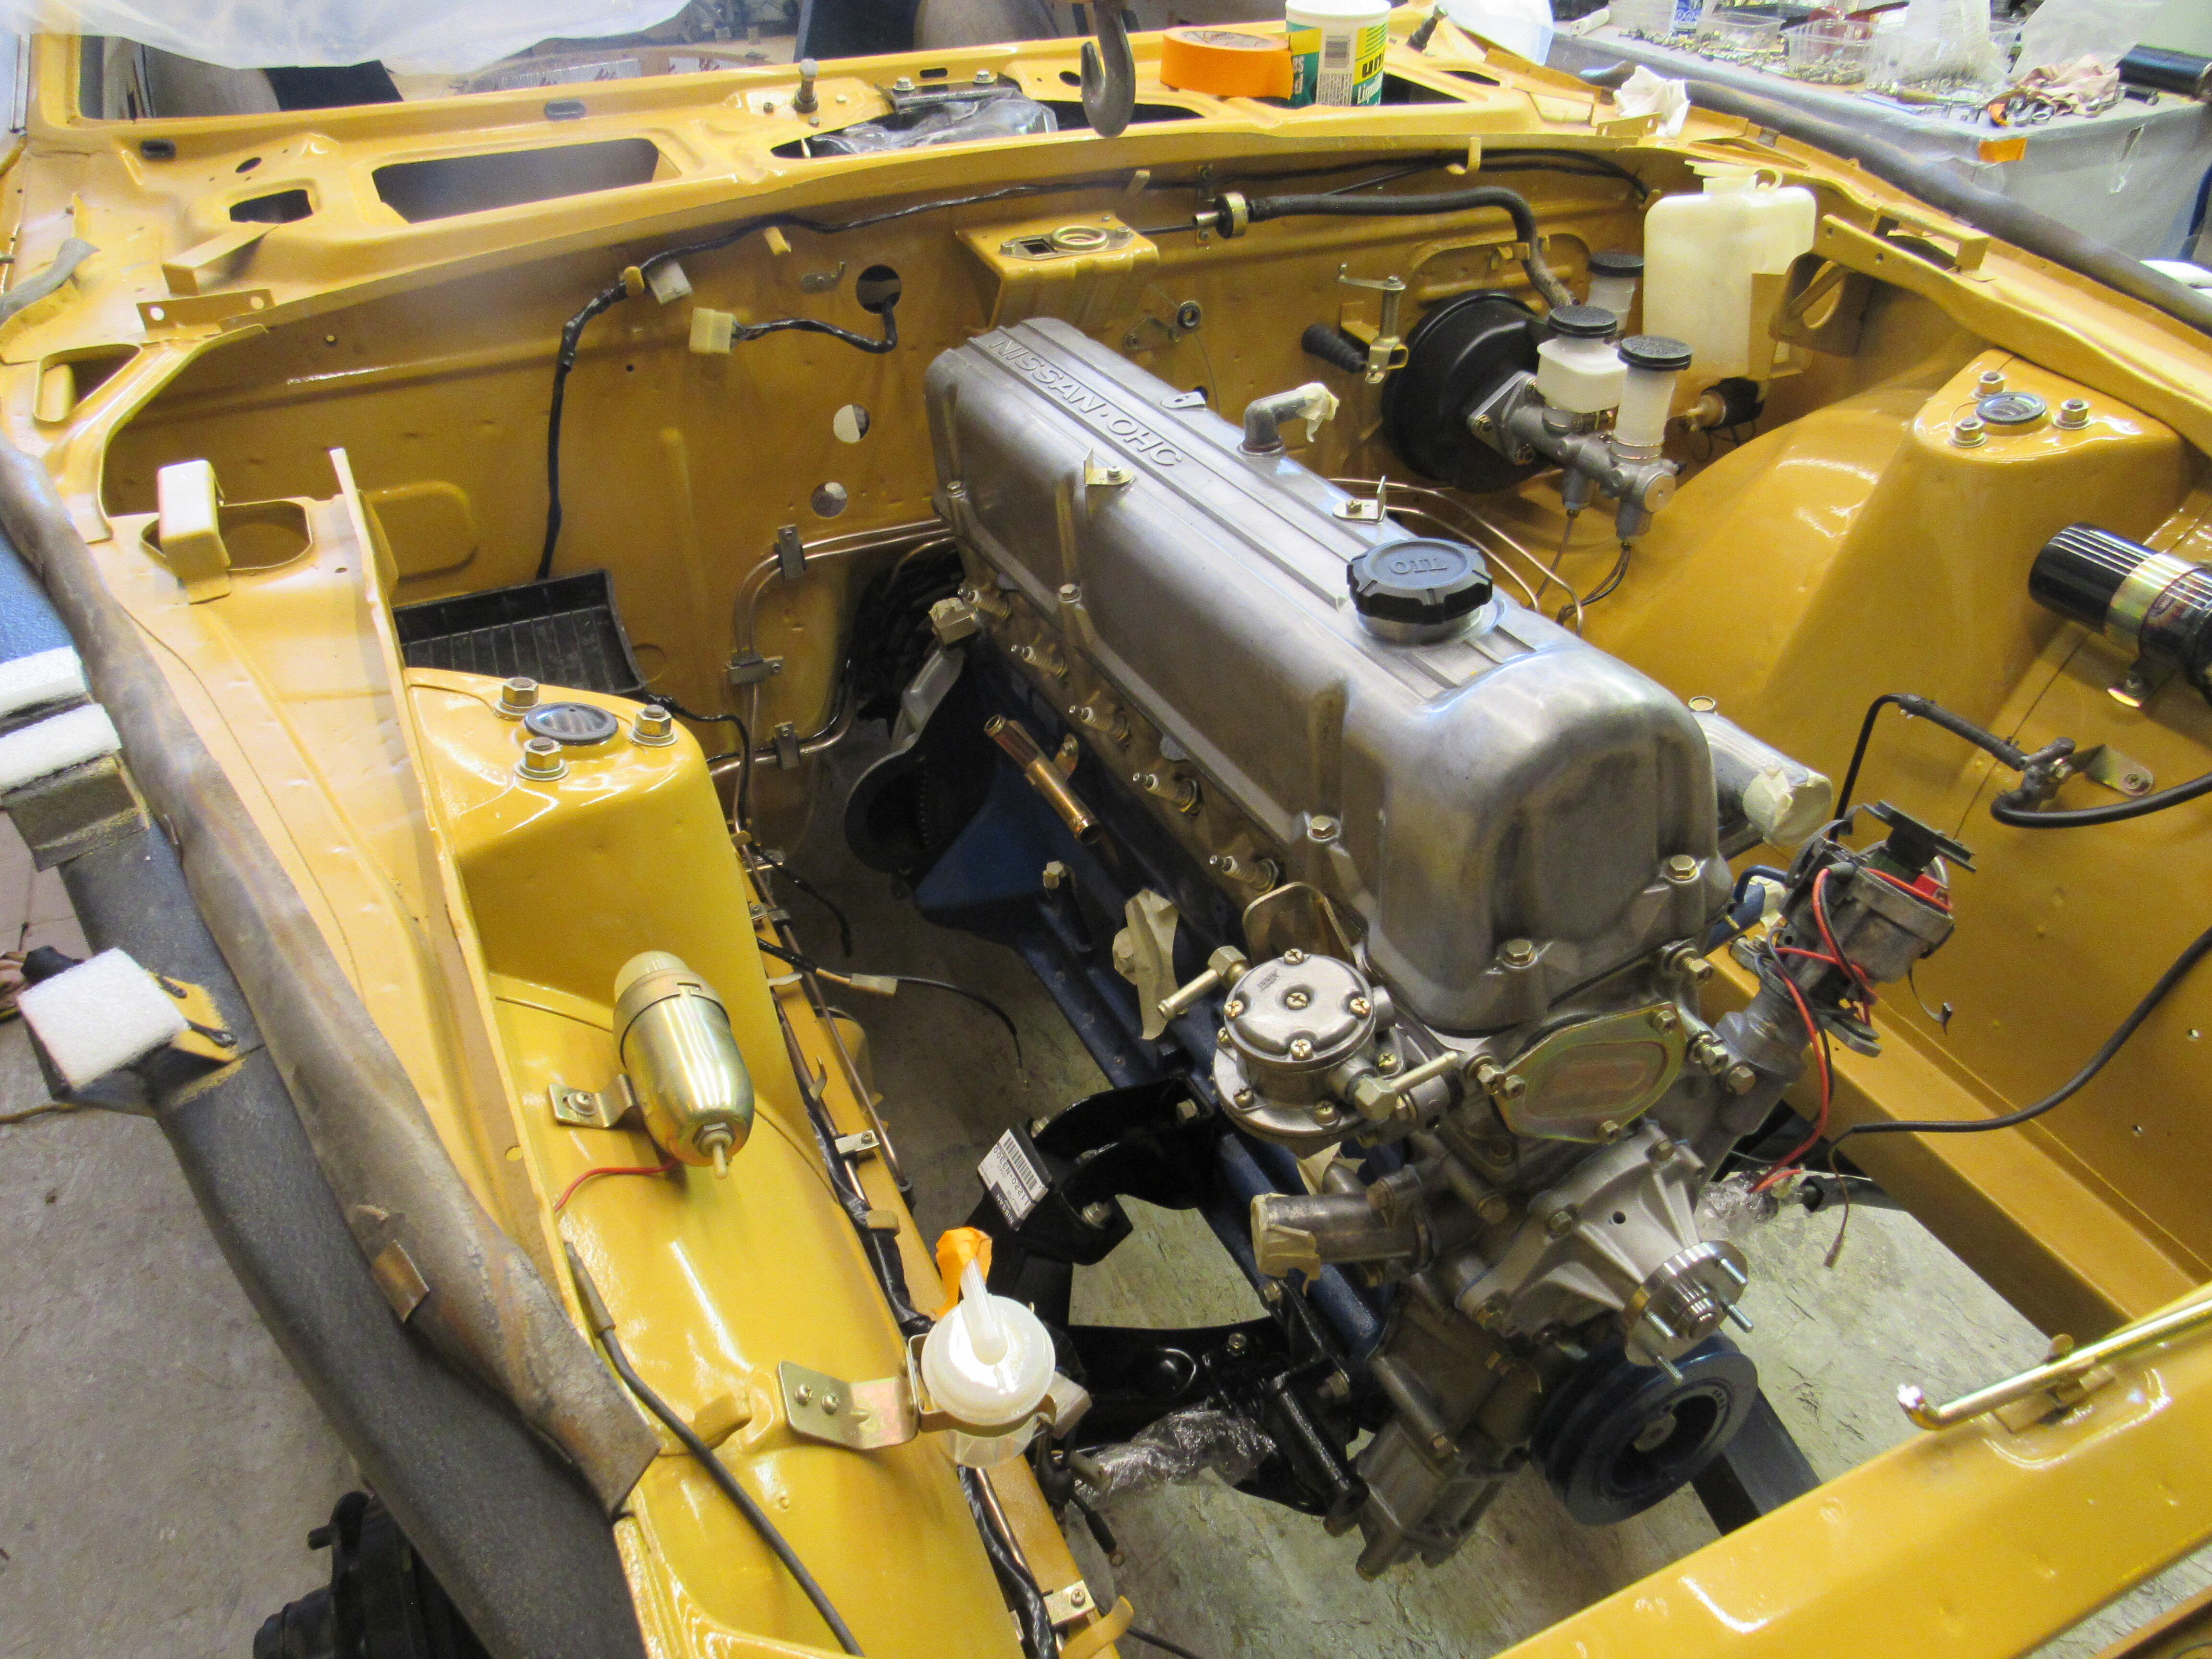
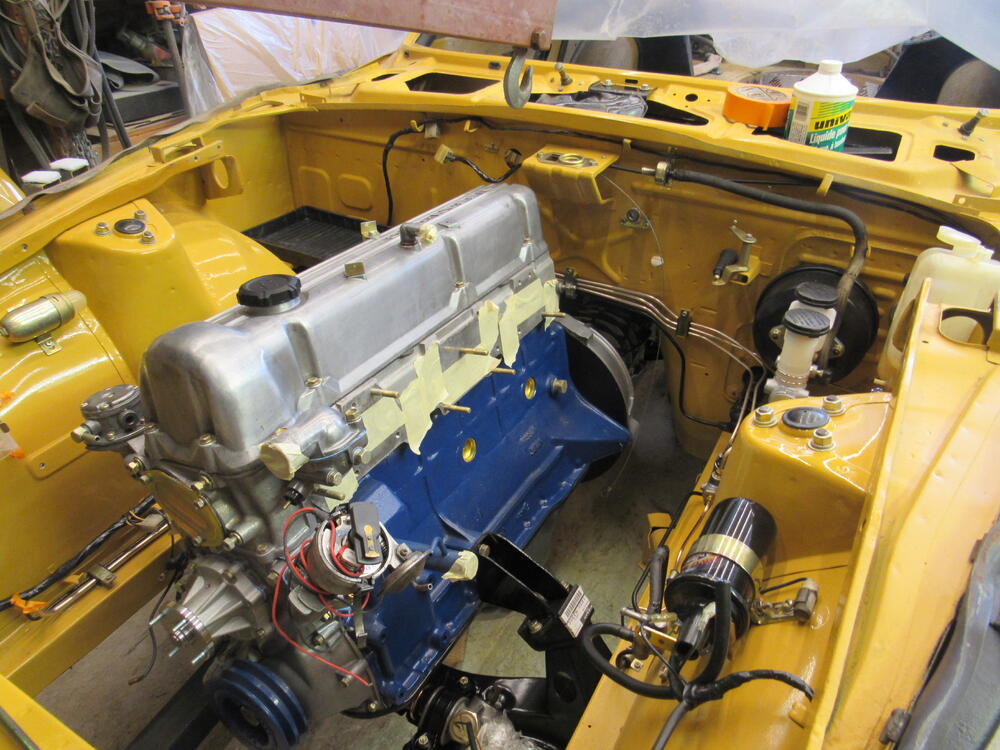
2 pointsI got the diff in and all the associated pieces, waiting on a rear wheel bearing to replace a new wheel bearing. I've never seen a bad bearing right out of the box but this one is, starts grinding as soon as I tighten the nut, NTN maker. Gas tank is in as well as the engine and trans.


 2 points
 -
I don't see what any of this has to do with the 'Series' discussion. The conversation was about the term 'Series' being used to define content and specs when - clearly - it isn't suitable for that purpose. Now we have the term 'Model' being thrown into the mix. The crux of the posts over the last few days was that terms such as 'Series 1' and 'Series 2' etc are being used as though they can define details on cars which were undergoing rolling changes. Yes, Nissan gave ranges of body serial numbers for specific prefixes as cut-offs for major changes, but applying 'Series 1' etc to them can be misleading. Your own writings on zhome.com link 'Series' numbers and ranges of chassis numbers to spec and equipment changes for 'HLS30' prefixed body serial numbers when that prefix was not unique to the variant you are applying them to. You are also calling the 'HLS30' a 'Model'. How can it be a 'Model'?1 point
-
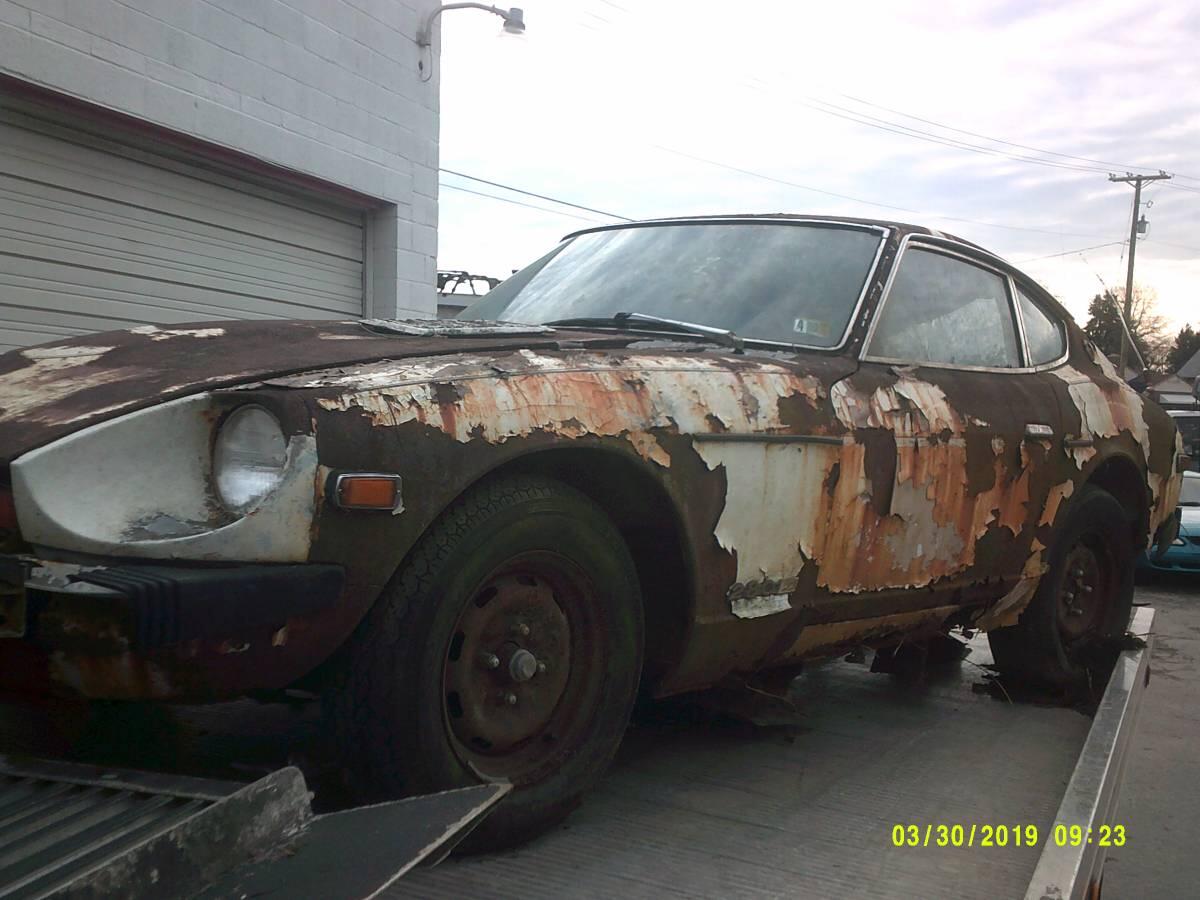
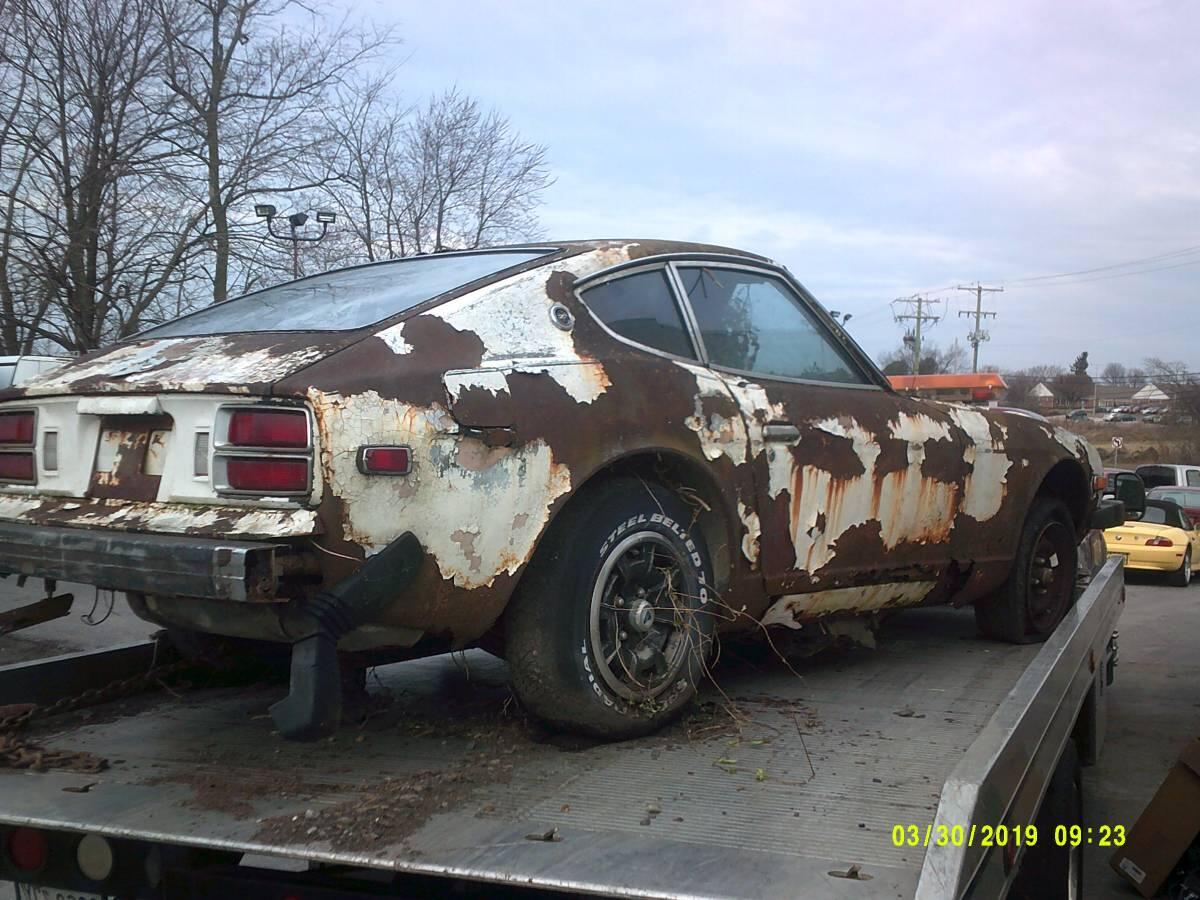
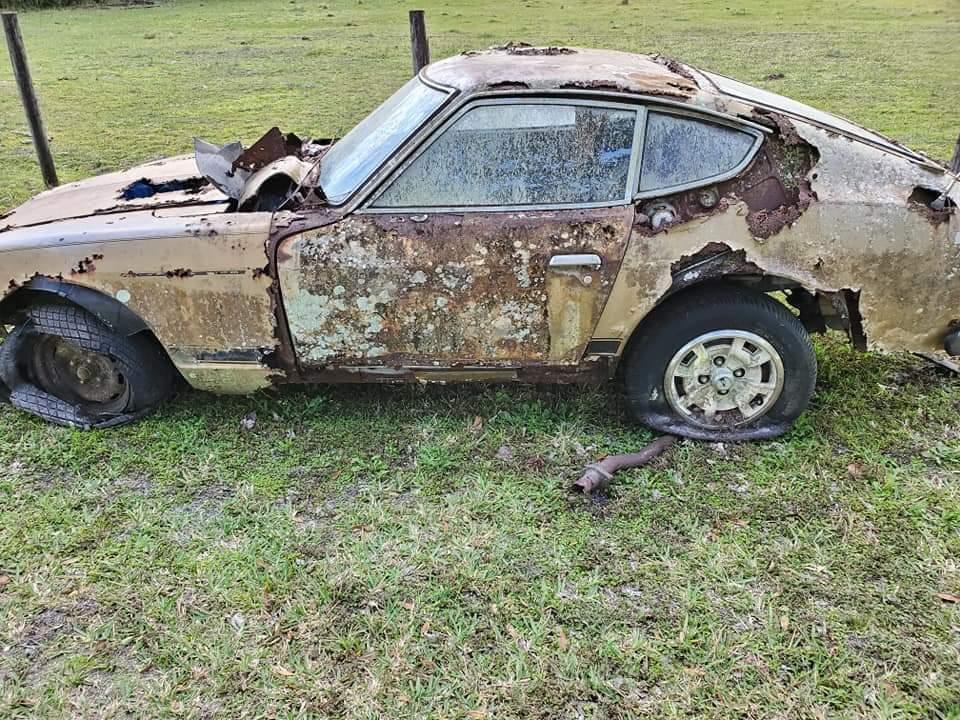
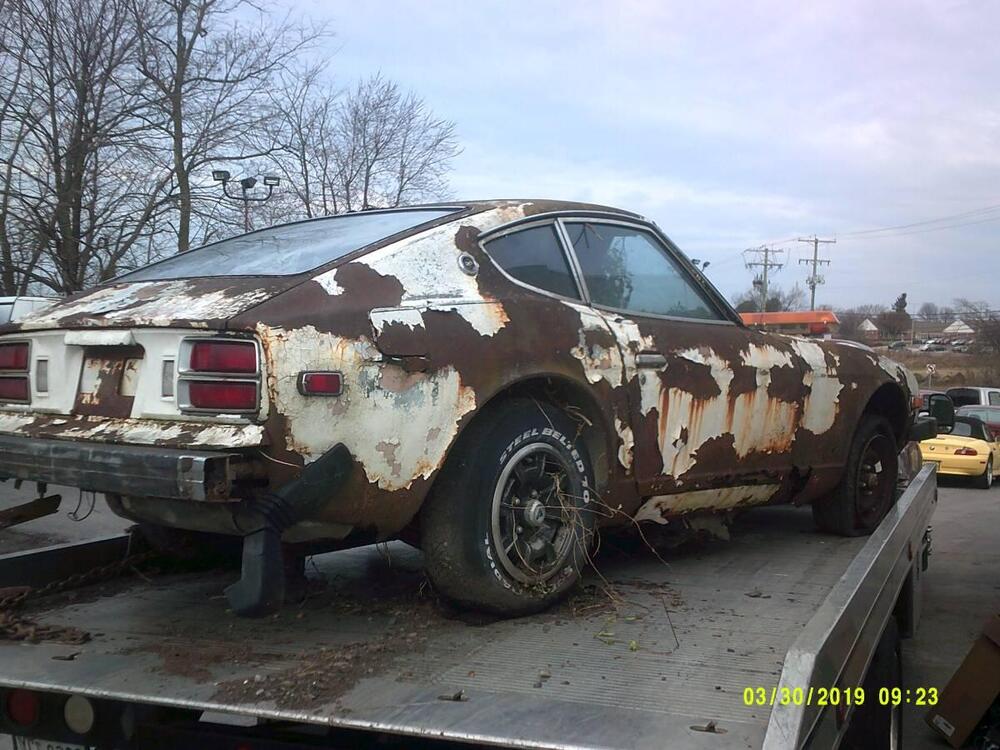
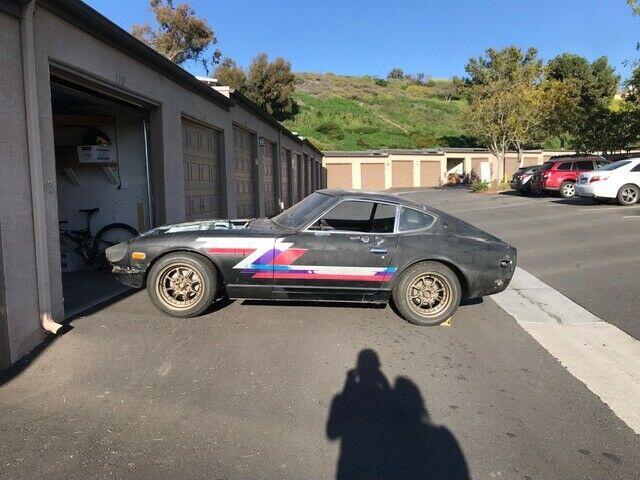
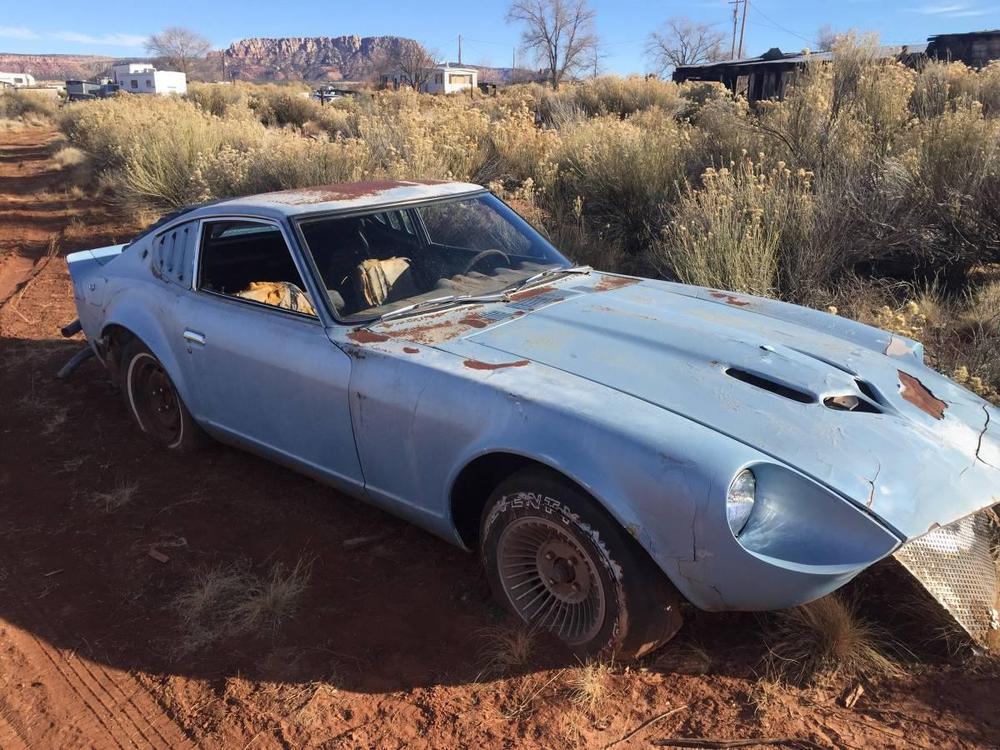
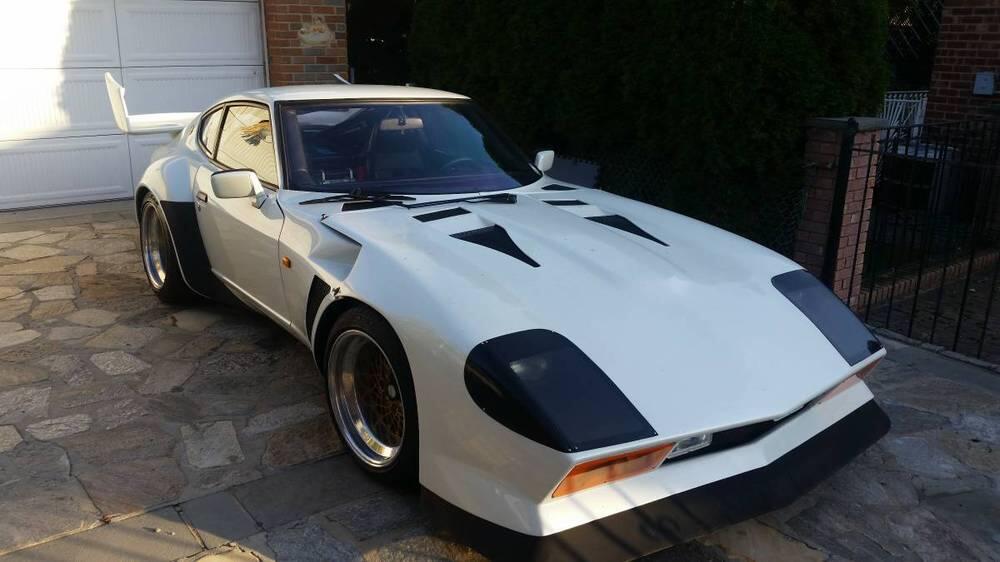
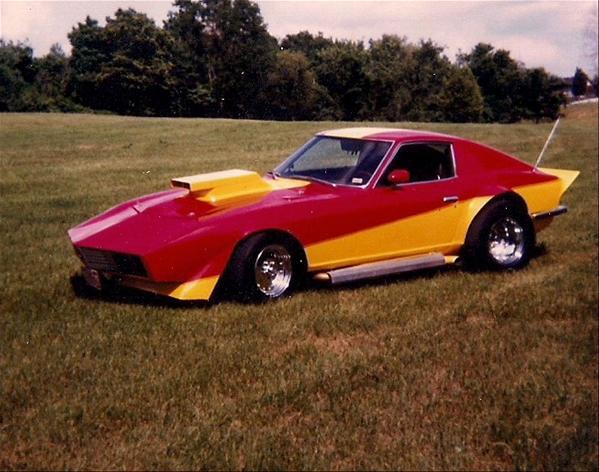
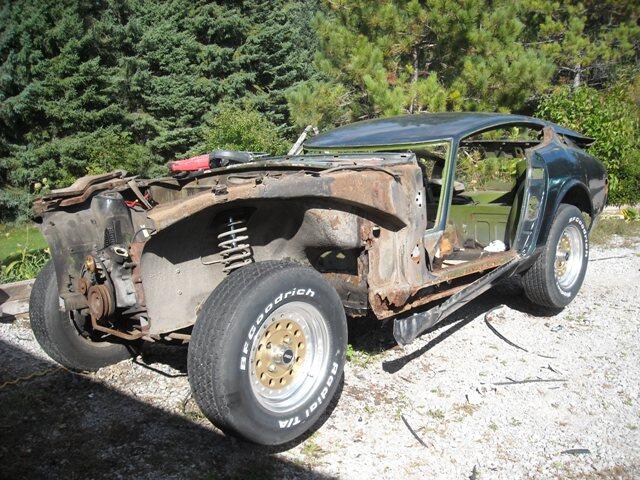
😬 You might be able to save the SS trim on that one. I have been collecting pics like these for yrs so I'm going to empty out my files, some of these have been posted before so please forgive the double posting. Not a Z but still worthy of a mothers love,


 1 point
 -
I had the same problem on my 71. Check out the great info @SteveJ helped me with here You get about half way through and the topic turns to the high speed wiper. For me it ended up being the motor itself but i was helped work out the problem.1 point
-
1 pointProbably not a luck thing. I don't live in an area that really ever sees road salt and Lily is from Arizona and probably had very little wear on the wipers. My third wiper transmission had a good bit of corrosion but it was from North Carolina or Virginia which are road salt states.1 point
-
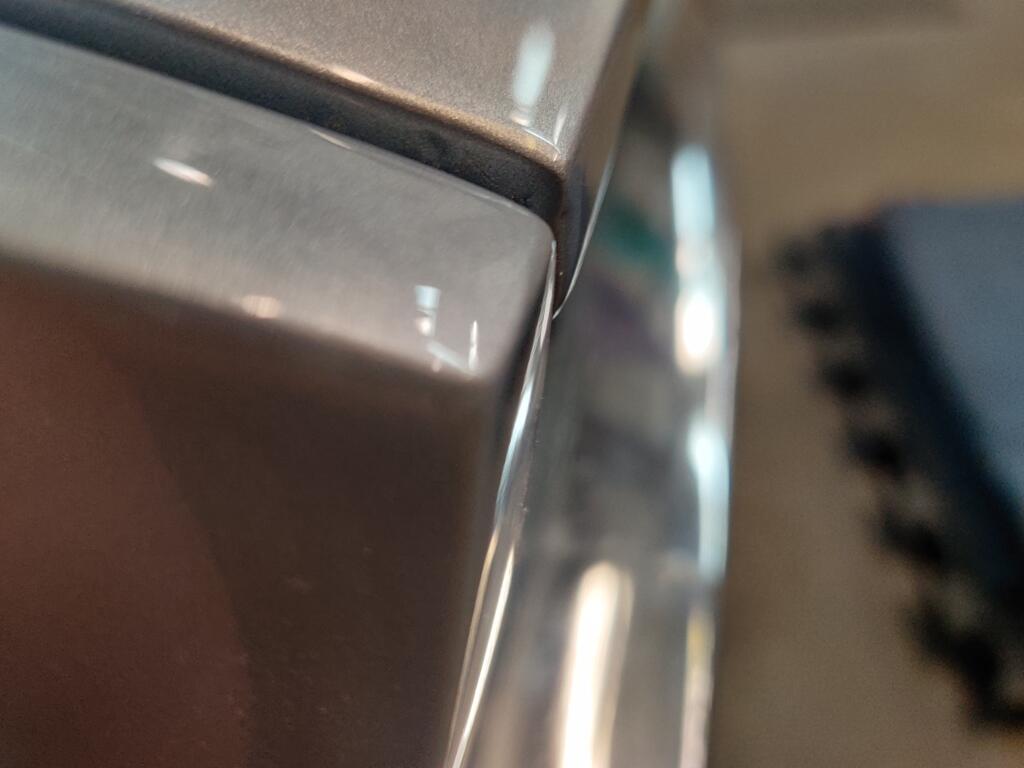
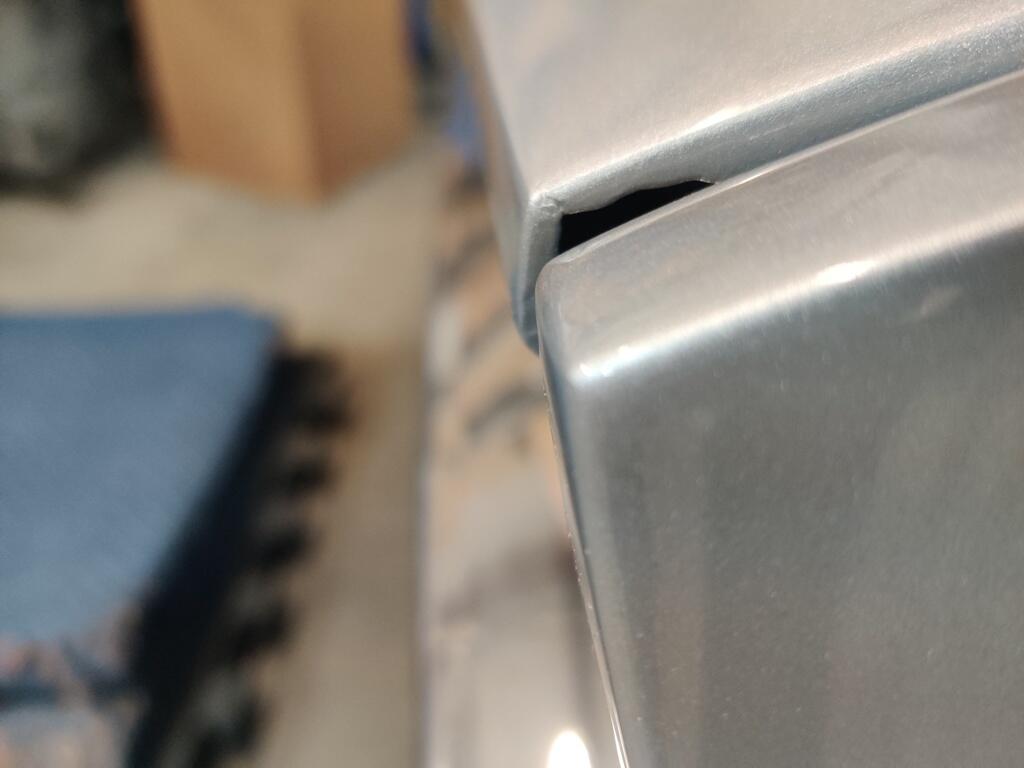
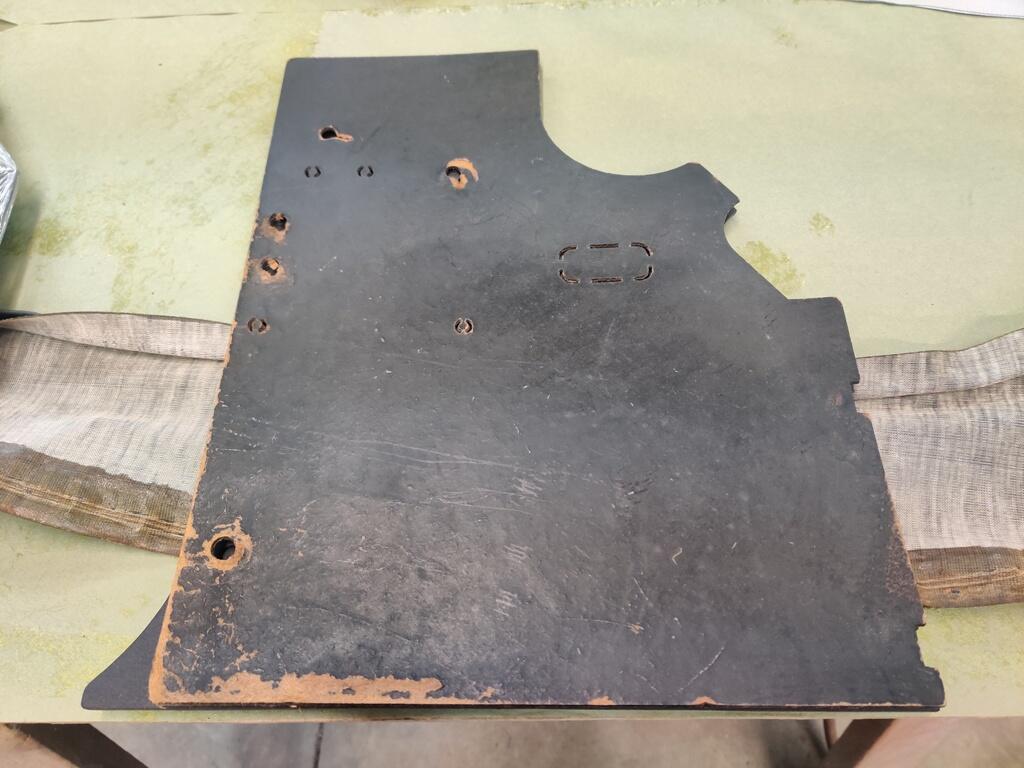
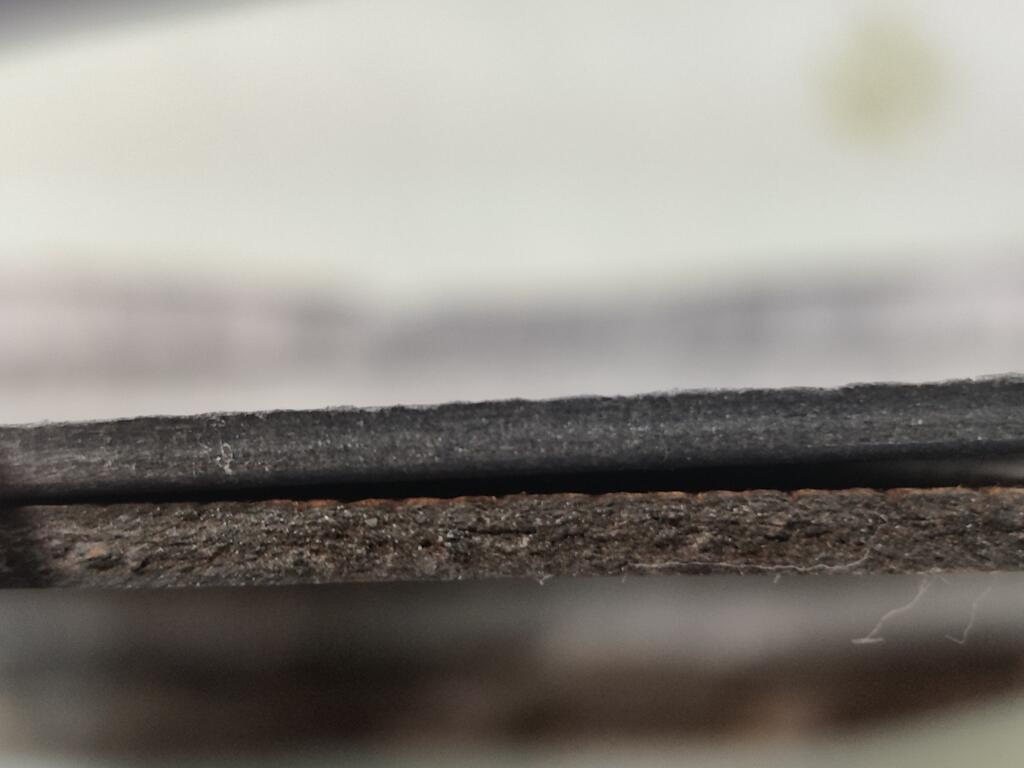
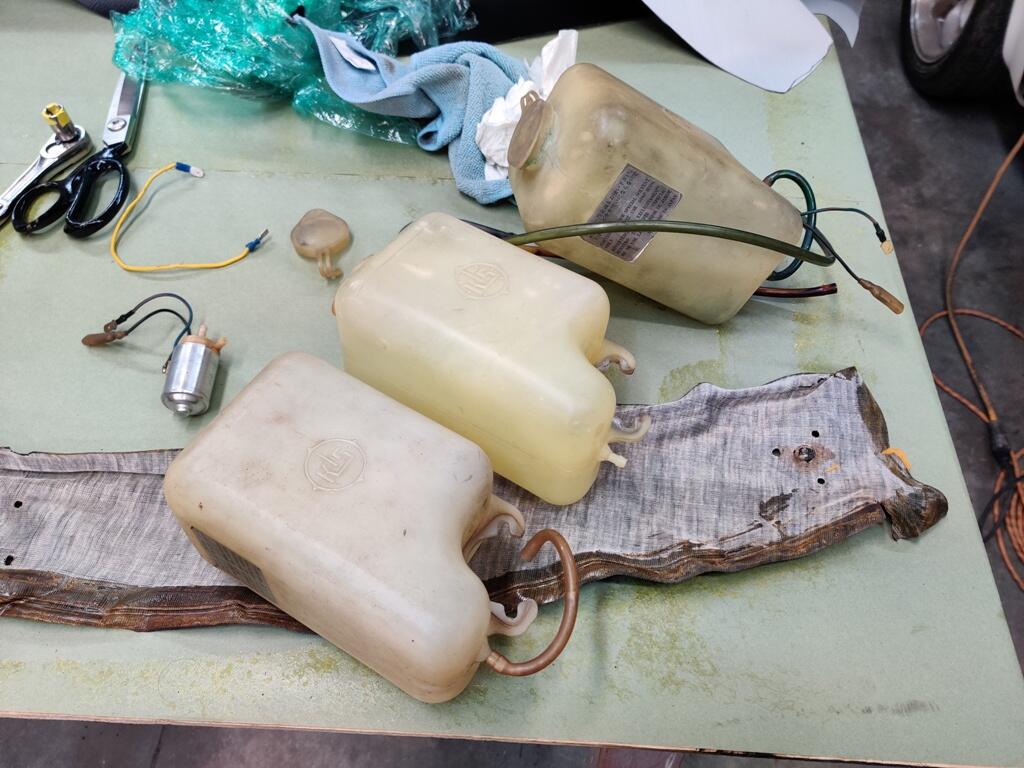
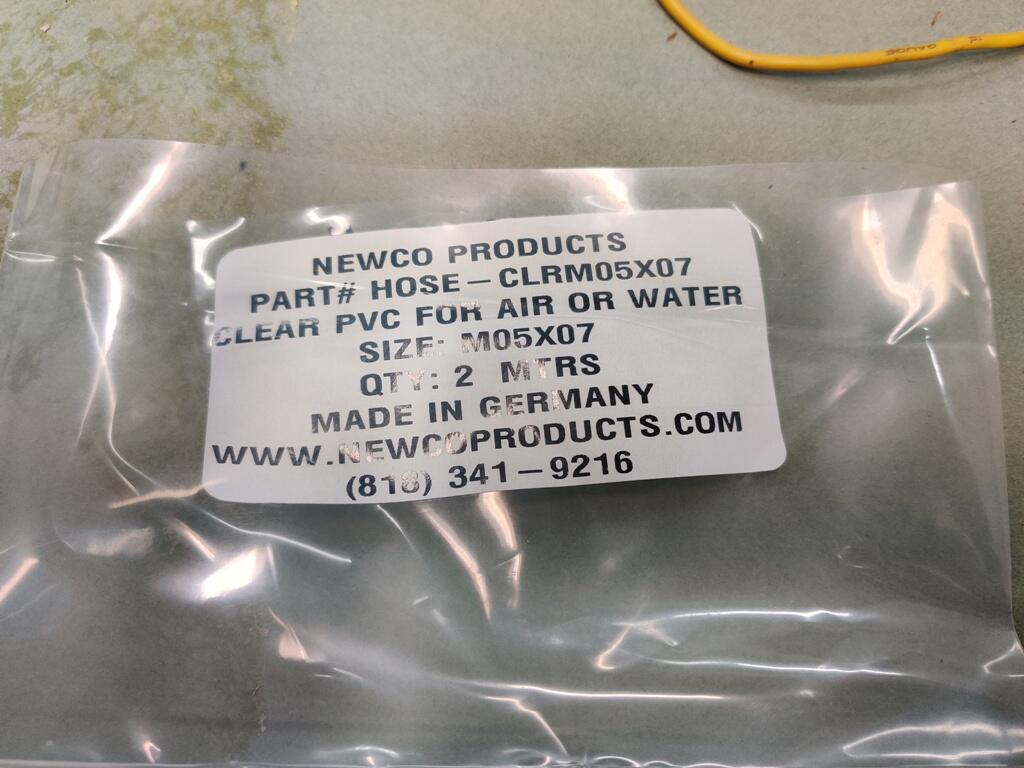
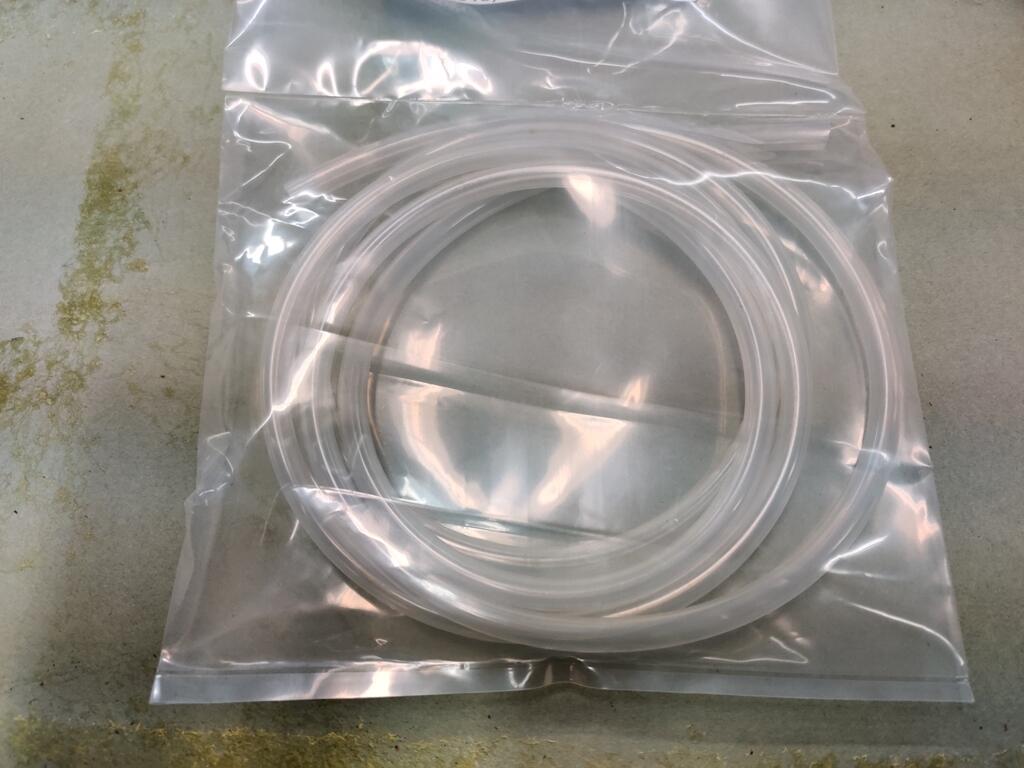
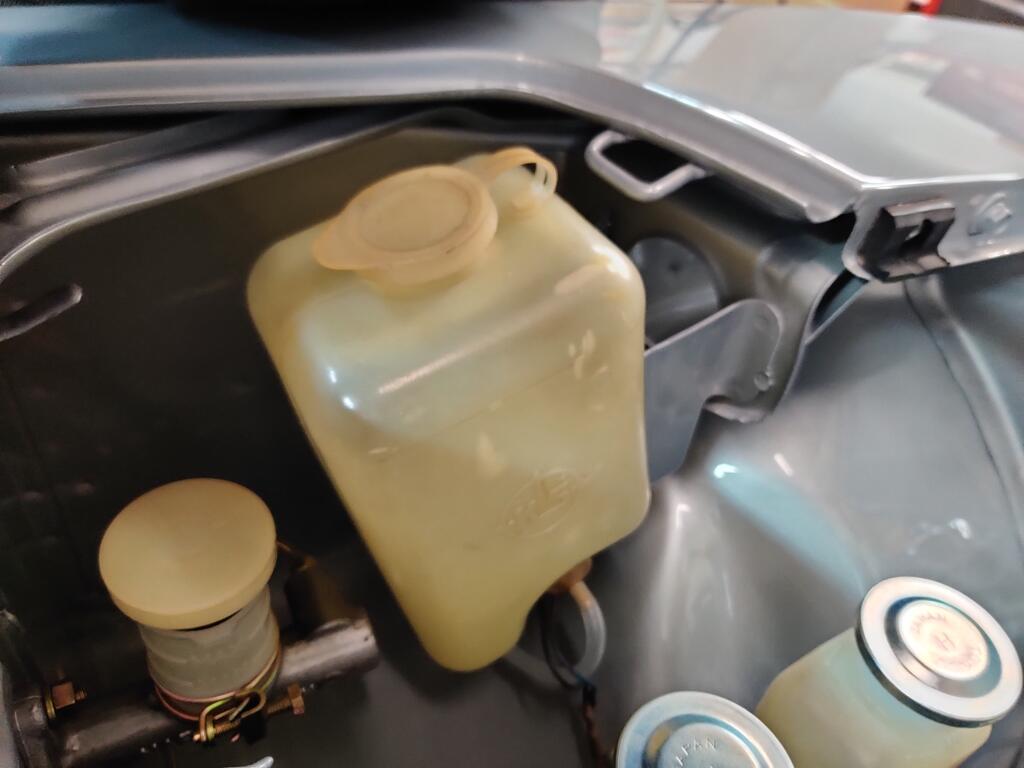
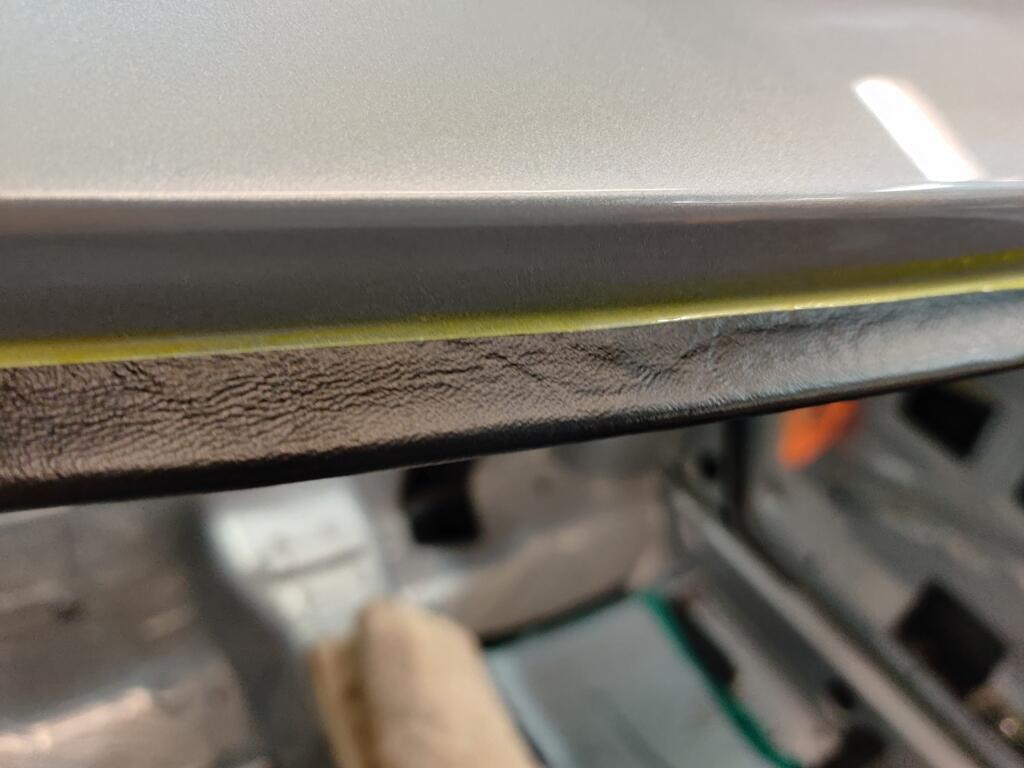
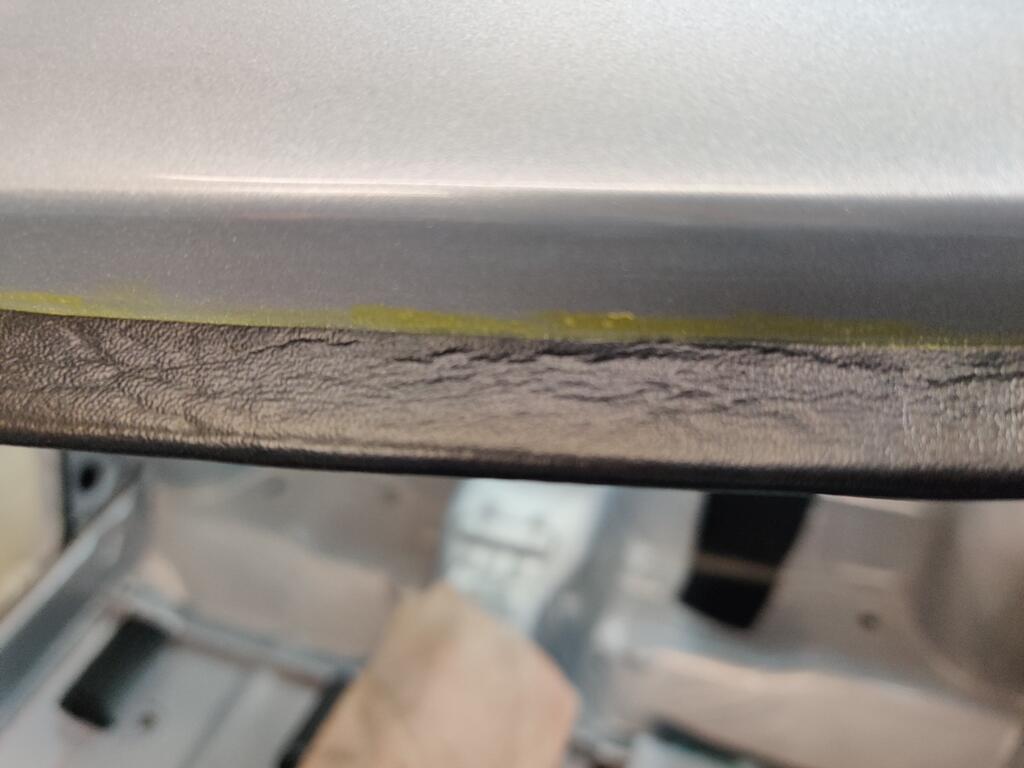
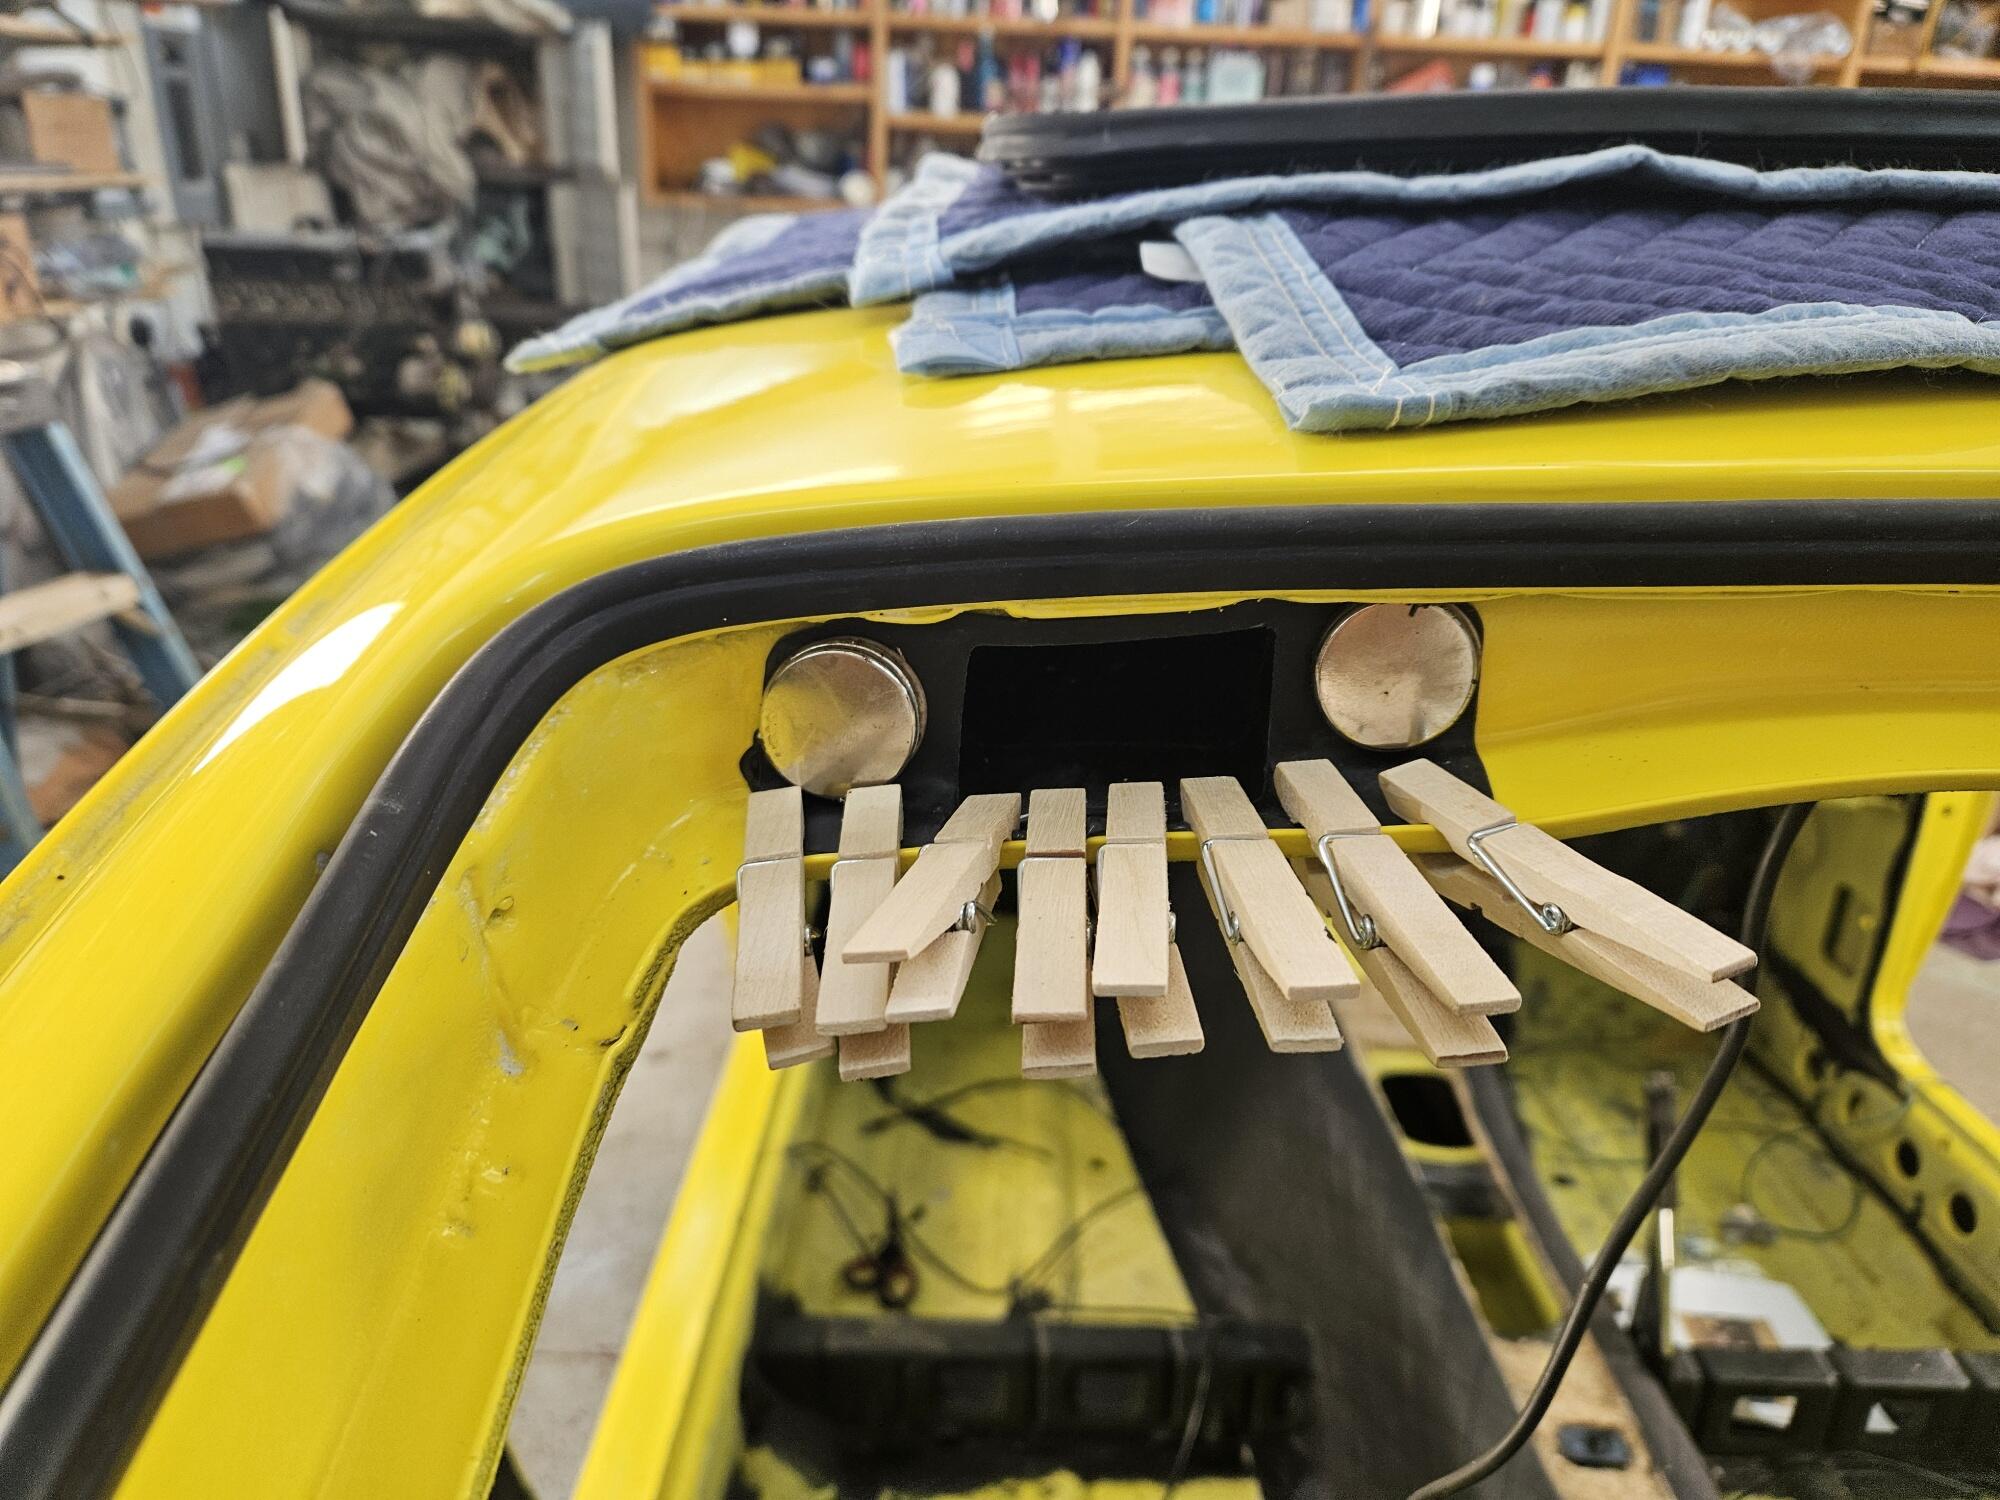
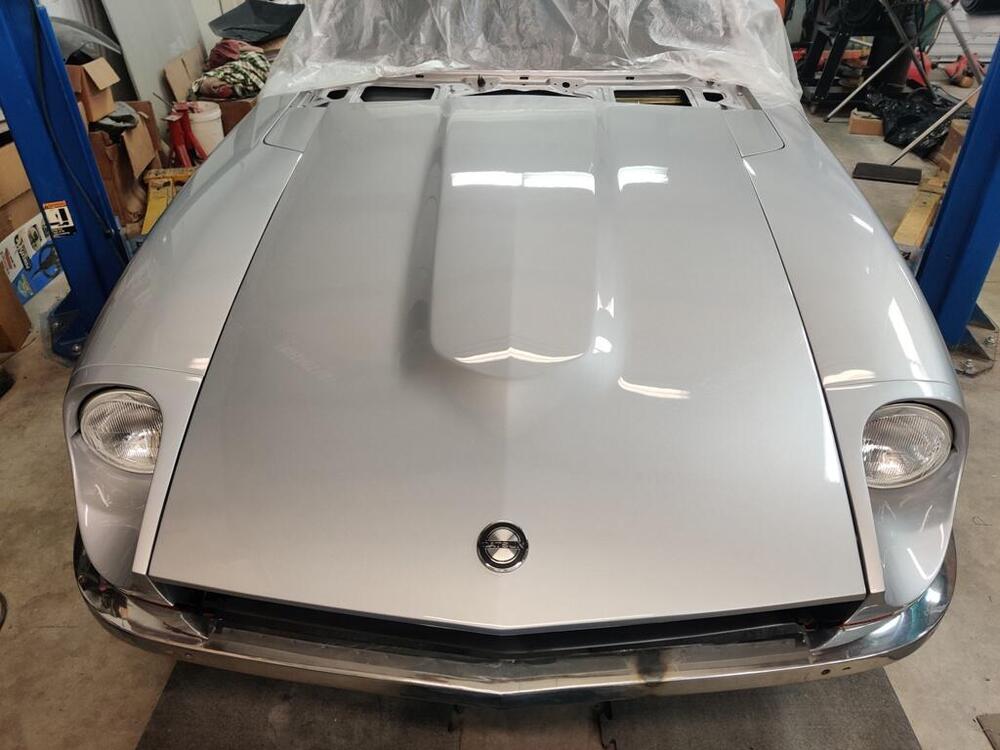
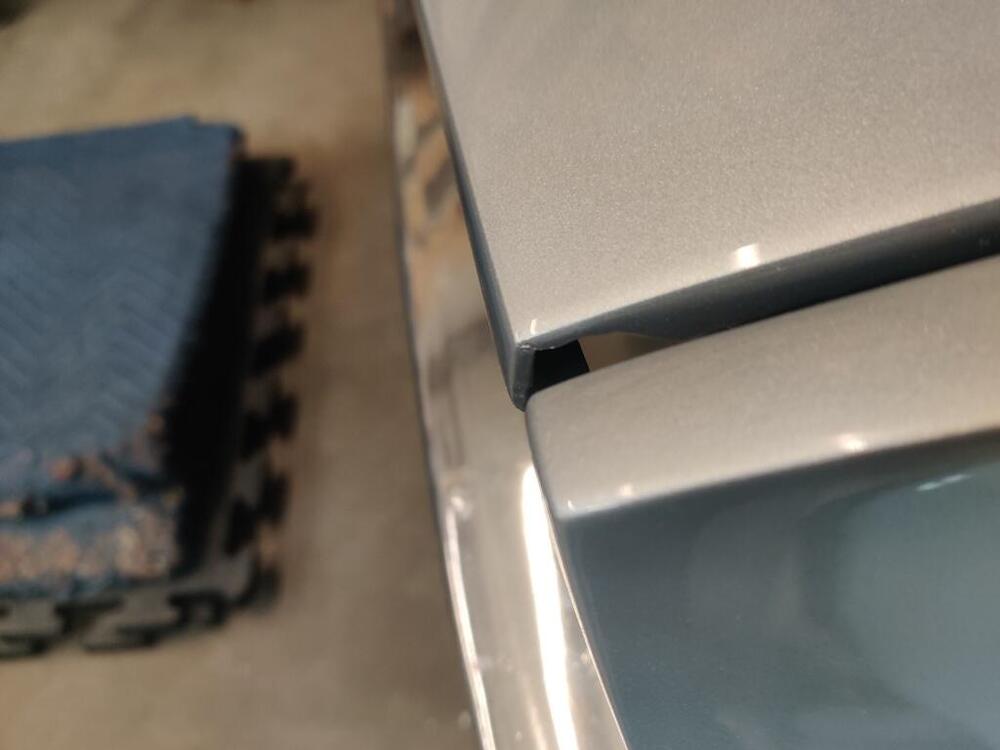
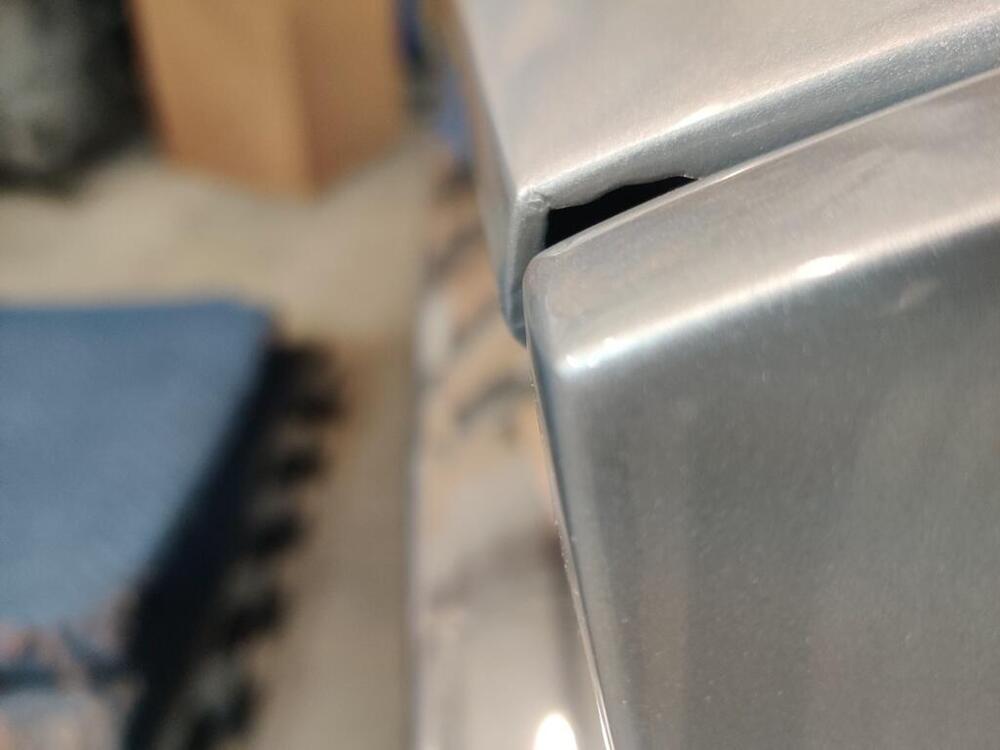
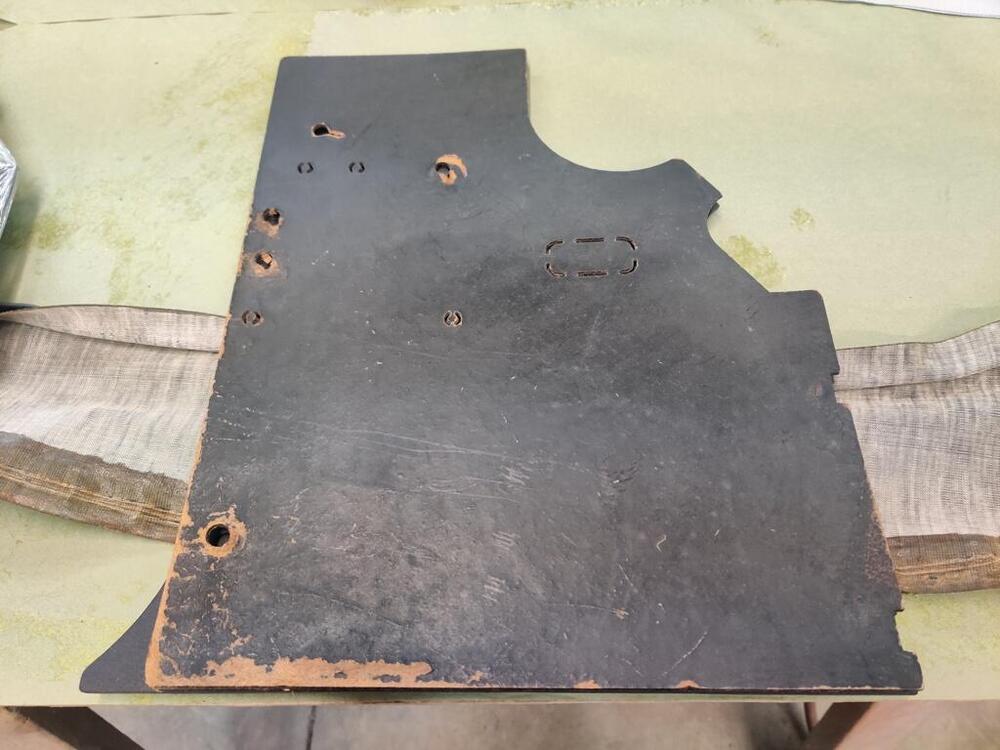
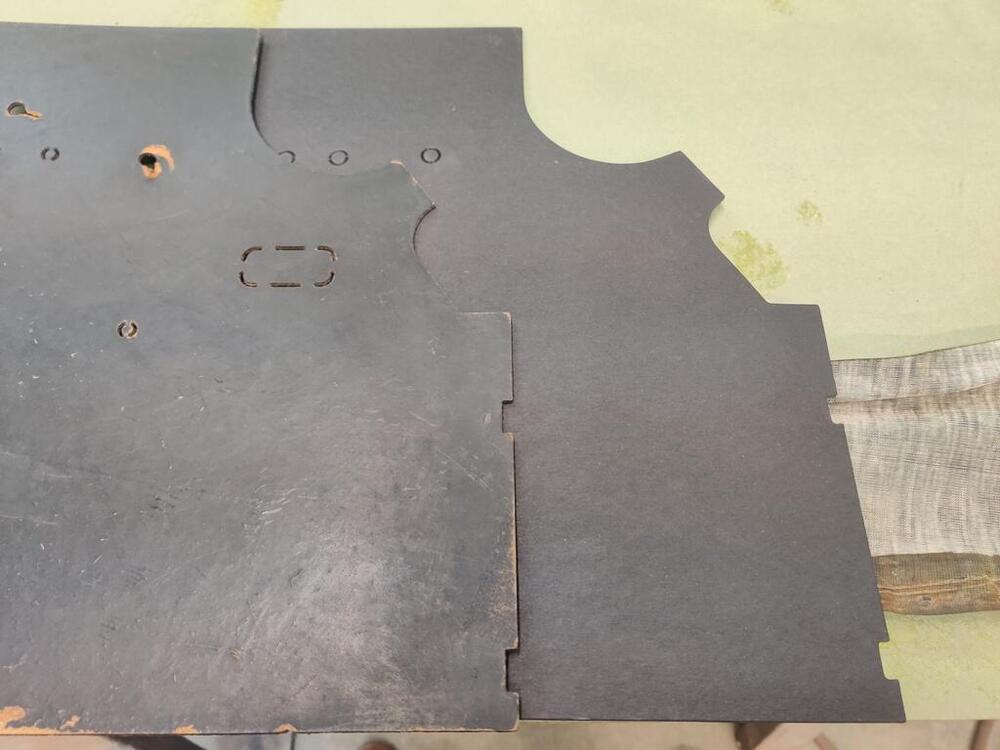
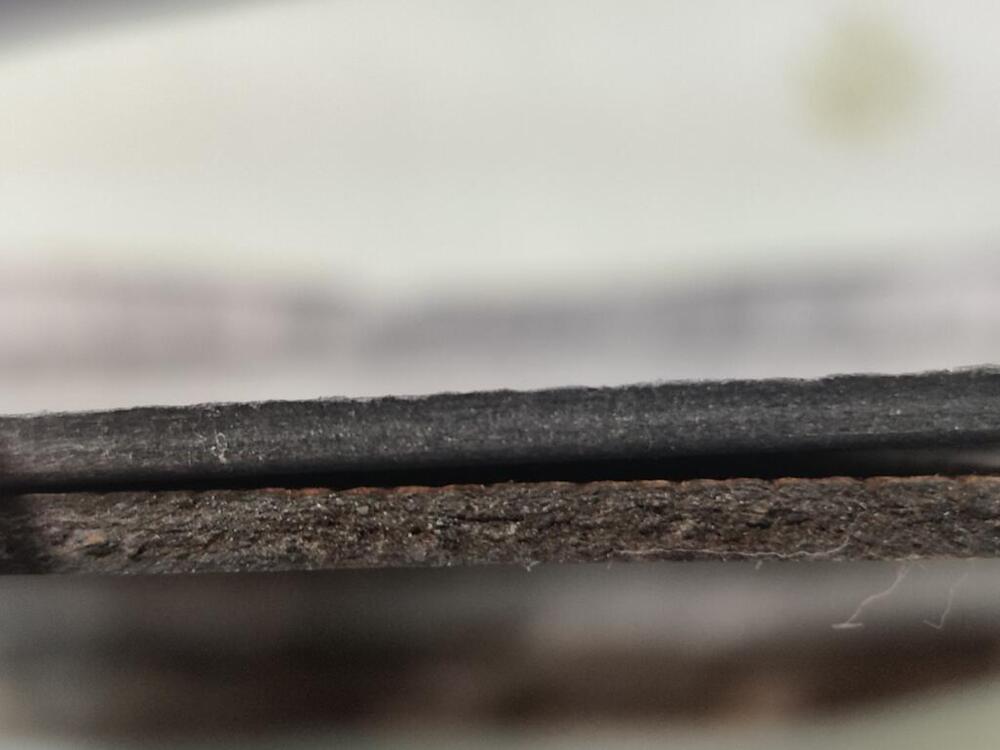
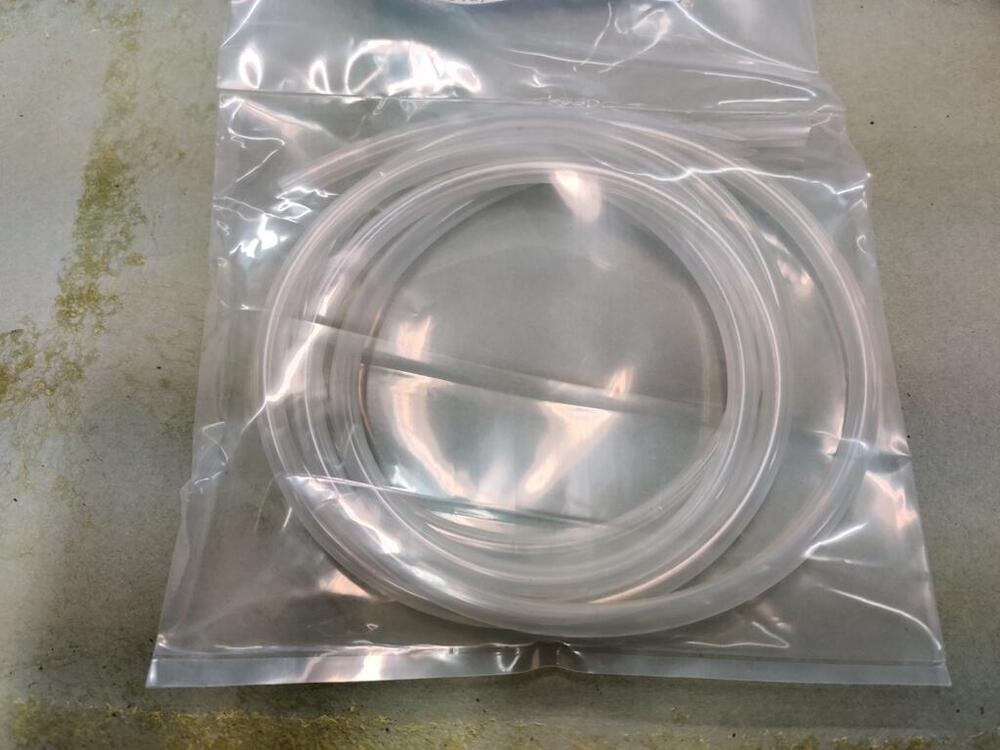
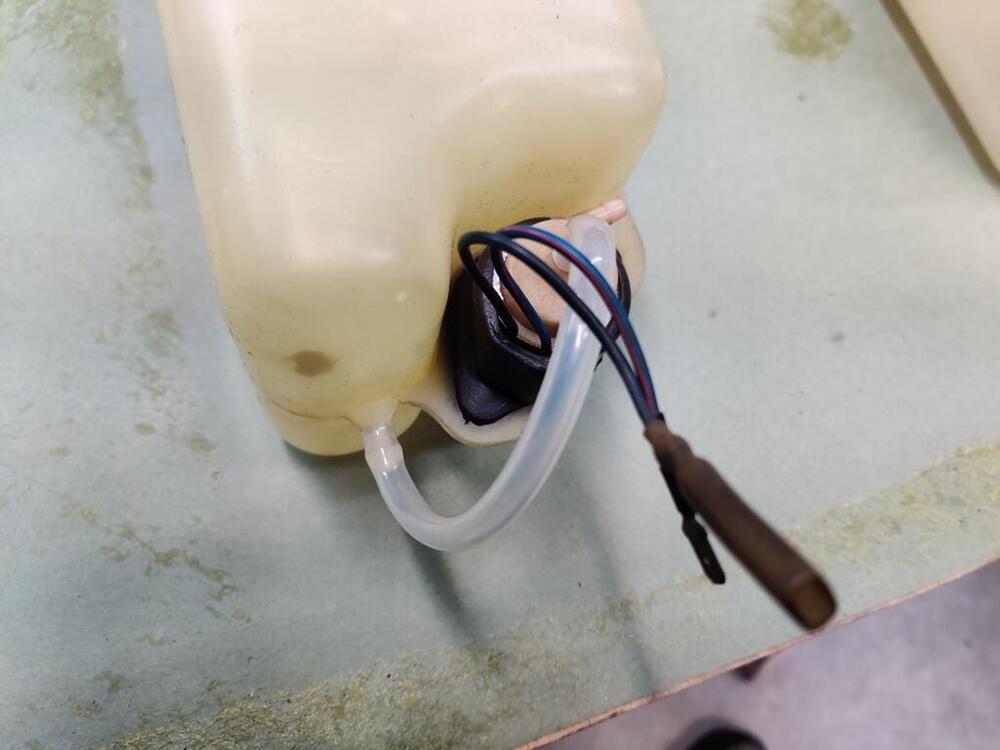
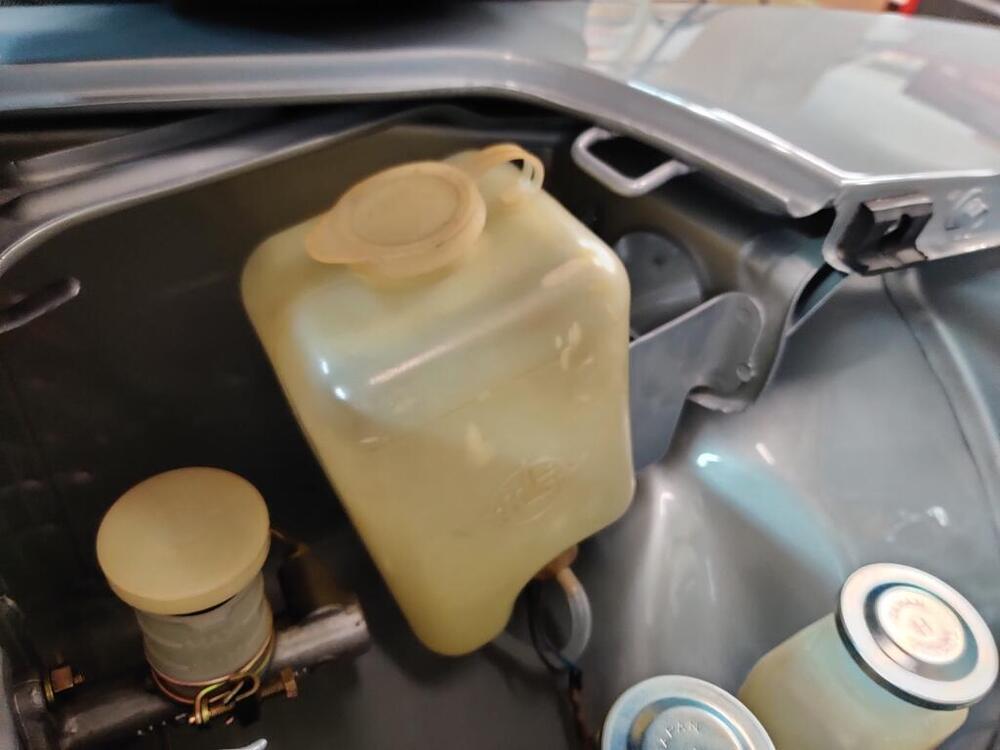
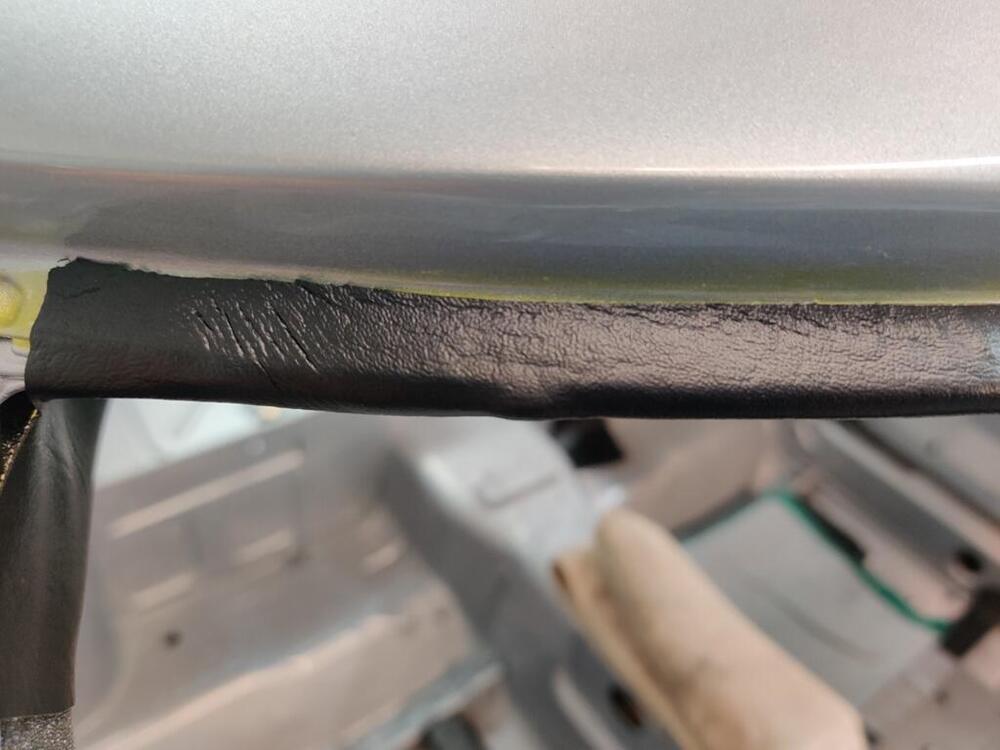
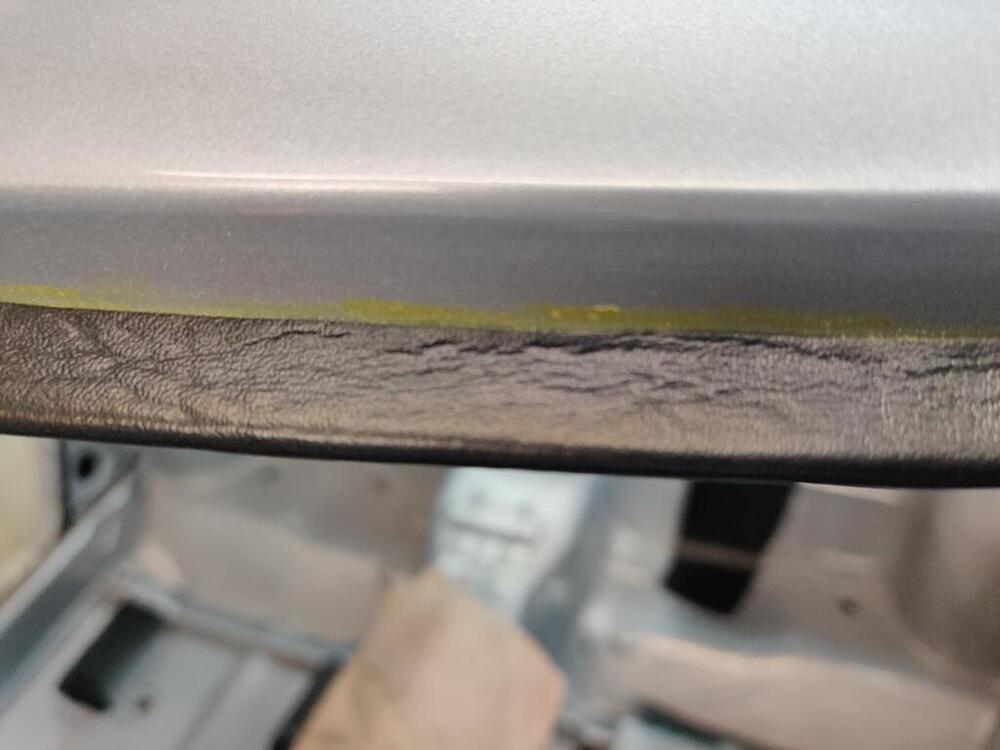
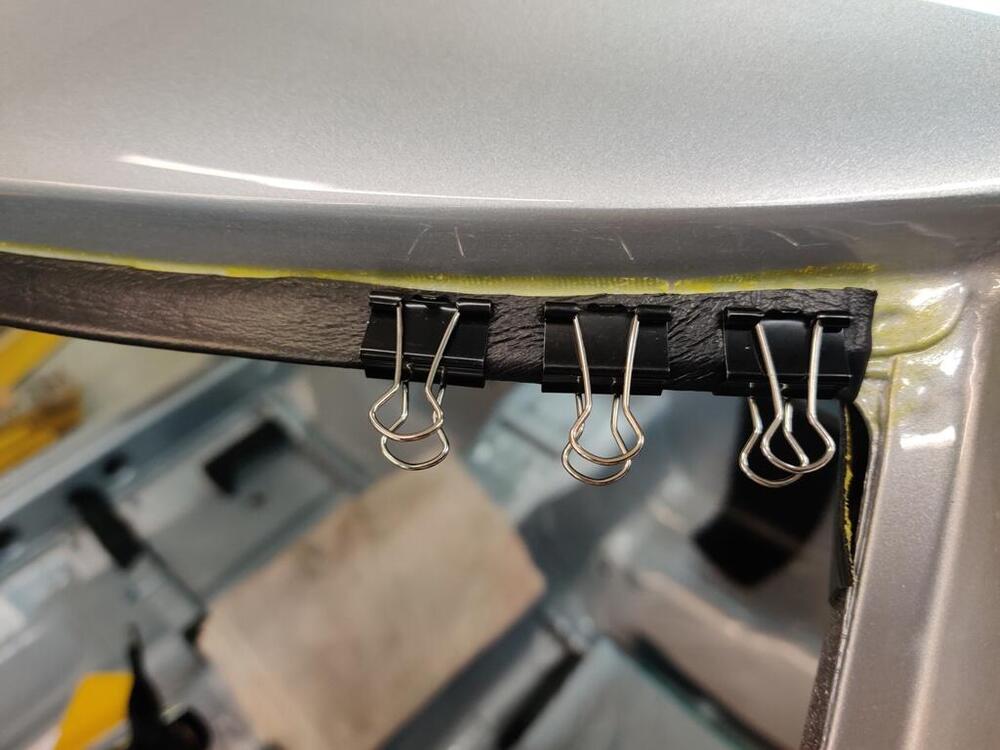
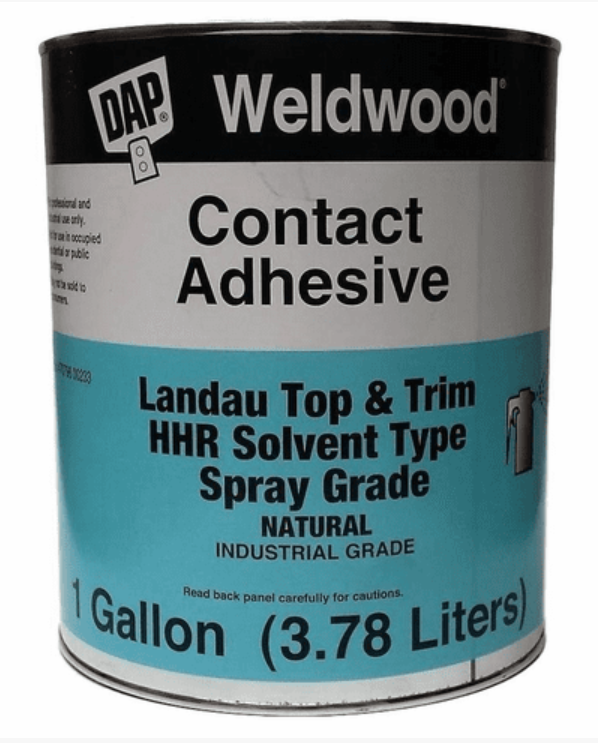
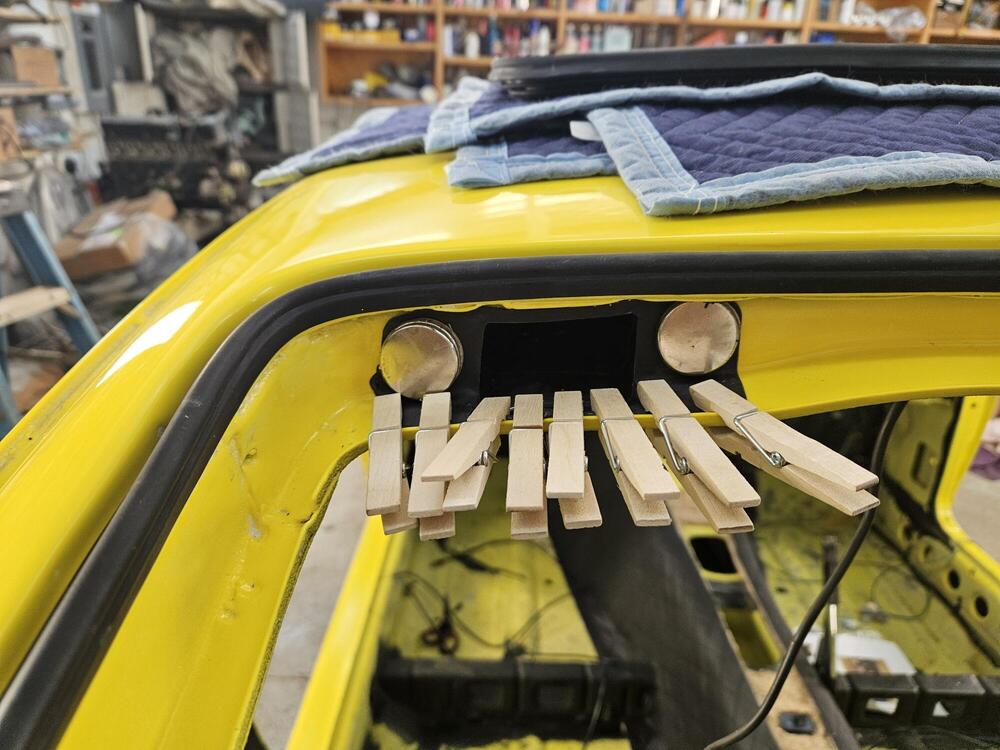
It was with some dread that I installed the hood onto the car. Flashback to when I was scrambling to get the car finished for transport to the body shop in February of last year, and when I installed the hood, I saw that I had some panel alignment issues. I won't rehash all of it here, but I provided details in the document I wrote up for the body shop. This should have been a checklist for them. But clearly, they did not do several of the things I pointed out for them. Quoting from my write up: "The hood: The front lip, at the very left corner edge of the hood, is bent outward a touch. I didn’t notice it until I started fitting the hood for the last time. I tapped the front lip at this corner with a body hammer to move it back a touch to align with the left headlight housing and the resulting movement caused some small chips of the primer to flake off. The left front corner of the hood will need some attention - possibly some more tapping with a hammer and possibly some primer application. The hood has some scratches in the surface that will need attention." Well, while the scratches in the surface of the hood were addressed, the corner of the hood got ignored. The front left corner still sticks out a bit, and at the top corner, I can see where the primer chipped. So, this is just another reminder that "next time", I will not be leaving anything to anyone else - I will do it all, and I will do it right. With this type of thing, my frustration level is high. I still need to massage the fit of the hood a bit, but I decided to move to other things for now. I unpacked the new kick panel covers. I bought these from Motorsport Auto. They are "ok". They are not quite as thick as the originals... even when measuring thickness at the top edge of the old ones where no water has gotten to fiber board and caused it to swell. There are slight differences which you can see here: Second pic shows thickness of the top edge - old one is on the bottom. Next, I pulled out my collection of windshield washer reservoirs and pump motors. I sourced new windshield fluid hose from a company called Newco (see the tag for sizing info). I used a clean rag and lacquer thinner and some #0000 steel wool dipped in lacquer thinner to clean the outside of the reservoir. My pump motors were seized. I dis-assembled the first one, but there was no saving it - there was too much corrosion. The second one was in much better condition. Dis-assembly and reassembly was enough to get it running nicely. It may not last long in service, but we'll see. The last thing I did today was glue the front edge of the header vinyl. This contact adhesive is magical: Though I bought a bunch of the folder clips you see in one of the pictures here, I was amazed at how quickly this adhesive worked to secure the vinyl to the weld flange. I brushed it onto the backside of the vinyl and on the top side of the weld flange. I let it dry for about 4 minutes. And when I pulled the vinyl toward the windshield opening, I tugged on it pretty good. Just touching the vinyl to the forward edge of the weld flange... was enough to hold the vinyl at the tension I had put on it. It was wild. I then folded the vinyl over around that front edge and pushed it onto the adhesive on the top surface of the weld flange. It stuck and didn't move. I didn't need to use the file folder clips. It just stuck. I used my Exact-o knife to cut the excess vinyl off at the point where the weld flange ends: I put some clips on in the corner, "just in case", but I am sure they were not needed. This adhesive is wonderful and a joy to work with.


 1 point
 -
S30 entrants are at a distinct disadvantage. The S30 drivers and navigators are woosy from the exhaust fumes! 😛1 point
-
Having graduated from several Datsun service schools in the 70s when I was a dealer mechanic I can say with confidence that we students were instructed to refer to all Datsuns of that era by the production dates. This "series 1" etc. is the product of the internet age and not the Nissan Motor Co. Ltd.
 1 point
 -
0 points
-
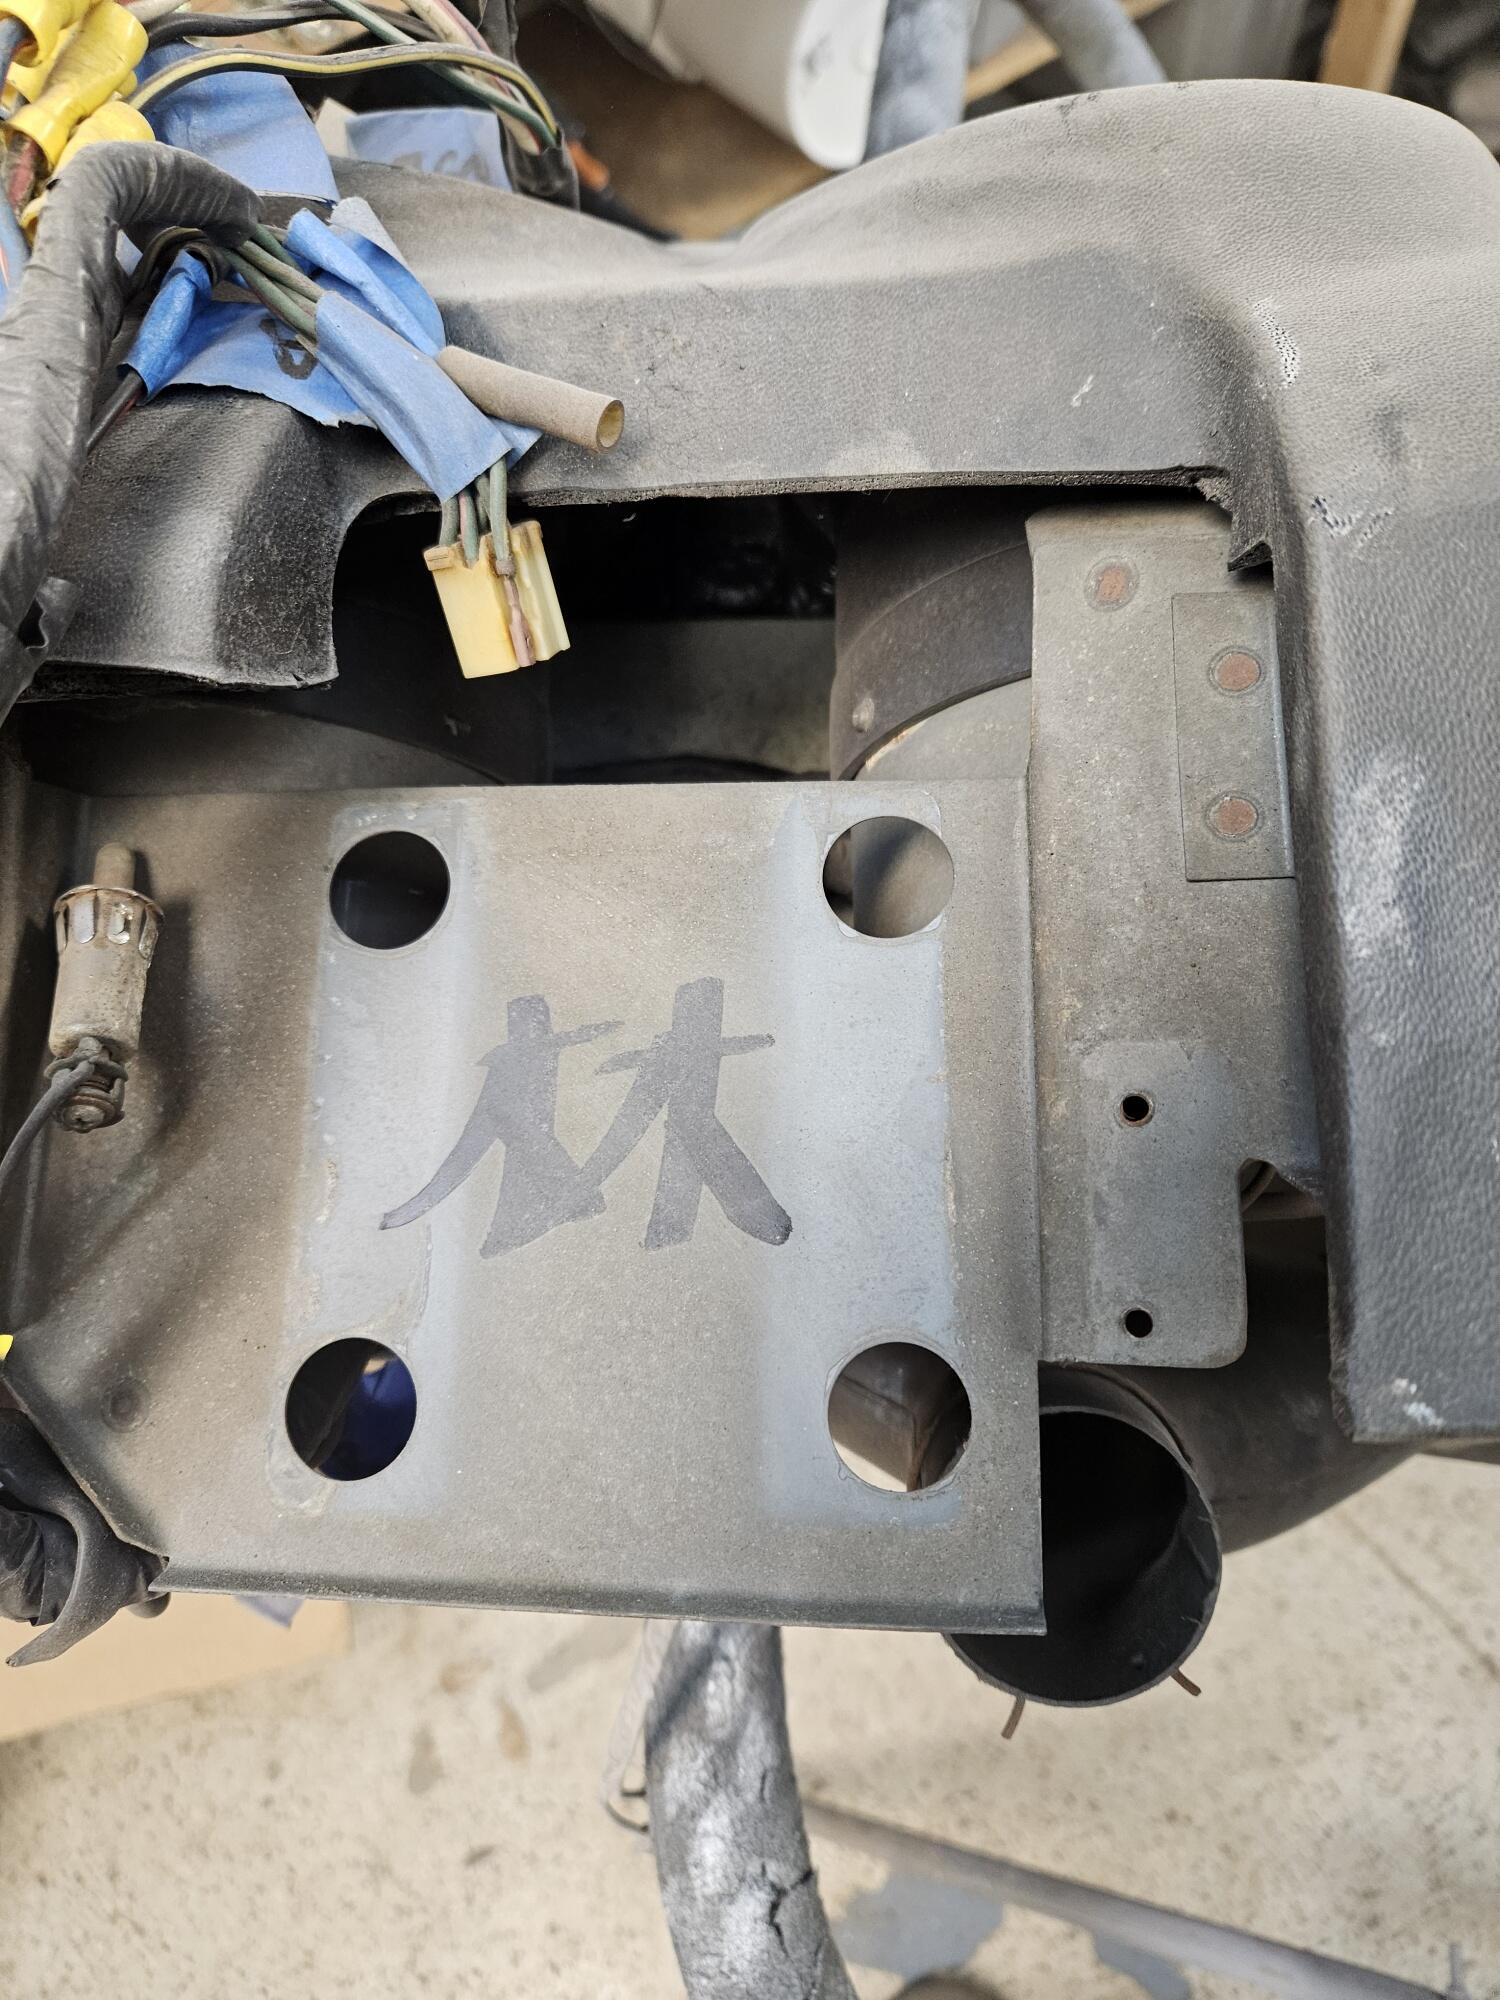
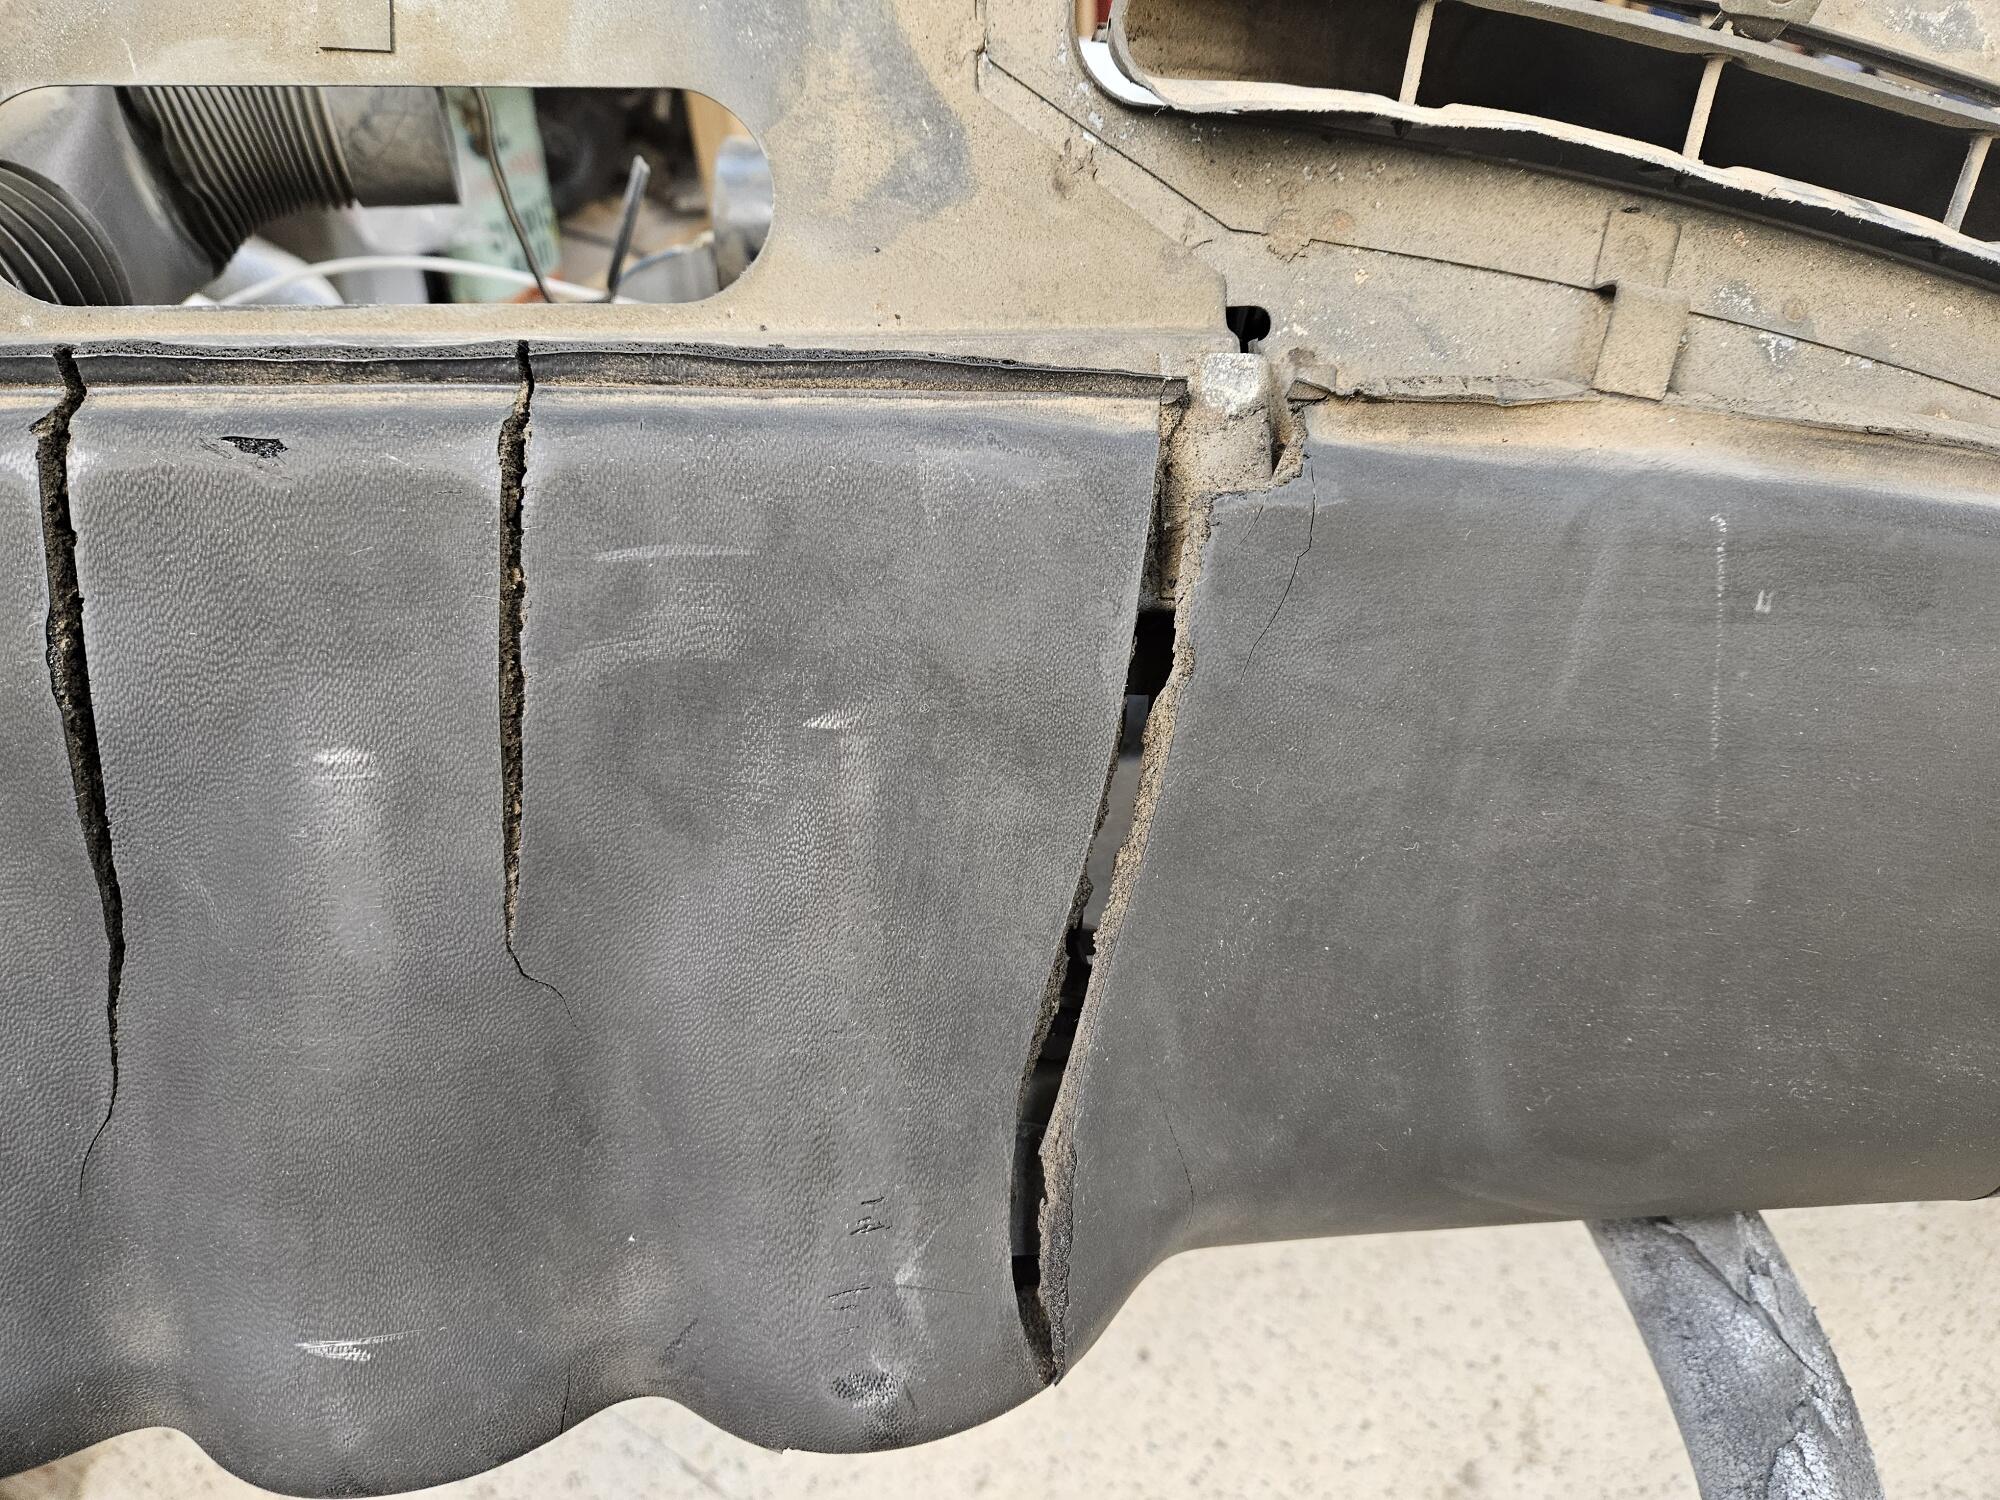
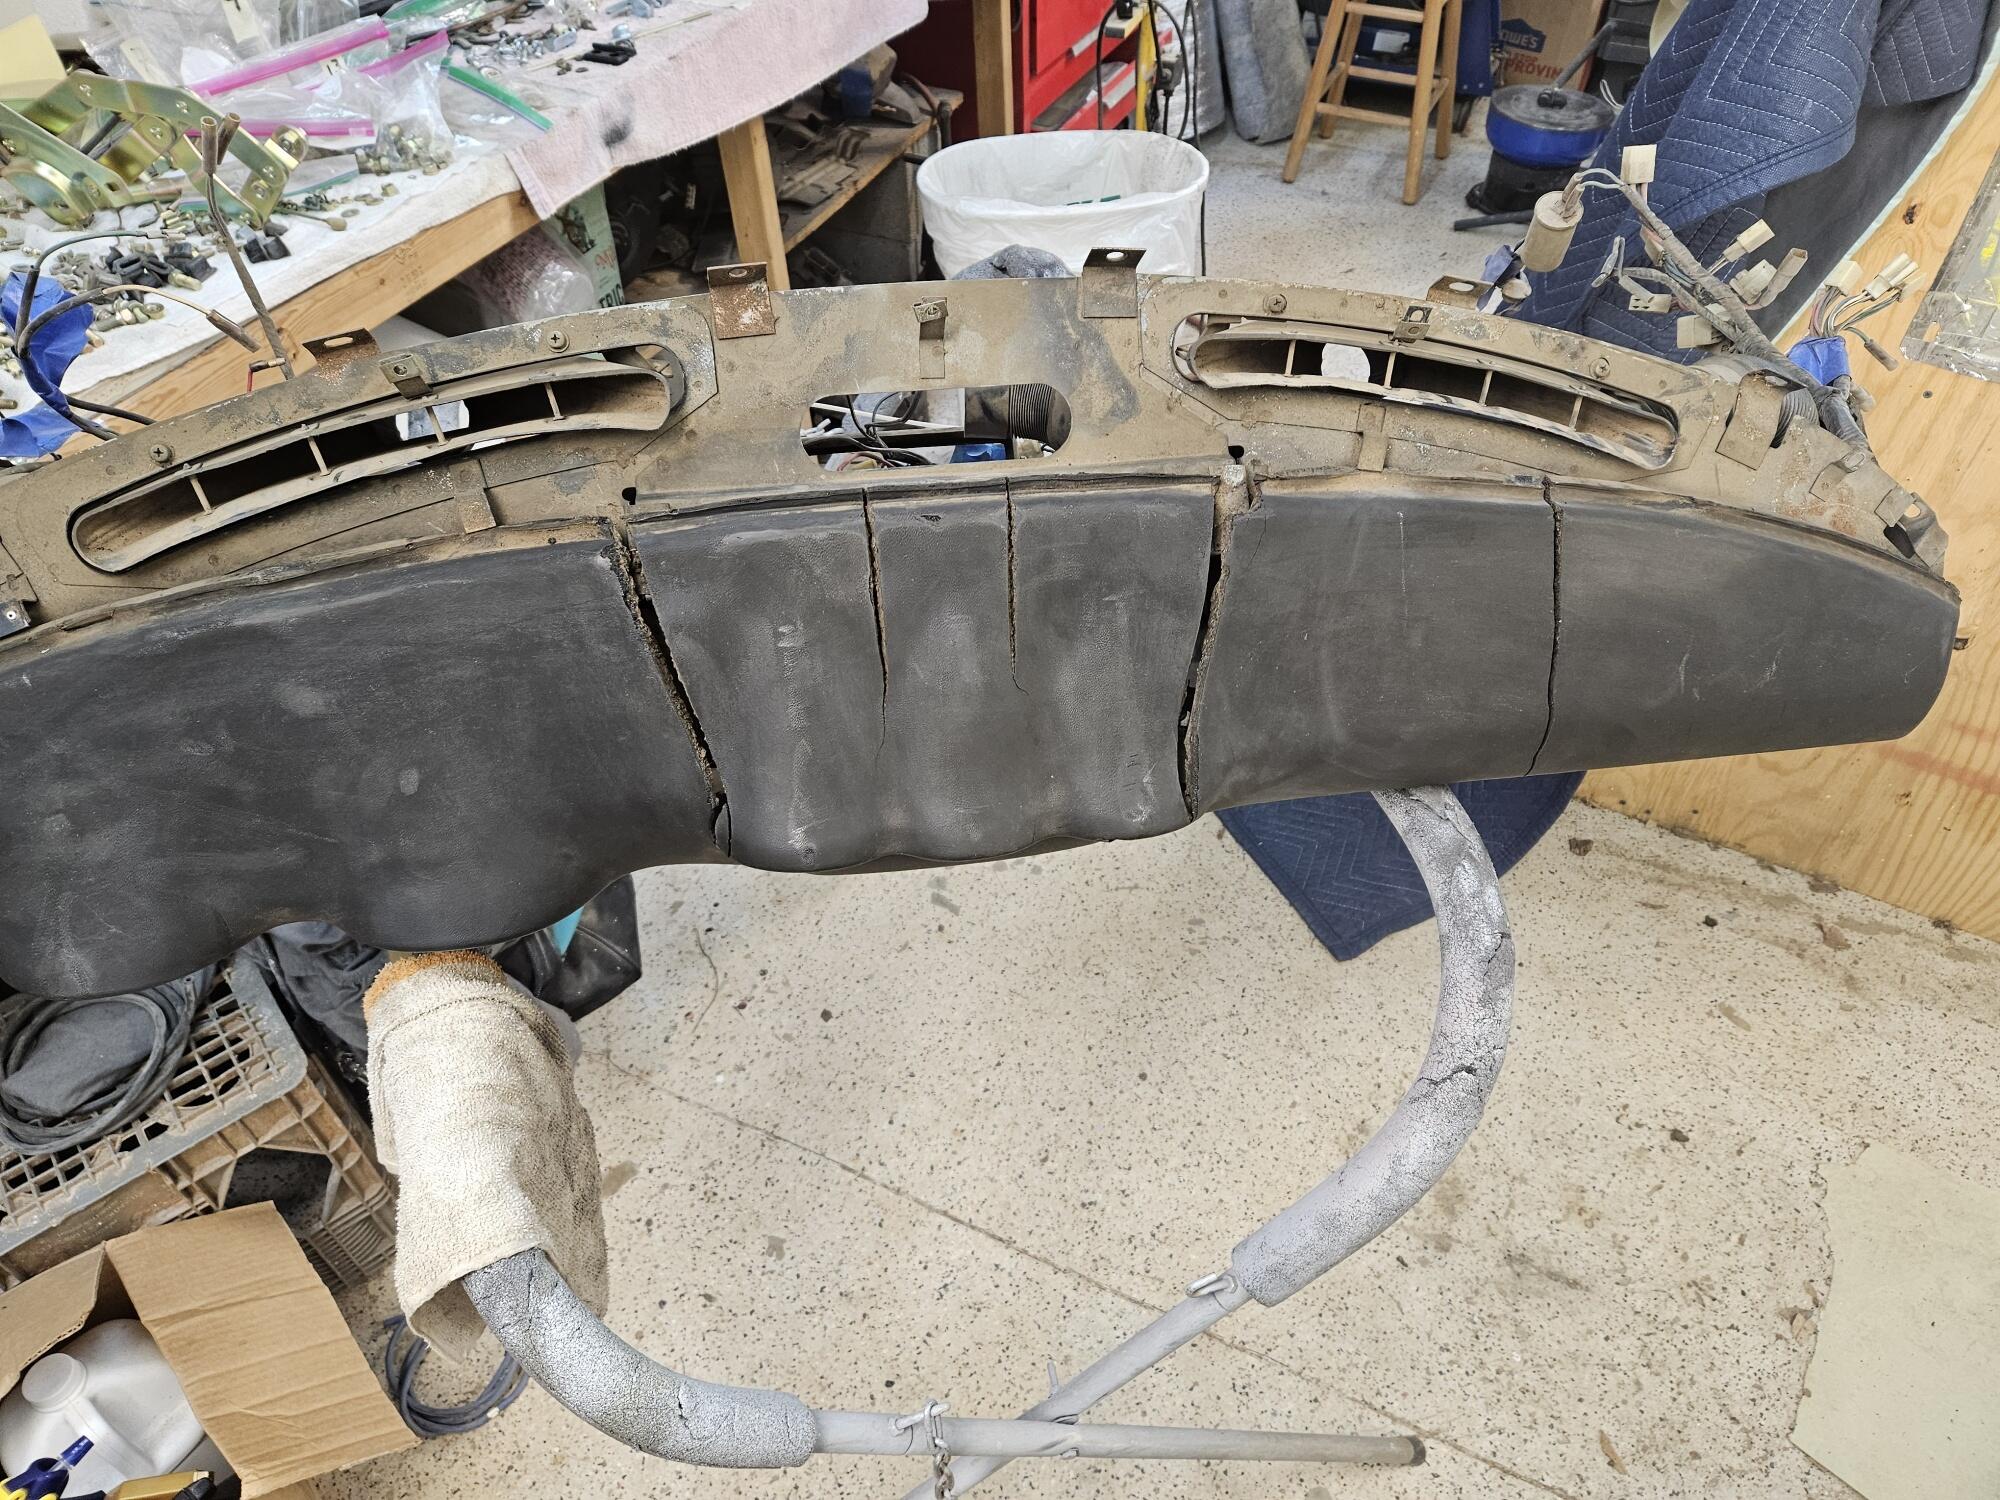
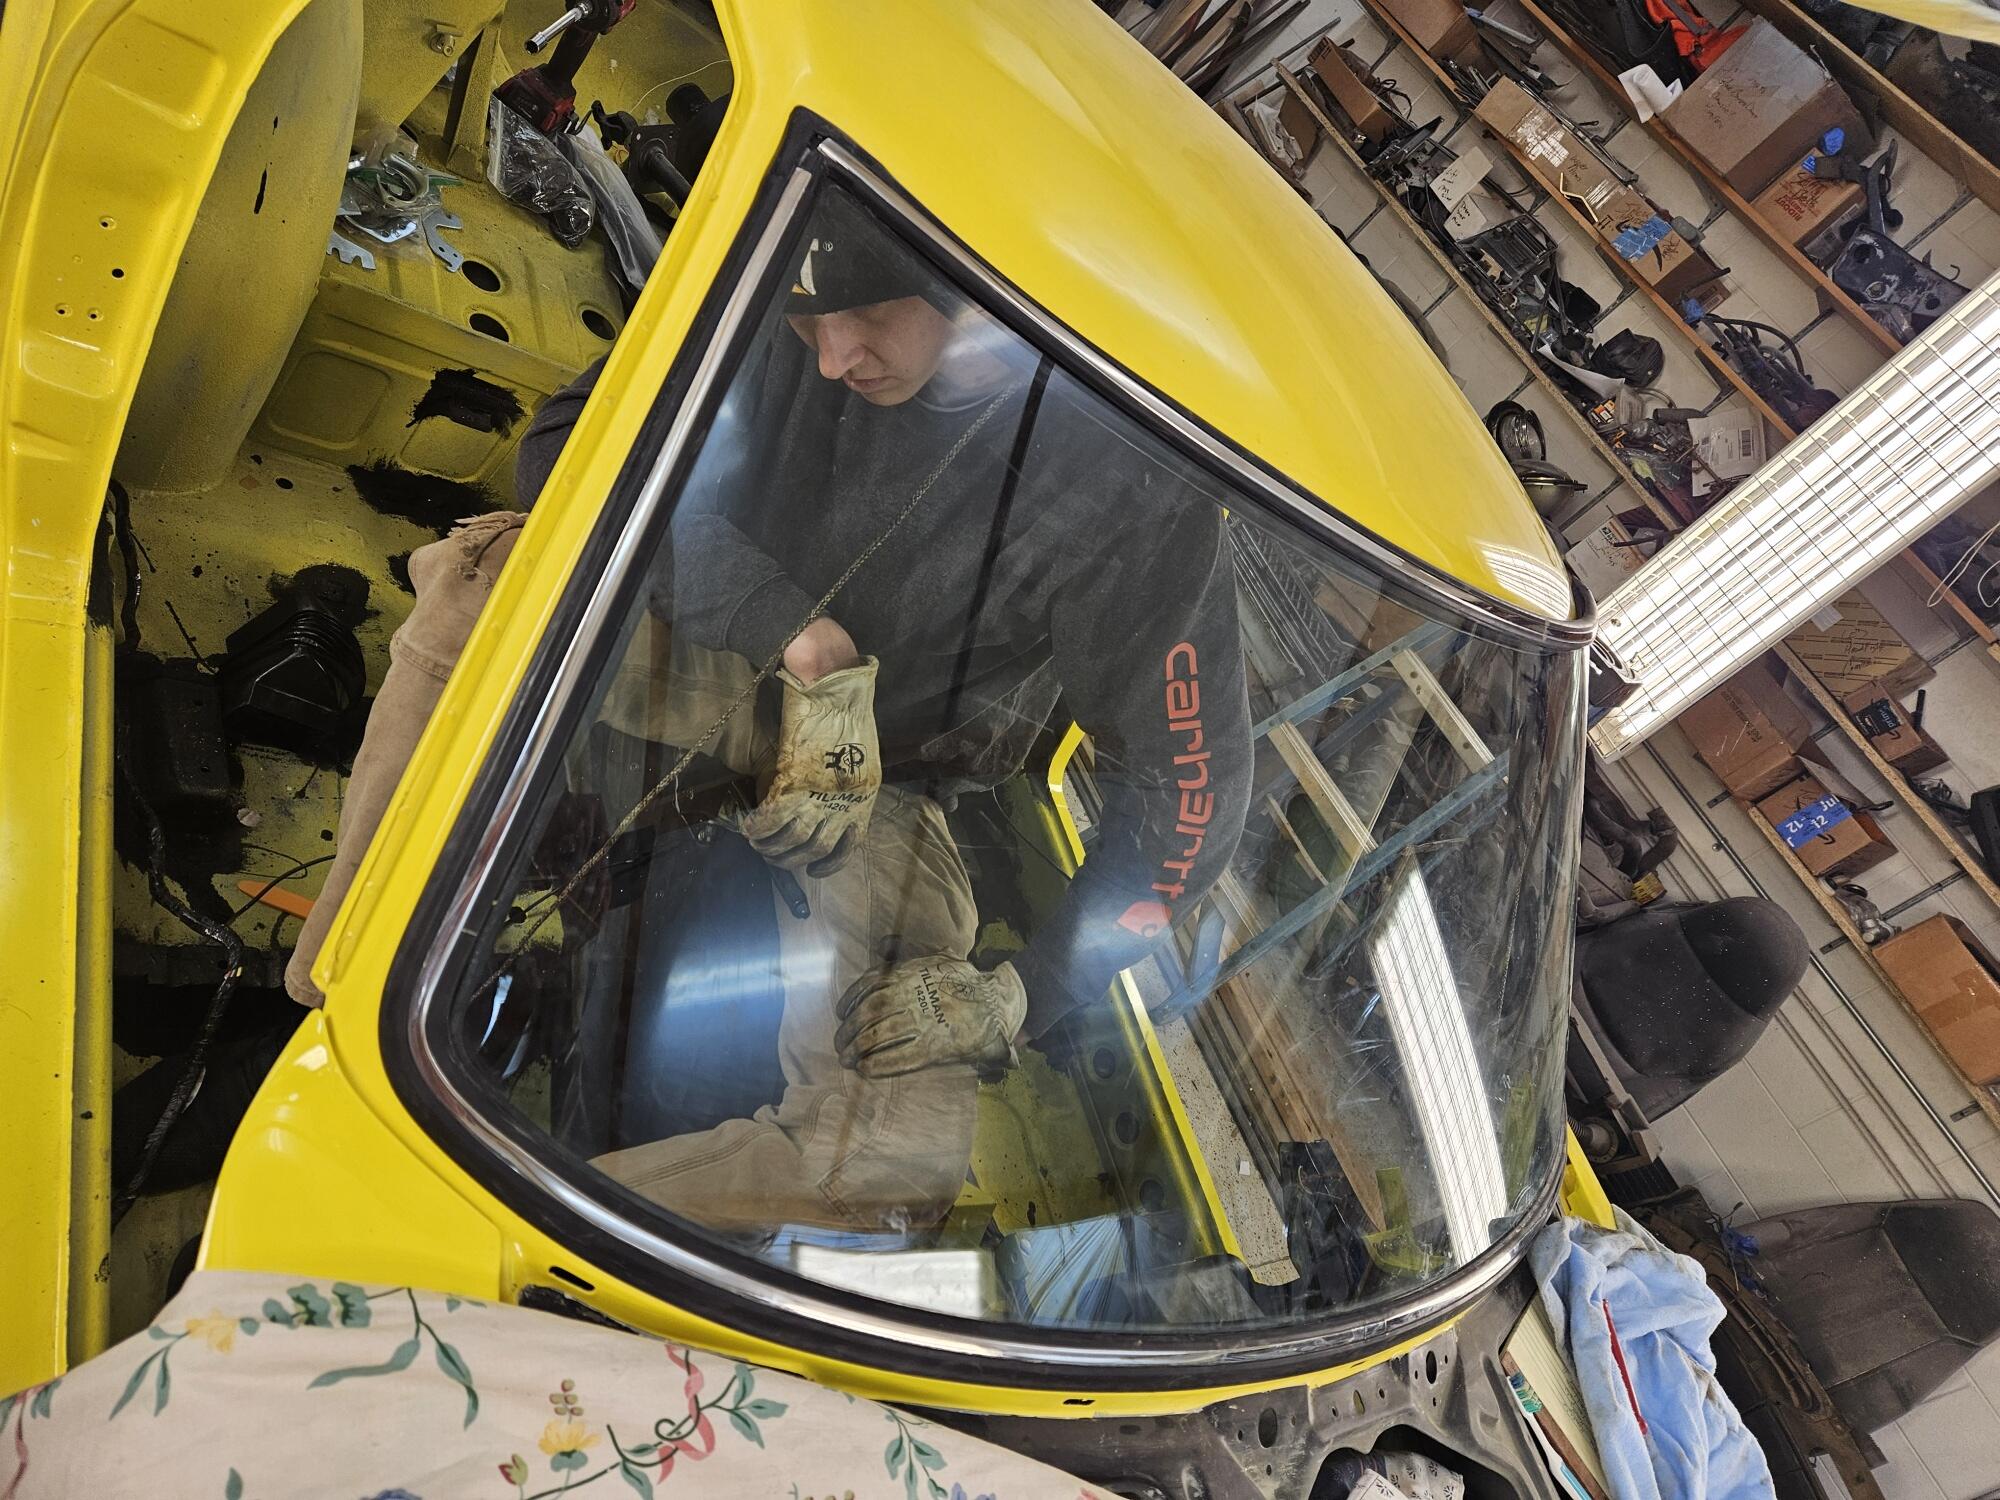
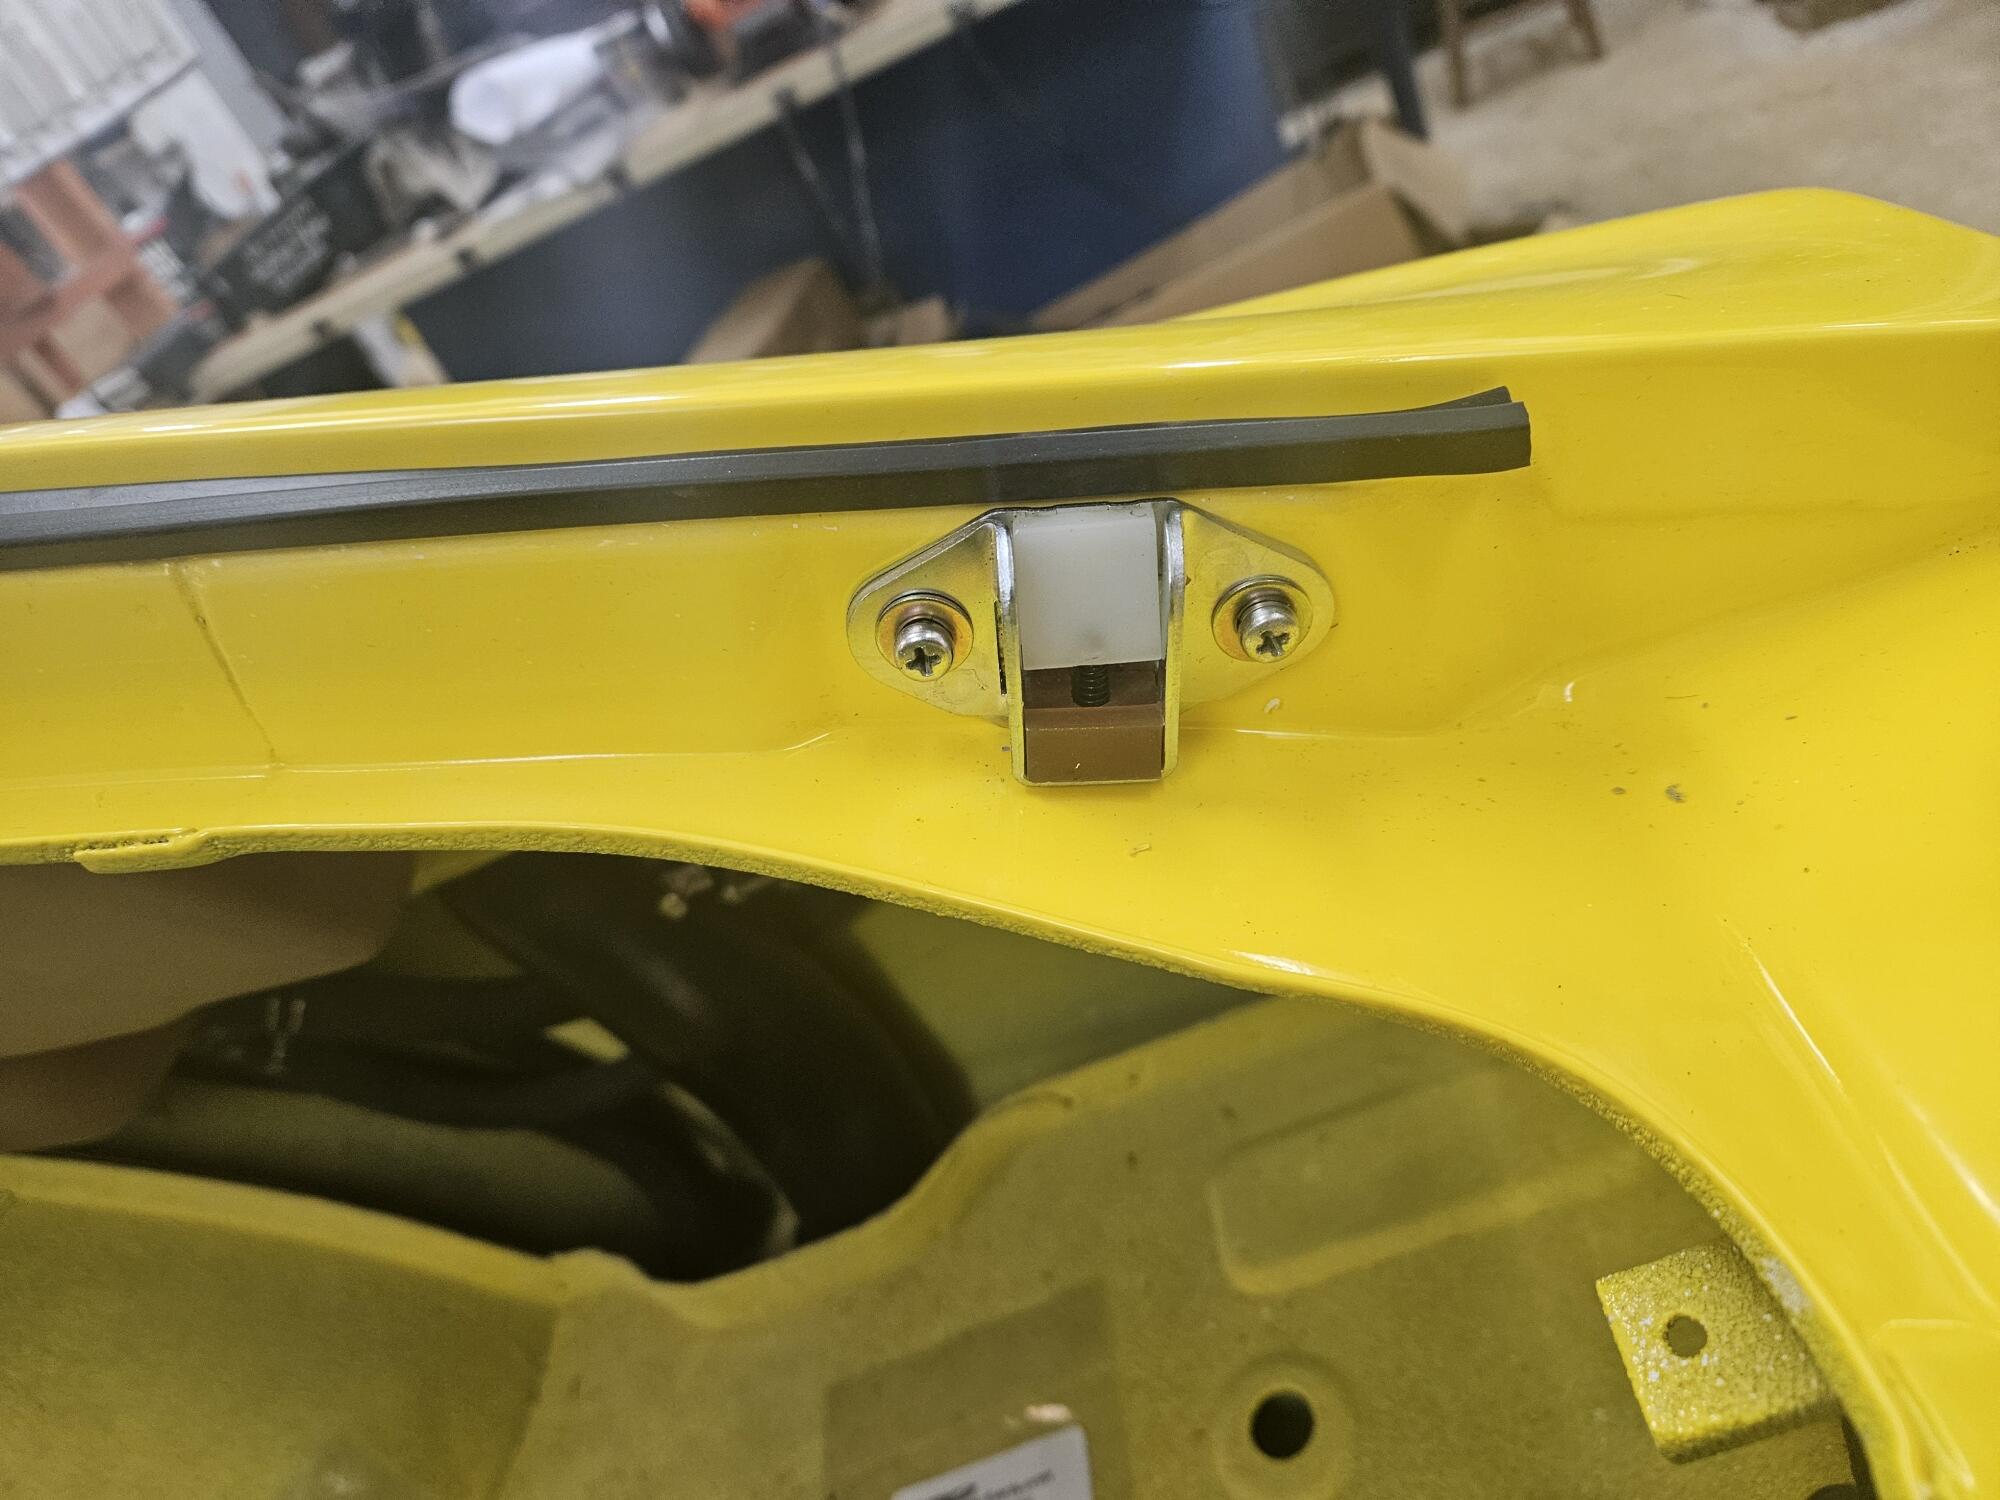
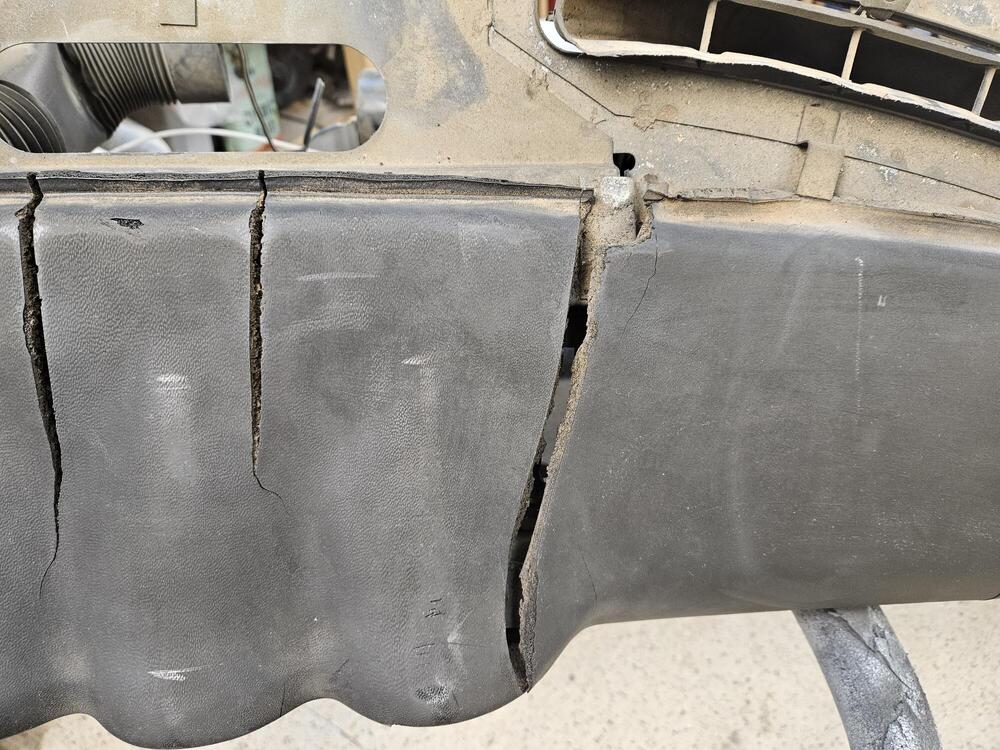
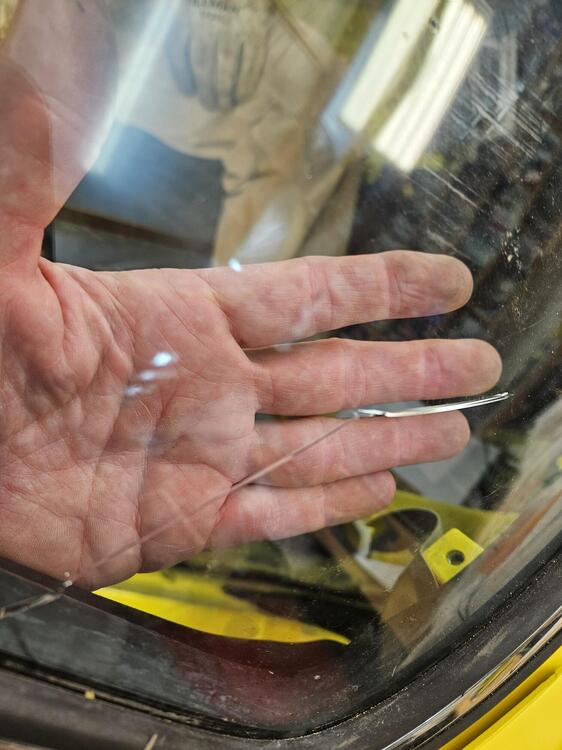
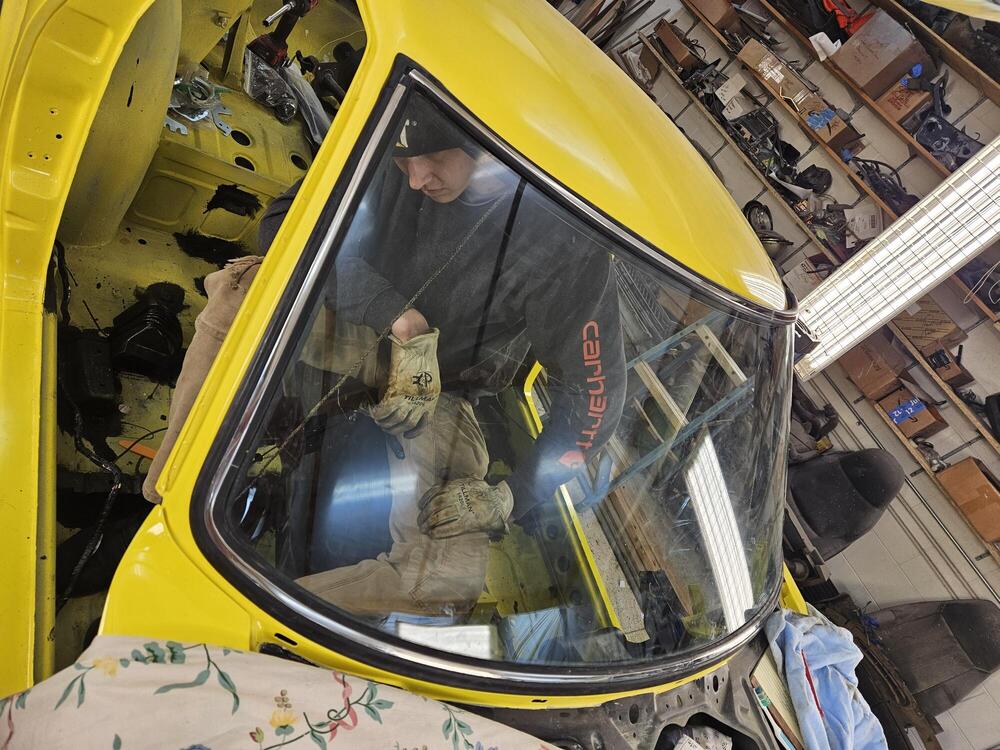
0 pointsWas a frustrating day in the shop today! Can't work on the heater because I'm waiting on a valve. Can't install the fender because the weather strip I had for fender sealing panel is not thick enough. I also need to touch up the engine bay paint. Can't install the hatch because I am gluing the hatch boots in... on and on So I piddled some I did get the catch down stoppers in. They are available new from Nissan currently I found the bolts for the hatch but two are the wrong finish. So I will need to redo them. I did glue the hinge boots in. I used a black latex caulk. I didn't want to use anything more tenacious in case I need to get them out I pulled the dash out and was going to clean it up. Wow, is it rough!! I guess I will see about getting a new dash. Where is the best place to source the reproduction dashes? I had thought I would try repairing this one but I didn't realize it was totally broken through in a couple of places The real pisser of the day was the windshield!!! We had it most of the way in, up around the passenger top corner and up to the other top corner and I pushed on the lower passenger corner to seat it and broke it... Zcar depot has them but the freight quote was like $400+ I will call my local auto glass company and see if they can get one. I plan on seeing if they will install it too. We'll see what they say. Many times they won't guarantee they won't break it. I obviously can break them on my own... All in all, a wizz poor day in the shop!!


 0 points