Leaderboard
-
inline6
 Subscriber
 5Points1,282Posts
 -
motorman7
Subscriber4Points2,228Posts -
HusseinHolland
Free Member3Points1,031Posts -
Patcon
Subscriber3Points11,142Posts


Popular Content
Showing content with the highest reputation on 12/11/2023 in all areas
-
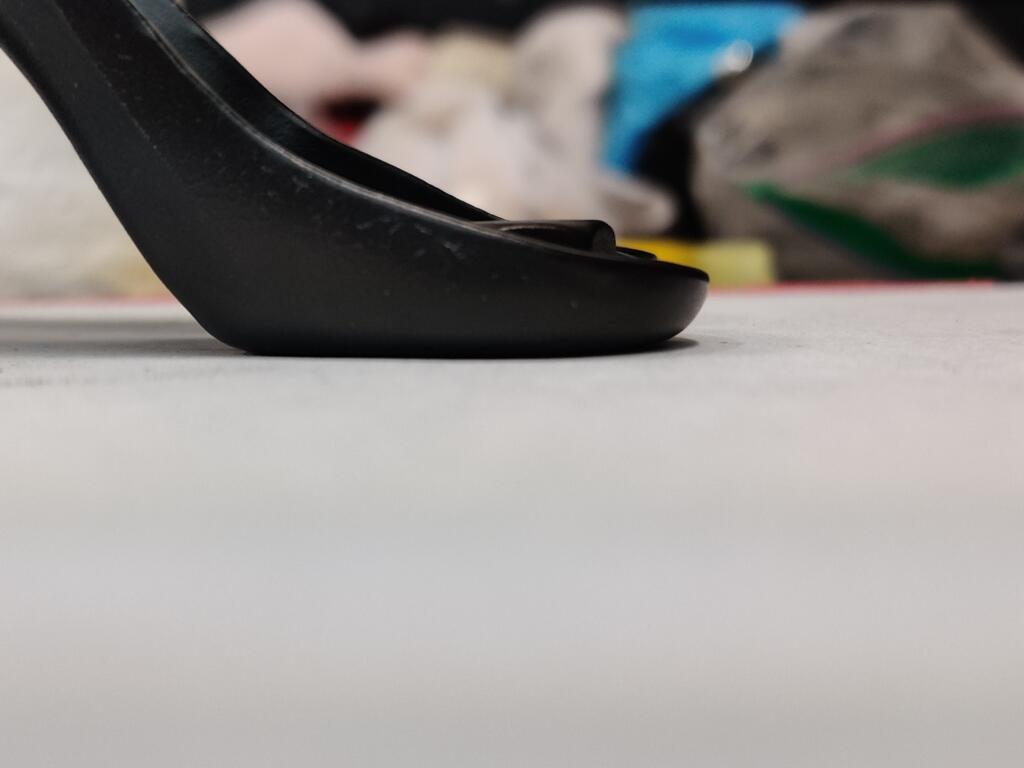
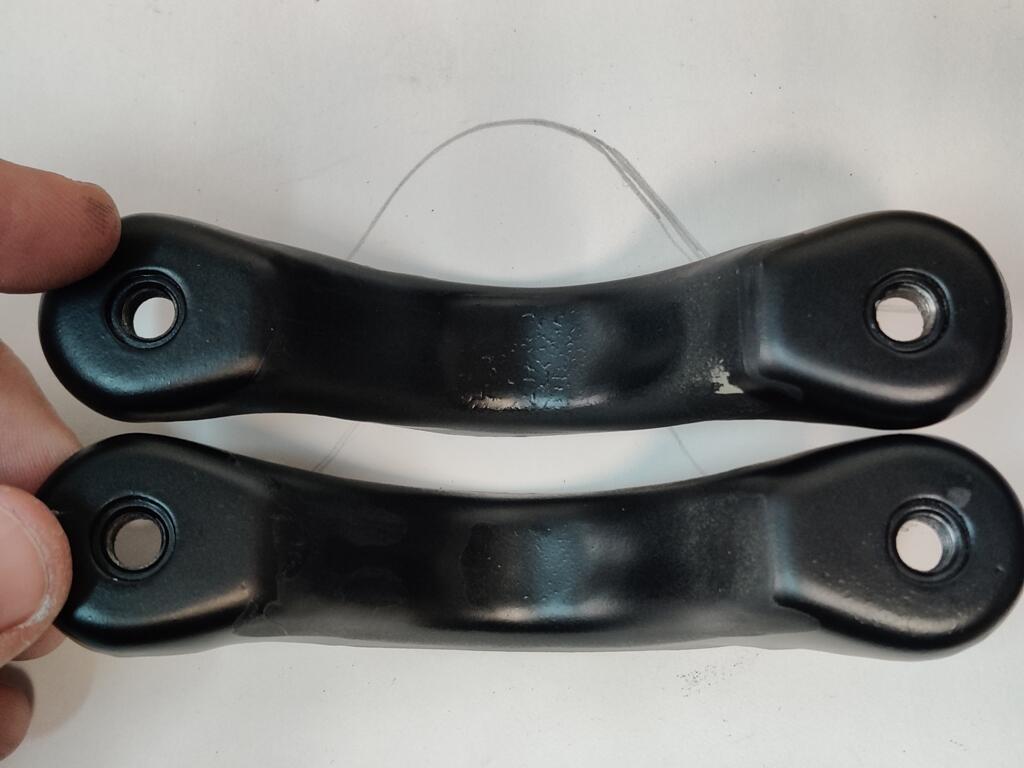
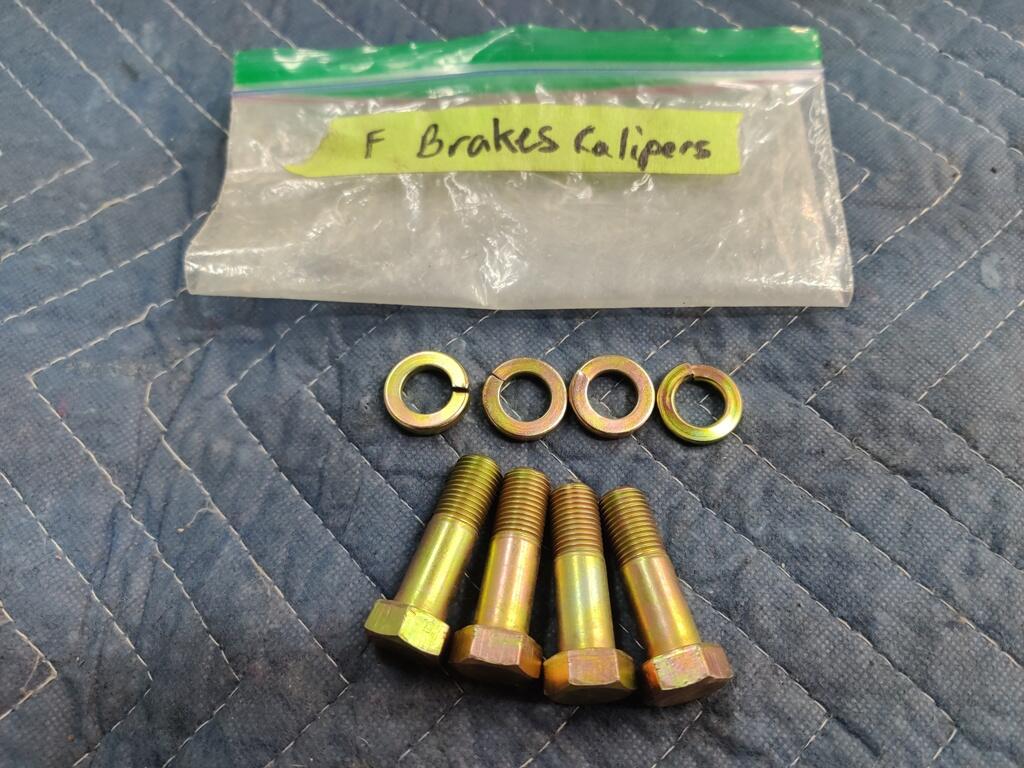
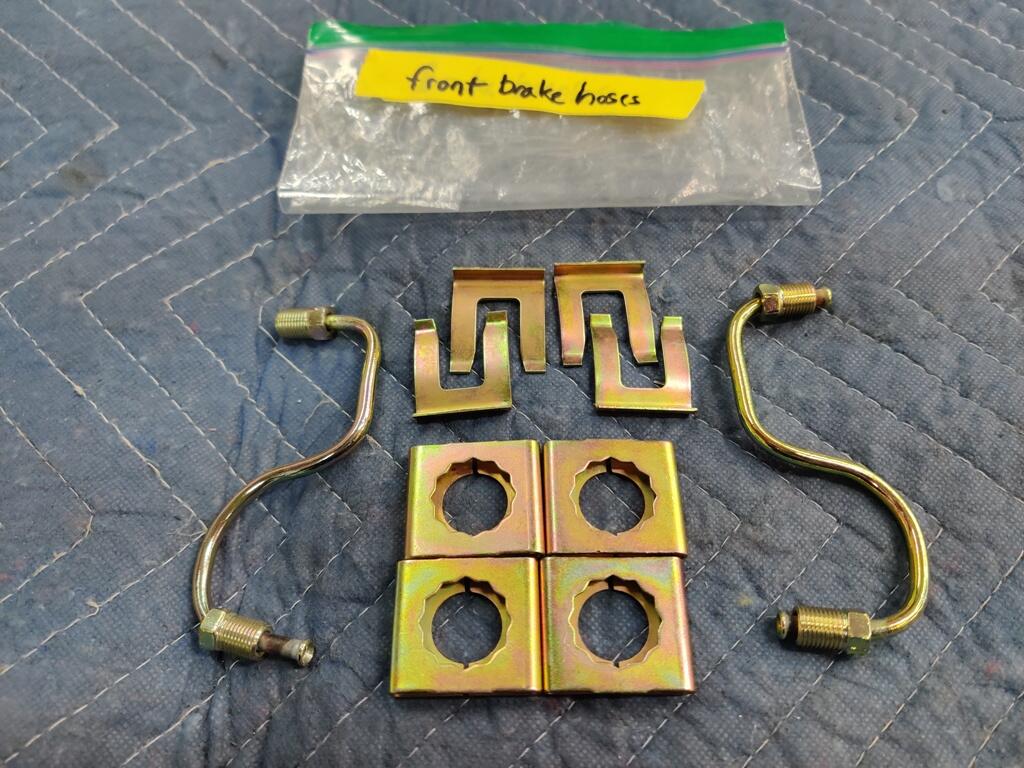
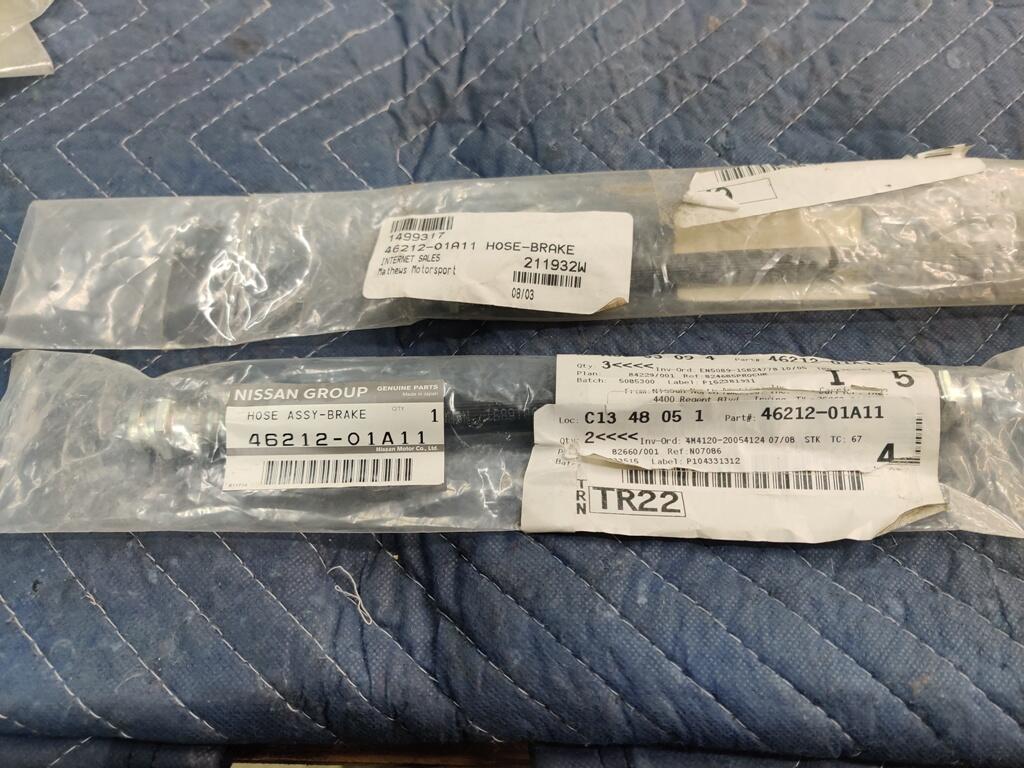
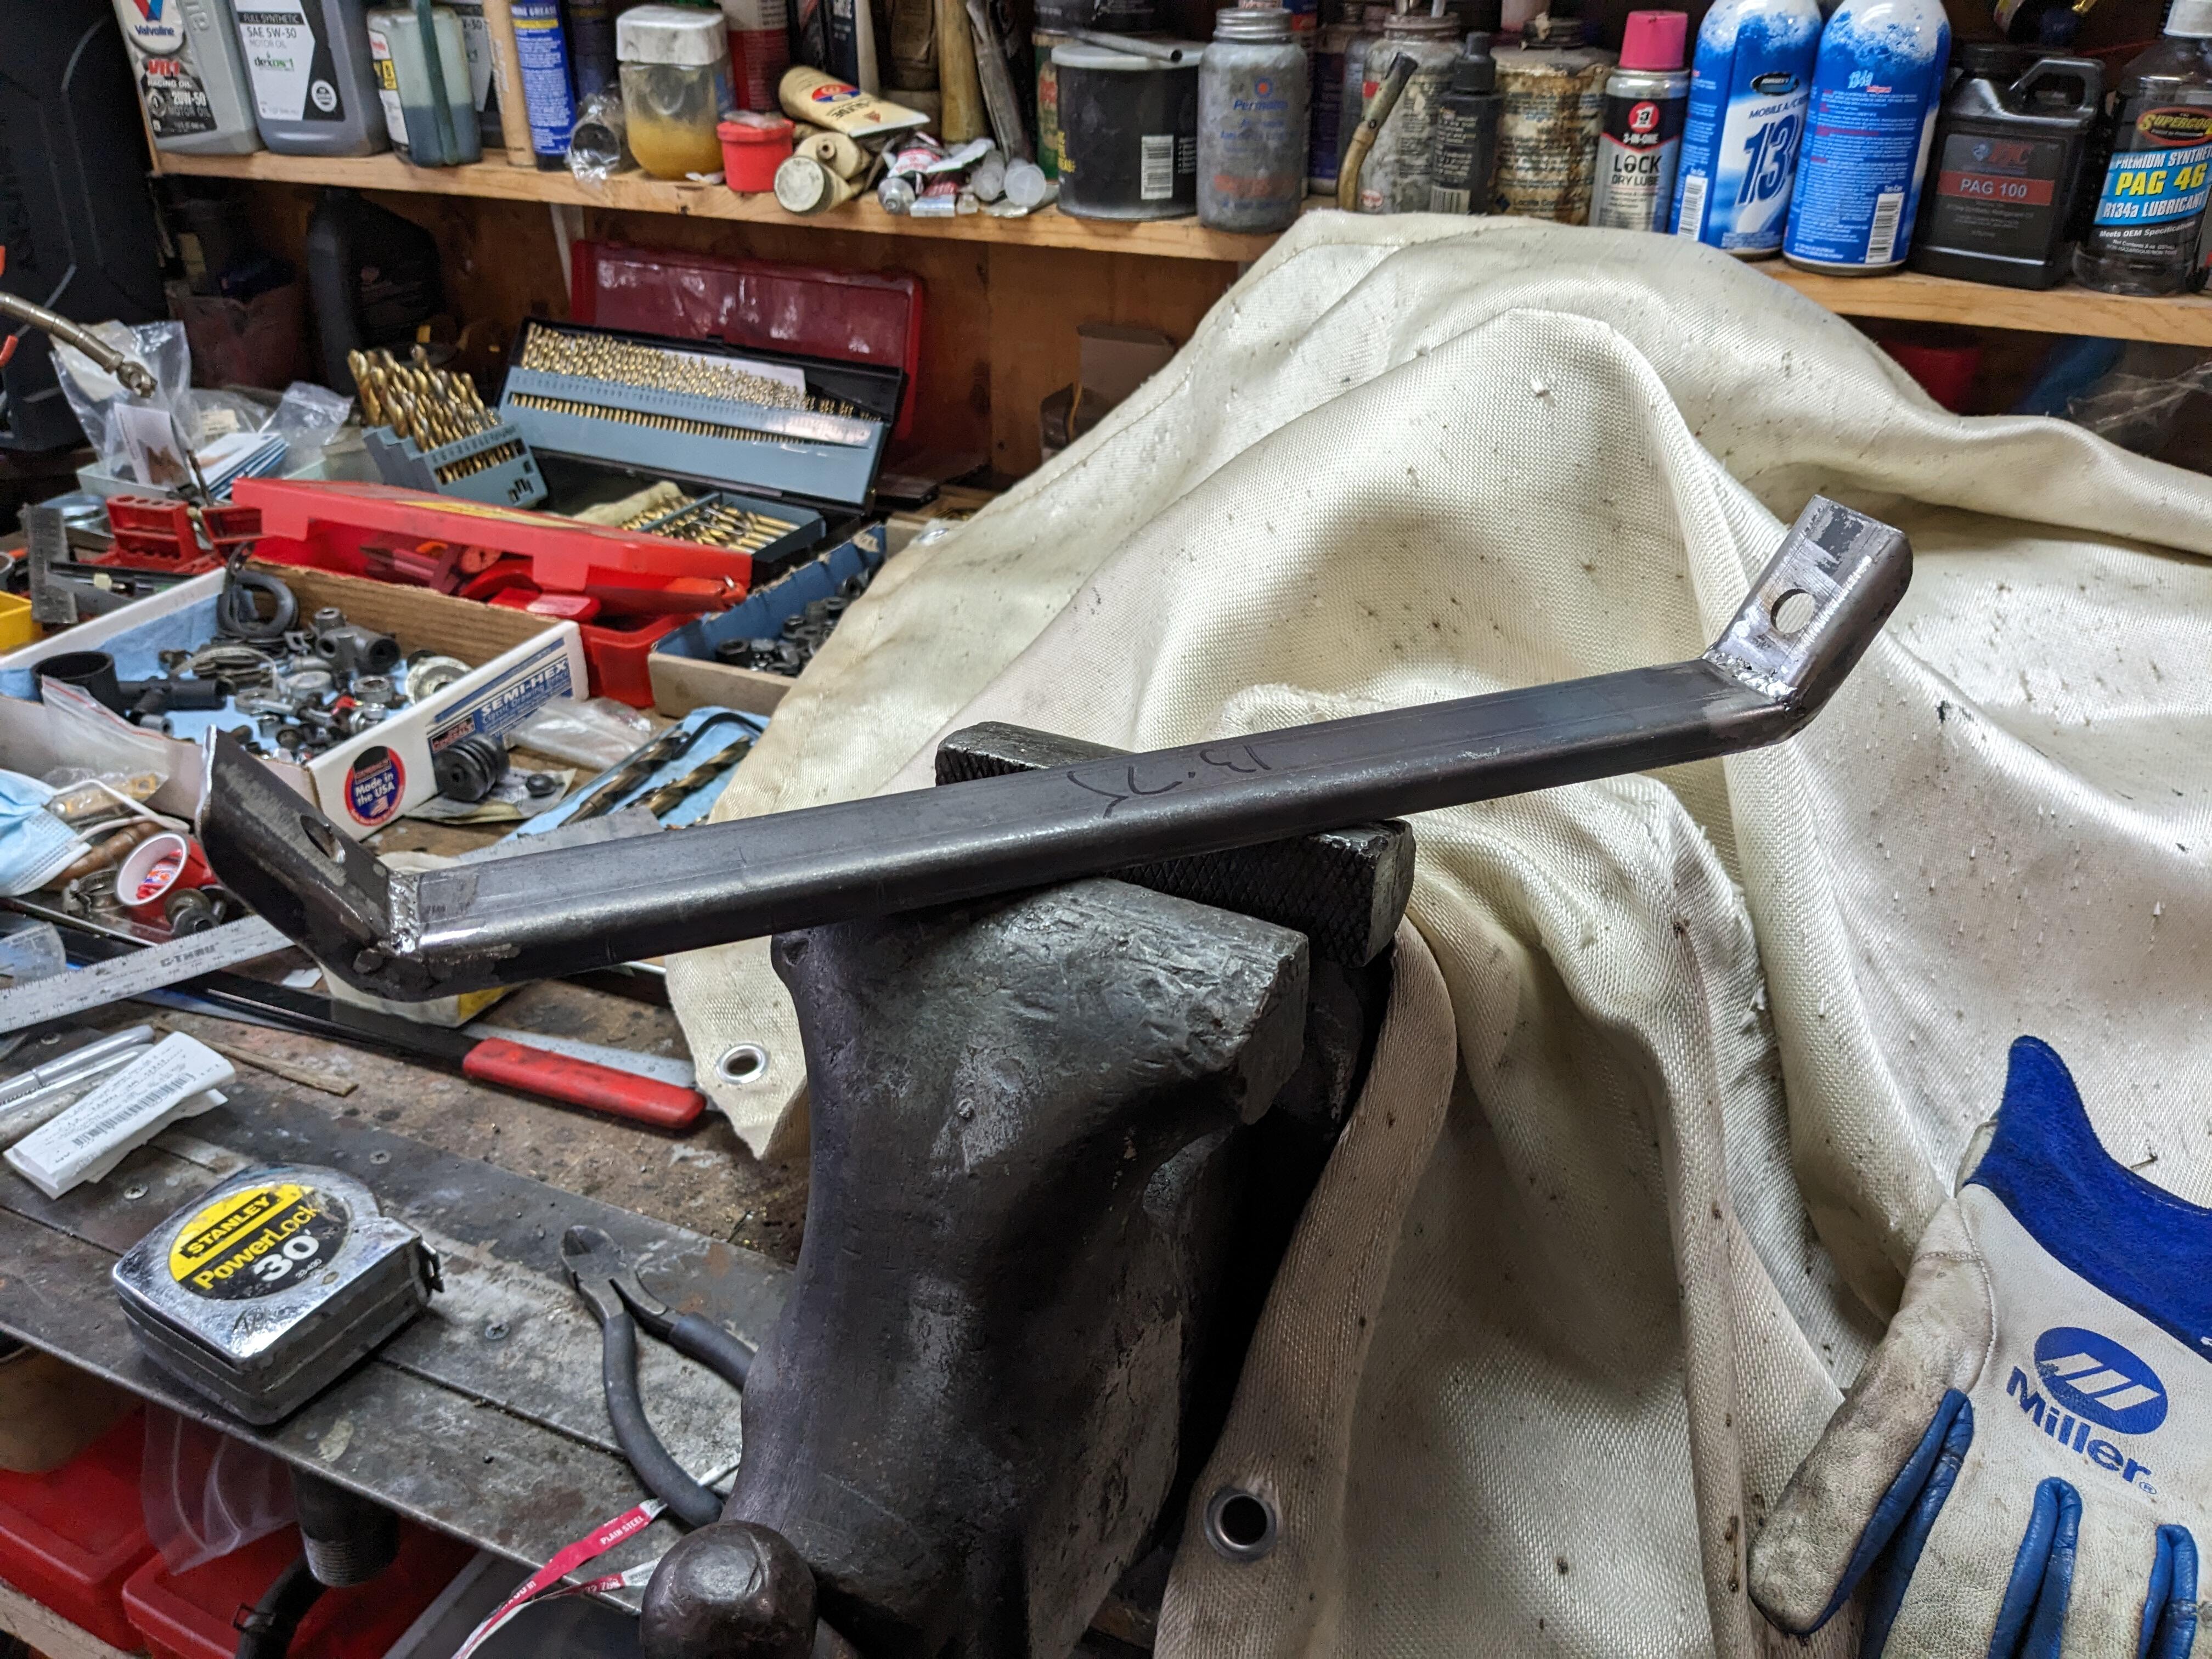
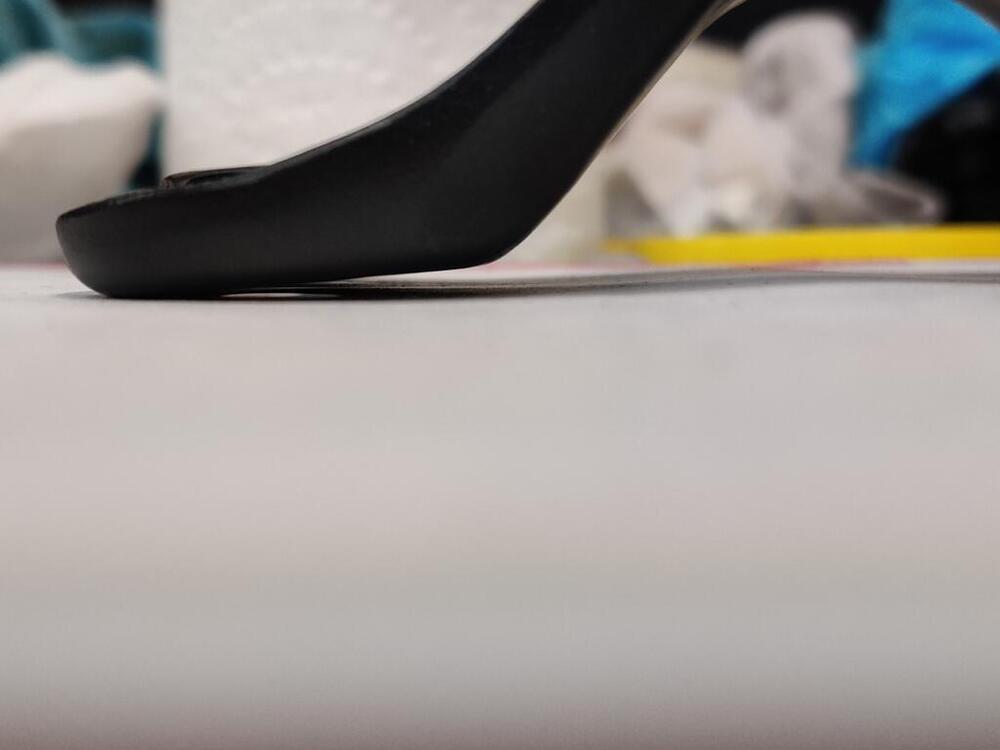
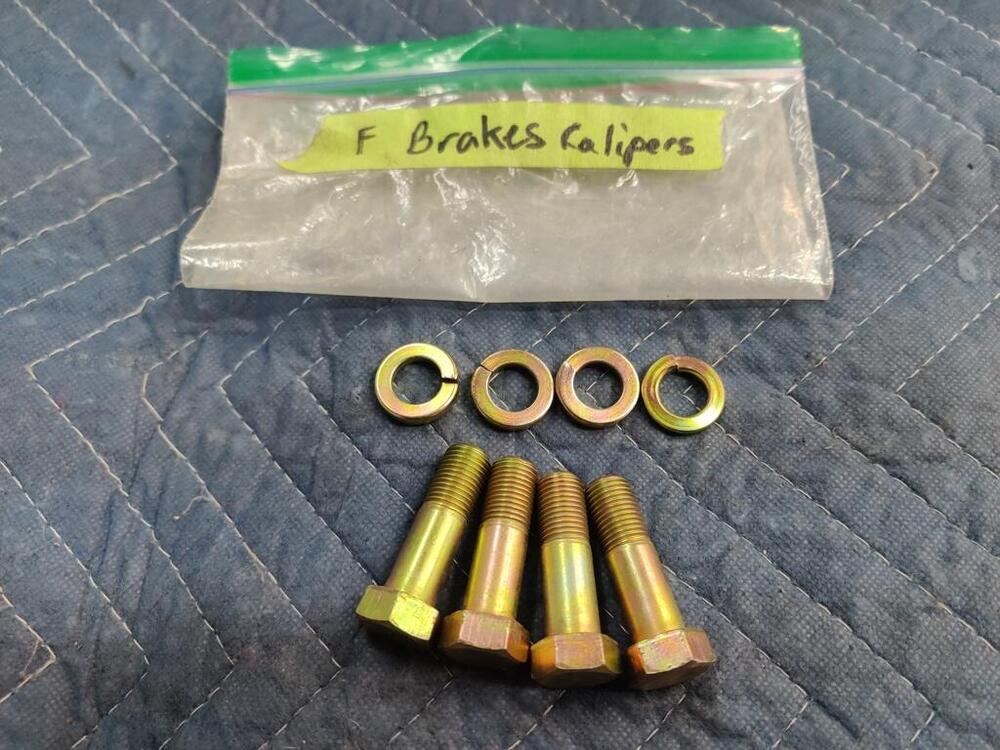
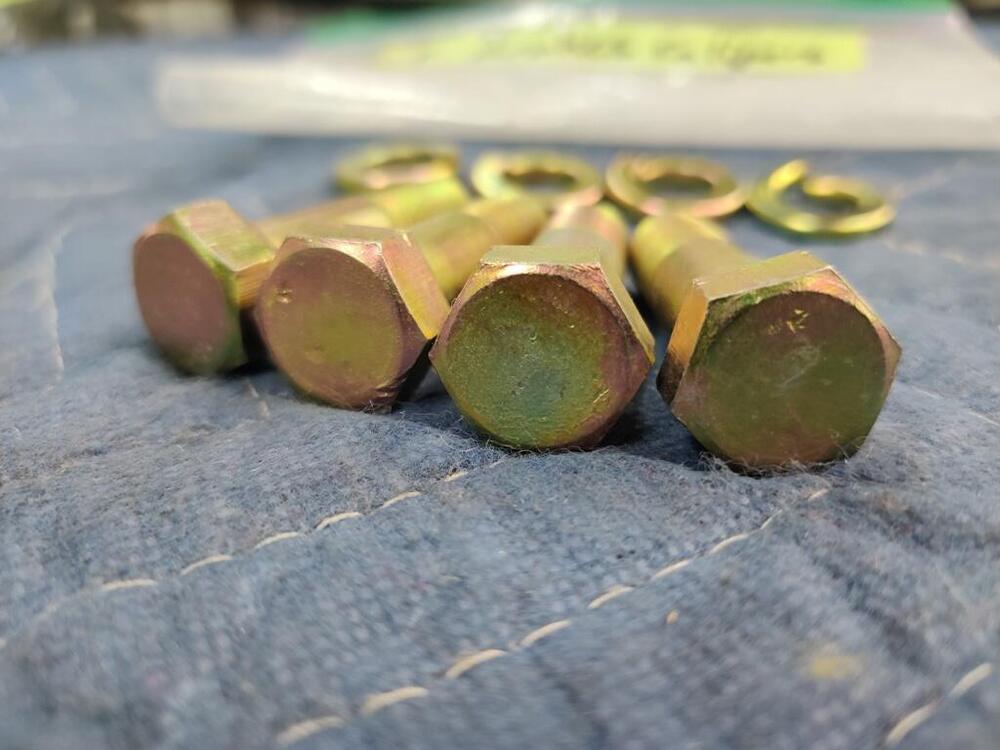
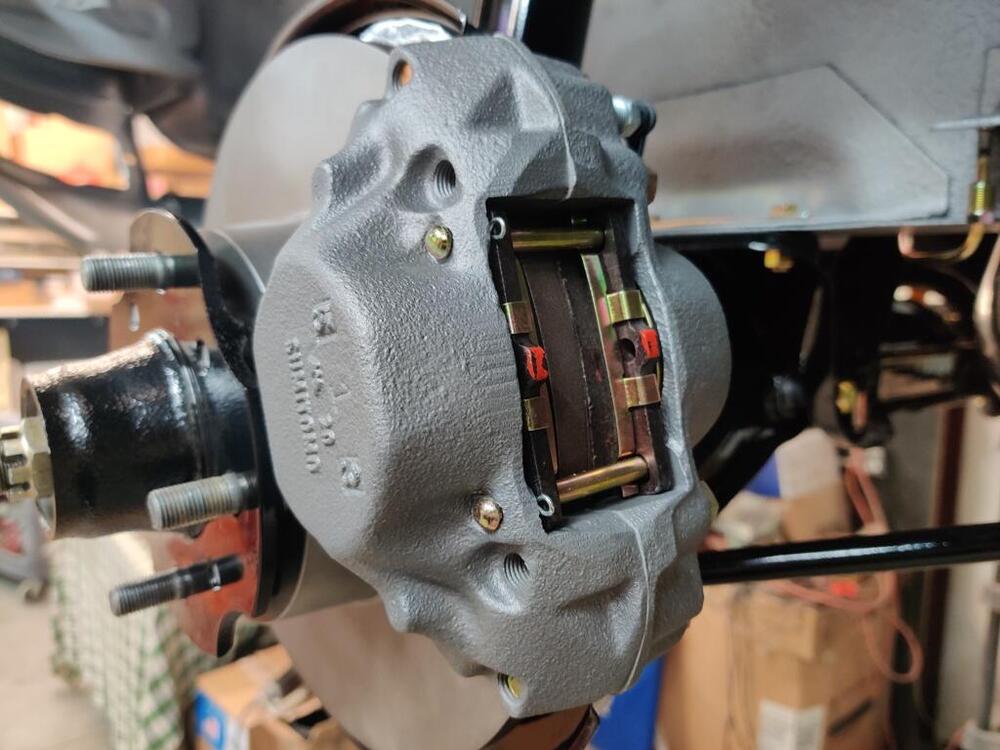
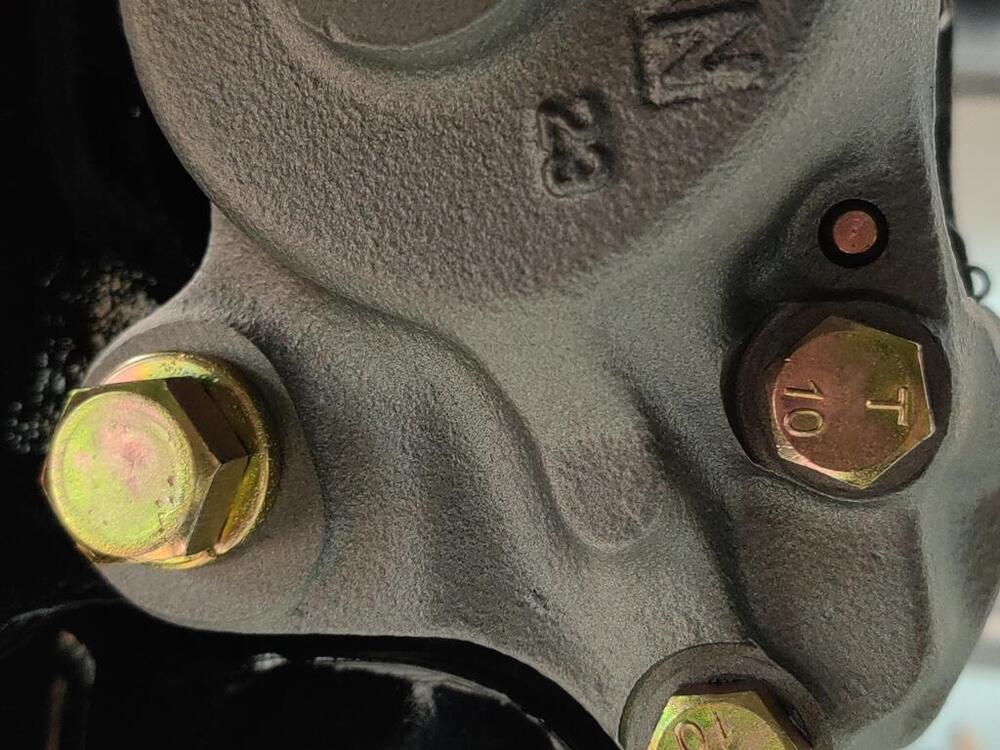
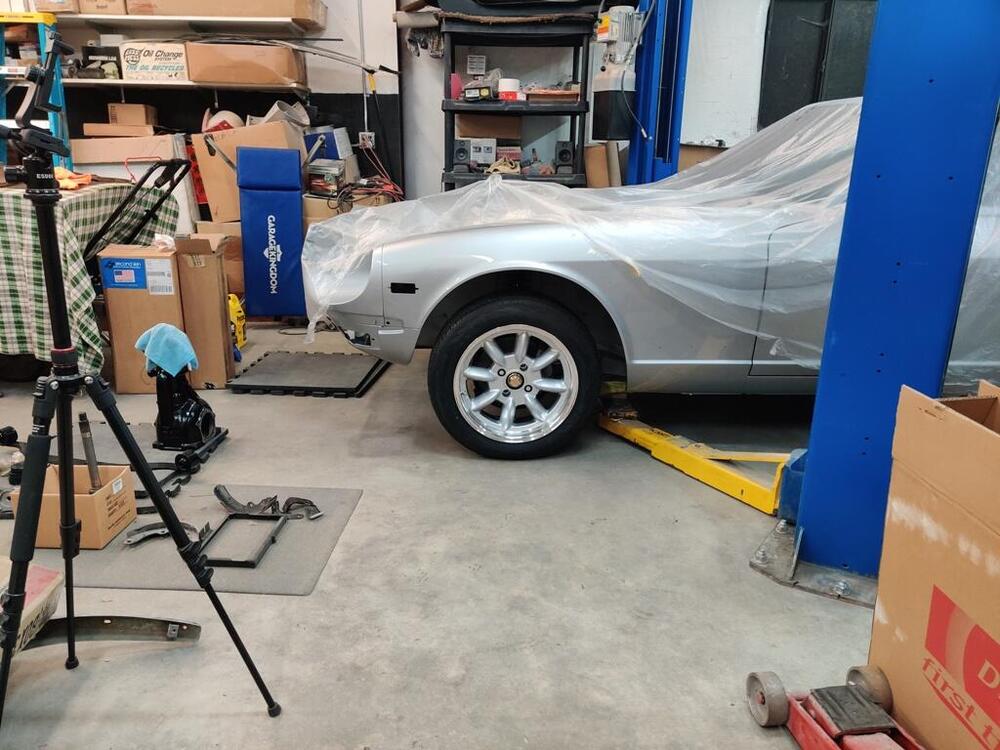
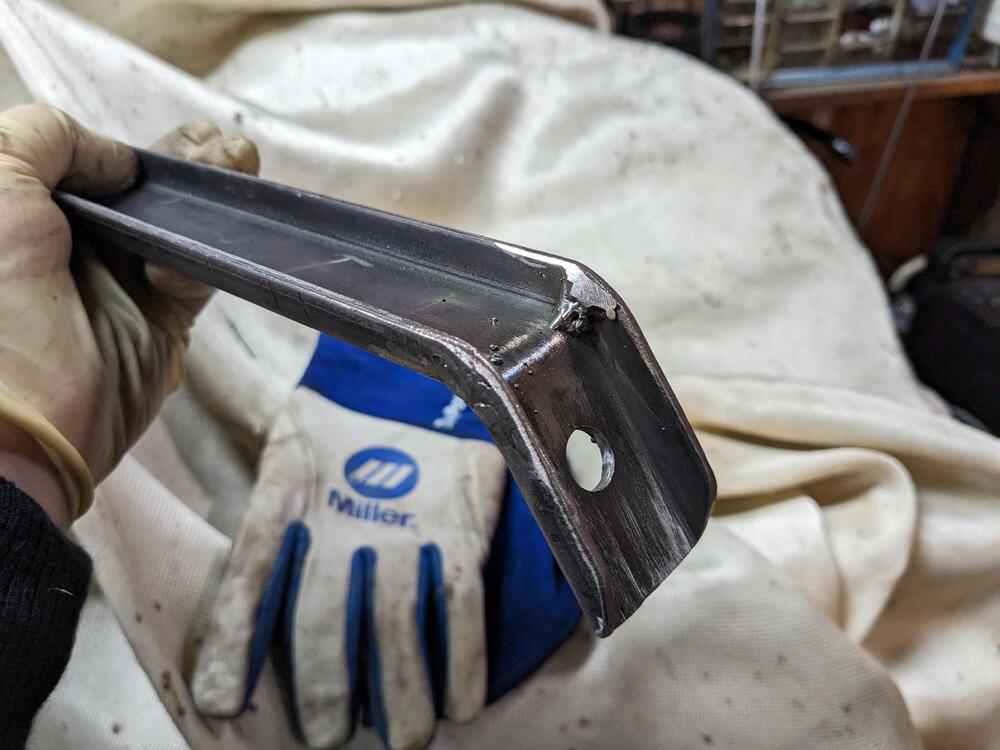
With the left front strut on the car finally, I was able to move forward with getting the front suspension assembled. I also put the outer tie rods on, and the front brake calipers, little "s" hard lines and brake hoses. I also removed the steering rack clamps and took a couple of pictures of them, trying to capture the differences from front and rear that I saw. I hadn't torqued the brake caliper "bridge" bolts (the ones with T 10 on them), so I did that (~39 ft-lbs.) before installing the calipers. The "s" hard lines required a lot of fiddling. Literally every hard line I sent to get plated got "jacked up" - I don't know why. For the steering rack "clamps", I didn't see a difference in the "arch" portion. Instead, I noted that the angle of the "feet" is different. In these first two pictures, you can see that one "foot" sits flat, whereas the other, does not. I also think I see that one "foot" is slightly longer than the other - in the third pic here, the "foot" on the right has a bit more length from the hole to where it starts sloping upwards. I found it difficult to install them incorrectly. The back bolt won't thread easily into the bracket if you have it reversed (front to back). I found the best fit by placing the longer "foot" it in the back location. After completing these things, I was able to set the car down on all four wheels for the first time in 5 years! Even with the Suspension Techniques springs, the car looks like it's four wheel drive. Bummer. Part of the issue is there is still a fair amount of weight that is not yet on the car. It has none of the interior, none of the glass, none of the door hardware, no hood, no bumpers, etc. I hope that additional weight will make a big difference. However, I think the tires I bought are part of the issue. They are 195/55-16, which have a 24.4 inch diameter, whereas the stock tire diameter was 25.3 inches. So, not quite 1/2 of an inch of tire is "missing" from the wheel well. I'll see how it looks when it is fully assembled and has been driven for a few hundred miles. If it still looks awkward, I will swap the tires out for something a bit bigger. Starting to come together though!


 4 points
 -
3 pointsI don't know how severe the bump was in 75, but on my 77, the left side was tight dealing with the seat bolster up against the trans tunnel and converter bump. Some people perform the catalytic converter "hump bash" (technical term). Which, as the name implies... You bash the hump down with a BFH from inside the car to make more room for the driver's seat. I put Fiero seats in my 77 and passenger side was a lot easier than the driver's side. I did not perform any hump bash operations because I told myself that I might want to put a pre-muffler resonator in that location some time in the future. That was ten years ago maybe? Haha!
 3 points
 -
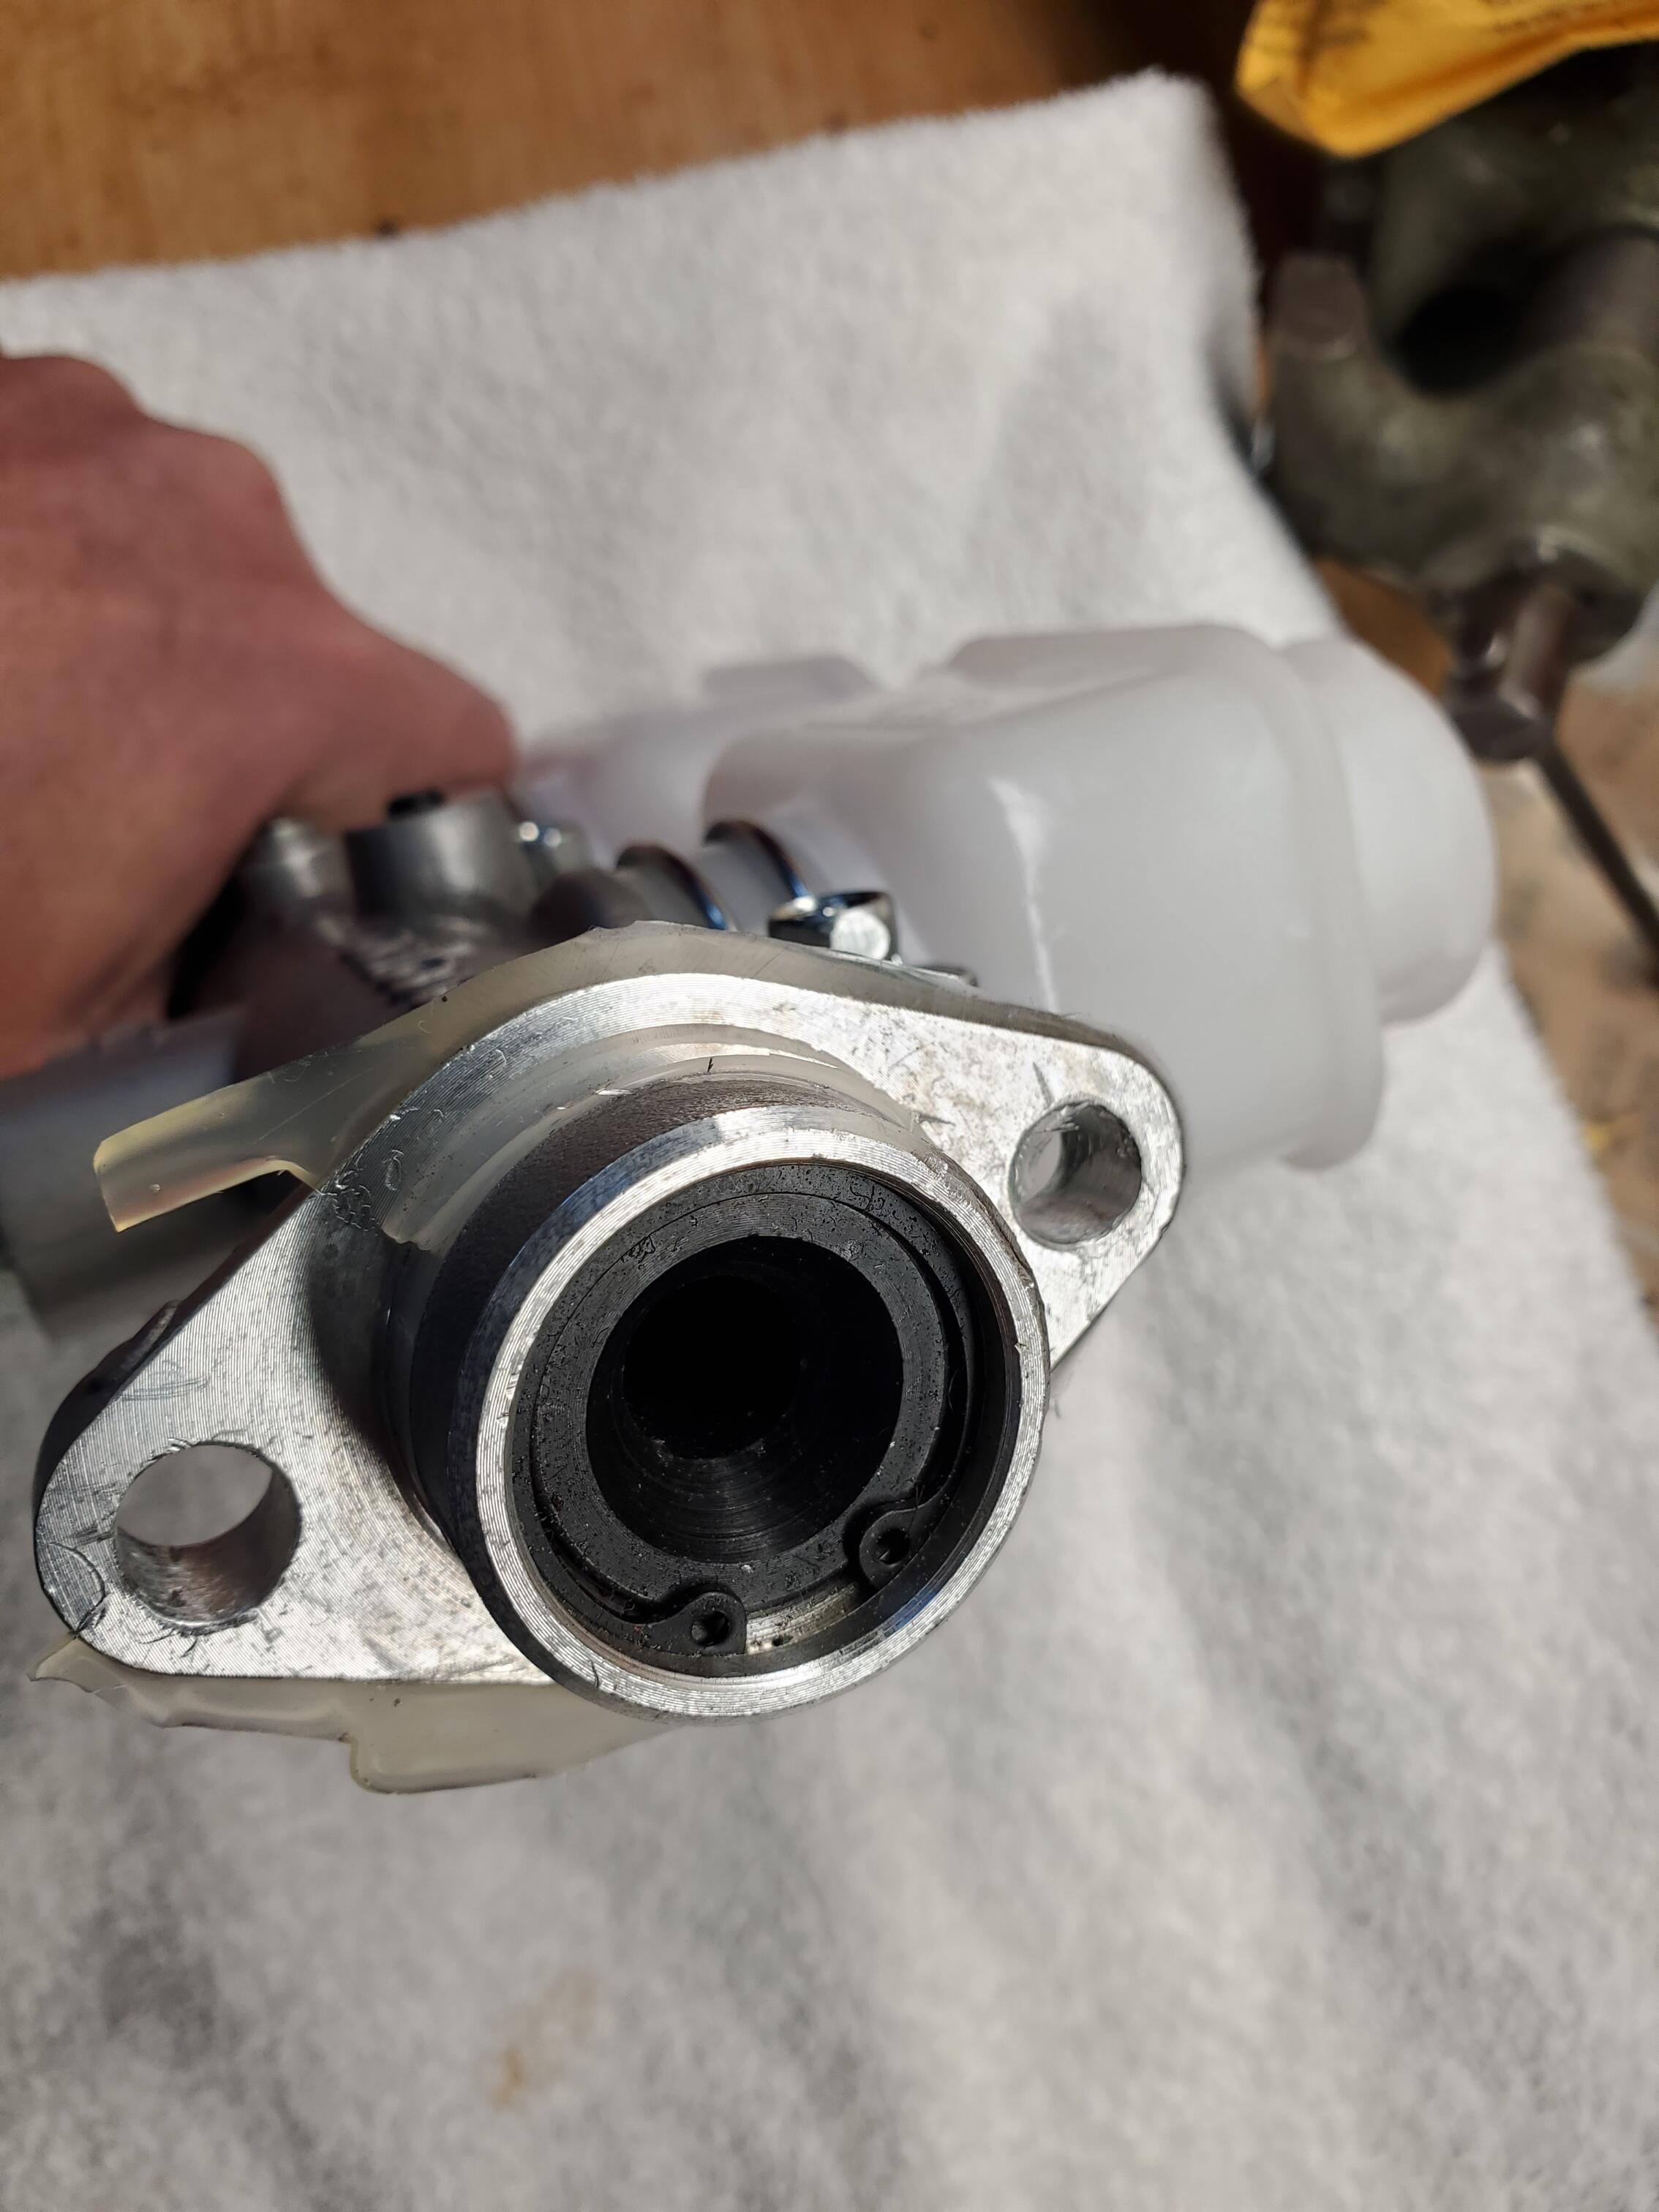
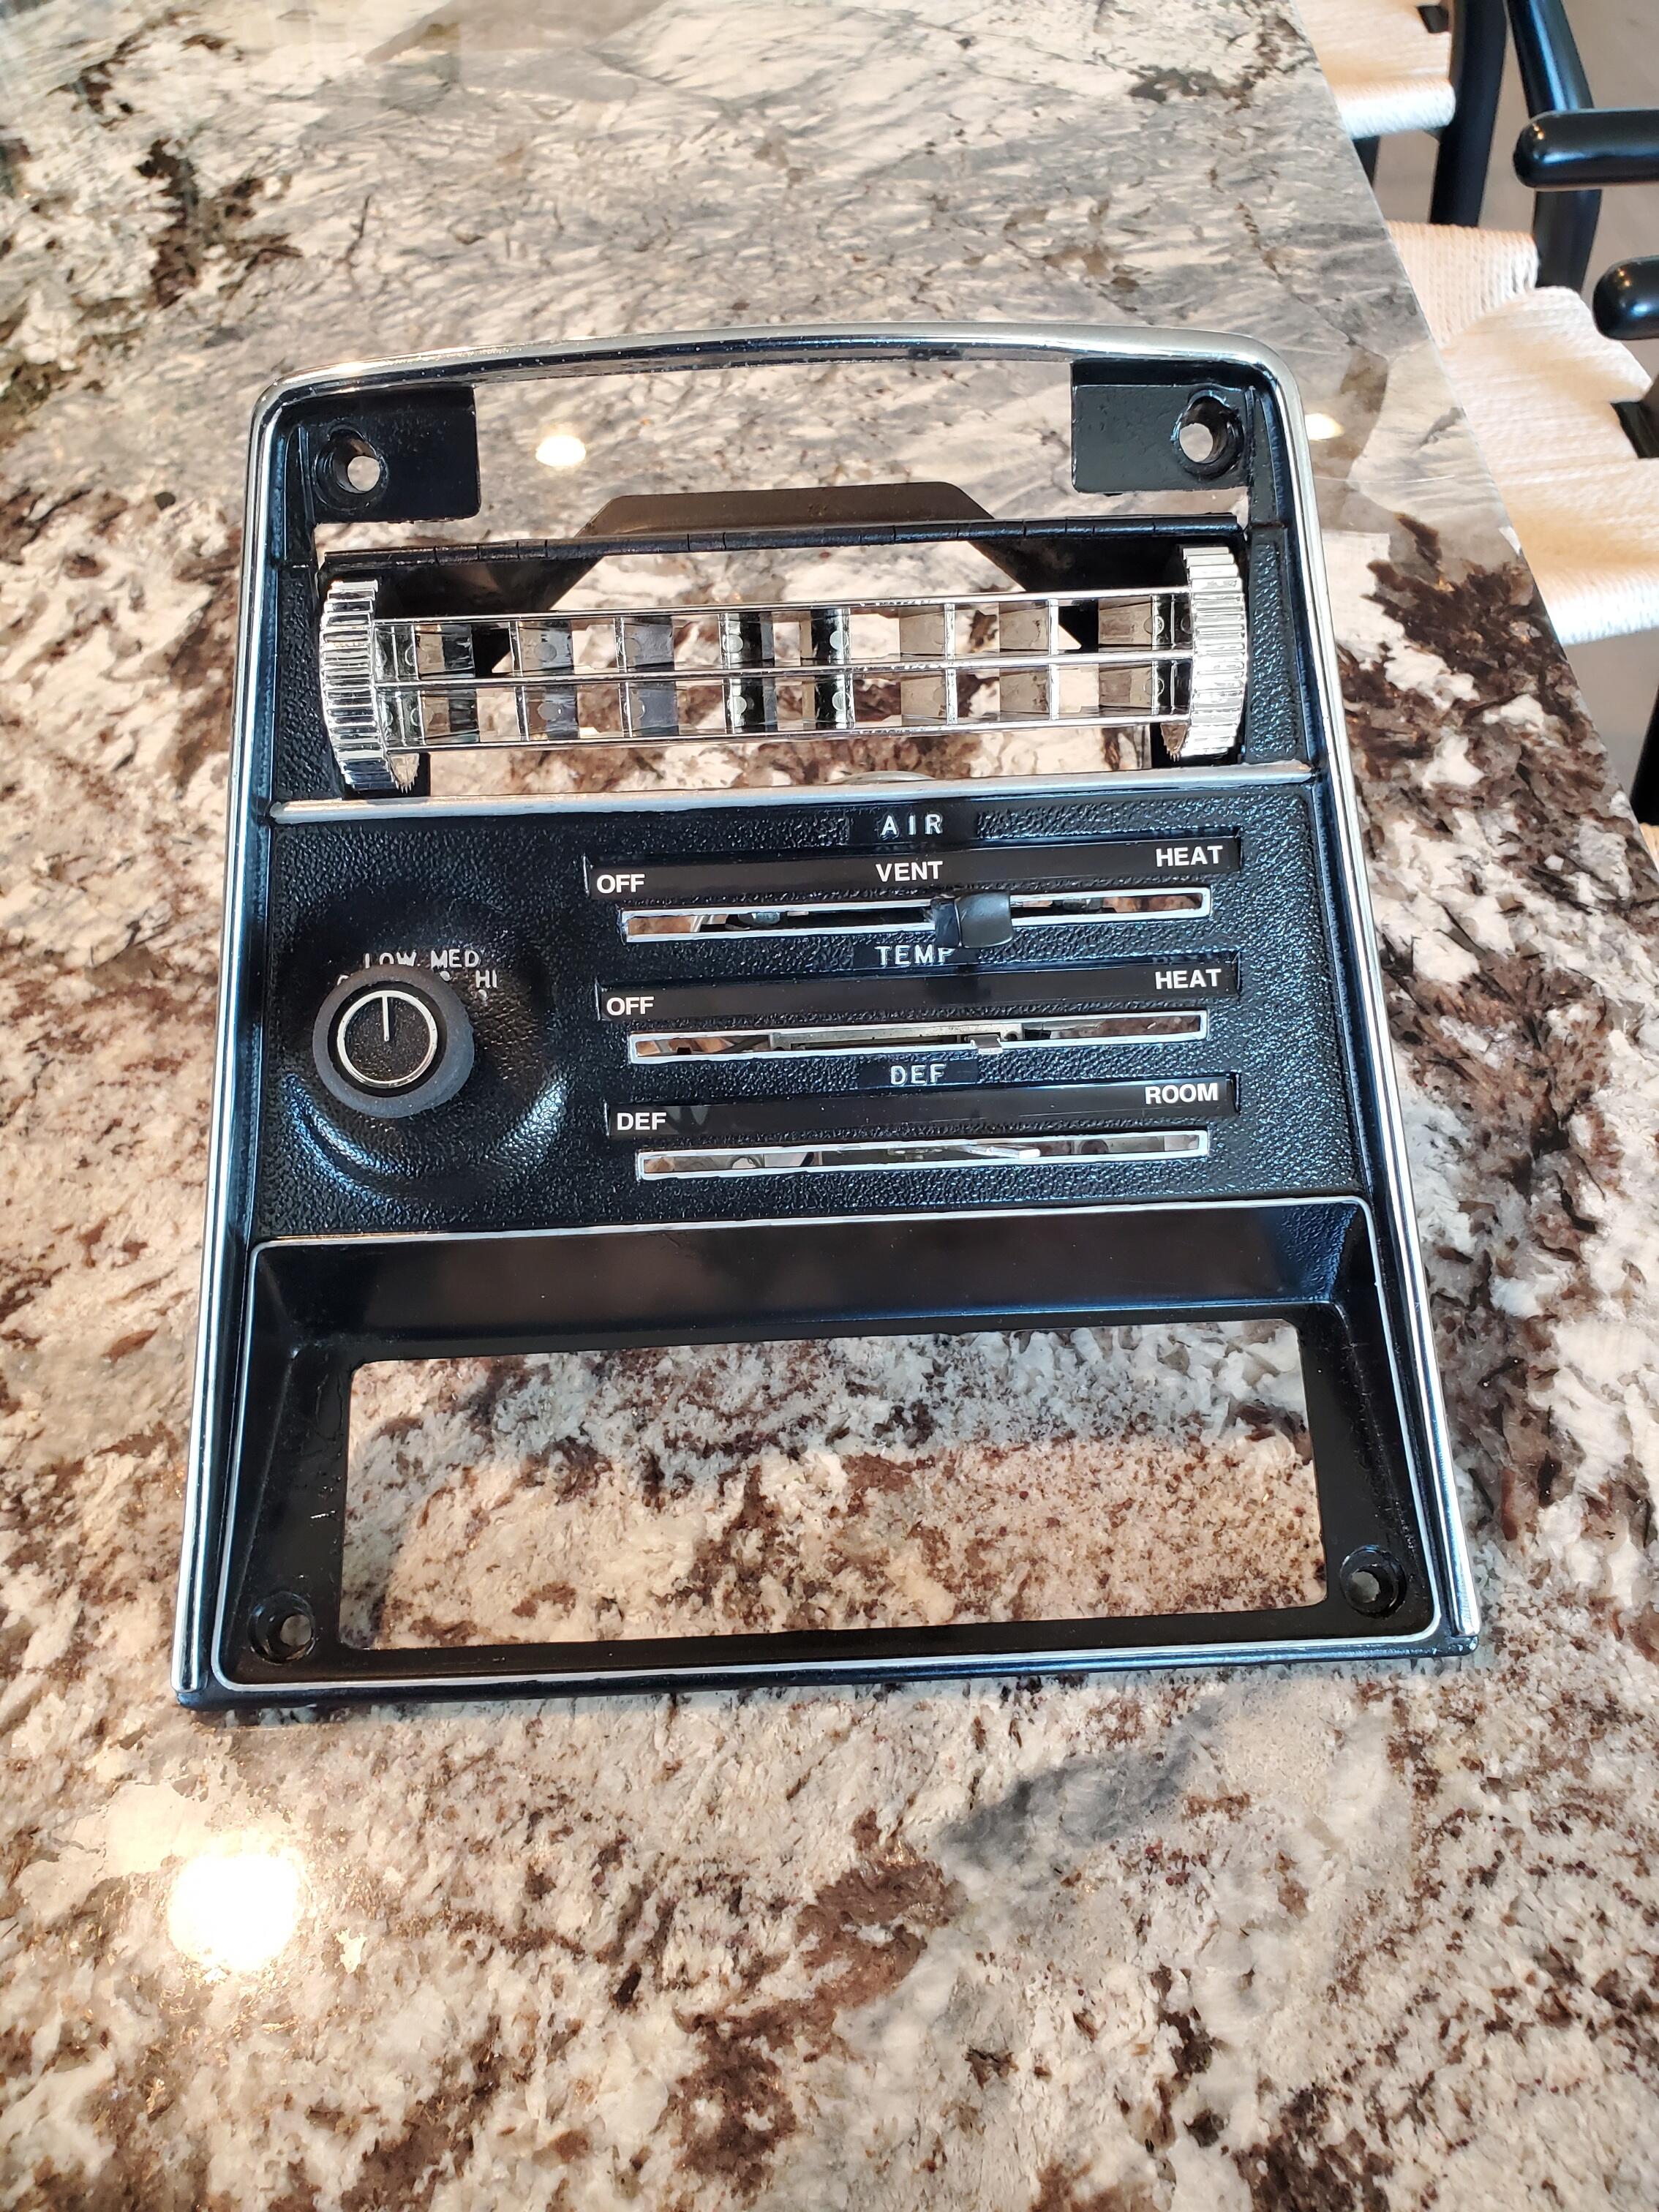
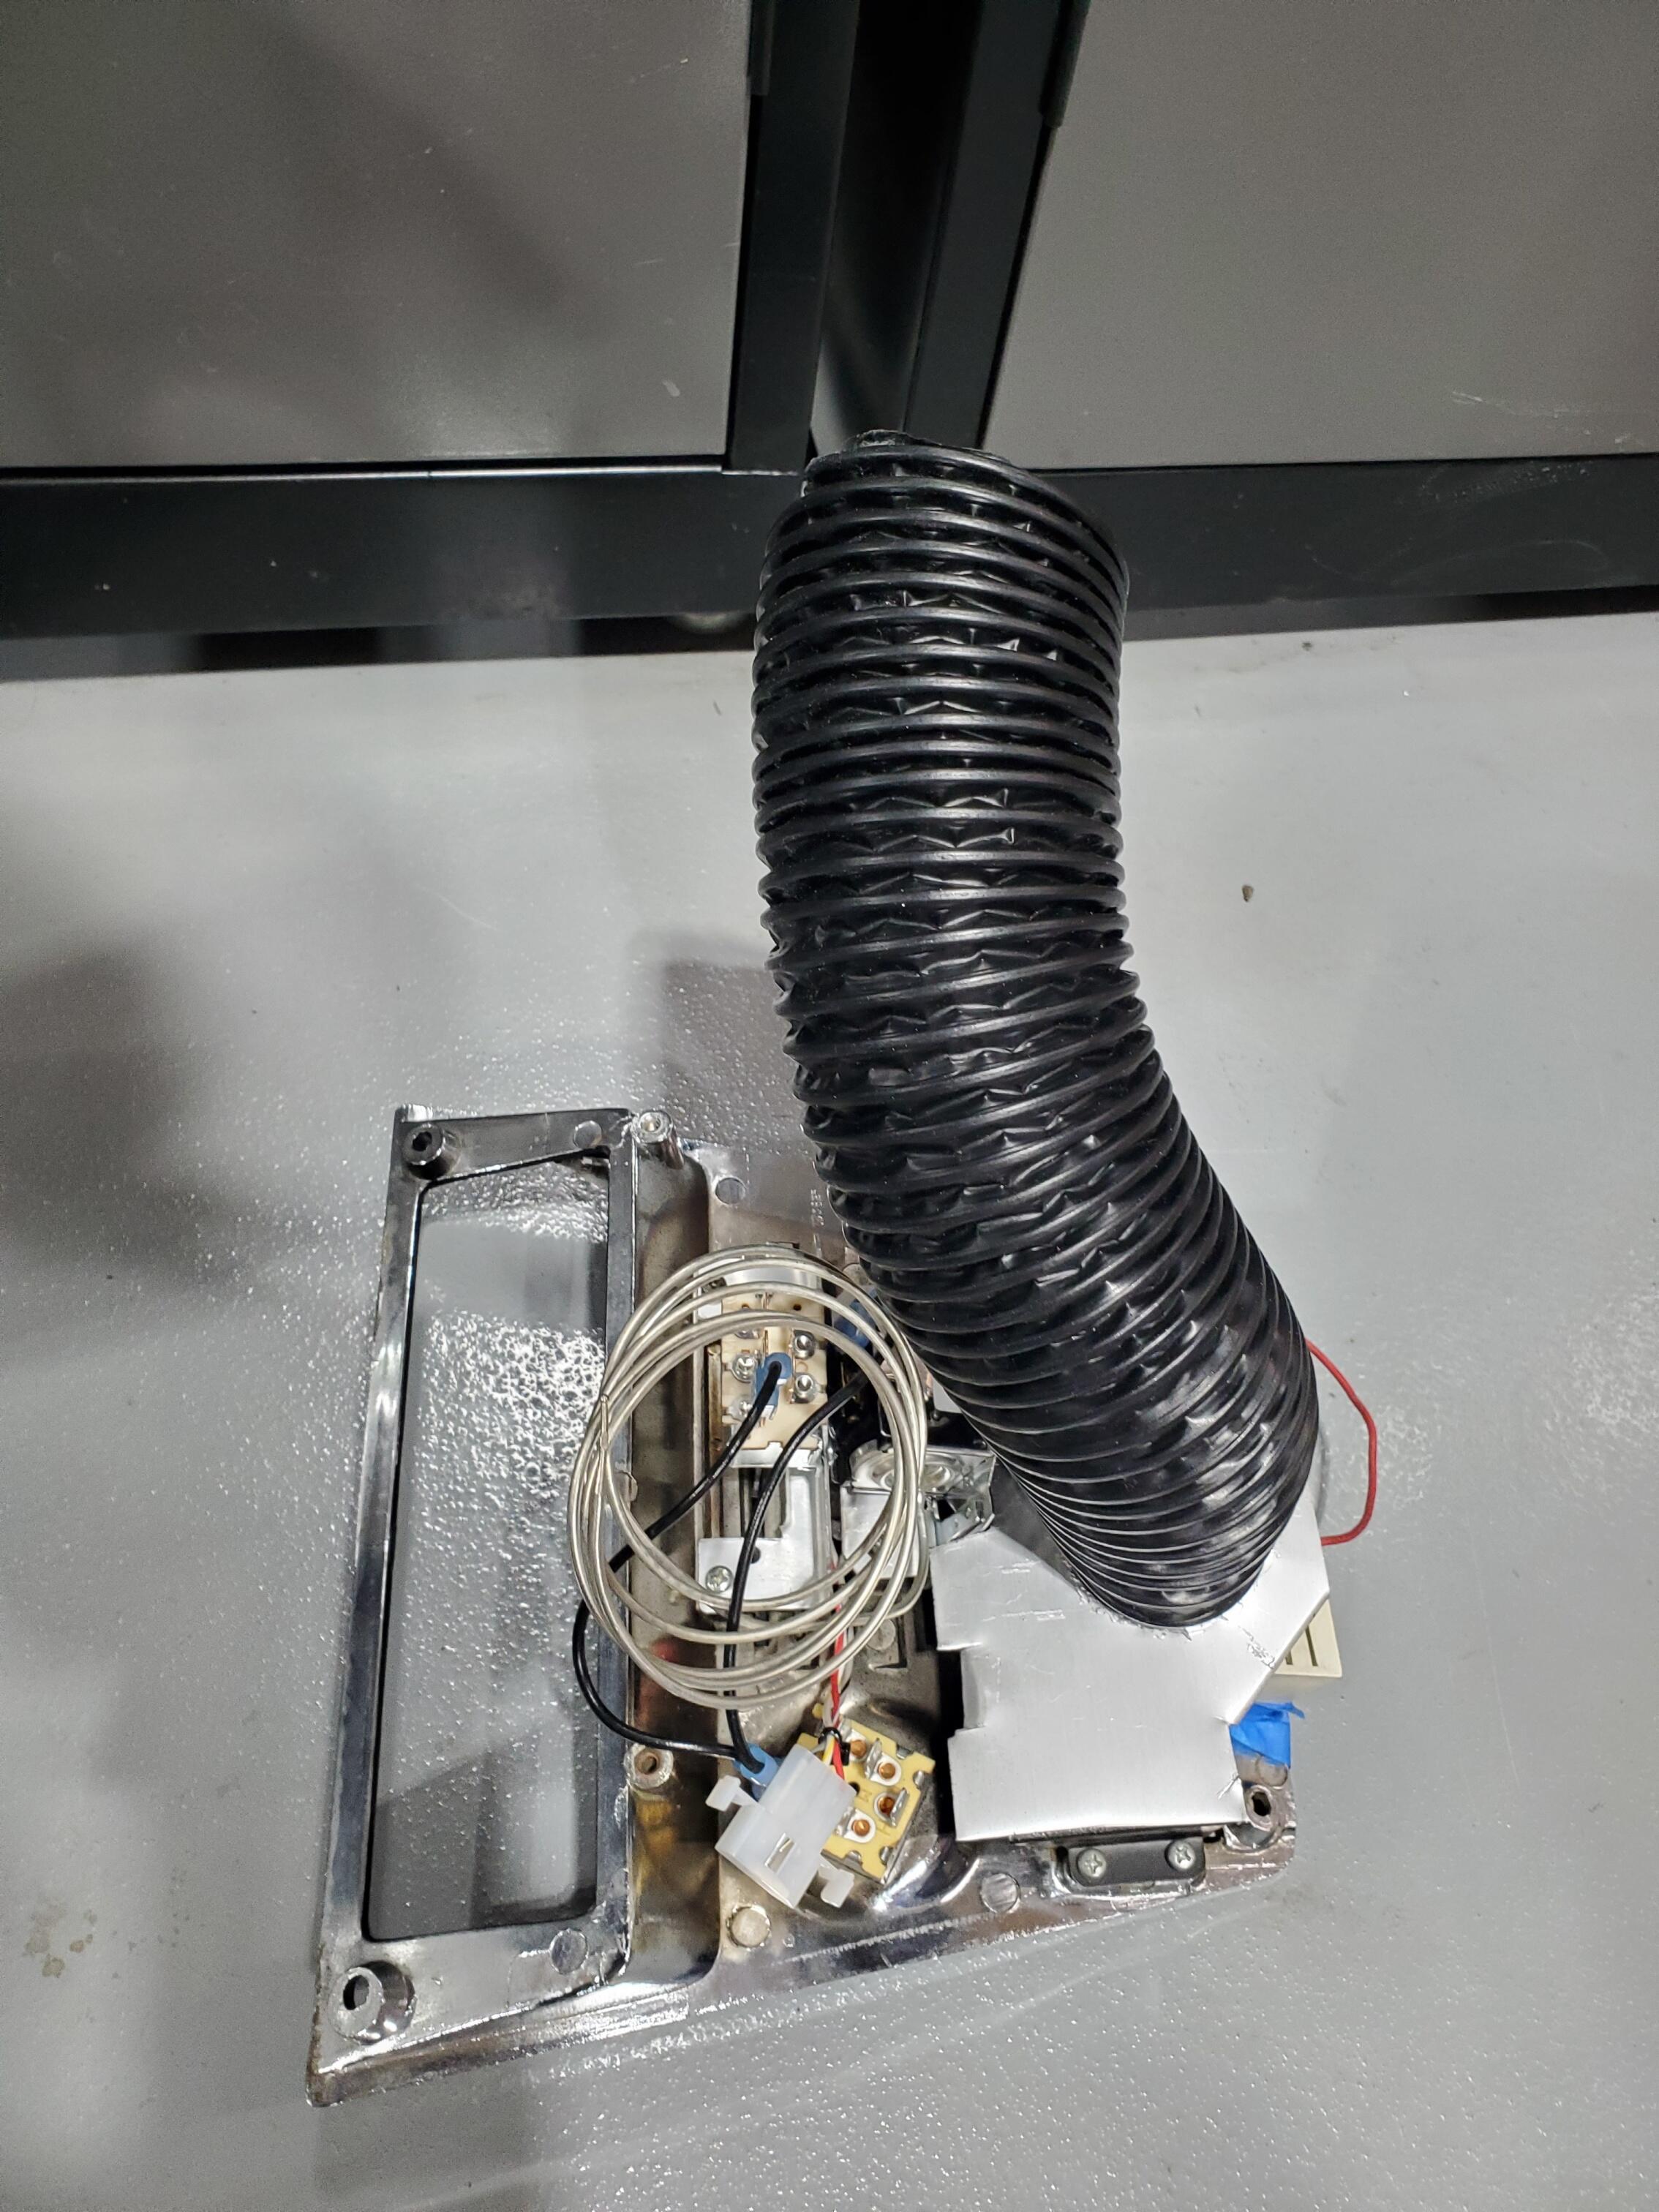
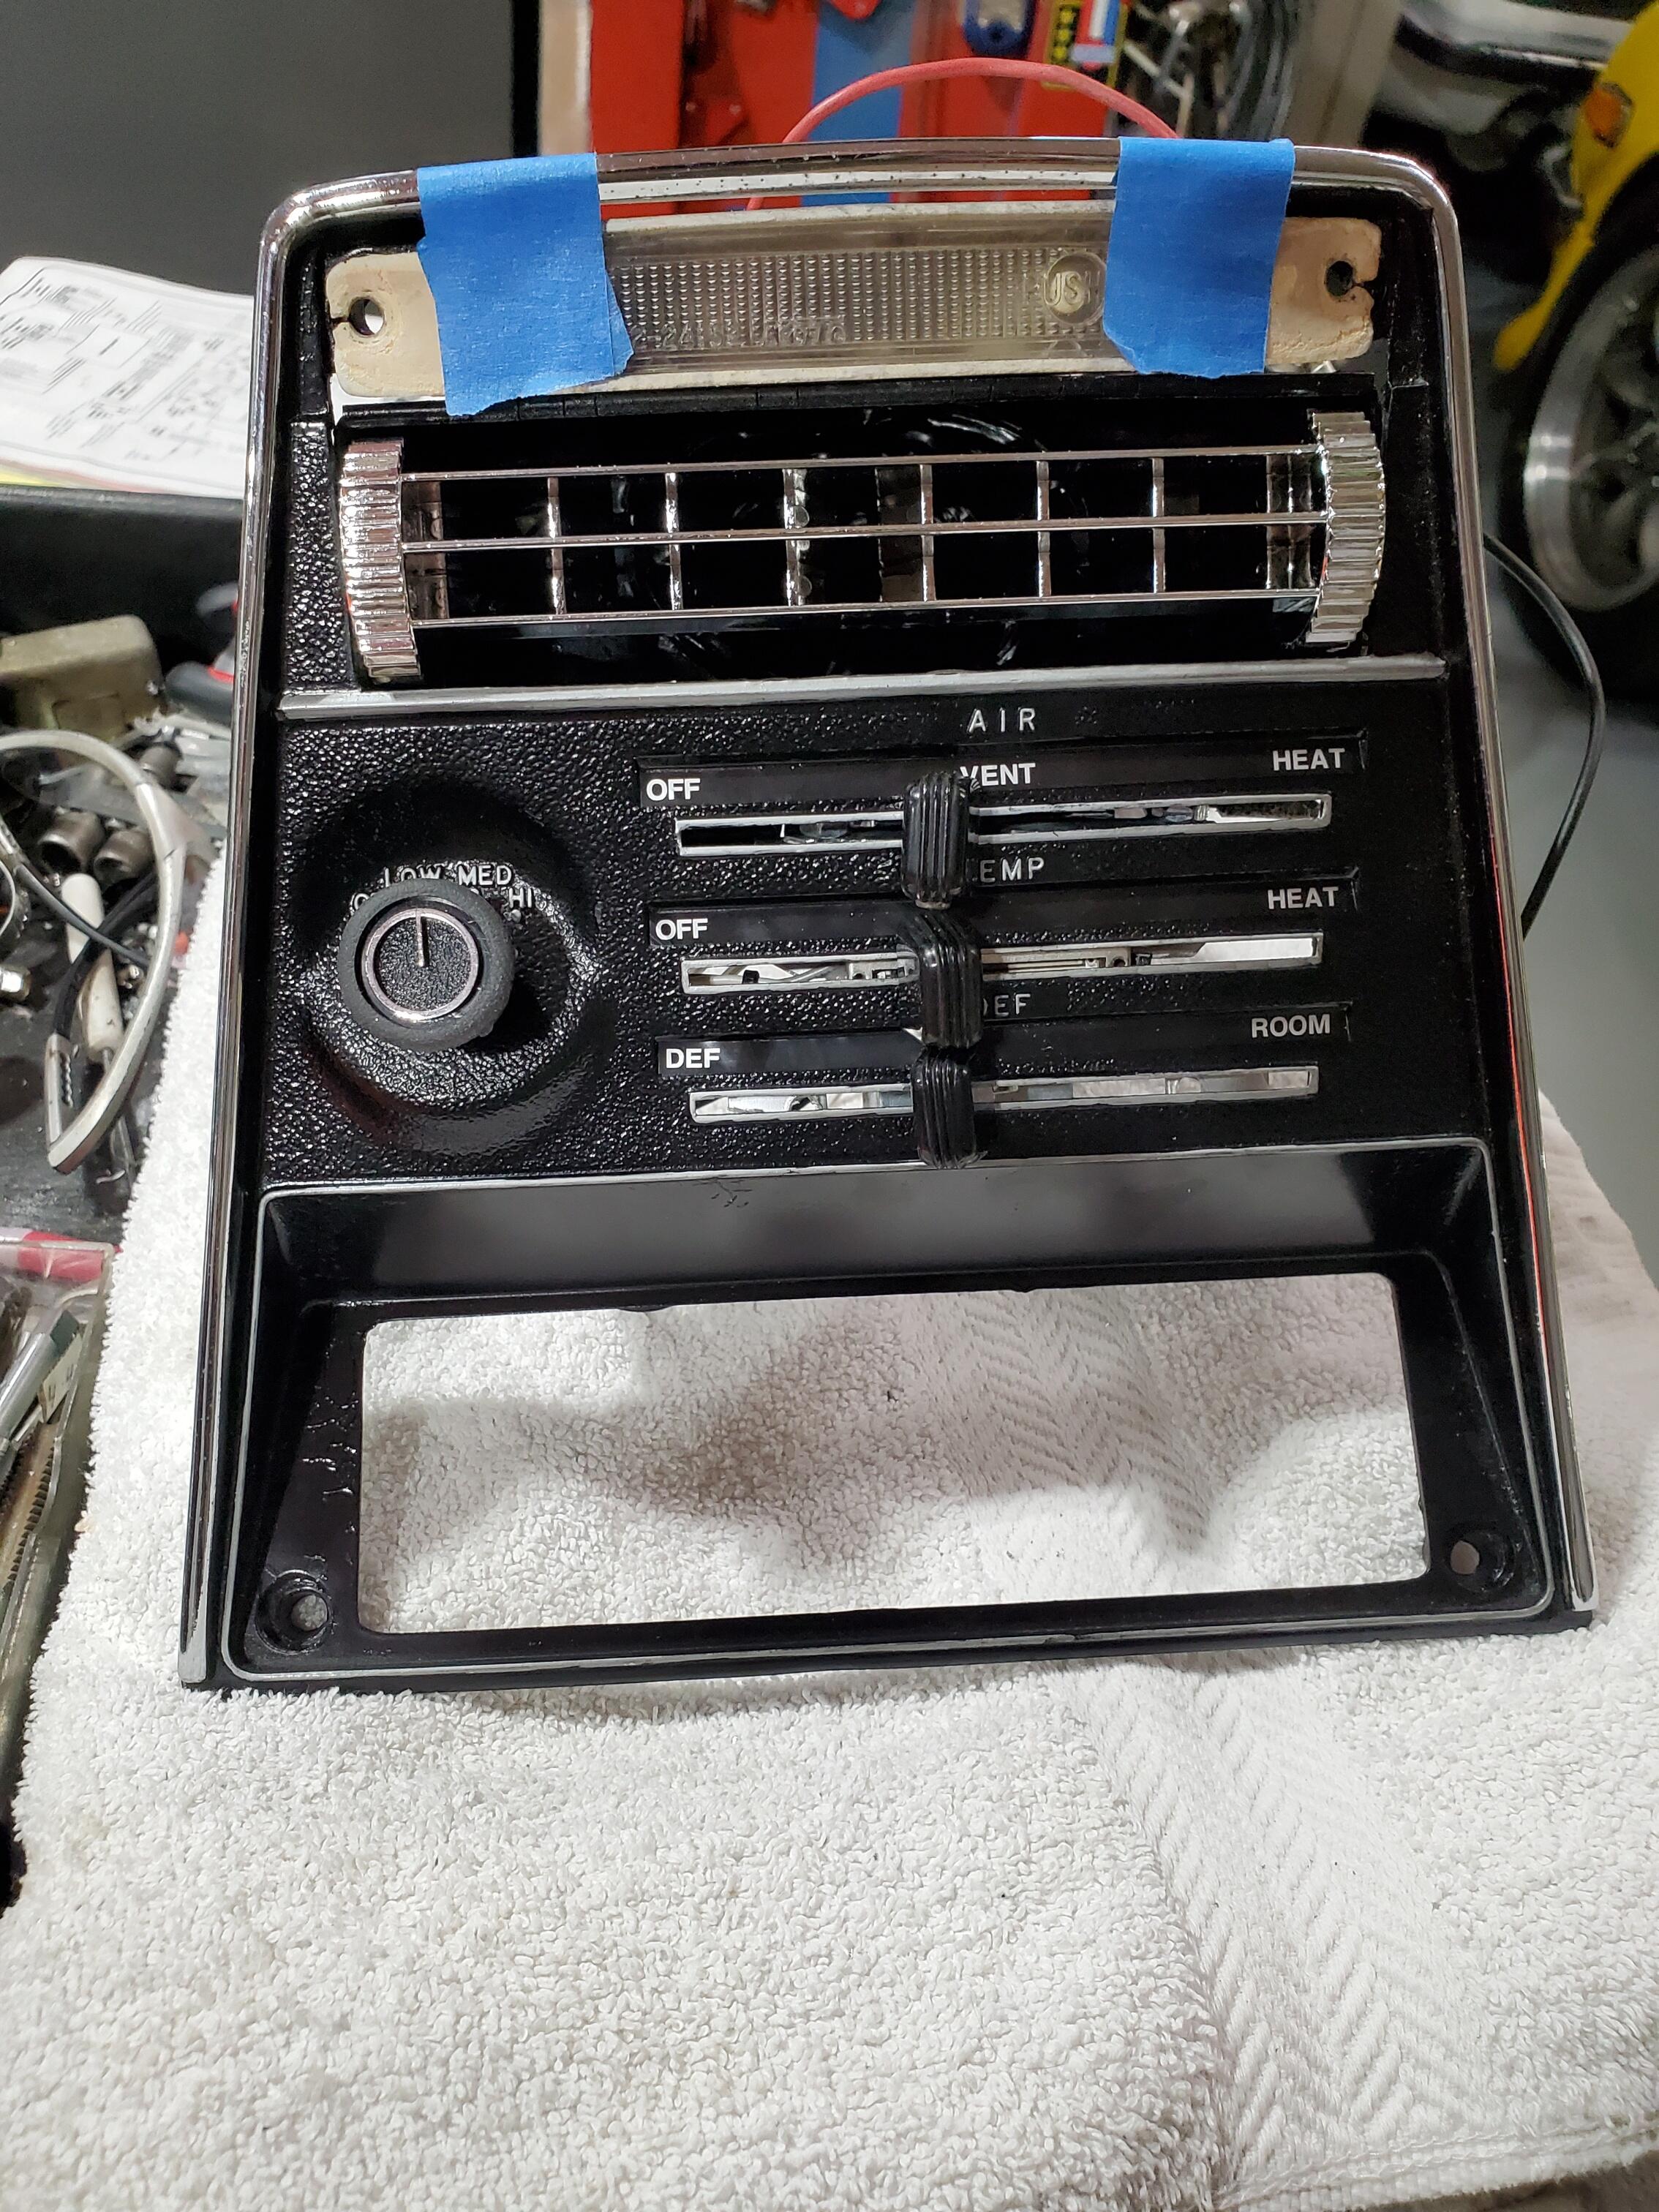
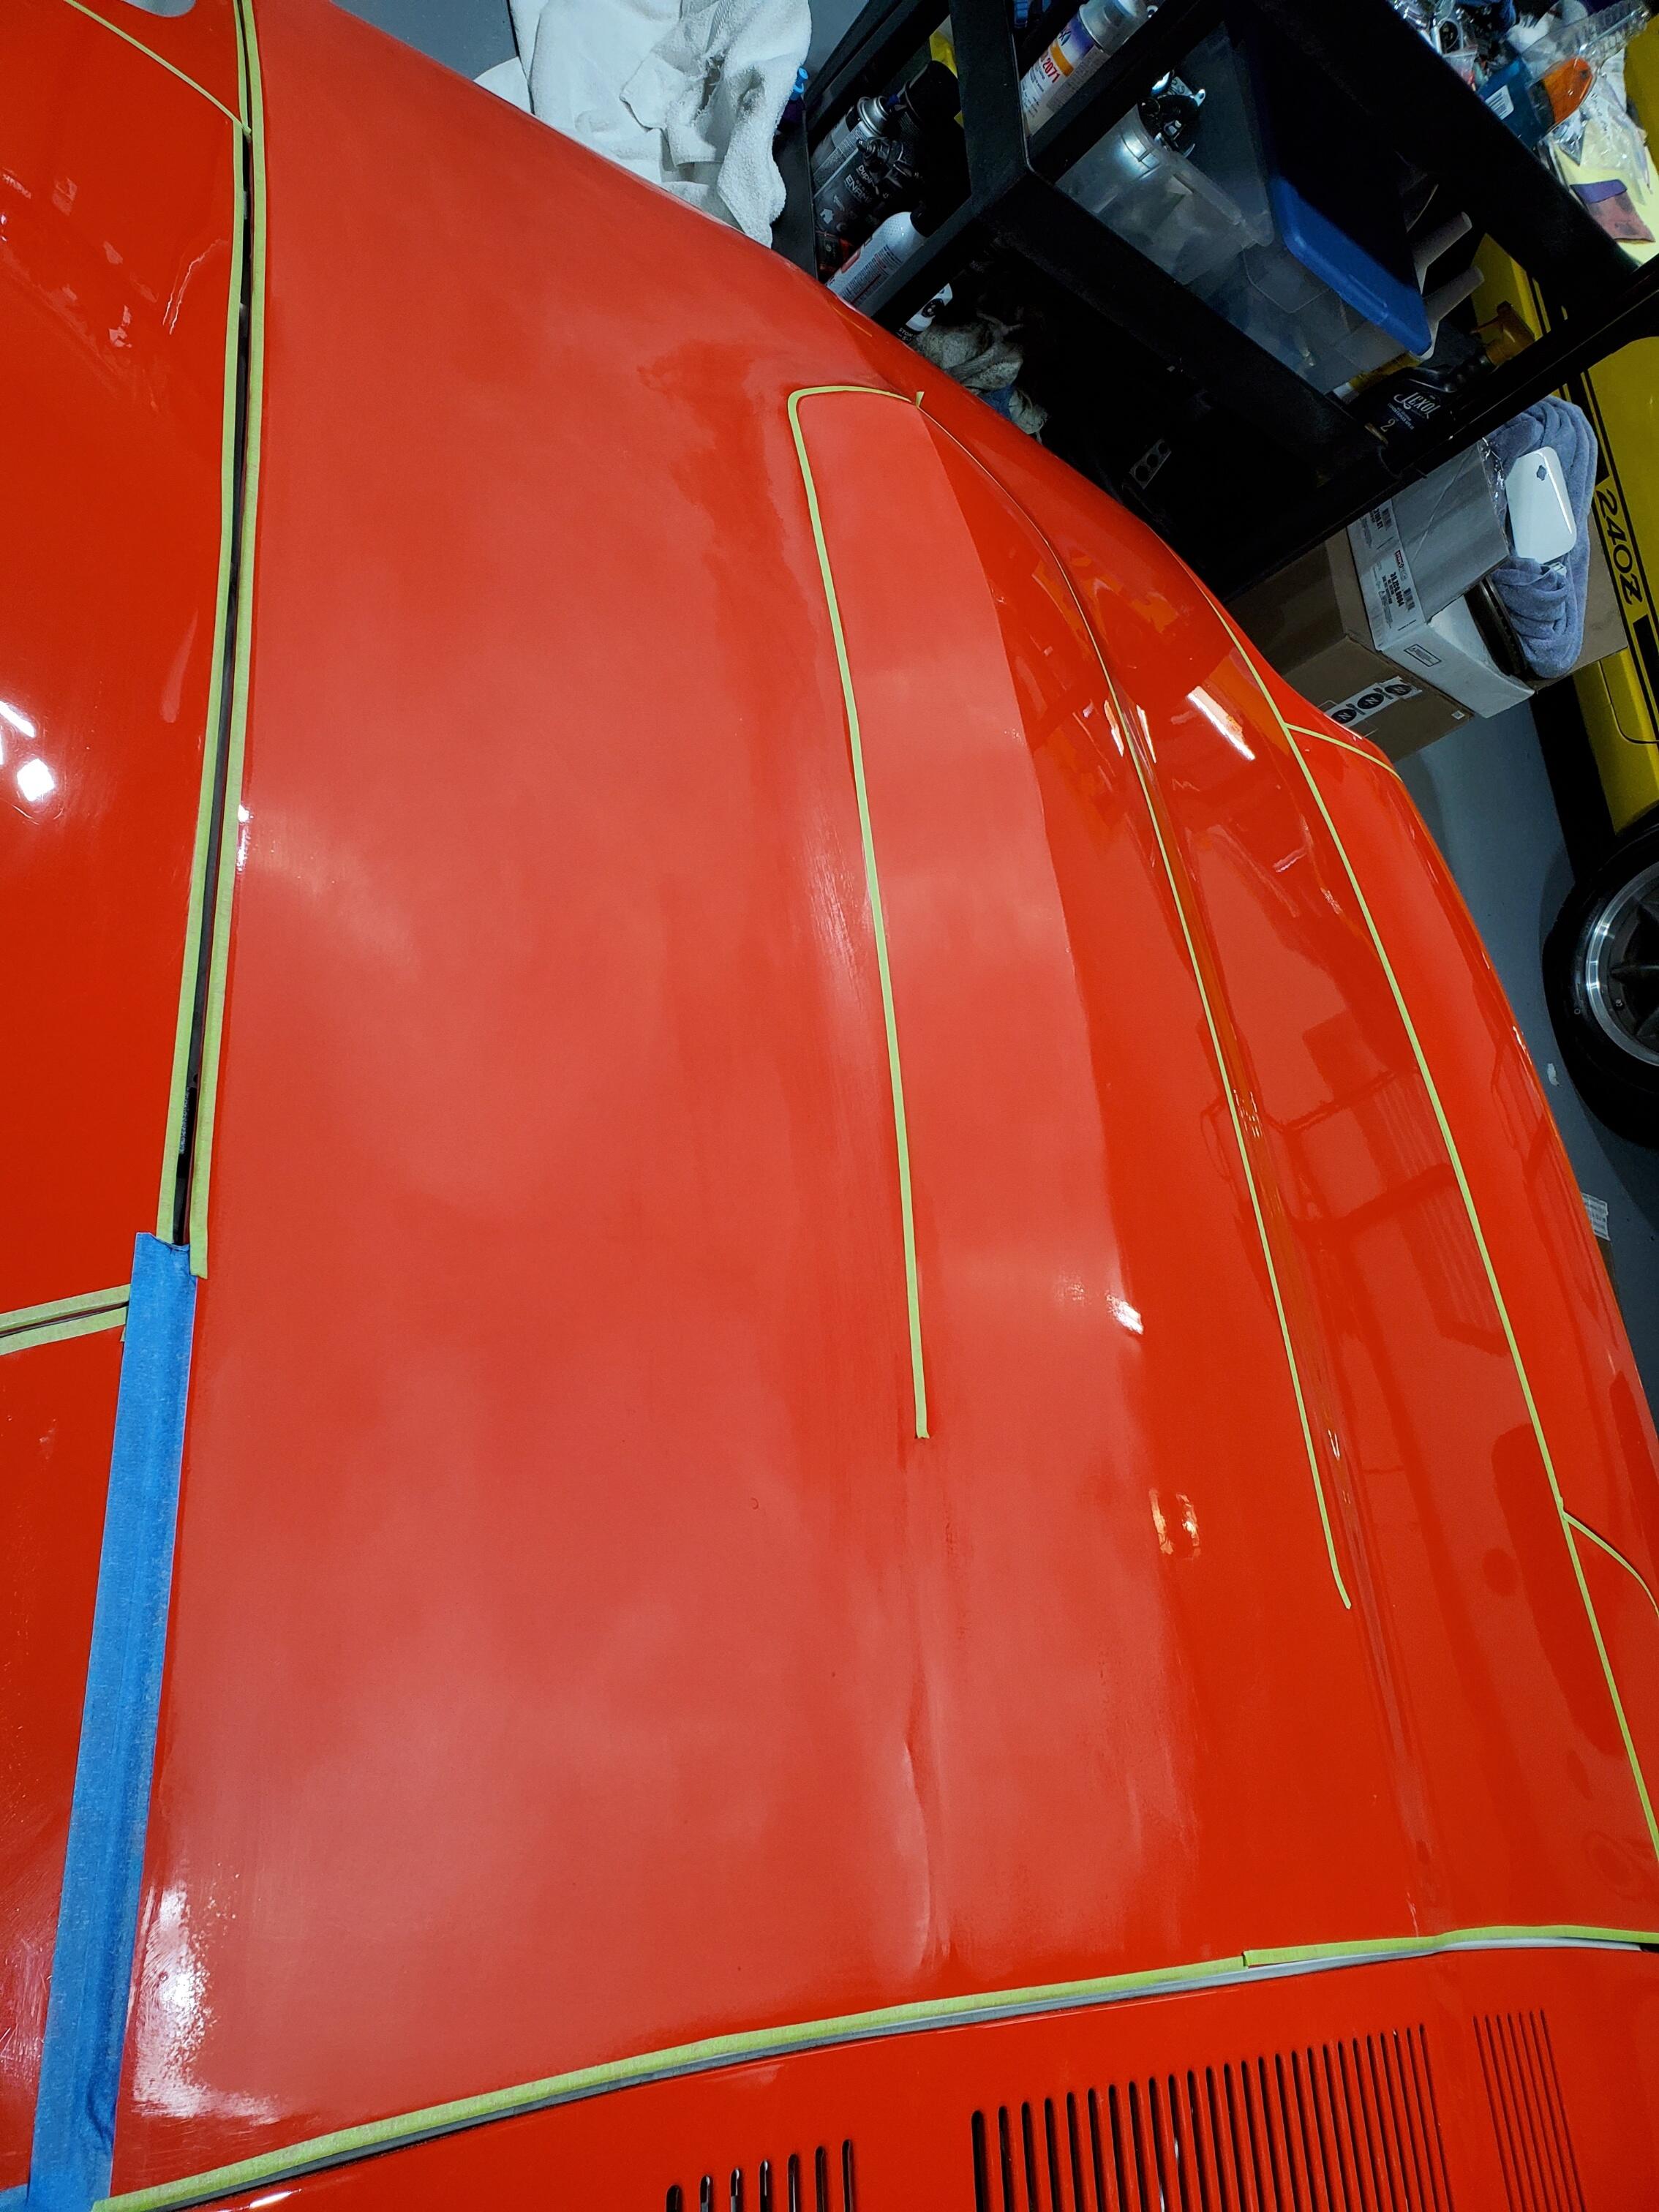
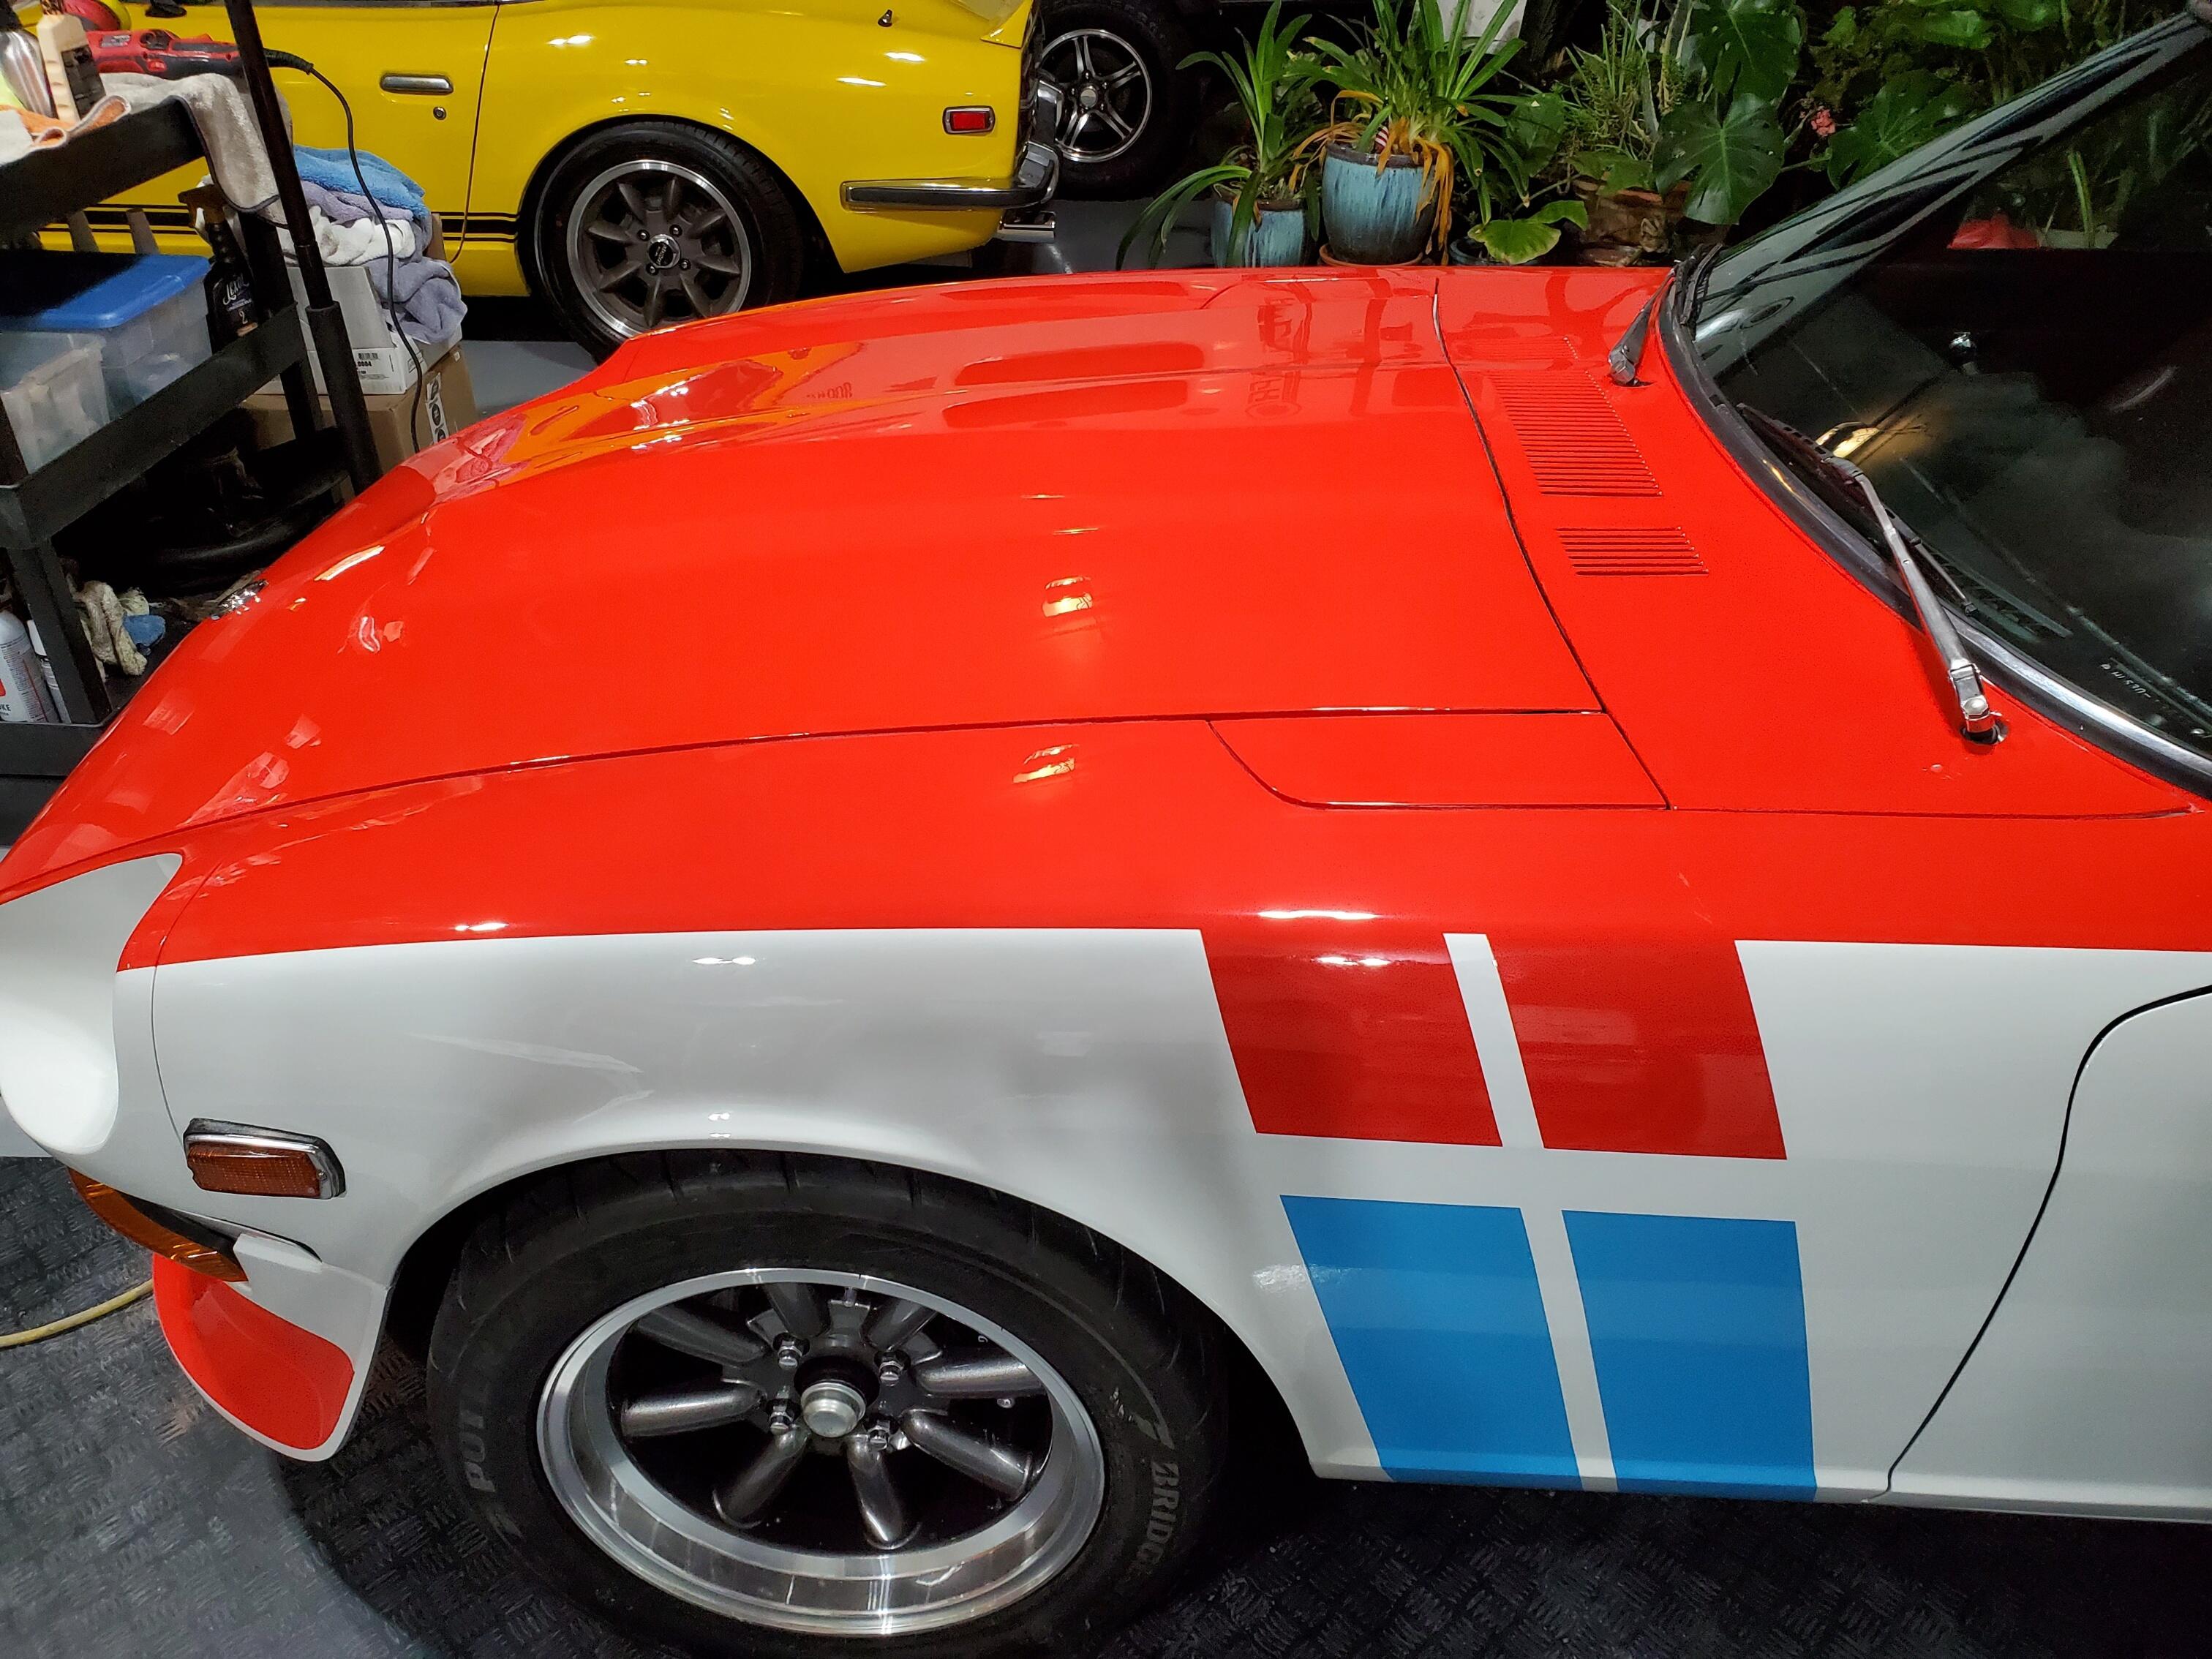
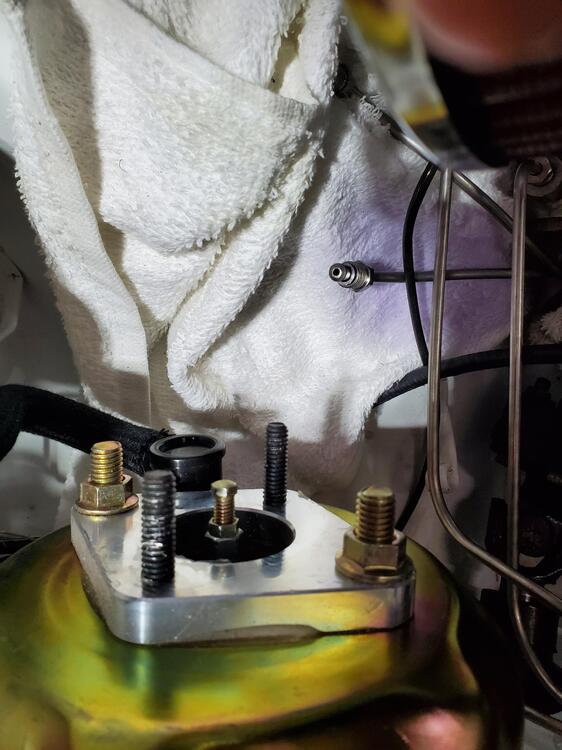
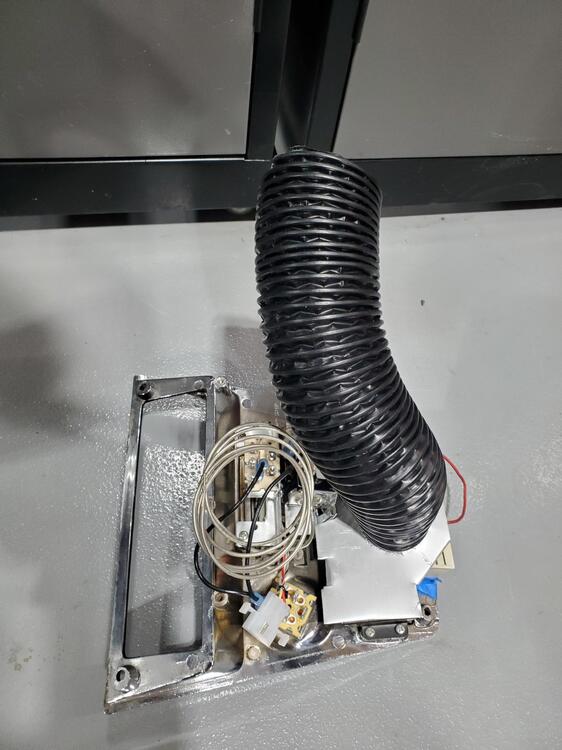
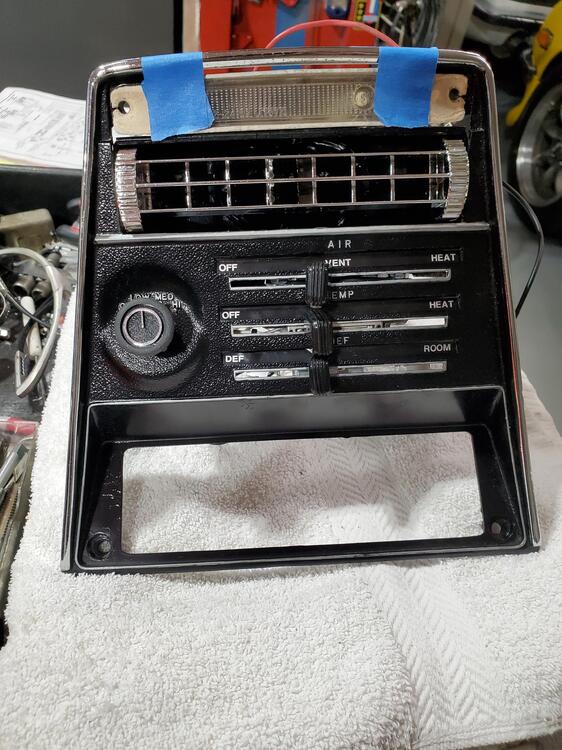
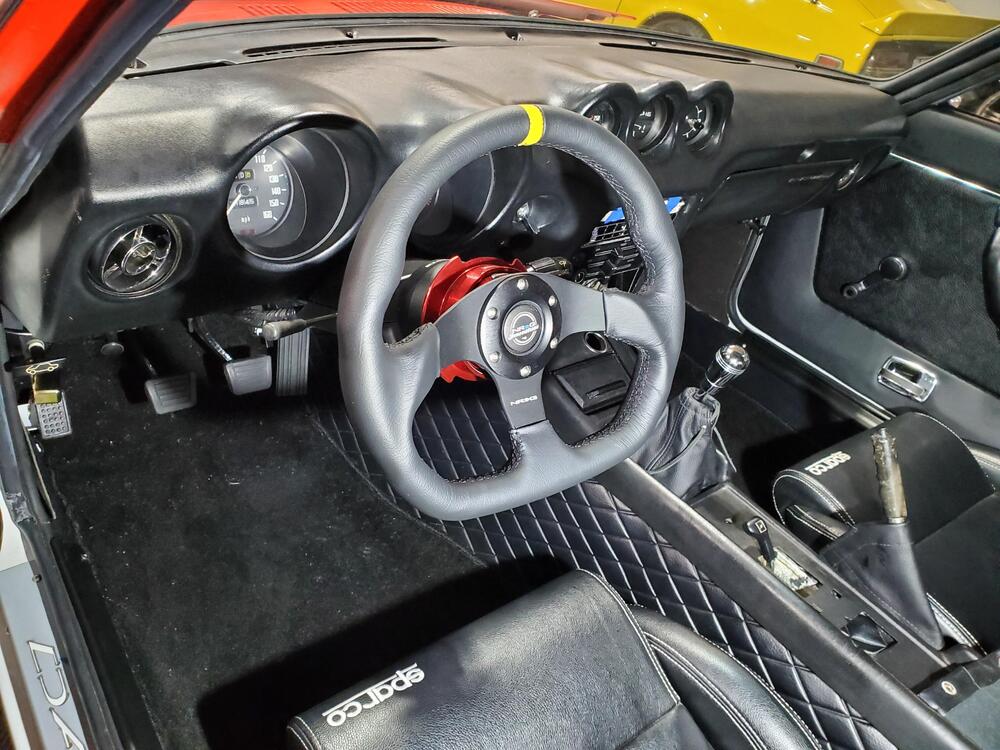
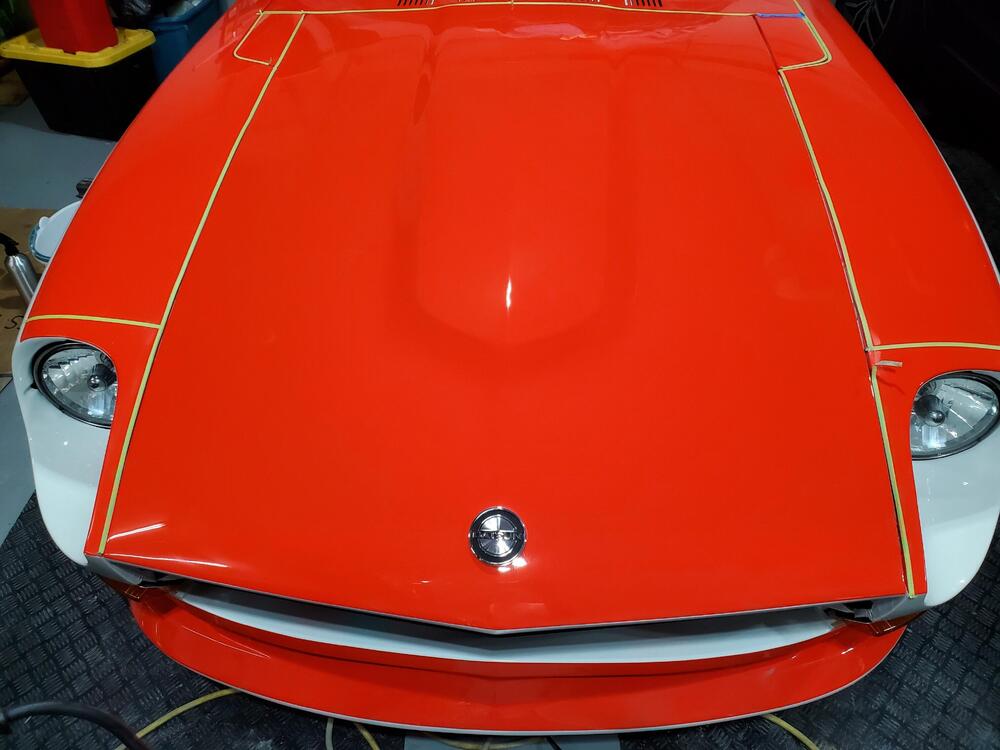
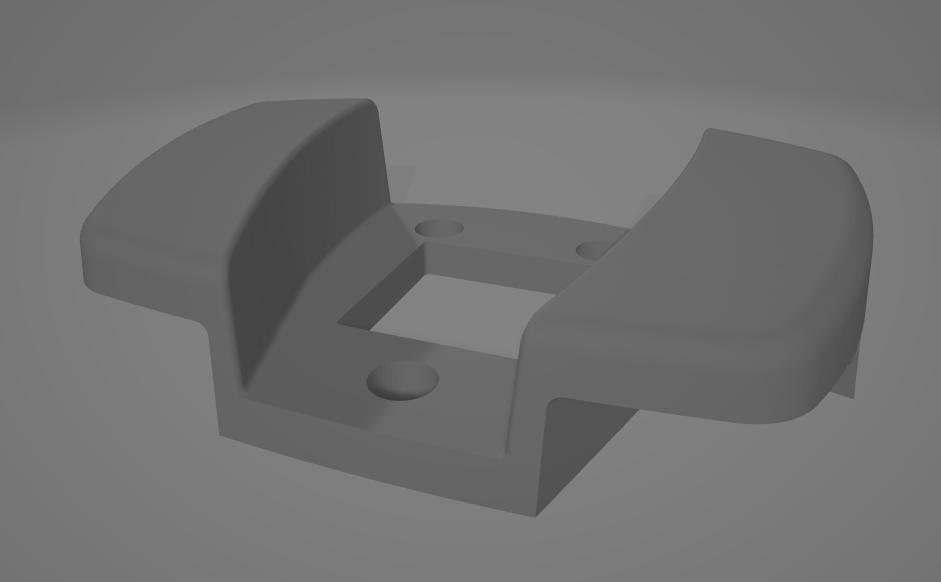
3 pointsI figured out the issue with the brakes. The post that sticks out of the Brake Booster was pushing into the master cylinder about half an inch on installation. Once I shortened the post so that it was not pushing into the master cylinder on installation, everything worked fine. Both reservoirs bled well as did all four disc brake bleed valves. I used my trusty Harbor Freight vacuum bleeder on all of the bleed valves. Brakes are nice and firm and work well. With the brakes complete, I took the car for a spirited drive around the neighborhood running it through alll 5 gears. It runs very strong as it has the 280Z motor, a milled cam, high compression and a 3.94:1(?) rear end among other things. The motor was built by the same shop that does Adam Corolla's motors. I finished the heater panel installation (mostly- no radio or light bezel). I fabbed a small bracket that clips to the center vent and has an oval opening for the vent duct. See pictures below. The vent duct connects to the center opening on the evaporator and was connected on installation. The final electrical connections were finished and the panel put in place. I switched the ignition to ACC and checked out the operation of the fan and vents. The fan appears to put out more air than the stock unit, especially in the defrost mode. The only thing that takes getting used to is when switching from defrost, to vent, to room/center air there is a couple second delay as the actuators or the system open and close the valves. Unlike the stock manual cable system that operates immediately. Overall, I am very happy with the system and found it fairly simple to retro-fit into the Z. I finished up the panel install and cleaned up the wiring a bit. Also added the parking brake light upgrade kit, that was a prettty easy install. Also installed the window mounted mirrors which I think look pretty sporty. The install of the mirrors is prettty easy with the correct rivets. I am now color sanding and buffing out the paint which really makes the car look awesome. I am hoping to install the decals by the middle to end of next week in time for a car club grand opening car show here in Boise on December 16th. I know the manager and he said that he would set me up with a nice spot for the car. https://www.toyboxcarclub.com/ Pics of progress are below. Also, I will be 3D modeling the mirror mount and the choke center plate as the mirror mount is broken and the choke plate is missing. My neighbor has several types of 3D printers and said that he would print these for me. Assuming they turn out well, I may make several copies just in case they are needed.


 3 points
 -
All of the suspension bushings need to tightened after the suspension has settled. Otherwise they will add lift.2 points
-
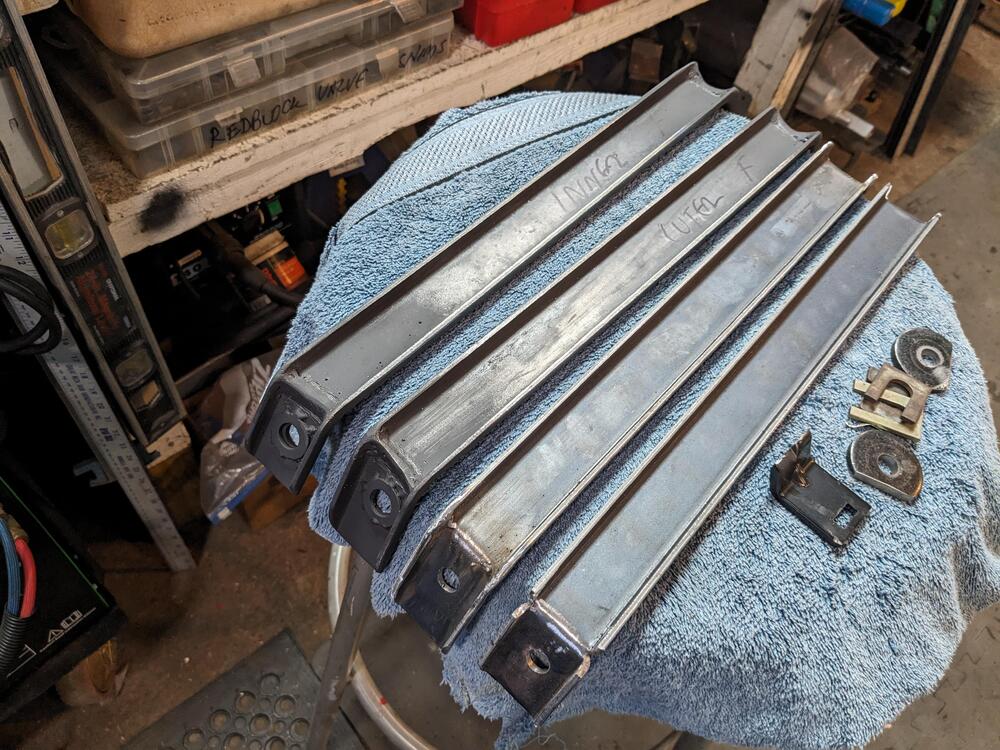
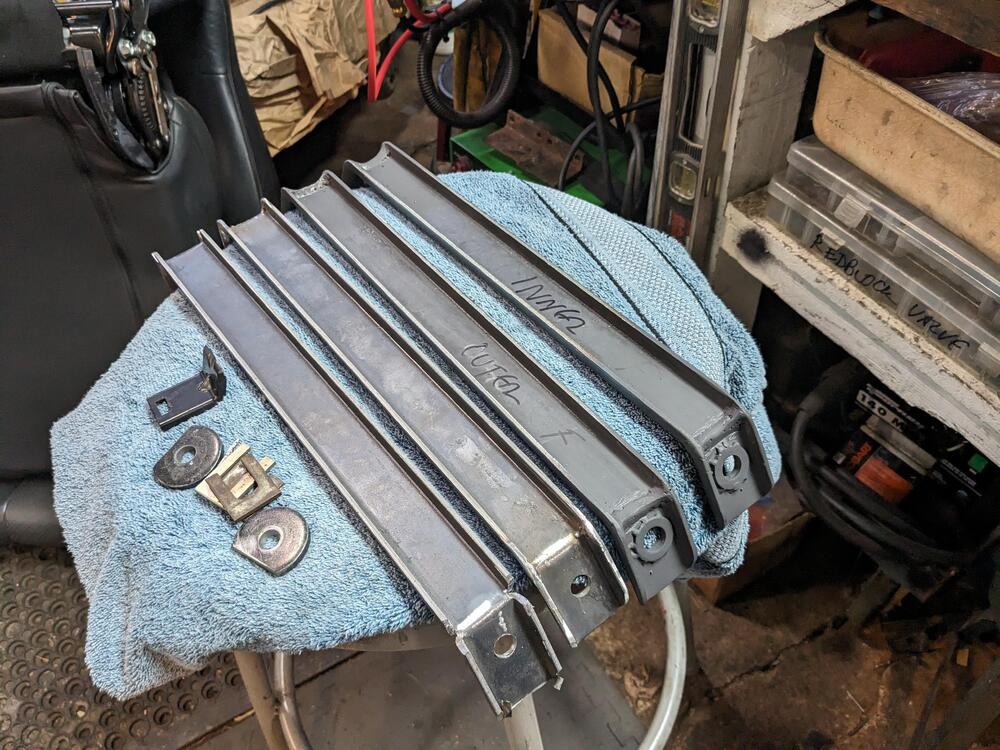
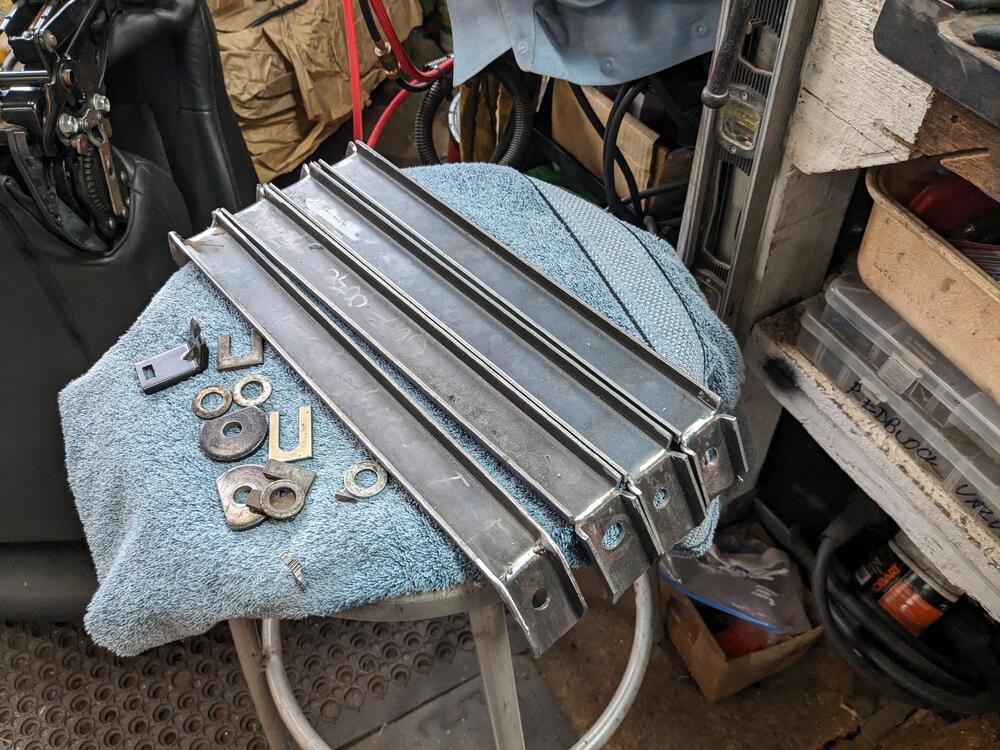
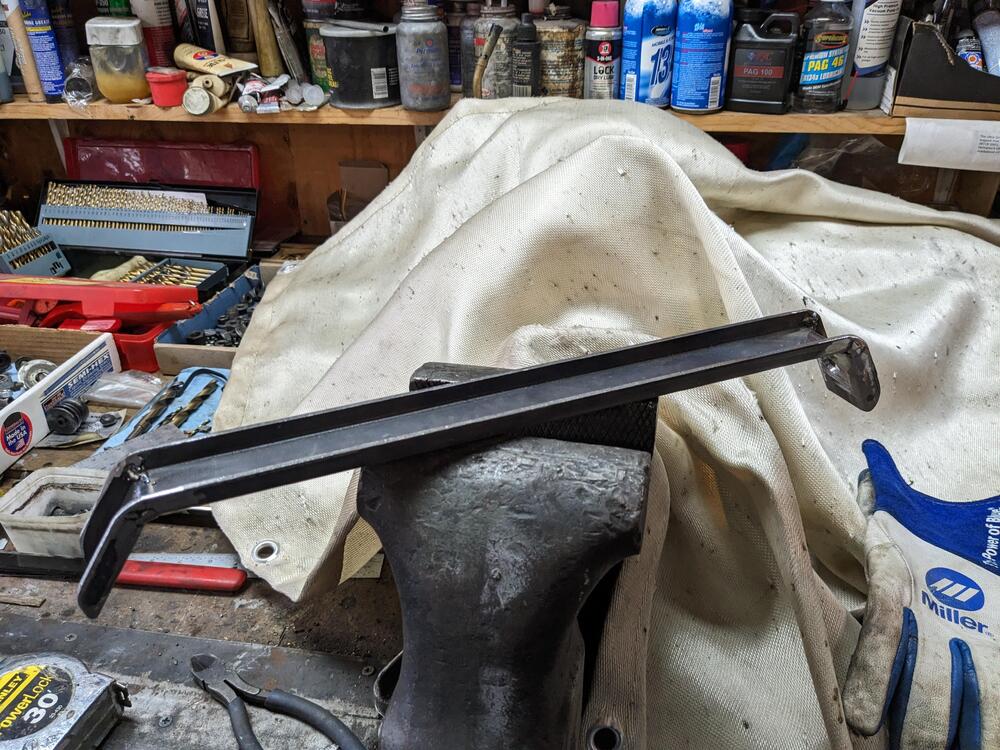
2 pointsHad a few hours today, so I filled the pie cuts & added reinforcing washers on the PS rails. Cut the 2 DS rails & started welding them also welded a bead on the backside where I had bent the plate tools for cleanup Added a rib across the top side of the bend also


 2 points
 -
2 pointsOld thread, but, I bit the bullet and bought the ZCar Garage big brake kit! Reasons: My brakes were due for work, and I wanted something better. I've had to really jam on the brakes a few times in freeway traffic jams, wondering if I'm going to be able to stop in time. Wanted setup that would fit my 15" PanaSports. Wasn't in the mood to piece together various parts to get a working system. Wanted something that's engineered for the Z. Well, they do look awesome too. Looks like they've kept the Wilwood parking brake setup. I've got it installed, and the car is back on the ground. Today I need to find an isolated road somewhere where I can bed the brake pads in and "season" the rotors. I'll be posting a YouTube video of my install process once I'm done editing it.

 2 points
 -
Thanks for the reminder. All of the control arm bushings/bolts are still very loose. I will wait until the car is fully assembled to do that.1 point
-
1 pointEDIT - that 75 with all that muck (stone chip protection??) sprayed inside makes me shudder 🤪 Ah - I see it now. I do have a bump. I will have to see what happens when I take the DS apart to fit it.1 point
-
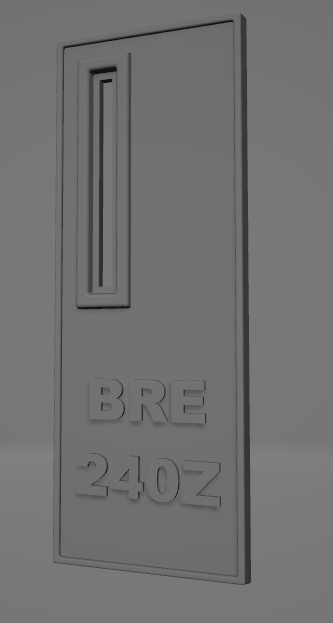
1 pointThanks, I will talk with the print guy about this. Here is what the files look like. I went custom on the choke panel for now as it was easier. May modify that one later if i dont like this one.
 1 point
 -
1 pointI may go that way in the future, once I get some other projects out of the way1 point