Leaderboard
-
zKars
 Subscriber
 3Points3,770Posts
 -

Zed Head
Free Member2Points19,236Posts -
xs10shl
Free Member2Points339Posts -
HusseinHolland
Free Member2Points1,031Posts


Popular Content
Showing content with the highest reputation on 11/16/2023 in Posts
-
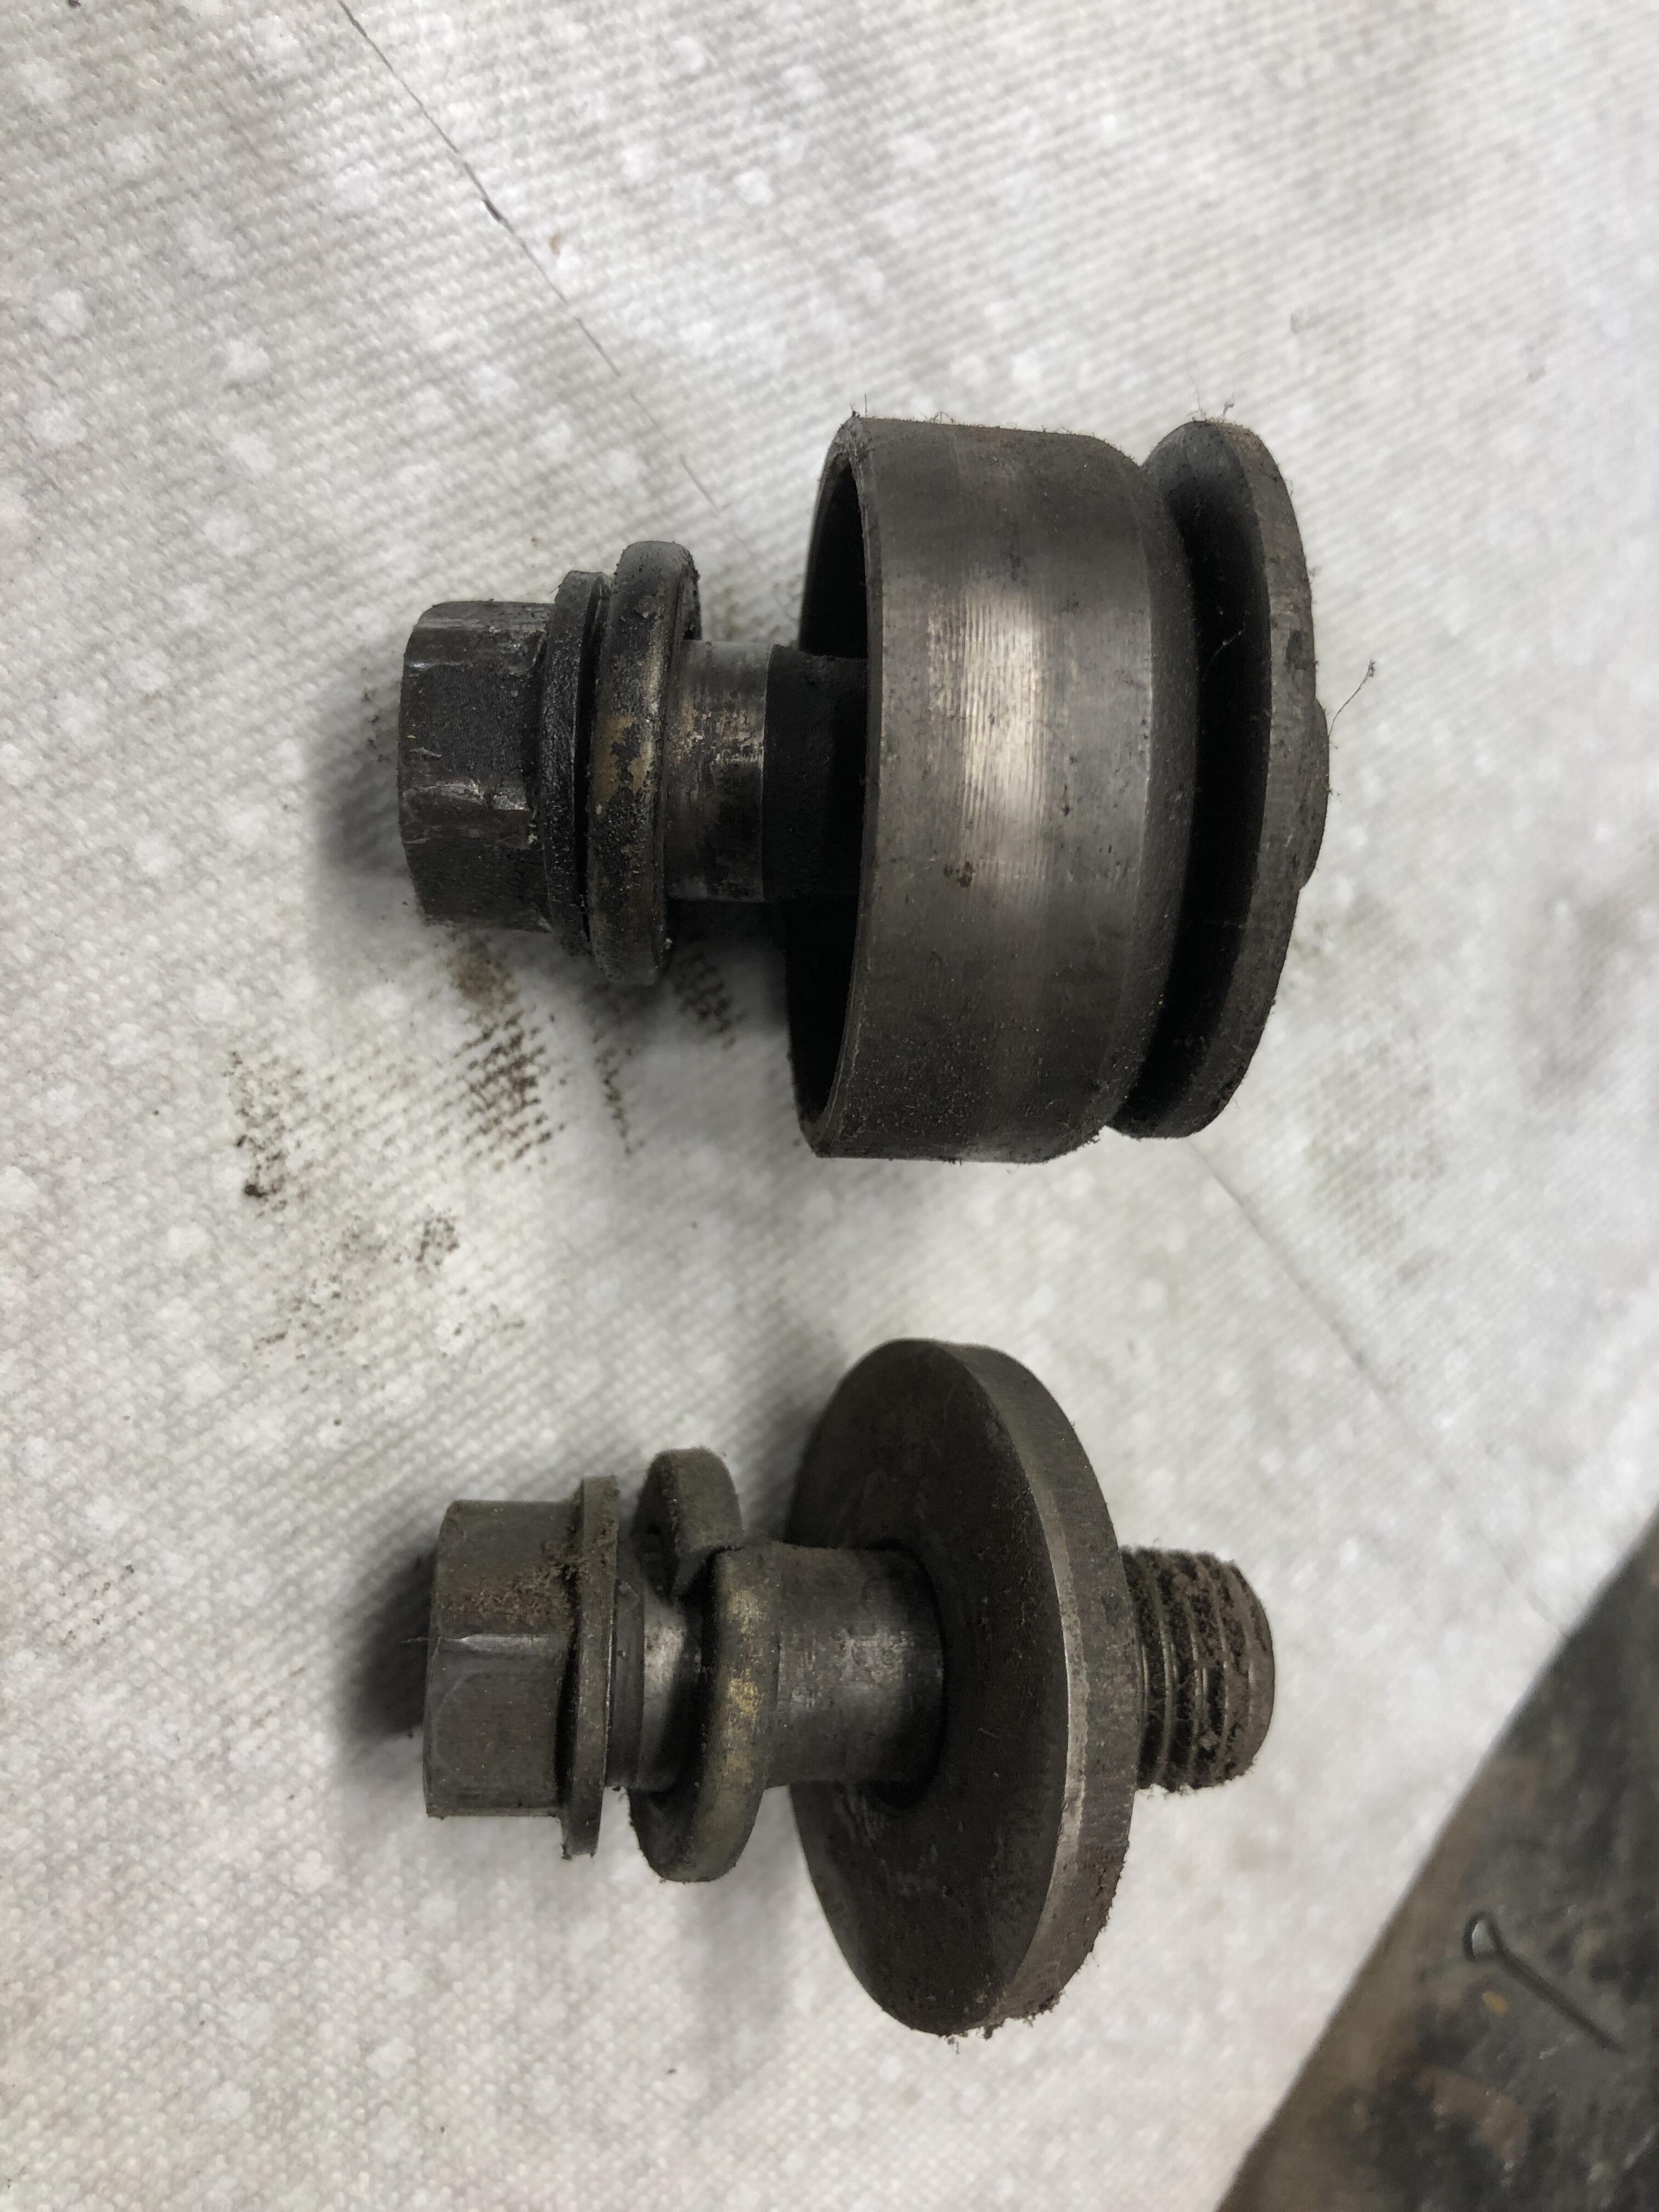
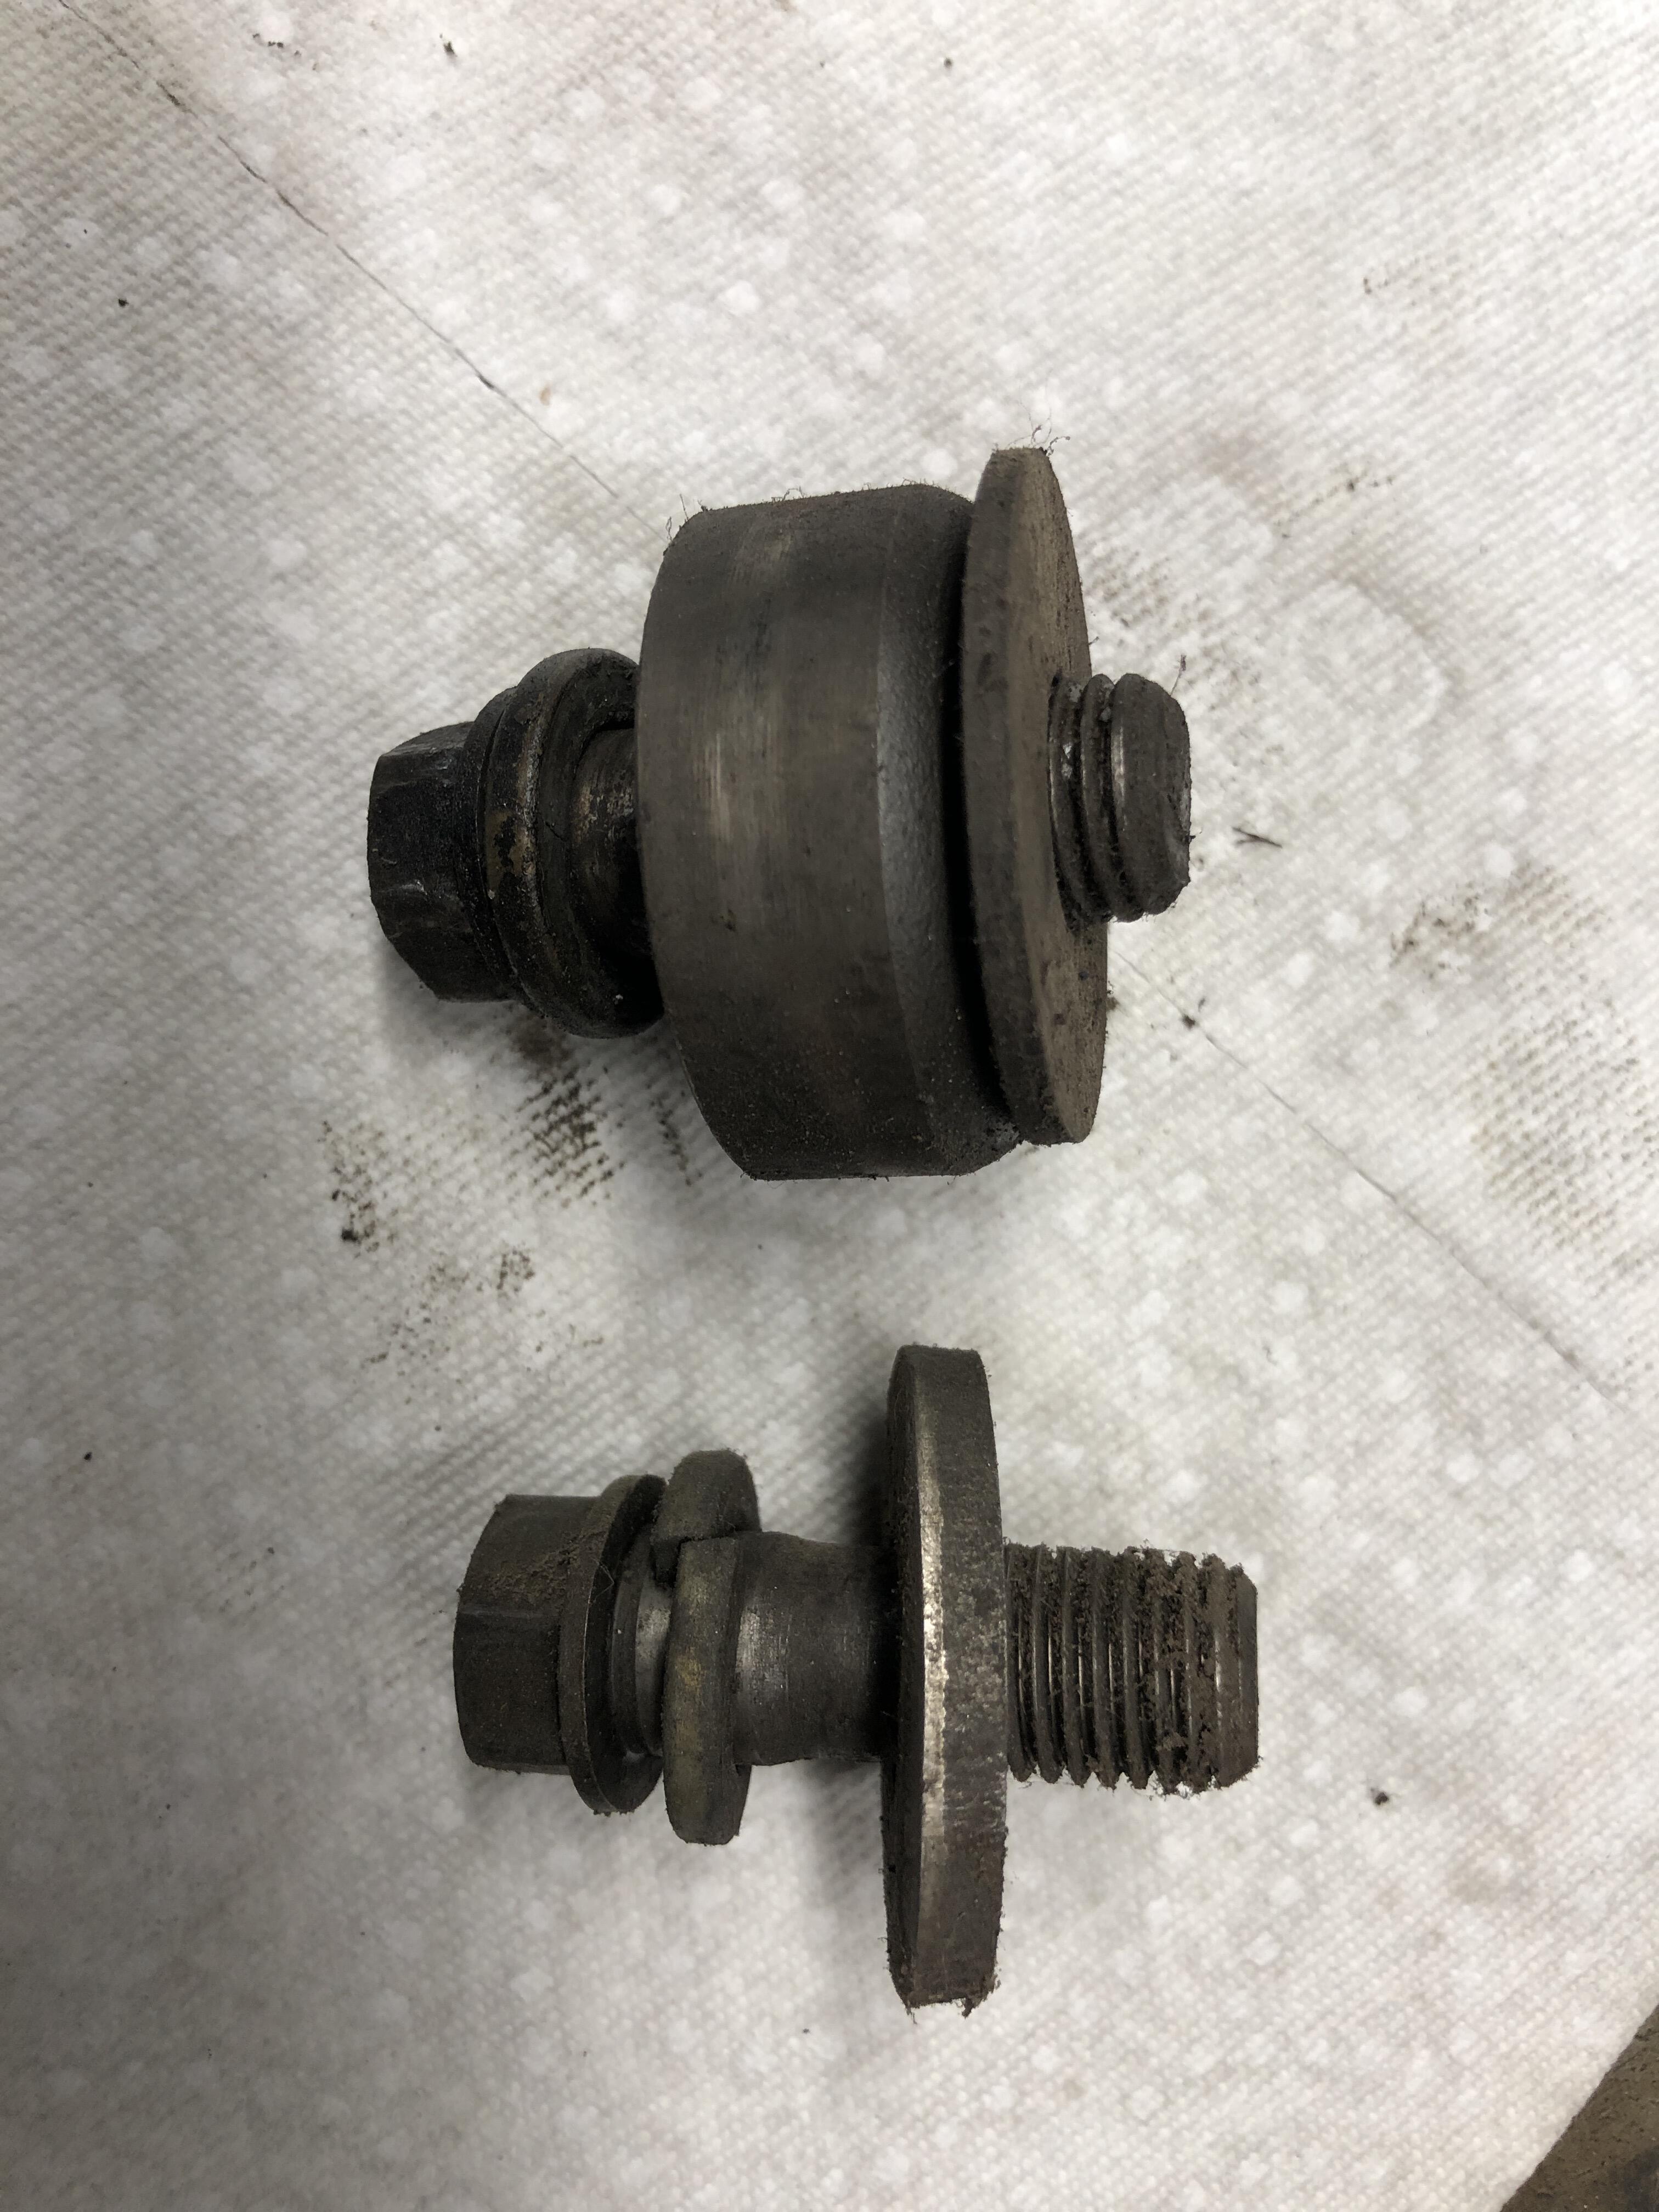
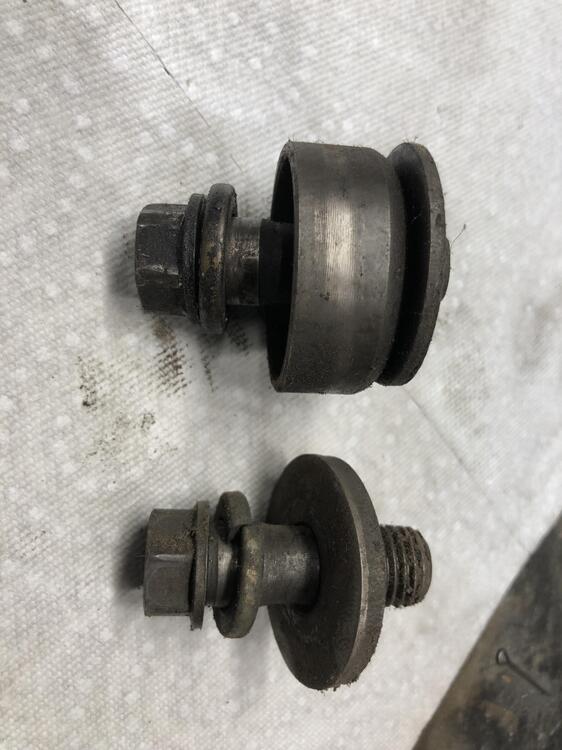
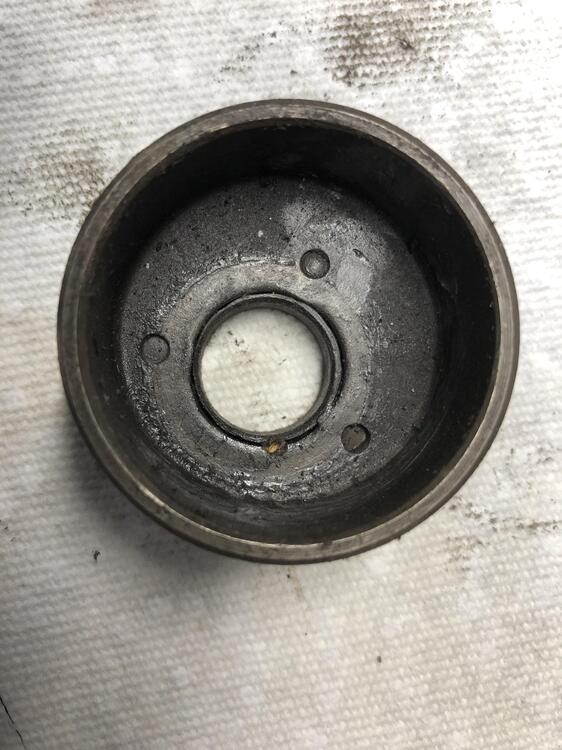
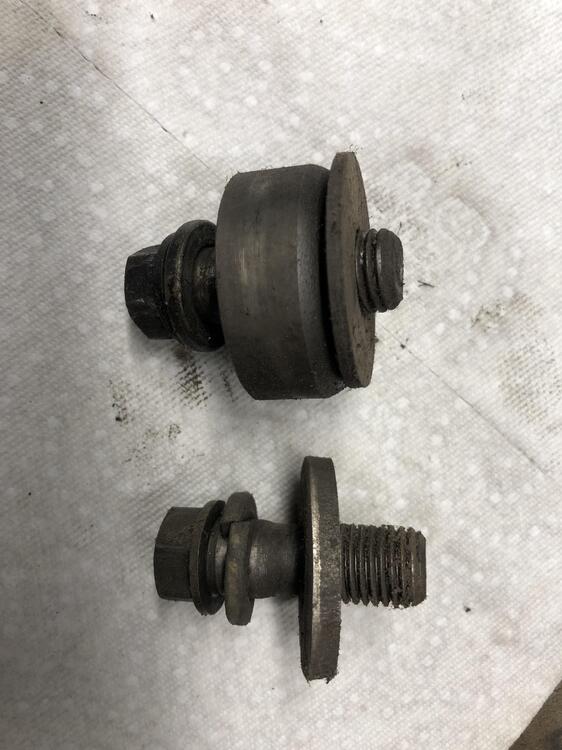
The eccentric and its backing washer are very firmly attached to each other with 3 spot welds. Even if you did separate them, the backing washer is thin making the bolt (maybe) go too deep and bottom (pure conjecture). The later cams that came in no-pump heads with no eccentrics had a much thicker washer = to the eccentric + its washer. Leaving sleeping dogs lie. Lye? Lay?
 3 points
 -
I did. When I first put the system together I left the resistors in place as I tested it. Then I removed them and jumped the wires, just because. Then I think that I put them back just in case a future owner wanted to swap back to the original setup. I thought about the possibility of low current causing delayed opening times but decided that the EFI system is so crude that it probably didn't matter. It's a semi-batch fire system with no O2 sensor trimming. It just squirts a gob of fuel every rotation to all cylinders at the same time. But, with your AFR gauge you could easily run a simple test. Extra resistance won't hurt the ECU. Worst case you see some leaning at idle, where injector open duration is lowest and delayed opening time might have an impact.2 points
-
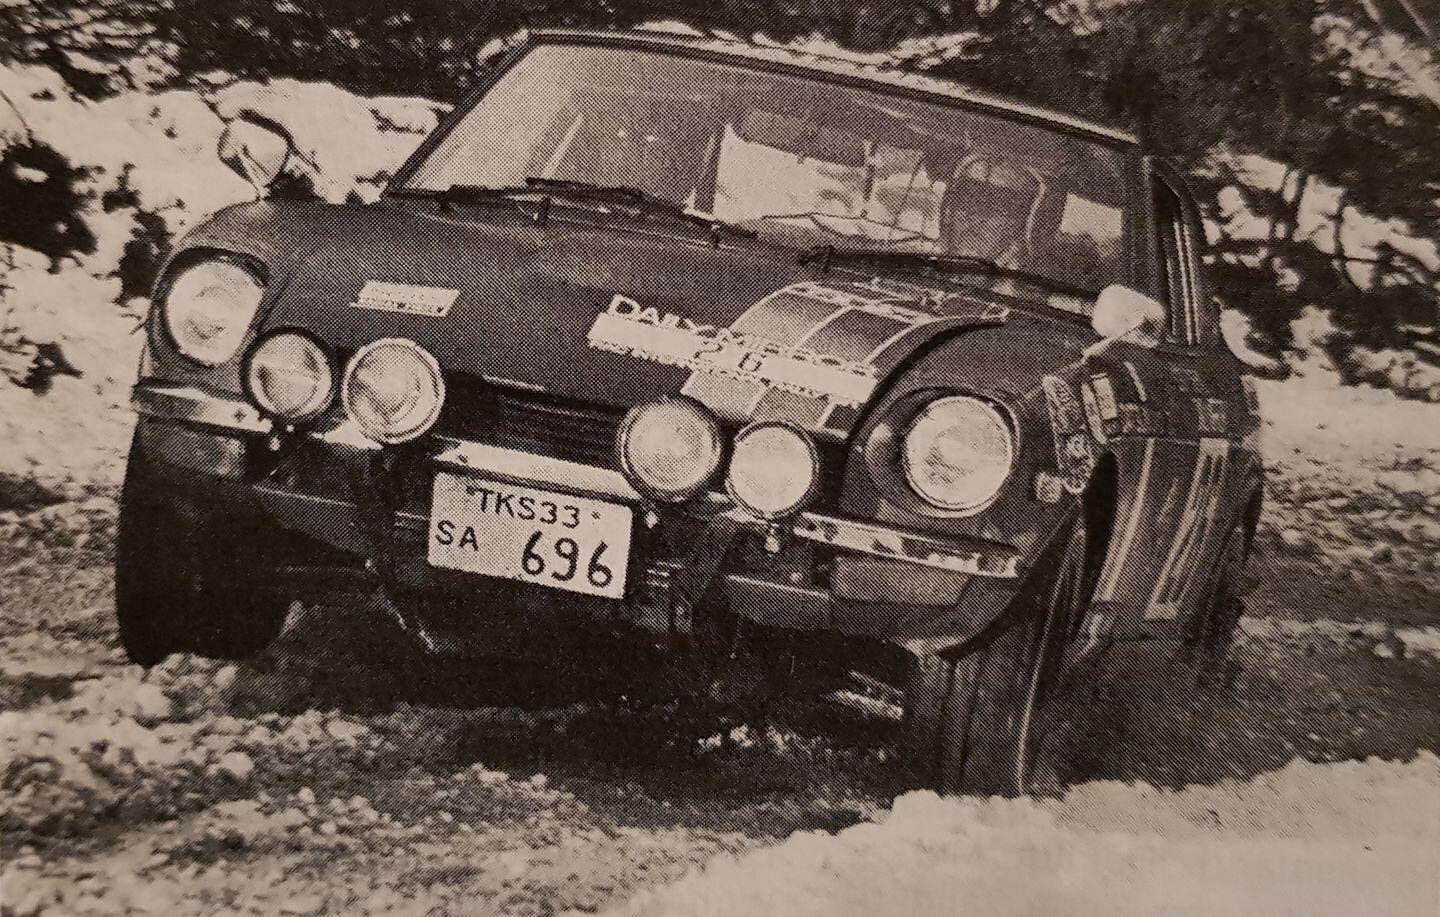
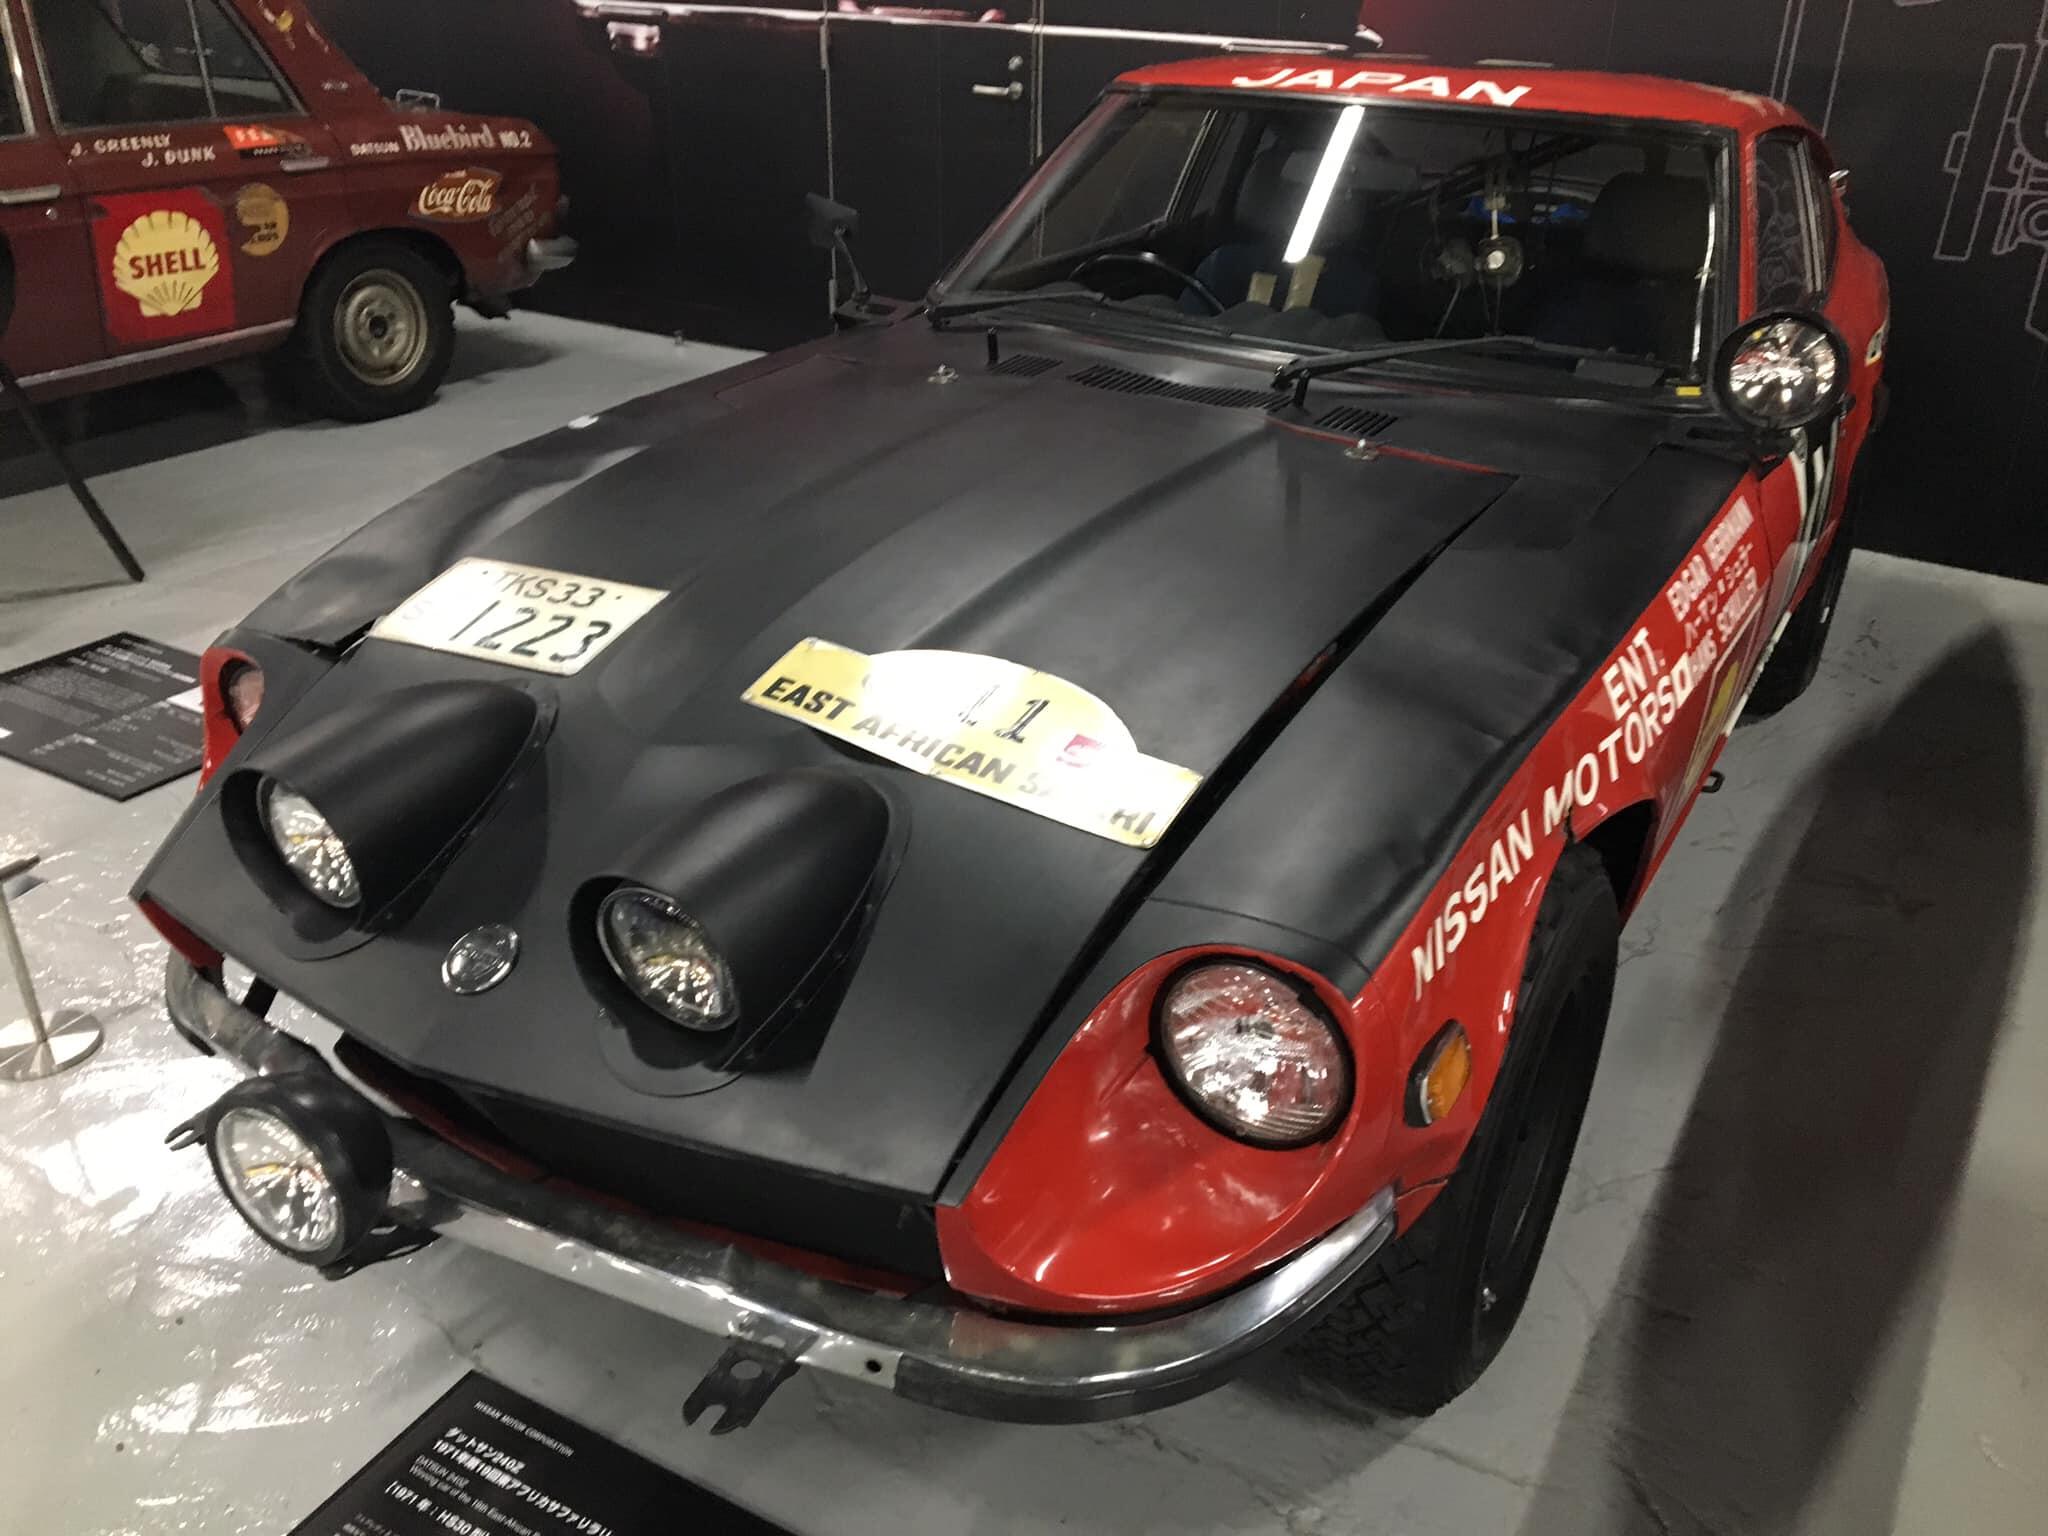
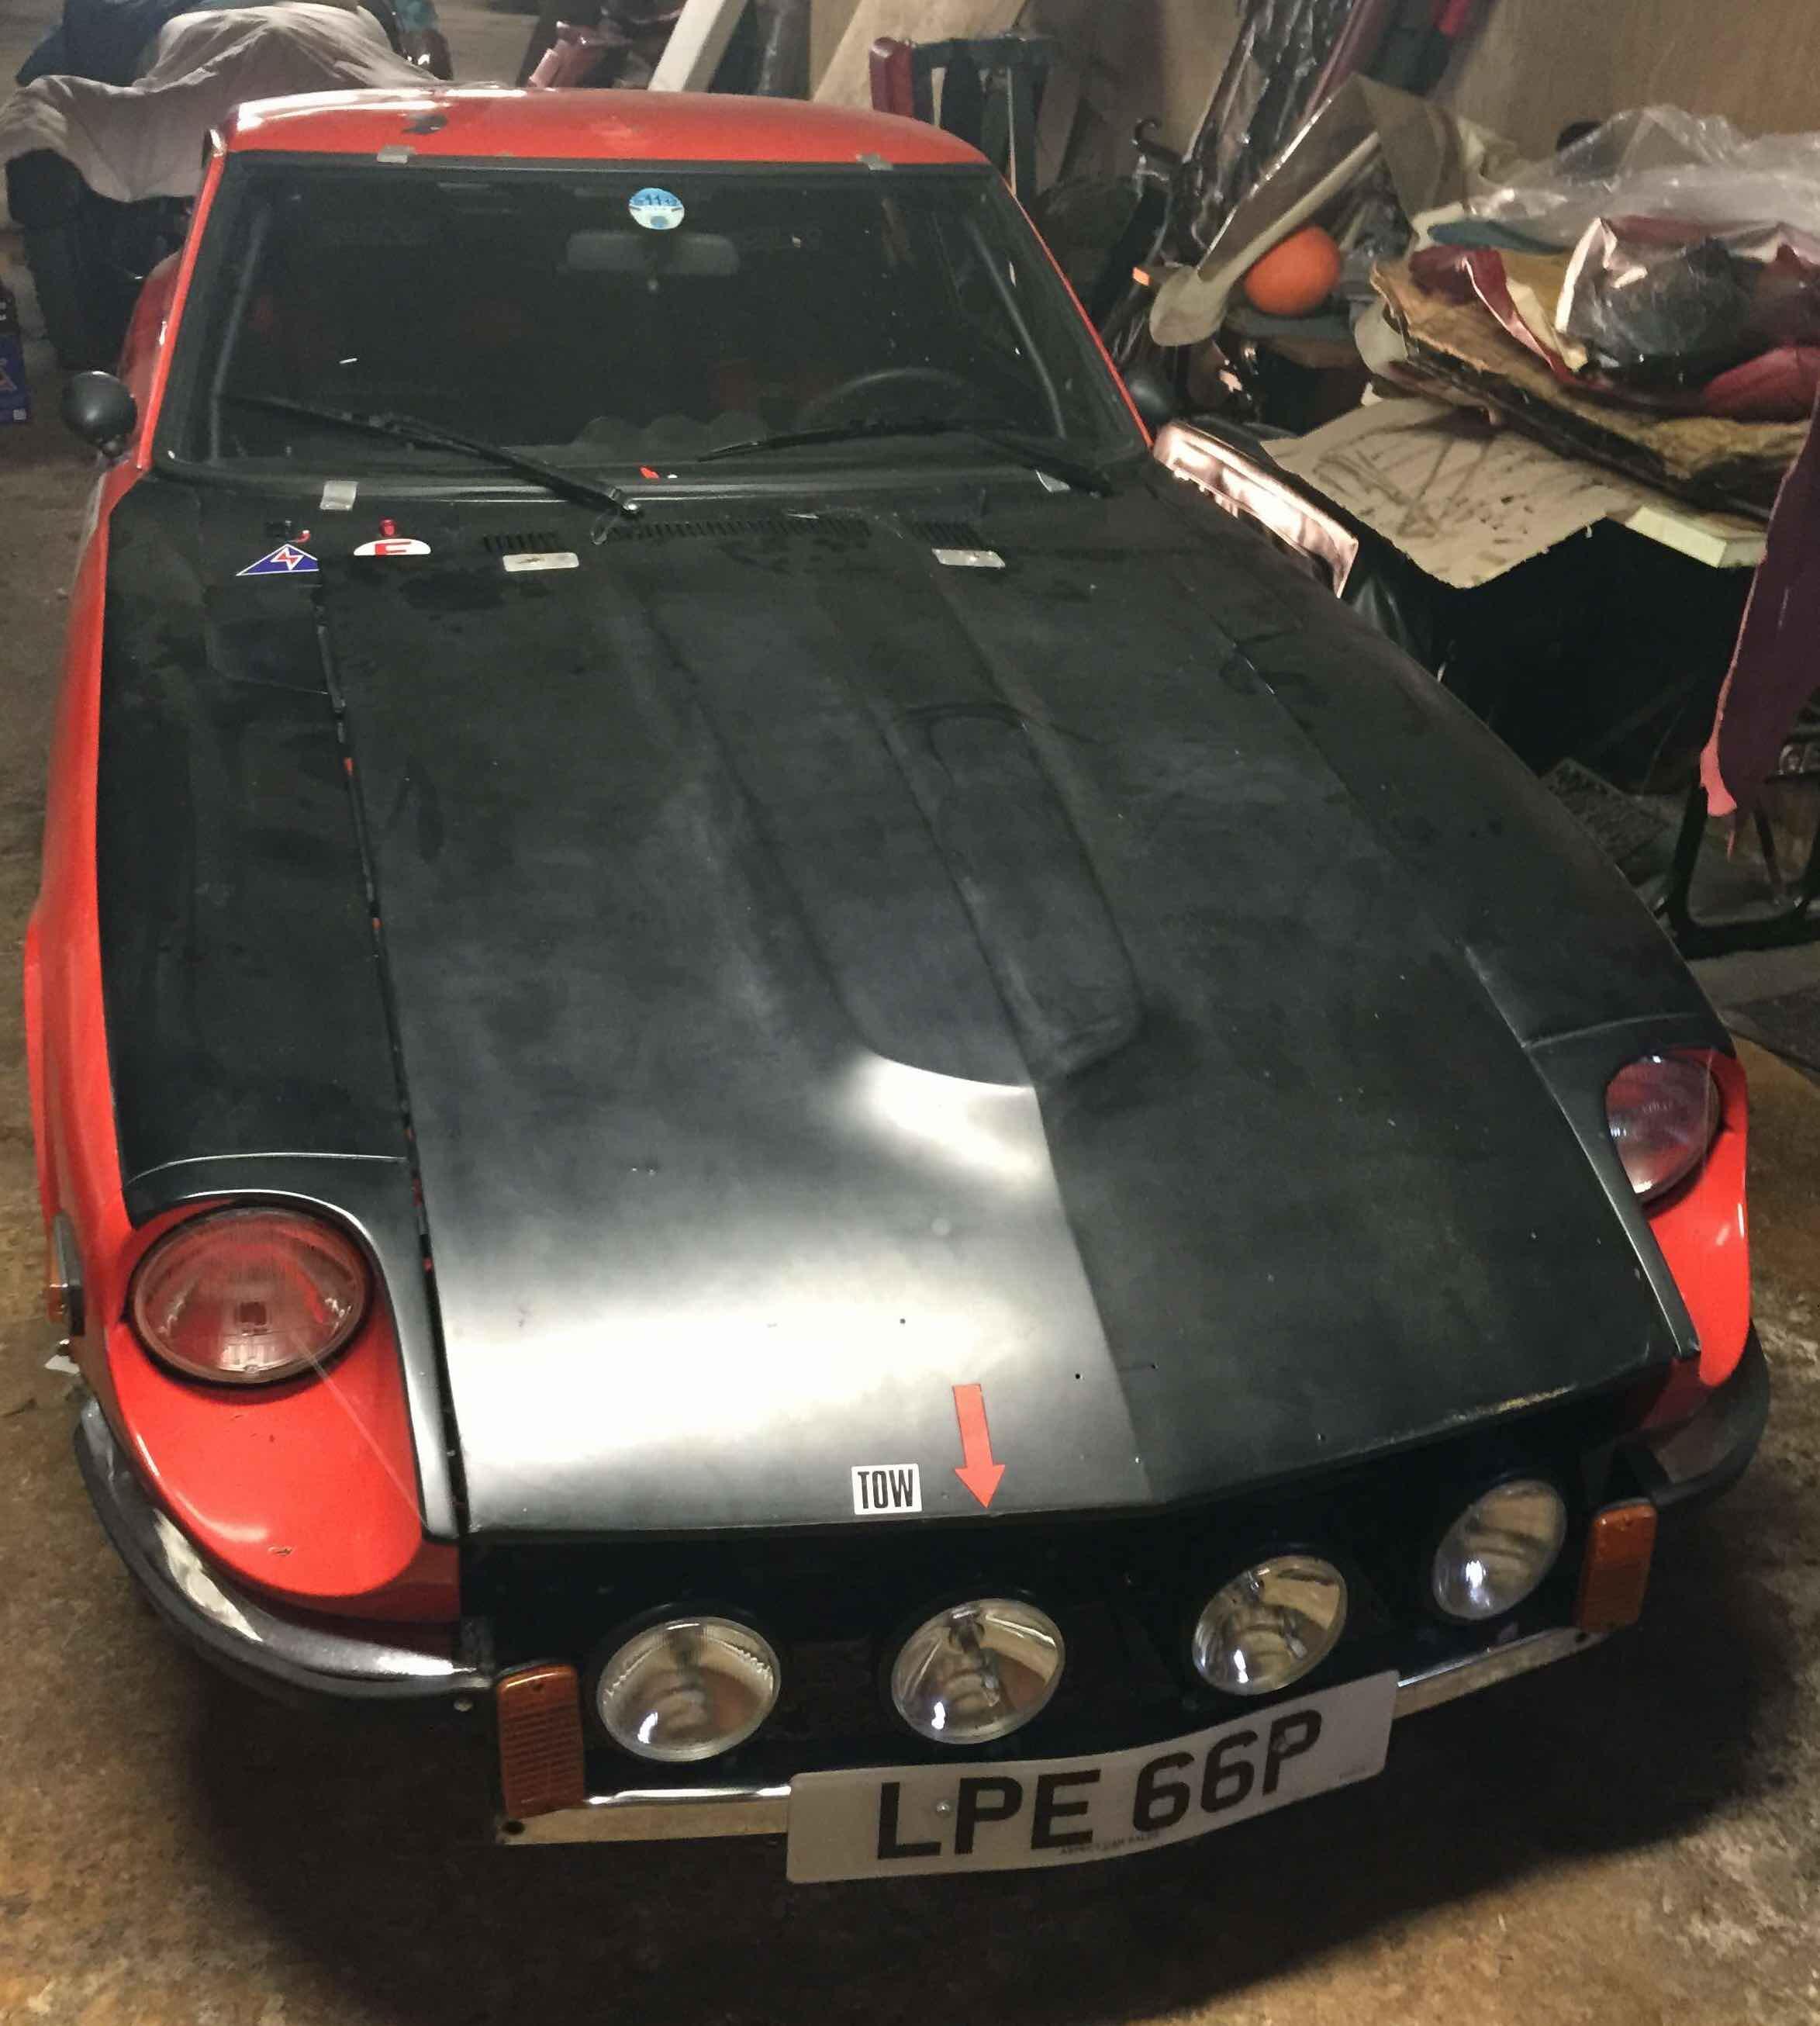
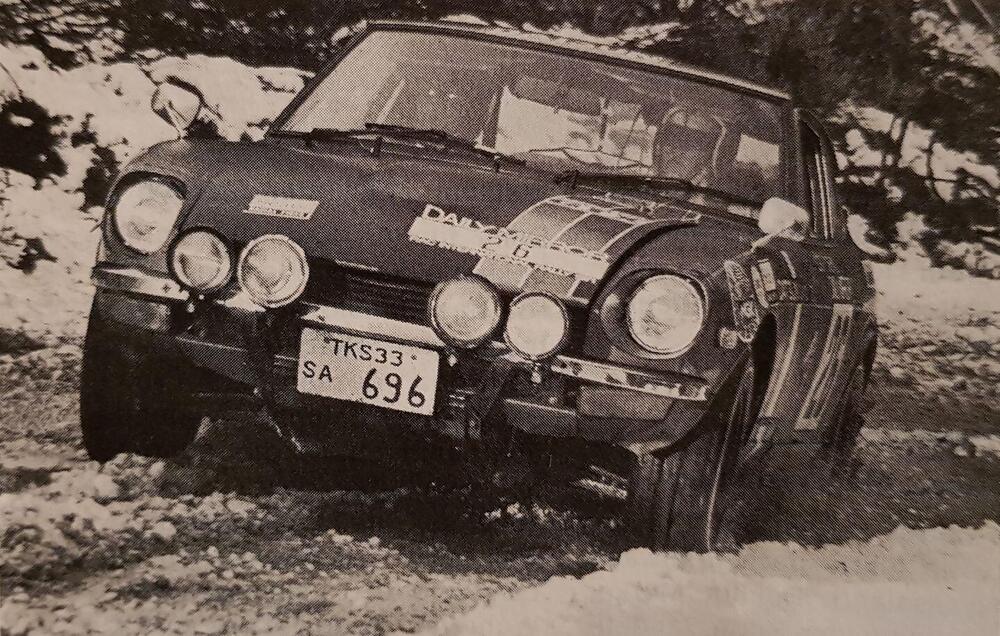
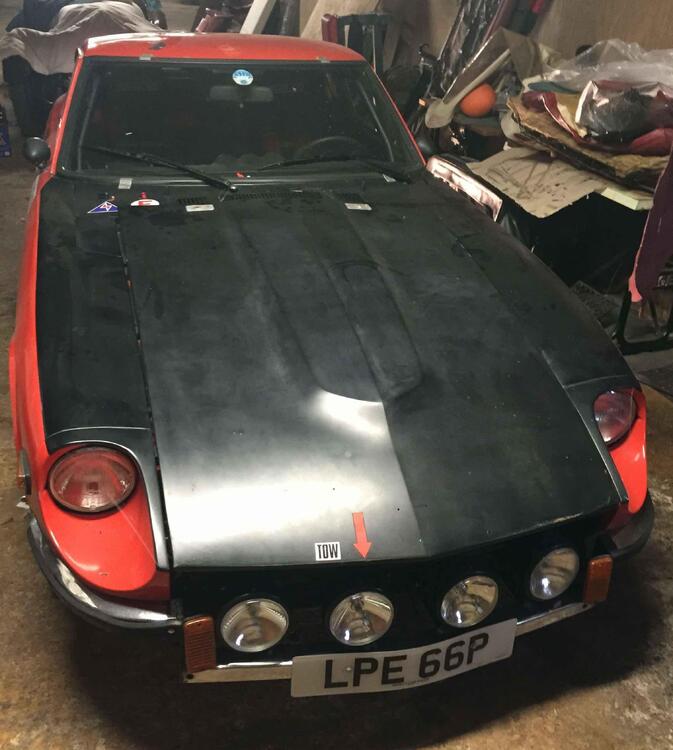
And now, on to something truly specific: Nissan Works Rally lights! This particular topic is sure to be filed by many readers in the "Not really sure why anyone would care, its just a couple of extra lights" category. And yet, I'd venture to say that being able to see where you're going at high speed thru mud, sleet, snow, dirt, and dense forest - in the dark - ranks high up on my list of Rally "must-have" abilities. Like several previous topics, this one has so many surprising details attached to it, that I'll have to break things up into several posts. In addition, this is also one of those areas where advancement was ongoing throughout S30 development, and probably well into the Nissan rallying heyday of the late 70s. I'll be going over the lighting details of my car in my following posts. Prior to that, I thought I'd do my best to introduce the topic with a primer on what I've seen as a "typical" setup. Much of what I'm summarizing here is a generalization based on pictures I've seen, and I'm probably missing a bunch of significant details, which I hope to be able to fill in as I learn more. The basics: All the S30 Works cars that I've seen have the following typical setup; 1) a pair of main headlights mounted in a custom bucket, which facilitated the ability to change the bulb from the front of the car. Monte Carlo spec cars also incorporated standard headlight covers, and a small tube opening connected to an air hose, which ran all the way back to the heater box inside the cabin. I've also seen pictures of very early 1970 Works Cars which also had headlight covers. 2) up to 4 front-facing fog lights, typically in 1 of 3 configurations. Early cars had their fog lights mounted on special brackets which were welded to and extended beyond the front bumper. Later cars had special competition bumpers which allowed the lights to sit flush with the nose. Safari cars had what most enthusiasts would probably list as the "iconic" look - 2 lights on the hood, and one central light, mounted proud of the bumper. There were actually mounting brackets for up to 3 fog lights on the Safari bumper, but I can't say if the wiring harness was actually designed to have all three lights (for a total of 5) installed simultaneously. 3) an additional reverse spotlight. In order to support this many amps, some changes from stock were necessary: 1) A larger alternator, which we've already discussed 2) A way to switch combinations of lights on and off, allowing for multiple setups and configurations, usually in the form of a row of toggles on the central console. 3) A modified wiring harness to accommodate all these possible configurations. In my car, this also included a custom relay. I'd imagine that as the cars were developed, the use of custom relays probably multiplied. In addition, on many cars there is also a dial switch on the central console which, when turned on, introduces something into the lighting circuit via a box on the front of the car. Alan and I have had several discussions about how this switch may actually affect the lighting output, but I'm really still not sure I fully understand how it exactly works, and what it's effect on lighting output is supposed to be, if that is at all what it's for. I previewed this mystery box in an earlier post Here if you want to read more about it. I'll probably also have more to say about it later.

 2 points
 -
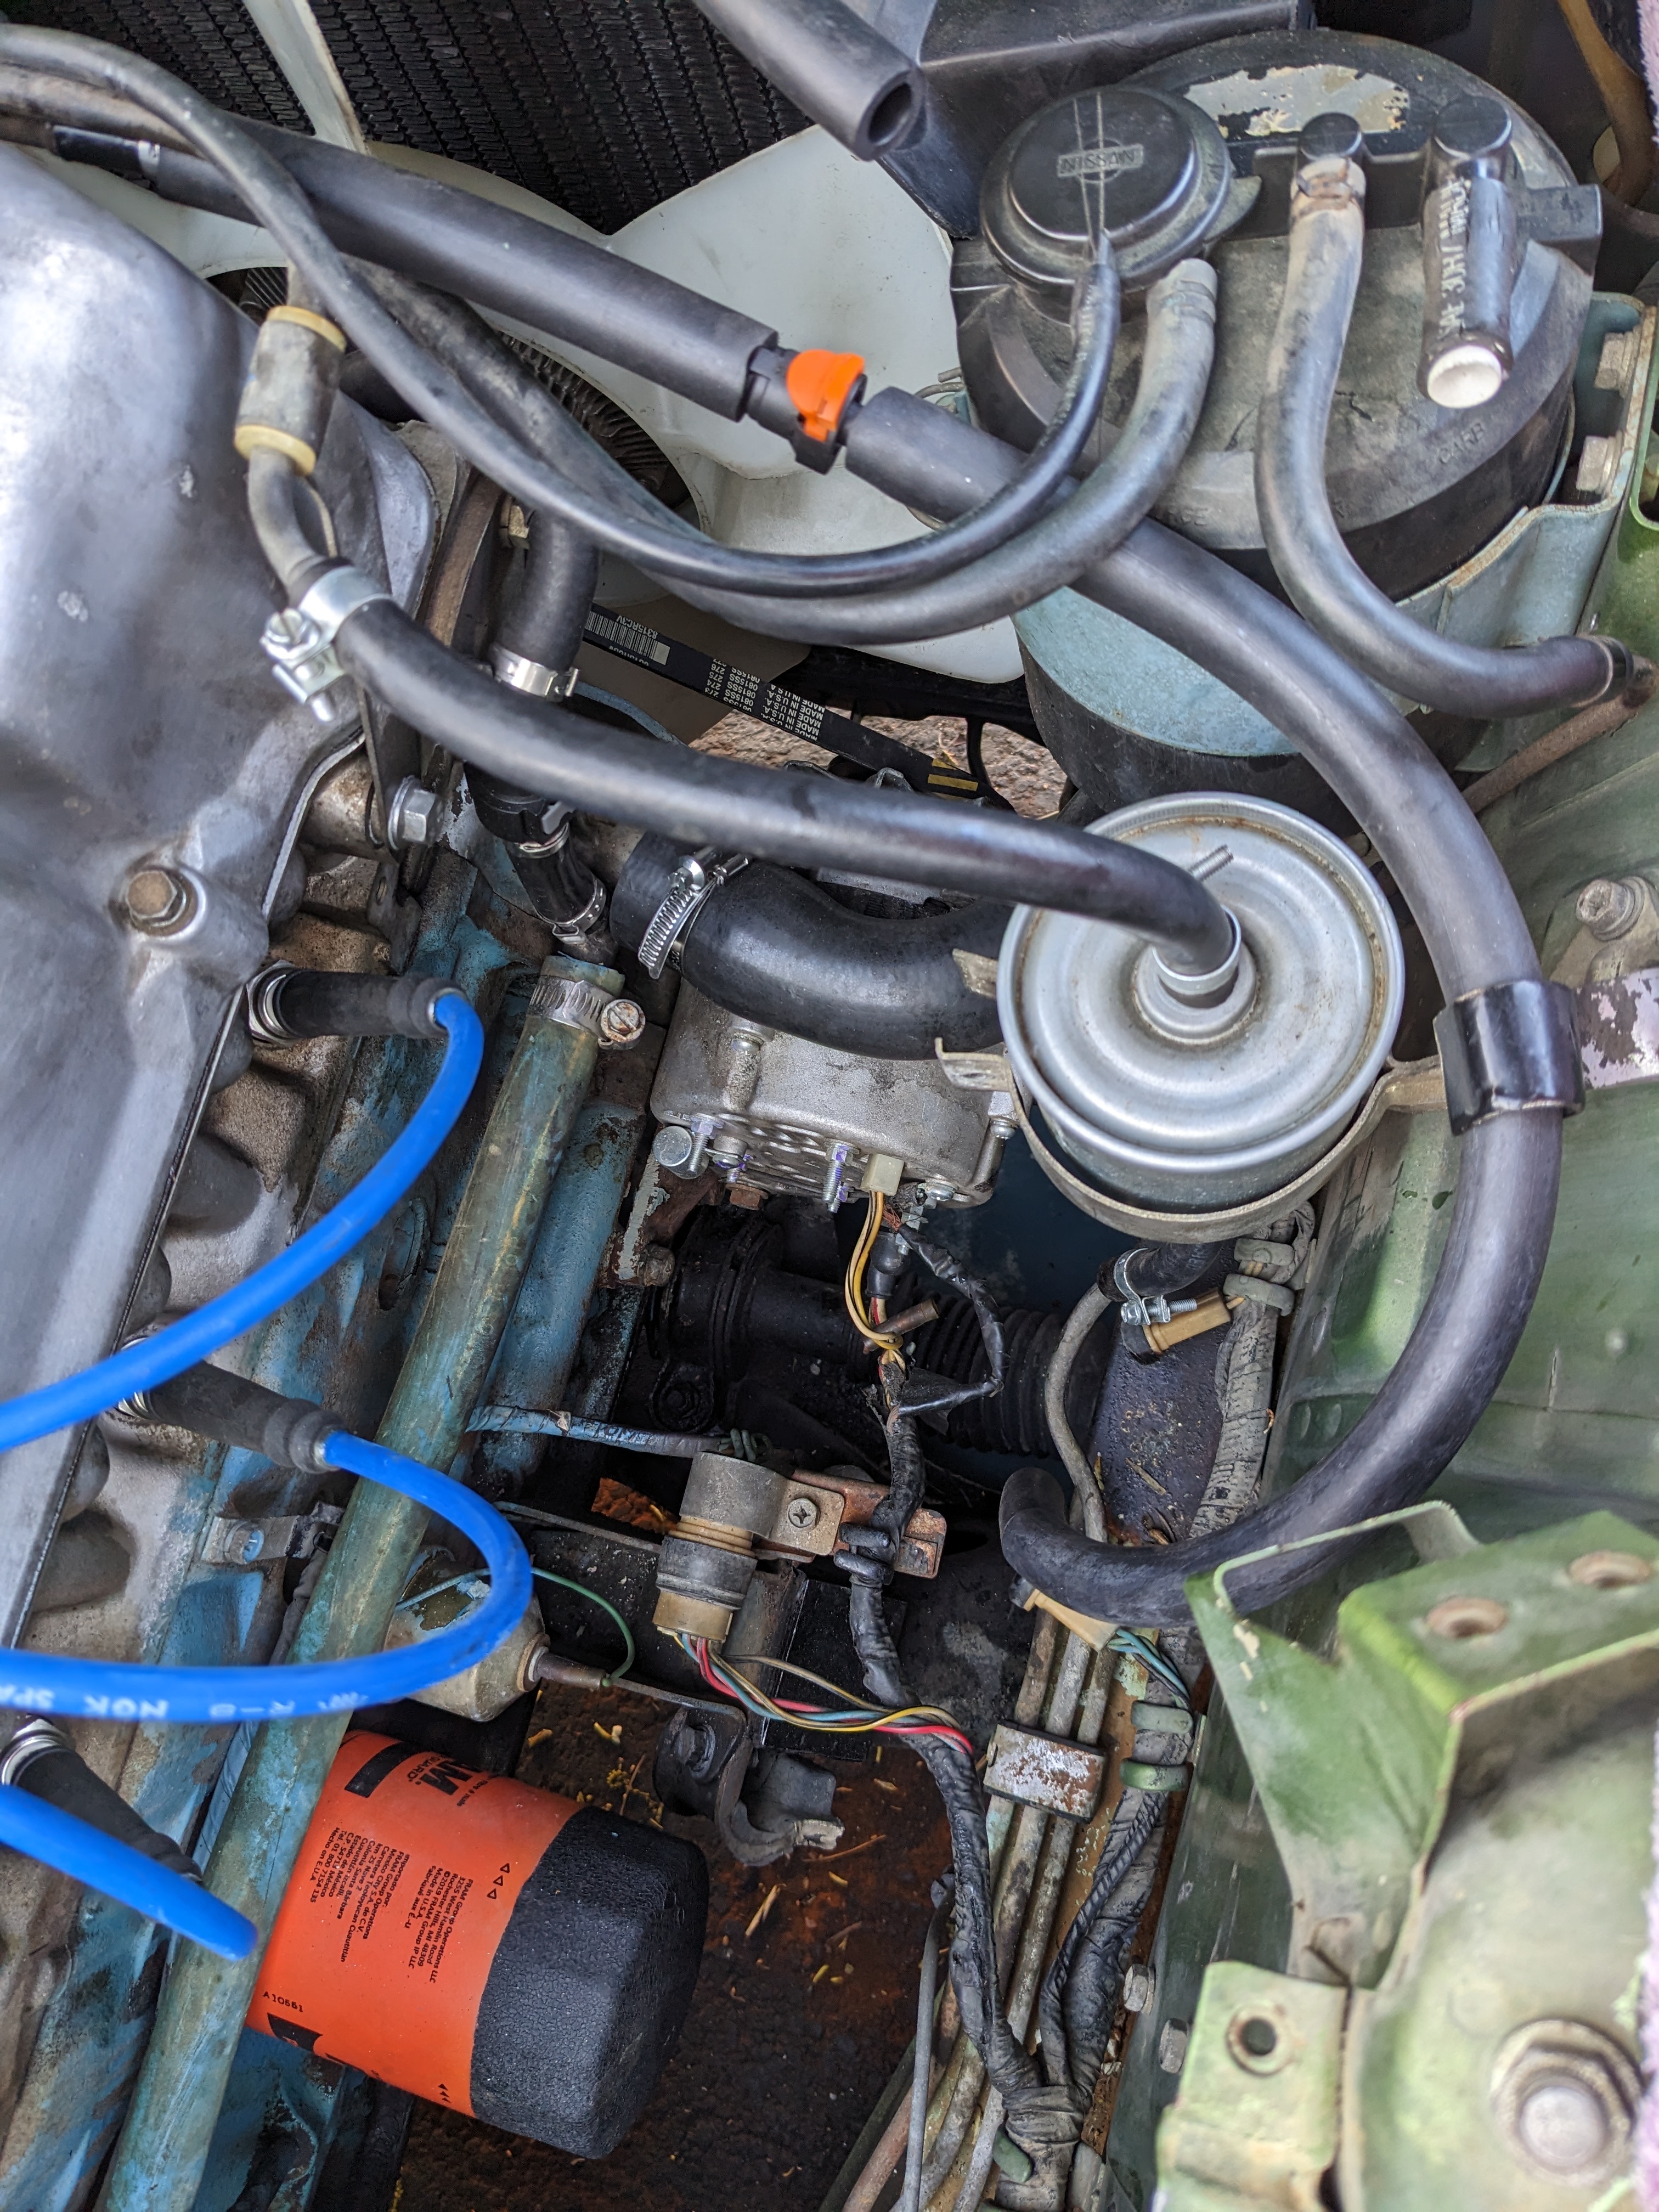
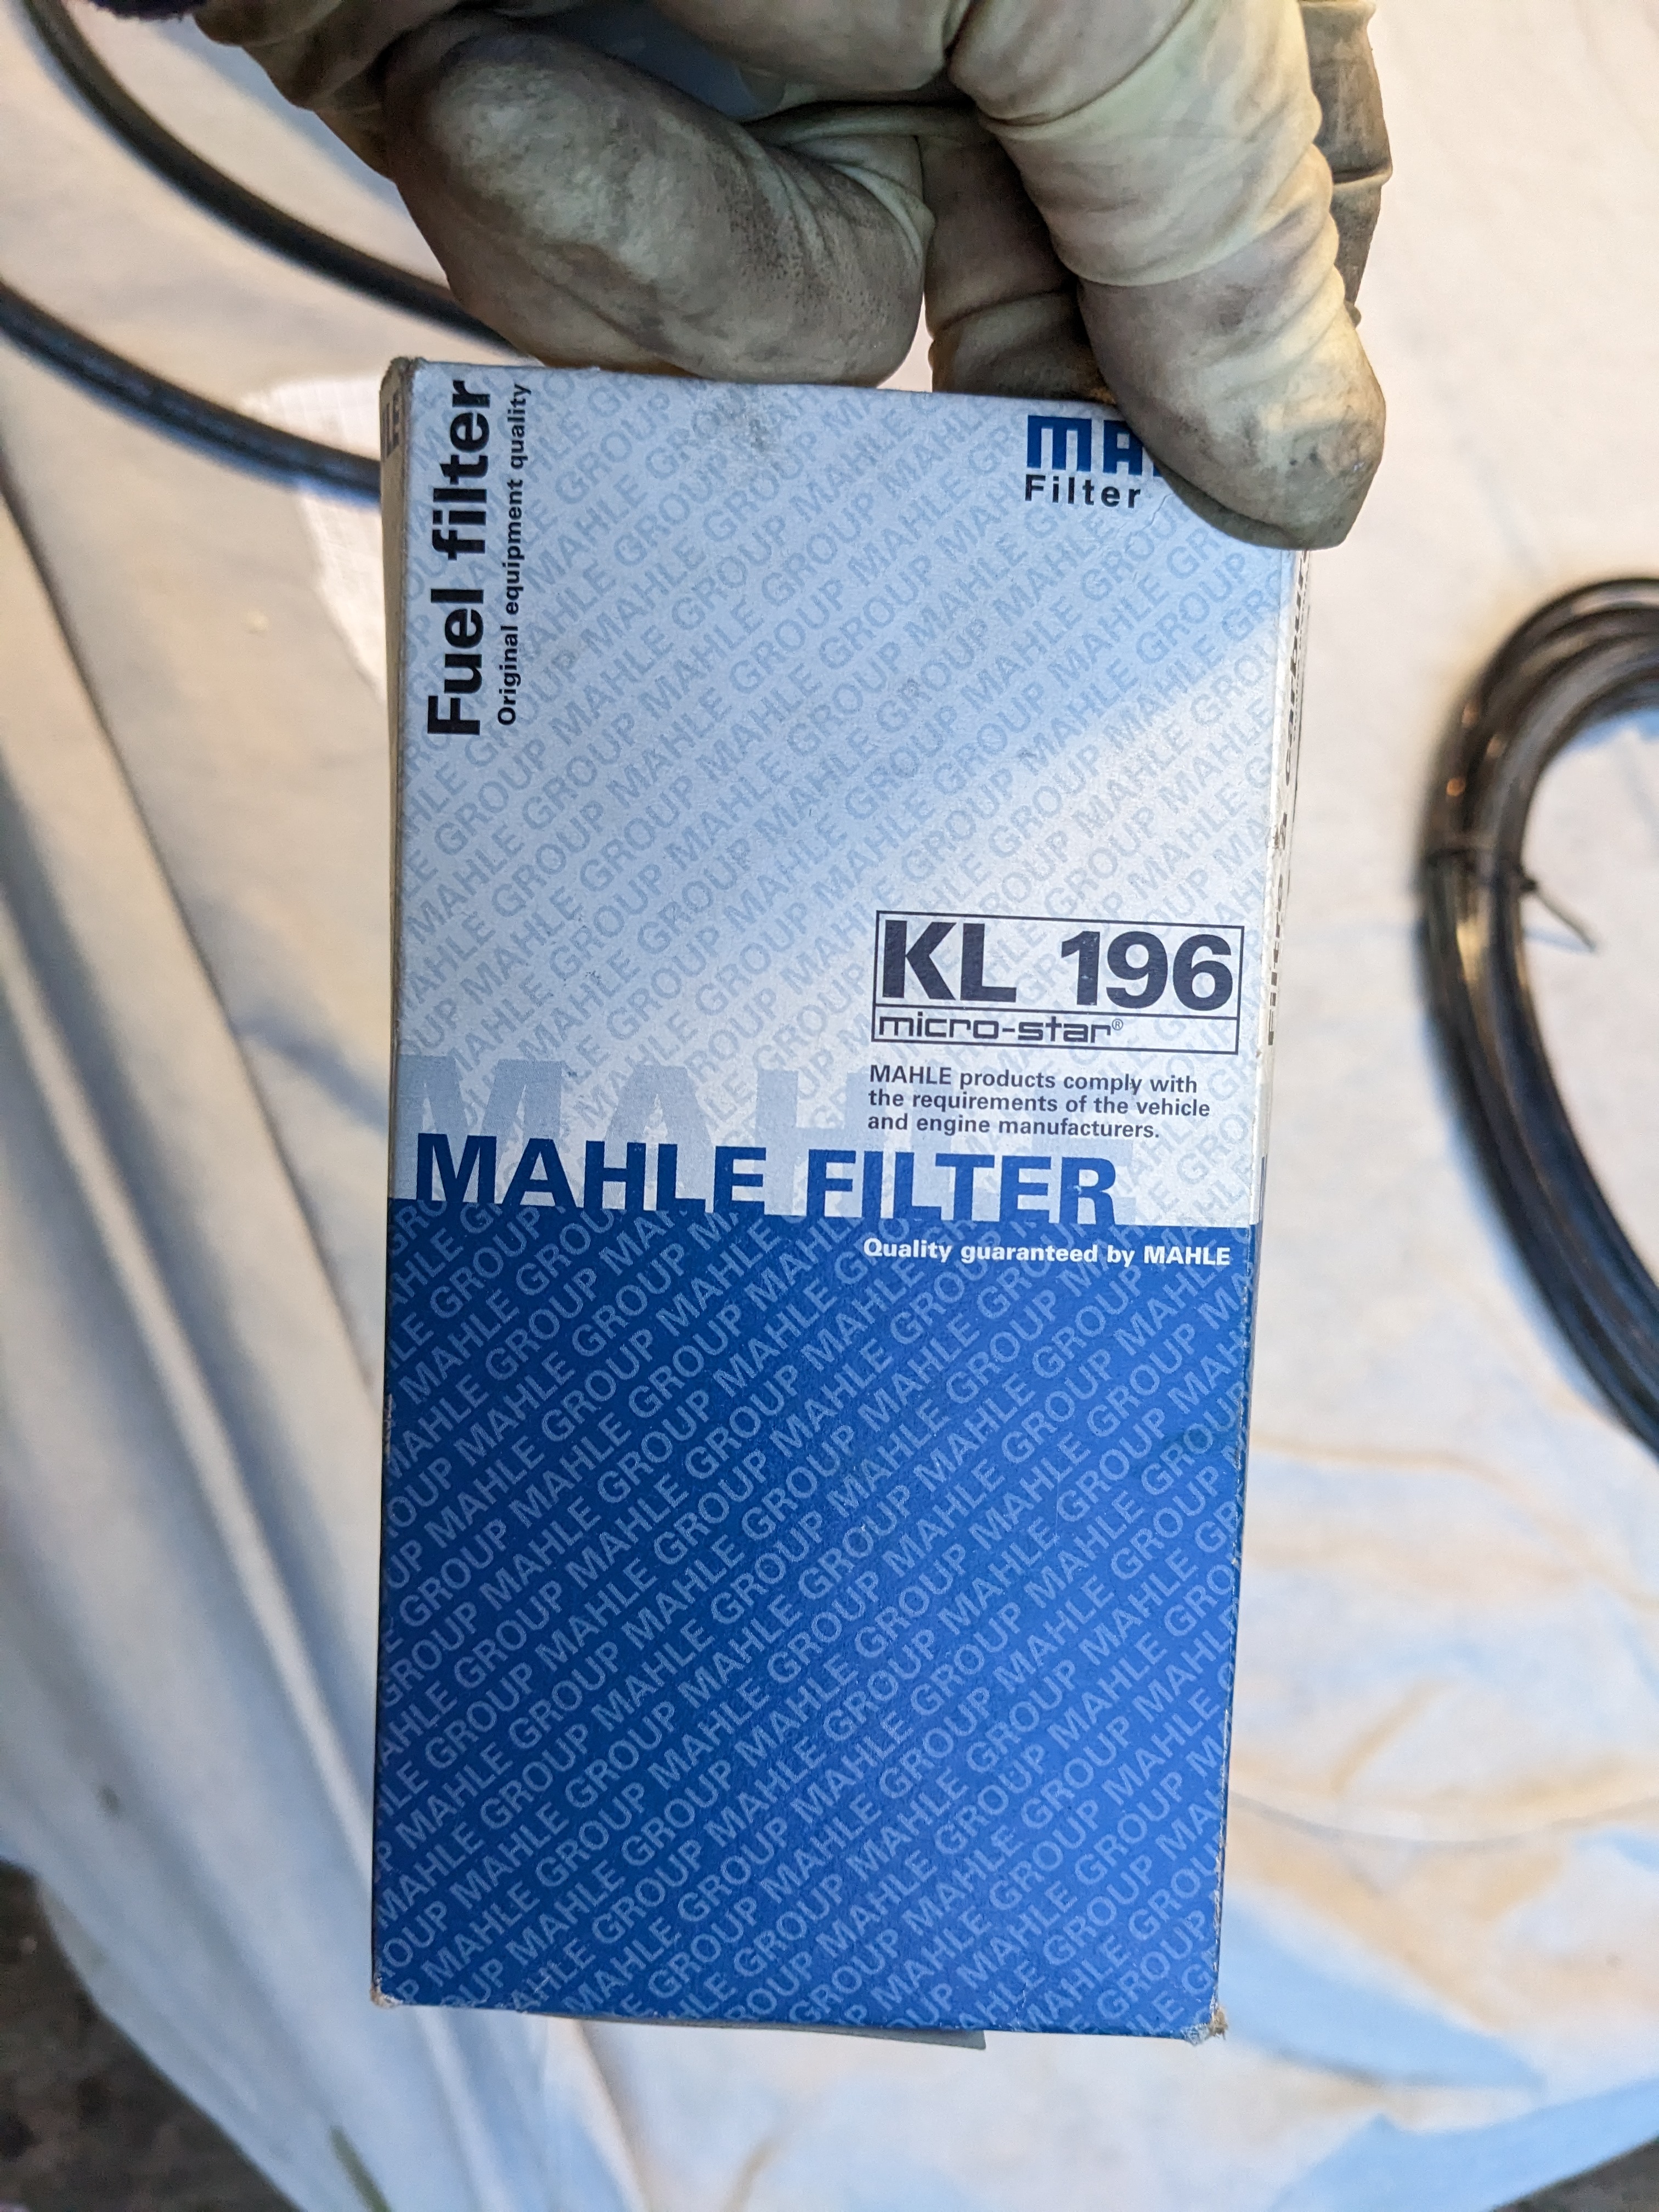
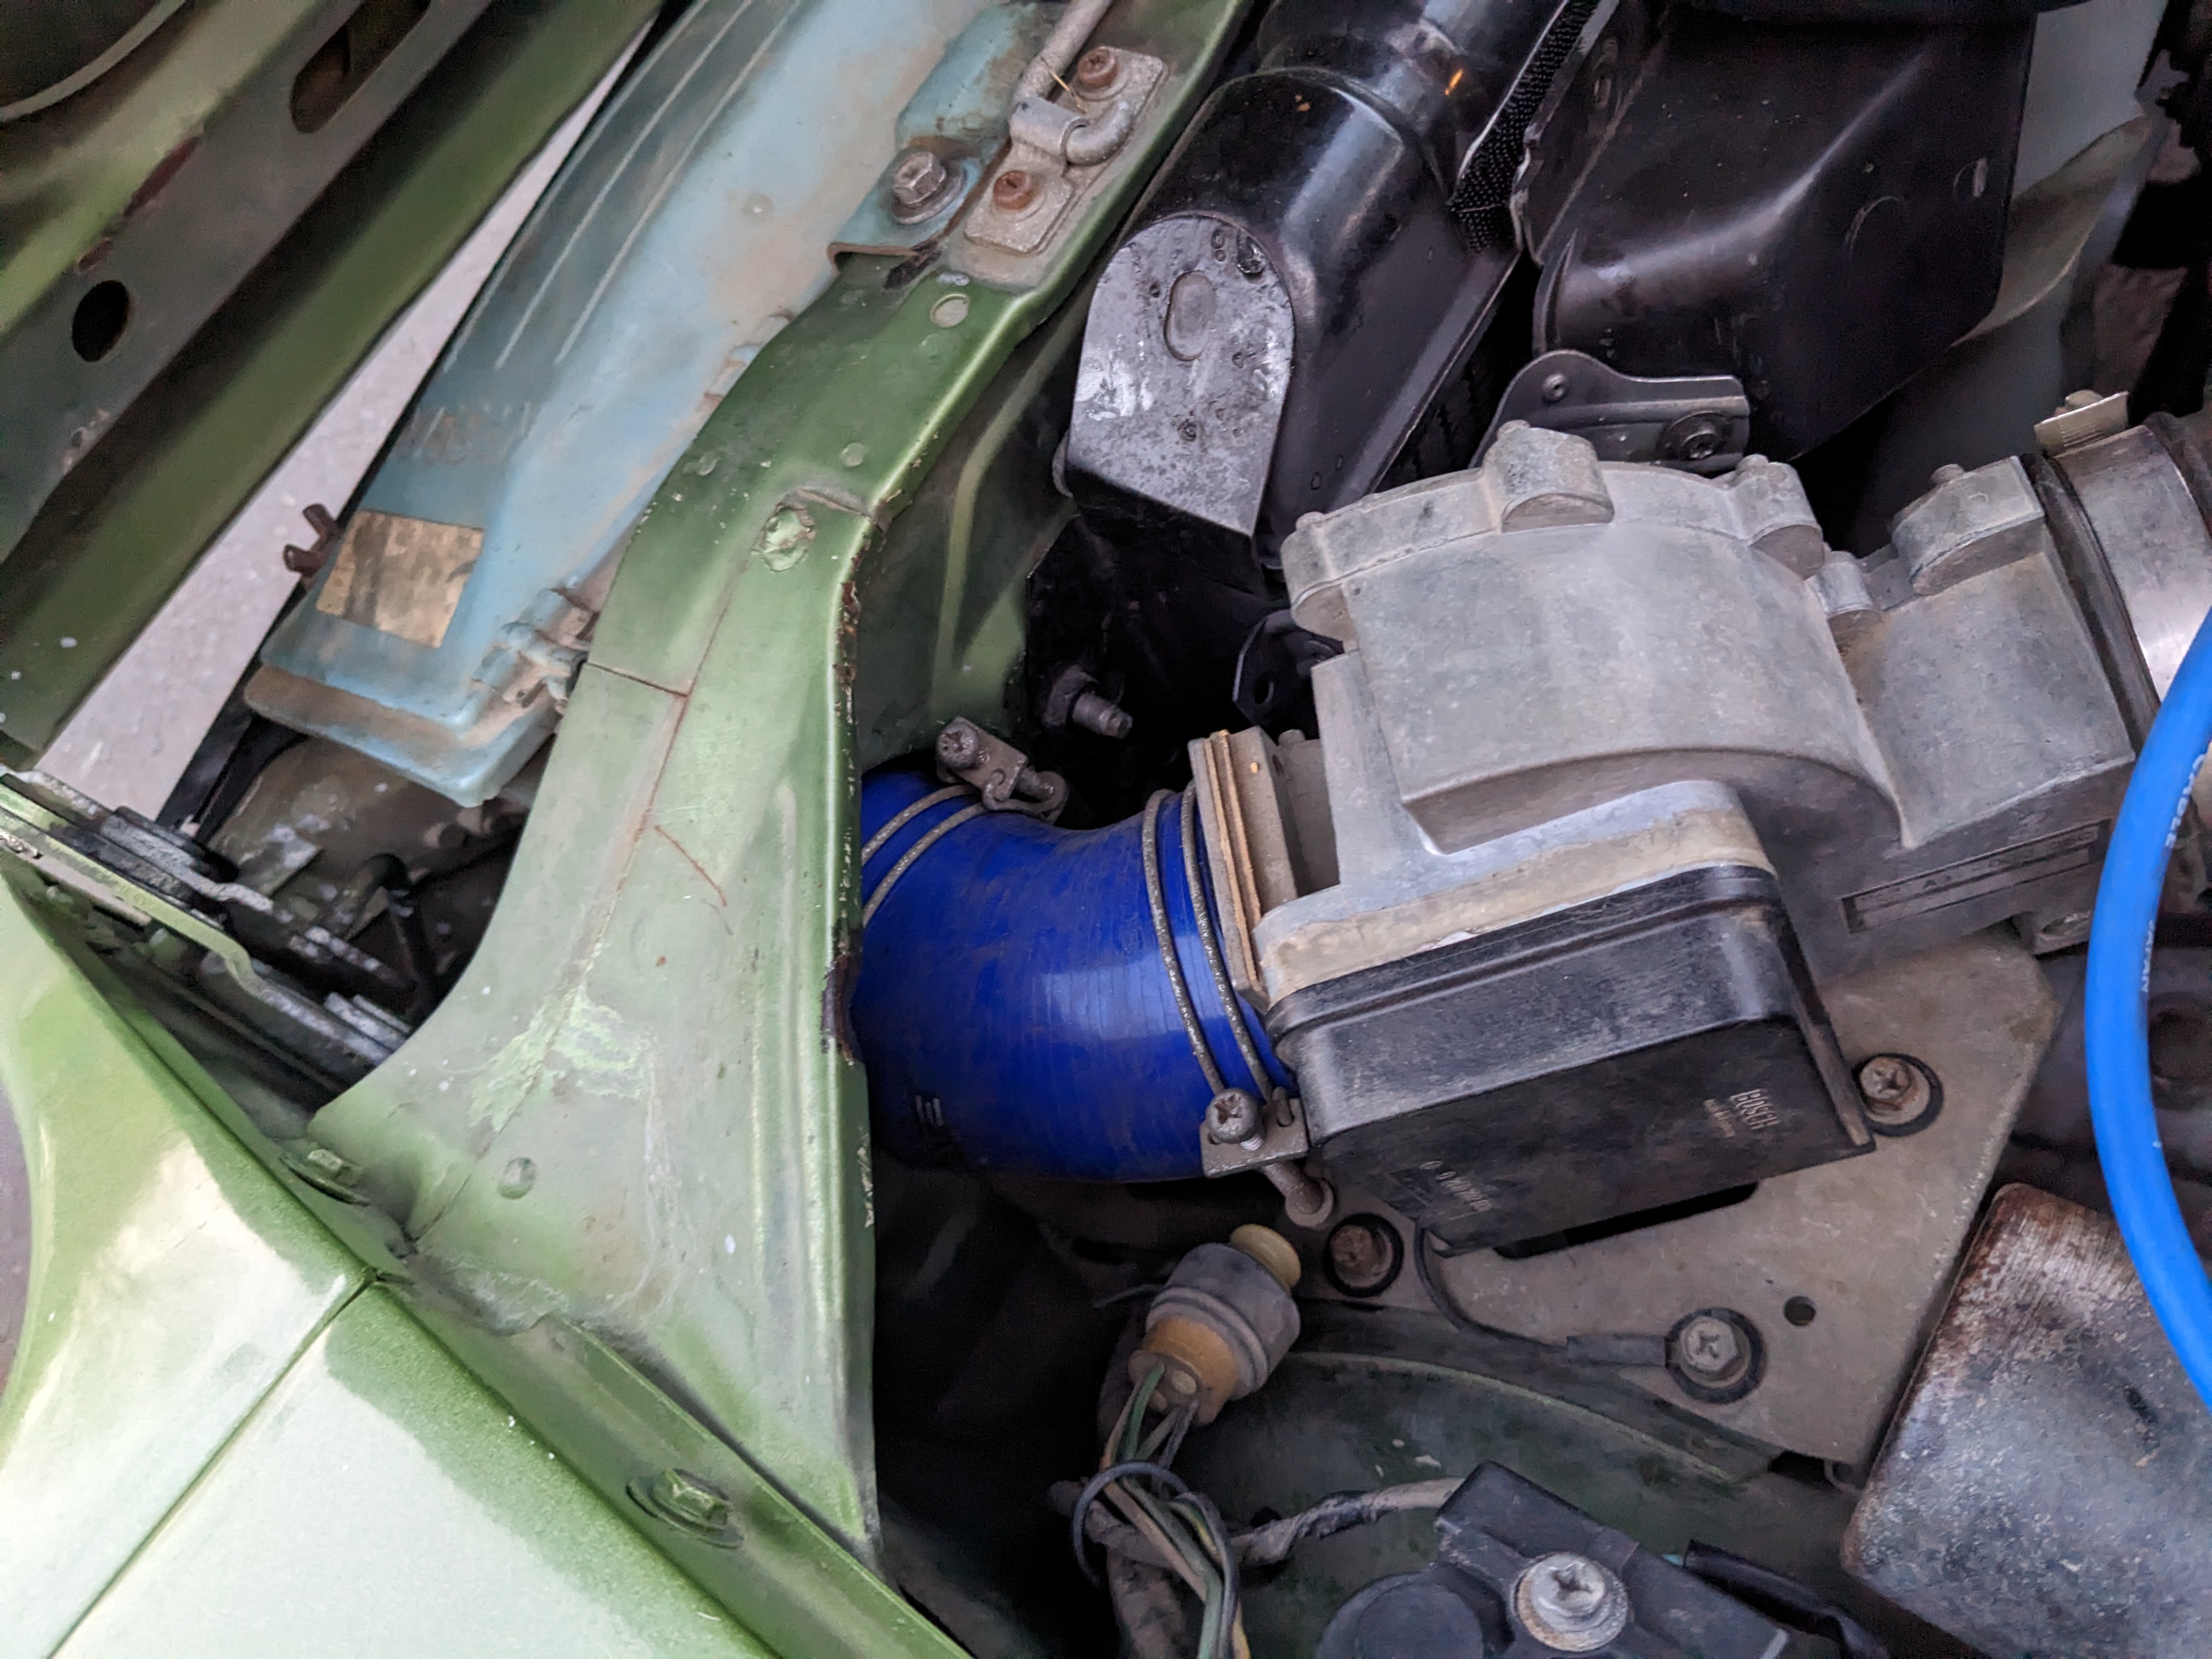
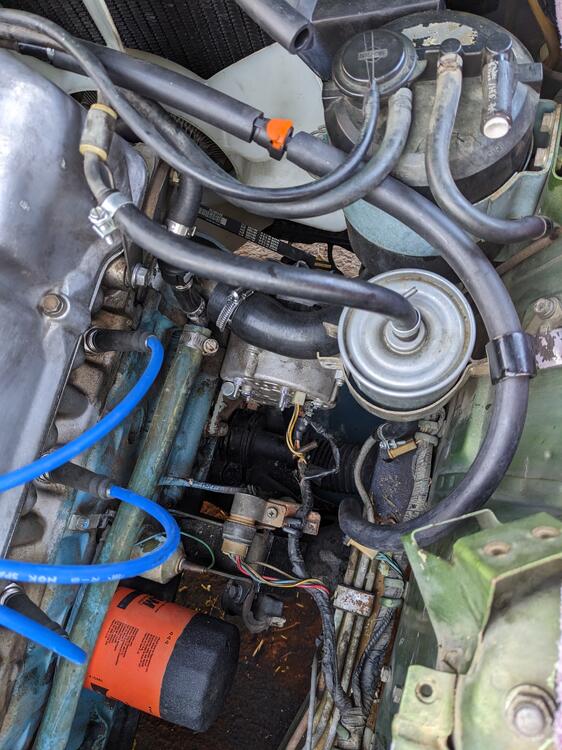
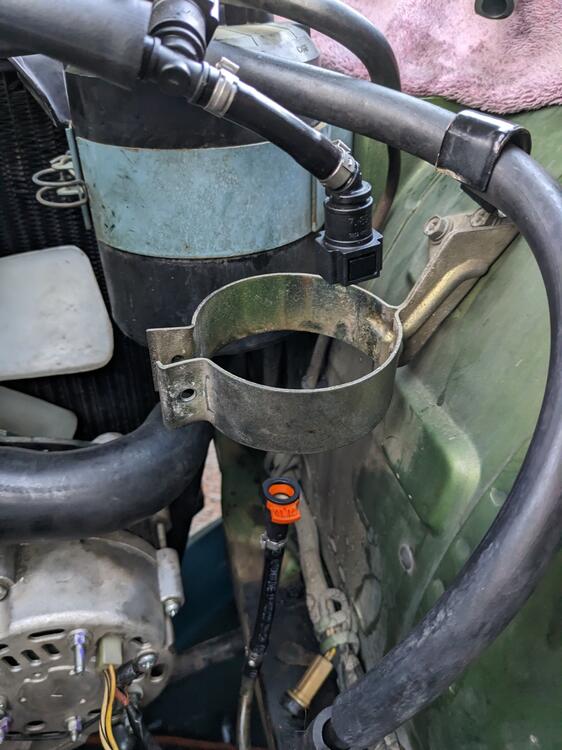
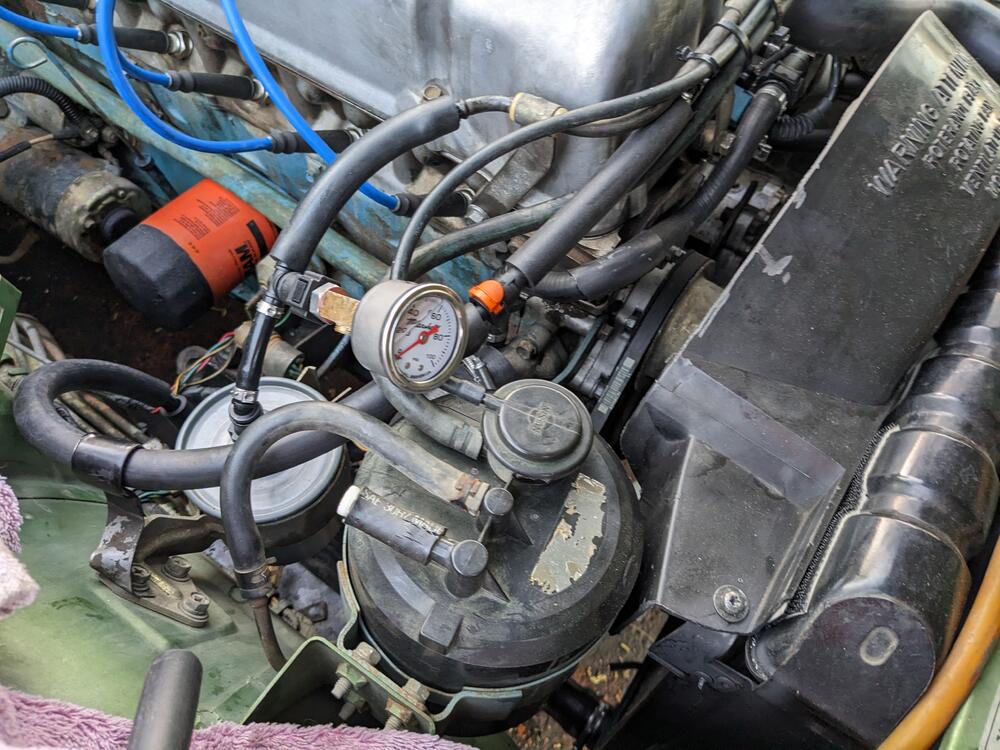
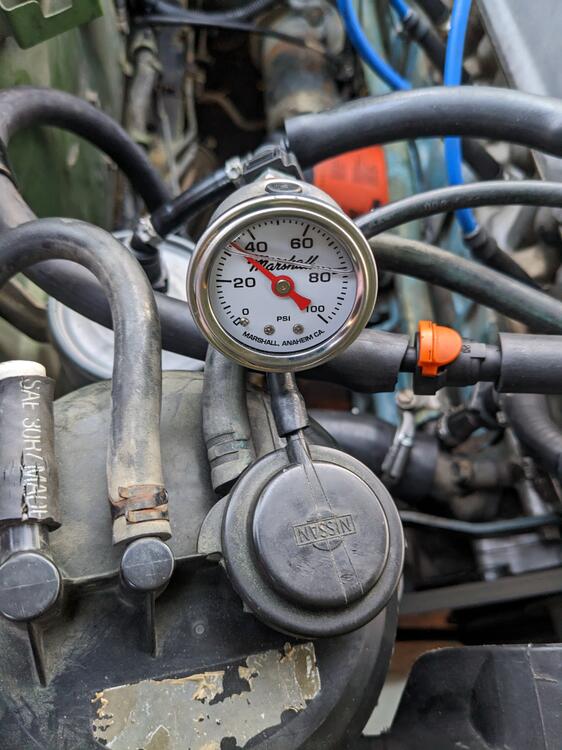
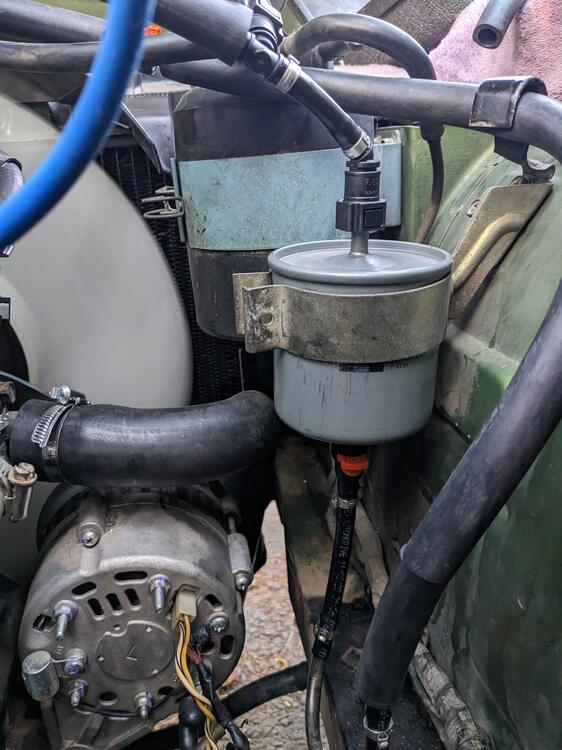
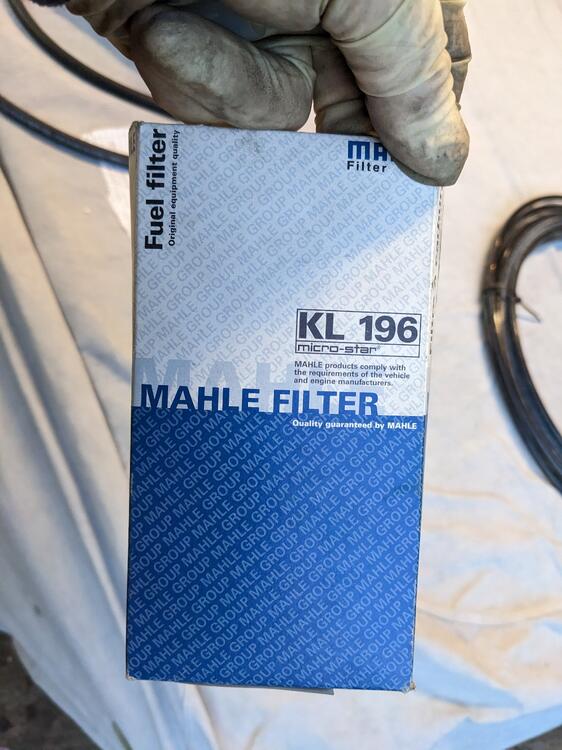
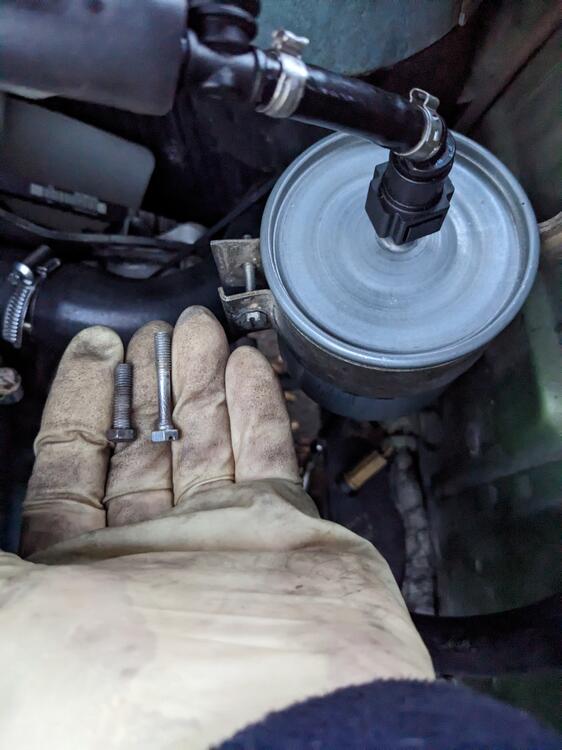
I made a start on redoing the fuel lines. I used sleeved 10mm nitrile line with quick-connect fittings. The ends are clamped to the hard lines, and are not intended to be removed moving forward. The quick connect fittings allow you to disconnect the rail from the feed & return. Did the return first. Rerouted behind the filter to get it away from the motor. Support bracket previously attached to the filter clamp is now secured it at the inner fender QC fittings for the (Volvo application, Mahle KL 196) filter needed a longer M5 bolt while I was there I added a branch to allow me to add the fuel pressure gauge (M10x1 w/QC, 1/8" NPT) Used a left over silicone elbow from my C30 turbo upgrade, perfect fit for the torn filter-AFM elbow
 1 point
 -
I'm thinking that the higher the injector impedence is, the less impact the dropping resistors will have. What's the static resistance of the new injectors? In other words, if you put an Ohmeter across the new injectors and then do the same with the old, what are the resistances at DC? That dropping resistors would still be in series in the circuit with the "high impedence" injectors, but depending on the resistances, they may be overshadowed by the resistance of the injectors themselves. Voltage divider and all that. For example... If the dropping resistors are 1 Ohm and the injectors are 100 Ohm, it won't really matter whether they are included or not. That may be why you guys aren't seeing much of an impact whether the dropping resistors are installed or bypassed.1 point
-
I've never heard of any vibration issues due to the eccentric, so I tend to agree. That said, it's one more thing in the torque stack that could cause the bolt to come loose. I wouldn't take it apart to remove it, but if the bolt ever needs to come out for something else, I'd ditch the eccentric.1 point
-
1 point
-
1 point
-
His been real busy. He teaches race car engineering and they have been building a Mazda miata and a formula ford for scca racing. The formula ford is their own design from the frame up. Soon as he does the shaft bores and install bearings I will post some pictures1 point
-
One of my sisters lives in Tunbridge Wells - so you are about 1/2 way between the two1 point
-
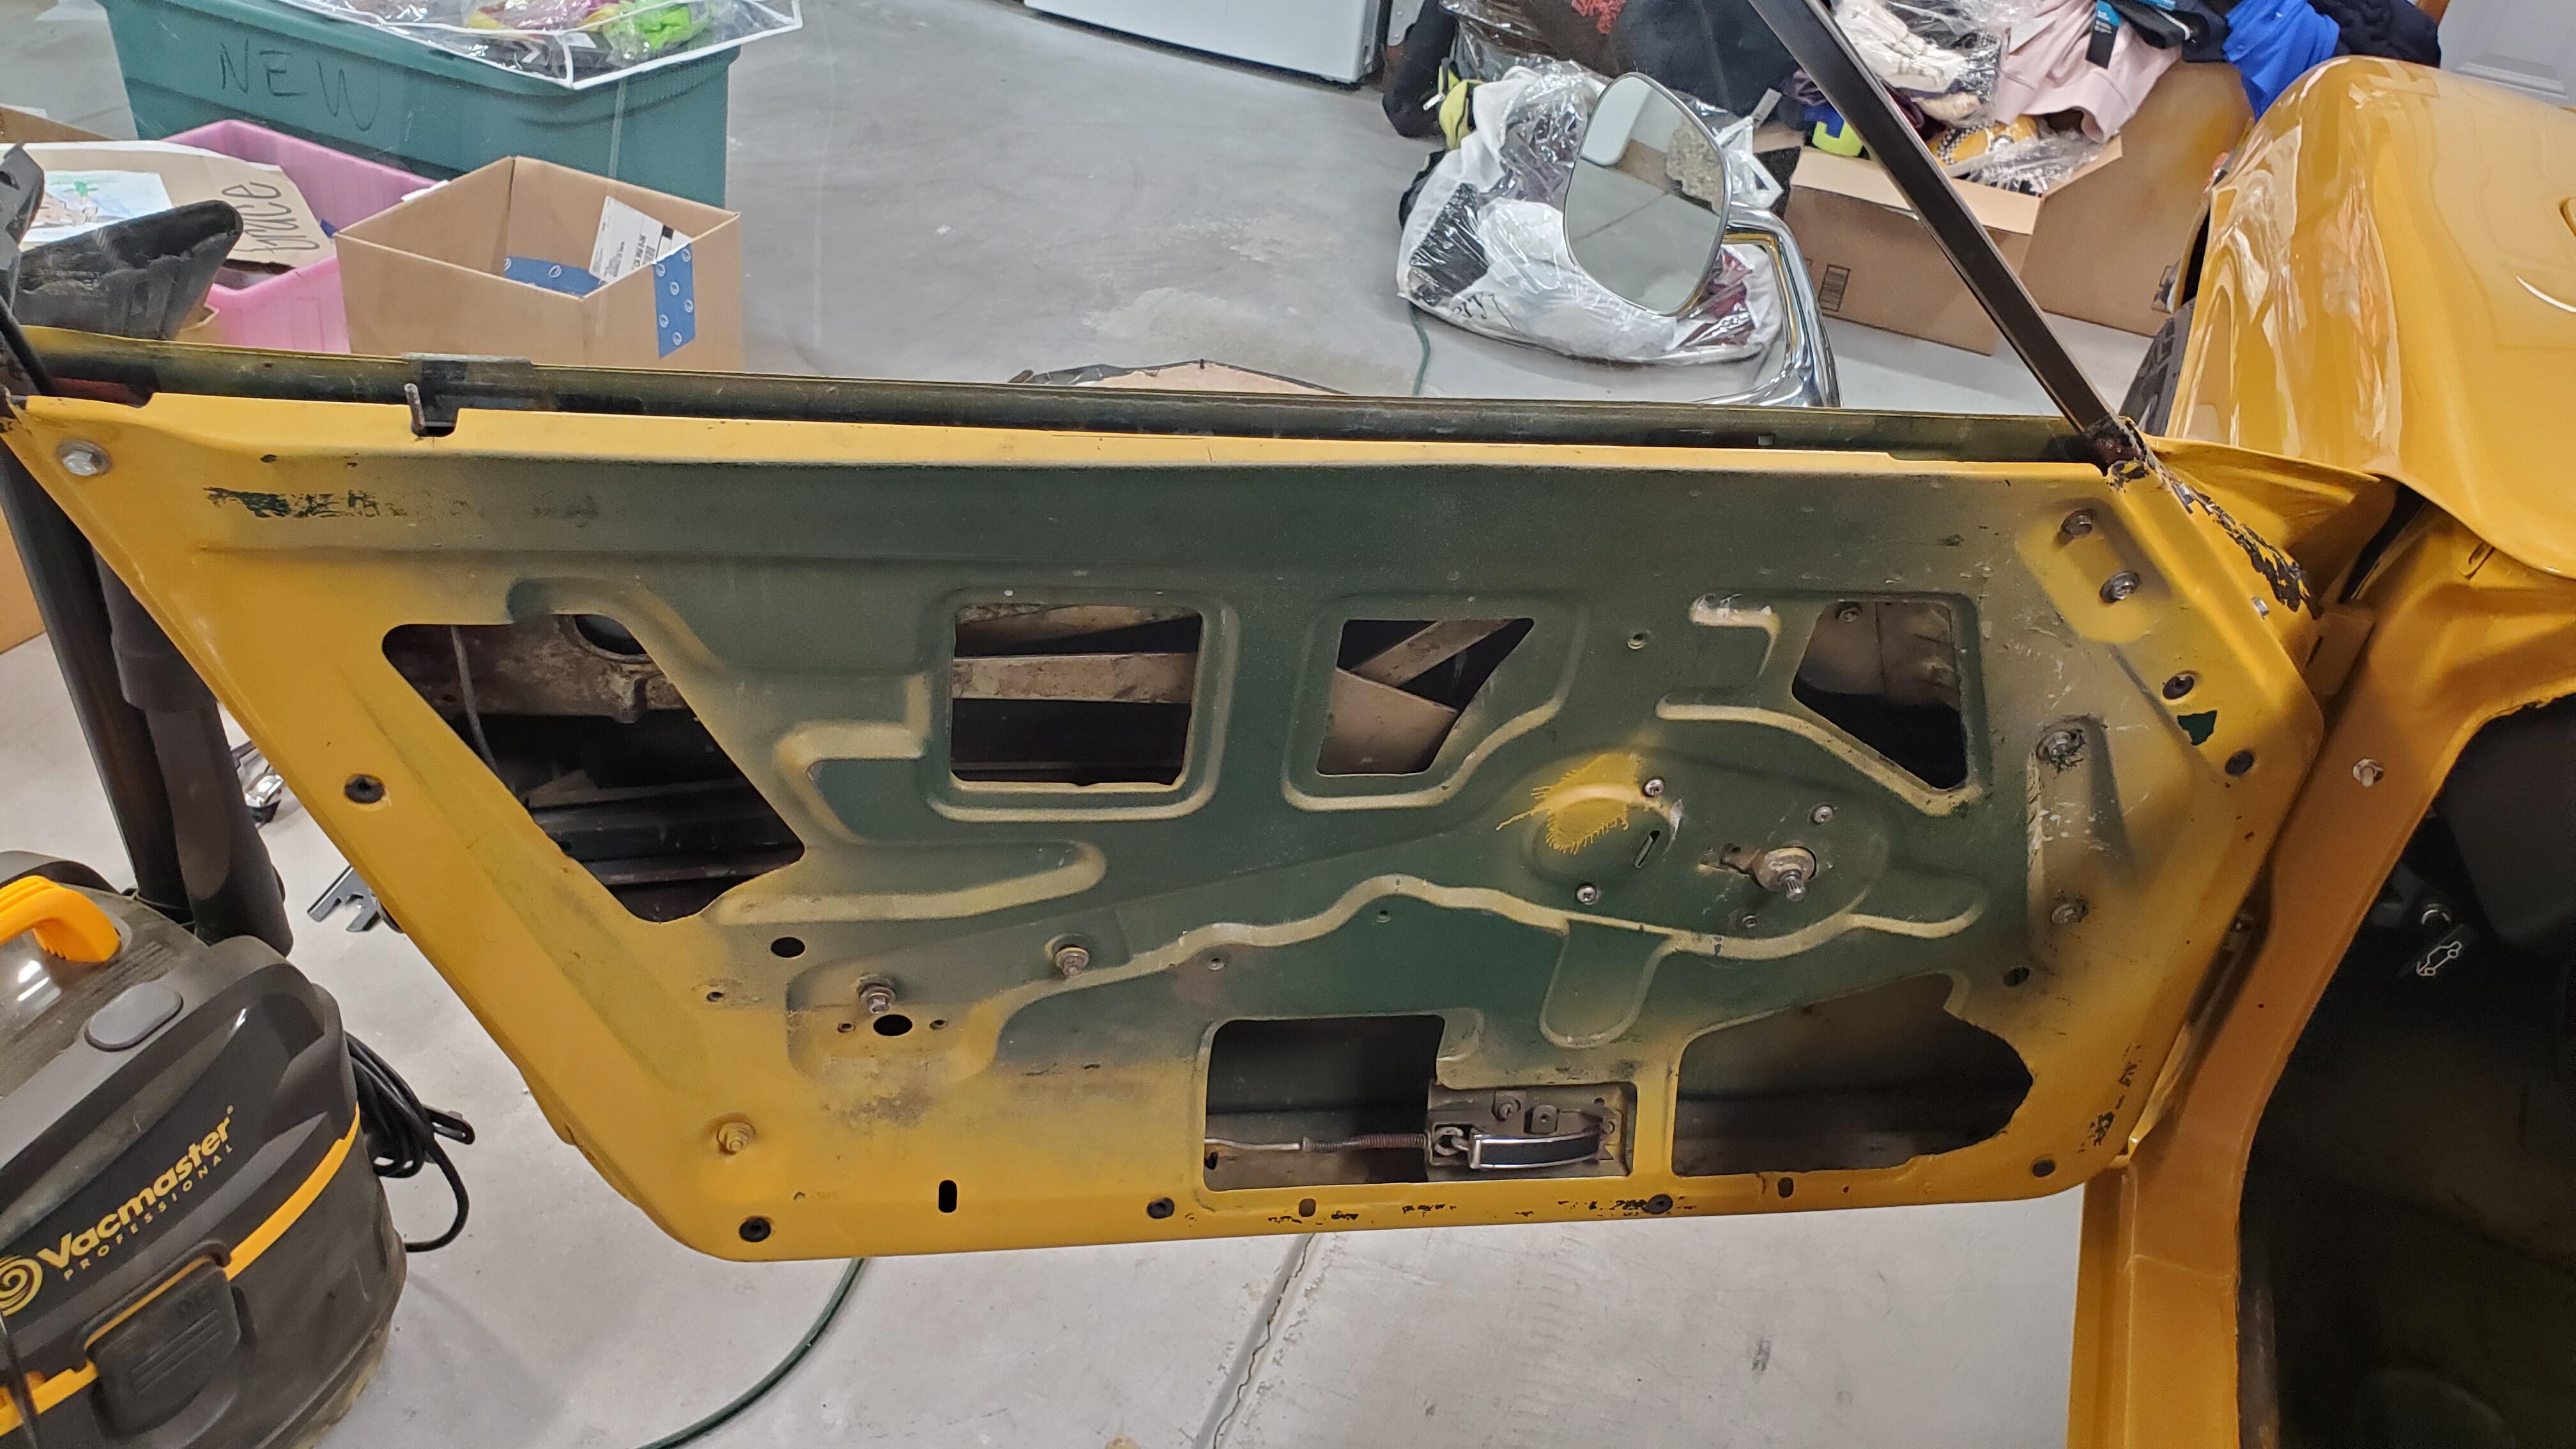
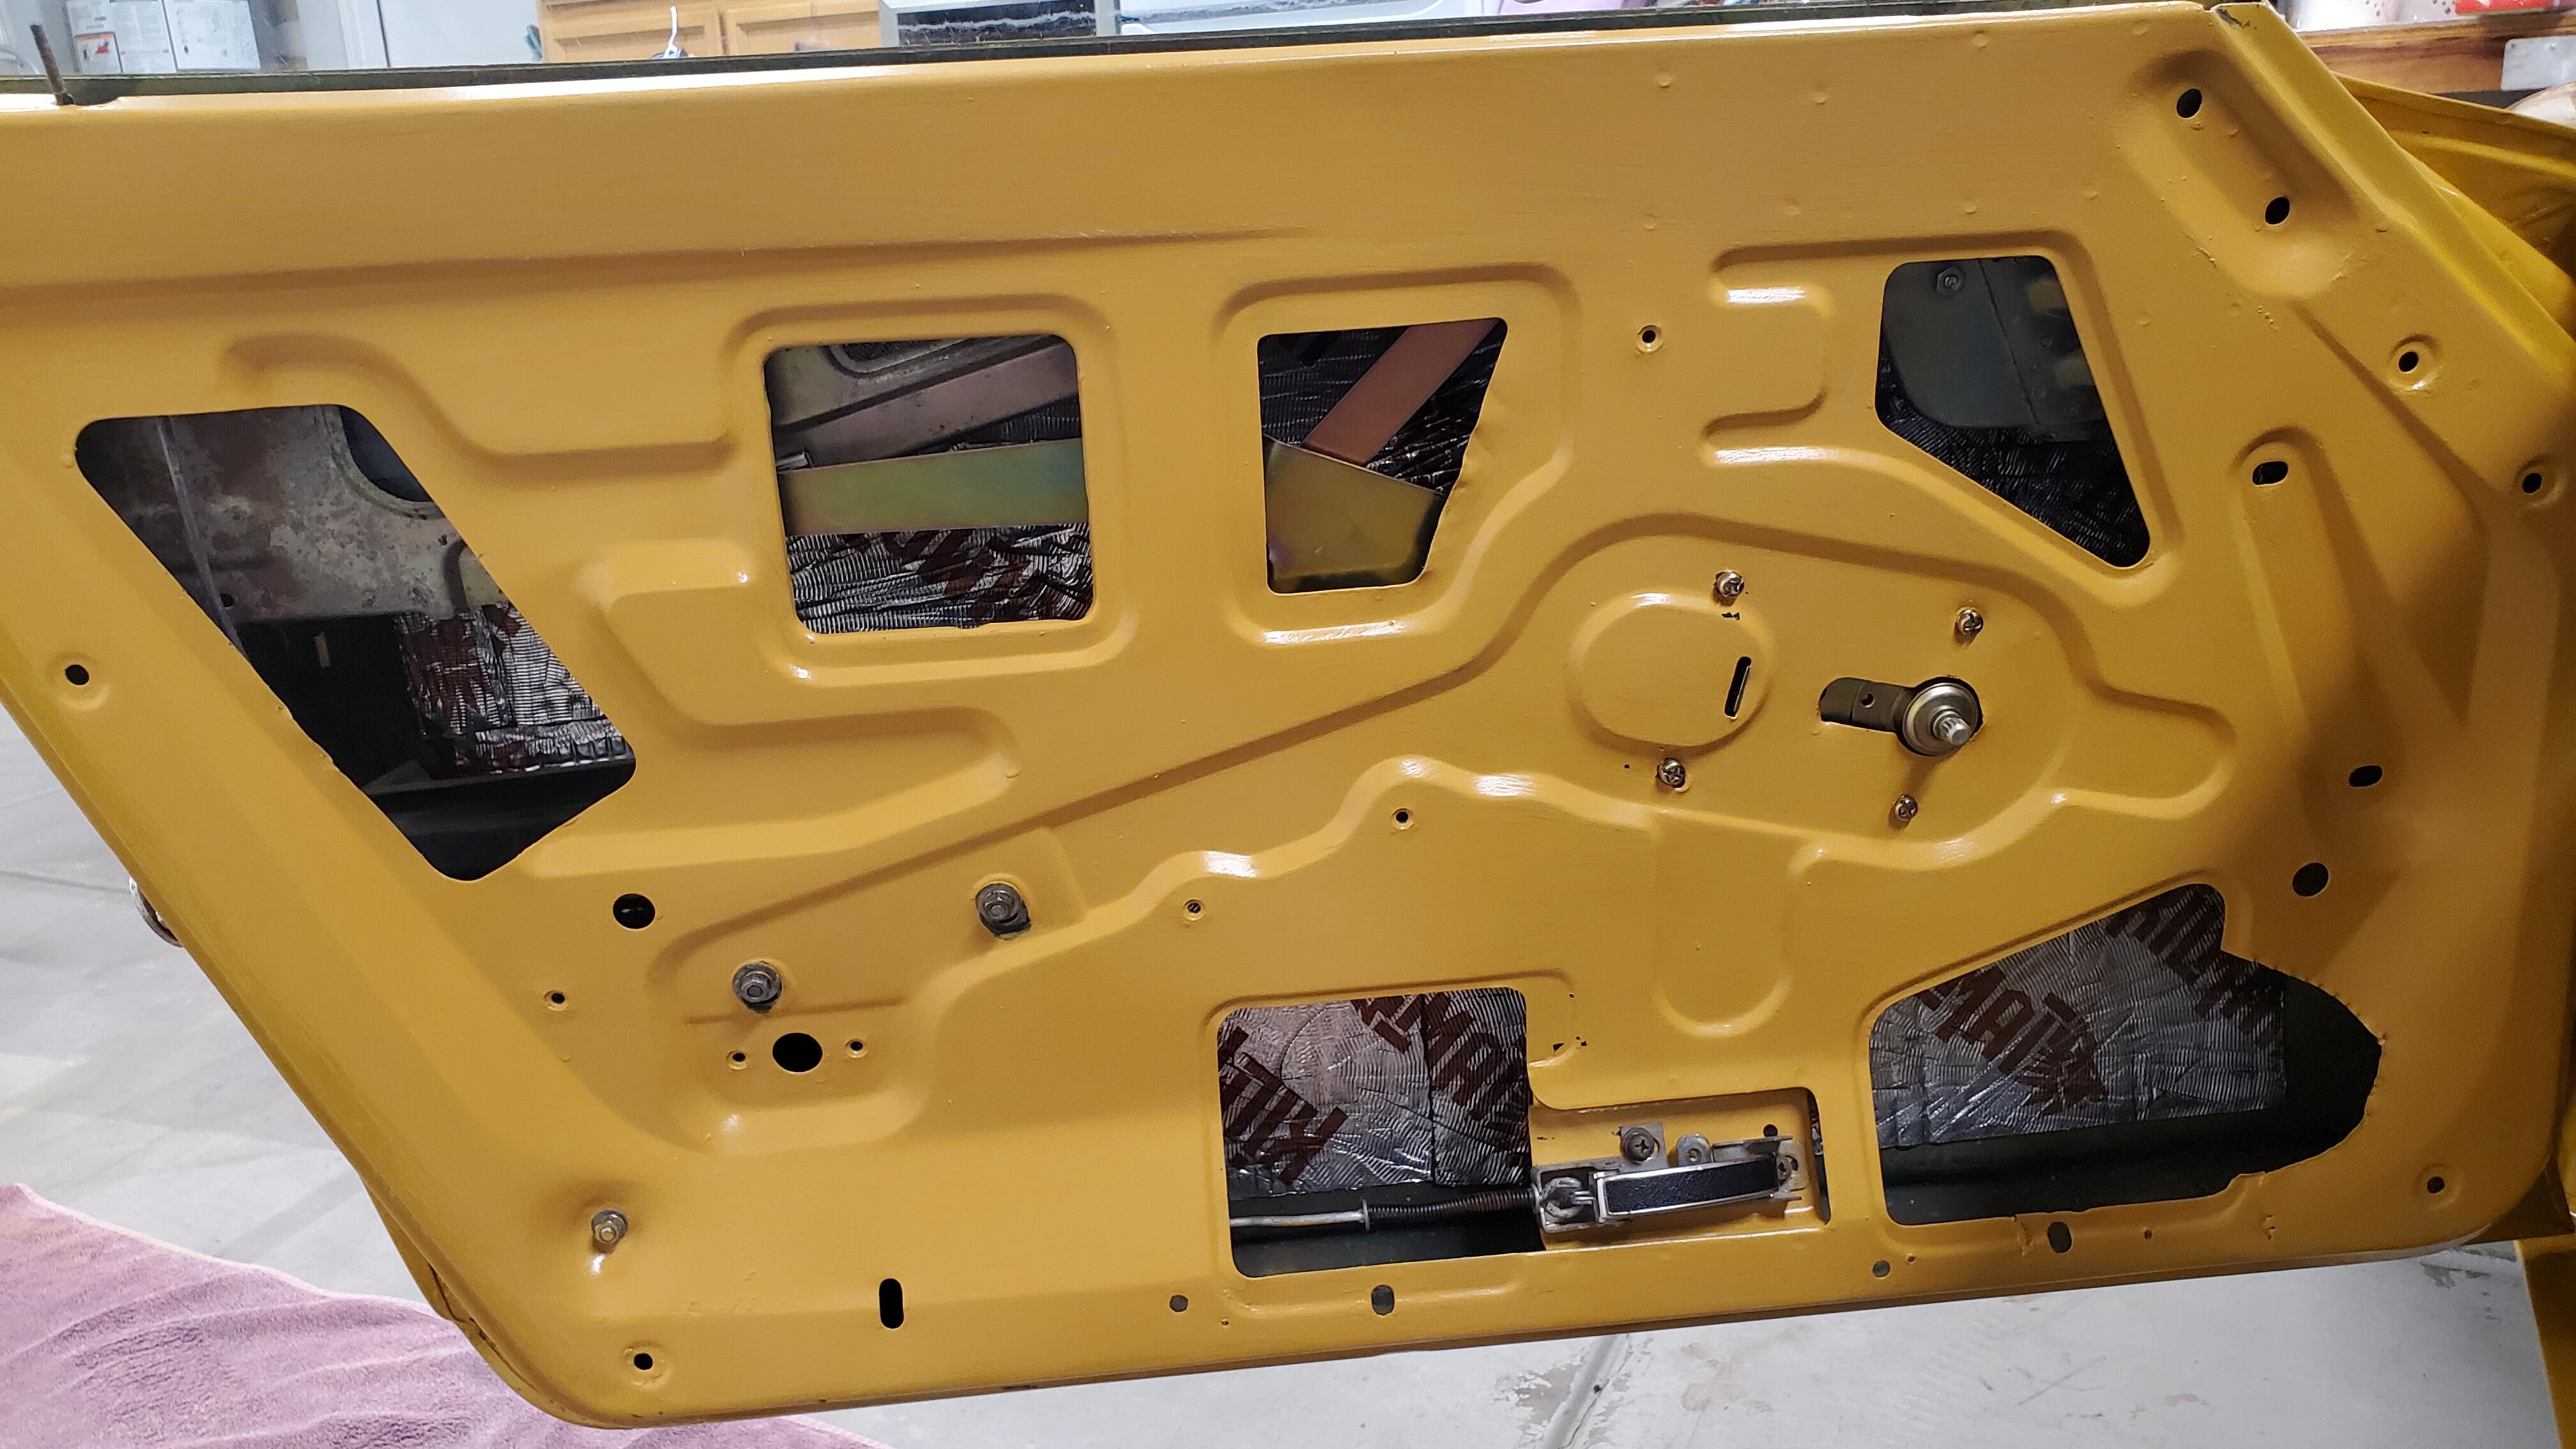
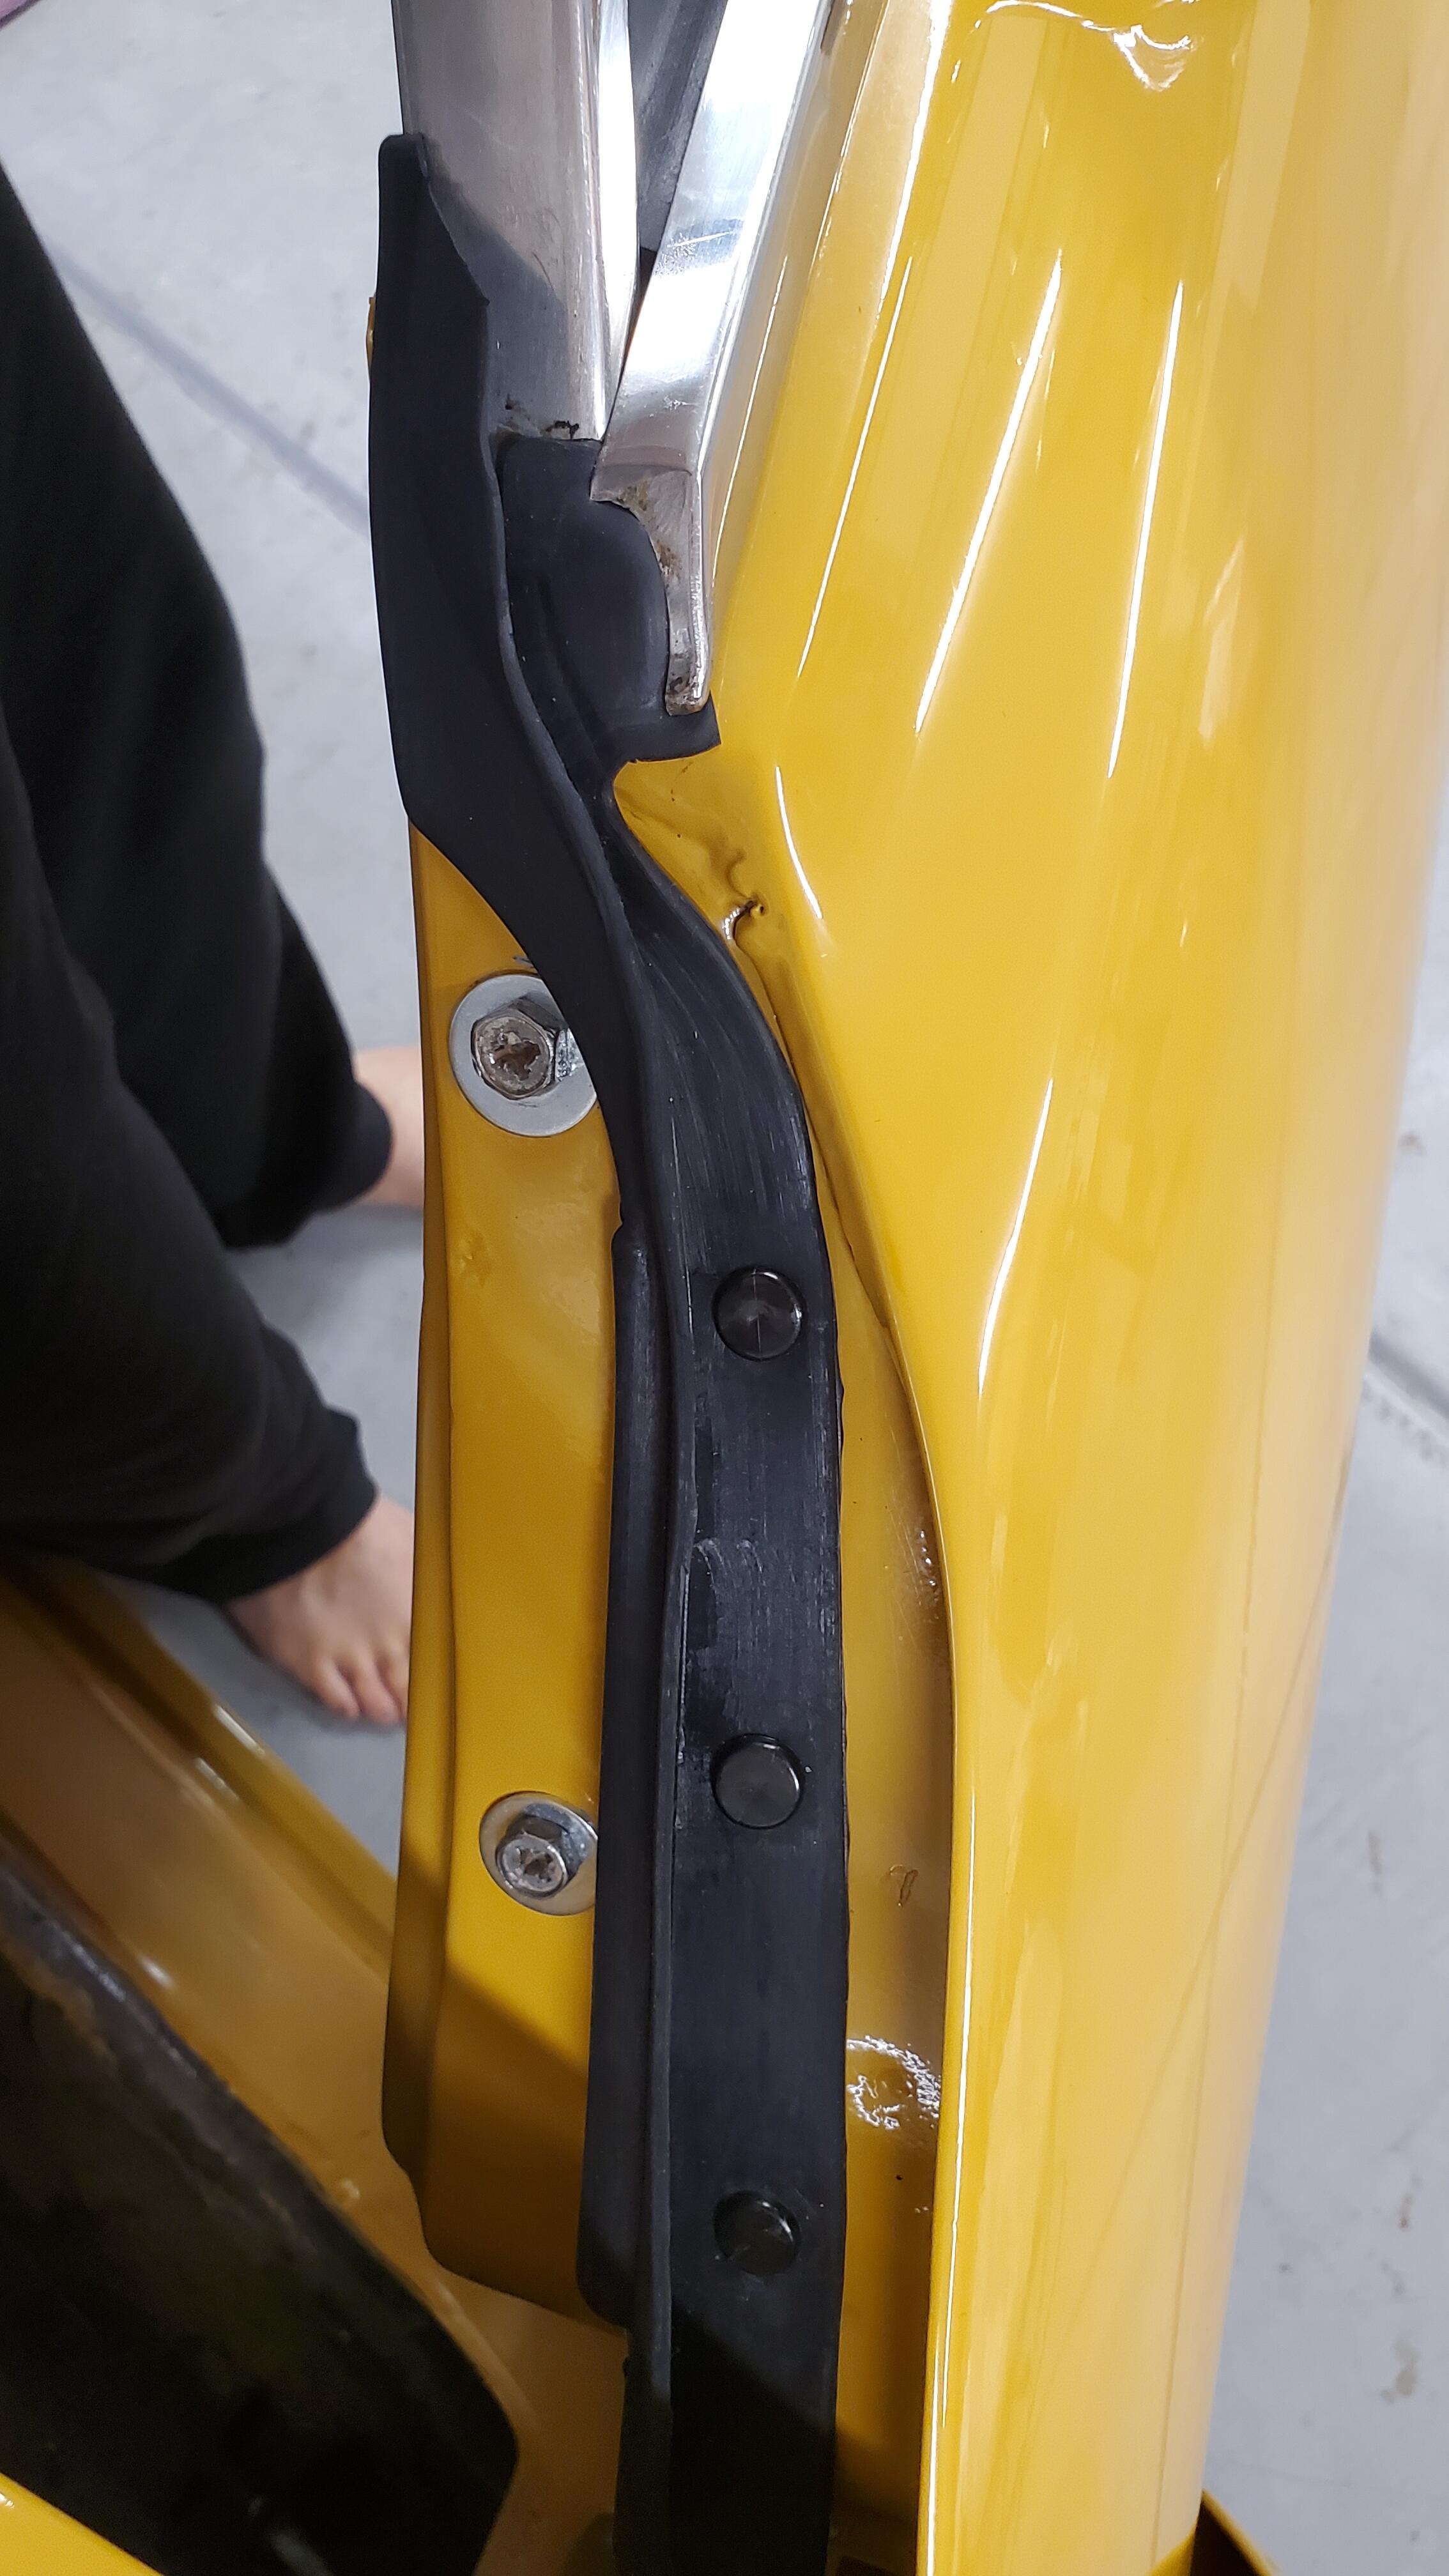
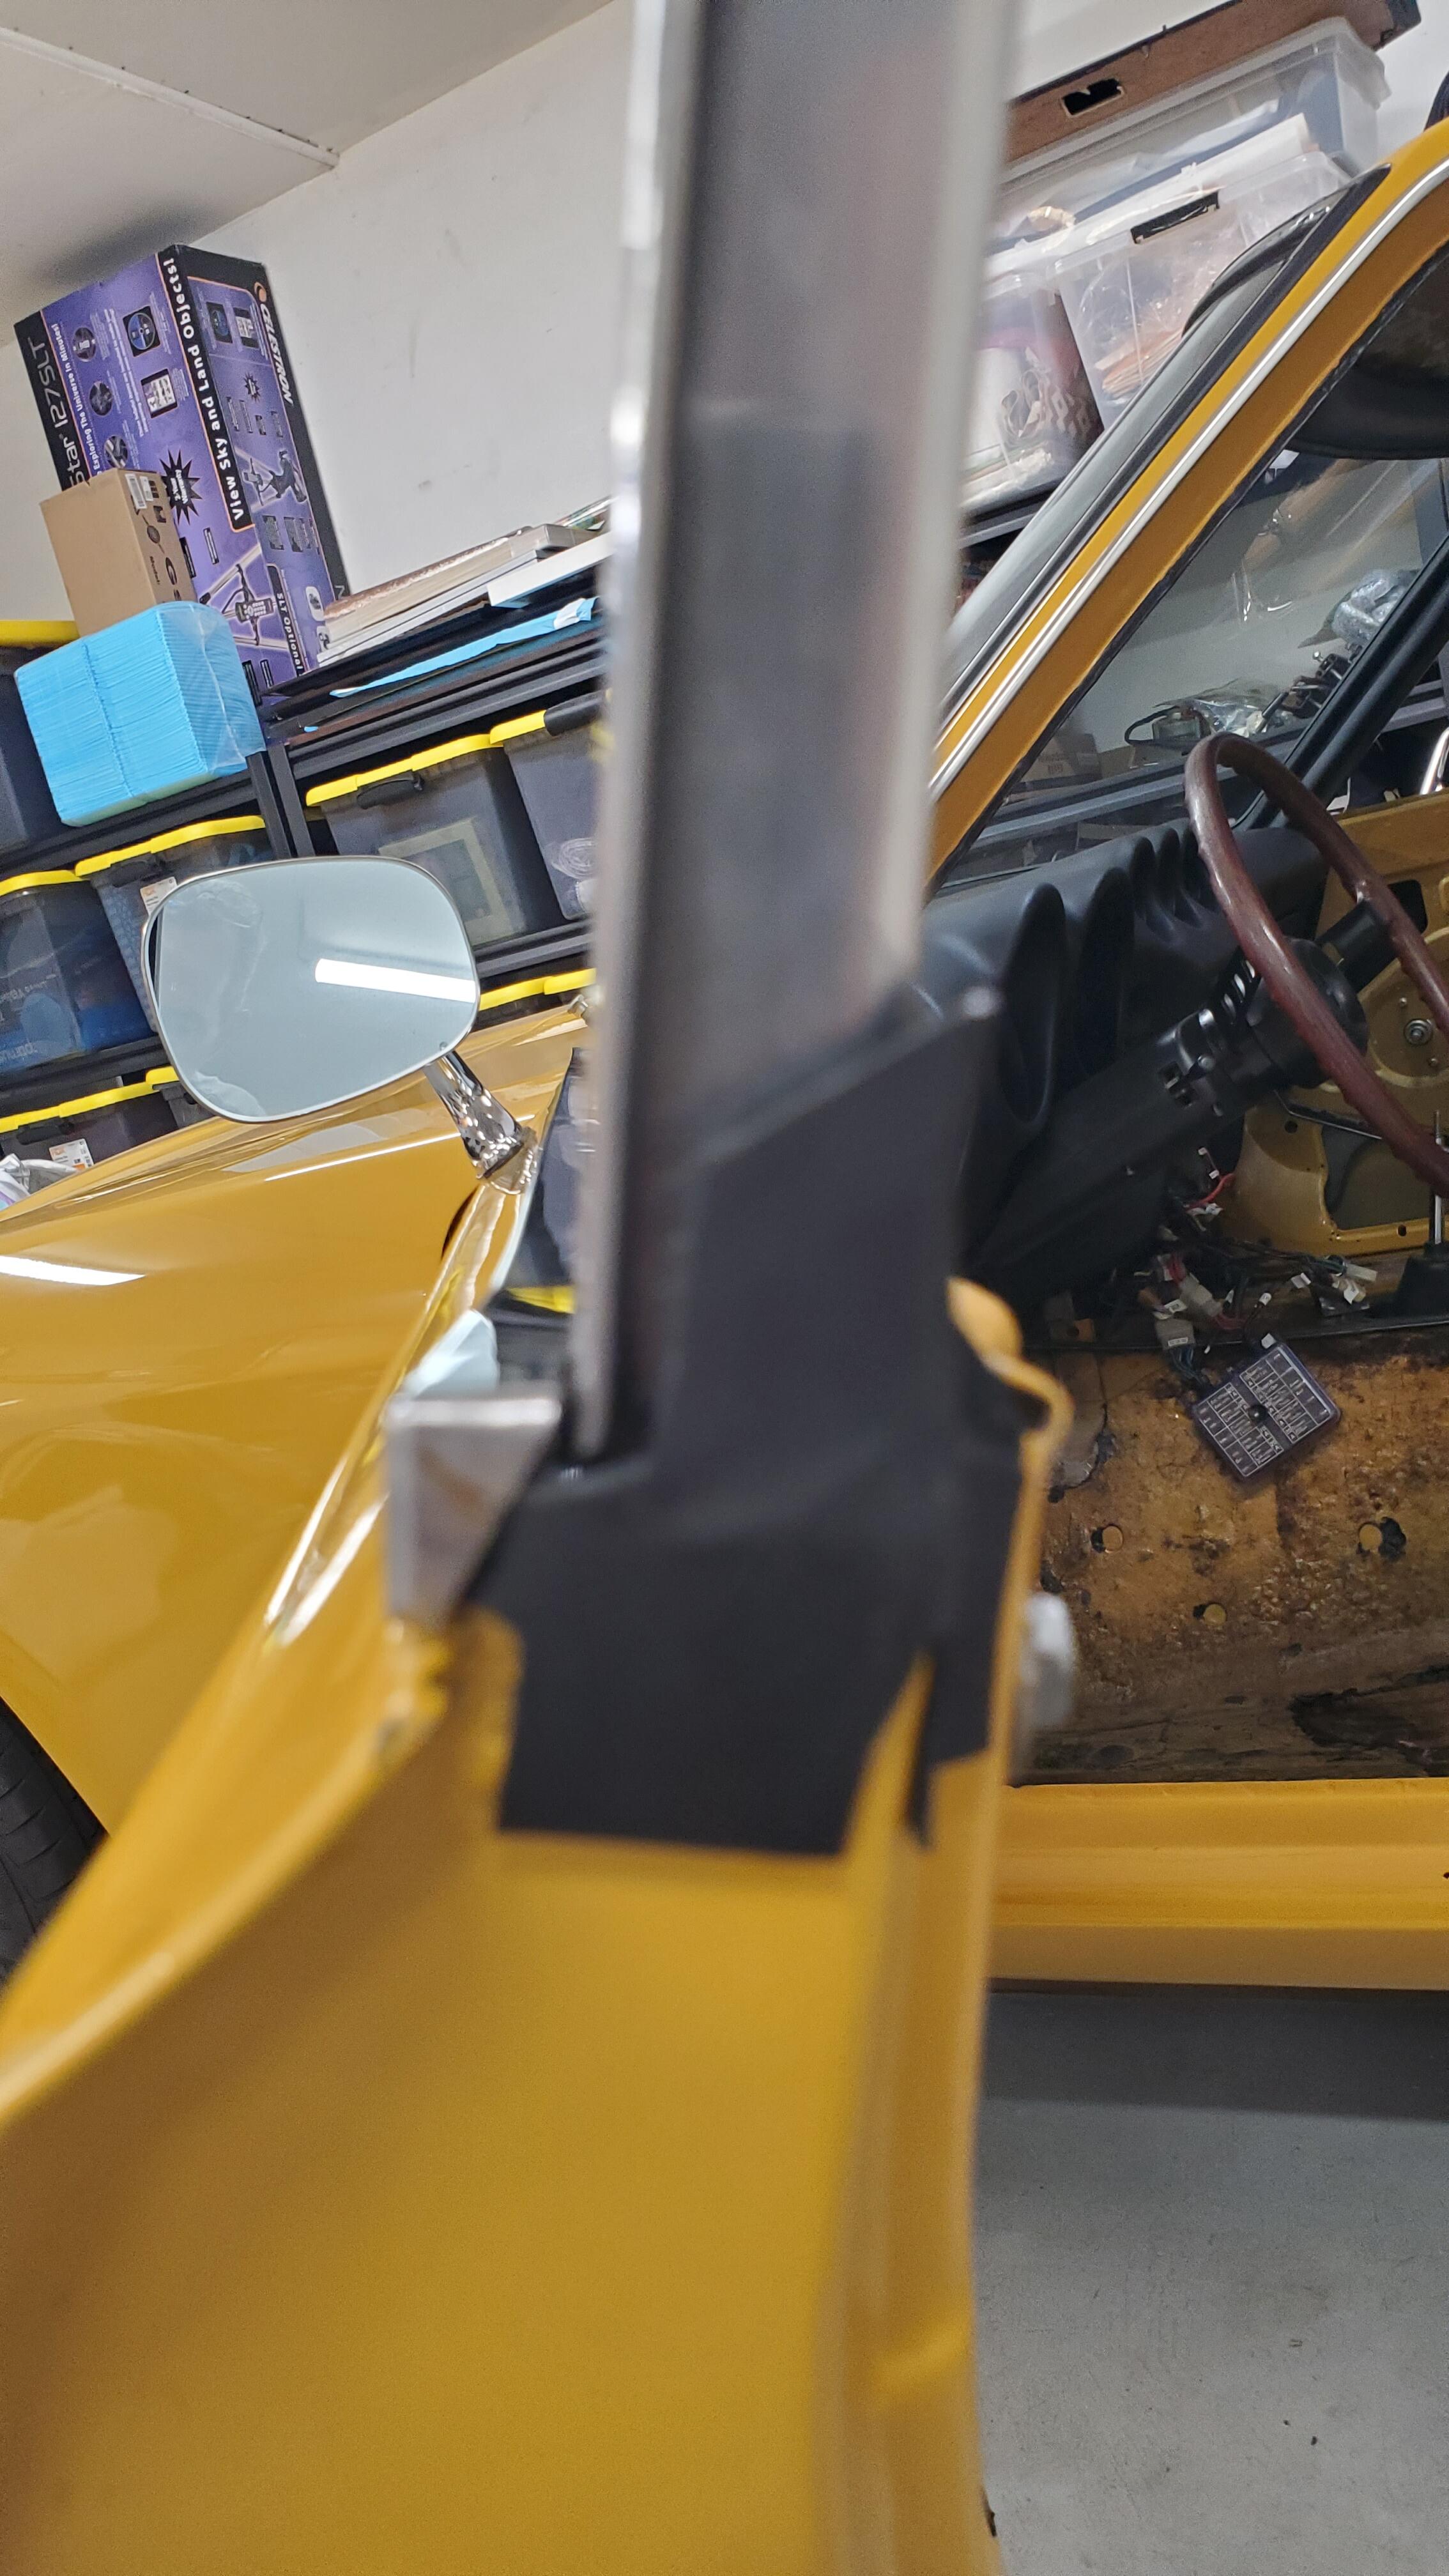
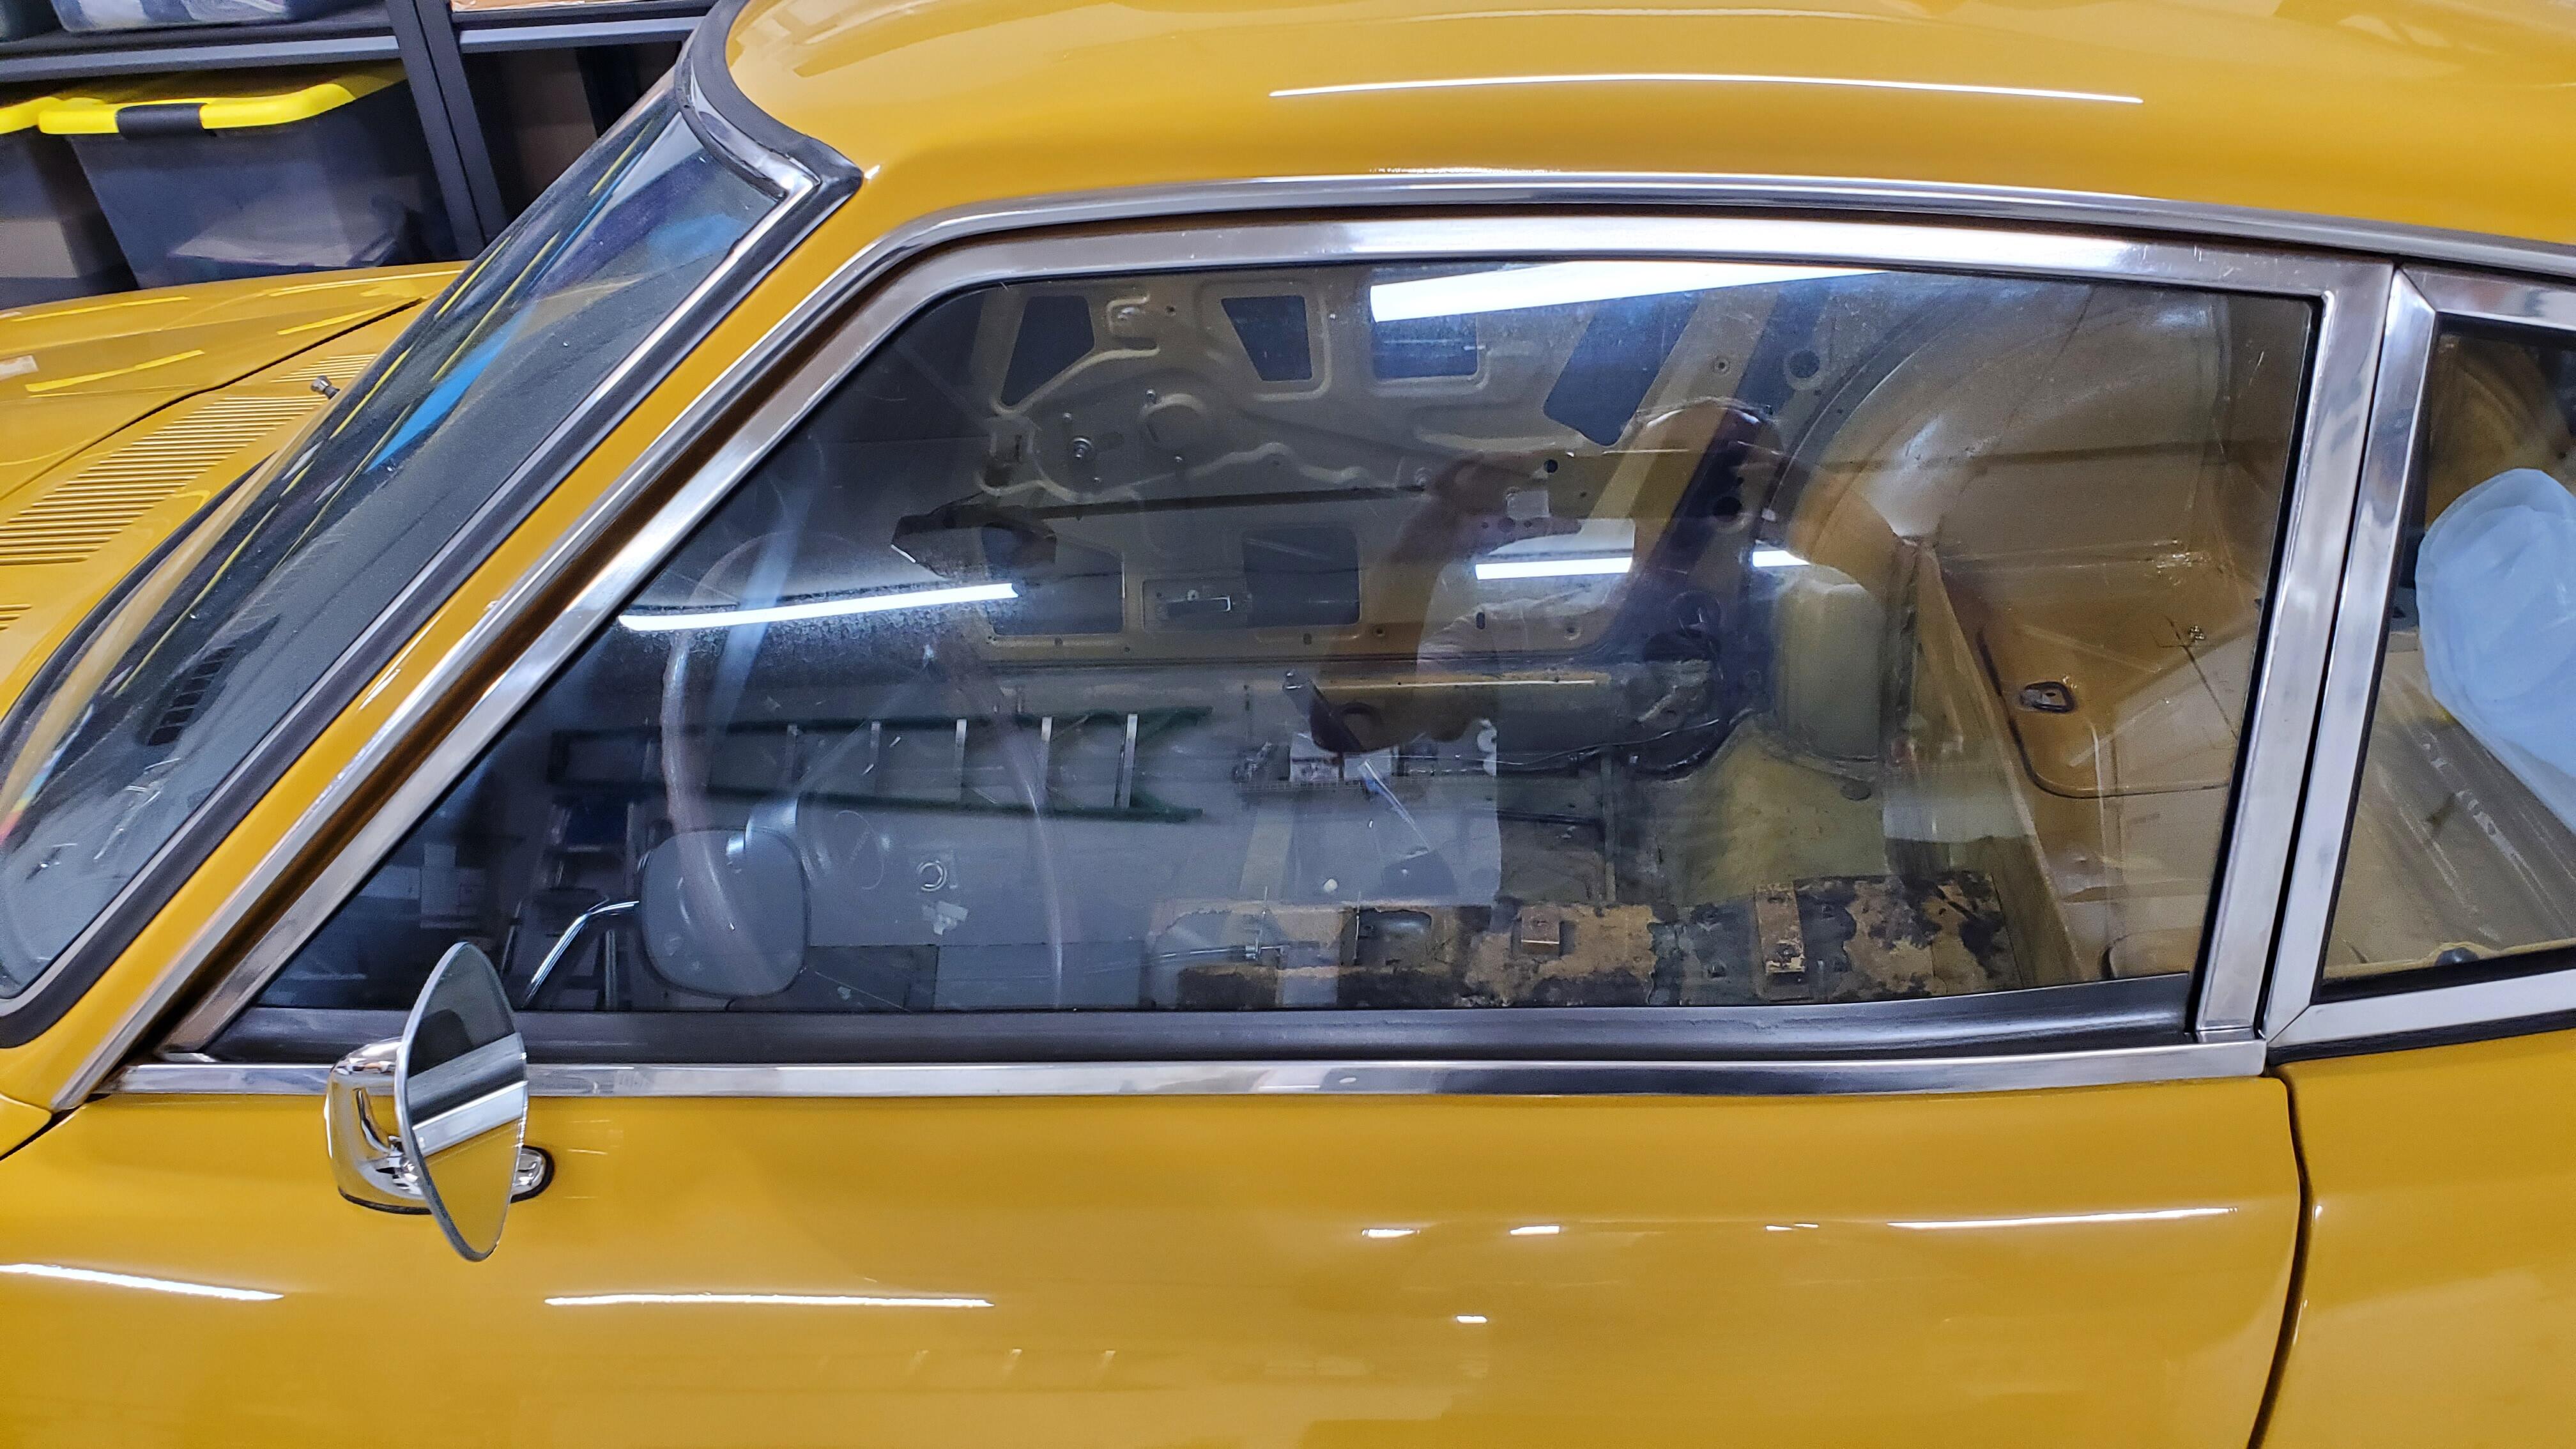
Fiddle completed with excellent results. Turns out I had a bunch of problems in there so decided to do the whole thing from scratch the right way. Tore the door down to the shell by removing the skin, lock mechanism, glass, frame, and regulator. My window problem turned out to be a combination of things. The regulator still had a pretty decent spring tension and crank, but the "pivot point" I'll call it where the two arm meet was pretty much shot. not sure if the prior owner bent it during install or just never bothered addressing it during his decent but not perfect restoration attempt. I also had a problem with the glide that's attached to the front of the glass mount. It was missing a screw so even though the glide was within the front window channel it would pivot about half way up as the weight of the glass rose. That pivot caused the glass to tilt forward when being rolled up and never close properly into the frame. Oh and the glass roller was broken and missing. So I decided to fork over some money for a new regulator, roller, the bumper at the bottom, the two weather strip pieces, and new felt for the frame. the lock mechanism and all the rods were in really good shape but did need degreasing and a thorough cleaning. While the door was empty i even did the whole outer side with killmat and now the door is quiet as a church mouse. 🙂 Couple of things I learned. First, I'm getting better at this. I was really intimated by removing the glass for some reason. All the videos I watched and the stuff I read made it seem easy but for some reason I was worried about breaking glass or just not getting it back in properly. It wasn't hard at all and everything I did worked on first attempt. Second, unfortunately this isn't the original door for some reason . When I pulled the skin it was green! I also noticed the PO probably had a speaker in there since there's a chunk of door missing in that first cutout lol. Couple of things that might help the next guy. Waiting to install the front channel until after the regulator and glass are in and working was key. You do that, roll the window down mostly to the bottom, then can slide the channel over the glide in the window and easily attach the bolts. Keep everything hand tight then adjust front, back channels and the four screws around the regulator to your liking. I also found that the roller I put in worked better in the back notch near the pull knob for the lock rather than the notch up front near the mirror. No matter how I adjusted the roller angle, tension, or location when in the front just didn't keep enough pressure on the glass to keep it from coming out of the frame. i was happy with the frame and smoothness of the window so i really didn't want to adjust anything. Moving it to the rear solved everything without starting over. I also notice now that i have new weatherstrip between the door and body the door takes a bit more force to close. Not a slam really, but I need to keep my hand on the door all the way to the fully closed position (rather than just a decent push). I assume the strip needs to compress a bit but I'll wait to adjust any latch or lock location until after i also install the new weatherstrip around the body opening (need to do some floor board work first). Heres my after, no more green door! This project came out so good I'm gonna strip the other door too in a few weeks. I don't think I'll need to invest as much though, probably just need weatherstrip and felt since everything seems to work fine.


 1 point
 -
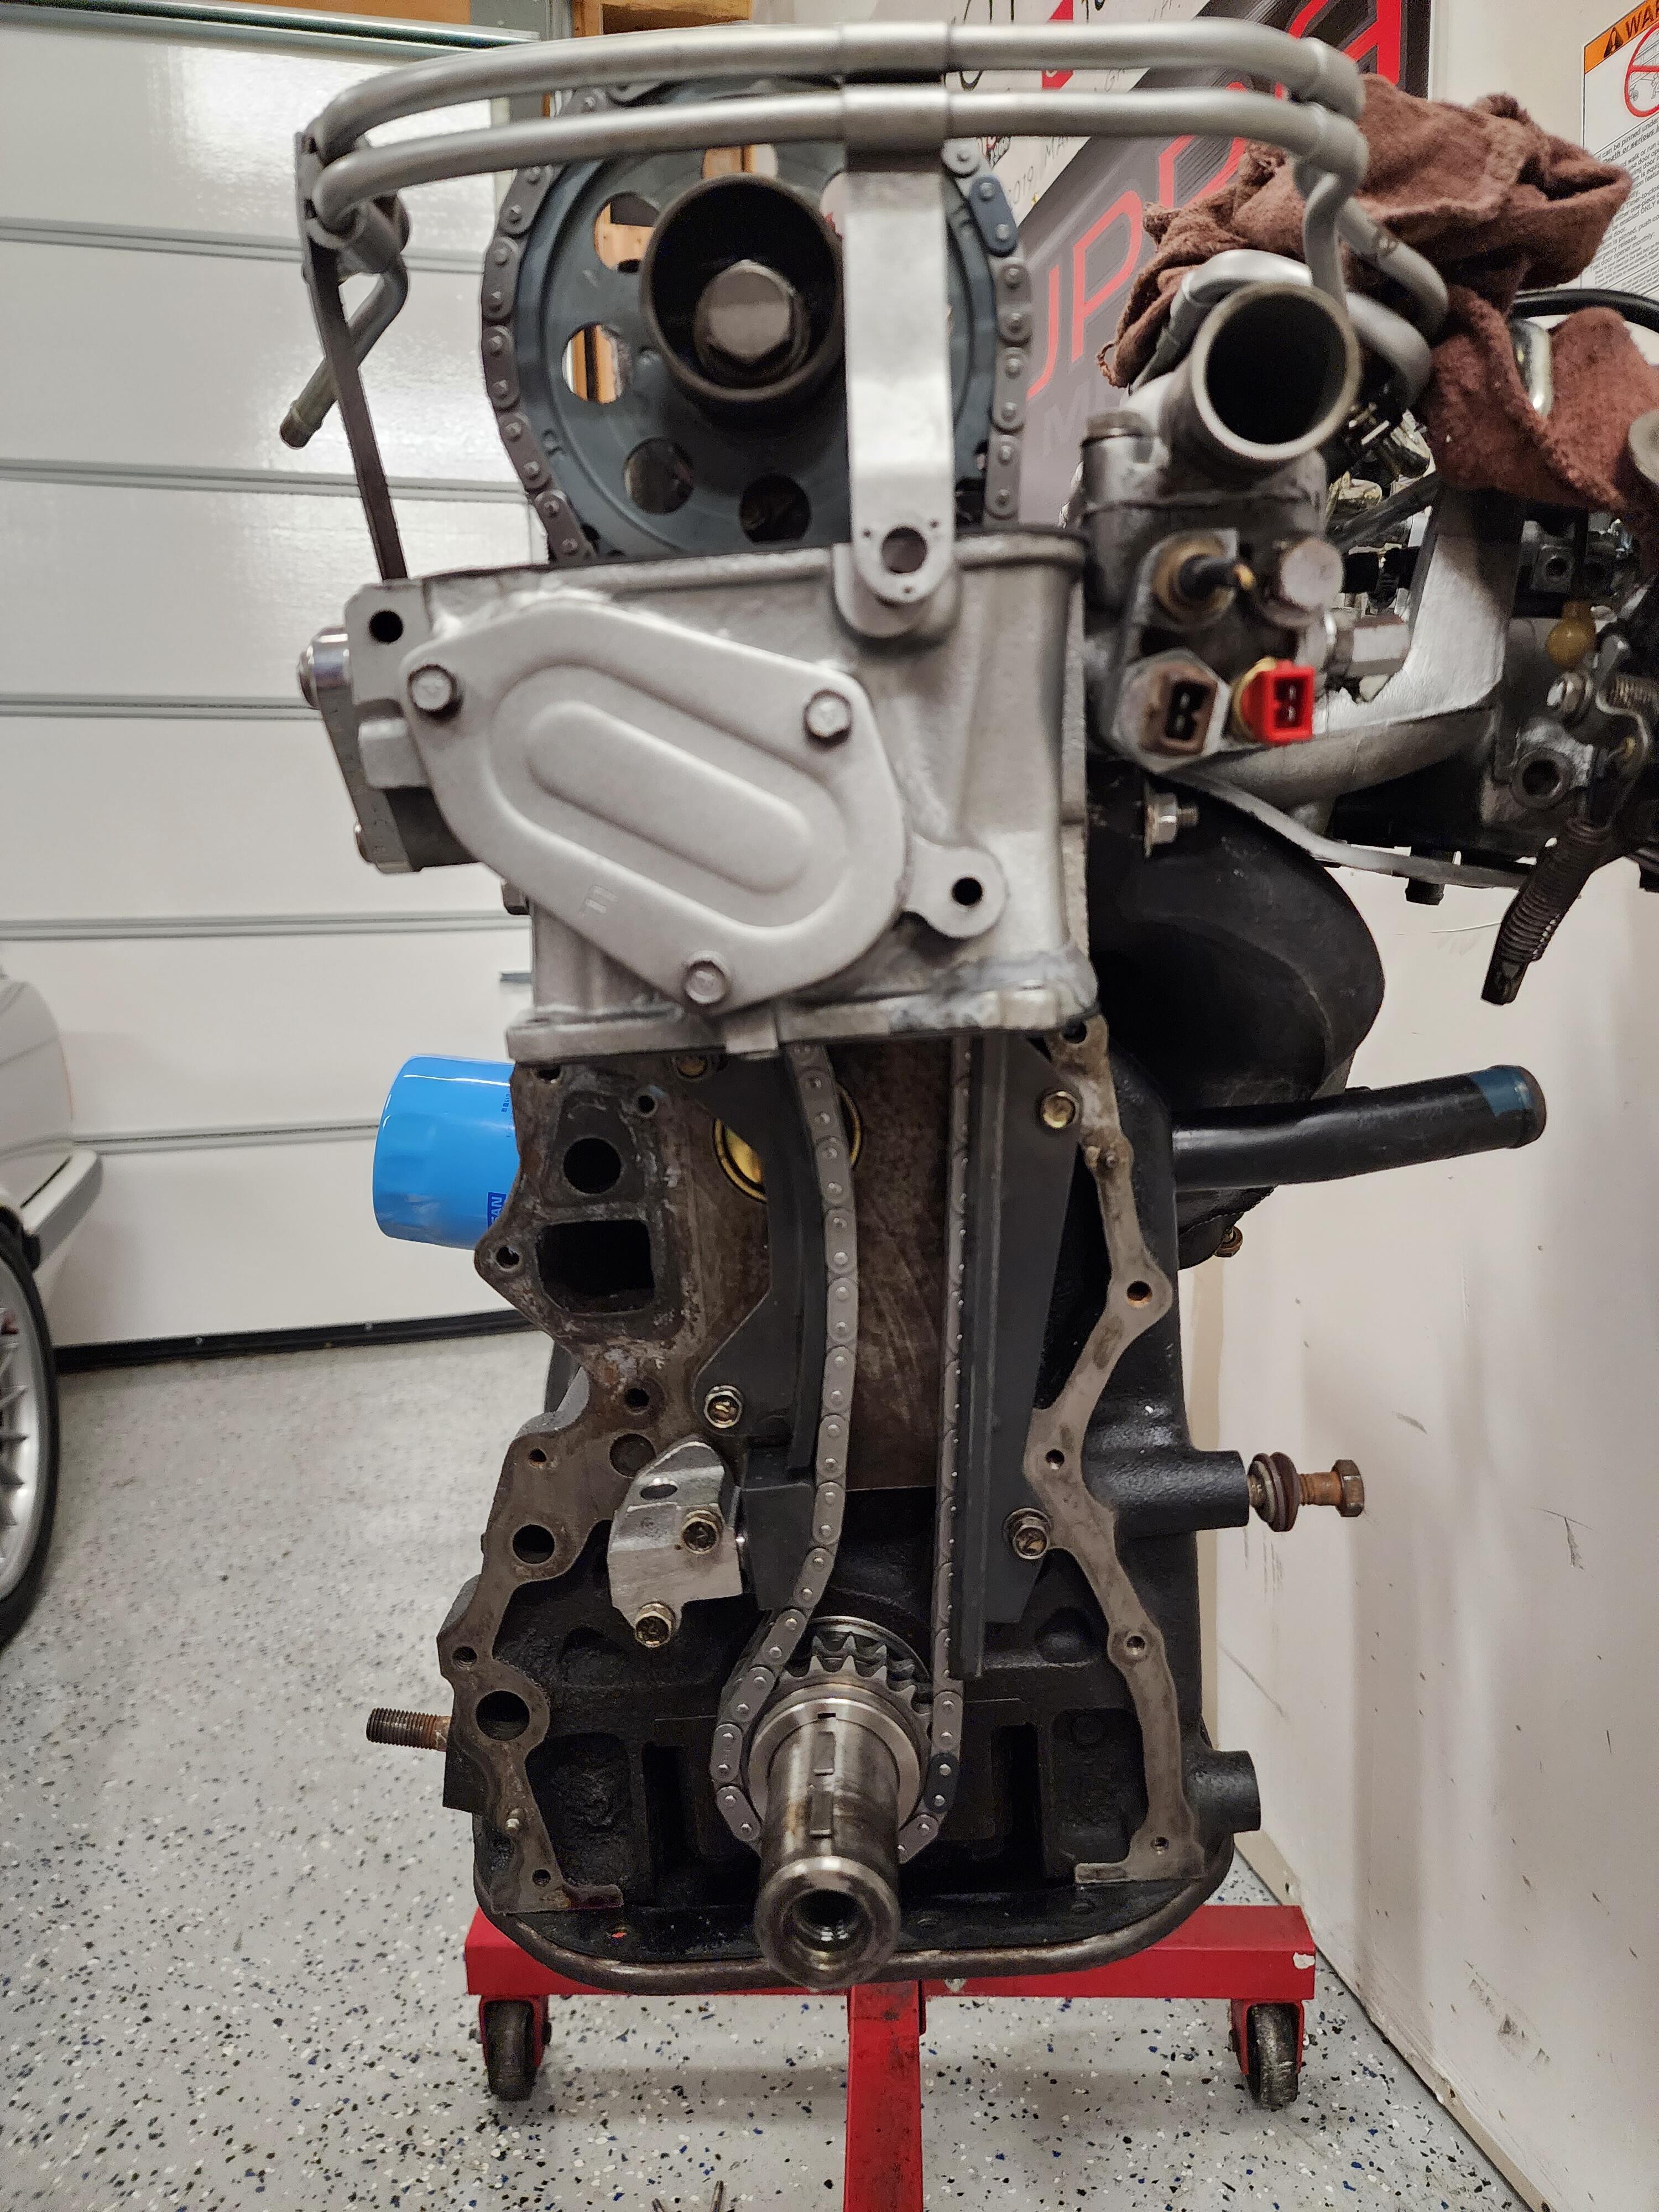
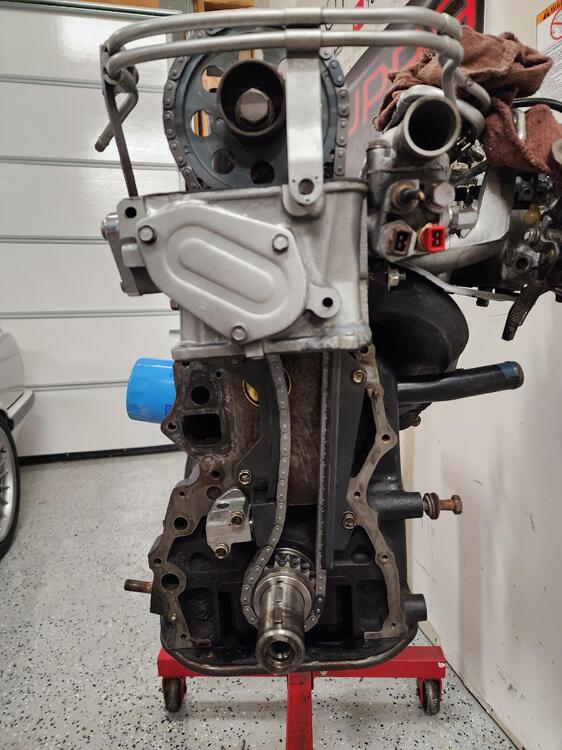
Thanks everyone for your feedback and knowledge. Was able to replace the timing chain and tensioner earlier today in about an hour. Happy to report the issue has been resolved and the tensioner is no longer crazy extended, safe to say the chain was just extremely stretched. Hopefully this week the car will be running again with a fresh new engine rebuild.
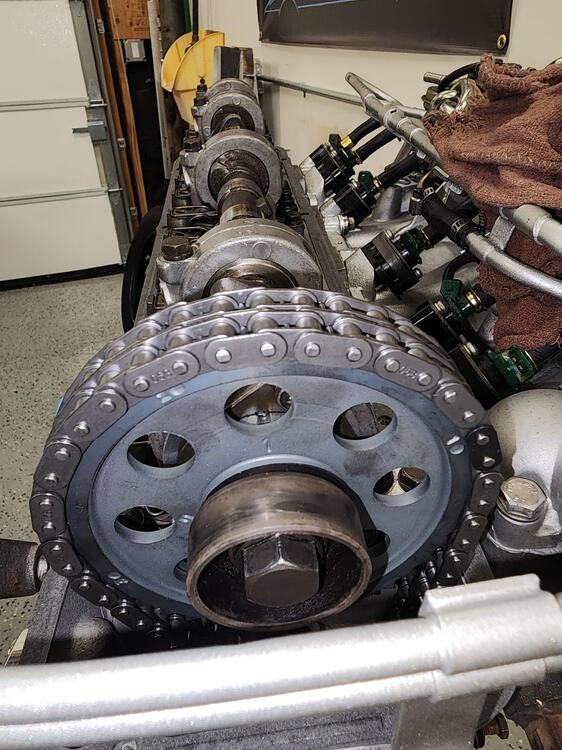 1 point
 -
Thanks for the tips... much appreciated. I'm going to dive in and give it some love. There's a shop in Pasadena (Miller's Sports and Imports) owned by a guy called Skip that works only on Datsuns. Planning to swing by there next week.1 point