Leaderboard
-
duffymahoney
Free Member3Points961Posts -
scotta
Free Member2Points90Posts -
blodi
Free Member2Points345Posts -

Av8ferg
Free Member2Points1,538Posts


Popular Content
Showing content with the highest reputation on 05/09/2018 in Posts
-
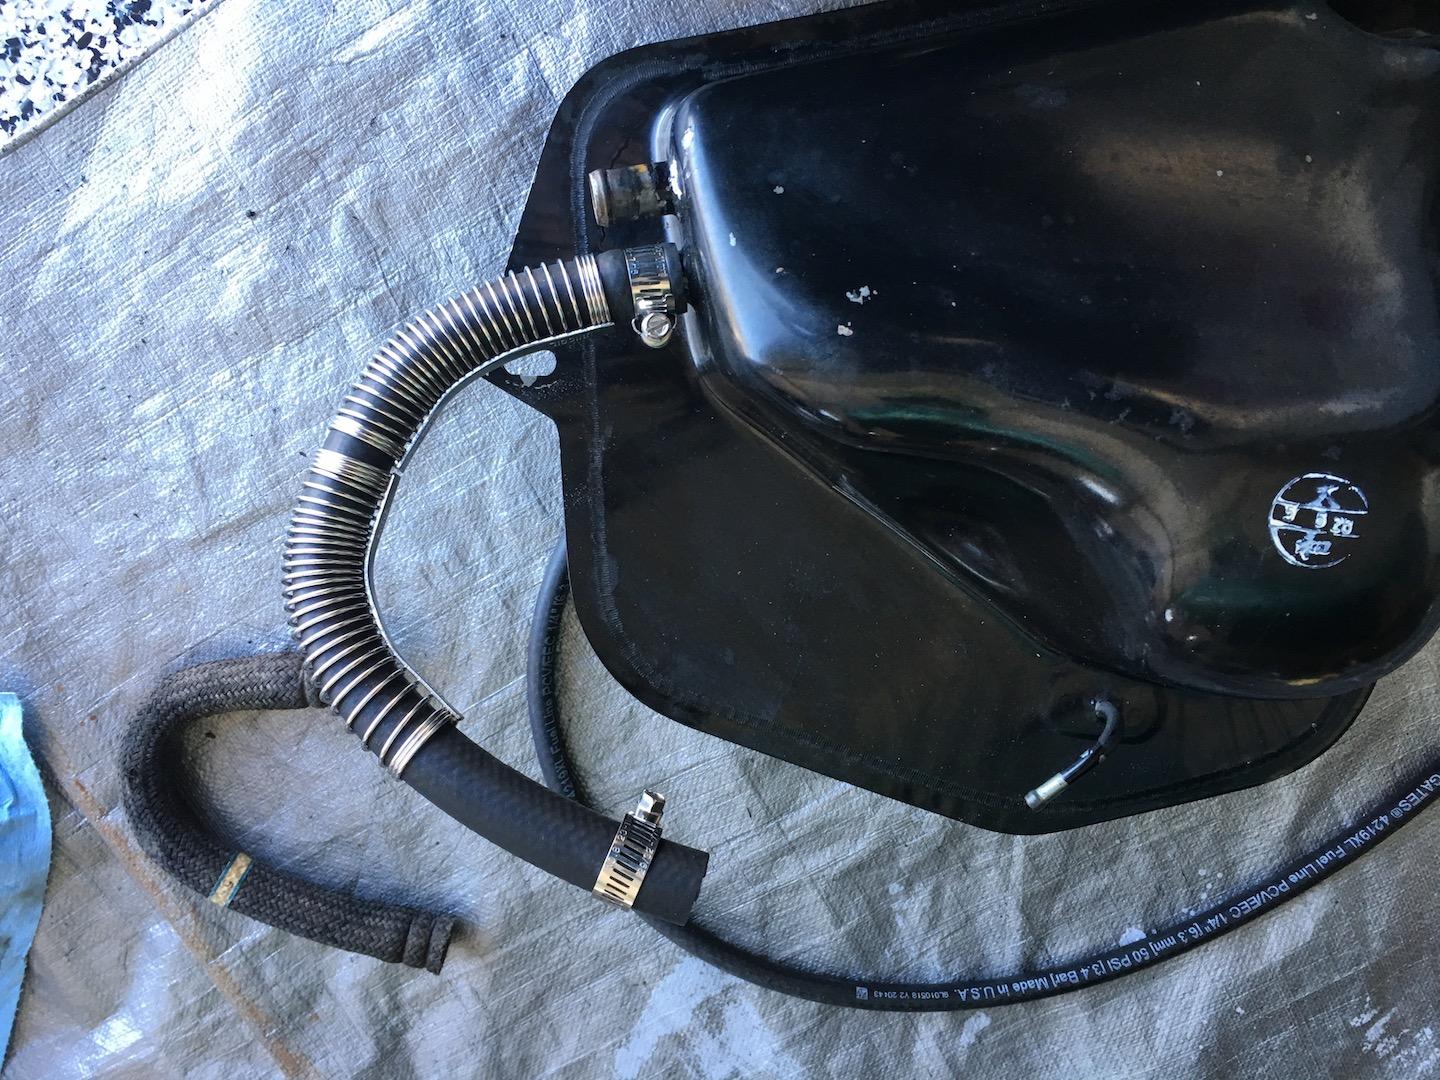
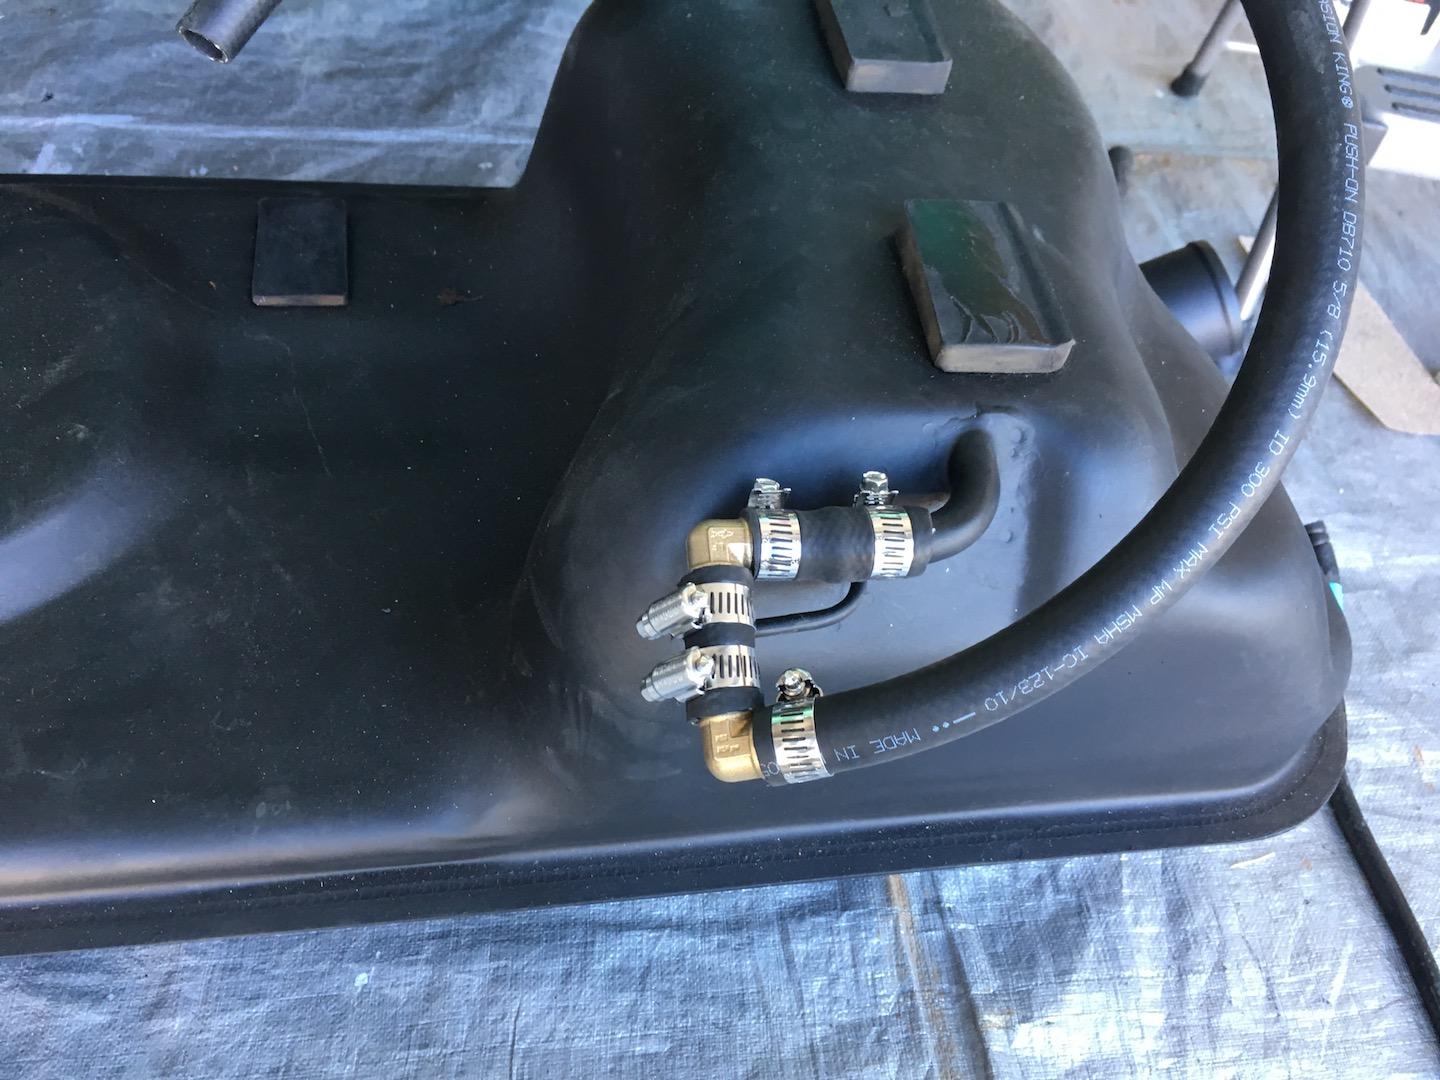
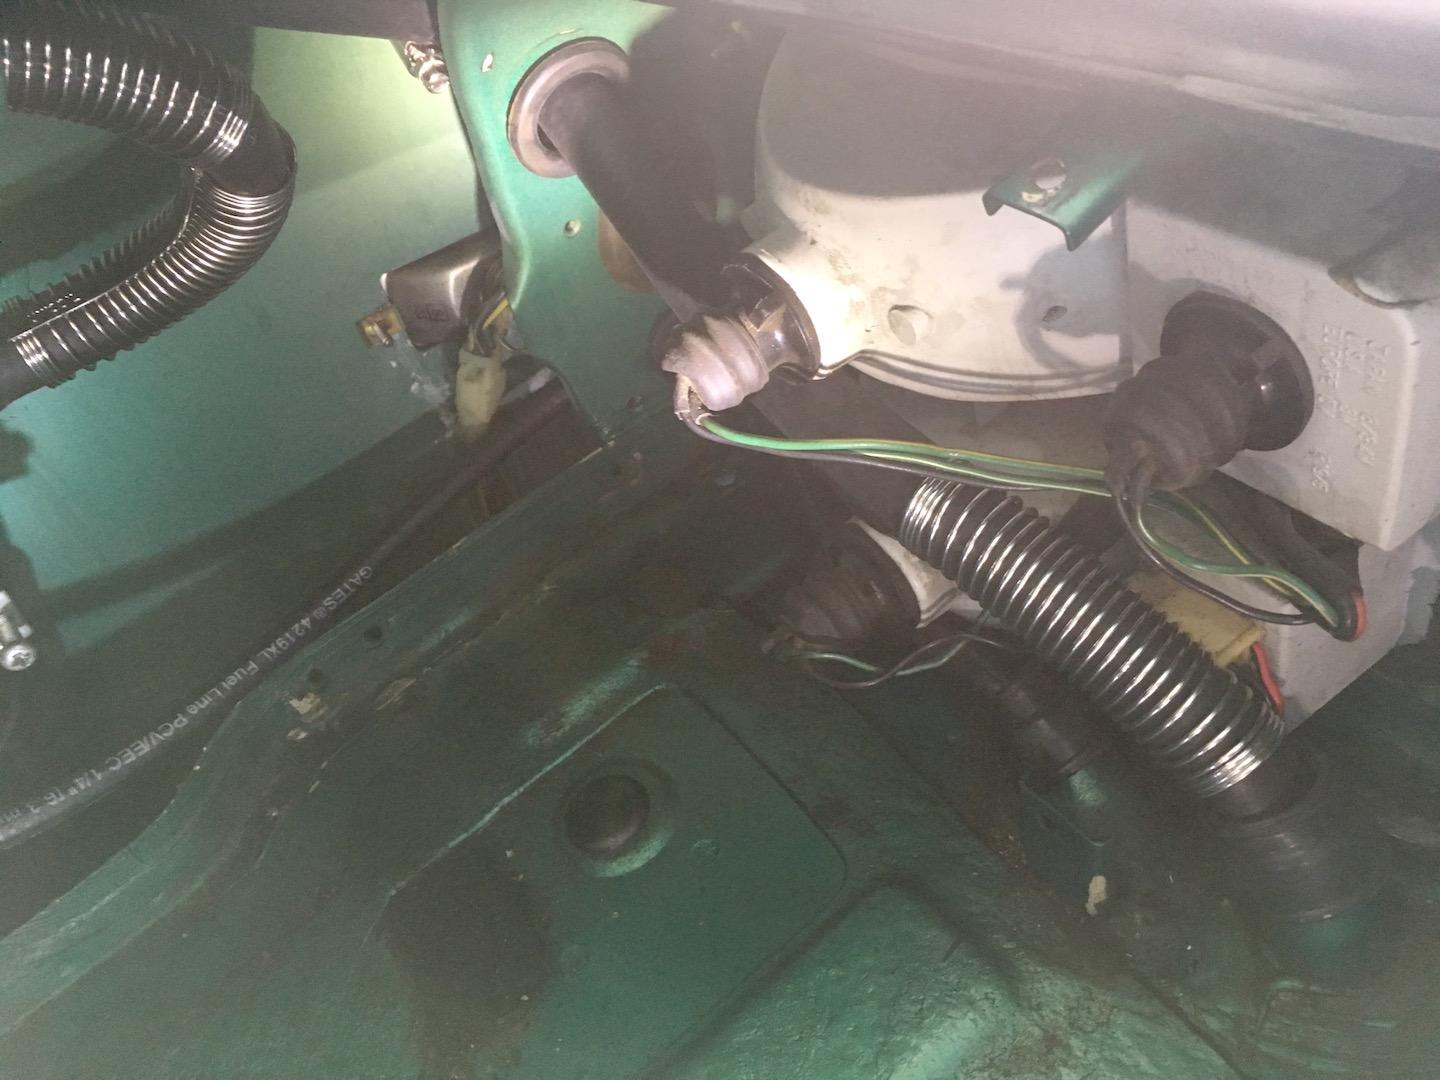
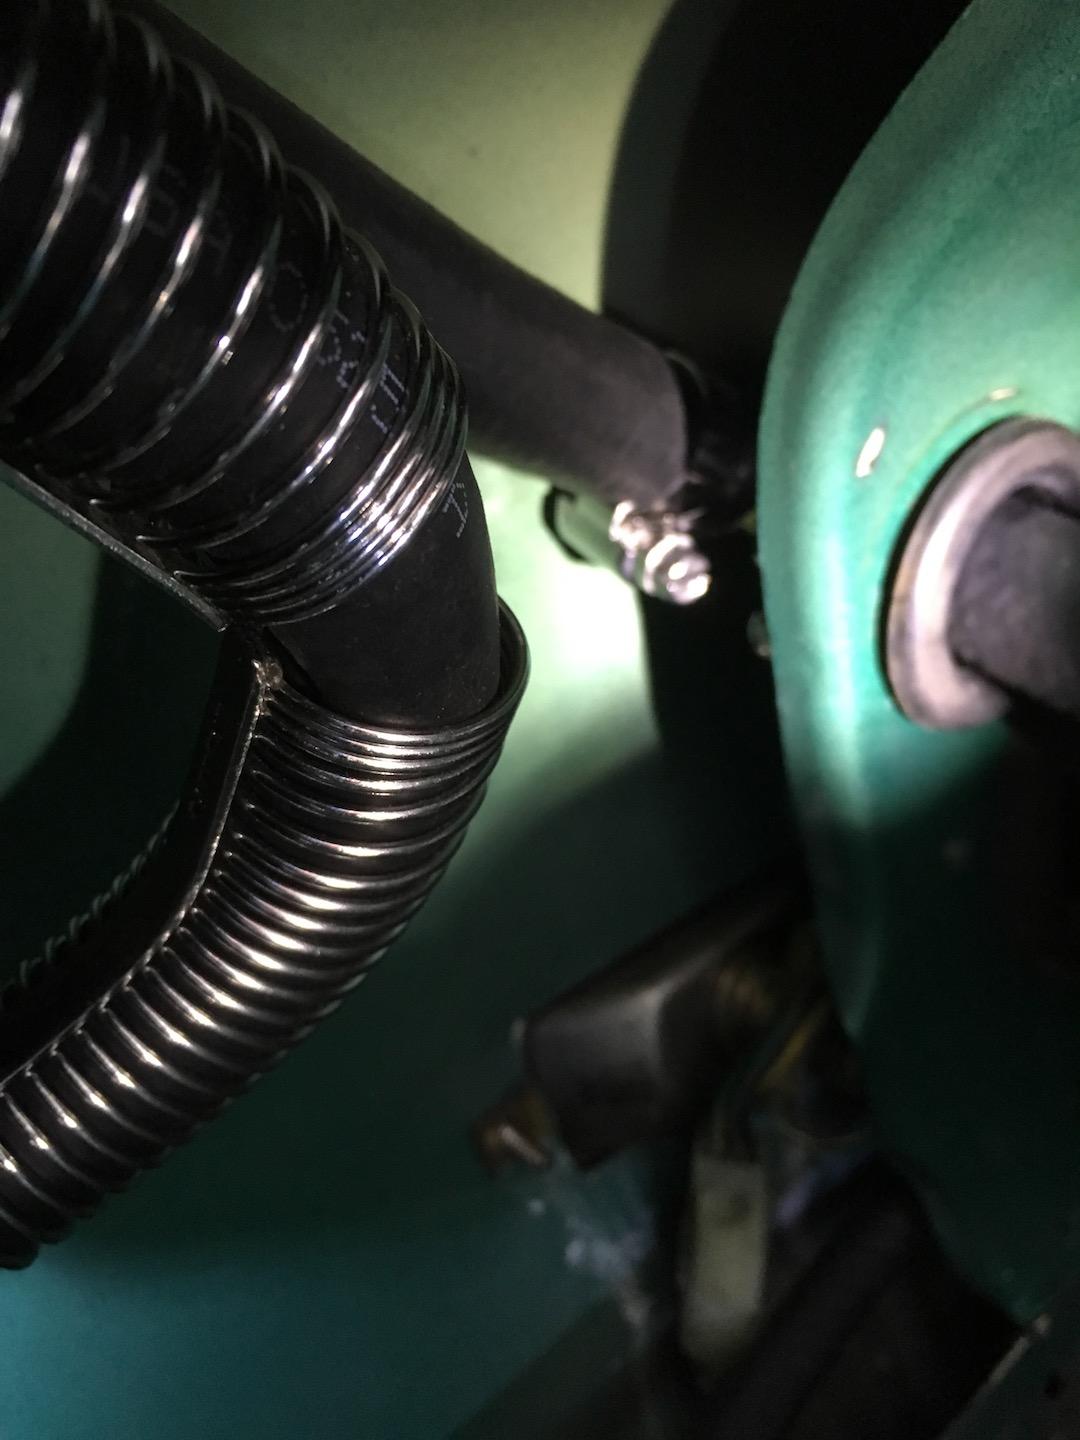
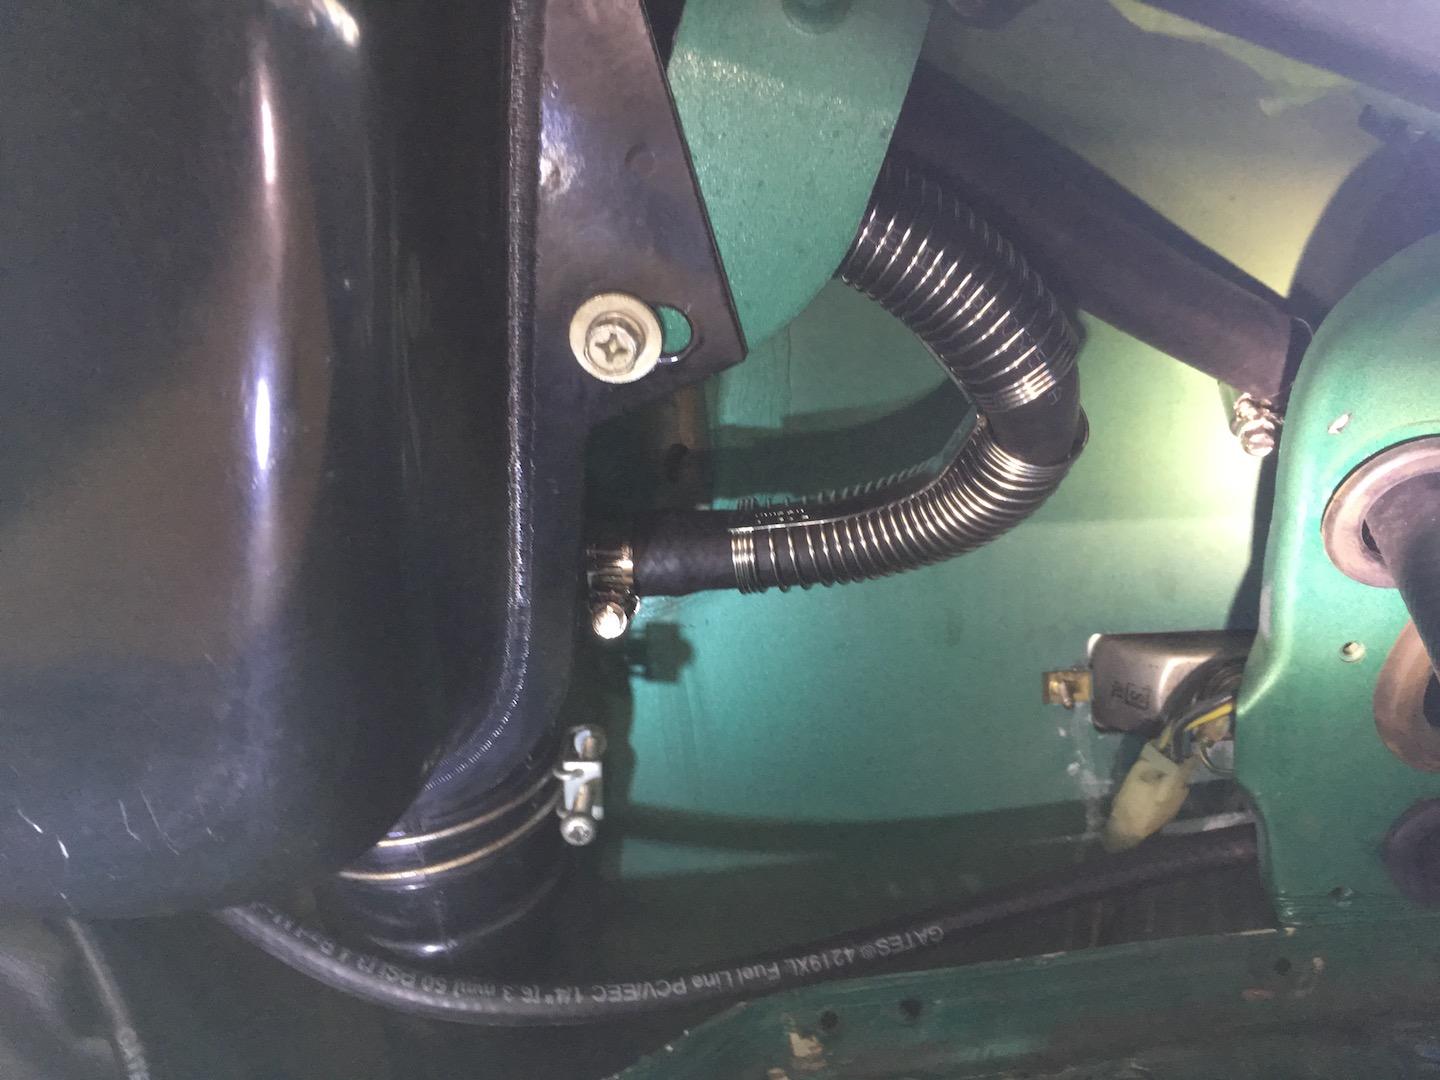
I ended up using three of the 3/4" PEX 90 degree elbows and one uni-coil for the 5/8" ID tank vent line going to the vapor reservoir. Two elbows for the 180 degree loop, and one elbow for where the hose turns from the back panel to the quarter panel towards the vapor reservoir. I used a uni-coil on that hose to prevent it from kinking where the hose first comes up into the cabin and then runs sideways along the back panel. I used two more uni-coils for the filler vent hose makes a 180 degree turn to connect the filler to the reservoir. I purchased the 3/4" PEX elbows from my local Lowes store, and I bought the uni-coils online from BelMetric.com (part # RHBEND23.6). Here are some pictures of my installation.


 2 points
 -
Ok...where were we? Oh yeah...tuning webers....lets get this thread back to that! IMG_5211 by blodi, on Flickr2 points
-
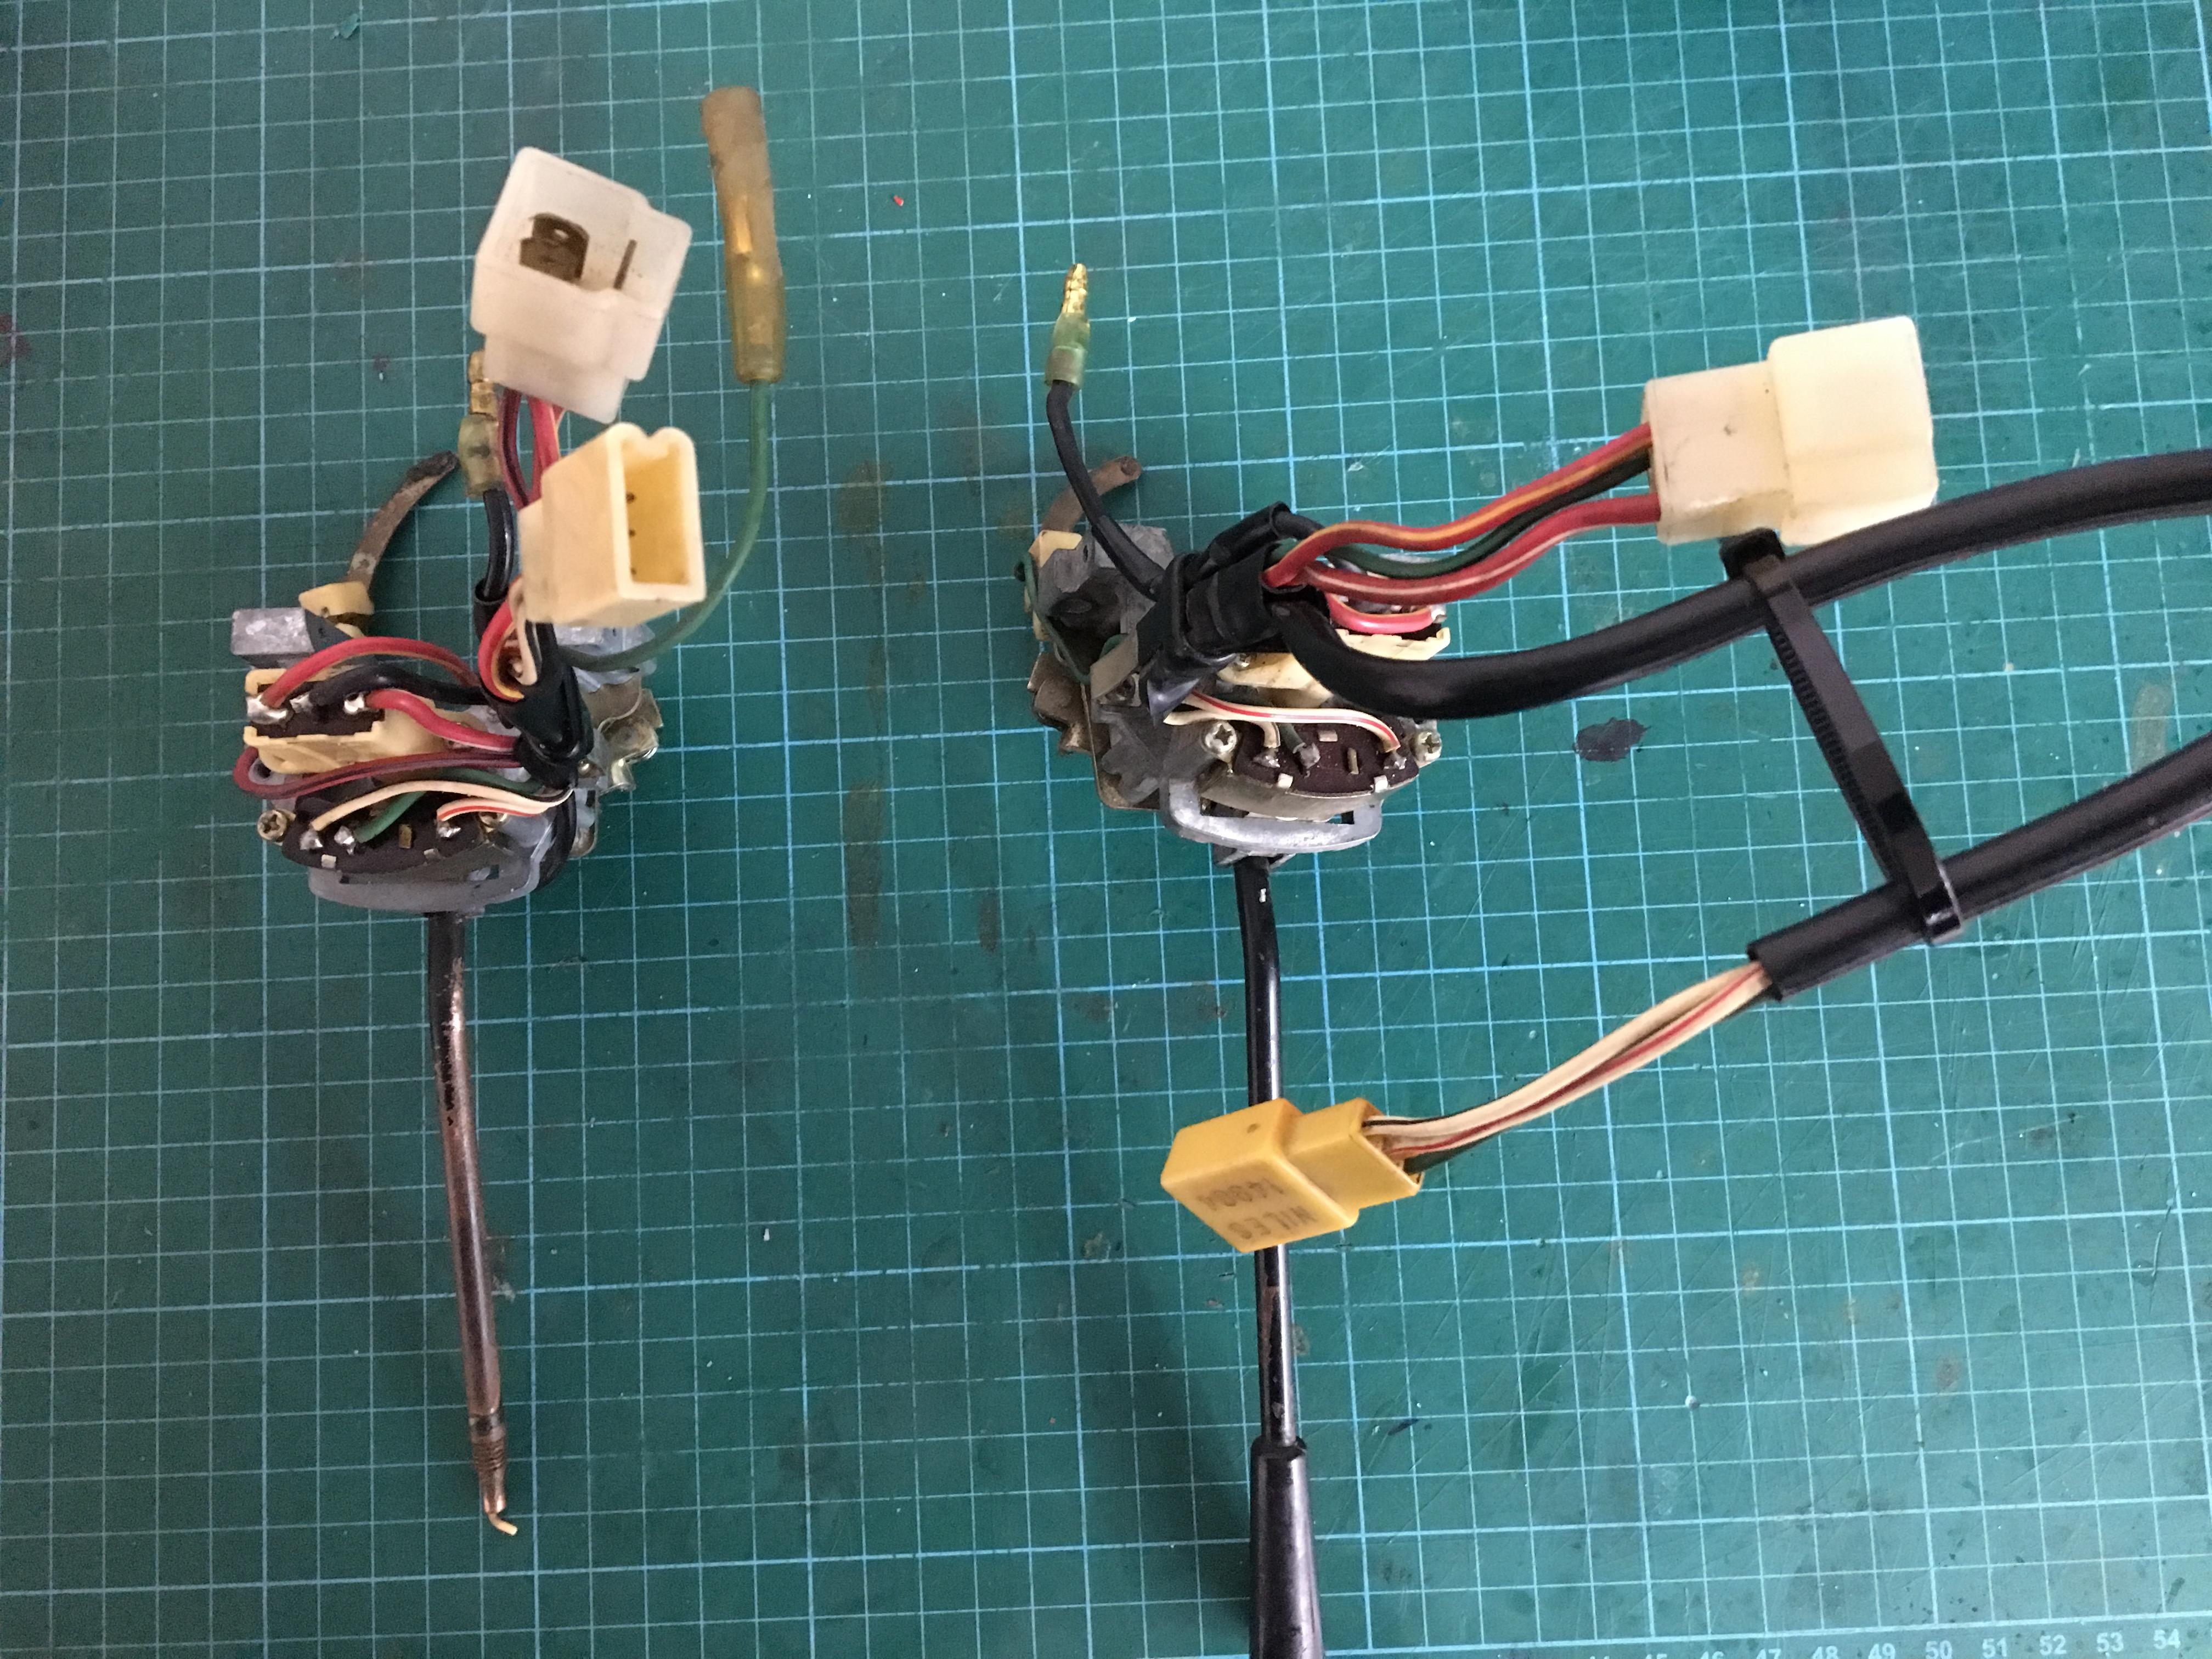
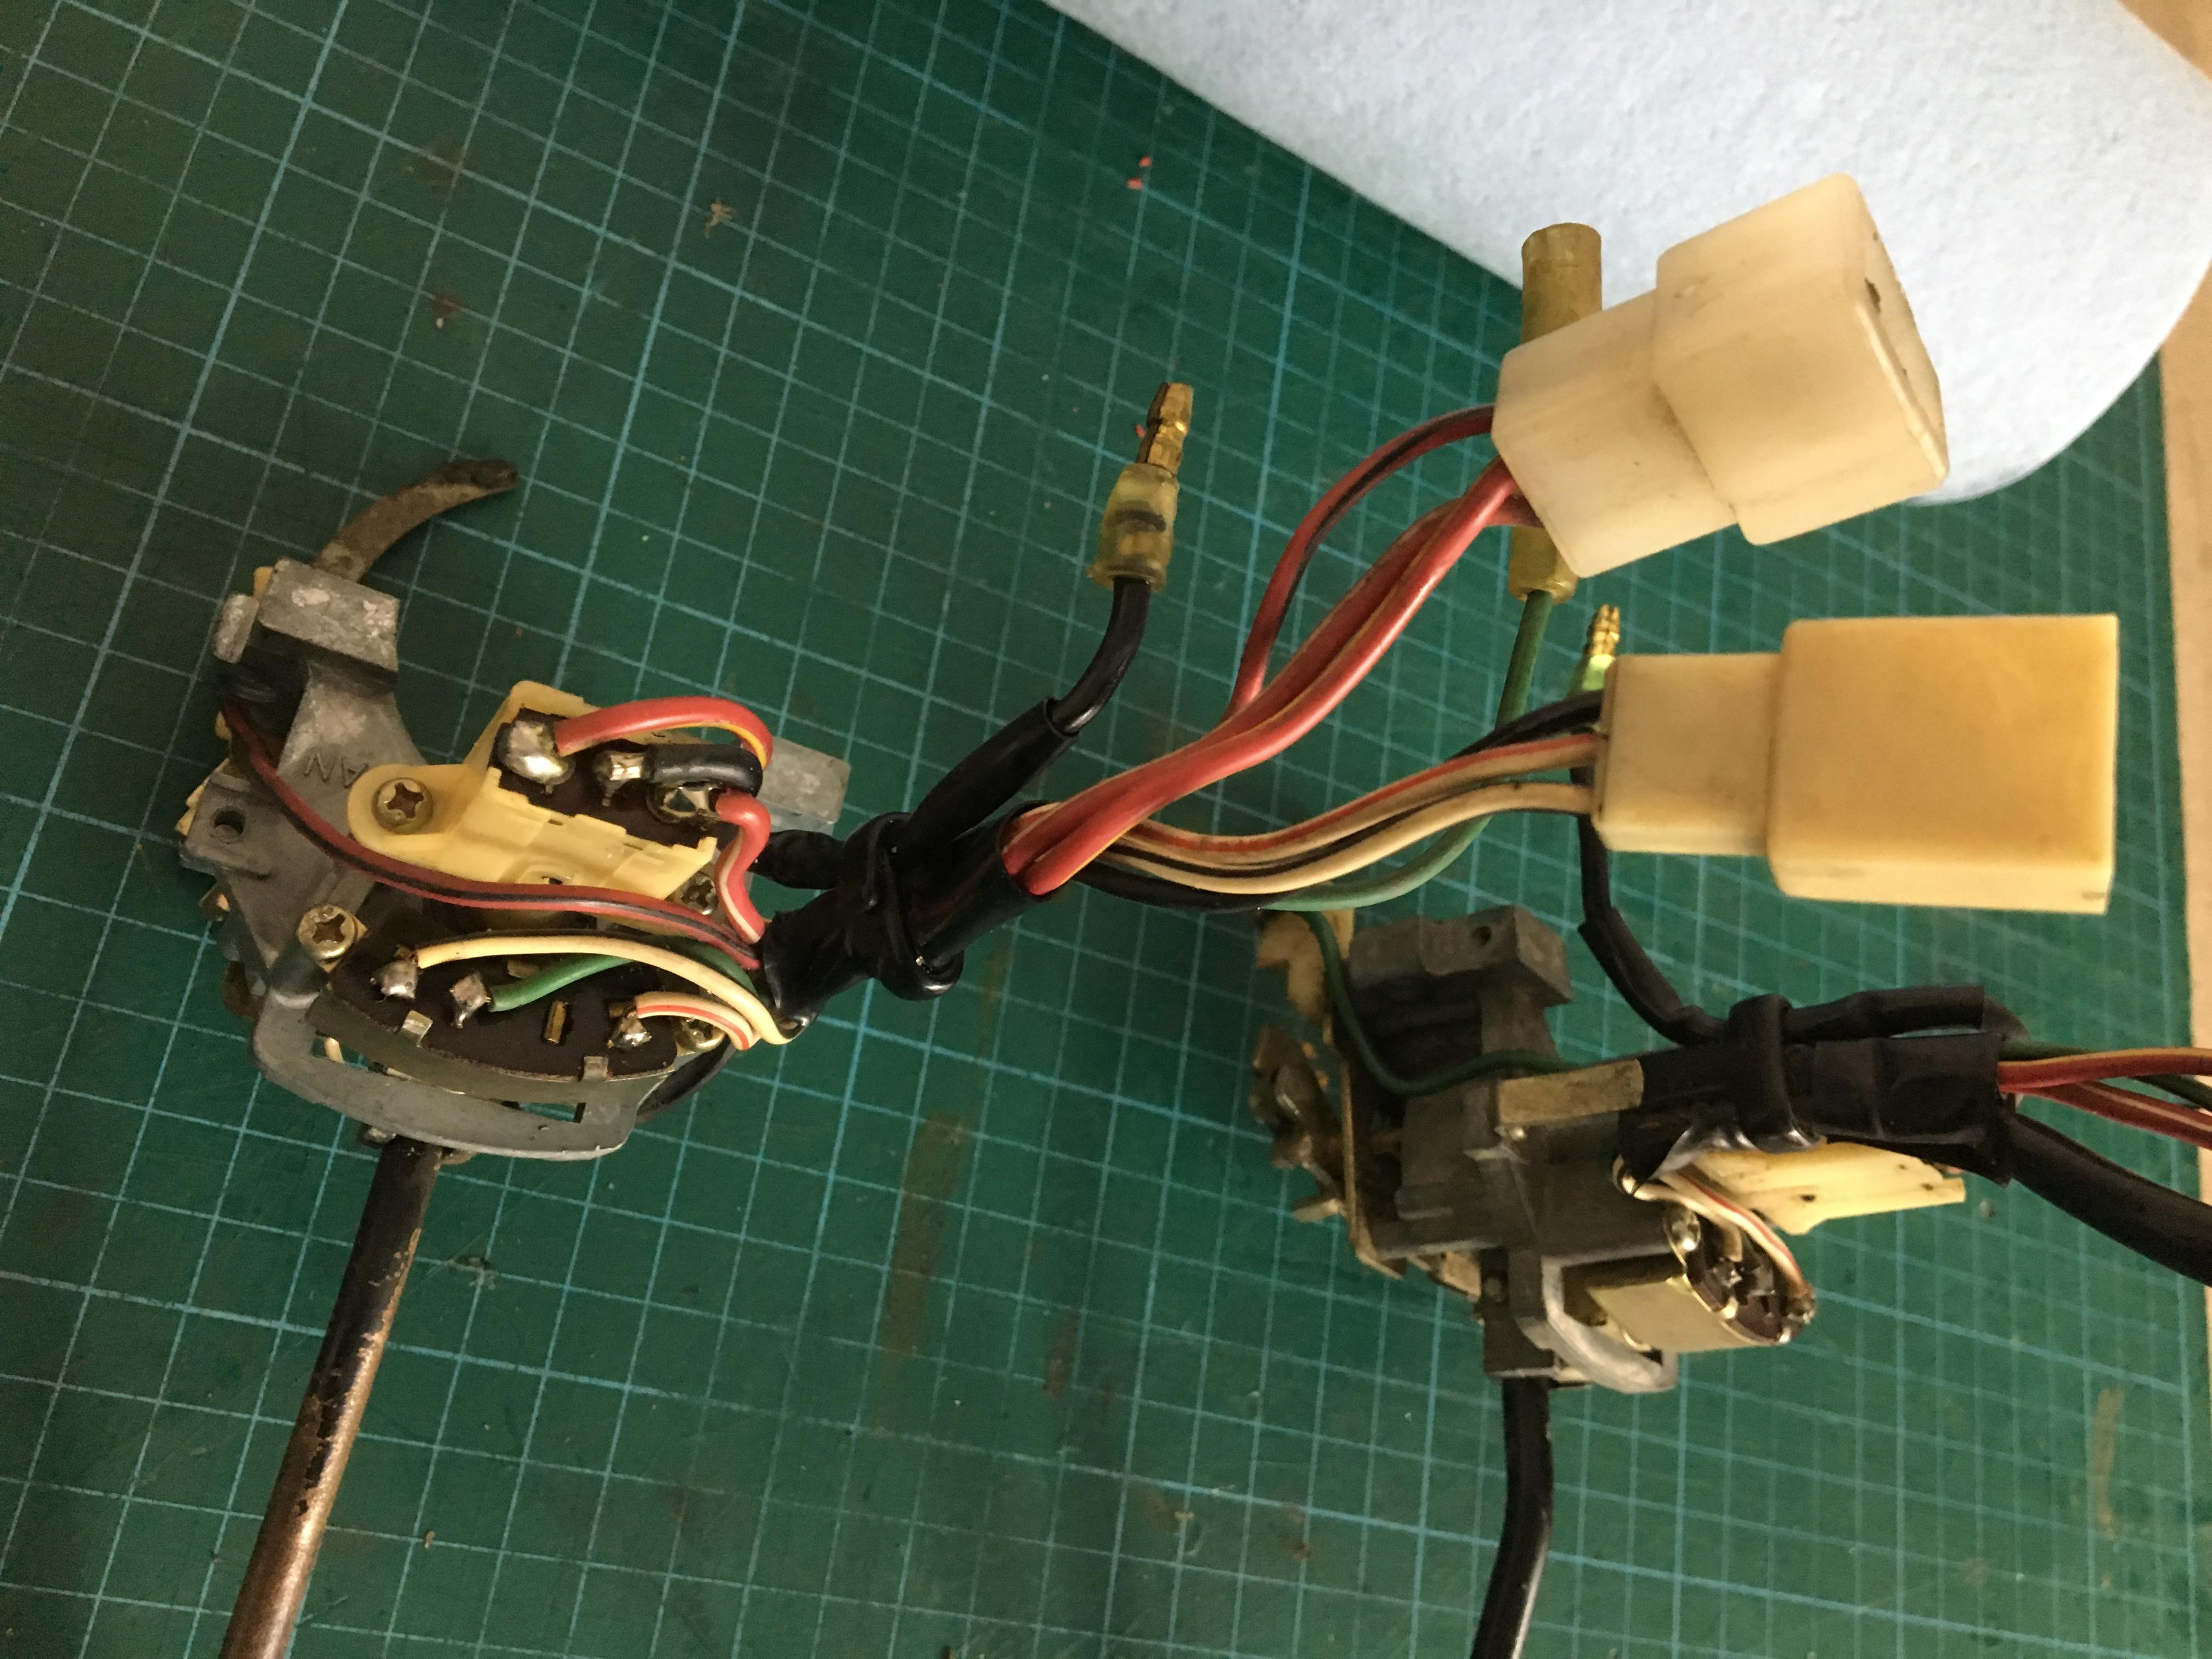
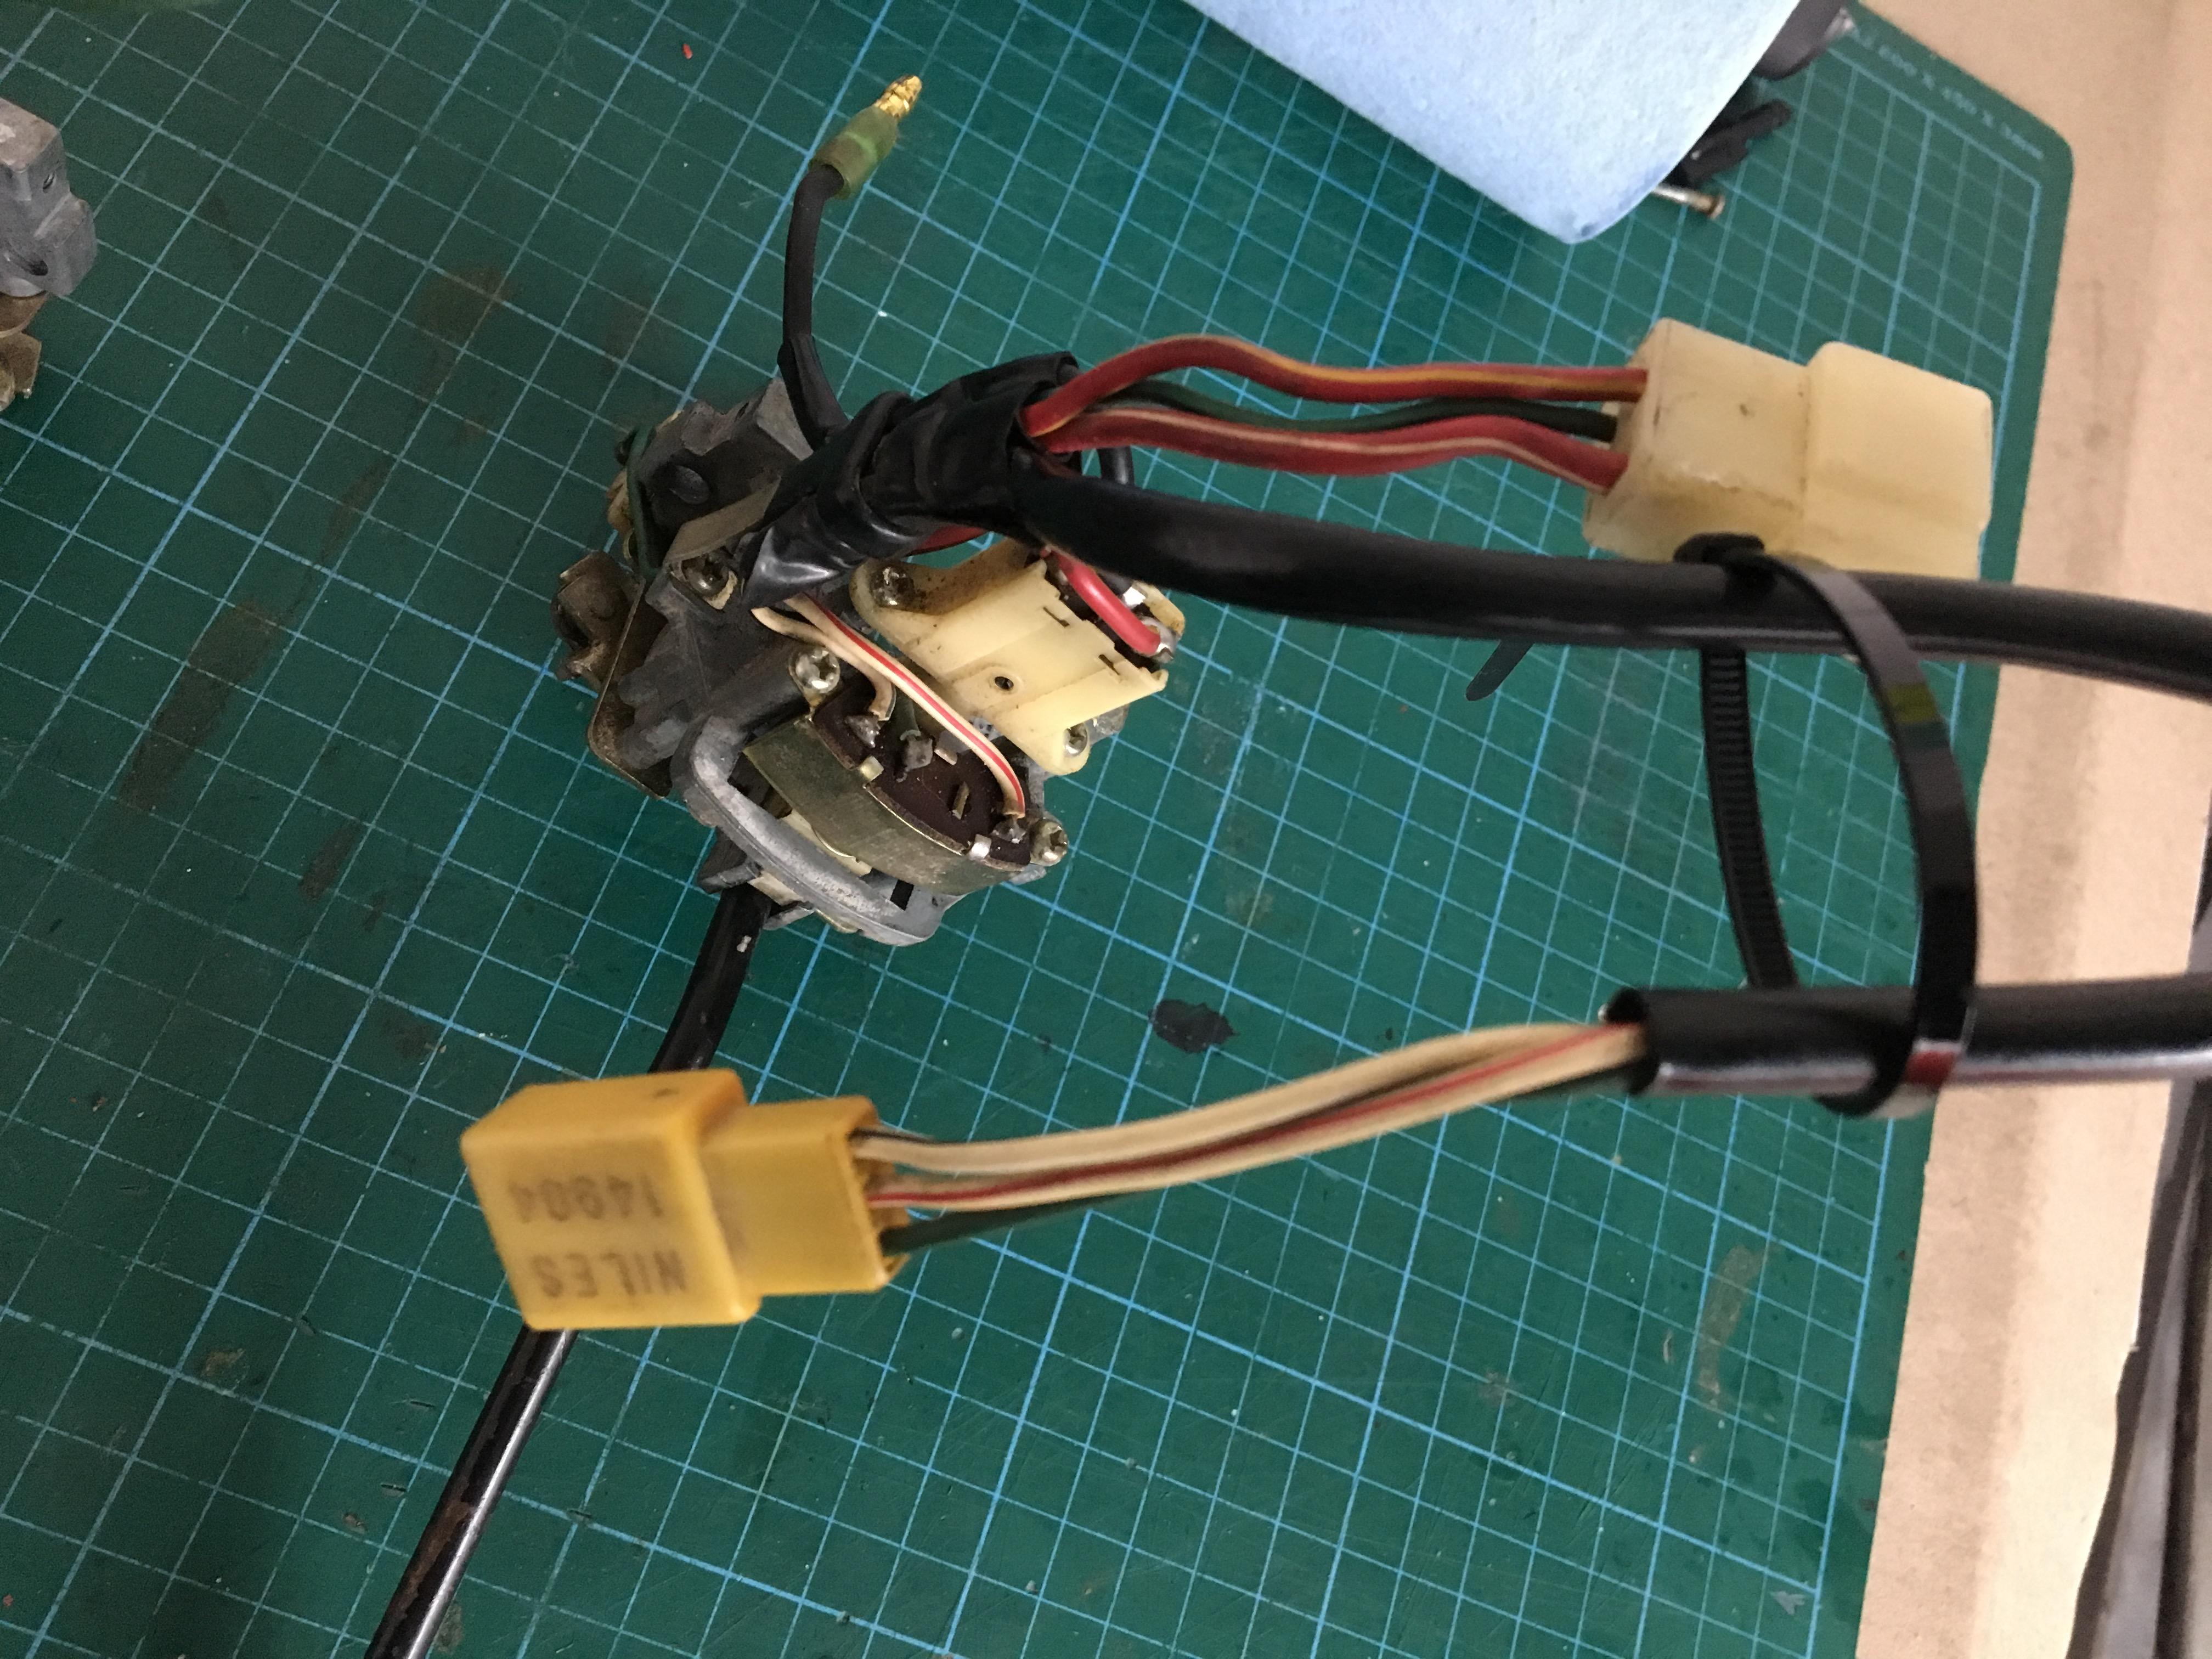
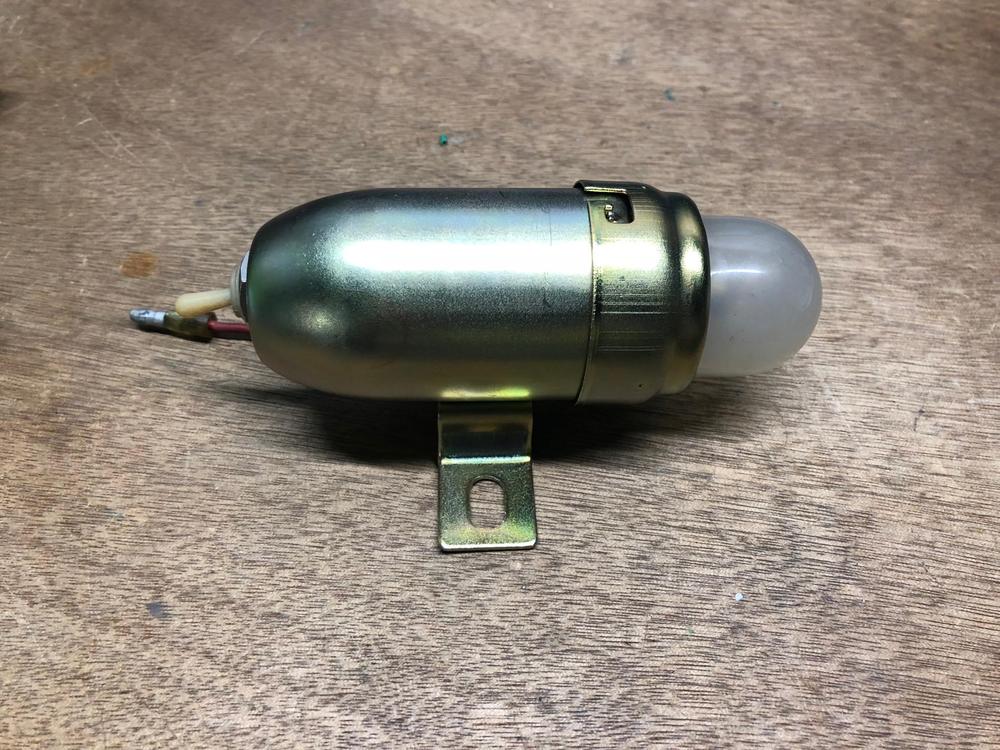
2 pointsProblem solved. Thanks to the wiring diagram and the 'flash to pass' circuit nudge.(Thx Kats & cgsheen1) Turns out the previous owner had installed a 1973 US turn signal (he was using that as a parts car), and just plugged it in. Turns out the wiring is different between the US 240z and JDM Fairlady Z. Attached for reference is JDM version on left, US version on right. Note the turn signal plugs left and right wires are the same but the flash to pass wire is on the JDM one. A clean up of the JDM version, rebuild the switches and reinstalled and all working now. Other thing to note is the flasher in the JDM version is on the RHS of the car, with all the other electrics. Another problem solved, one more step to getting her road worthy.


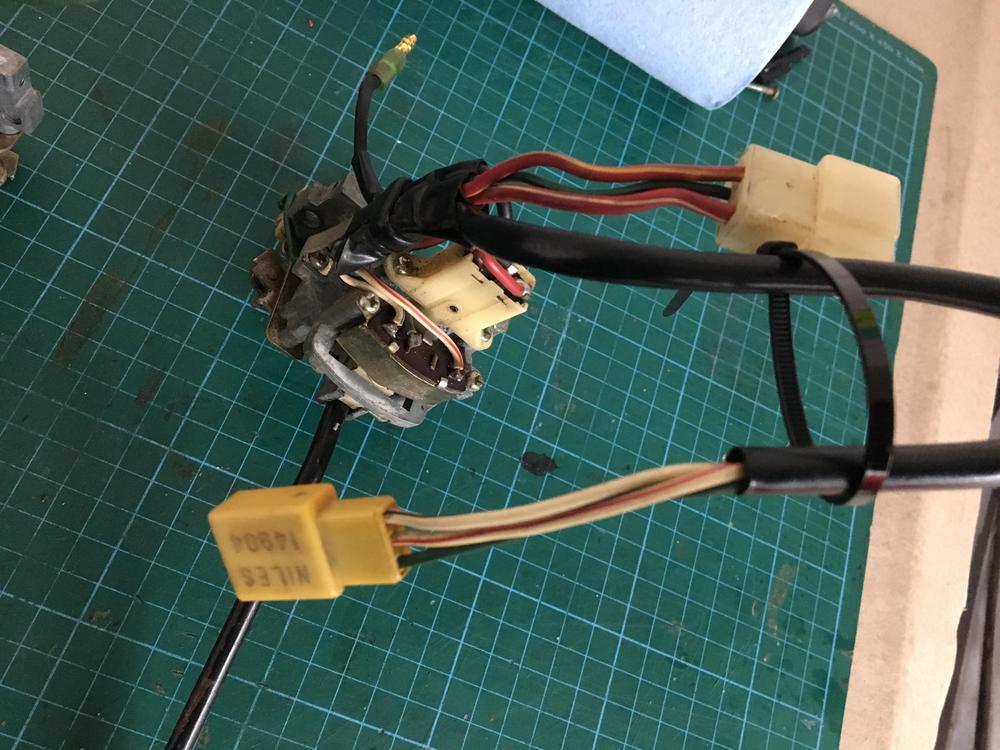 2 points
 -
I have to leave that wingnut in the cover when removing. Just get it loose and leave it in and pull the cover.1 point
-
1 pointIt will sit in a hot garage for 5 days. Hopefully that will suffice. Break....break EuroDat, thanks for the measurements. I tried to pull the line of the Z’s in the yard today but the fitting were rusted and I would have stripped them out. Will bring PB blaster next time and a proper fitting wrench and try again otherwise will try a diffferent approach. Lastly will this driver’s side window fit in my 77? I know they made some door changes that year but not sure if it effected window attachment or figment.1 point
-
I already left but can grab them possibly next week, forgot about your request.1 point
-
Well more to report still, recently its felt like one step forward and two steps backwards however I finally feel as though some progress is being made. Quite a few weeks back now my new OS Giken single plate clutch and lightweight flywheel combo turned up from Japan which looks like a piece of art, currently placed on the shelf gathering dust for now though. I’ve also received an uprated diff mount from the US which seemed like some sensible over engineering to go in with the LSD not knowing the state of the oem hardware which I imagine is still very original. I now have a good lead for S14 gears thanks to JP so keeping my fingers crossed on that count, my Z therapy setup is also just waiting on the polished intake manifold and then that’ll be on its way as well. In other good news the stub axels made by John Williams have just been finished so I’m finalising details to have a small batch sent across for a few of us at the same time to keep costs down. Having further investigated my coolant issues as several of you now know it turned out to be that the water pump gasket had failed and was leaking coolant down the block onto the alternator belt and arb. Having written the car off from attending both the Donington Historic and Japfest I changed my registration on both tickets not thinking I wouldn’t be able to source and fit a replacement before the weekends shows. Having nearly given up in a last ditch attempt I gave Four ways a call on Thursday who happened to have literally one left in stock so a priority delivery later and I had a replacement on Friday morning before show day. Having got home and drained and stripped the front end it was clear that the original gasket was knackered and where the leak was coming from, having cleaned the surfaces and fitted everything back up it was apparent the gasket hadn’t seated properly so back it all came off with some more gasket sealant more generously applied to the bottom to seal the joint. Everything was going well at this point until in my tired state I over tightened the last bolt and snapped it! A job for later, the system was refilled and the leak was gone. Following a short test drive, fuelled up and loaded all the spares I could think of into the car as well as printed off my breakdown cover policy the car was ready to go at 11pm. Having recycled the coolant following the installation more signs have been appearing to support the theory that the car had serious coolant system issues in the past before my ownership and the band aid approach was applied. Having now done the heater matrix, head gasket, water pump and physically inspected and seen the poor state of the oem radiator it’s clear that some form of rad weld was holding the system together for a while. Plans in the short term are to remove the water pump to sort the snapped bolt and replace all bolts with new ones, completely flush the system again and look to sort the radiator. I’m still in two minds as to whether to re-core the oem radiator or to take the opportunity to drop a Mishimoto Ali rad in its place to improve the cars cooling. I’ve also been recommended a Gano filter that can be put into the system to pick up any remaining crud as well which should all massibly improve the efficiency. Fingers crossed that once this has been done everything was be in tip top condition and I won’t have any more surprises from the engine bay. The good news was despite the fact the engine needs a health check it made both Donington and Japfest and managed both journeys without complaint! Both shows were fantastic and allowed for some long overdue catch ups, let me put some faces to names and get plenty of ideas of things to be done. Having not been out in the car properly in months it was really nice and gave me some much needed motivation to push on with the project. The car got some fantastic attention over the weekend particularly at Japfest which was really nice, and on the home had people hanging out of windows and all sorts to get pictures and wave. I’m just keeping my fingers crossed everything slots together I can try and ambitiously get everything some before the Le Mans Classic in July. IMG-5612 by Mark Woodrow, on Flickr IMG-6011 by Mark Woodrow, on Flickr When most people are cleaning their cars or chilling with a beer before show day! IMG-6013 by Mark Woodrow, on Flickr Out with the old and in with the new IMG-6014 by Mark Woodrow, on Flickr Looking fairly tired and abused IMG-6016 by Mark Woodrow, on Flickr More evidence of my band aid theory, this didn’t get back into the system IMG-6021 by Mark Woodrow, on Flickr1 point
-
1 pointIf you are talking about the foot rest pedal pad motorsport sells kits including that pad but they don't sell it separately. Actually it looks like zcardepot sells it separately. https://zcardepot.com/foot-rest-pedal-pad-rubber-oem-240z-260z-280z-70-78.html1 point
-
1 pointMy pleasure. Glad to help. Steve and Dave know the system inside and out, but at least I can do that much.1 point
-
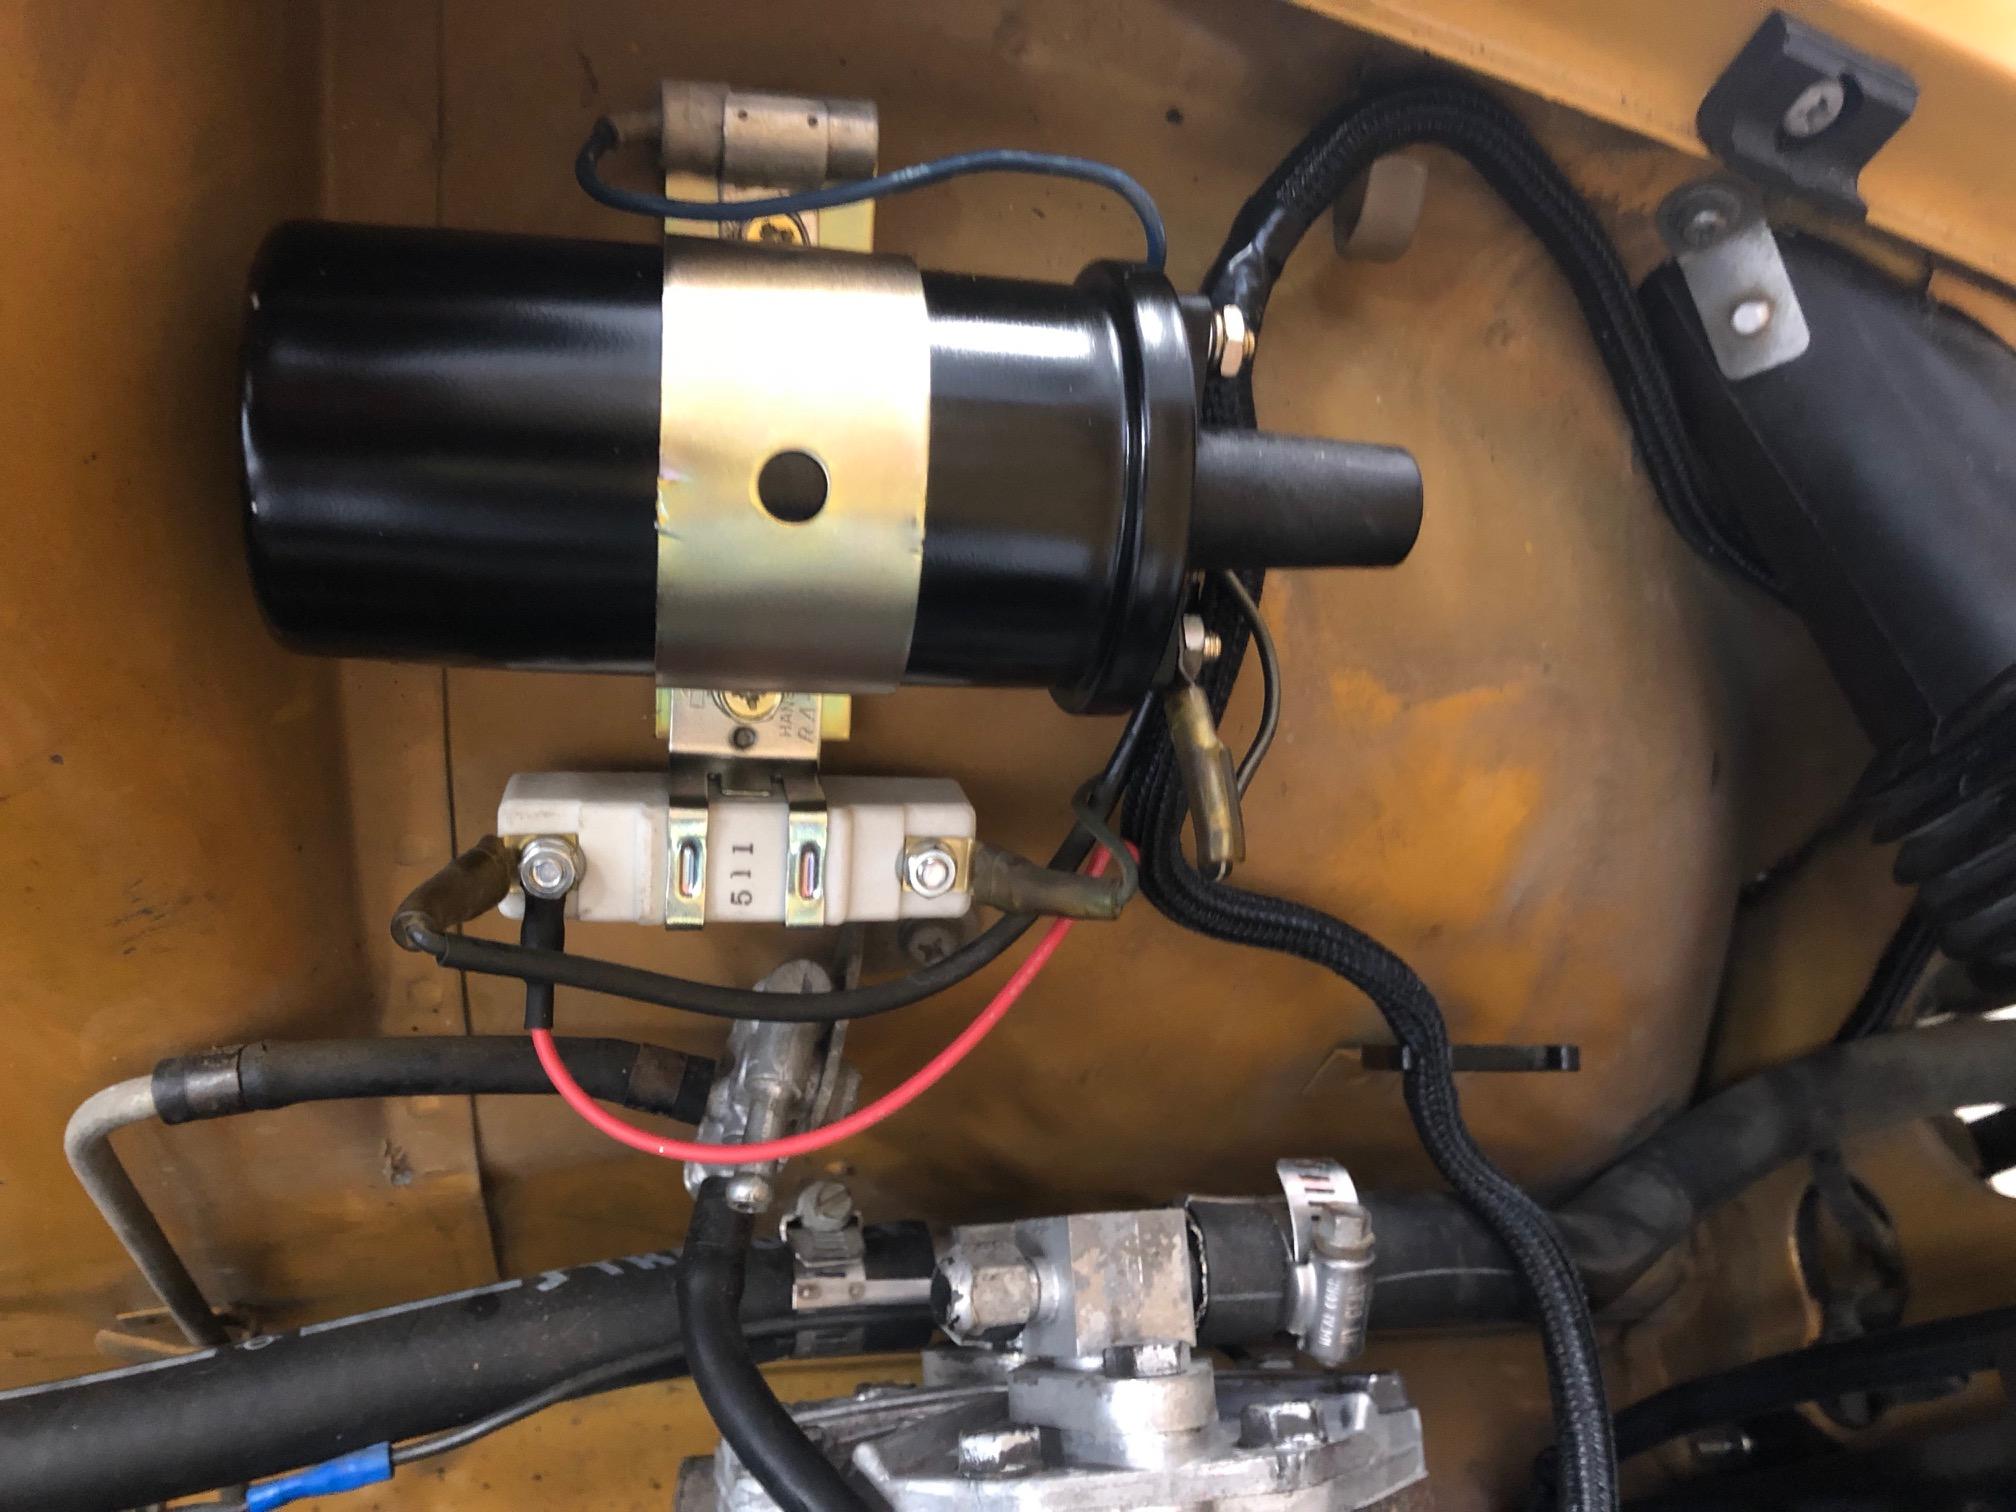
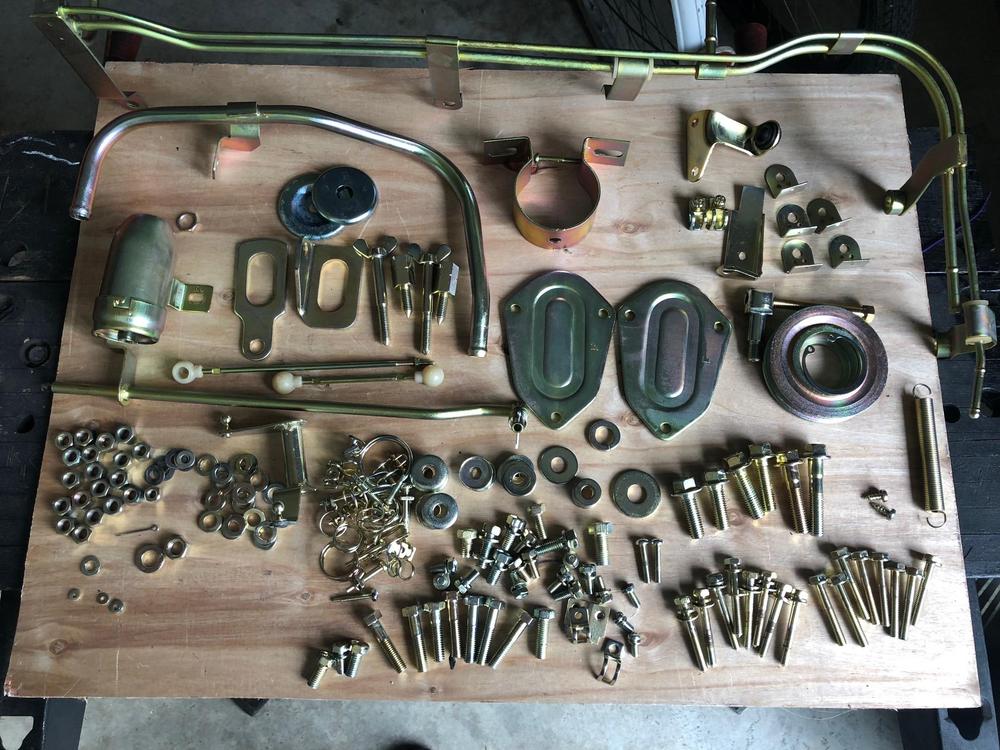
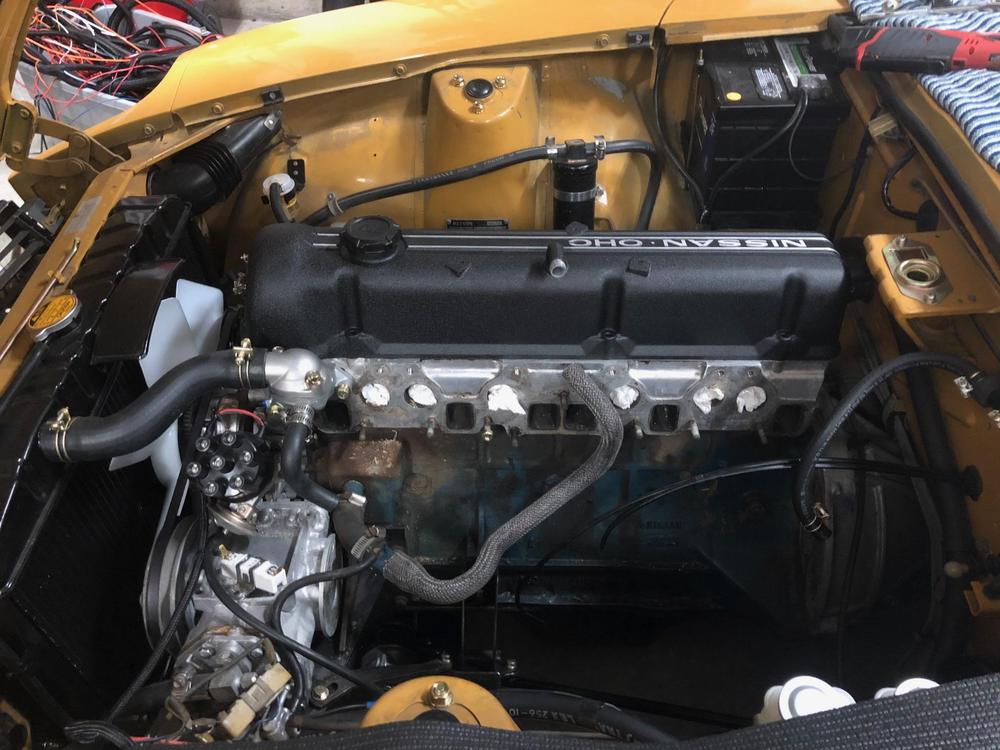
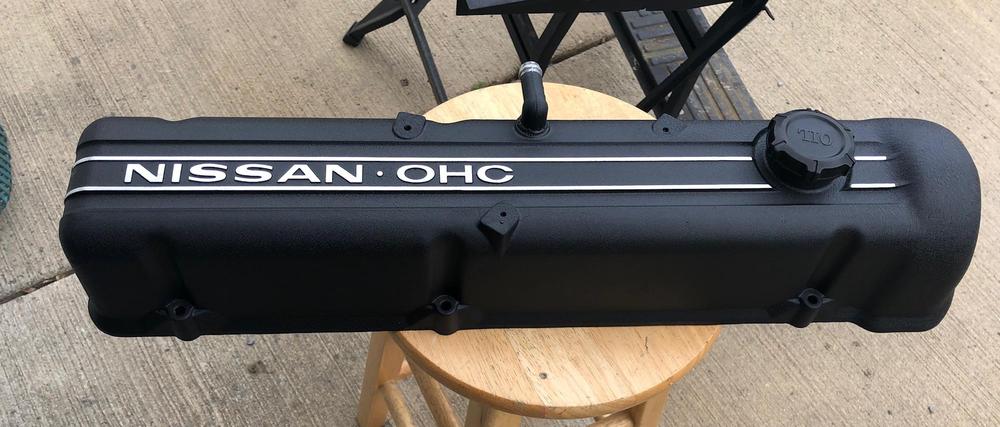
1 pointWorked on the valve cover over the weekend and also took the rest of the engine bay off for zinc. Got a new NOS ballast for my ignition and also upgraded to electronic pertronix coil and points. 1.5ohm coil so hopefully my tach works. Valve cover is wrinkle powder coated black. I love how it turned out.


 1 point
 -
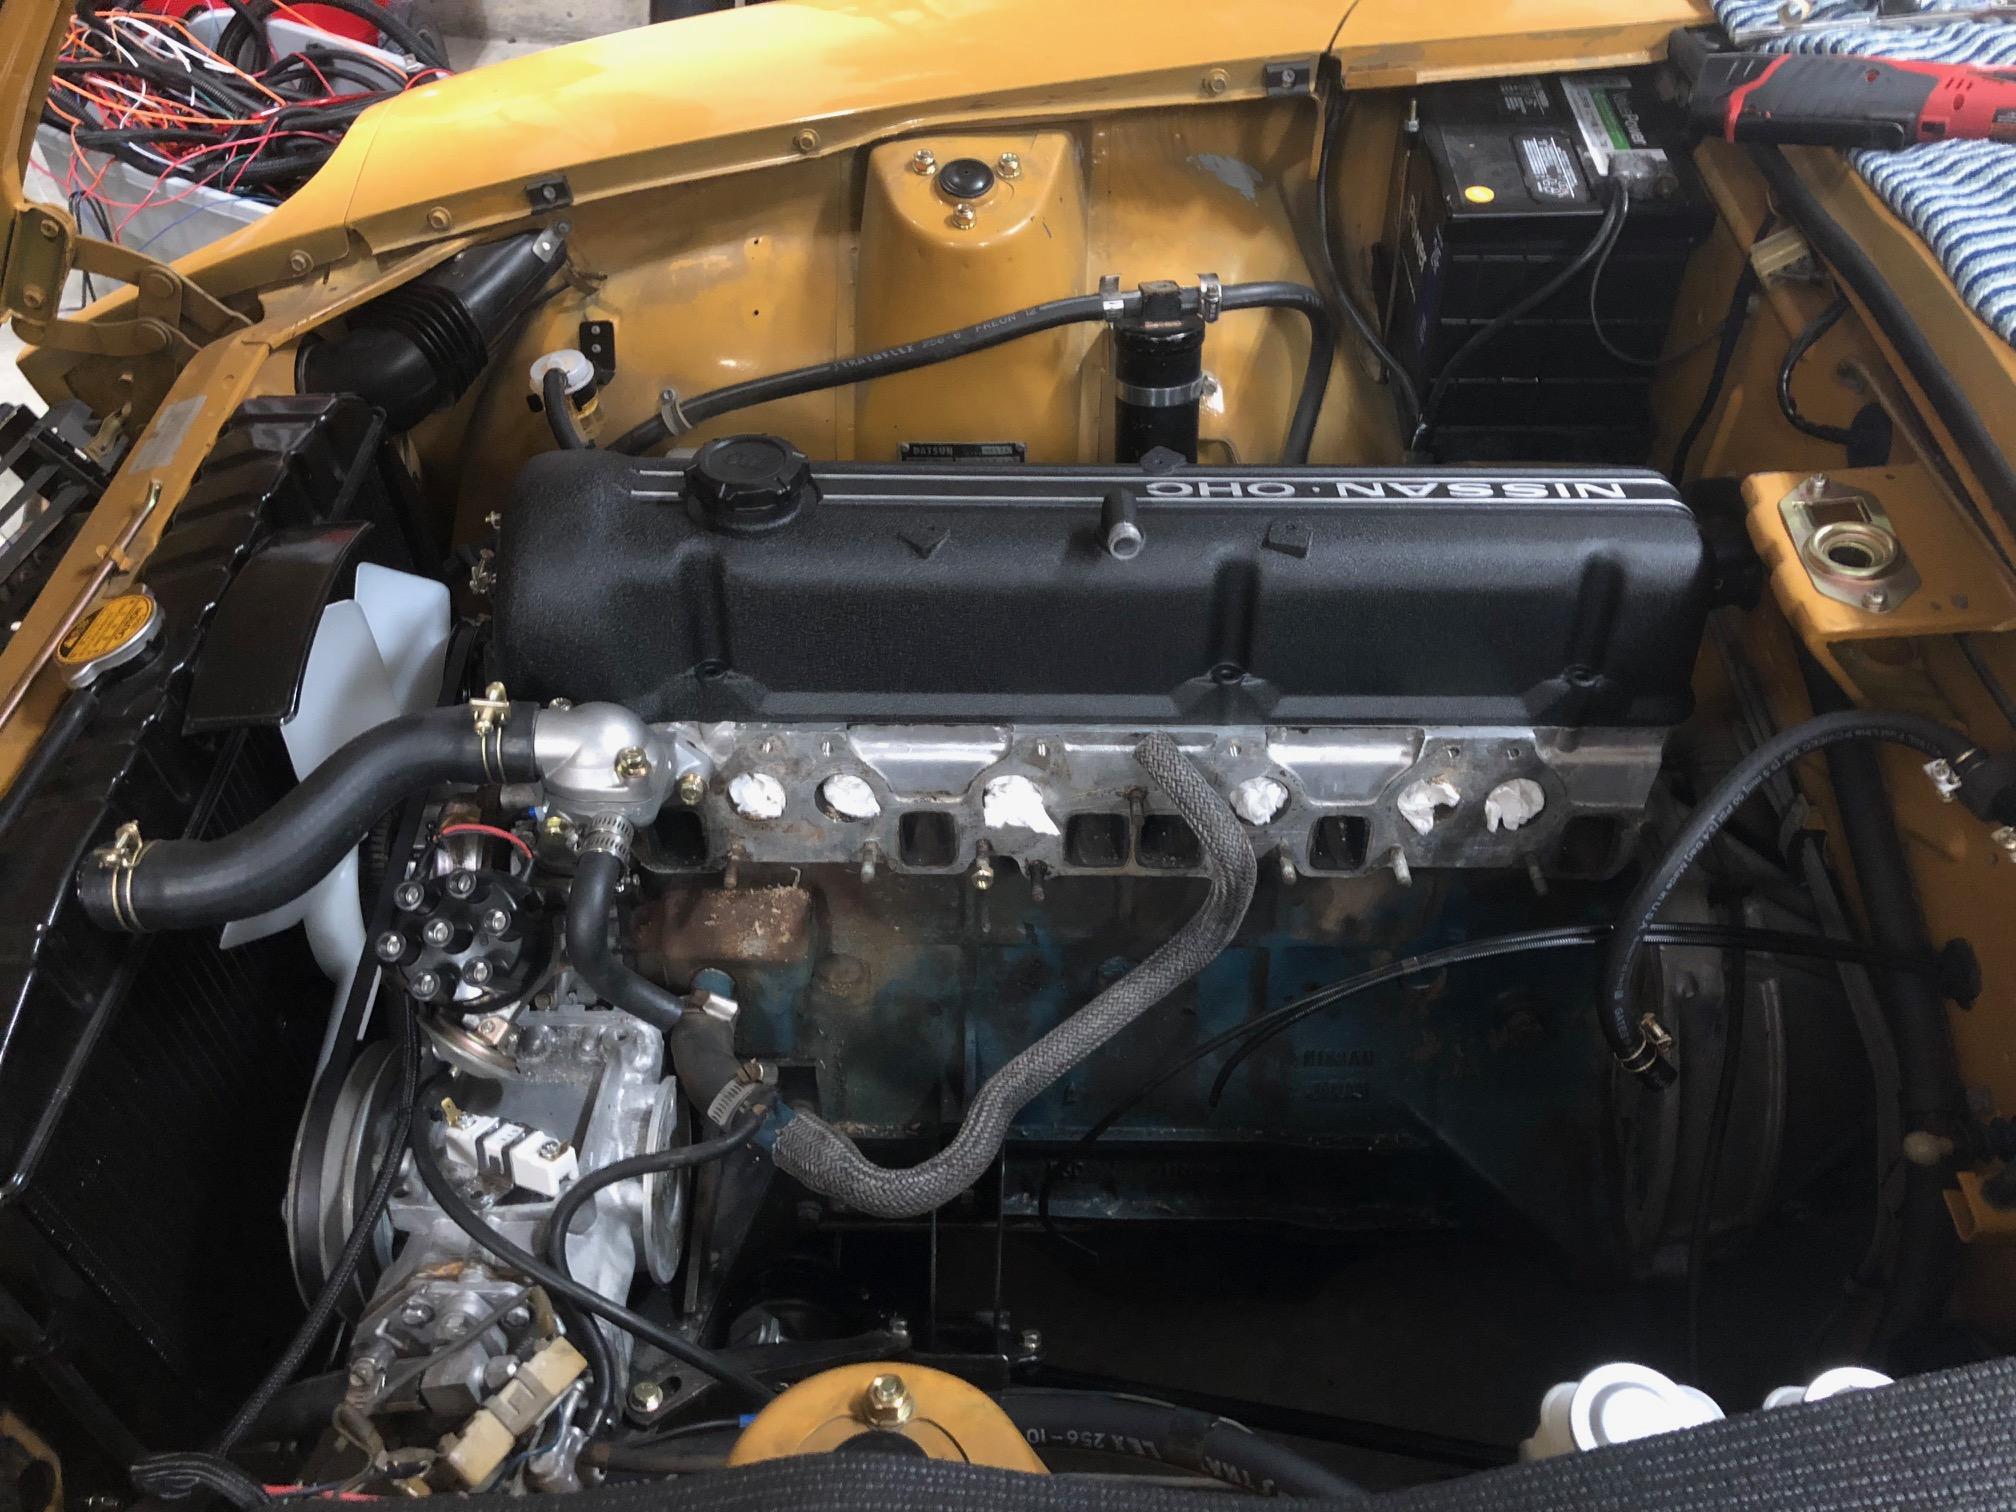
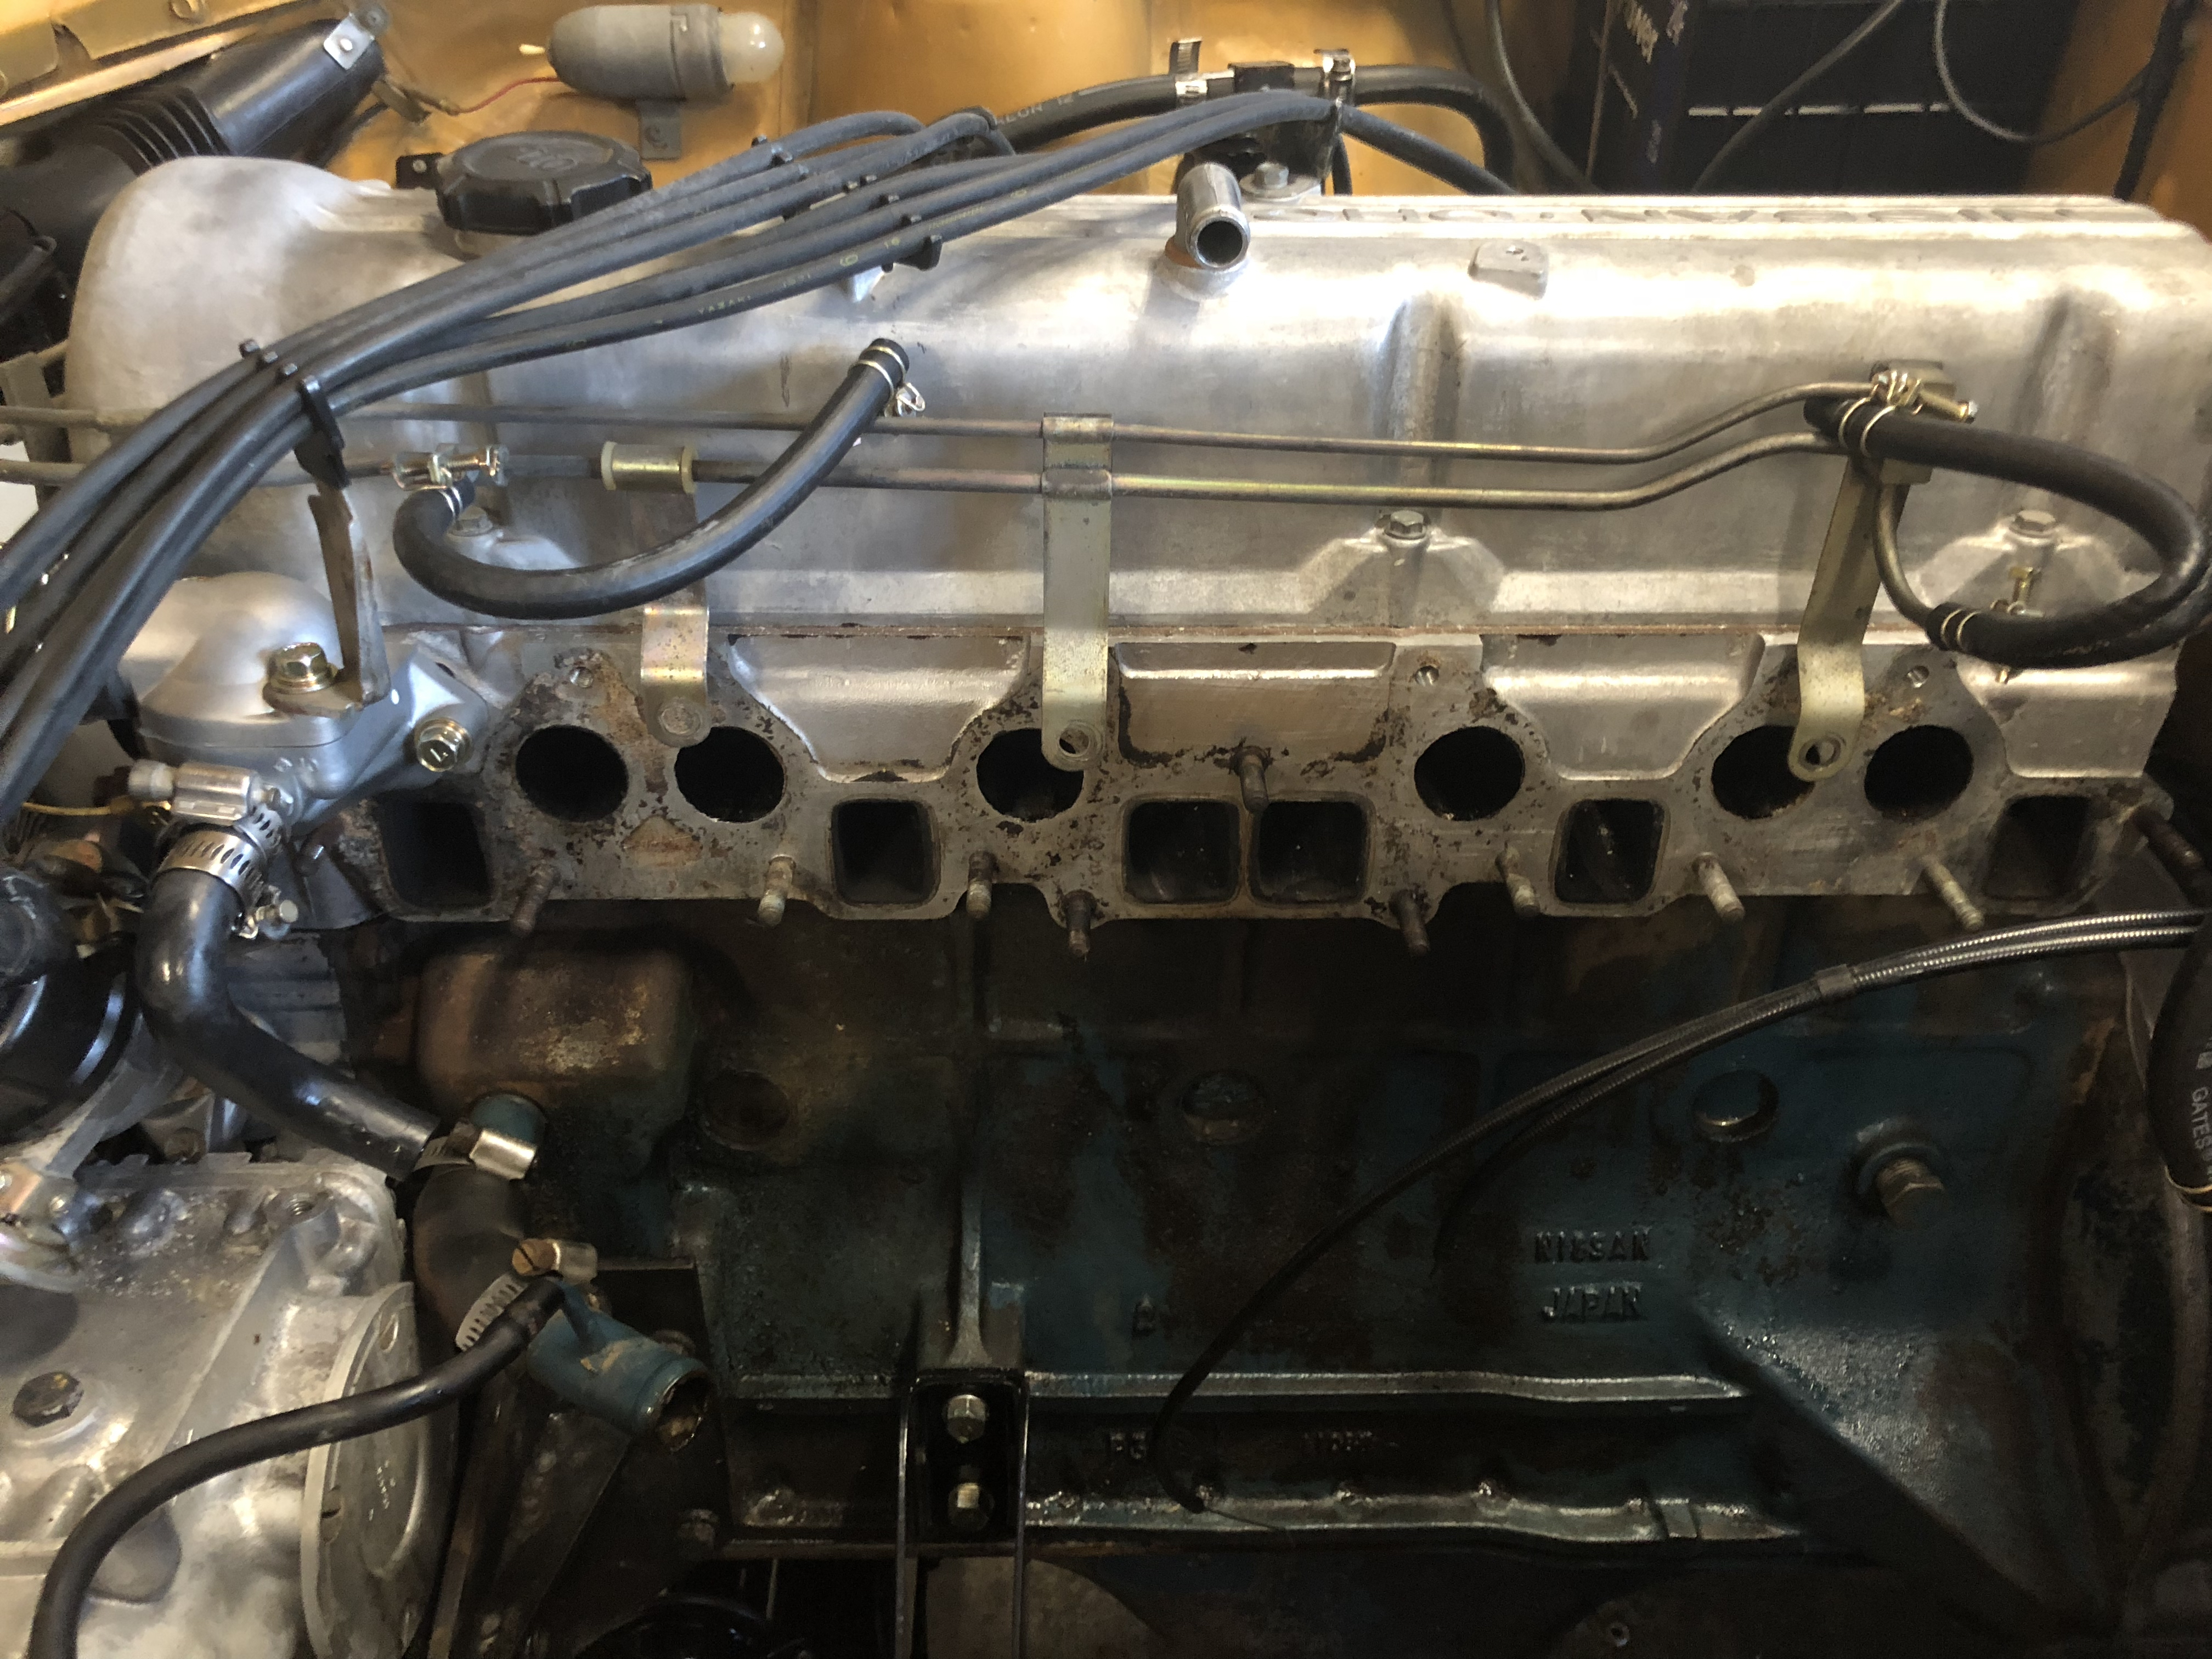
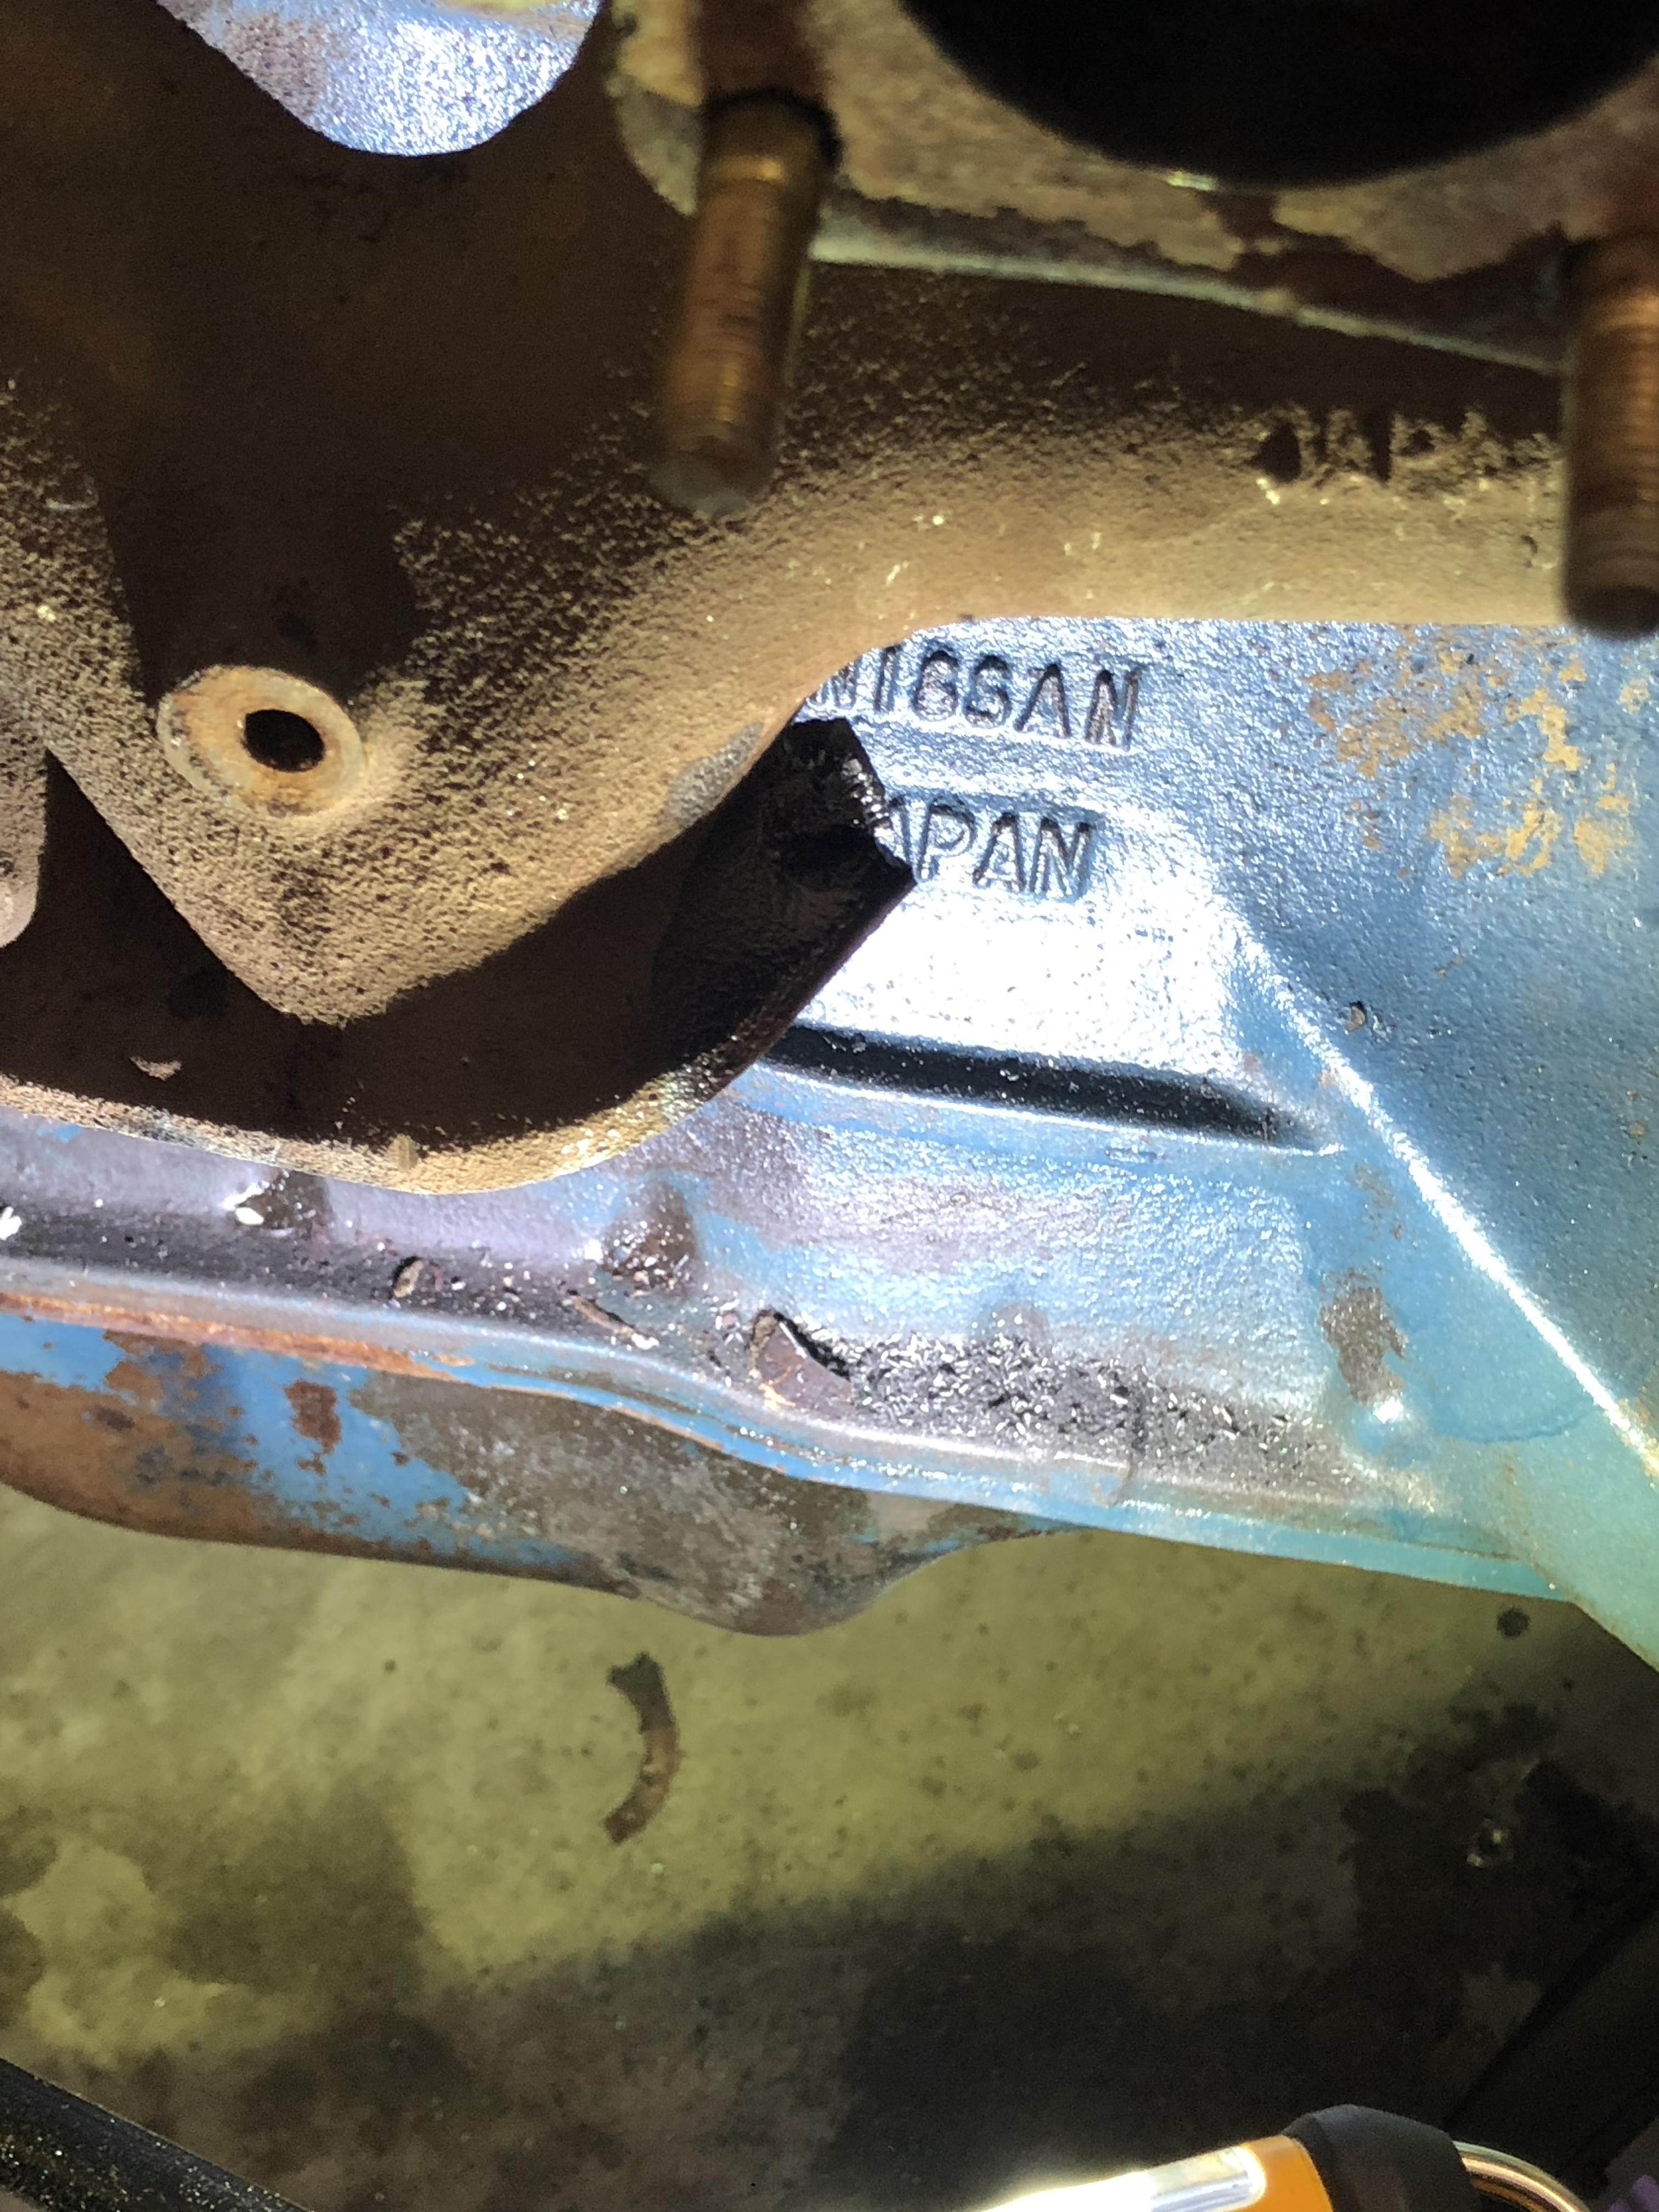
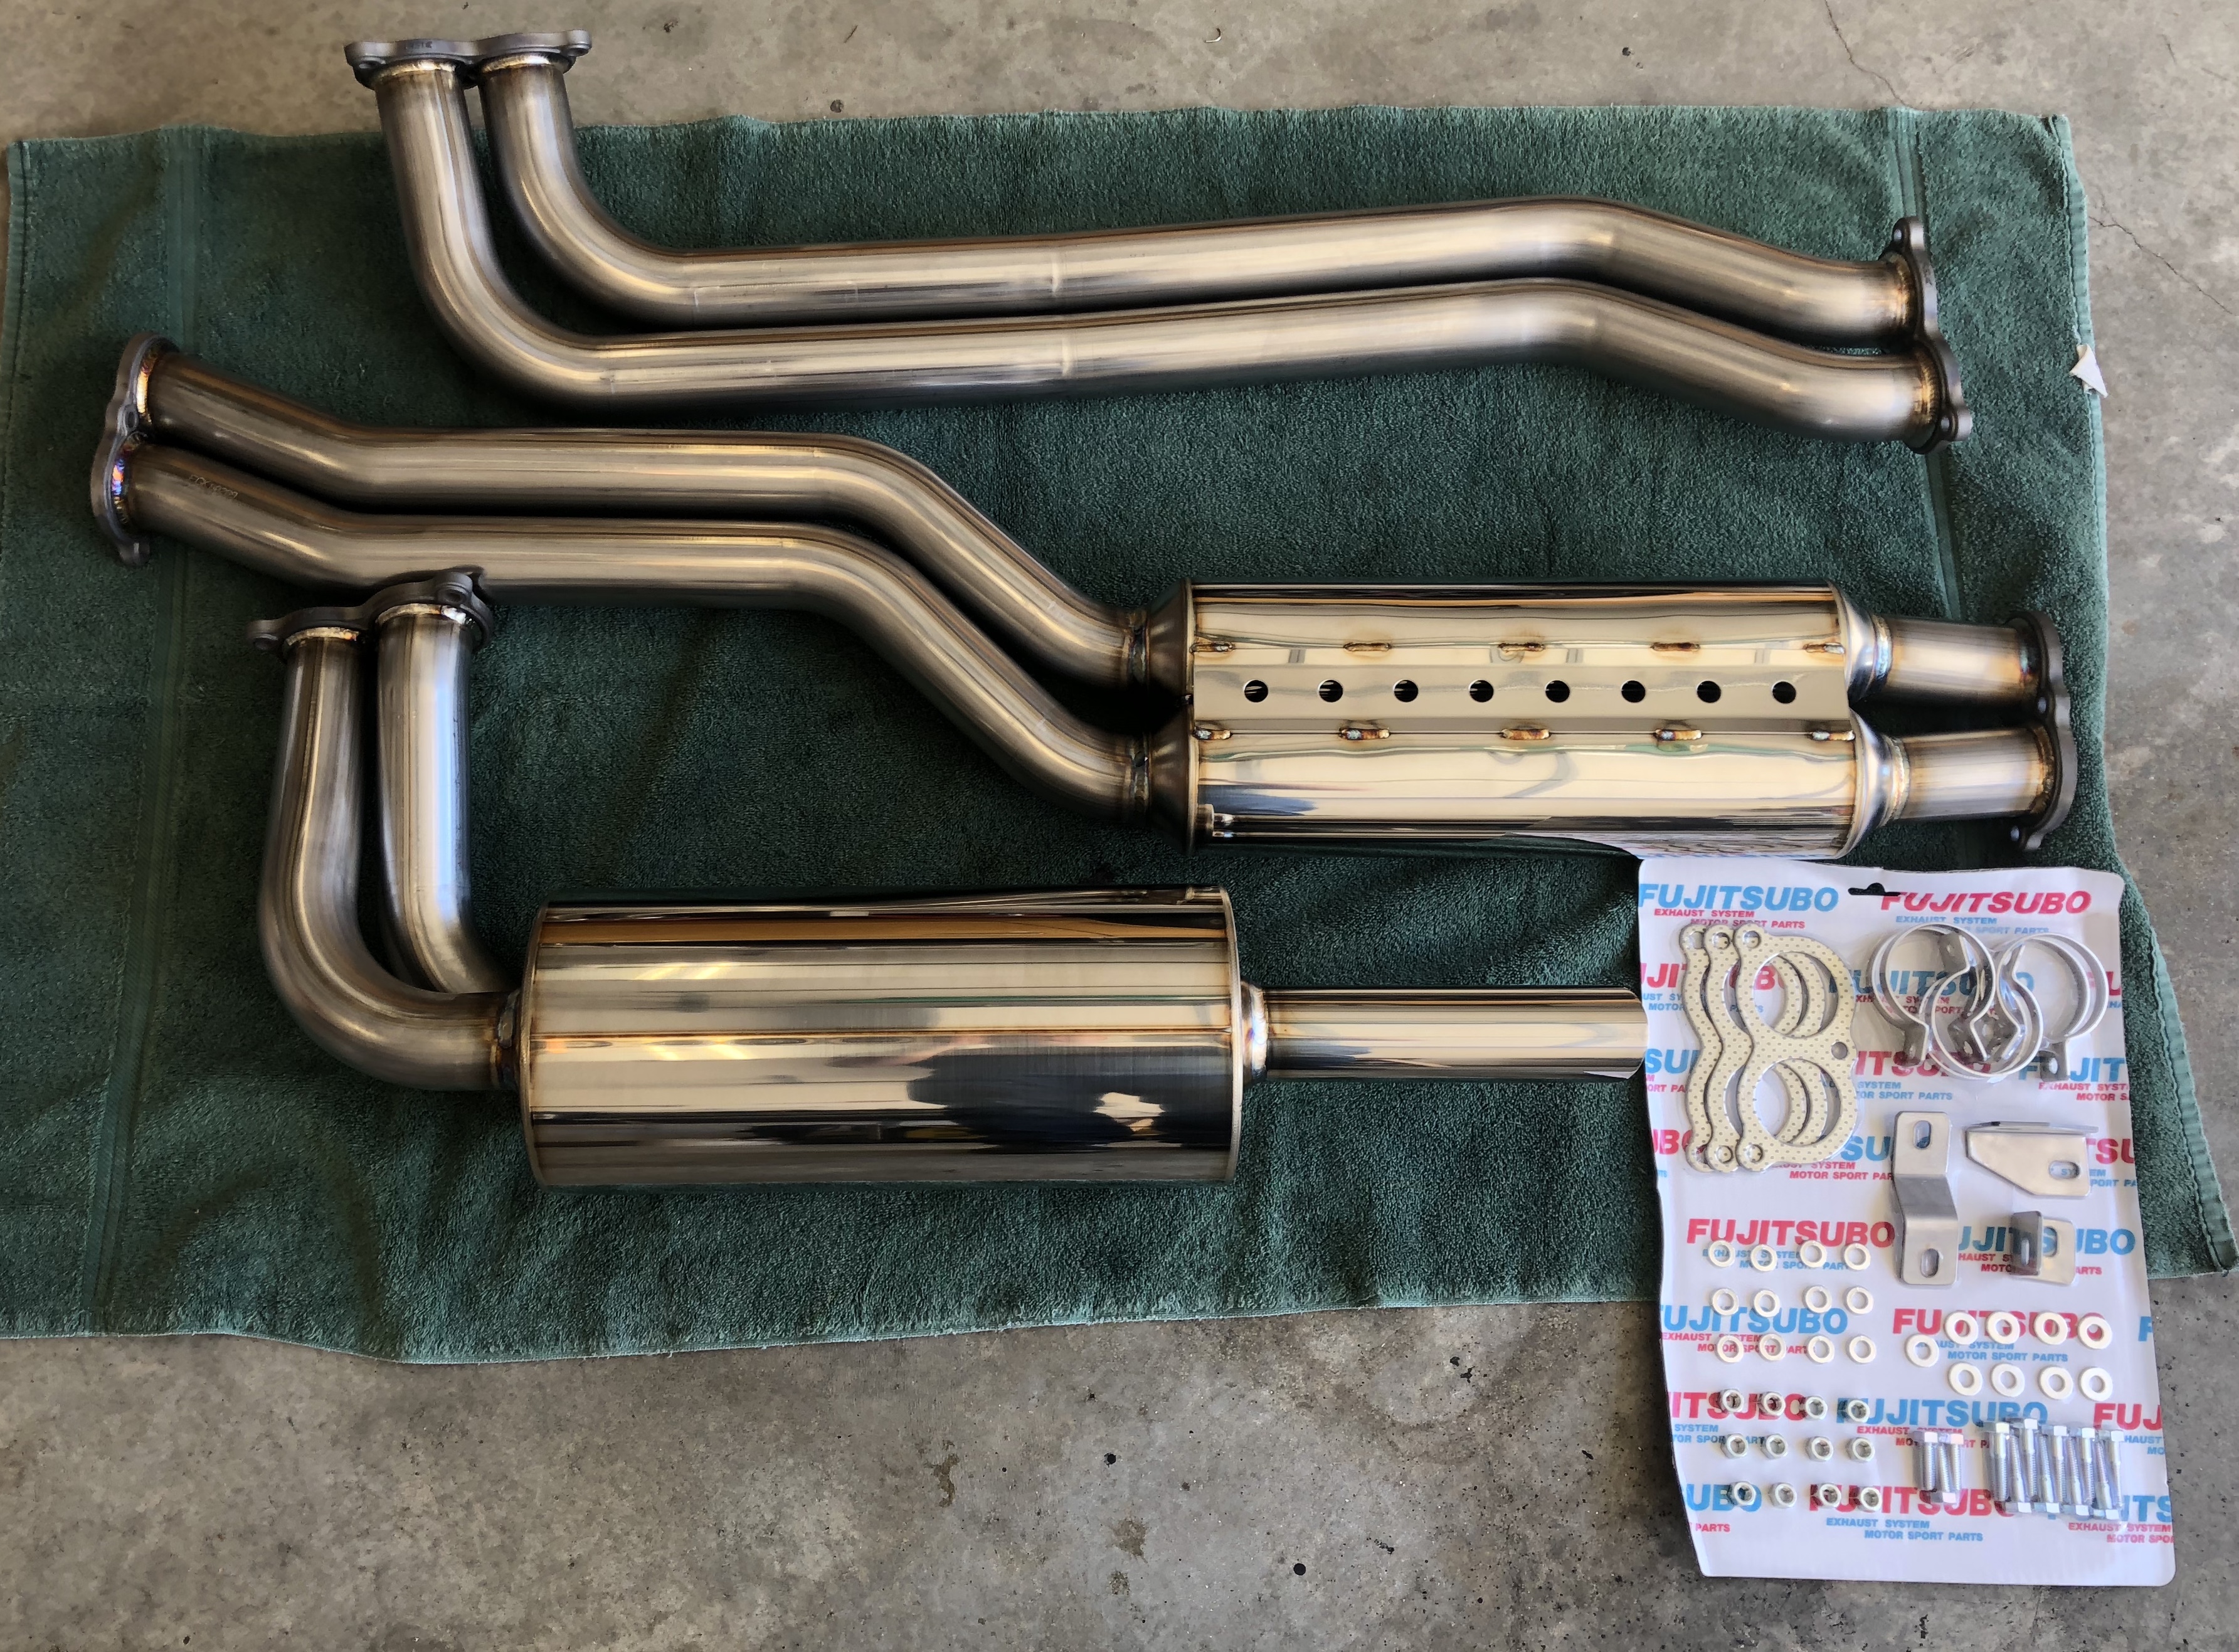
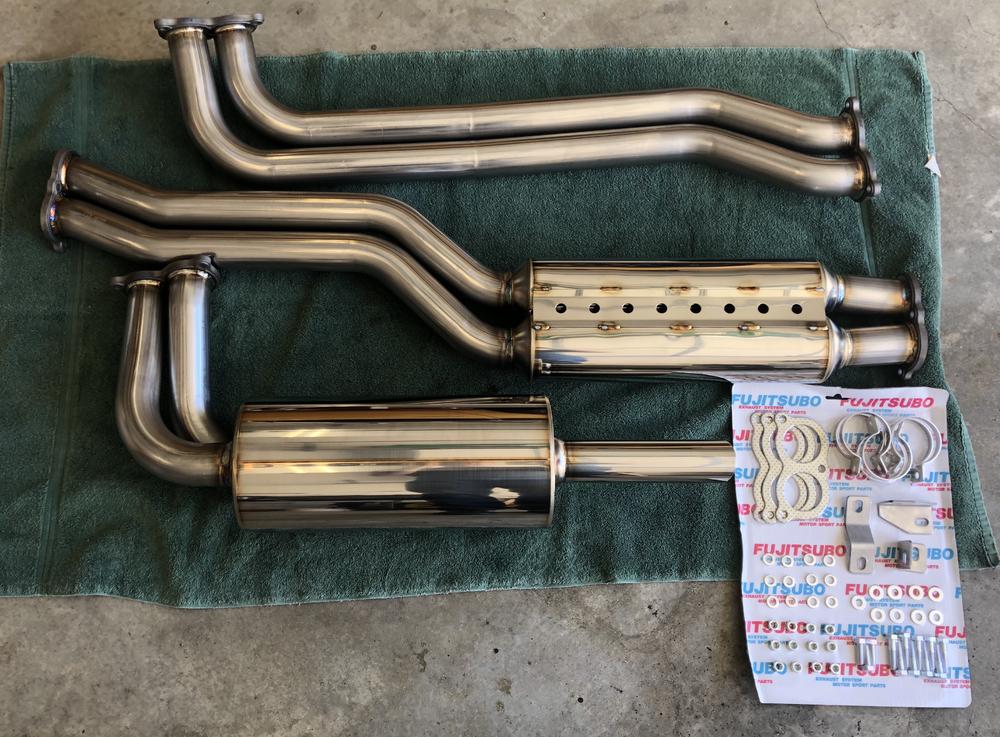
1 pointWell I broke my exhaust manifold trying to remove a stud. So I think it's time for a header. Might as well match my fujitsubo exhaust. Darn. I wasn't ready for this decision. But might as well zinc the rest of the engine bay.


 1 point
 -
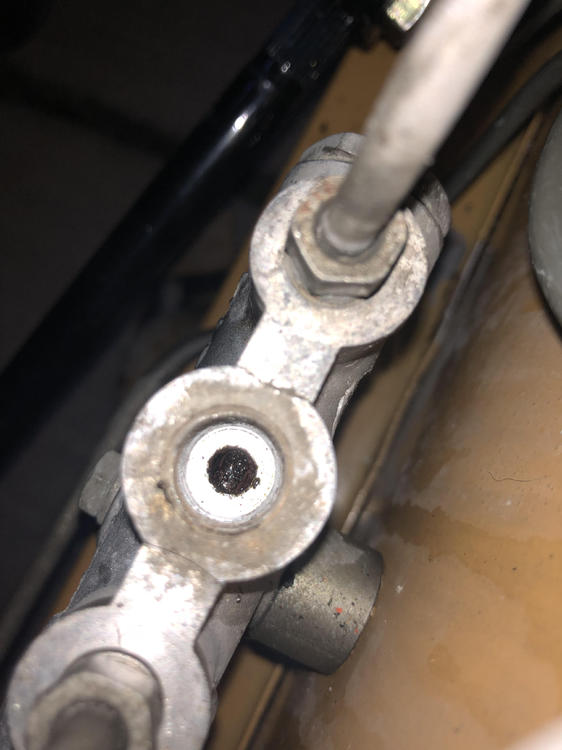
1 pointWell I drove the z! She runs a little rough. I think electronic ignition, check timing and fiddle with the carbs are next. Also install exhaust. Boy is it loud with nothing:) I had to take the brake switch block apart. It was gummed up and causing some issues. I also screwed up on the 1" Mc push rod adjustment. So it was stopping me from bleeding correctly and also gave me terrible brakes. Re adjusted and it's working well now. I could use a little more brake, but I think that would mean a bigger booster.
 1 point