Leaderboard
-

240260280
Free Member3Points4,442Posts -

siteunseen
Free Member2Points15,115Posts -

Diseazd
Free Member2Points3,362Posts -
sweatybetty
Free Member1Points1,119Posts


Popular Content
Showing content with the highest reputation on 04/13/2017 in Posts
-
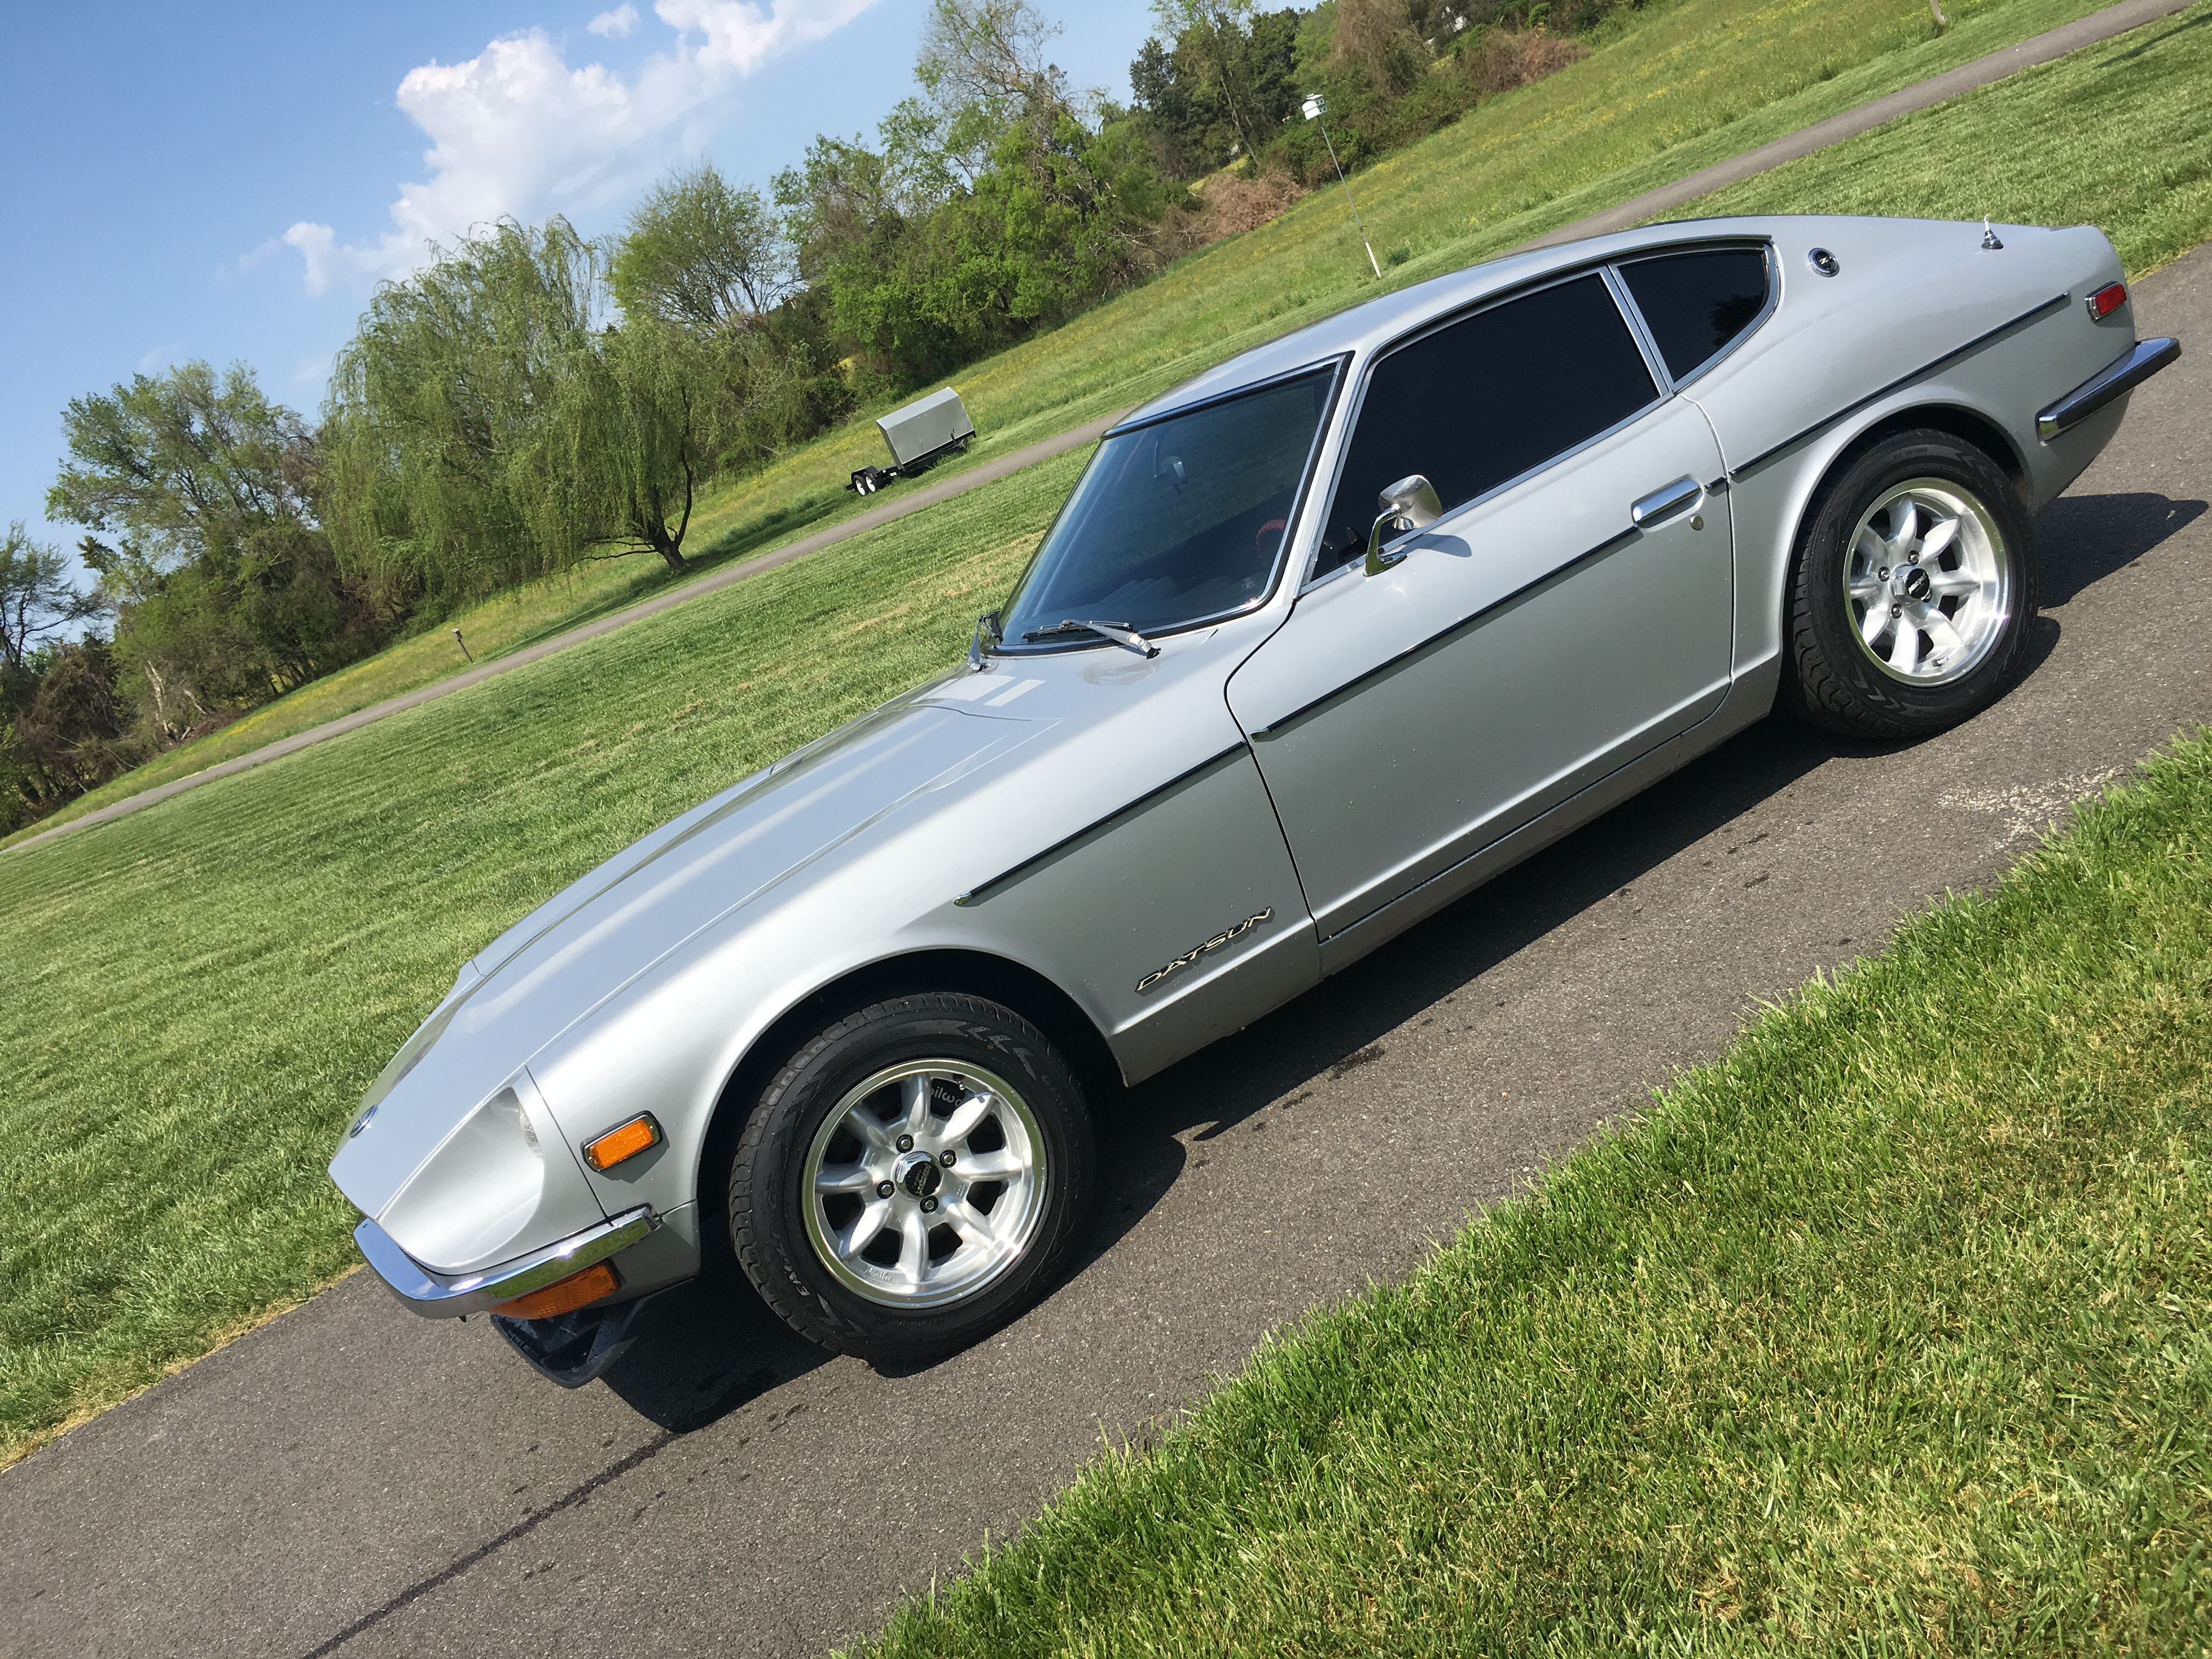
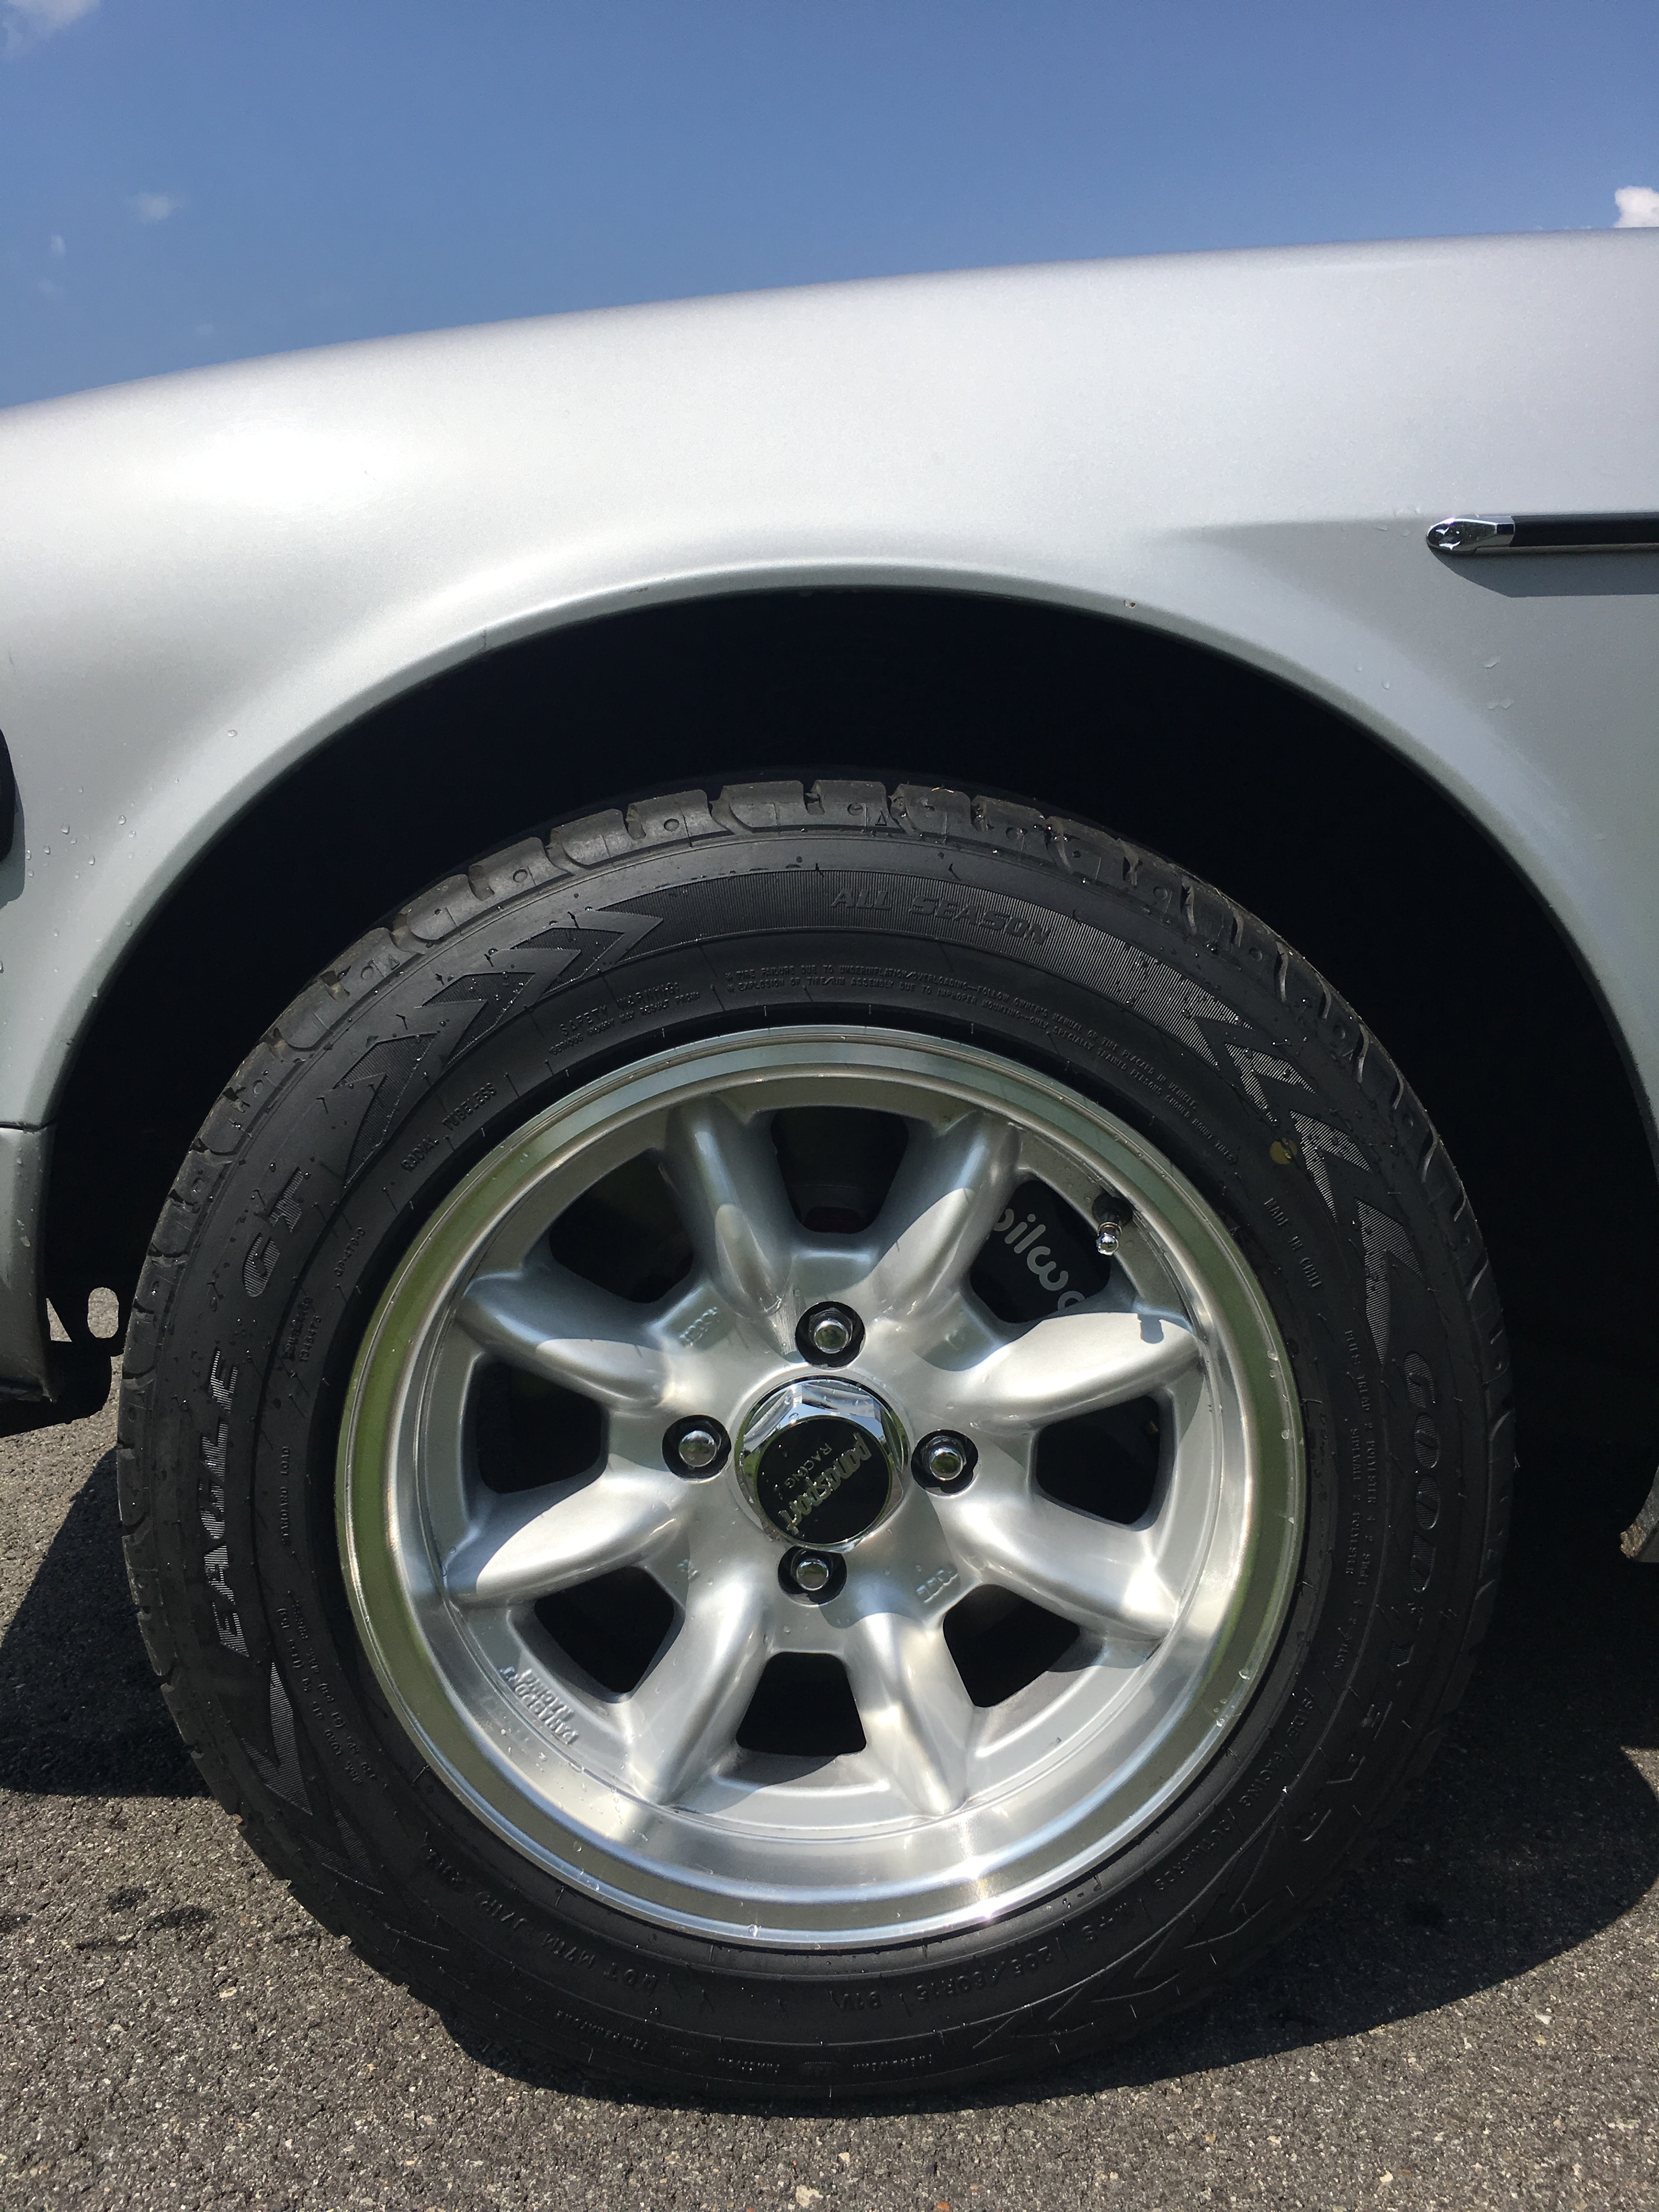
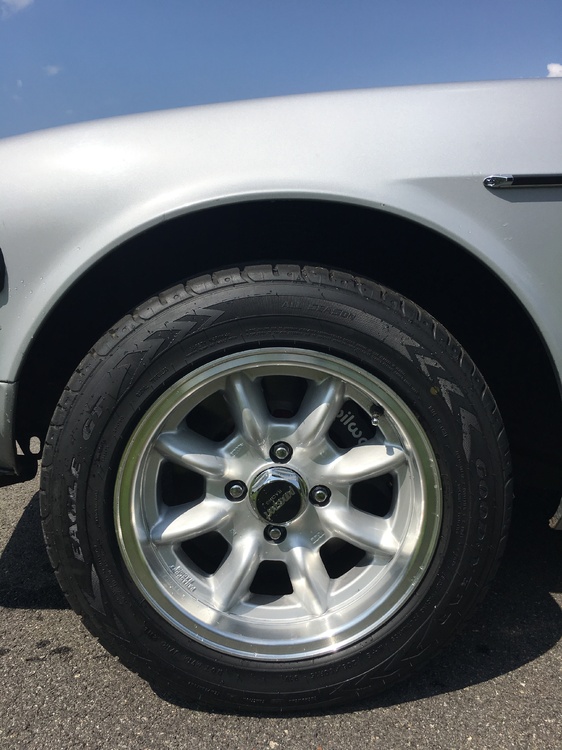
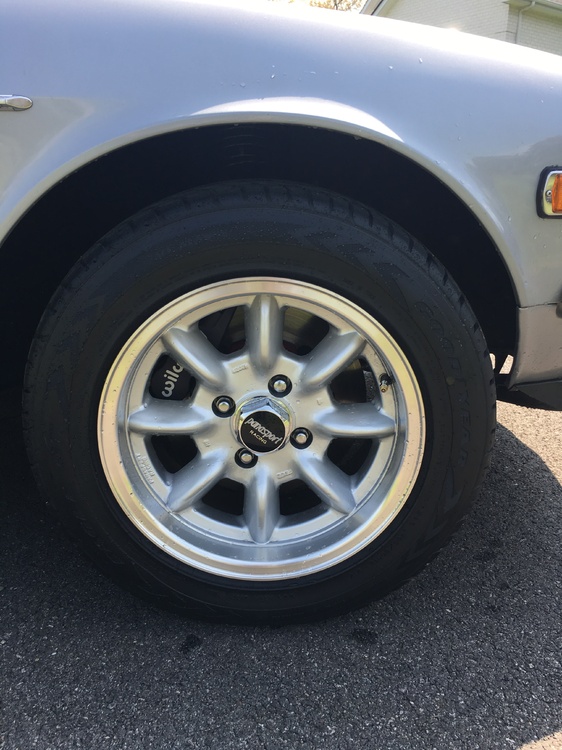
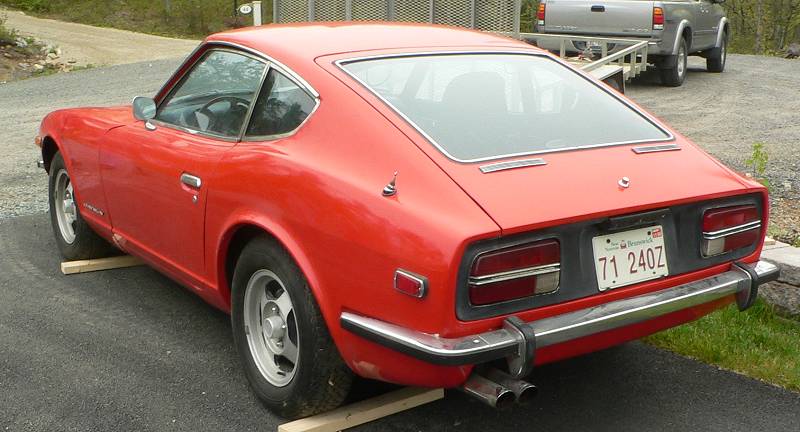
2 pointsAll finished with the 73......new shocks, springs, ball joints, tie rod ends, wheel bearings, Wilwoods and bushings. I really like the way she sits and handles with the new Eibachs.....car drives like new. Now the car is as fun to stop as it is to go. If anyone needs help with any of the above improvements, feel free to ask.

 2 points
 -
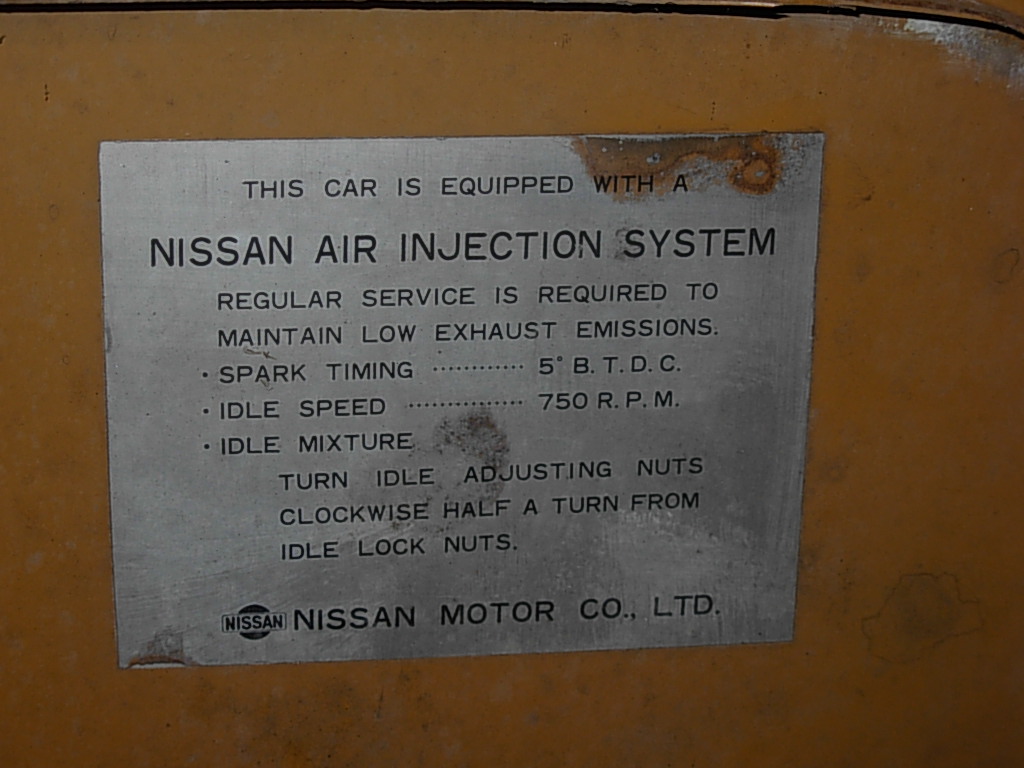
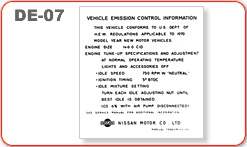
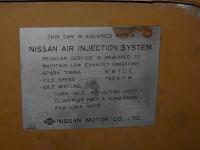
1 point1969 production cars for the US market have a different emissions decal mounted to the underside of the hood than later 1970 model year cars. I'm not sure if Canada or other markets have the same decal as well. I recently found that HLS30-01590 (a 1/70 production car) has this same emission decal. I didn't think a car with that high of a VIN would still have this sticker (it also has the earliest hood design). Does anyone with a higher VIN ahave this early decal? I don't think anyone has reproduced this, due to the limited market for them. I am trying to get an idea of the size of the market to see if it would be worth while to have some reproductions made. I checked with Banzai Motorsports and they don't have any. They sell a different emissions sticker (DE07) that I believe is for later 1970 production cars, but I am not sure what the cutoff is. Also, if anyone knows of a good source to reproduce these metallic decals let me know. Thanks. -Mike
 1 point
 -
1 pointFinalizing purchase on a new old Pacific Blue 280z 5-speed. Have known this specific car for 30 years - my best friend's dad owned and he recently passed. He was an Air Force F4E pilot and was meticulous, but car was driven infrequently. None of the family are car guys or want it, but want keep "in the family". Funny flew up to Sun N Fun air show with my buddy and his brother law (he and the sister have Z now) and were reminiscing...asked what happened to car and he said "you want it?" I've always loved that car...and a More than a fair price, no rust (that I or they know of), runner with a new clutch, new door cards and white interior that was new at one point ;). Couldn't say no - and this Christmas I just put in a new car lift. Now I have my 2005 s2000 and this will join my garage. Scratching that classic car itch - last one I had was 71 MGB and looking forward to another one. Won't really know what I have to address until I tear into it. Will post pictures this weekend. Can anyone recommend a good door to door auto transport company to get this from NE Texas to Florida? Great to join the Zcar family1 point
-
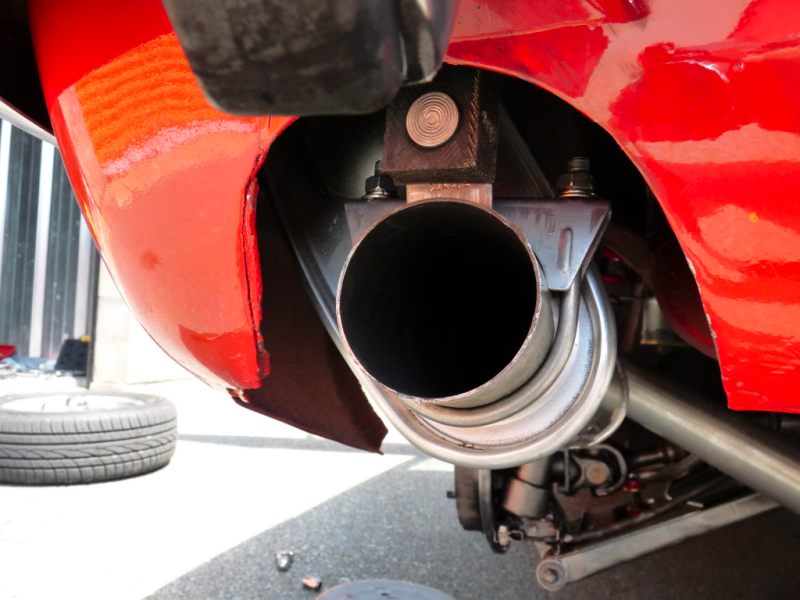
The red's original cut out was cut out further to accommodate a Stebro dual tip in the early 1970's
 1 point
 -
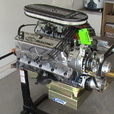
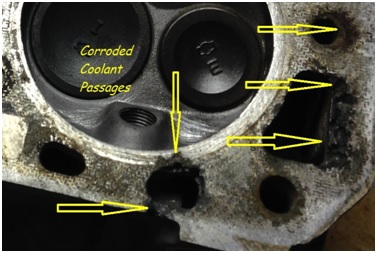
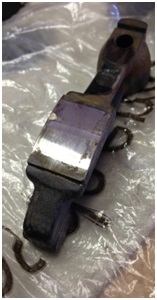
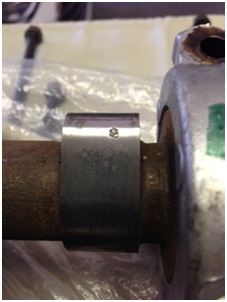
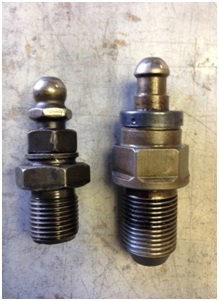
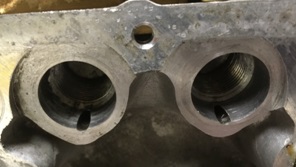
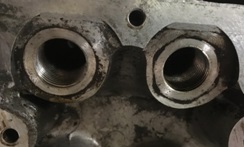
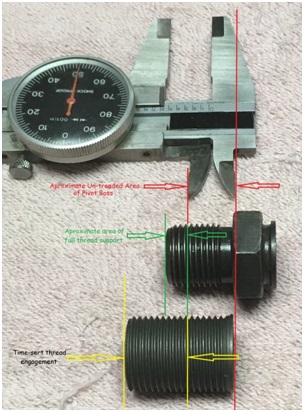
1 pointIt’s been a while but we're back with more info on the engine buildup. And, since the lower end is pretty much done, we're starting to look at cylinder head reconditioning. Matt may have addressed some of this over time and I questioned the P90a to P90 conversion but bear with us... Matt wants to use either the P90 or P90a Cylinder head because they are said to have better flow and combustion chamber characteristics. He and I looked all over for a head we could use, buying more than one, only to send at least two back to the sellers. I thought a warped head or one that had been surfaced too many times would be the big head ache but the biggest problem turned out to be corrosion. Five heads and two engines later, when our buying frenzy was over, we ended up with one P90 and two P90a heads to choose from. None of the heads were warped but one P90a has been surfaced and needs 0.015 shims under the cam towers; the P90 has some minor issues with intake/exhaust manifold gasket surfaces (minor corrosion); and the second P90a has some pretty bad corrosion around a few coolant passages. All three heads need valve work, including new valve guides but all can be reconditoned. Otherwise, teardown showed that every rocker arm was shot and the hydraulic cams were badly pitted. Matt bought new OEM rocker arms and I sent all three cams to Iskendarian for evaluation. Isky had the cams for about four months and I had to call on their status at least five times. When I finally got hold of Ron Iskendarian he appologized, had the P90 cam polished, and then shipped all three back without charging us a dime. I'd say he did us right. Because the head gasket surface on our second P90a is the truest, and because our machinist tells us he can clean the surface with a 0.003-inch cut after welding up the corrosion, we decided to repair that P90a. But, like almost everyone else rebuilding an engine, we're limited to mechanical cams and need to make the modification that fits the smaller diameter mechanical pivot posts. The mod is well known (except to me, before I started this project), and it's documented on the internet in more than just a few places. But while researching I came up with a few questions, such as: How to control pressurized oil seepage from under the pivot post; supporting the upper part of the Time-serts; and the mileage-life expectancy related to both those questions. The question of oil seepage is easy to fix with short pieces of aluminum dowel in each oil gallery, inside the pivot post bores. The plan is to turn the dowel material to the same outside diameter as the inside diameter of the oil gallery bores; freeze the dowels for an hour or so; warm up the cylinder head to about 120 degrees in momma's oven (I didn't say that) and then tap the cold dowels into each gallery of the warm cylinder head. When temperatures equalize the interference fit should keep everything in place. (When I get to that point, I'll post the photos and narative.) For the same reason that the pivot posts need oil pressure, about ½-inch of depth within the pivot post bore is larger in diameter than the threaded area below. That makes installing threaded inserts easier but leaves most of the insert without mechanical support. Comparing a P90 head with a P90a (below left and right, respectively) there is about 50% less surface area to support a mechanical pivot post if installed in the P90a. Also, using the threaded insert in the P90a only provides about three threads – just 2.25mm or so – where the head material supports both the Time-sert and the mechanical pivot post. Time-serts used to modify the head are about 1/10-inch smaller in outside diameter than the pivot post bore and their installed height must be below the face of the boss. With a higher lift cam, the sweeping action of the cam lobe against the rocker arm is bound to increase lateral forces against the Time-sert. To eliminate the void we need either a machined sleeve around the threaded insert, or something lke an epoxy to fill the gap. Matthew and I decided to use machined aluminum sleeves but the cost would be enormous... ...So,I made about sixteen sleeves in my garage, using not much more than my drill press, my calipers, some files, and sand paper. Here's an installed sleeve in a P90a pivot post bore. Twelve sleeves cost me about $35 in materials and about 18-hours of time (because I didn't have a lathe). Not bad, I think. Method to follow, later. Cheers.
 1 point
 -
I noticed that to. My 240 cut out is a lot smaller than Phillips red car and the MSA black and white. I'll look at the 280 tomorrow and snap a picture. I'm thinking it's bigger too.1 point
-
1 pointHopefully Kats won't mind me answering that question. I think you're getting mixed up between the PS30 Fairlady Z432 and the PS30-SB Fairlady Z432-R. It was only the 432-R which had the full-length, FRP 'under cover':1 point
-
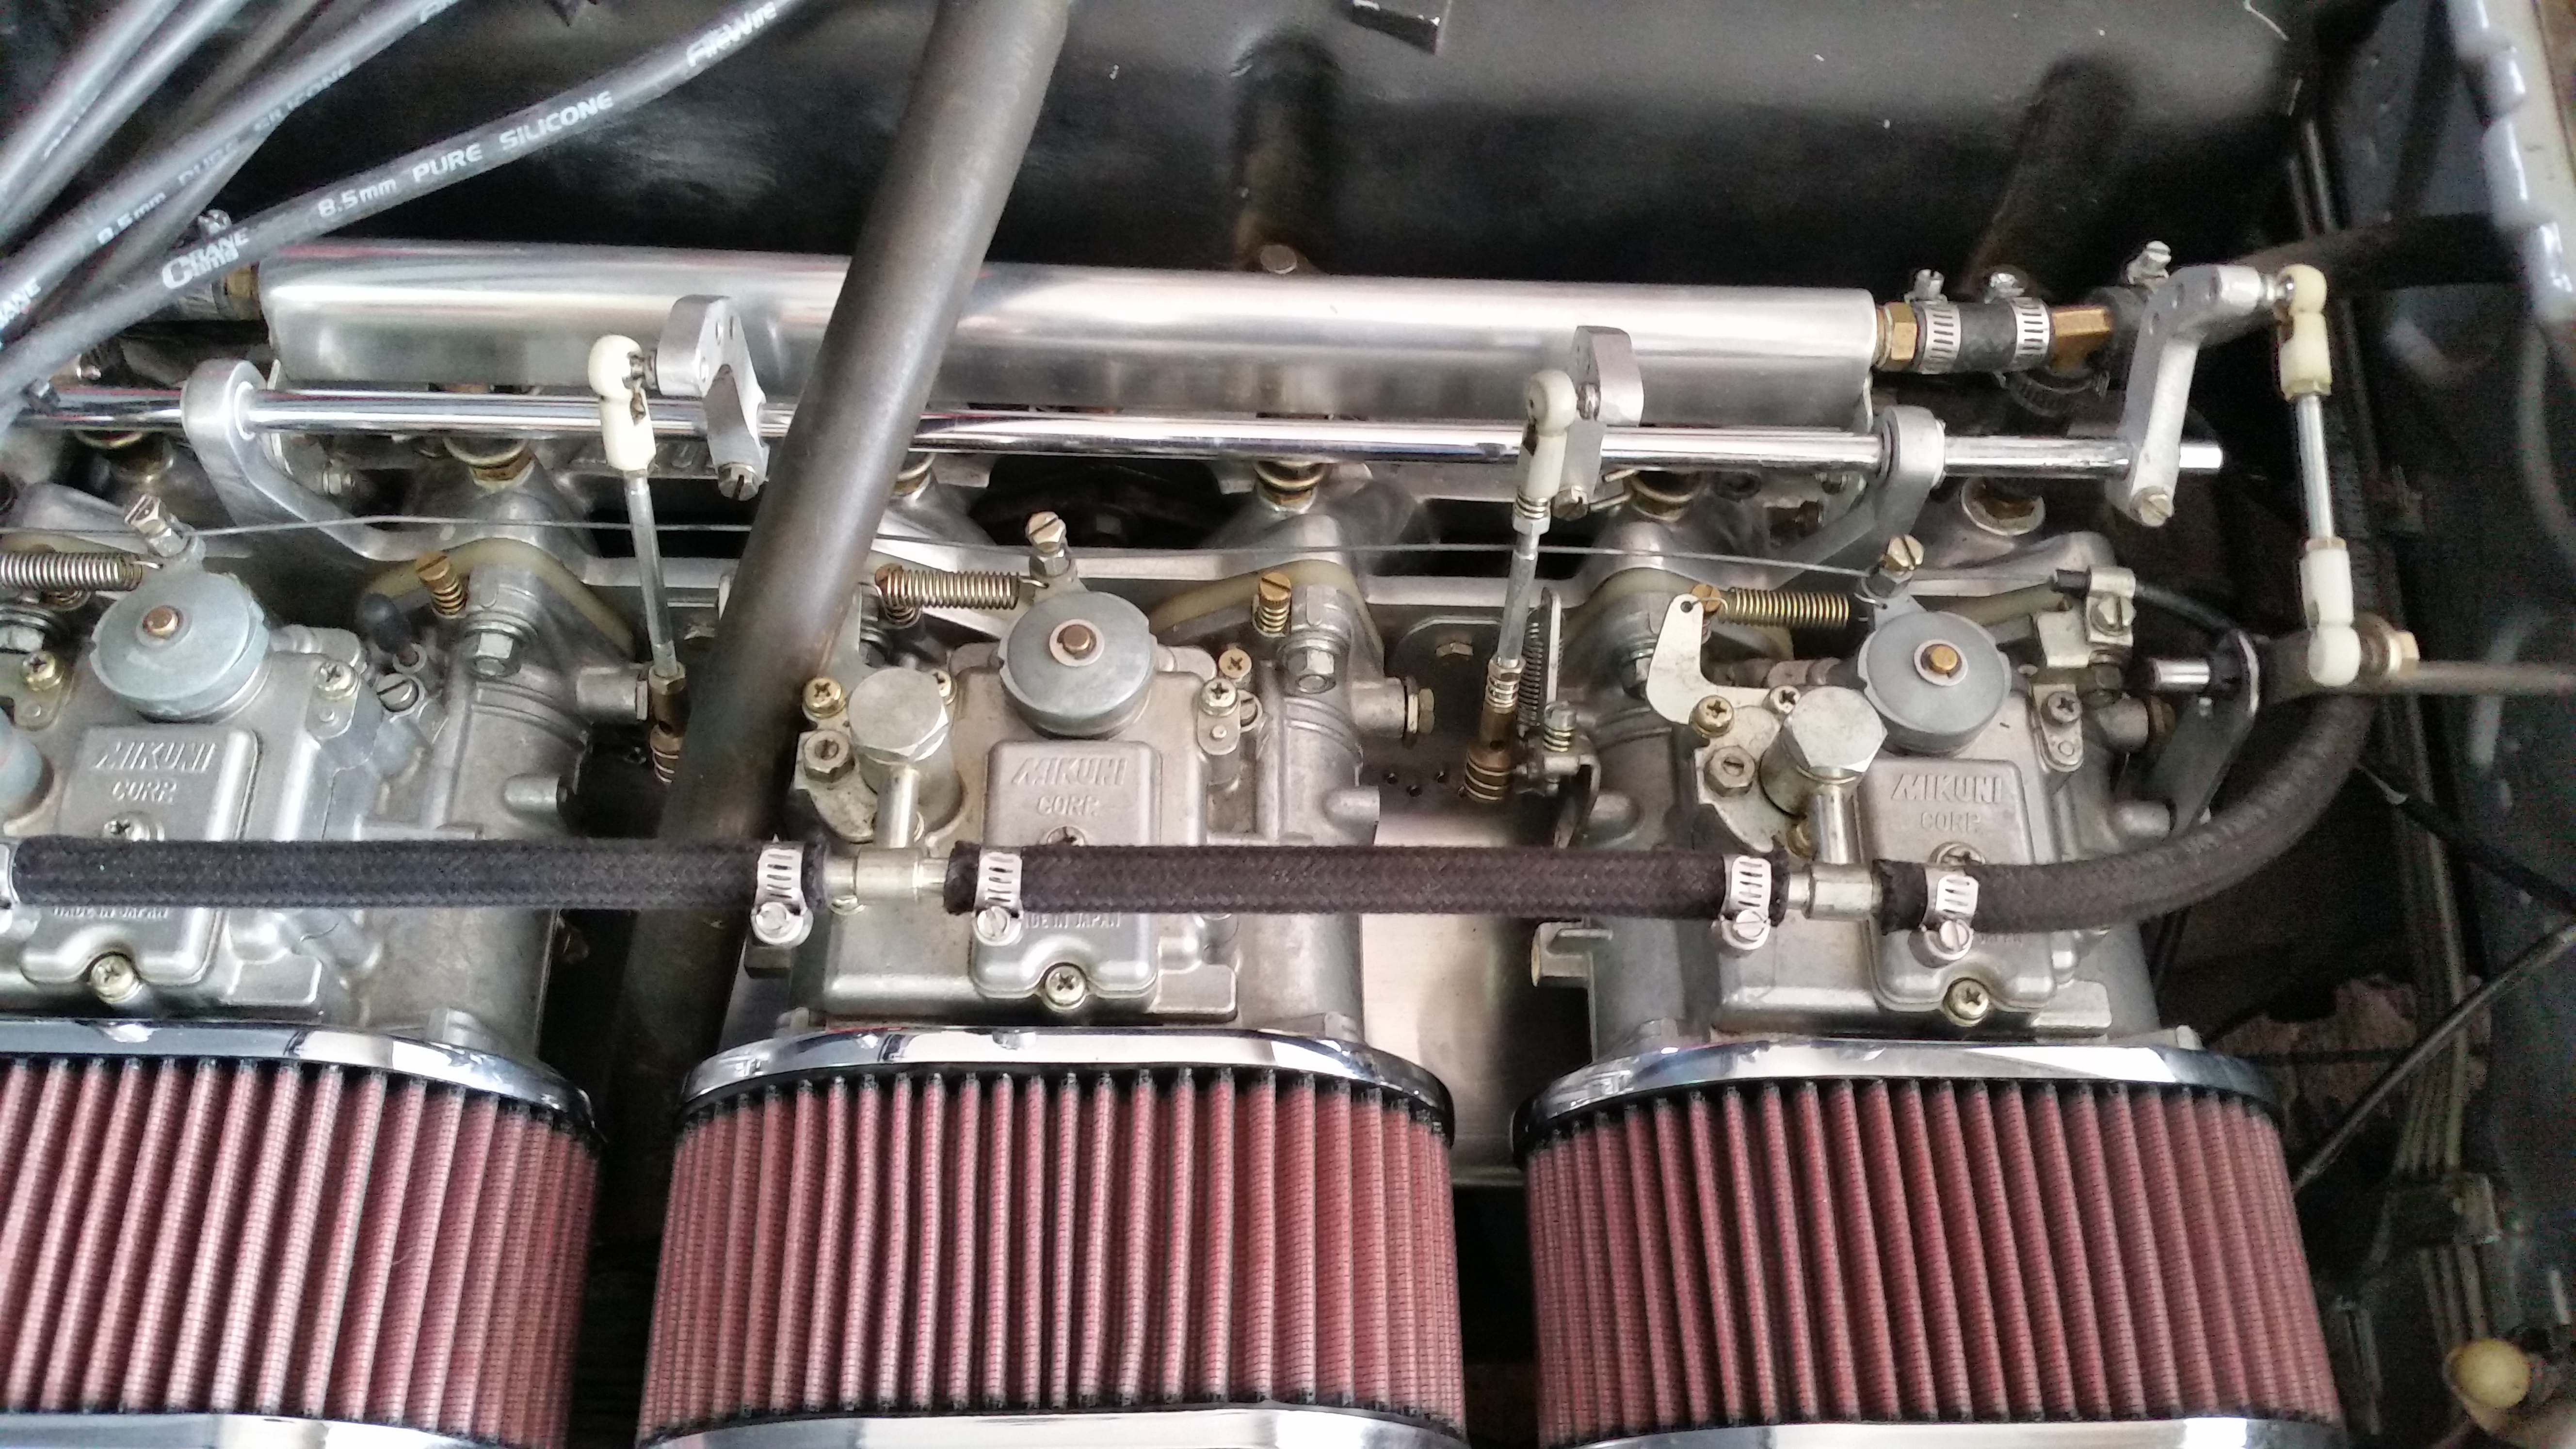
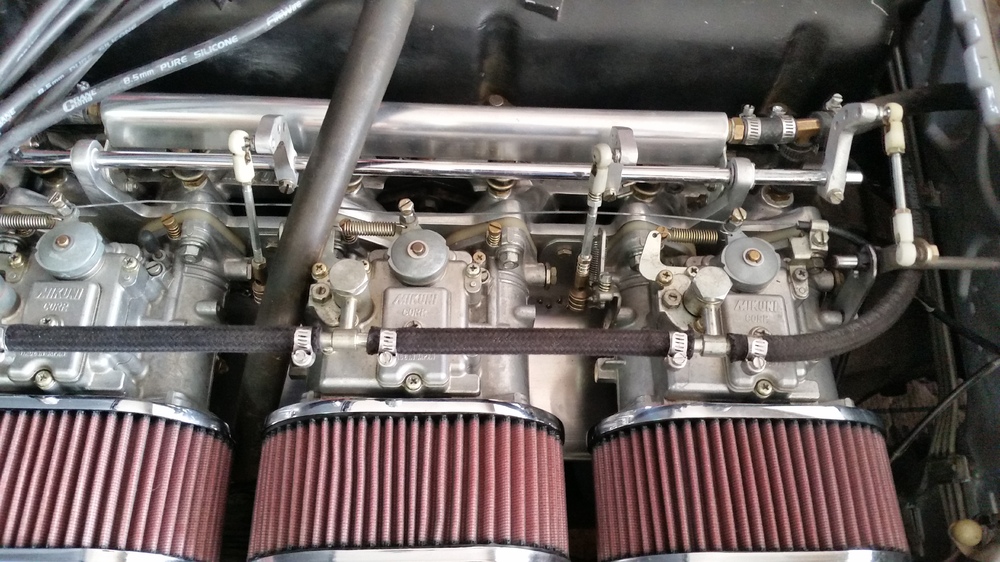
1 pointI was going to do the same as you, but decided to use the longer of the two choke cables on the stock SU's. I used an old assembly and cut the outer casing off just past the mount point on the rear carb and fed the wire through to each of the enrichment assemblies. Works great!
 1 point
 -
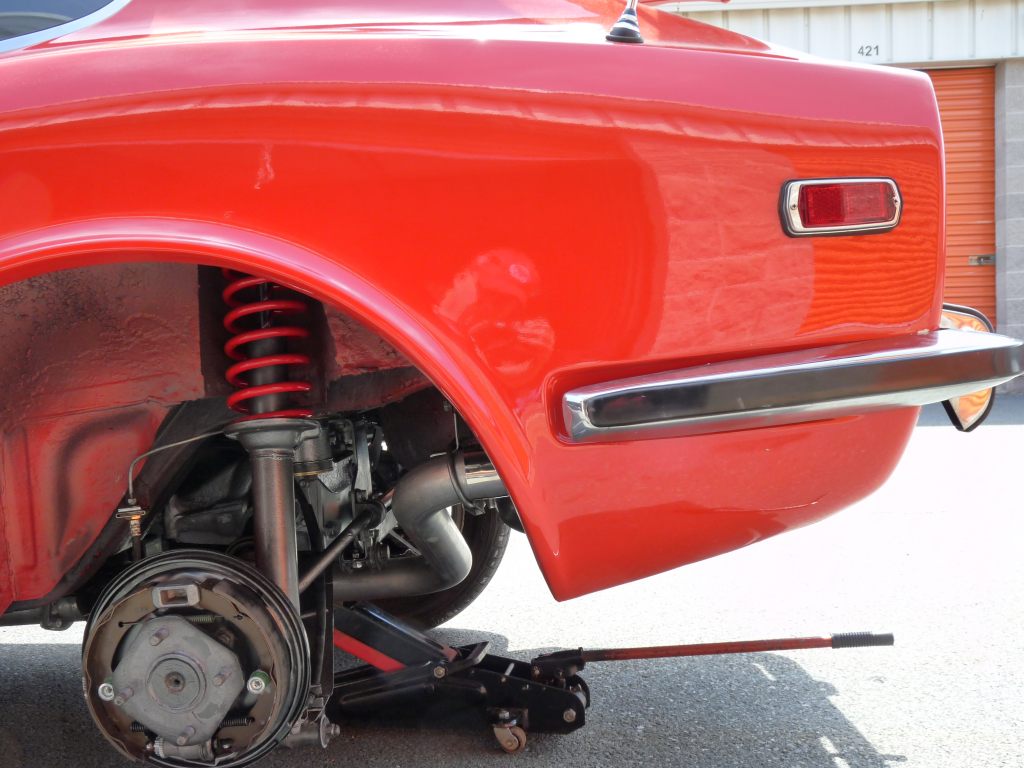
Give the exhaust a good shake to see if anything is hitting. If you push the muffler way up in the open cavity, it looks nice but it gets much louder in the cabin. A long round muffler would be much better than an offset oval/rectangular one to minimize this. Here are photos of the muffler tucked in nicely but very loud.

 1 point
 -
+1!!! same here. mine is very close, but i still plan on taking it to a shop and having them do the final adjustments1 point
-
Hate to keep bugging you but my memory comes and goes. I had to cut the top hole or two off the rubber on the rear hanger to get it tucked up in there. It wasn't easy either, I cut it with a hacksaw.1 point
-
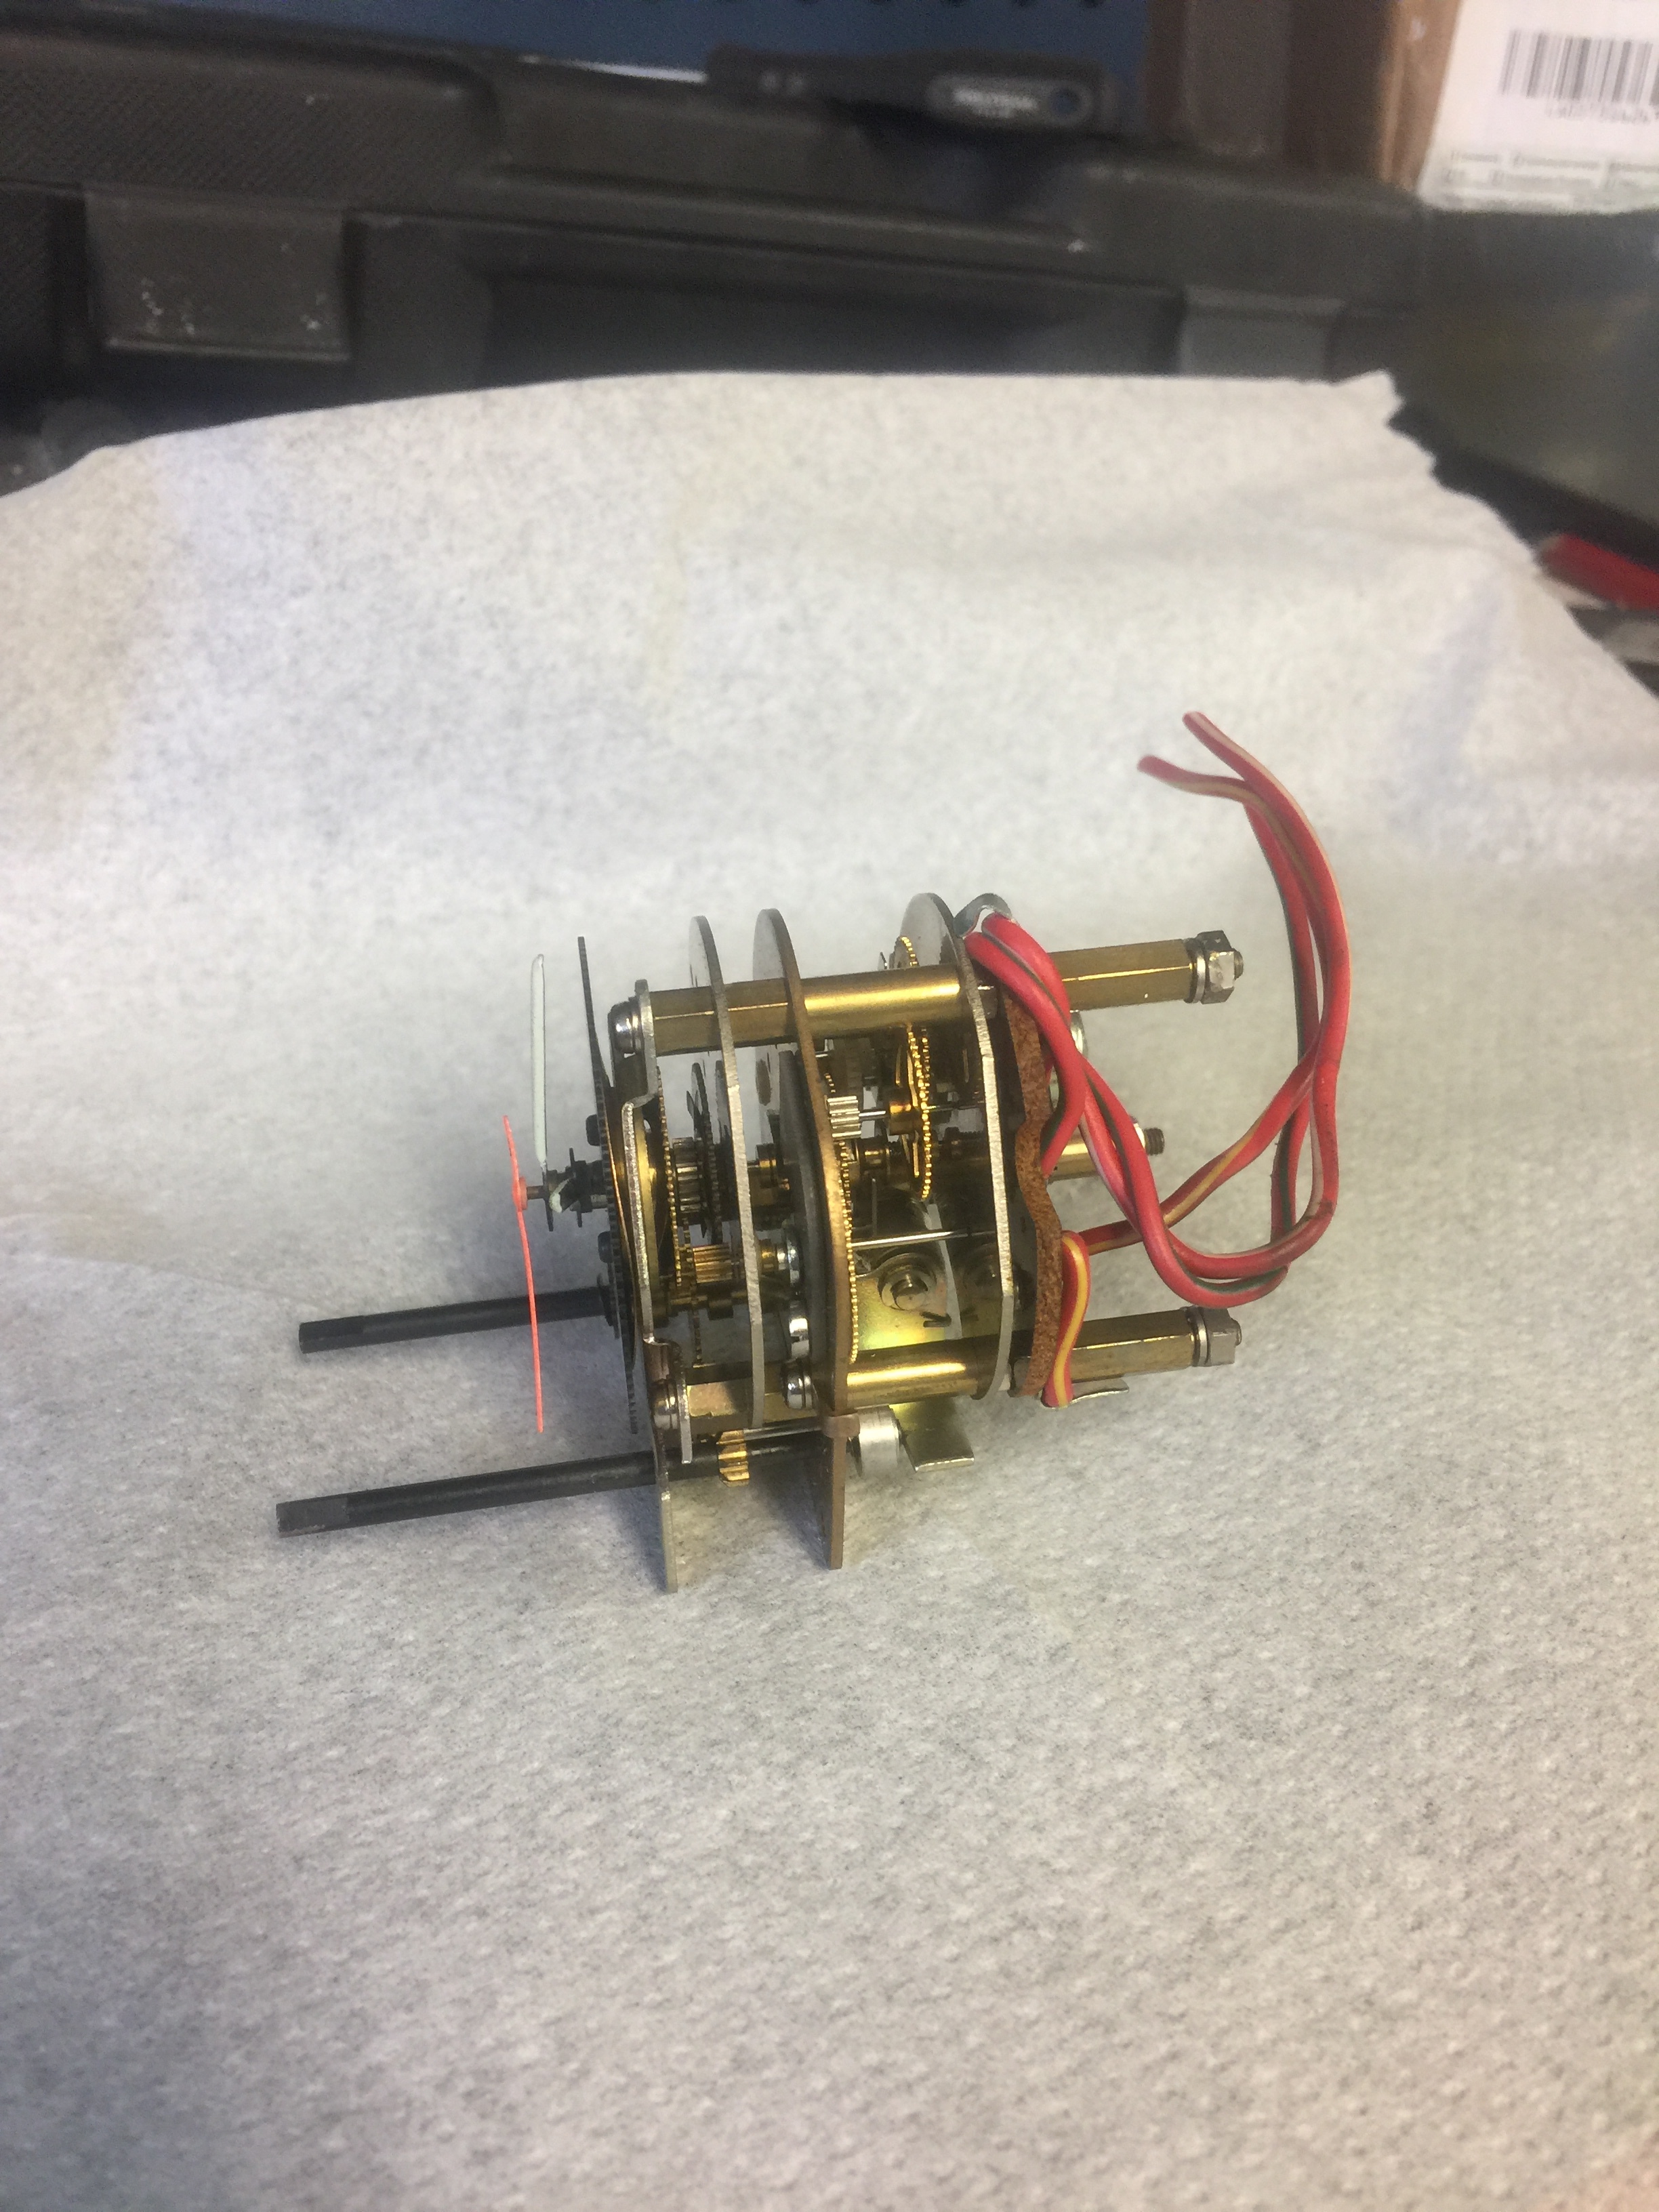
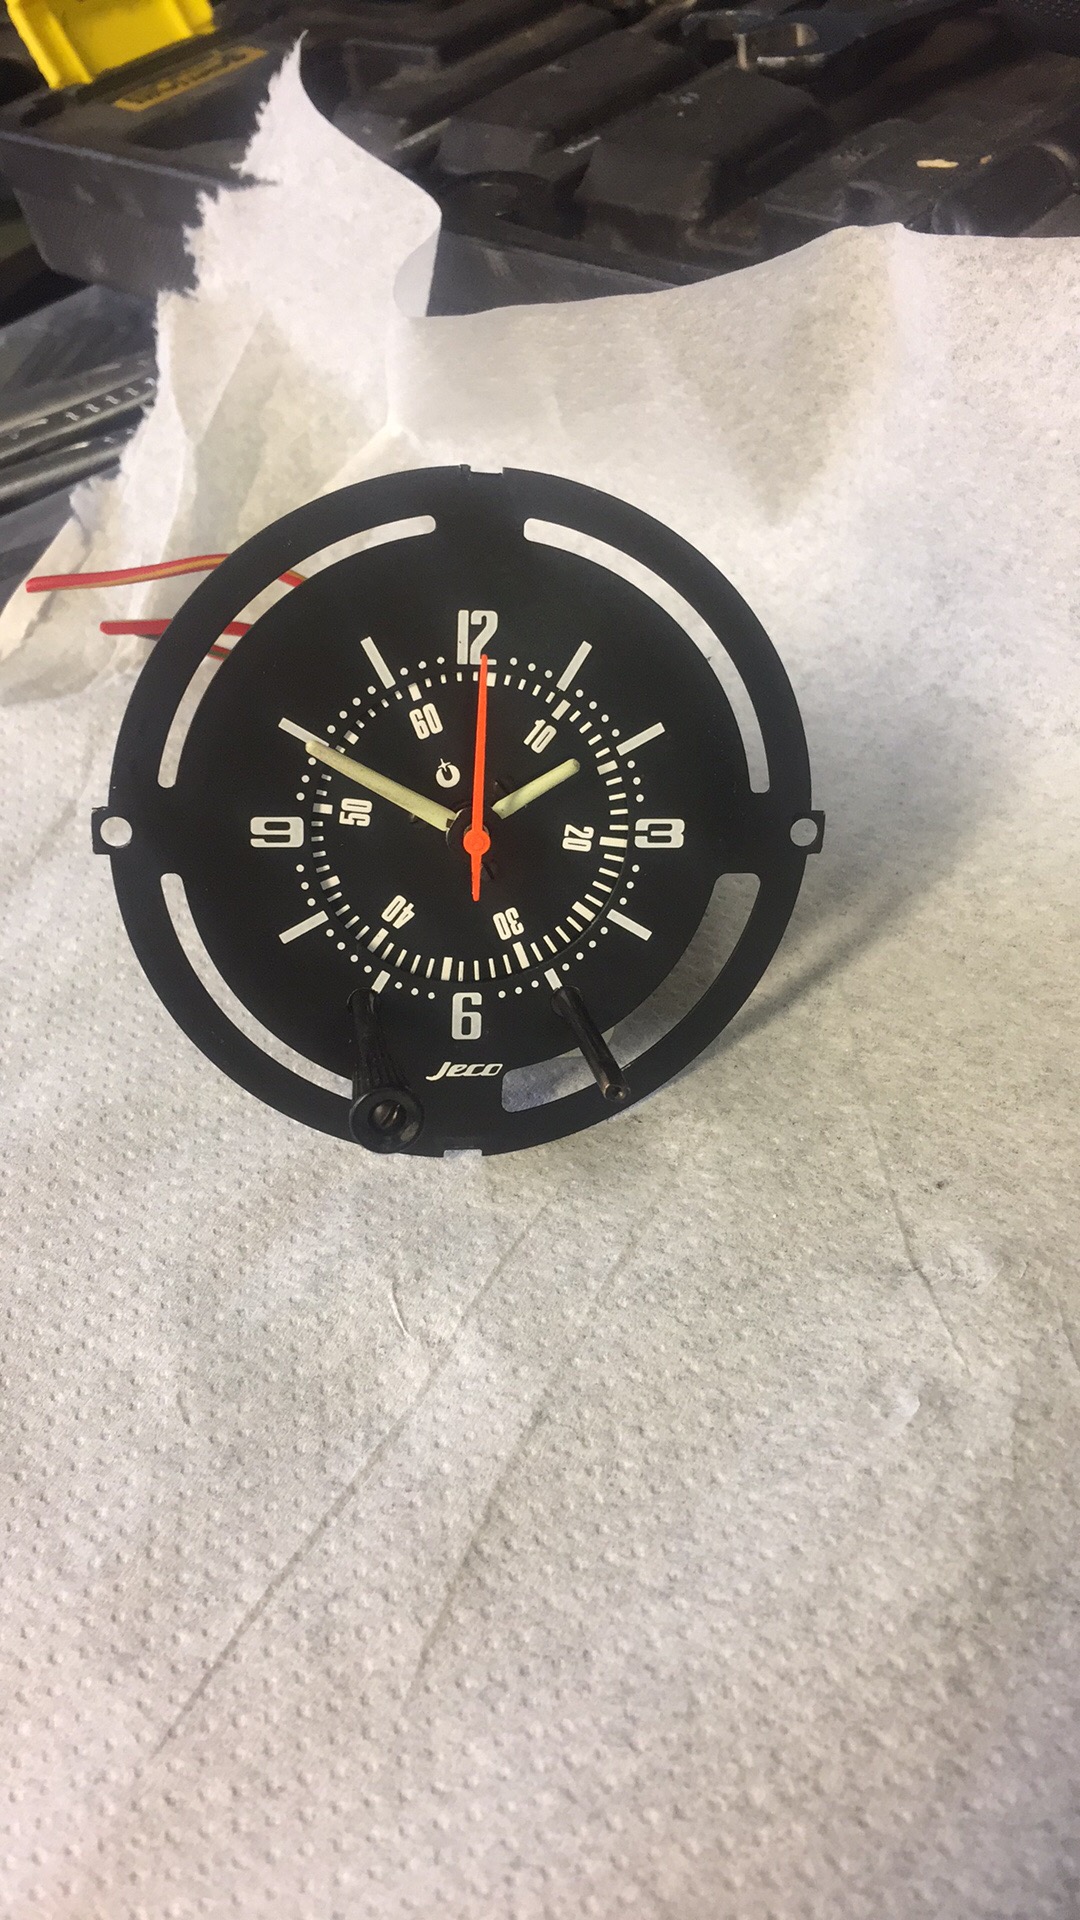
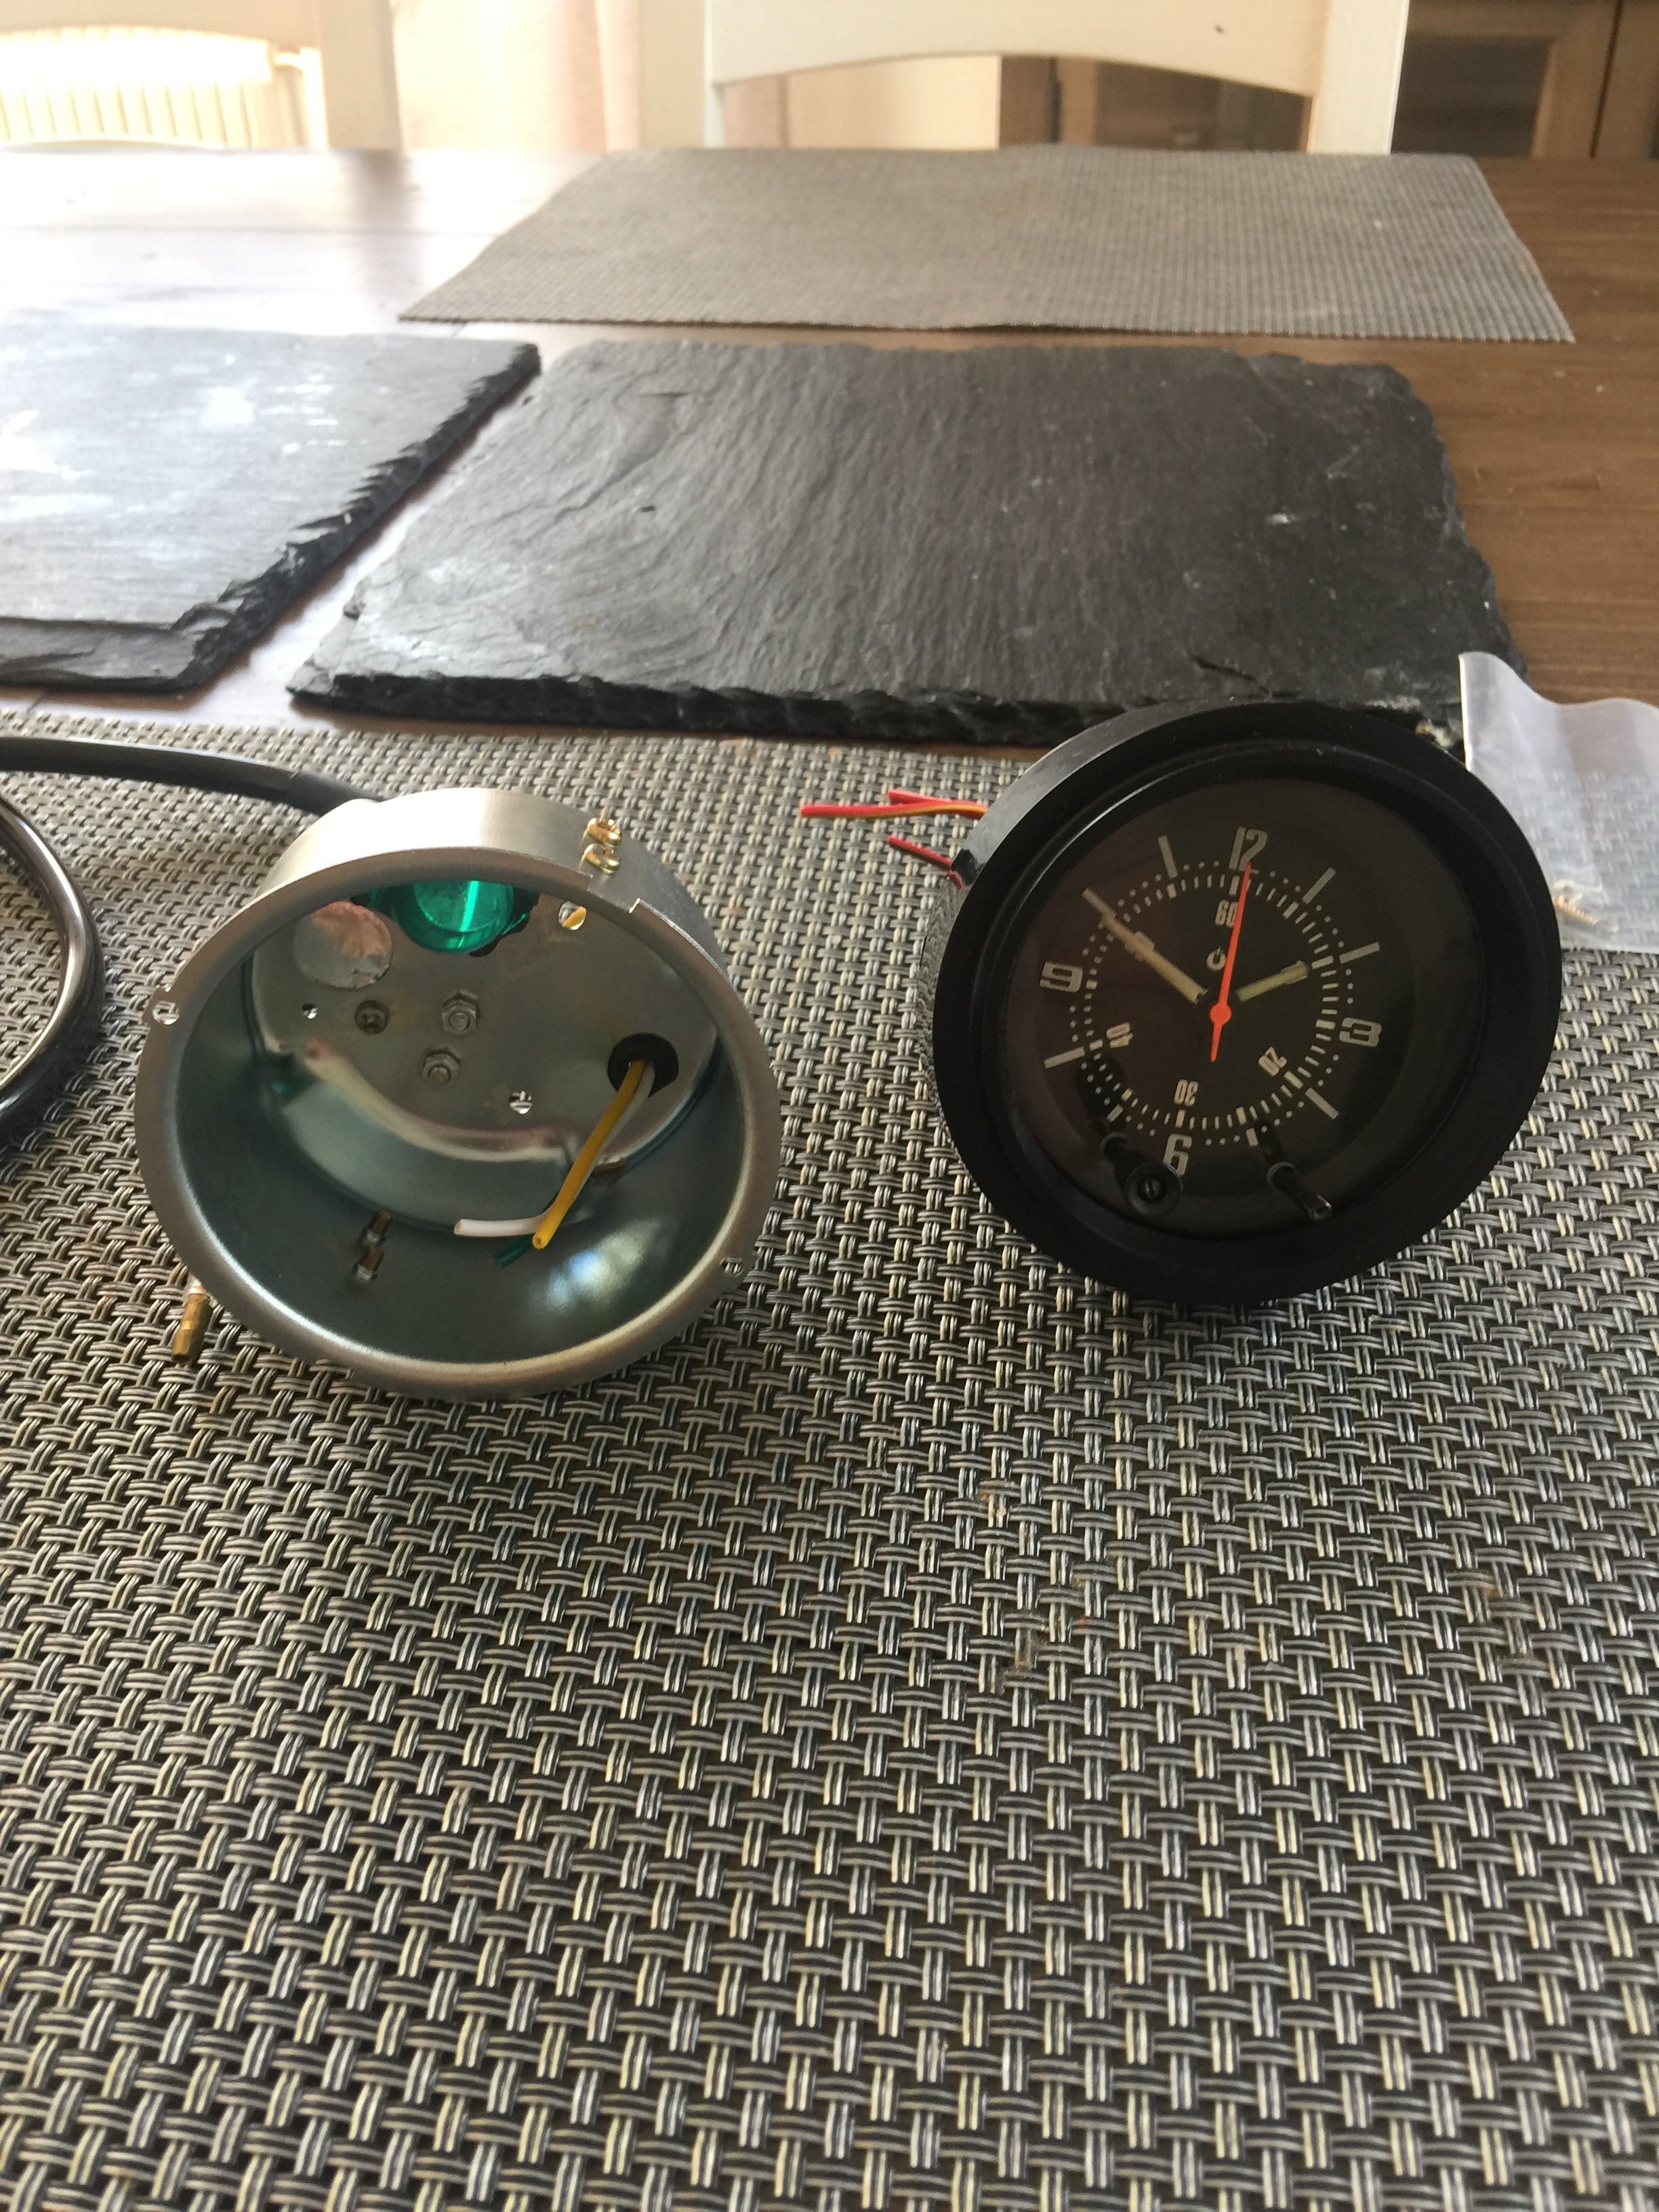
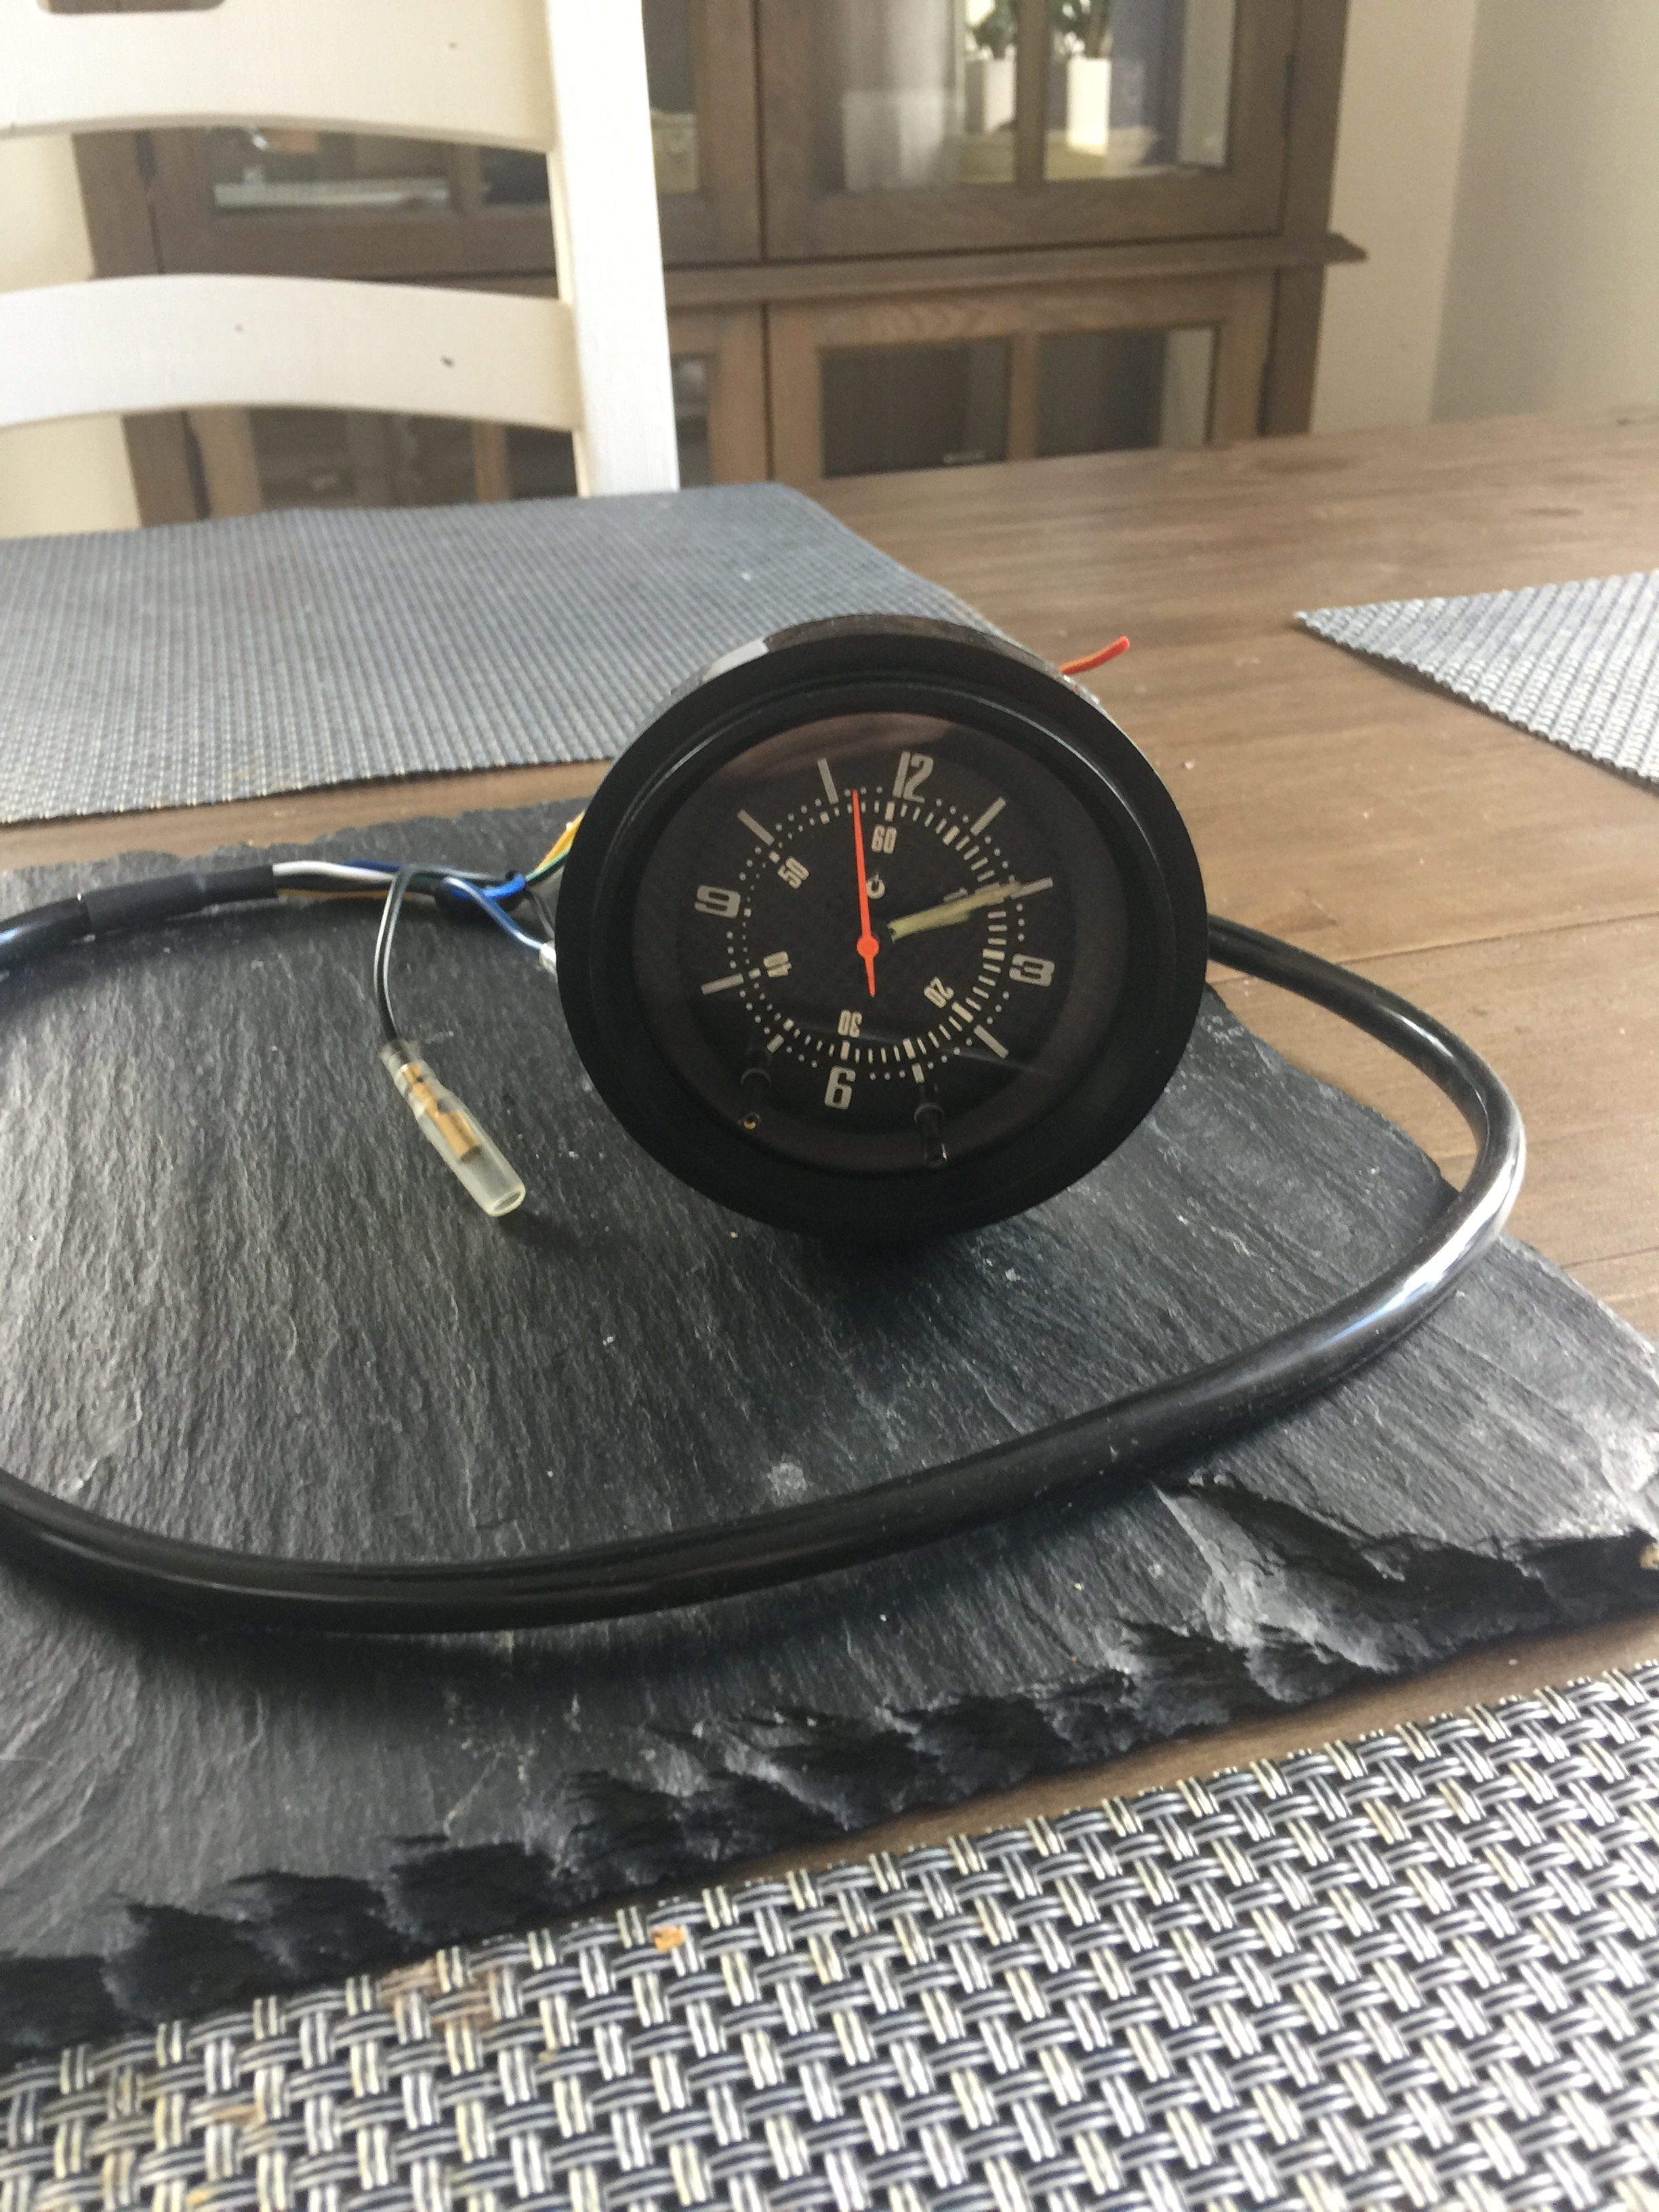
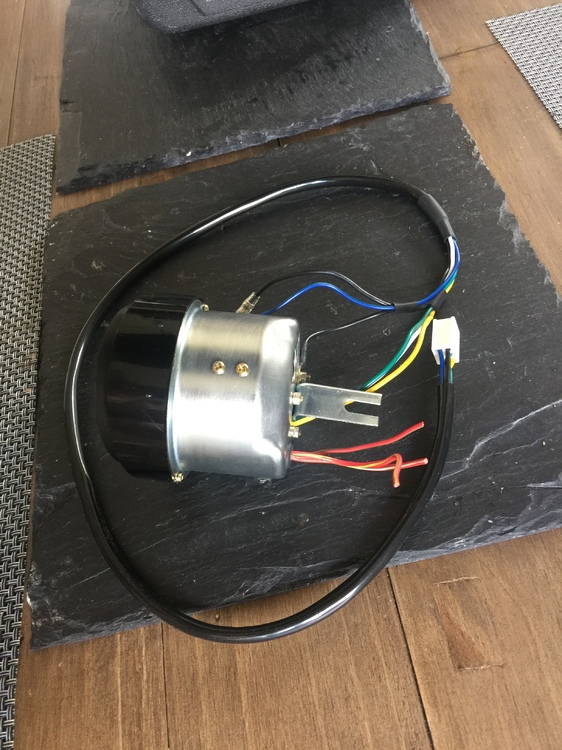
Put this together today. New housing from Ron at zclocks.


 1 point
 -
1 pointThanks for the good words! In HTRYDZC I tried to keep to the names Datsun gave parts in the factory shop manuals, though not in every case; some were too silly. I can't think of a lot of good things to say about the dash removal chore; I just did my new 'restomod' '71 project a couple of years ago, and I still have the sound system, alarm, and A/C to finish wiring up. Not that it's so difficult, but once the thing is back in, there is so little room to work even with the glove box still out. Not impossible, but my joints aren't what they were back in 1987 when I reassembled HLS003547. Oh well... BTW: Howard Fisher and I are working on a complete revision of the Restore book, to celebrate the 25th anniversary of it's being 'in print', and thank goodness, still selling pretty well. Who'd have ever guessed? My pal Steve Pettersen (Pettersen Motorworks, Chico CA) is collaborating, and we hope to have some color shots, esp to replace some of the murky ones I did on the old Nikon Ftn 35-mm. back in the day. Besides some nice cars and parts, he has several spectacular Z's under restoration -- if he could get all those funny old roadsters out of his resto shop! Wick PS/ anybody want to buy my NL320 trucks? Both '65's, one nice red one, and a rare black project for a lot less dough. I want to build Kustom! Happy Z Trails!1 point
-
Here we go Got another parts delivery from the land of the rising sun. All needed transmission parts which were still available in Japan: Seals: Rear hub: Front seal gasket: Then a friend of mine asked me to help him import some Nagisa Auto motor sports Part for his 240Z: Front adjustable tierod end-links: And adjustable Doglegs. Really beautiful parts. seems like they changed their annodizing procedure, sinec the parts i have have a different colour. anyhow. Nice pieces. The Colour is more gunmetal in reality. the white-balance on my cam was a bit off...1 point
-
Before I reupholster my seats I was wondering if anyone happens to have a pair of great condition, original red seats. I know it's a long shot but thought I'd try! Sent from my XT1650 using Tapatalk1 point
-
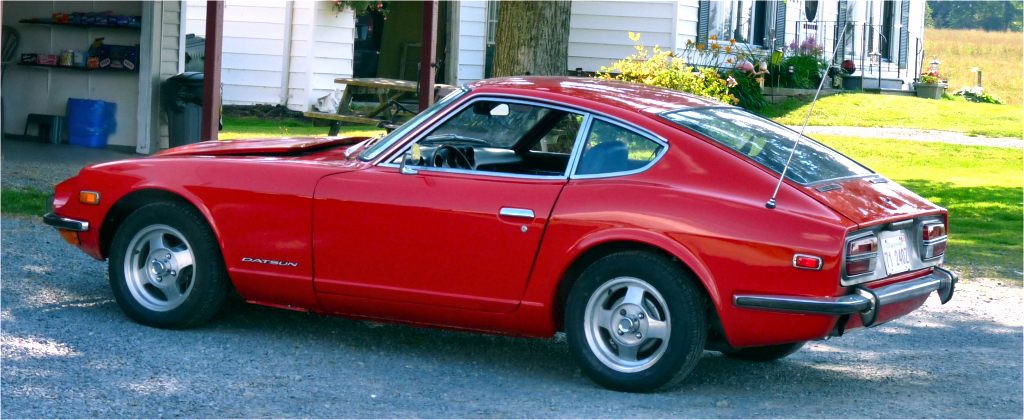
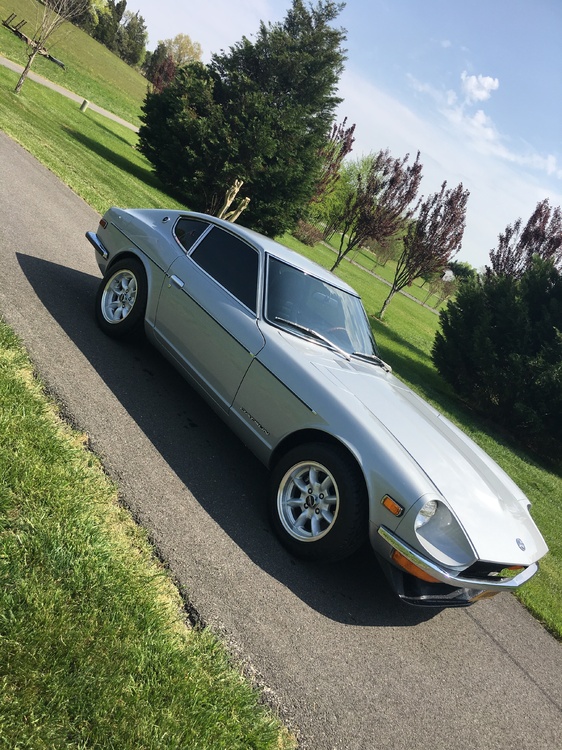
1 pointGreat looking Z! With your rims and the rubber on the bumpers, I think the black striping creates an awesome look! Sent from my iPhone using Classic Zcar Club mobile1 point
-
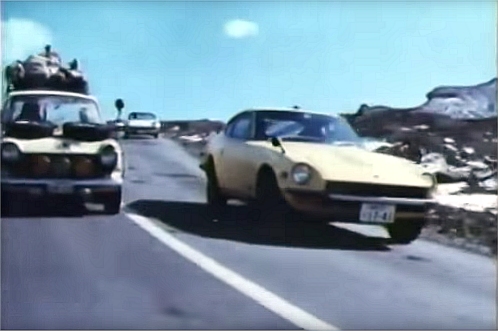
1 pointI may have posted it before but worth a 2nd look: https://youtu.be/5rj5-49IW_U
 1 point