Leaderboard

 Subscriber


Popular Content
Showing content with the highest reputation on 11/05/2016 in Posts
-
When I had my 73 painted, WAY back in 2008 (9?), I decided to get the front facing surfaces "3M"'ed with that clear bra stuff. Found a good little local shop with a guy and his wife starting out, and they did a great job. Across the hood up to the hump, front edge of the head light scoops, on each headlight and behind each wheel to catch gravel spray. Cost me ~$400 bucks. I keep it waxed and it still looks good (ie I pretty much forget it exists) to this day. I had it applied to a new Nissan Altima right after by the dealship and that was more like $800. Ouch. I has intrigued me for a couple years on and off and I decided to go buy some of this stuff and see just how hard it is to apply. My application idea is actually to apply it below the master brake cylinder and over the frame rail down to bottom of the rail below the firewall to protect against brake fluid damage. Why is the topic for whole nother thread. Let's just say I'm getting good at applying white paint.... So there are two kinds of film. Solid color/pattern "vehicle wrap" vinyl and clear paint protection vinyl. The "Wrap your Ride" vinyl is thinner and more conformative, the clear paint protection stuff is thicker. So after some experimenting, I found that this stuff is not simple to install, but it's well within the skills I know most of you/us have. Find the local vinyl wholesaler and go buy some scraps, a few simple tools, some squeegee bottles and go after it. I've done a few parts of the white 71 that's on its way to finding a new owner. I hope. A great first project was cutting out two 6.5 inch circles of the clear and sticking it on the headlights. Easy peasy. They are not flat and need a little sqeeqee action and heat to make them disappear. Putting the piece on the frame rail was easy, its flat, just a bend over the edge. Now the chunk under the brake master is very very NOT FLAT, and it took some trial and error to learn how to do that with fancy heat and squeegee action, but I got it. I'd show pictures of it, but frankly you can't see it! There is another option. Spray-on clear paint protection from 3M. I bought a couple of cans of it about 5 years ago when it first came out (rather then the "dip" crap, although I'm sure it's gotten better). I applied it to the underside of the front valence, which was off along with the fender, It's drying tonight, after a second attempt. I think it will look great given what I've seen so far. Clearly it's a shorter term solution, its rated for a 2 year life. Stuff is cool, after the first attempt met with a couple of "issues" during application (I won't go into the nitty gritty details, cough cough...), I let it dry for all of about 3 hours, and most of it peeled right off like it was the clear vinyl stuff. Trick is to apply it thick enough so the resulting film is strong enough to withstand peeling later. The vinyl wrap and paint protection films are the best option for time, function and appearance. Watch a couple YouTube video's from the manufacturers to get the general methods, and give it a shot. You can buy pre cut paint protection kits from ebay for most modern cars and the simple tools to apply it, Then its just spray, position, squeegee, heat, pray, curse, lift, spray, stretch, sqeeqee, repeat, heat, done! Best thing is, if you screw up, peel it off, no harm done.1 point
-
I've been thinking of different applications of the clear protective film myself and was just yesterday thinking of appllying it over my perfect NOS fuse box cover to protect it from scuffs. If and when you have to take it off, do you think it will lift the white lettering on the fuse box cover? Another great place to use that film is on the battery tray and the area below it although the latter would be quite a challenge due to space restrictions.1 point
-
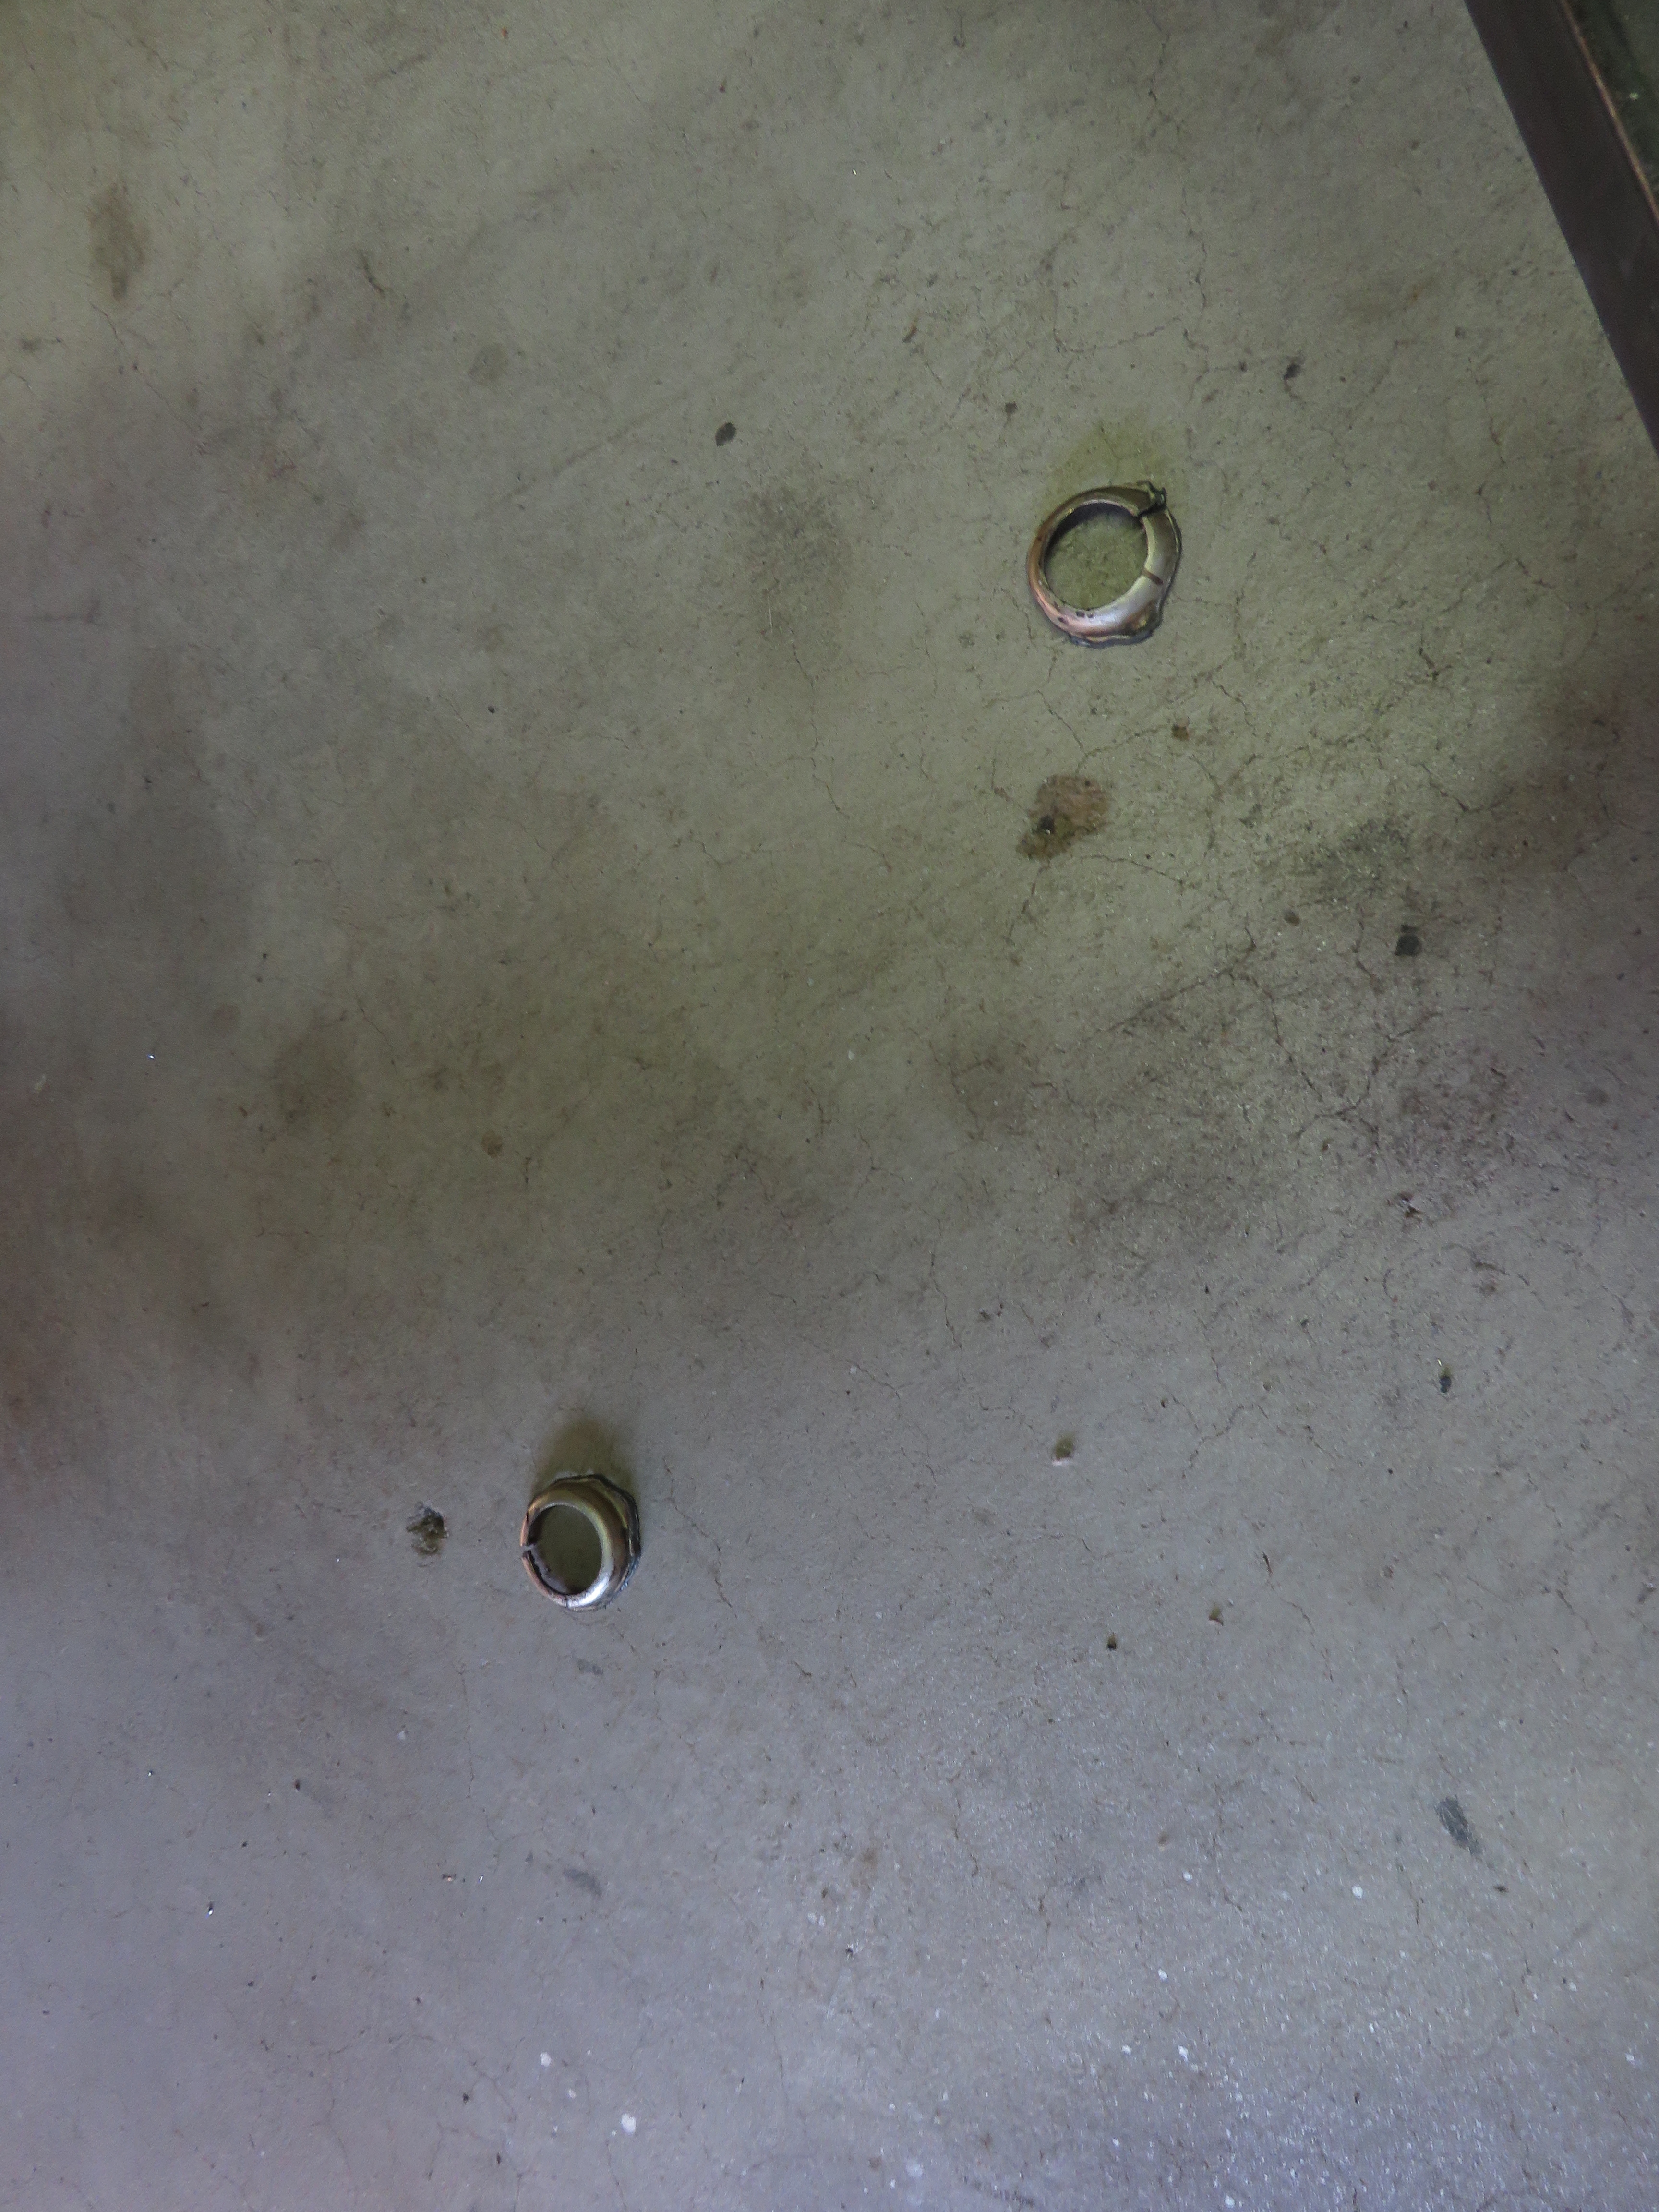
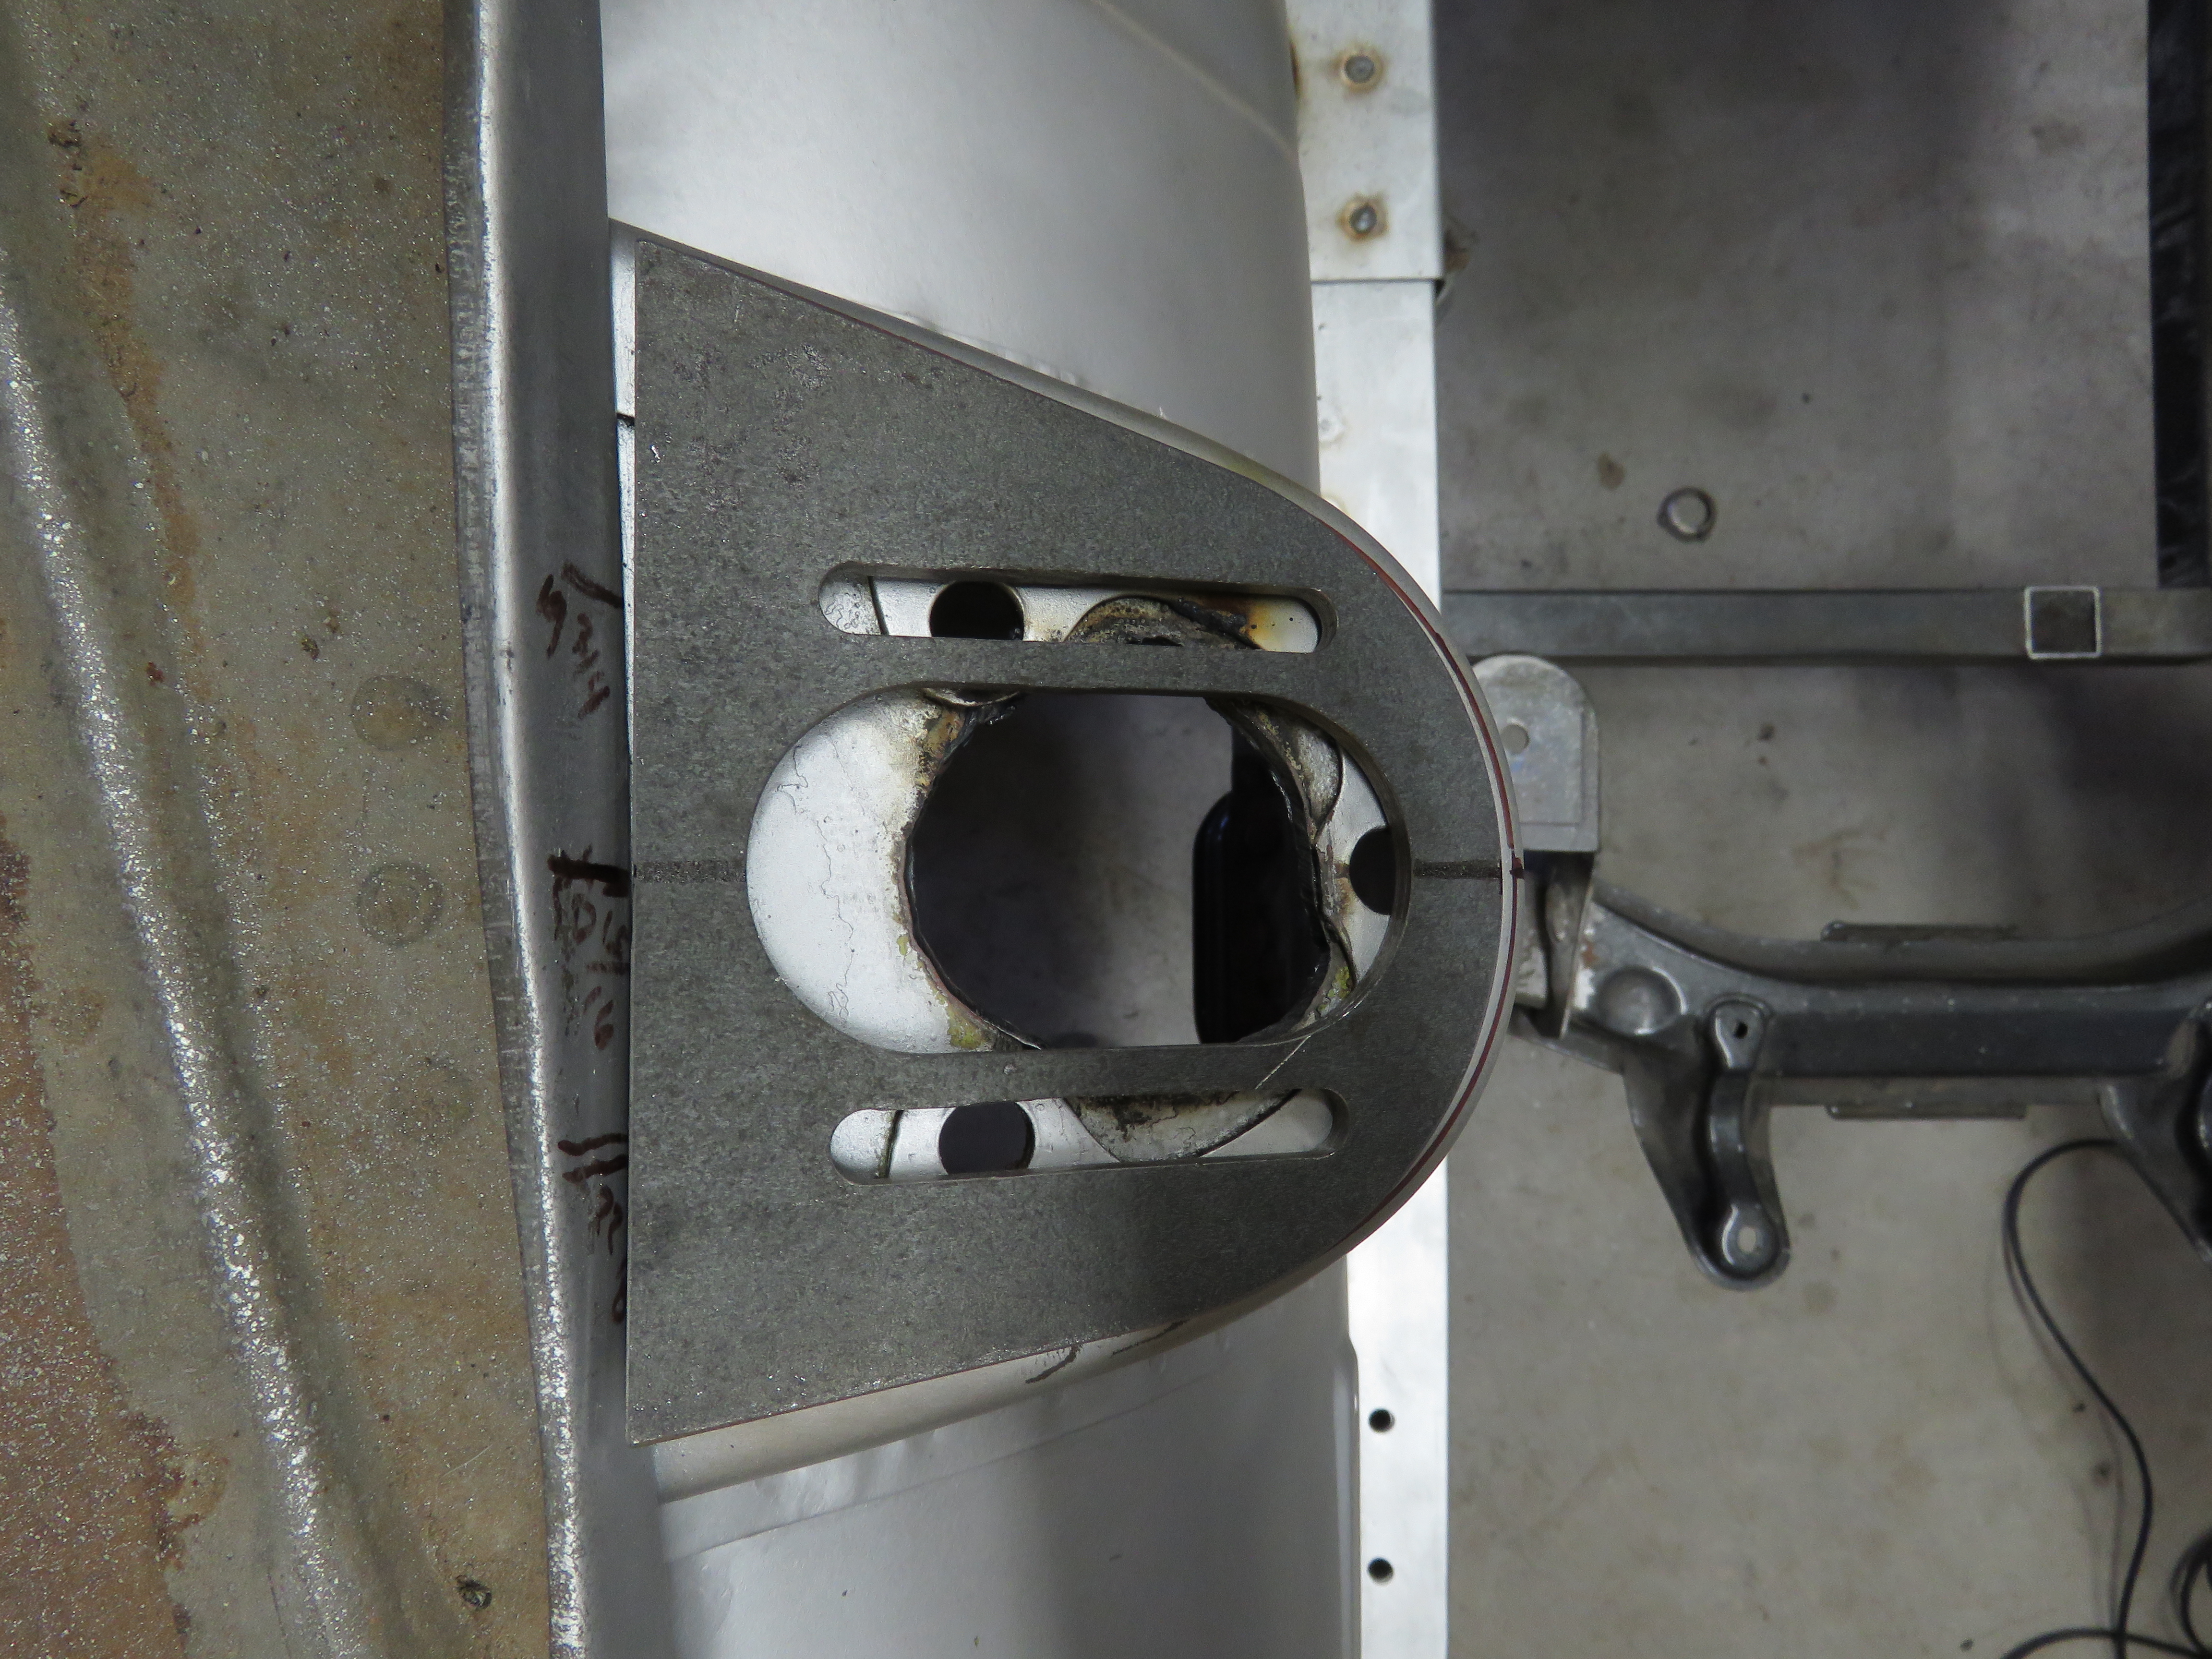
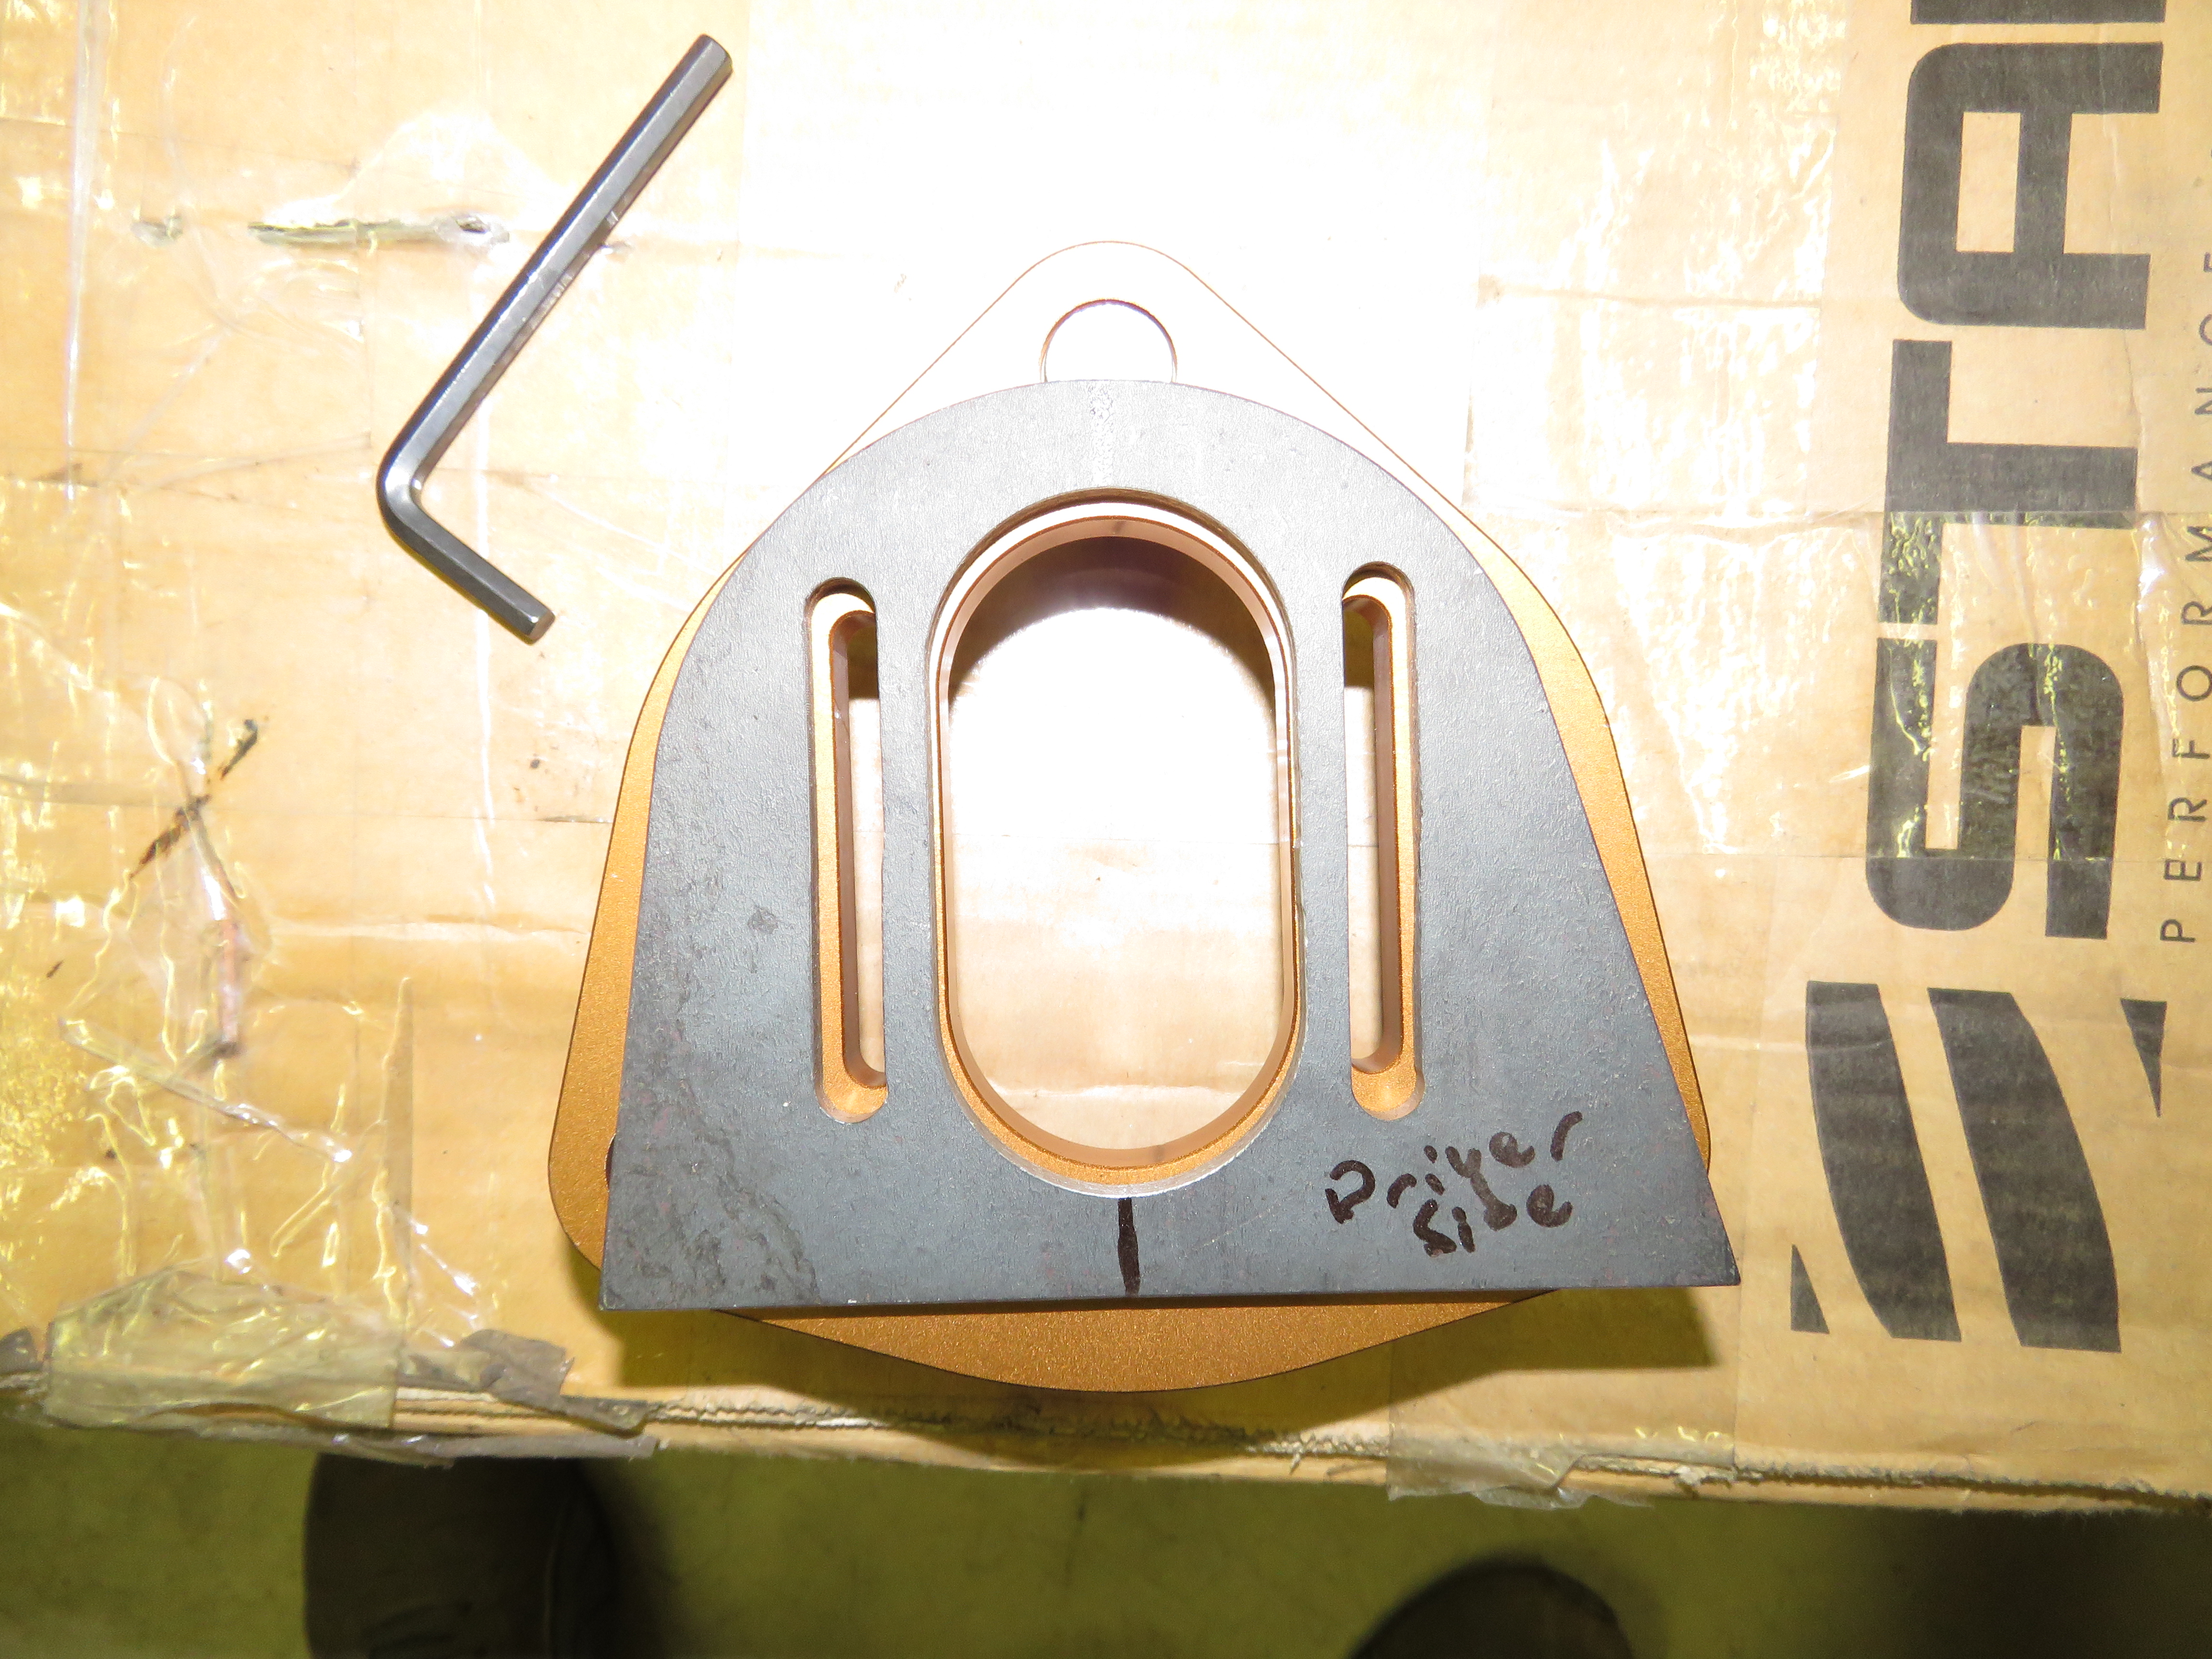
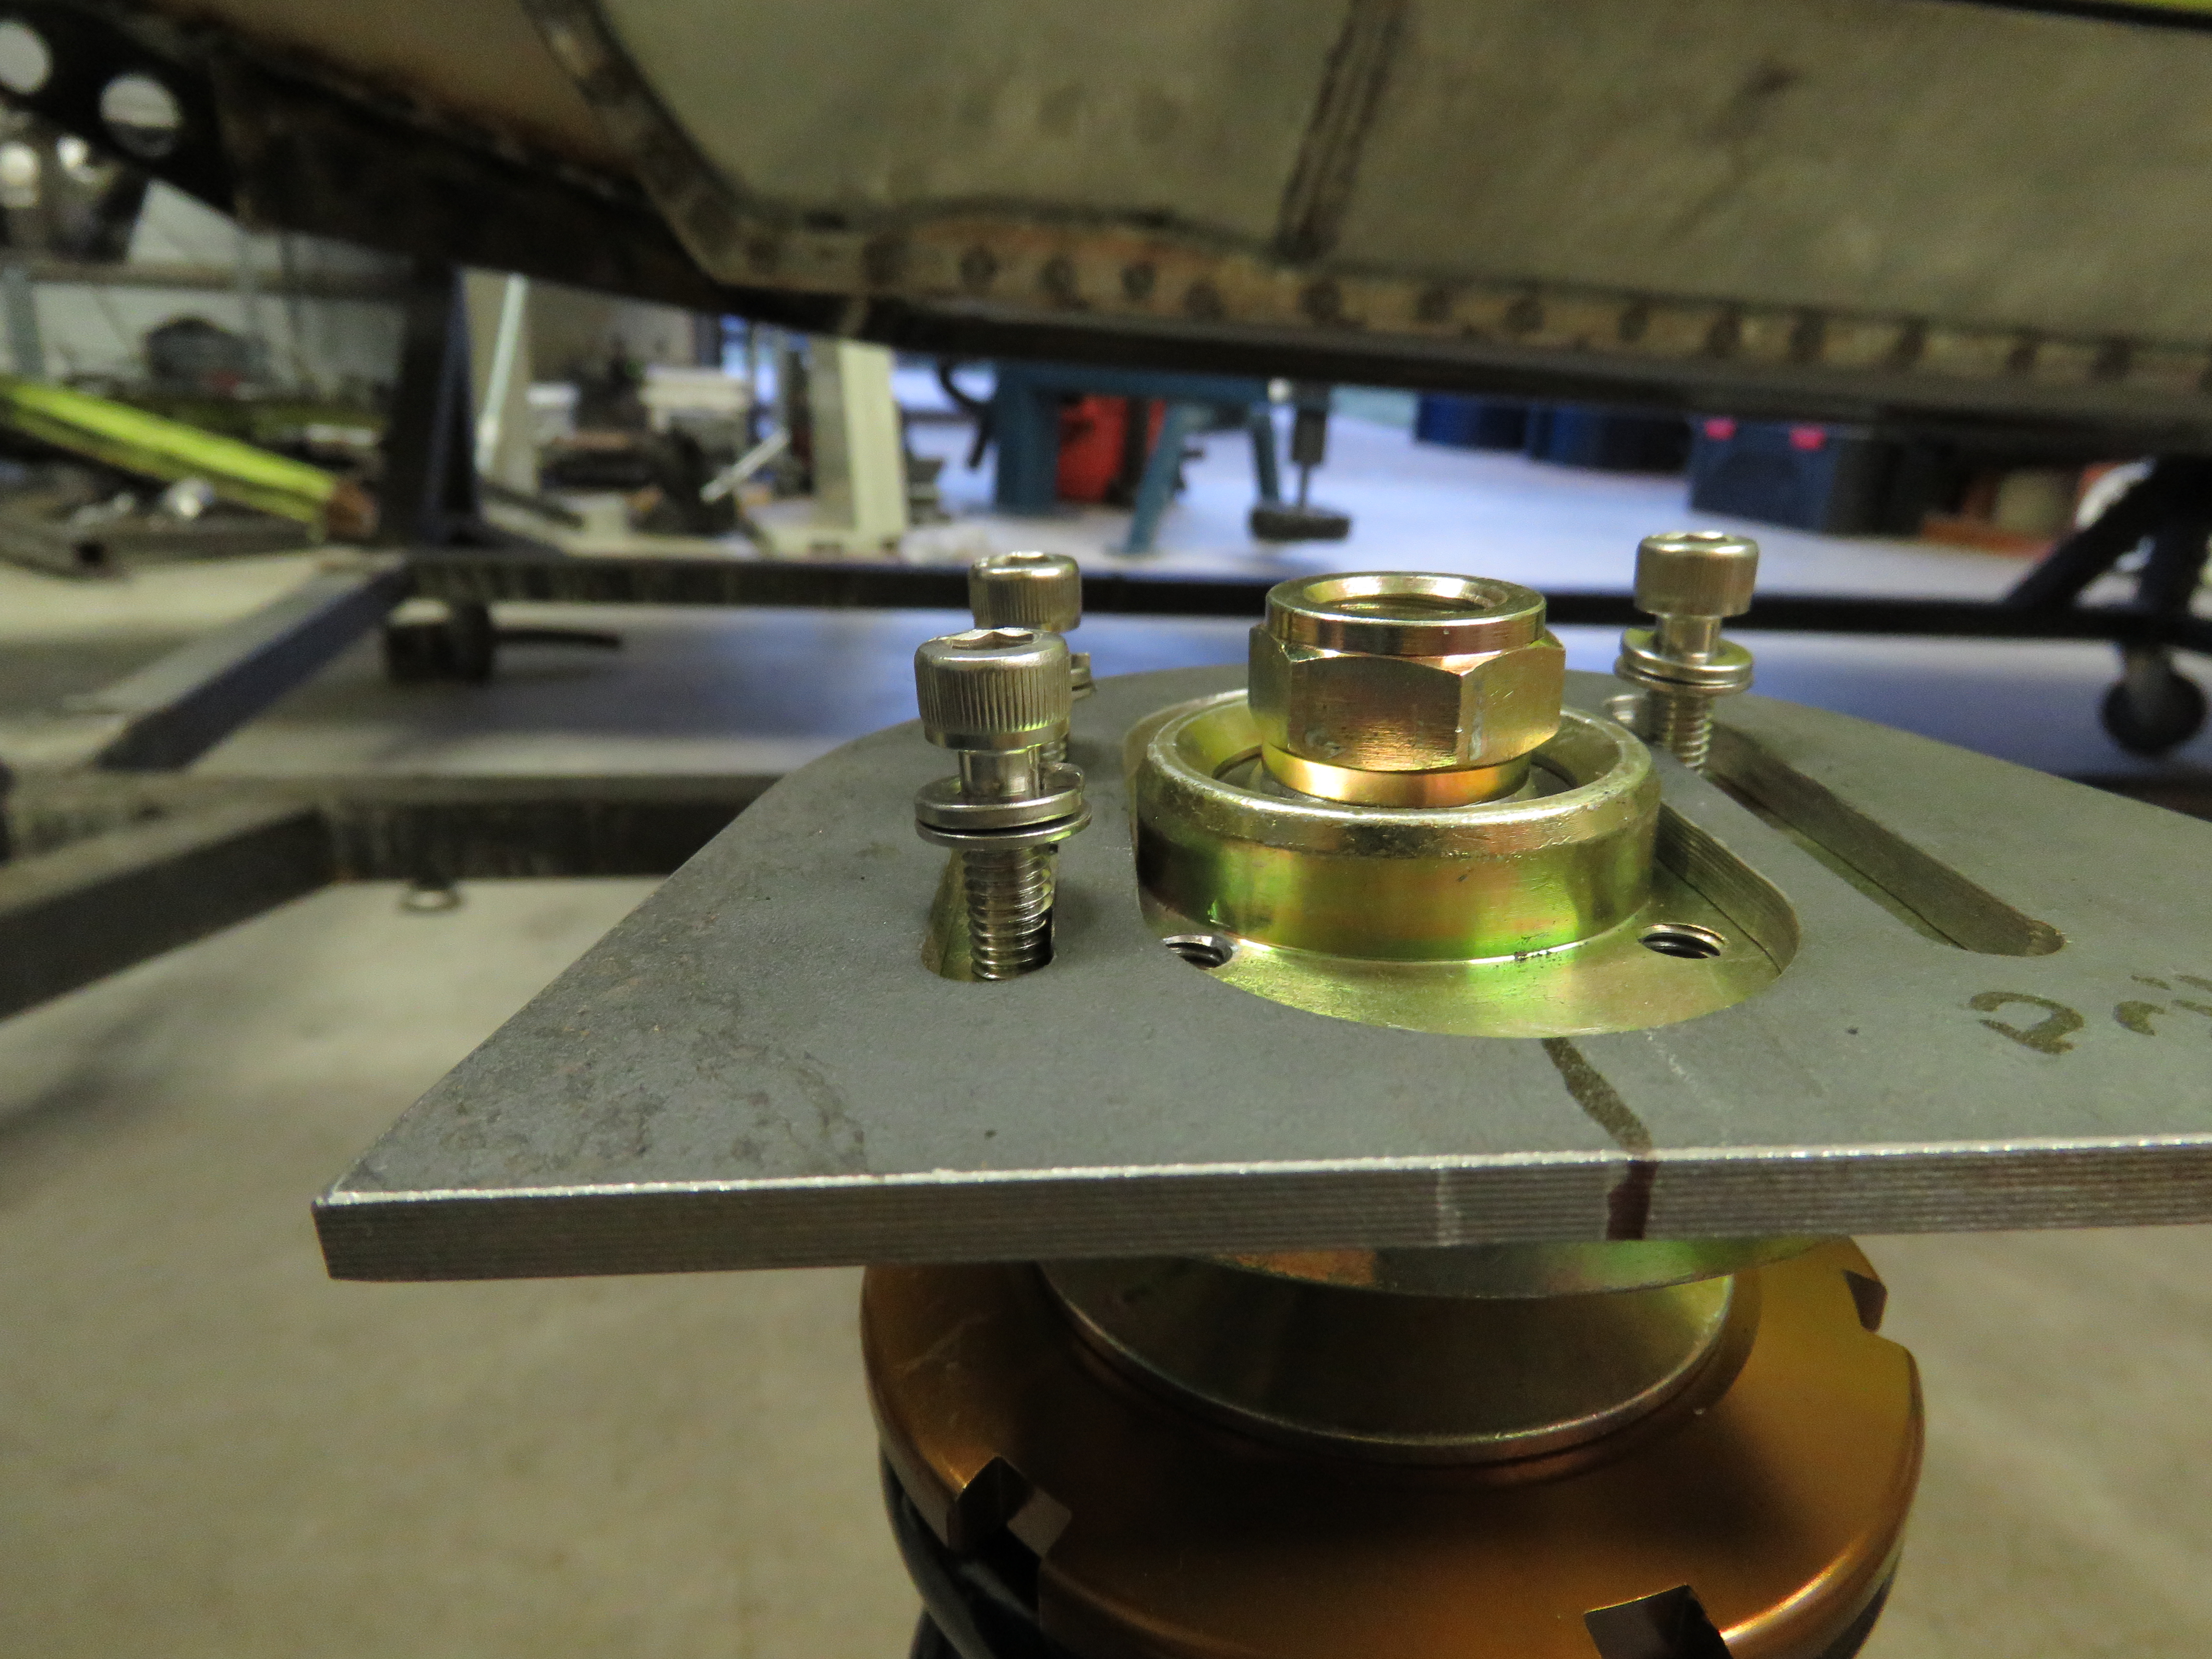
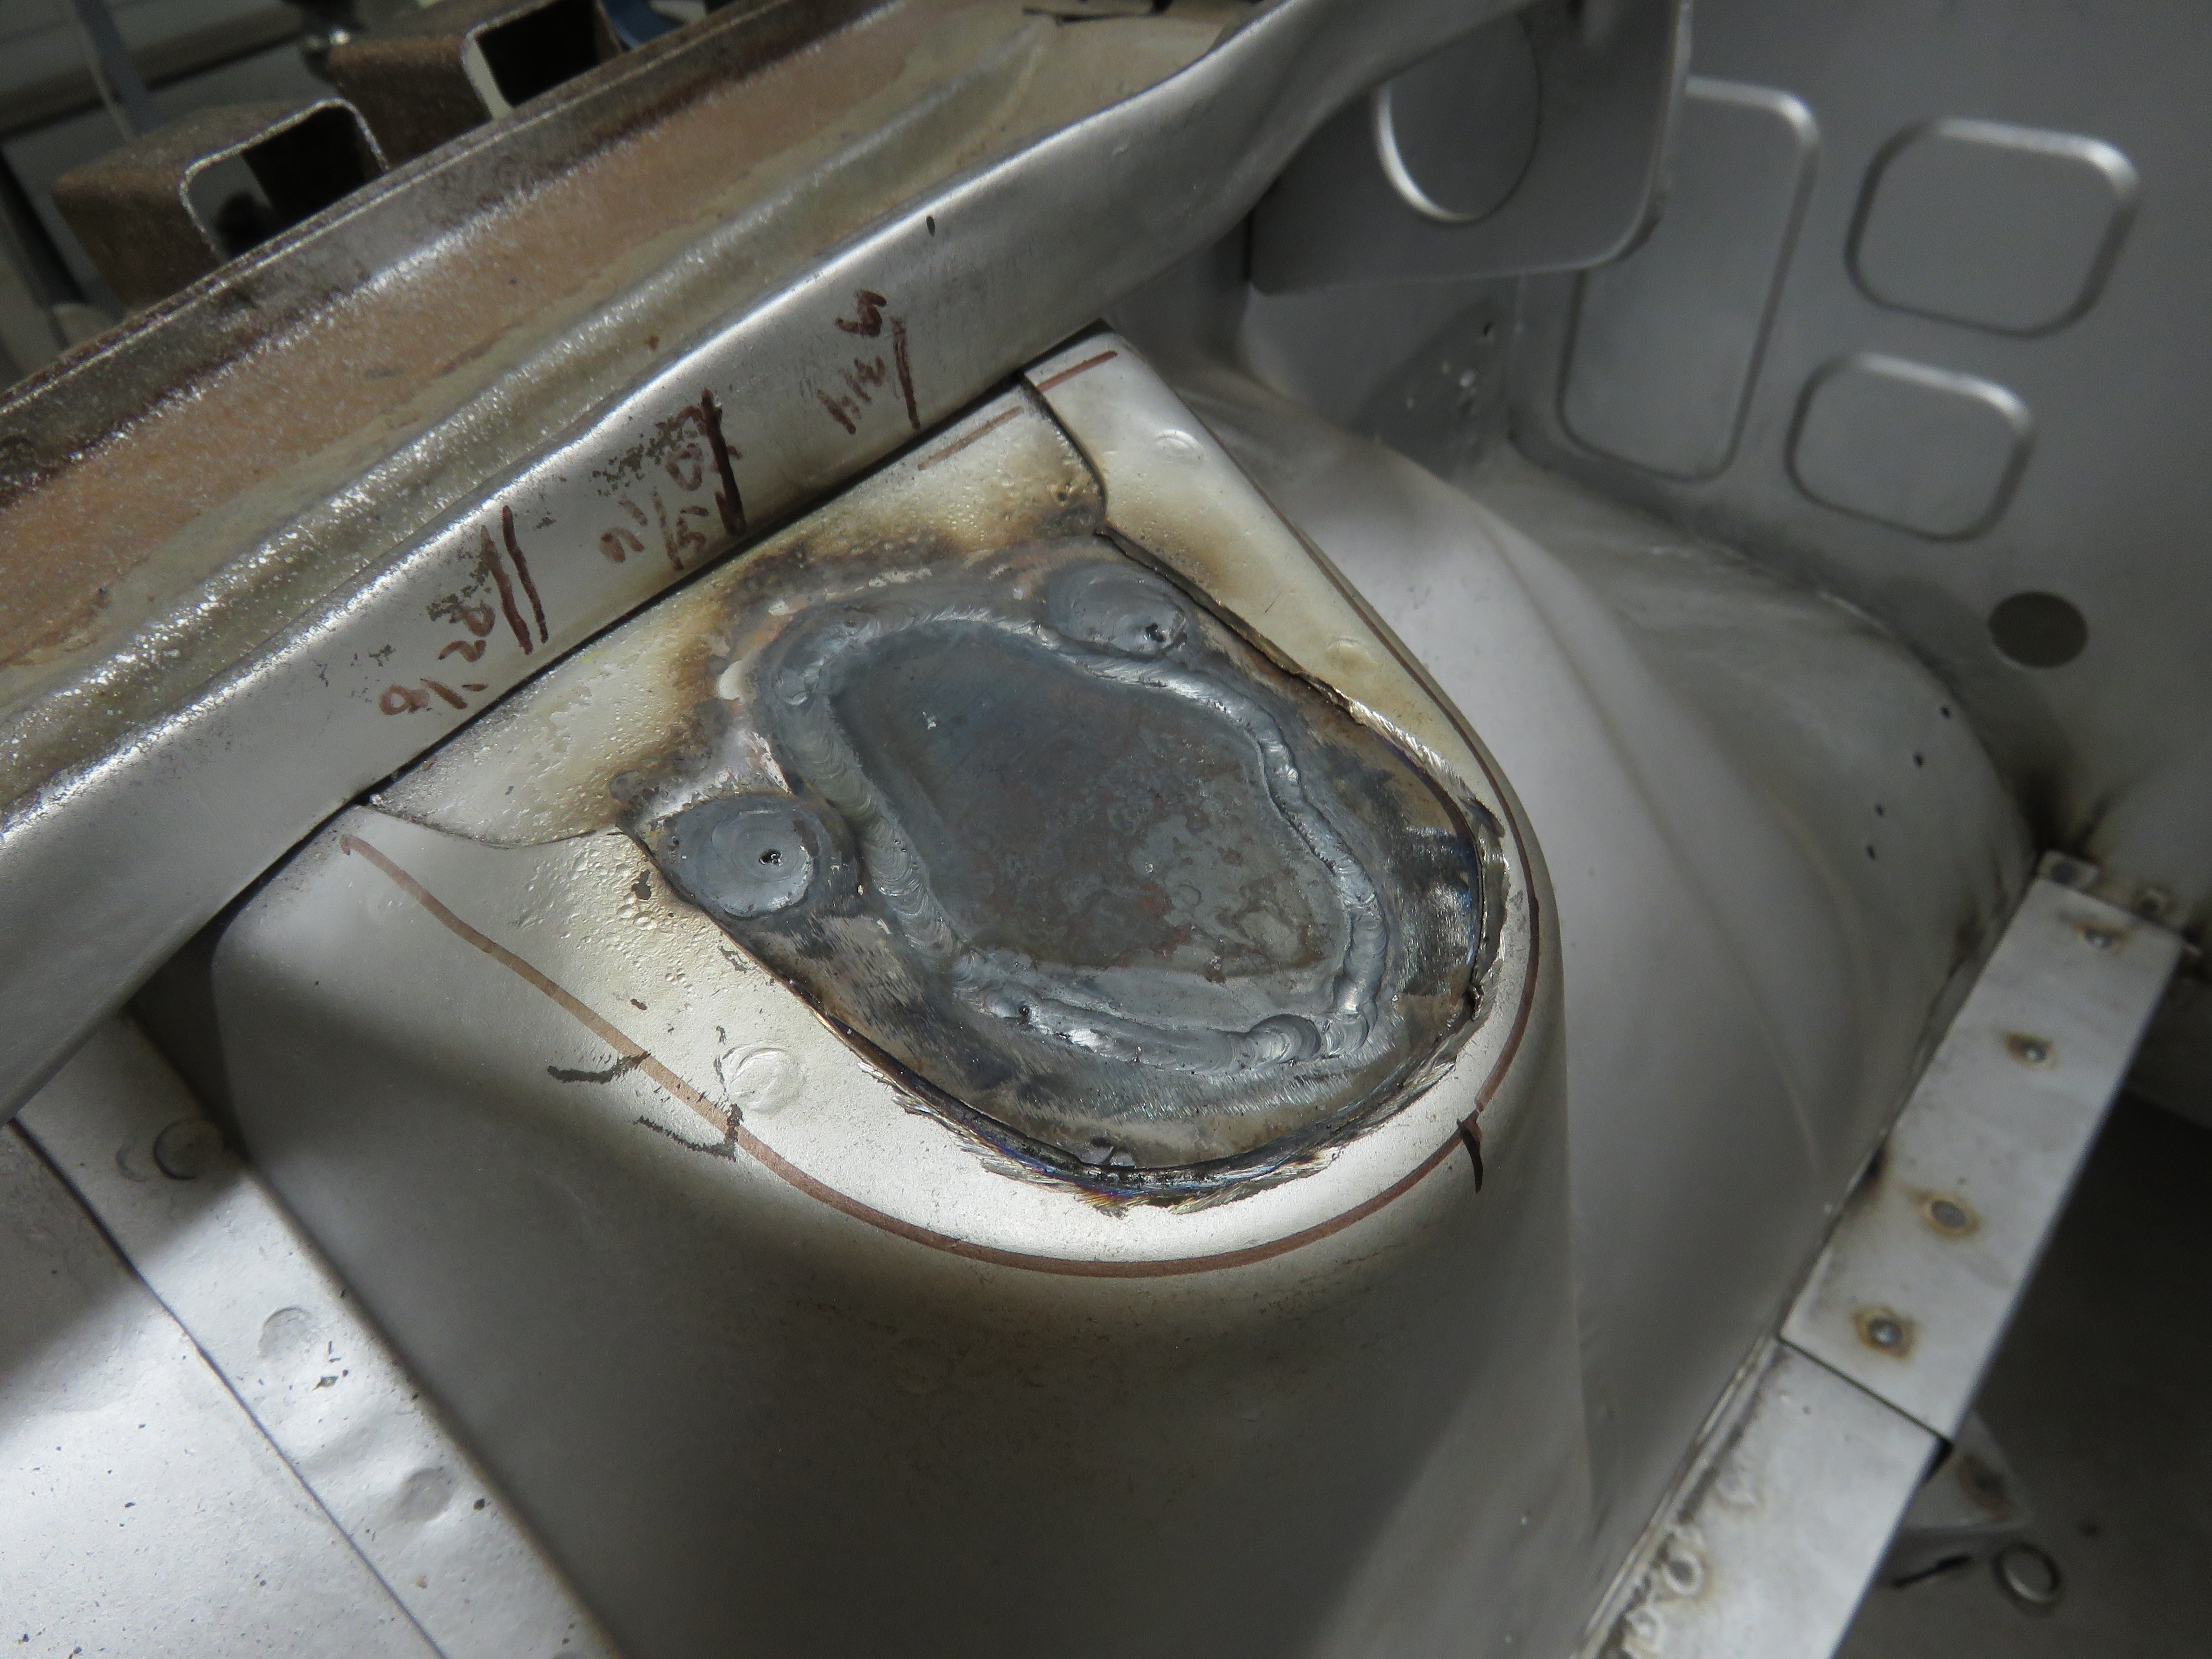
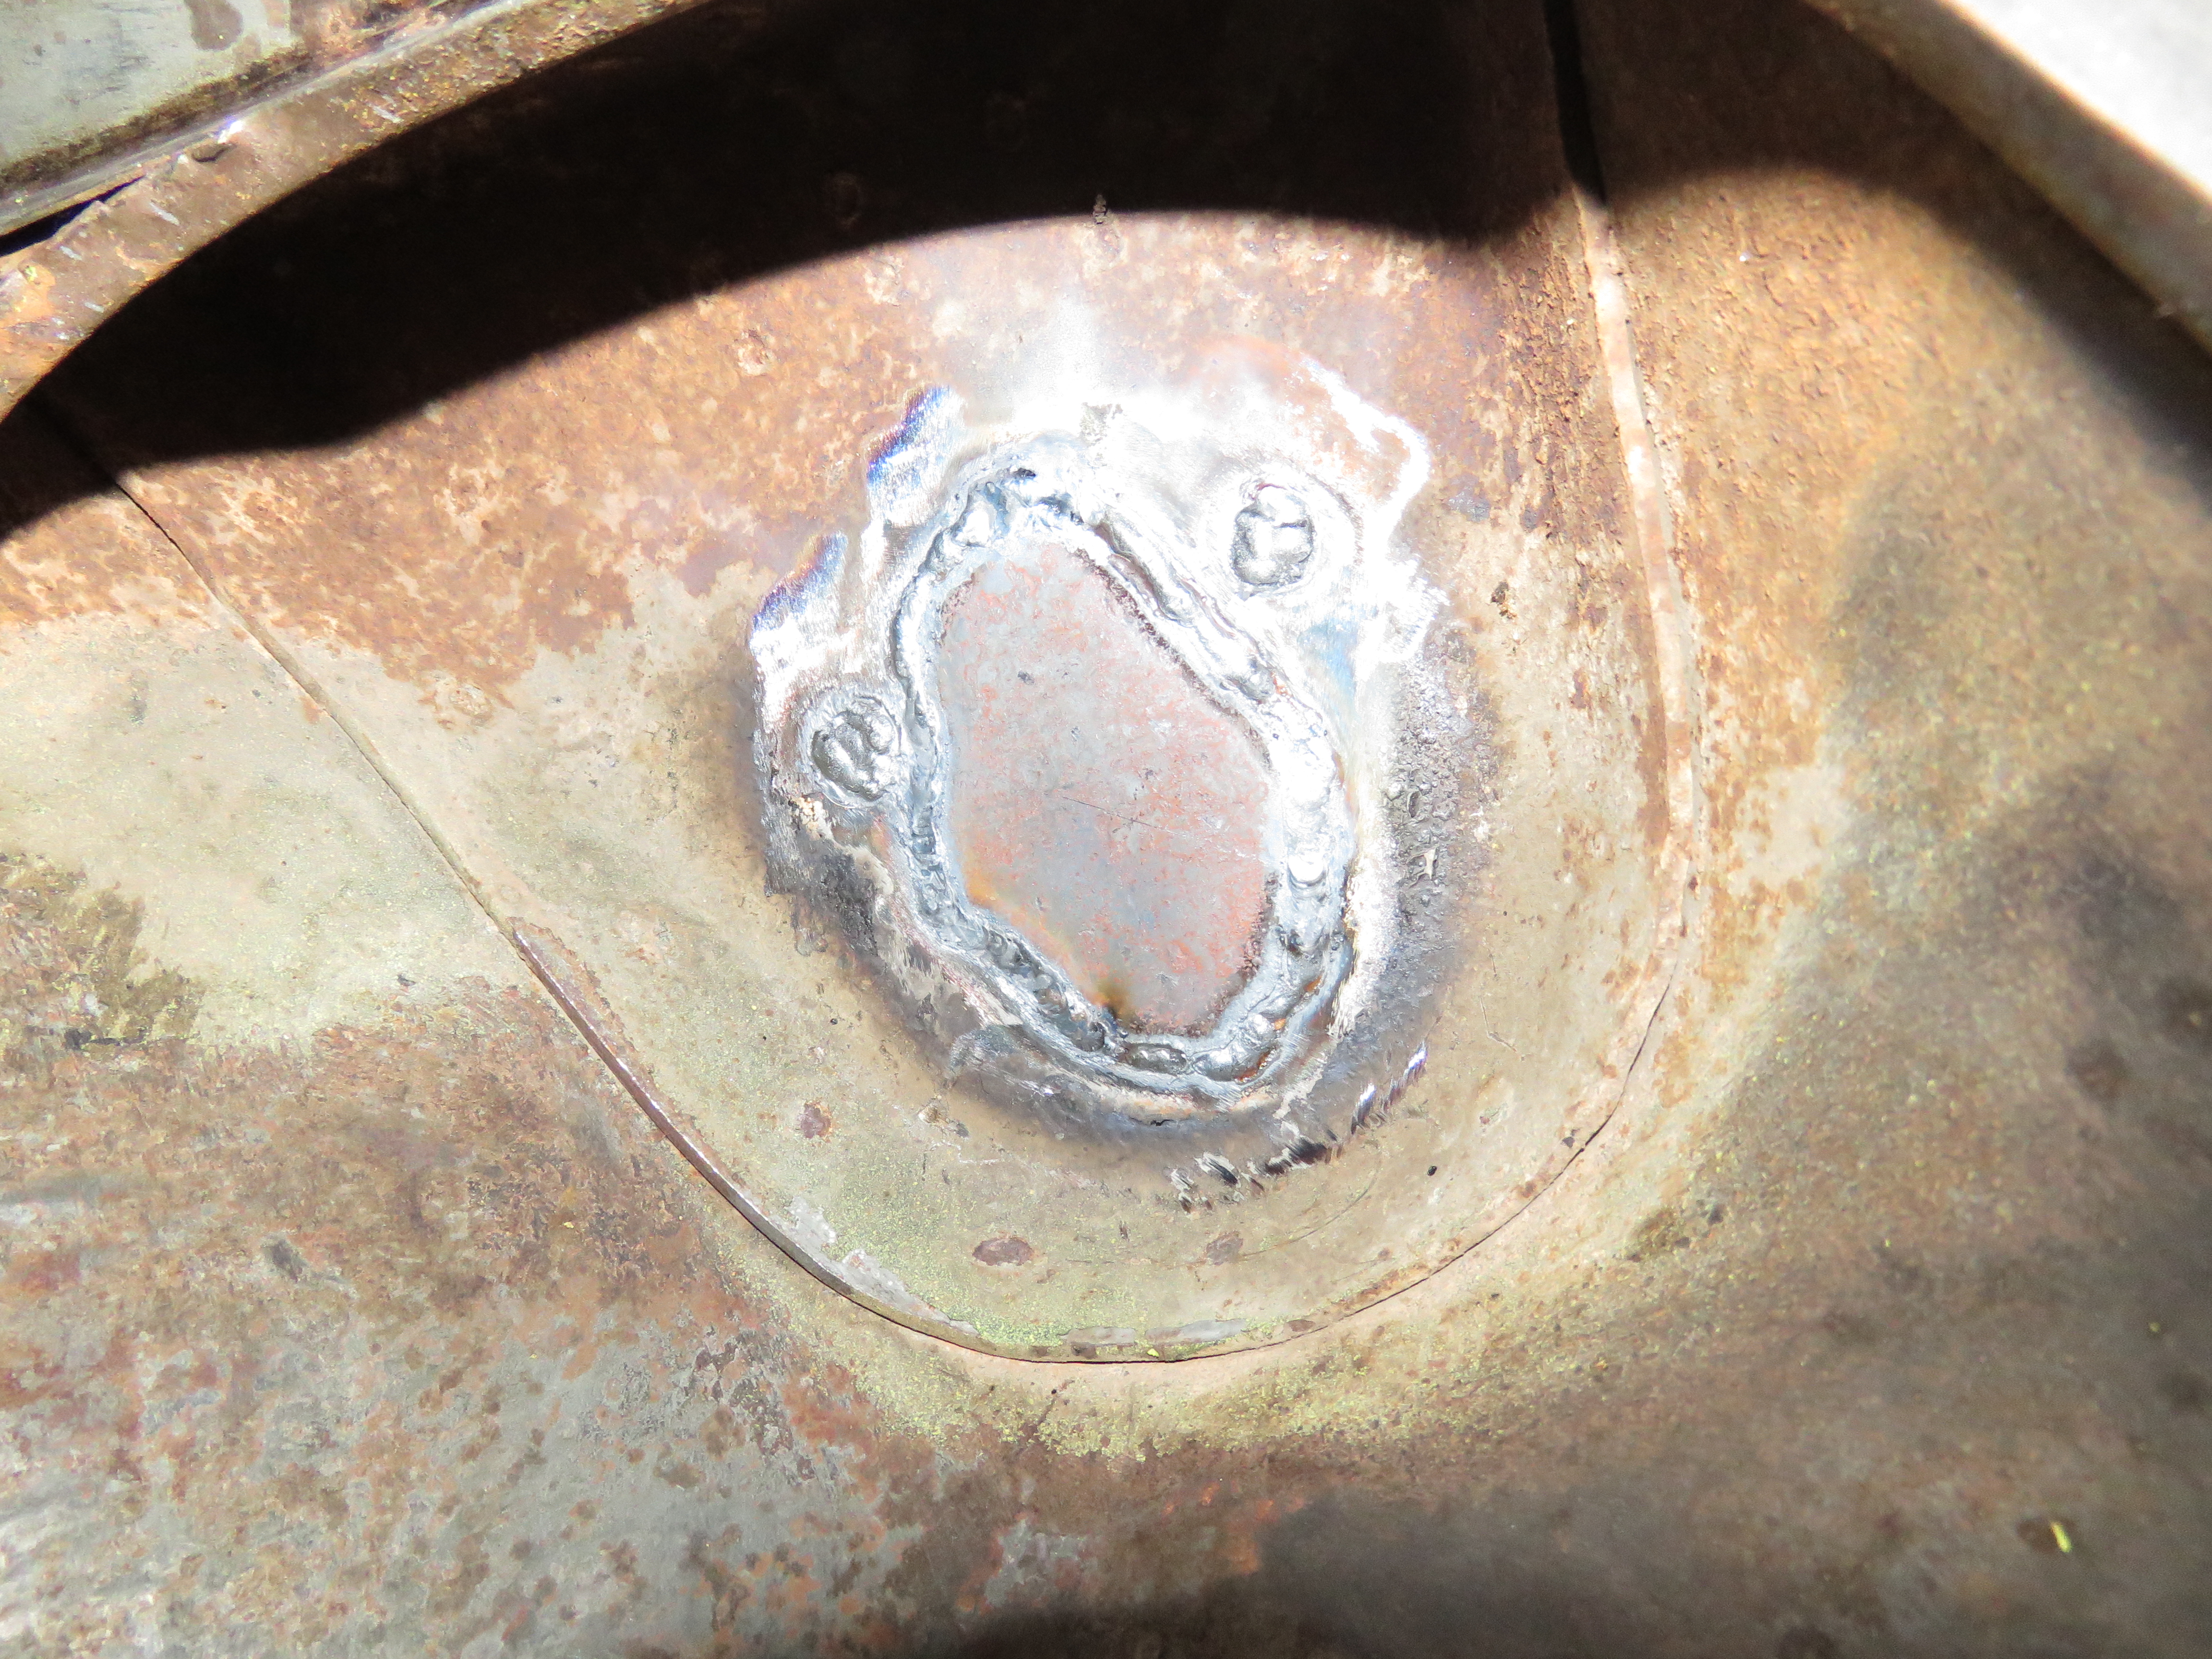
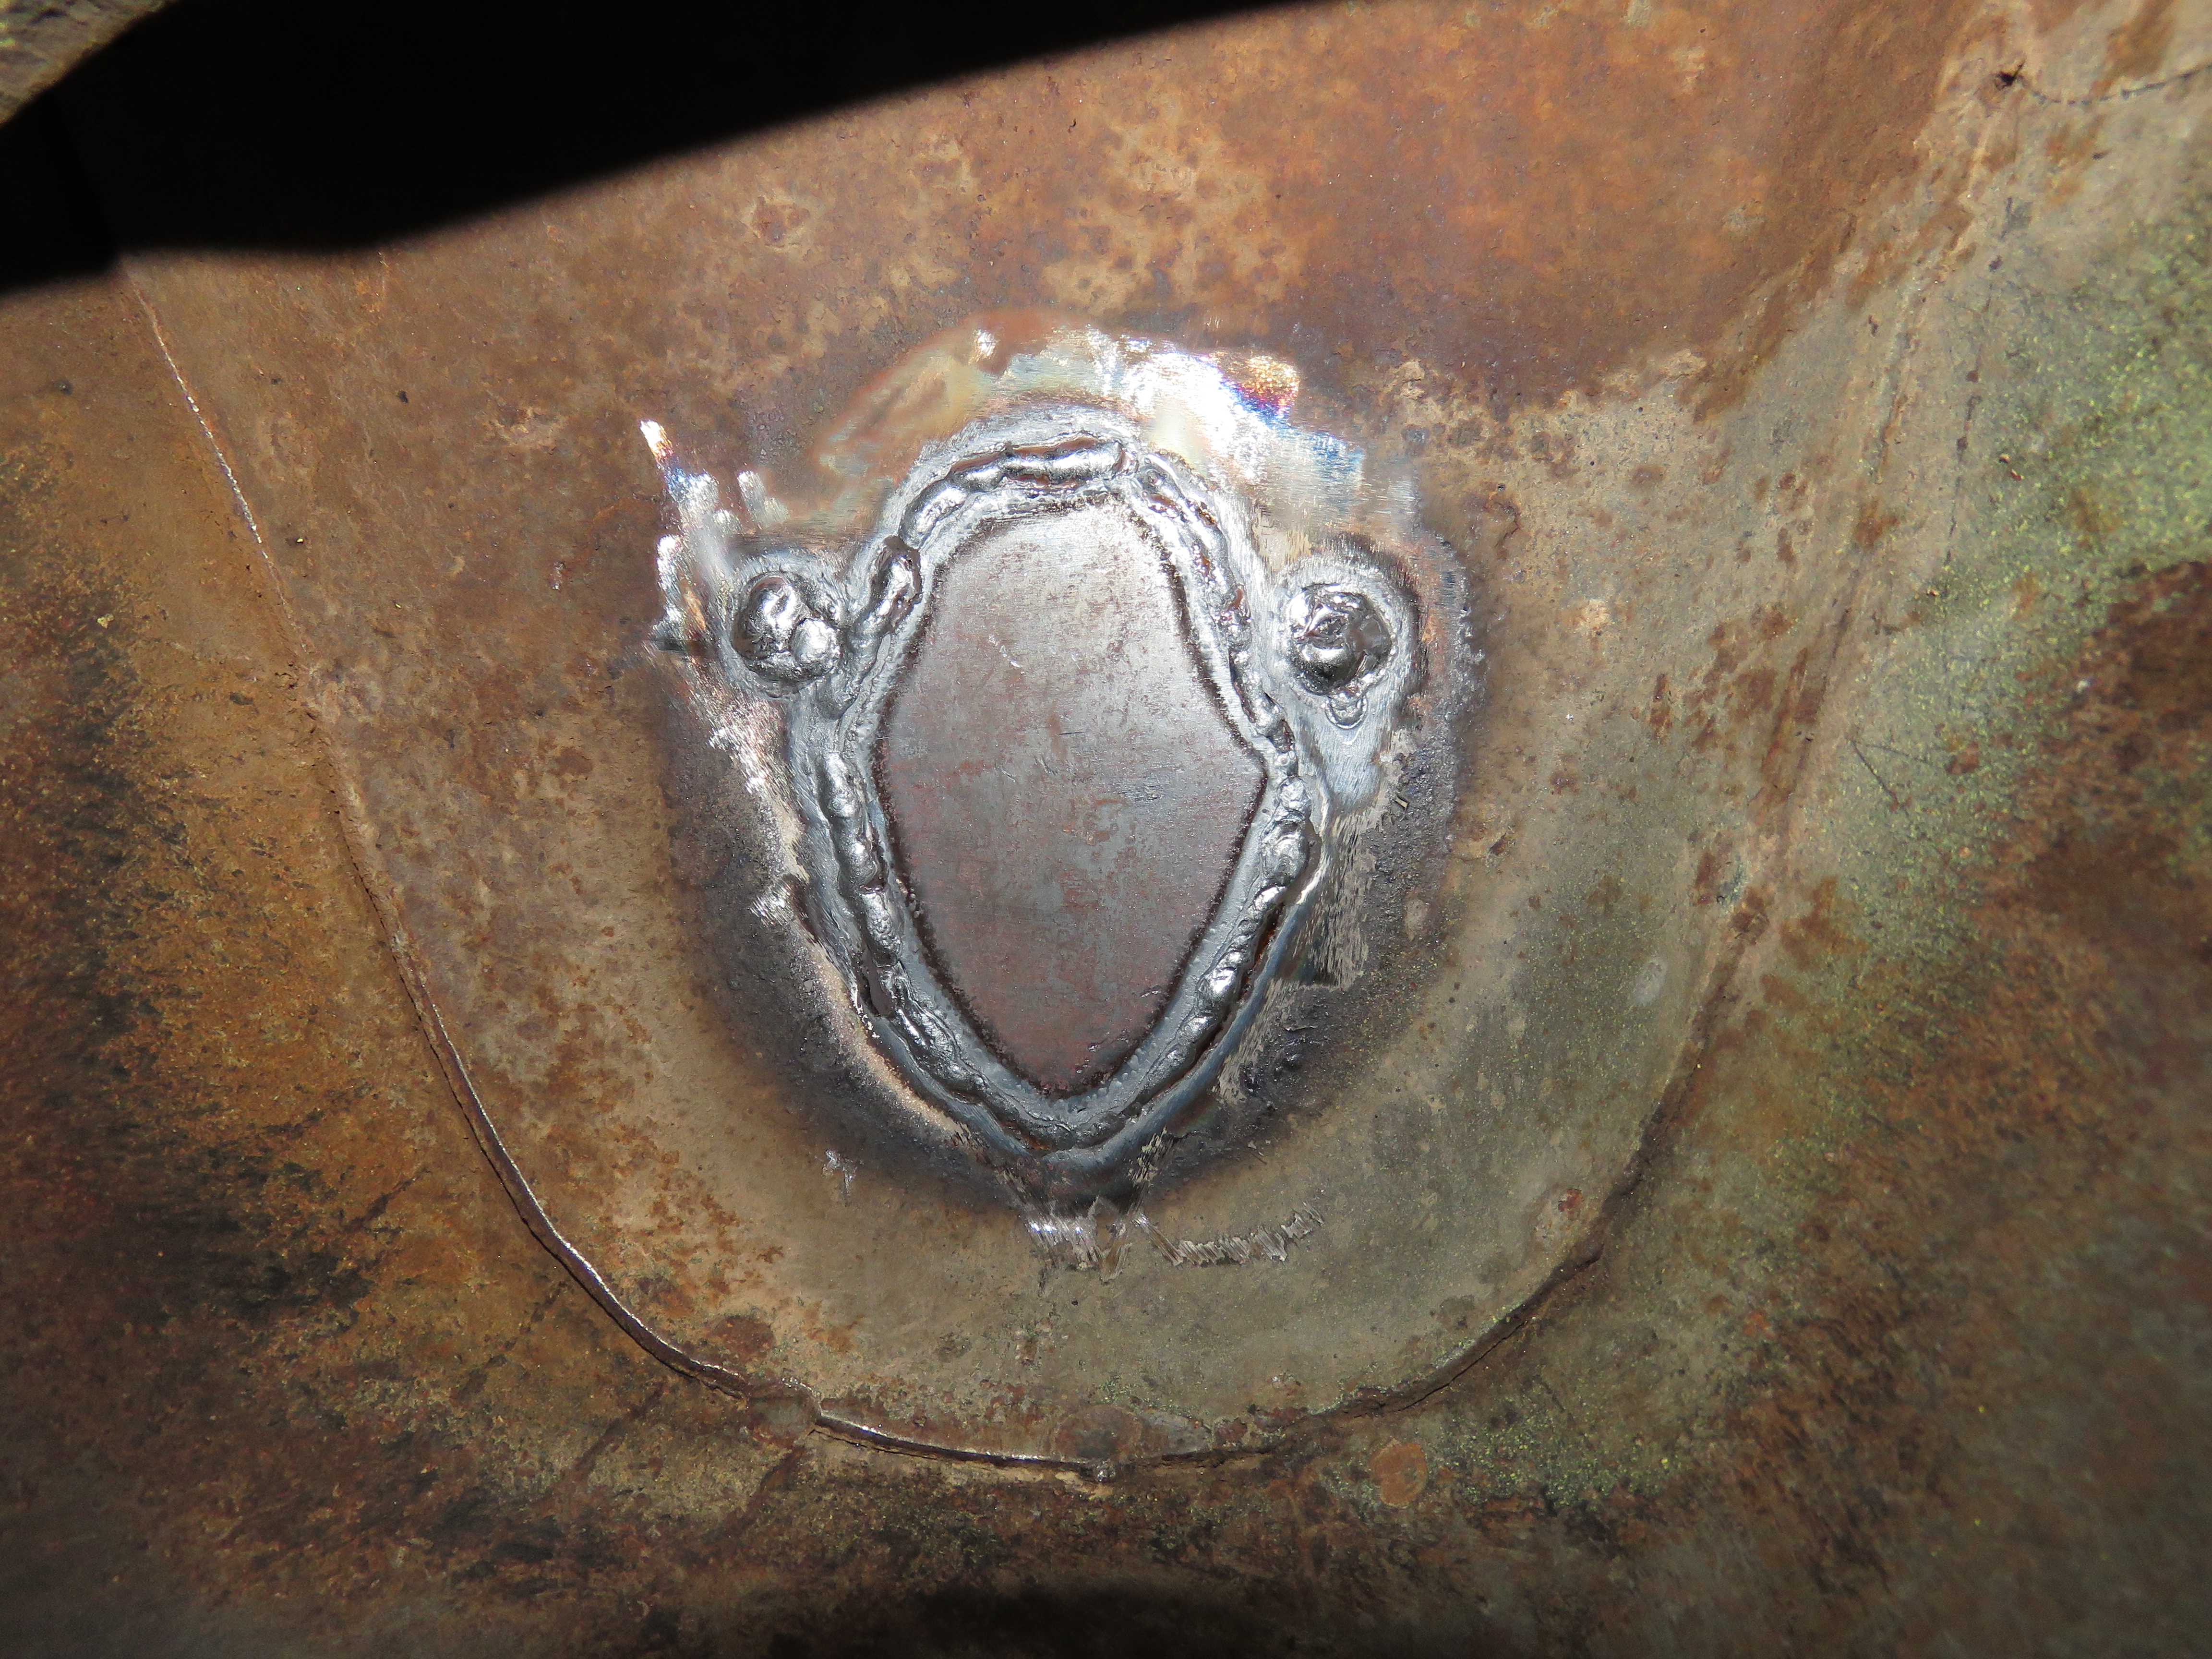
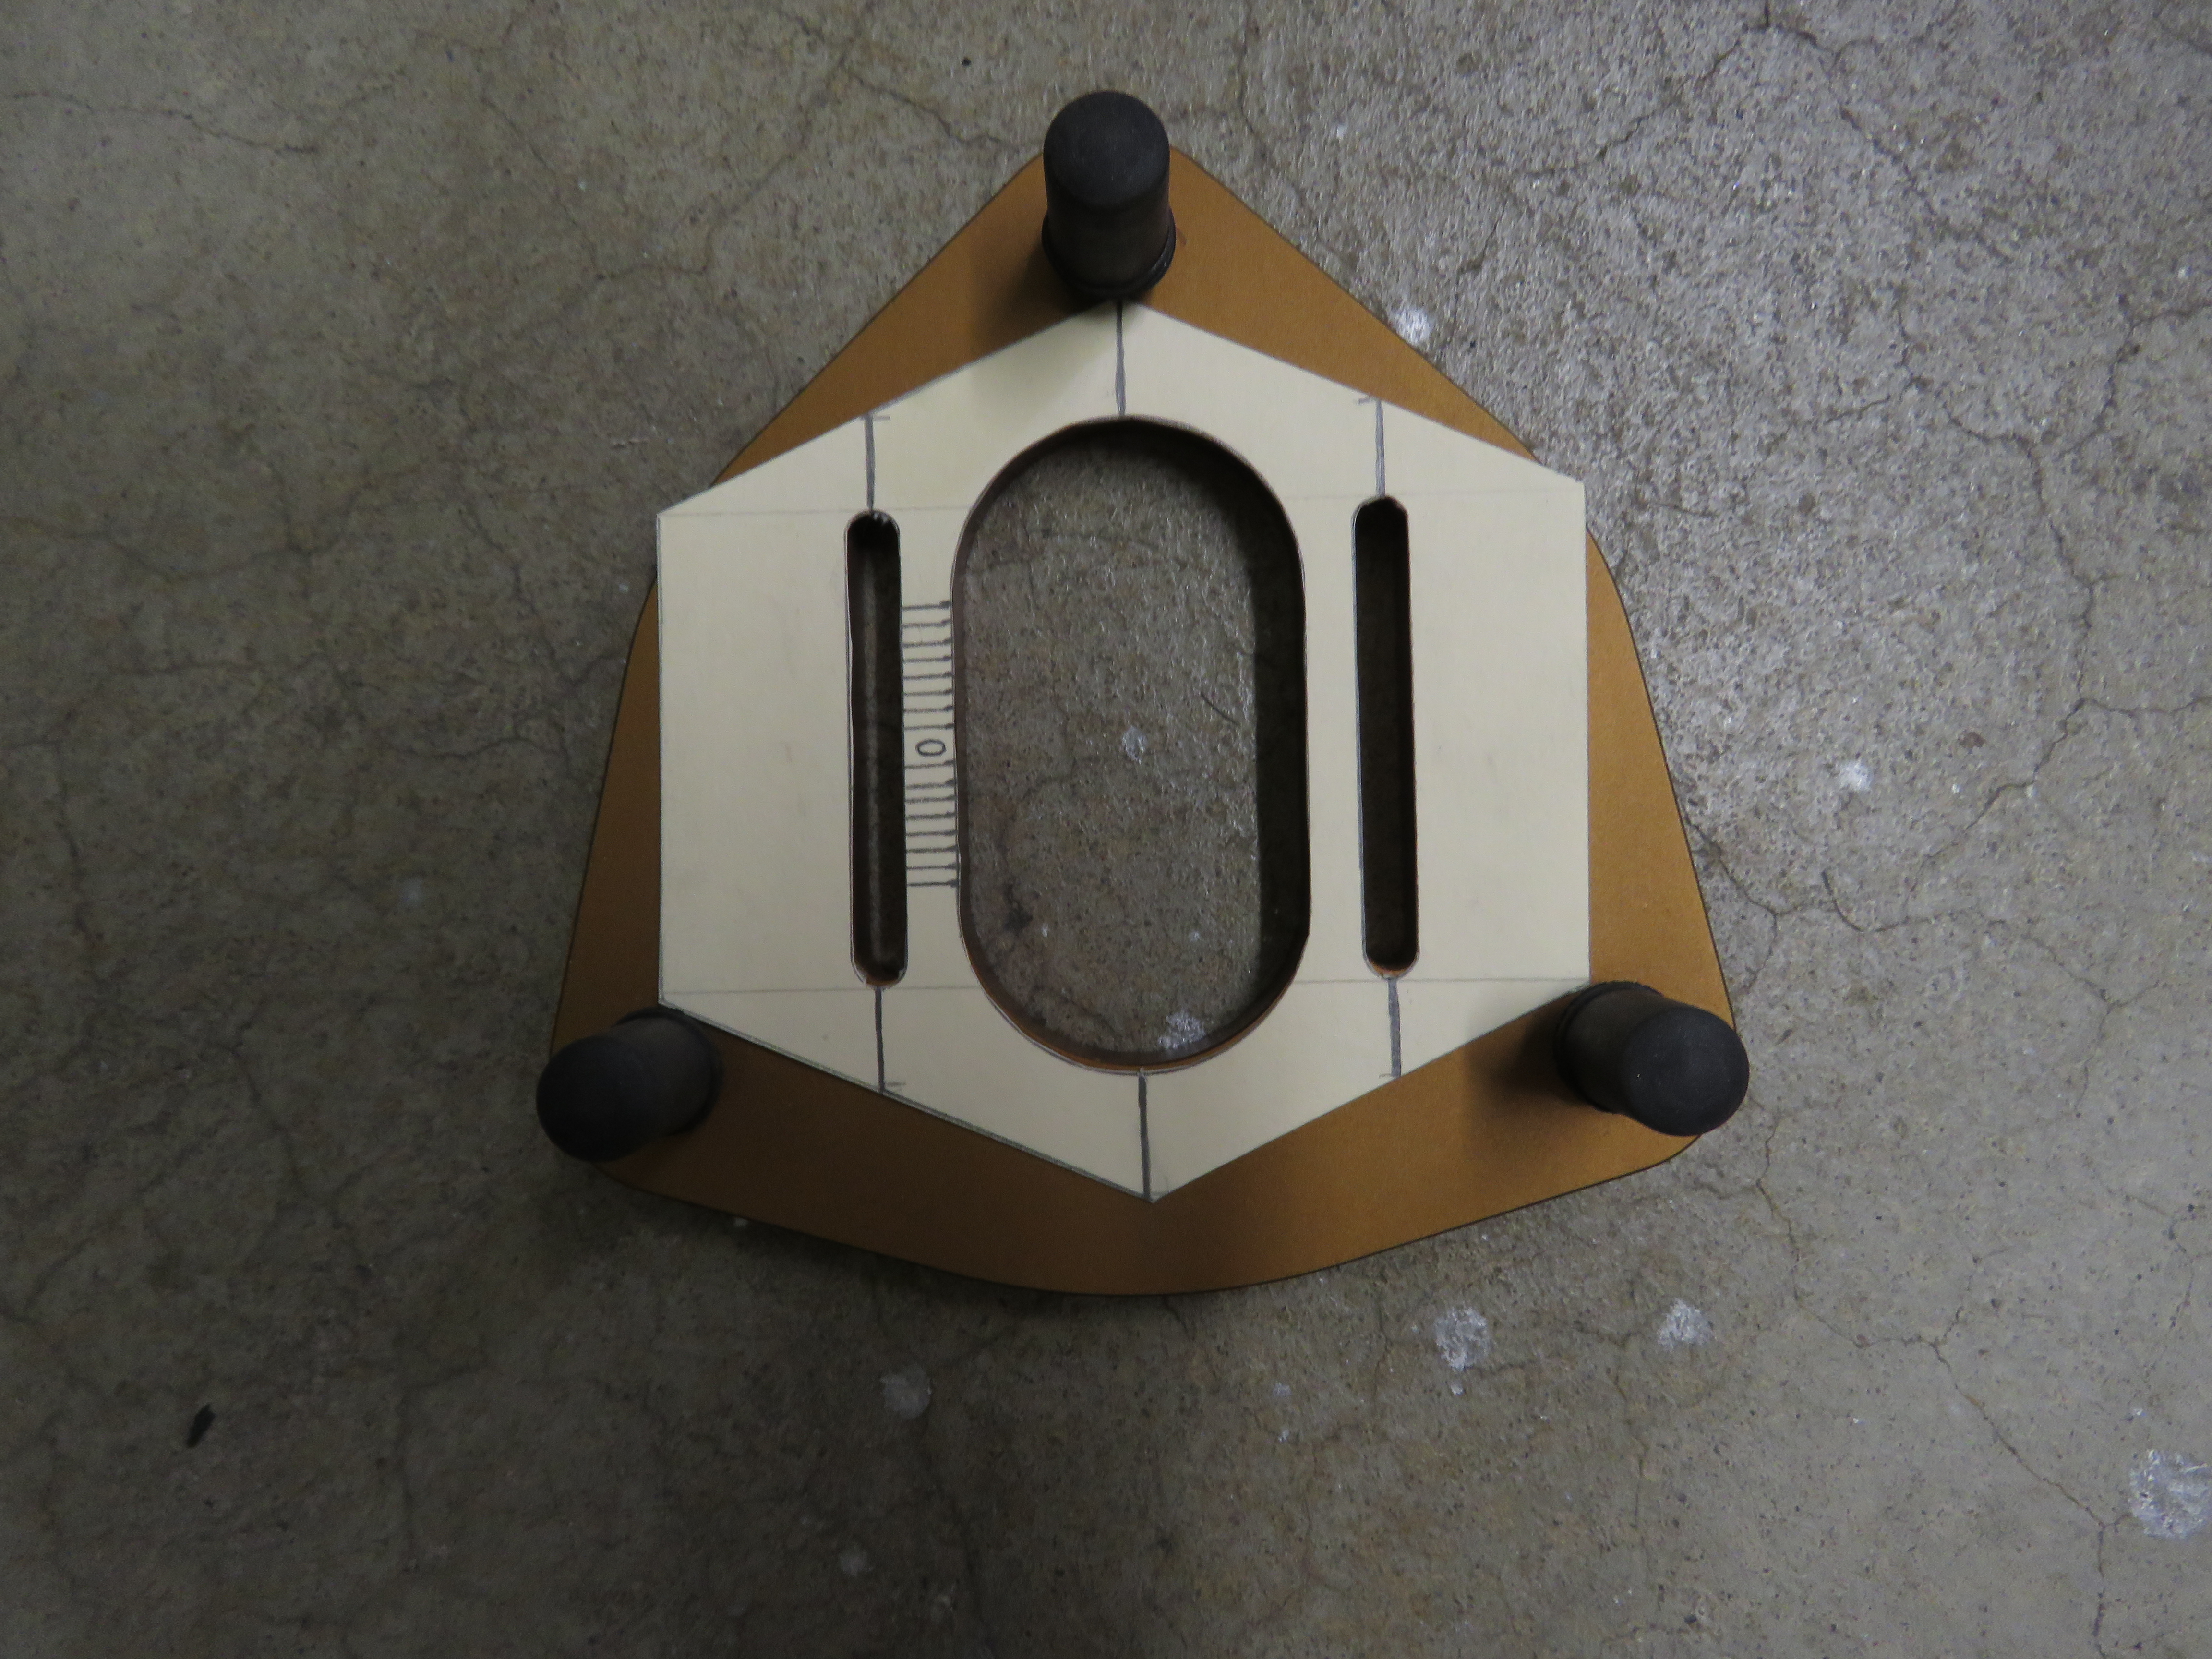
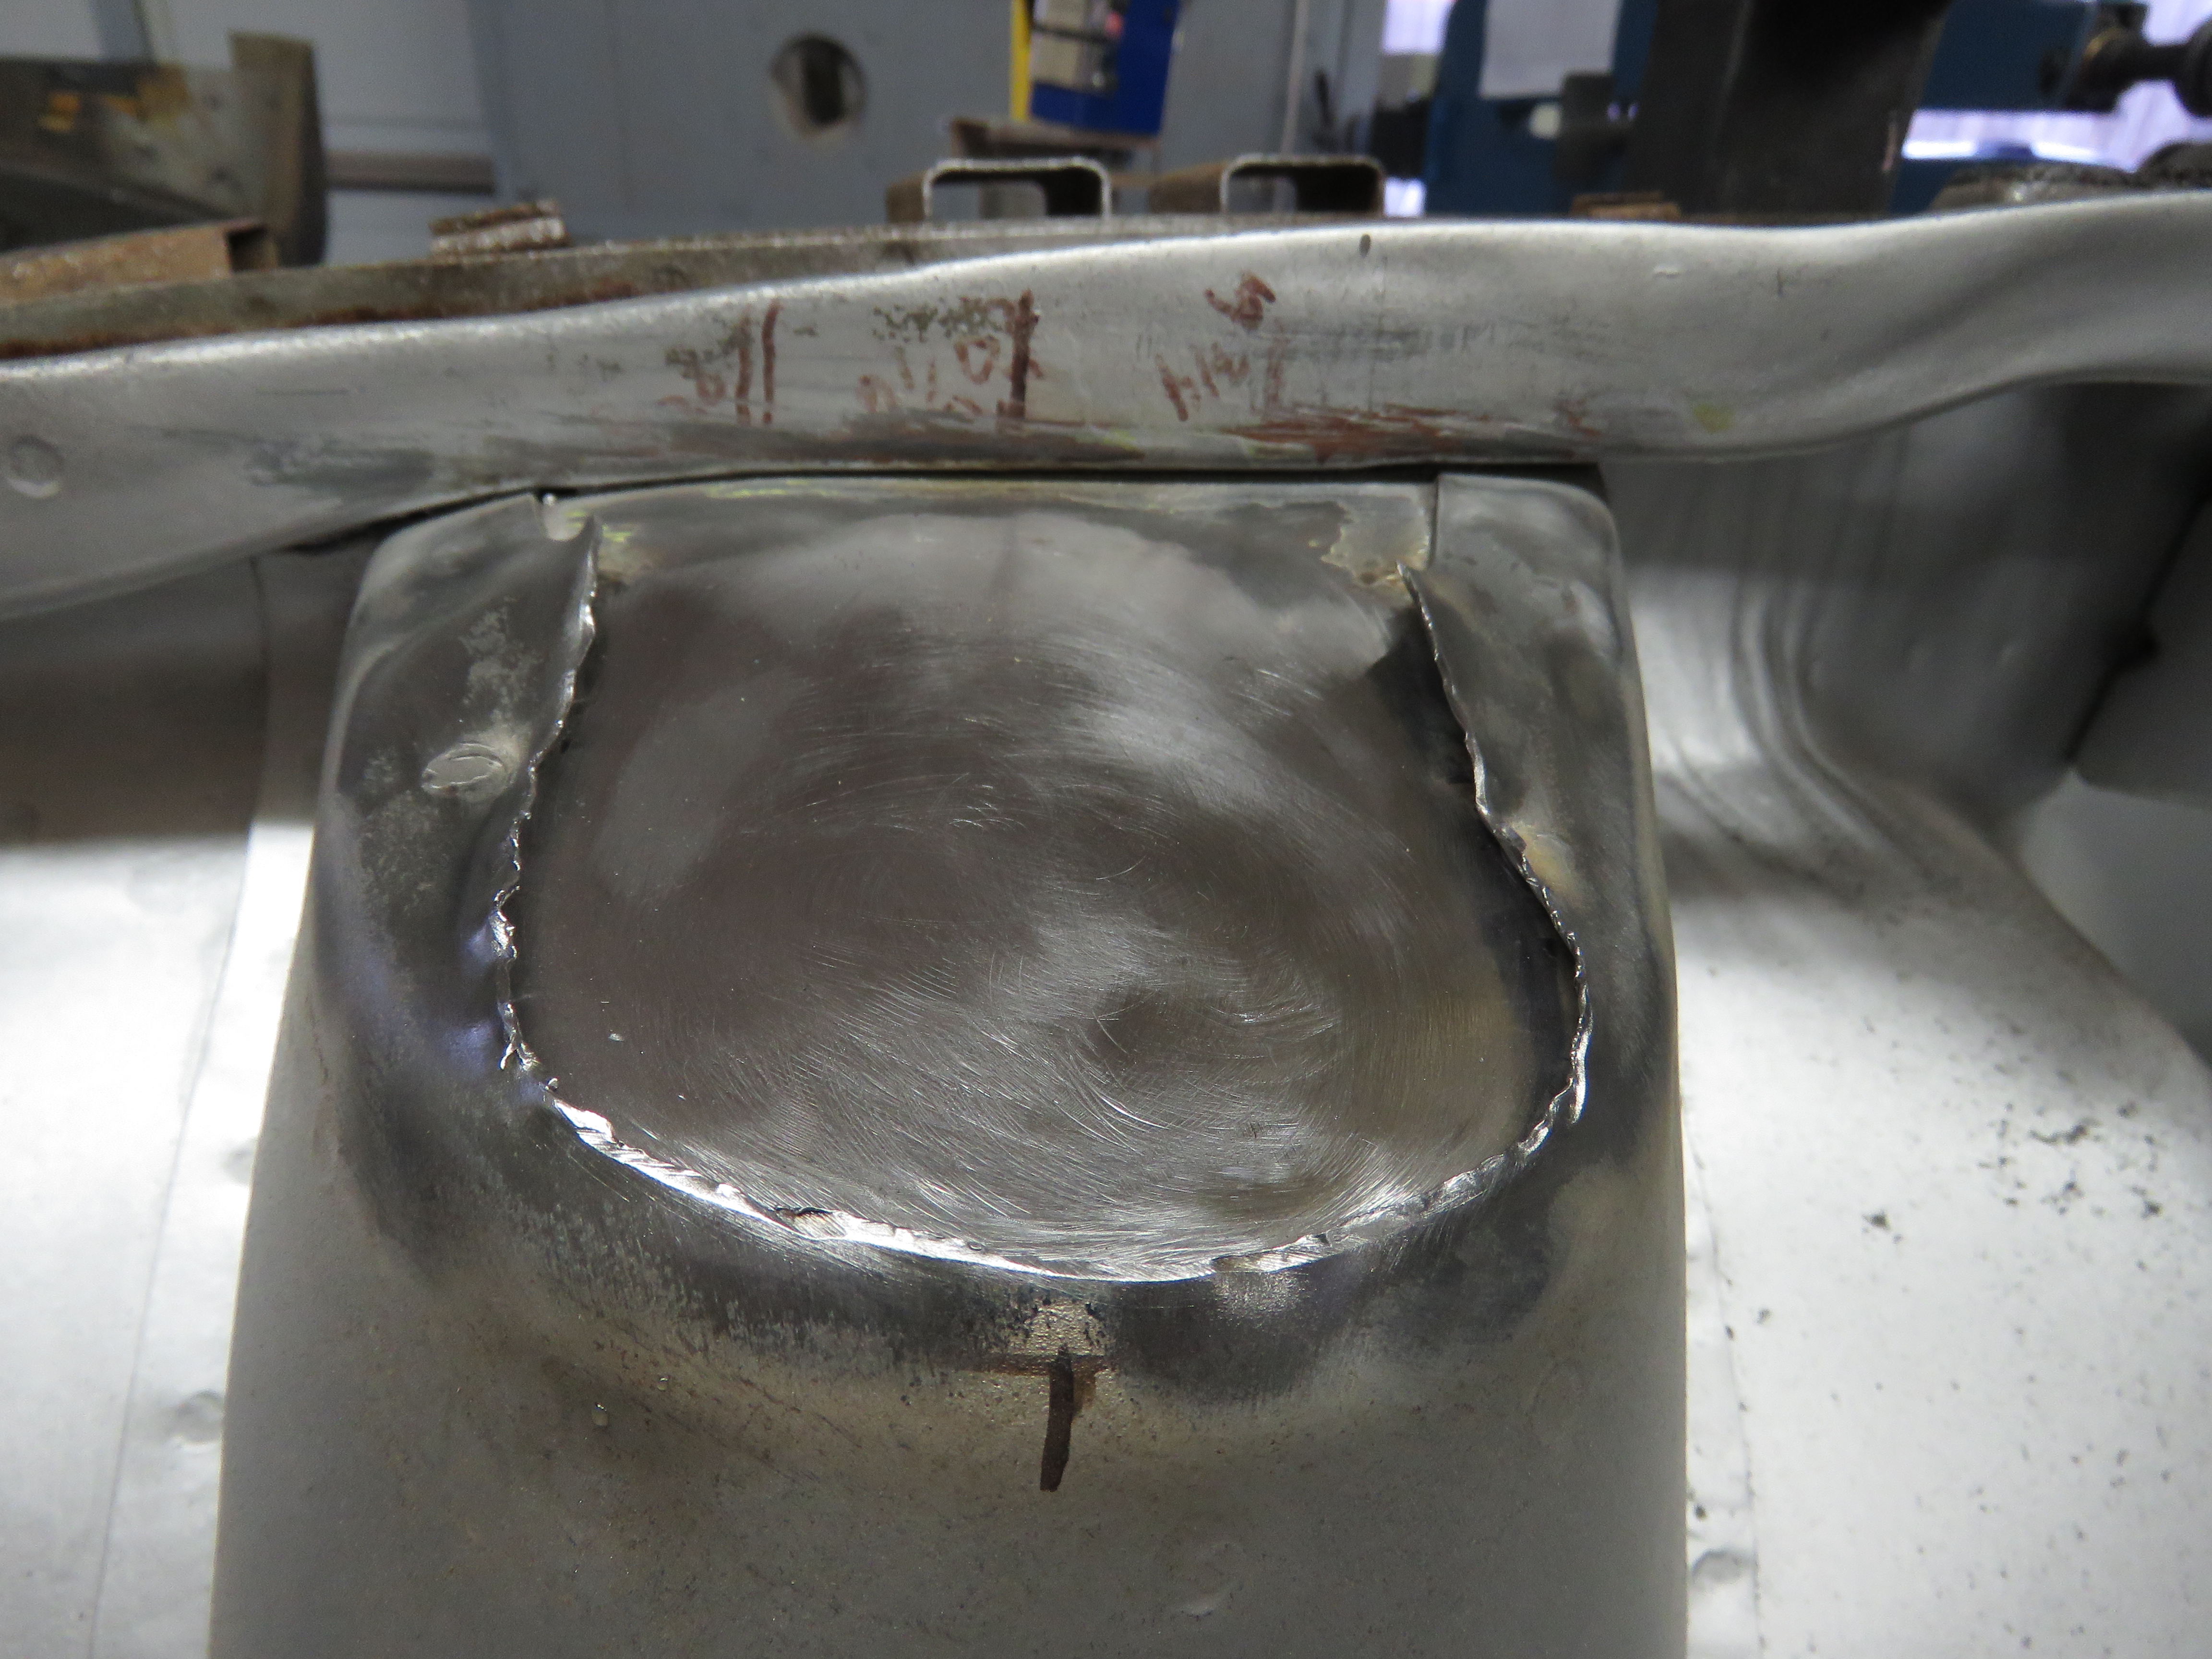
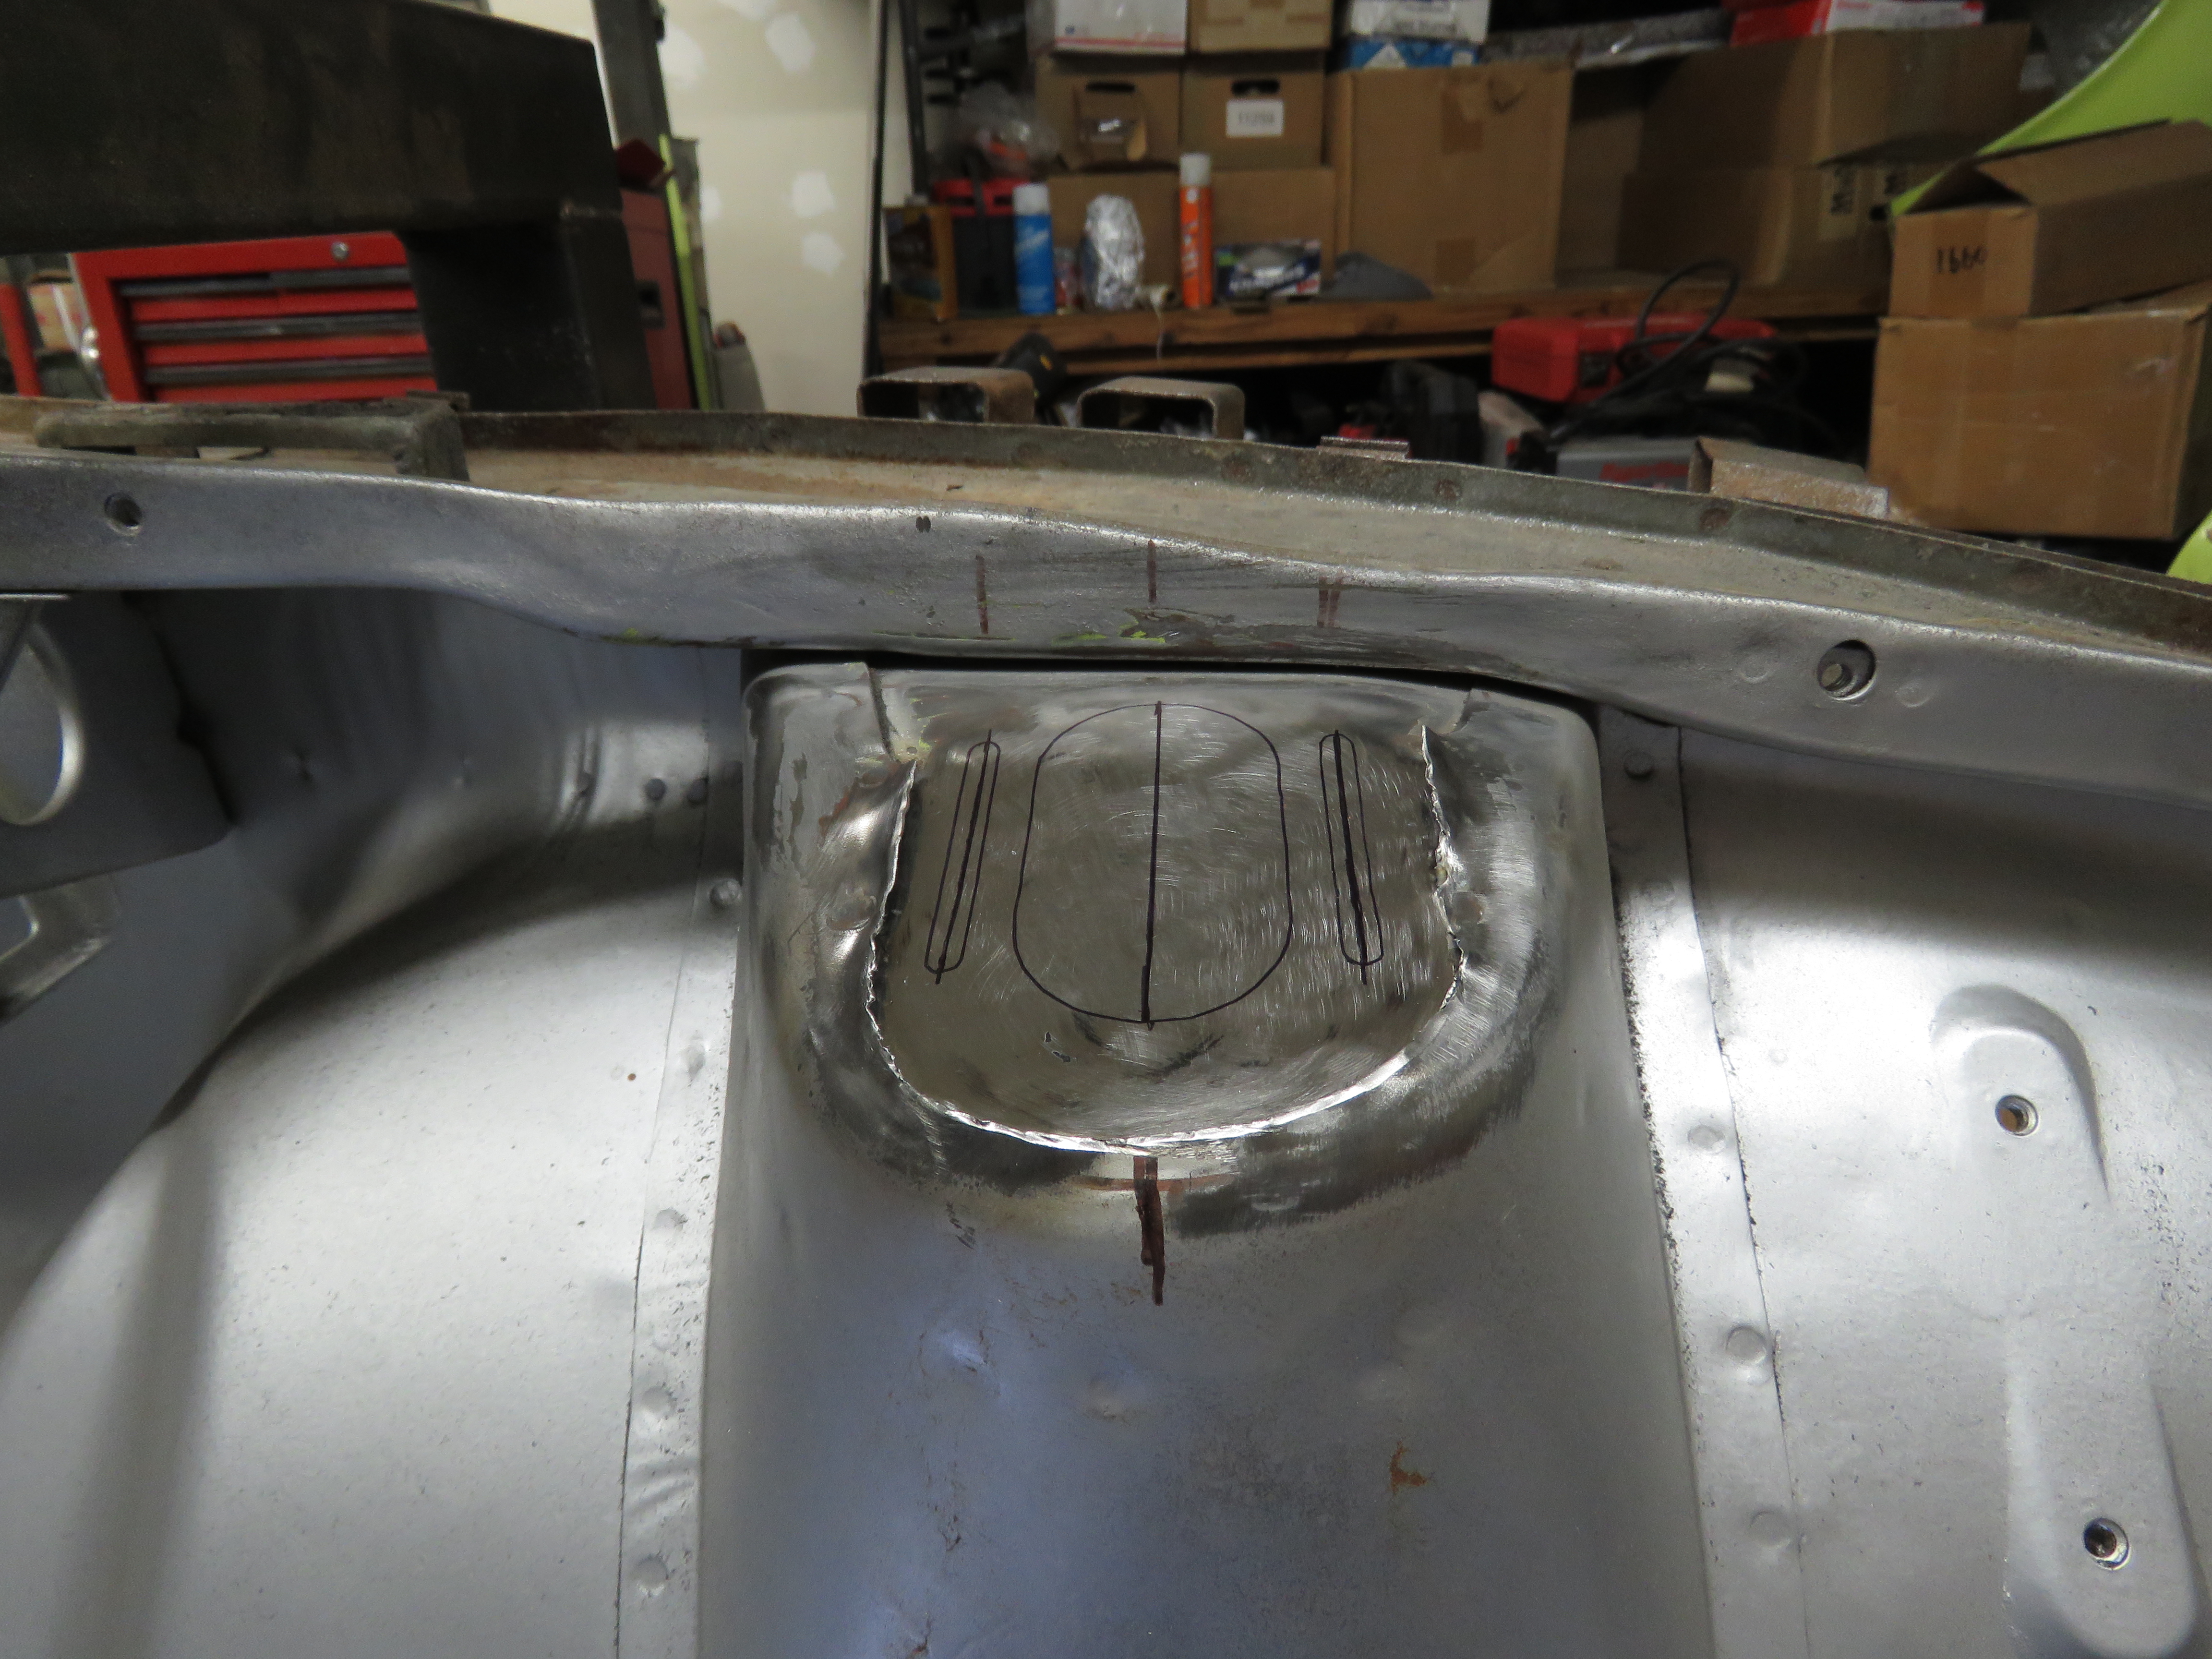
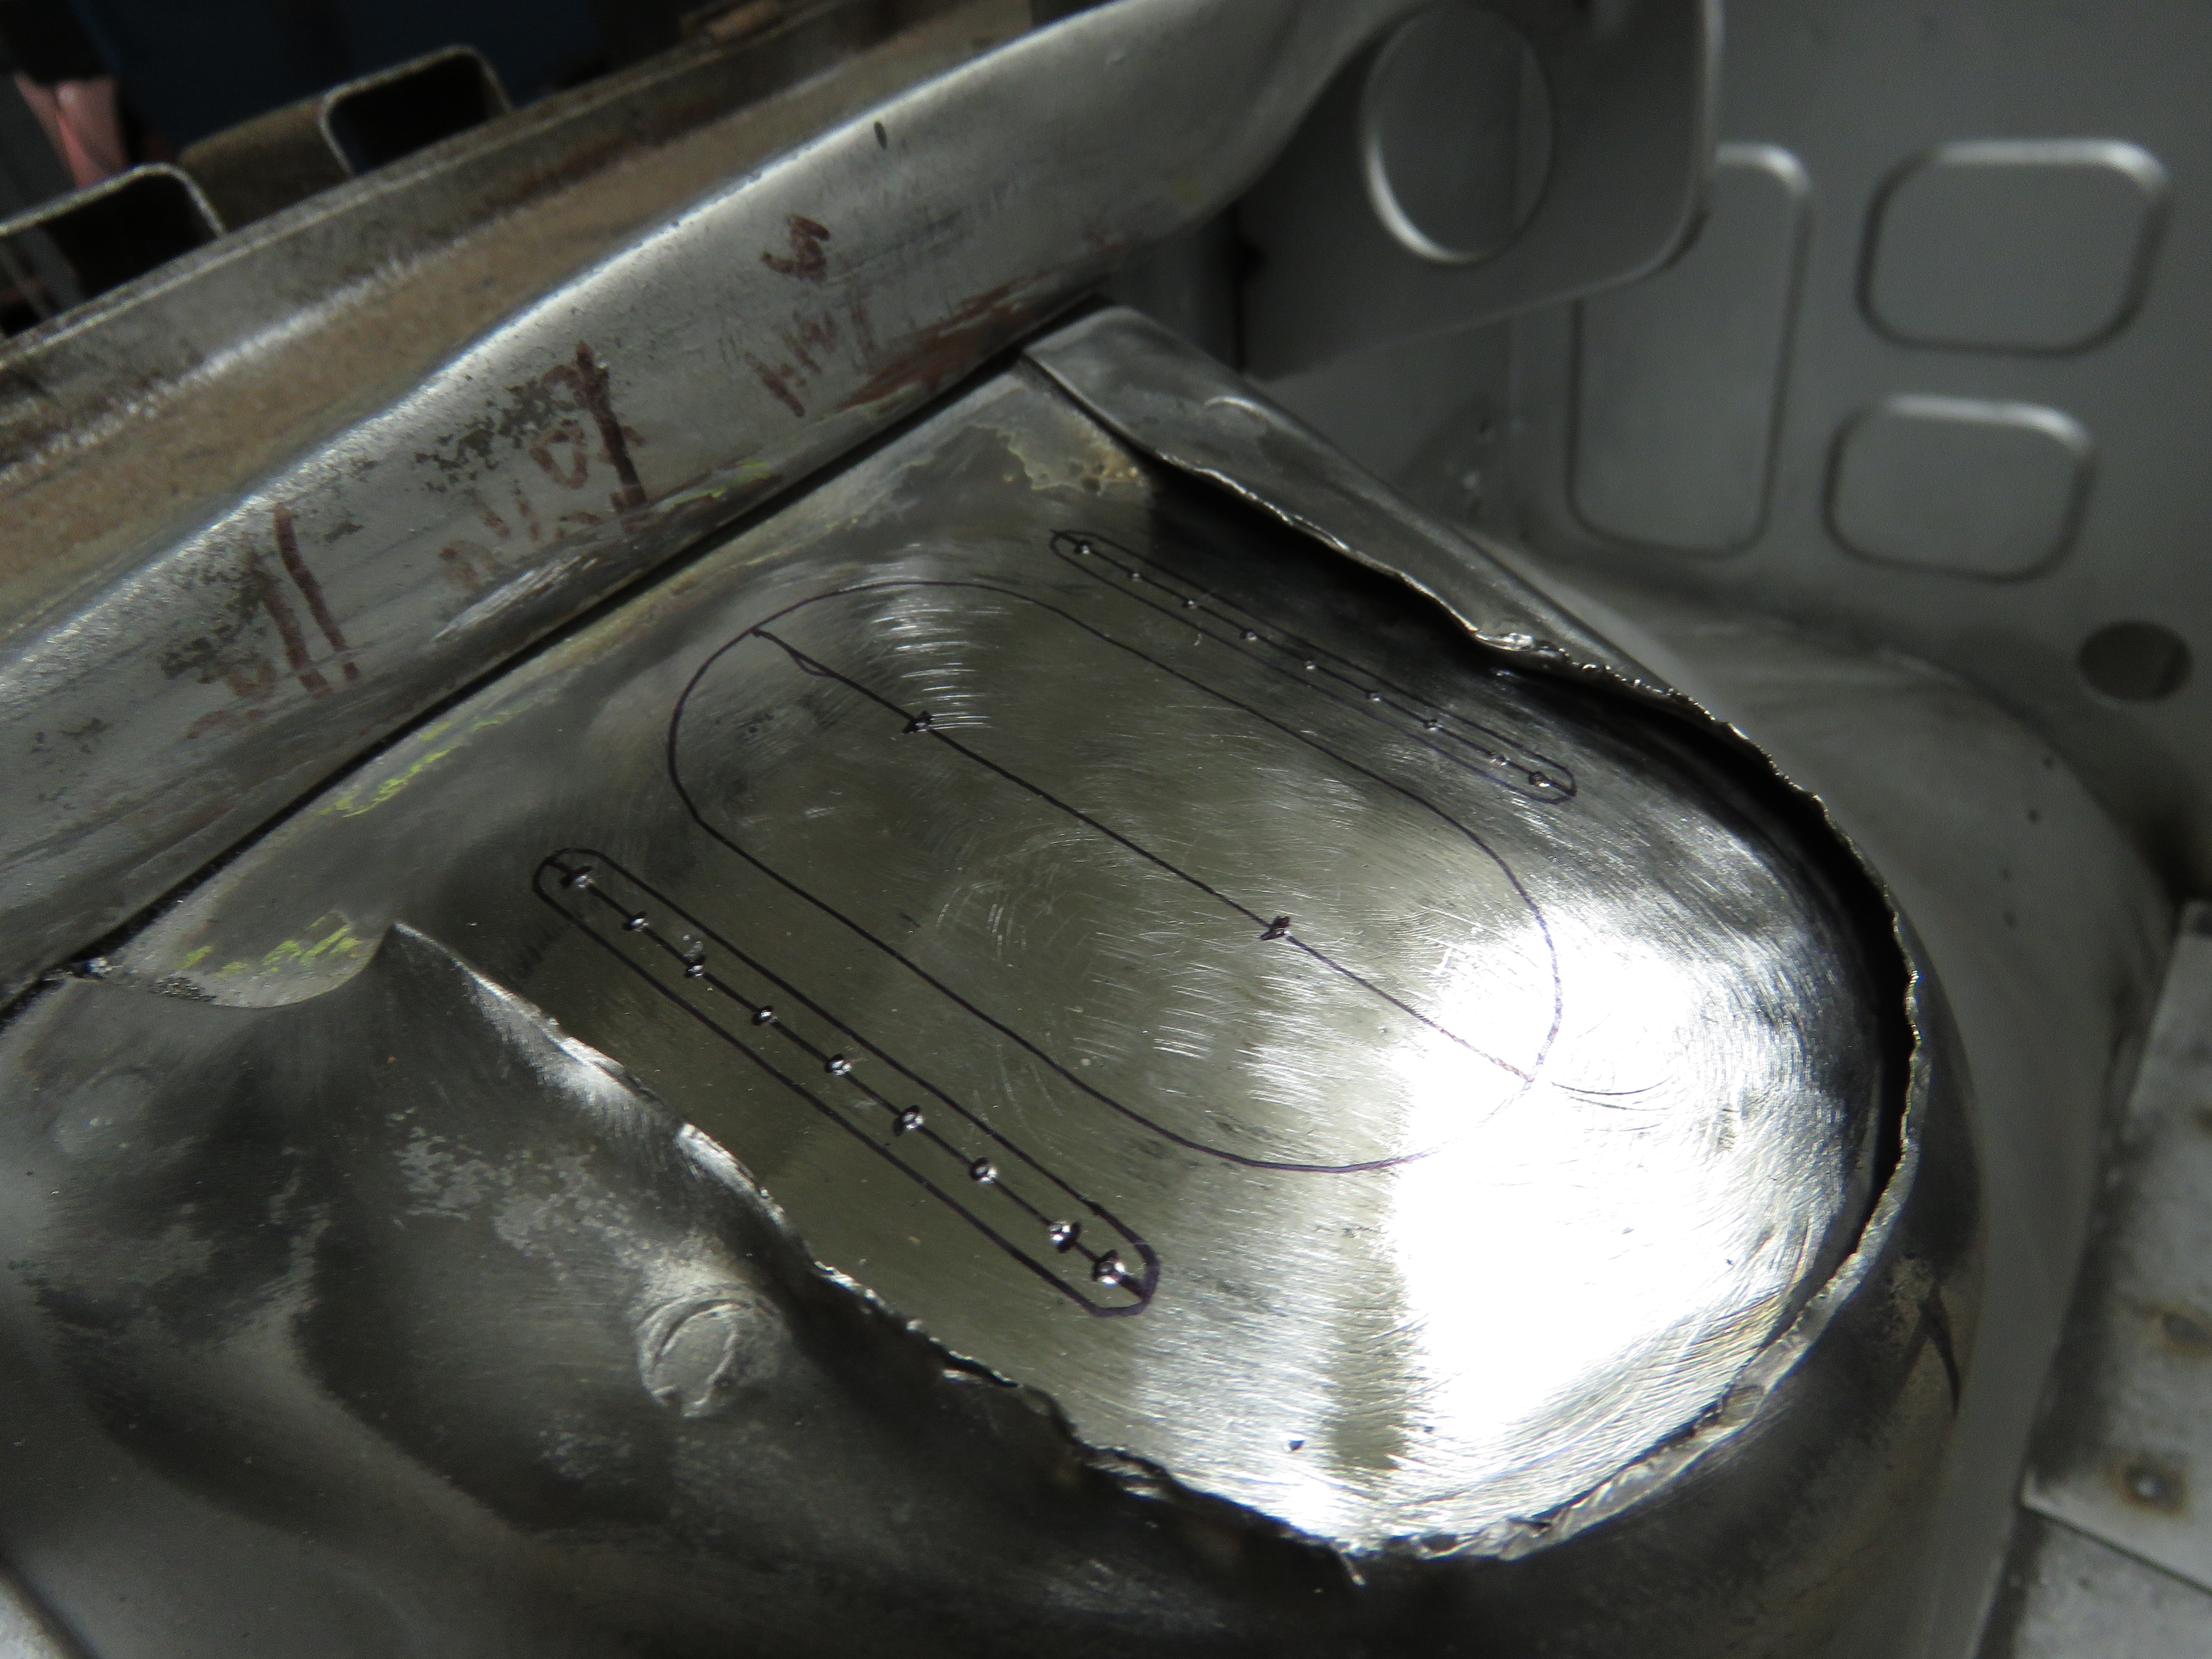
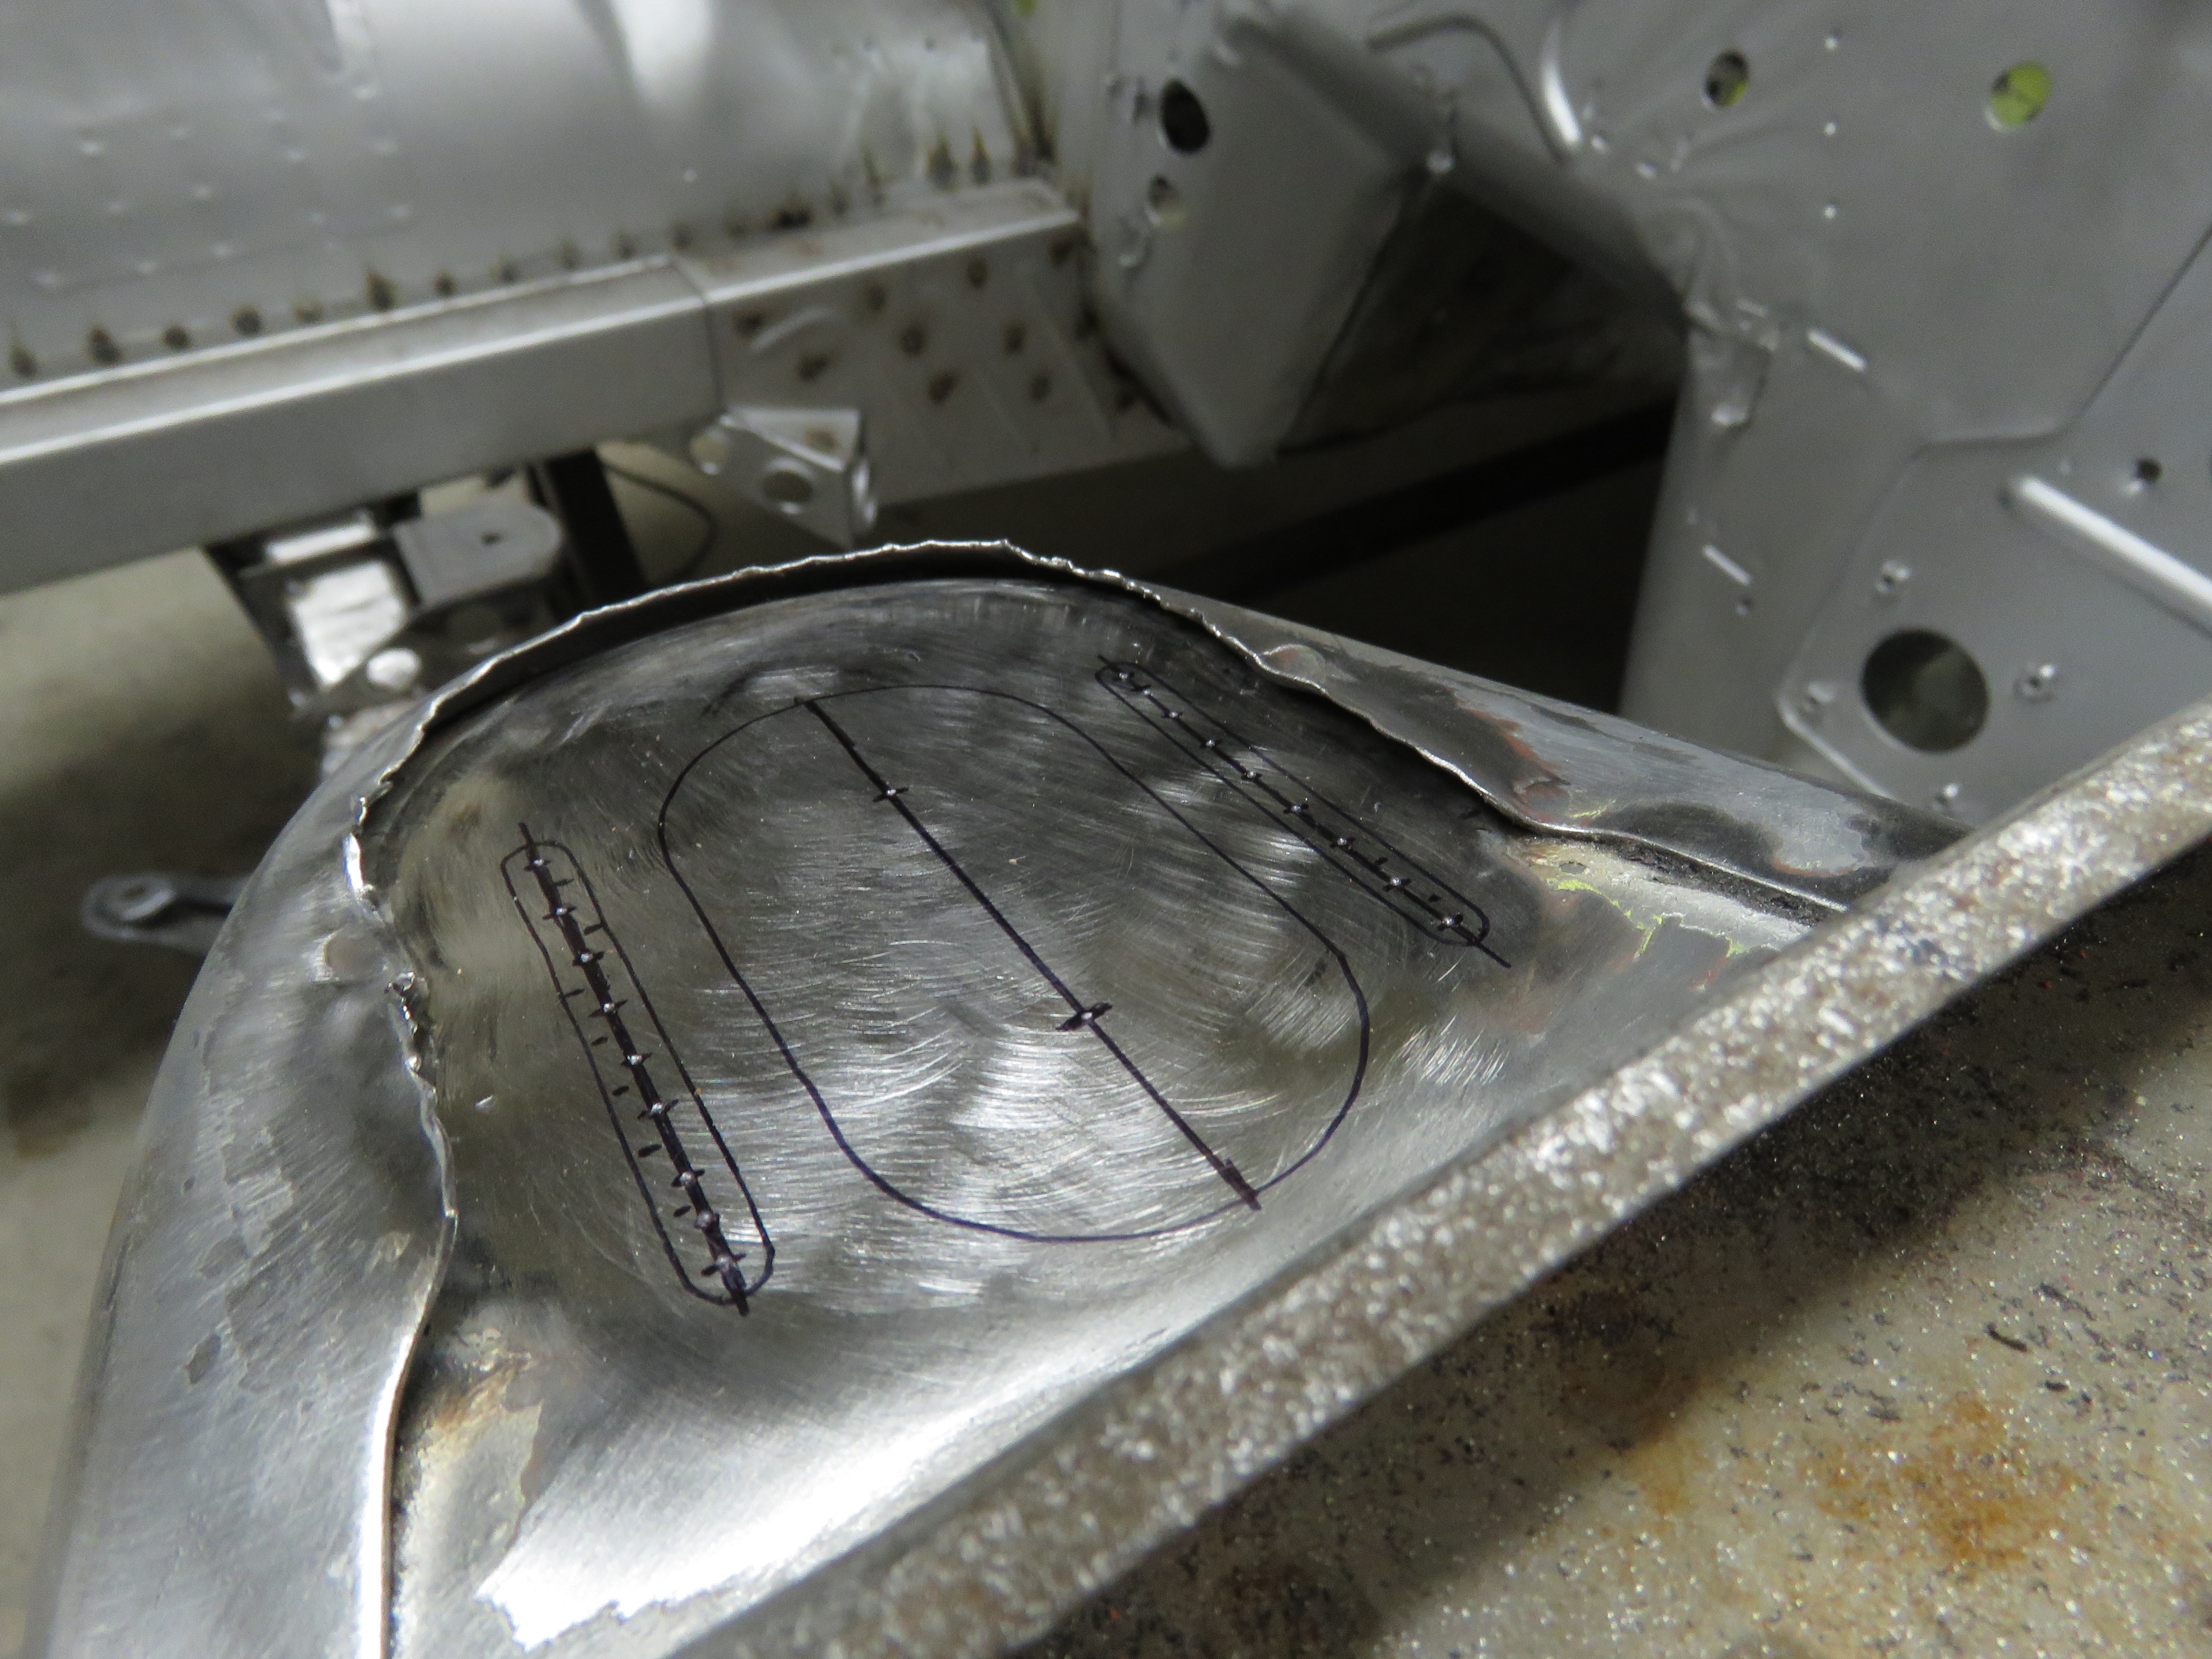
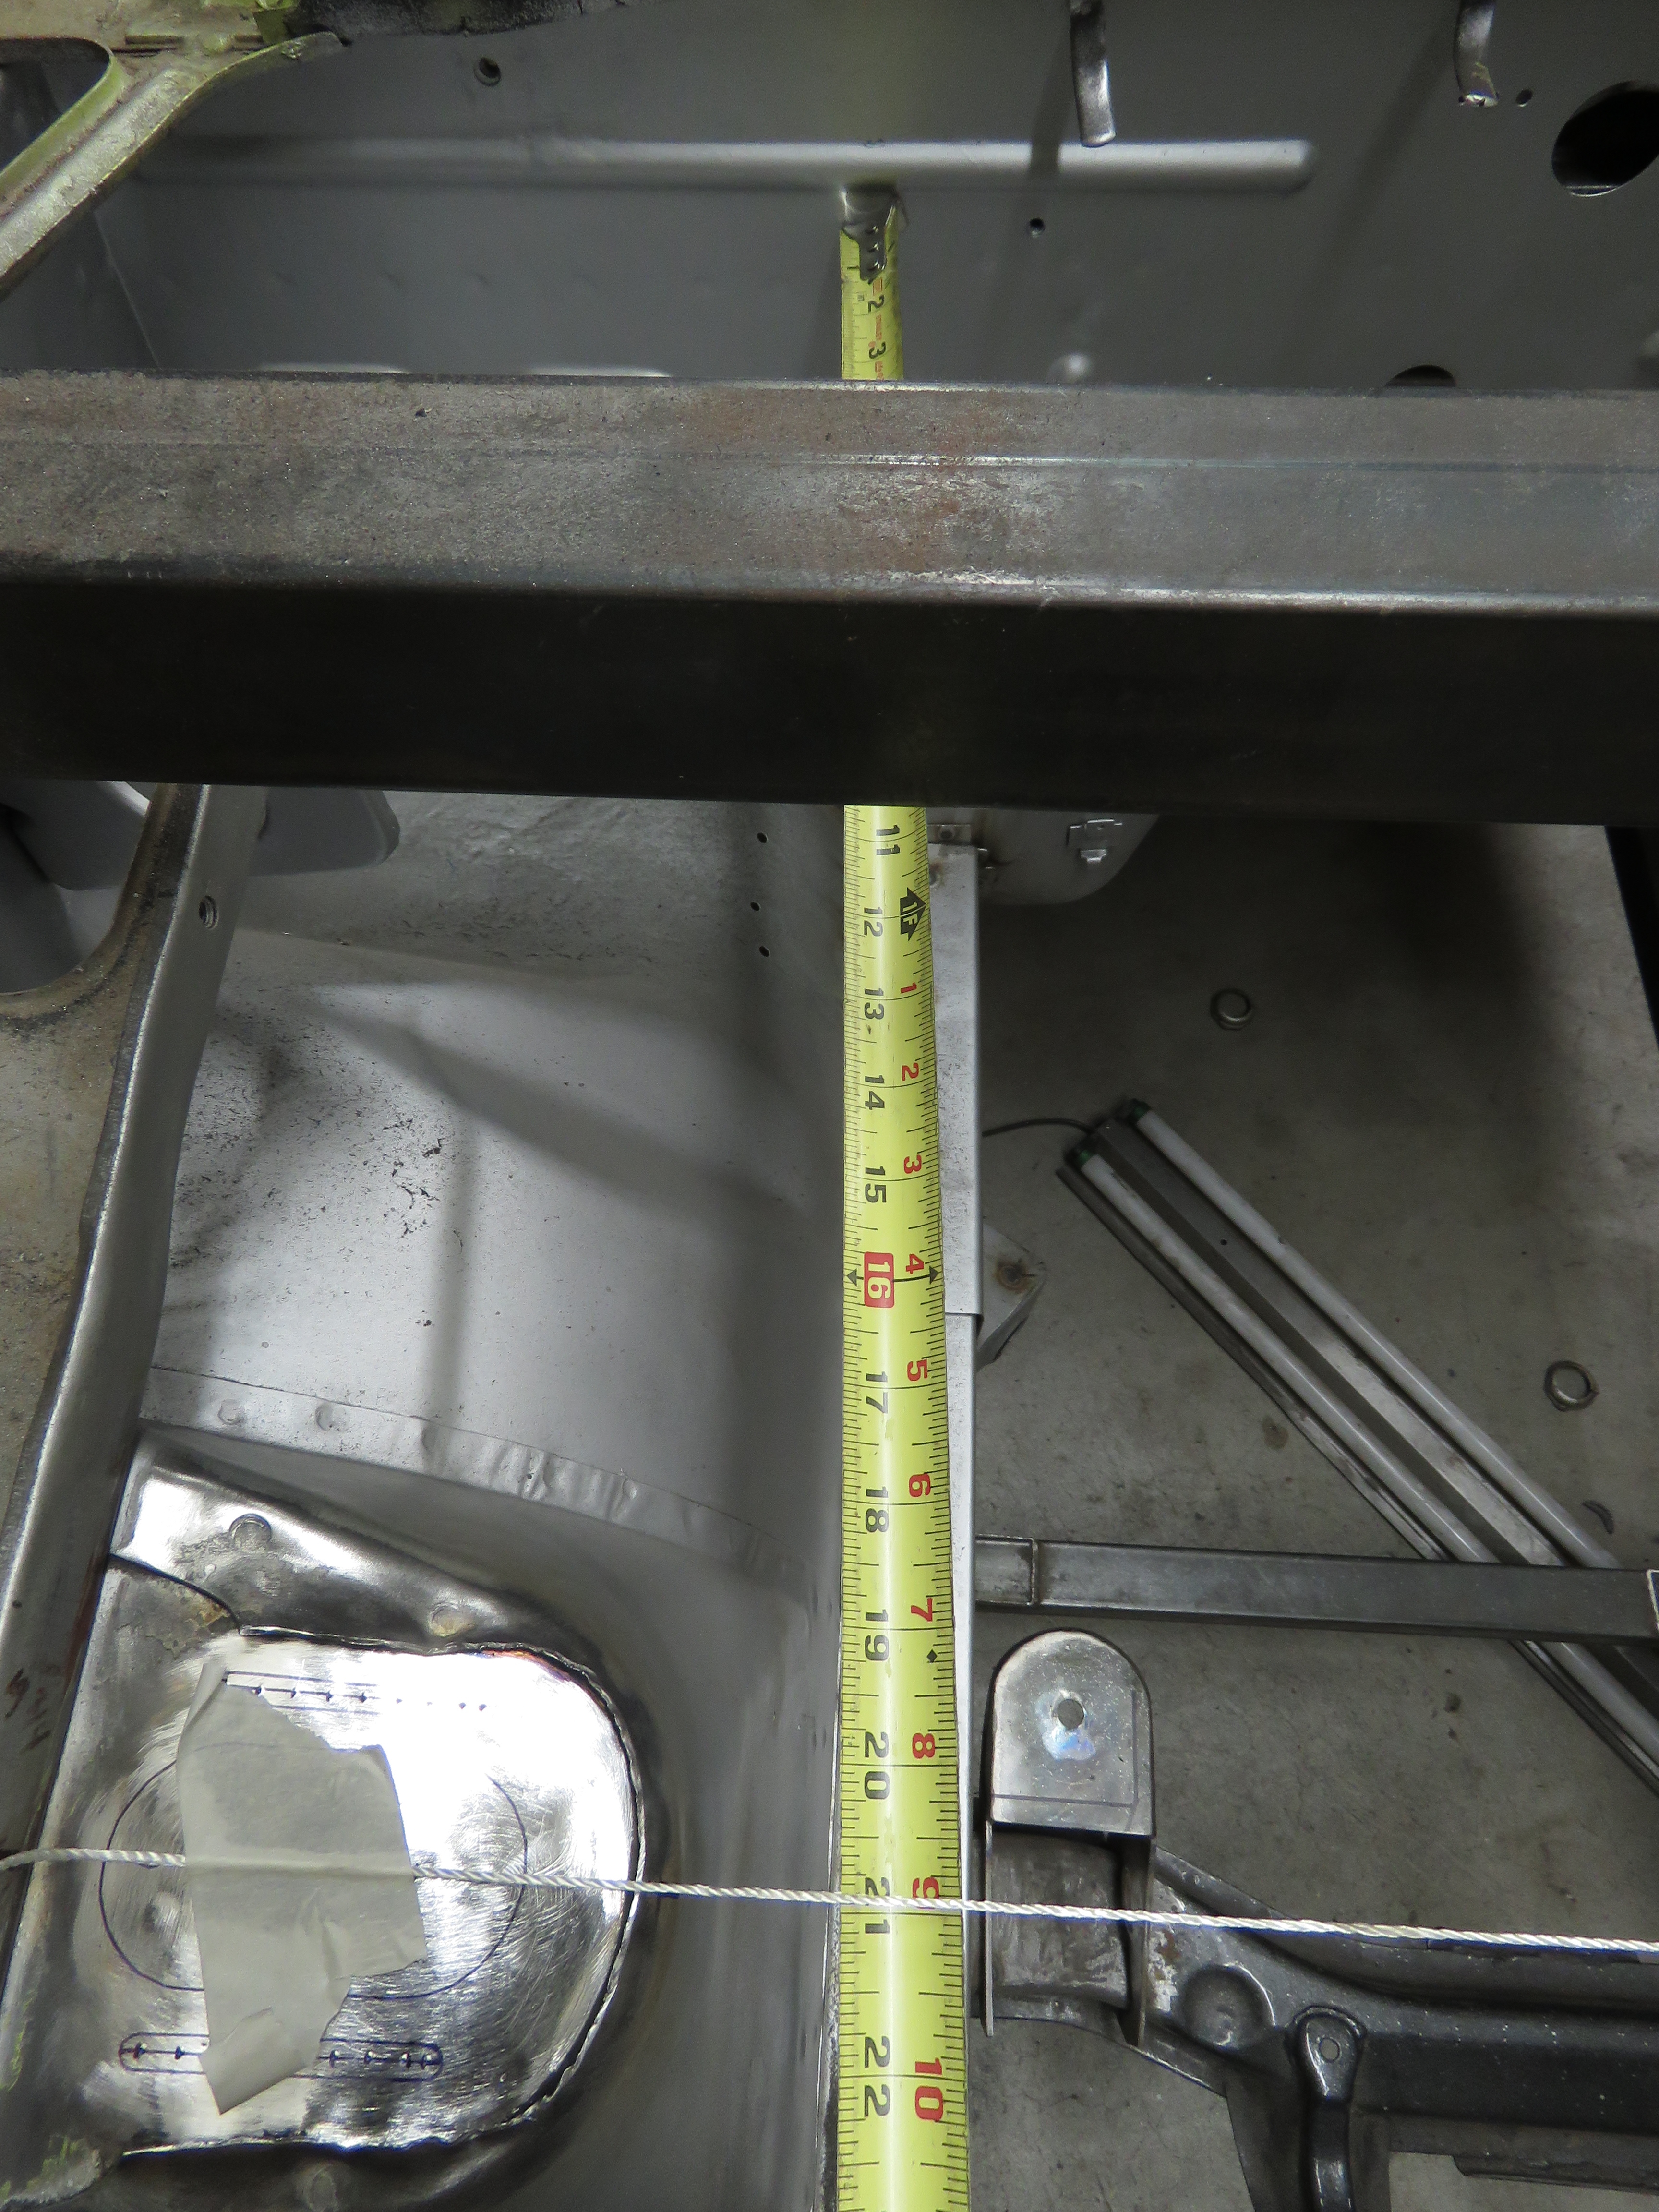
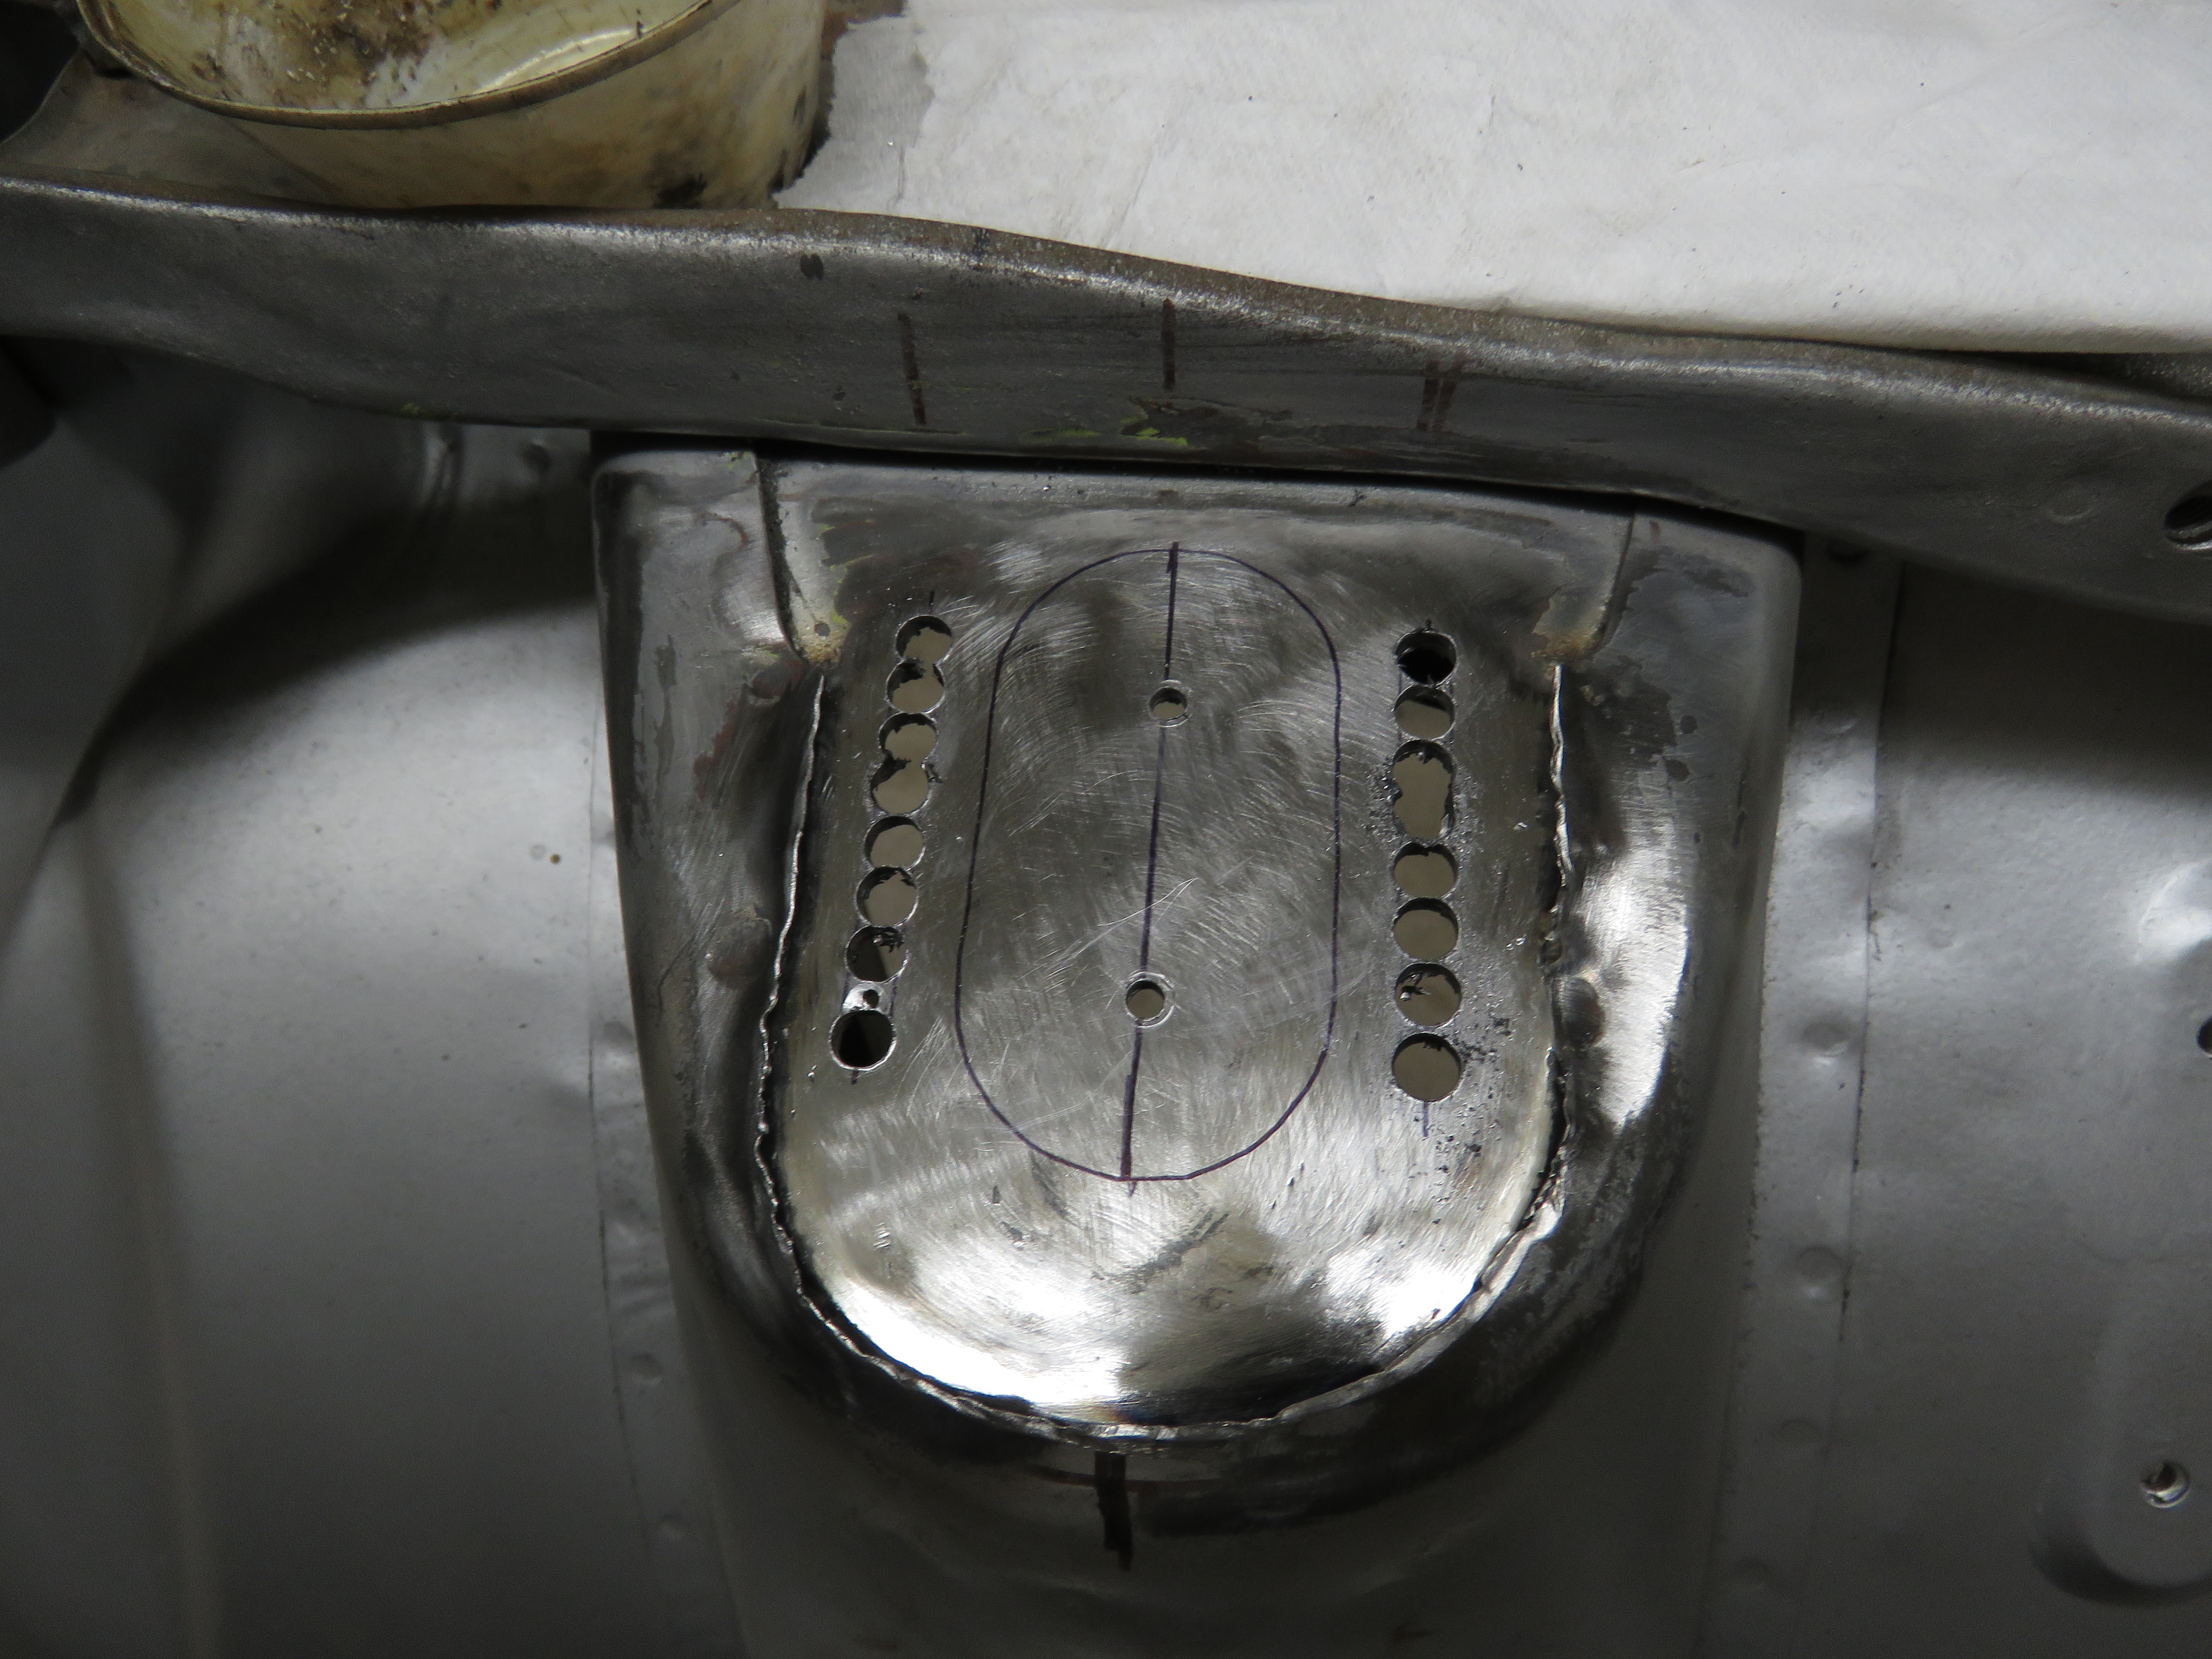
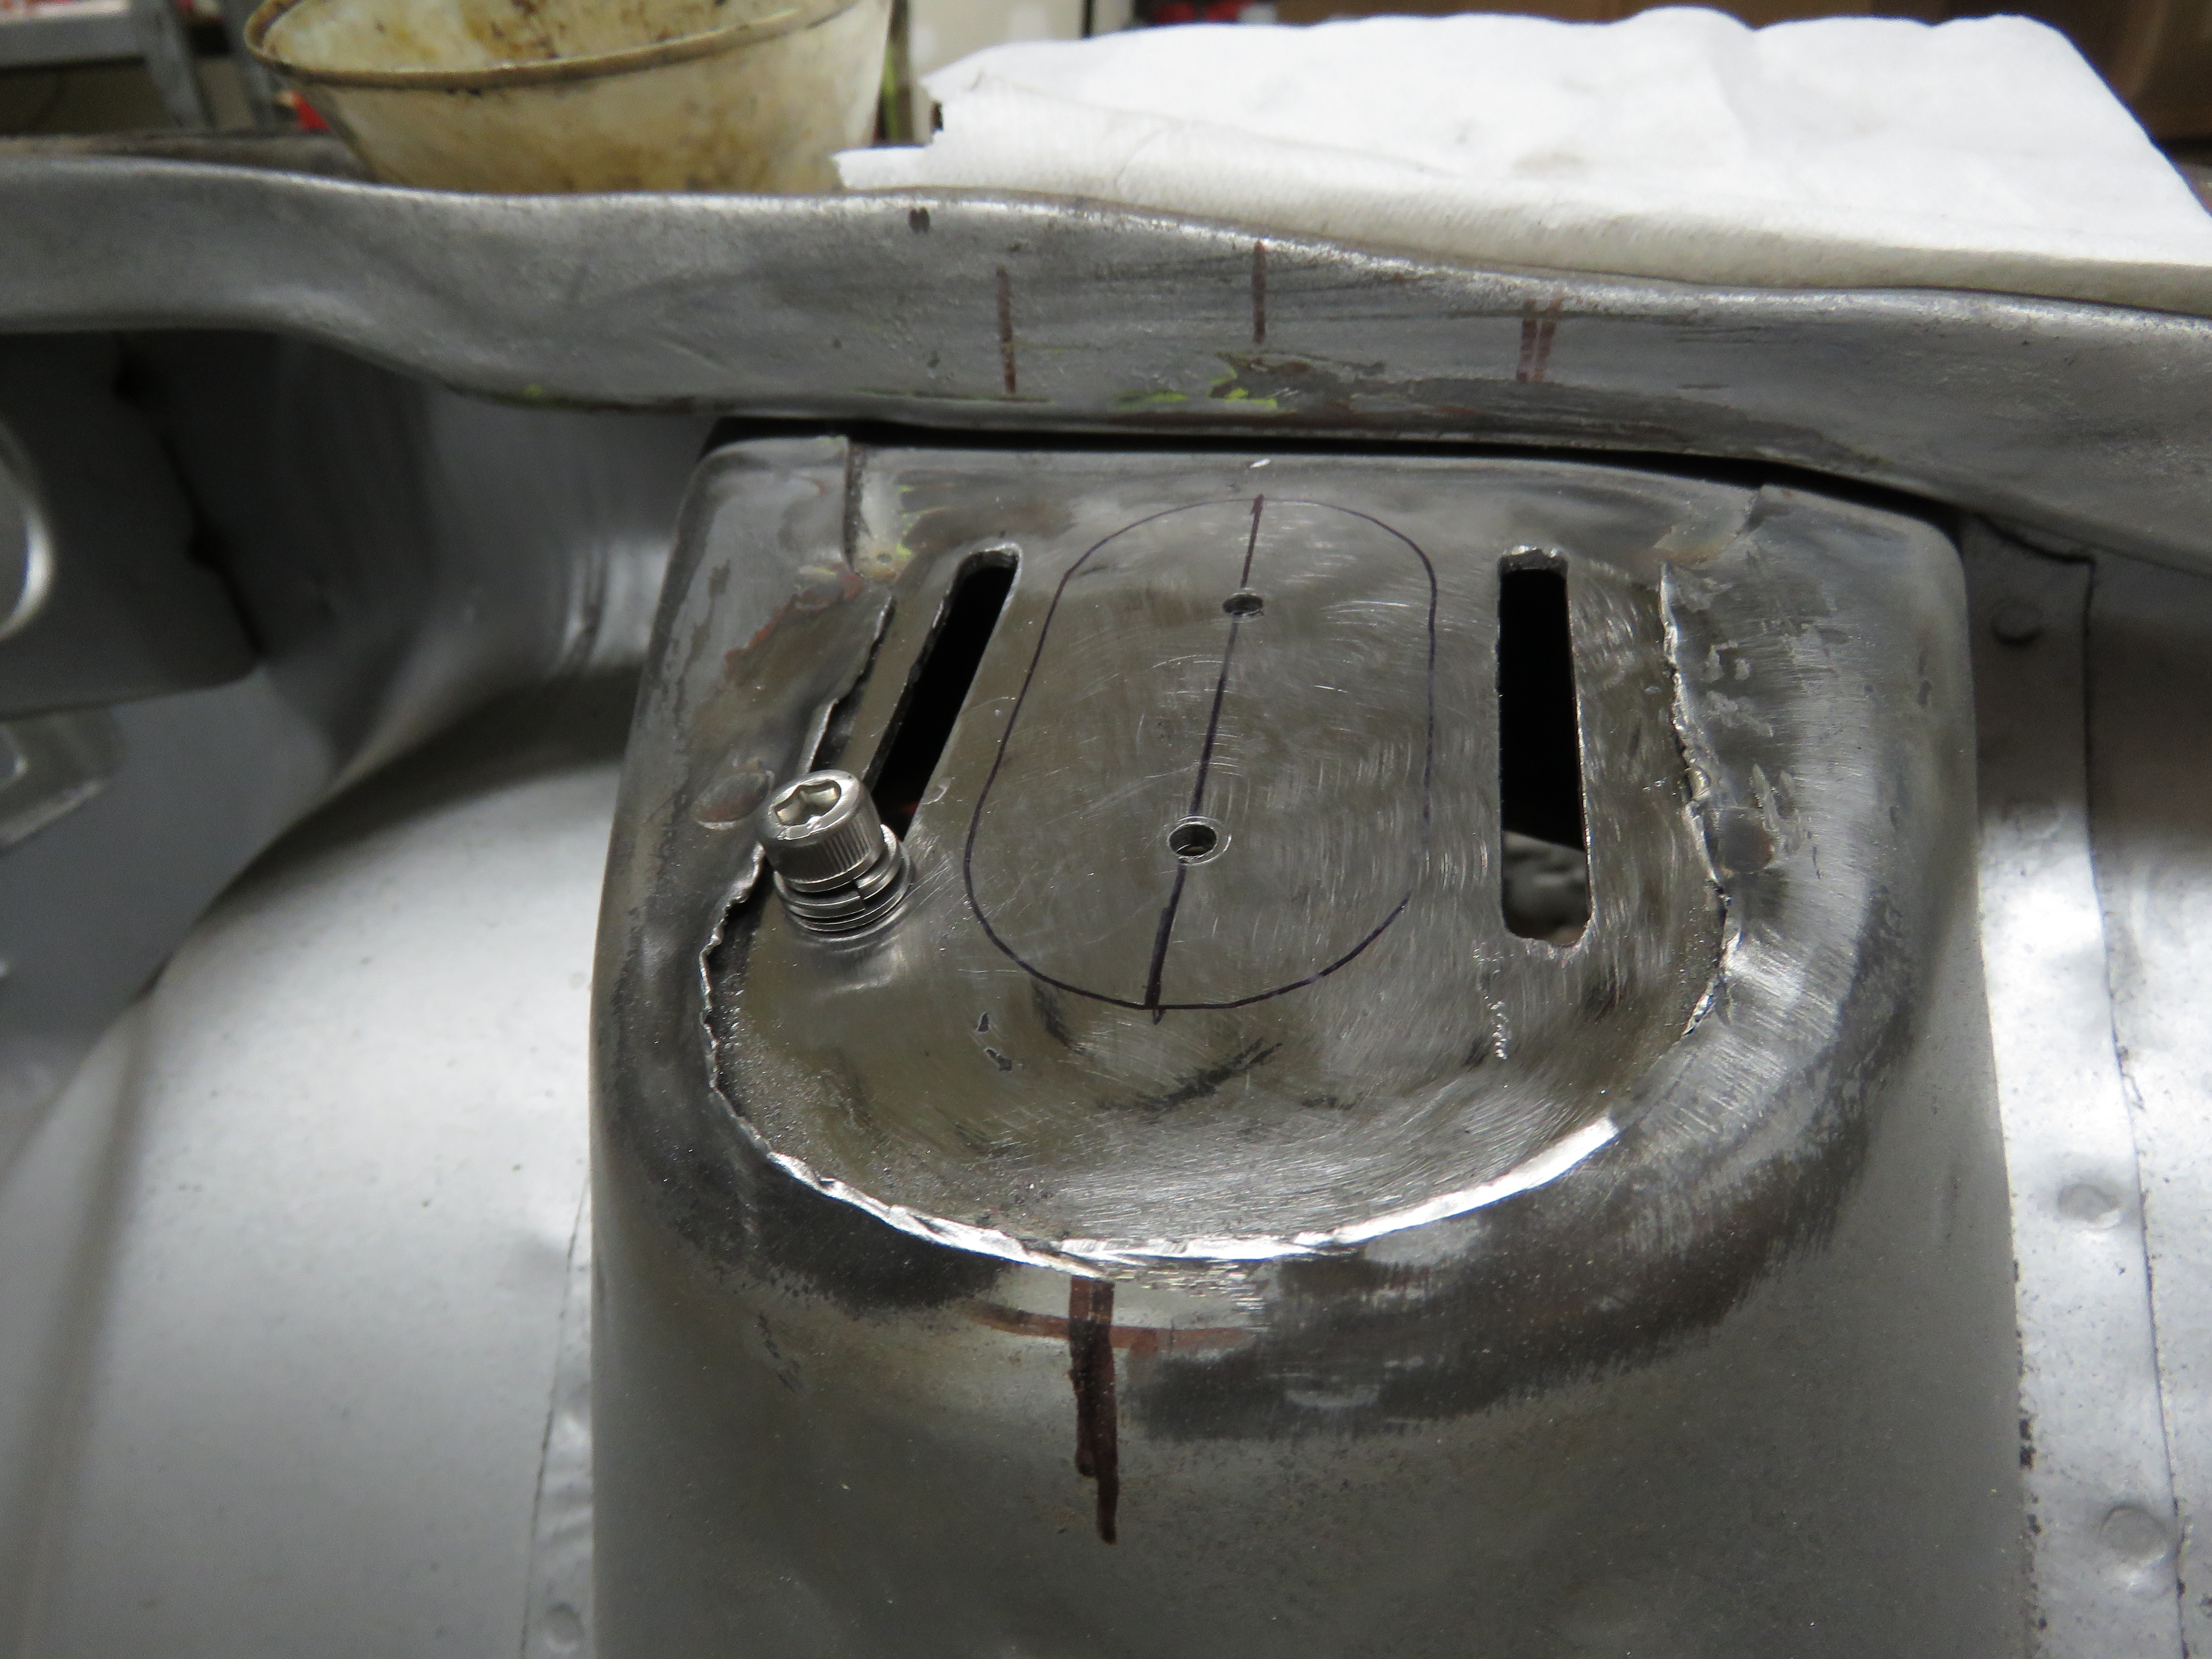
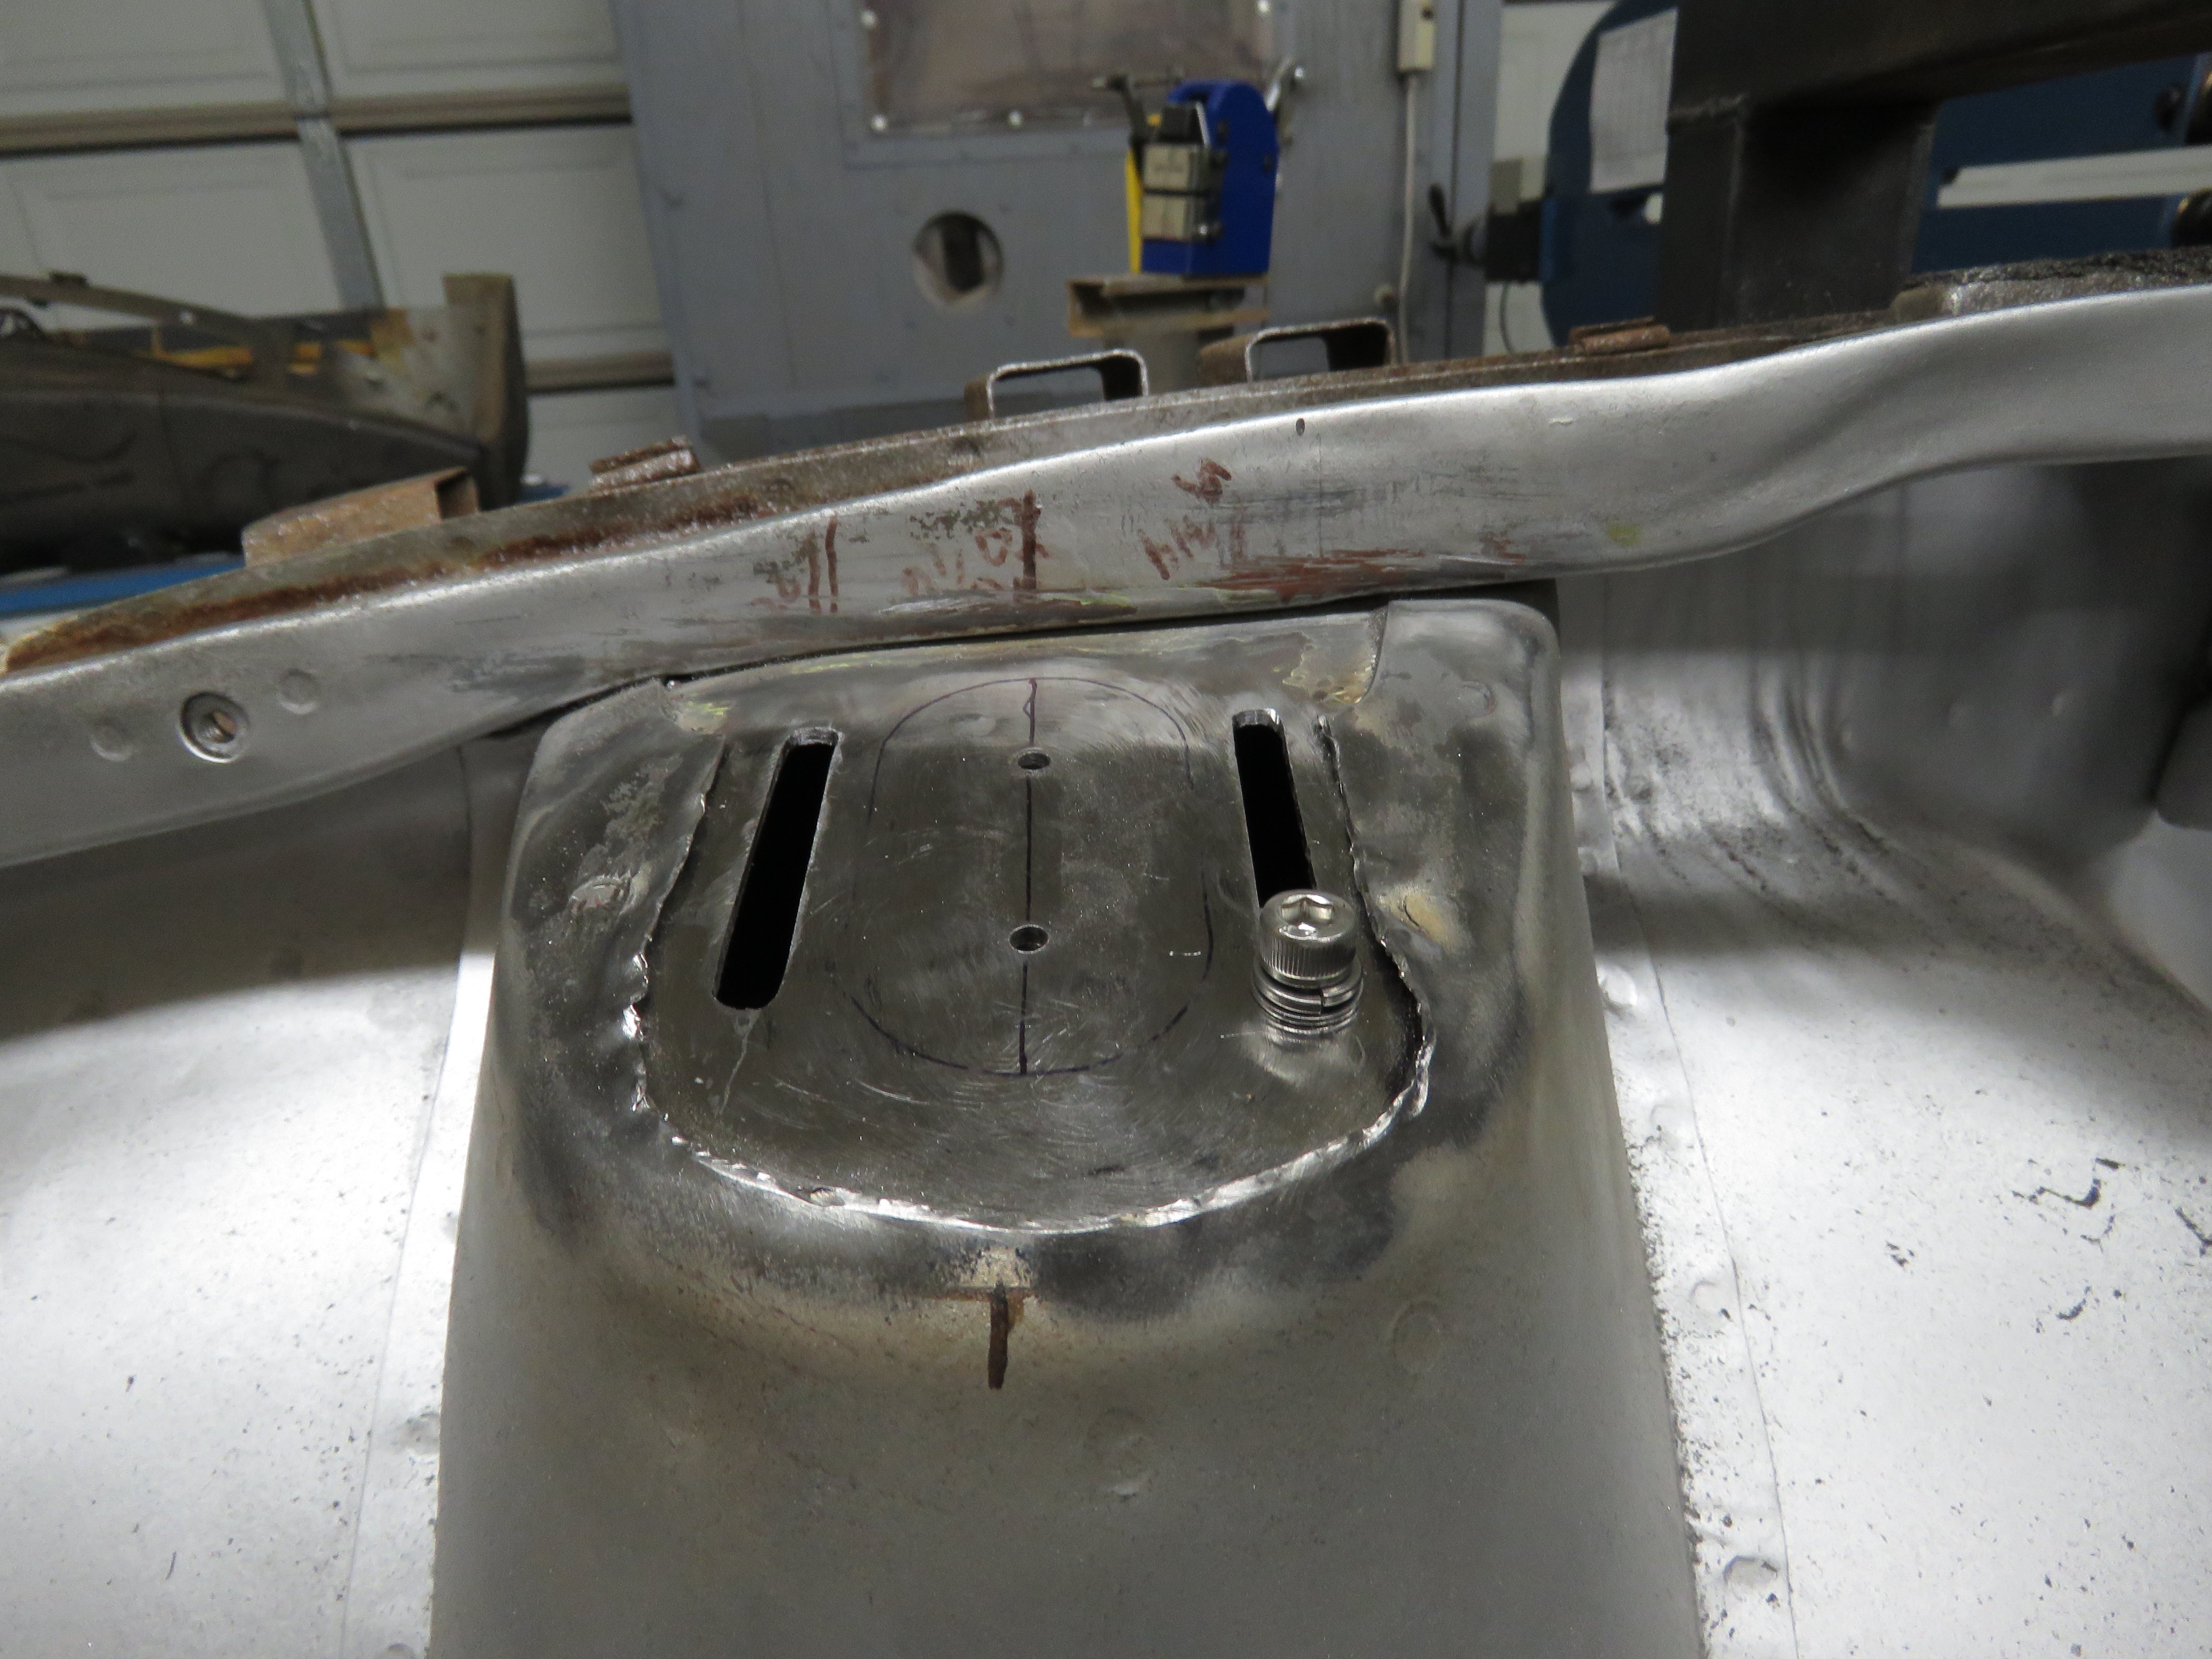
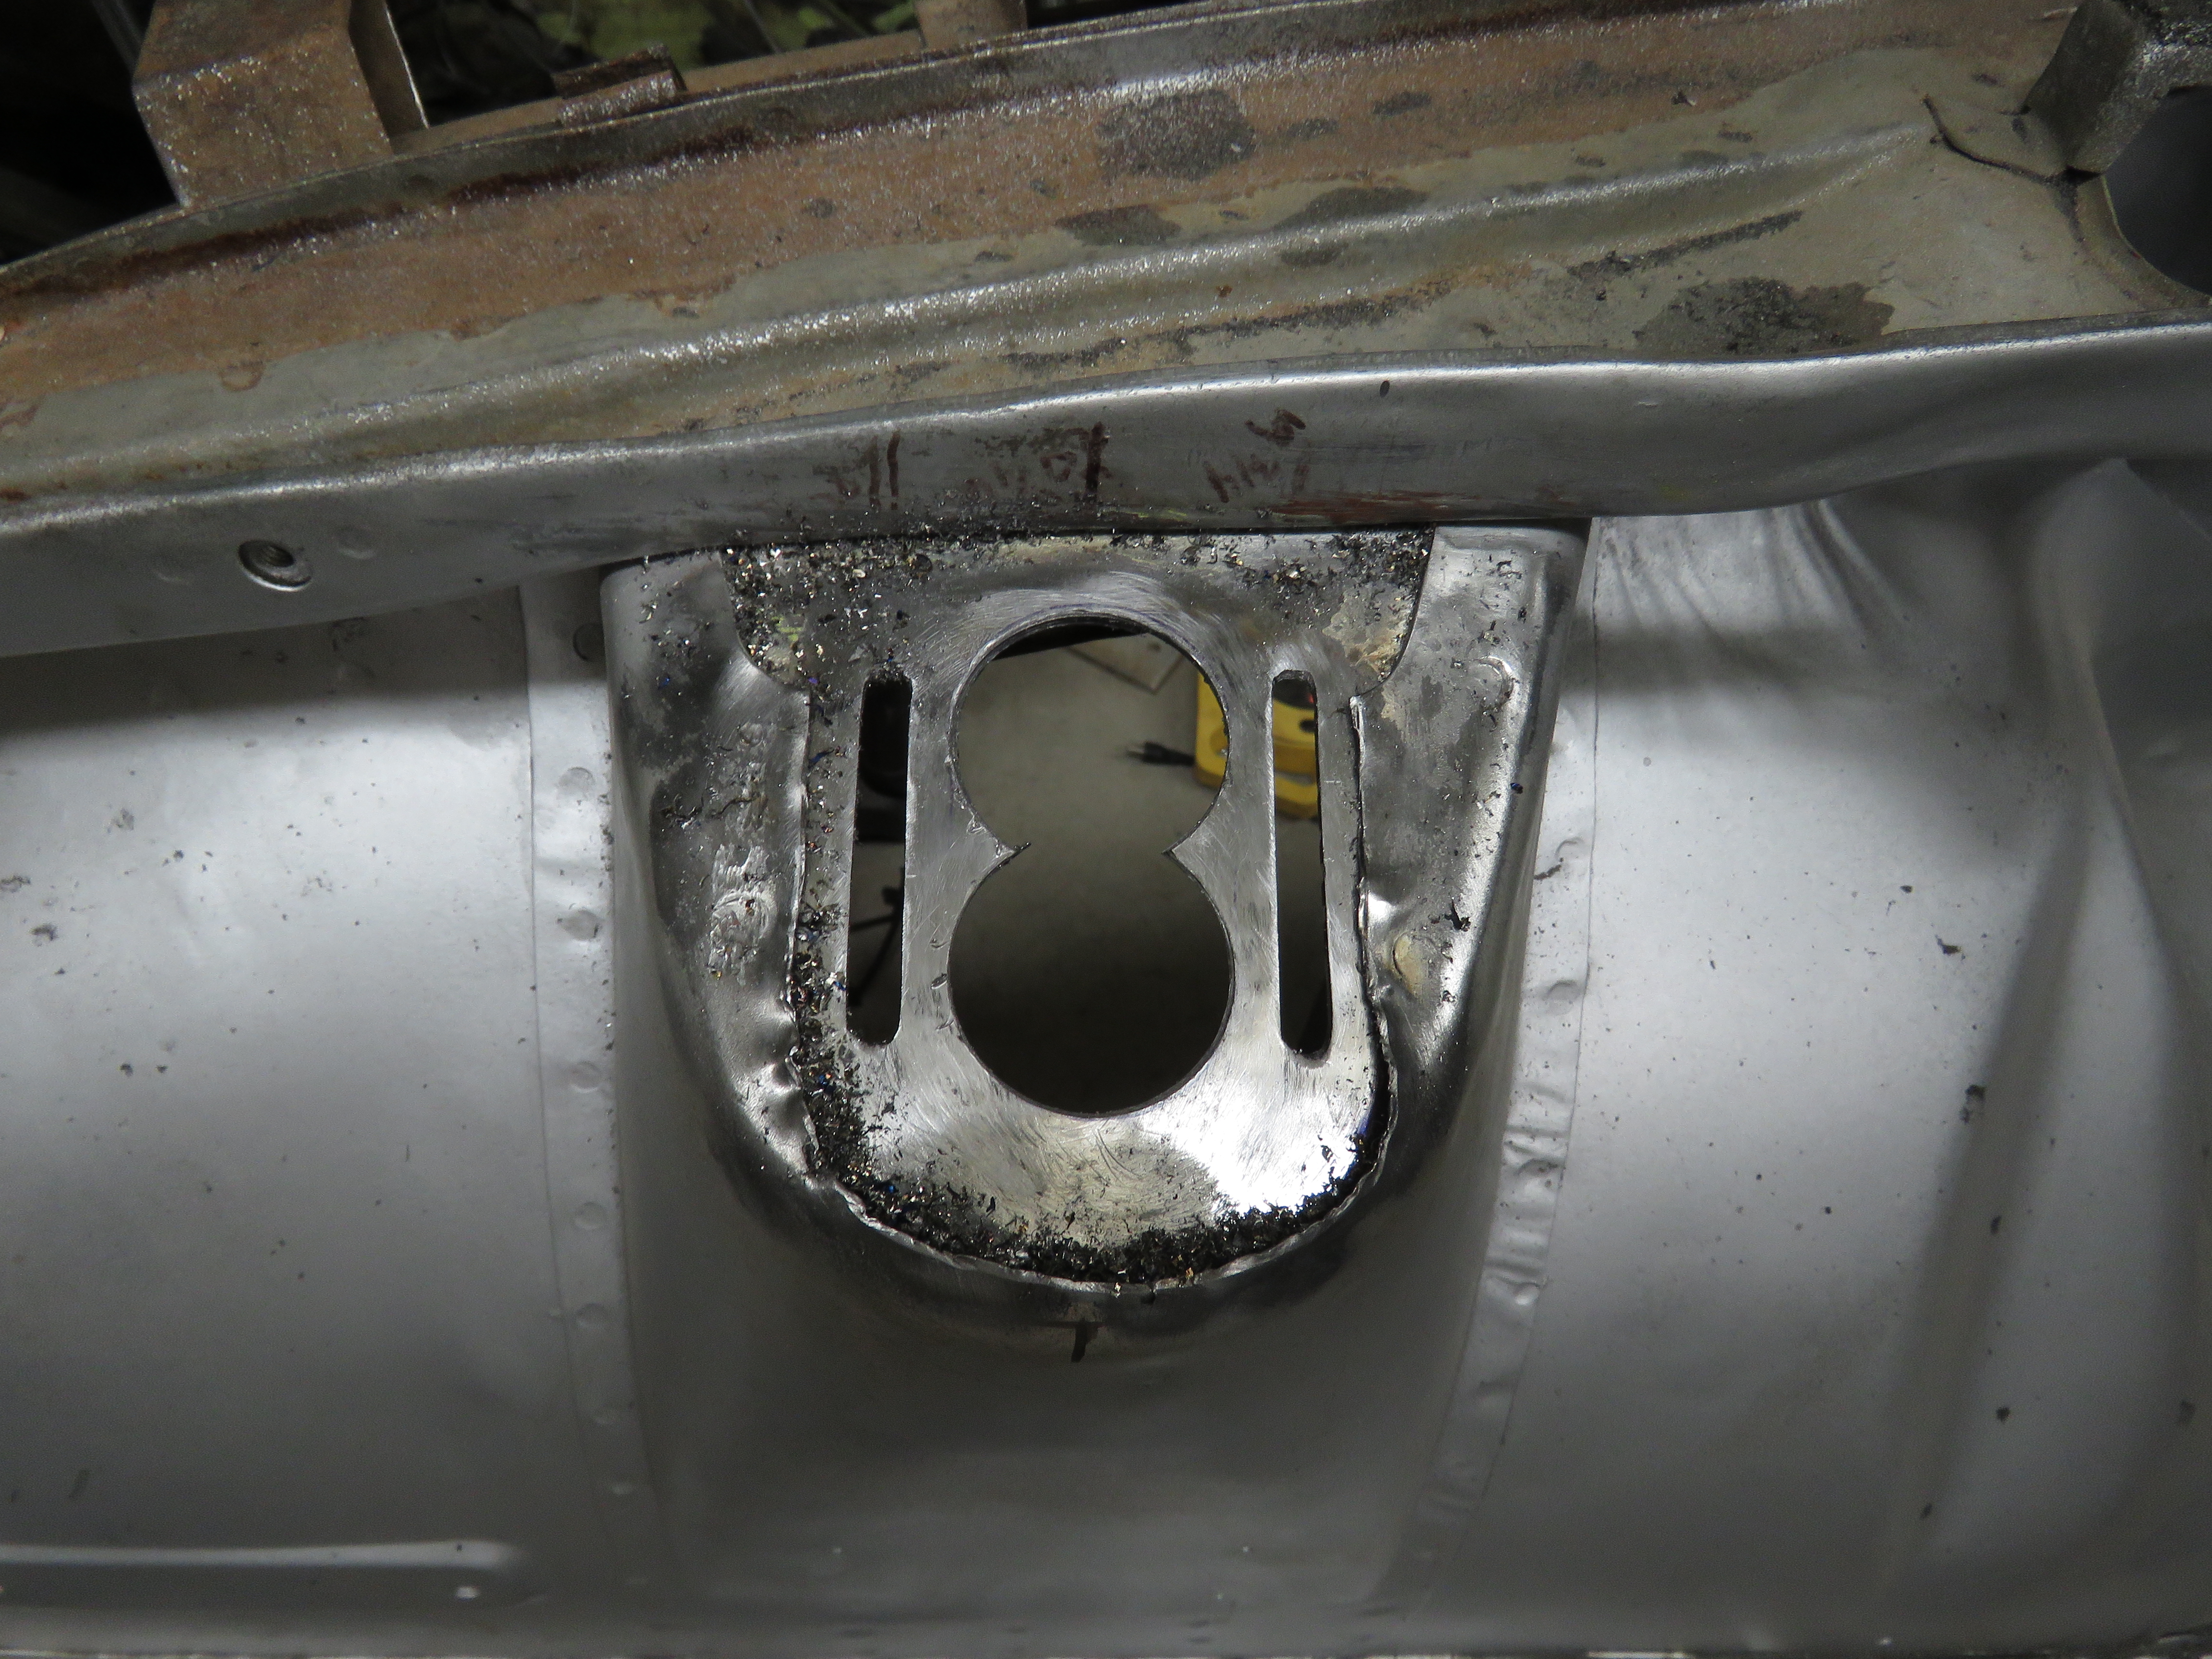
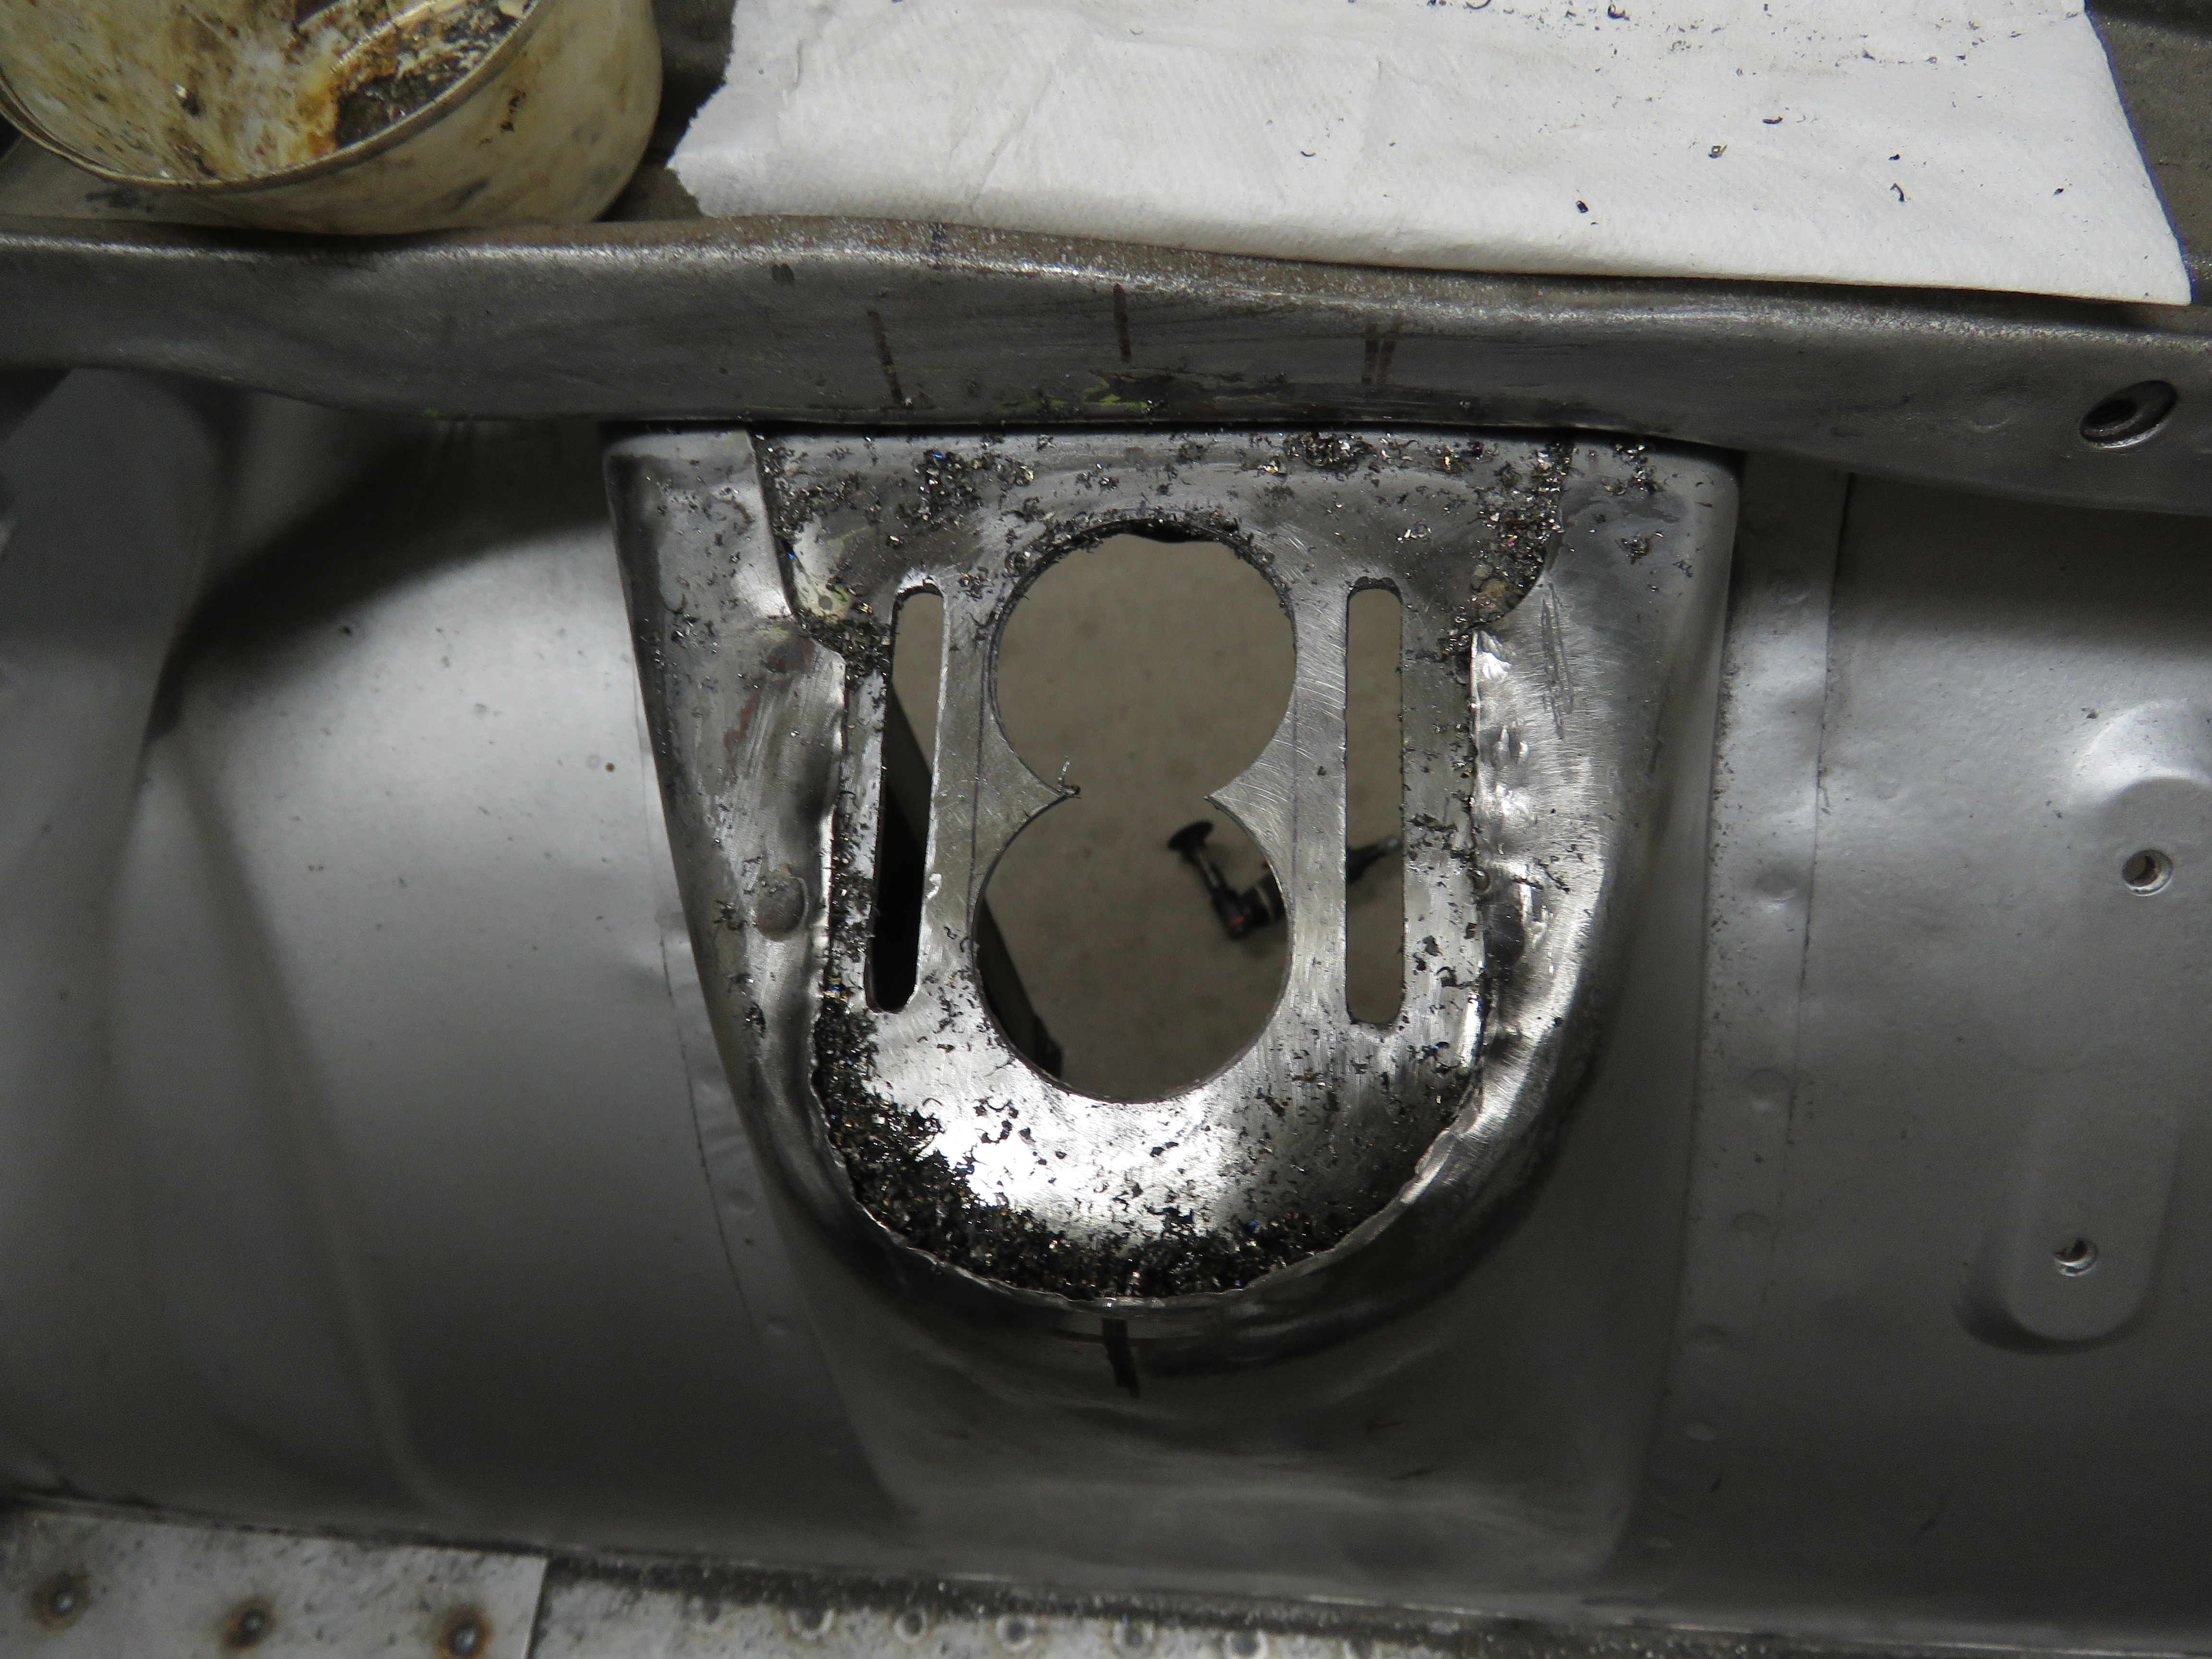
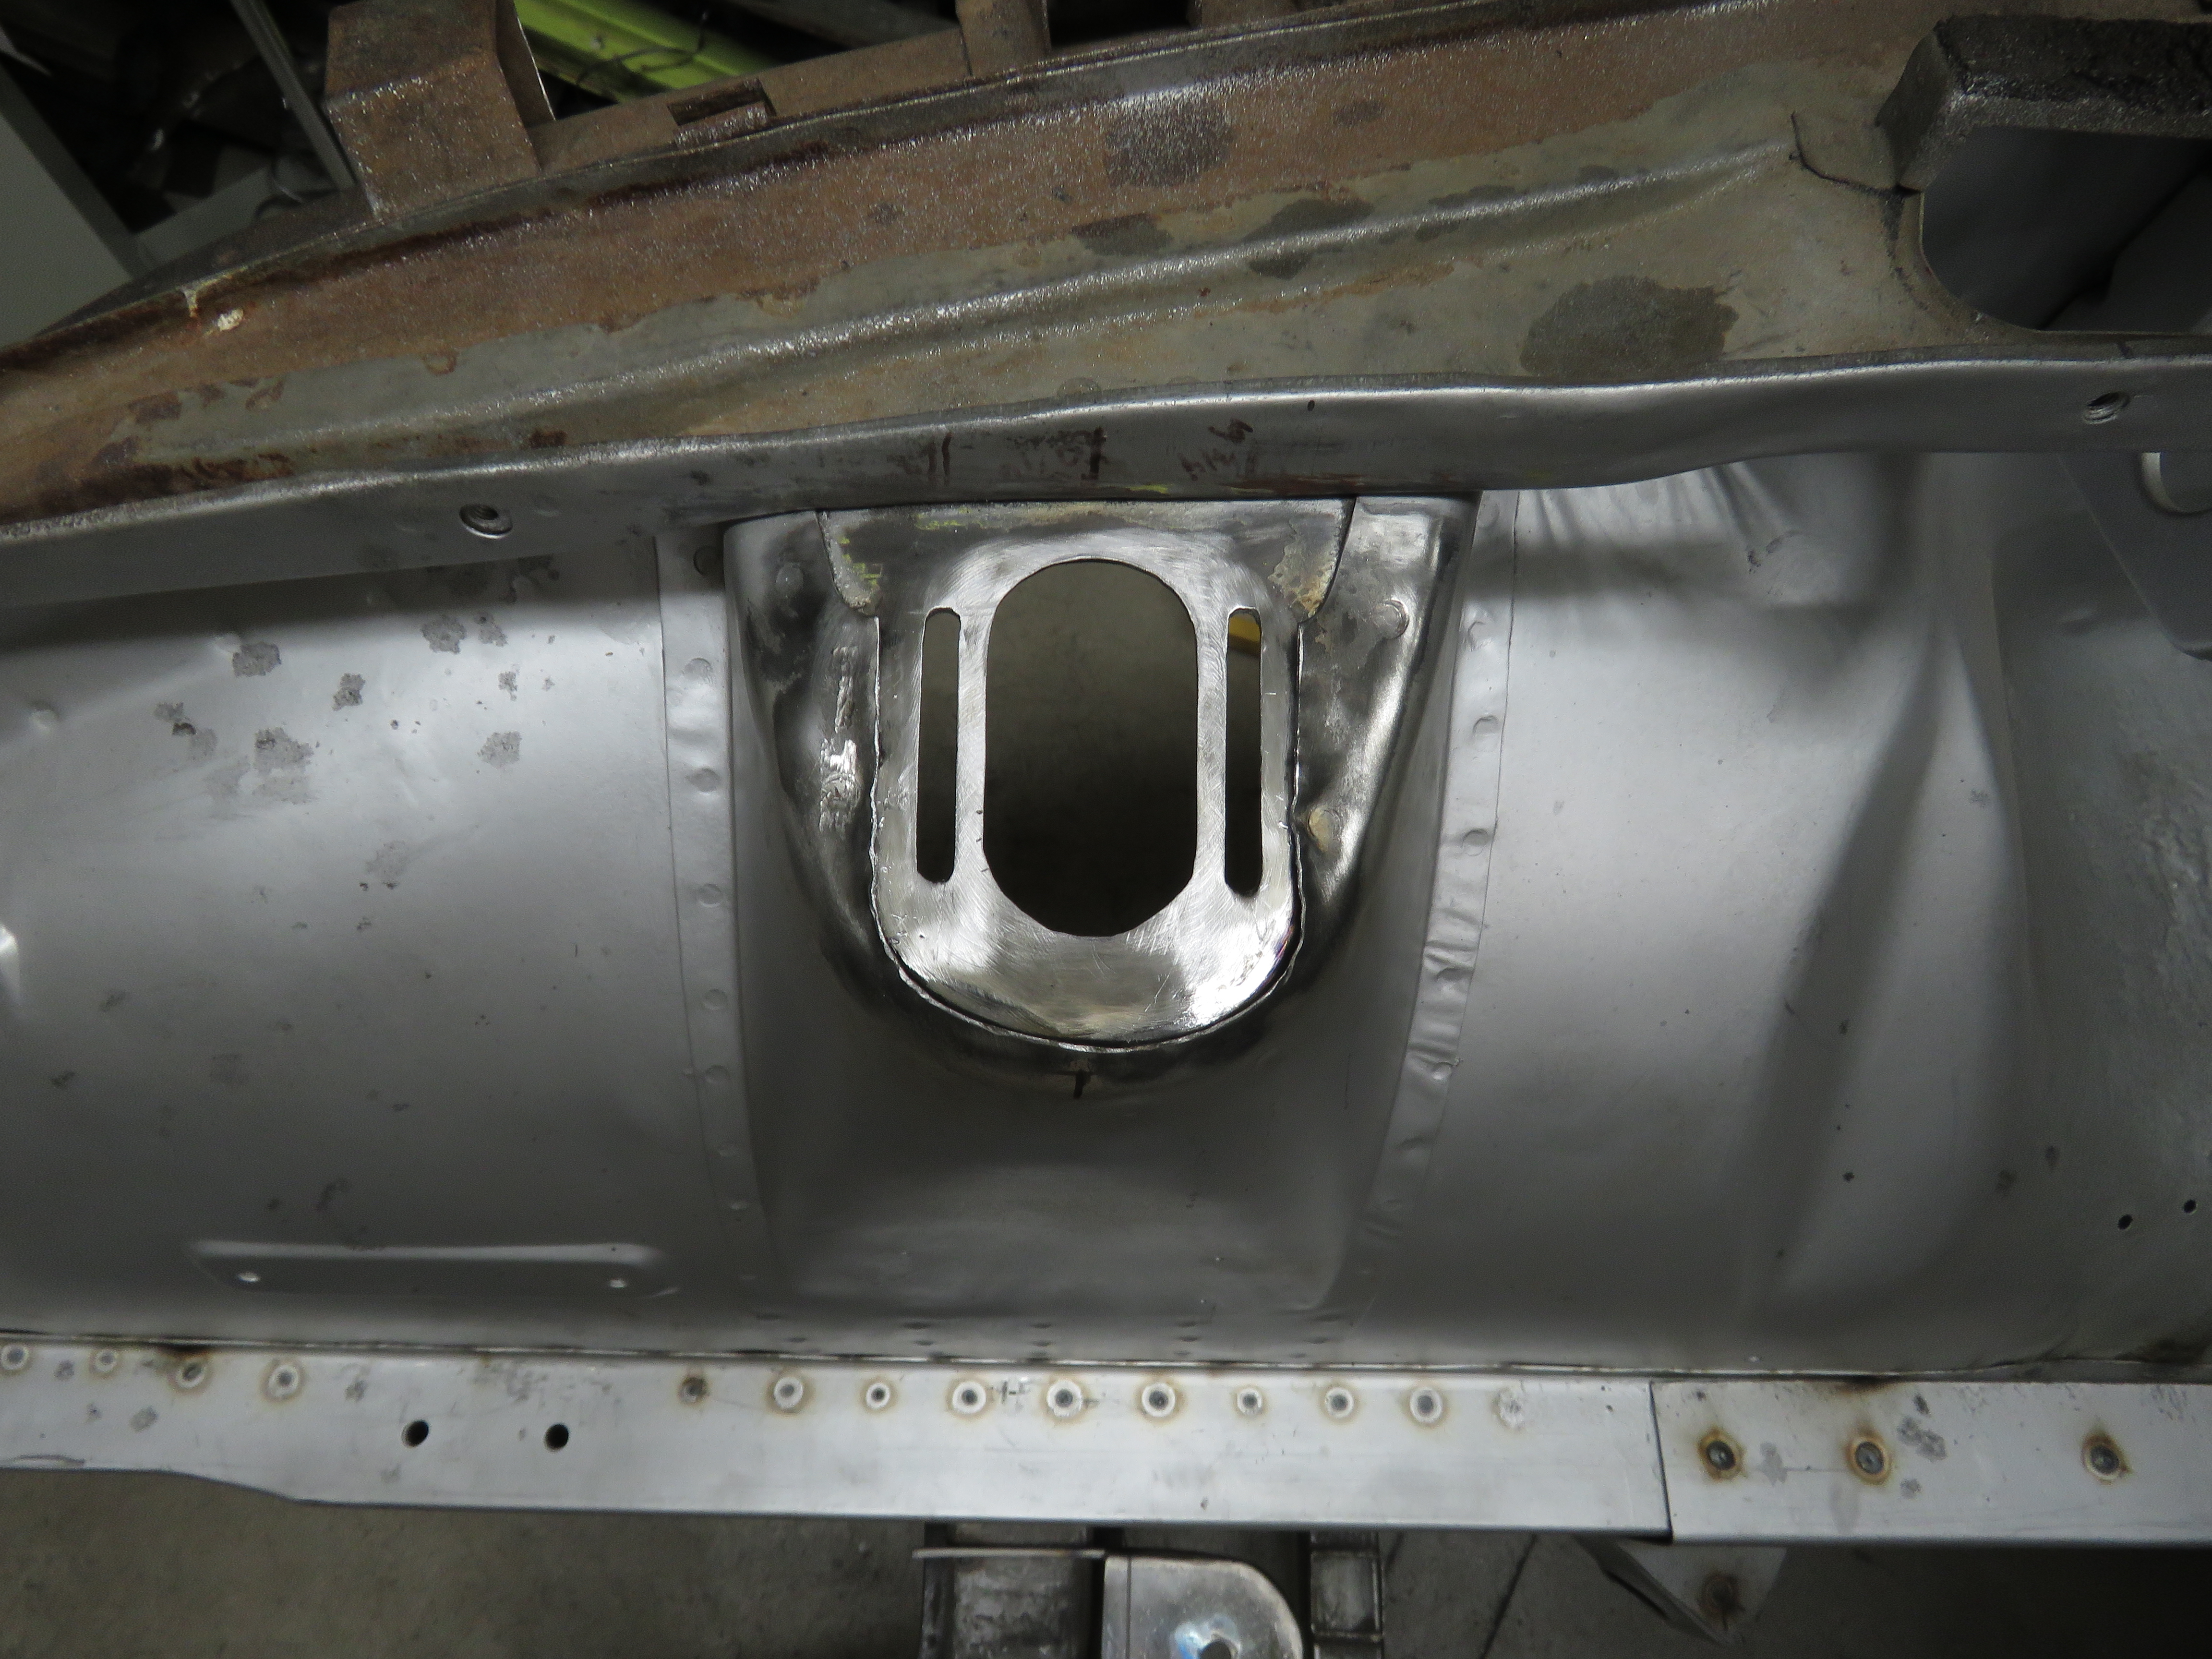
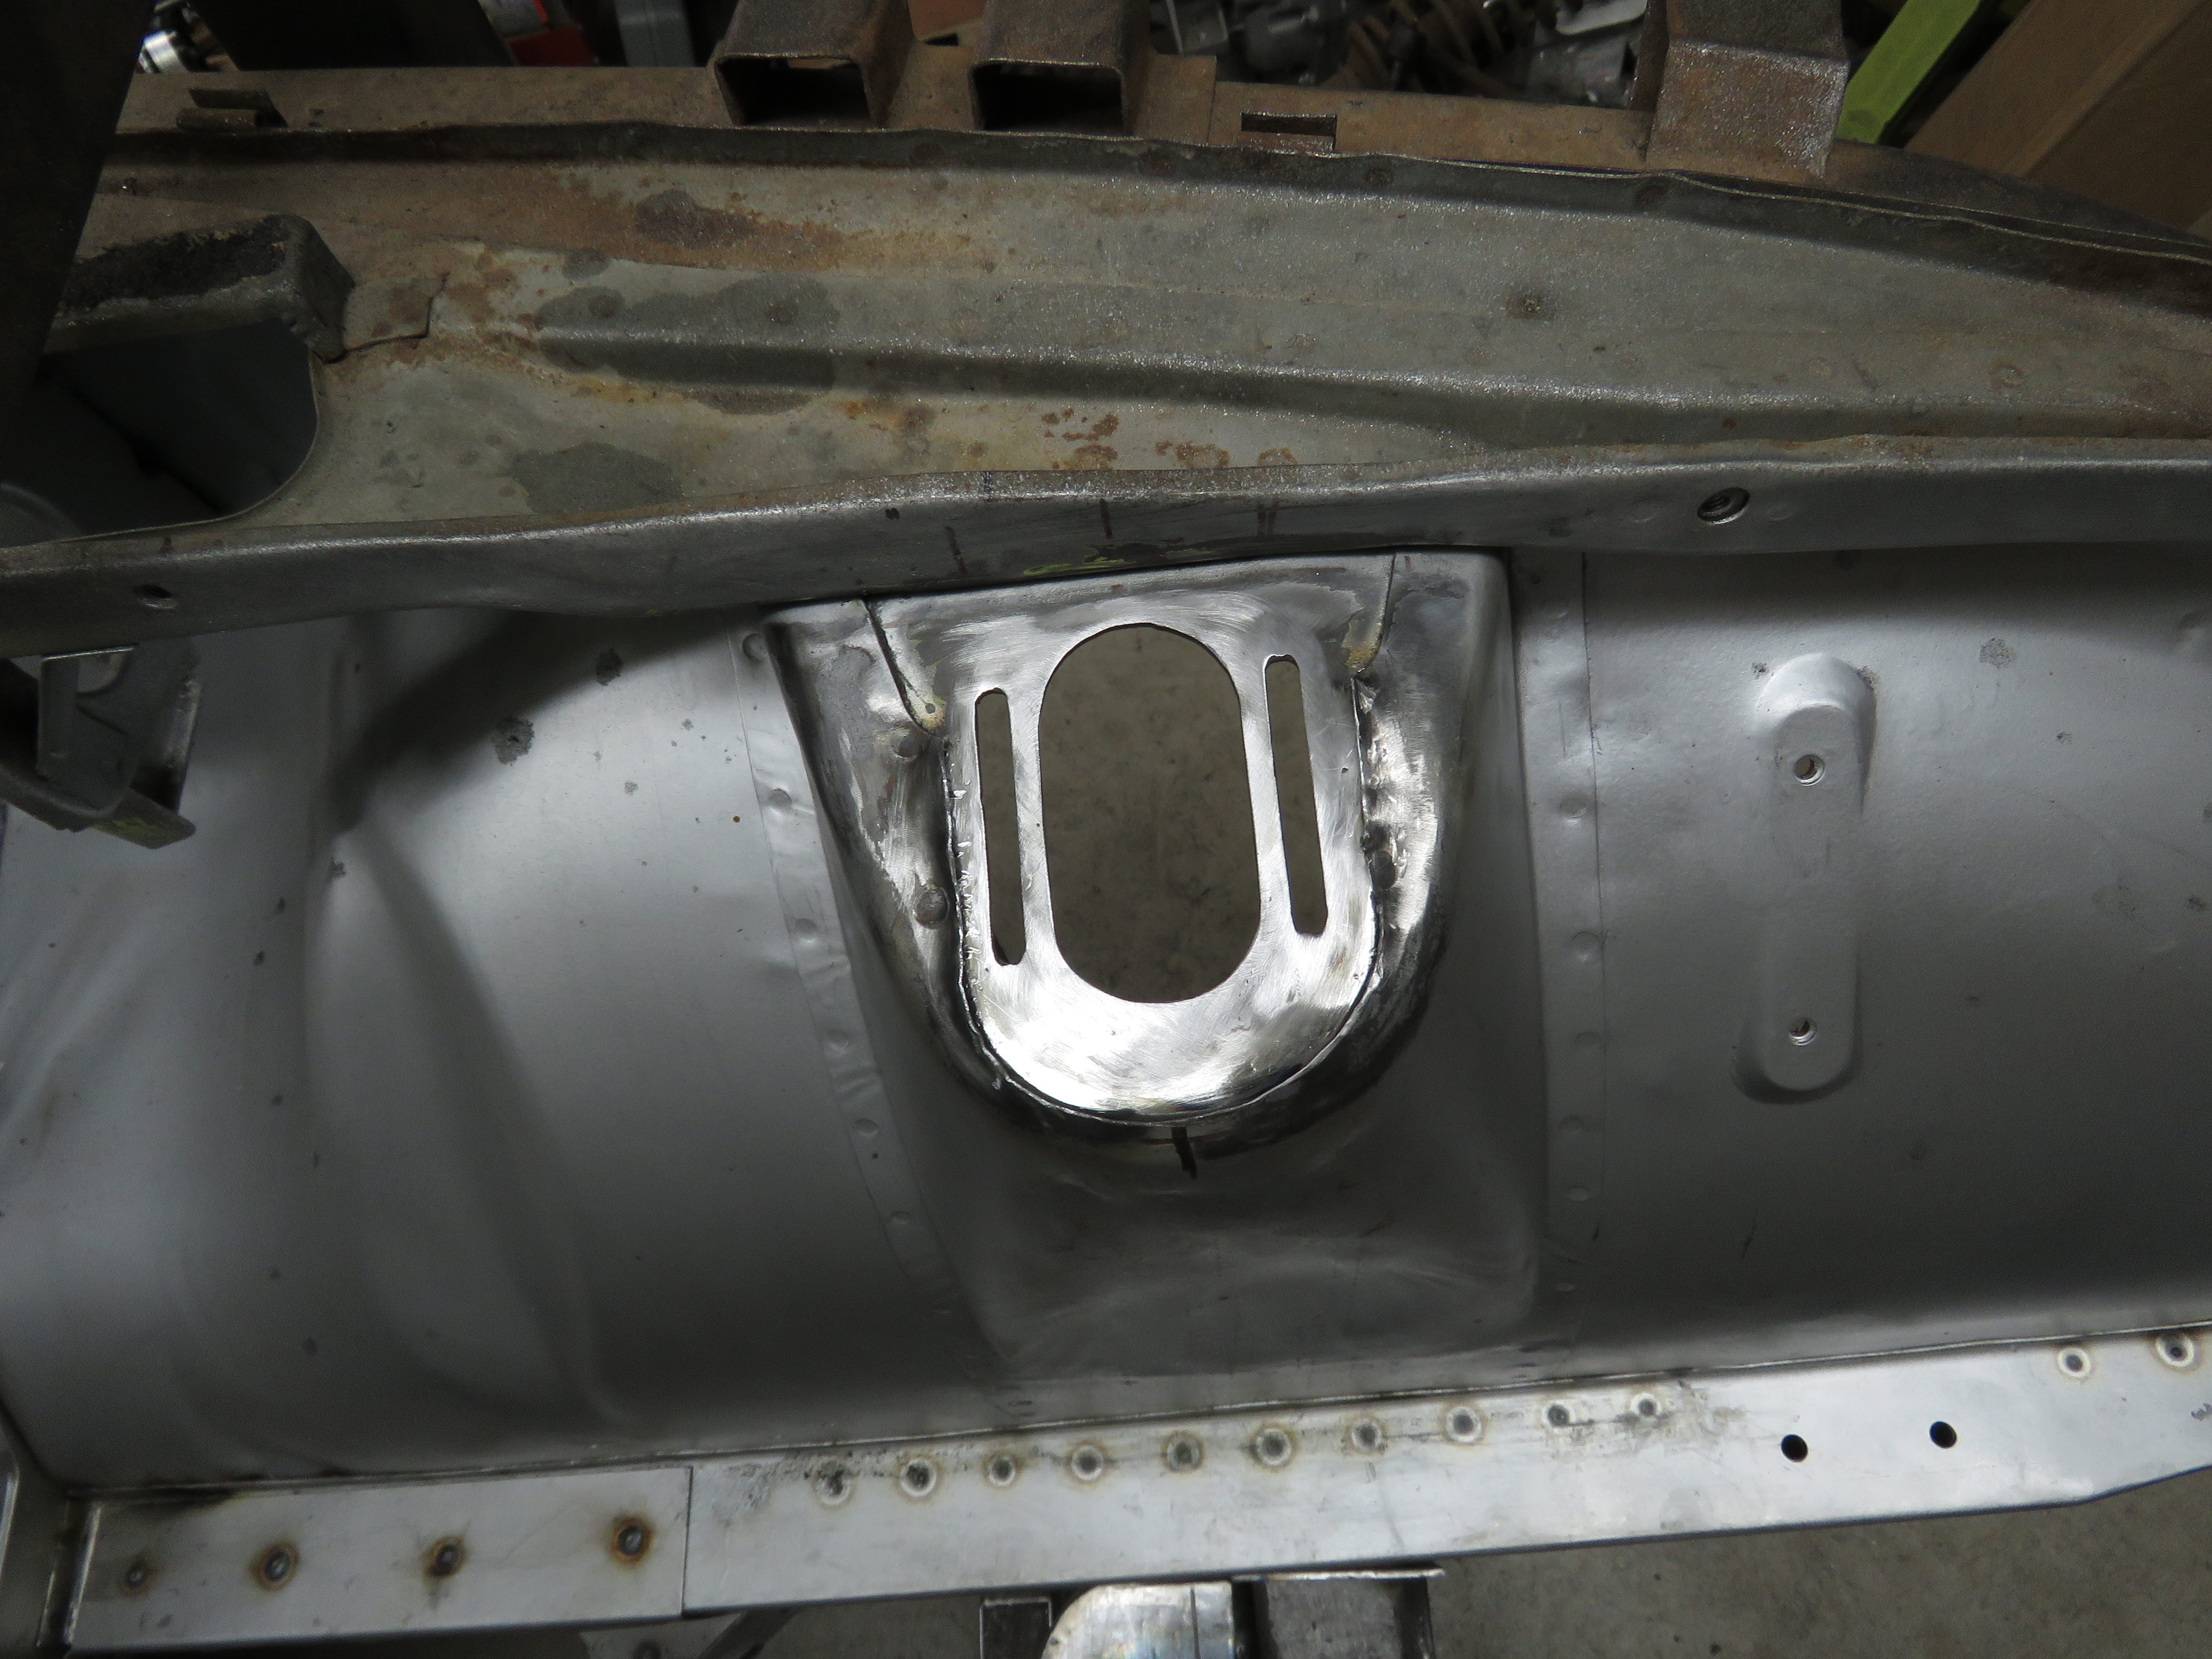
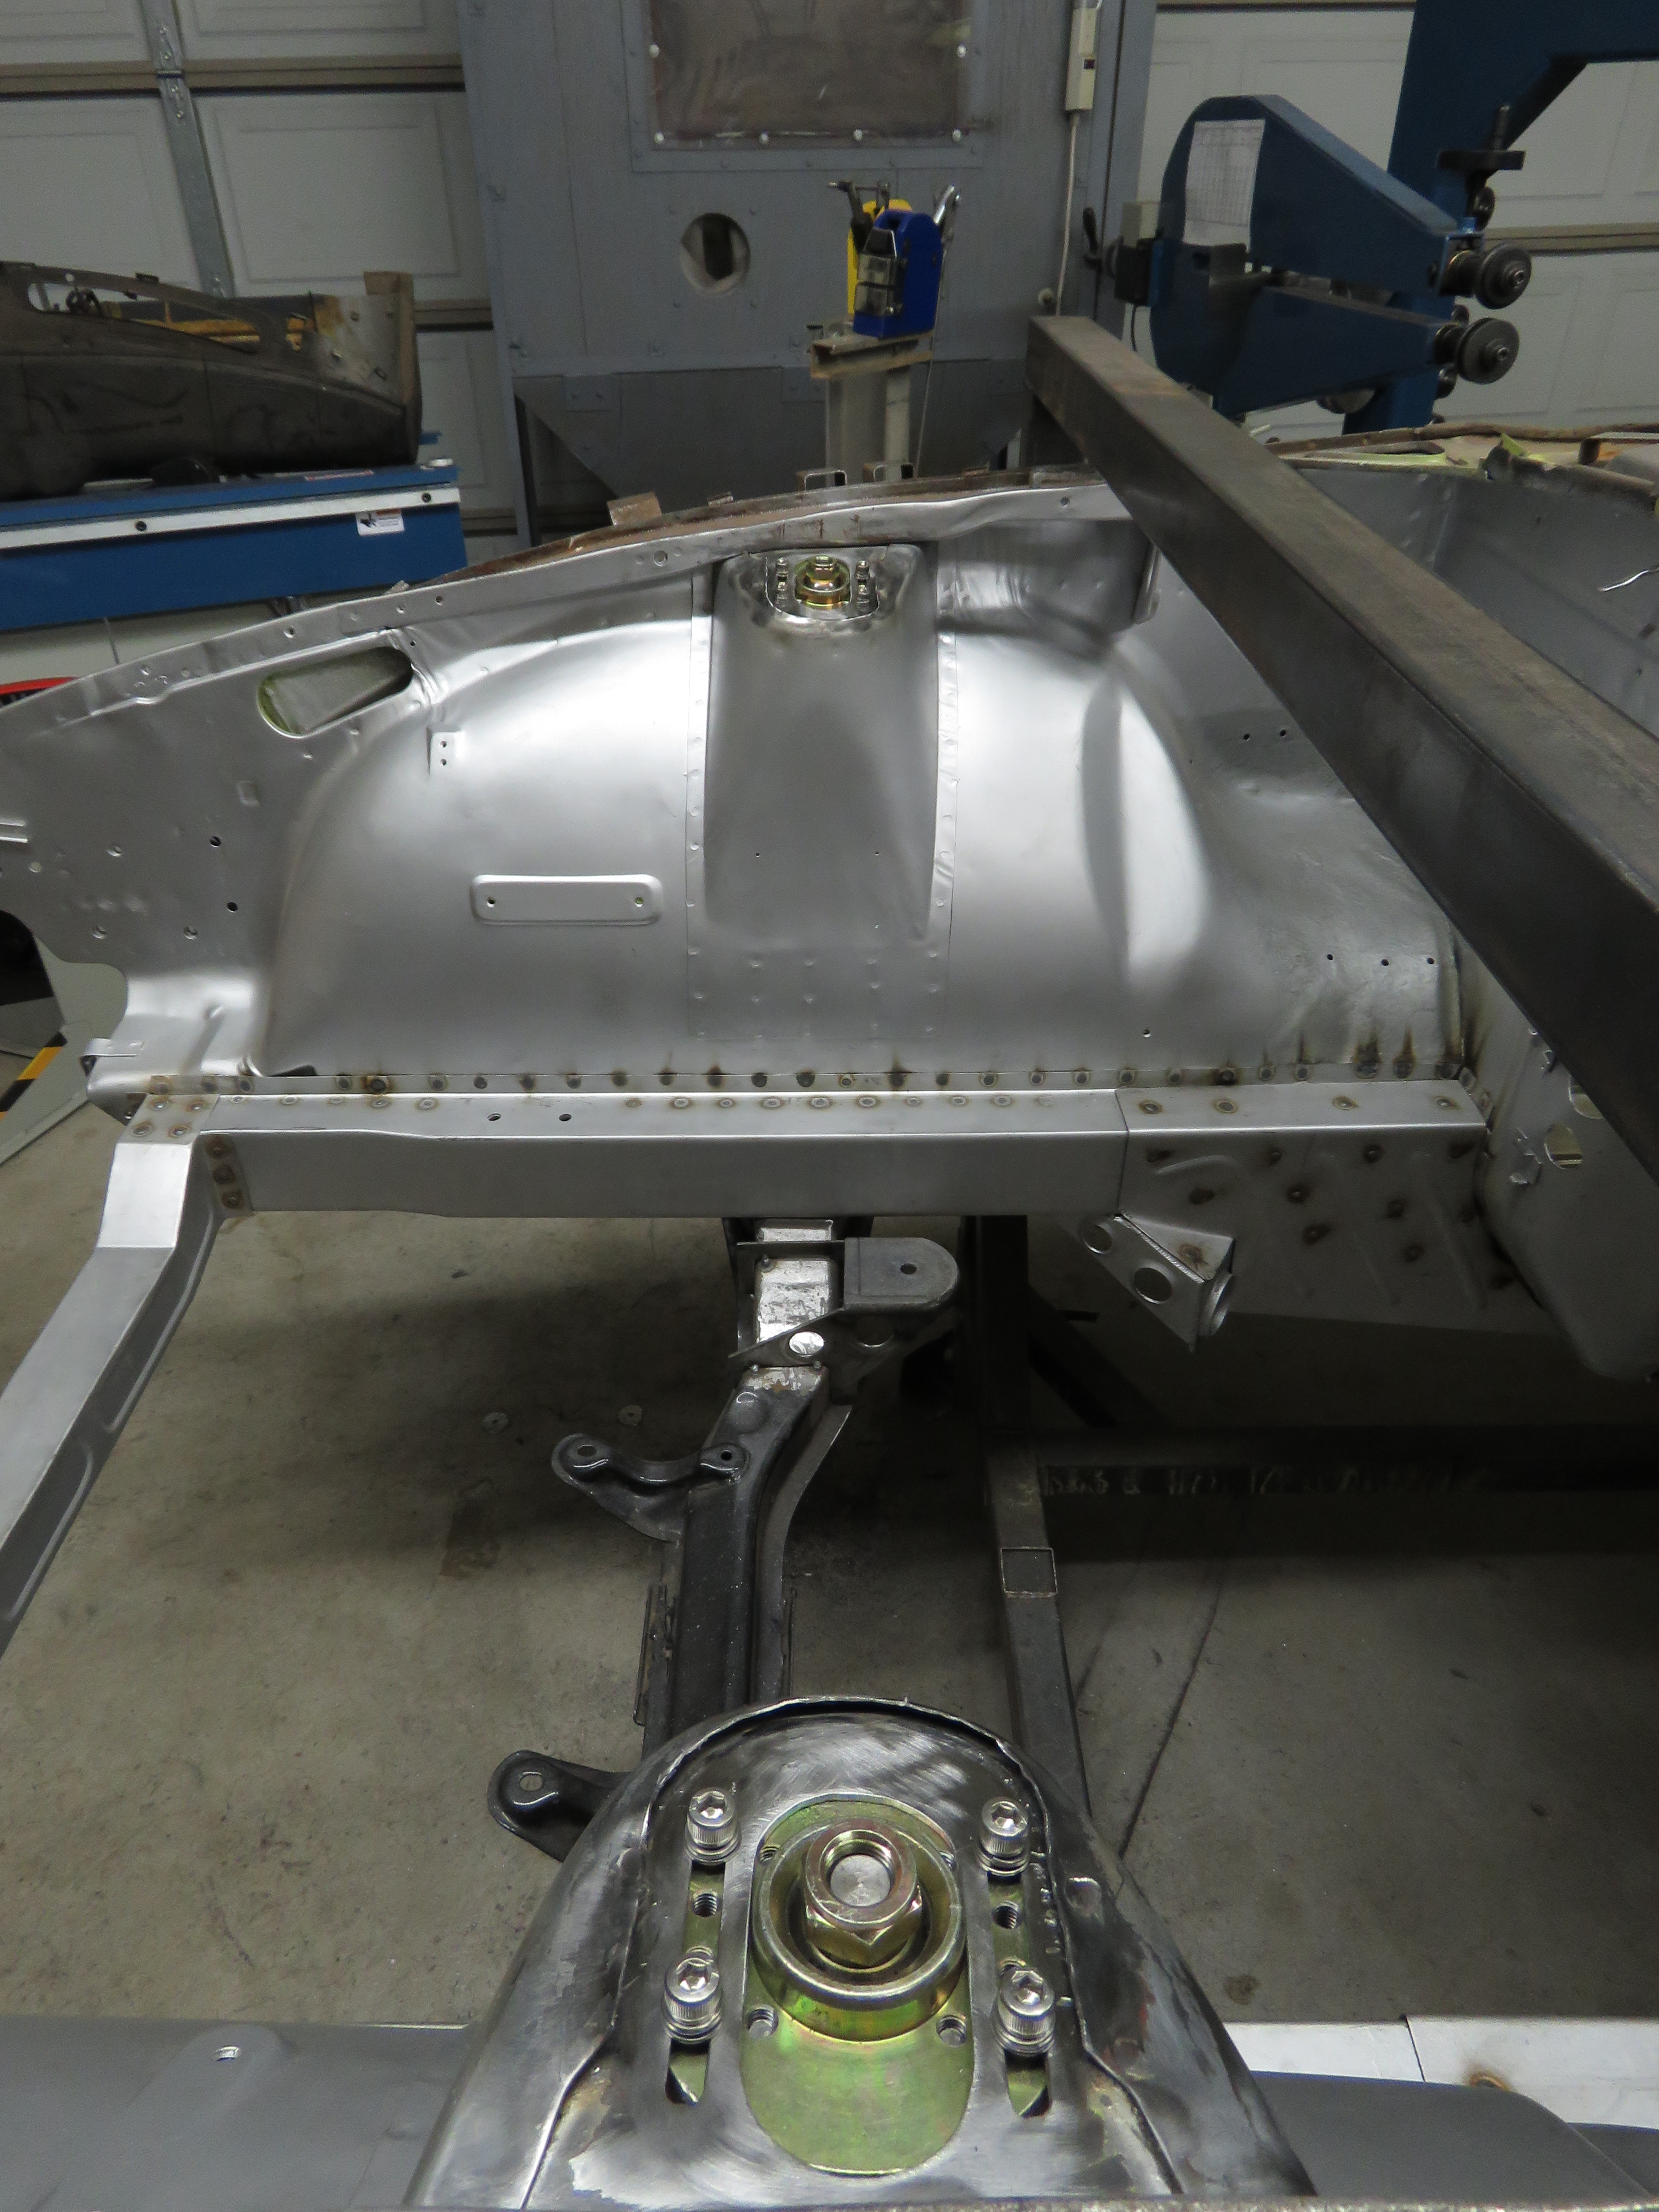
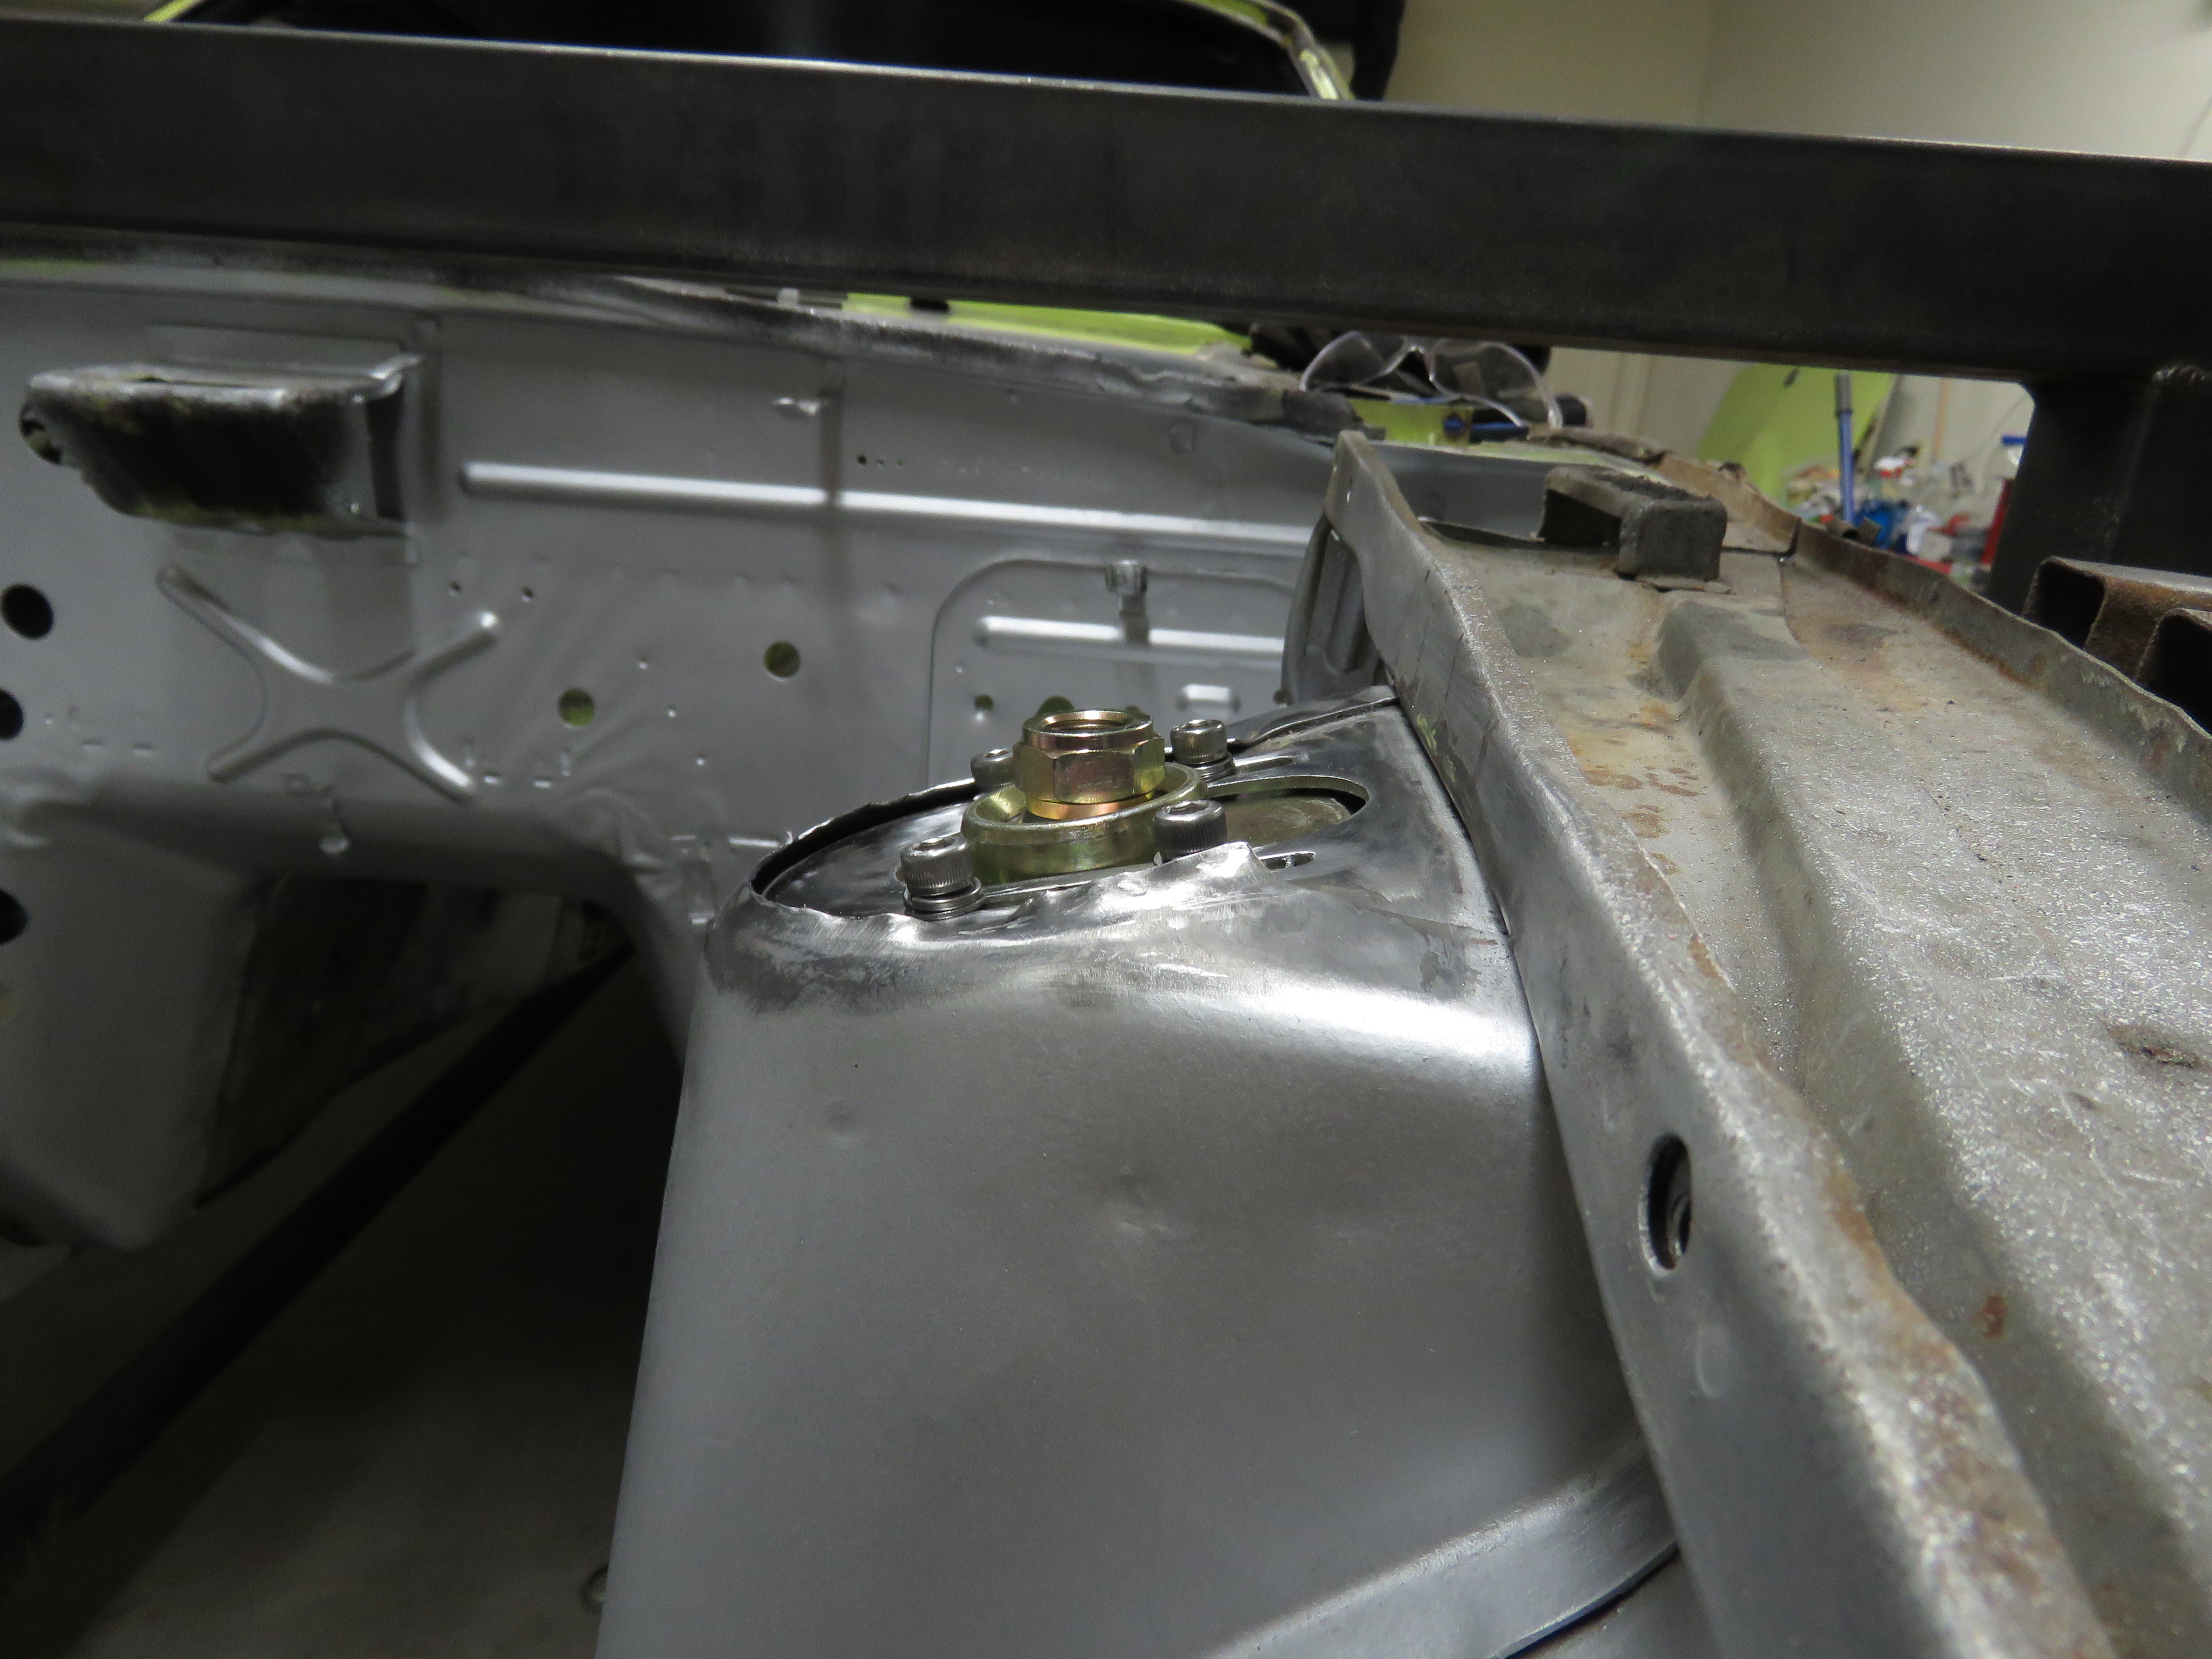
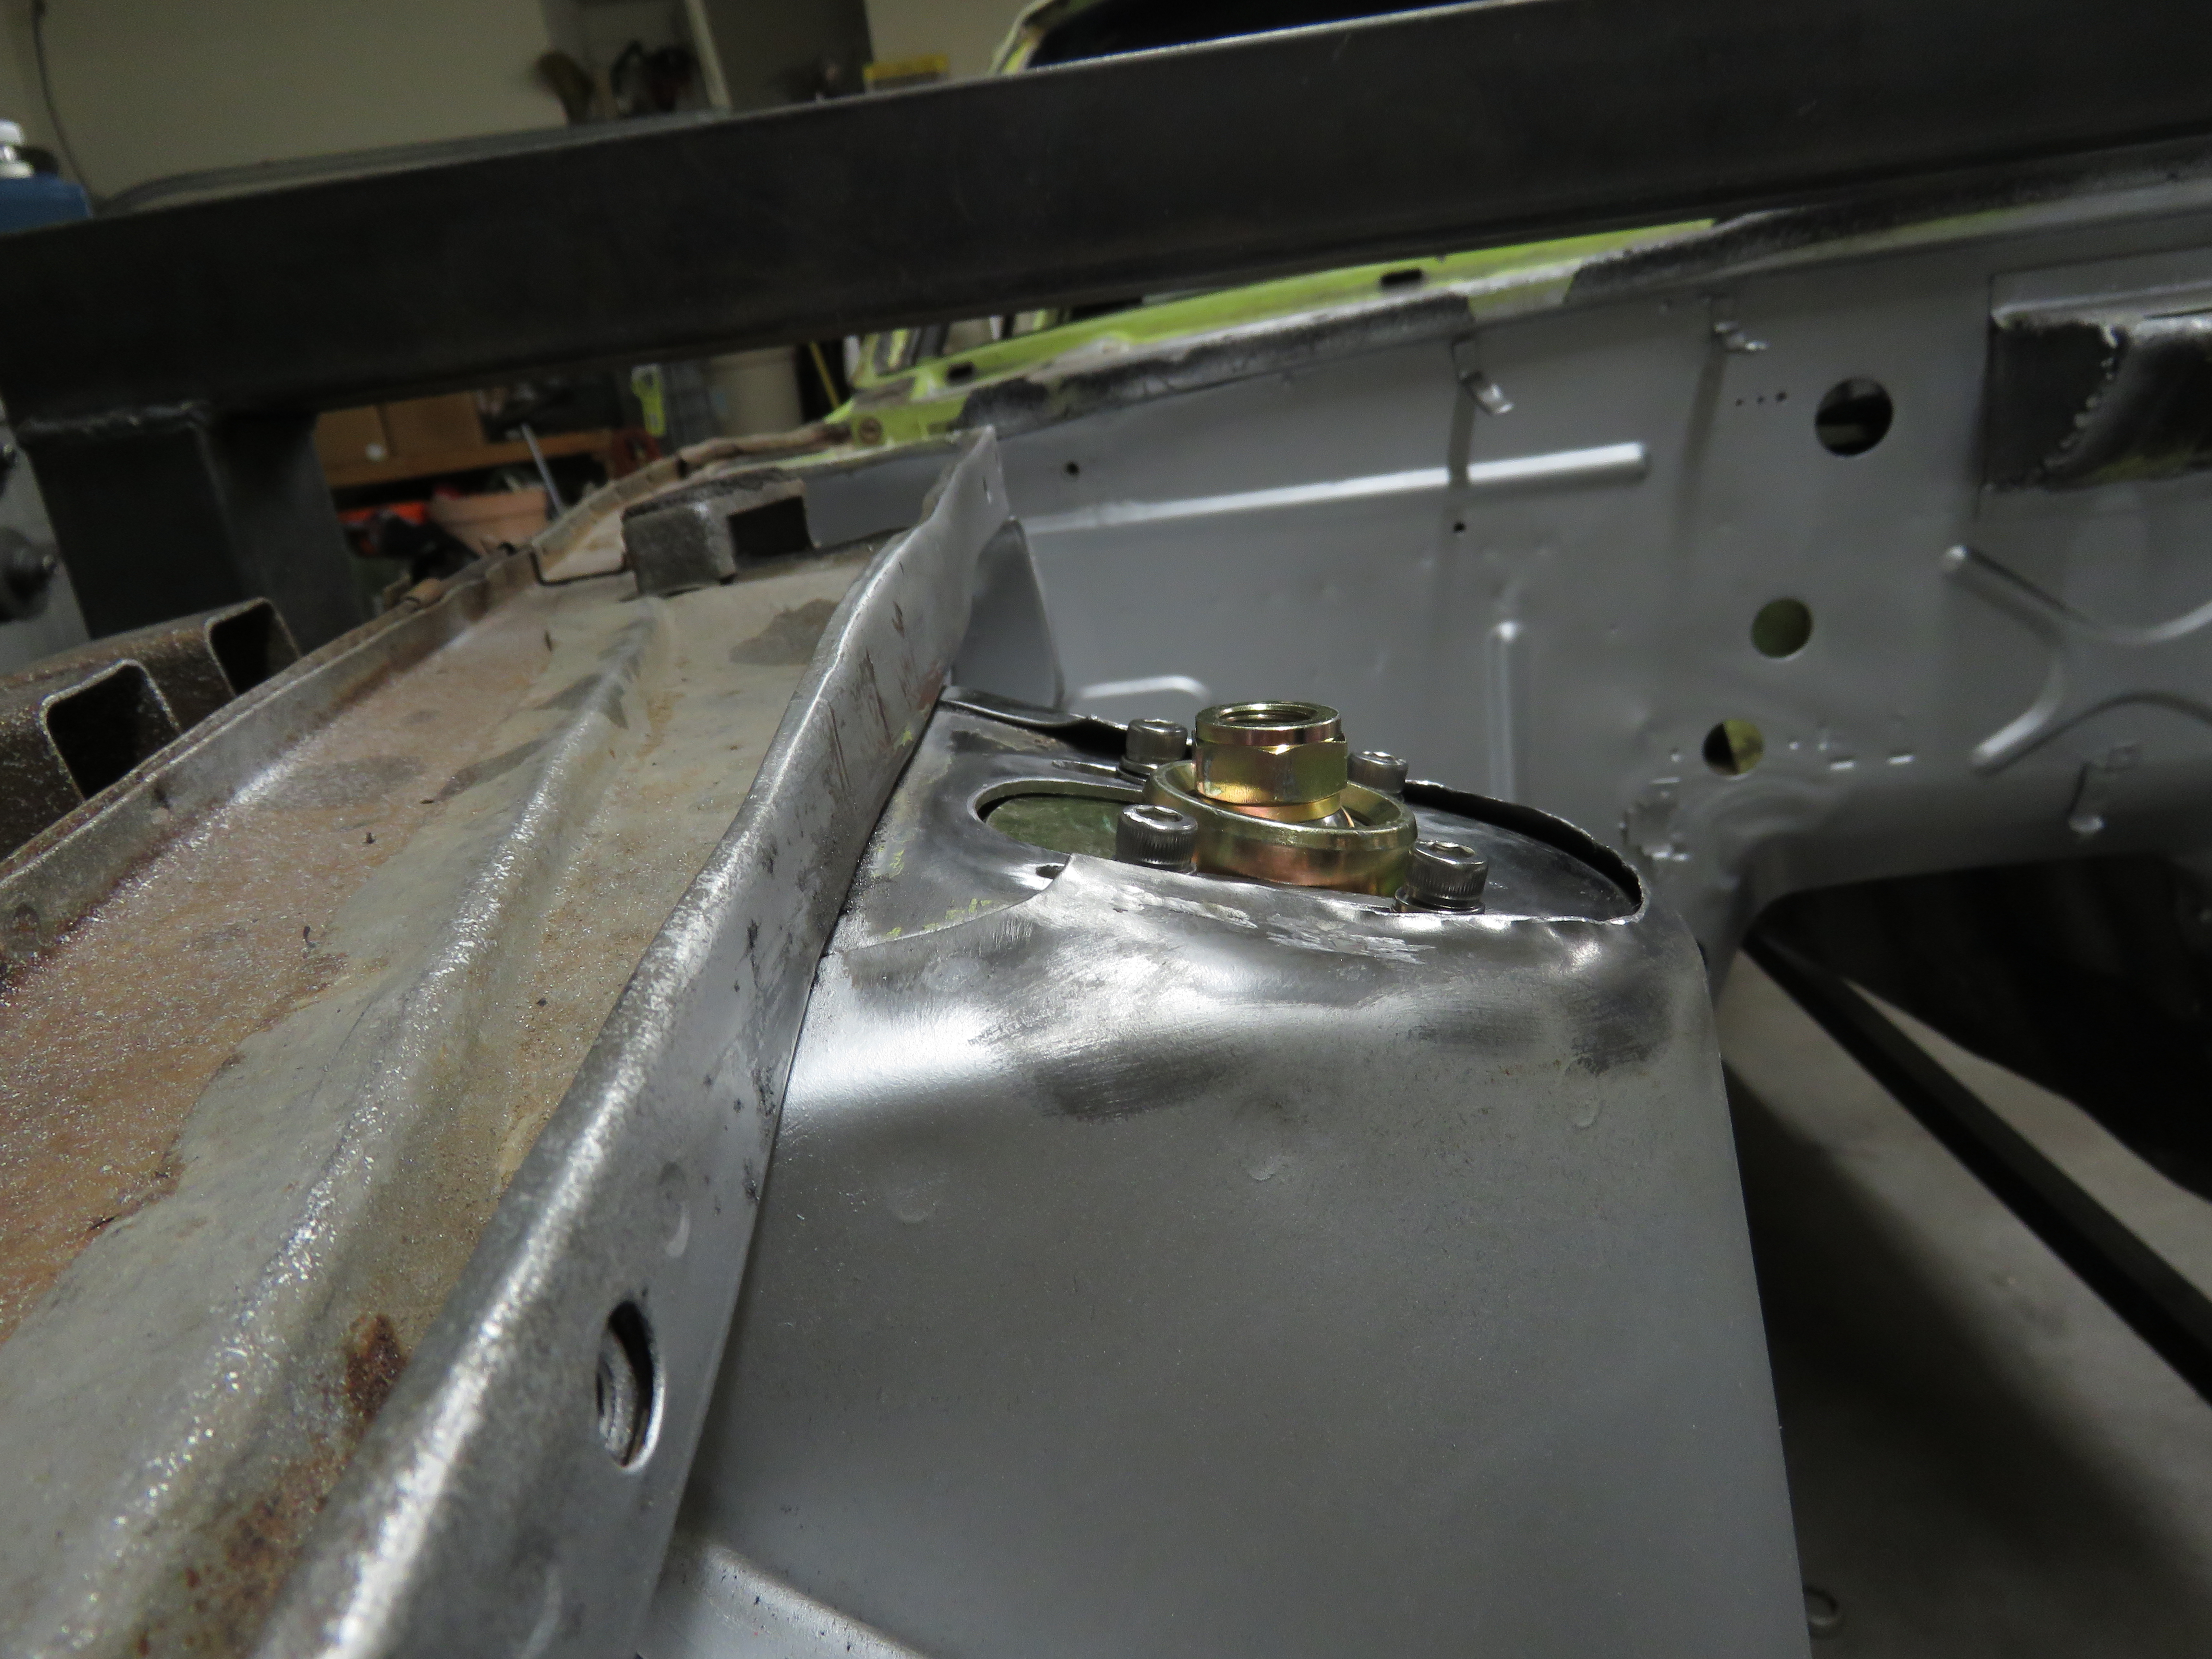
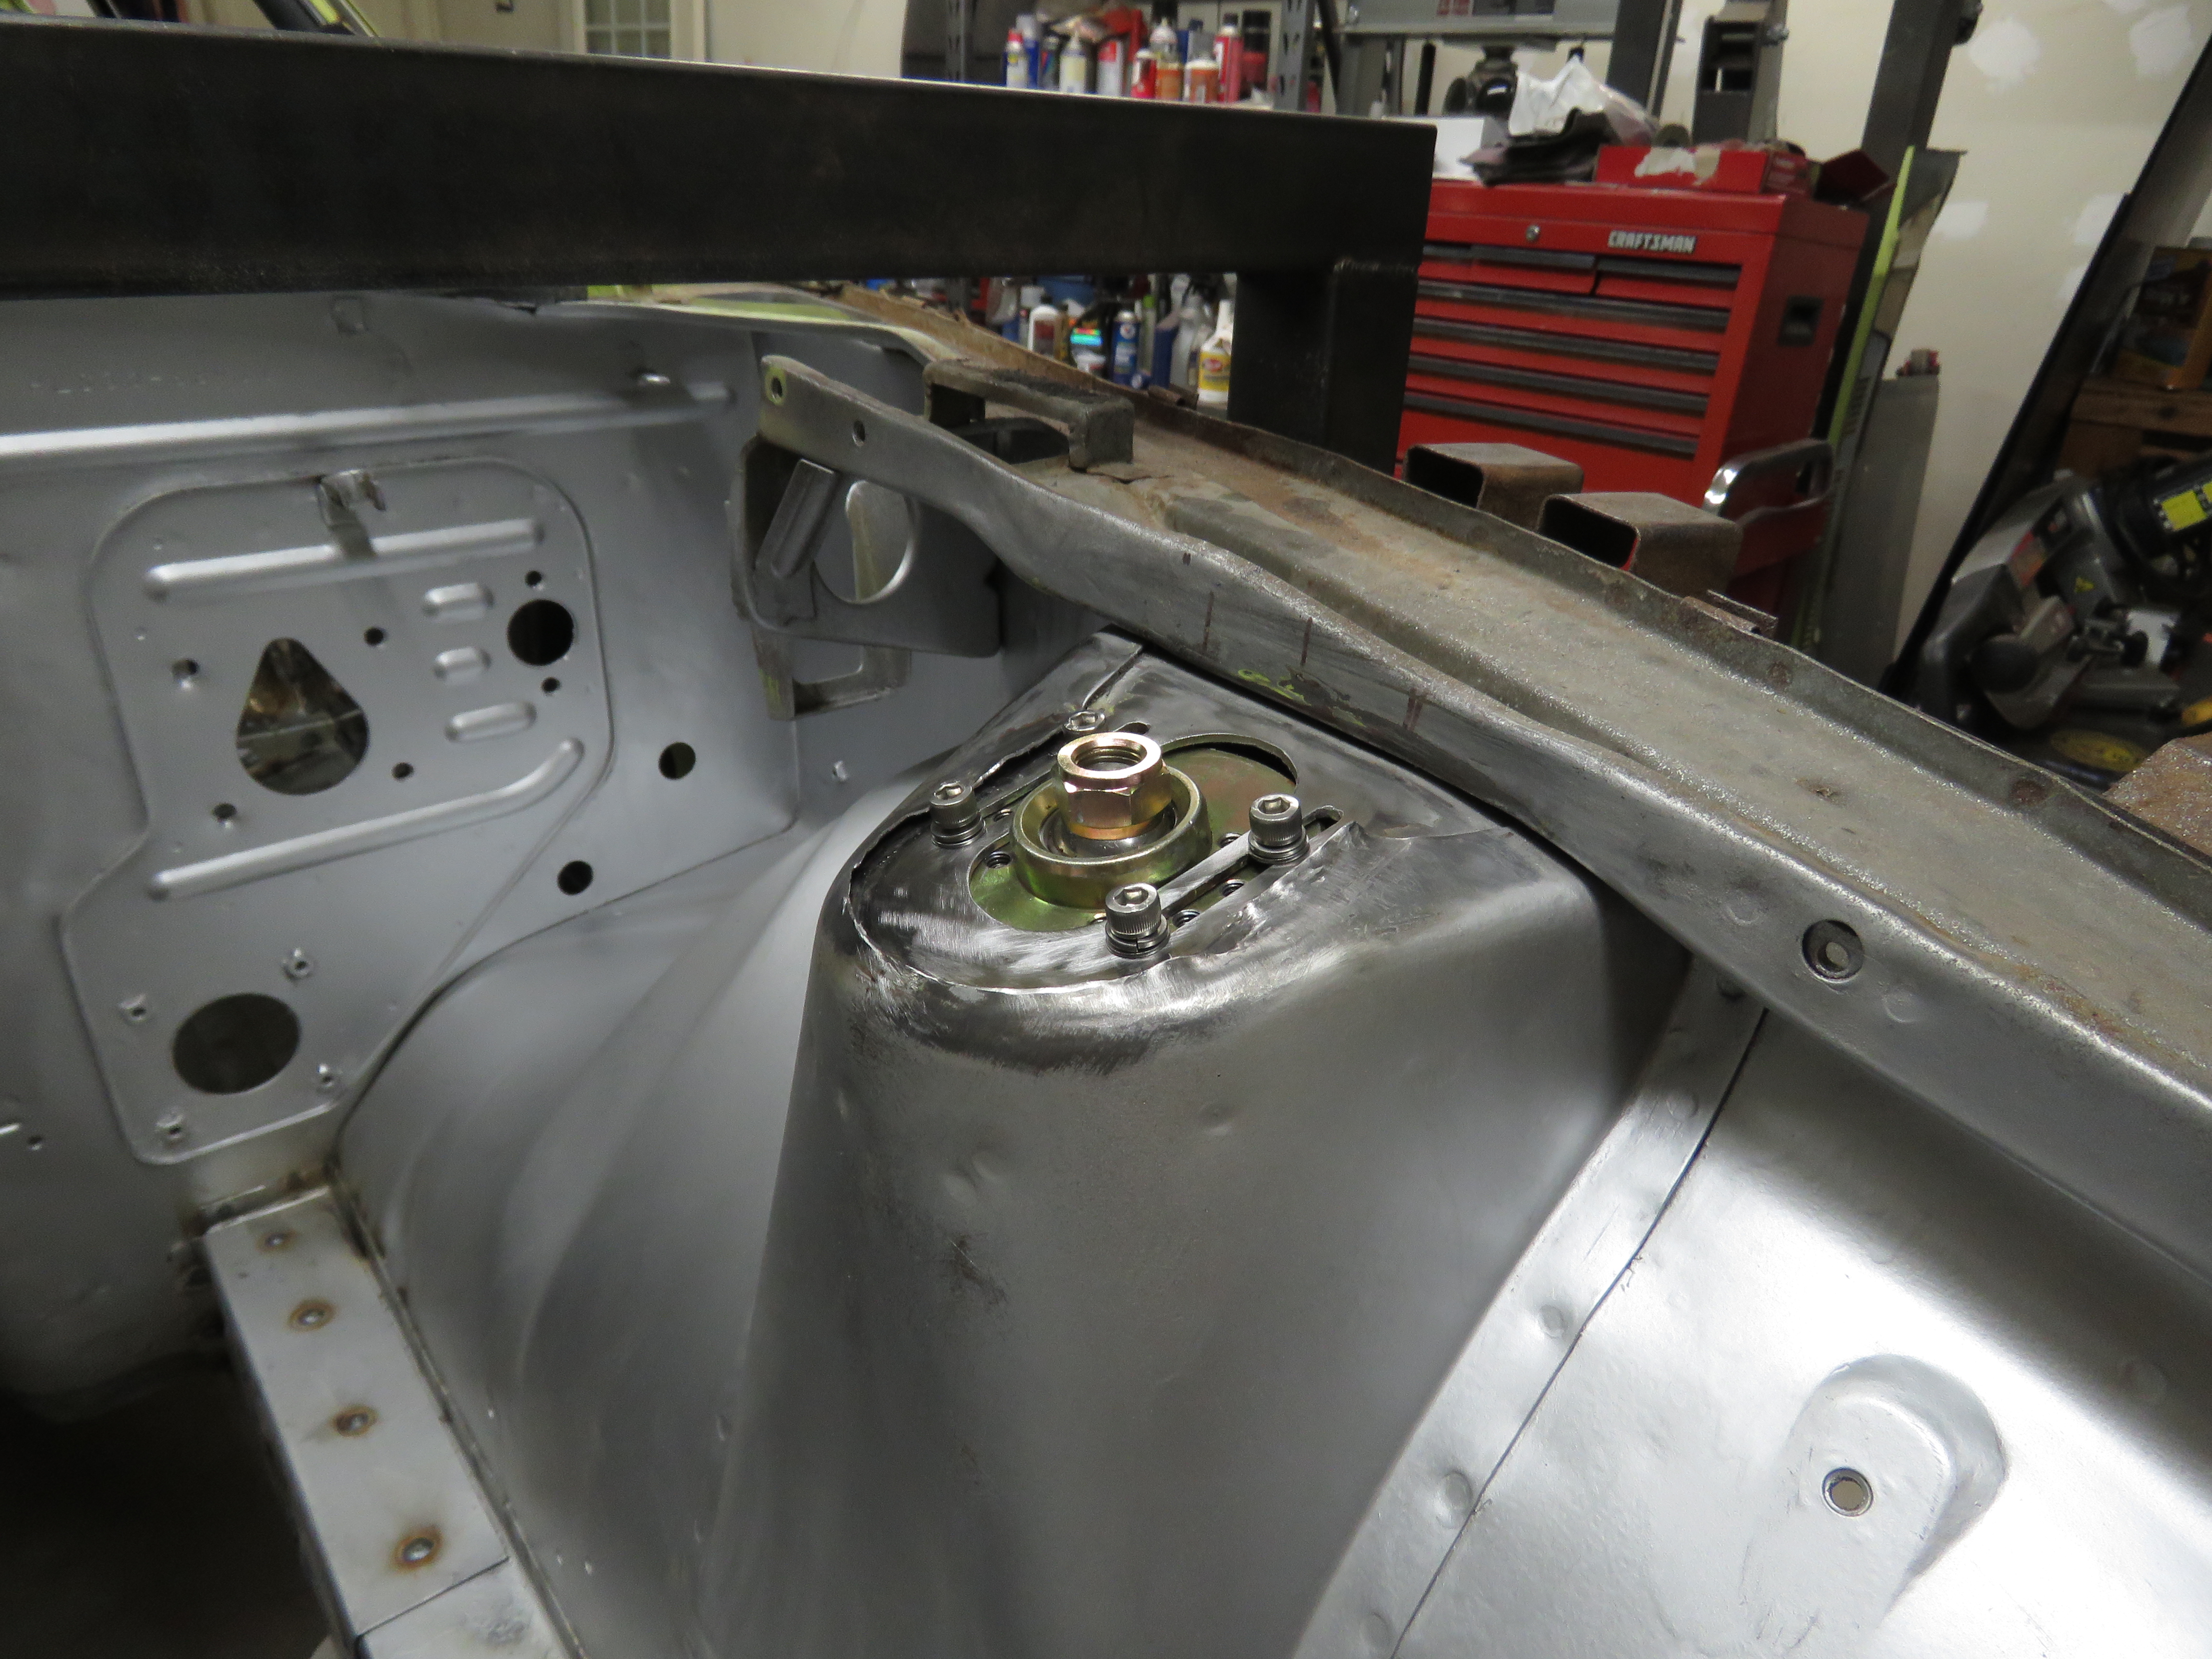
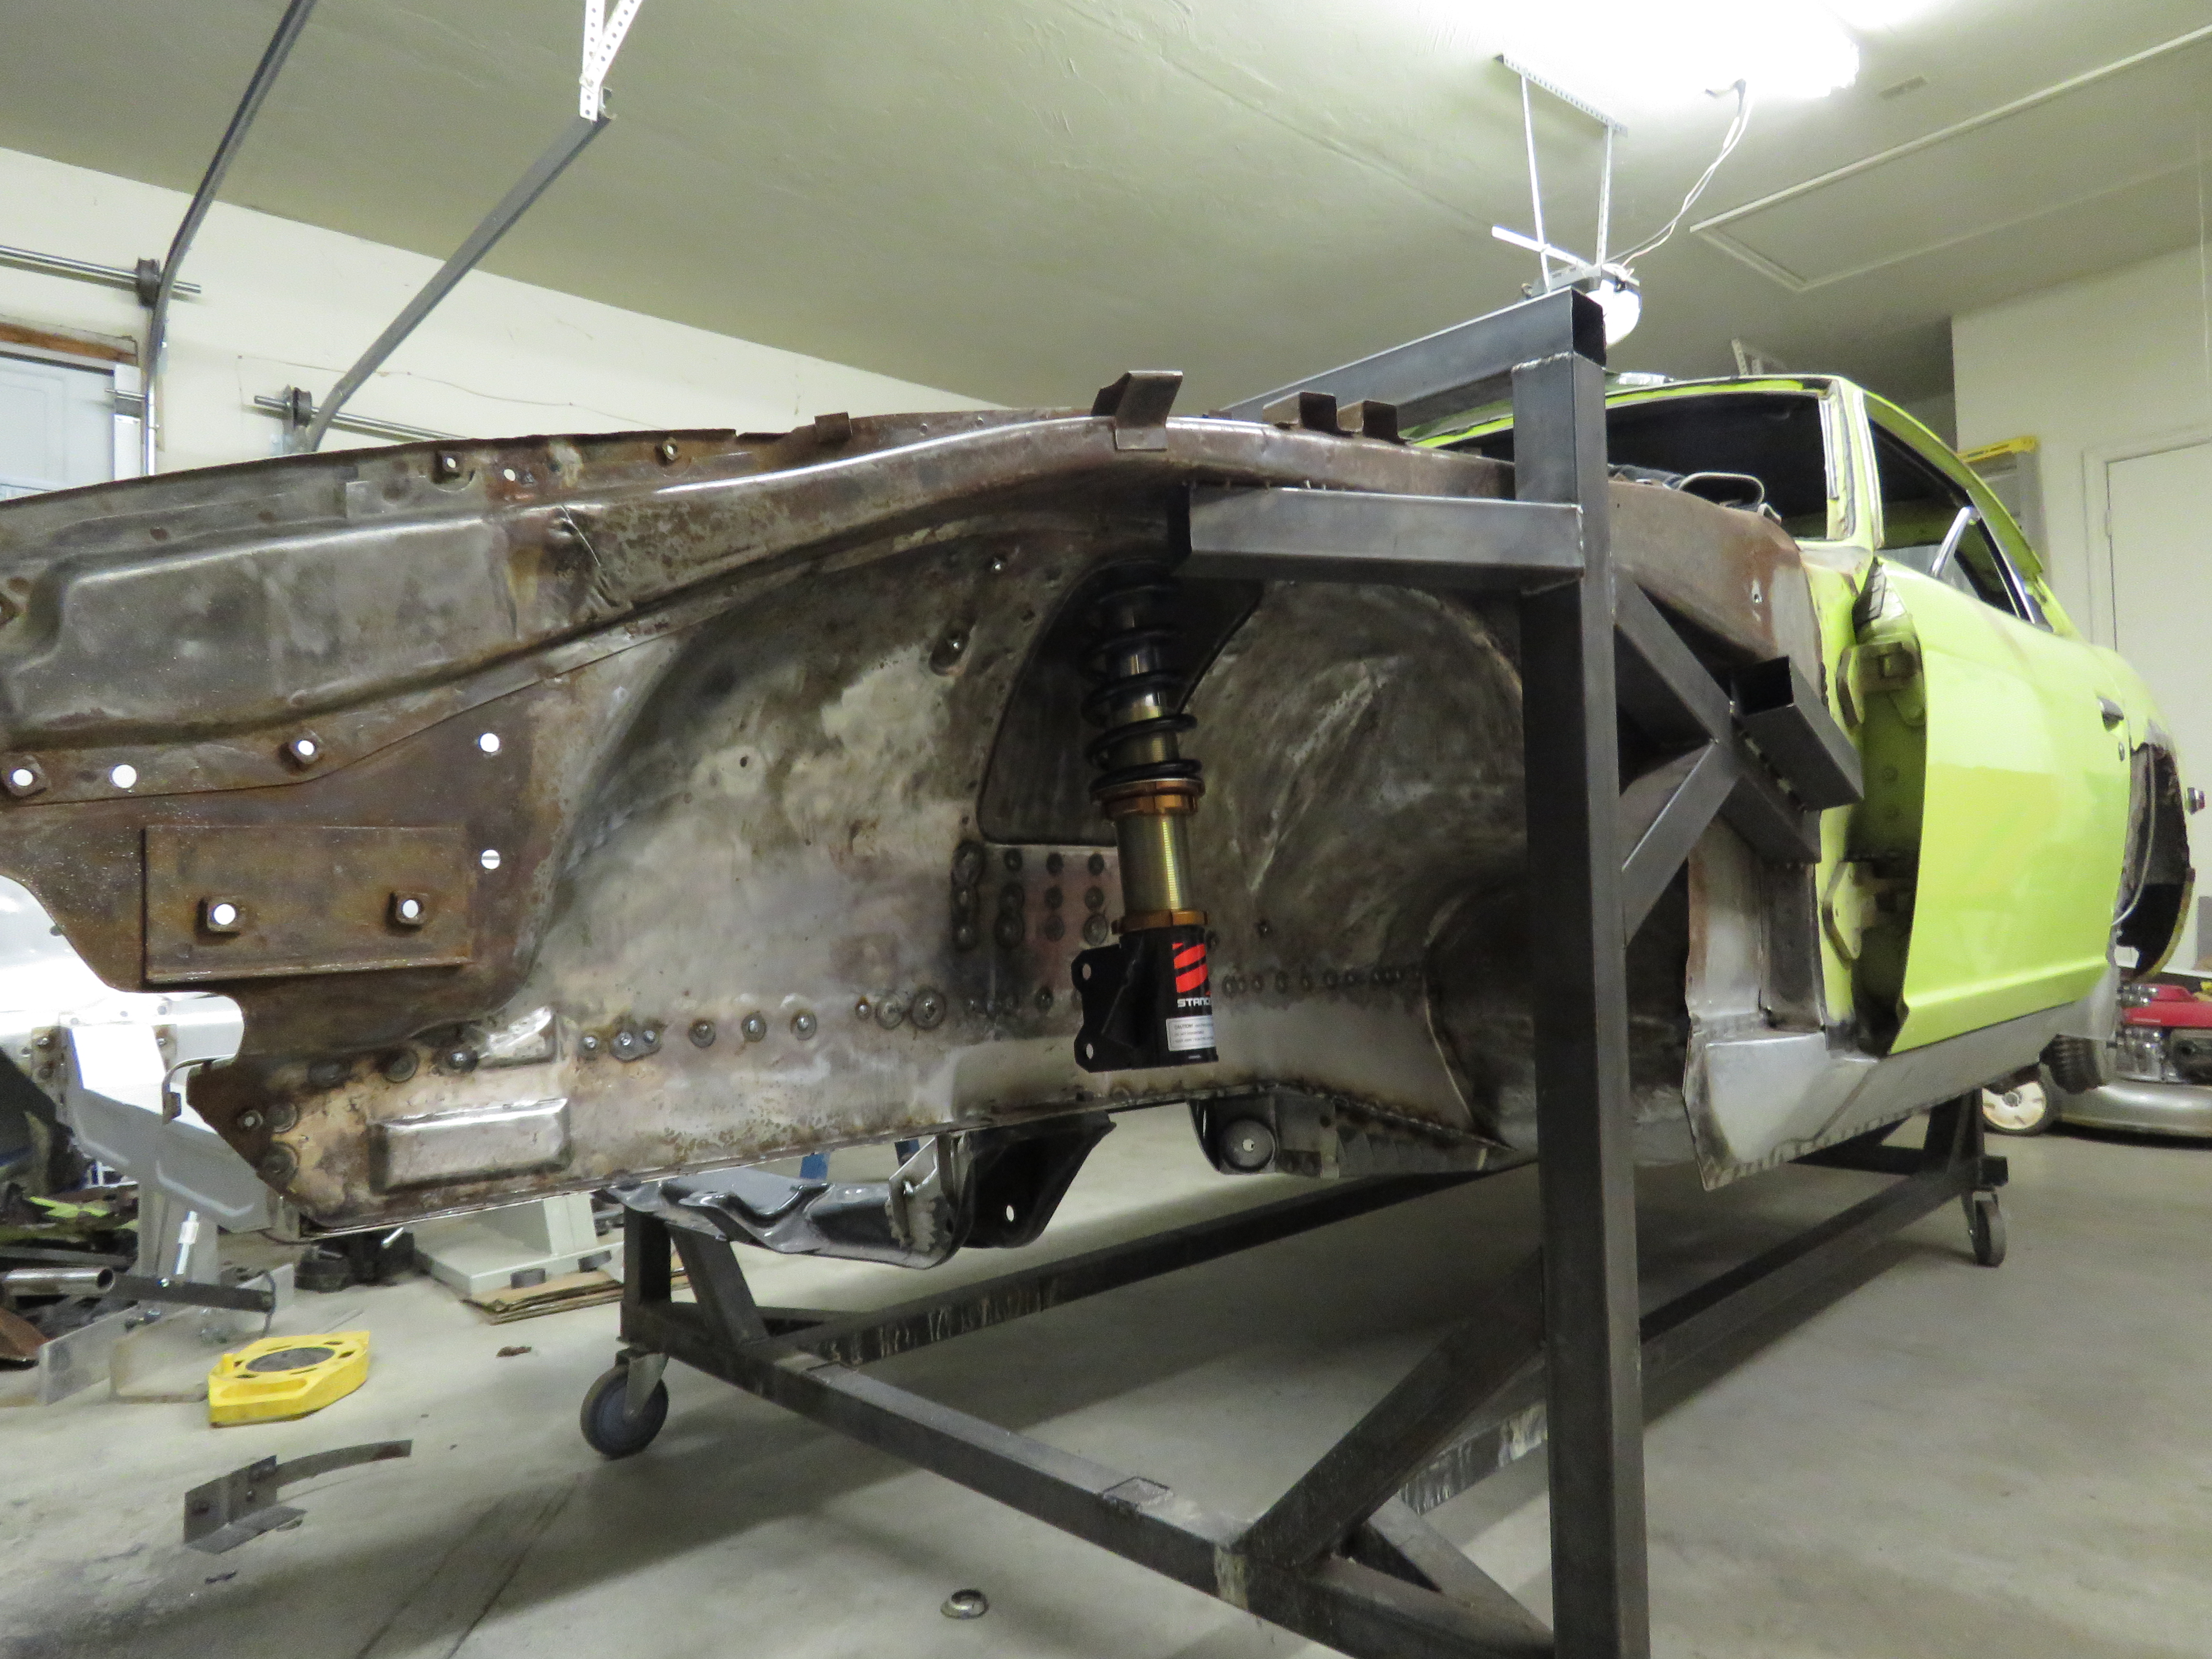
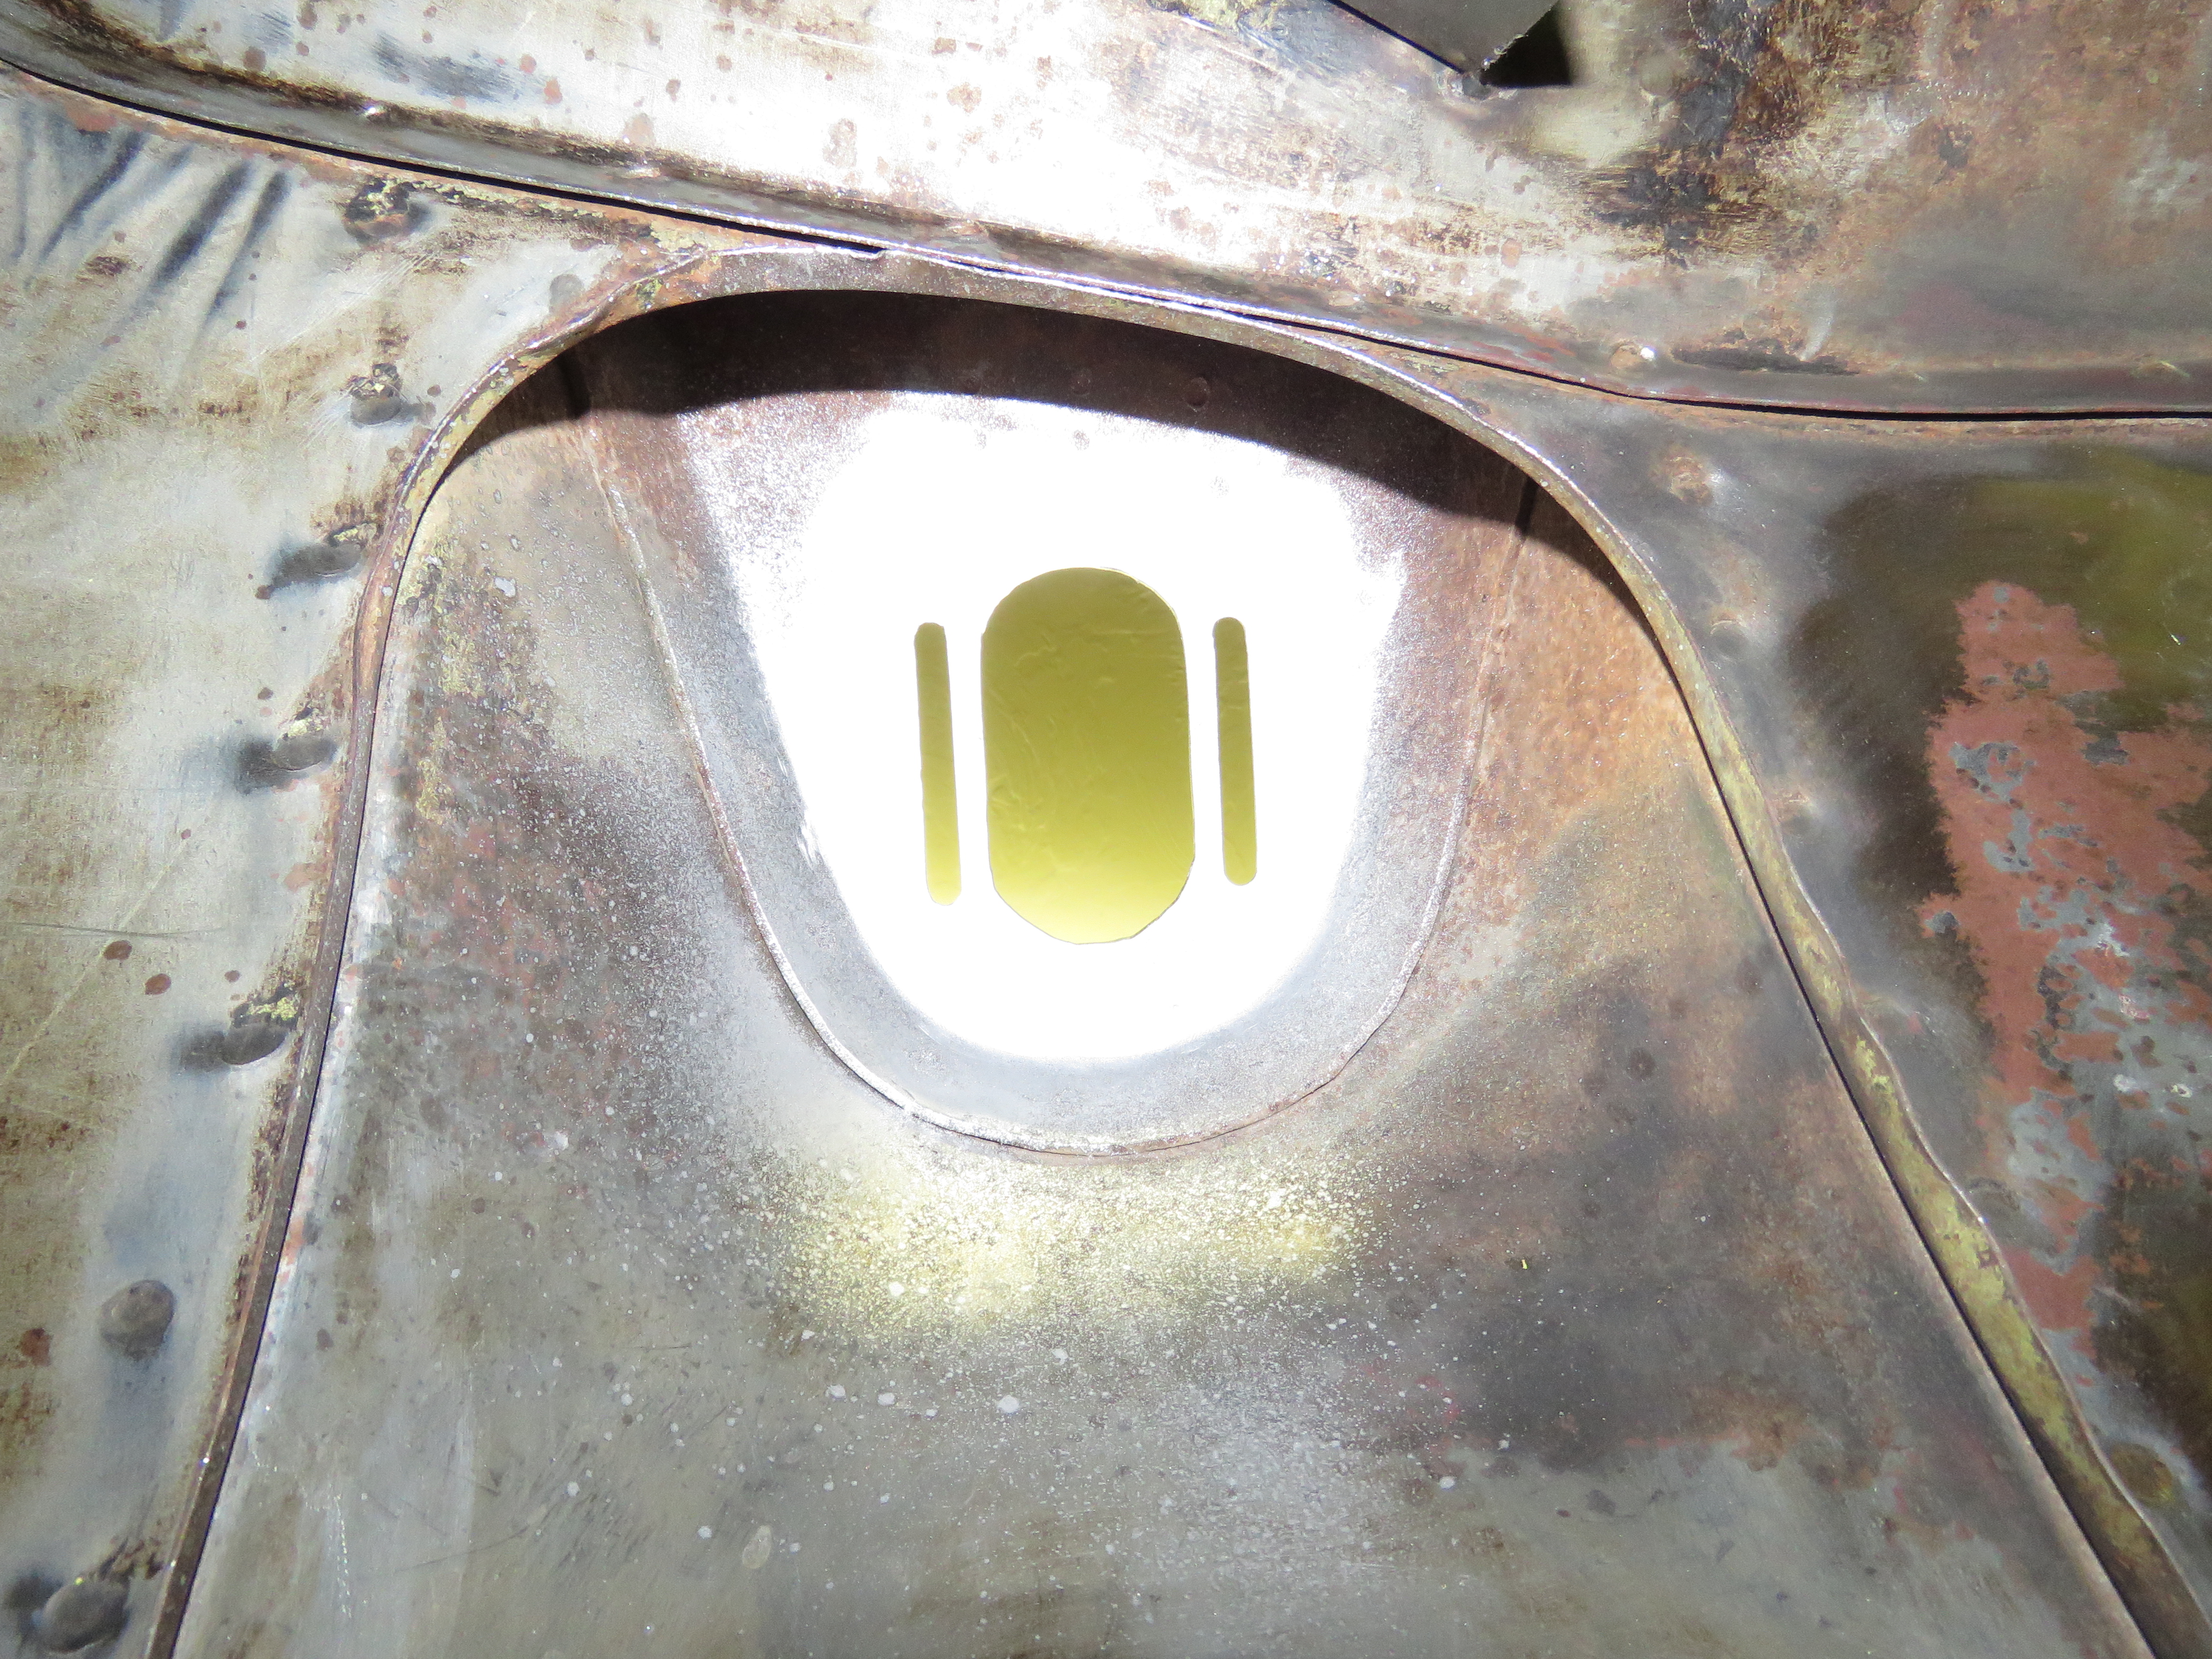
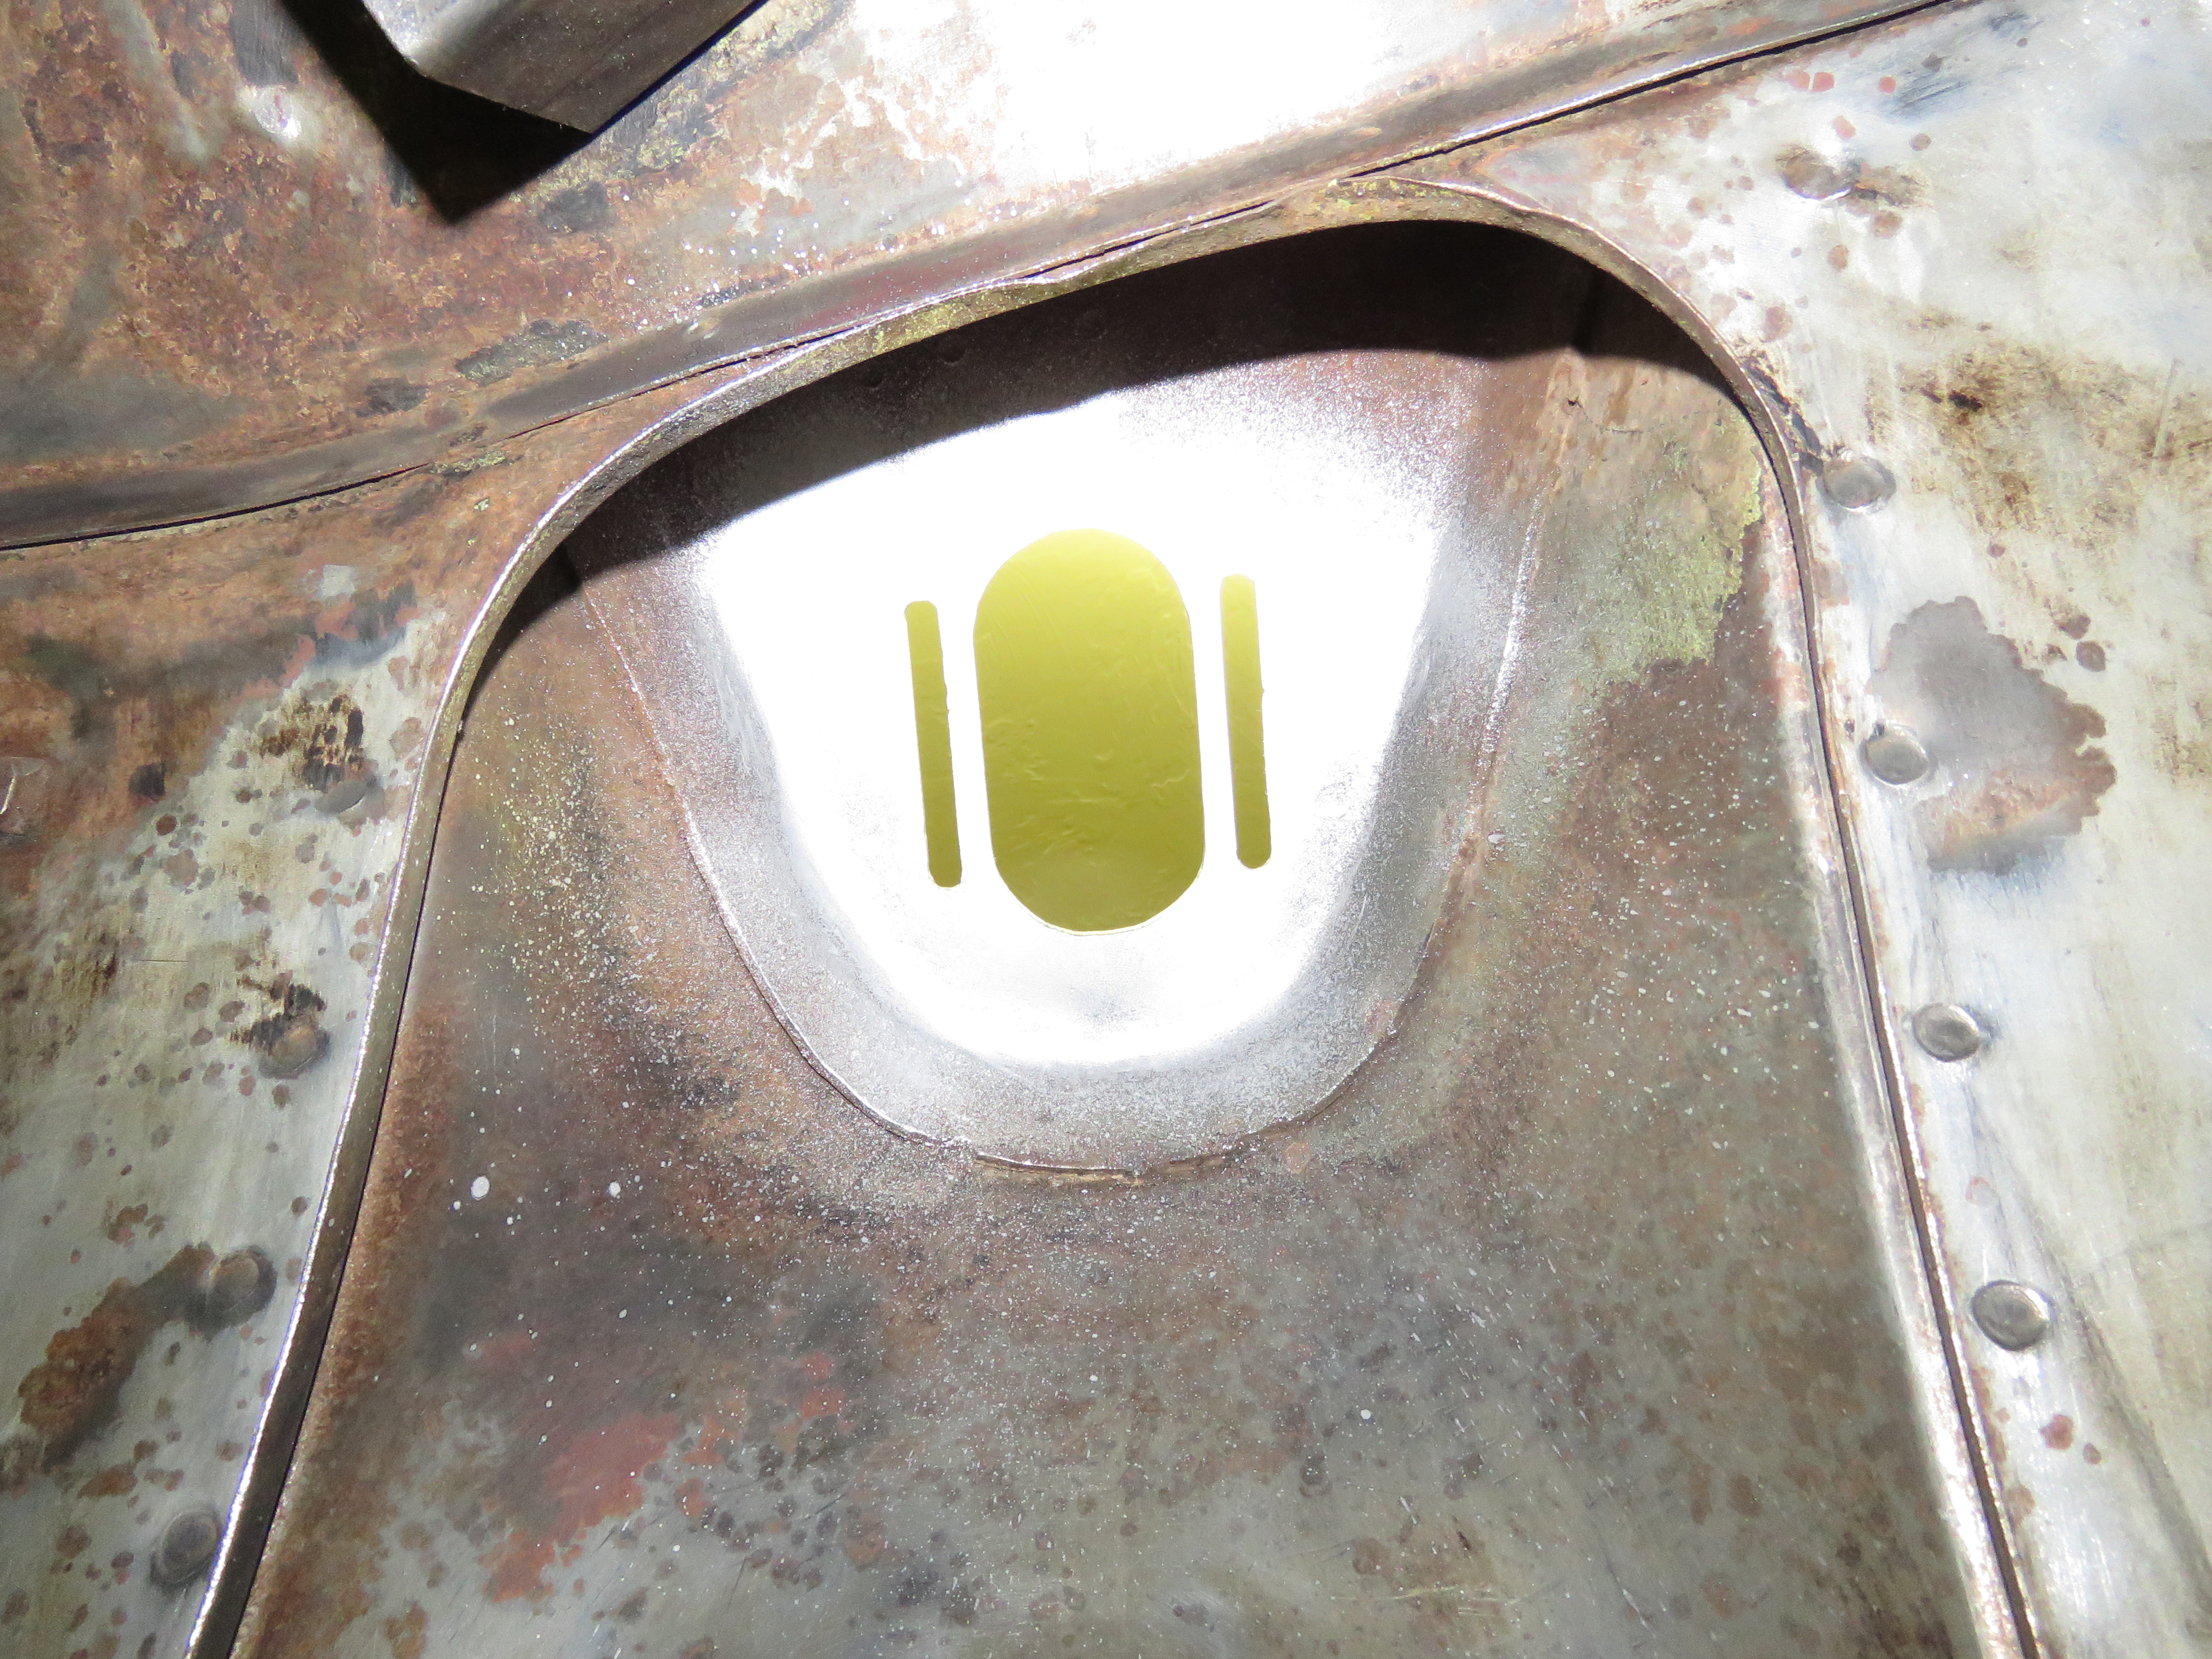
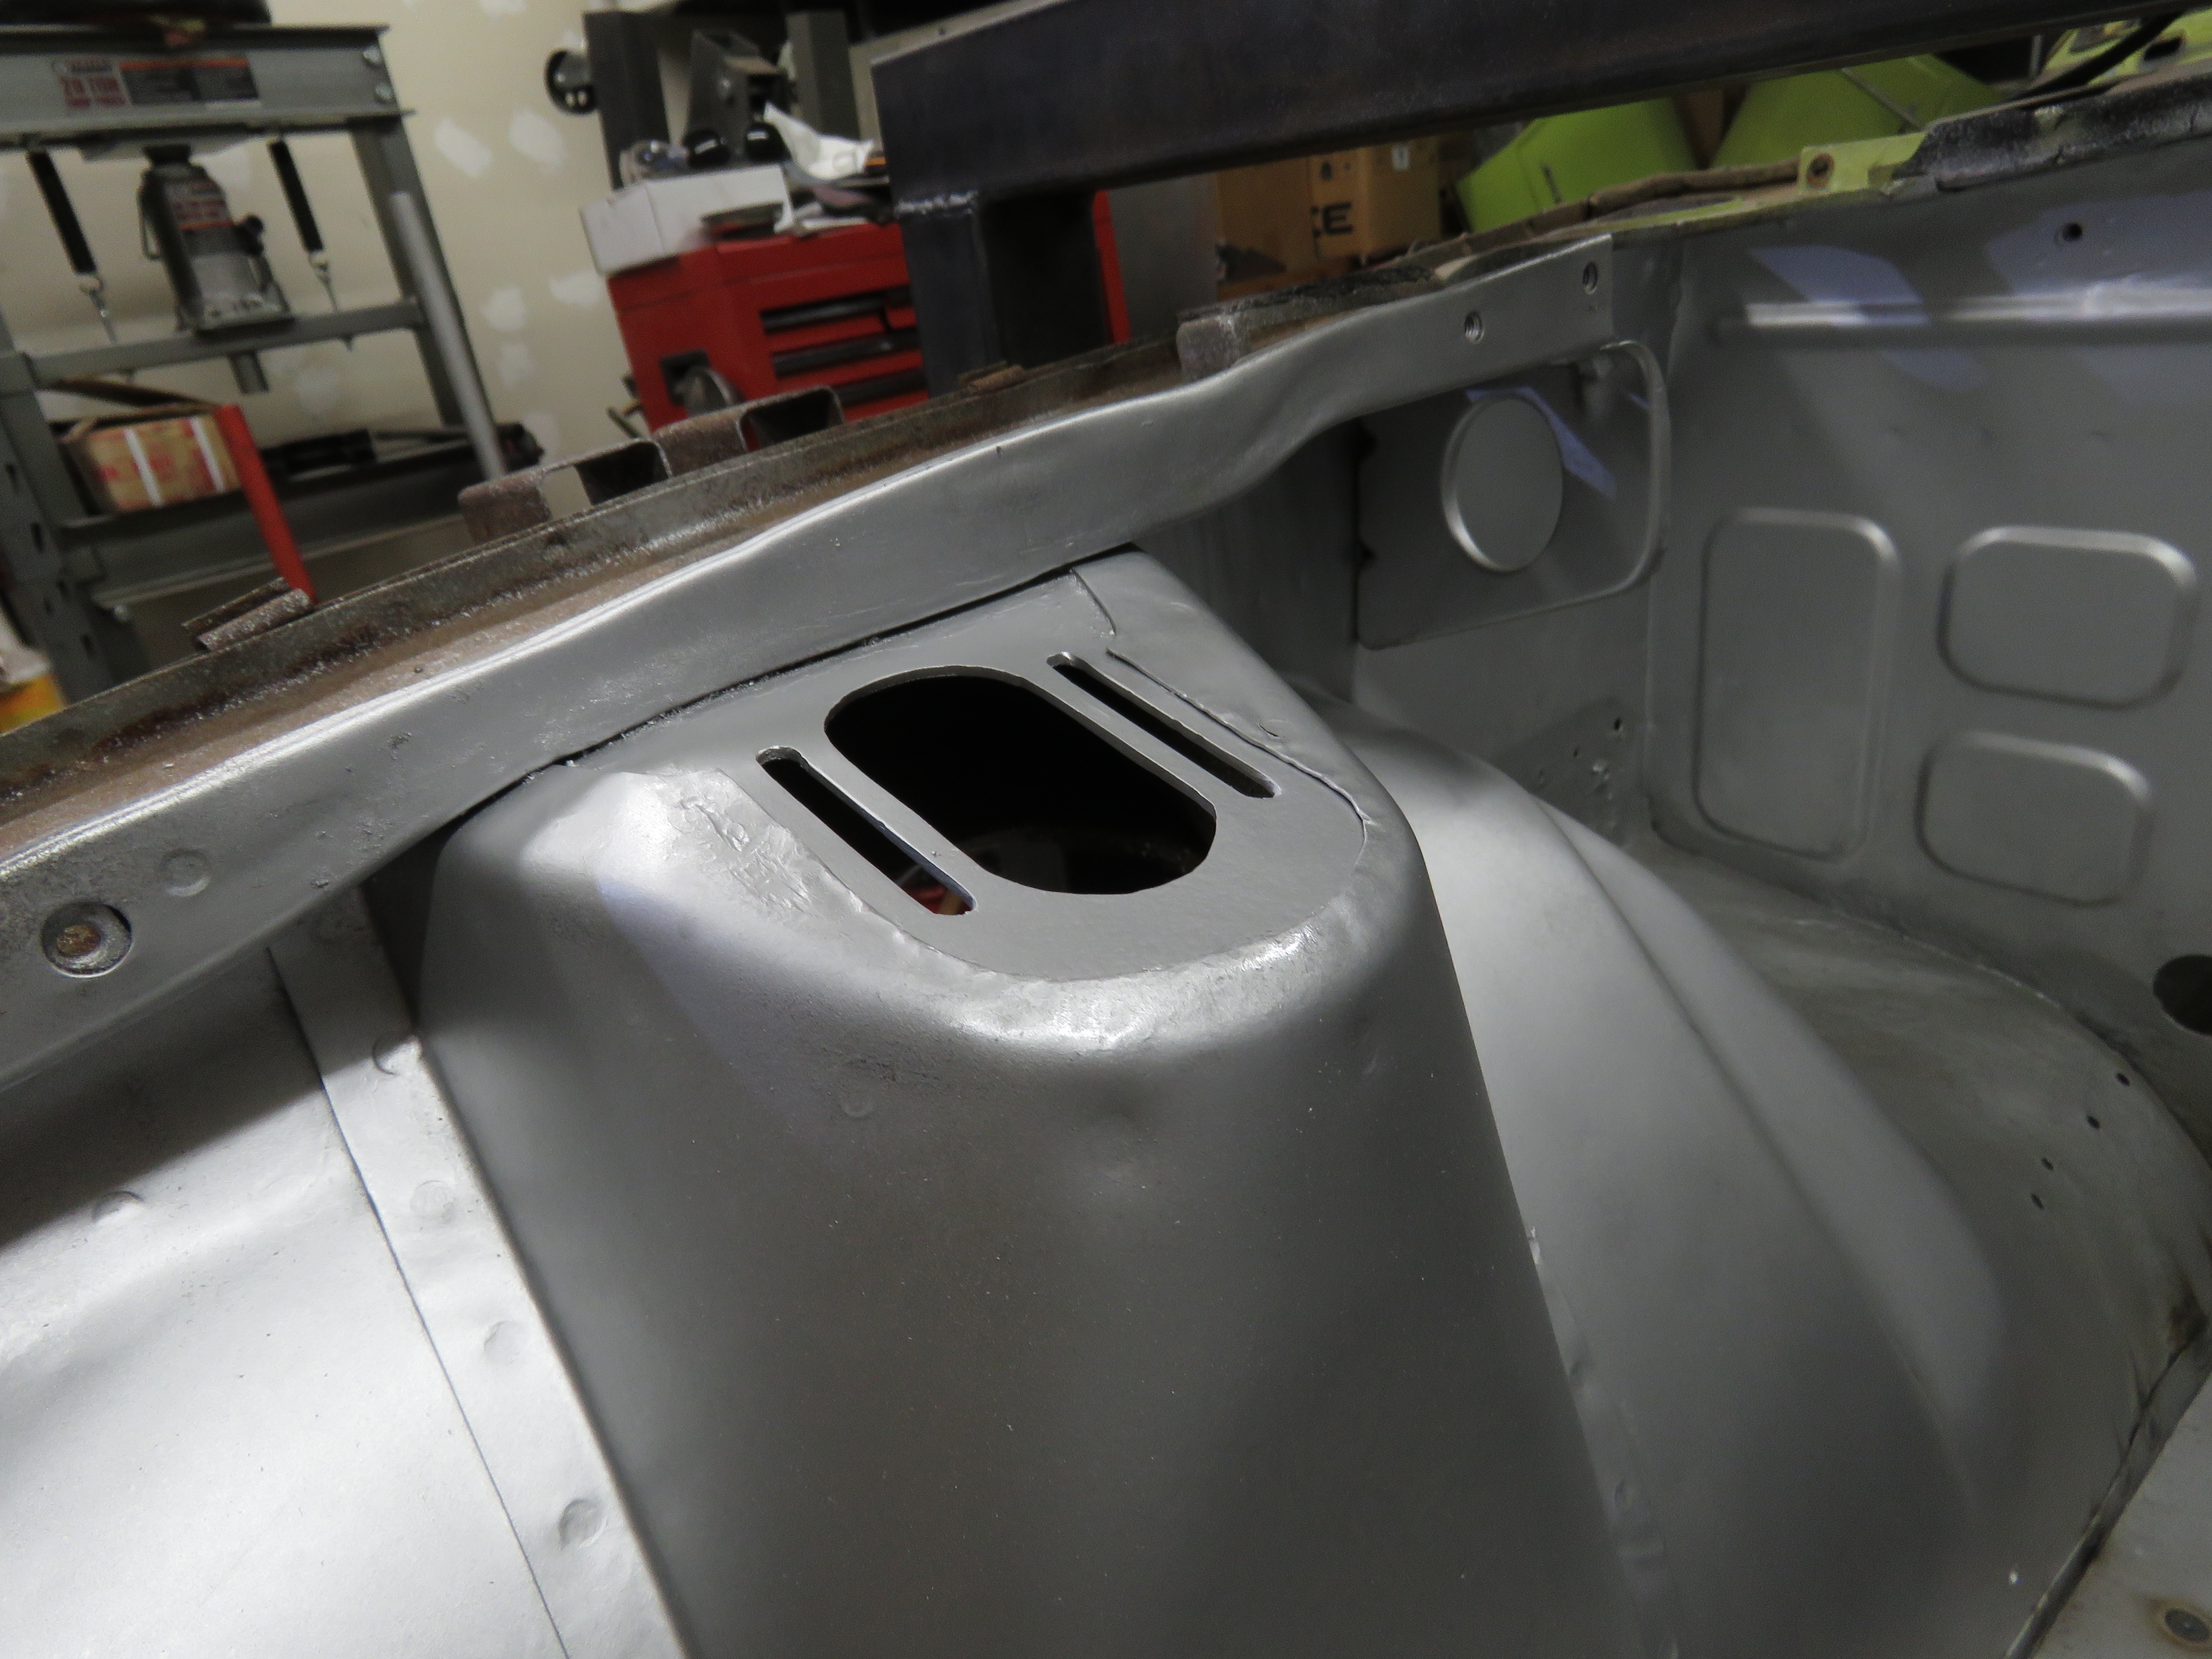
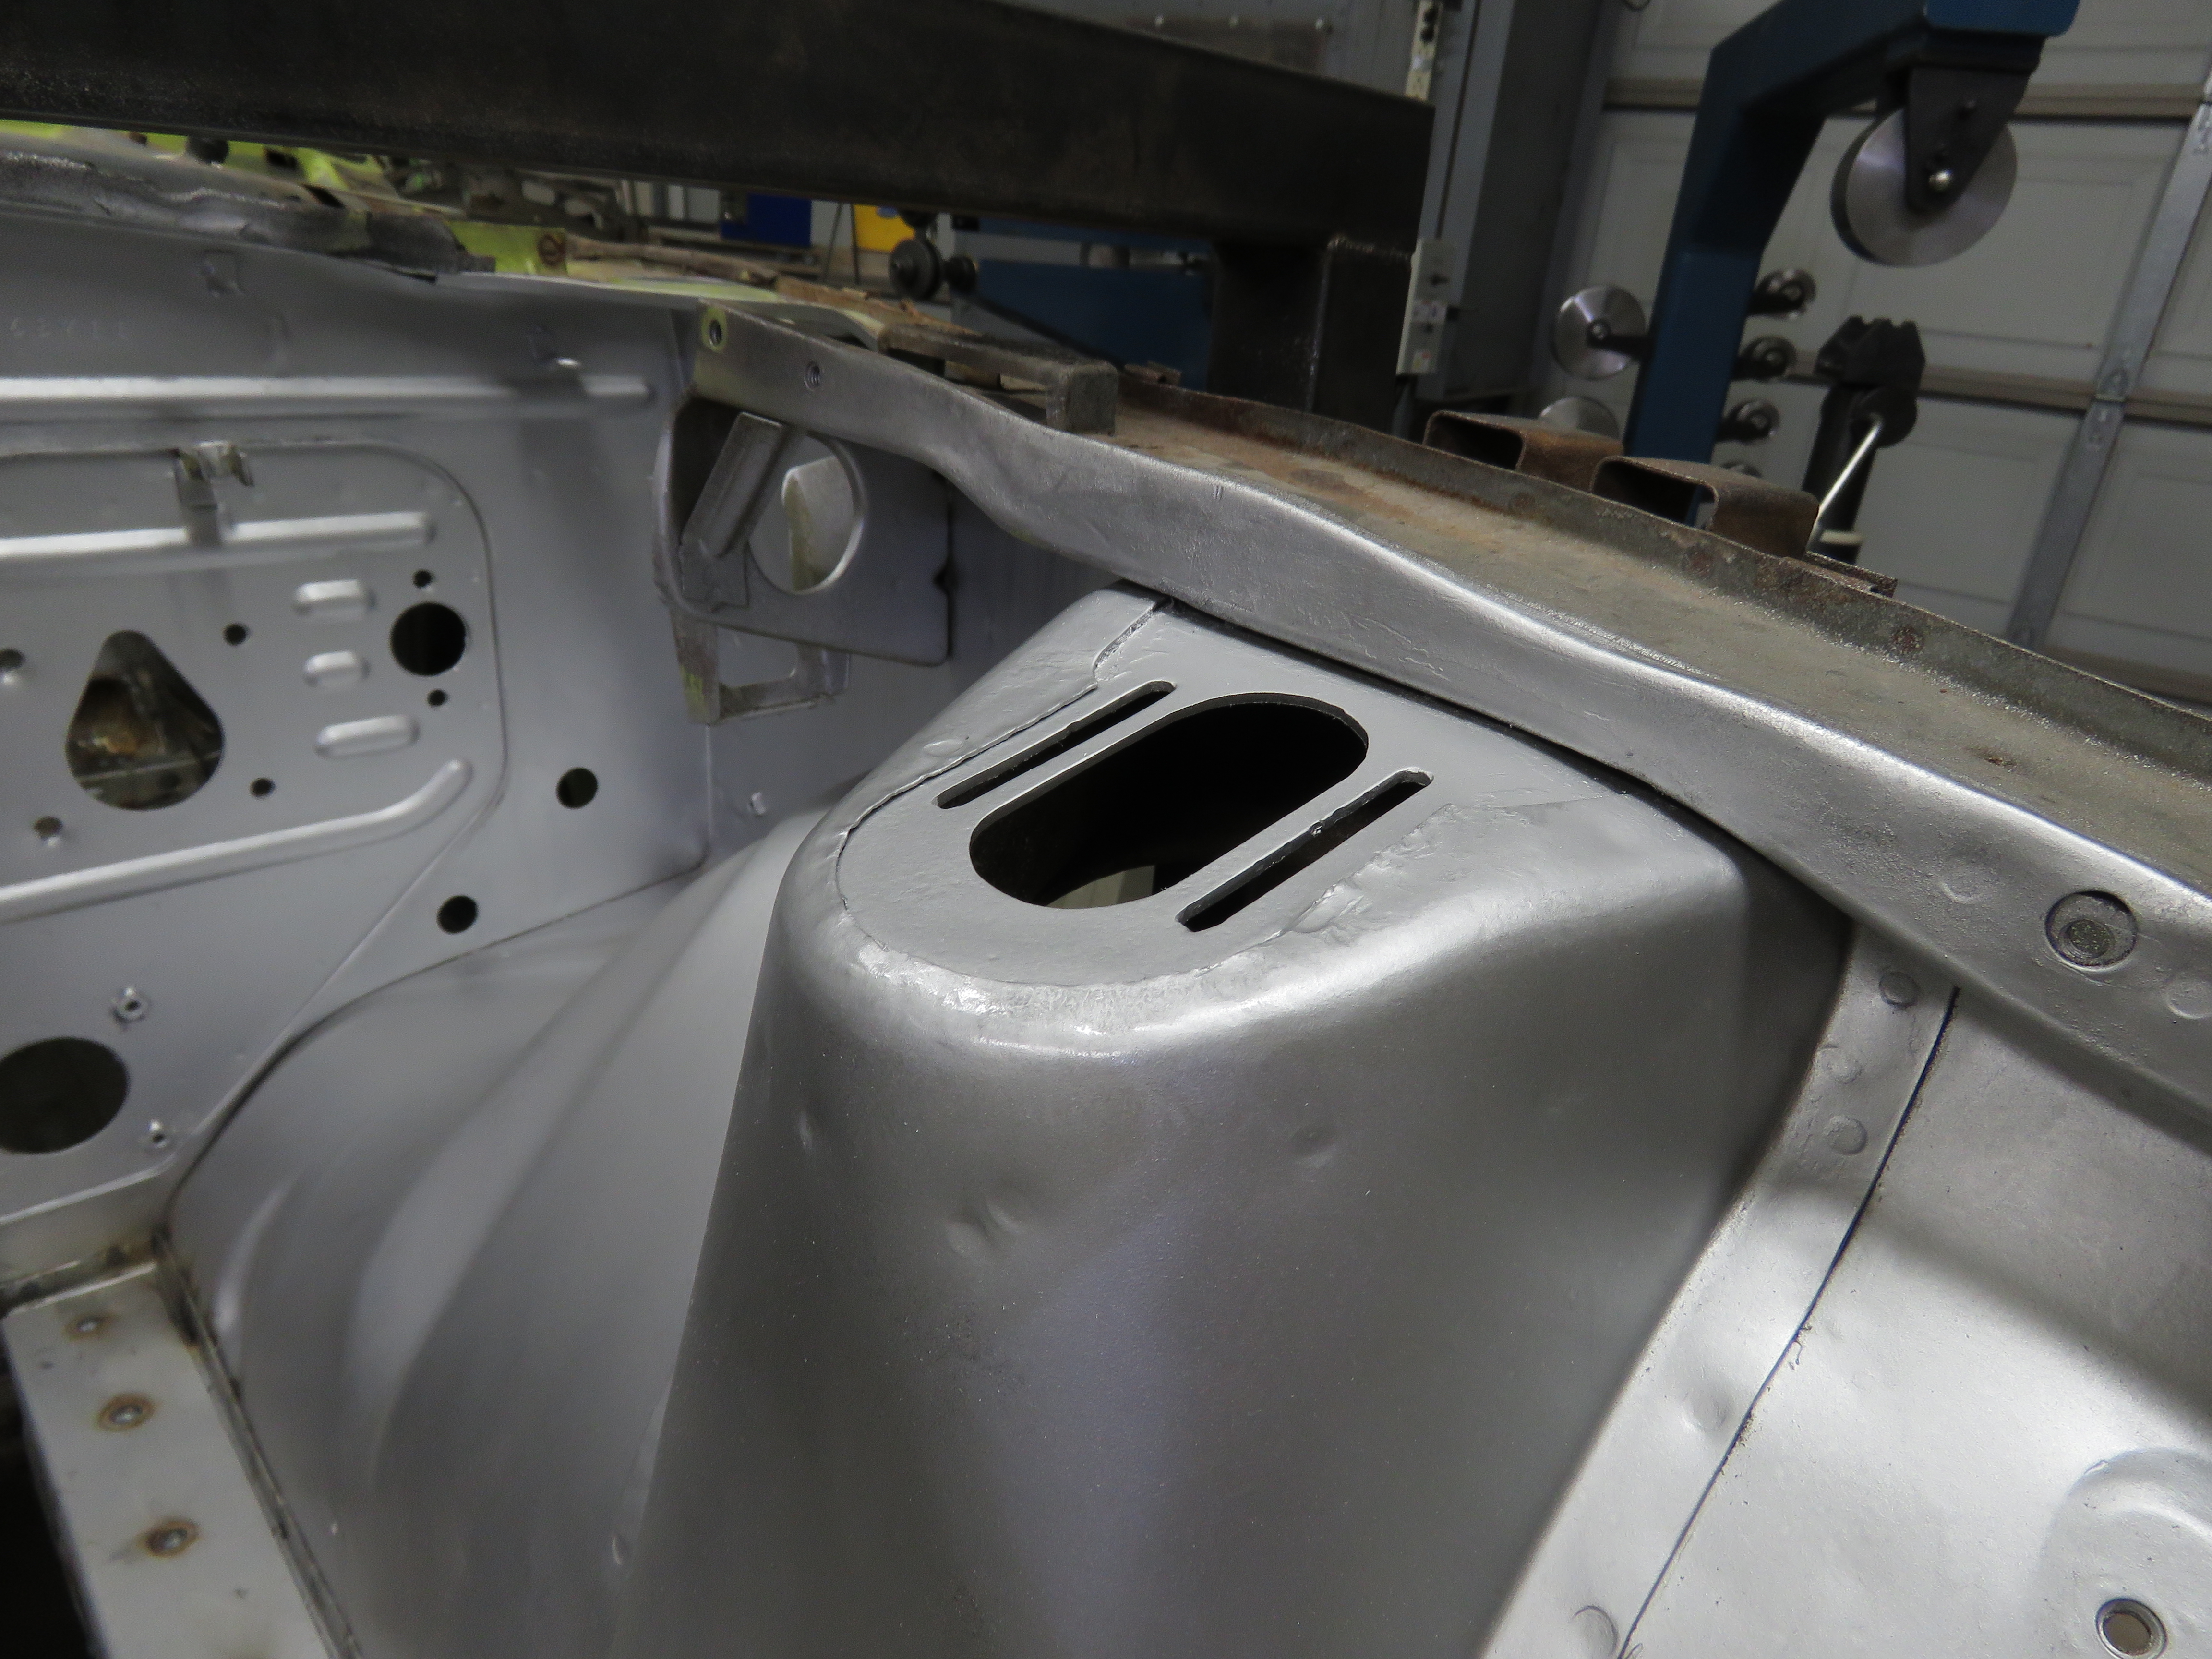
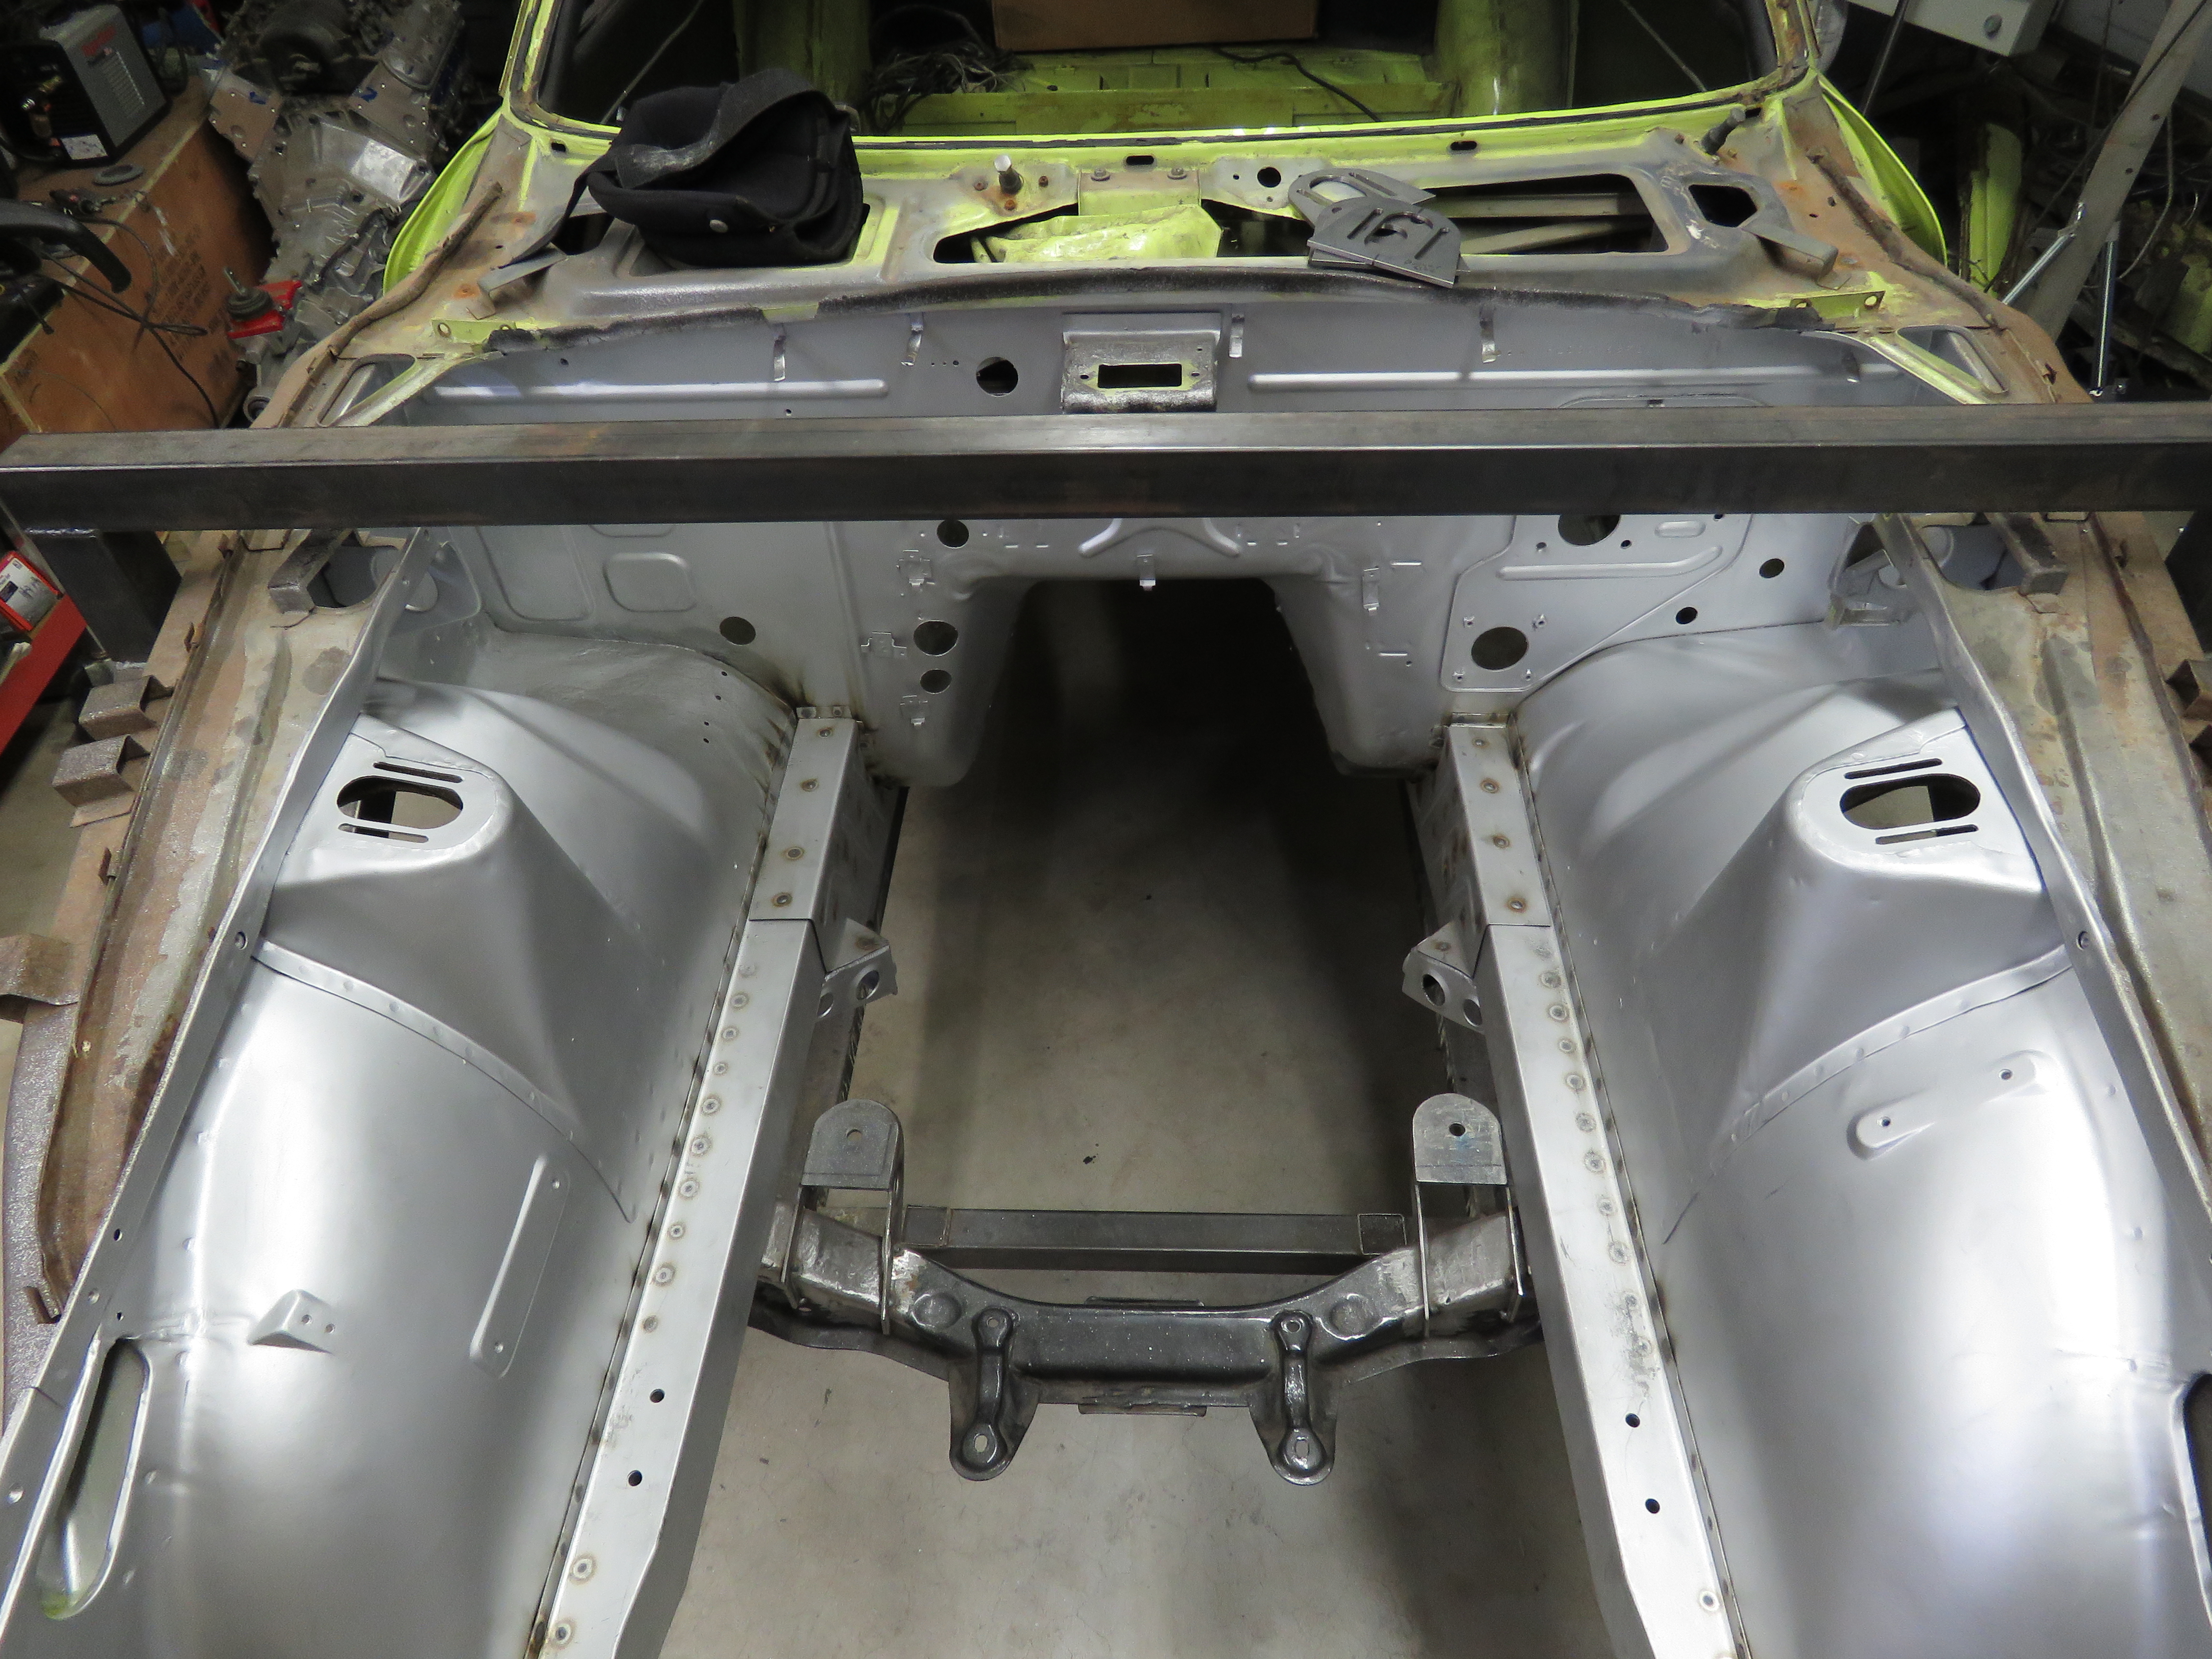
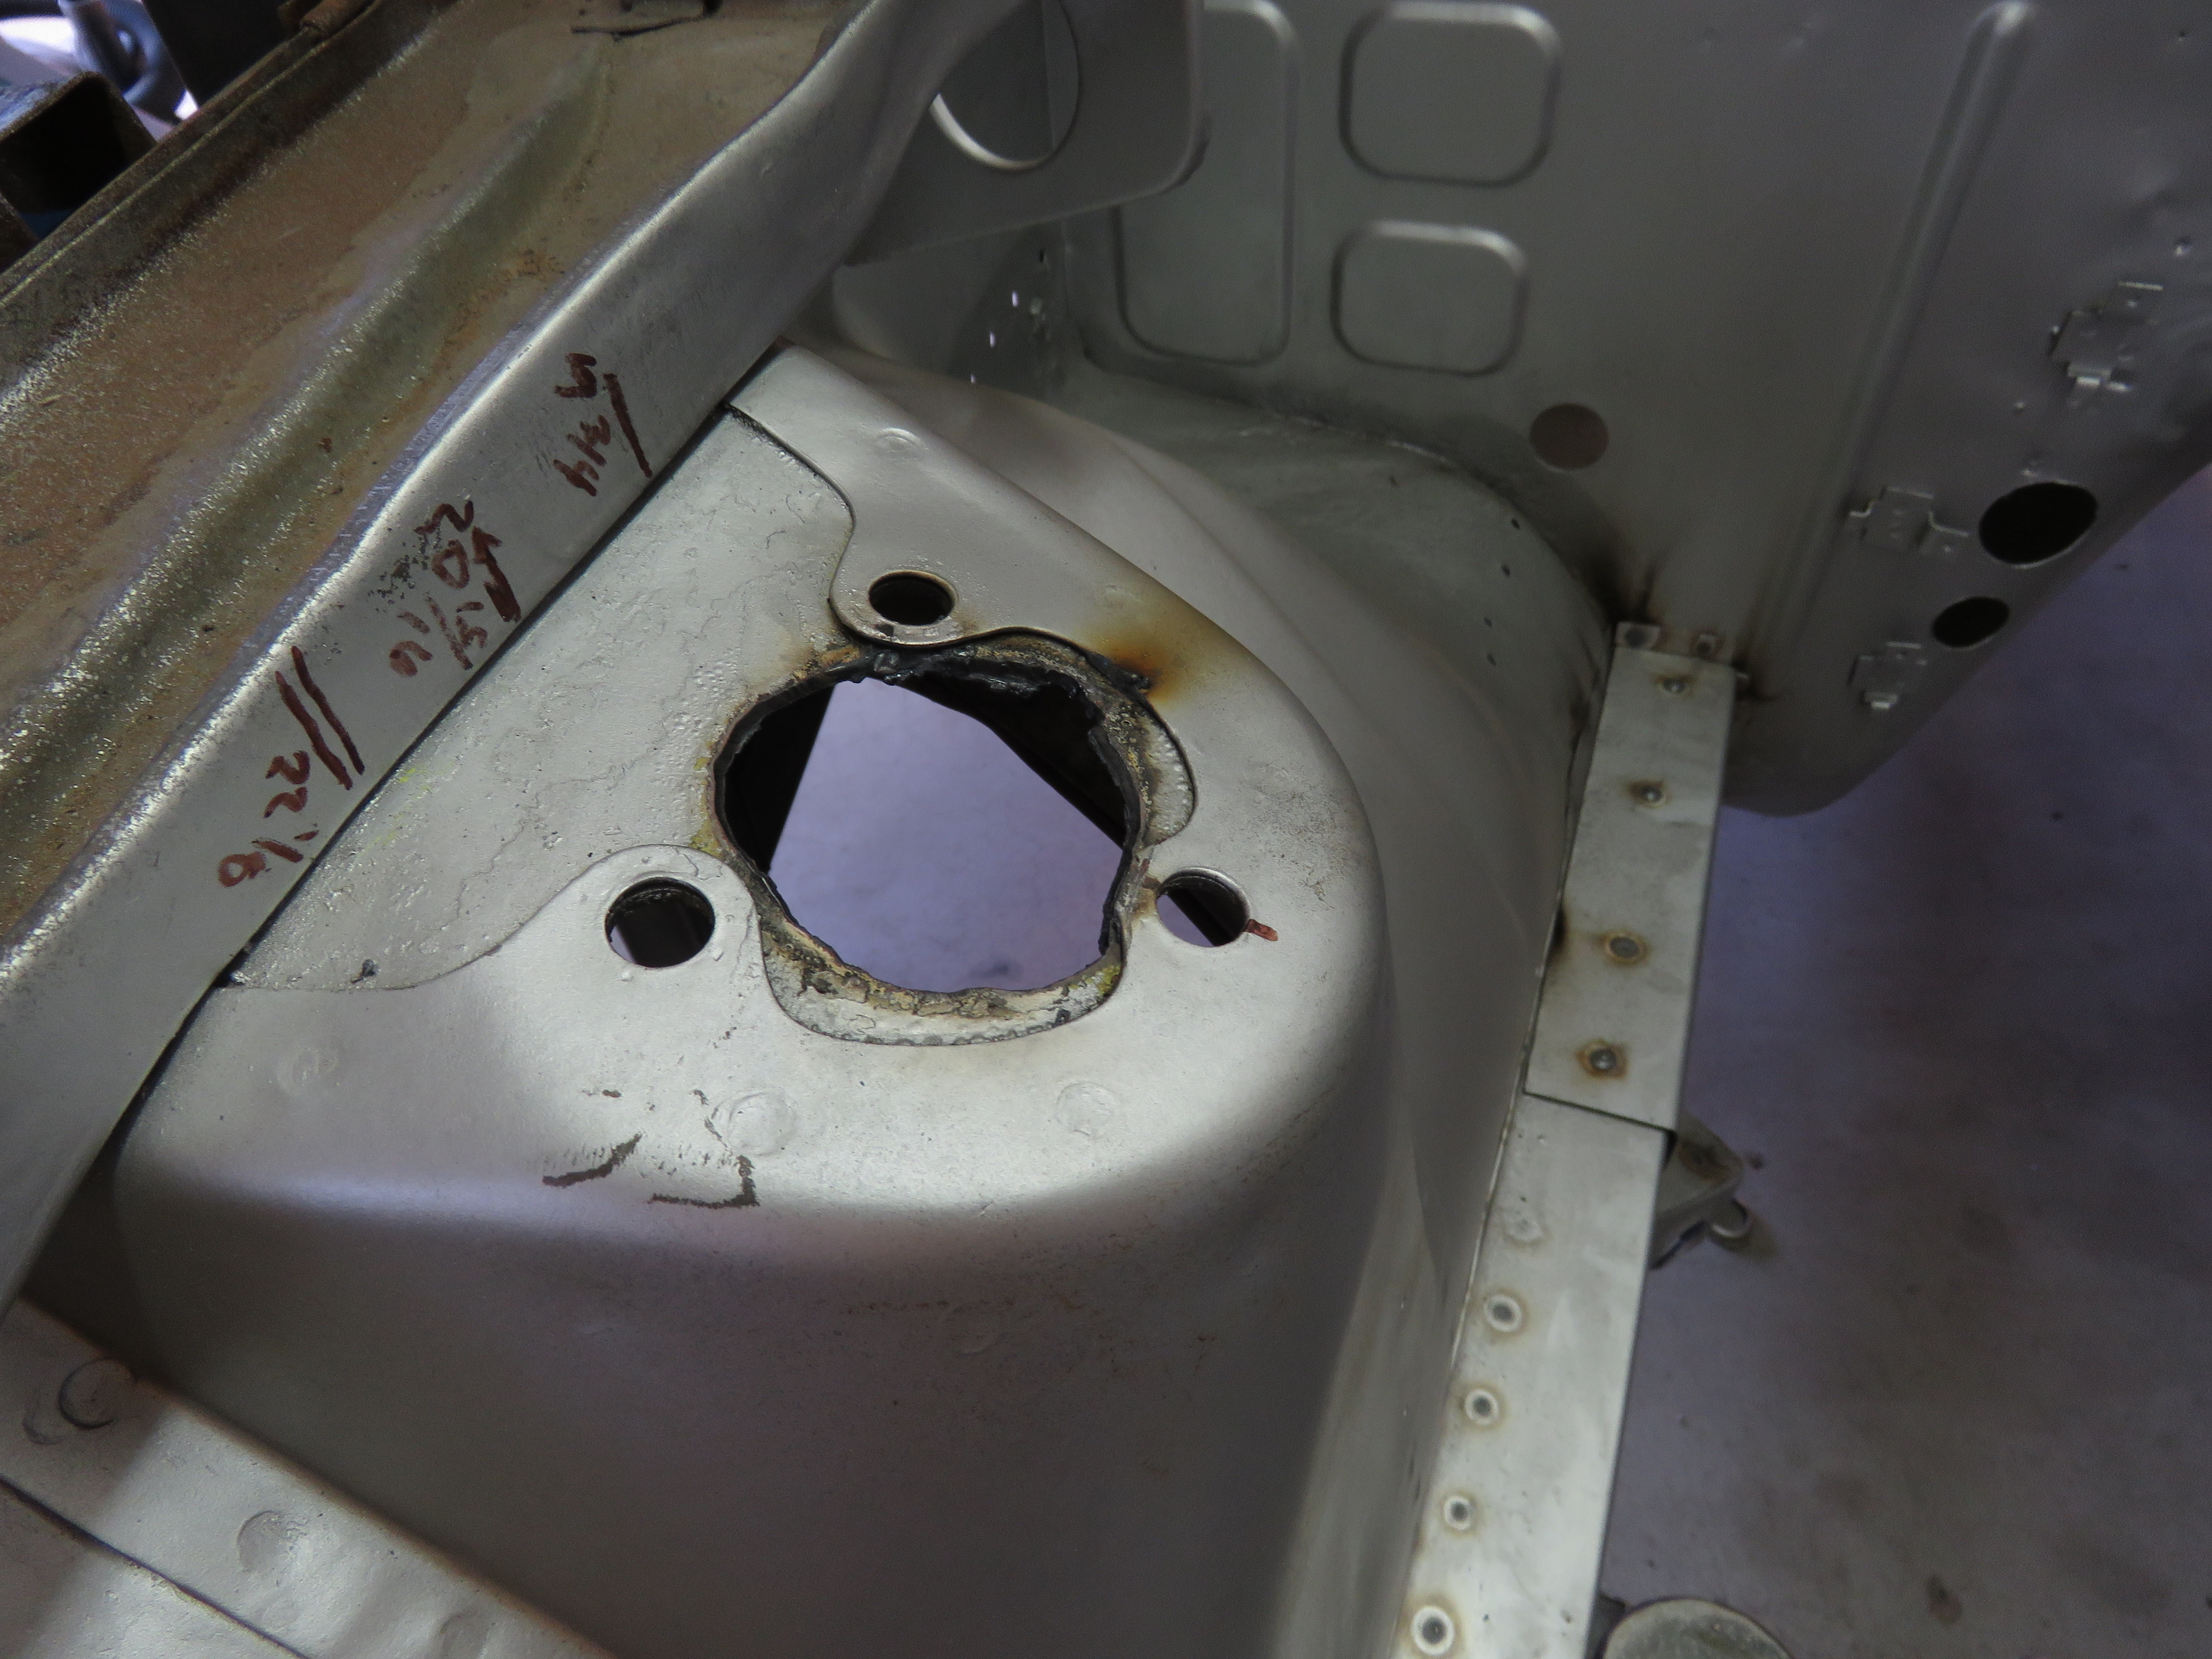
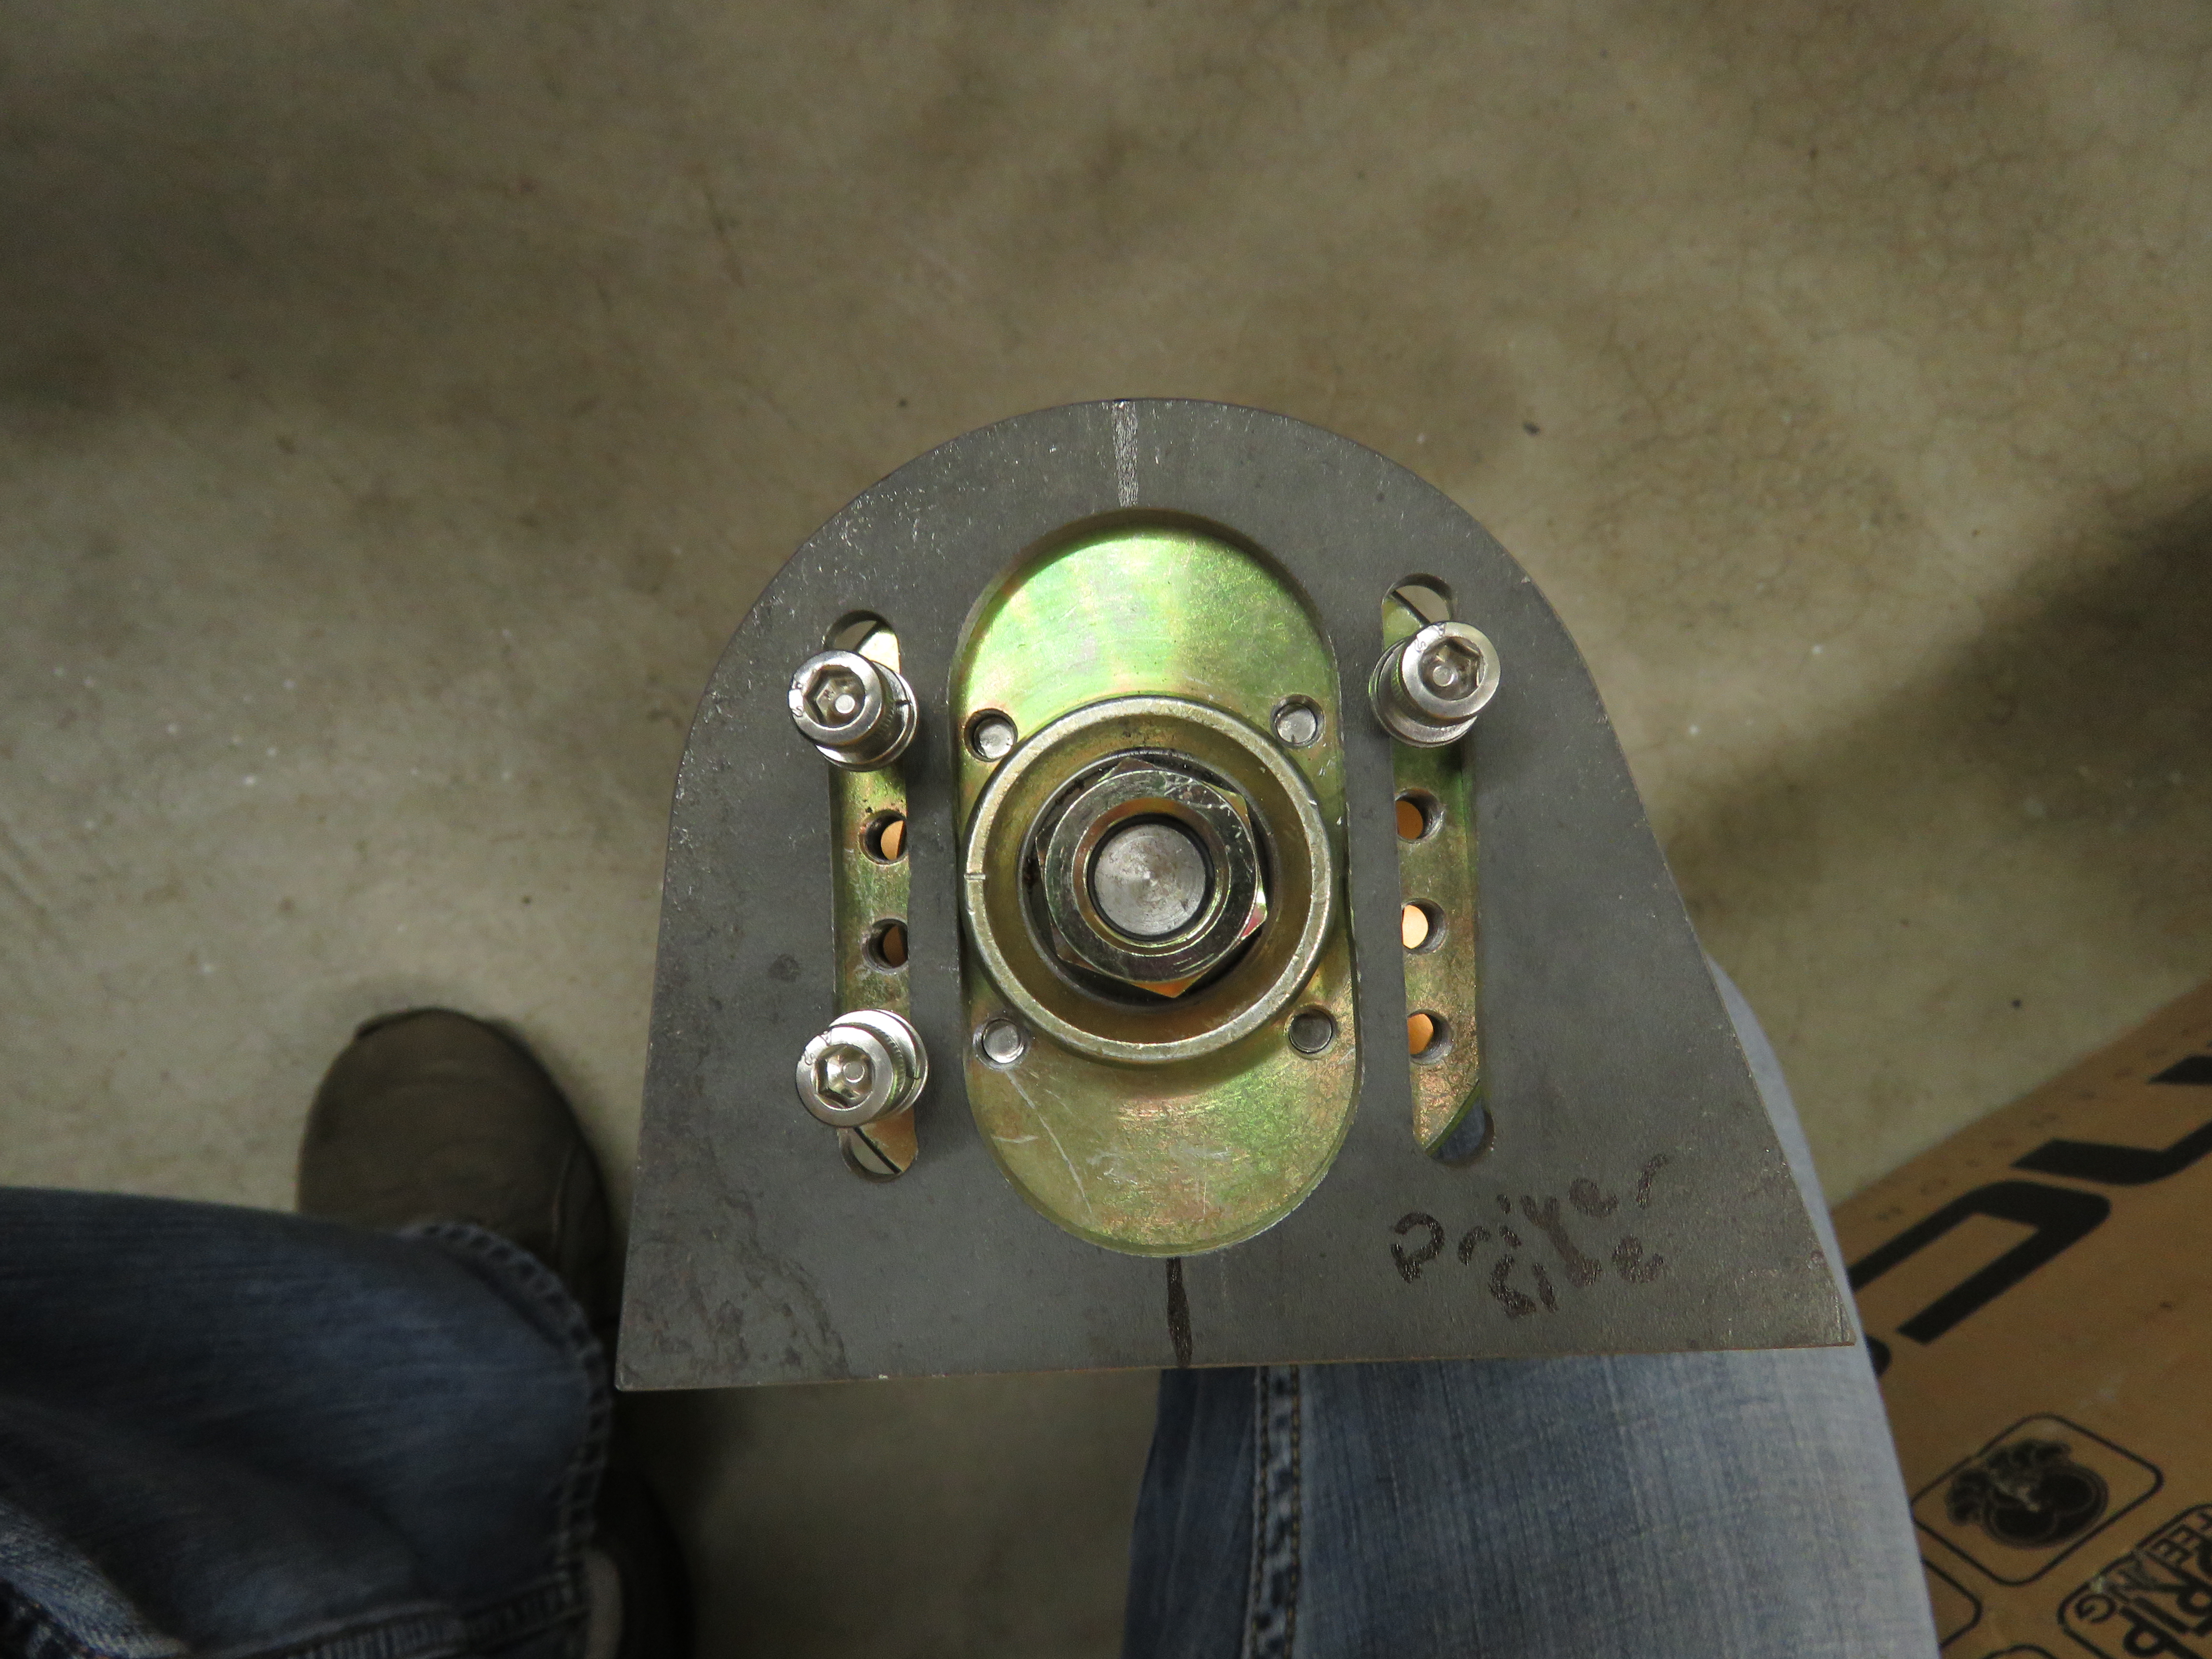
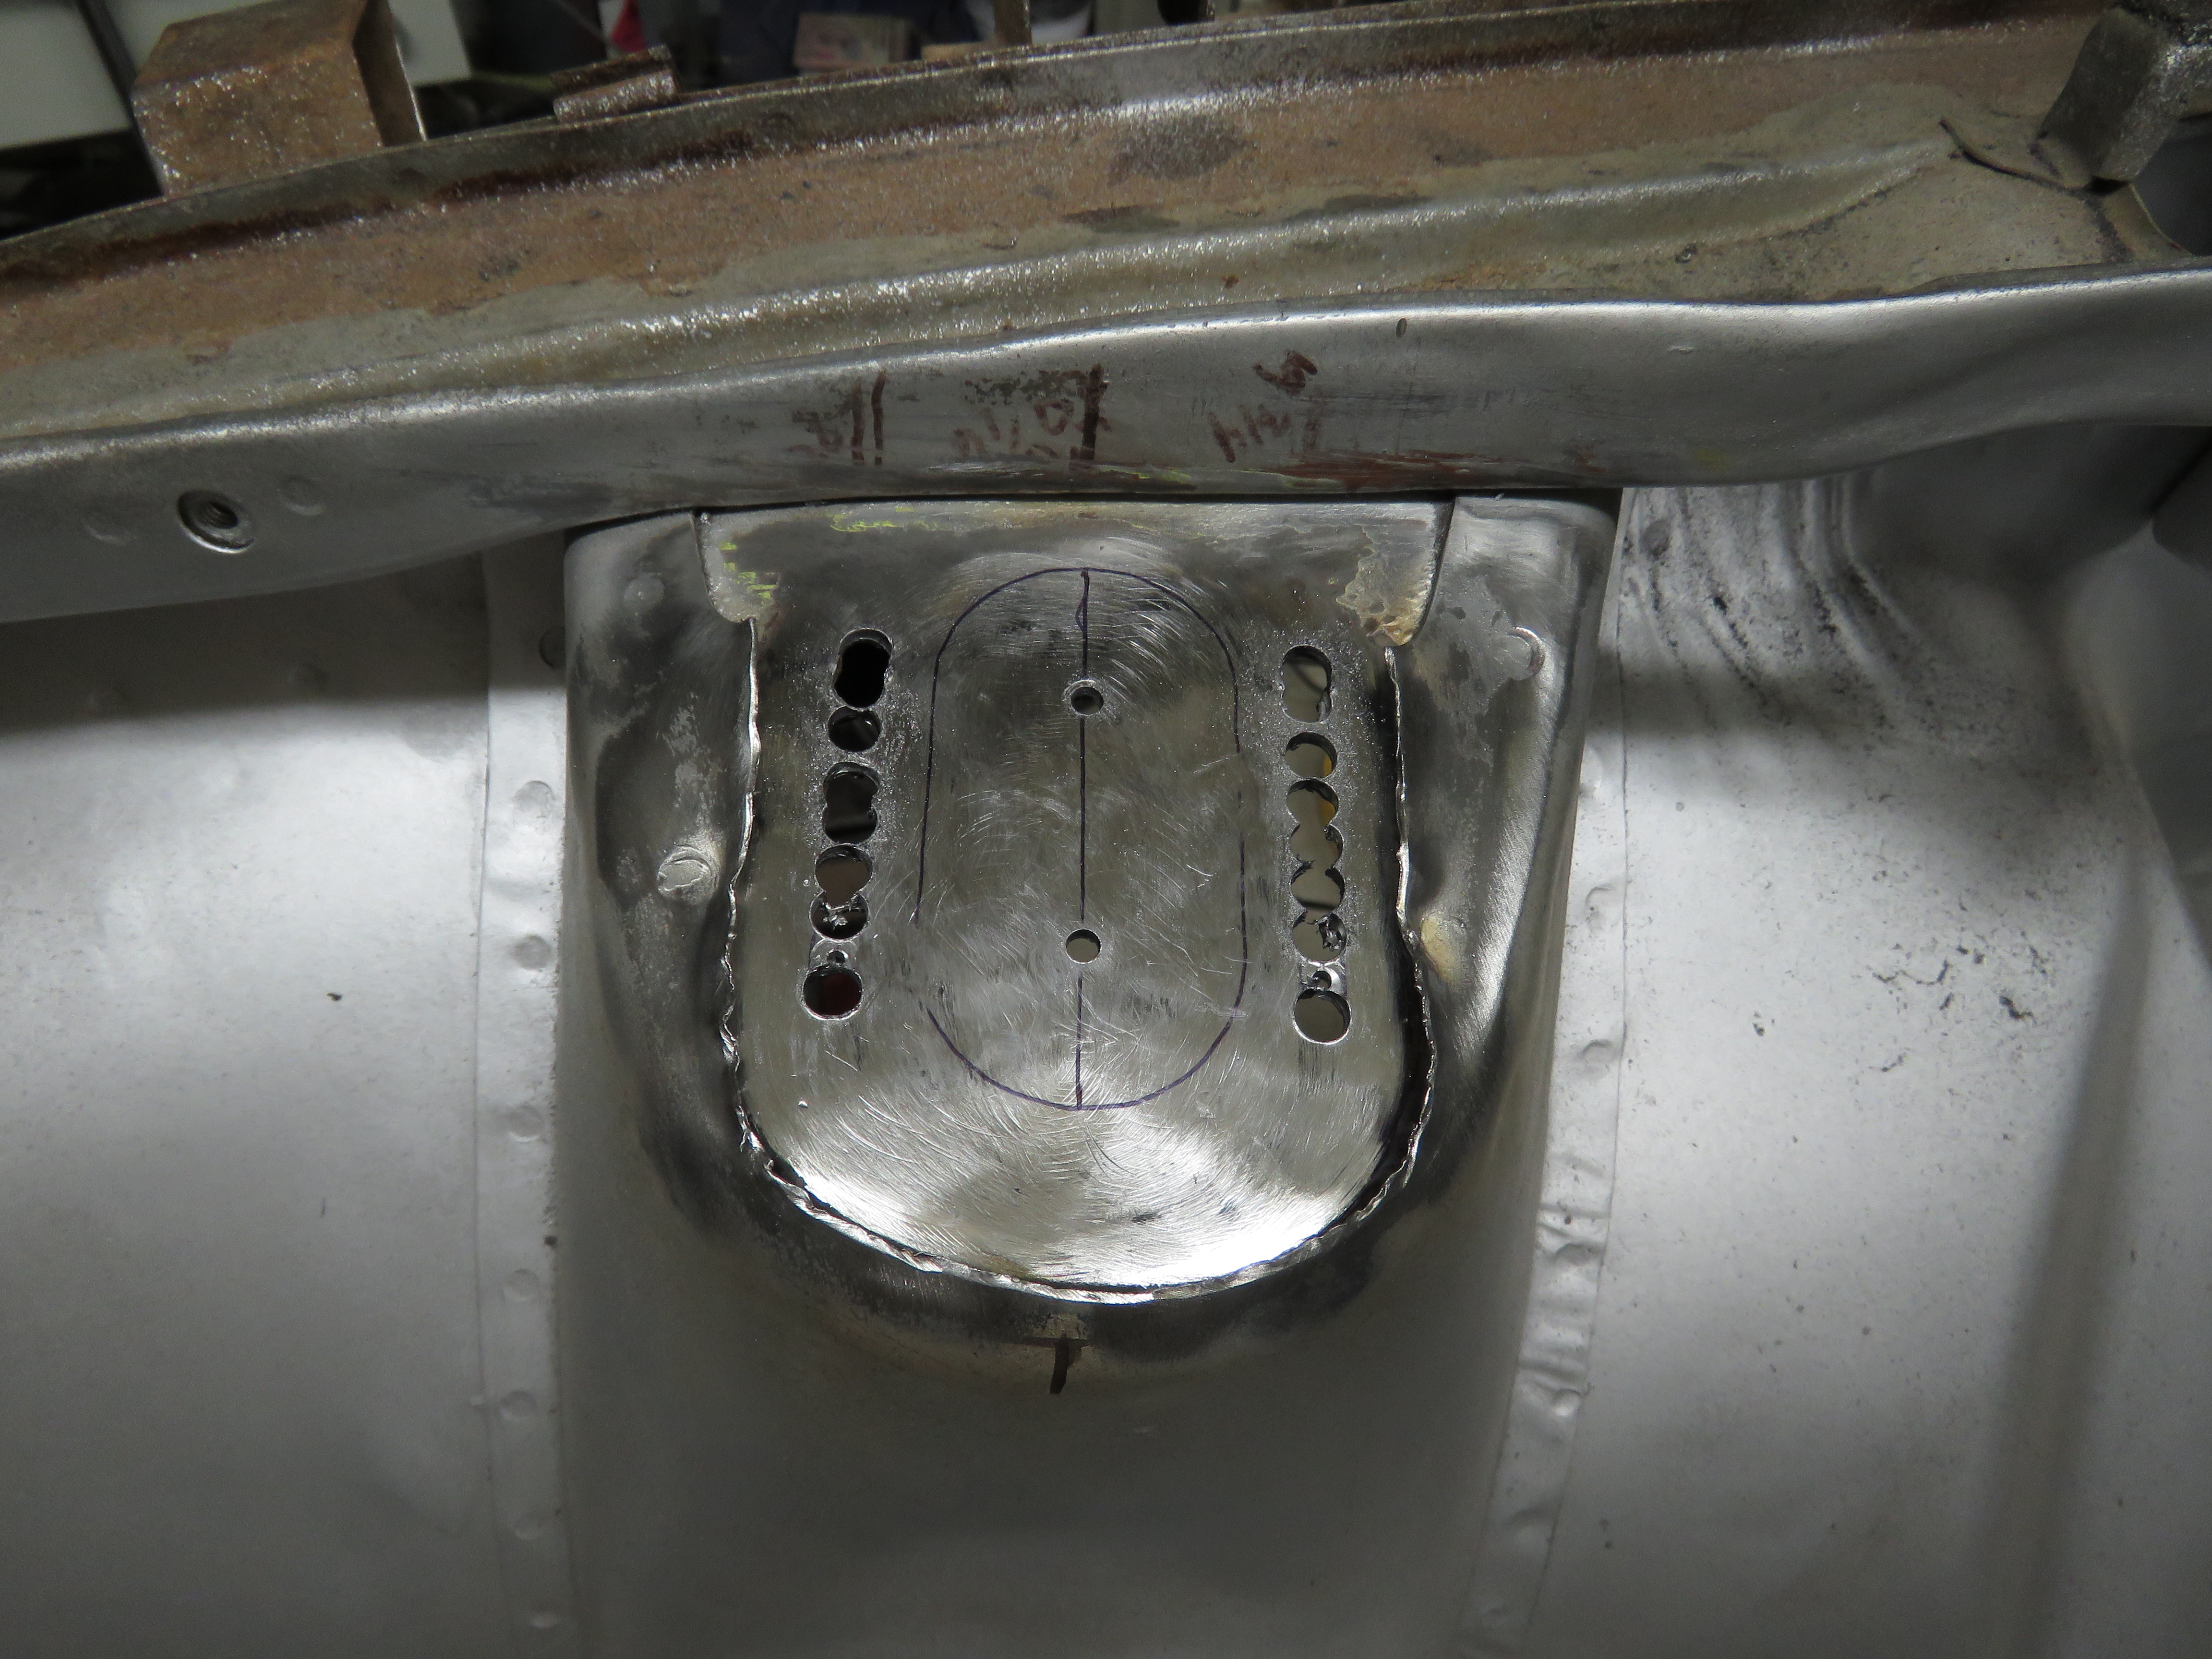
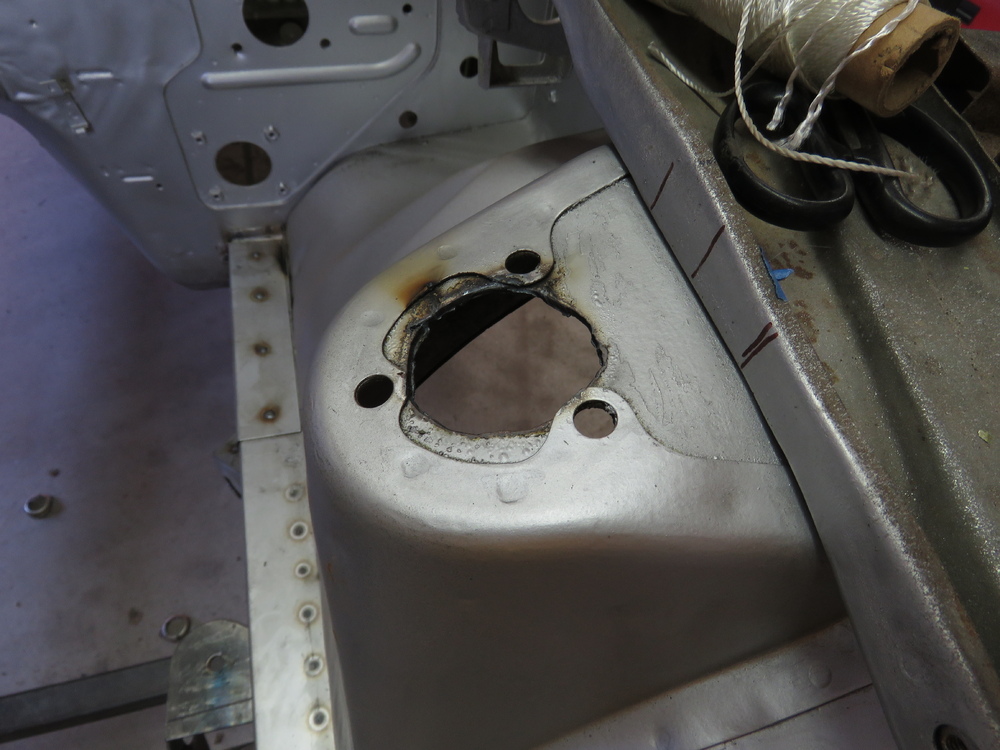
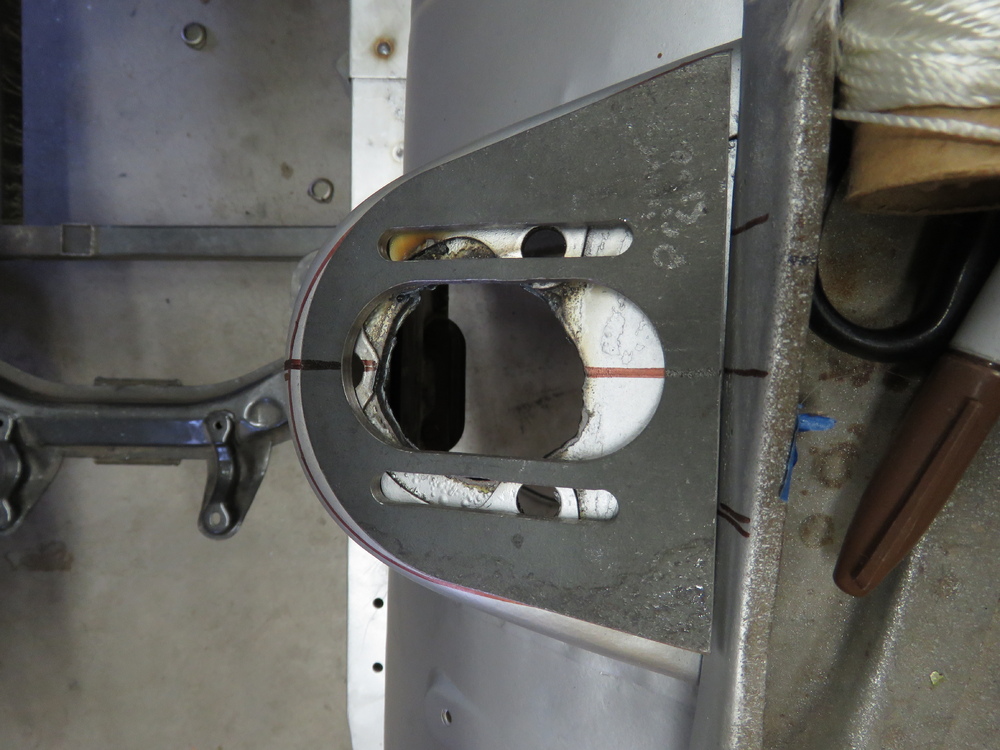
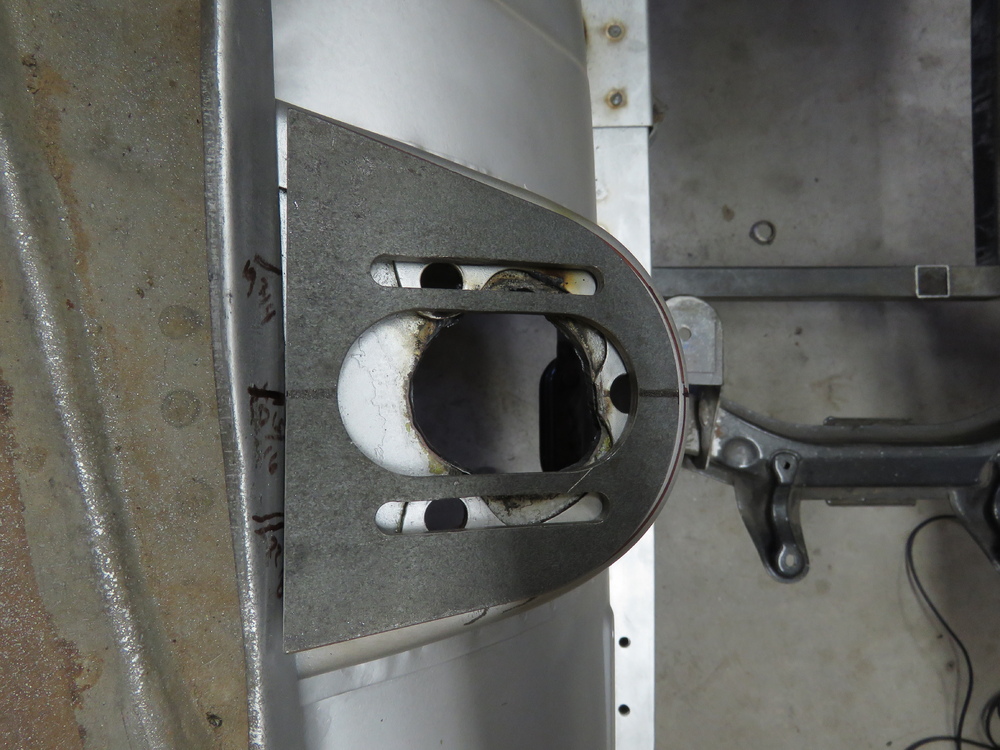
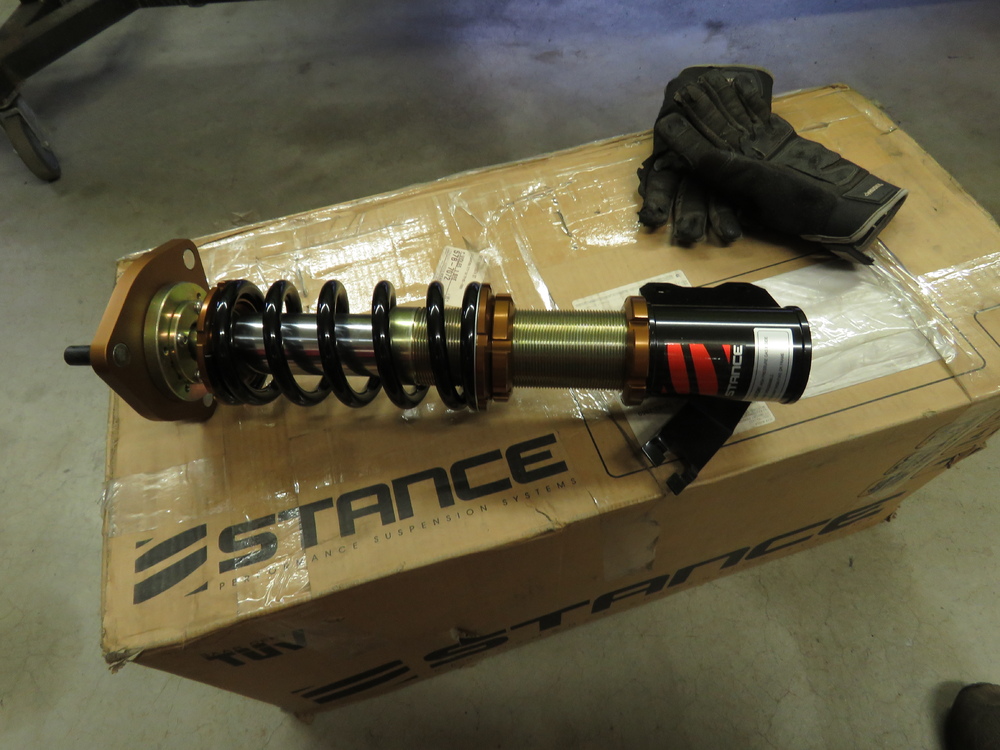
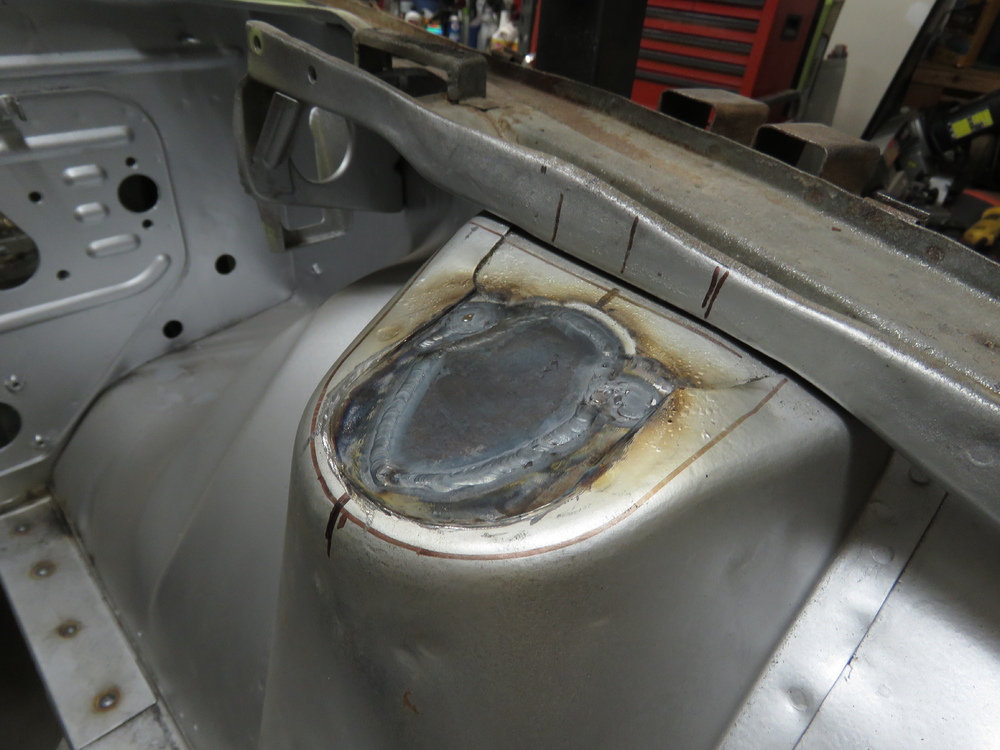
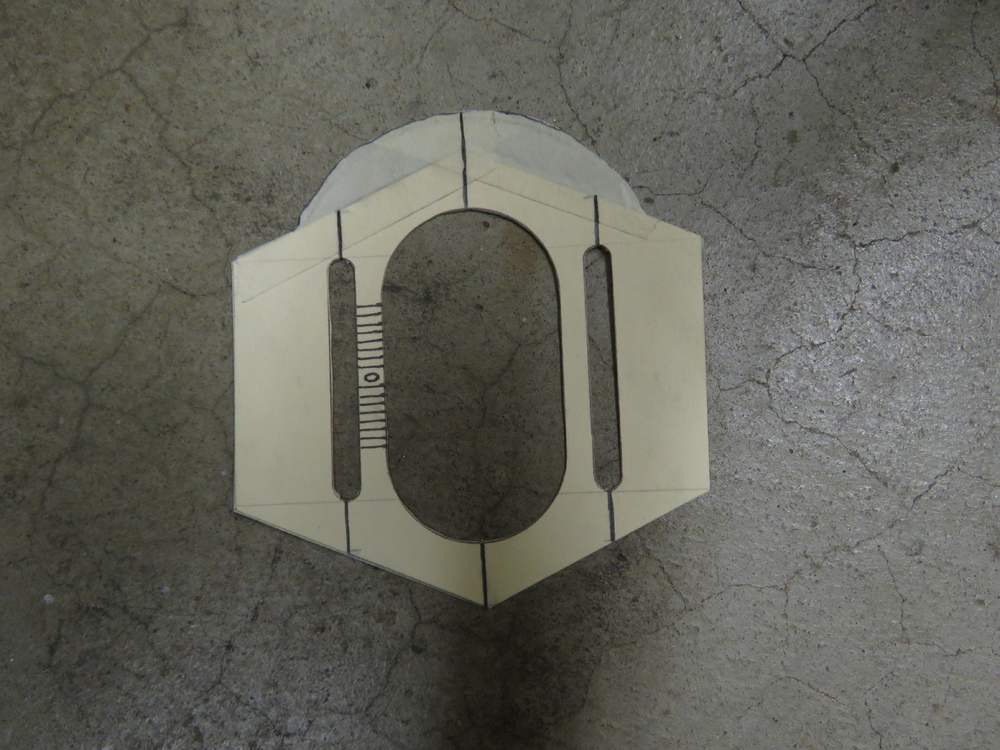
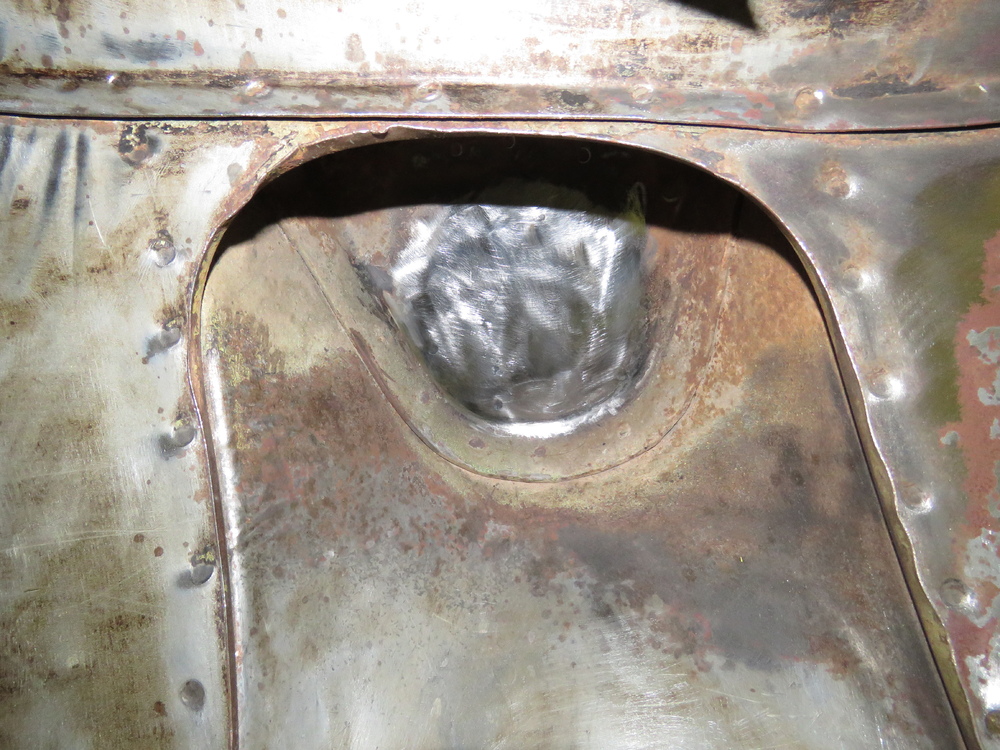
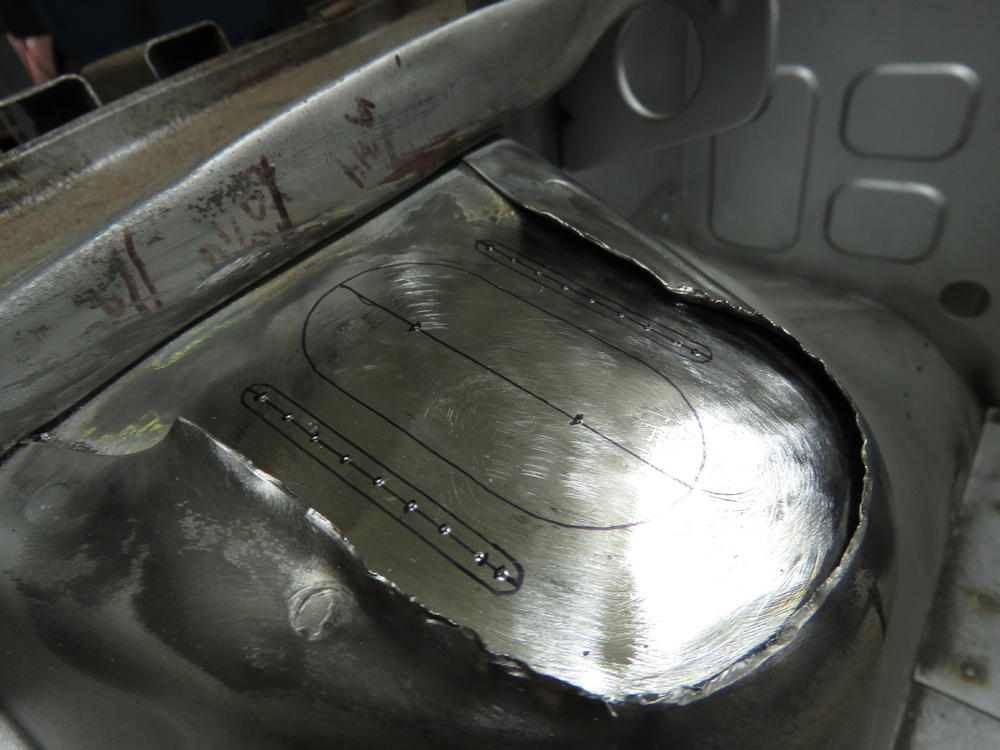
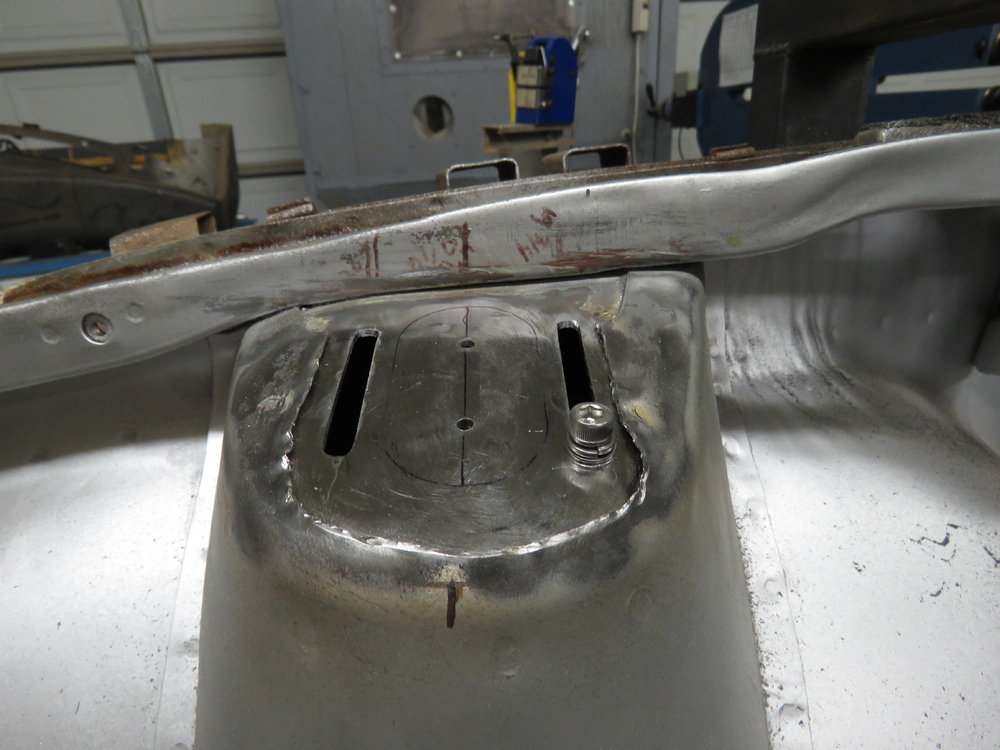
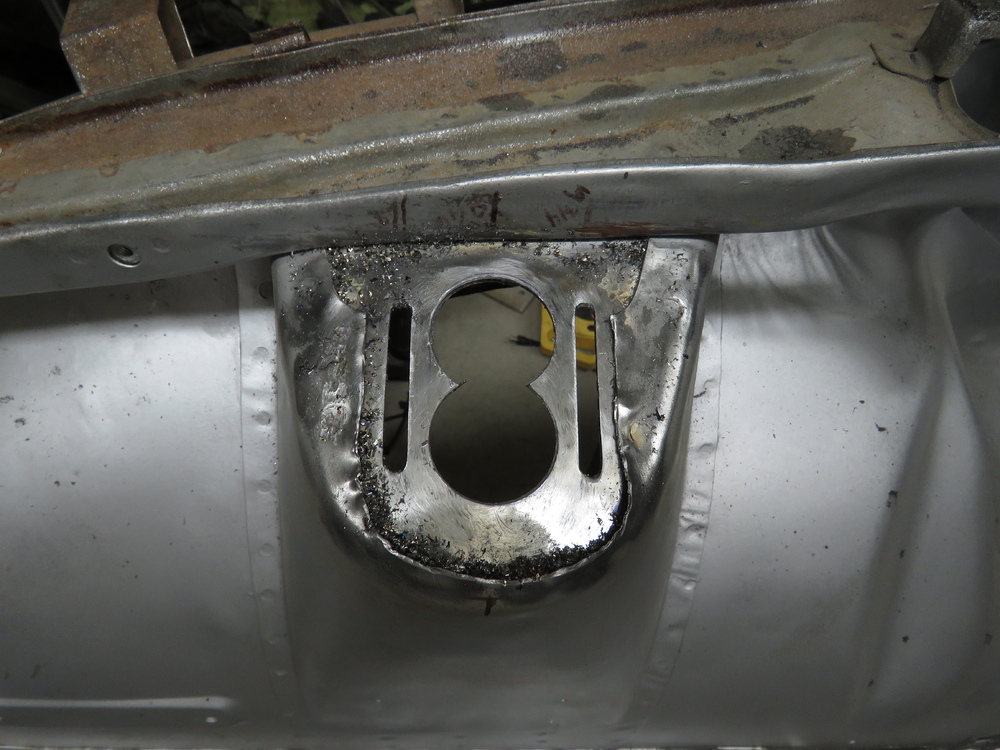
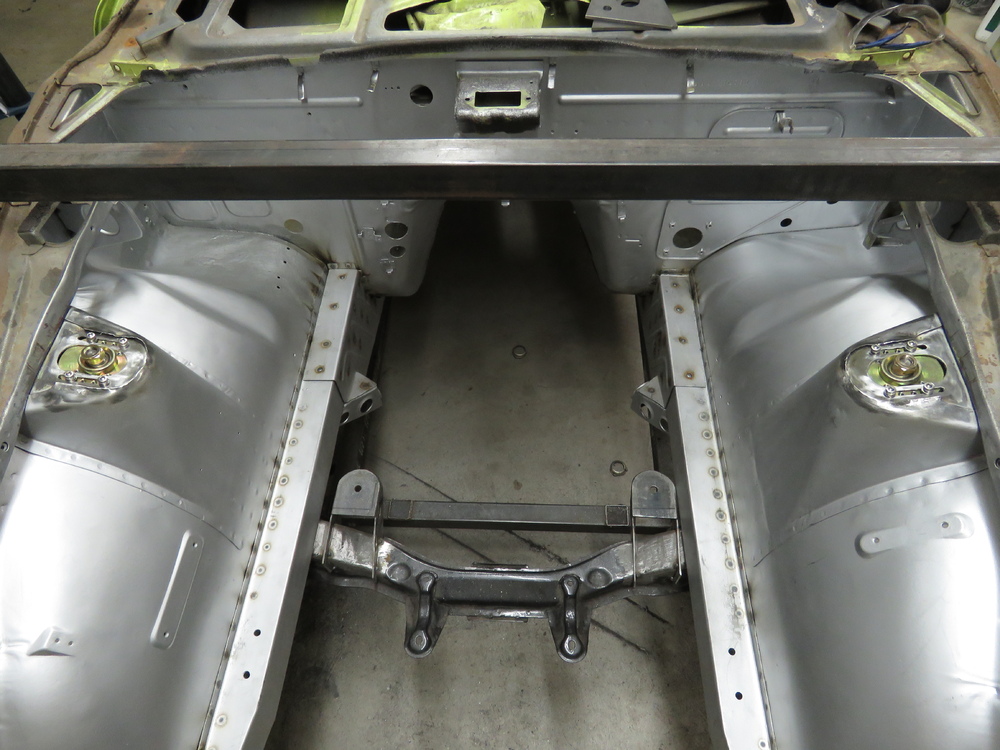
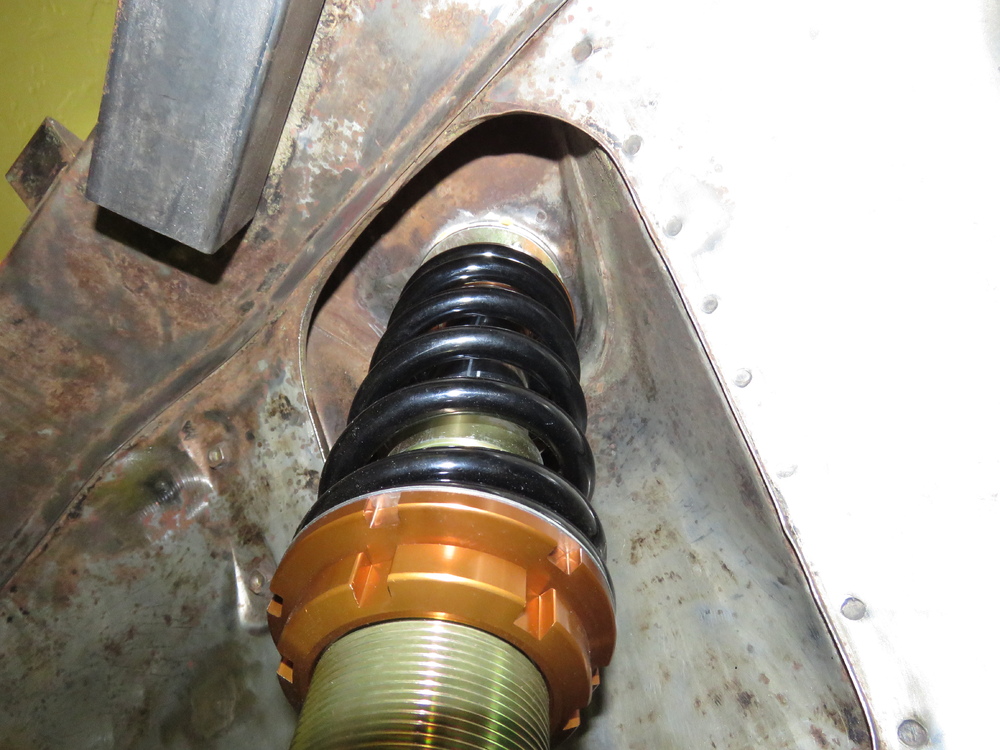
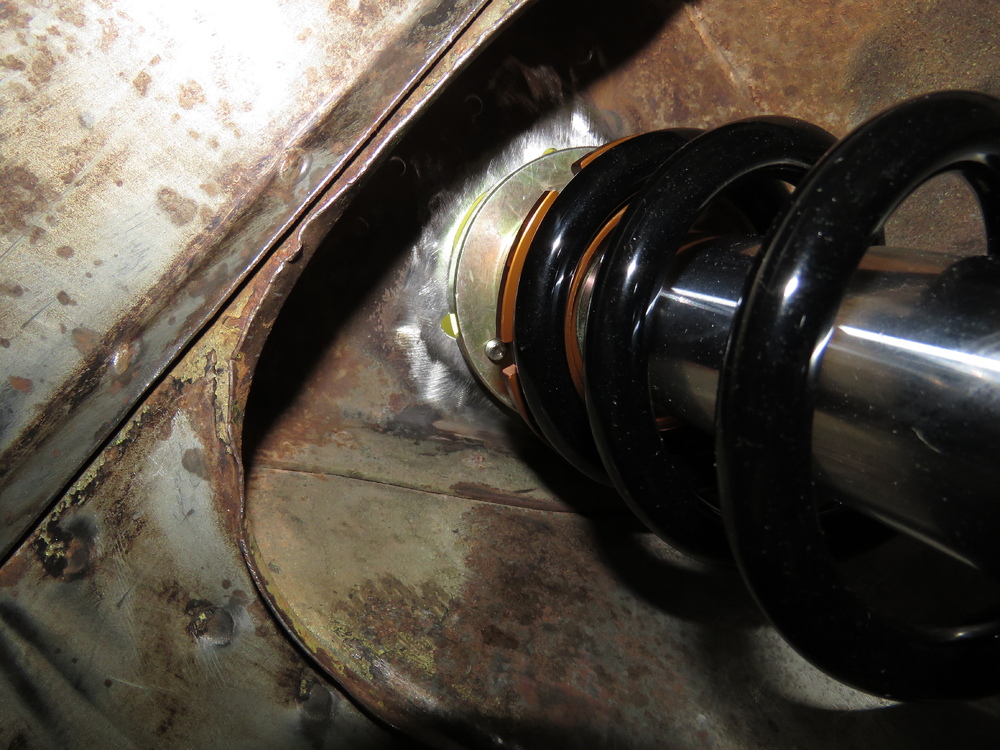
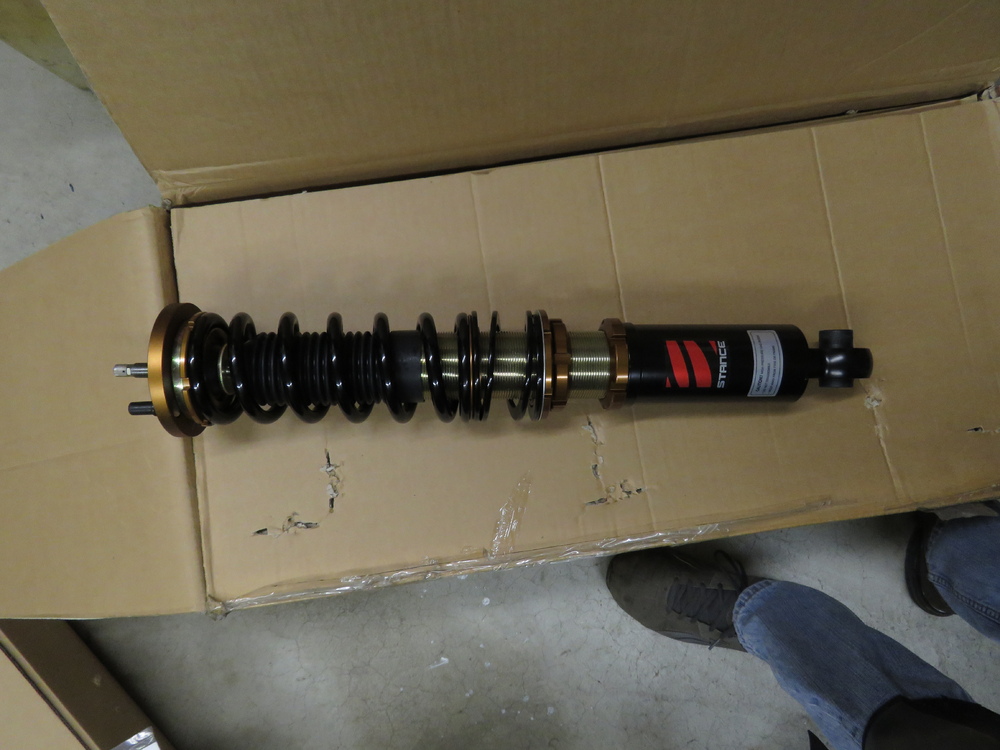
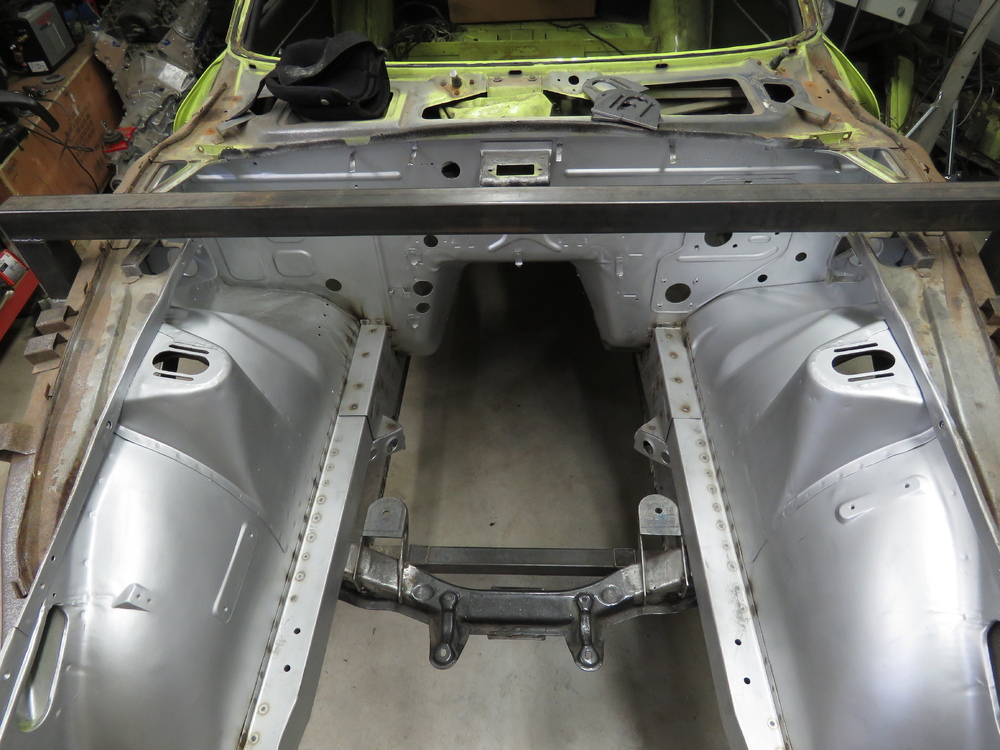
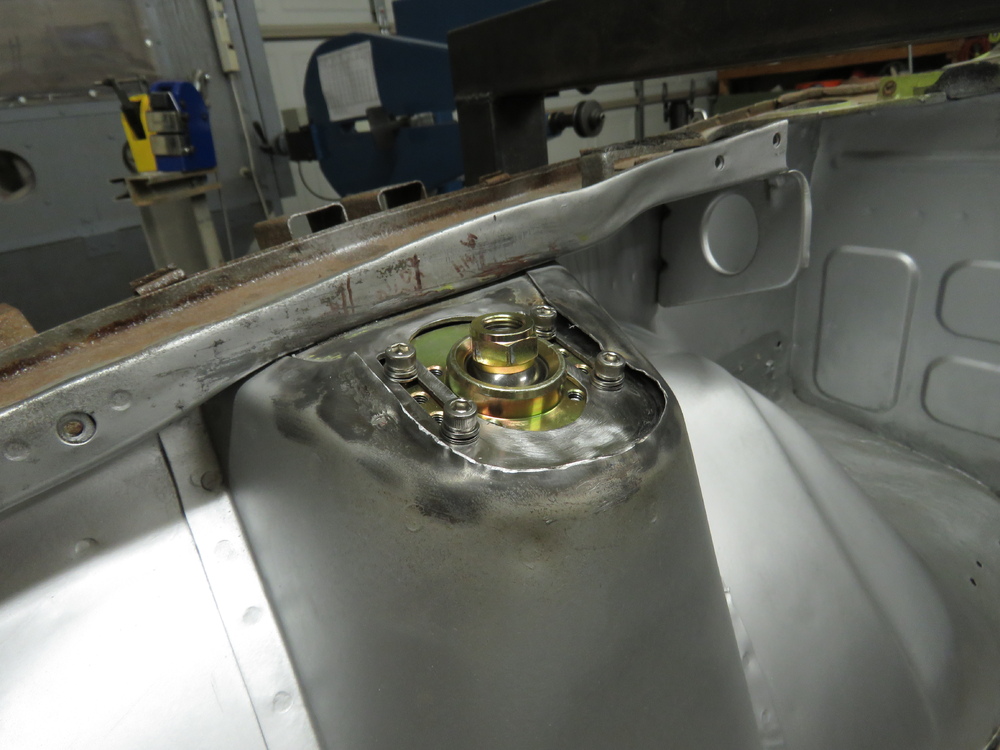
1 pointKeep posting updates in your thread, I really enjoy looking at other peoples process and ideas, Its how I got started. Great to share around. There are times where I dont post updates on purpose because with all the pictures I have, I feel like others get annoyed when they keep seeing my thread pop up, haha. Than you sir. Well finally got the camber plates dealt with, however its not what you would of thought... Started with cutting out the bulge in the strut tower top plate using my plasma cutter. Another look at the camber plates I had bought from ZCCJDM.com on the strut tower. Discovered that they dont fit my Stance Coilovers. Reason I think is because these are probably for the Megan coilovers. Comparison picture of the camber plate to the stance camber plate. As you can see the bolt holes dont align, and the main center hole is to big on the ZCCJDM camber plate. The forth bolt wont go in, I can force it, but shouldnt ever have to force a bolt in. So I decided to ditch them as I didnt like the fitment, too tight and loose in areas. Also bothered me that the preferred method of welding these plates on is to weld them on top of the sheet metal of the tower wall/cover and not directly onto the stock upper plate as this is thicker and more structurally sound. But I guess that method was proven buy numerous of Datsuns to work. Plus I wanted a factory look for some reason. Here is how I did it. Keep in mind that I will later on be adding in strut bar mounts. Havent thought about how I will do it, will need my LS1 engine in place to see how much room to work with, but hopefully after I get the strut bar mounts welded in, the camber plates will much stronger and more connected with its surroundings. Played around with the idea of trying to make the stock top strut tower plate to work with out having to do a lot of work. Bad Idea, haha. ended up just welding a plate in to close up the holes and start with a fresh canvas. Got to do things right otherwise you will get a crappy result. Holes closed up with tig welding plates in of similar thickness as the stock plate. Made damn sure I got penetration all the way through, purposely gave my welds loads of filler rod. Sanded down. Made a template from the Stance coilover camber plate. Comparison to the ZCCJDM plate. Template test fitted on coilover. Though for full adjustment locked all the way positive and negative, added some tape on and cut it out, this will make sure I dont place the template too far in/forward on the tower considering the limited room to work with underneath the strut tower. Lines marked. Since I dont have the proper bits/tungsten carbide bits or whatever to make life easier in making an elongated straight hole, I opted for the drilling of multiple holes and then used a cut off wheel on my air dremel tool to blended in the holes. Centers punched in for drilling. Checking the alignment one last time, always good to check constantly. Started with drilling the bolt holes first. Holes blended in. Probably would of been cleaner with a thinner/smaller cut off wheel. Oh well, it works. Then off to work on the middle hole. Used a 1 1/2' hole saw. used my air belt sander (one of my favorite most used air tools) to blend them together. Coilovers test fitted. Finally coated with paint (for temporary purposes) and hammered down the lip of the tower wall cover or whatever you call it. Will need to spot/plug weld the lips later on, but will wait till I get the struct brace mounts figured out. Doesnt look like much of a noticeable change from stock... Thats it for now, stay tuned!! Forgot about this picture. This is what the rear coilover looks like.


 1 point
 -
1 point
-
1 pointI may have a center valance for a 280, I would have to look. Zkars might have it also and he's on the correct side of the border...1 point
-
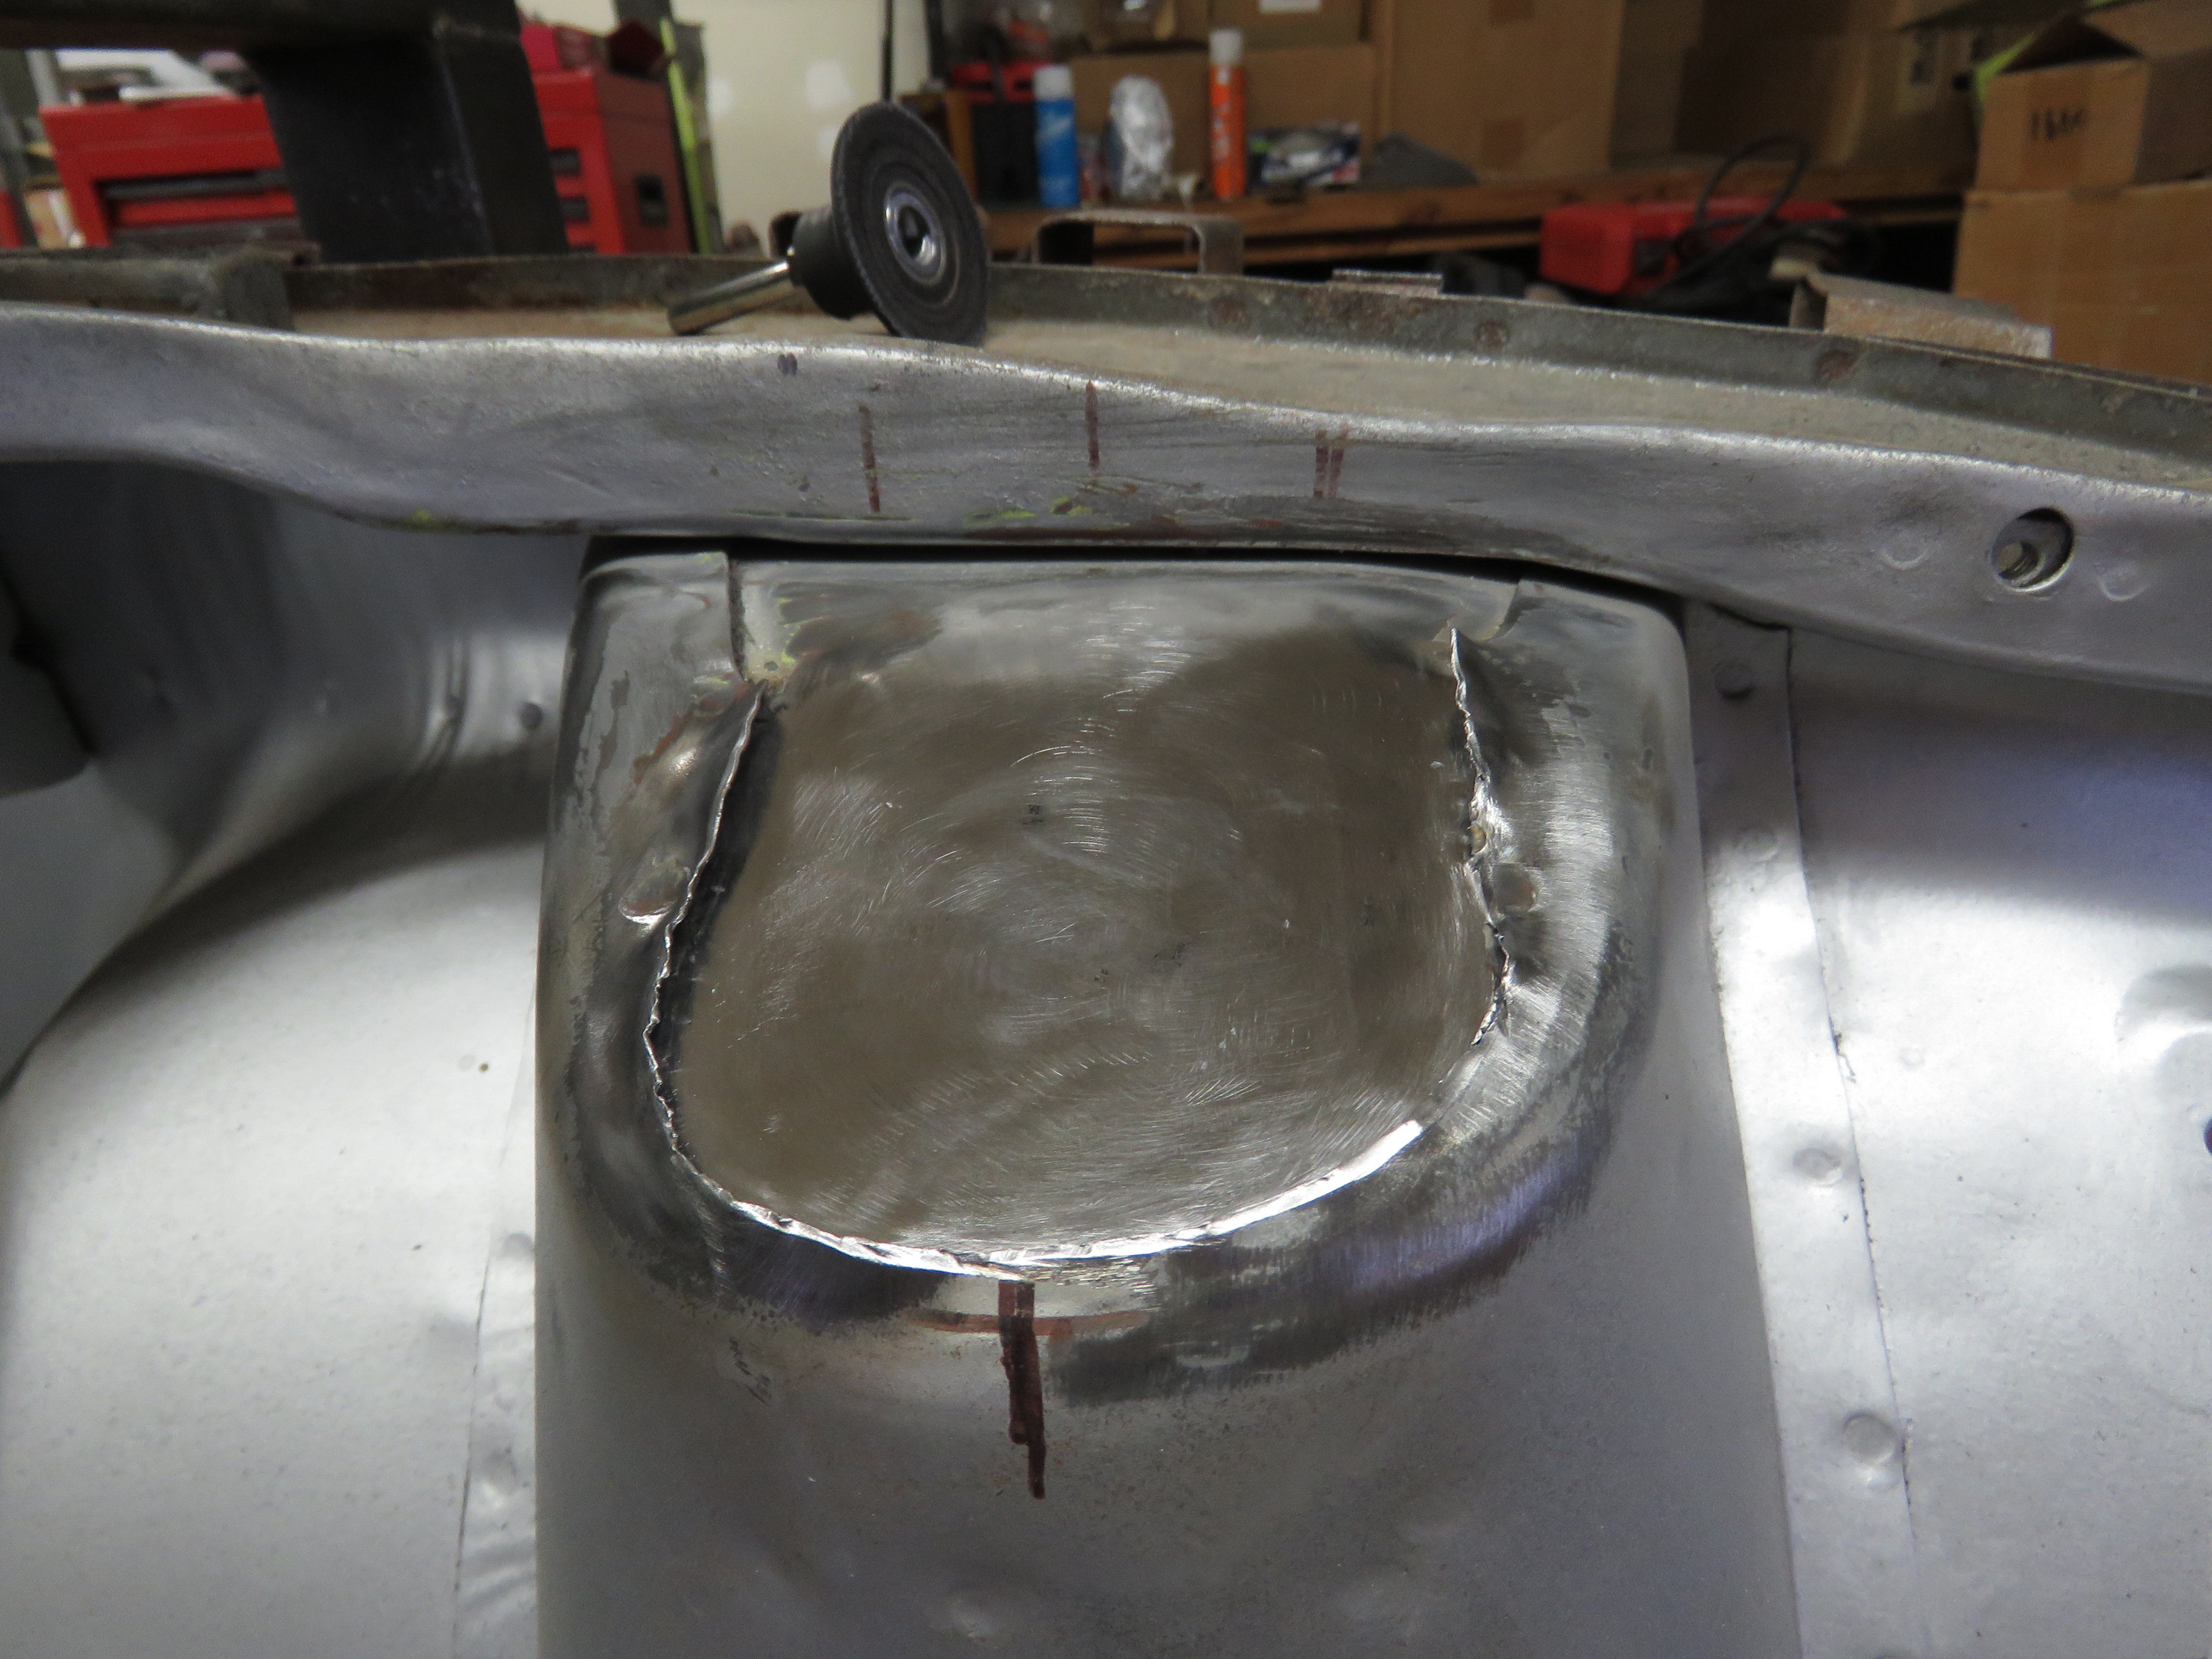
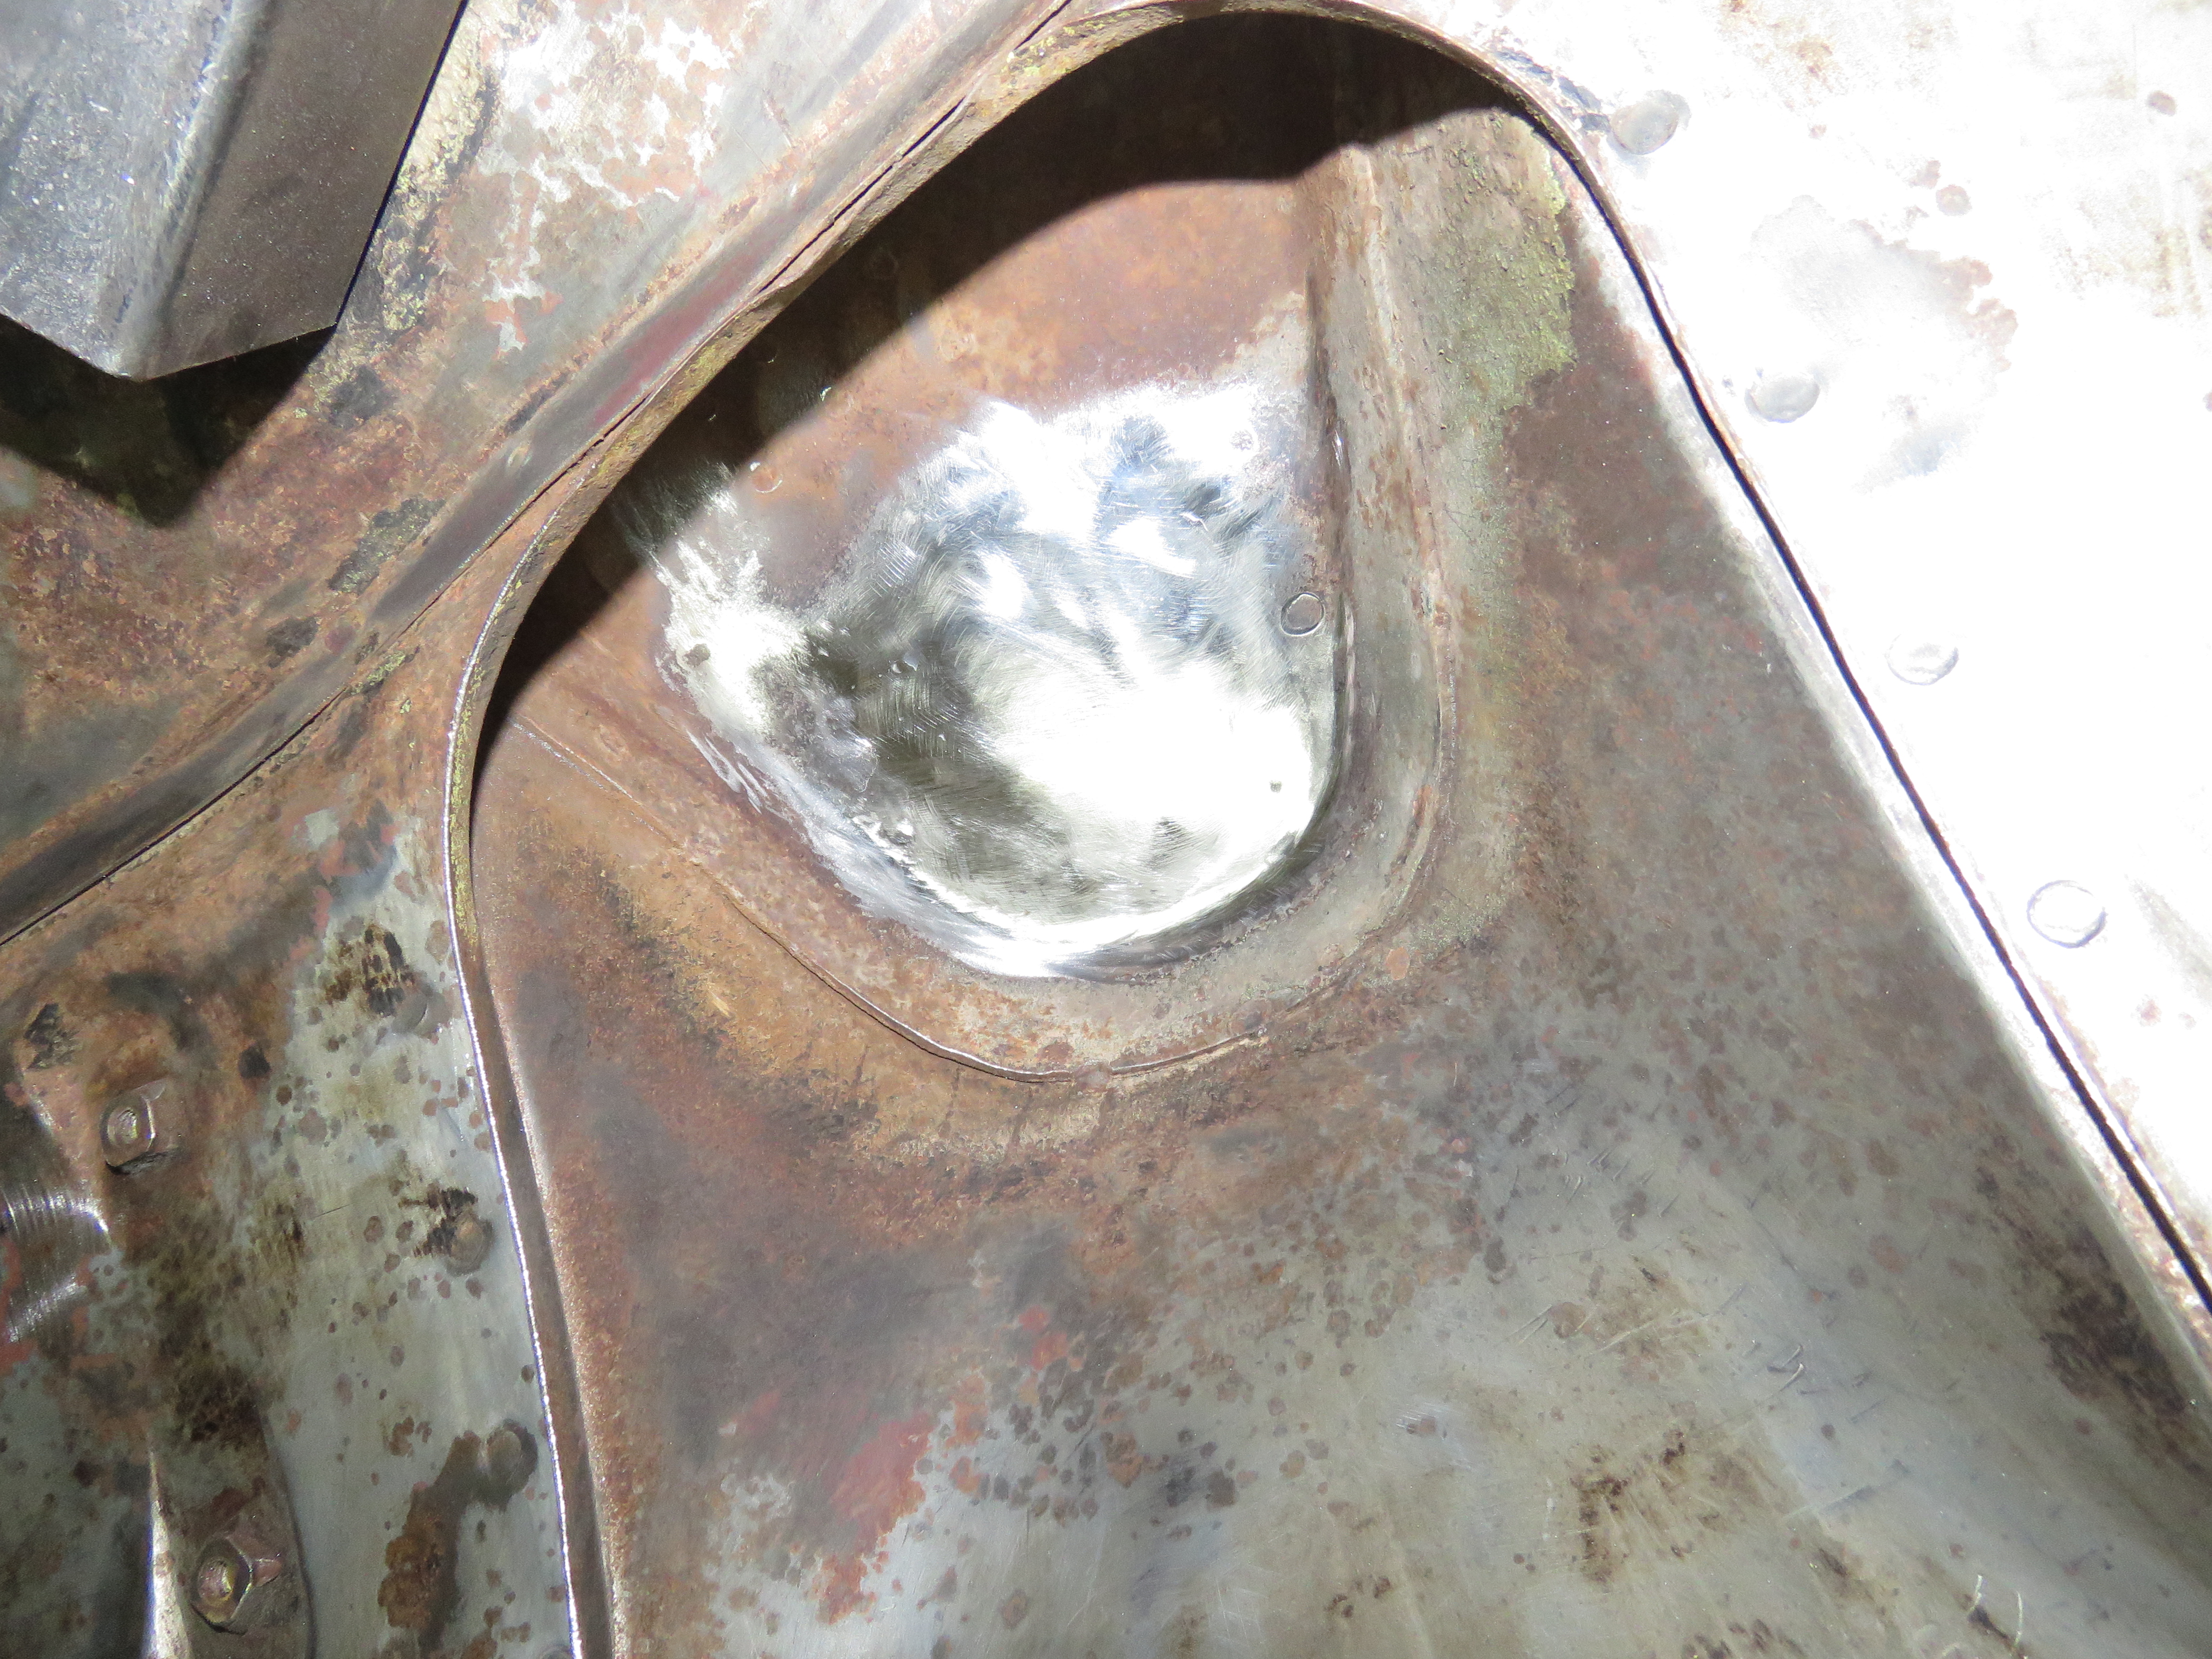
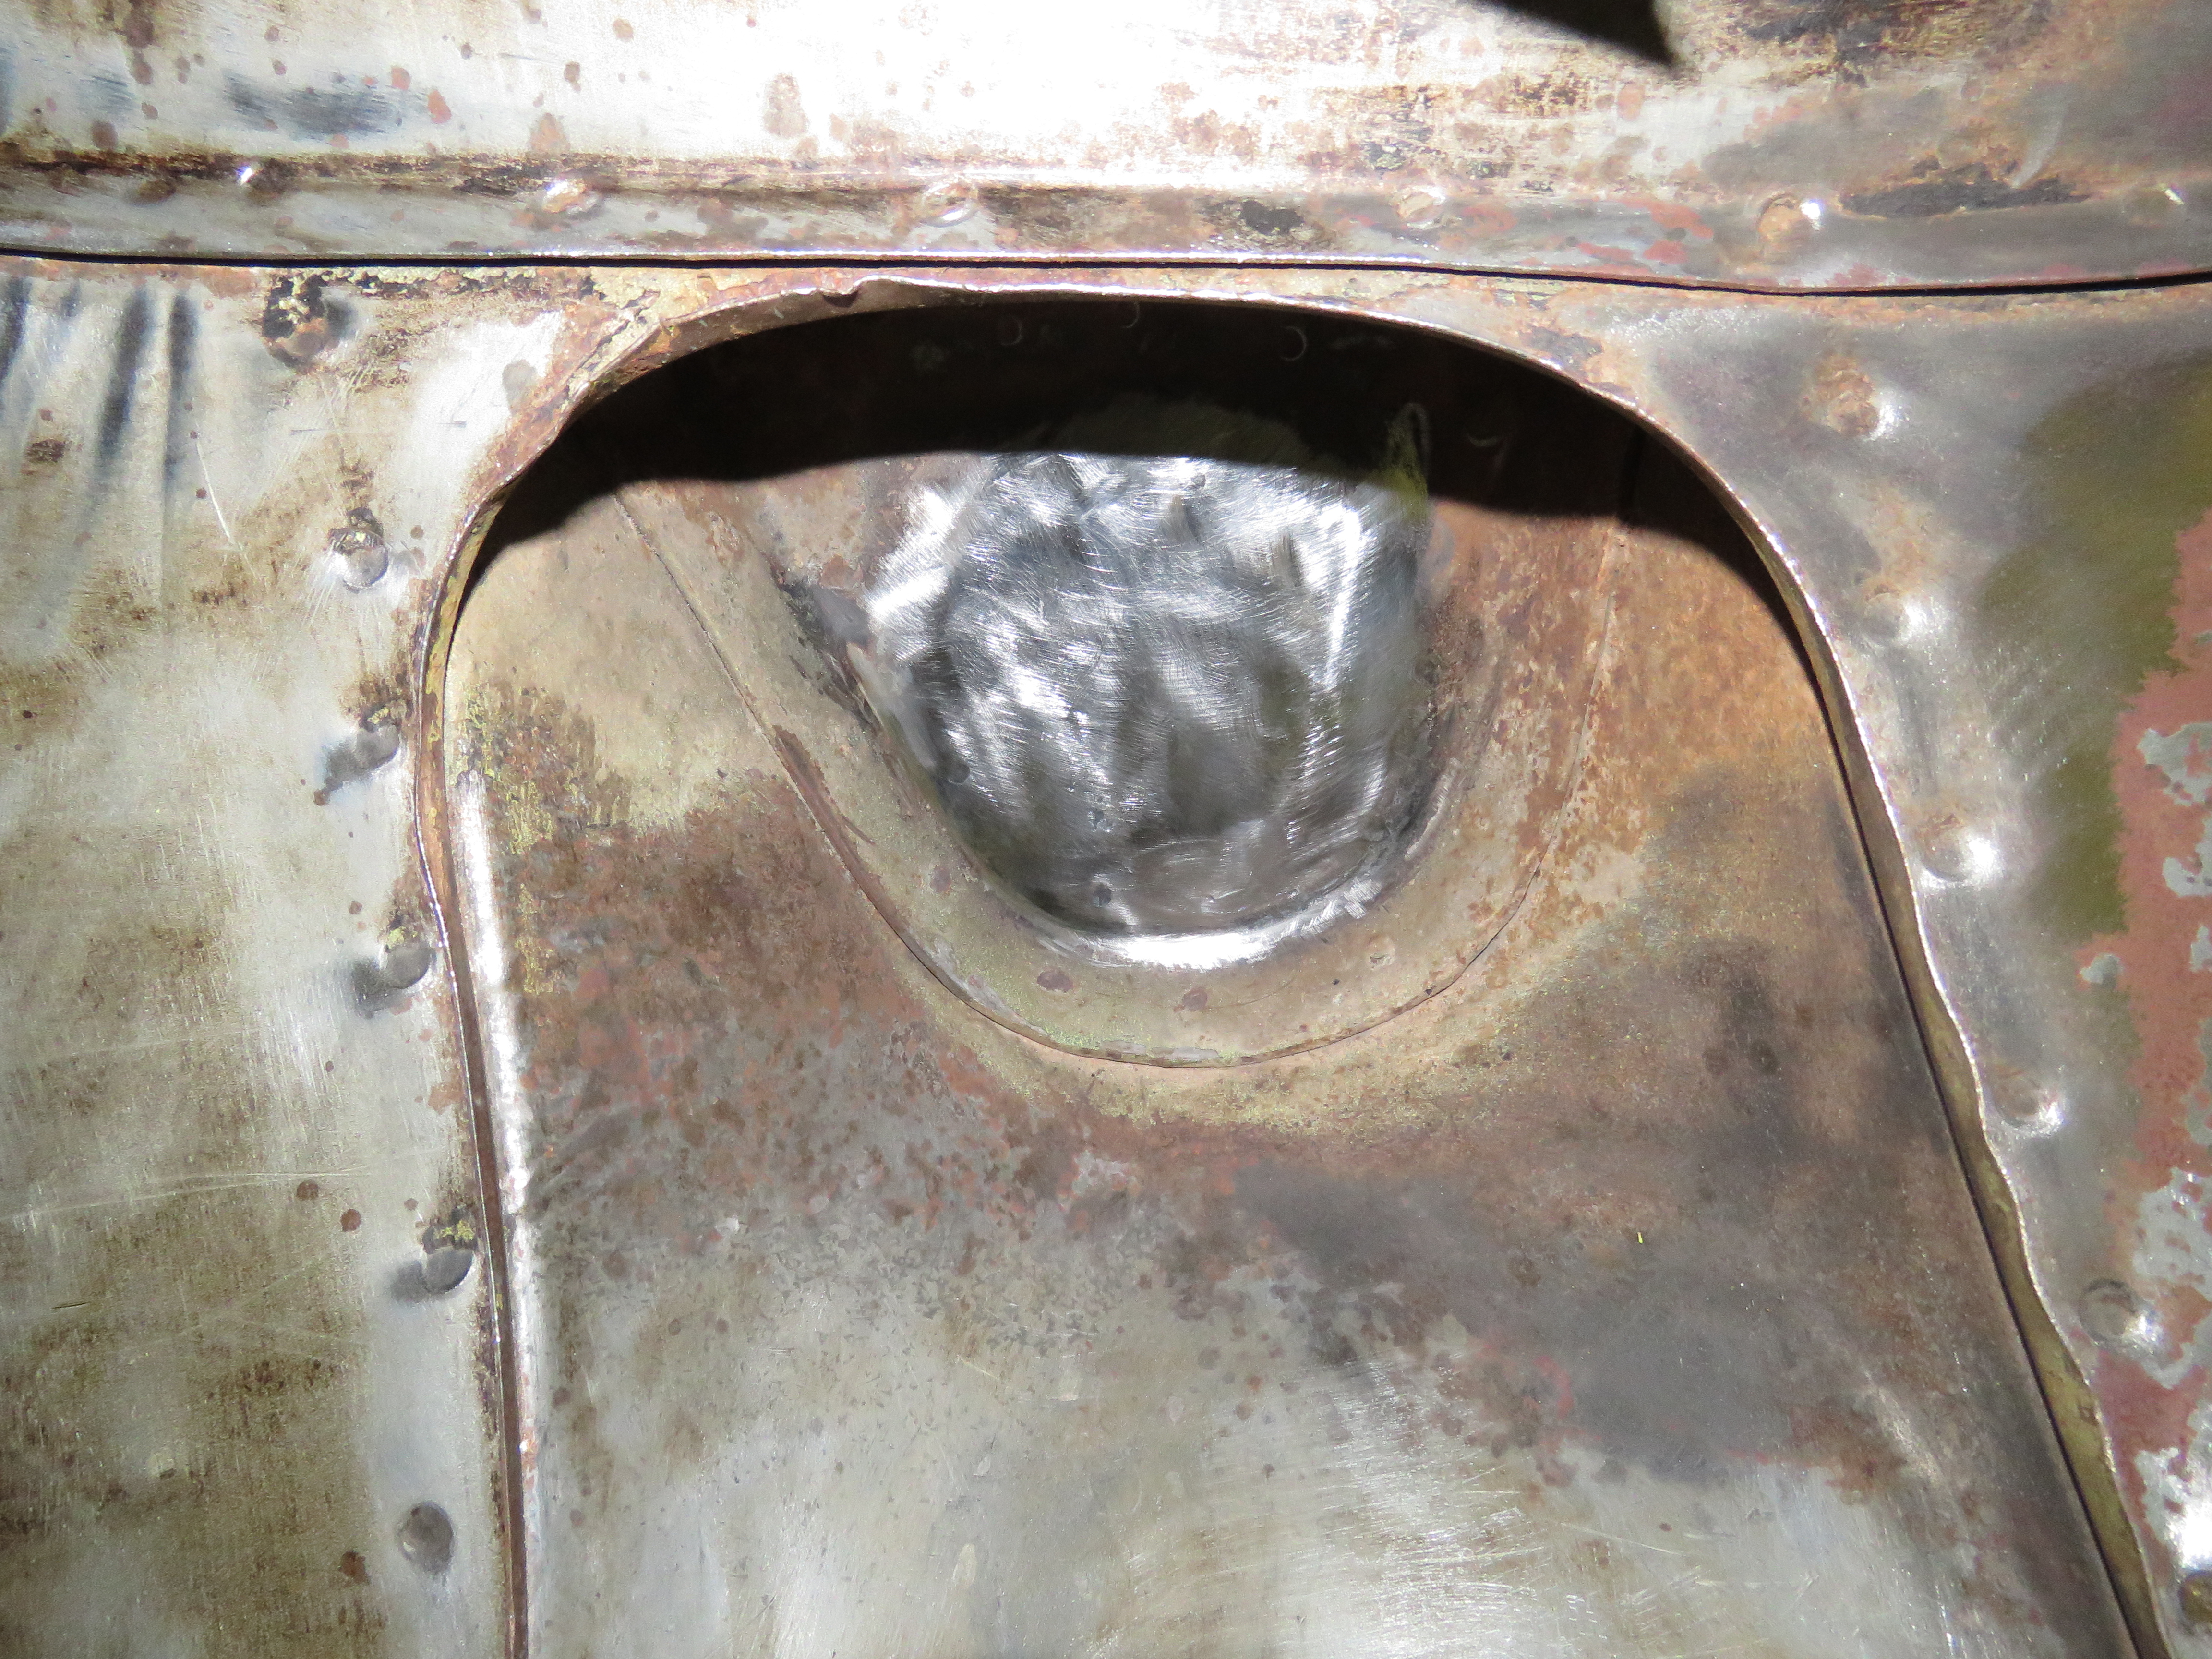
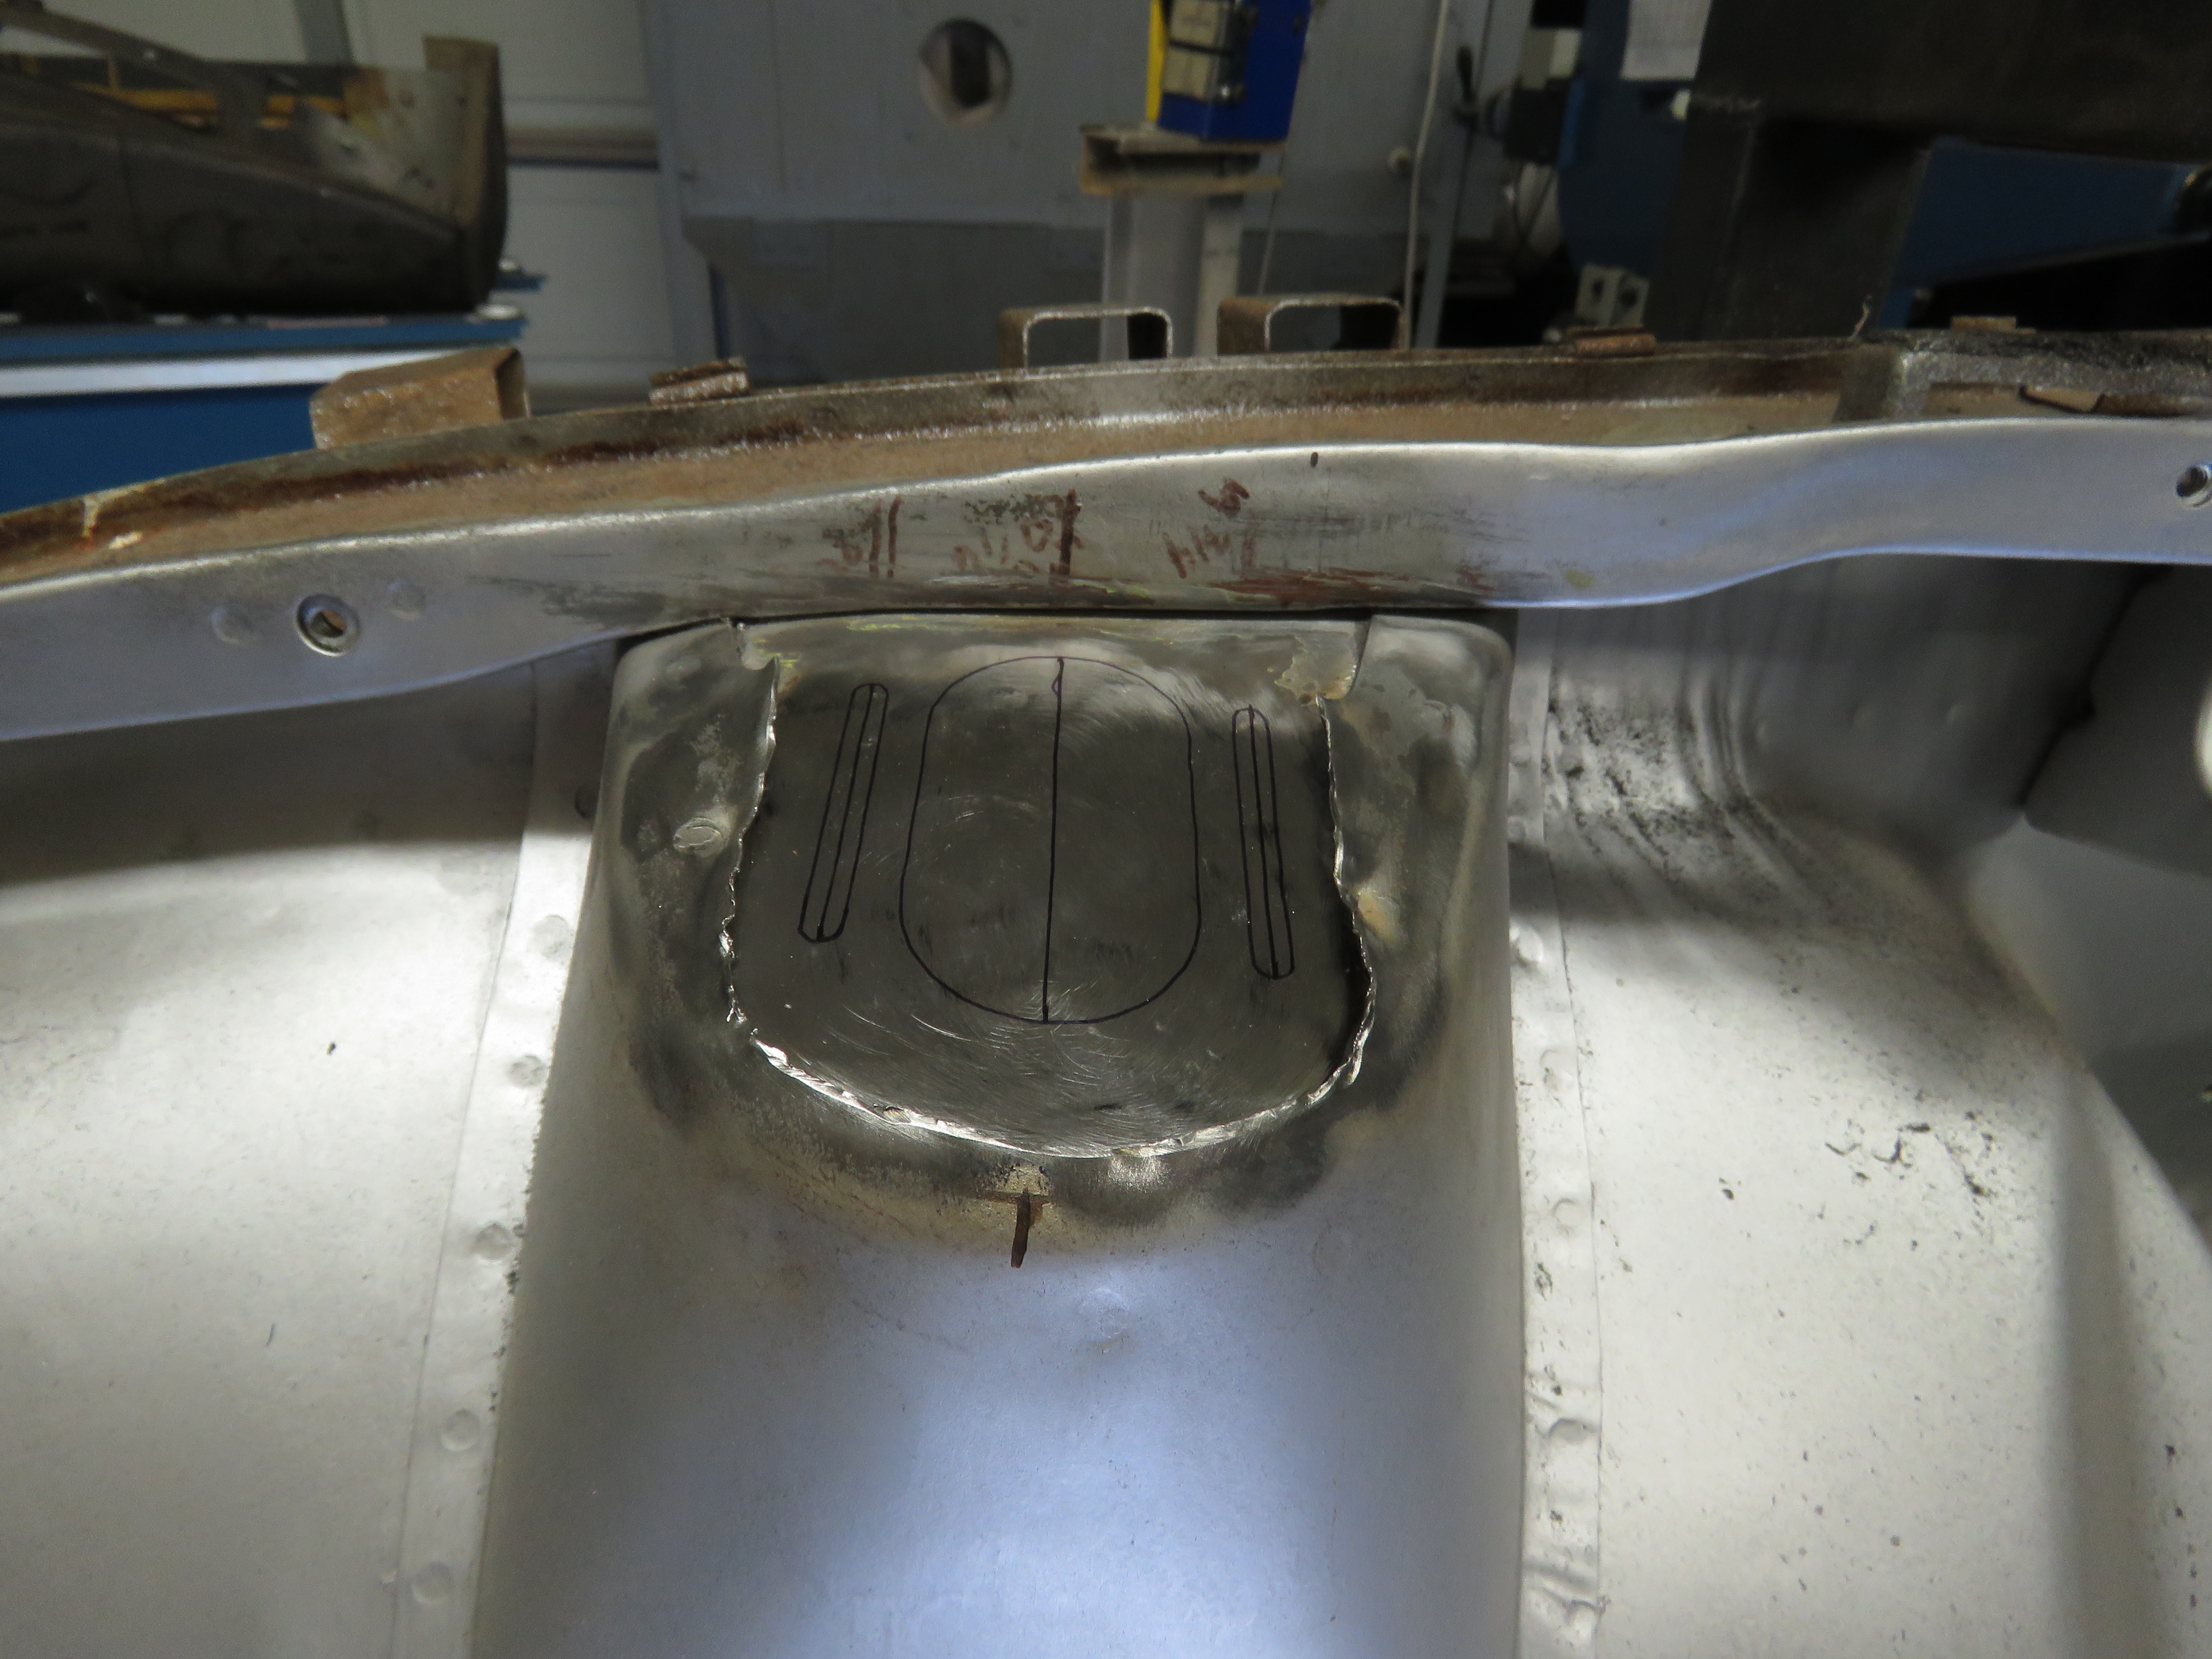
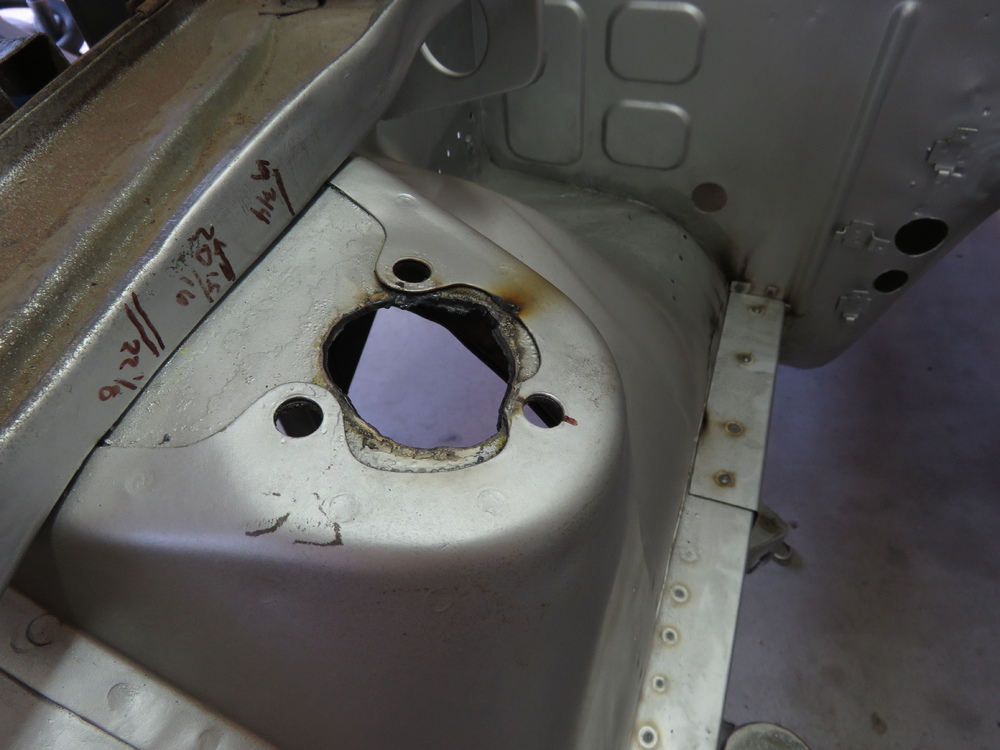
While i'm working on a big, new, exciting project (I'll post about it in a few weeks or months i guess) the bodyshop keeps me updated and has some nice progress on the rear end 1) The top of the rear lower hatch Panel have been remodeled out of sheetmetal and looks absolutely stunning. Raw naked steel. I have the NOS top panel which will be added, once everything is completed. a closer look at the craftsmanship: The lock mount and upper panel mounts have been removed, sandblasted and welded back into position. the red colour is just temporary rust protection primer: On the new rear quarter panel the rear corner piece has been removed (for easier installation): And been spotwelded into the correct position: My bodyshop told me he h as some spare time at the moment and i guess there will be much progress over the next few weeks1 point
-
1 pointI struggled with this issue and will tell you what worked for me. As my car was to be restored to completely stock, OEM, NOS weatherstripping and welting needed to fit correctly. If you do a search for "door weatherstip", there is a large amount of discussion archived. Two things that worked for me were, first loosen the door latches to the point where the door would latch just short of slamming it closed. Next, liberally apply a vinyl and rubber dressing such as Armorall almost to the point of soaking. It helps if these tasks are done in warm weather. Leave the doors in this loosened comdition for several weeks until you notice the doors begin to close more easily as the weatherstrip takes a set. From there, progressively Adjust the latches with continued liberal use of the armorall until the doors close normally. This may take a couple more adjustment. my doors now "thunk" like a Porsche. Good luck.1 point
-
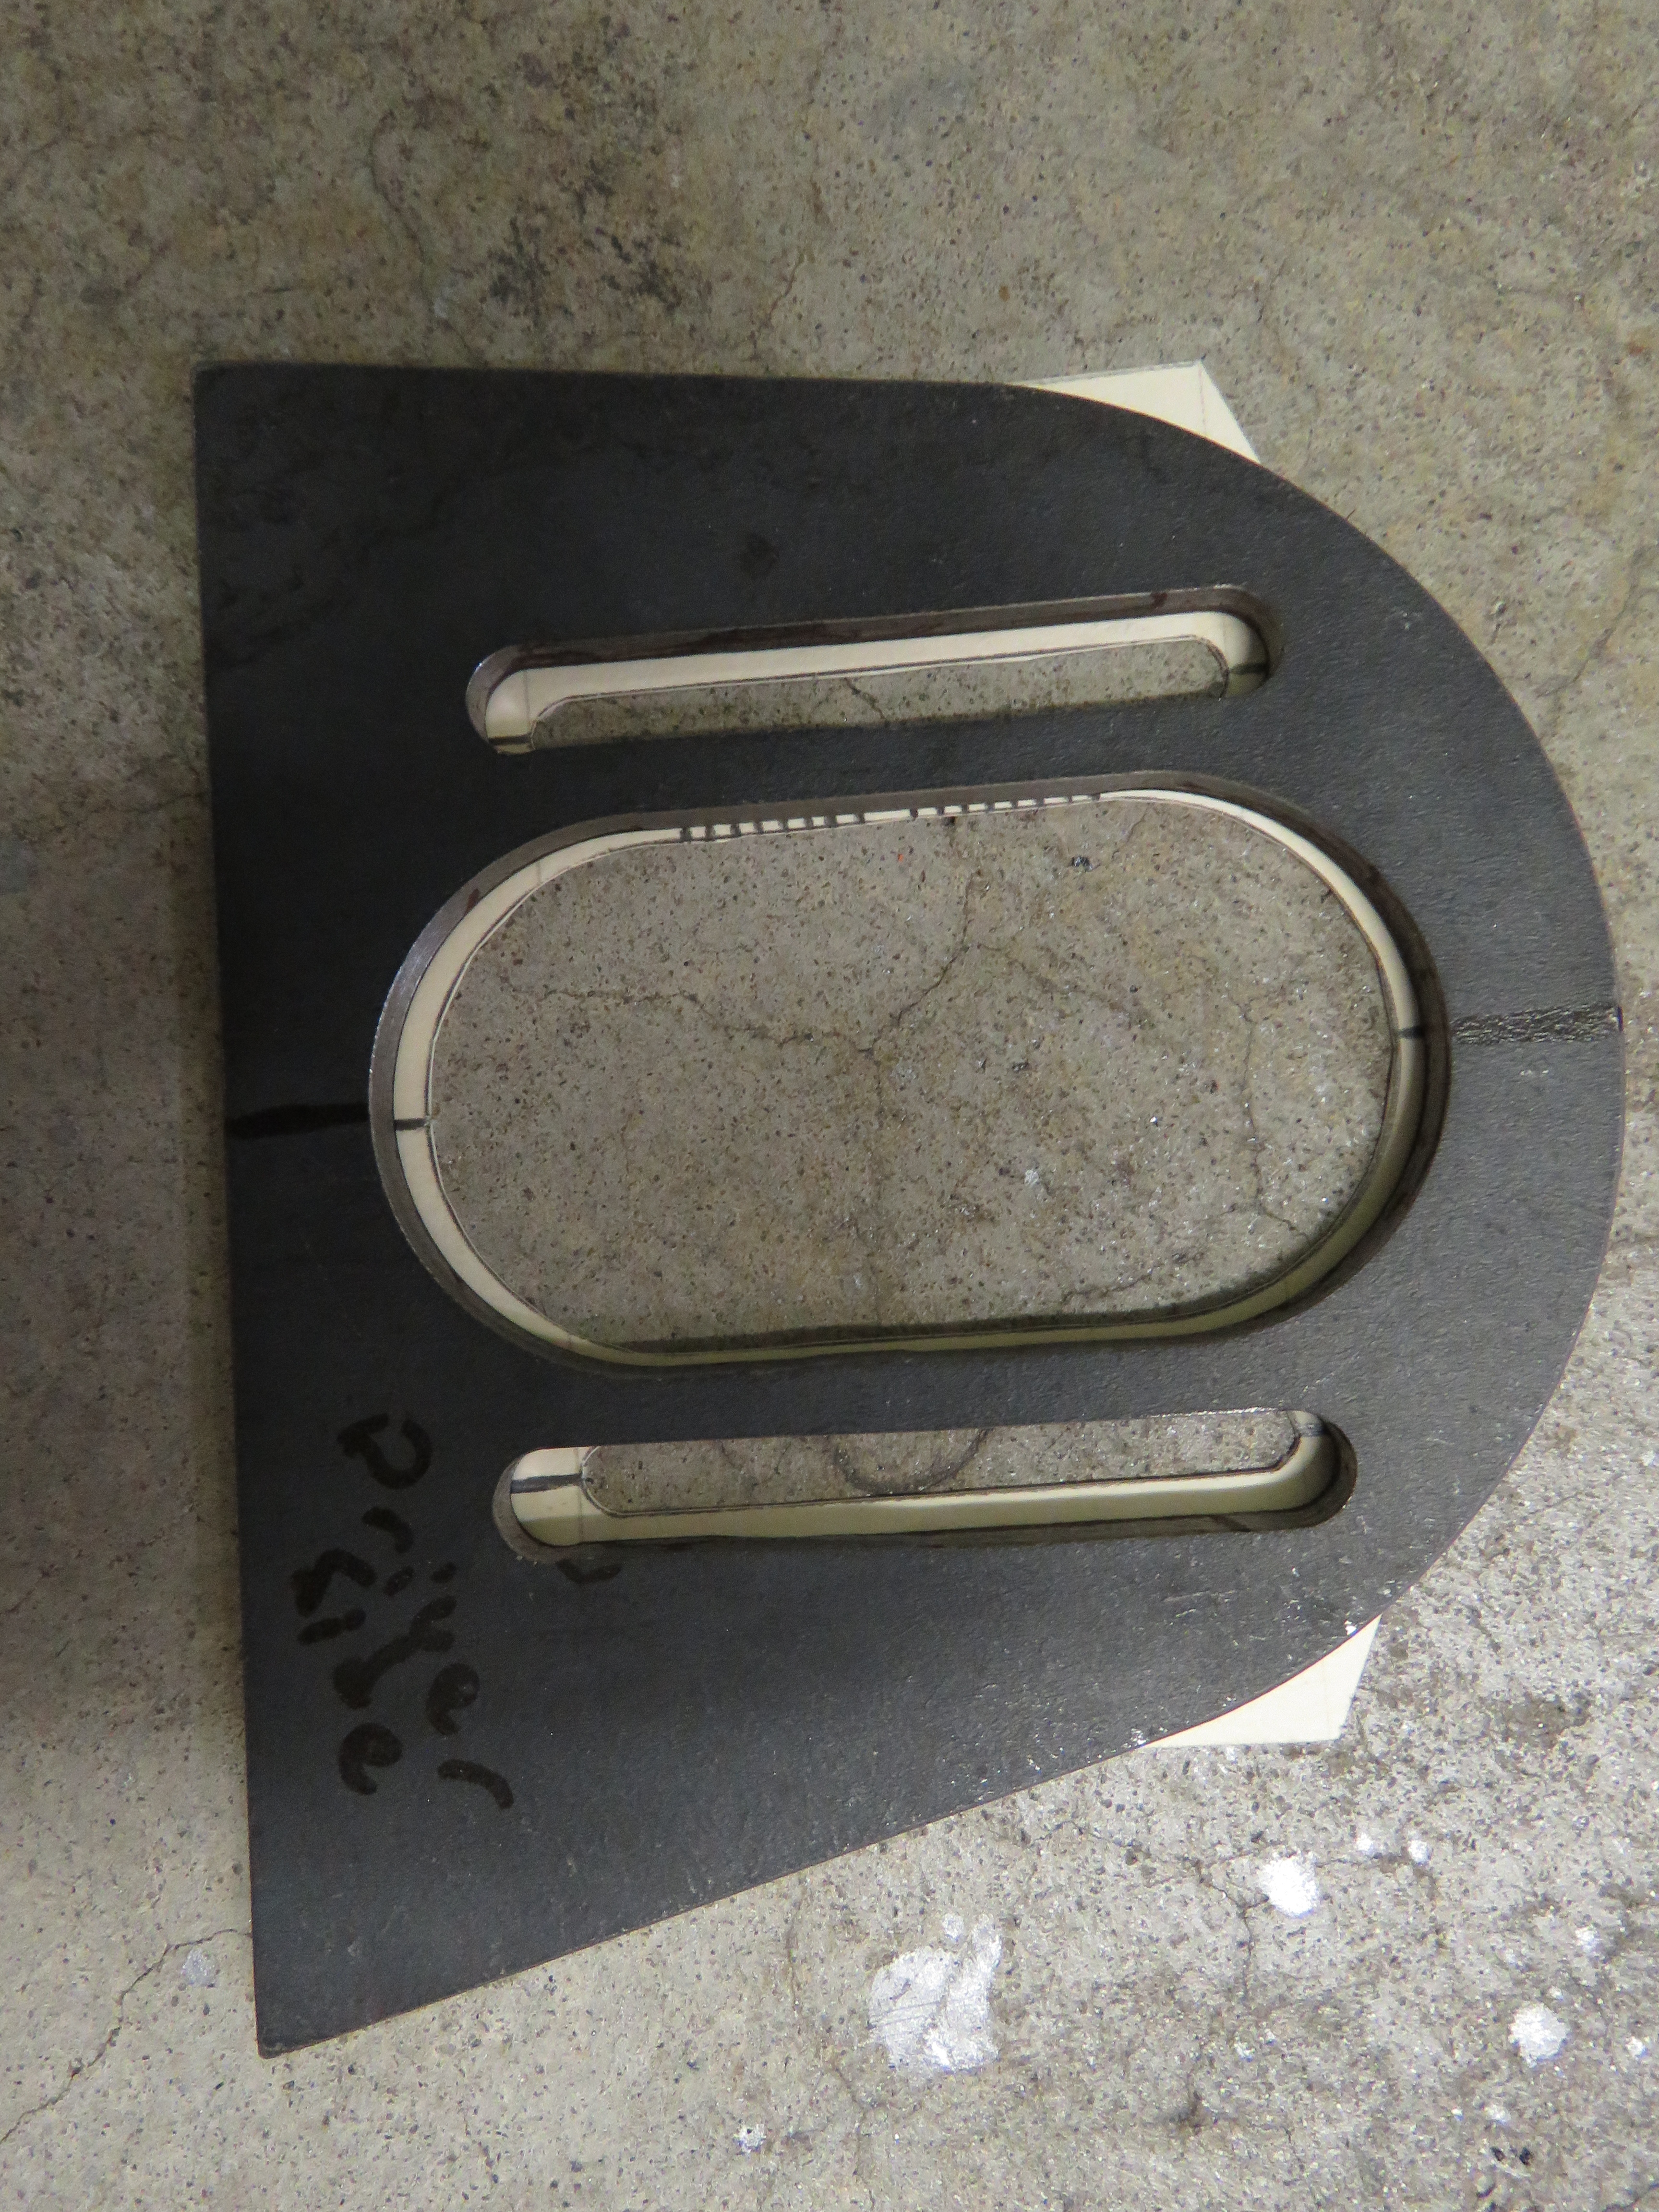
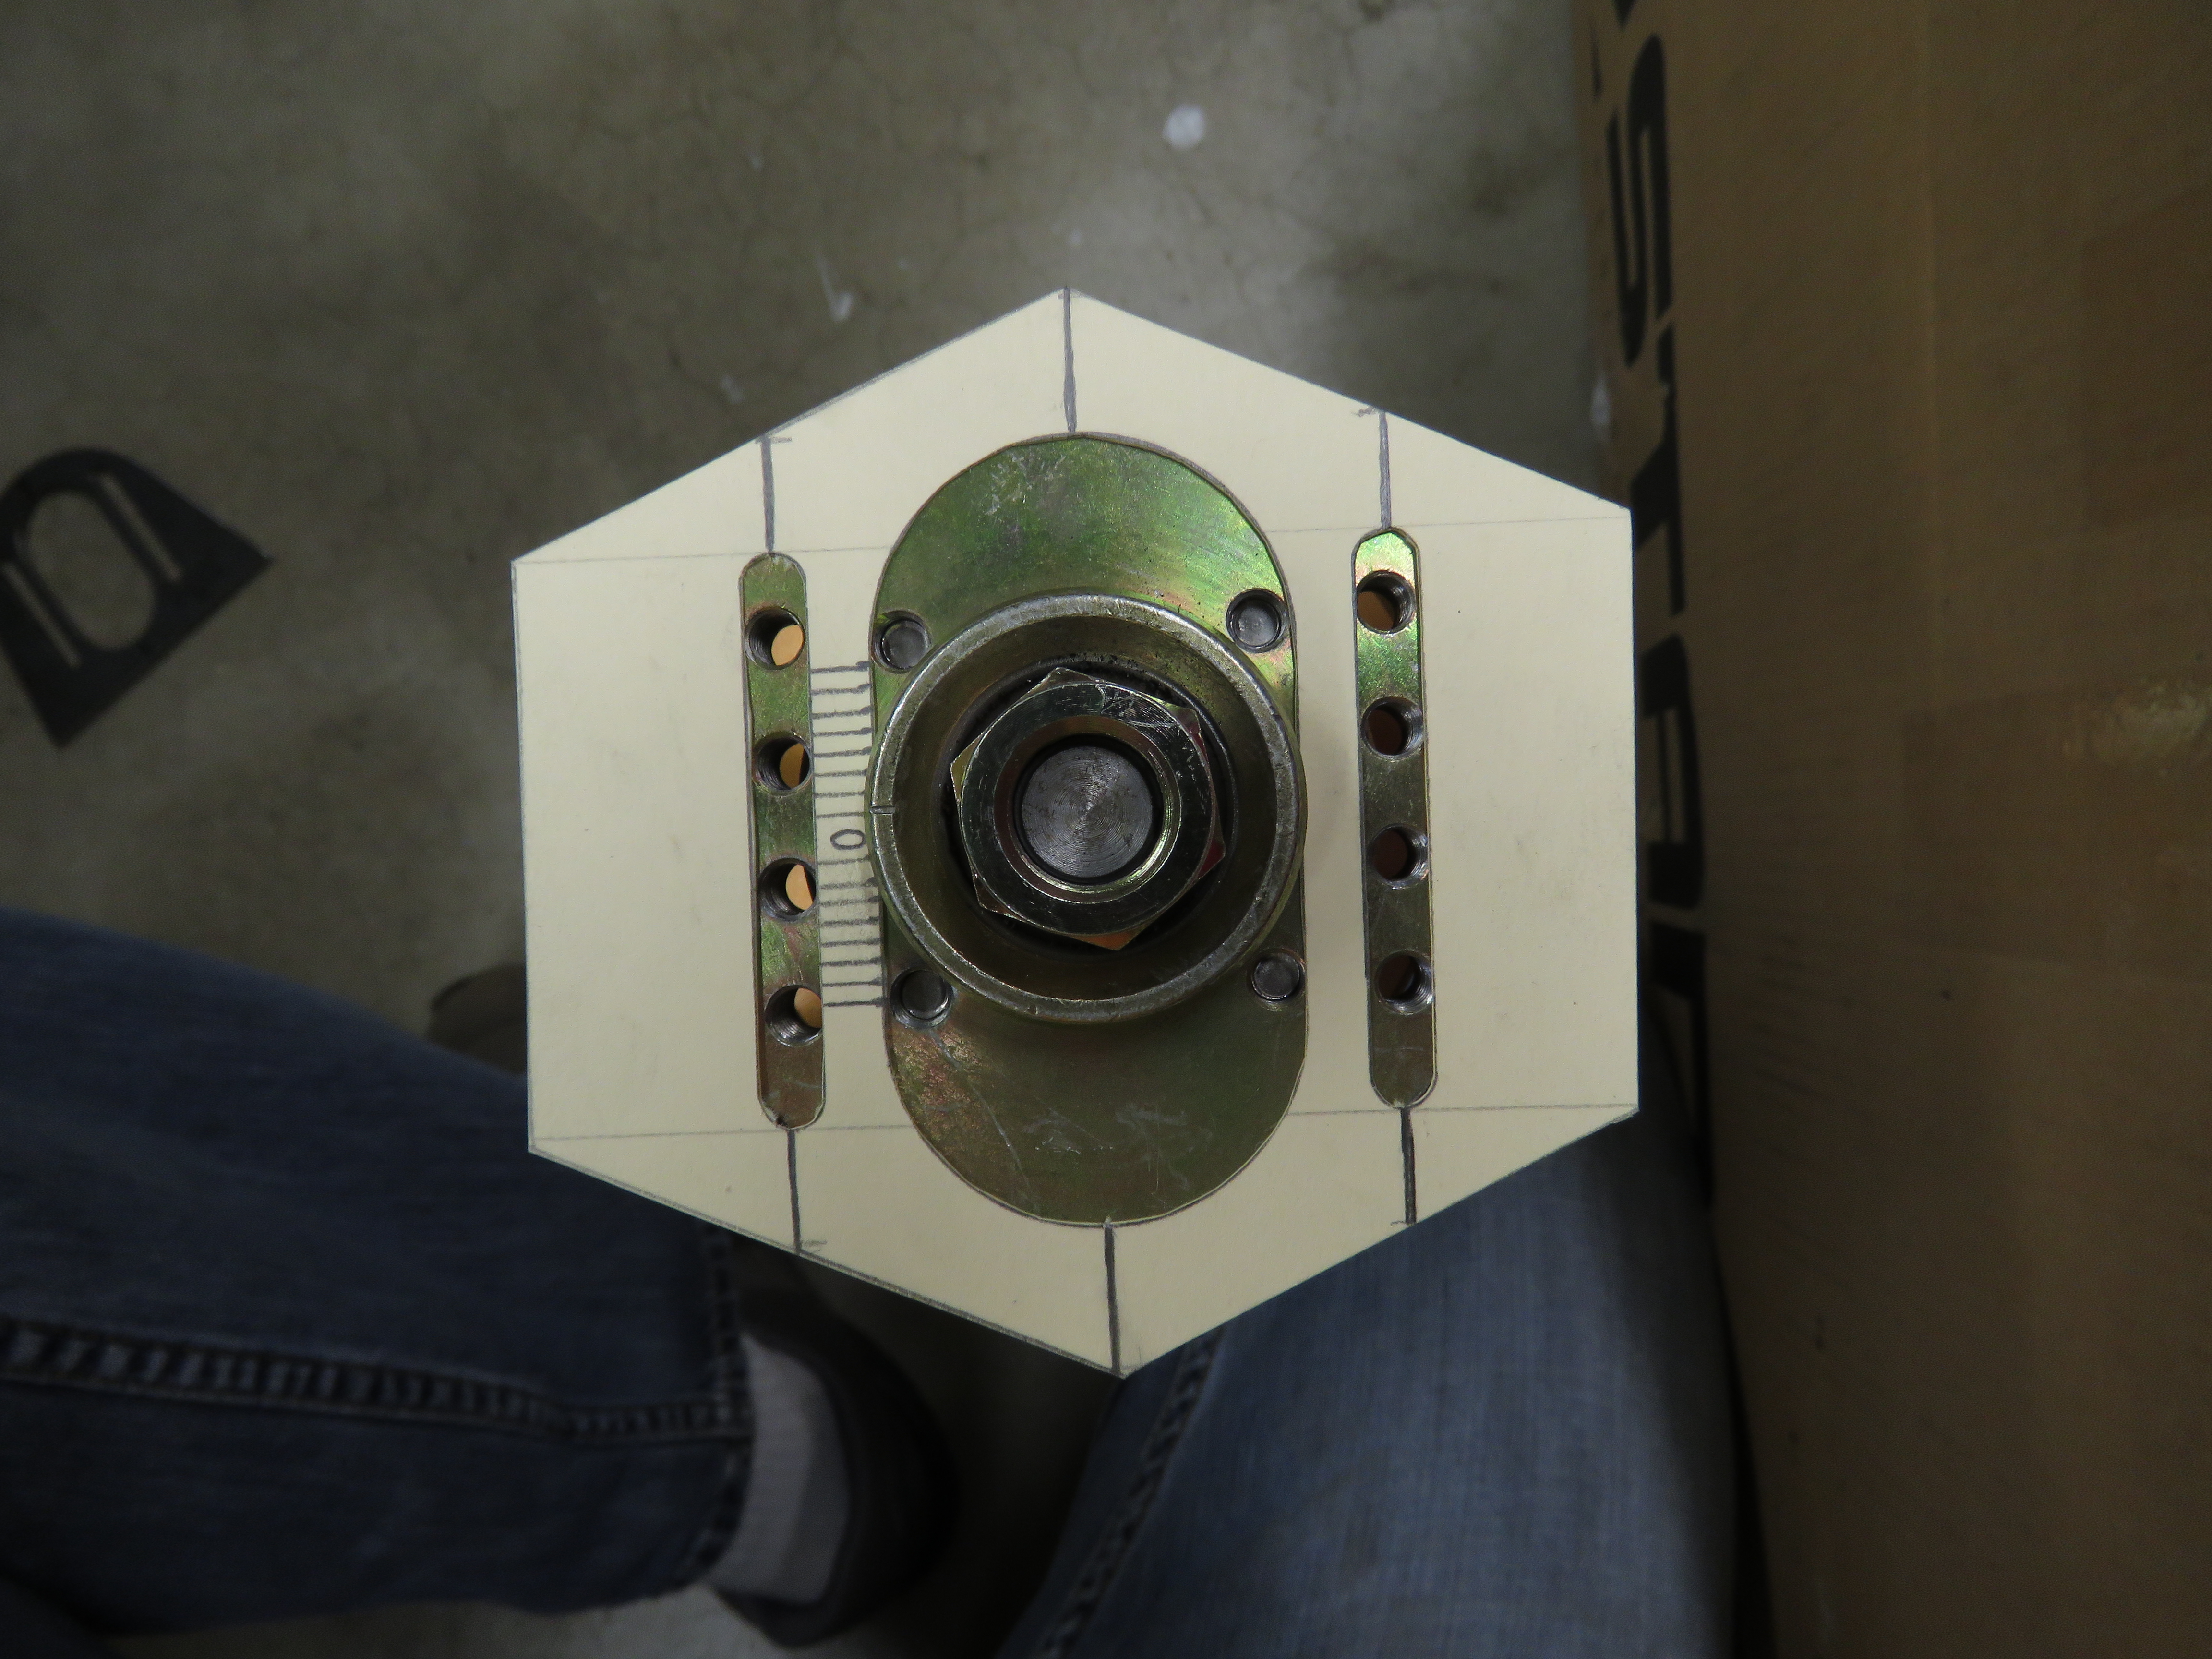
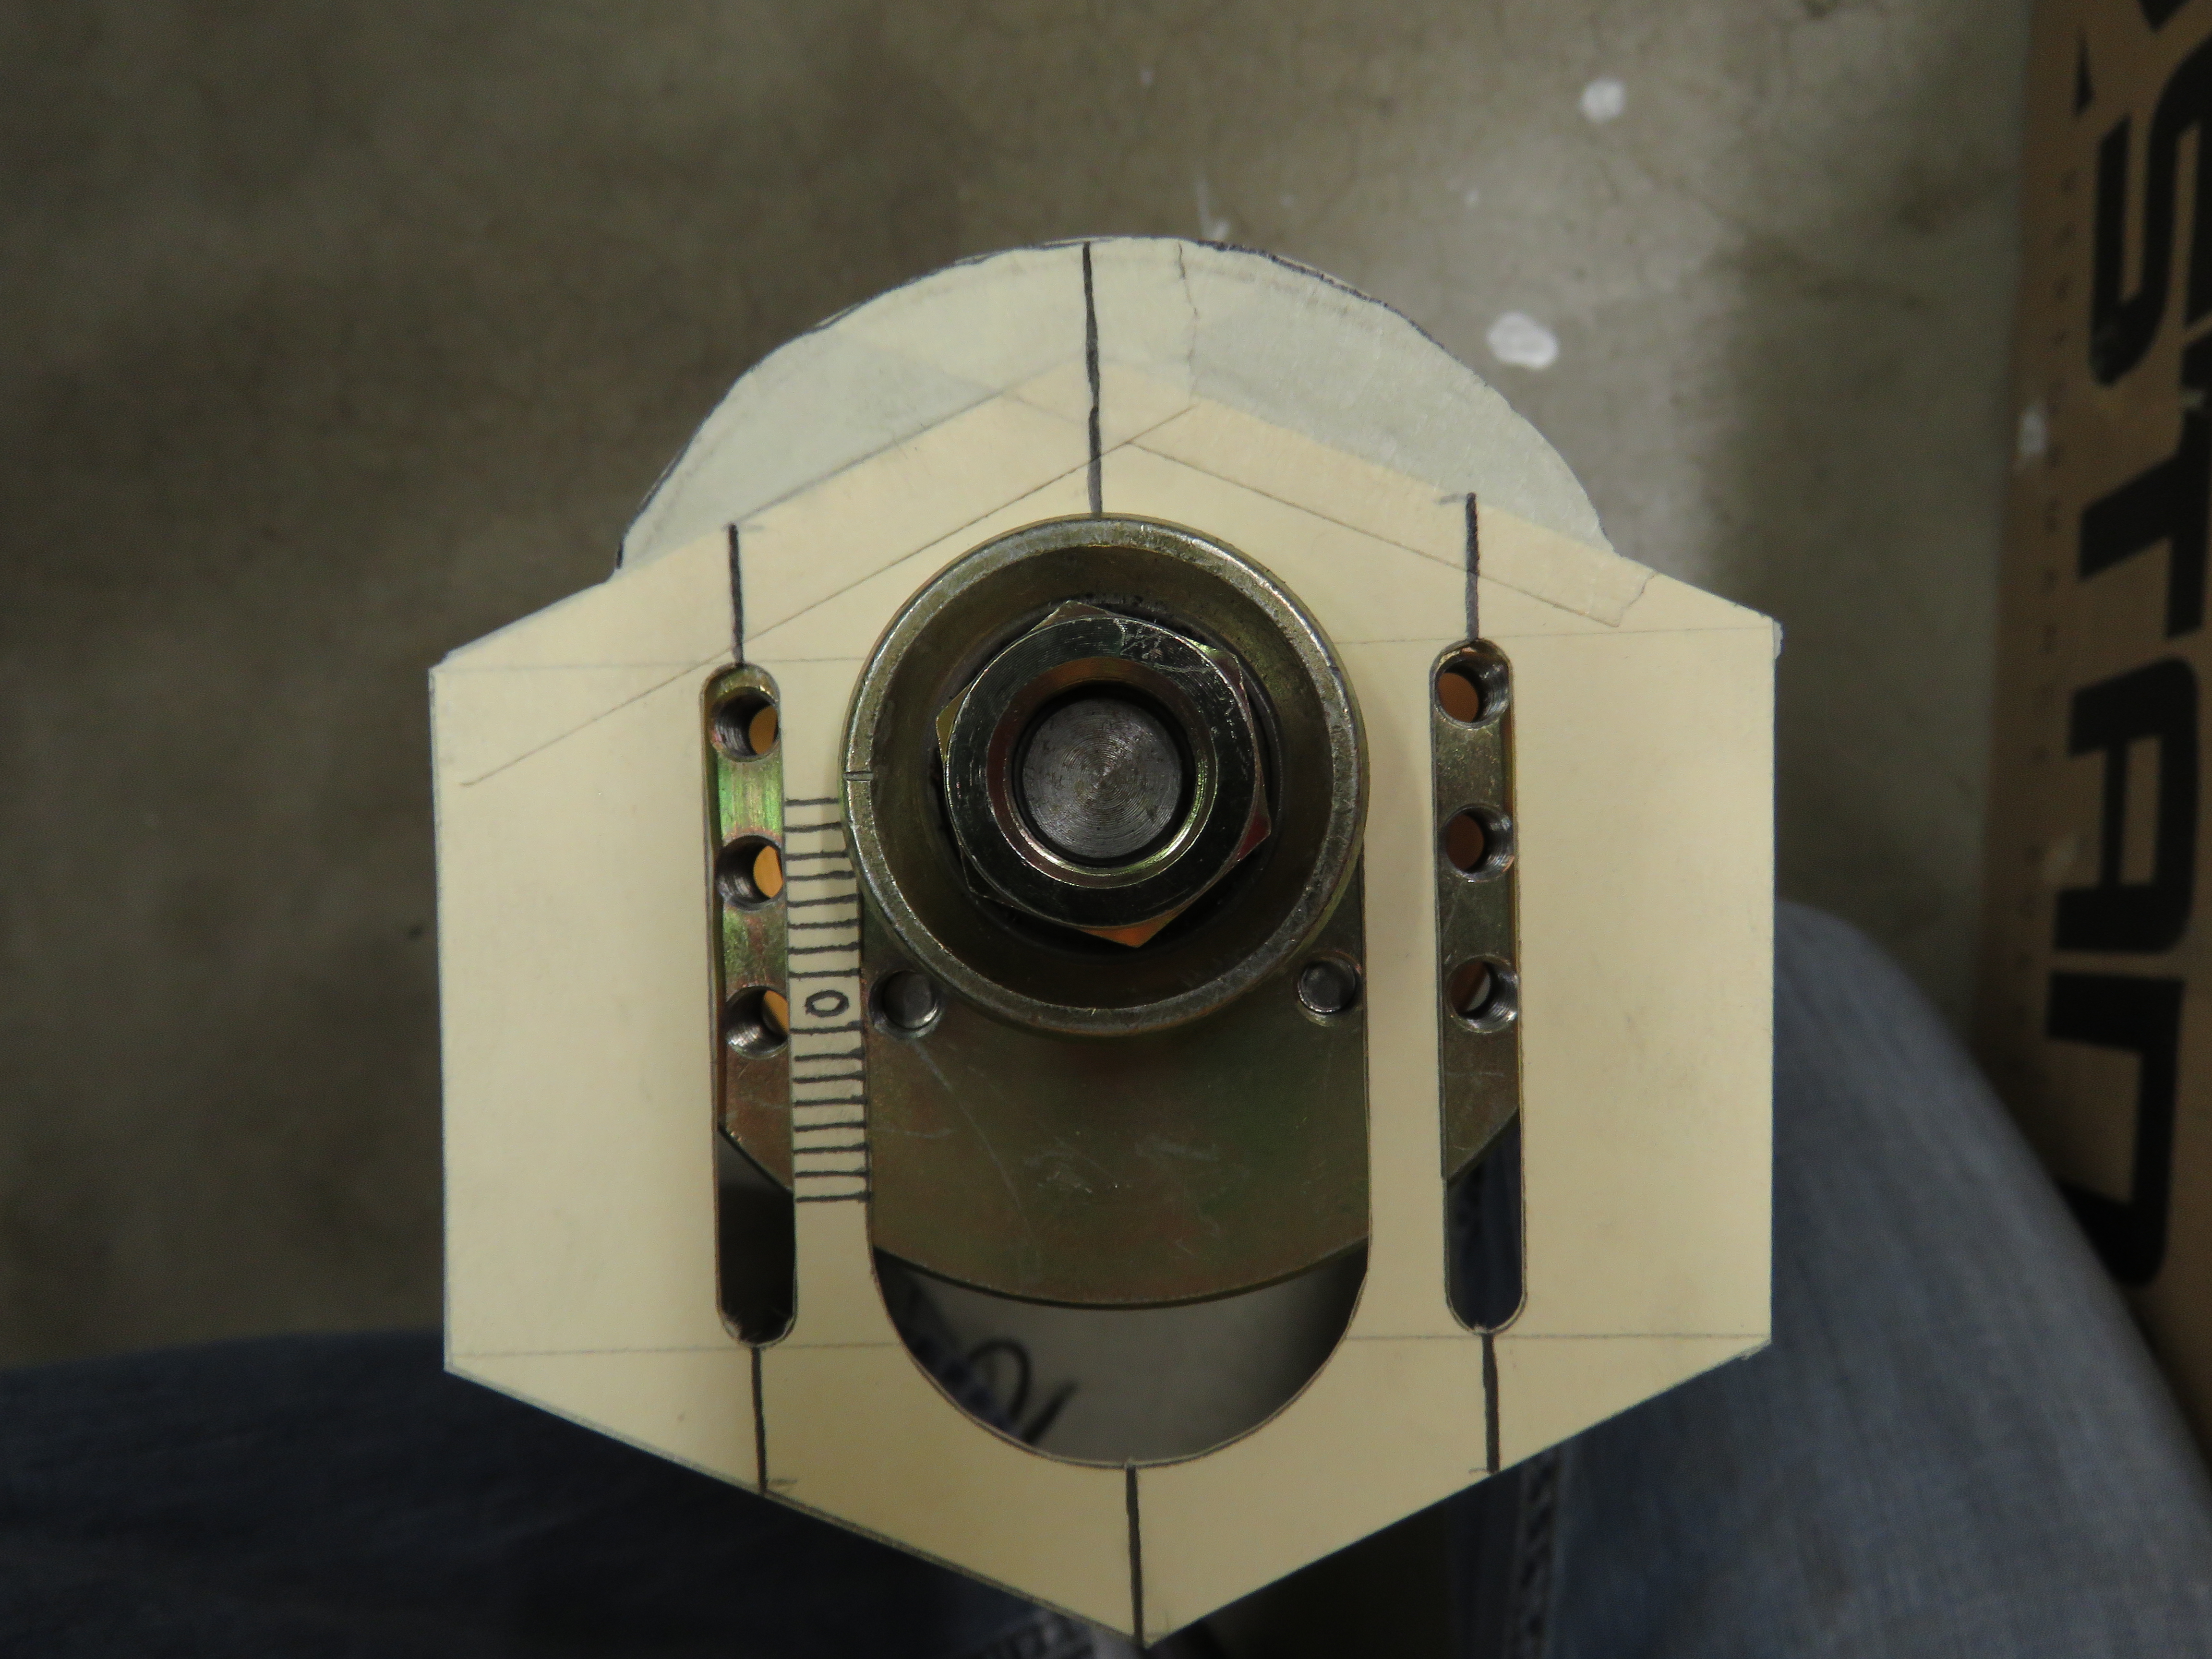
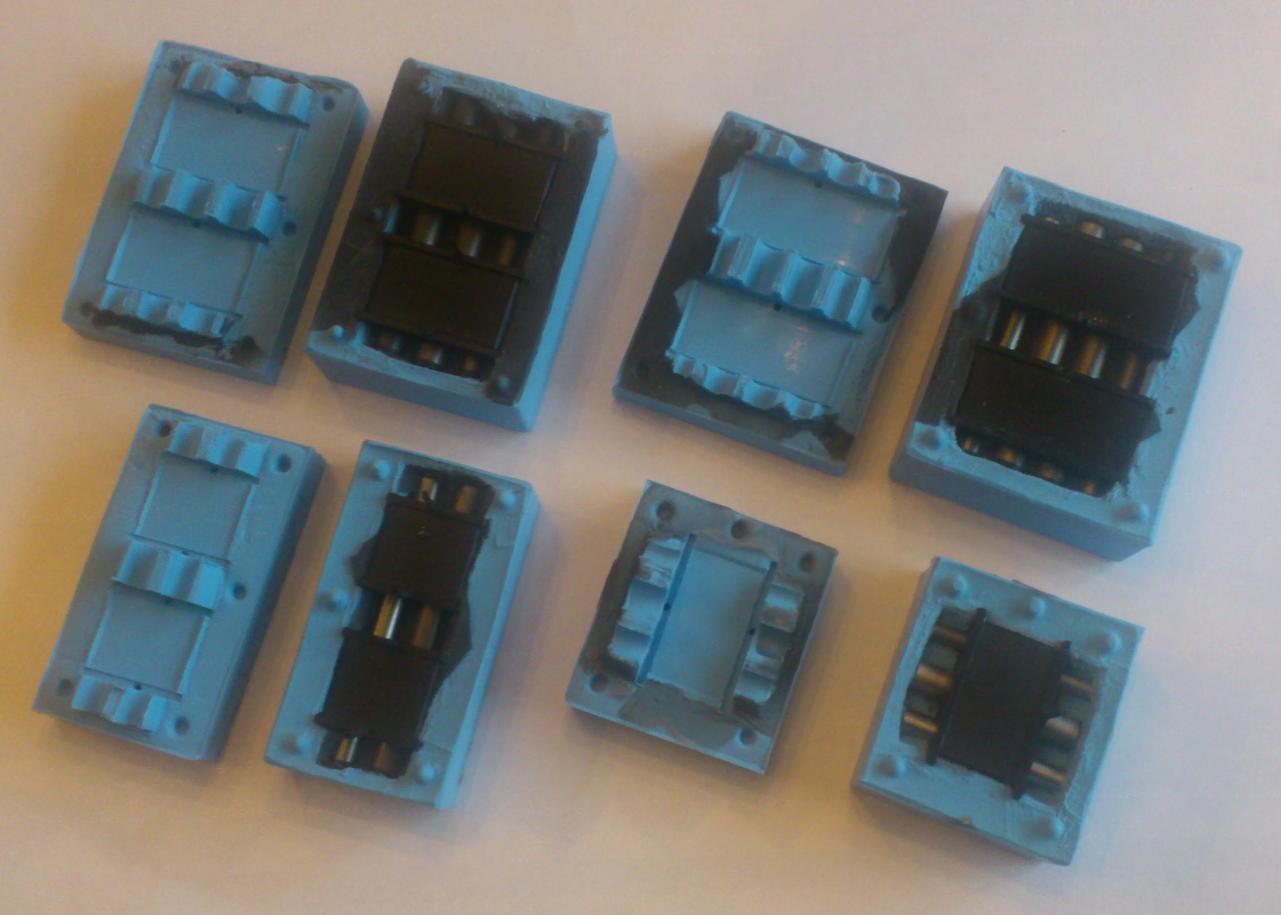
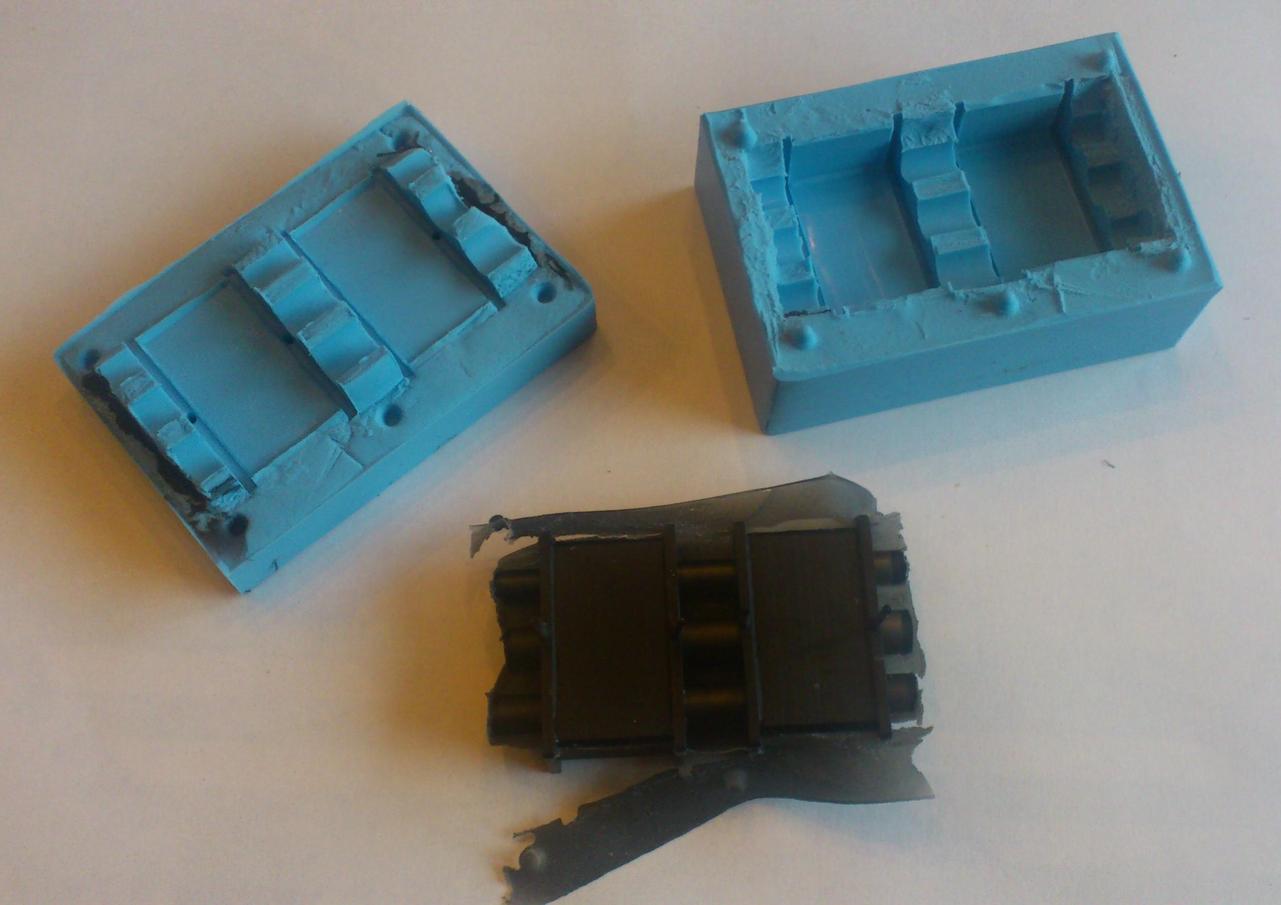
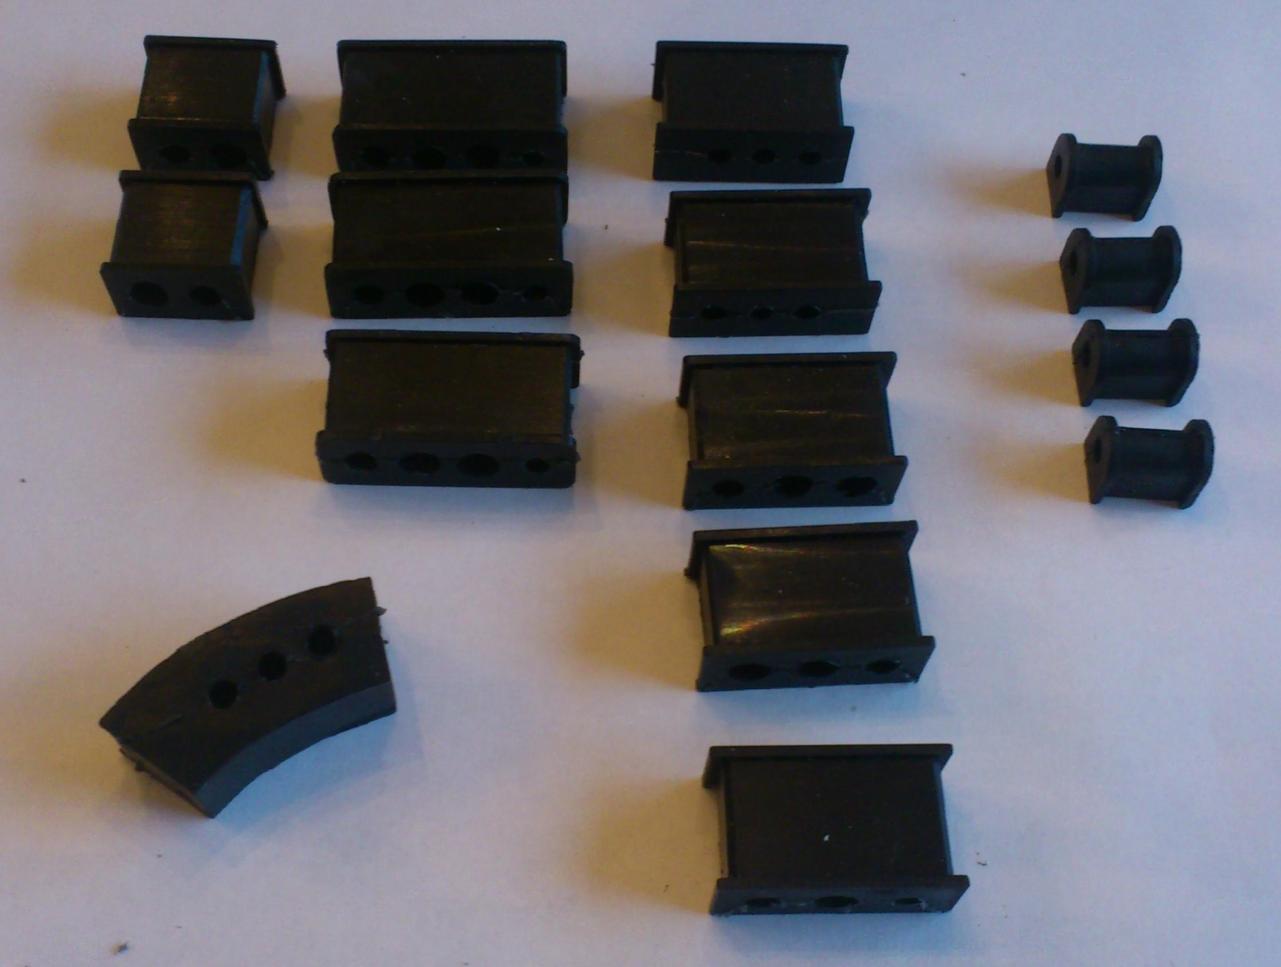
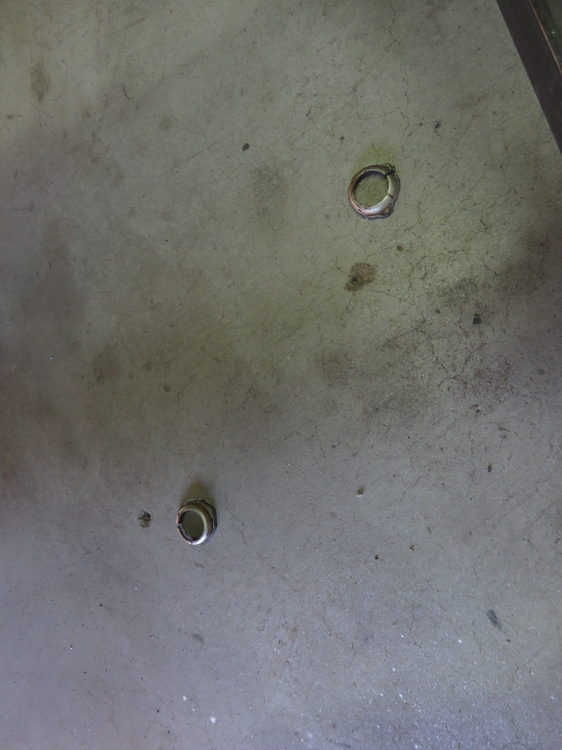
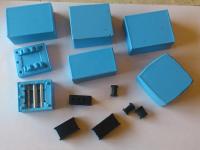
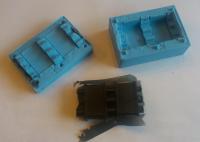
1 pointIts been a while, but finnally had some time to play with the insulators. This is the first run, but the first results still look promising. I made some photo's during demoulding and after a quick clean. Now to cure them and see how they fit. Chas

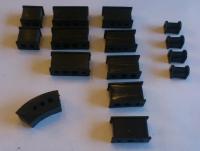 1 point