Leaderboard
.JPG.cfcada9cf1c1b502df3f5f2f2ca3ff36.JPG)


Popular Content
Showing content with the highest reputation on 10/29/2016 in Posts
-
I would grind the metal smooth on both parts. Next find the center of the four hold on metal latch,center pinch holes,drill thru the four holes that were previously welded with 1/8 in drill first then with a 1/4 or 5/16 hole in latch piece only. Next match latch piece to previous welded location with clamp . Use mig welding machine with .024 or .030 wire with triple mix inert gas and plug weld. Practice on a piece of scrap metal at a hot setting to insure o good hot sound weld. If you don't weld then go to a different welder who will guarantee his or her work .total time to weld only should only take about 15 minutes. Ray Sent from my iPad using Classic Zcar Club1 point
-
Agree with Mark on this easy-to-do-and-reversible experiment. That said, I continue to believe that the evidence points to the cause of the problem being heat conducted into the fuel in the delivery/return lines by way of the fuel rail assy's mounting straps (which, don't forget, connect to the cylinder head -- arguably the second-hottest piece of metal under the hood). The problem certainly doesn't seem to be convectional heat transfer caused by hot underhood air temps. If that were the case, the factory 'fix' of adding insulation along the steel lines should have cured the issue (and it apparently didn't). I don't think that the success of Jeff's strategy of replacing the OE steel with rubber hose comes from the better insulation qualities of the rubber walls against convectional heat transfer from the air. Instead, I think it succeeded because either the rubber hose or Jeff's hose mounting scheme -- or a combination of the two factors -- provided a better barrier against heat being conducted from hot engine parts into the fuel in the lines. BTW, I find it interesting the the E-Type Jag's (fitted with triple SU's and probably generating equally-high underhood temps) didn't seem to suffer from fuel starvation problems -- even though they were notorious for high coolant temps and overheating. Anybody know how the E-Jag's fuel lines are mounted? So, JAlex: In the absence of a bulletproof technical diagnosis (we still don't have one, after 8 pages of input), you're just going to have to experiment in a methodical way until you/we find either the cause or a solution (preferably both). Try Mark's suggestion and see what happens. Then report back to us here with your findings. Until you do that, you're just going to get more conjecture (mine included) about possible causes and possible cures. Note that there is no over-the-counter 'kit' that you can buy to follow Mark's suggestion, so don't ask us for parts numbers or suppliers' names. Here's what I would do. Buy a couple of lengths of automotive-spec fuel line (1/4" for the supply hose, 3/16" for the return hose -- buy 'traditional' low-pressure rather than 'EFI' high-pressure hose). Also buy a length of 1/2"-width steel 'strapping' (plumbing supply shop -- comes in a roll). Use the existing steel fuel lines to provide mounting points for the new hoses. Use automotive hose clamps (screw-type) to mount the hoses to the steel lines. You'll need T-fittings to split the delivery hose into two paths (one for the front, one for the rear carb). Same goes for the return hose. Be tidy with the hose mountings and routings. Keep the hoses away from moving parts (like the fan and the throttle linkage) and off of hot parts (like the exhaust manifold). Be sure that the clamps at the fuel pump, carburetor, and 'T' connections are tight. Be sure that the new hoses won't snag the throttle linkage. Once you've got your new 'experimental' fuel hose set-up in place, post a few pictures here so the members can warn you if you've done anything wrong. If you get the 'all clear', the next step will be starting the engine and doing final checks before you try it out on the road. IMPORTANT: If you are in any way concerned about your ability to do this type of work safely and successfully on your own, do not attempt it. Instead, get a licensed mechanic to do it for you.1 point
-
You're lunch... of course it depends on how many walkers you have to plow through before you can gain some speed.1 point
-
Your question brings up more questions. Which four plug wires do you disconnect? Four cylinders in a row or two, skip one, then two more? As for escaping or becoming lunch, how fast and far can you run if your spark plug wire equalizer wasn't a wise decision? Dennis1 point
-
Ran 5 gallons through mine today without any problems/noises whatsoever. I think I can close the book on this one and drive it without worry. Thanks for everybody's help.1 point
-
1 pointCouple pictures from Williams show that one of my friends took.

 1 point
 -
Hey Mark! I'm only living for a bit over half a yearn near Stuttgart, am originally from the lake of constance in the very south of Germany!:) Thank you!:) Hey racer47201! Wow, sehr gut dafür dass es schon so lange her ist!:O (Wow, very good regarding it was that long ago!) Thank you!:) Hey Charles! That's actually great advice! Did not even think about it back then! Was my first engine removal ever!;) Have to change this bushing soon anyway, the gear lever is very sloppy! But are the 280ZX rotors working with any plug & play conversion? Maybe in the back? If not I would rather go the 300ZX rotor/ later model Toyota 4x4 caliper route:). I already have a km/h faceplate!:) Sean from Zstory in France makes them, he distributes them to the Zcardepot as well!;) Will look into the dash repair thread, but everything DIY I know so far is new expanding foam, filler smooth it, paint it. Leading to new cracks pretty soon. Another DIY method Romas from DWc in Lithuania uses is the step mentiond before, then drill holes all over the dash, fibreglass resin, fibreglass a whole sheet over the dash, then again filler smooting and painting. less prone to cracks. If I find a company like justdashes.com in Germany/Europe who utilizes the "thermo-vacuum-forming-process" I'd also love to go with that, but no luck so far! Hey Captain Obvious! Great name!:D Already got a new faceplate, see above. Thank you anyway!:) Hey Bart! Keep in mind that all progress I'm posting right now is from the last months from April onwards! But my hope and plan is to get her running, through the German TÜV with all it's mods and back on the road early 2017. April would be amazing! Let's see if that's going to work out!:) Plan is though just barebones! So almost no interior expect dash, steering, seats and rear cage, and possibly with just the old wiring harness with some mods. Once on the street I'll tackle a complete new wiring harness and all the other loose ends!:) So you're from the Netherlands? Are you in the Datsun Europe Group in Facebook?:) I guess you mean Tim with his orange Z!:) We're in eager contact along our builds!:) Okay, as promised two more posts from the blog, I will now be away until Monday evening, then there will be more posts!:) Sound deadening removal and some bits and bobs With the help of dry ice pellets I was able to remove a bunch of the sound deadening. Didn’t work as great as hoped though! Had 2x 6,5kg, should had opted for the 30kg package, which would have cost me the same in the long run. You always learn! That’s what I started with: The magic is happening!:) Always looks cool! And what I was left with after the second attempt. Will use the heat gun method for the rest! As a tip for someone who's going to attempt it themselves in the future: pile the dry ice and isopropyl alcohol mixture/paste on the transmission tunnle as a big iceberg first, the vertical surfaces are the toughest and the dry ice will find its way onto the floor pan area anyway! Along the days before I removed some other bits and pieces, like this snakey mess of a wiring harness!:) Also wanted to share the exhaust setup I had, looks pretty cool with the stacked pipes, but it definitely has seen better days! Will be replaced with the beautiful stainless steel full race system from Zstory, also with stacked pipes at the end! Thanks to Sean ahead of time!:) If anyone knows anything about the exhaust, and if it's something special and still worth something, even though the mufflers are shot and there's one rust hole in one pipe, let me know!:) And whilst we’re at it, my whole set of trim pieces are for sale! The end pieces for the long and middle pieces are here as well, one is missing though, has never been on the car as I purchased her! (As always, Europe only!:) ) 280Z Visitation I got a special visitation on Friday (way back!;) )! Alex was on a road trip from Ireland to Romania with his fiancee to marry her there, and had a short stay at my place!:) All the best to you guys!:) Okay, that's it for the next days, I'll be writing again next Monday! A great weekend to you all already!:) All the best Fabian1 point
-
1 pointIn defense of wives, I'll share this story - She drives a 2013 Fiat 500, which had warped rotors. I started on the passenger side, and on the caliper there is what looked like a retaining spring for the outboard pad, but the spring didn't actually touch the pad at all. I took it off anyway, thinking it would be easy to reinstall. I was wrong. It took at least 20 minutes to put that spring back in, so when I moved to the drivers side, I knew not to take that spring off. The brakes went on just fine until it came time to install the outboard pad. It just wouldn't seat. I couldn't get that pad to sit right. I spent at least an hour trying to compress the caliper more, and generally hating my life. The wife came out, and asked how it was going. I told her, and she stuck her head under the wheel well, where I can't fit, and said "you have to take that metal thing off...it sticks out the other side". Sure enough, the spring isn't a spring at all - it locates the pad. Genius design. At any rate, spring off, pad in, and 20 minutes of putting the spring in. So wives CAN help, especially if you are an idiot.1 point
-
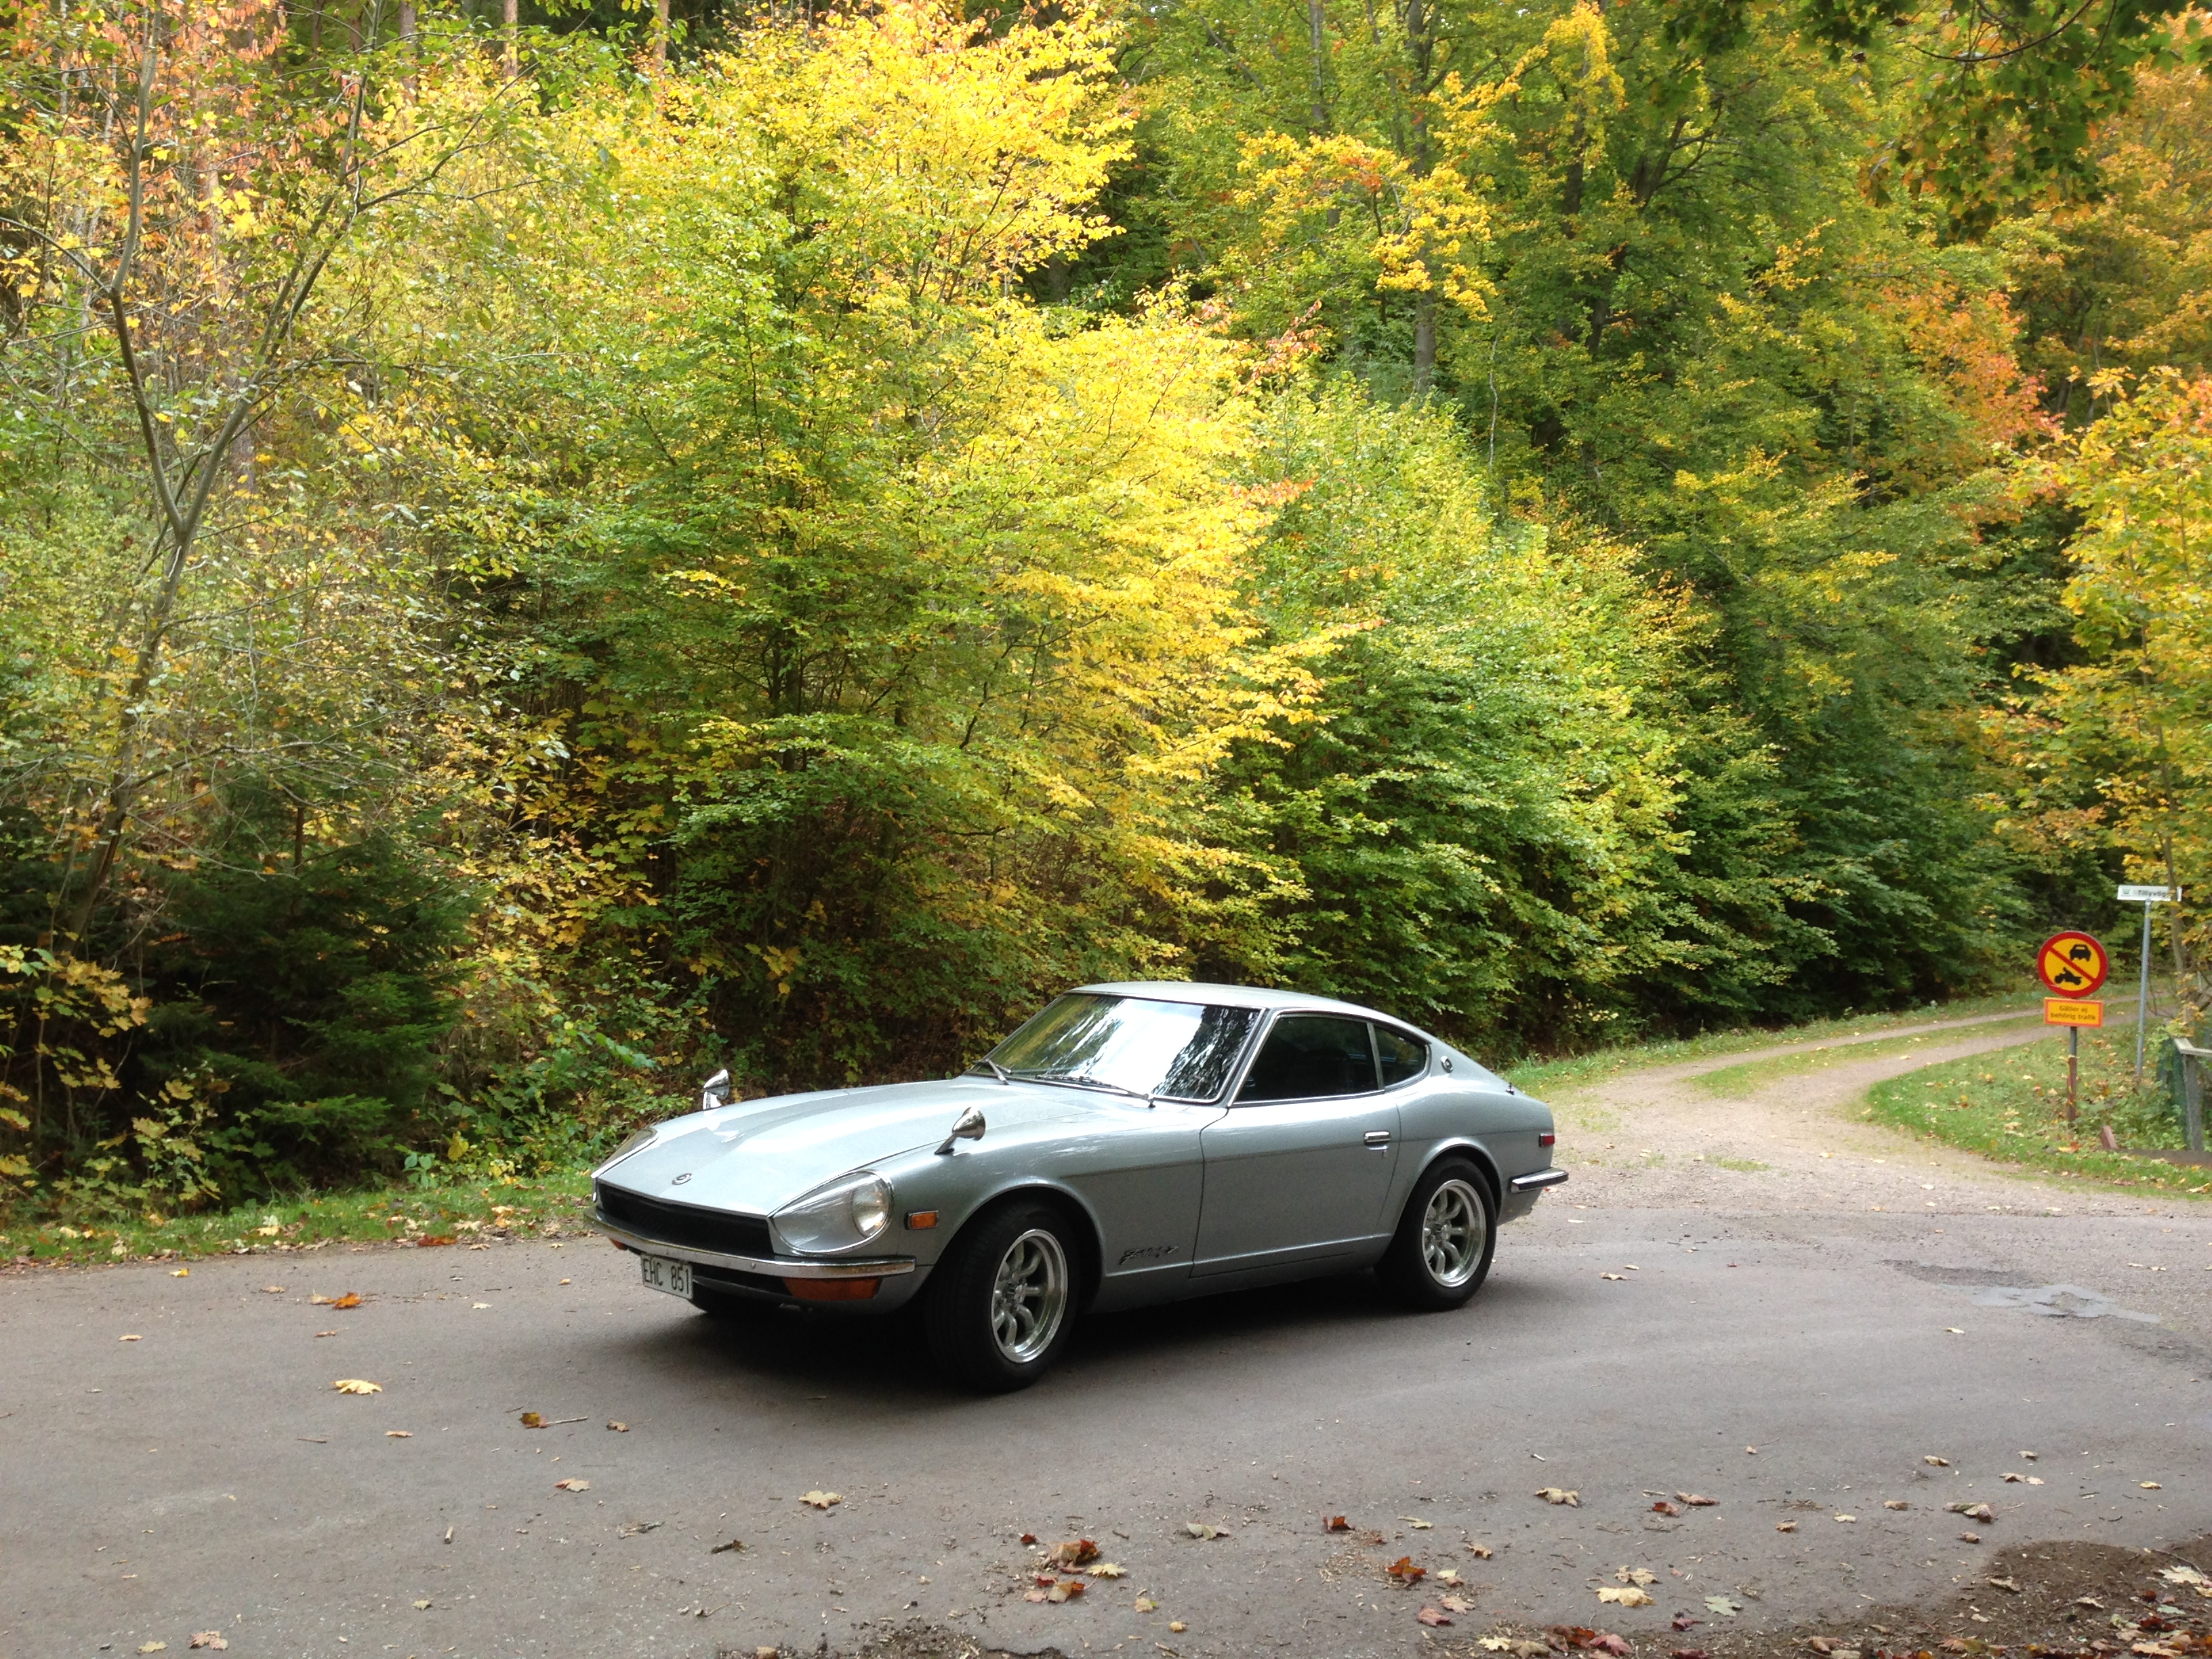
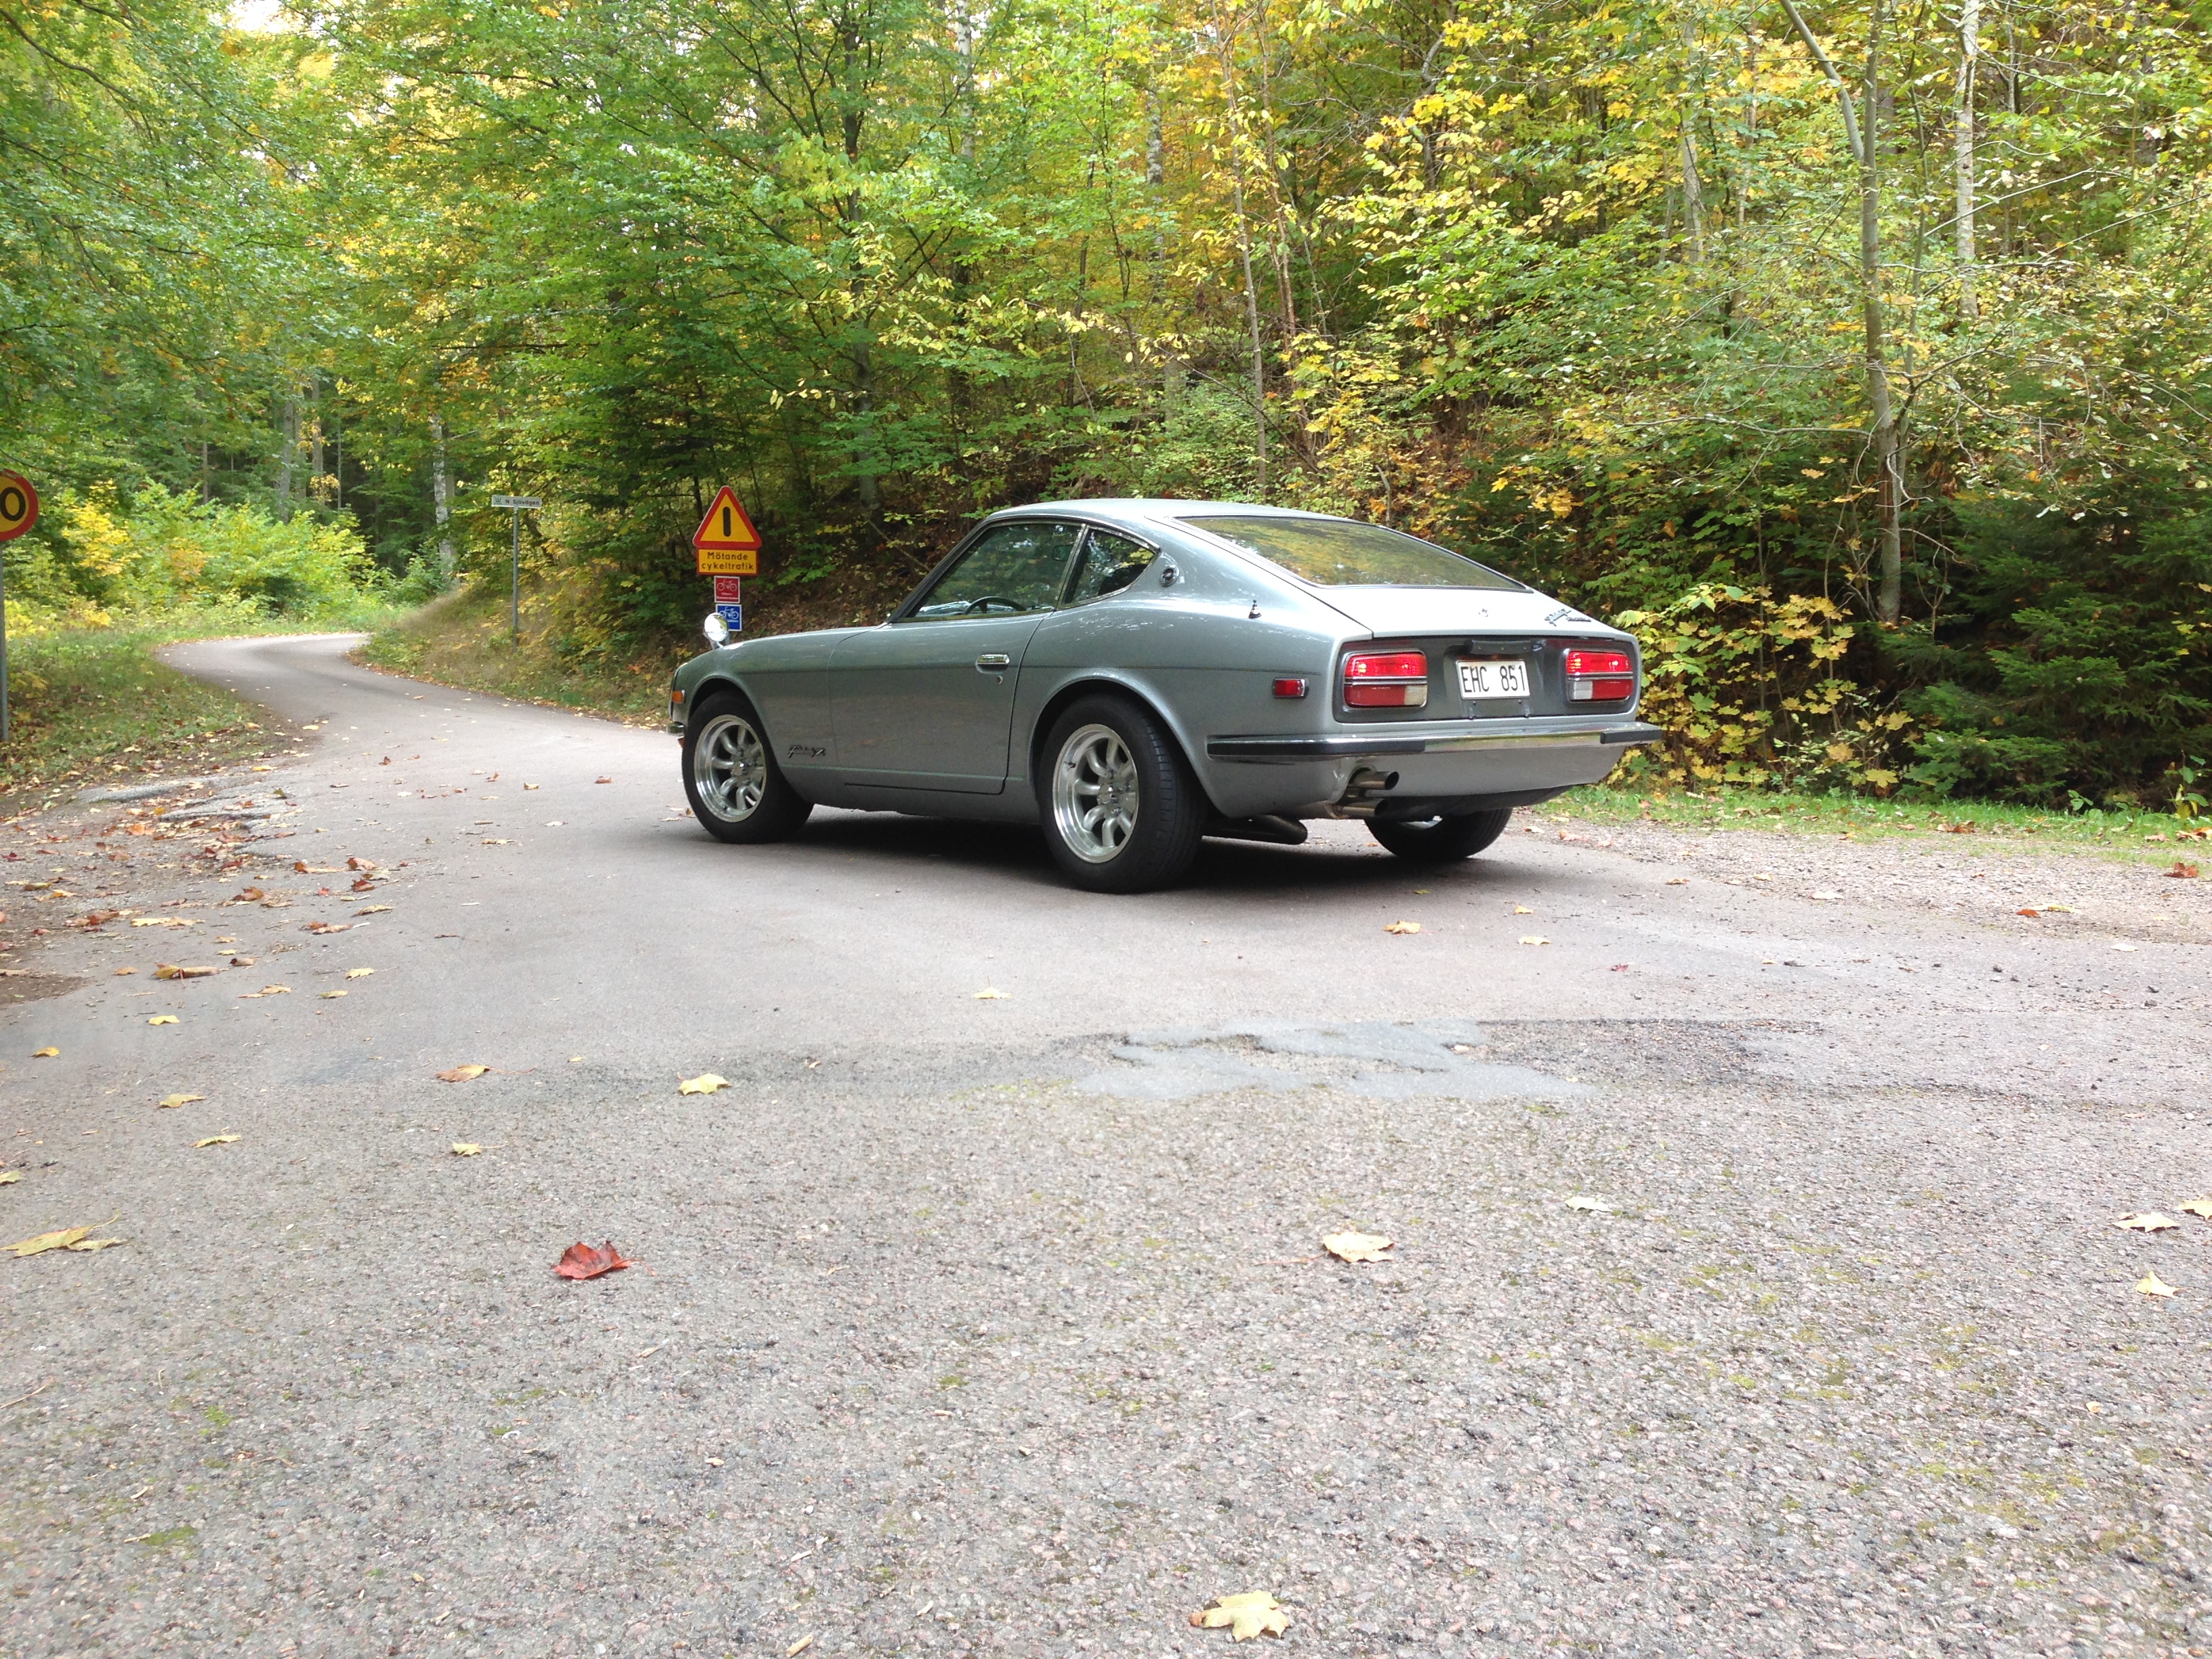
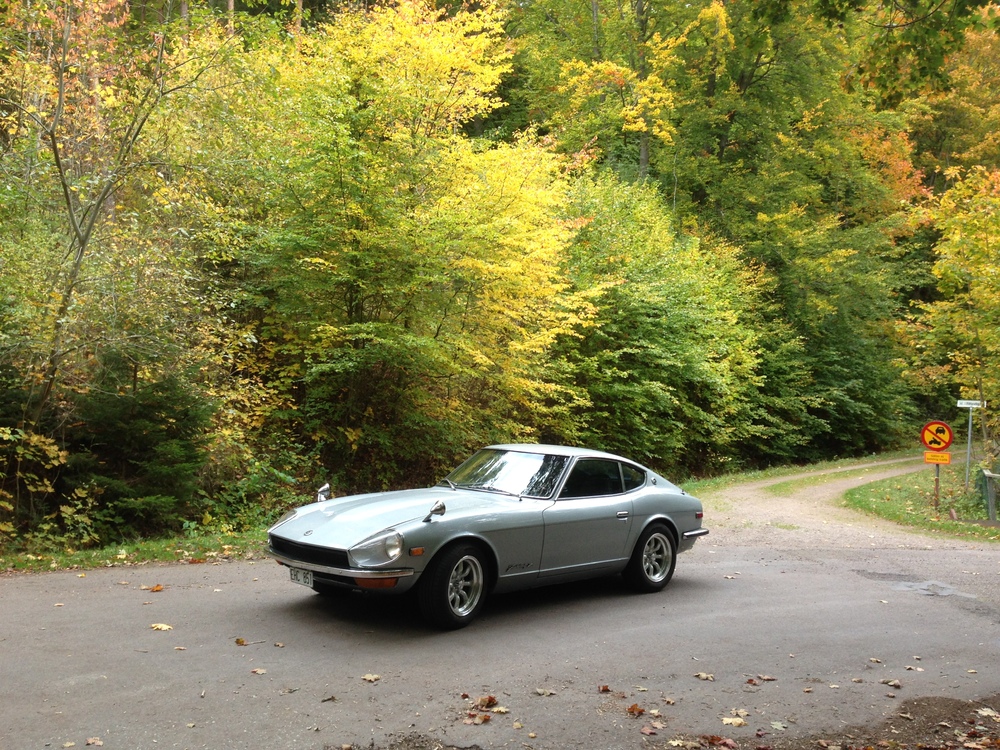
Short trip...leafs are falling and soon the snow too : (
 1 point
 -
Thank you, Guy. It is the same car. I've put some sweat equity into it over the last few years. I think the 240Z bumpers help it out a lot! Those are the stainless steel bumpers from Vietnam.1 point
-
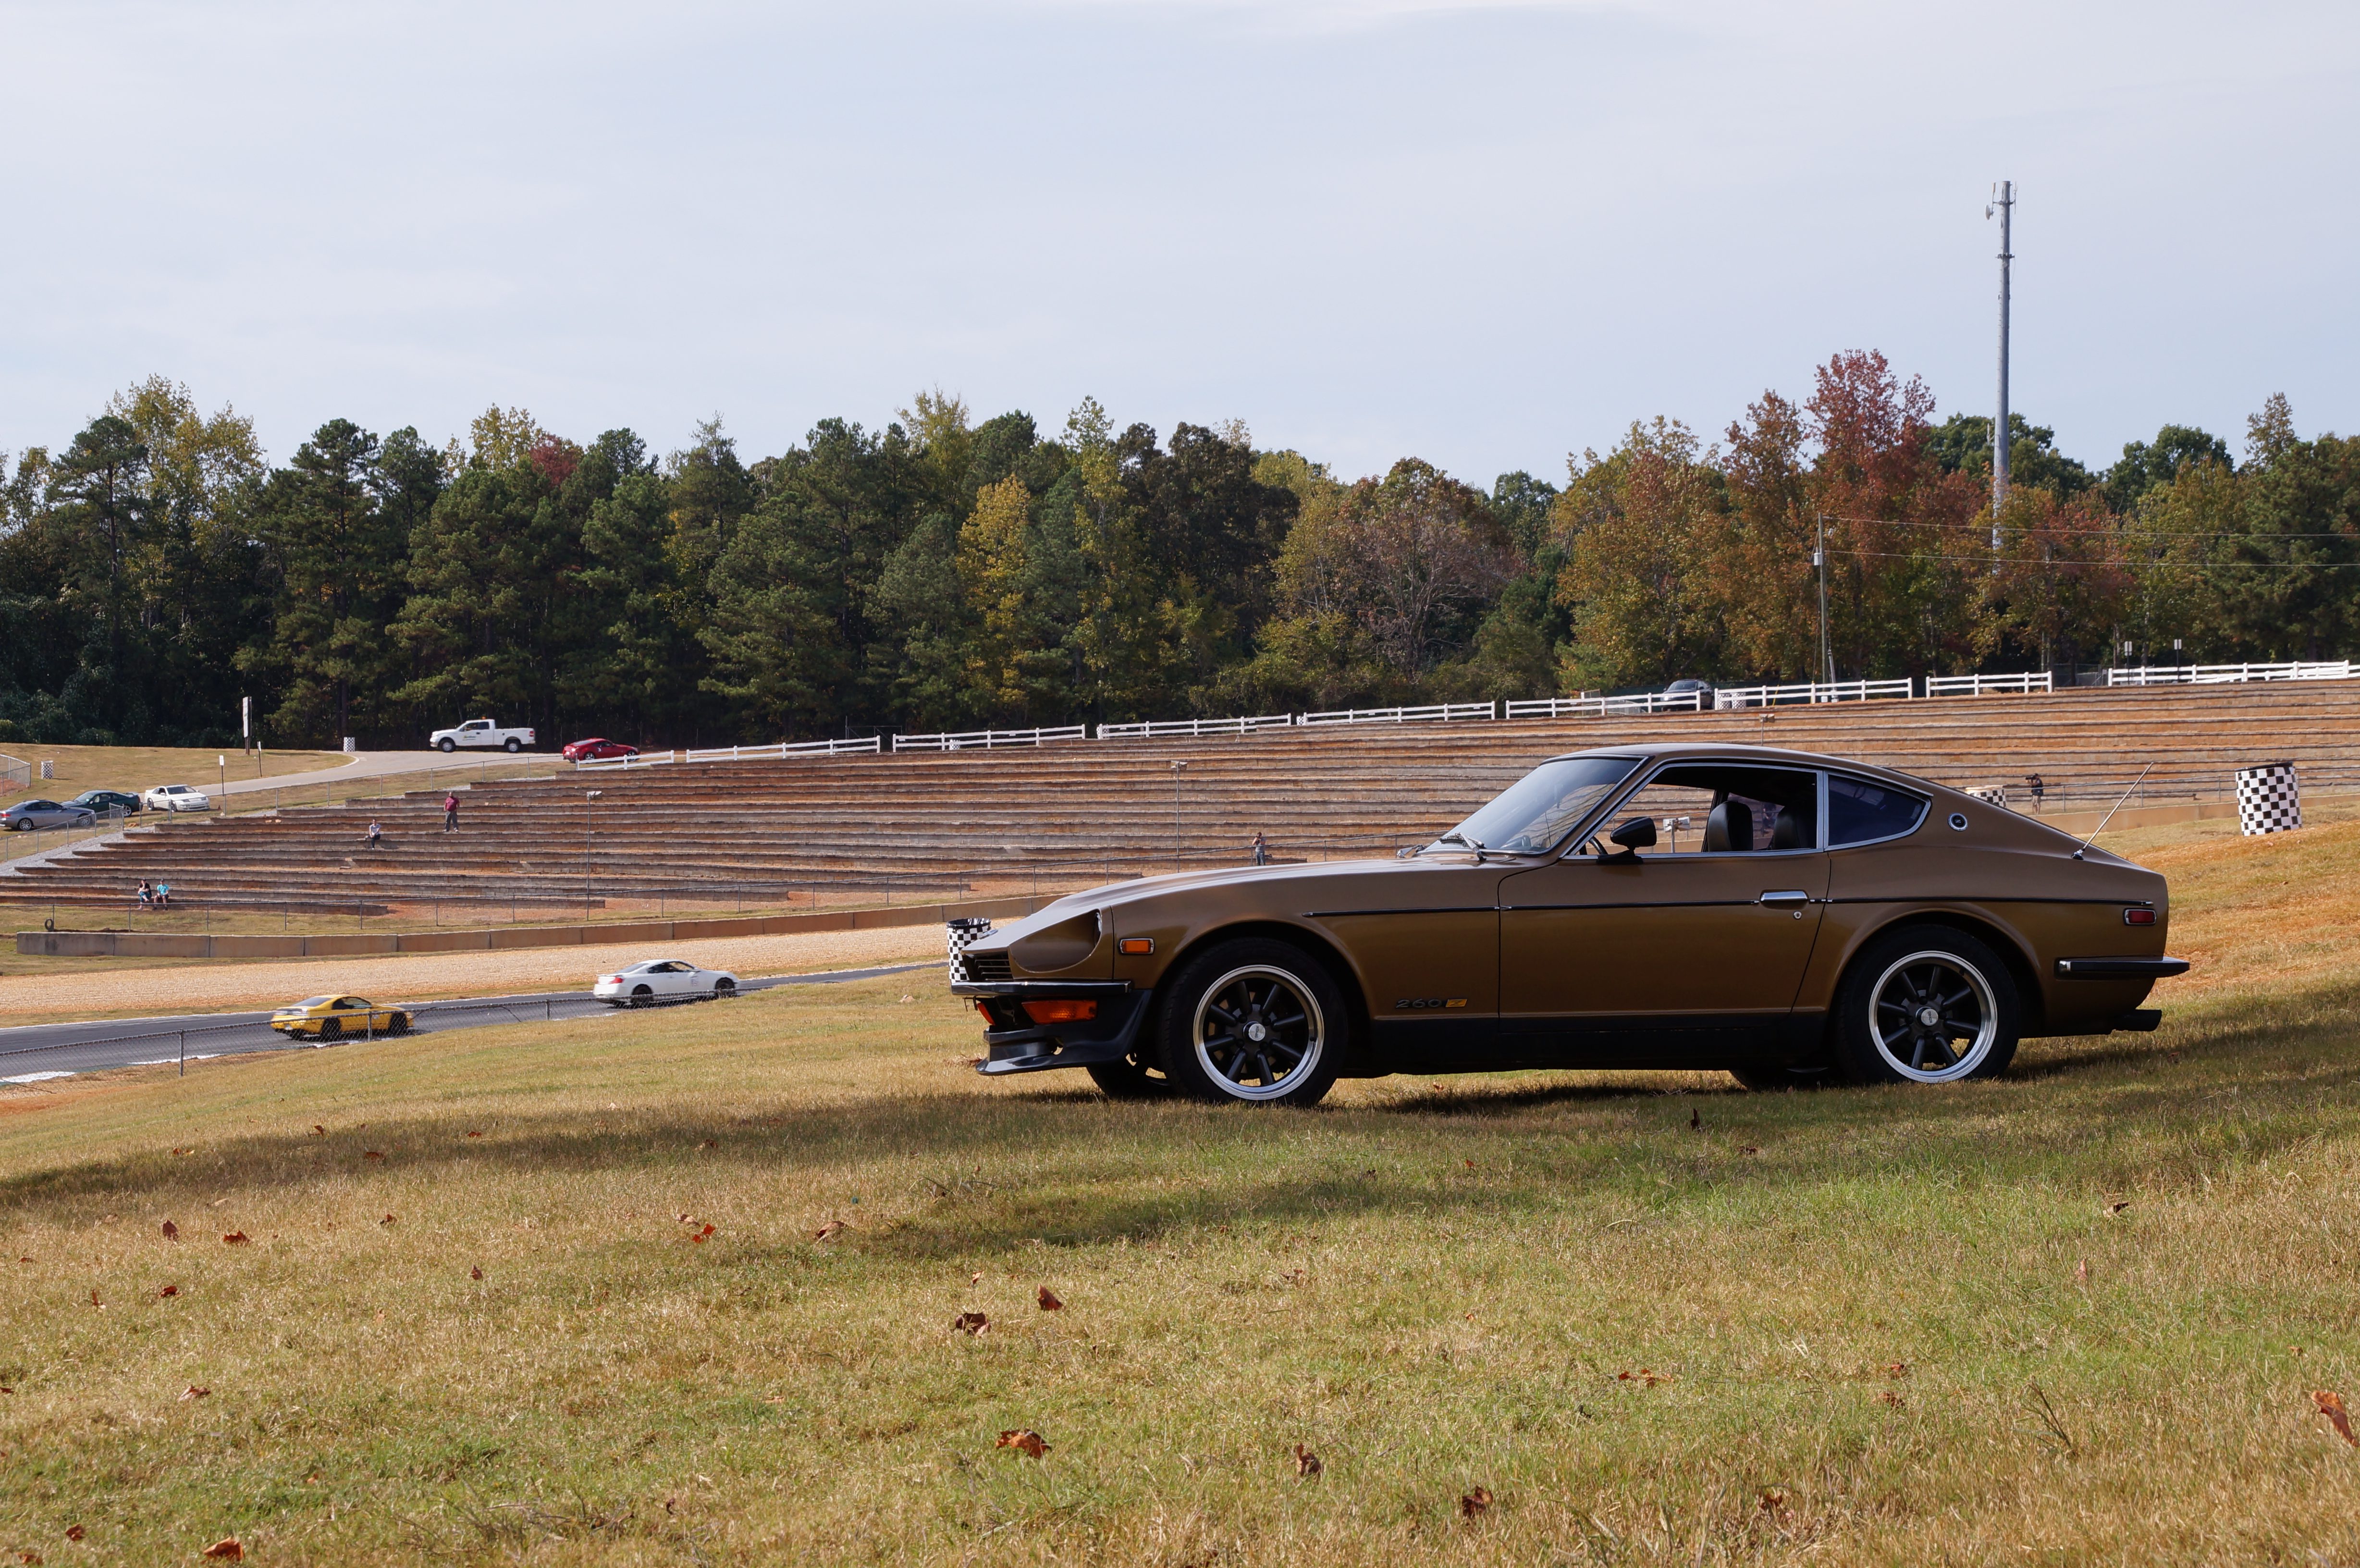
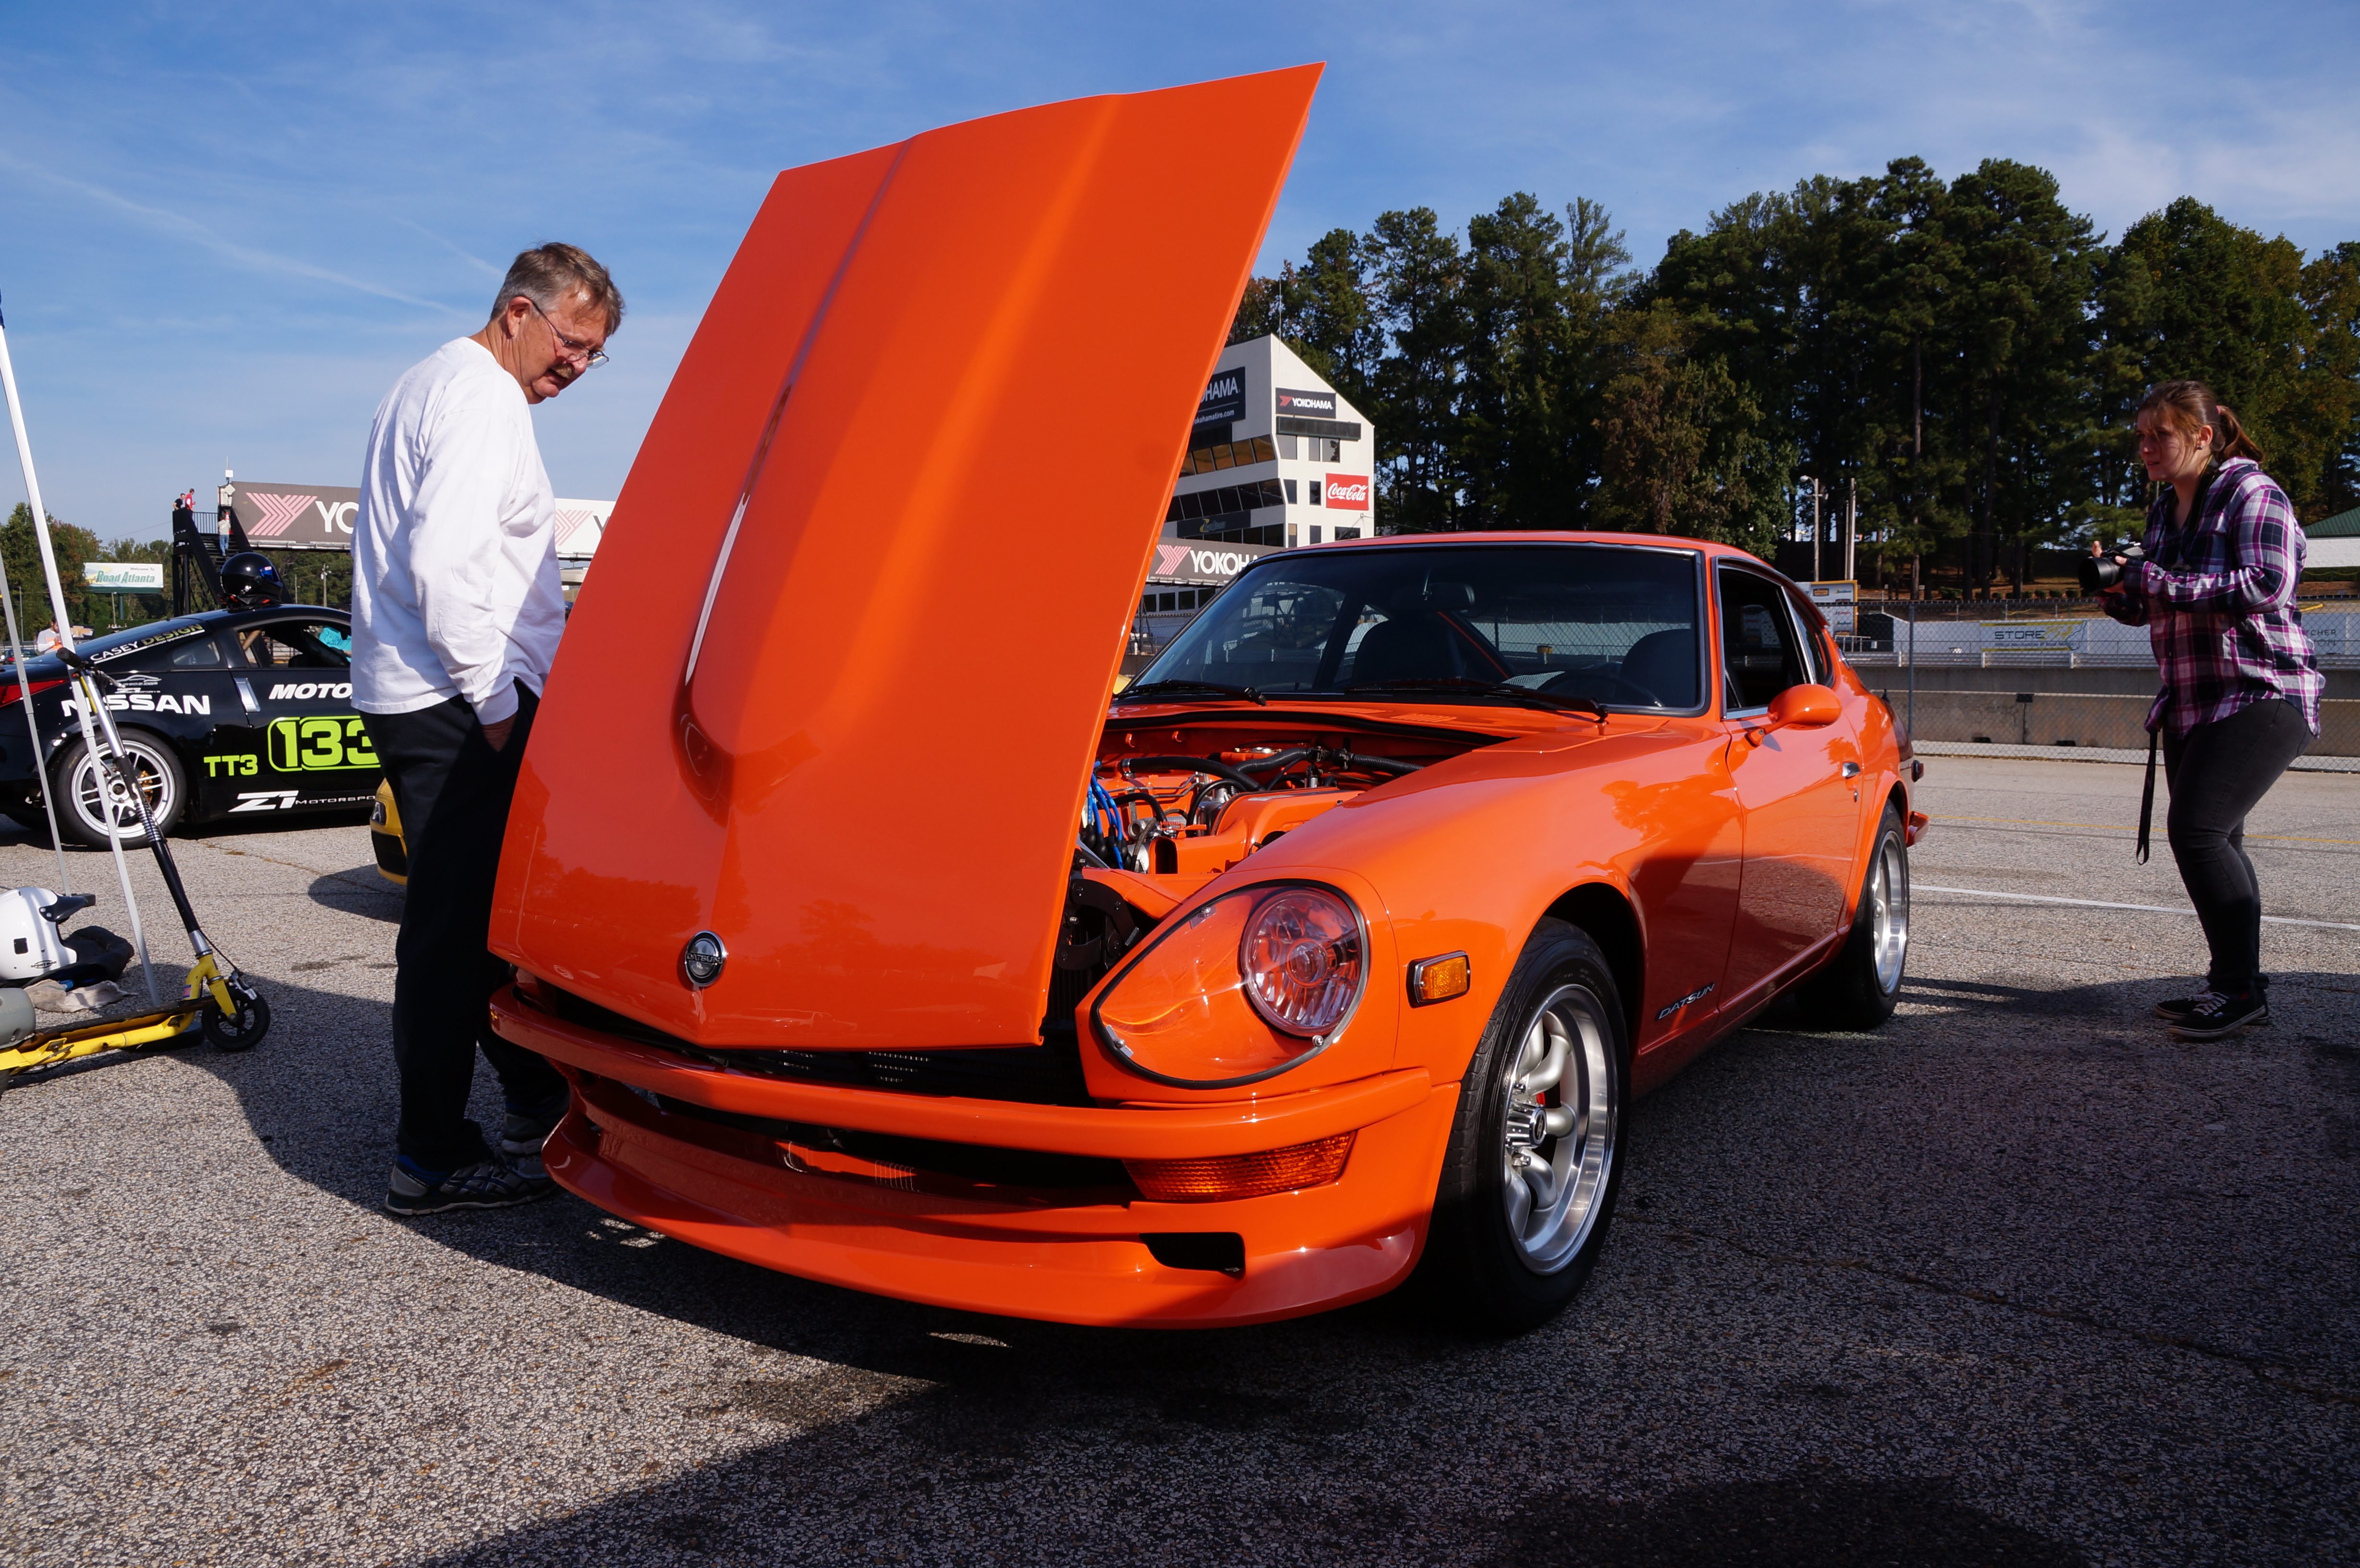
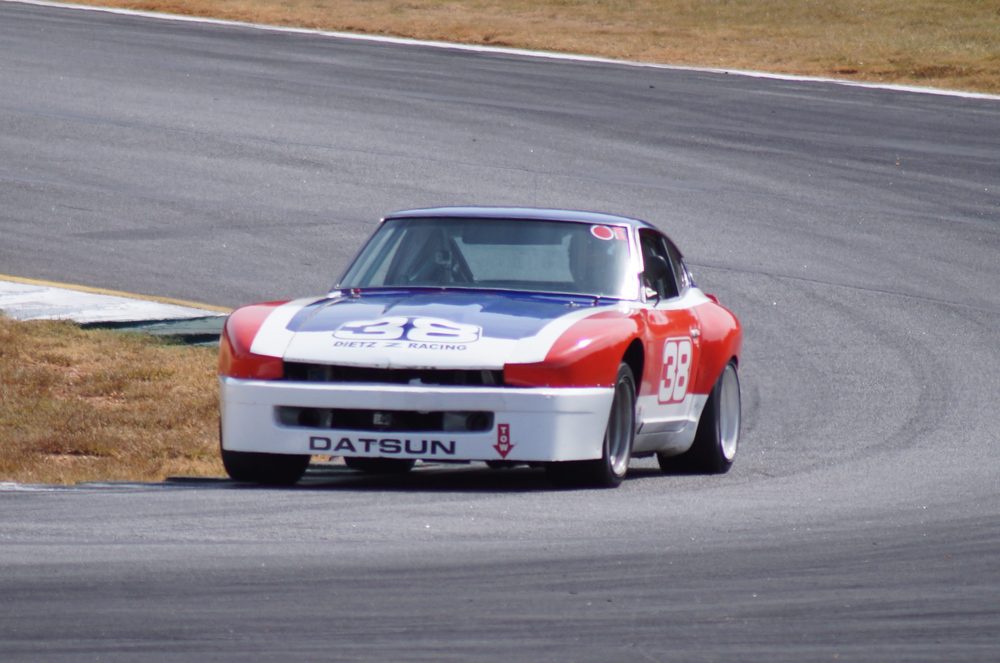
I took my 260Z out to ZNationals Track Day at Road Atlanta today. While I didn't participate in the HPDE laps, I did go on the Parade Laps. I also took lots of photos. Wendy also had her turn with the camera during the Parade Laps. Here a video of one of the Parade Laps.


 1 point
 -
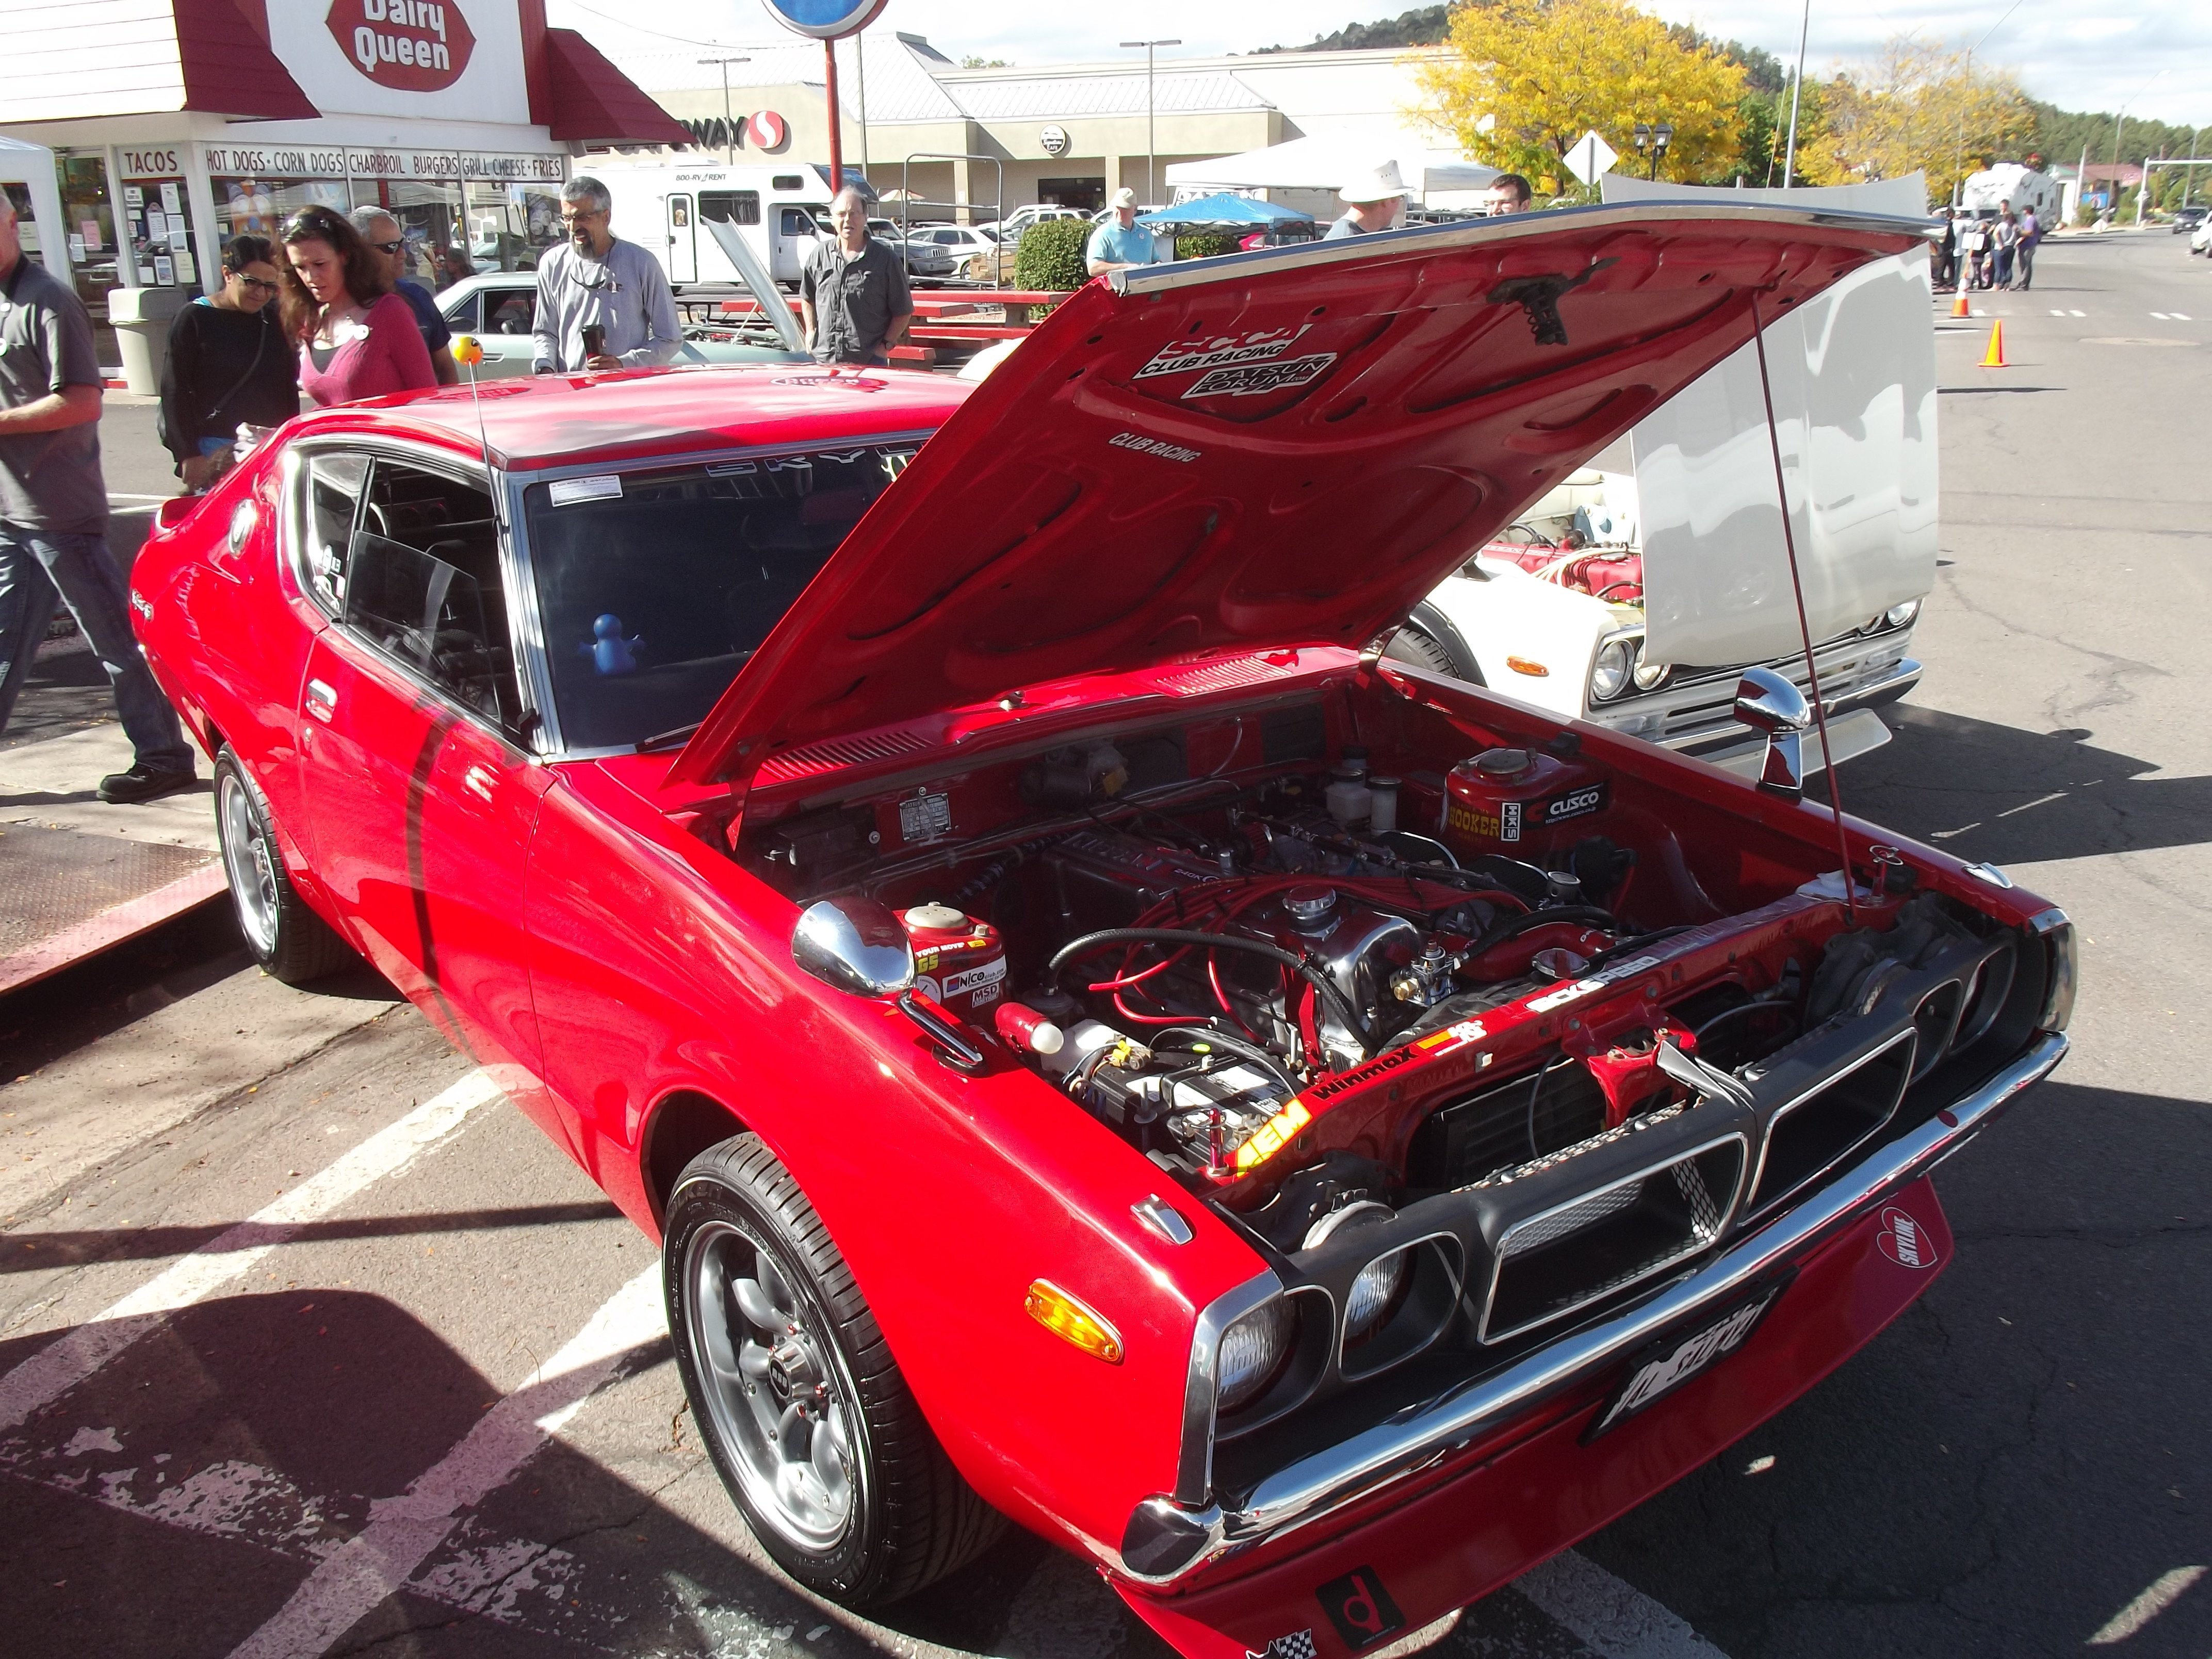
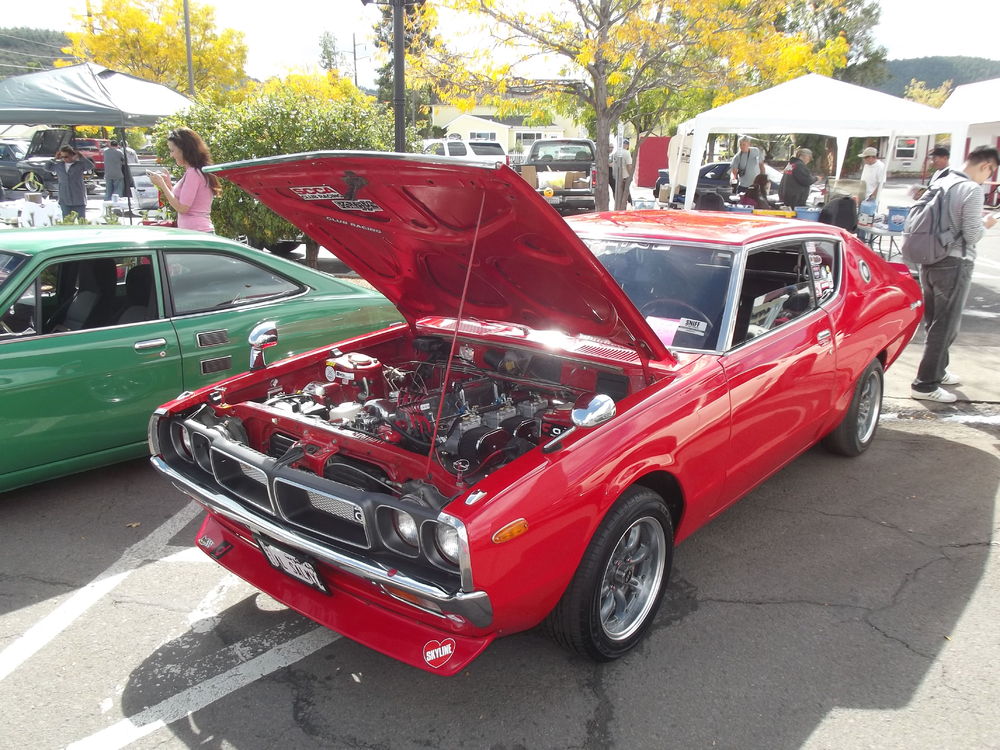
1 pointTook it to the Japanese Classic Car Show in Long Beach last weekend. She did good.....1 point
-
1 pointBefore I got married i was terrified of women. After I got married I realized my fears were justified. :-)1 point
-
1 pointNaaa. No disappointment. I understand completely. My time married is less than yours, but it's a lesson that doesn't take thirty-five years to learn.1 point
-
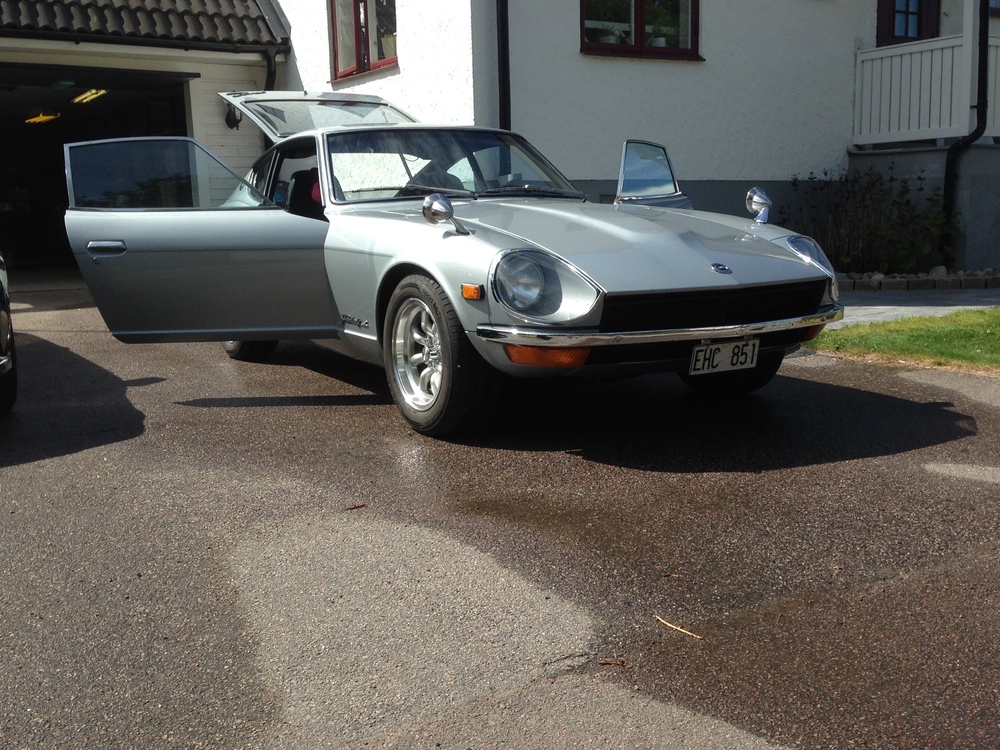
1 pointWheels and mirrors are in....still I need to mount the driver side mirror. The plan is to be in Long Beach Ca in the morning for the 2016 JCCS on Saturday.......1 point
-
1 point
-
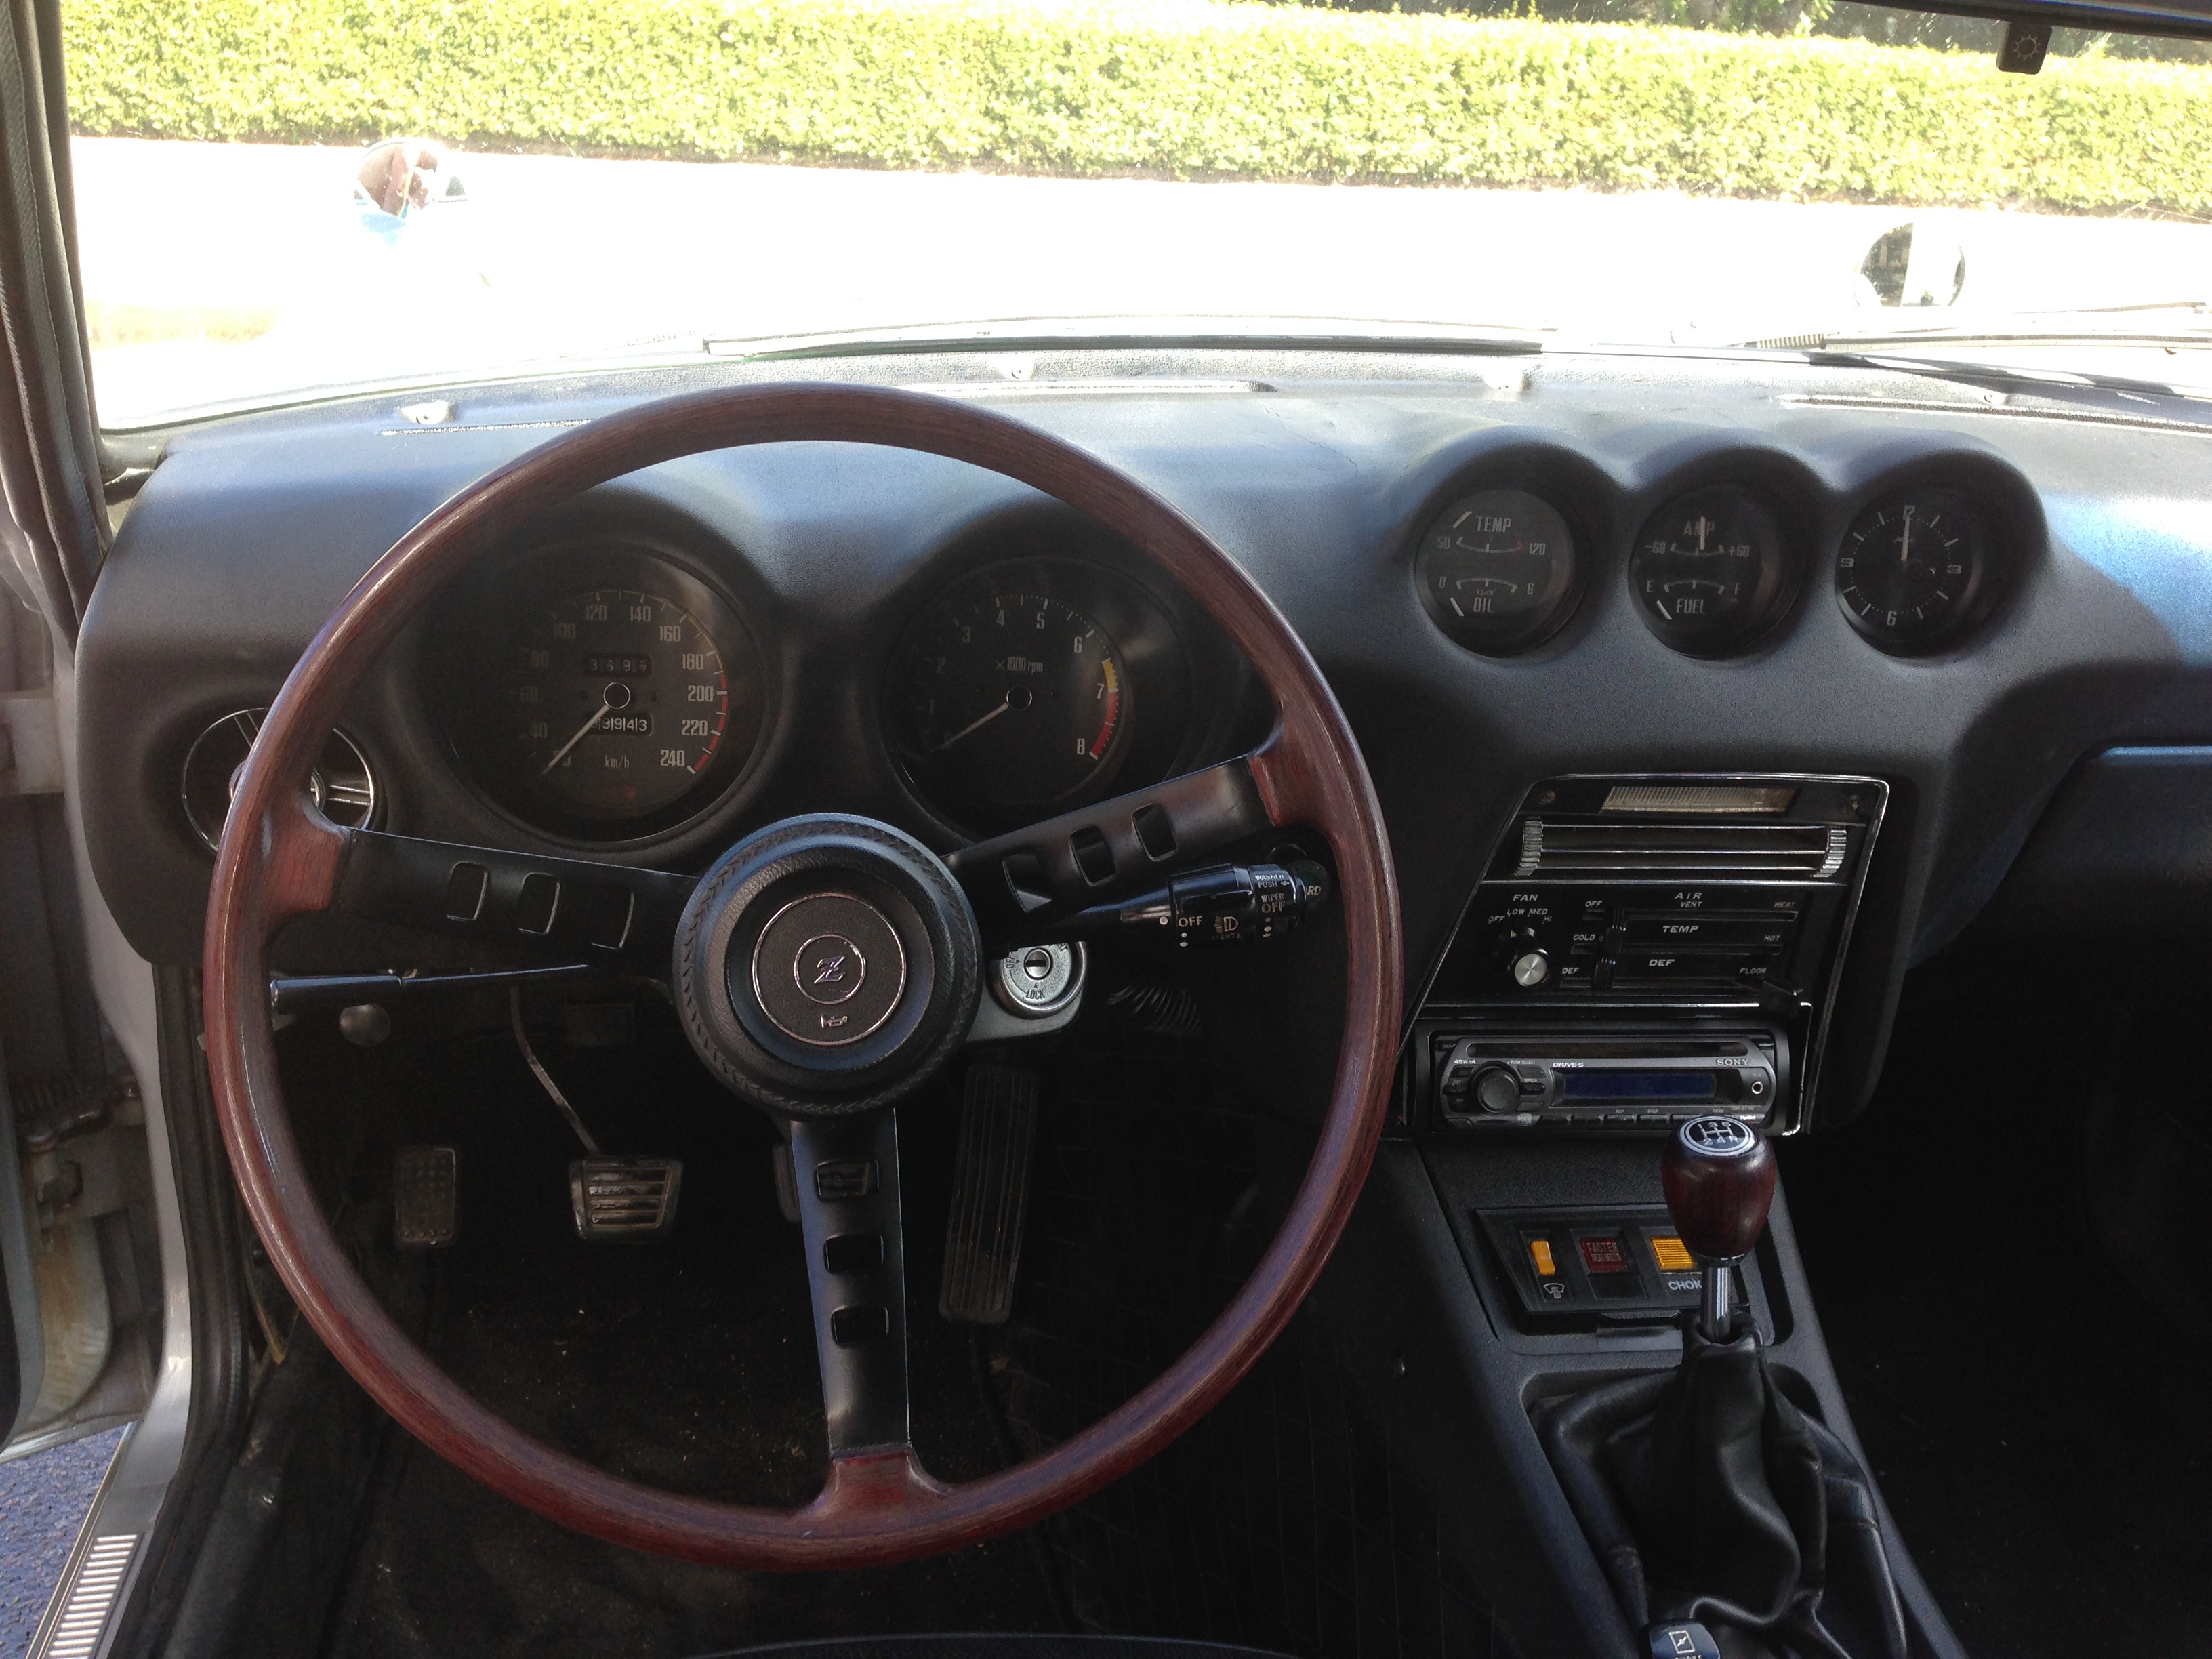
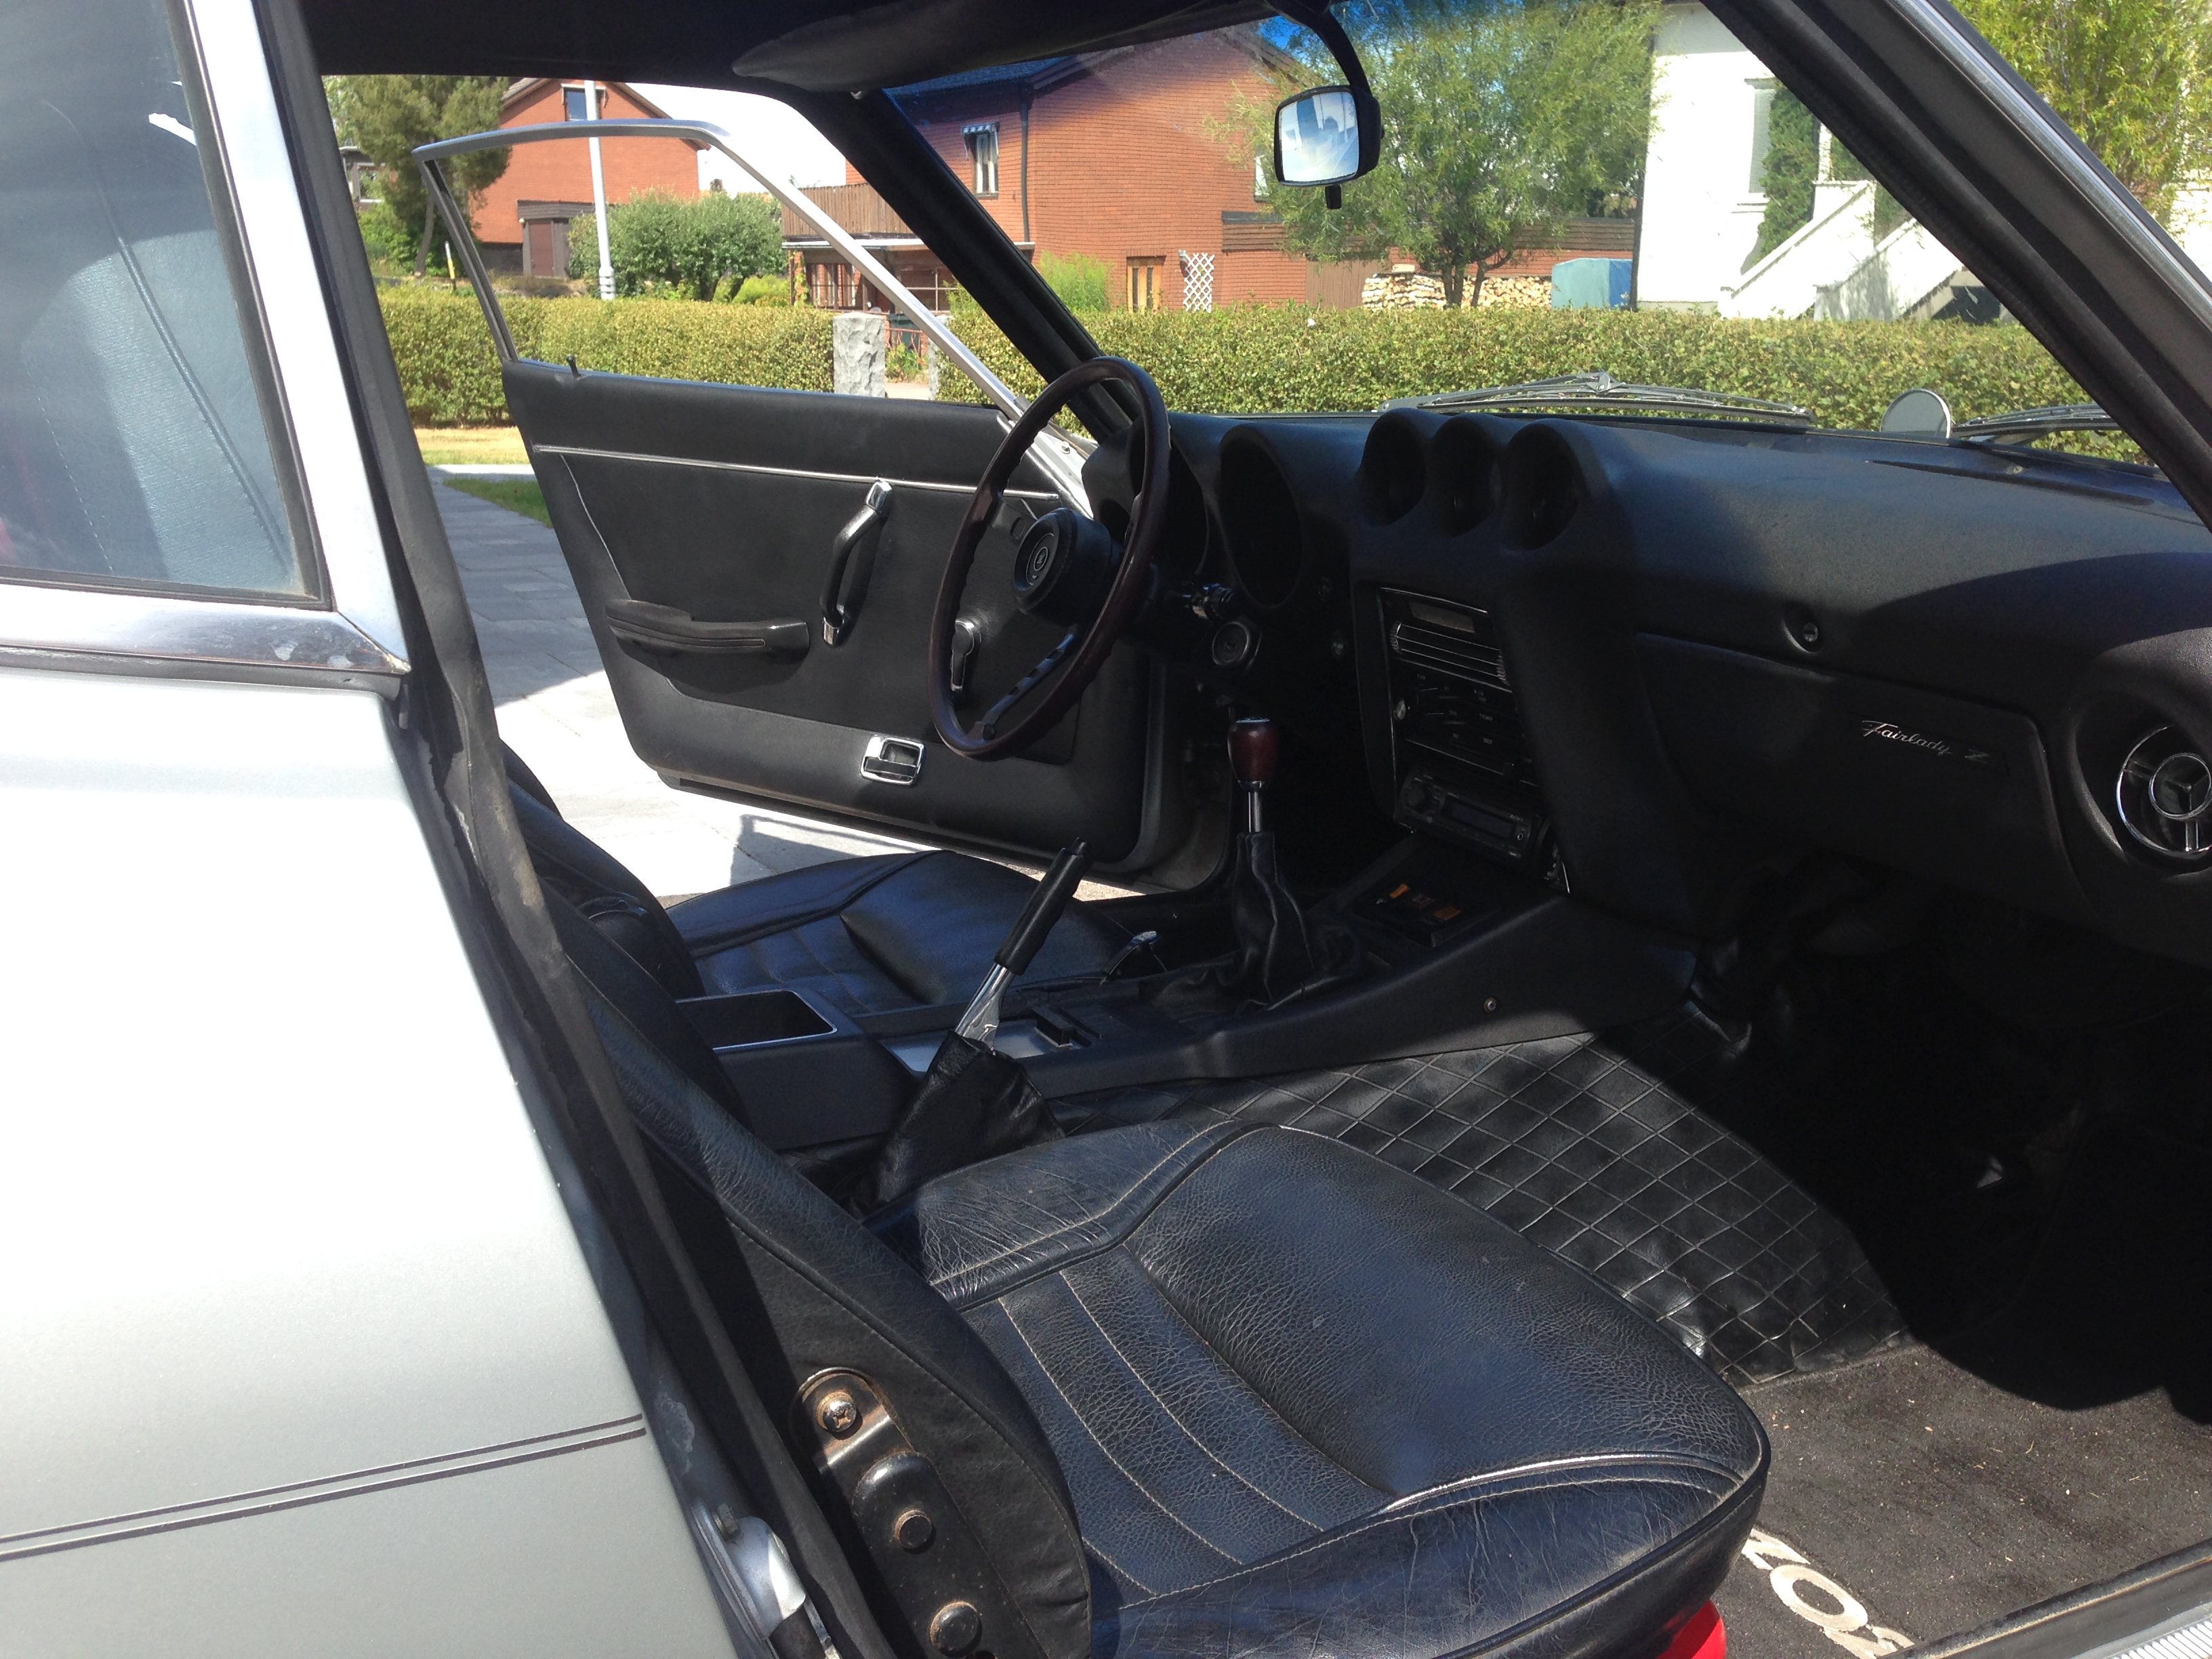
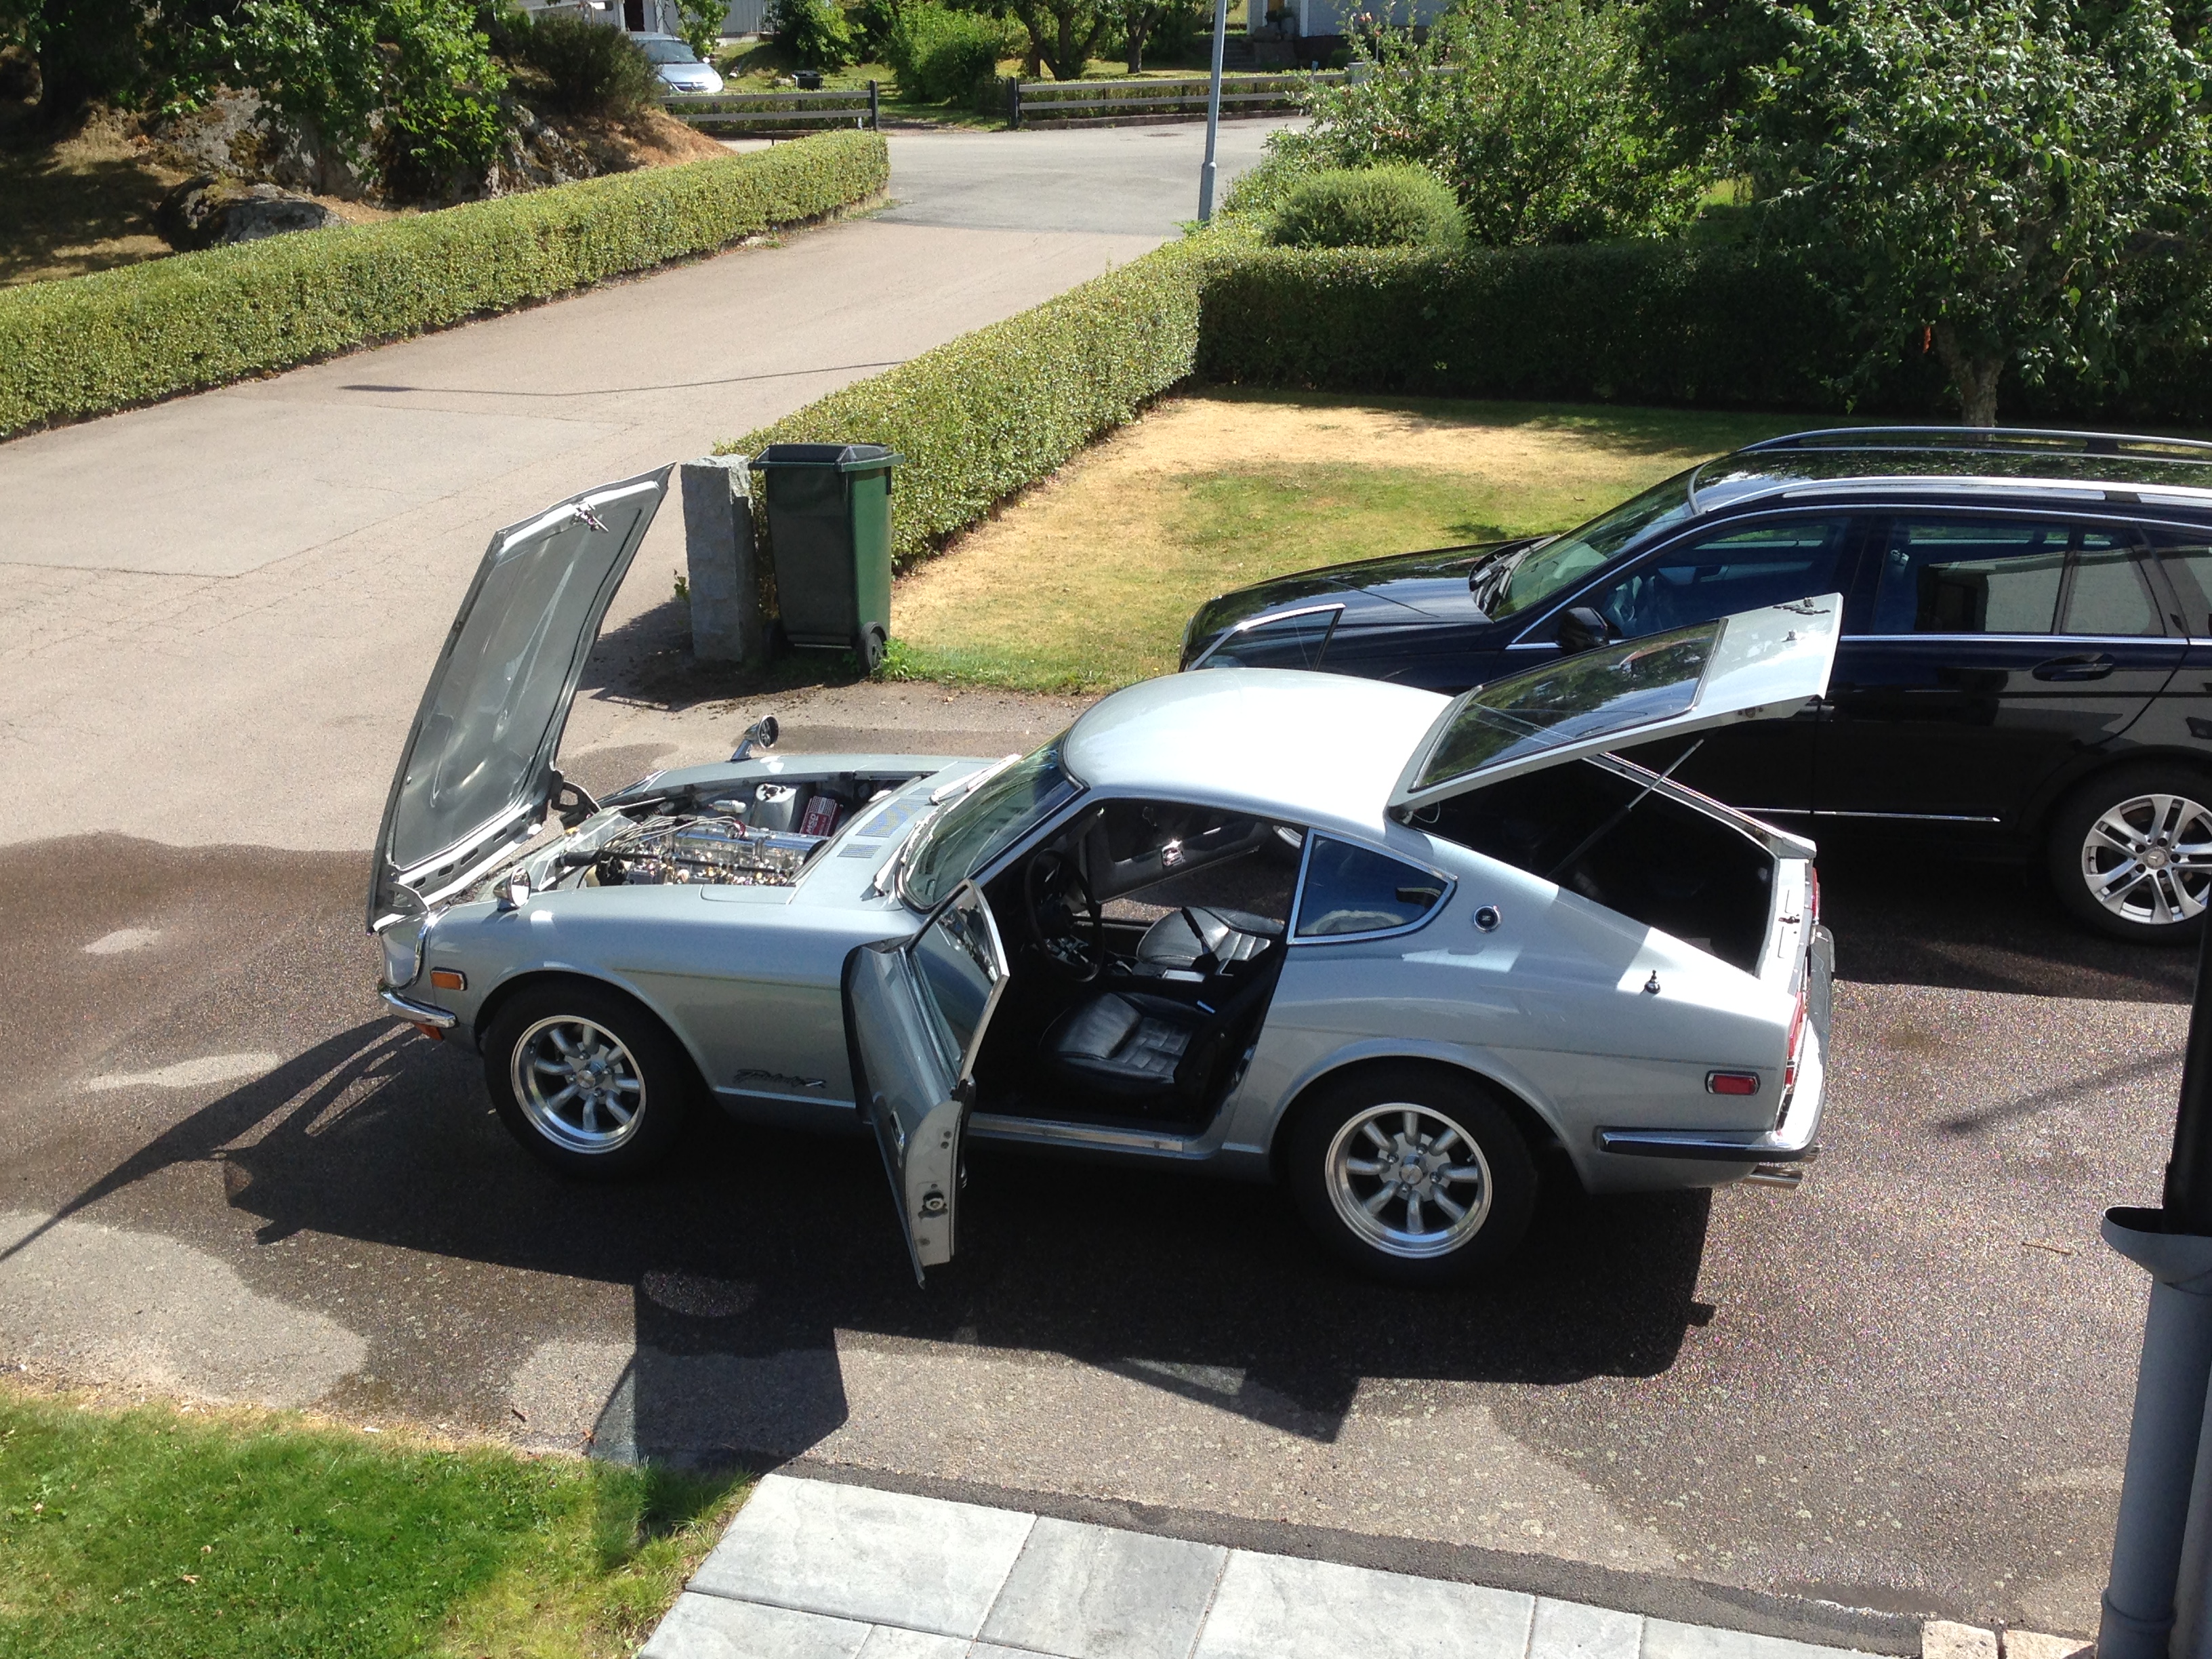
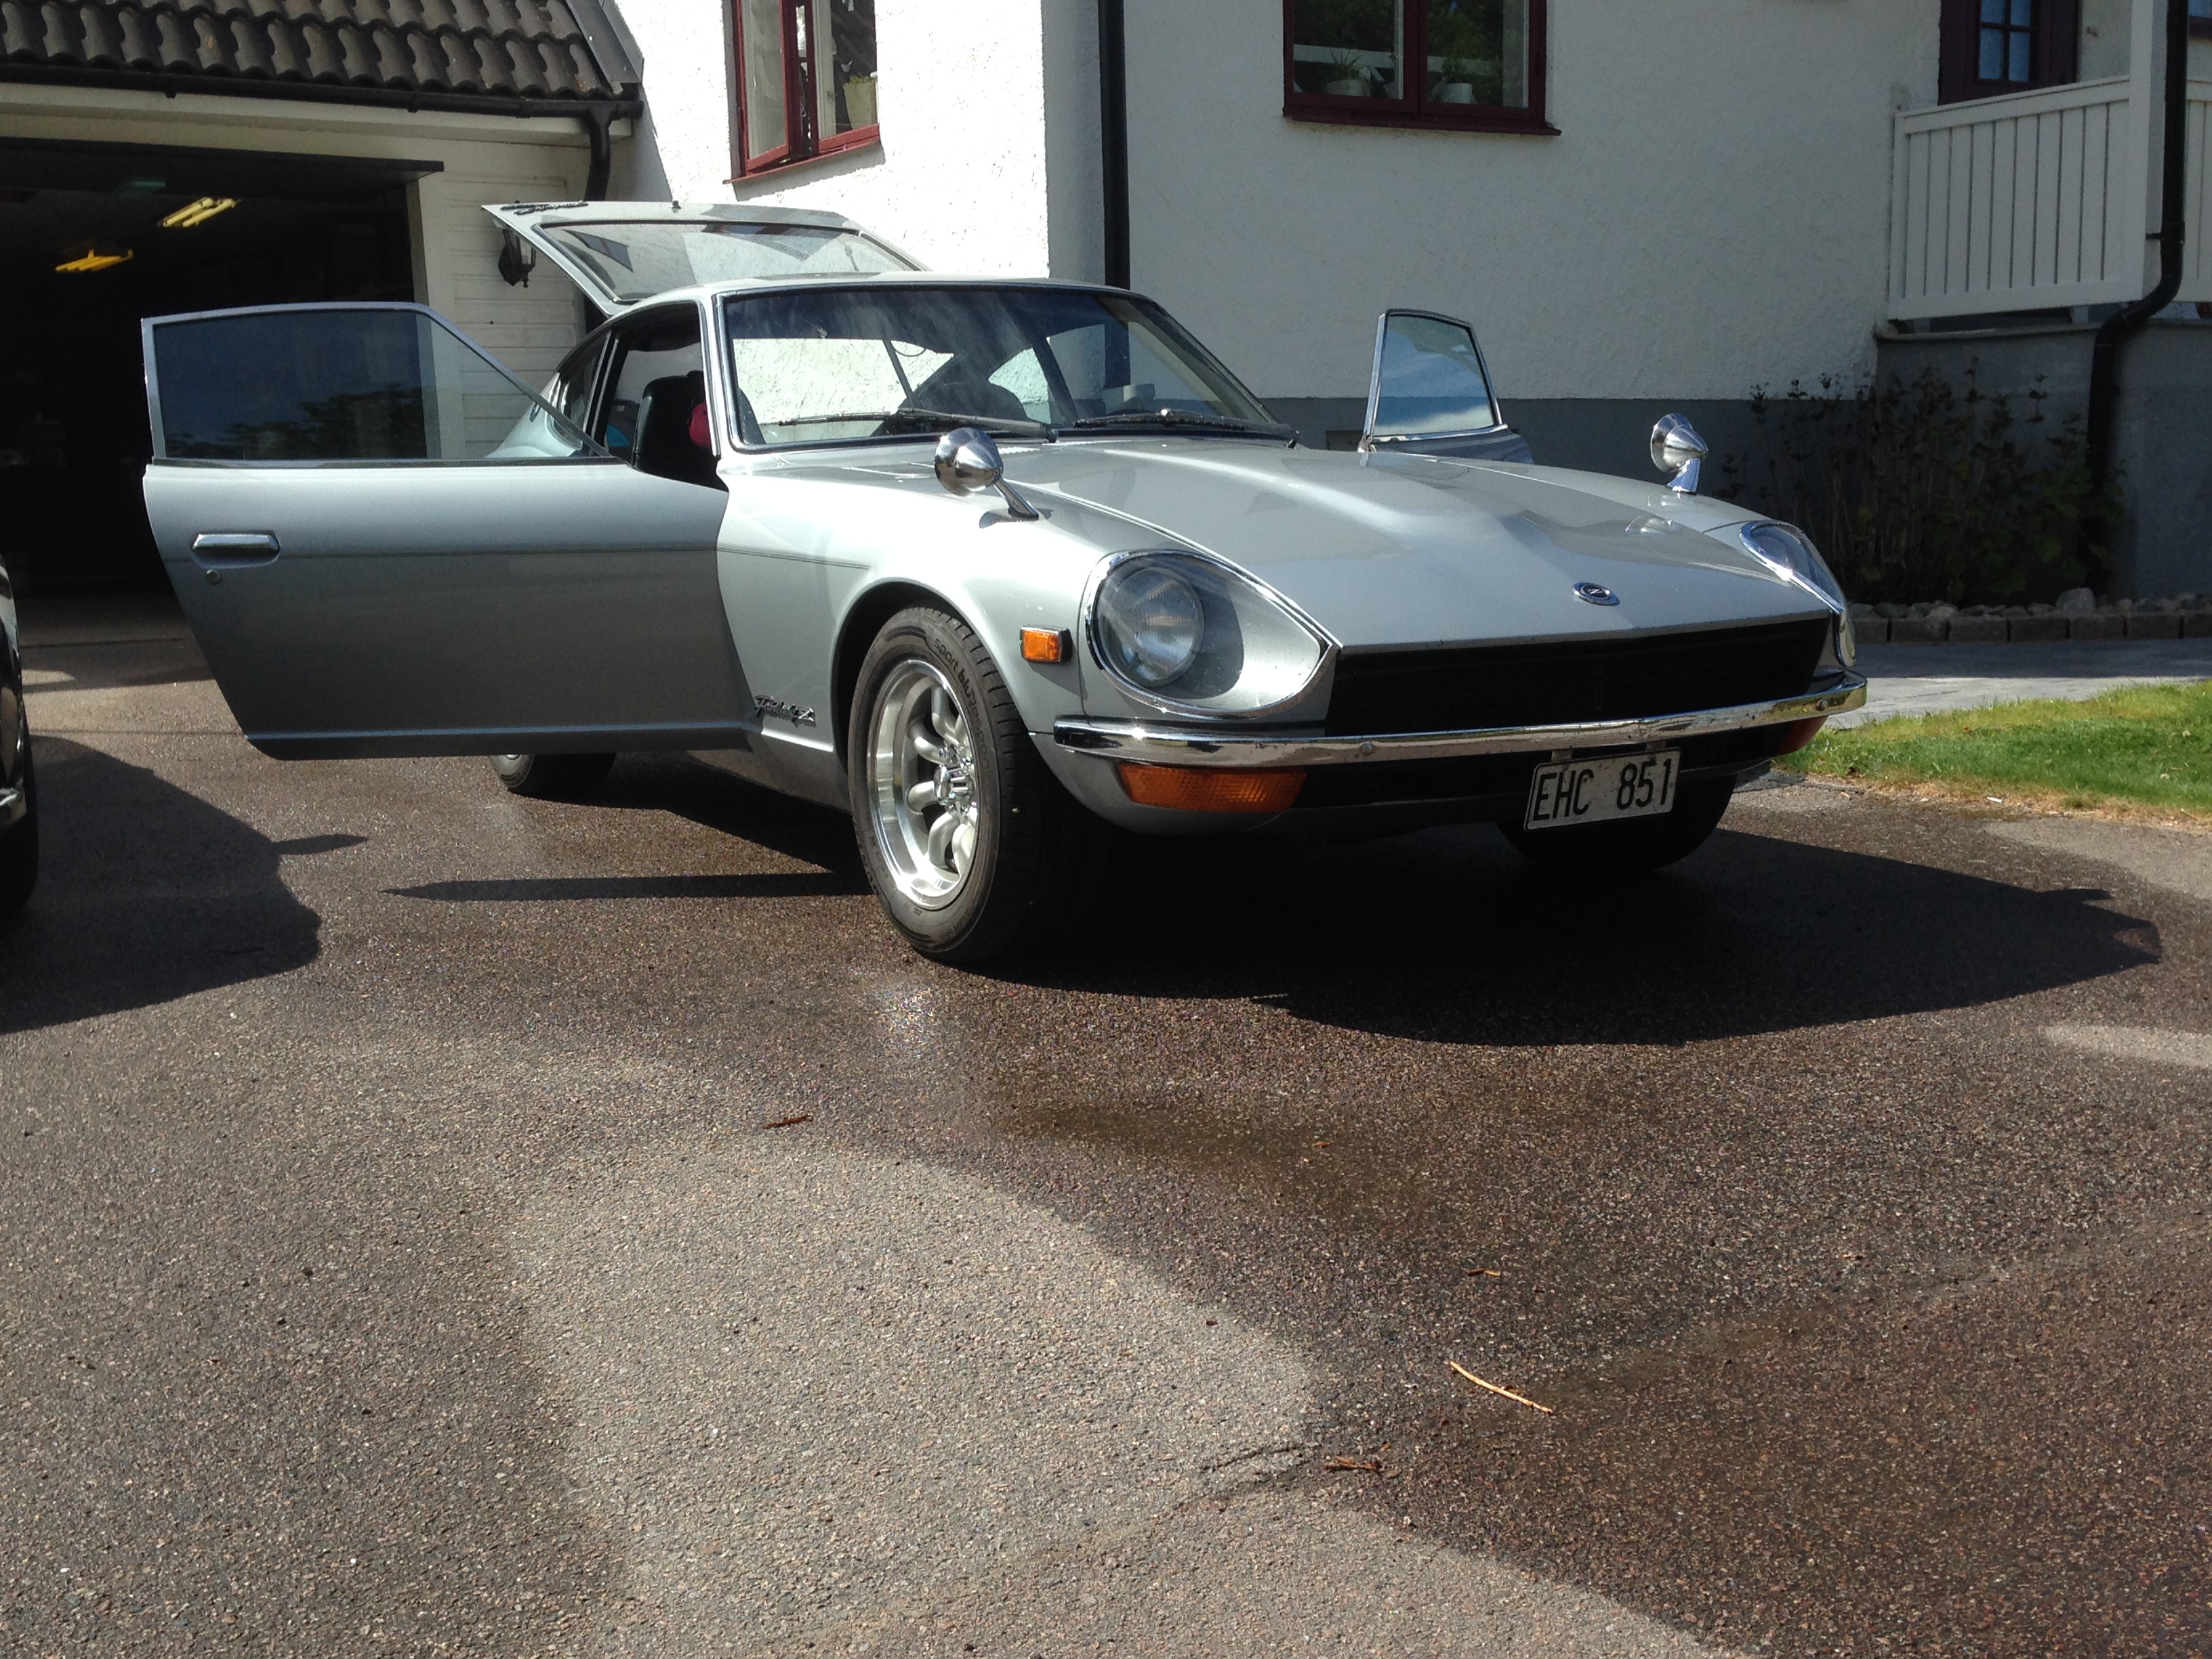
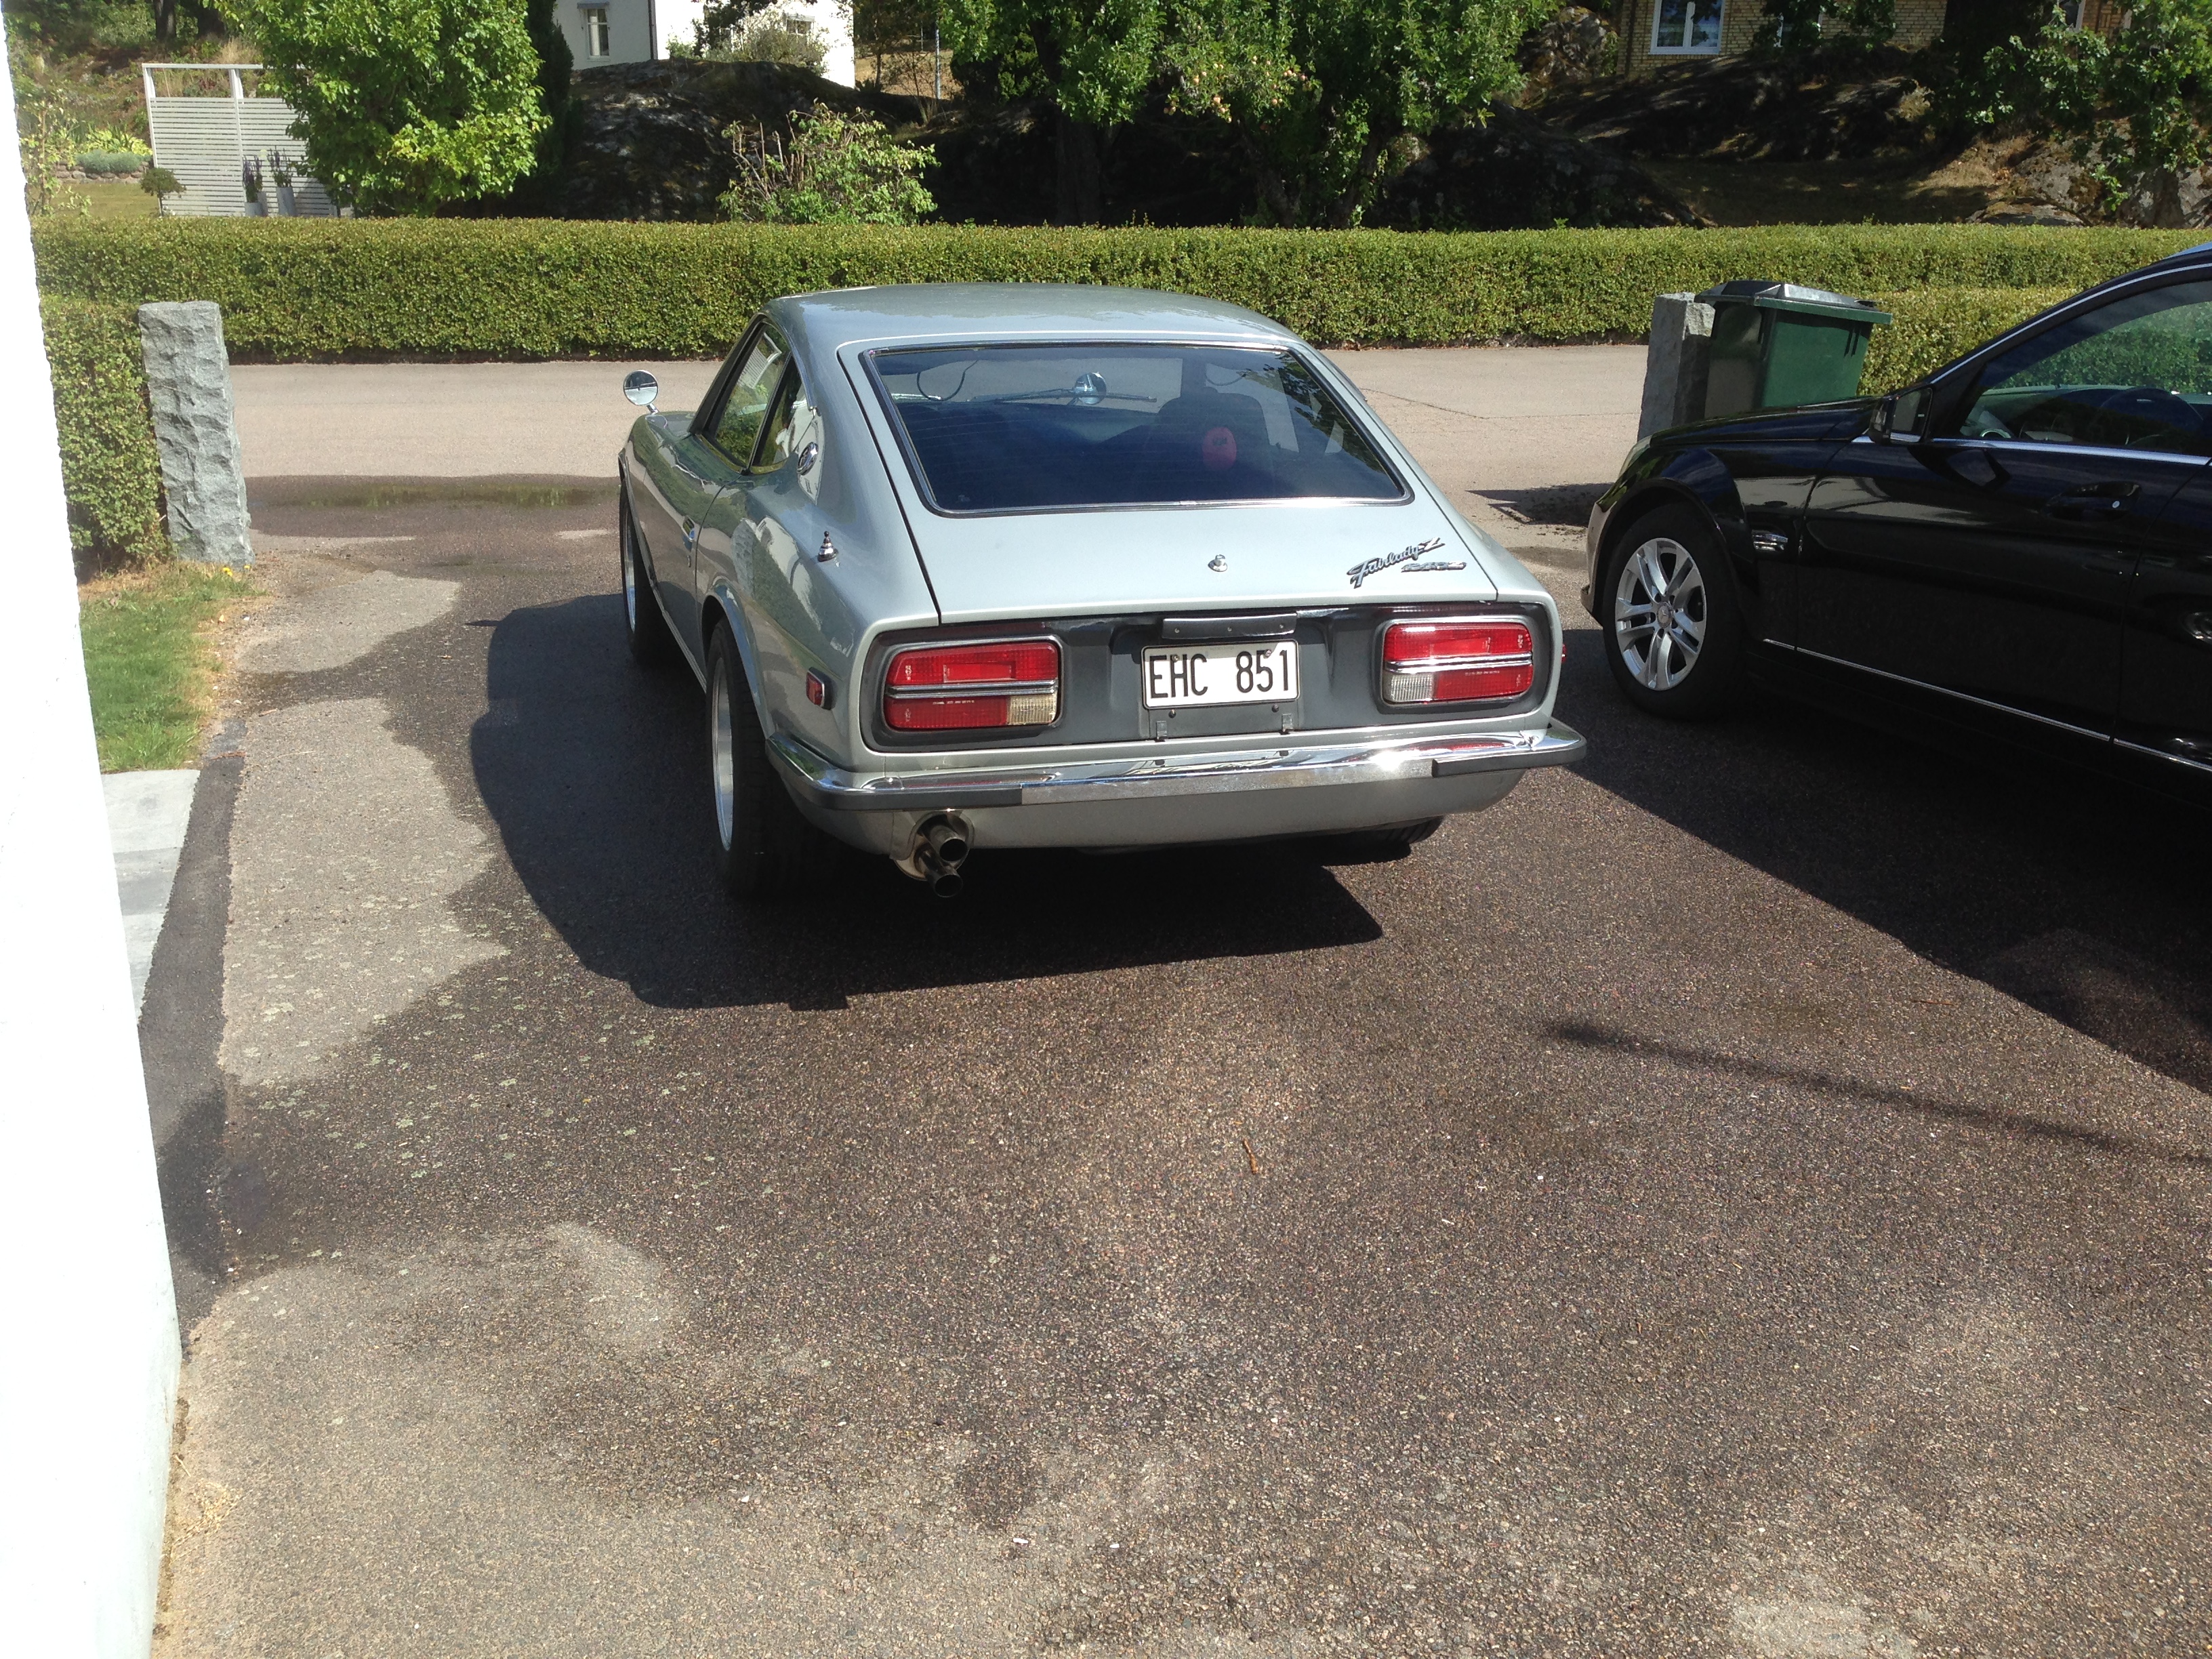
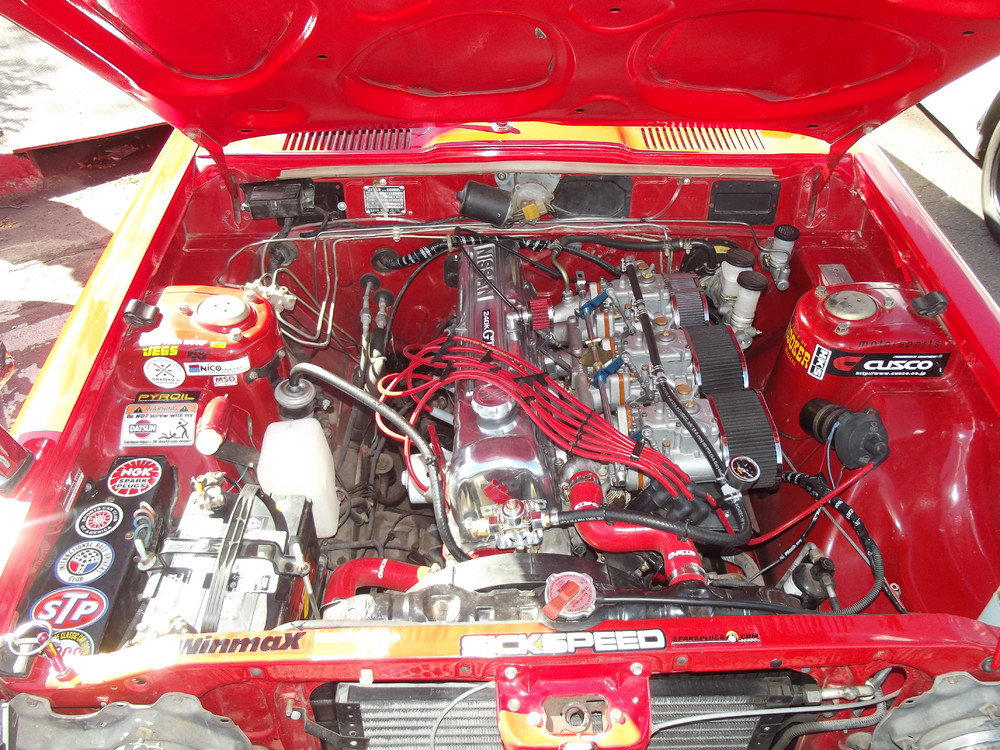
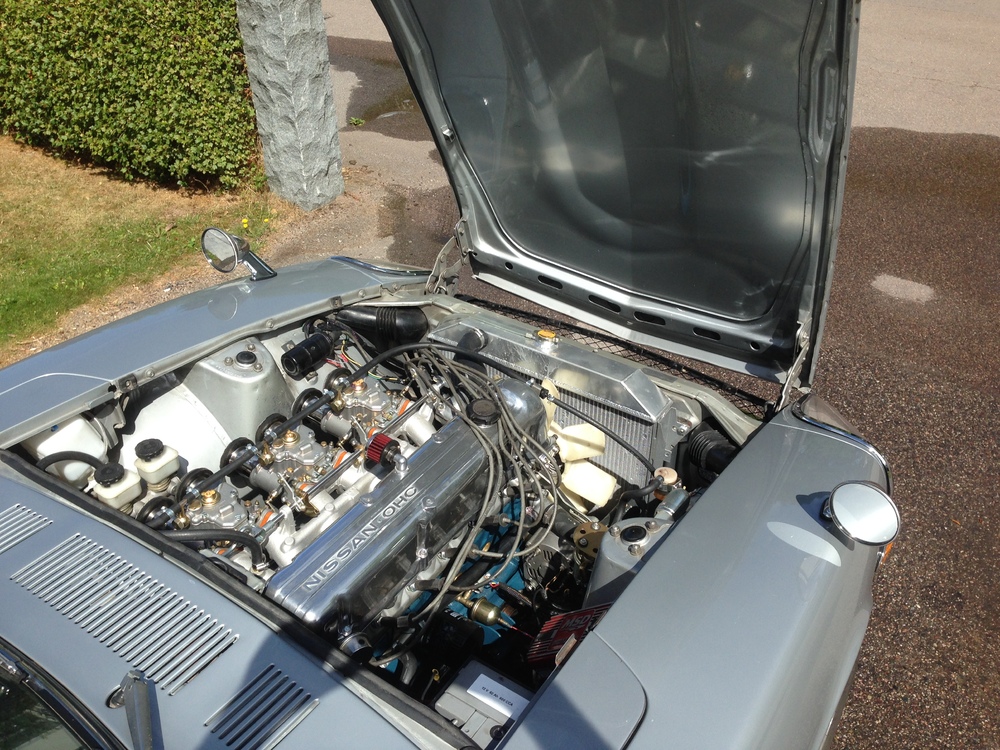
Some pics The new engine feels stronger and stronger, not one singel problem yet. Very happy with the parts i used and the work i had done to the engine. 180whp makes it move pretty fast.


 1 point