Leaderboard
-
disepyon
Free Member4Points121Posts -
.JPG.cfcada9cf1c1b502df3f5f2f2ca3ff36.JPG)
SteveJ
Free Member2Points9,646Posts -

wheee!
Free Member1Points4,607Posts -
charliekwin
Free Member1Points664Posts


Popular Content
Showing content with the highest reputation on 10/19/2016 in all areas
-
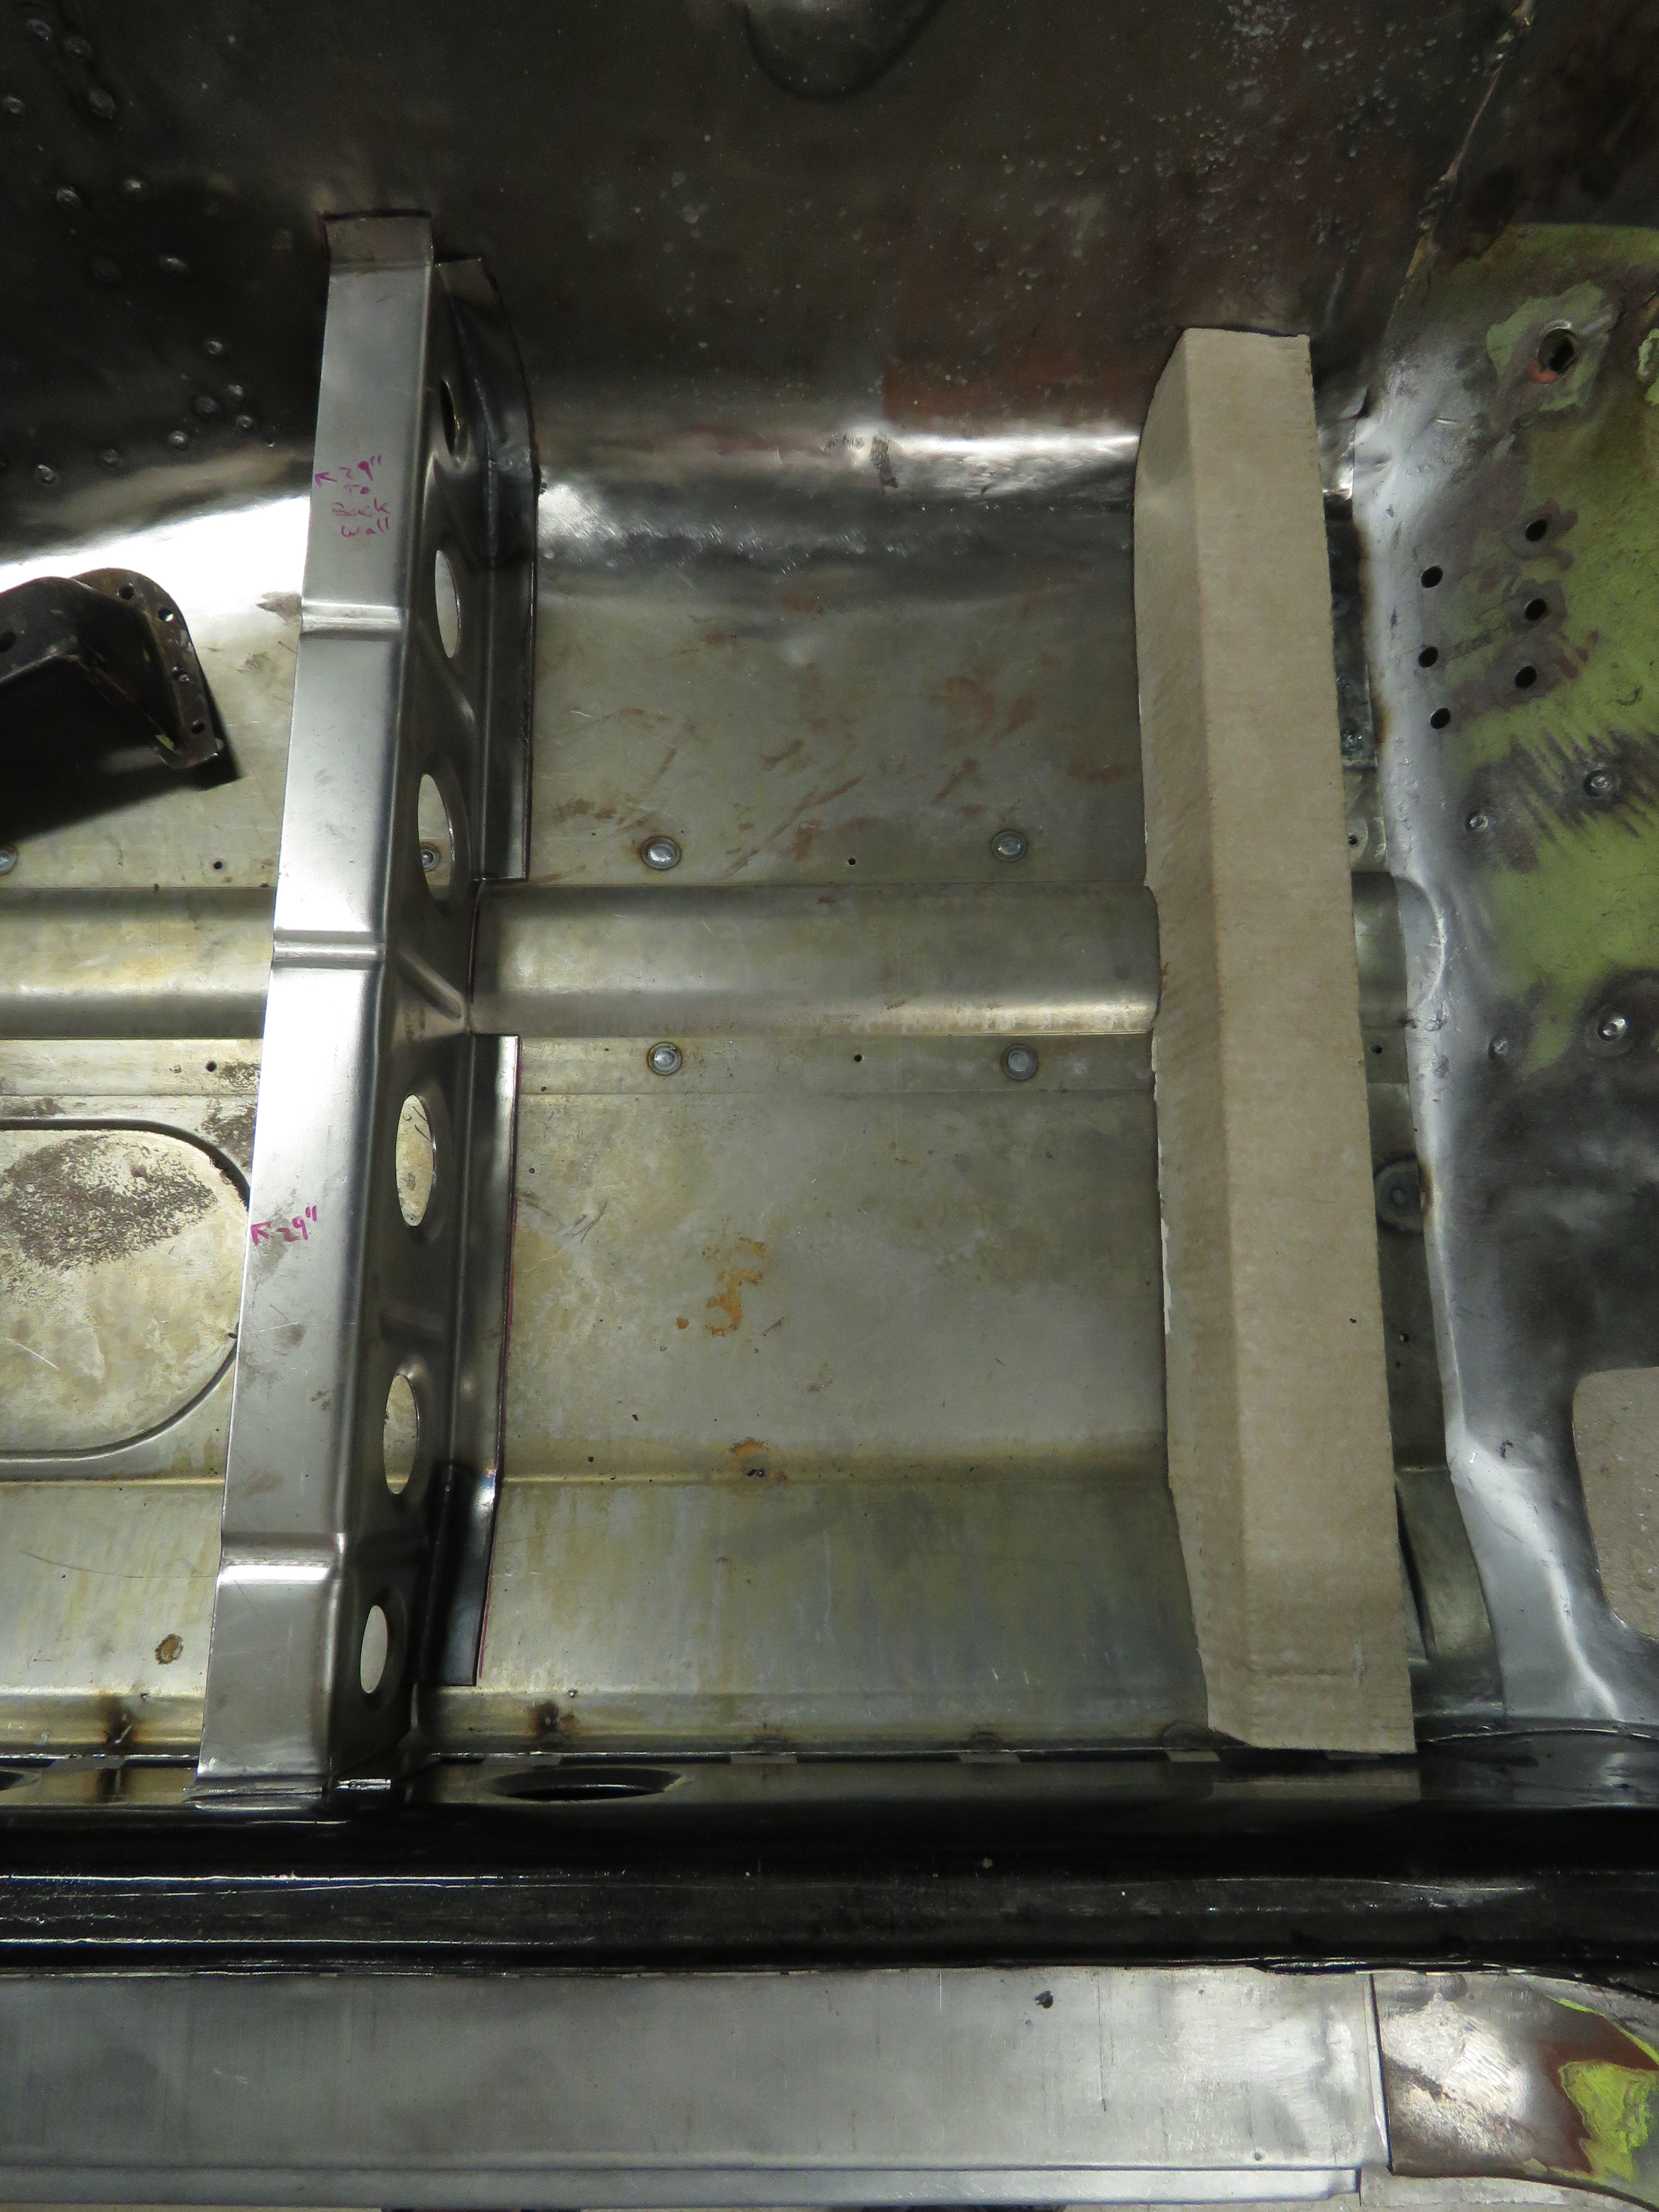
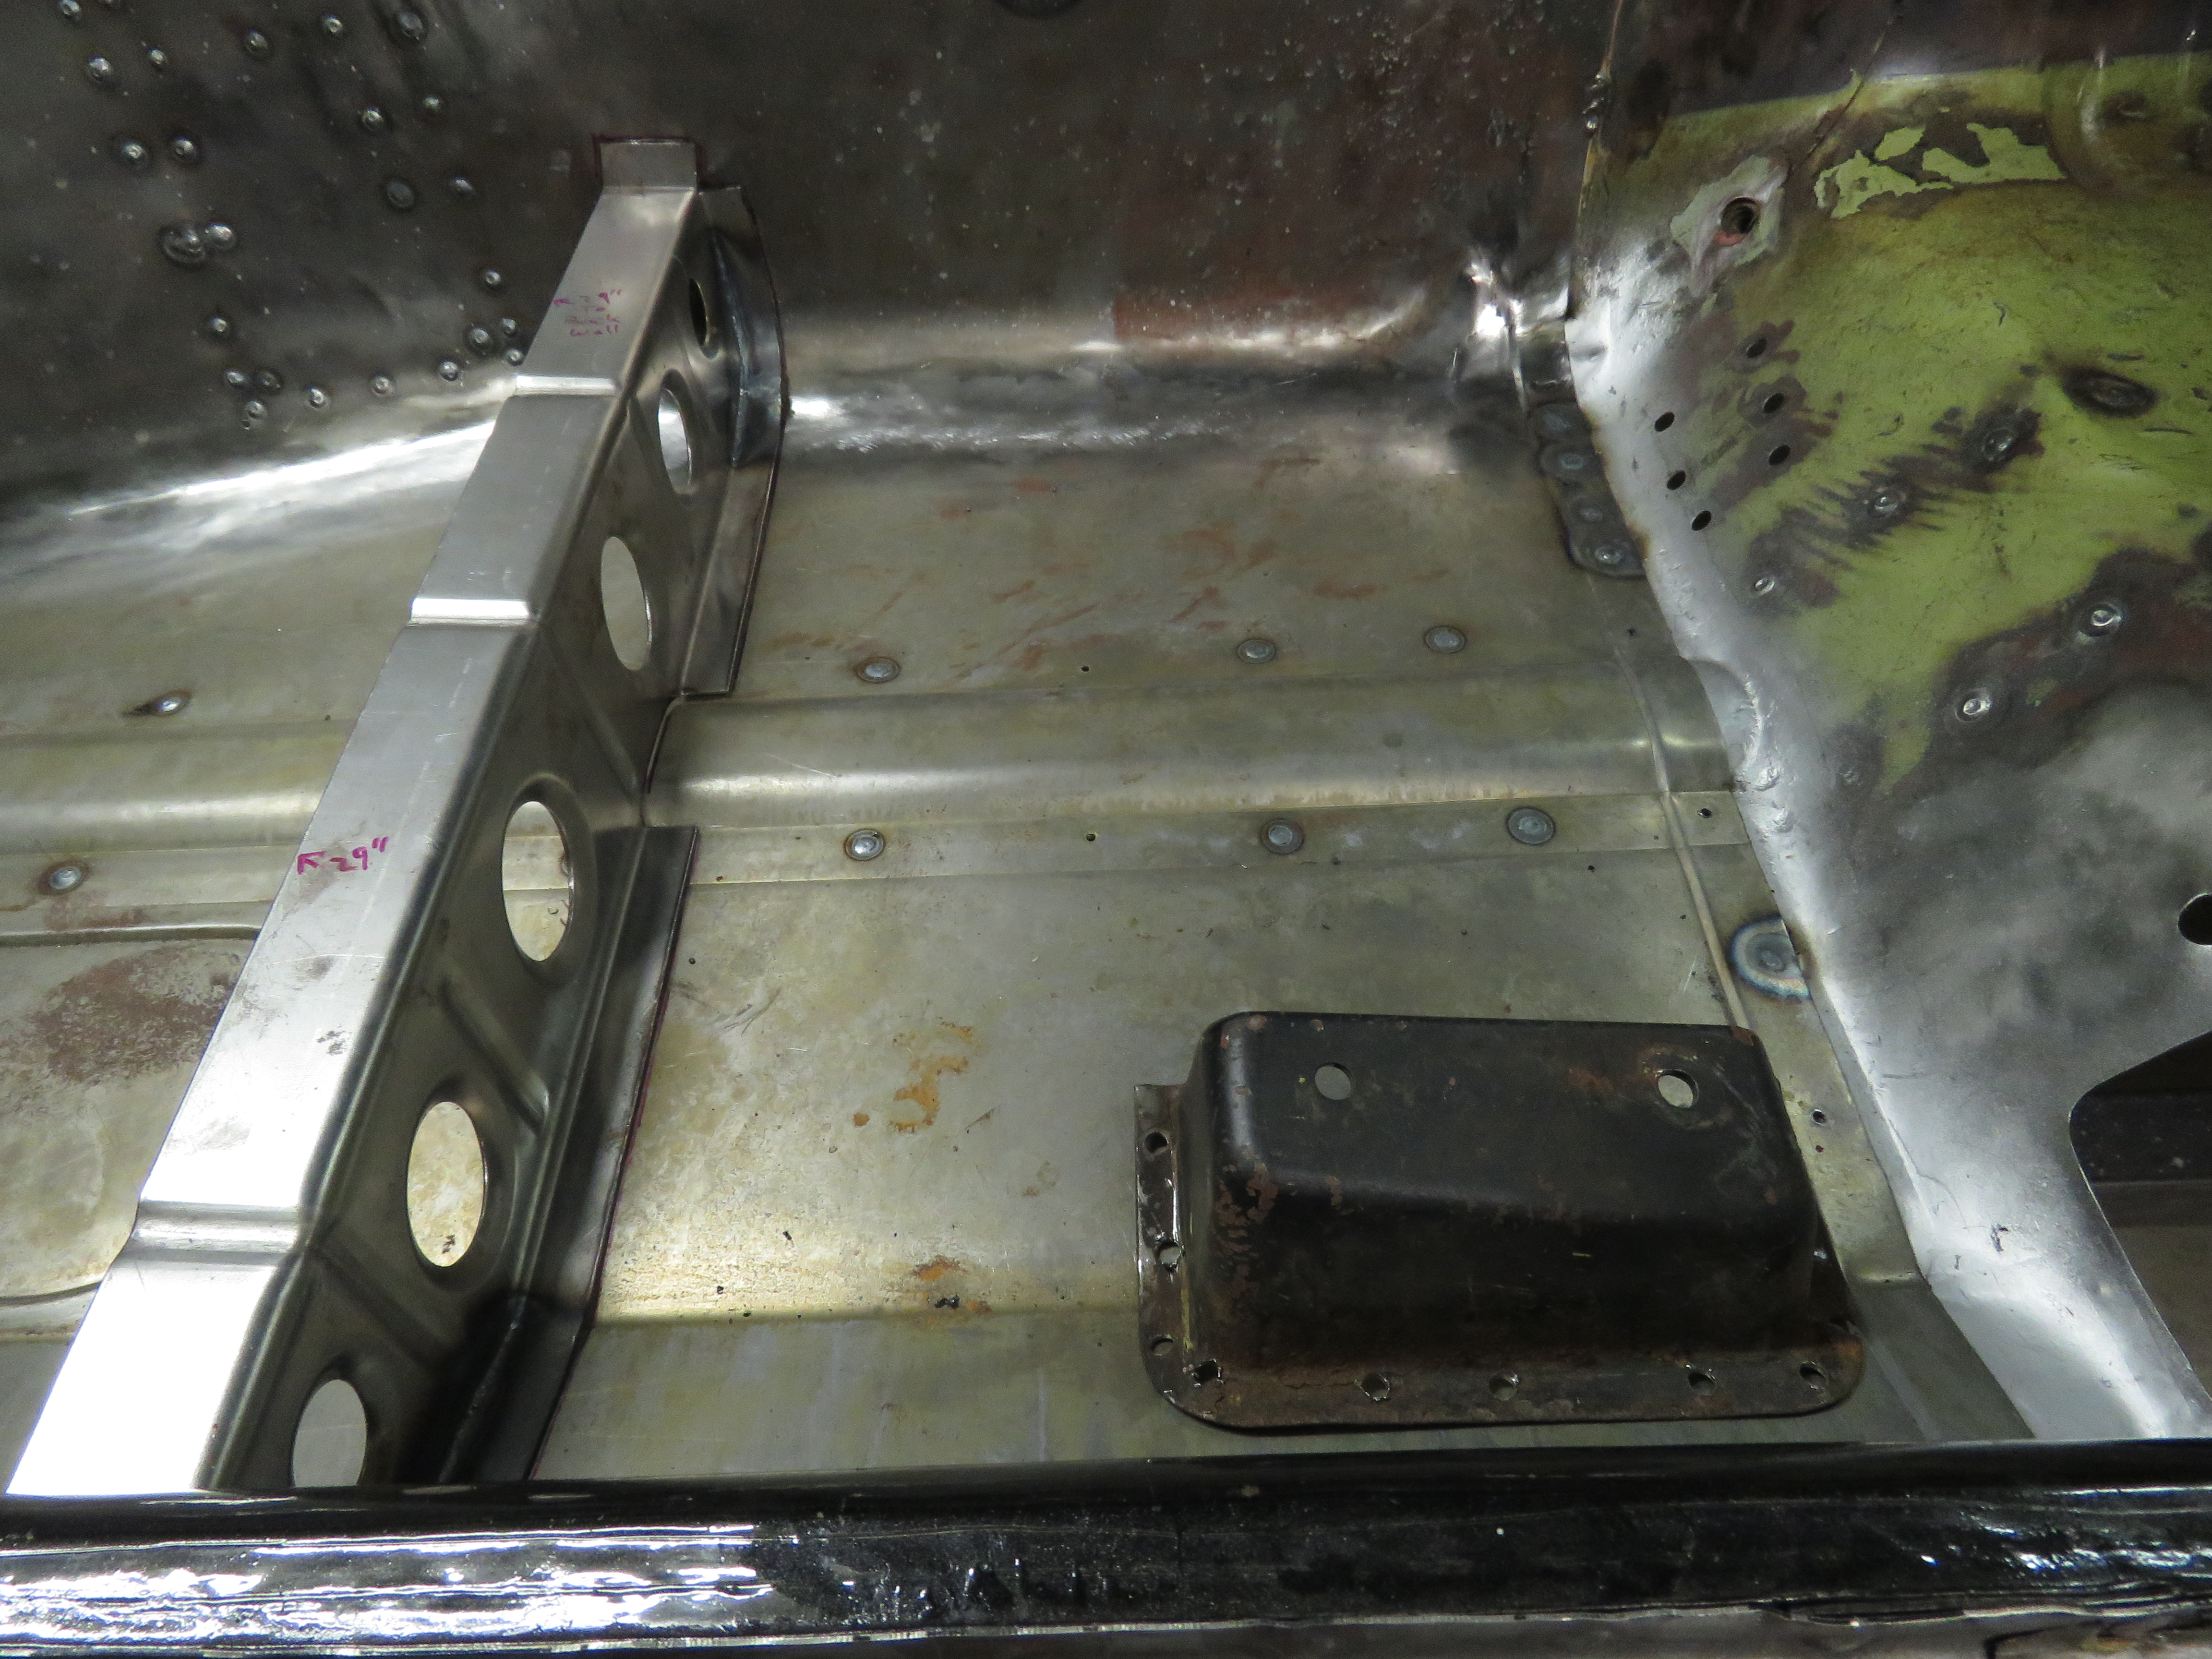
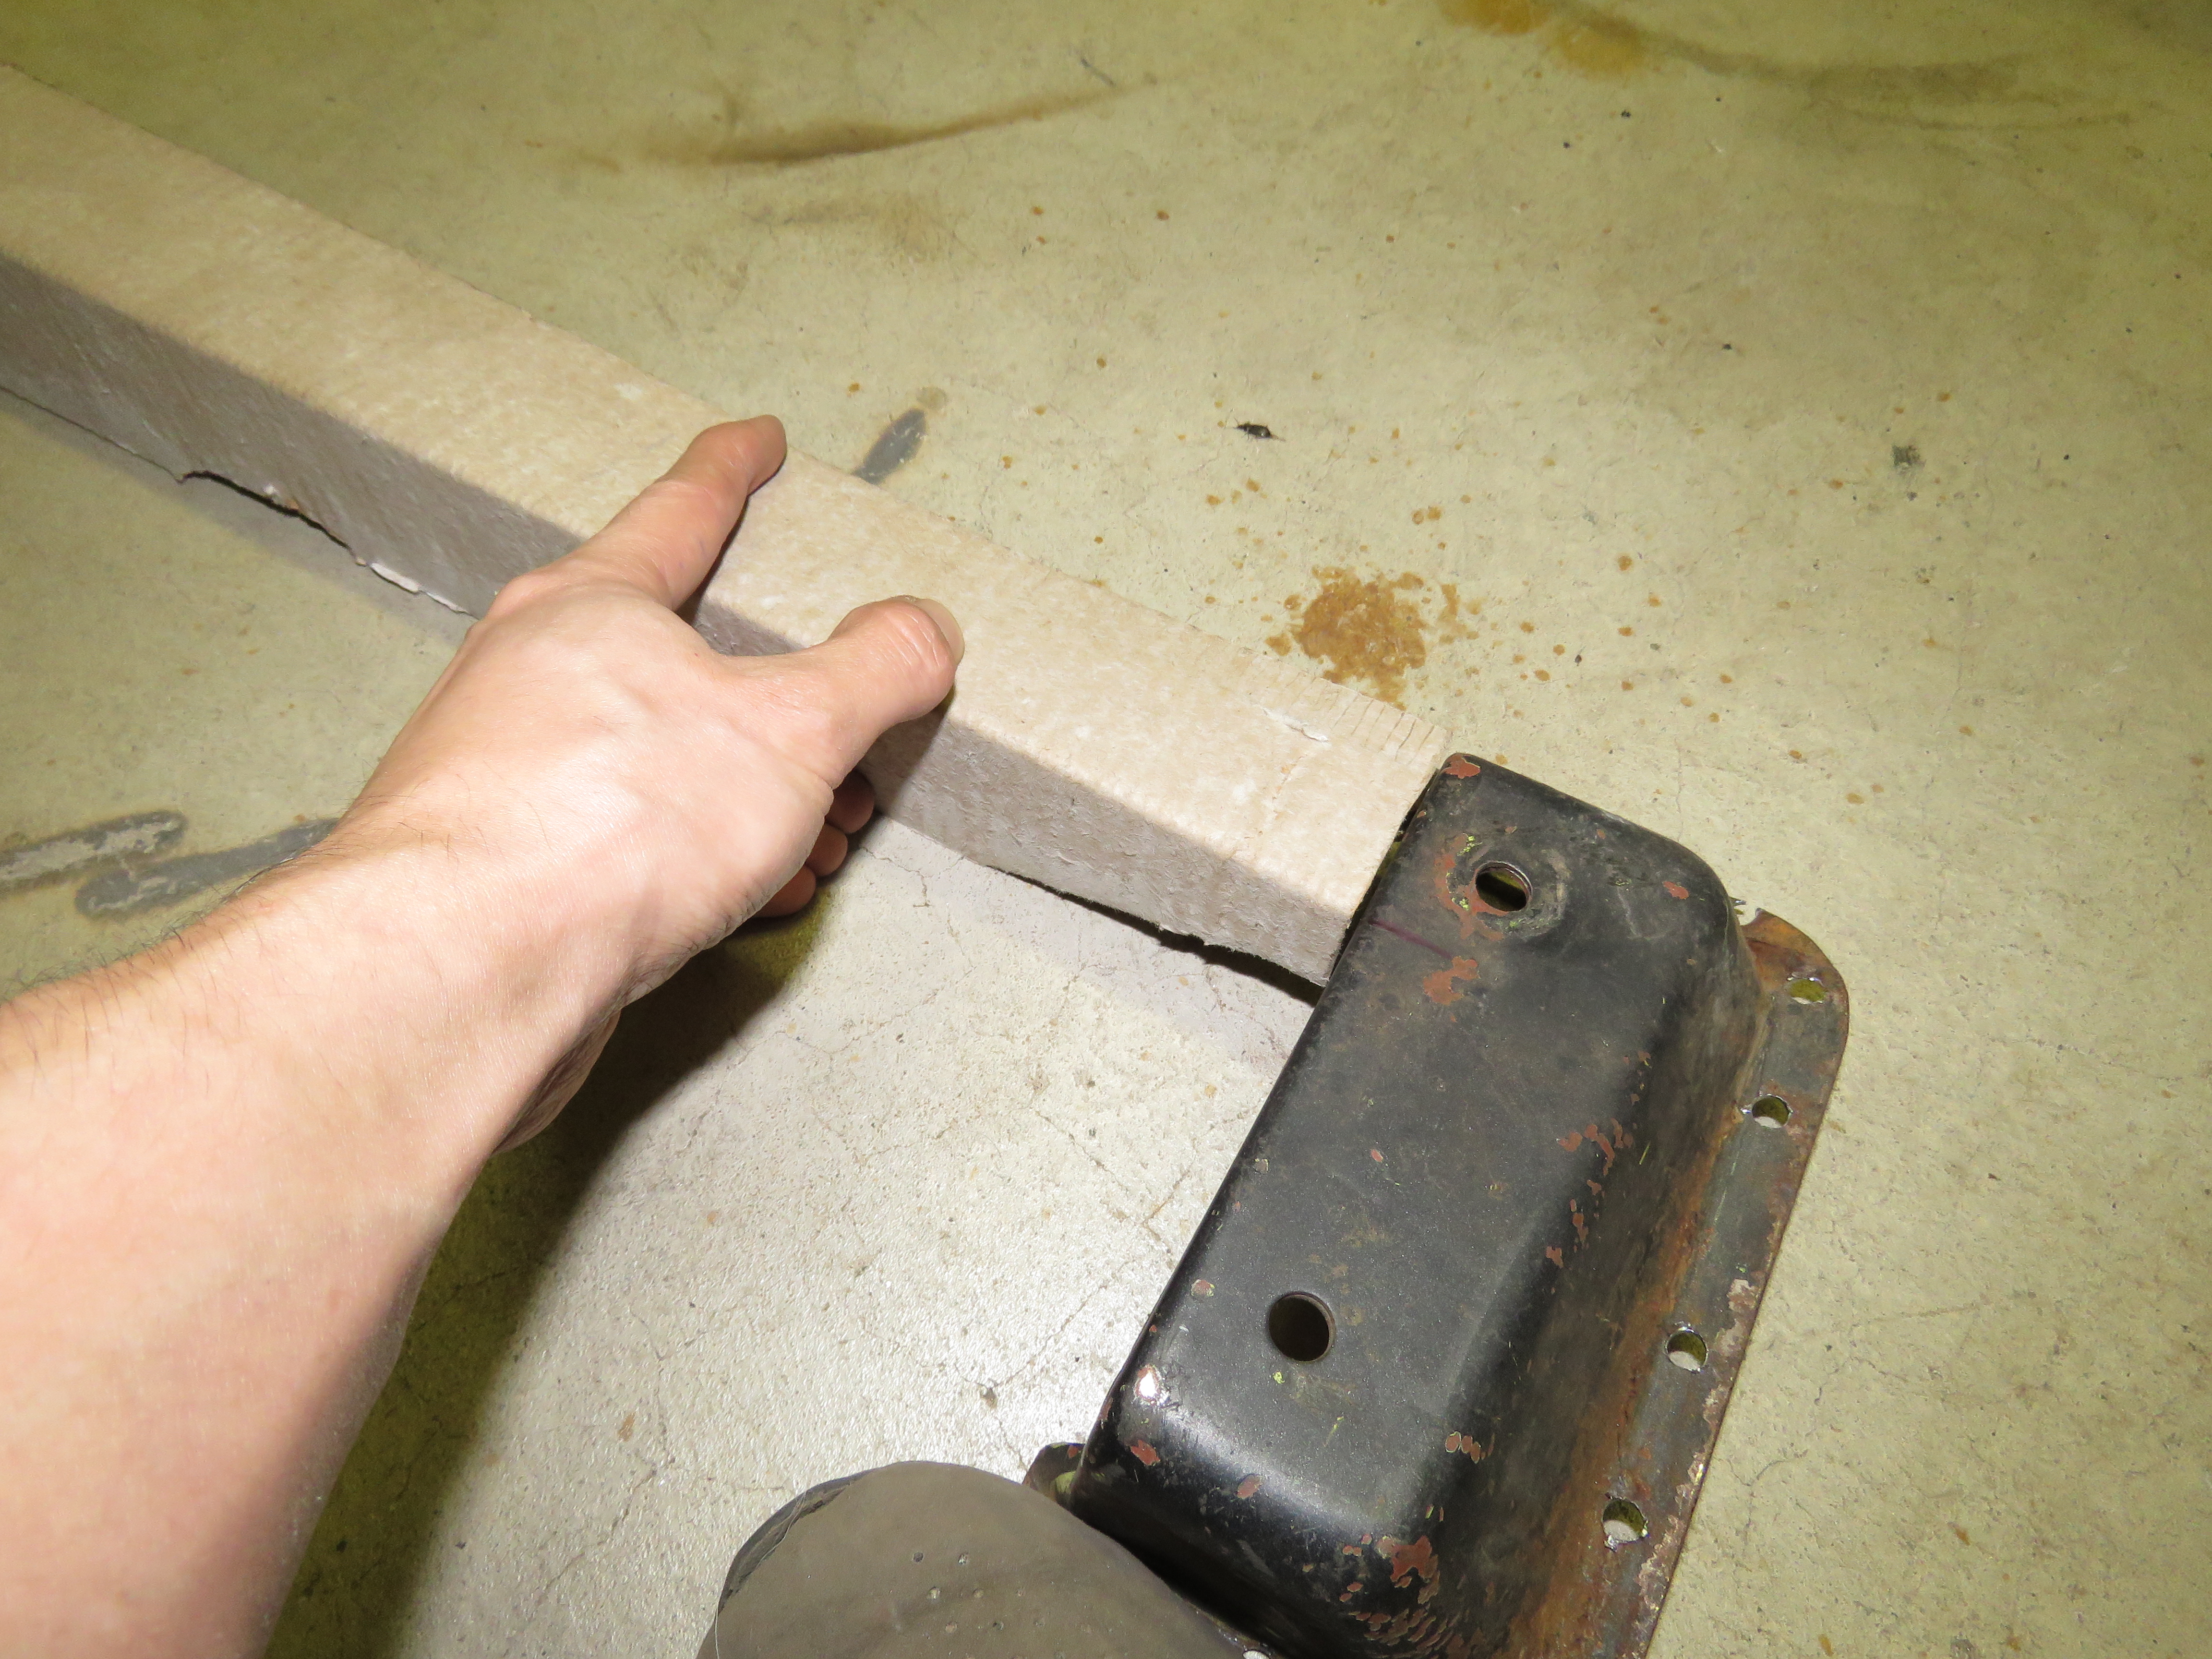
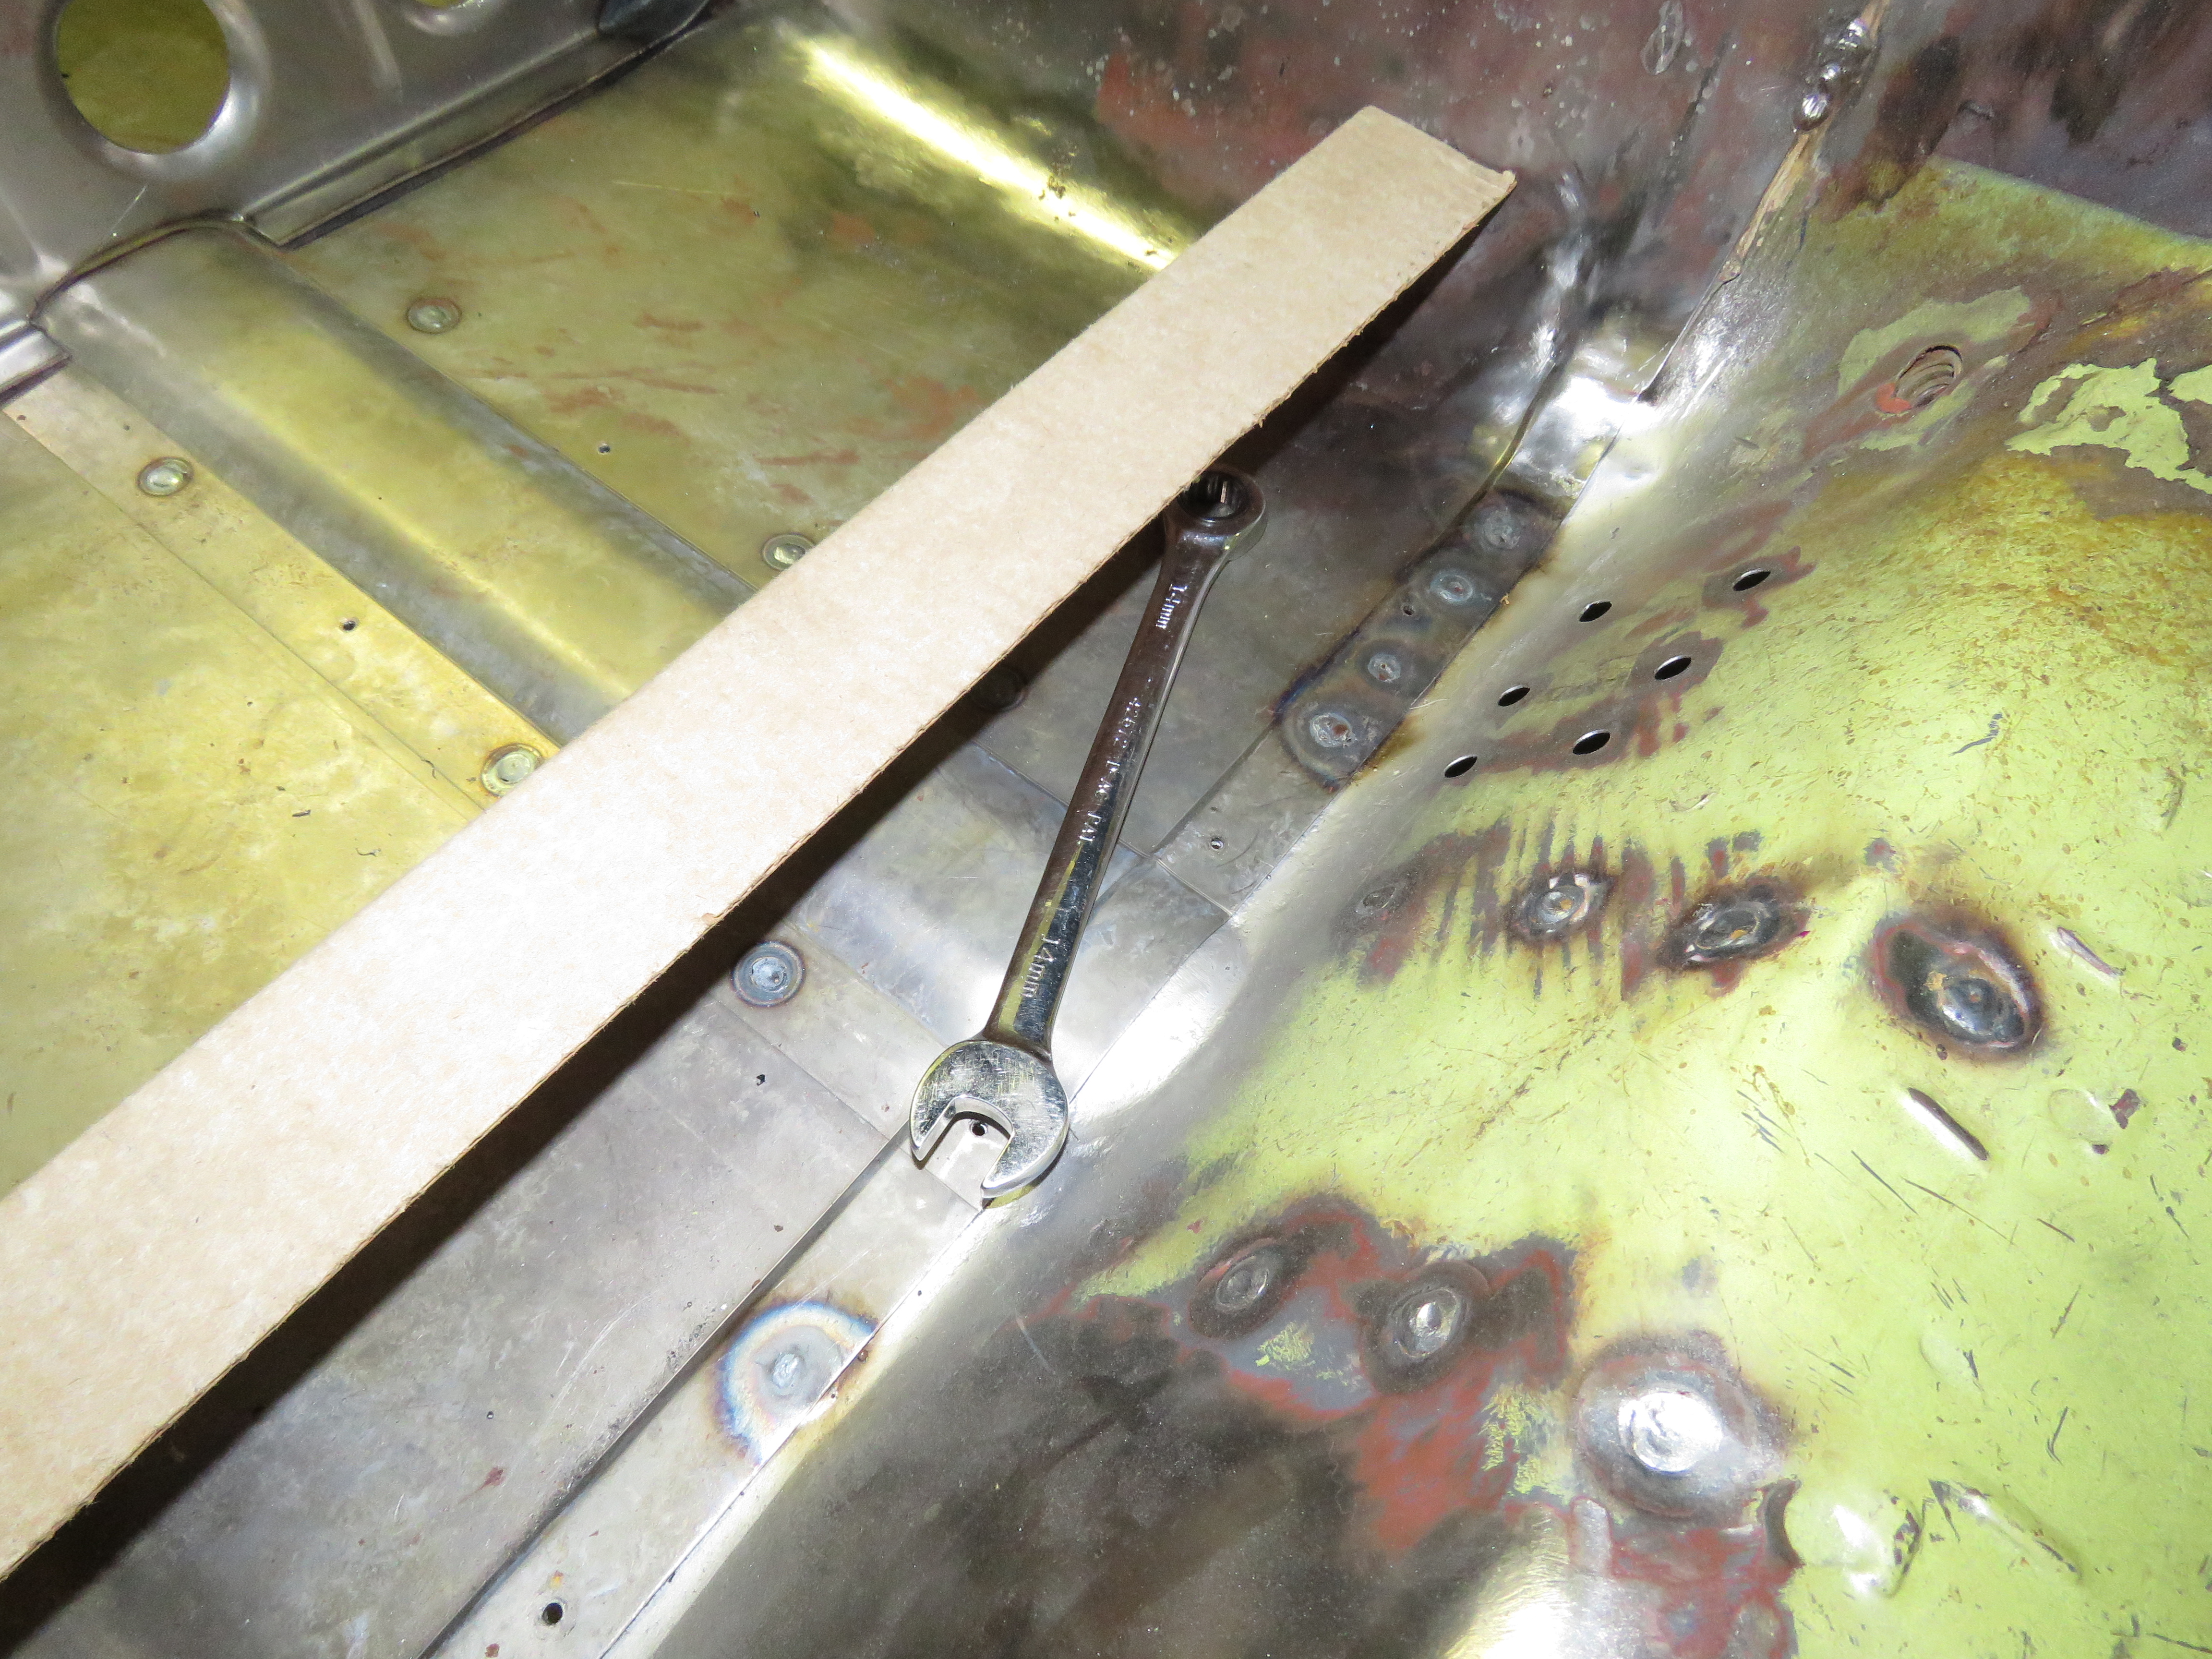
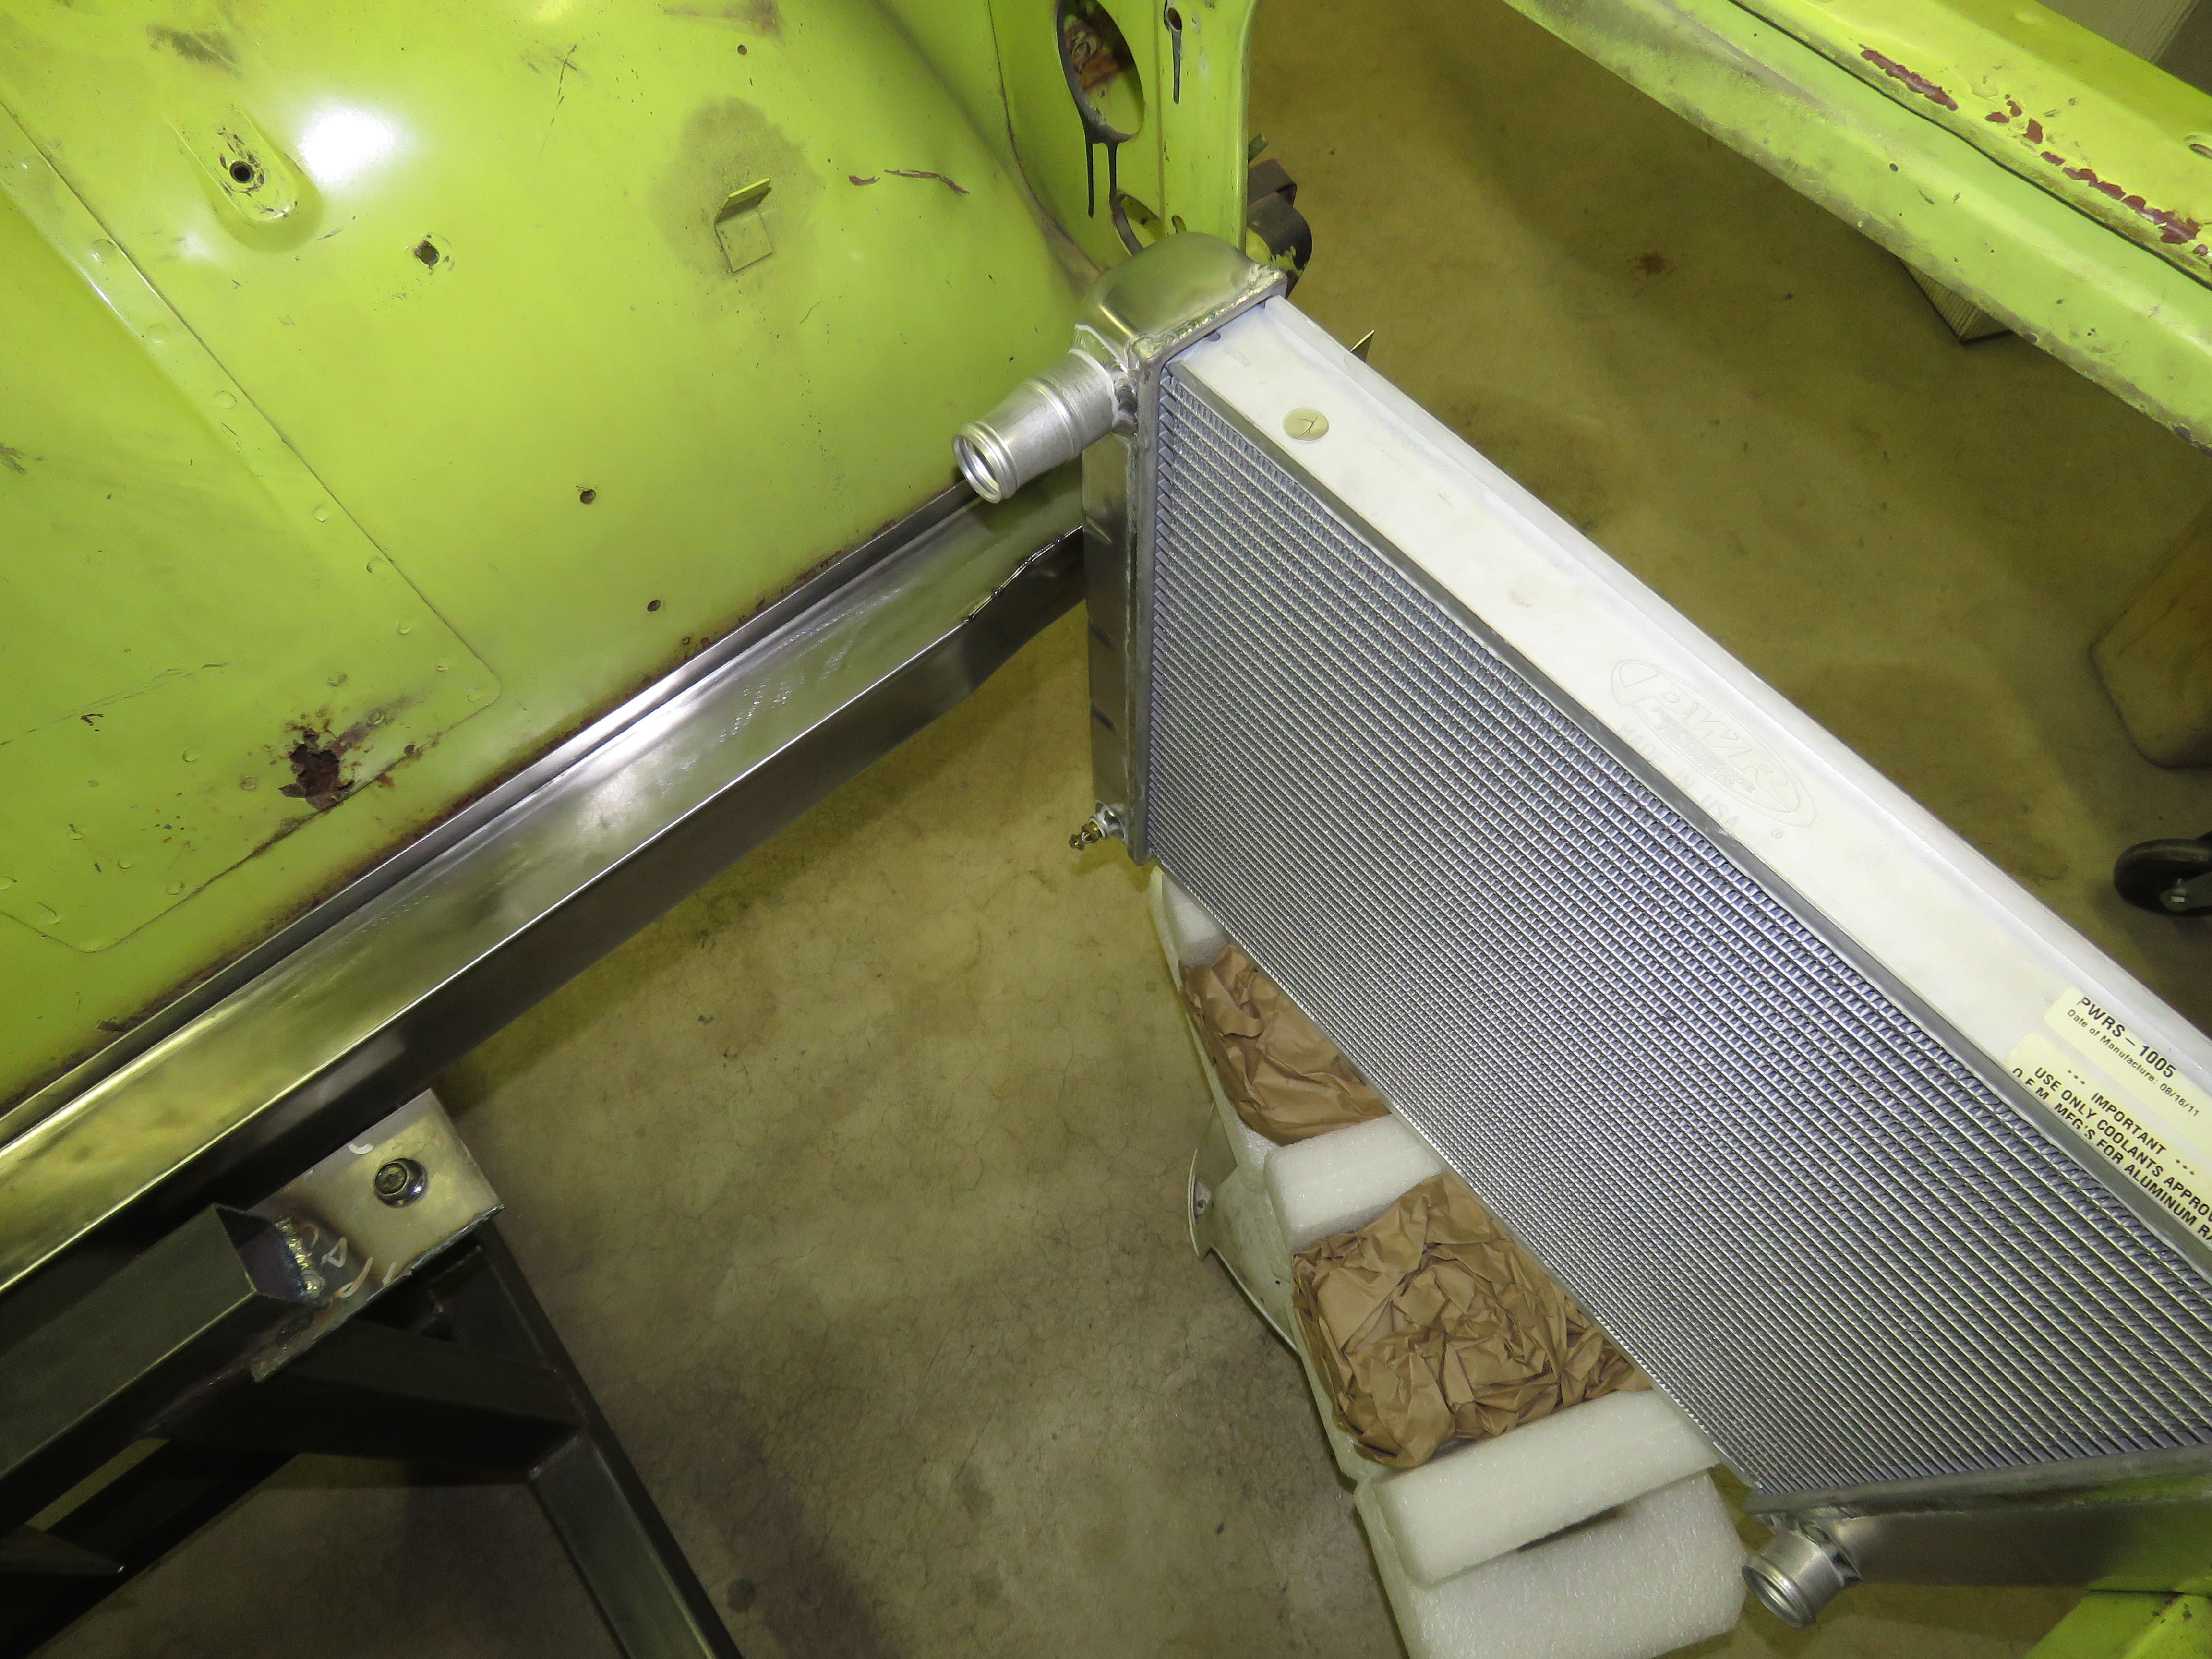
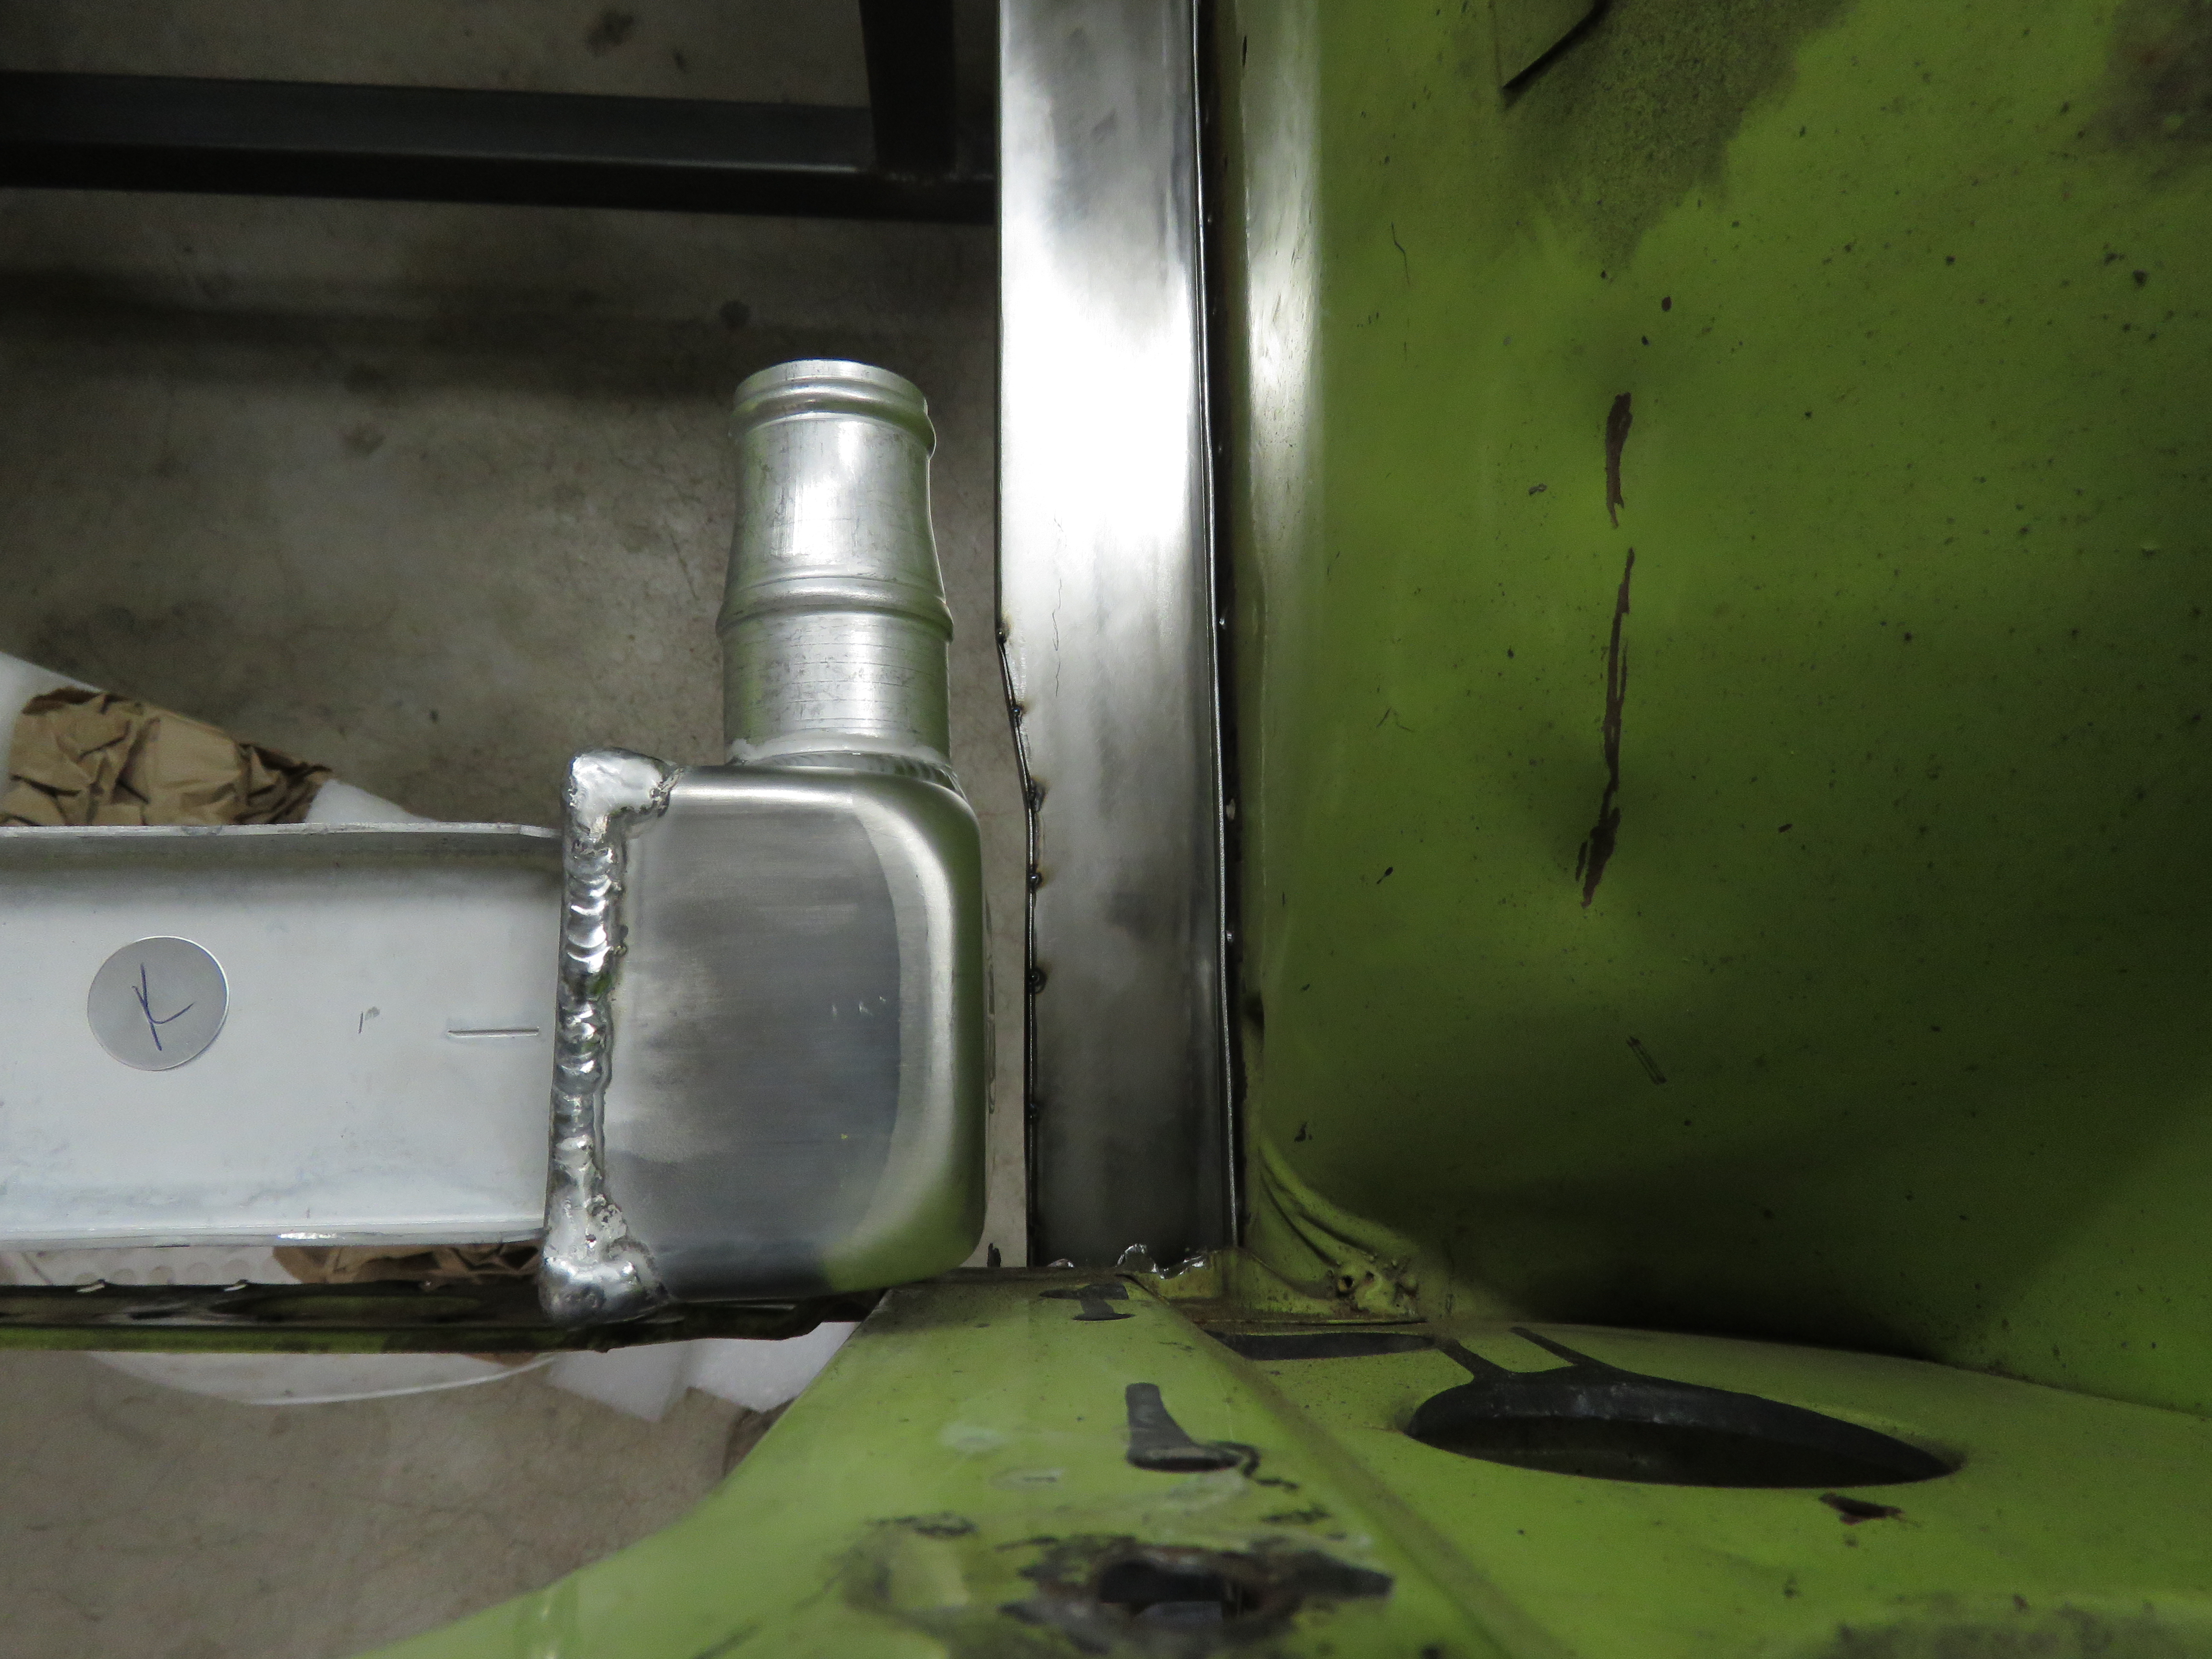
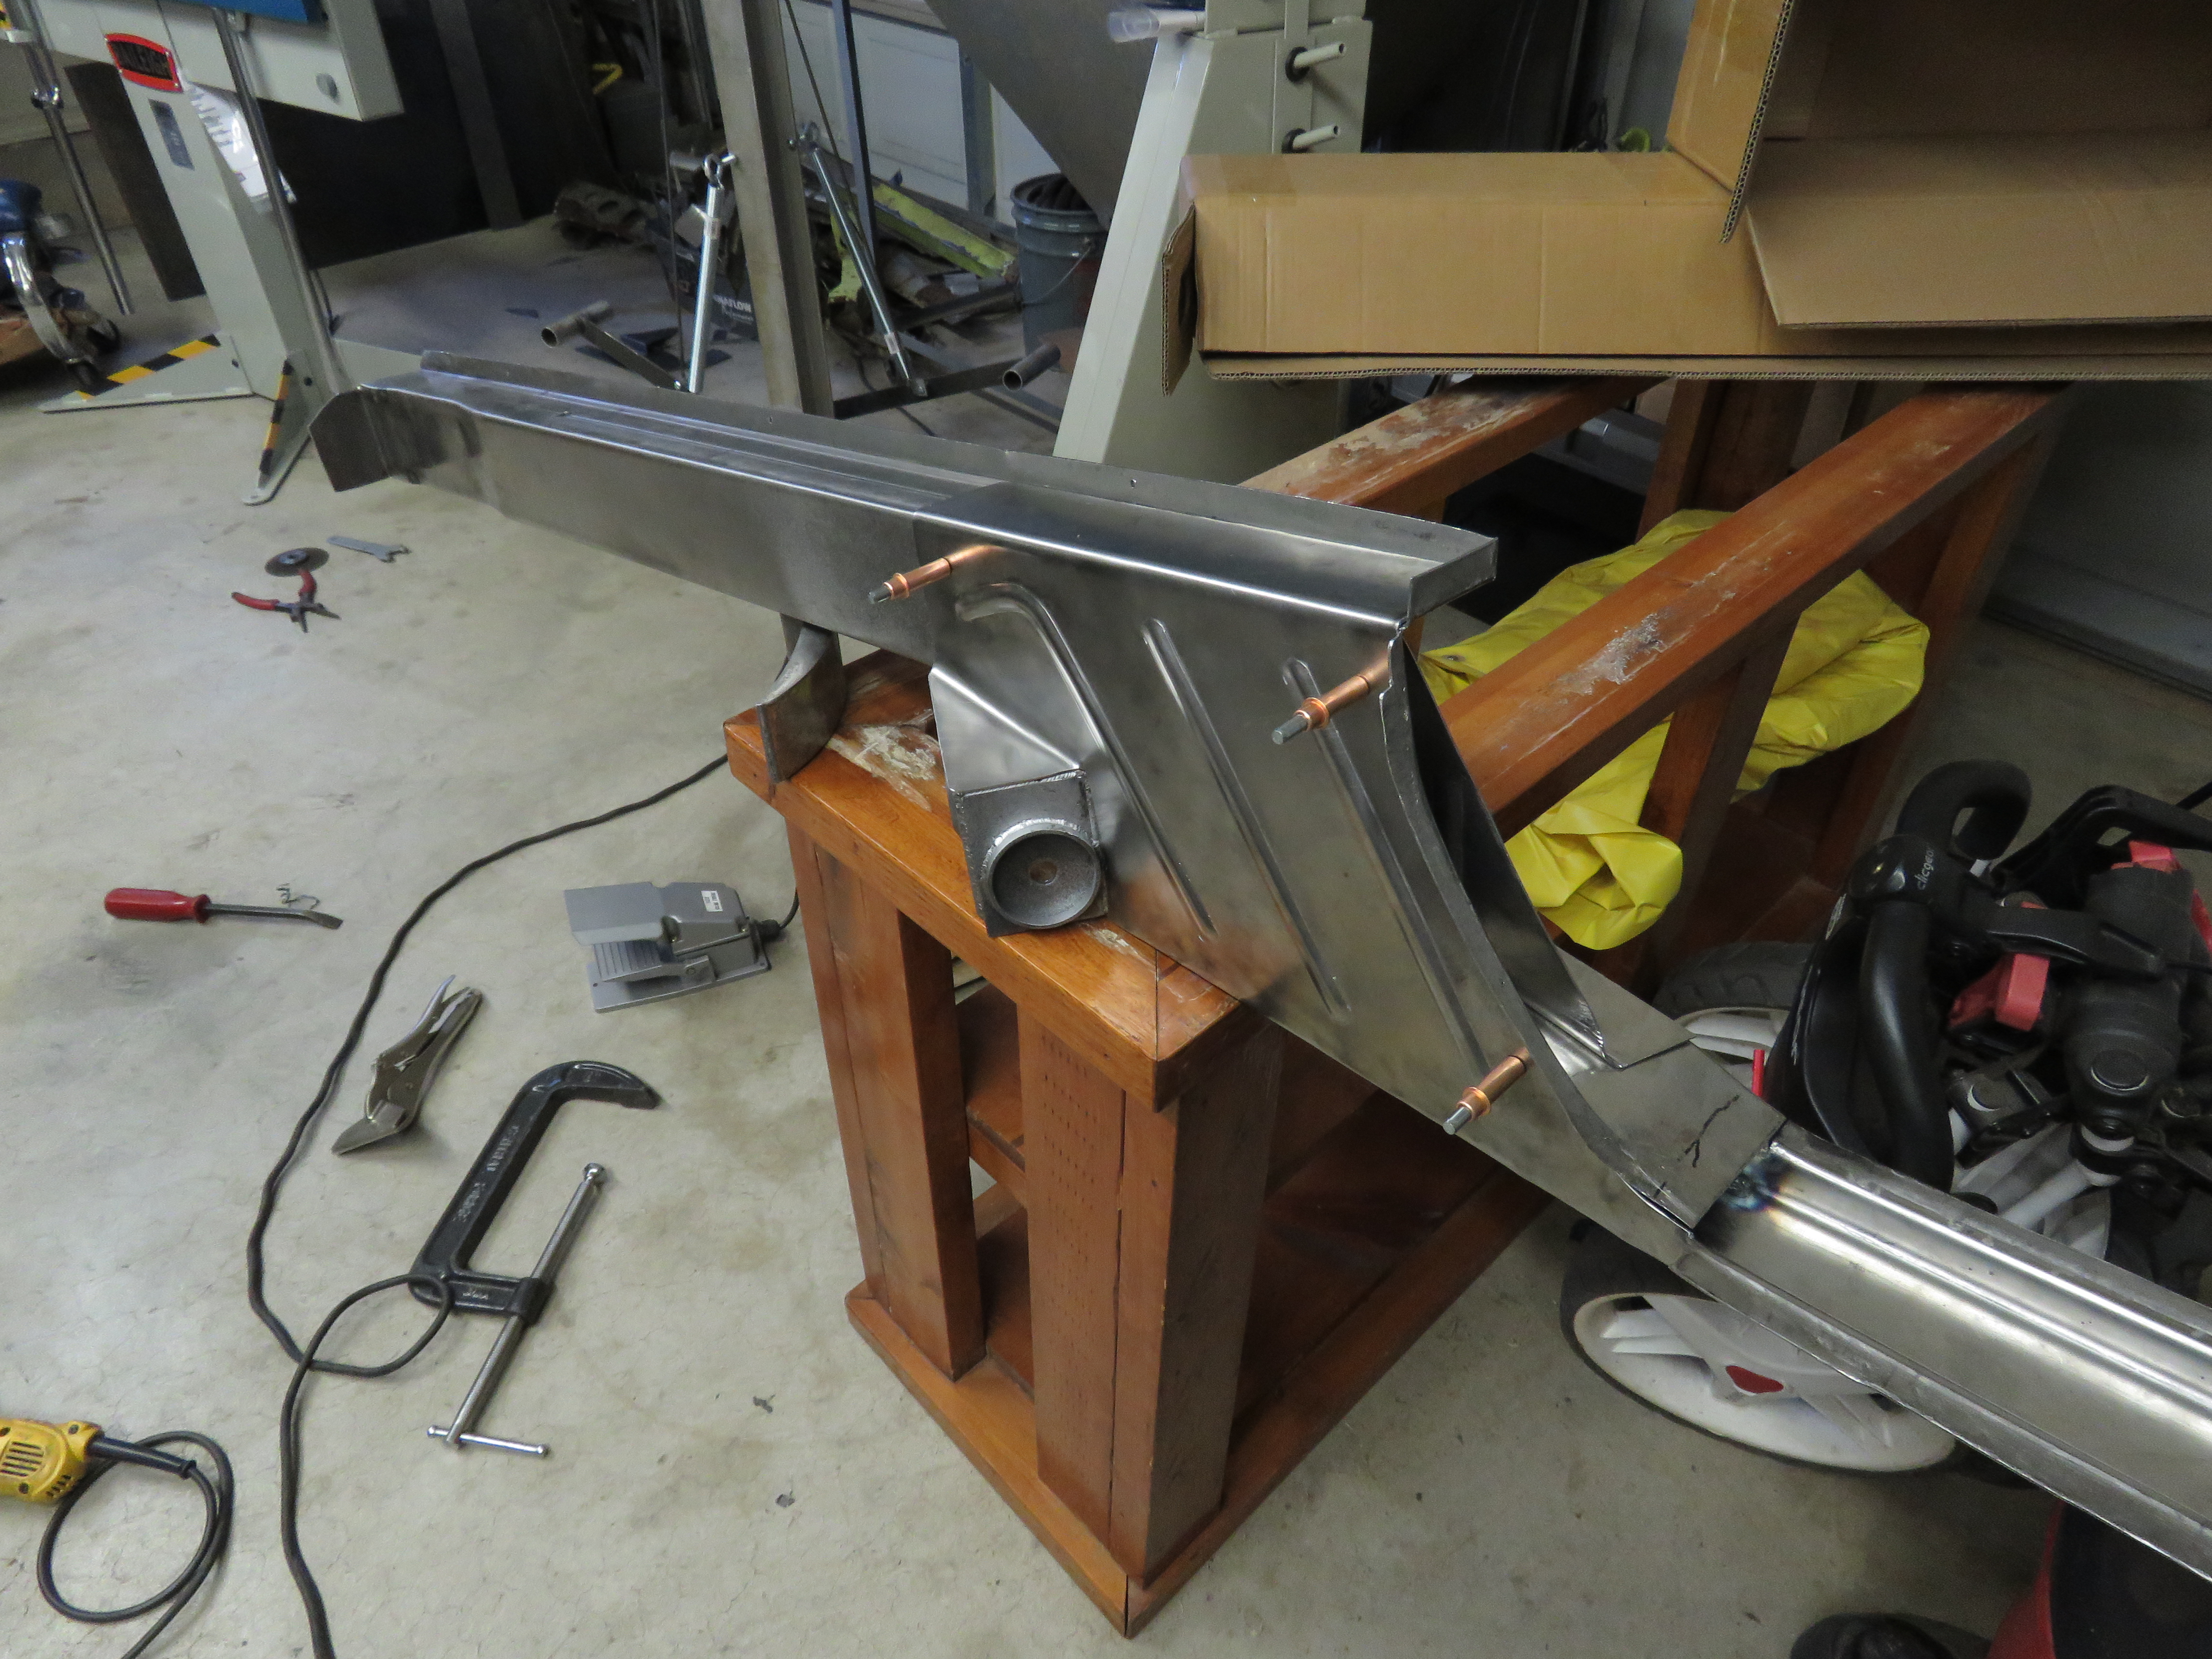
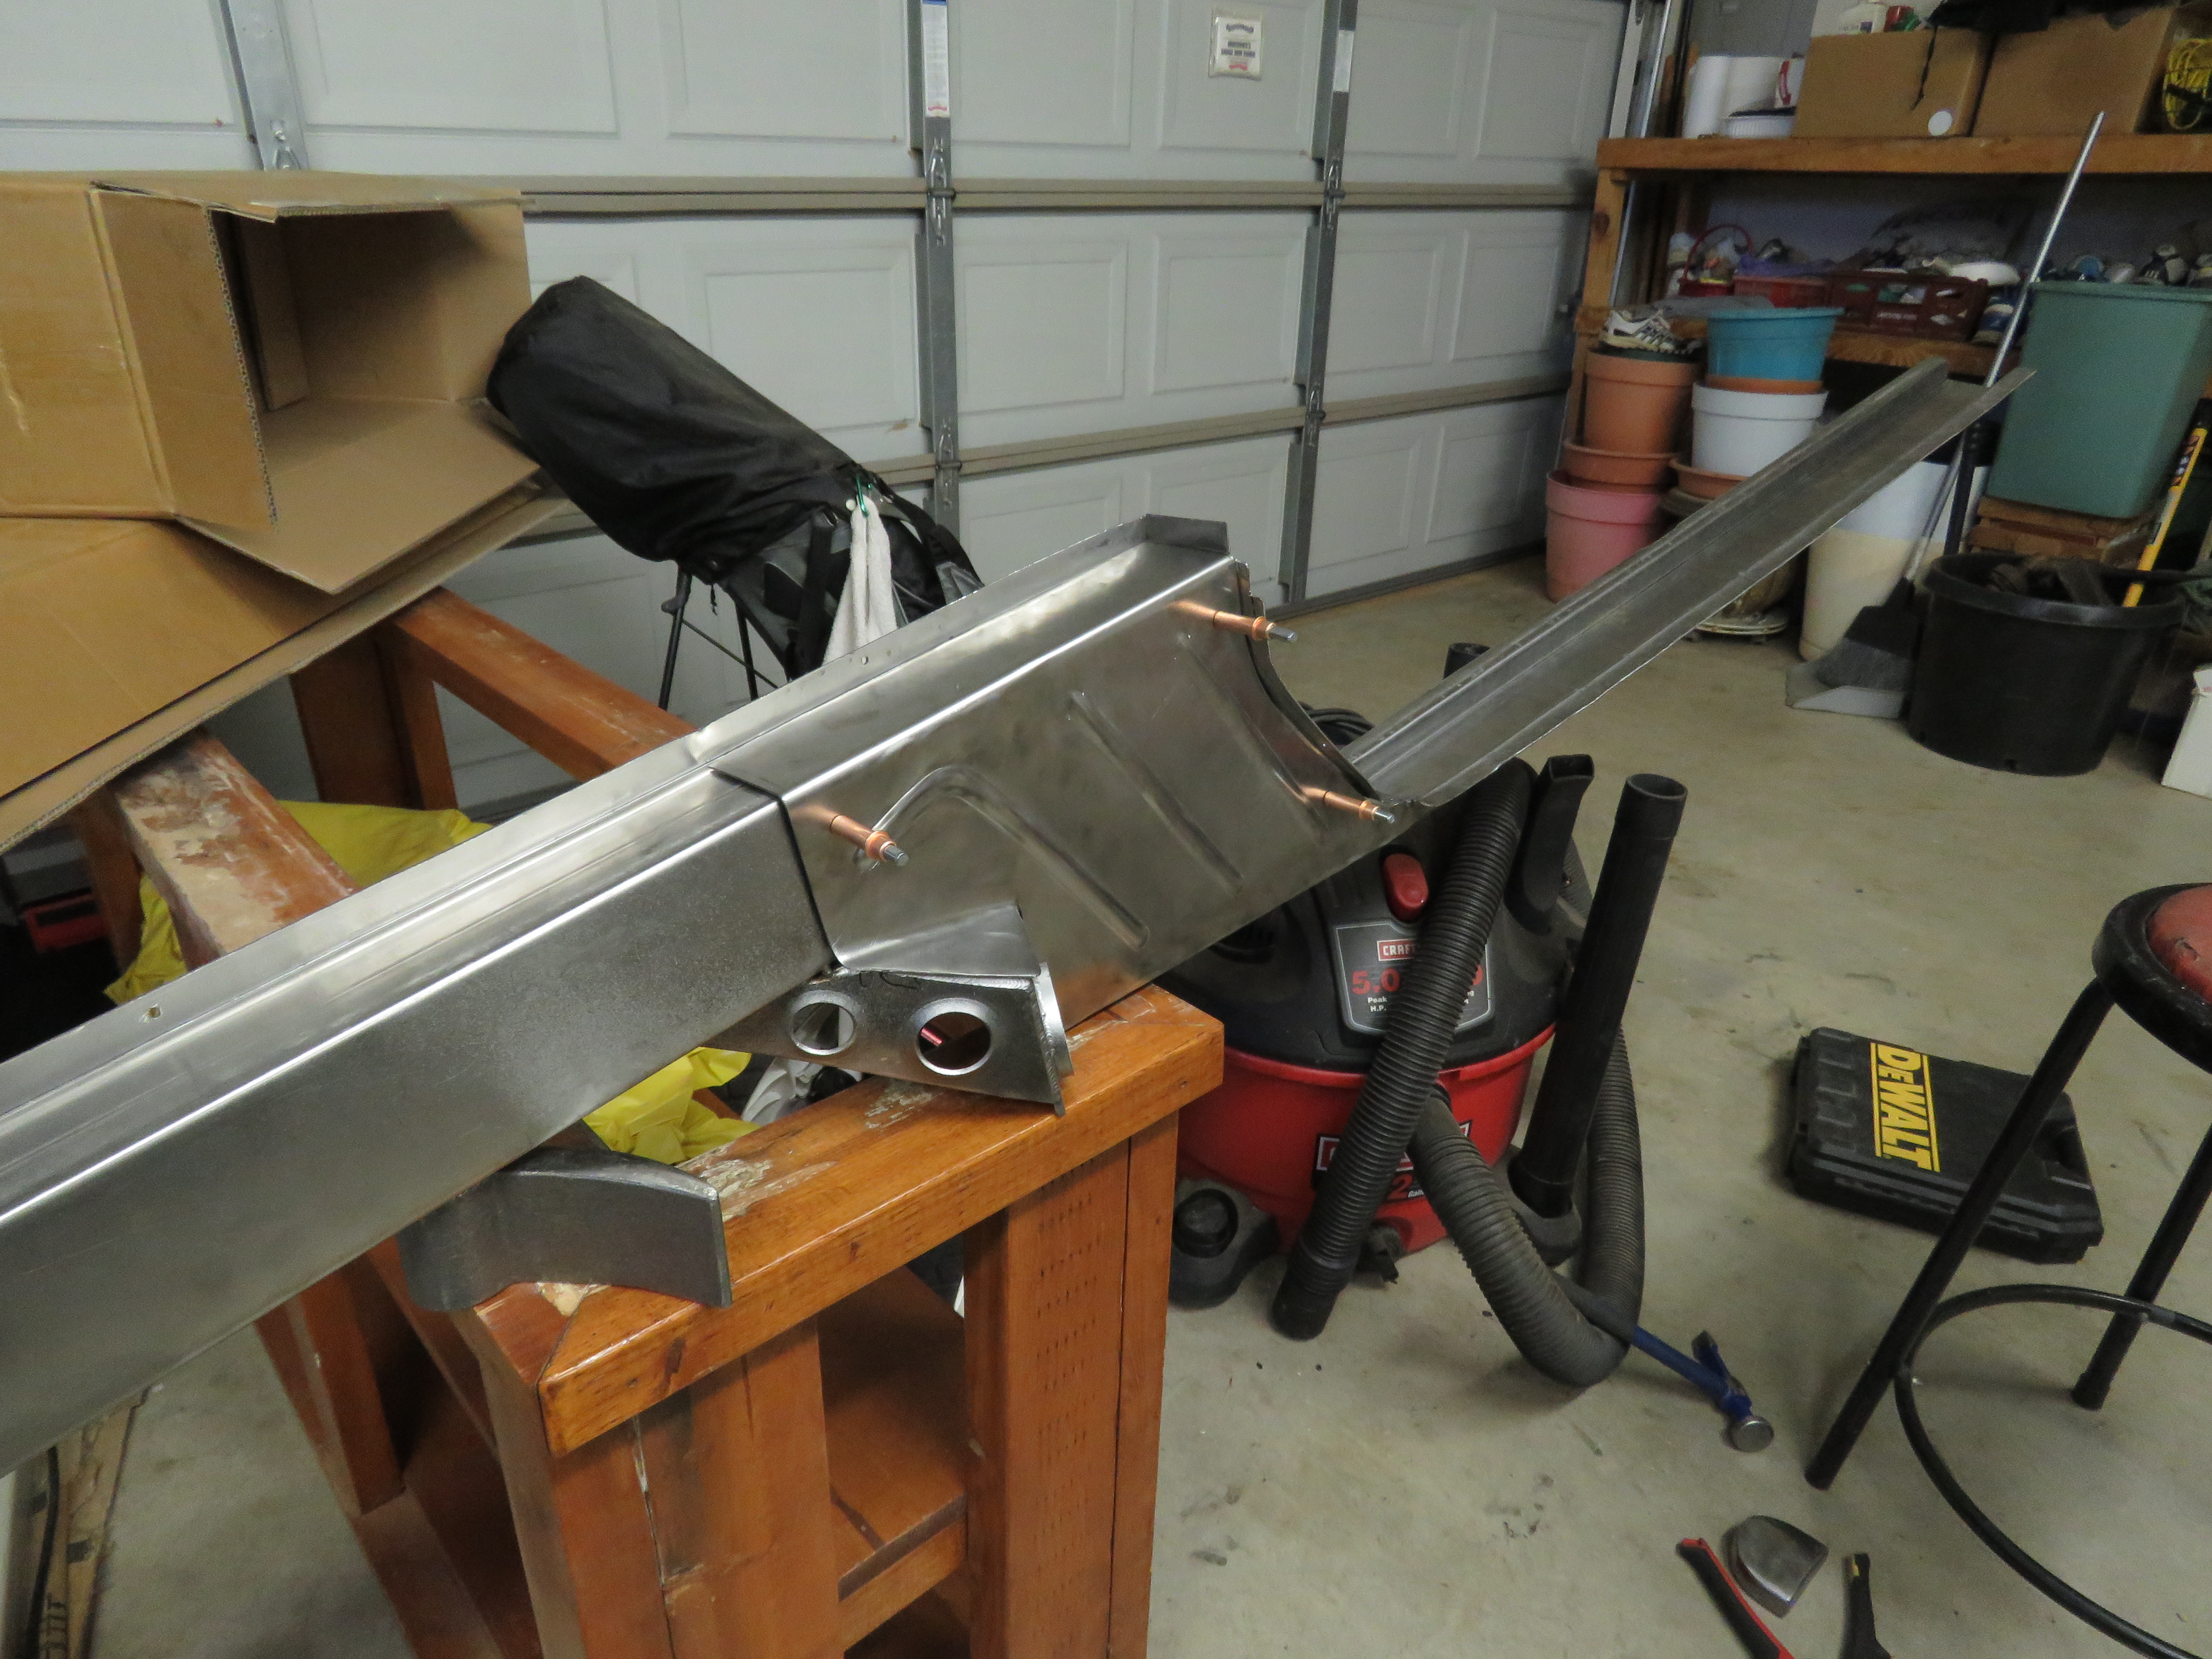
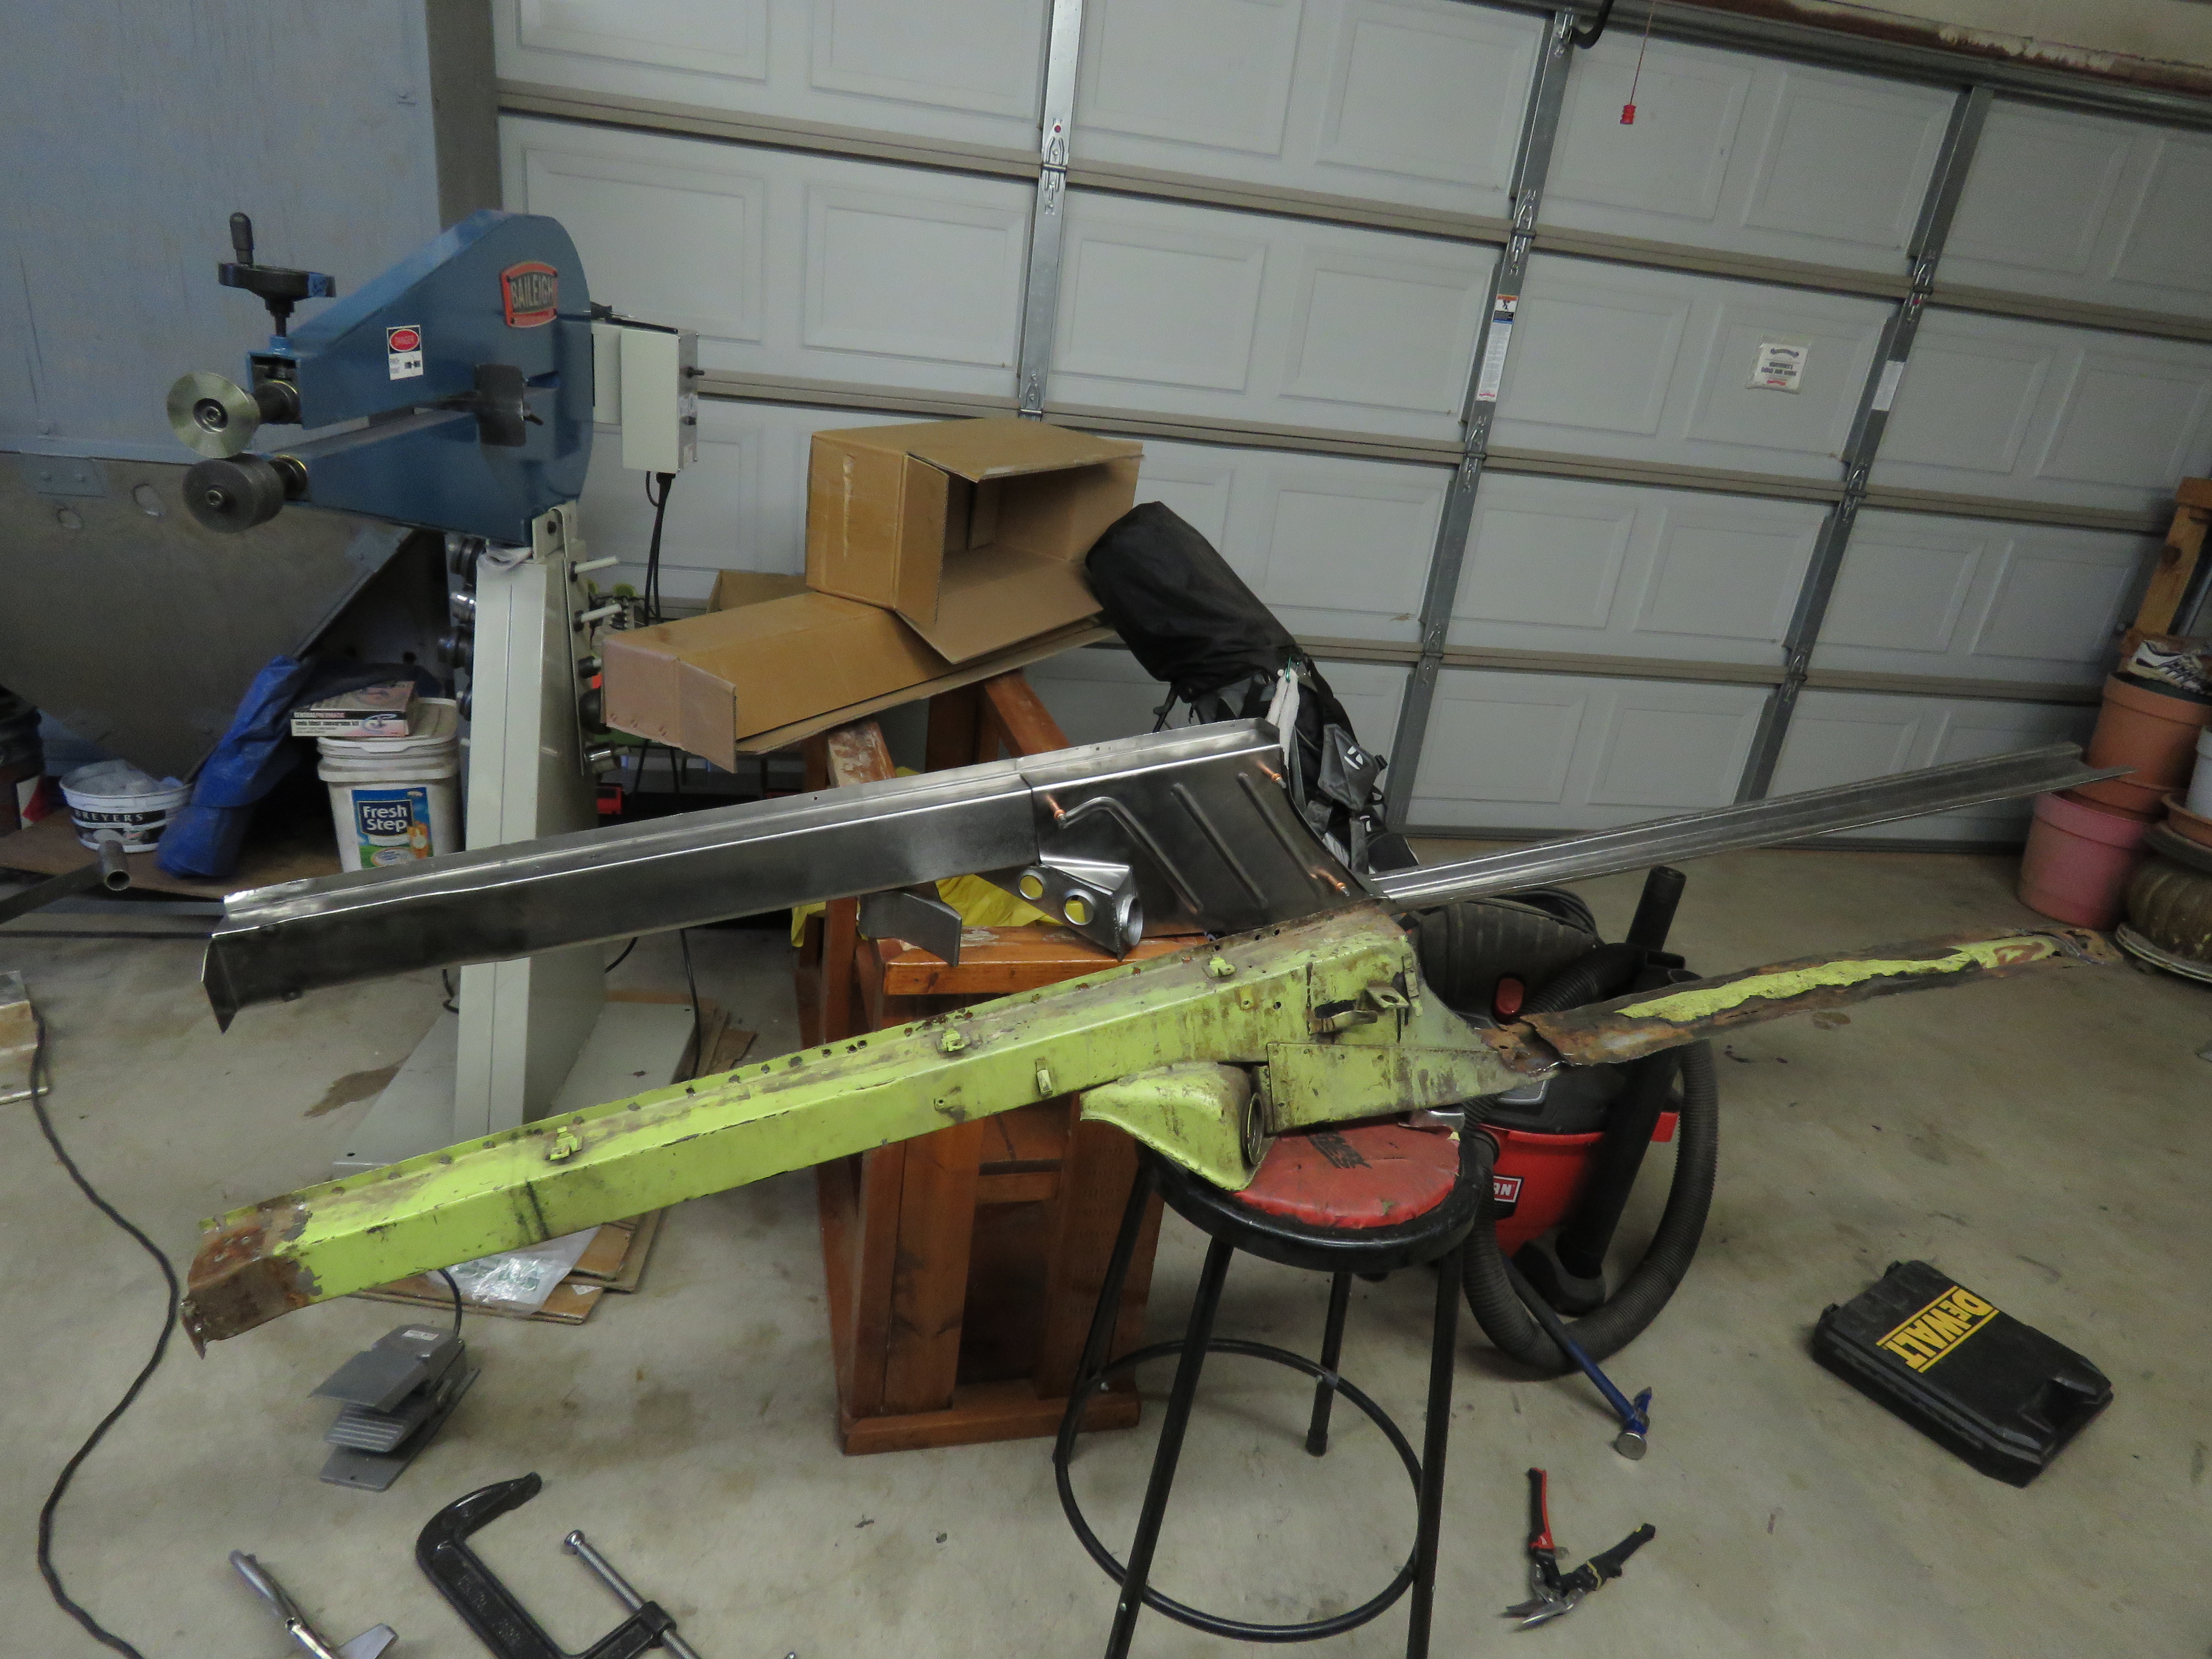
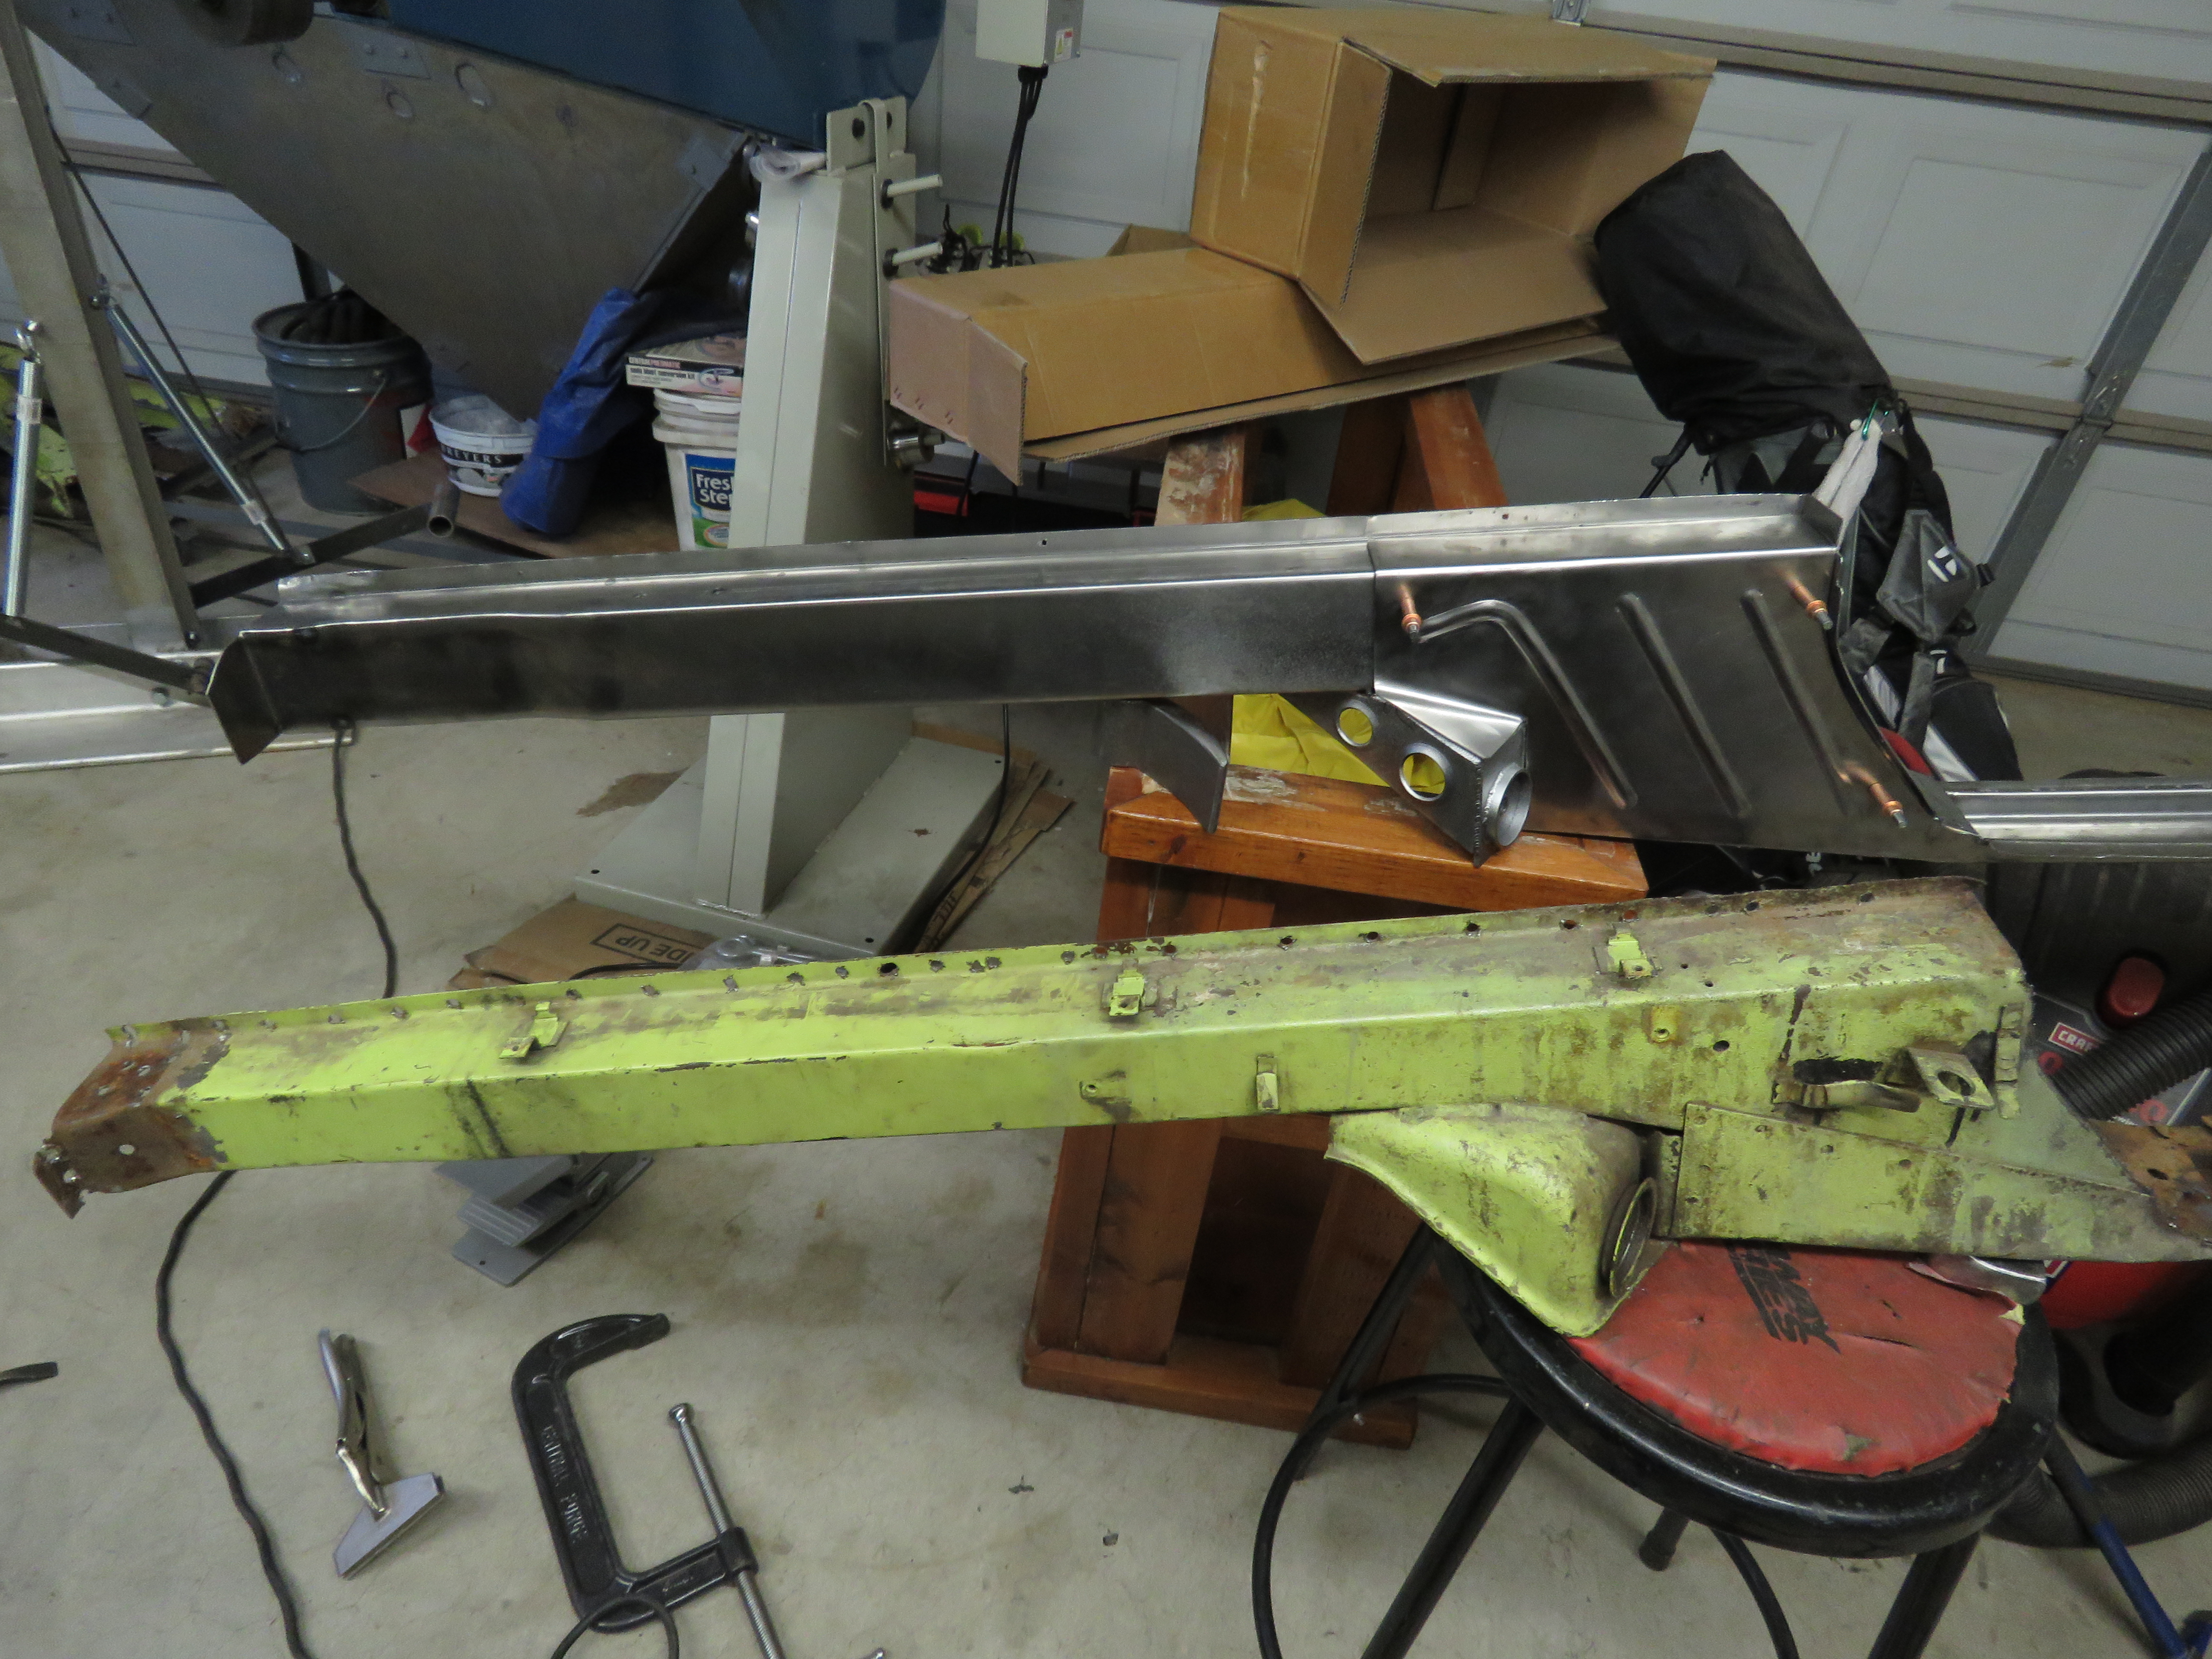
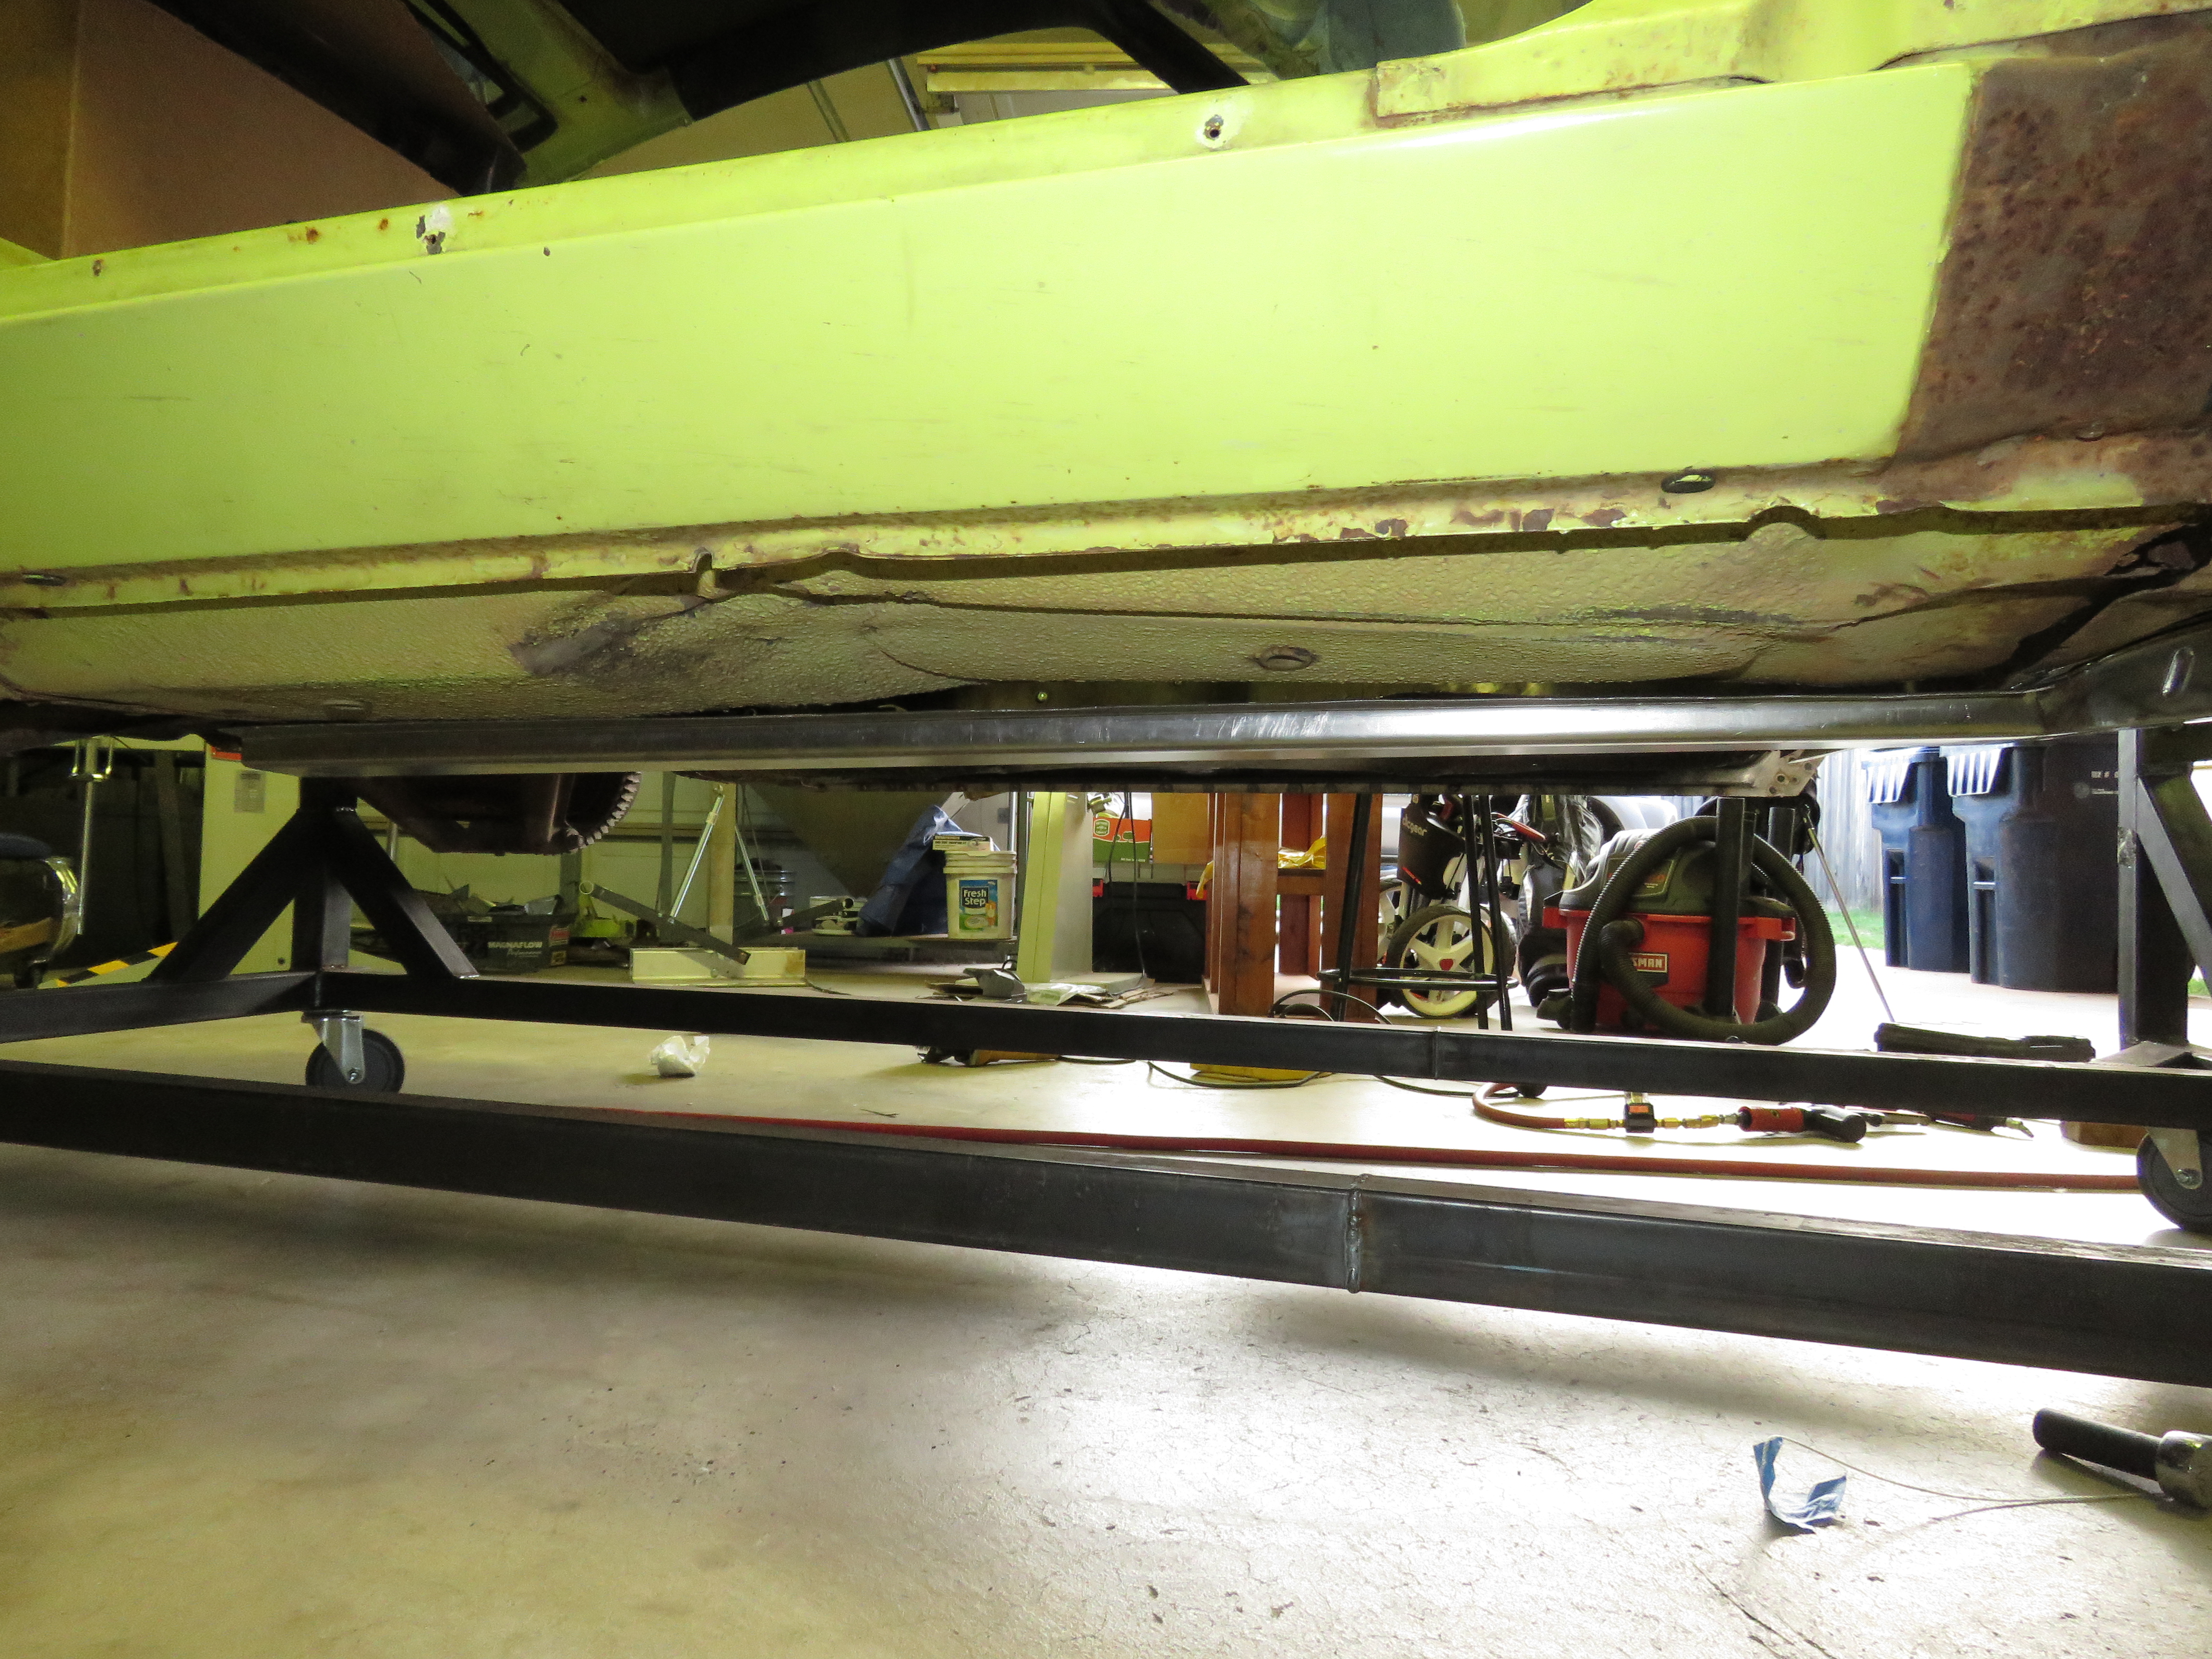
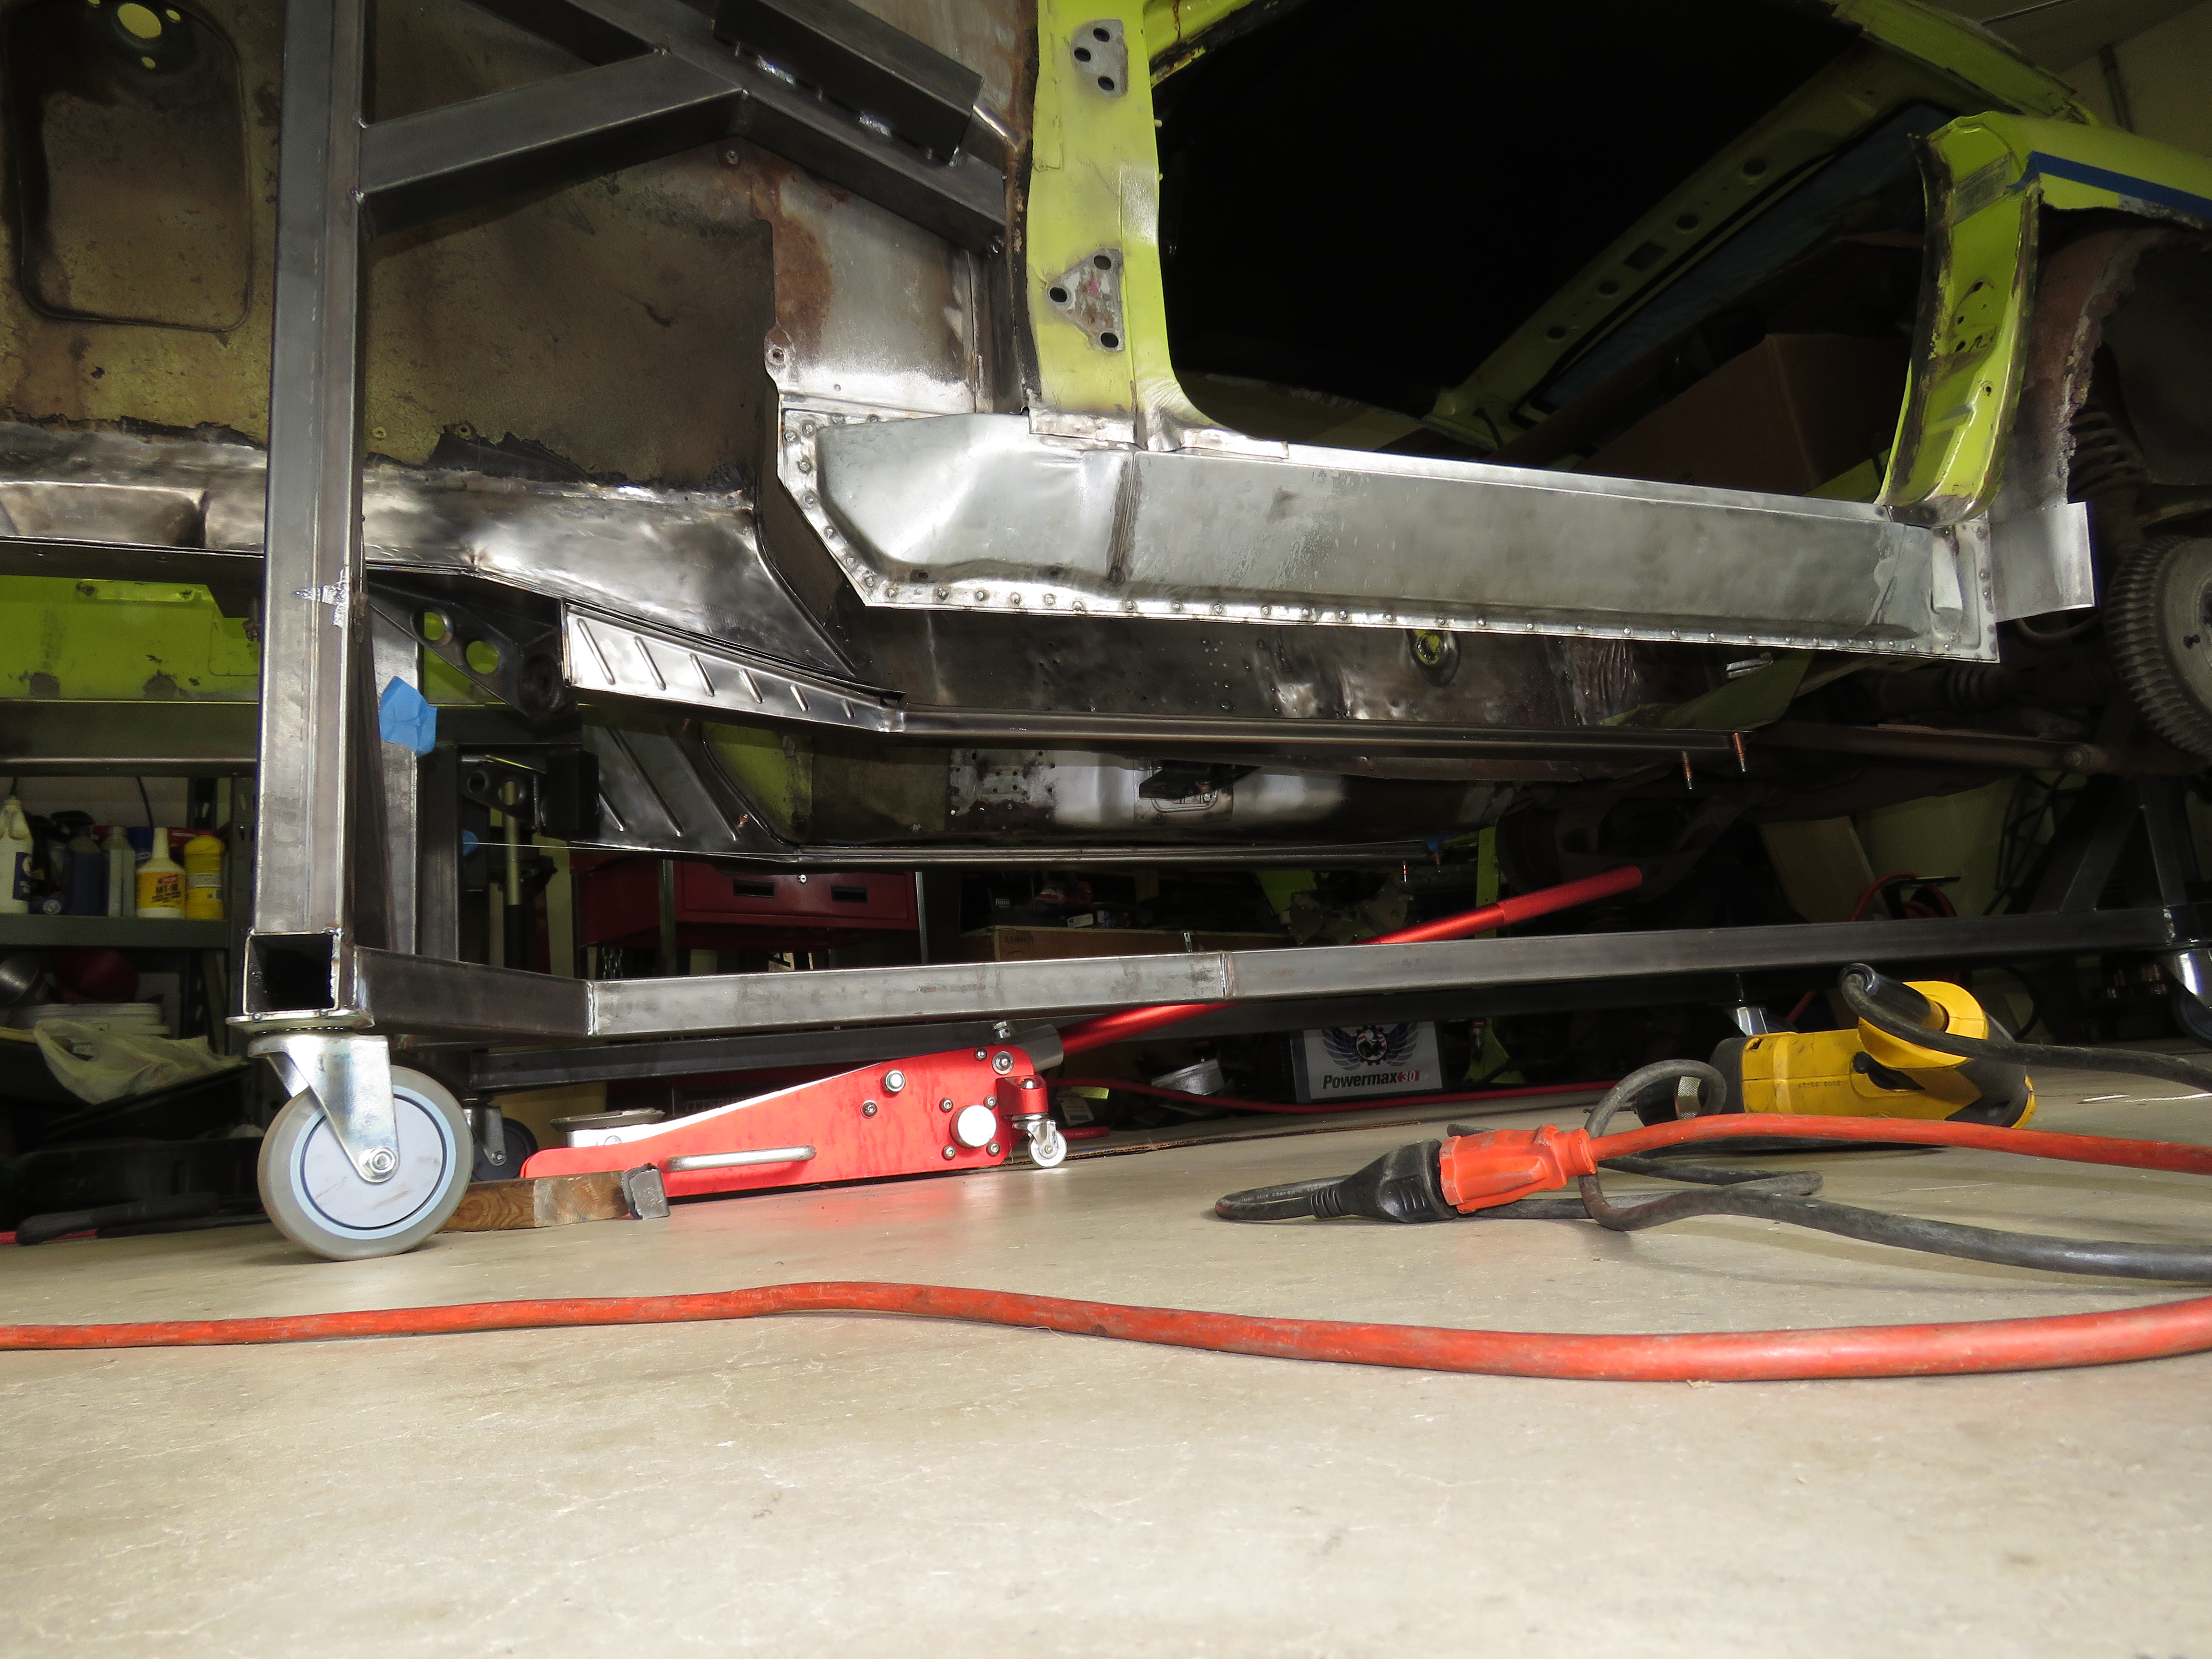
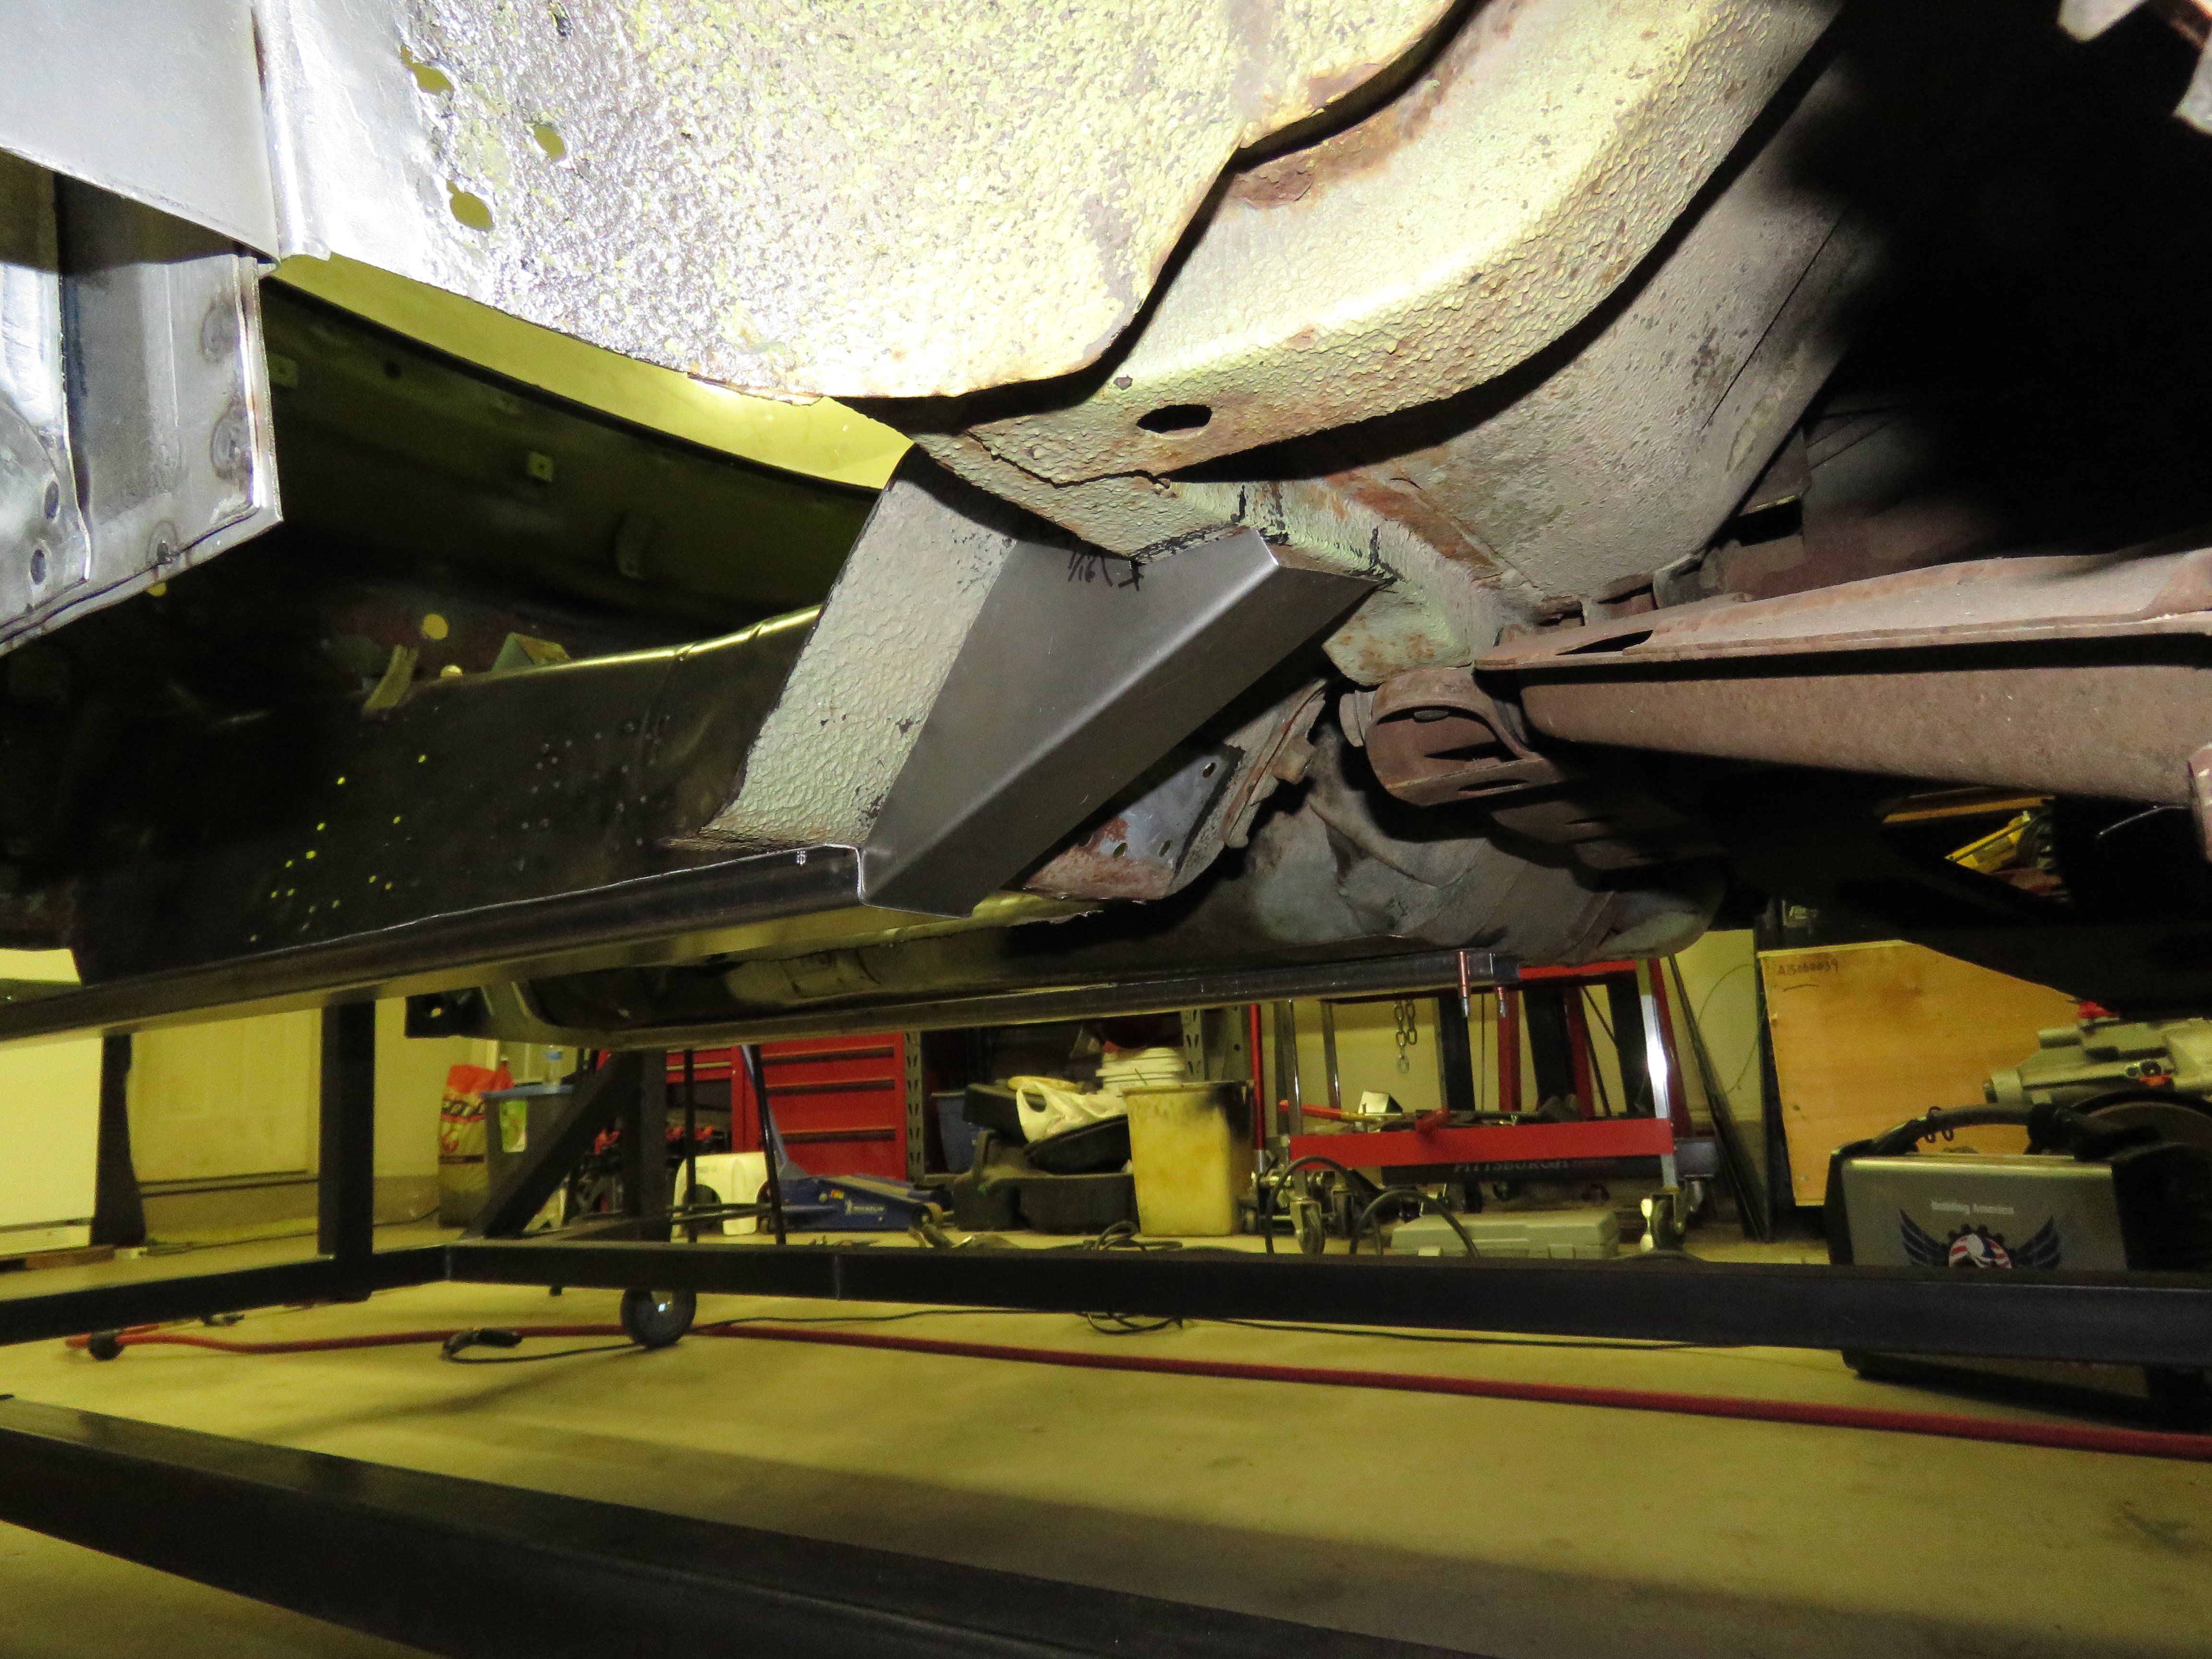
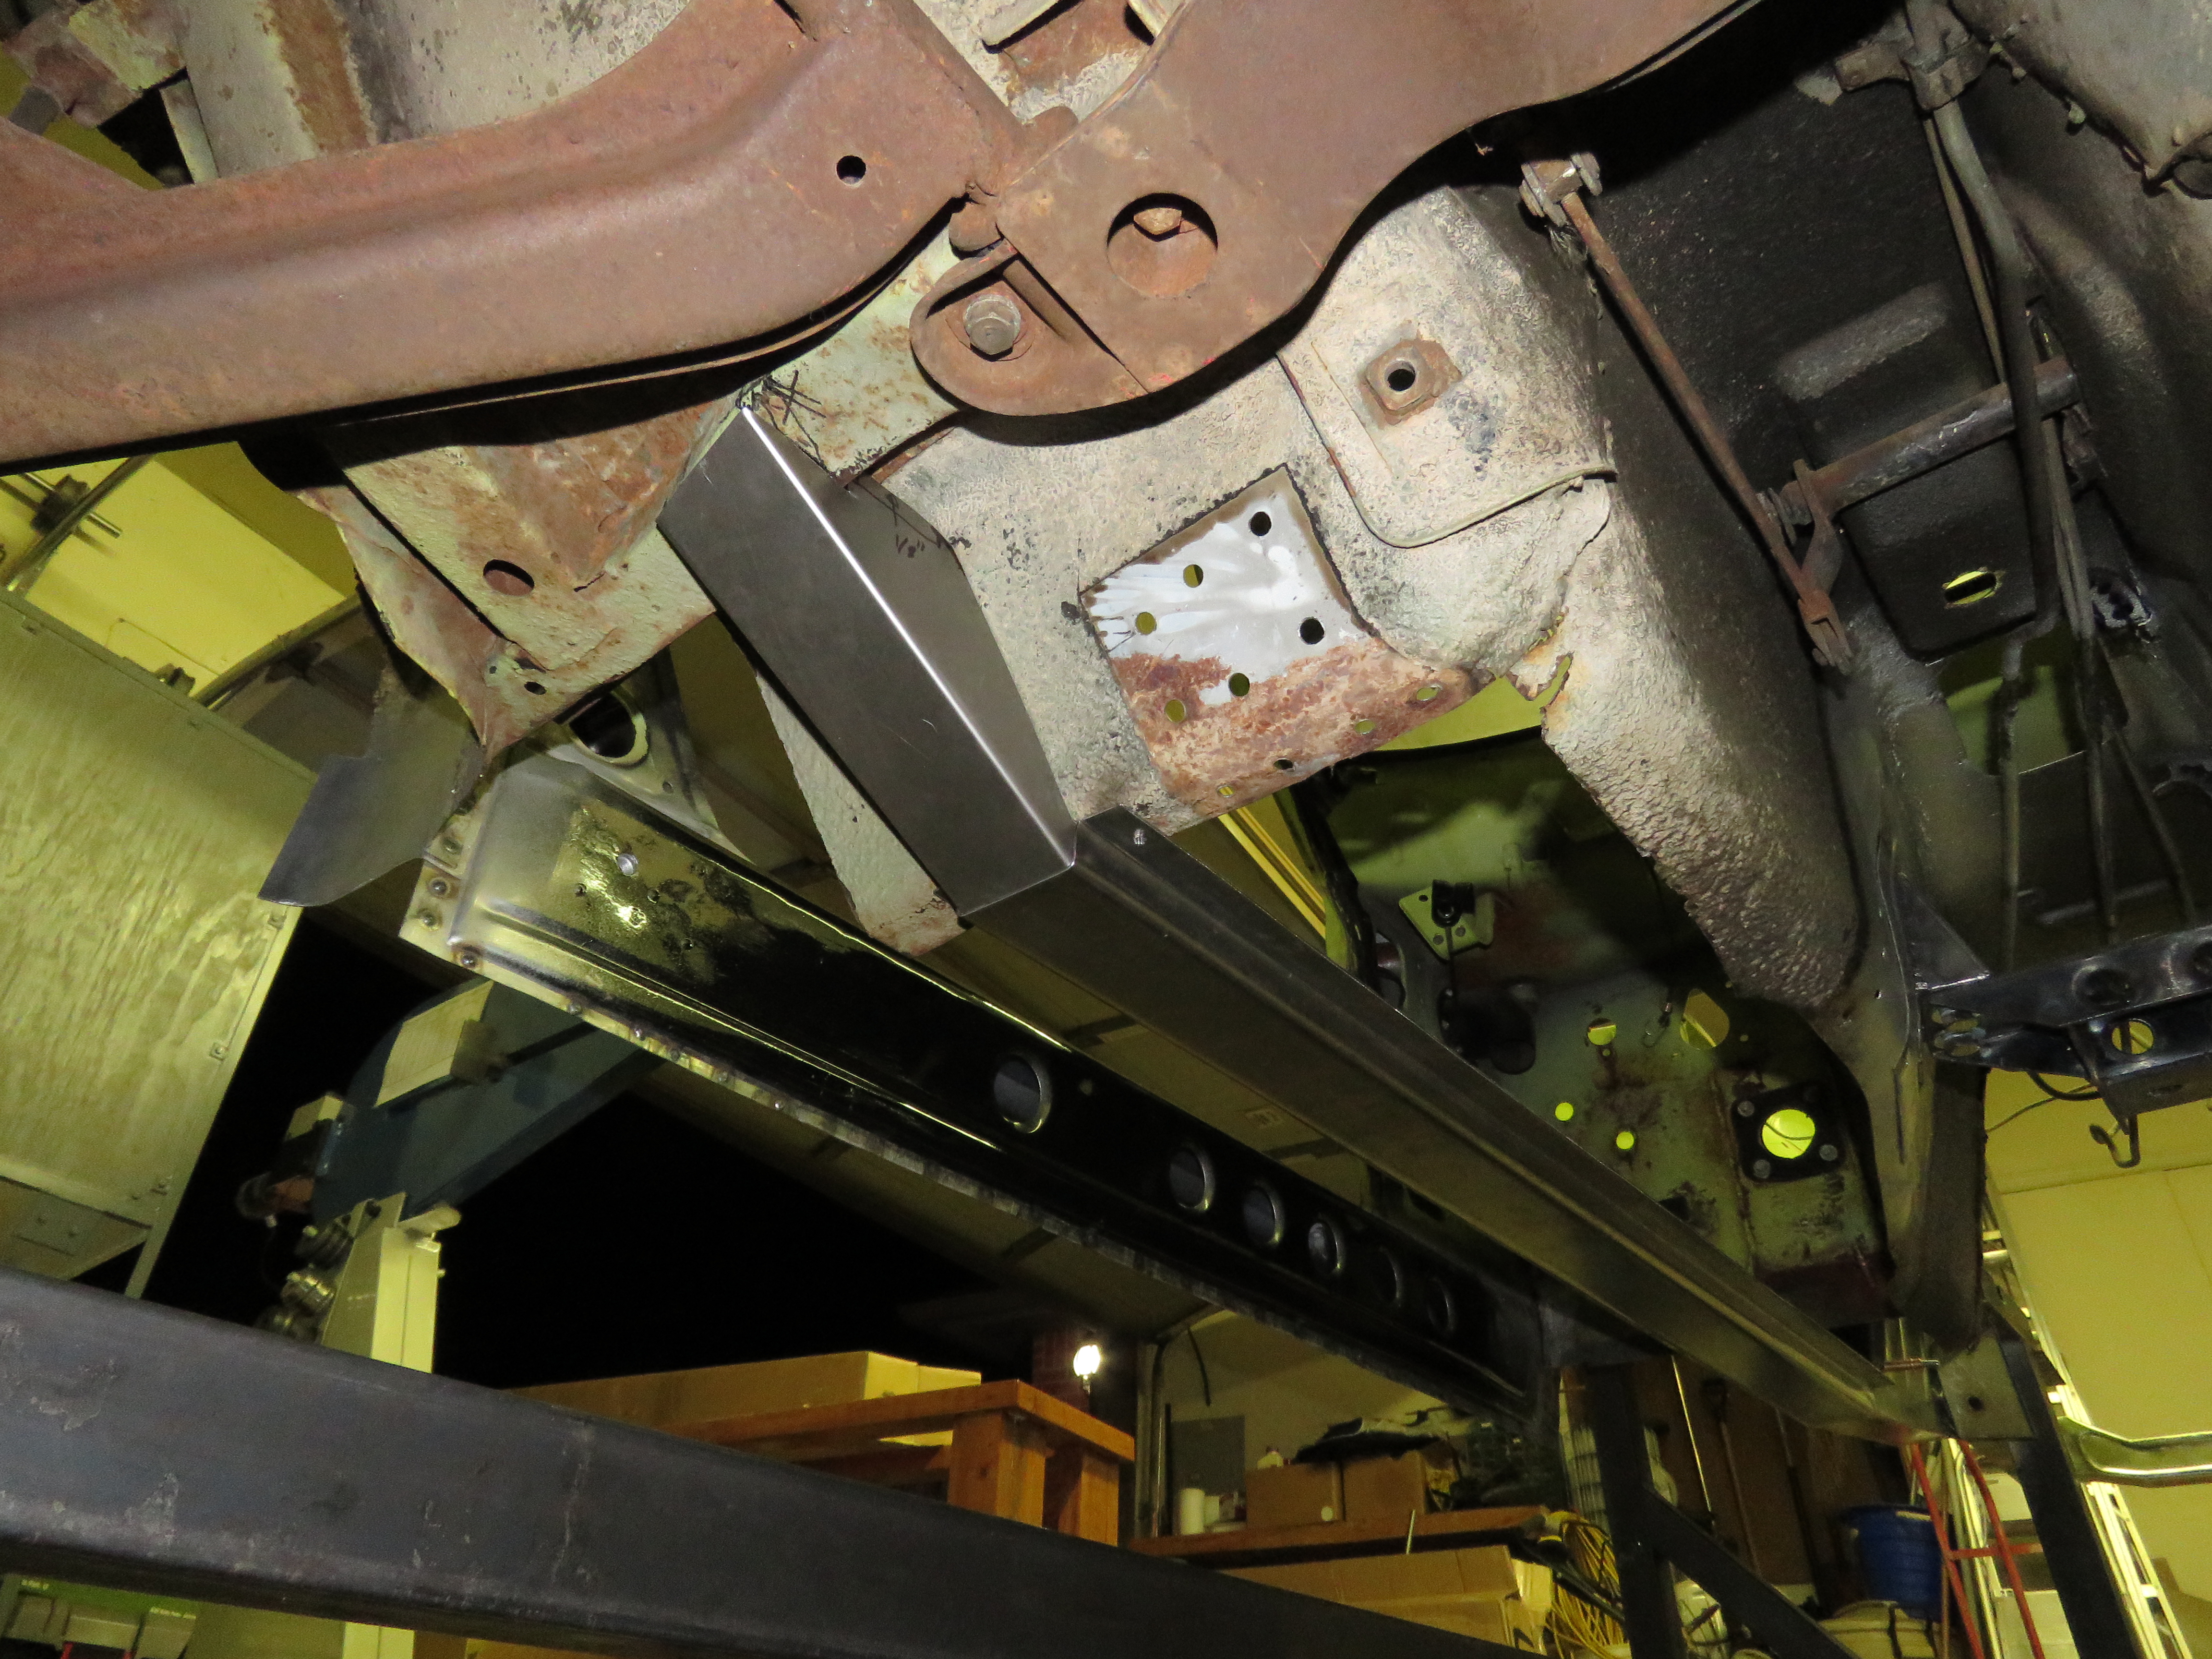
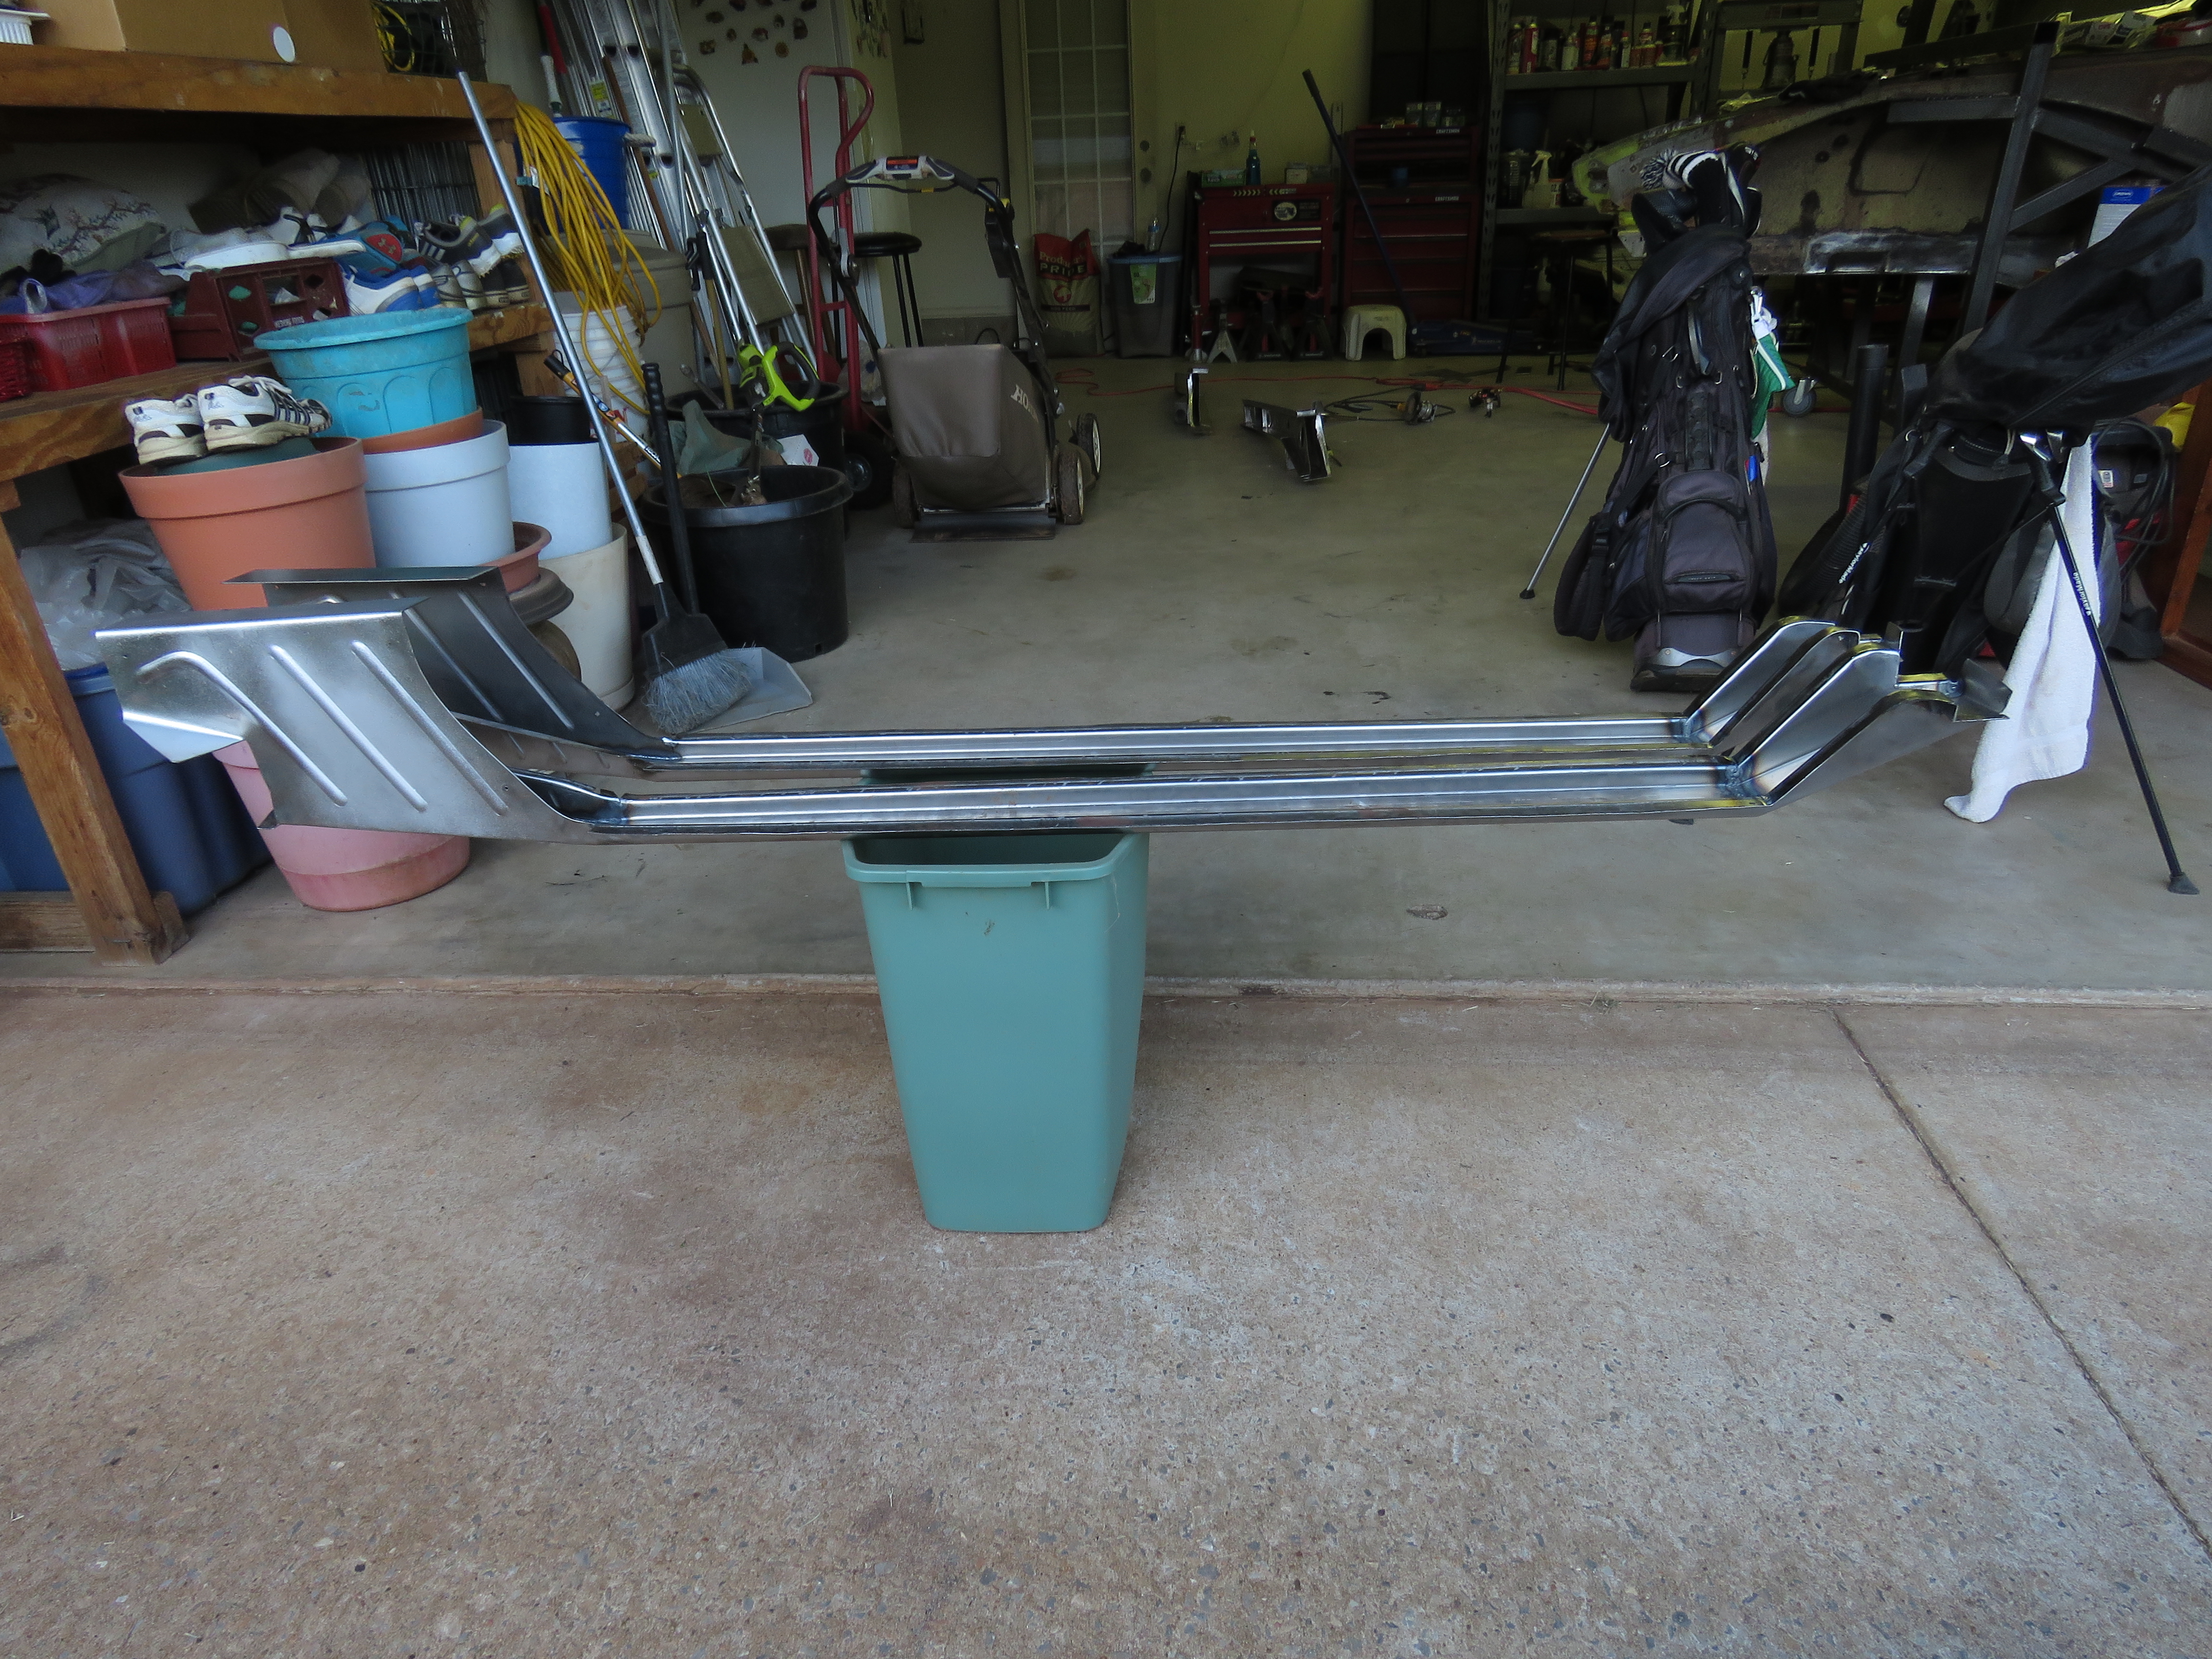
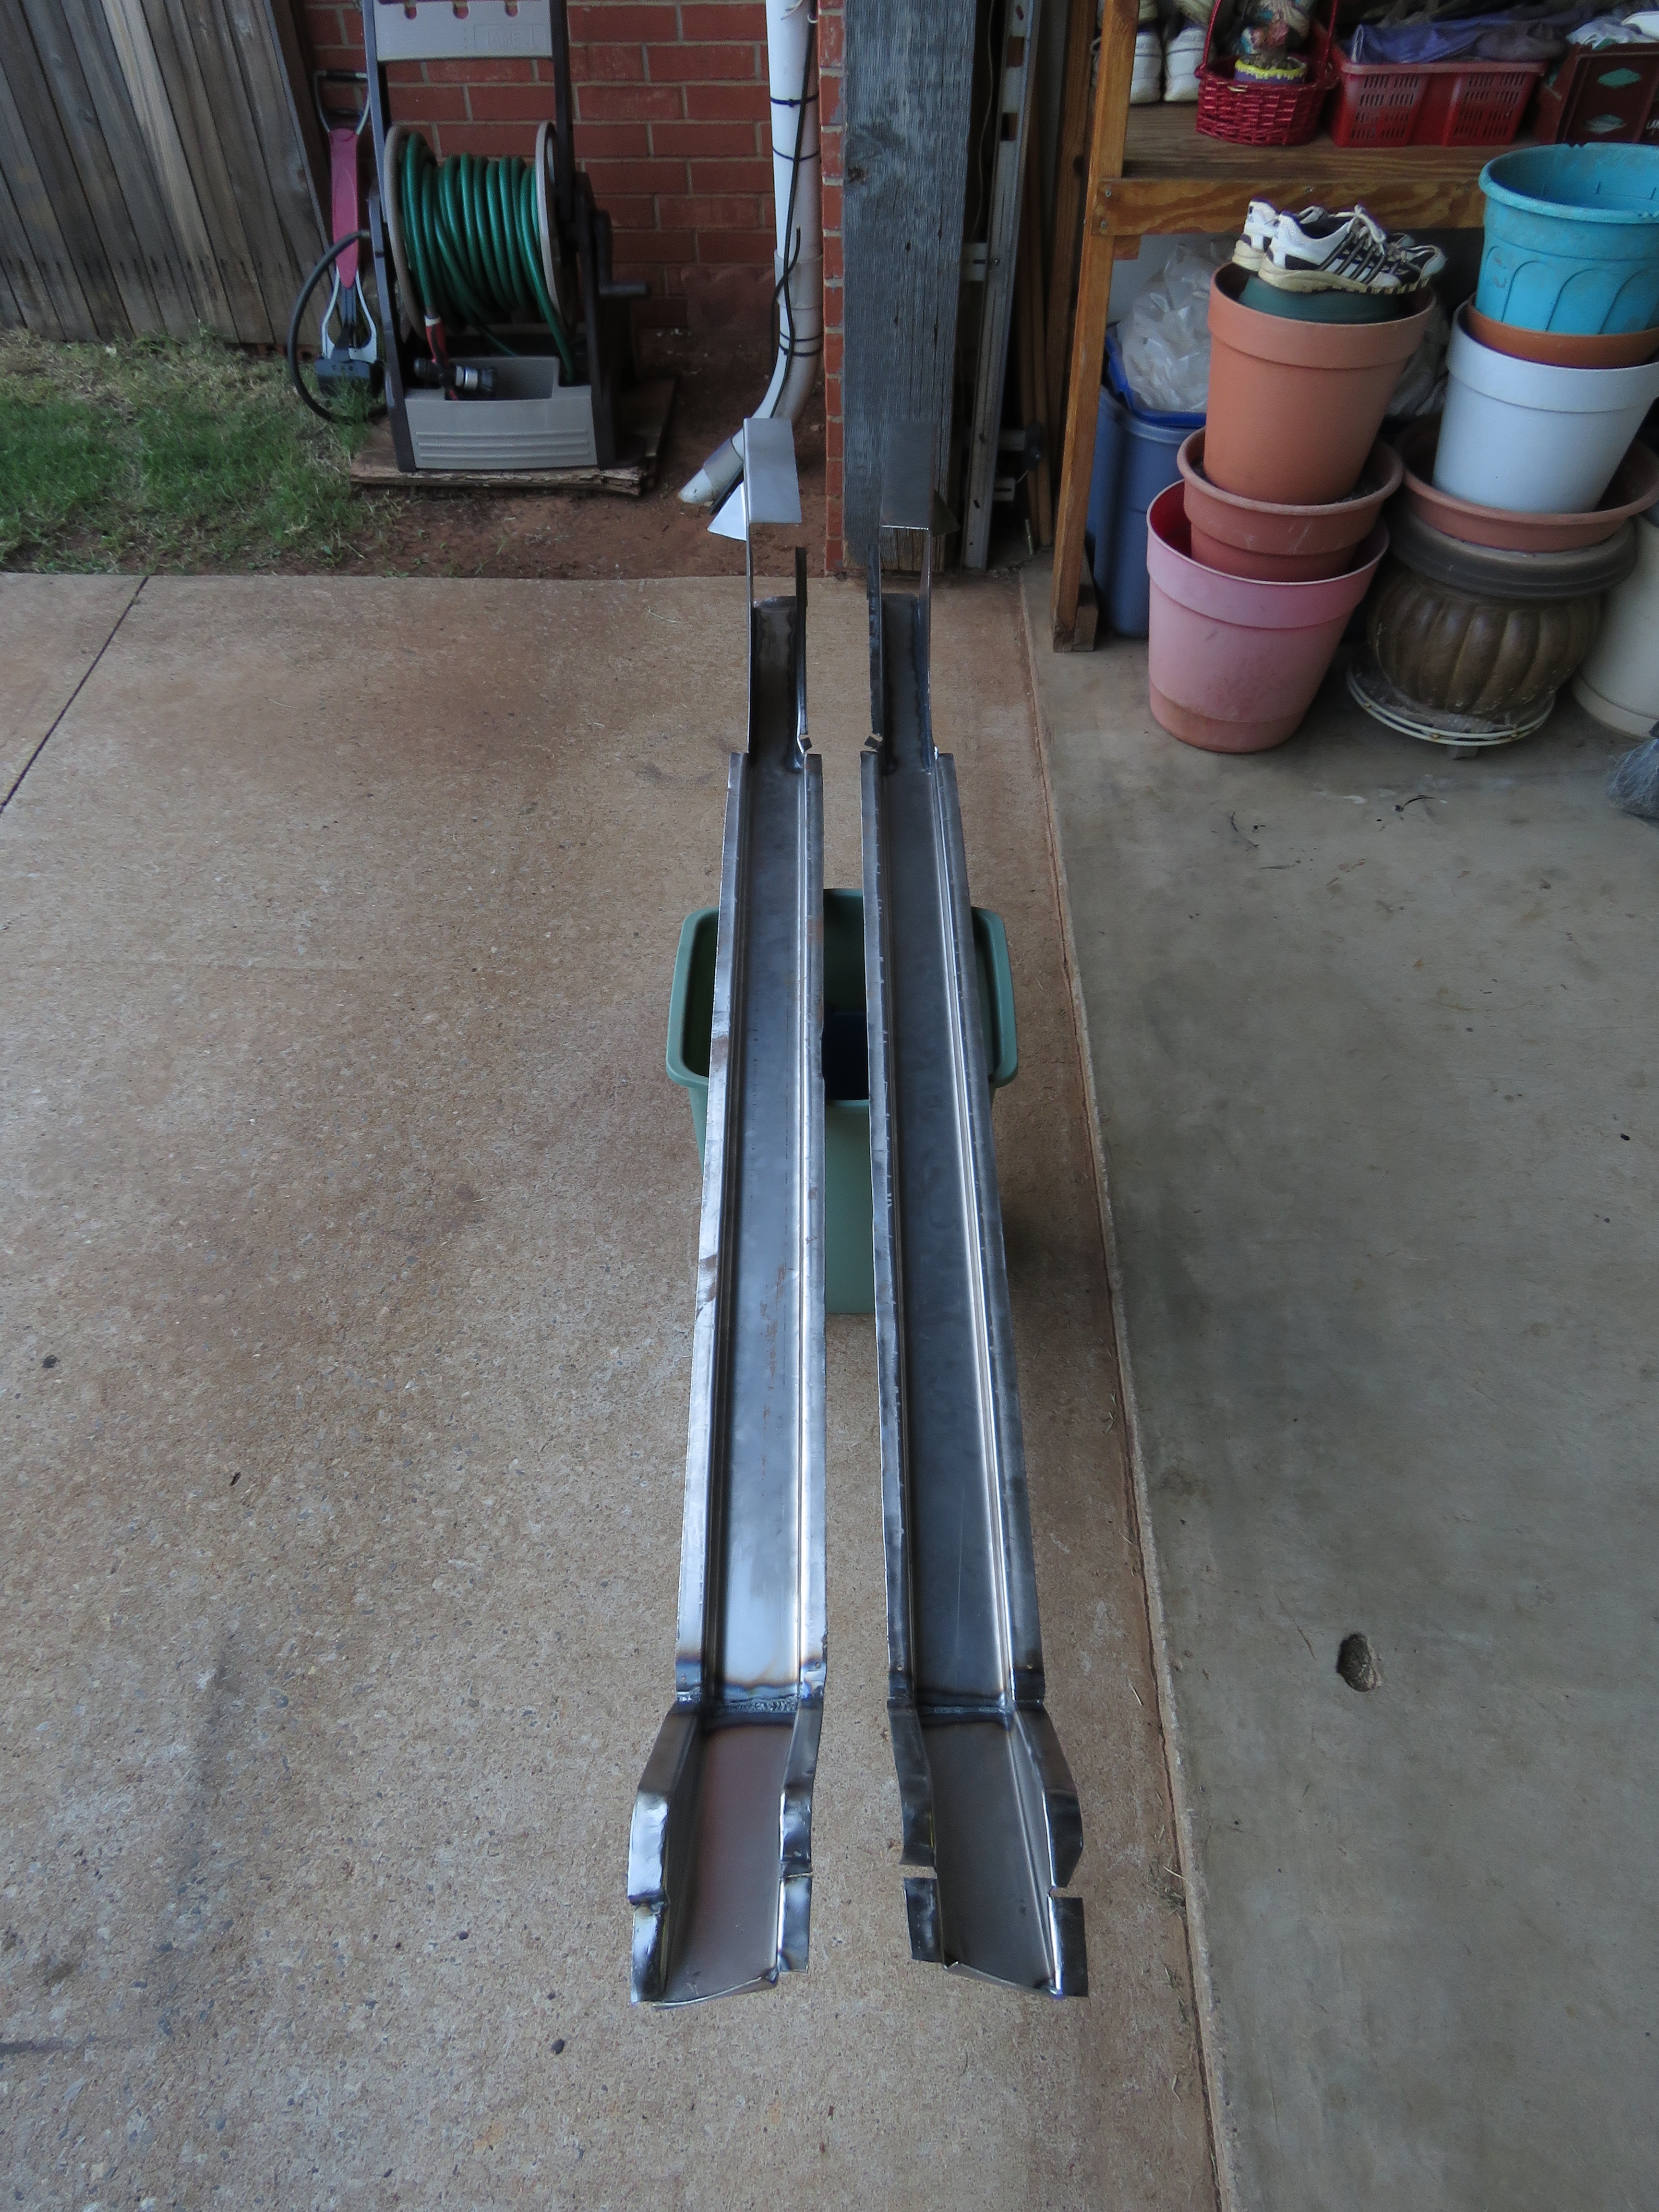
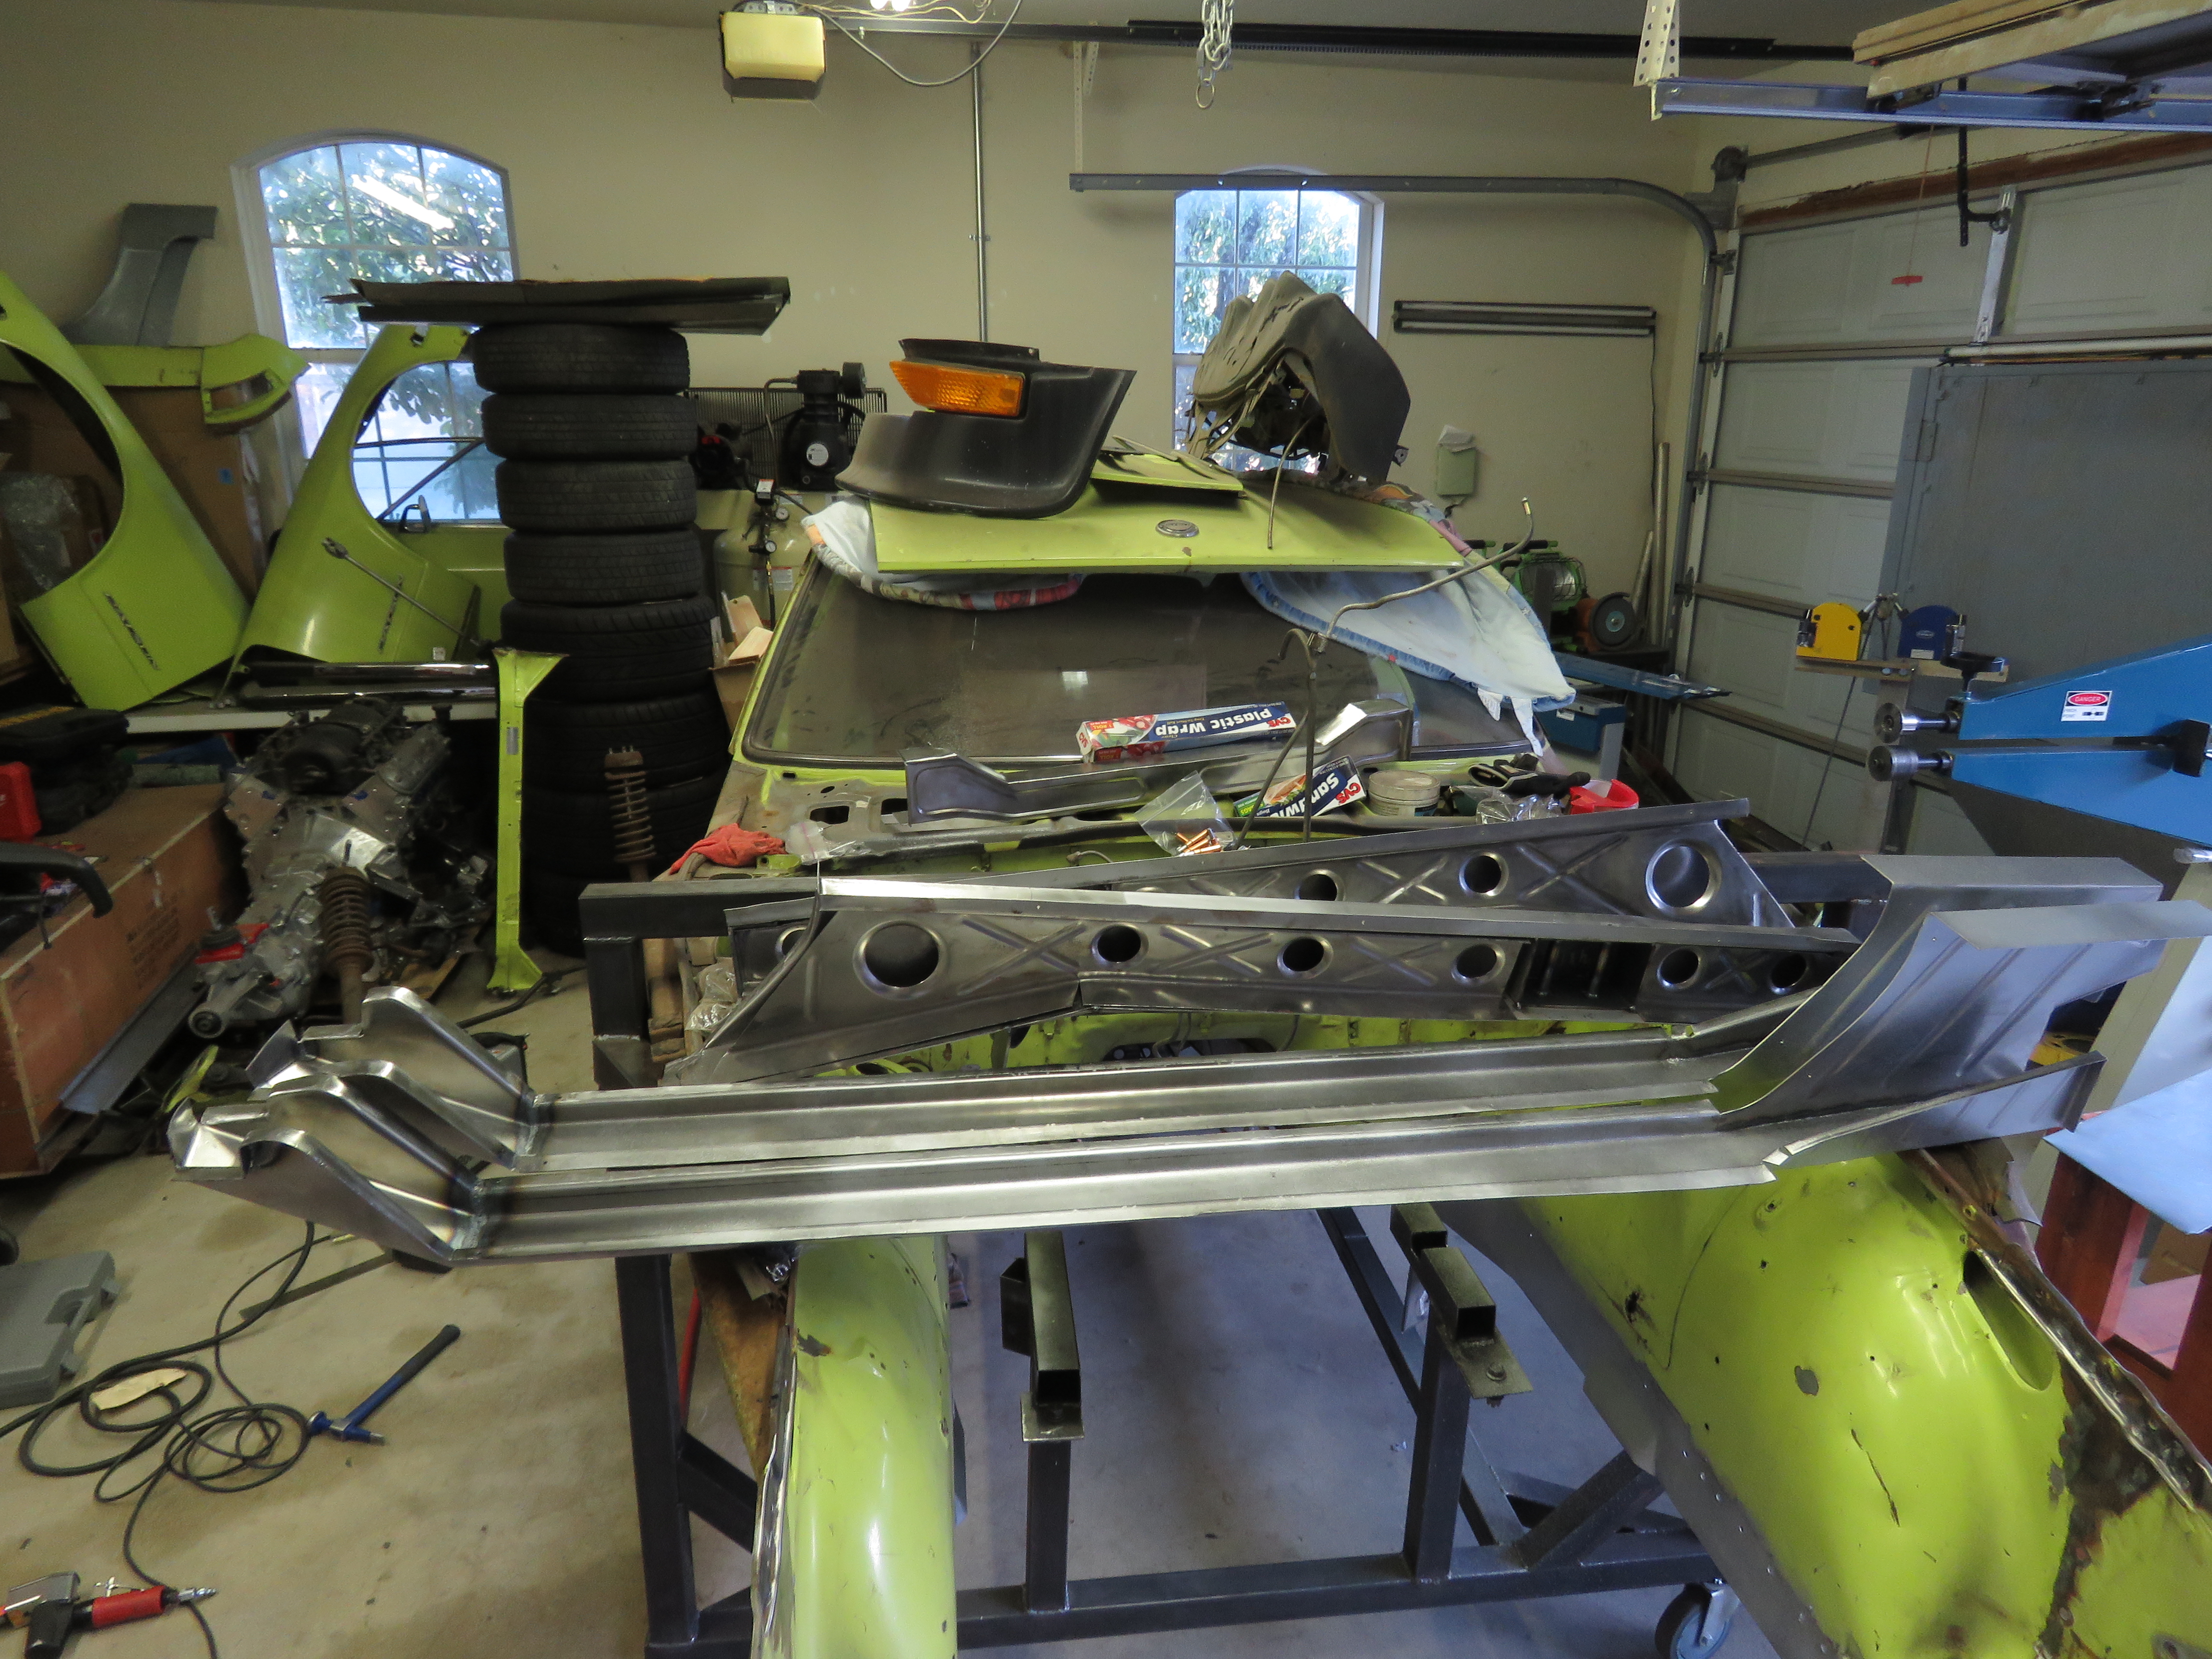
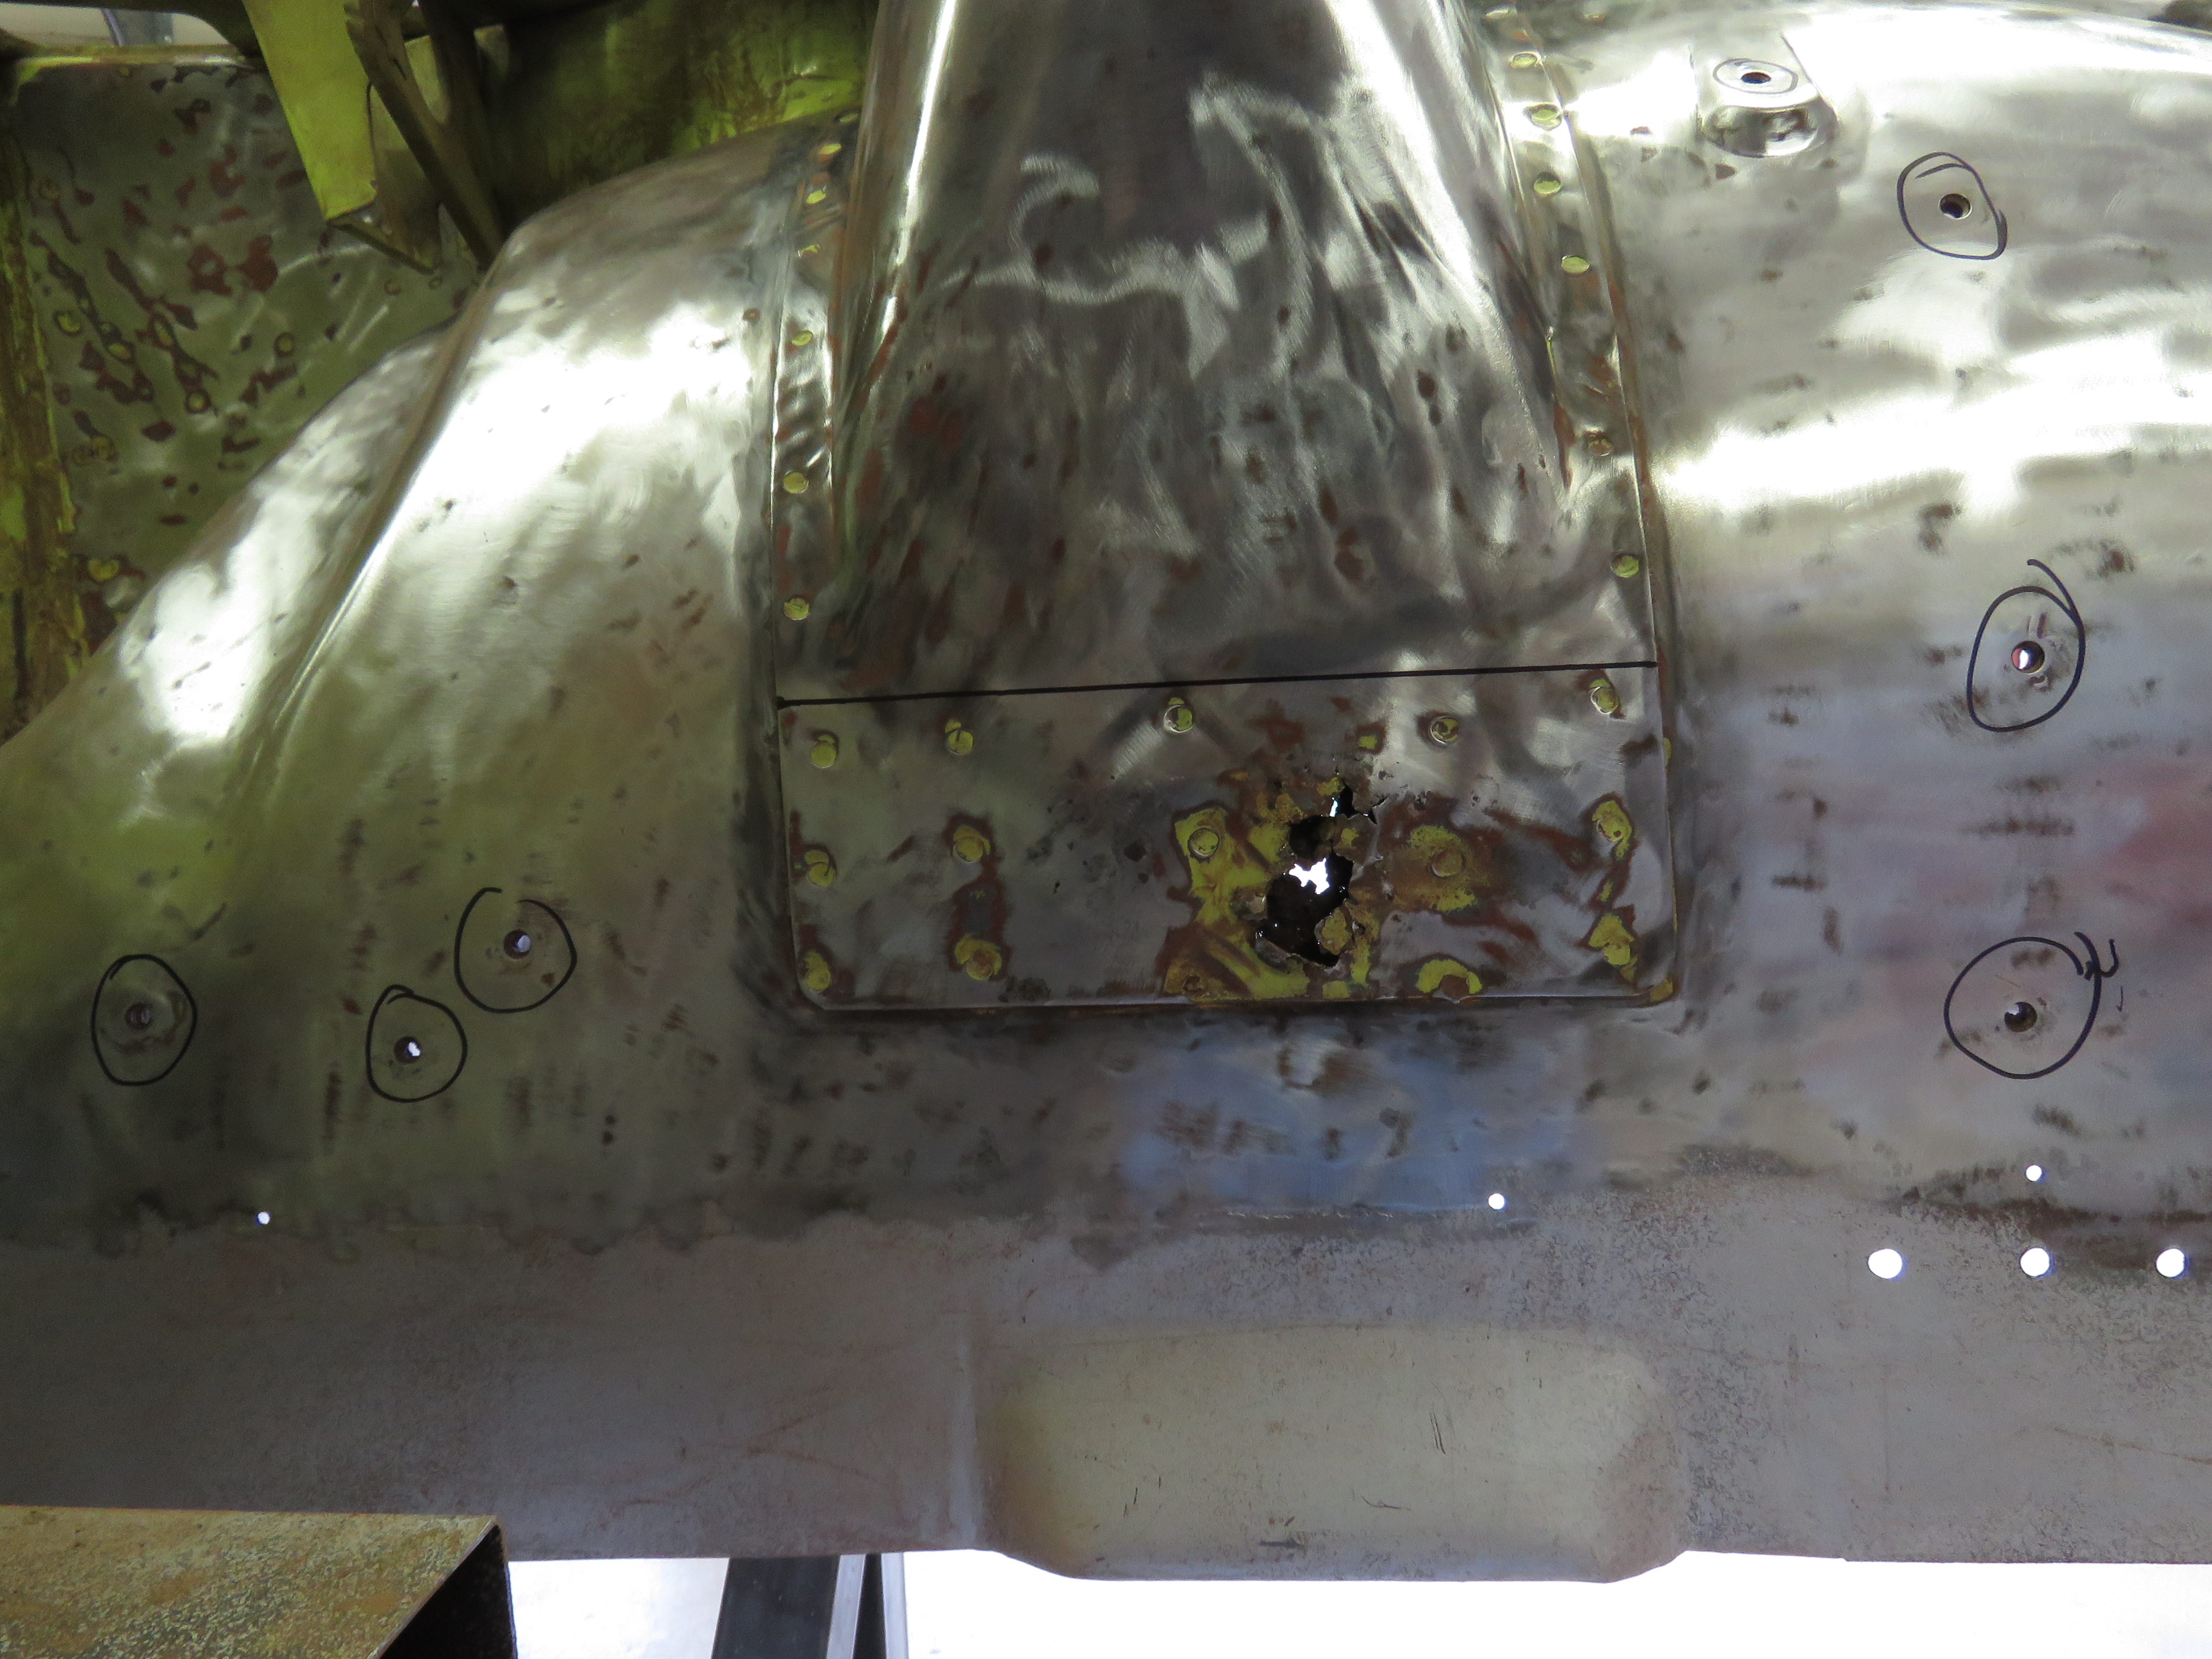
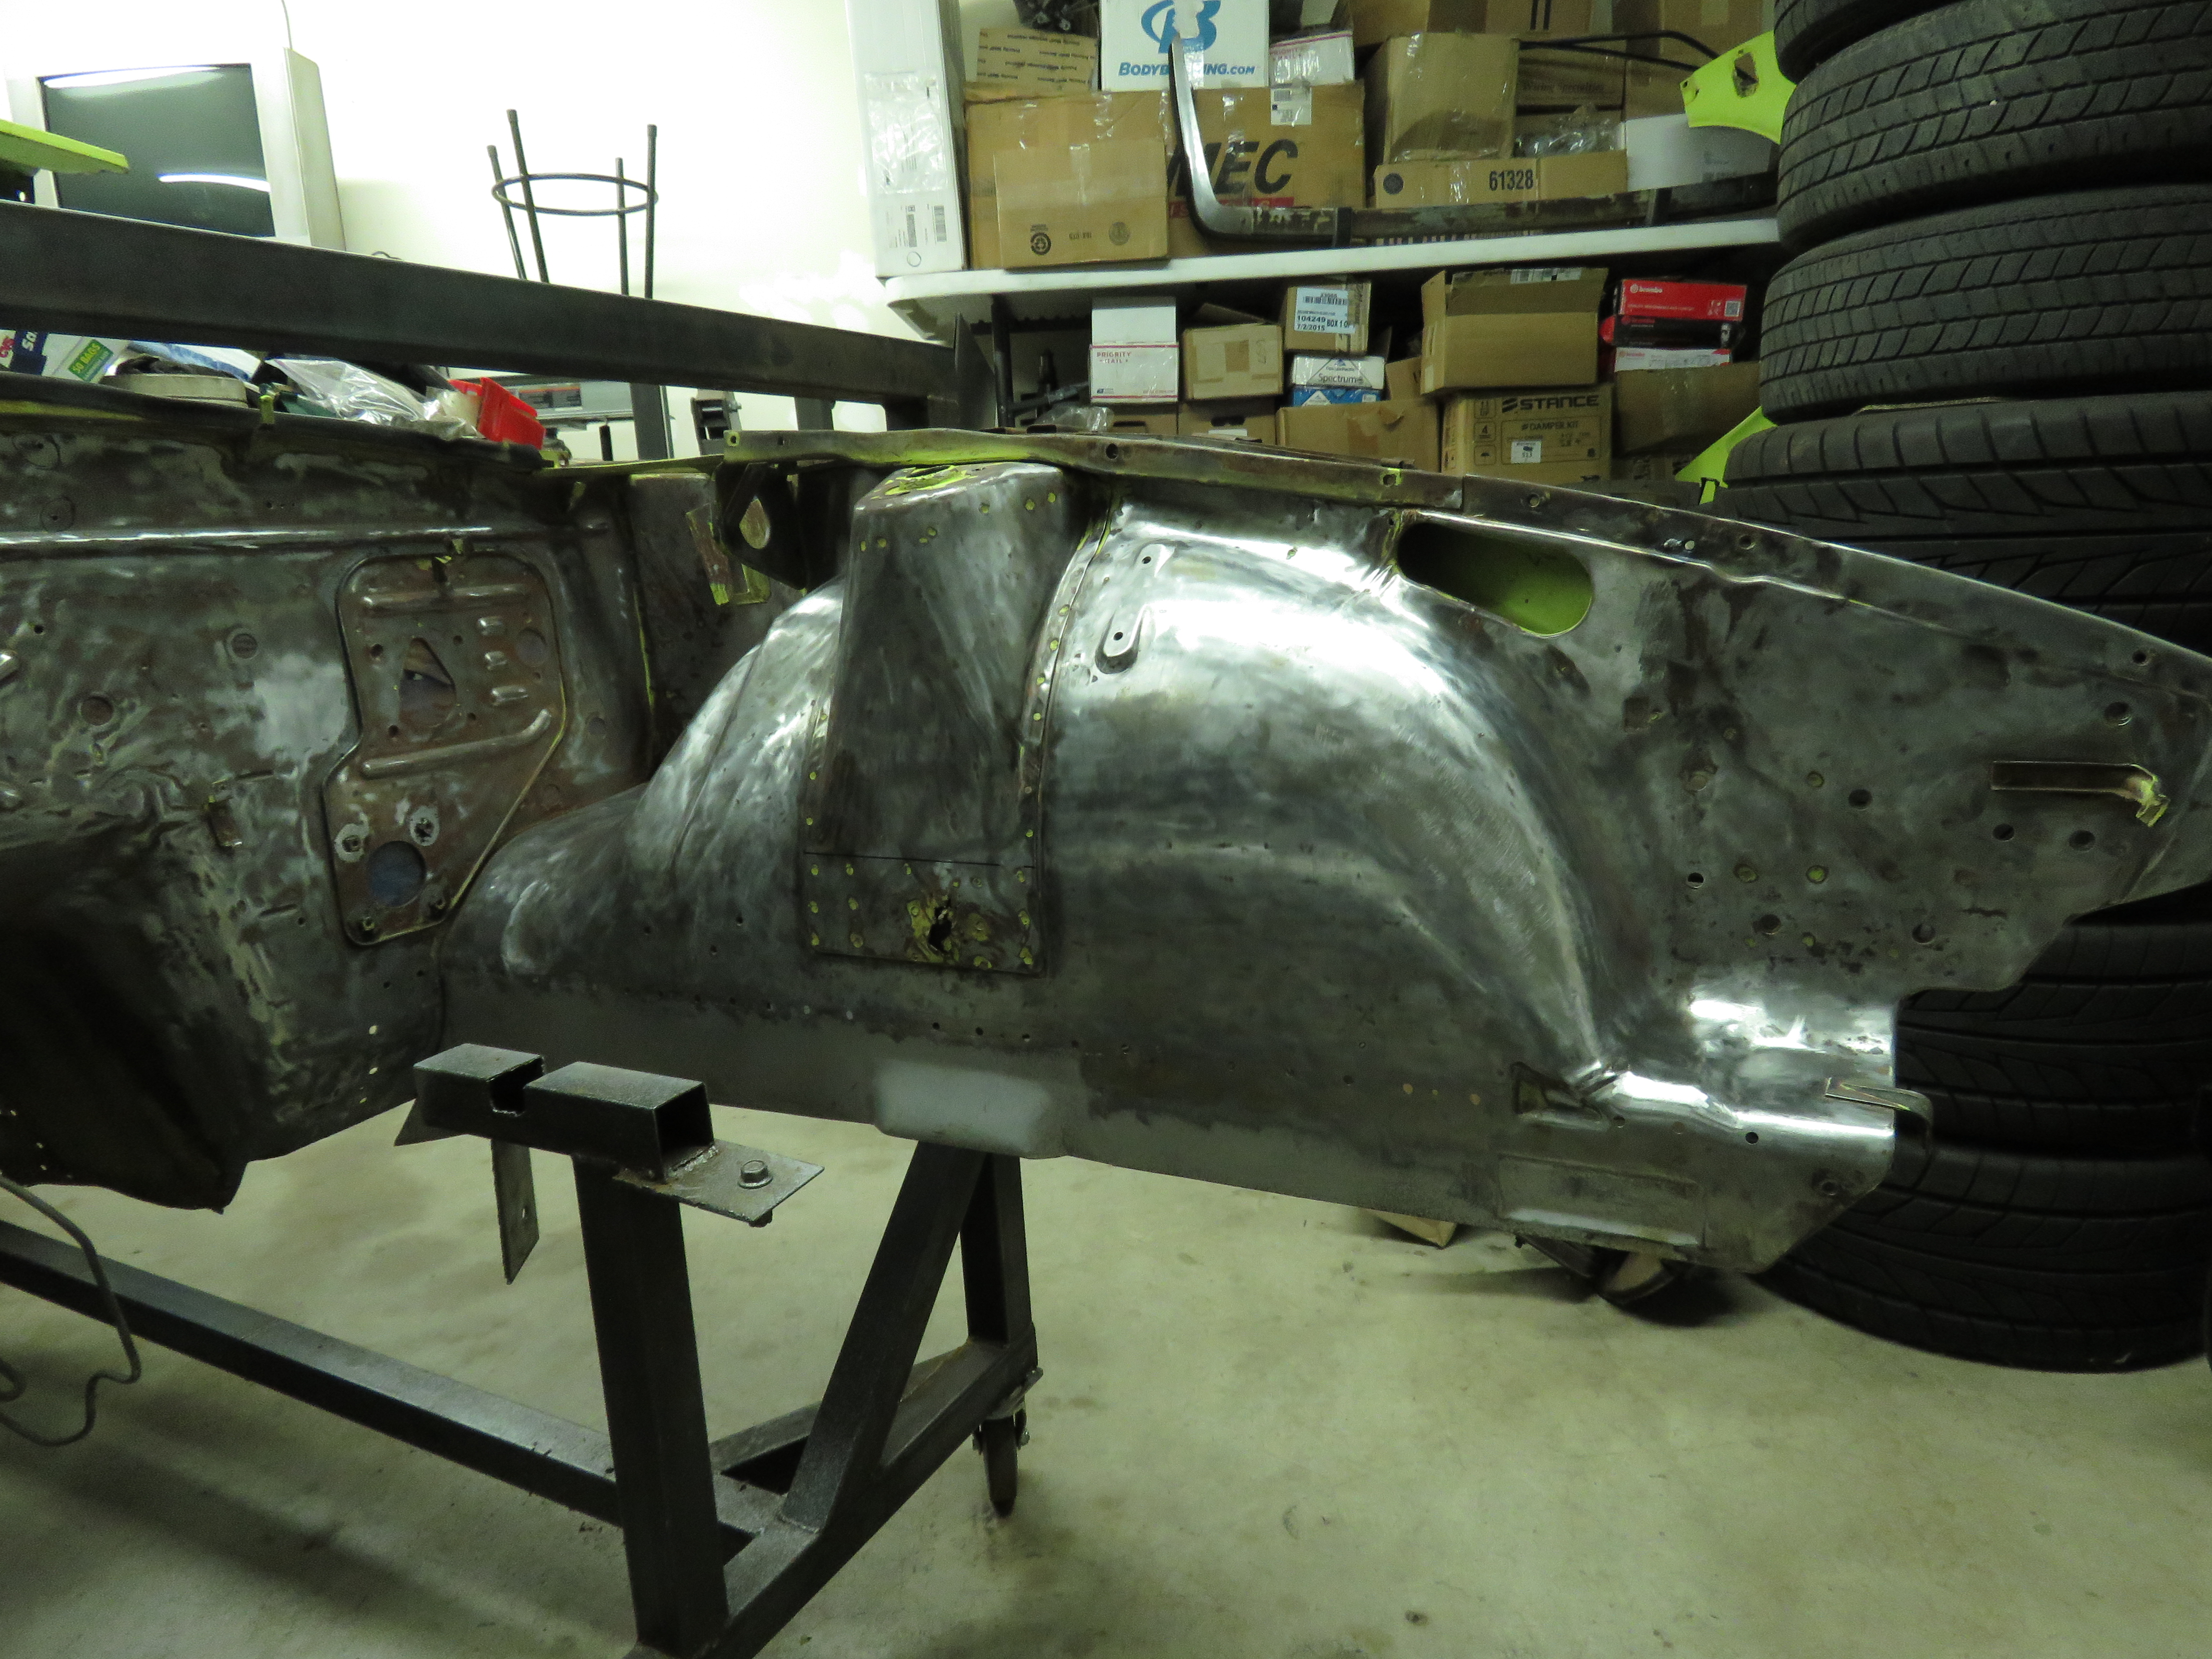
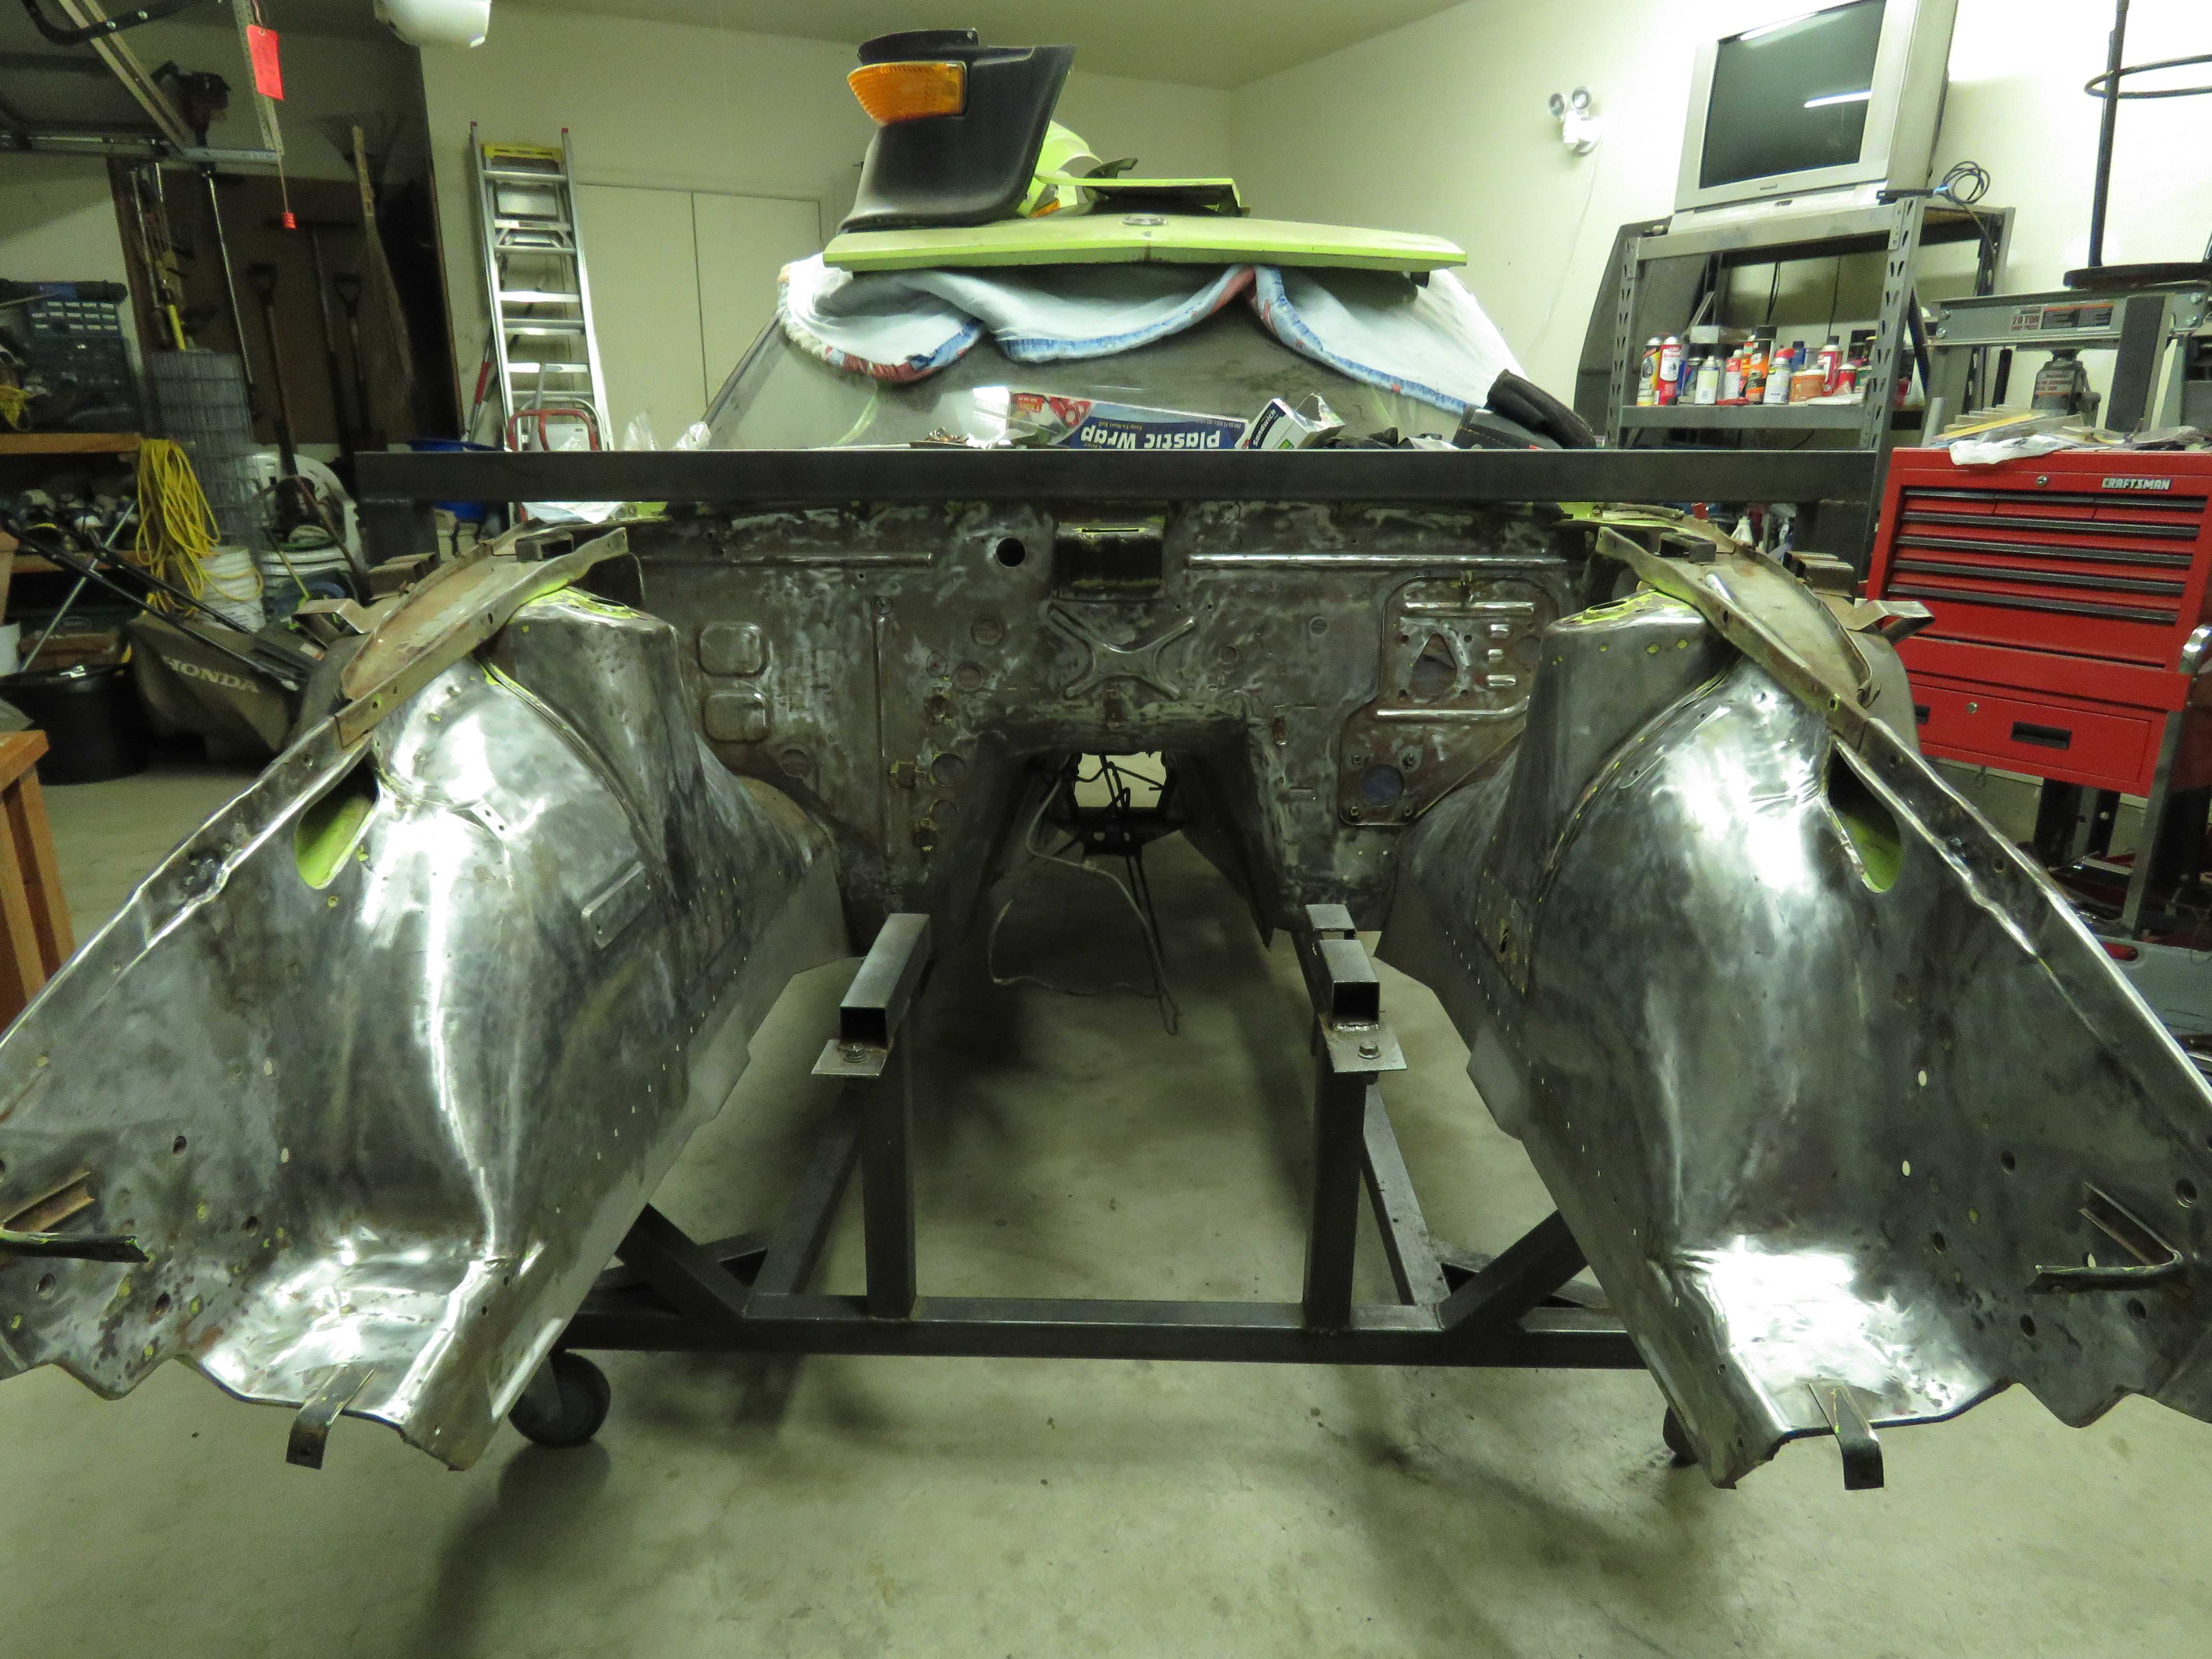
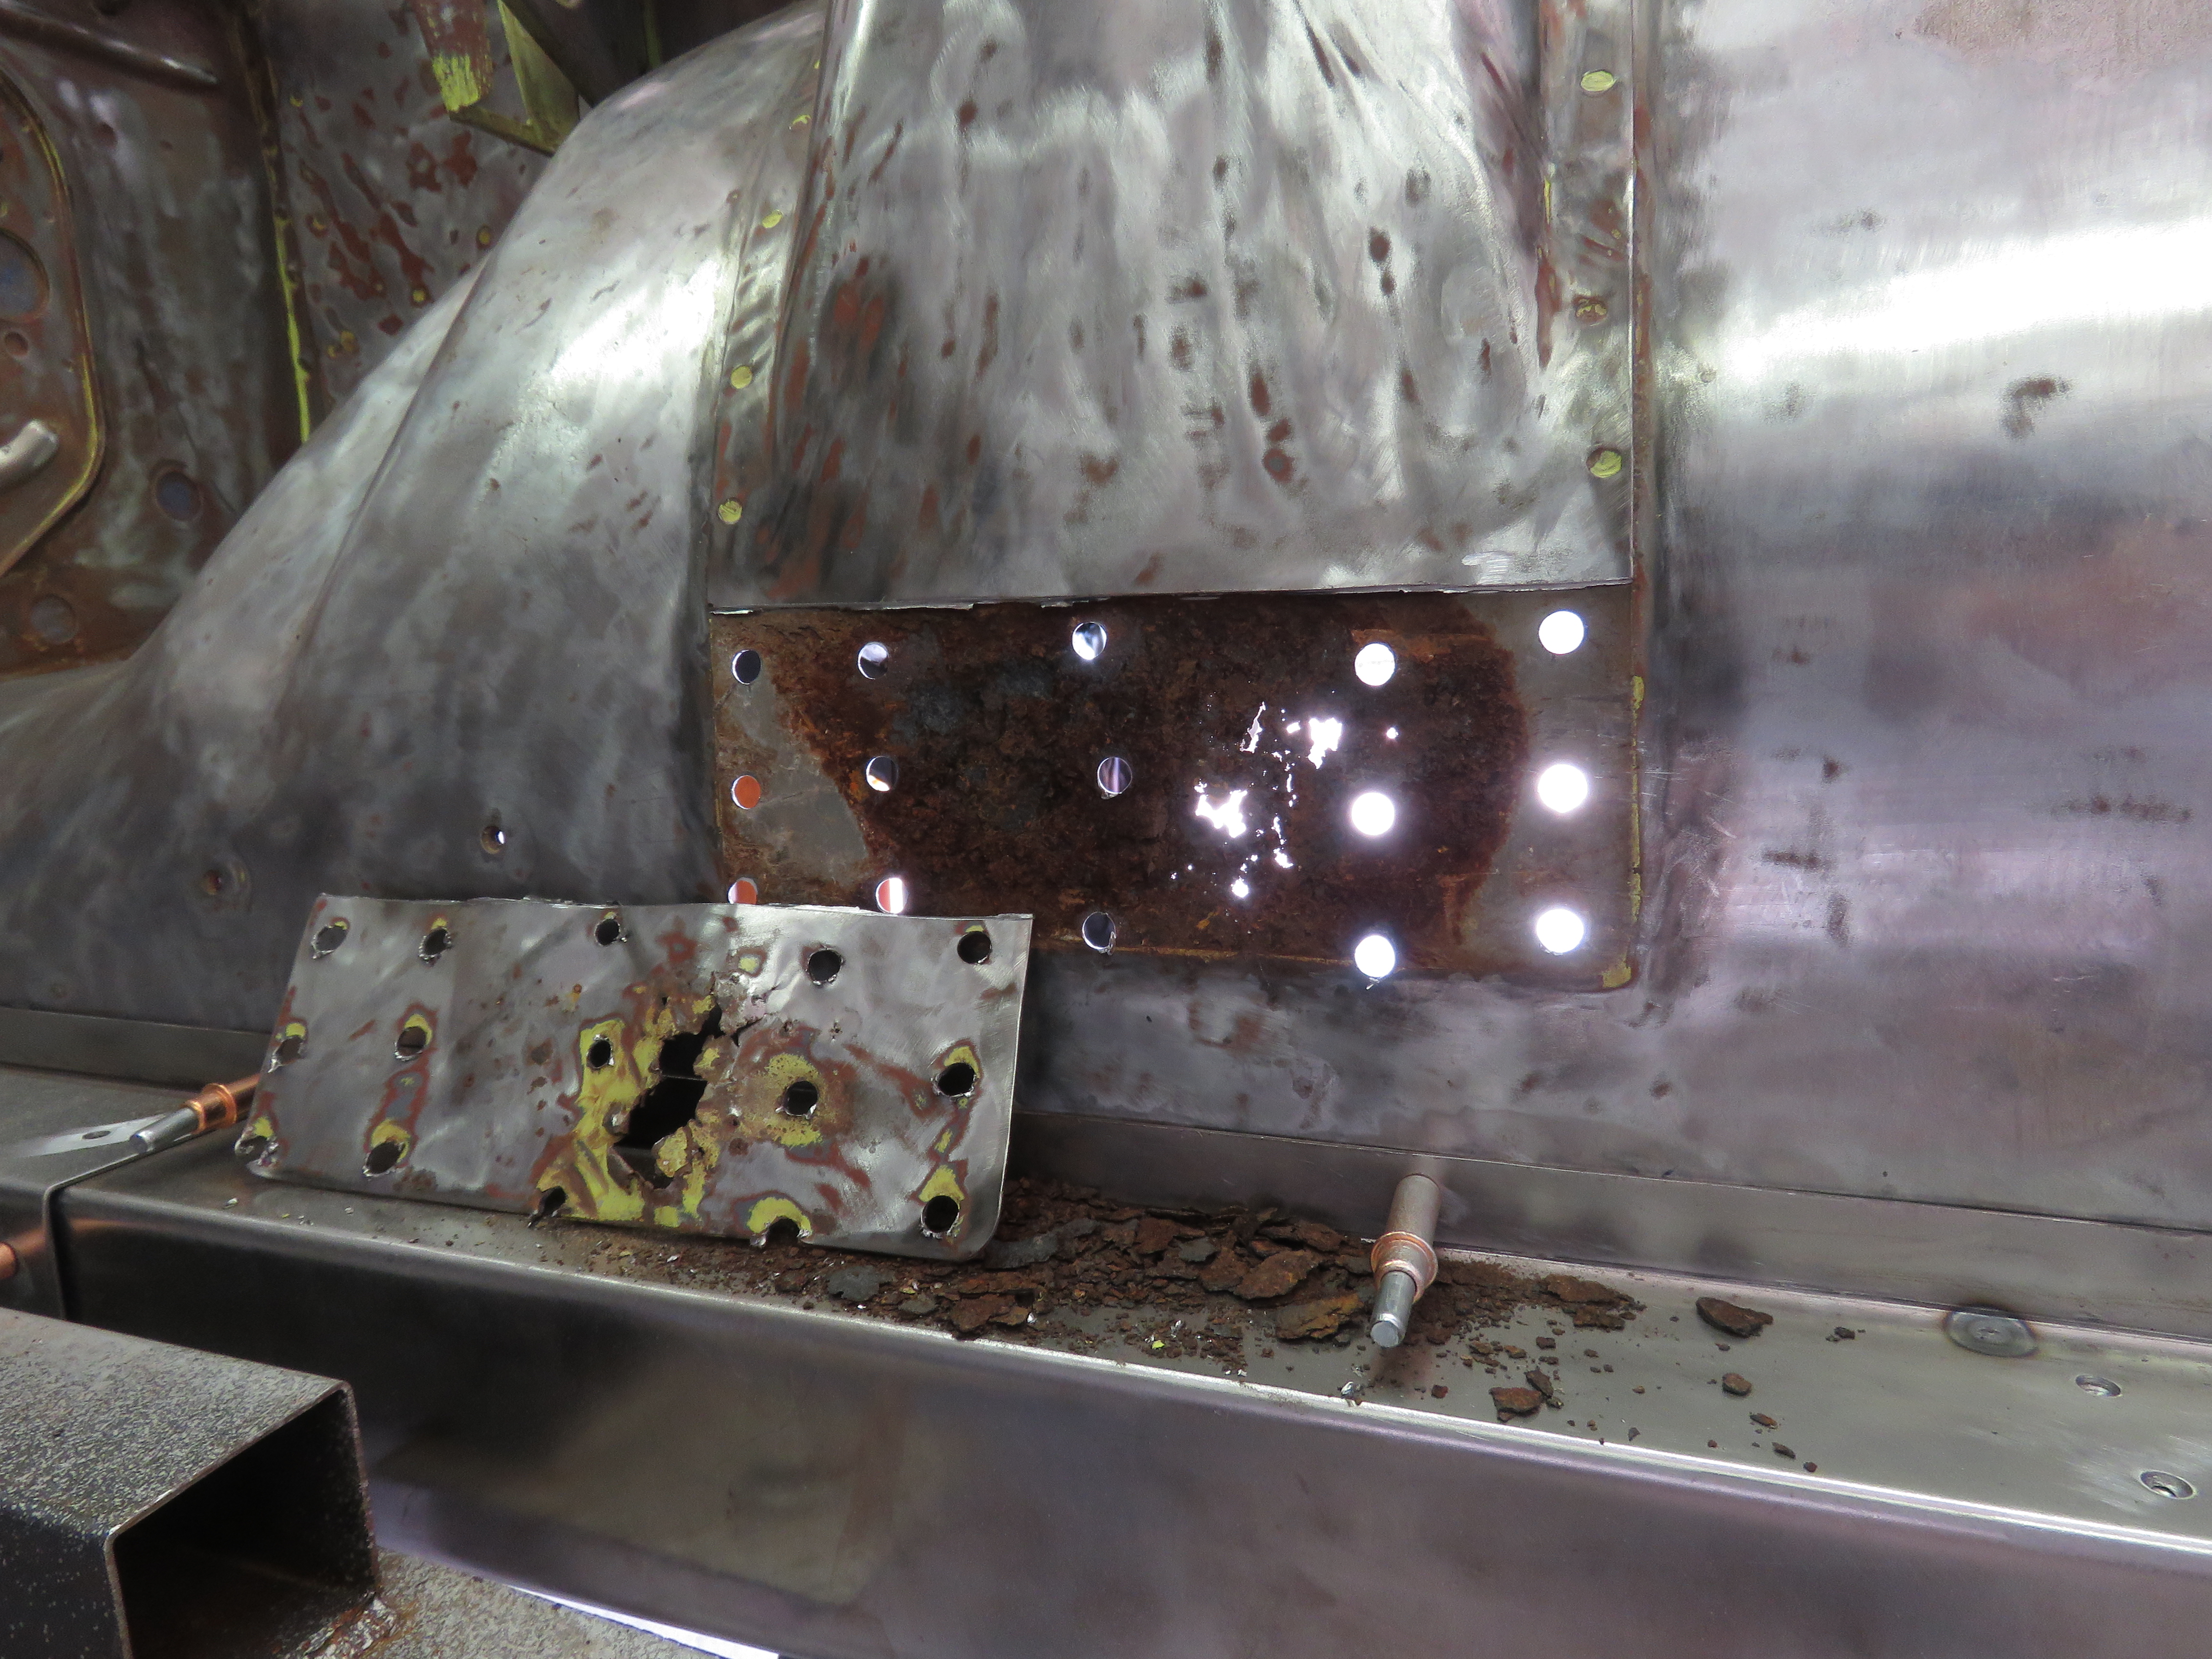
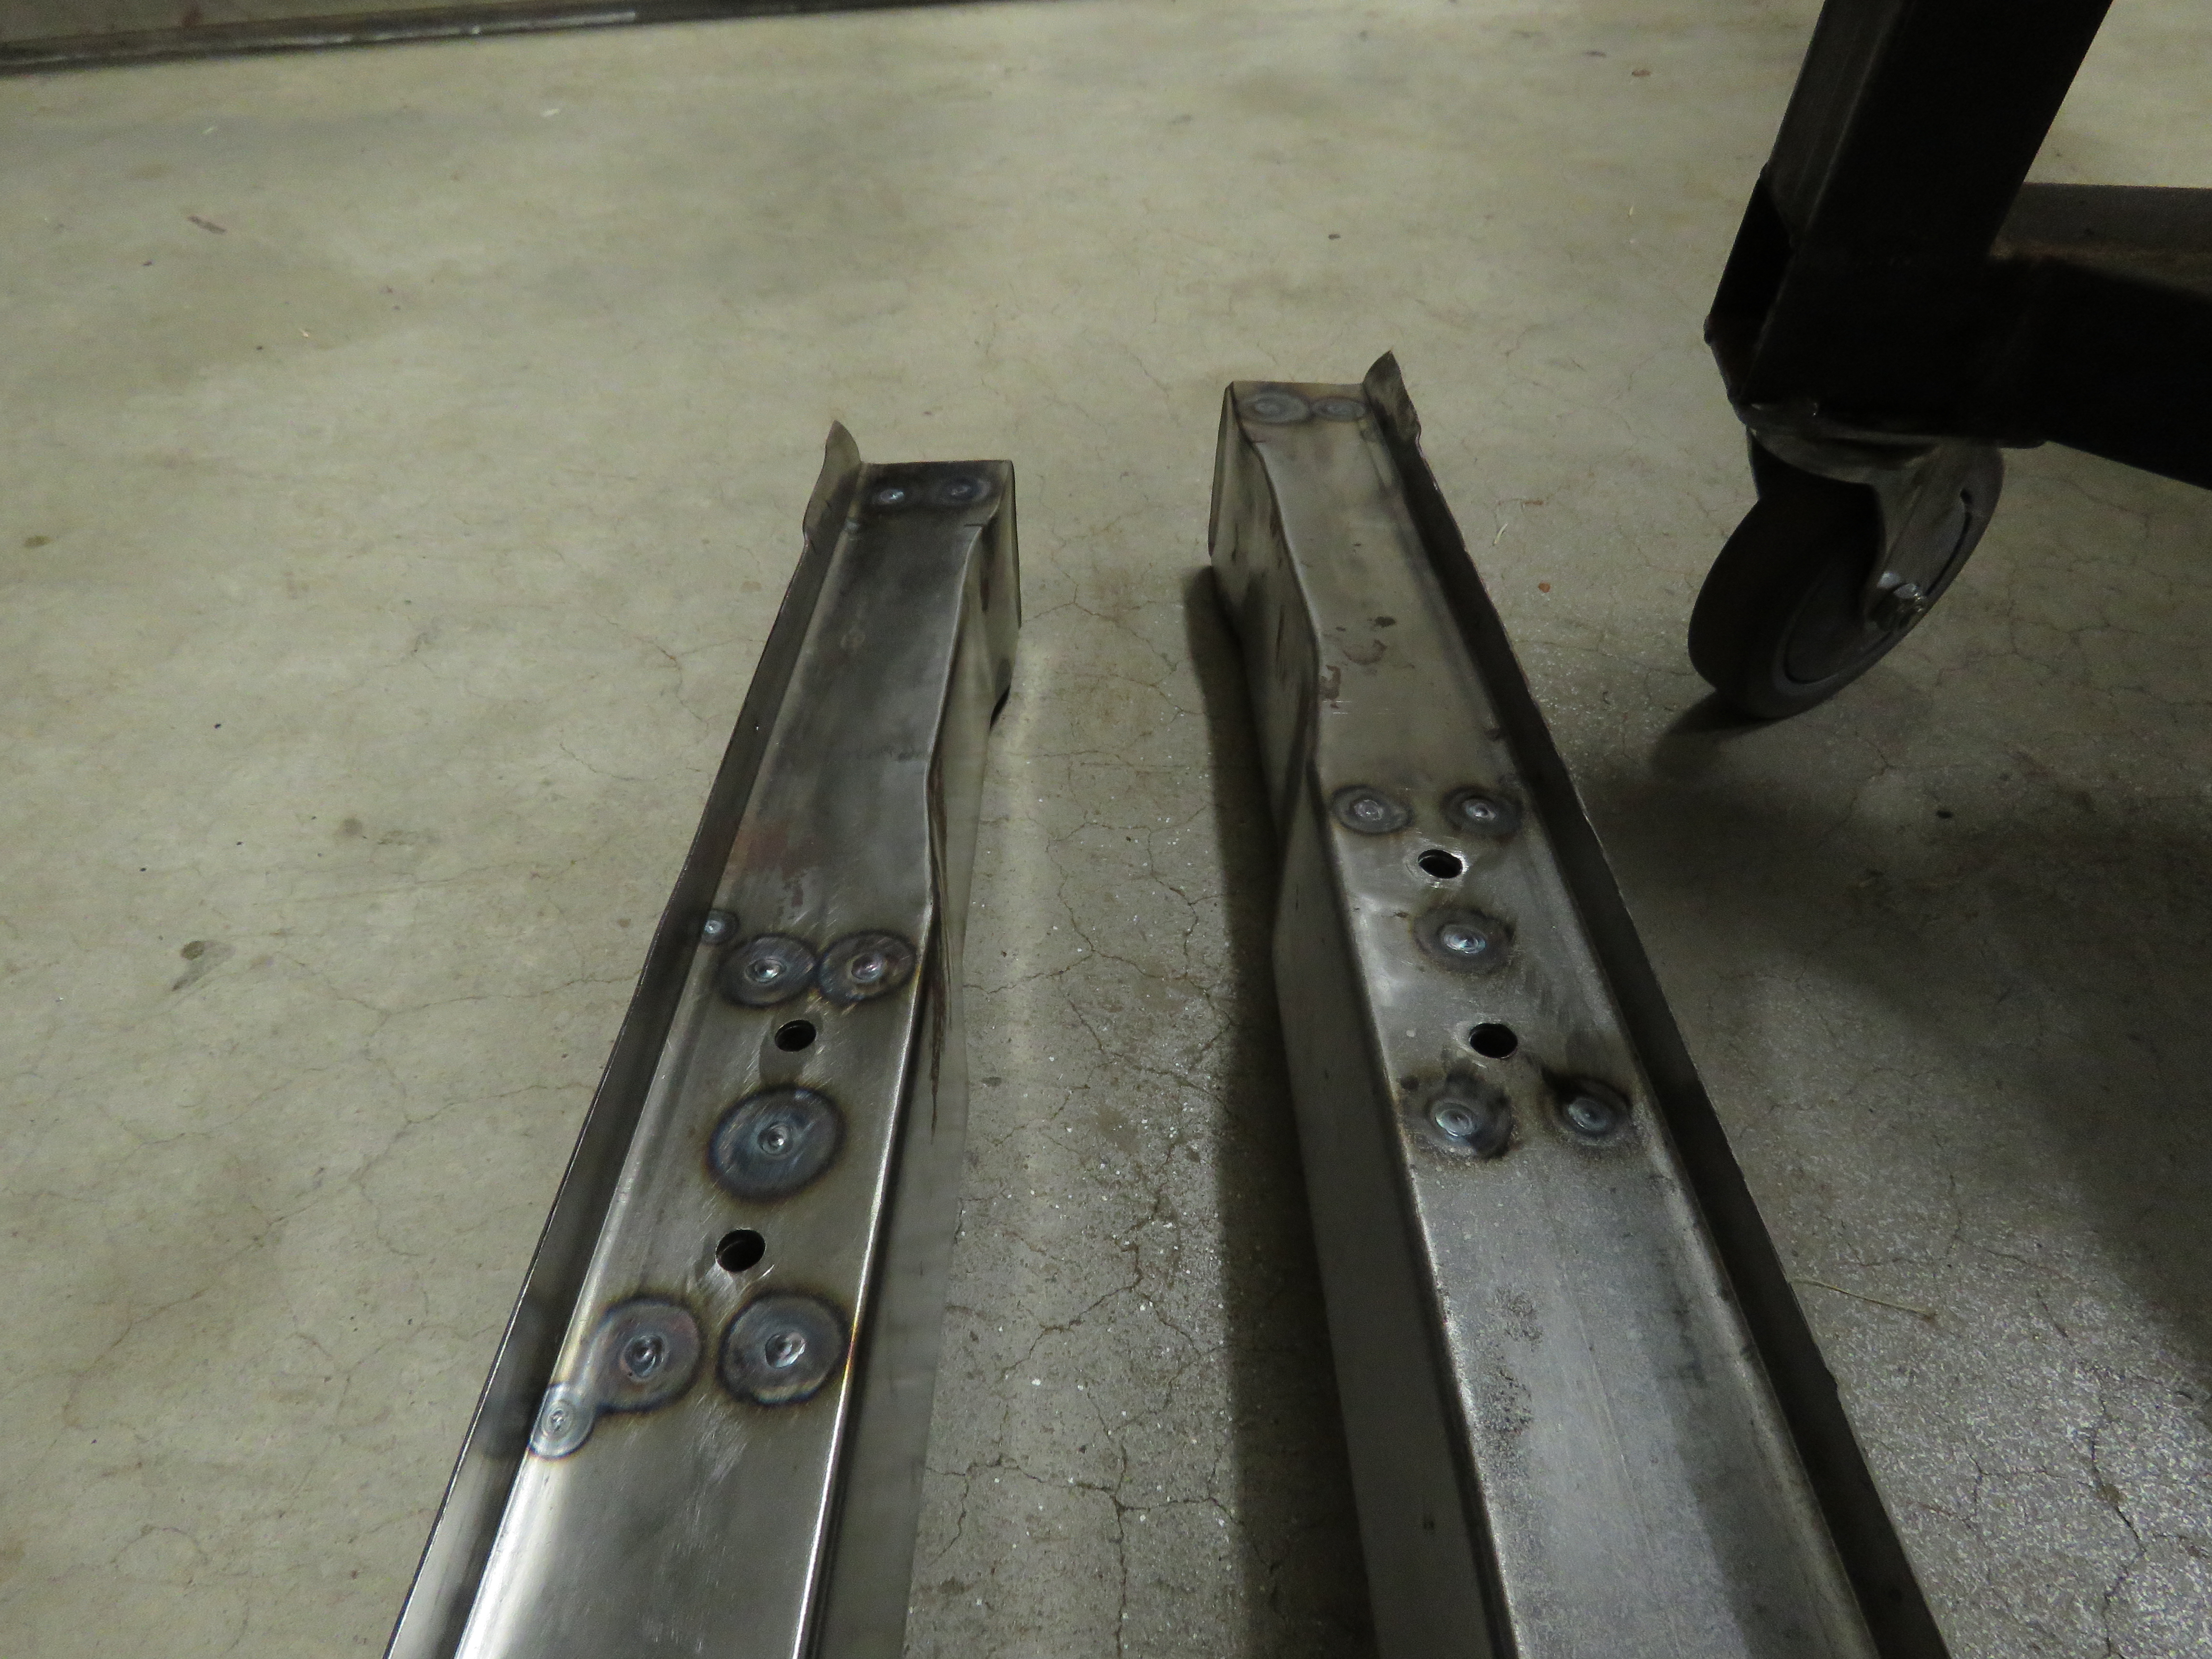
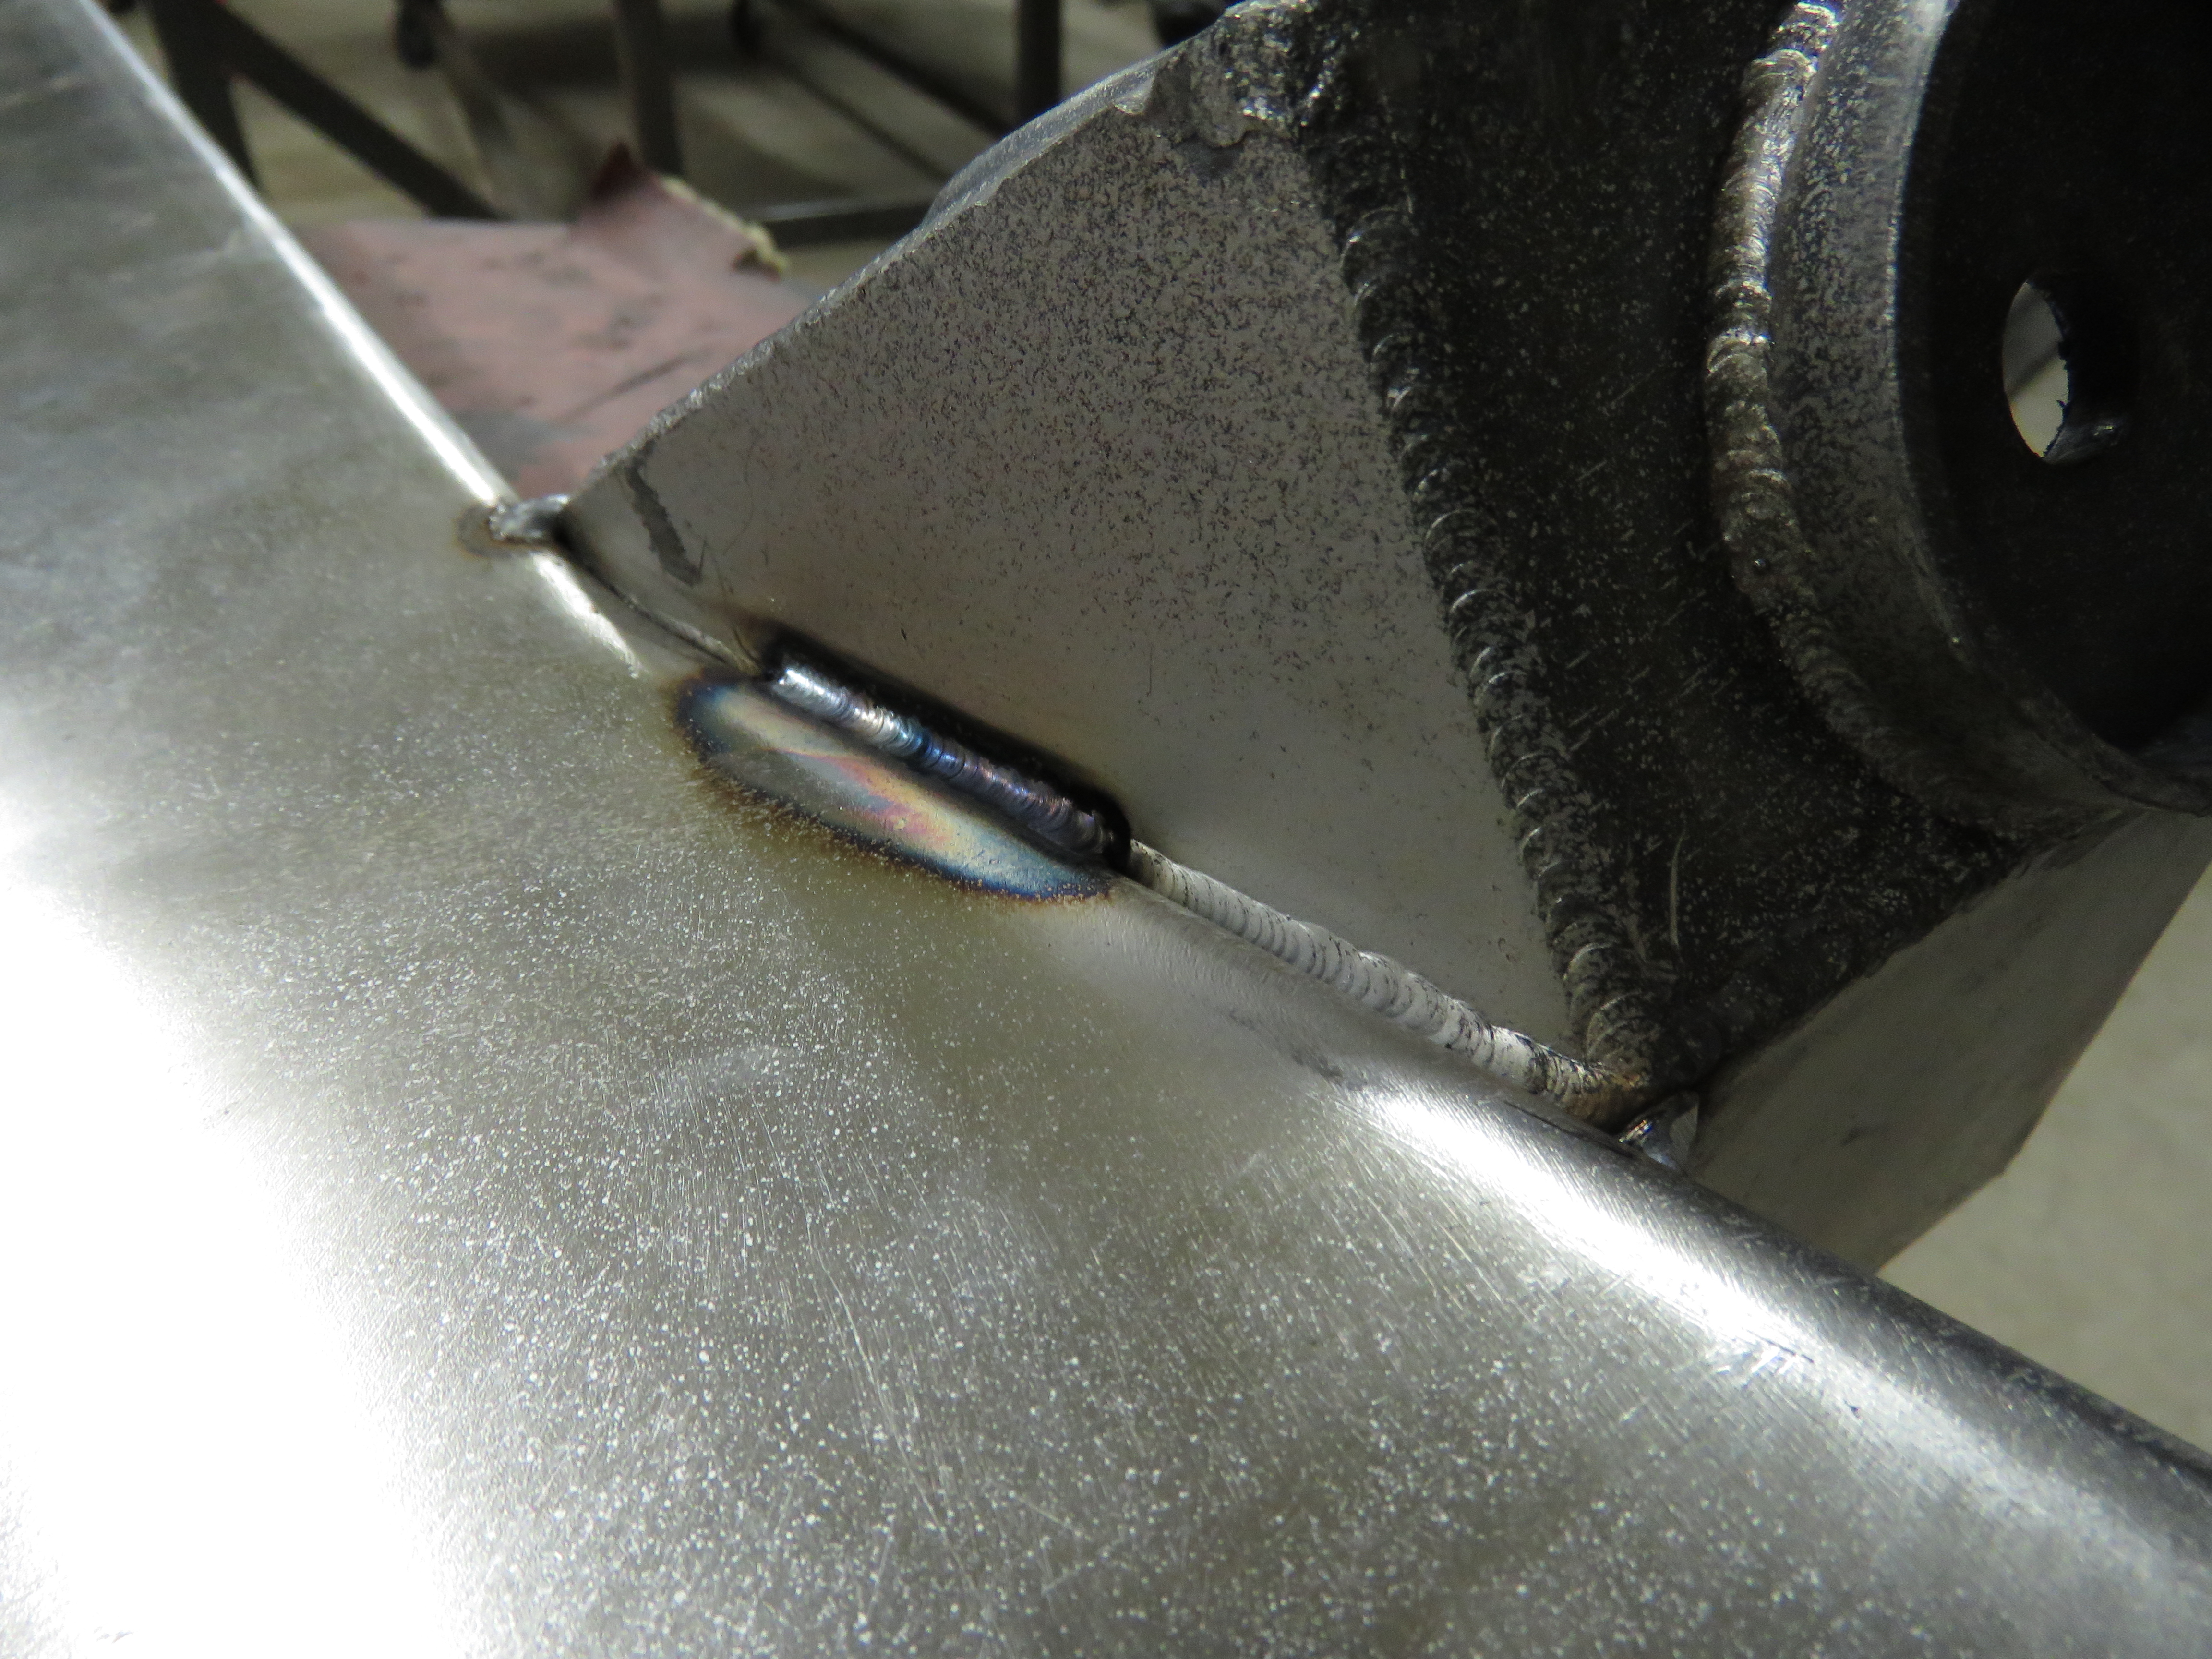
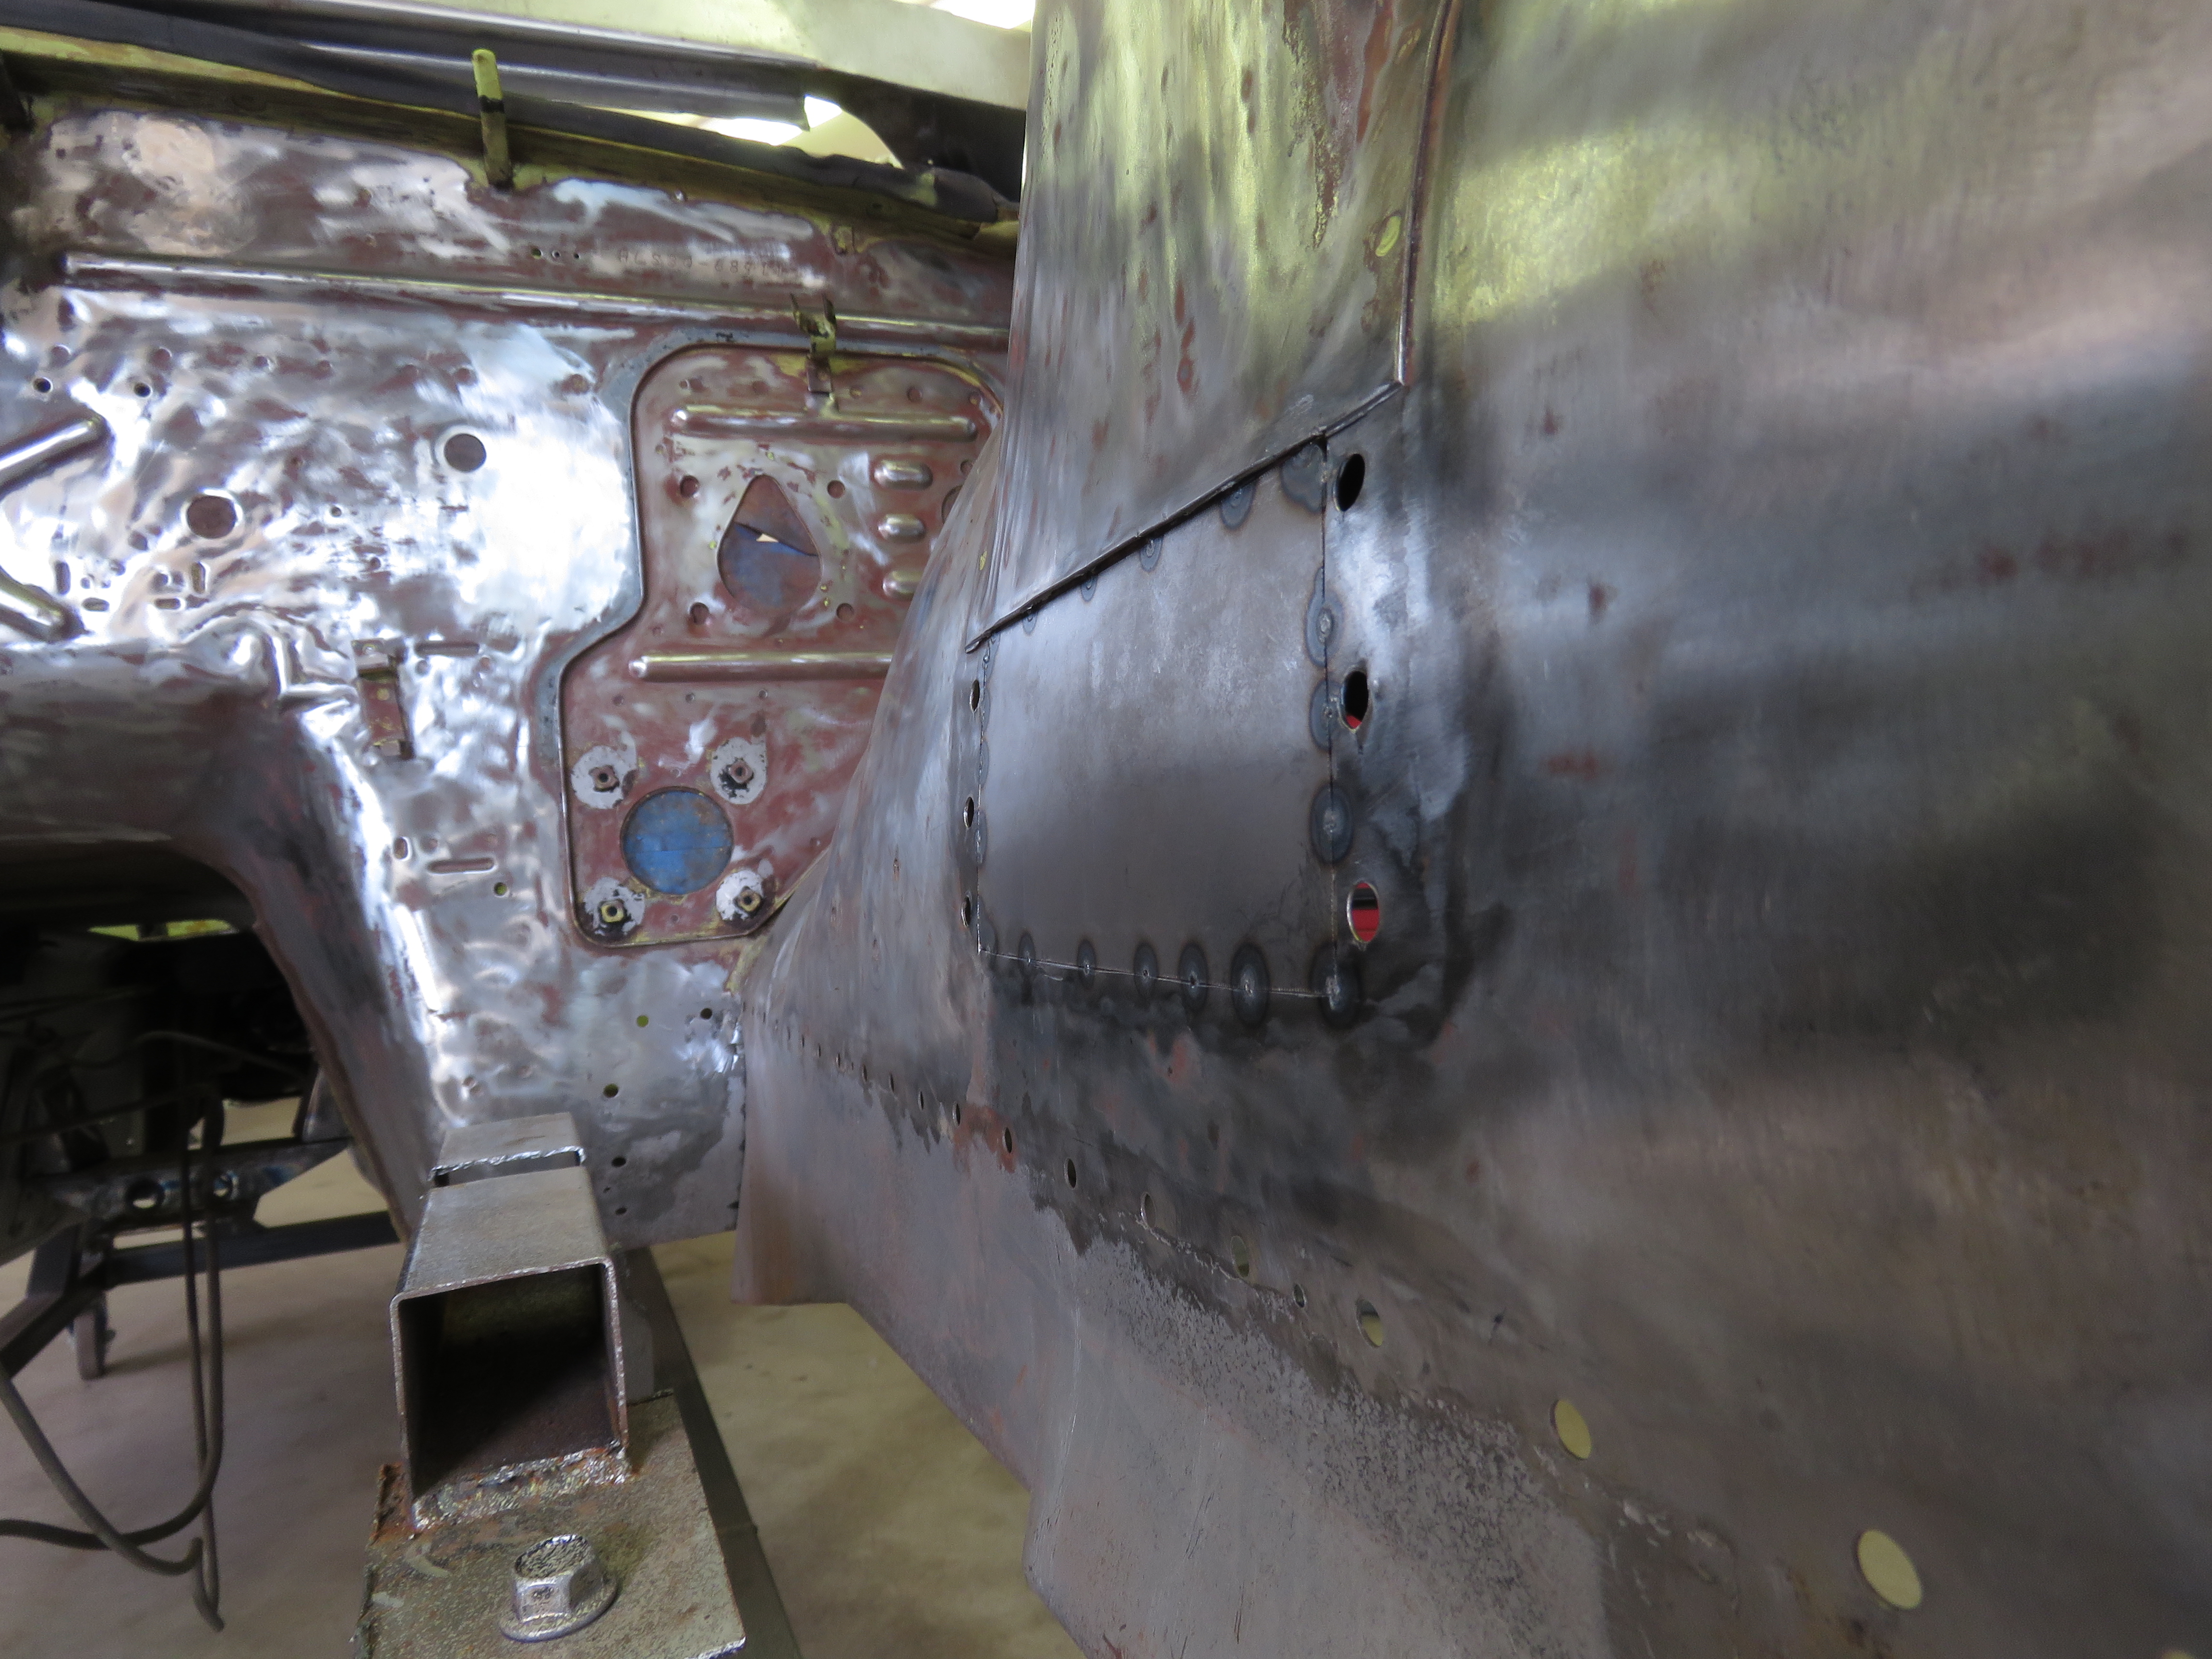
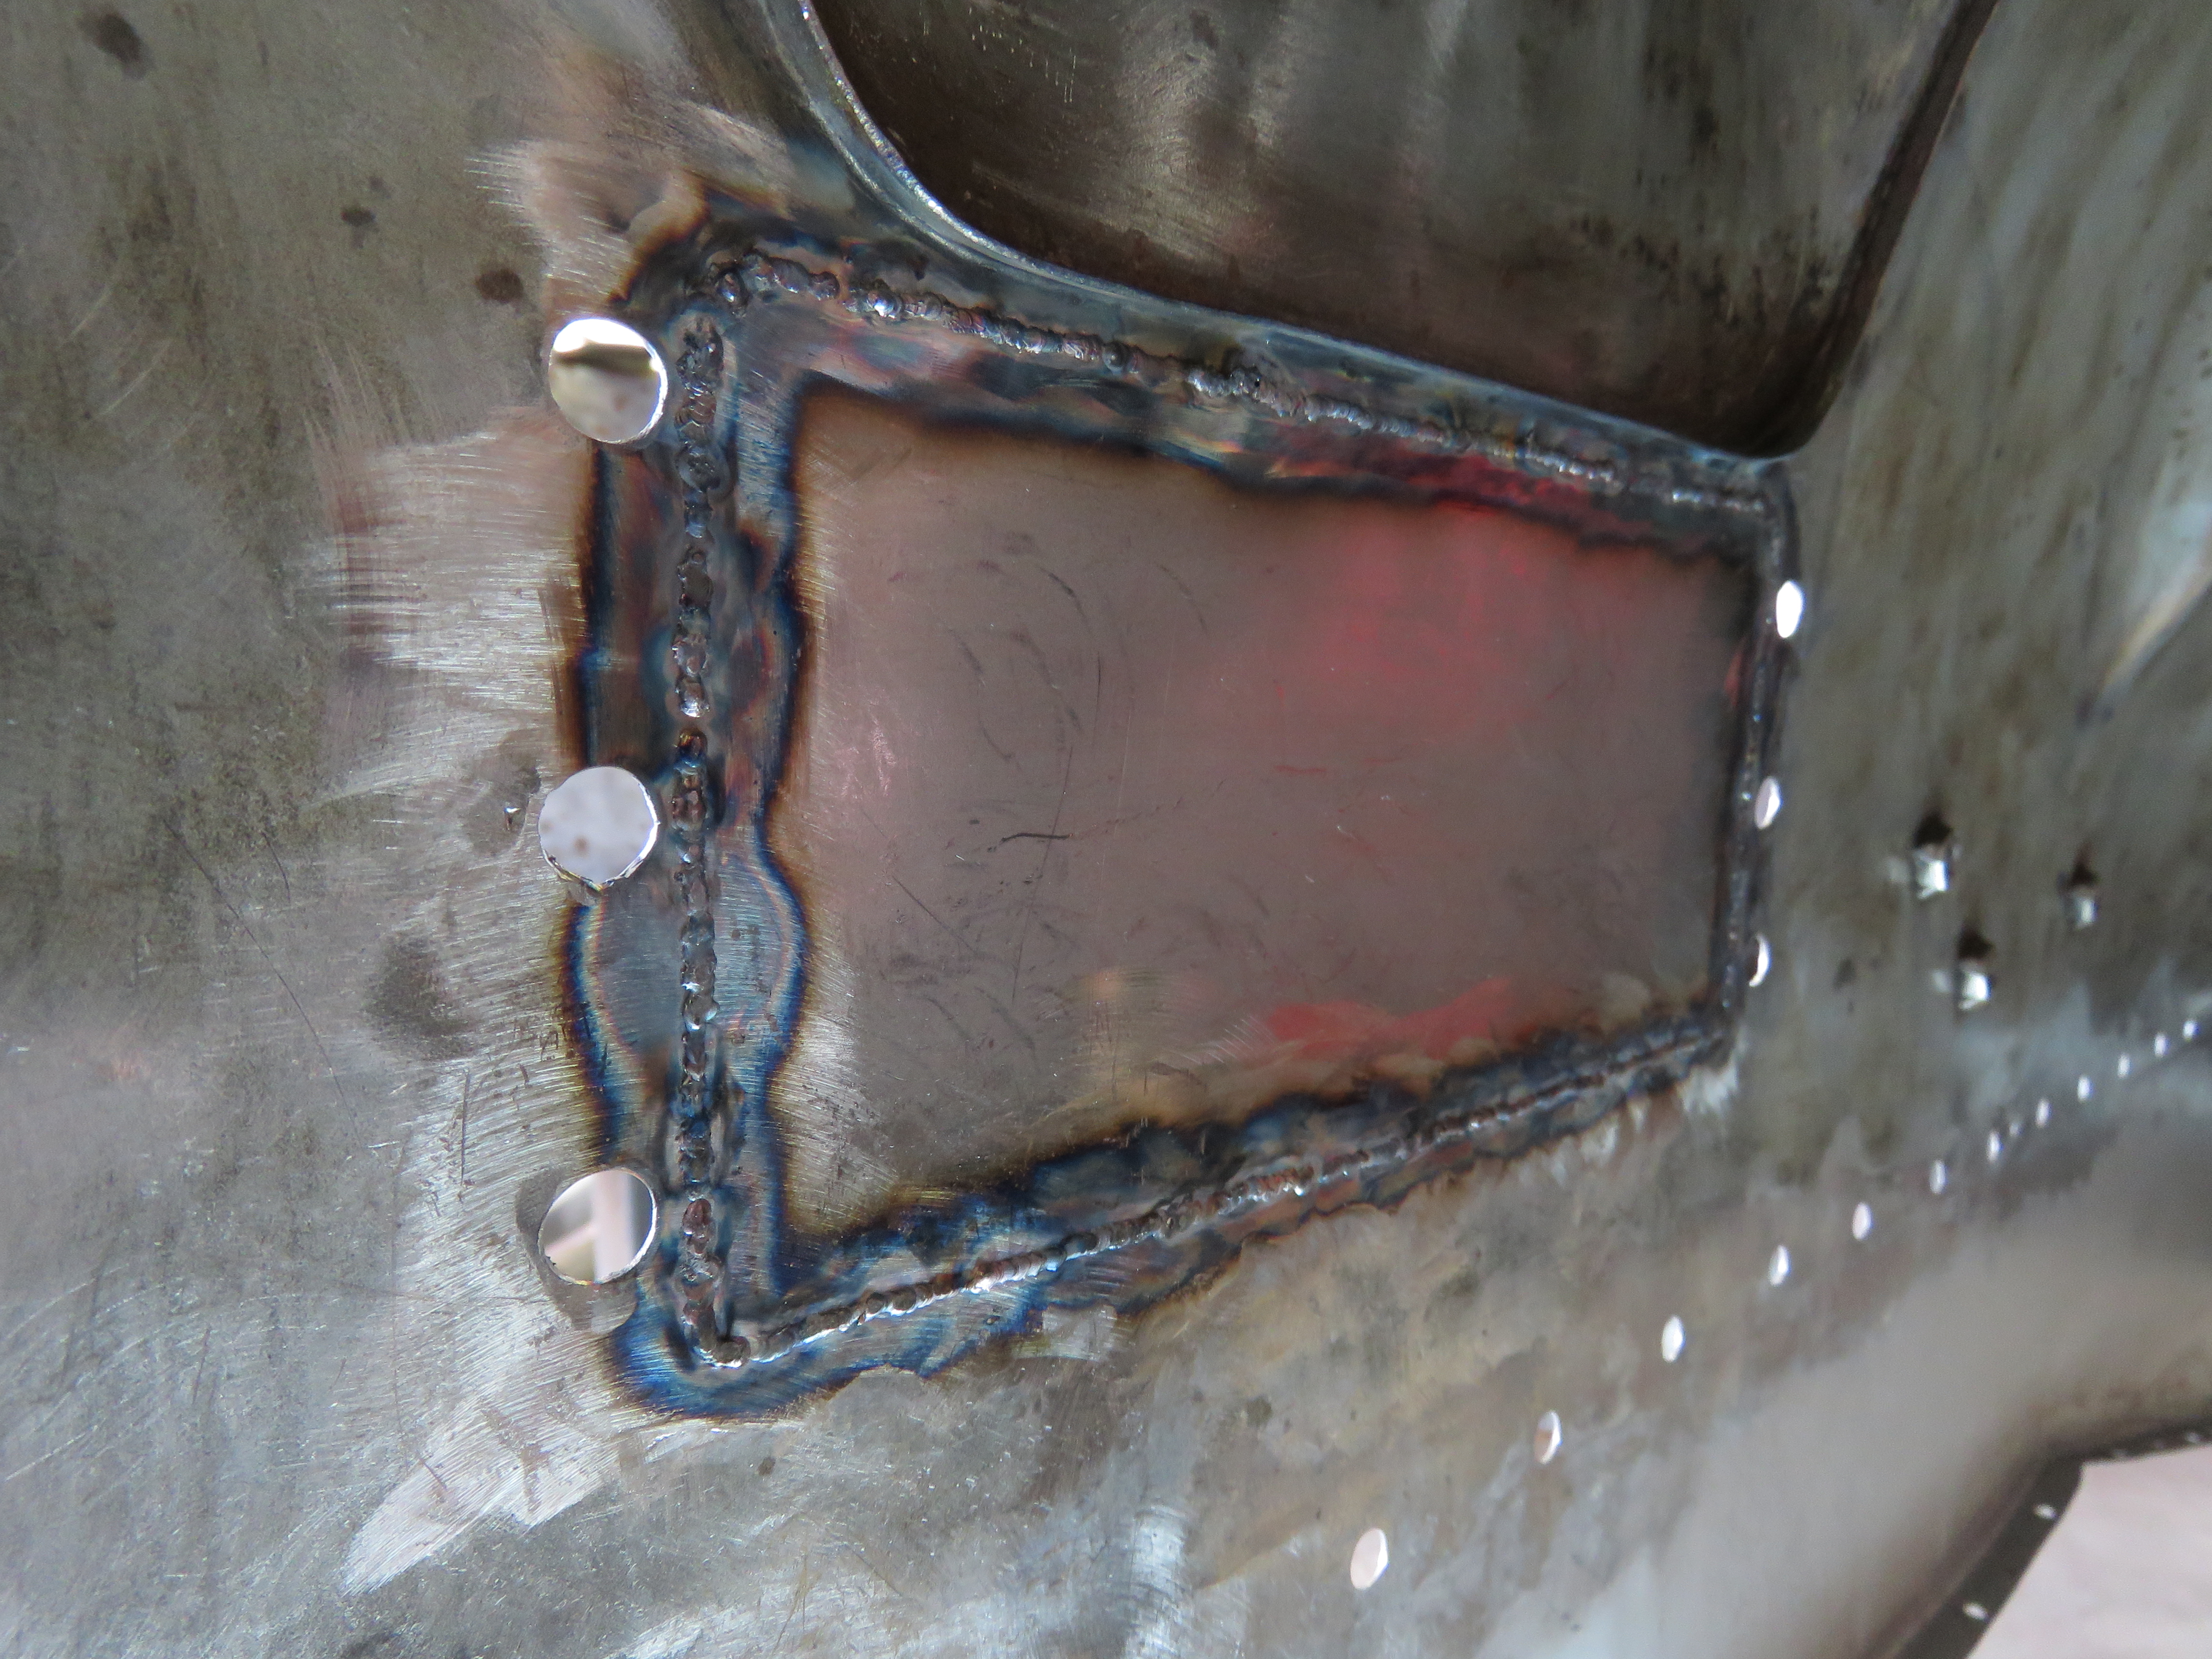
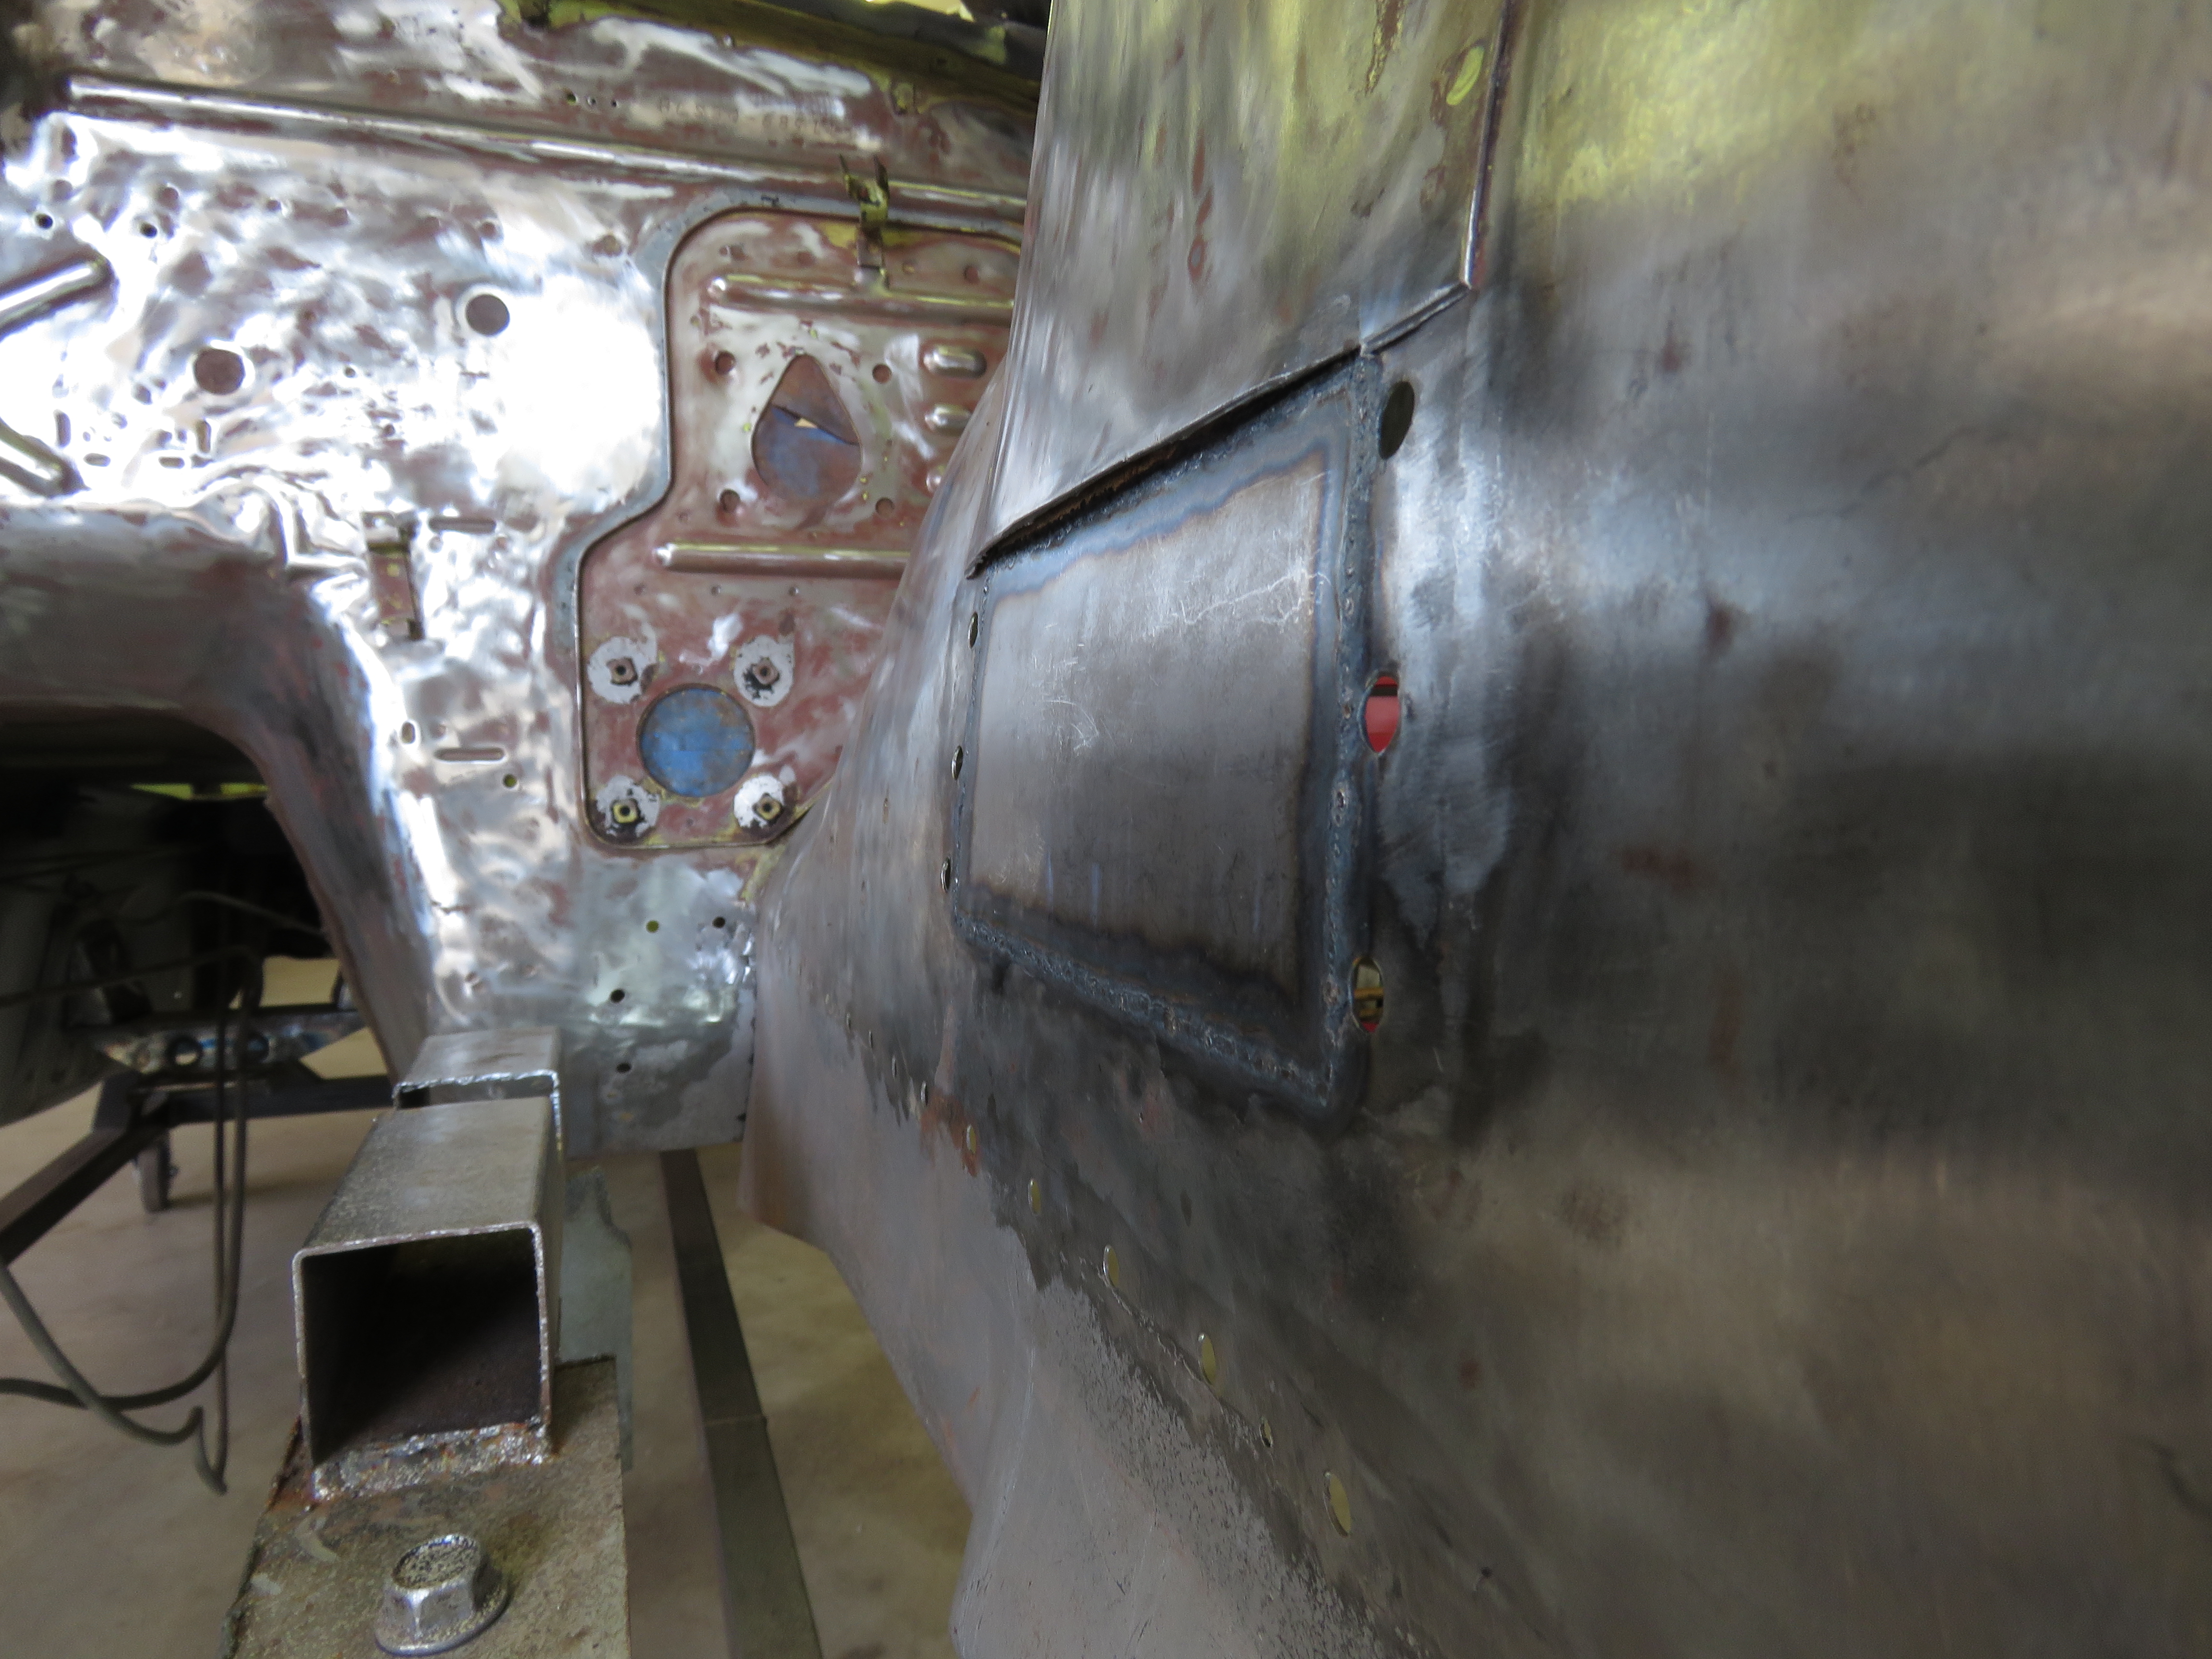
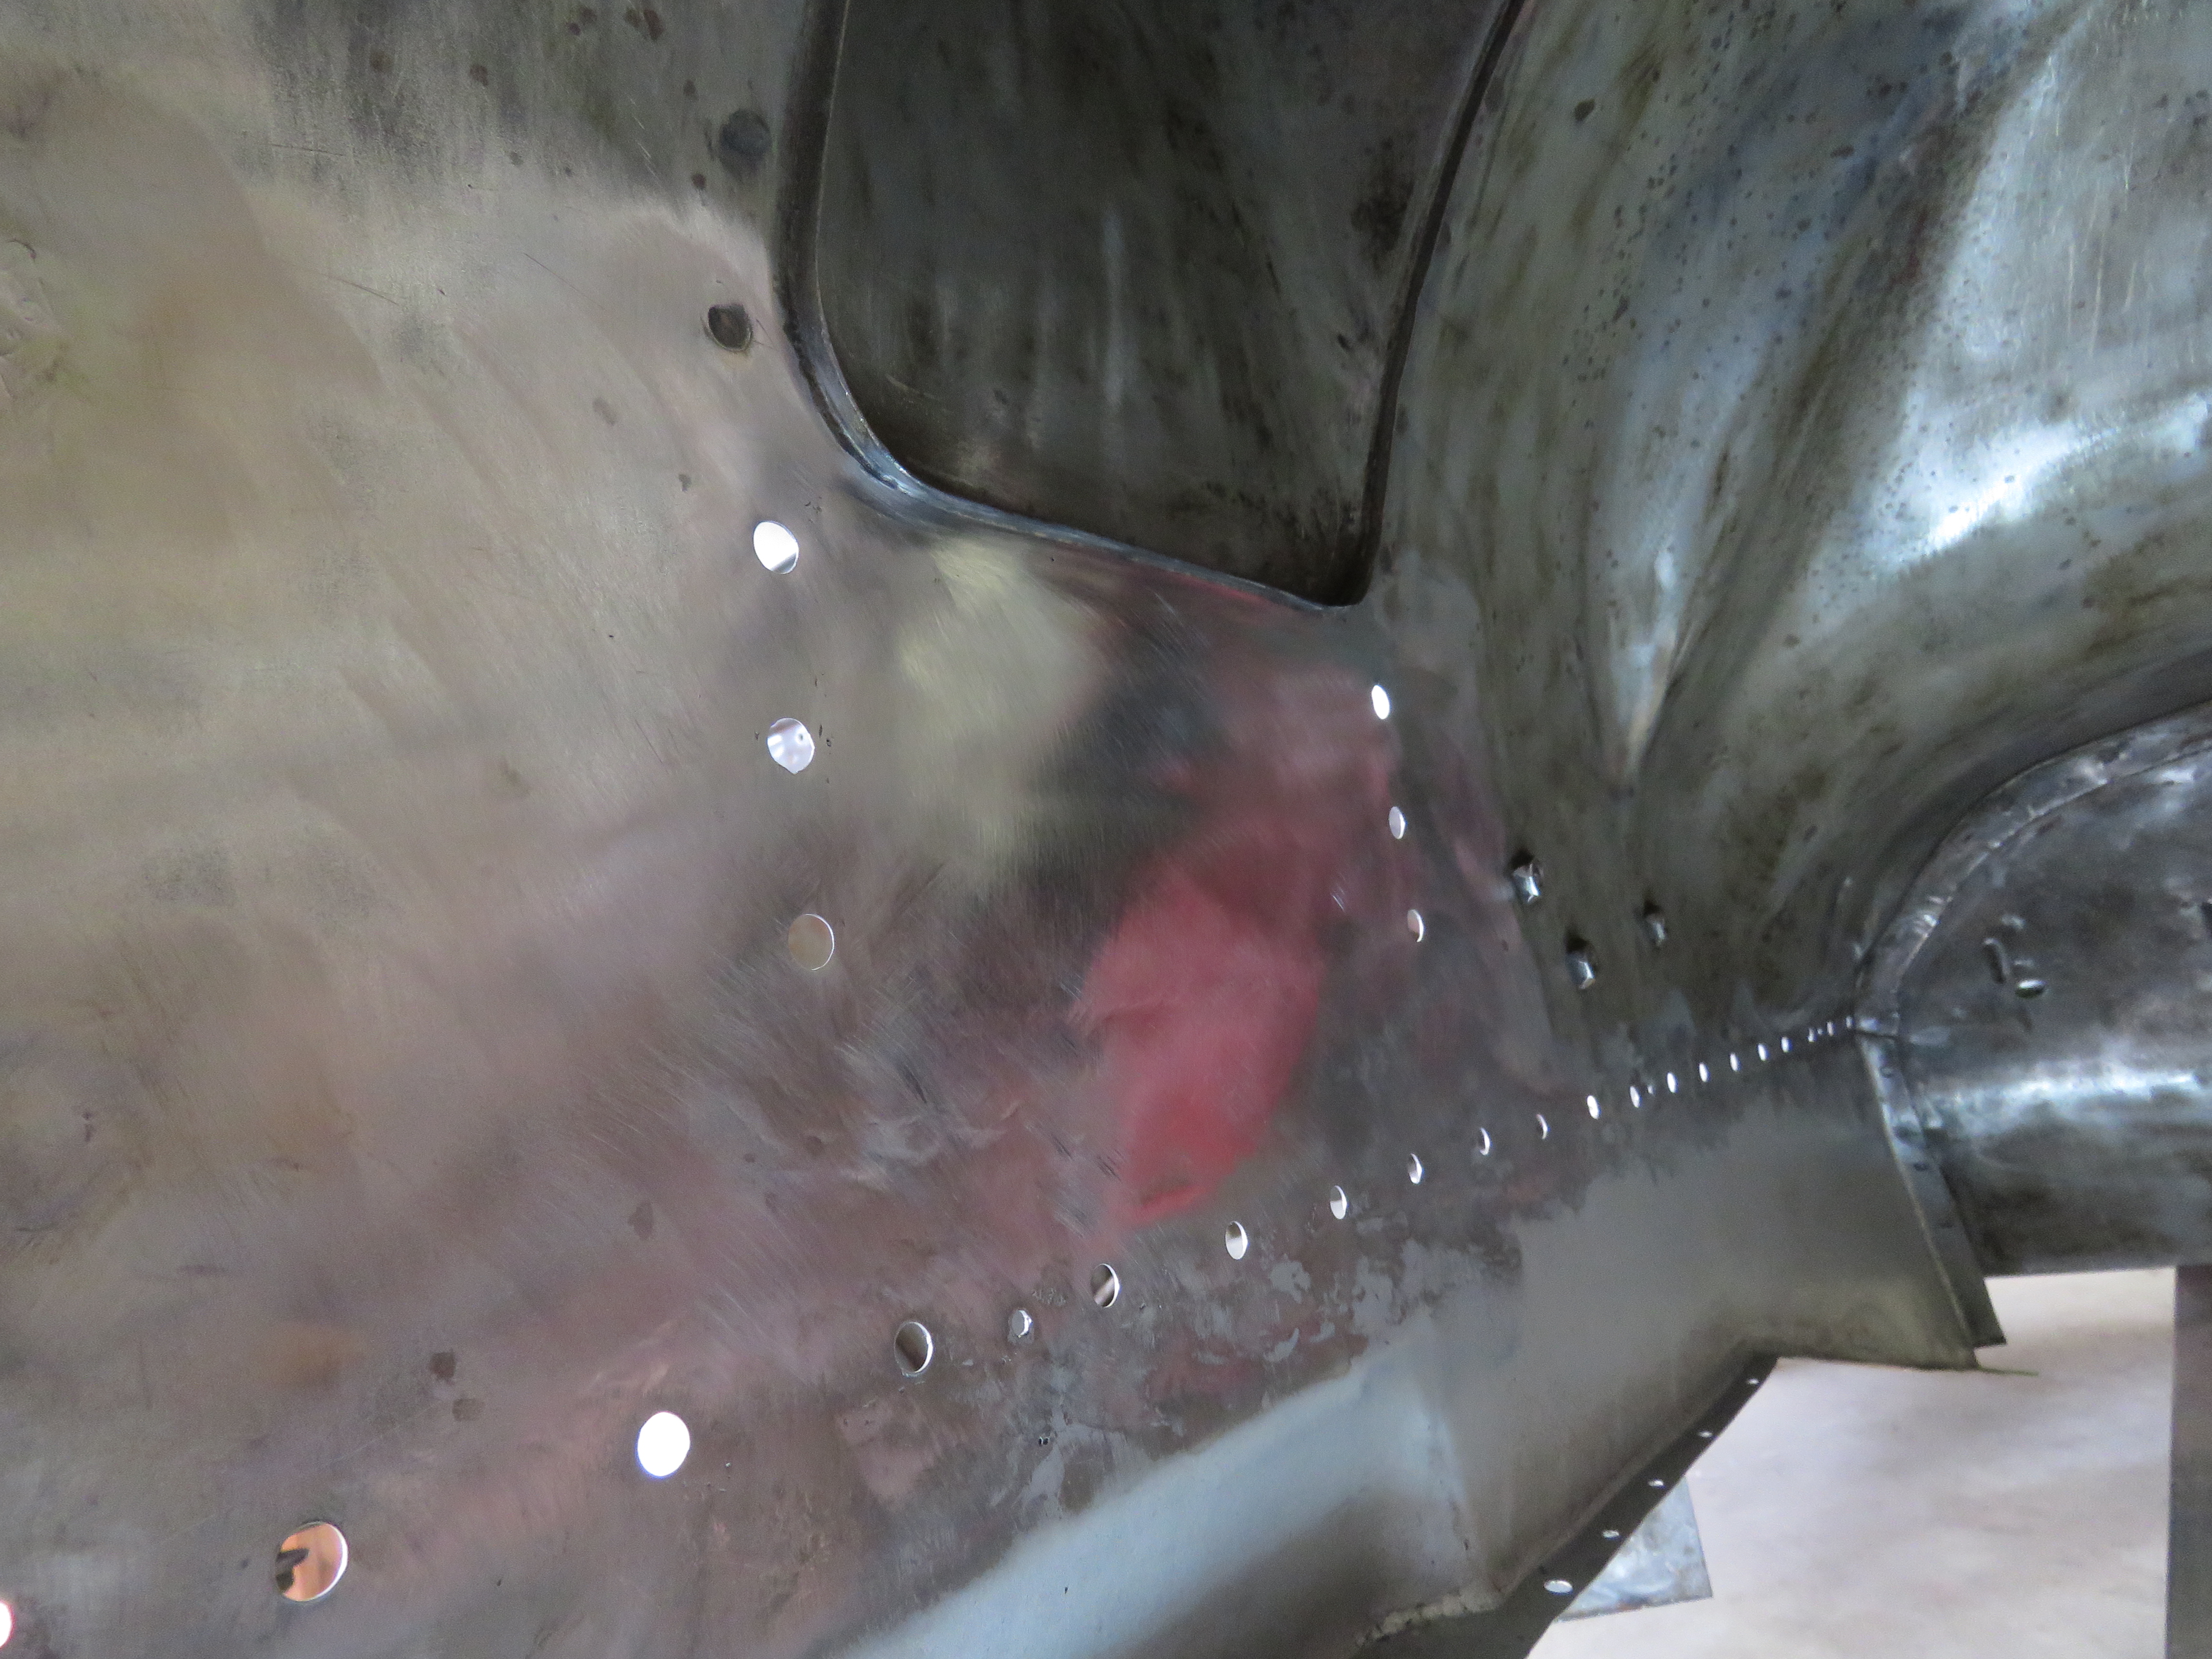
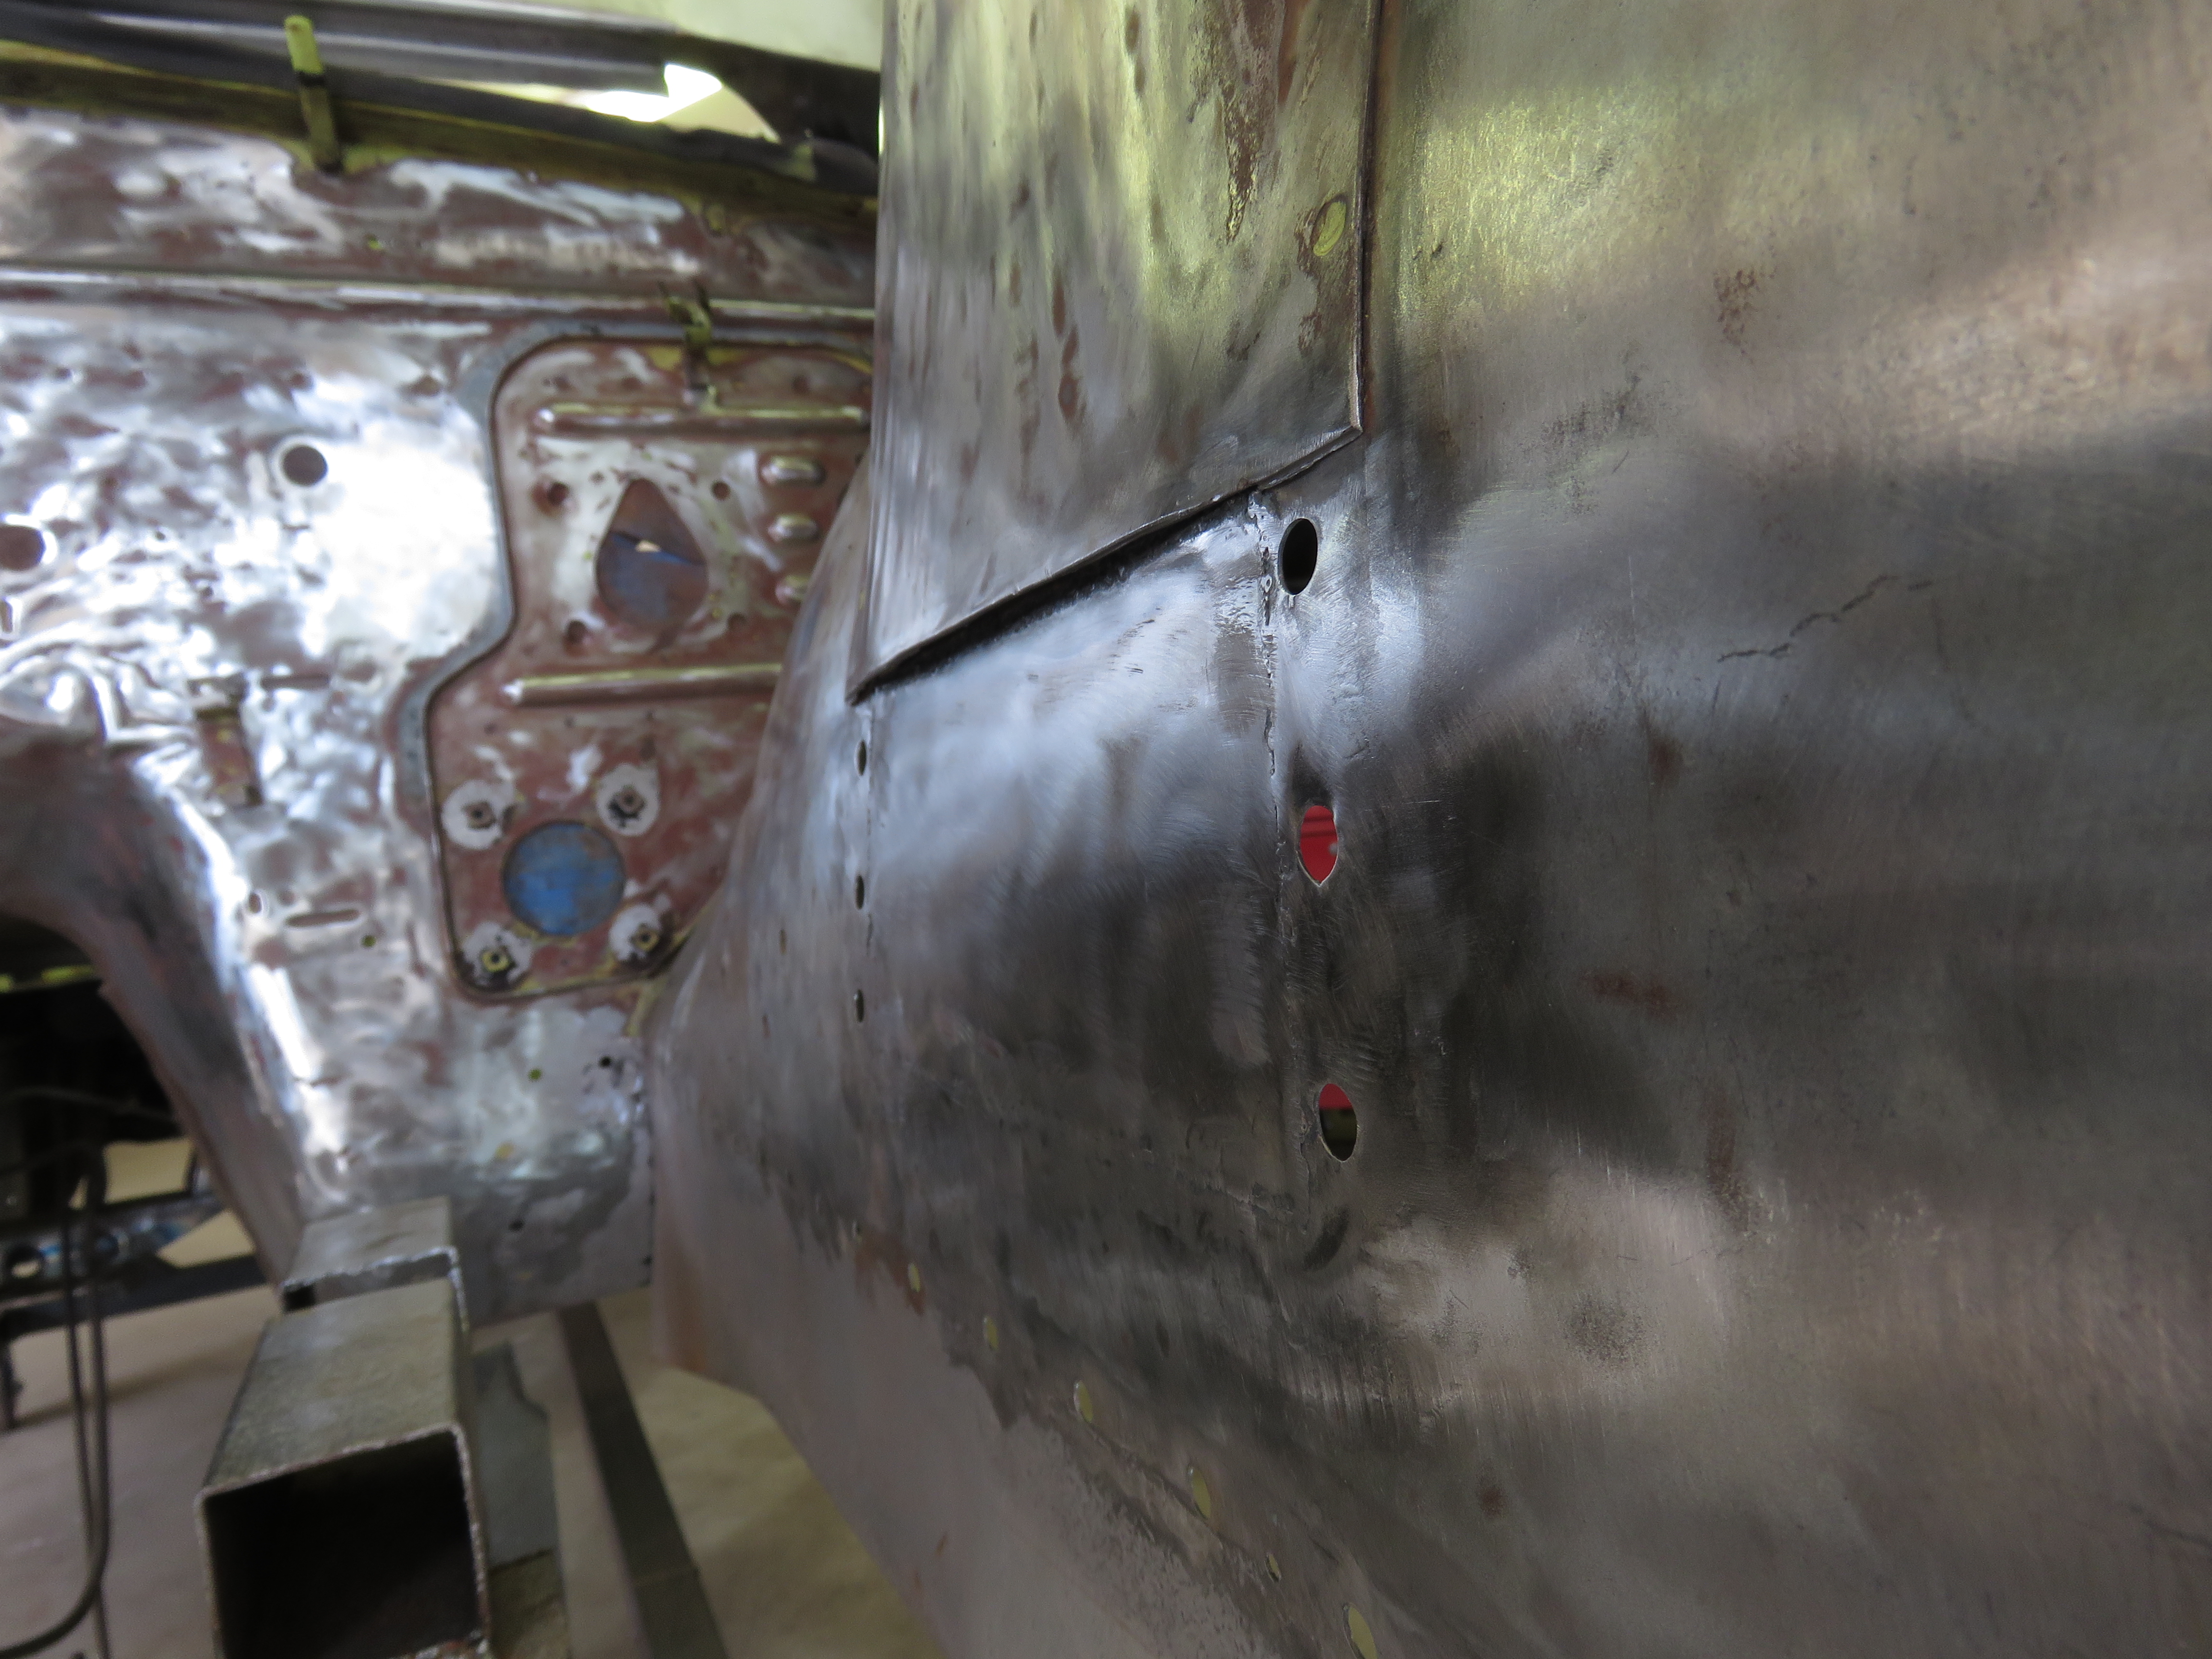
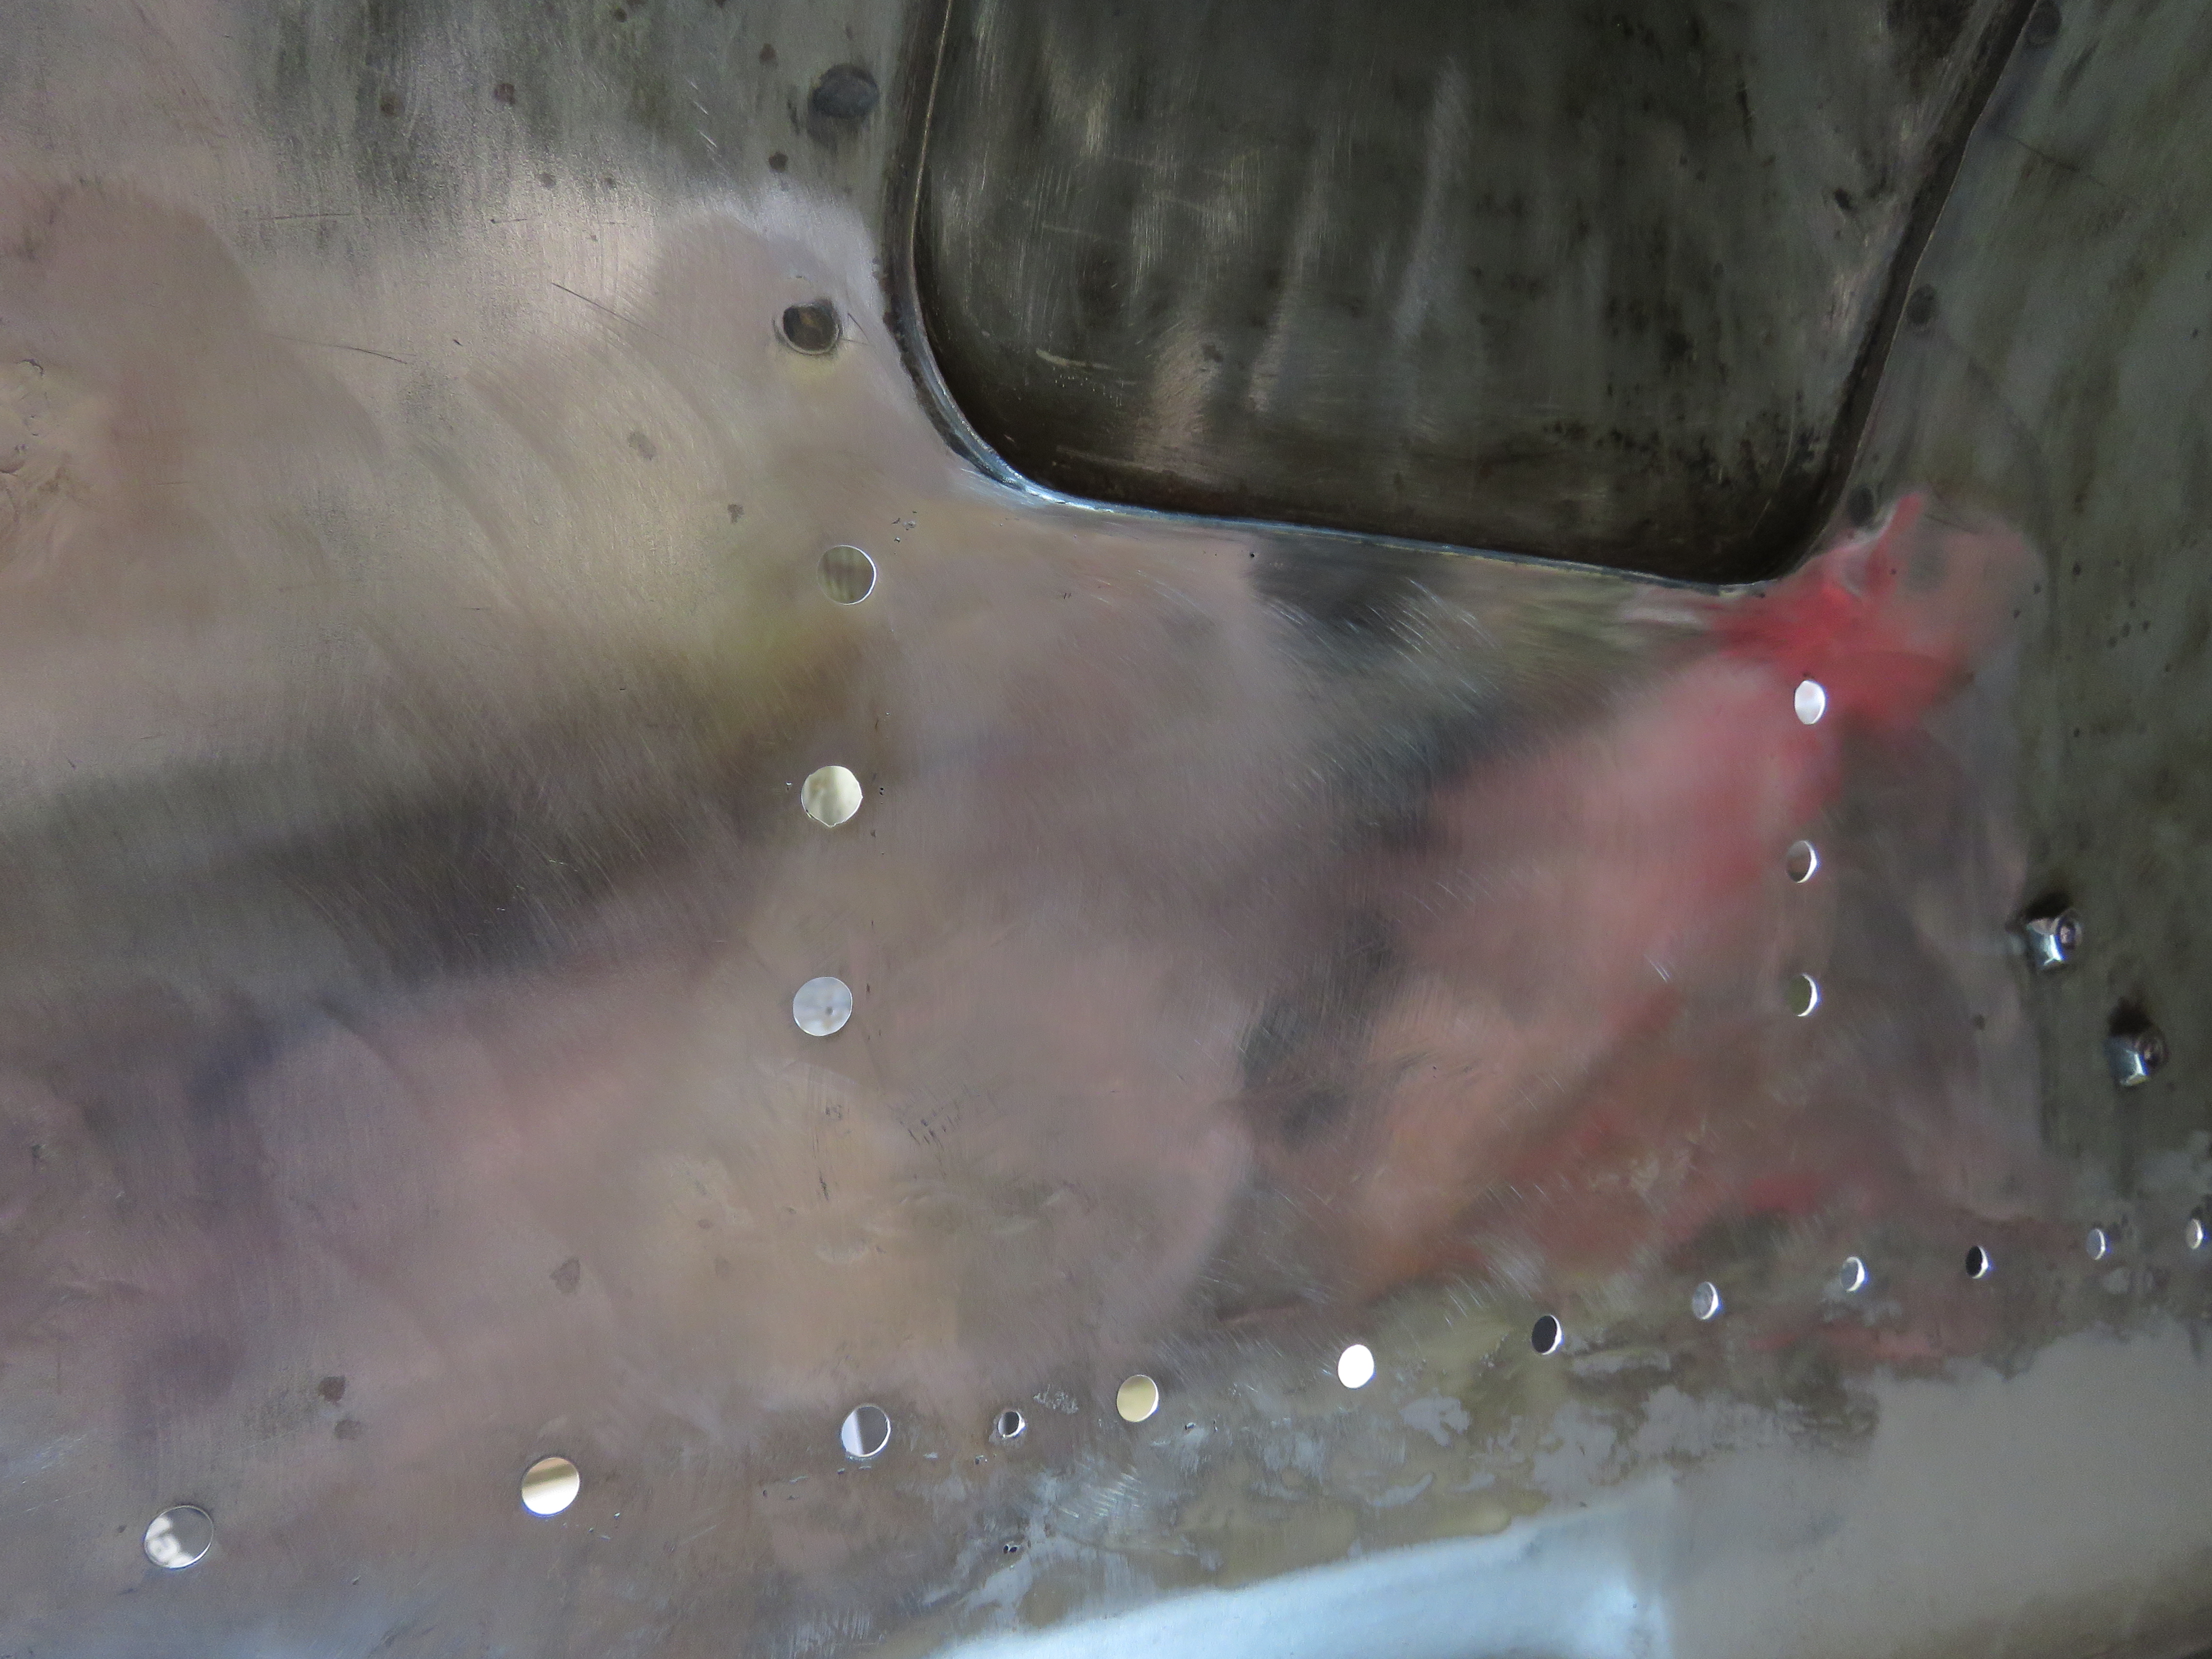
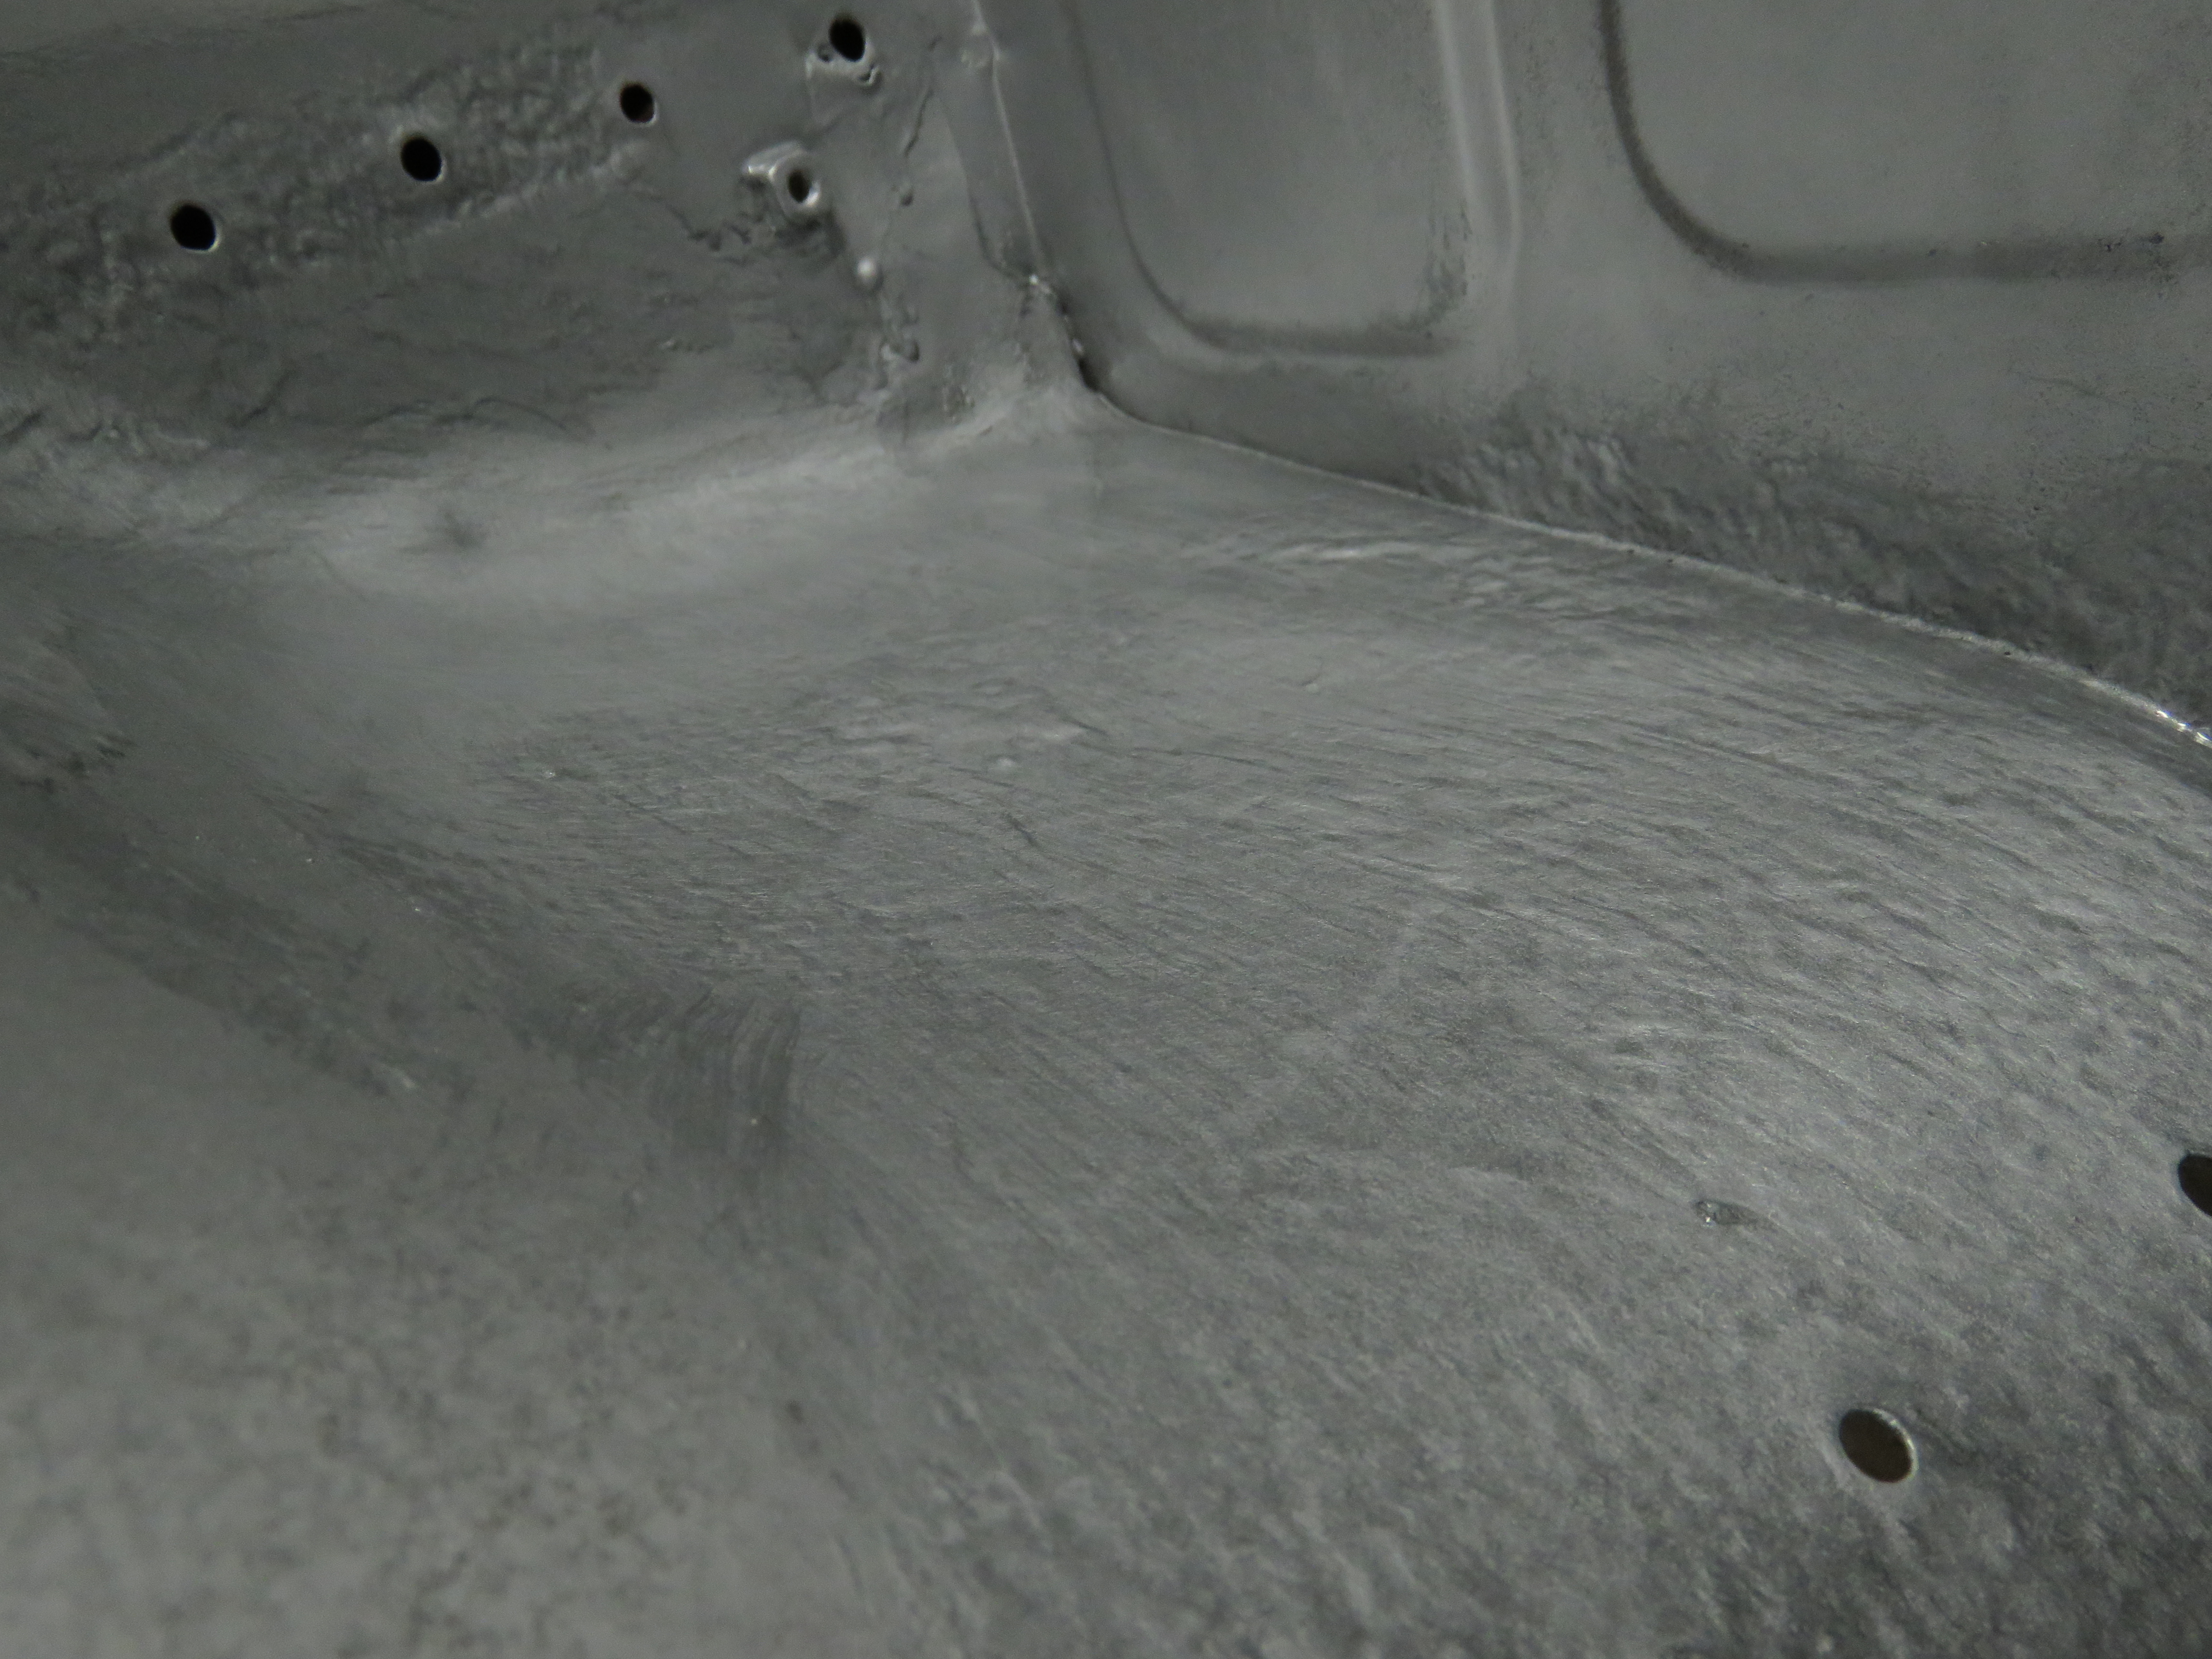
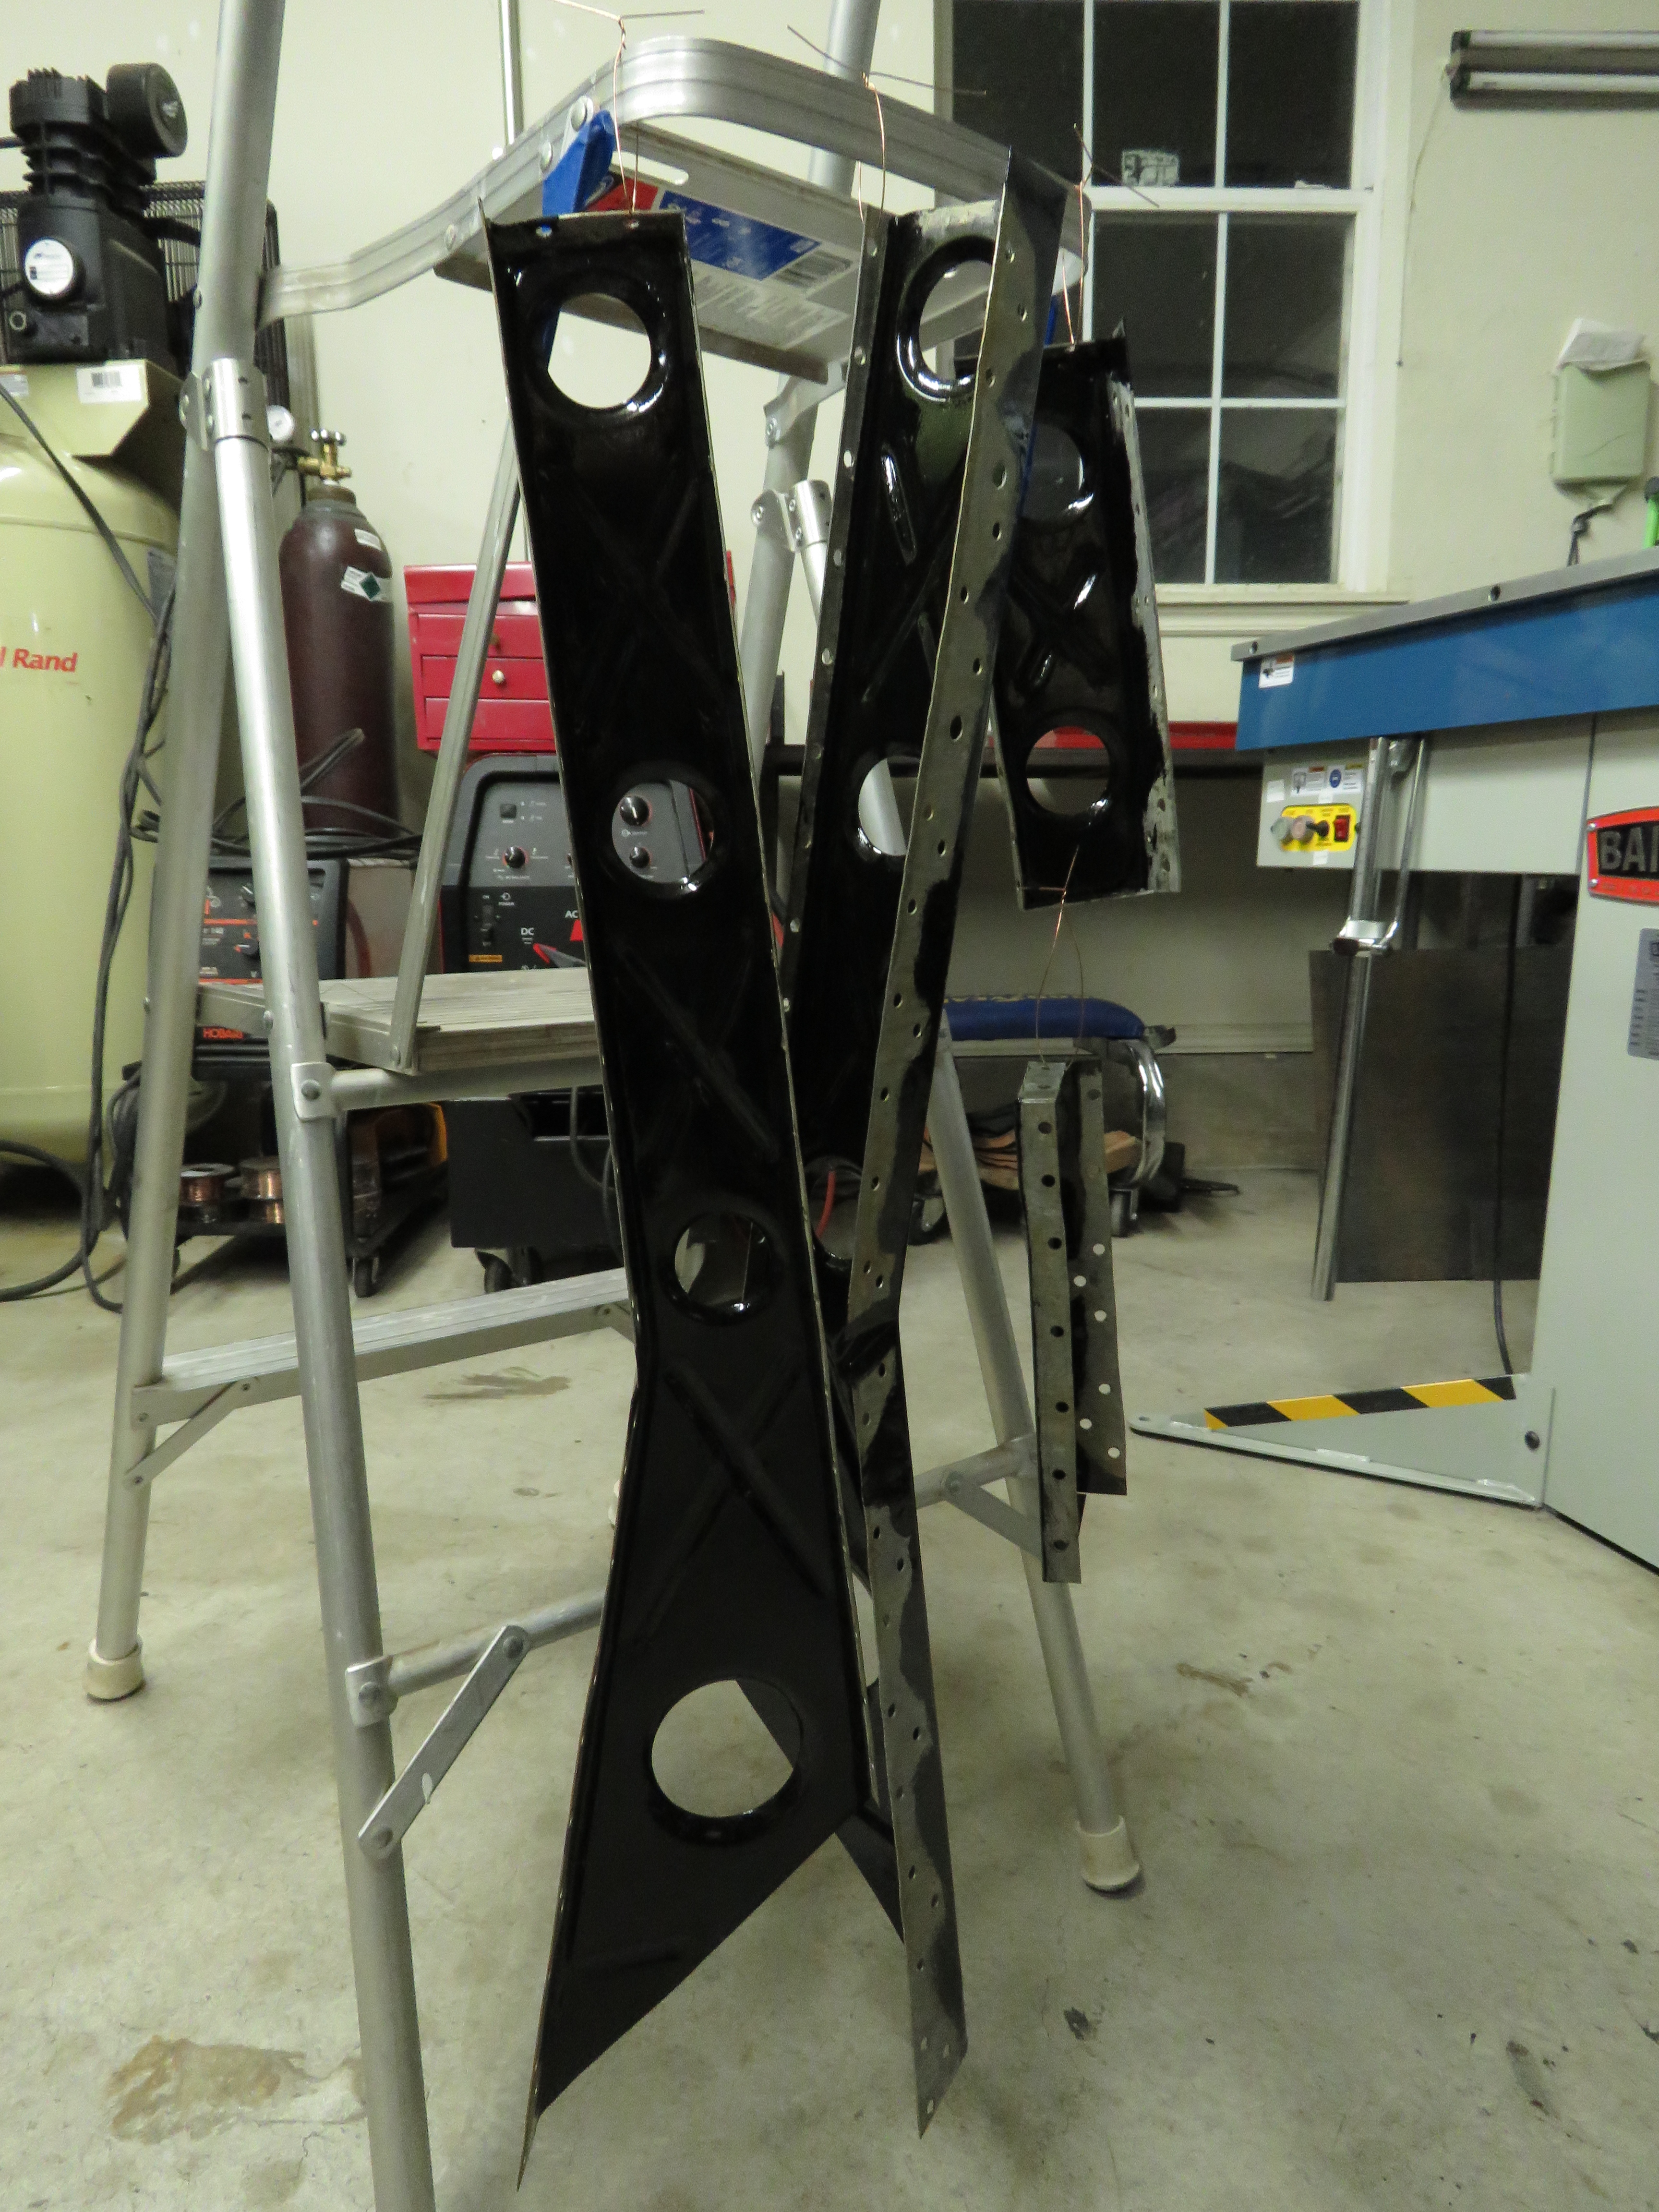
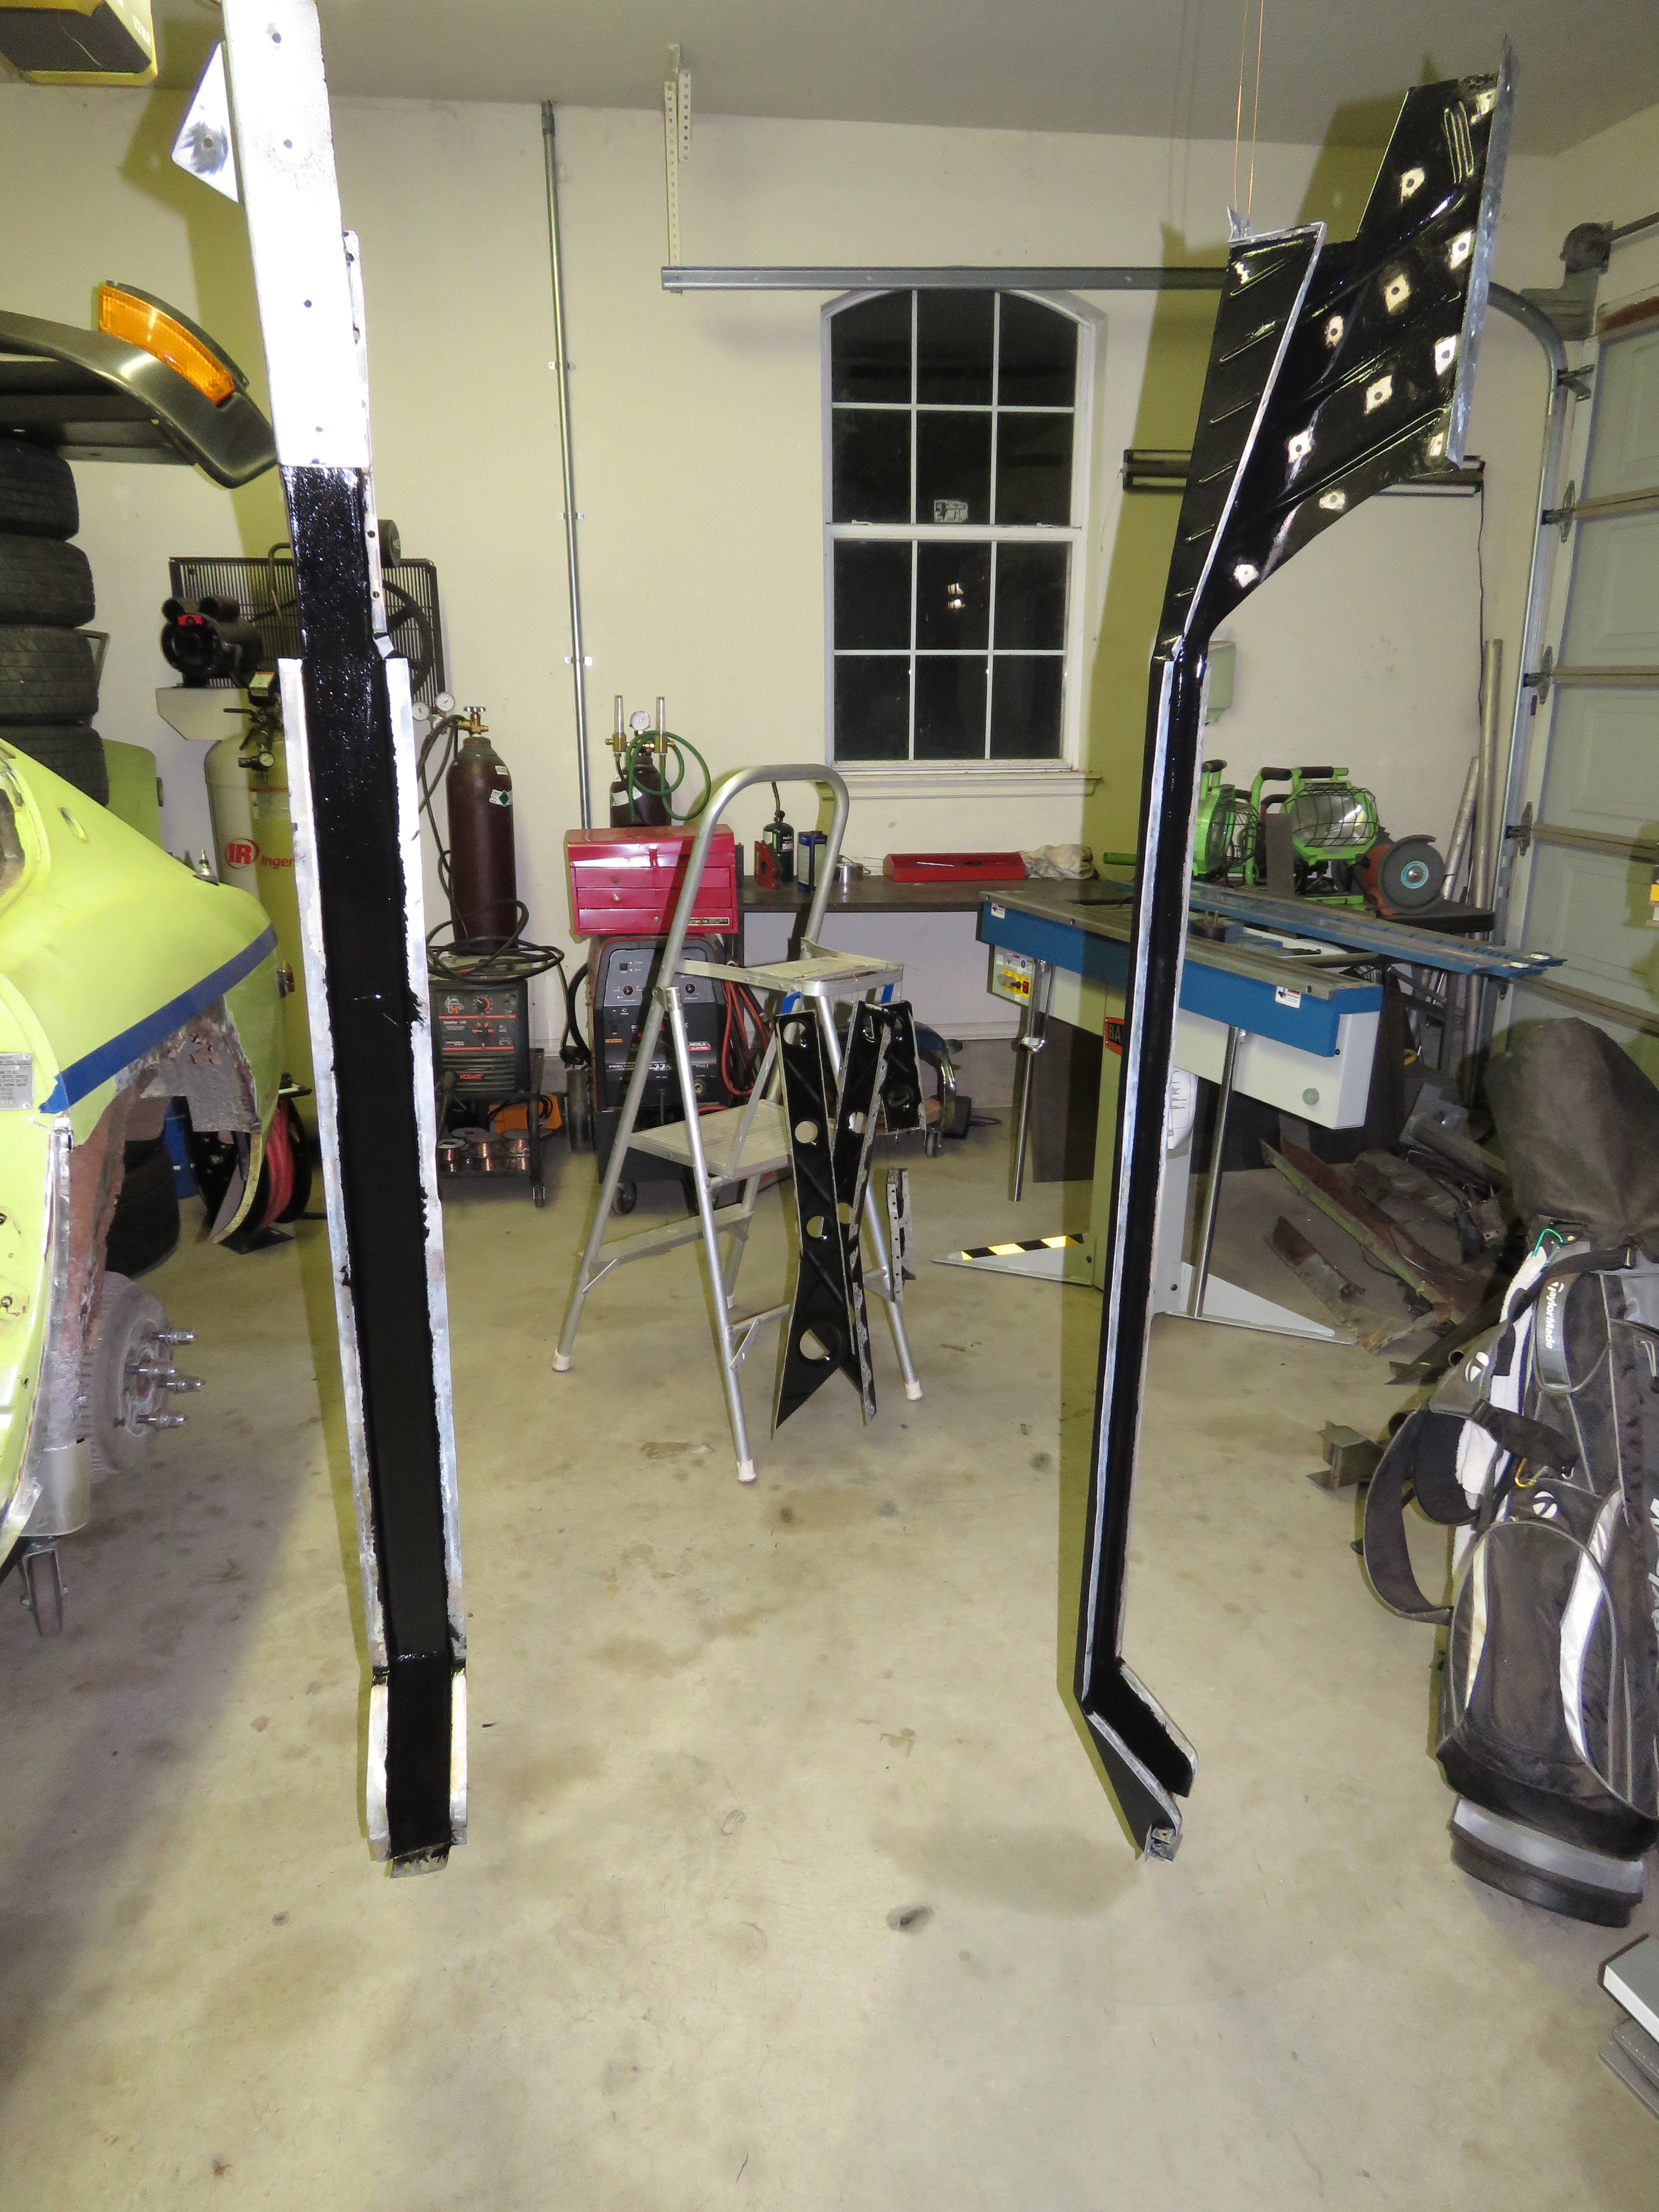
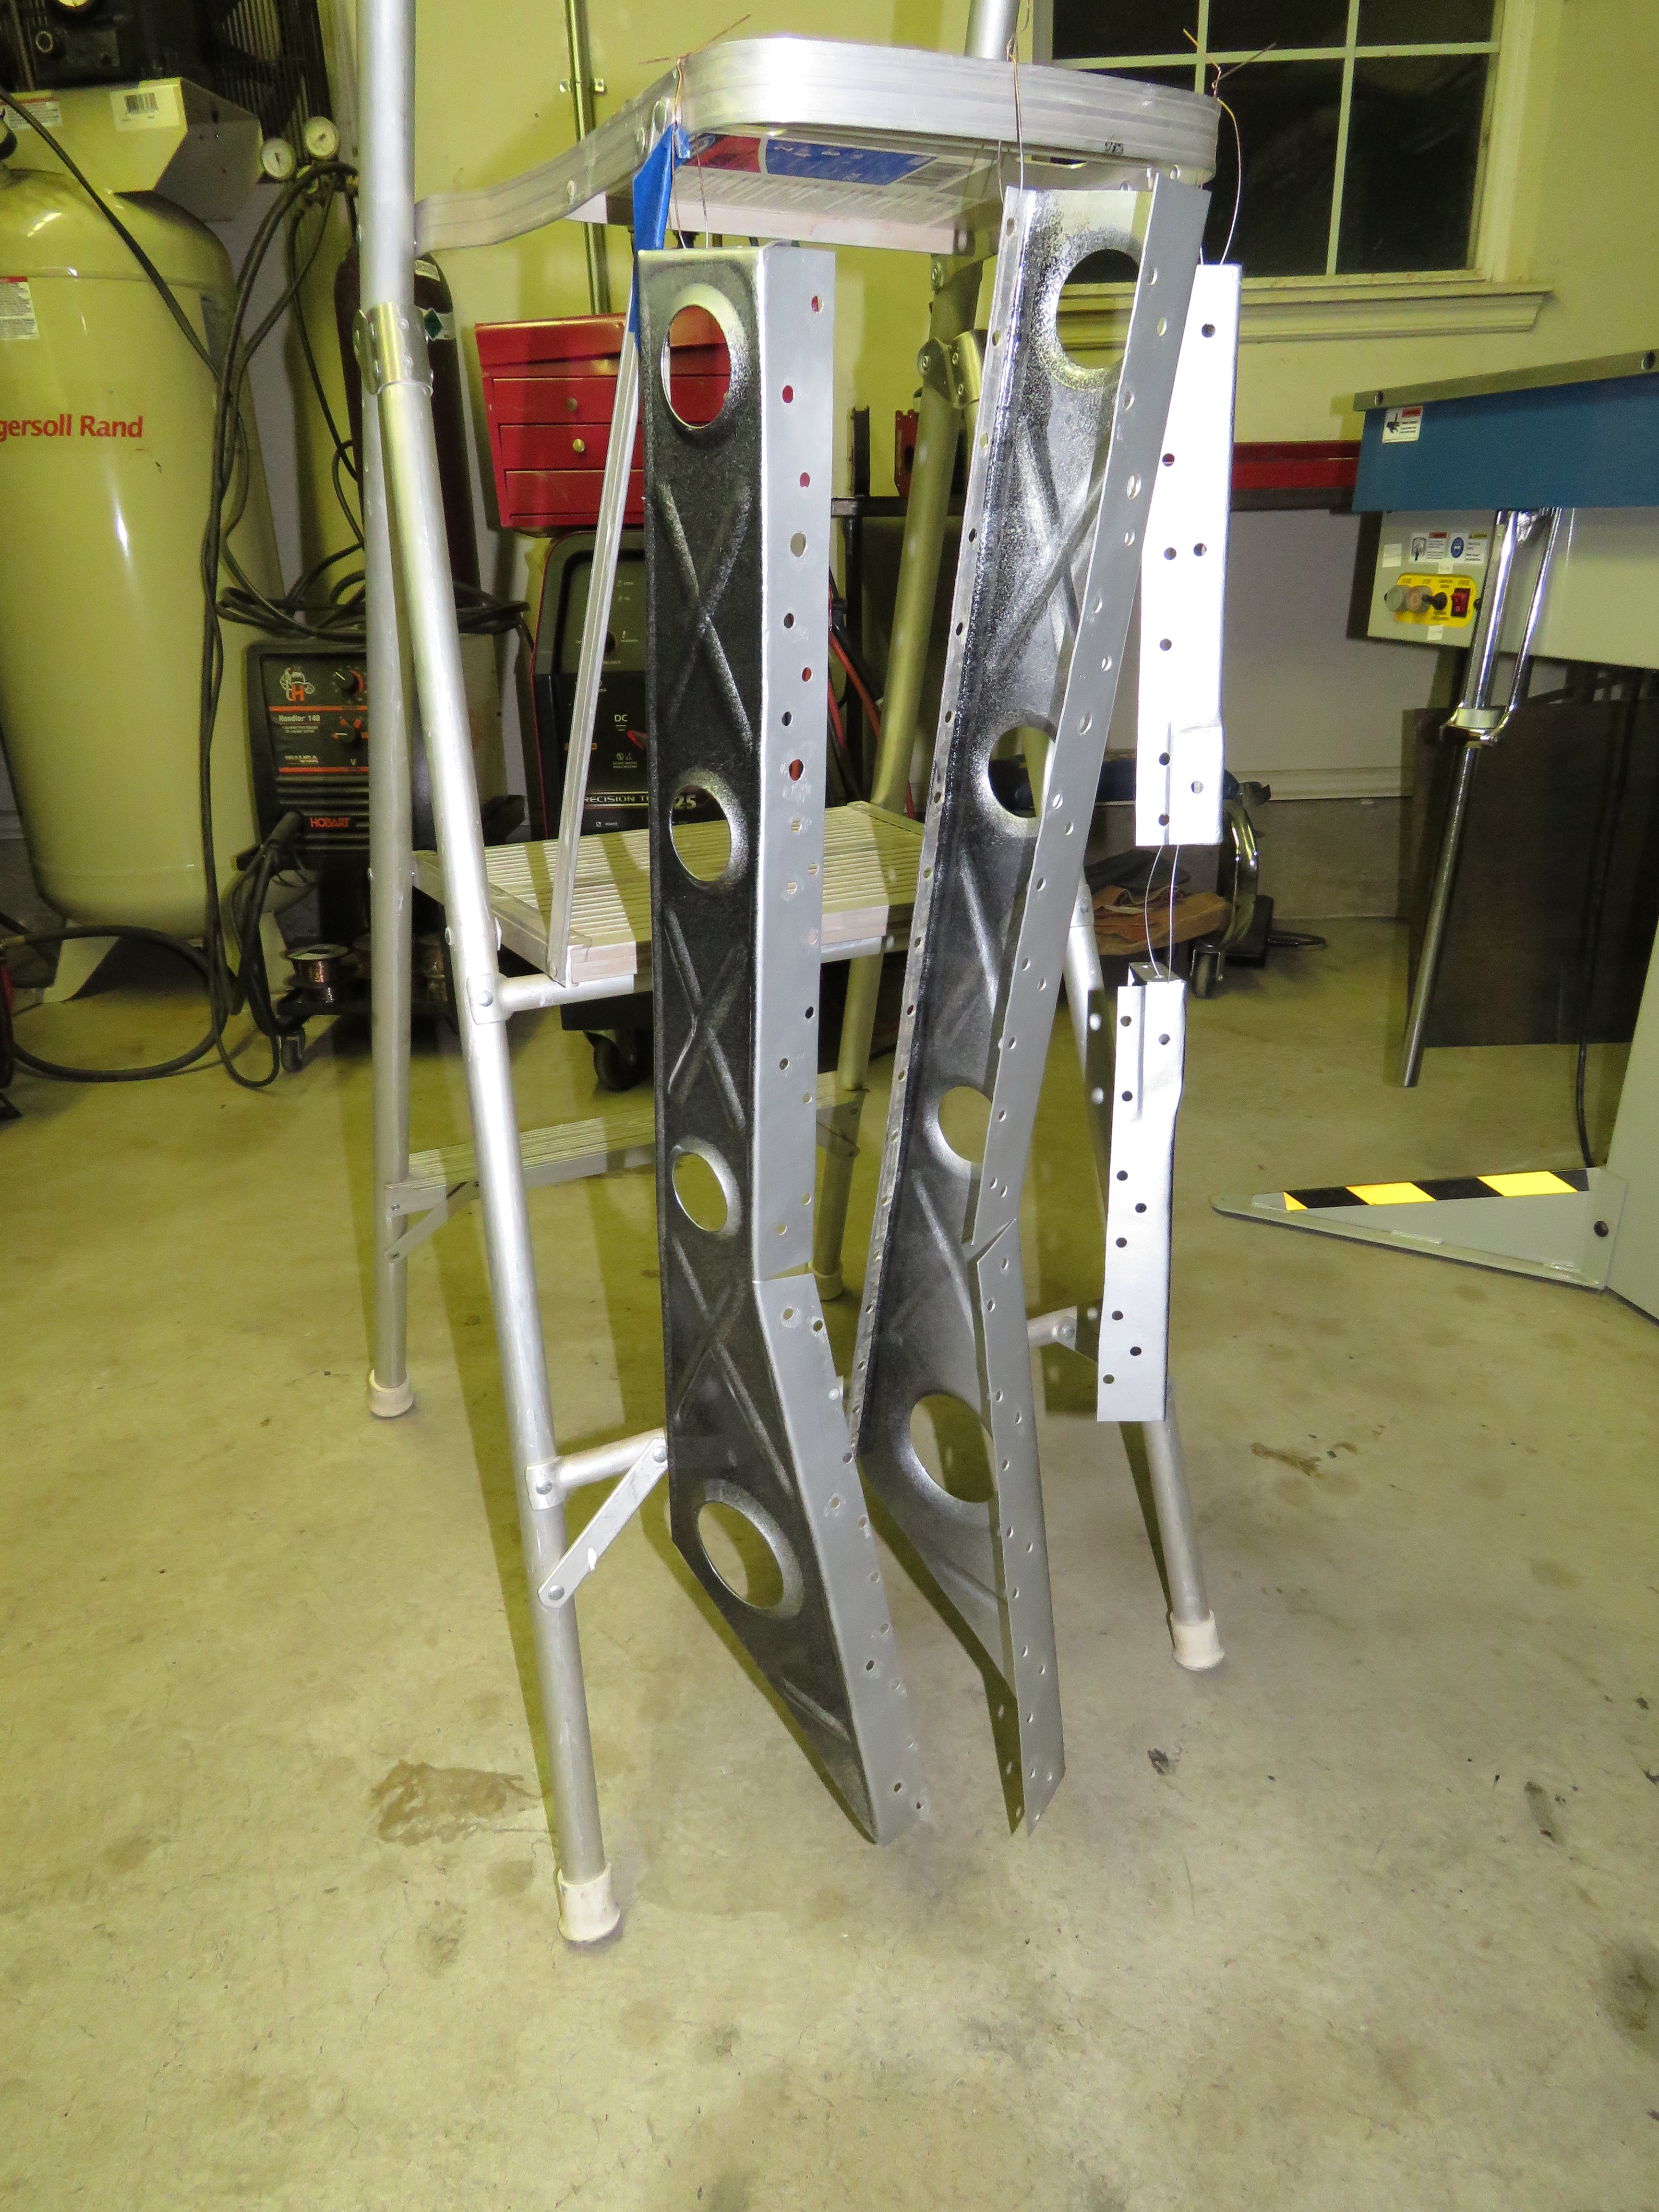
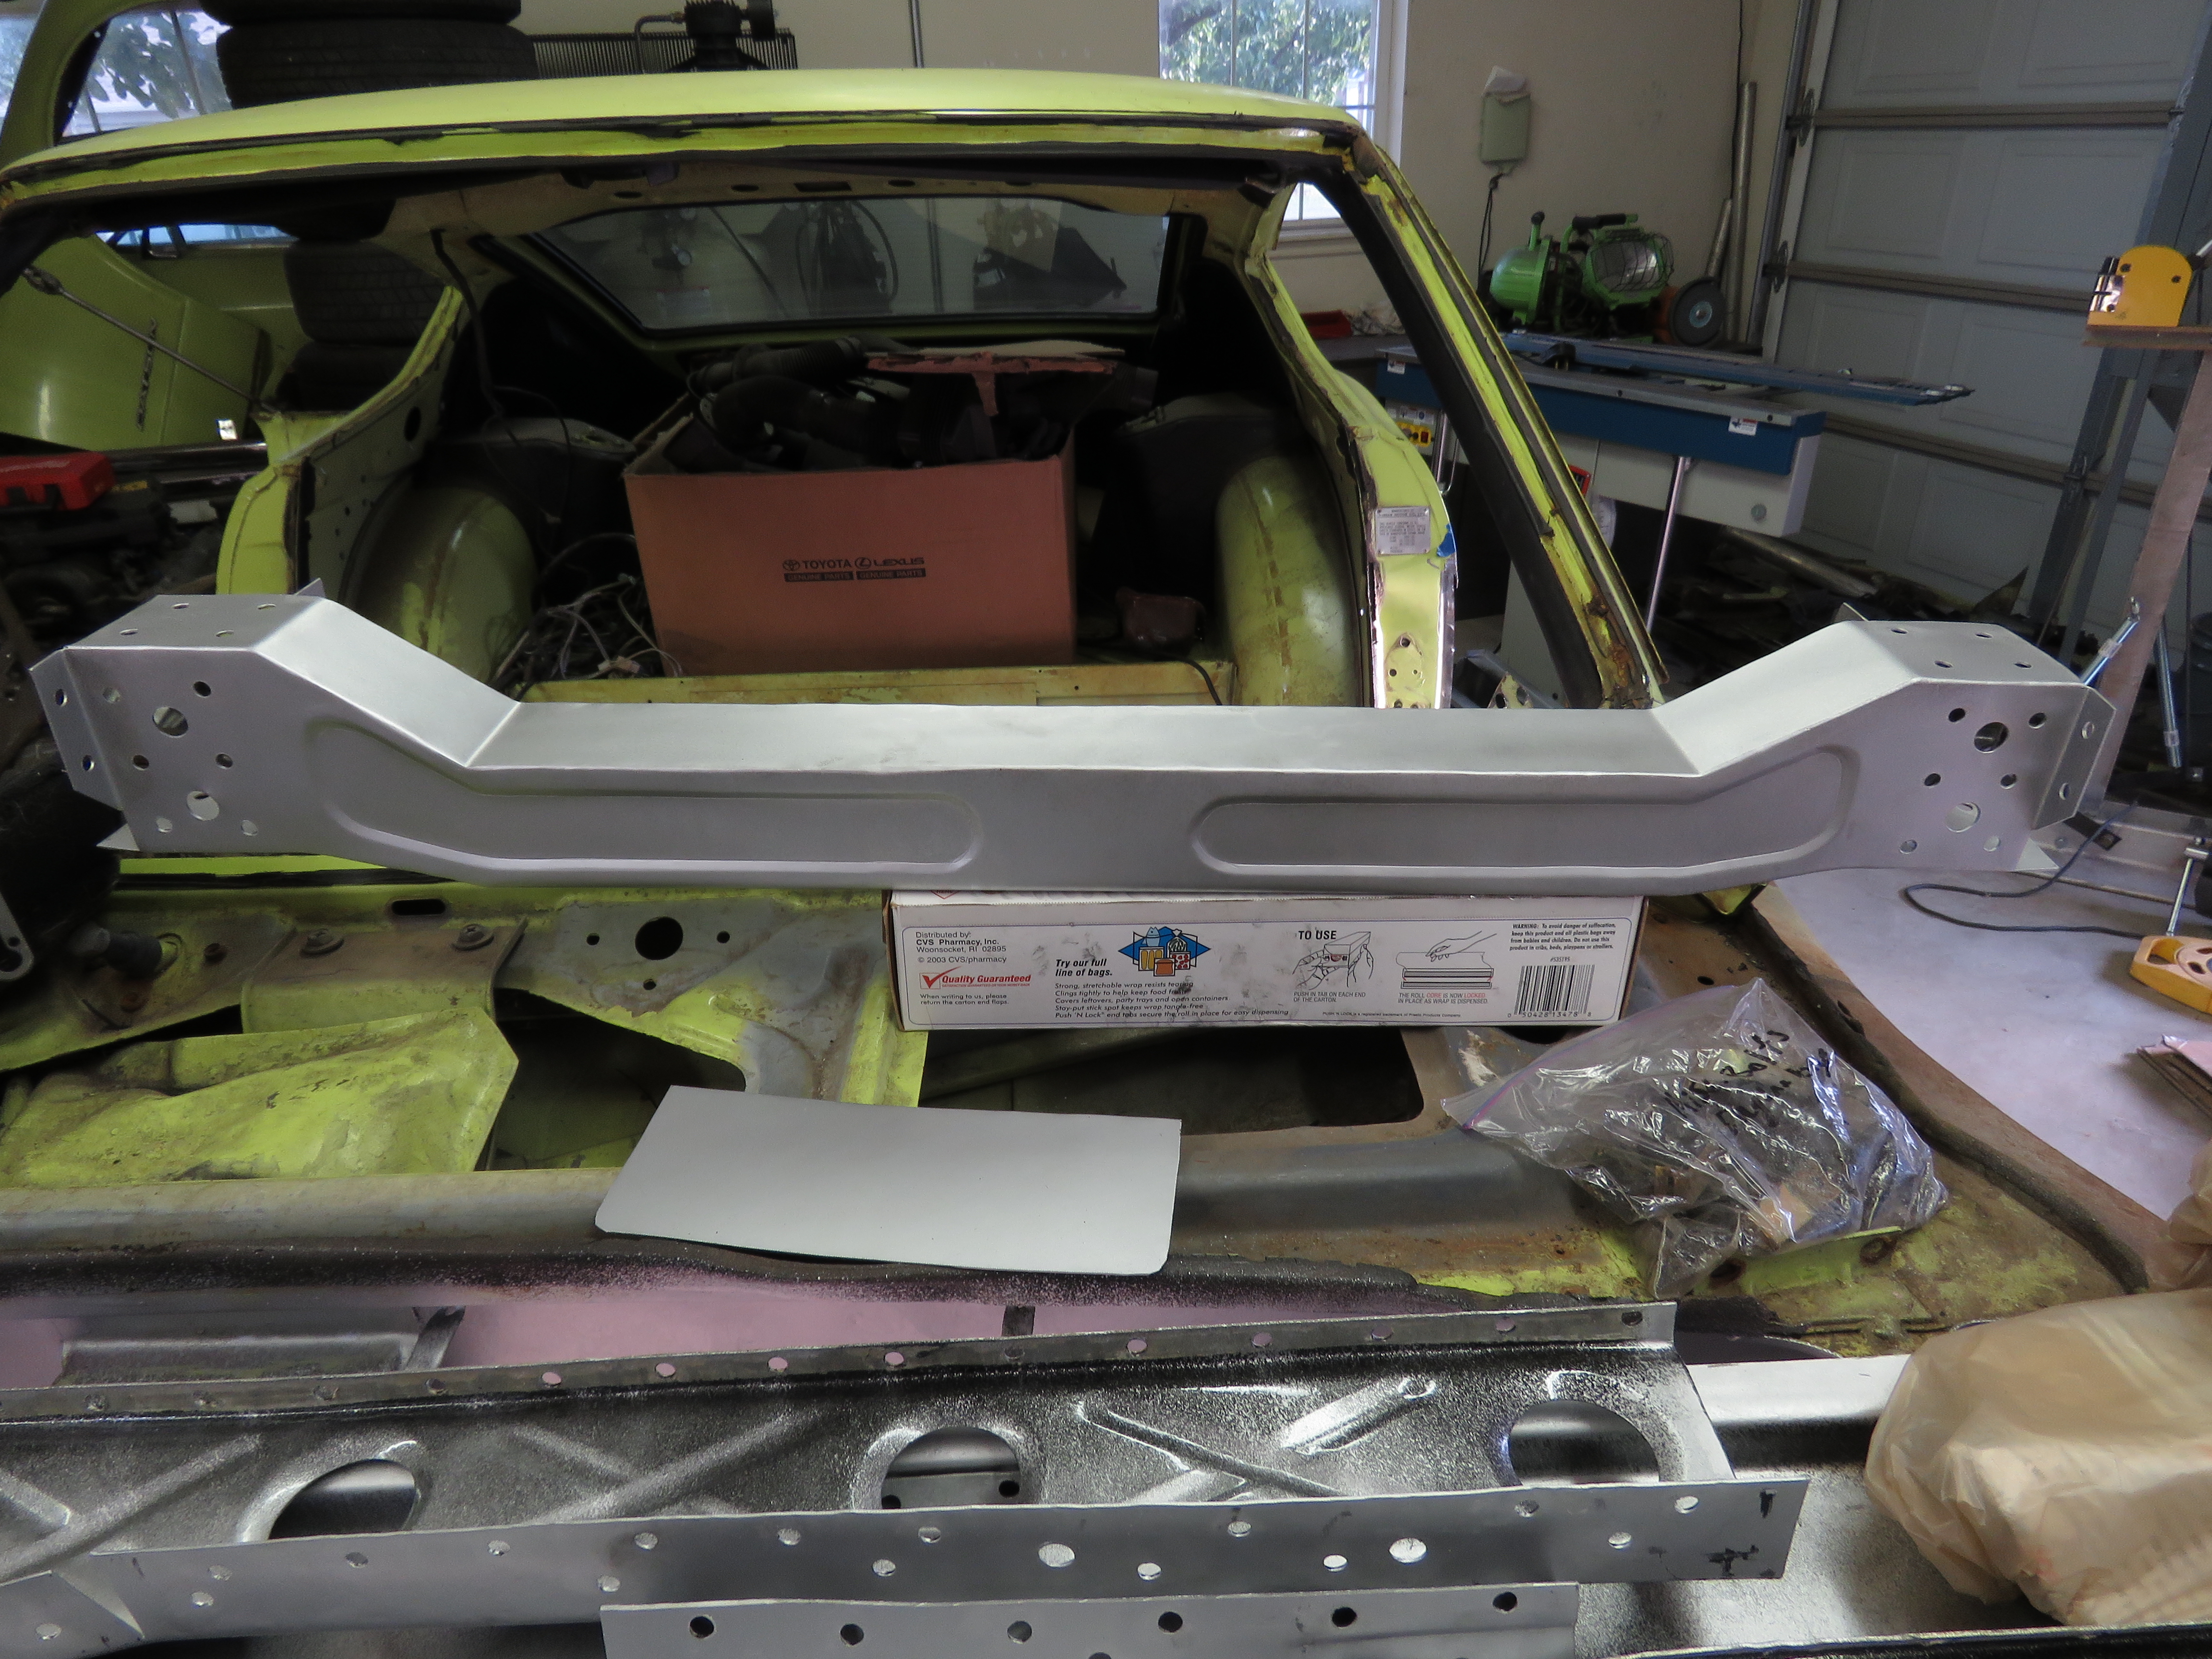
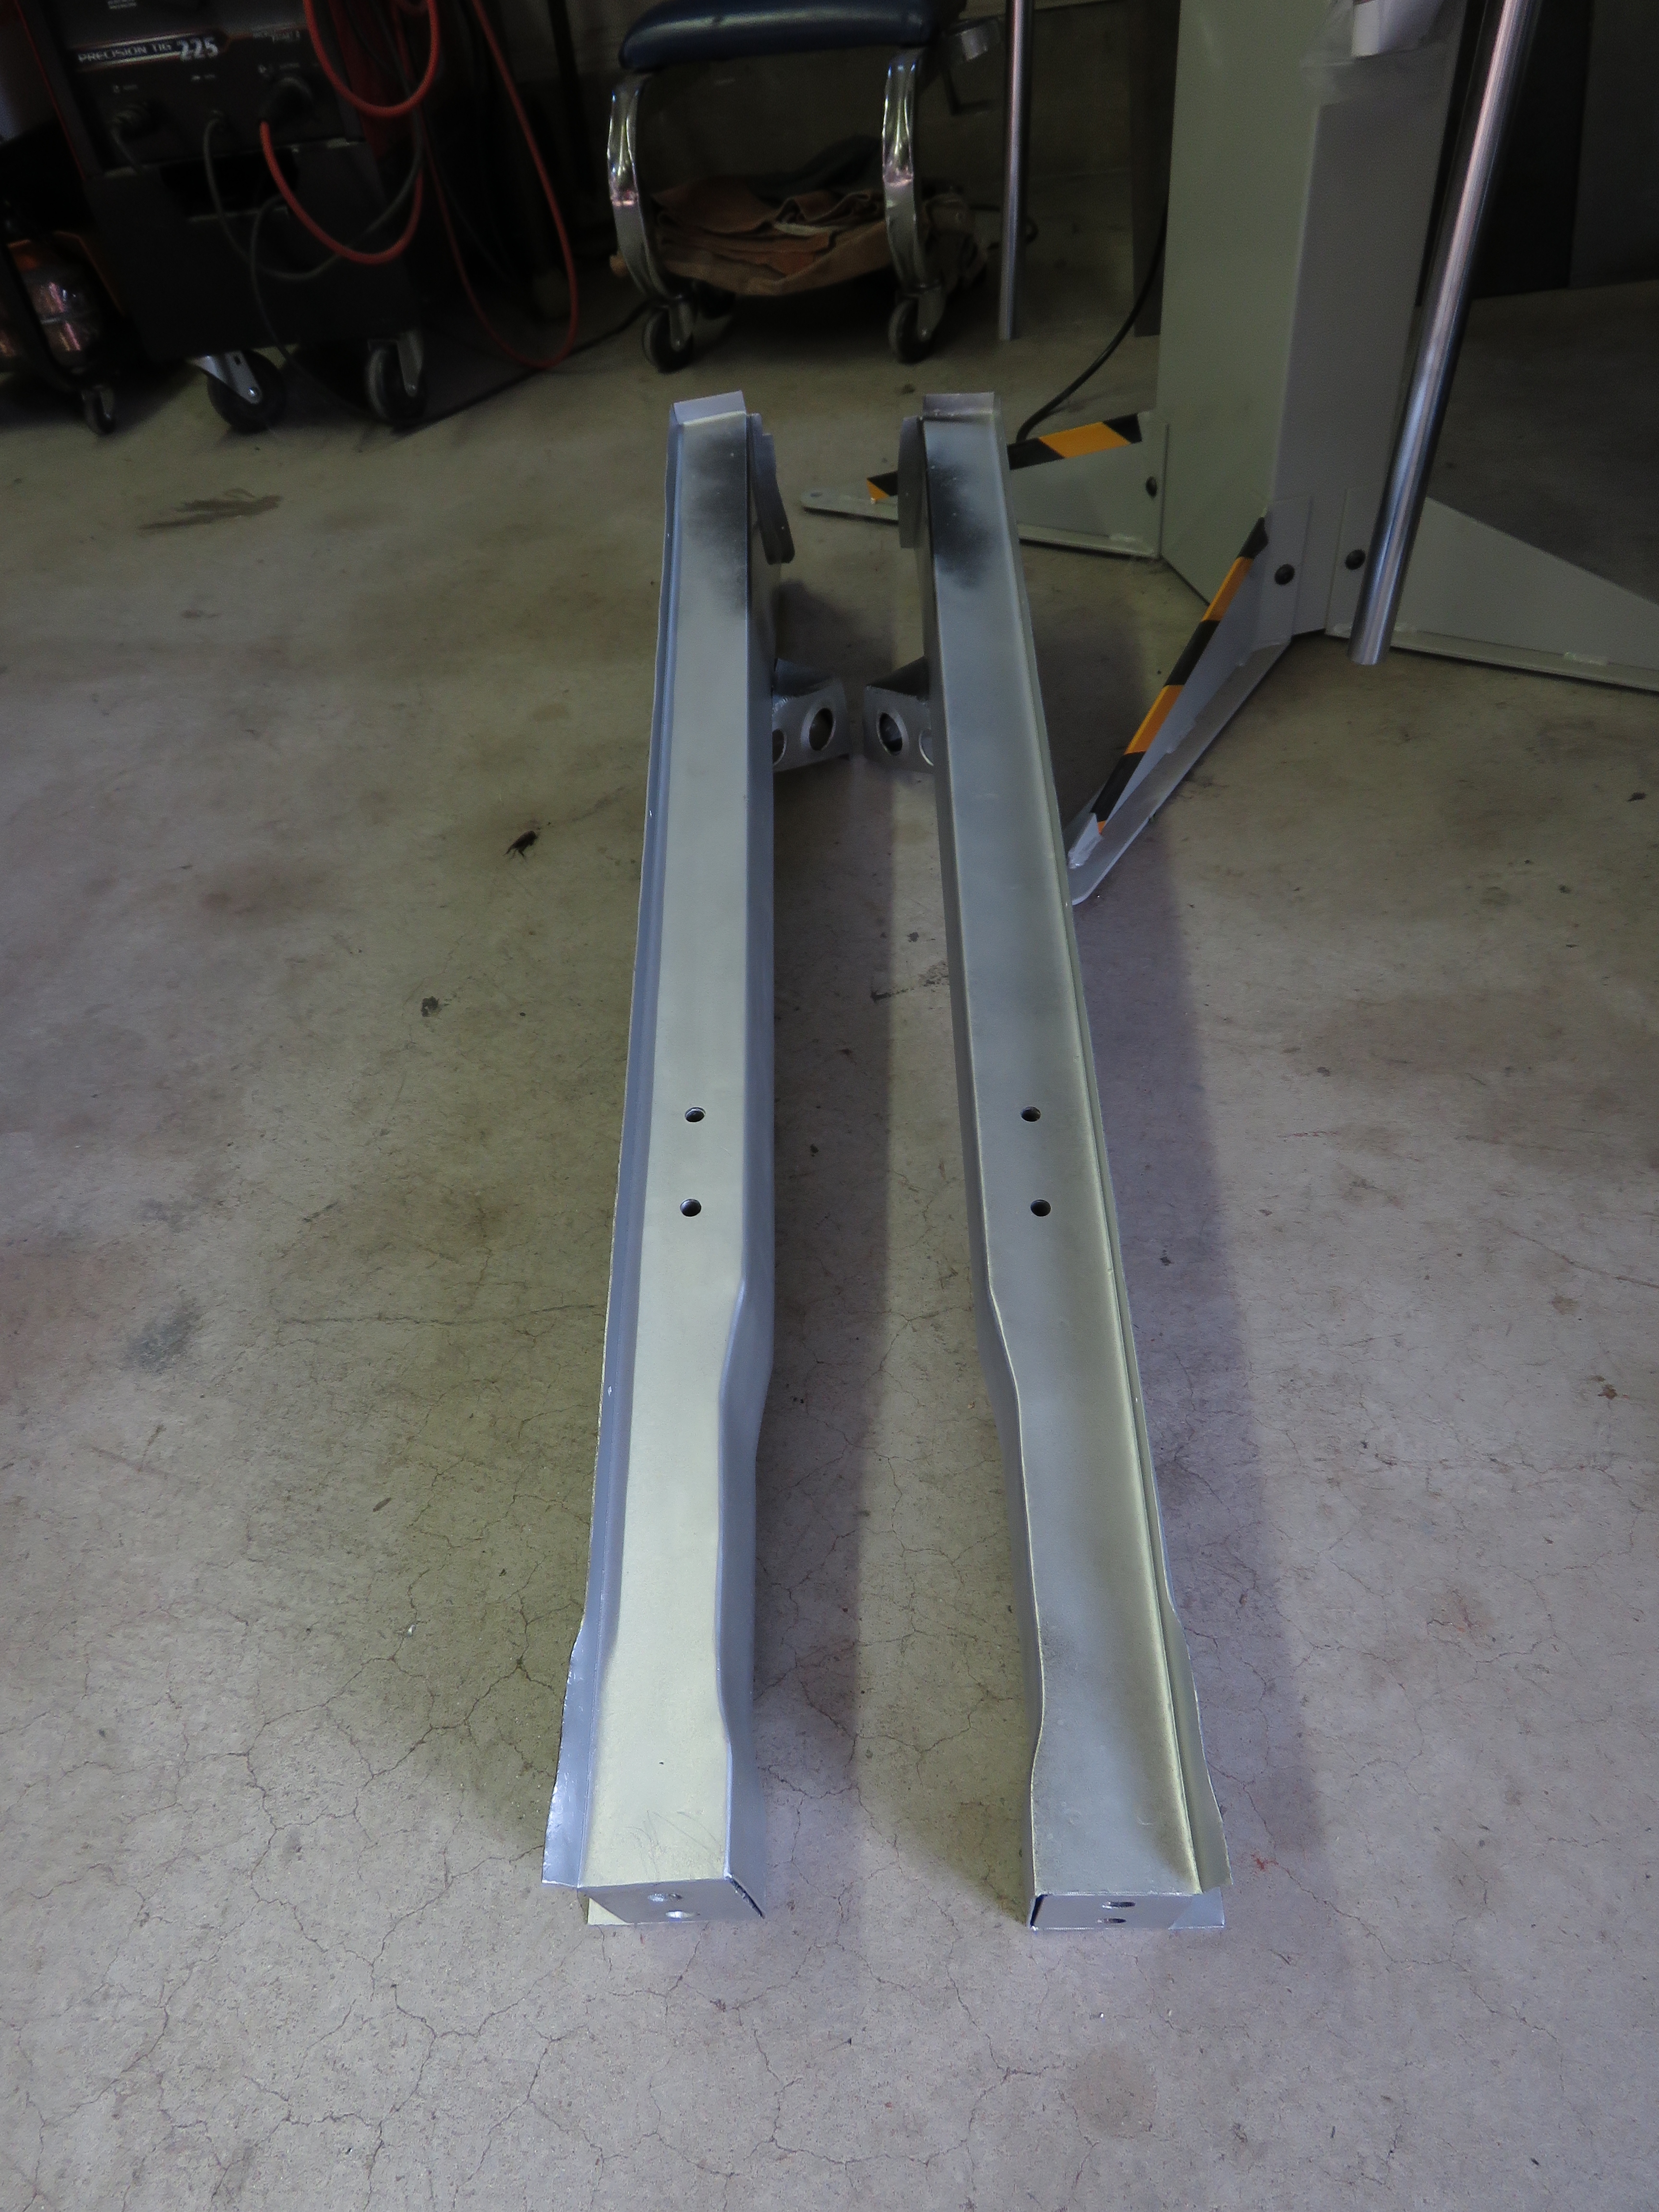
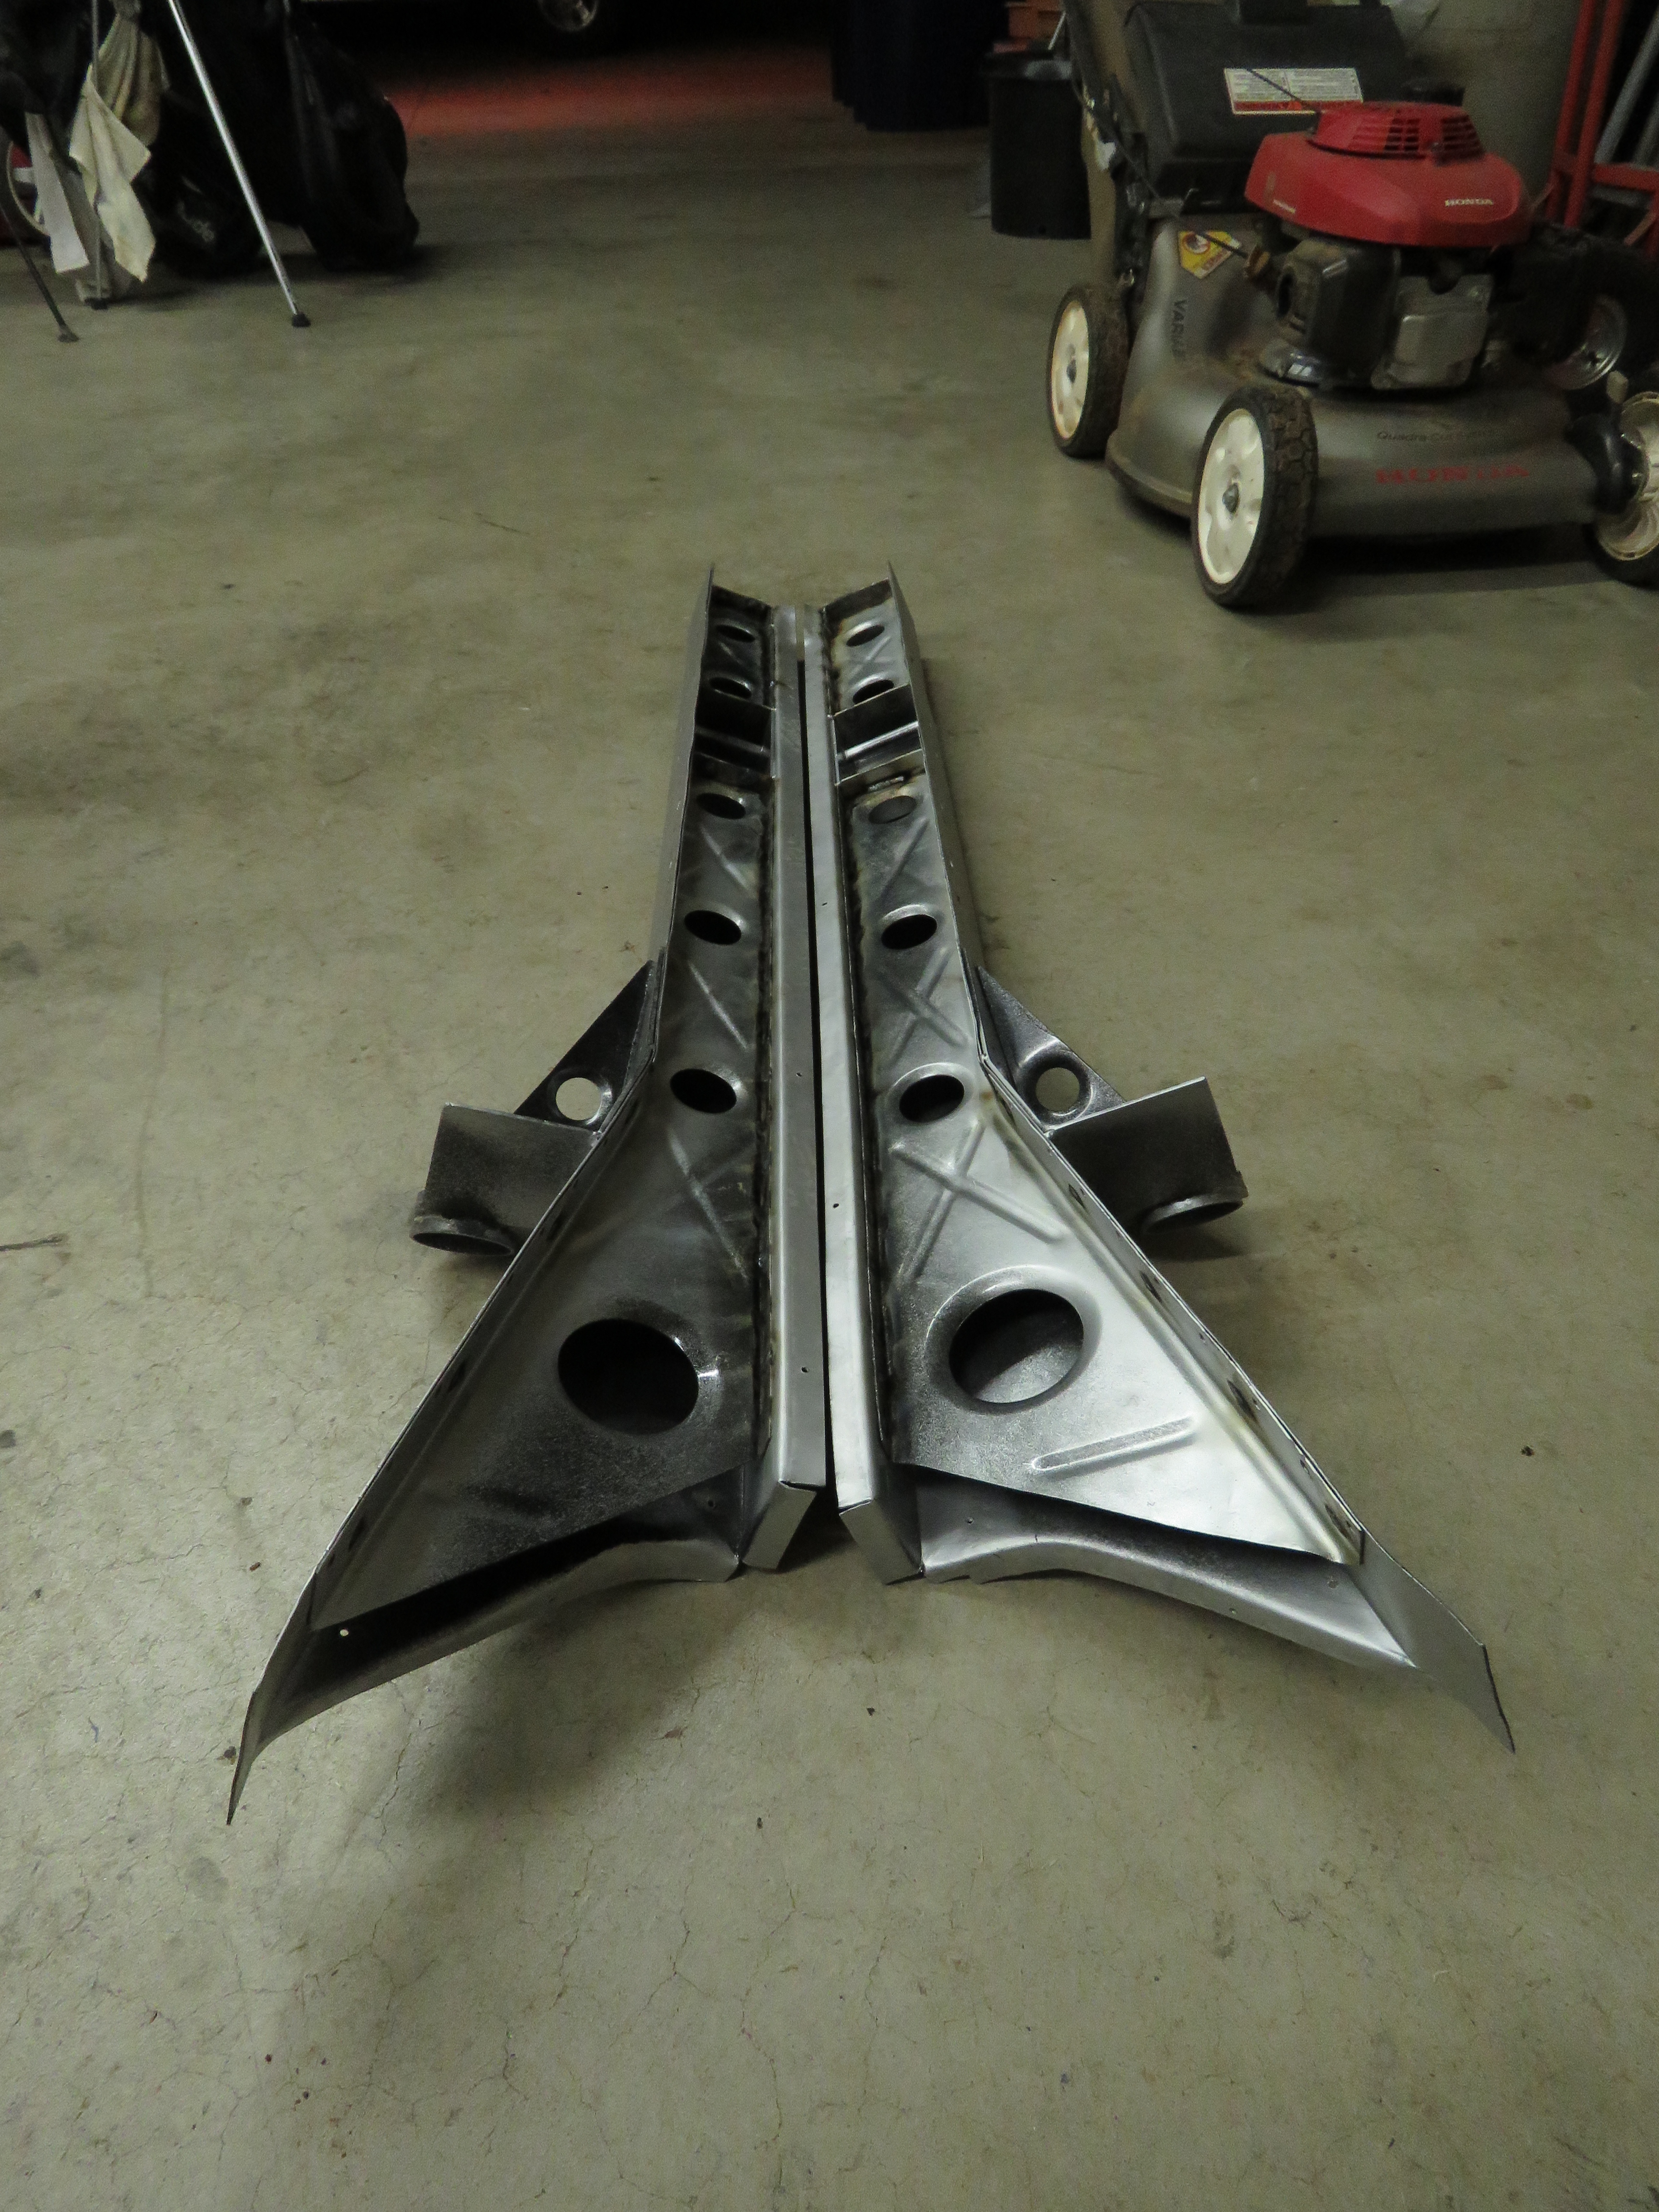
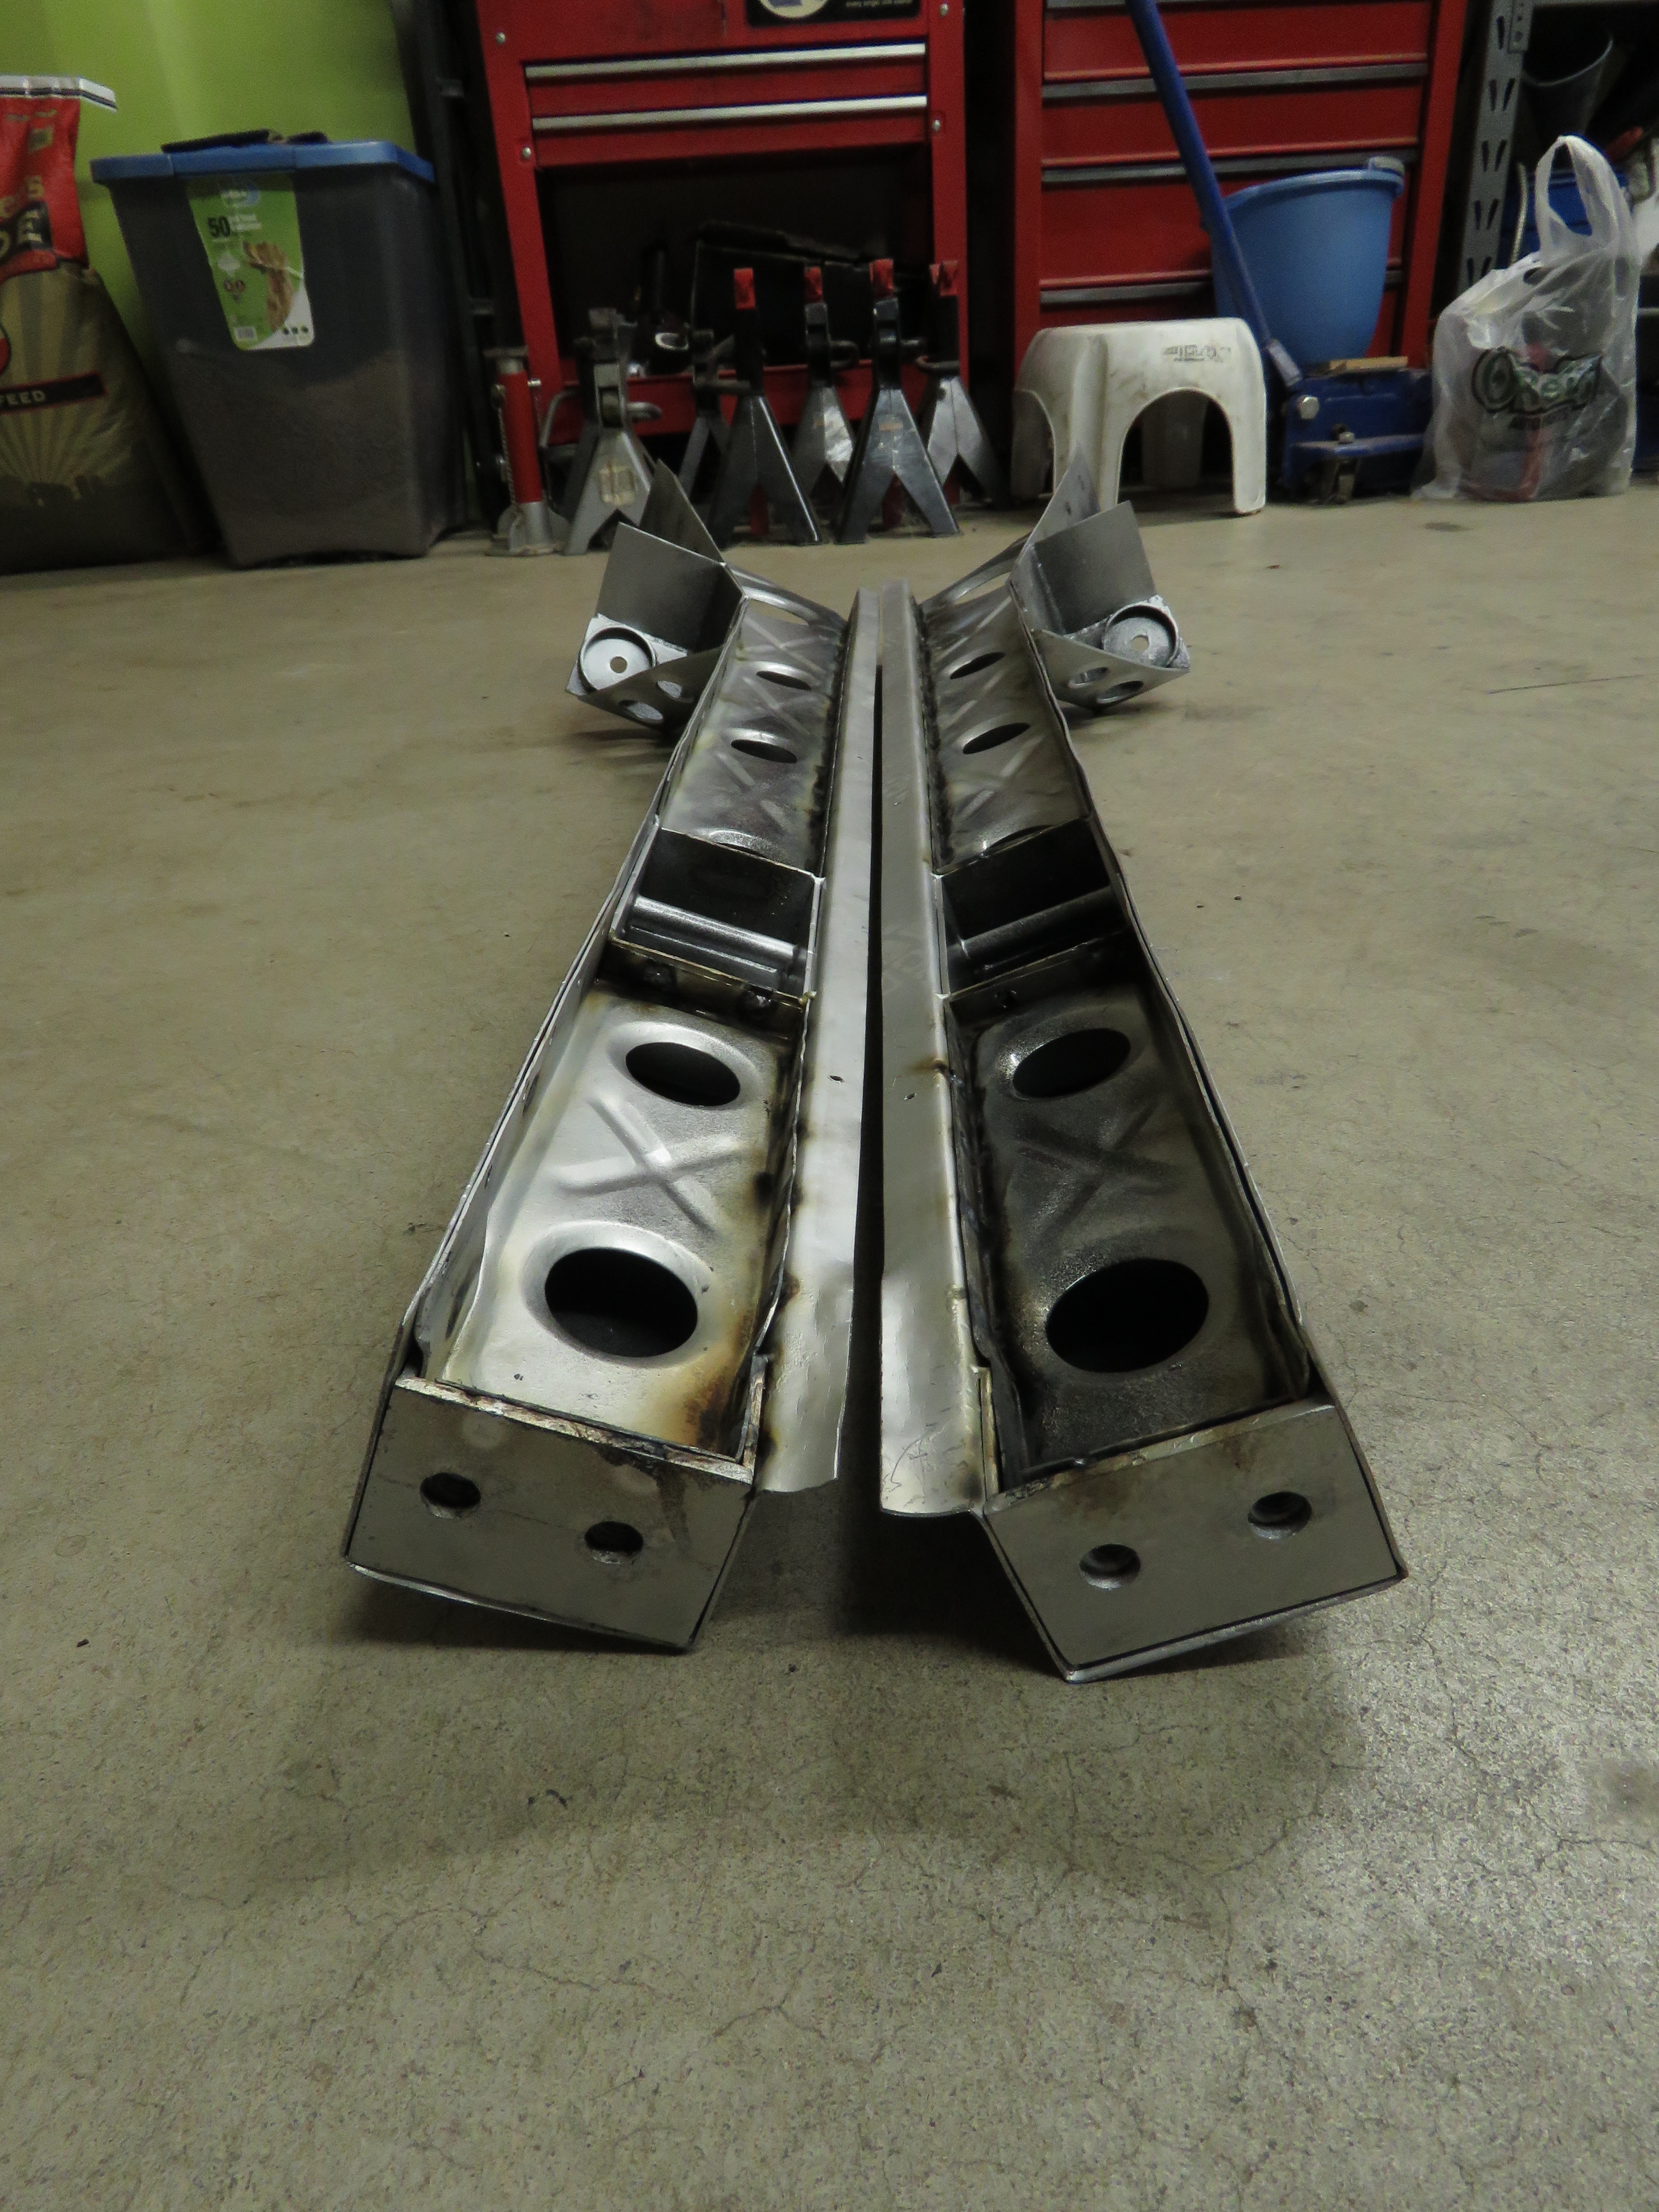
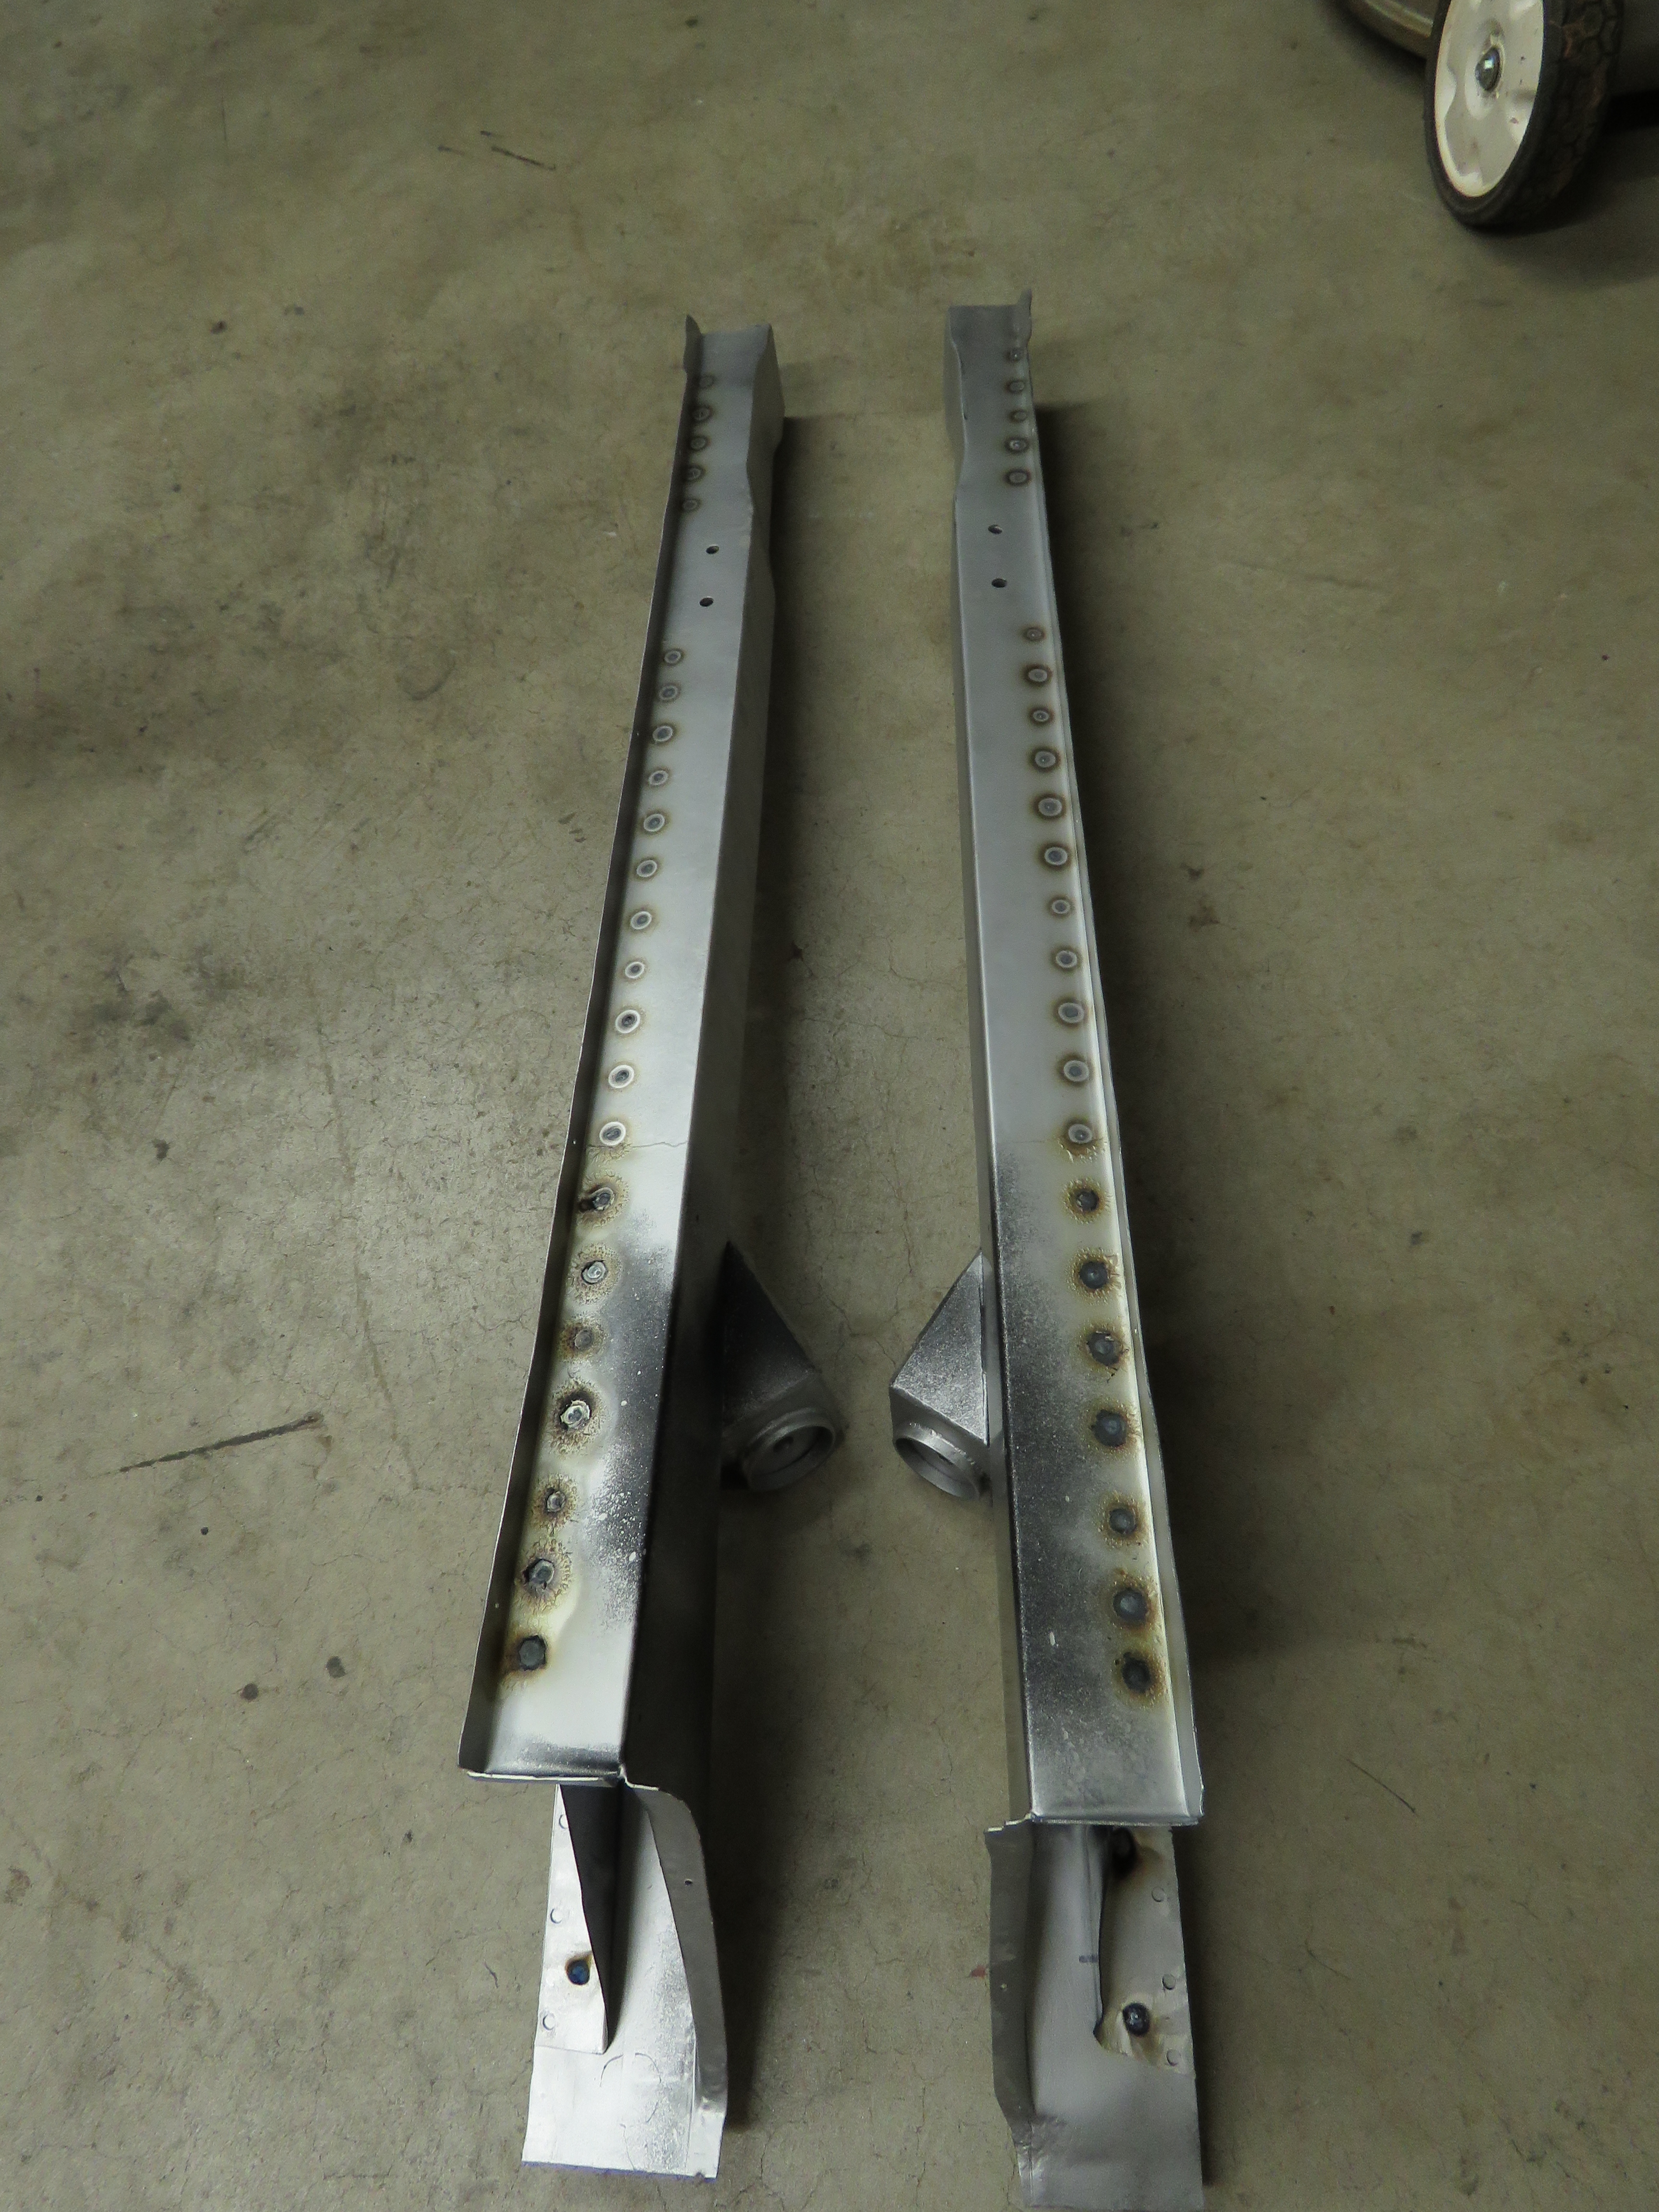
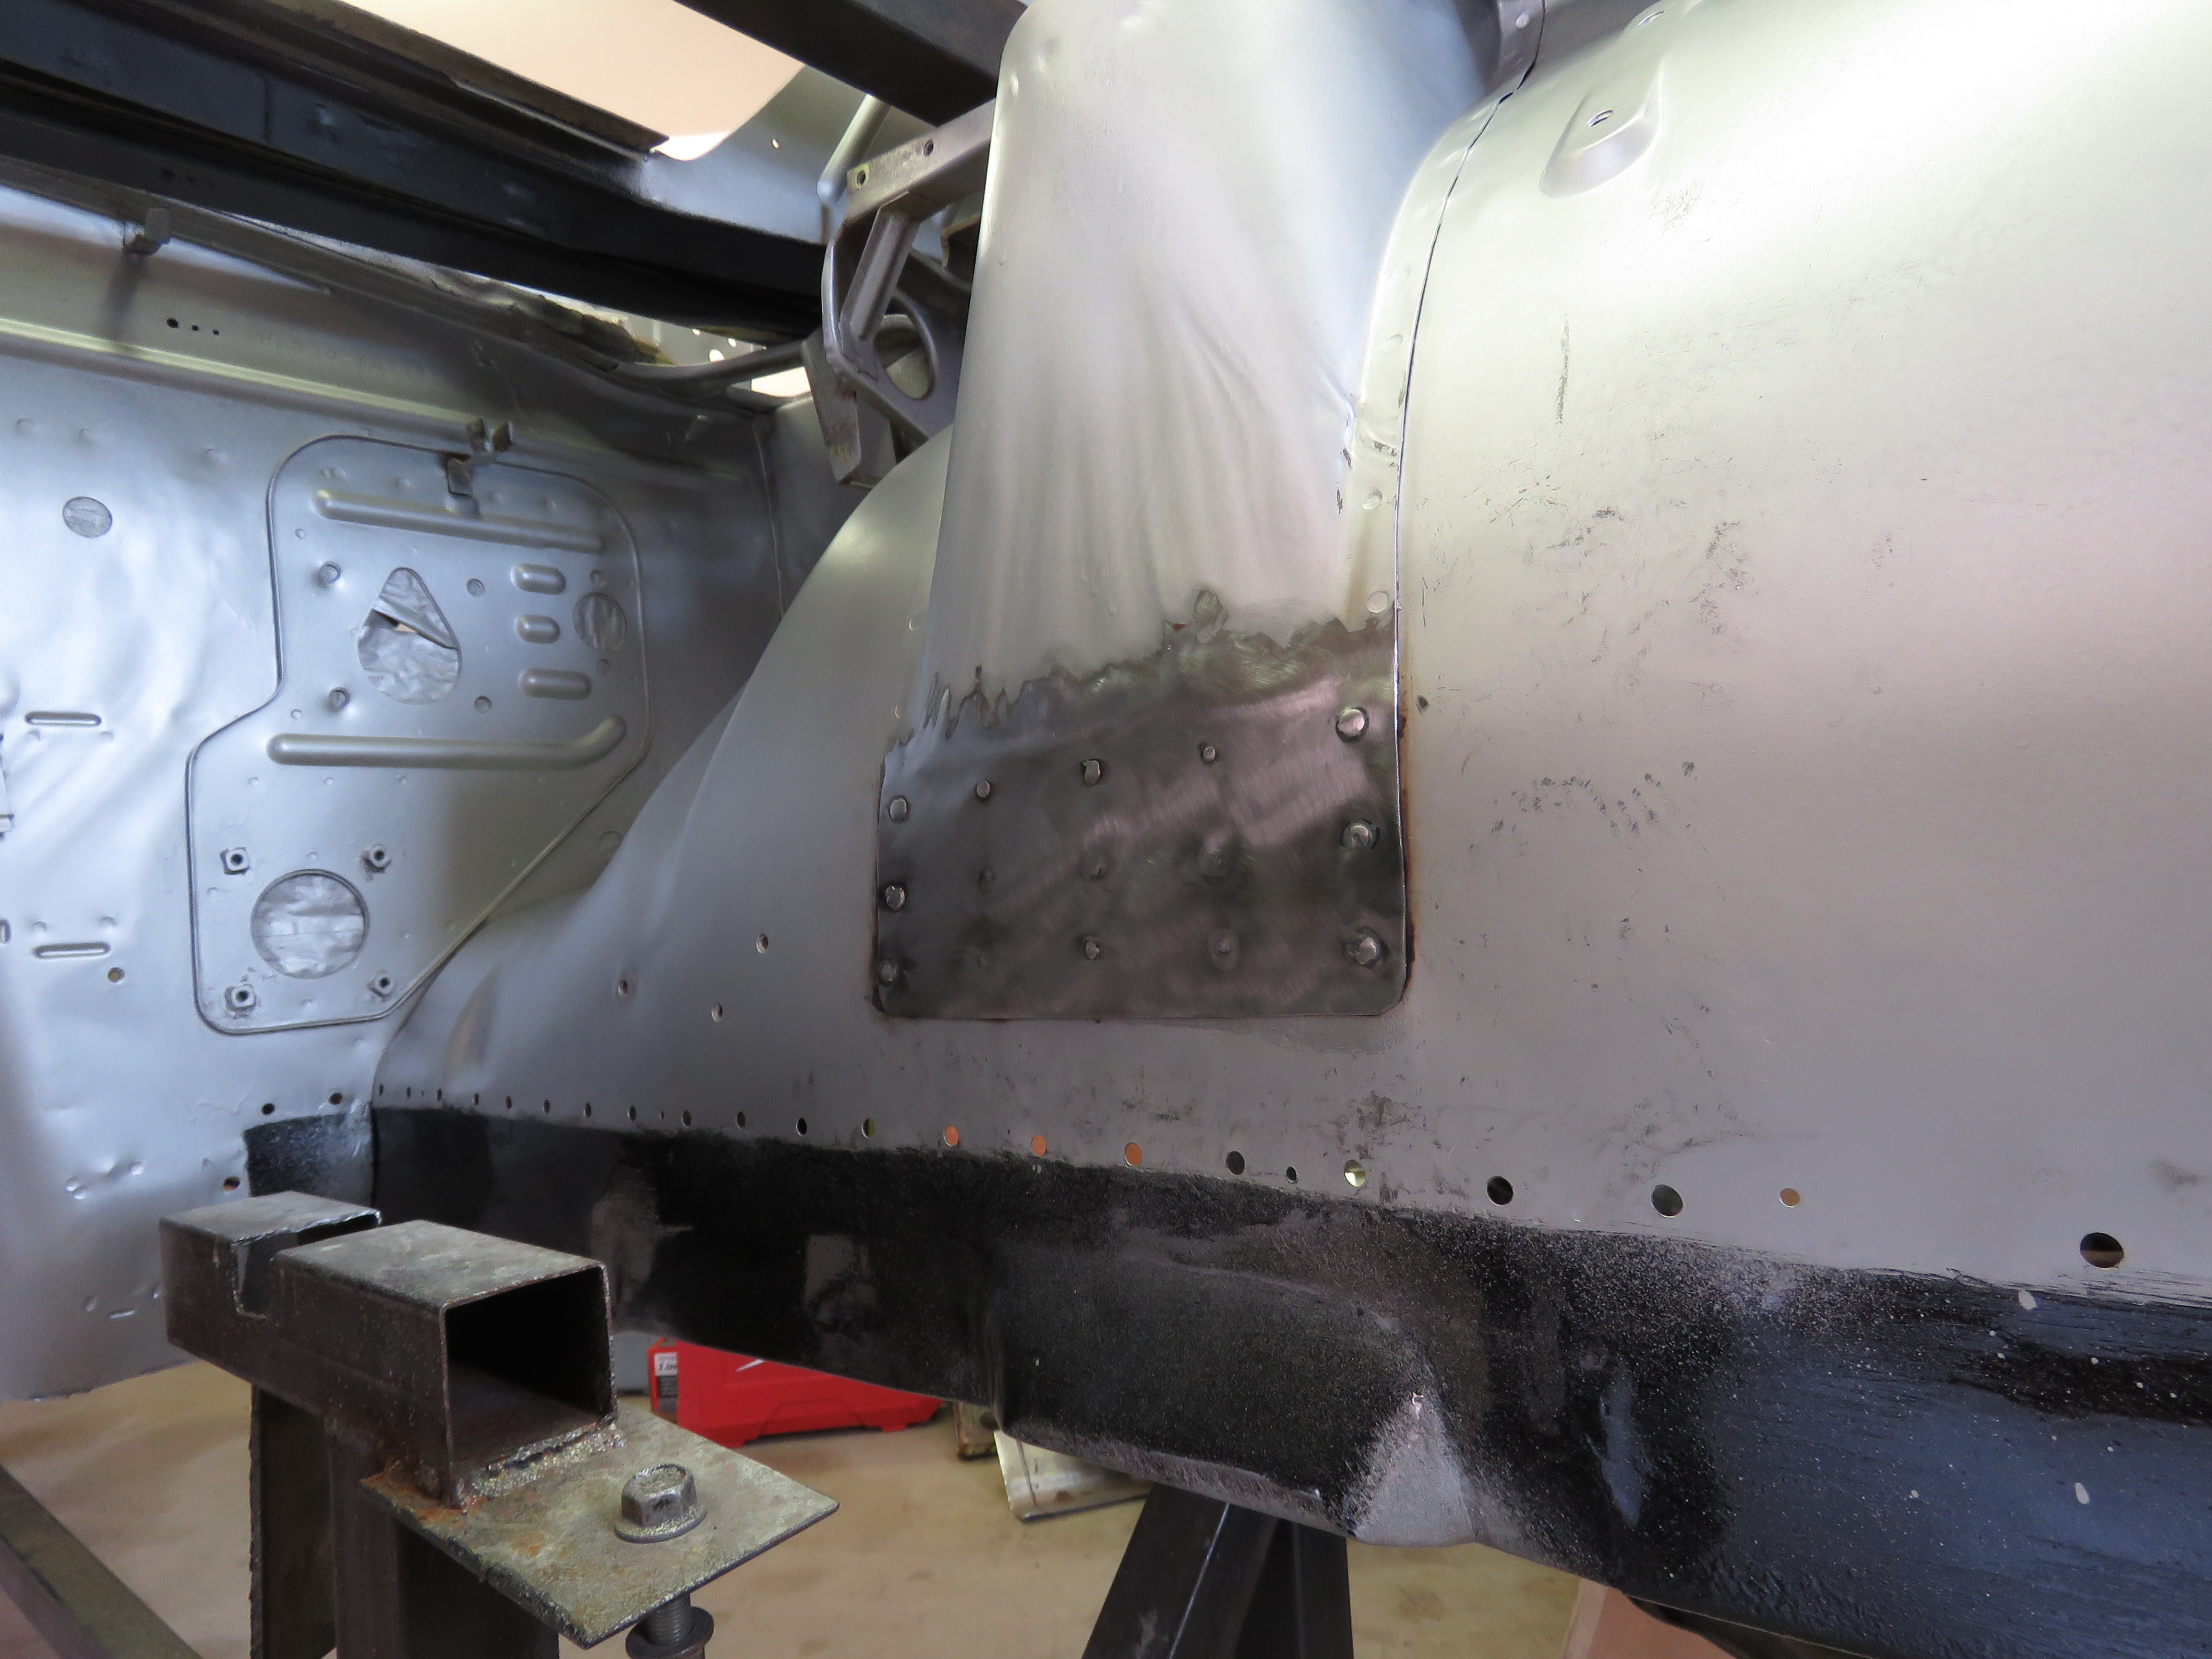
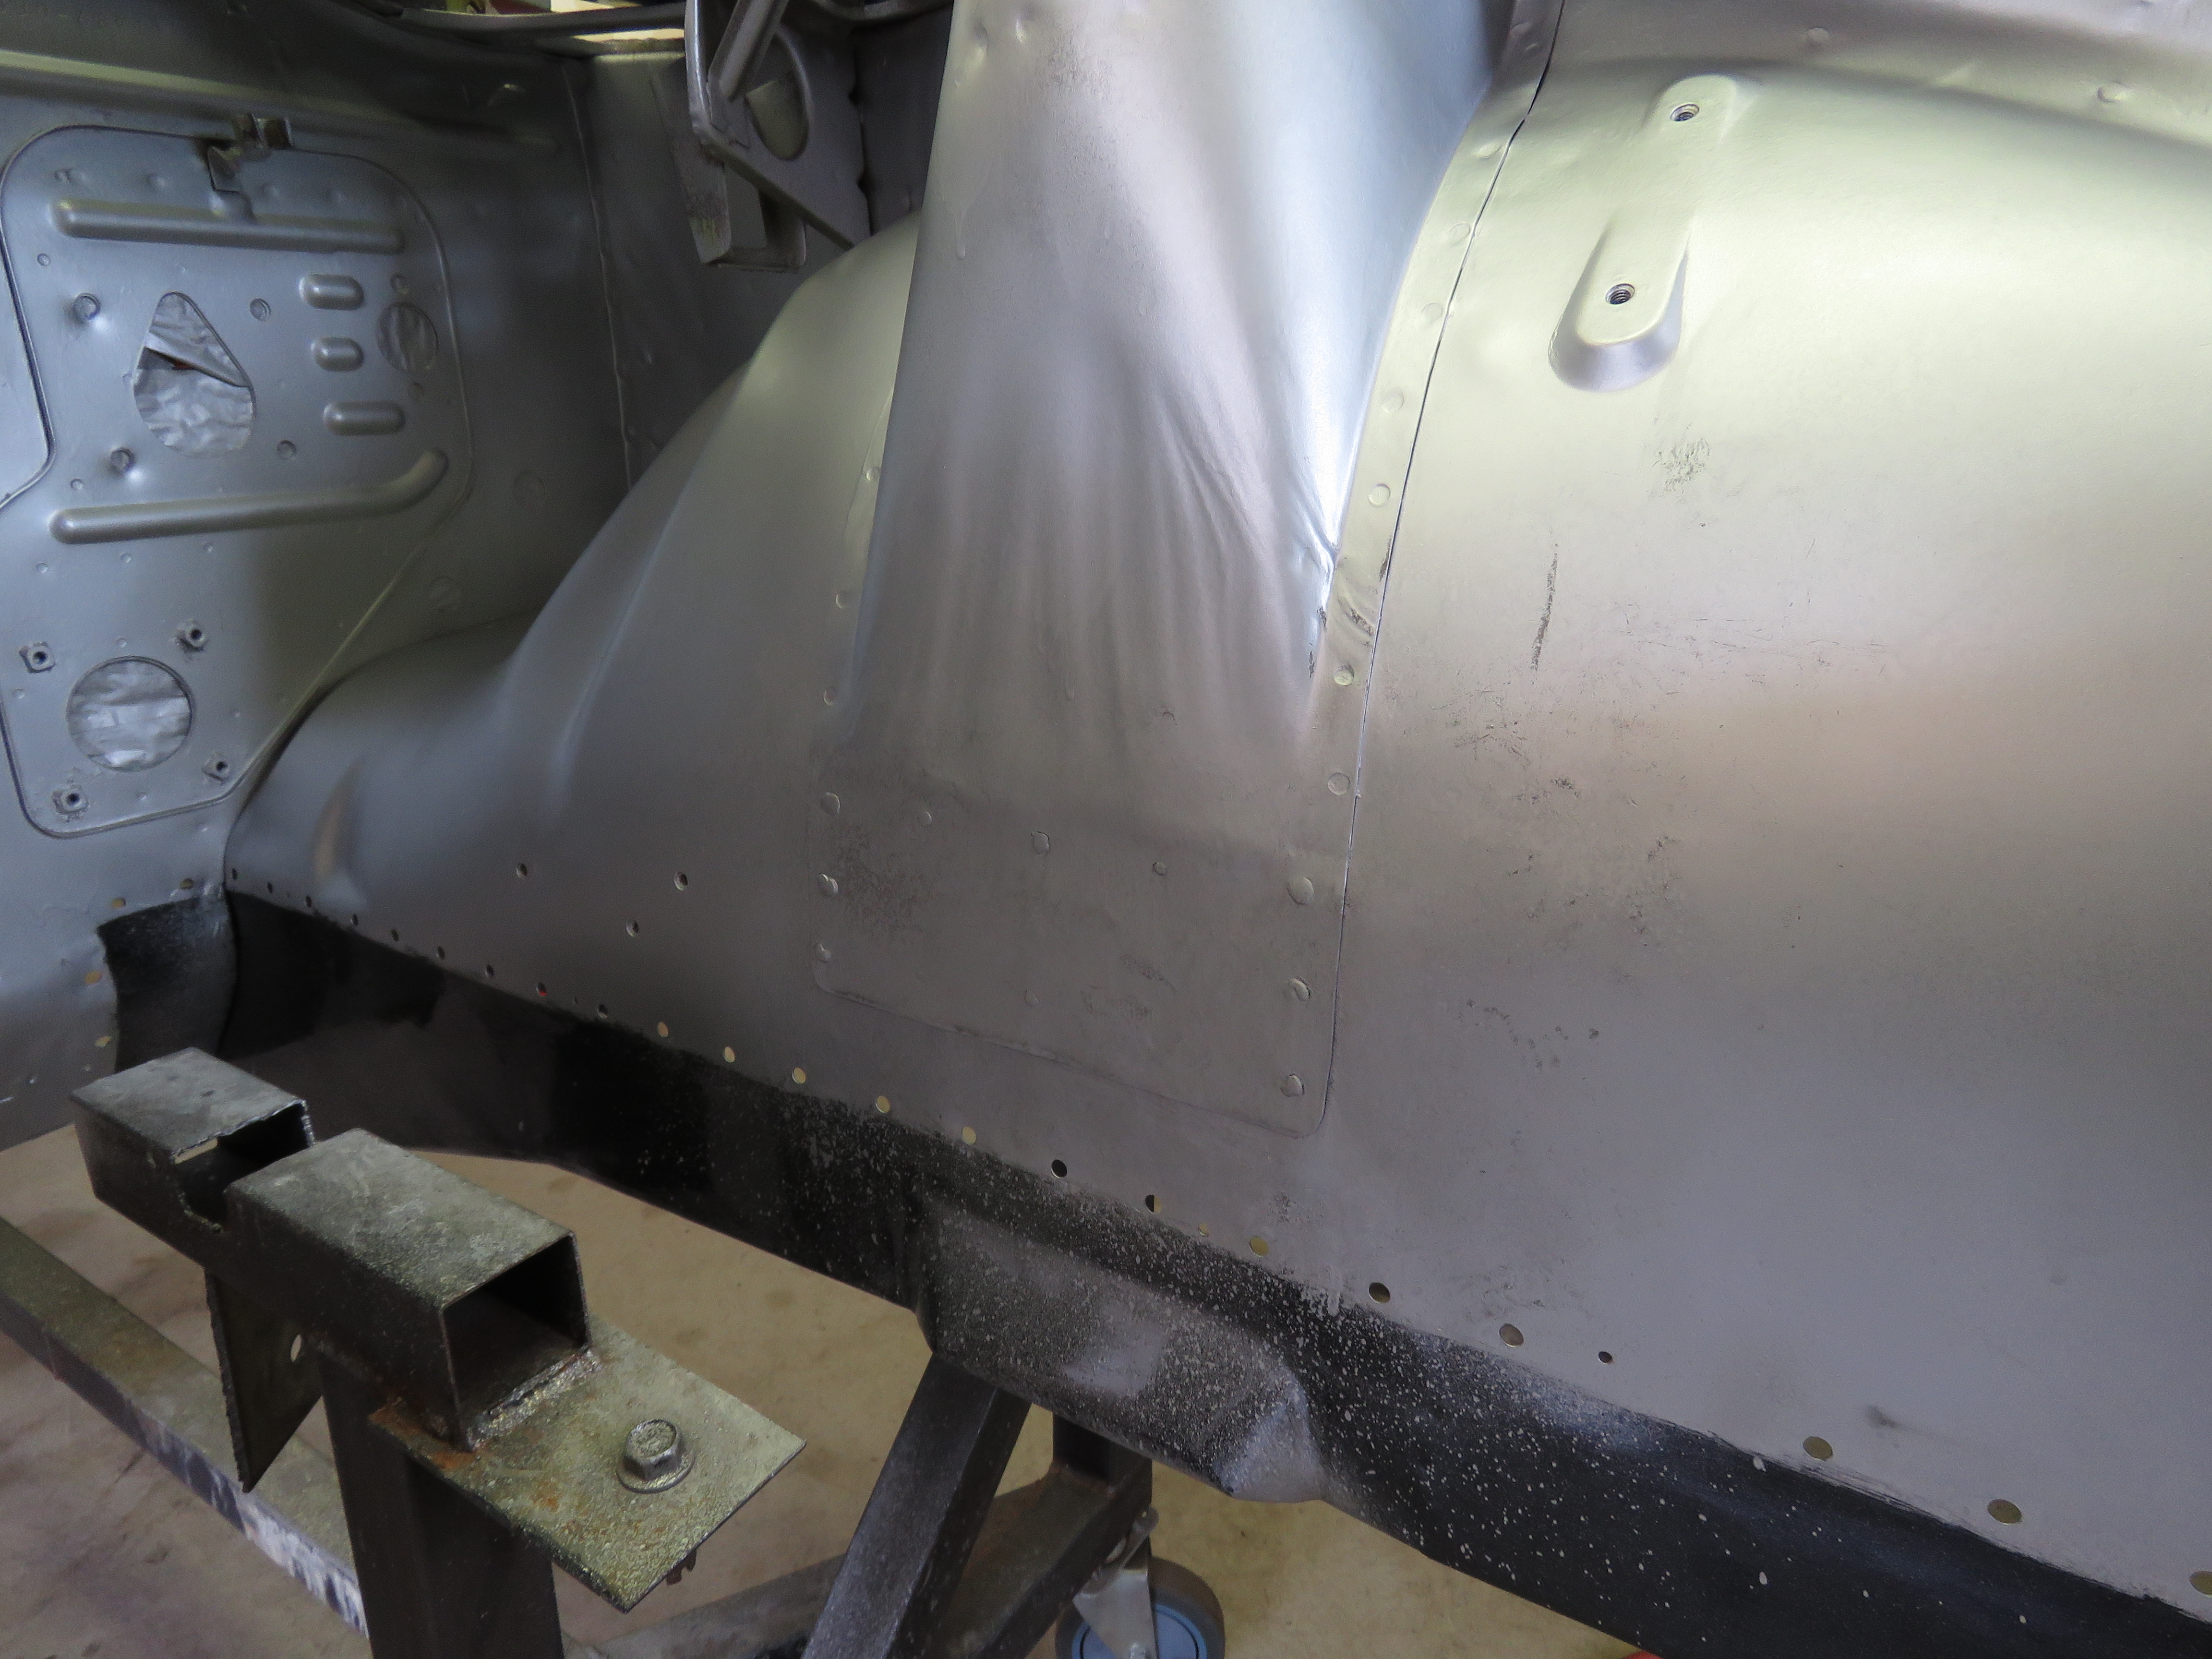
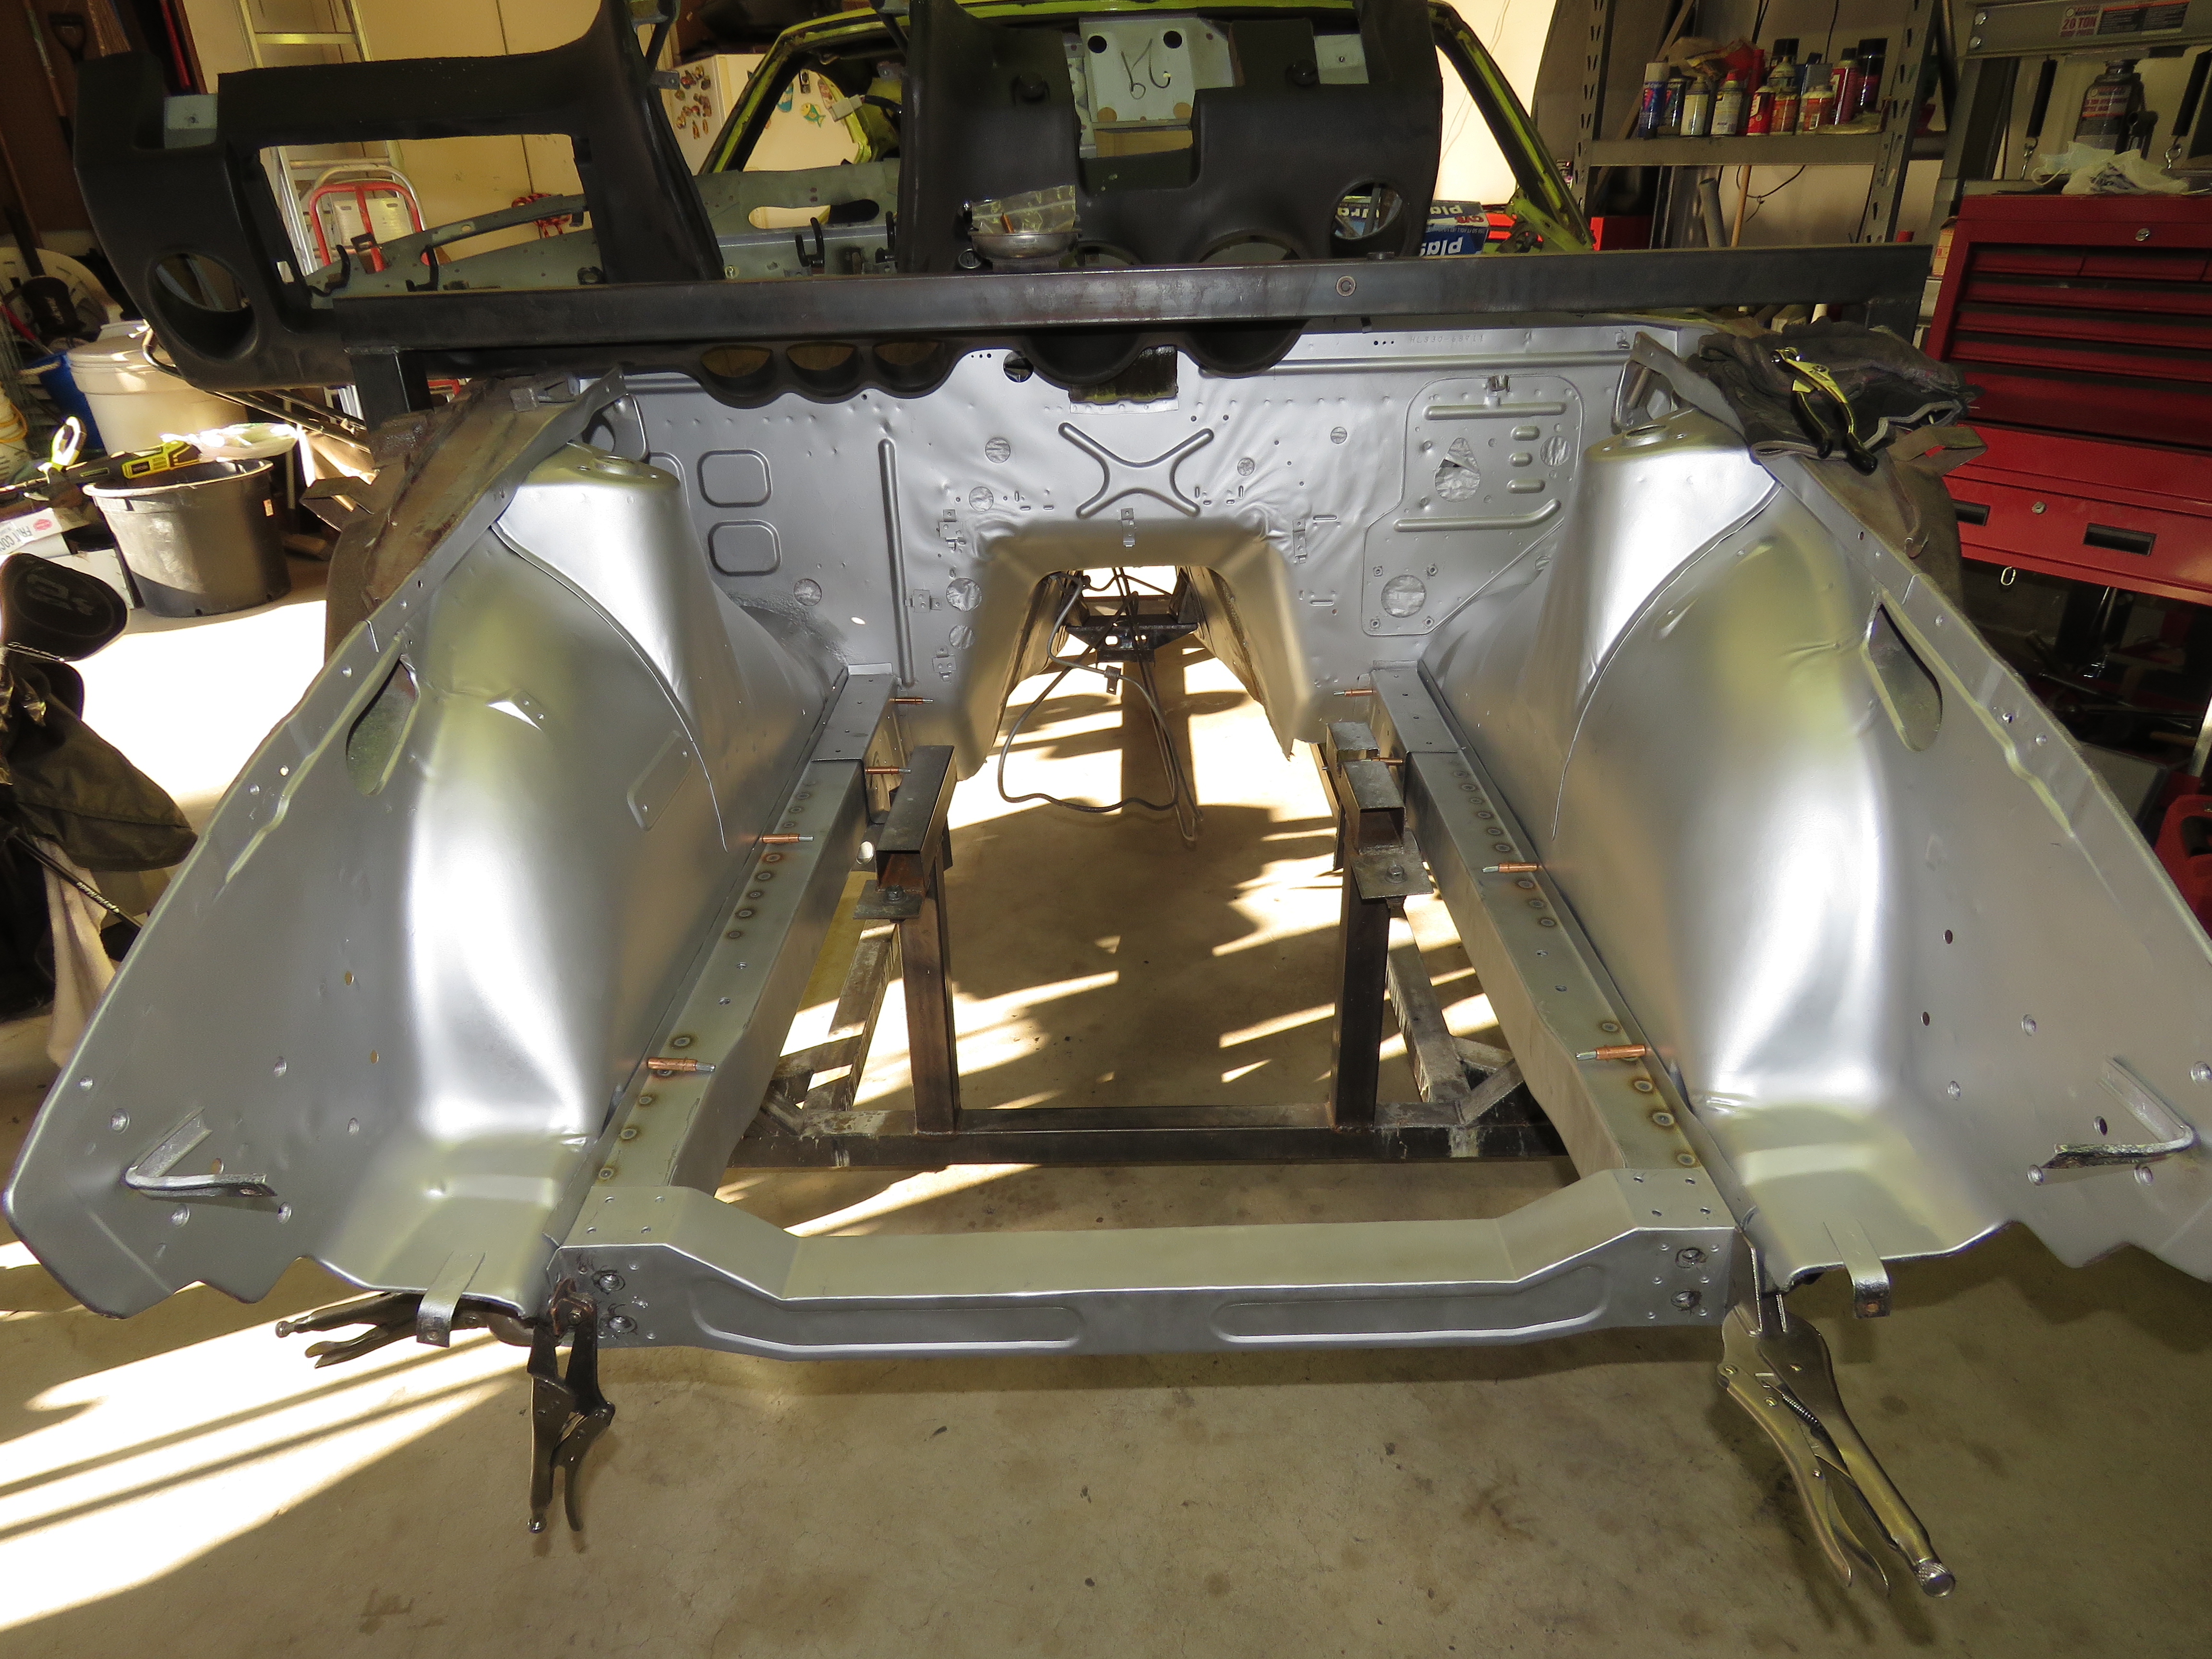
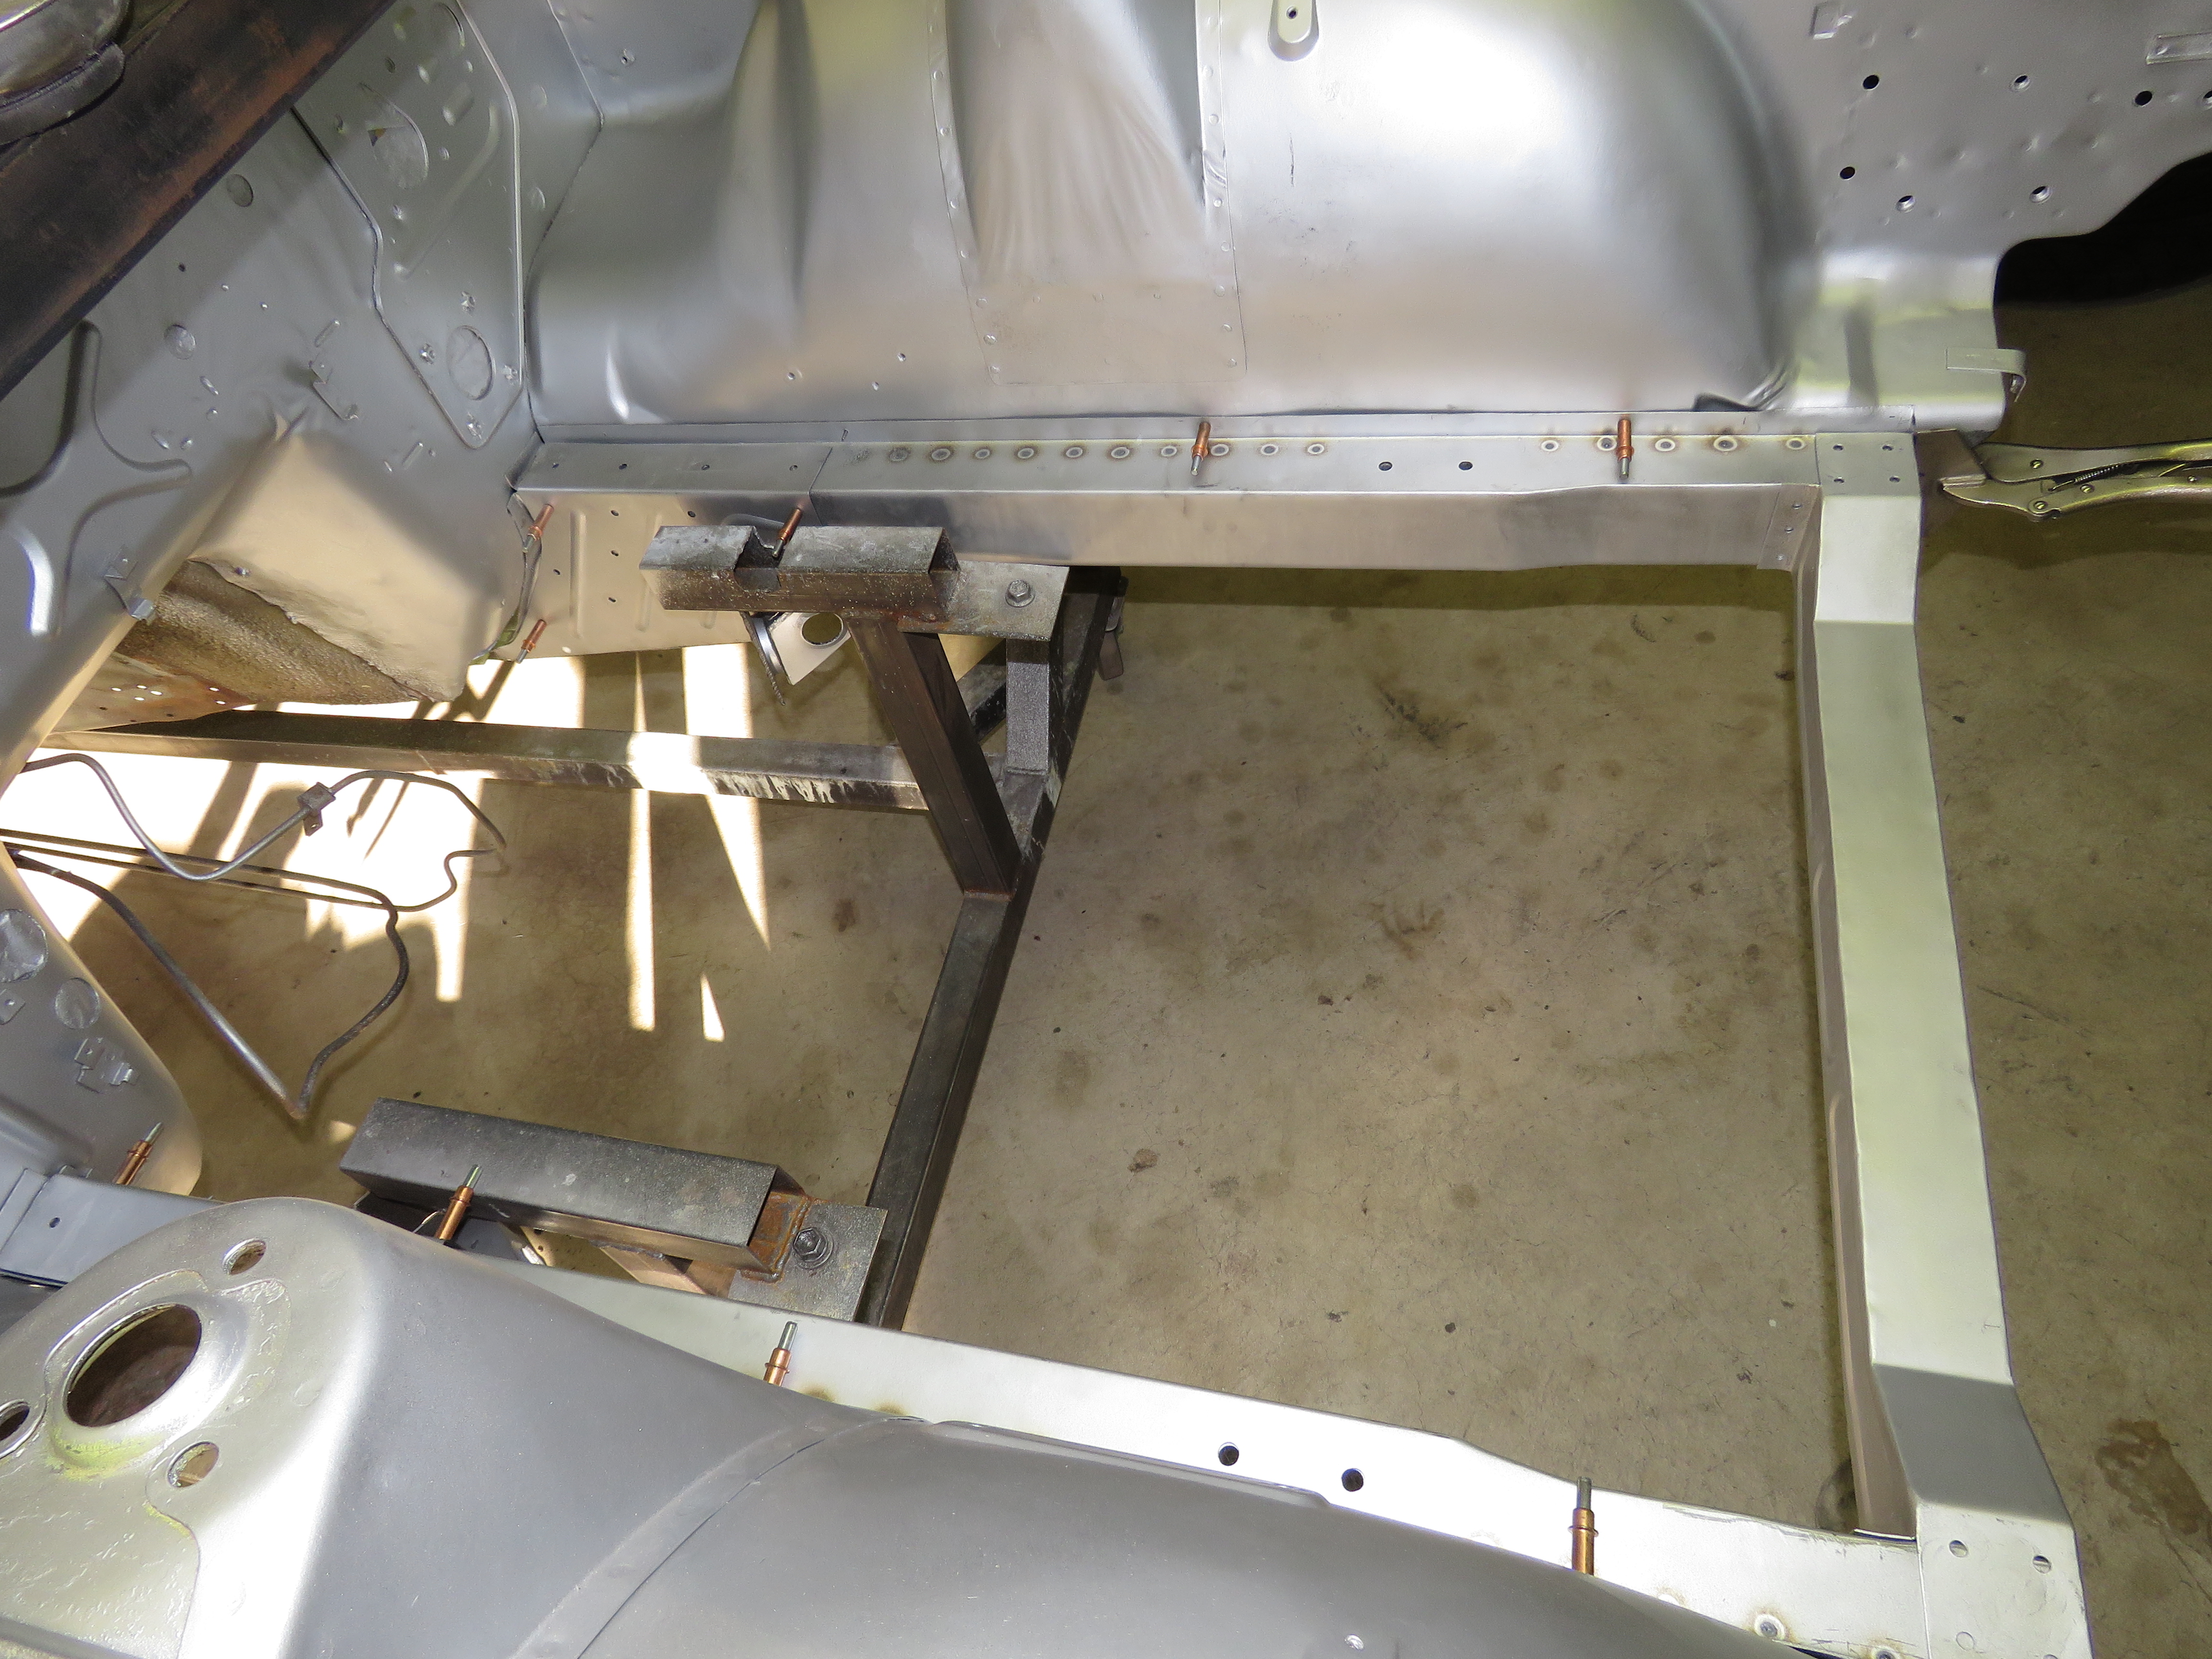
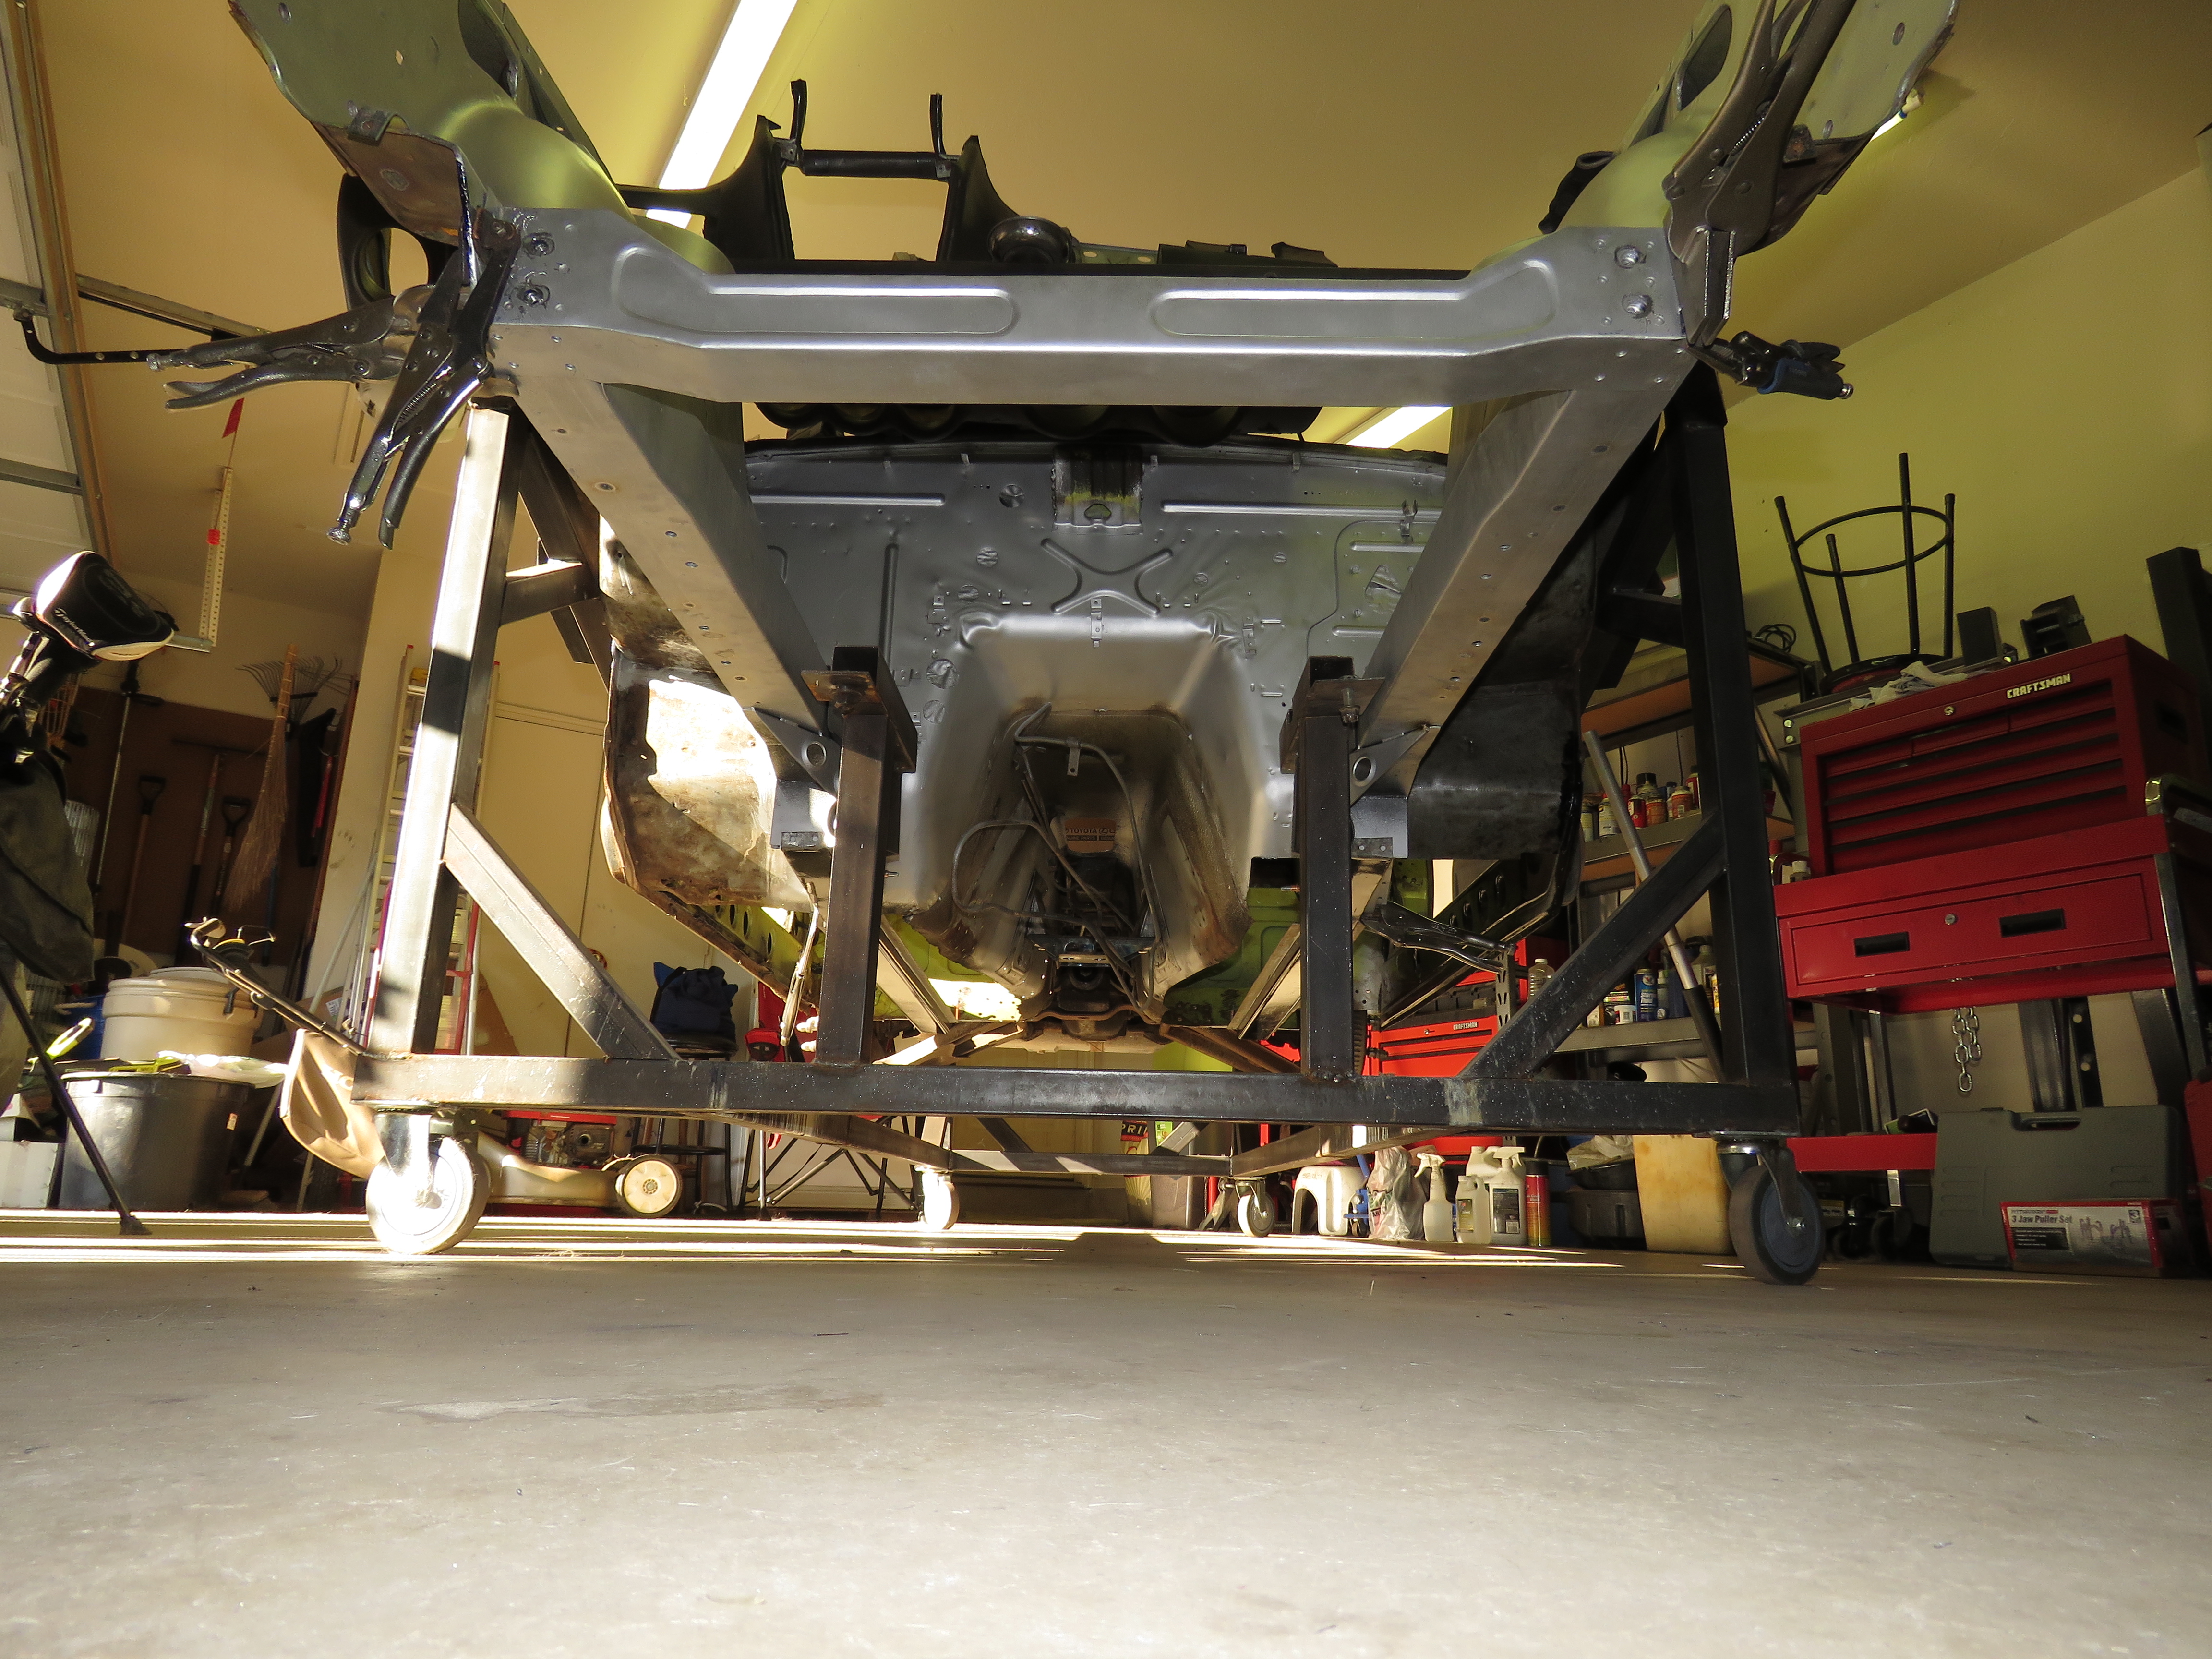
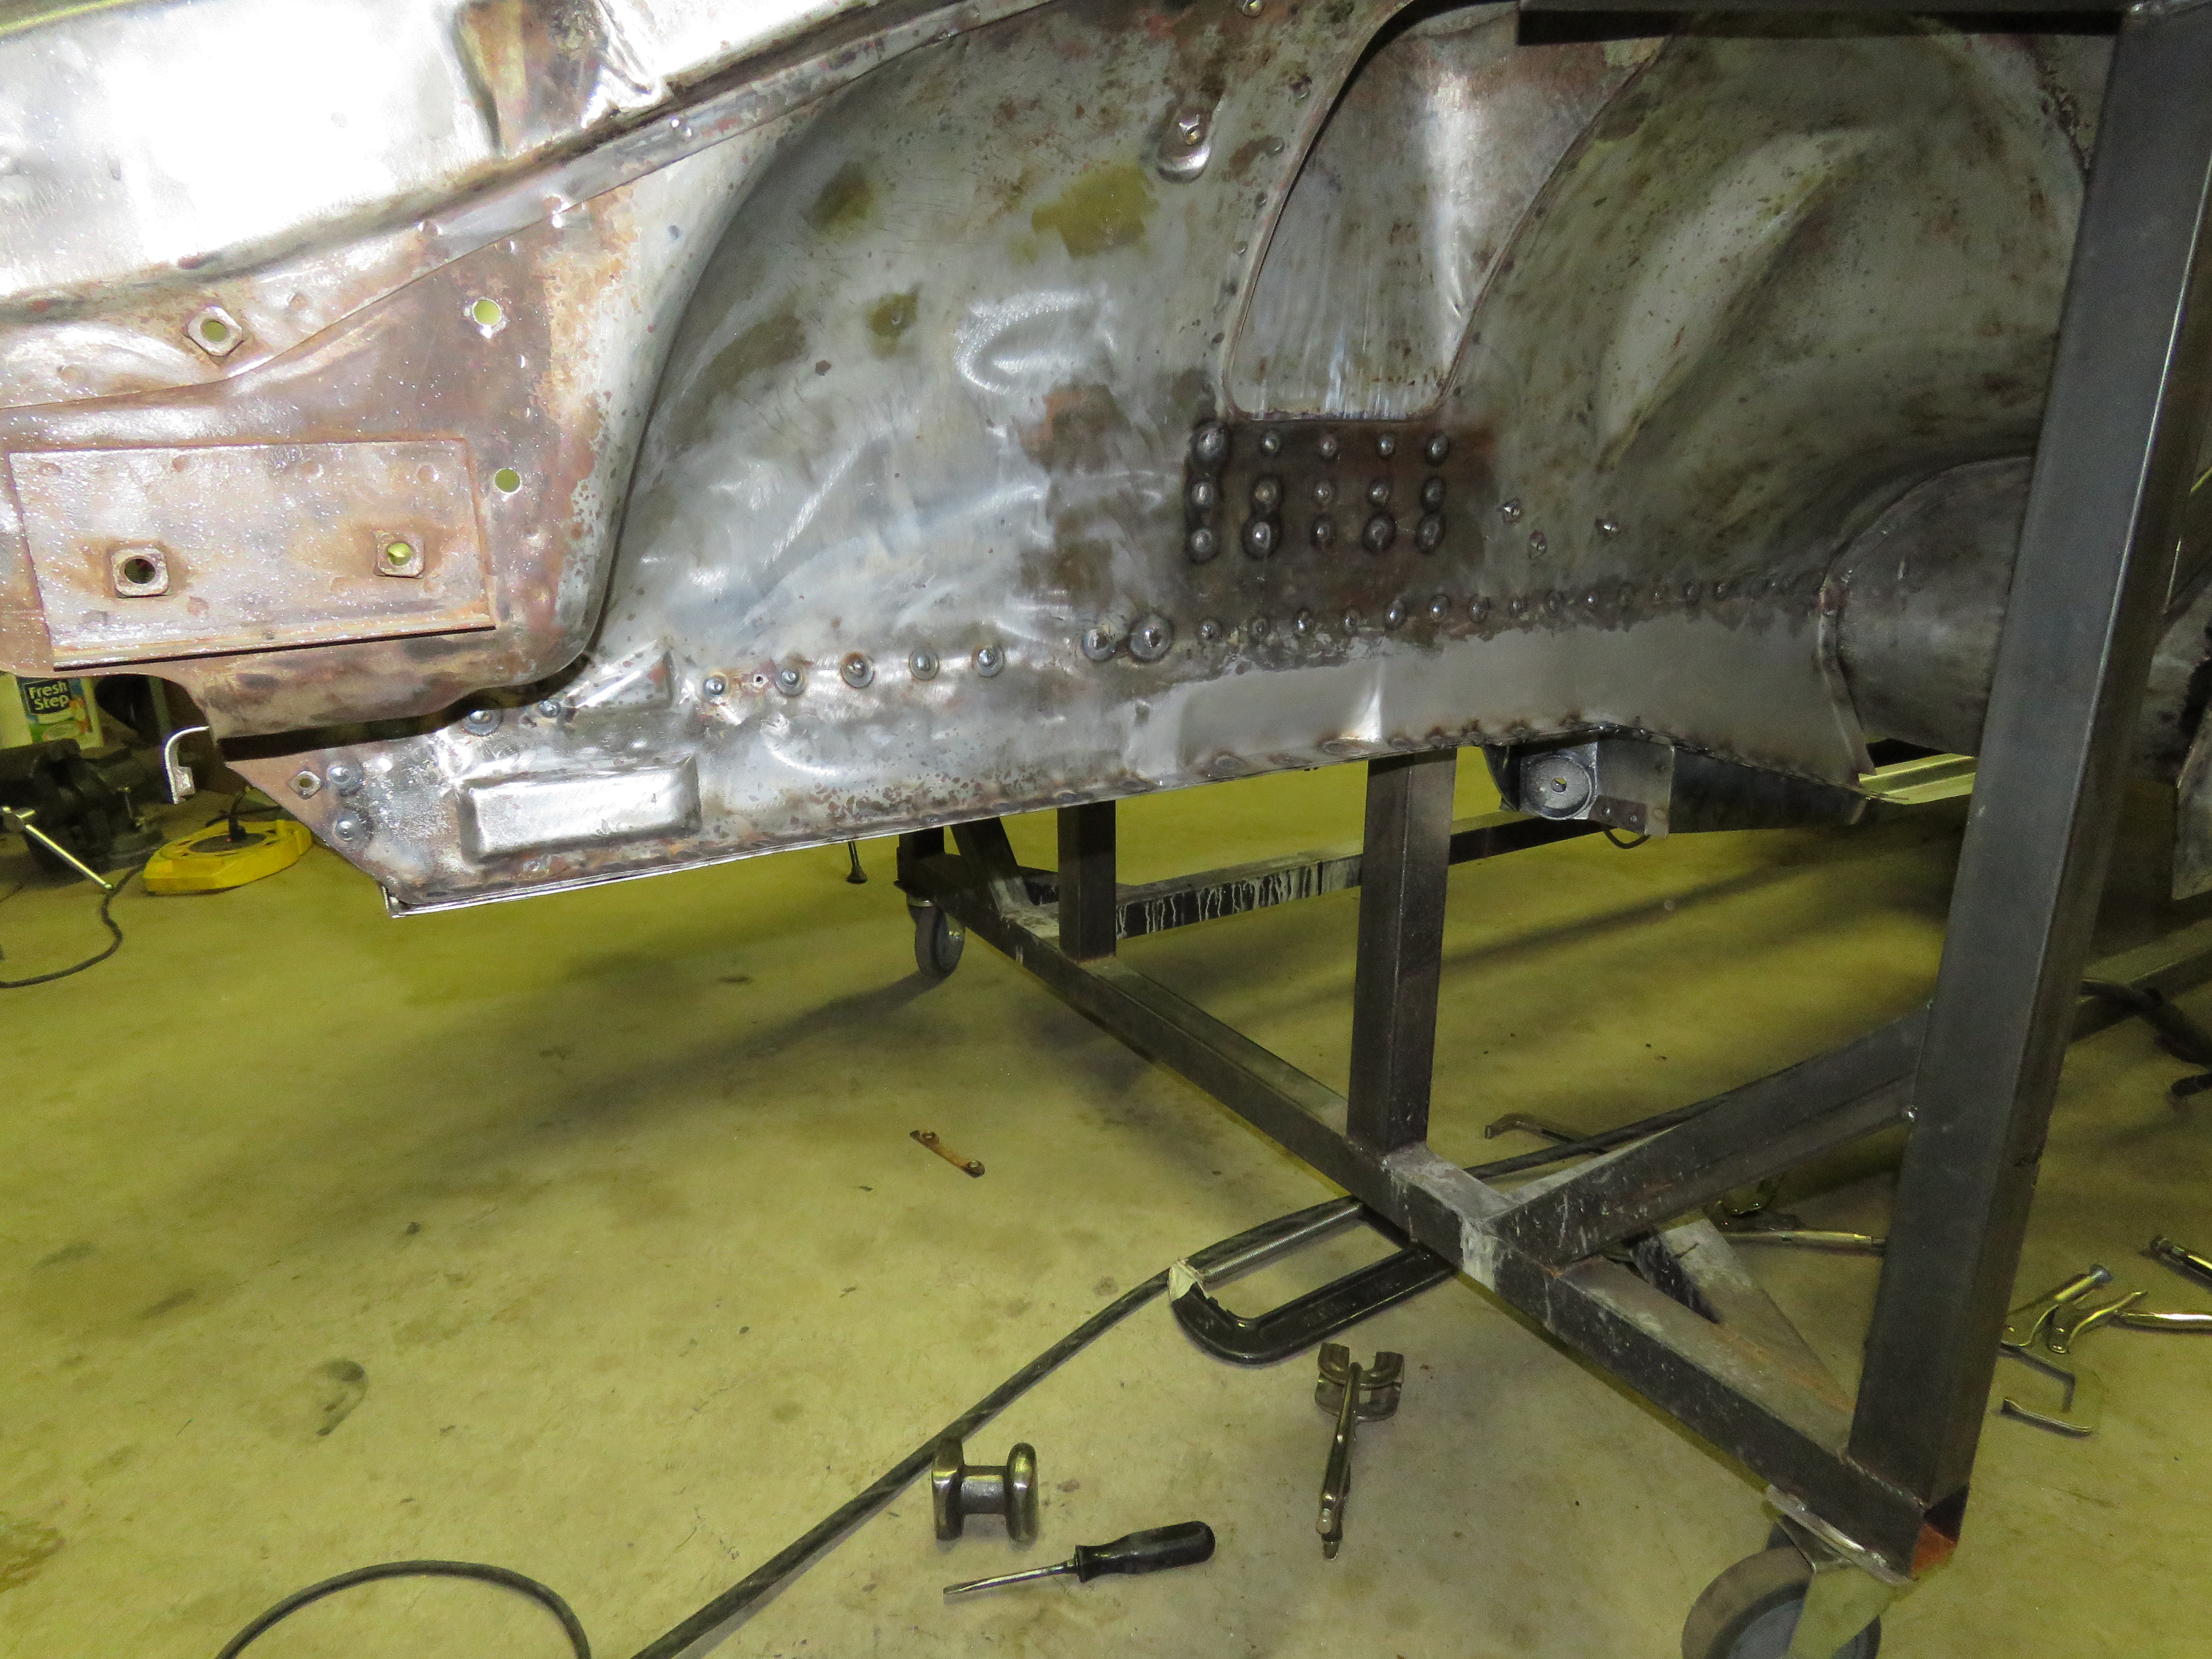
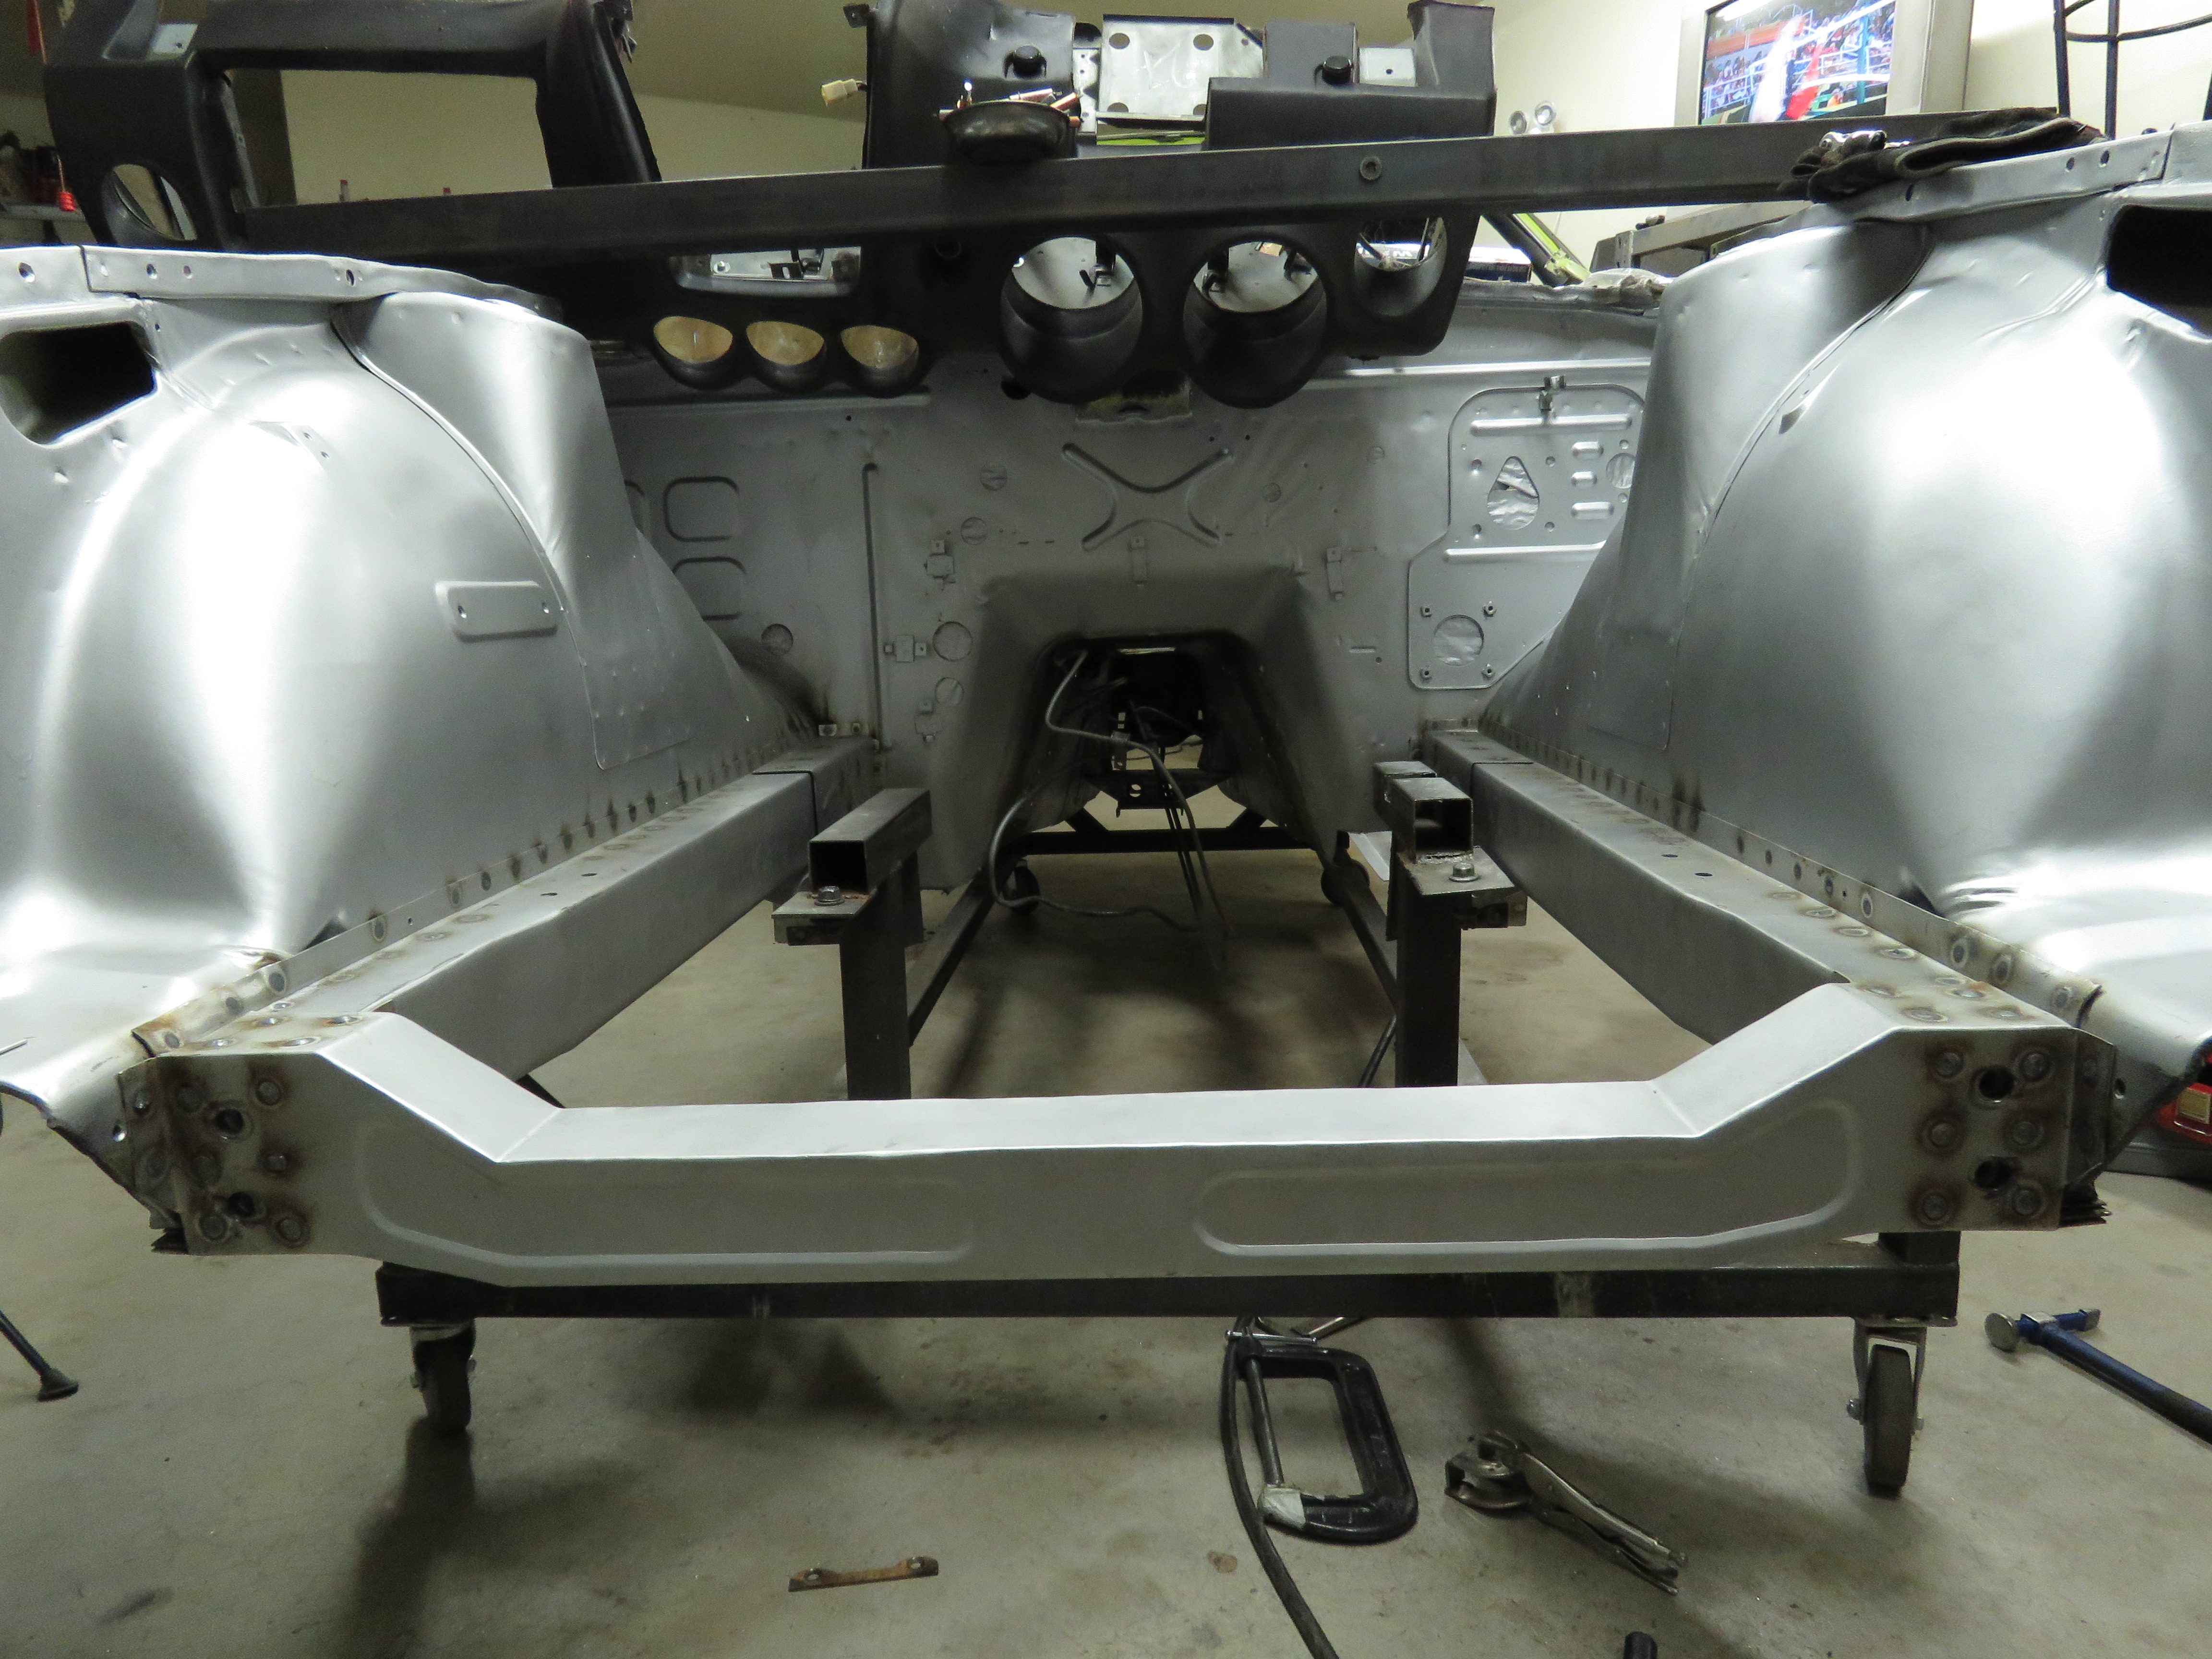
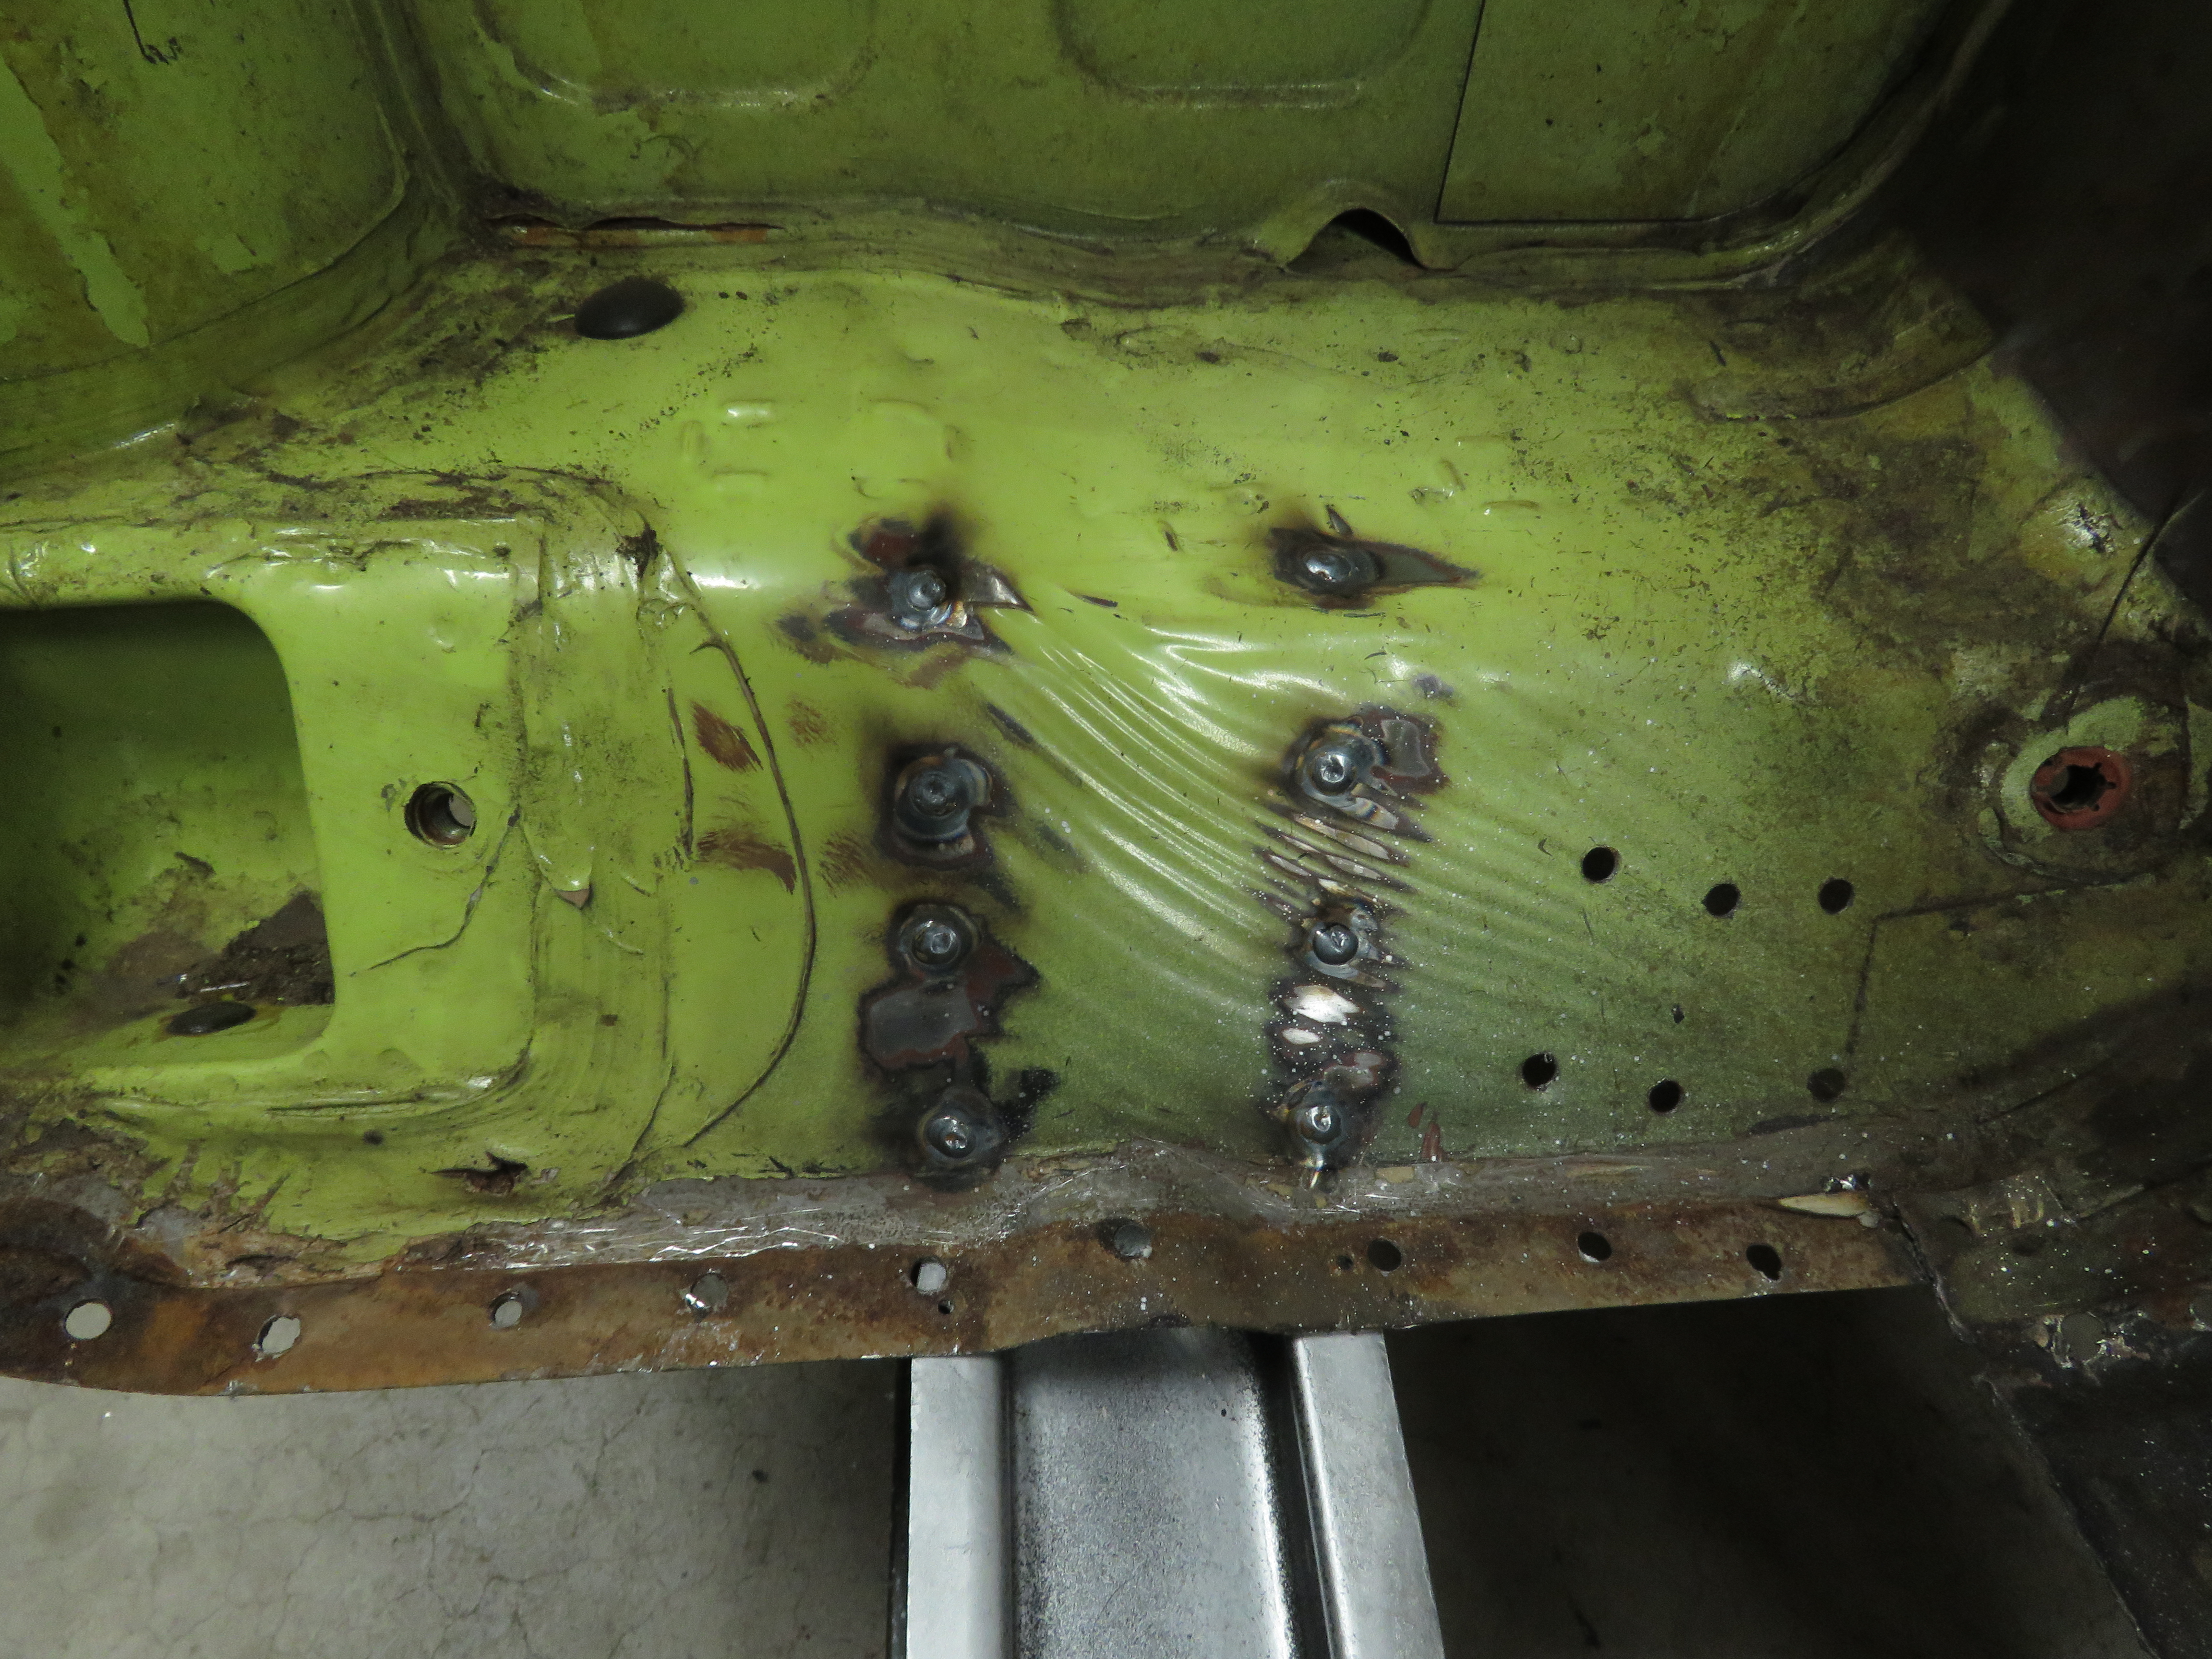
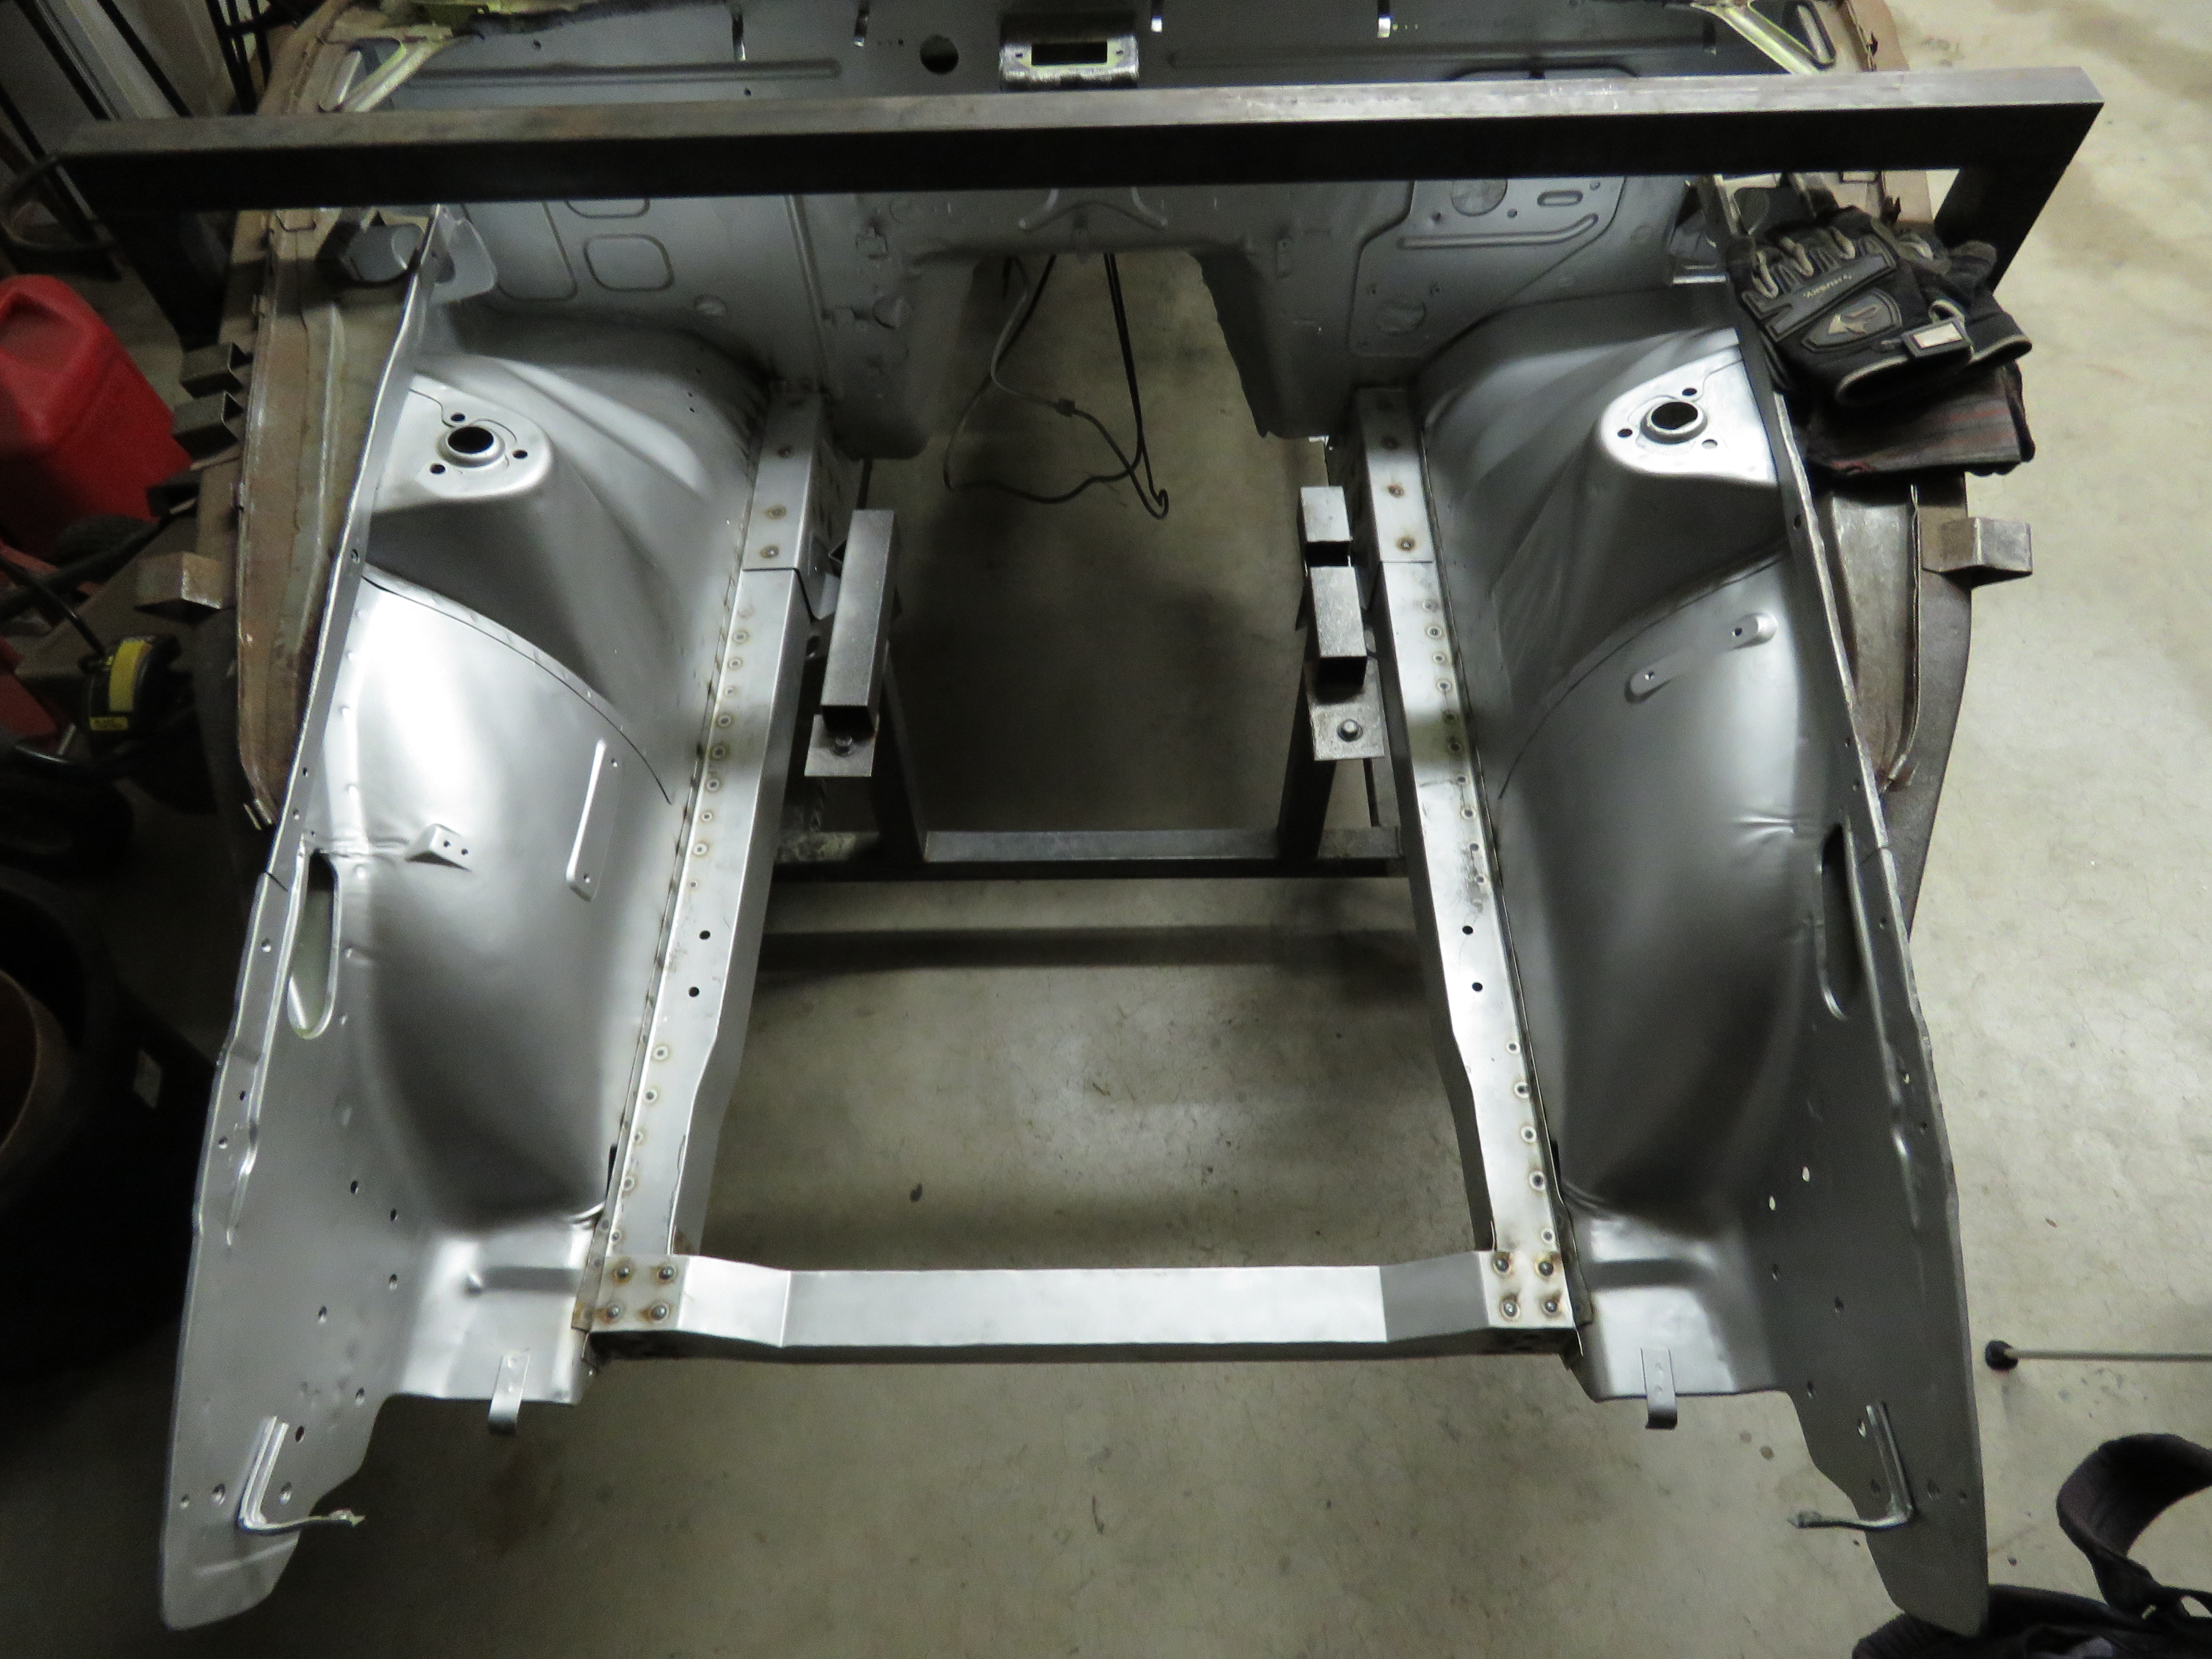
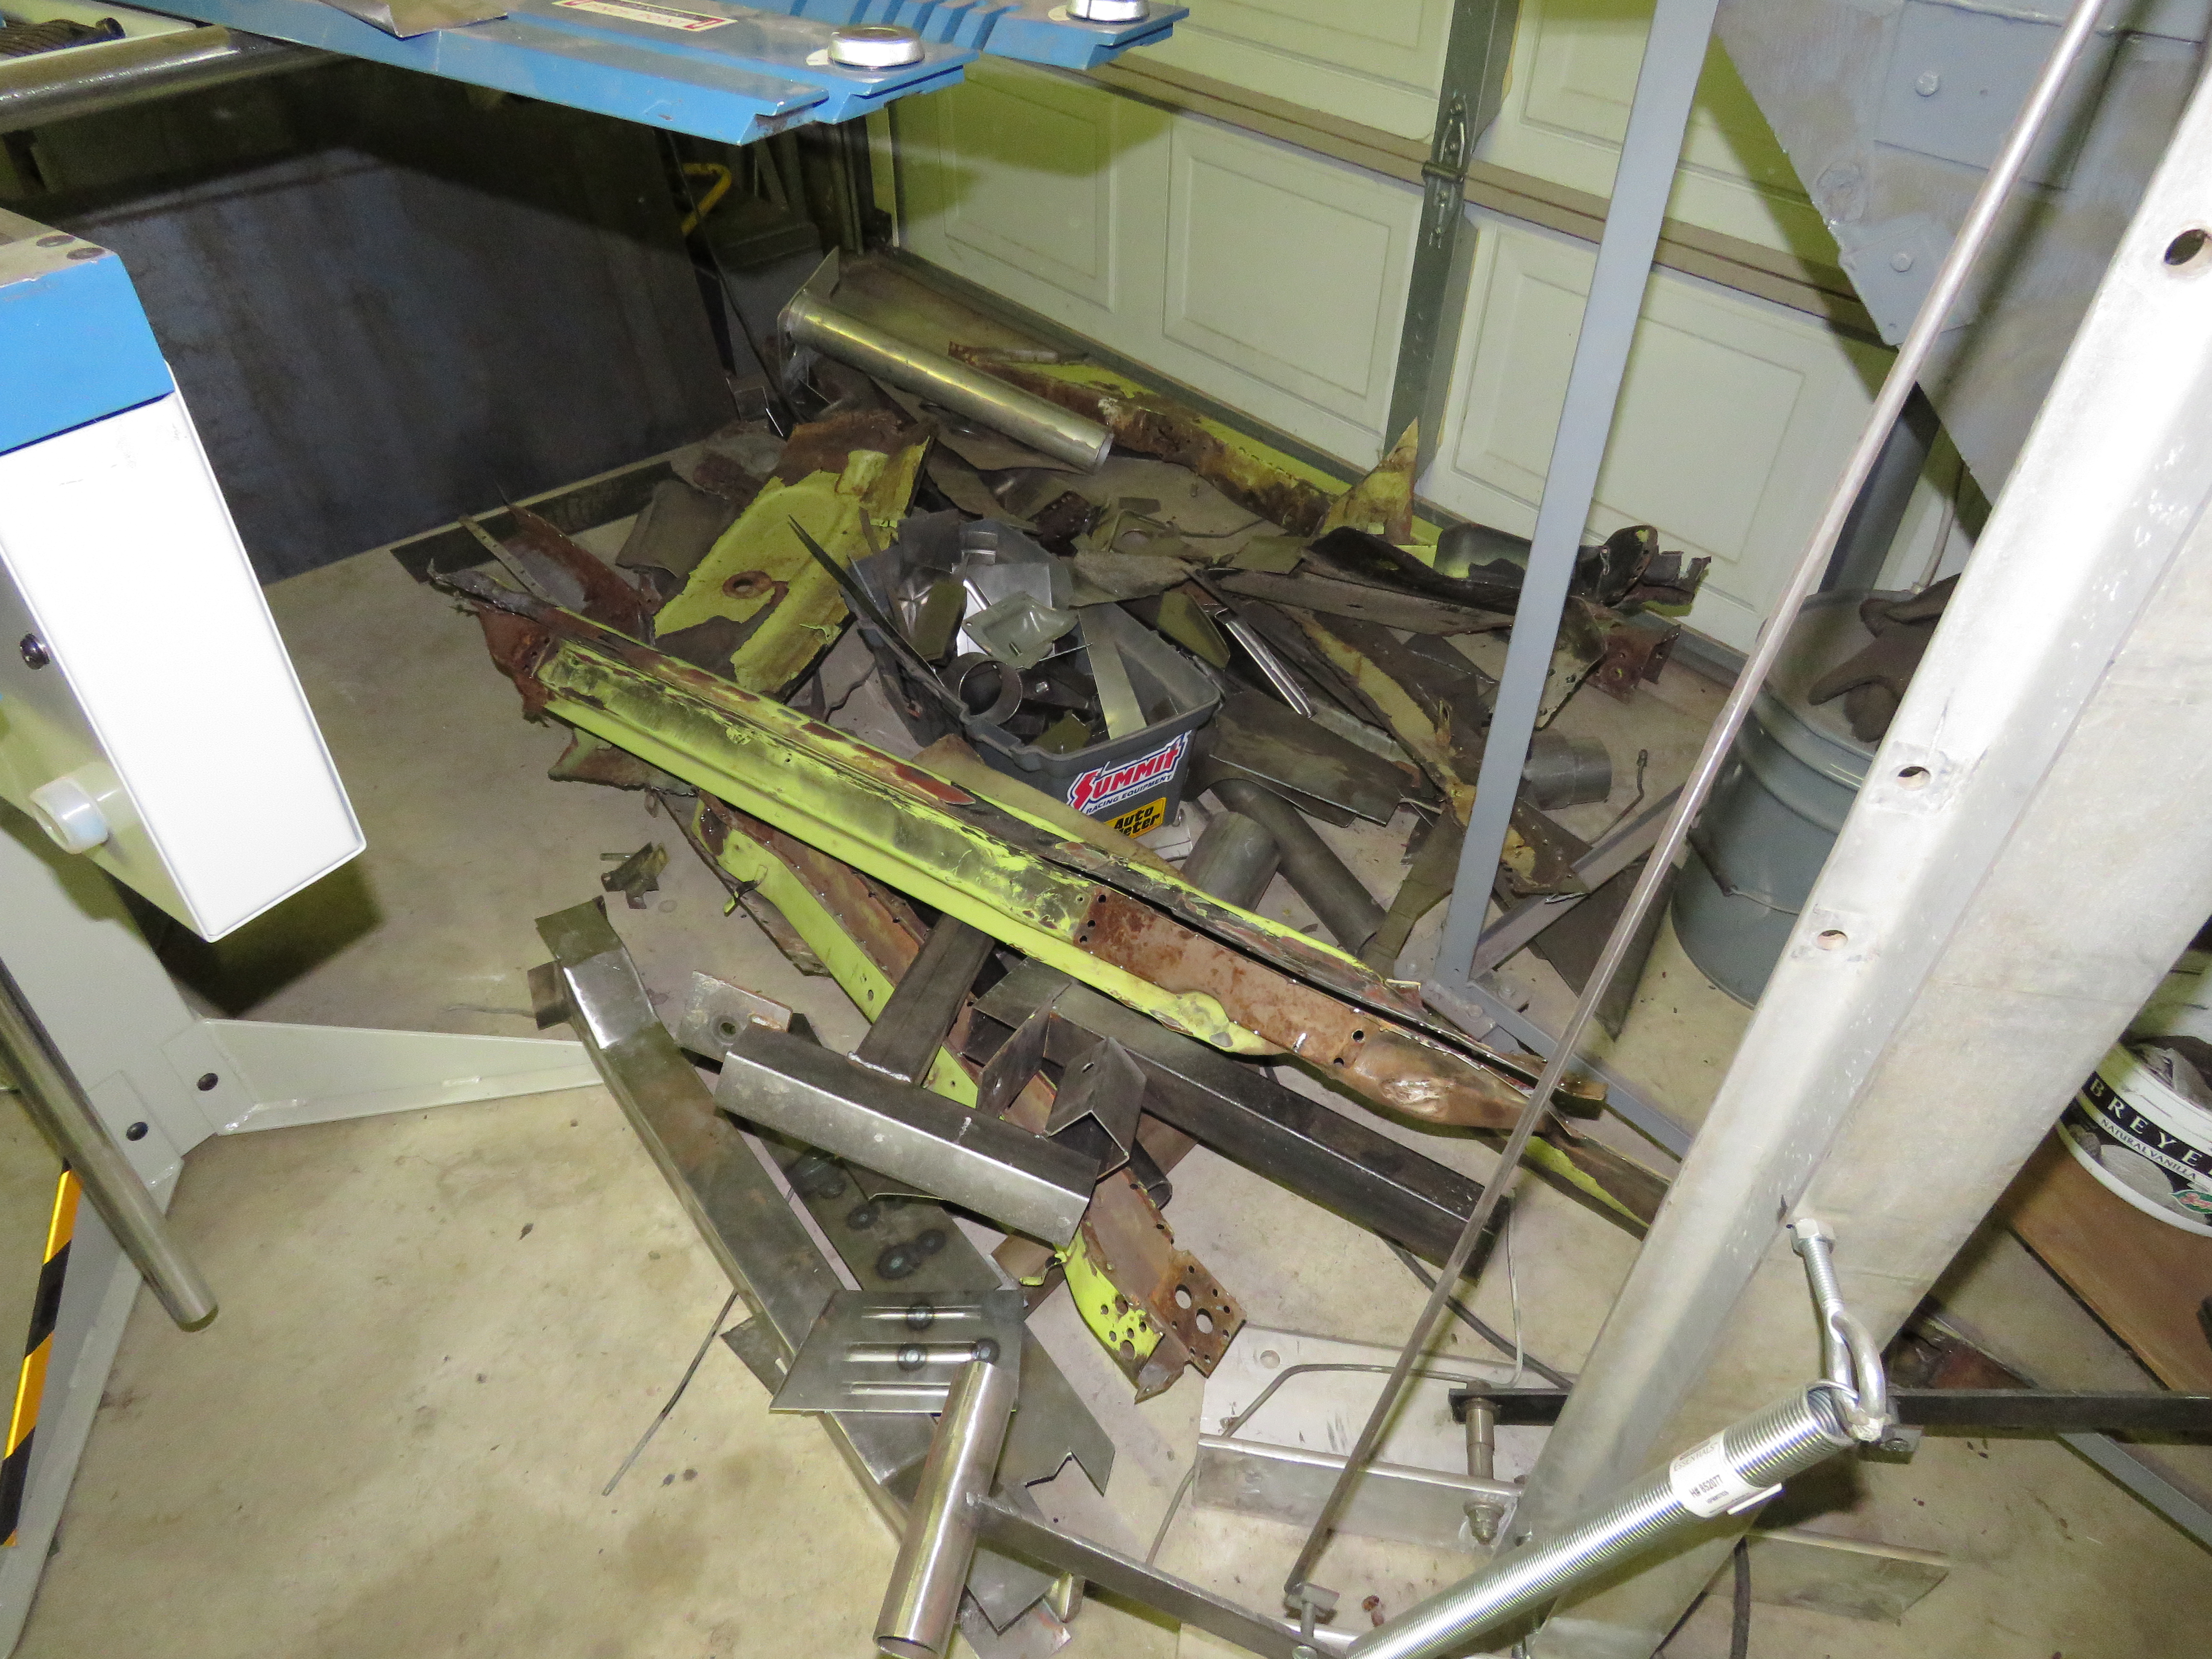
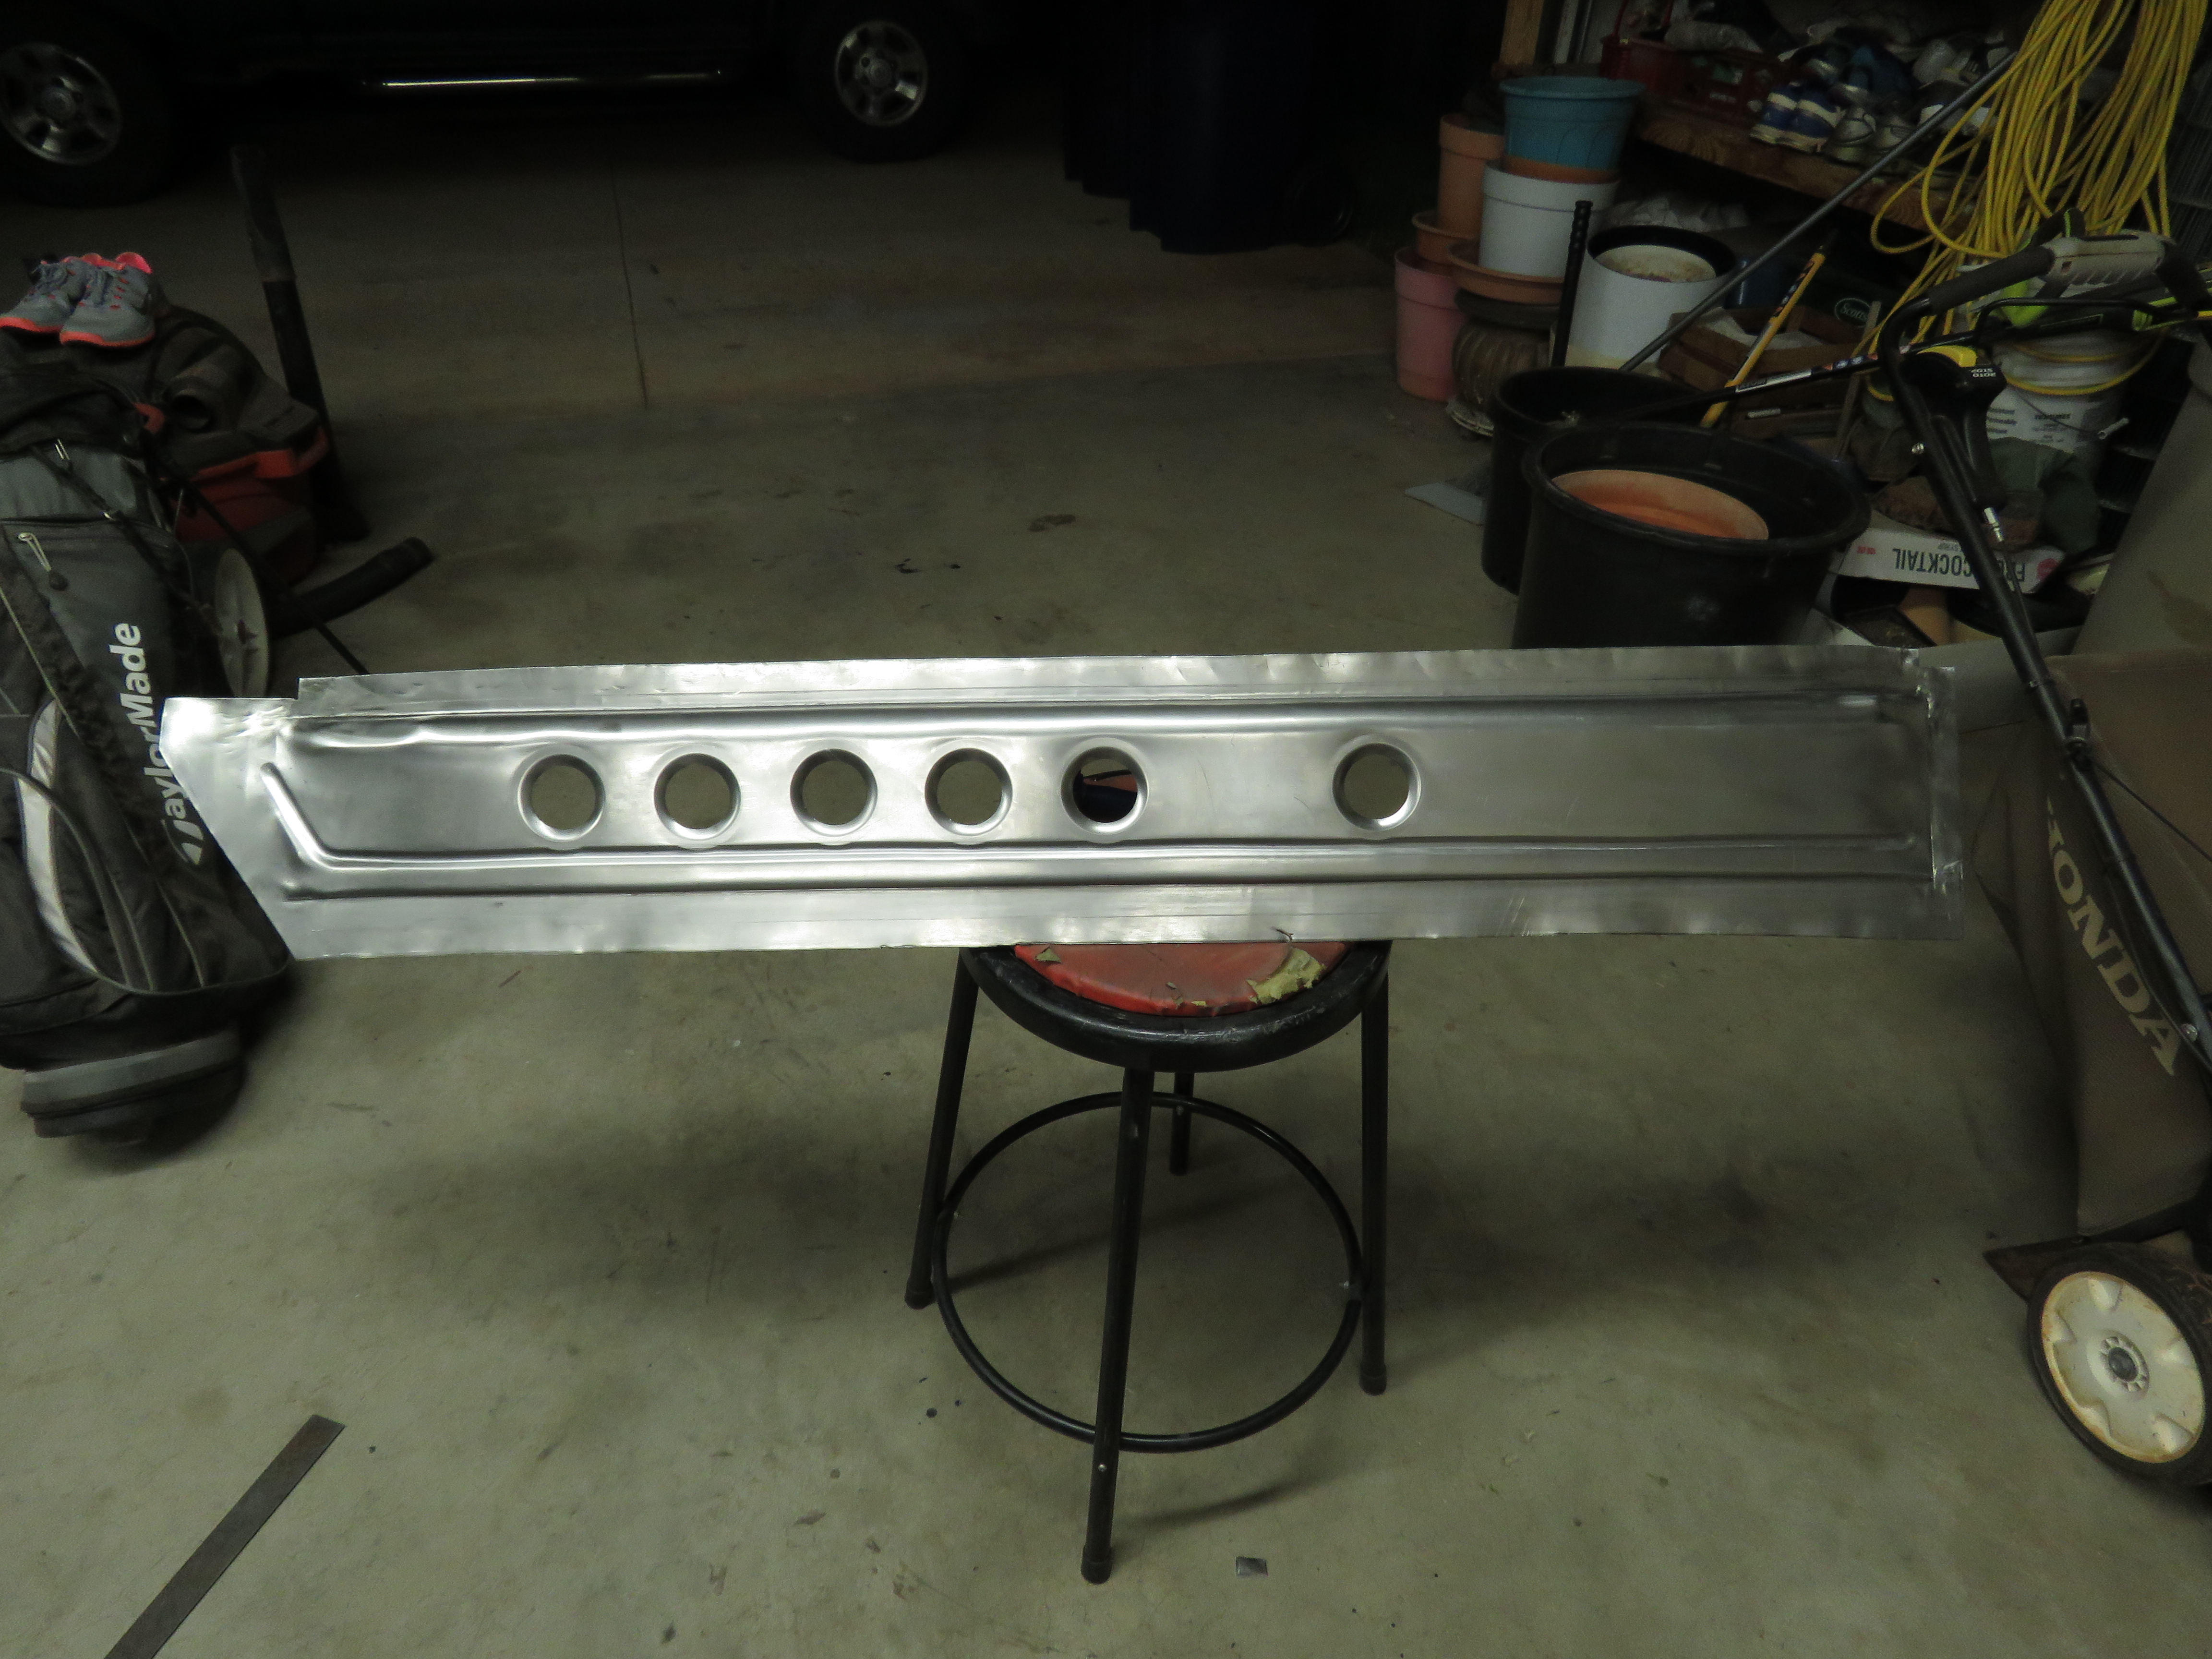
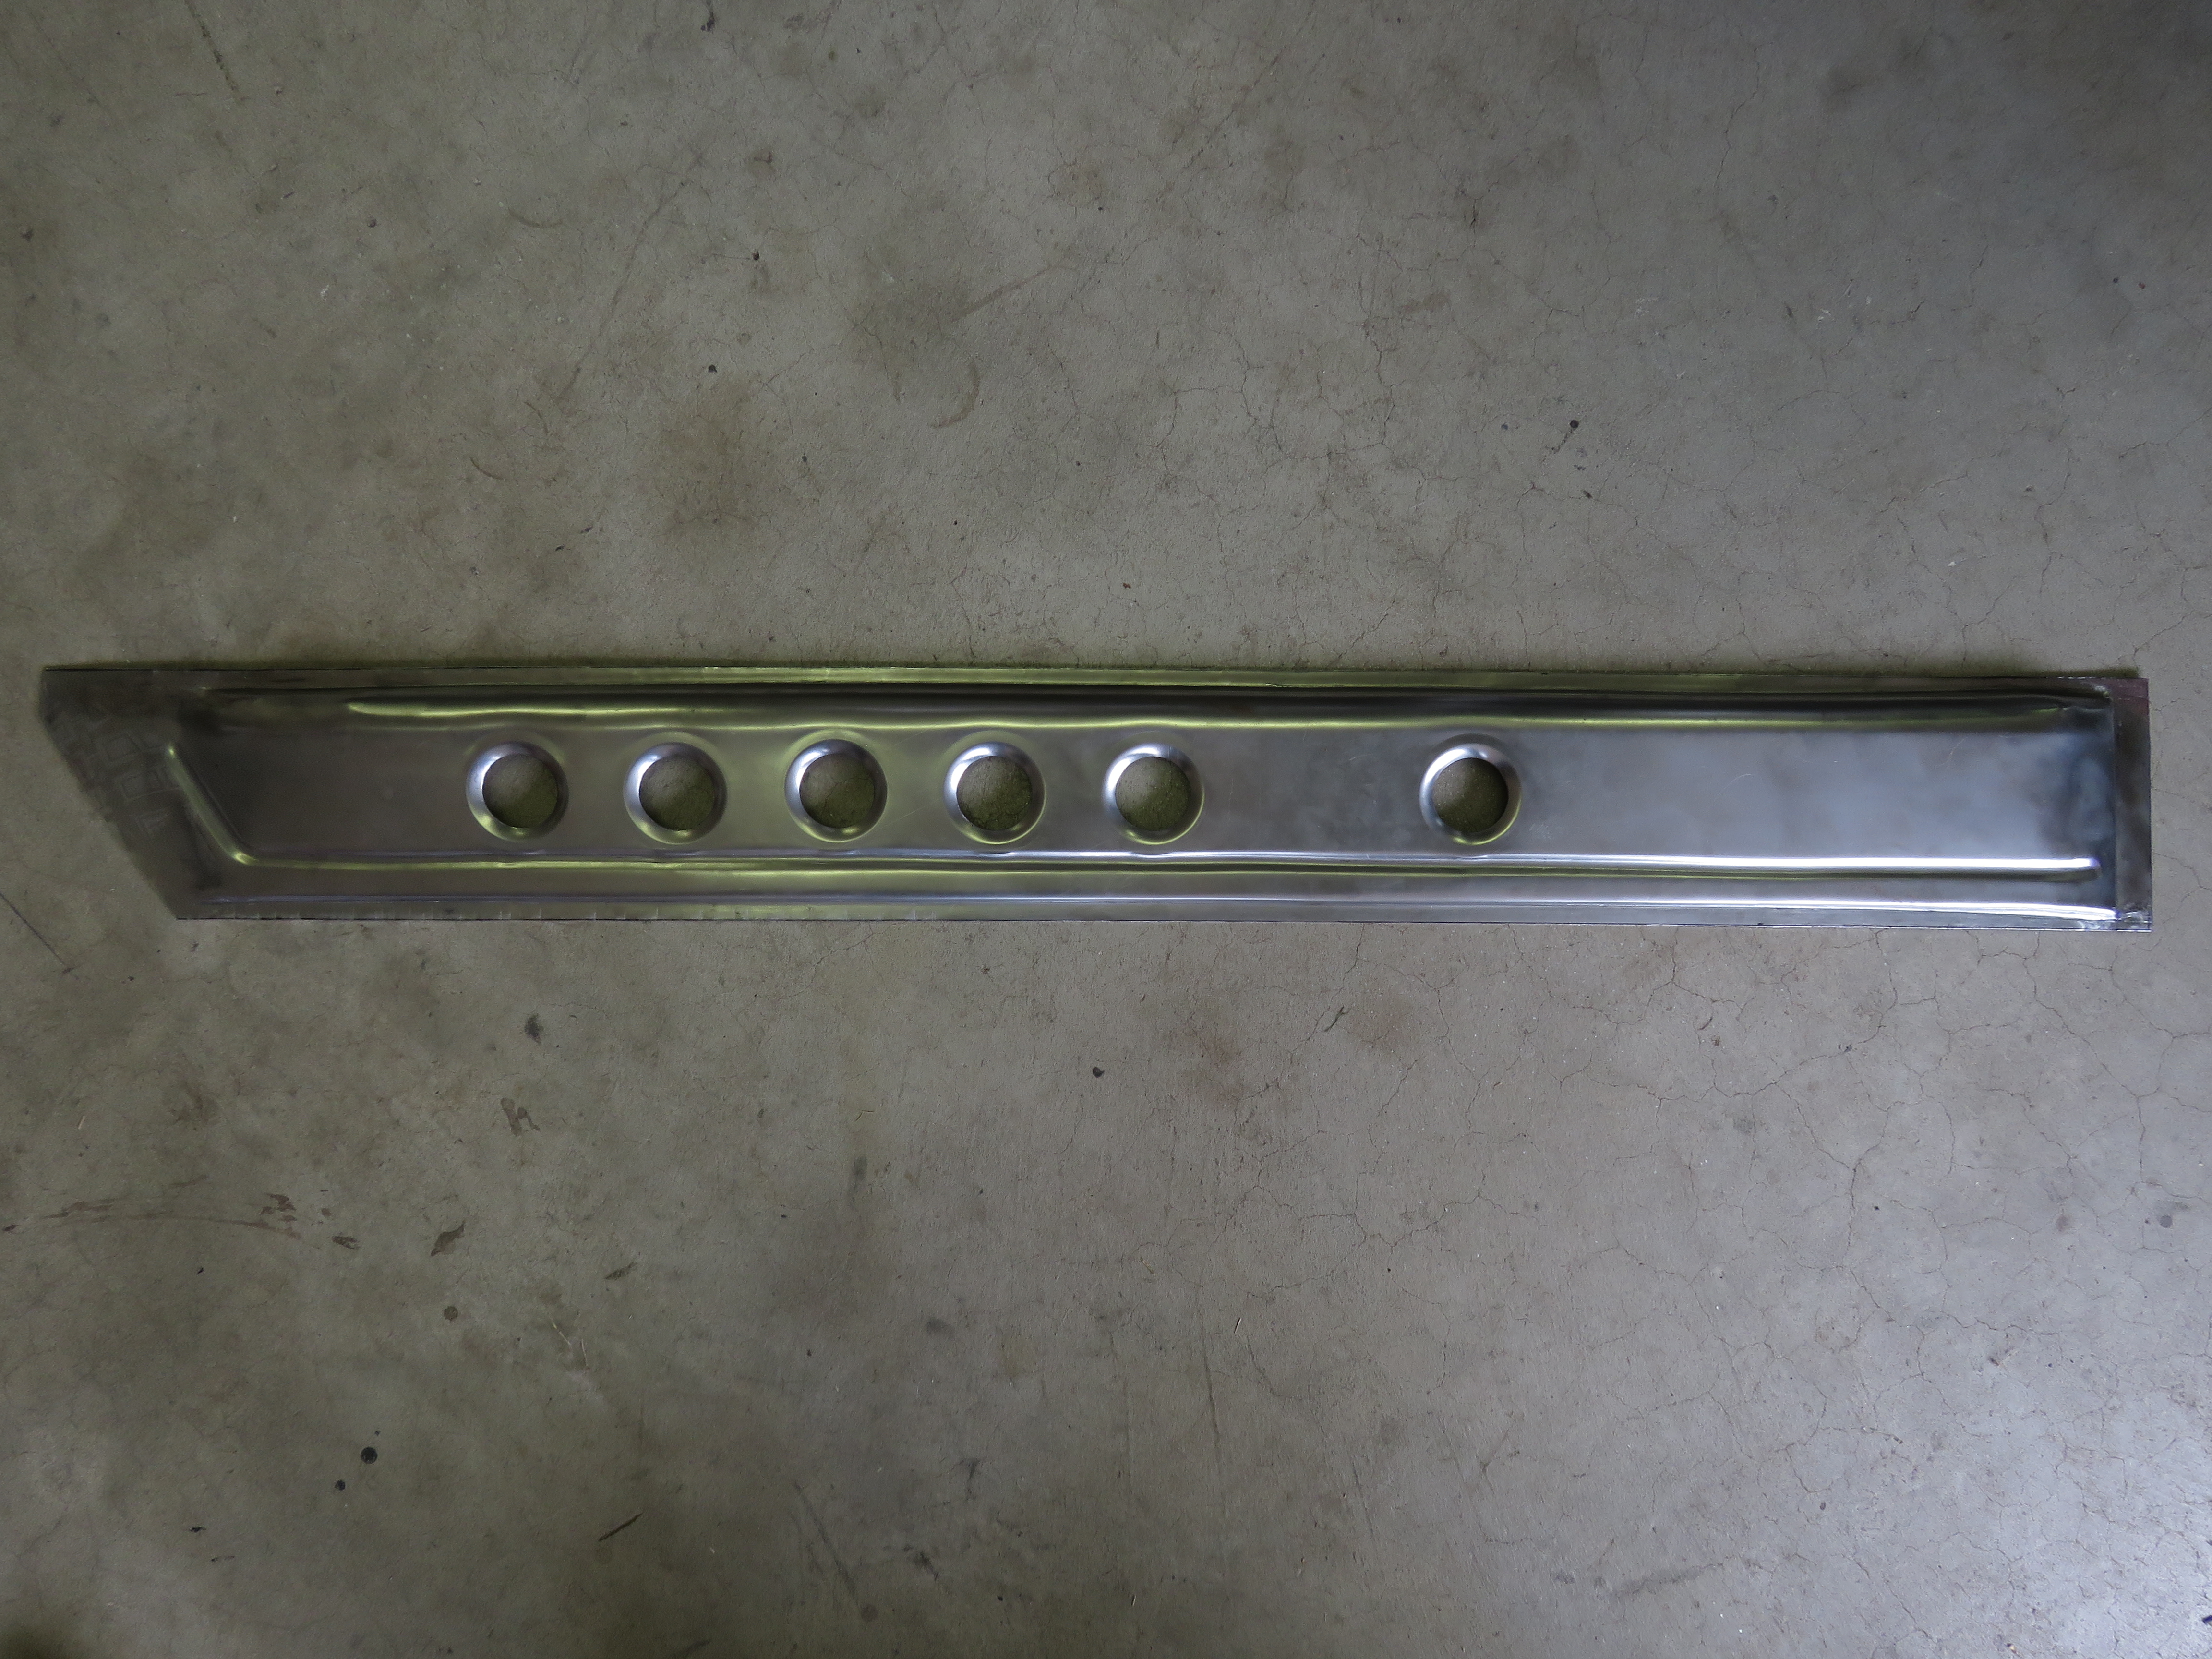
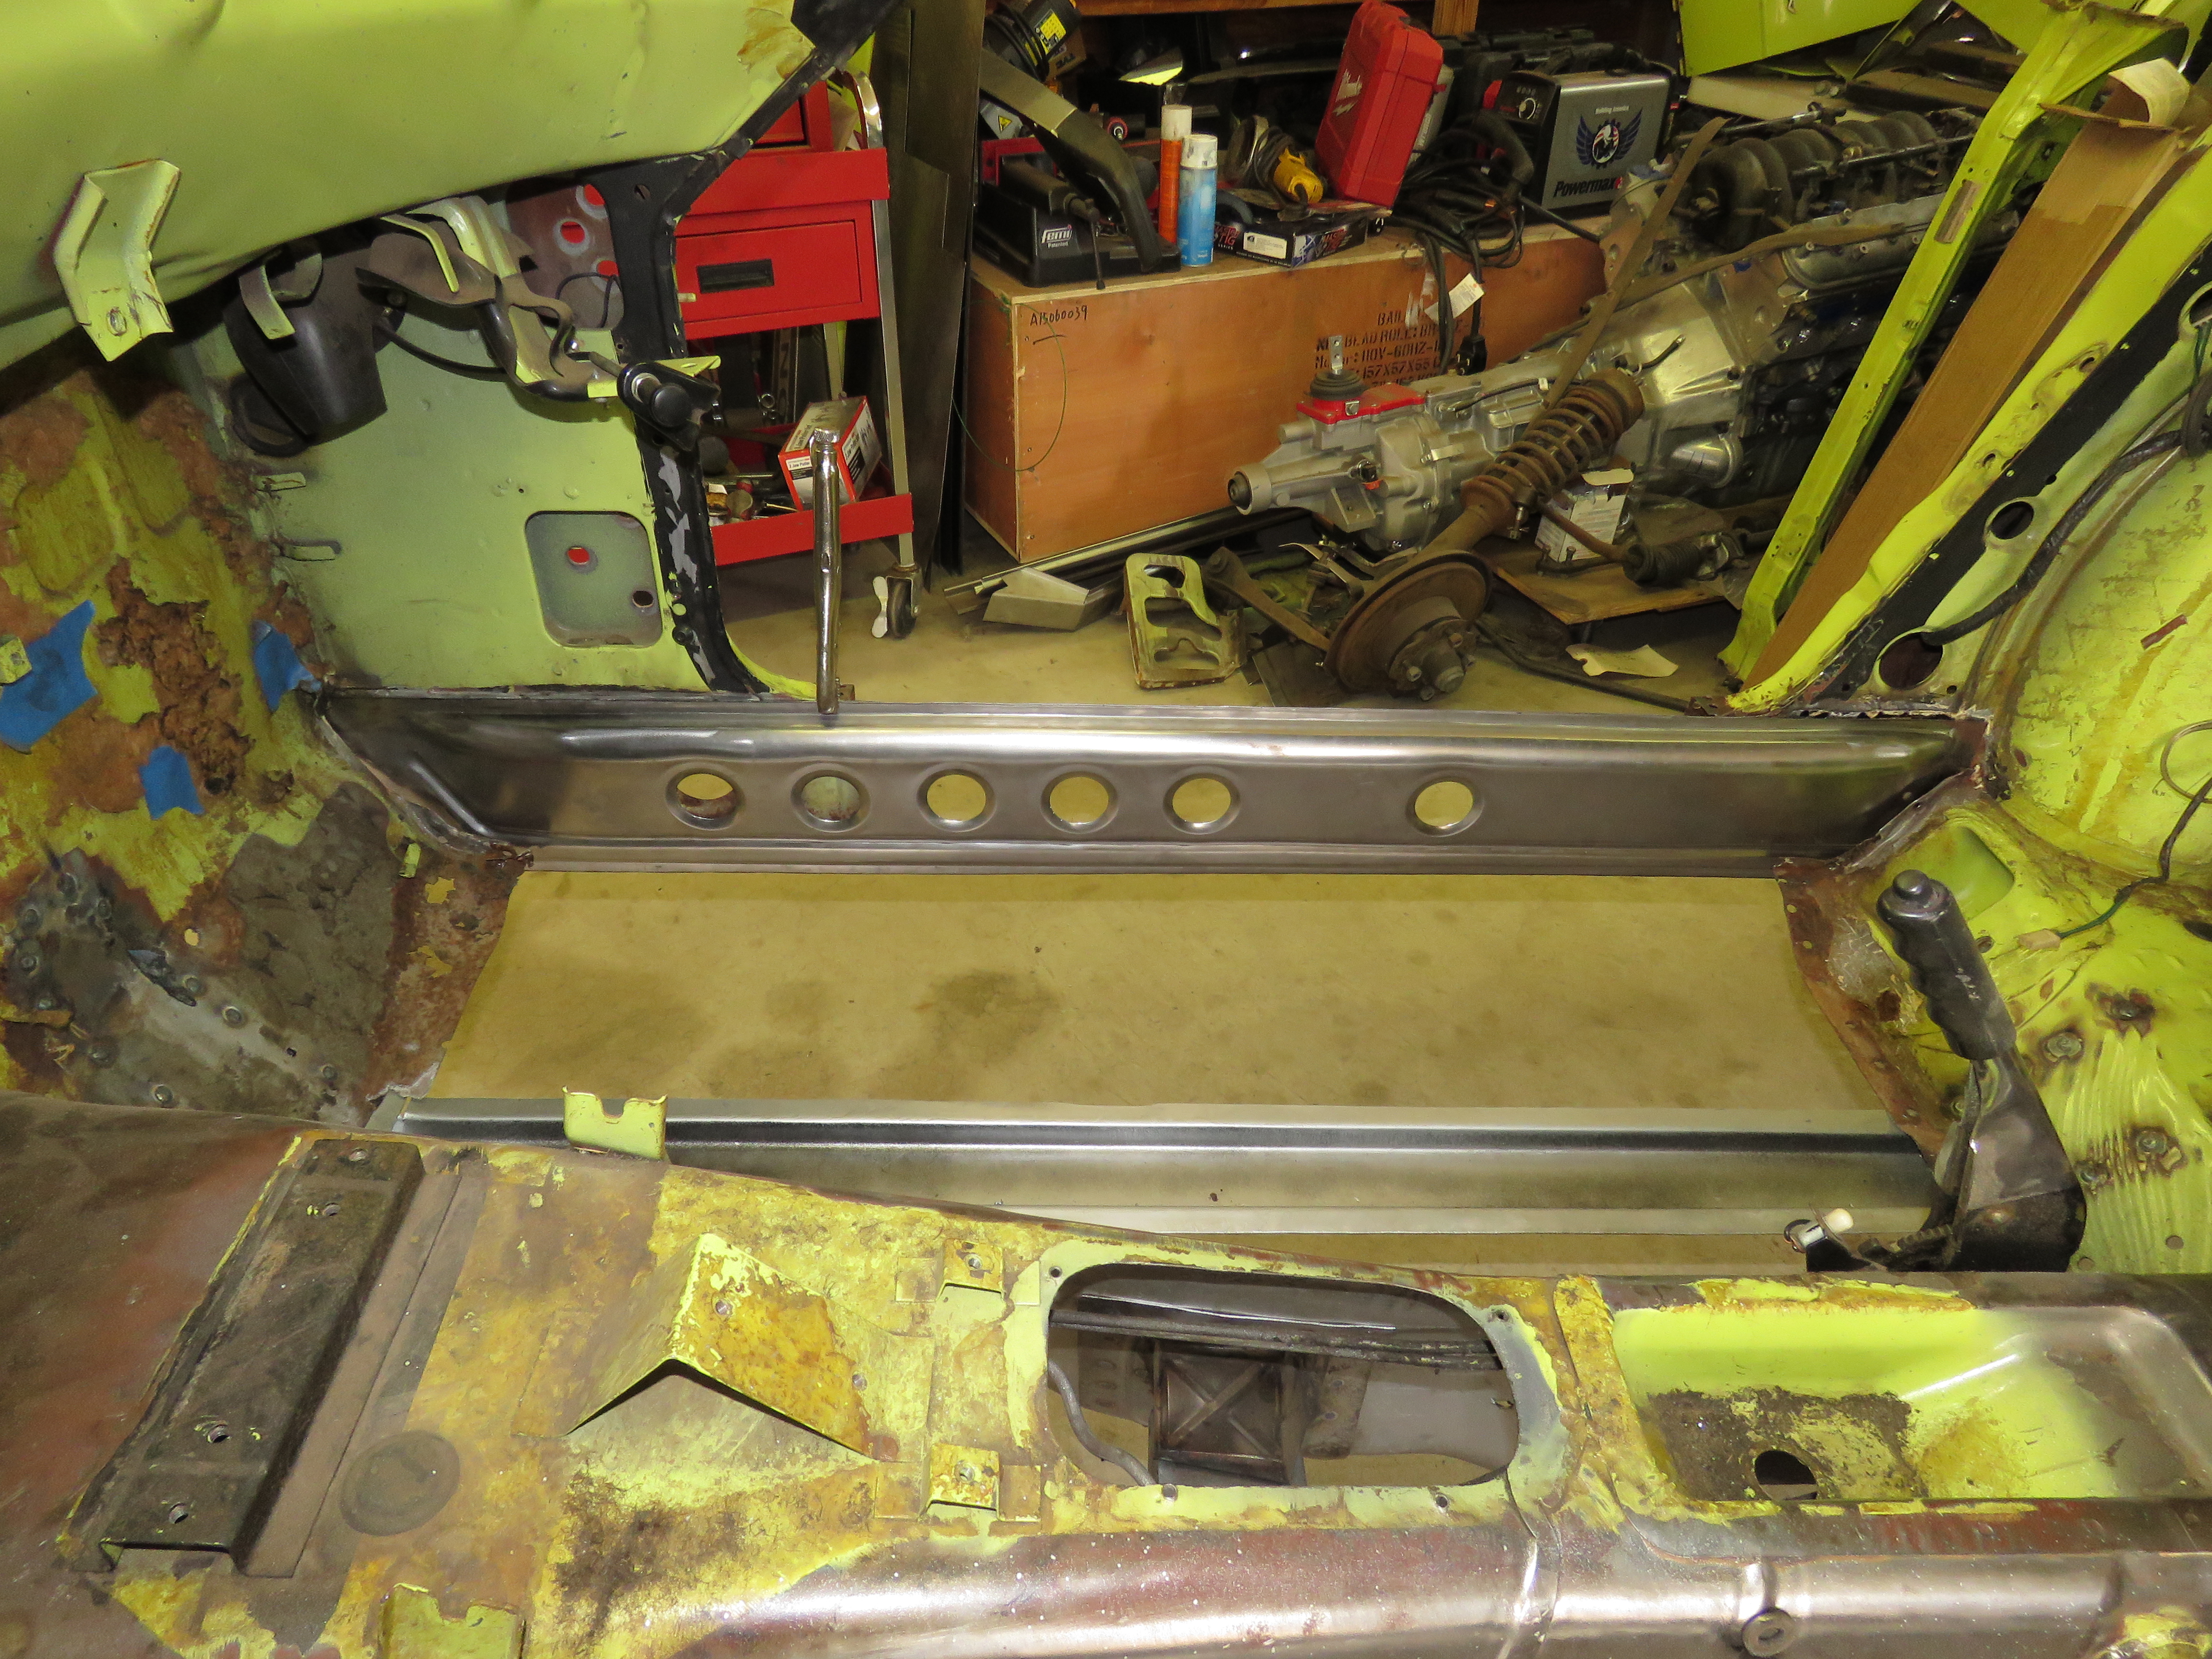
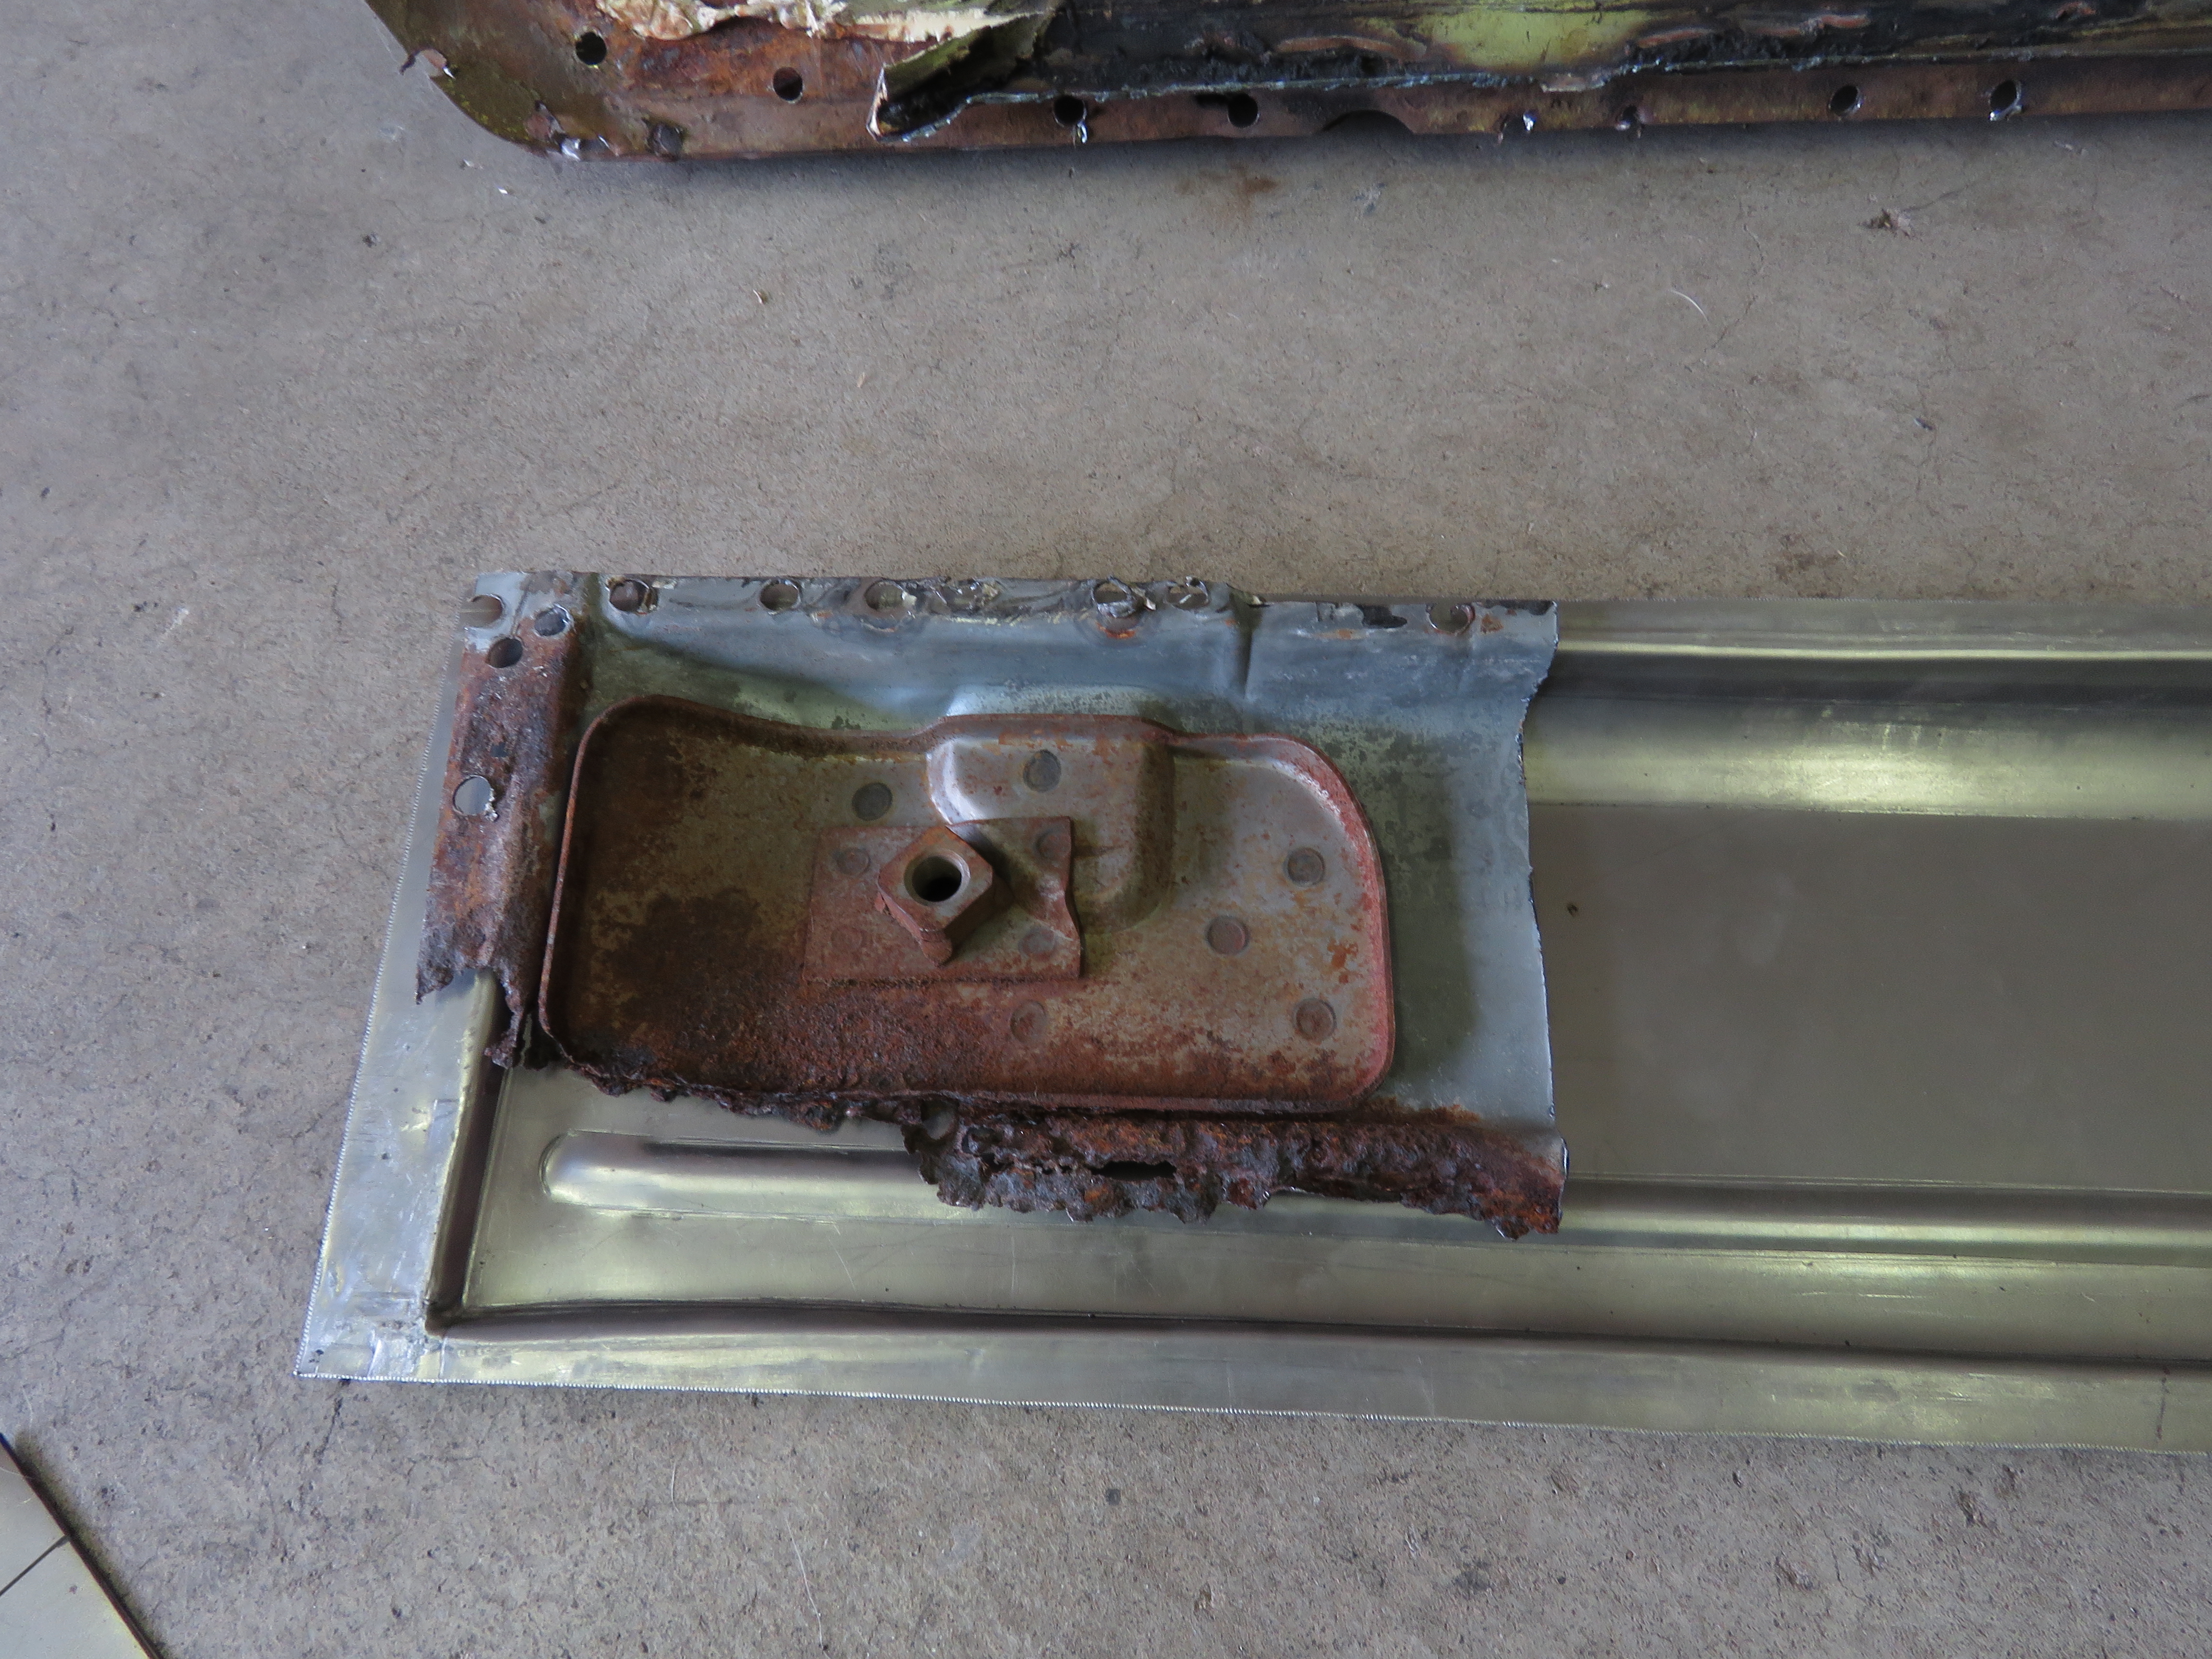
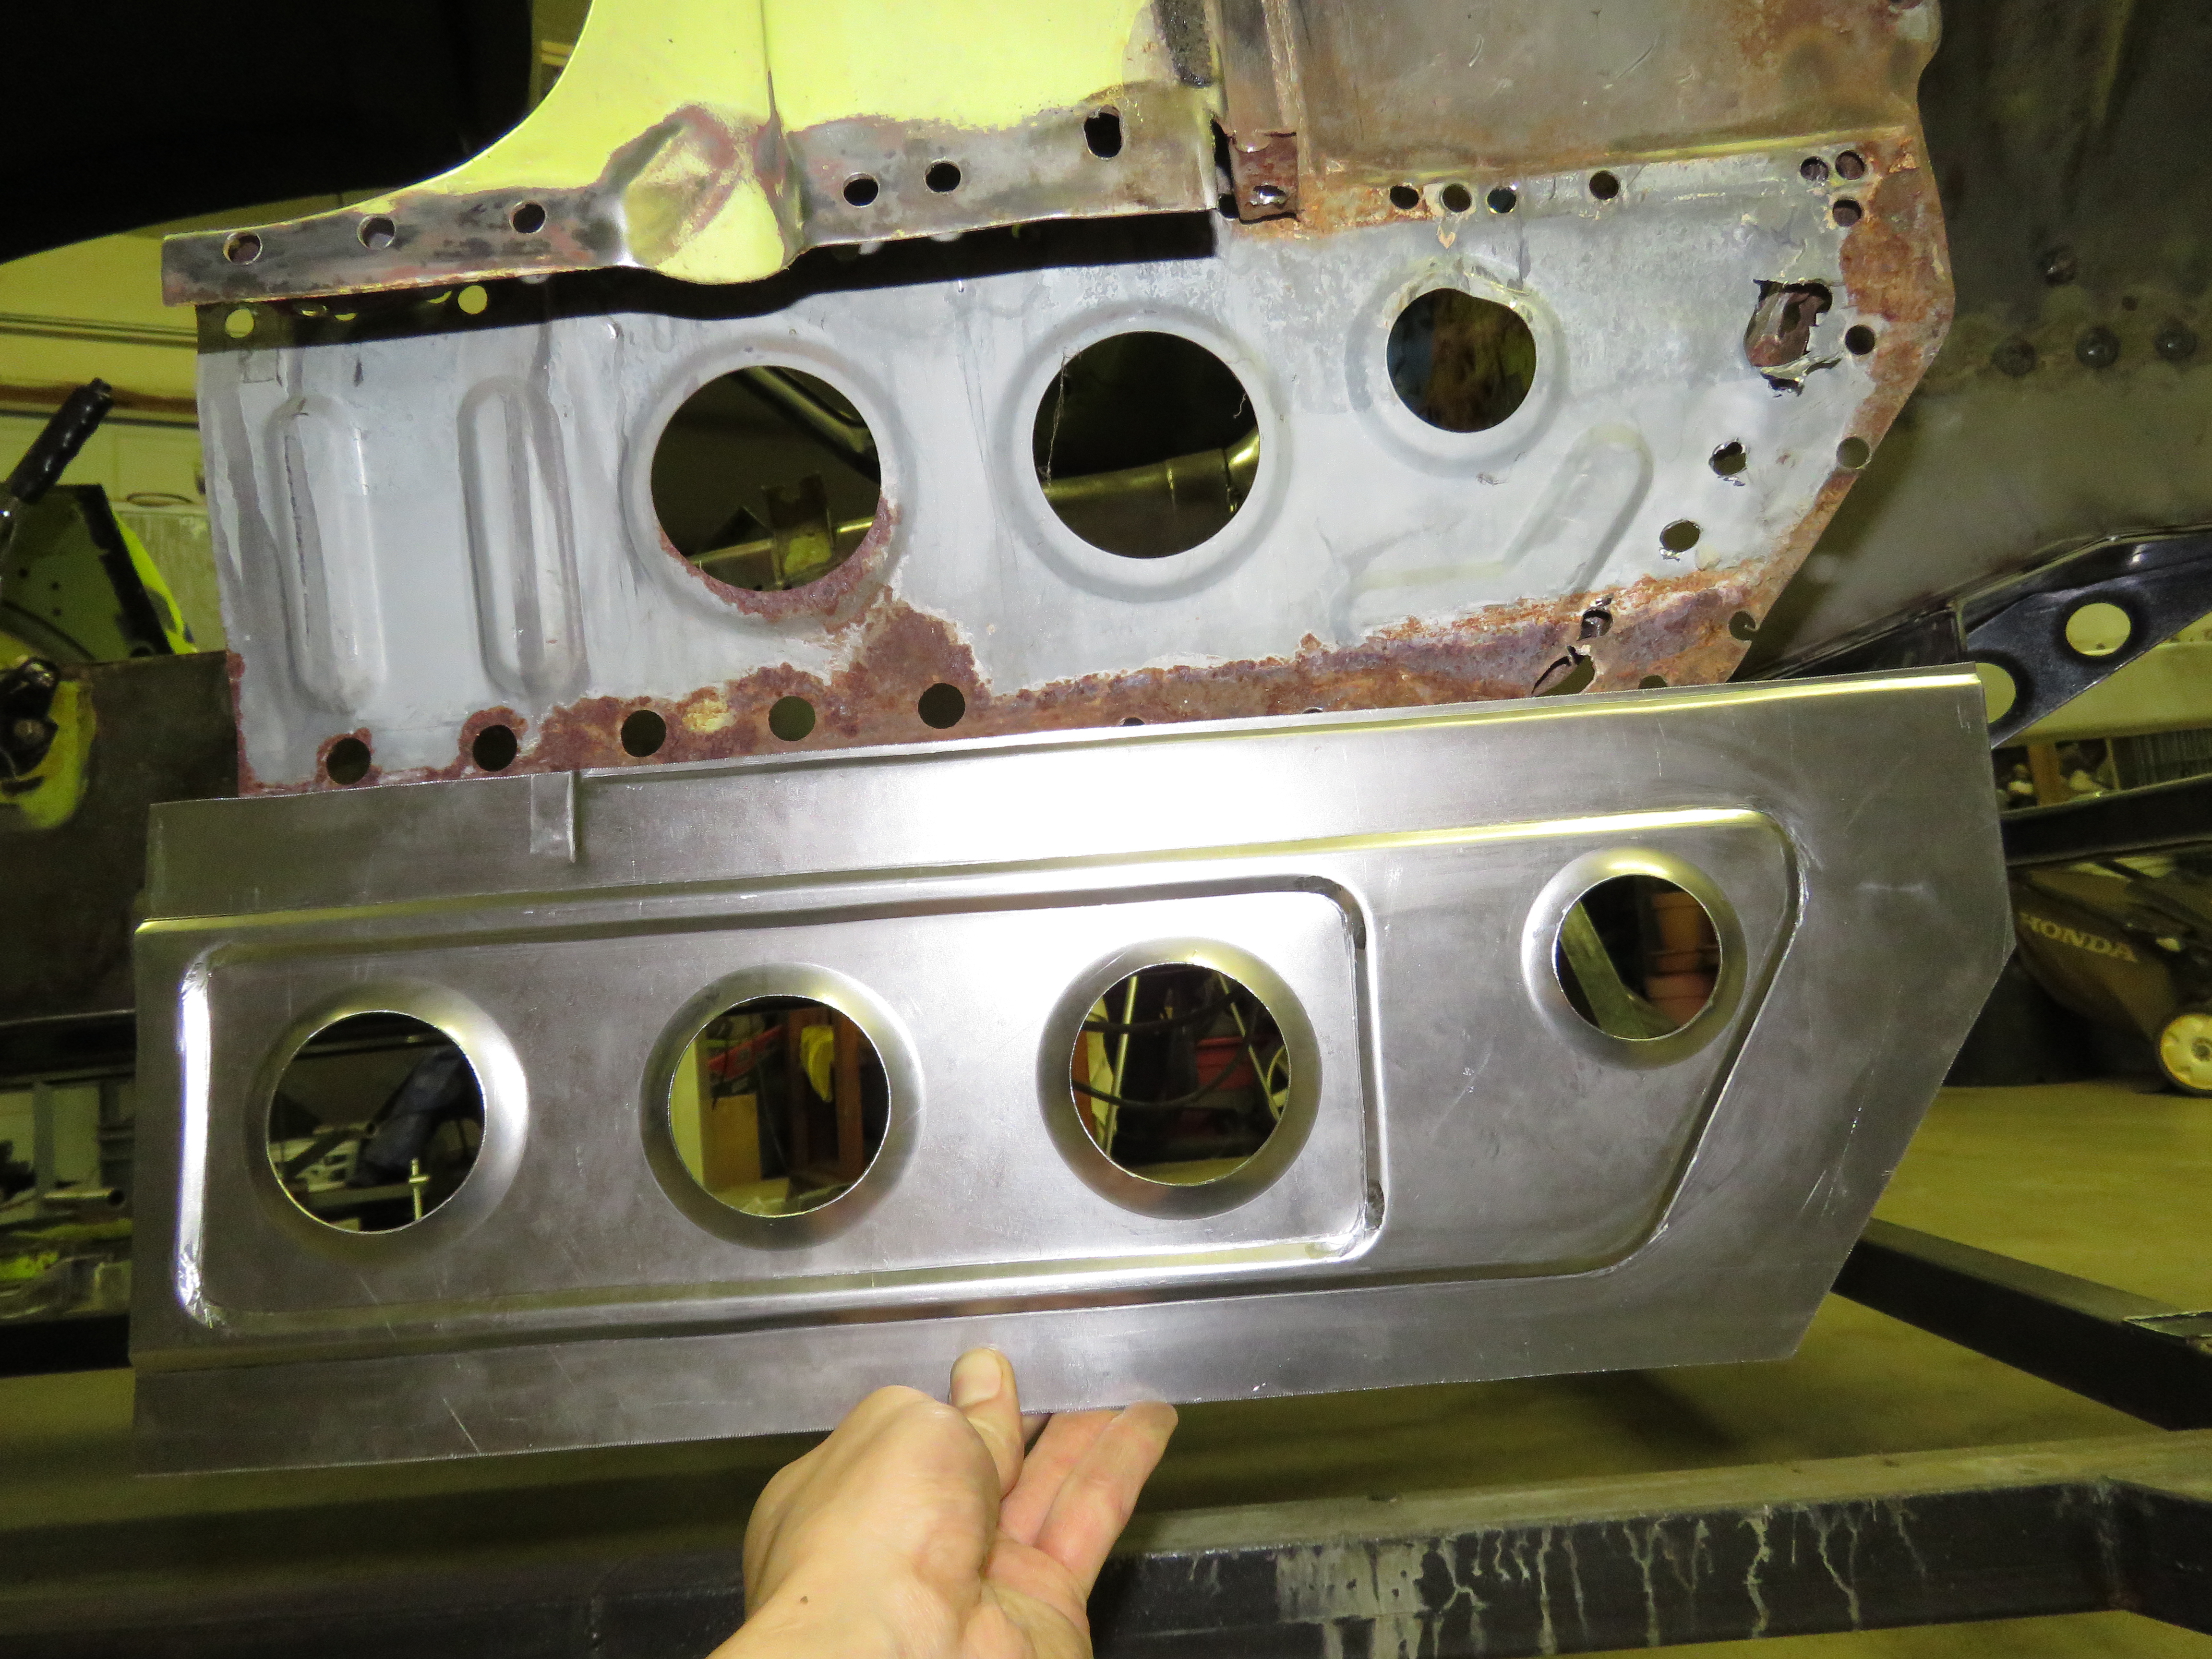
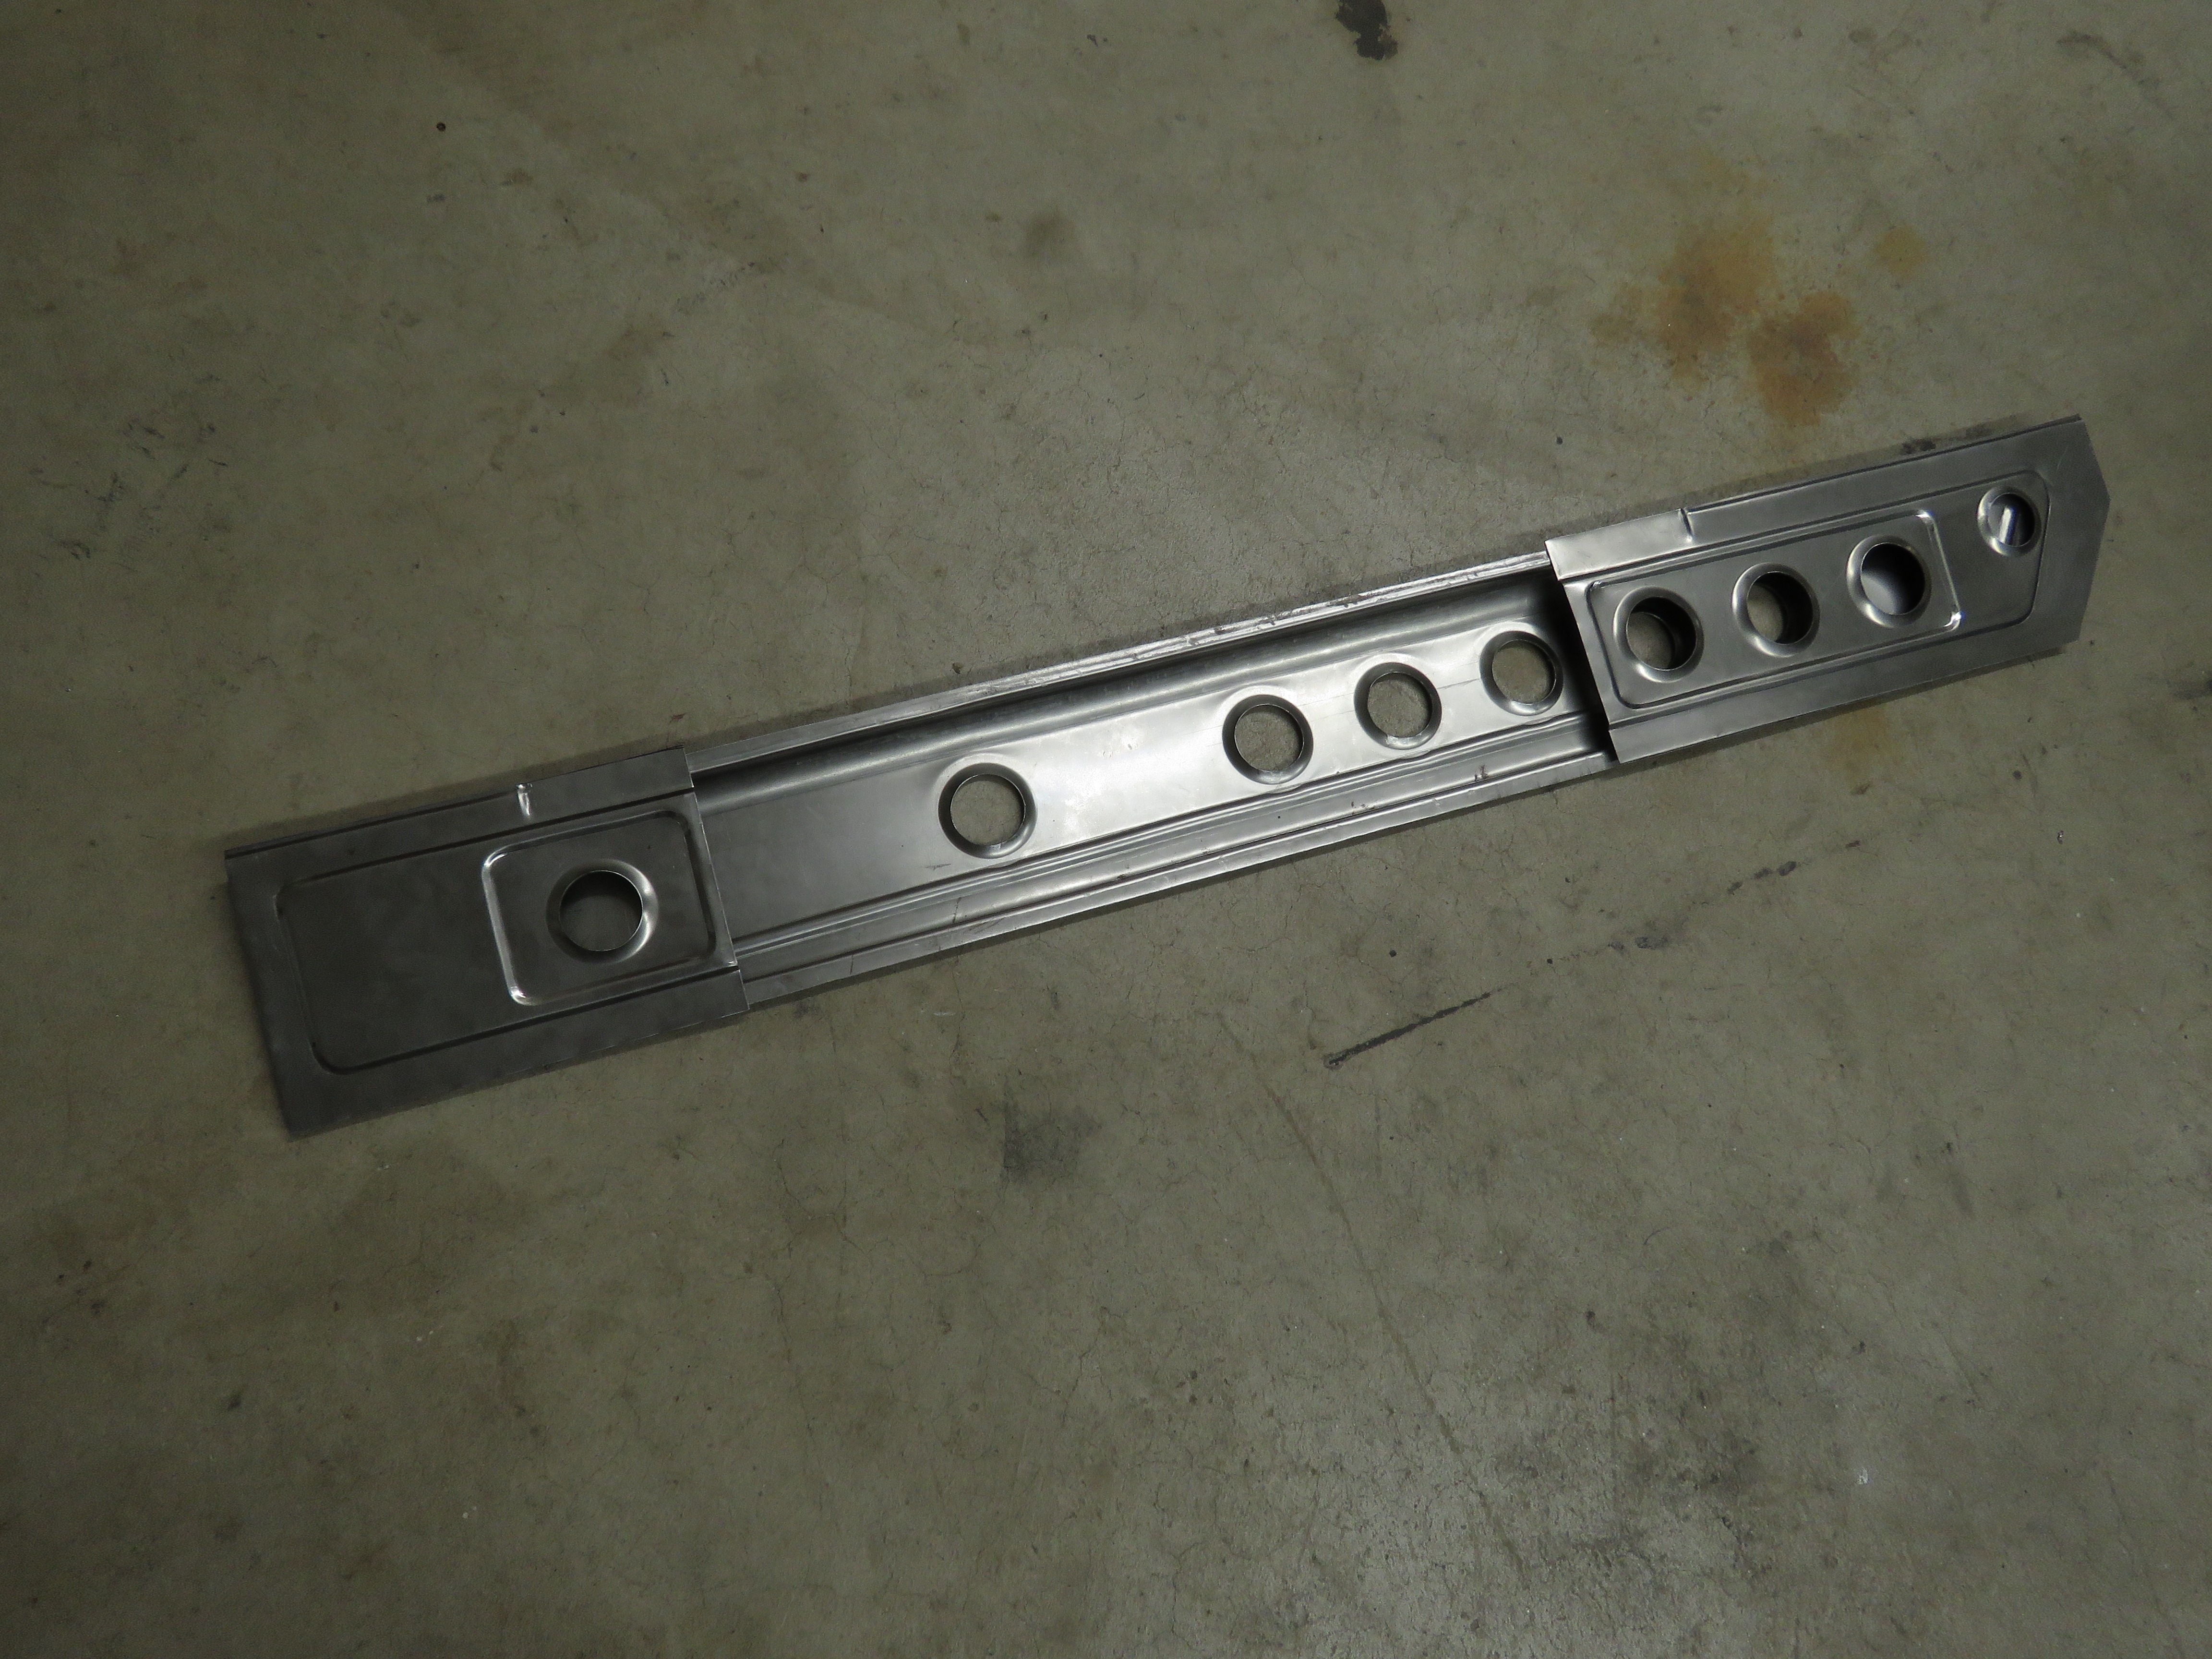
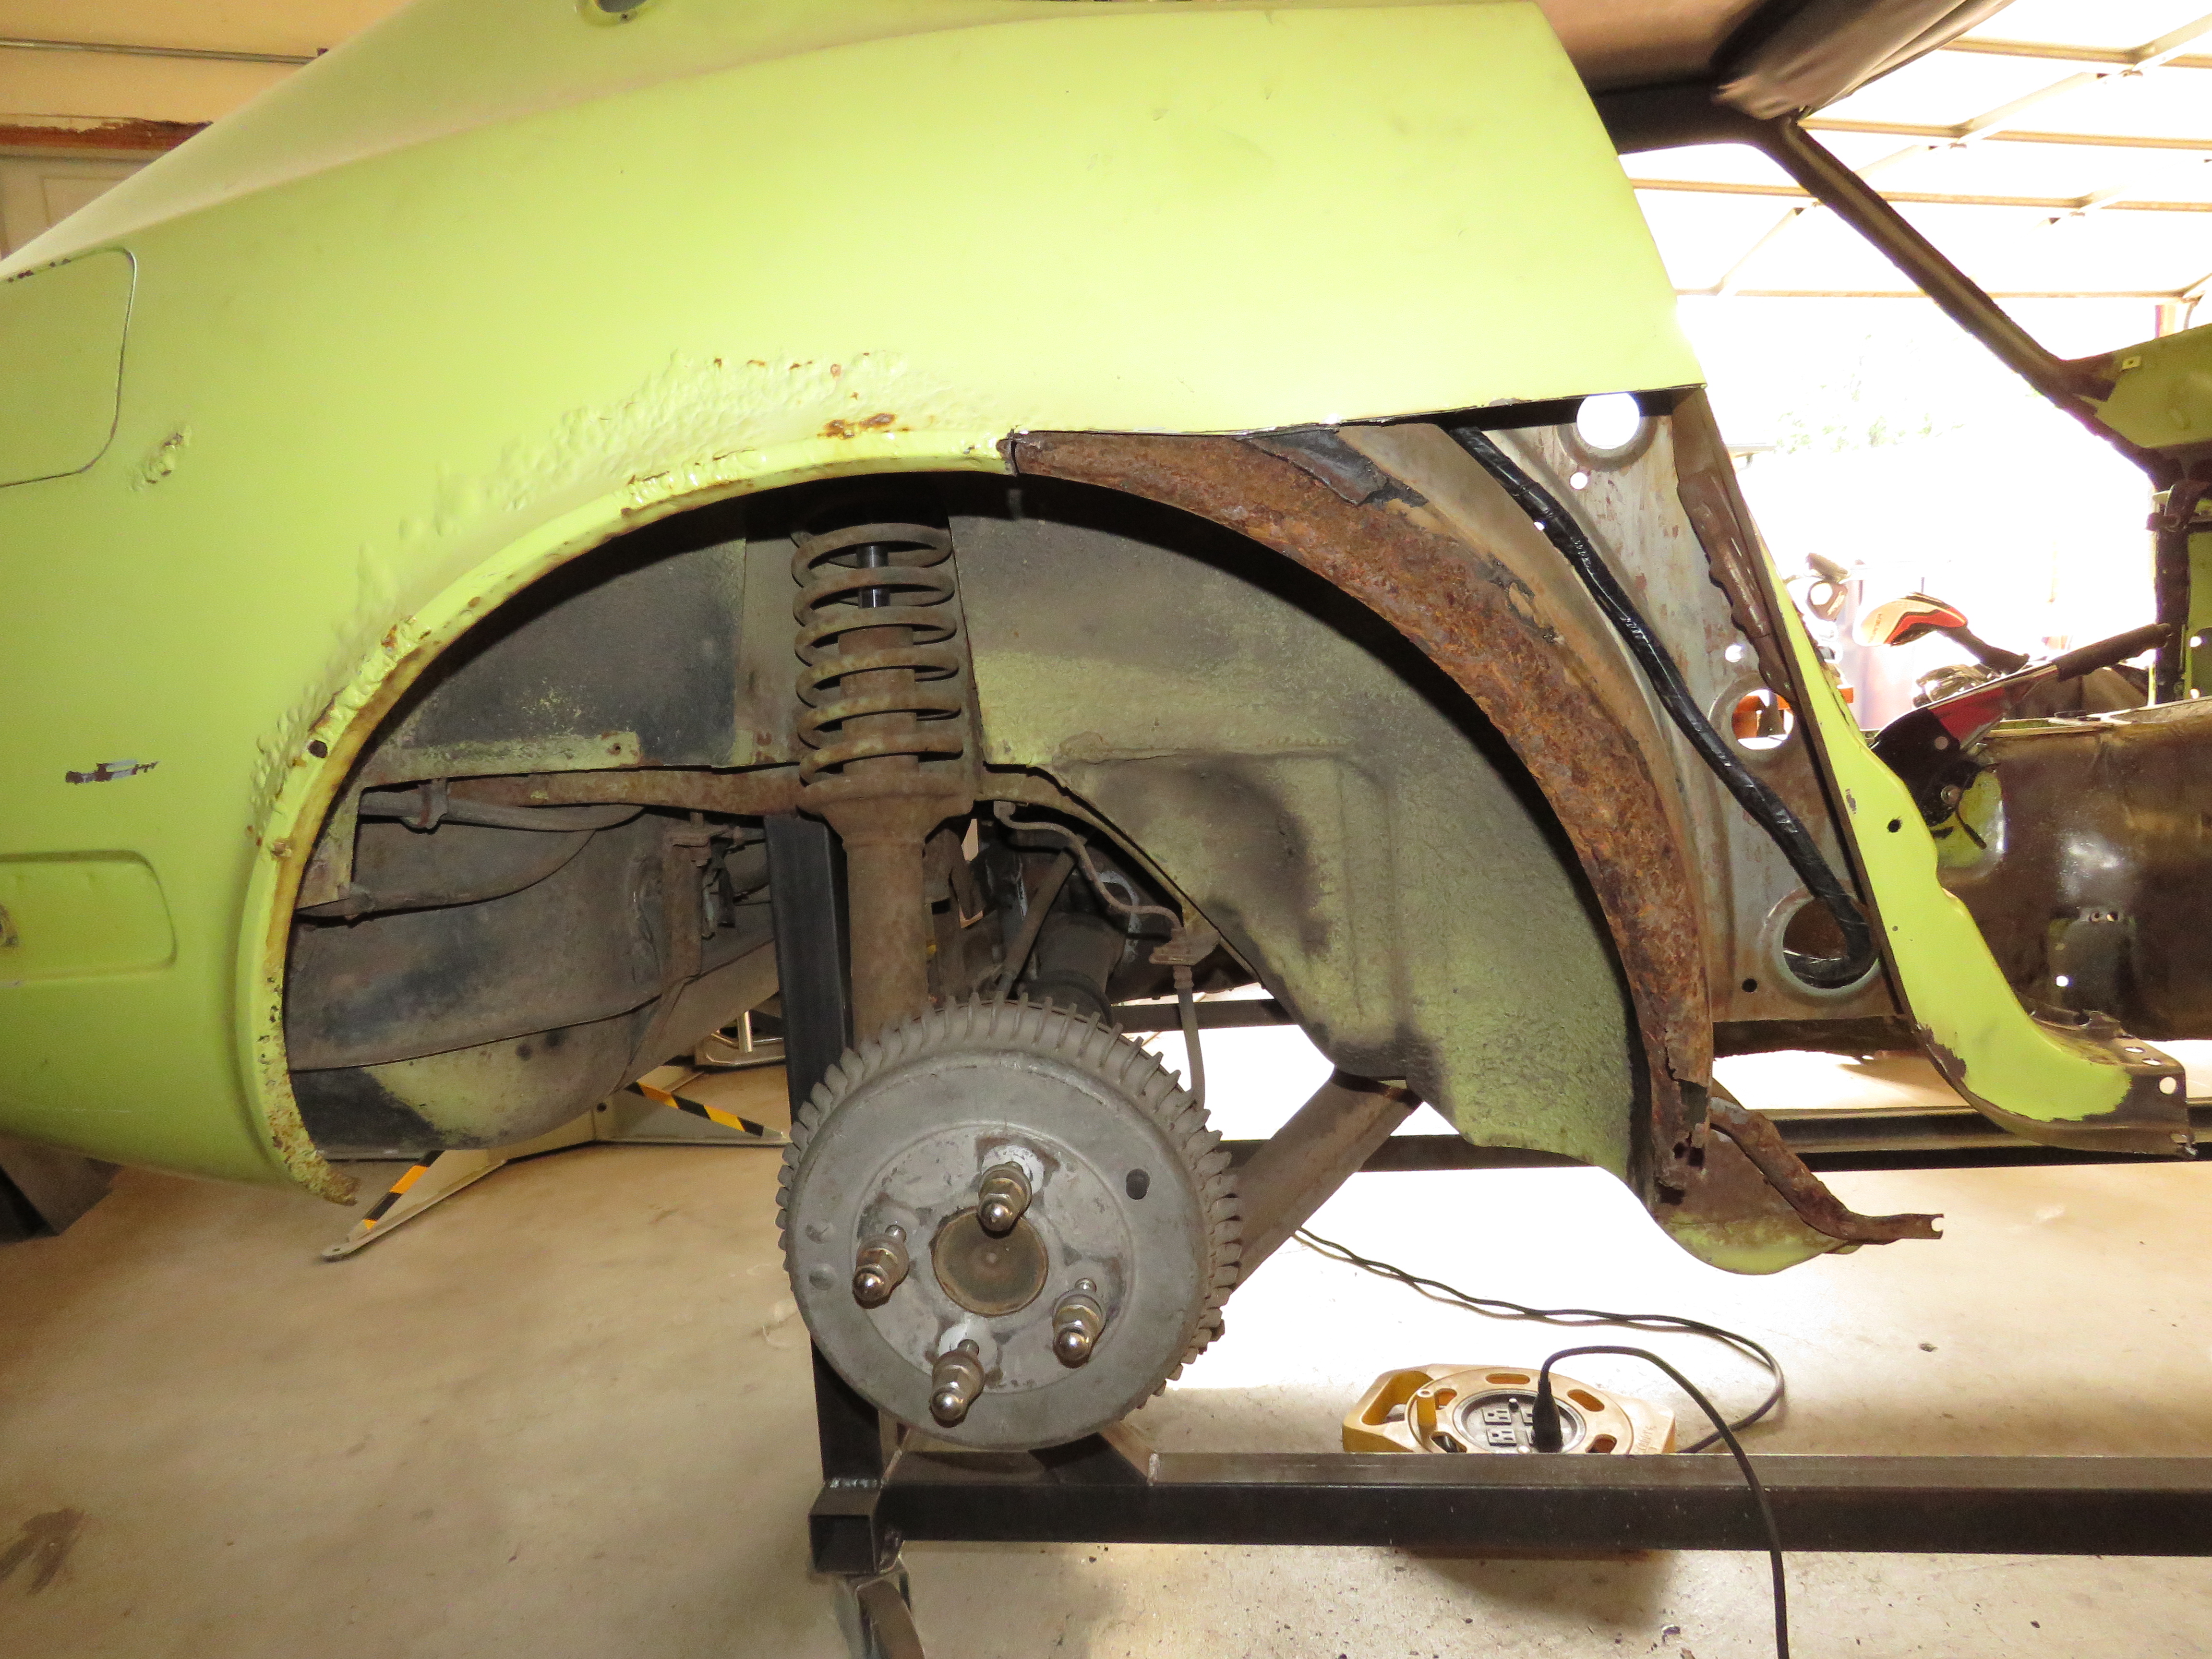
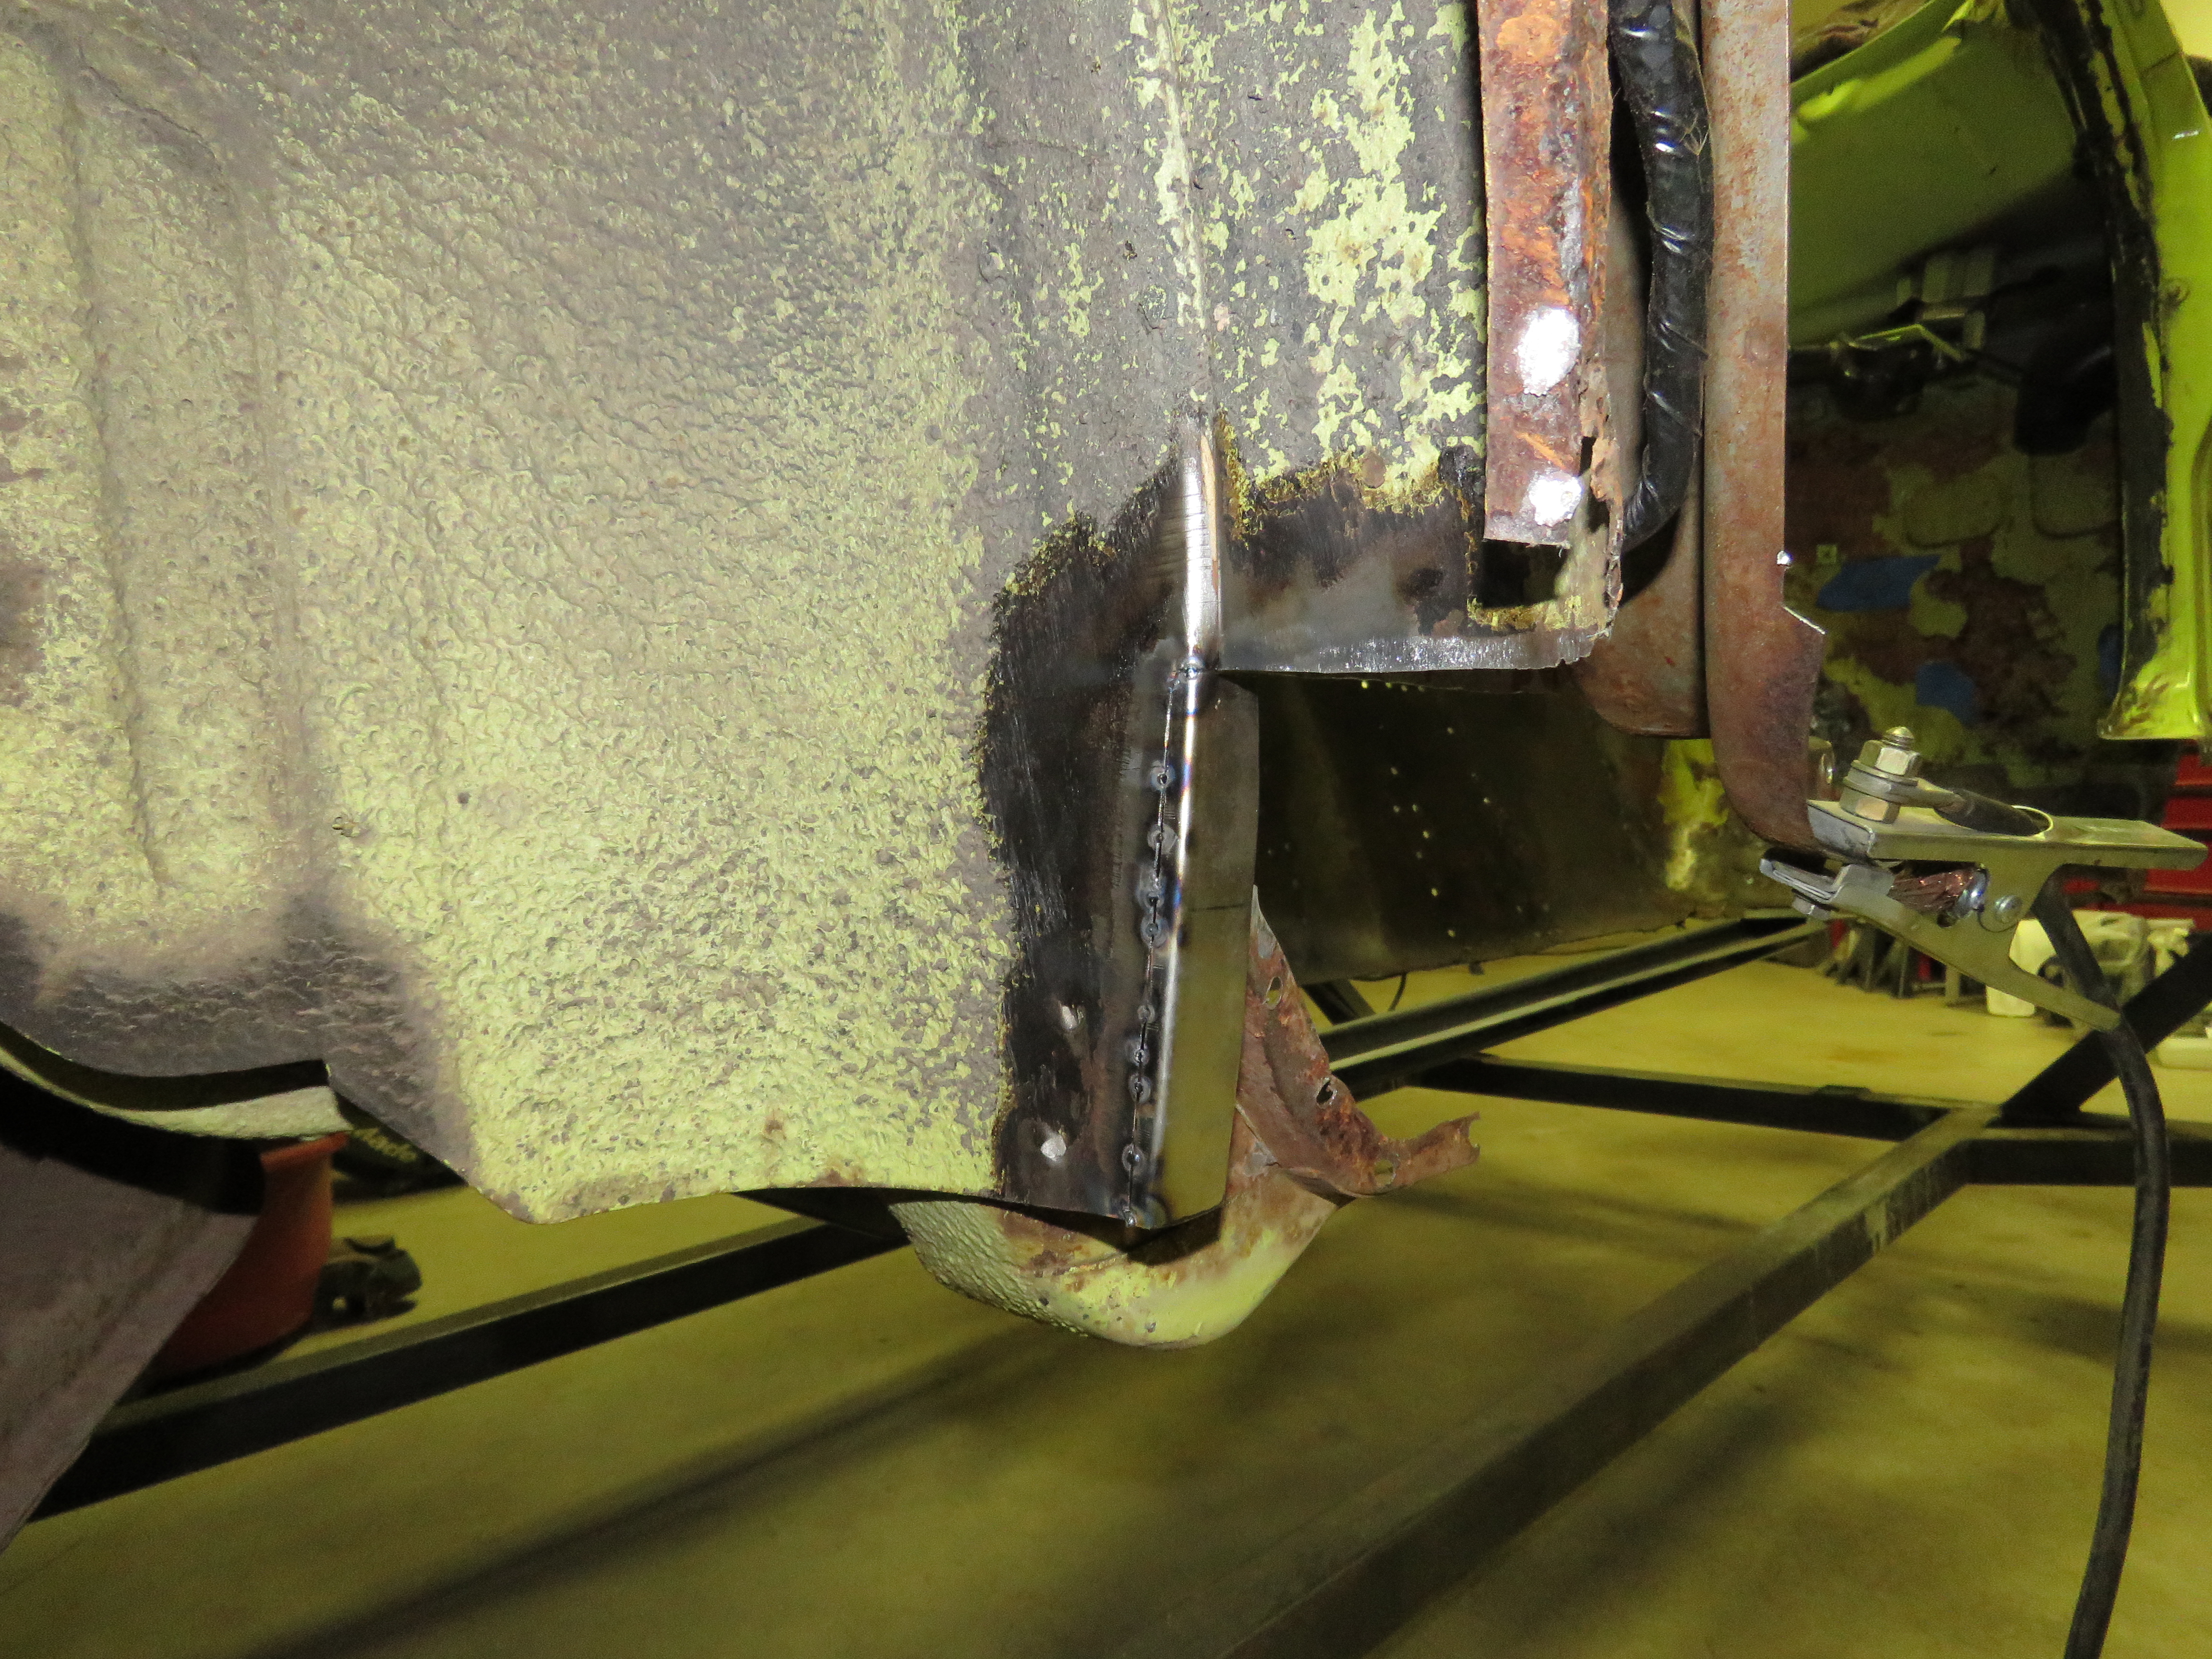
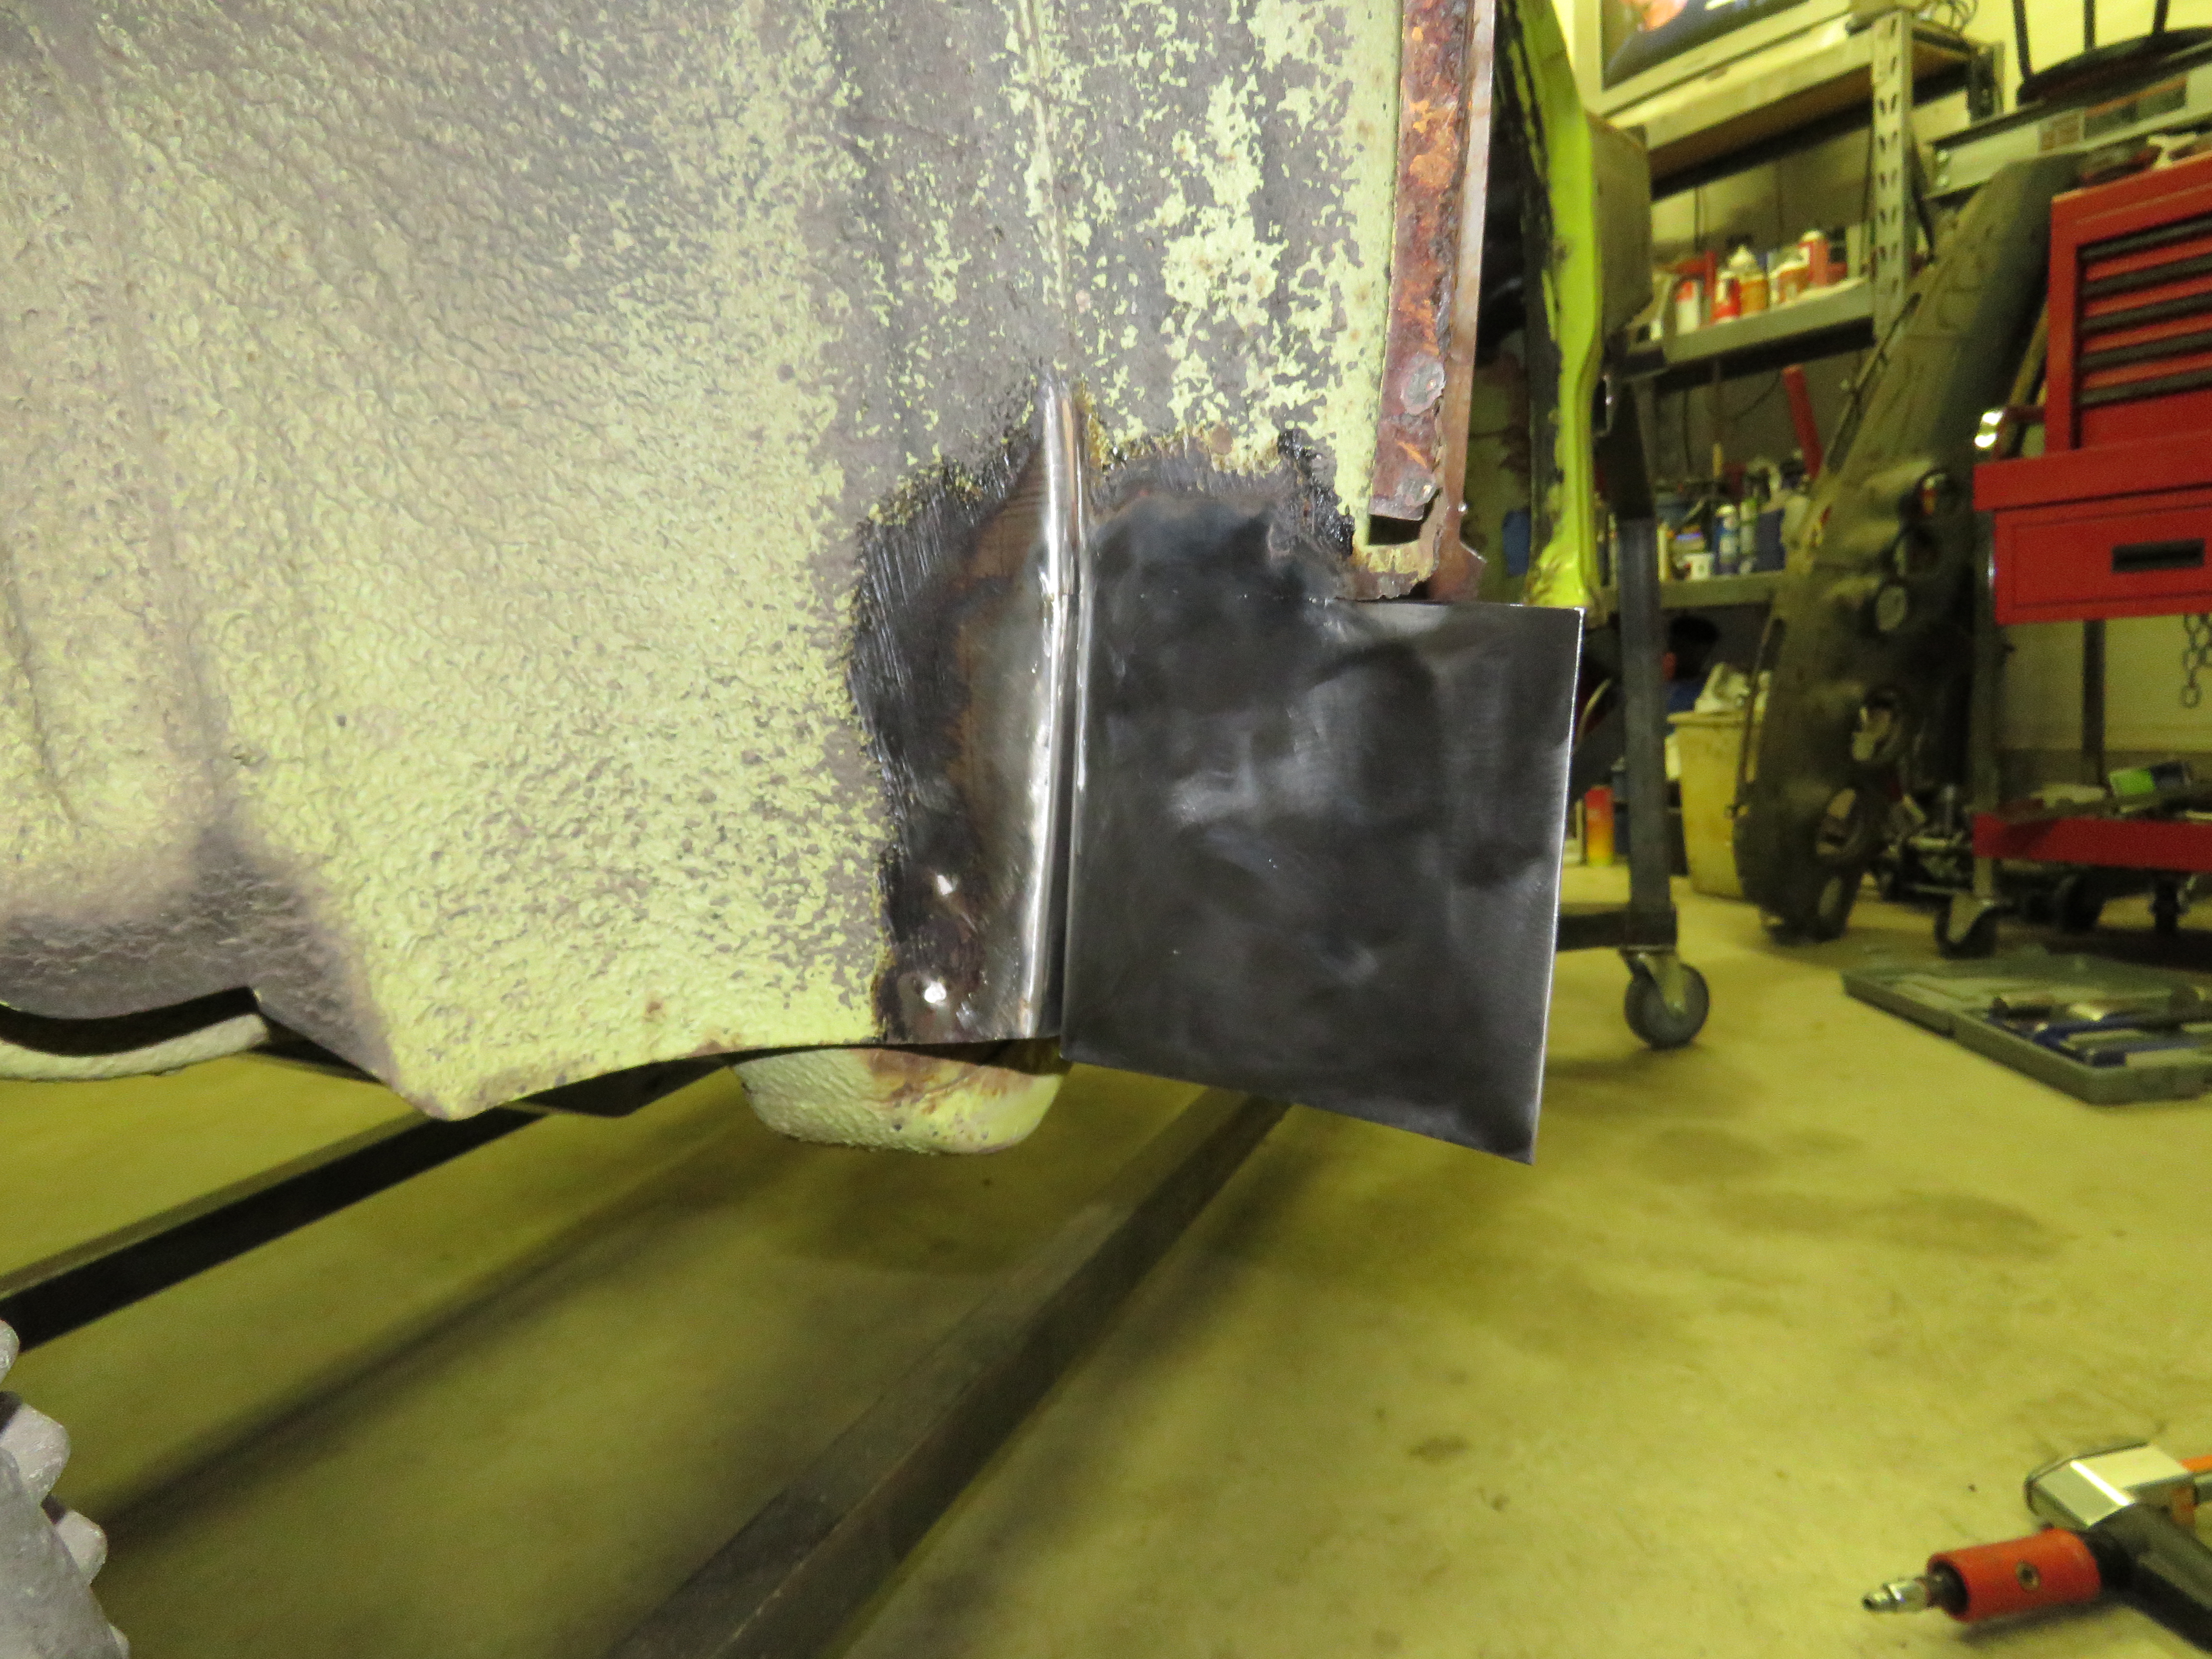
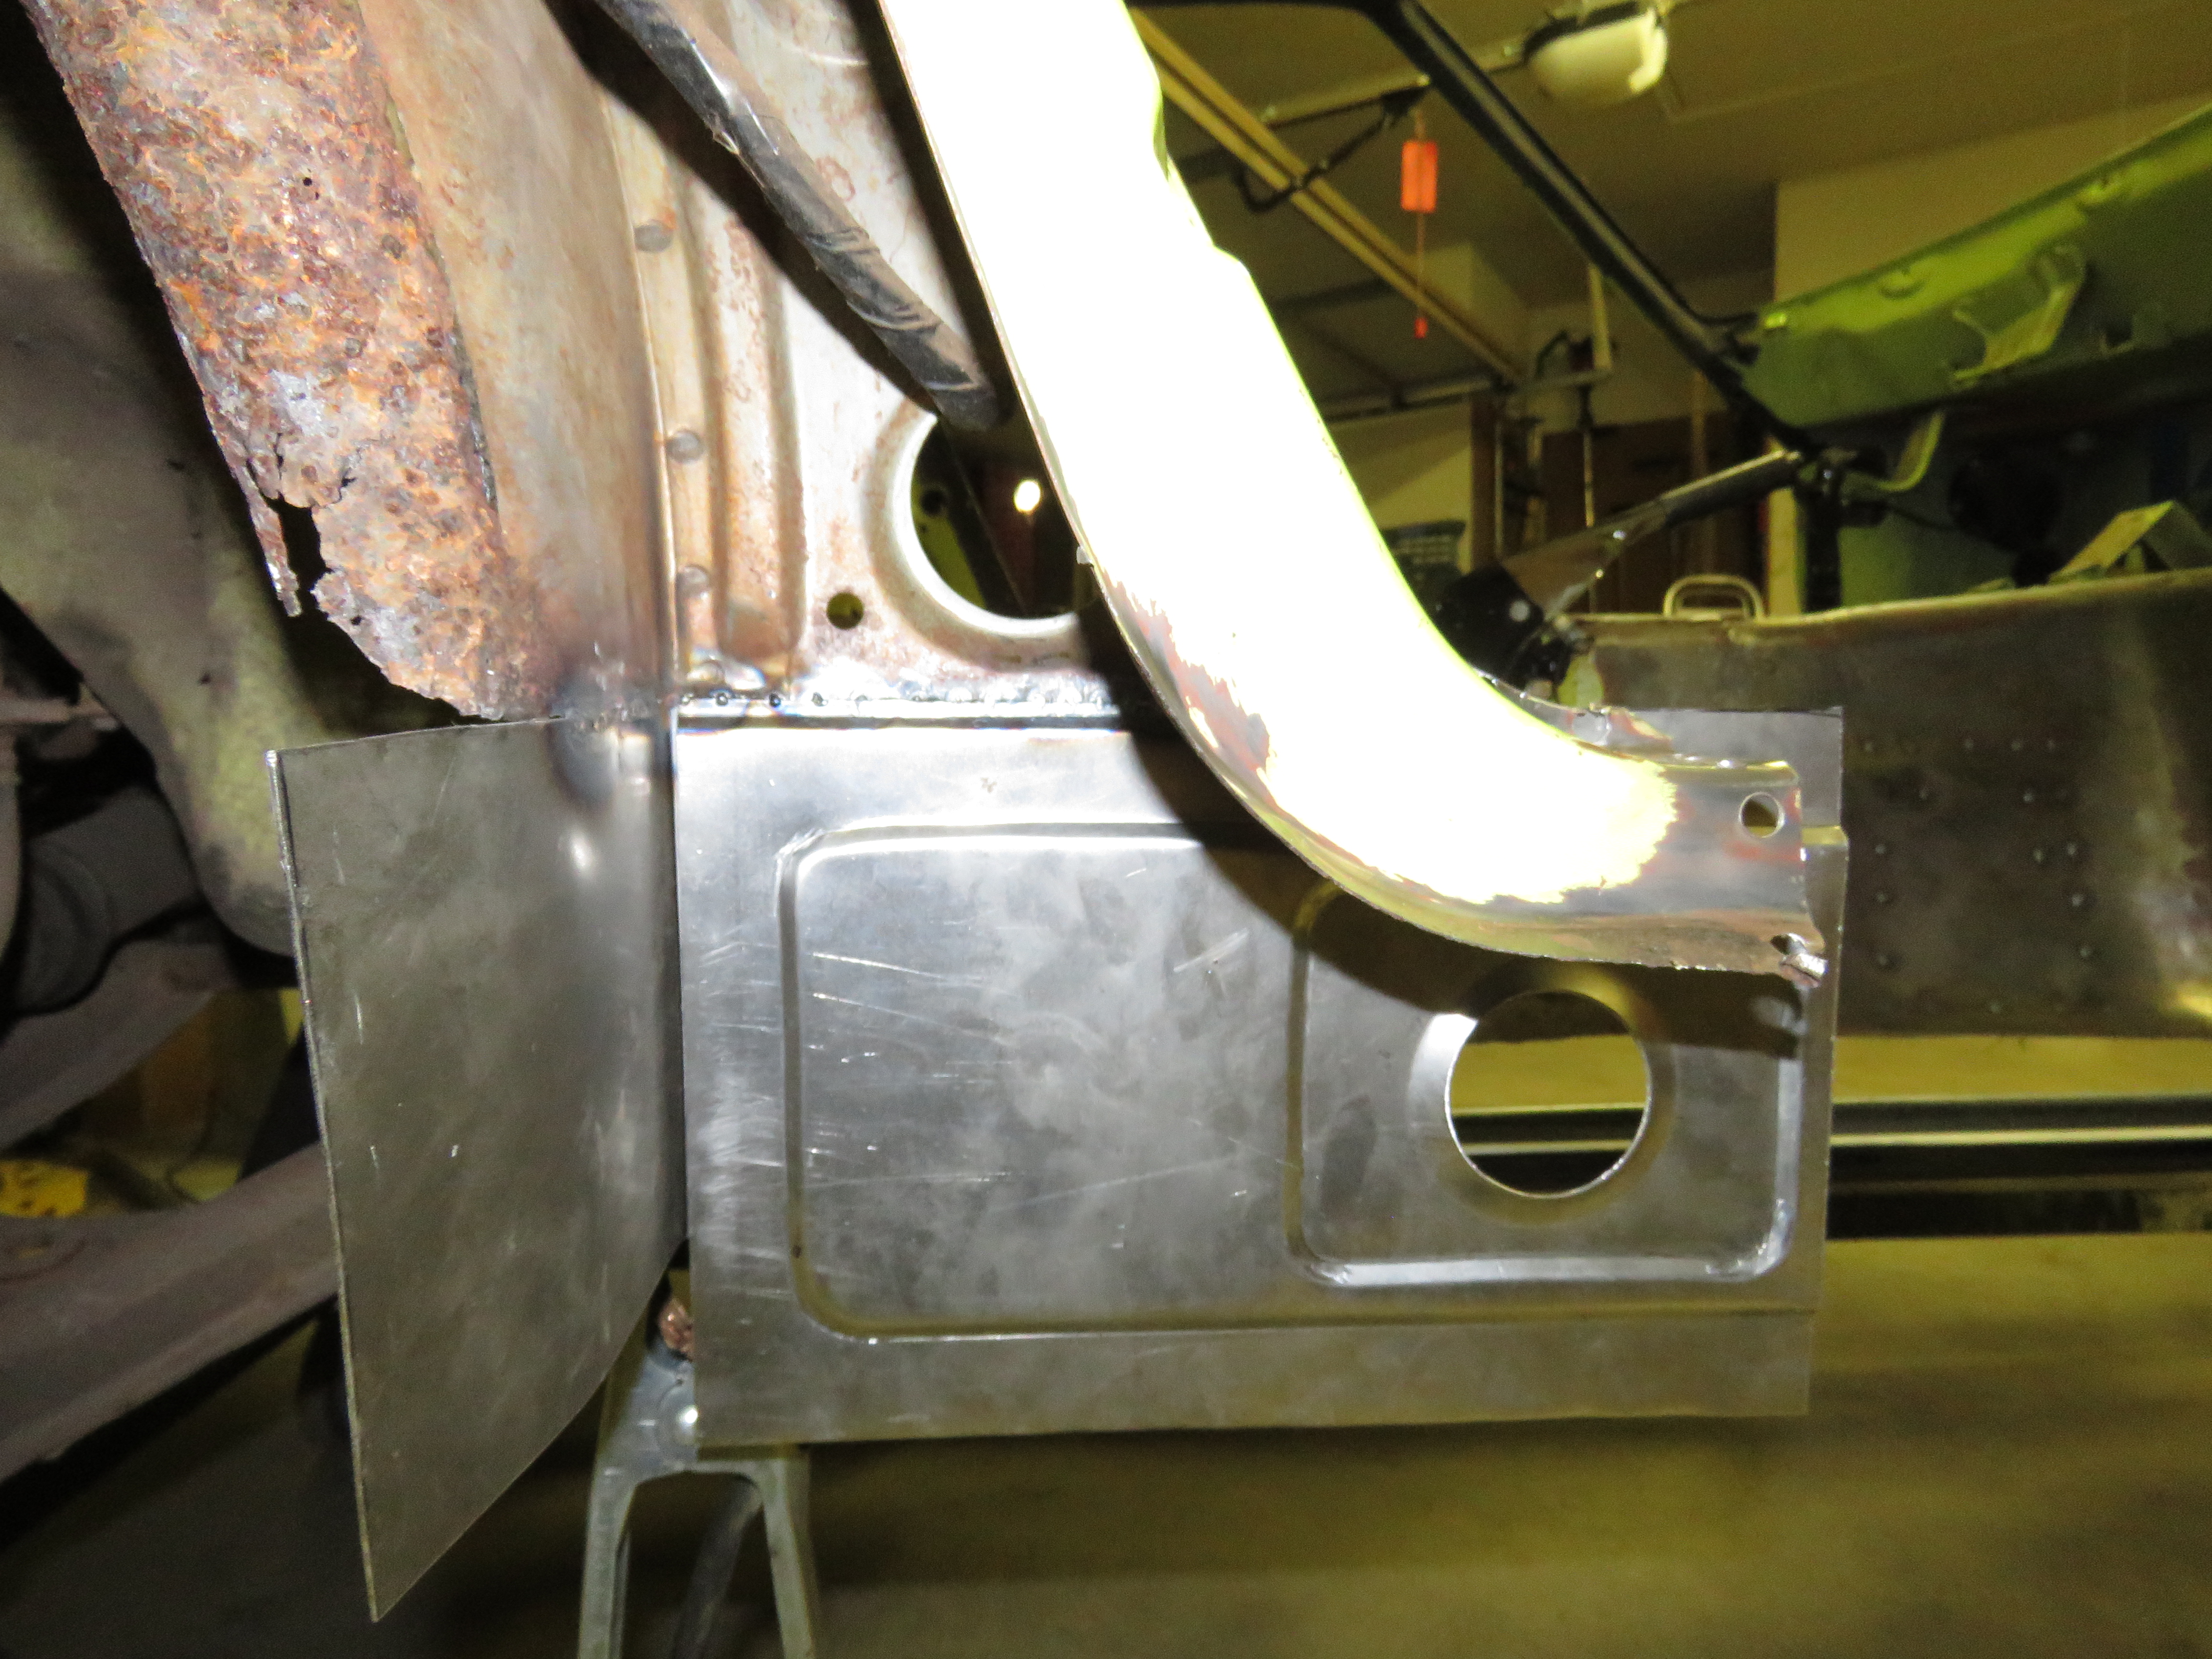
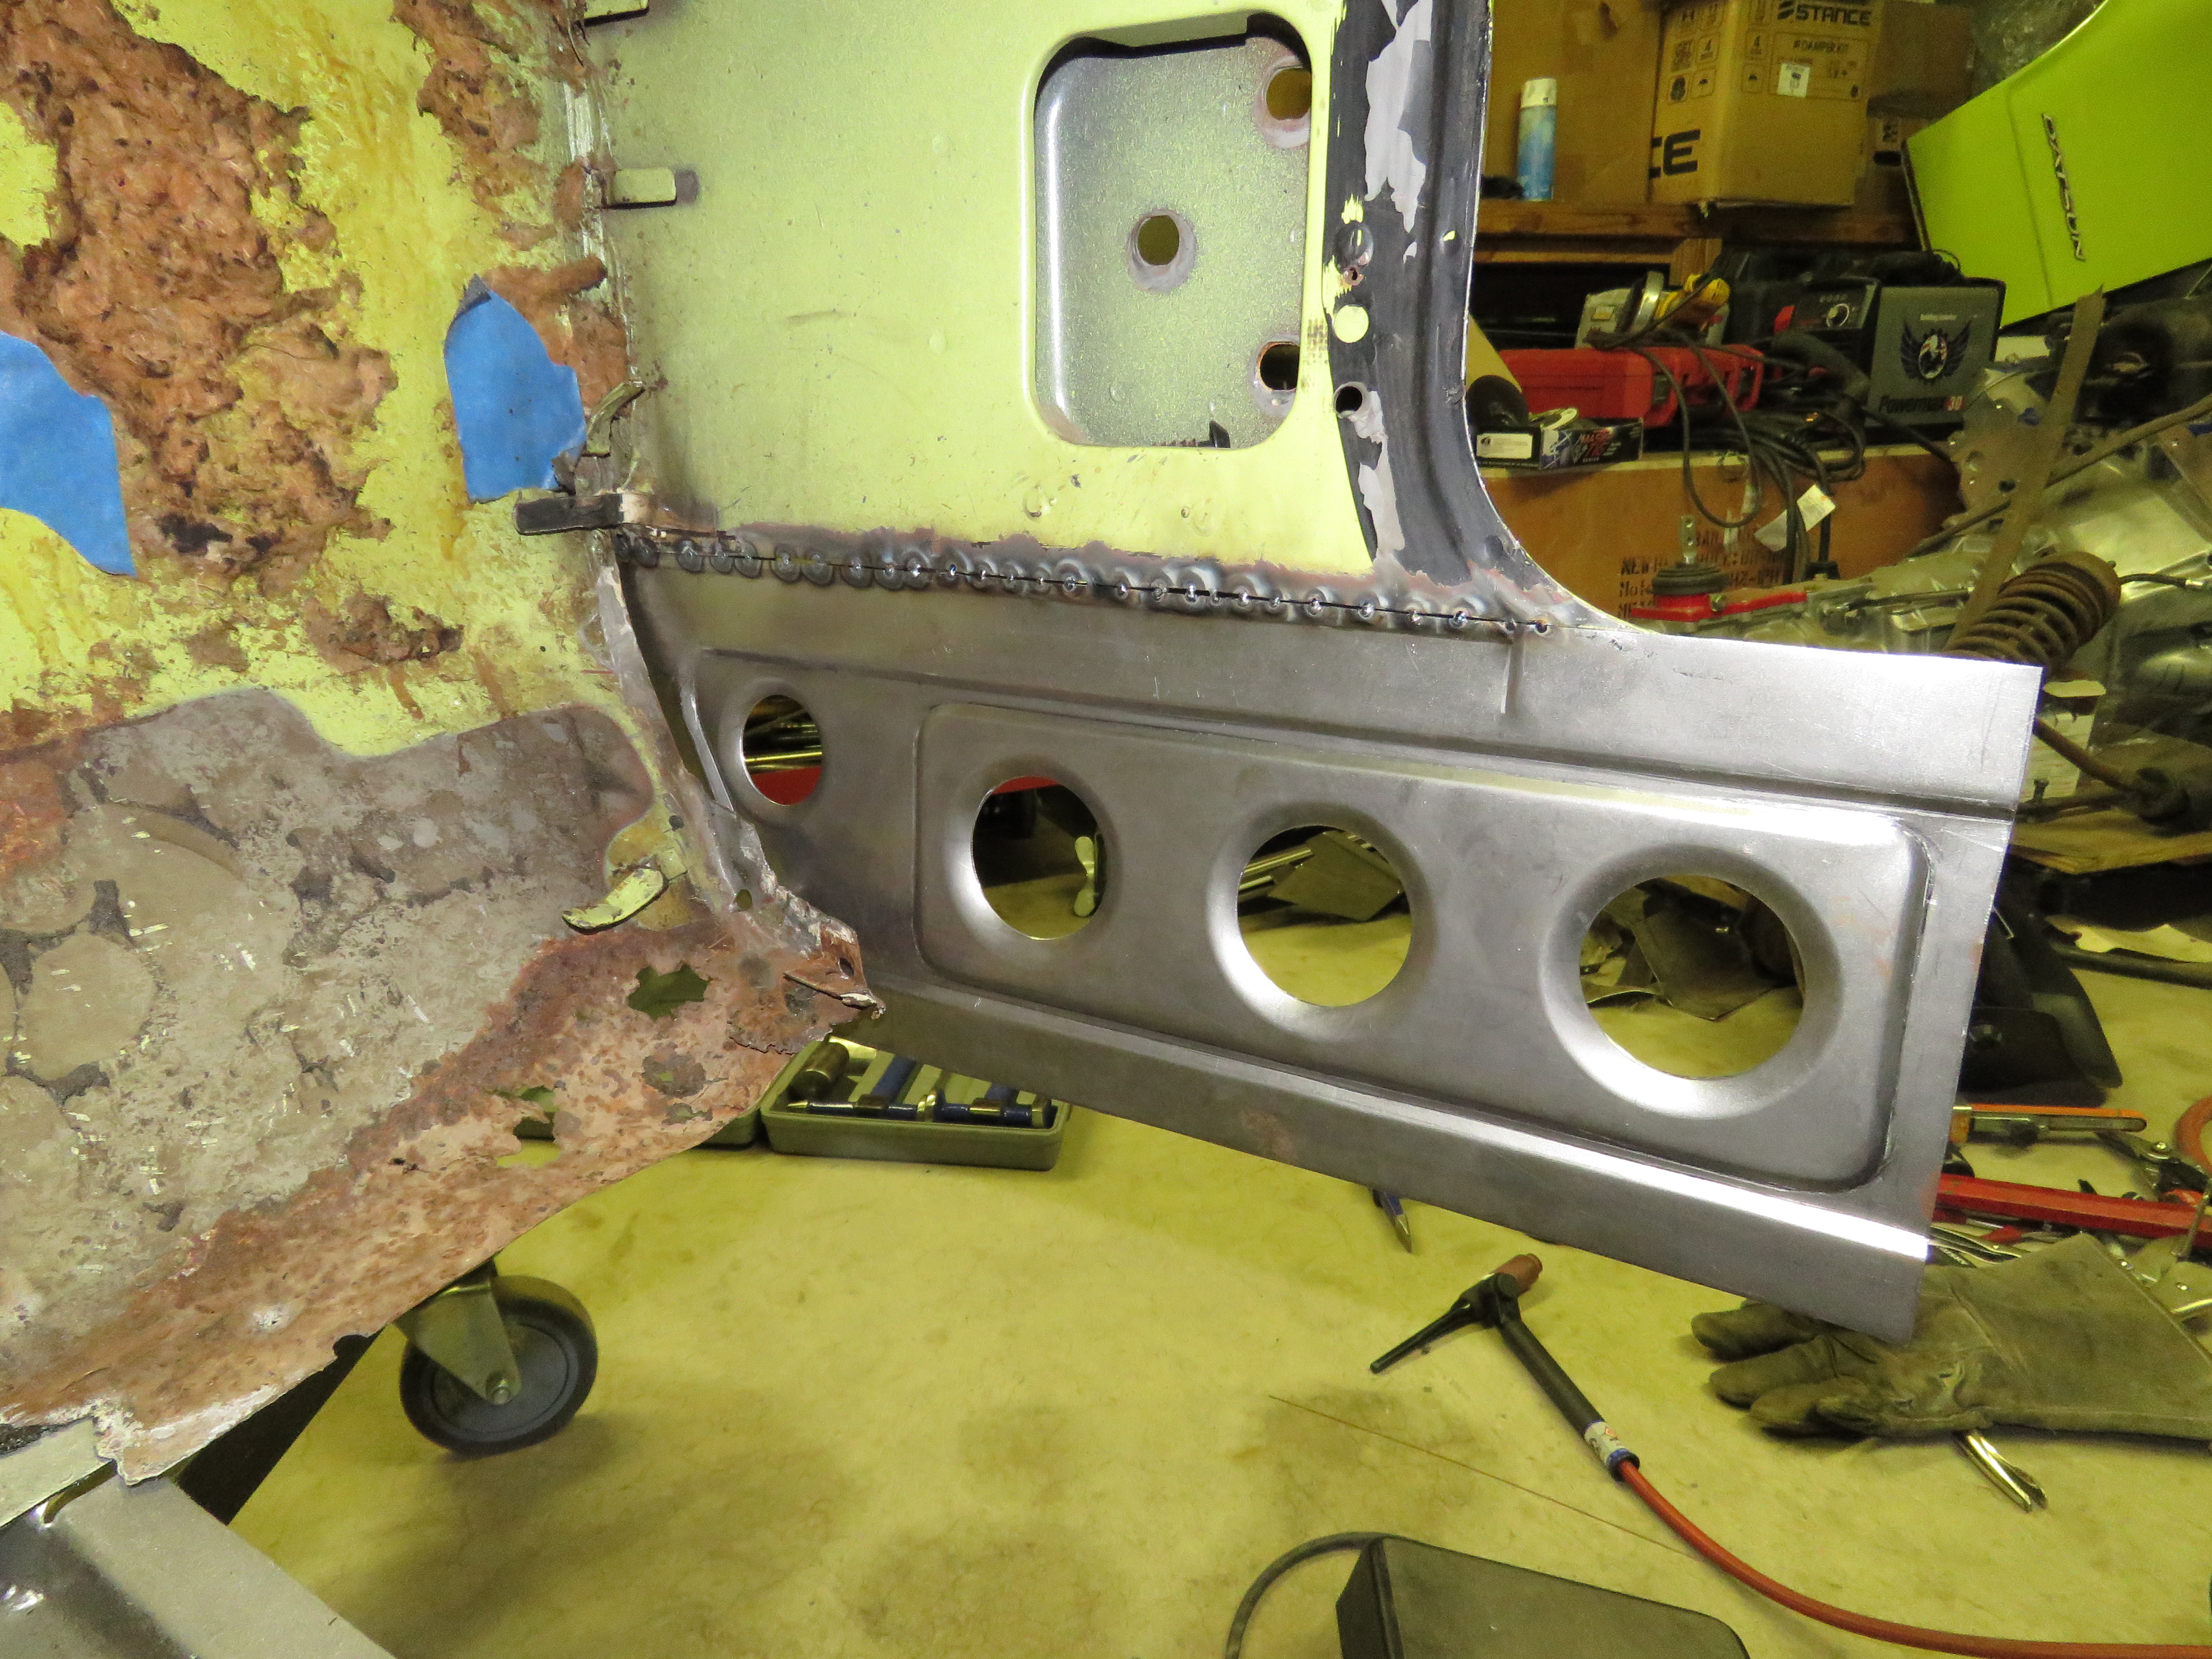
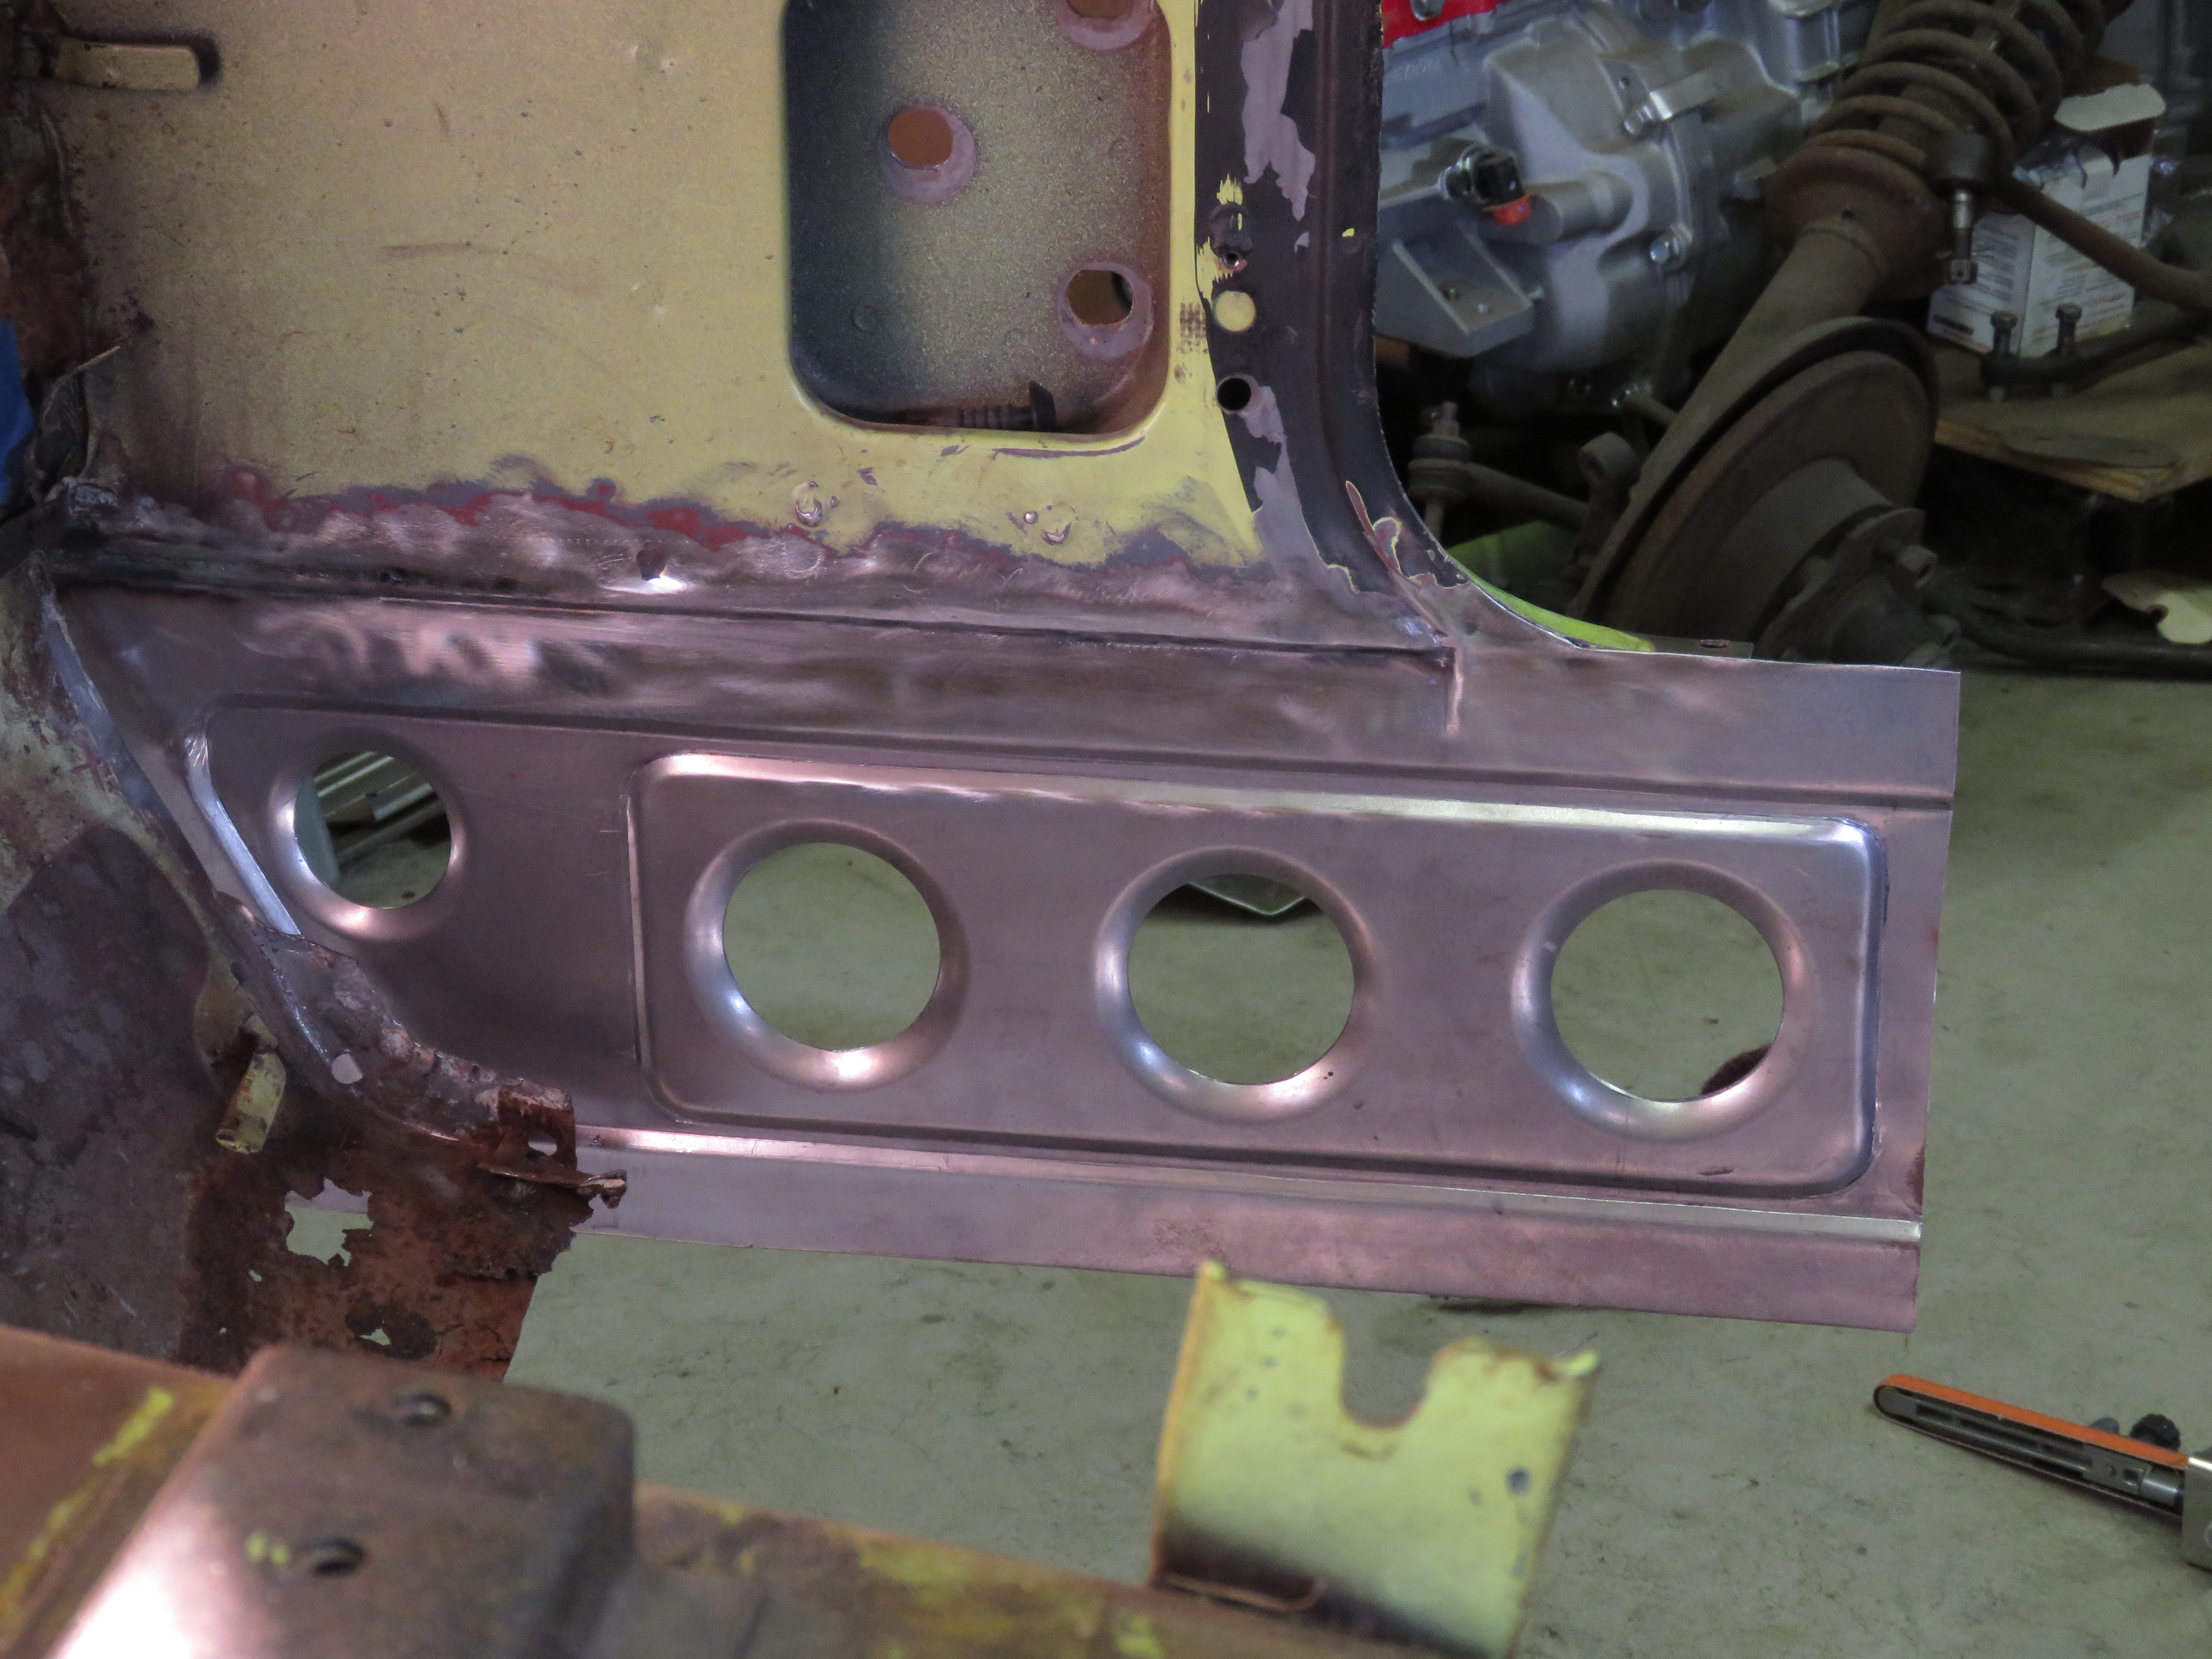
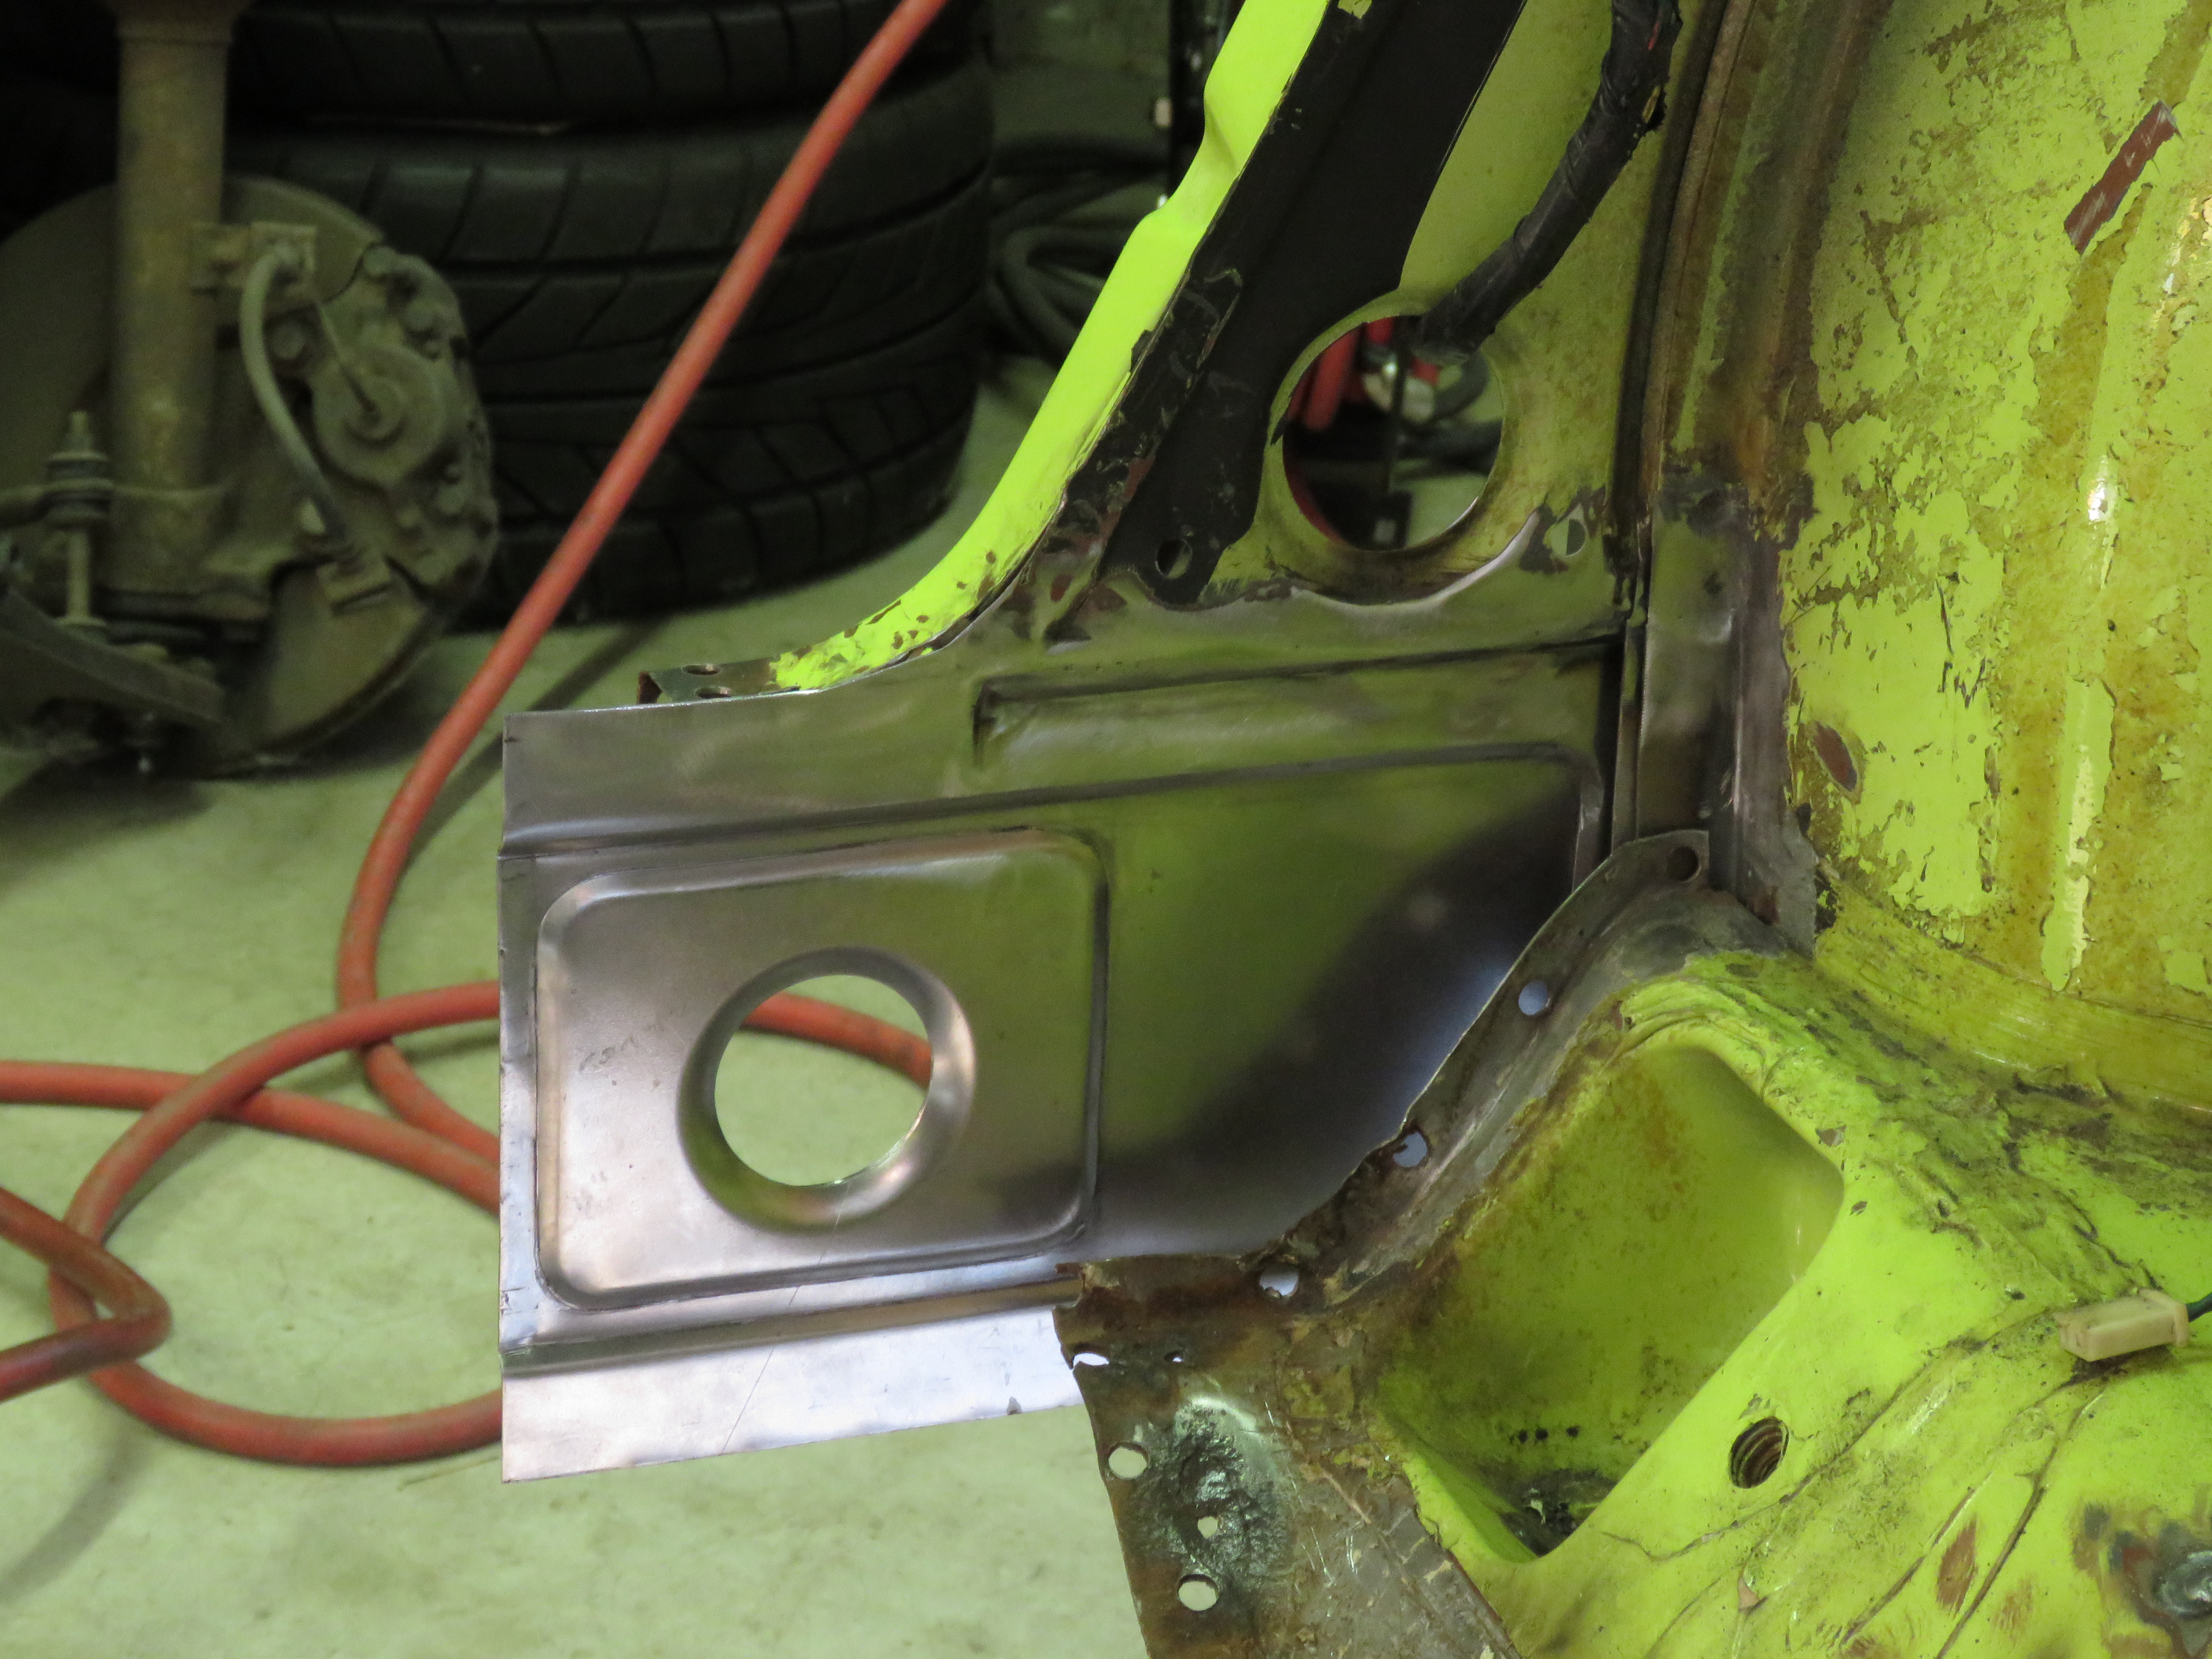
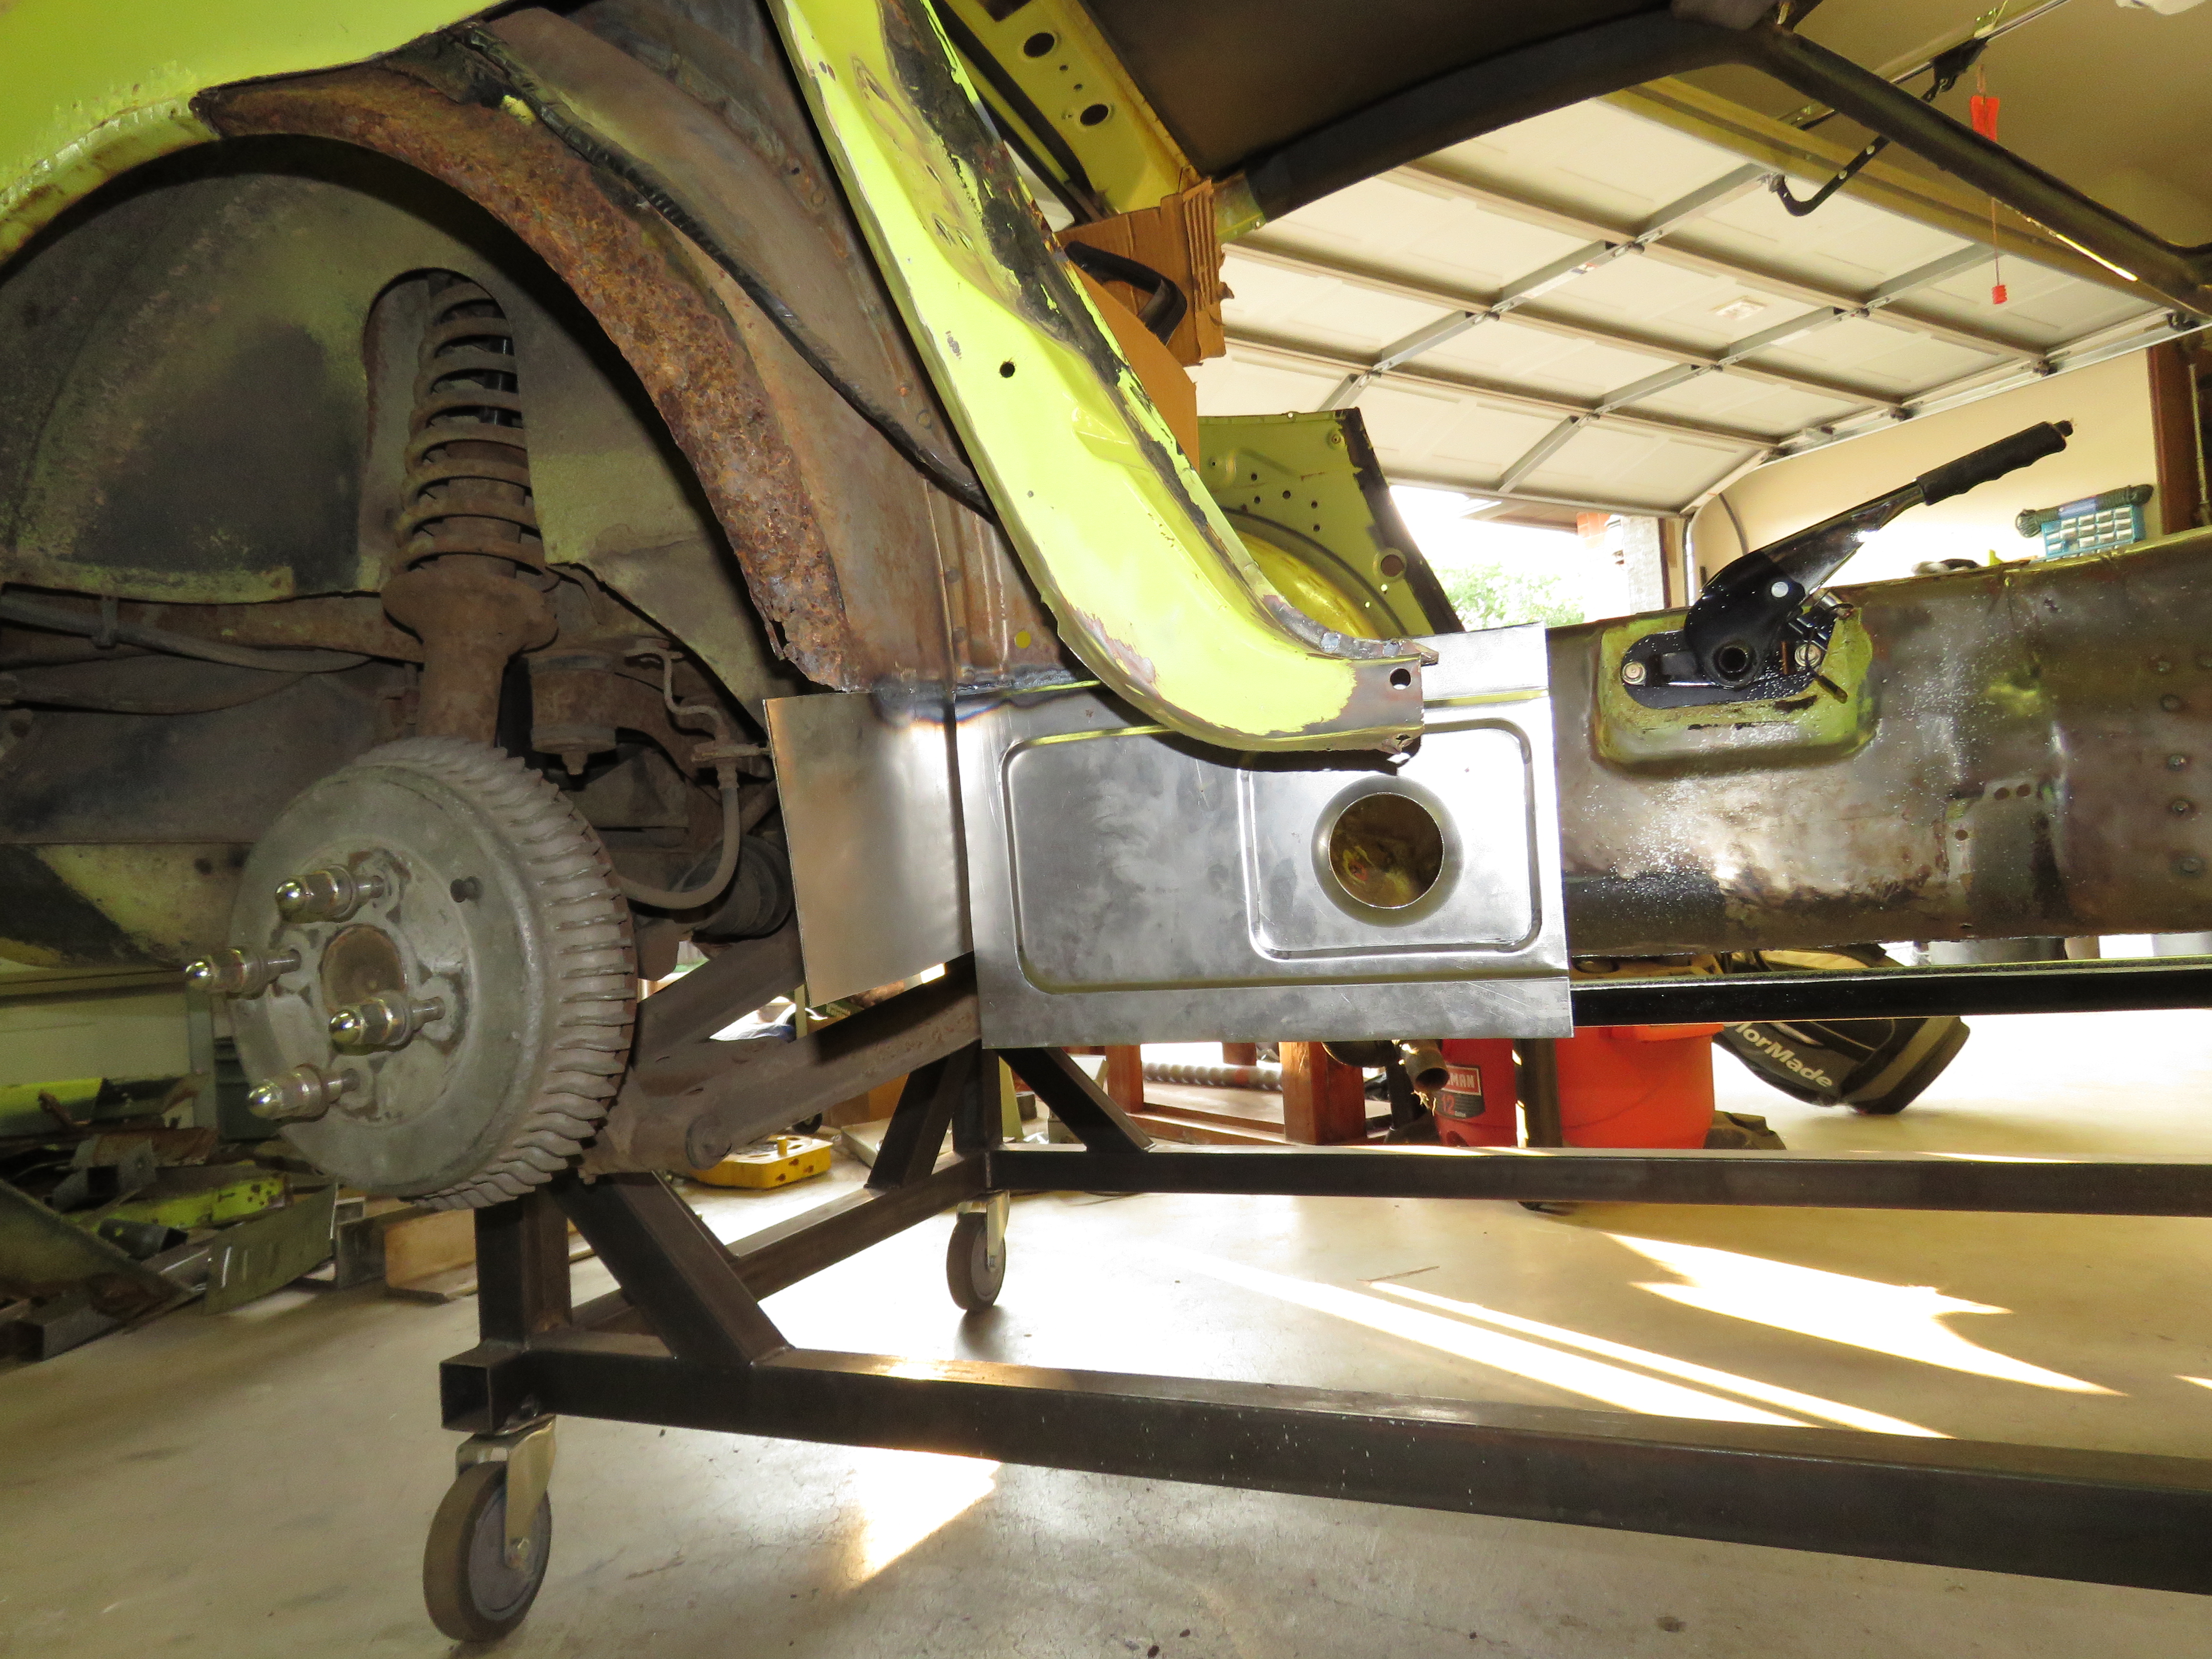
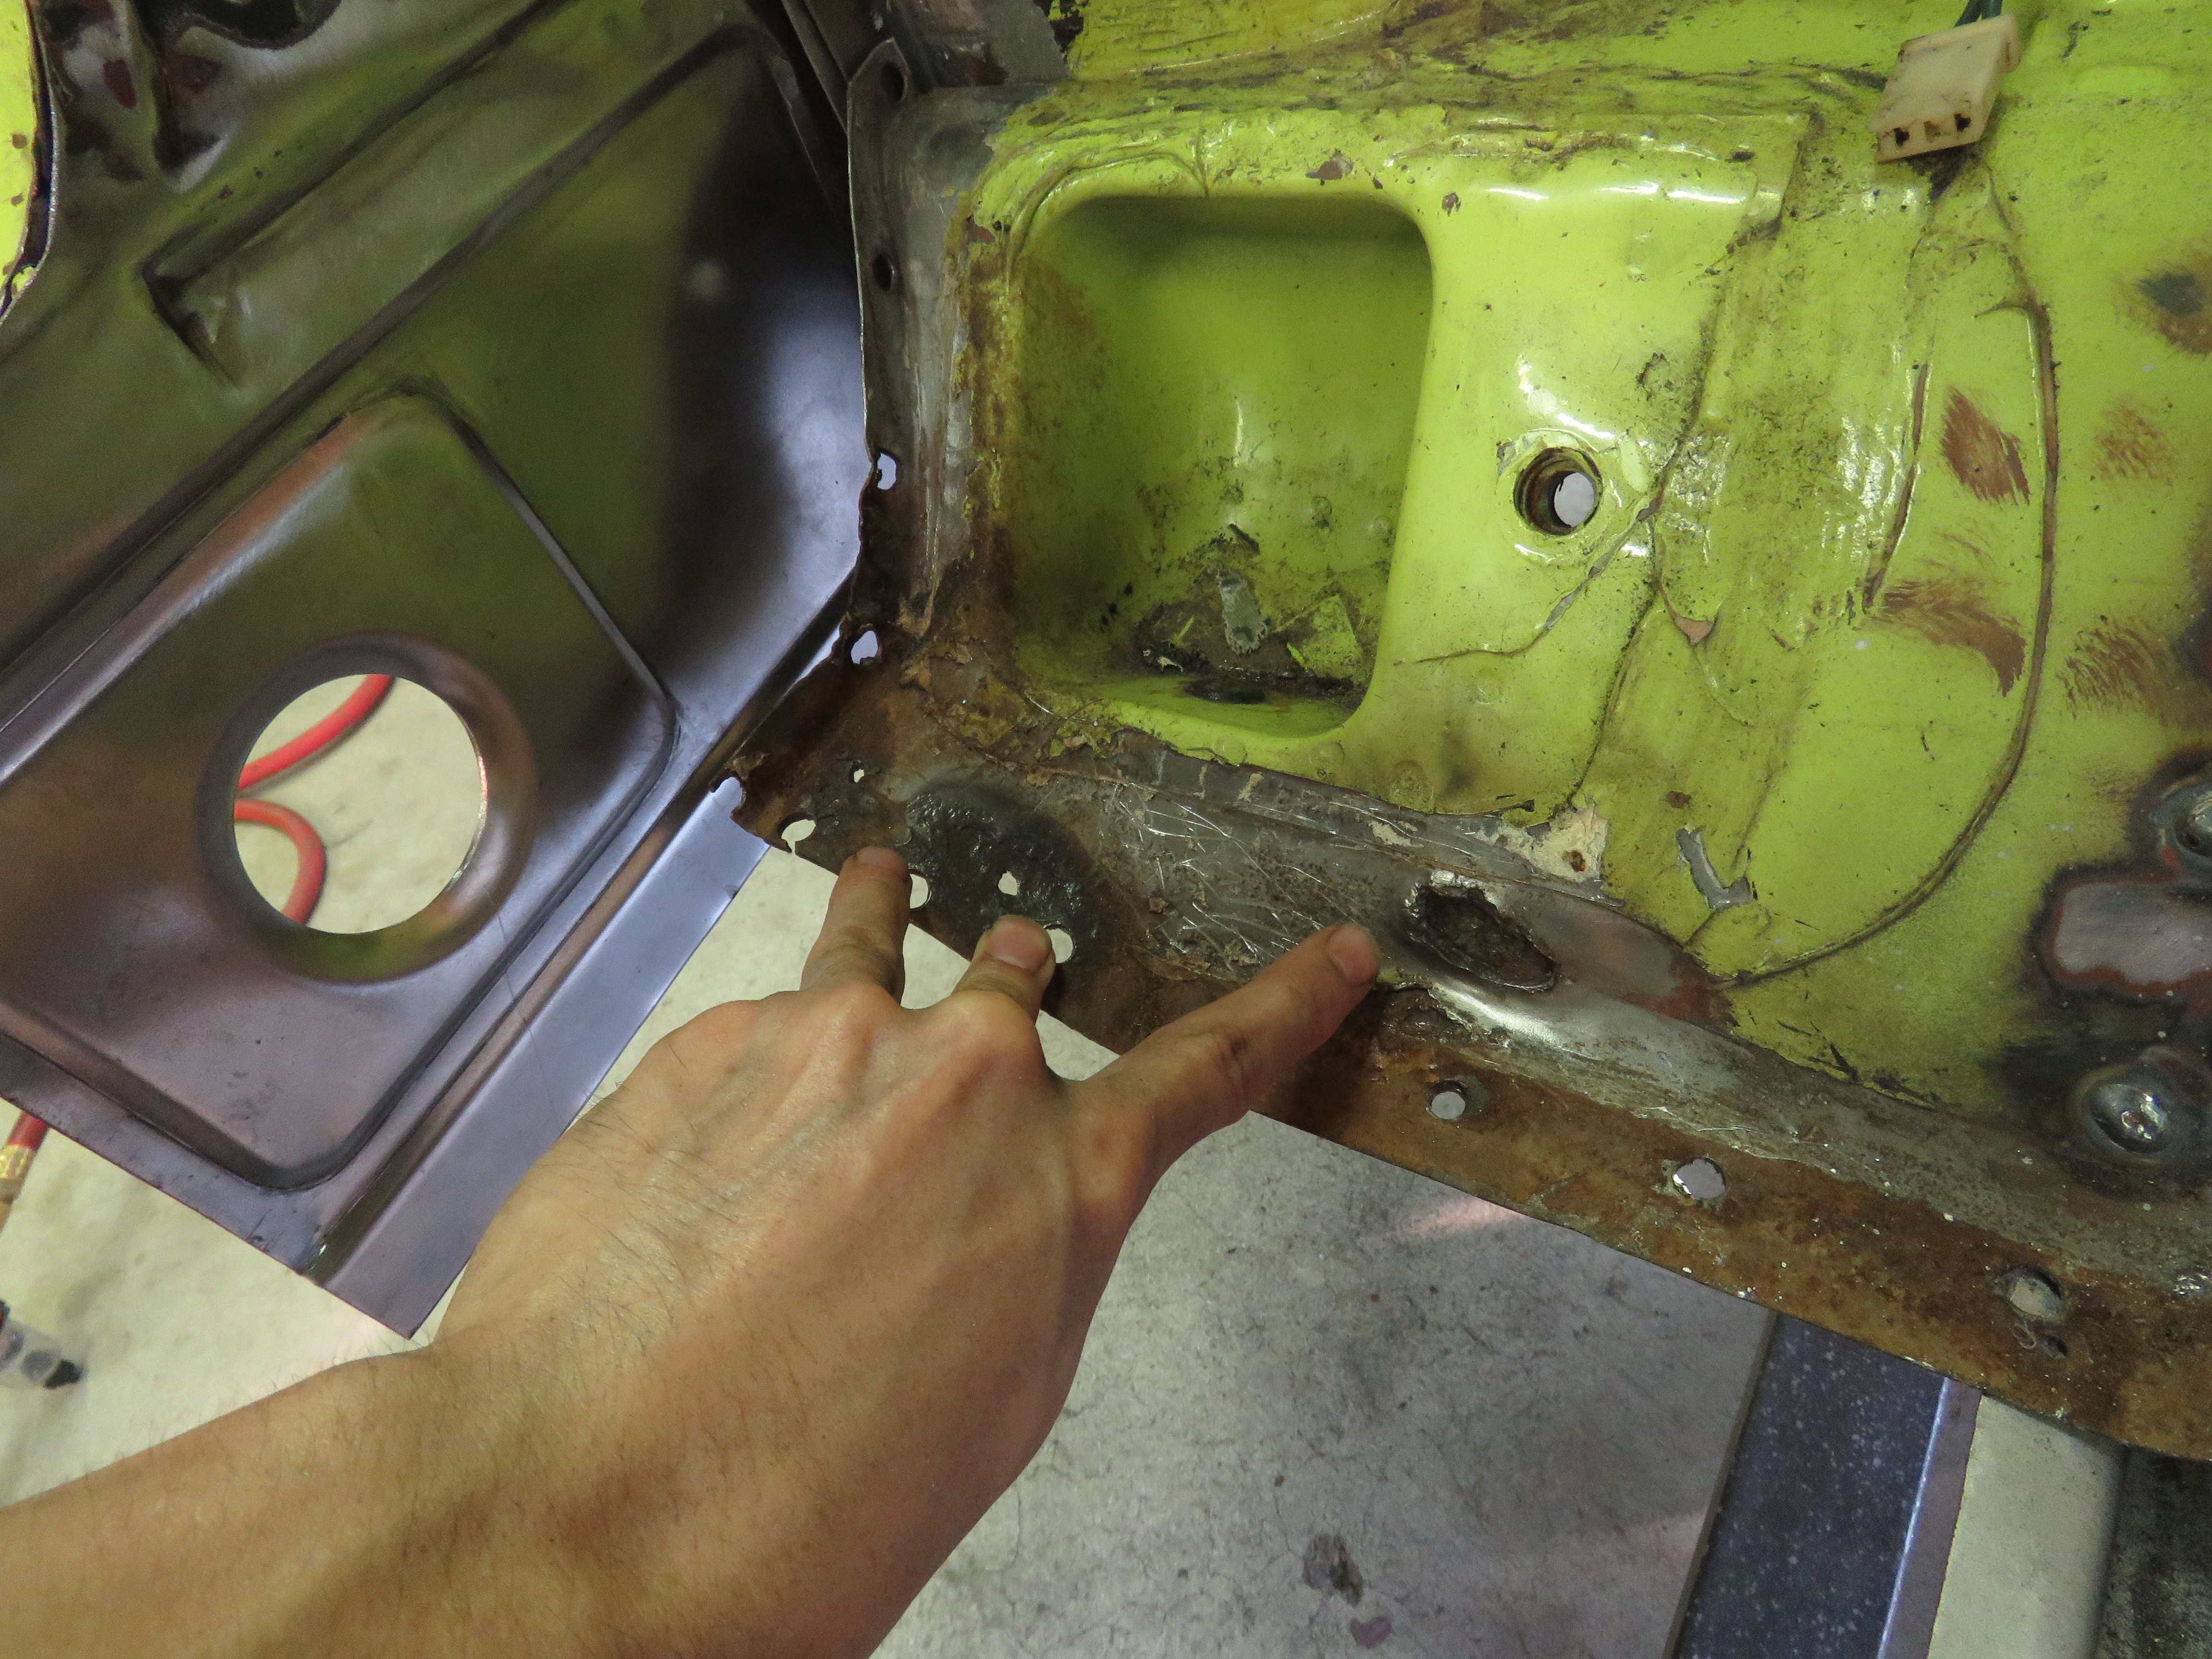
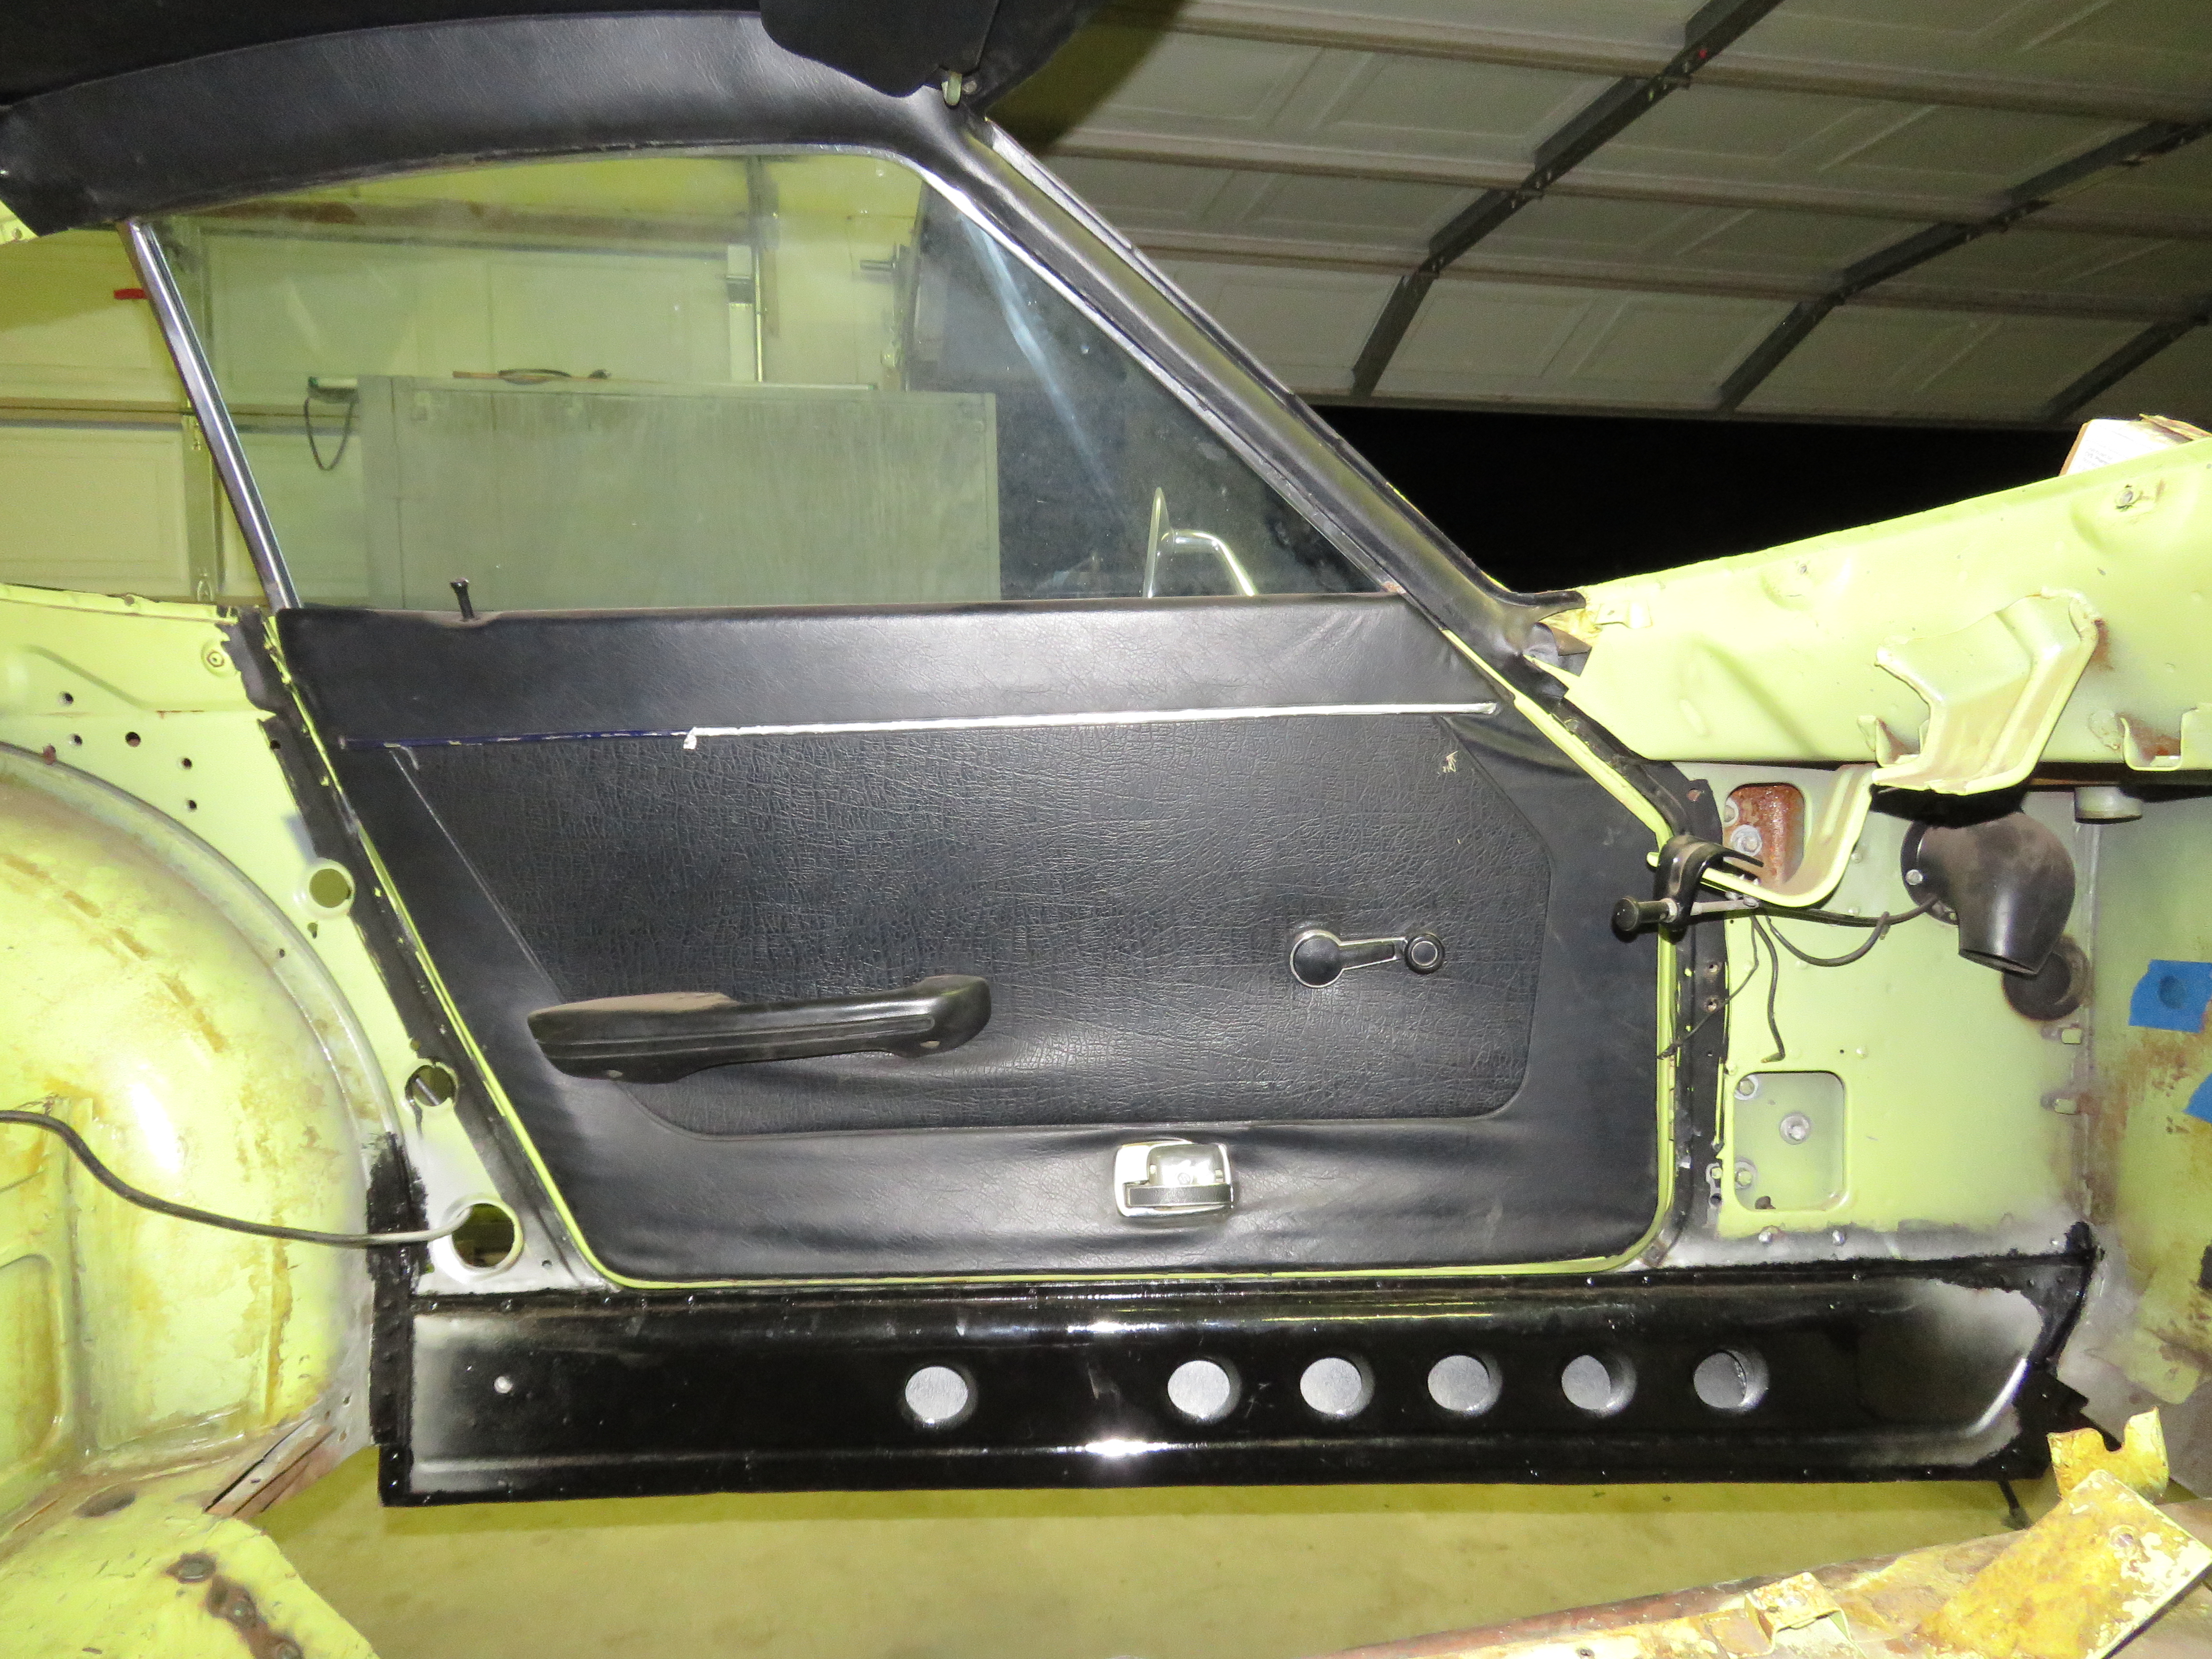
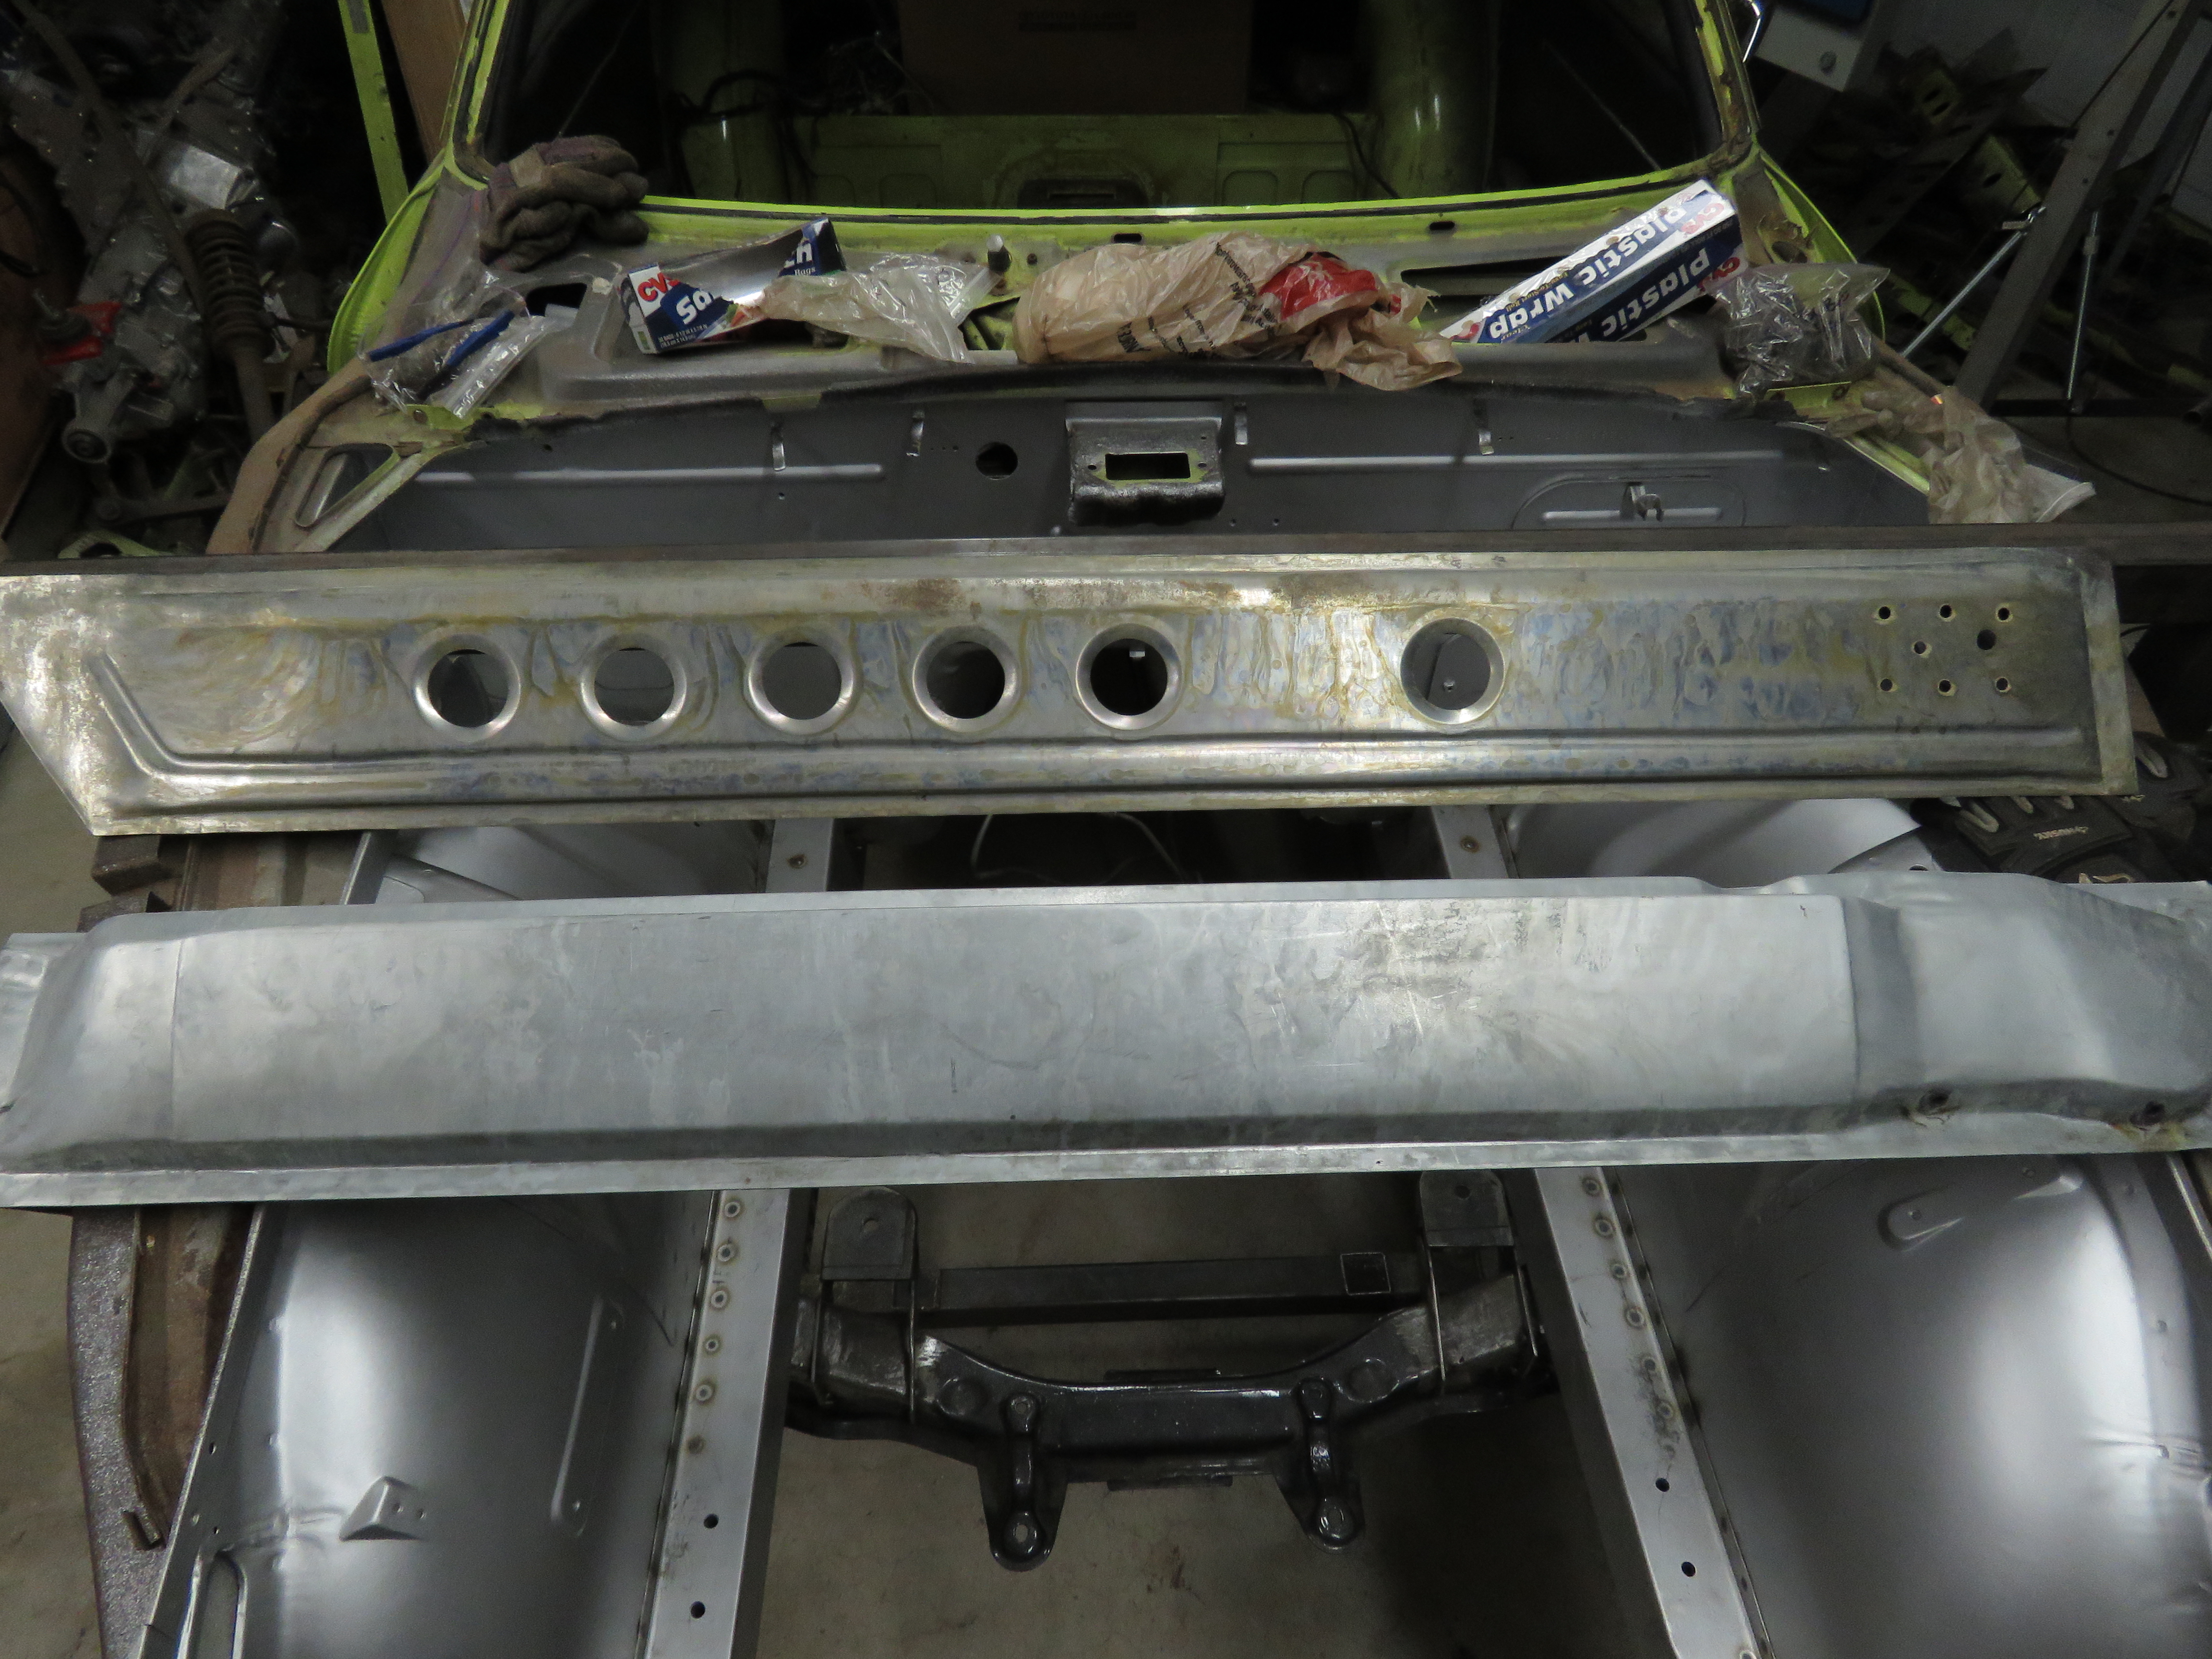
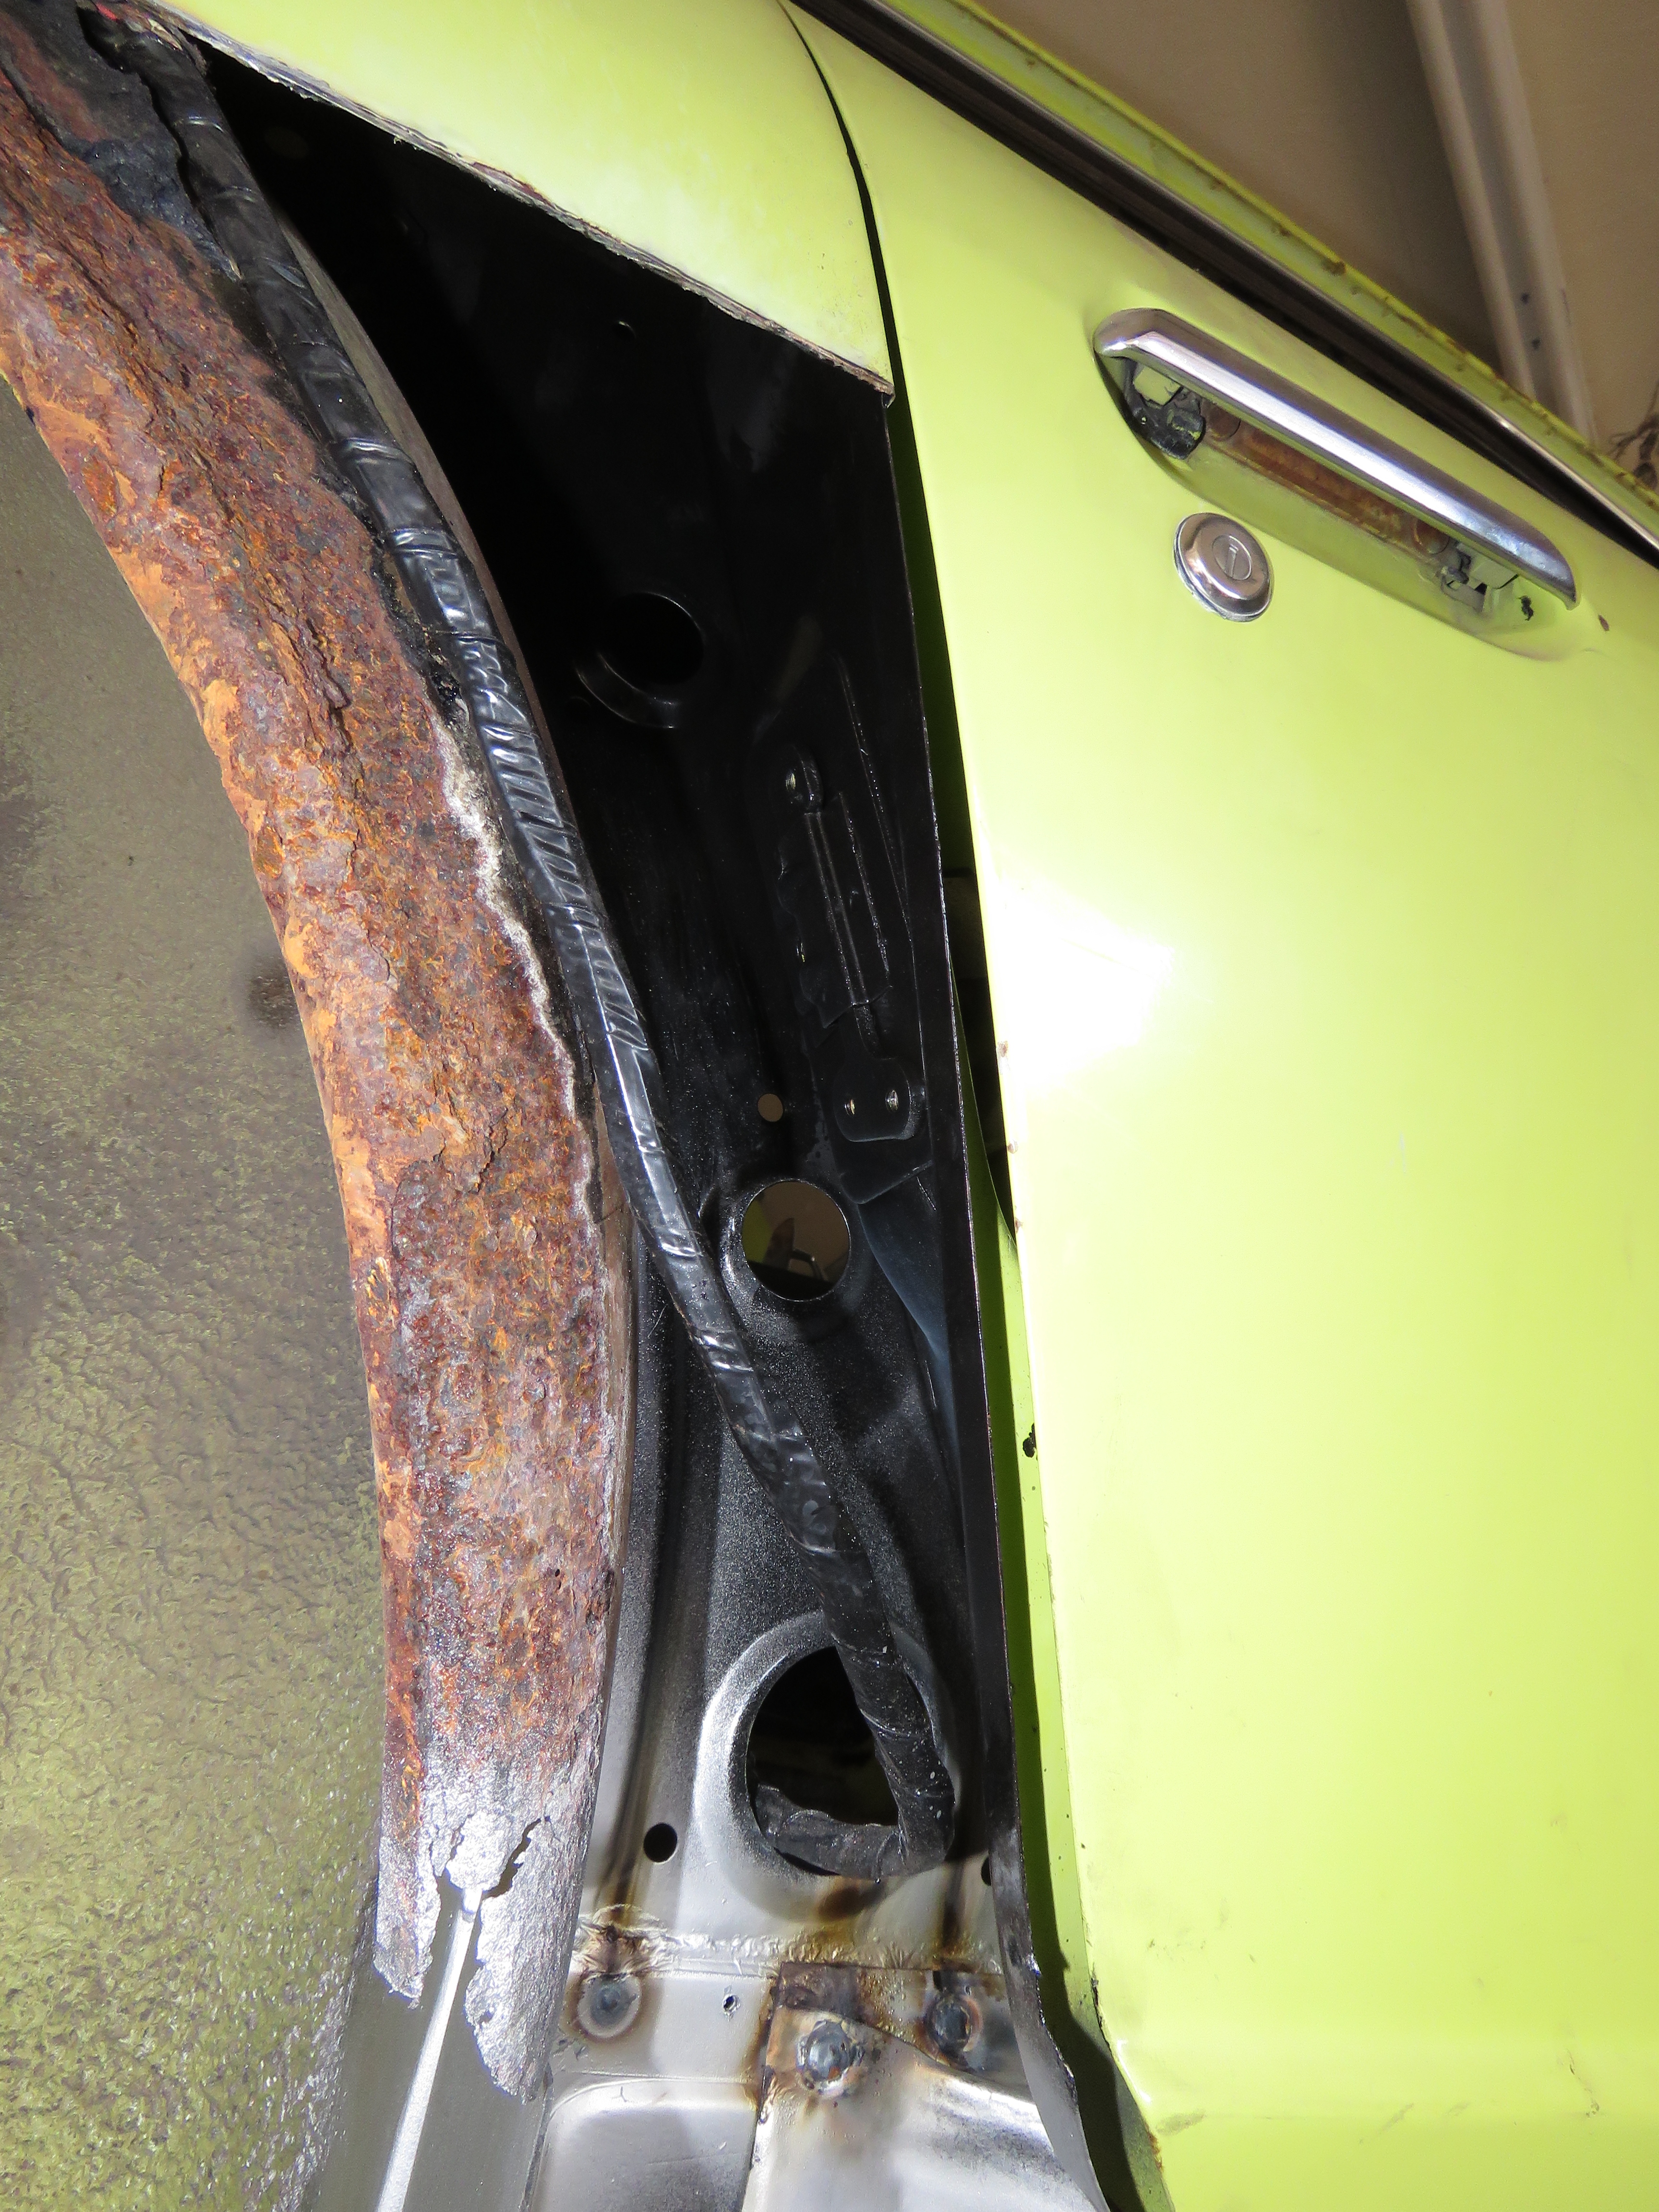
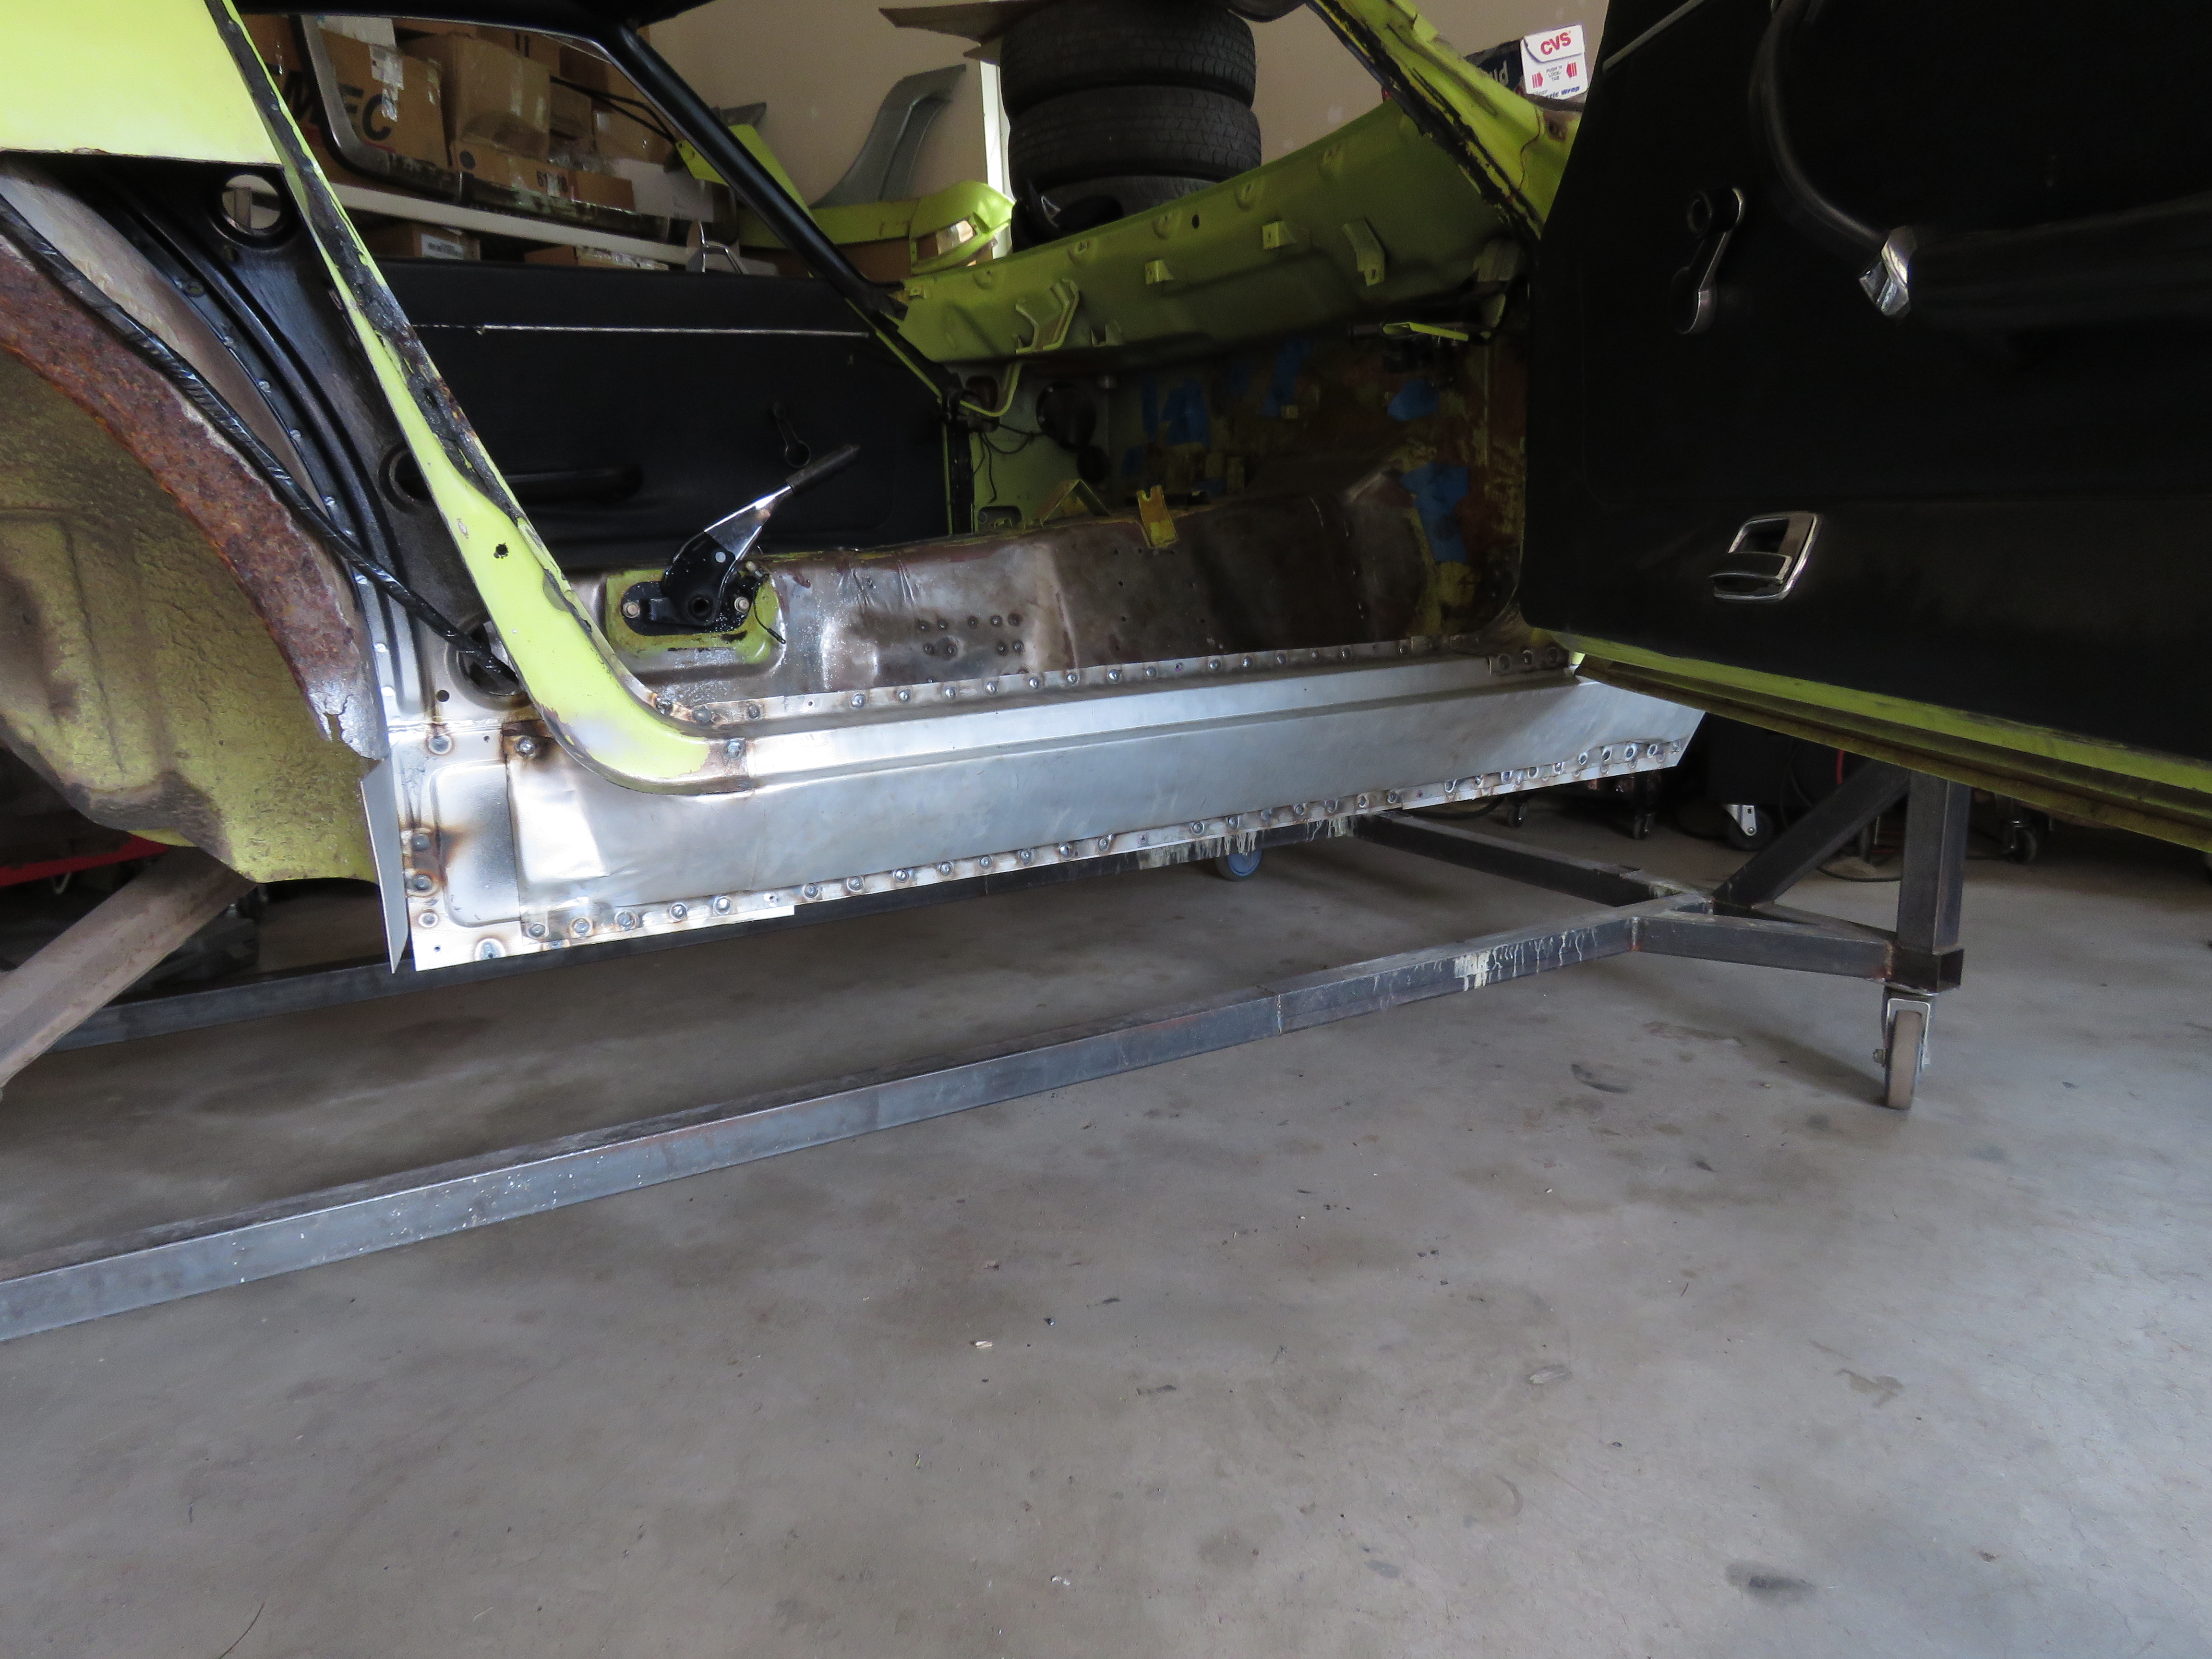
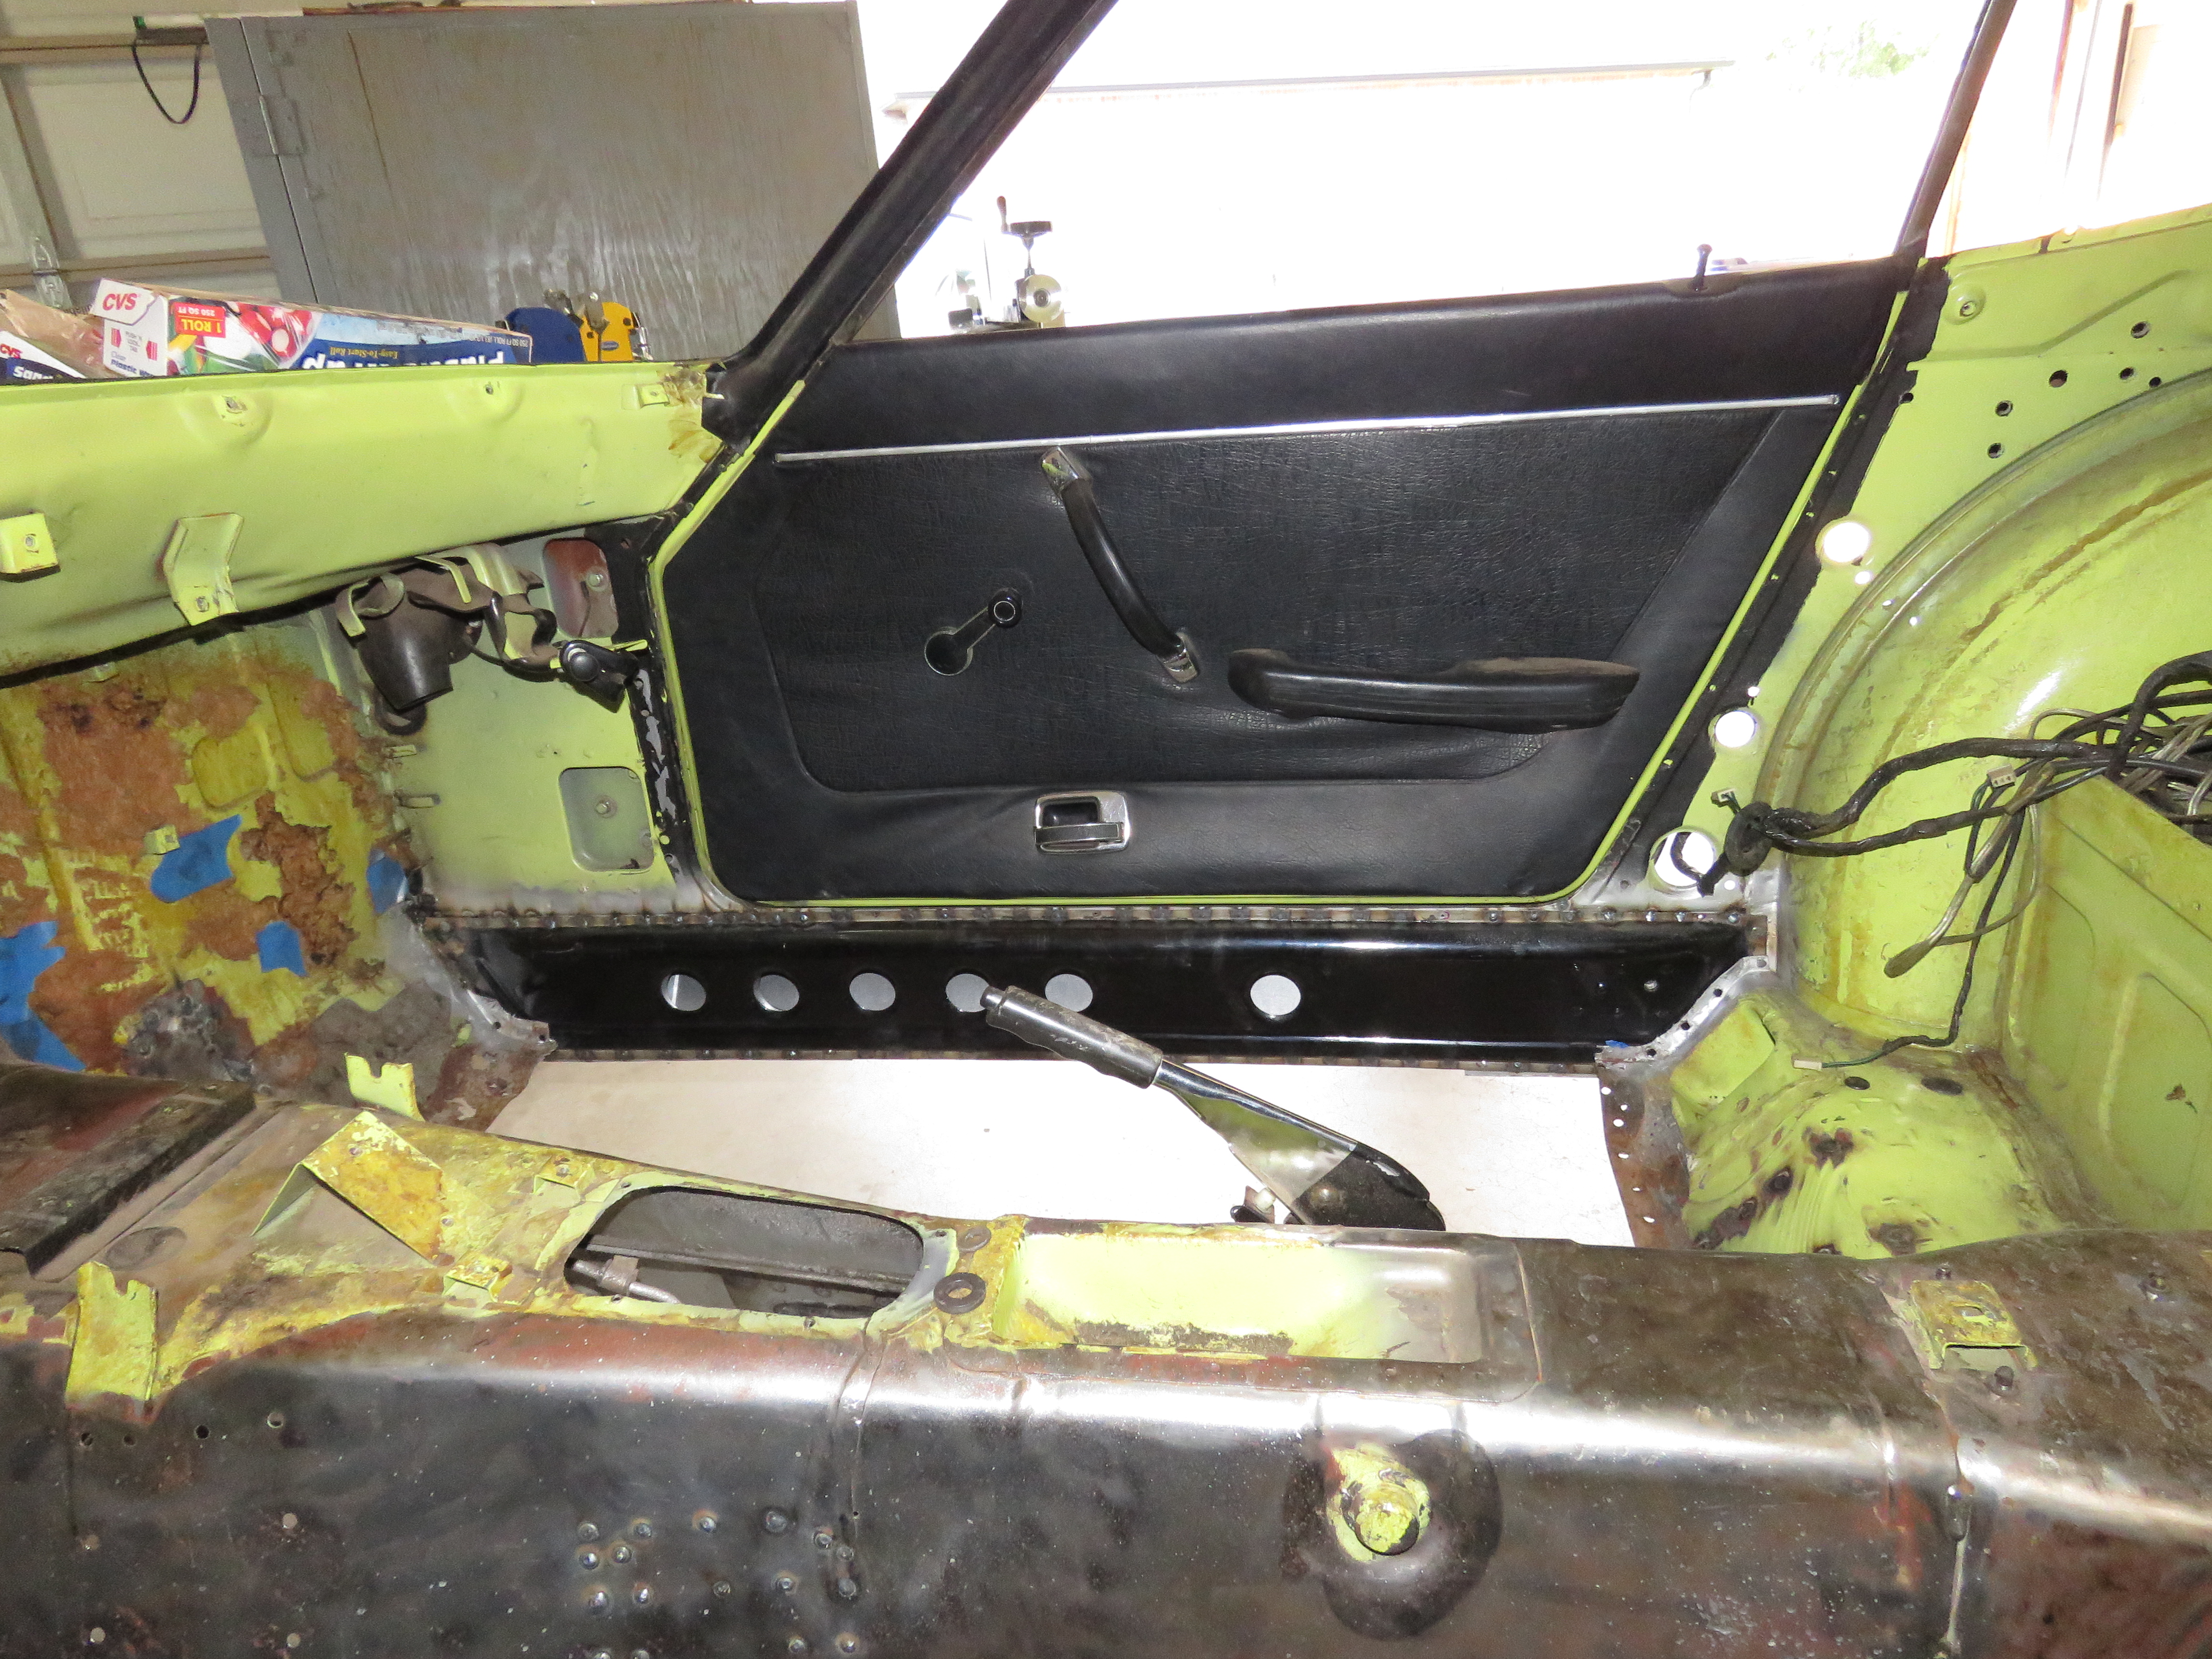
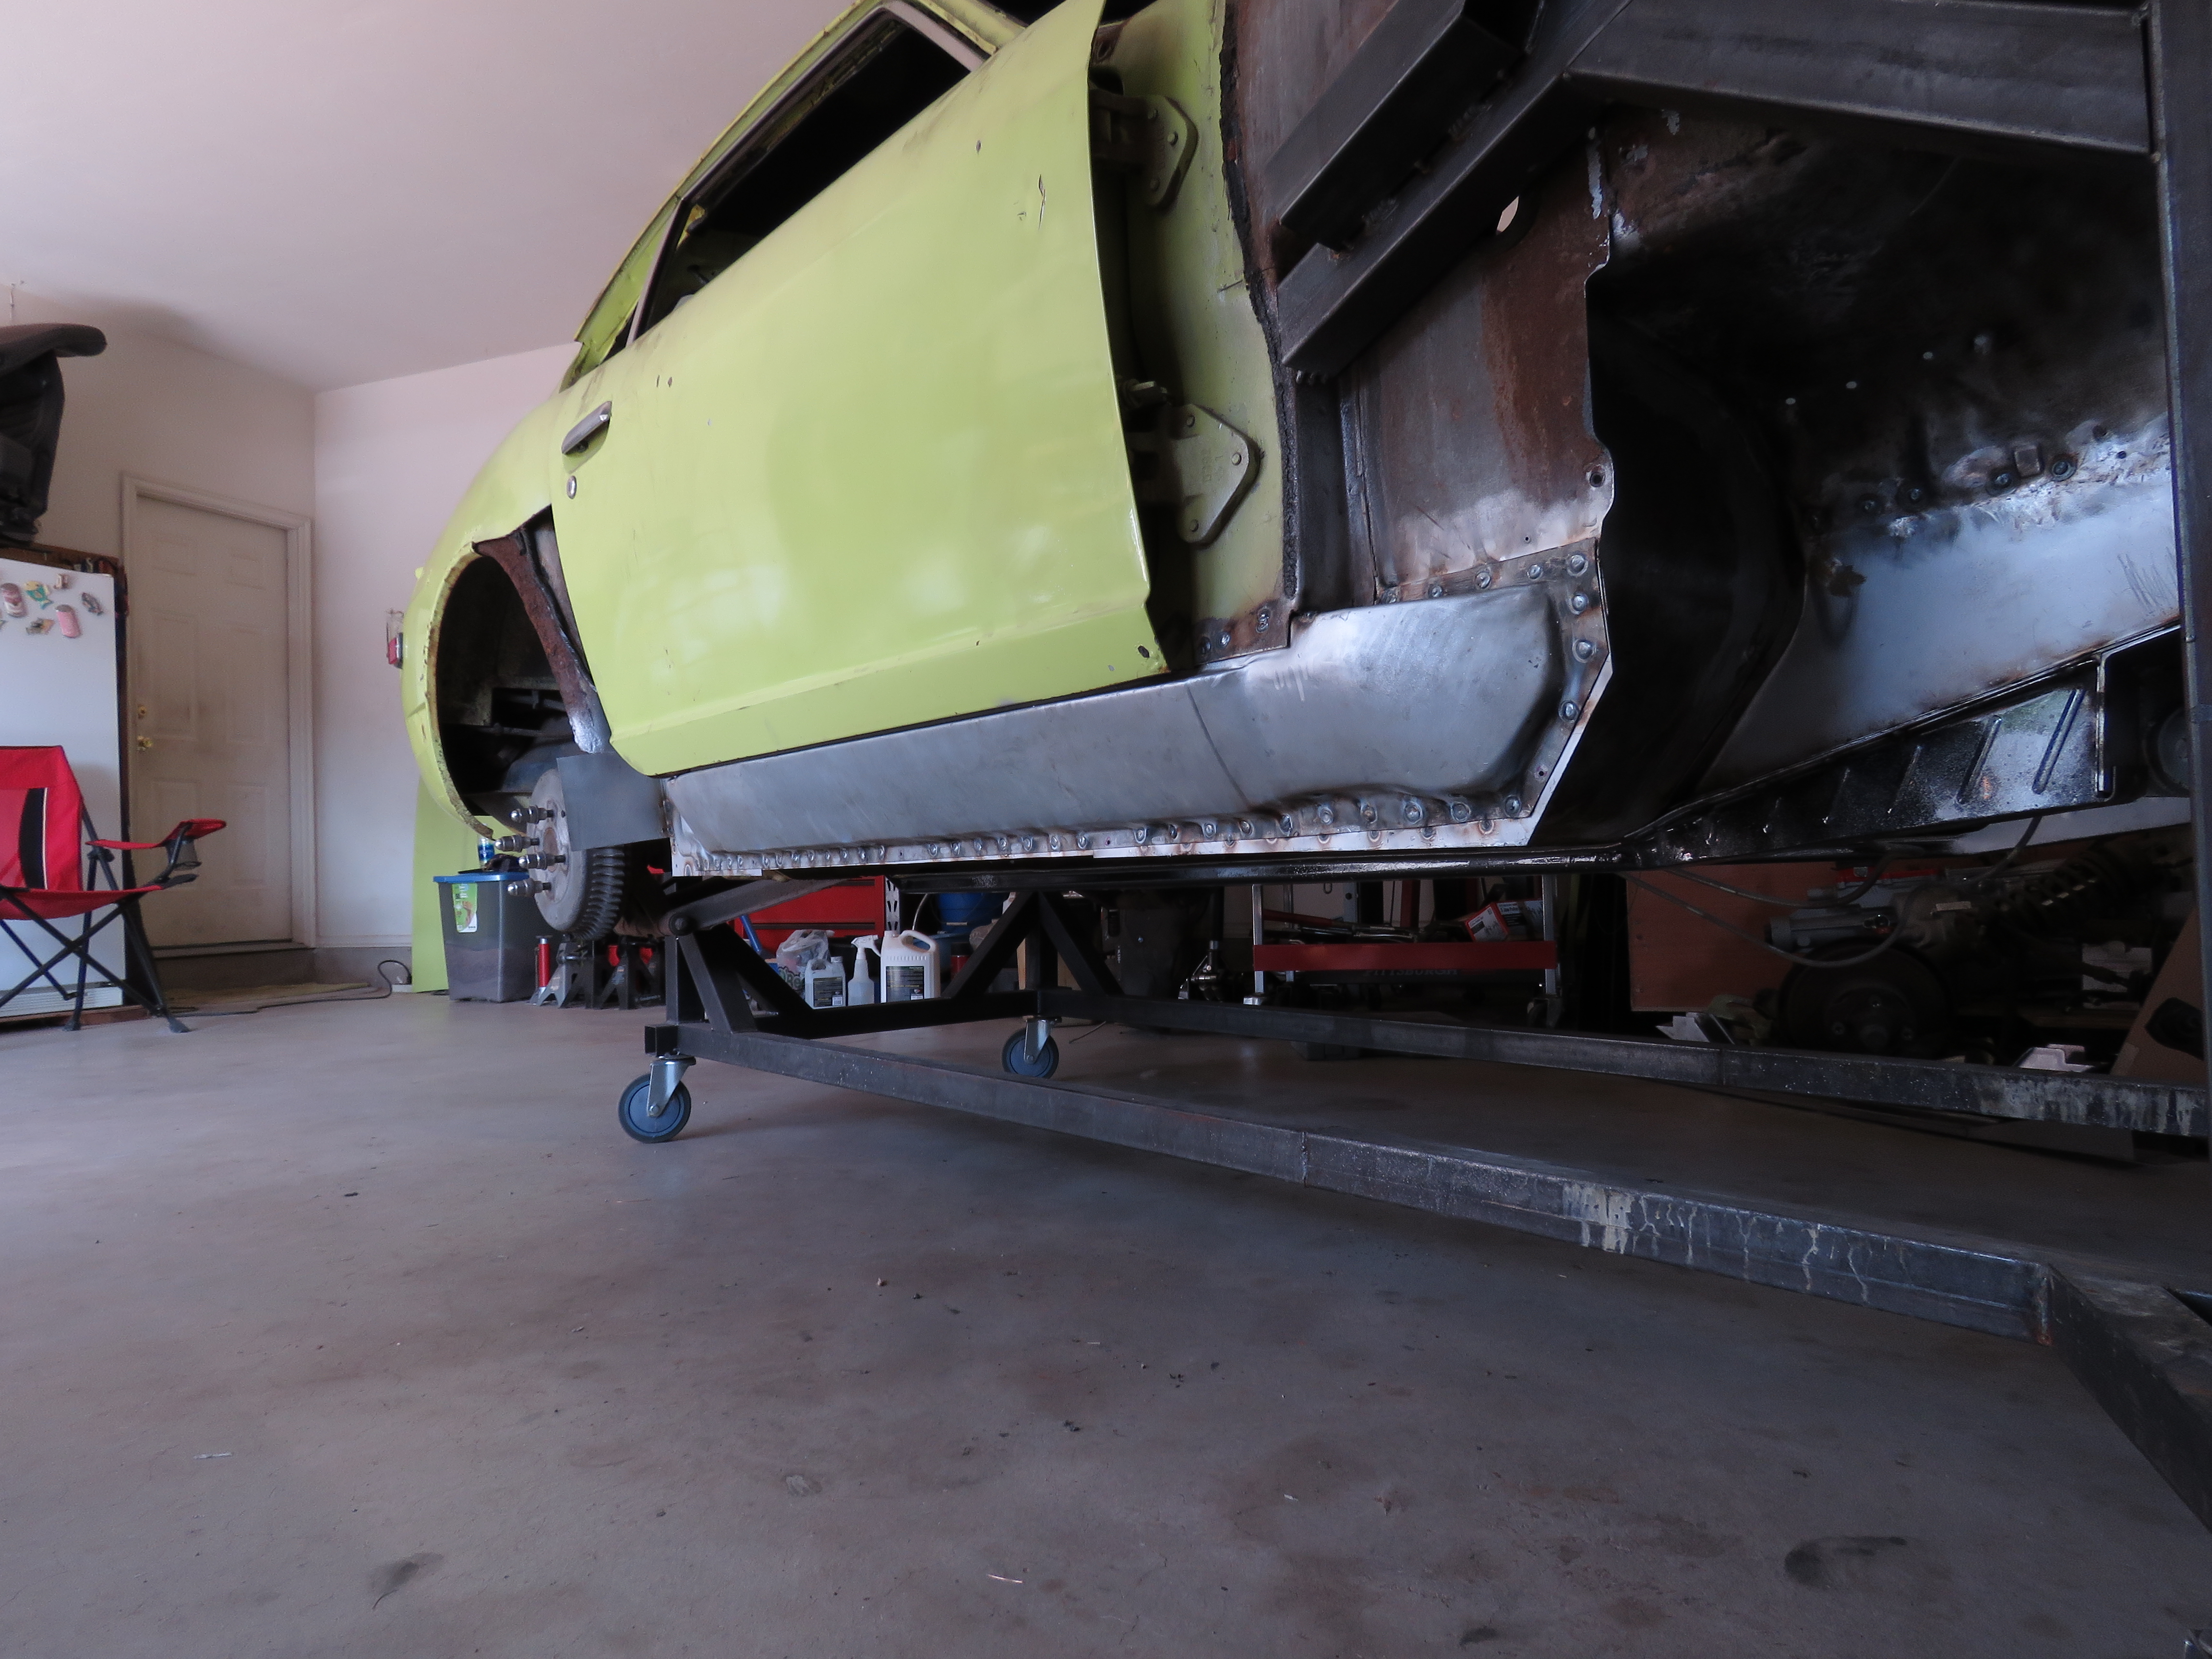
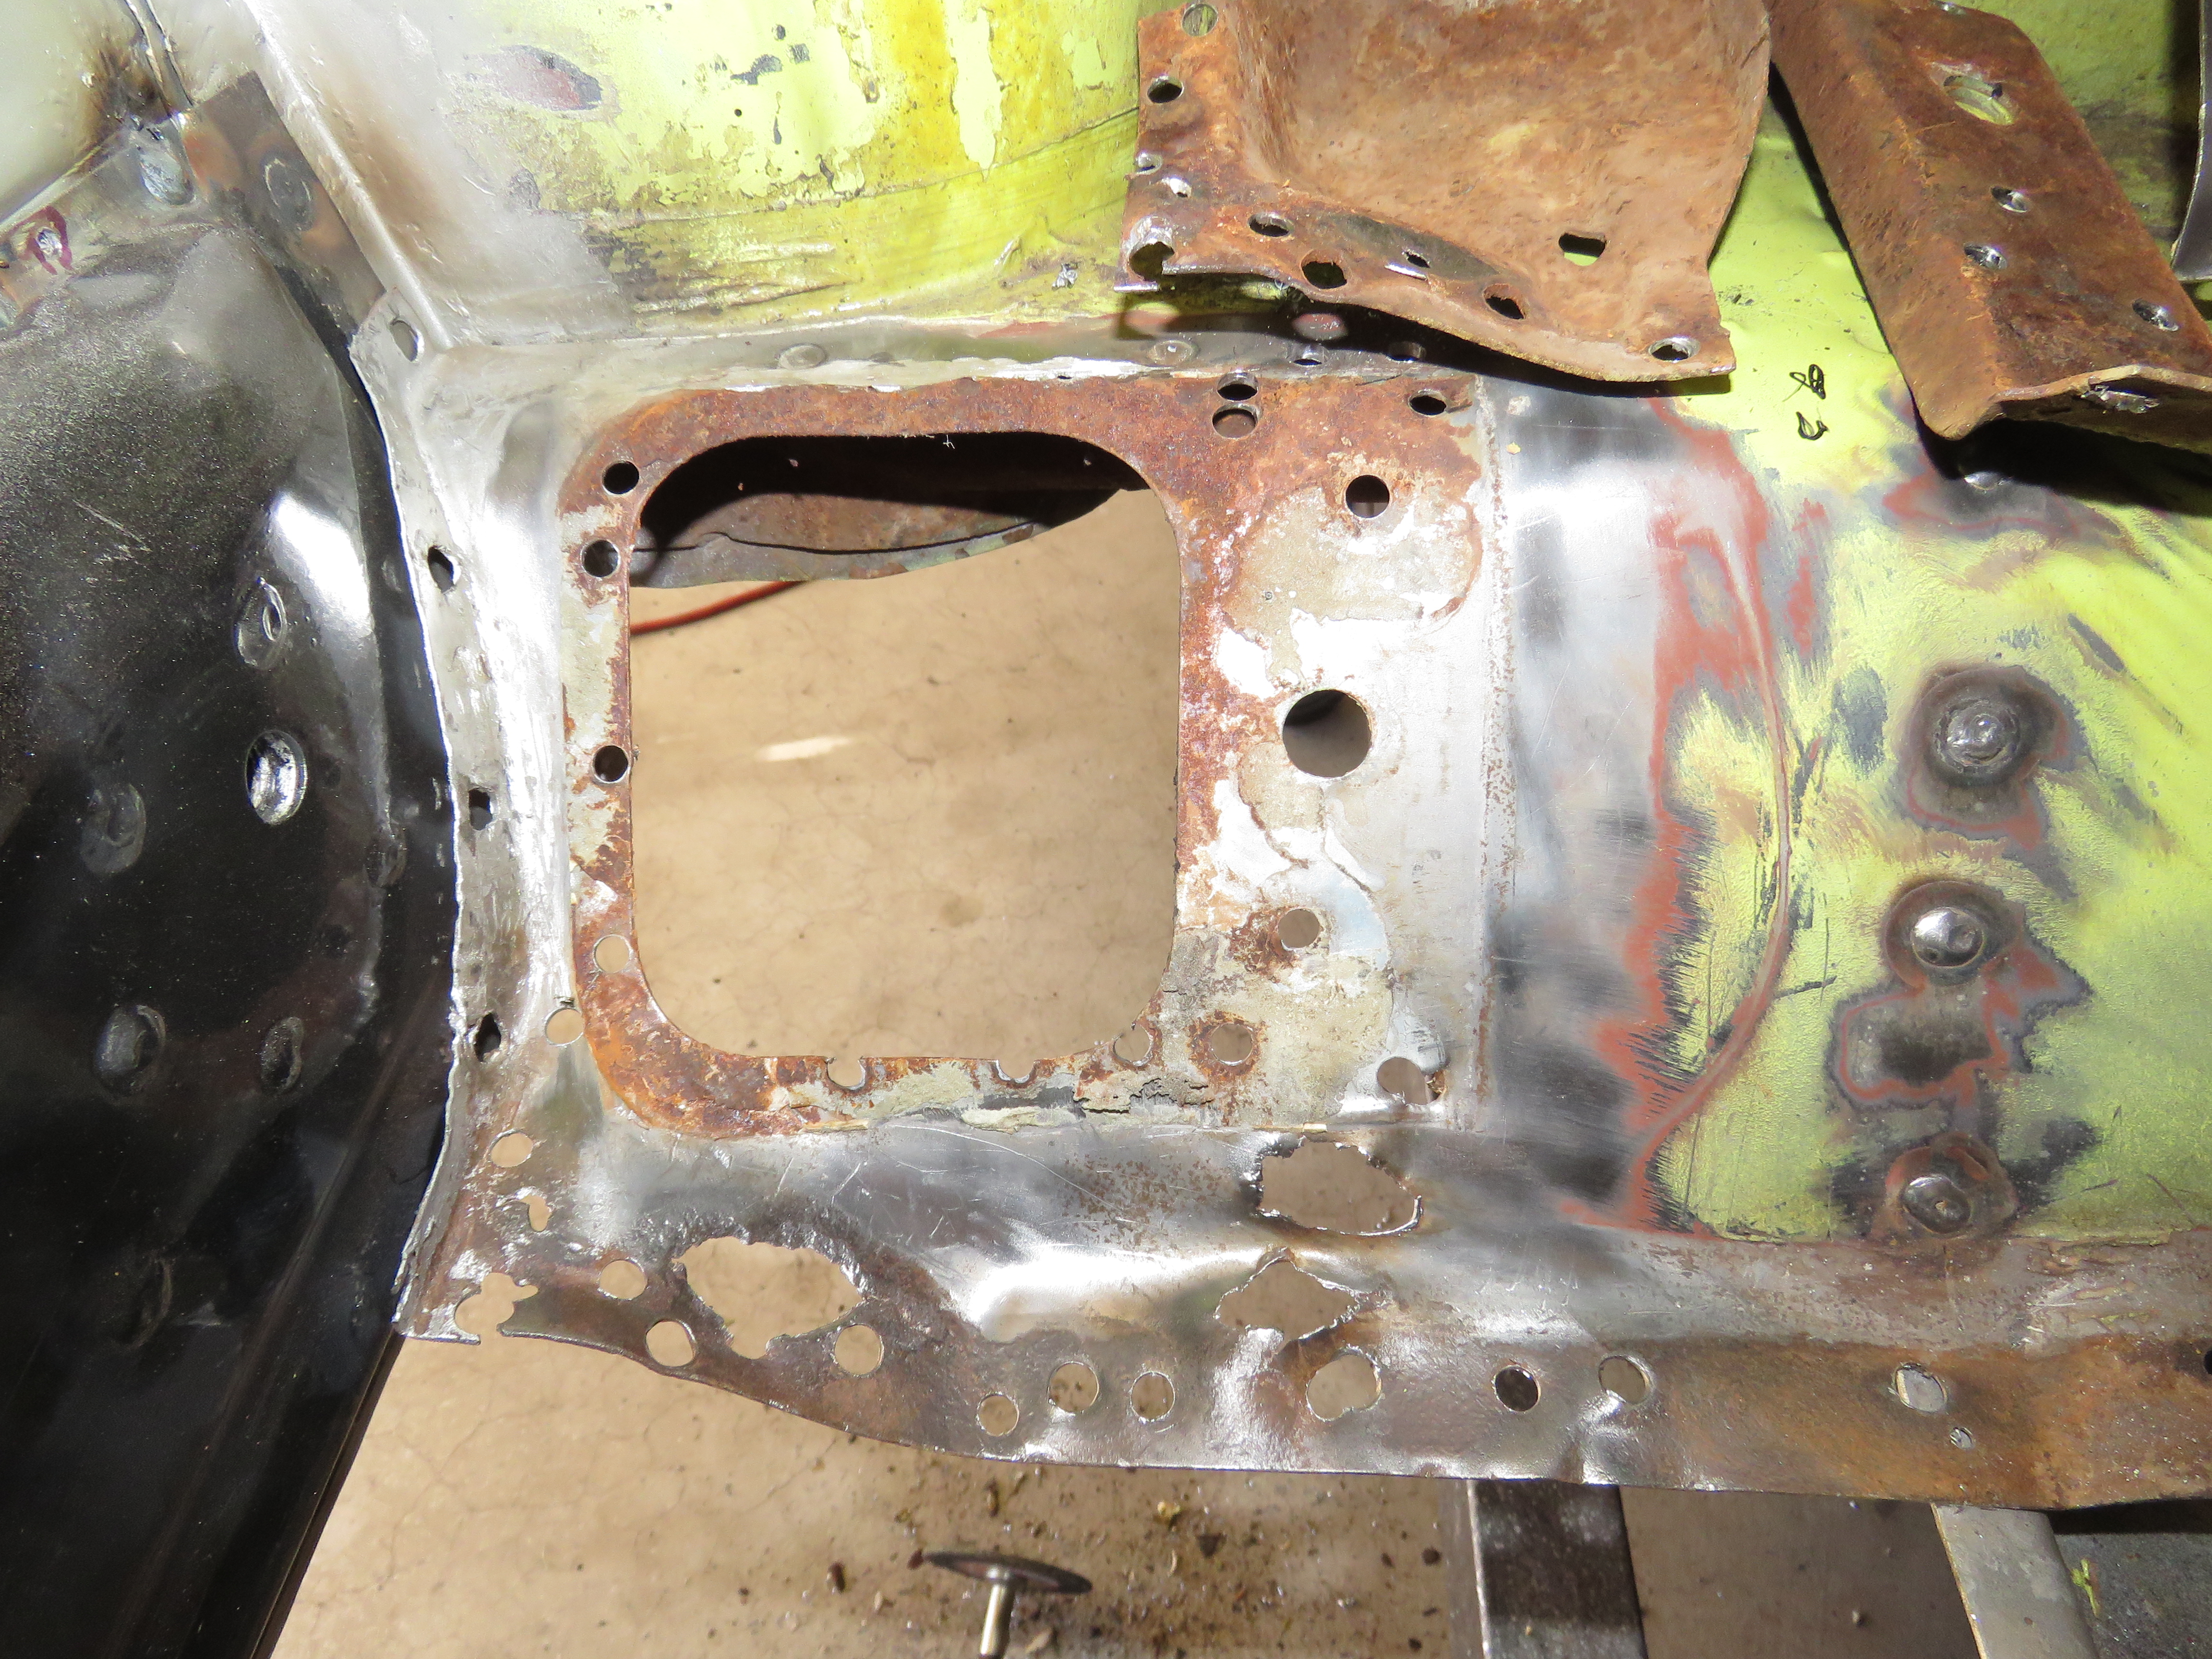
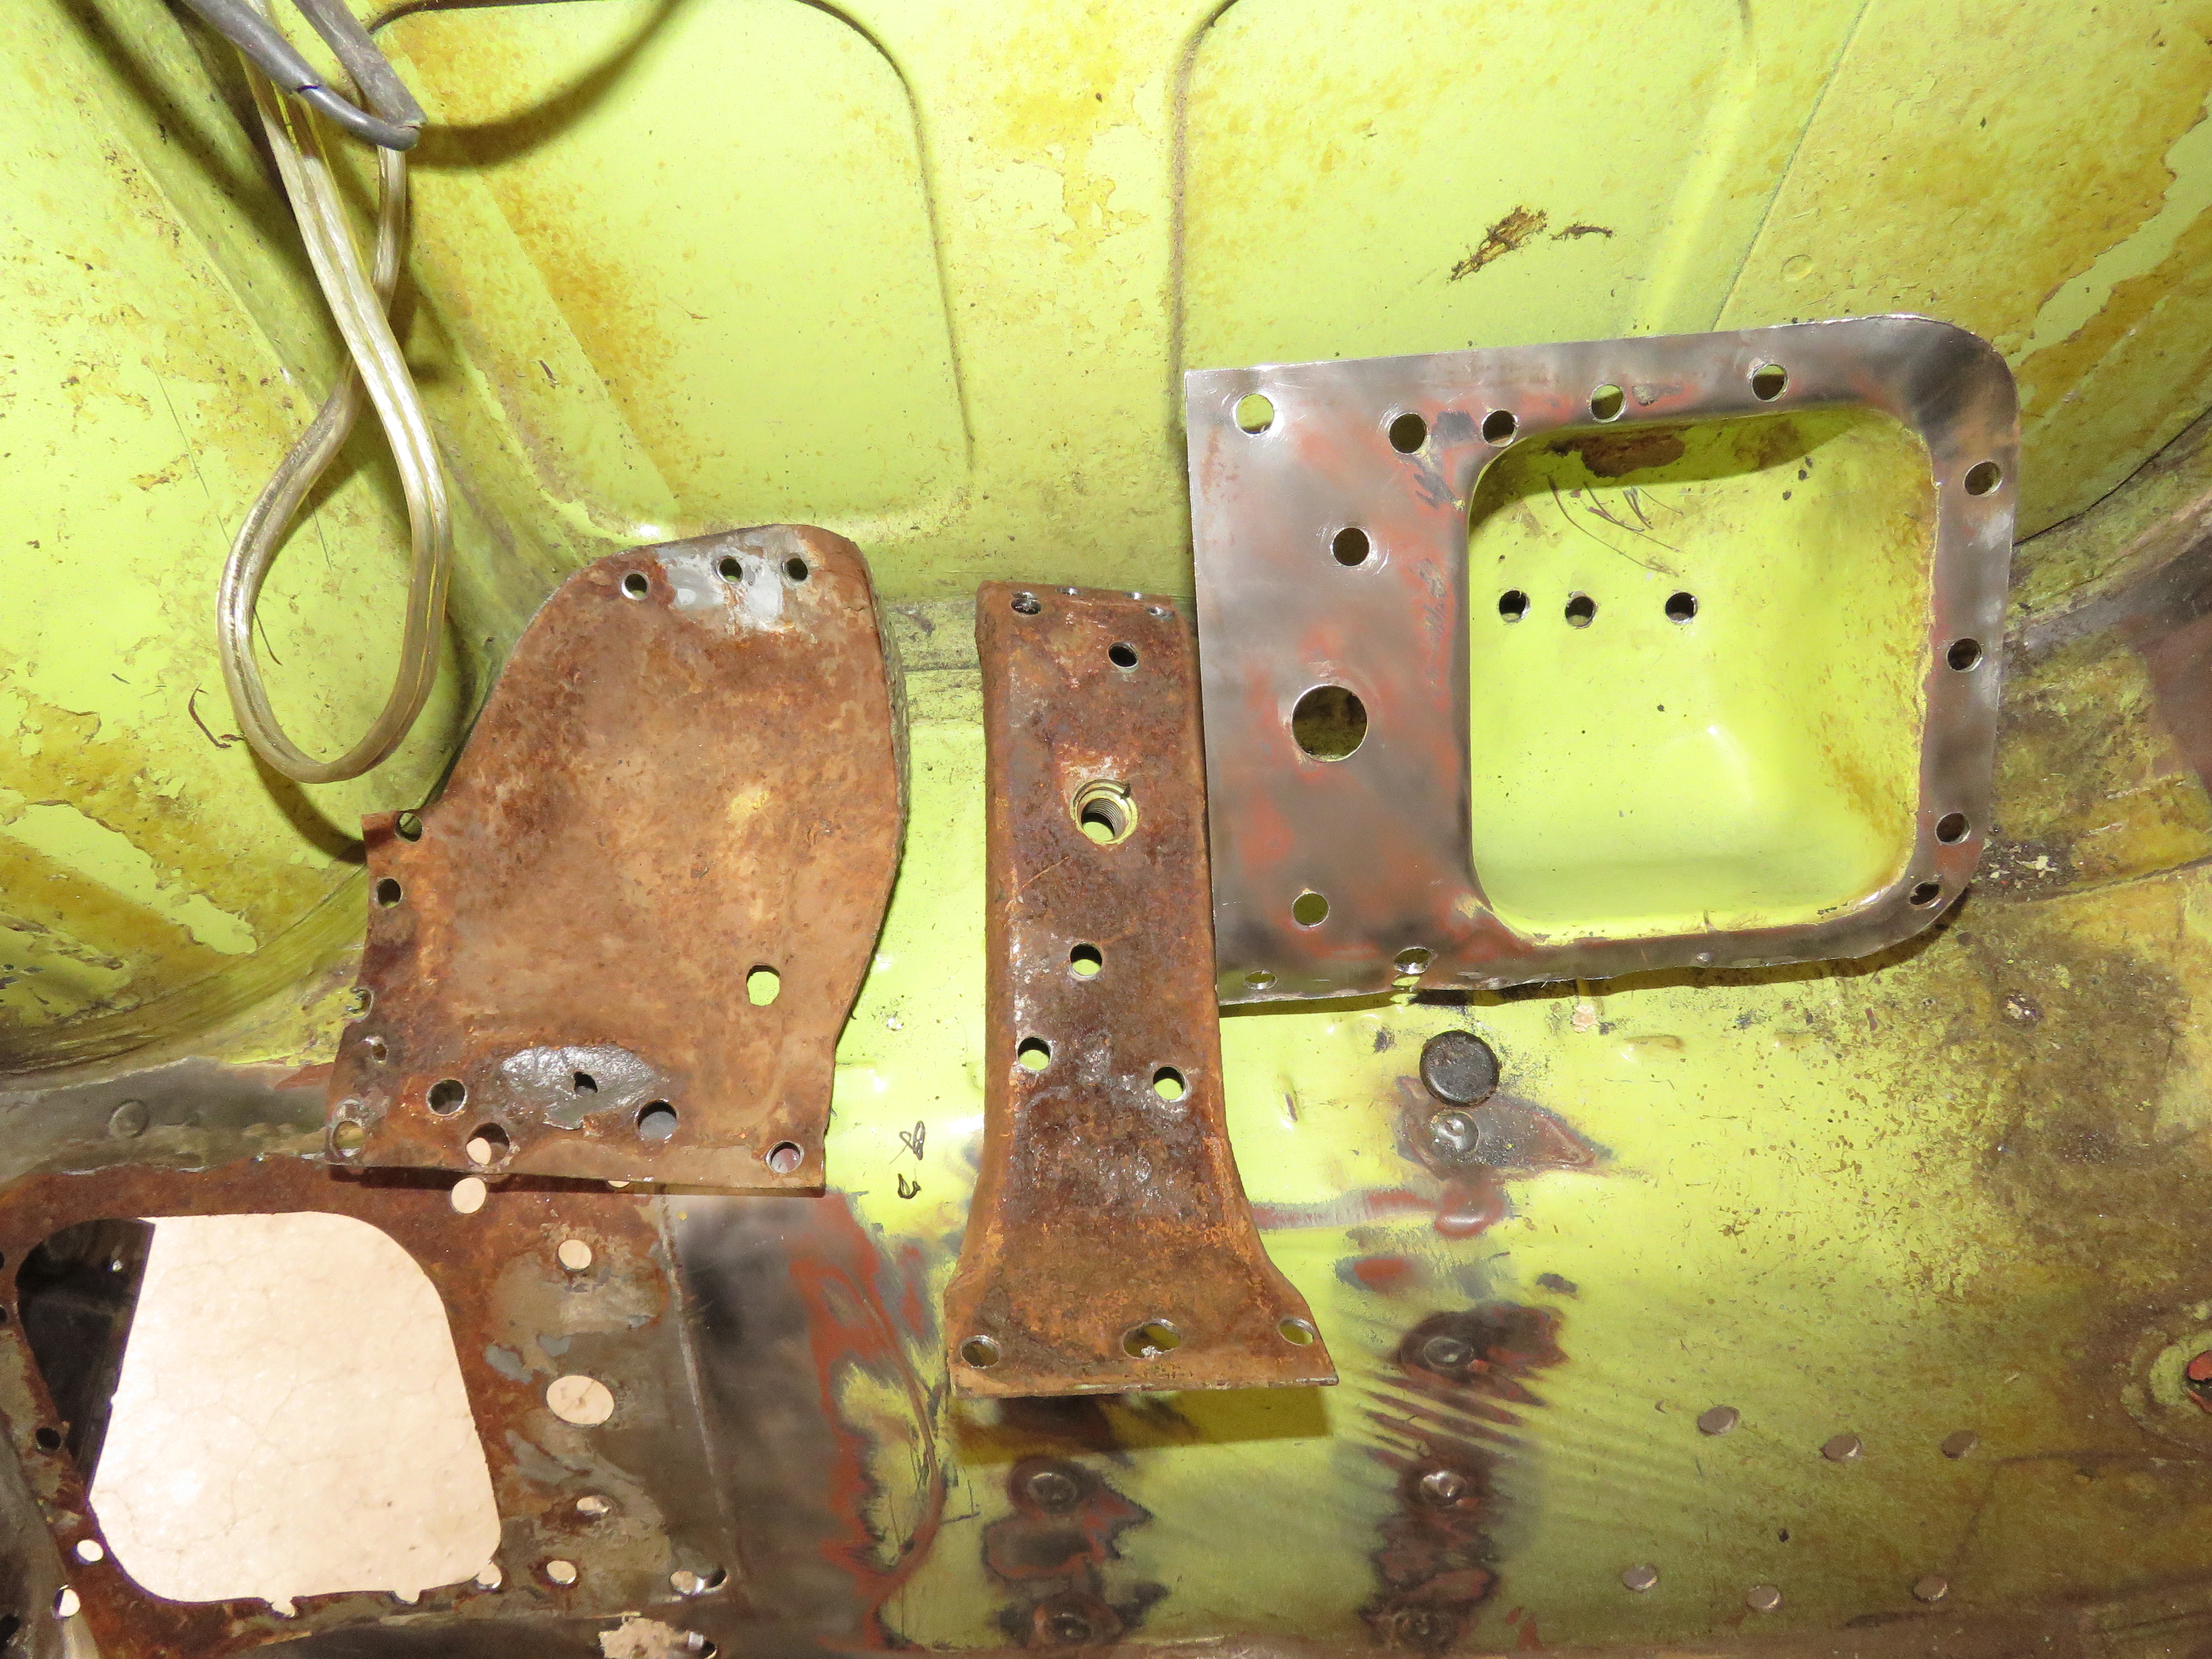
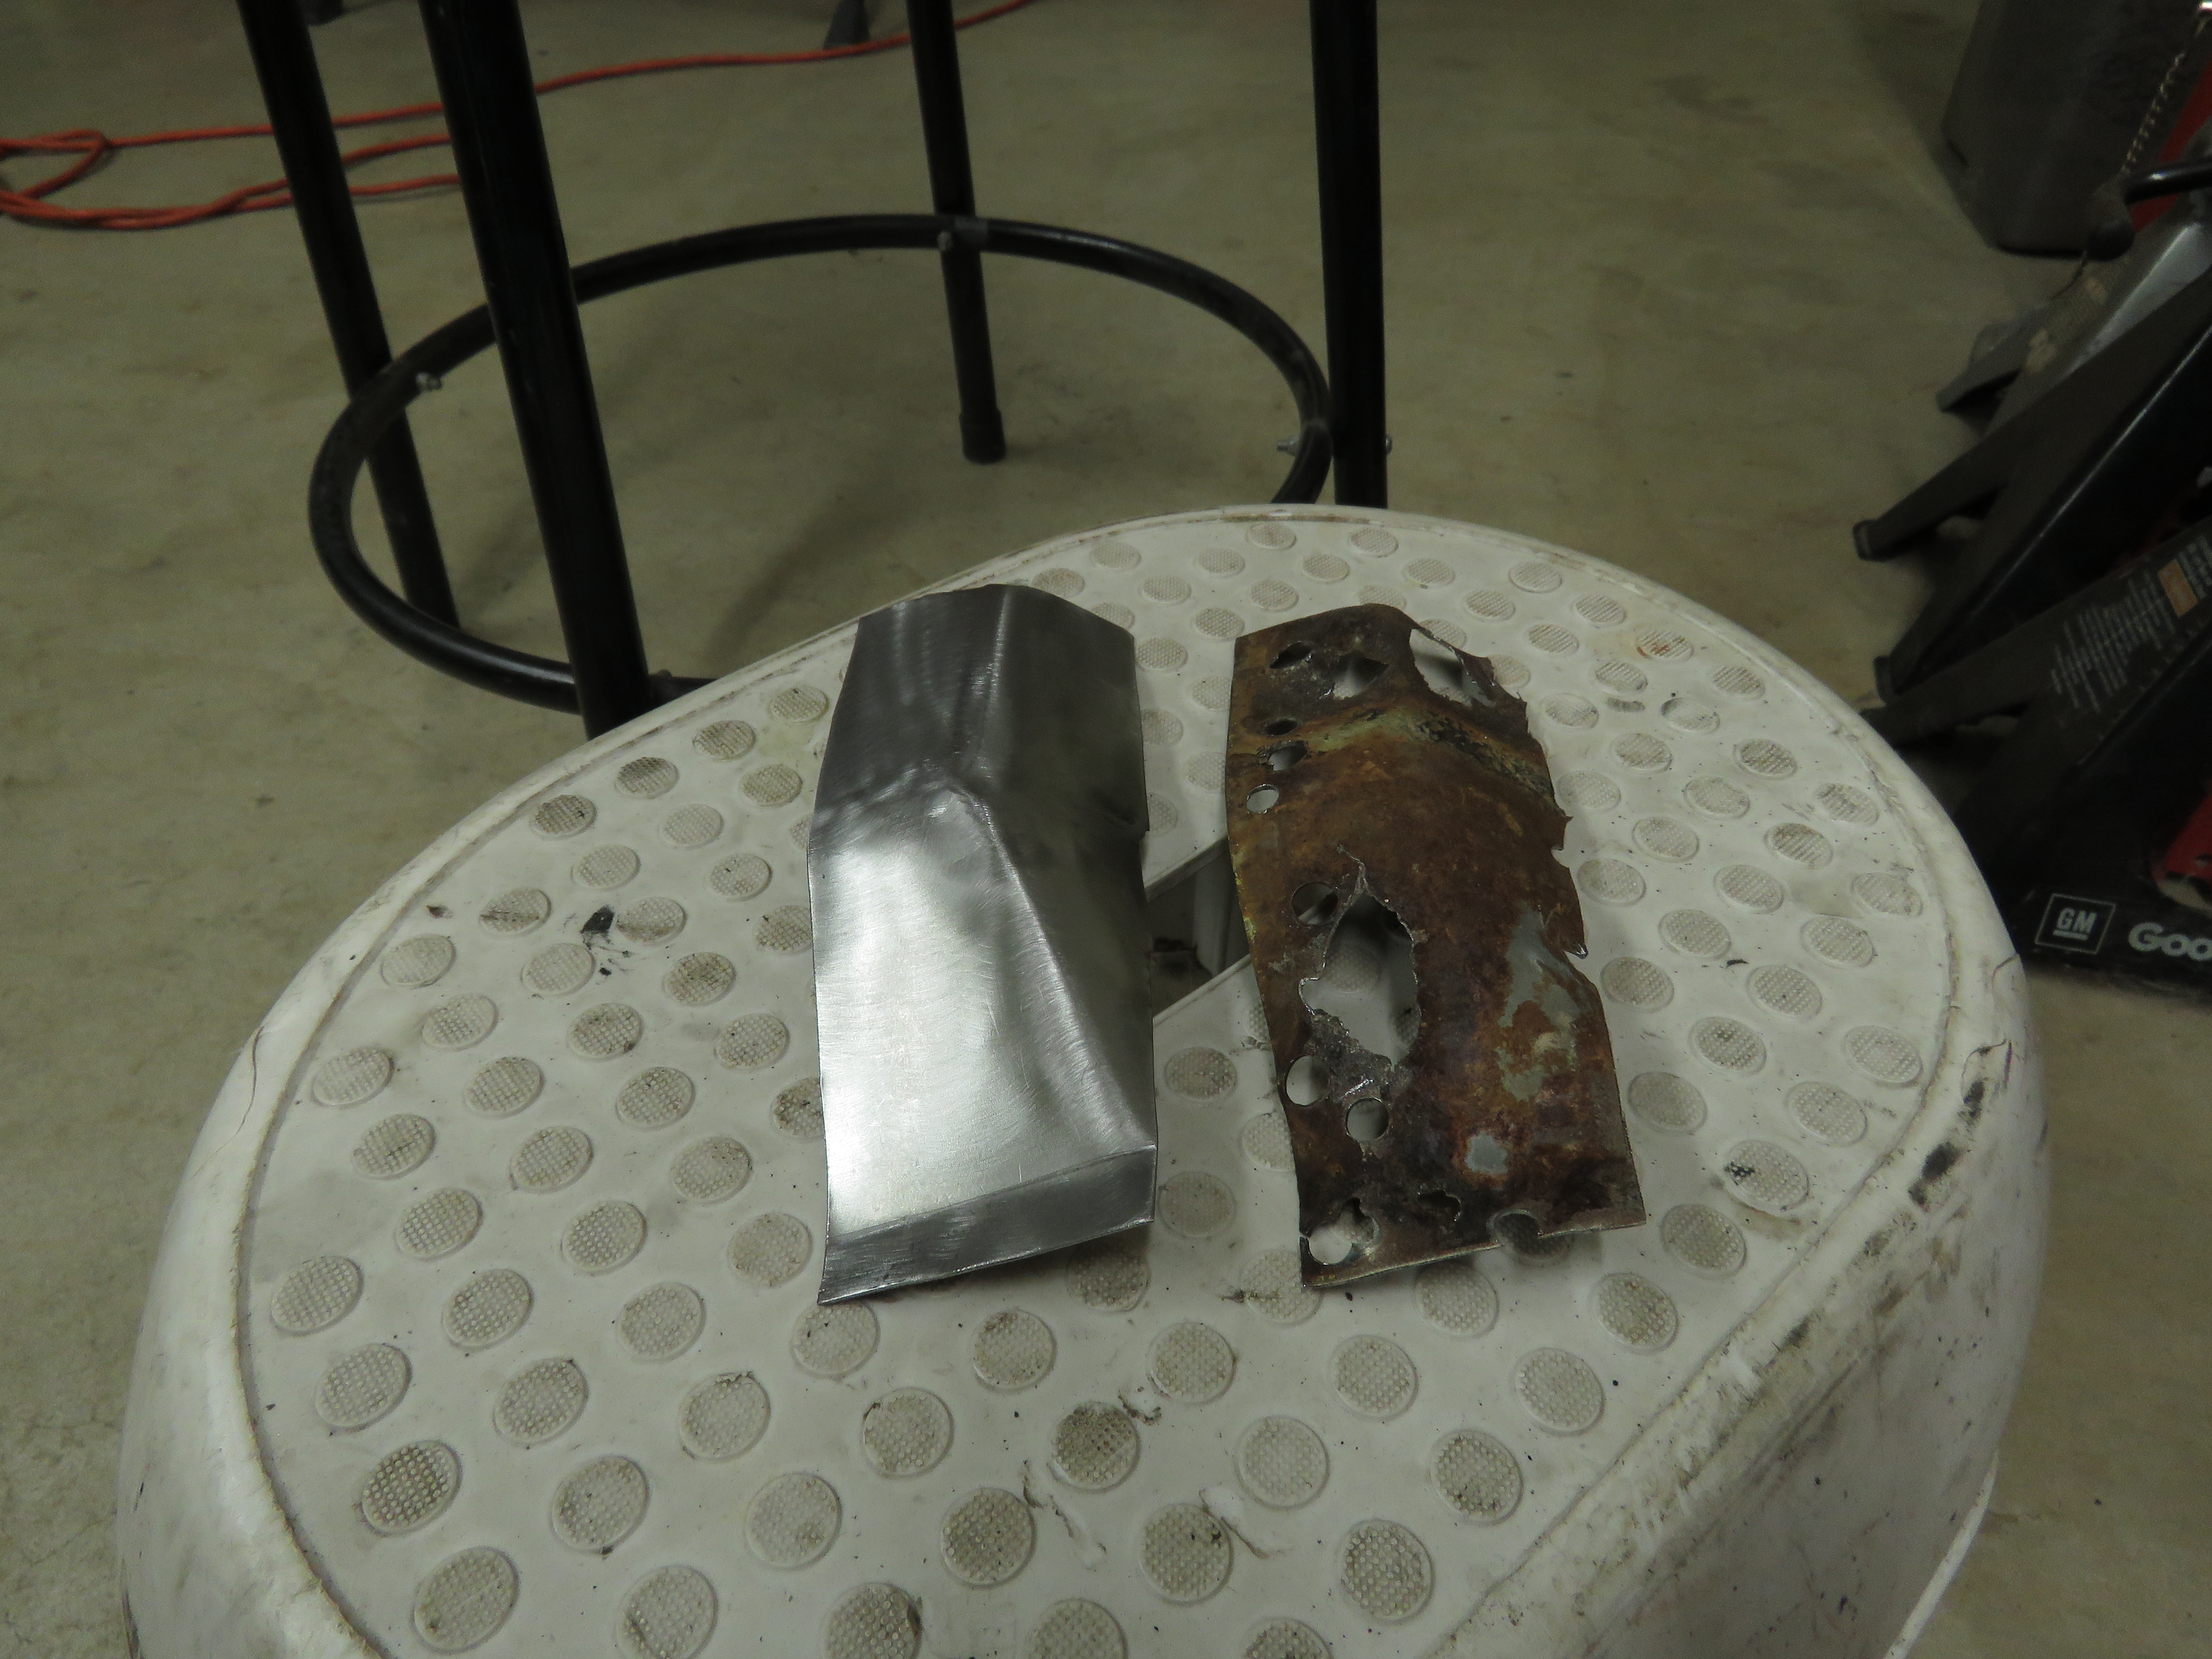
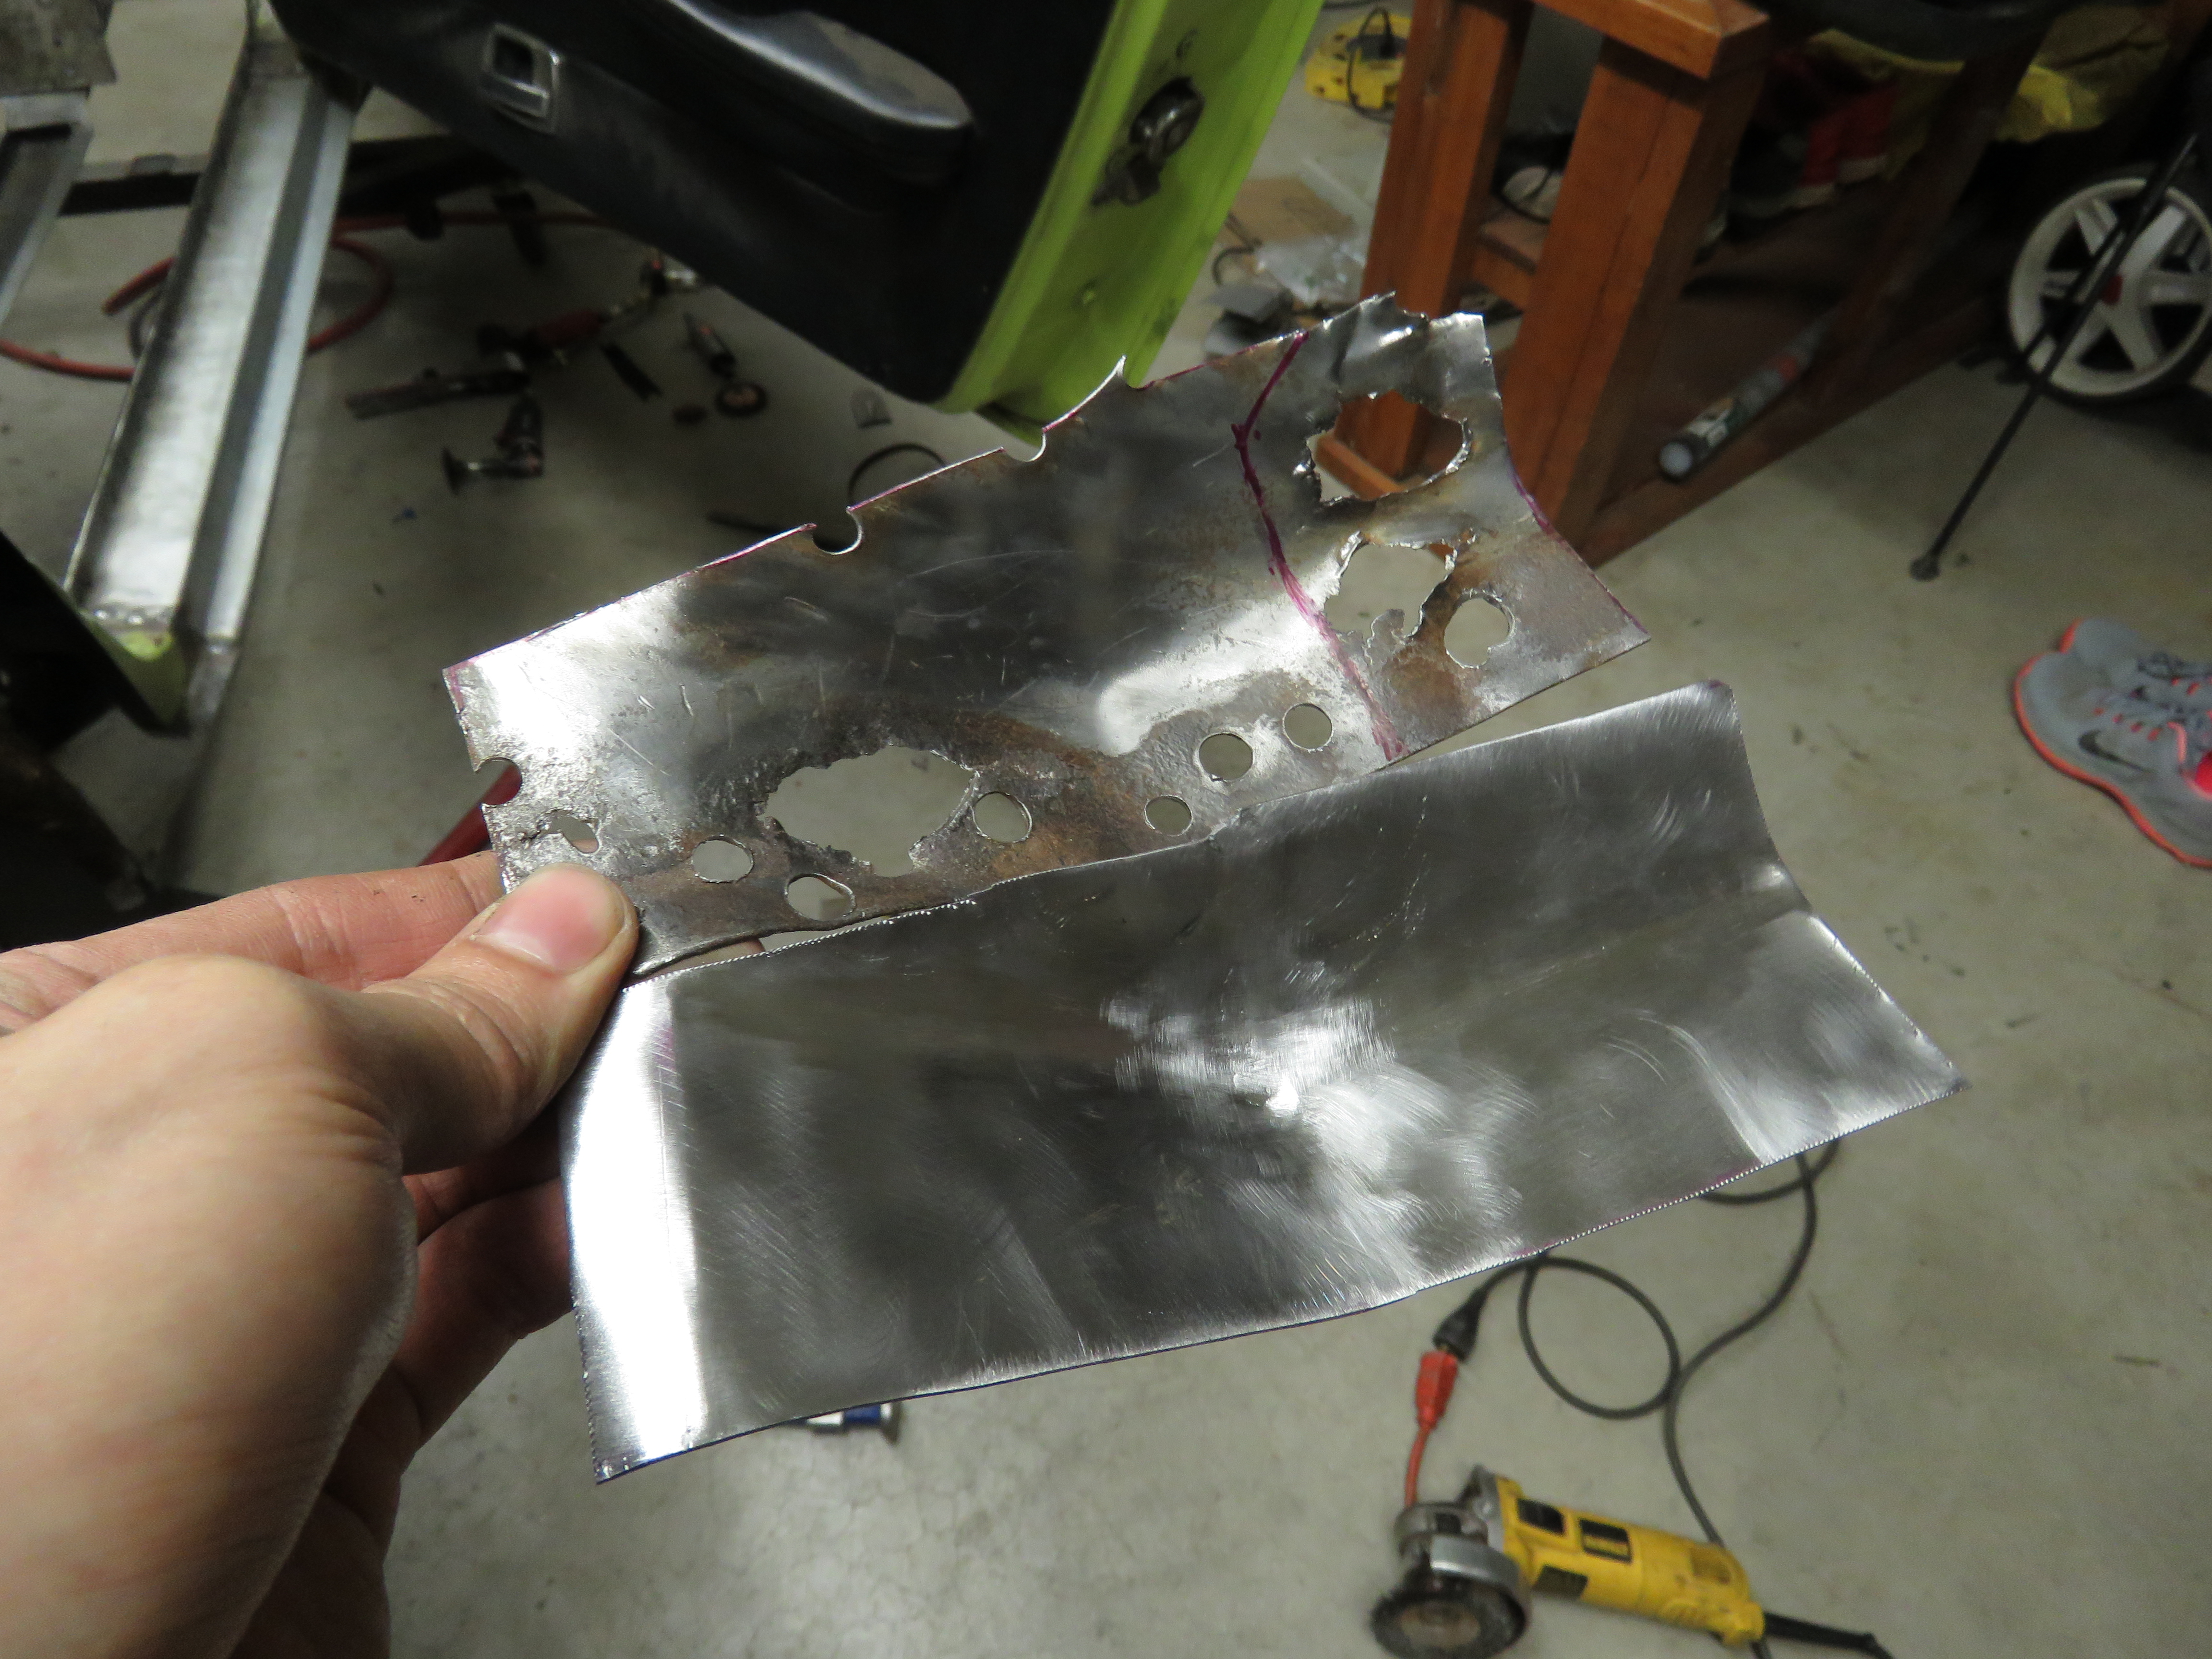
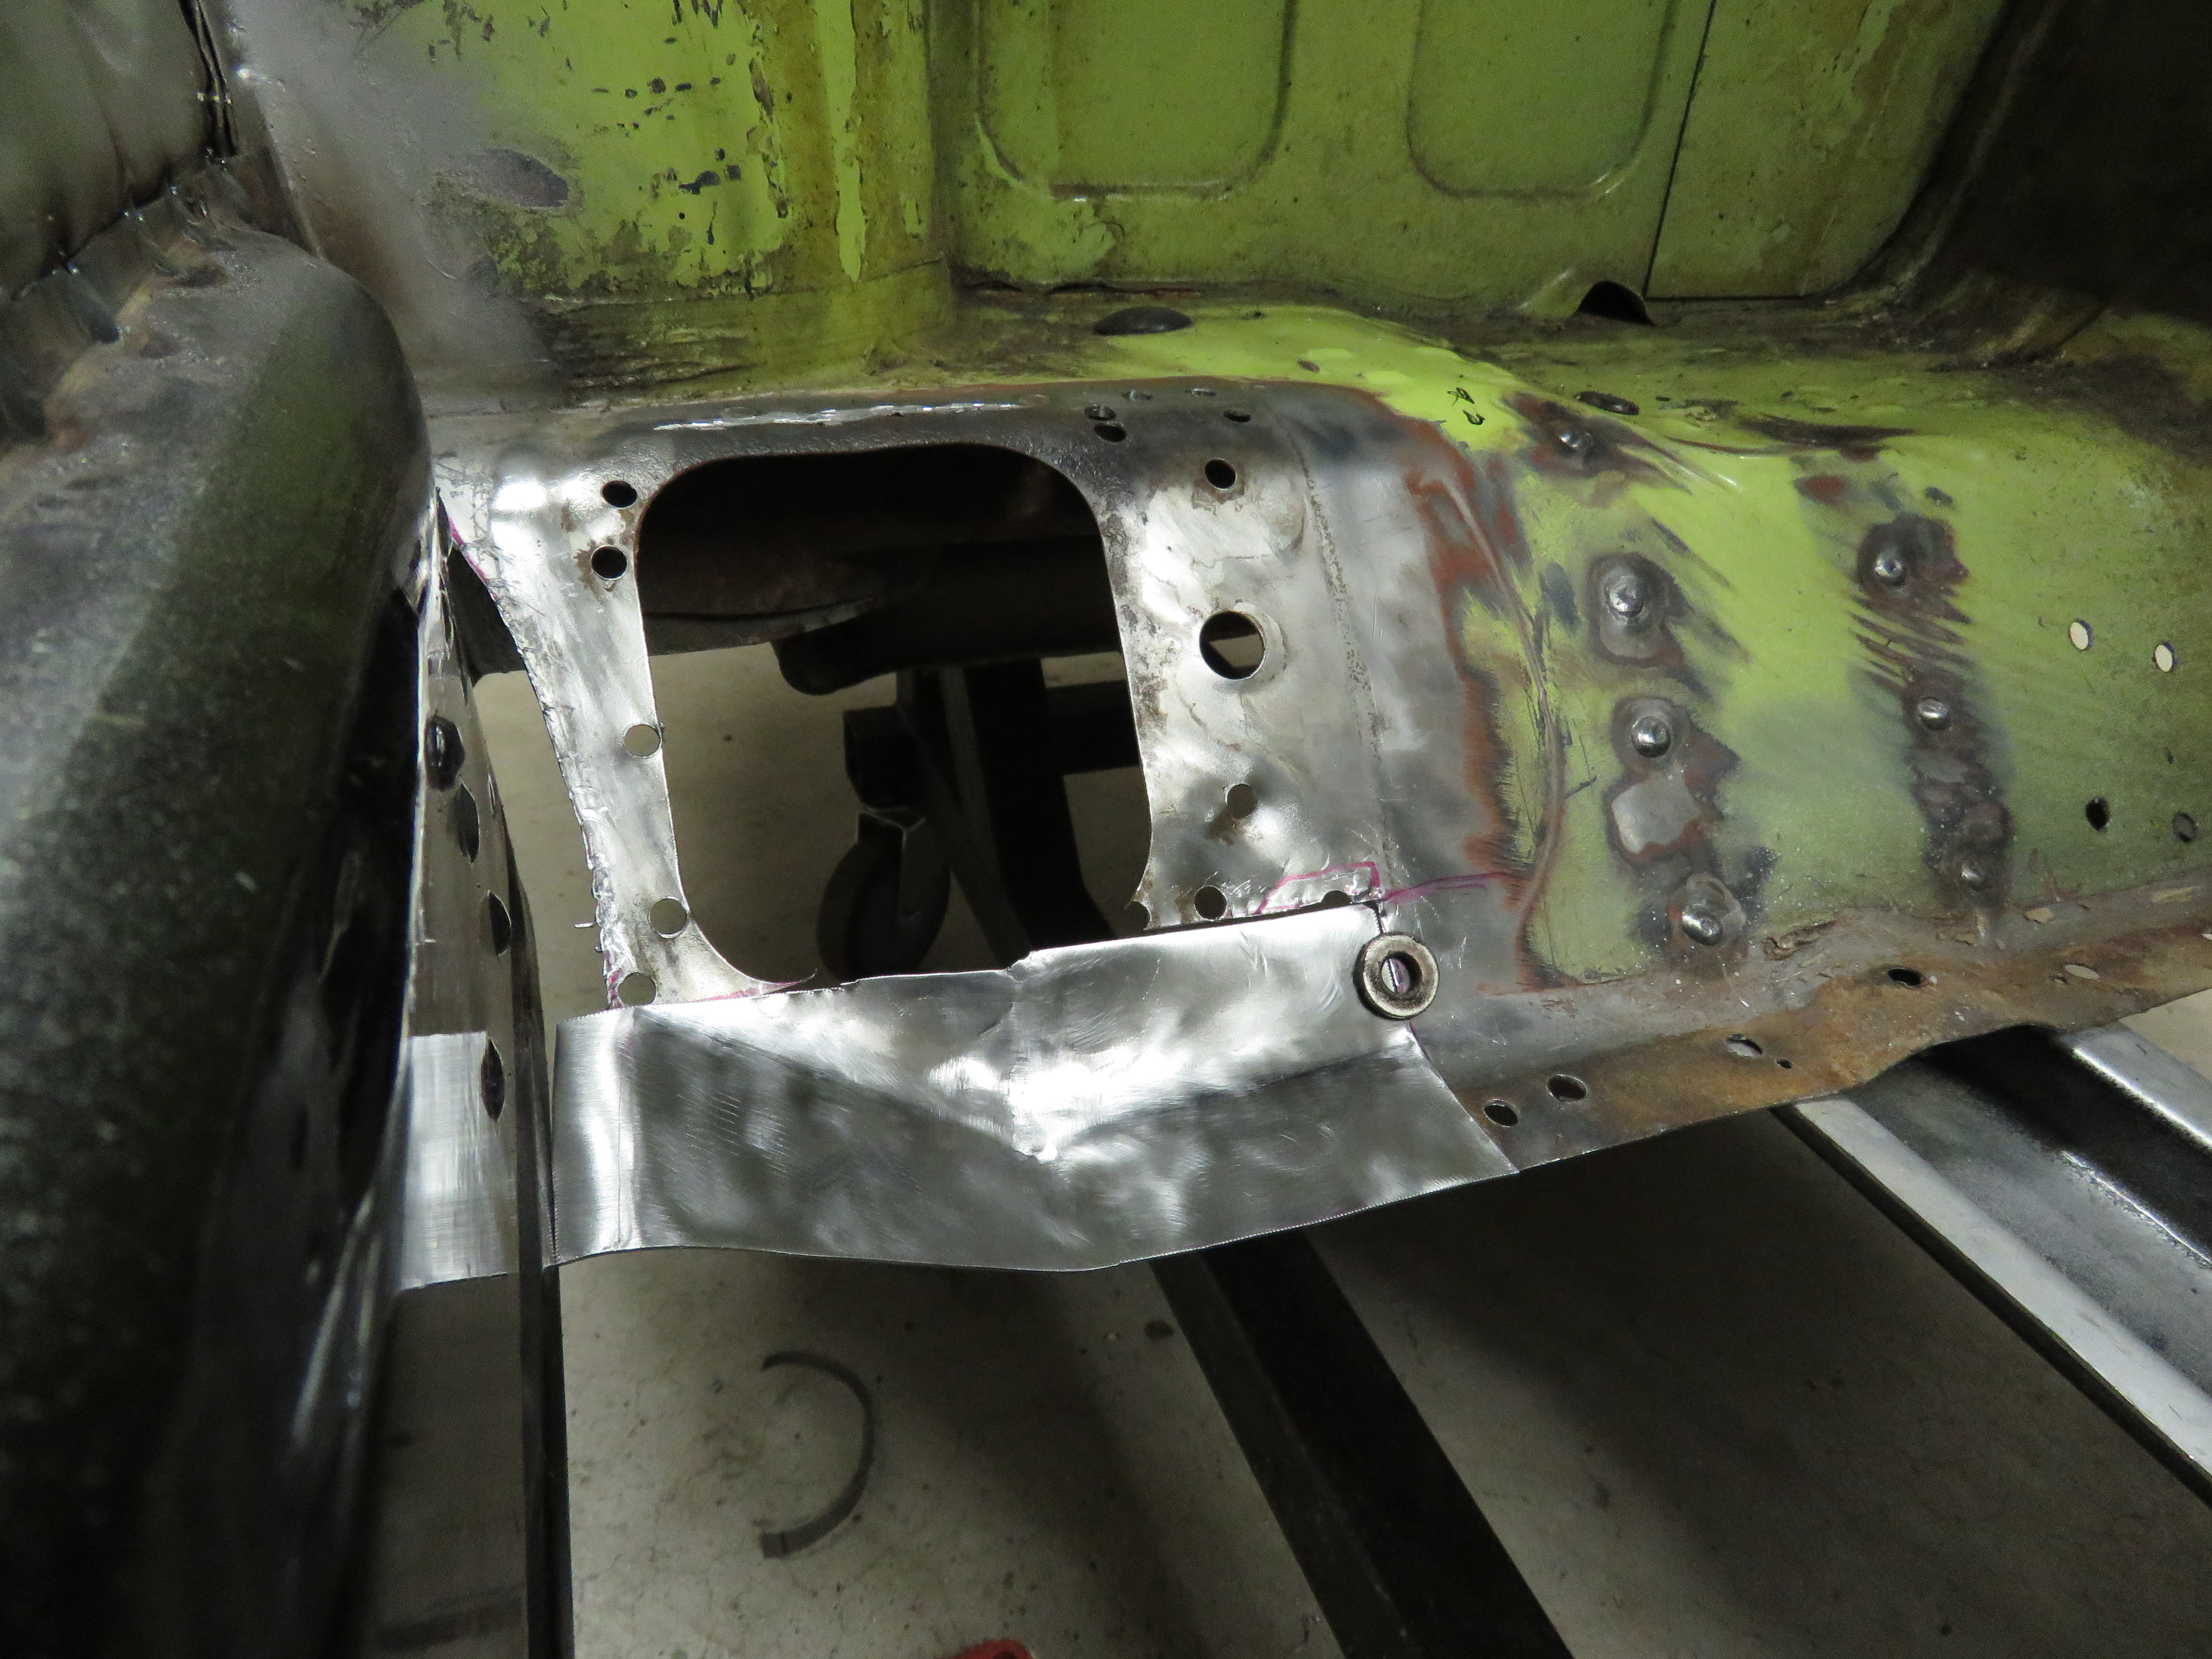
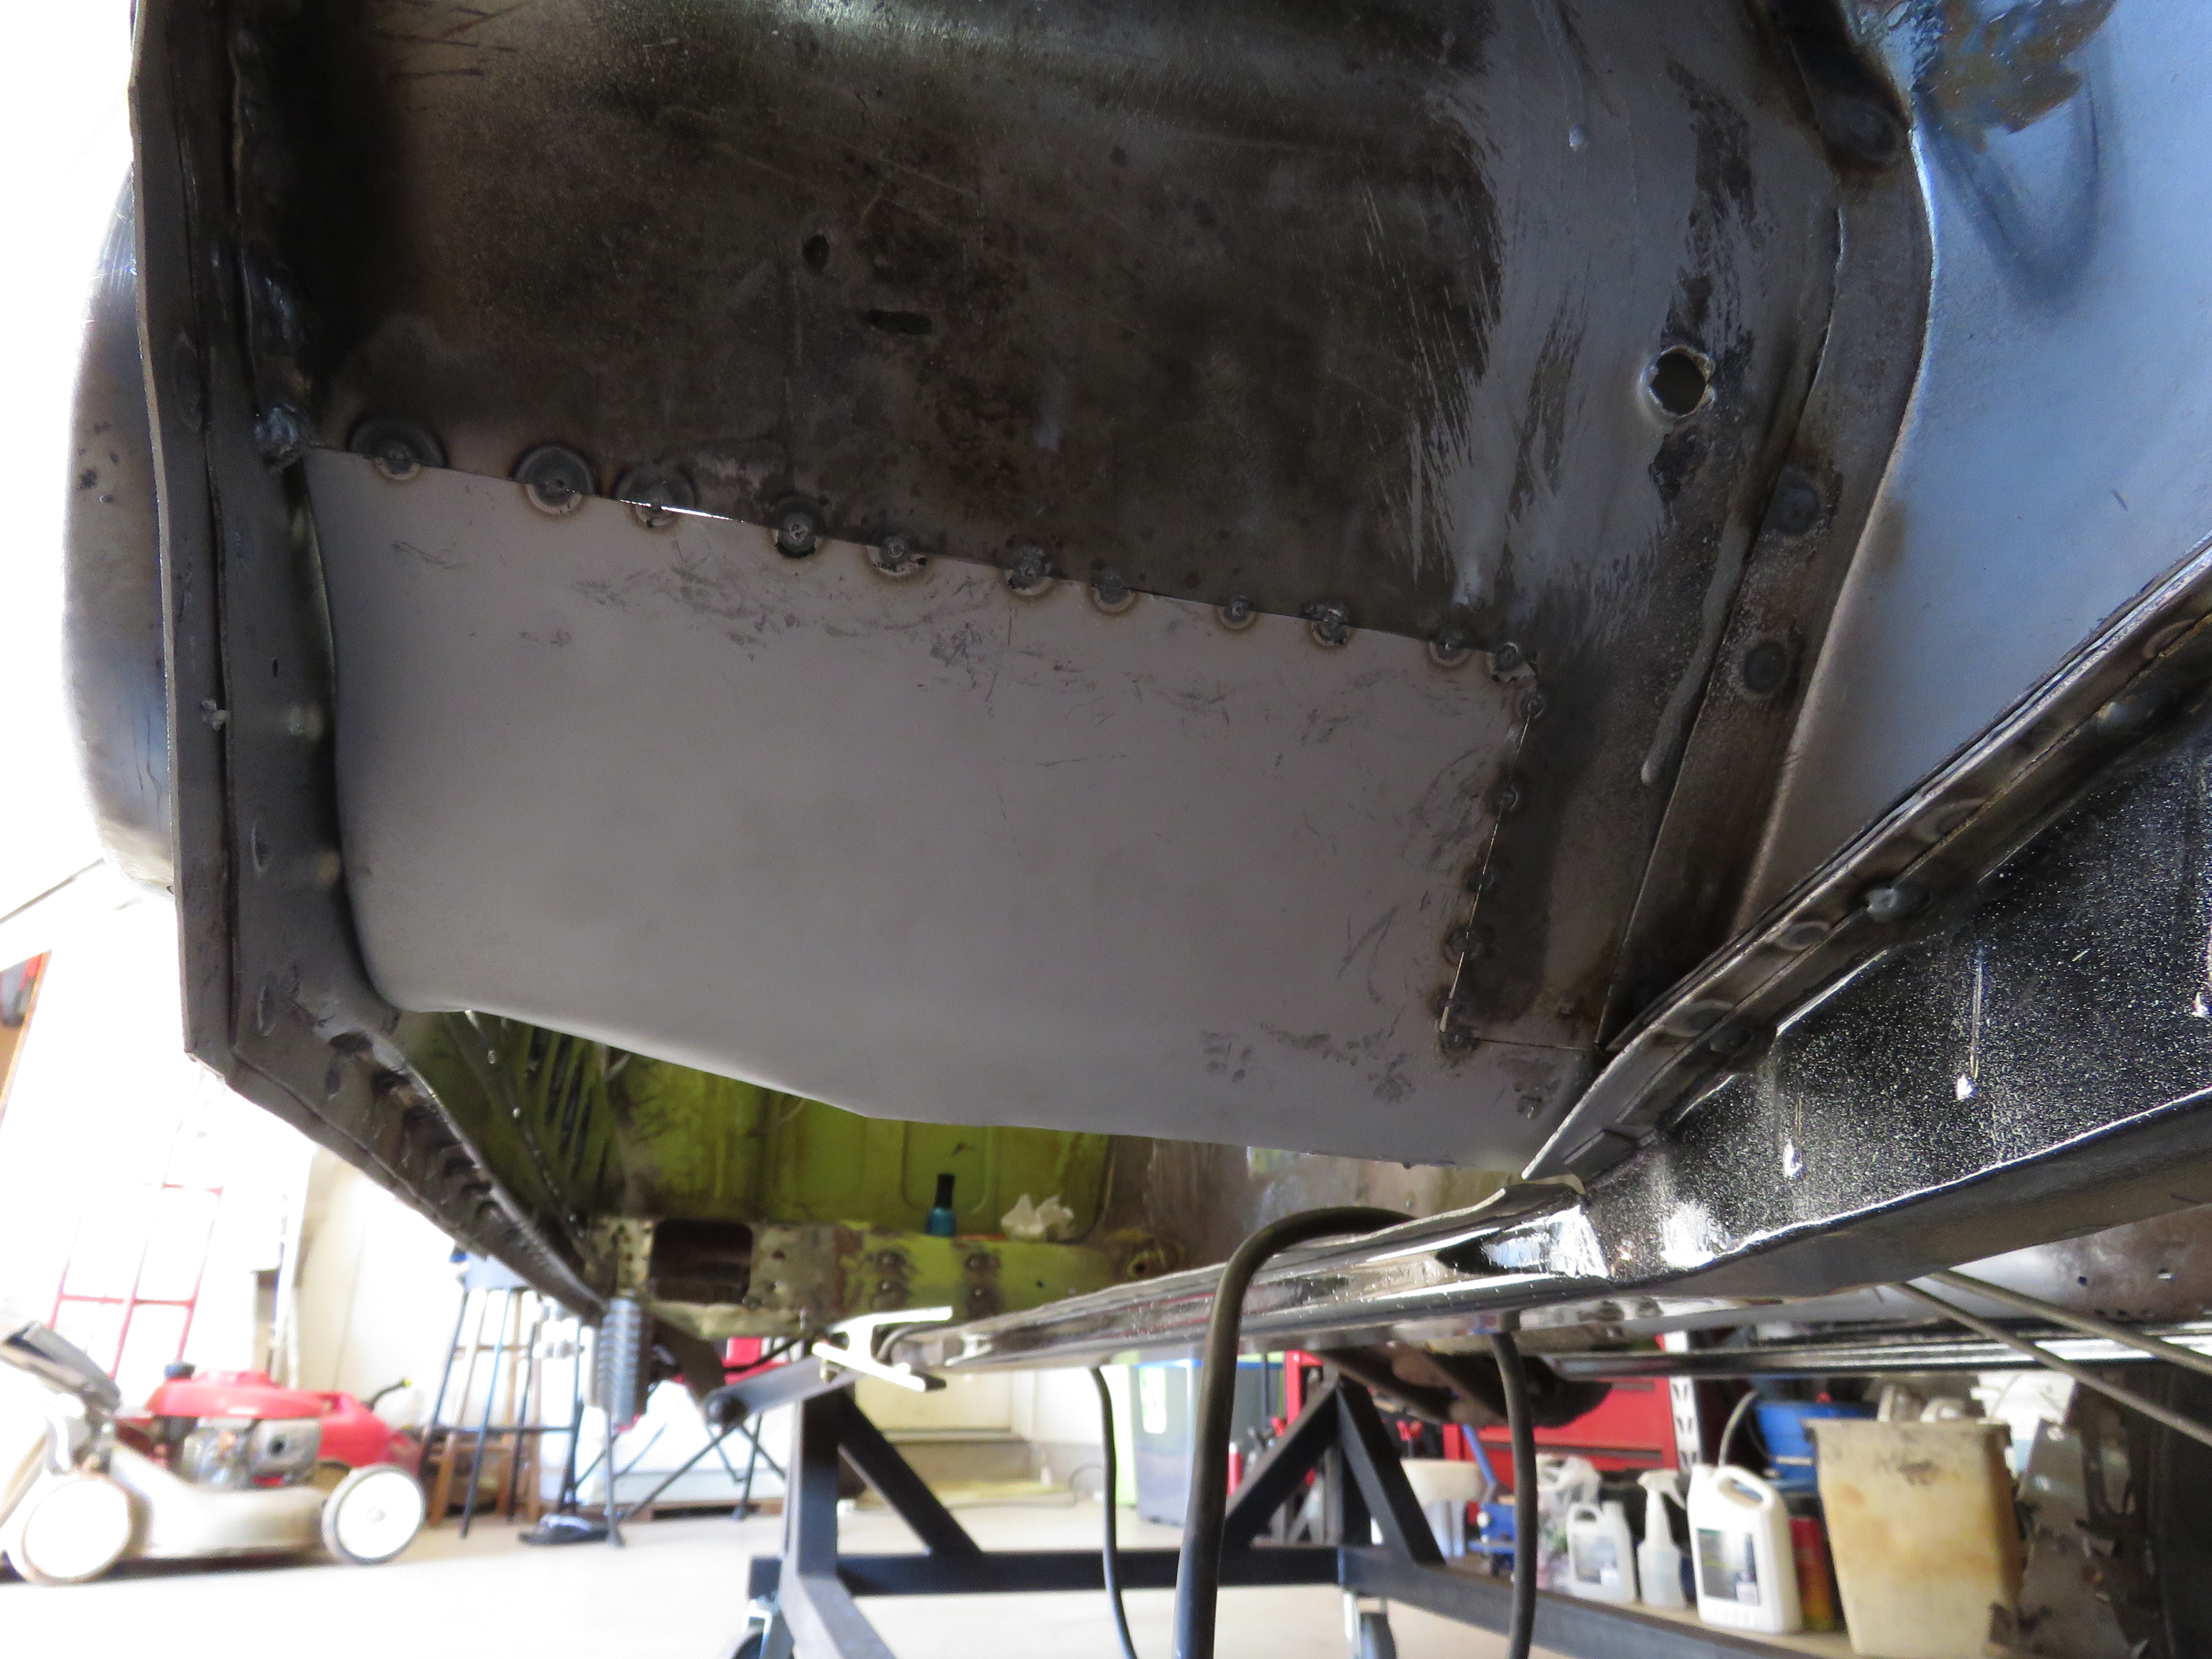
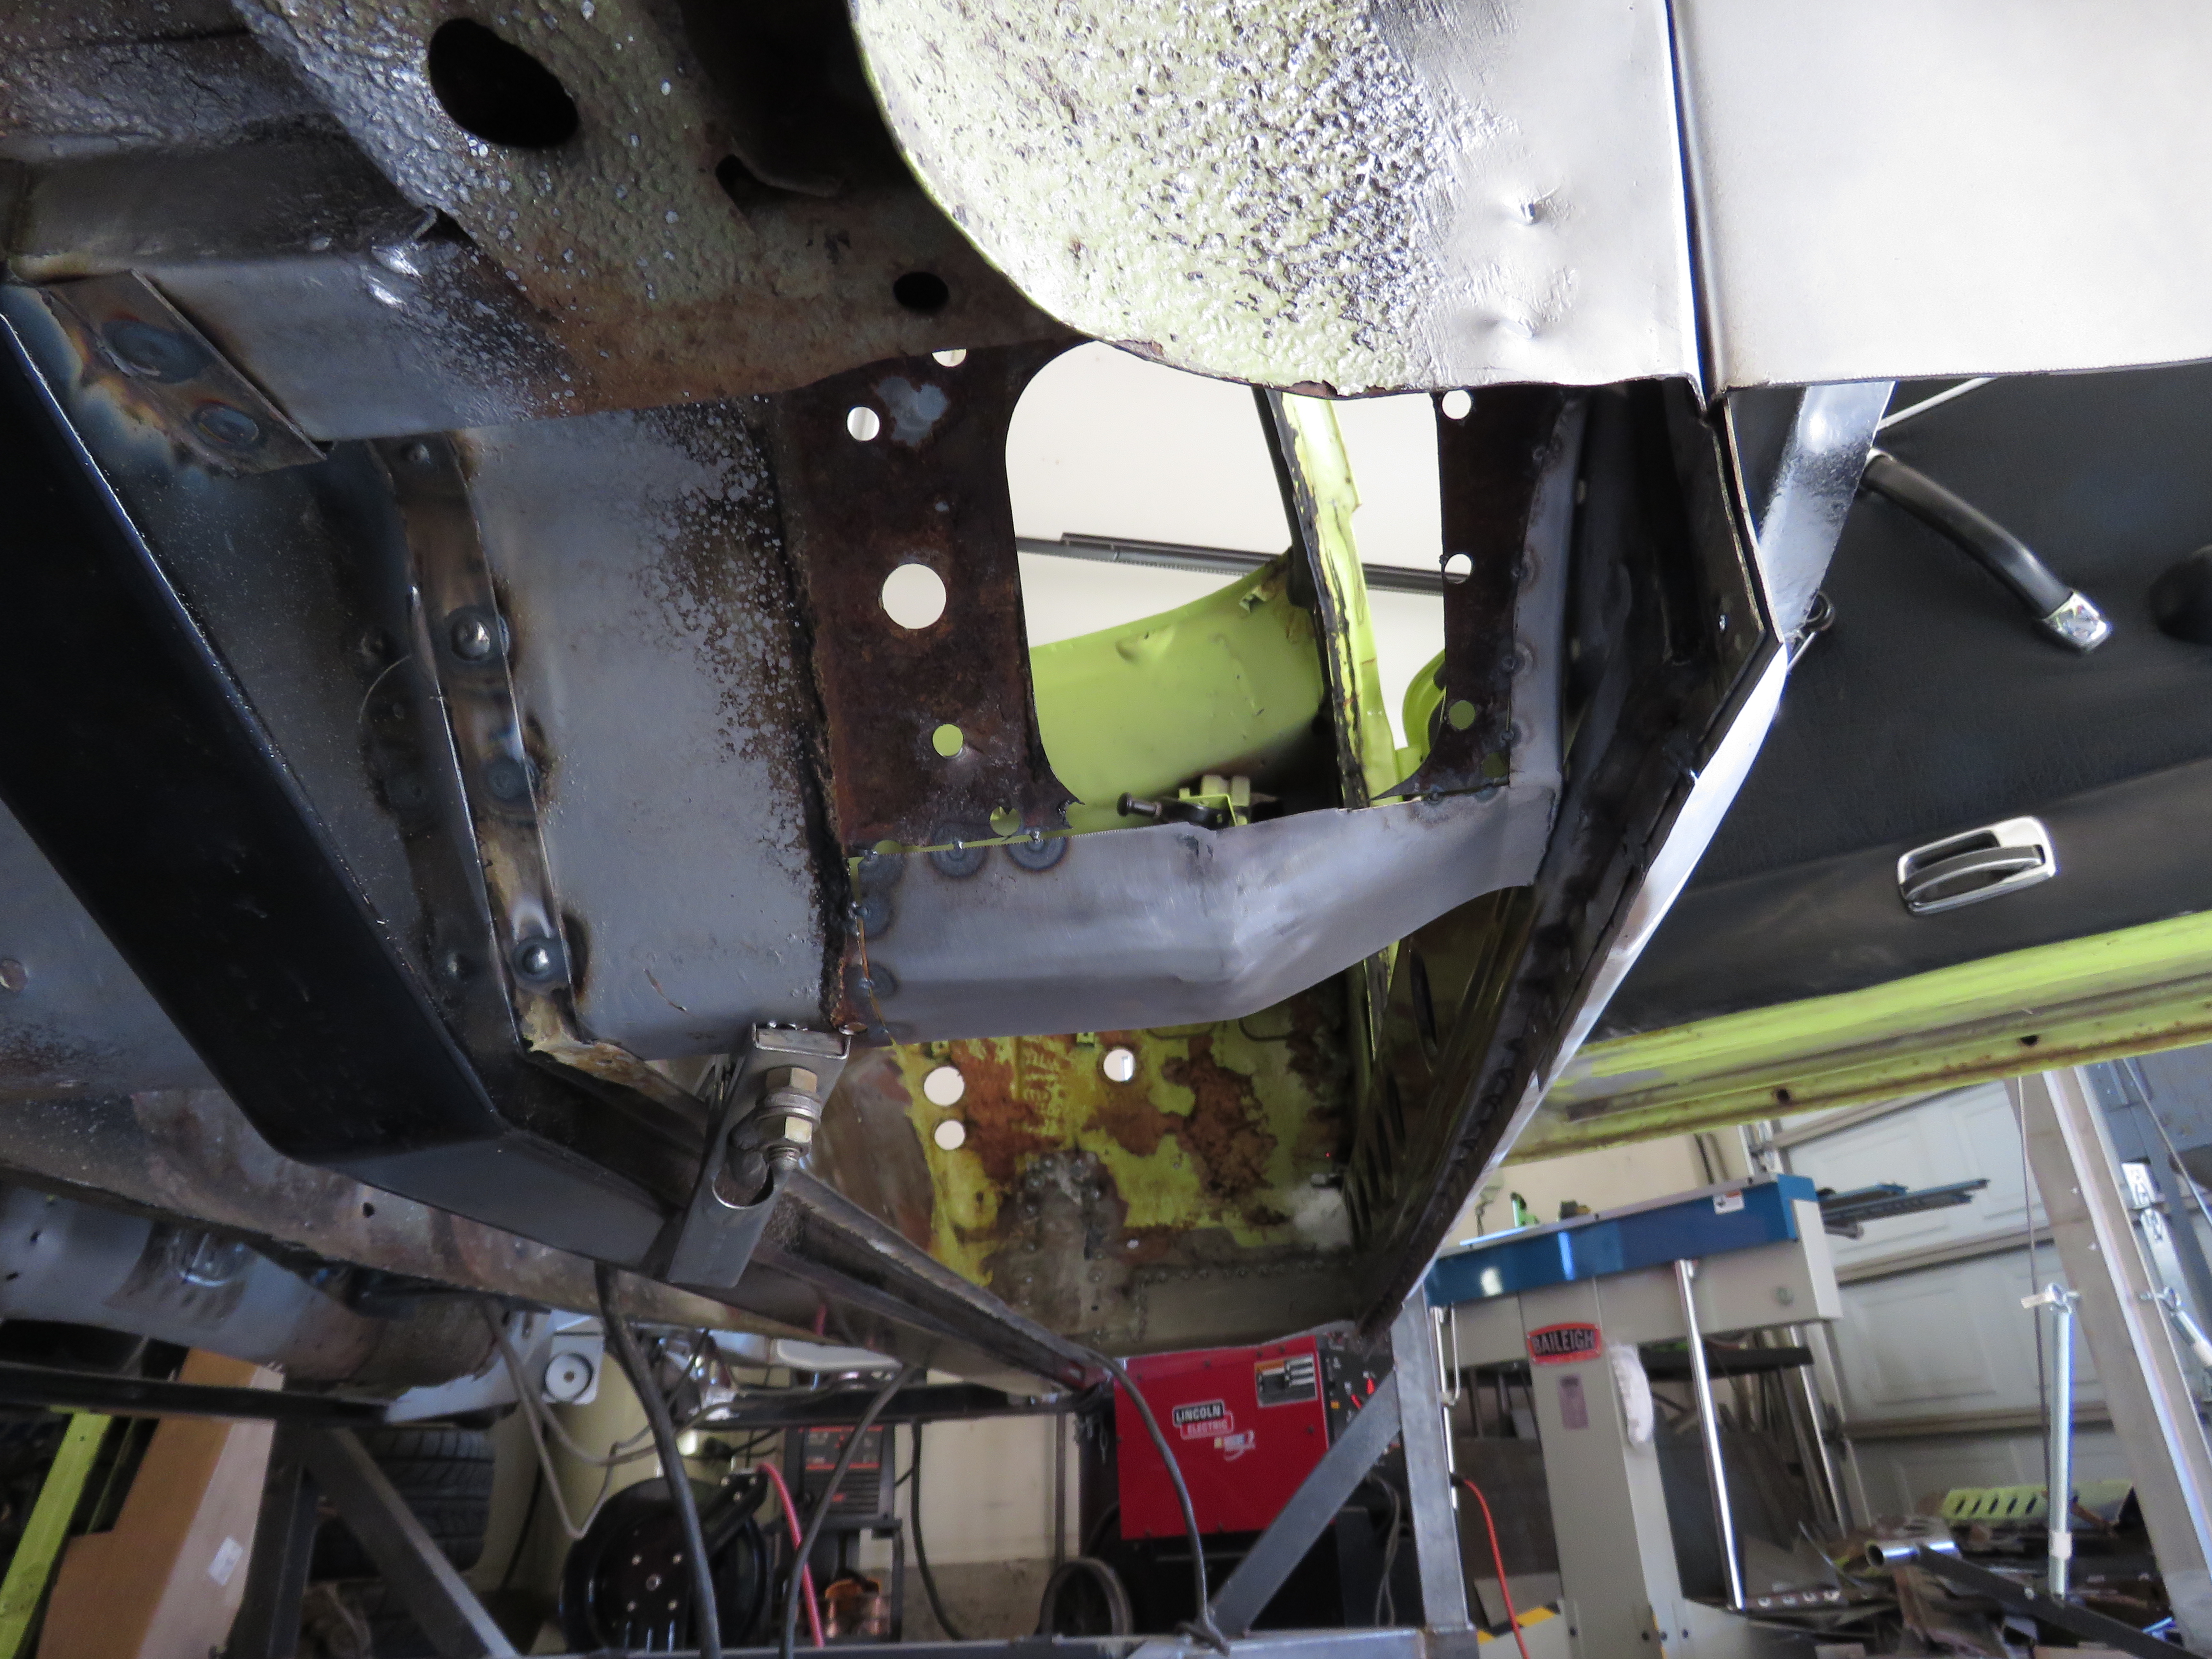
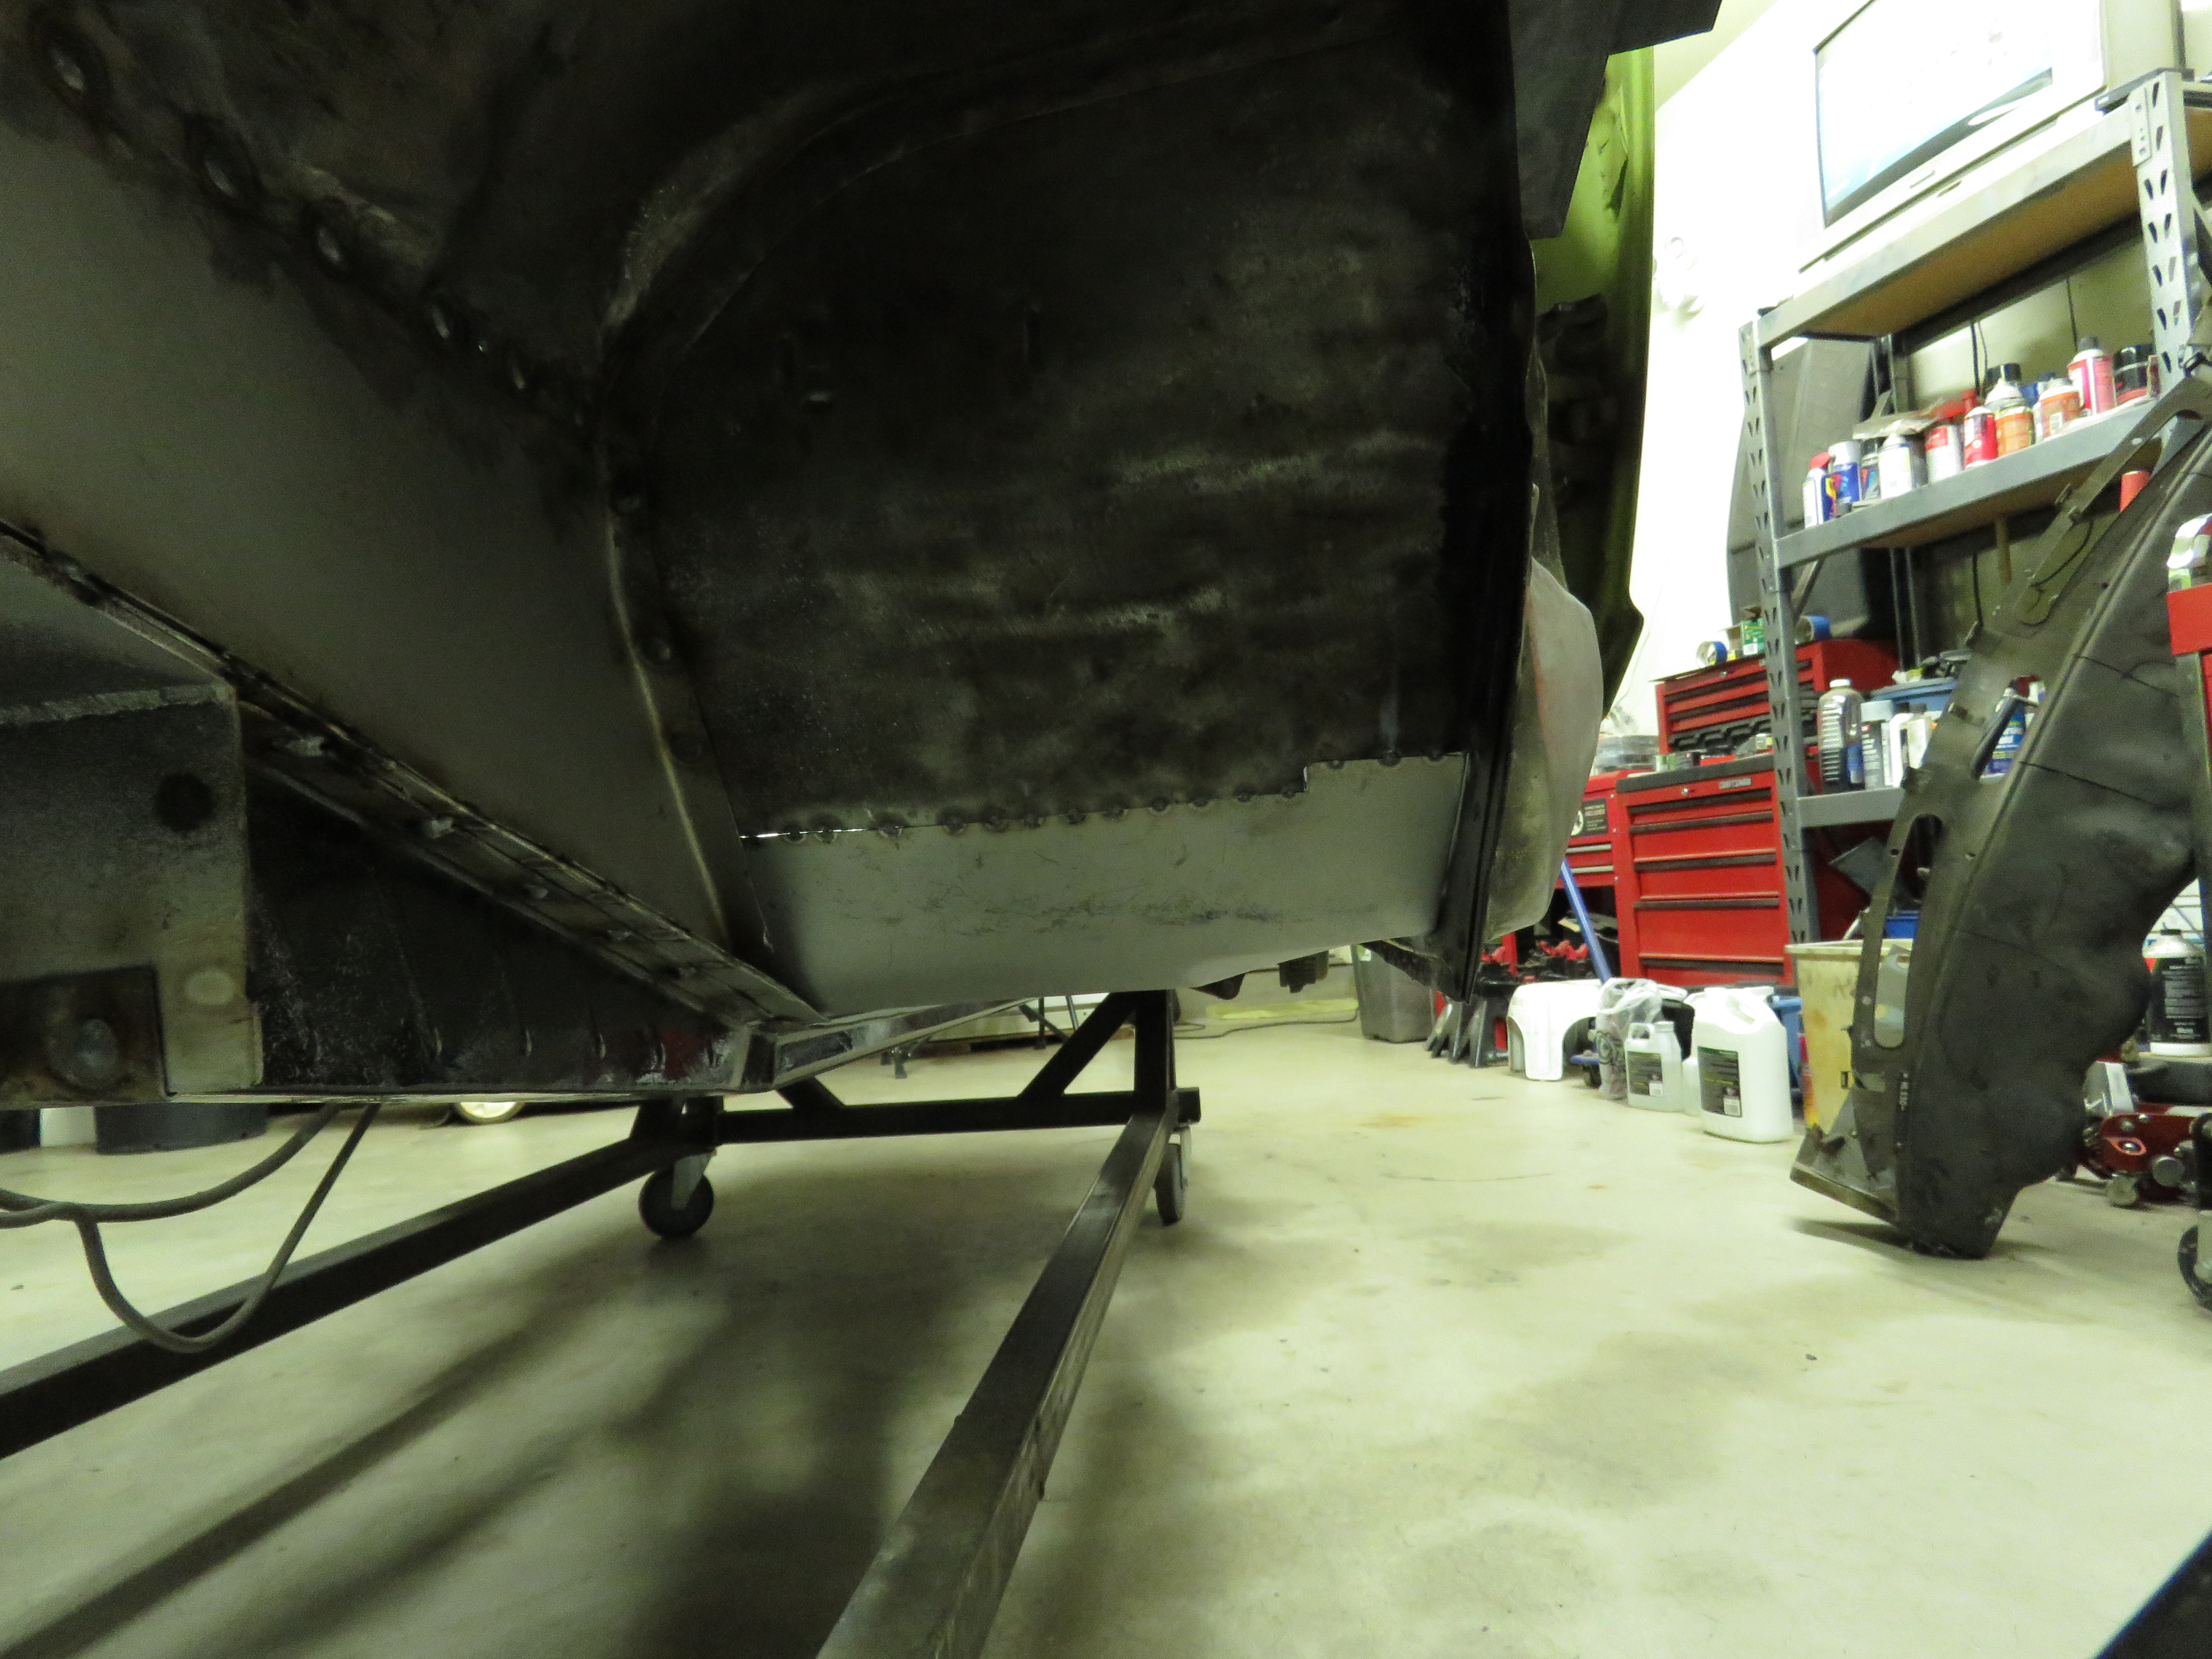
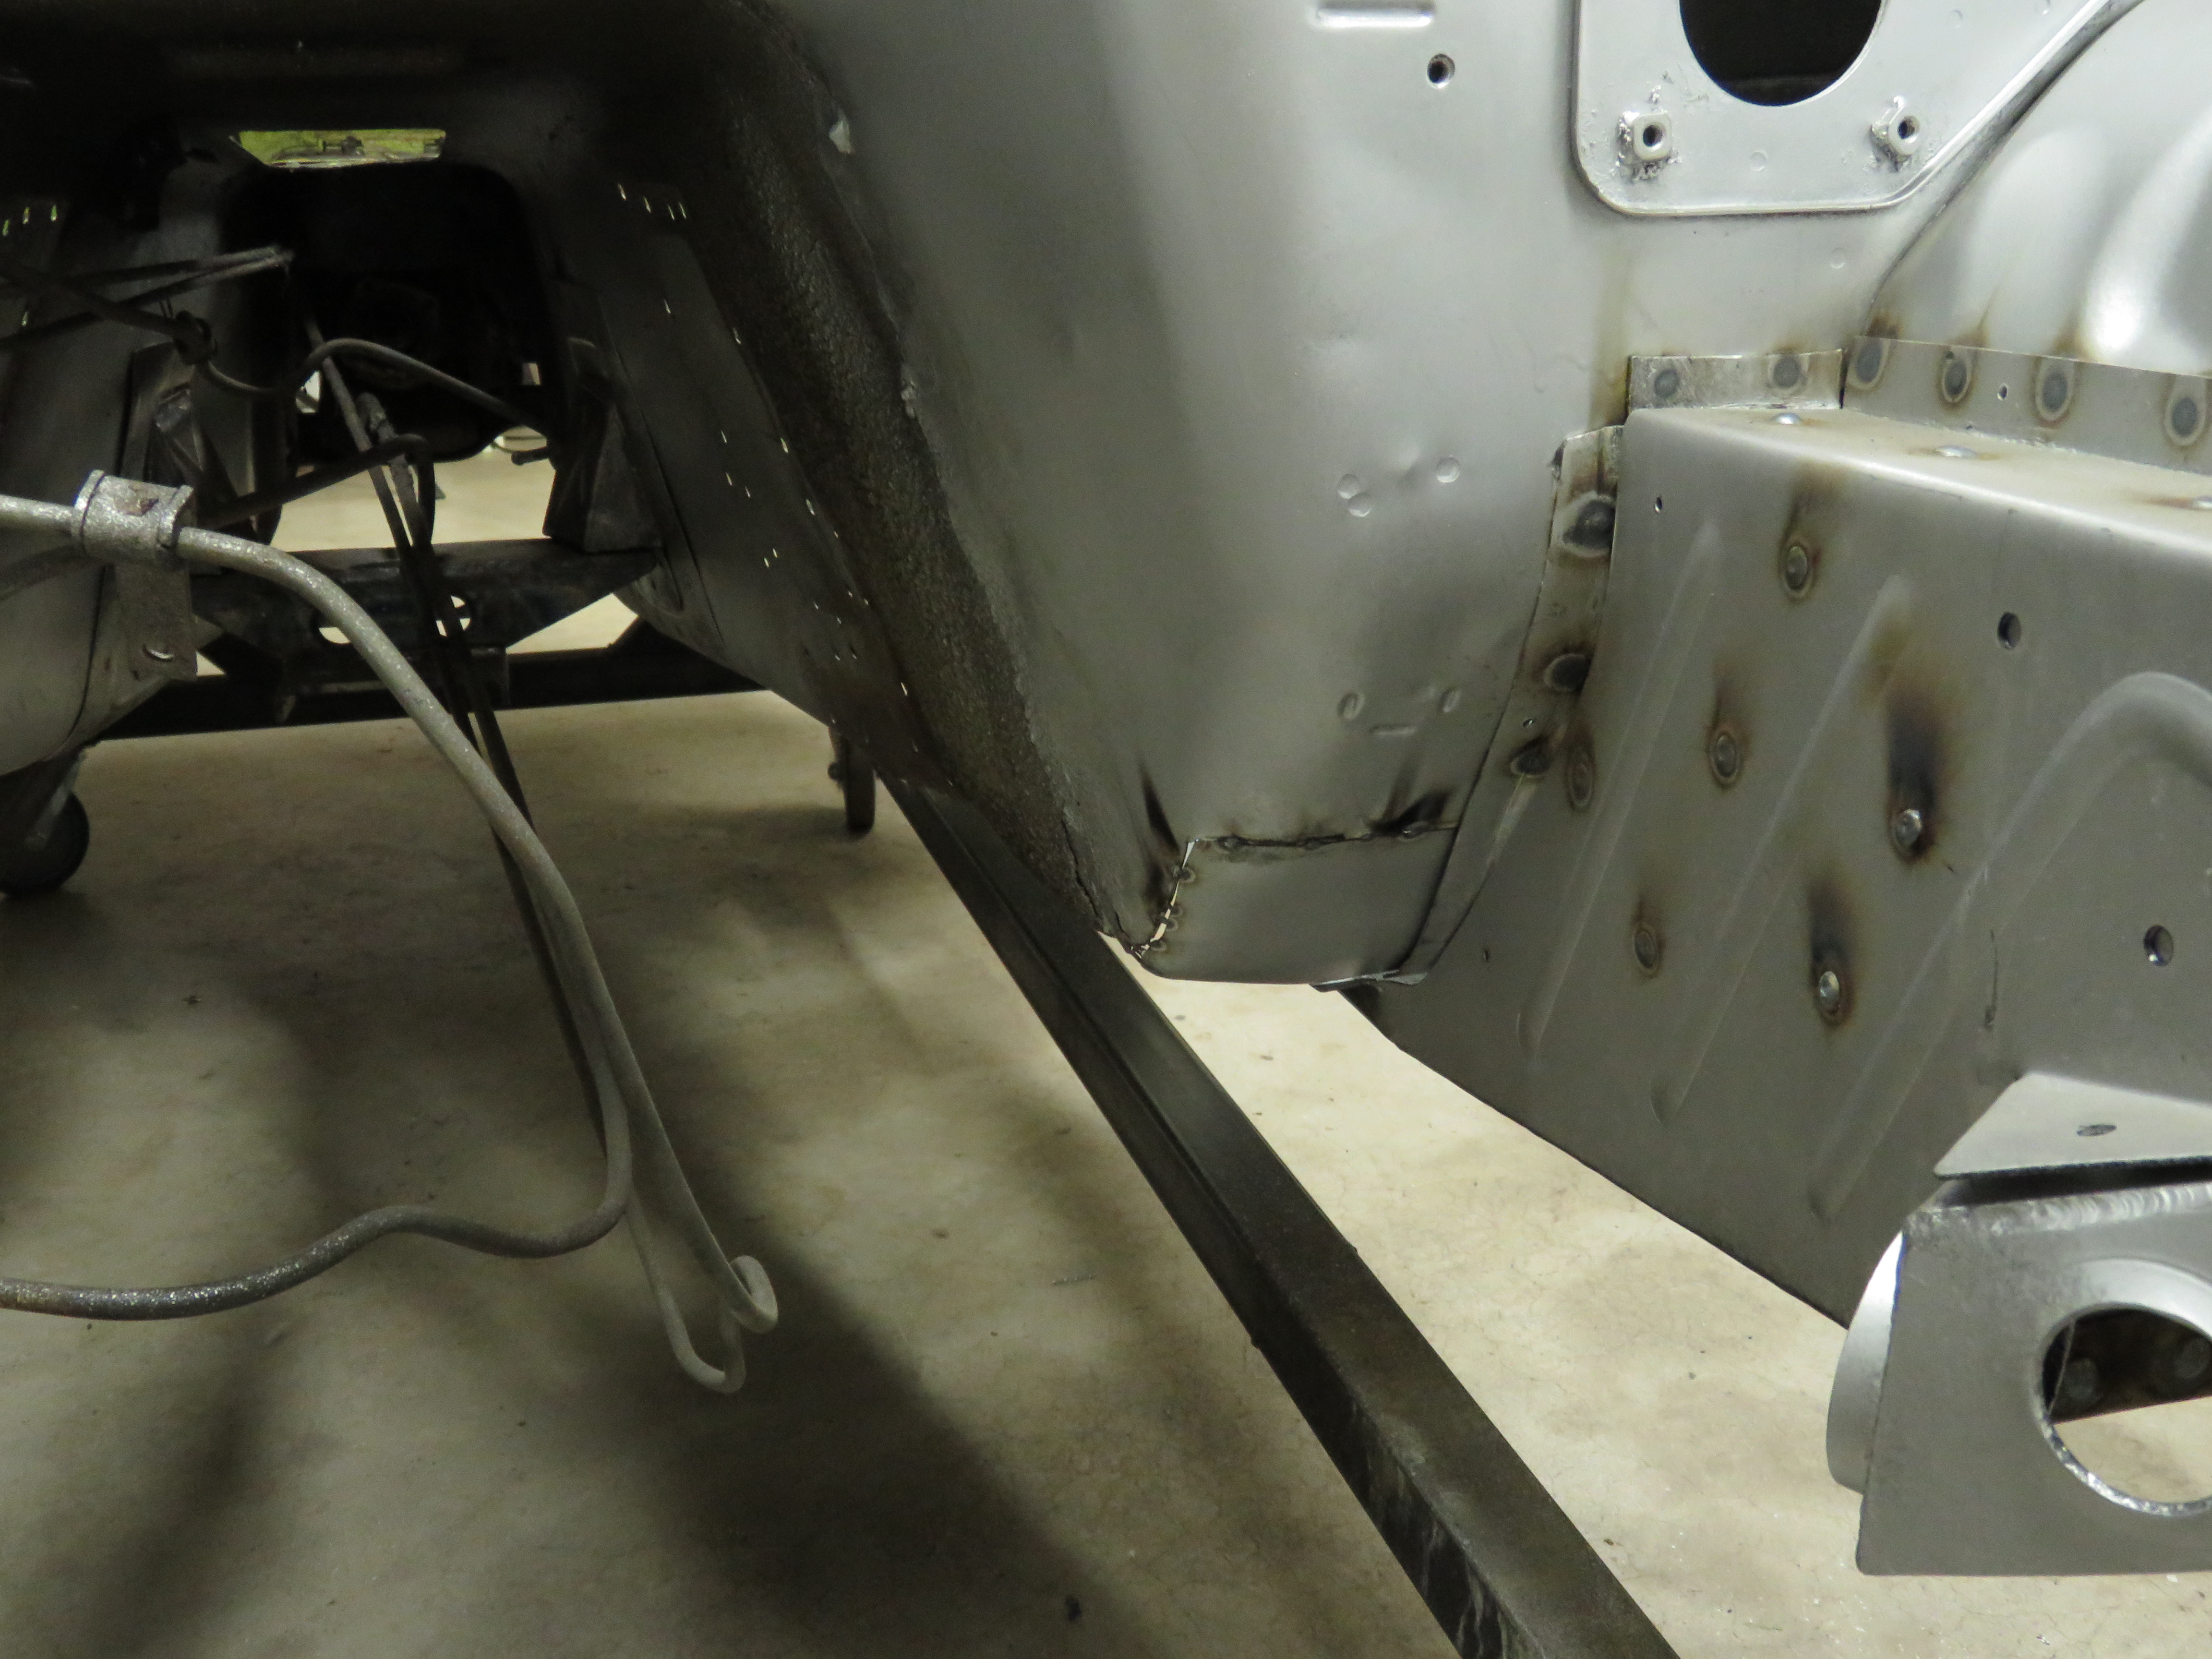
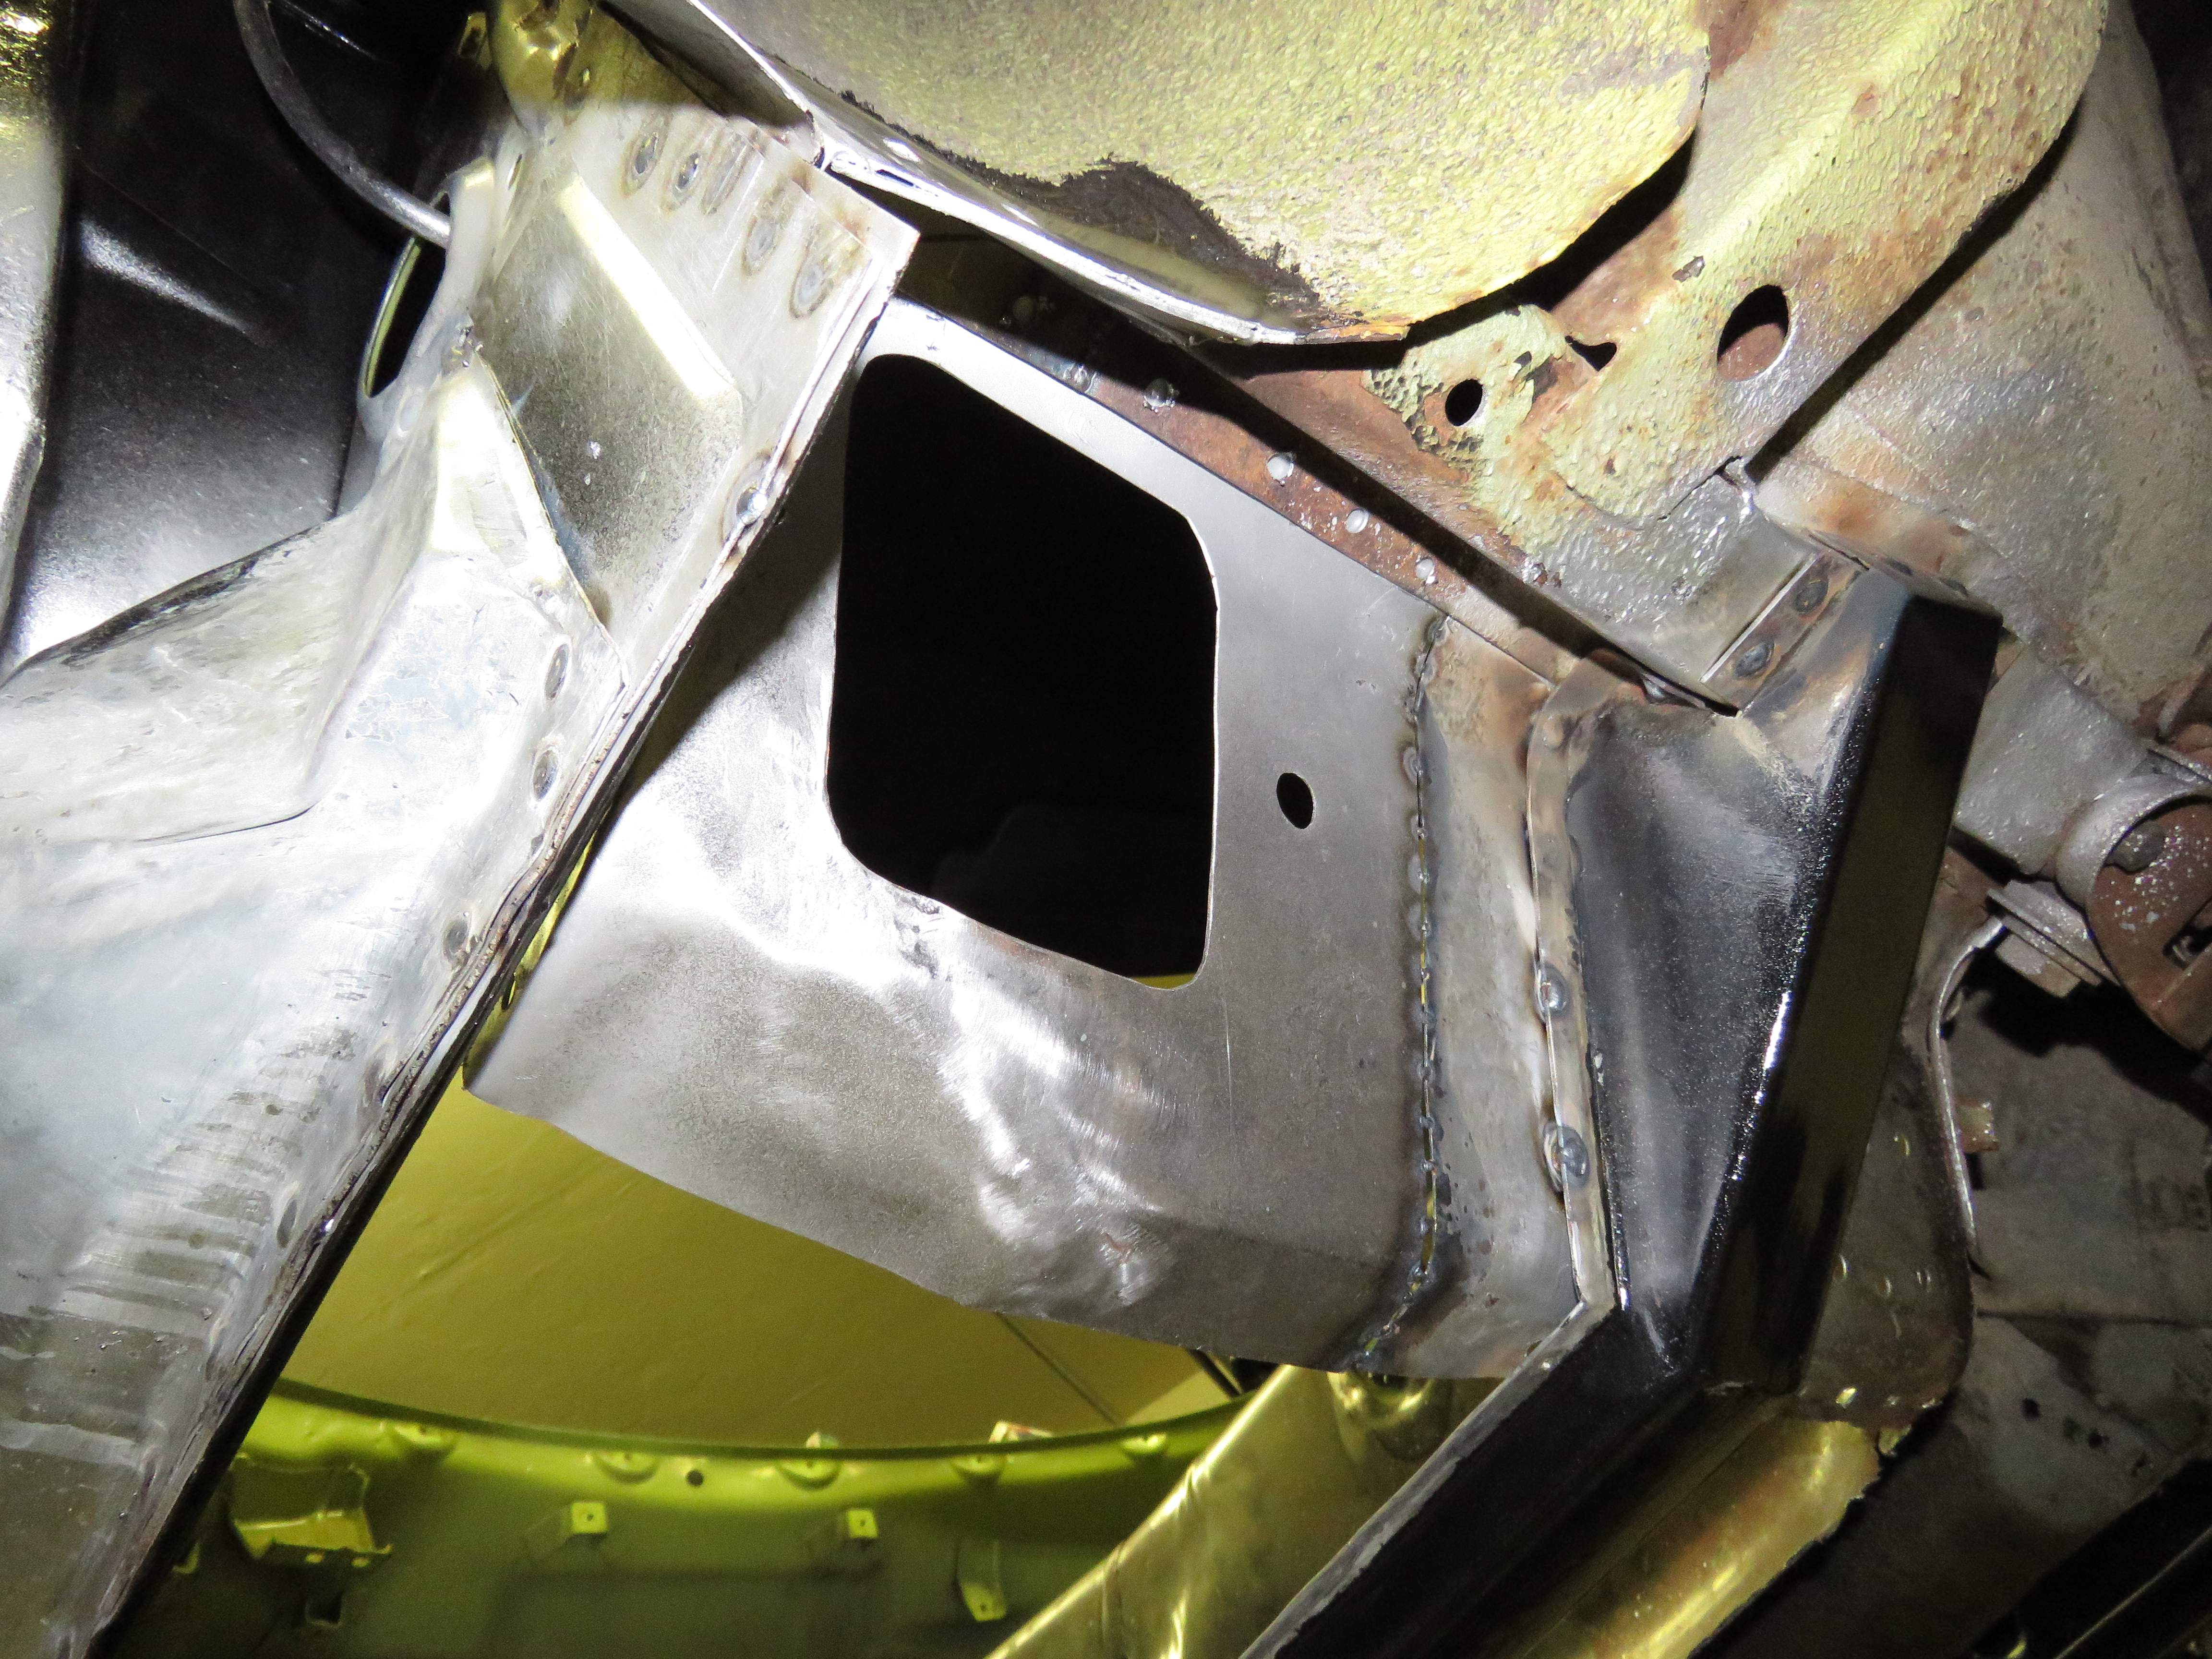
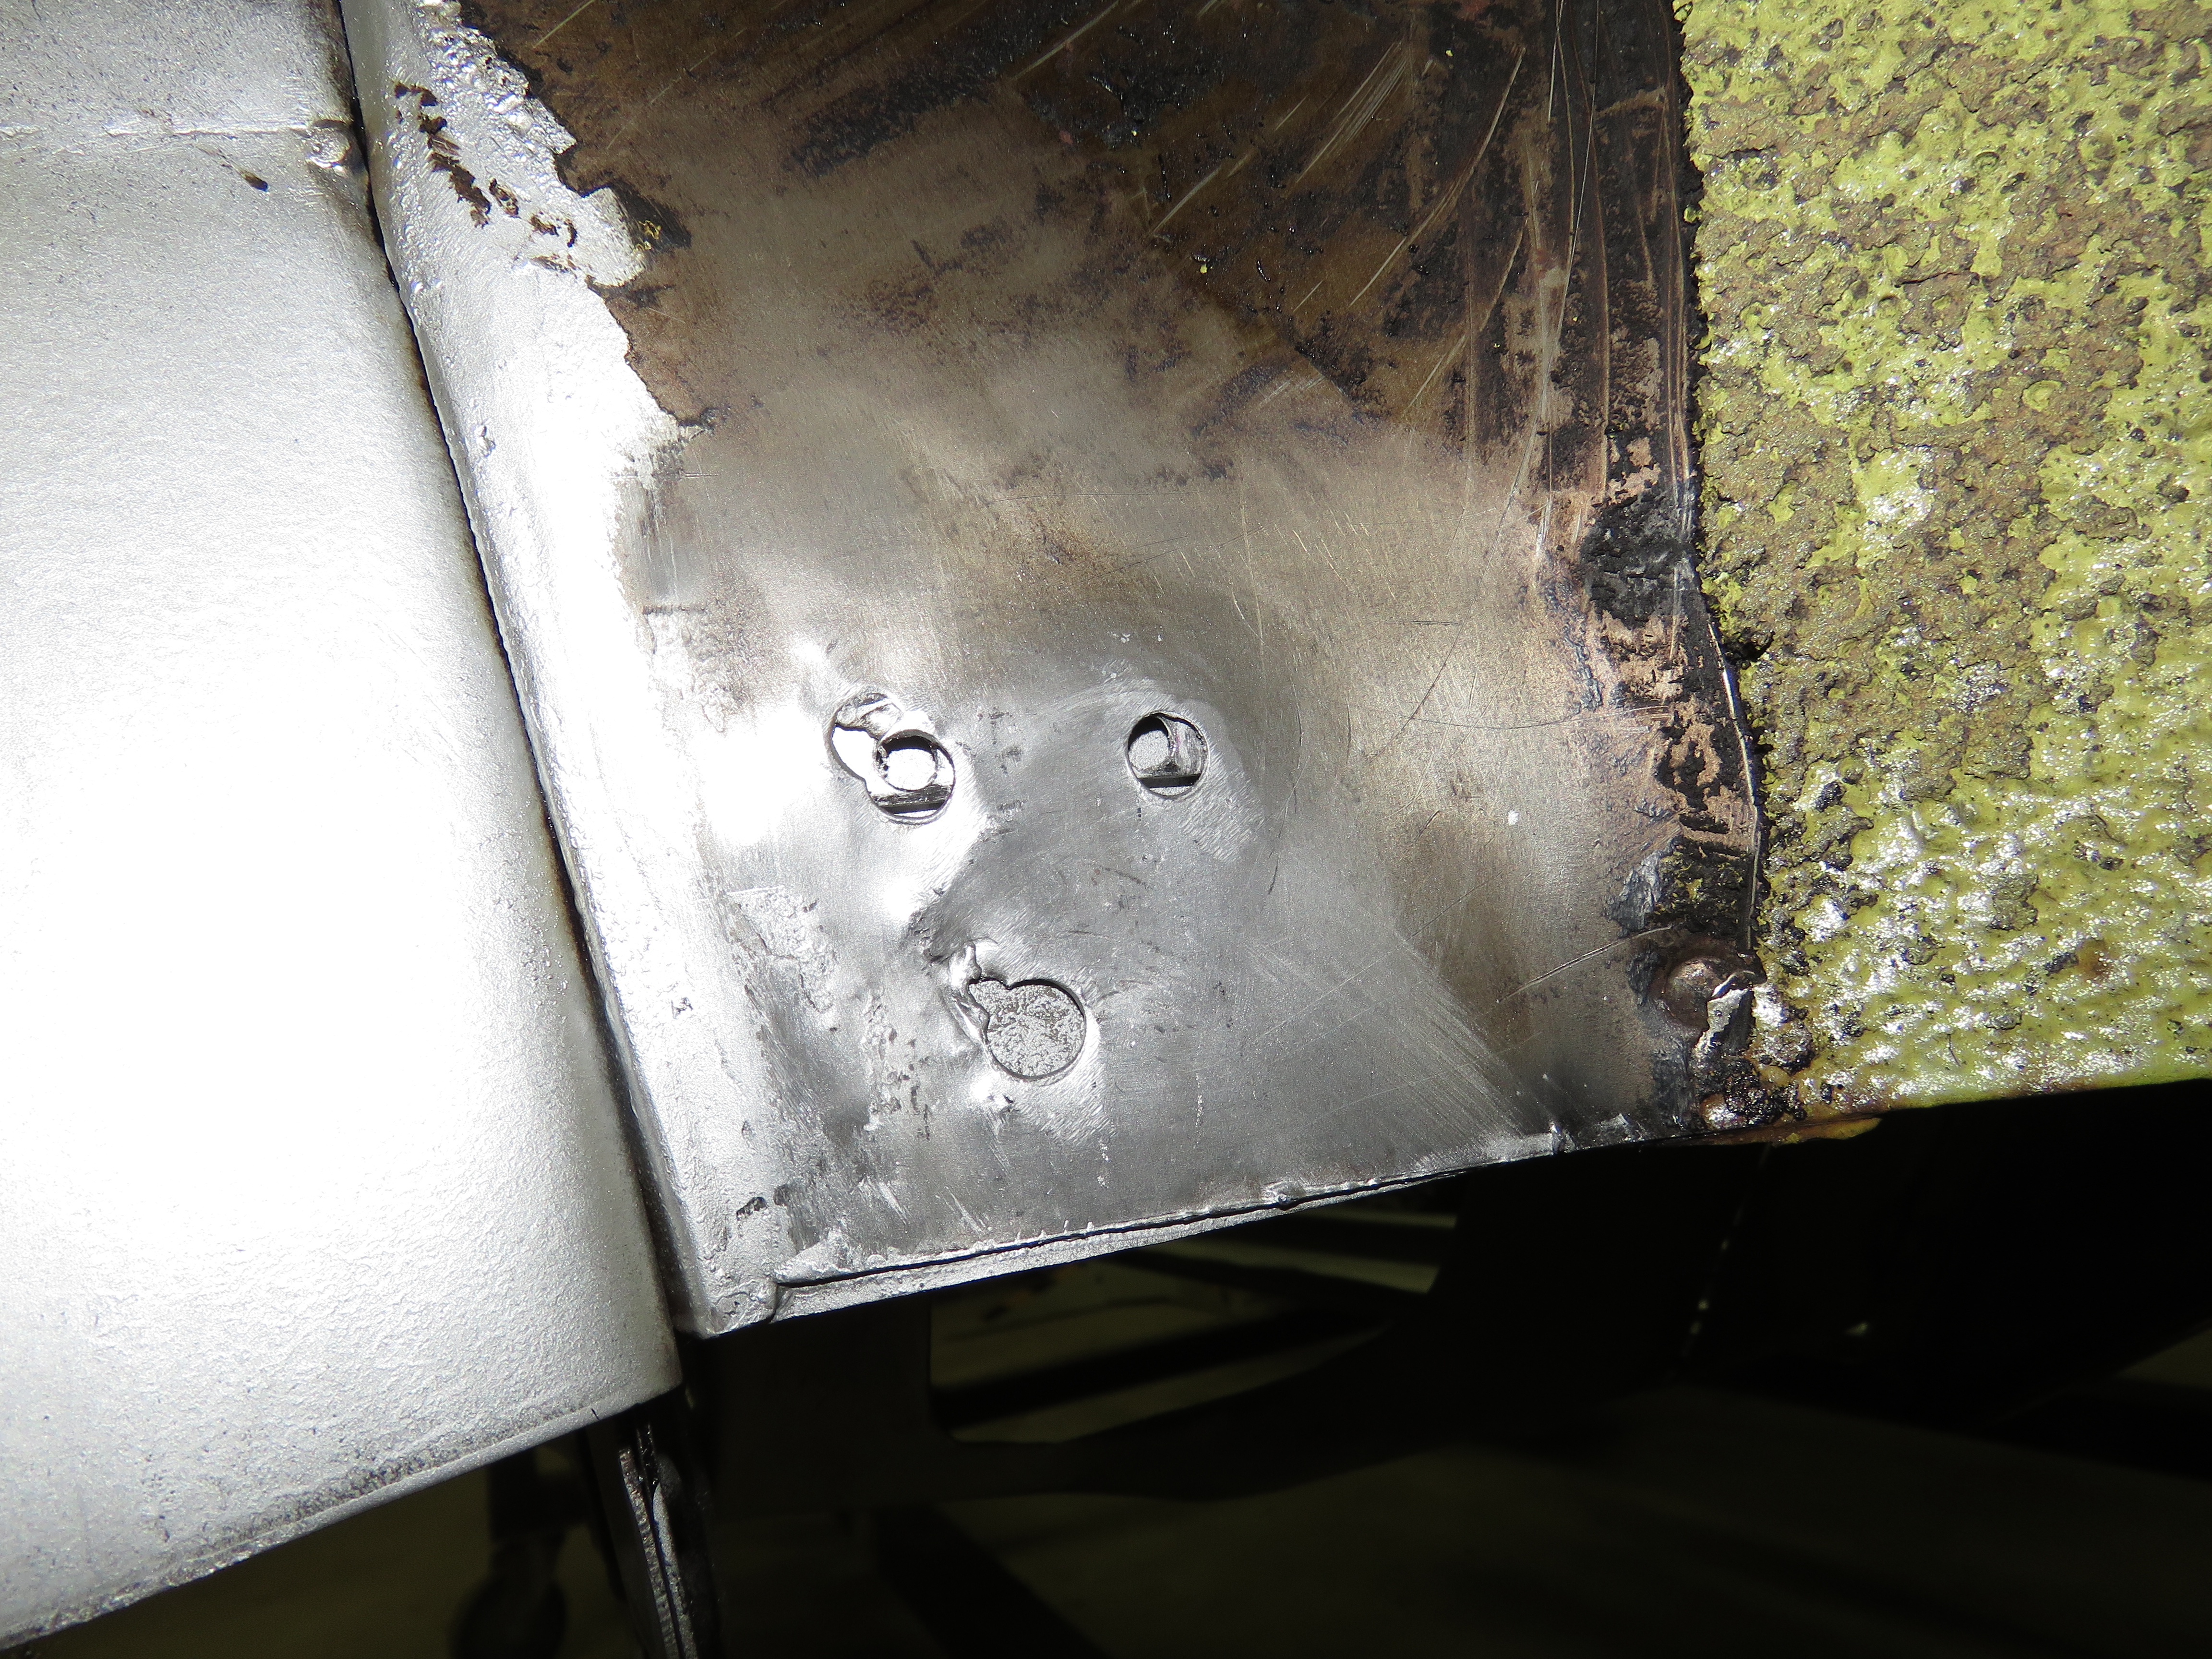
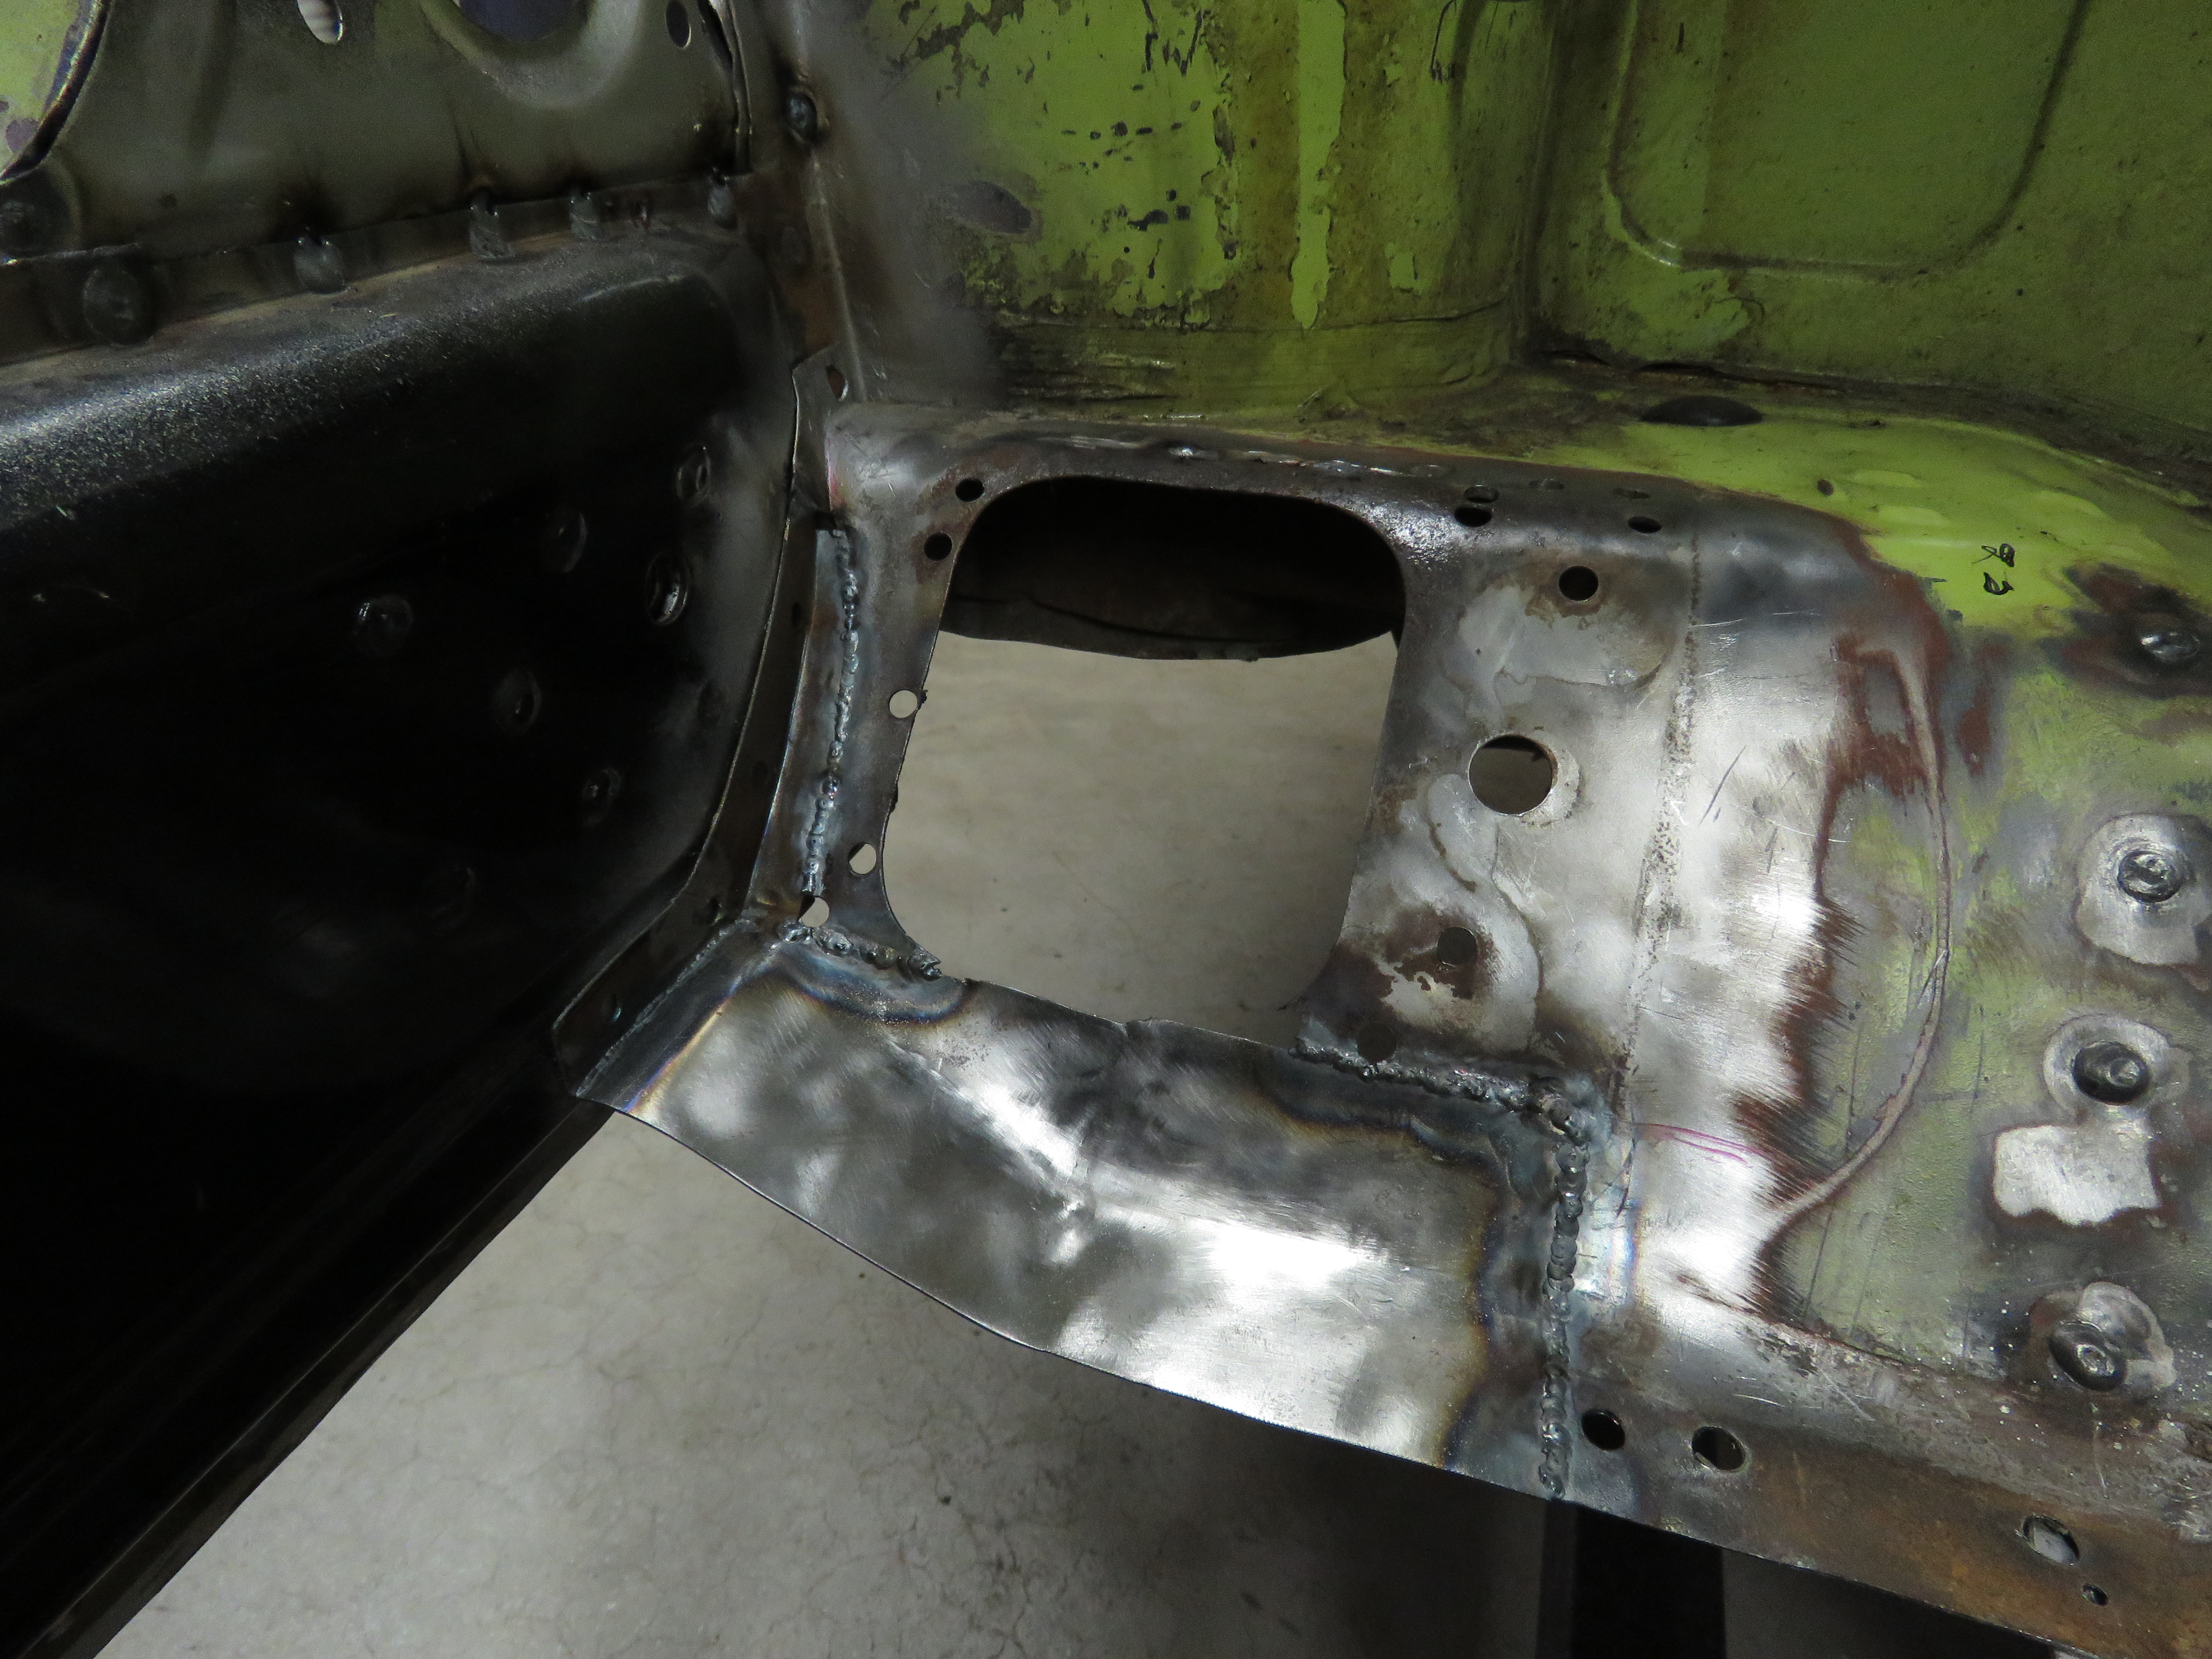
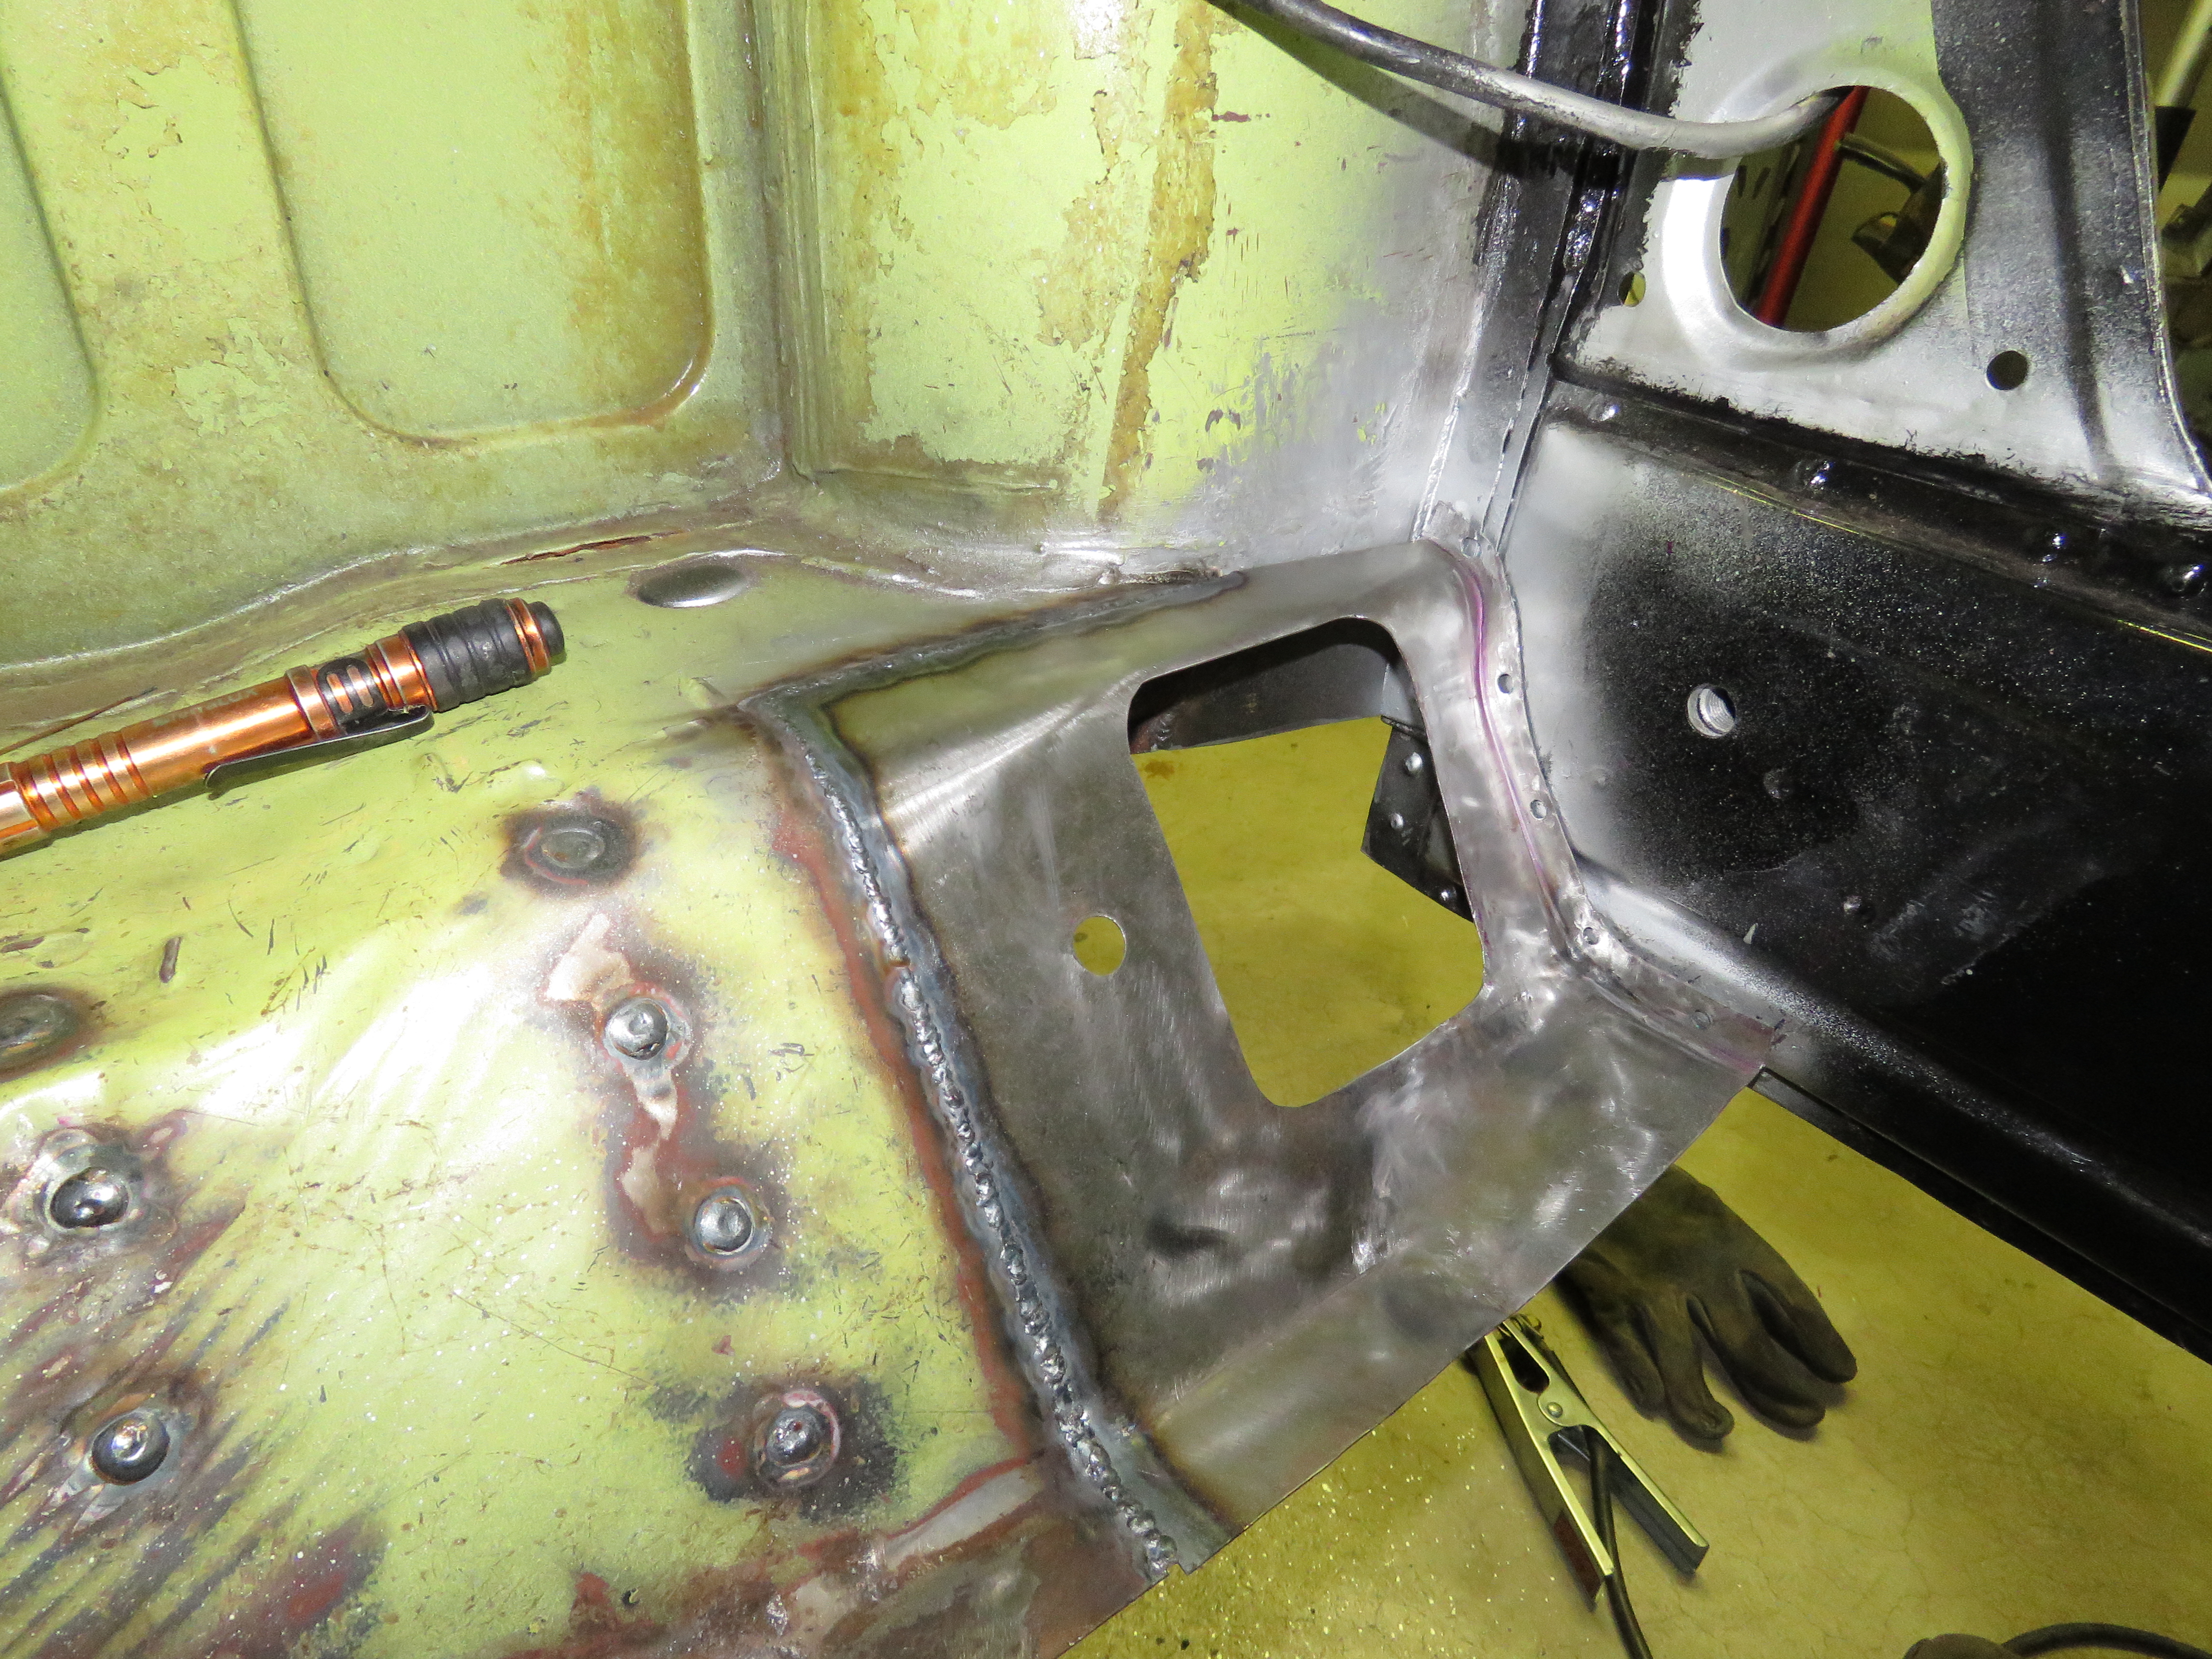
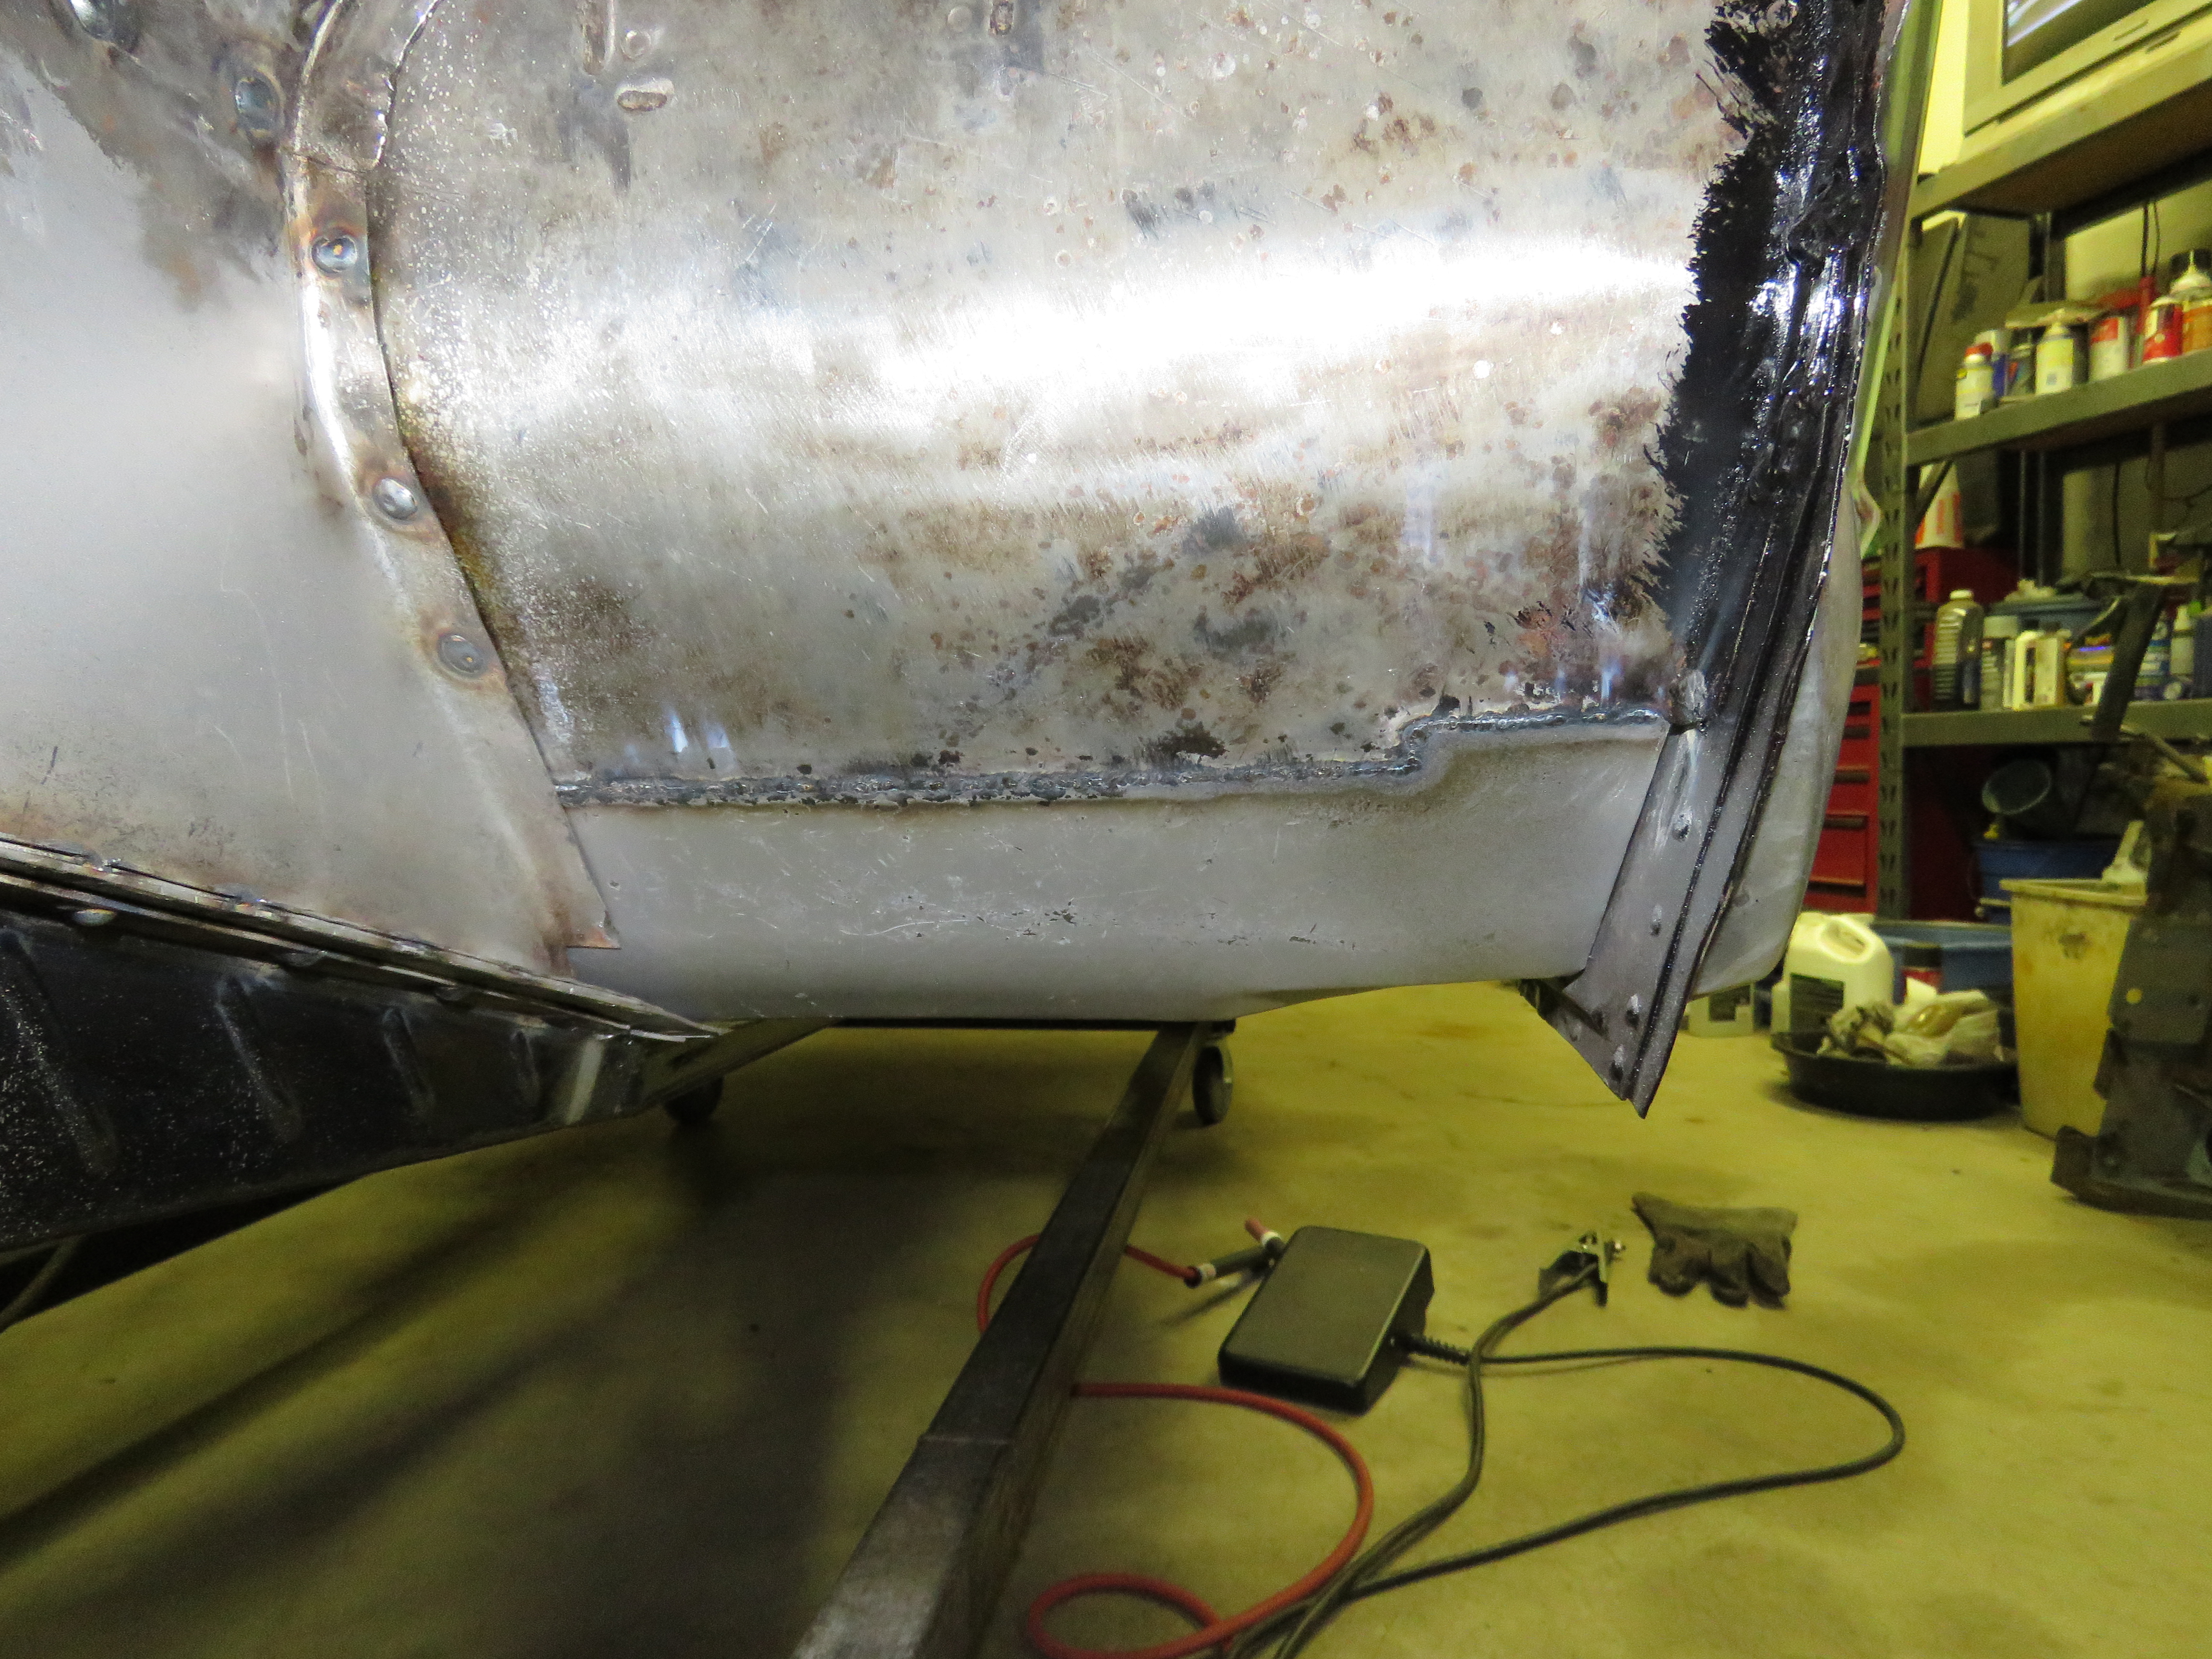
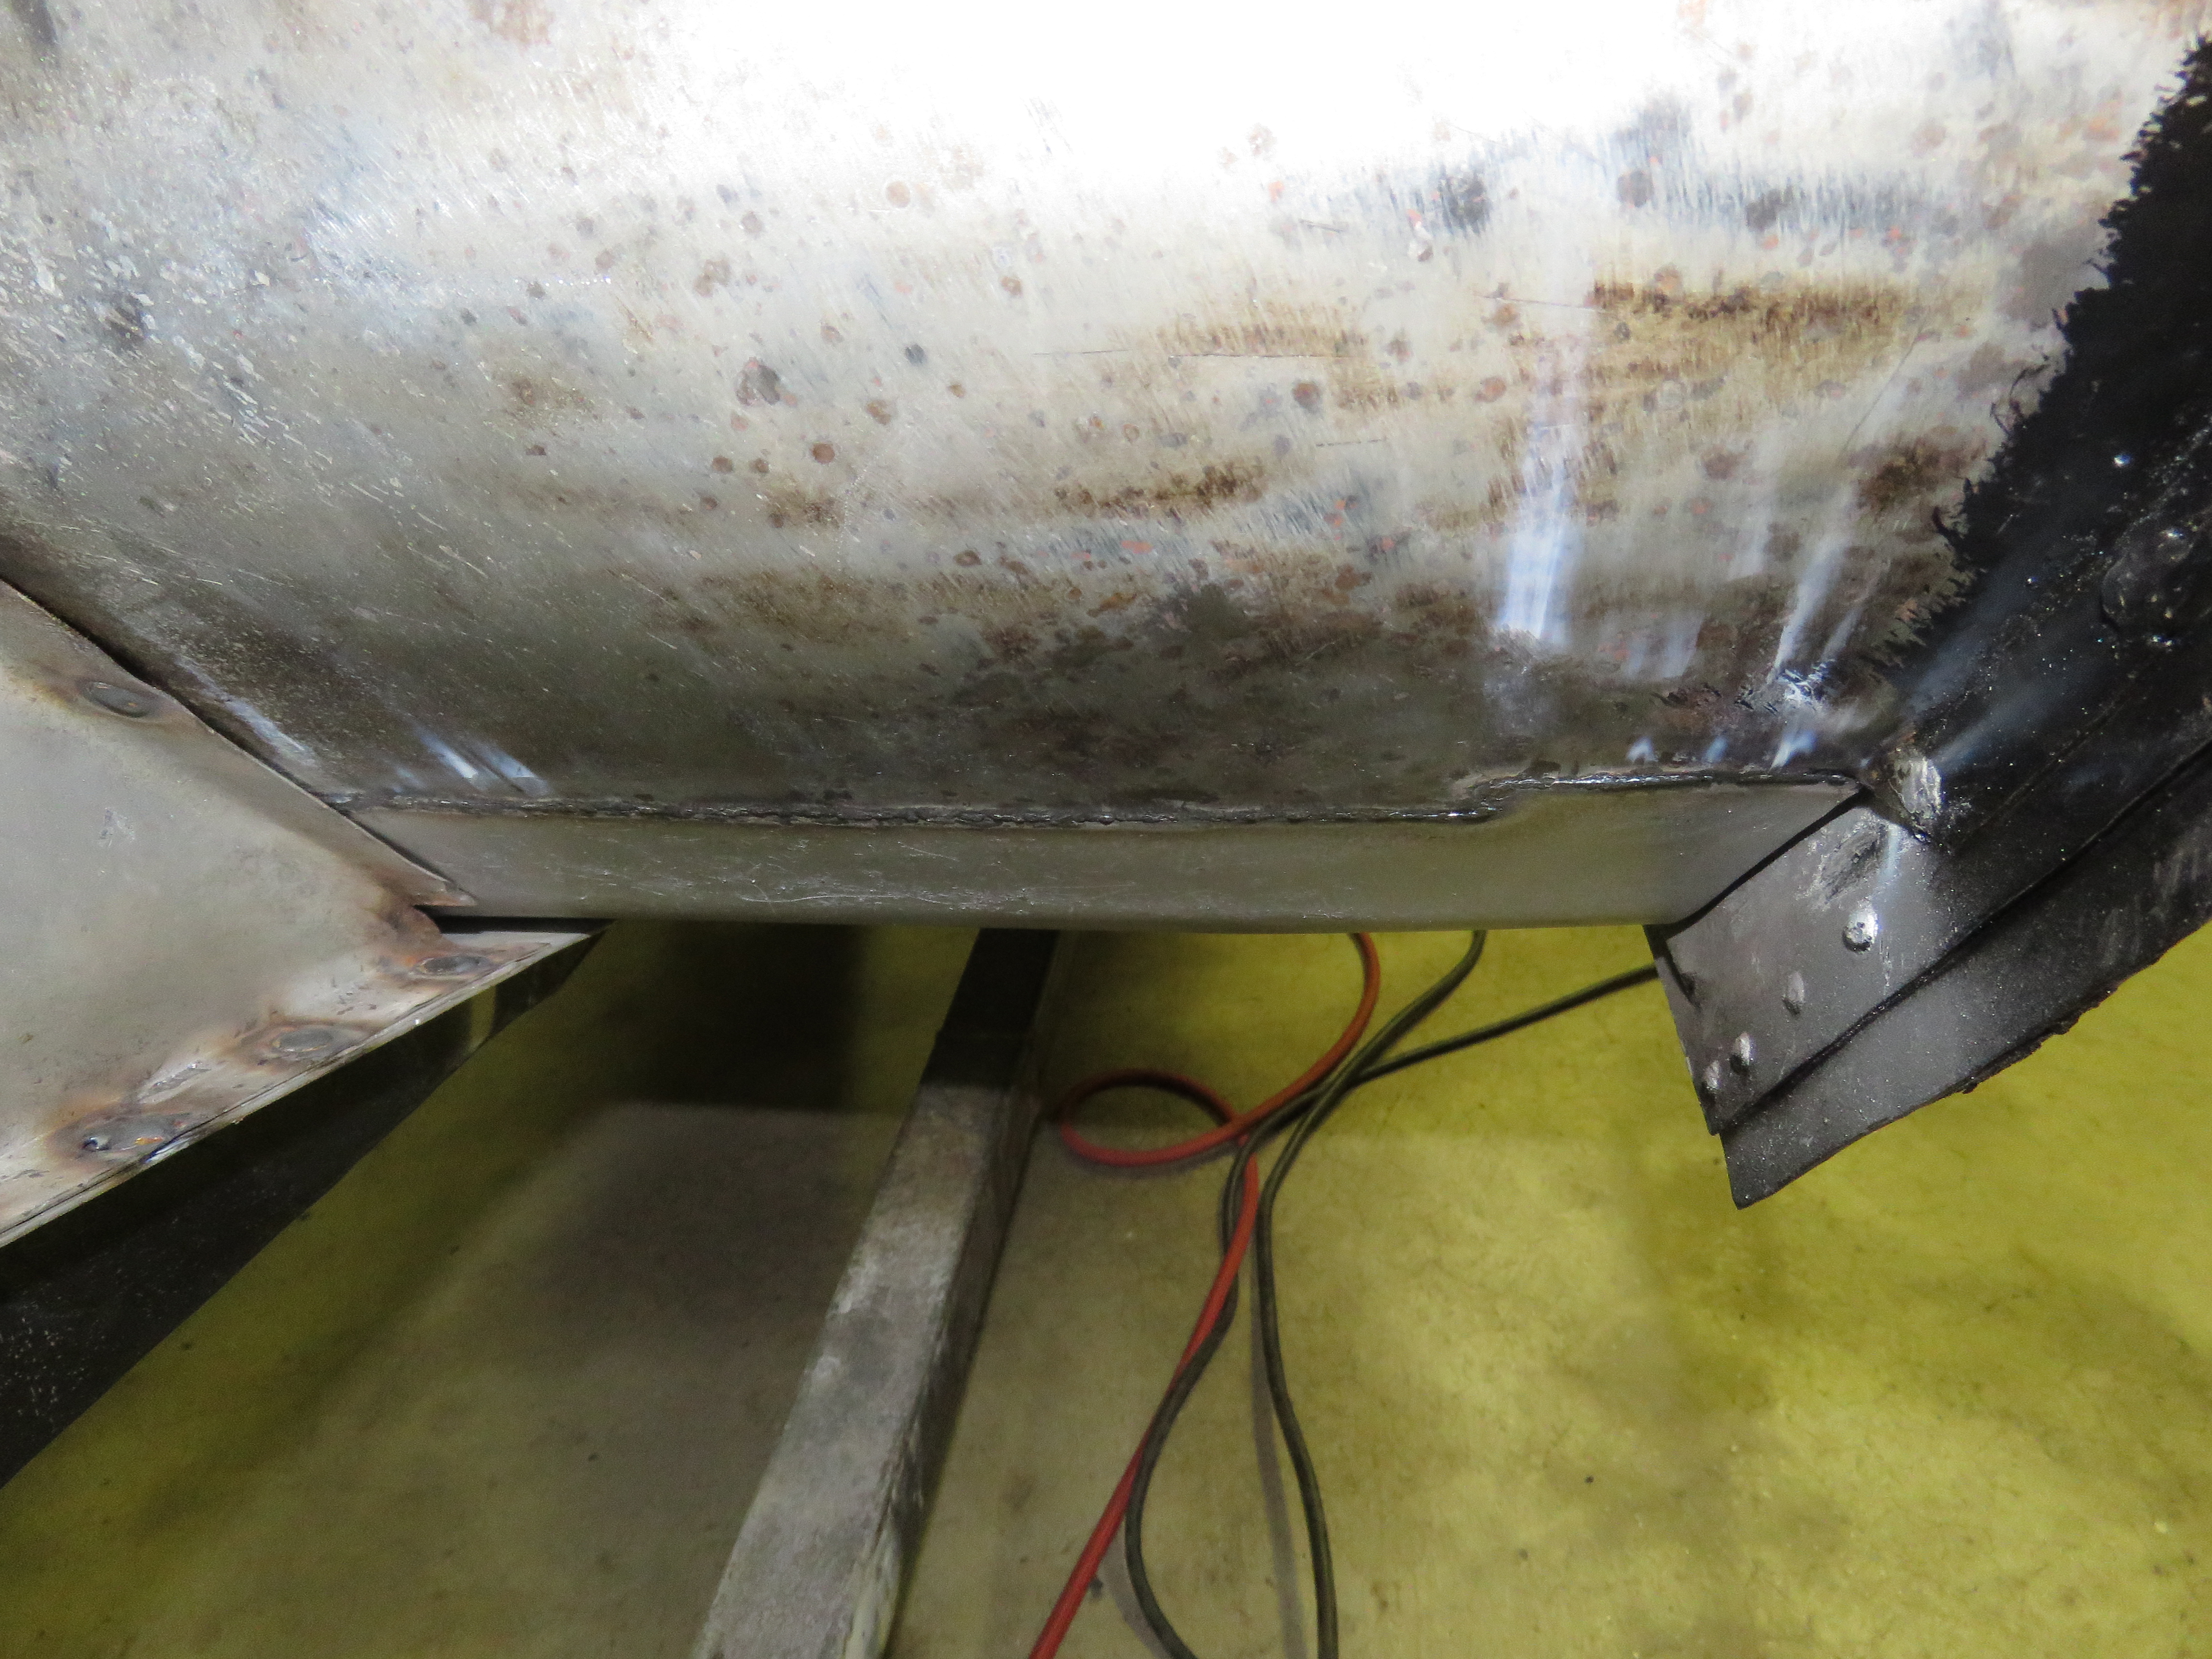
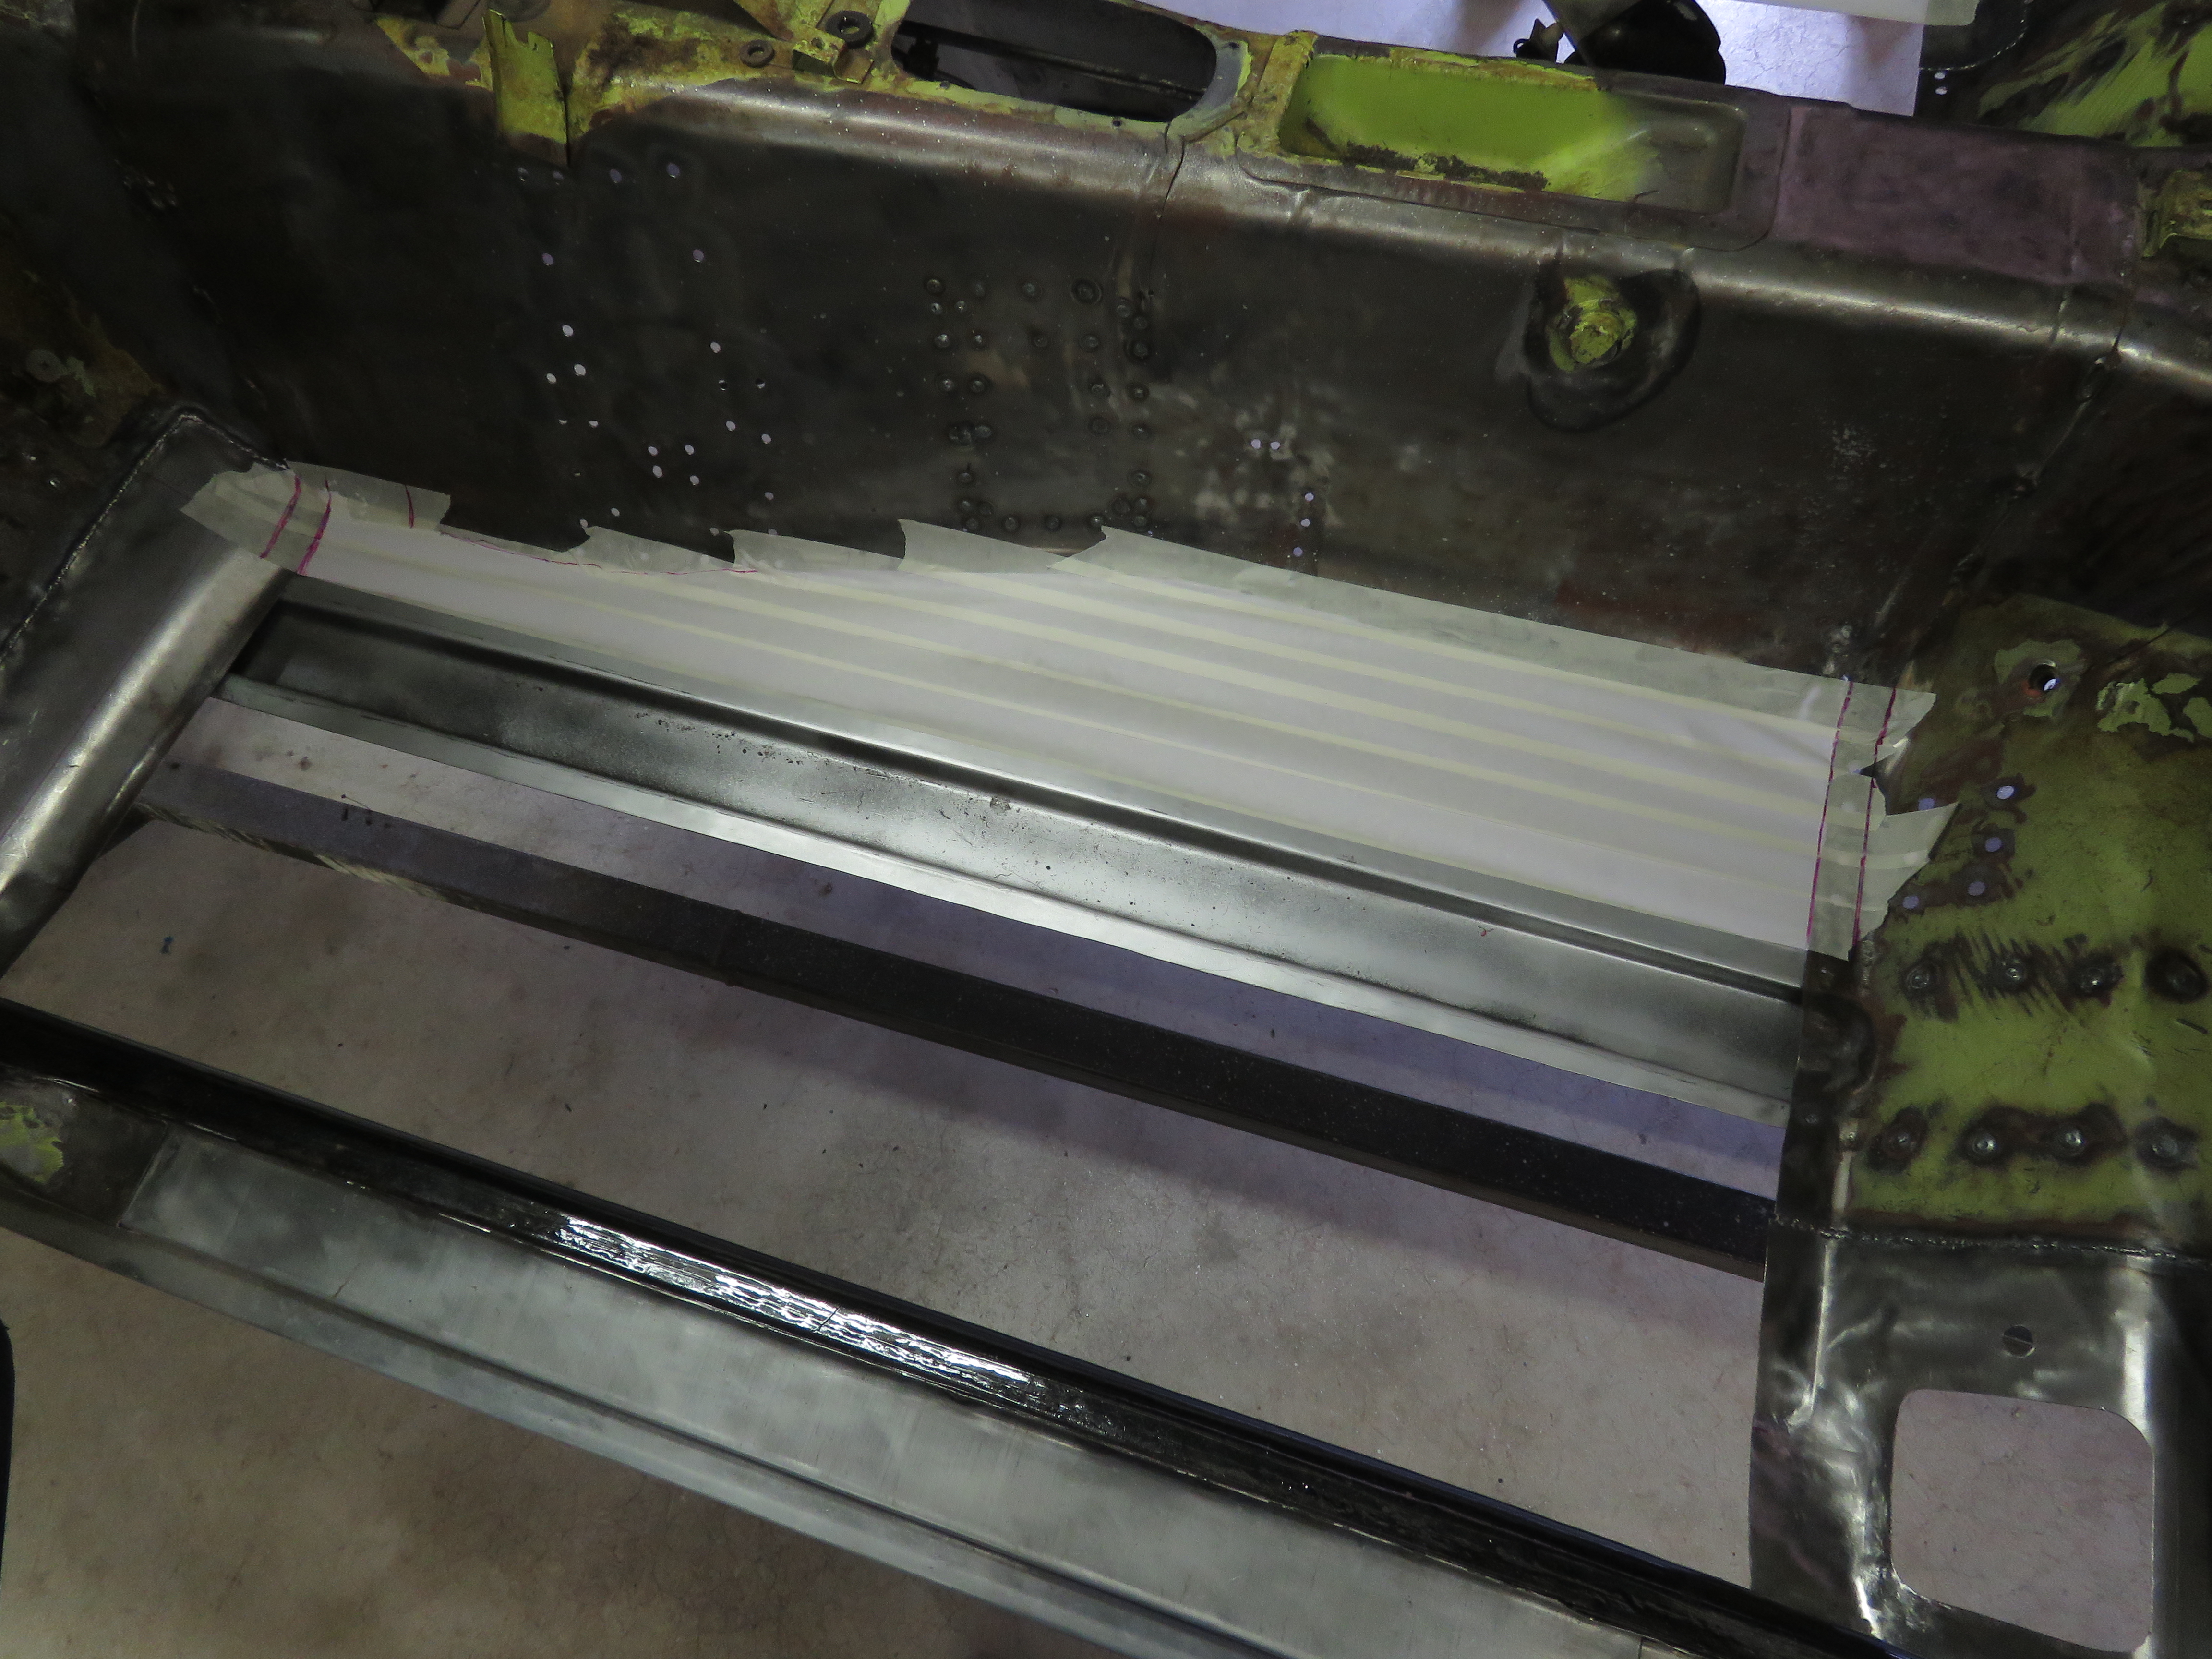
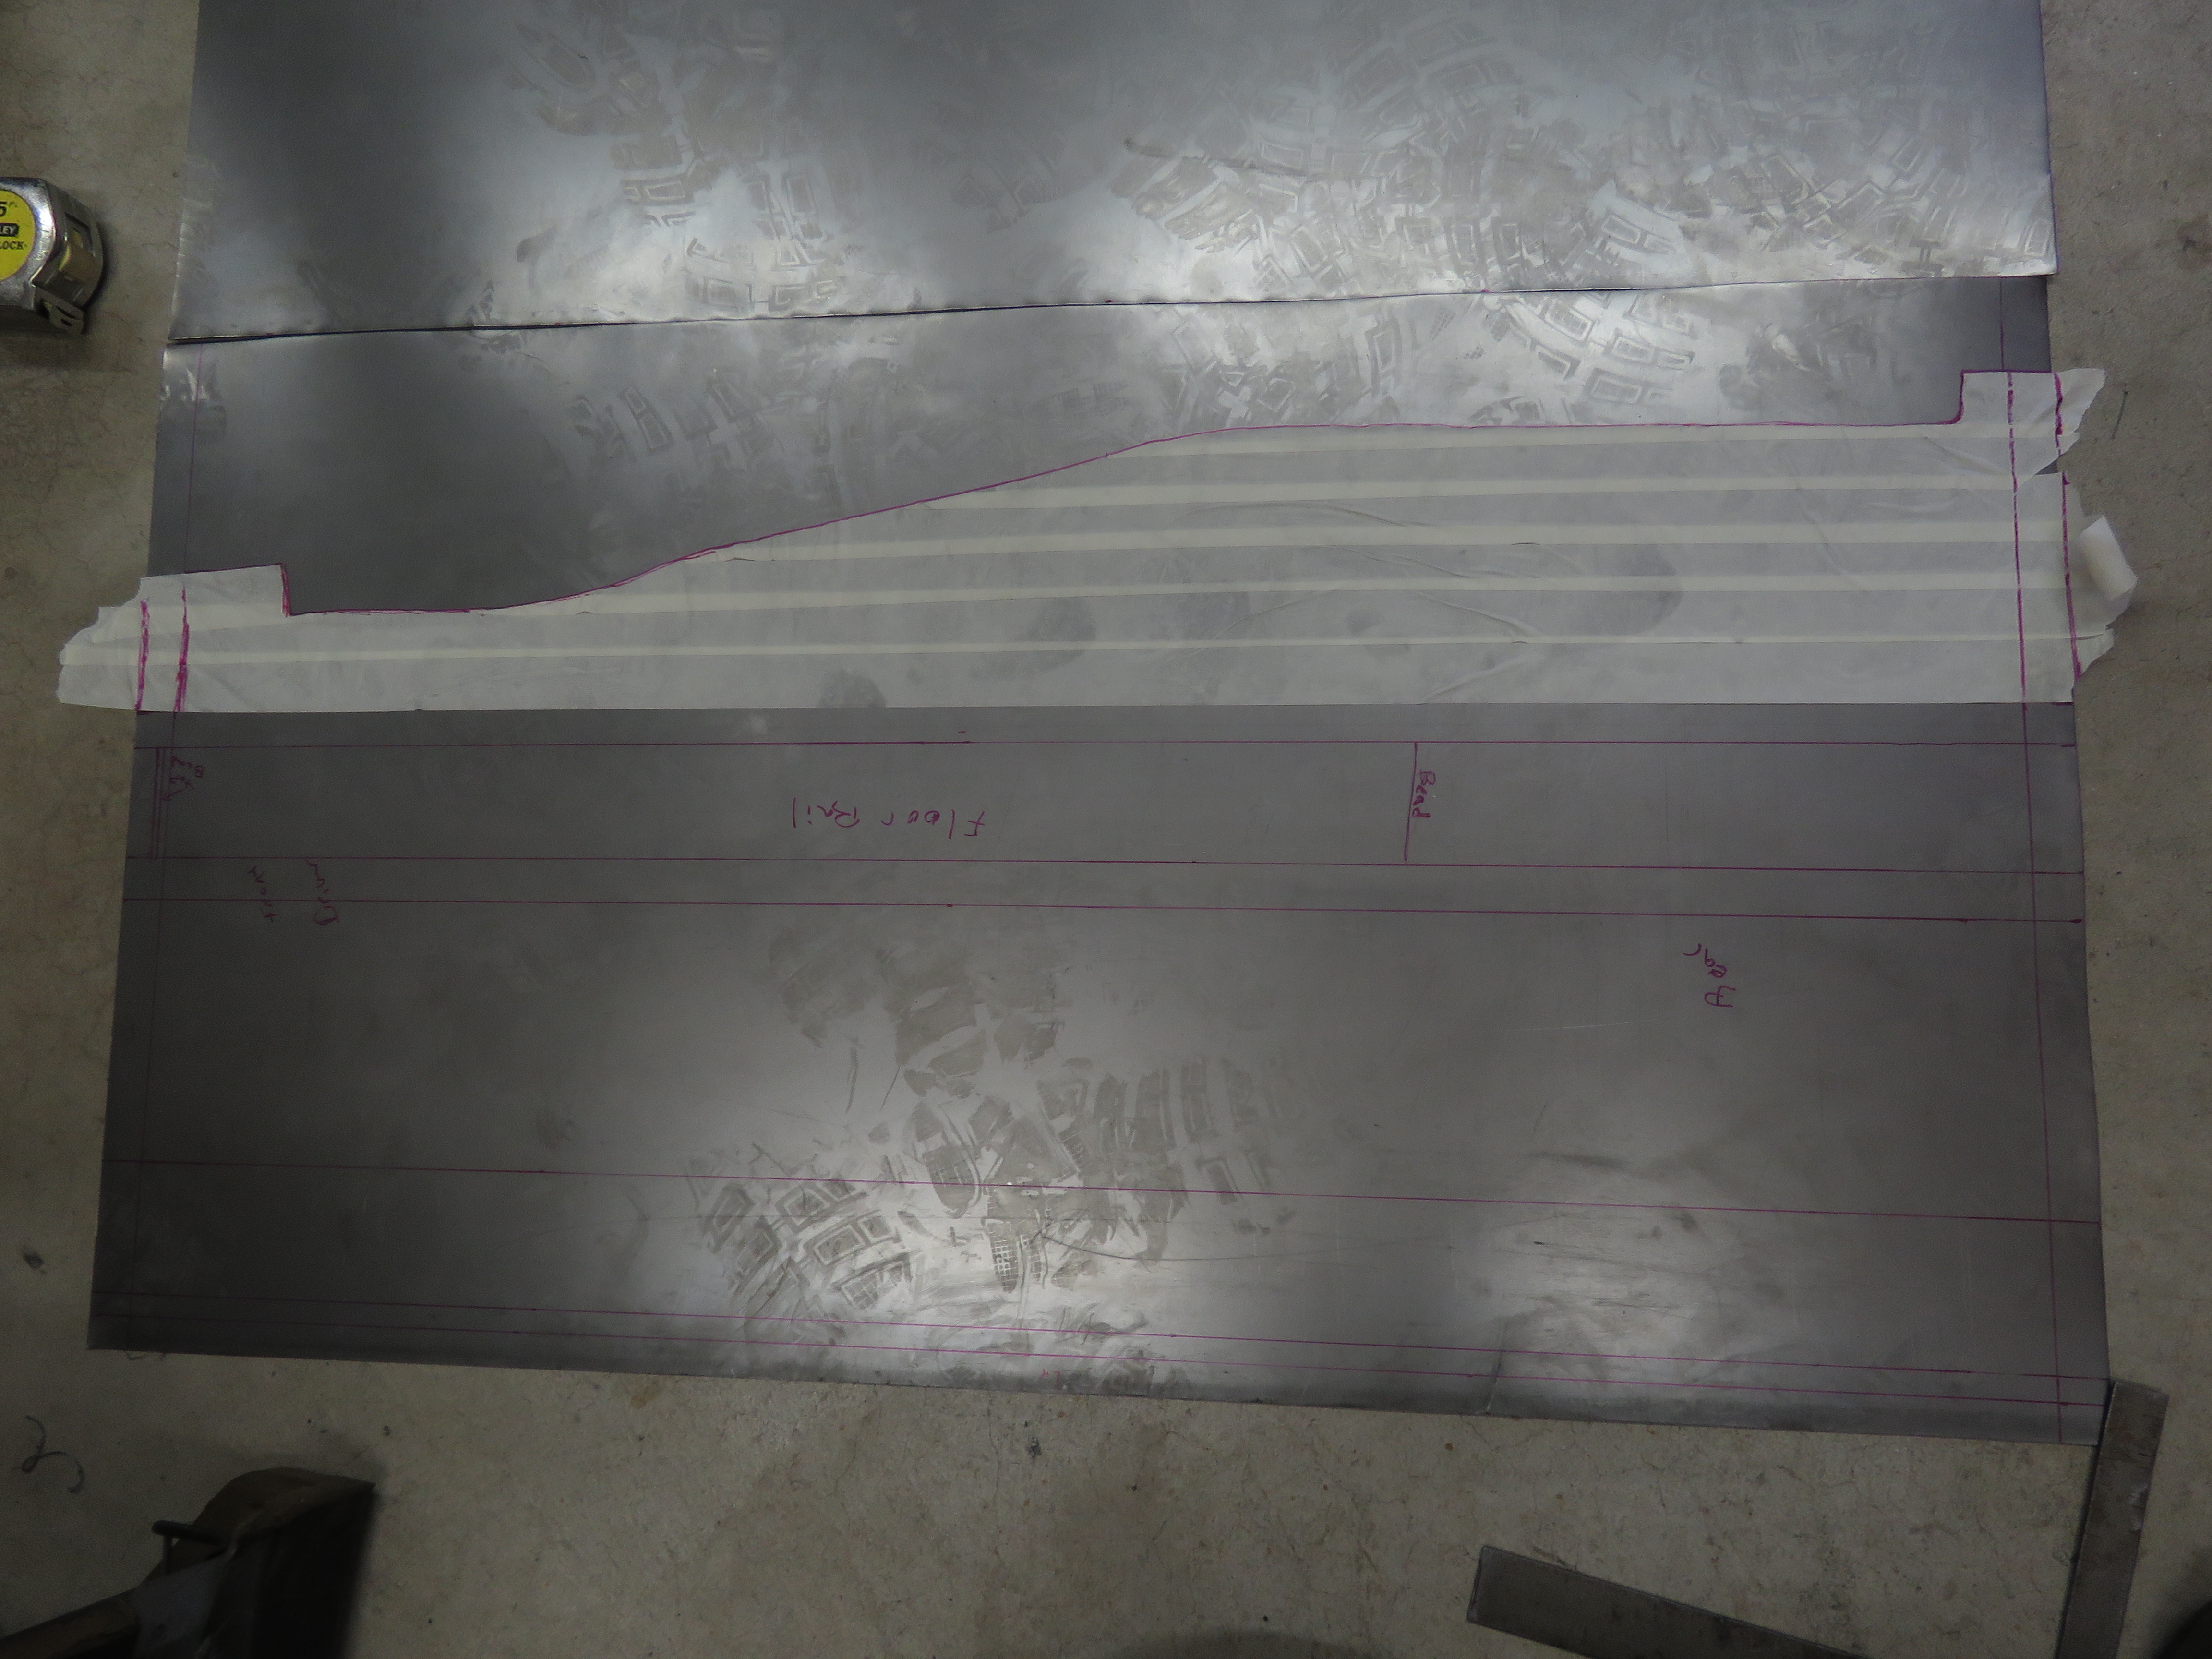
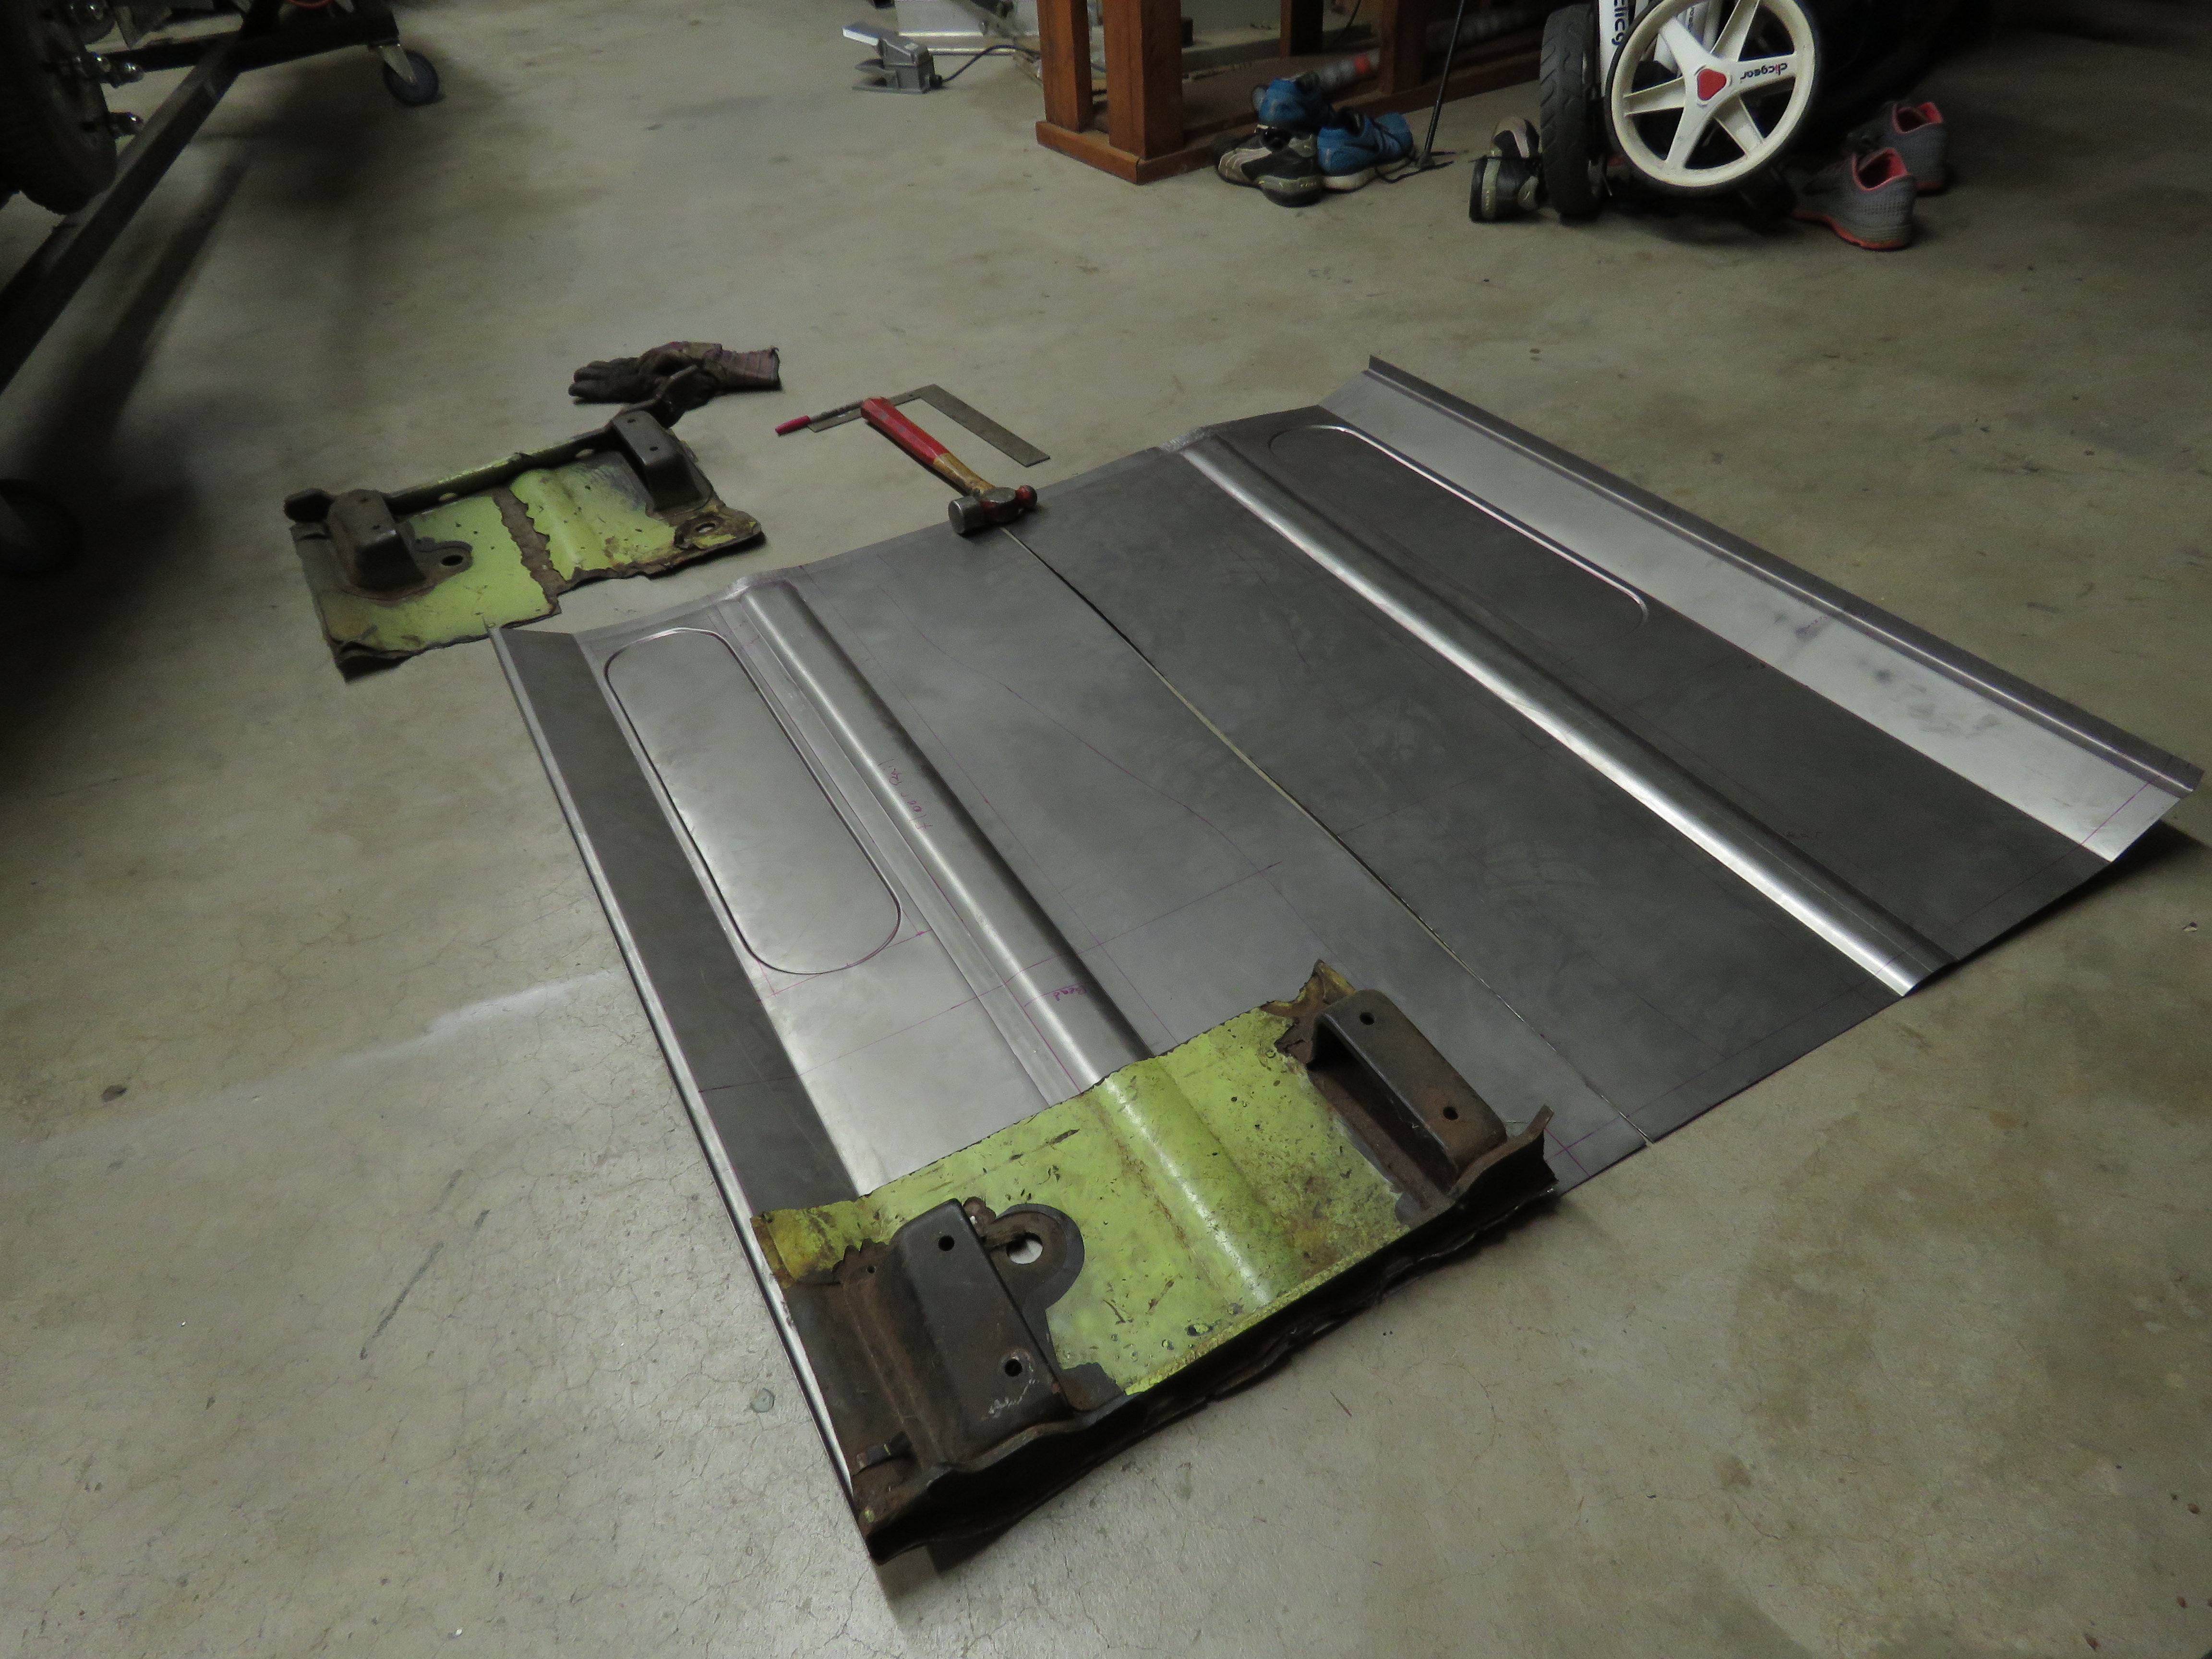
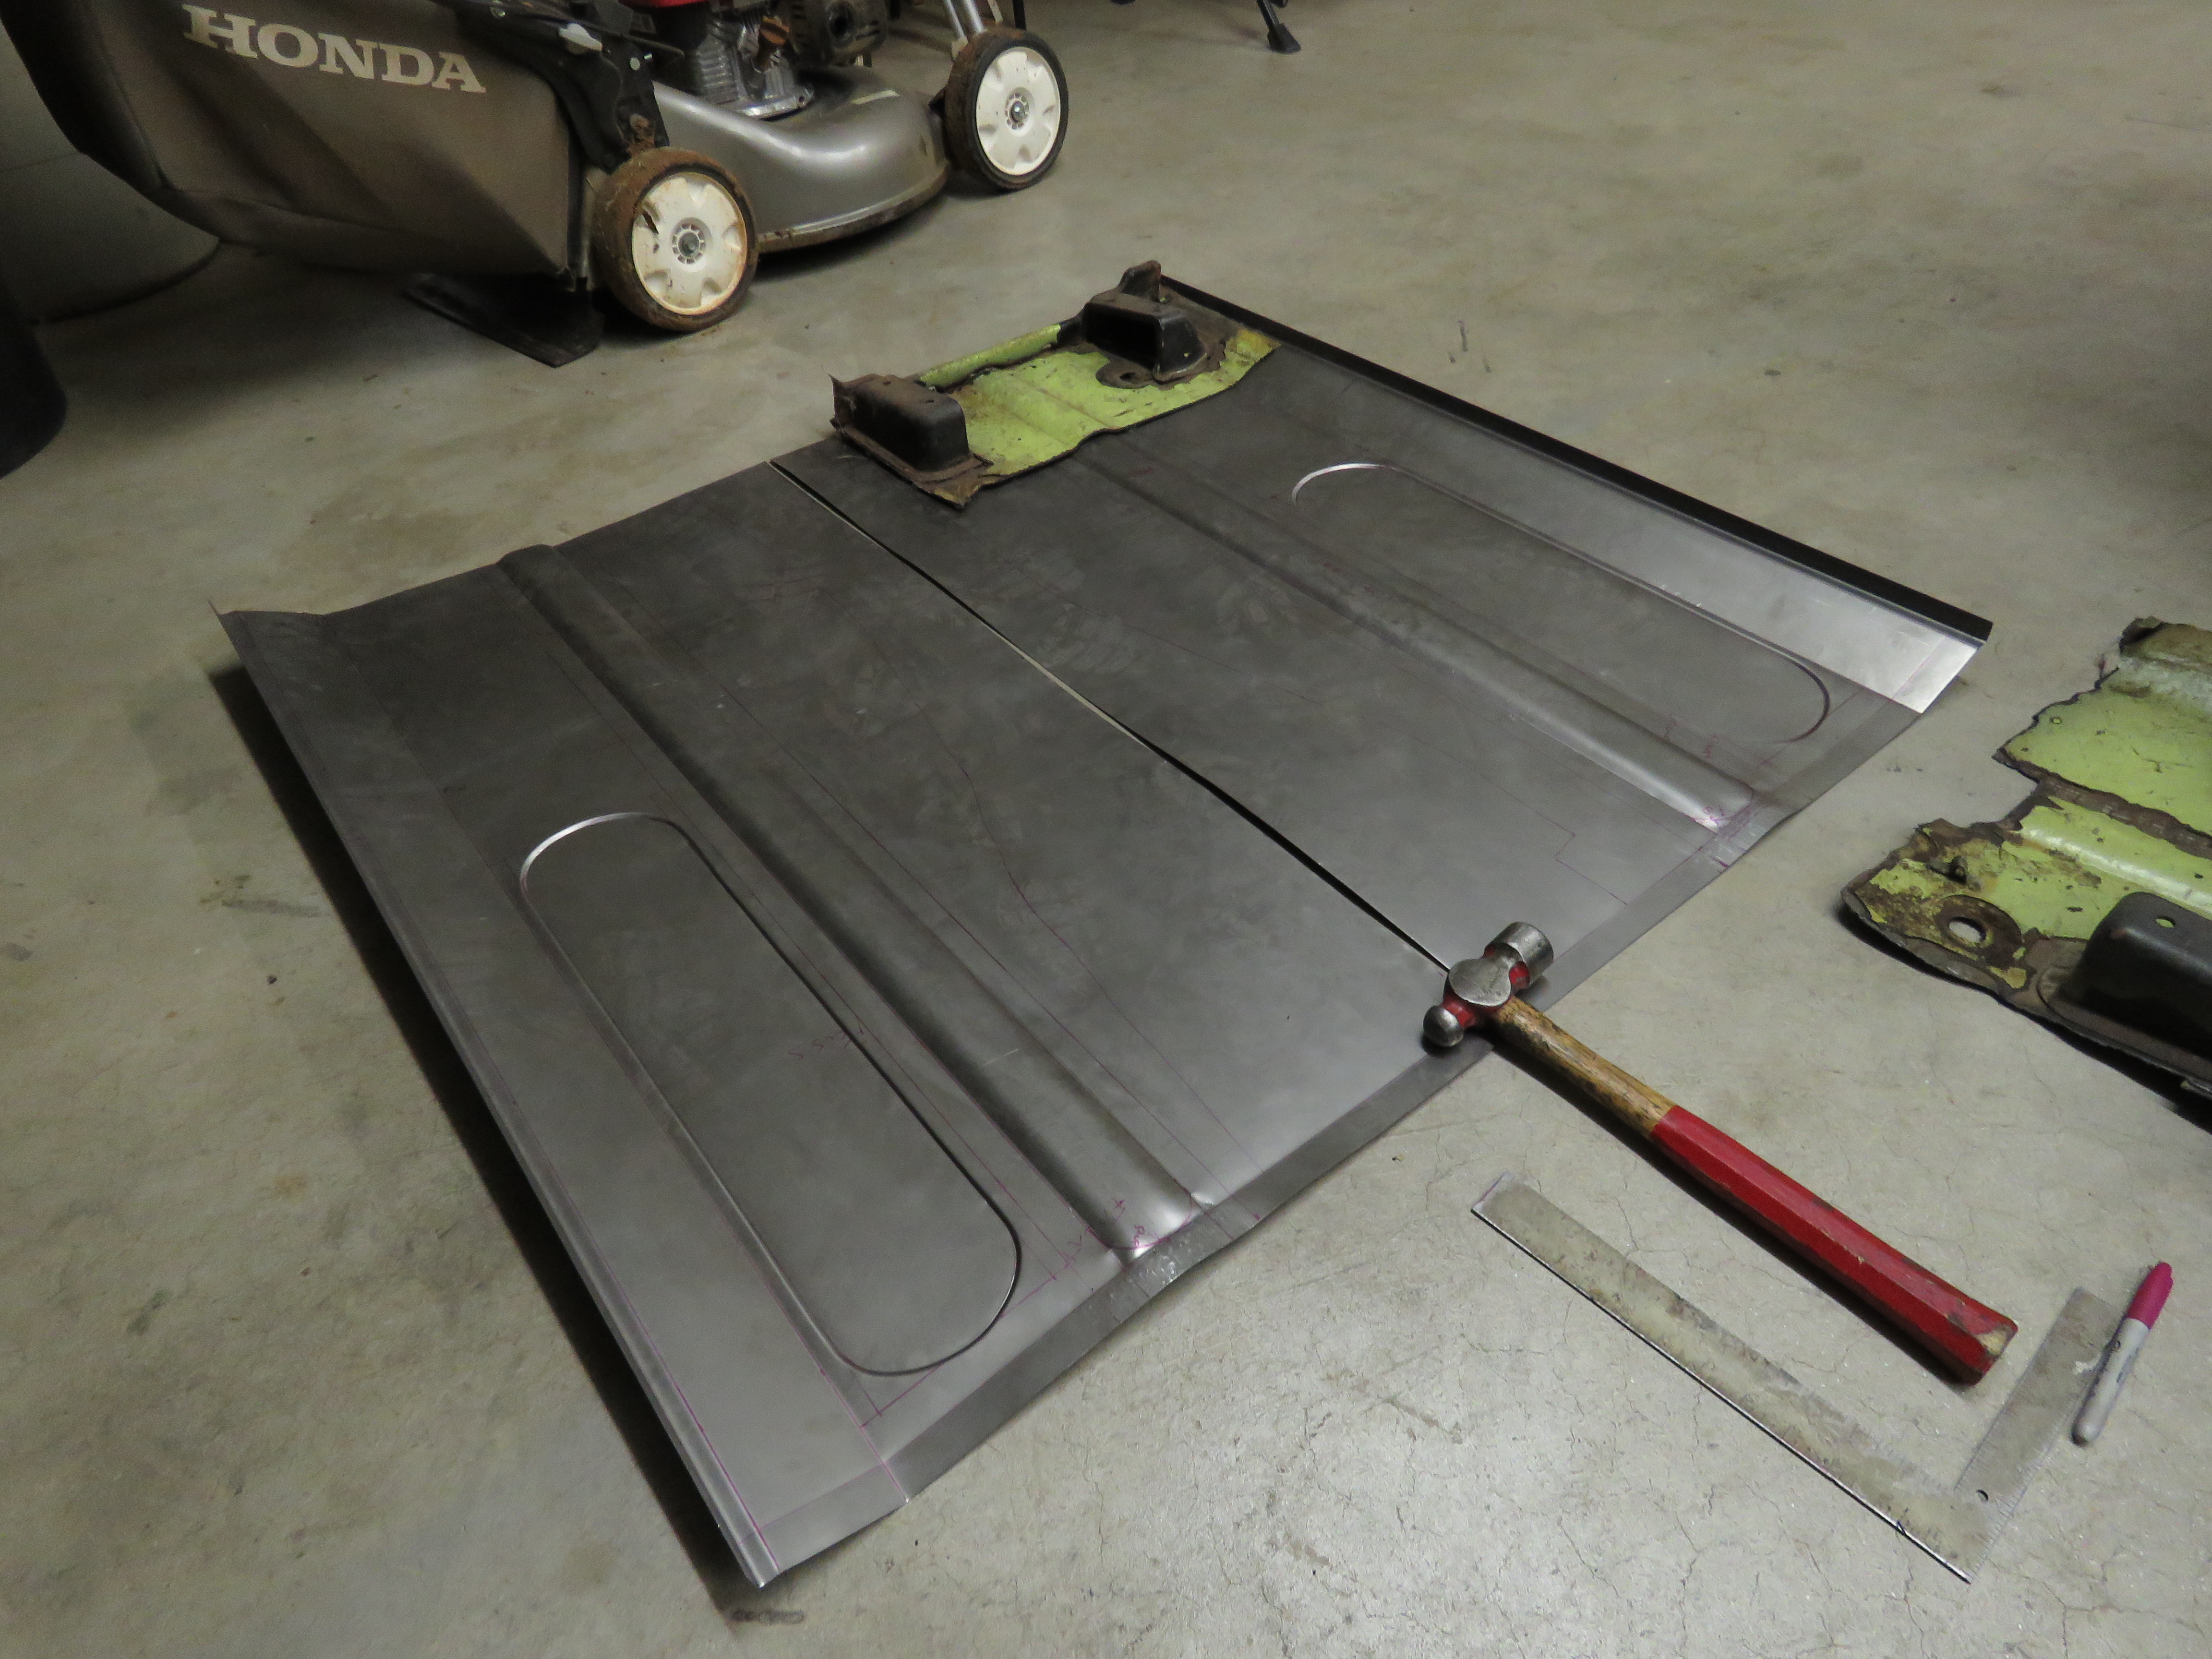
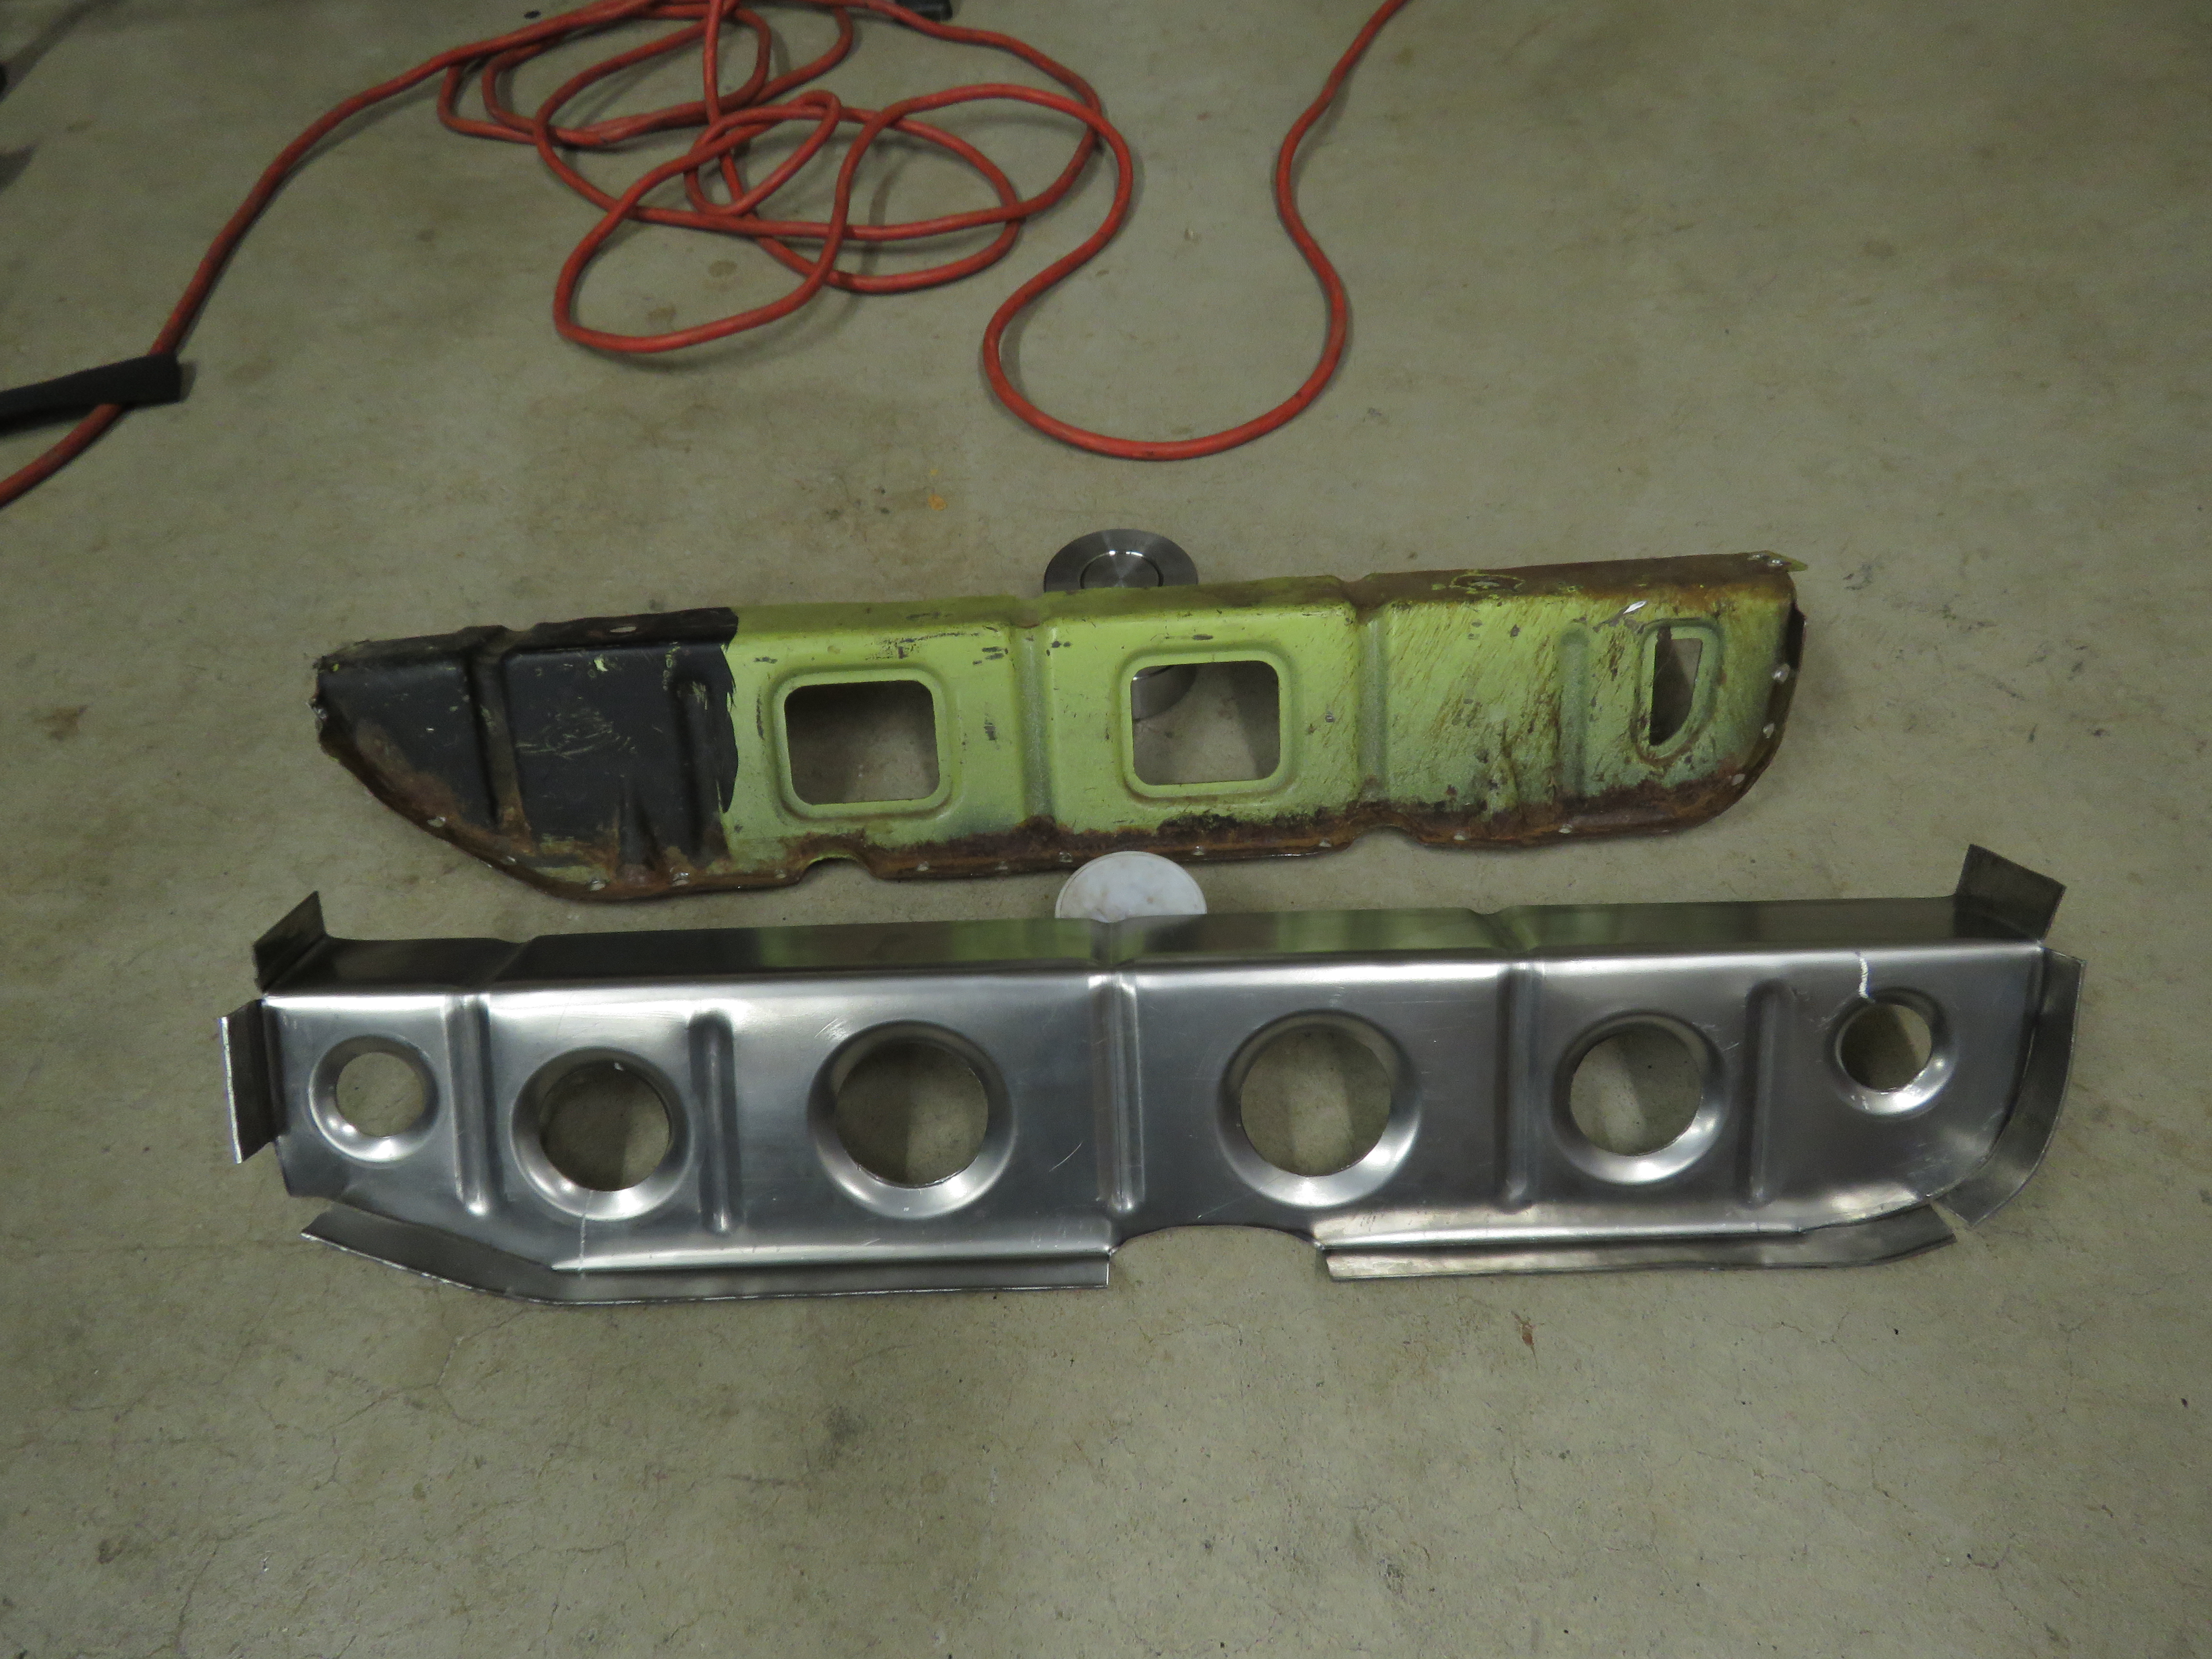
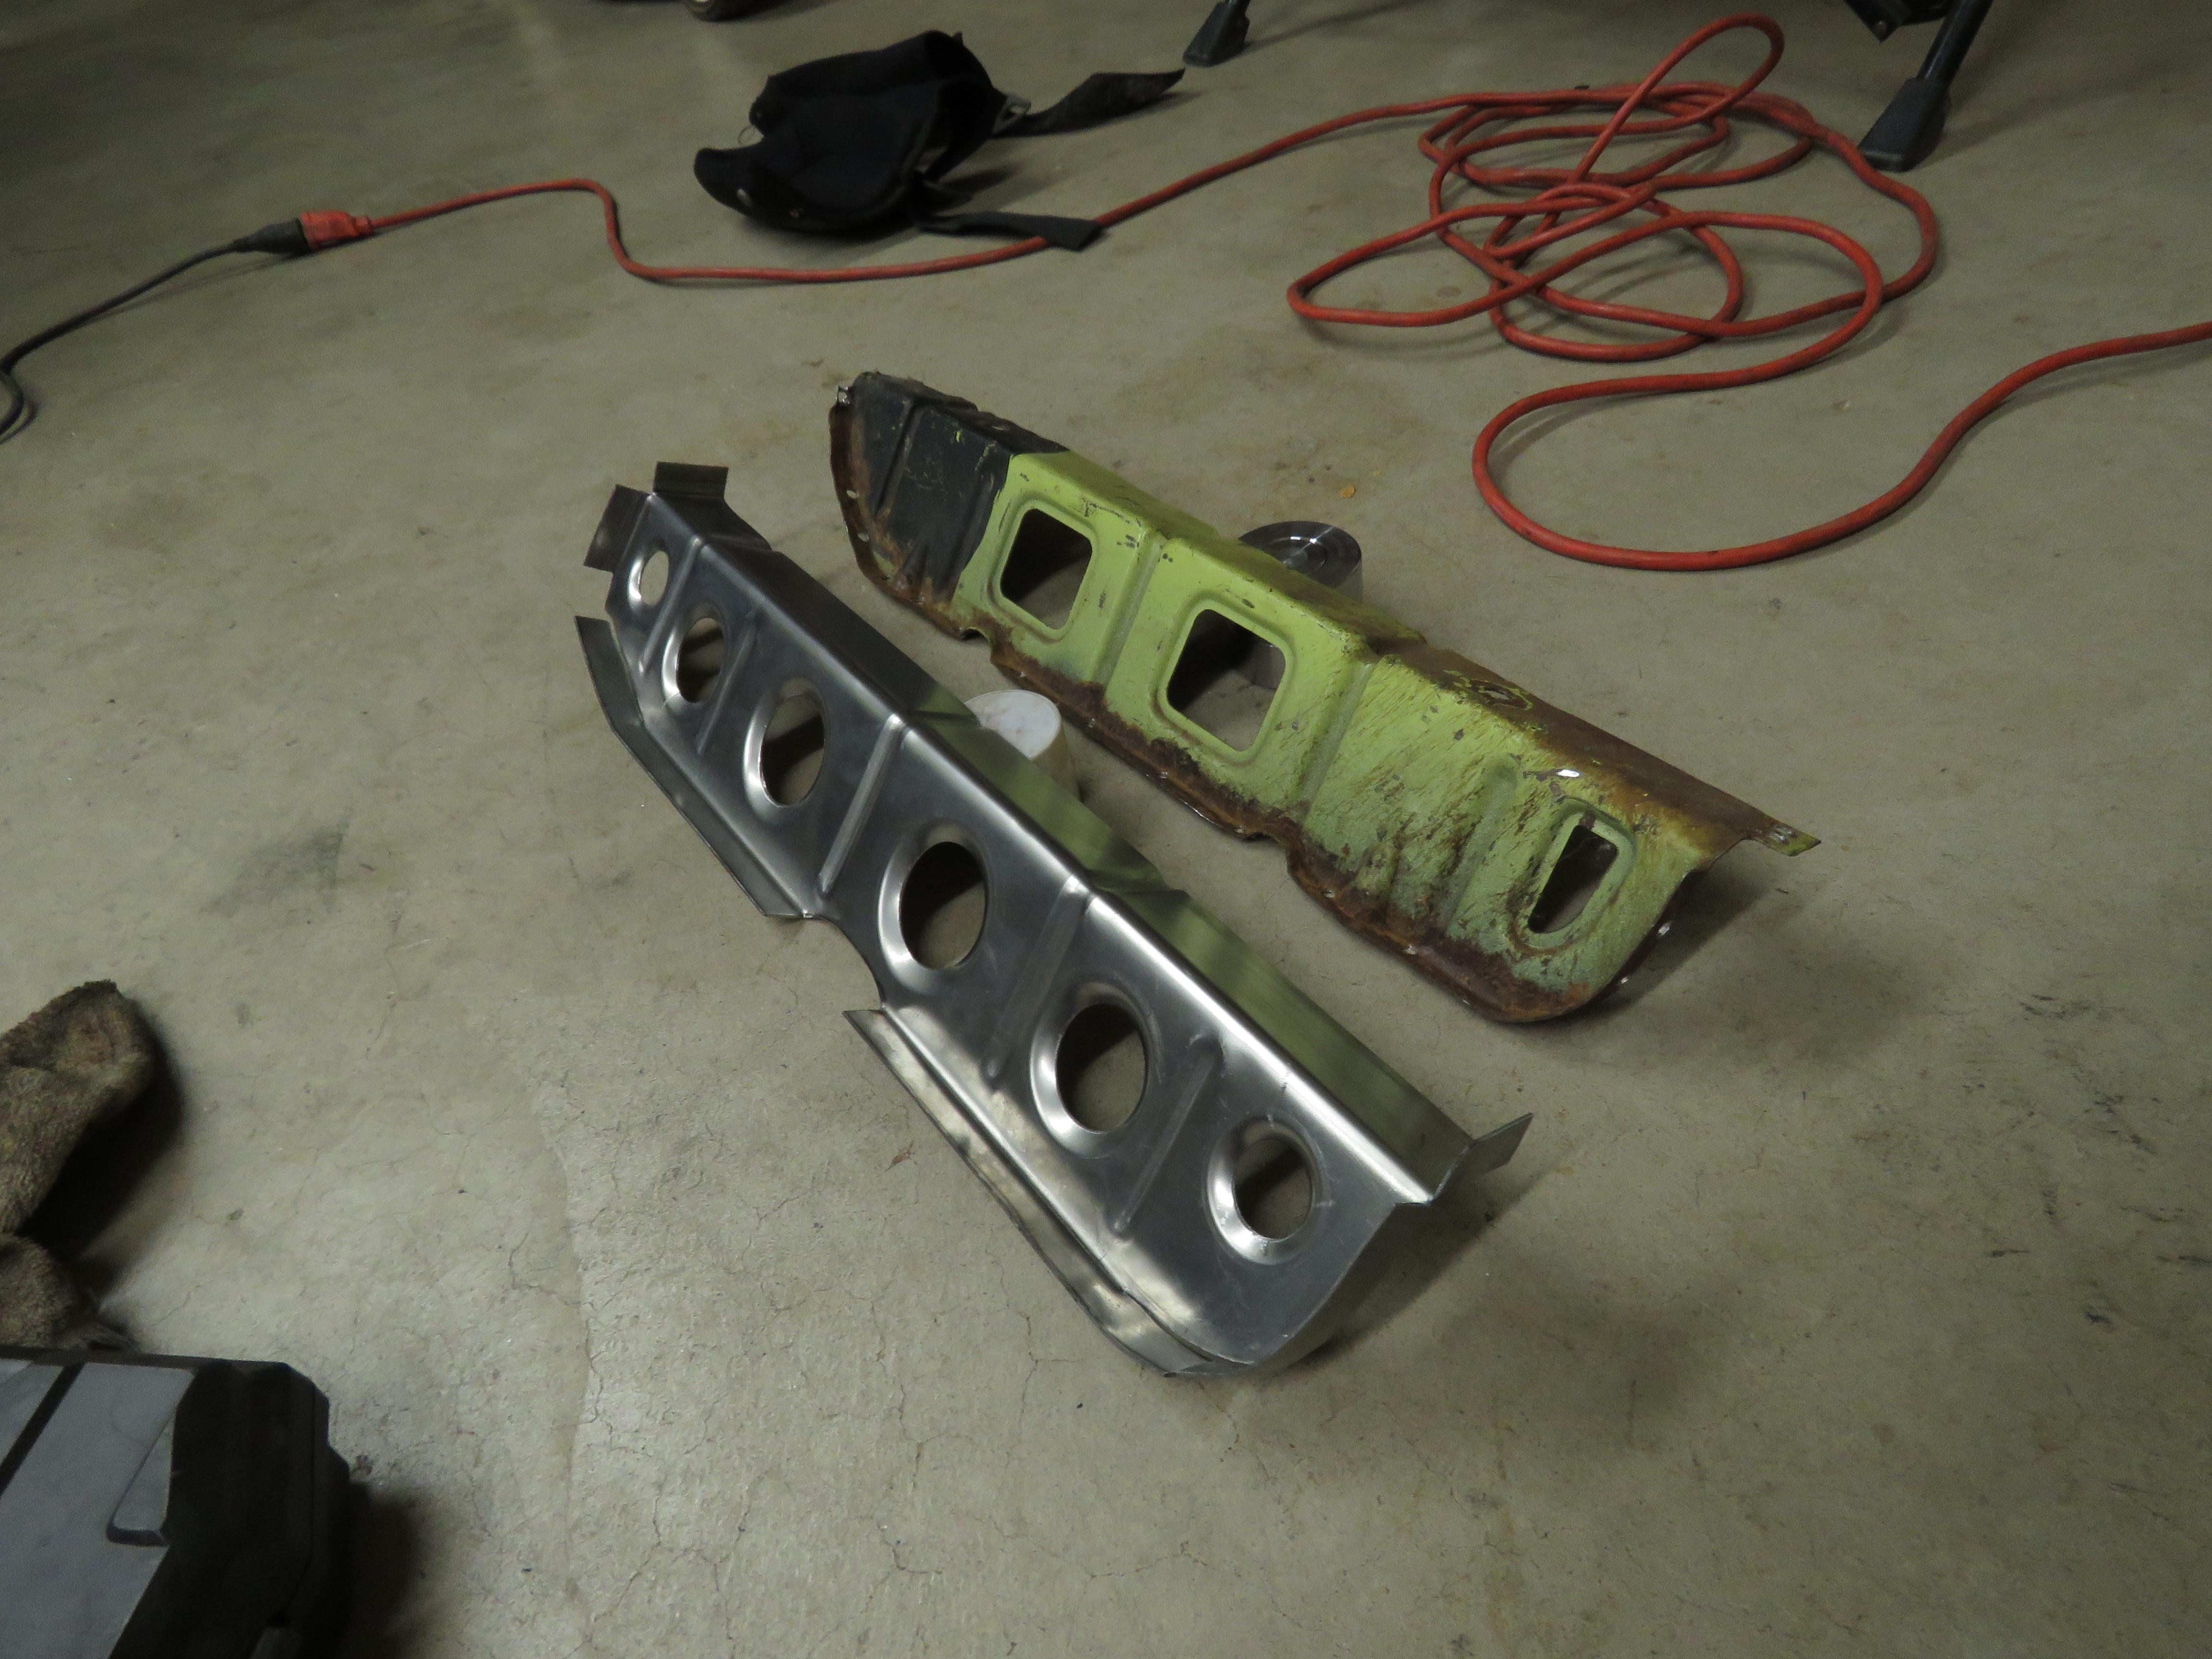
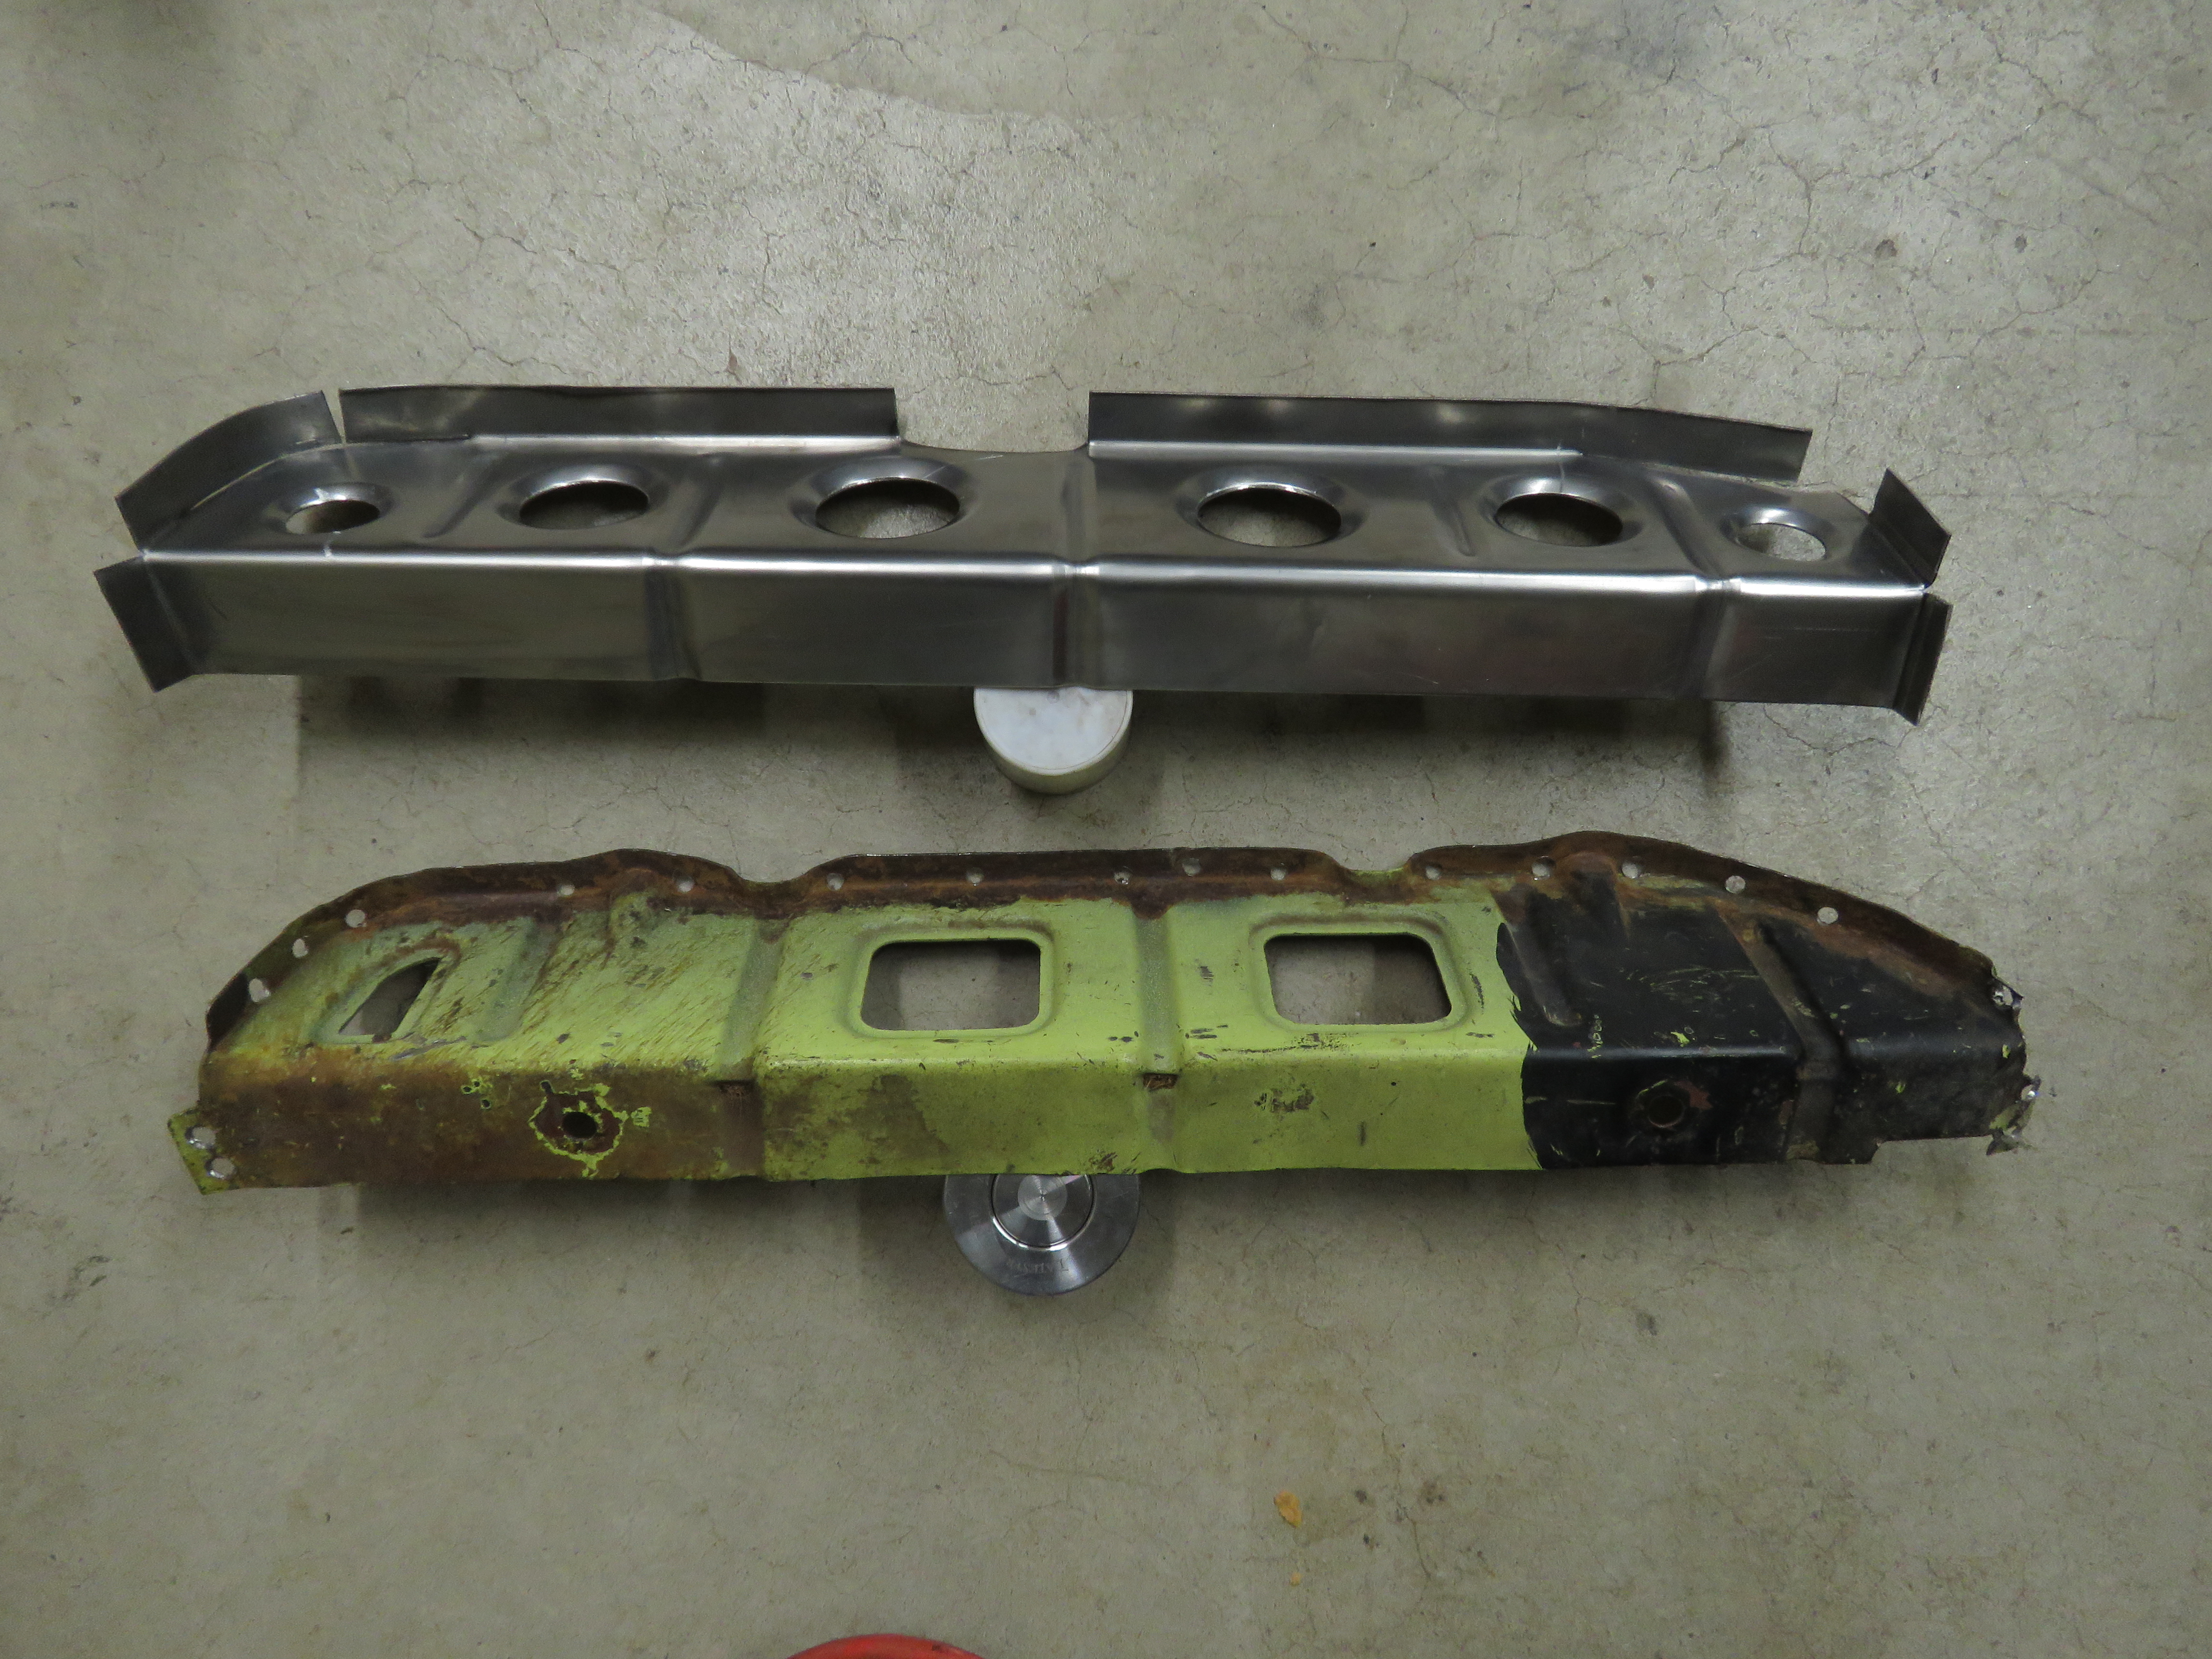
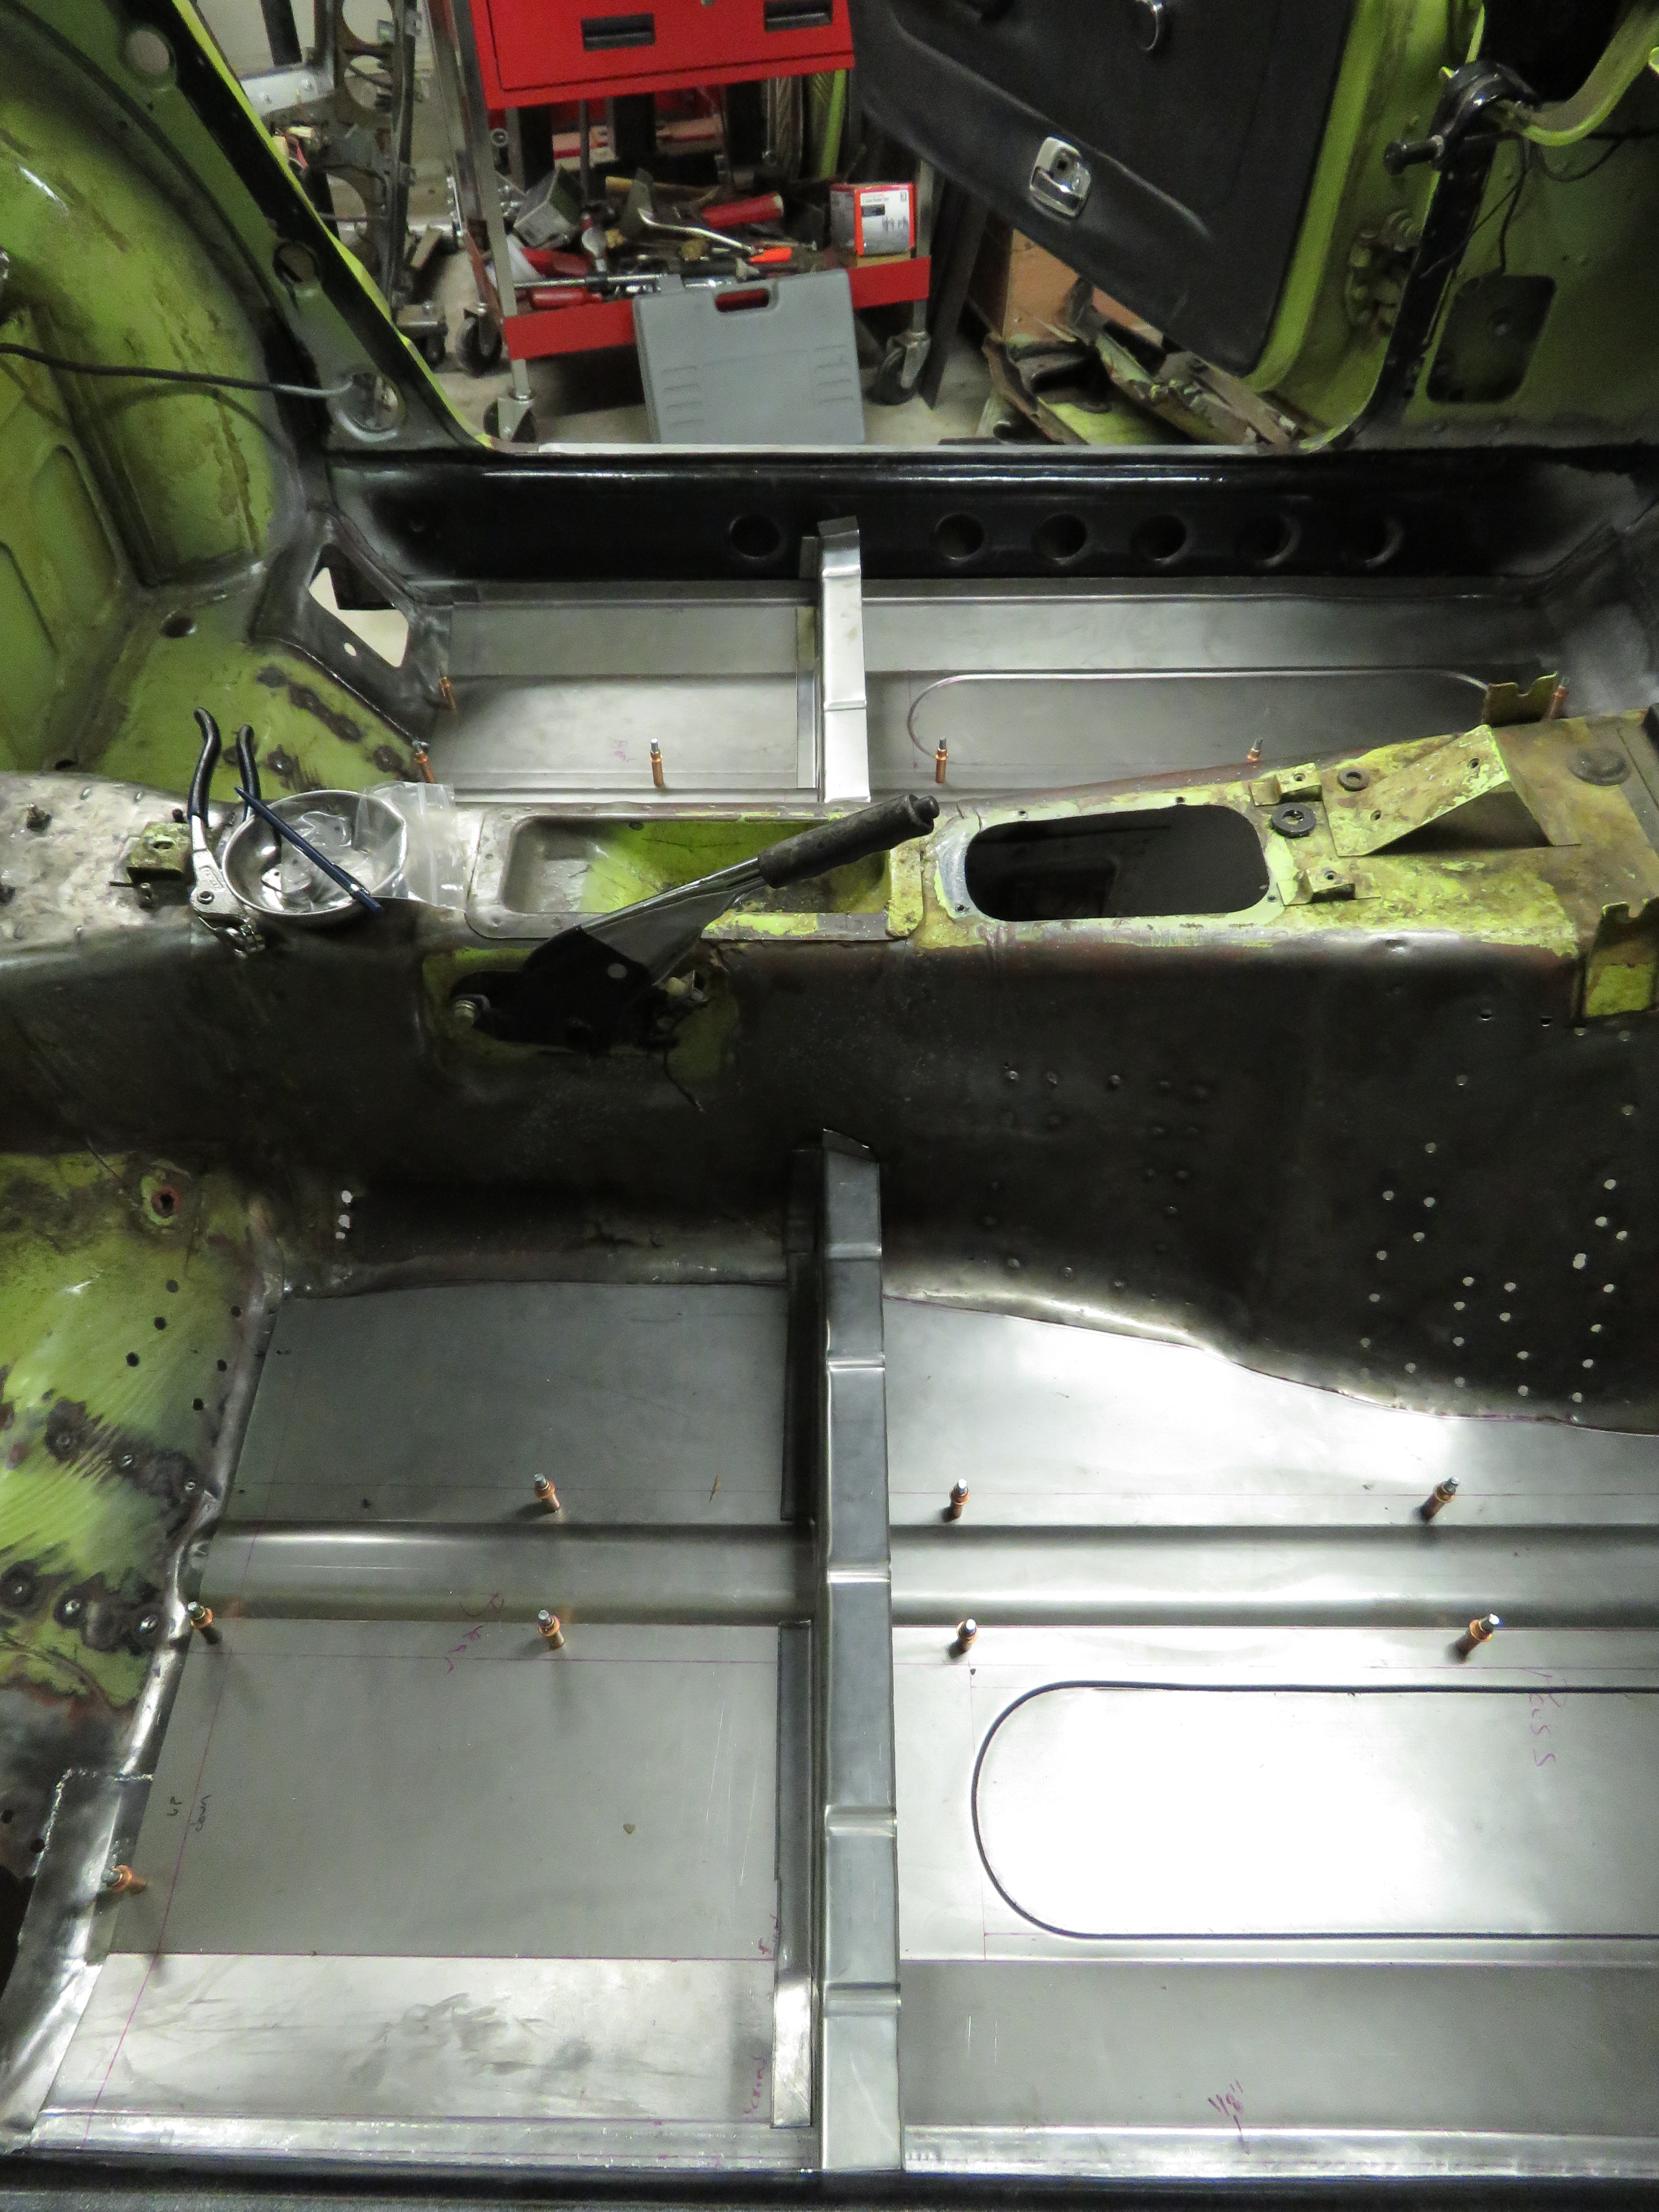
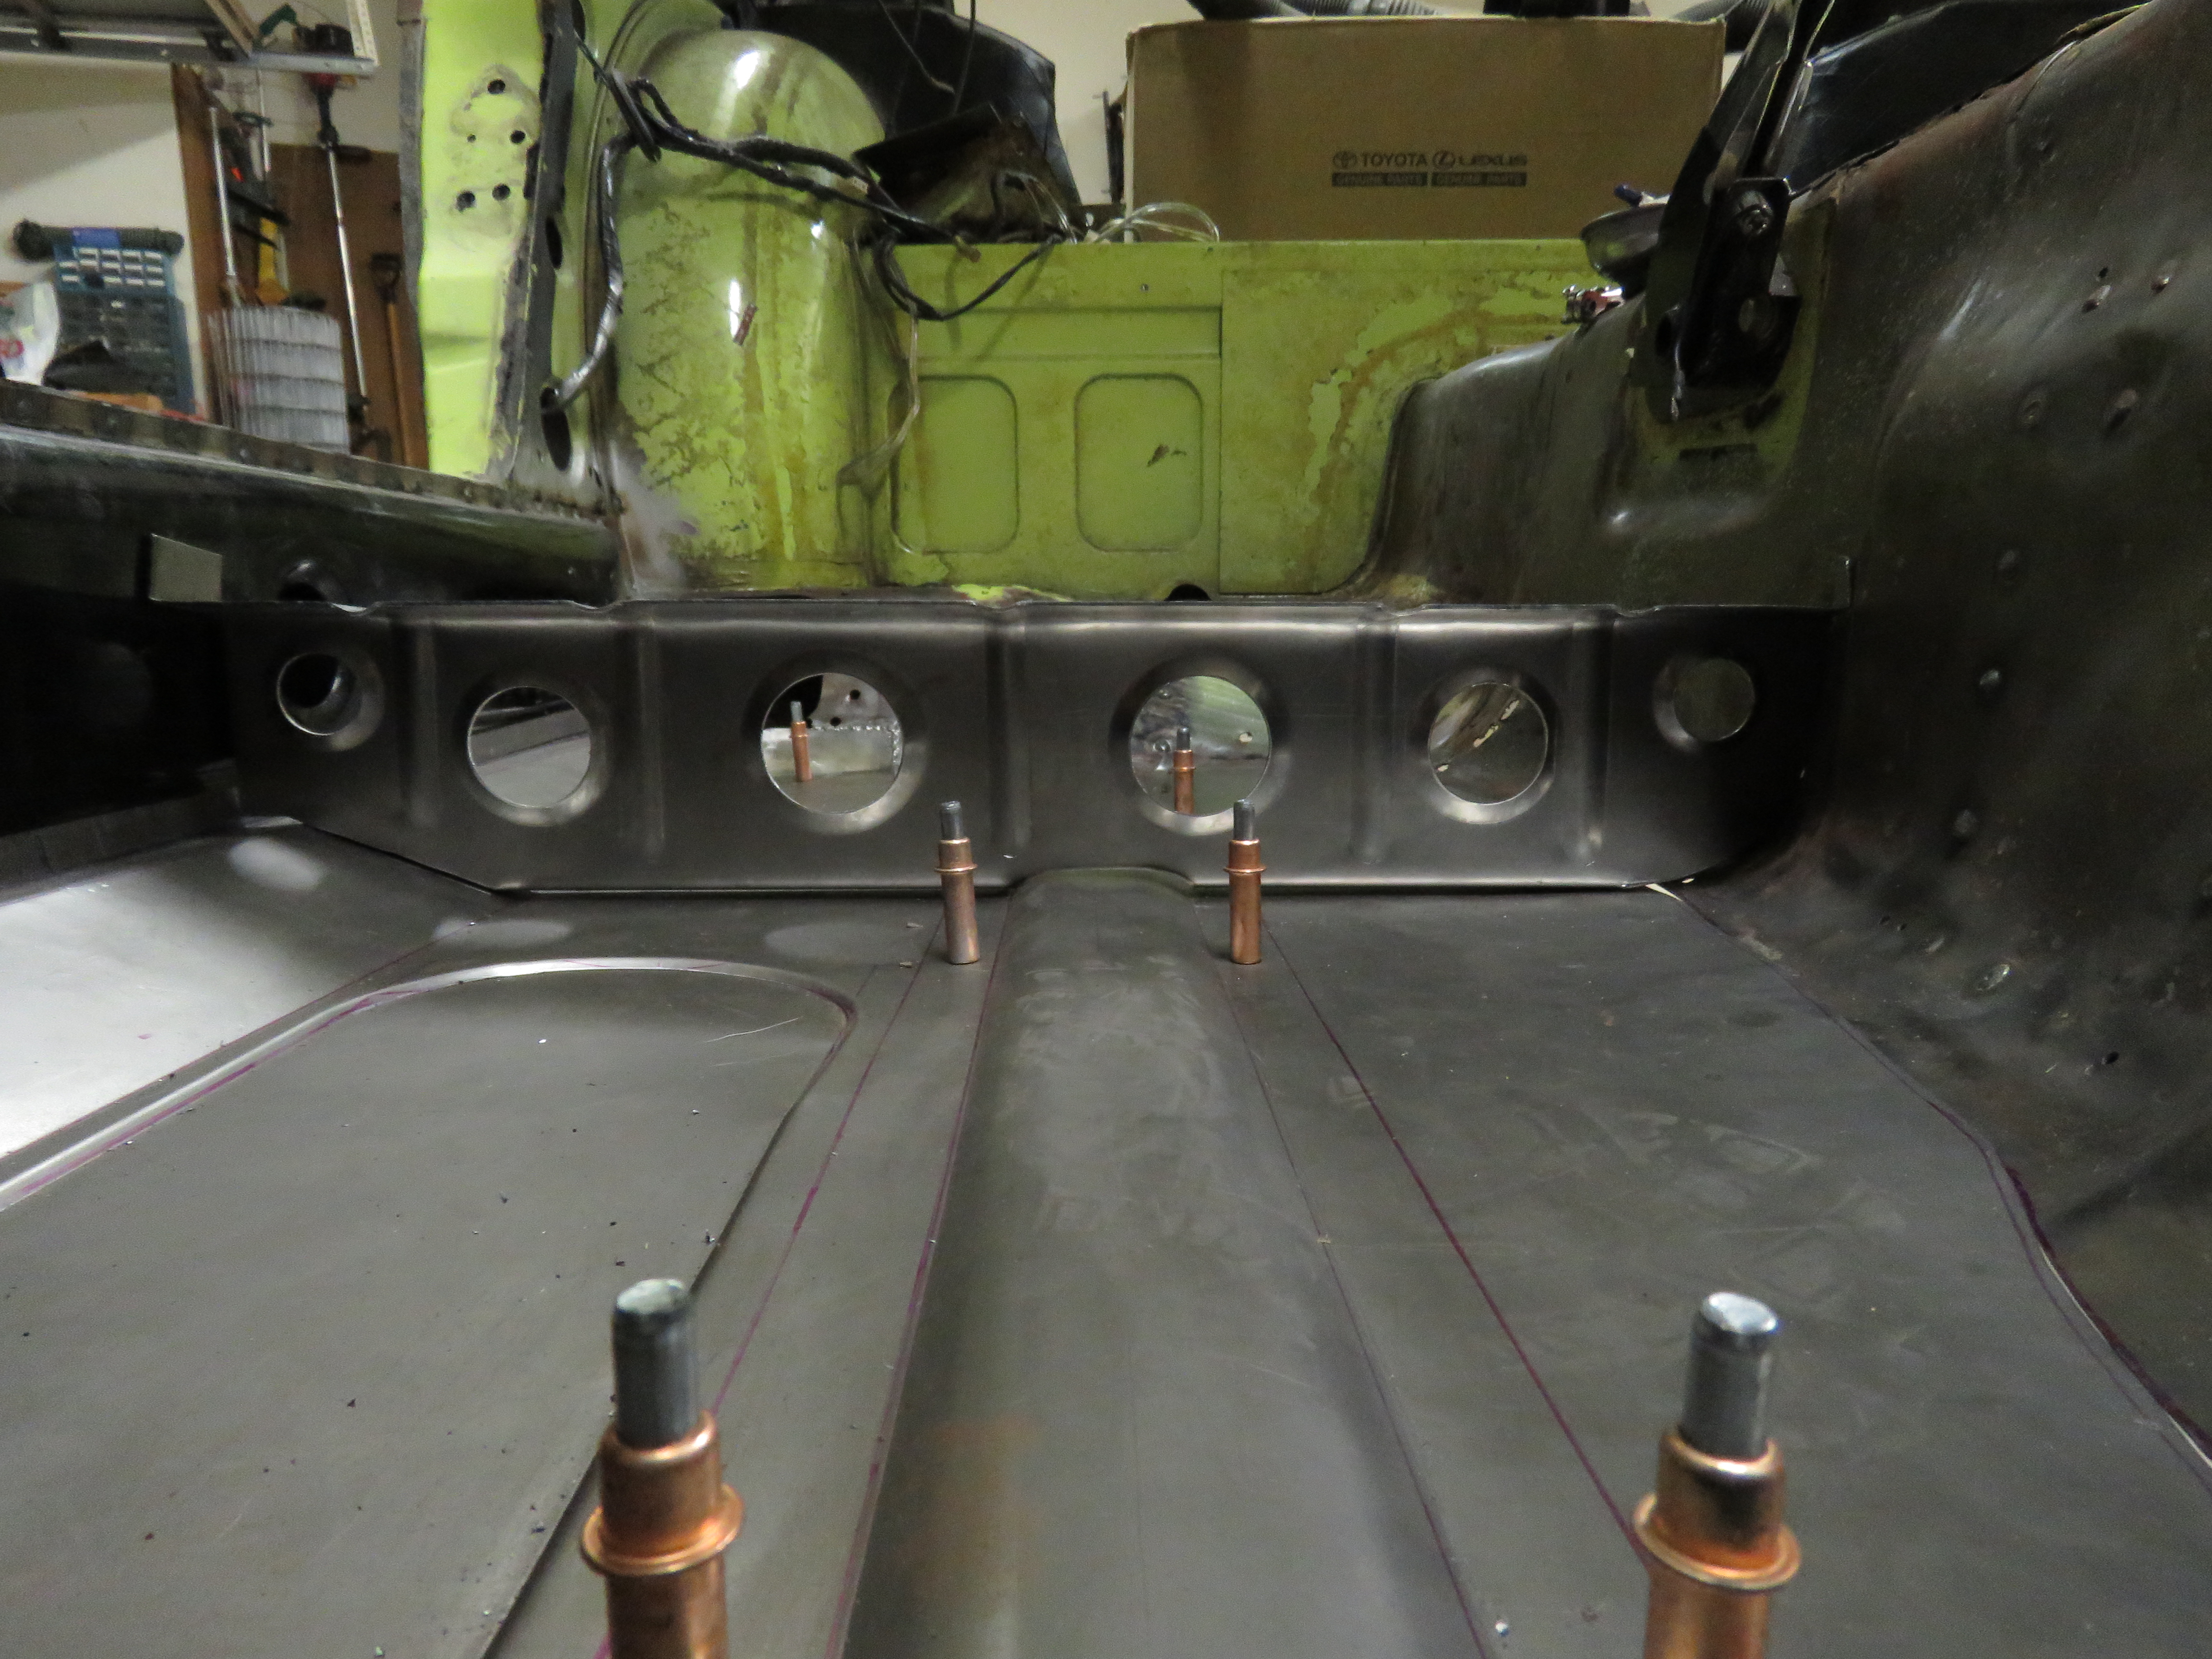
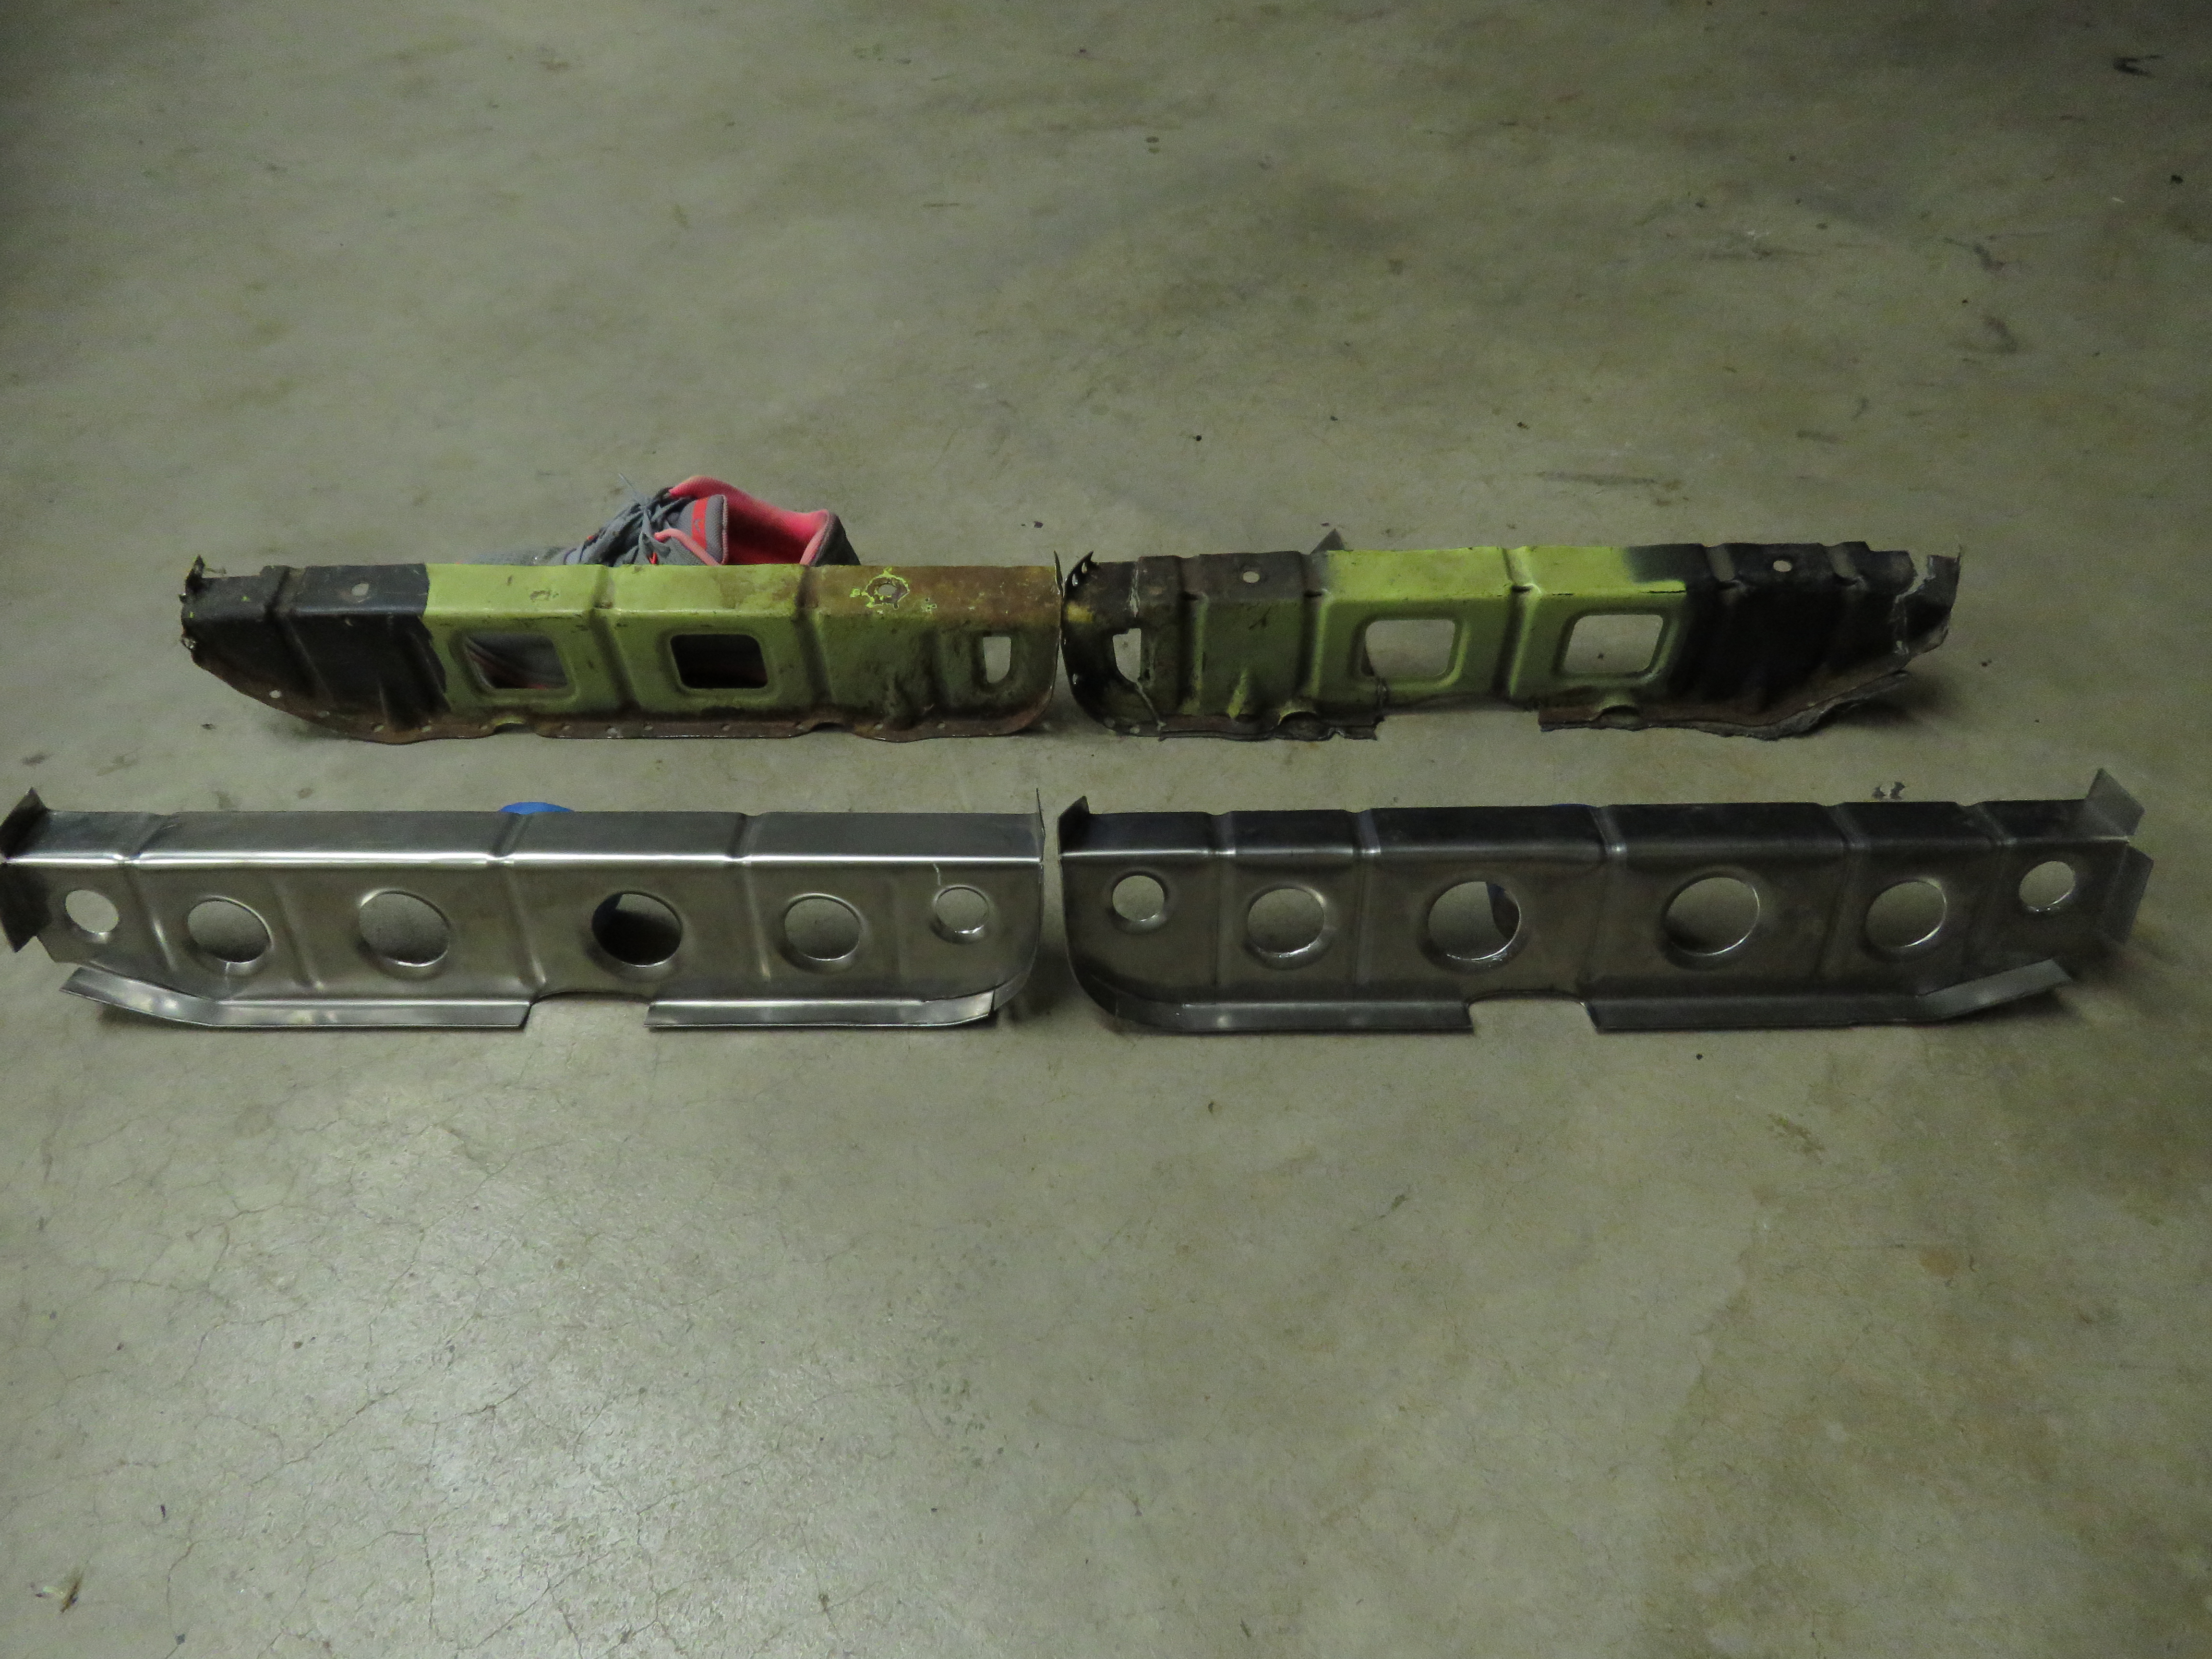
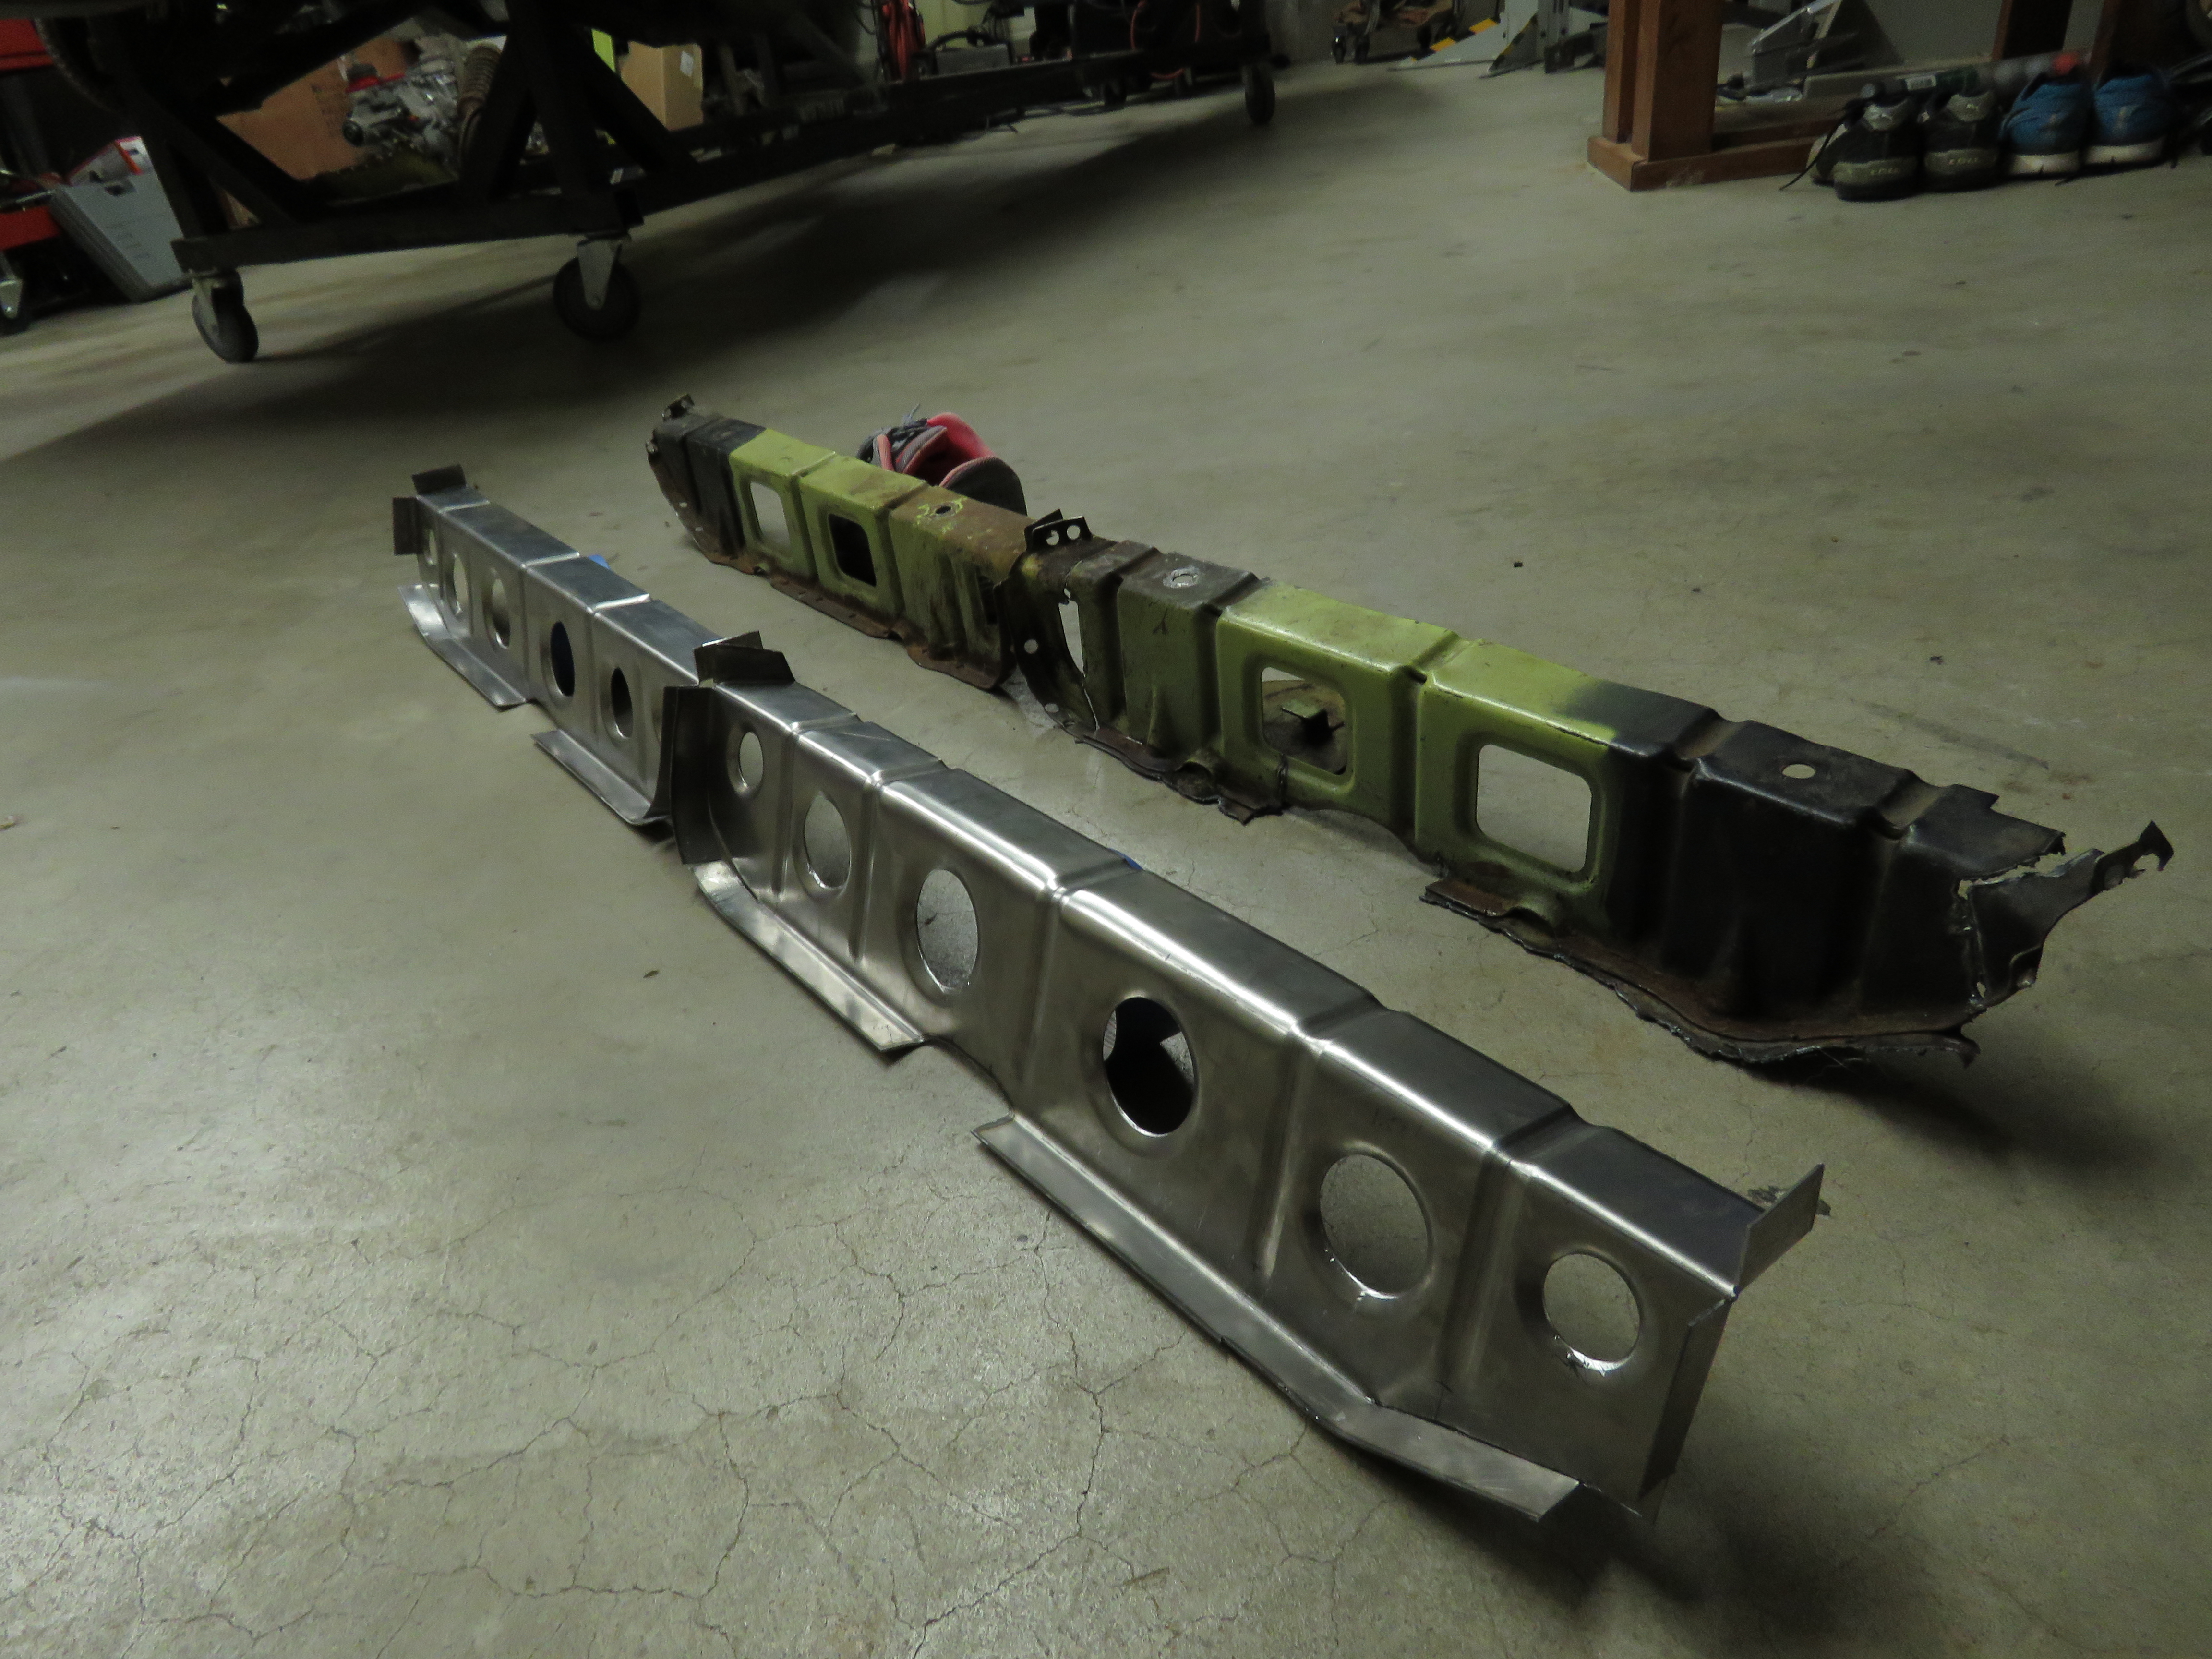
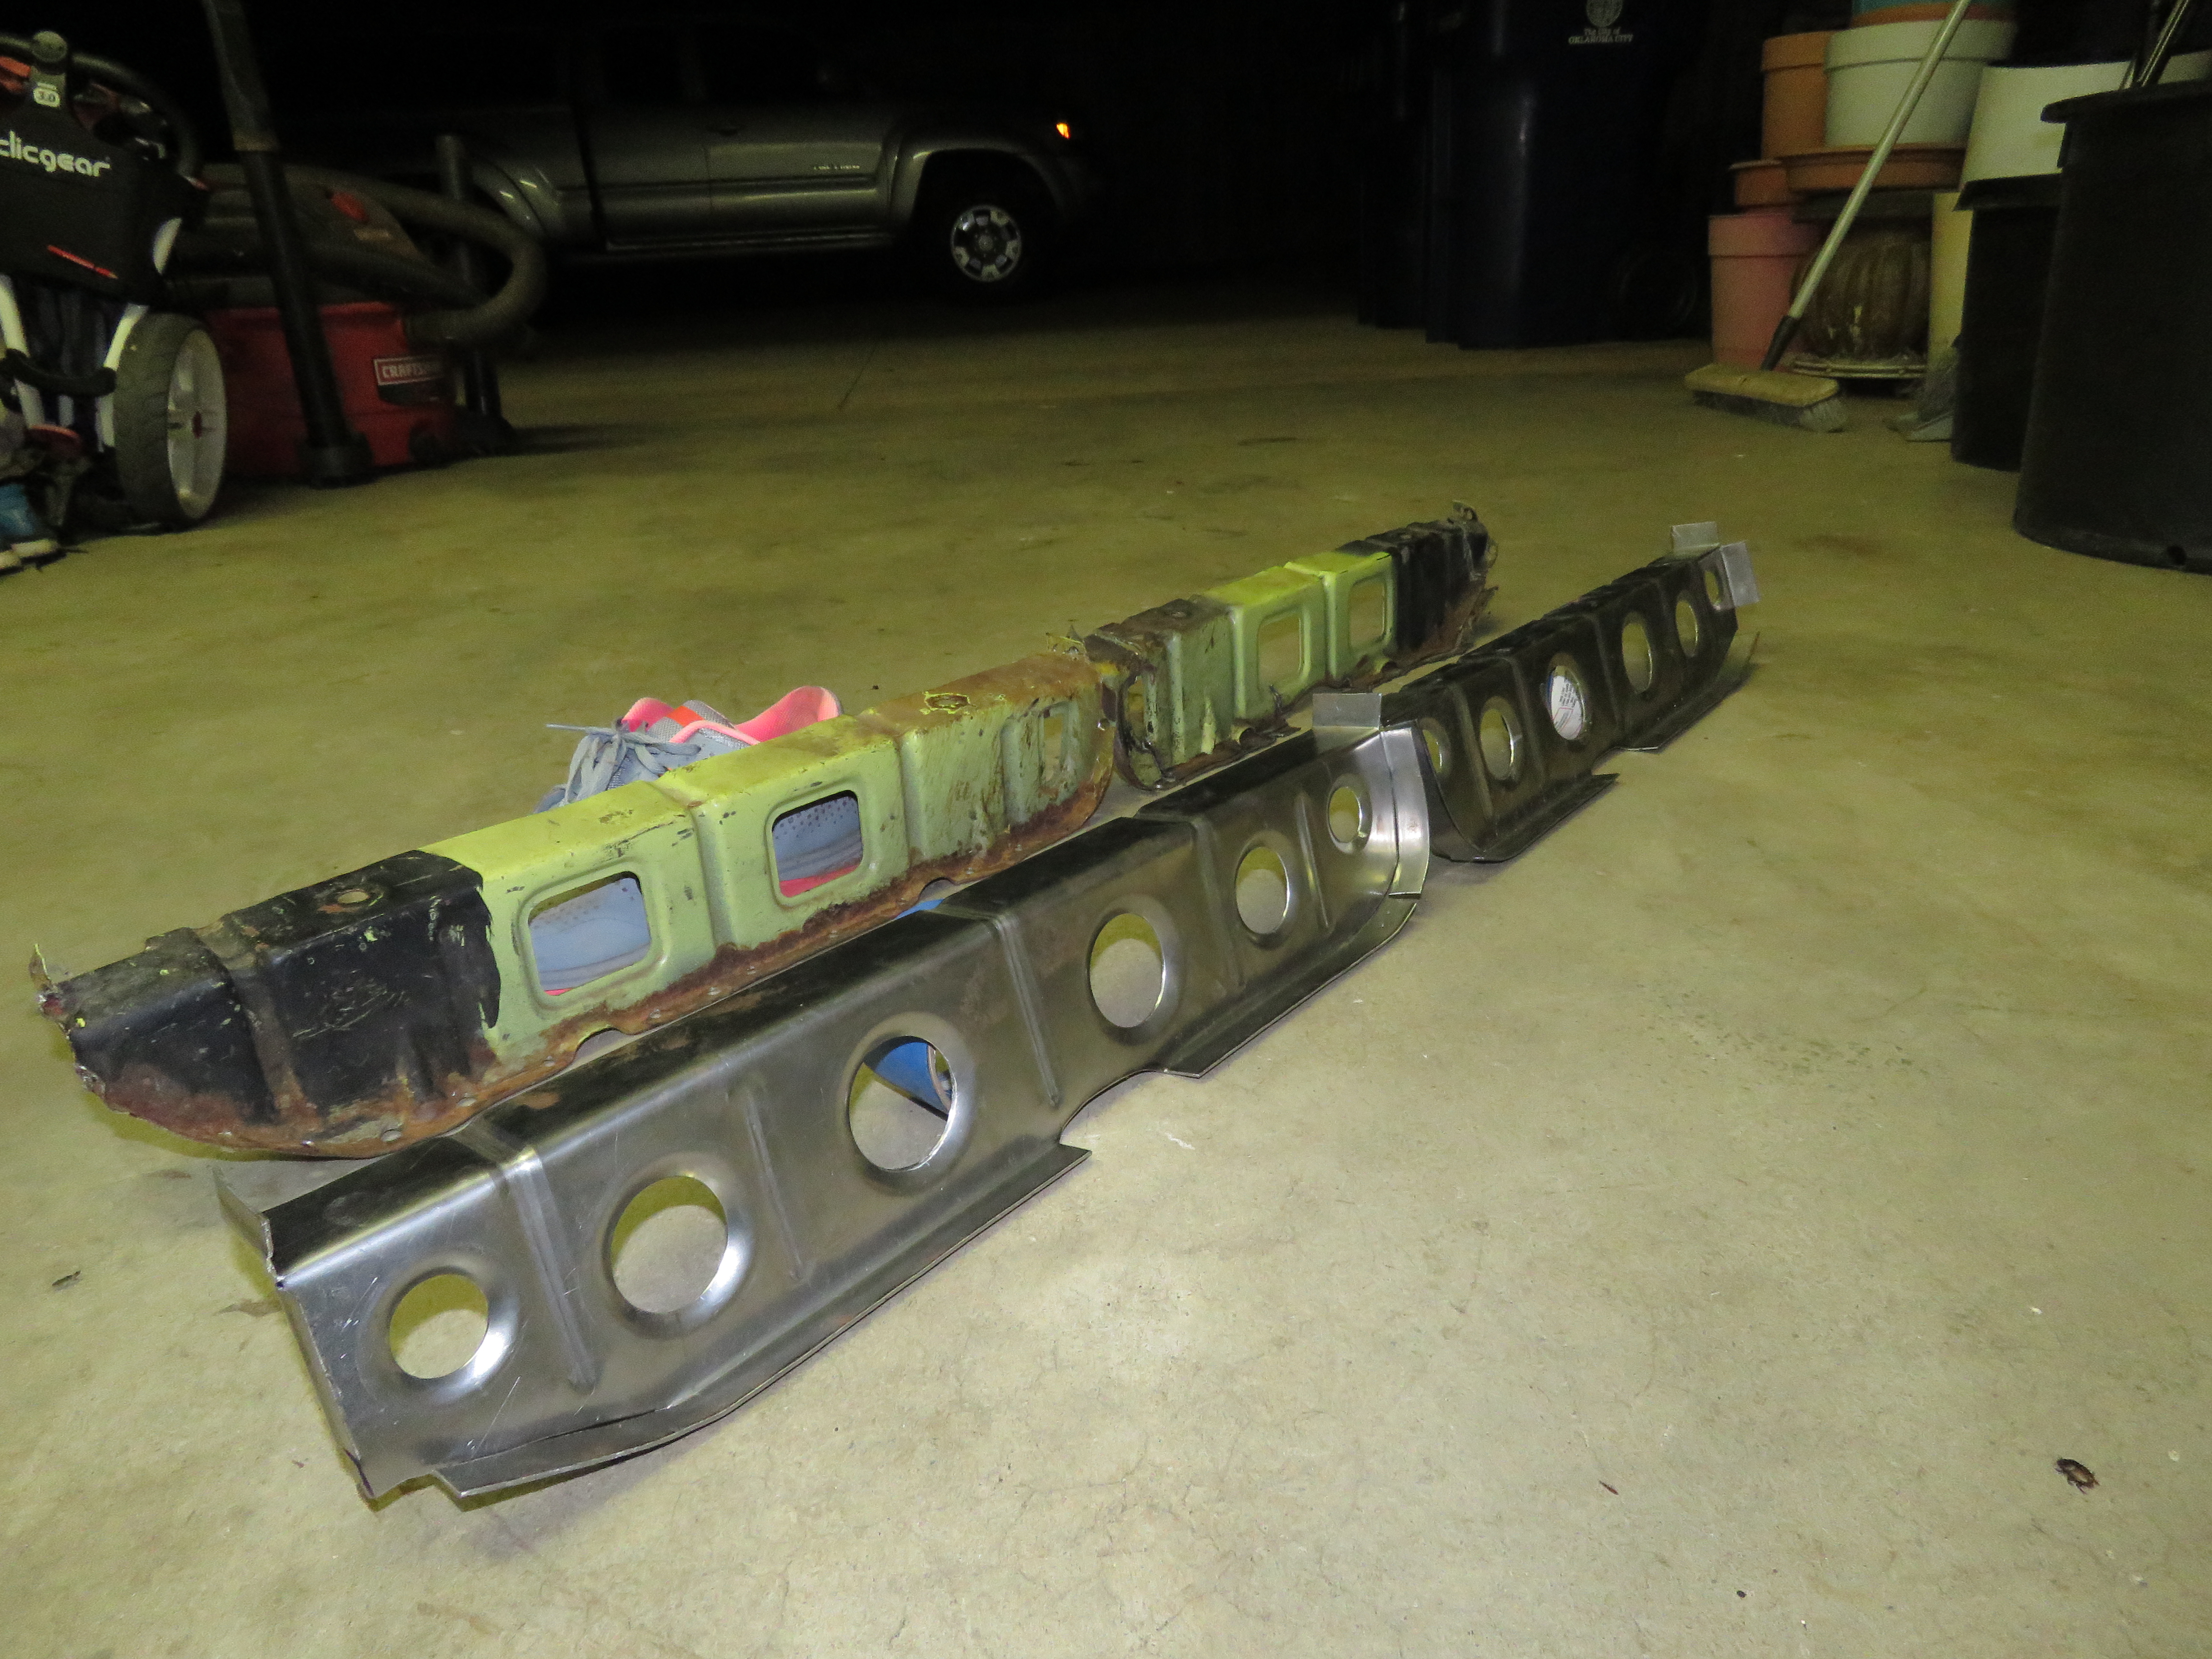
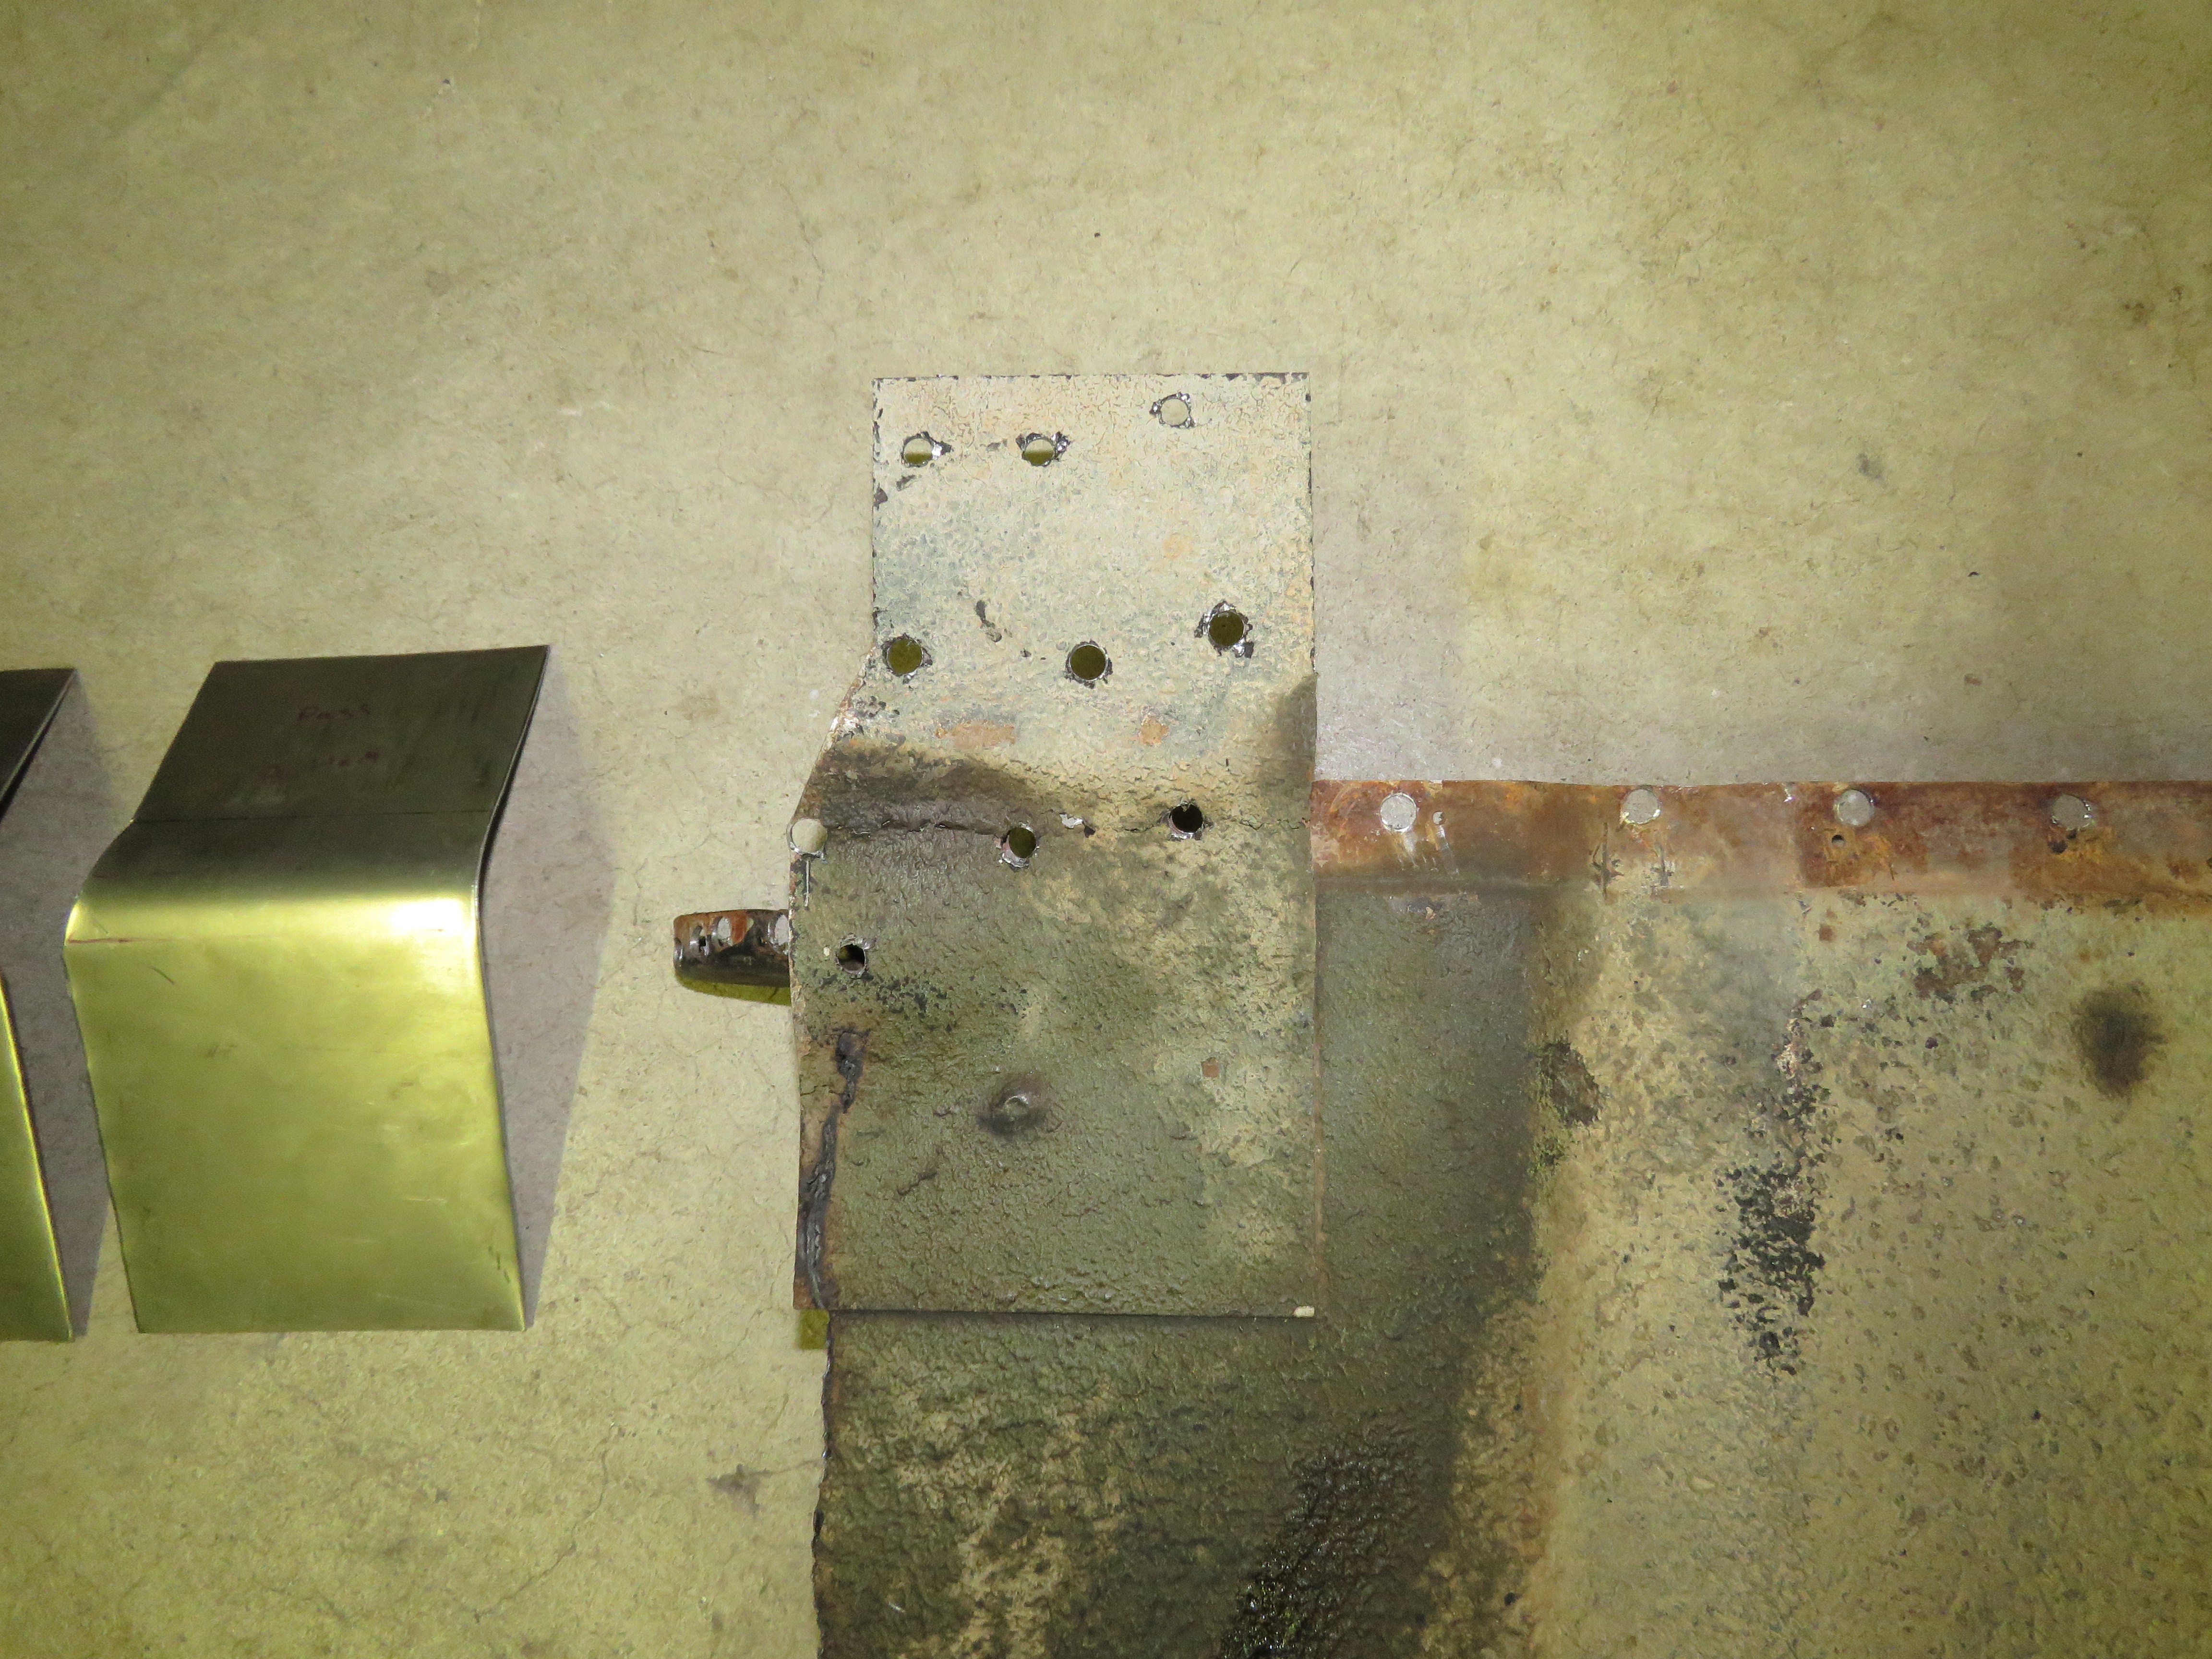
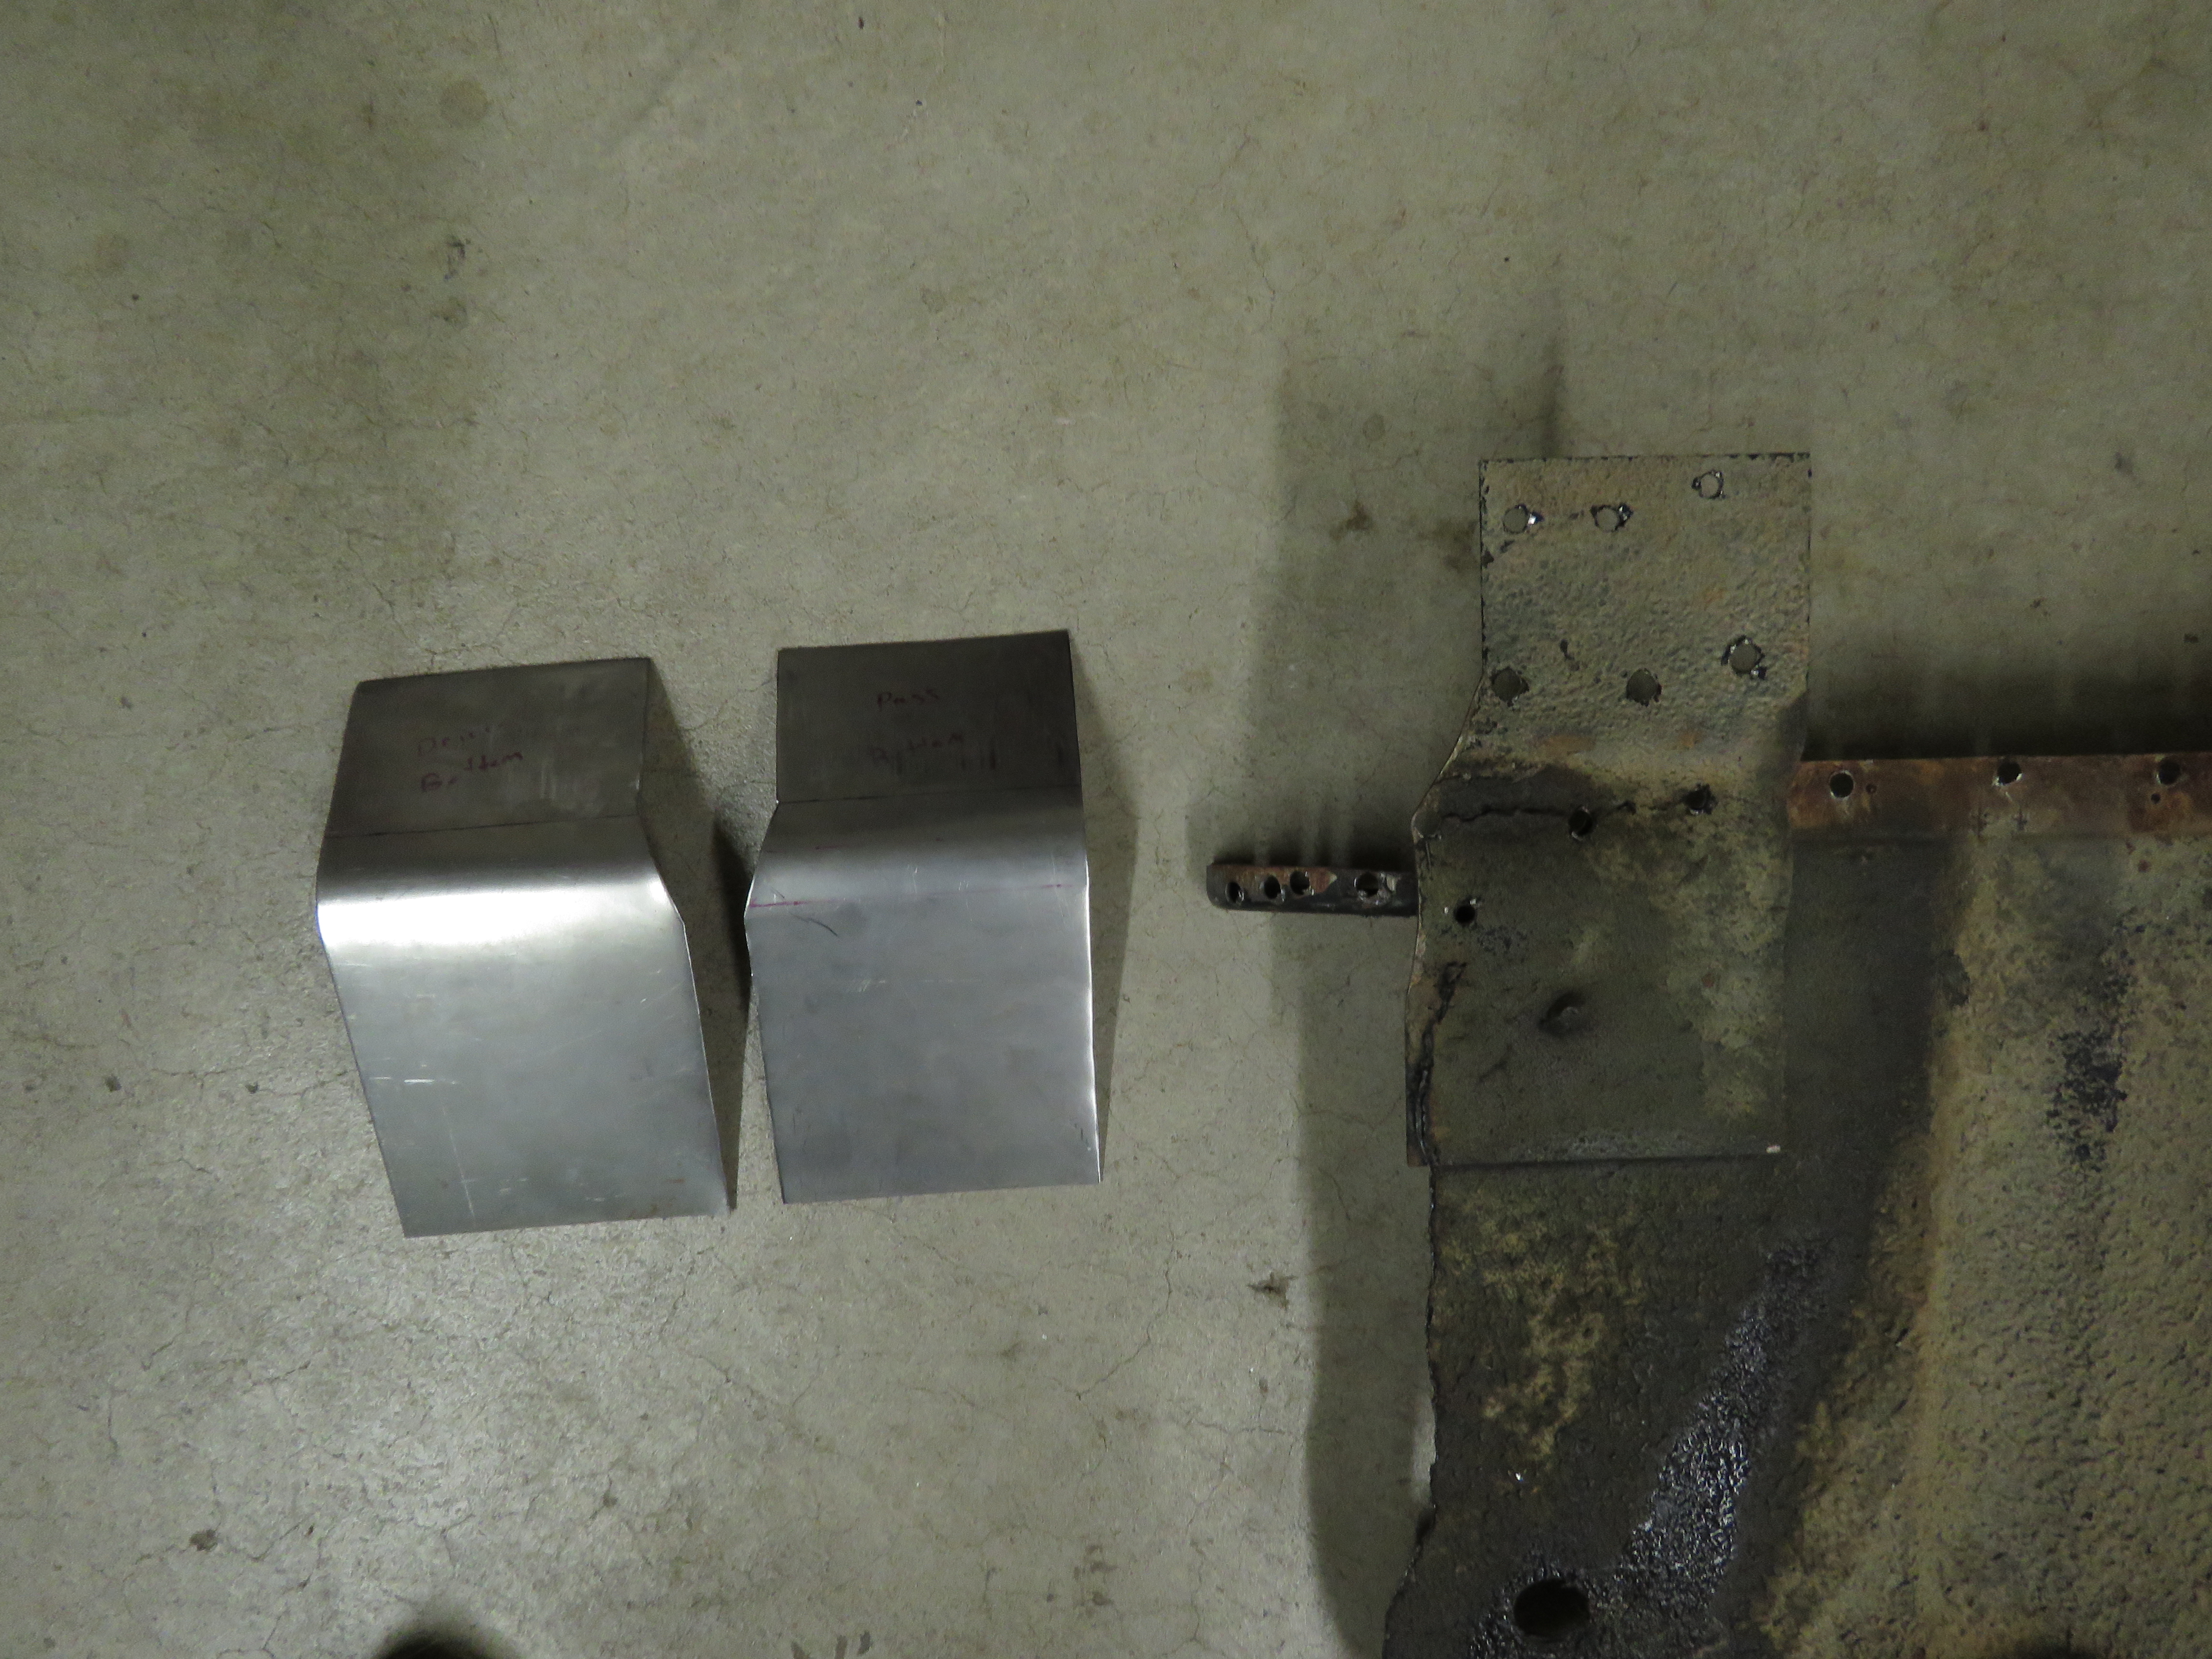
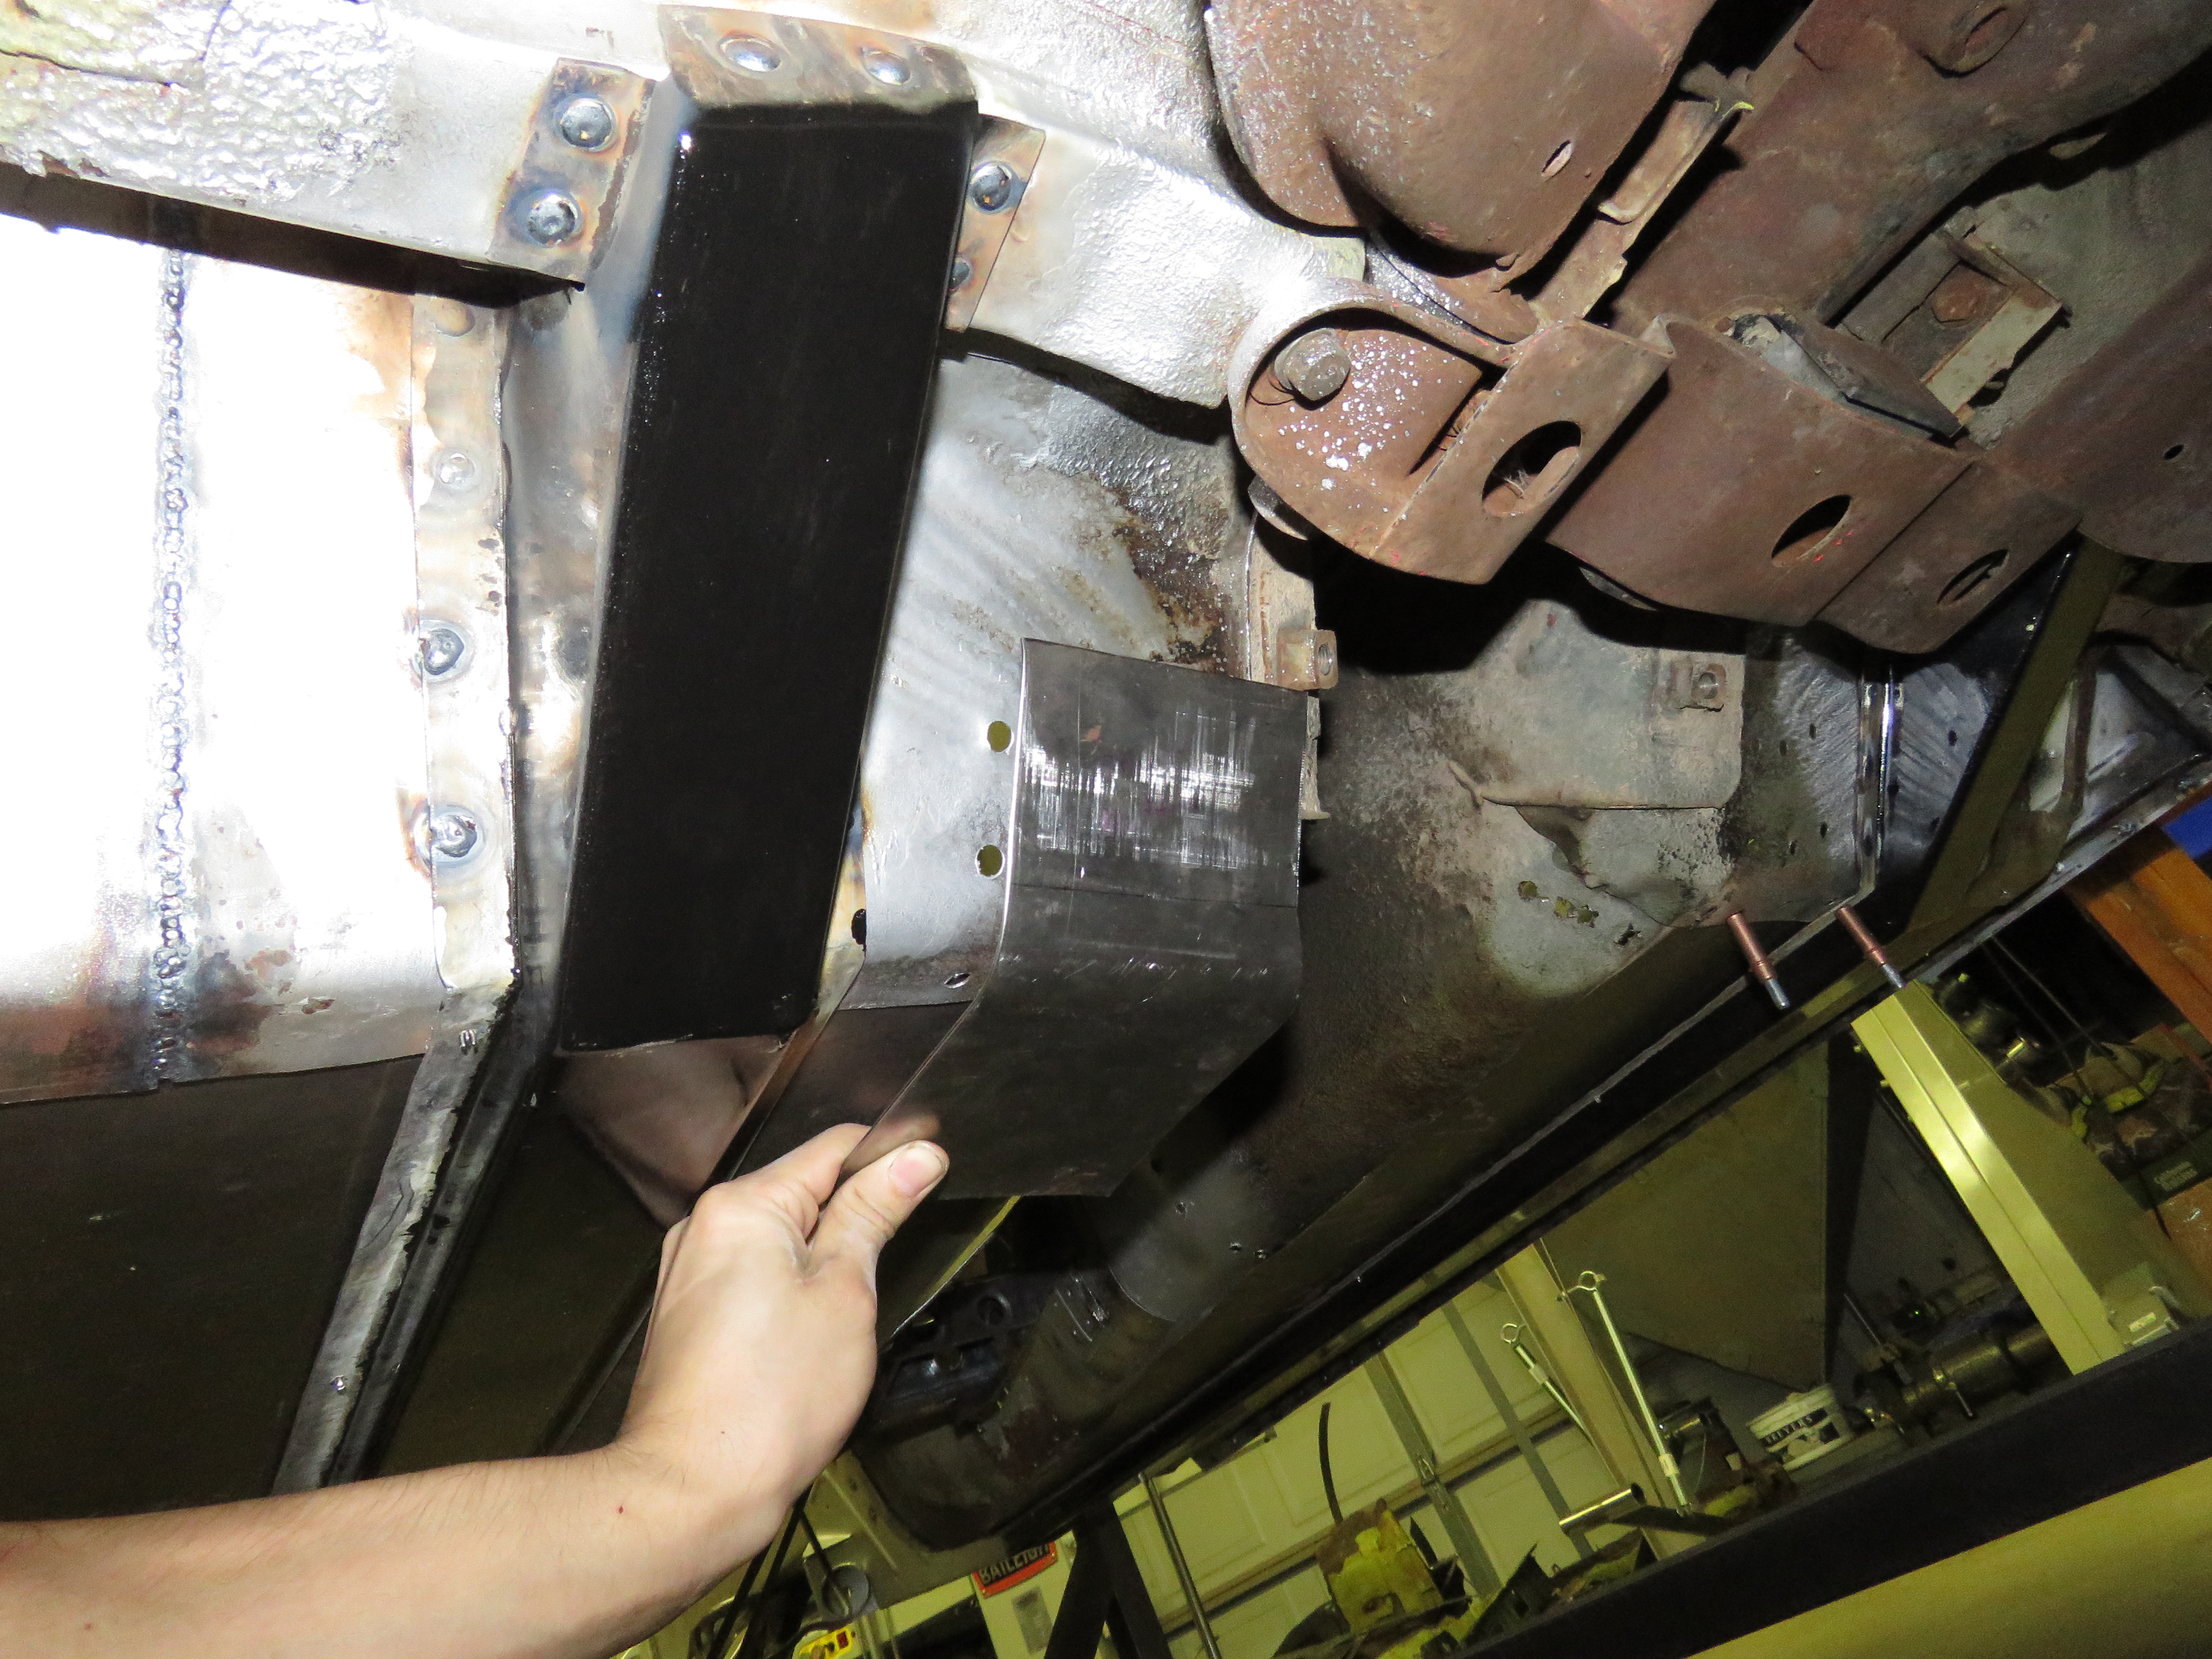
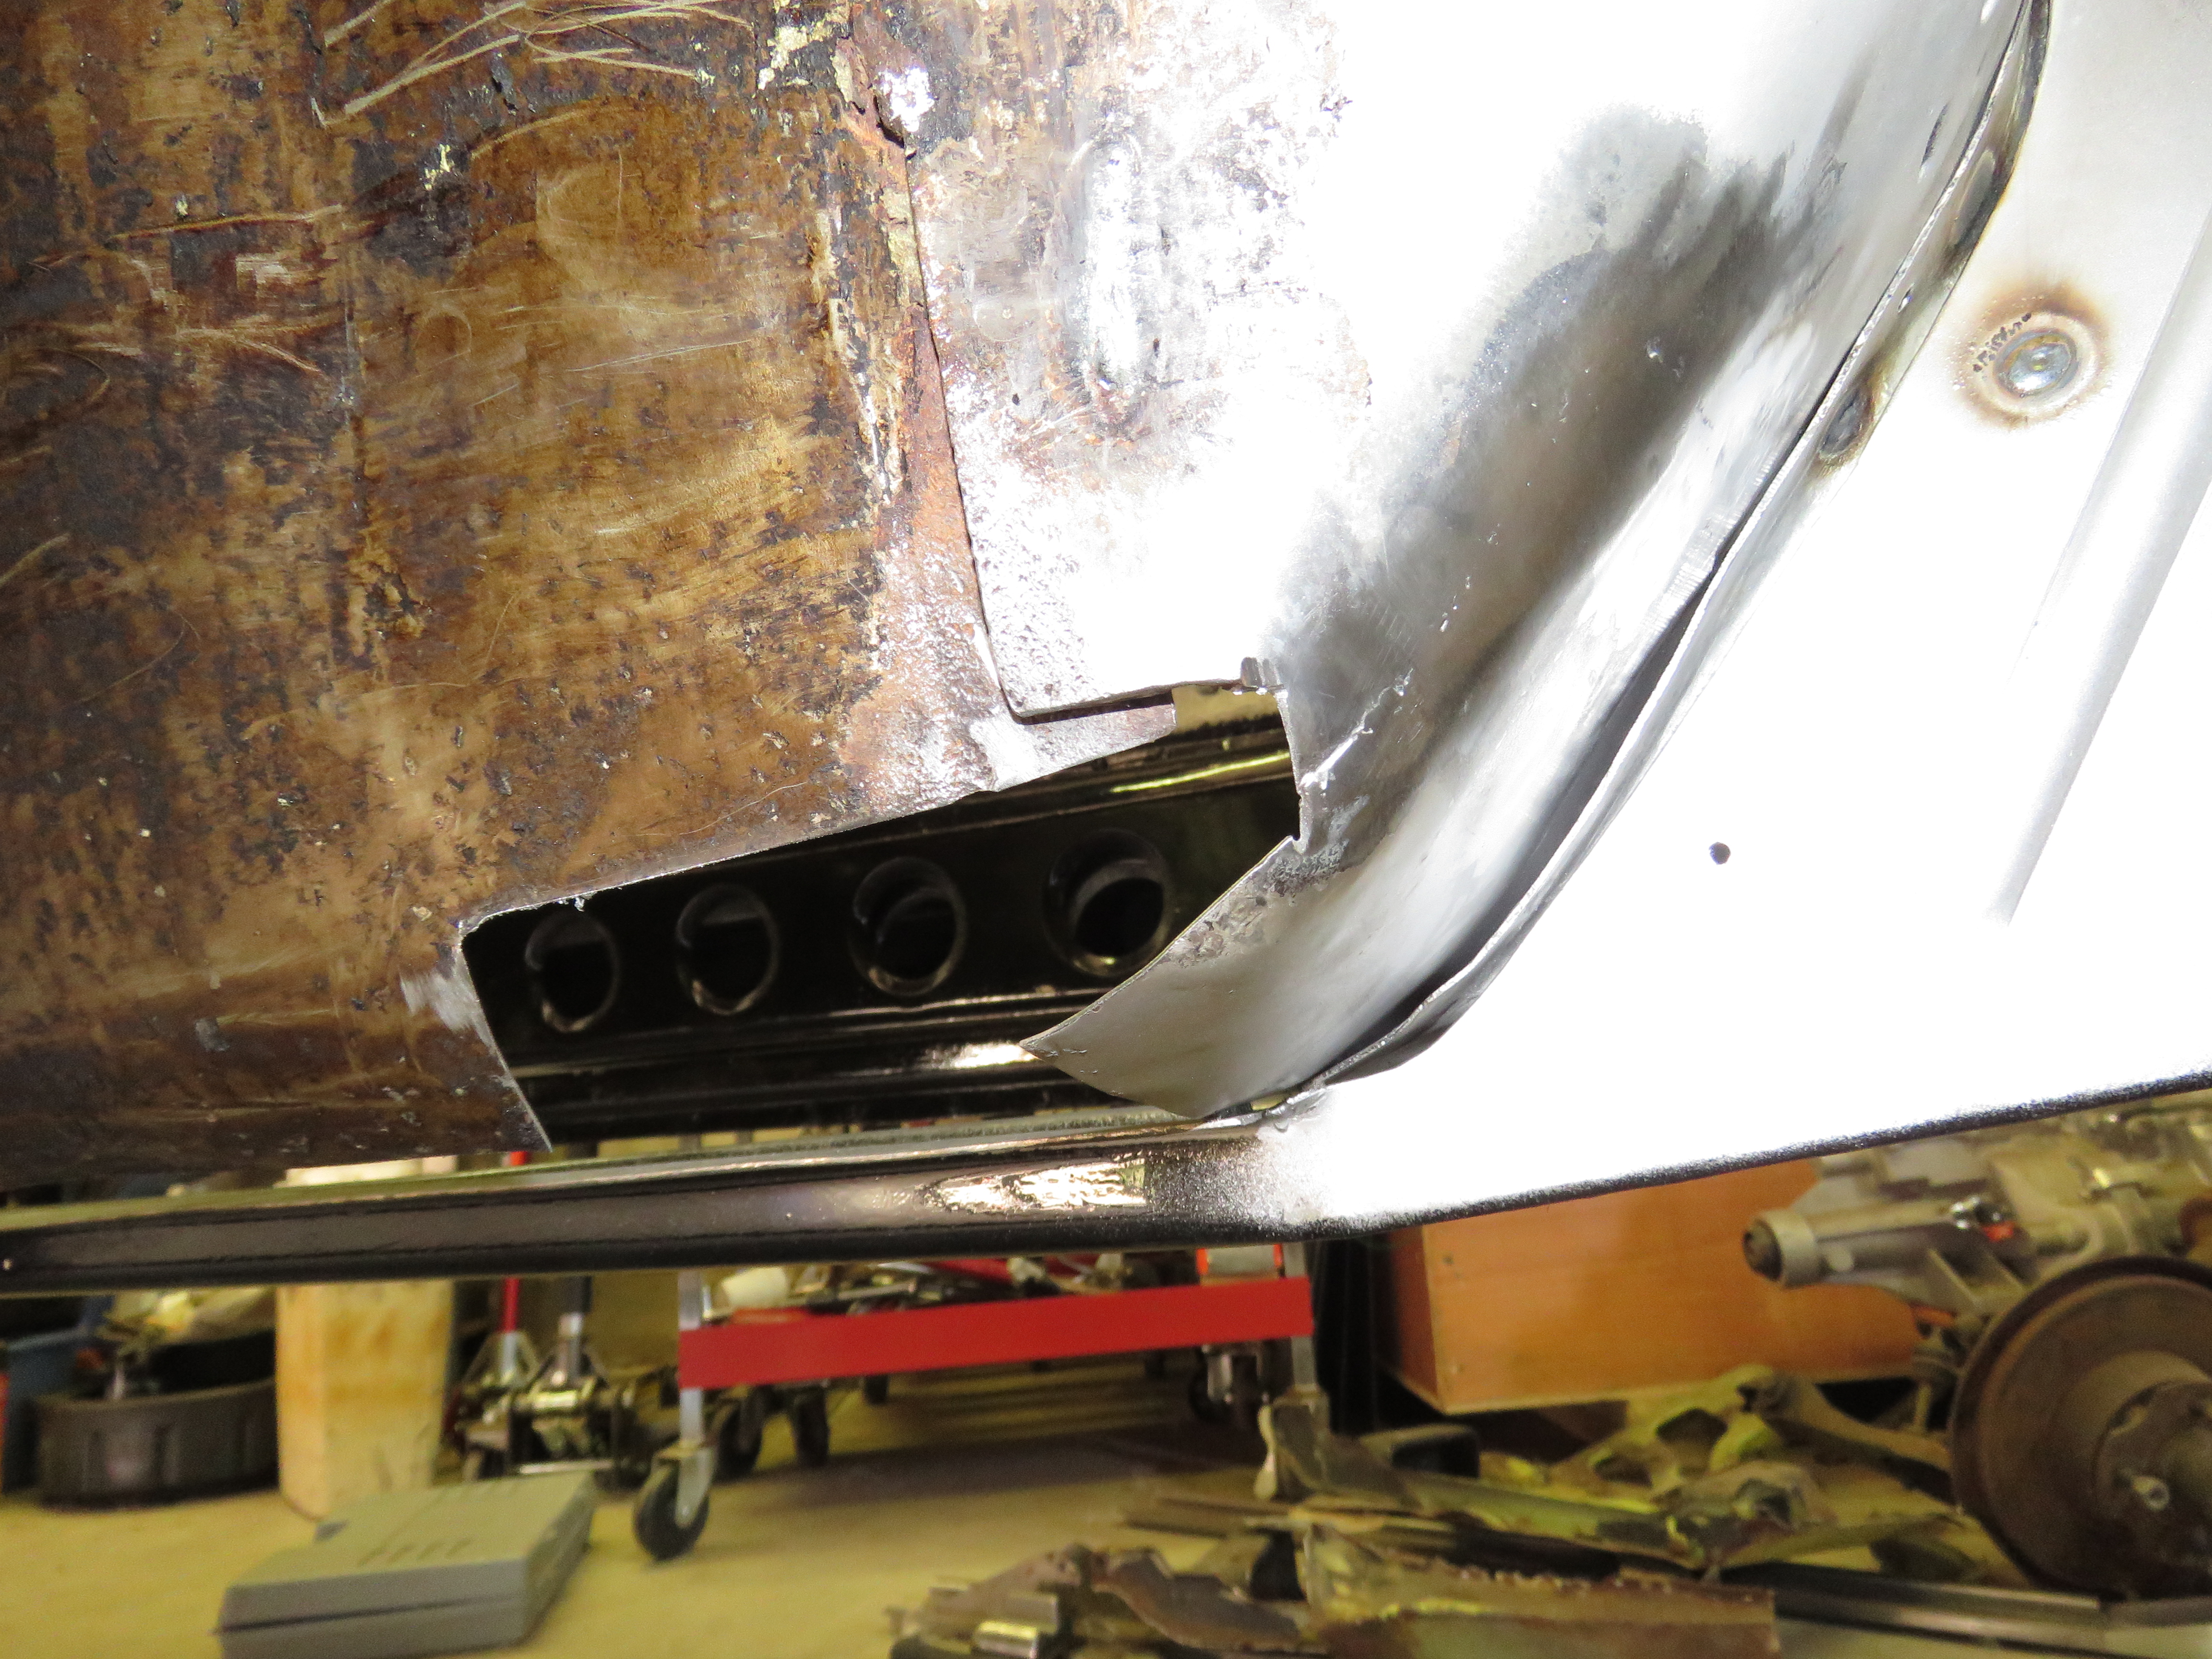
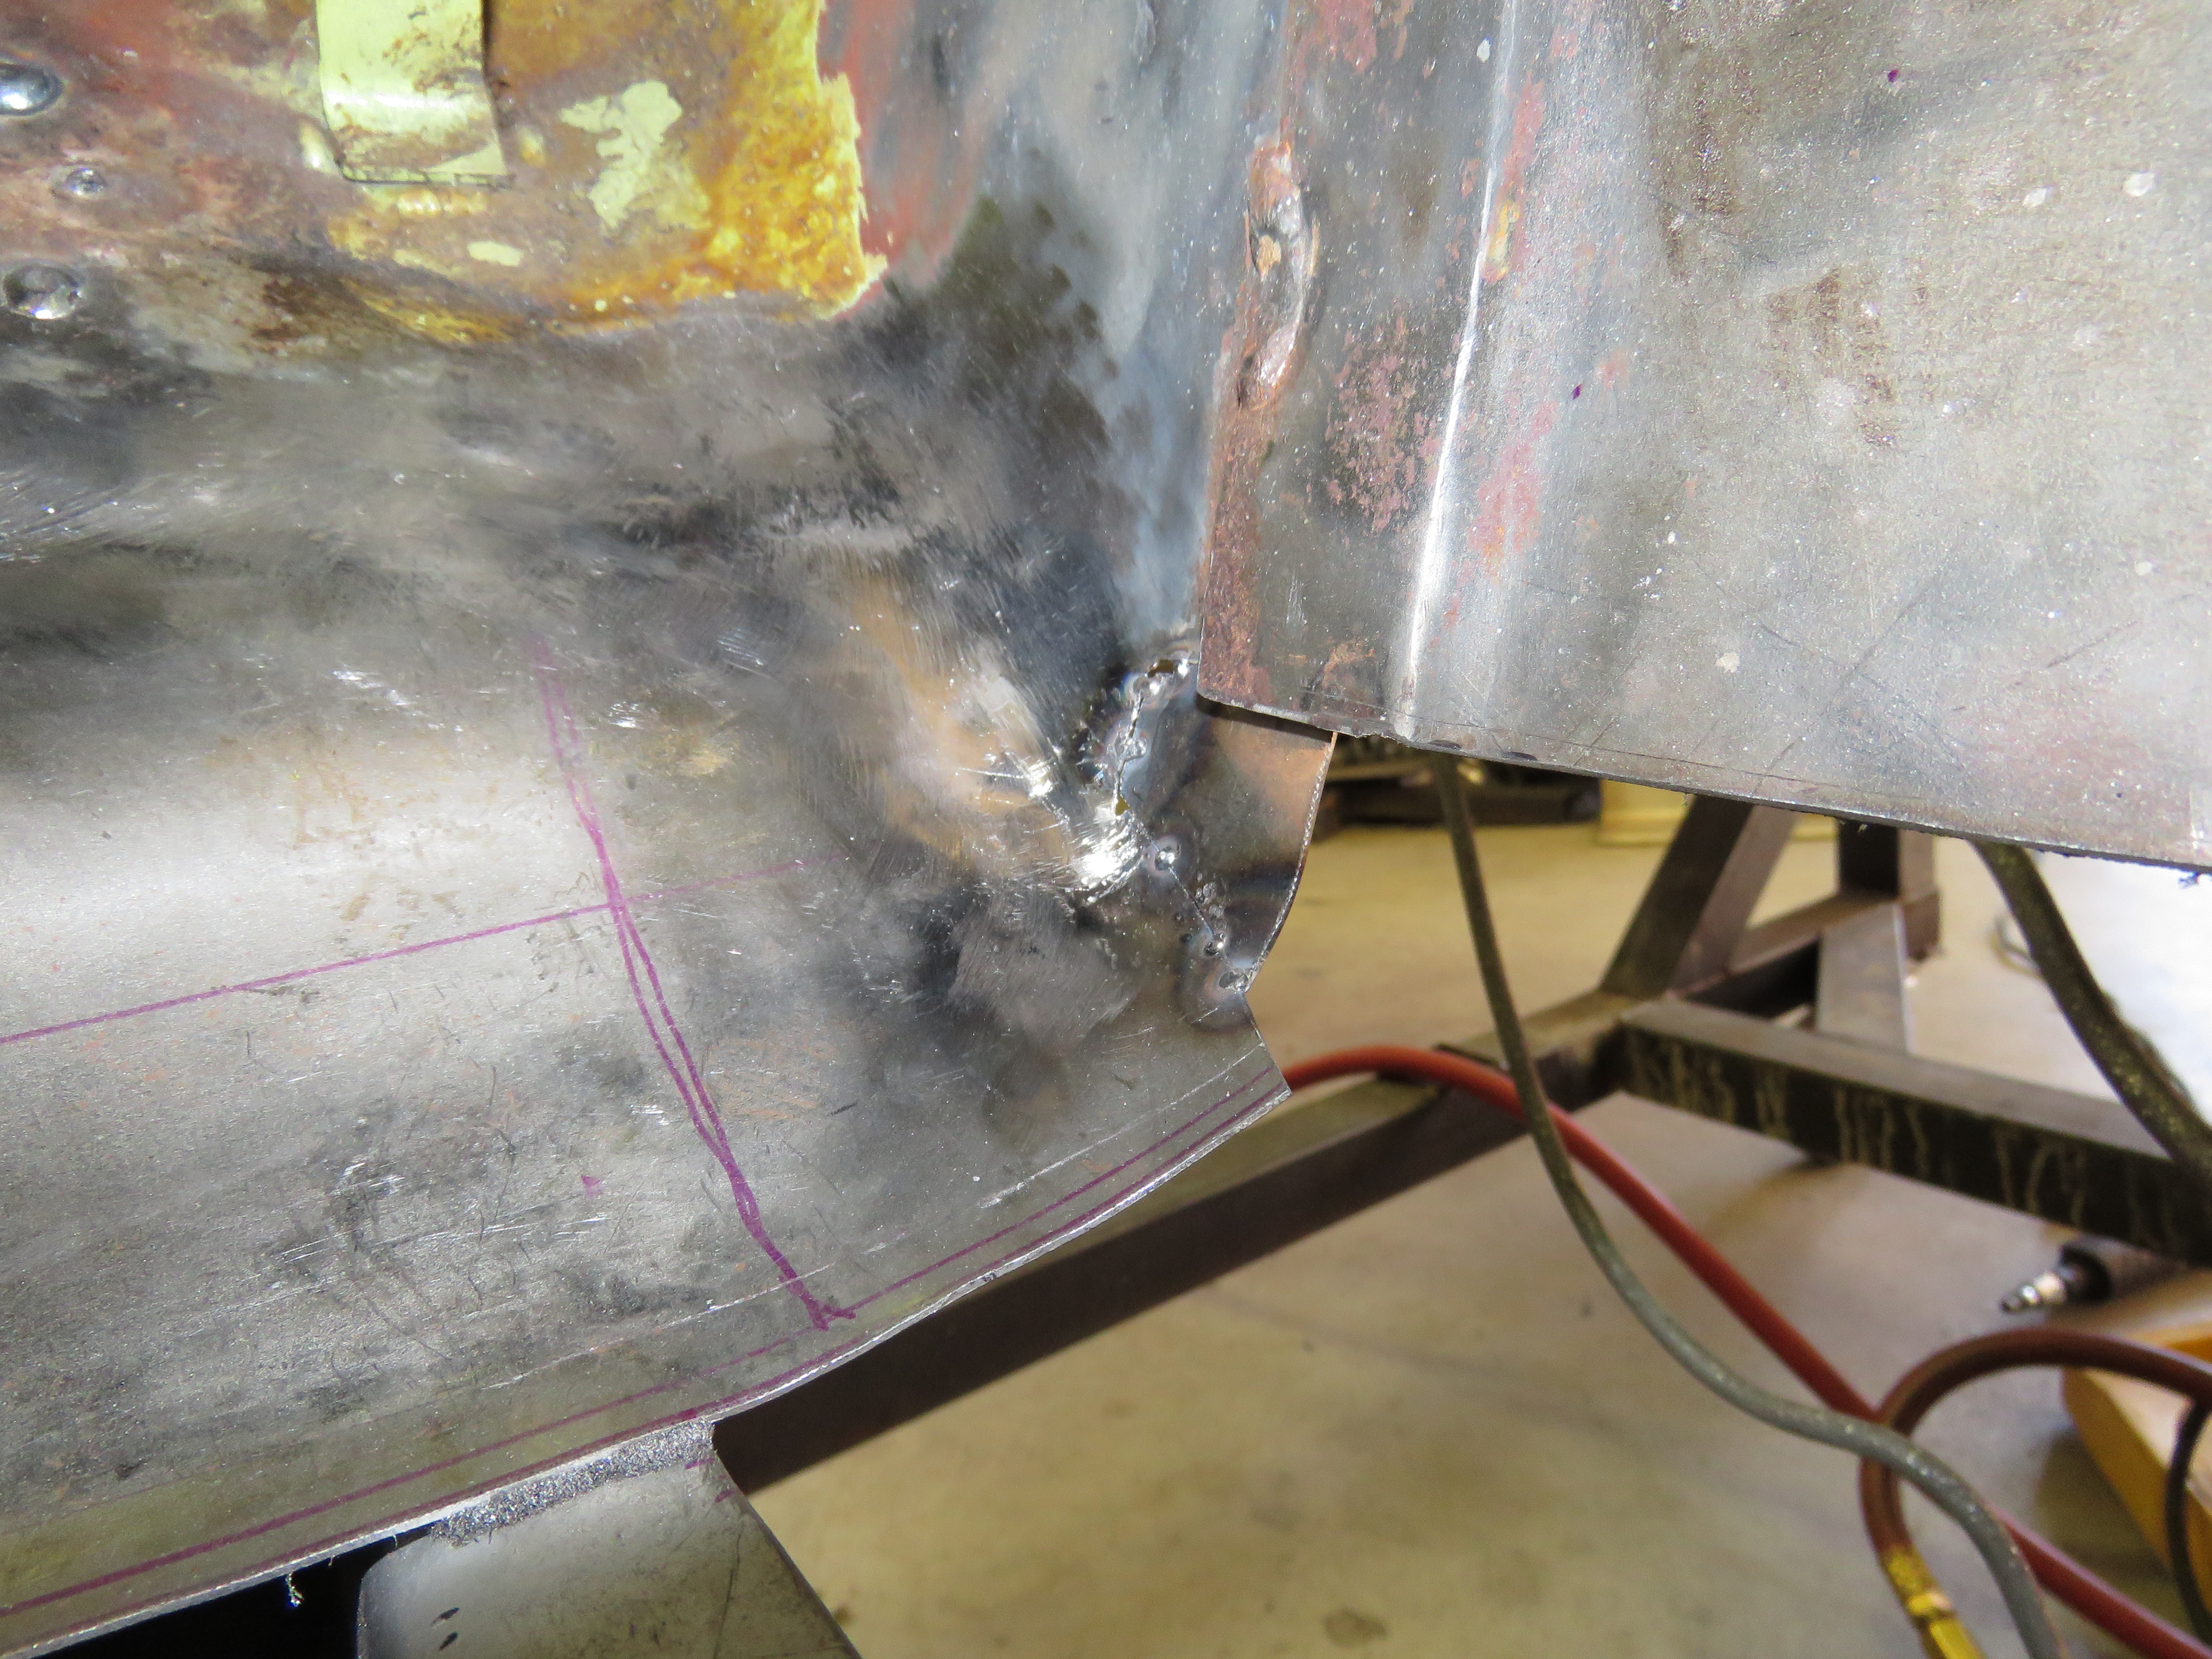
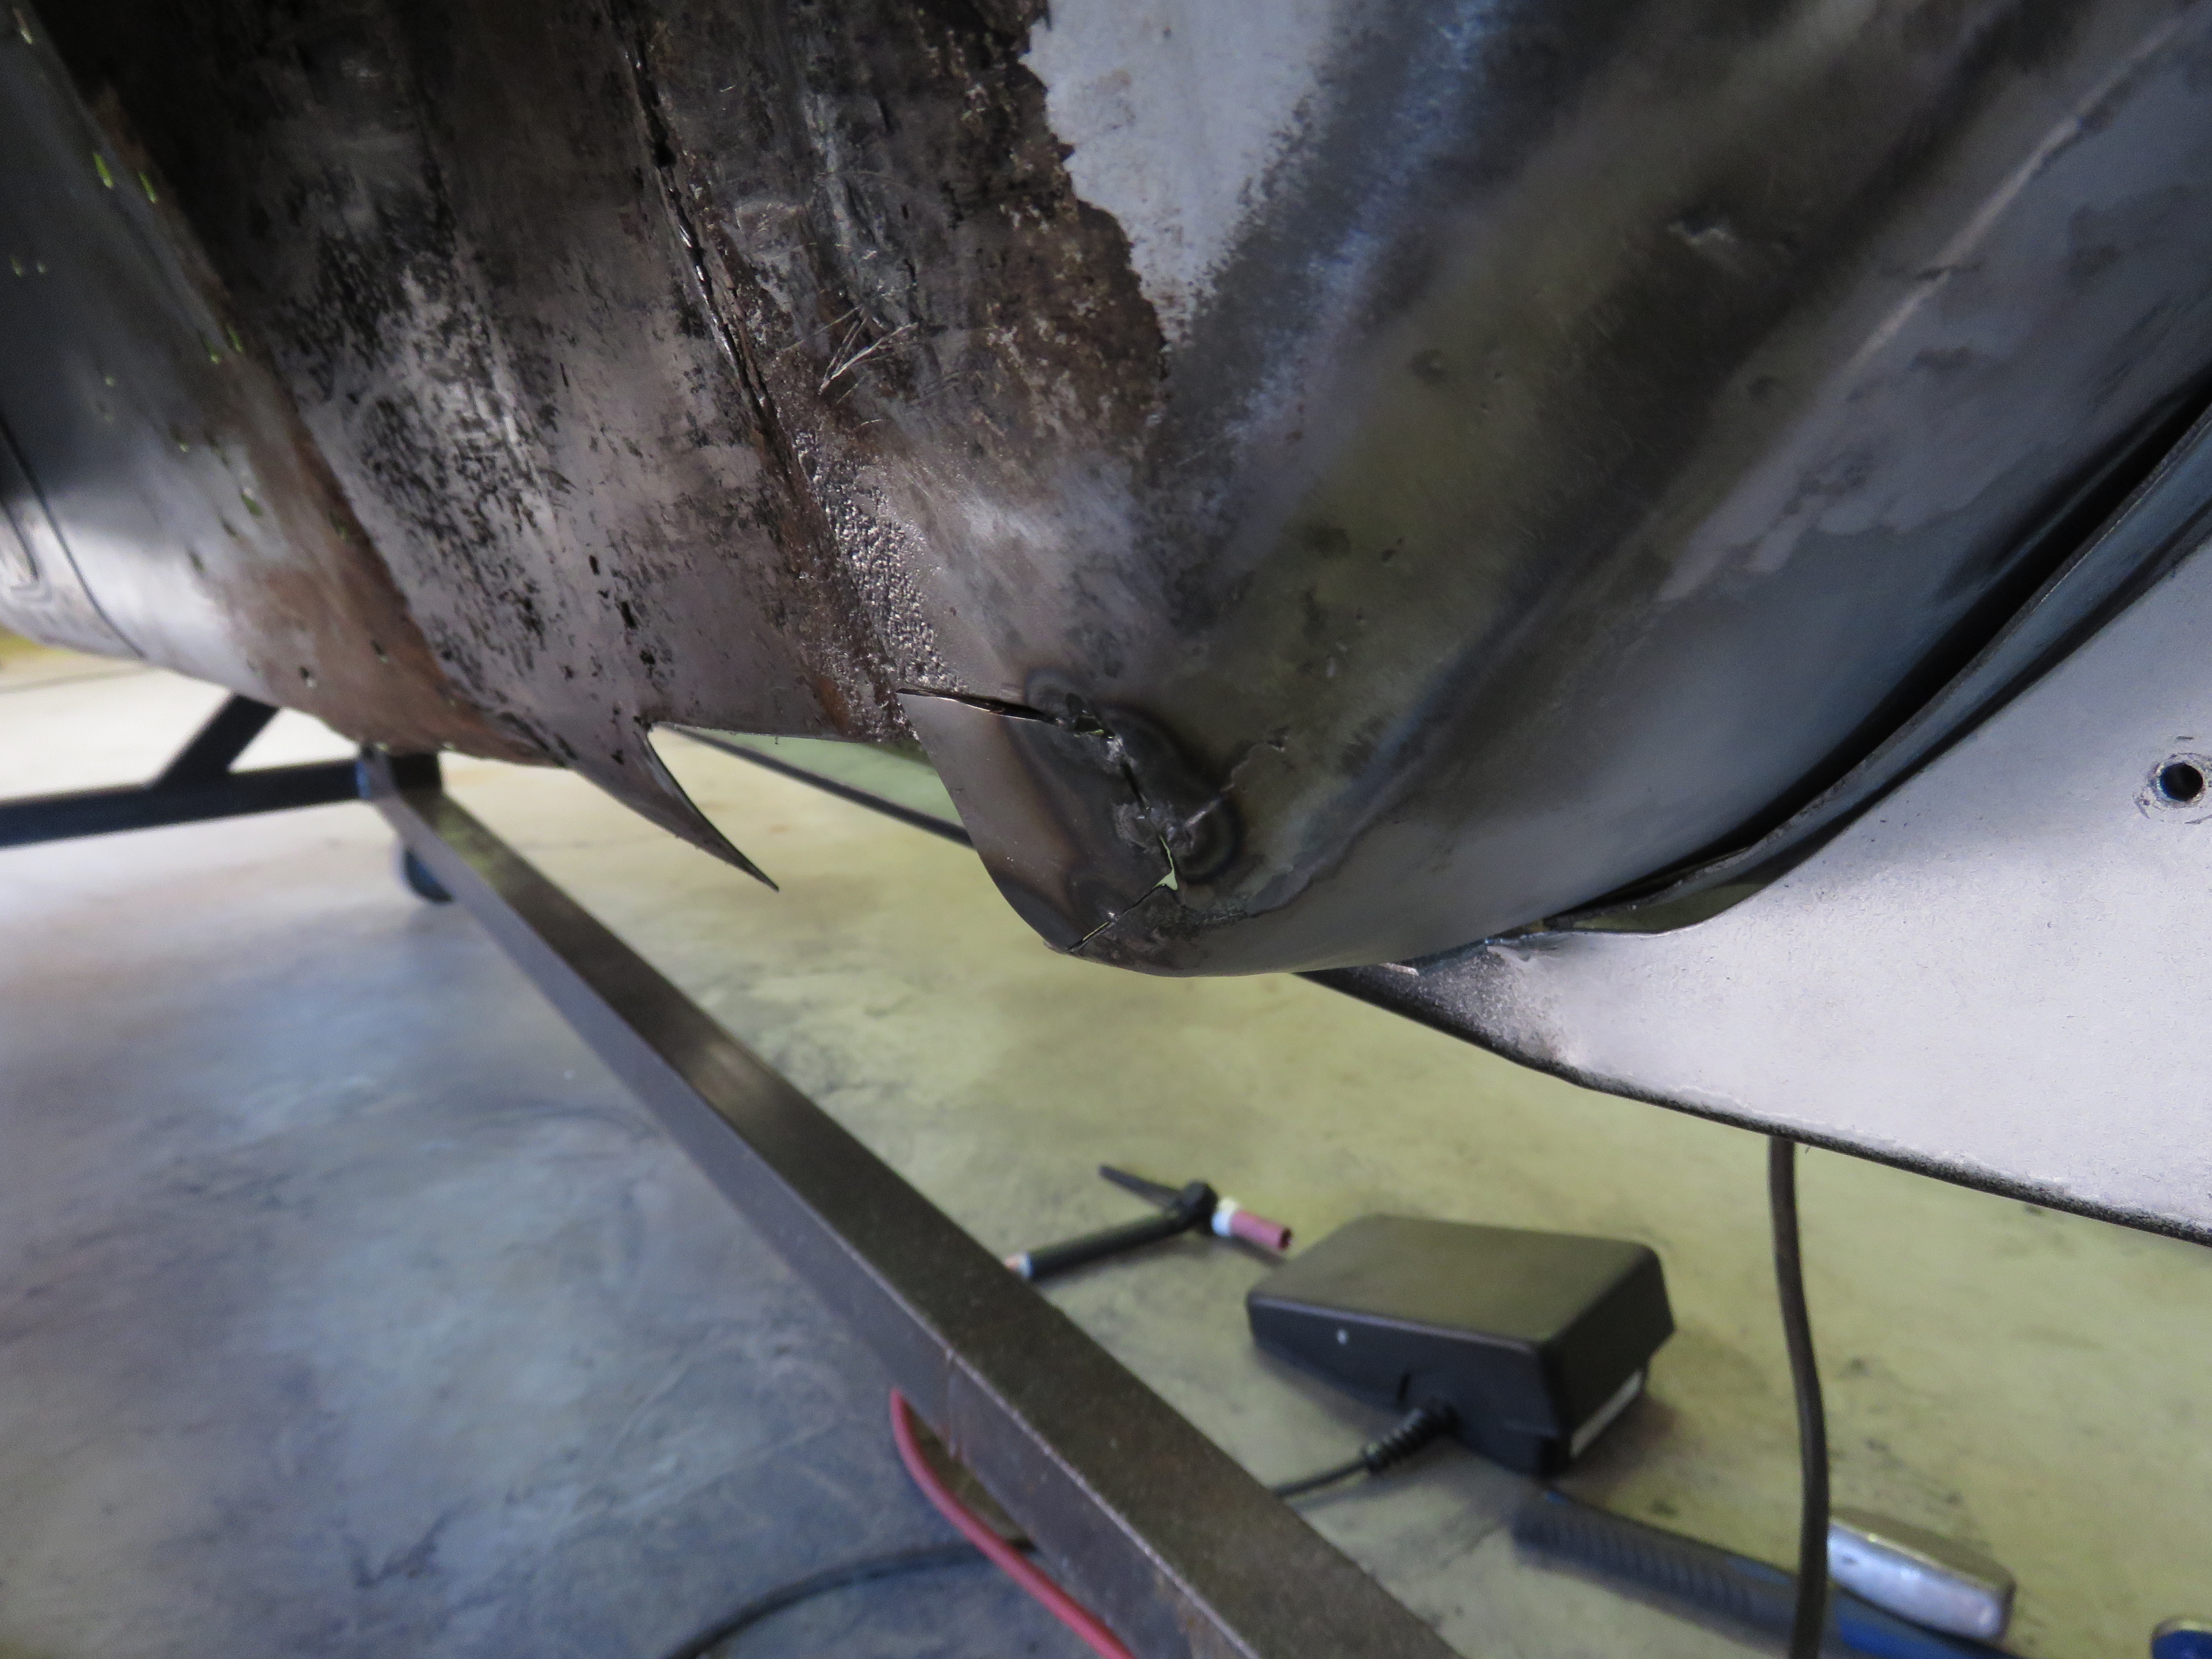
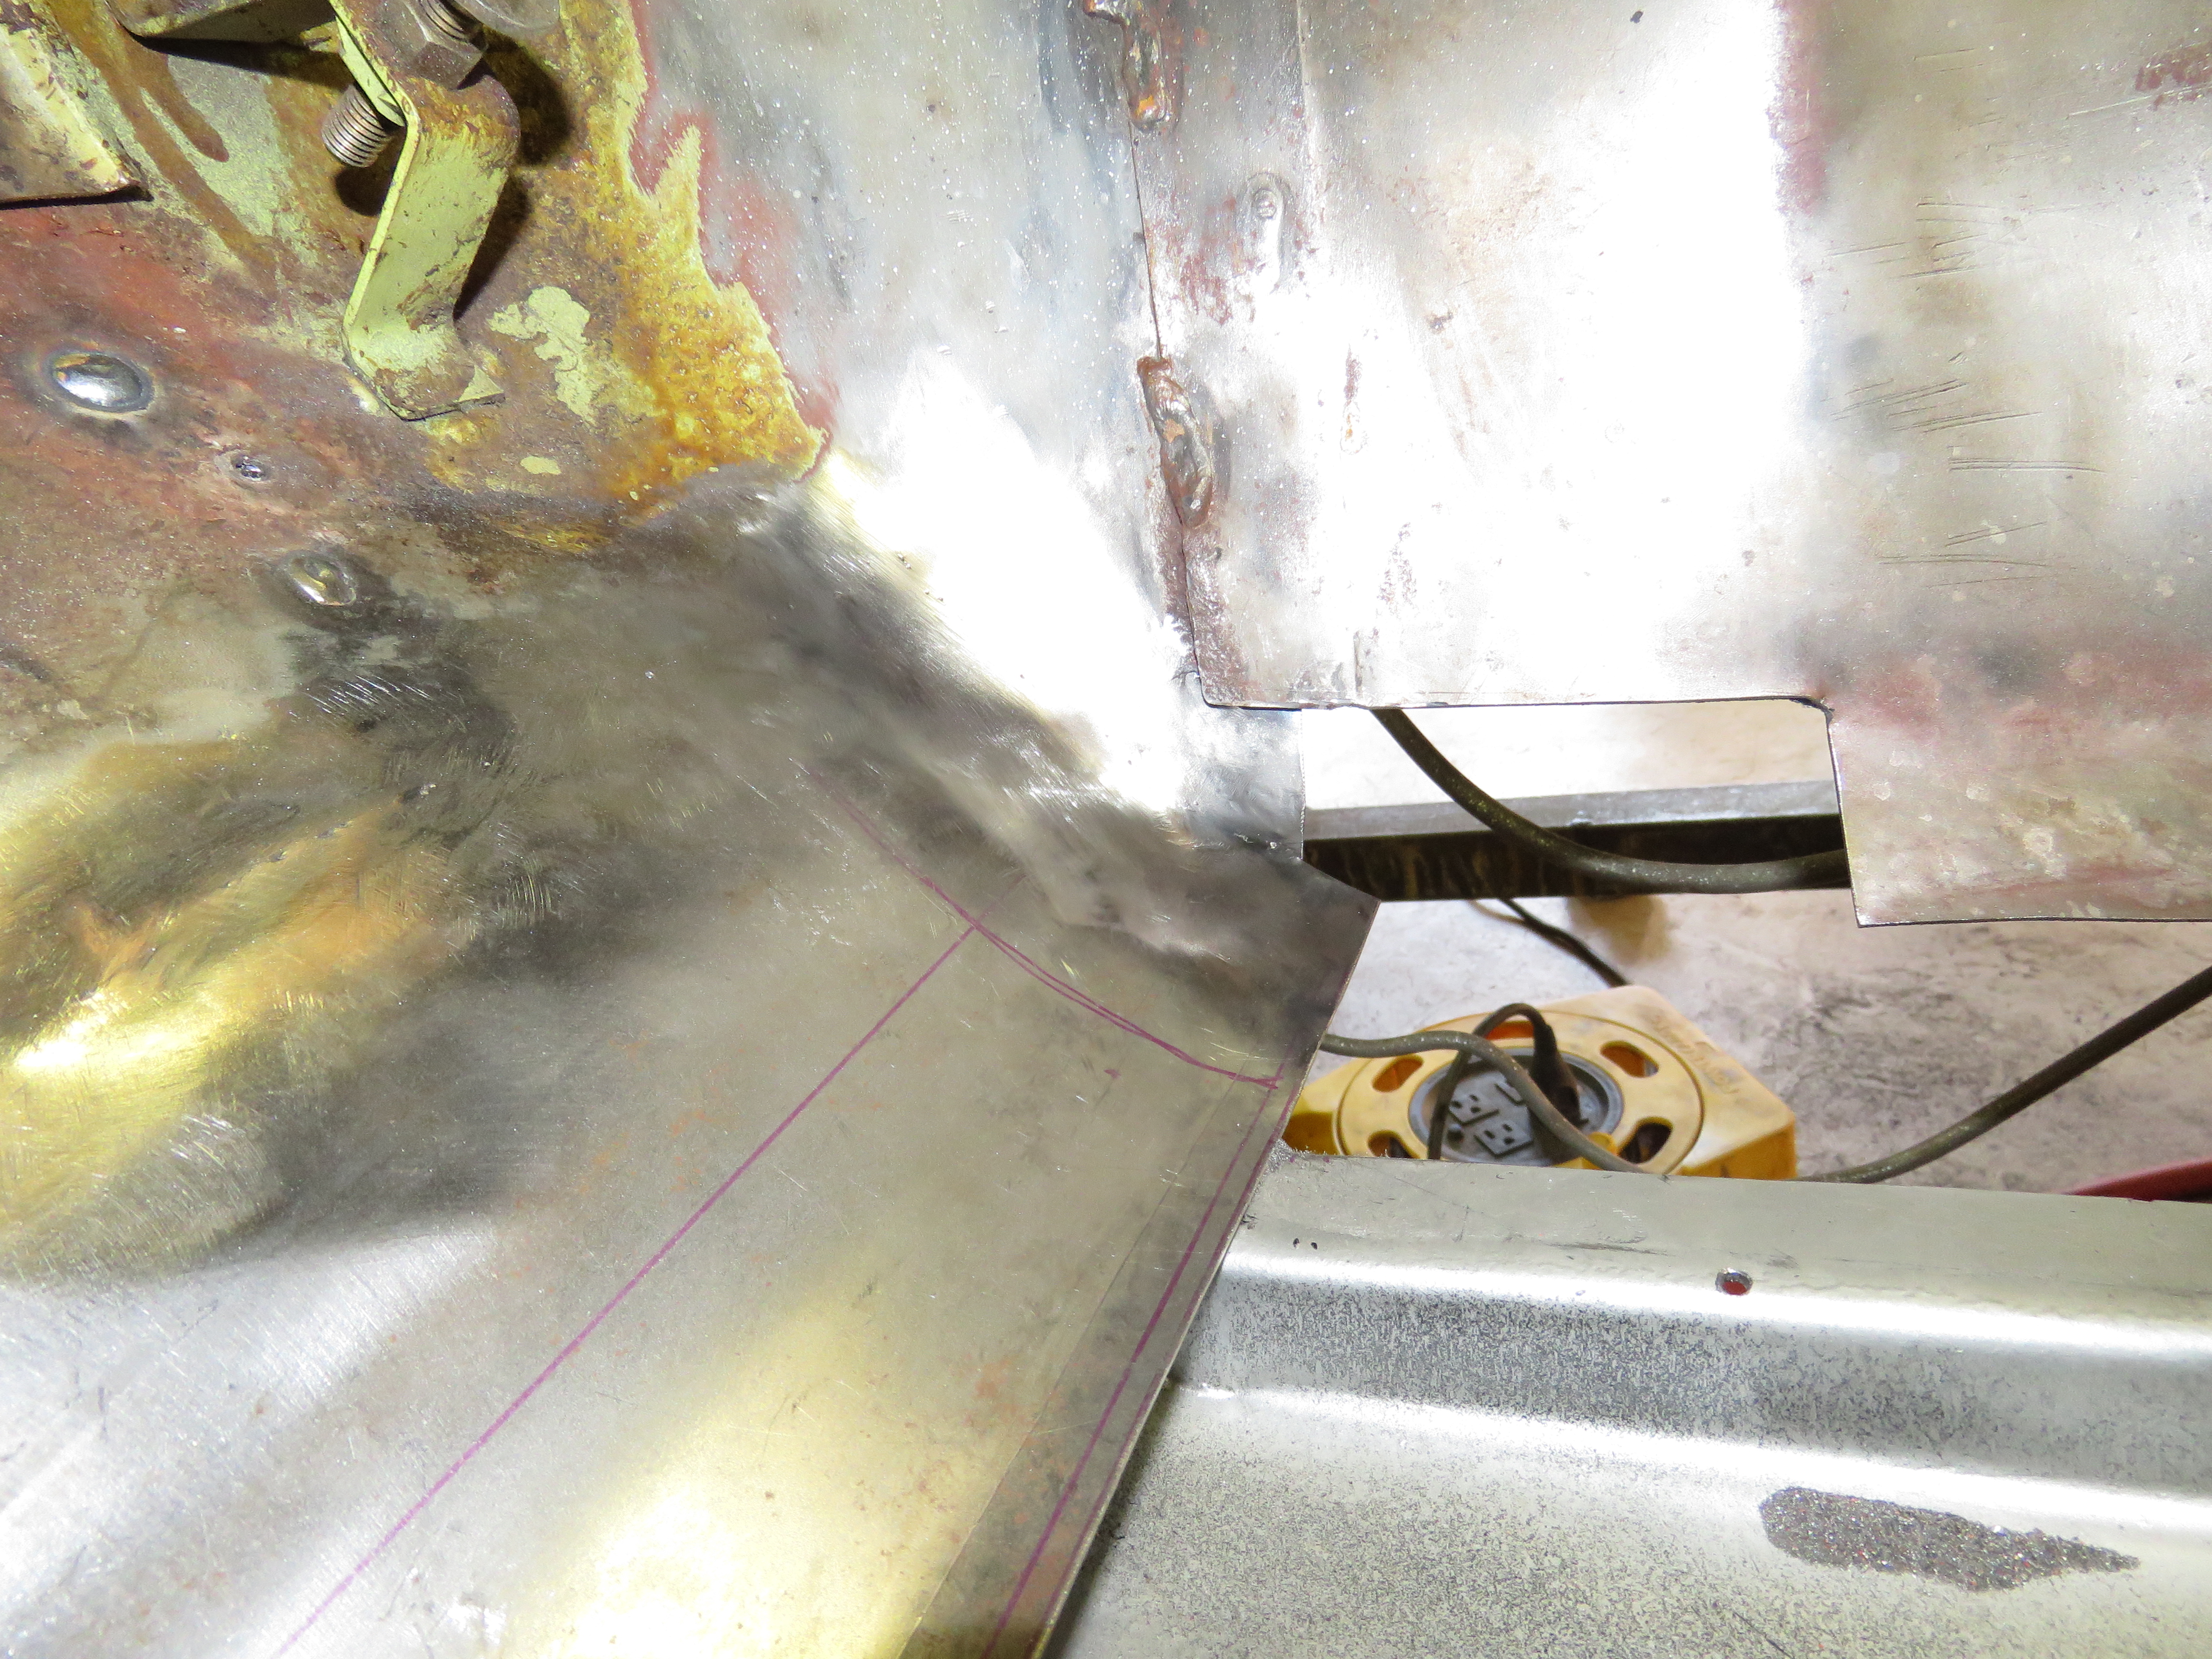
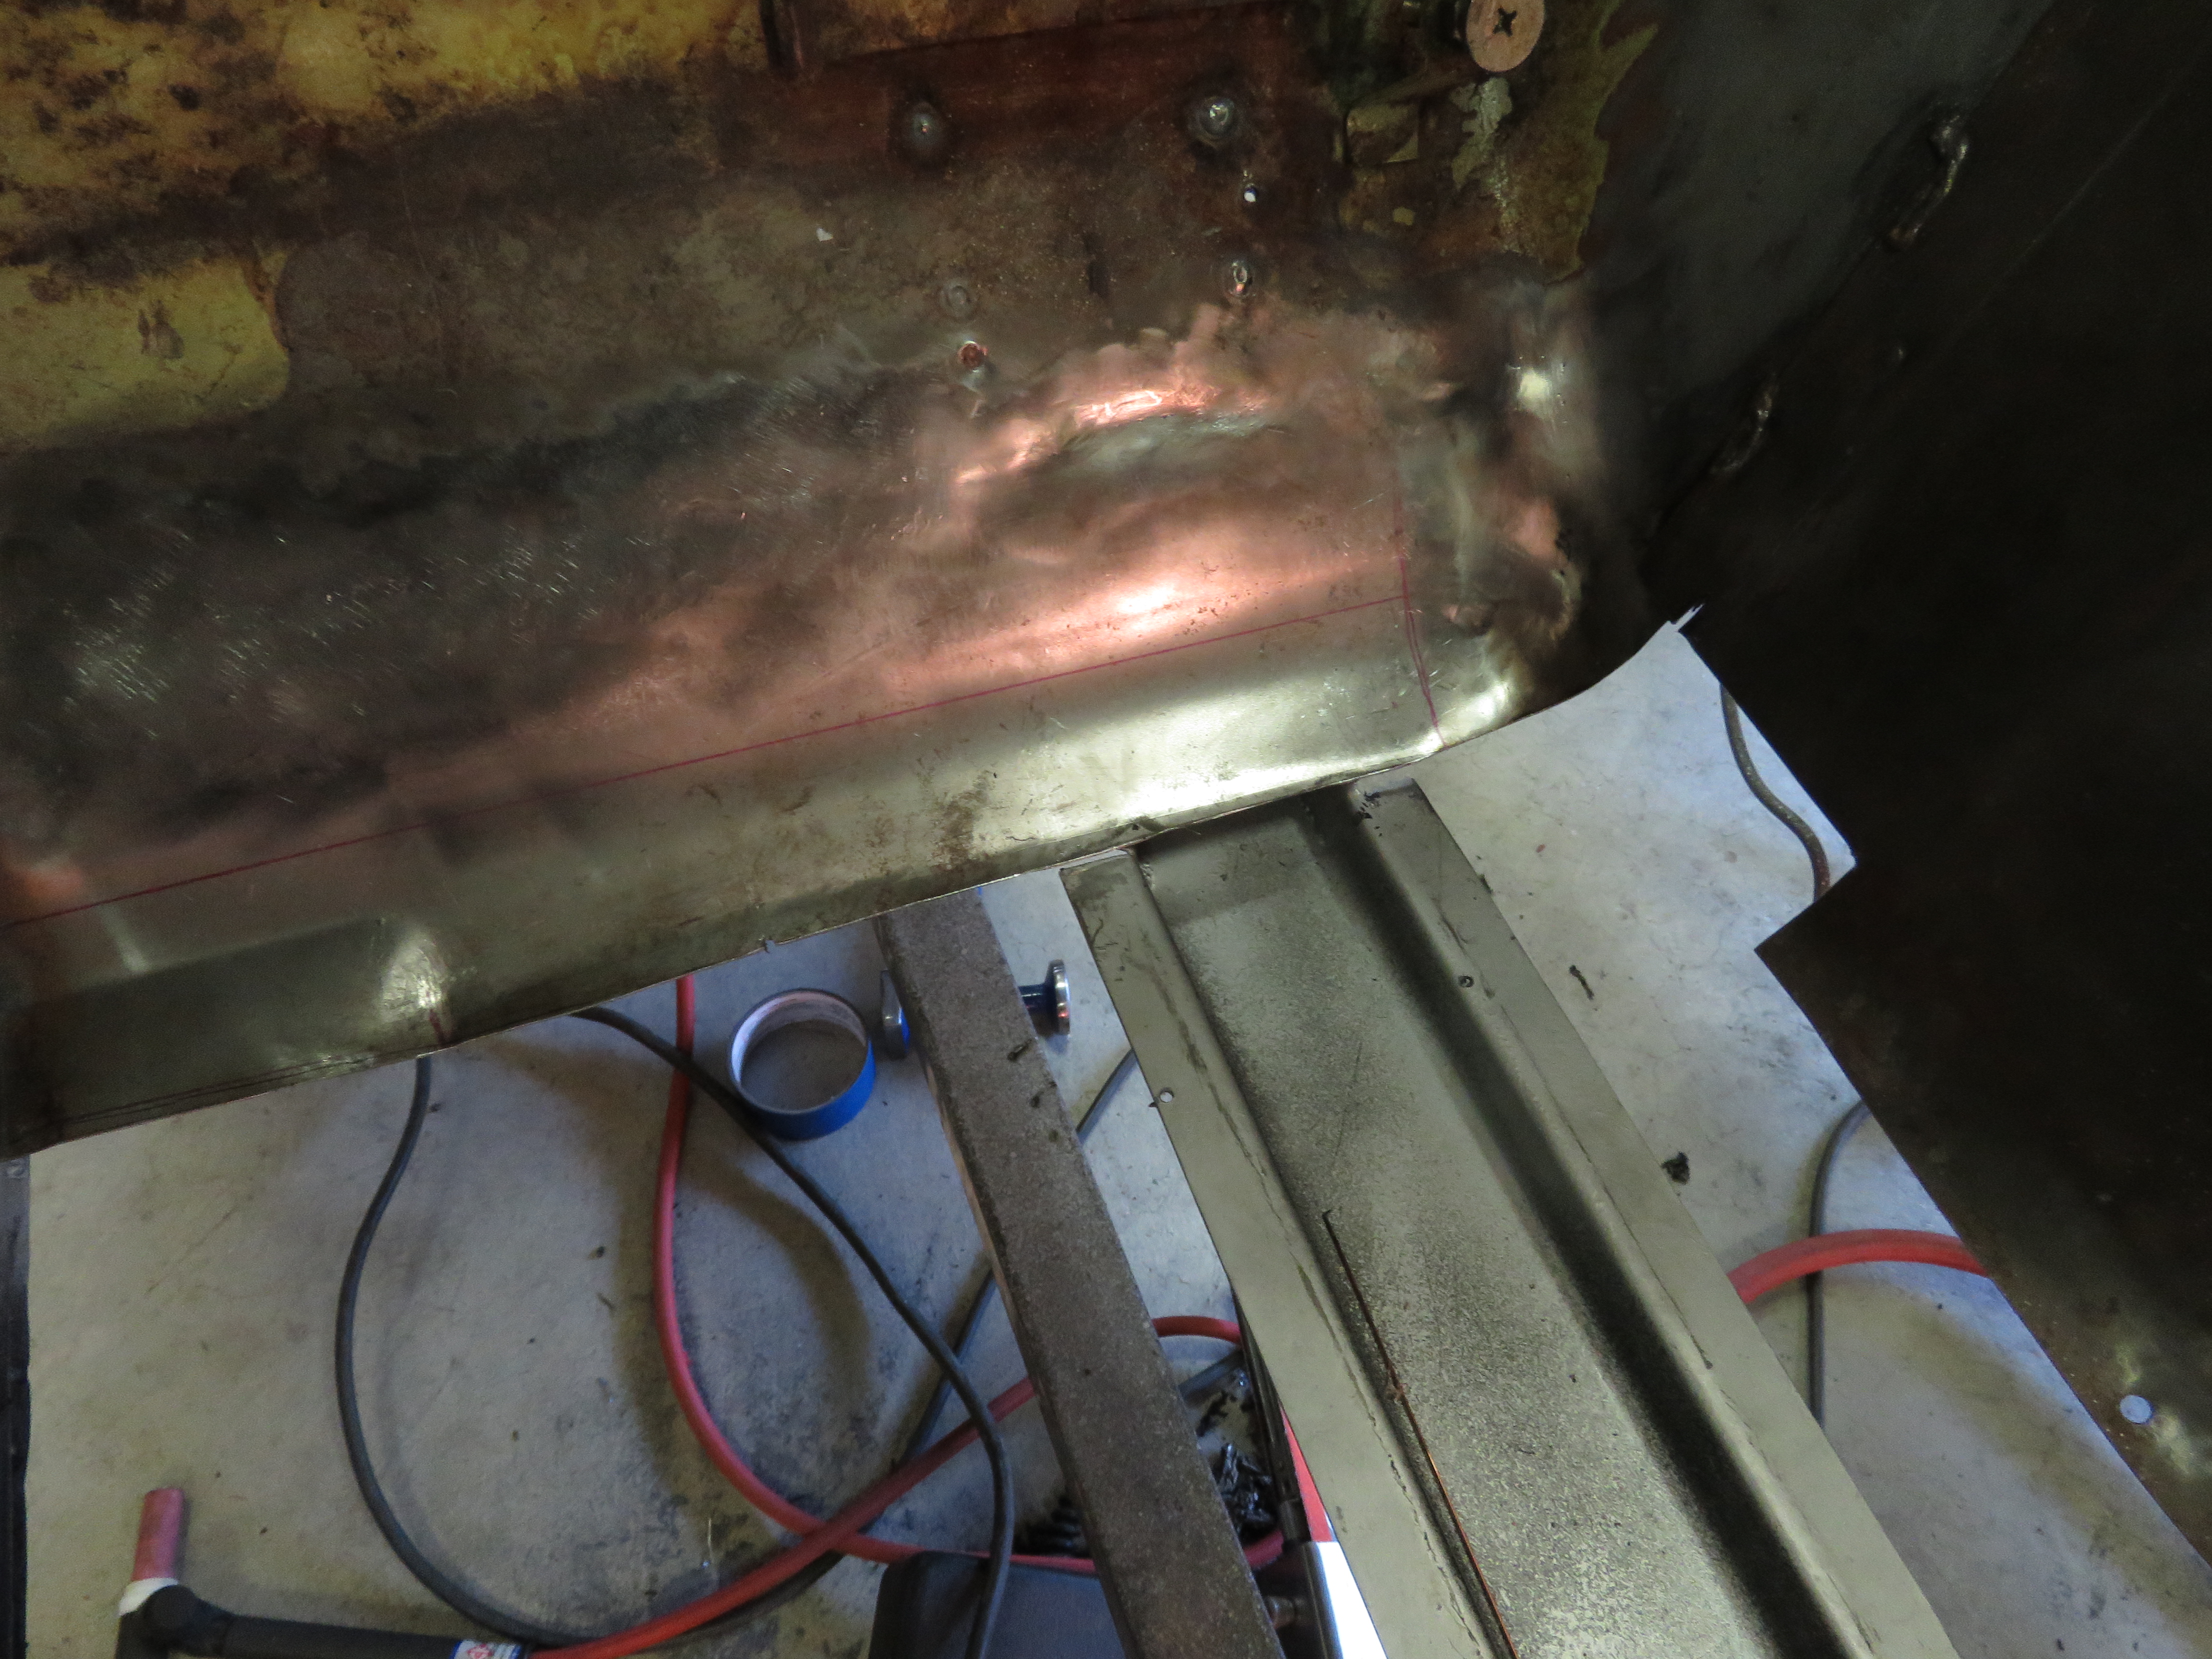
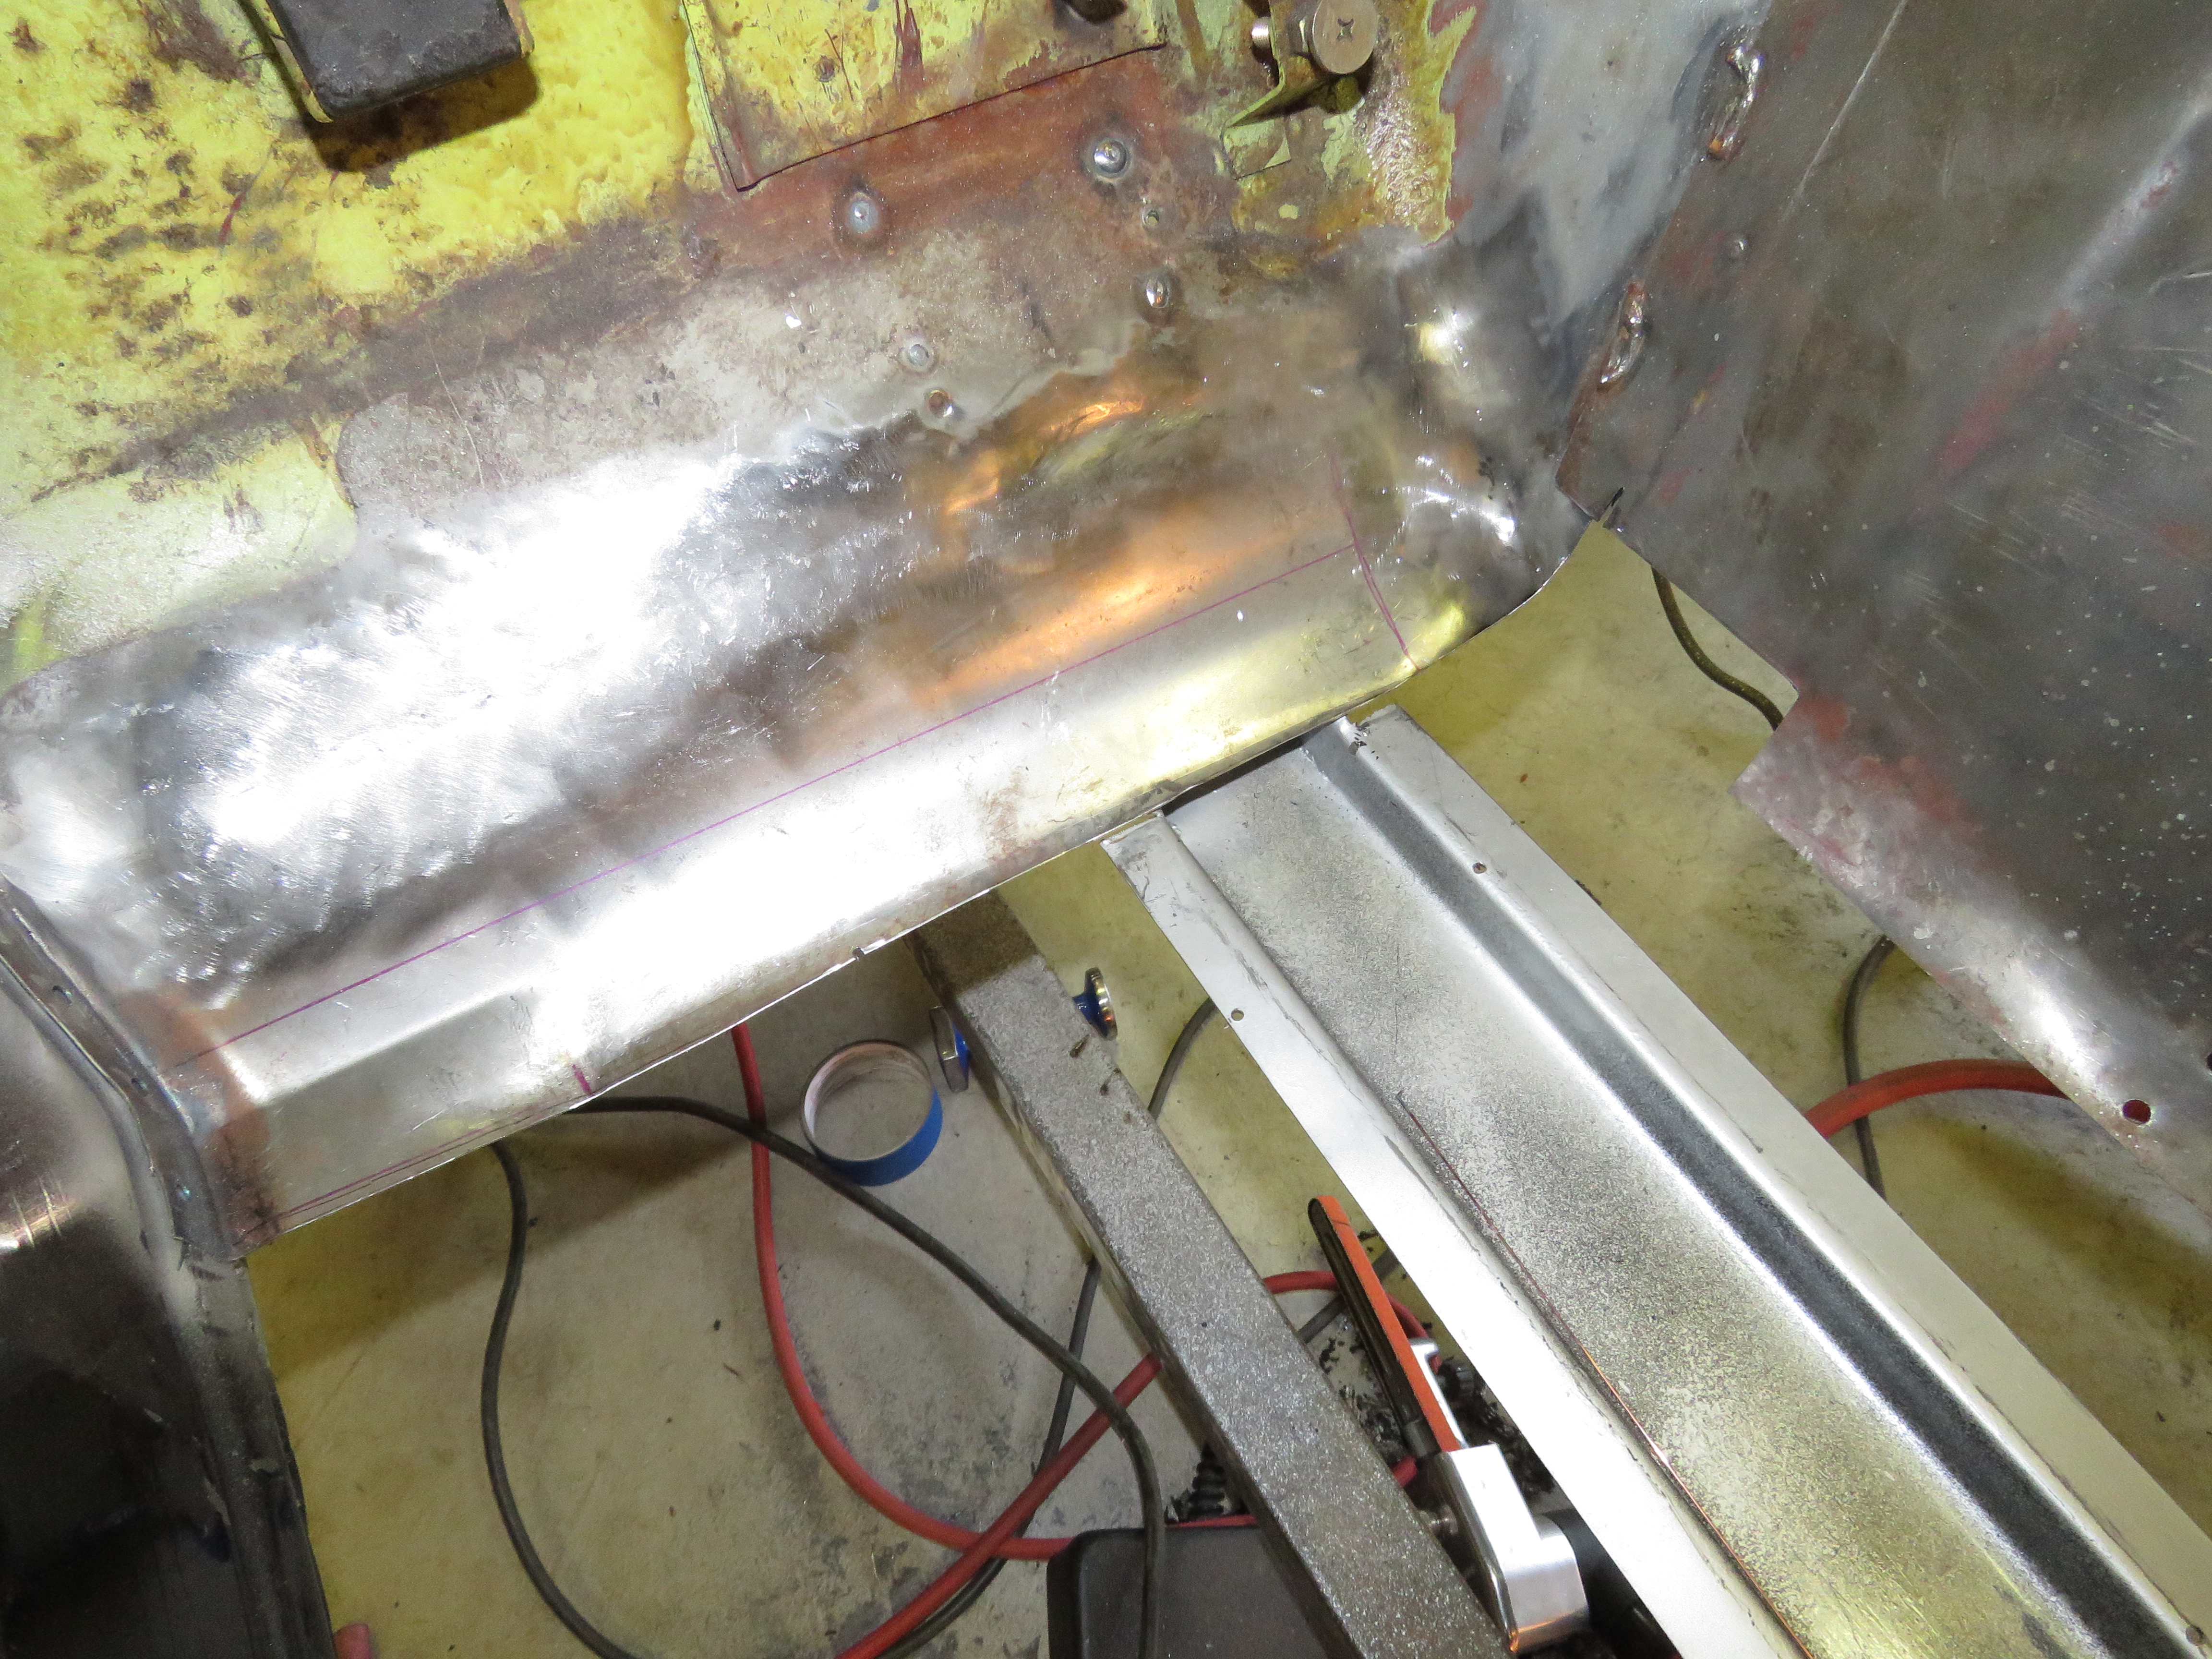
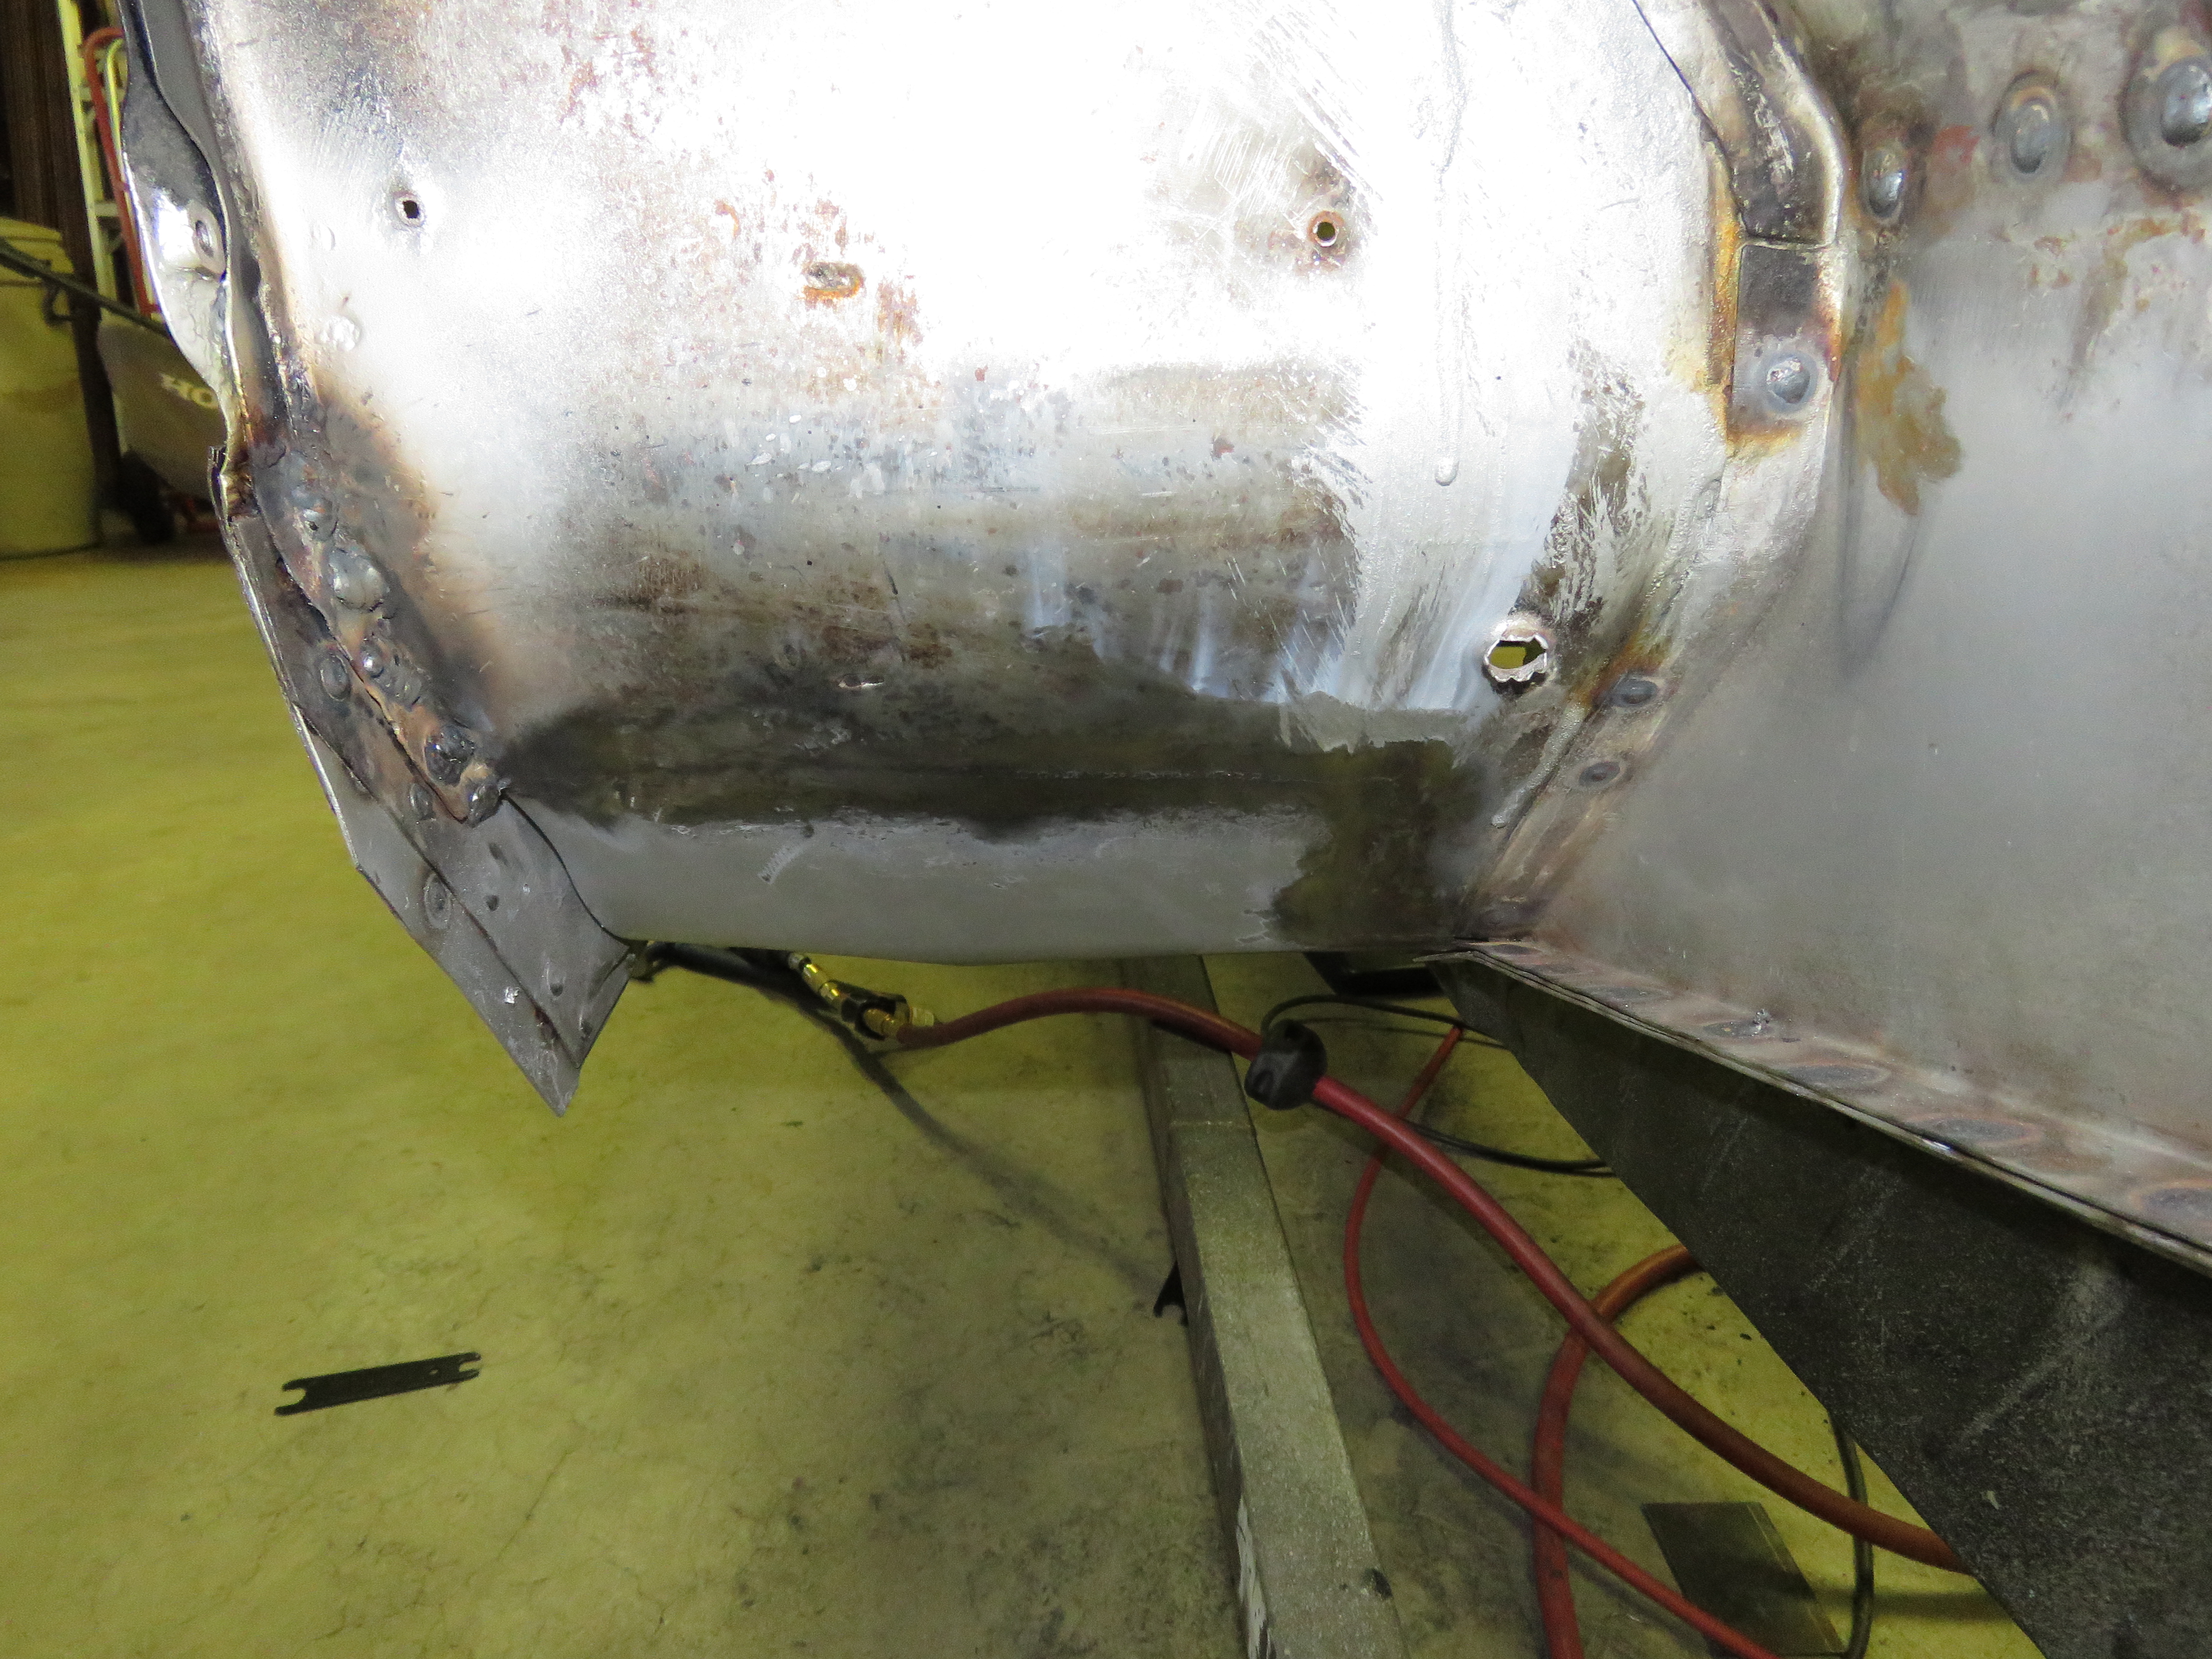
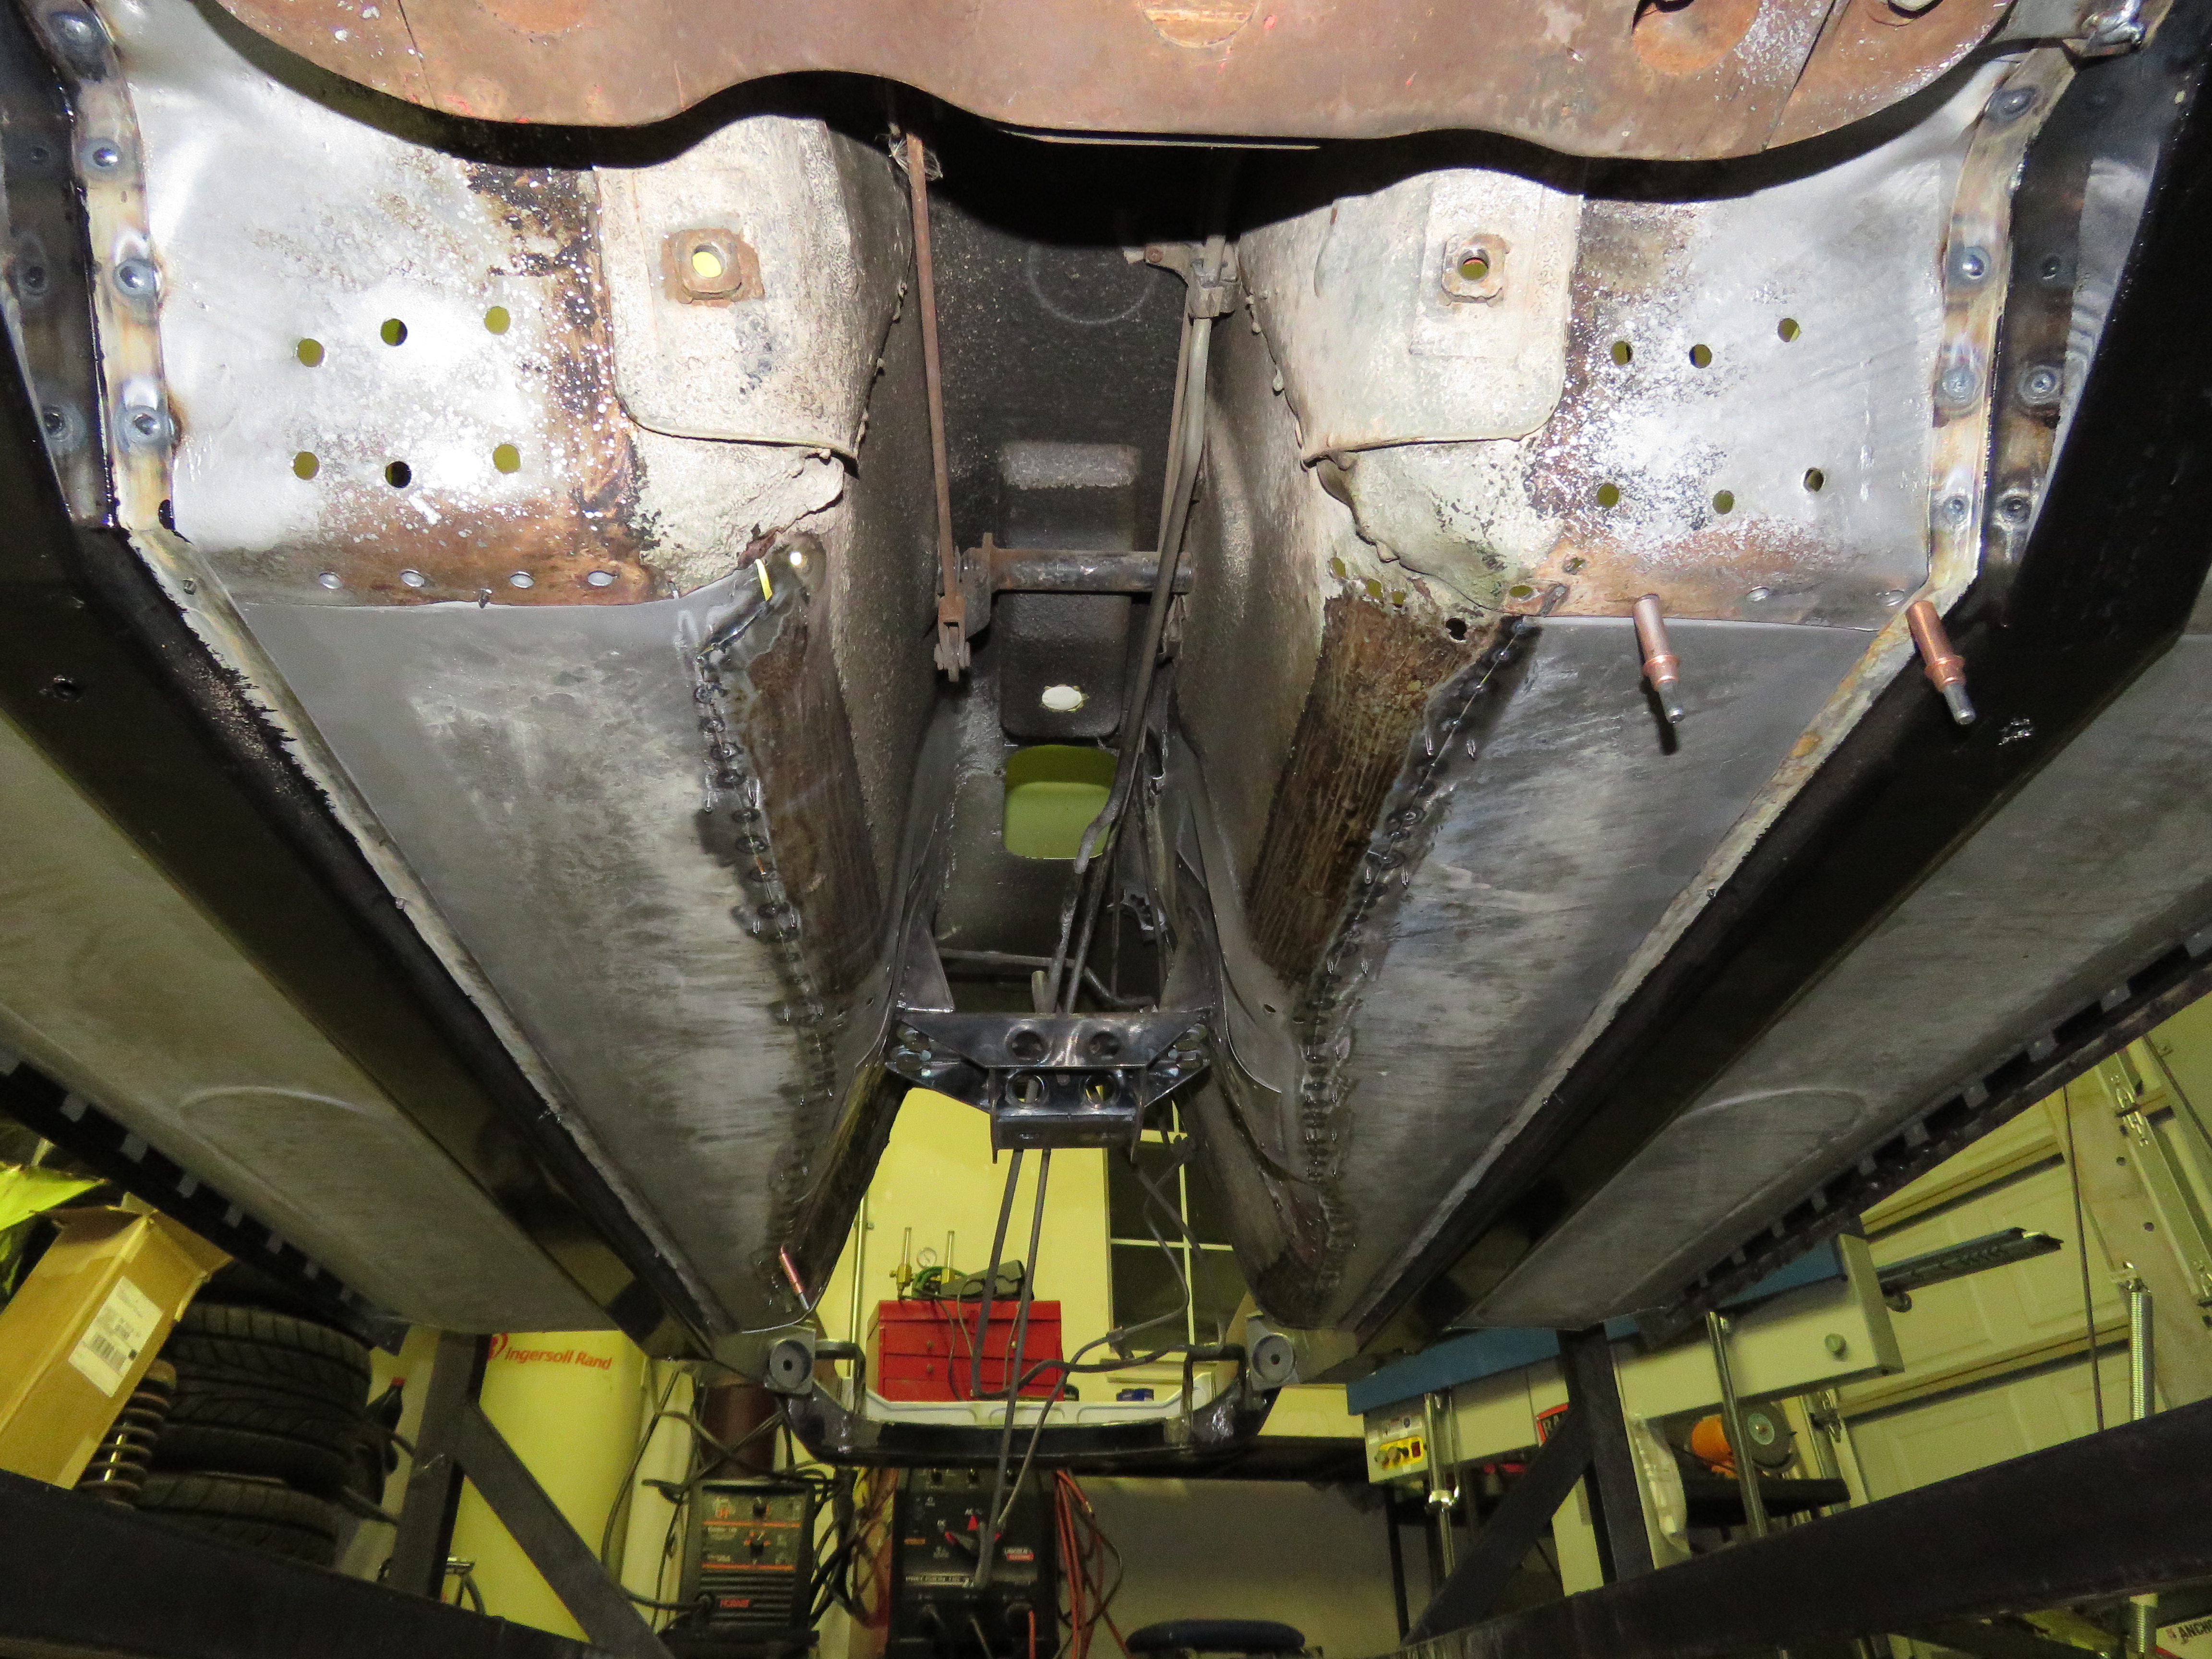
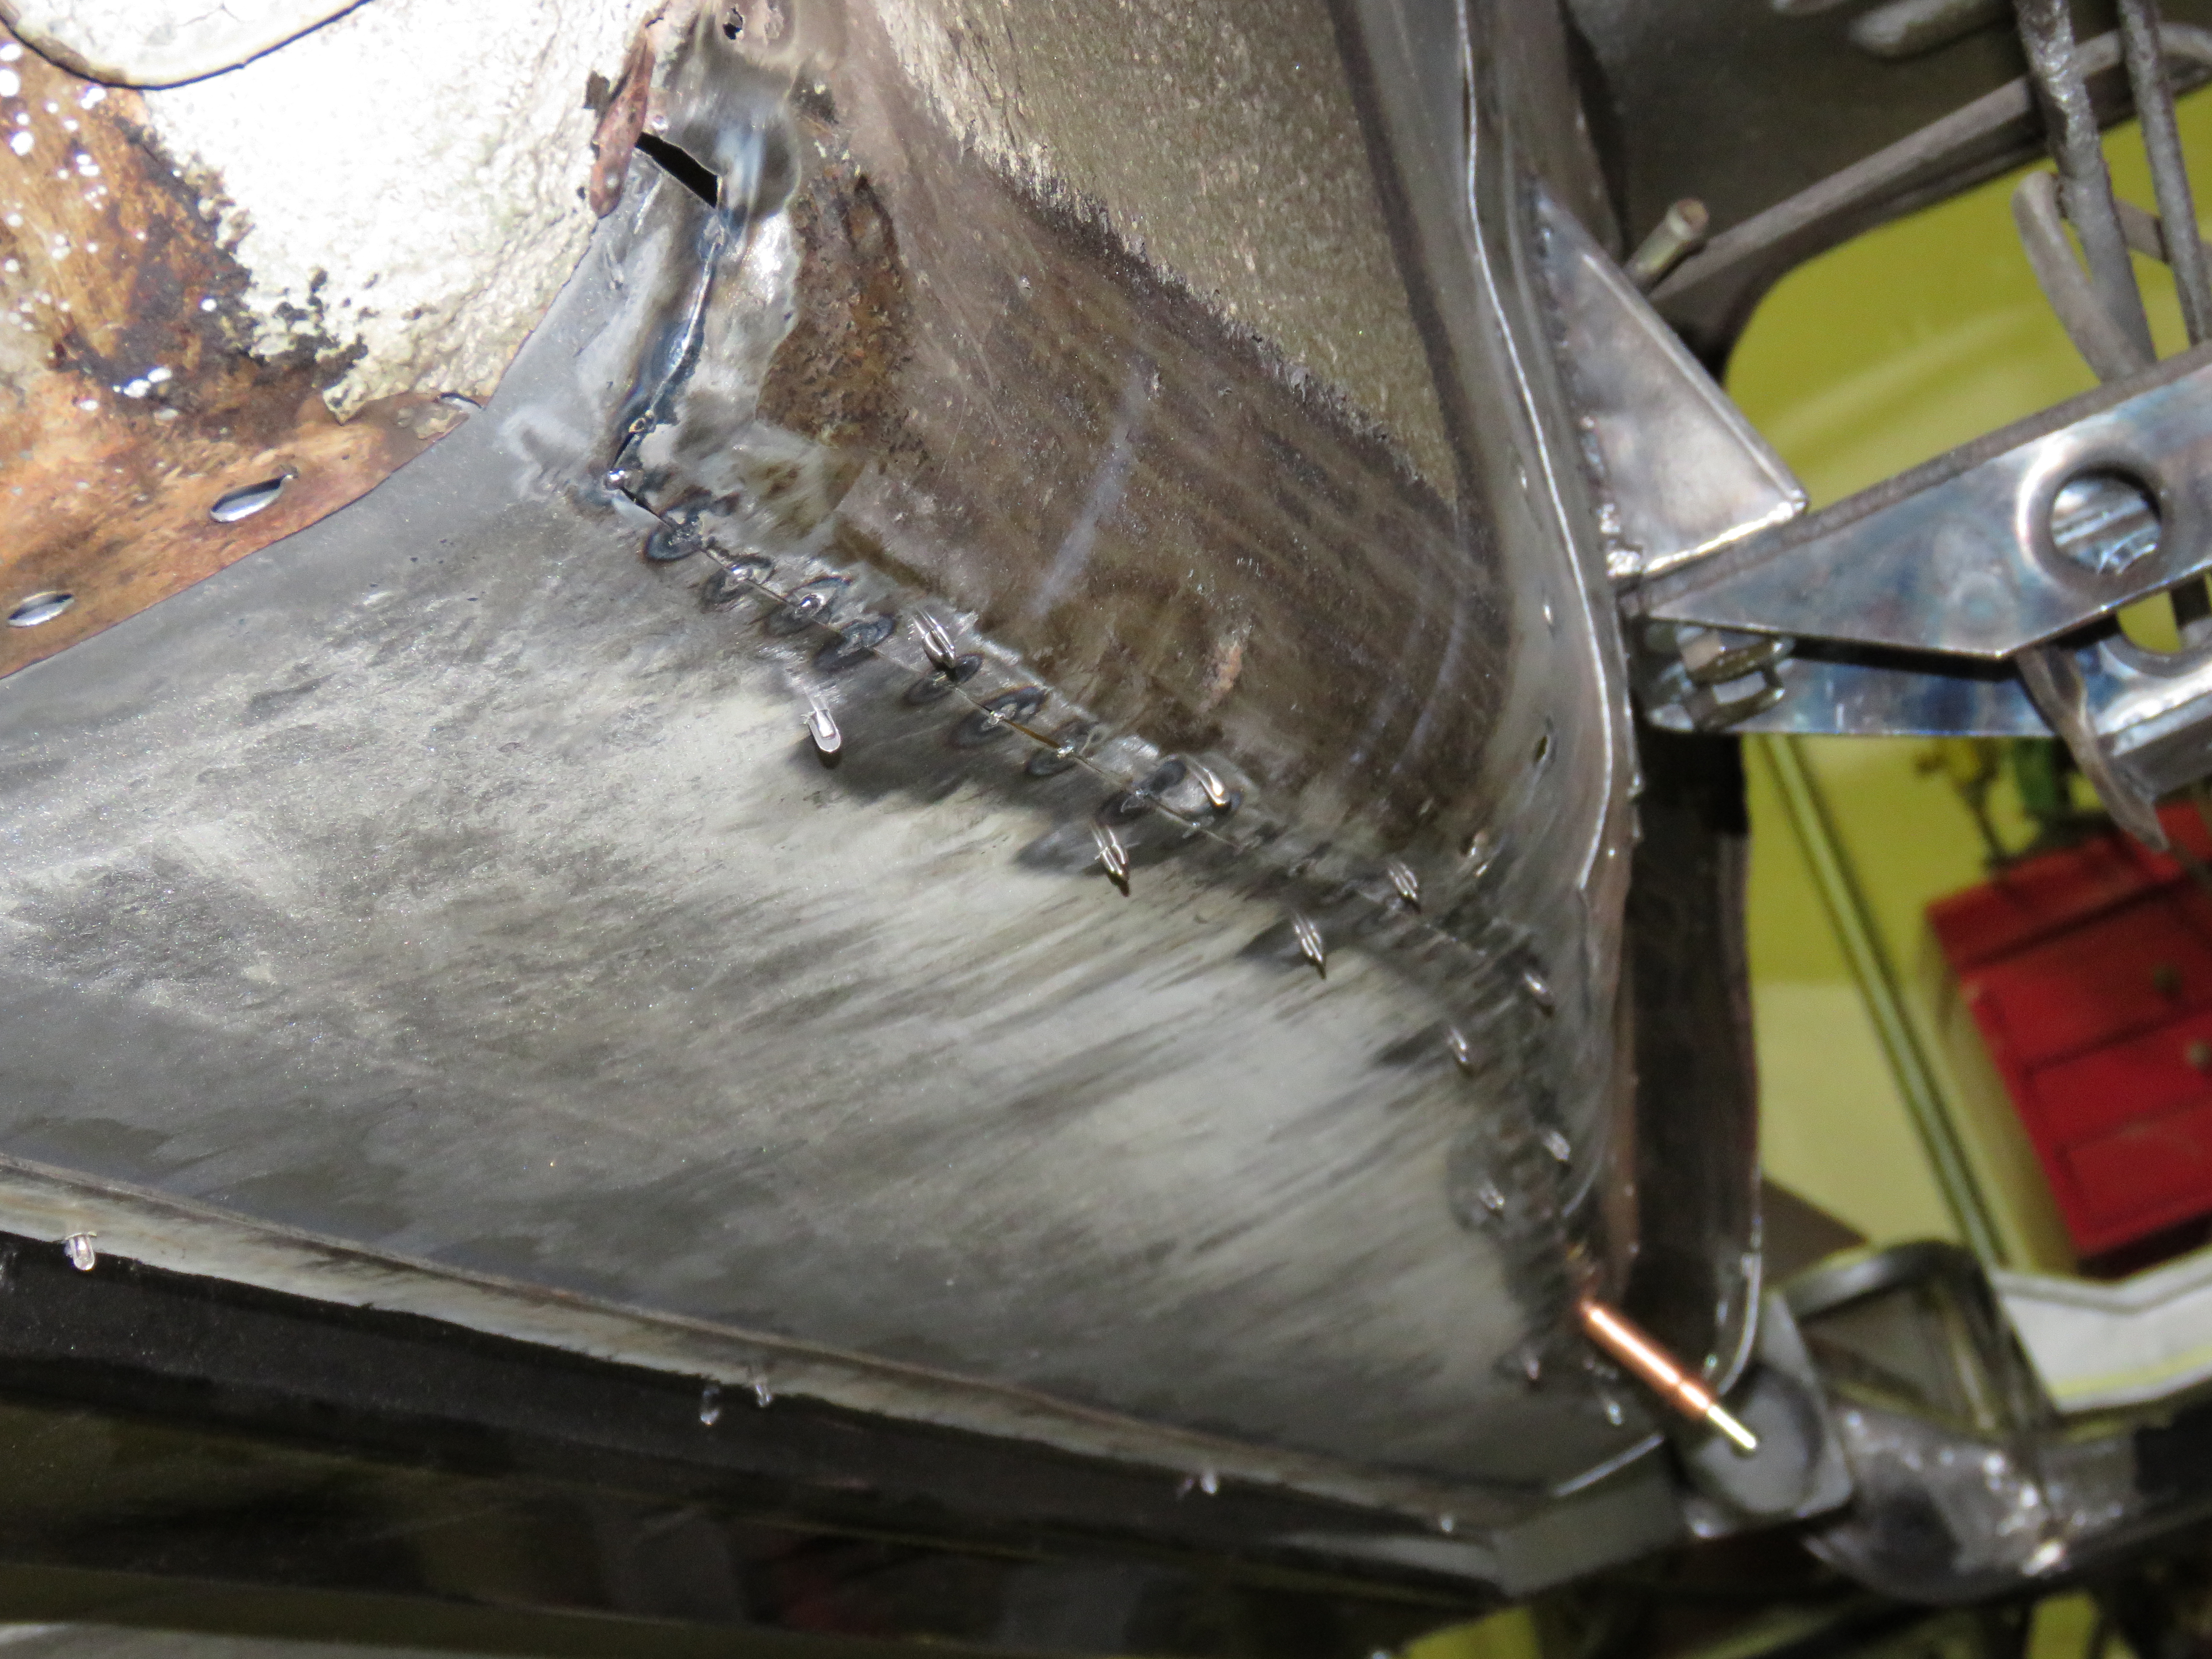
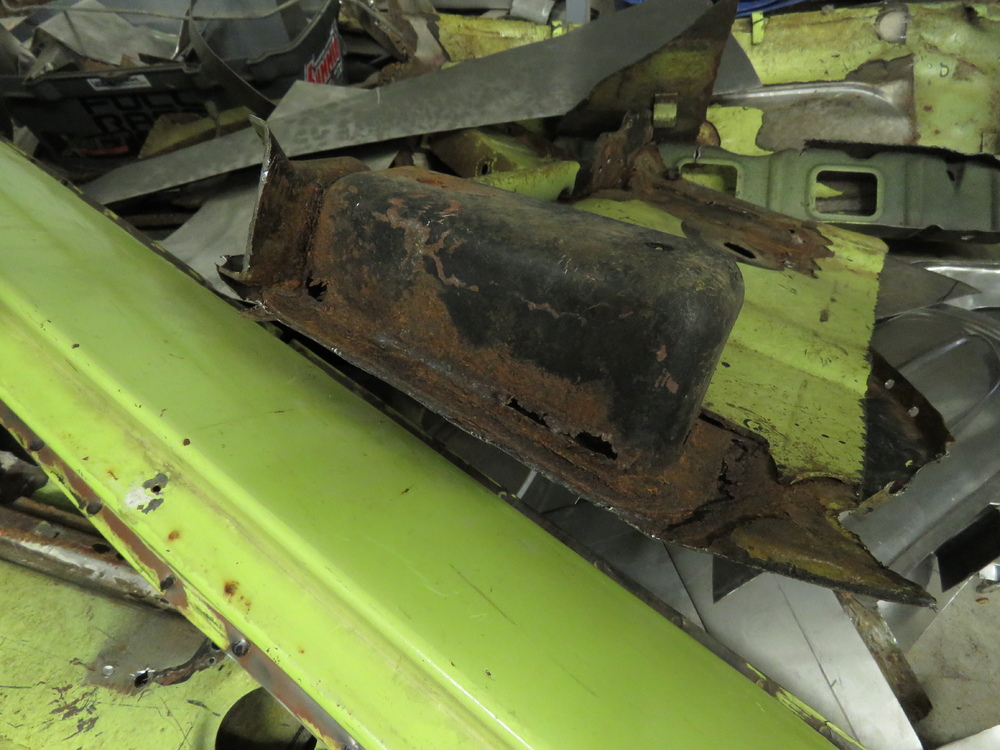
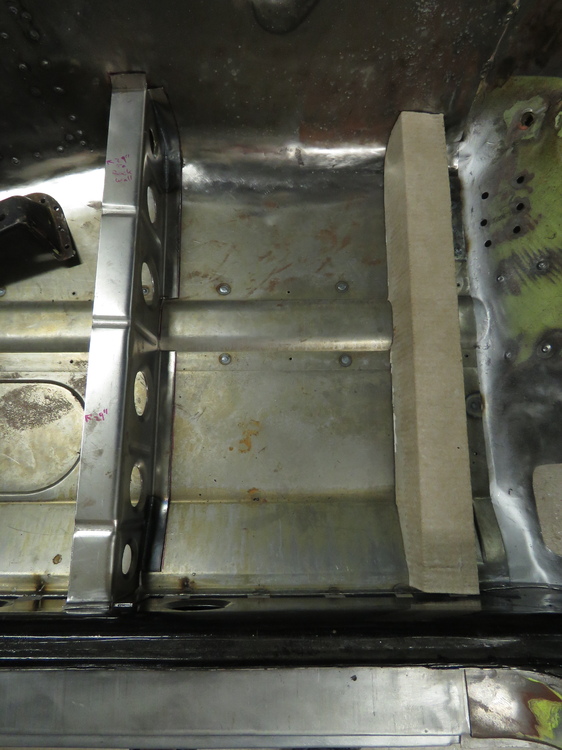
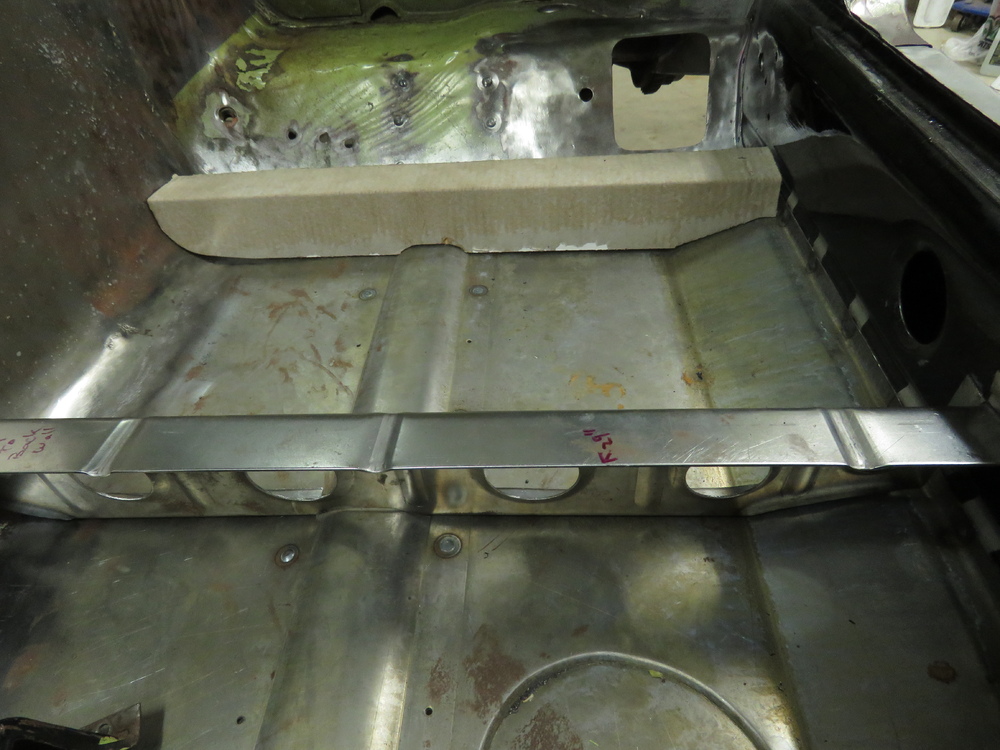
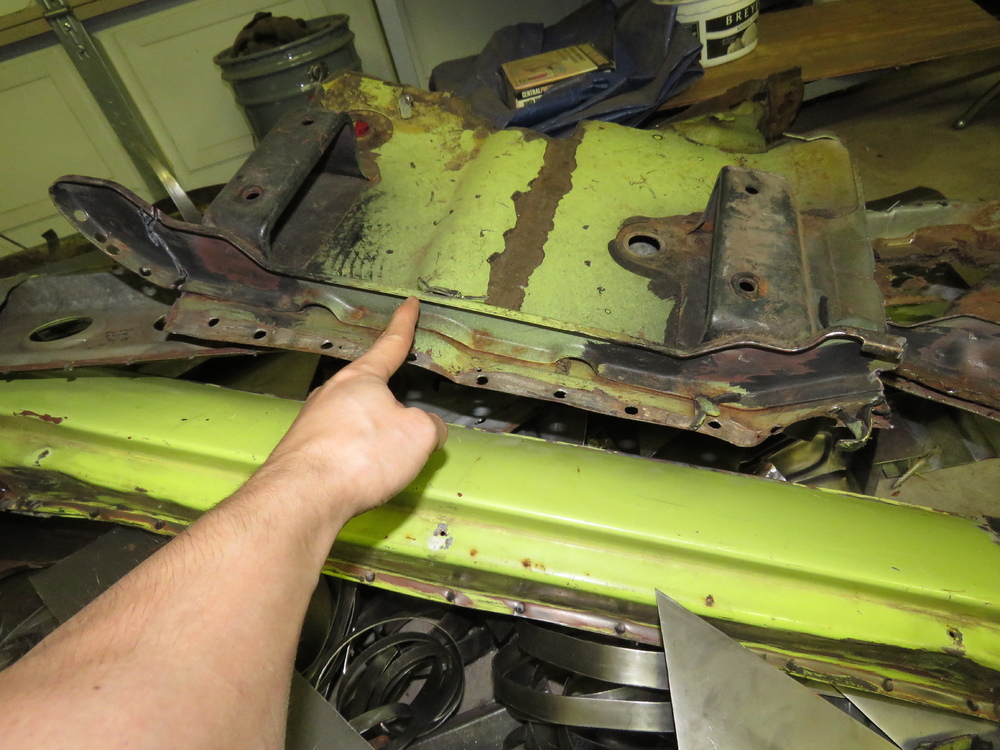
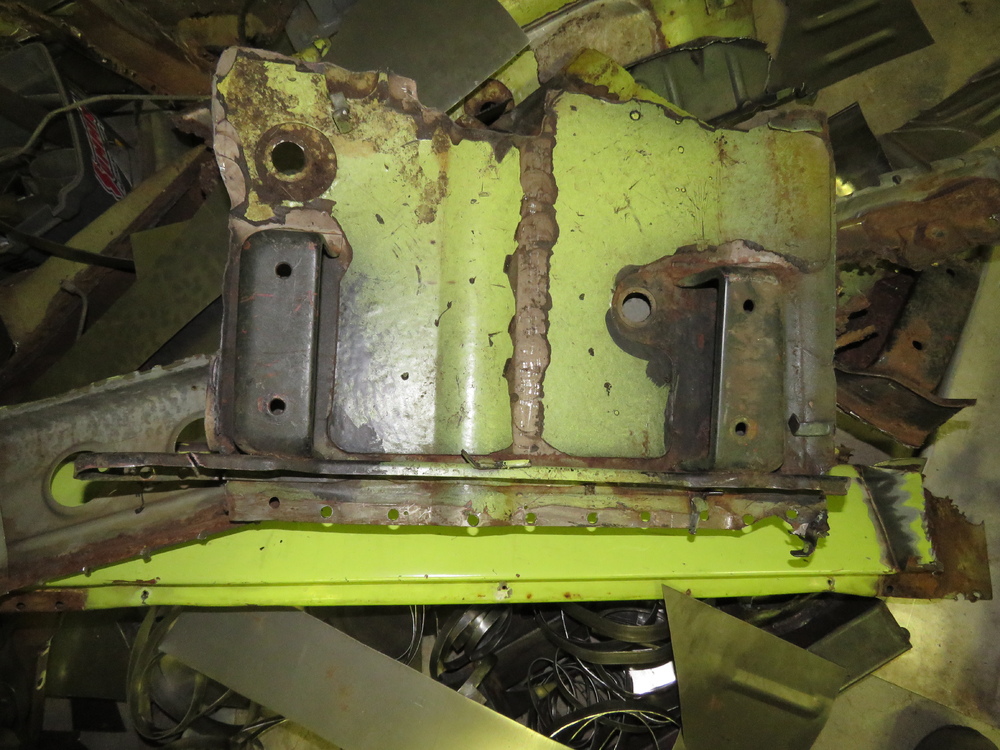
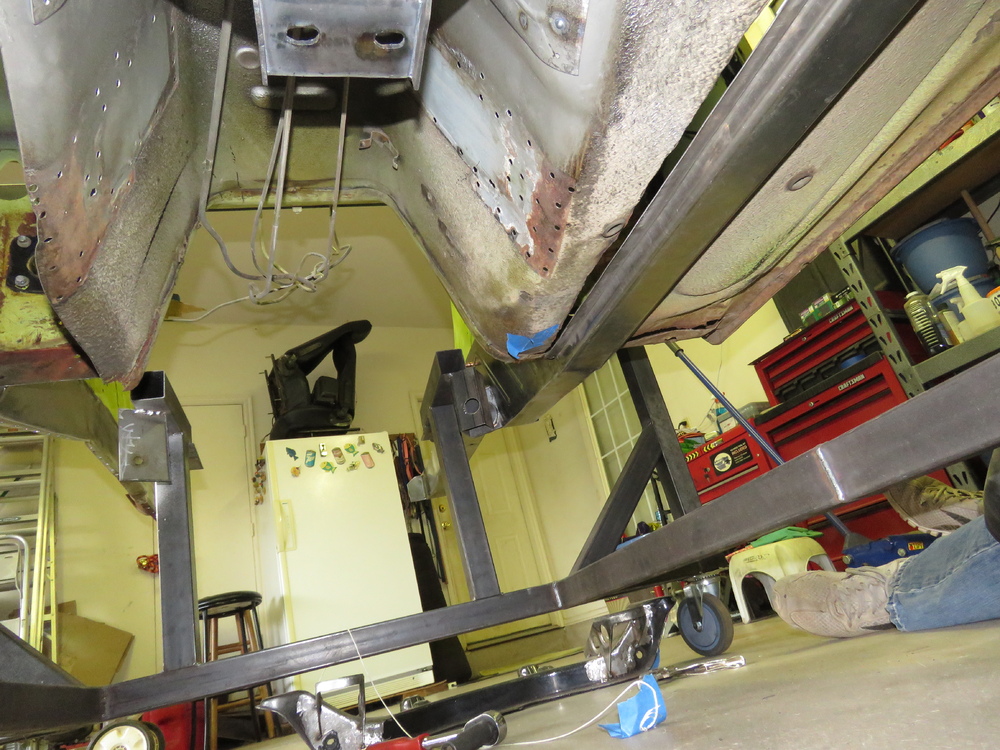
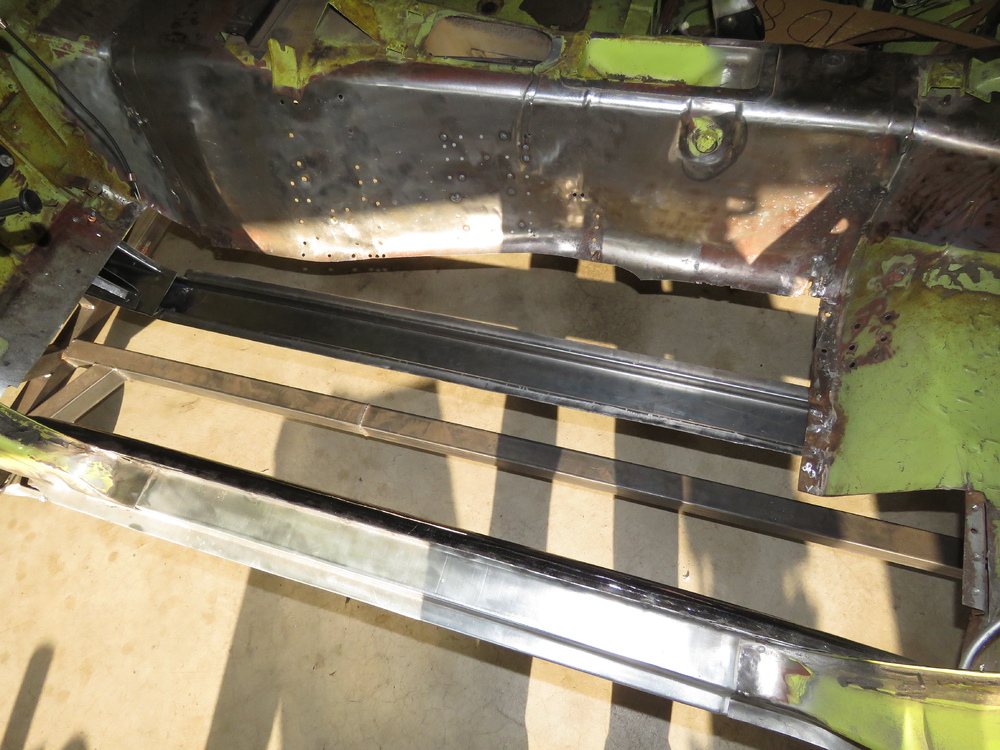
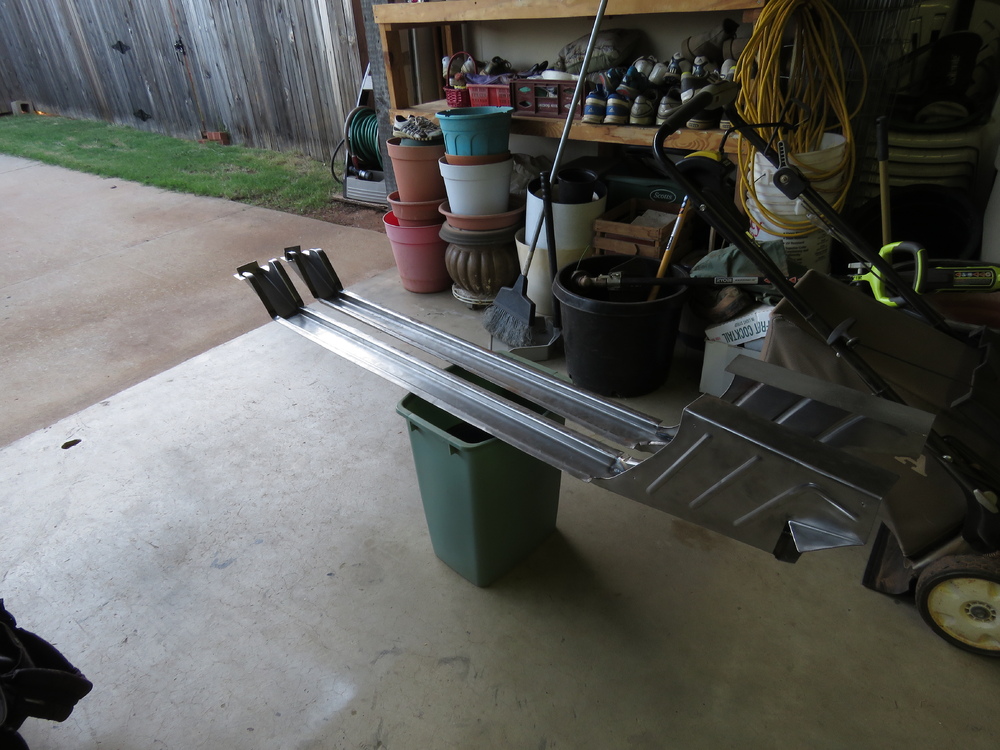
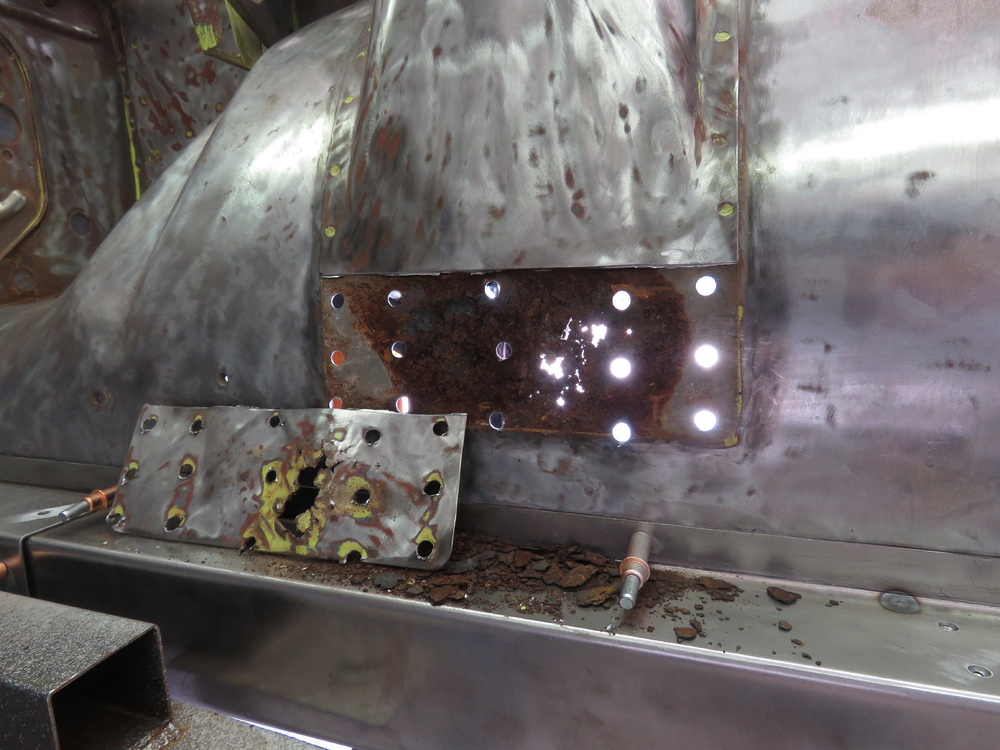
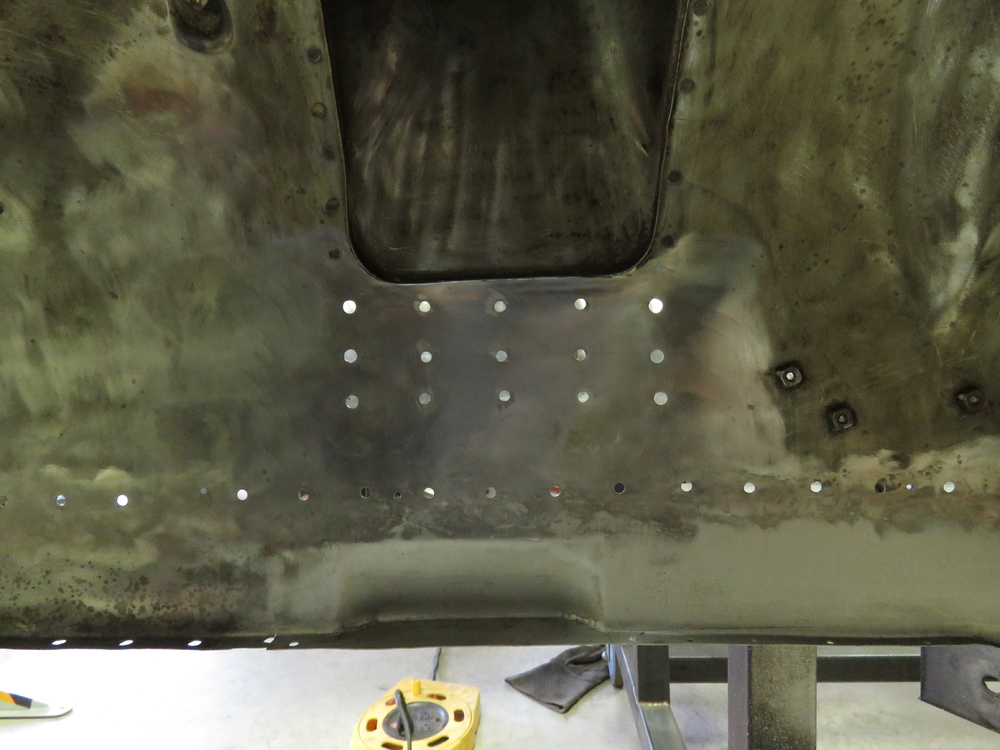
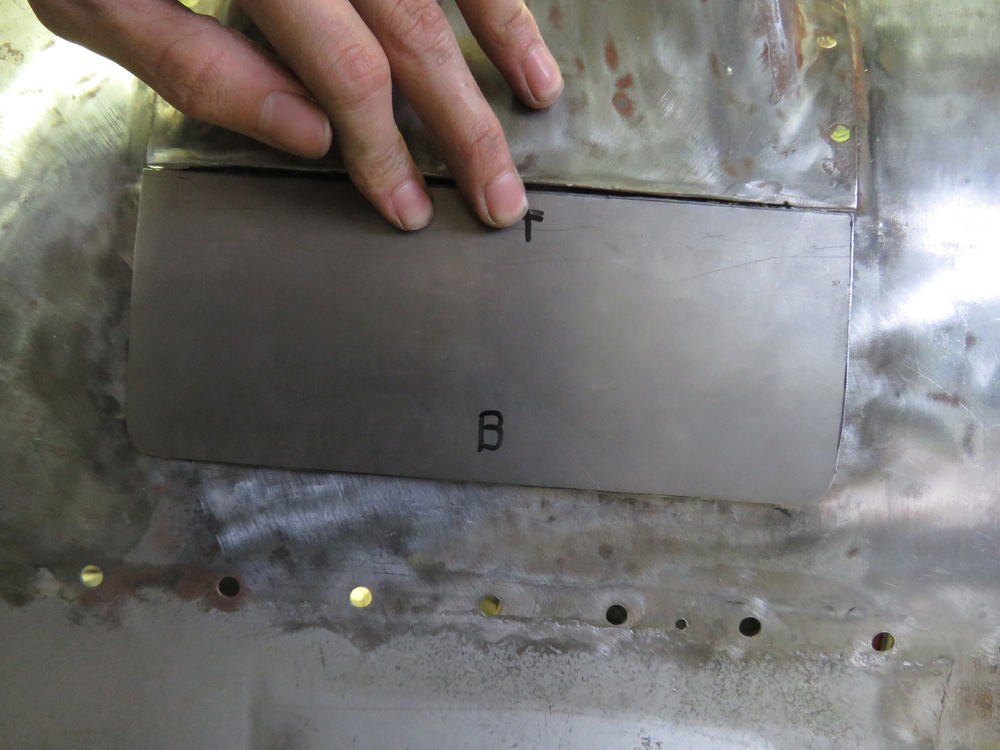
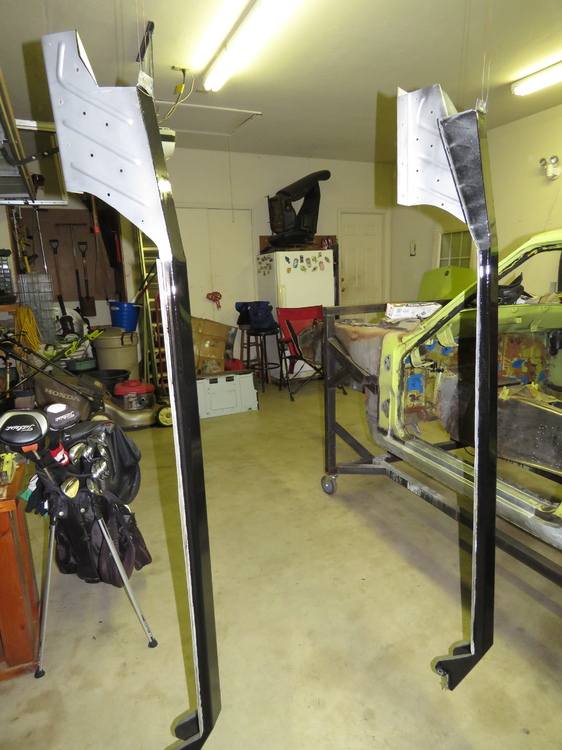
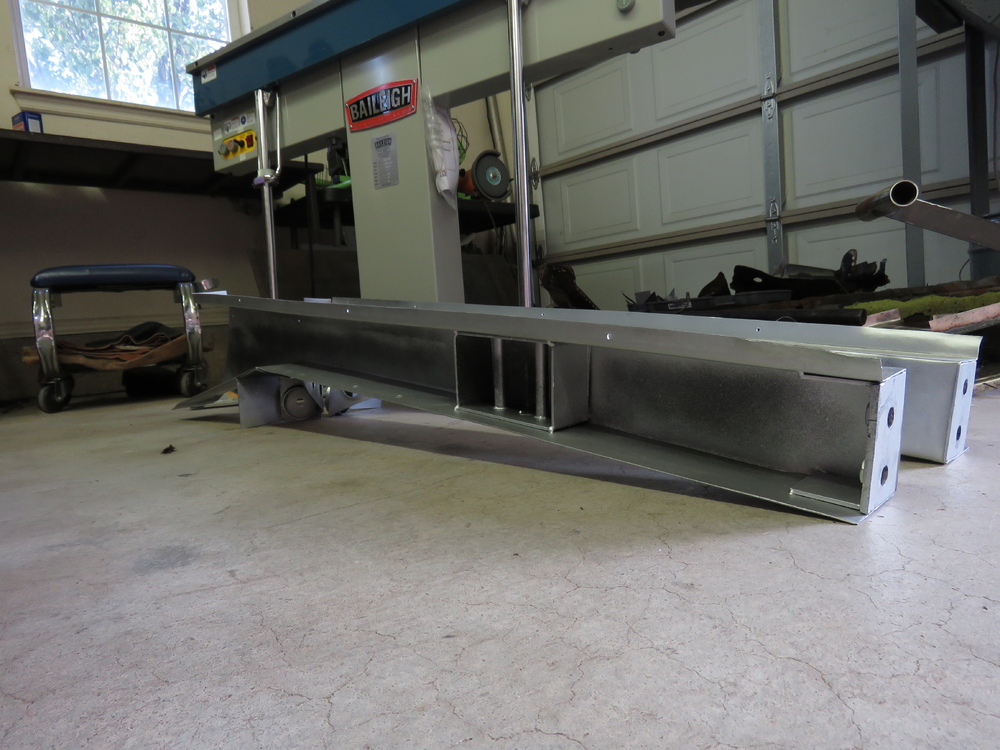
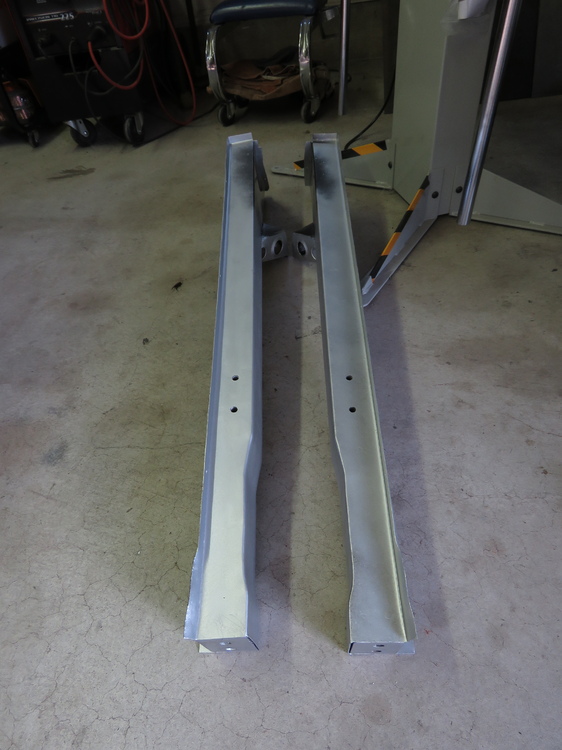
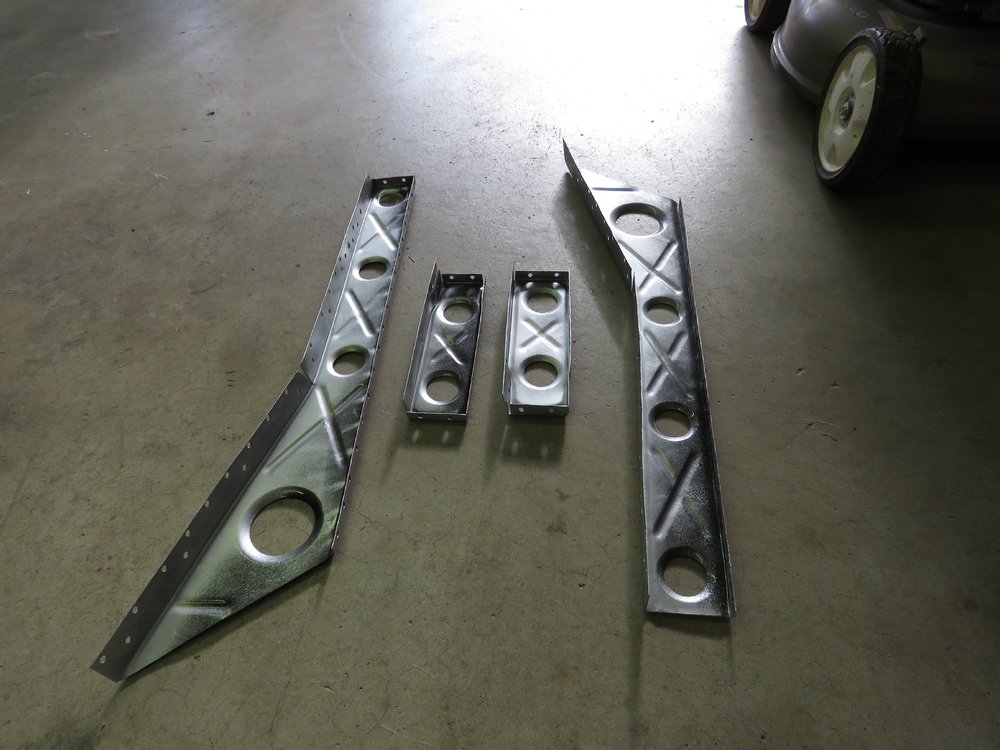
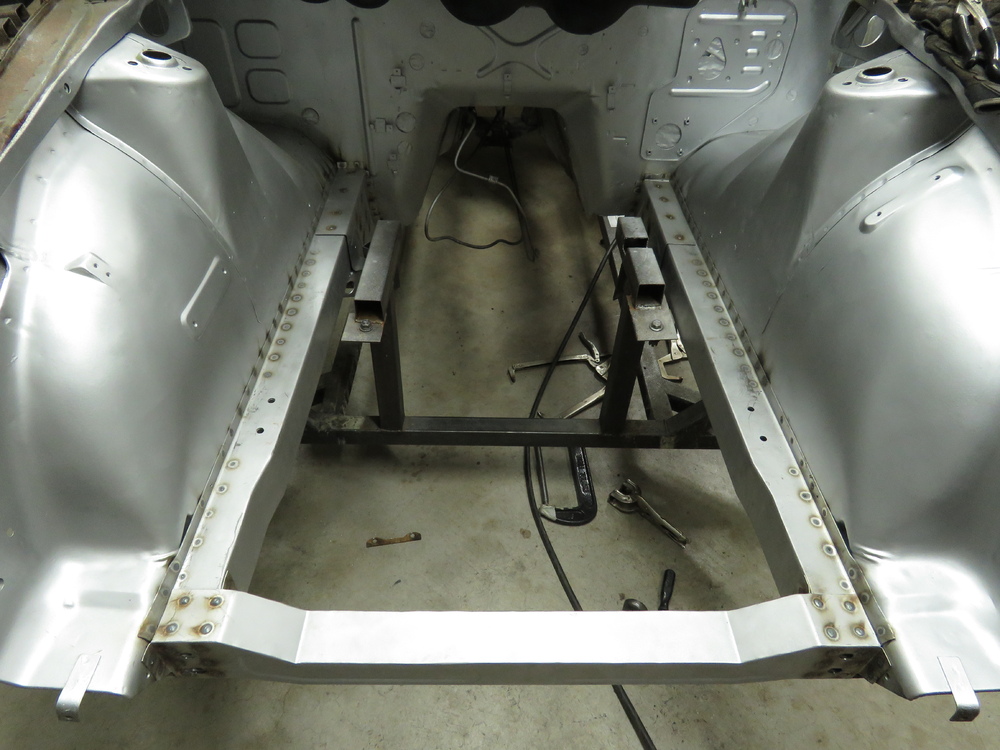
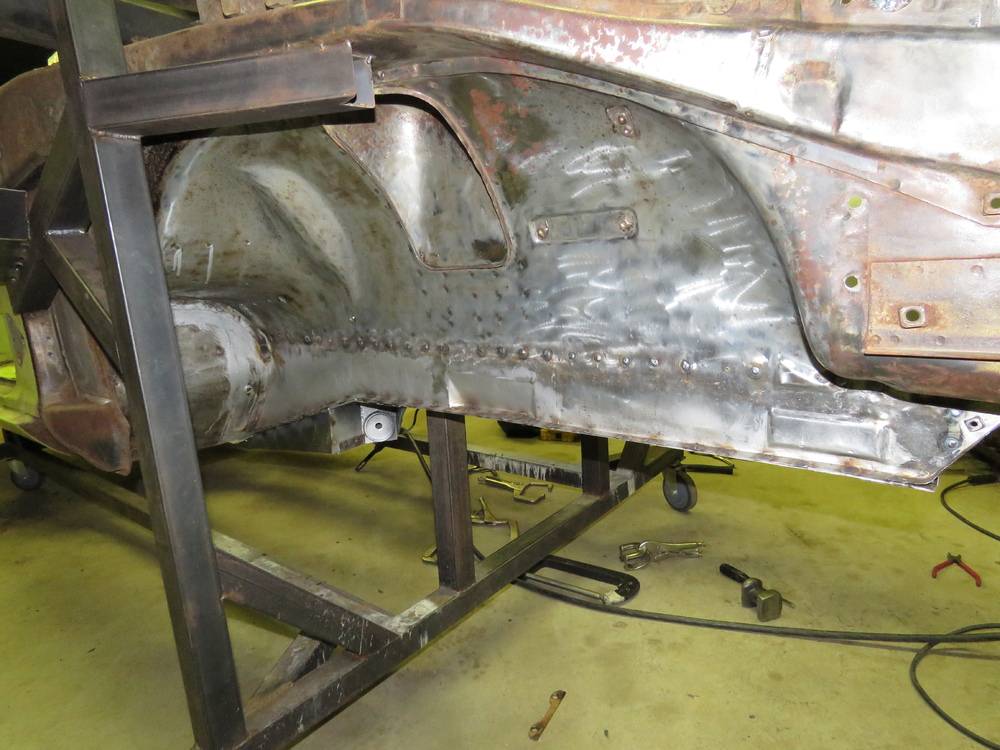
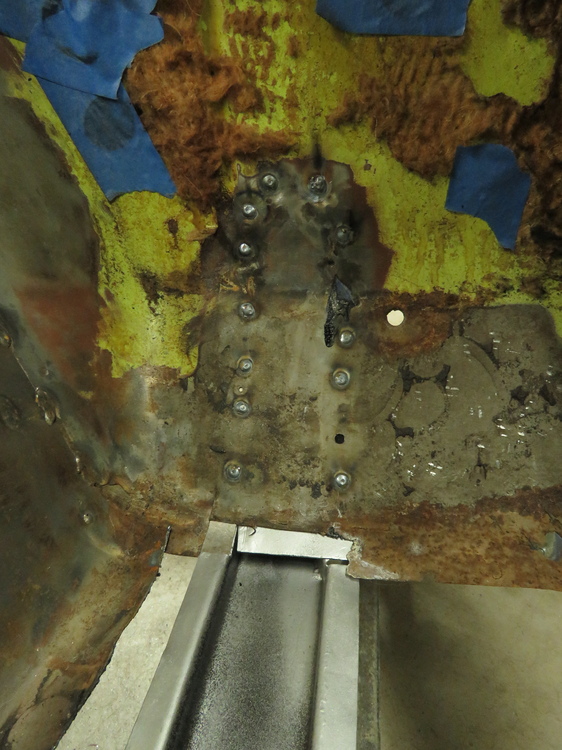
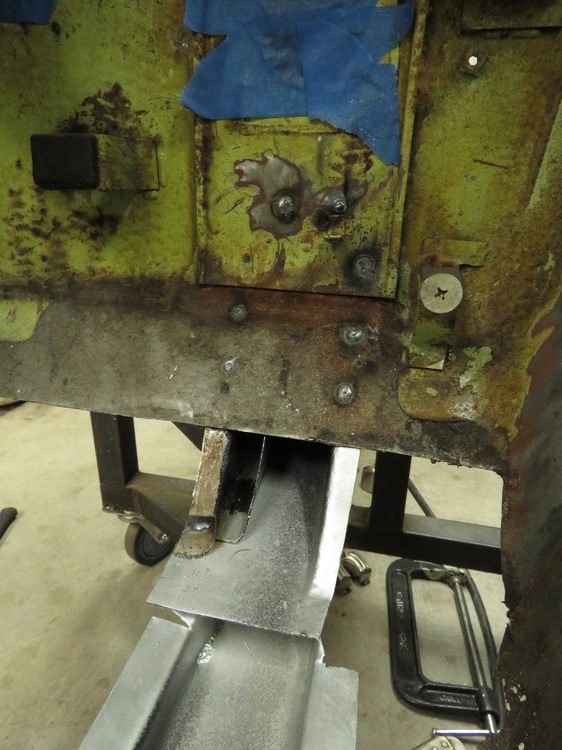
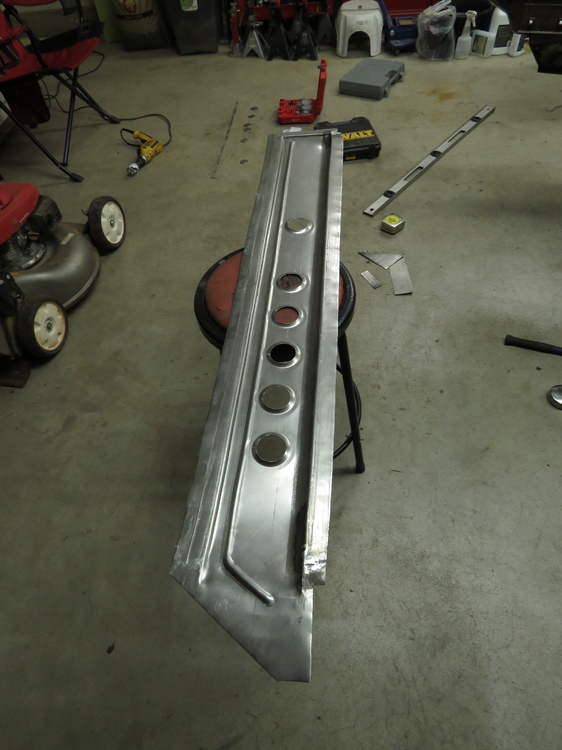
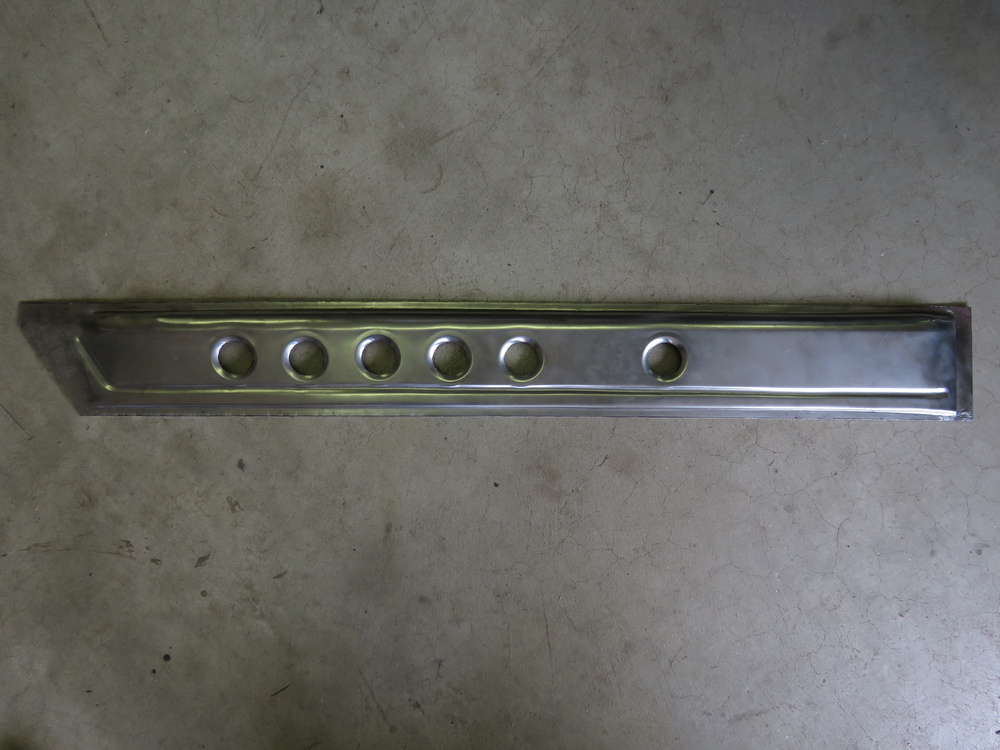
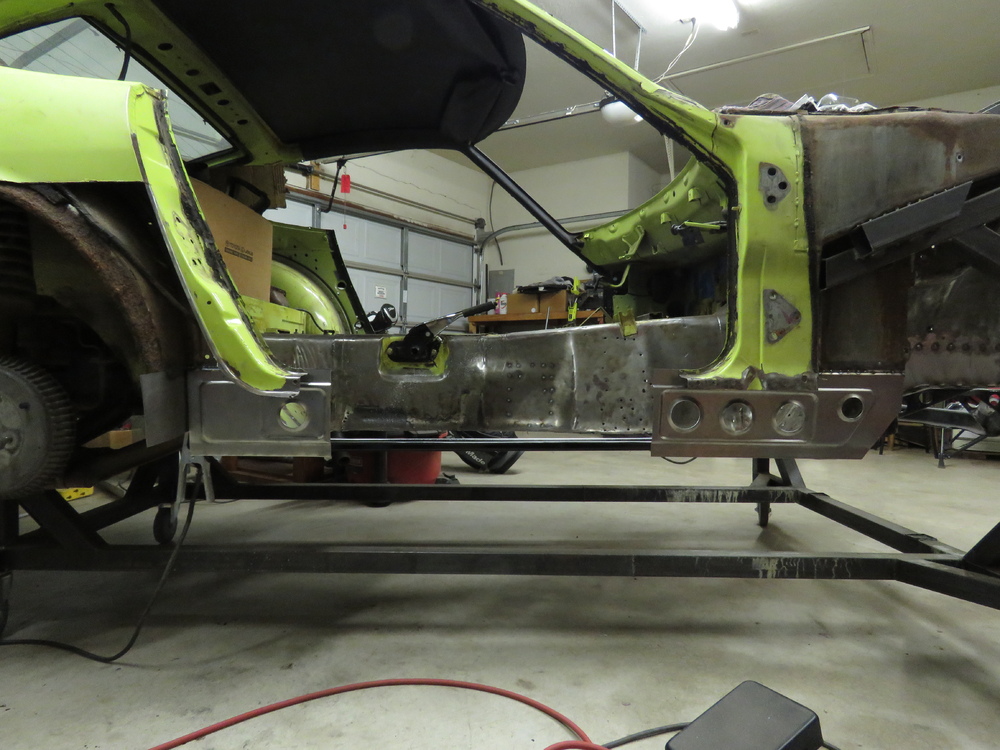
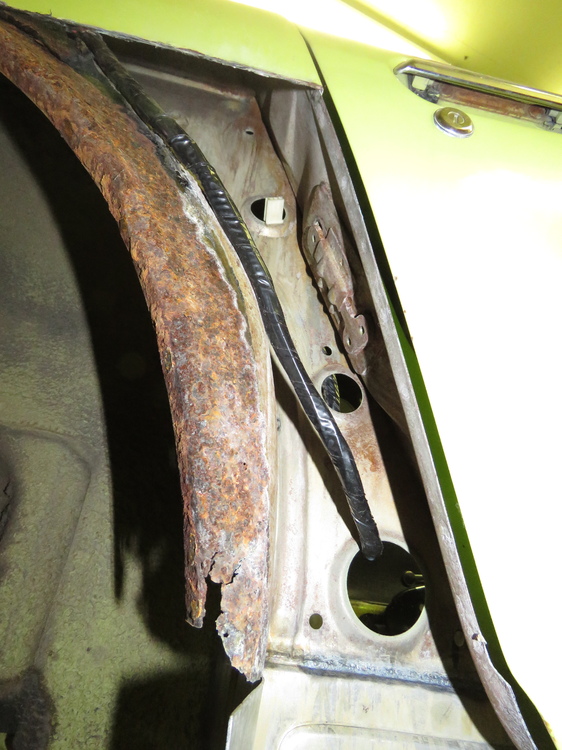
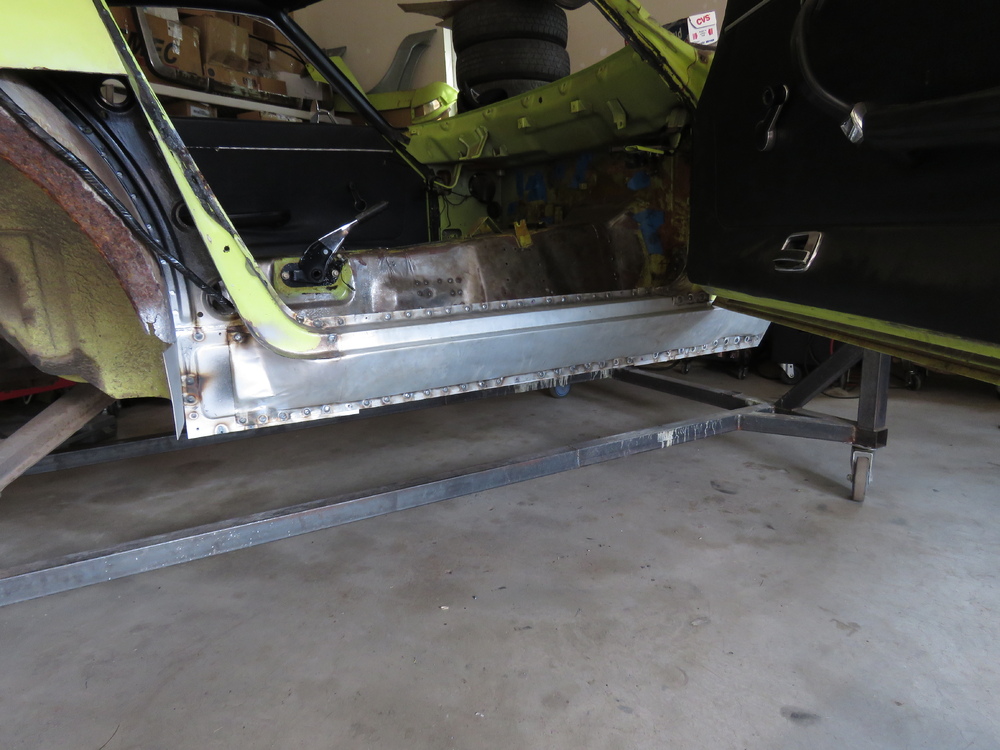
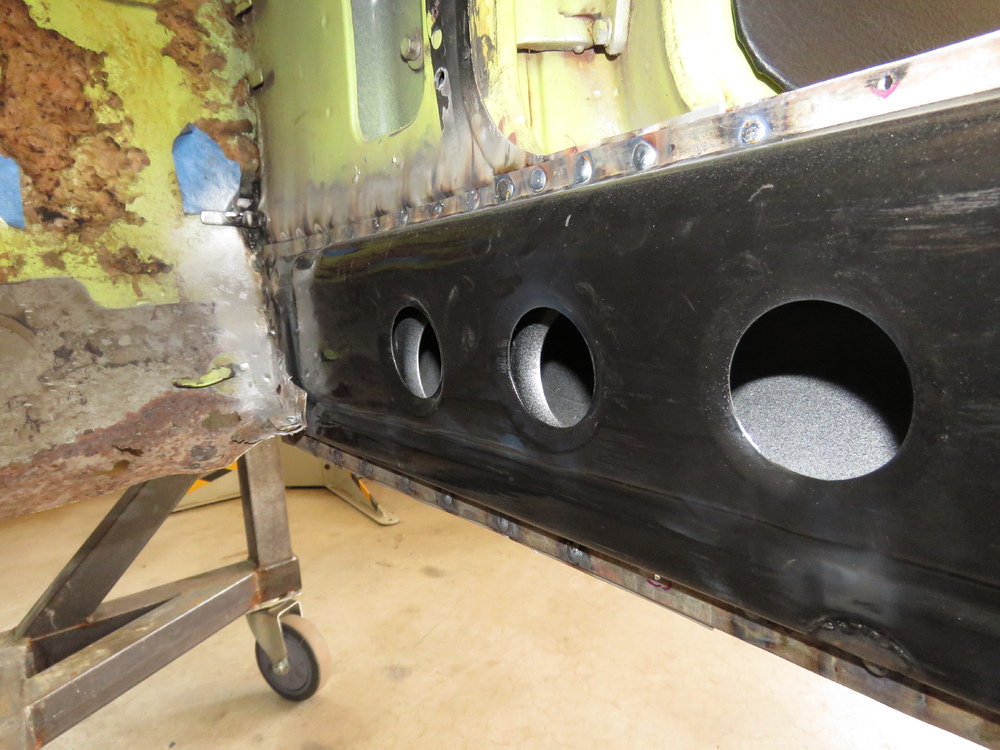
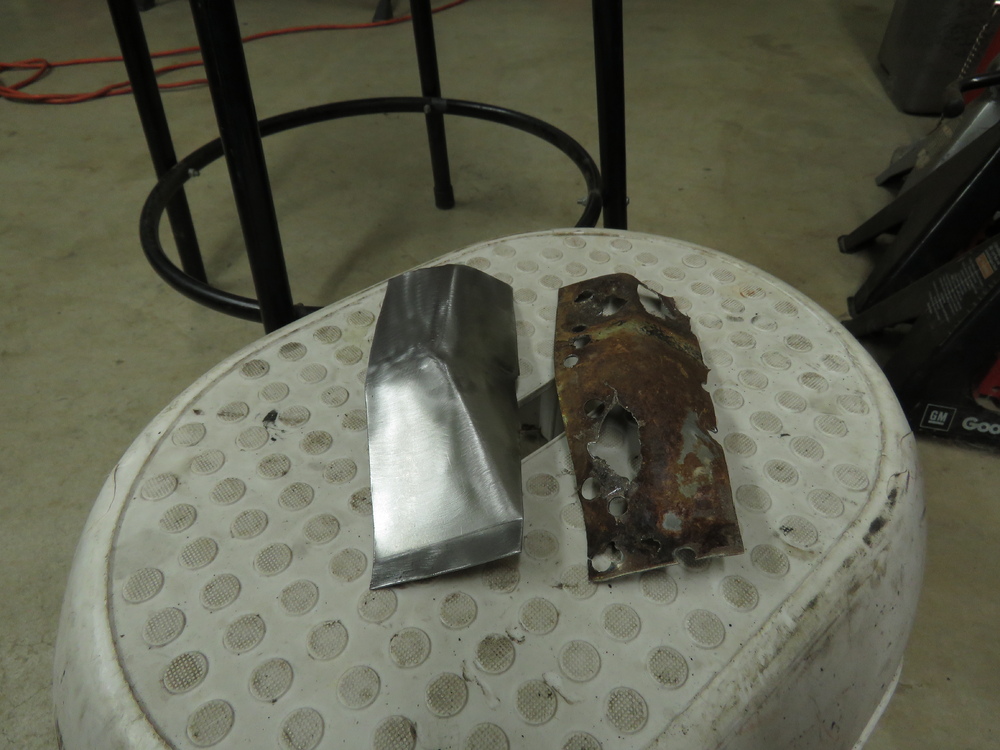
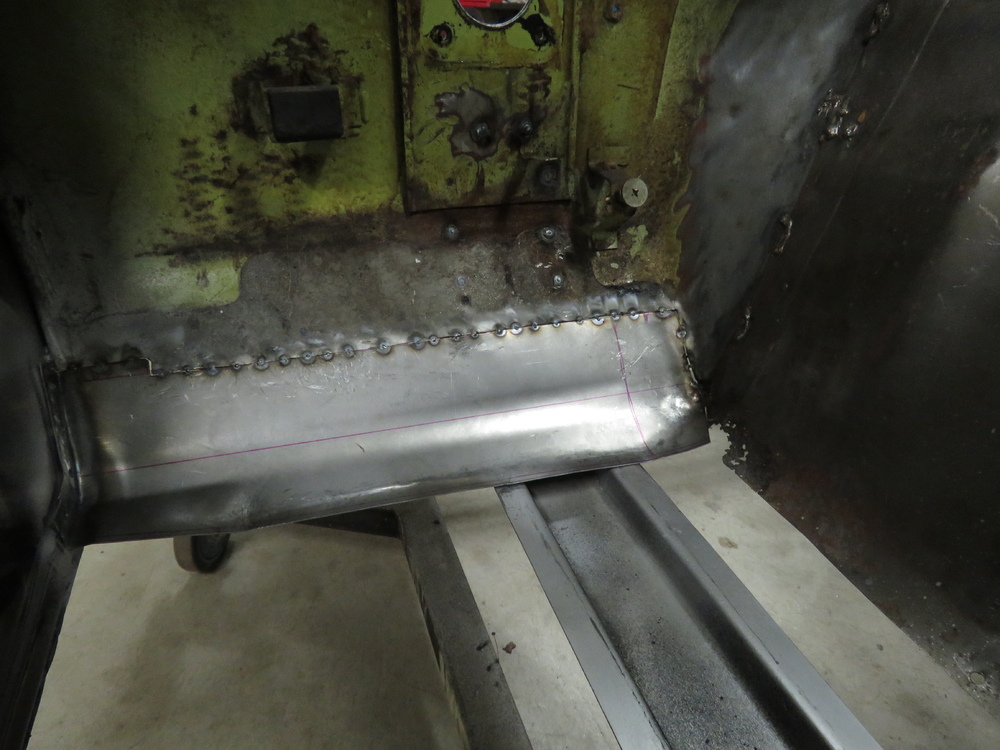
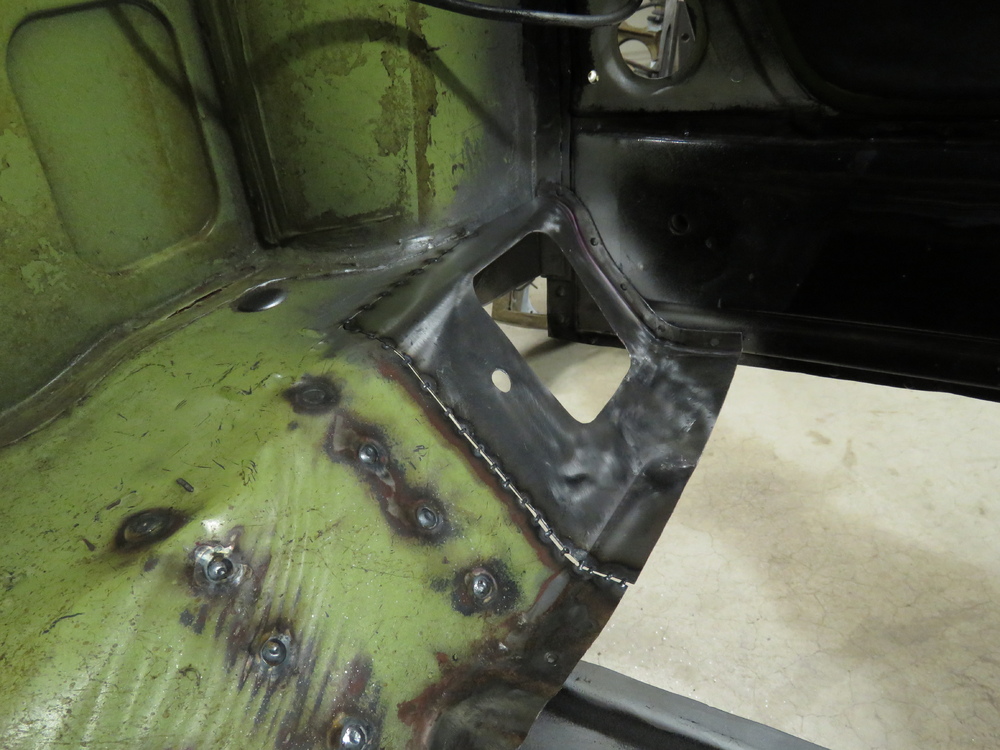
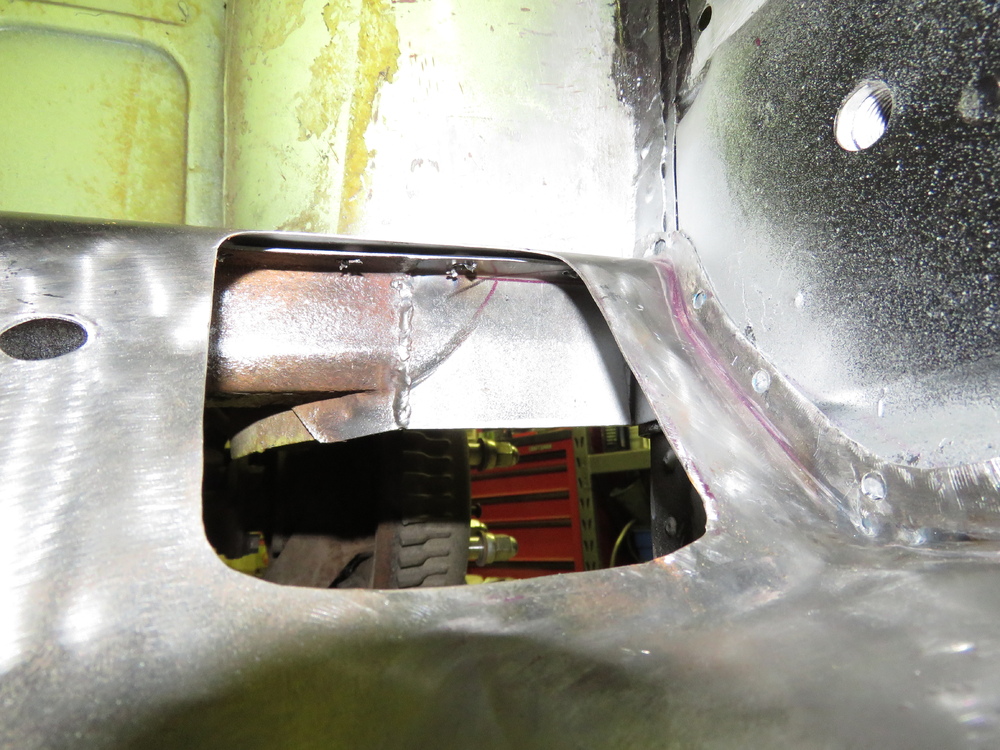
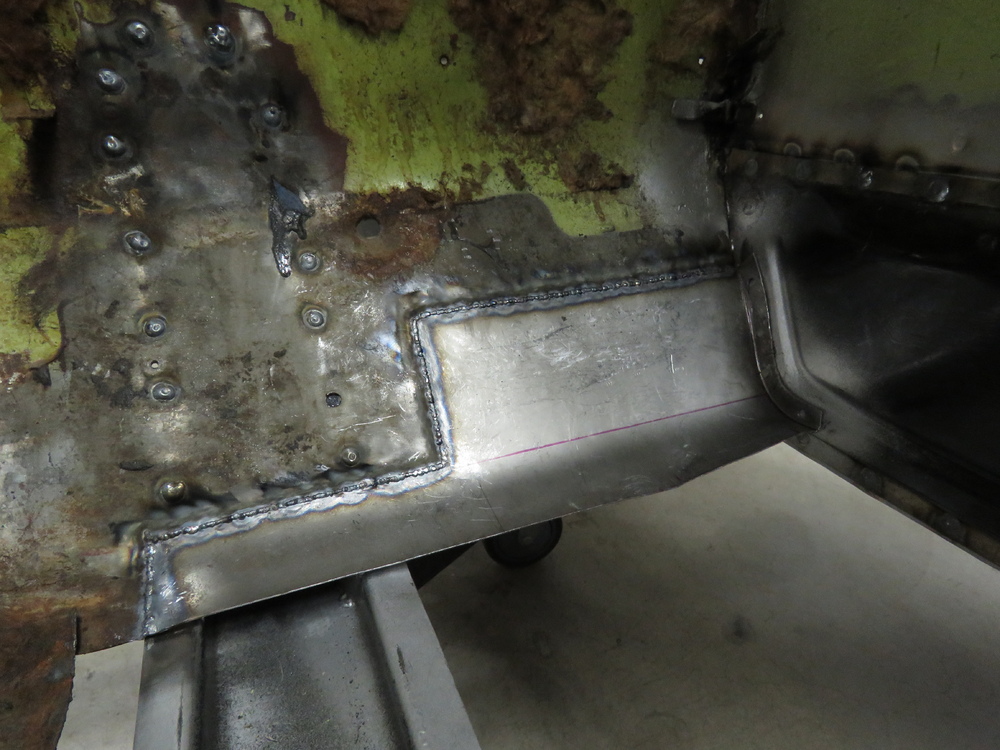
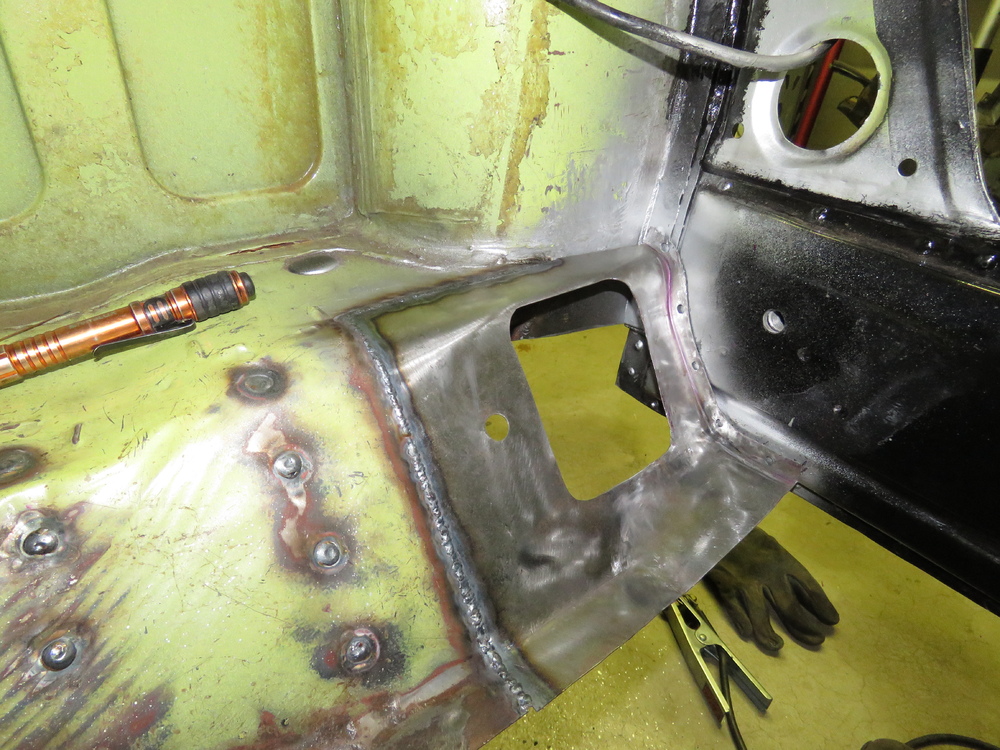
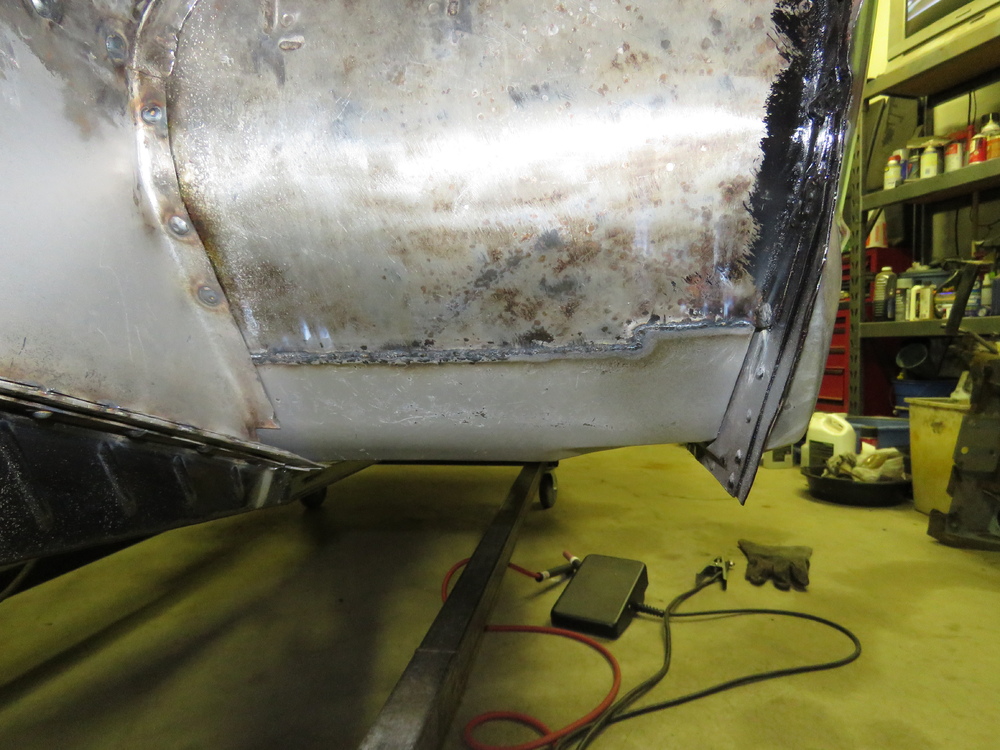
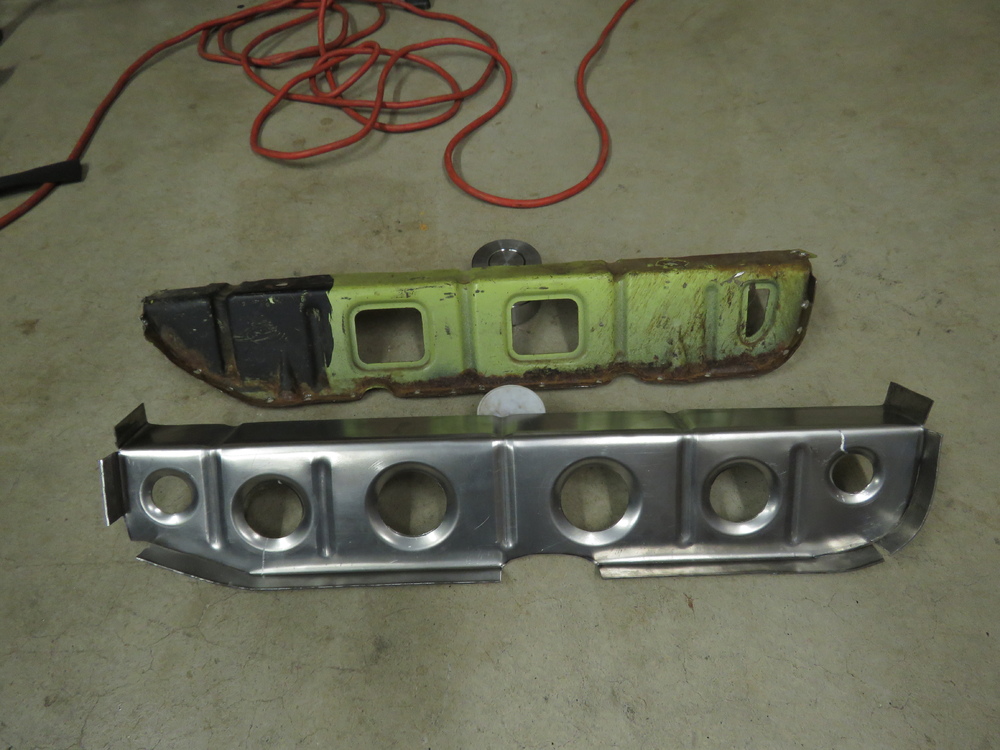
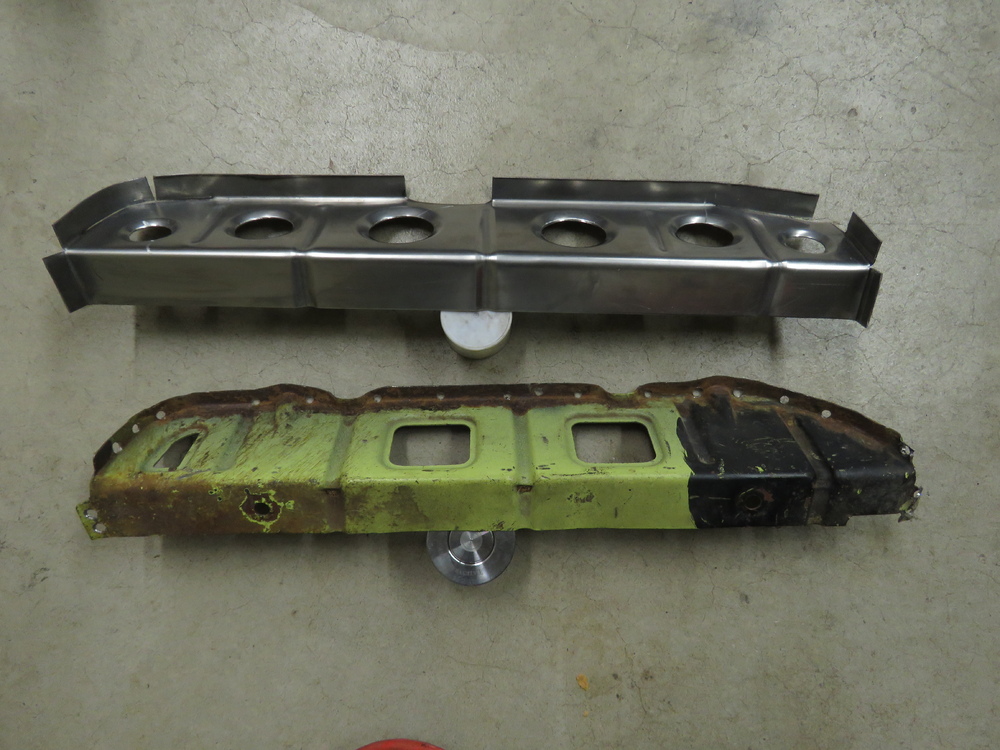
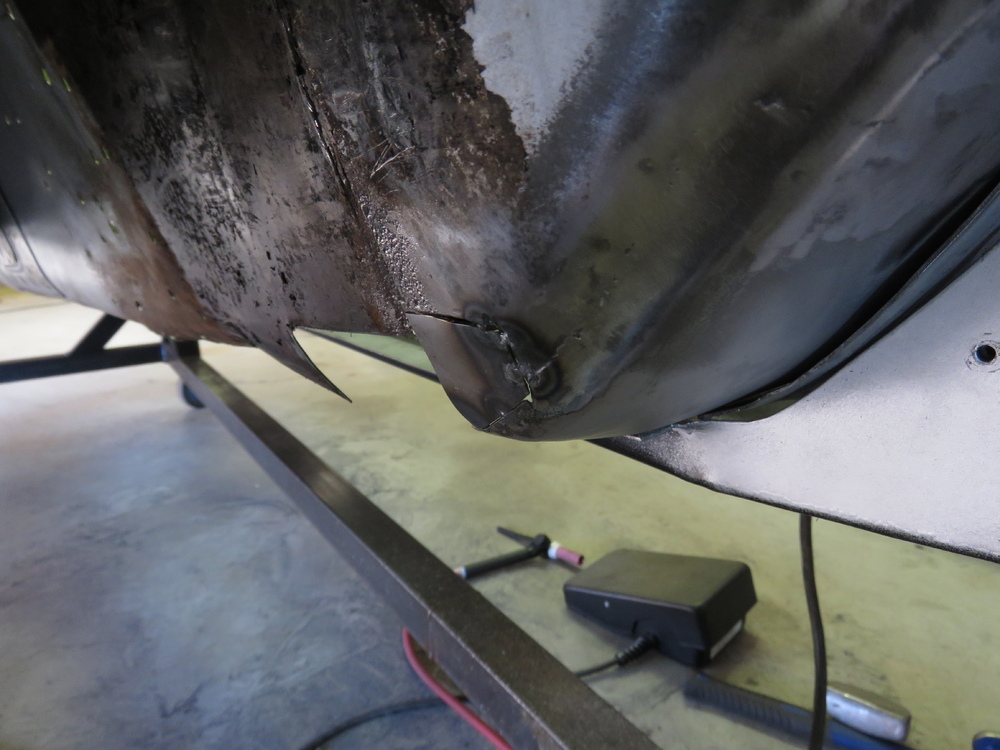
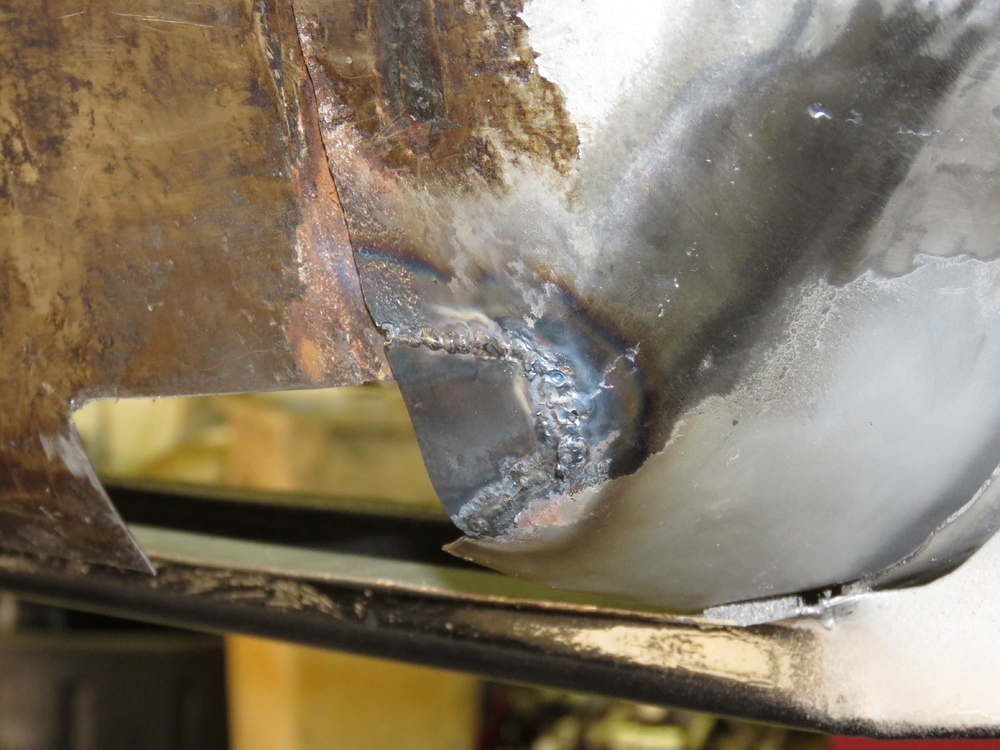
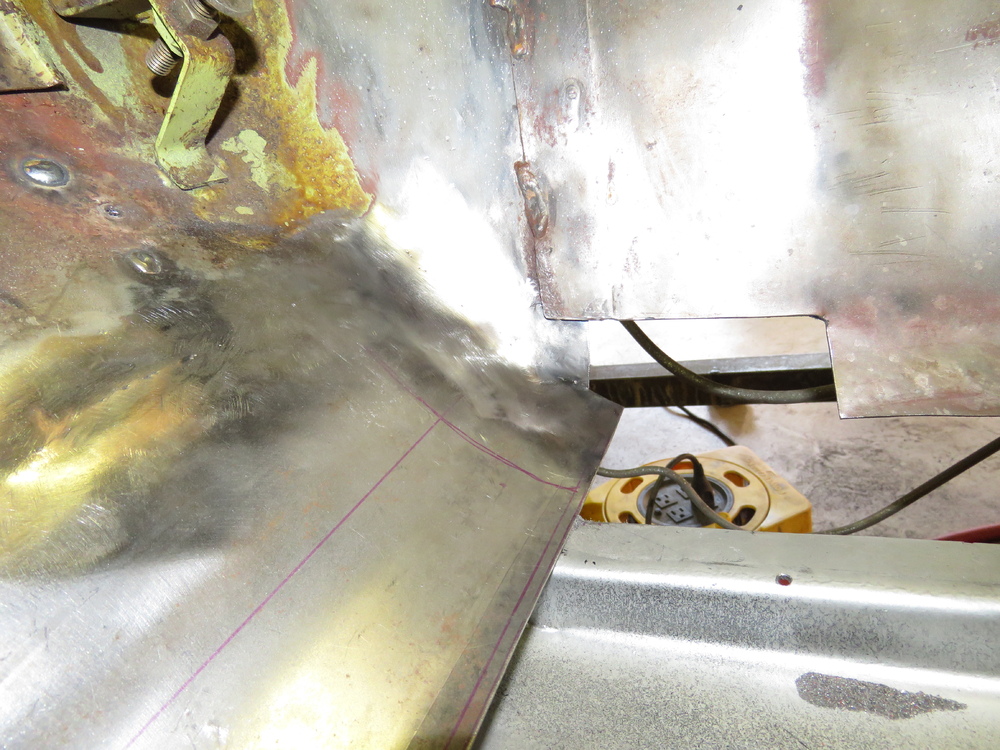
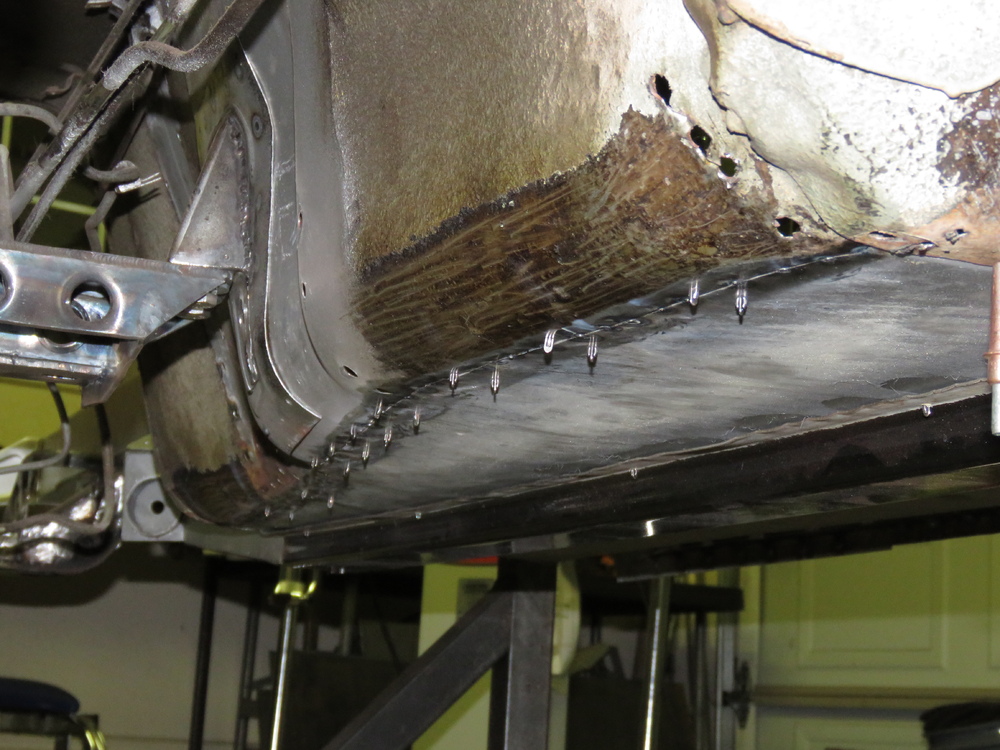
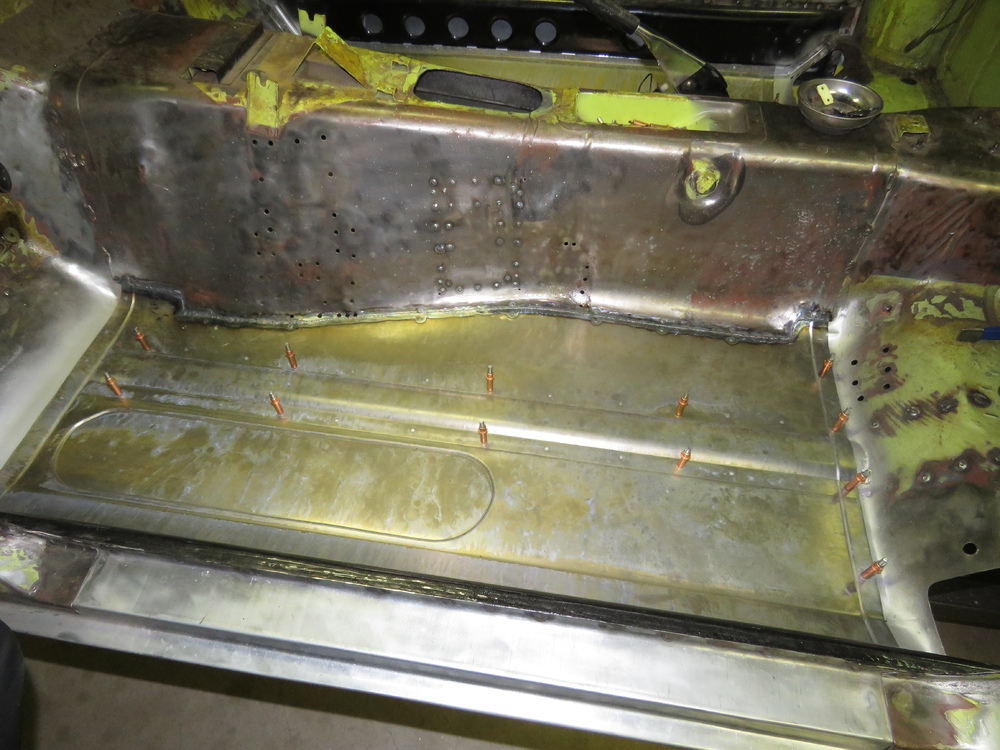
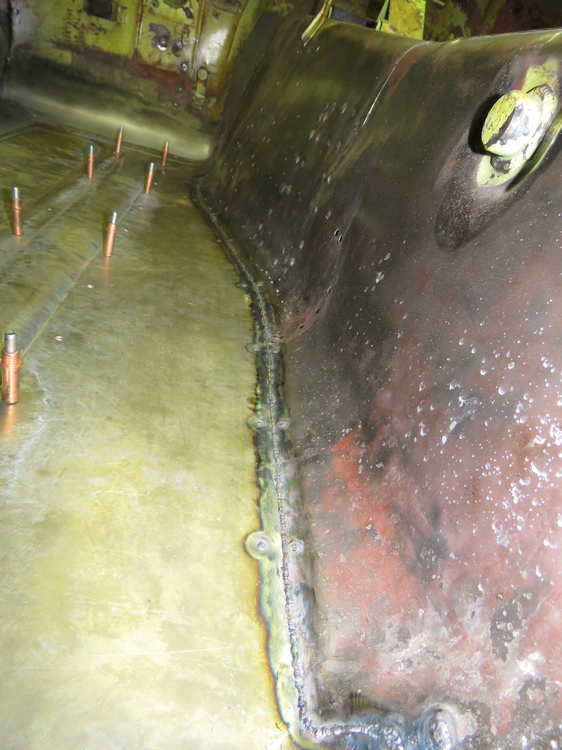
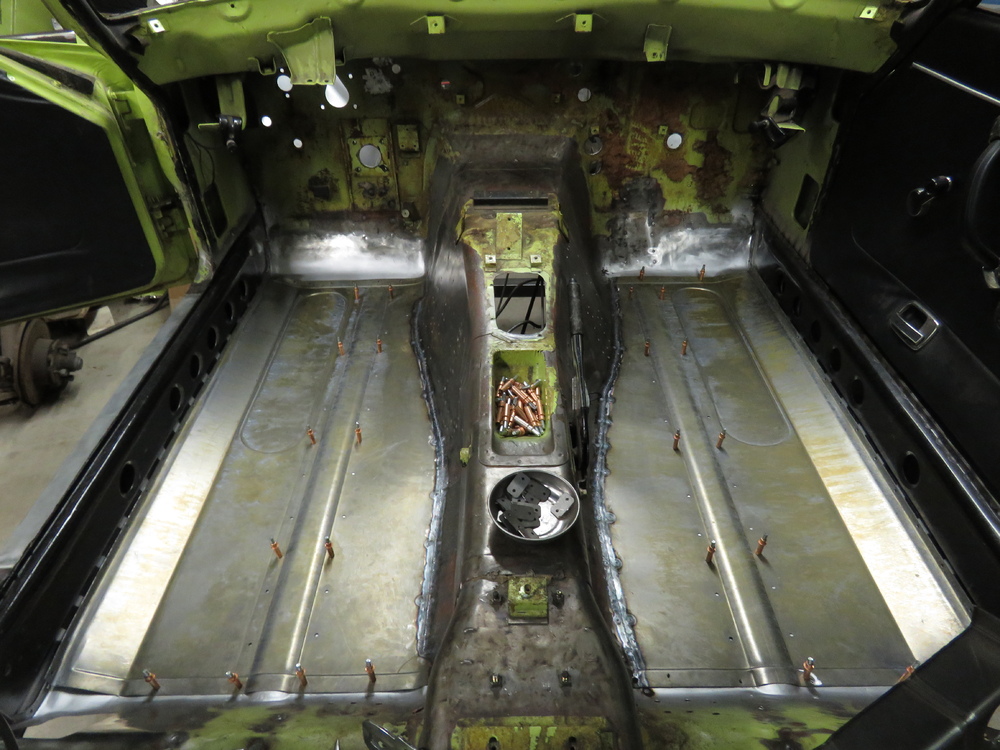
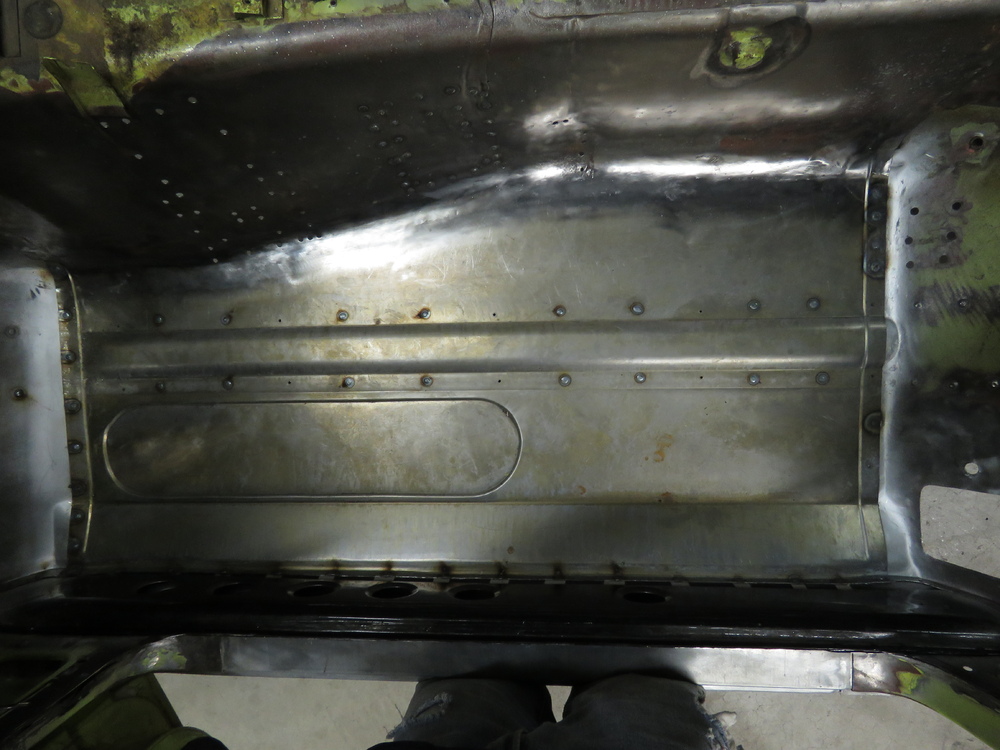
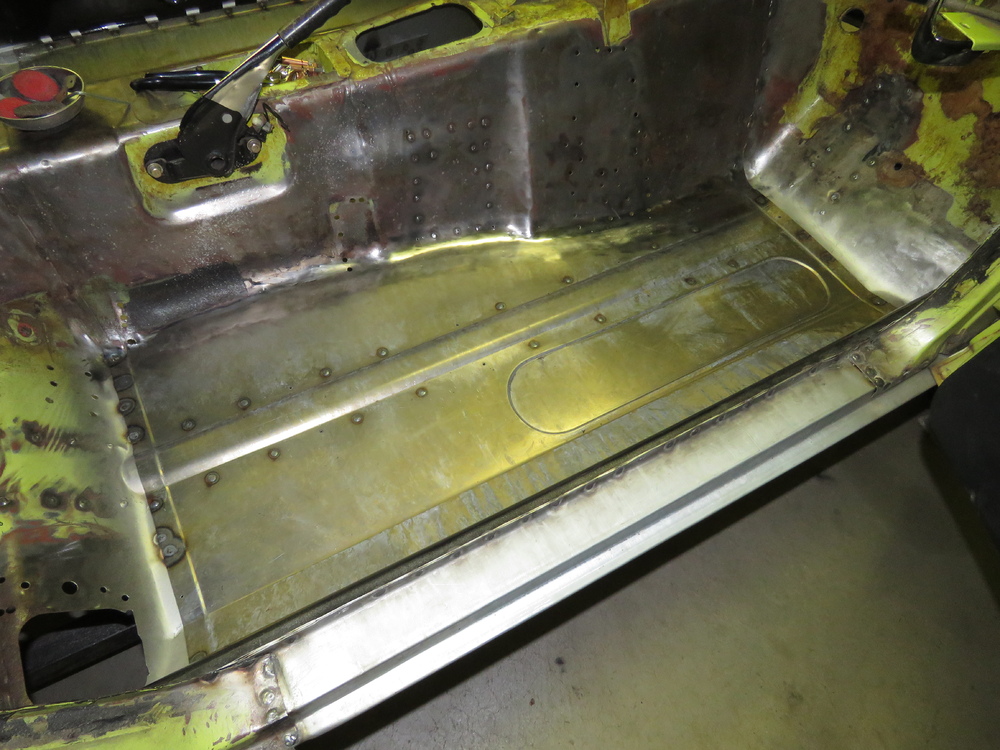
3 pointsI bought the Tabco outer rocker panels. Its actually the only replacement panel I had bough and actually used. Fits great, however as you can see in some of the pictures, there was a crack at the seam, most likely due to stress from what ever machine they used to press/pound those into a mold. Would be nice if they made them out of a tad thicker sheet metal. Other than that no complaints. You never know, could be in the future I may entertain that idea, Id like to wait first though until my skills are on a professional level, as of now I am still in the Noob/beginner category. Though I am making the interior rocker panels upon request, already made a few for some people with great feedback. Refer to my garage business thread for details. Also I will attach to this post a PDF file a how to guide for replacing the rocker panels for those that want a more in depth process. Depends on what you say is simple, hehe. Send me the plans and I can take a look for you and let you know. Funny thing is I took someone elses Idea on another forum (Member has an awesome project going on) and created my version of the frame rails support that tie in with the front frames. He was cool with it though, hehe, I mean come on all the Auto companies steal each others ideas. Again thanks fellow Z members, both to those I quoted and didnt quote for the comments, Let me know if any of you need better pictures of any area of the car that I have went over for those ready to tear apart their cars for repairs. I may or may not have it. I have crap ton of pictures, at least a thousand , if not a couple thousand pics. Alright had some time after work today to figure out the rear seat brackets. Sometimes I feel so dumb for not thinking of a simple idea with out a ton of work. I originally was going to try and salvage the original rear seat brackets, but a couple of them are just too rusted to spend time patching them up and besides I absolutely hate drilling out spot welds, sick of it. Original brackets The rear brackets have an angle to them so the seat angles upwards from back to front. Man I am amazed how quickly metal rusts here in Oklahoma, gotta love the humidity. I need to get on it and treat the newly made floor pans, Dont want to do twice the work. Decided to just copy the design of the front seat brackets for the rears. This will also allow for the support from let to right the whole length of the floor like the original brace between the two rear brackets. Dont think its needed in my situation to make the top of the bracket as long as the original, So I cut it off about here as shown in the picture. I am going to use the original seats. Wouldnt be hard to add on in case I install different seats later in life. Cross brace I was talking about. Also able to get a ratchet wrench underneath to tighten the nut on the seat rail. Thats it for now. More to come! INTERIOR ROCKER PANEL INSTALLATION GUIDE.pdf


 3 points
 -
2 pointsThe Six Million Dollar Z Sorry, I couldn't resist the click-bait title. I had been thinking about this for a while and finally decided to write this down. Stay with me. I think you'll like this story. I vividly remember the years I spent in the Southern California desert near Edwards AFB. The neighborhood kids would hang out and talk or play kick-the-can while enjoying the cool summer evenings. Most of the time we were hanging out near my friend Rick's house. For several years, the neighbor across the street from Rick had a nice orange 260Z parked in the street. I don't ever recall seeing the owner driving it, but at least it wasn't rusting away given the dry climate. The owner kept to himself mostly. He stood out in my mind because of the eye patch he wore. Some of my friends said he lost his eye in an aircraft accident. Sometimes he would come outside to see what was going on around his house, but we were well behaved and never did anything to upset him. Still the car sat on the street. It looked so cool to me. Eventually Rick's father bought the car. Rick was 15, and I suppose his father thought it would be nice for Rick to have the car to drive when he got his license. I moved way not long after that, so I never got to see Rick enjoy tearing up the roads in the 260Z. I did get a chance to catch up with him about six years later and asked about the car. Unfortunately, someone ran into the car, and it was totaled. Chances are that you have seen the man who owned the car before Rick's dad, but you probably haven't seen his face. He was on TV nearly once a week for nearly every week from 1974-1978. Sadly, he passed away about 10 years ago. Bruce Peterson Test pilot Z owner Click on the YouTube link to find out a little more about him. https://youtu.be/lAwde1LwZdIa2 points
-
1 point
-
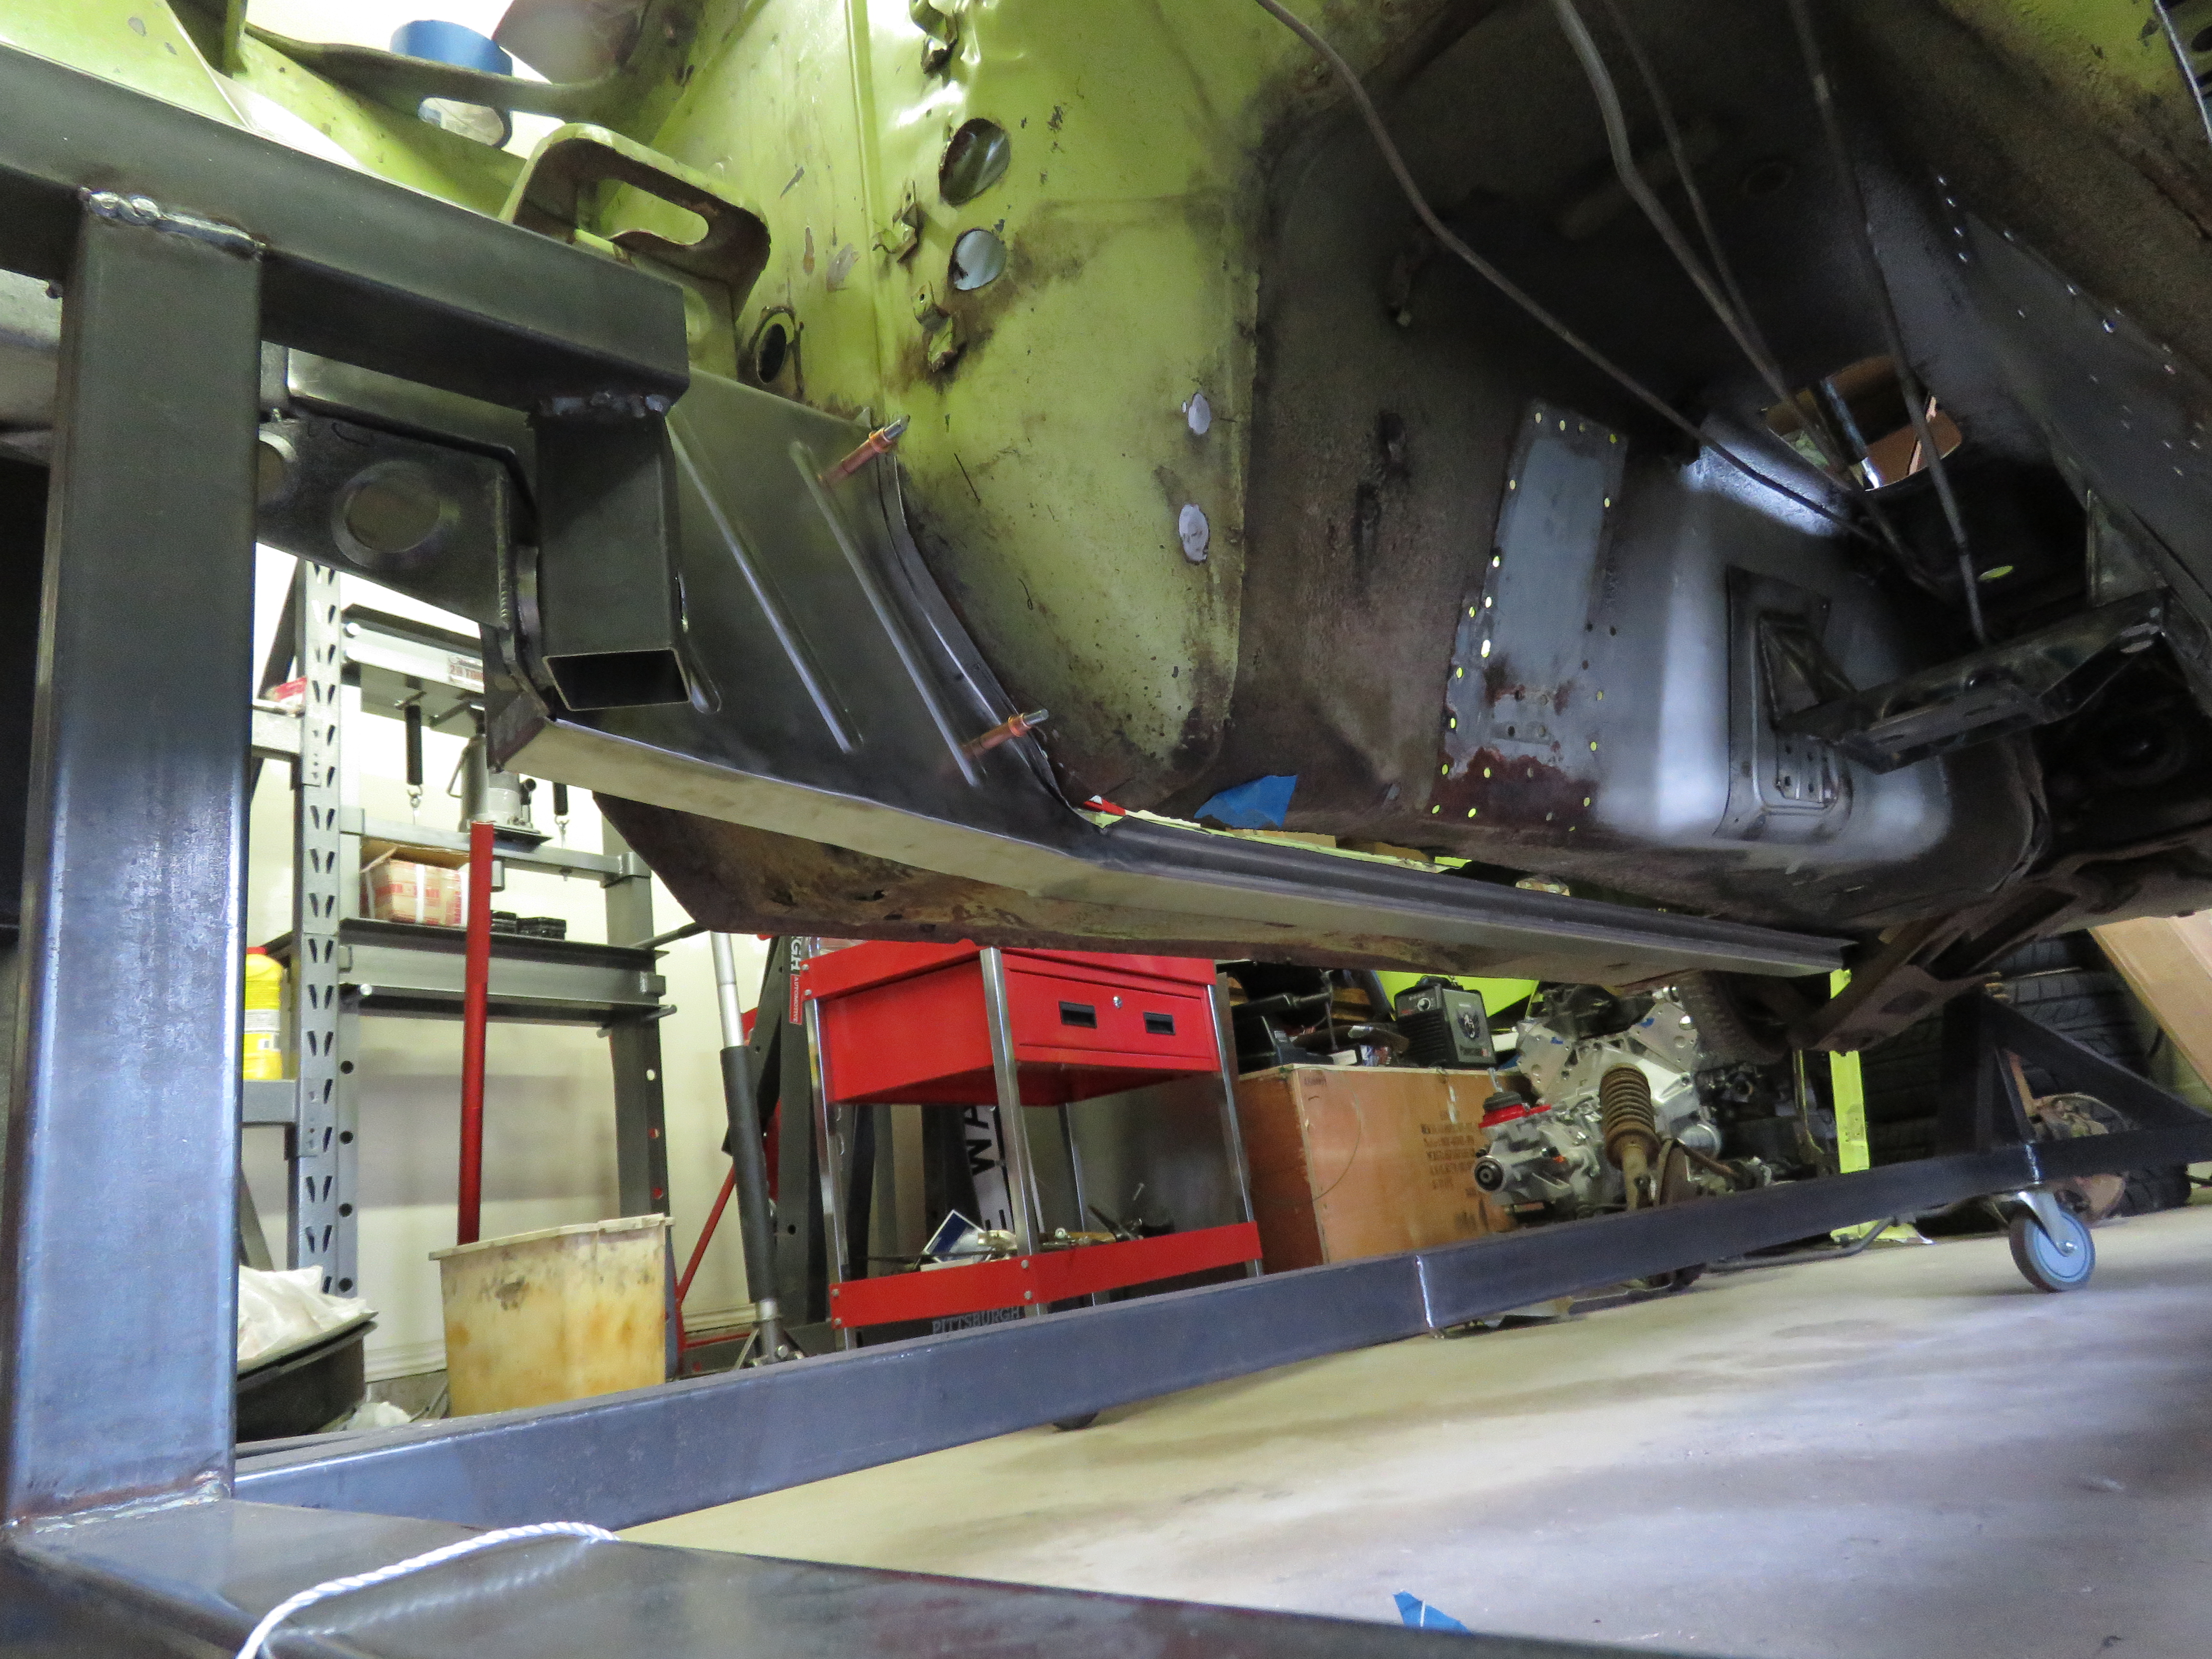
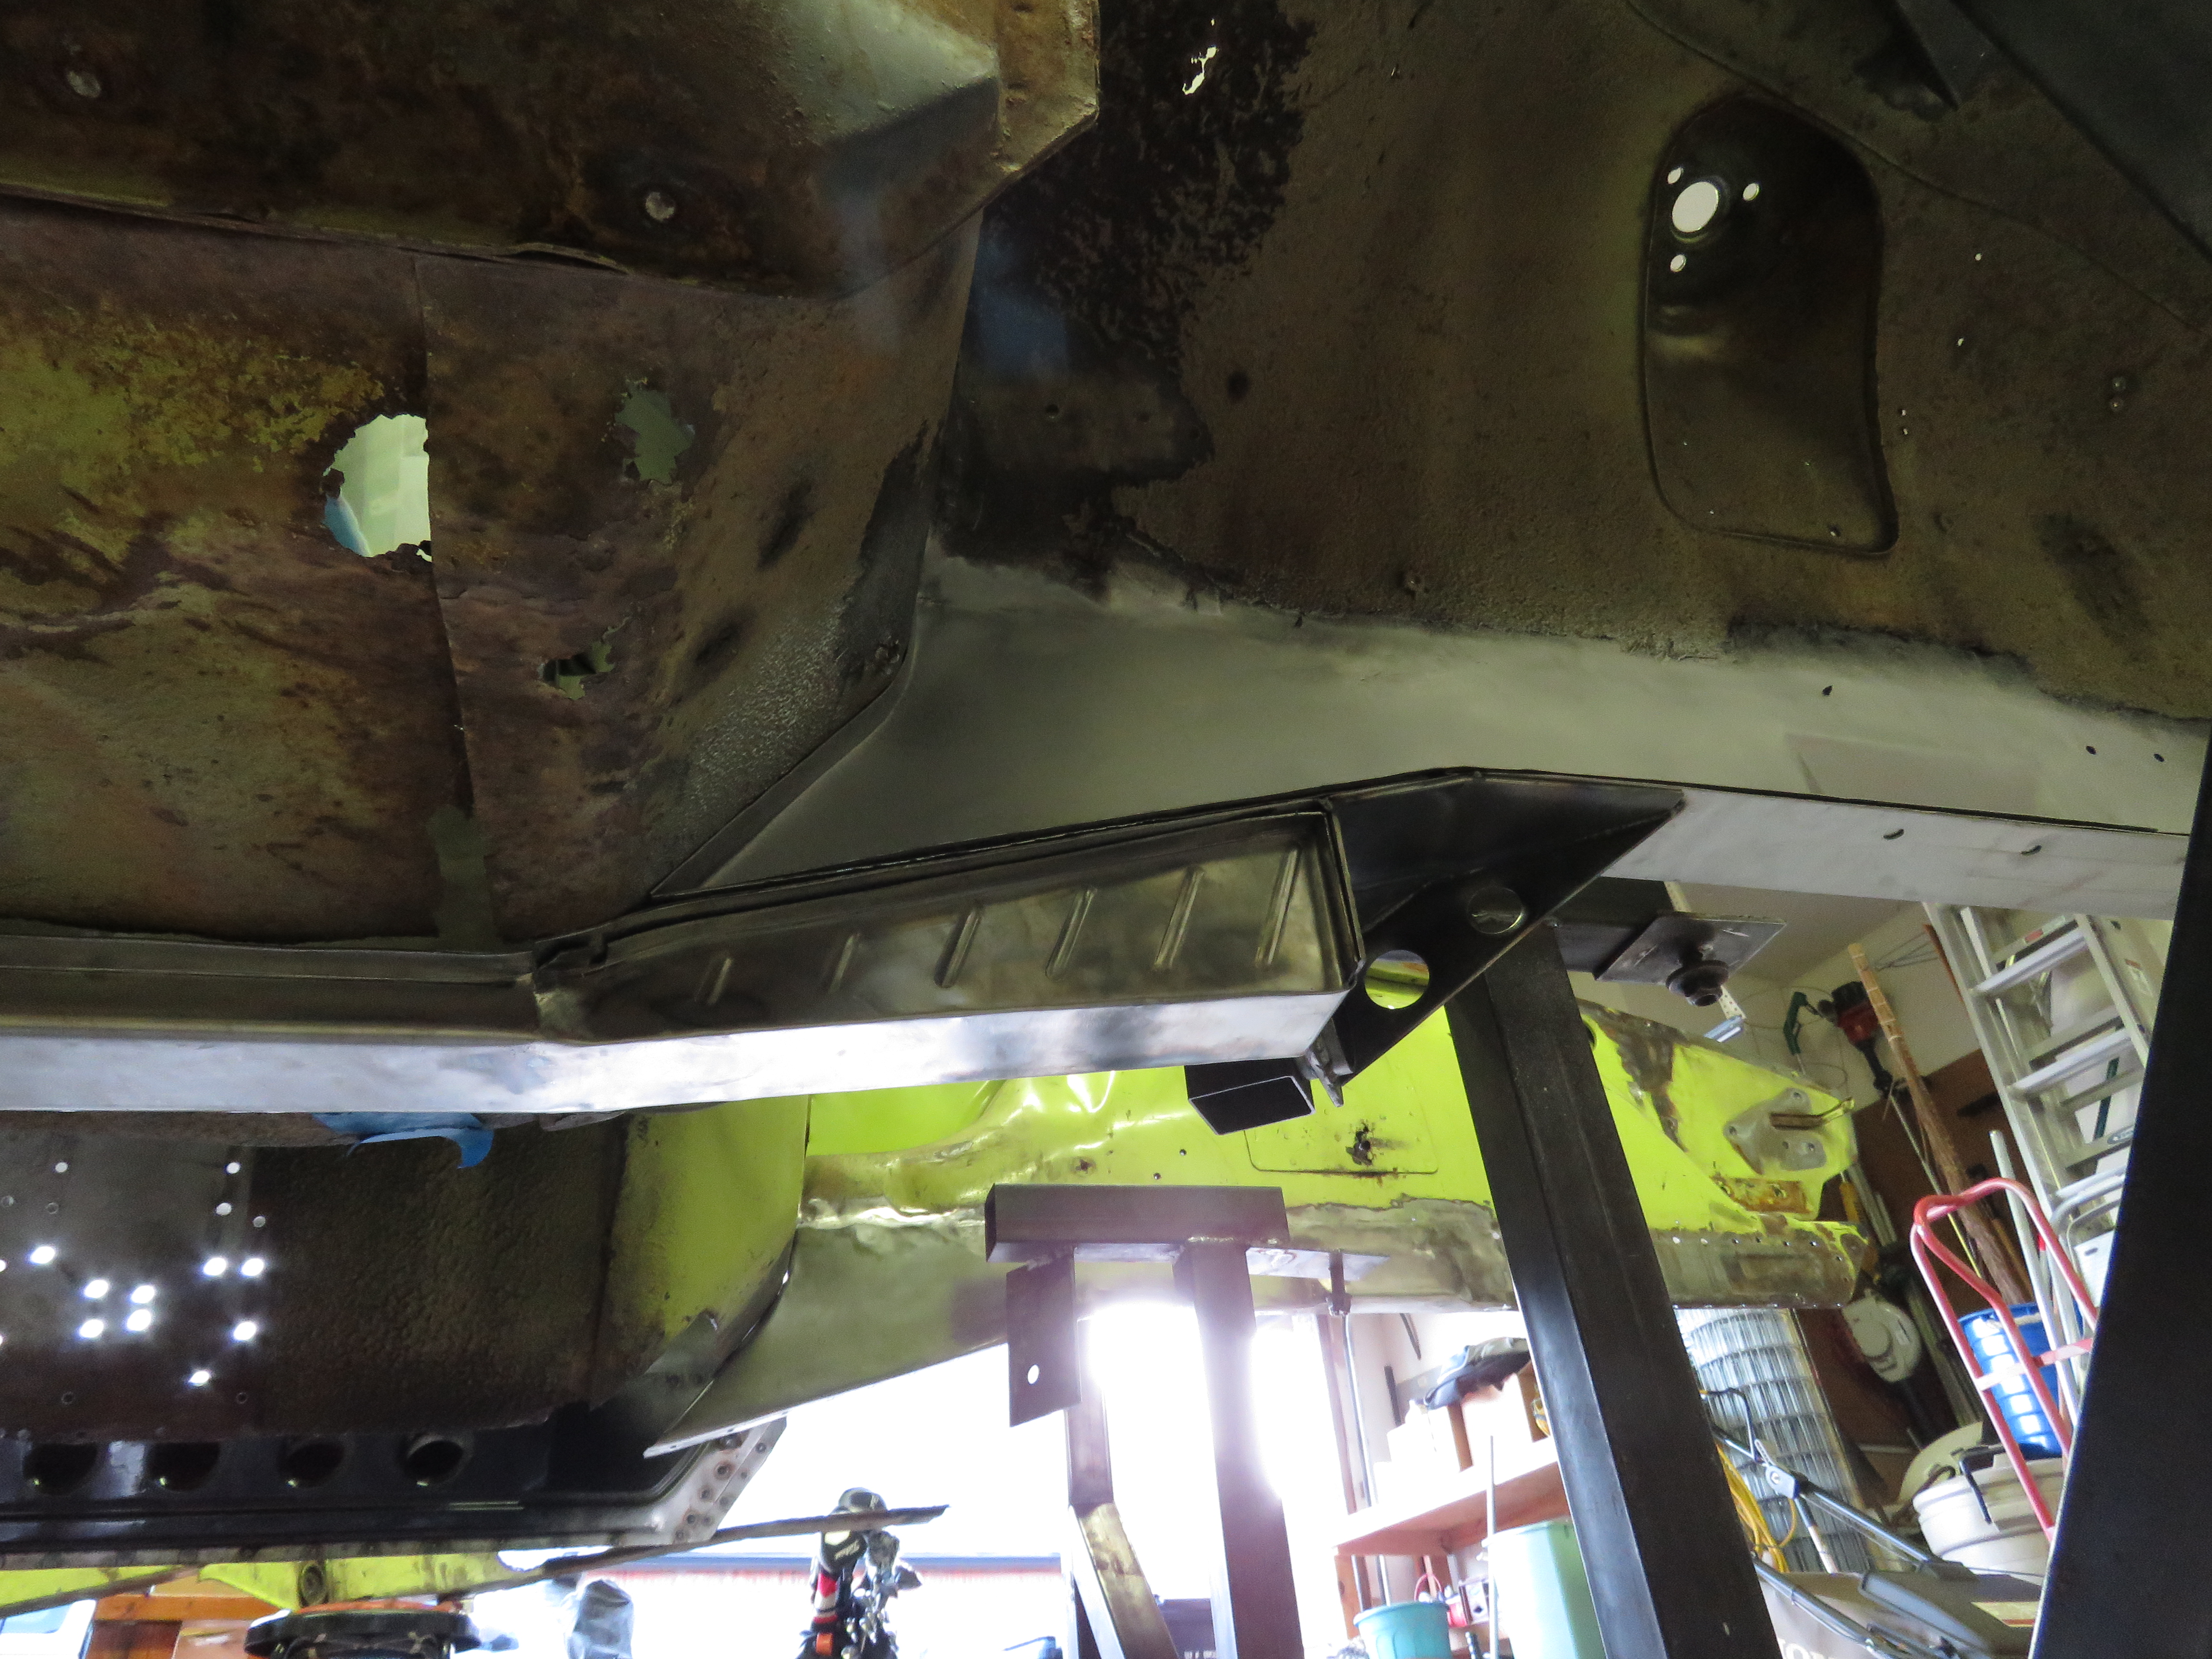
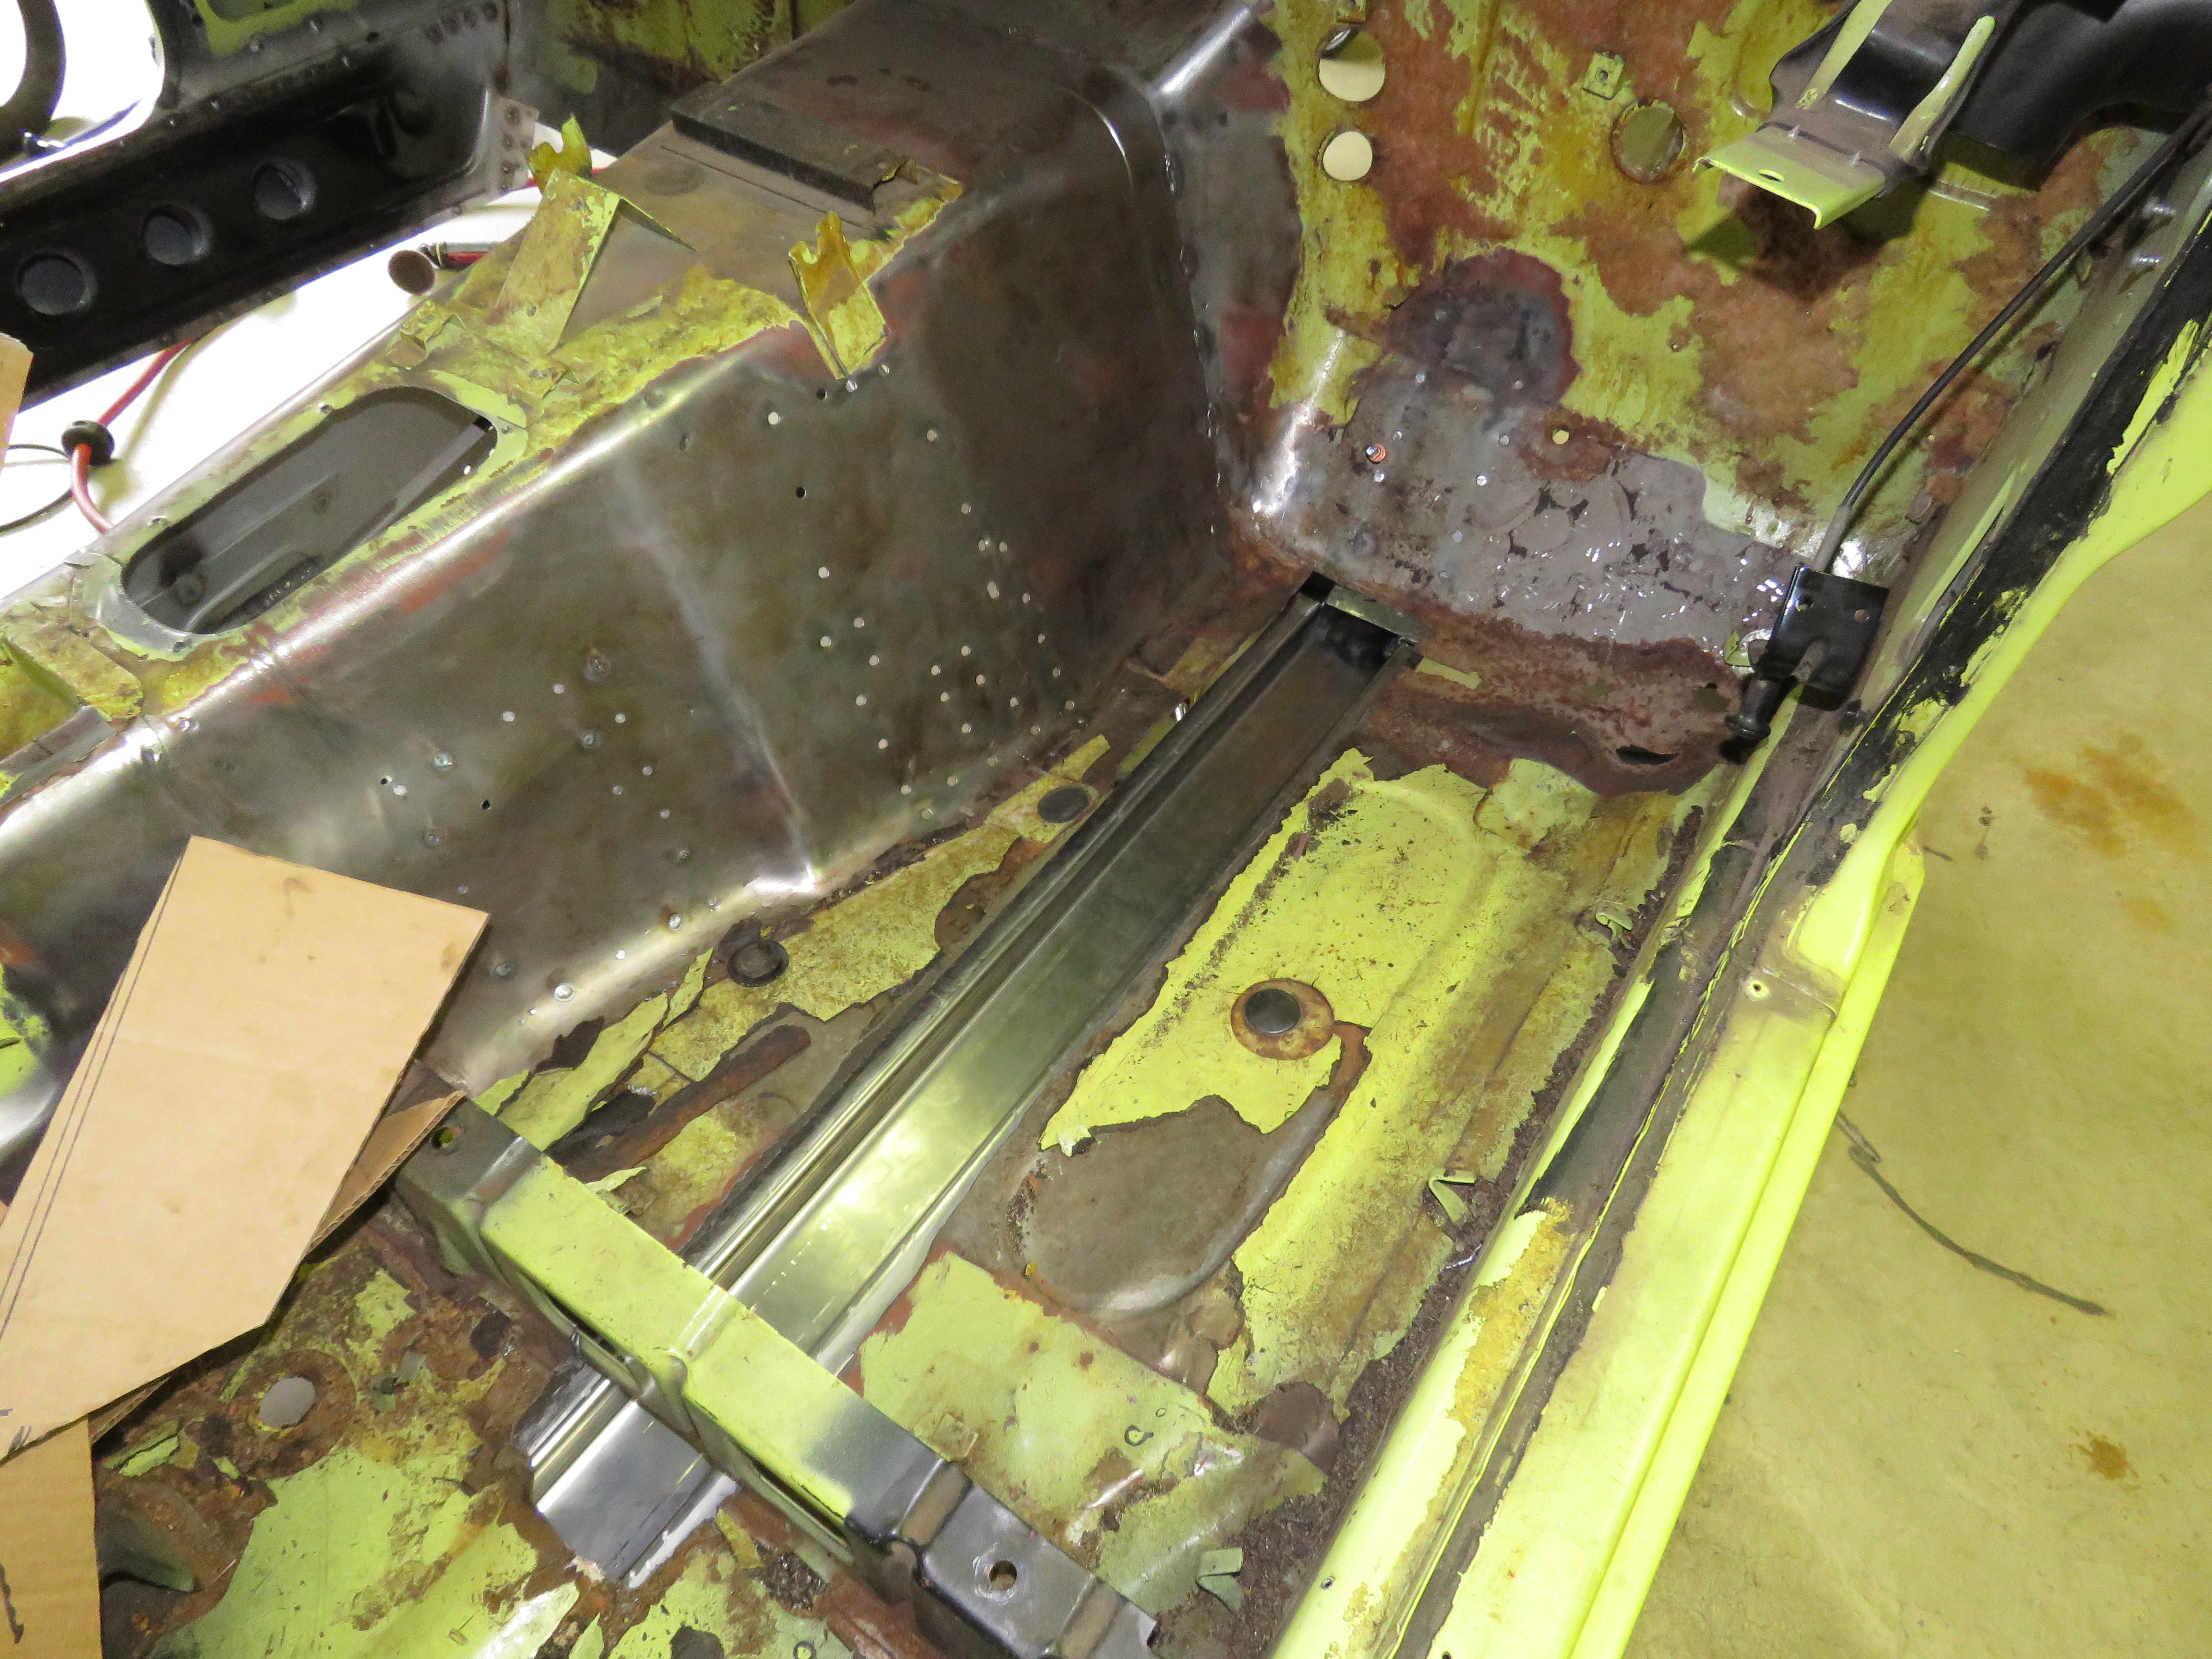
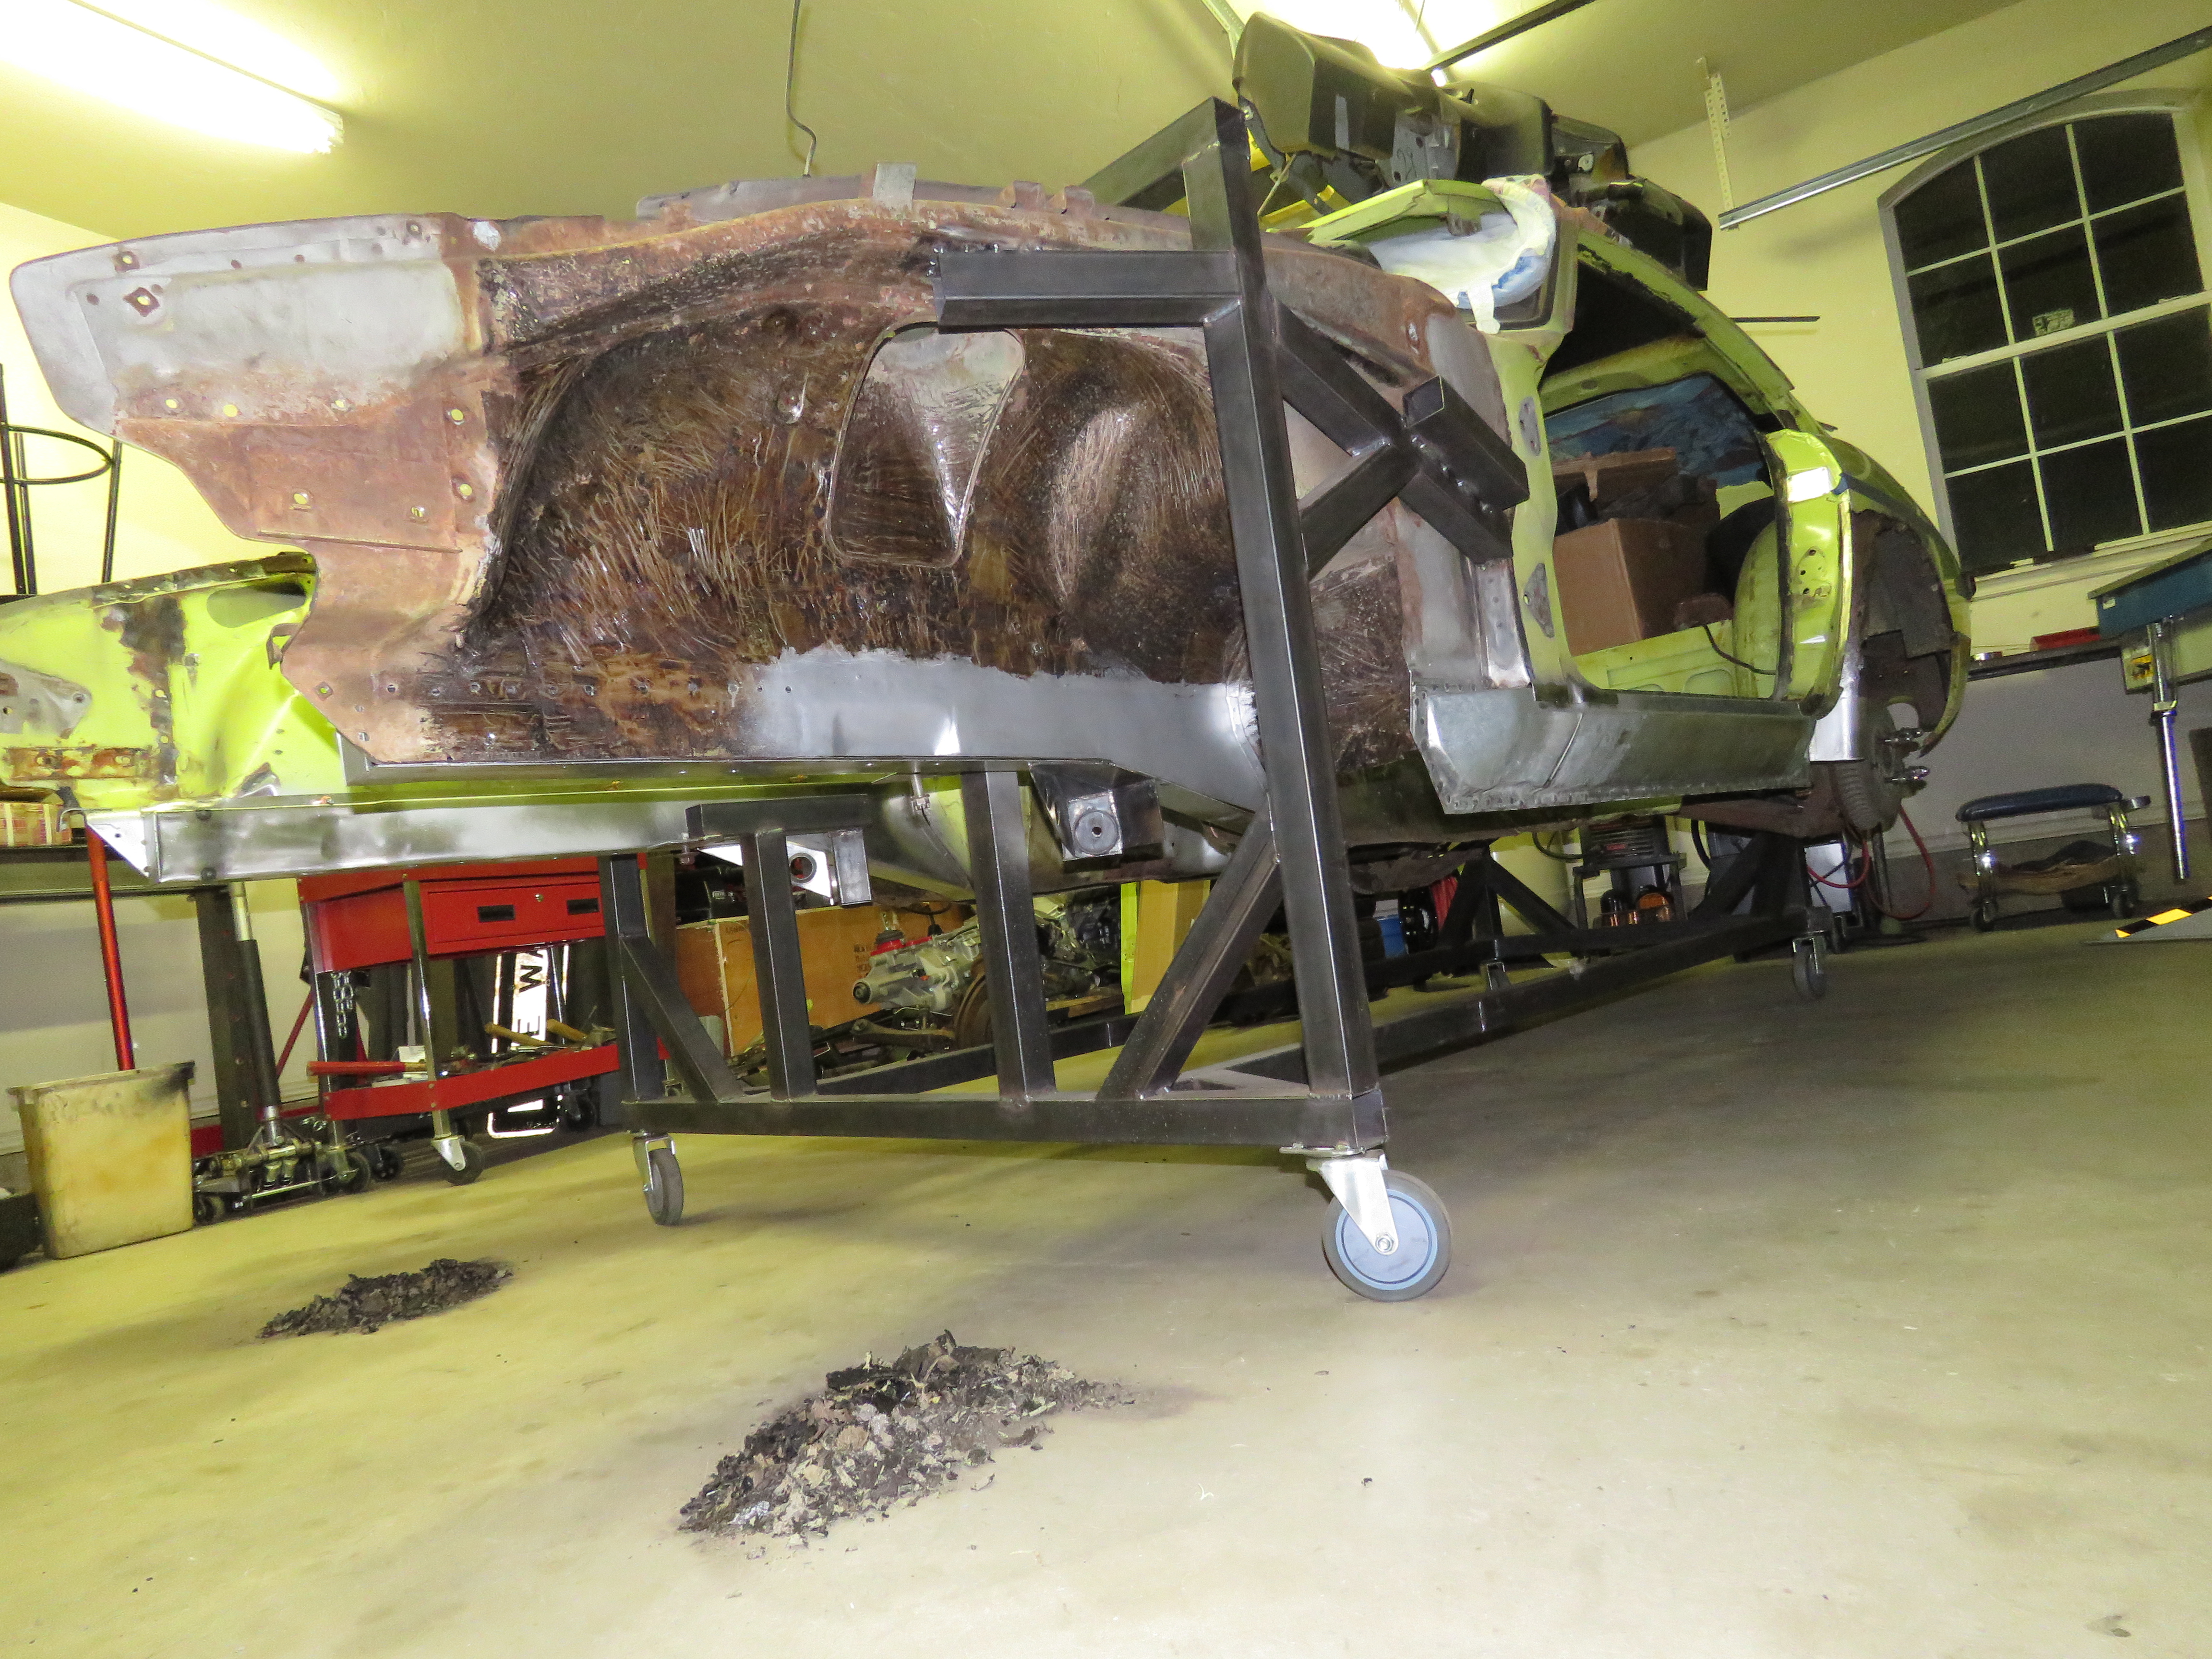
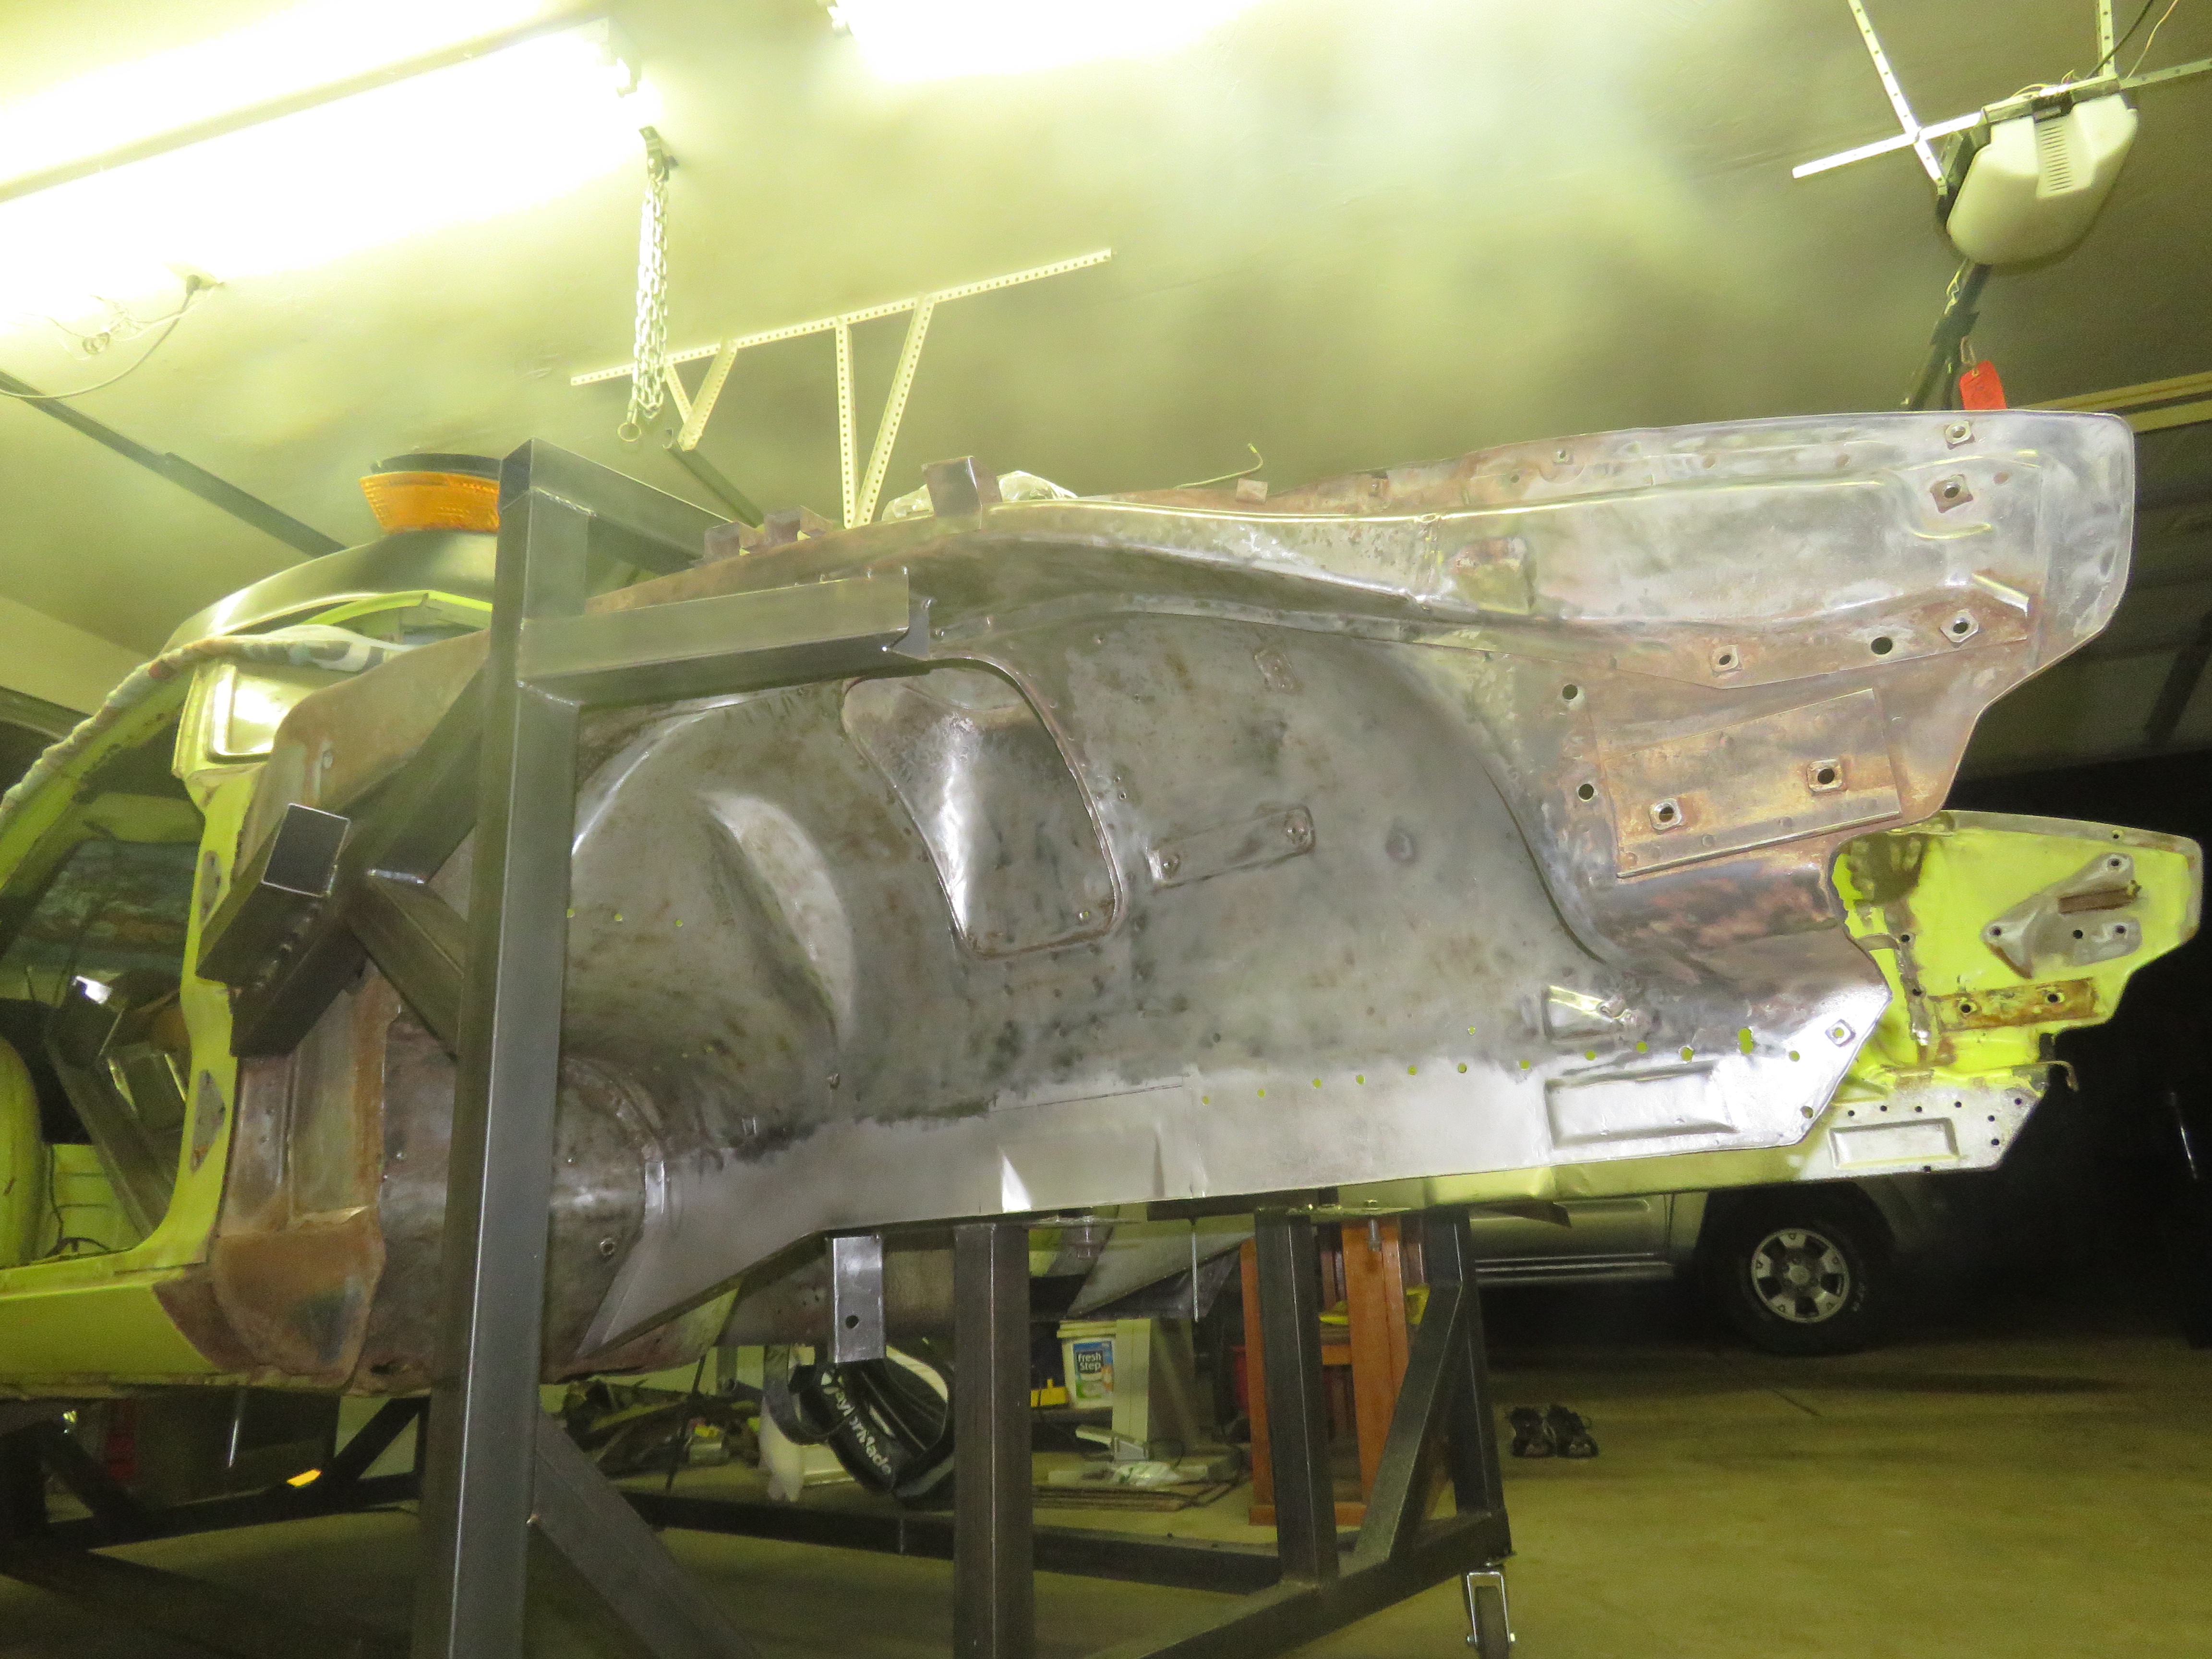
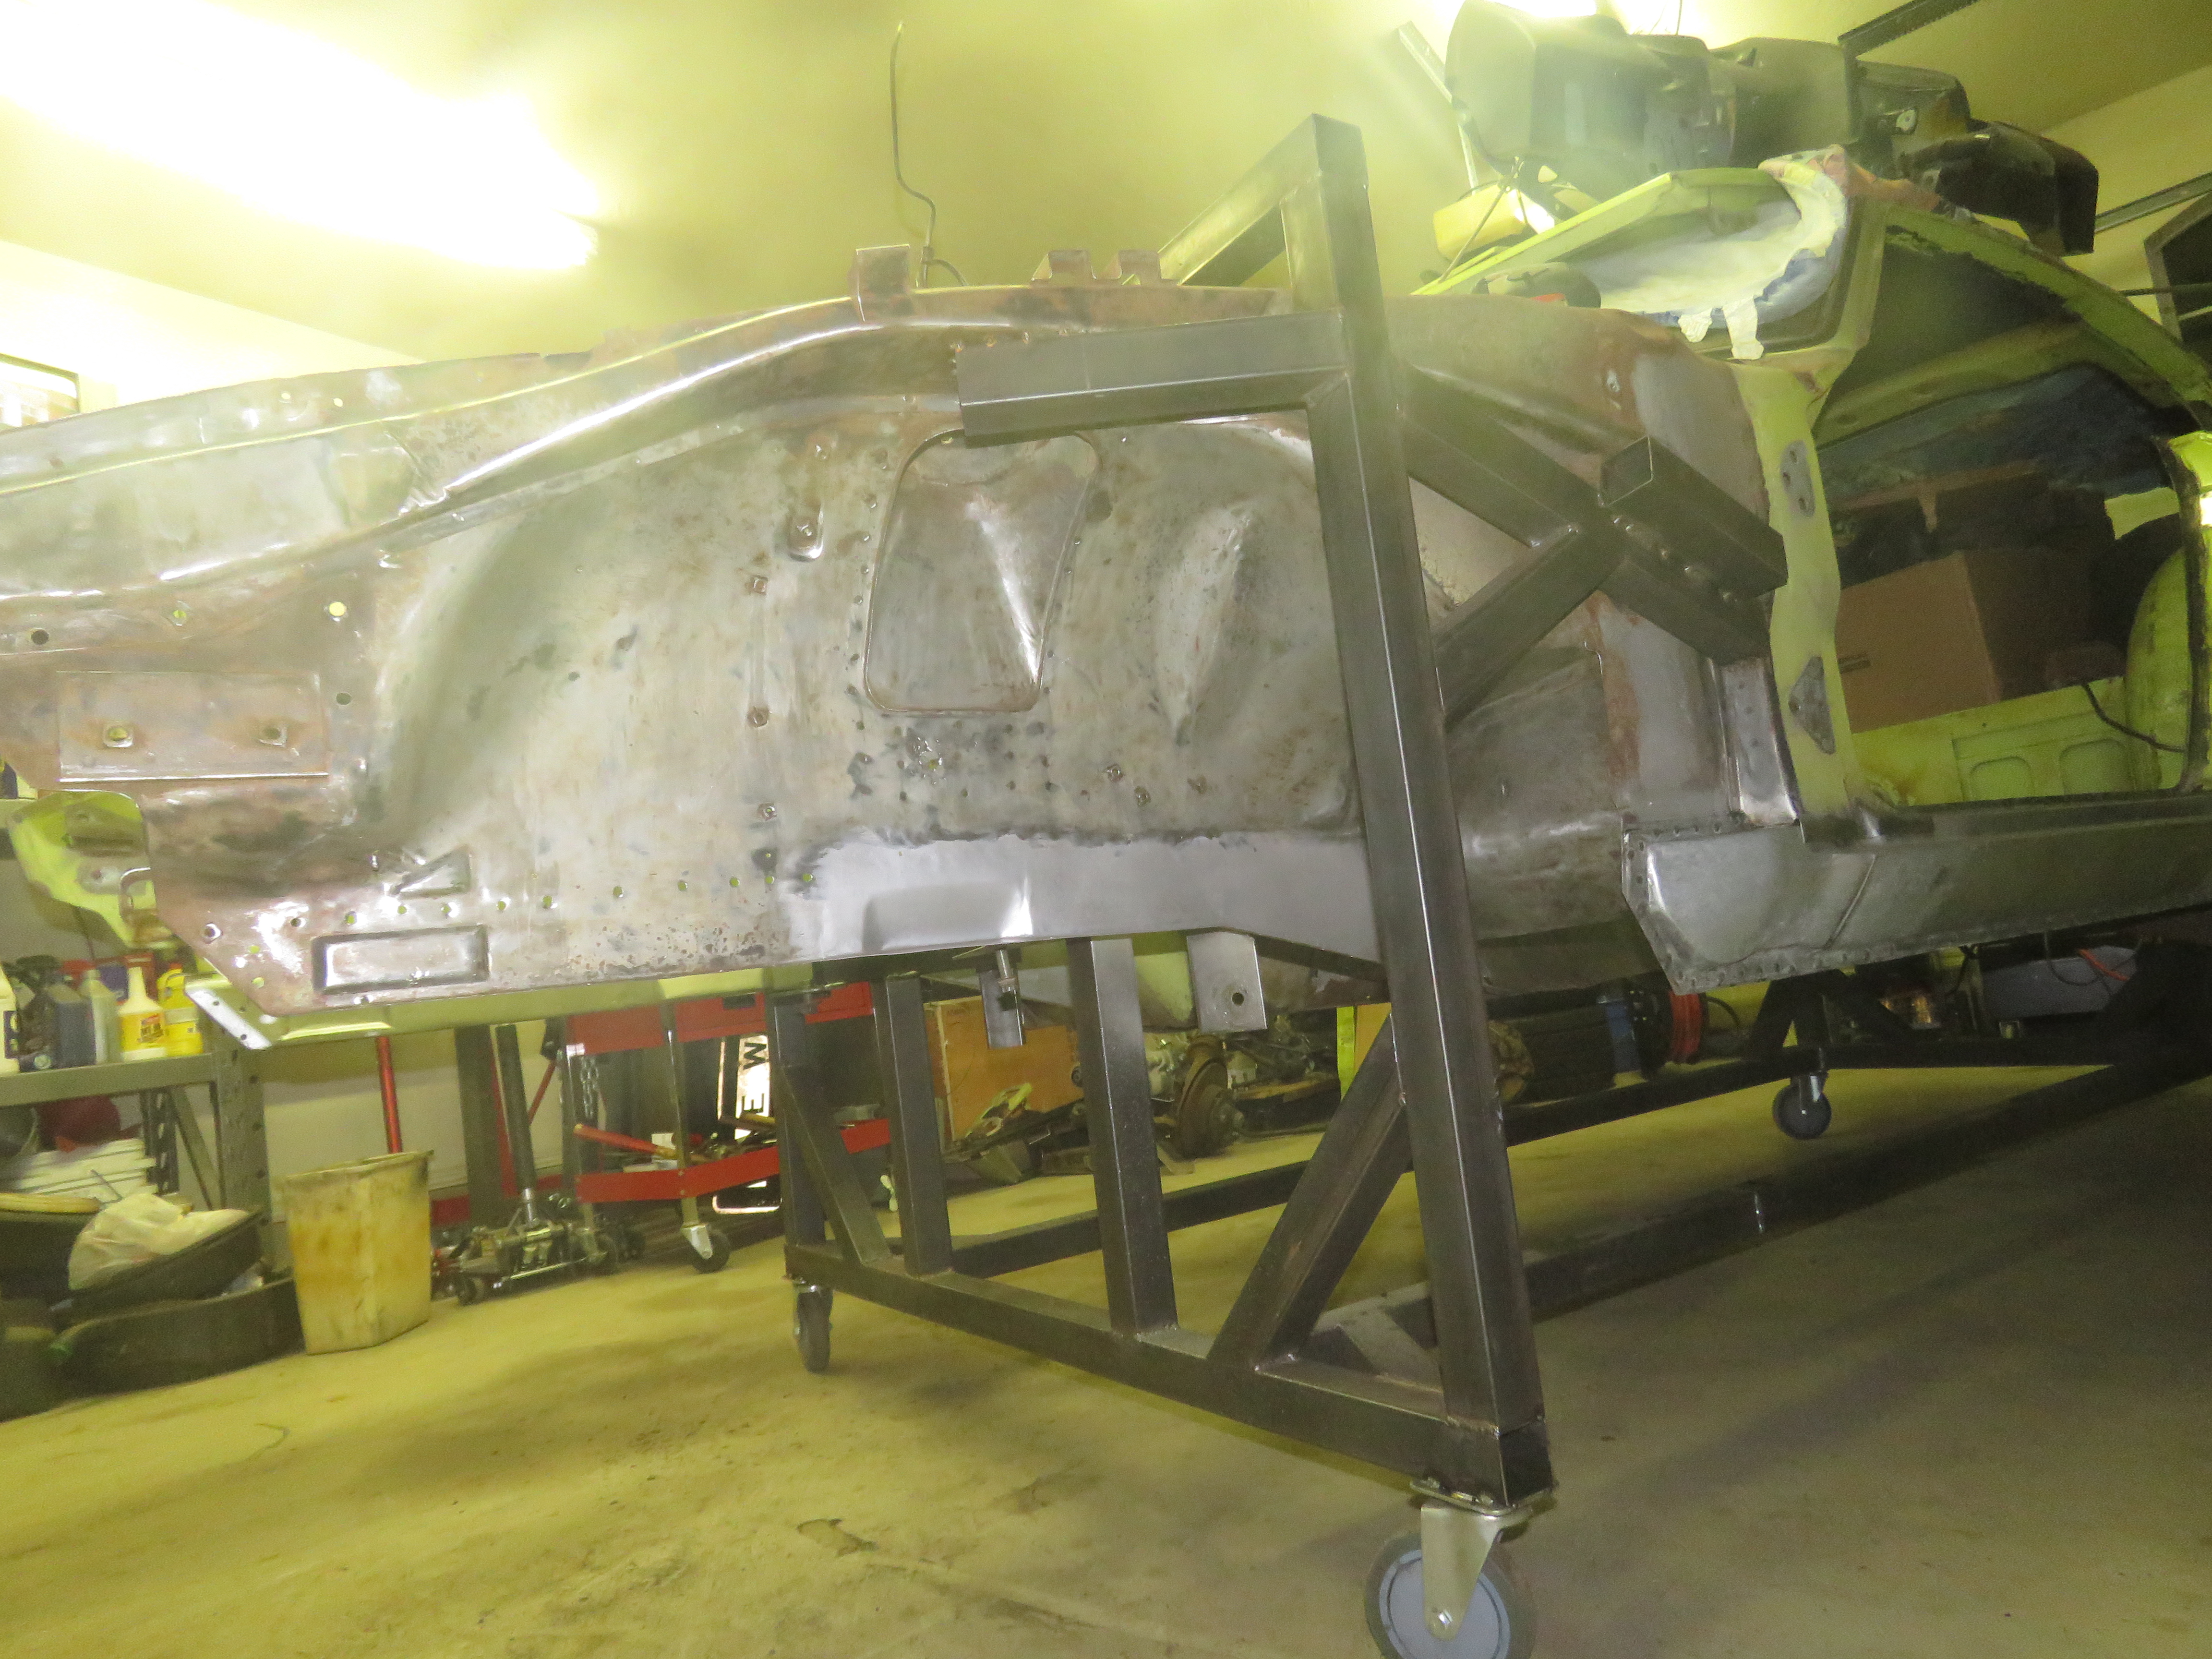
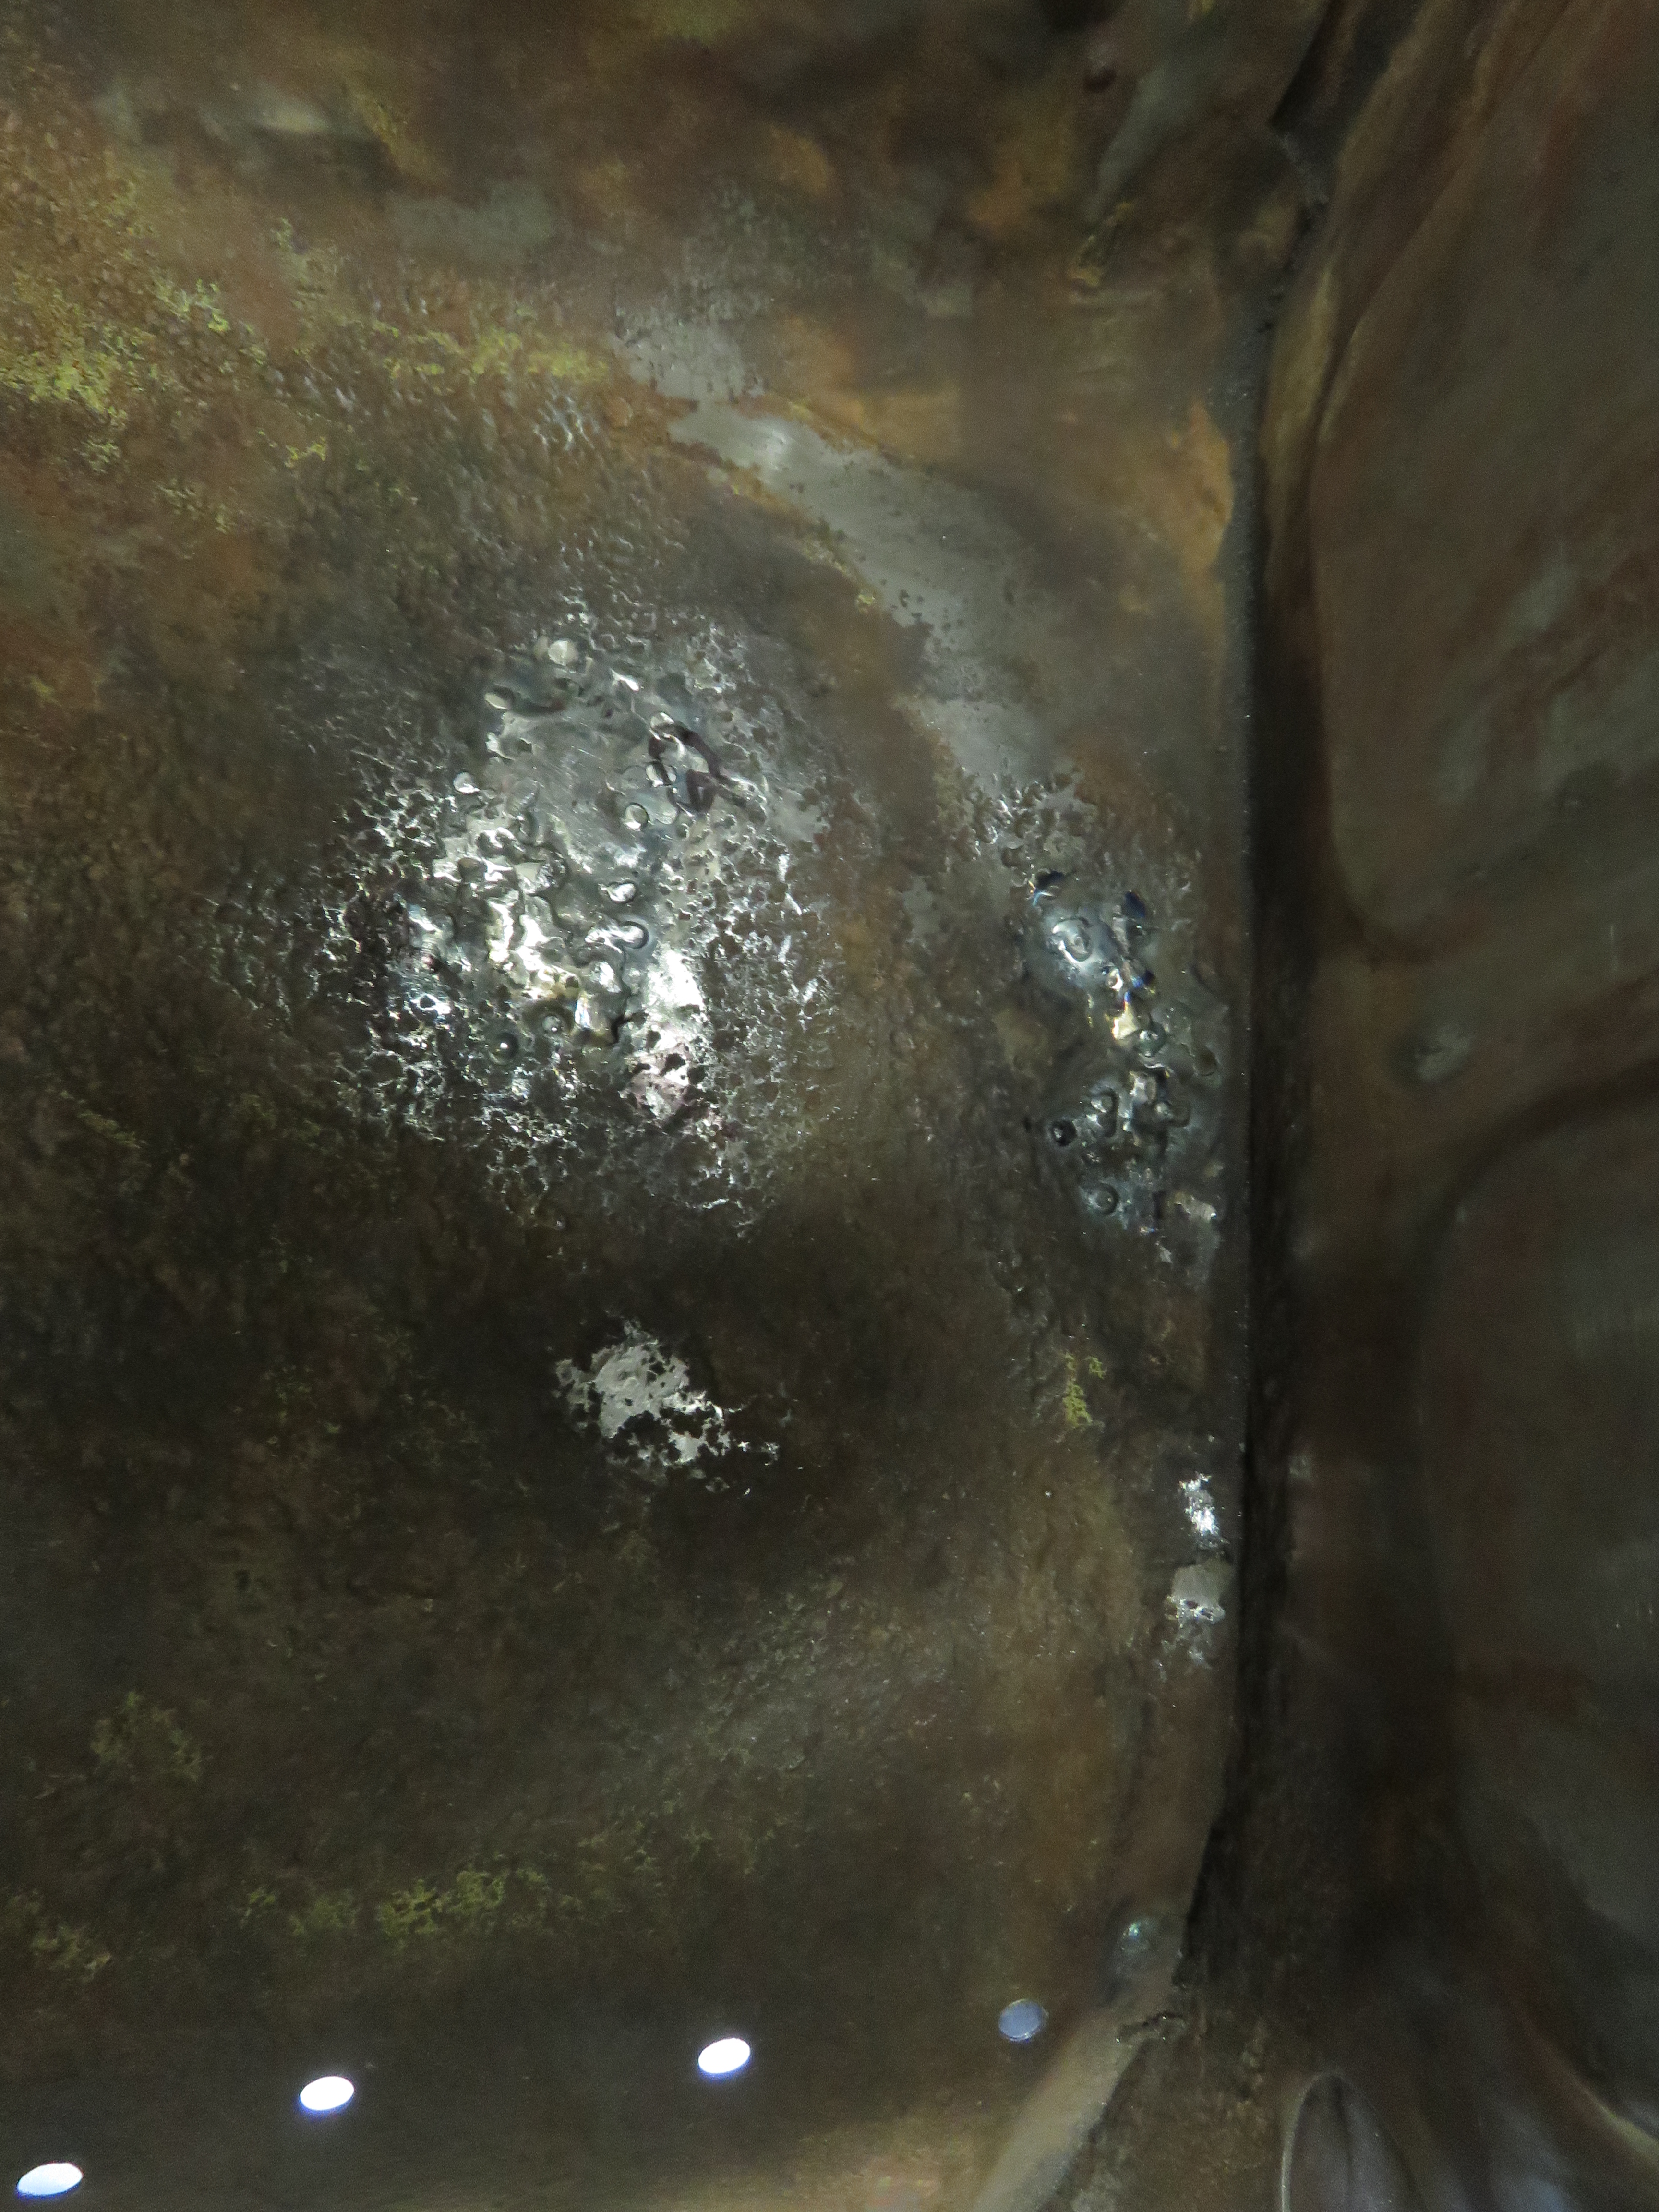
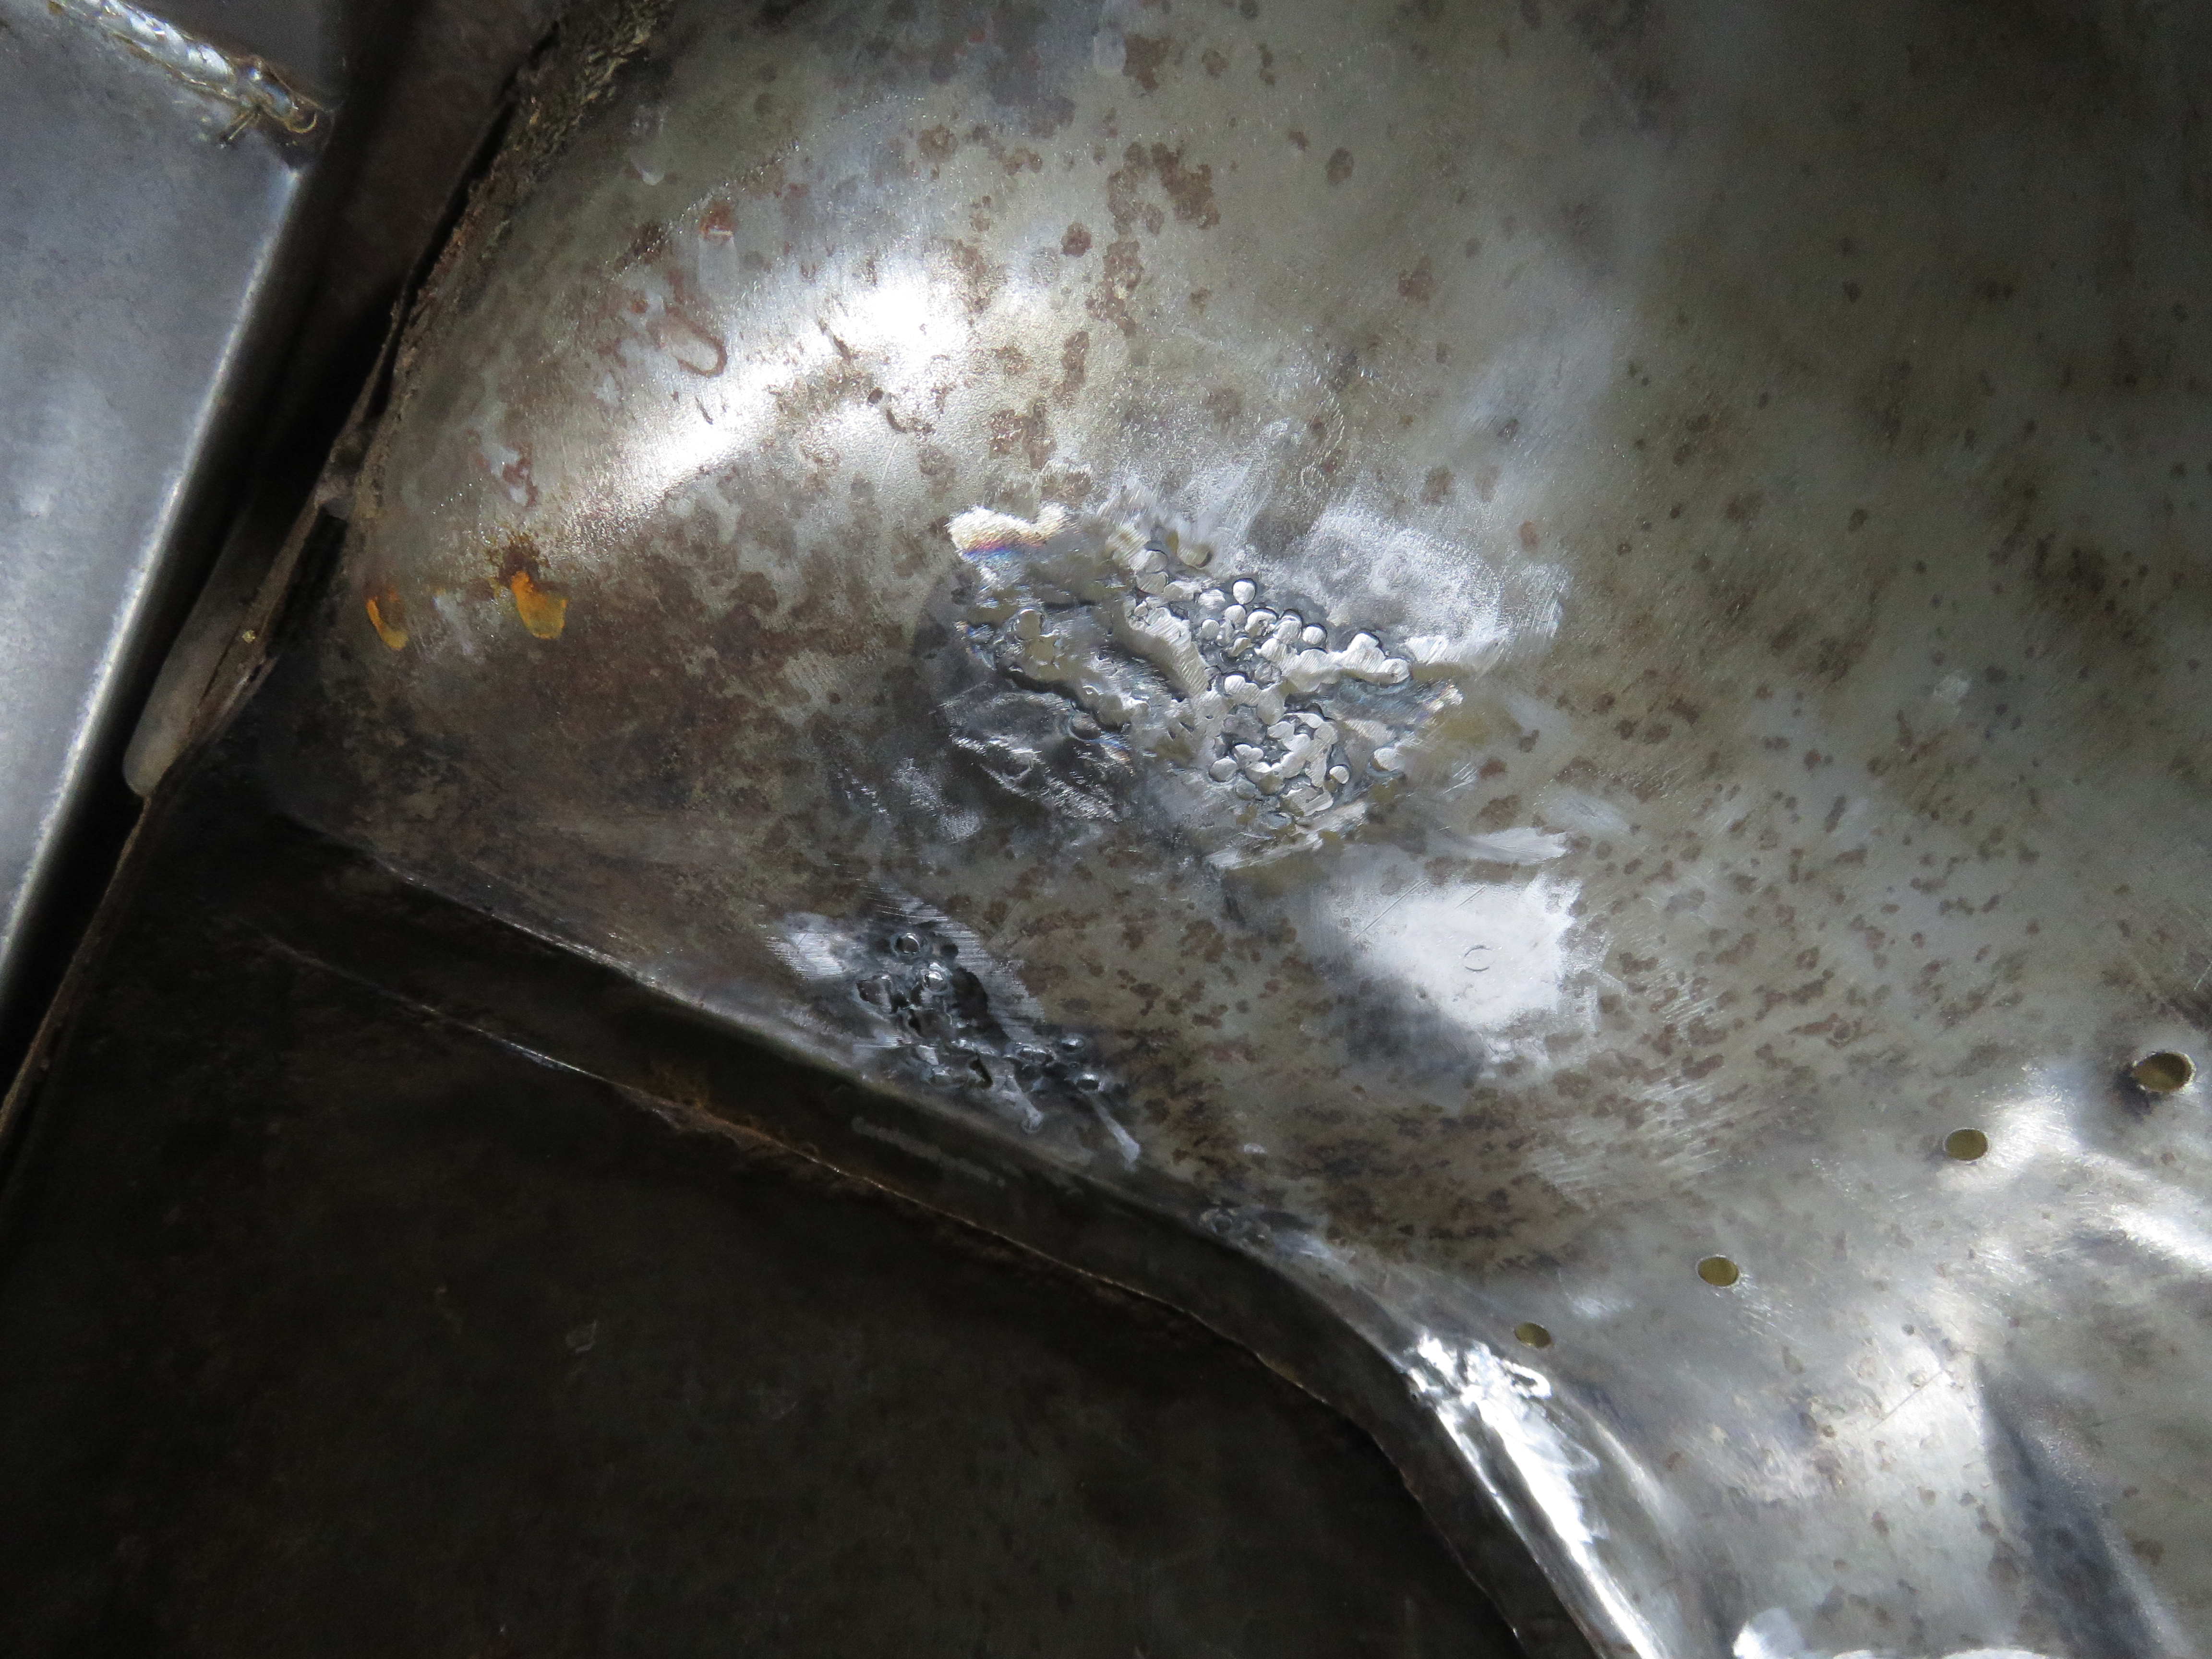
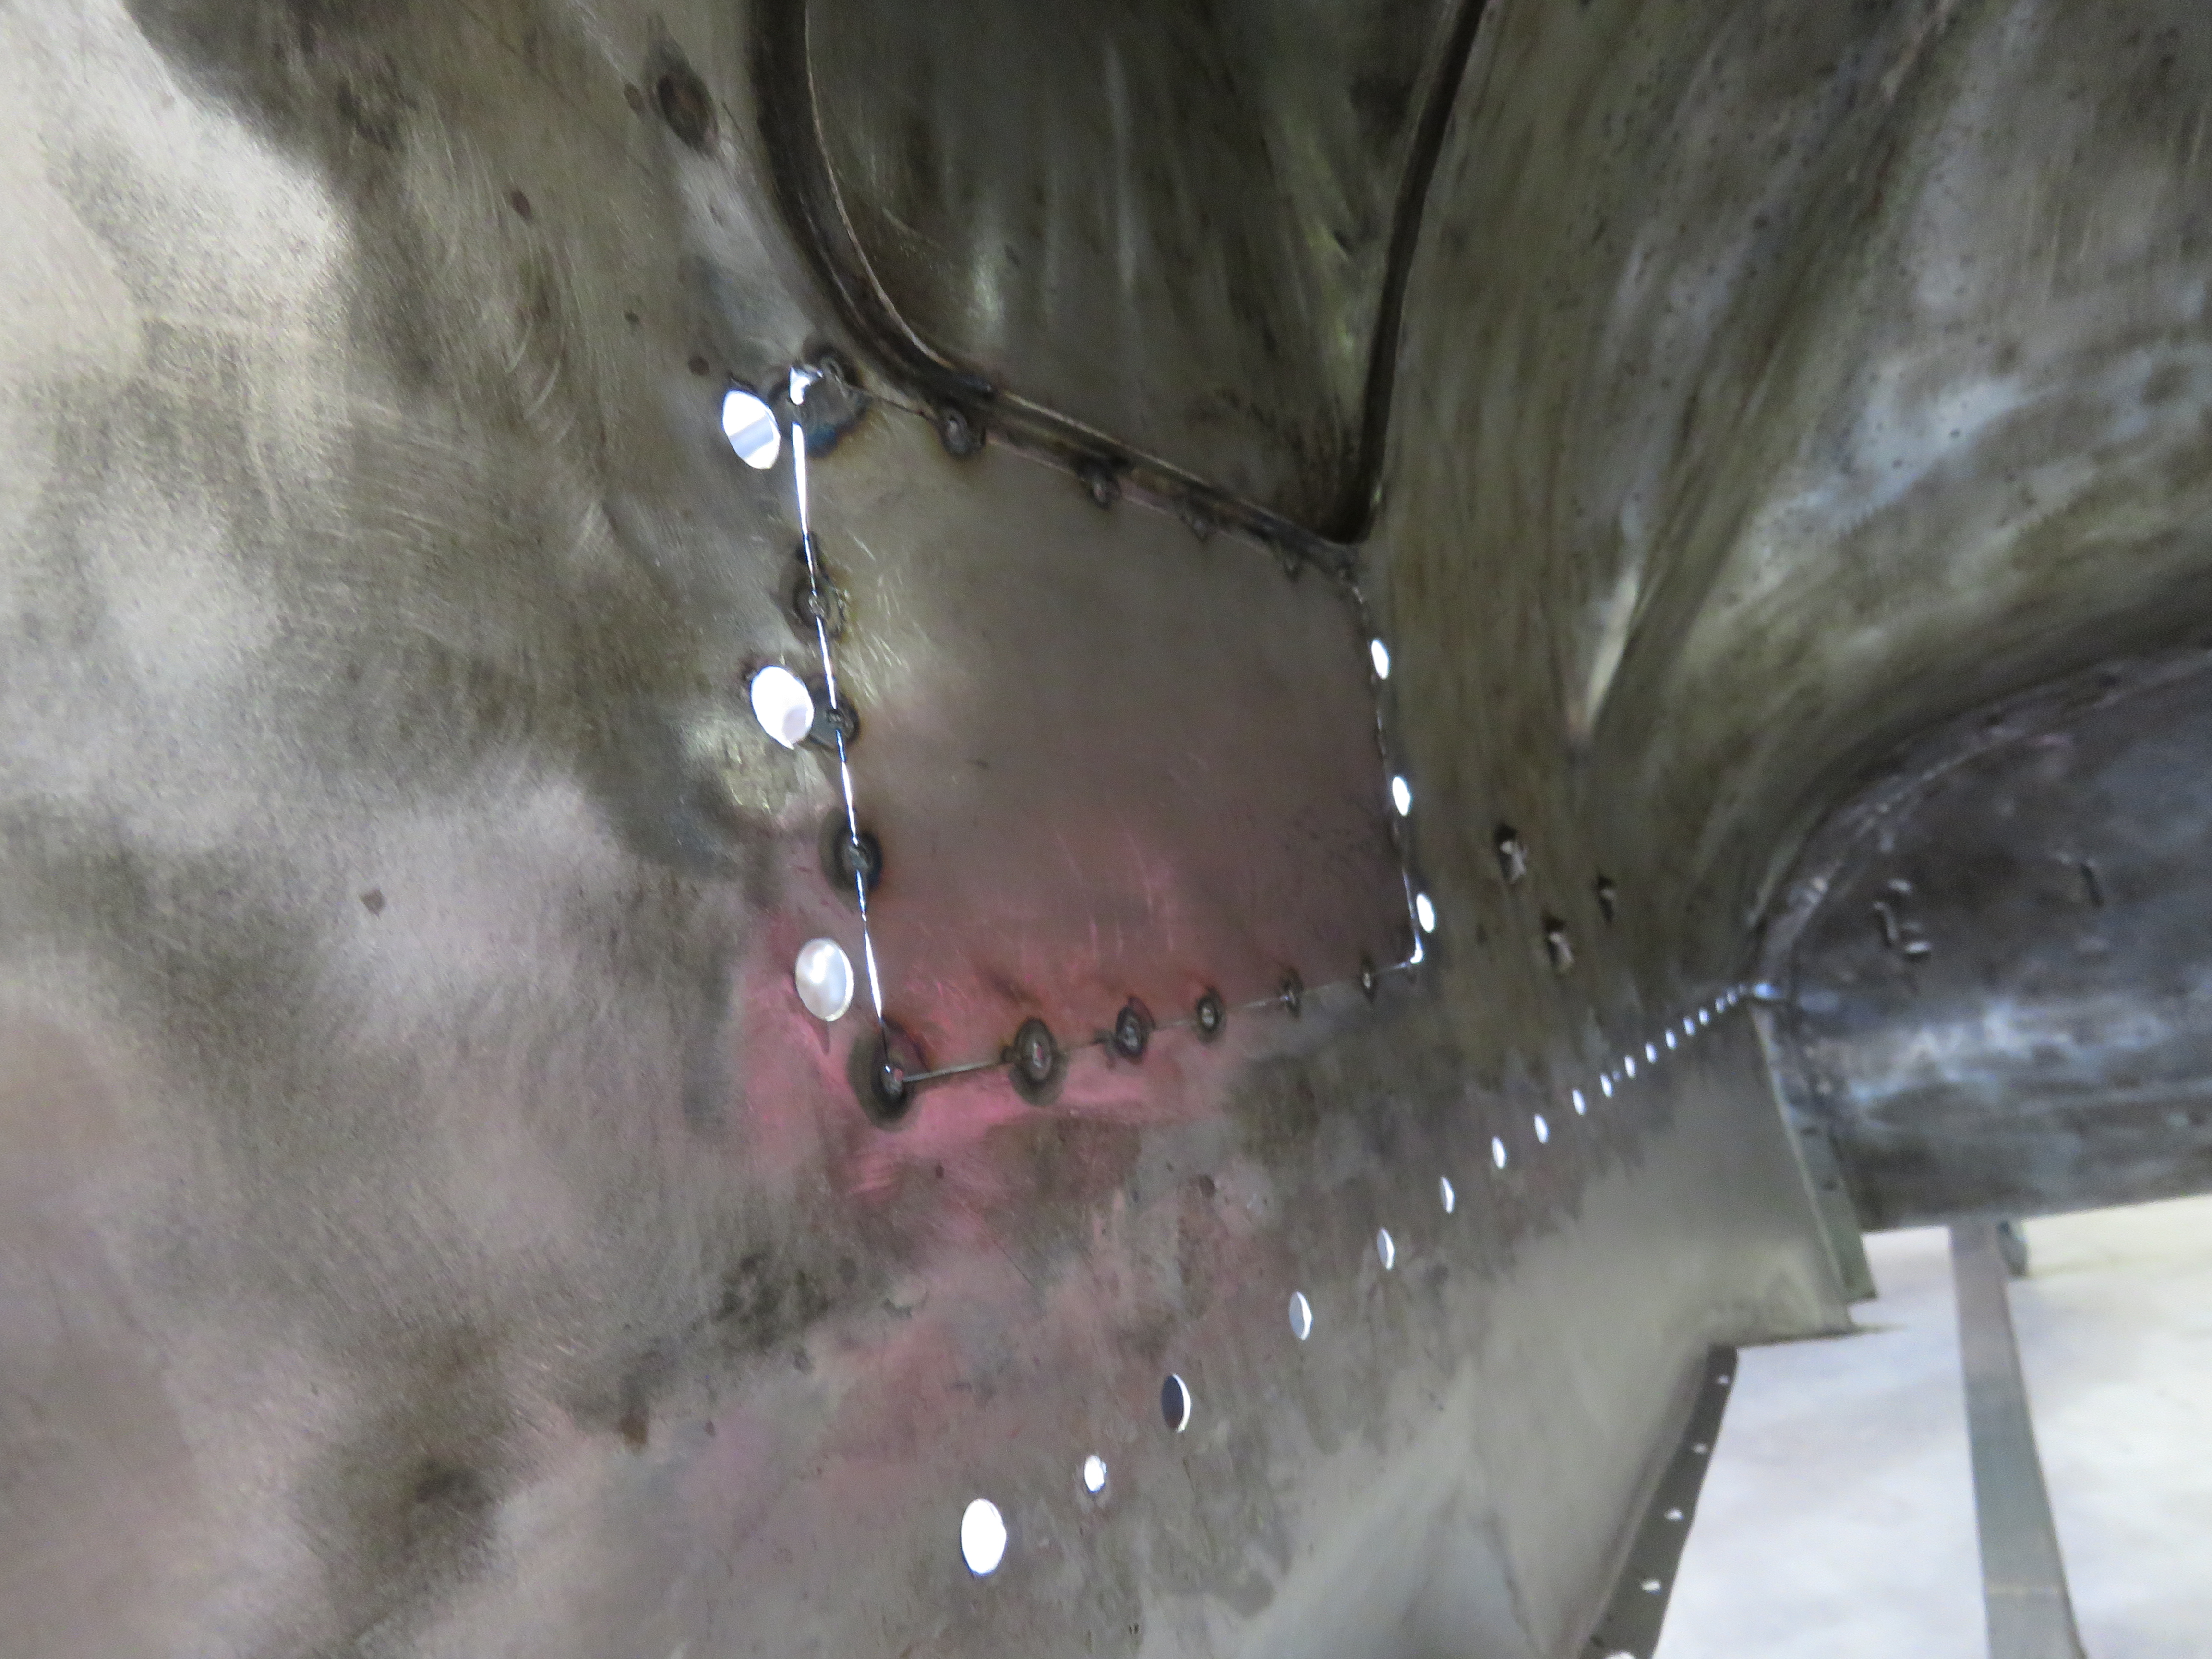
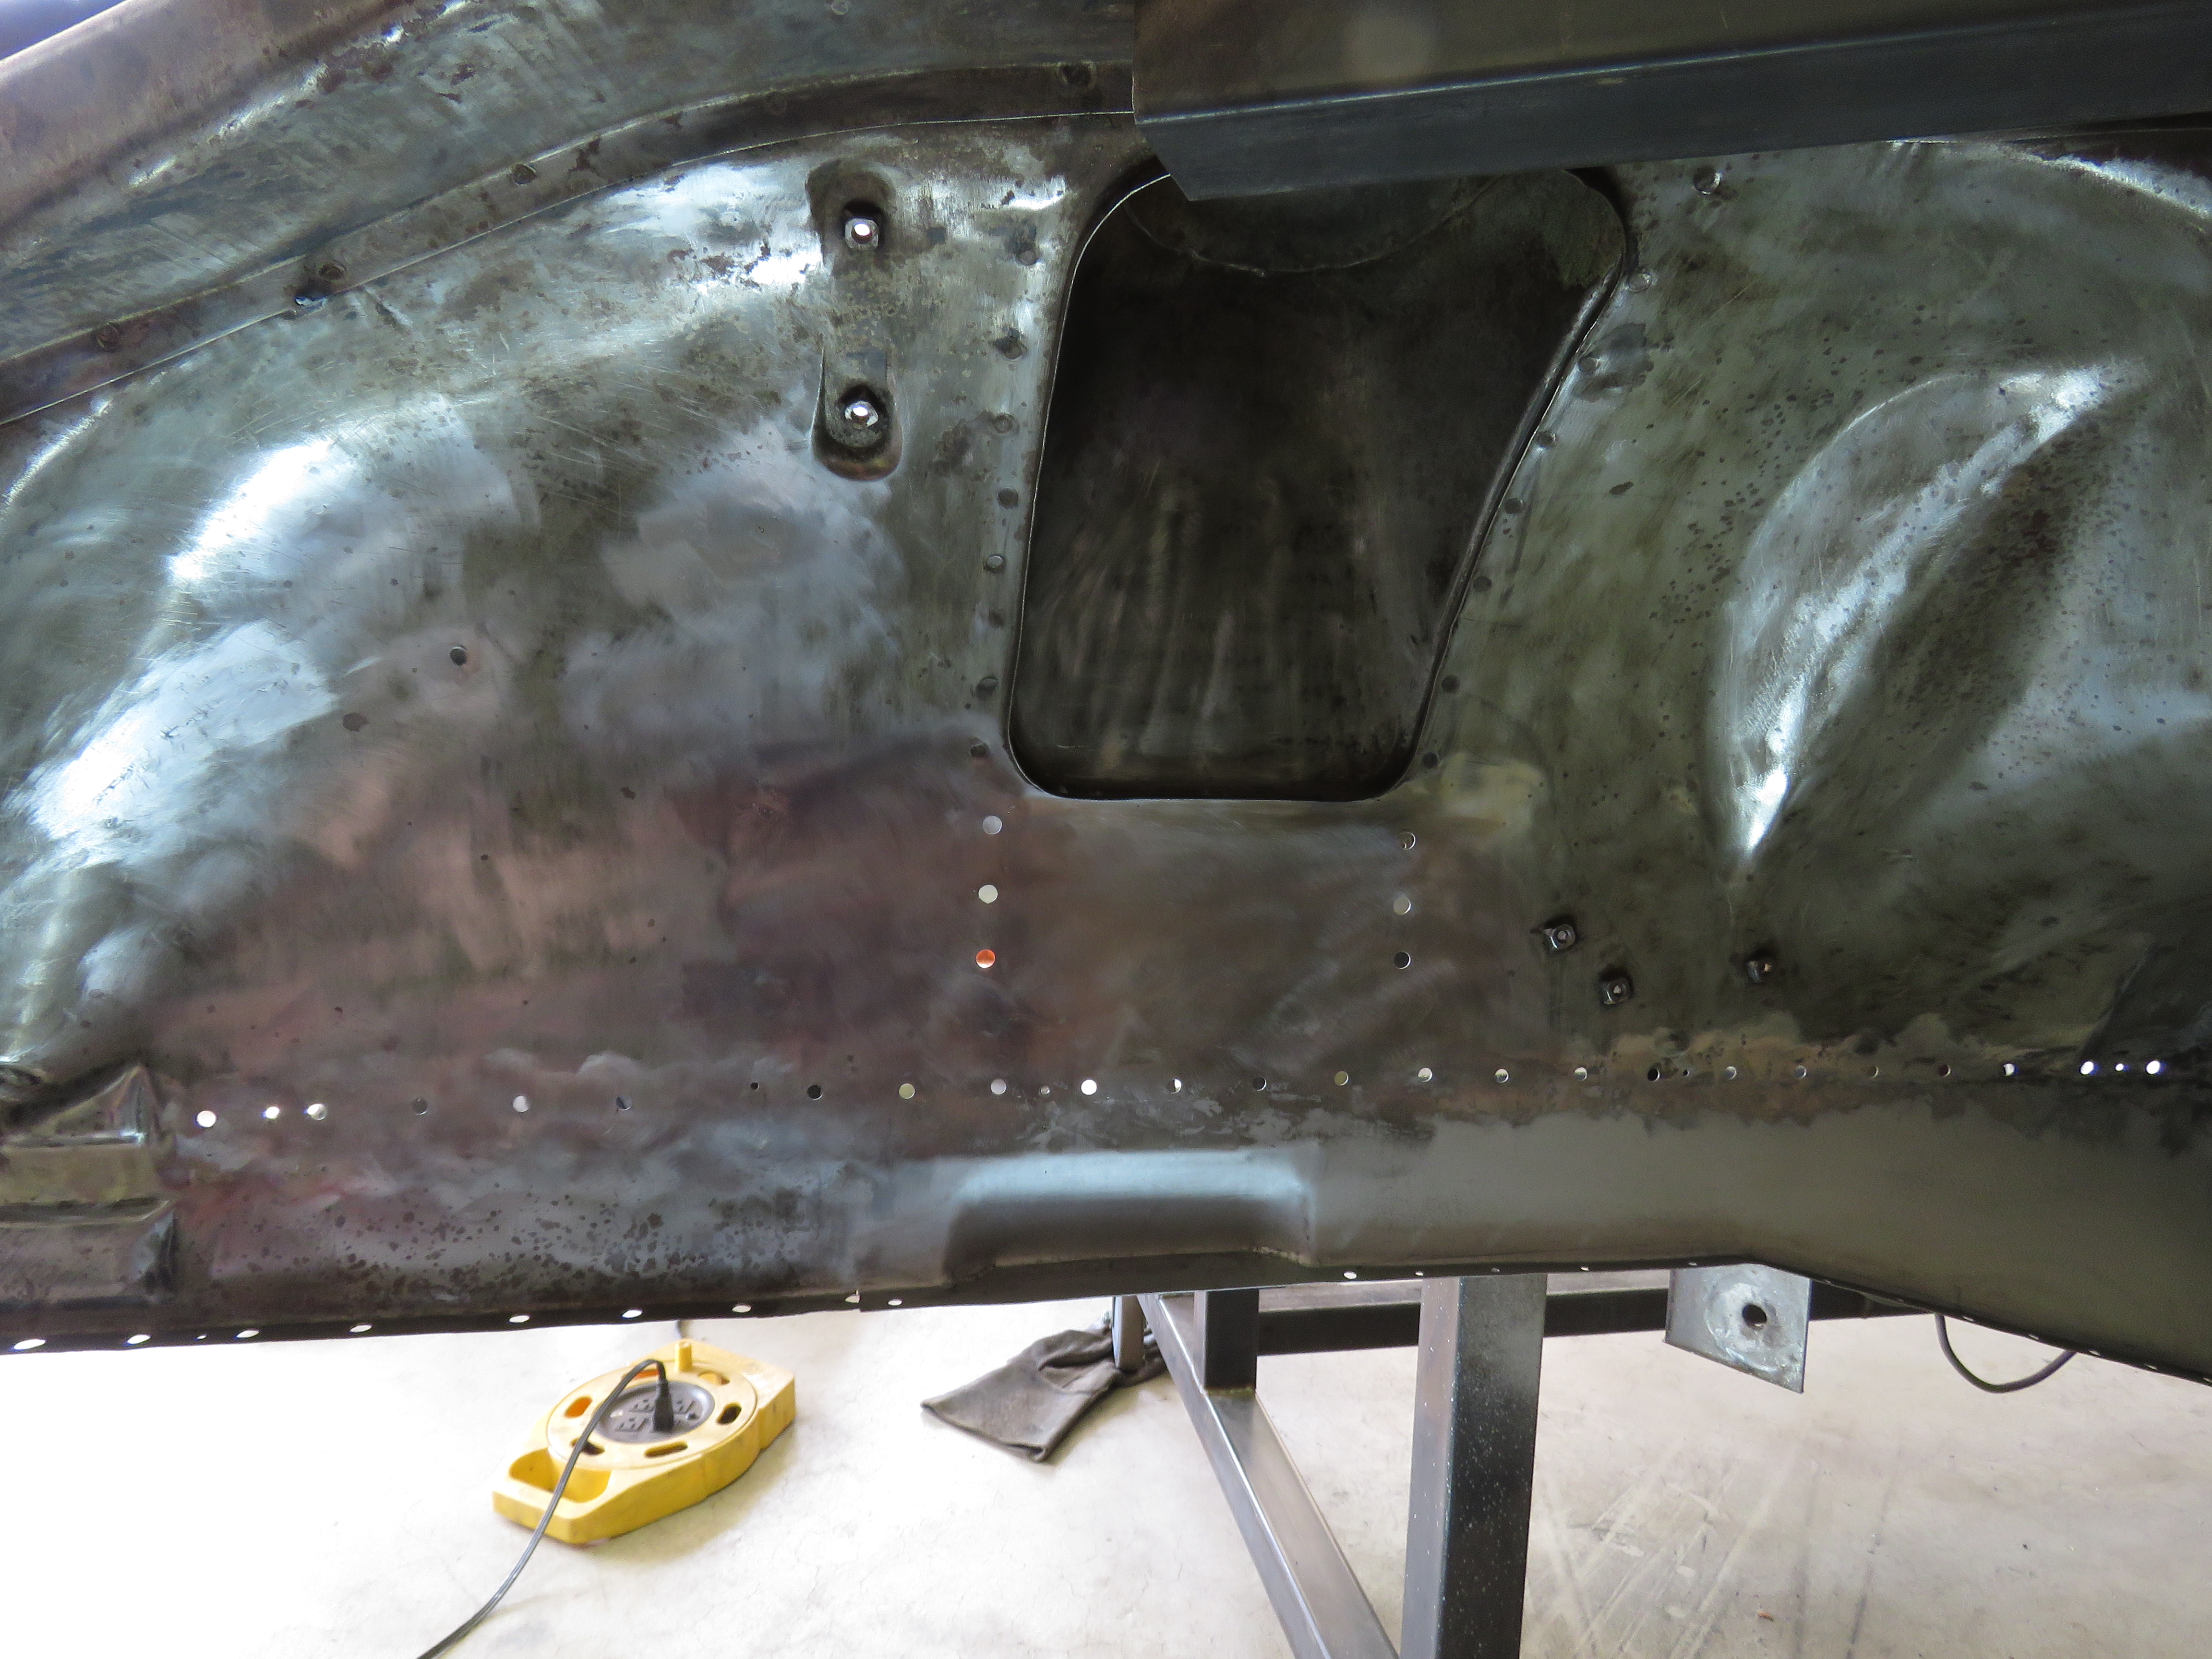
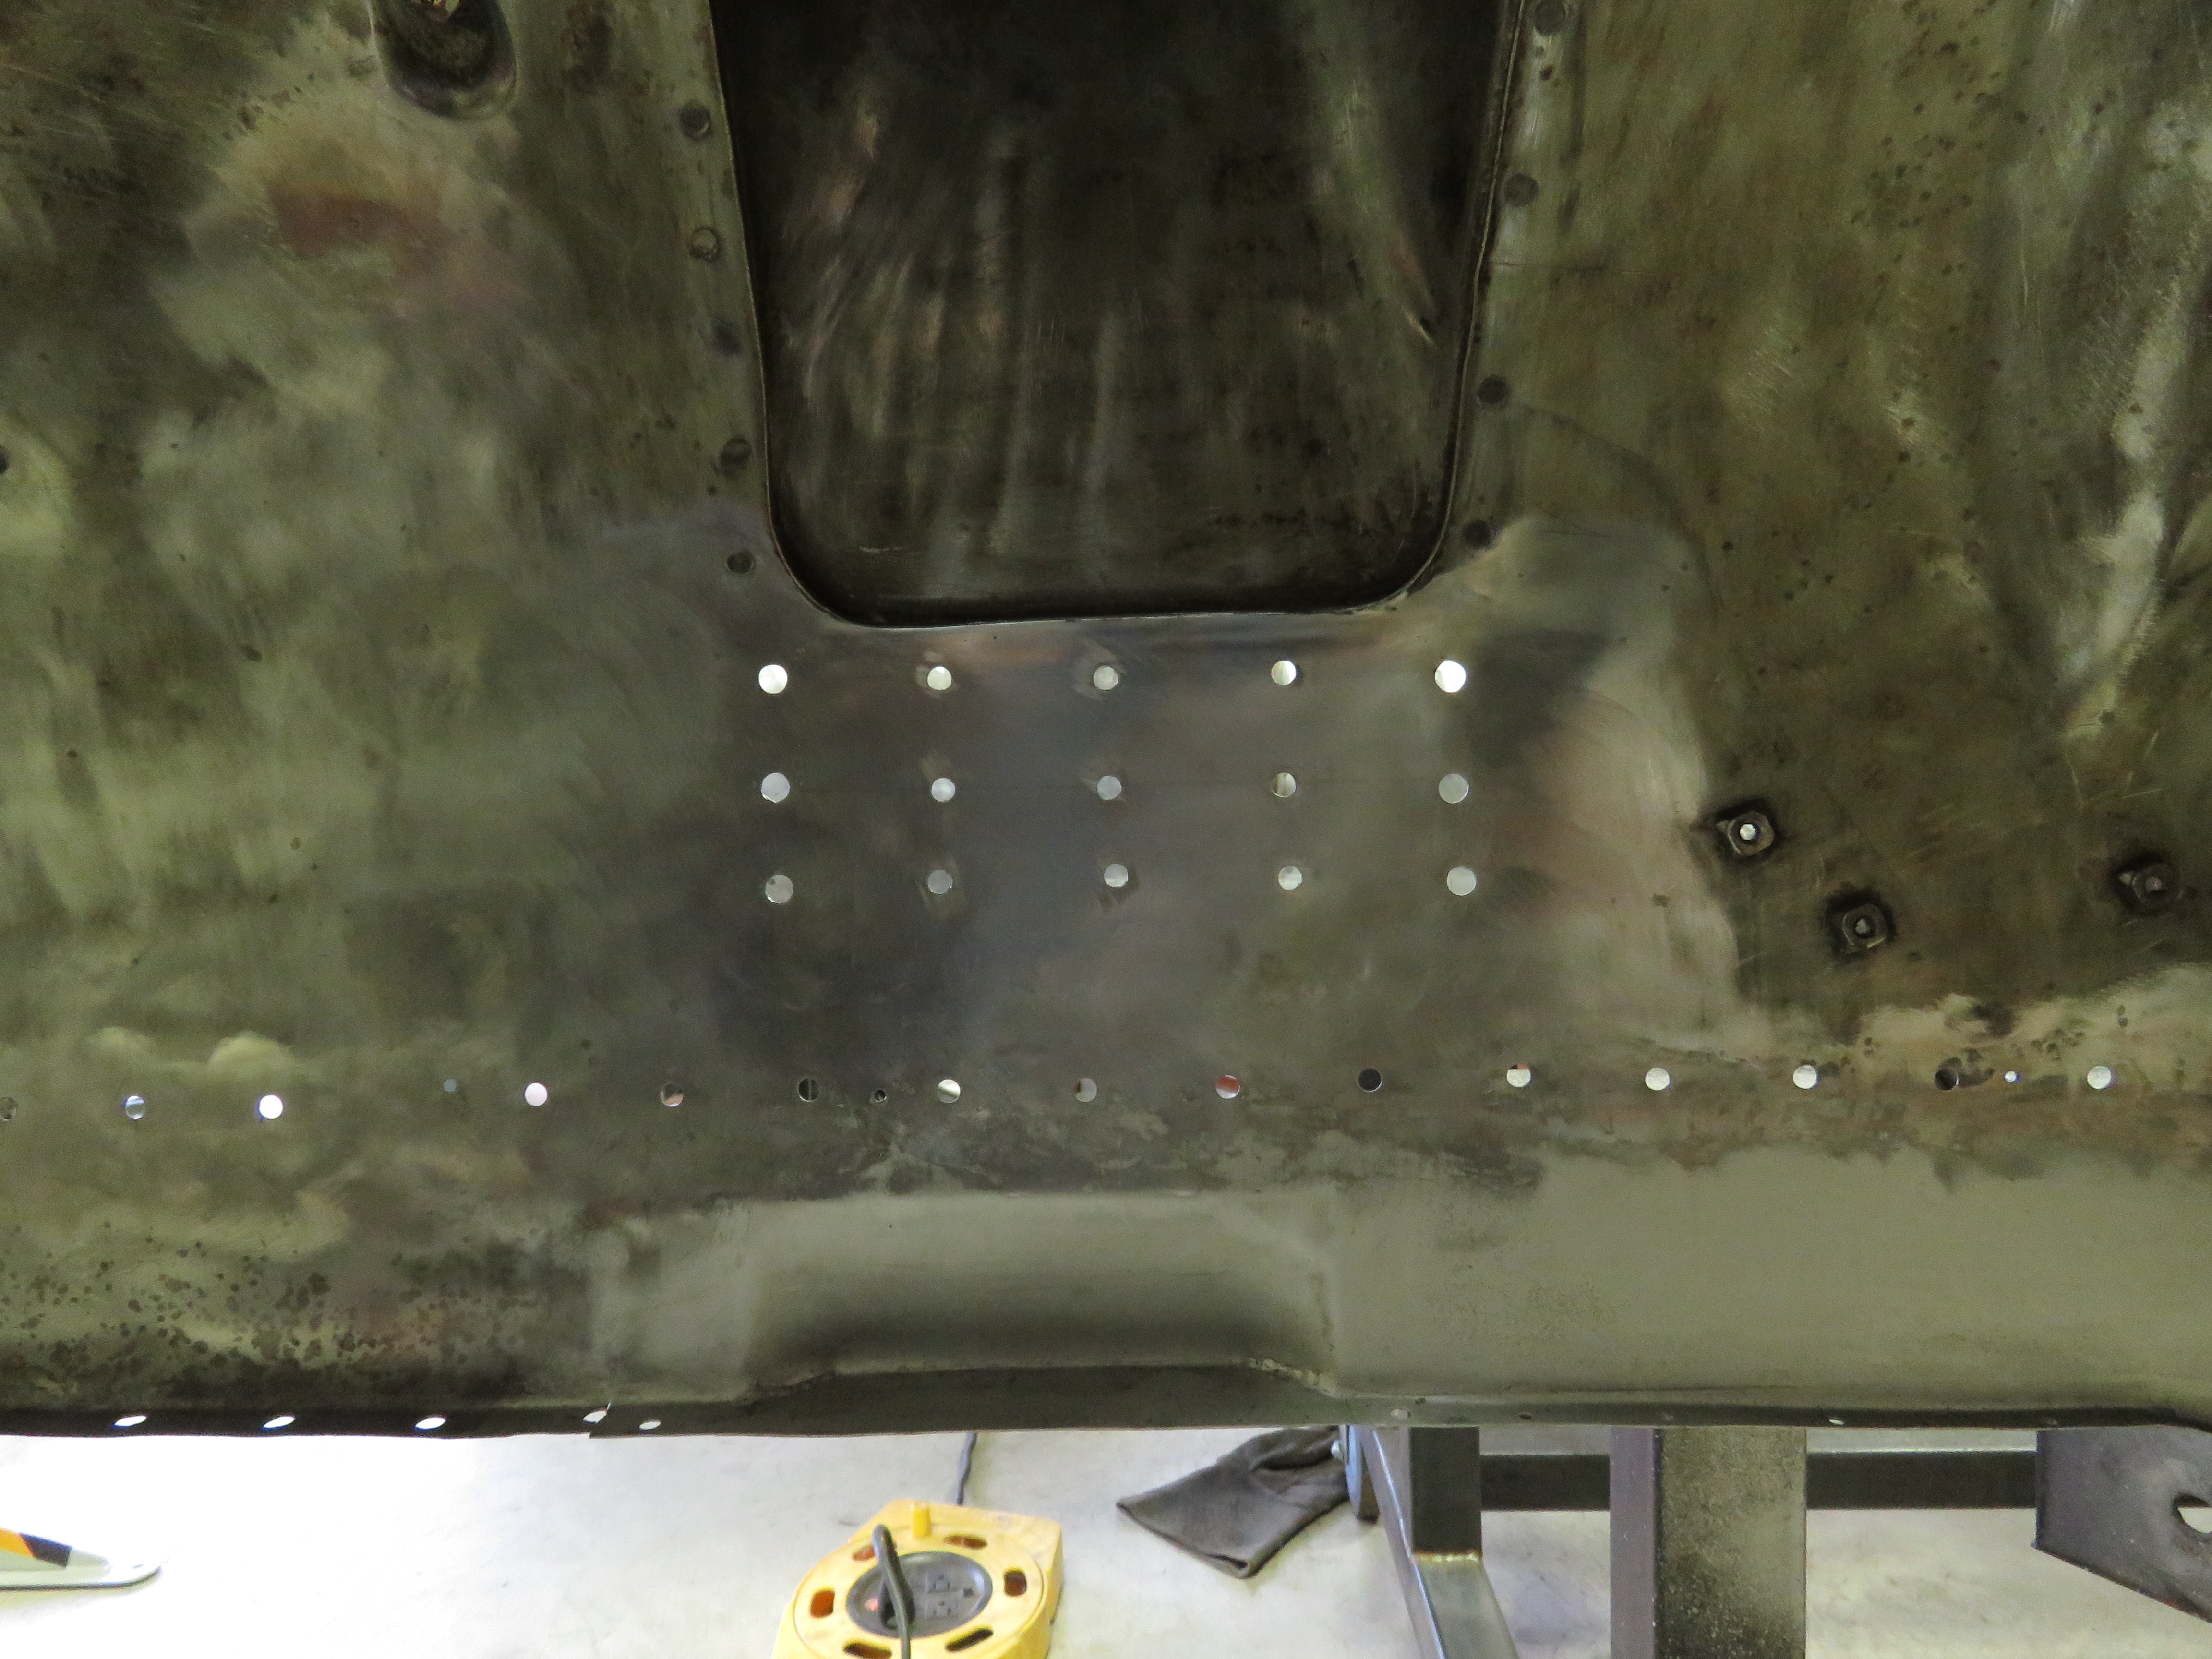
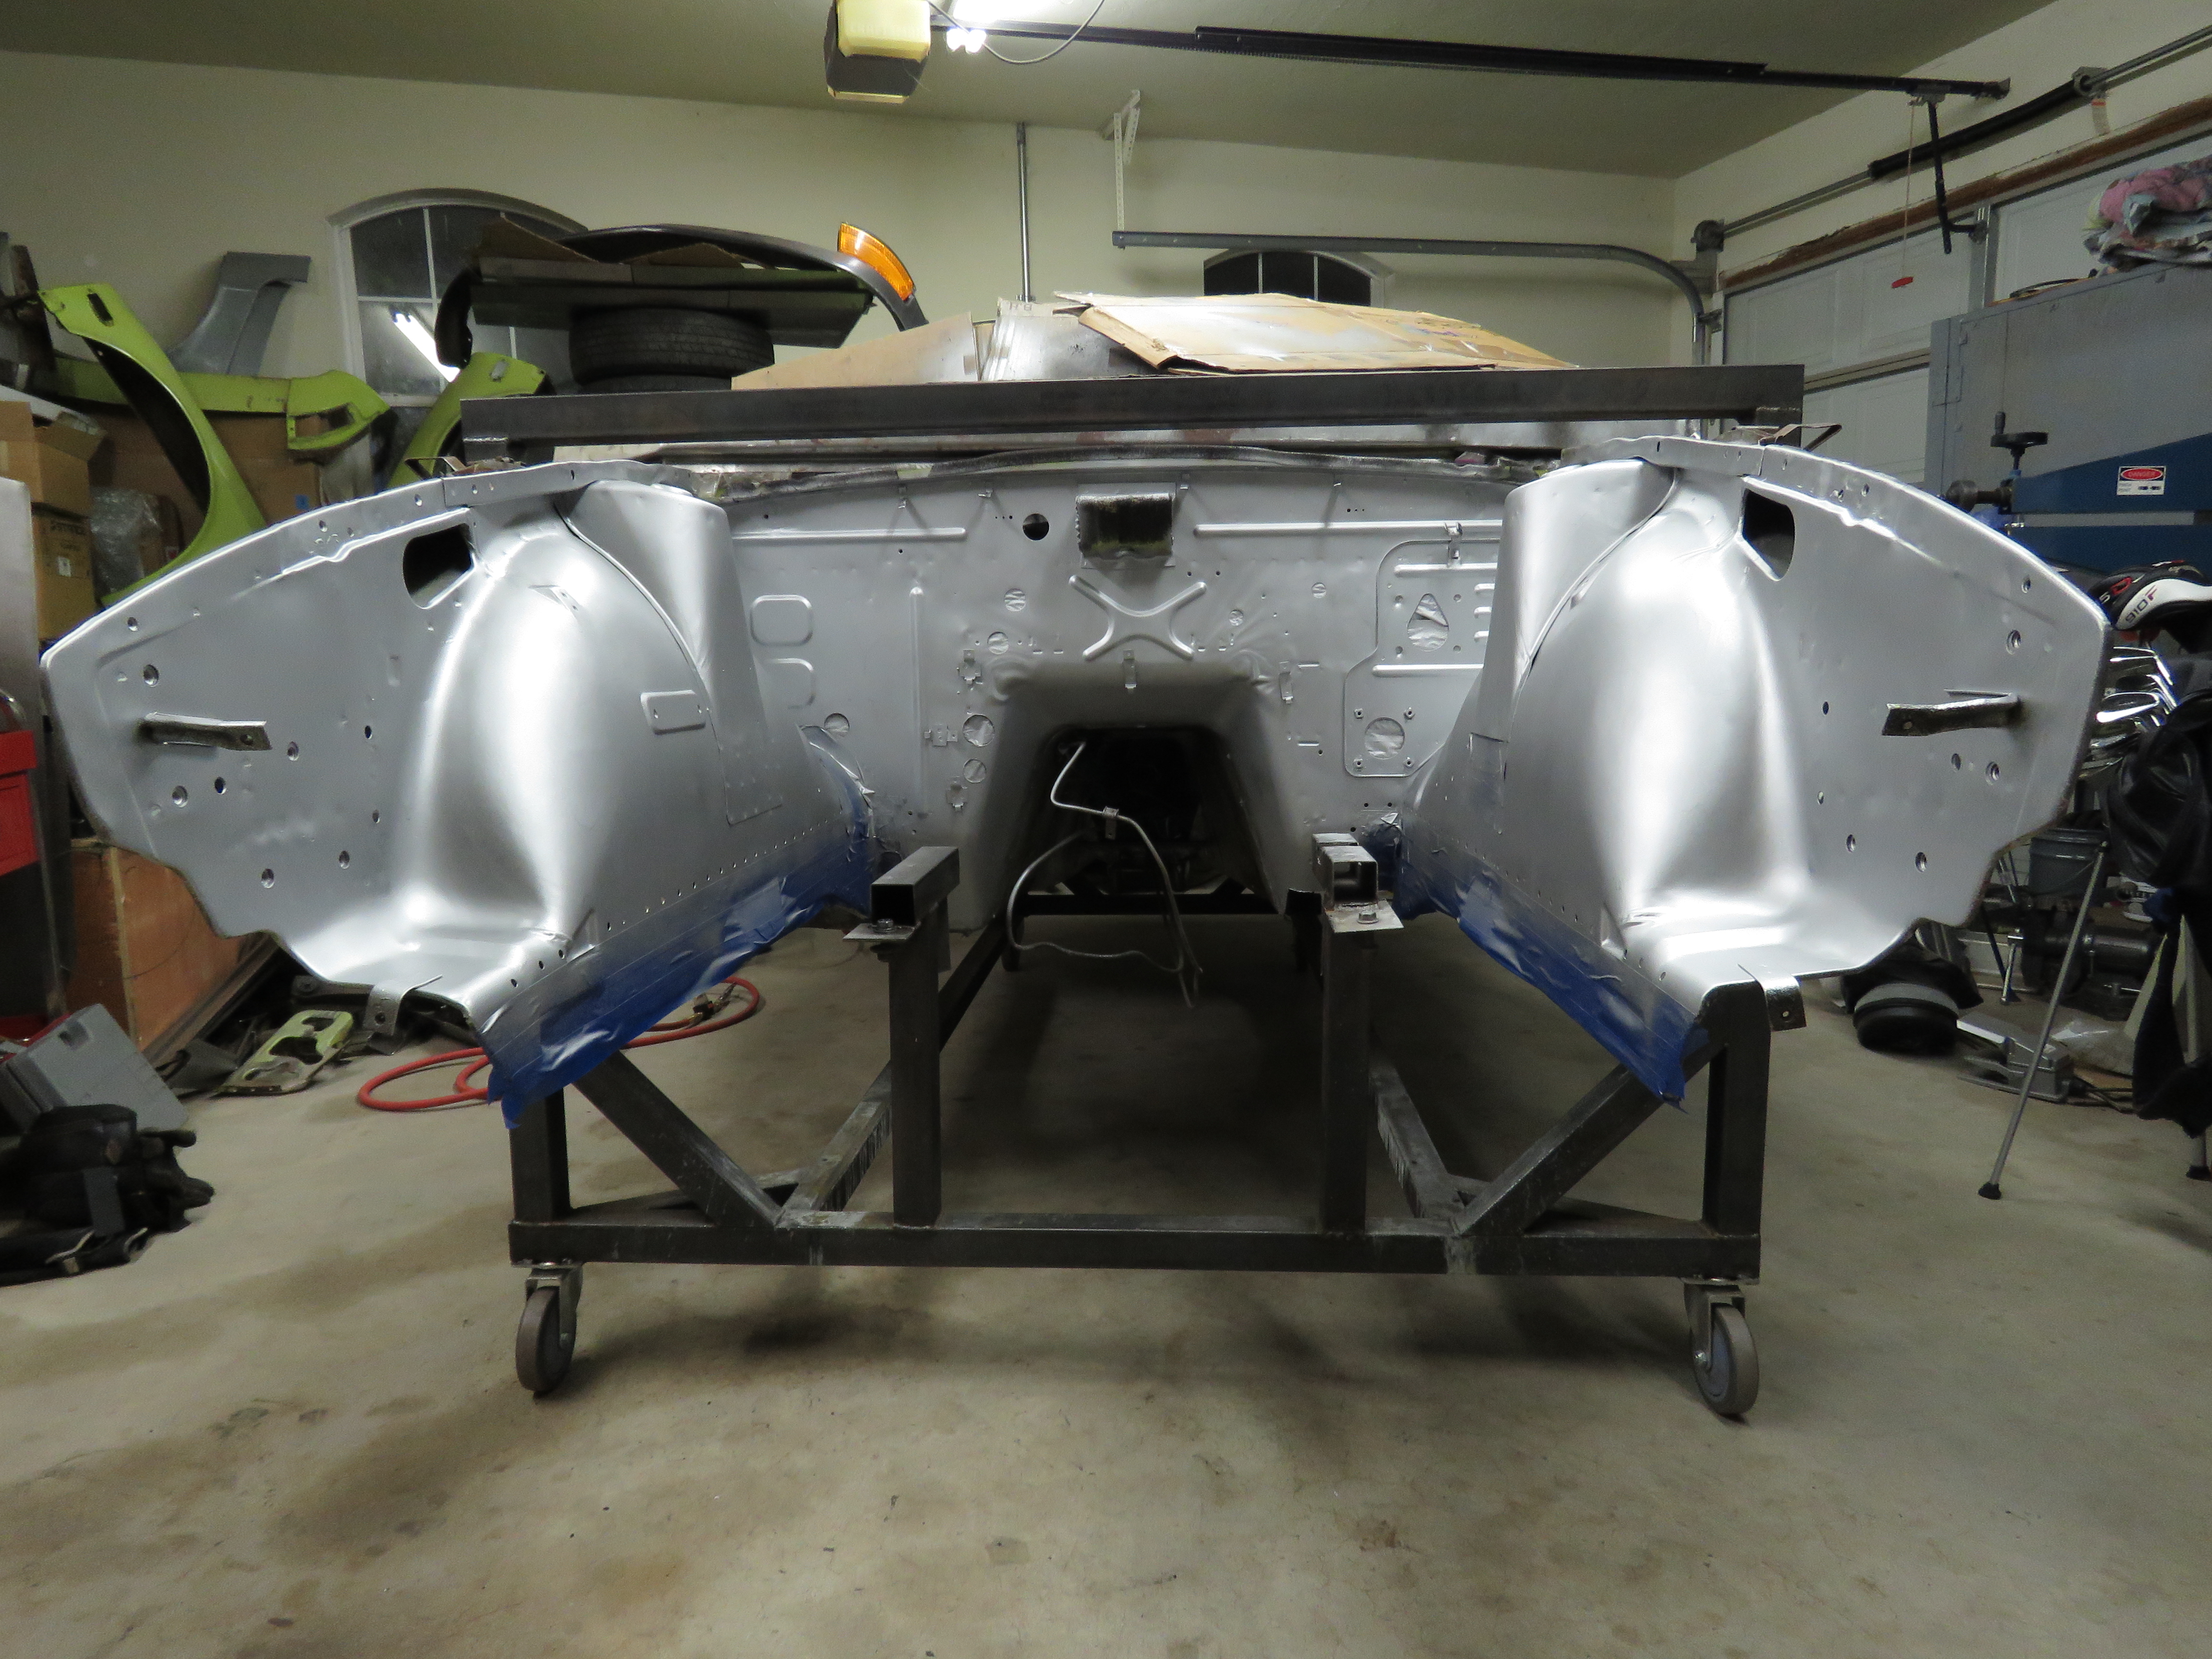
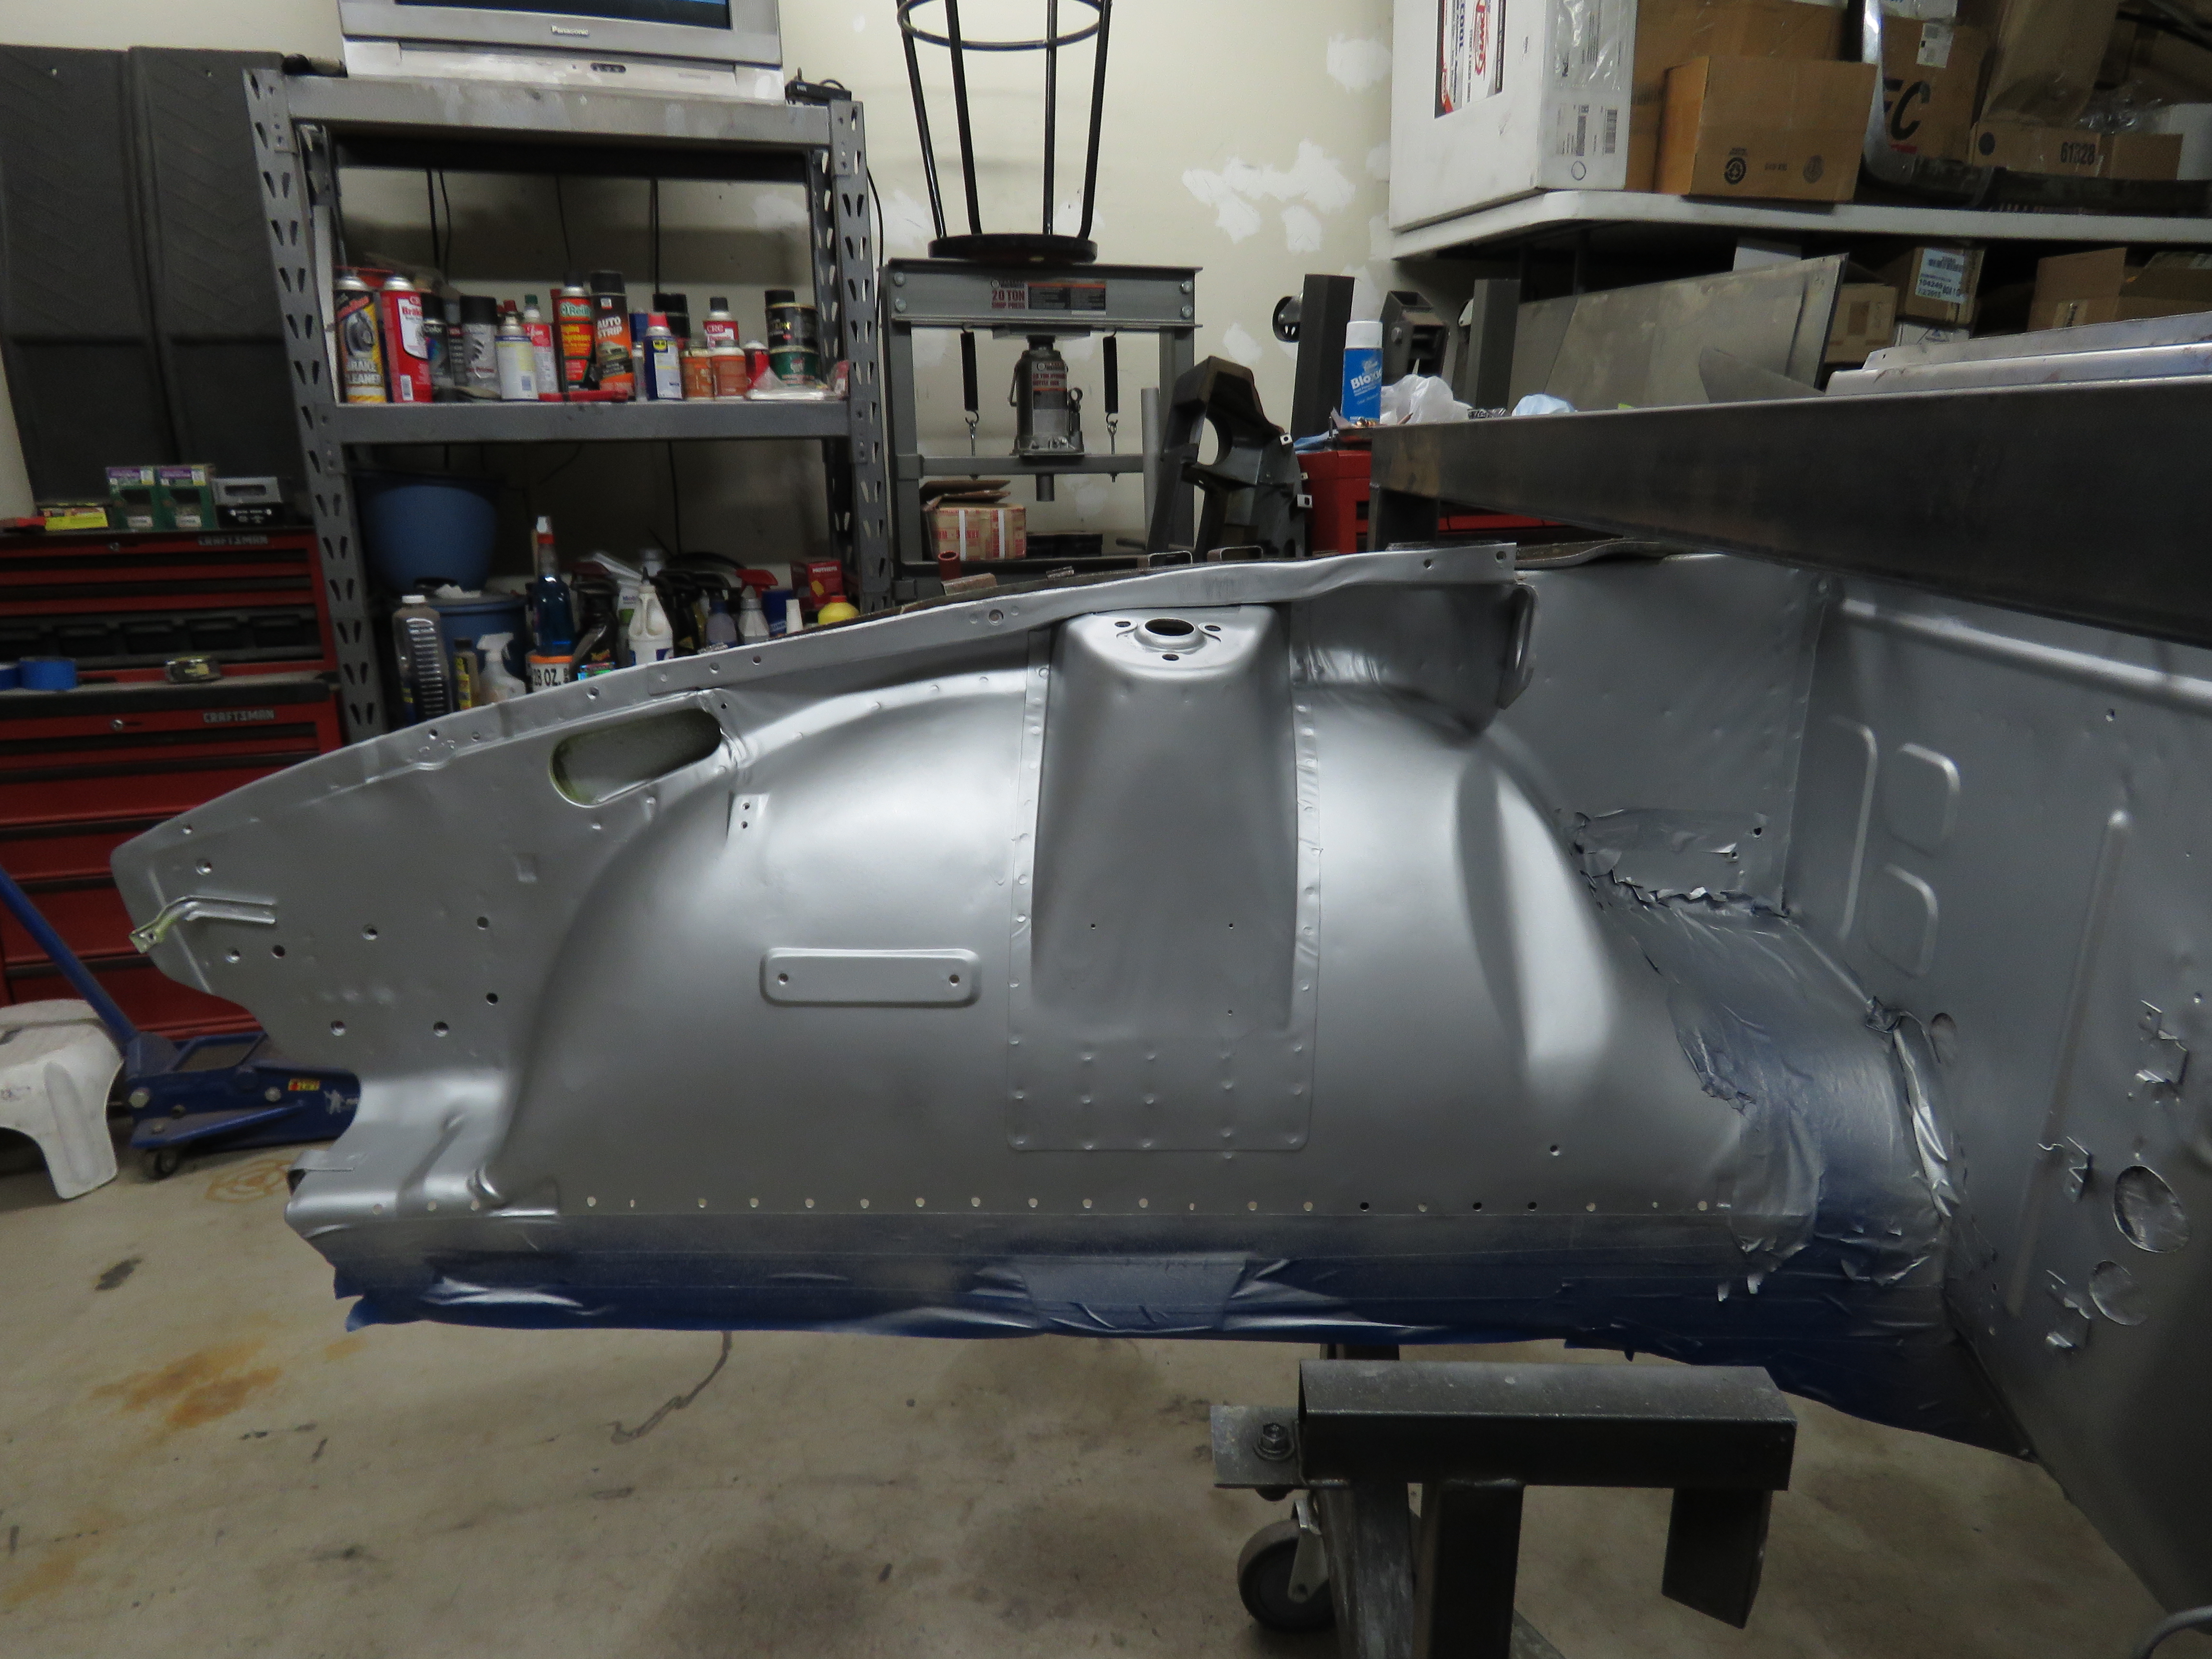
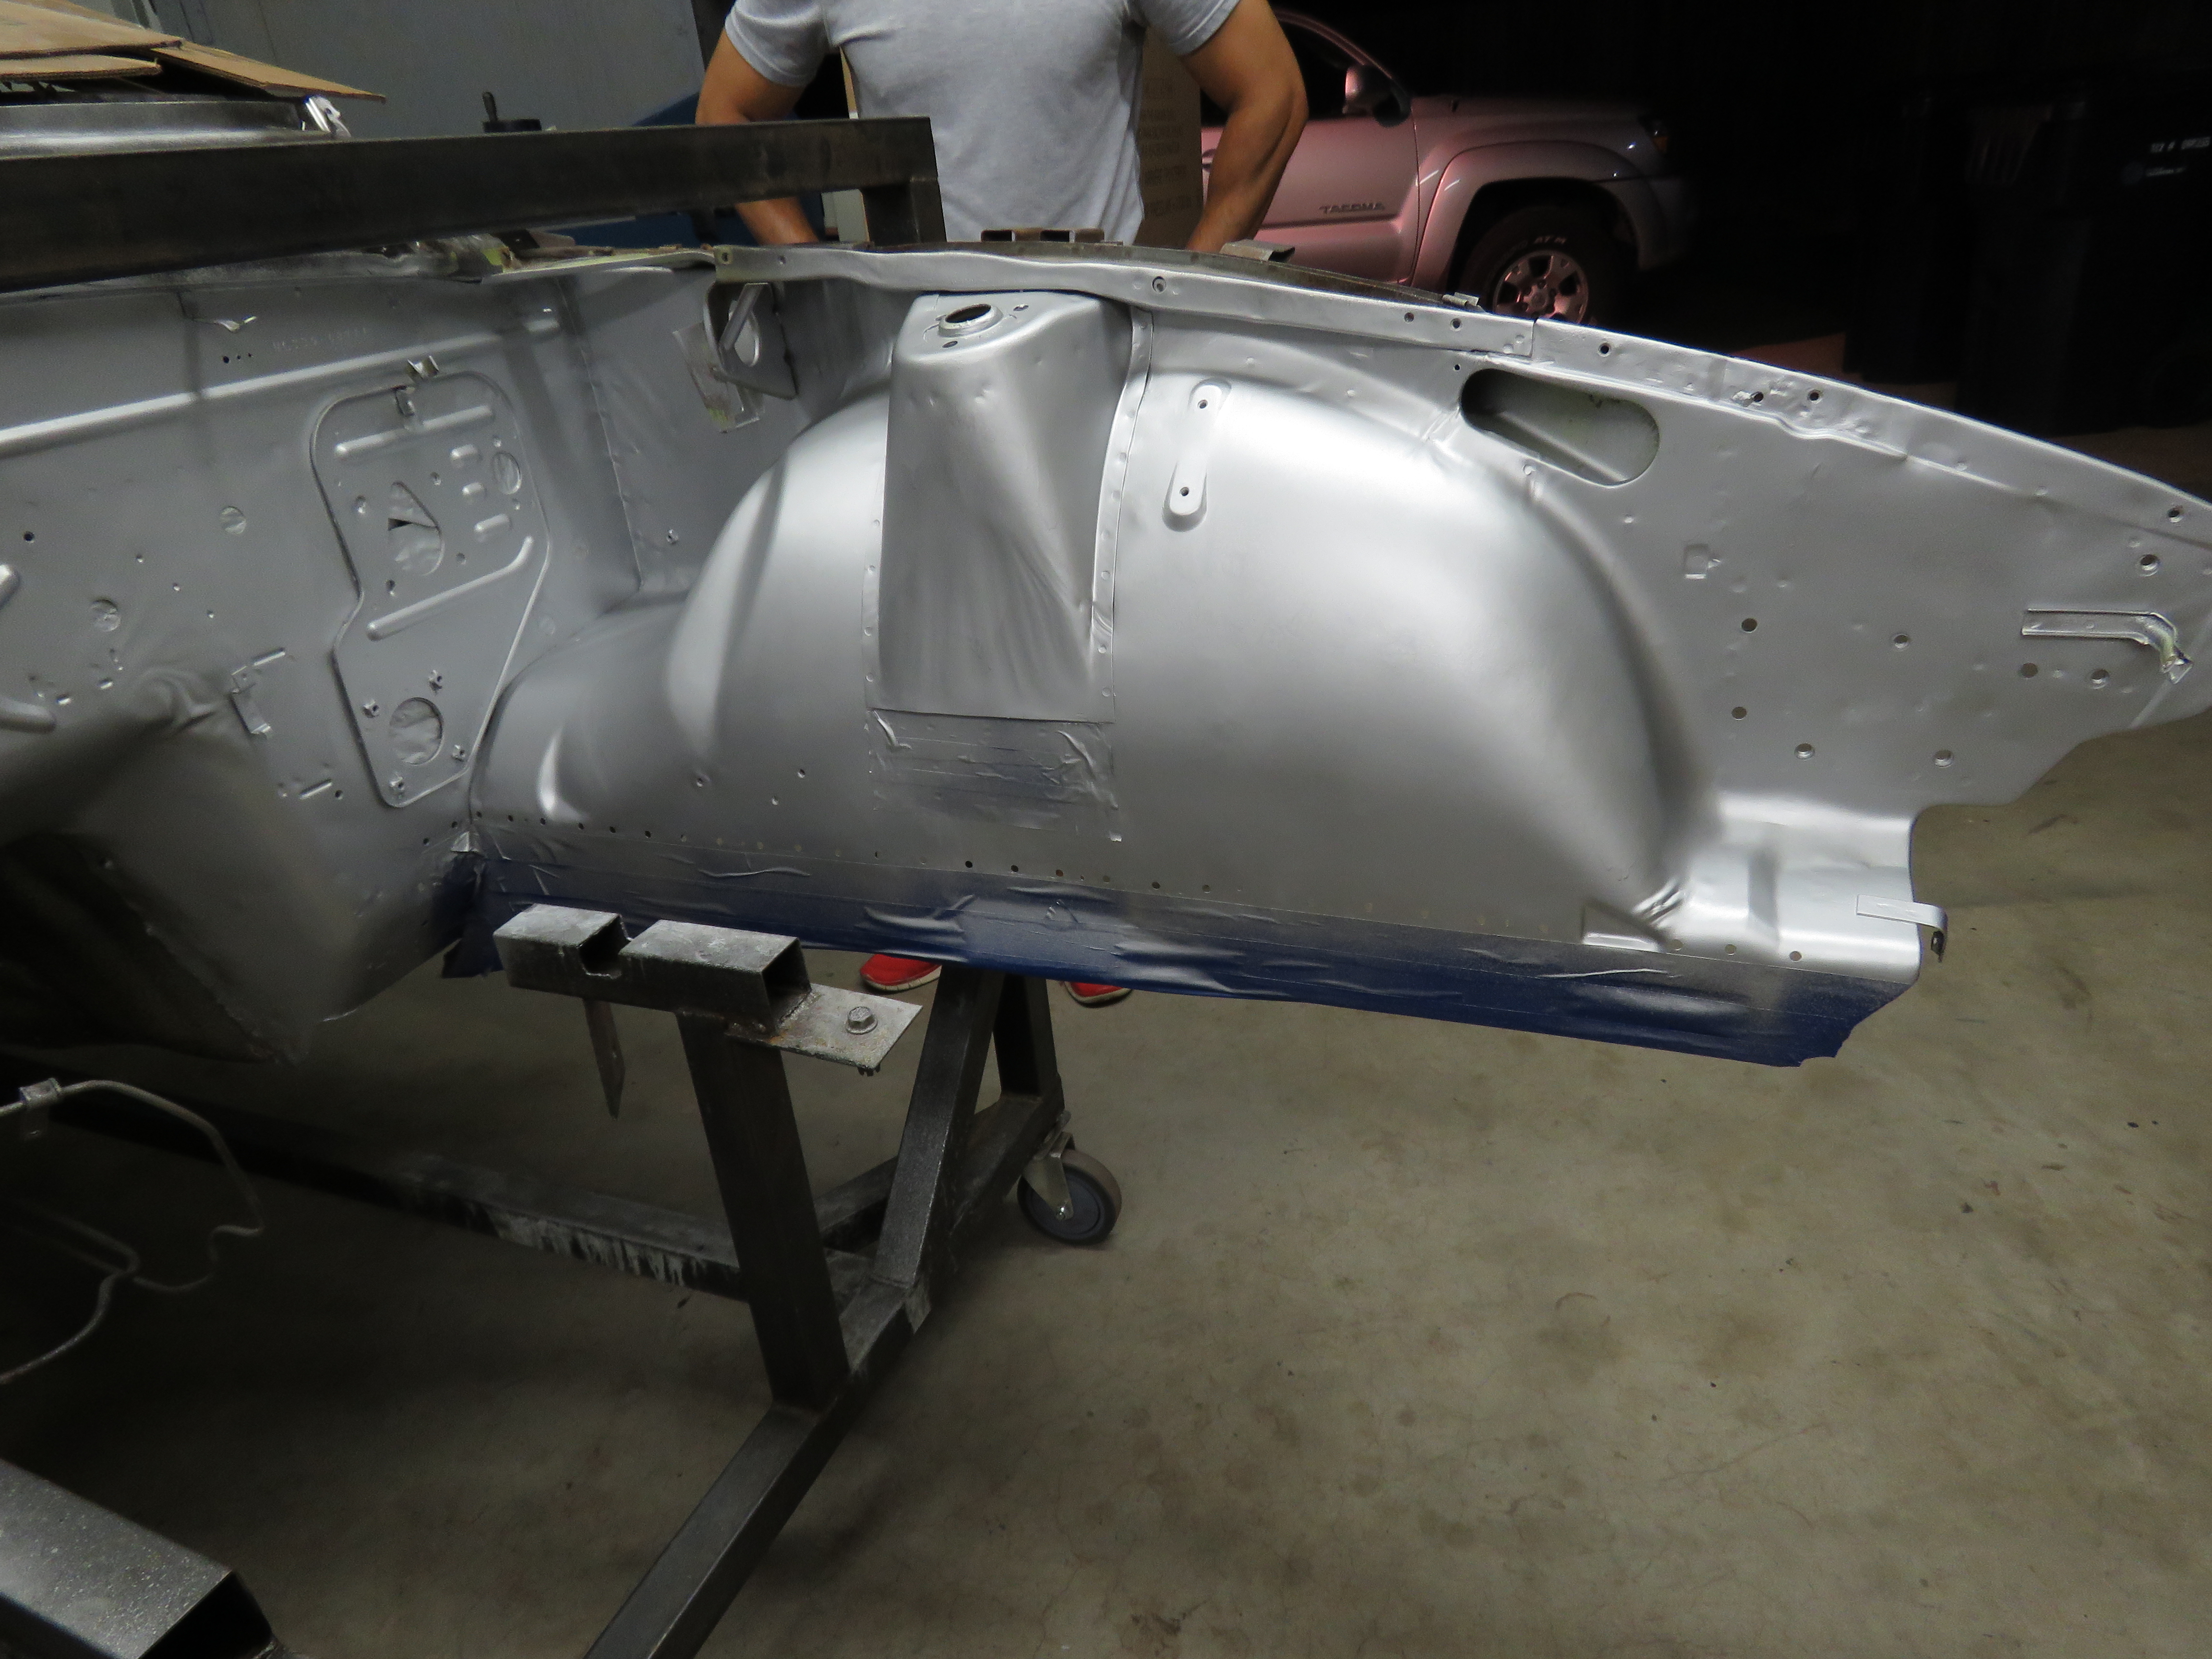
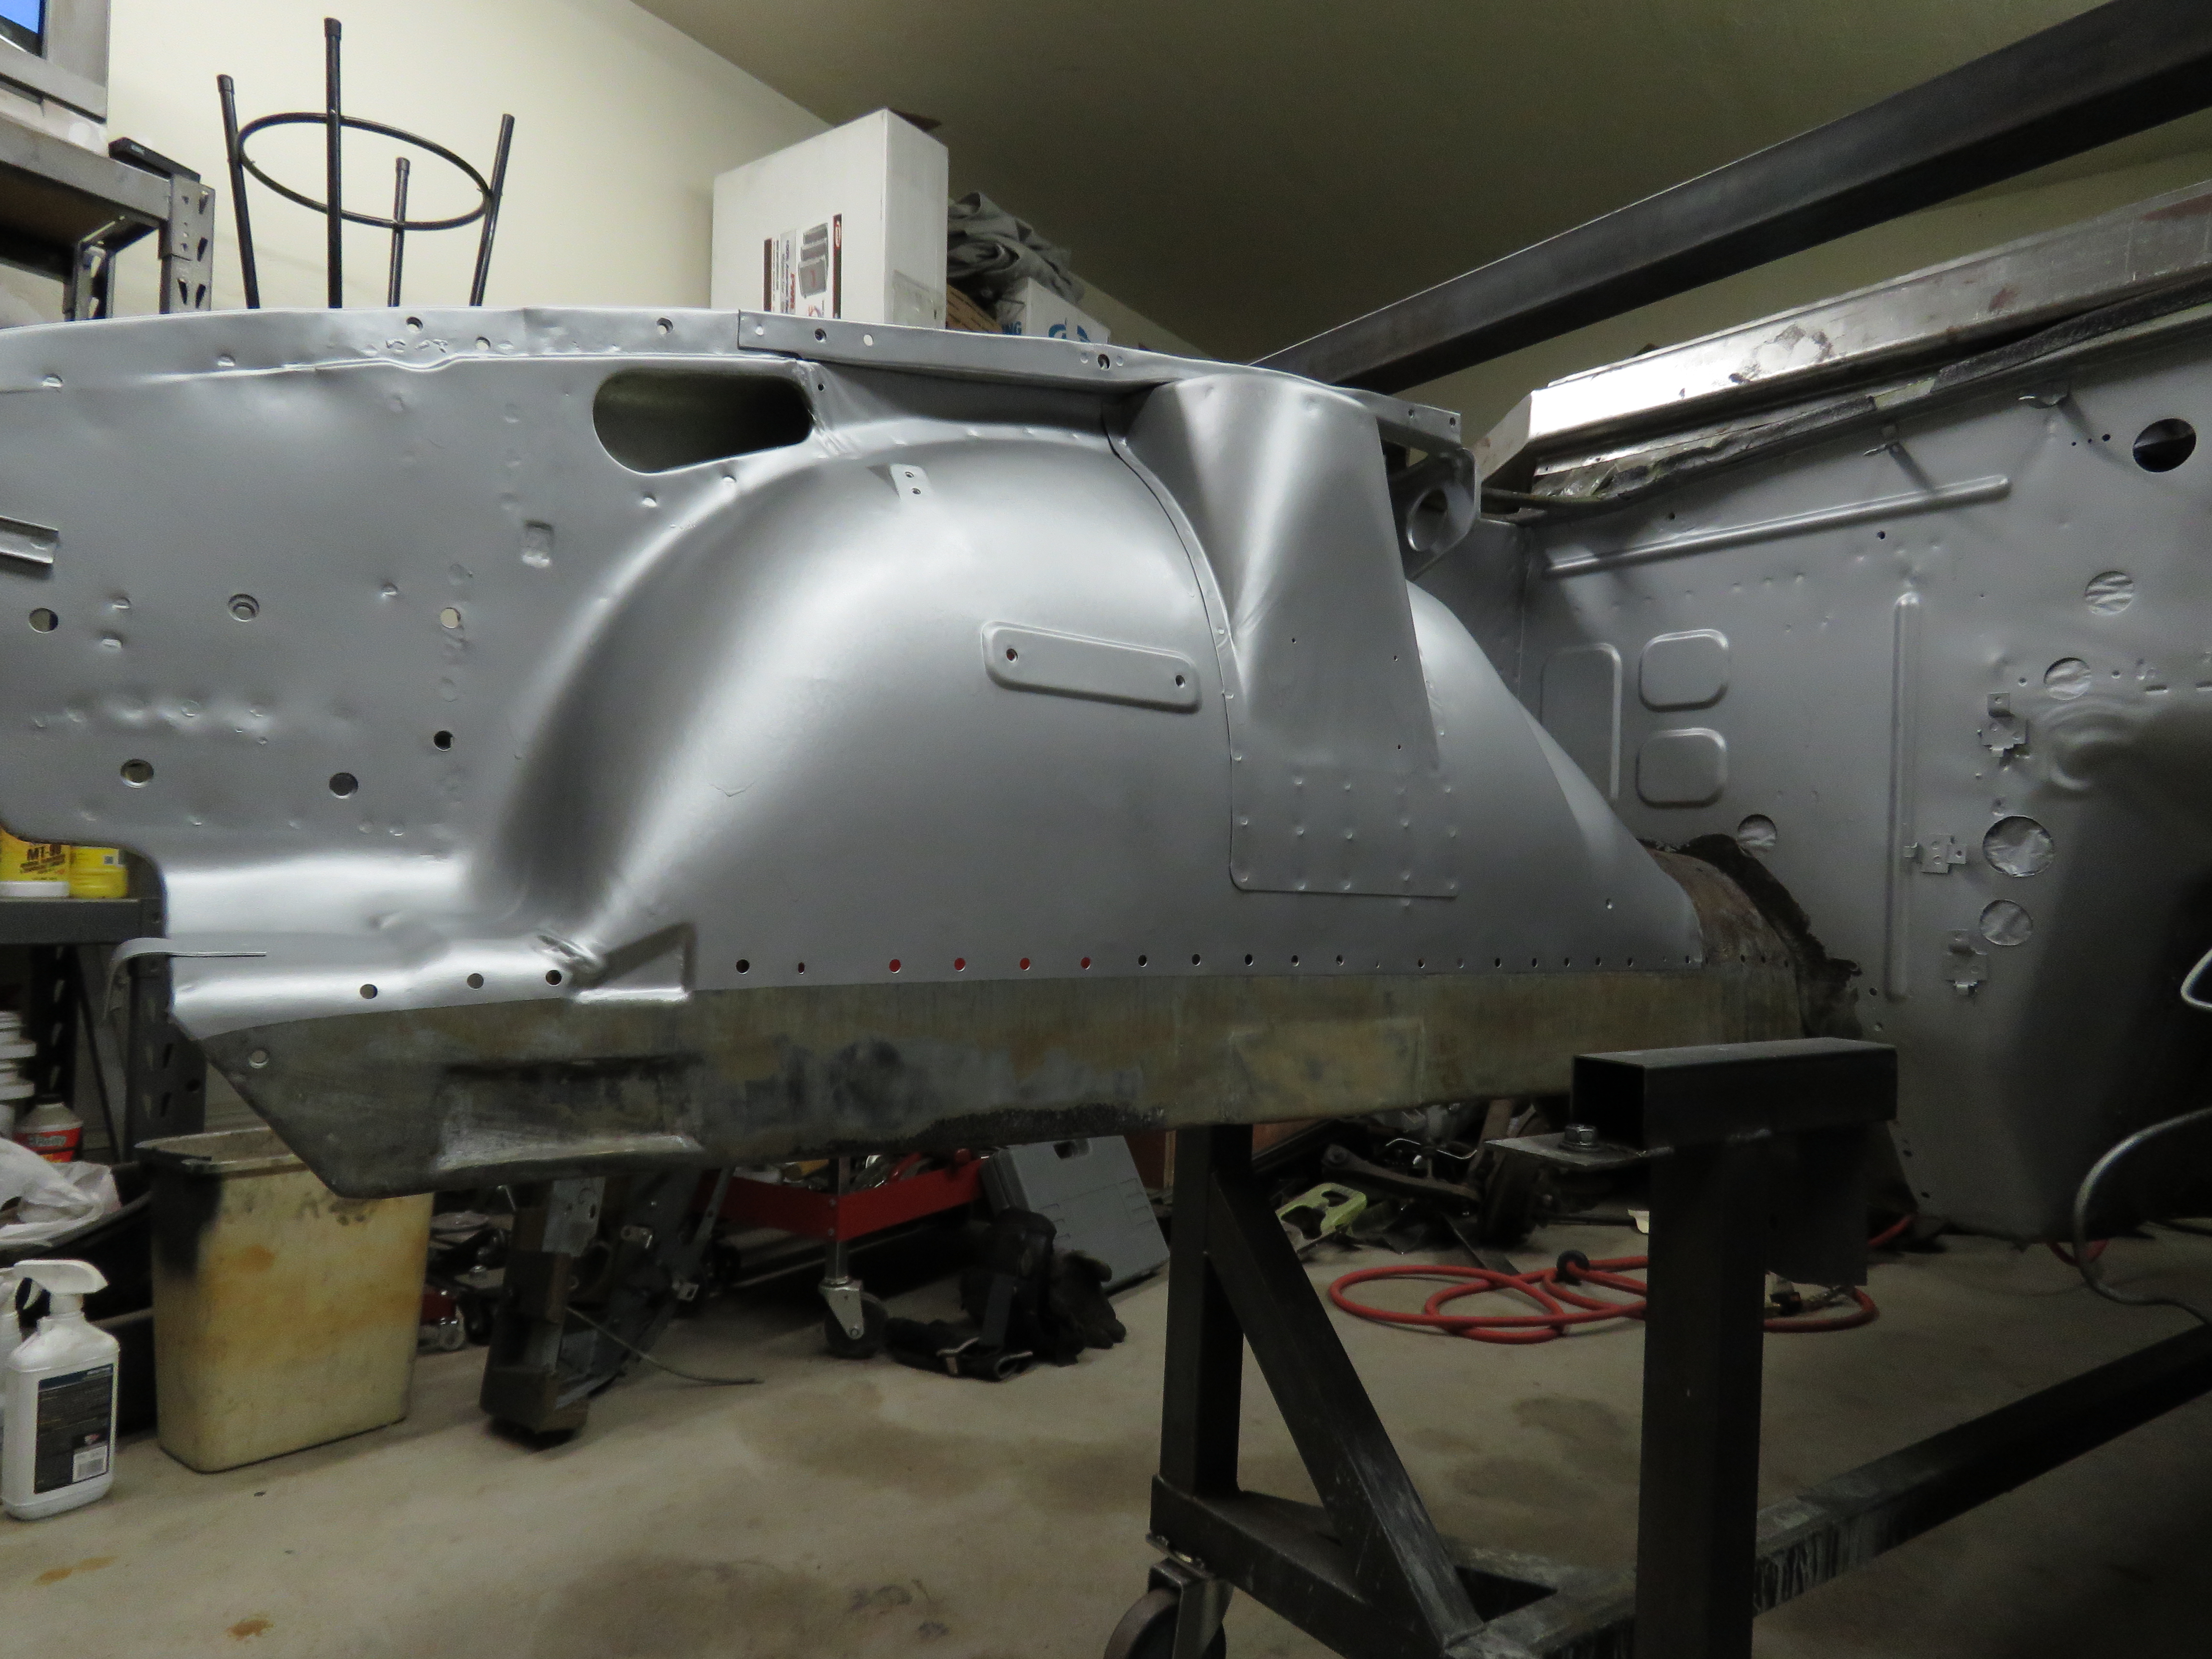
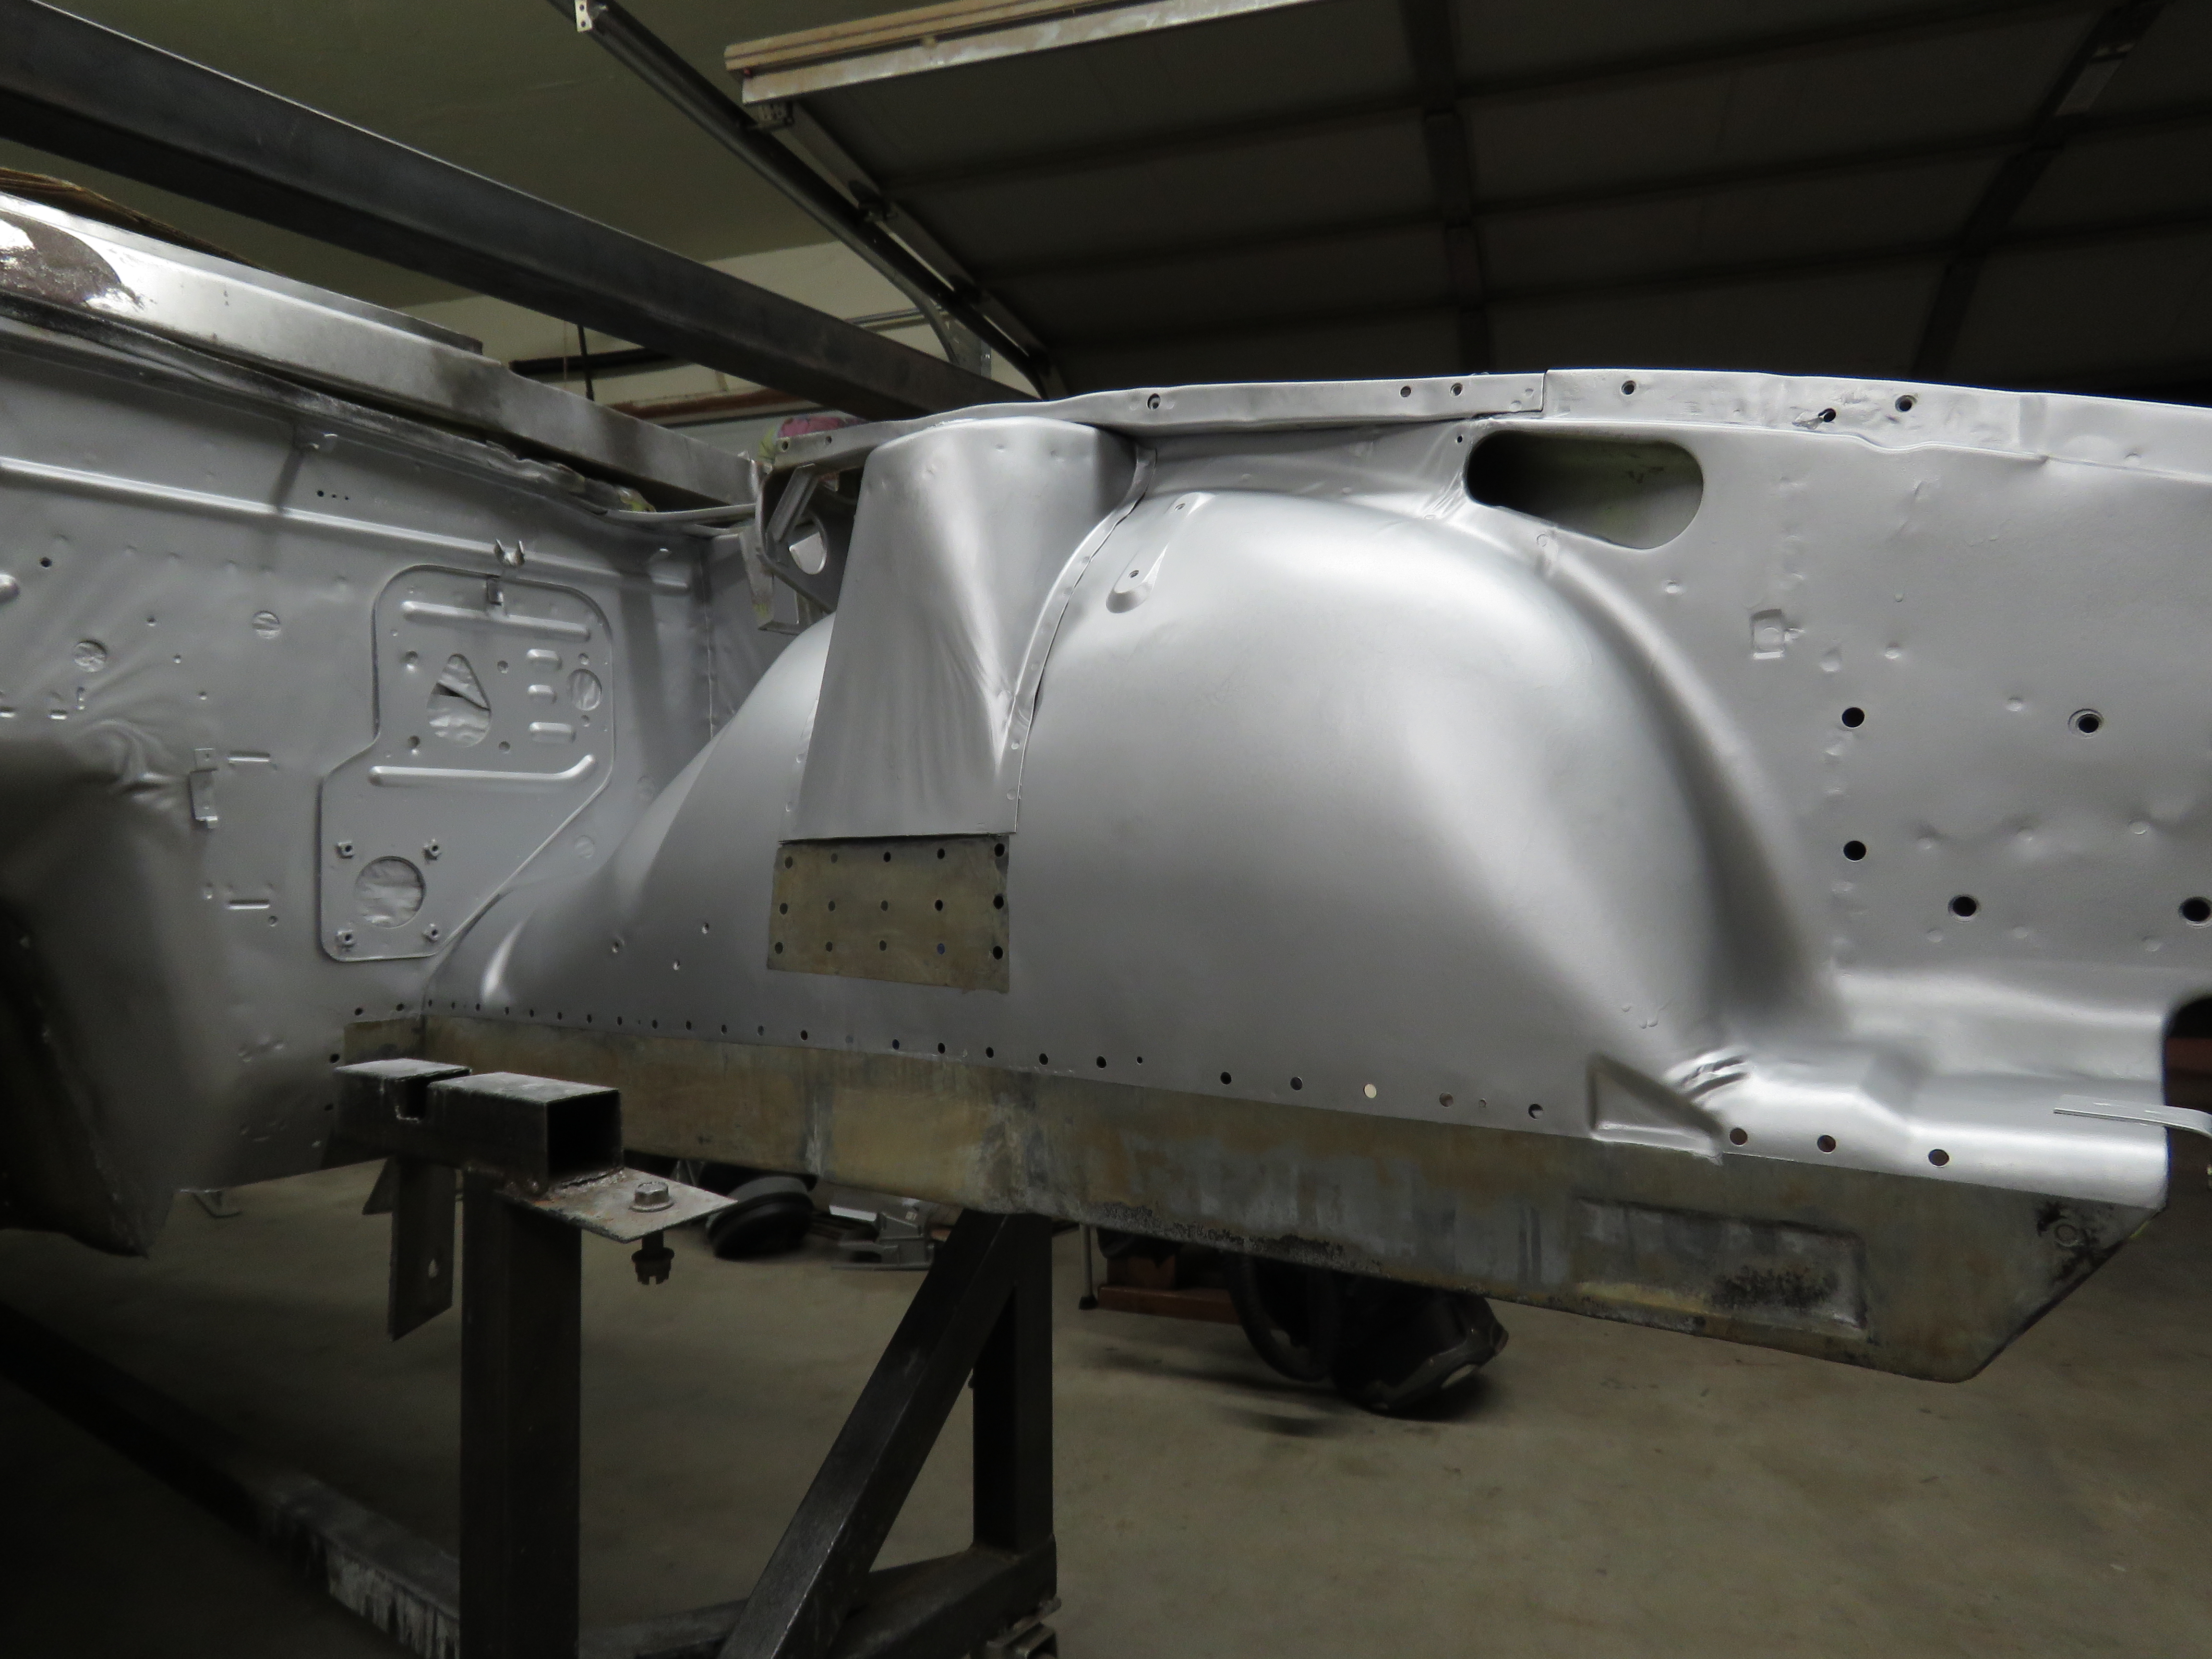
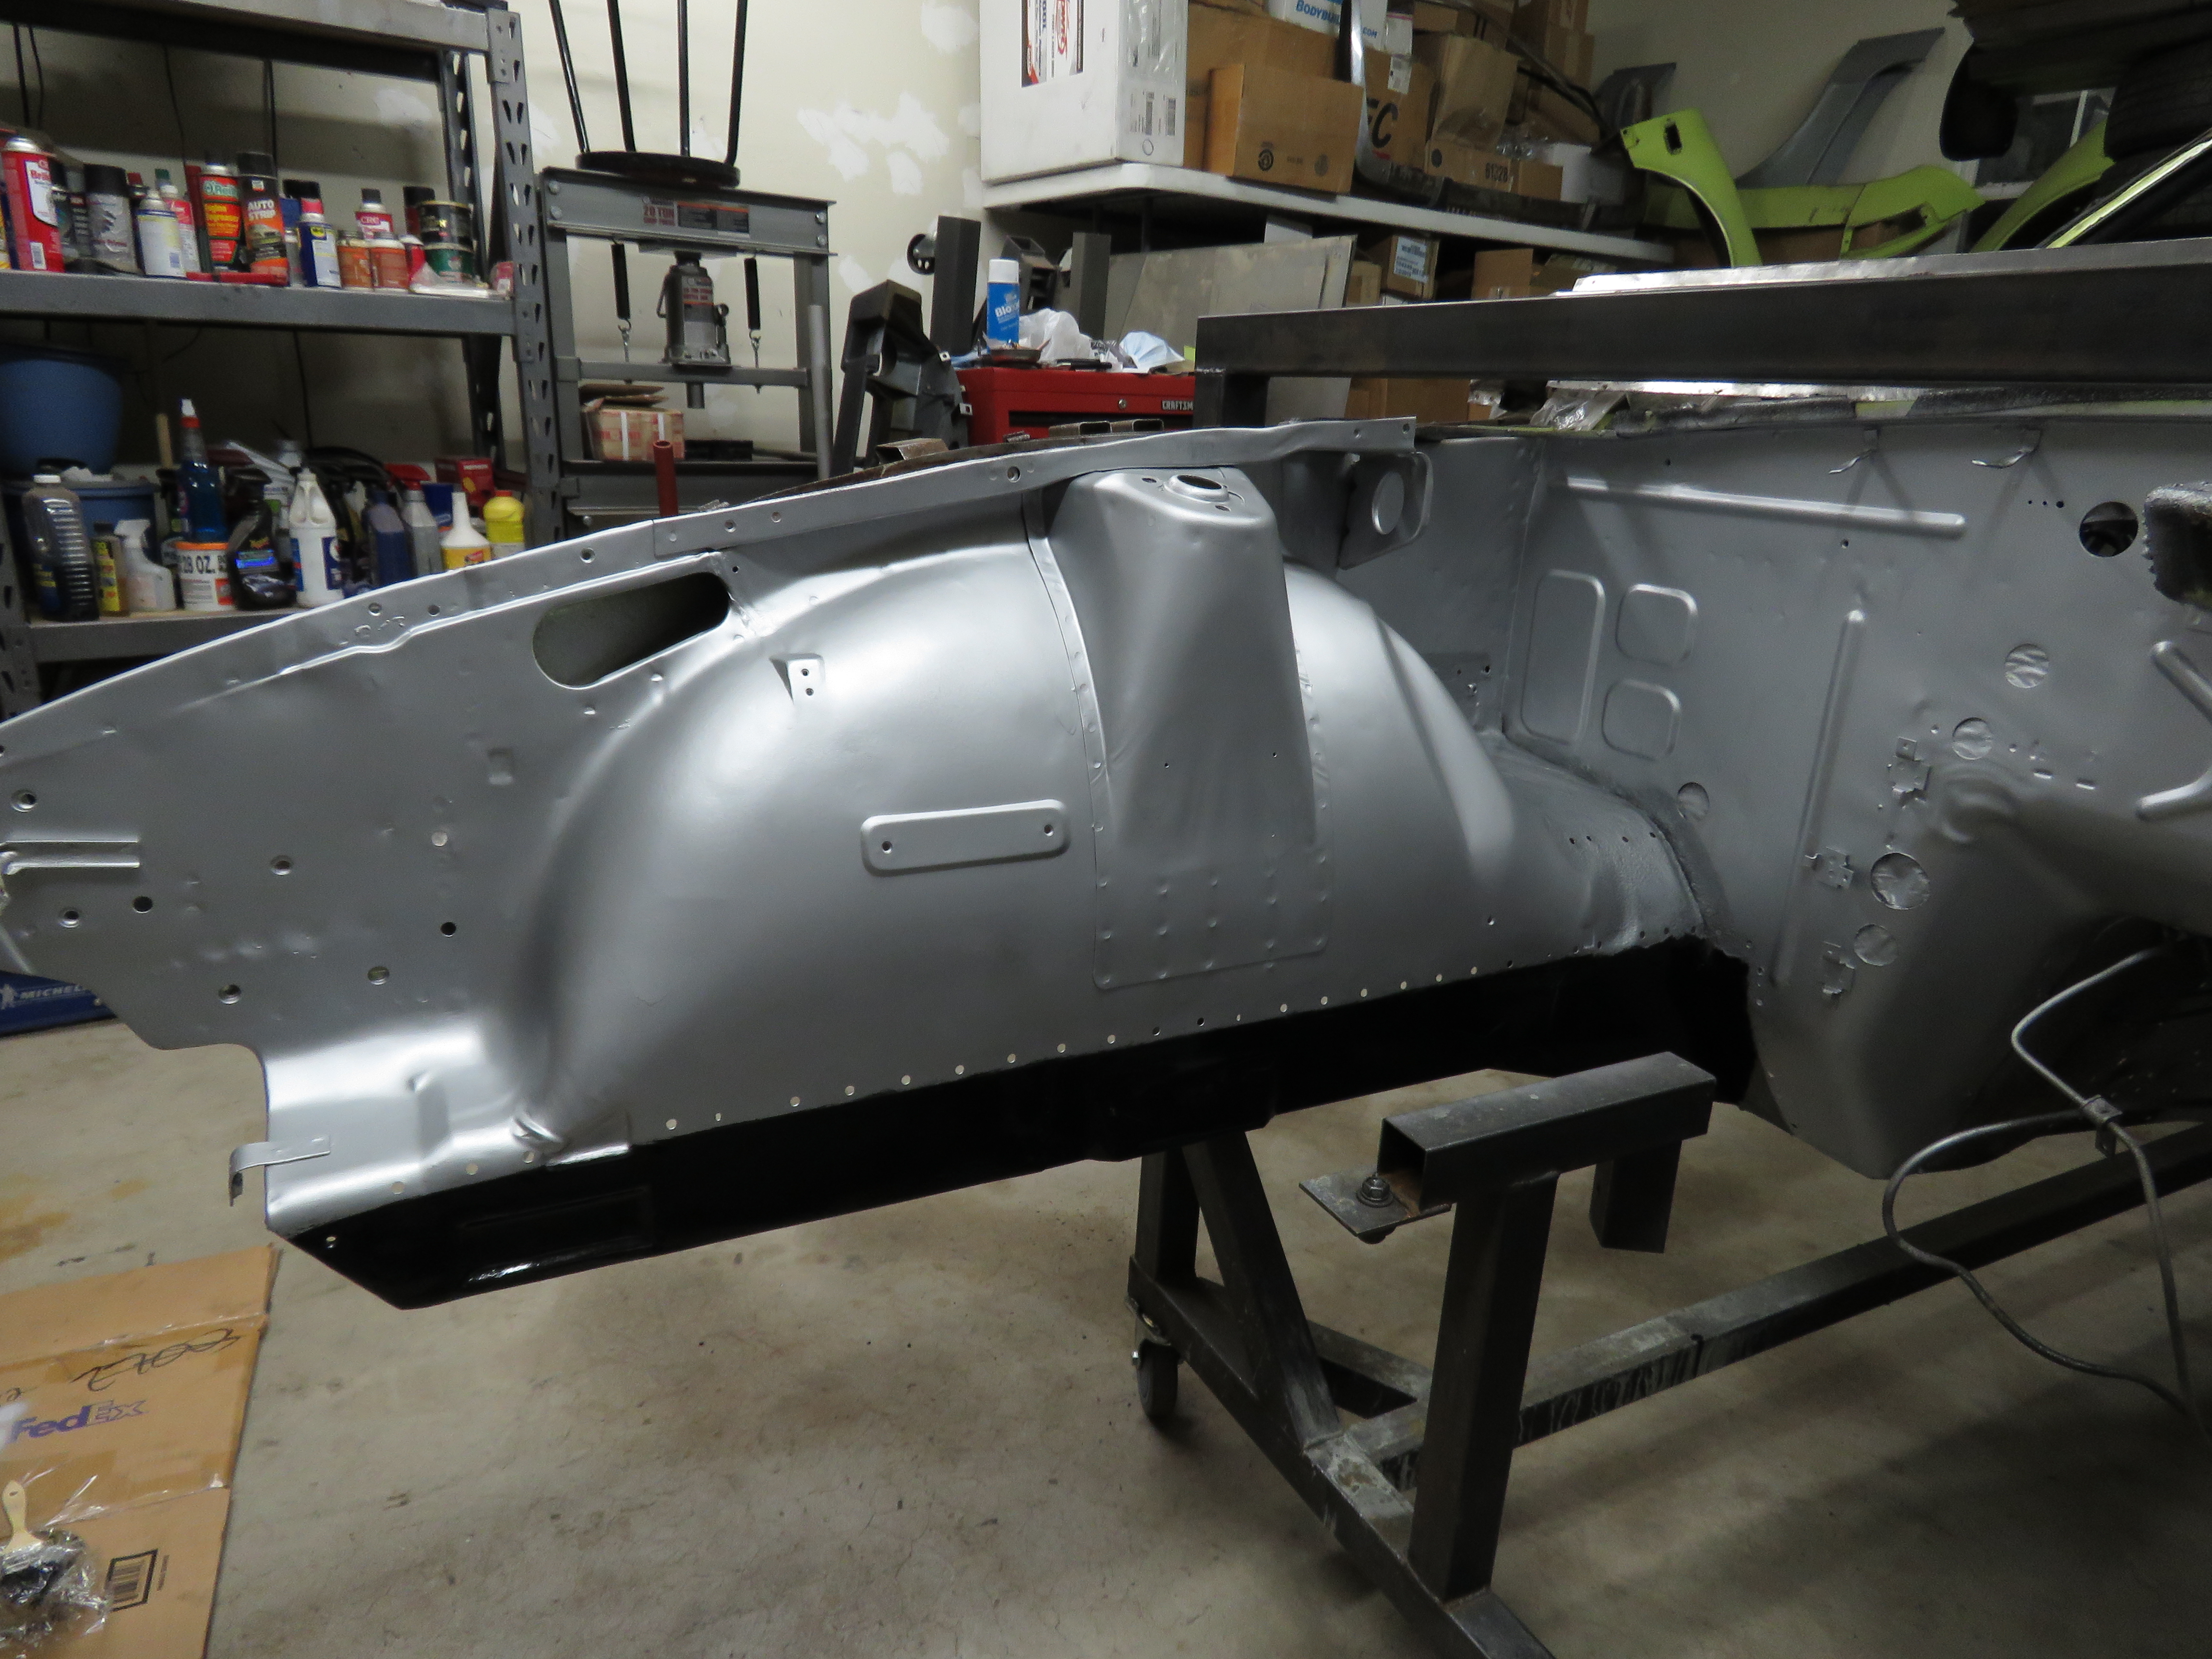
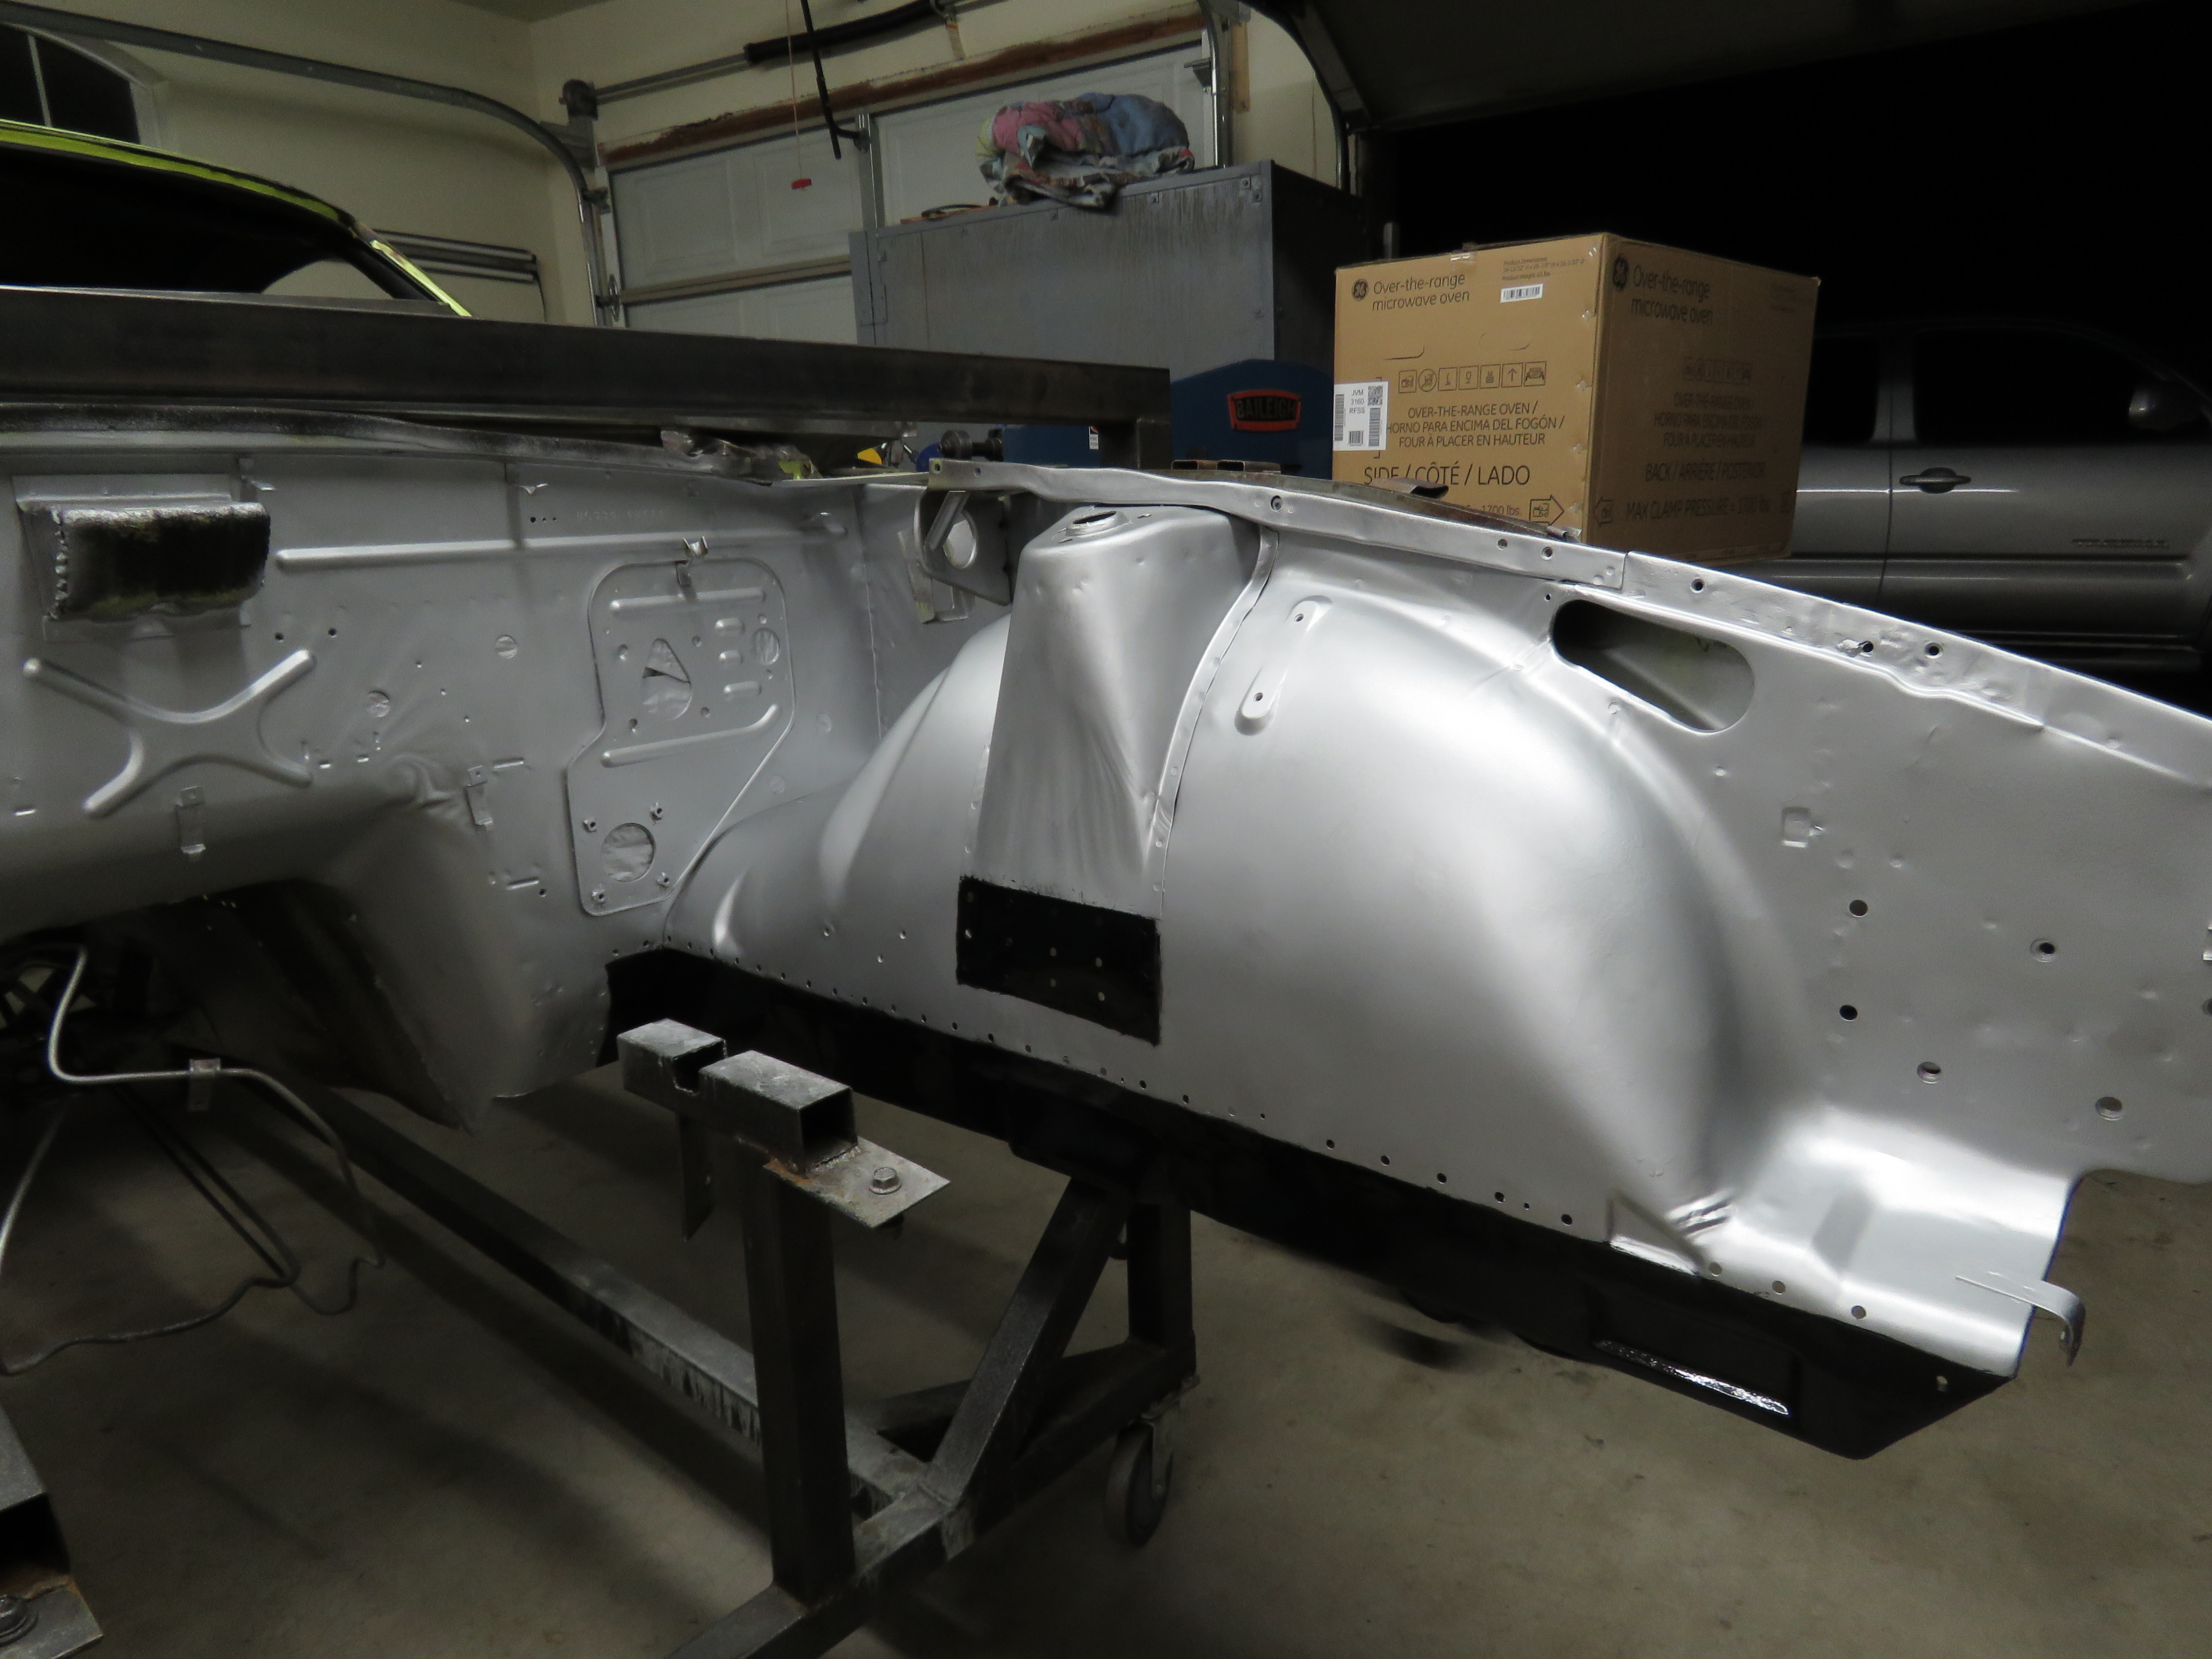
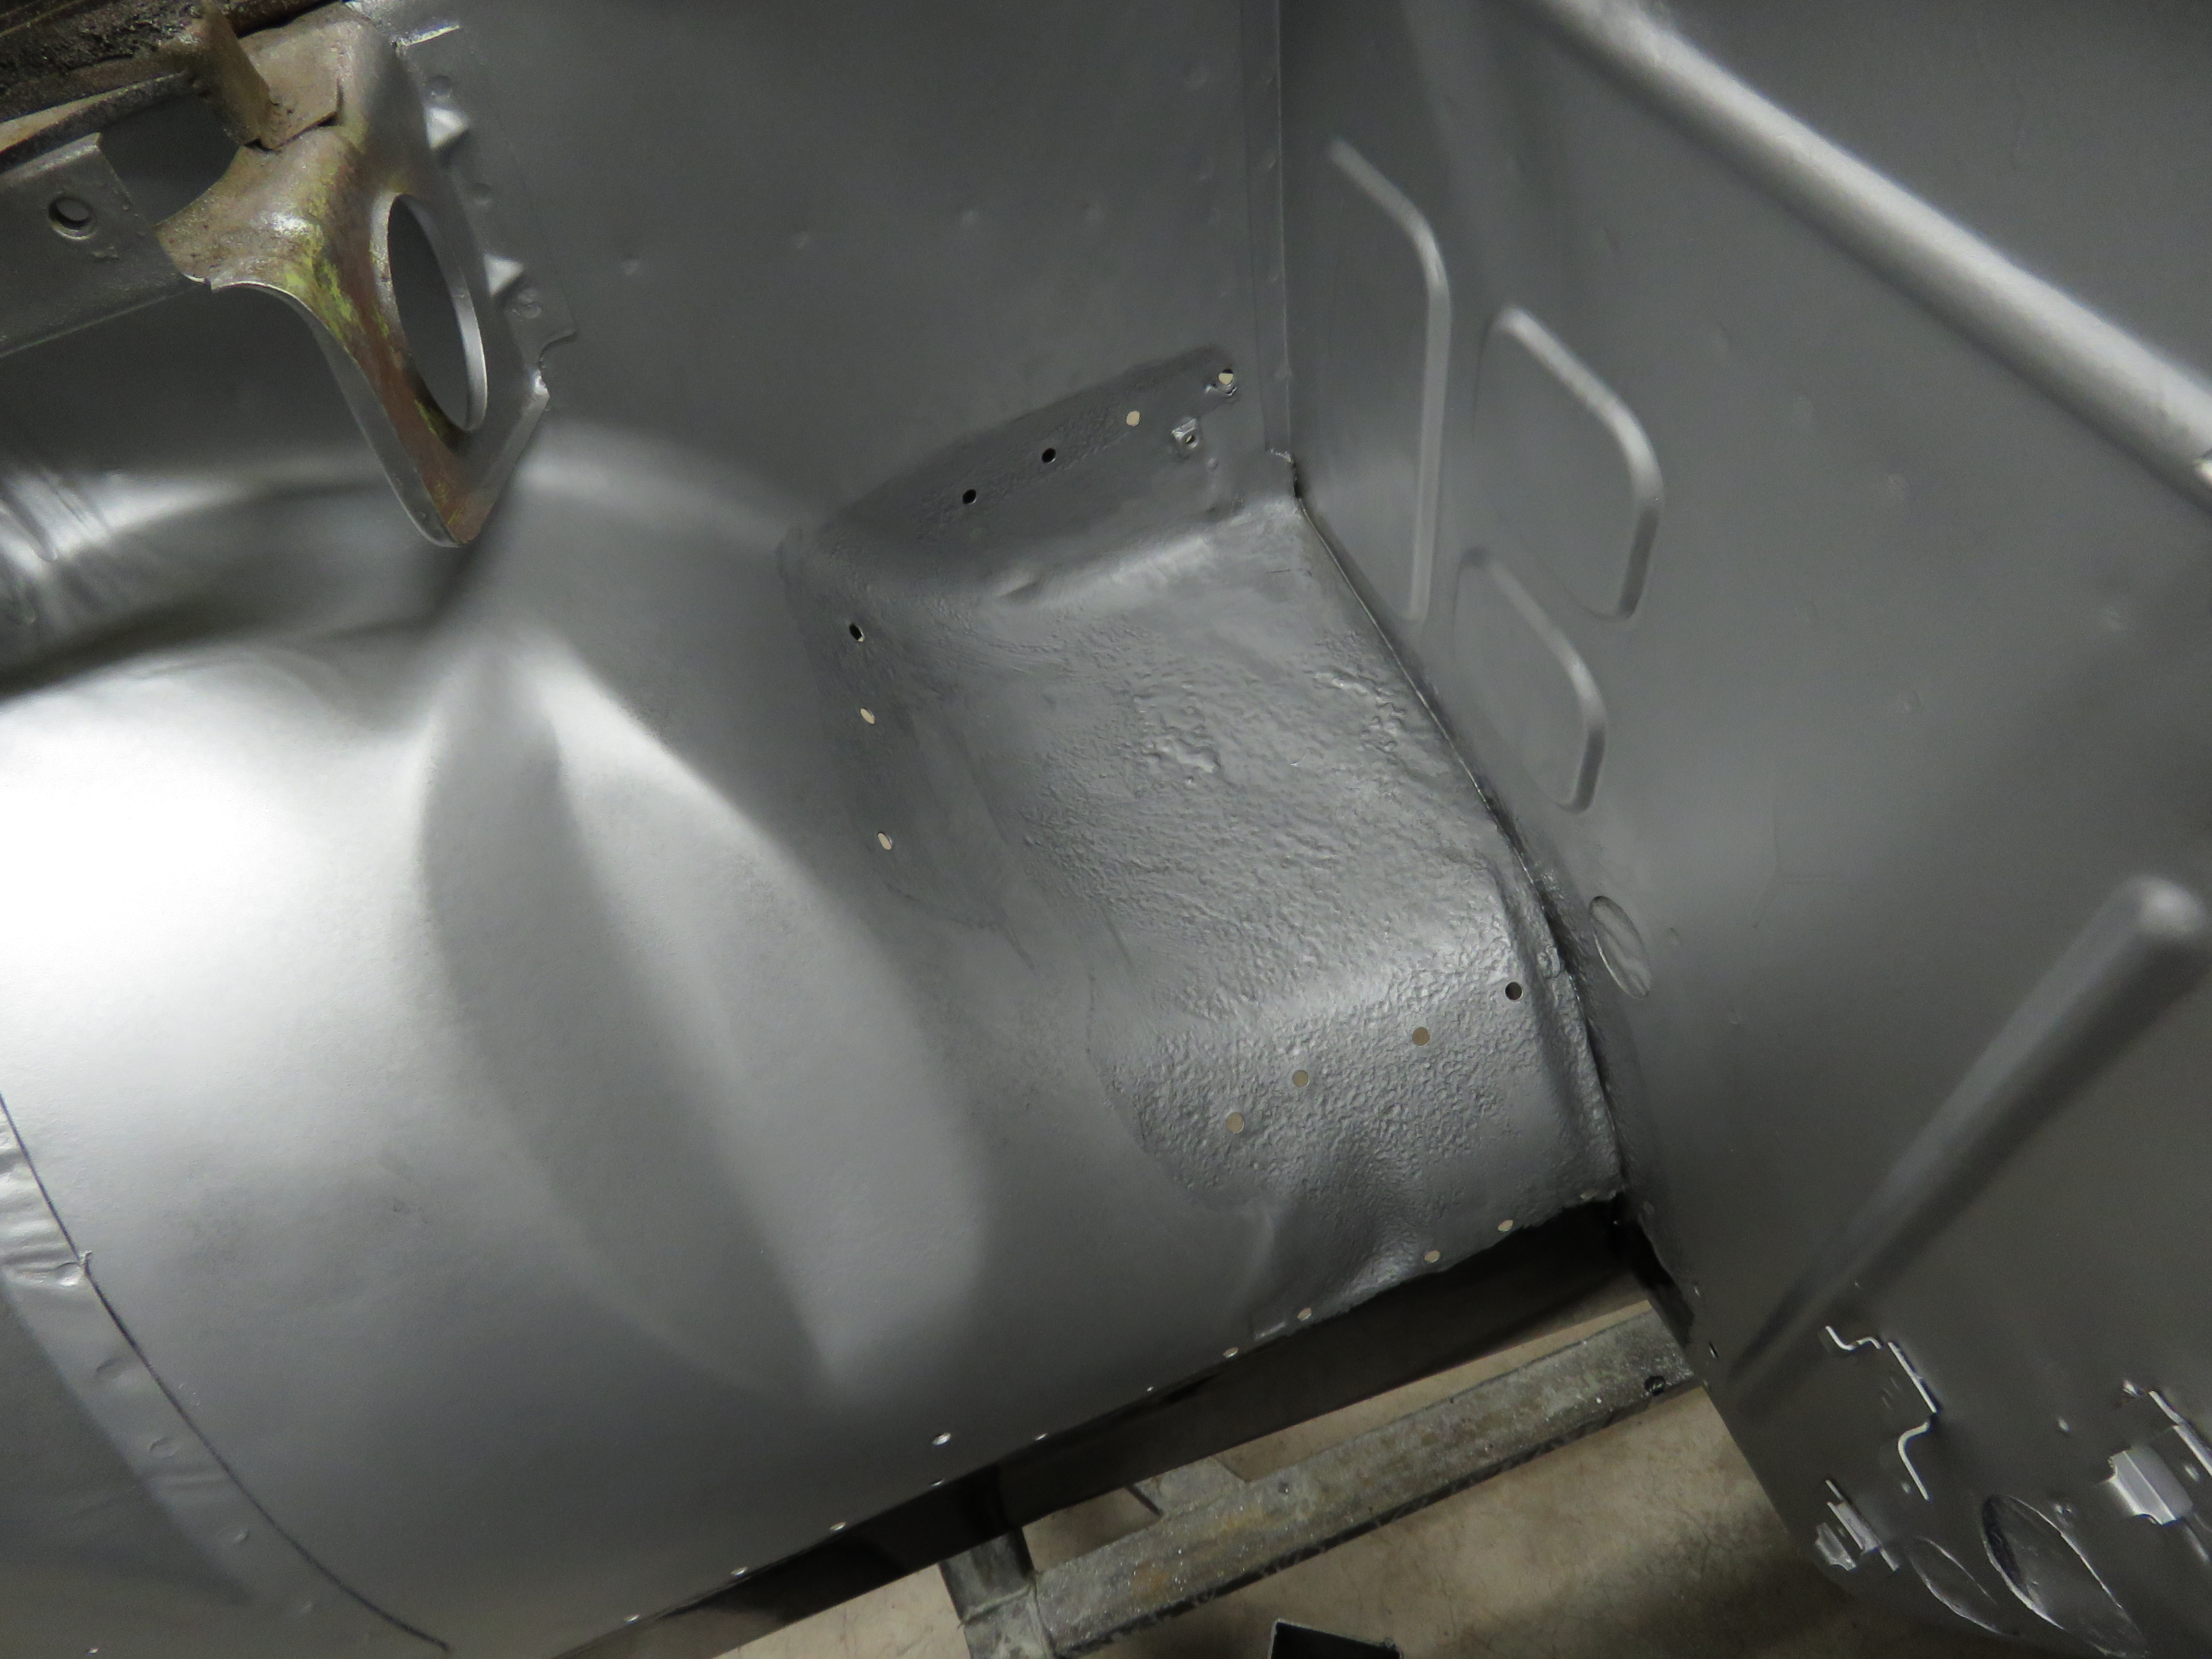
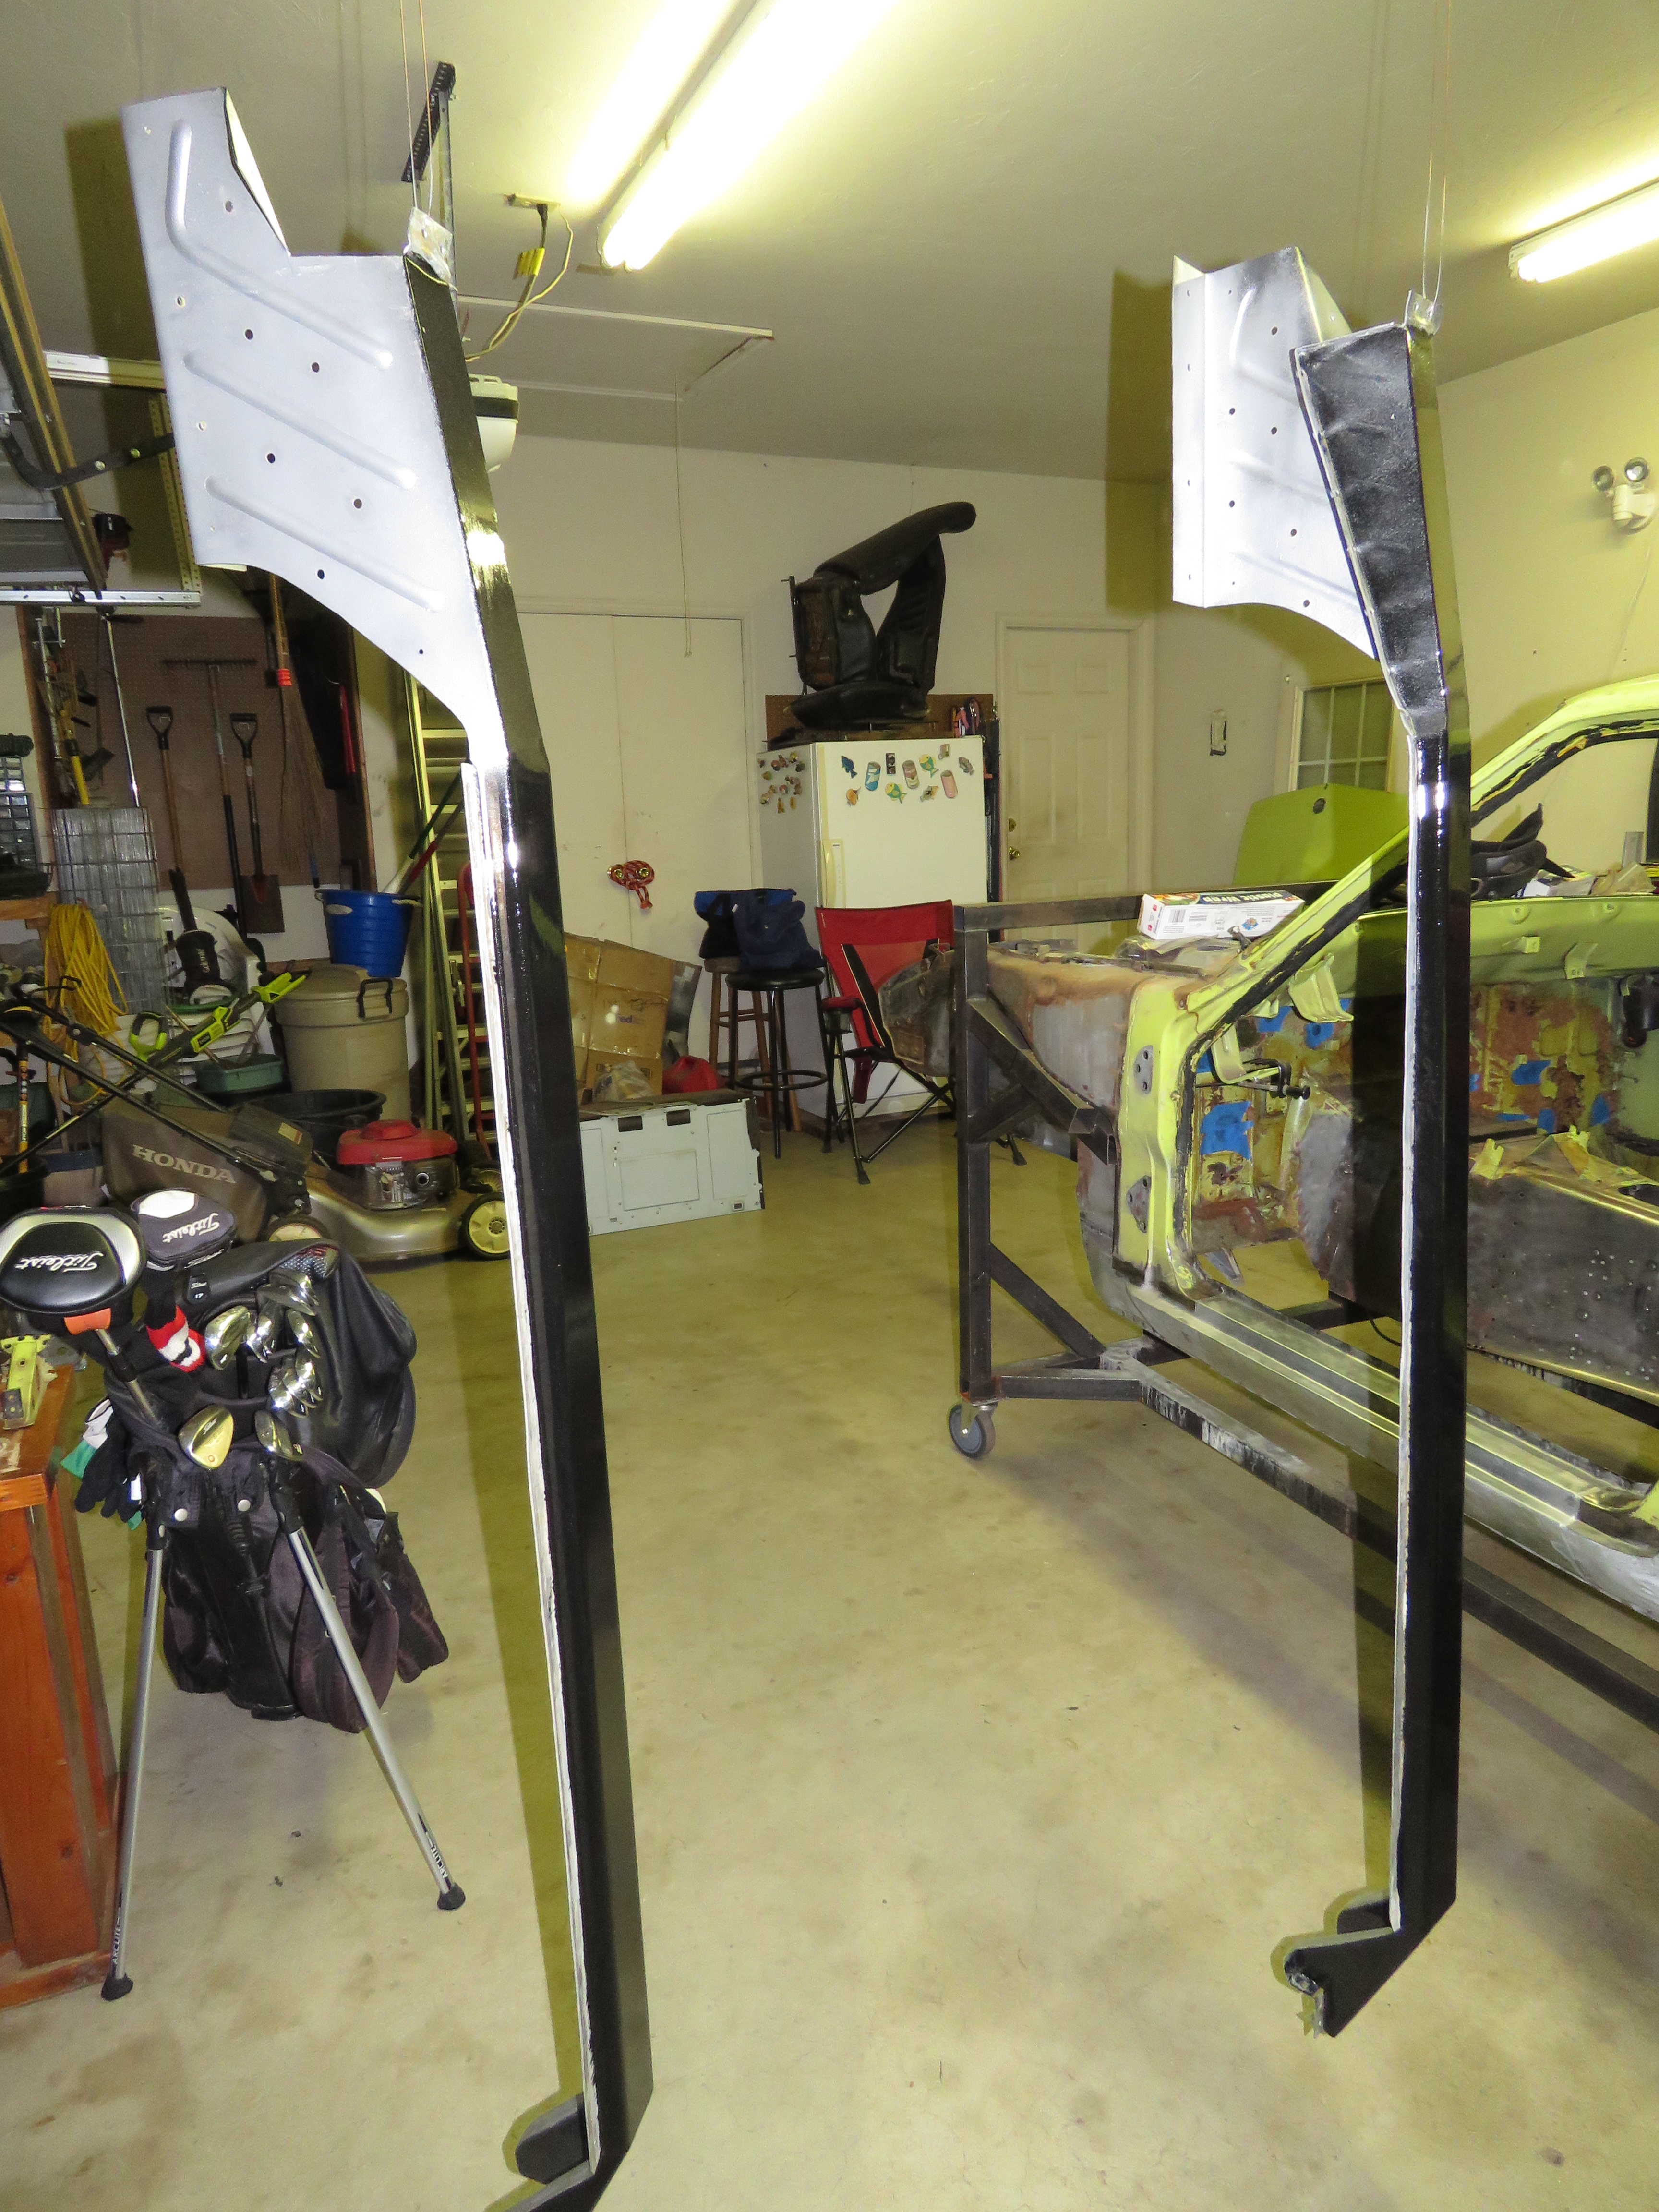
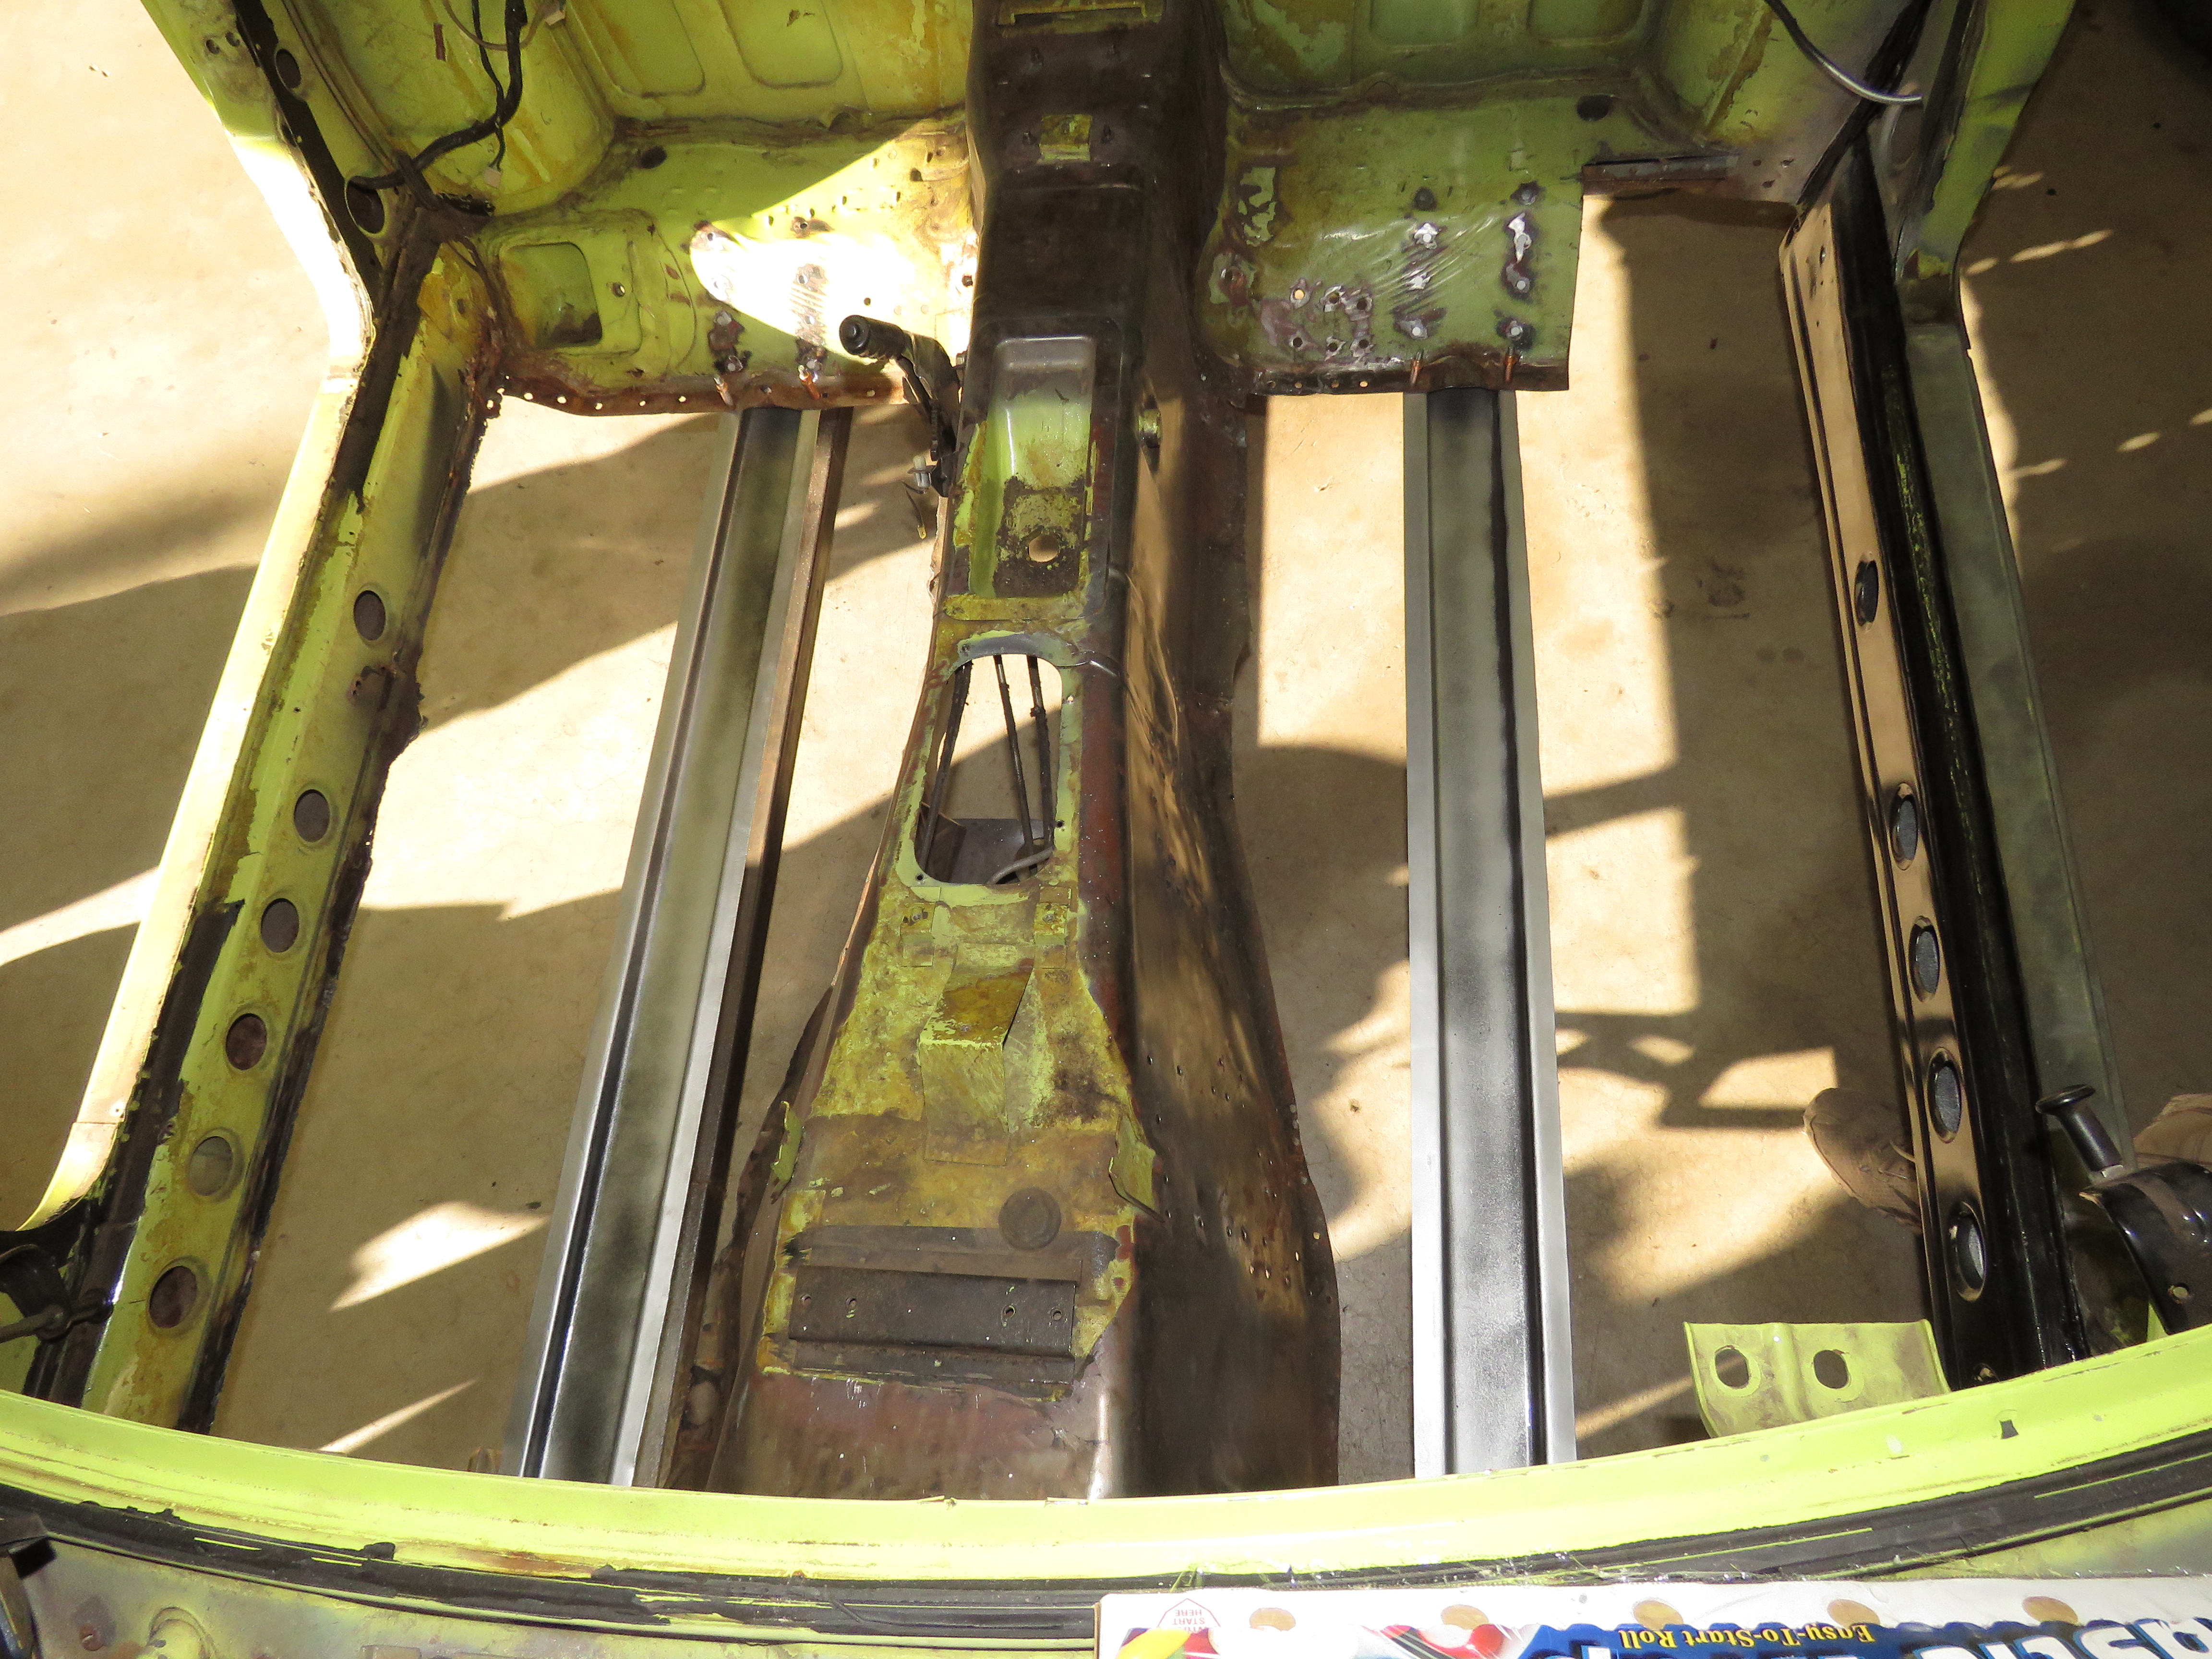
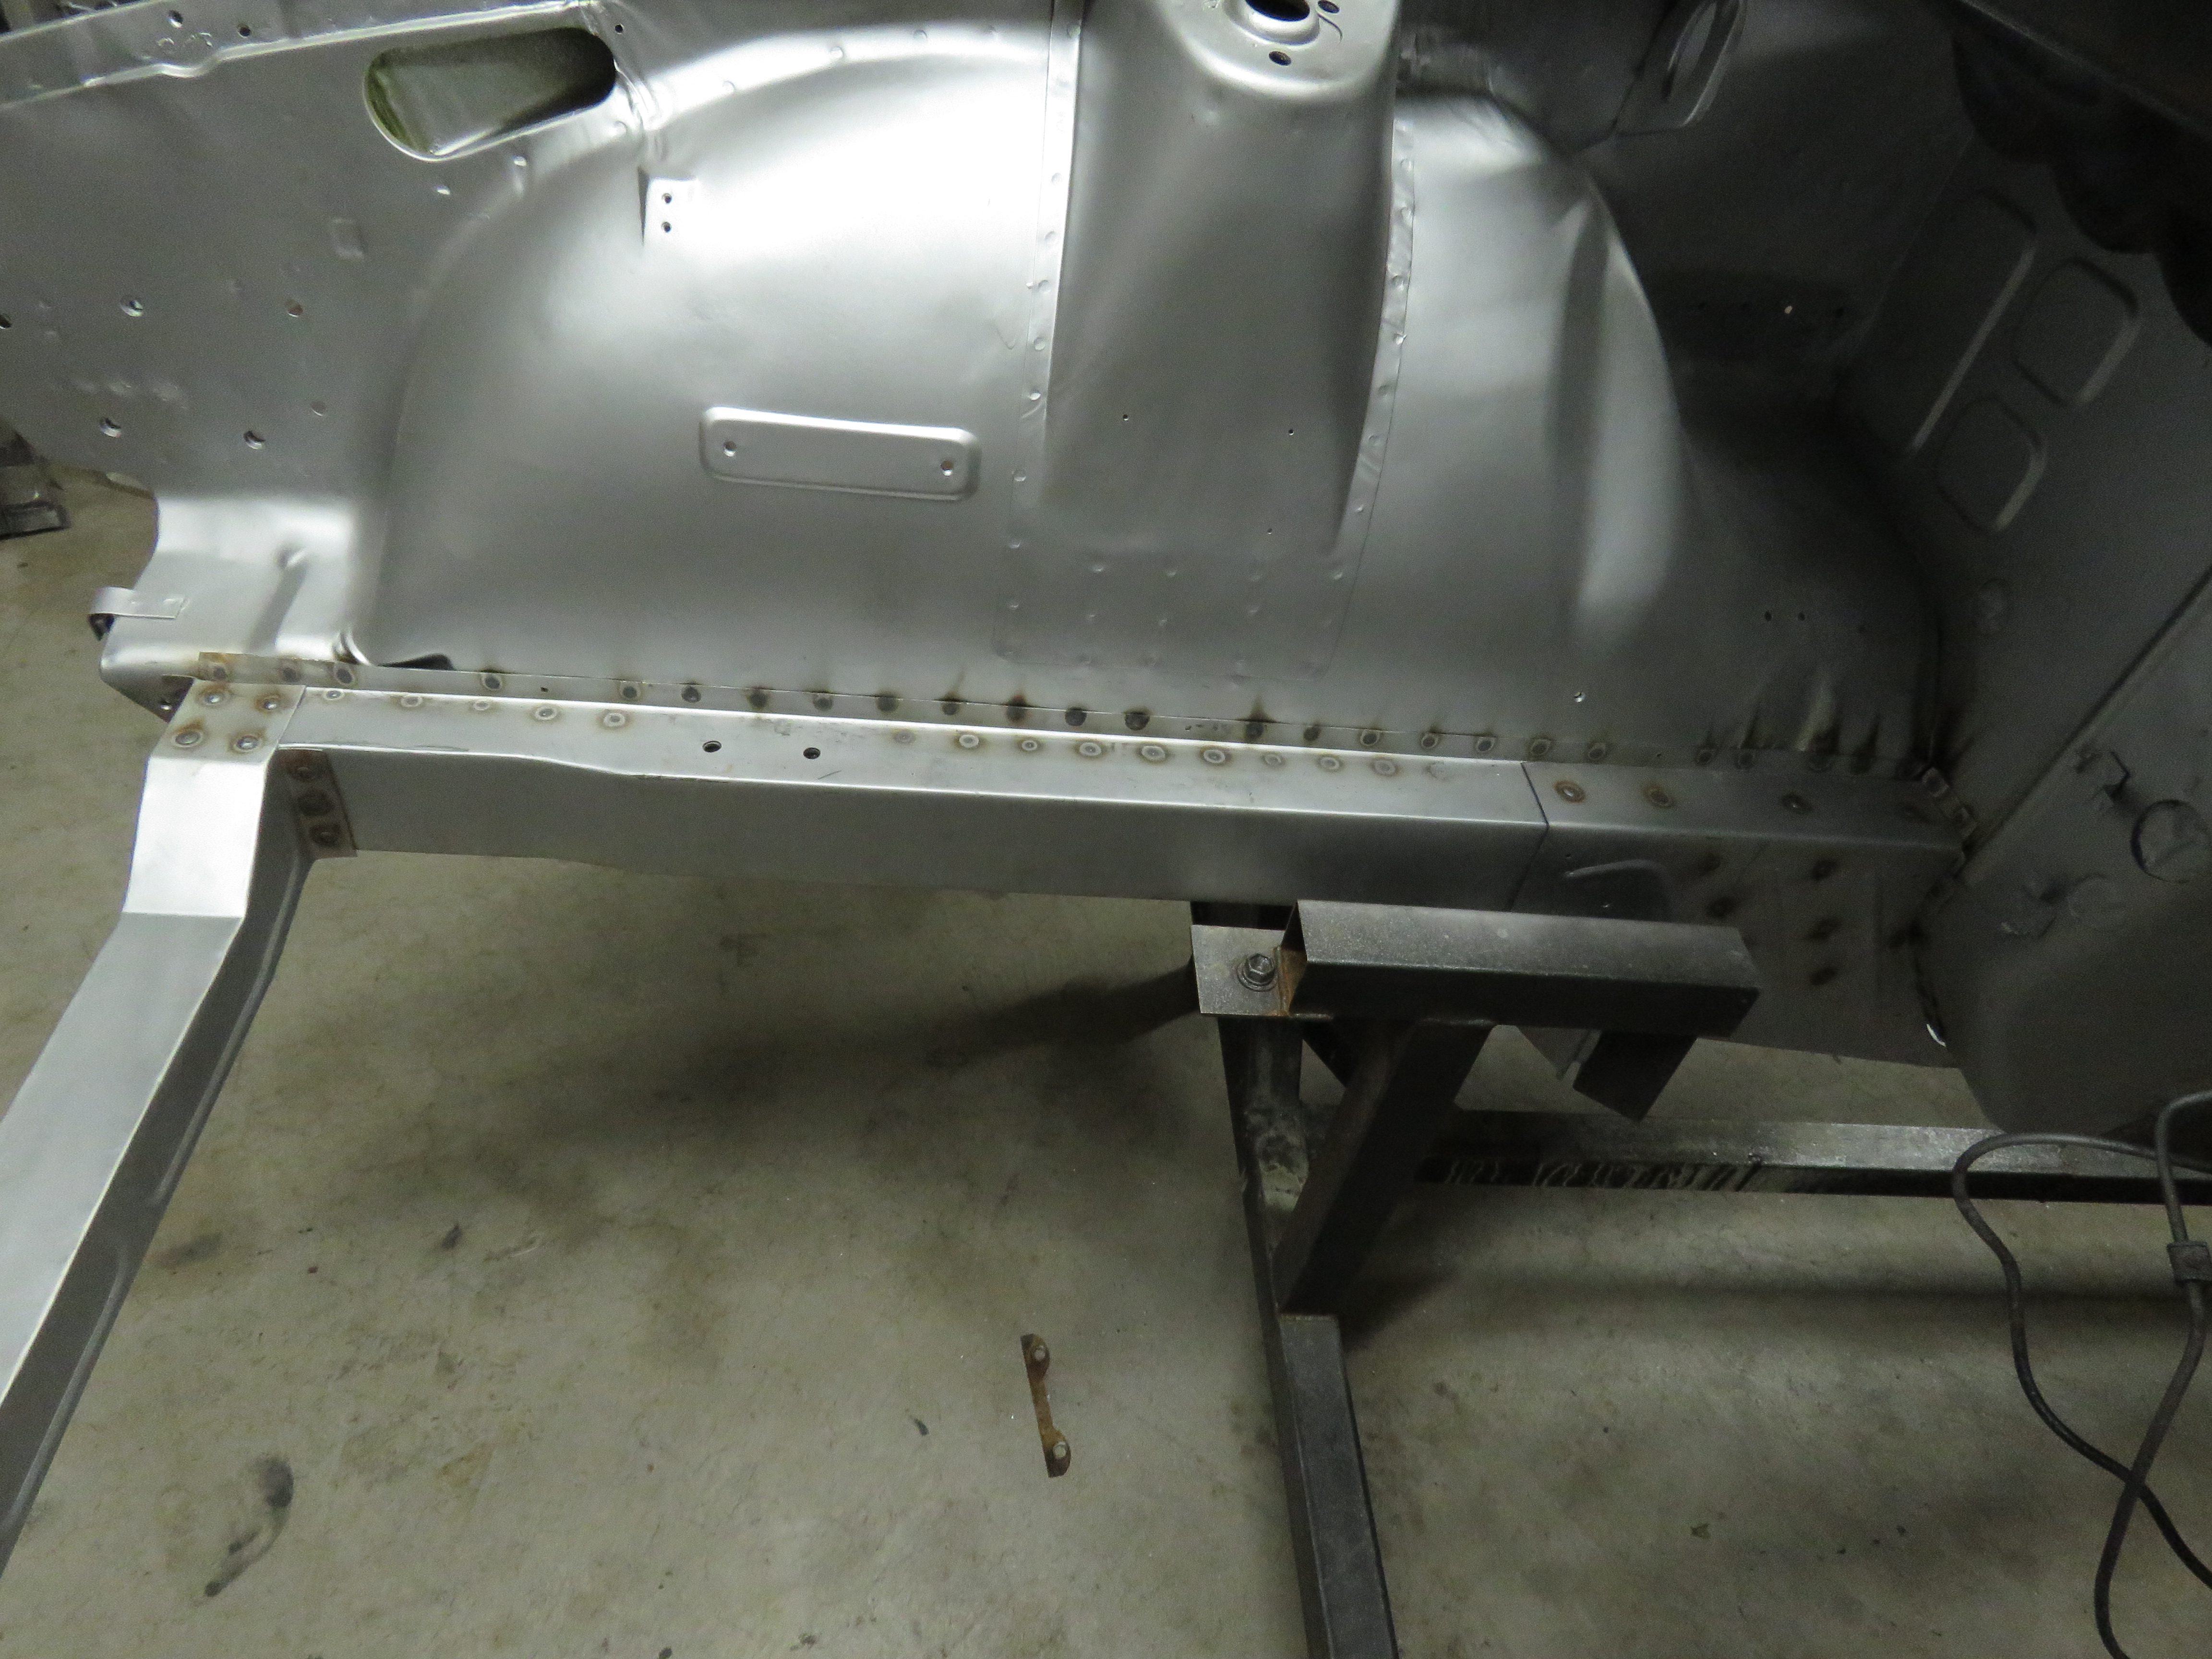
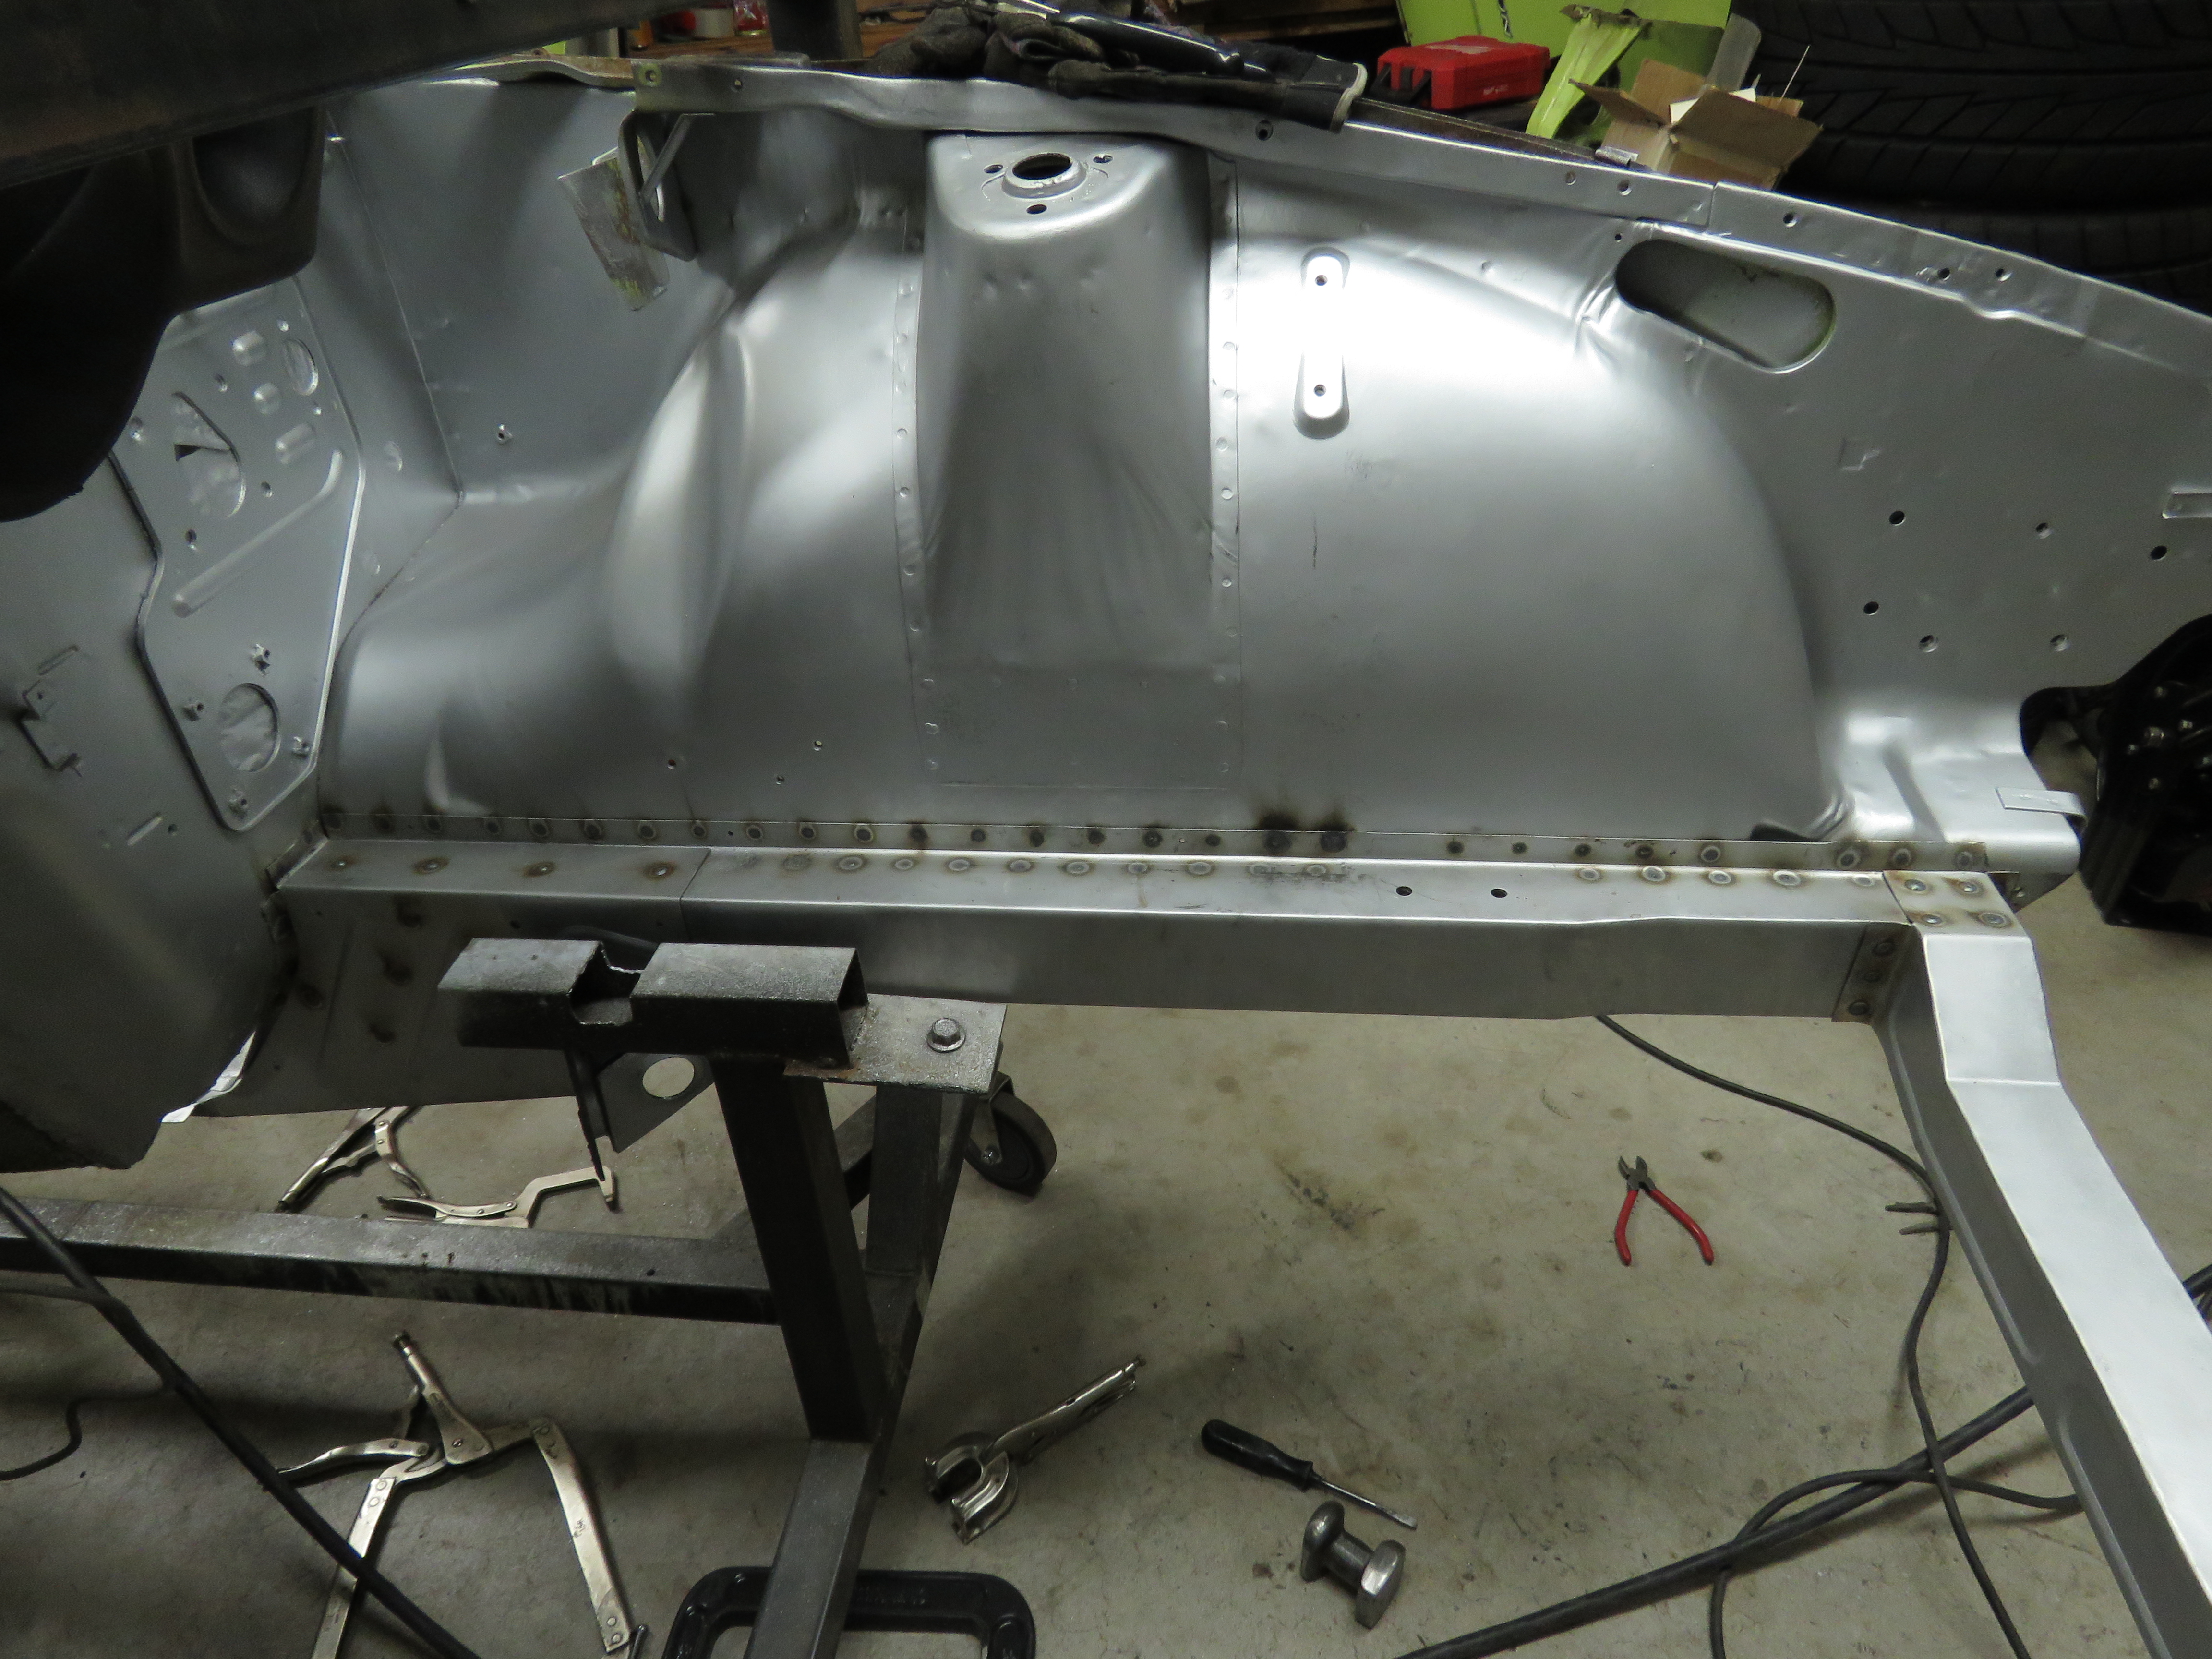
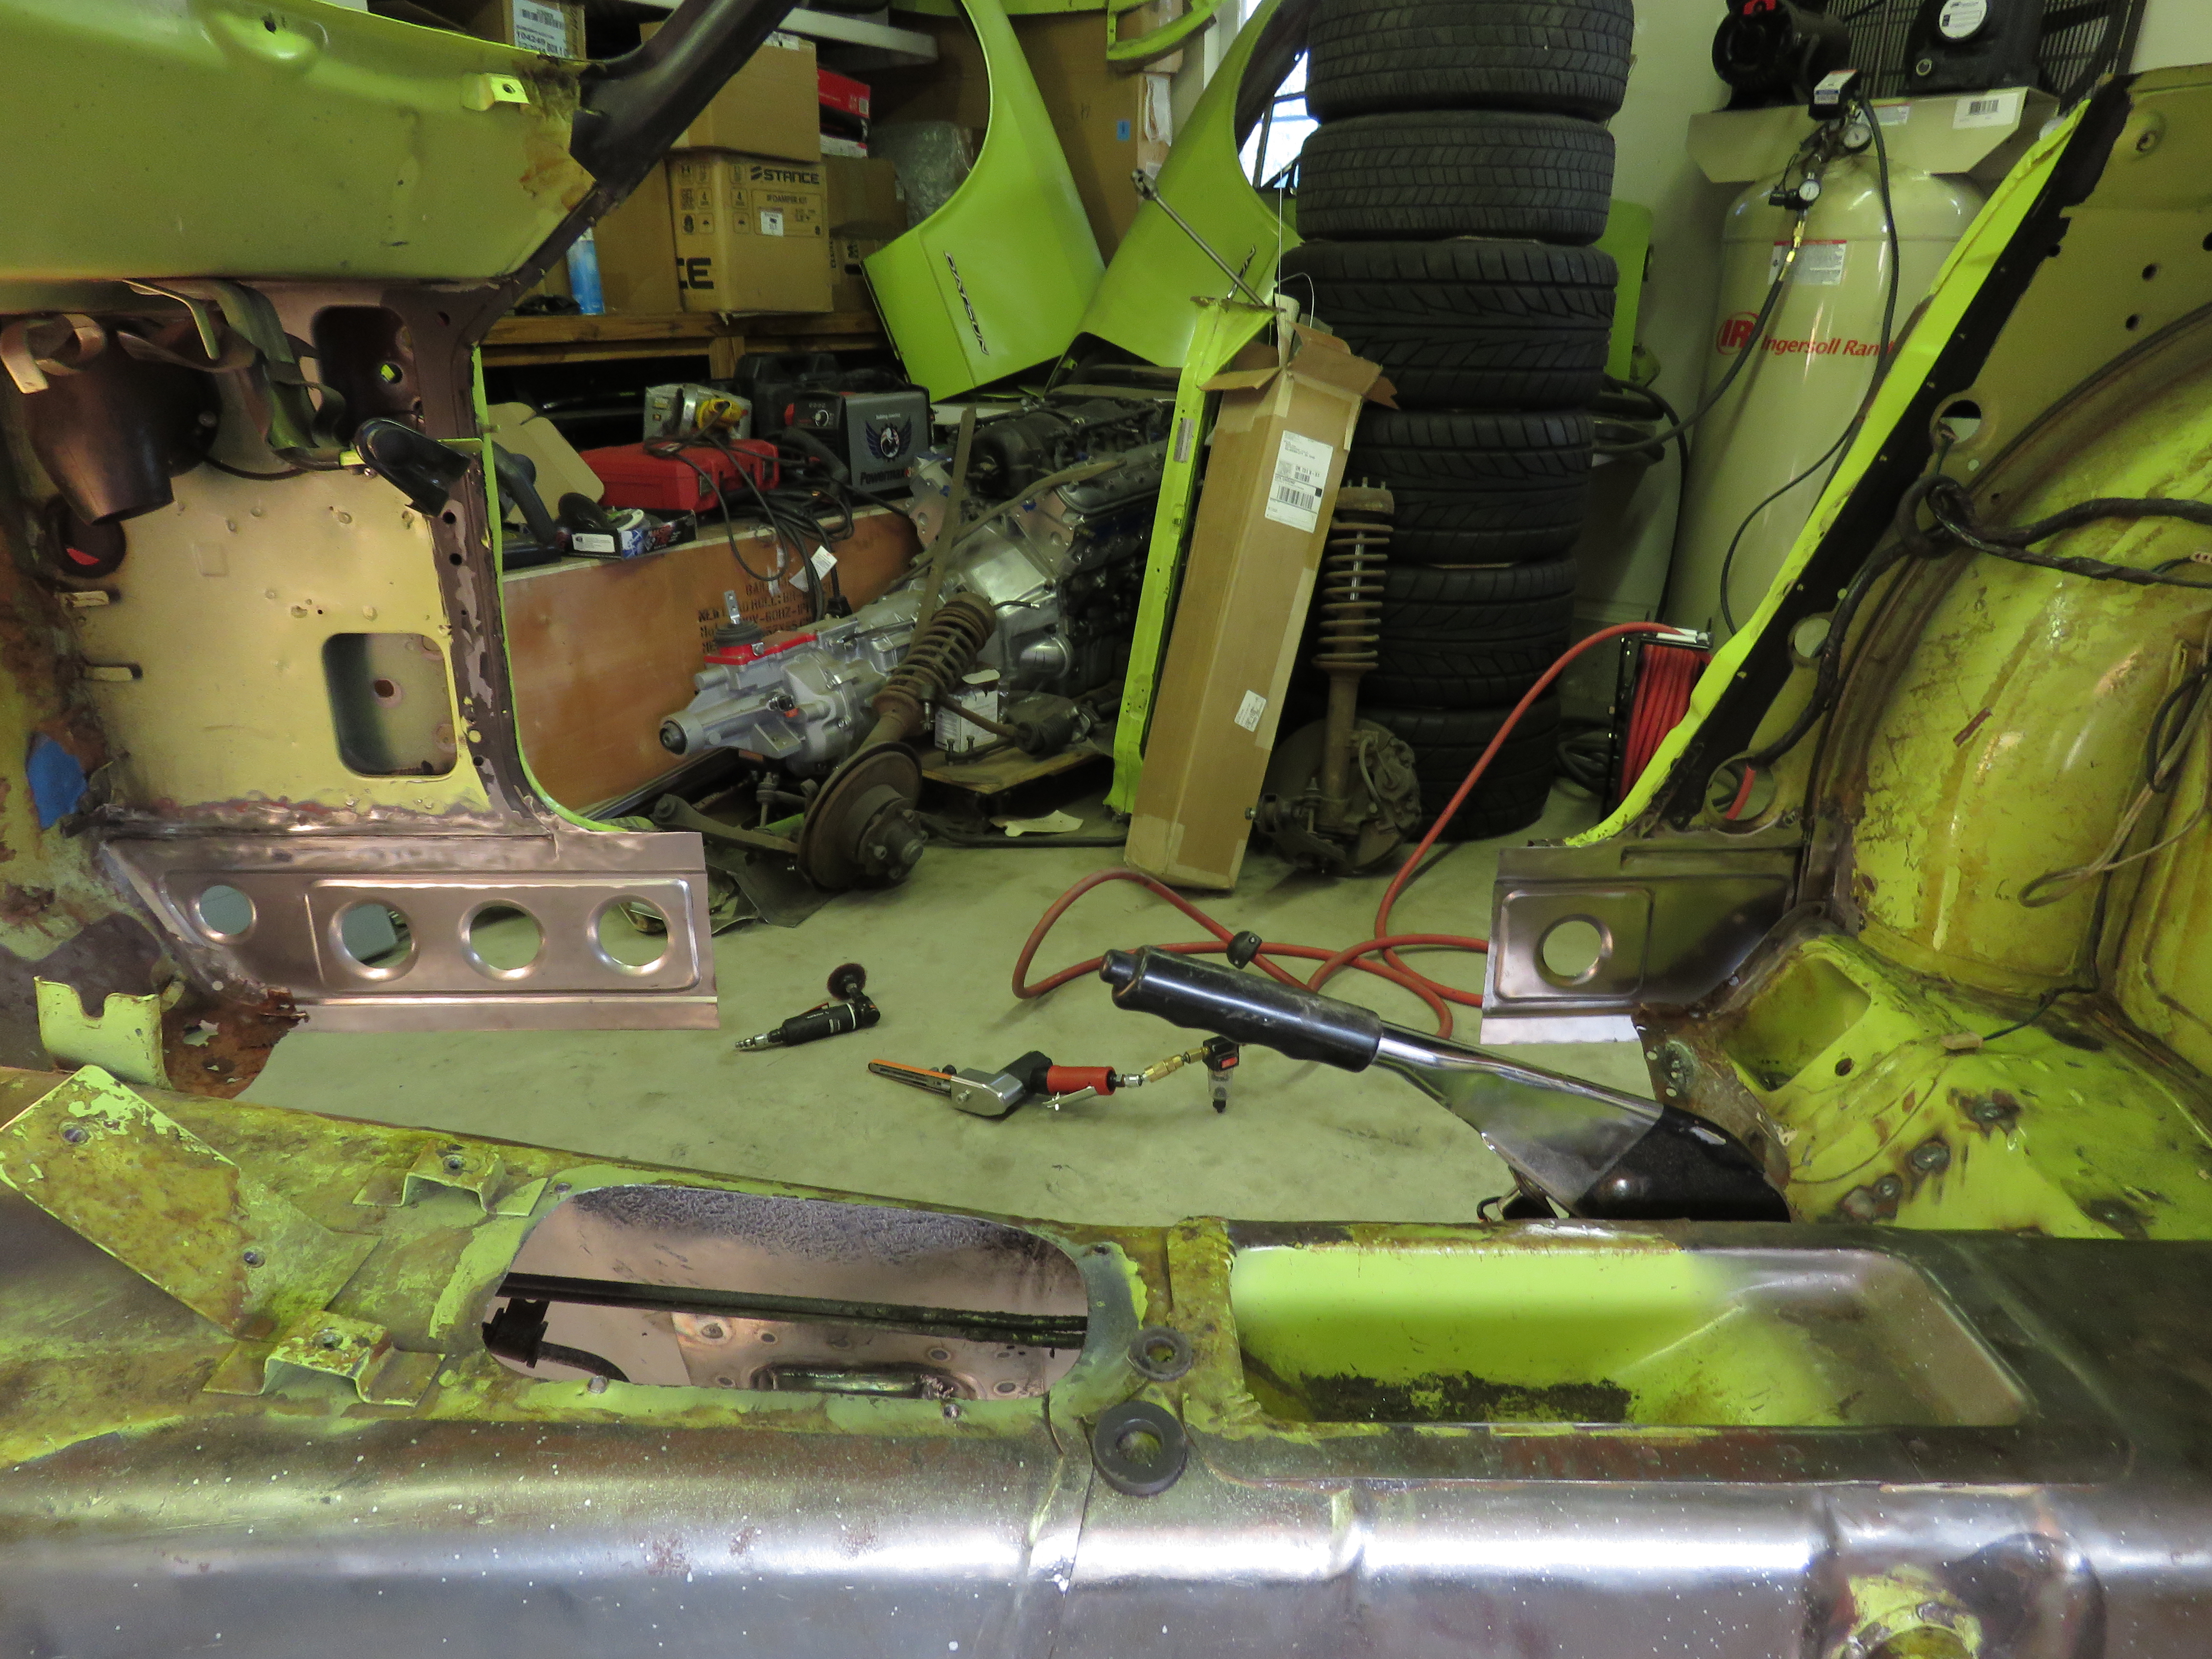
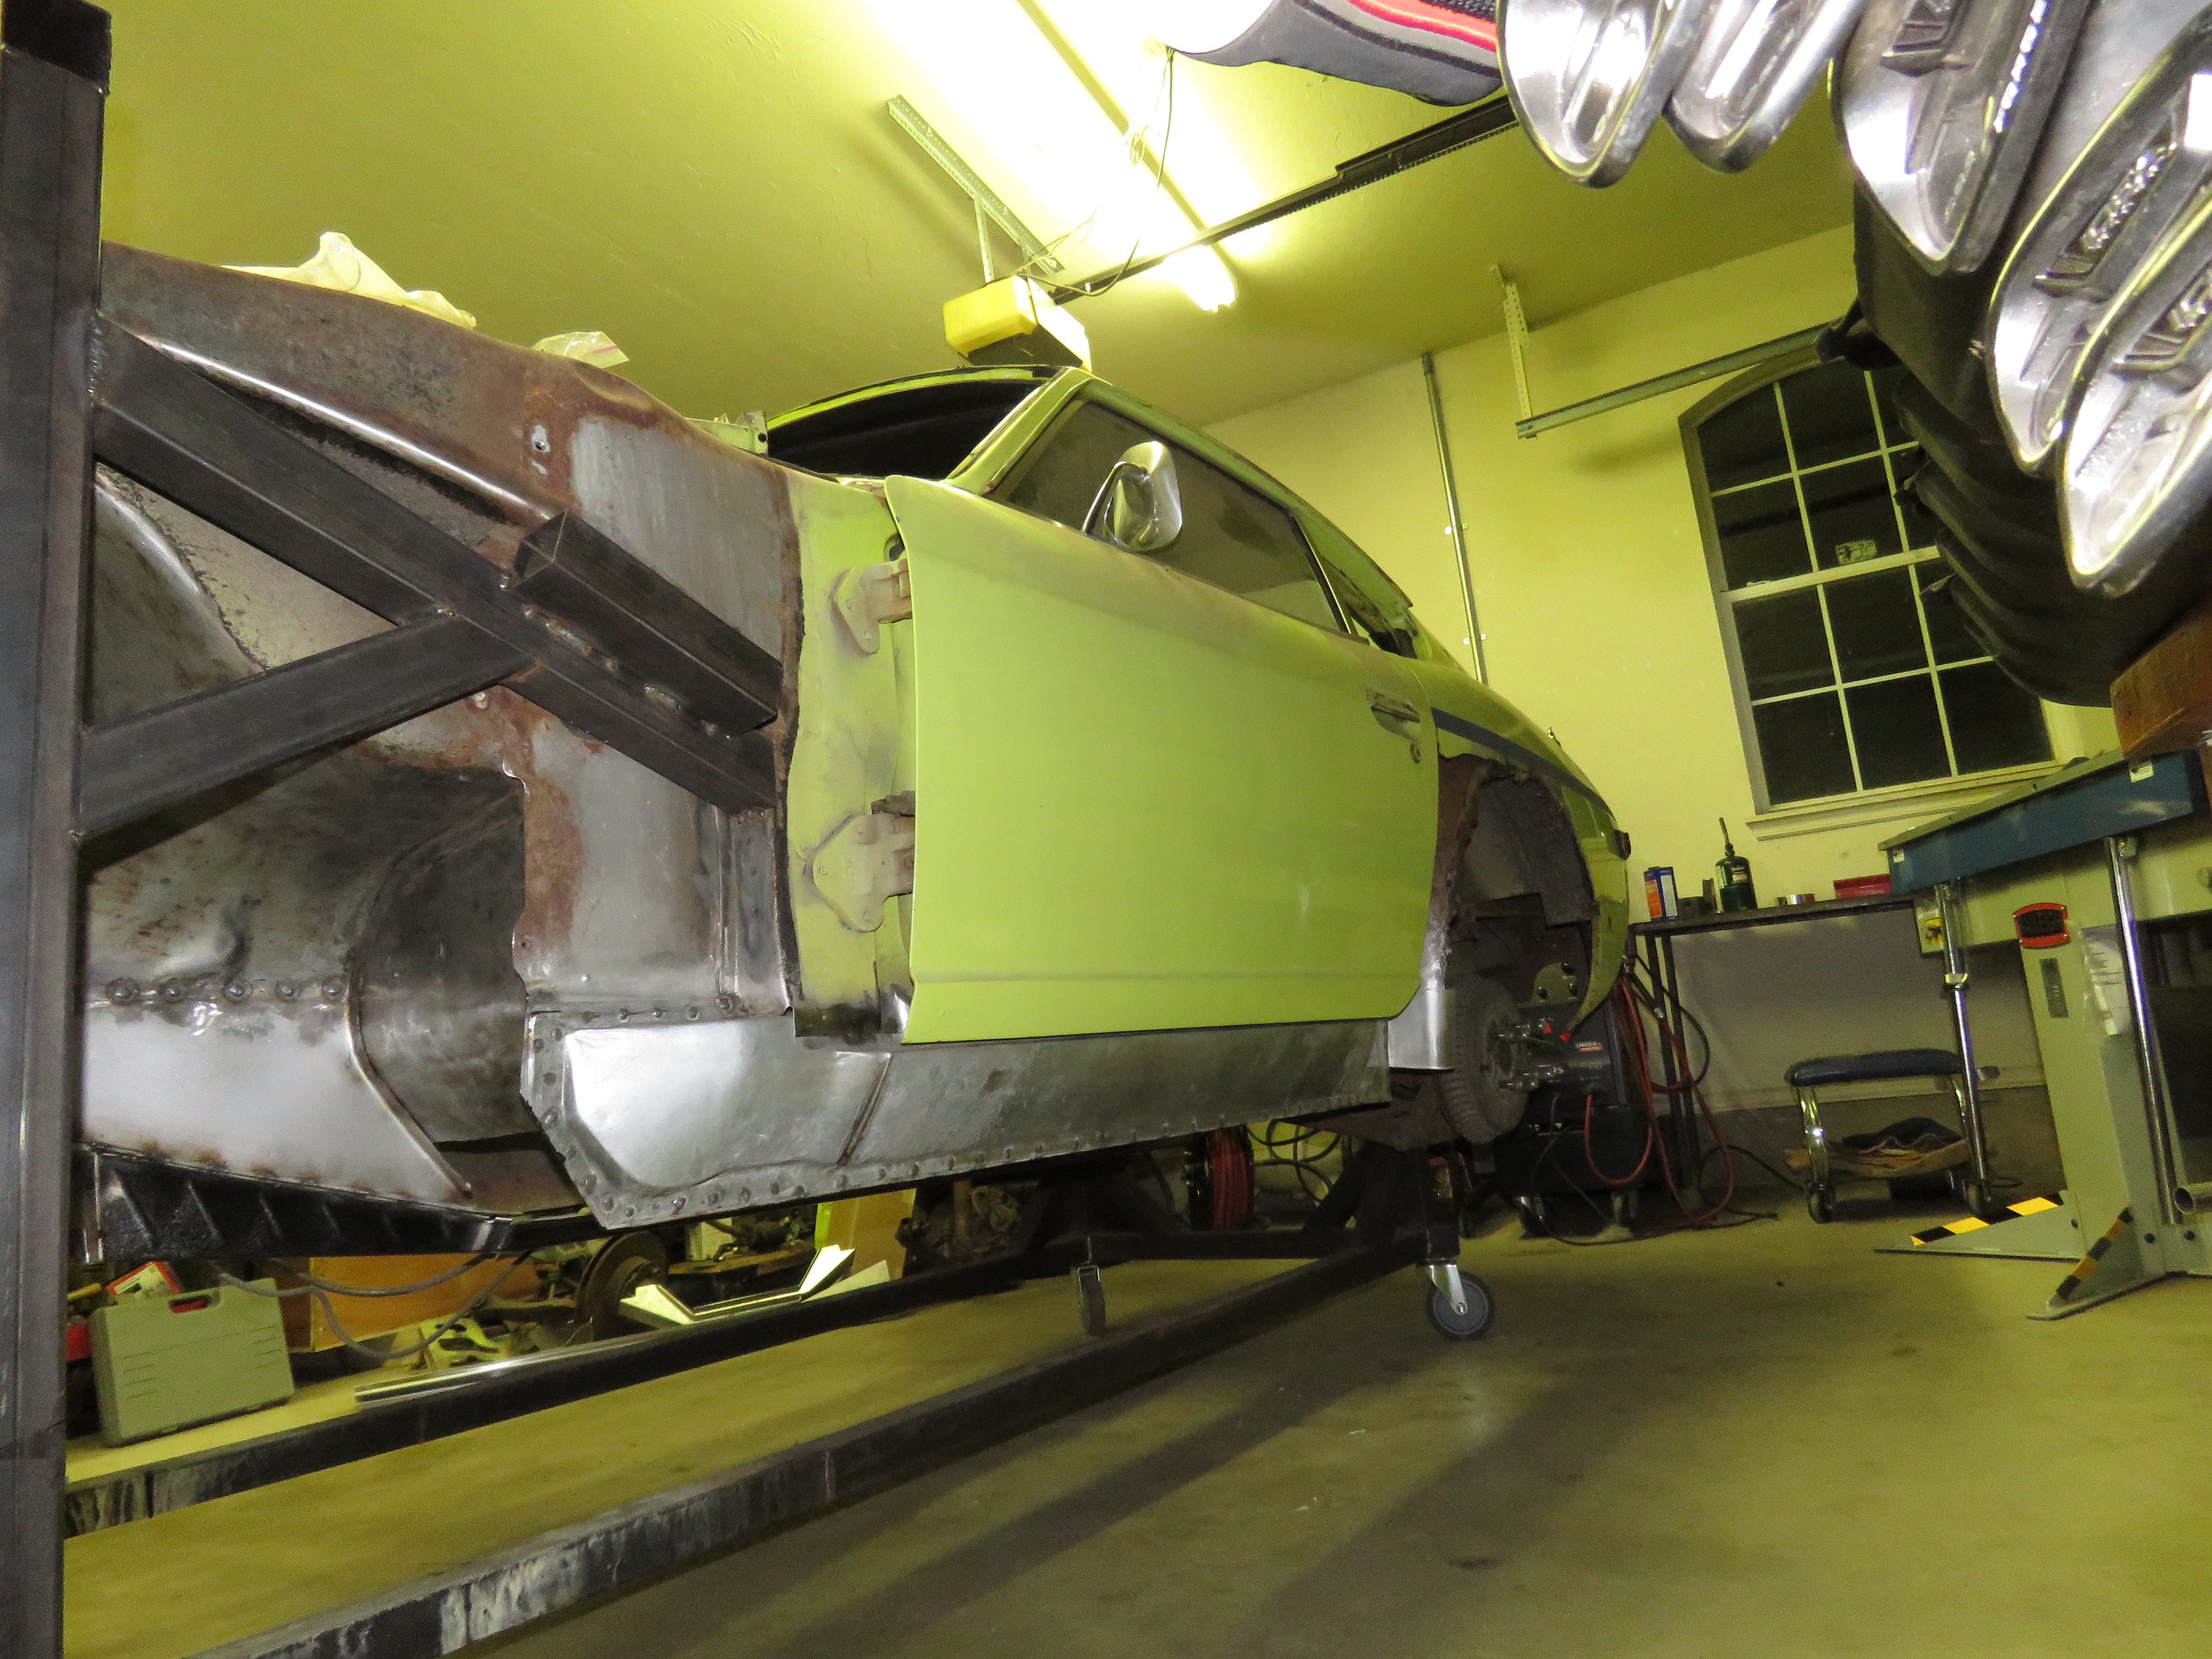
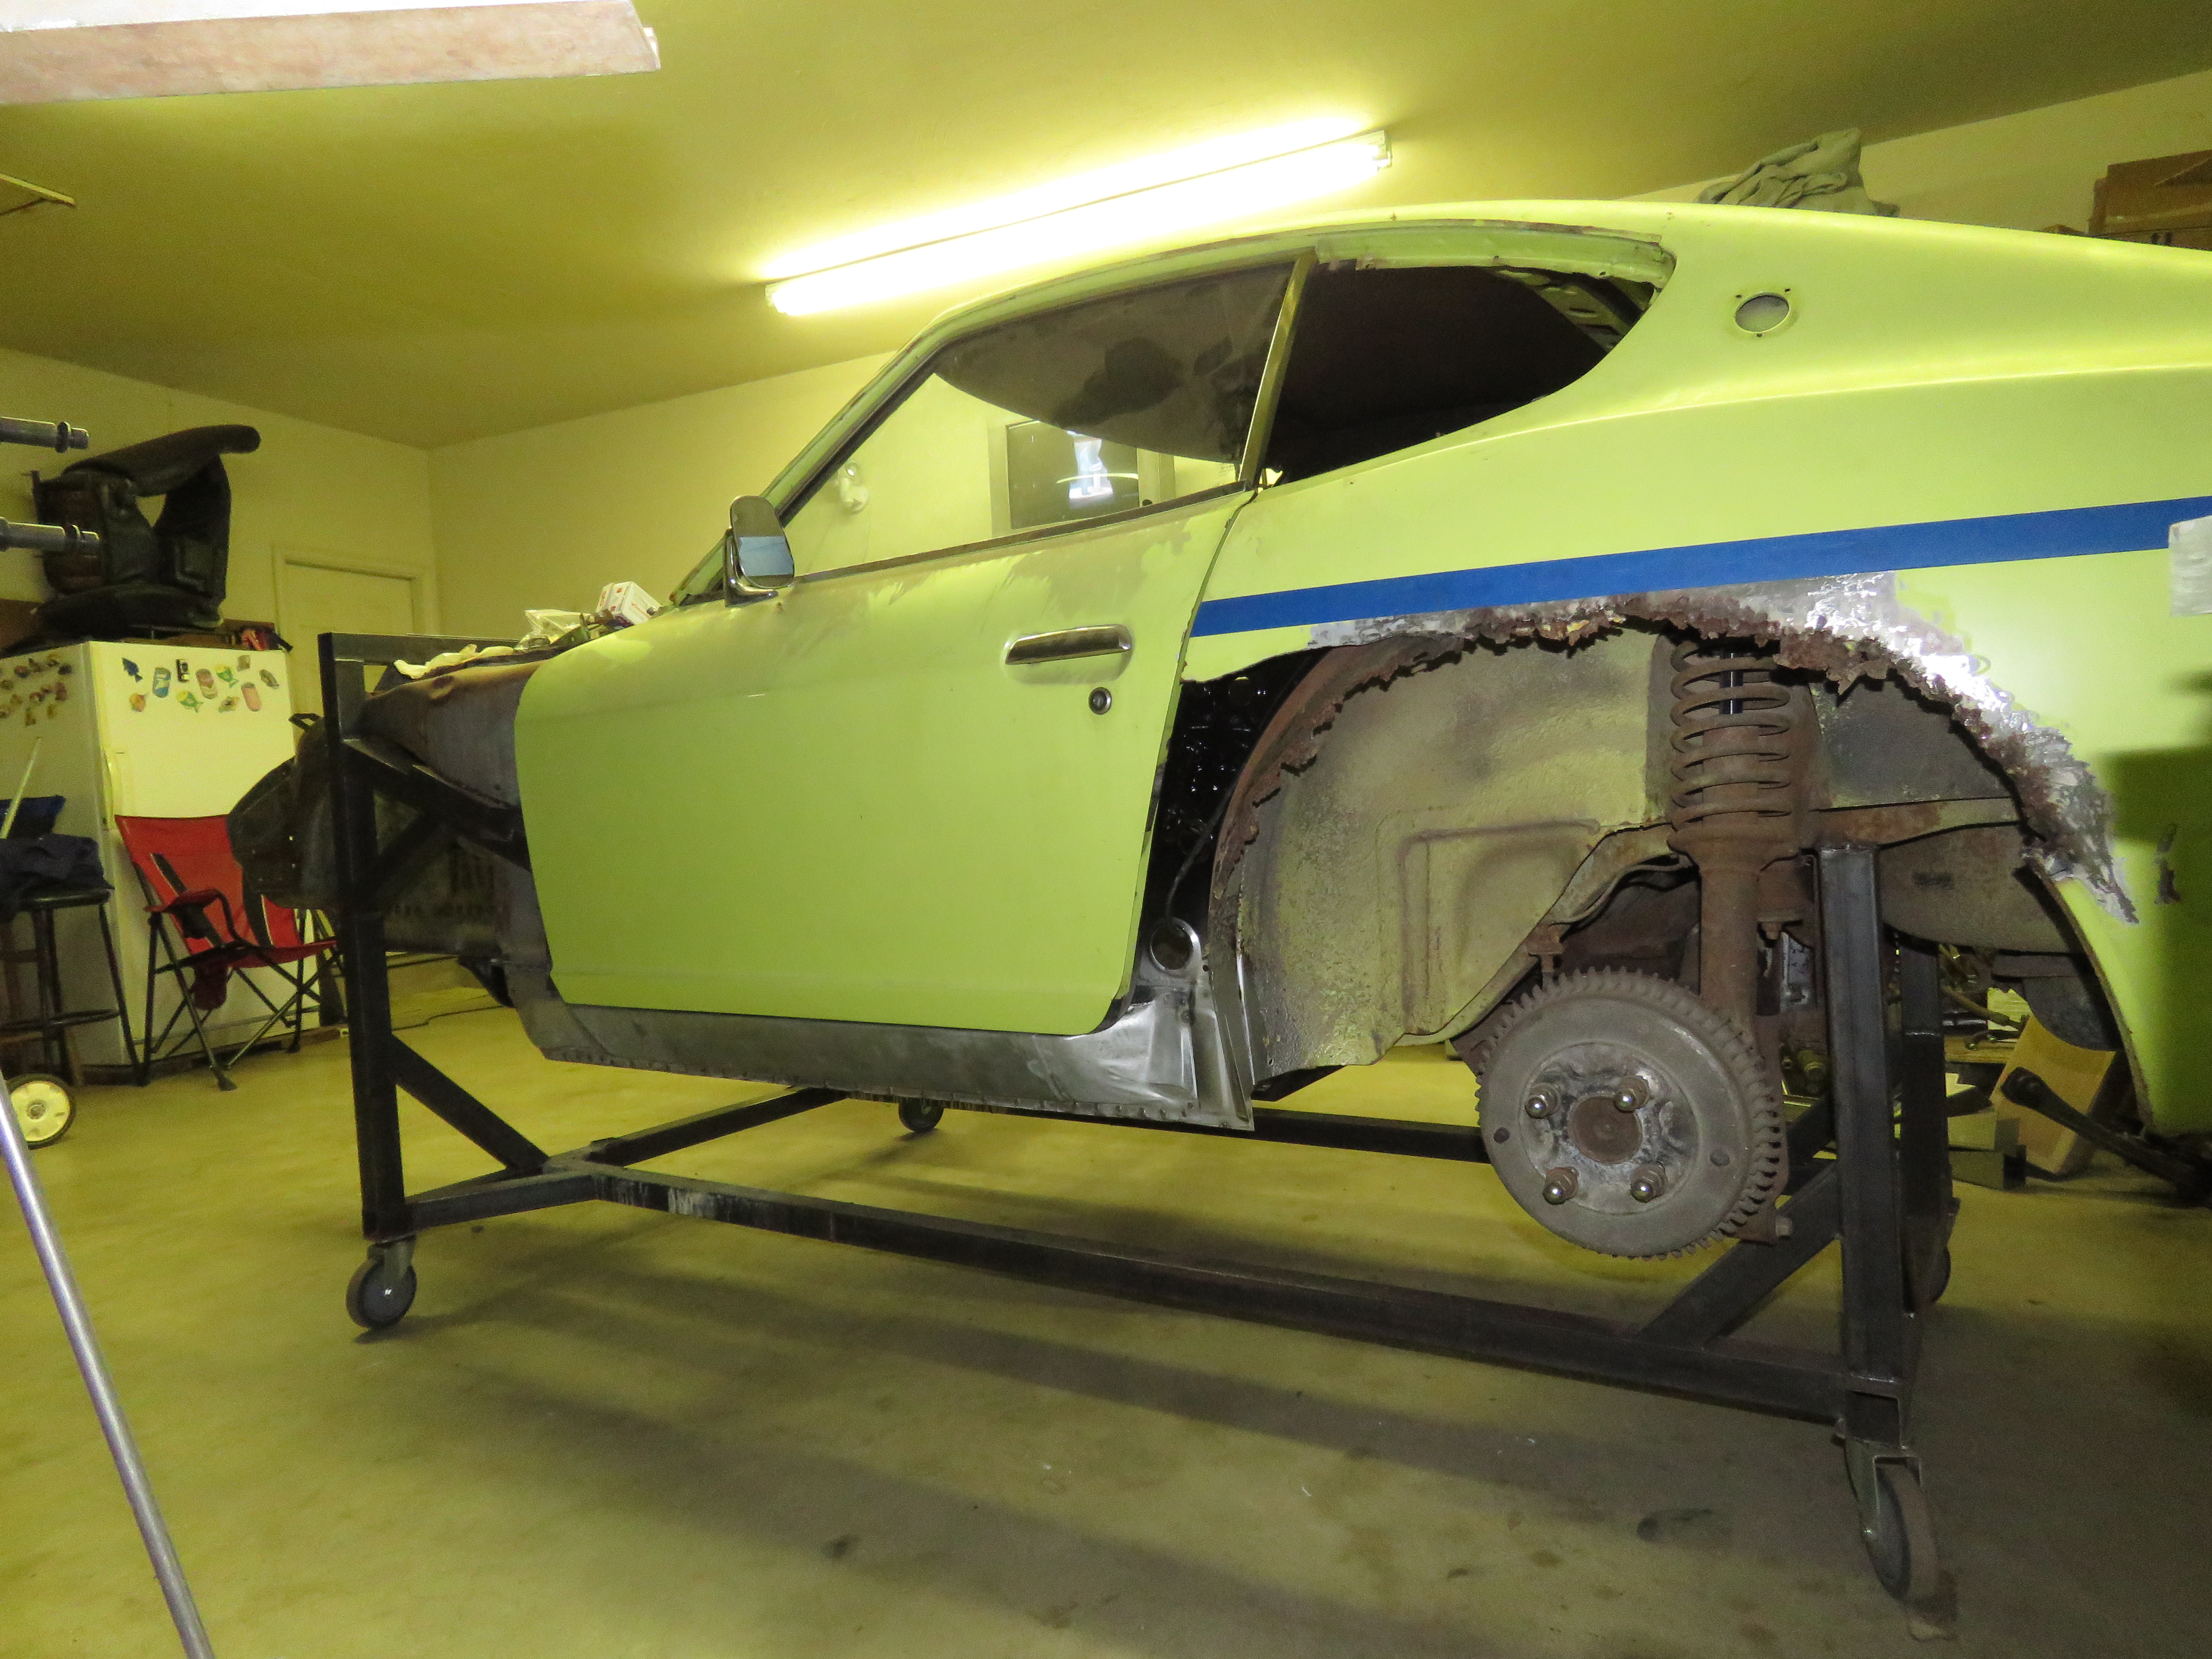
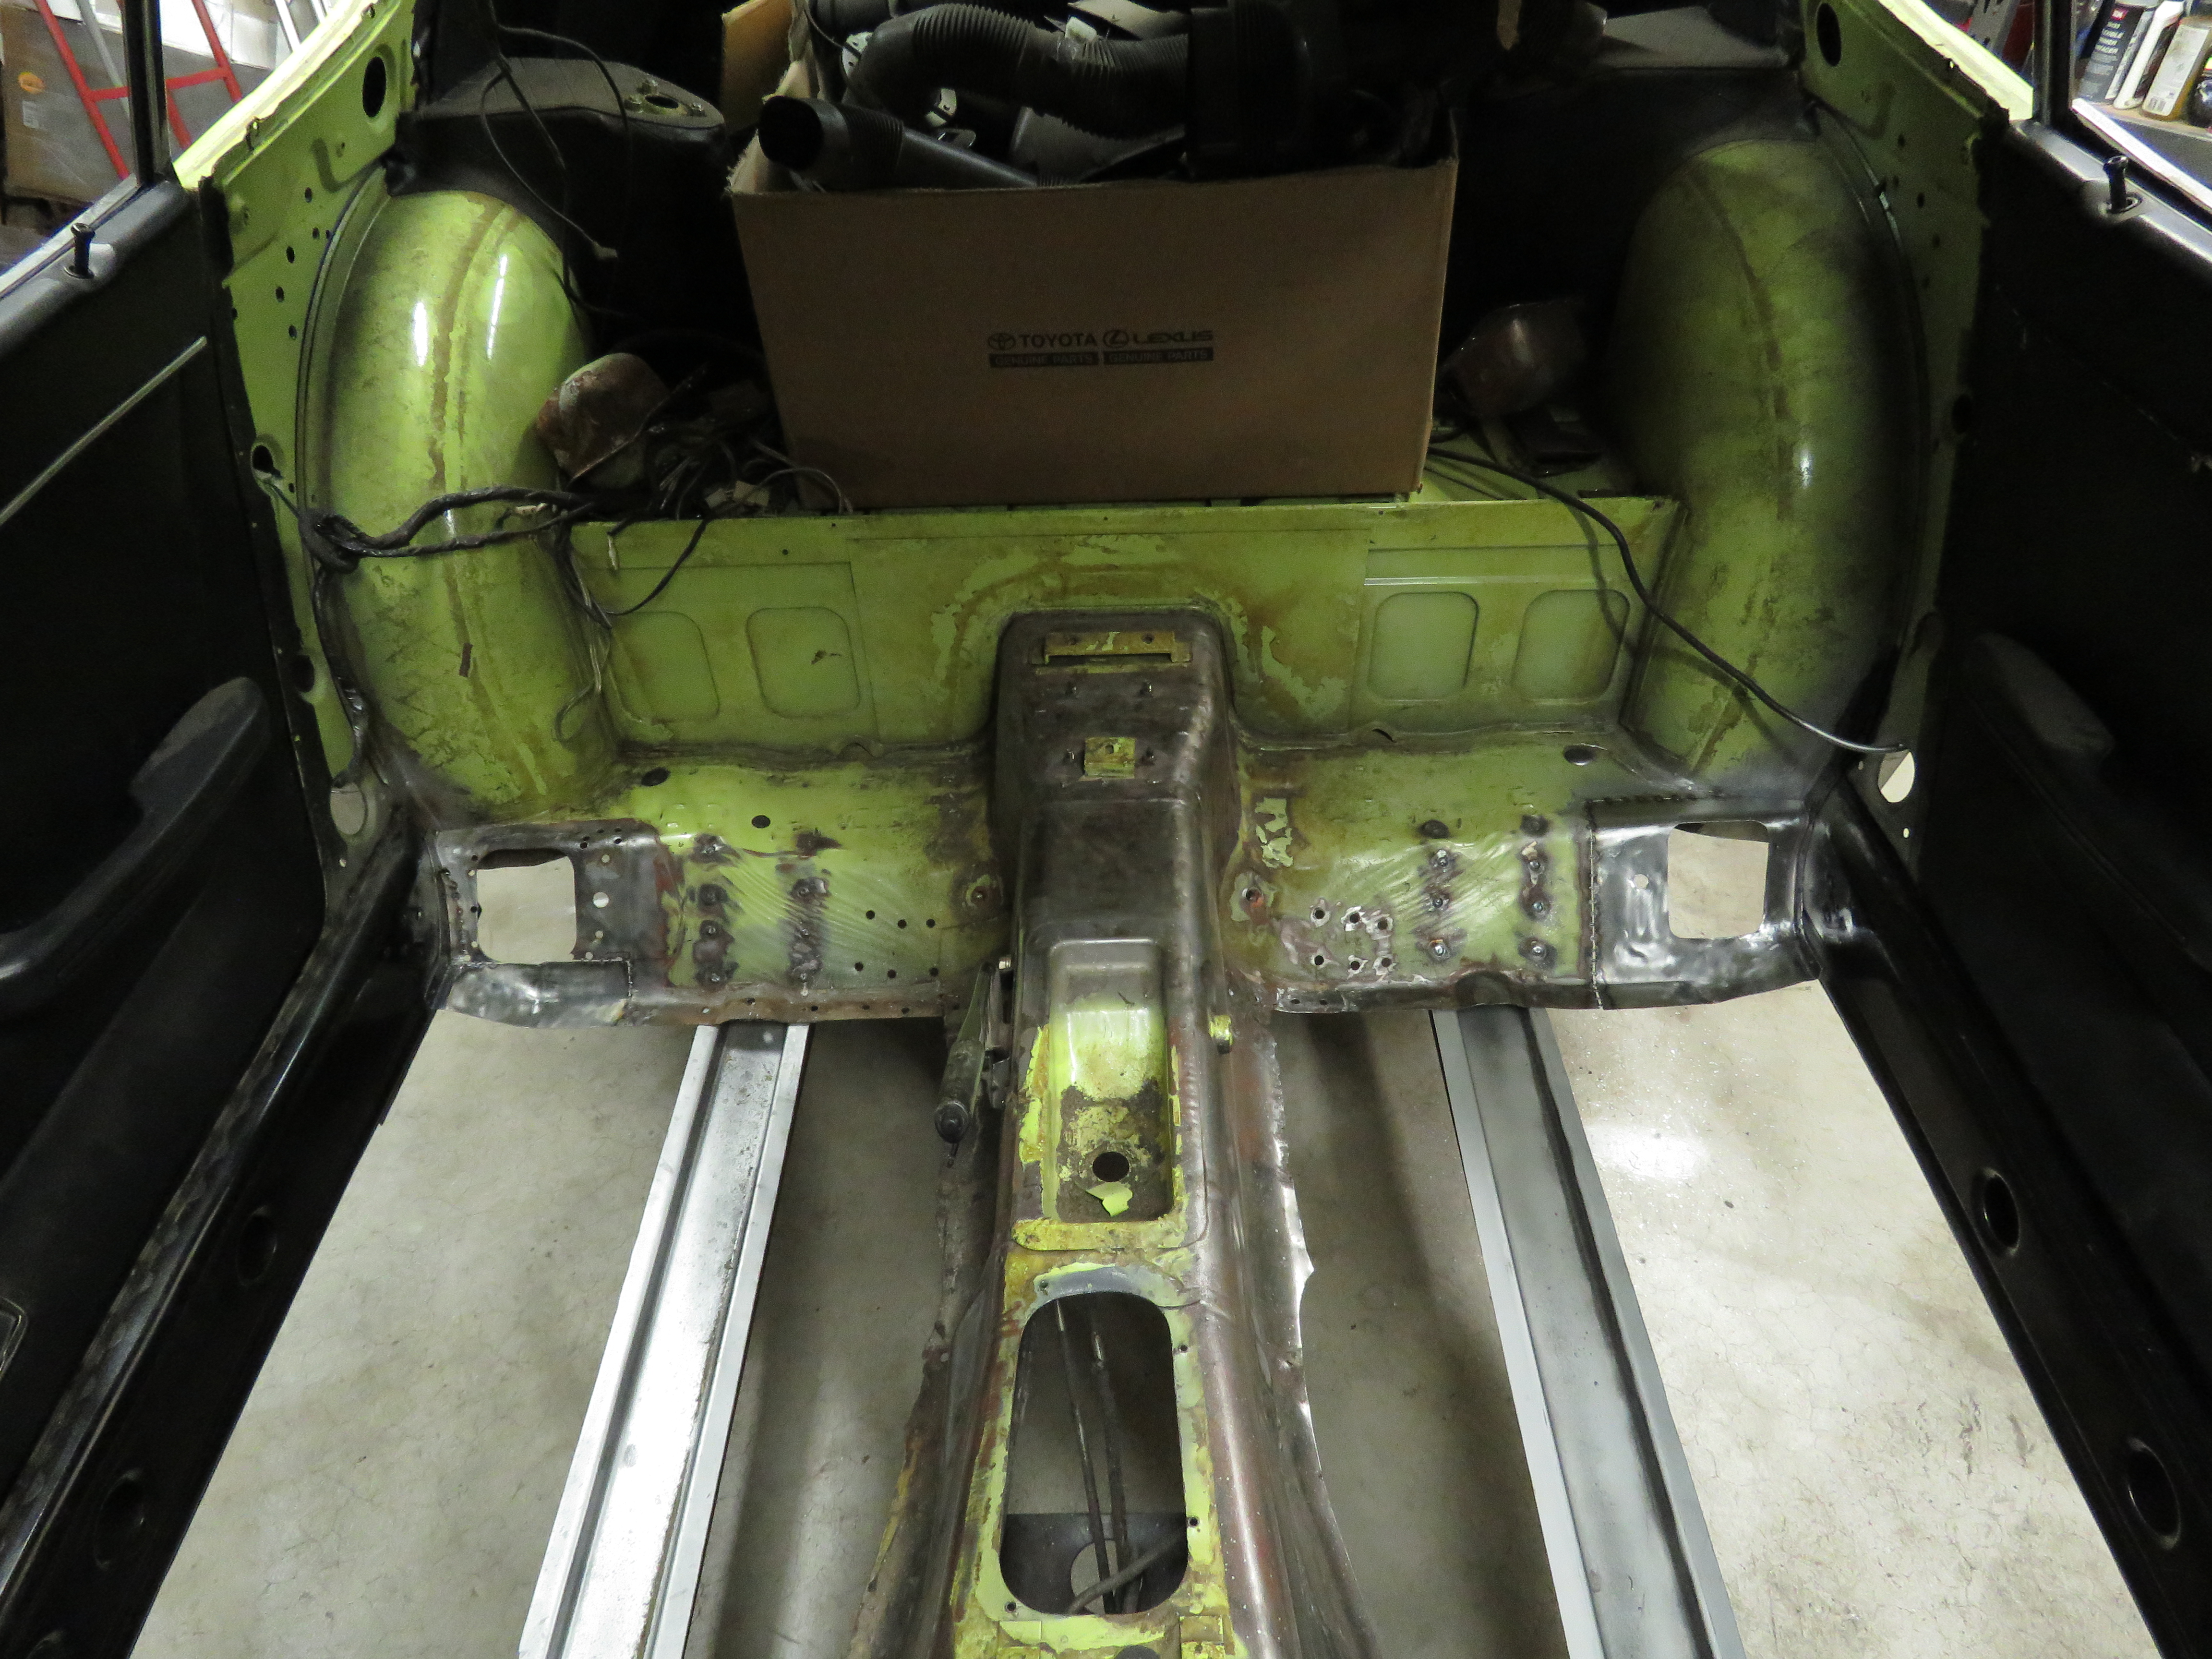
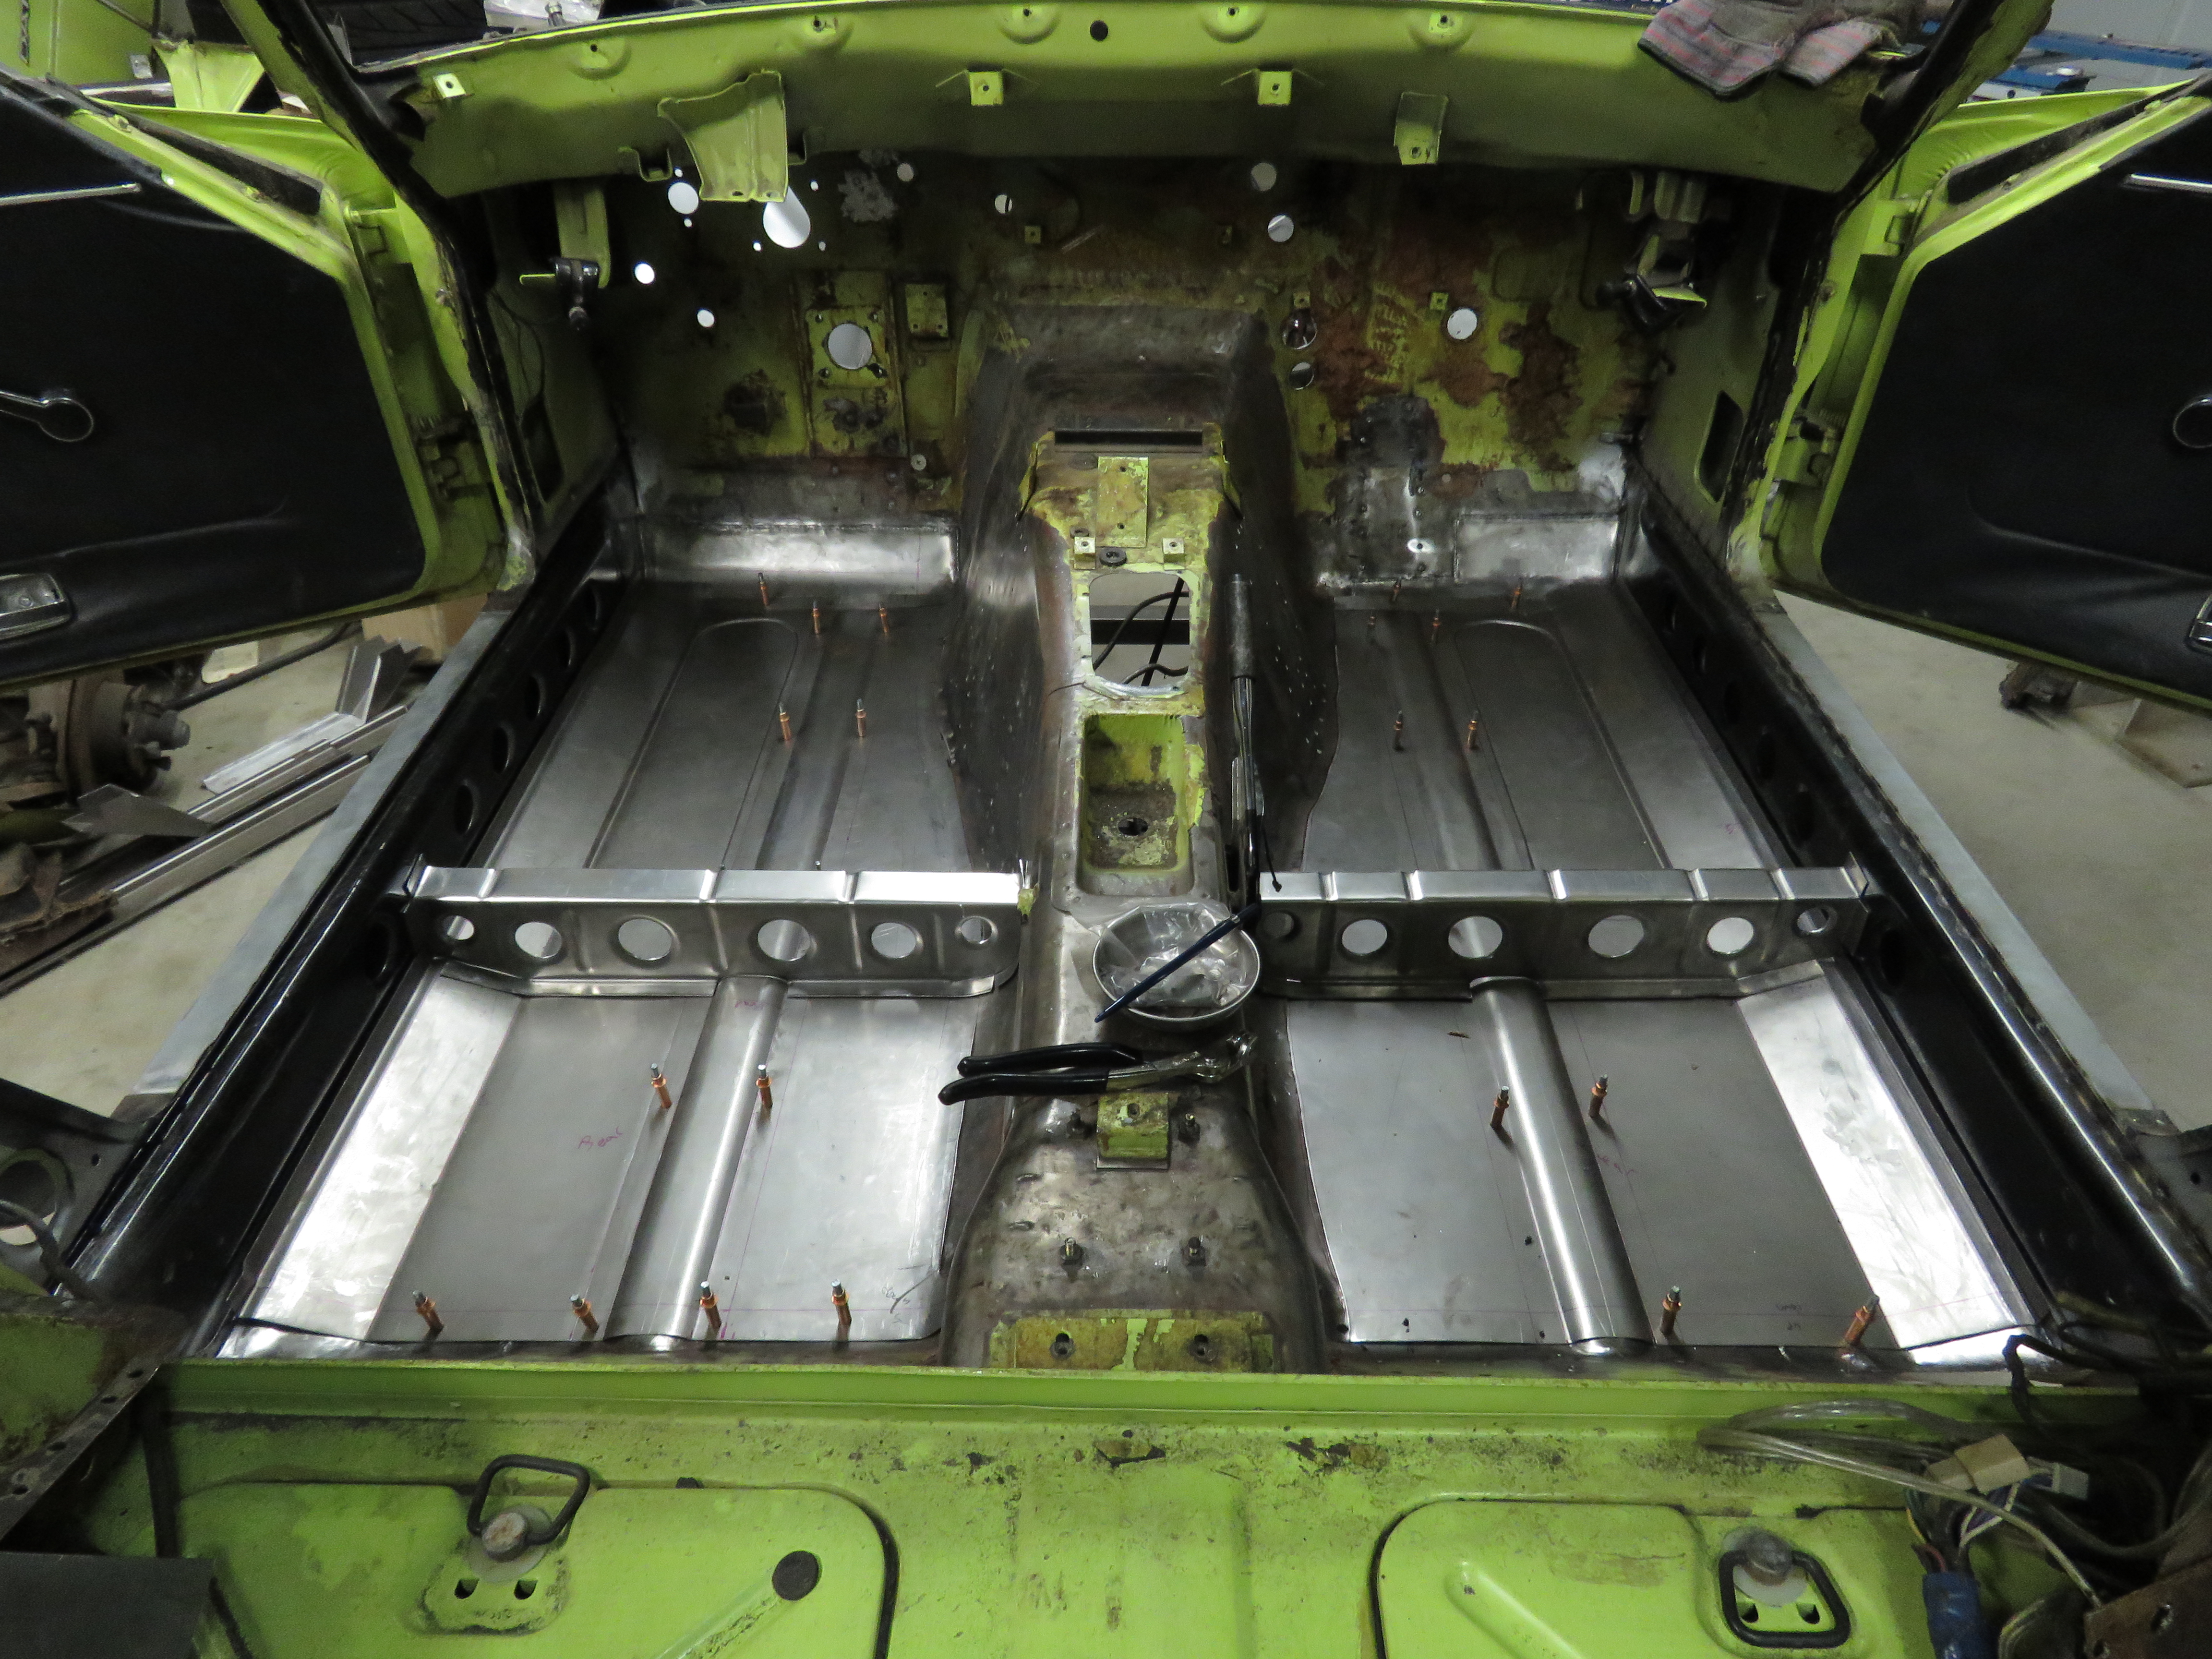
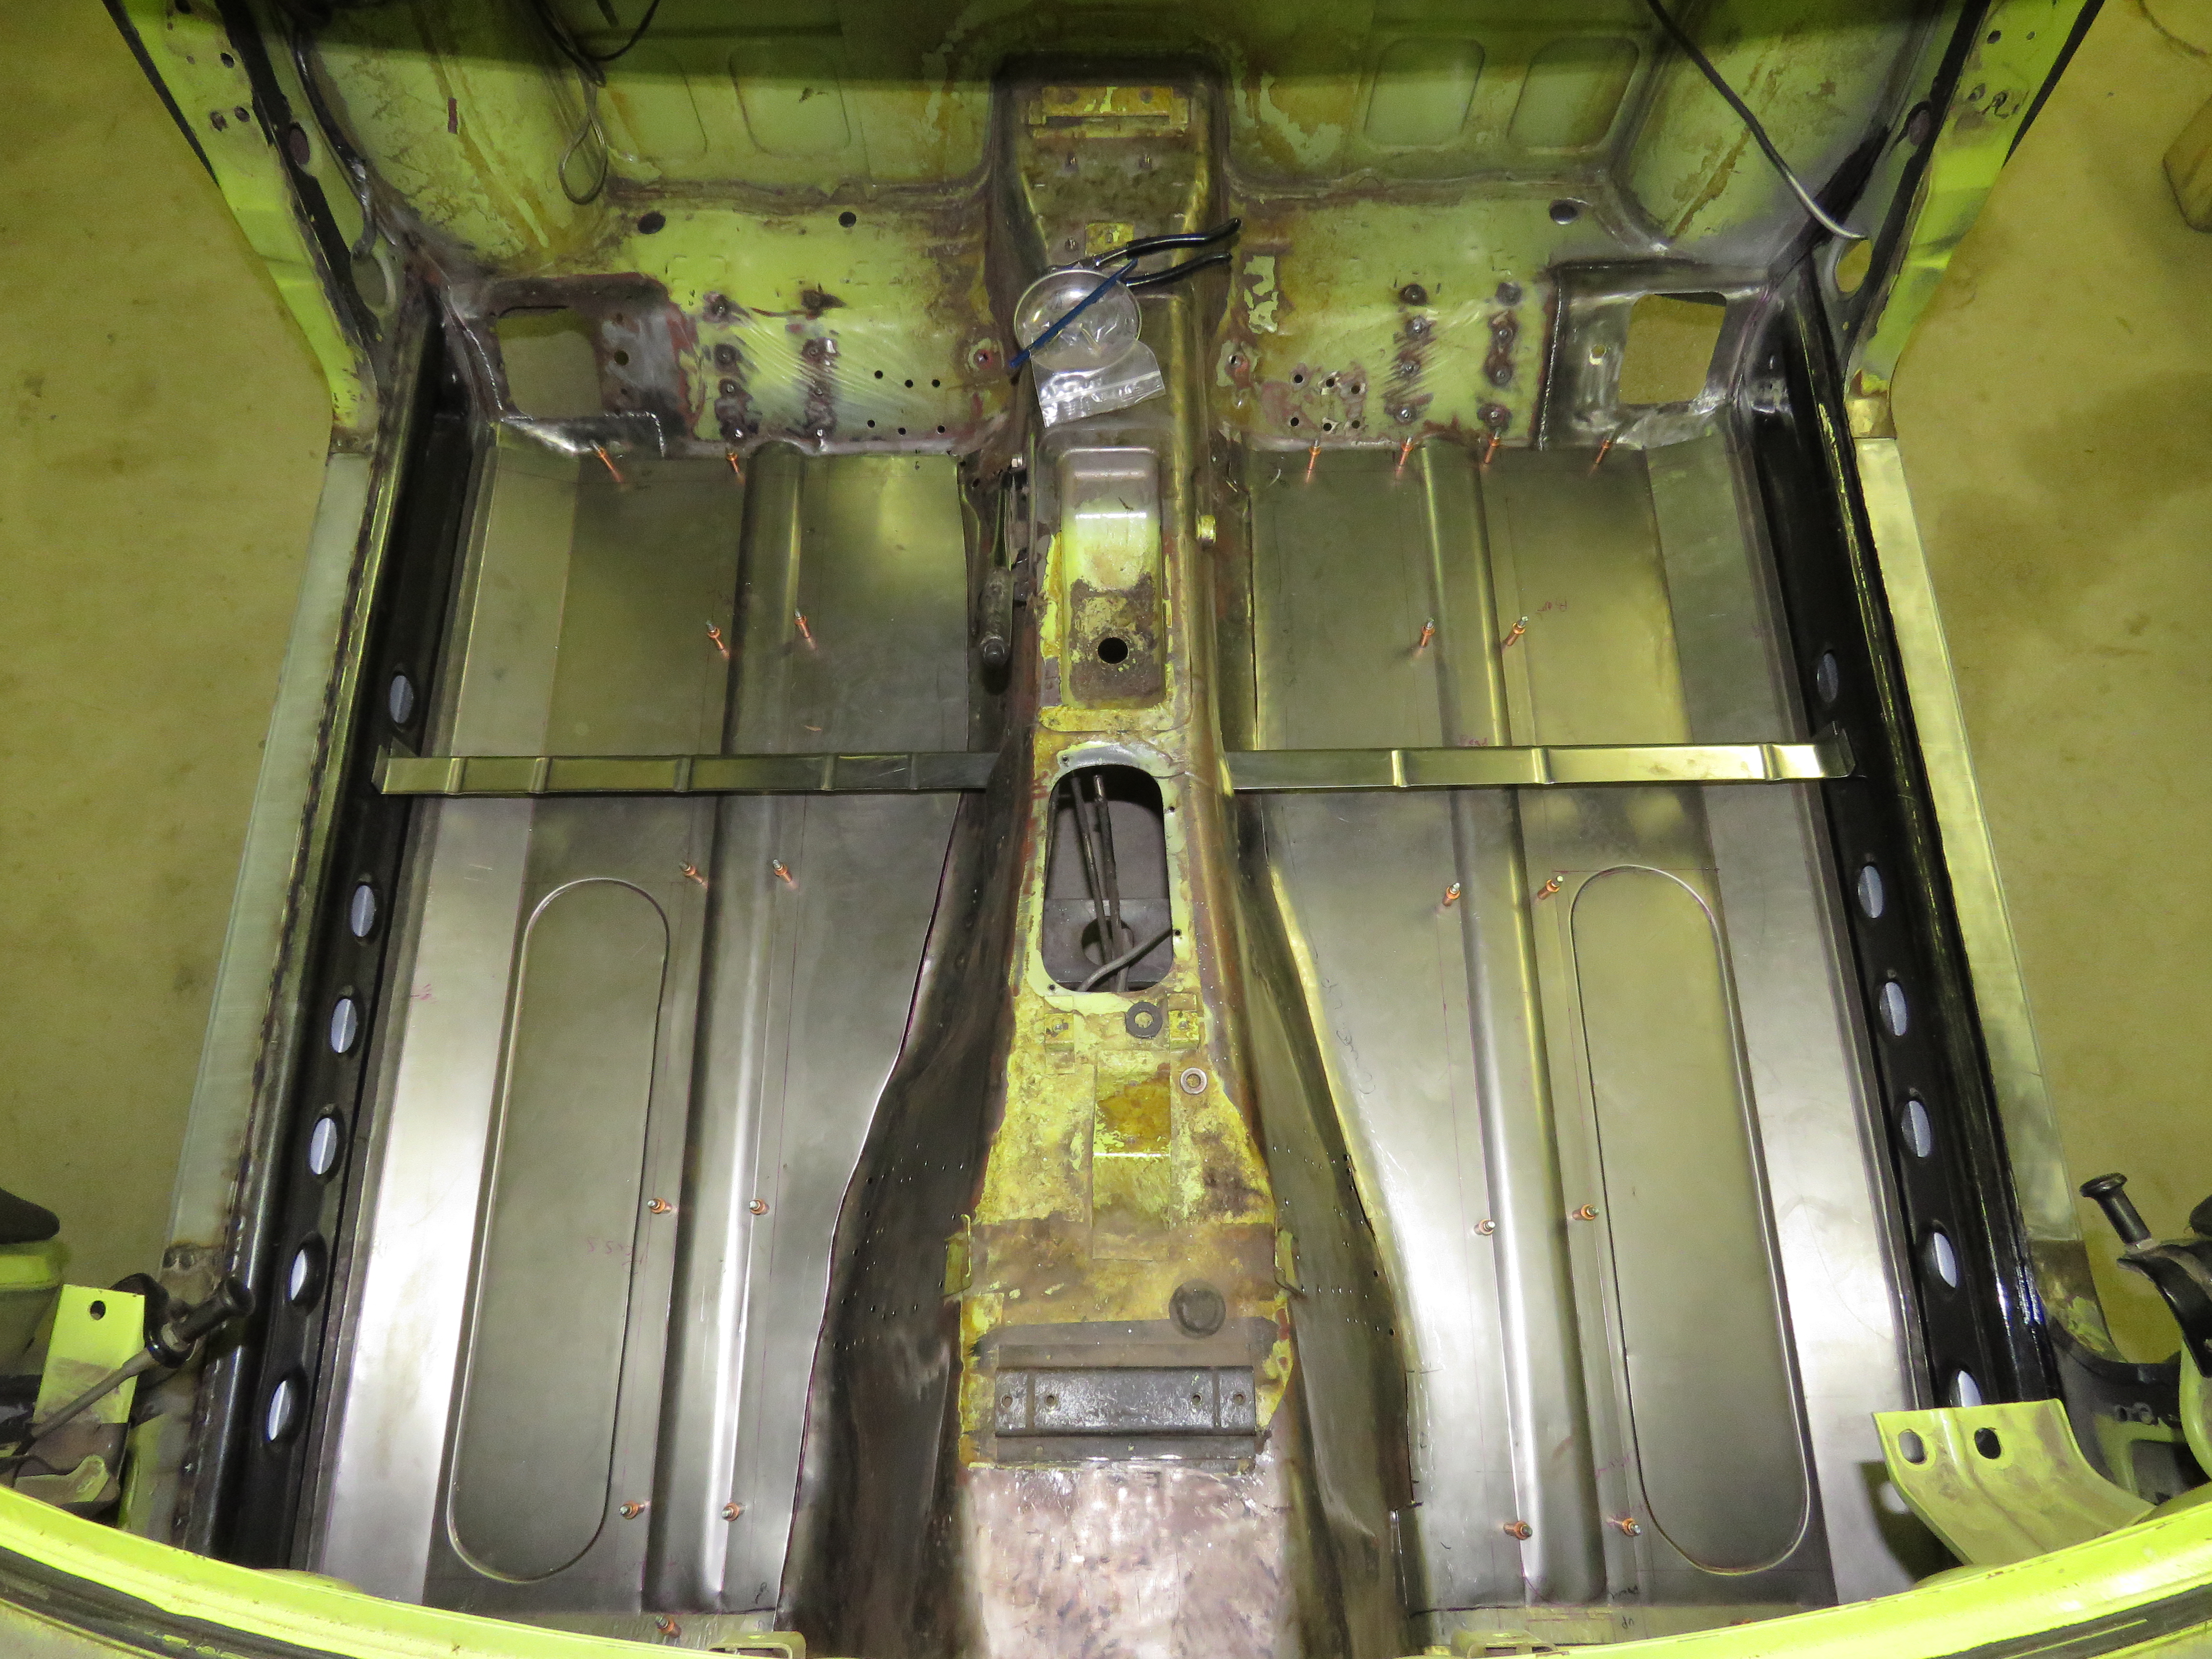
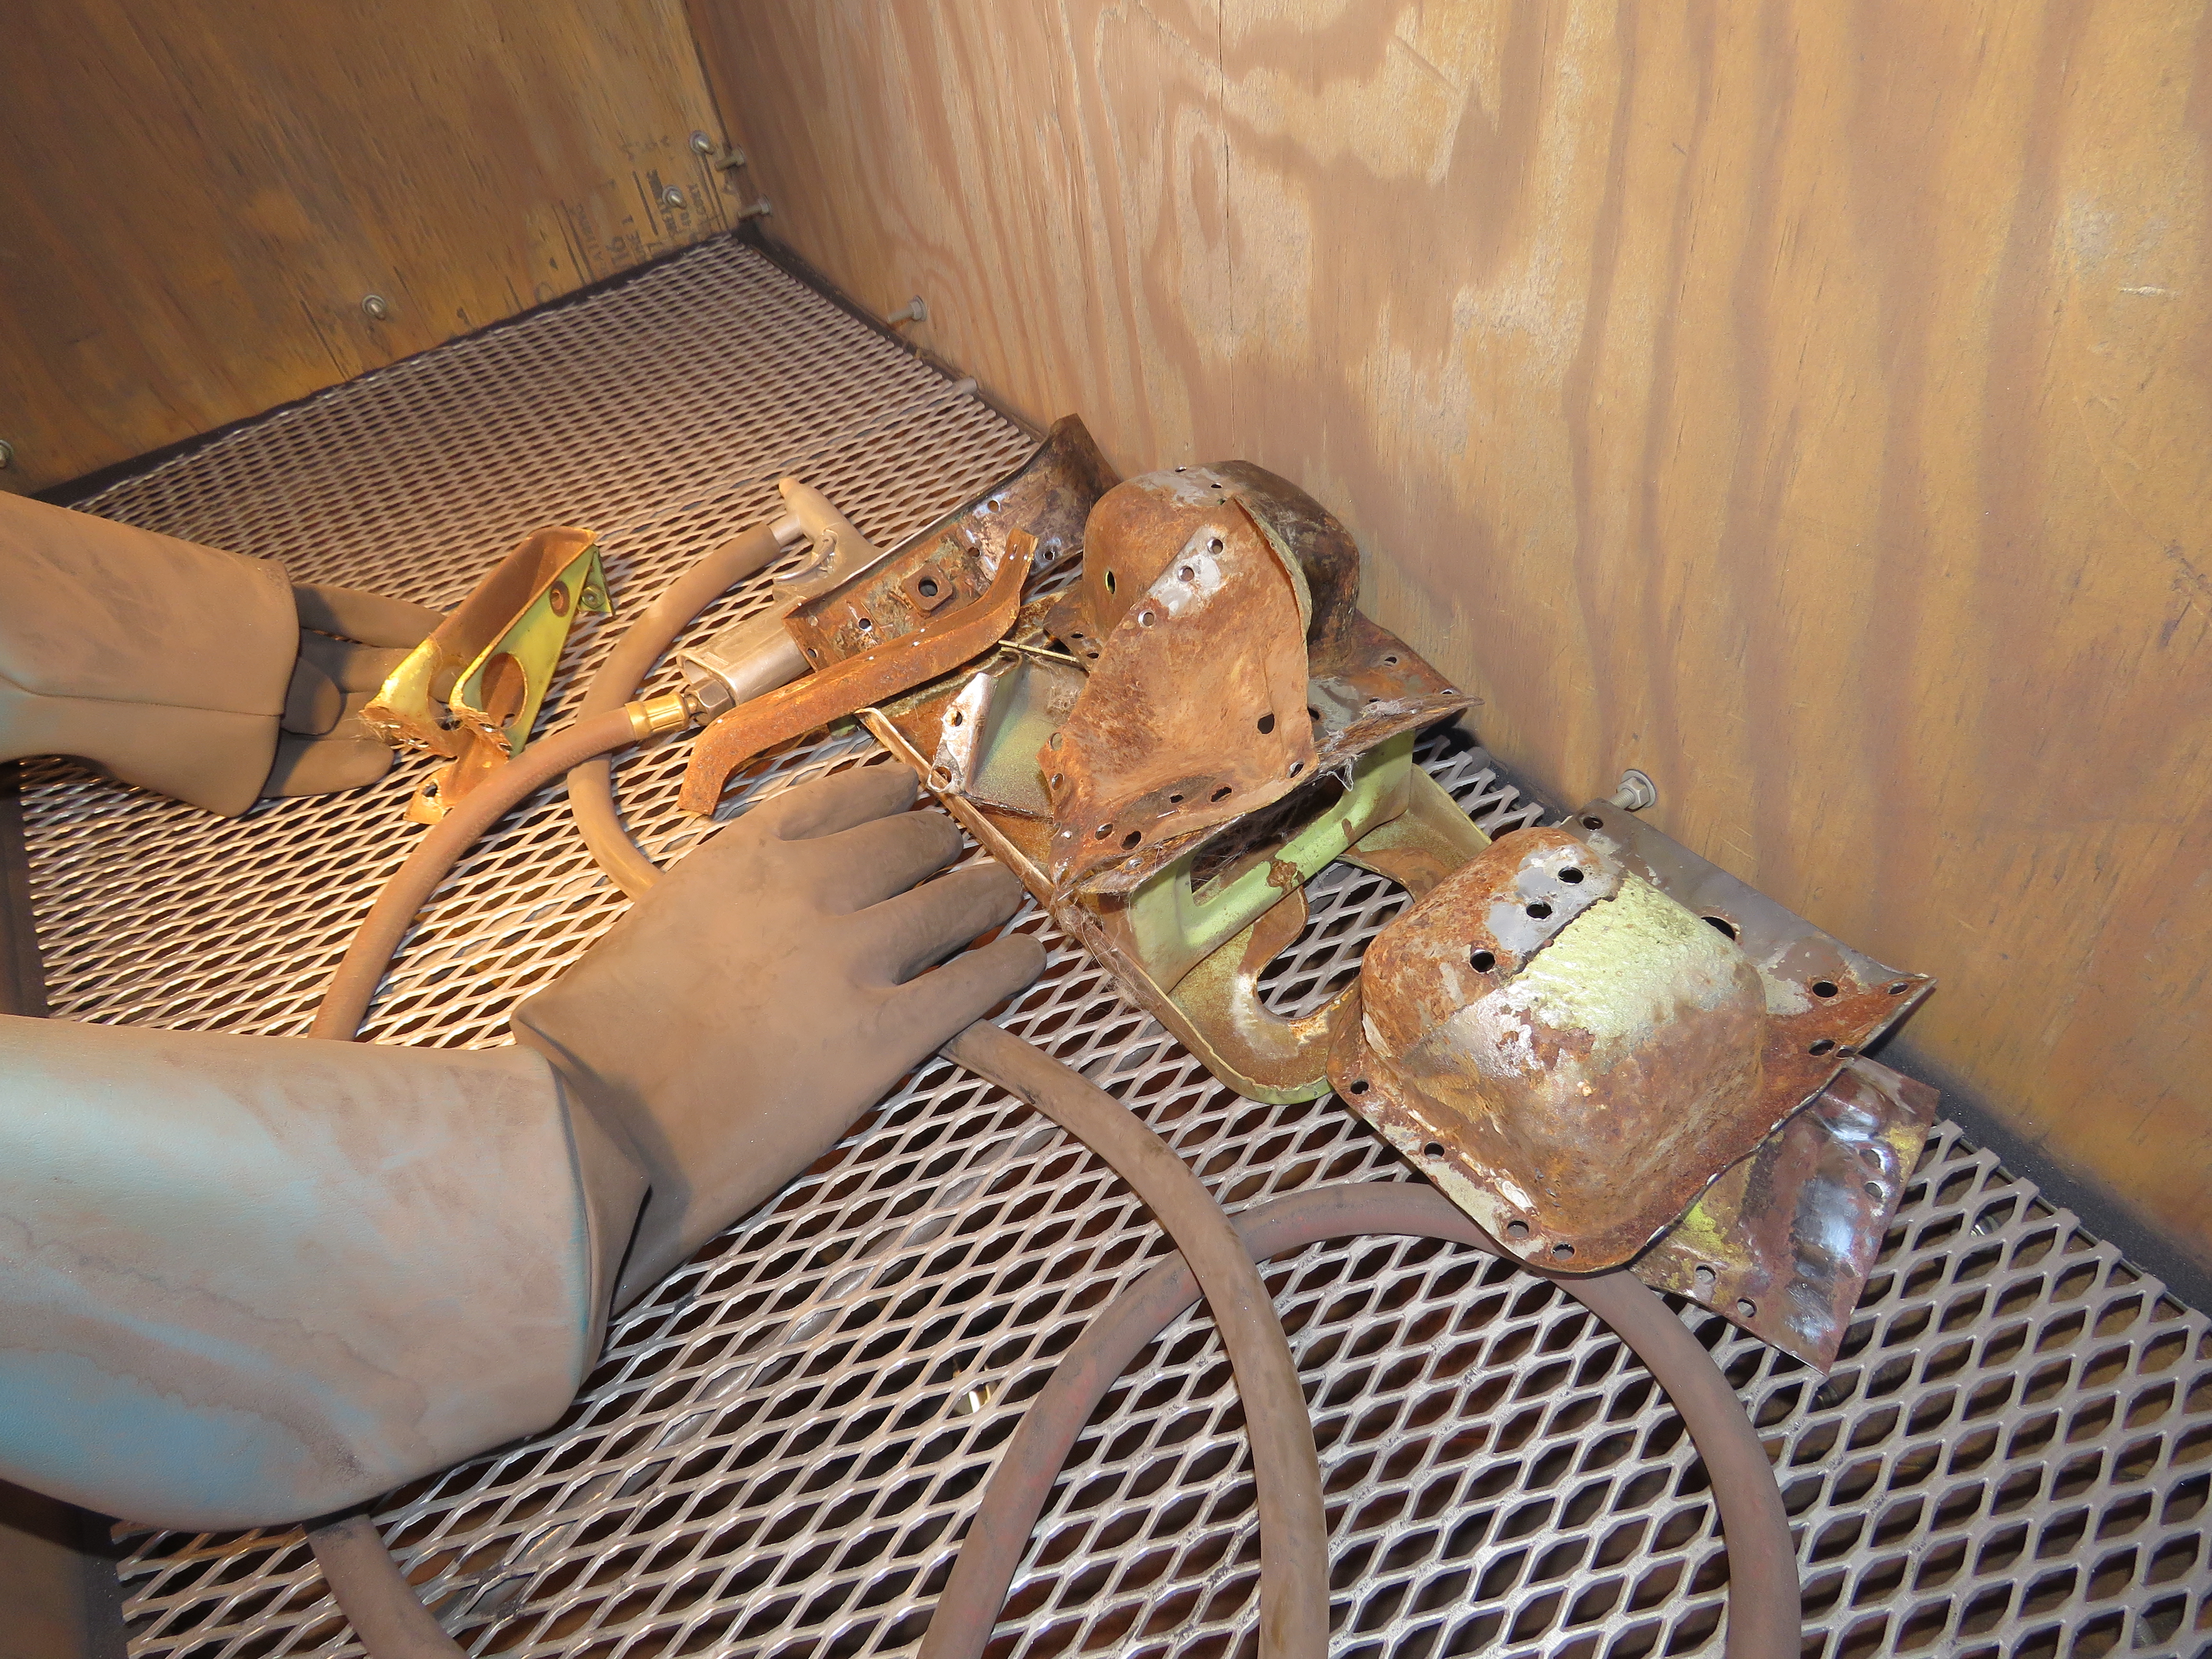
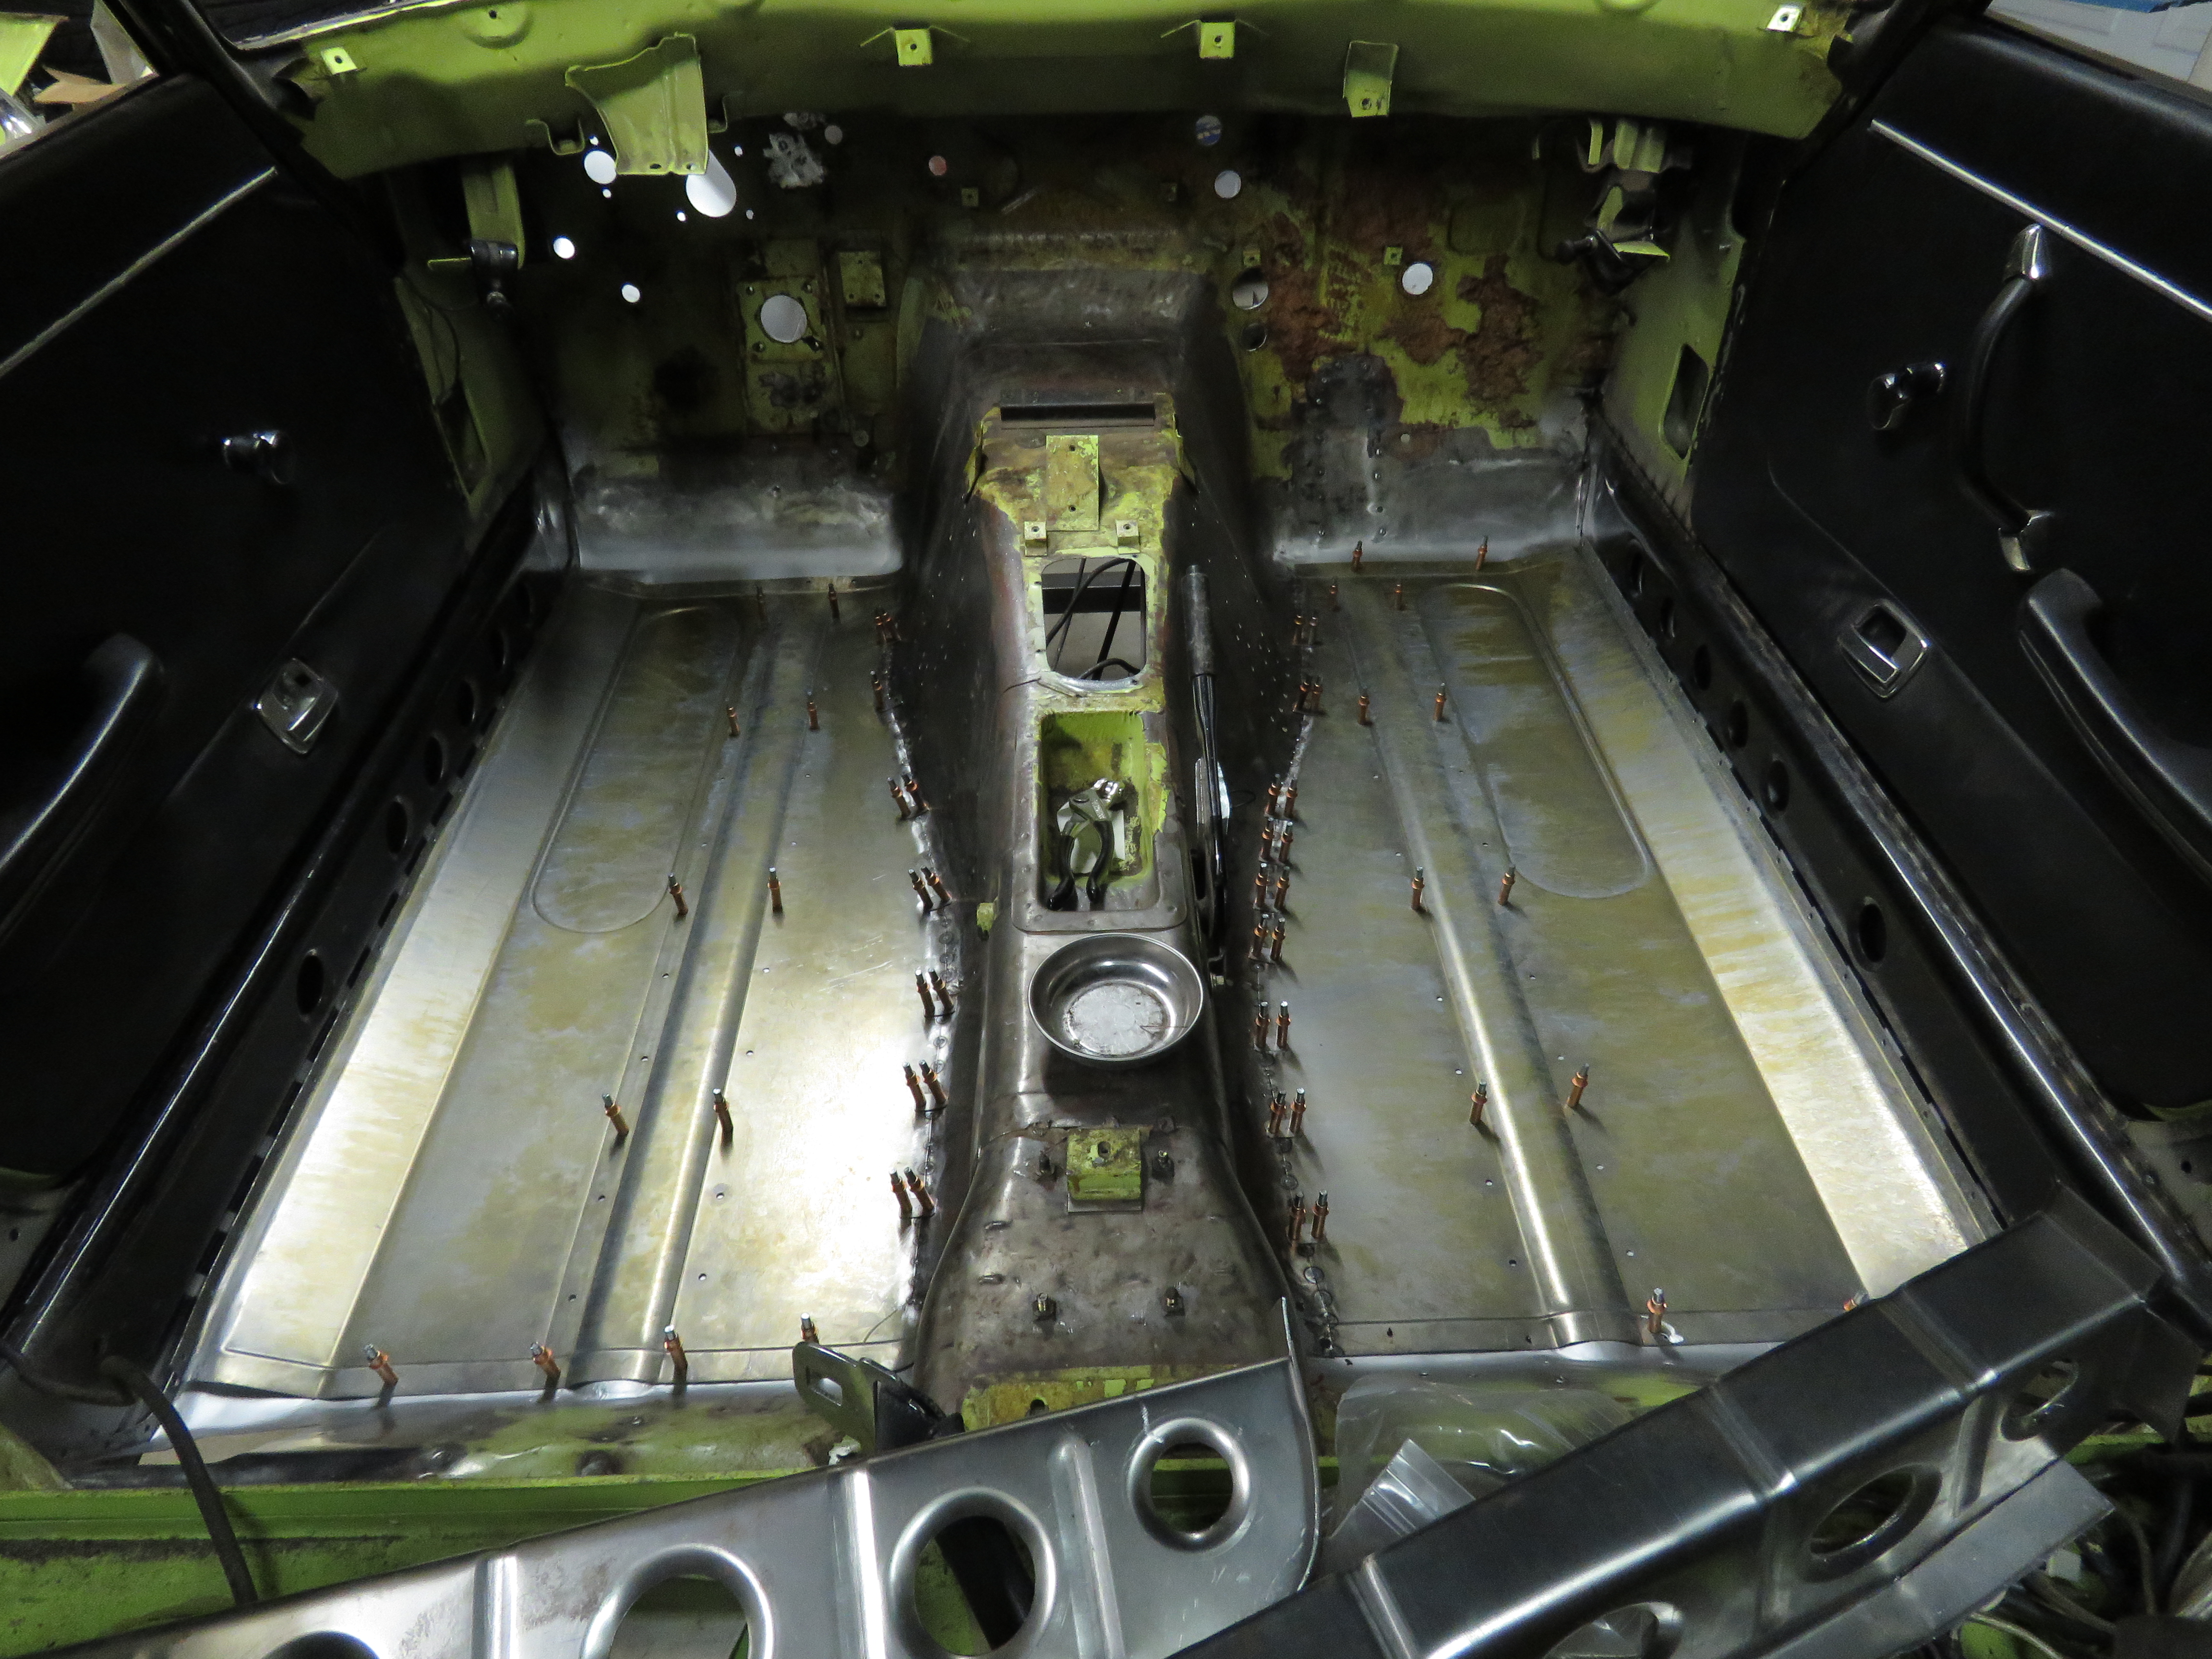
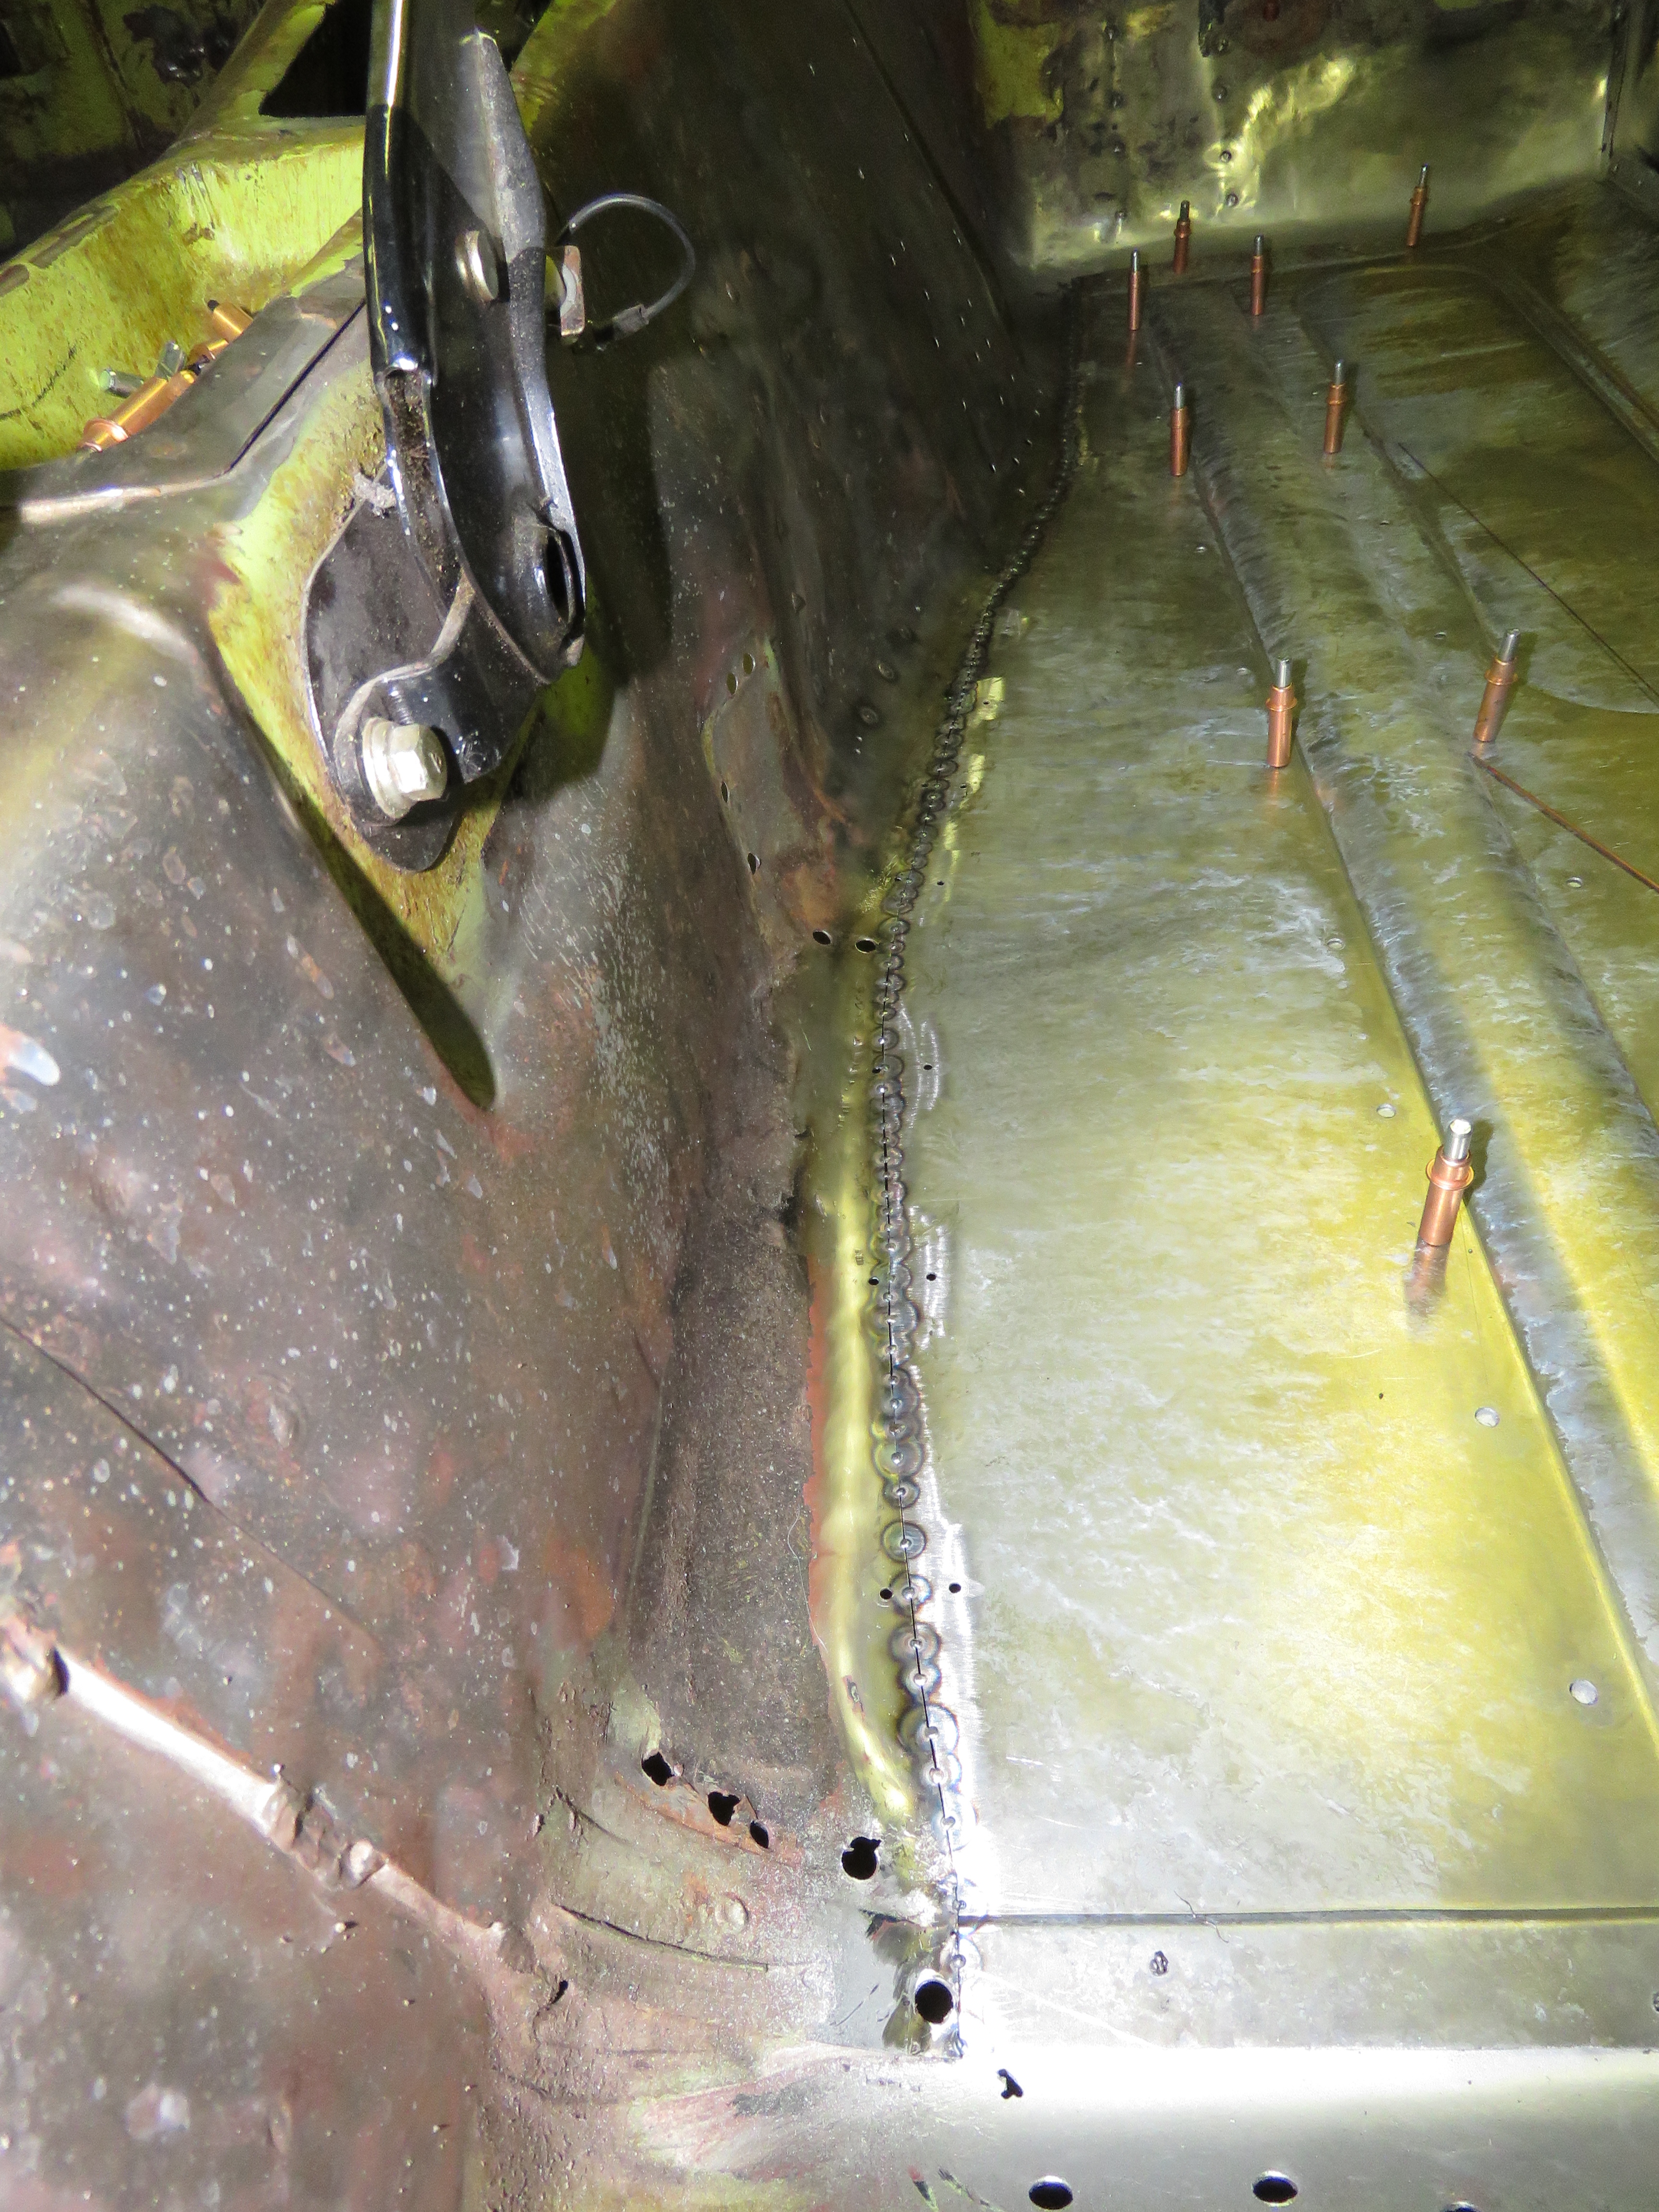
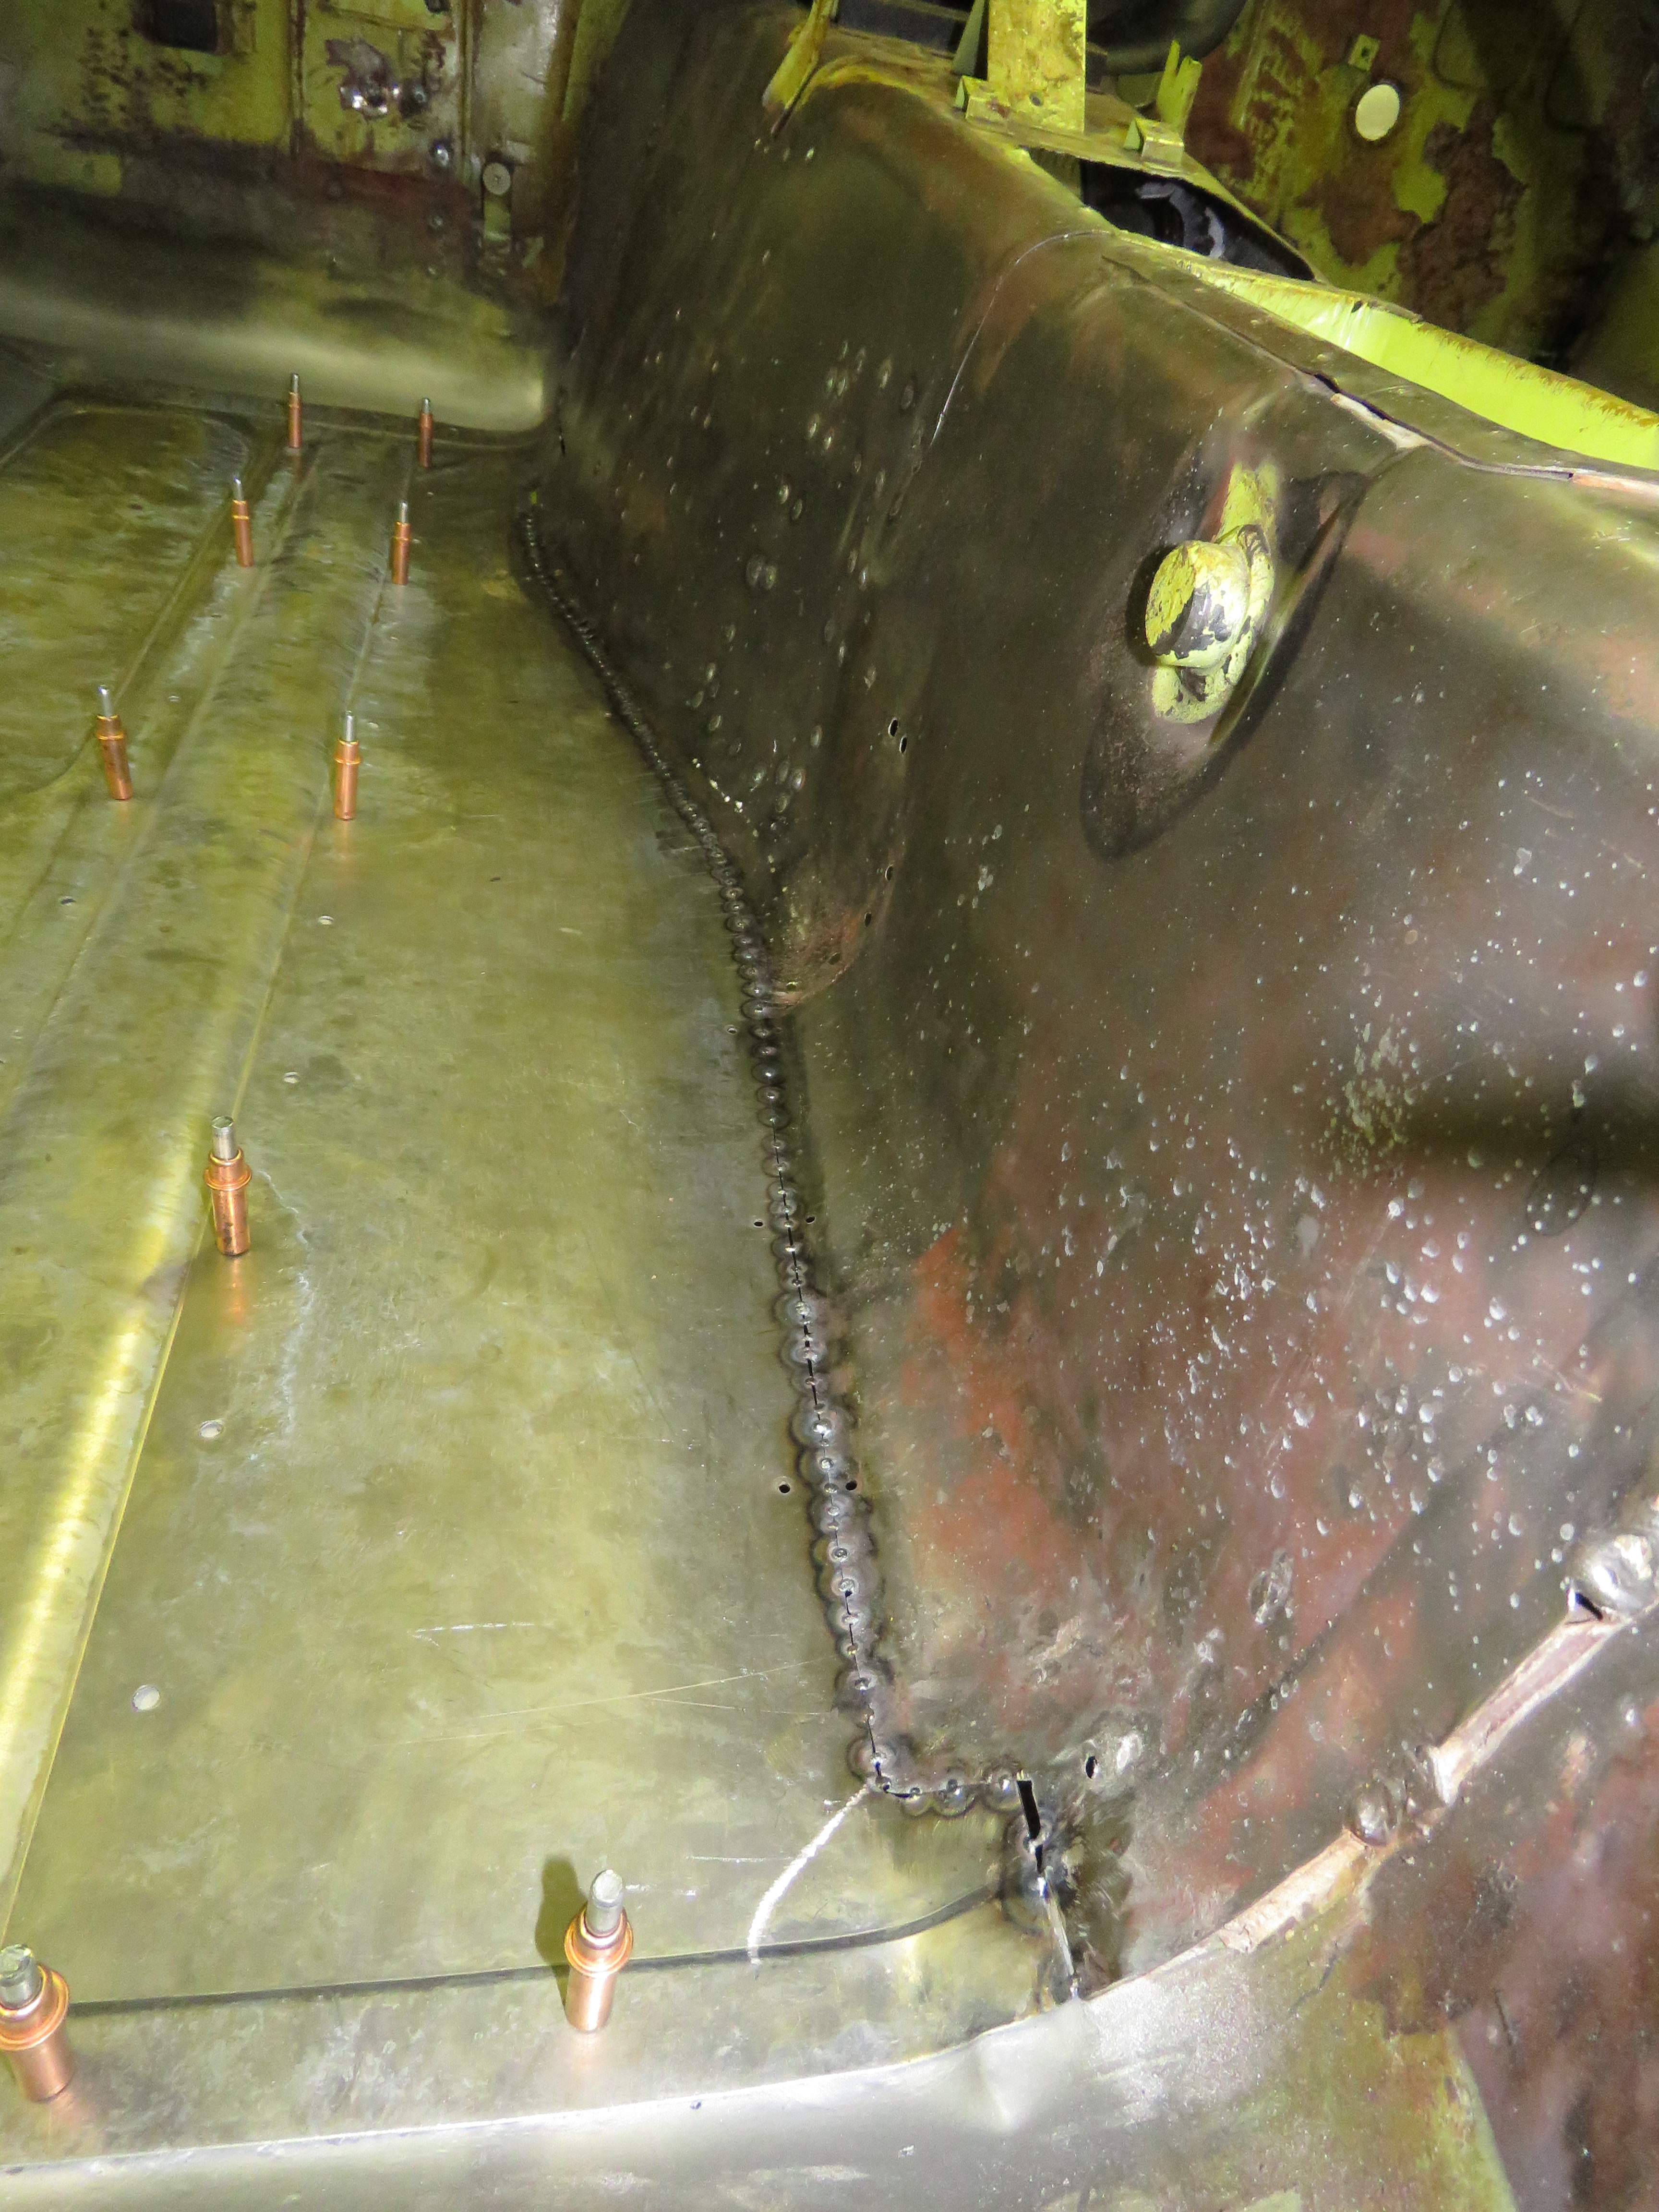
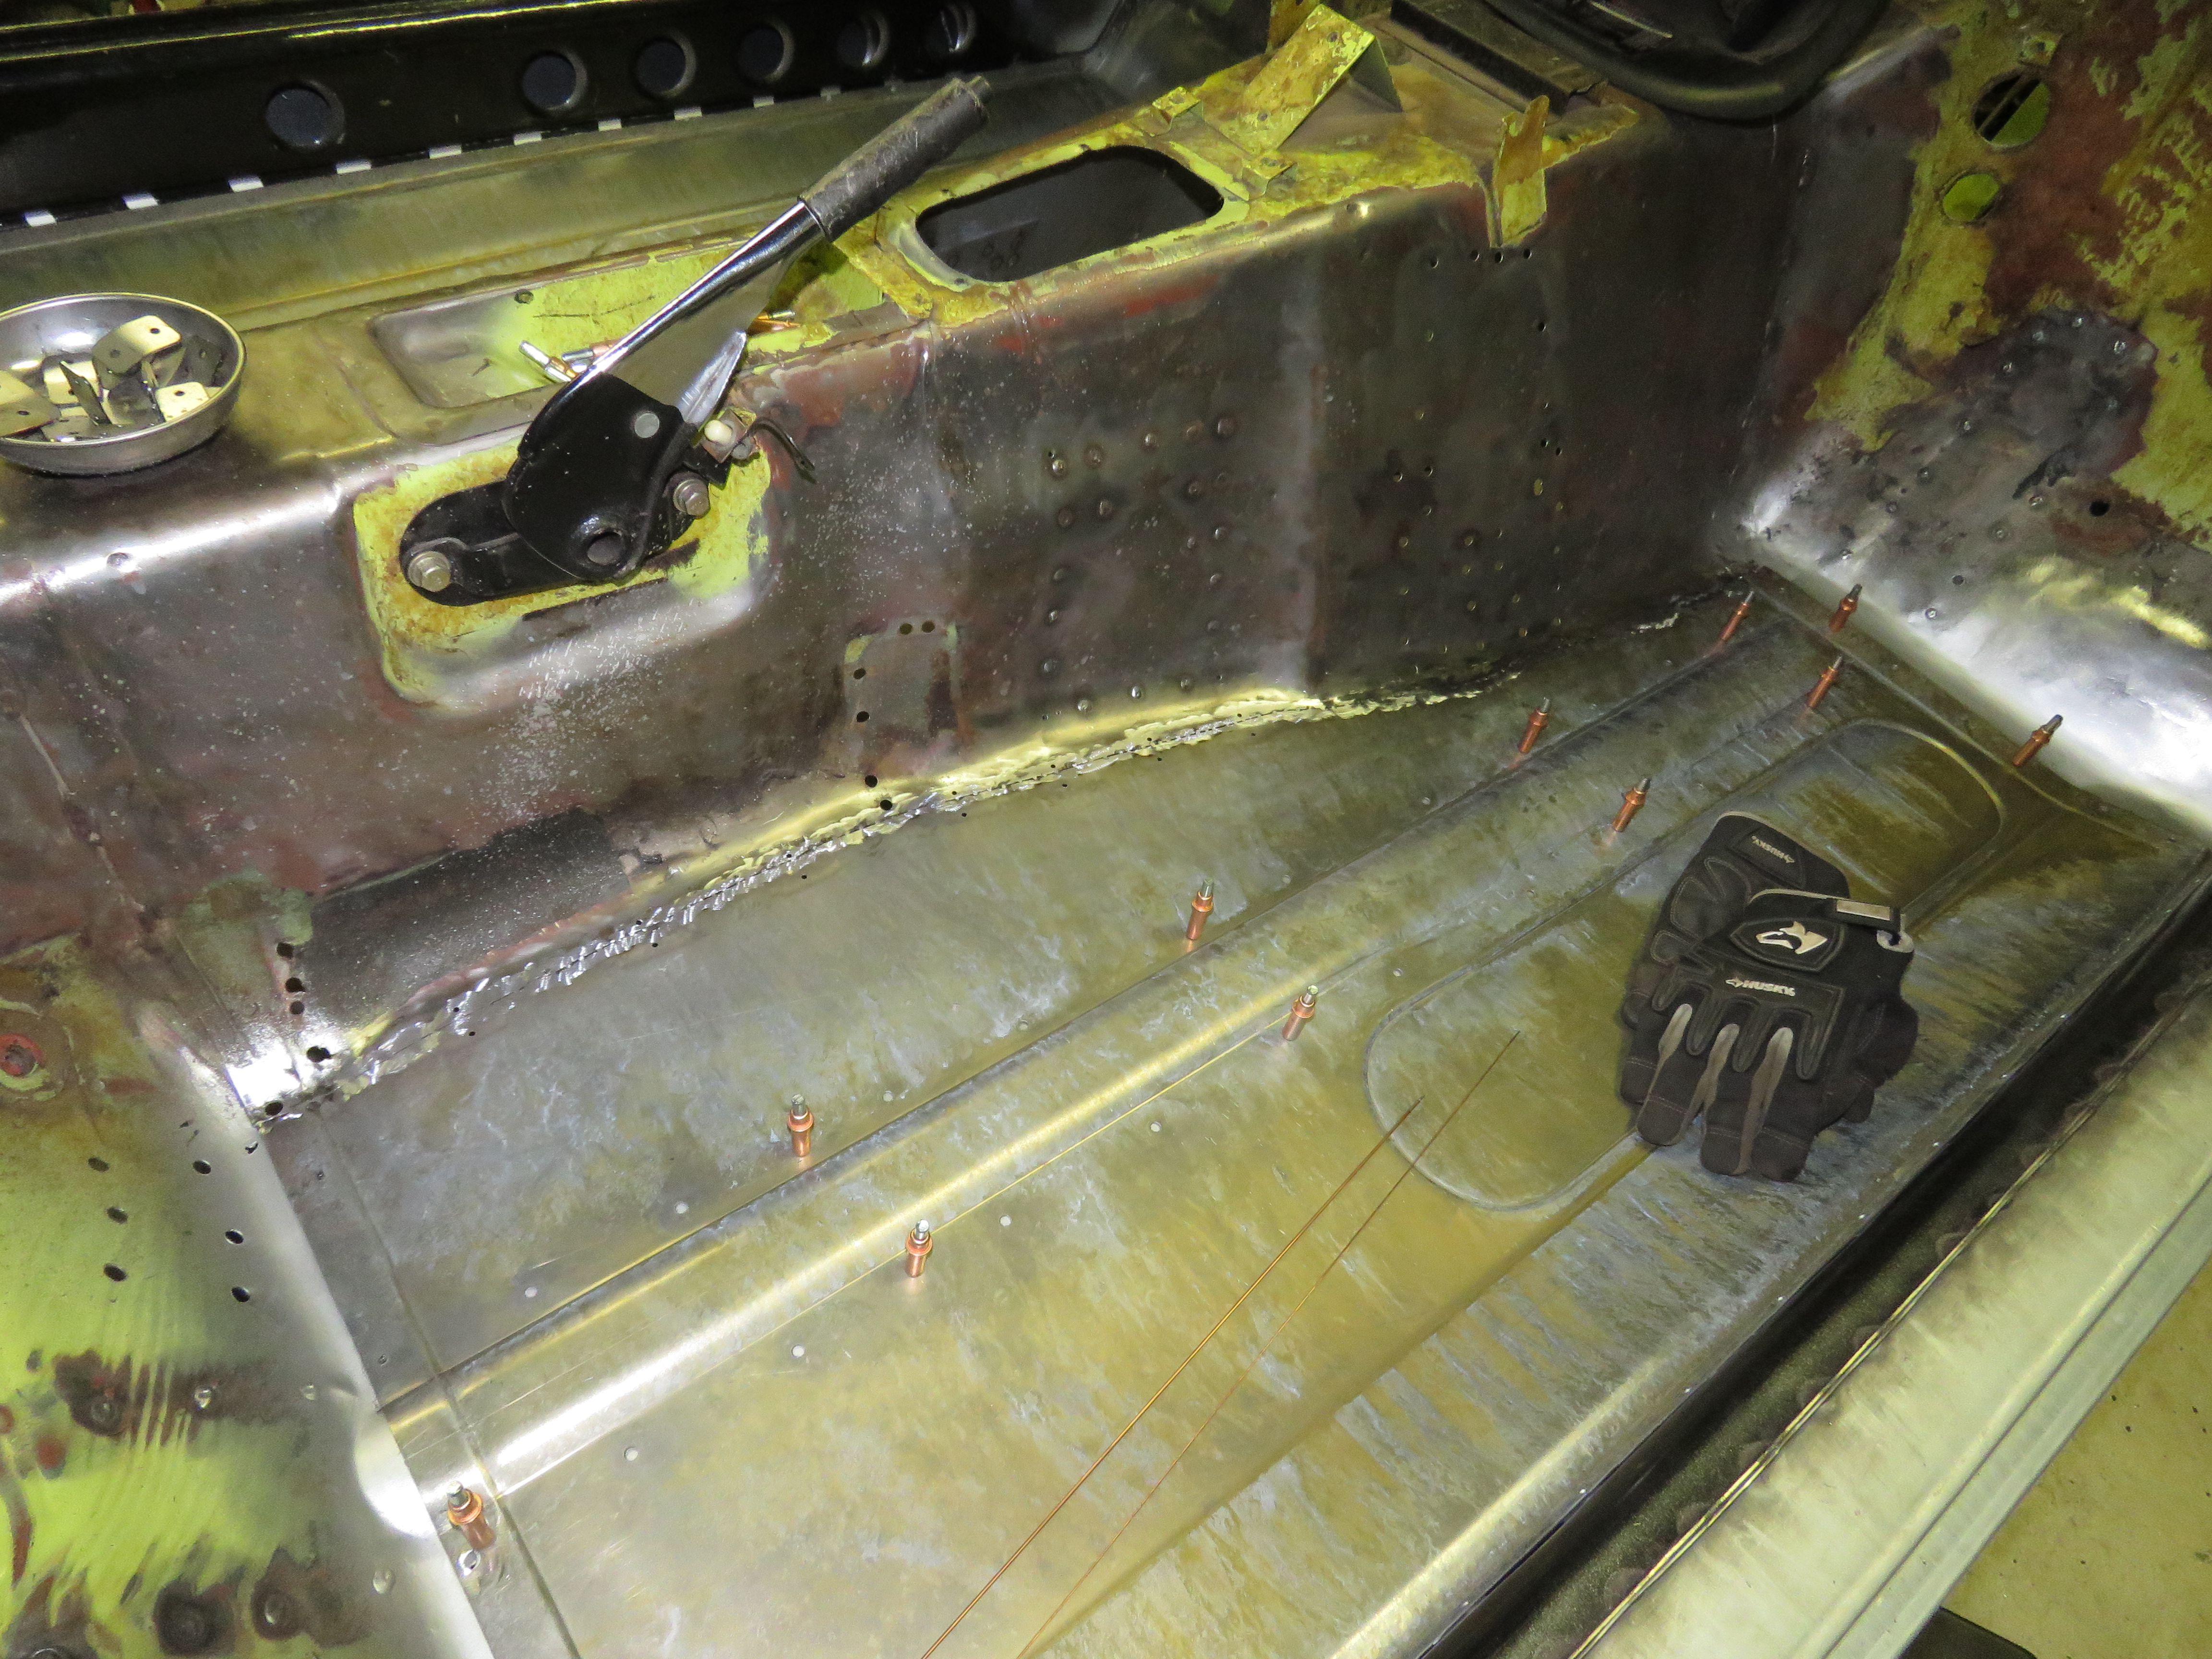
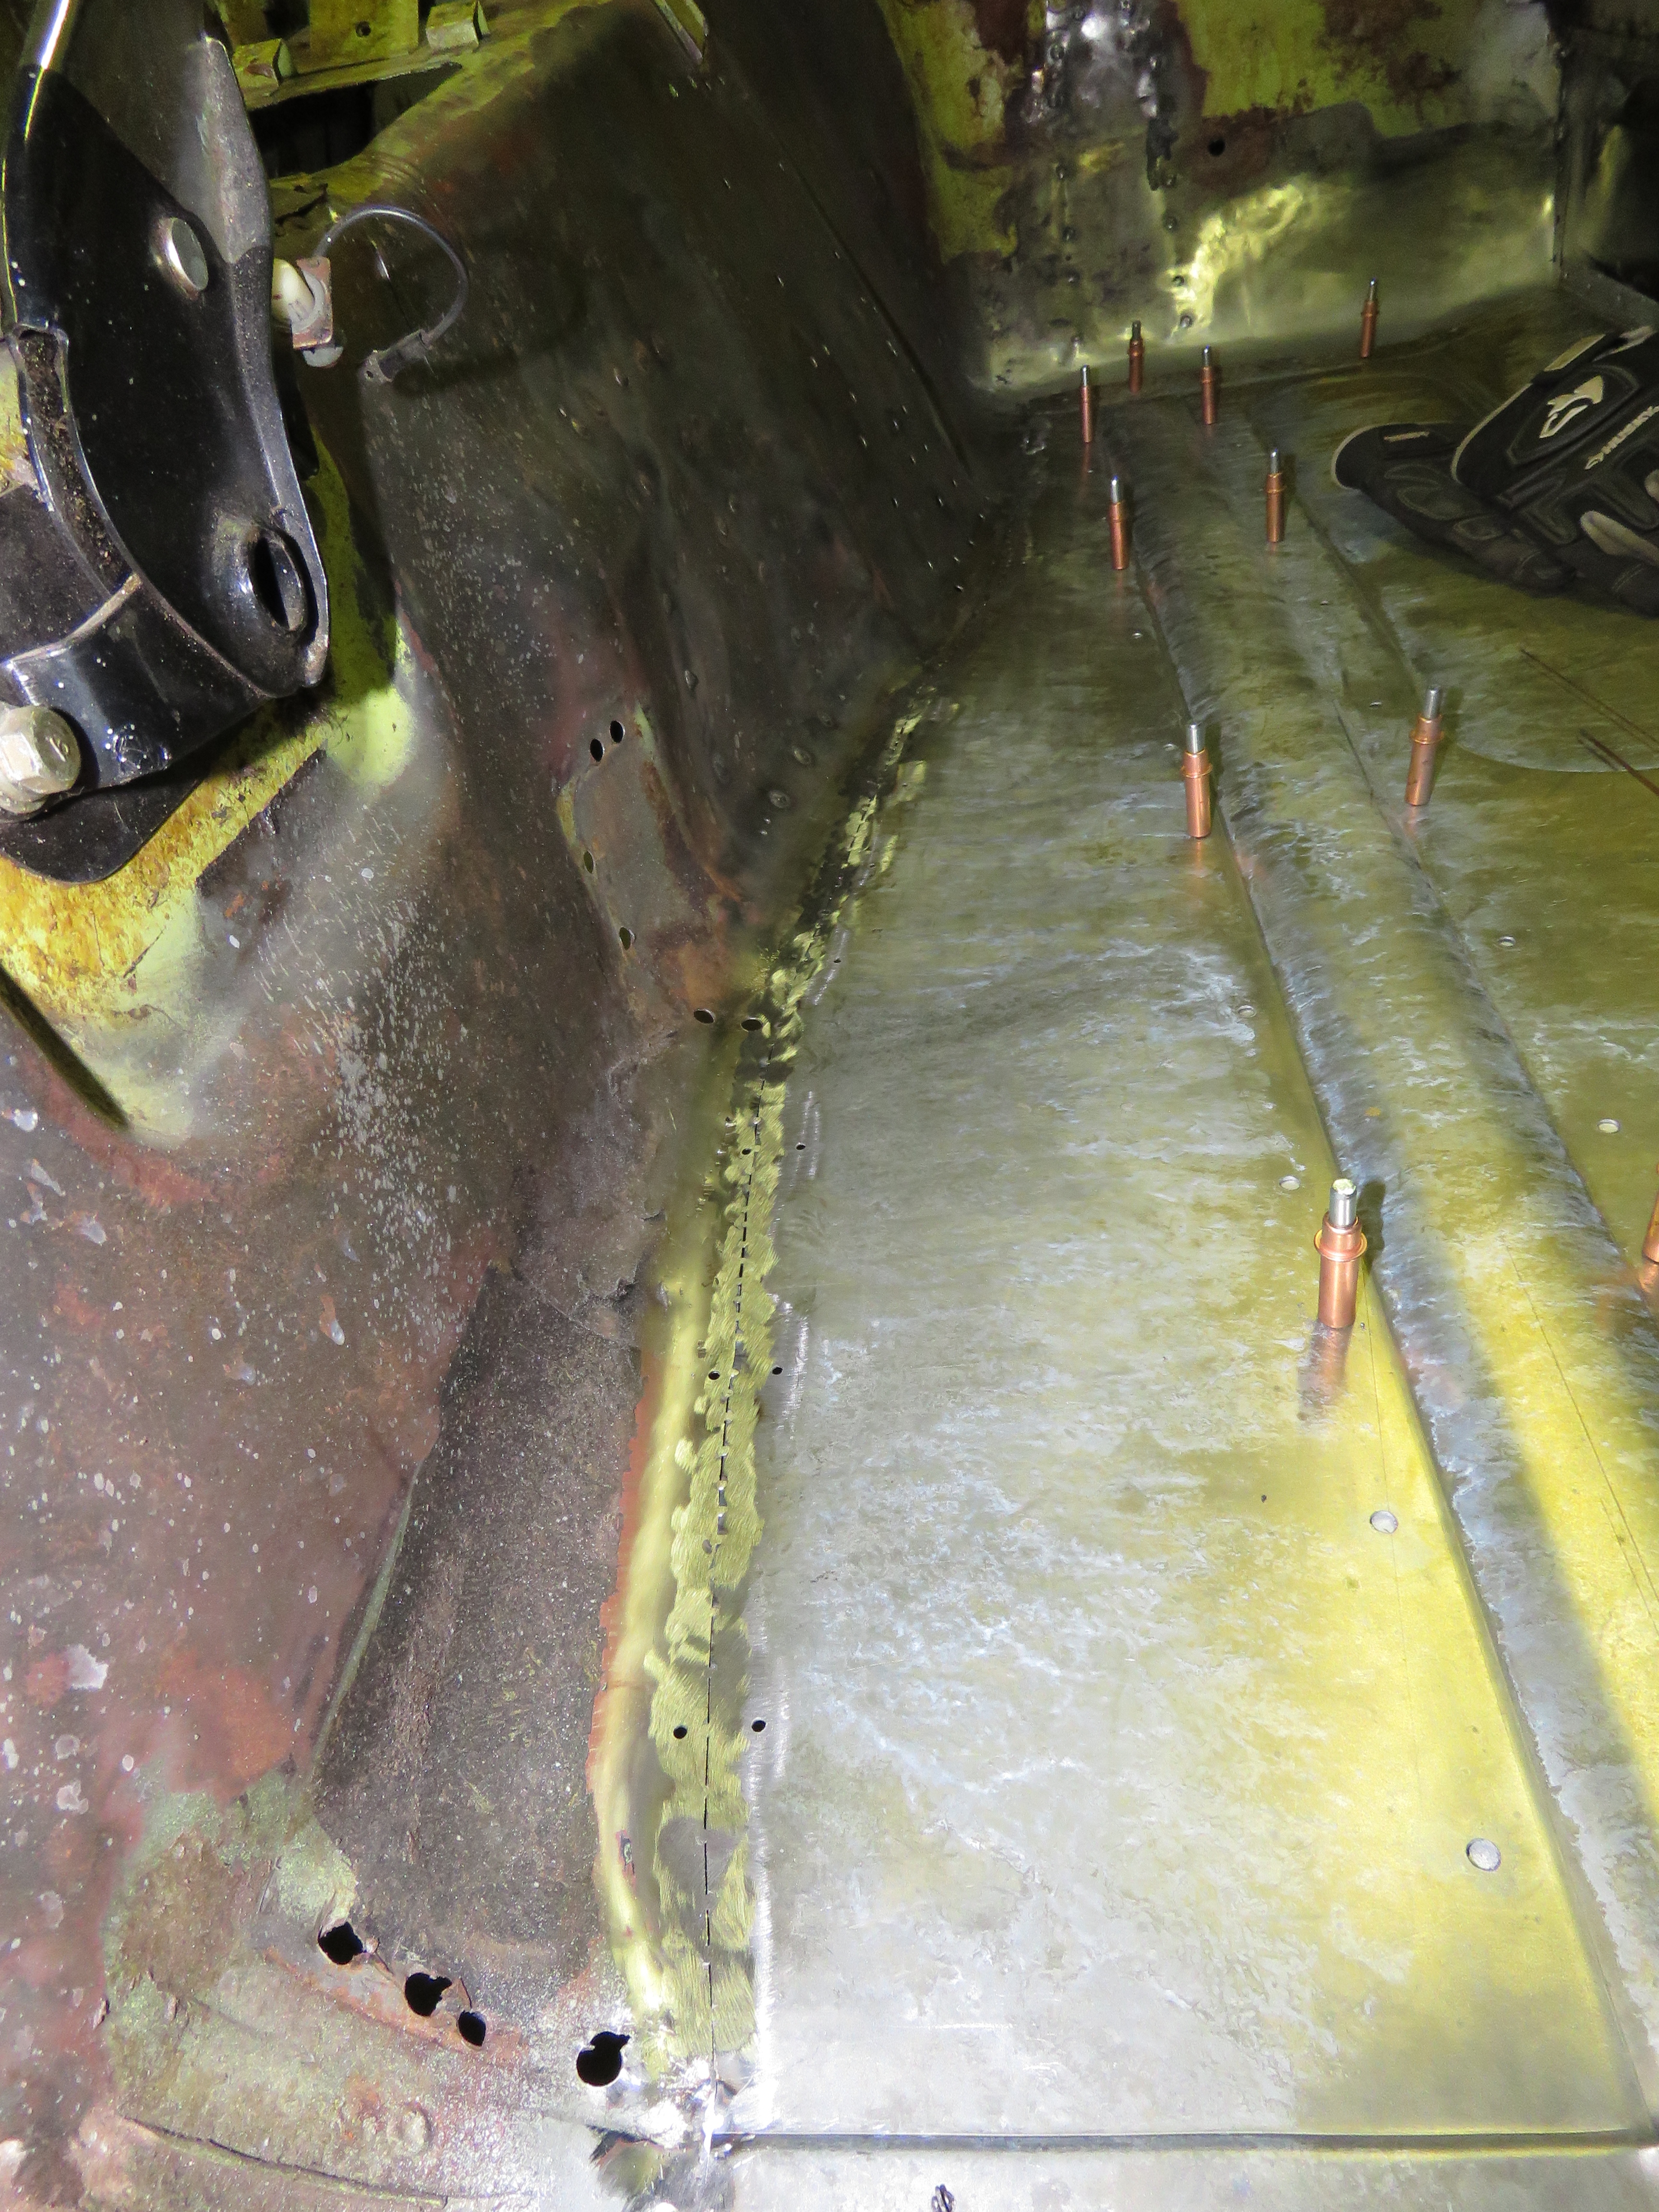
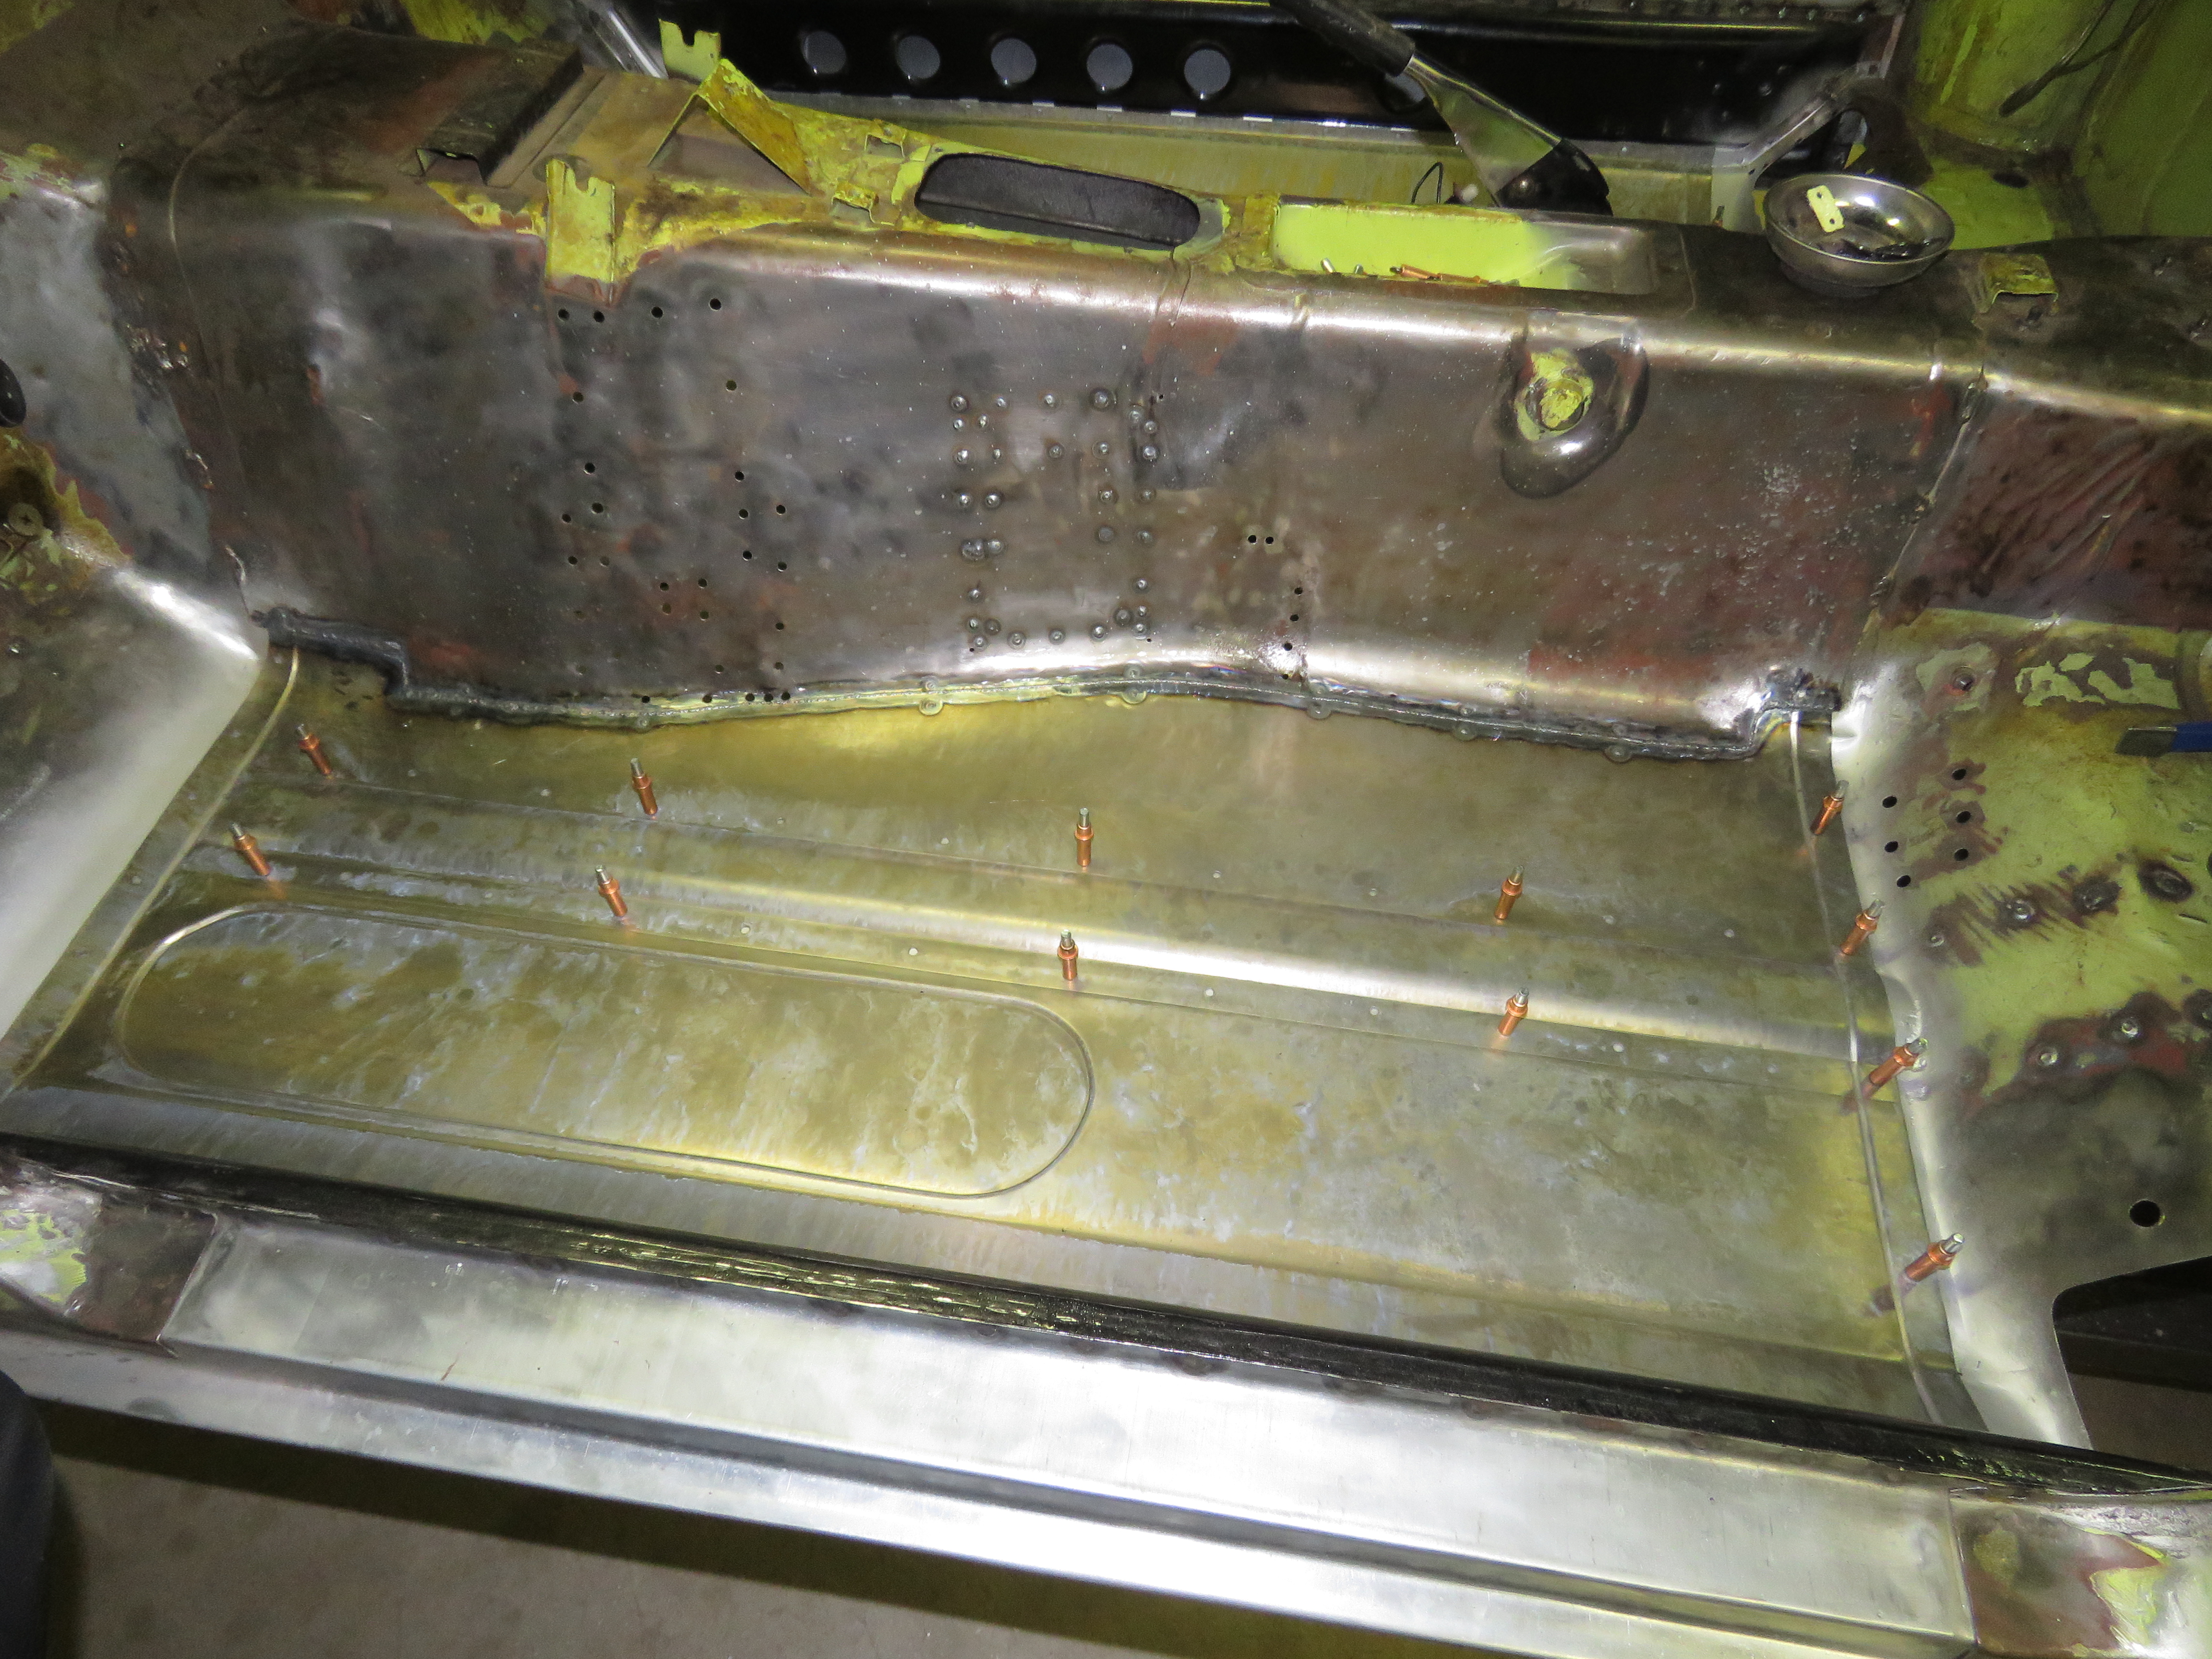
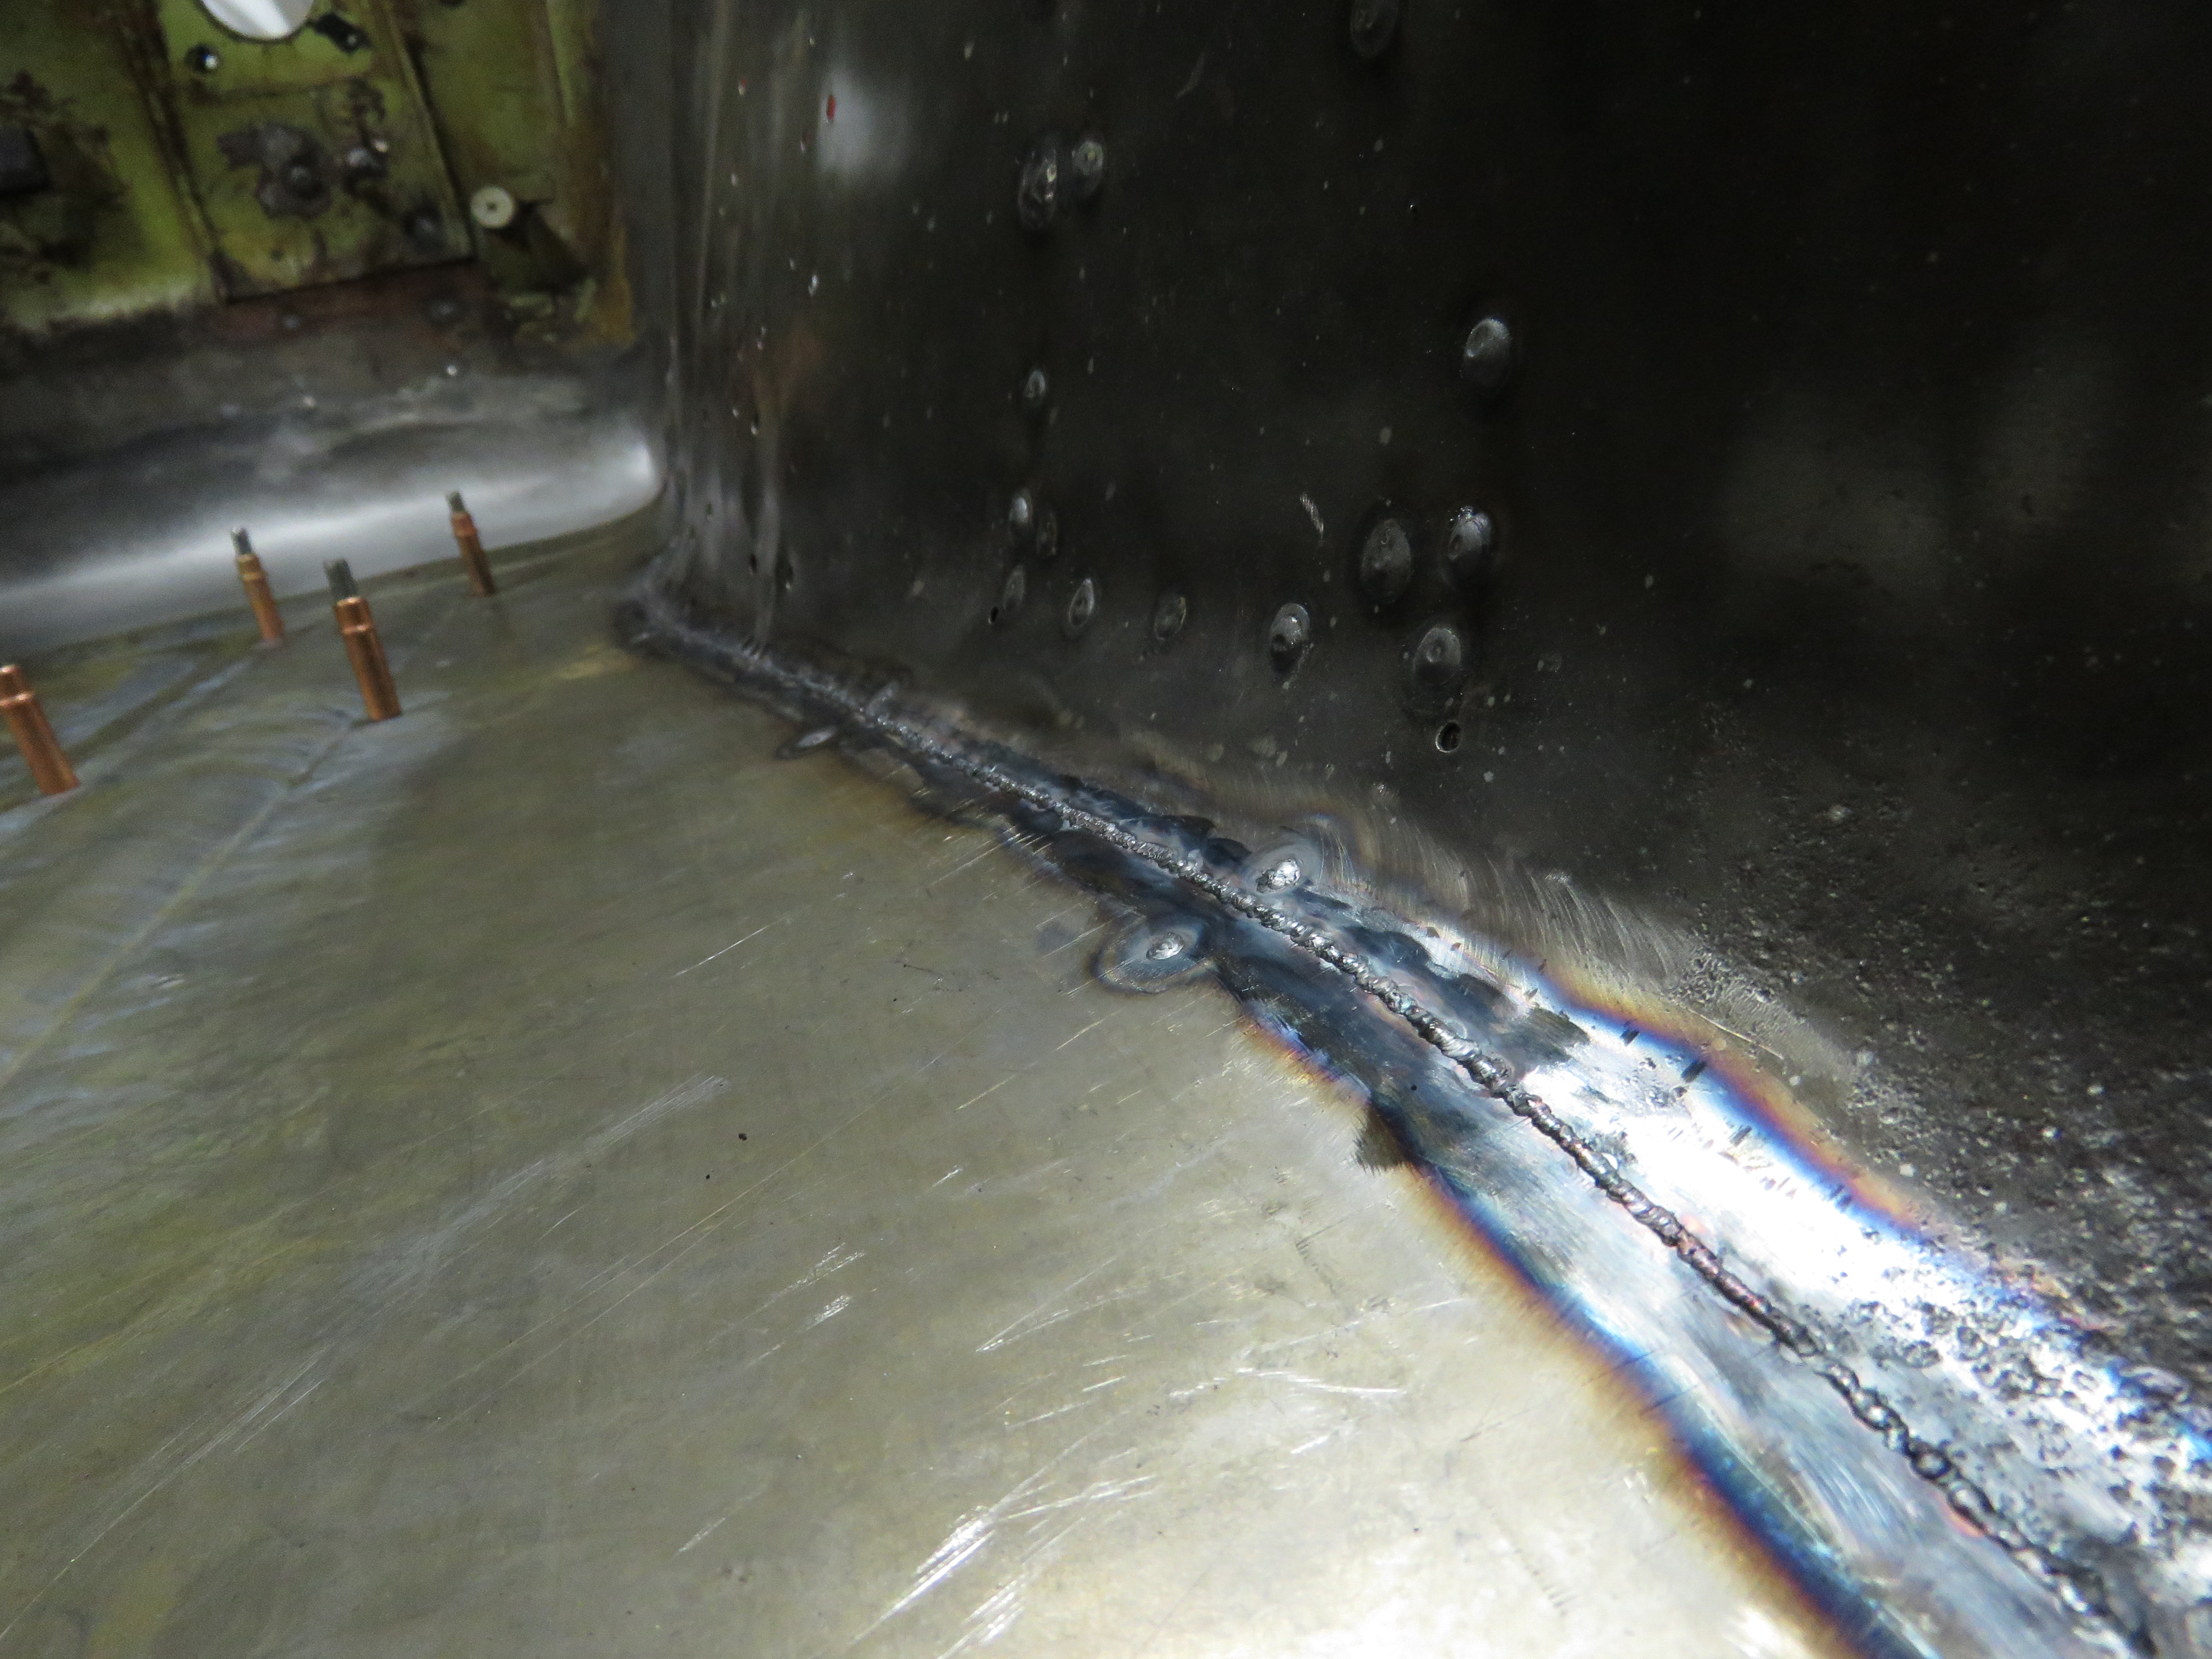
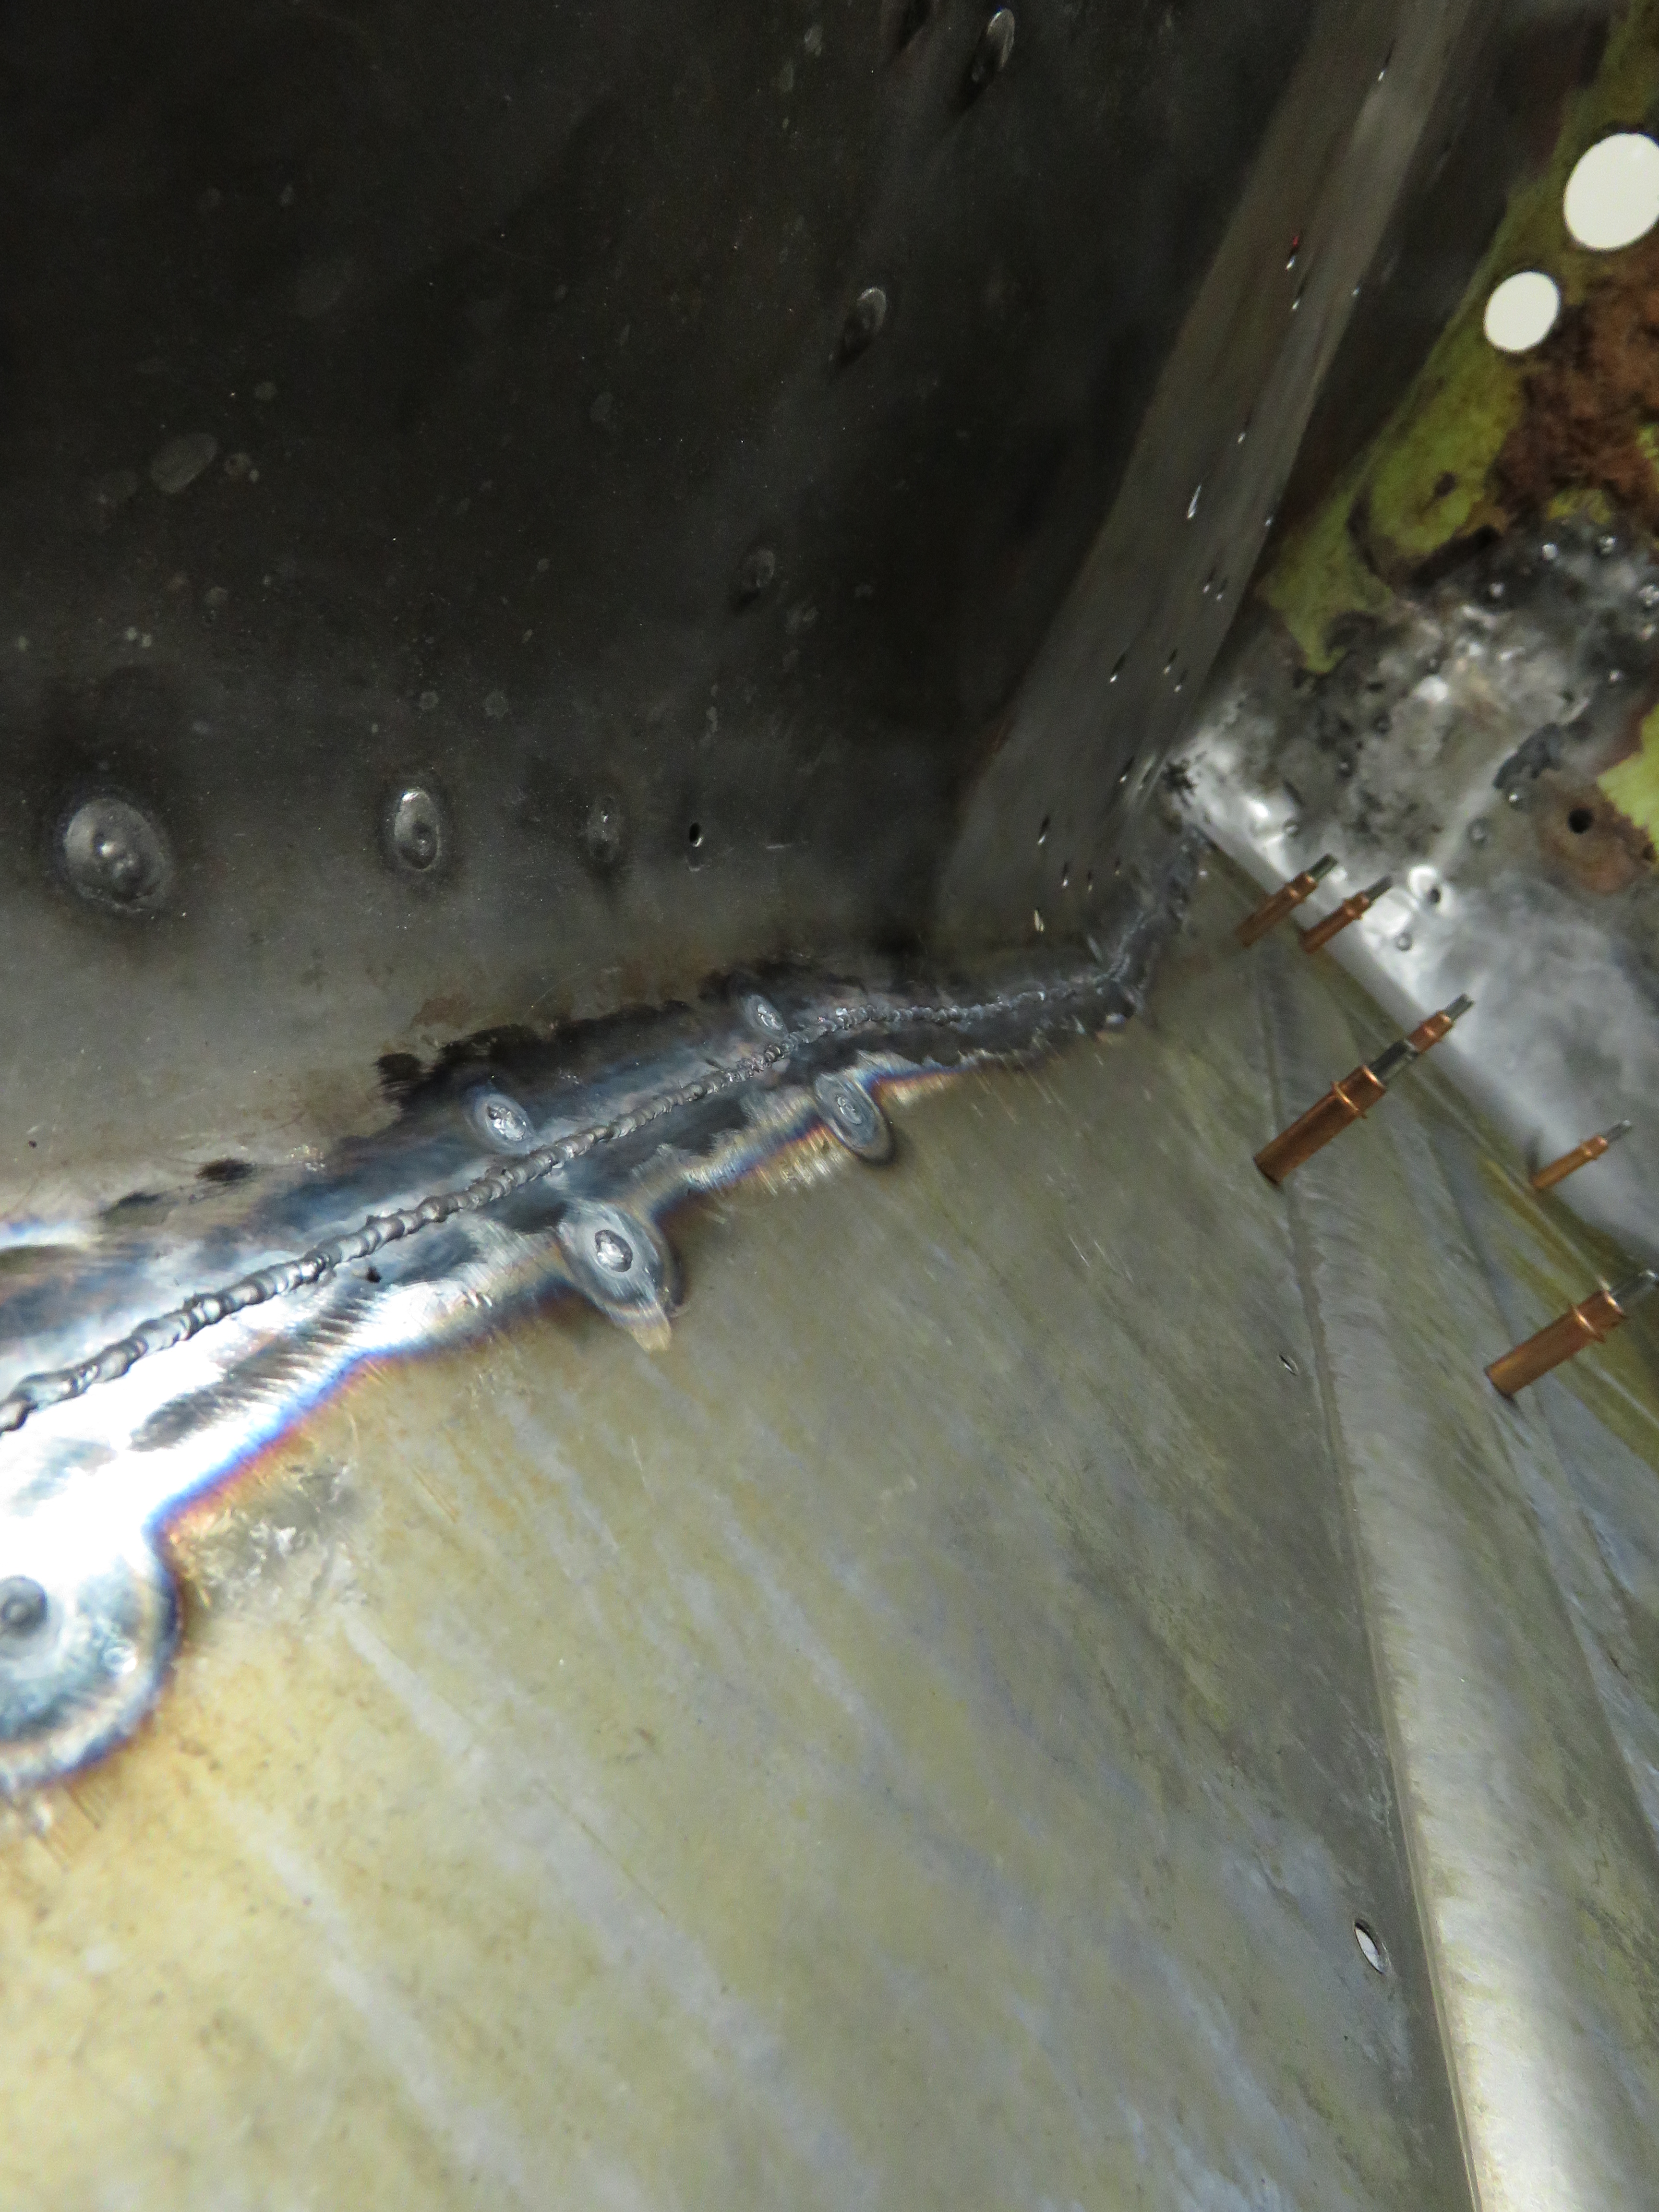
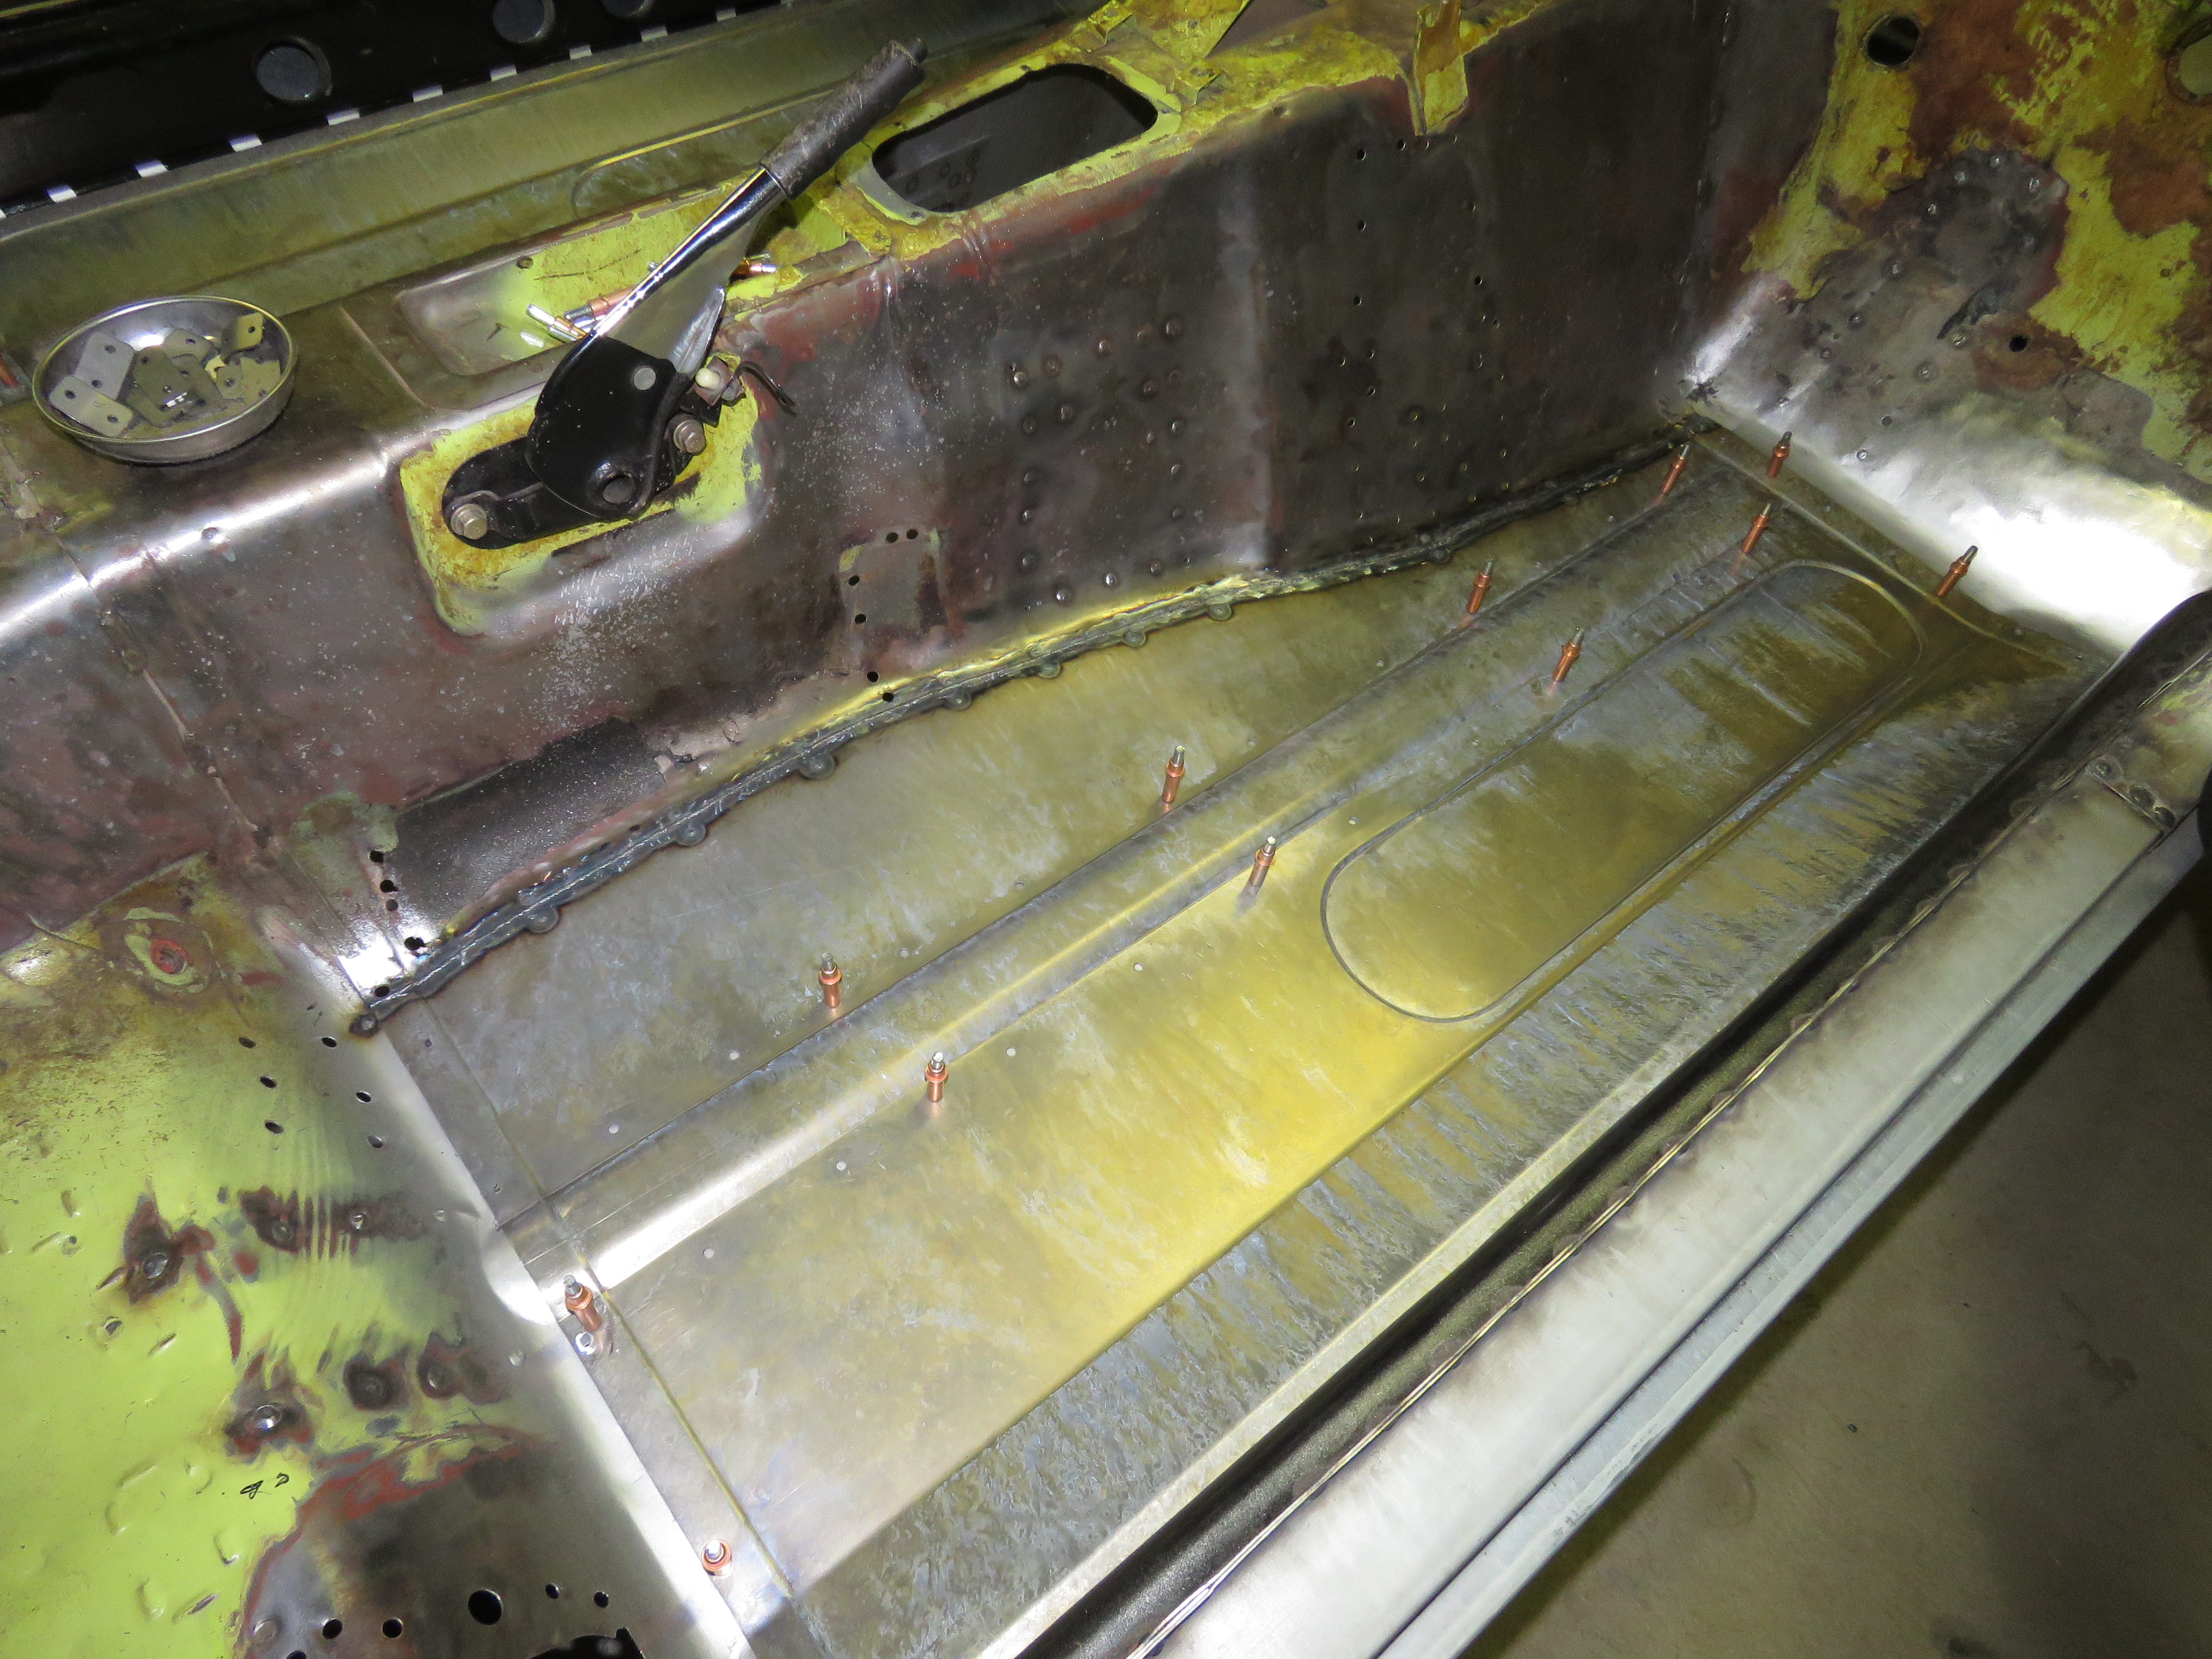
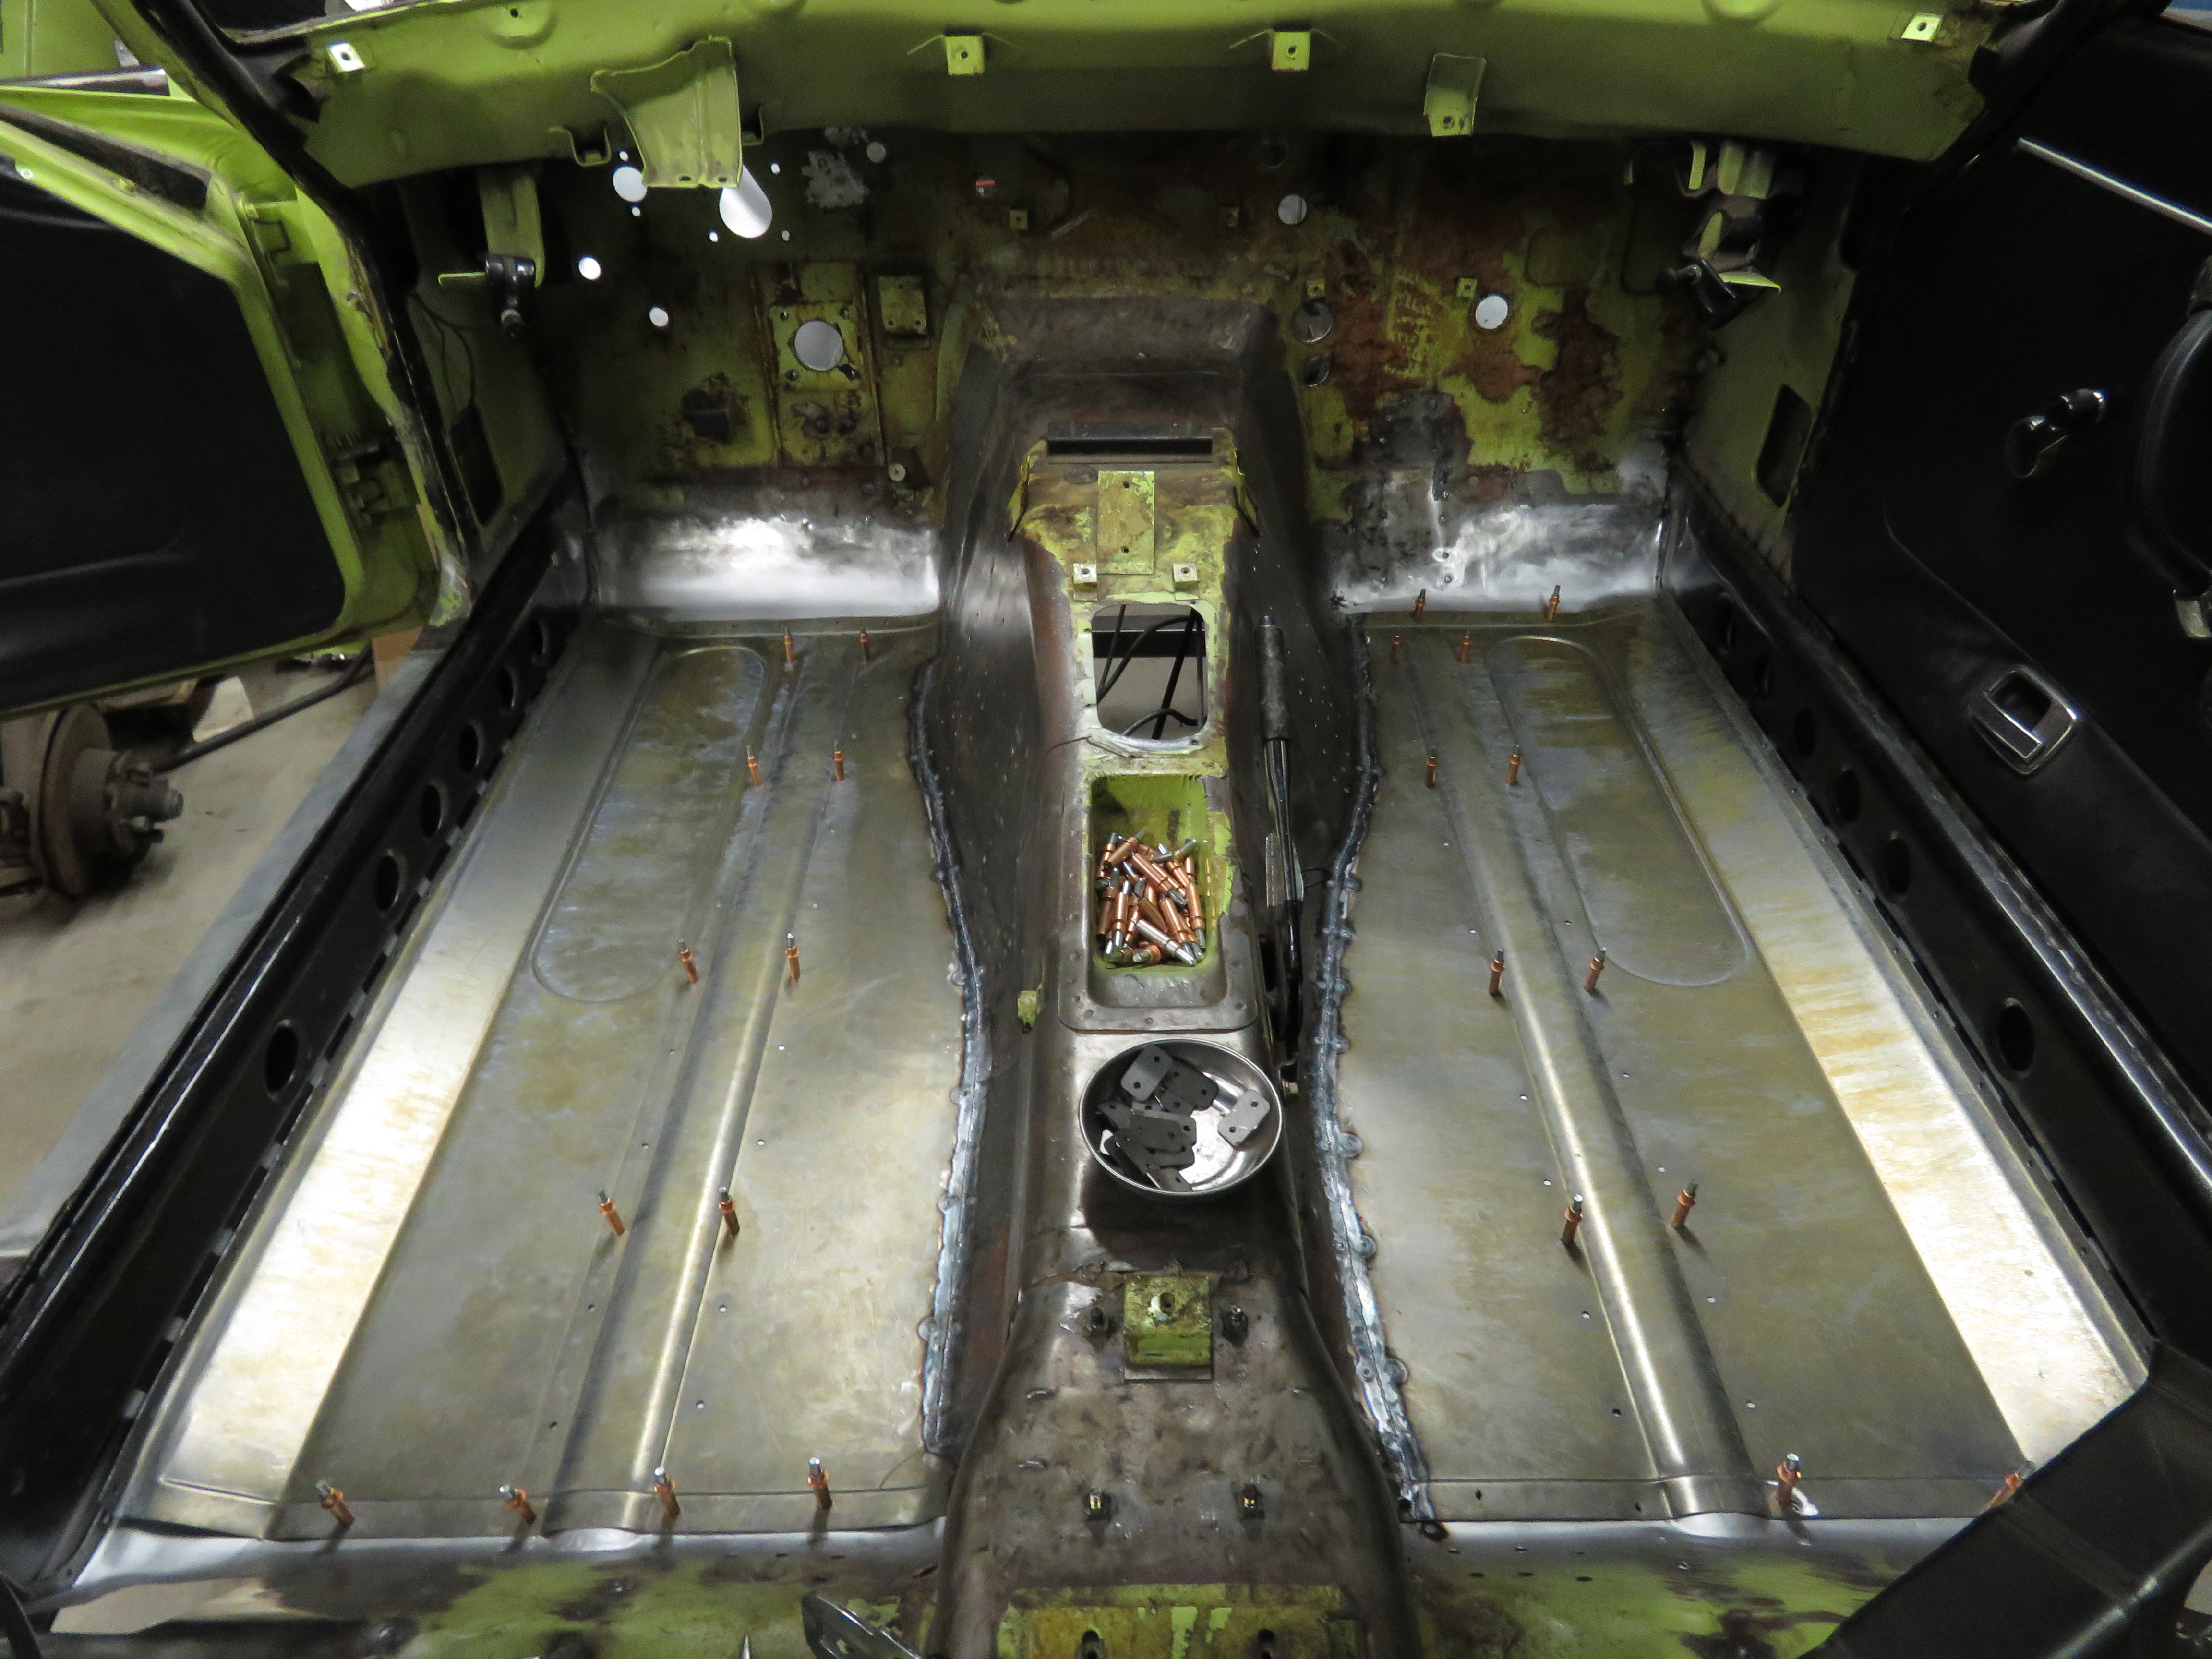
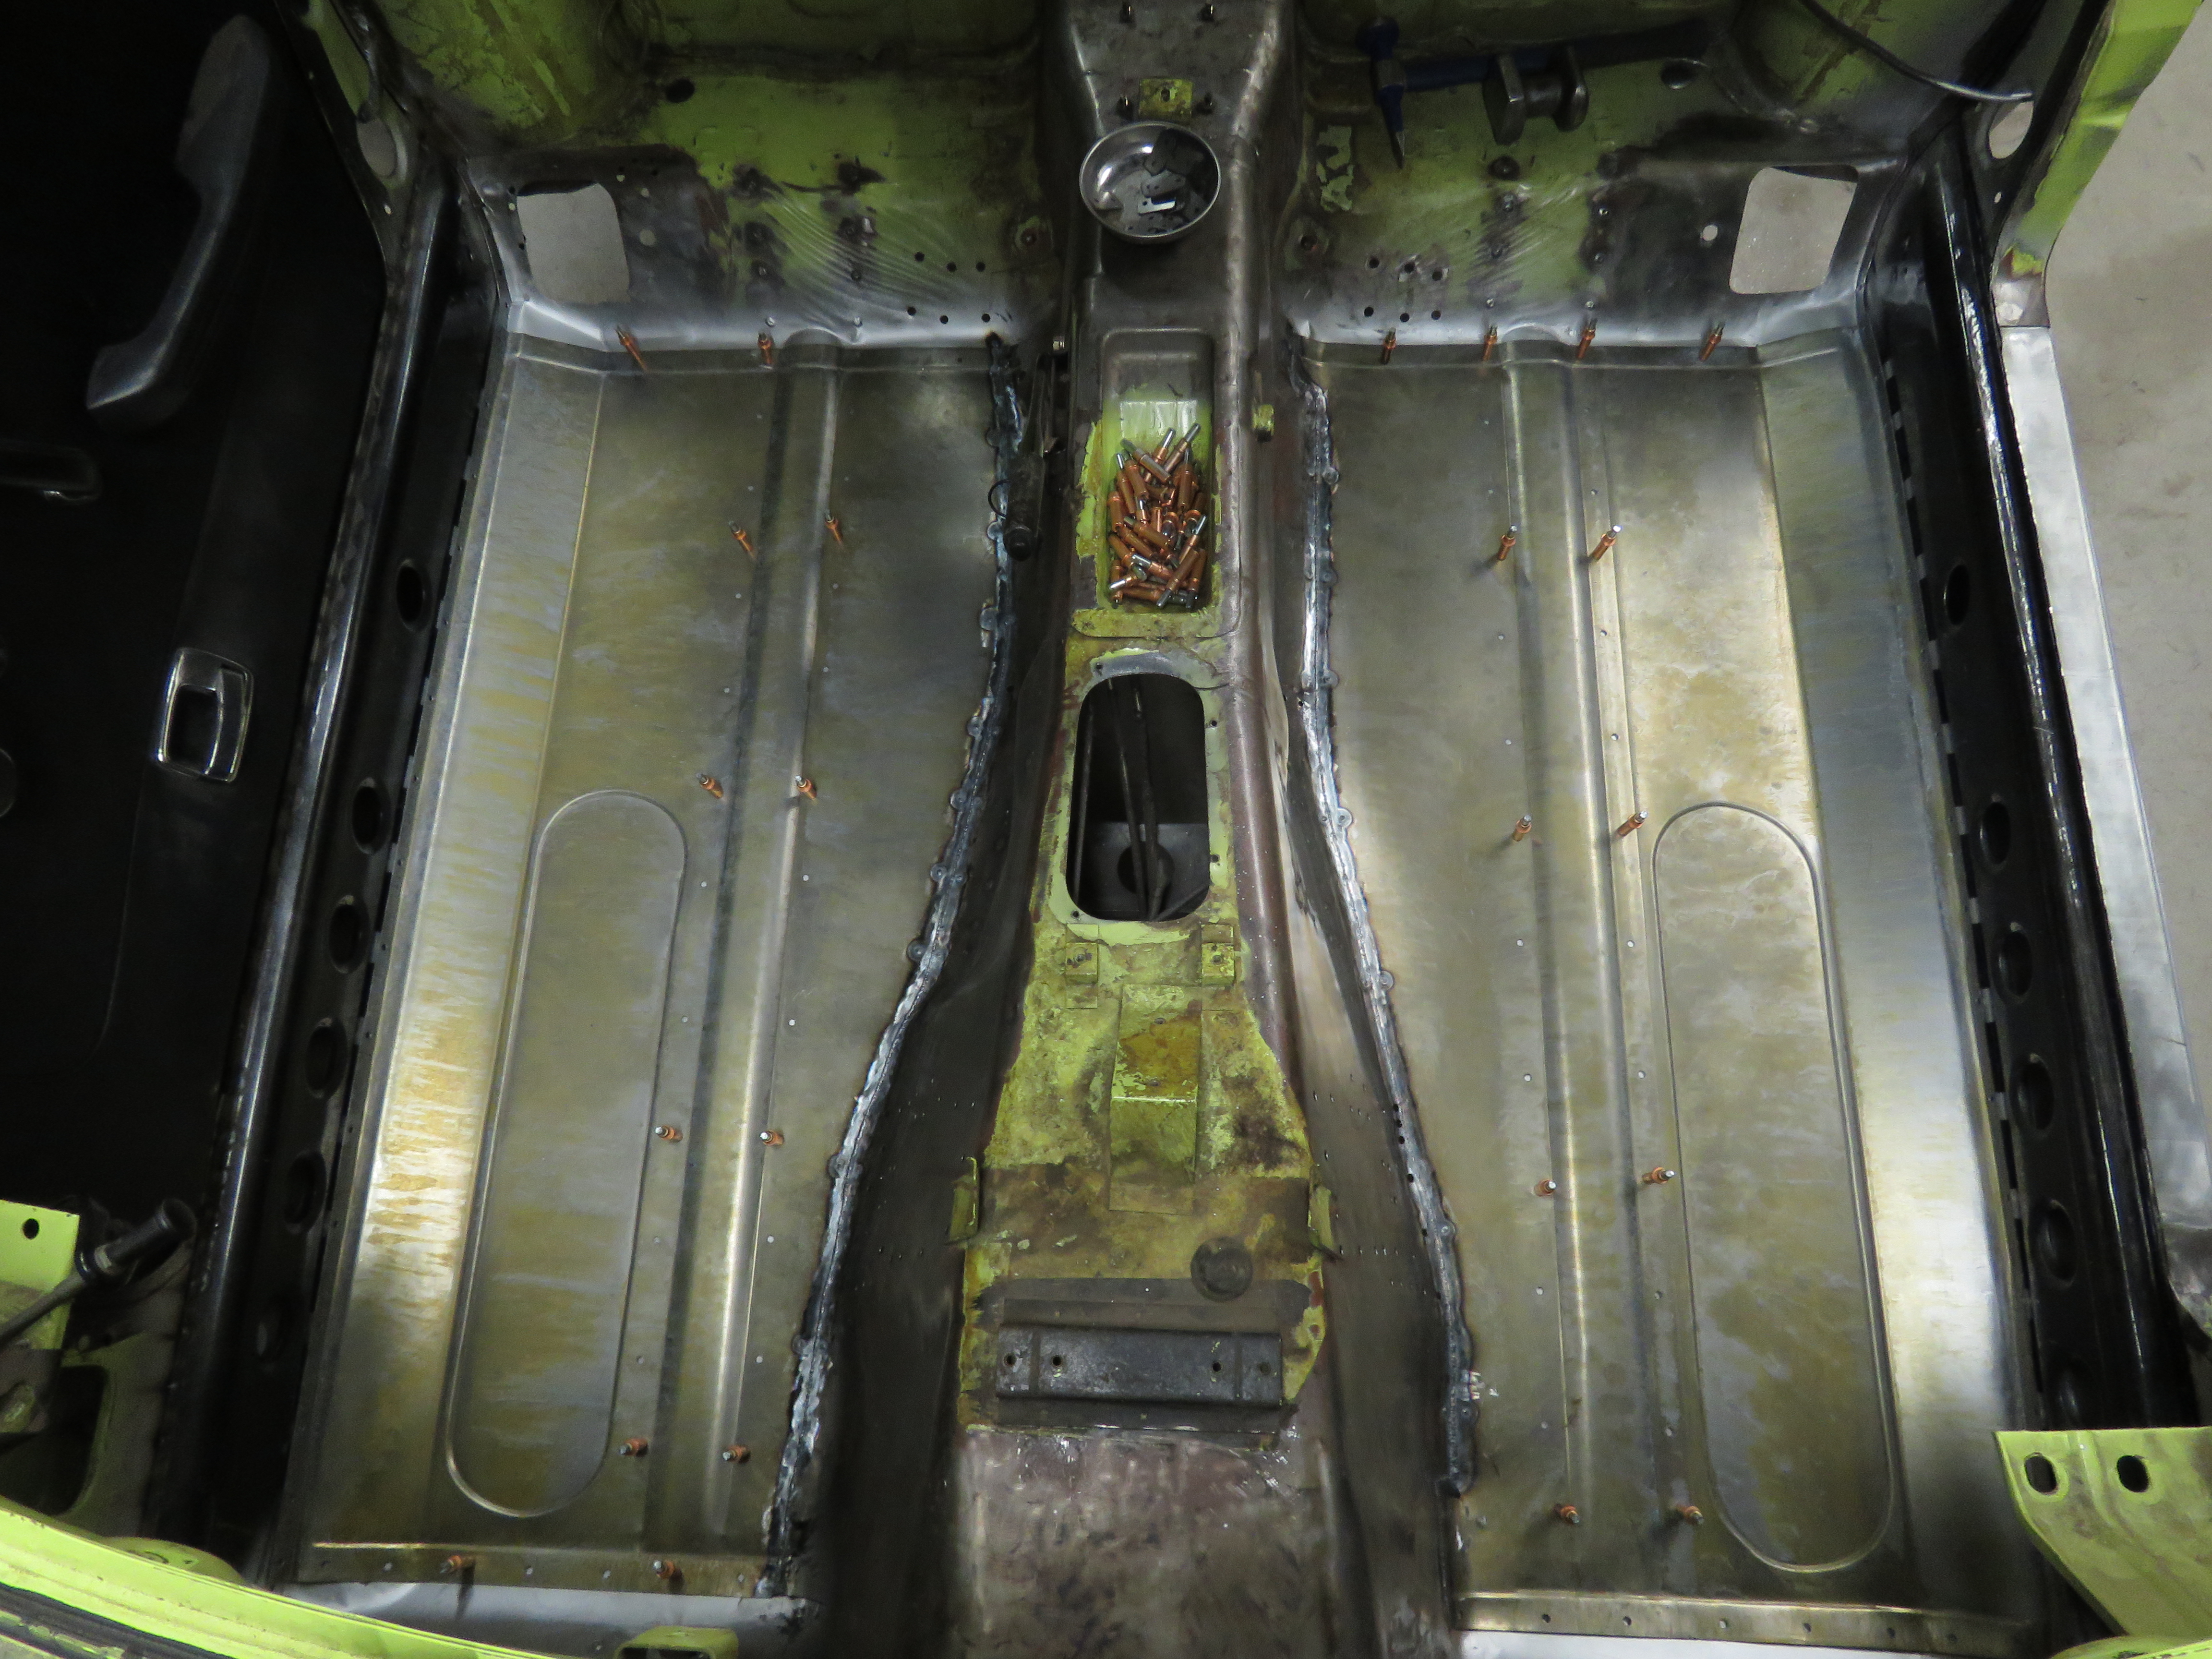
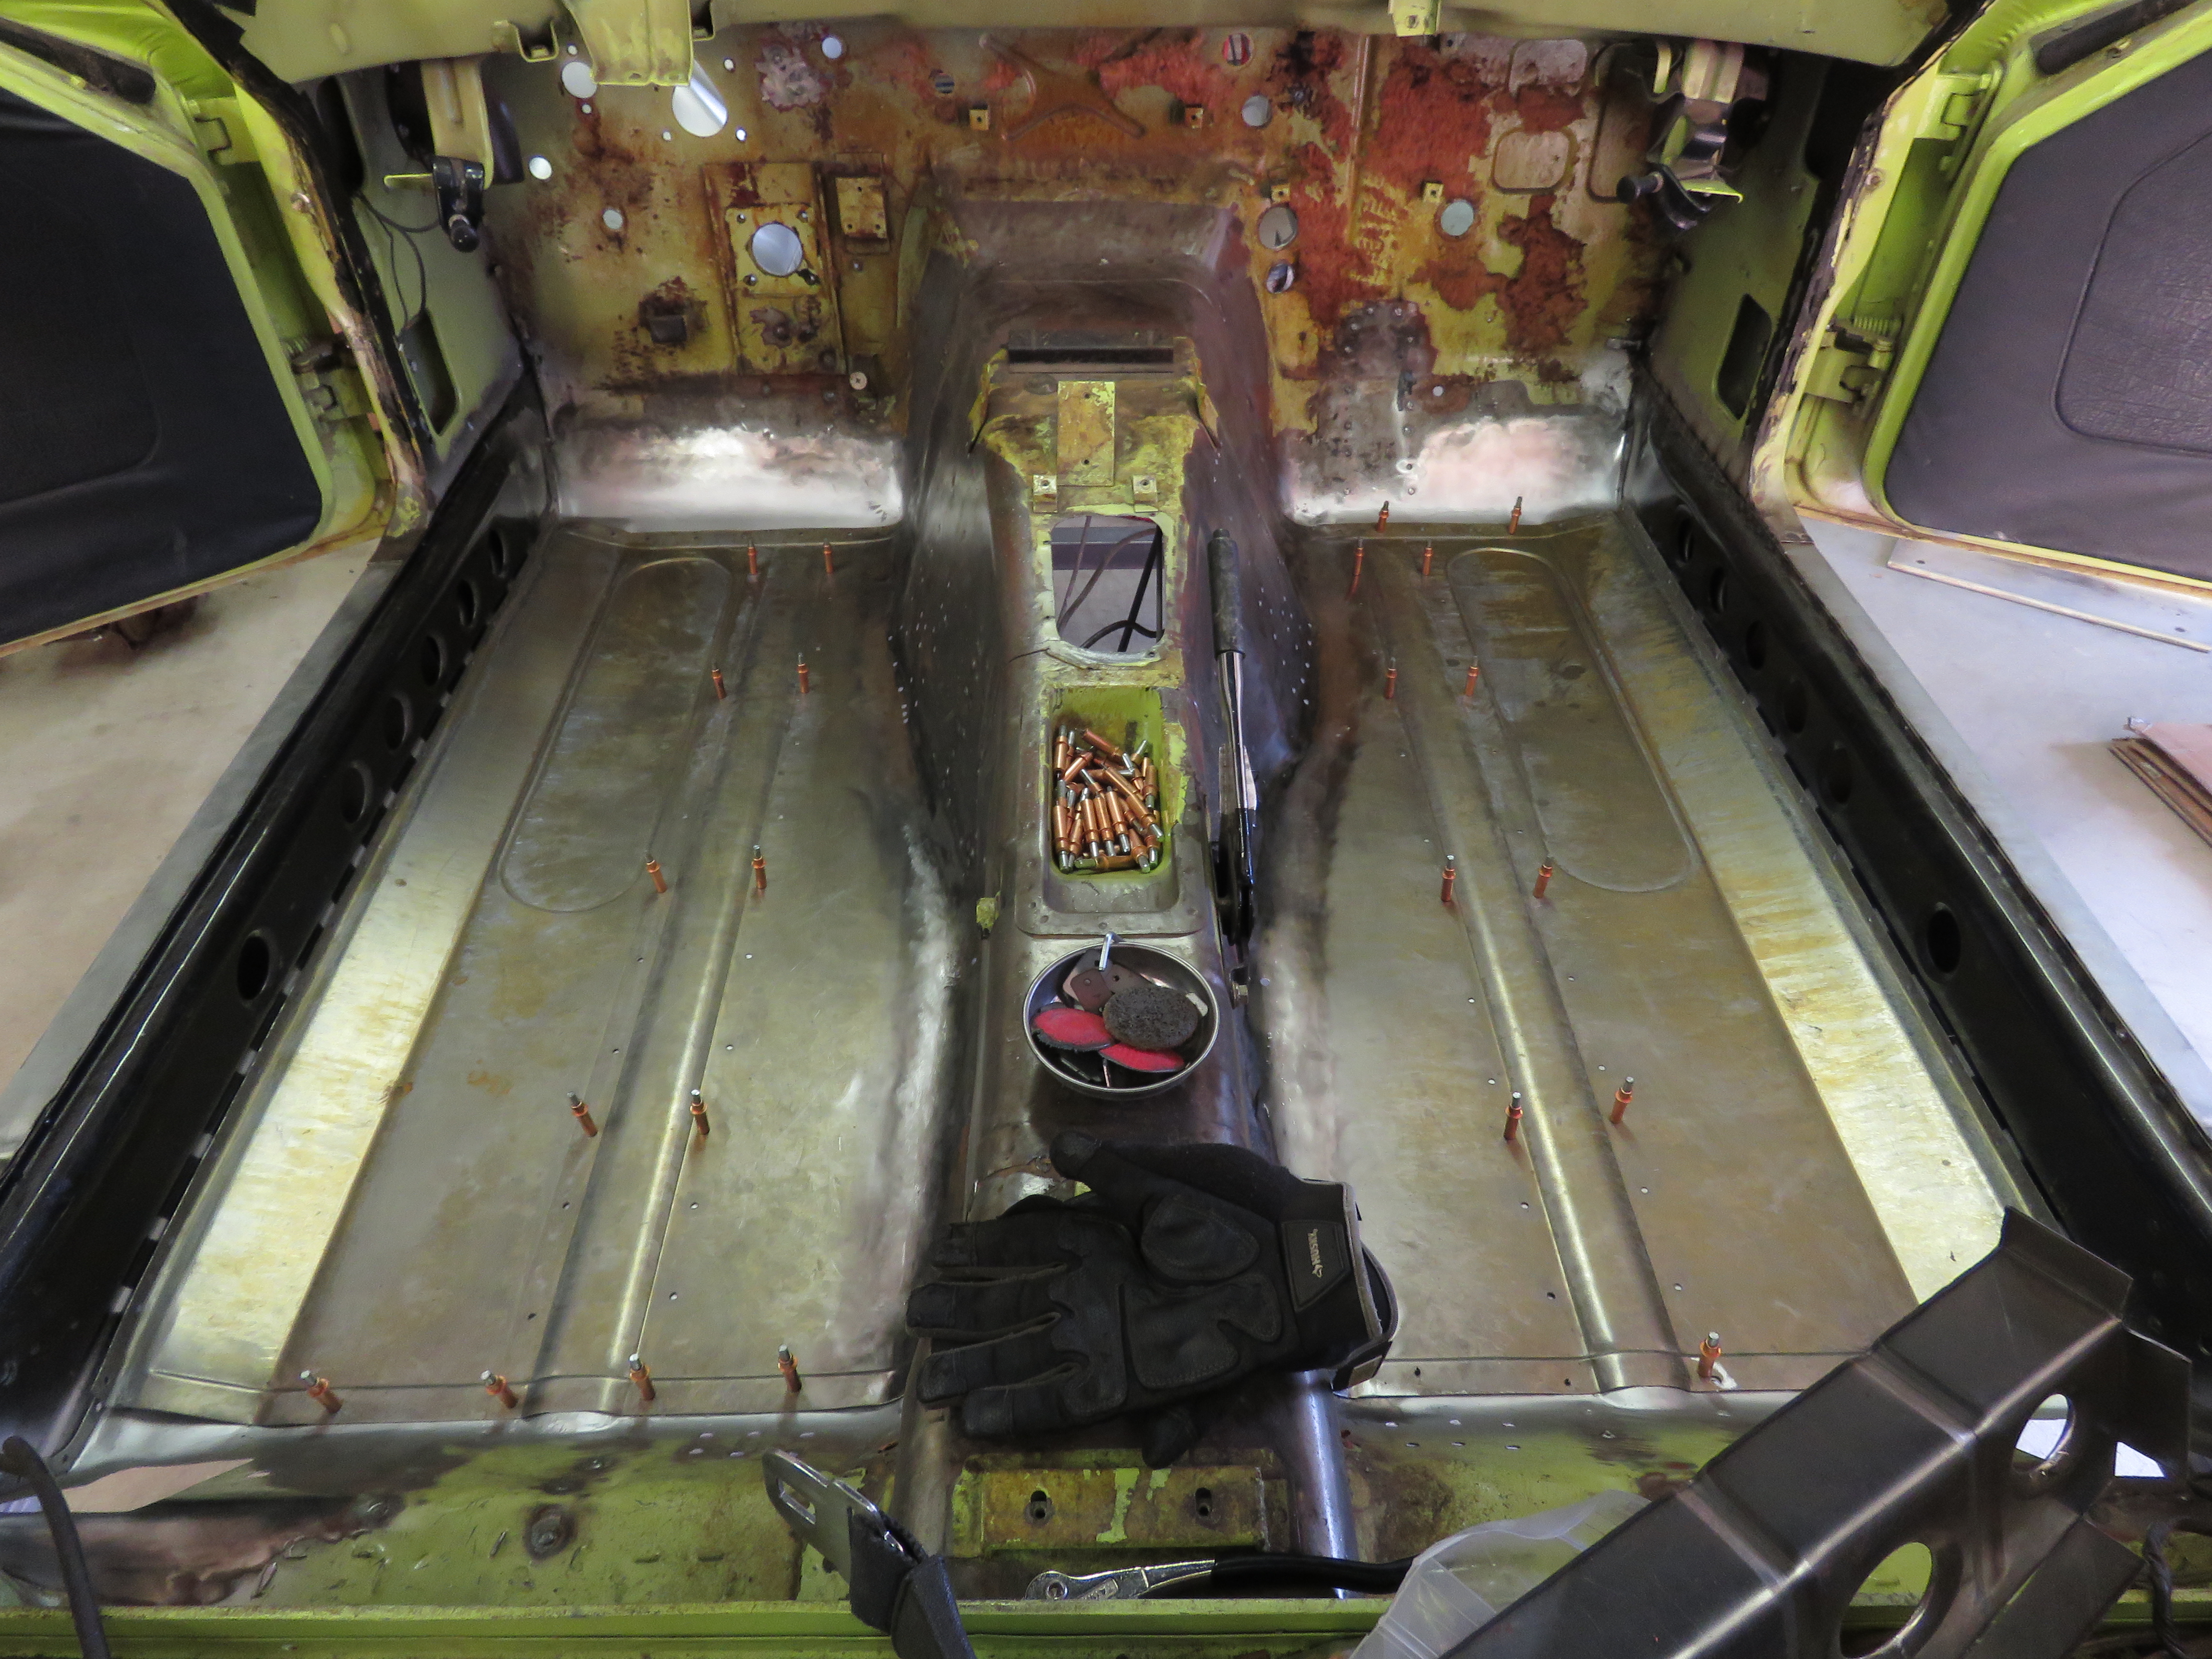
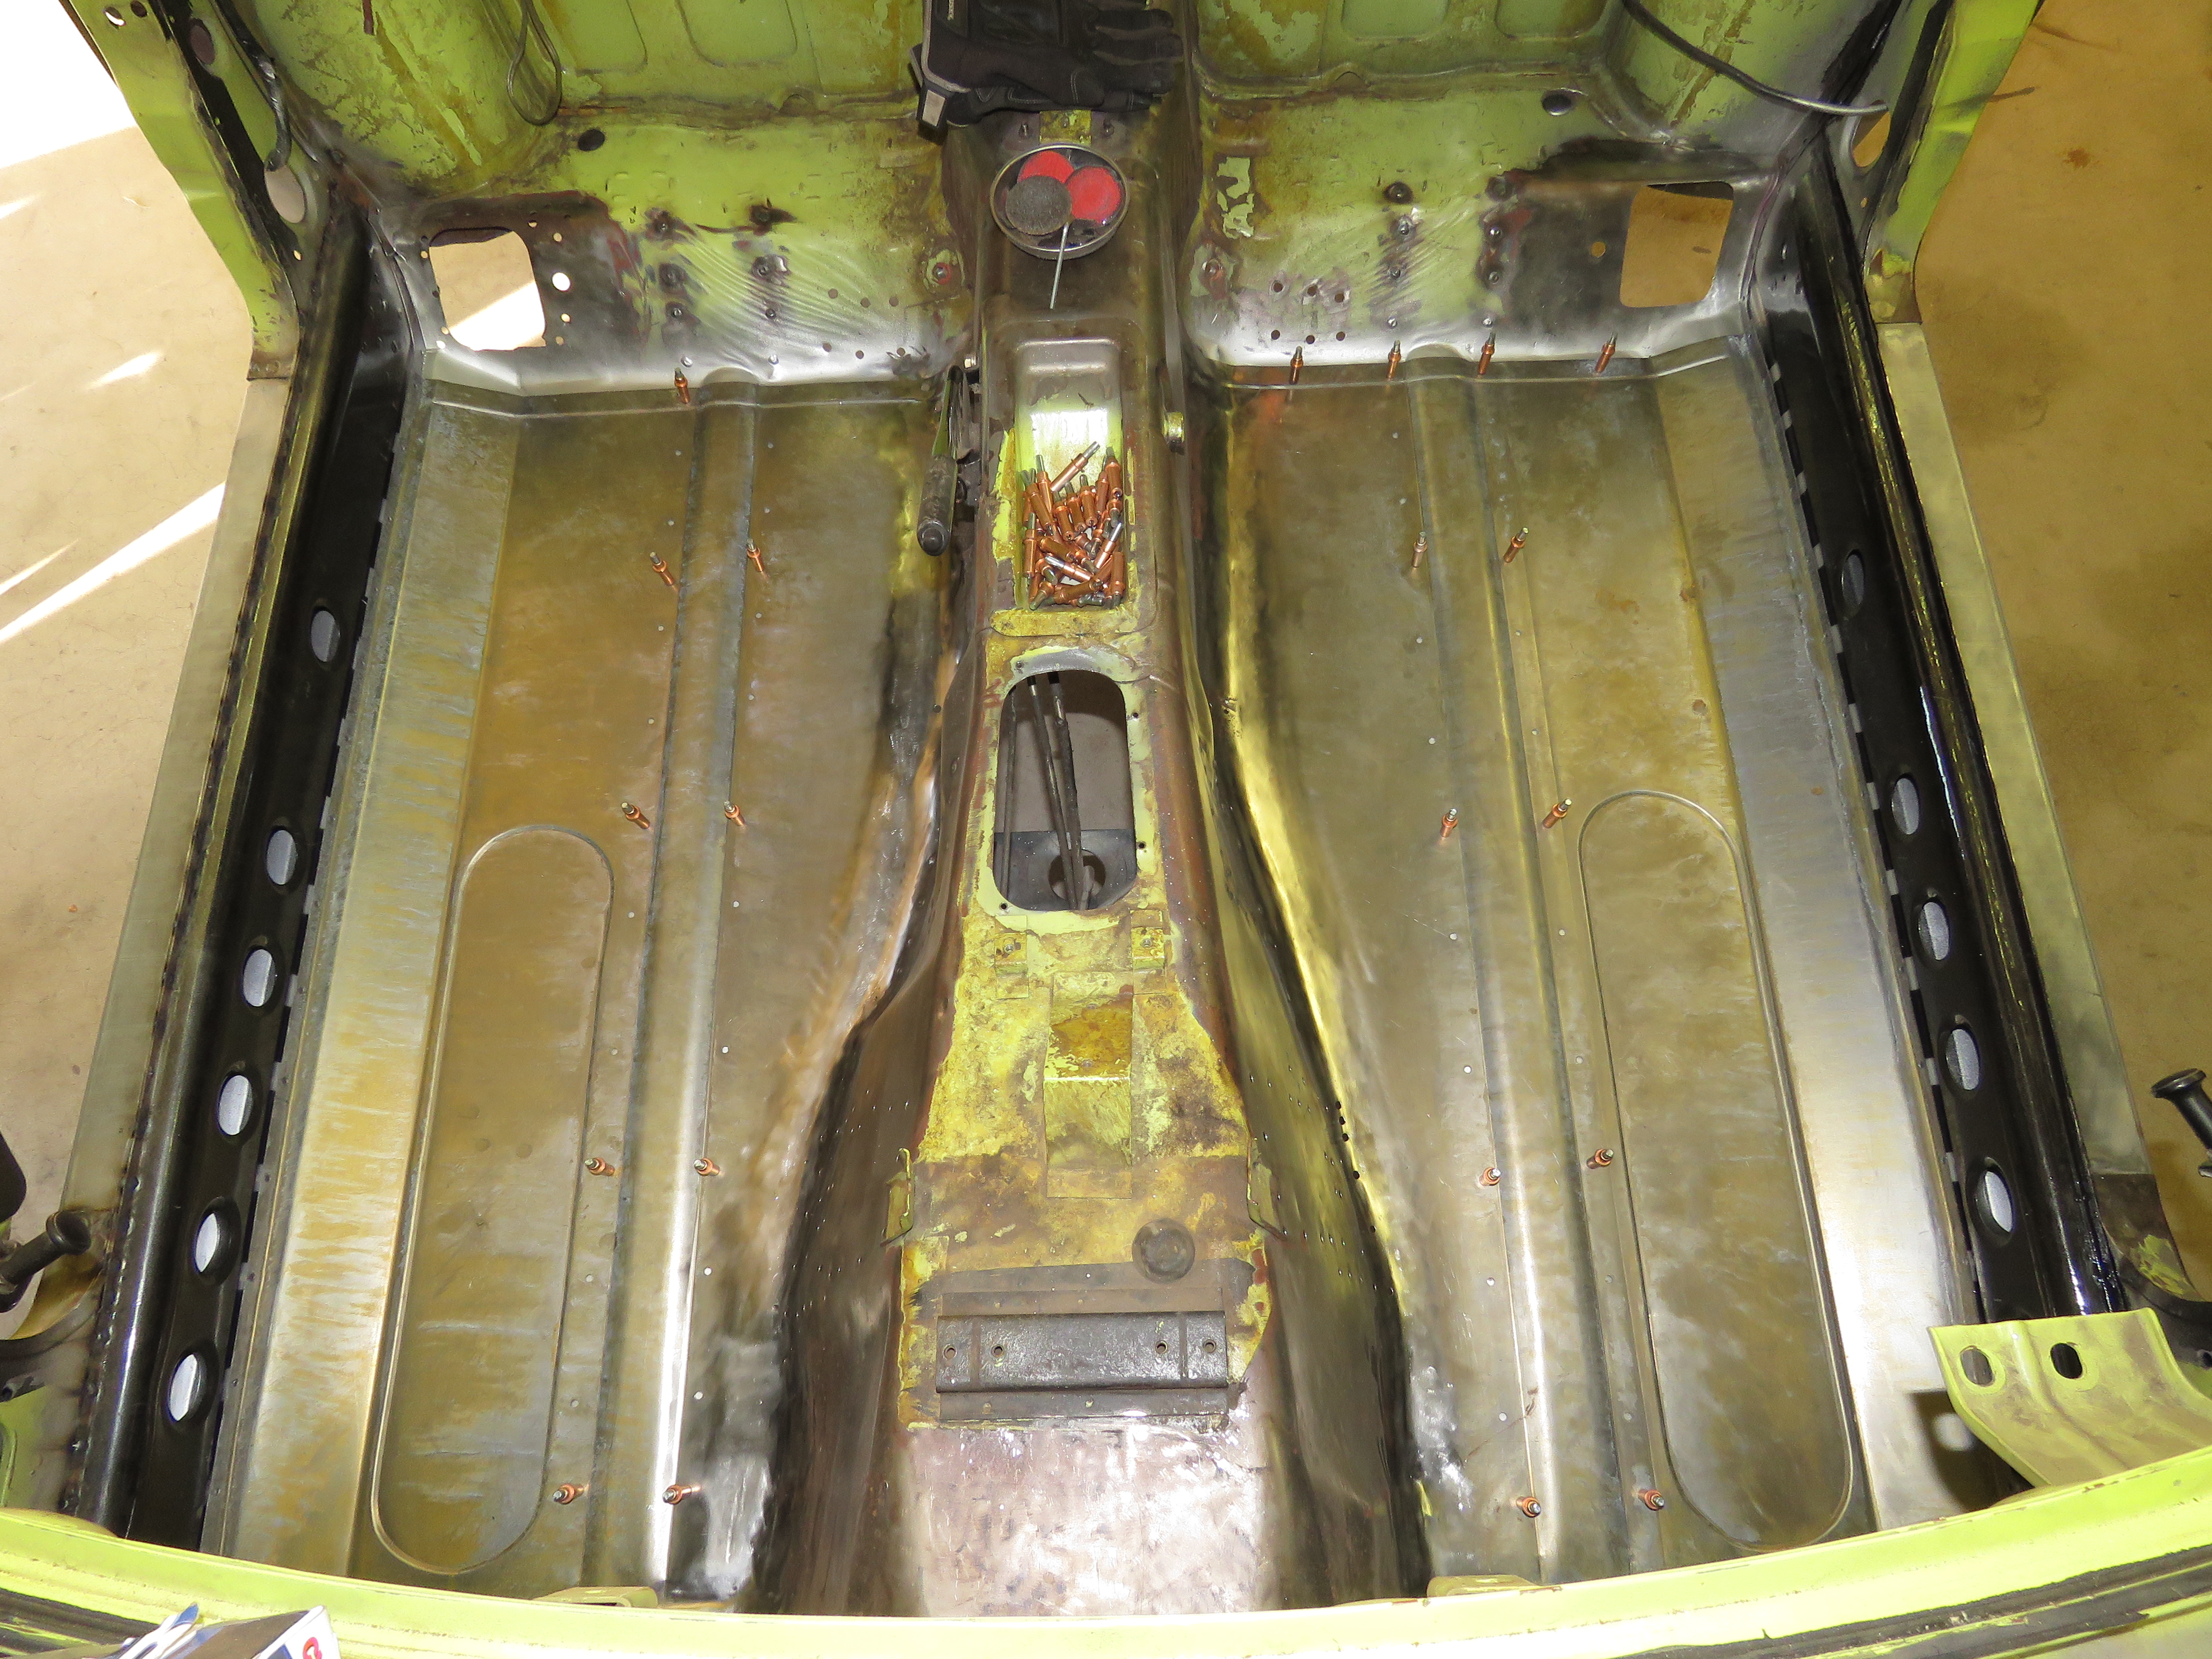
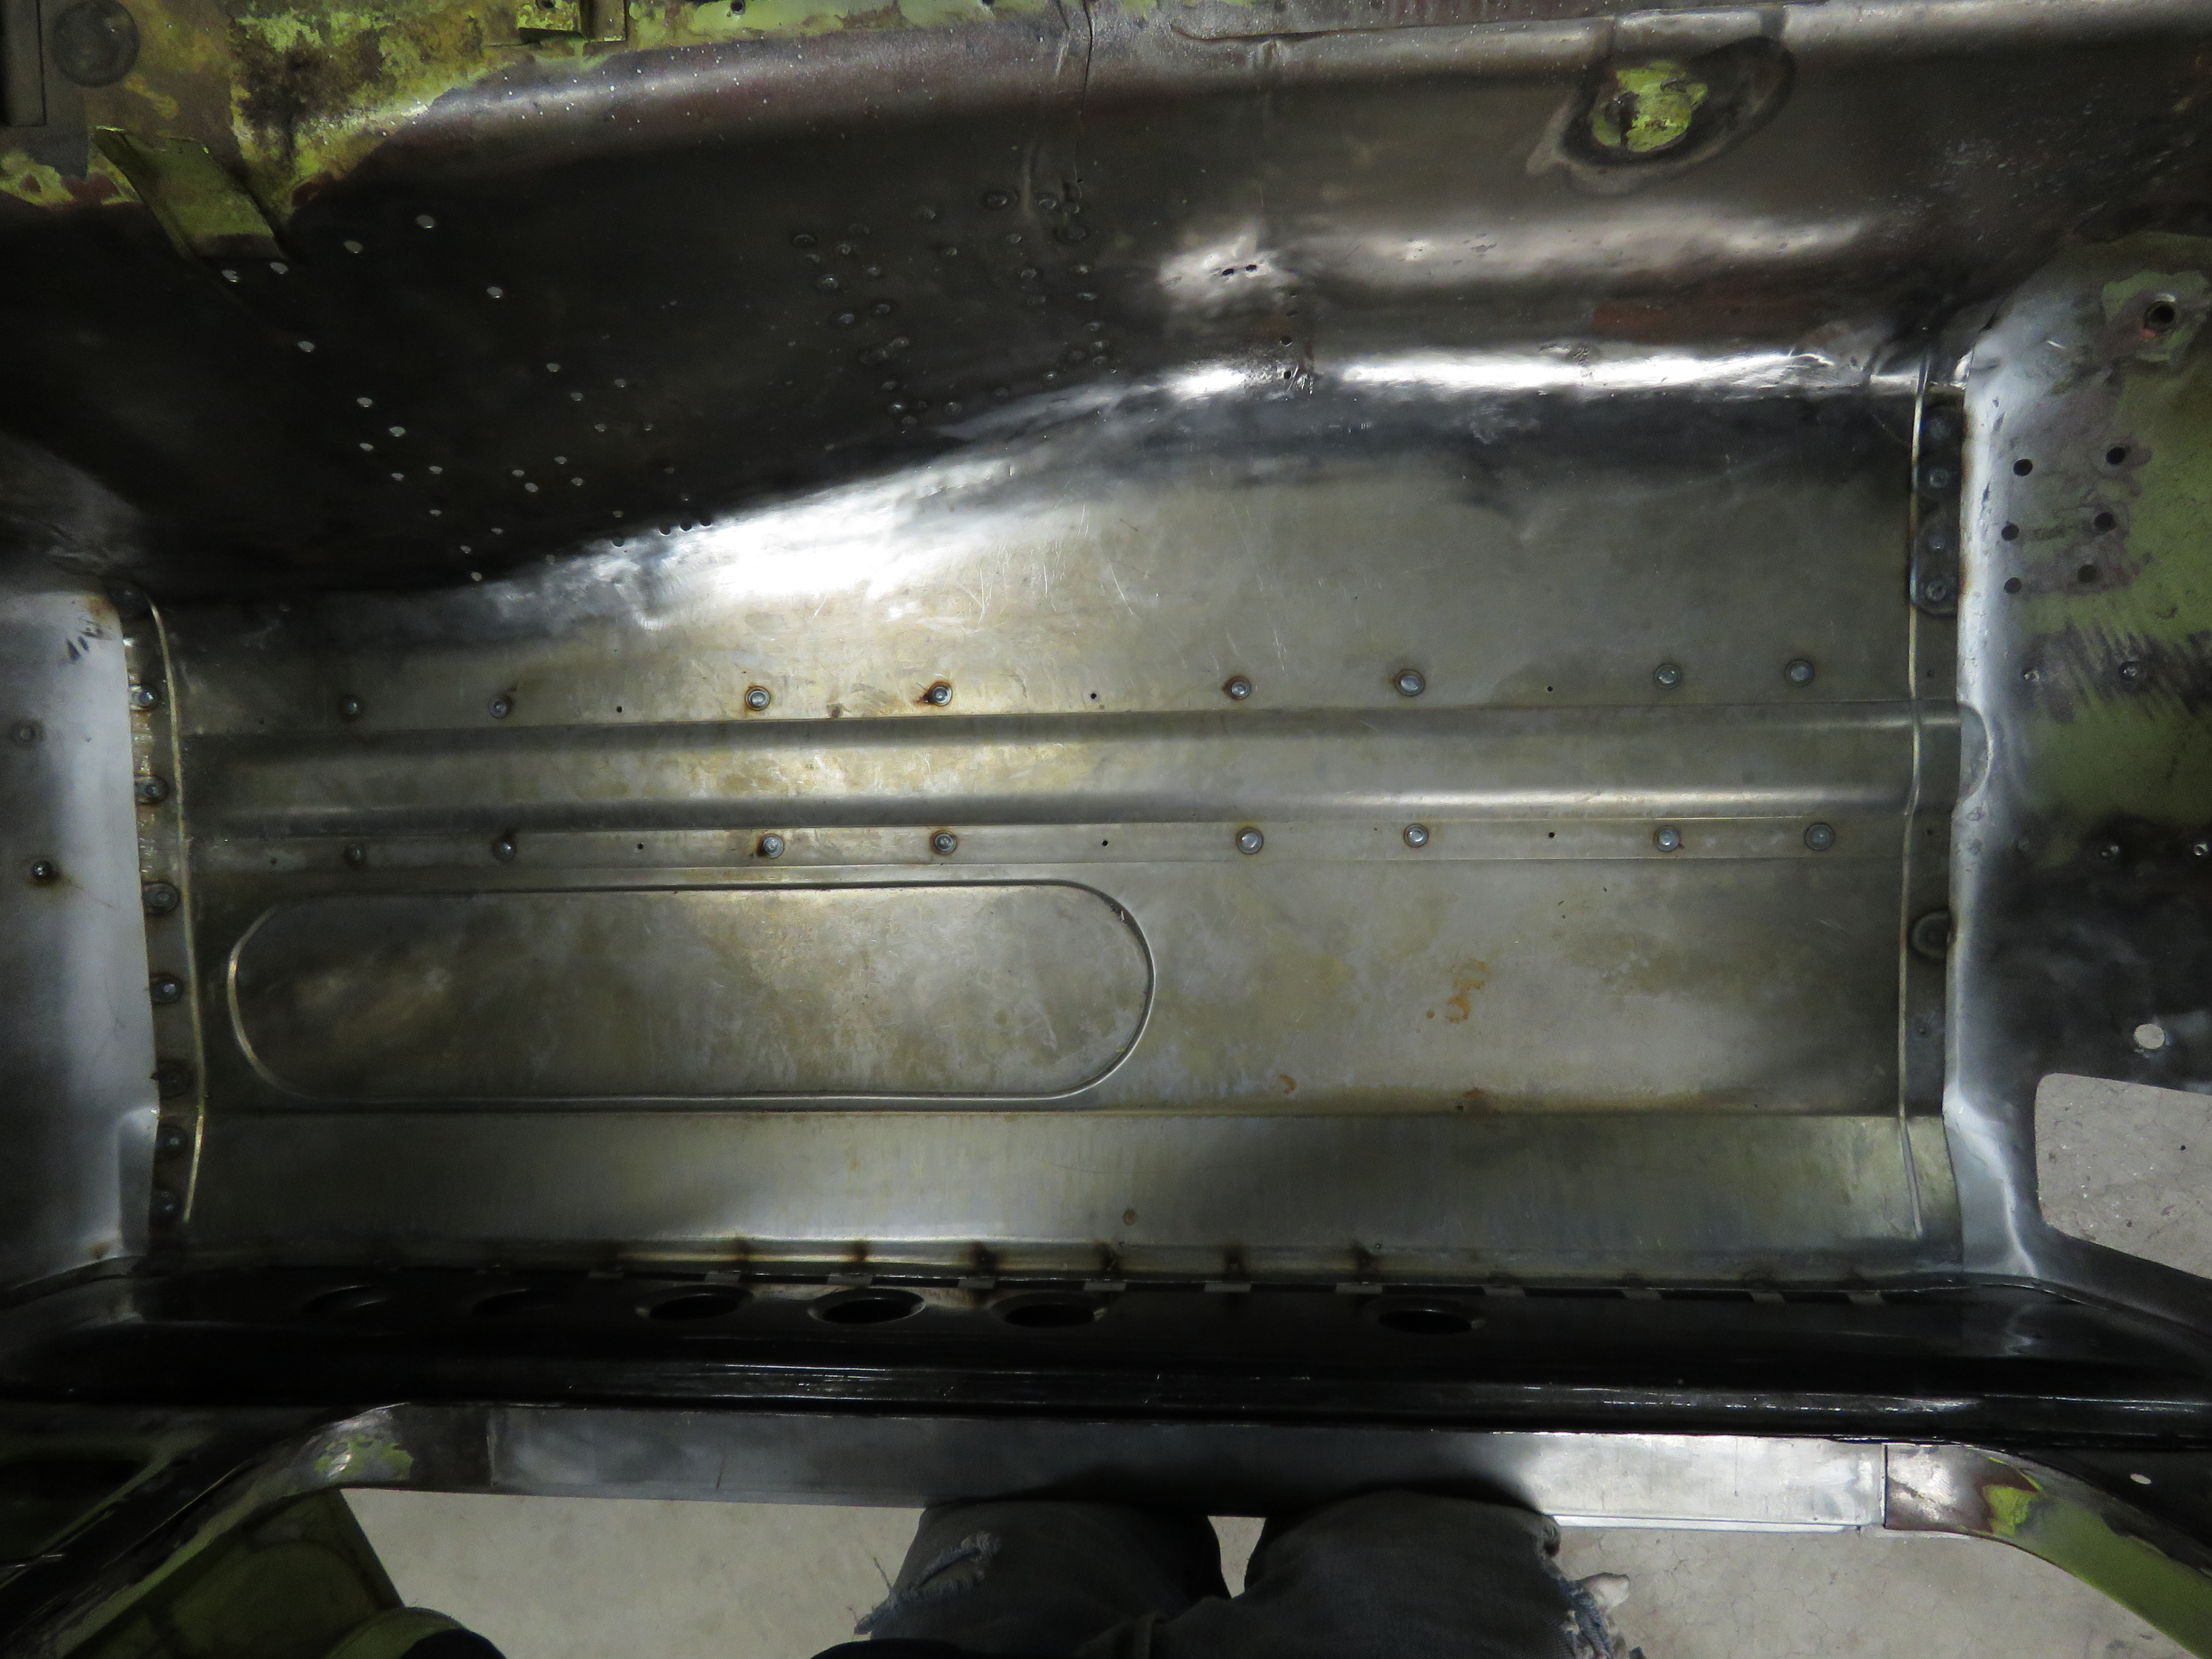
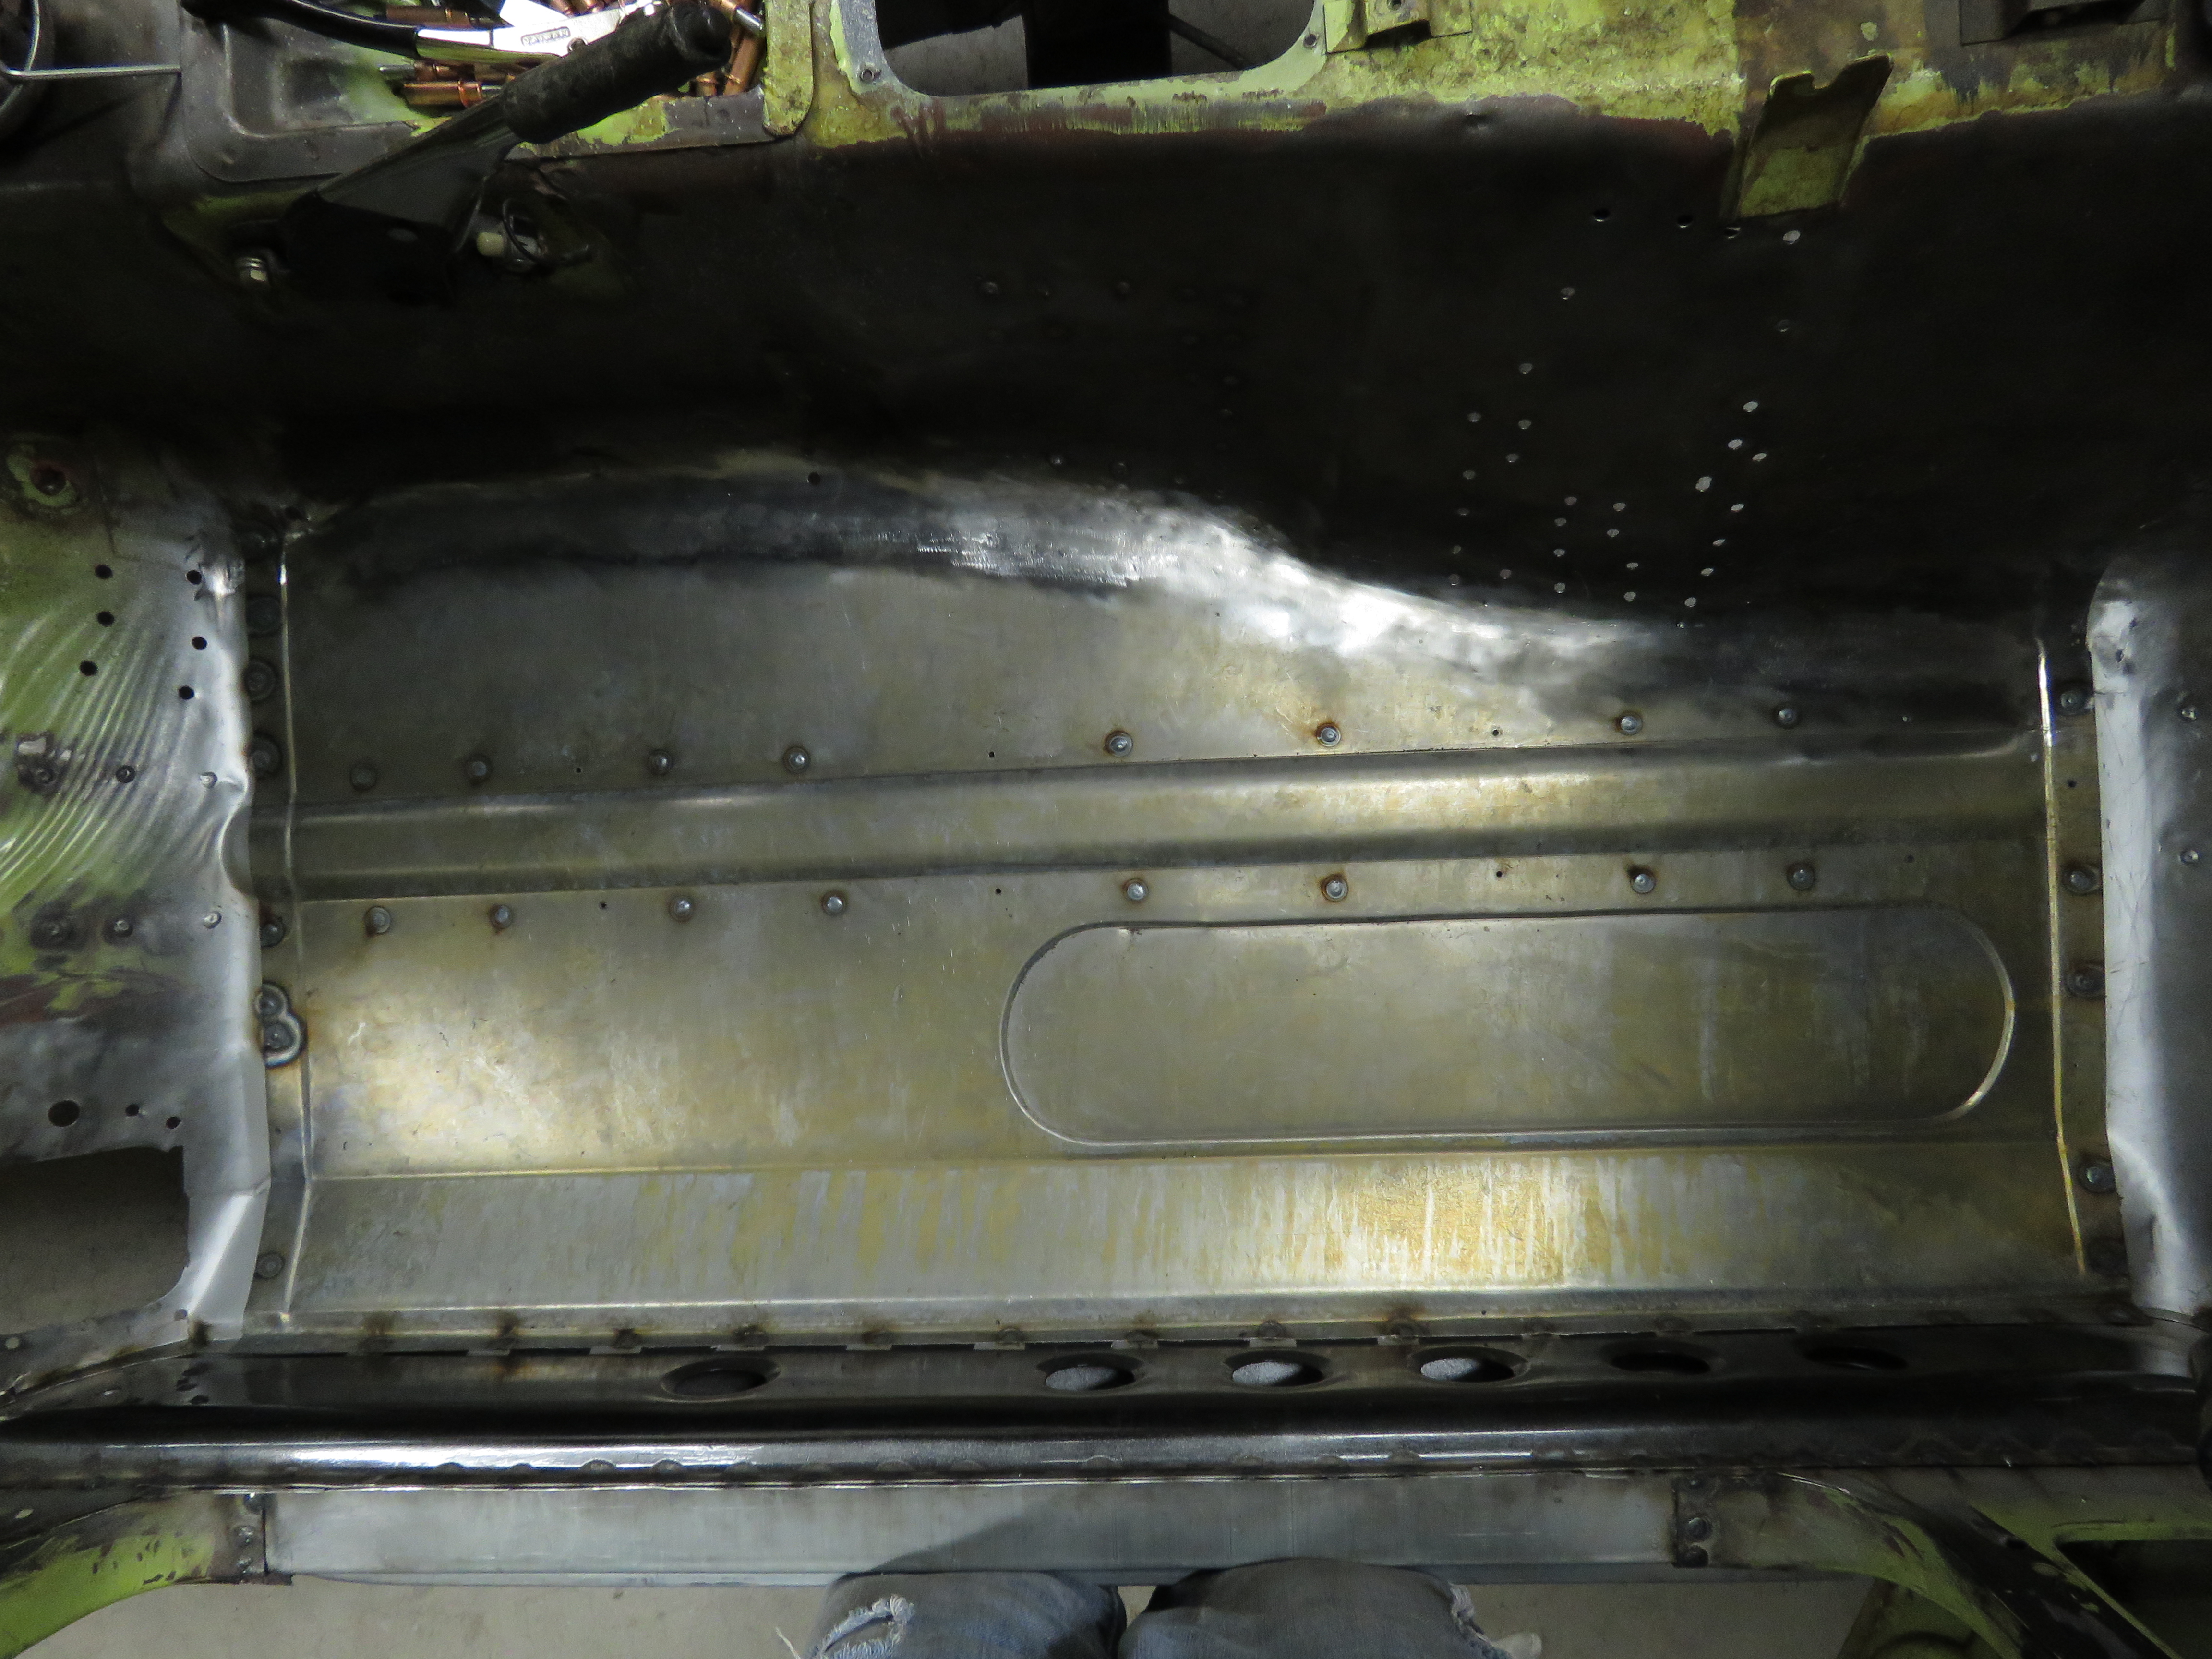
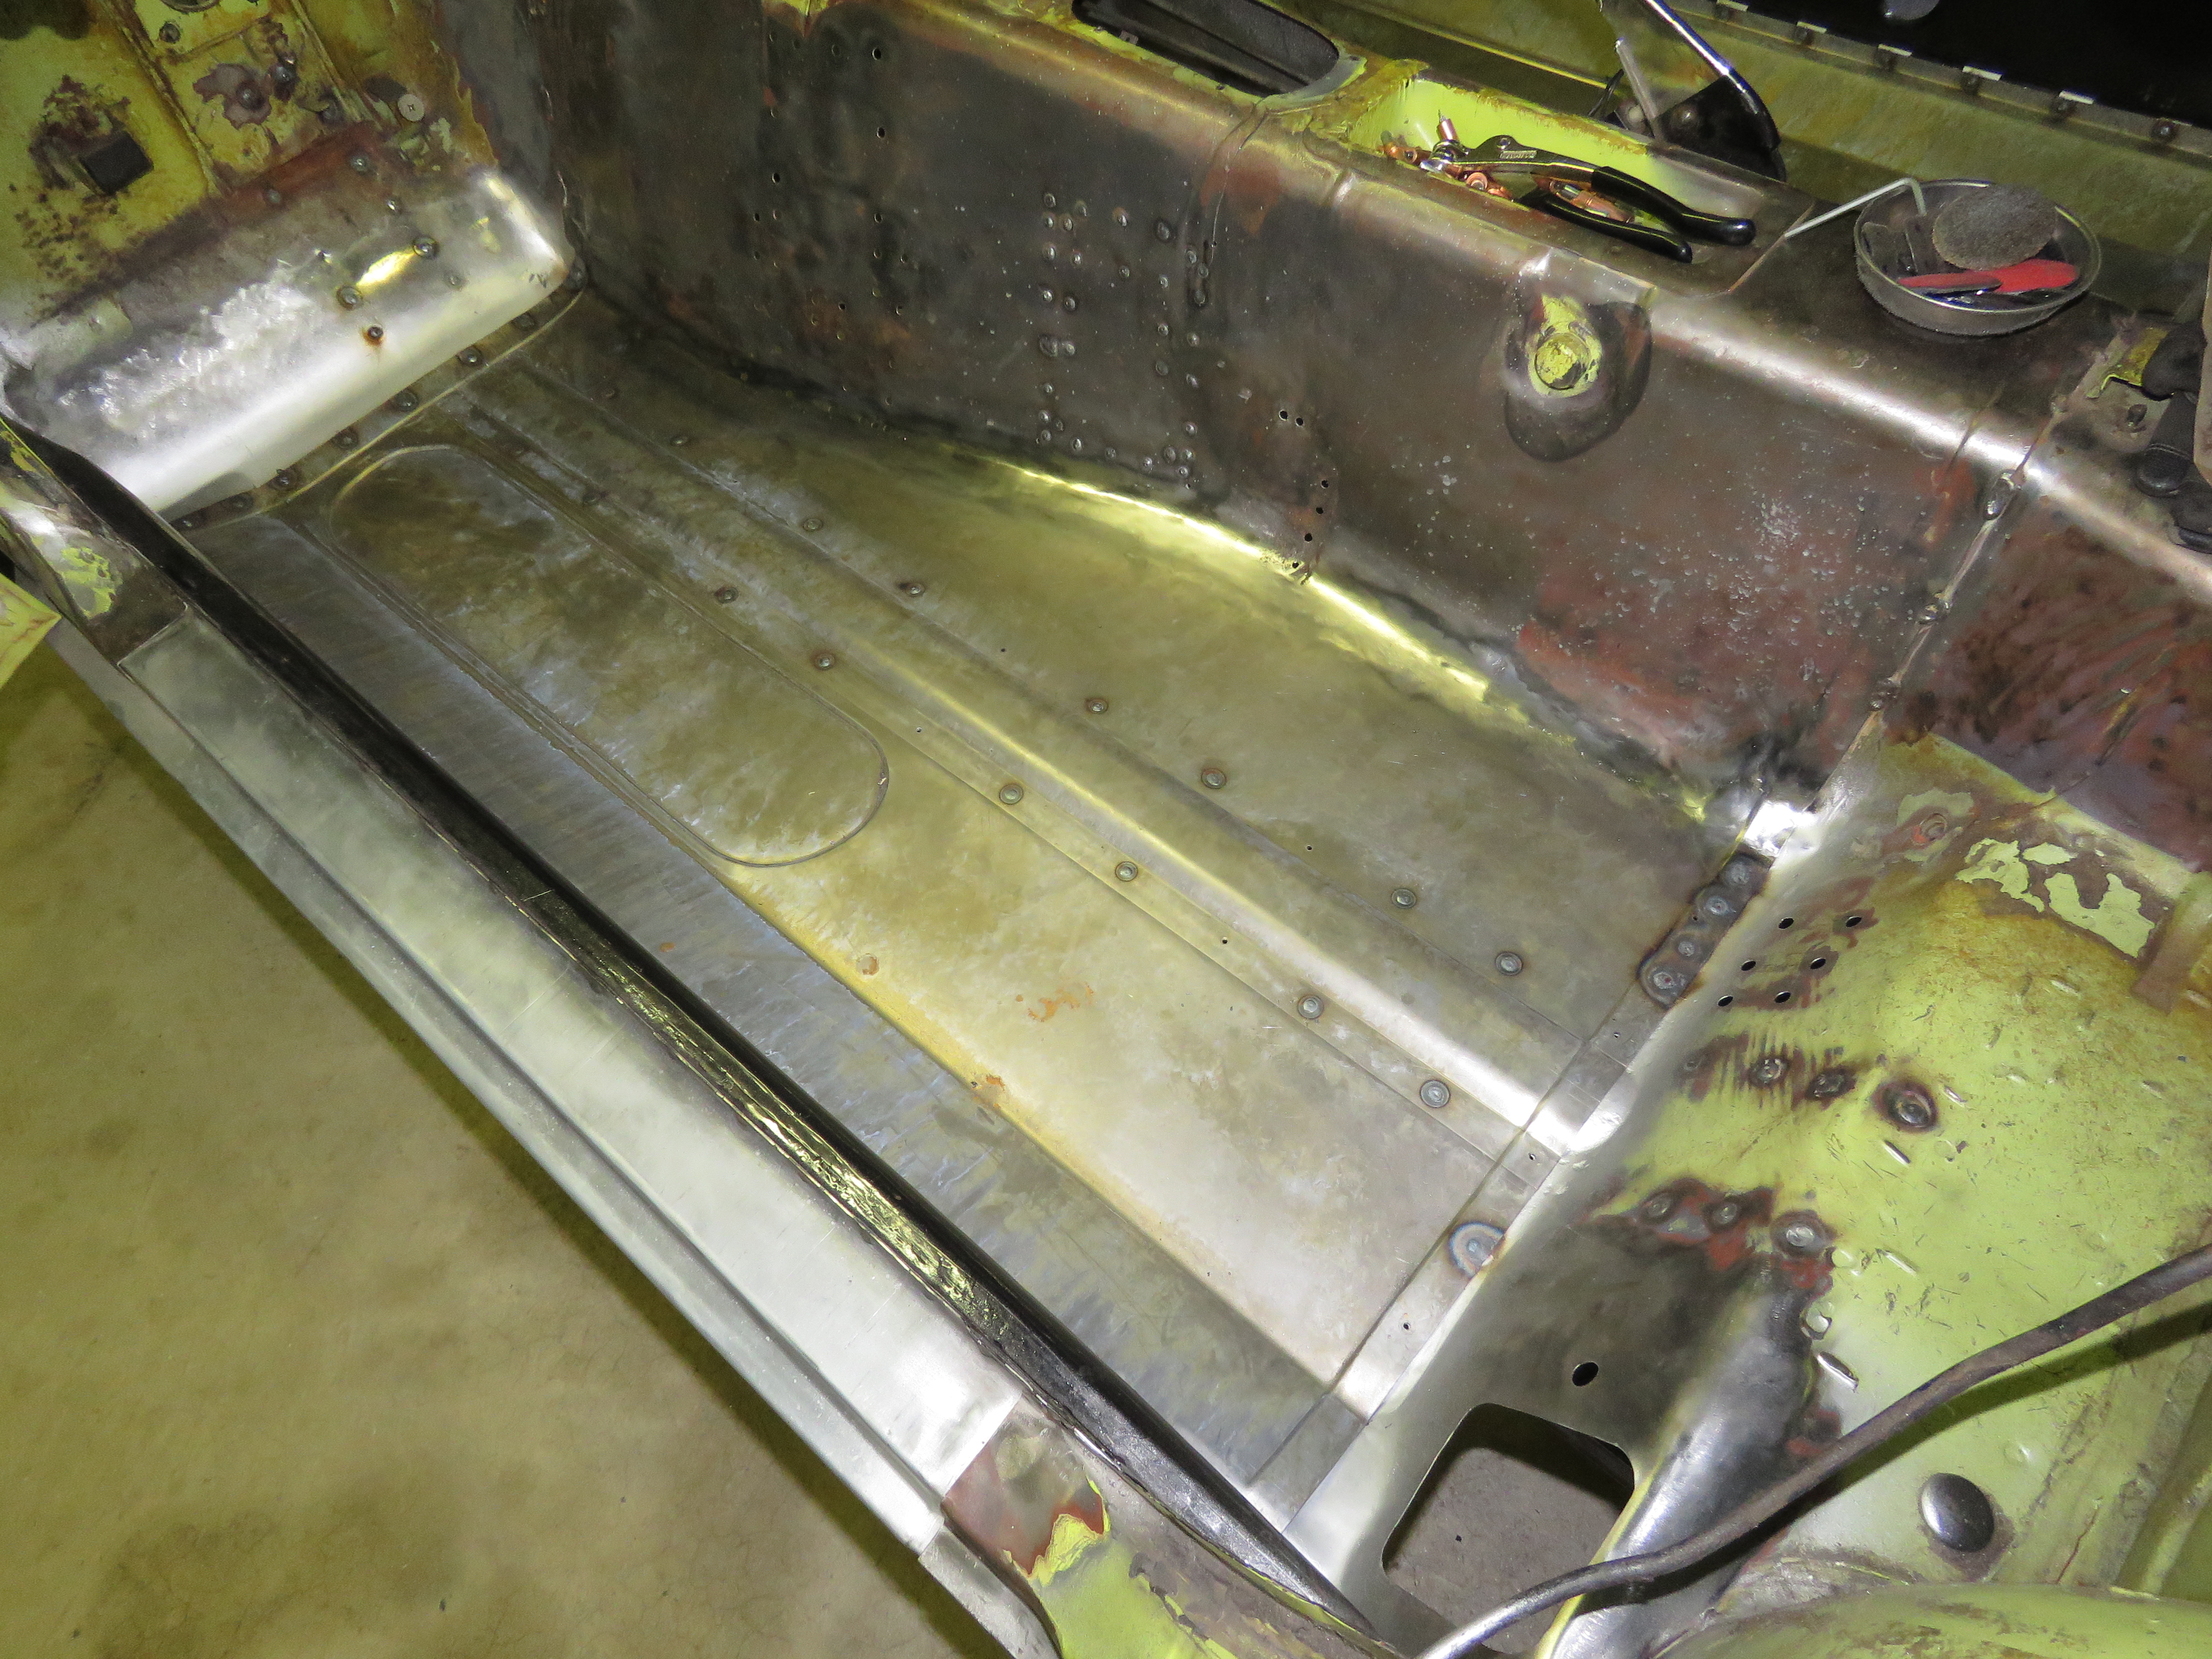
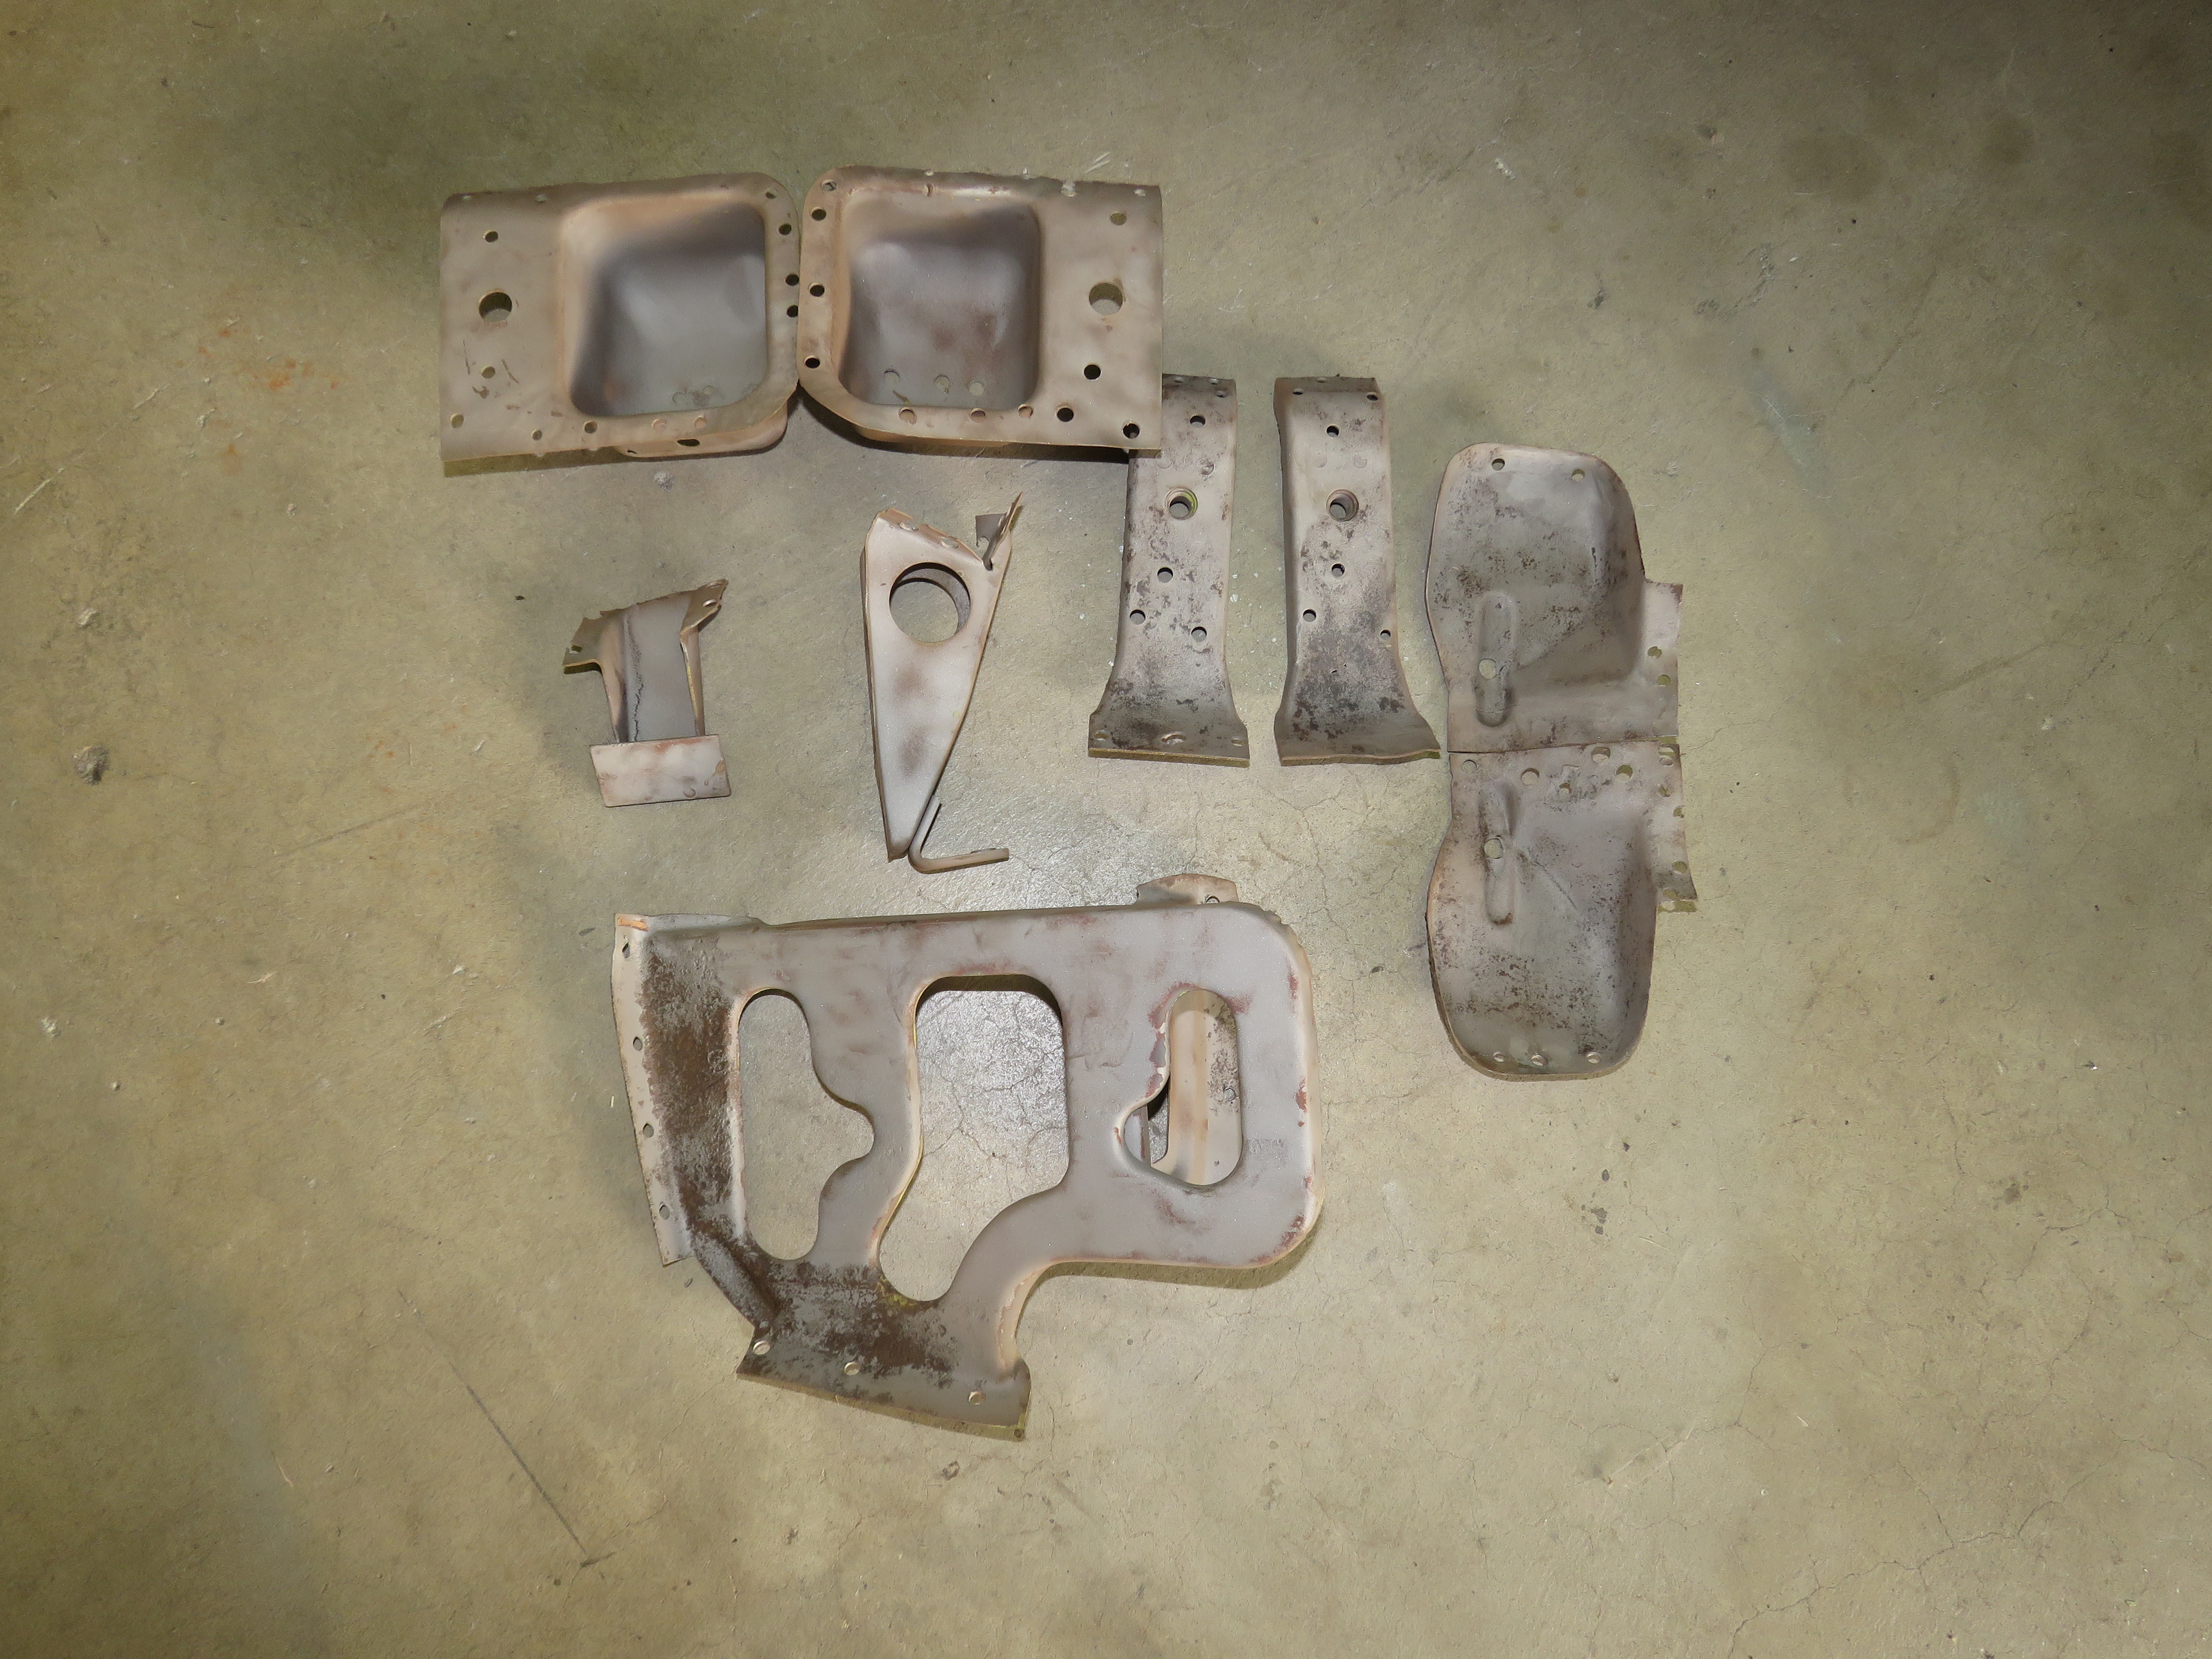
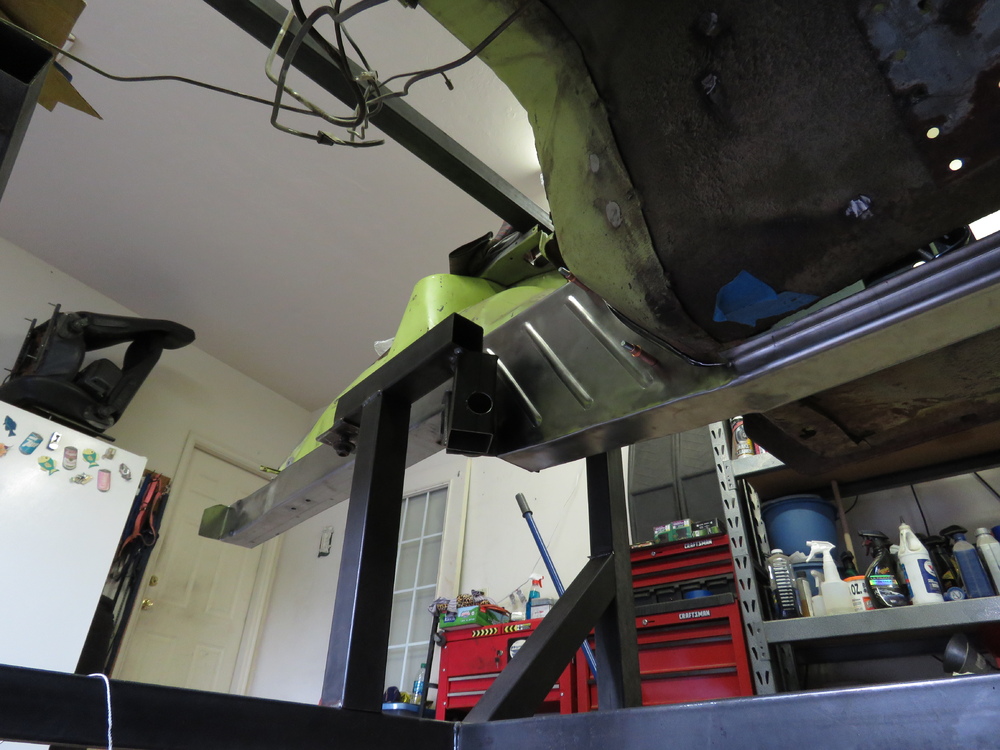
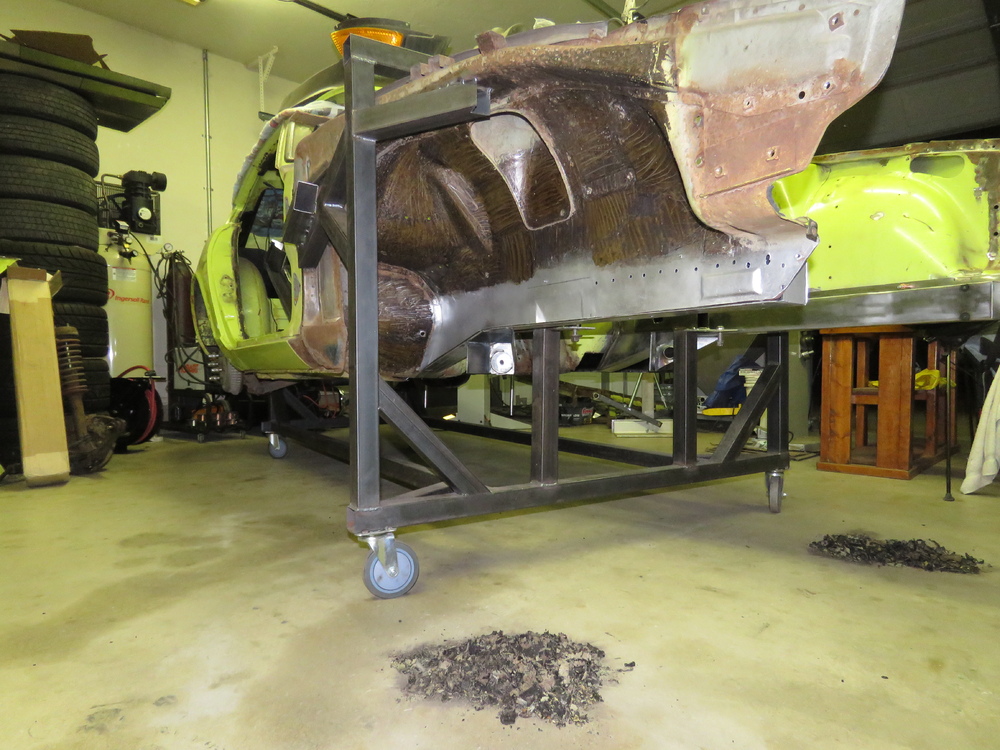
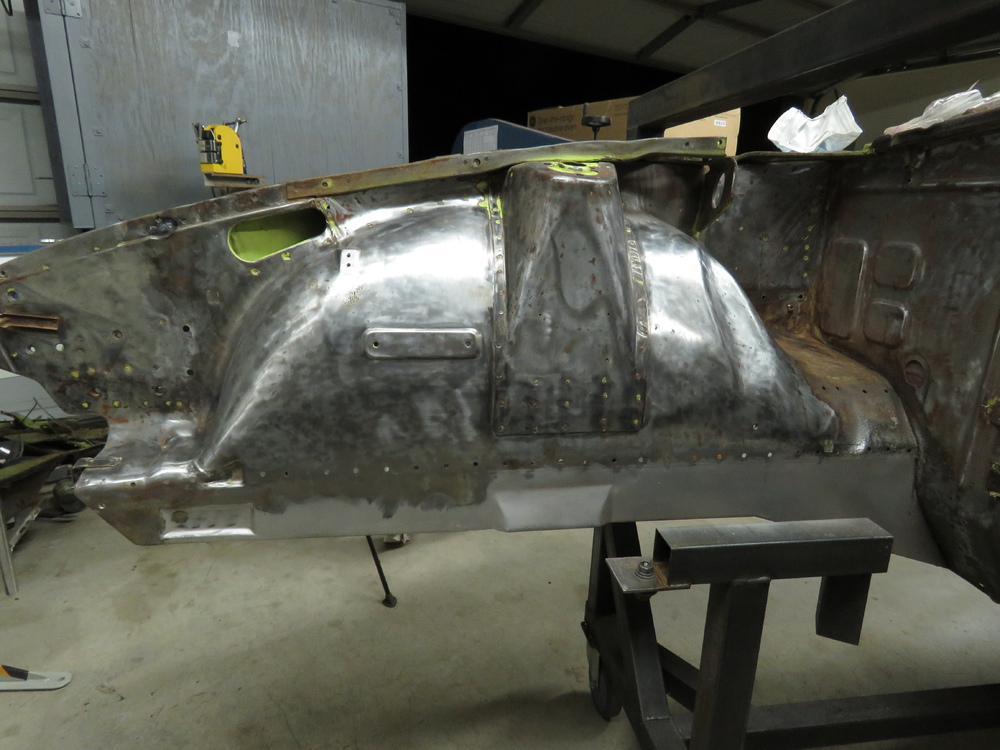
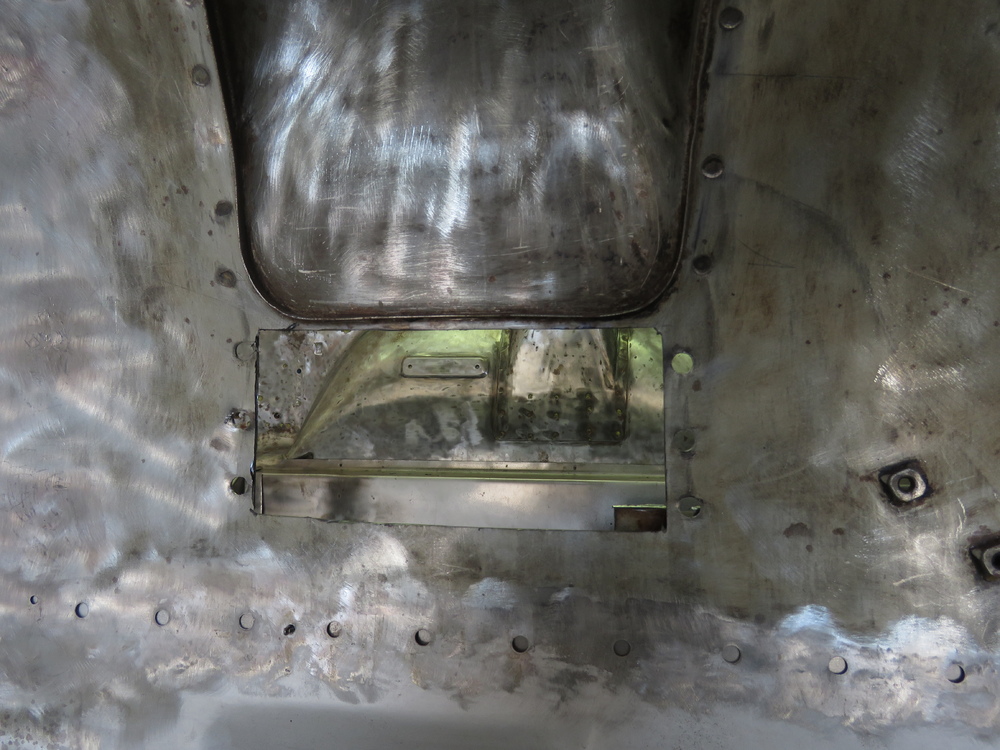
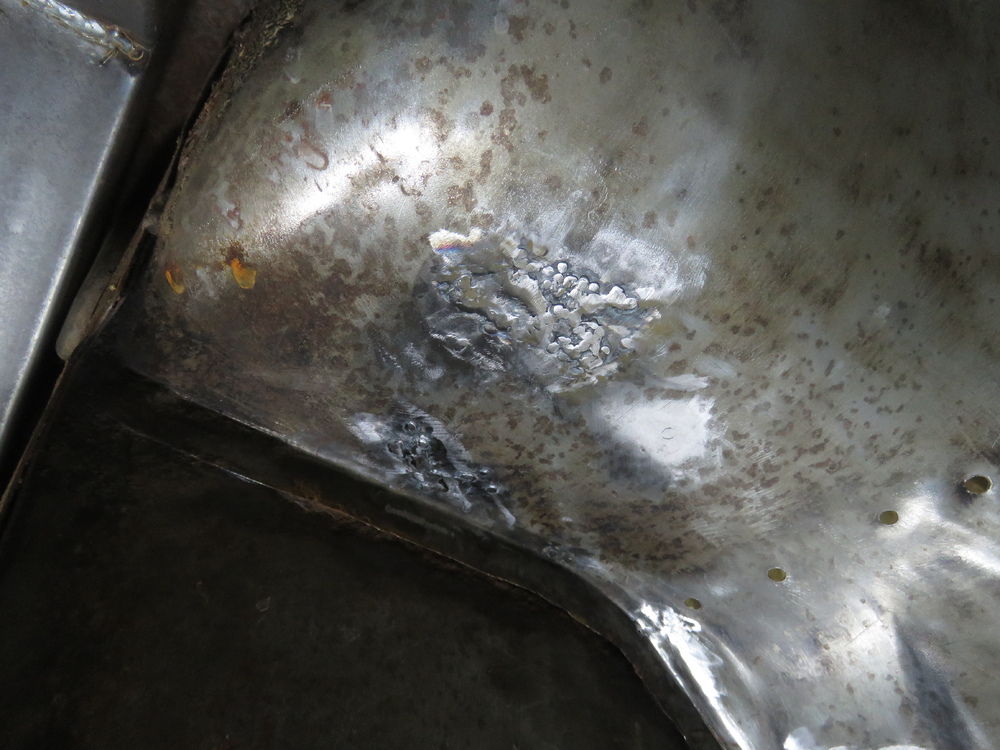
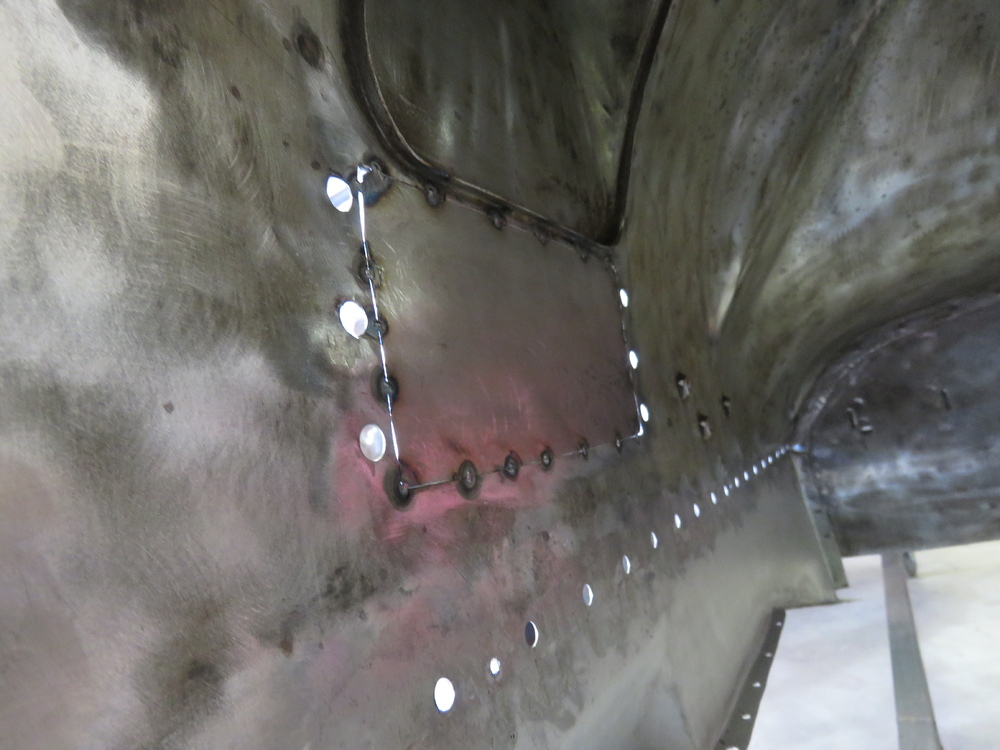
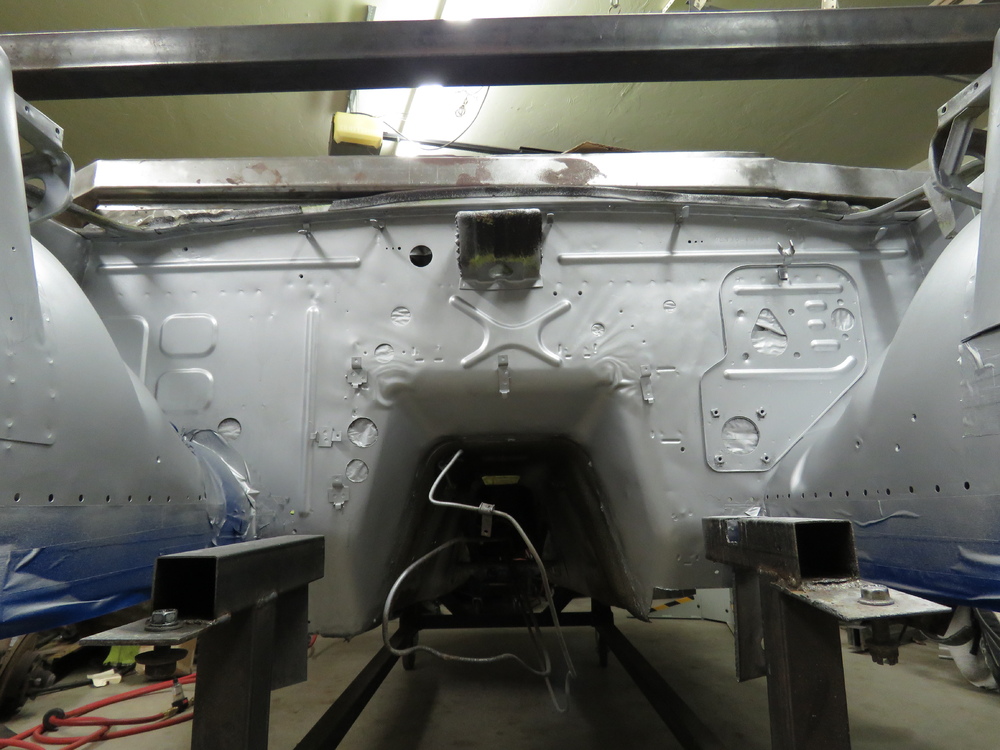
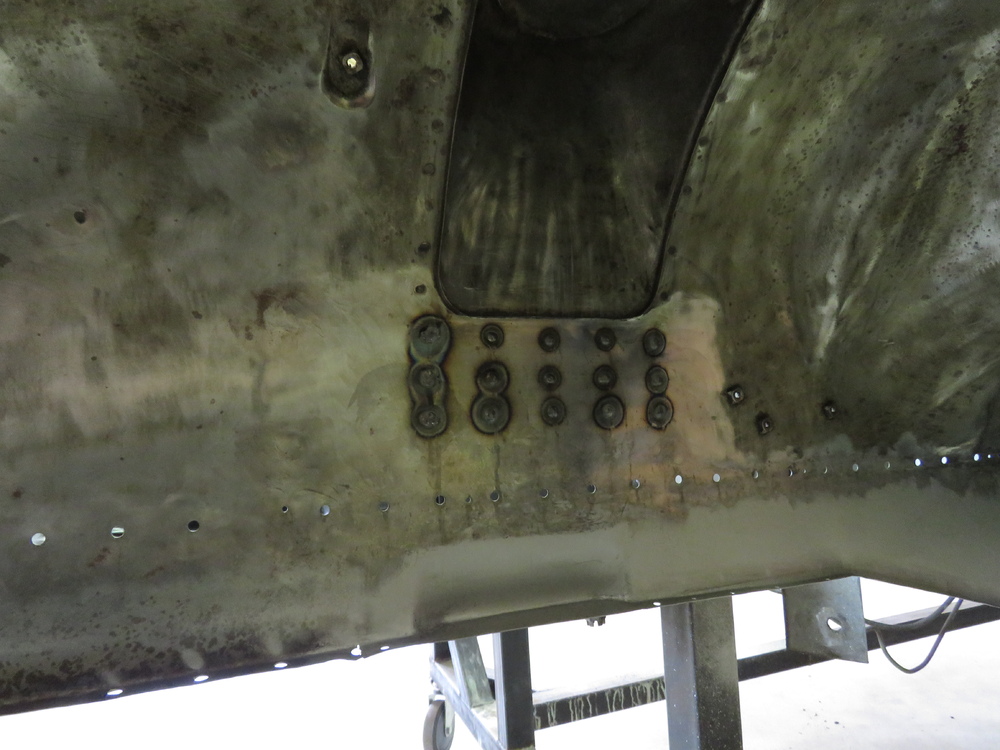
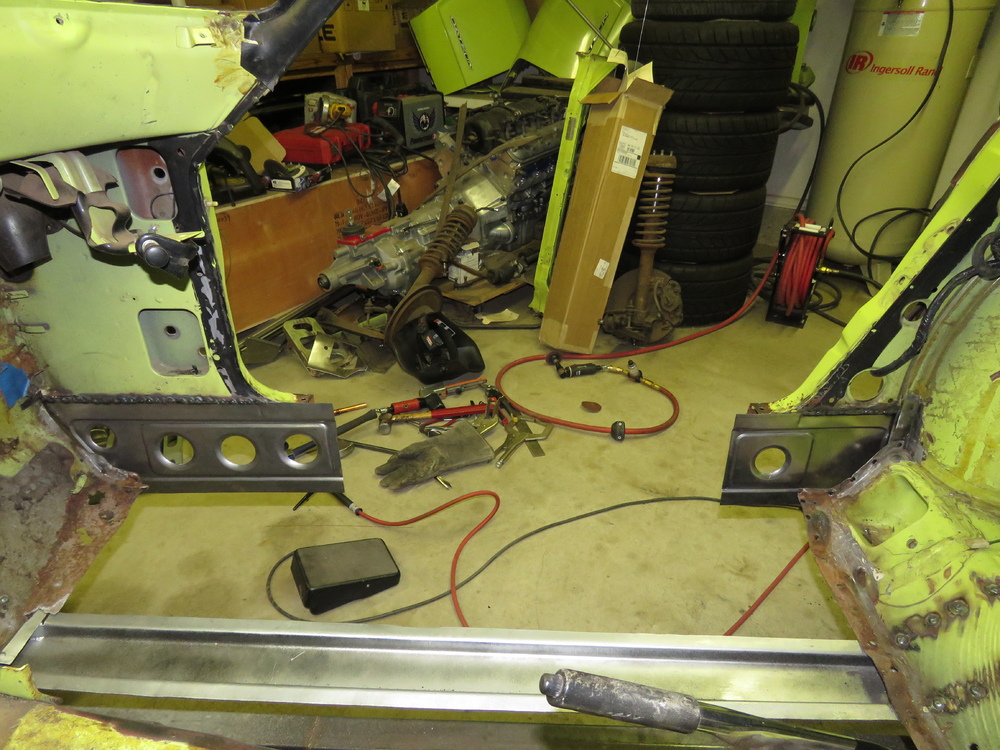
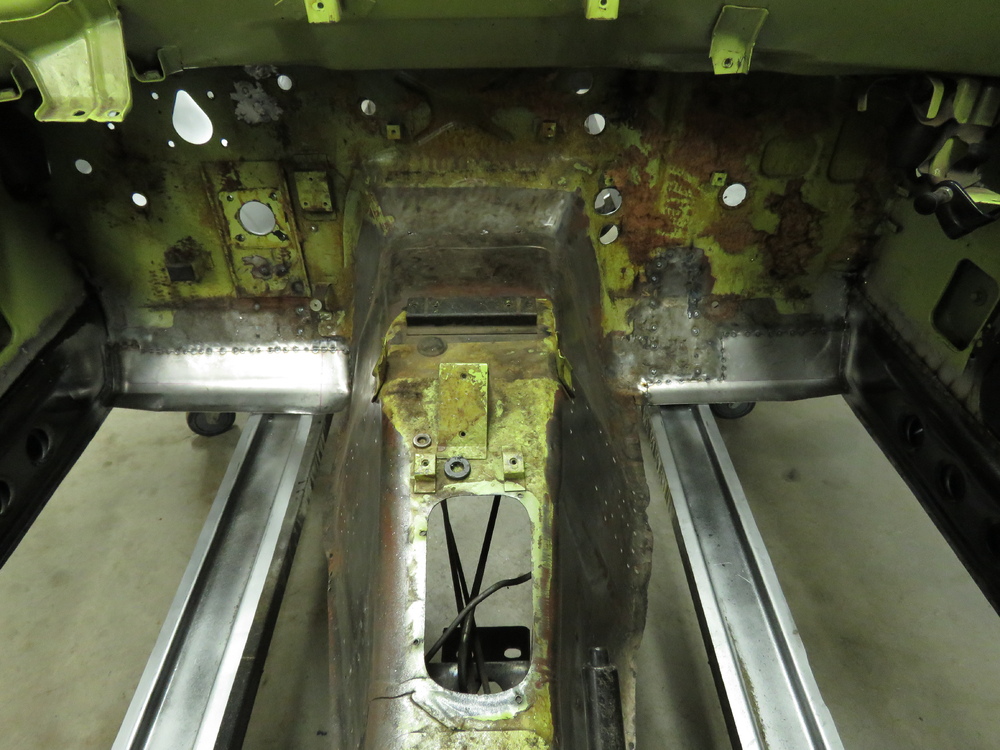
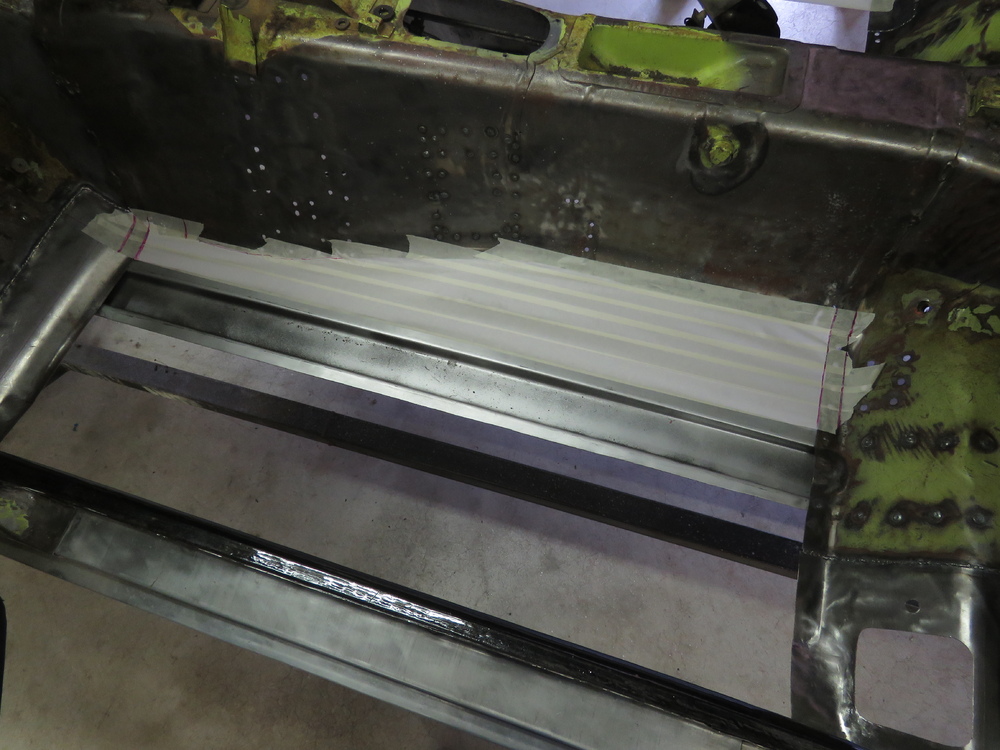
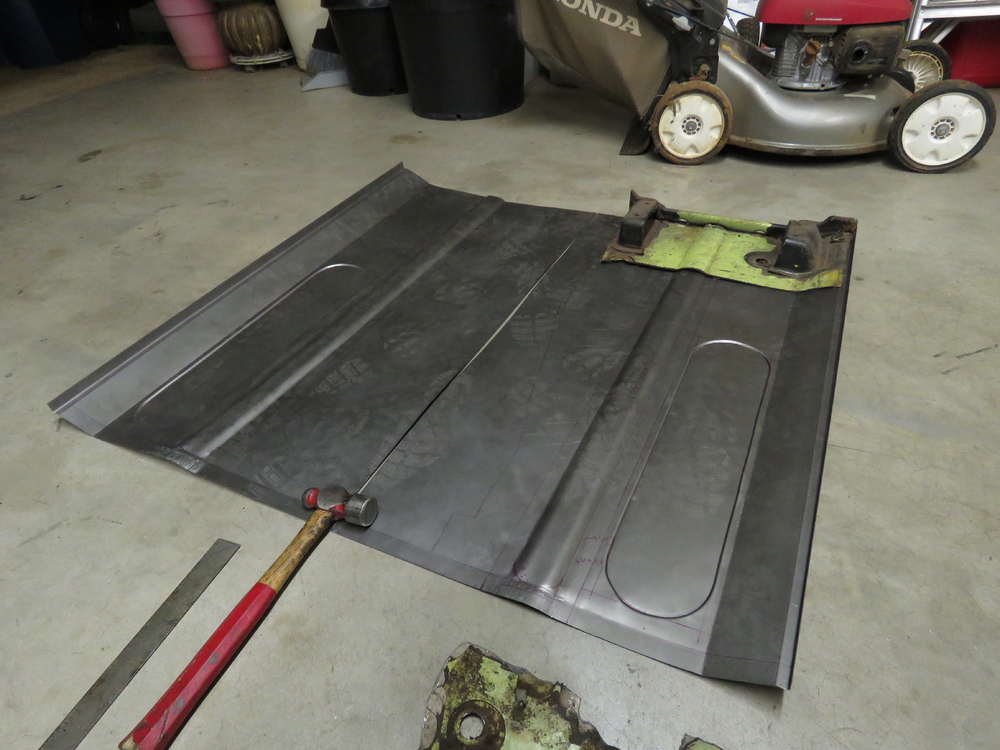
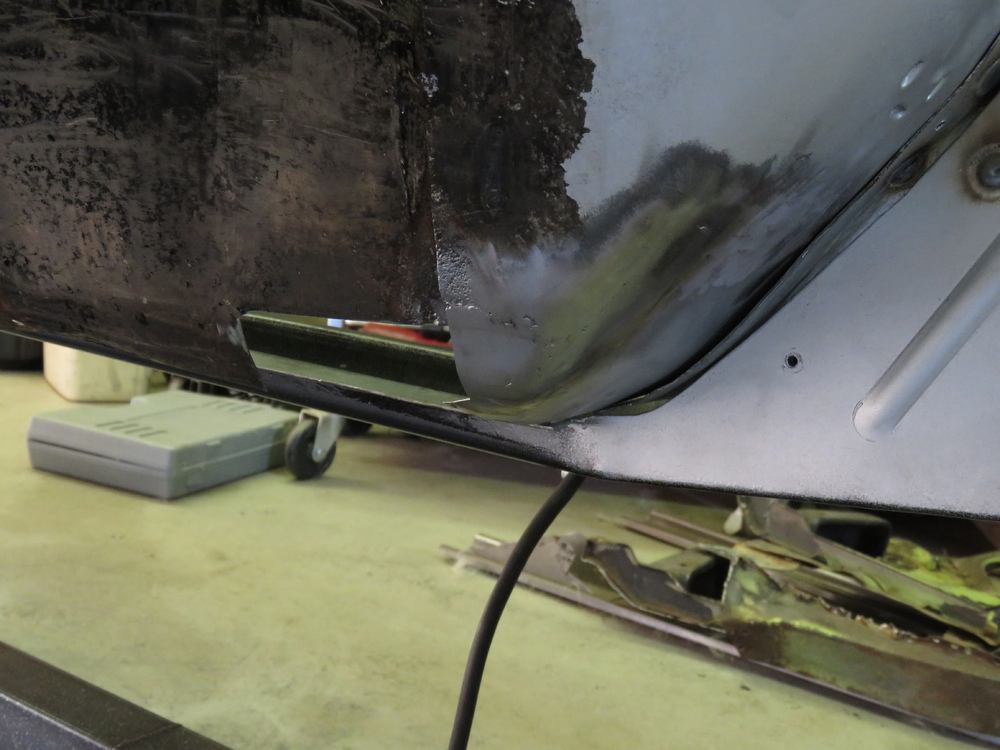
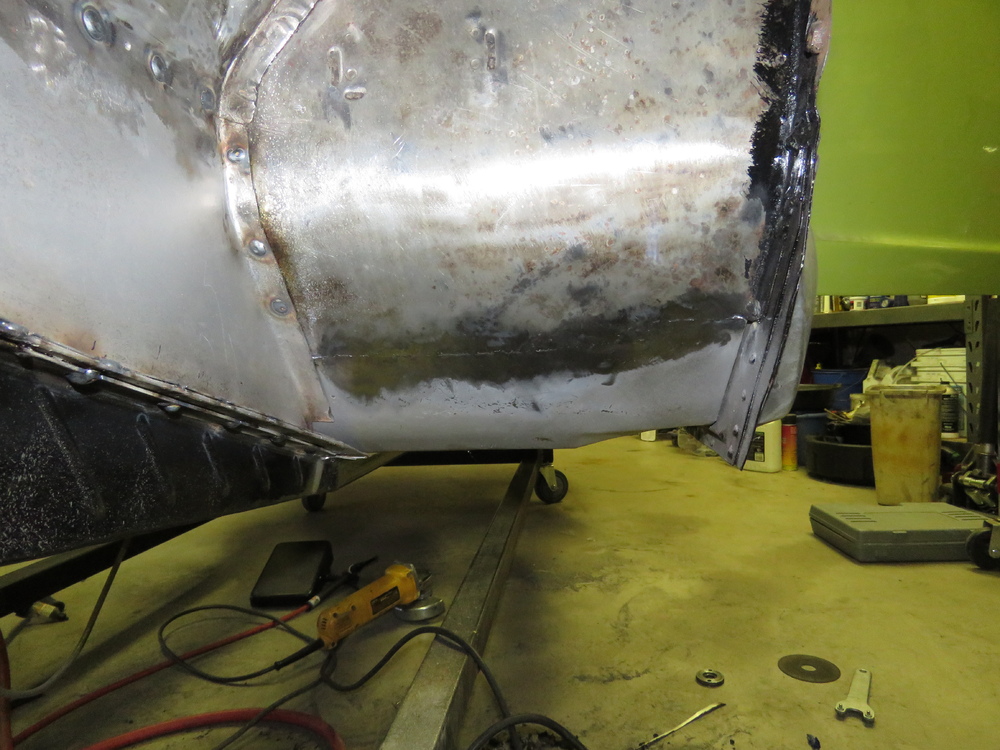
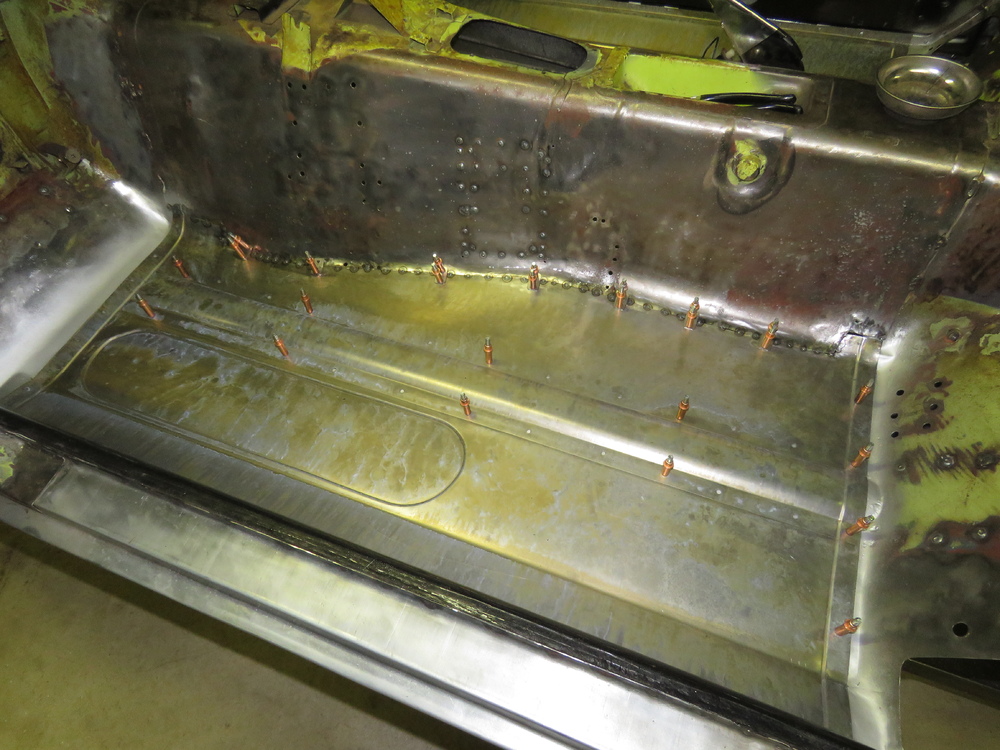
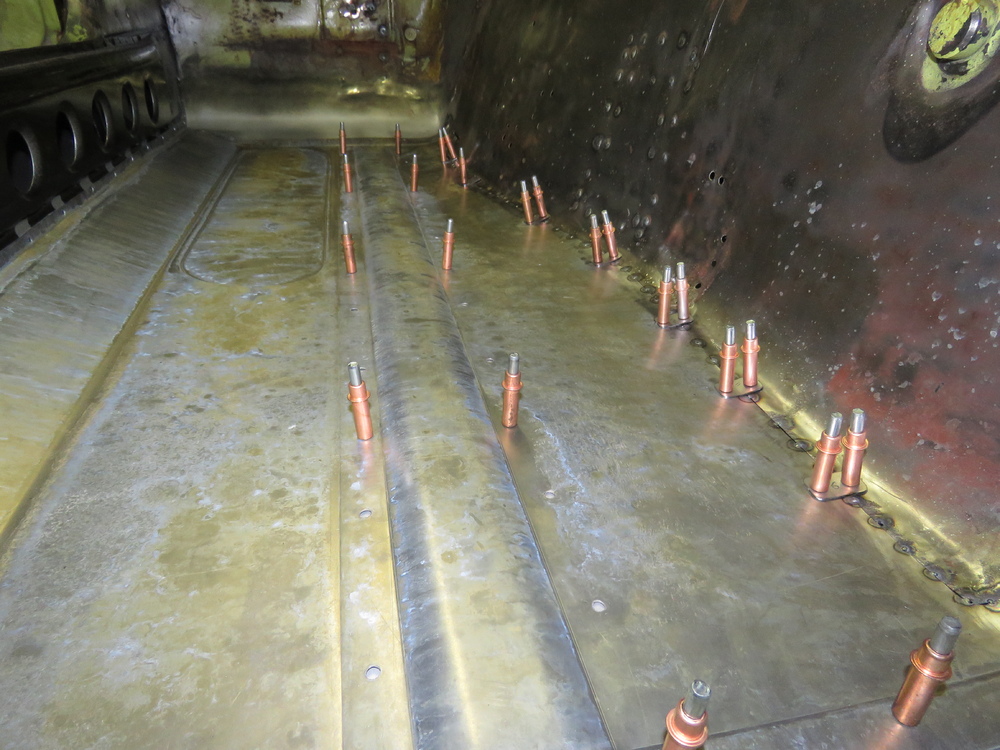
1 pointPart 2 of picture mania! Alright, pictures below are where I left off recently last weekend. Sandblasted some parts that go to the interior for the seat belt mechanism and other random parts. Finally got the floors permanently welded in. The reason the floors look so nasty is because I sprayed it with POR15 Degreaser and Prep and Ready. This also helps it from rusting prematurely before I actually paint it. Currently working on getting the seat brackets and the parts I sandblasted prepped for installation. STAY TUNED!


 1 point
 -
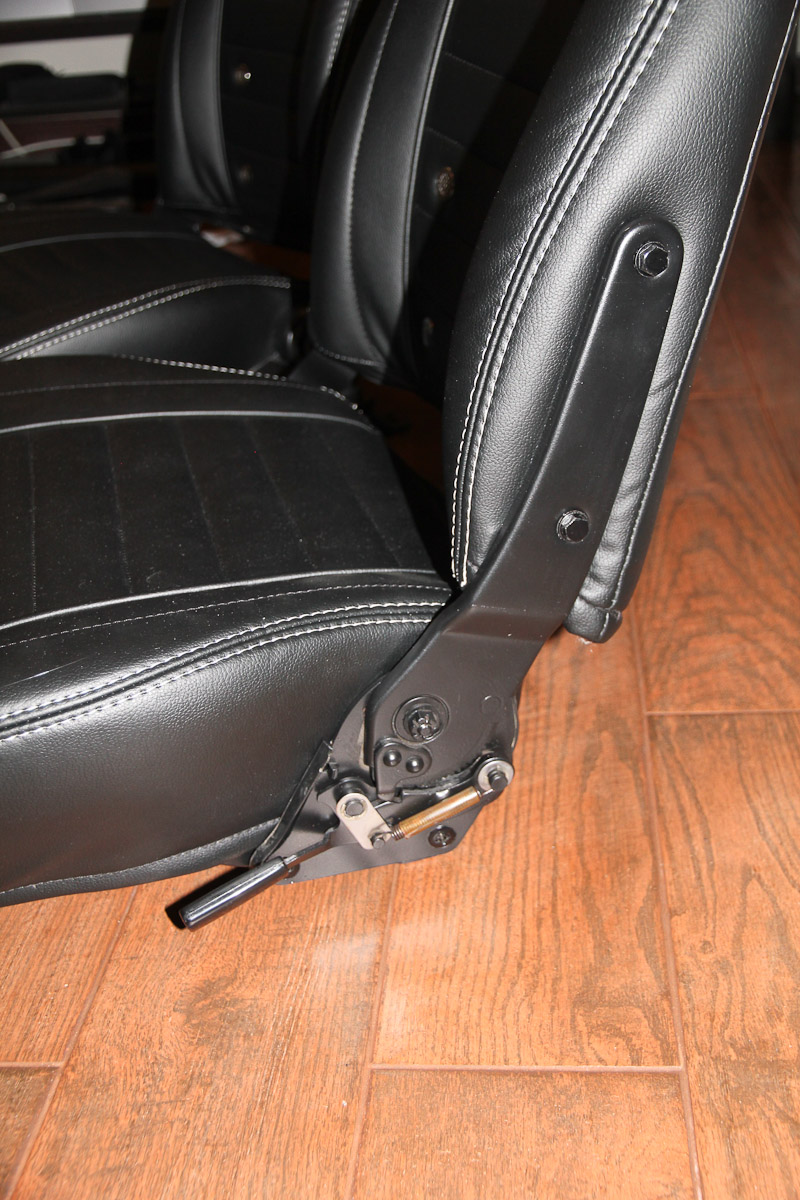
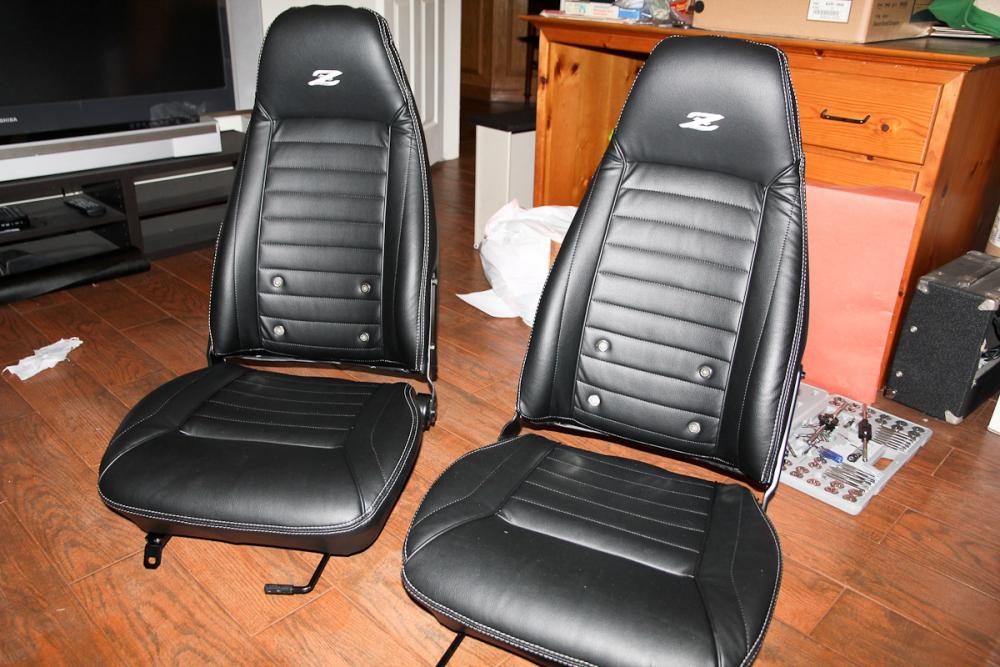
Knocked out the seats and the headliner over the last week! I'm really, really happy with the way the seats came out. I ended up not pulling the cover all the way down on the reclining mechanism side. That meant I didn't have to cut anything, and I figure if something comes loose, I can always go back and pull it down. Everything got a coat of black, including all the bolts, and the seats look better than new -- not bad for my first upholstery job. Only blemish is the missing mechanism cover. I may try to mold something at some point. And the headliner, for all I was dreading it, actually turned out to be not that bad. I made my own from perforated headliner fabric that I backed up with 1/4" foam. I was too busy running around to take pictures during installation. But what I did was masked off an 8" strip down the middle of the headliner from front to back and the matching strip on the roof, then sprayed with contact cement. The middle of the headliner was marked with tape, that I used to center it in the car. Applied the headliner from the middle out, stretching any wrinkles along the way. Then I just let the edges hang down, sprayed glue on the headliner and roof on the passenger side and continued working towards the edges. A panel removal tool tucked everything under the edges. Repeated the process on the driver side. Sweaty and uncomfortable work, sure, but nothing that's going on my Never Again List. Tomorrow, seats go back in!
 1 point