Leaderboard
-
norcal z
 Subscriber
 3Points120Posts
 -
Patcon
Subscriber3Points11,136Posts -
sweatybetty
Free Member2Points1,119Posts -
madkaw
Free Member2Points4,370Posts


Popular Content
Showing content with the highest reputation on 09/03/2016 in all areas
-
As I write this, I'm watching a condensed "special" 1 hour broadcast of the August 18-20, 2016 Mecum Auctions Monterrey 2016. There was a red '71 240Z (had the louvered rear hatch) that just rolled across the stage, and while the auction for it was progressing, two of the broadcast crew were more or less bickering about it being an automatic and therefore didn't fetch a very high price (I think it went for around $10K; looked really sharp, though). Anyway, as the hammer came down, one of them gave a shout-out to the Classic Zcar Forums as the place to go for everything about Zs. Kinda cool, I thought!3 points
-
1 pointhttps://www.mecum.com/lots/CA0816-244190/1970-datsun-240z/ https://www.mecum.com/lots/CA0816-244296/1971-datsun-240z-coupe/ https://www.mecum.com/lots/CA0816-244606/1973-datsun-240z-coupe/
 1 point
 -
1 point
-
1 pointMy colors are the same as yours. The picture looks good. Thanks for the info. I really appreciate your advice1 point
-
http://www.classiczcars.com/forums/topic/56013-z-trio-at-mecum-monterey/#comment-5015091 point
-
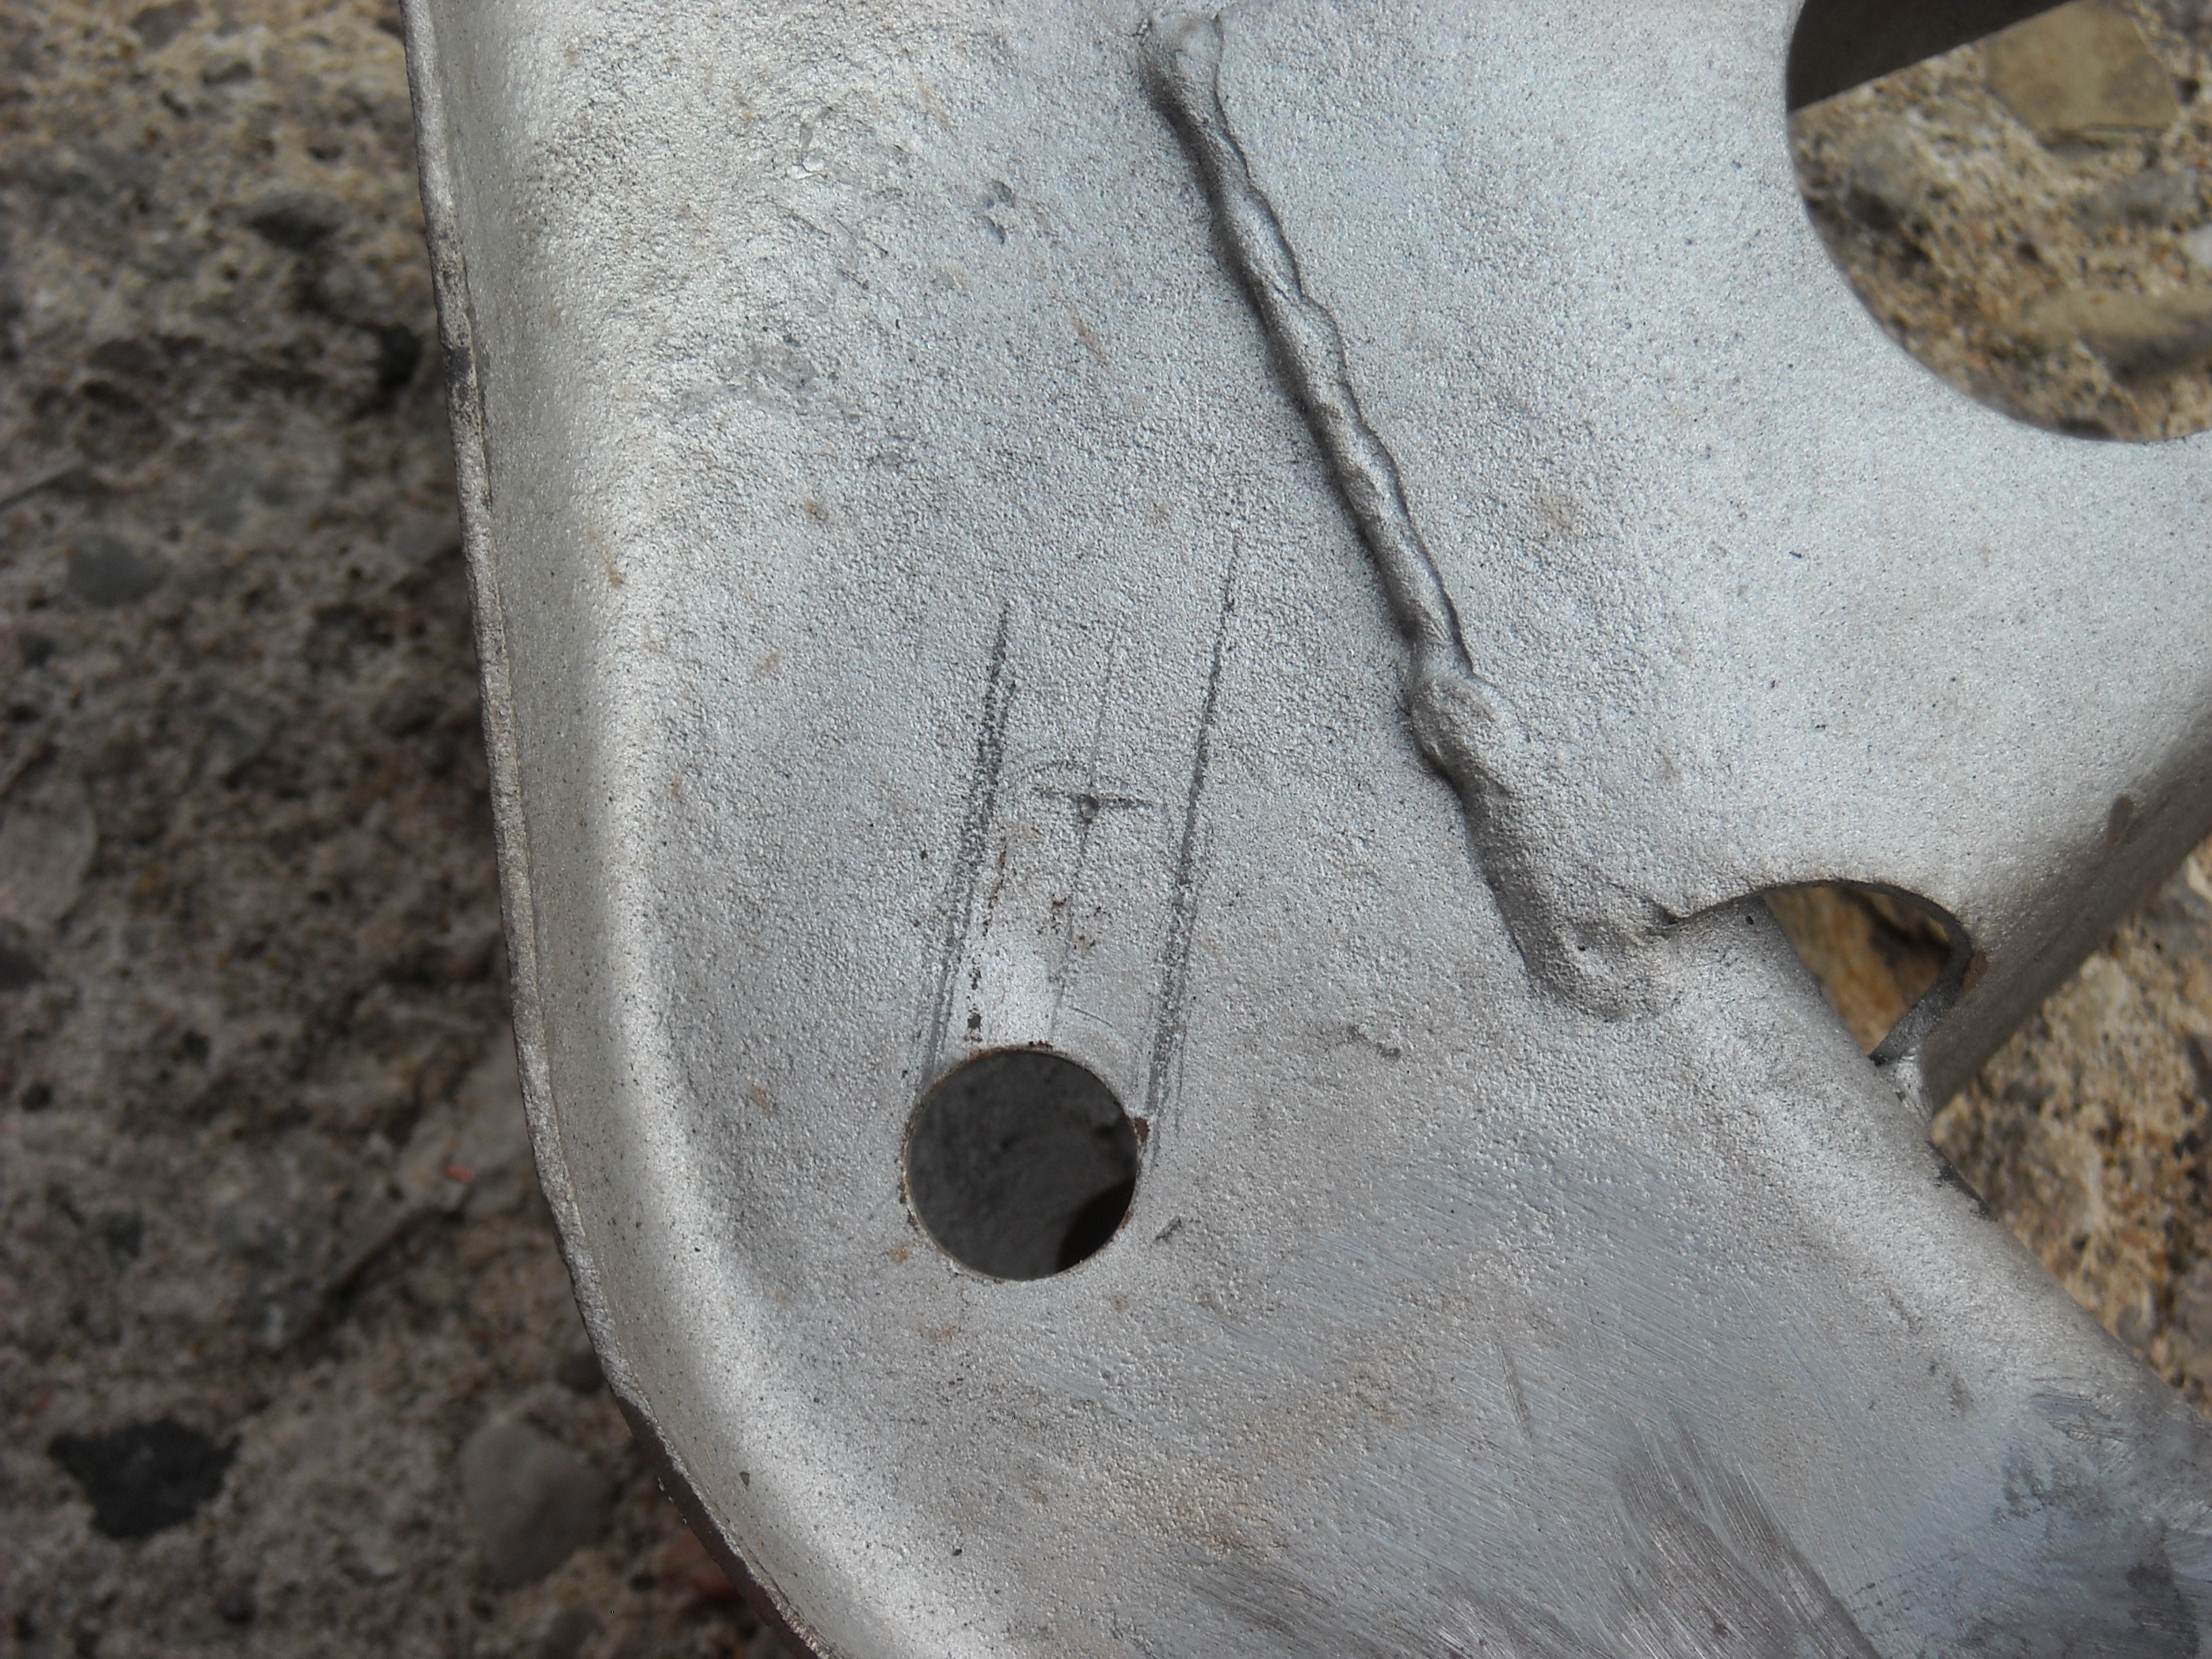
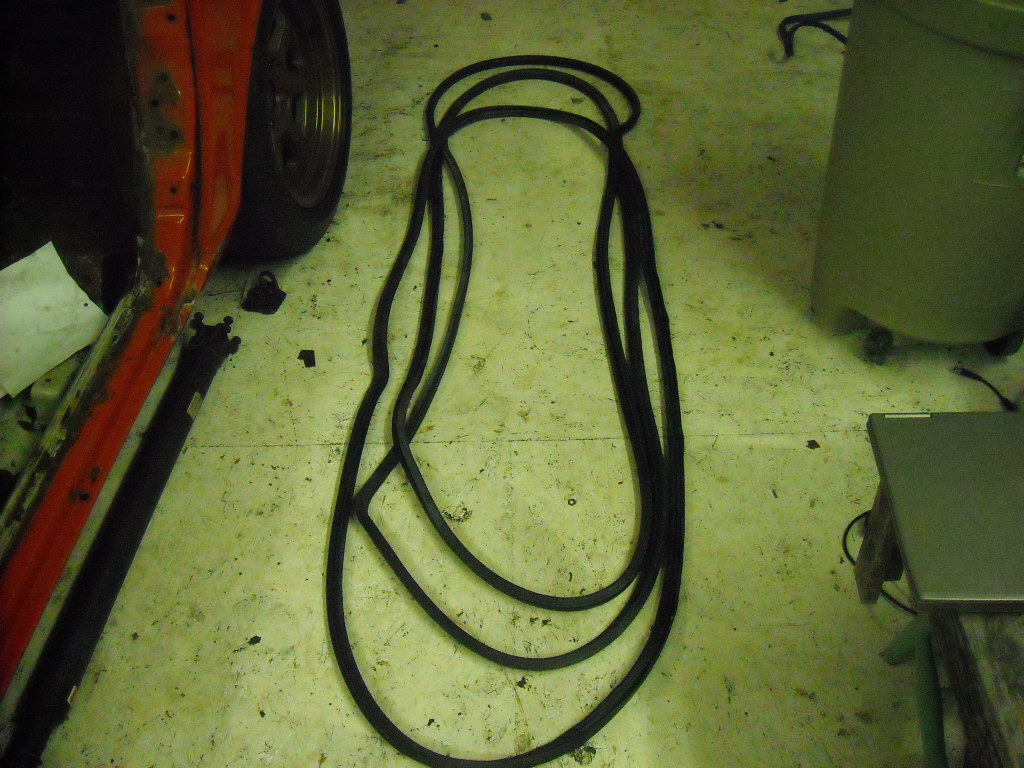
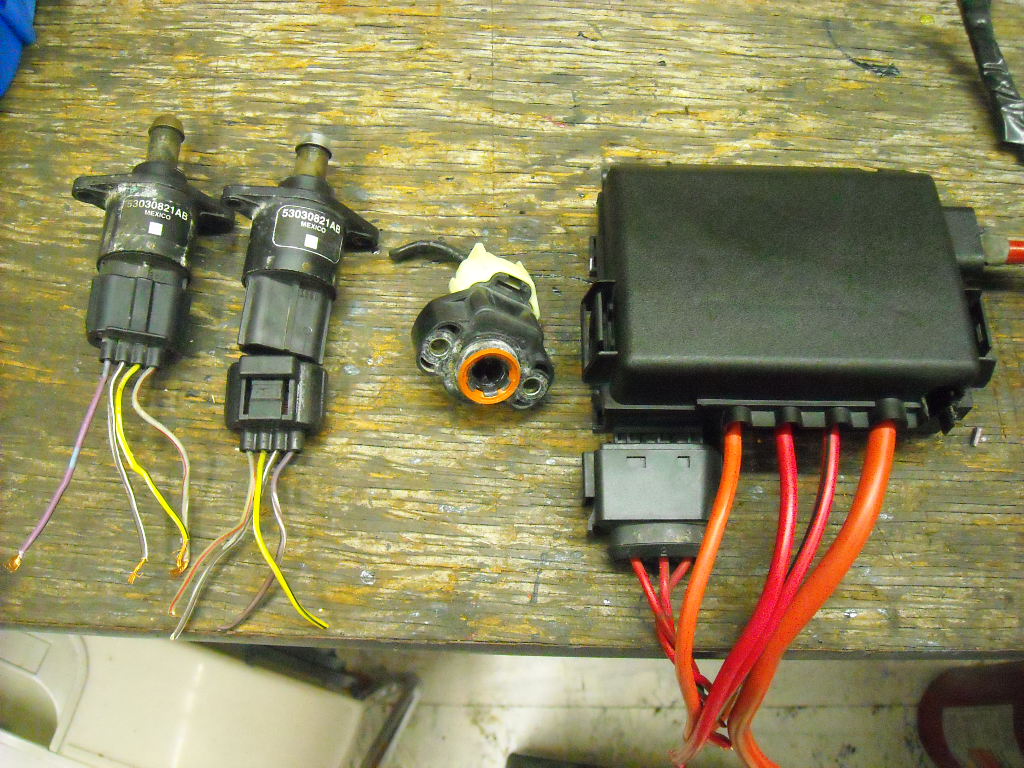
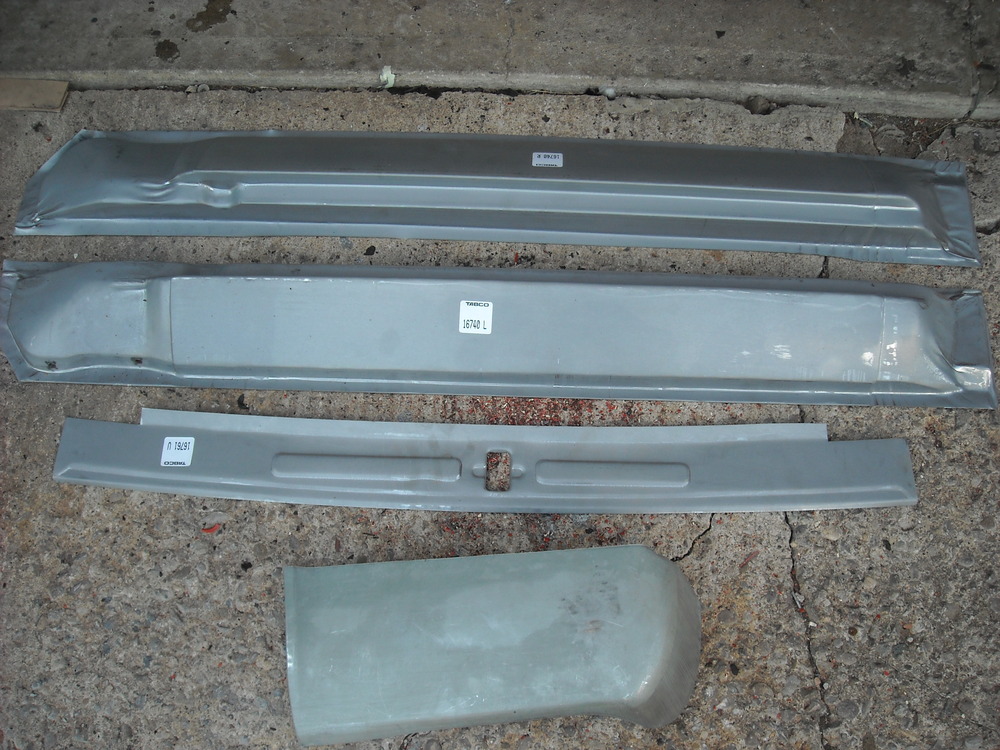
Chas, I think I see what you are saying so I have ordered the TTT lowered tie-rods, they should arrive late next week. I also re-installed the modified crossmember that has the lowered steering rack mounts, that way the only thing that will have changed in the steering/suspension geometry will be the height of the rack so the LCA's and the rack will be parallel again. I also modified the LCA anchor point so that will be there if needed. One of the best things about this build is all the new areas of study that are coming up, things I have only touched on before now require an in depth familiarity. The Tabco replacemnet panels came in the the other day, and headed off to the pick and pull to find a vacuum pump, didn't locate one but picked up 3 Kia Spotage door seals incase the new seals don't work, also a couple of Idle air control valves, a spare TPS reostat and a nice Audi power distribtion box. Also, most of the Megasquirt problems have finally been sorted out so now the engine test stand can be dismantled and I can start final test fitting with the engine/tranny in the car.


 1 point
 -
I really think the irony of this is that in 20-25 years automatics will be worth more because only about 7% of new cars are manual and new drivers aren't learning how to drive them. The 40 yr olds of the future aren't gonna want to buy our cars if they can't drive them. The auto's will be rare and highly valued. I may be wrong, just a theory...1 point
-
1 pointI agree, it has a lot of value. I was surprised it didn't sell @ $58k though. He might find a buyer willing to go more but it will have to be at one of the big auction houses. I don't think it's going to happen on Ebay...1 point
-
i have been using this https://www.berrymanproducts.com/products/eco-friendly-products/berryman-chem-dip-carburetor-and-parts-cleaner/ it destroys paint. and cleans alot of the other crap off, but wont hurt rubber. ive been just letting parts soak over-night and then rinse with water1 point
-
1 pointCliff, any deeper and pistons are coming out, but I hope he gets a few mile out of it first. At least everything else will done if I have to rebuild the engine itself. Most of the items I reworked or replaced was out of sheer necessity , nothing subjective here. I do believe in doing it right for sure. Don't want to have to double back because I let something go.1 point
-
Problem solved 99% sure. So I pulled the relays off the sockets to remove sockets and install new grounds. Then I noticed the trigger wires on the headlight relays about falling out of the sockets. These were part of a kit and I installed all the wiring. So I guess I didn't get the trigger wire pushed in until the spade catch caught on the socket. Pushing on my relays caused them to about fall off, so I was having a weak trigger signal . Must of been like this for years , but just now really started acting up. Now I can bang on the relays and nothing happens Sent from my iPhone using Classic Zcar Club1 point
-
check your ground for clean and tight. you might add some dielectric grease to stop corrosion too.1 point
-
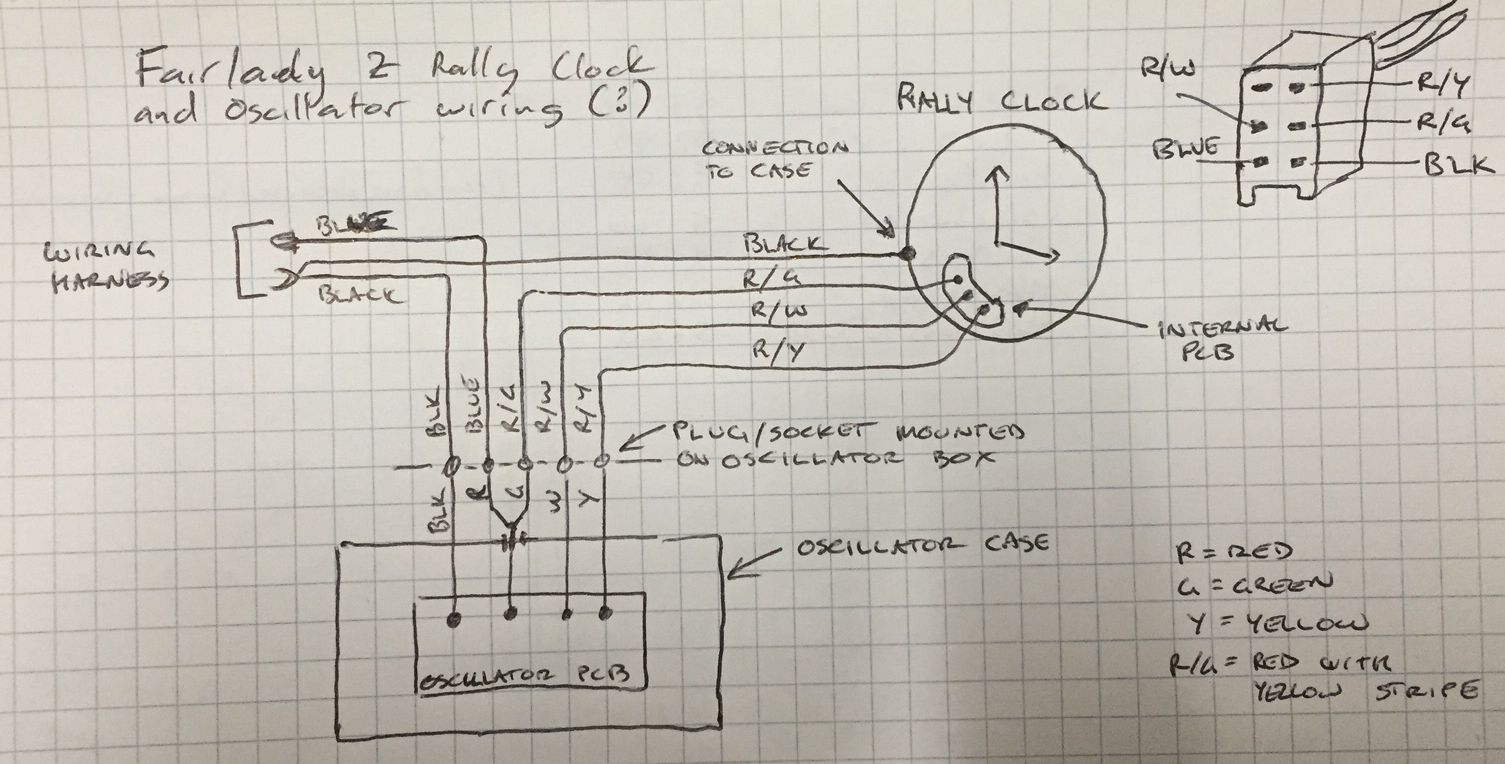
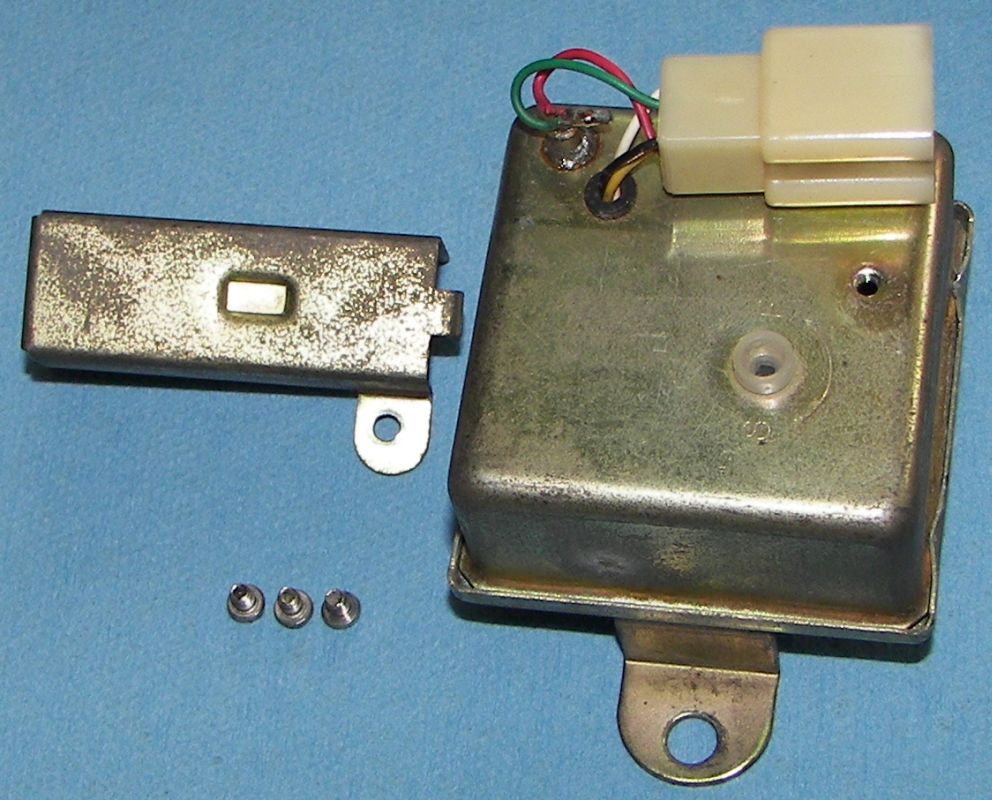
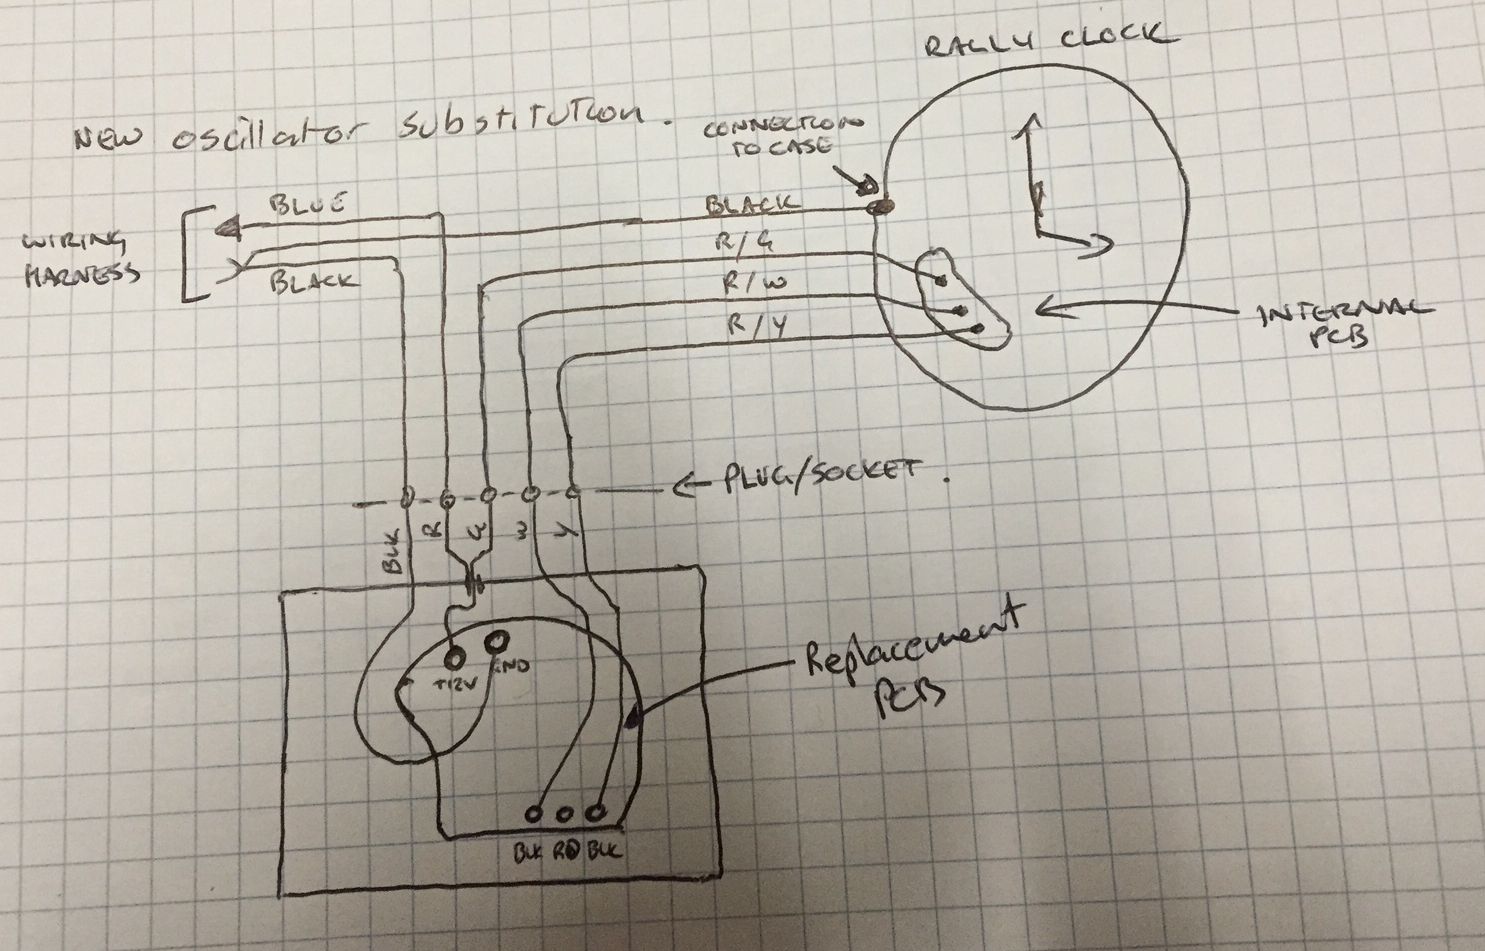
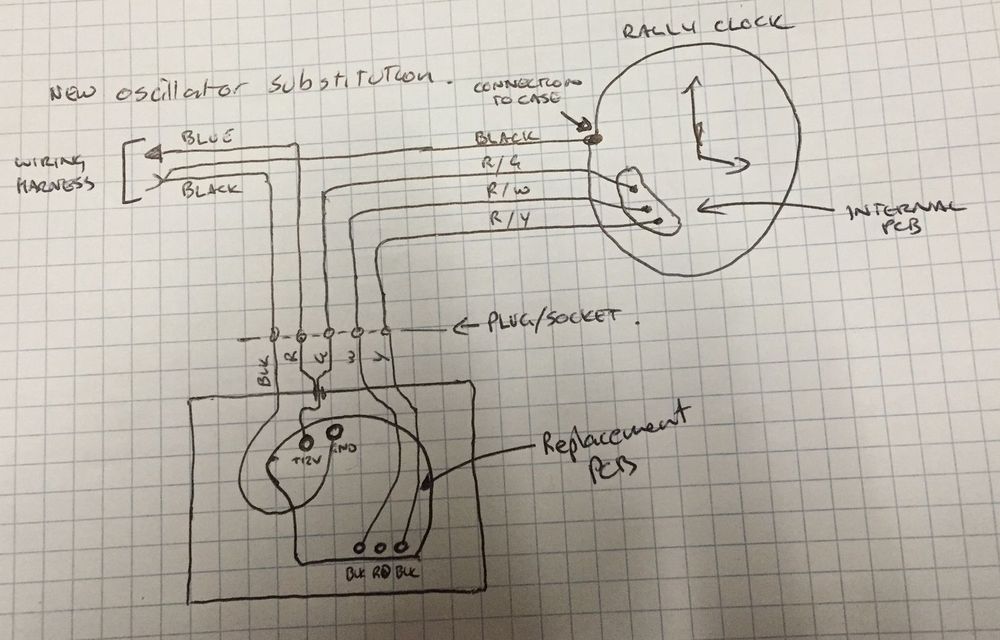
I don’t have an oscillator but I have a clock and a (hacked-up) loom thanks to Greg. As far as I can tell from what I have and from looking at photos of the oscillator on the internet, the wiring between car/clock/oscillator is like the sketch I attach below. One thing that puzzles me is there appears to be a stud on the oscillator case (under the cover that holds the plug in place) that appears to connect what I believe to be +12V to the case. And given the case then mounts to the car chassis, this doesn’t seem quite right (the black ground connects to the clock chassis… THAT seems normal). I am assuming it is some sort of bushing that is actually insulated from the case but passes though it (why they would do it that way I don’t know). There seems to be some sort of dag or lug there that isn’t clear in the photo. Are you able to do an inspection on your oscillator Gav? Could you take a better photo than the one below? I designed our oscillator to permanently apply +12V to the motor and switch the other end of the windings to ground (rather than the other way round). I did it this way as this is how it is done in the 260Z clock oscillator. If I have figured out the wiring with the rally clock oscillator correctly, then the same approach is taken here. That means our oscillator would swap right in without any changes to the wiring harness. It could be mounted in an oscillator case, or just plugged into the wiring harness if you could find a compatible plug. Like the attached sketch. Eric


 1 point