Leaderboard


Popular Content
Showing content with the highest reputation on 02/29/2016 in Posts
-
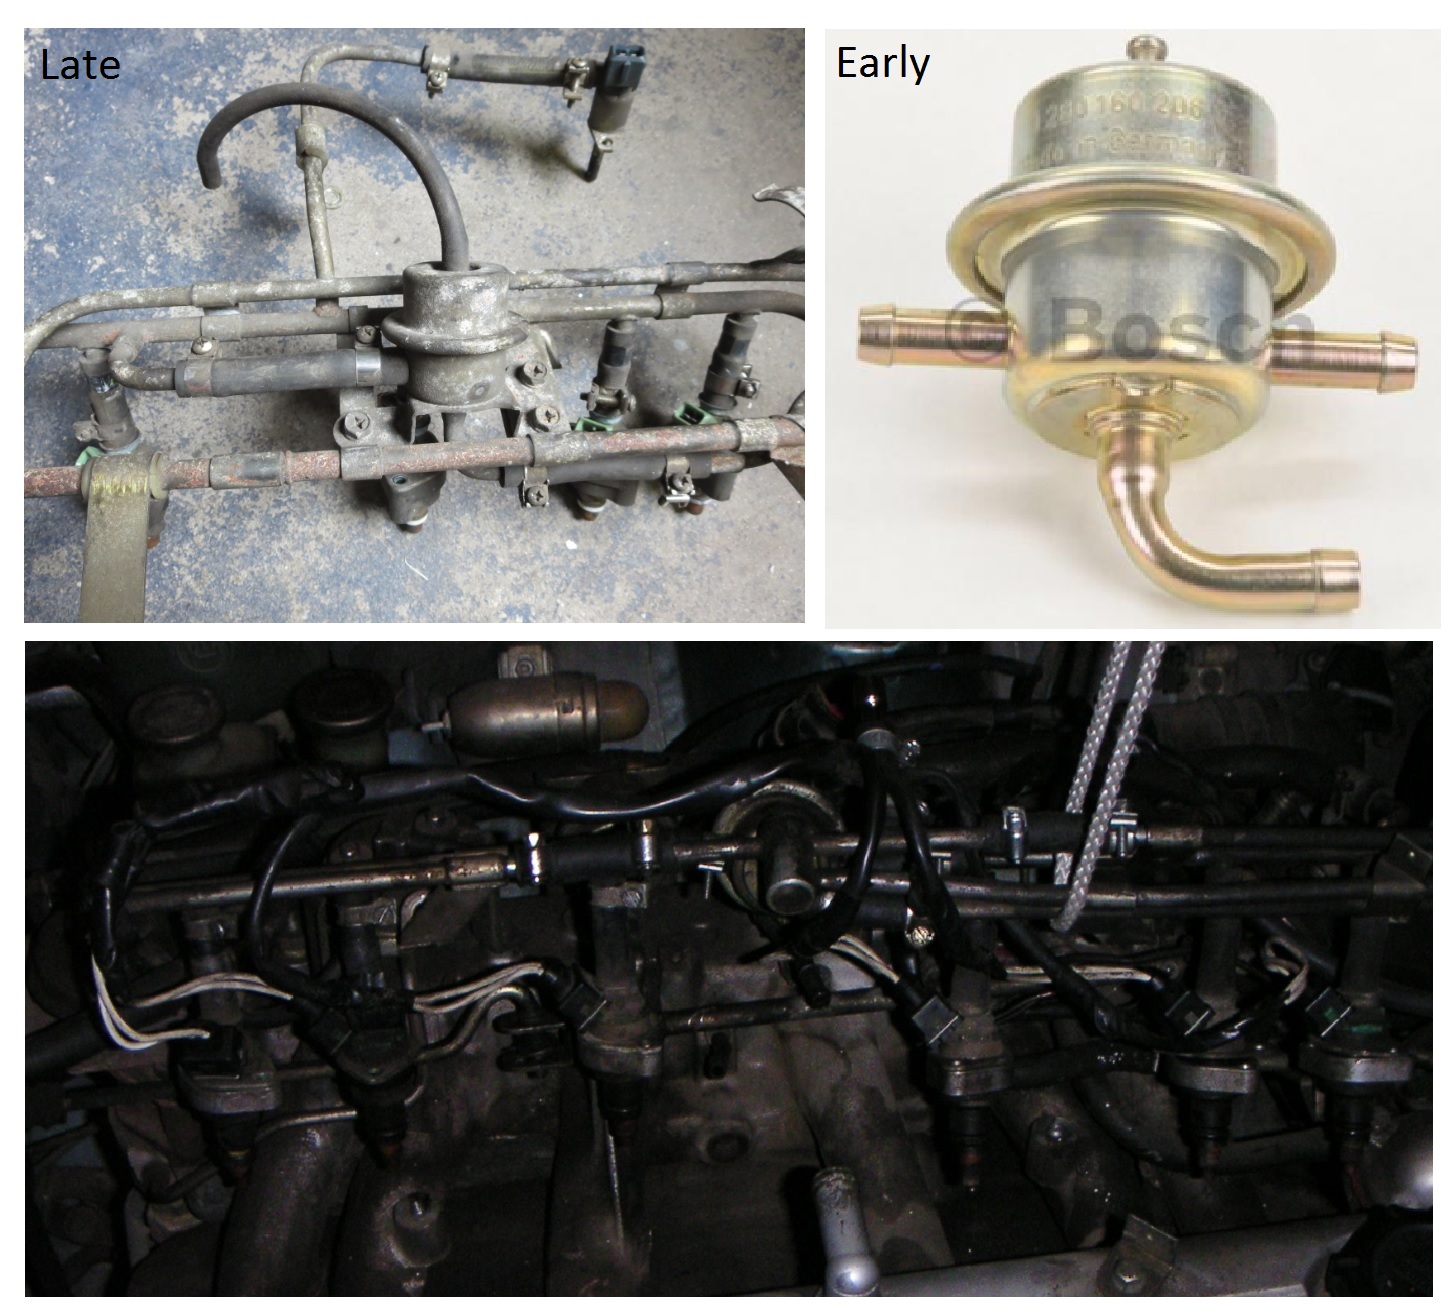
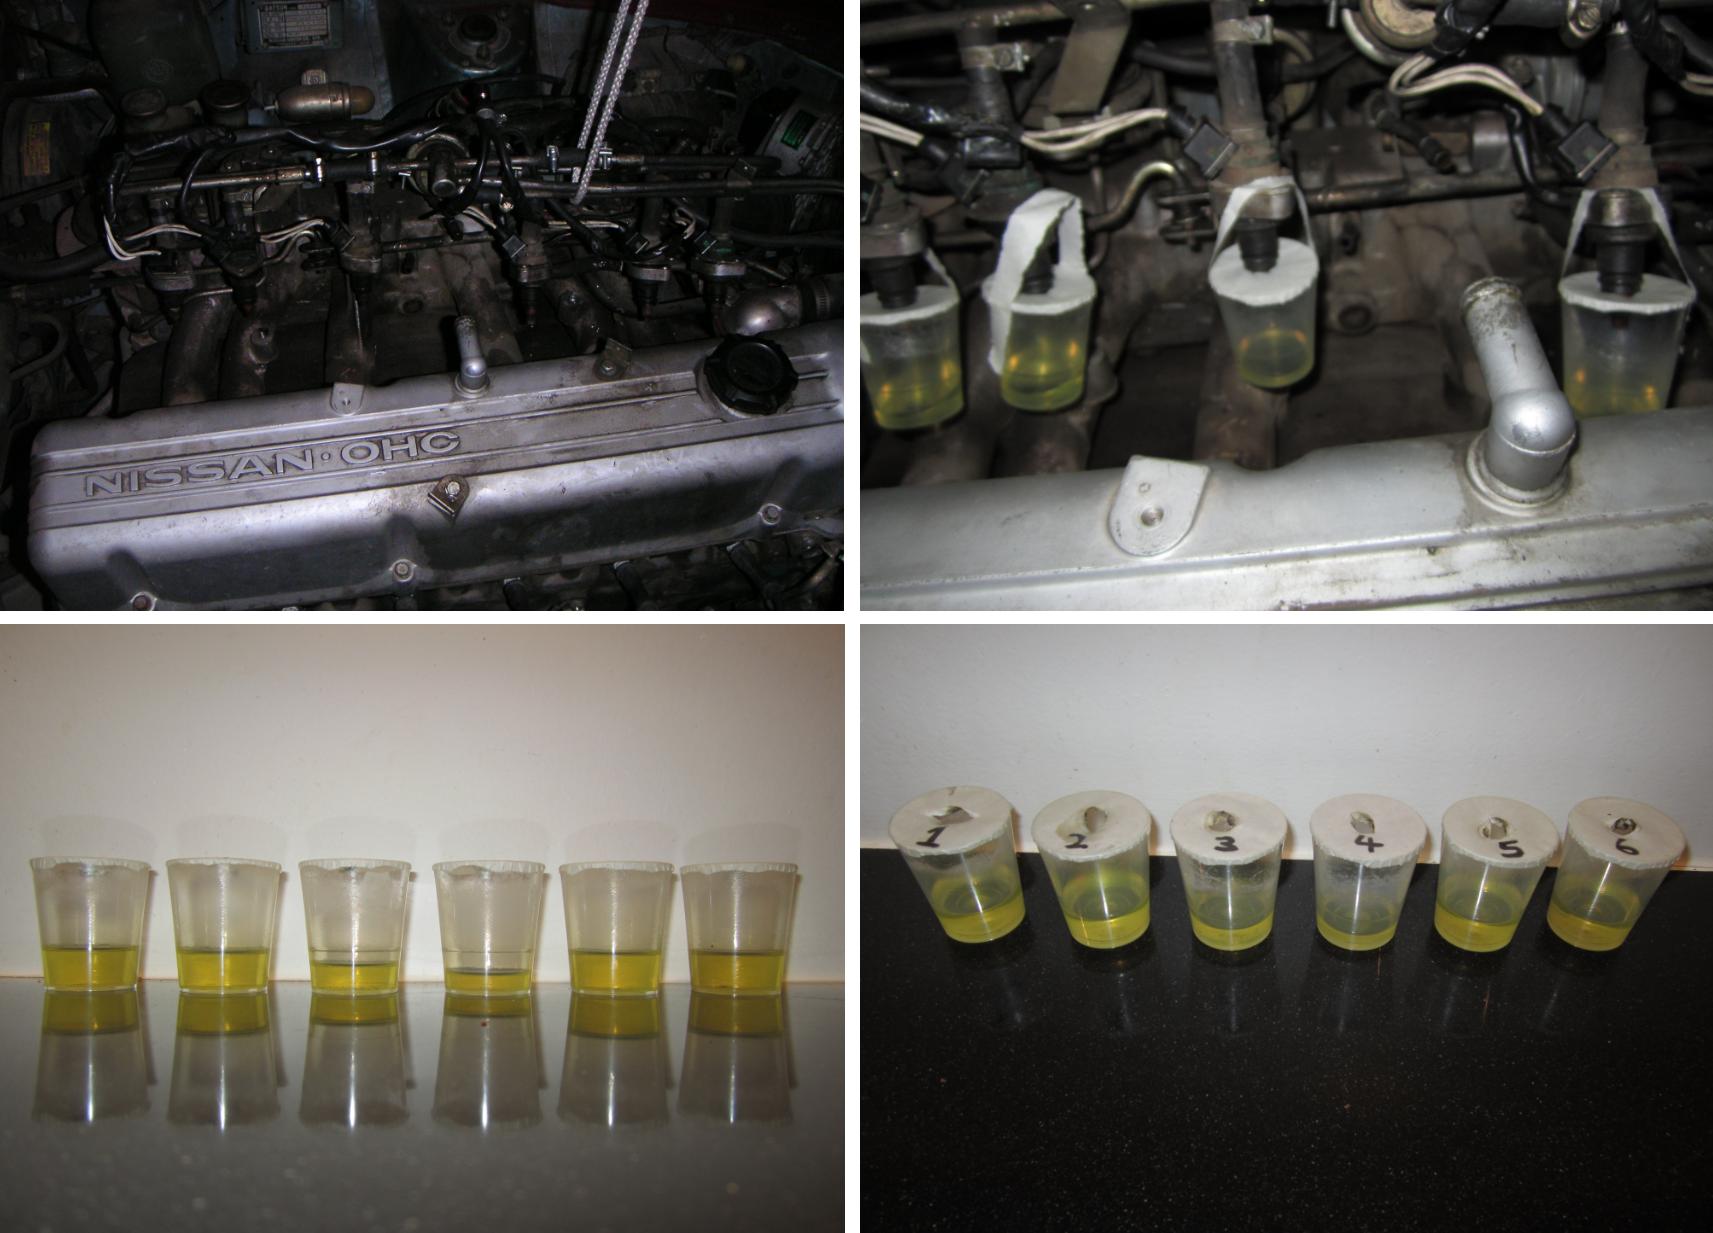
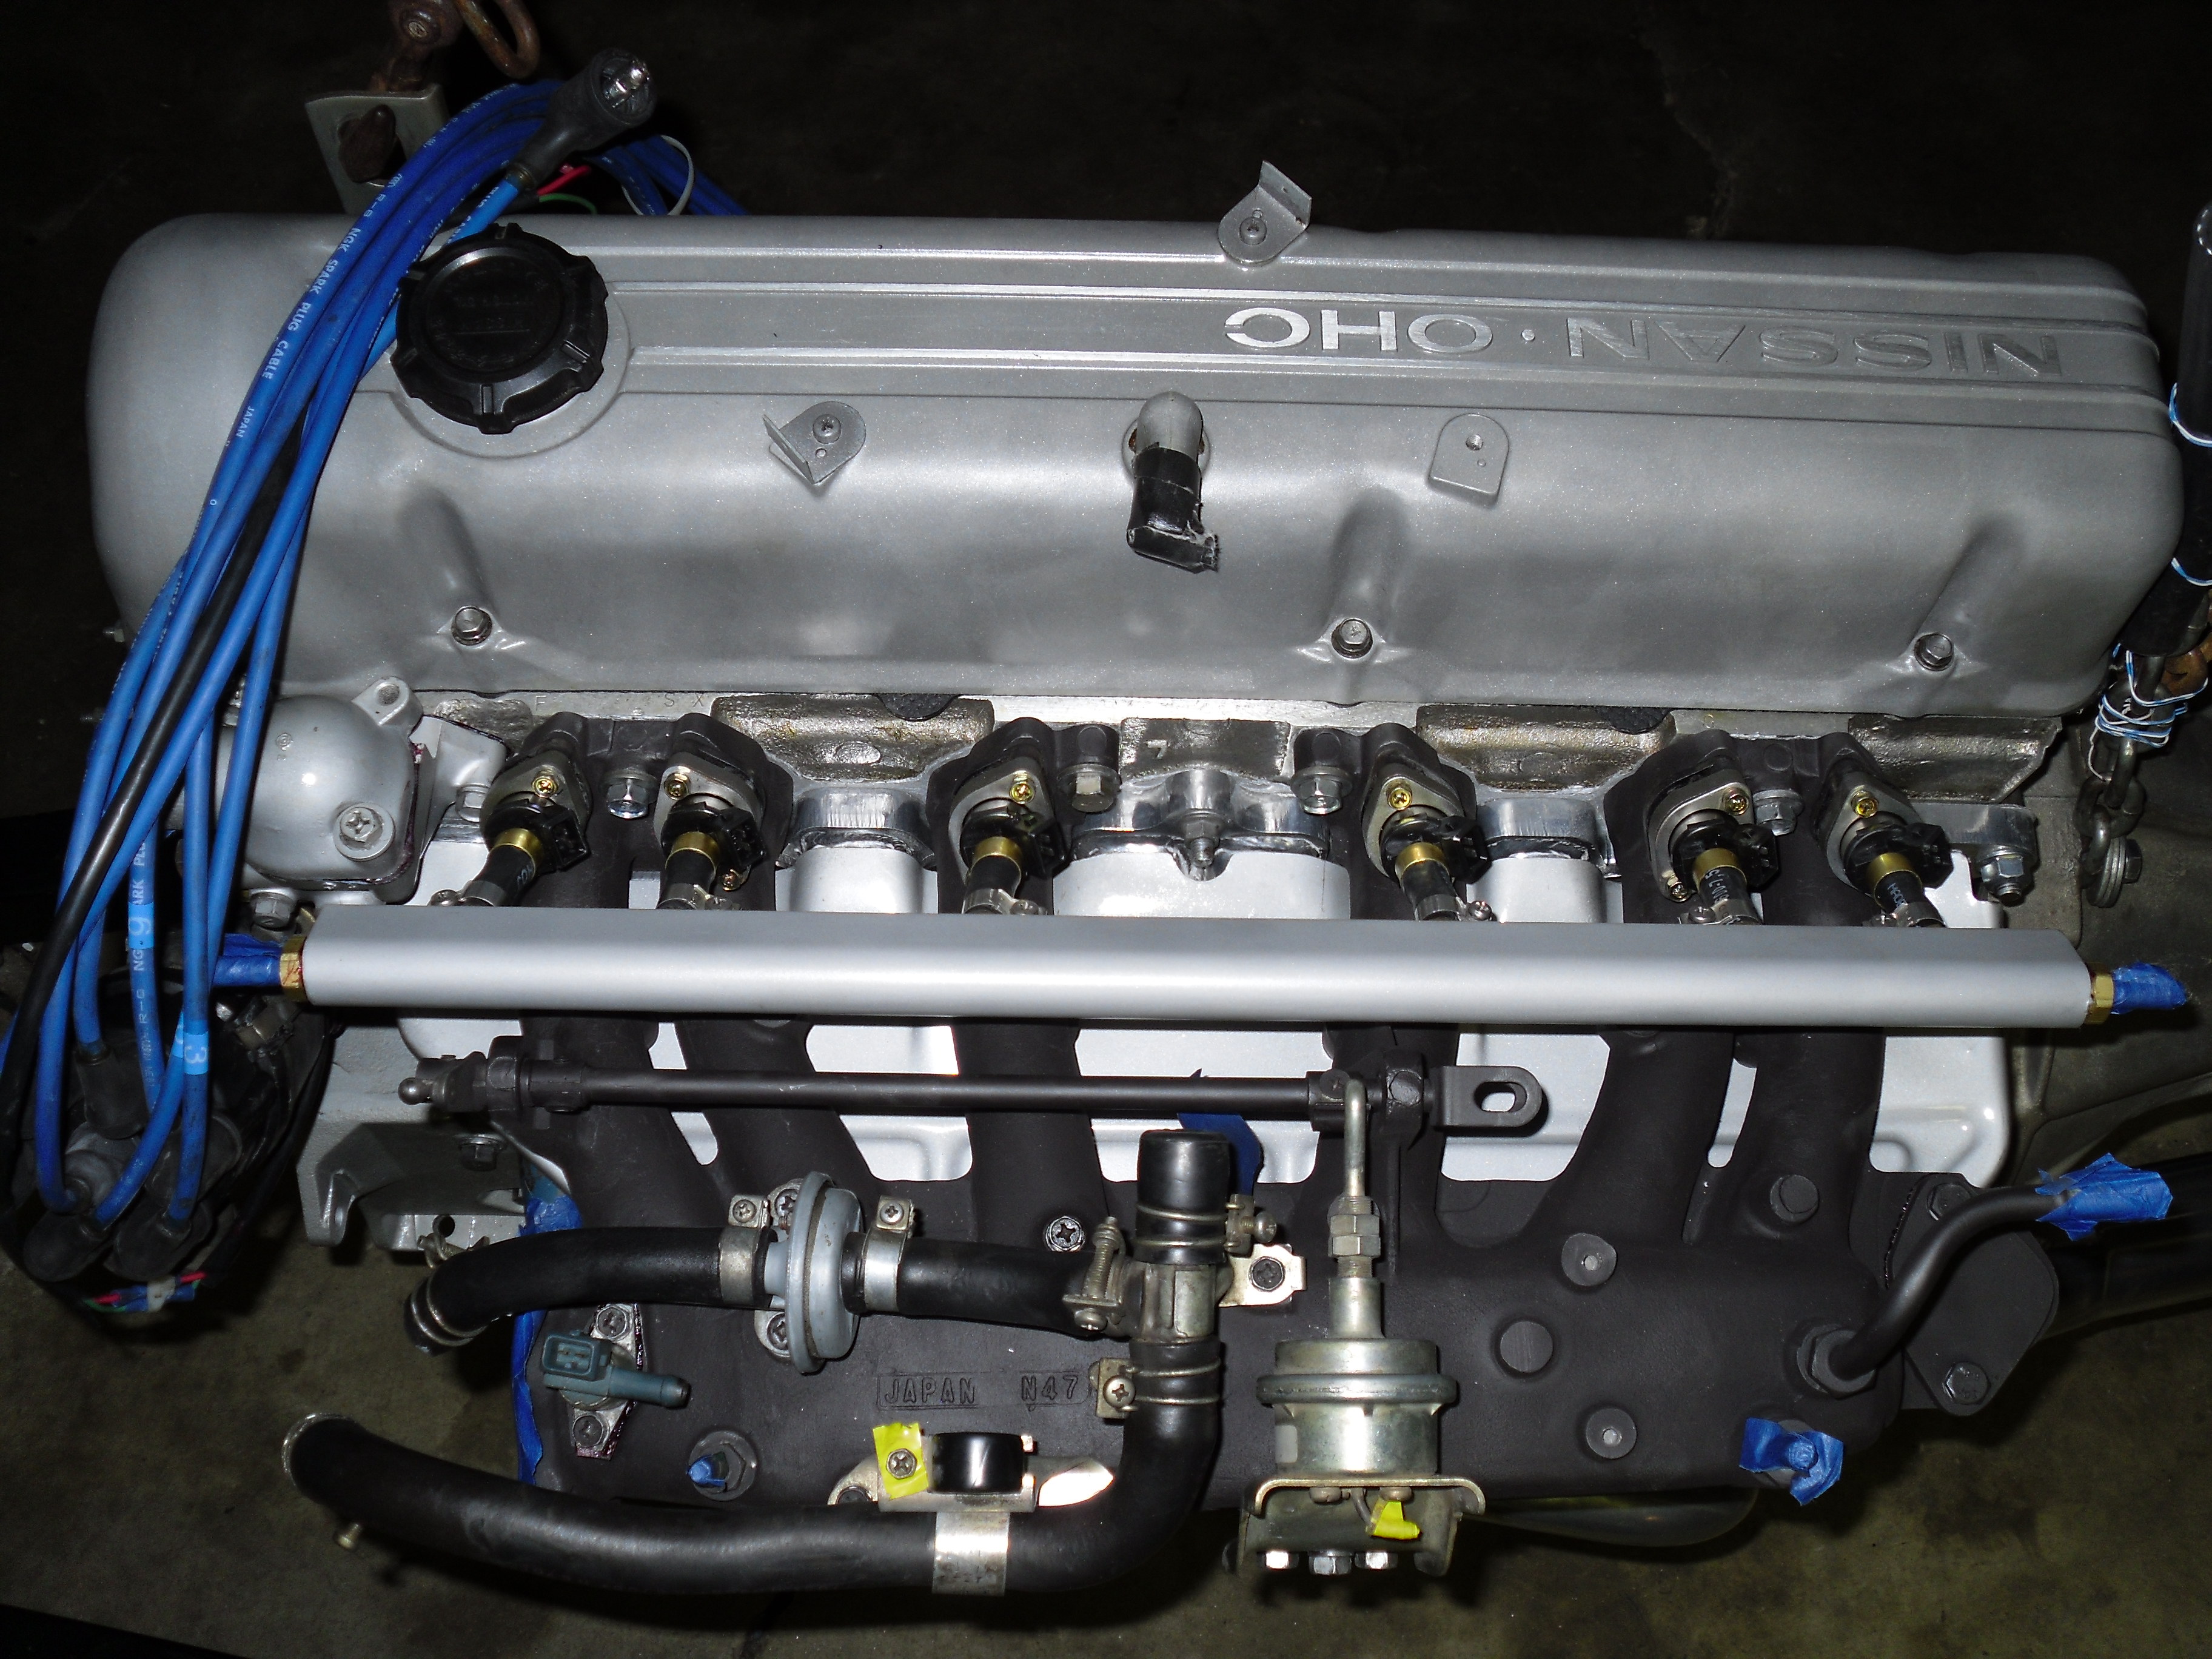
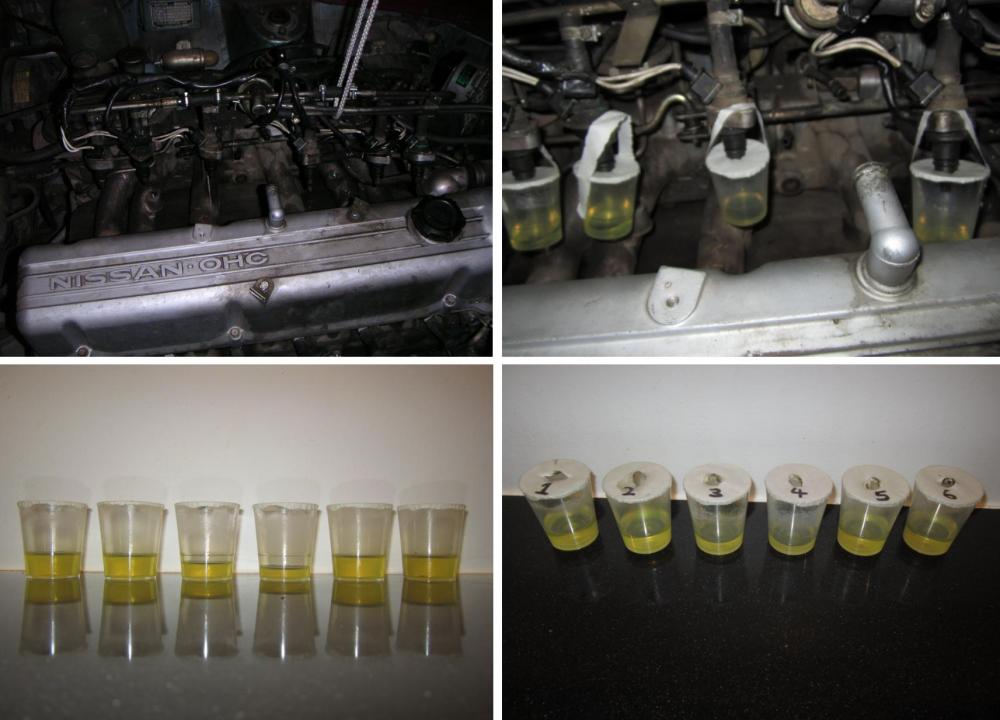
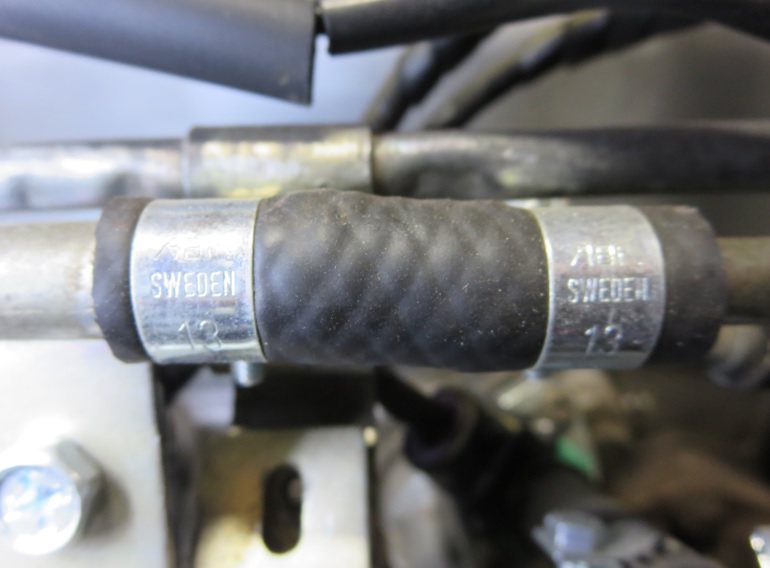
1. I used 8MM fuel hose which is 5/16" imperial. Make sure its suitable for high pressure (at least 100psi) fuel injection systems. 2. The PO replaced my clamps with worm clamps. Bad choice, they cut into the hose and make a mess of it. I ended up with after market "like" OEM size 13mm. See last photo. 3. Straighten a paperclip of something similar and make a hook to get behind the end of the clip. Them you can pull it out. See second photo. 4. The early type FPR is inline with the rail. Its almost impossible to fit without removing the rail. I couldn't get it in anyway. There is only 2-3 mm room betwwen the end of the rail tube and the FPR. The later type only has one inlet and is not inline so you can dismantle it easier. See first photo 5. See siteunseens post. 6. If you complete all the tests, you will know if the injectors are leaking and then you should remove the plugs and turn it over to clear the excess fuel. I lifted my injectors with the rail to see which injectors were leaking and do a VERY simple run test by cranking the starter motor to see which ones were blocked. See last photo.


 2 points
 -
2 pointsOoookay. Doesn't seem fast on my end! Tonight's work! Before: After: Before: After: Followed by a loooong cleanup of the shop. I think I am actually finished the media blasting! At least the big stuff!2 points
-
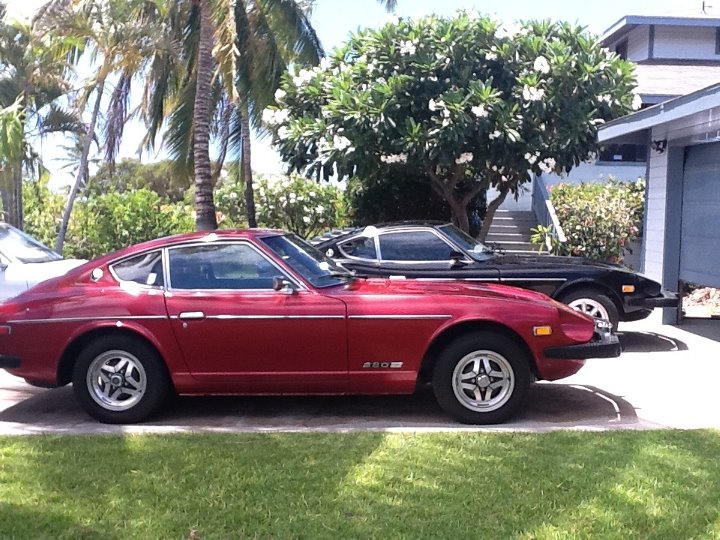
Its probably a 1971 Pinto that's being passed off as a Z. Most millennials wouldn't know the difference.1 point
-
Oh Yeah, you really should get it running first, but oh that fuel rail looks soooo niiiiiice. Mmm that sounds familiar. Siteunseen That wasn't very nice posting that photo of your fuel rail while he is in this situation.1 point
-
The guy can't give info were we can check him out. That's no fun.1 point
-
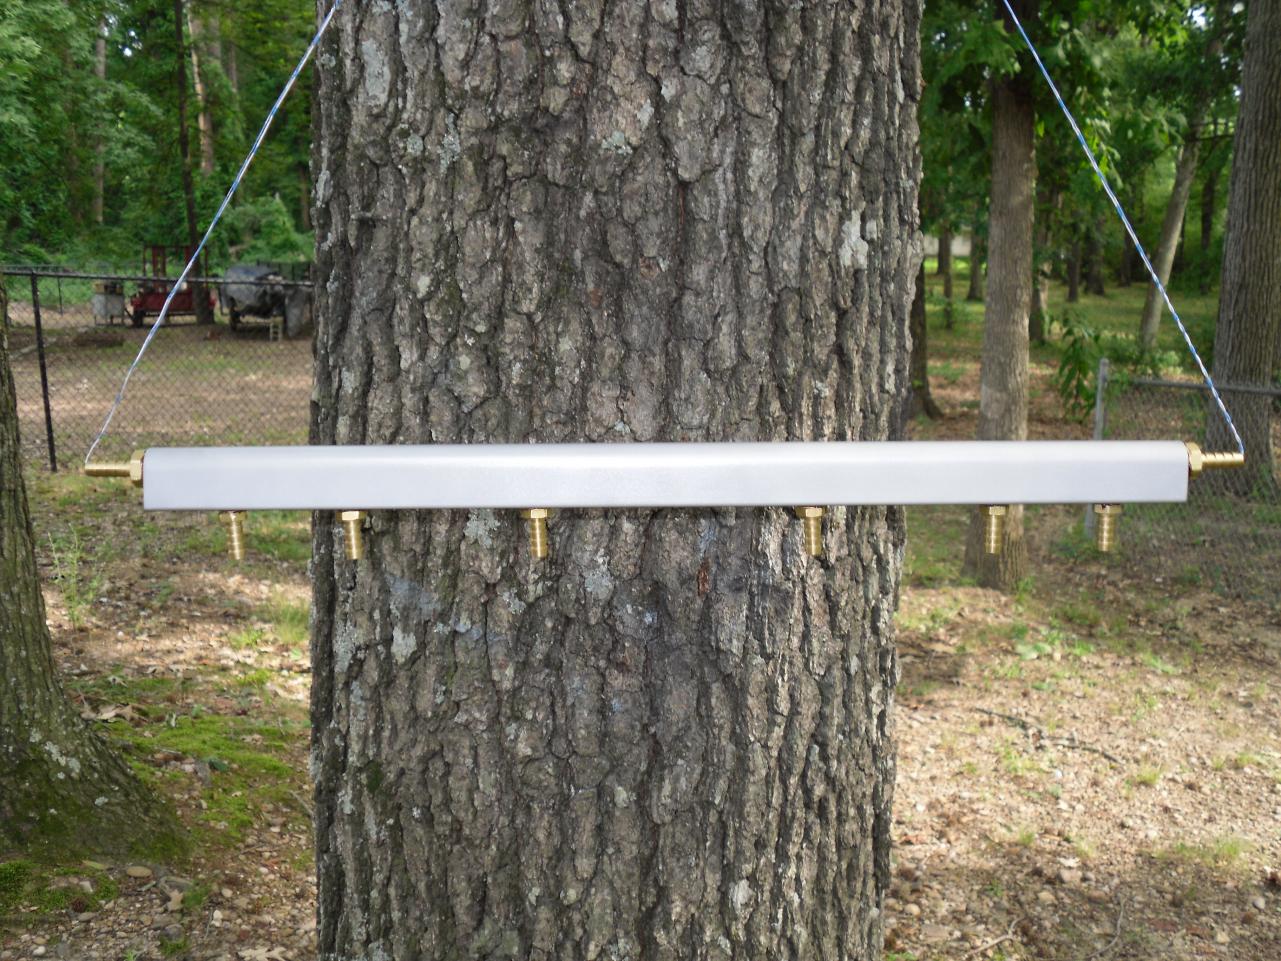
A small flat tipped screwdriver will pry the injector's clip up enough to slide the connector off, at about a 1/4" up it pop into the next indent and stay. Then the connectors will slide off. Squirt some dielectric grease into the connectors before you put them back on. The OE band hose clamps are stainless is the reason most people try to reuse them, they're better for high pressure too. As far as dripping fuel on top of the cylinders, I would take the plugs out and let it evaporate and maybe spin it over to to get the rest off the tops. All the fuel hose on my '77 280 is 5/16" high pressure line. I think it's easier to take the whole assembly off as to just get the fpr if it's an earlier style, the later 280's only have one inlet on the side and another outlet on the bottom to the return. The older ones have two inlets on the sides, PITA. I made my own fuel rail but they're is a guy that makes them, search google for "pallnet fuel rails". I just copied his but I have a drill press and the taps needed so I had to buy the aluminum rail stock off ebay and the barbs, cost me $50. Look at Blue's tech tips for some pictures on fuel injectors, http://atlanticz.ca/zclub/techtips/EFI&fuel.htm
 1 point
 -
1 point
-
jalexquijano's 240Z problems 1. Engine shakes during acceleration at low RPM. Clutch is engaged, so it's not a clutch engagement problem. New differential mount had no affect. 2. Plugs foul. Smell of excess gas. Fuel pressure measured at rear carb was ~5.5 psi. (before rear carb or after rear carb? Deadheaded?). 3. Engine backfires - 4. Engine overheats - I would keep a running list of these things and post them in all of your threads. On your current request for a pressure regulator - you didn't say that you have a regulator now. If you don't have a regulator and you're seeing 5.5 psi after the carbs, then you'll need to do some plumbing work also to bypass the excess pressure as Stanley suggested. And, you didn't respond to his suggestion of an Aeromotive regulator, or a Mallory 4070LP The Mallory is set to 3-4 psi and can be adjusted over a narrow range. He made a suggestion and you just ignored it. That's why people aren't responding any more to your questions. If someone suggests something you have to at least acknowledge that you saw it. Otherwise, what's the point of responding to jalexquijano's questions. He'll just ignore the response. Good luck. http://www.jegs.com/InstallationInstructions/600/650/650-4070LP.pdf1 point
-
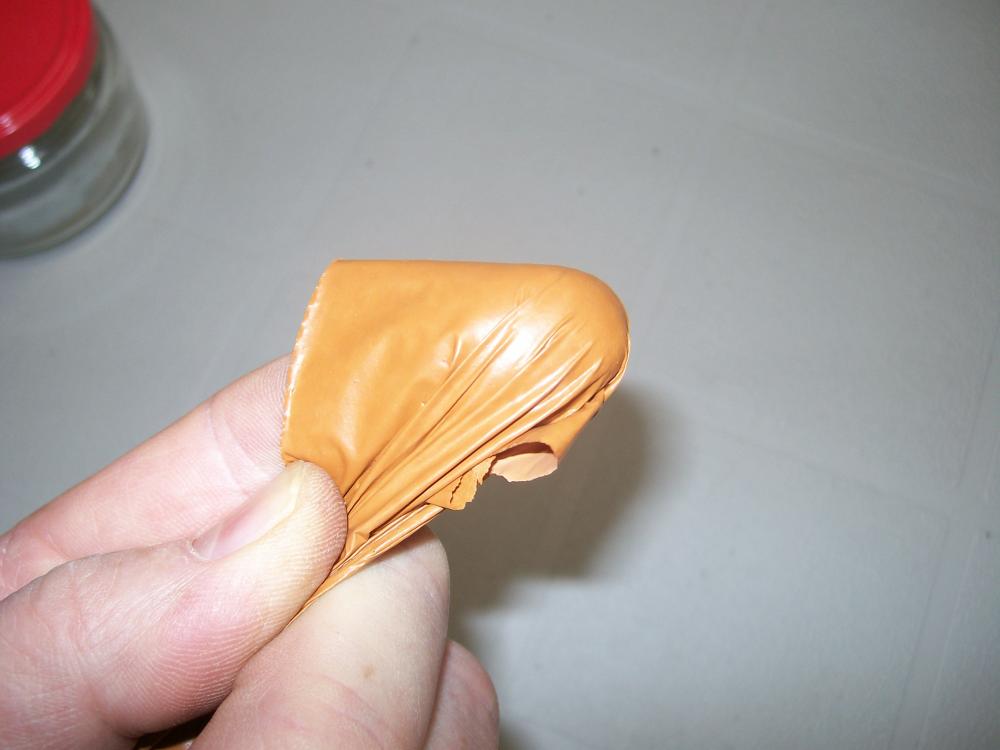
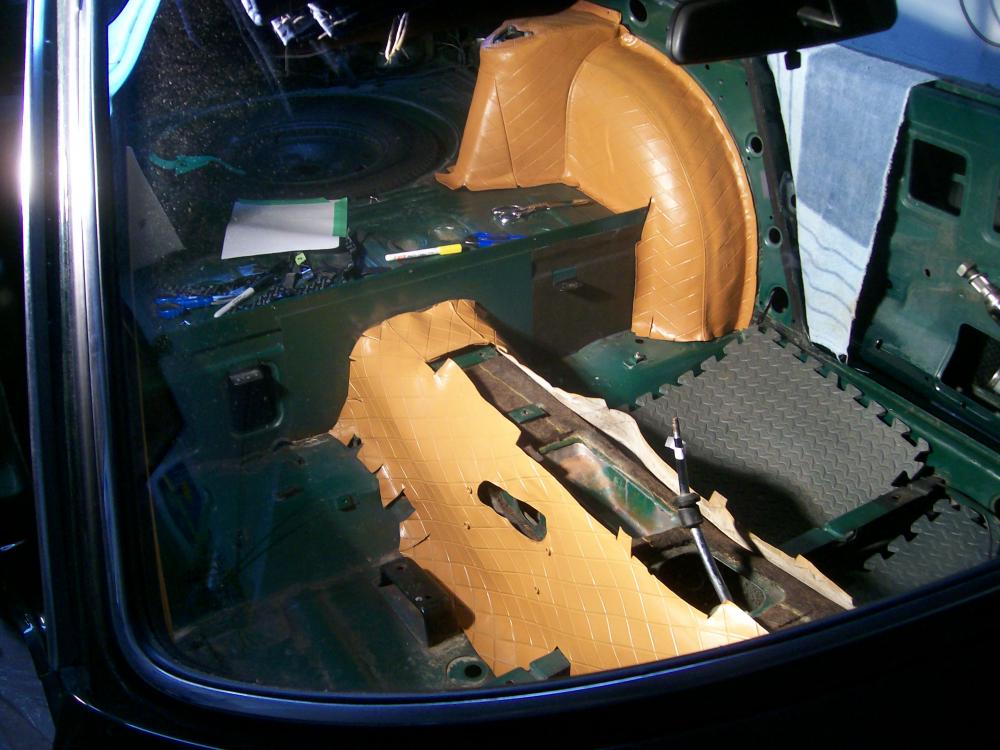
Hi Chris: You've seen my Z's interior panels, treated with spray-on 'vinyl dye' that I sourced from Parasol in Toronto. Here's a picture (#1 of 5) I took of some oversprayed material that I peeled off a test surface. It should give everyone a sense of the thickness and consistency of the 'dye' material after it's cured. As you can see, it's not really a dye at all, but more like a flexible-vinyl coating. I have zero concerns about its adhesion to the hard plastic parts, and the coverage (butterscotch dye applied over black plastic) was excellent. A bonus was that Parasol were able to color-match the dye to my new (Banzai Motorsports) butterscotch seat covers (thank you, Mike). The soft vinyl parts were a bit trickier, due to the challenges of fully removing years of ArmorAll applications. It took a lot of scrubbing with a scotchbrite pad and SEM's vinyl cleaner product to get these pieces ready for painting. For the most part, I'm happy with the end result (once again, butterscotch applied over black) and I do not foresee any application-related lifting or peeling problems. I would not recommend vinyl dye treatment for seat covers, though. That's just asking for trouble. As for resistance to scuffing and scraping (esp. in the cargo area), I think the first picture tells the story (i.e. it probably will tear if it's abused).

 1 point