Leaderboard


Popular Content
Showing content with the highest reputation on 09/04/2015 in Posts
-
3 pointsSteve, XenonZcar has been under construction for a while so no FSM's are available. However, I have the 77 FSM and it is pg. 392 RA9, Fig. RA25. It is the Front mount insulator. I'm pretty sure they are the same. Braver?, meh, I've got a teenage daughter, nuthin' scares me…...3 points
-
A pair of Hub caps arrived today from New York via eBay in the hope that I could use one of them in place of a well worn Cap that came with my 240, they are in good condition, even though they have some patina, which I don't mind, however they are both much lighter in colour than the ones I have, looks like I'll have to get the colour matched and respray them, no great shakes really as I work for a paint manufacturer, I think the masking up will be awkward though over the chrome. The cap on the left is one of the pair from Ebay. I'll give it a go in the next few weeks :-)2 points
-
1 pointHere's another thought. Related to the loose damper bolt. That should never happen, and really seems like the most significant thing. I've seen where other people have reported their distributor drive spindle has slipped down in the drive gear and the tang no longer sticks out far enough to grab the distributor groove properly. Maybe the vibrations related to that loose bolt, either causing the loose bolt or caused by the loose damper, made other parts move. I would follow that path and see if maybe a woodruff key sheared or moved (there's three of them, right?), or if the quill dropped in the drive gear. Also, why did the bolt get loose? Could be that something else is coming loose inside the engine. I would have broke a sweat when I saw that loose bolt. Just because it seems like a big deal. But that's me, and I've never rebuilt an engine.1 point
-
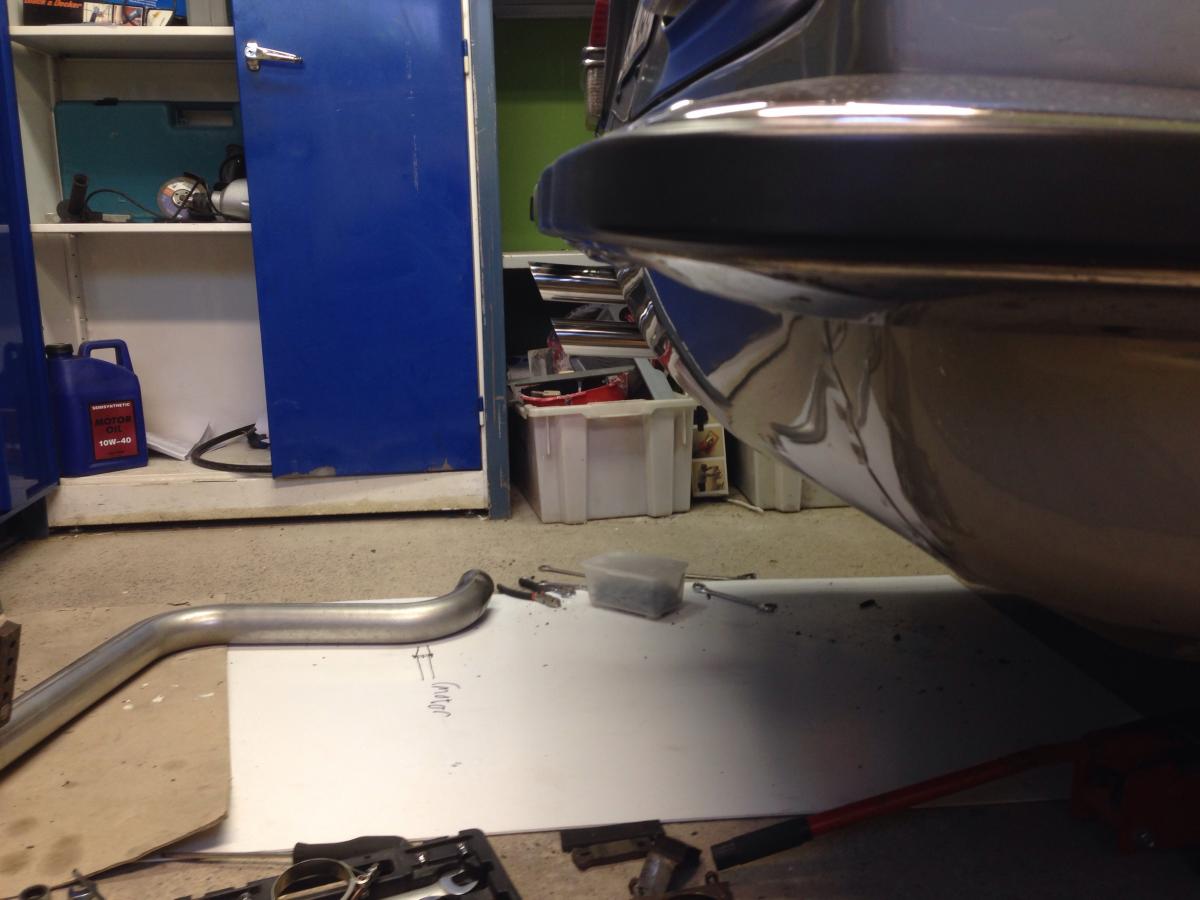
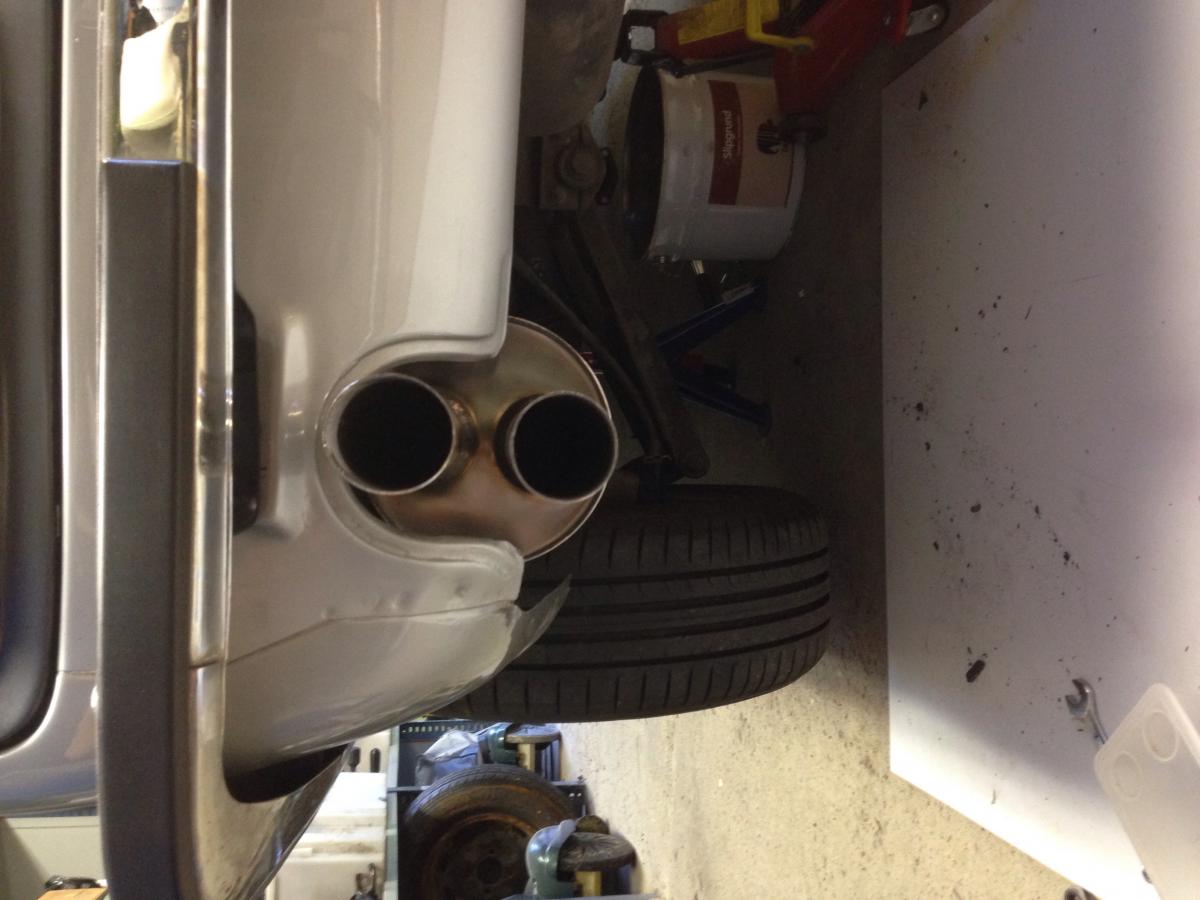
Tried to install my new muffler/silencer but the system needs to be shorten 6 cm. But it will look like this.
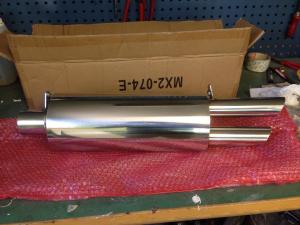


 1 point
 -
1 pointAs promised! Fergies shop The process The result Sent from my iPizzle ringy dingy device....1 point
-
Darren. fyi: http://www.classiczcars.com/topic/28093-hub-cap-refinishing/1 point
-
1 pointIt looks very much like an air dam I was thinking of buying, but the company wouldn't ship to europe. He didn't trust the shipping companies to get it there in one piece. It was a company in the outskirts of Sydney Australia. I have thd address at home somewhere and there is also a thread here about it.1 point
-
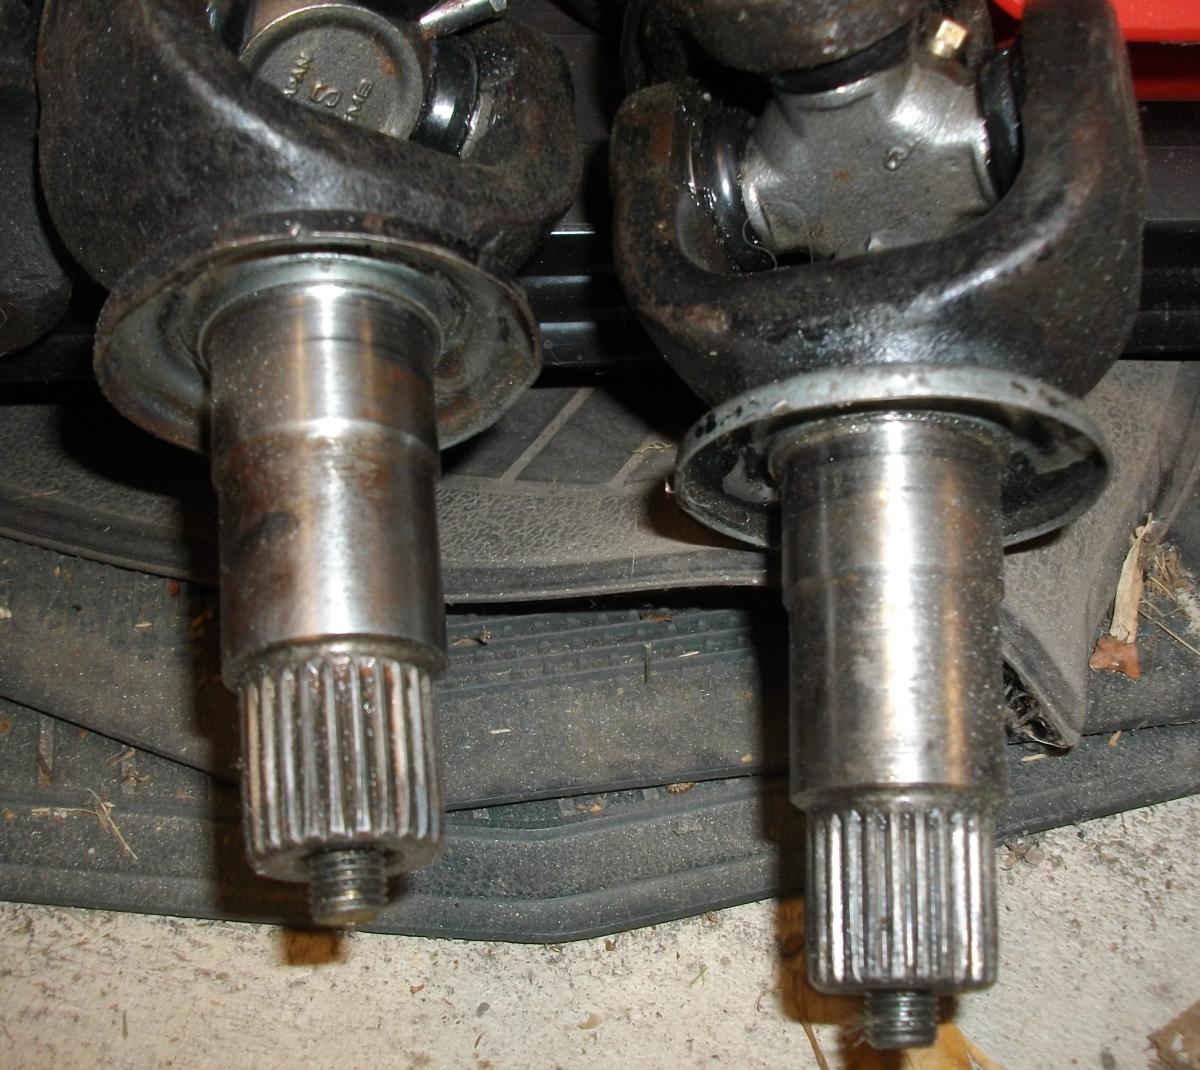
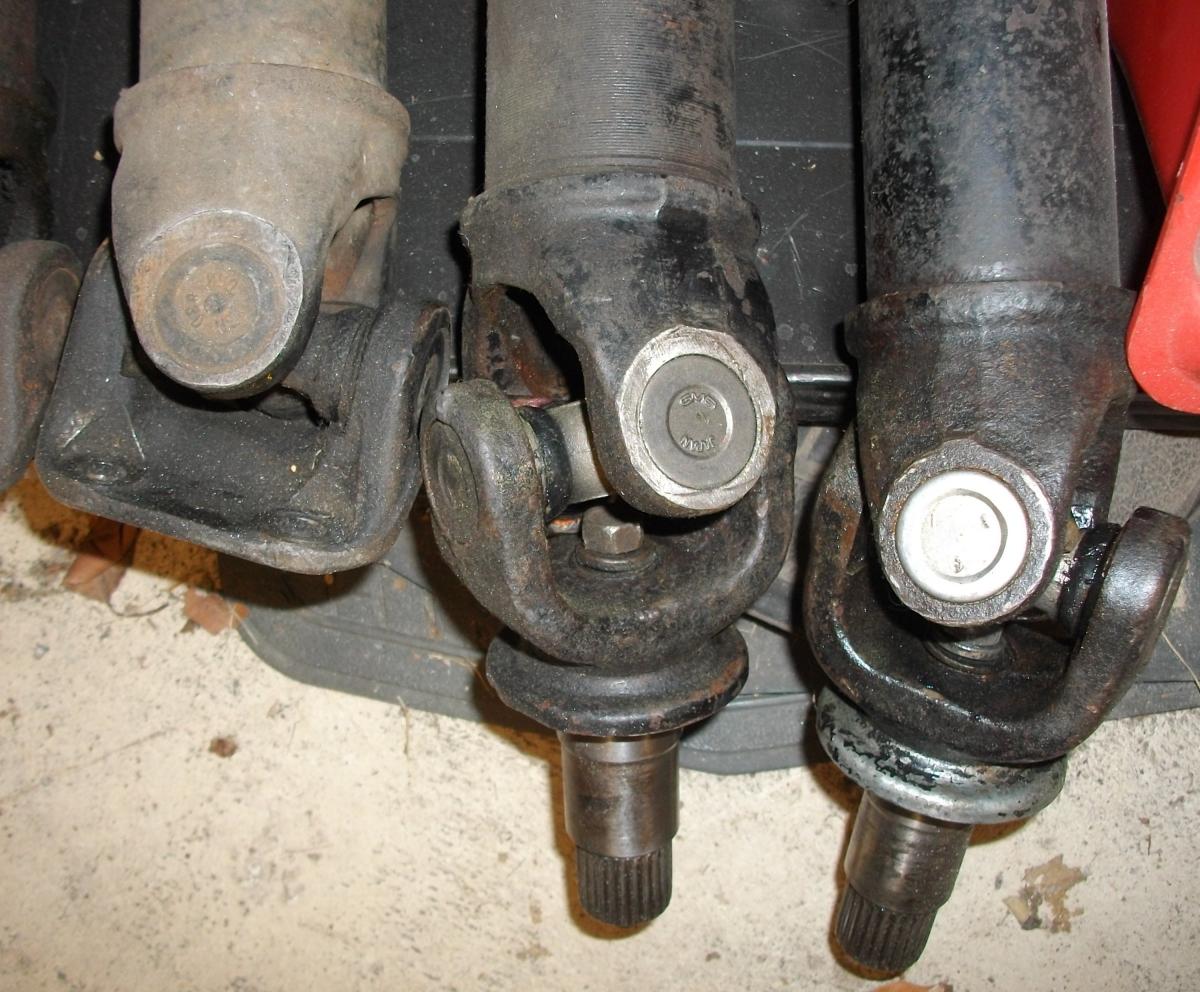
I took a couple pics tonight of some of my halfshafts. You can see how the bolt passes through. Chuck
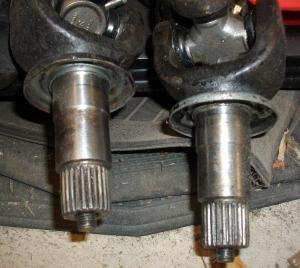
 1 point
 -
1 pointThanks for all the replies, guys. I went ahead and did some more tumbling and disassembling more parts and what not. Does anyone know how to take the back housing completely off the smog pump? Do I have to remove the front 3 bolts that hold the plate on underneath the pulley mounting flange, or does the flange come out first, and then the entire assembly gets pressed out? I would like to have the pump housing tumbled when i bring the valve cover and timing cover to the large tumbling facility so that the housing looks brand new. as it looks like it's seen better days. I am hoping to plate the entire back housing if it's possible so that i can then tape off the plated tubes/elbows and give it a quick coat of black or cast iron. looks like it was black phosphate coated before the tubes were pressed in, but I don't find it economical to do anything like that. It will still be under the minimum charge for the items I am taking to tumble, so I might as well have at it. In other news, I found that Meguires HOT SHINE tire shine is my new tumbler solution of choice for plastic pyramid media, with about a cup and a half of water... and for the dry shine media- a couple of table spoons of CLEAR (not "natural") furniture/floor/wood wax heated up until liquid and dropped into the dry shine media really brings out the lustre on old and new items alike. You just gotta let it run through for an hour before tumbling the actual parts so the dry corn cob media soaks up the wax and breaks down the clumps evenly. I will be posting photos as soon as I get the next stuff back from the plater and the tumbler place. the anti-backfire valve came out brand new, as well as the fuel pump. But I would like to remove the pivot pin from the fuel pump arm so that I can run it through the dry shine media to brighten it up a touch to match the carb hats and valve cover, so I think I just have to heat up the housing a little bit and press the steel pin all the way through one side. Should be relatively simple. The replacement pump I was given was not for a 240z head, the bolt pattern is different.1 point