Richie G
 Subscriber
-
Joined
-
Last visited
Everything posted by Richie G
-
Yes just follow Steve's instructions disconnect the battery on the negative side take off the clamshell under the steering wheel disconnect the wires and harness running to the switch and you should be just fine I was able to test it while it's still connected pretty simple
-
I'm sure you can but I would first follow the instructions for continuity testing that Steve gave me in that post to make sure it's a good working switch before you attempt to take it apart and clean it. As for the Honda upgrade personally I don't think it's necessary if you take the effort to clean and refurbish the wiper arms pivots and other moving Parts on the motor. From what most people said in my research the lack of speed really isn't the motor it's the 50 years of wear and tear on all the moving parts that slow it down.
-
Great job when I got to this stage those tubes were so clogged and corroded inside it took an overnight bath in WD-40 and then I actually had to boil them in water to soften whatever was inside to finally loosen it enough to blow clear hopefully yours aren't so bad
-
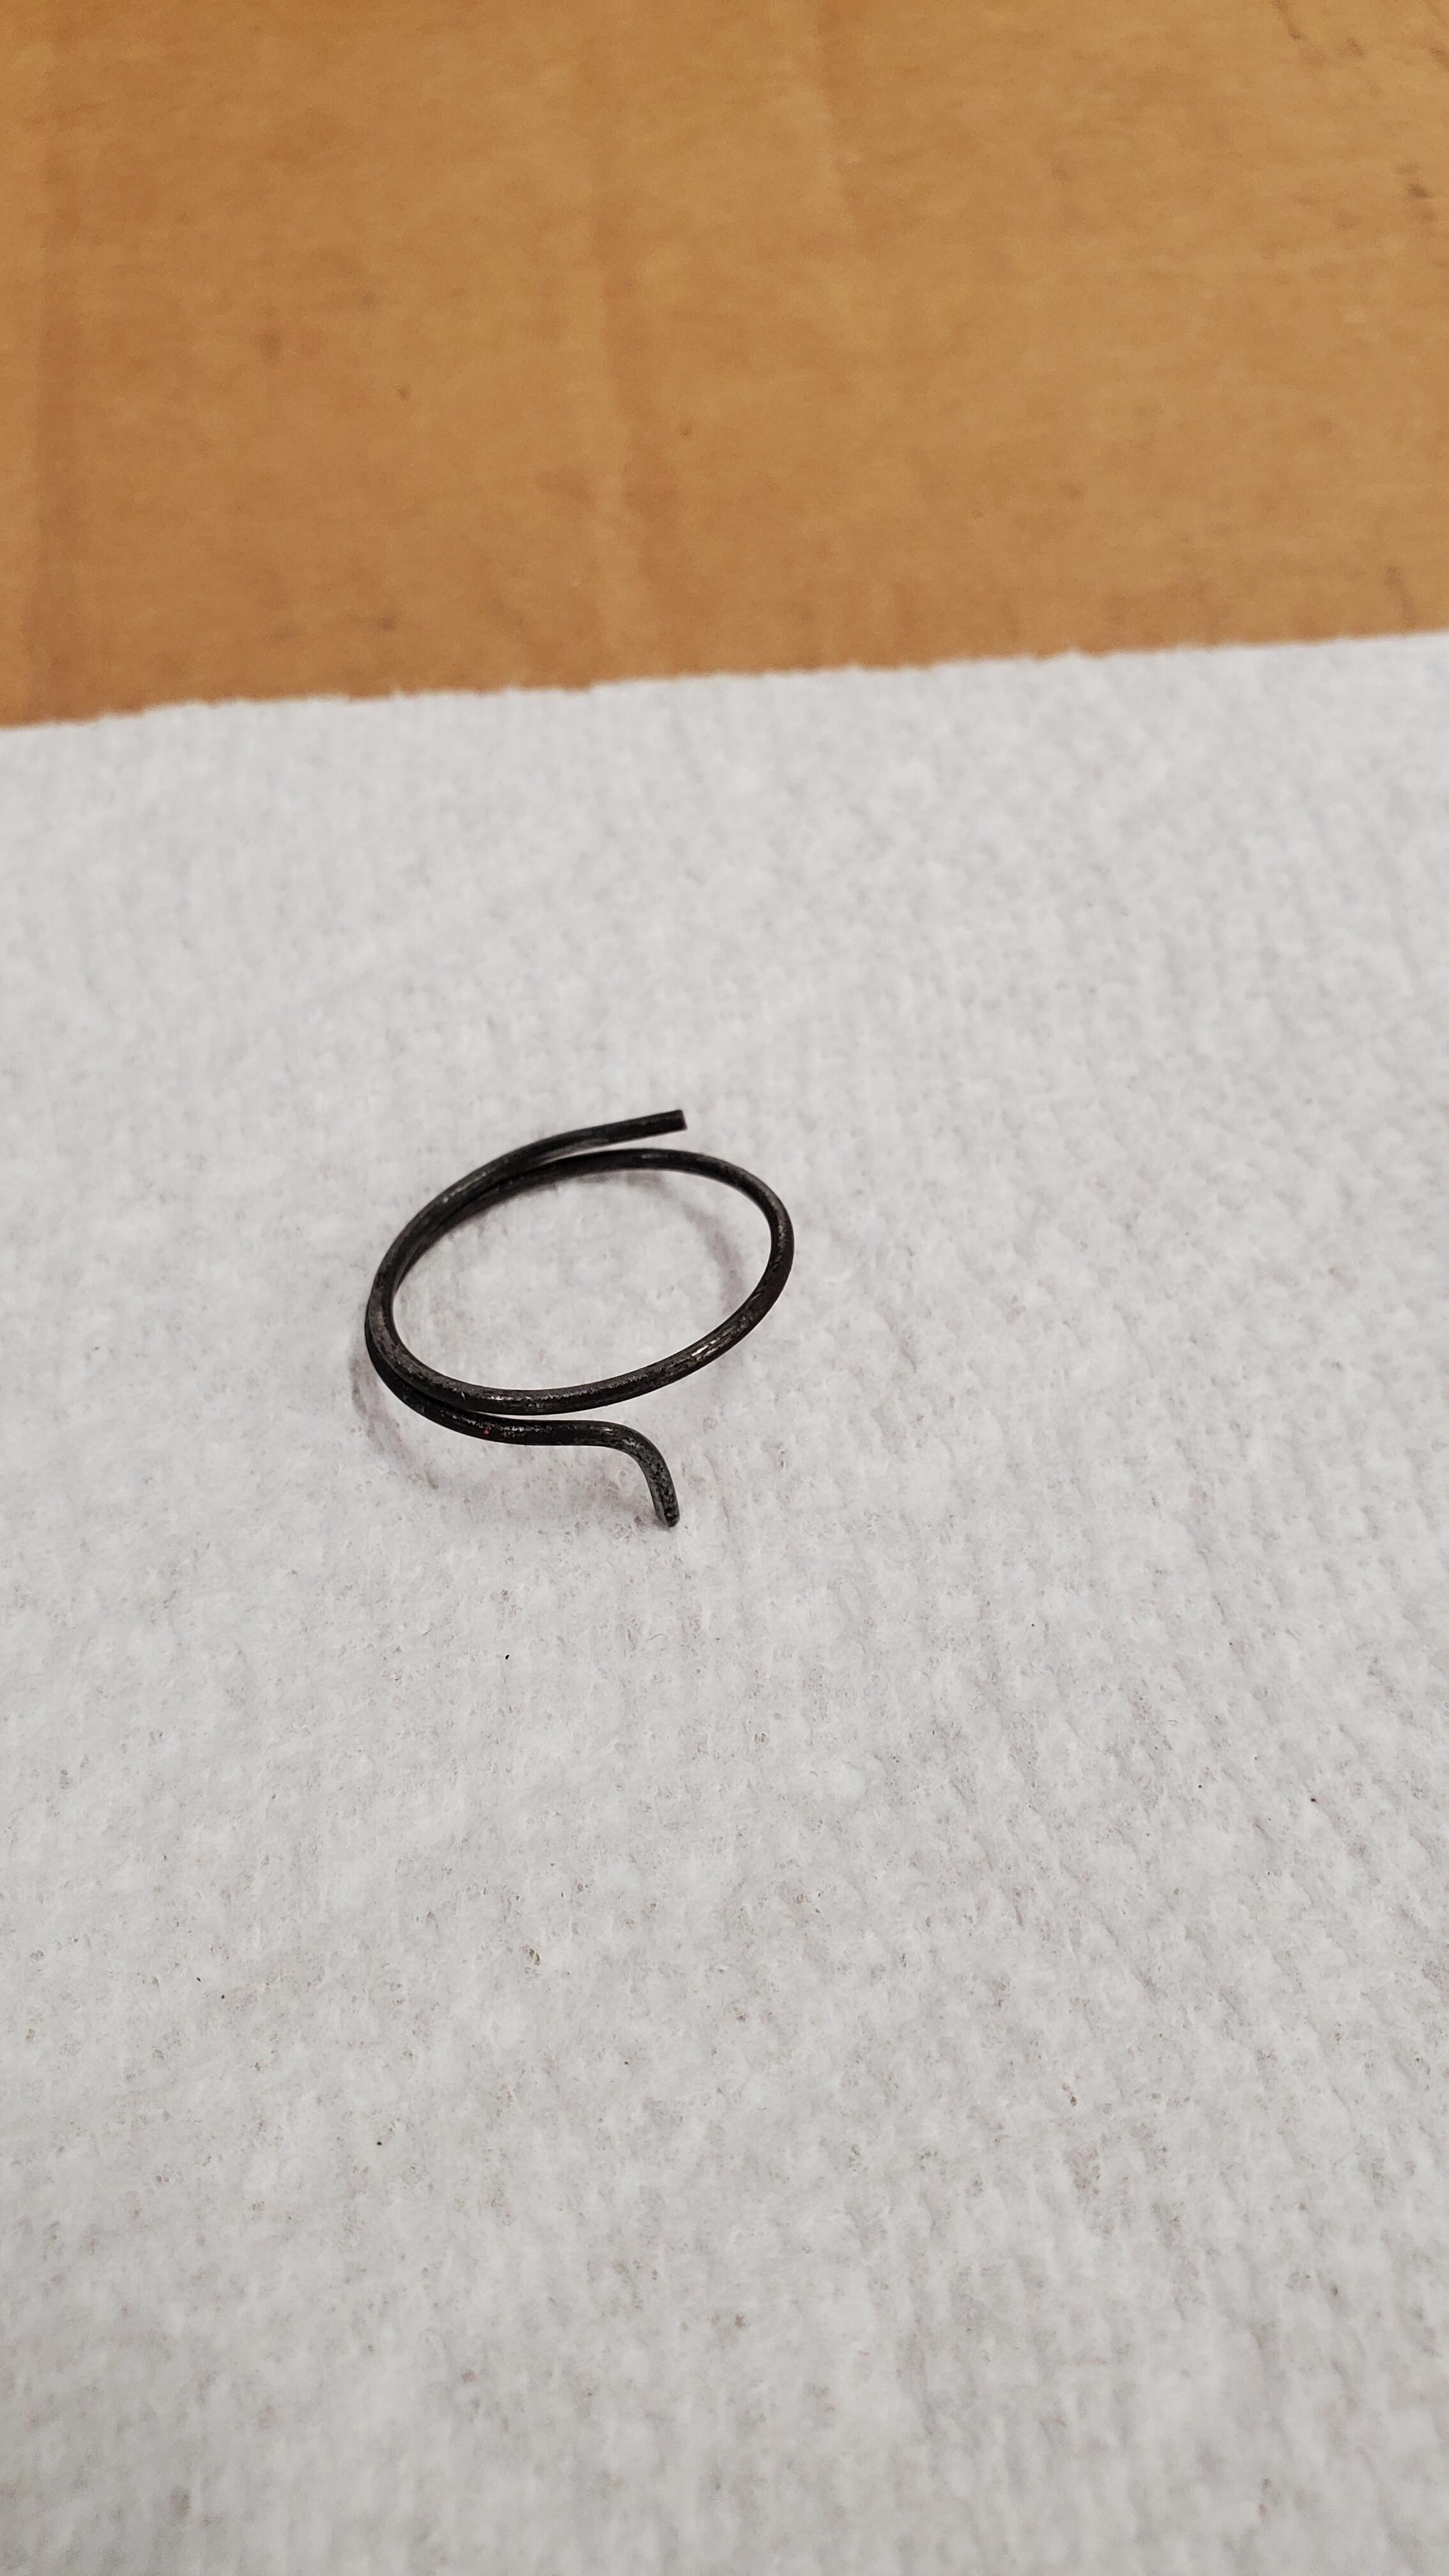
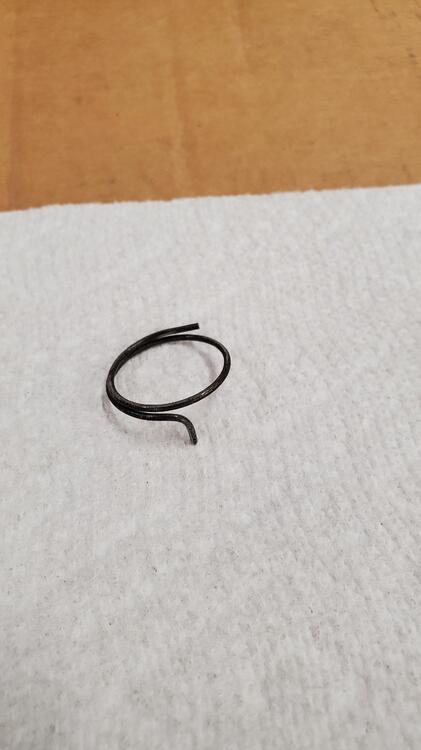
Actually all the ones I've seen have always had two full coils with the bend at the end of the second coil that's why if you notice in my picture my Bend was snapped off and bending to make a new shorted me by about a half a revolution
-
Excellent job a little beyond my means at the moment. One thing I would add is make sure the rotation is in the correct position I see these two Springs are different and one may not work as well since the point here is torsional resistance and not compression the rotation has to be in the correct direction.
-
I had the same problem on my 71. Check out the great info @SteveJ helped me with here You get about half way through and the topic turns to the high speed wiper. For me it ended up being the motor itself but i was helped work out the problem.
-
Yes from my previous research it was part of the "parking mechanism" to put the blades back into the park position when turned off. I had the 90 part missing as well, turned it up at the end and reinstalled without an issue. Parks as it should no problems. Because of the missing 90 it ends up a little short of full revolution but seems to work just as well.
-
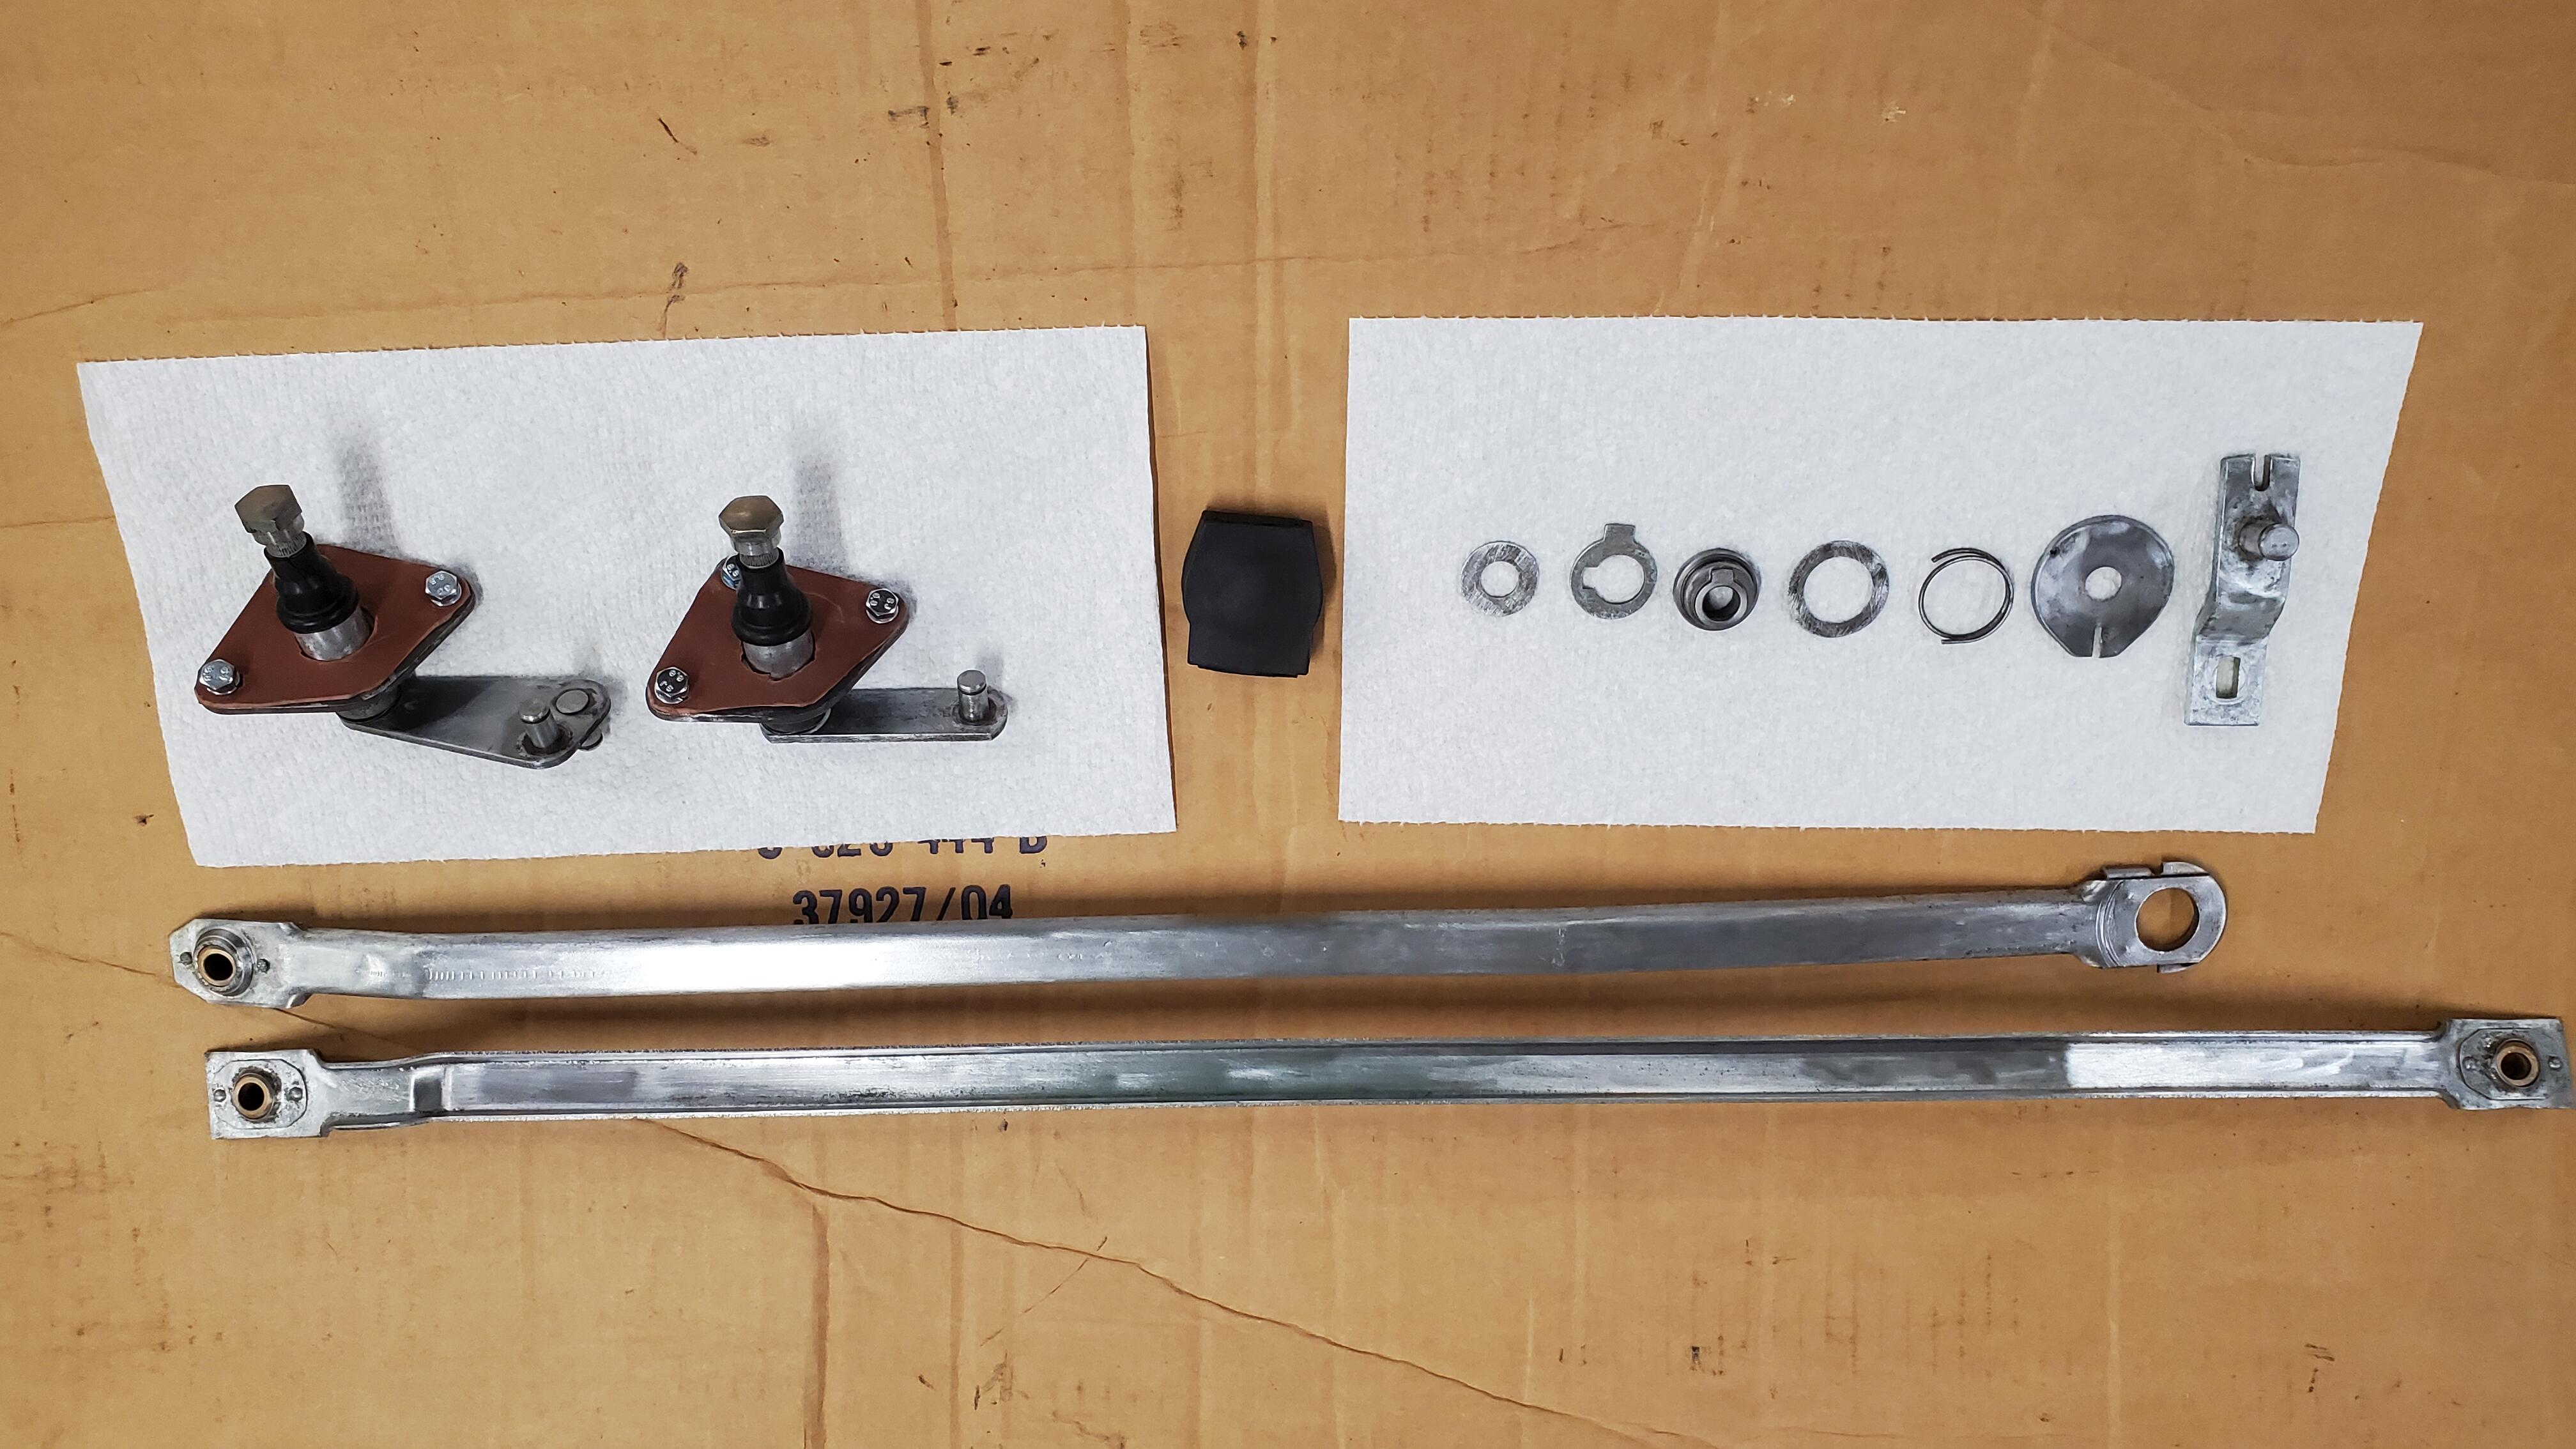
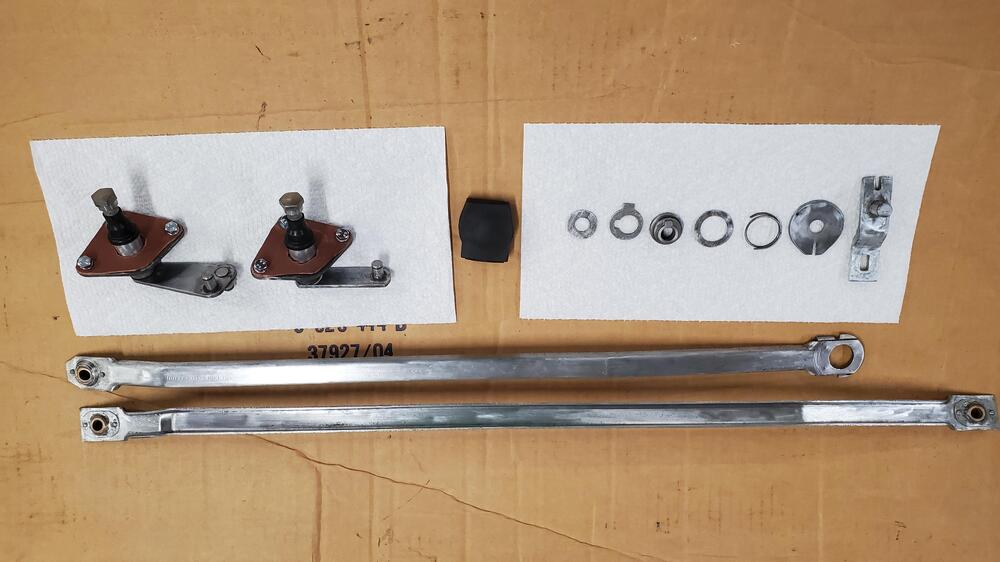
if i recall, your issue was the pivot points for the wiper arms were rusted shut. Once you got them disassembled I'm assuming you either sand blasted or used a grinder to remove rust and get back to bare metal. once you have it at bare metal you should zinc plate the metal pieces to prevent future corrosion which is what caused you rust in the first place. By refinishing I just meant rust removal, metal prep, and proper plating. Then prior to assembly grease the shaft before inserting back into the pivot plate and locking it up with the c ring.
-
I used low temp white grease seems to be working OK but I'm in CA and I don't plan to drive this in bad weather once I get the car on the road. I think if your grease selection is decent and do a good job of refinishing the pin and inside the pivot cavity the rubber on top will be fine. Just make sure the wiper boot is down far enough to cover opening should be good.
-
Ah the oil cooler okay I saw mention of those. So because mine doesn't have them I would think it's safe to assume that it's original to the car or at least the correct version for a mid-71 240z manual
-
Following this up with potentially a silly question. But I'm at the point where I'm deciding if I want to pull the radiator and when I was looking at it and comparing it to some others I've seen either online or in the forums mine looks a little bit different. It seems to be original but I don't have the two threaded connections on the bottom side facing the engine down near the drain plug. What are those for and how come my model doesn't seem to have the? were there different versions over the years? It certainly is not an aftermarket I can take pics when I have some time if someone wants to look at it but I was just curious what those were for and why mine doesn't have them
-
Could be, I haven't owned any originals so by the time it got to me it was a shriveled dried out noodle lol.
-
I was able to reuse my c rings and purchased these from Amazon https://www.amazon.com/dp/B00NWJO520?ref=ppx_pop_mob_ap_share I think I may have trimmed them a bit by copying an old one that was on there. They worked great but I'll be honest functionally I don't think even the original washers were doing anything at all. Maybe it was there to possibly absorb some sound but it certainly wasn't there like a typical washer to prevent friction or seal anything.
-
Got to this today and it was much easier than anticipated. I've been procrastinating this due to worry of leakage and mess and had zero drops. What i did was drain the radiator completely with the heater valve in the open position. I contemplated draining the engine block as well but that drain plug is locked tight and in a tough spot to get leverage on without removing pipes or a lift. So at that point the plan was to "minimize" the mess by loosening the two heater hoses from the engine bay three way and supply inlet and seeing if I could drain the core from the engine bay. I was either going to use a shop vac or a handpump as suggested. i started with the return hose and what i came to find was that it came off relatively easy and only had less than a shot glass of fluid that leaked out into a drain pan i had at the ready. At that point i got some duct tape and sealed the end. moved on to the other hose expecting fluid from both the hose and the engine block but nothing at all. Sealed it as well and proceeded into the car. I had already removed the blower and the front vent box of the heater so all that was left was the 6 screws holding the box to the firewall / tunnel brace. Undid those but also had to remove the small brace that holds the dashboard to the tunnel. With that out of the way i simply slid the box out to towards the passenger side and fed the taped up hoses into the car from the engine bay. No mess no fuss! The box certainly needs all new gaskets, a new valve, and a general cleaning. there is liquid in the core I can hear sloshing around but it doesnt seem to be leaking as of yet. When i take the box apart I can inspect it better for signs of previous leaks and deal with it. All this work is probably a bit of a ways off as the primary goal is to get to the bare tunnel and firewall so i can complete my floorboard and interior work. thanks to all with the advice.
-
@MH77280Z Yes, once loose i took them fully apart to restore them. As expected they were rusted to no end. Once they are loose there is a c clip on the top of the spindle, pry it loose and the whole thing comes apart. At the bottom of the spindle is a pre-bent washer that acts sort of a spring don't try to flatten it its supposed to be that way to provide tension to the whole thing when put back together. Just make sure you put things back in the right order. Once they are apart you can blast them then remember to use some type of grease you prefer on the spindle before reassembling. I also had to source new screws and a new gasket I made myself.
-
I just recently did mine few months ago had a very similar problem the WD-40 trick worked very well and it only took one overnight soaking
-
Thanks. Seat and glove box already out as this all started with a need to replace the sound deadening and firewall pad as part of interior work. The dash is still in but since i removed the front / center vent assembly the main heater box seems to be able to slide out past the dash bracing without need for the dash removal. The valve looks corroded as heck but I am not sure there is a leak so this job really is about refreshing the box/valve as needed just because i am pulling it anyway. Last time i used the heater was for a brief moment or two just to verify it works when i bought it two years ago. Blew warm but didn't really fire it up for all that long as living in CA don't really need it much. Now I'm dealing with the snowball effect of thinking hey the box and hoses are out so lets change out to the correct braided look, oh and btw the rest of the coollant and radiator hose could use a "makeover" as well so thats where the questions began around drainage. If my intention is to replace all coolant/radiator hoses as part of this mini-makeover I'm assuming we drain every drop and what's the best way to do that in what order?
-
I'm at the point I need to pull the heater box out so I can finish my interior work and figured while I'm at it will rebuild it and replace the valve / hoses. I've found a fantastic thread on here for the restoral steps and gasket templates but still have some newbie questions to go along with it. Before disconnecting anything I'm assuming a smart first step would be to drain the coolant to avoid a mess (and check the quality of the fluid / refresh it in the radiator). First question is around that process / how far I need to go. Is it necessary to drain the radiator and the engine block both and how much should I expect to collect from each? Assuming both, once those are done would there still be fluid in the core itself to deal with and any advice on how to get that out without a coolant puddle in the interior? My initial thought is leave the hoses connected to the core but disconnect them in the bay. Seal them off maybe with ziplock / tape and feed them into the interior and take the whole thing hoses and all out of the car? Andy detailed advice before I dive in would be appreciated.
-
That's one good looking belly lol. Jealous I'm still at the point where the previous owner sprayed gobs of undercoating and dealing with eventual removal and hopefully not too many surprises.
-
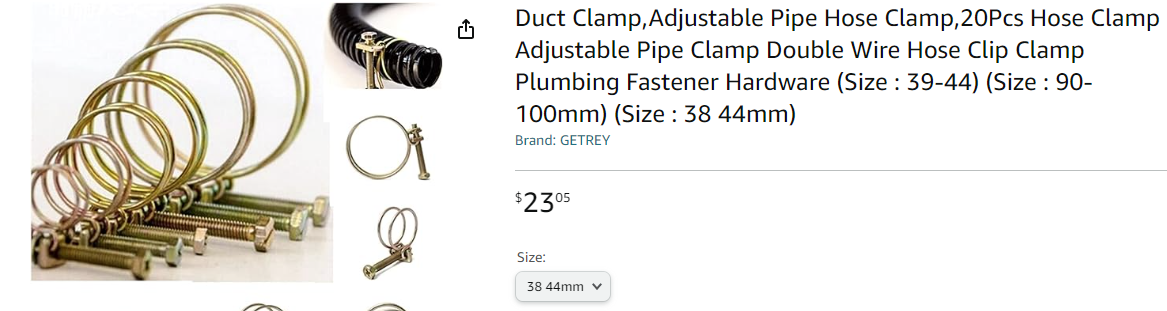
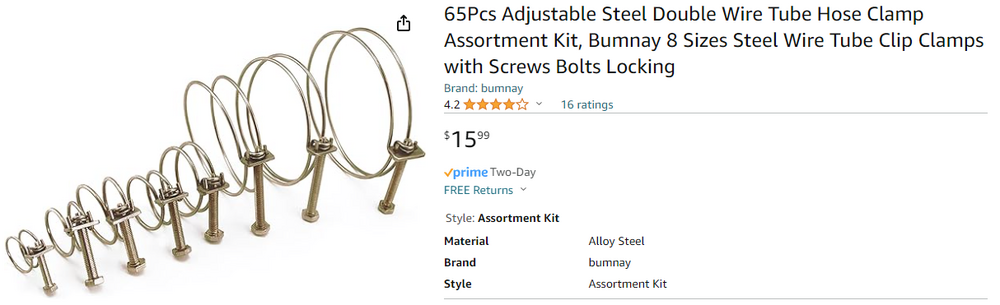
OK, here's another update. I started sorting these against the hoses I am going to start with and see a gap in the size range forcing me to buy an additional item from Amazon for the radiator hoses. https://www.amazon.com/gp/product/B0CJR8W51N/ref=ppx_od_dt_b_asin_title_s00?ie=UTF8&th=1 and also keep one of the previous ebay kits i started this thread with to cover some of the pcv hoses This may be useful for someone. I matched up these sizes to the hose kits I recently purchased from resurrected classics Coolant (12) 18-22mm (2) 25-29mm PCV (3) 18-22mm (1) 25-32mm Brake Booster (4) 13-16mm Smog (2) 25-29mm (2) 18-22mm (6) 23-29mm Radiator (4) 38-44mm The leftovers from these three kits will also be used for all the remaining vapor and fuel hoses as needed. I'm sure I have all remaining size ranges covered except maybe float bowl if memory serves. Once I get around to doing that work I'll try to remember to come back here and complete a full list for the entire engine bay.

-
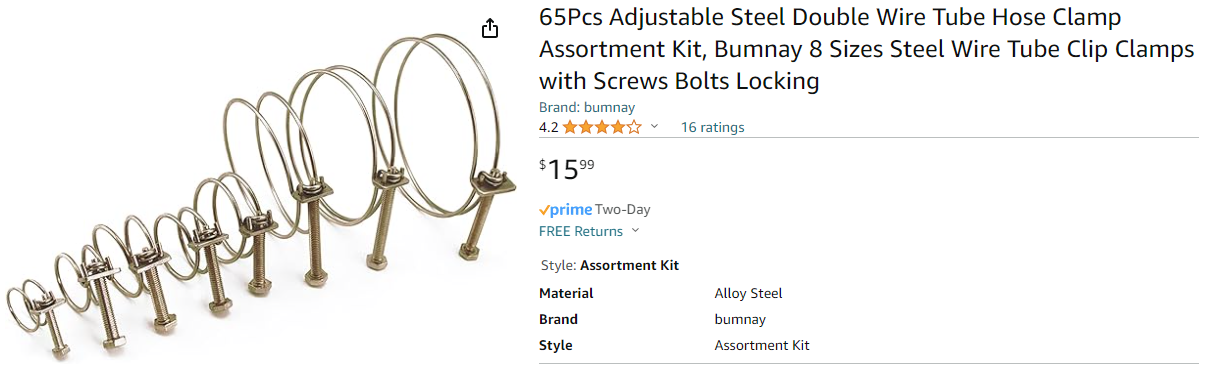
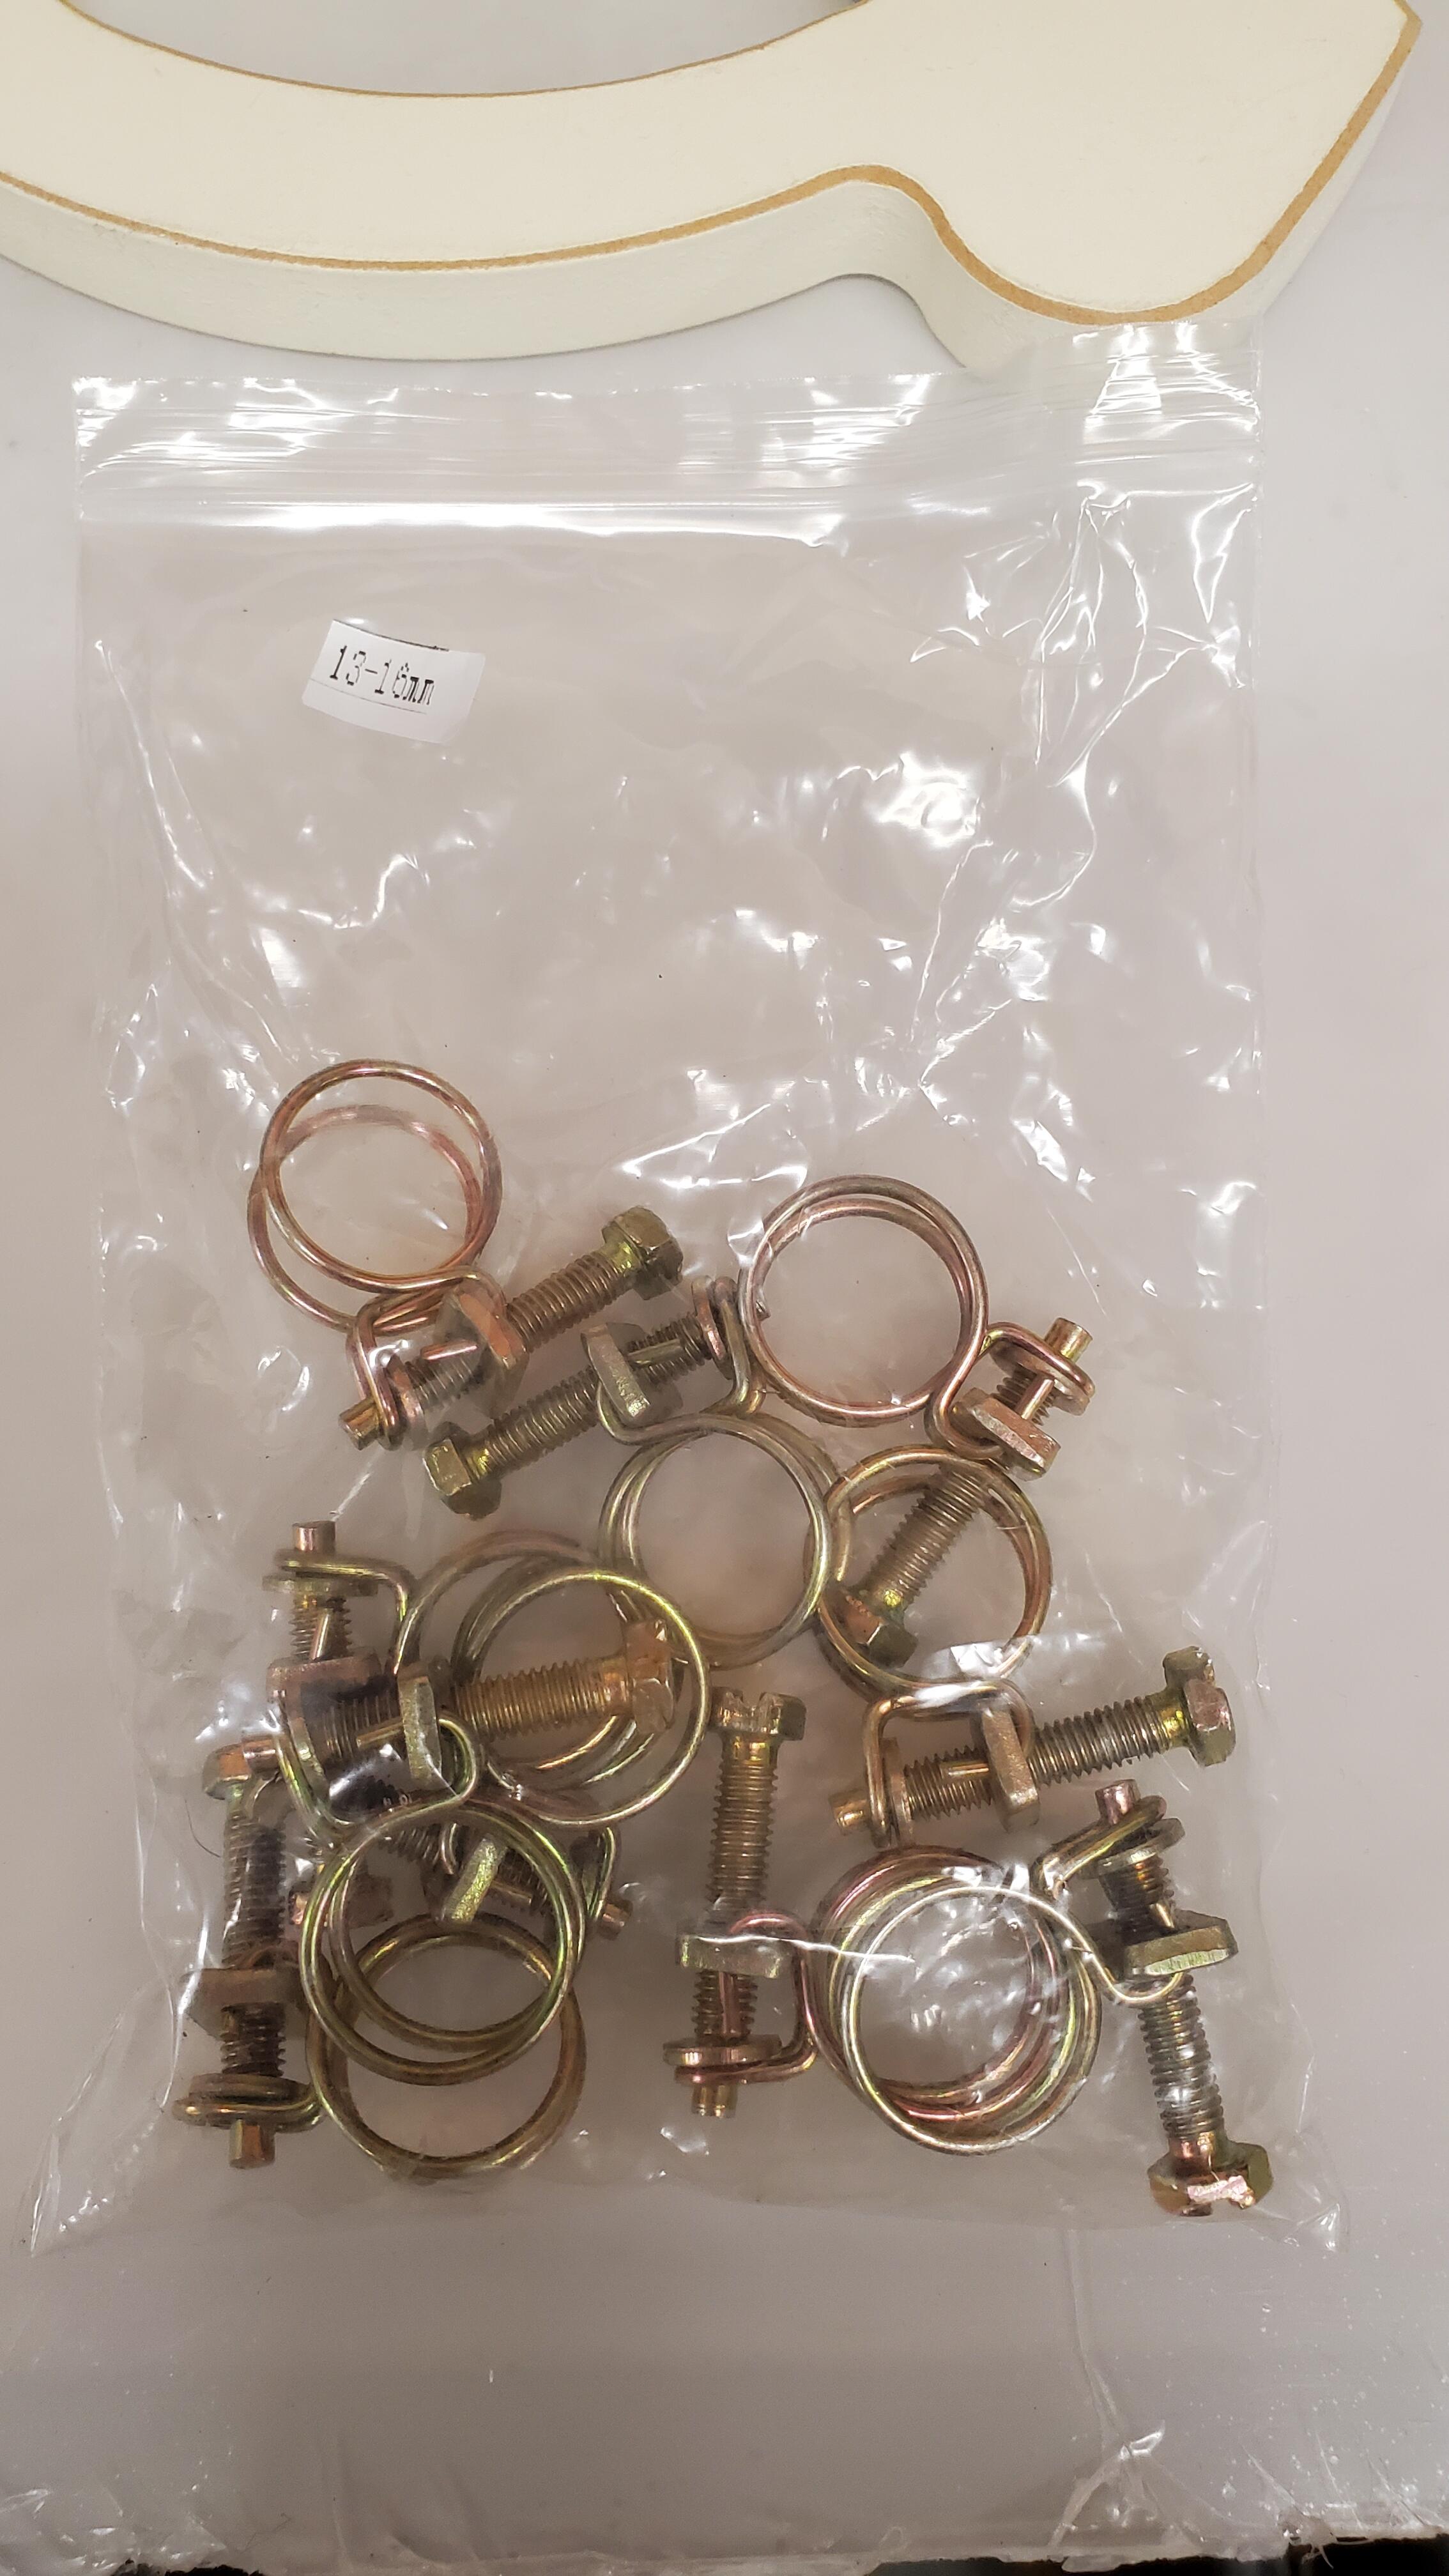
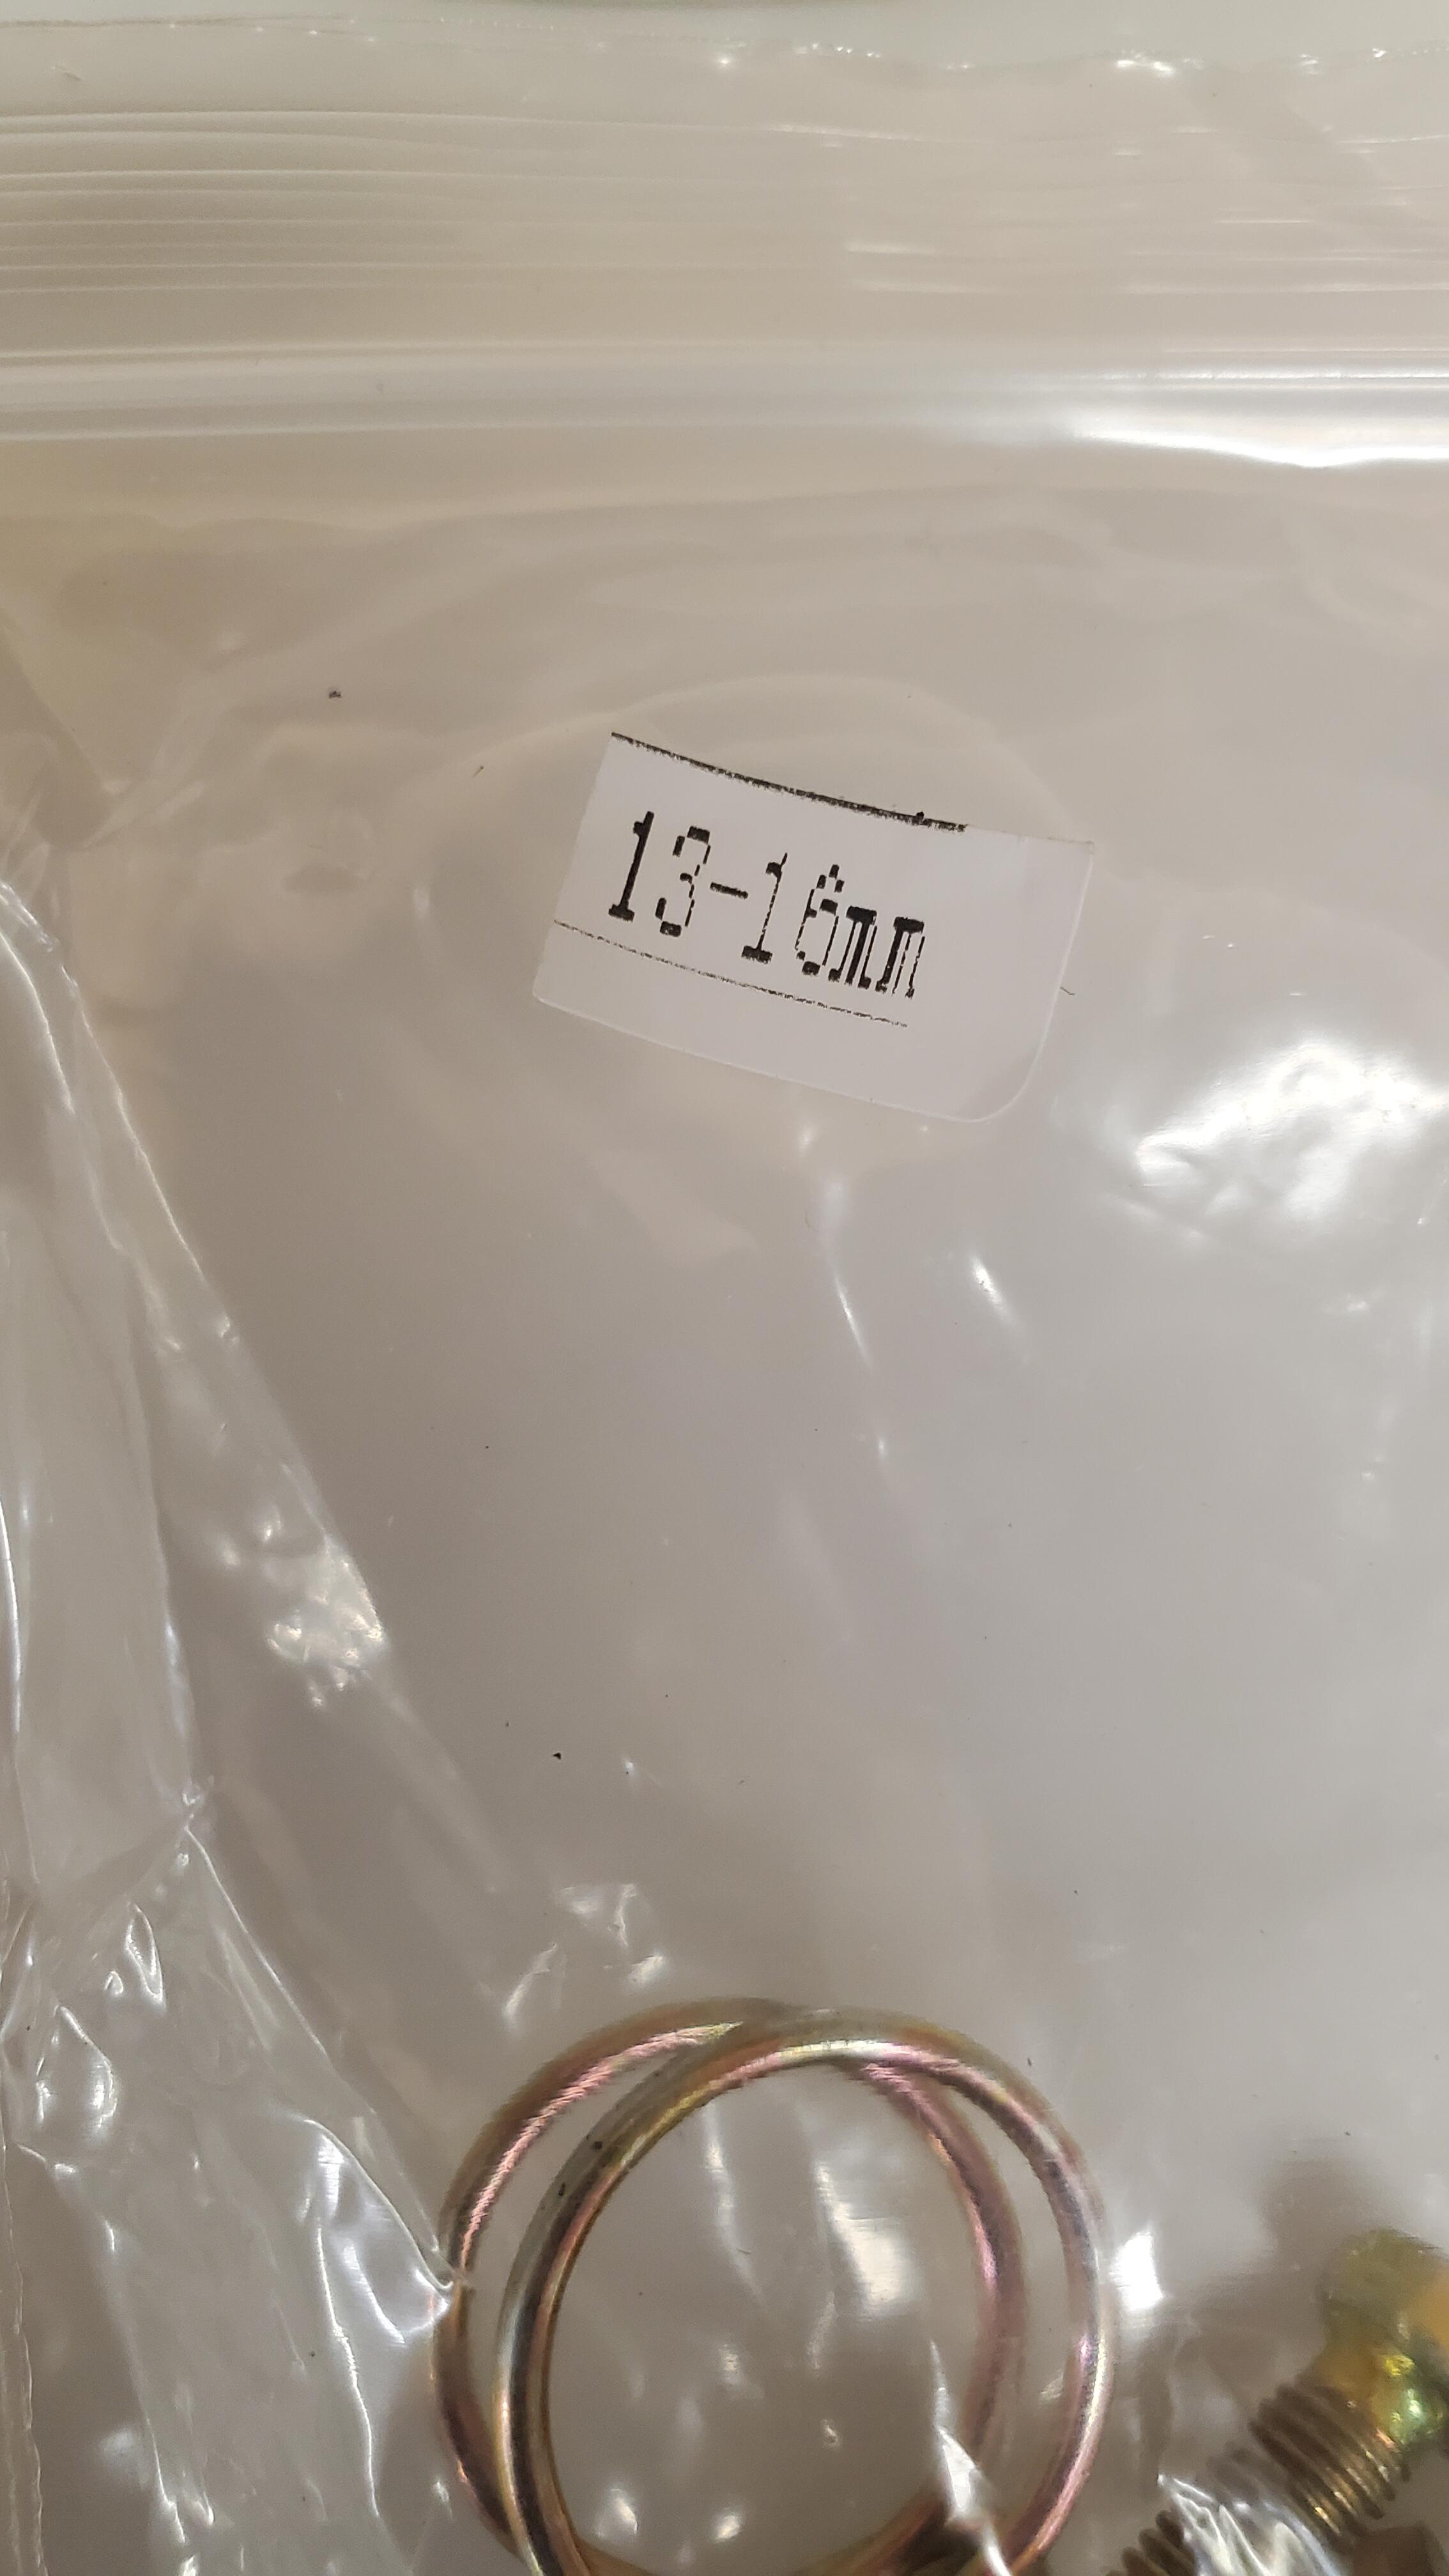
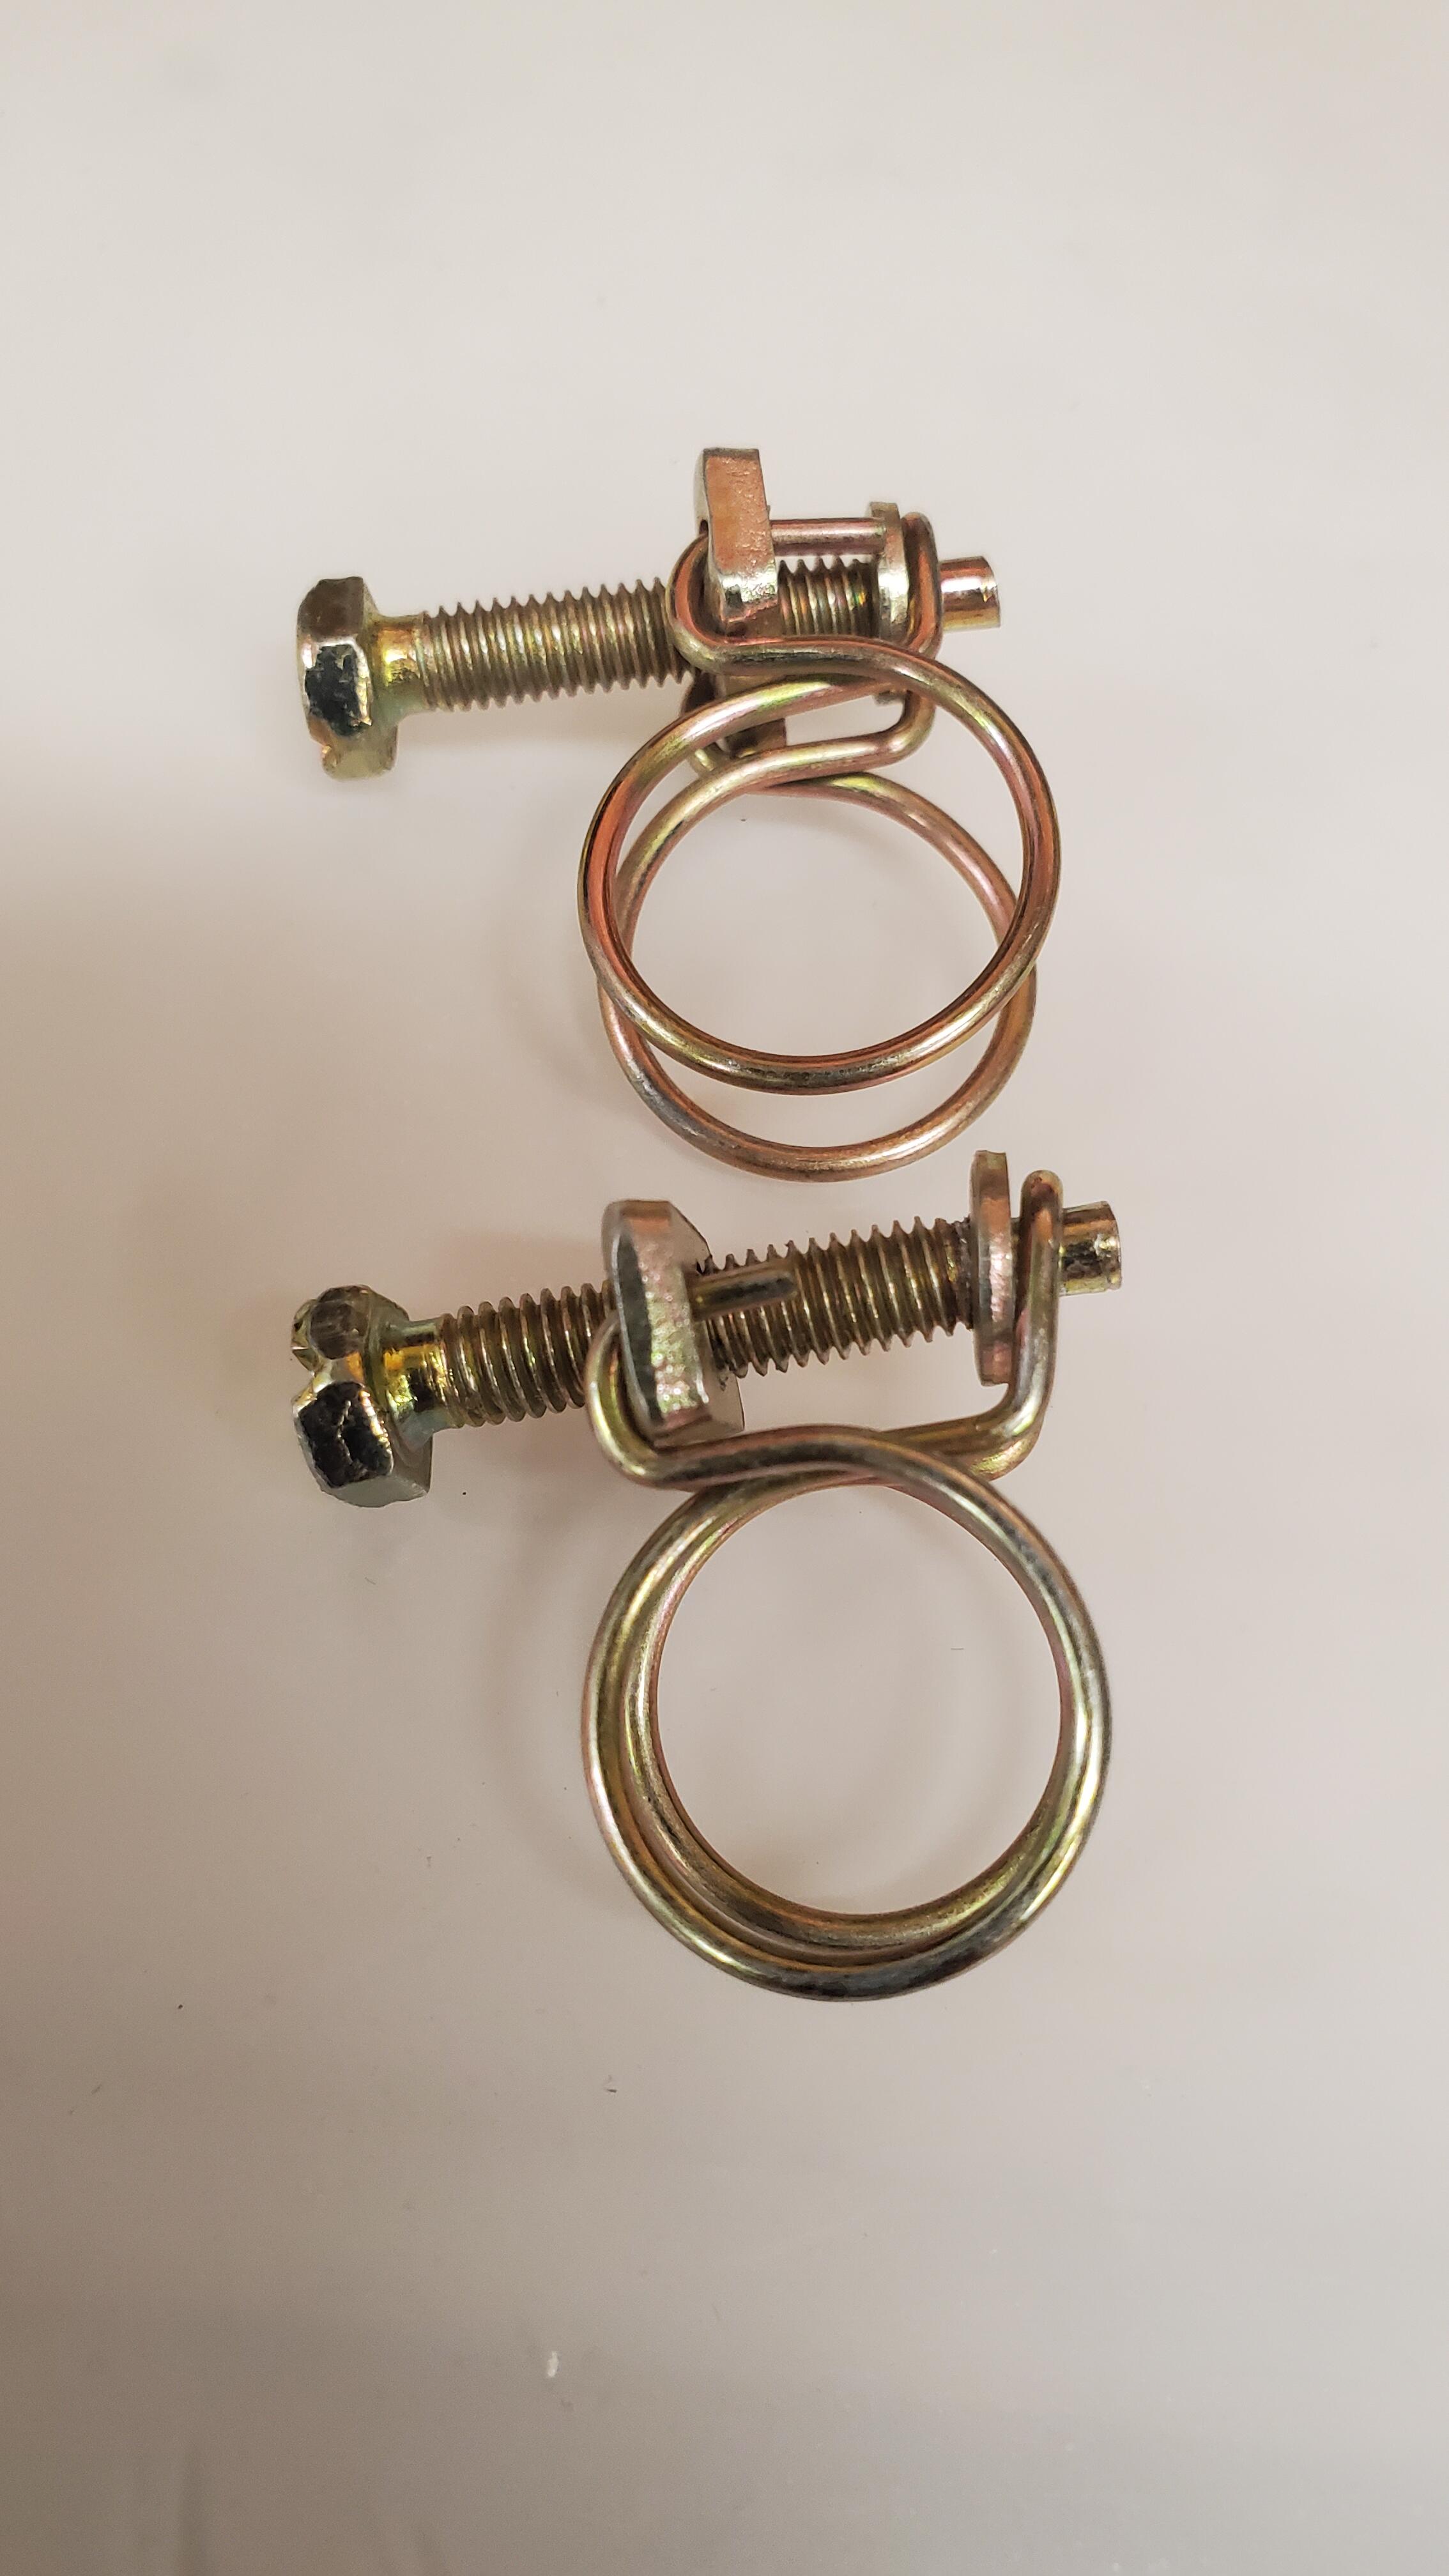
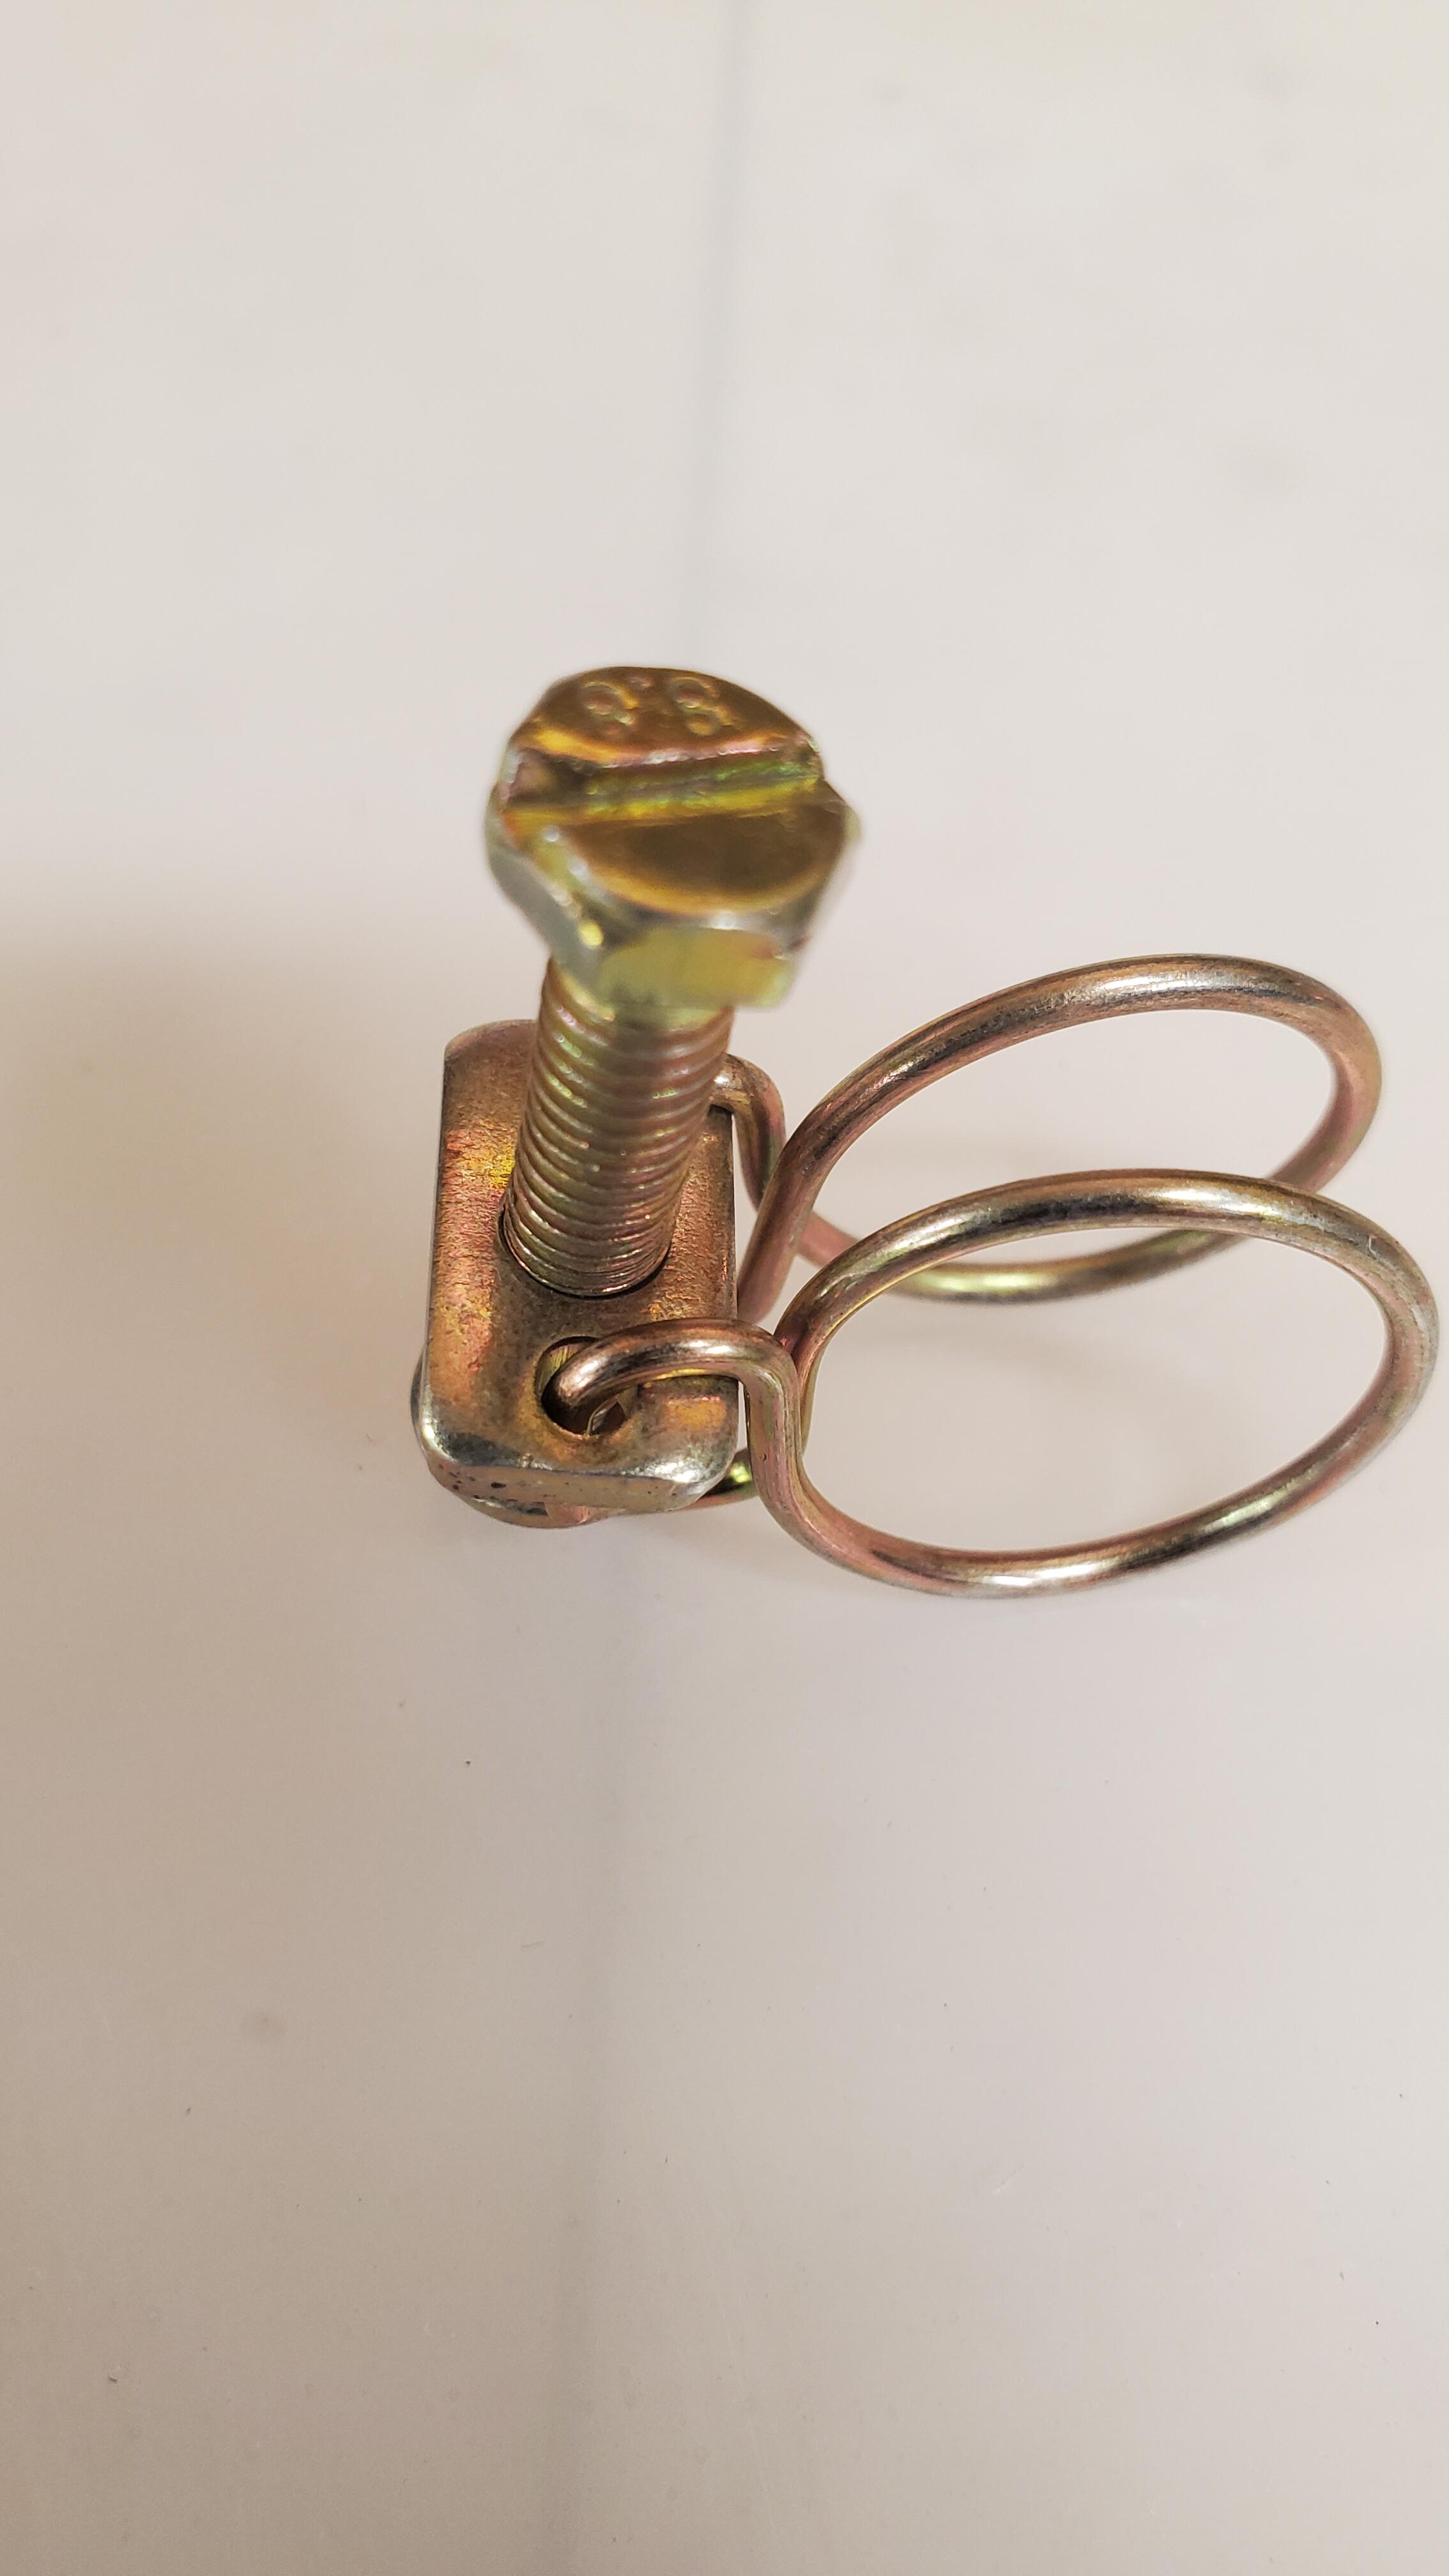
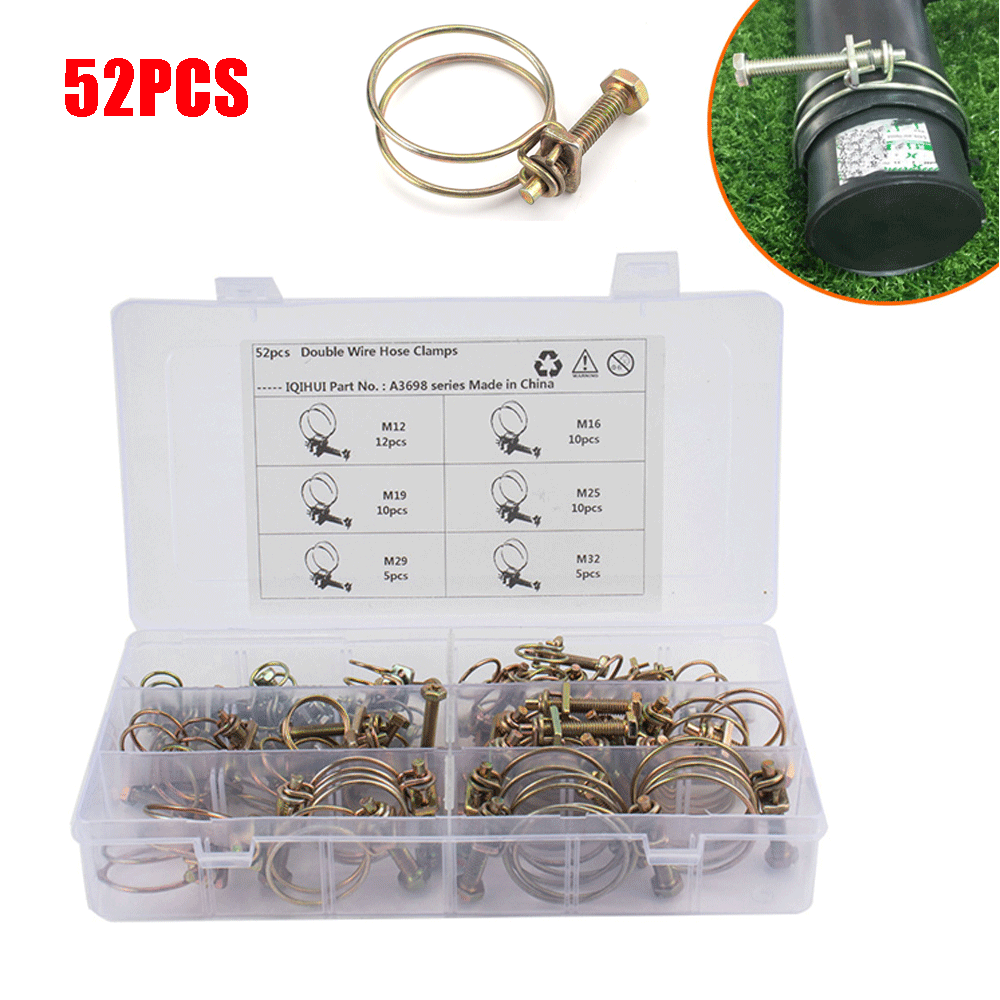
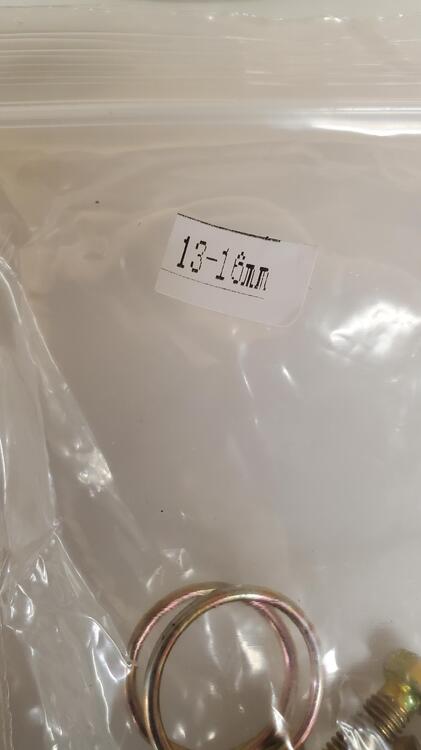
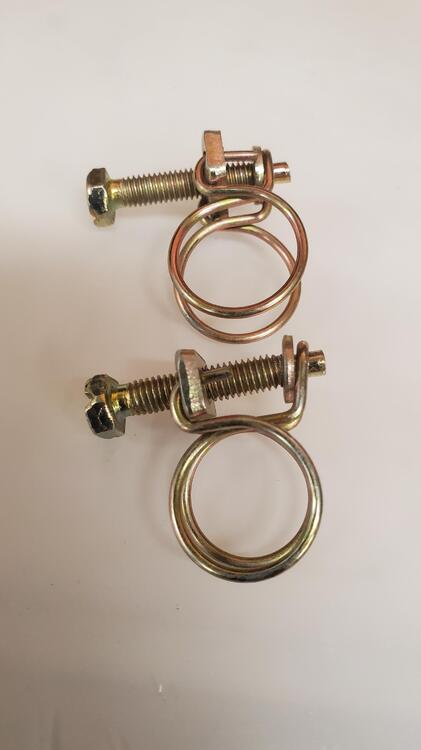
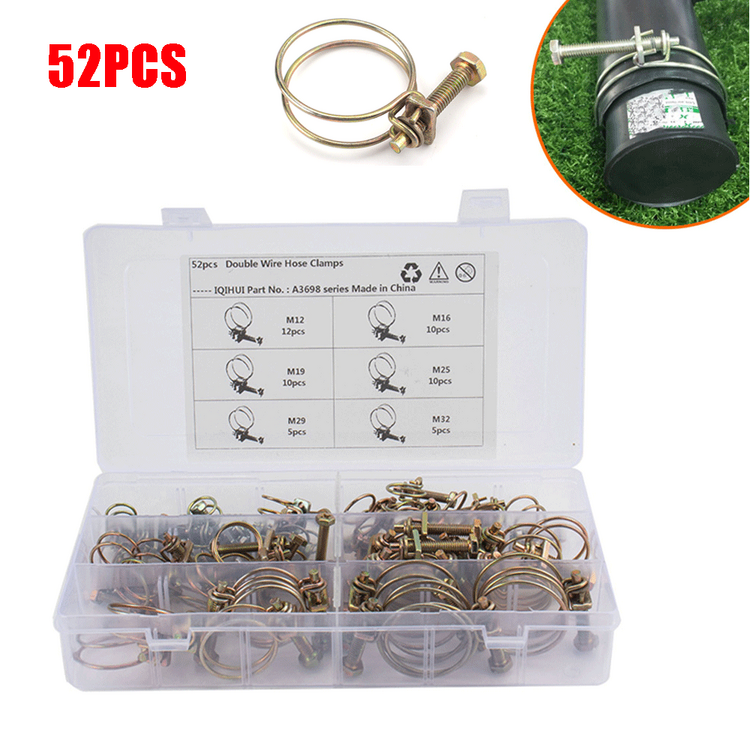
Quick update. I haven't yet received the original purchase but stumbled on these at amazon and took a shot since they had free returns and the deal was far better than the one from ebay. You get more pieces, a better range, and they are half the price from the ones i bought on ebay. I'll be returning the ebay ones shortly. https://www.amazon.com/gp/product/B0BM93WN31/ref=ppx_yo_dt_b_asin_title_o00_s00?ie=UTF8&th=1 They arrived today and boy they are nice and I highly recommend. They have the same "issue" in that the head isn't OEM but they fit nicely into an 8mm ratchet and that's what i prefer anyway. This kit has them in individually wrapped bags sorted by size range The plating seems very consistent in color and application and they really hold the shape nicely as you close them Head shot, don't like the flat head screw but as mentioned will use the ratchet instead.


-
Still waiting on mine, were they decent? The ones I had from zcar were this soft metal and they deformed and lost their circular shape as you closed them and tightened them down. Didn't like those at all.
-
I found these on ebay and wanted to share in case anyone is looking for the two-wire type clamps. The heads aren't exactly OEM but for the price and the fact they come pre-zinced i think they are worth a shot. https://www.ebay.com/itm/403644655801?mkcid=16&mkevt=1&mkrid=711-127632-2357-0&ssspo=apbb2nwyrmc&sssrc=2047675&ssuid=a4d1fc-qQ9K&widget_ver=artemis&media=COPY I ordered a couple of sets and should have them in a few weeks as they slow boat it from china. Will report back on quality once I get them. I like that they have a wide range of sizes which can cover probably most if not close to all of the engine bay. They have other variety of sizes and qty to meet your needs in different kit types if you search. In comparison to what i previously purchased from zcar depot these certainly are economical at like 50 cents per compared to at least 5-8 bucks per from the big boys. Plus the z car ones are not even capable of holding zinc and the wires were pretty crappy and twisted fairly easy as they tightened. Wouldnt recommend them. Hopefully these do the trick if not, not much money wasted.
-
Im certainly going to try this trick as Im just about ready to do mine.
-
these videos are mesmerizing, so well done and for sure informative. will be bookmarking parts i need to refer to in the future work i have planned.