wheee!
Community Member
-
Joined
-
Last visited
Everything posted by wheee!
-
My steering wheel will be stock and leather wrapped so somewhat spongy. I will try the poly first, if it is too harsh I can put the rubber back in...
-
I am interested in hearing from people that actually like the poly coupler for street use... I have the original rubber part but was planning on getting the poly kit with a new coupler. I have never driven a 280Z (yet) so I was concerned when I felt the "slop" in the steering column while wheeling it around... I also plan on using the shortened bump steering knuckles from Arizona Z Car for a quicker turn ratio. Is it really that harsh with poly??
-
-
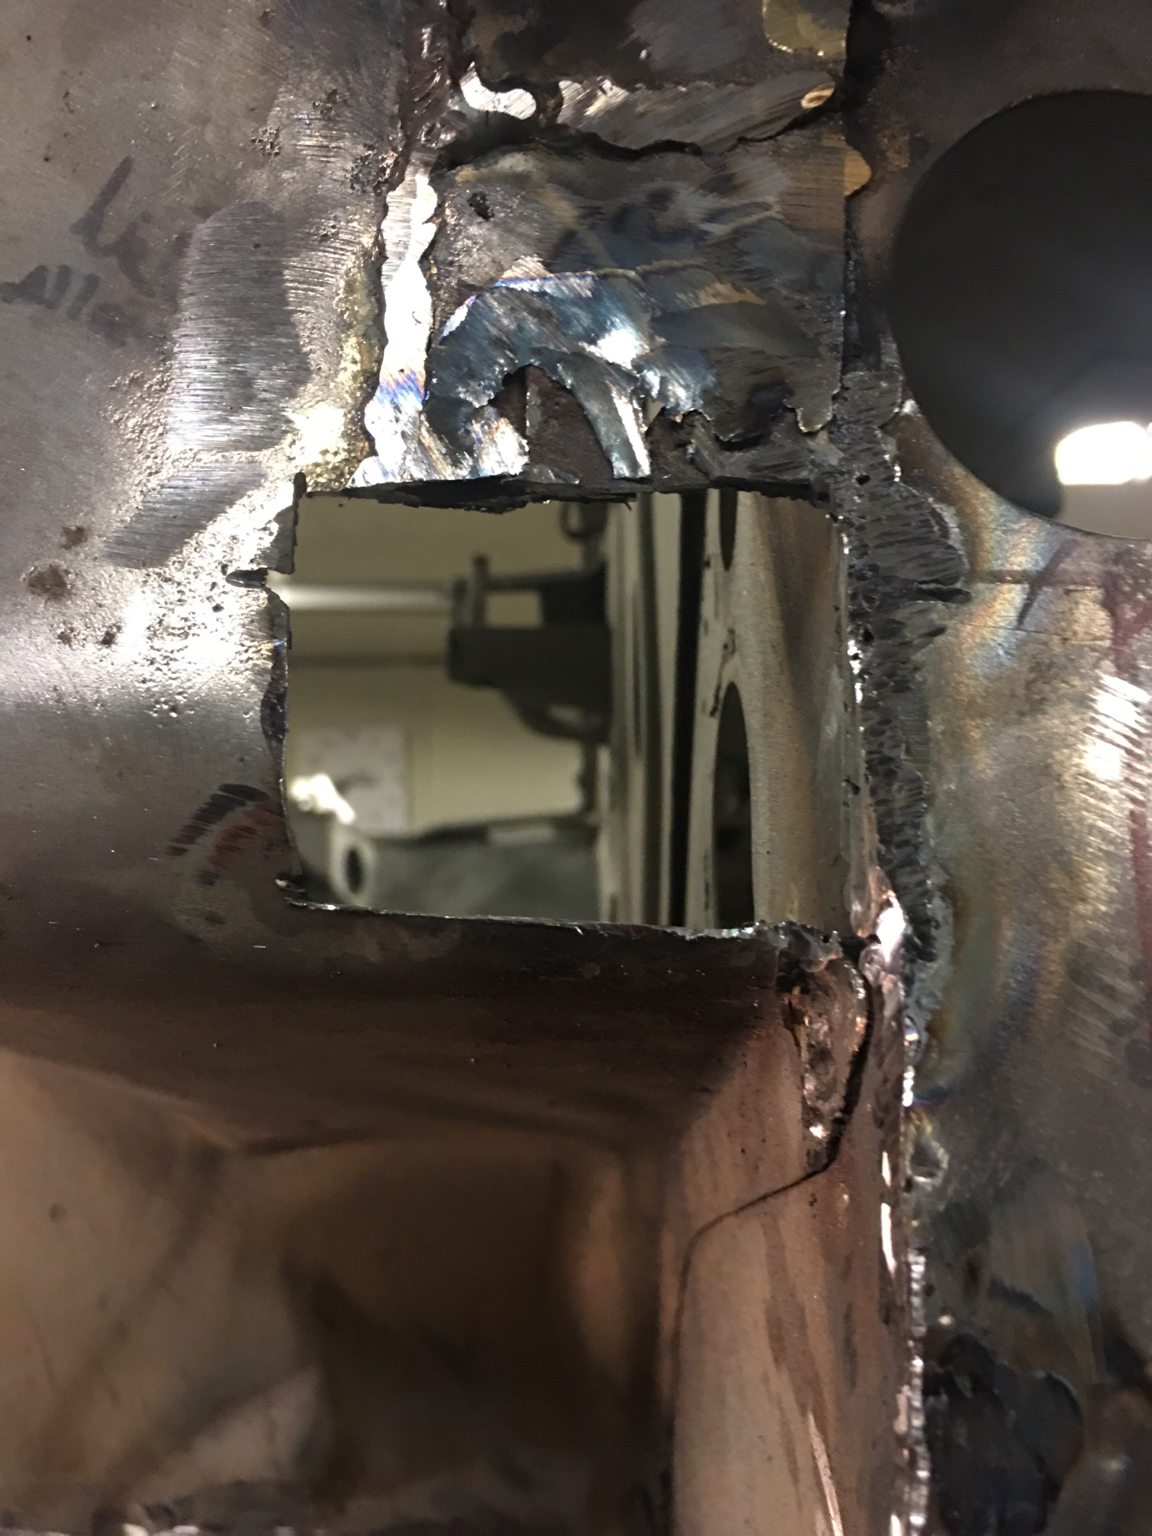
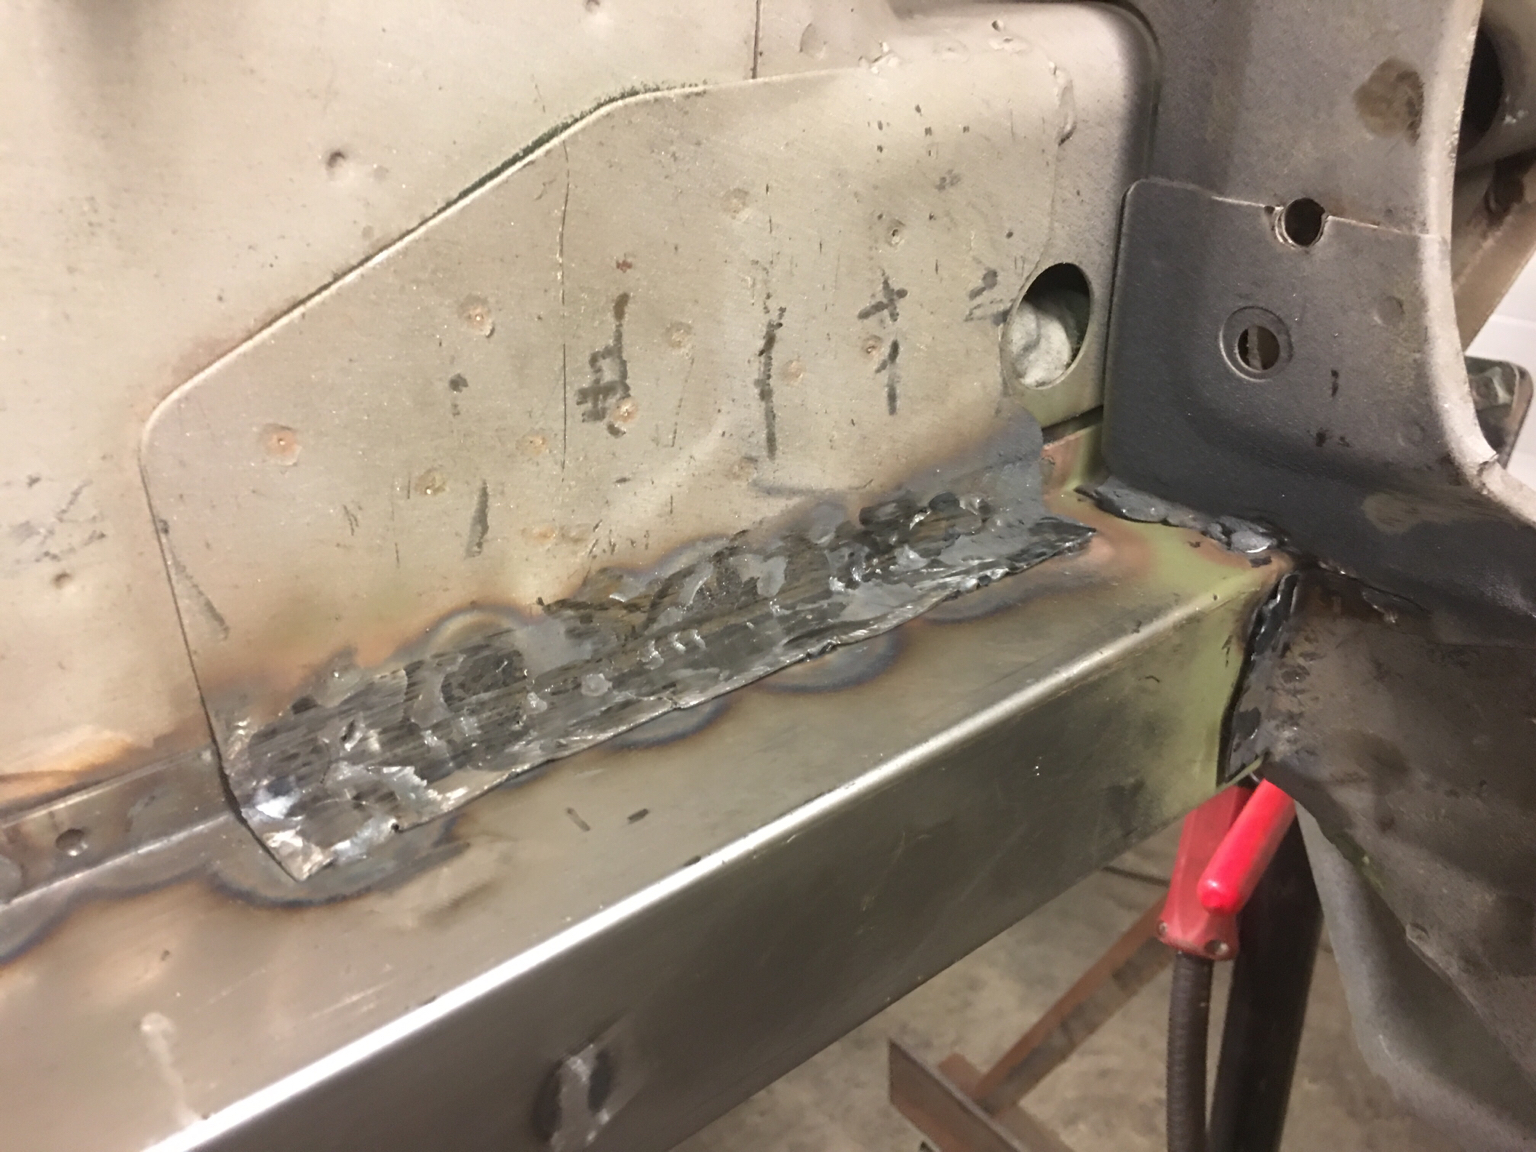
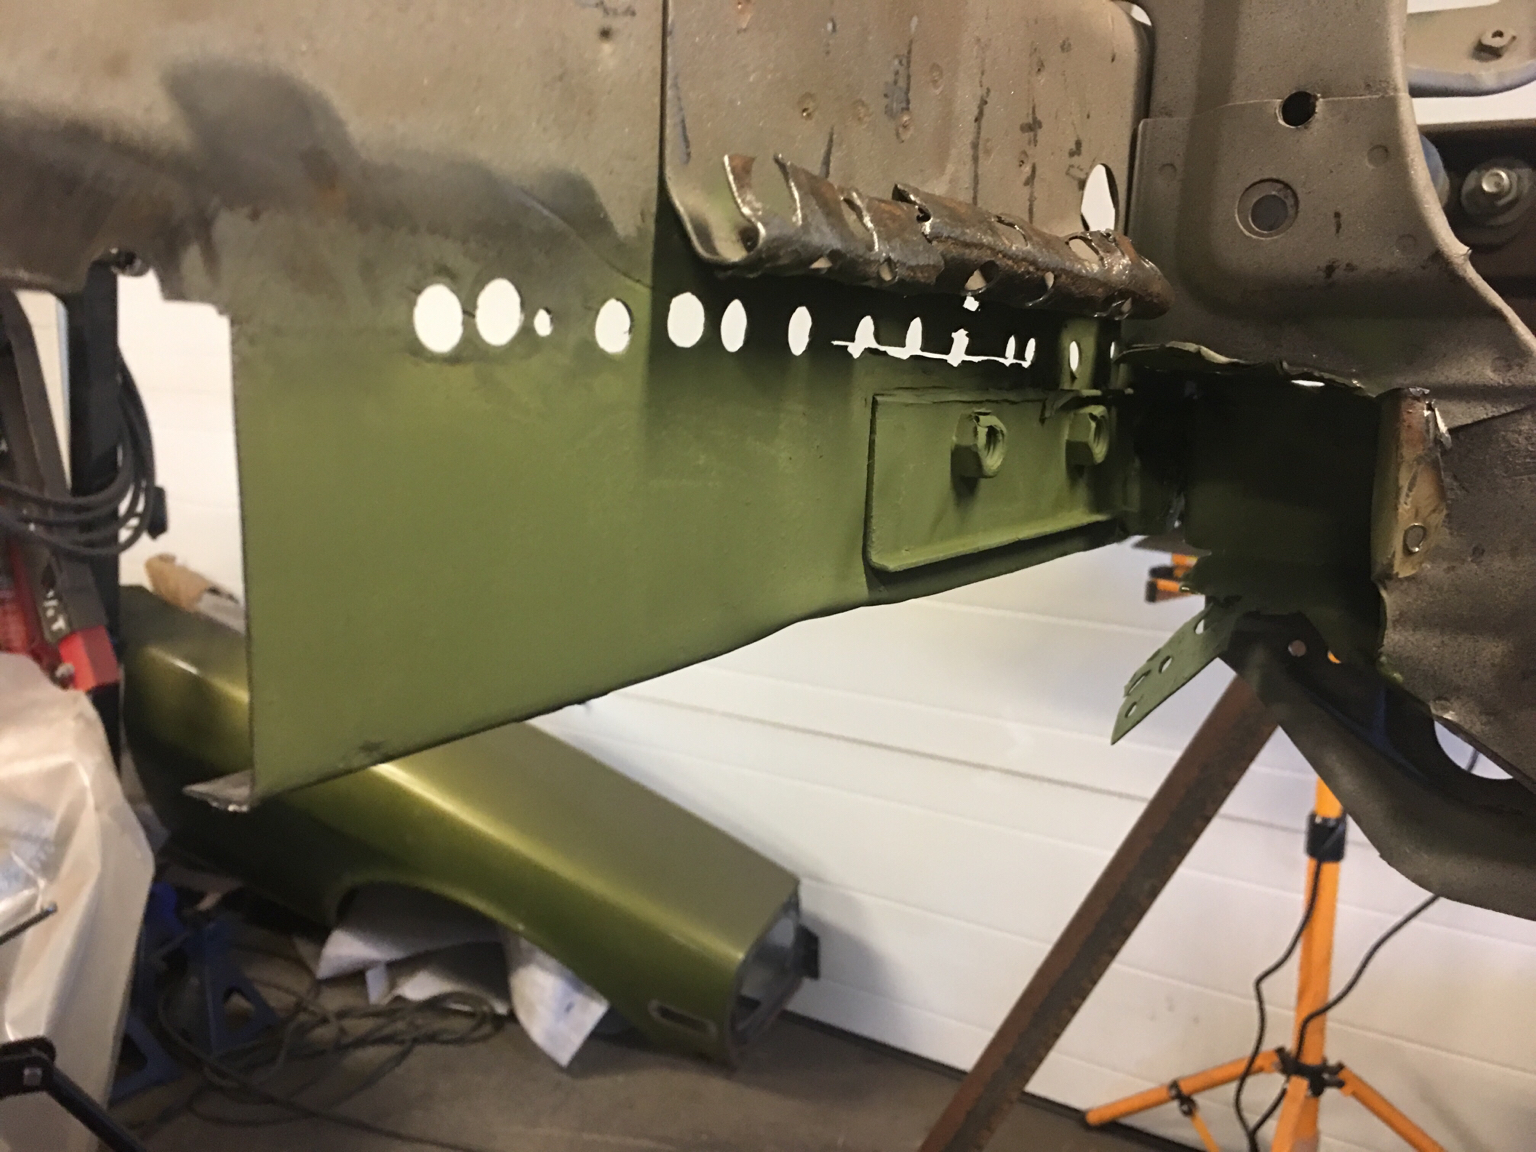
For those following the thread and wanting to know the procedure to use to make the joining sections between front frame rails and floor pan rail, this is the info from Chris (grannyknot). Get yourself one of those big family sized boxes of breakfast cereal, the box is what you want, the card board is perfect for templates, the first template you want to make all your mistakes on so fold it, cut it, tape it back together until you have the basic shape of the piece that will join the T/C box to the rail, transfer that on to a fresh piece of cardboard and make all the final adjustment it until it fits perfectly(you may or may not be able to use that template for the other side but just focus on one side at a time) Lay that template out on the sheet metal that you will make the final piece from, those rails were made out of 18ga I believe by Nissan so take the opportunity to go a little thicker, I use 12-13ga, cut the piece out with a thin cut off wheel attached to your right angle grinder then transfer the lines for the folds onto the metal piece. Now if you don't have a sheetmetal break for bending you can get excellent results by using that same thin cutoff blade and carefully run the angle grinder up those foldlines, not too deep, about 1mm, that will ensure that the metal folds perfectly on those lines and give you a clean bend. After you have fitted the piece so that it fits perfectly and just before welding it in place you are going to run a stitch weld up those folds on the inside, that will give you the strongest dam corner you could want and you should be able to use that area as a jacking point in the future. Thanks Chris!!
-
-
-
-
Very nice! Sounds like a respectable combination of parts for driveability and power!
-
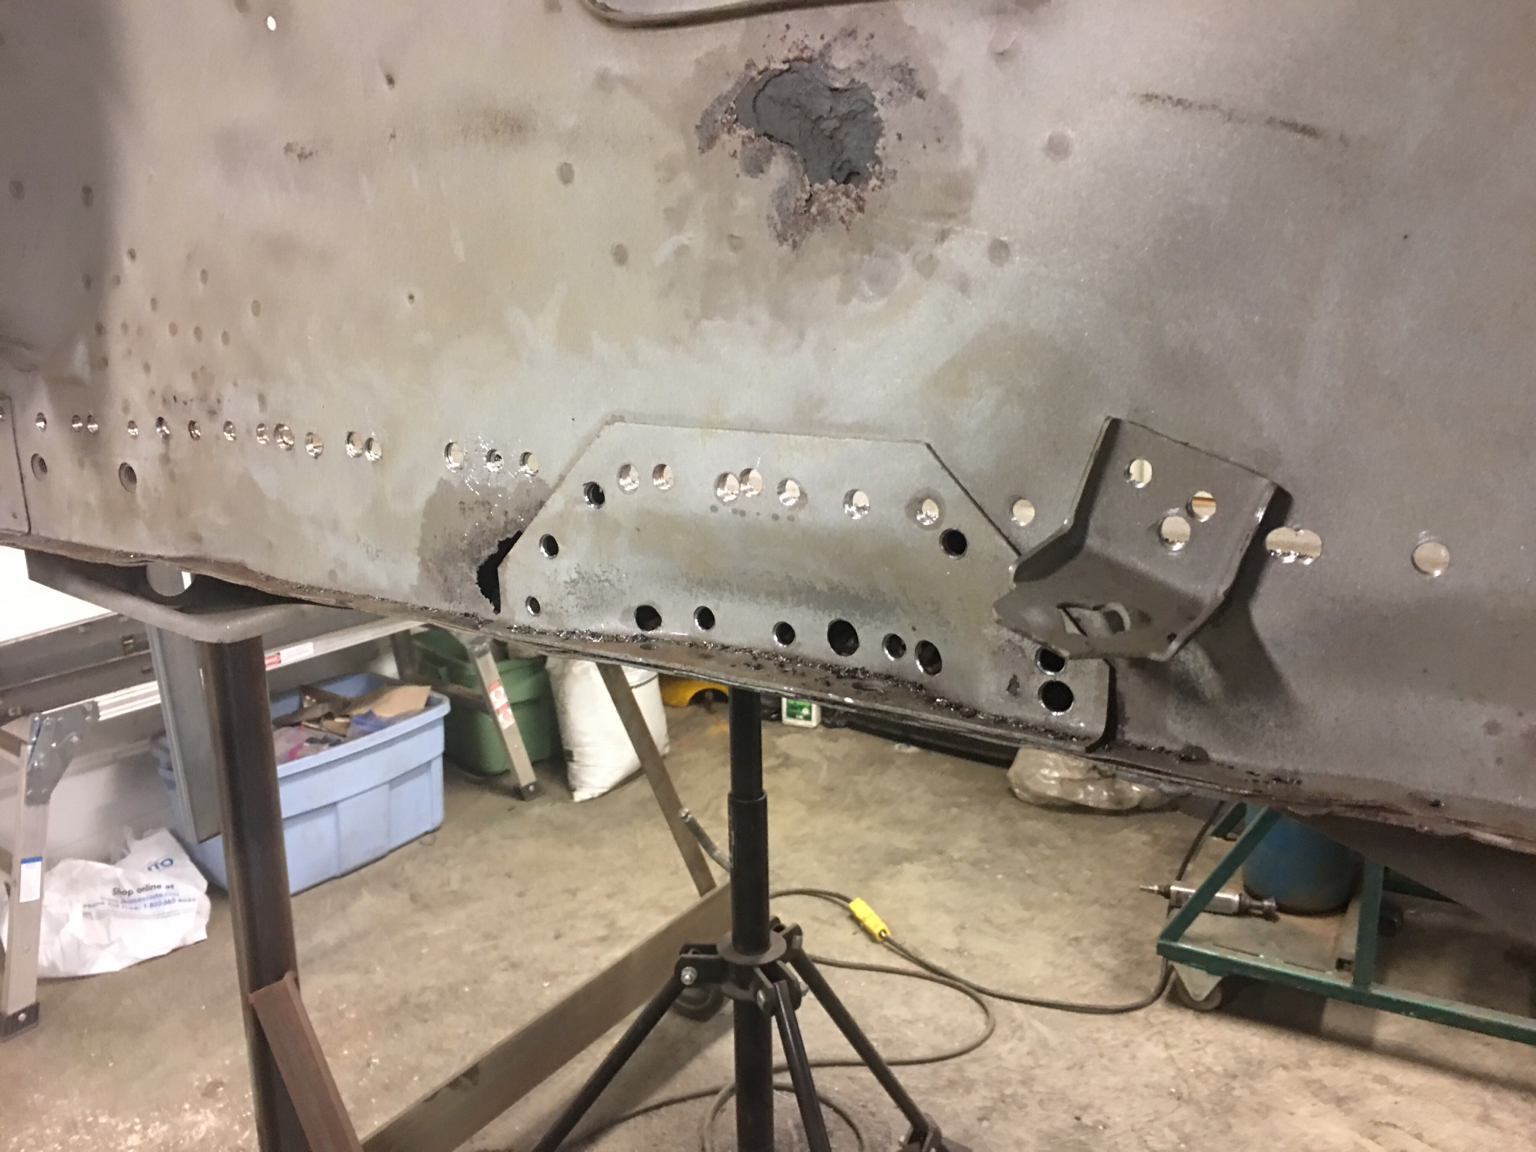
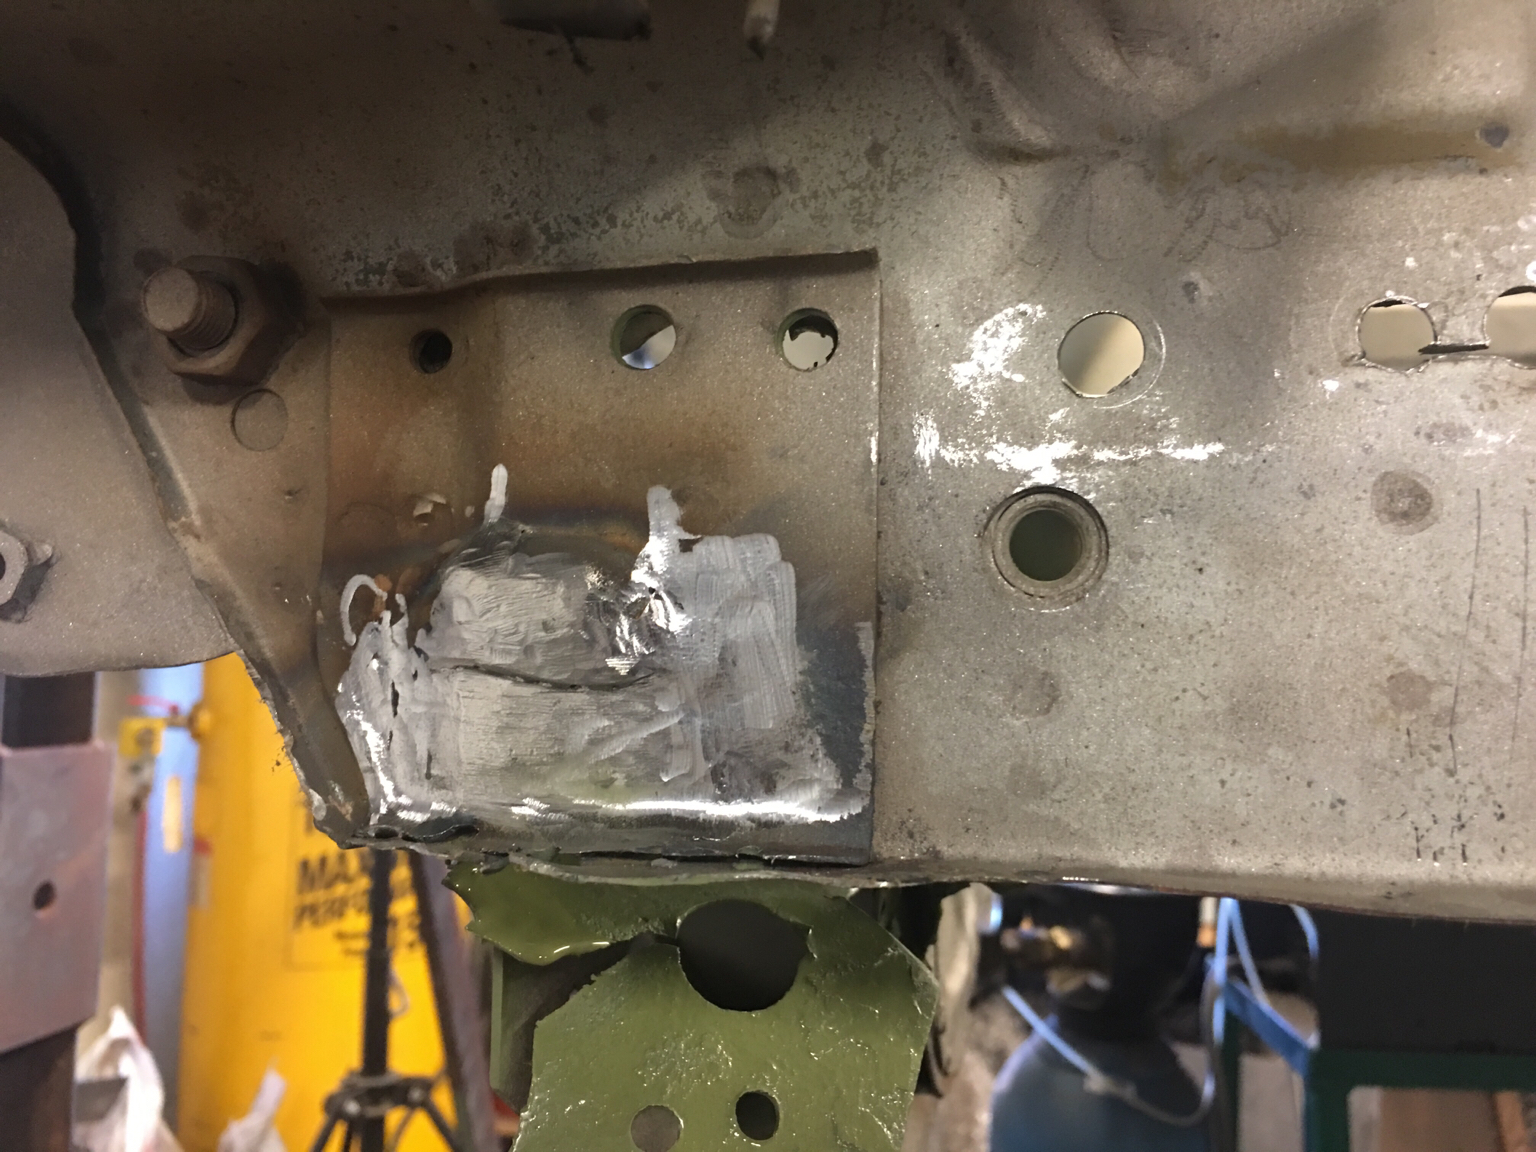
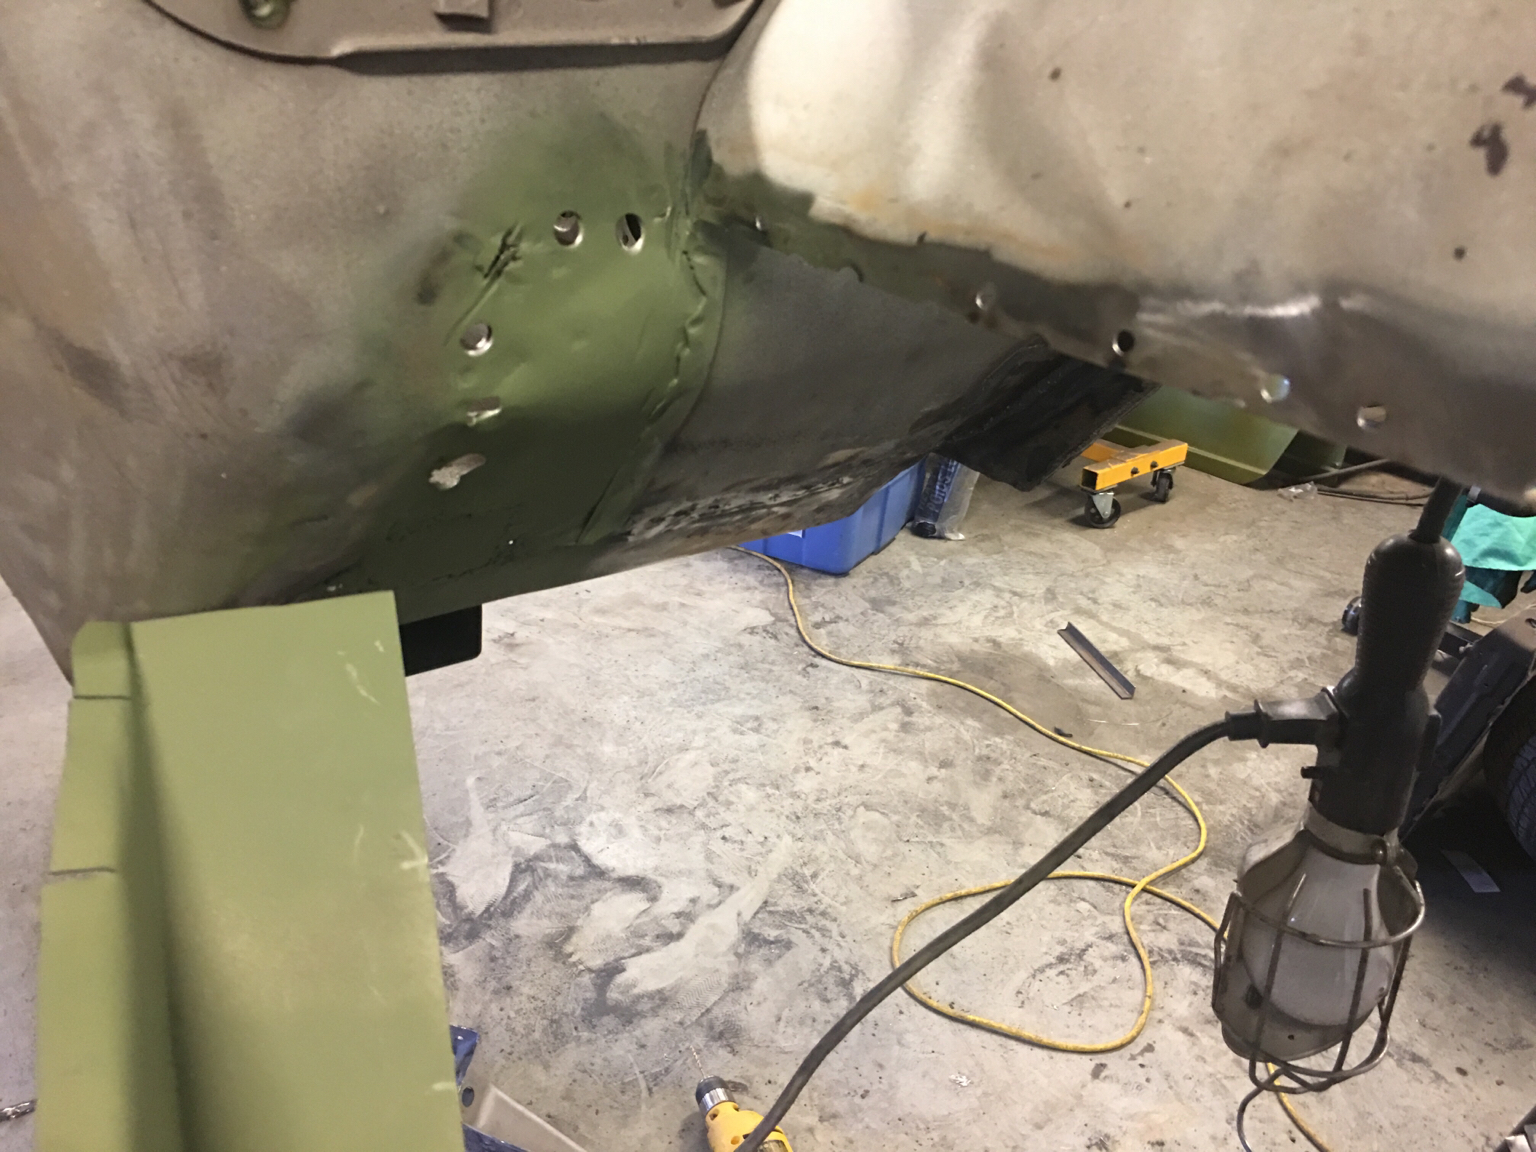
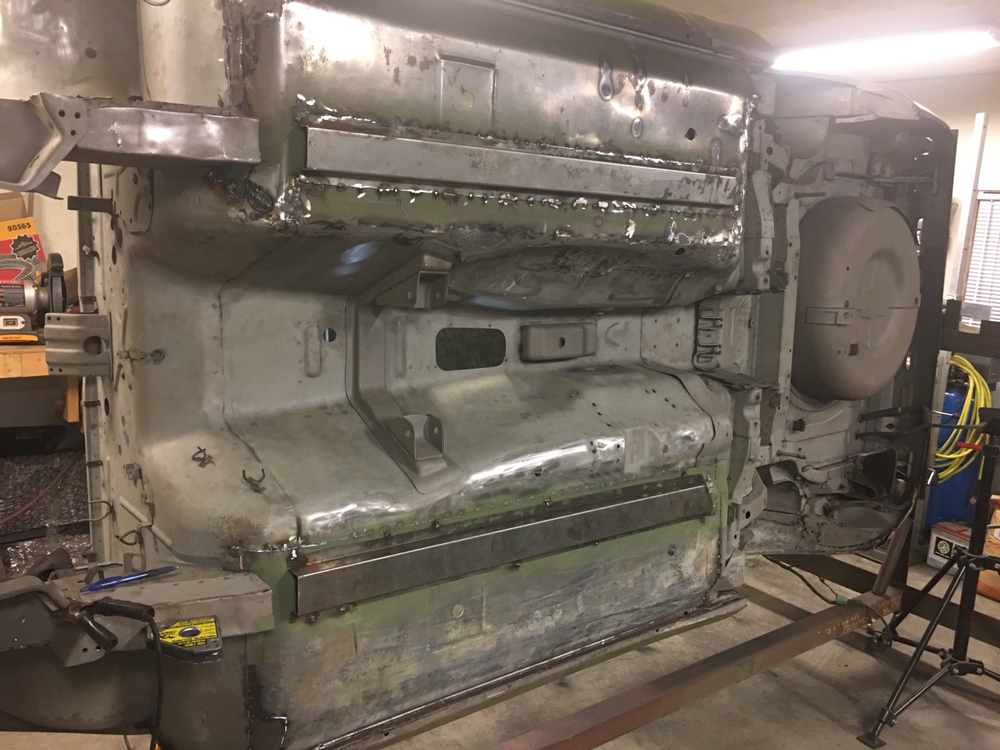
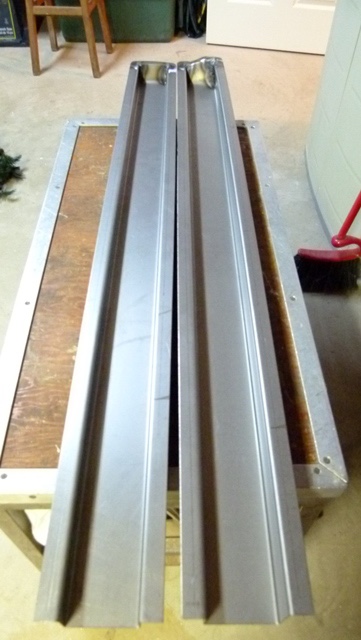
So it turns out the set of bad dog frame rails I had lined up fell through... won't be ready (off the donor car) in time. Has anyone used the new bad dog rails on top of the Zedd Findings pans and rails in a 76? The floor and rail contour seem all wrong... my rails are flat on the driver side and offset height on the passenger side. The bad dog rails seem to be identical and therefore only good for the driver side. Even then, the dissimilar height throughout the length of the frame rail is not compatible with the contour of my floor pans... Thoughts?? I'm thinking I might just have to fab my own "connecting plates" from the new front frame rails to the floor pan rails. This shows the ridge along the passenger side.

-
-
-
-
Well, if my 280 is anything like my 370, it will sit in a garage with a satin microfibre cover most of its life... The occasional road trip etc and lot's of car shows mostly. Seems like I never get enough road time in the Z's. Plus I have several daily drivers already that I use for work, groceries, hauling etc... Car seats in all of those for the Grandkids too...!
-
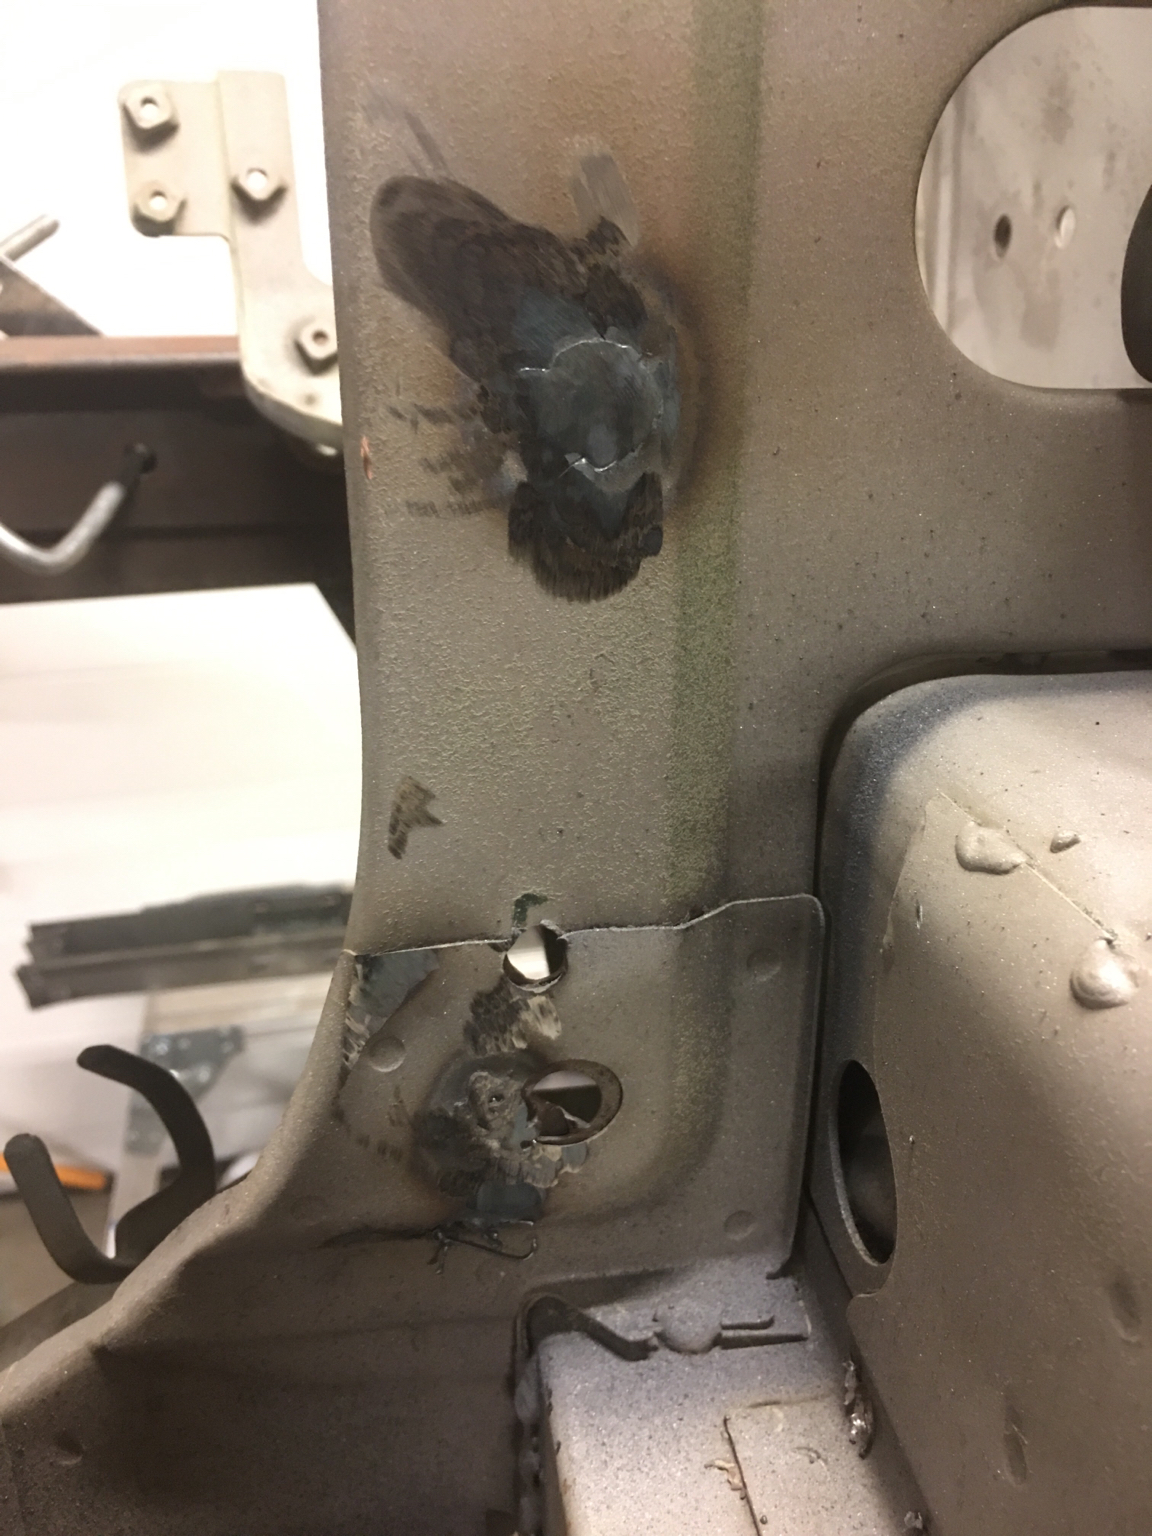
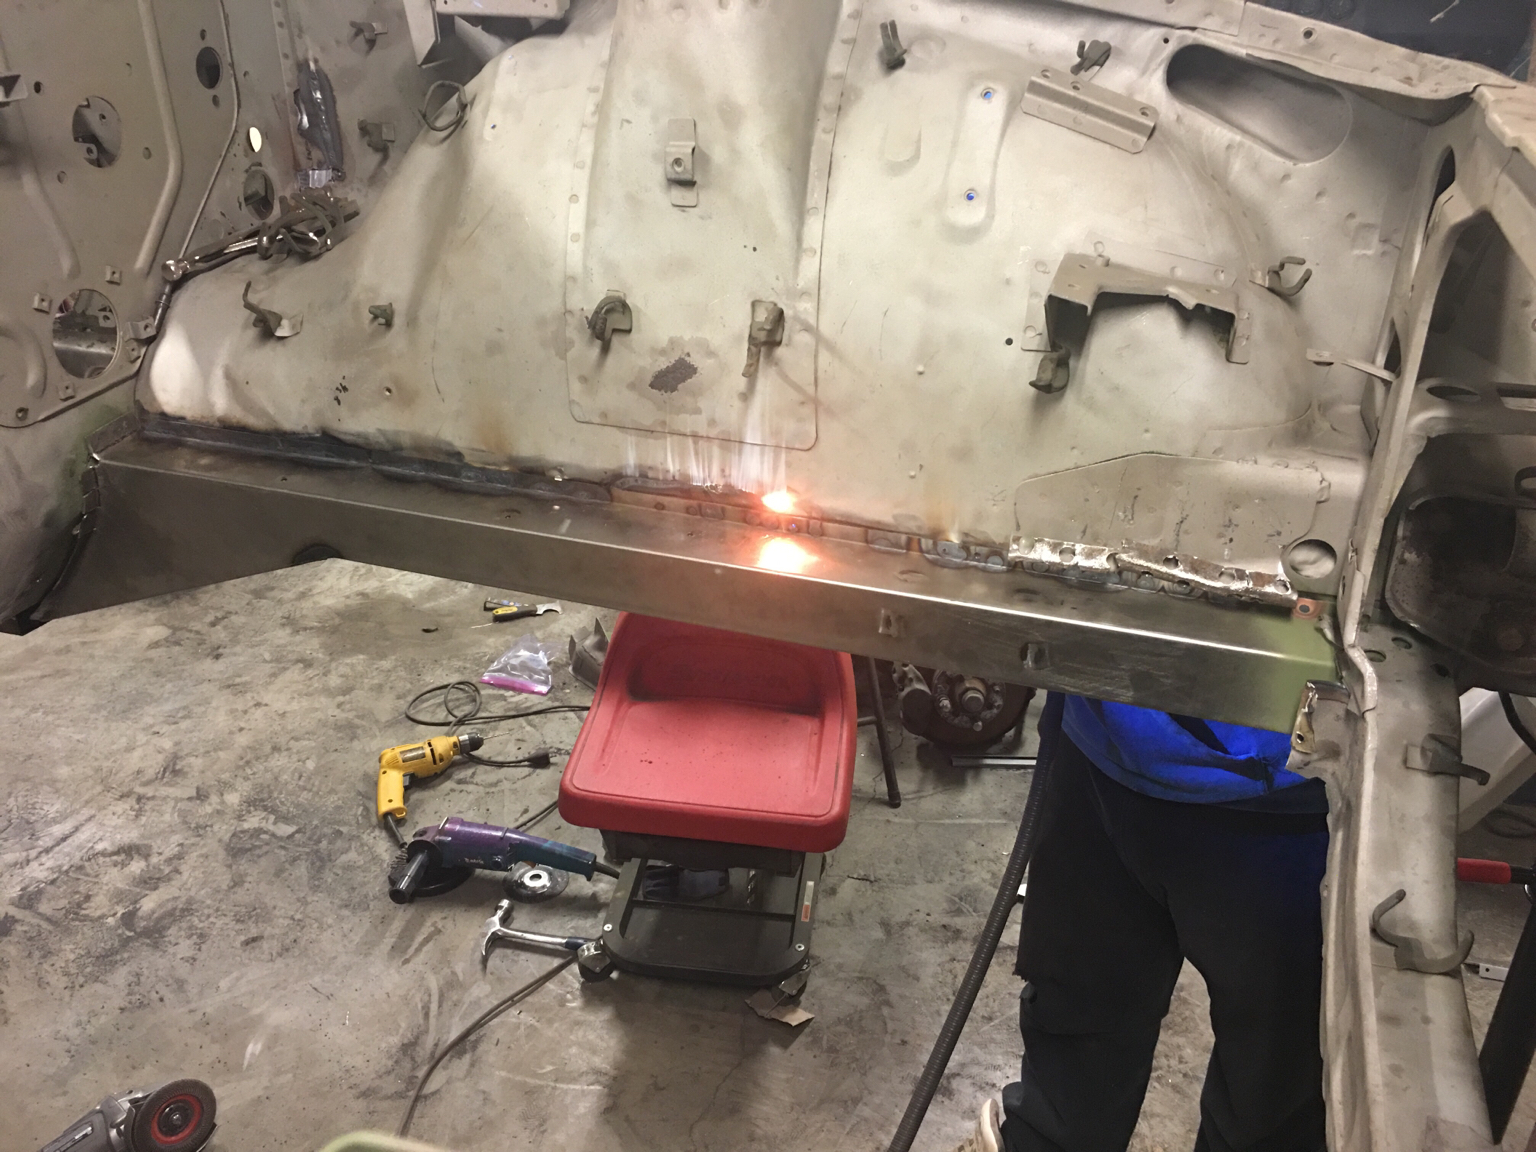
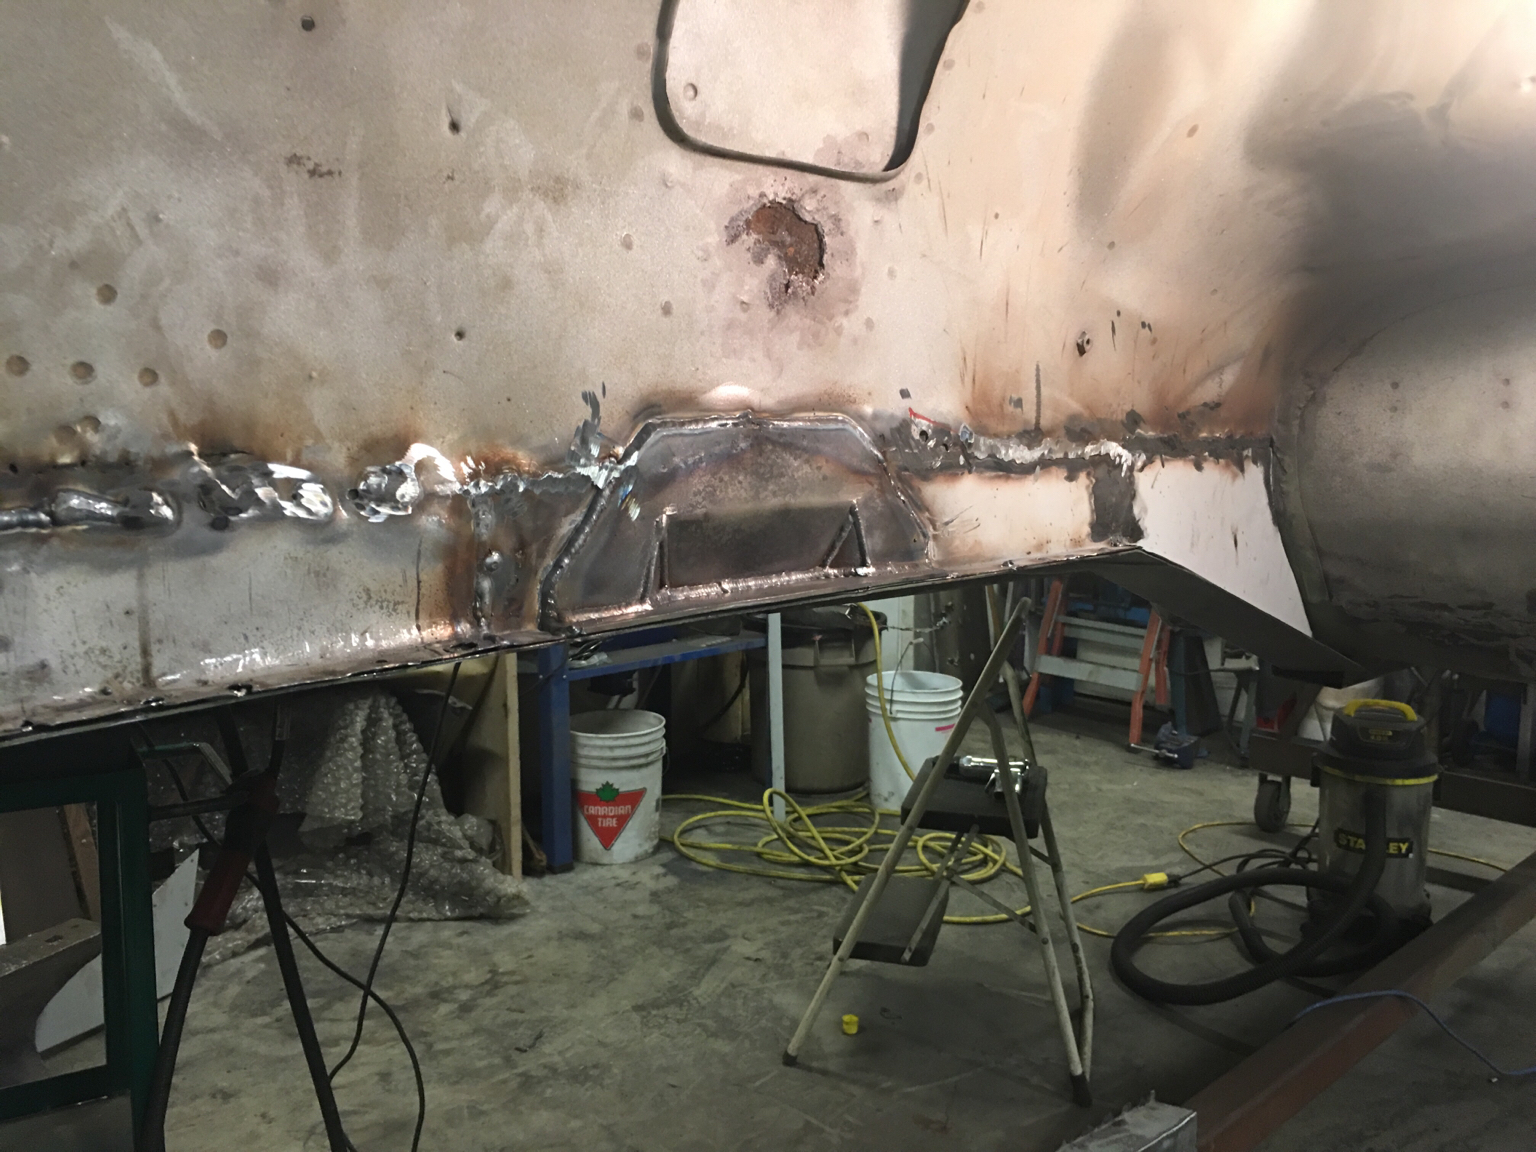
Weldable primer is not a rust encapsulator. The wand is great when you have no option to see the area you are coating, but with rails off and everything exposed, I prefer to coat every nook and cranny as best as possible. I use weldable primer on surfaces that I can access later to seal and coat properly. I will have to use the wand method on a few sections for sure. The good news is, the internal frame coat is a thick coating! If it can repel the weld and cause so much spatter it must be protecting the underlying metal pretty good...! And yes, big relief on having one side almost done!
-
I still have rocker work to do...
-
-
-
-
-
Just don't rub hard as it is abrasive to the paint. Gently wipe with a wet paper cloth and a small amount of hand cleaner.
-
-
Incredible work here!
-
Fast Orange hand cleaner is remarkable as a "spot cleaner" and wipes clean with a wet rag...
-
-