siteunseen
Free Member
-
Joined
-
Last visited
Everything posted by siteunseen
-
 What he said! I'm on my phone and slow typing.
 -
Hey Jai. I have that clutch kit in both my Zs and very satisfied with it's grip and release. It has everything needed, a complete kit 100%. The friction disc, pressure plate, throw out bearing and pilot bushing. Also an alignment tool which is very helpful when getting it all bolted up. I paid $40 for flywheel resurfacing. Luckily I had the extra money because it wasn't absolutely necessary. Pete can make the call once he sees yours. If you ride the clutch or burn them on hills with red lights he'll see the blueish color tell signs from heat. They need to be a little rough for the friction disc to be able to grab. Burnt flywheels are too slick from what I know and maybe suspect to slipping. I put that clutch on my first rebuild without researching, just the reviews I read on amazon.com. My second rebuild I installed a lightweight quick spin-up aluminum flywheel. I asked the forum's advice and Leon V, an automotive engineer, also recommended that kit. Exedy is an original equipment supplier for a bunch of car makes. I think you'll be very happy with it.
-
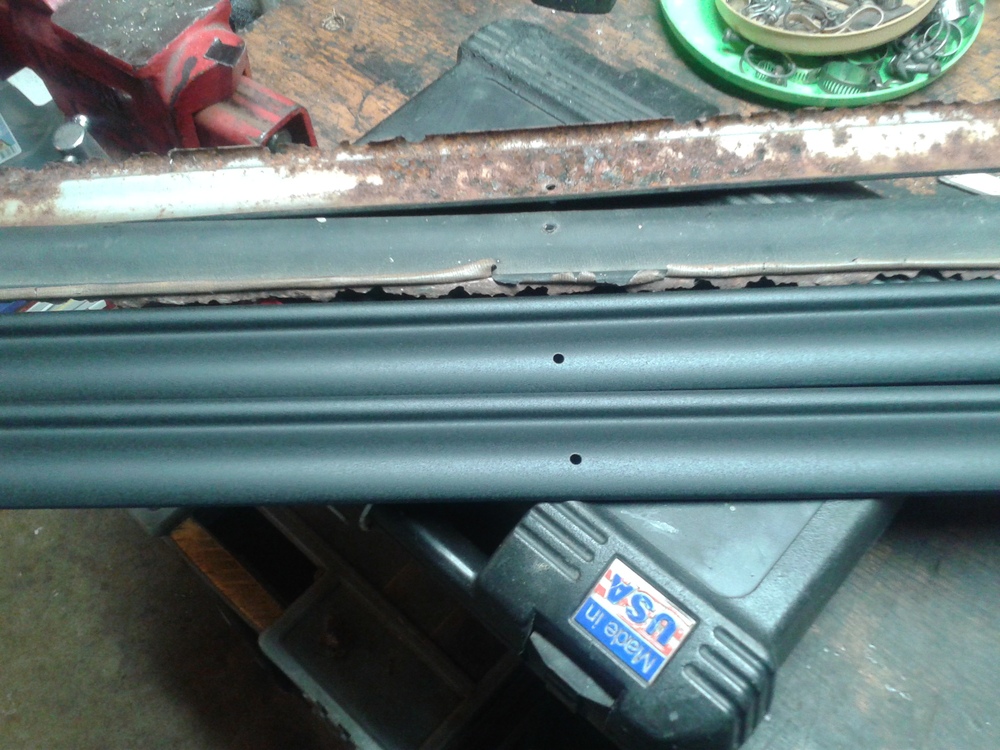
It's hard to tell in your pic. Mine was overhanging where this pencil is pointing in my pic. Check it when you get home.

-
I would think MSA would for sure have 0 offset on that lug nut pattern wheel exclusively made for our cars. But if you don't like them there's no changing your mind now. I'm the same way, ask any of my exes.
-
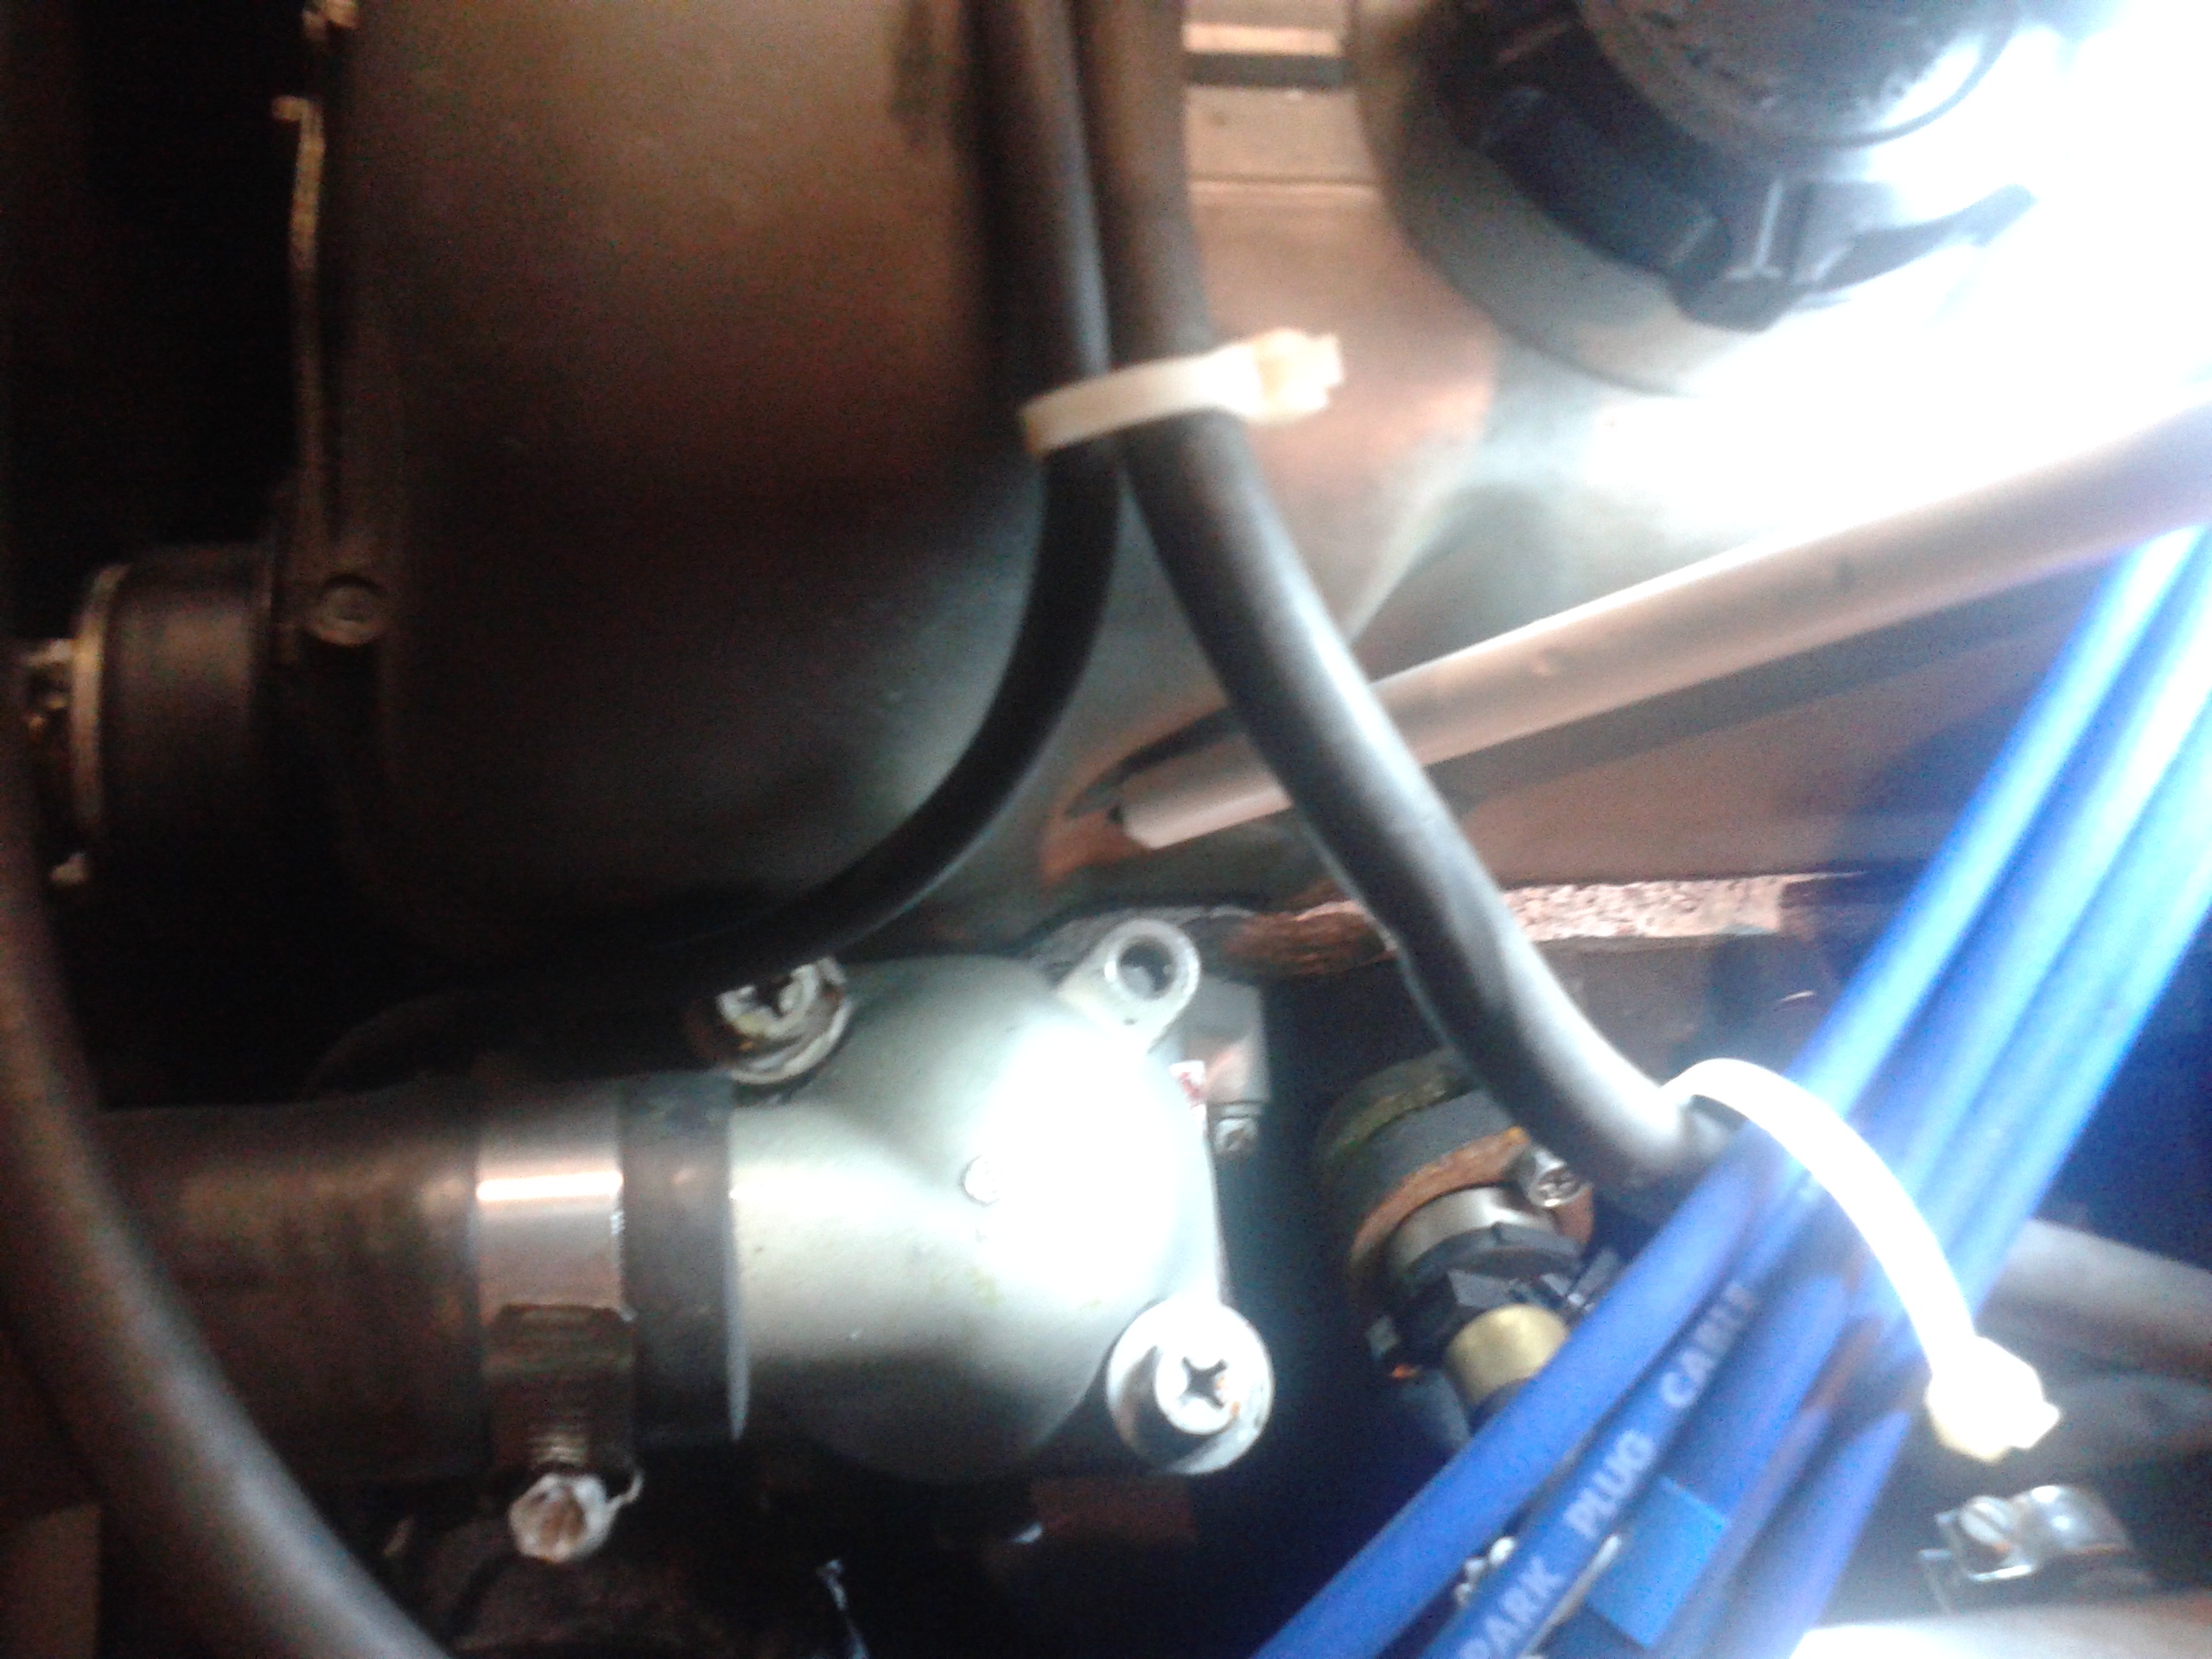
You have probably done this but I can't remember reading where you have or not but an unlit propane torch is is another easy and clean way for finding vacuum leaks. Have you looked above the thermostat housing to see if the valve cover gasket isn't upside down?
-
Saw this and it sorta looks like yours, rides a little higher in the front too.
-
Kats that is hilarious, thank you for the chuckle.
-
Me too! Jeff you remember when I bought mine a few years ago. The guy wanted $5500 and told me he had gotten a ton of calls, one from a fellow in Michigan I thought was you. It didn't run and the stock picture on the left in my signature I paid $2,000 three years ago. I've put $5,000 in it since then and now it's insured for $25,000. My insurance company requested photos of every inch of it but they agreed and did $25K. The Z gods were with me the day I bought that one.
-
I bet he could title it as 2017.
-
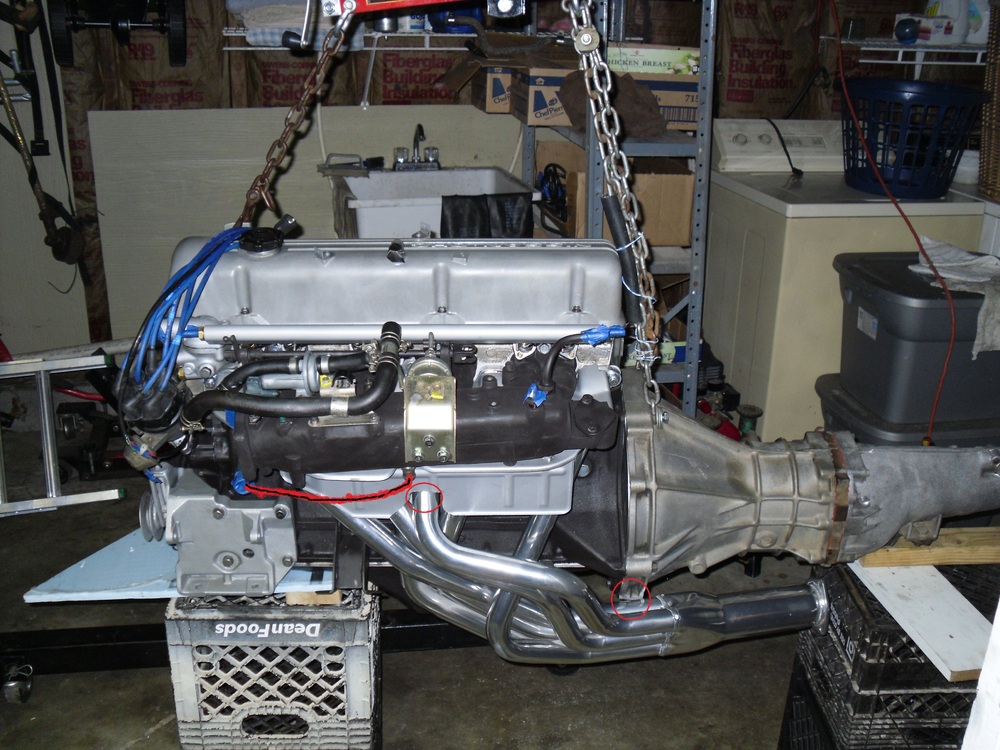
Oh okay, I know what you're saying. That picture of mine before I put it back in the car has a red circle where I had to cut out for the header. Someone asked about that awhile back and I posted that picture. To quote the good Captain "my work here is done" and apparently you're close to being finished too. Enjoy the ride.
-
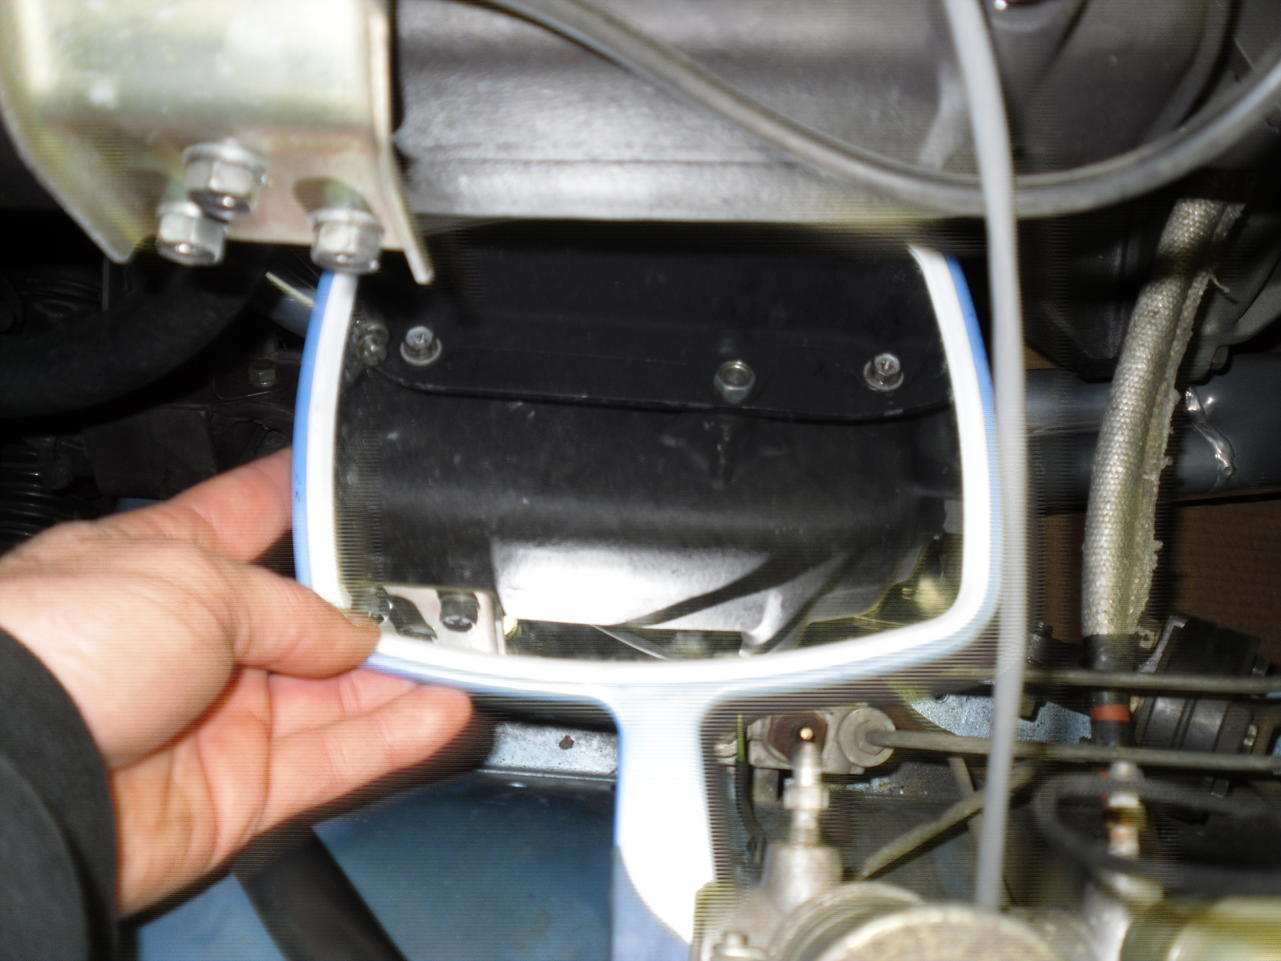
All kidding aside, Captain mentions something important in his post. You need to make sure your heat shields are installed on the underside of the intake or that hose will get too hot, turn brittle and break. Here's the best shot I have of the shields and the bolts. That red line is where the hose goes and the blue tape to the left is covering that metal tube that goes into the block.

-
Damn it man! Your going to set me back six years and start back calling them PVC.
-
Thanks Charles! I'm gonna have to man up and sale on ebay. Always a buyer, never been much of a seller. I'm too honest to be a salesman.
-
Last month they were $296 a set after rebates and discounts. Now they've gone back to $430. I knew you'd jump in on this Jeff after you saw it. Your the one that pointed how lightweight they are. I love mine. 15x7 with hankook, hancocks? 205/50s.
-
It's the pcv tube out of the block and the hose that runs to the pcv valve under the intake. I've seen a couple of high performance motors with them deleted so it's possible but I would run it if it were mine. I think it serves a purpose after reading a current thread Captain Obvious has going now.
-
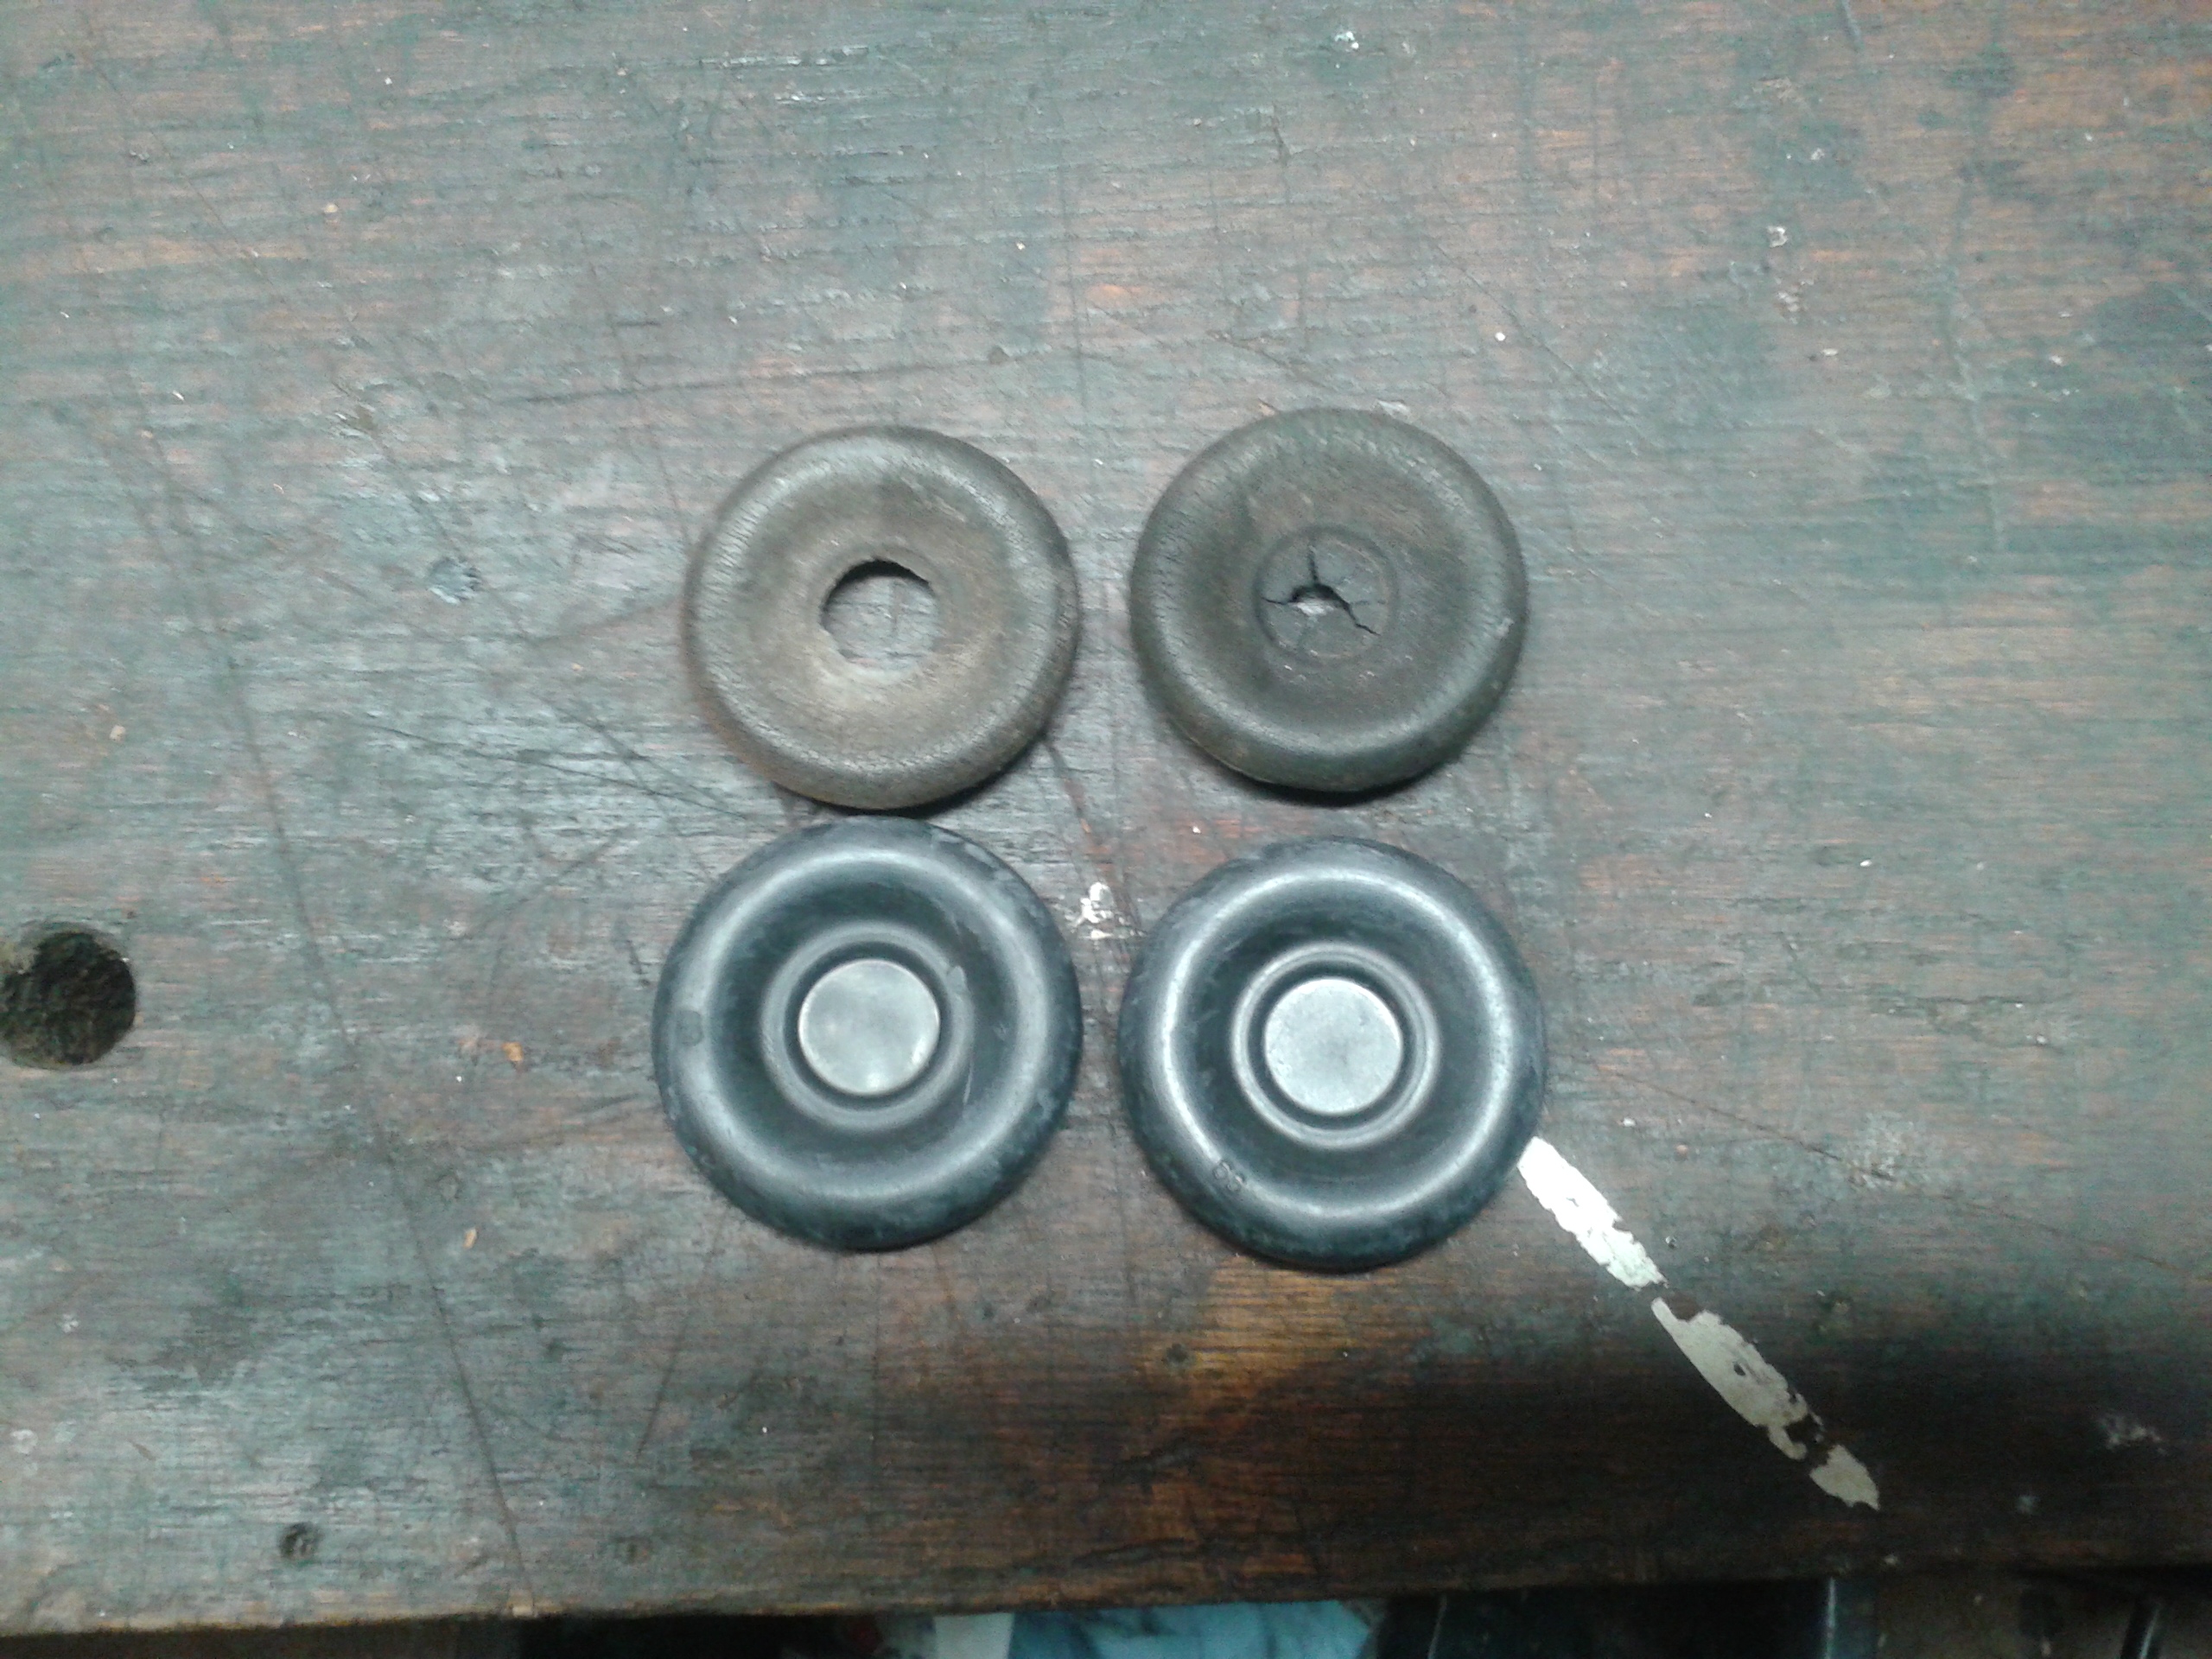
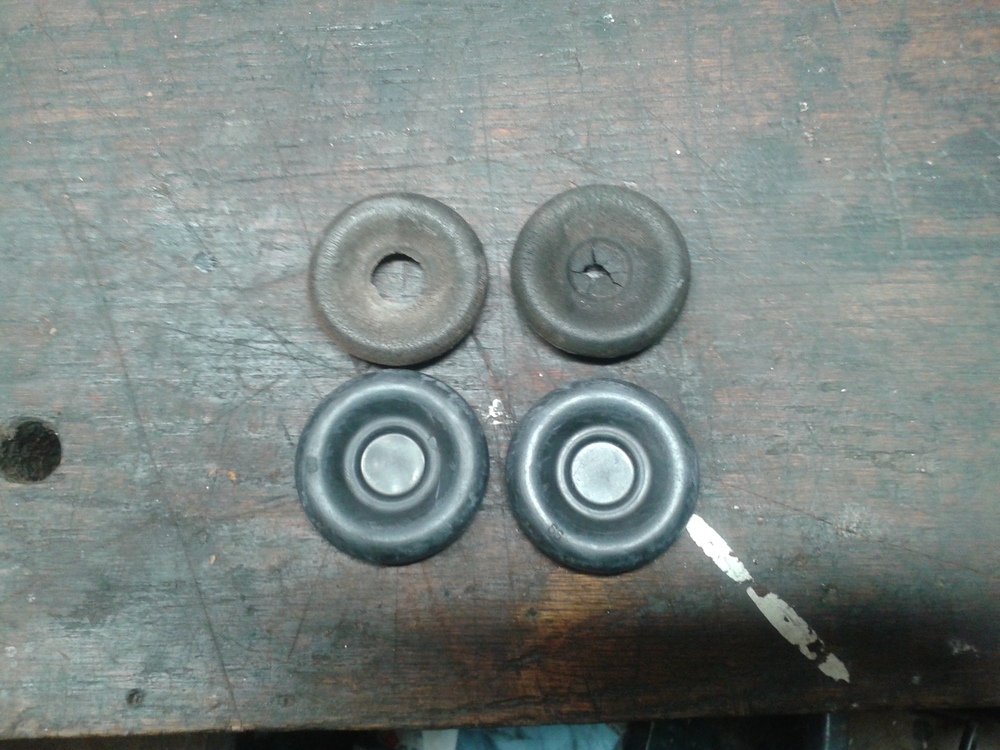
Yes. Calcium from the water covers them over the years and they lose their sensitivity. Wire wheel, sandpaper whatever you have that won't gouge it. Clean all three. The wire on the temp gauge may need the female end squeezed together
-
I just thought of something. The connectors are the same and people hook them up wrong all the time. You may just swap the plugs around and get back working. If I remember right thermotine is brownish, temp gauge is greenish or off white? My temp gauge sensor has a single wire, bullet connector.
-
Those are two separate parts on my '77. Can you not clean them up enough, shiny brass, or is it the connections that are bad? I found my thermotine sensor at a junkyard, they are high as a giraffes arse everywhere else. Temp sensor are available at rockauto.
-
Yes they are 240 parts and definitely tired. Rob I'll see if I can find a part number and call my local dealership to check availability.
-
45 year old car parts overnight. Getting ready for my first car show April 1st in Chattanooga.
-
The fuel that is in the nozzles at night when you shut the car down will evaporate overnight. Dropping them down with the choke allows them to refill. I think you finally have the carbs adjusted correctly and you say it "seems fine and good response..." so shut the hood and drive the tires off it.
-
Looks great! Not too shiny either.
-
It is a junction type box I guess. The green and red wires from the distributor connect with the green and red coming out of the wiring harness. It can be opened from the top, it's hinged at the bottom, by pushing in this little clip you'll see. here you go, I had it backwards above ^^^^^^.
-
That looks really clean! I'm hoping you figure out your gremlins soon. 8^) What's the loop of wires around the afm*
-
Thank you! Saved me some time.