Patcon
 Subscriber
-
Joined
-
Last visited
Everything posted by Patcon
-
 I put mine in a pickel bath when I plate but not for very long and it's not heated. I haven't had any issues. But acids vary and his Ph might be really low.
 -
Did you have pieces plated that had plastic damage?
-
I don't know, I didn't want to stand over them but they weren't in the shop long. I suspect a new piece of glass is a little more forgiving too. I have the original axles from the donor car. What is the best way to check for binding?
-
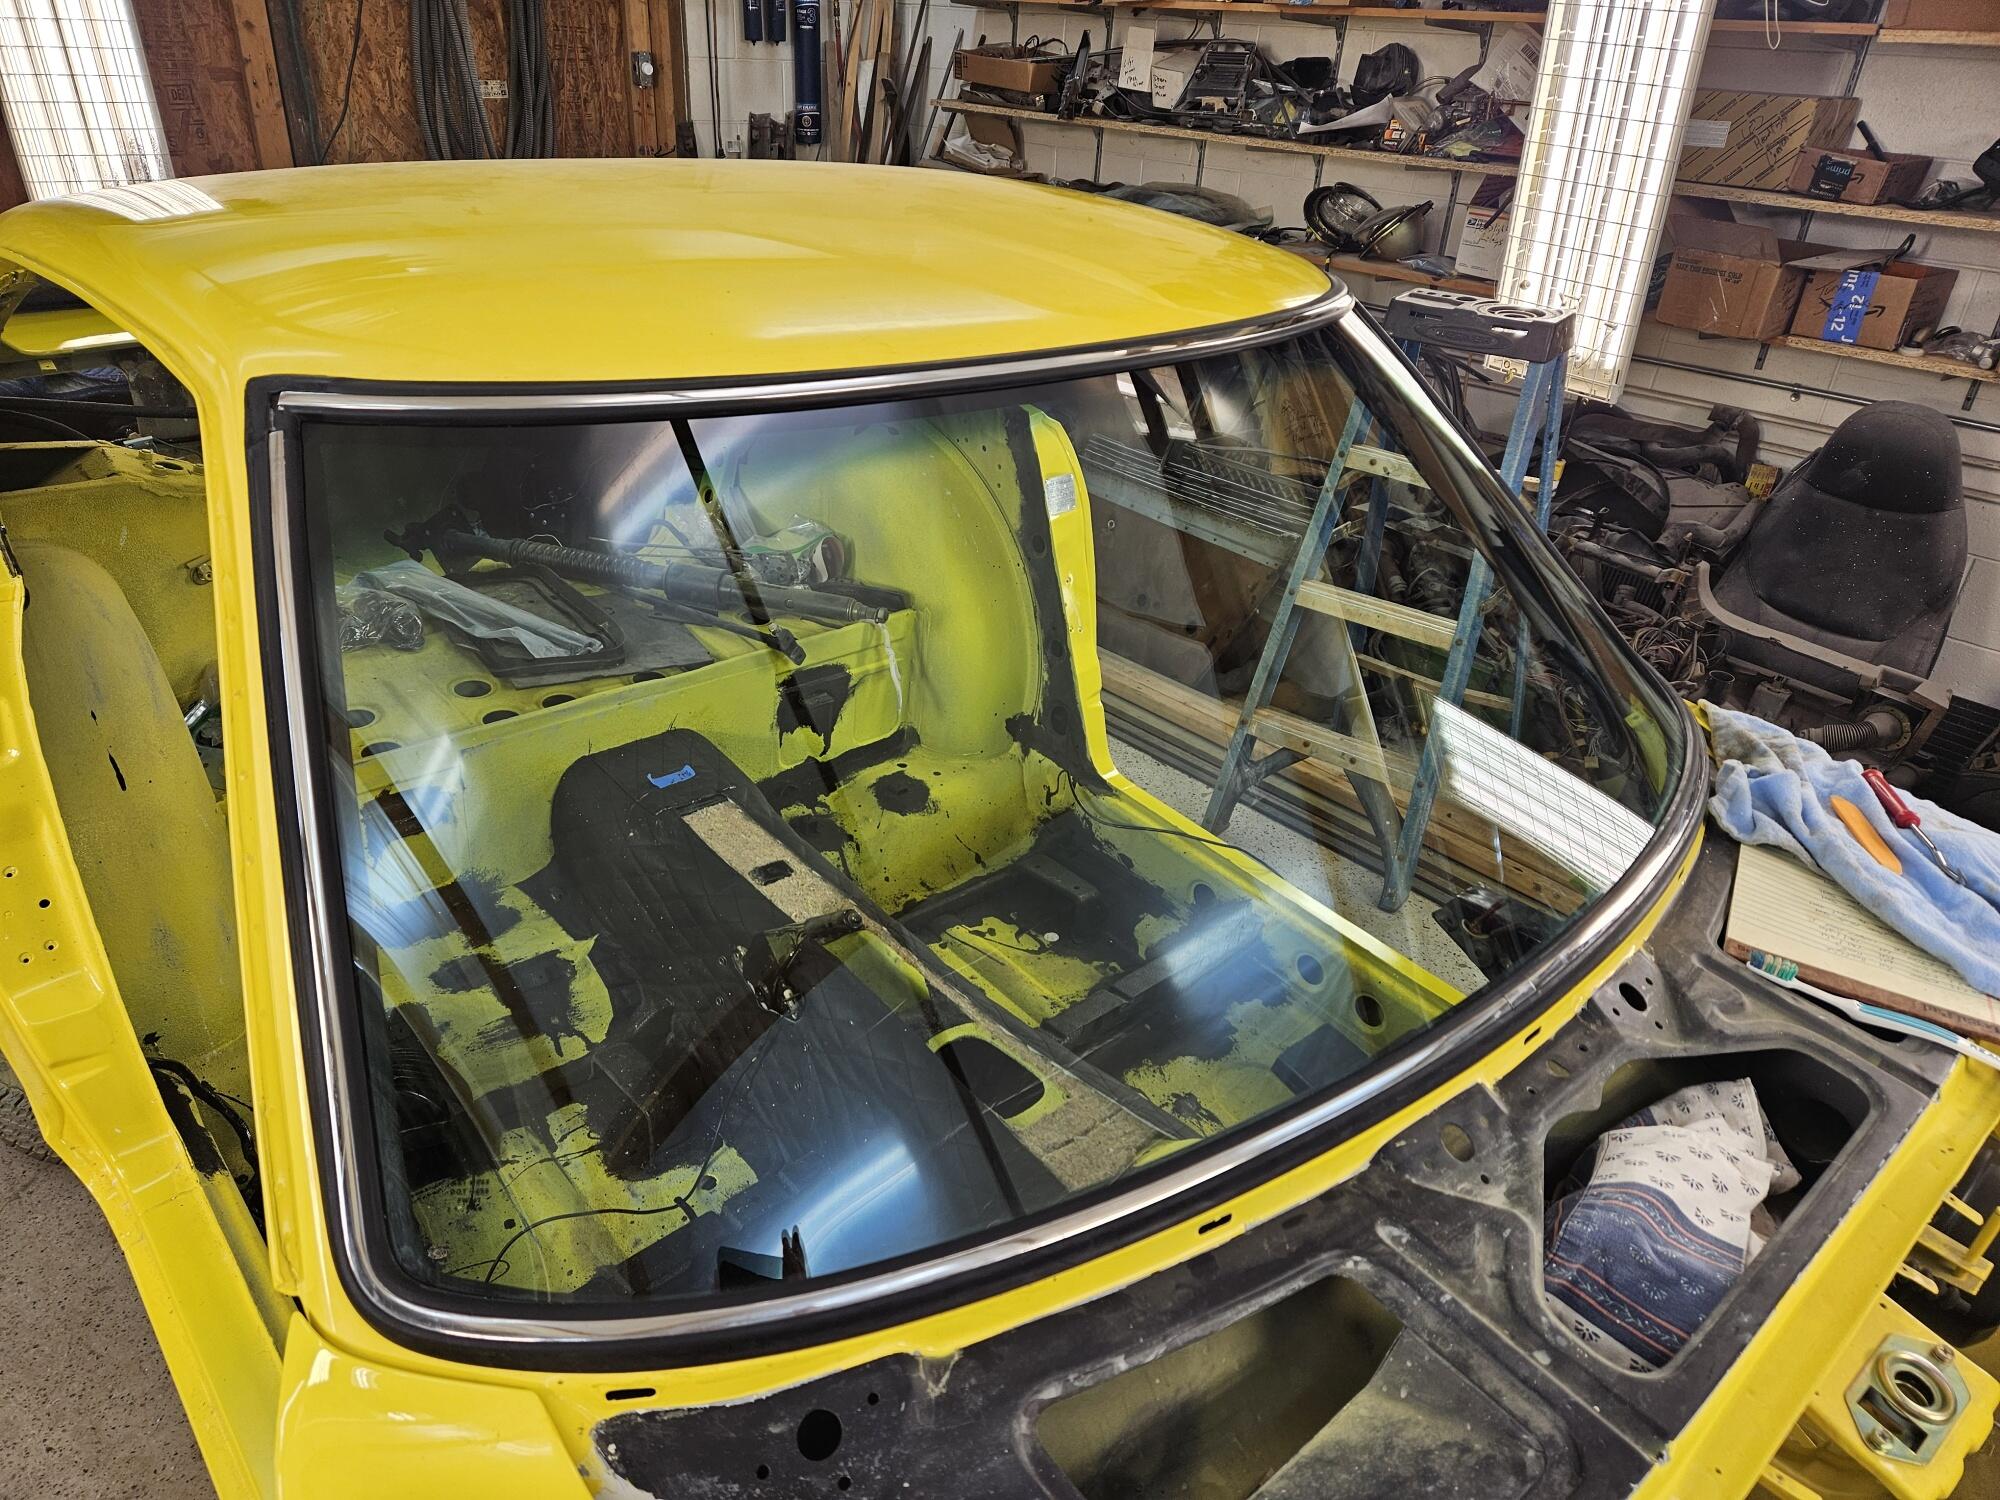
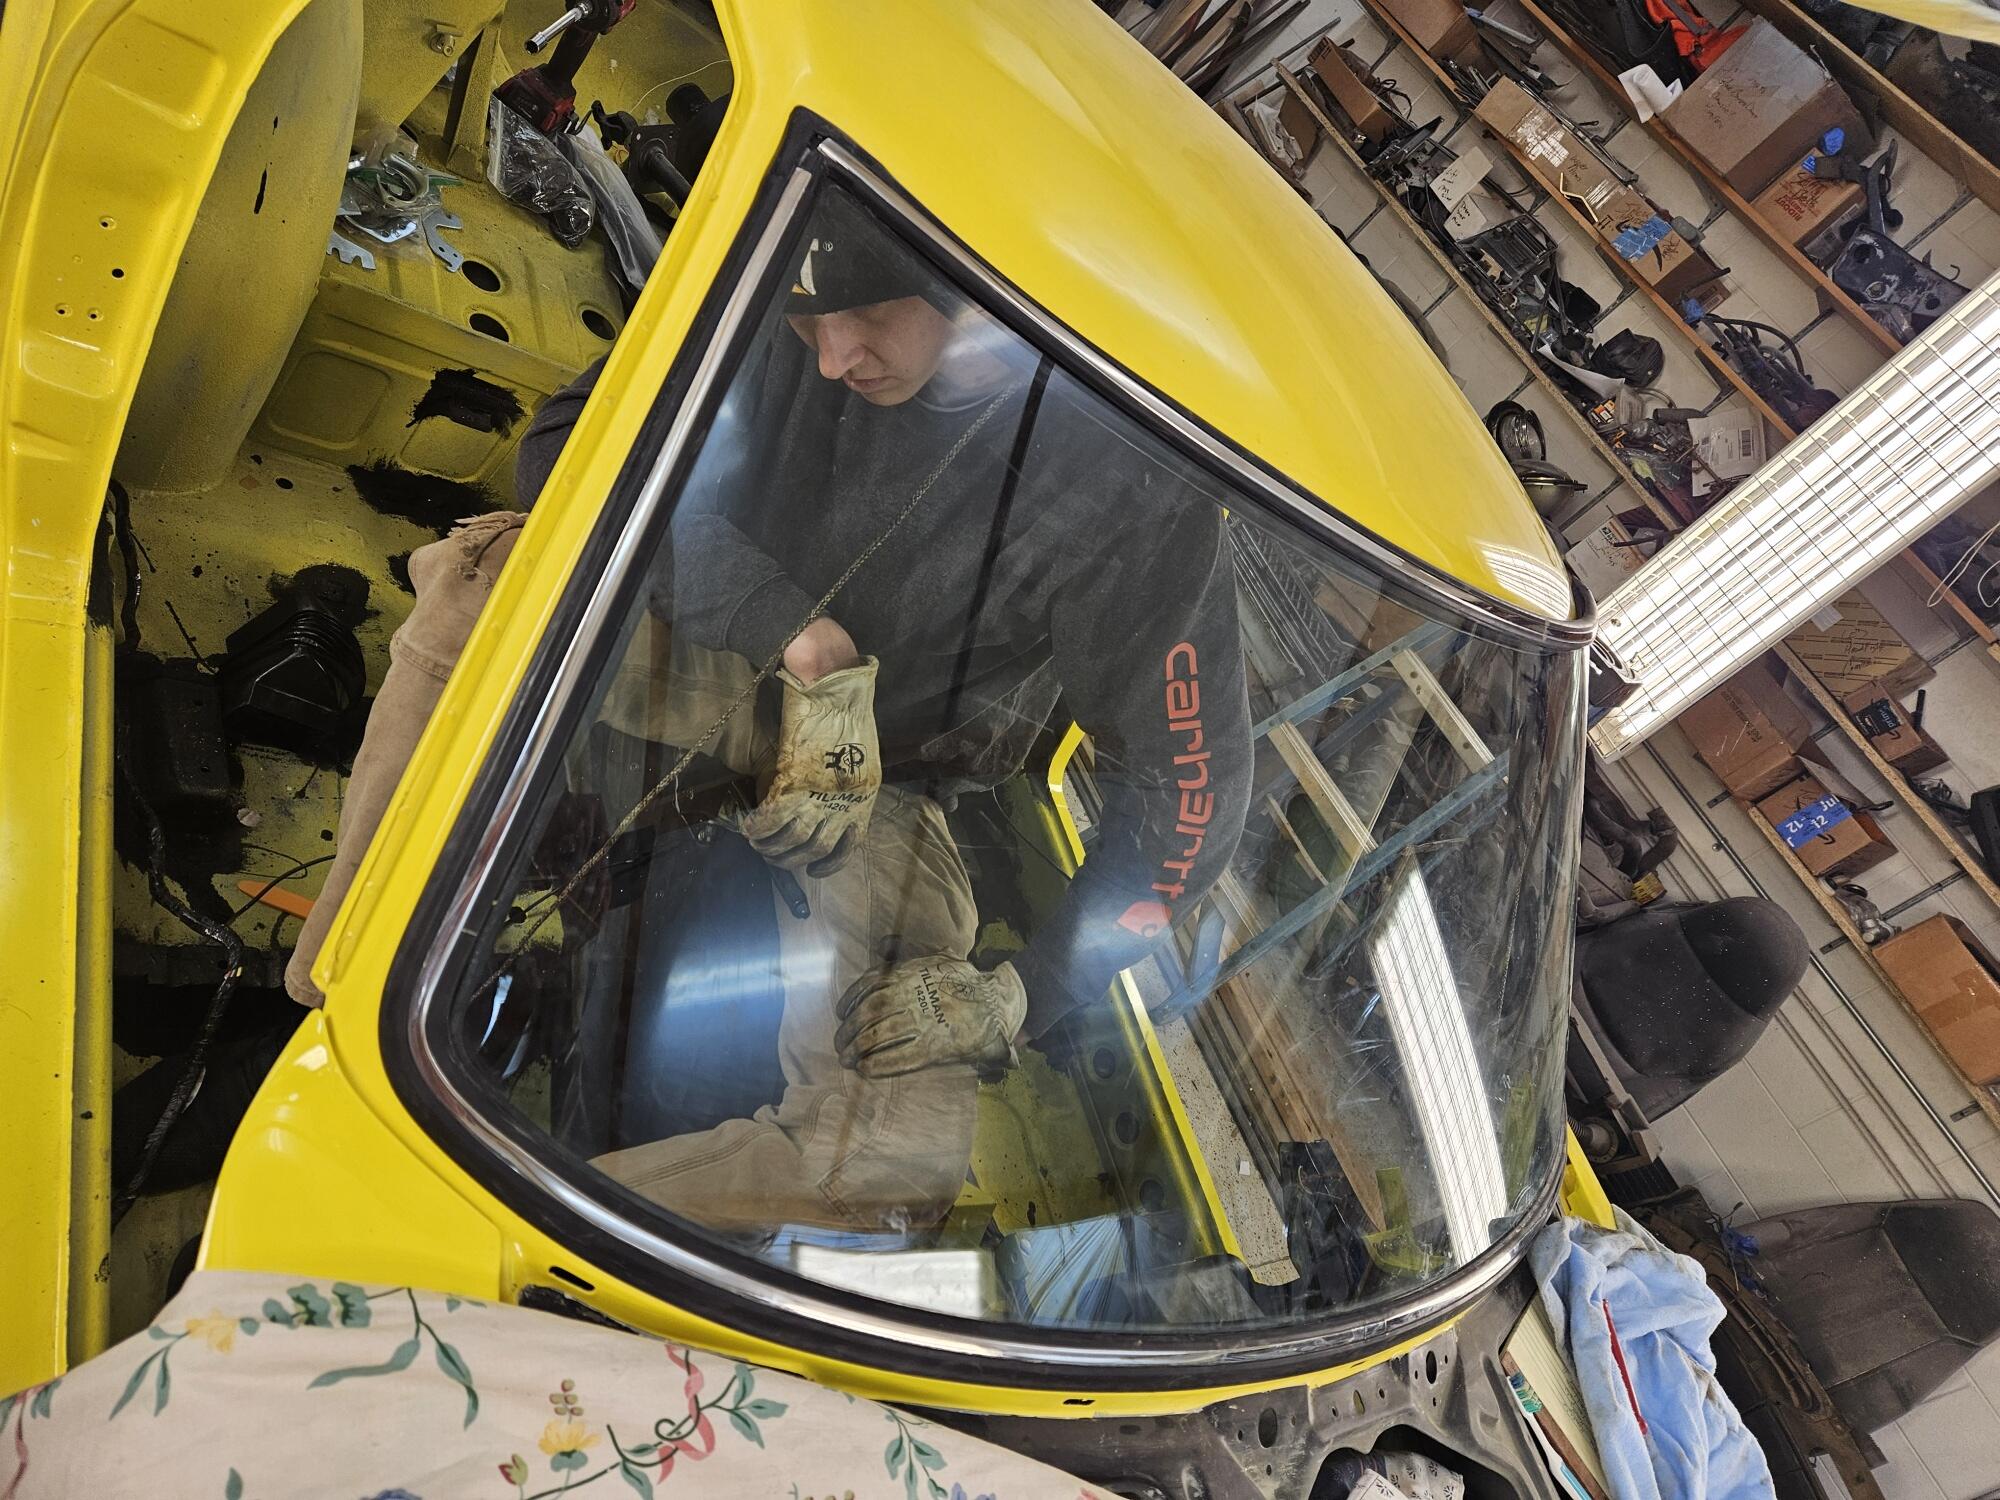
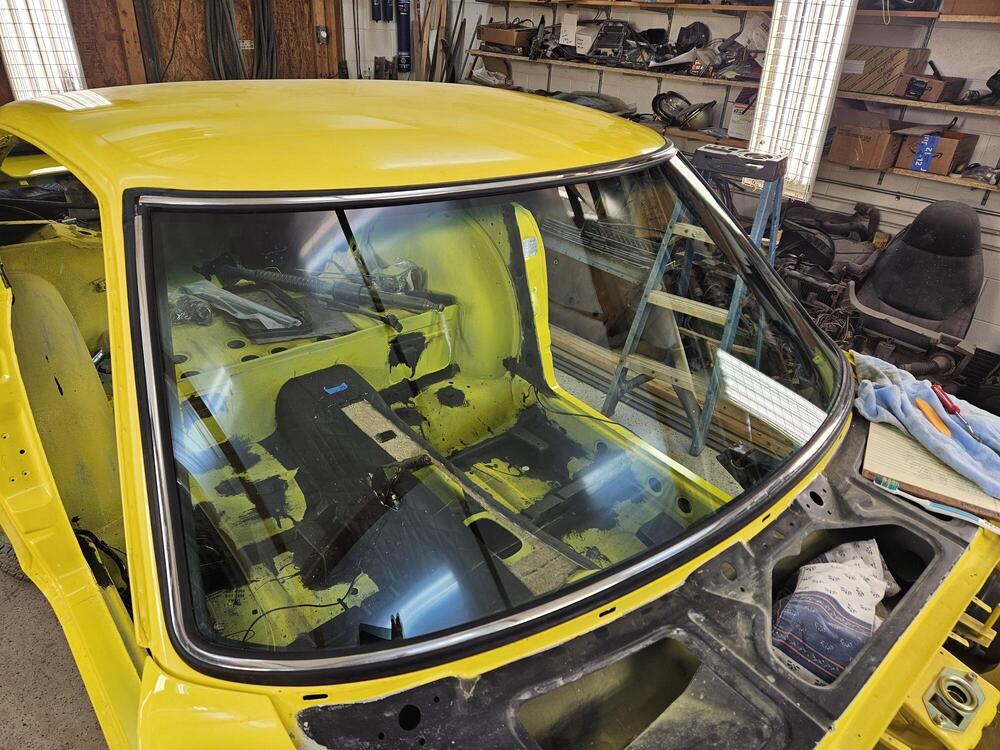
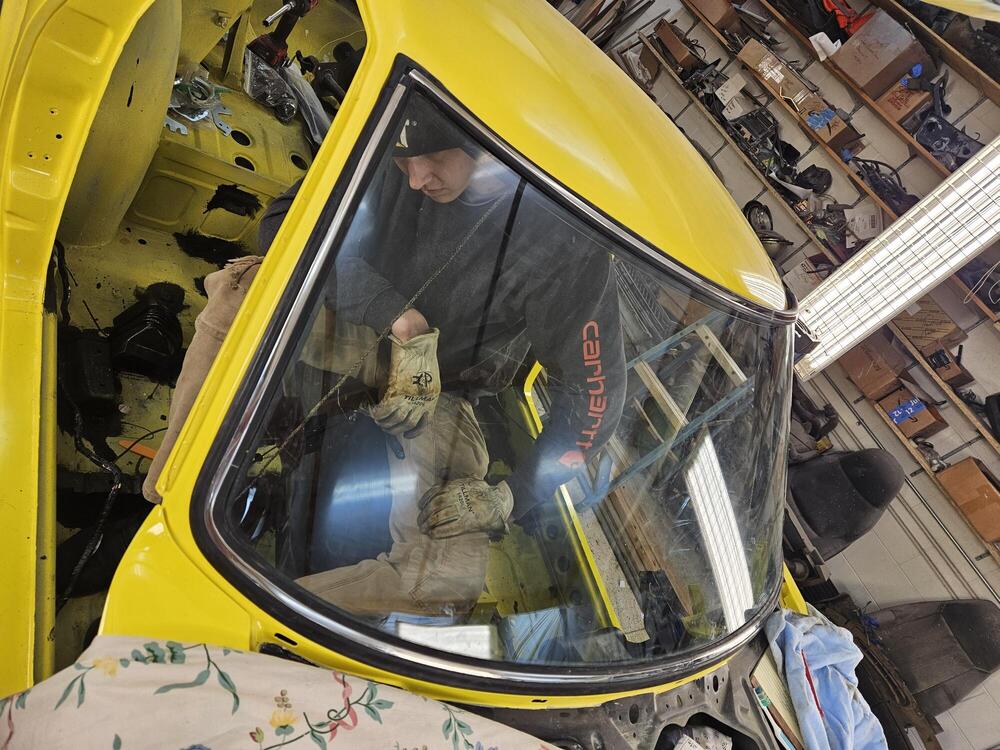
I had a new windshield put in my truck today. While they were here I had them put a new windshield in Lily. It took them maybe 20 minutes. About $300 and they'll warranty it I also received these from DriftHQ the other day. These adapt the factory hub spindle to to the 300ZX turbo CV axles

-
This discussion might fit better in a different thread. Not the BAT one..
-
-
-
Provided the speedo cable is properly indexed into the transmission, it should turn when the car is moving. You shouldn't be able to rotate the speedo end of the cable when its installed in the tranny barring the shafts flexibility. The drive for the speedo is a stand alone gear near the end of the output shaft. It could have a problem and the rest of the tranny would care less. Edit: As I recall the drive gear for the pinion is metal, maybe brass. The pinion is plastic. I would think the pinion would disintegrate before the drive gear. I believe the drive gear has a ball bearing under it as a keyway and snap rings on either side. Maybe the gear has move somehow to where they don't mesh? Does your speedo cable have the keys on it?
-
Those look really good!
-
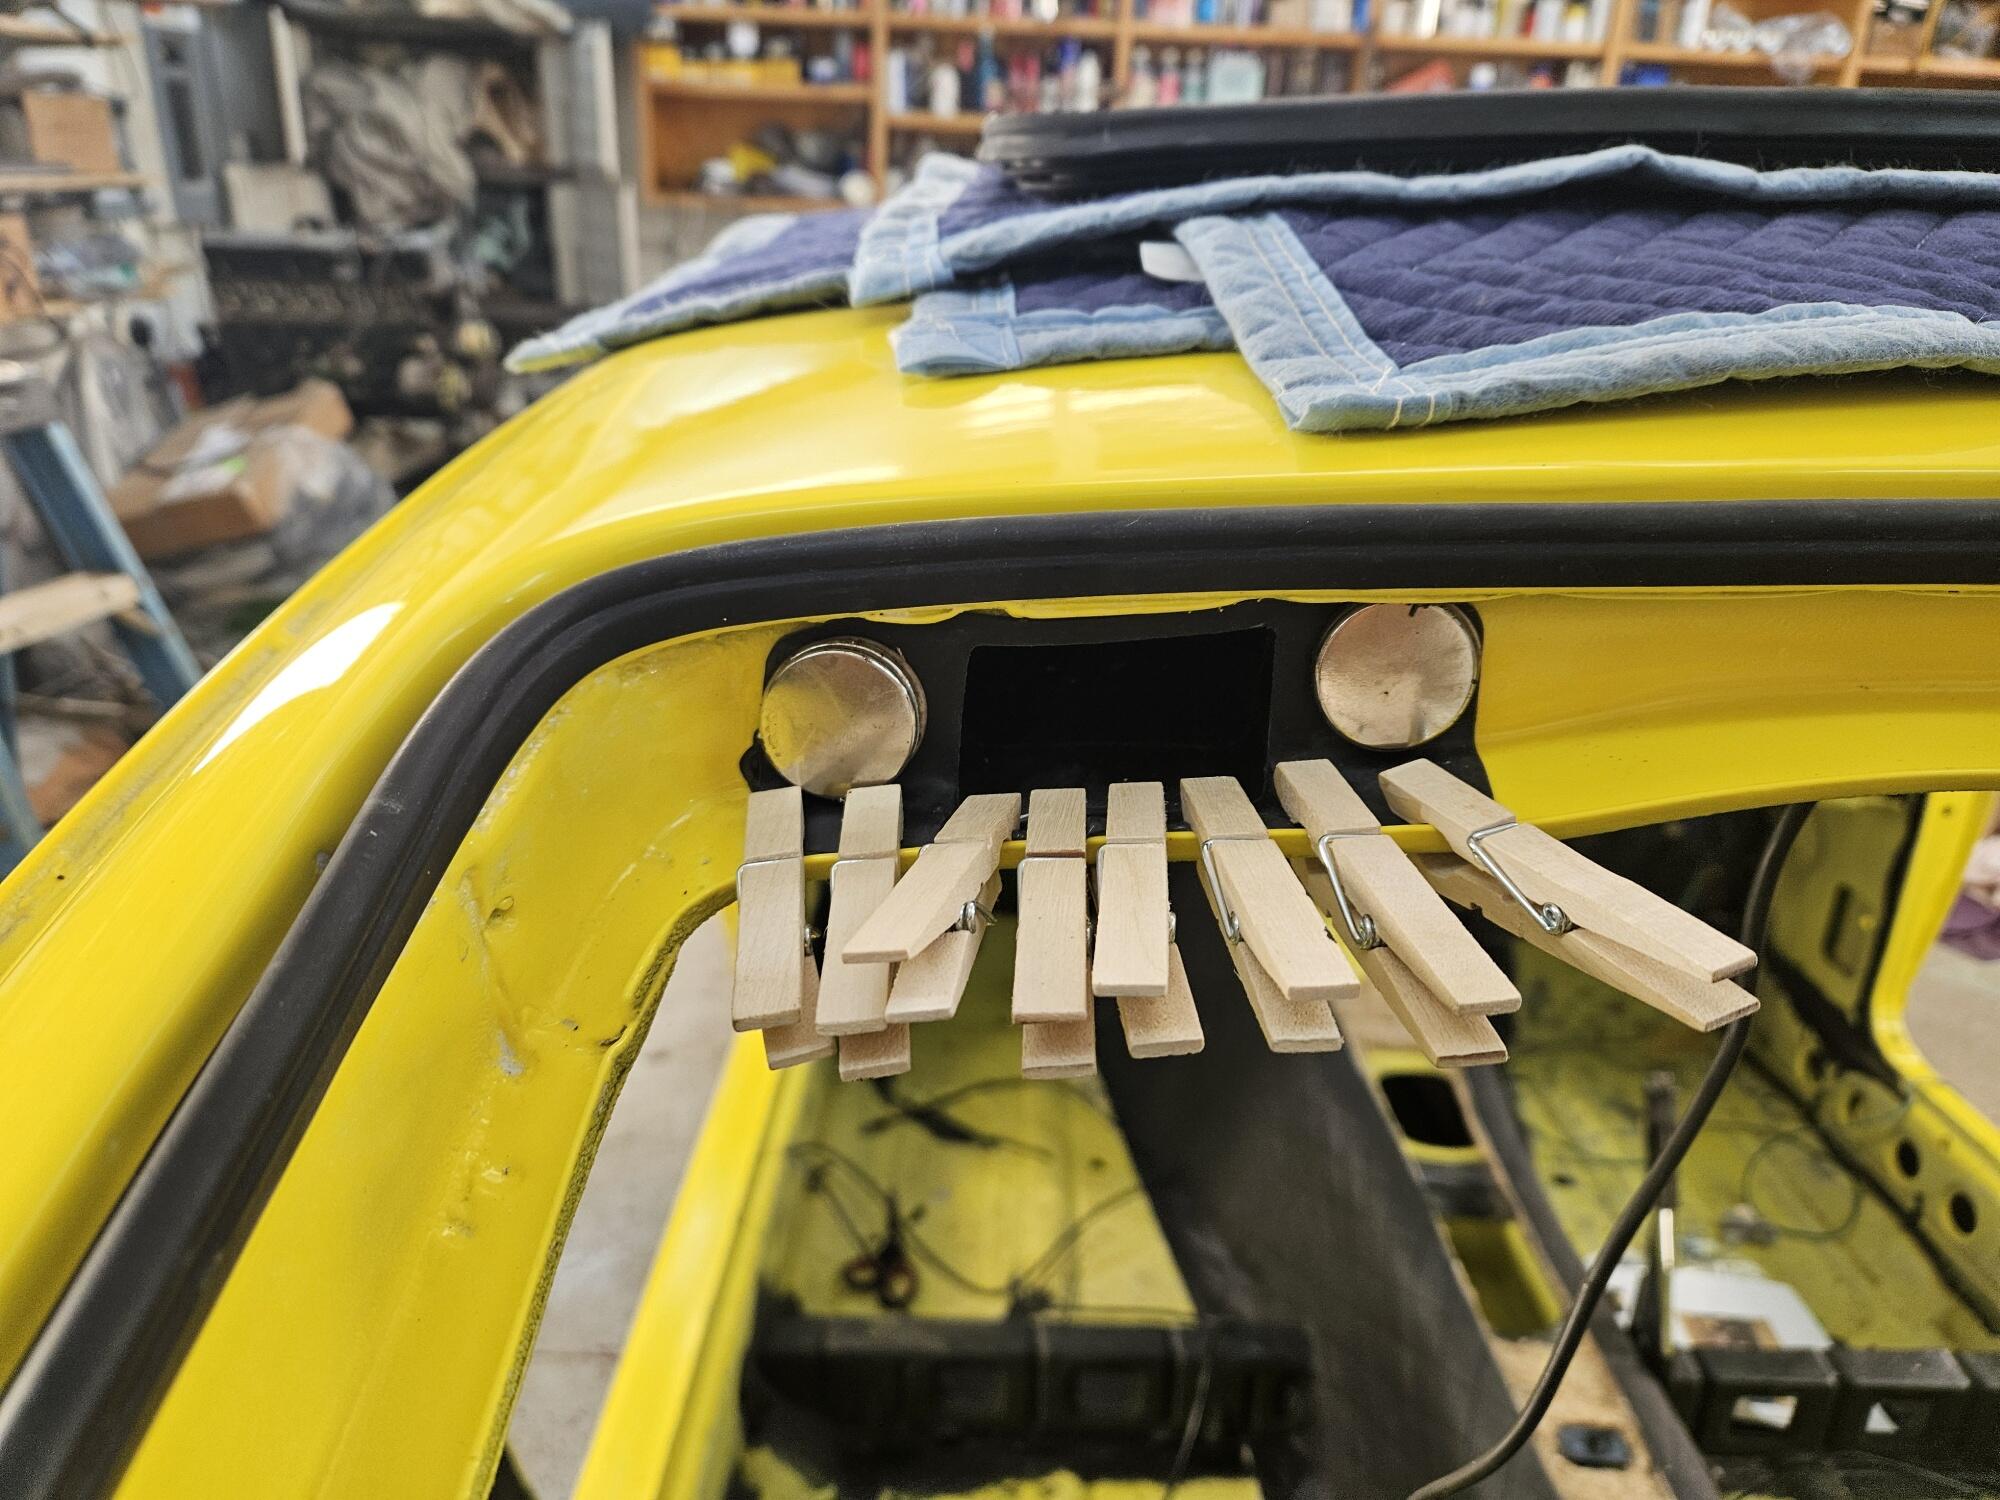
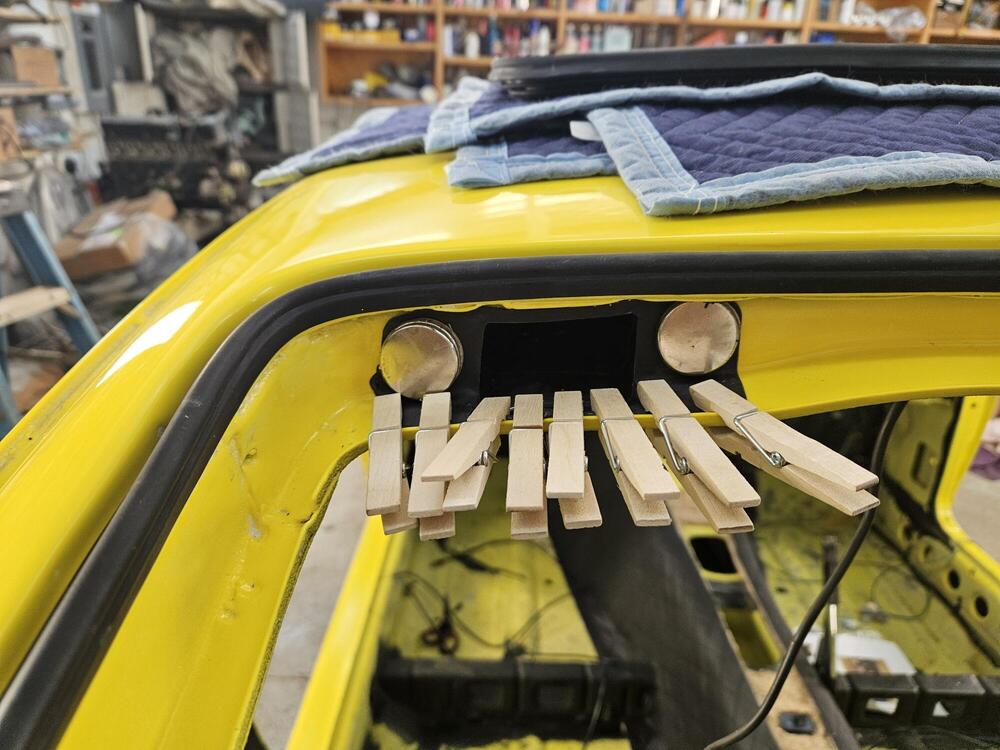
I dont know of a way to do it on Install without making a mess. Everybody I've seen do it, have put it under the flap after Install.
-
That was a very productive day!
-
Link to fuse box source?
-
The man is flying! I'm so envious of the pace
-
It could be the switch or the motor
-
Probably not a luck thing. I don't live in an area that really ever sees road salt and Lily is from Arizona and probably had very little wear on the wipers. My third wiper transmission had a good bit of corrosion but it was from North Carolina or Virginia which are road salt states.
-
I believe that little spring is supposed to index in the slot at the end of the wiper motor arm and the millennium falcon. That is the it was on my better transmission
-
Now you tell me after I reassemble all three. 😁
-
I'm not sure mine was broken. One of them was missing the 90 degree leg and I rebent one on there. The other ends on mine just stop at the end of the last coil.
-
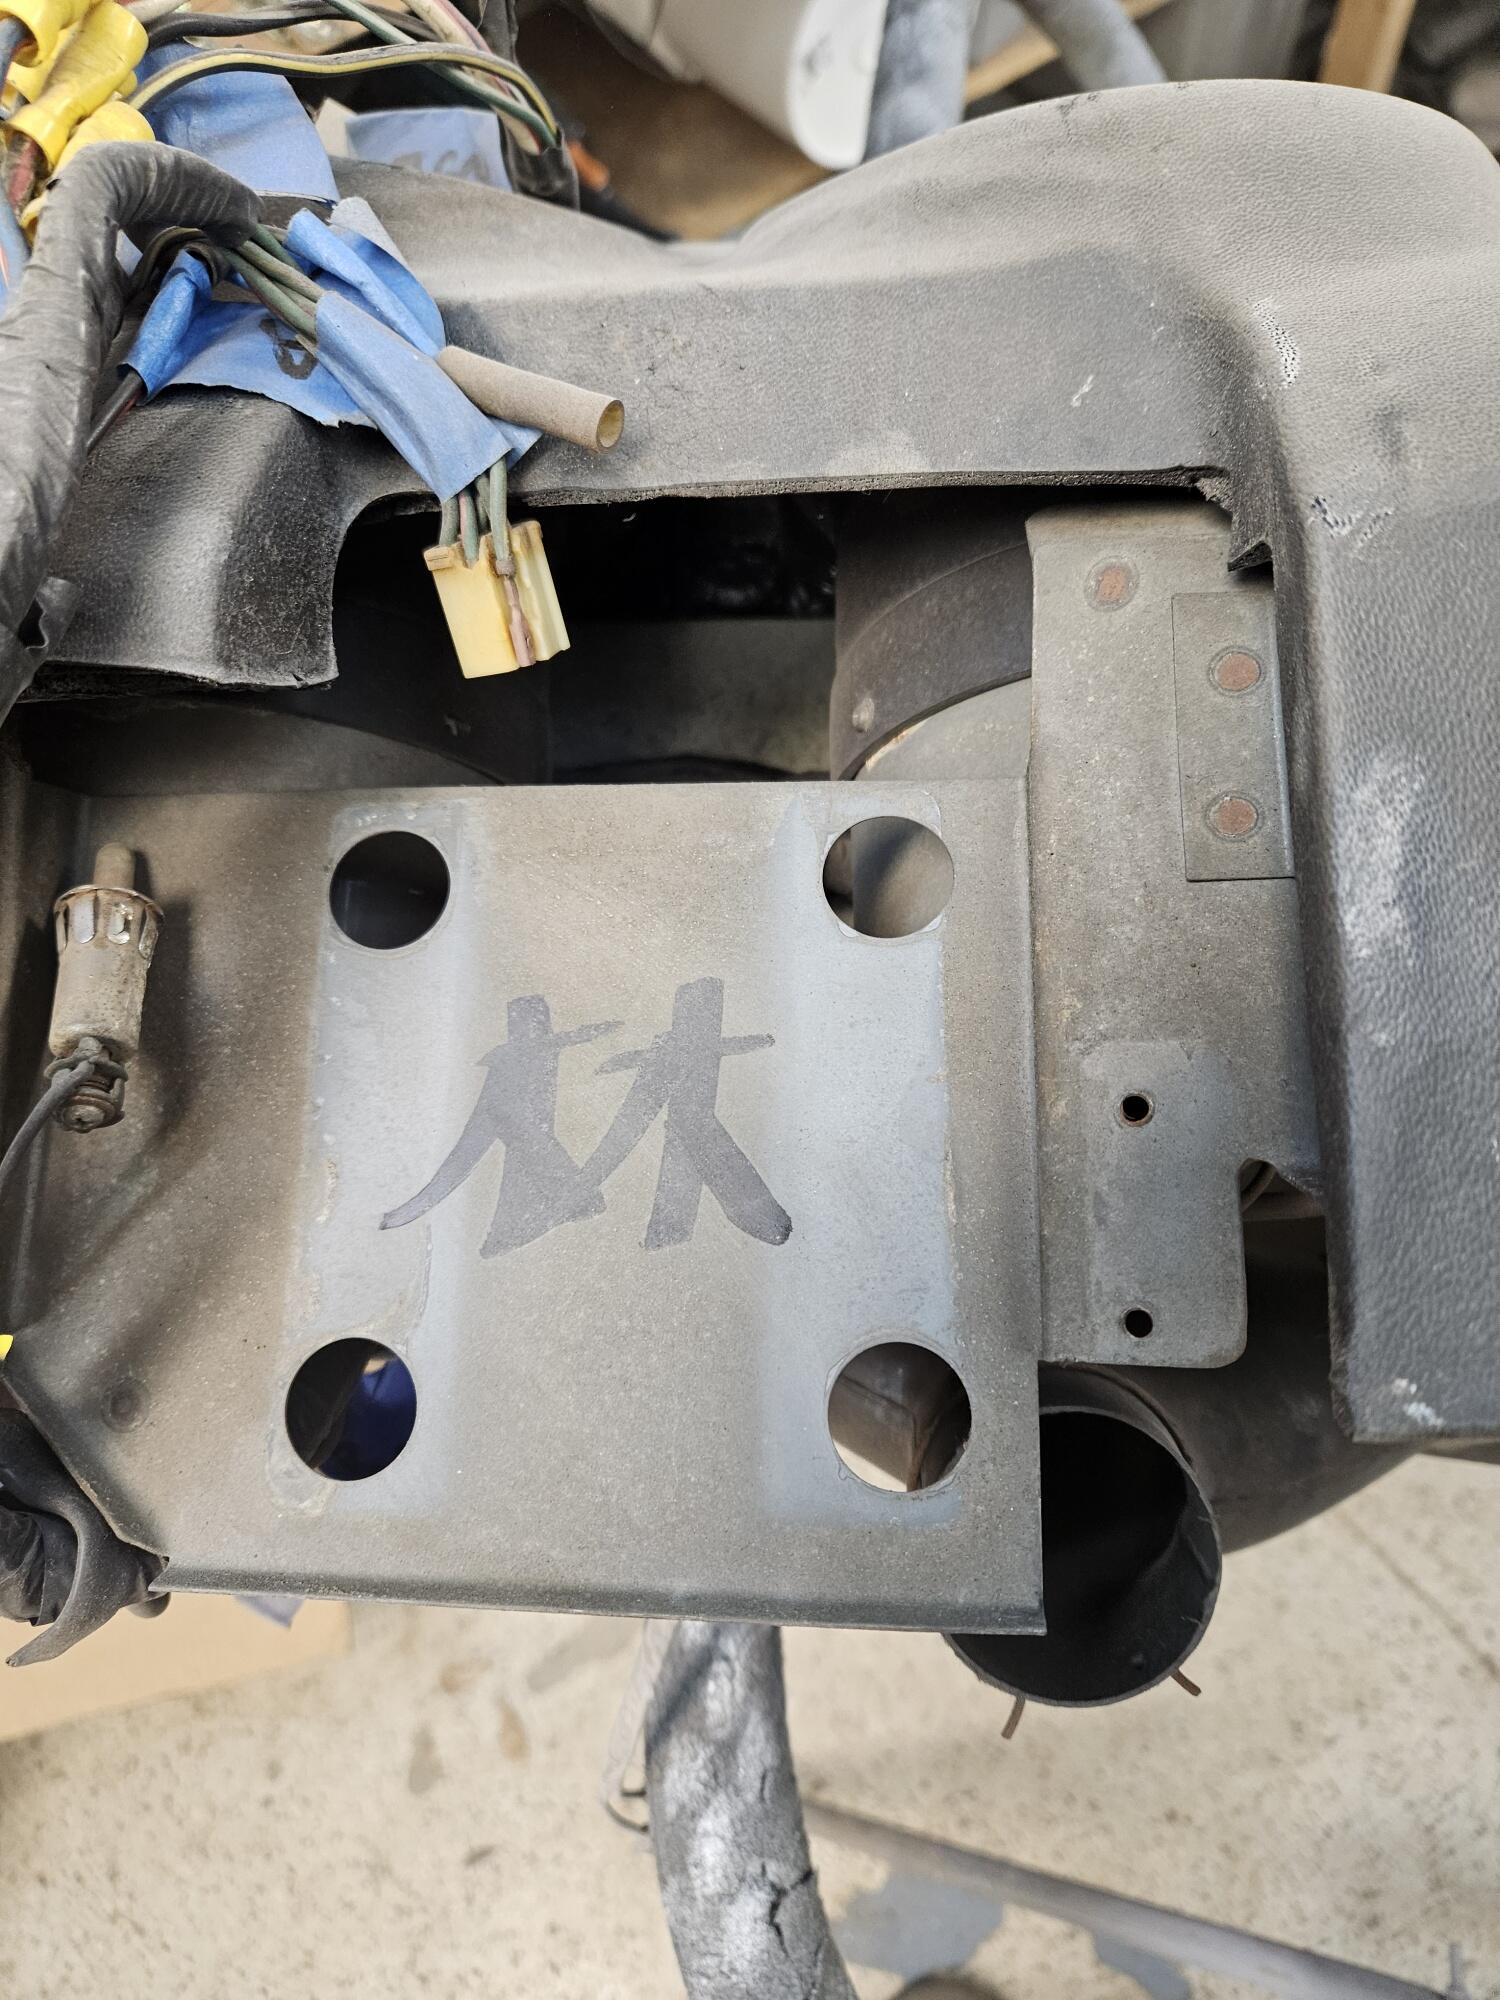
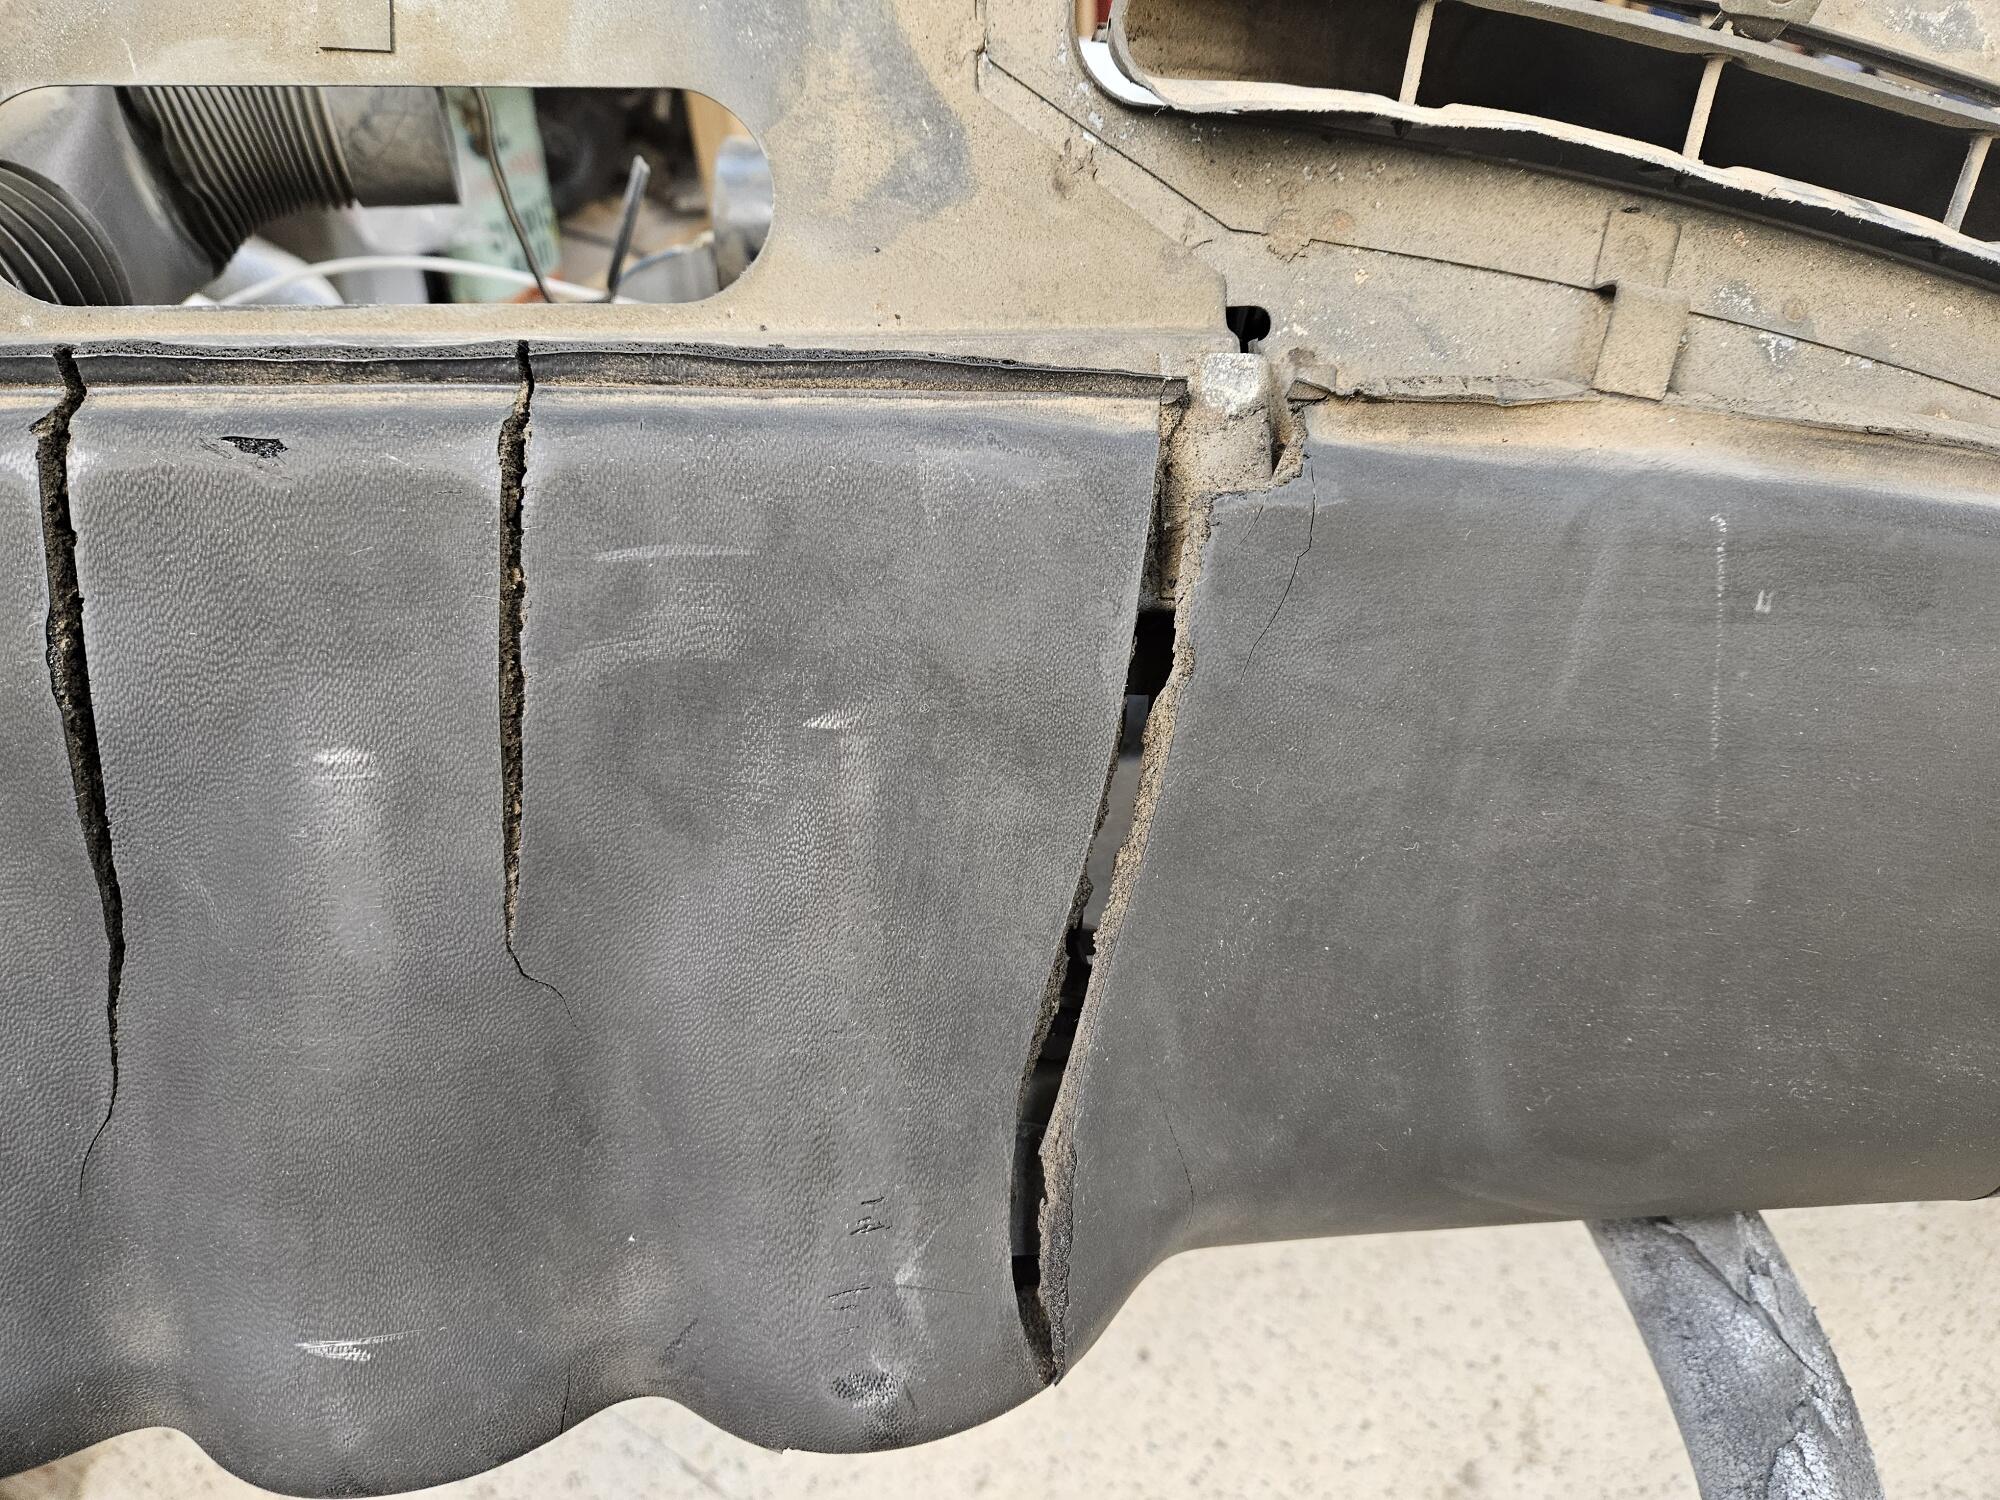
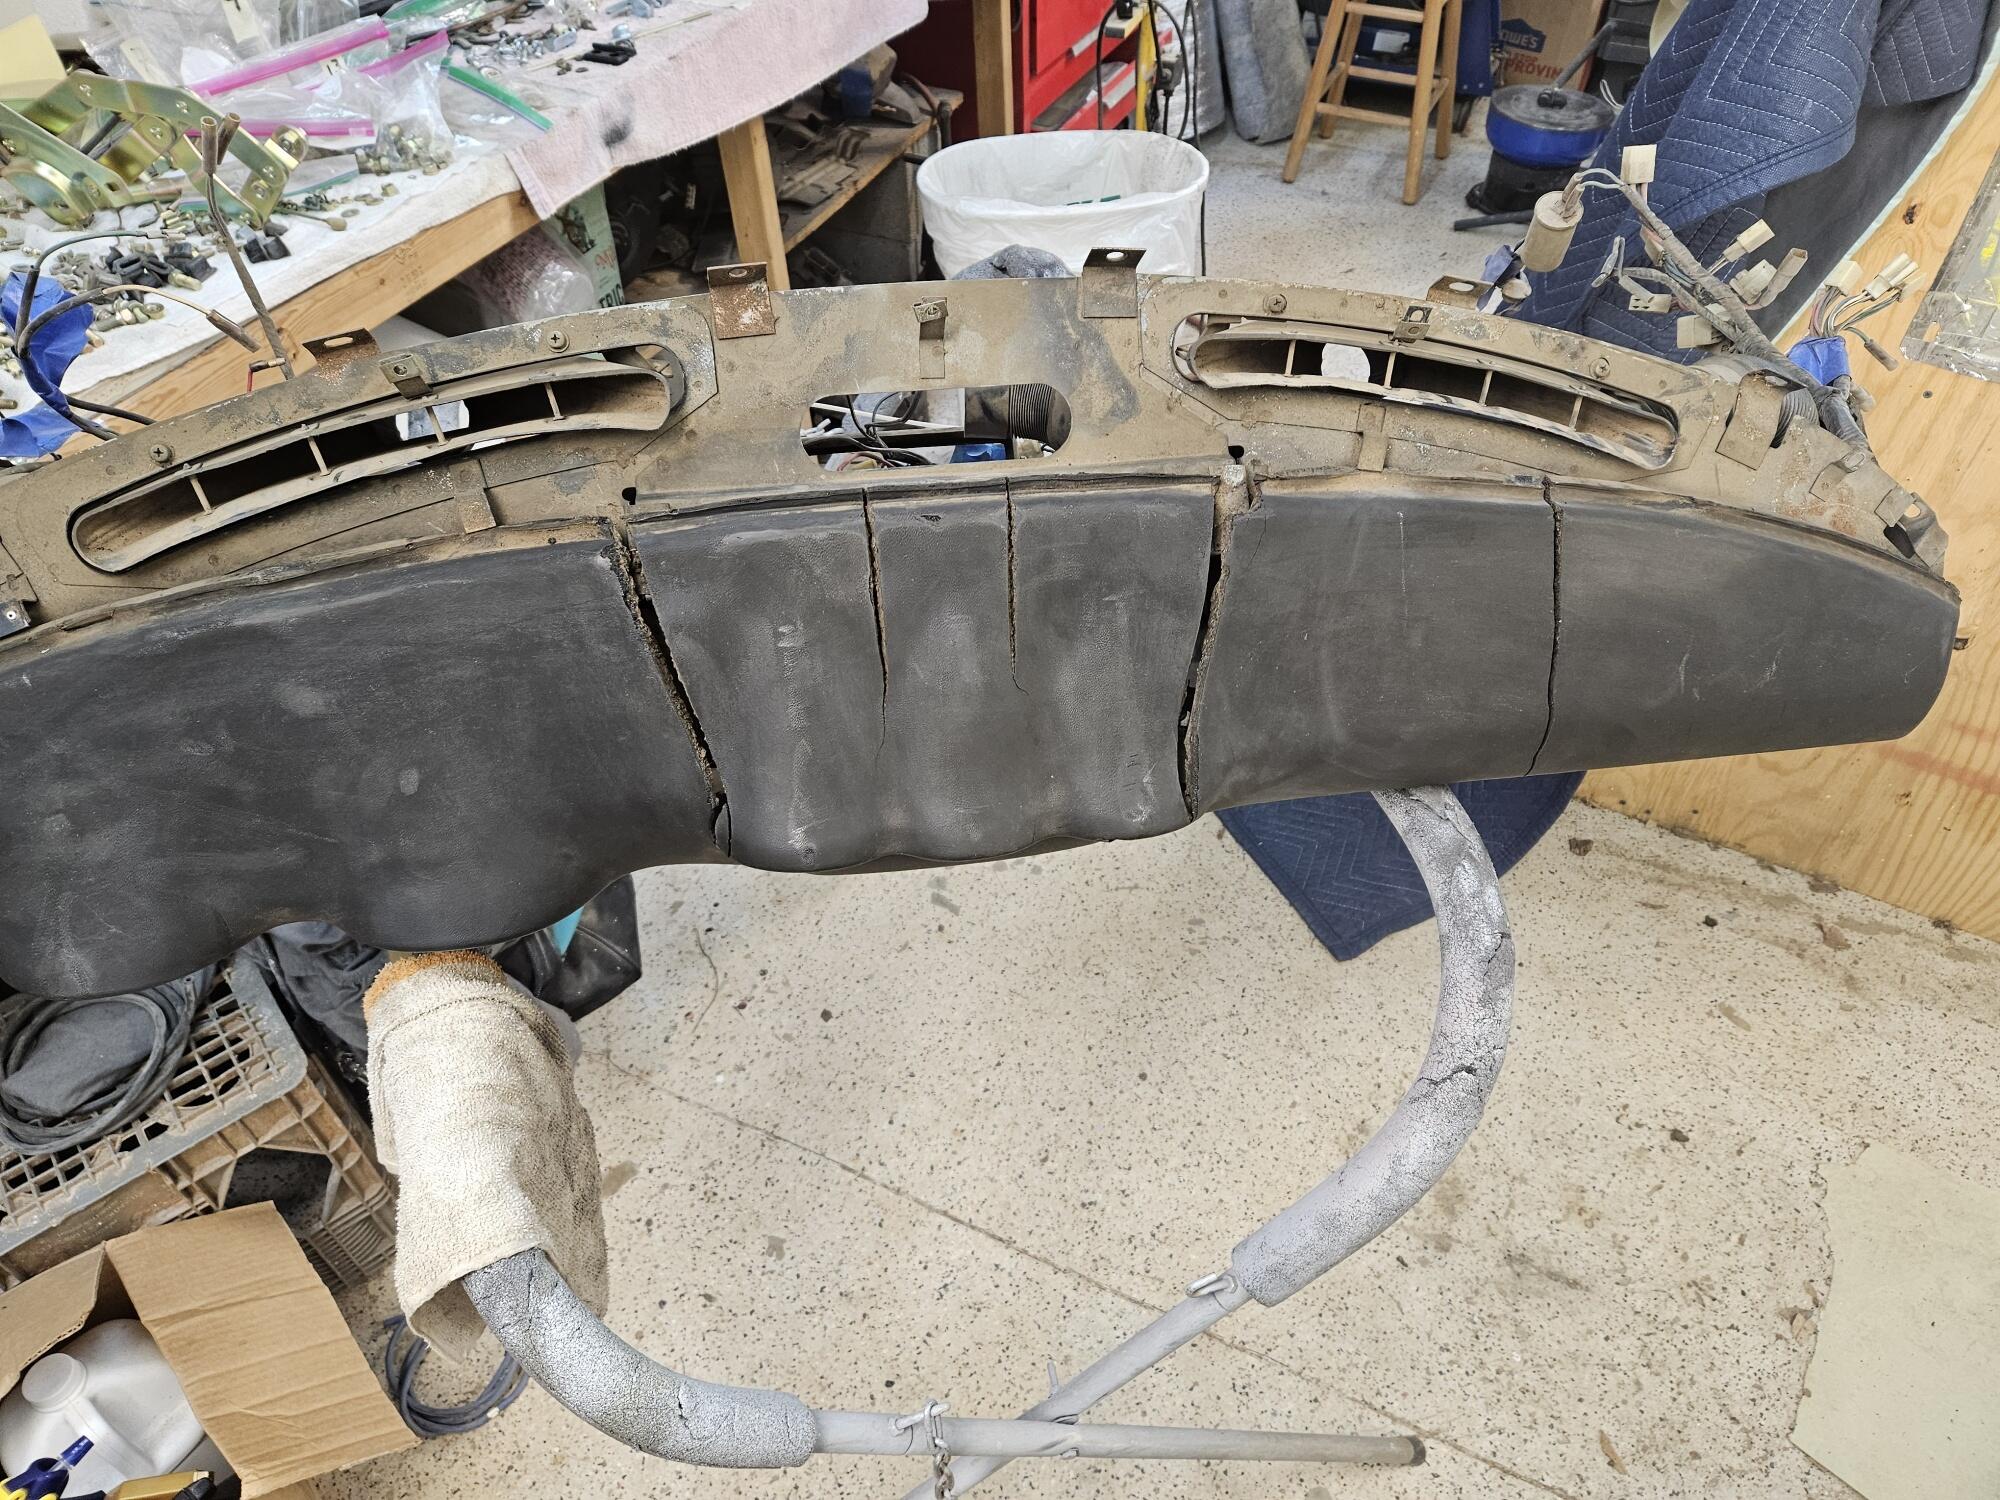
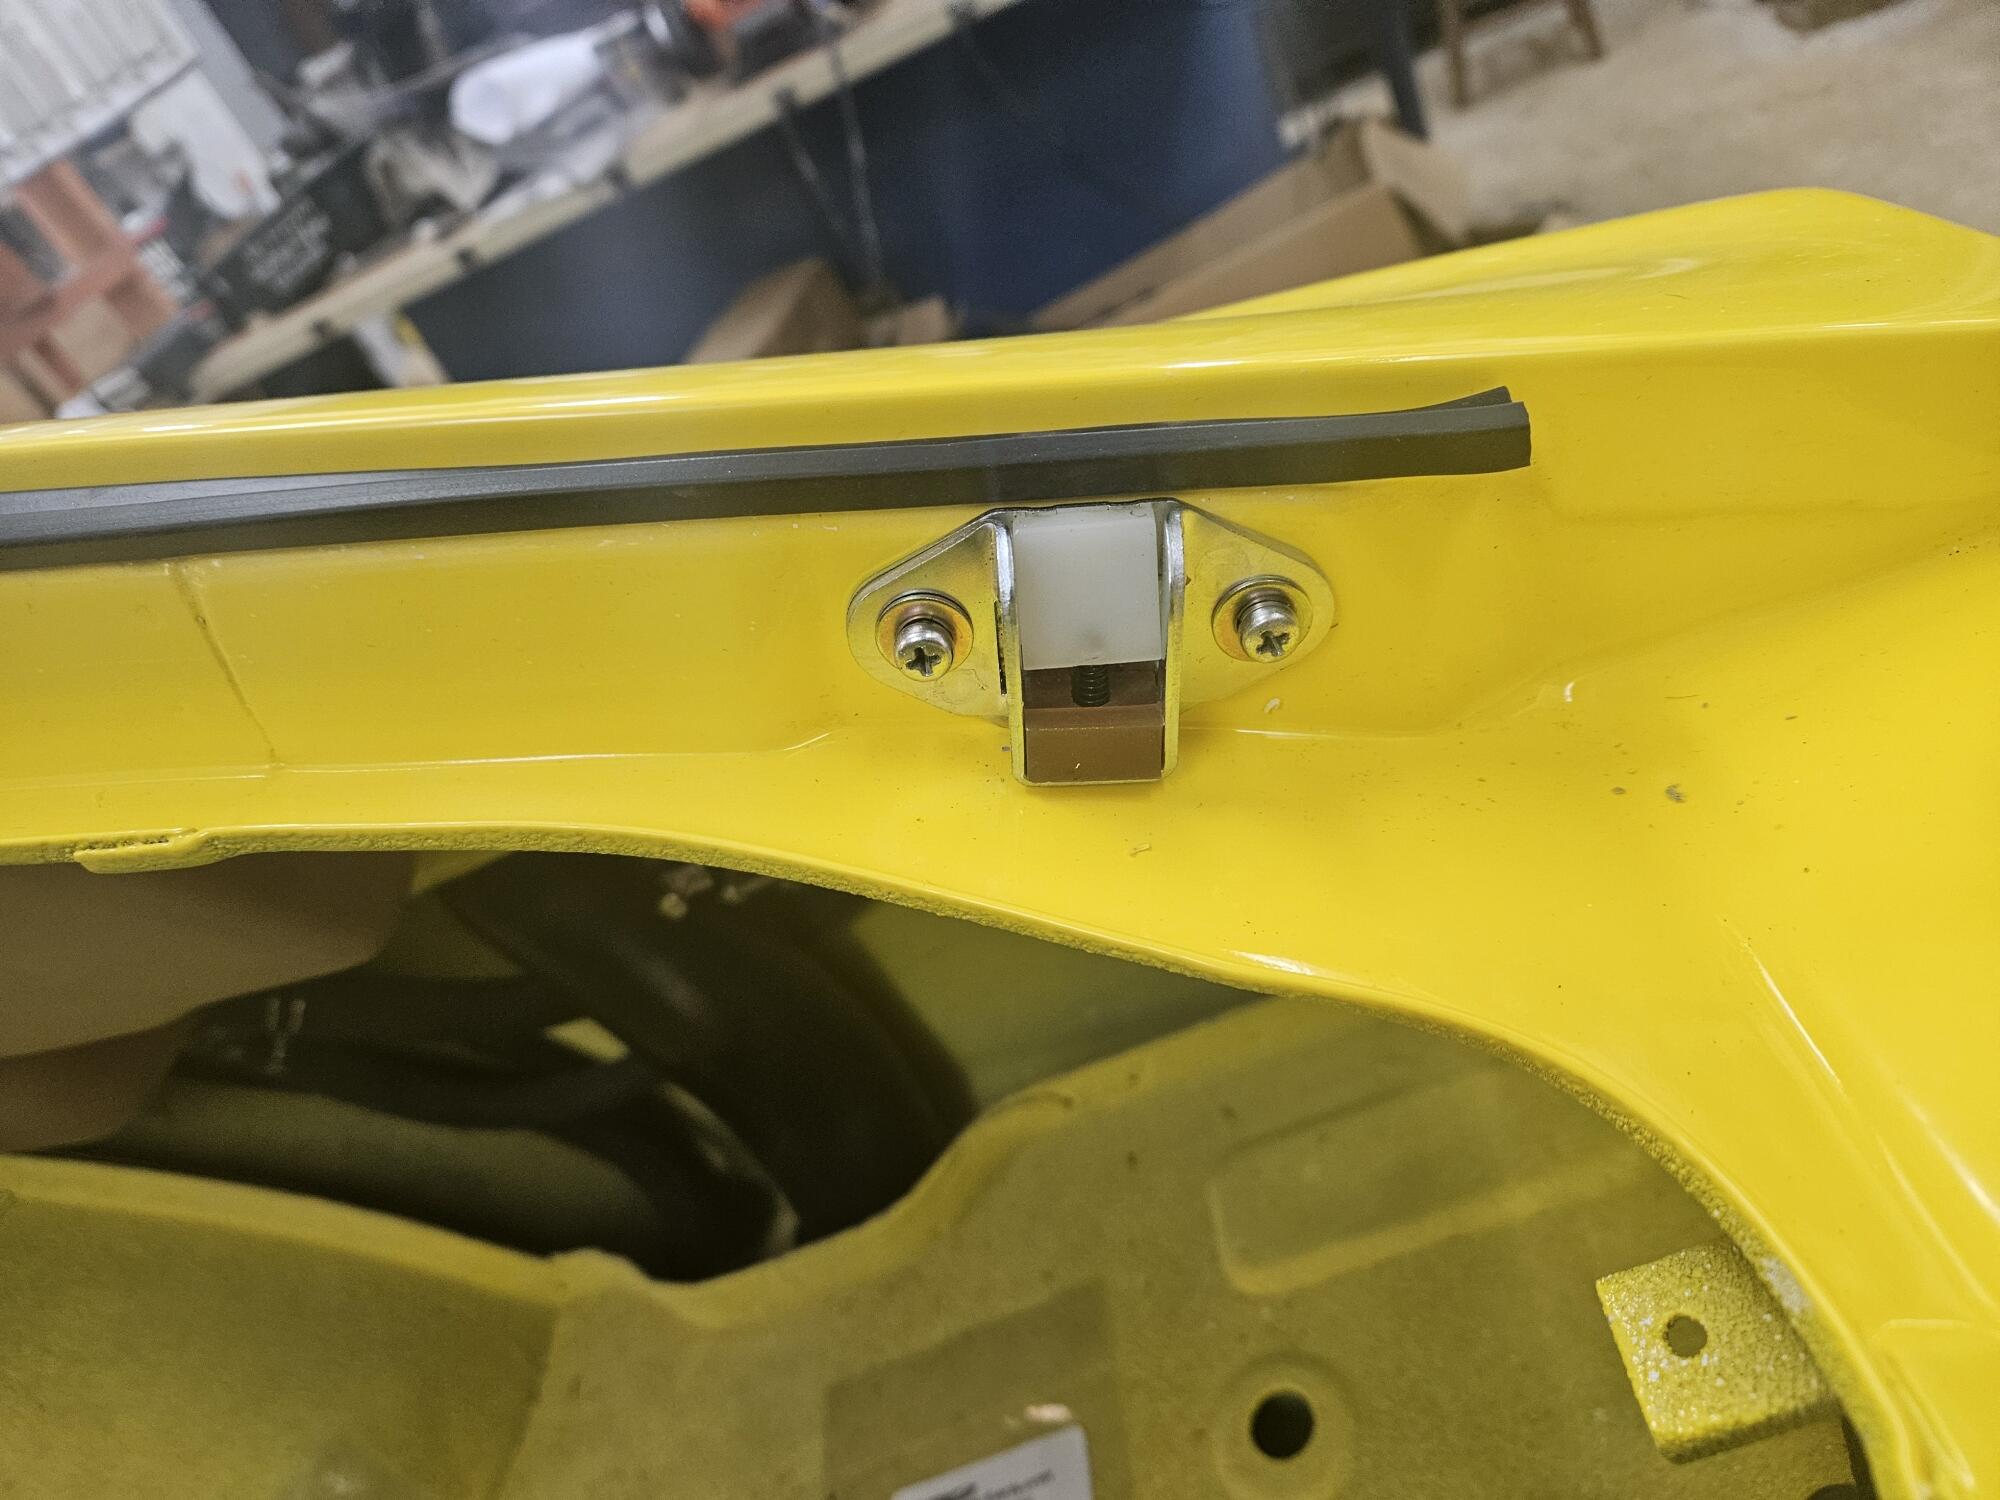
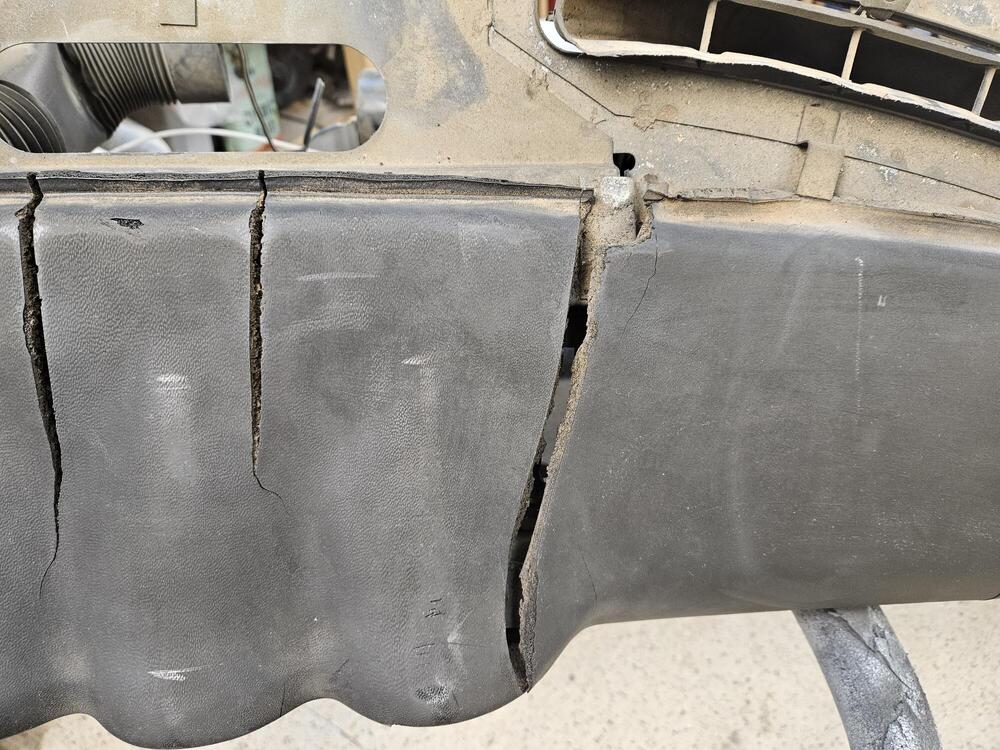
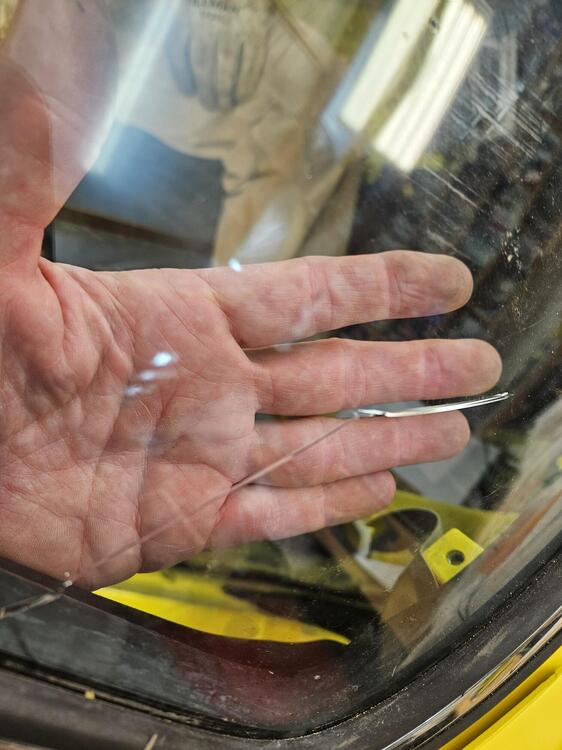
Was a frustrating day in the shop today! Can't work on the heater because I'm waiting on a valve. Can't install the fender because the weather strip I had for fender sealing panel is not thick enough. I also need to touch up the engine bay paint. Can't install the hatch because I am gluing the hatch boots in... on and on So I piddled some I did get the catch down stoppers in. They are available new from Nissan currently I found the bolts for the hatch but two are the wrong finish. So I will need to redo them. I did glue the hinge boots in. I used a black latex caulk. I didn't want to use anything more tenacious in case I need to get them out I pulled the dash out and was going to clean it up. Wow, is it rough!! I guess I will see about getting a new dash. Where is the best place to source the reproduction dashes? I had thought I would try repairing this one but I didn't realize it was totally broken through in a couple of places The real pisser of the day was the windshield!!! We had it most of the way in, up around the passenger top corner and up to the other top corner and I pushed on the lower passenger corner to seat it and broke it... Zcar depot has them but the freight quote was like $400+ I will call my local auto glass company and see if they can get one. I plan on seeing if they will install it too. We'll see what they say. Many times they won't guarantee they won't break it. I obviously can break them on my own... All in all, a wizz poor day in the shop!!


-
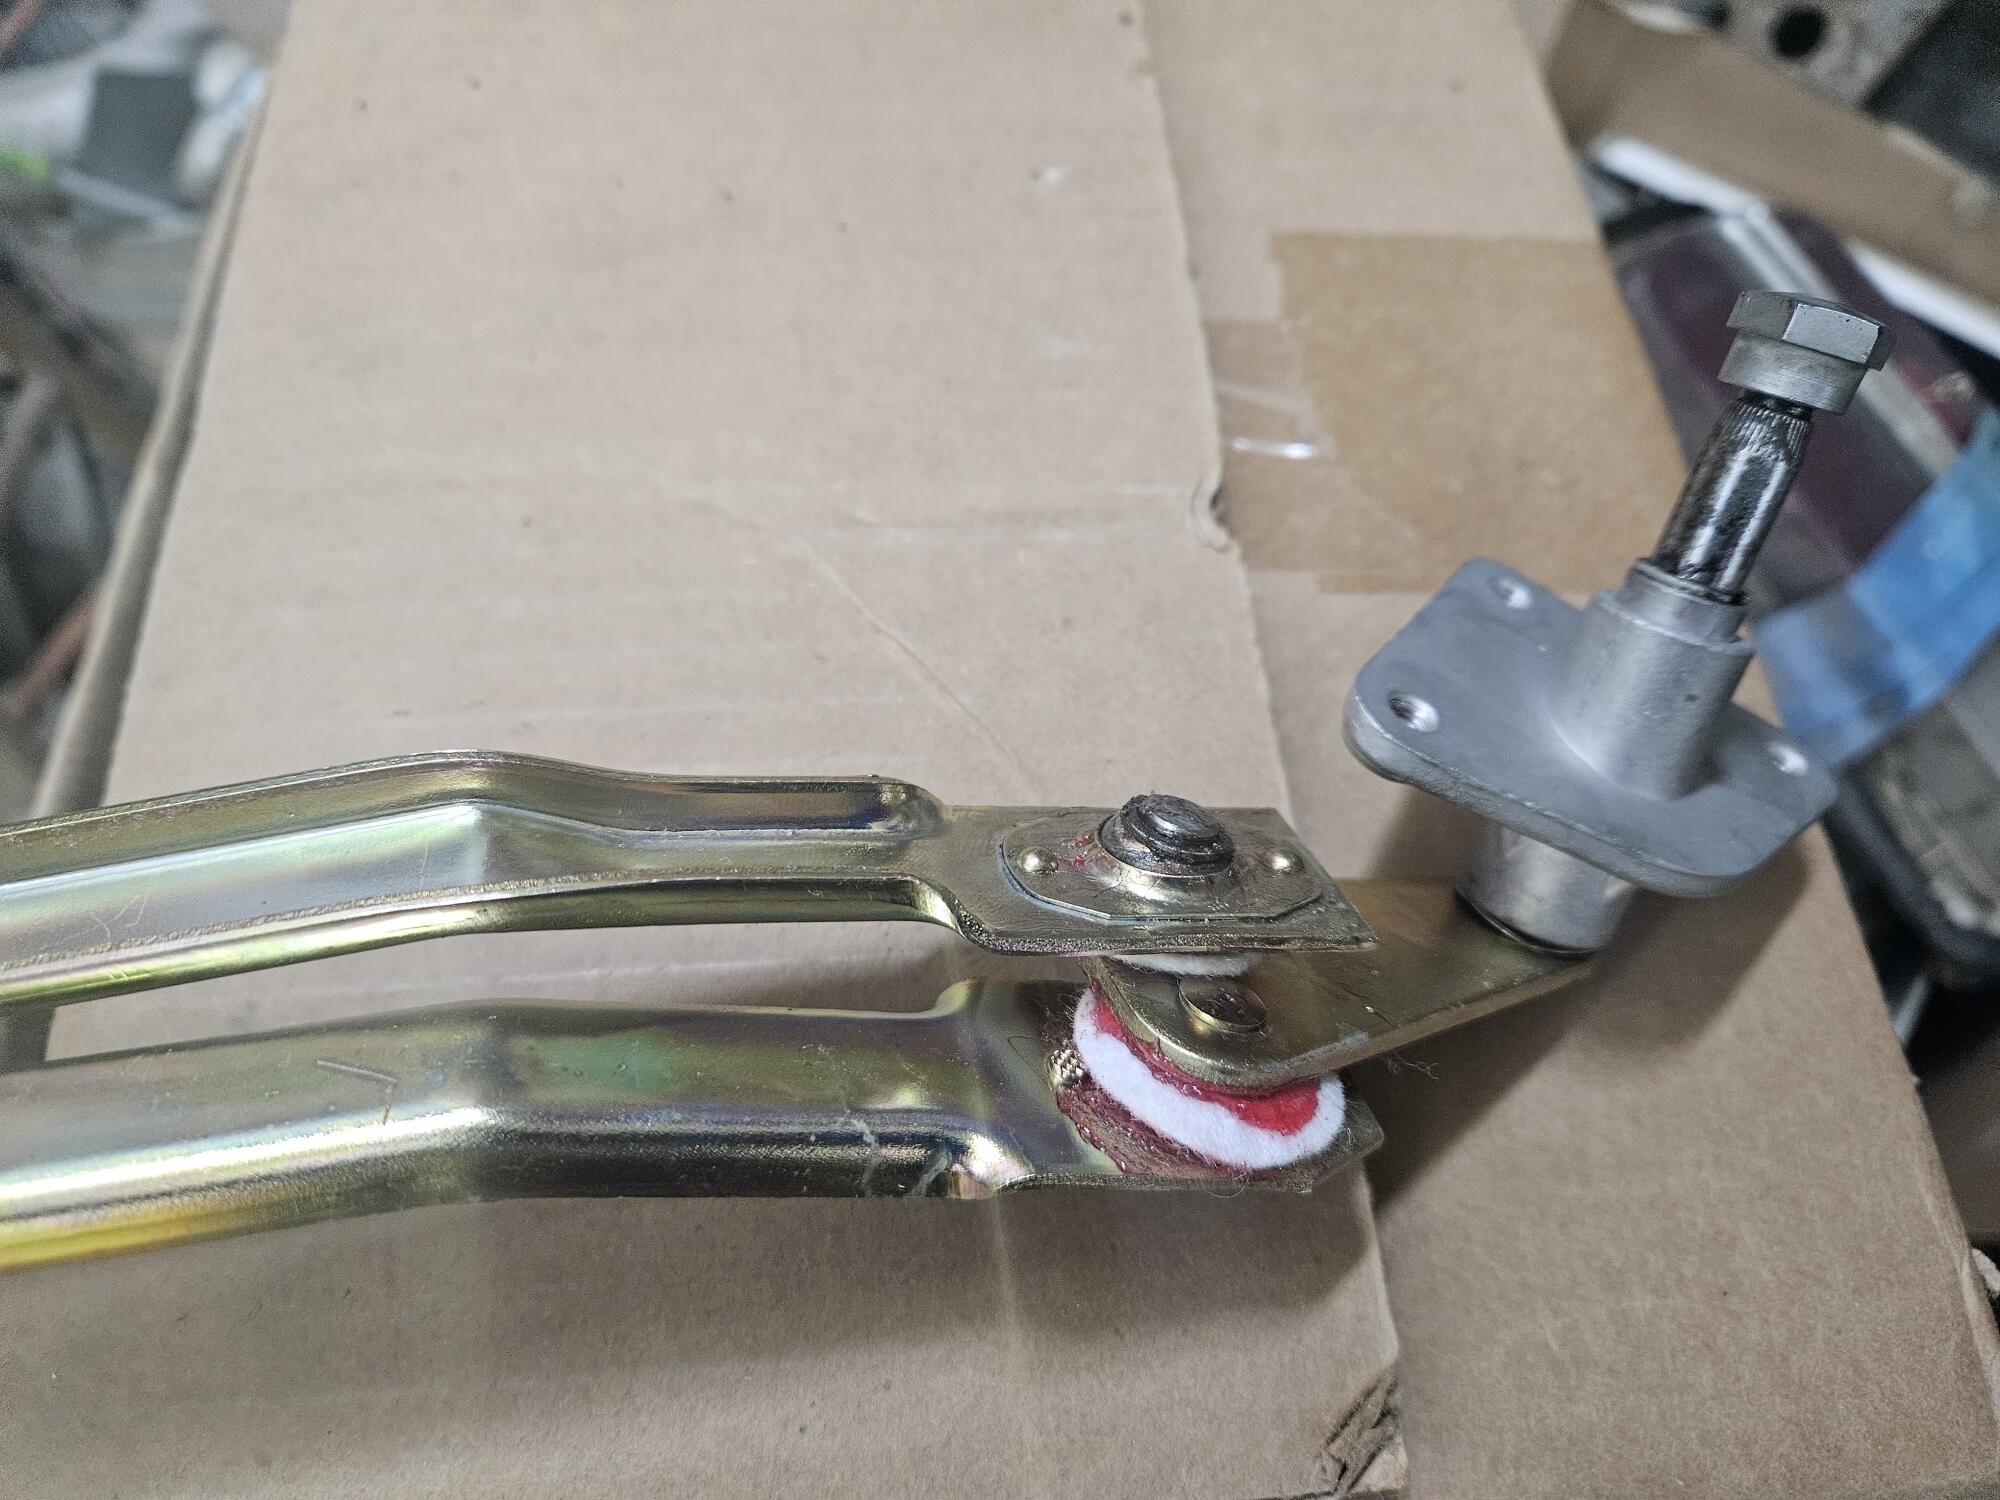
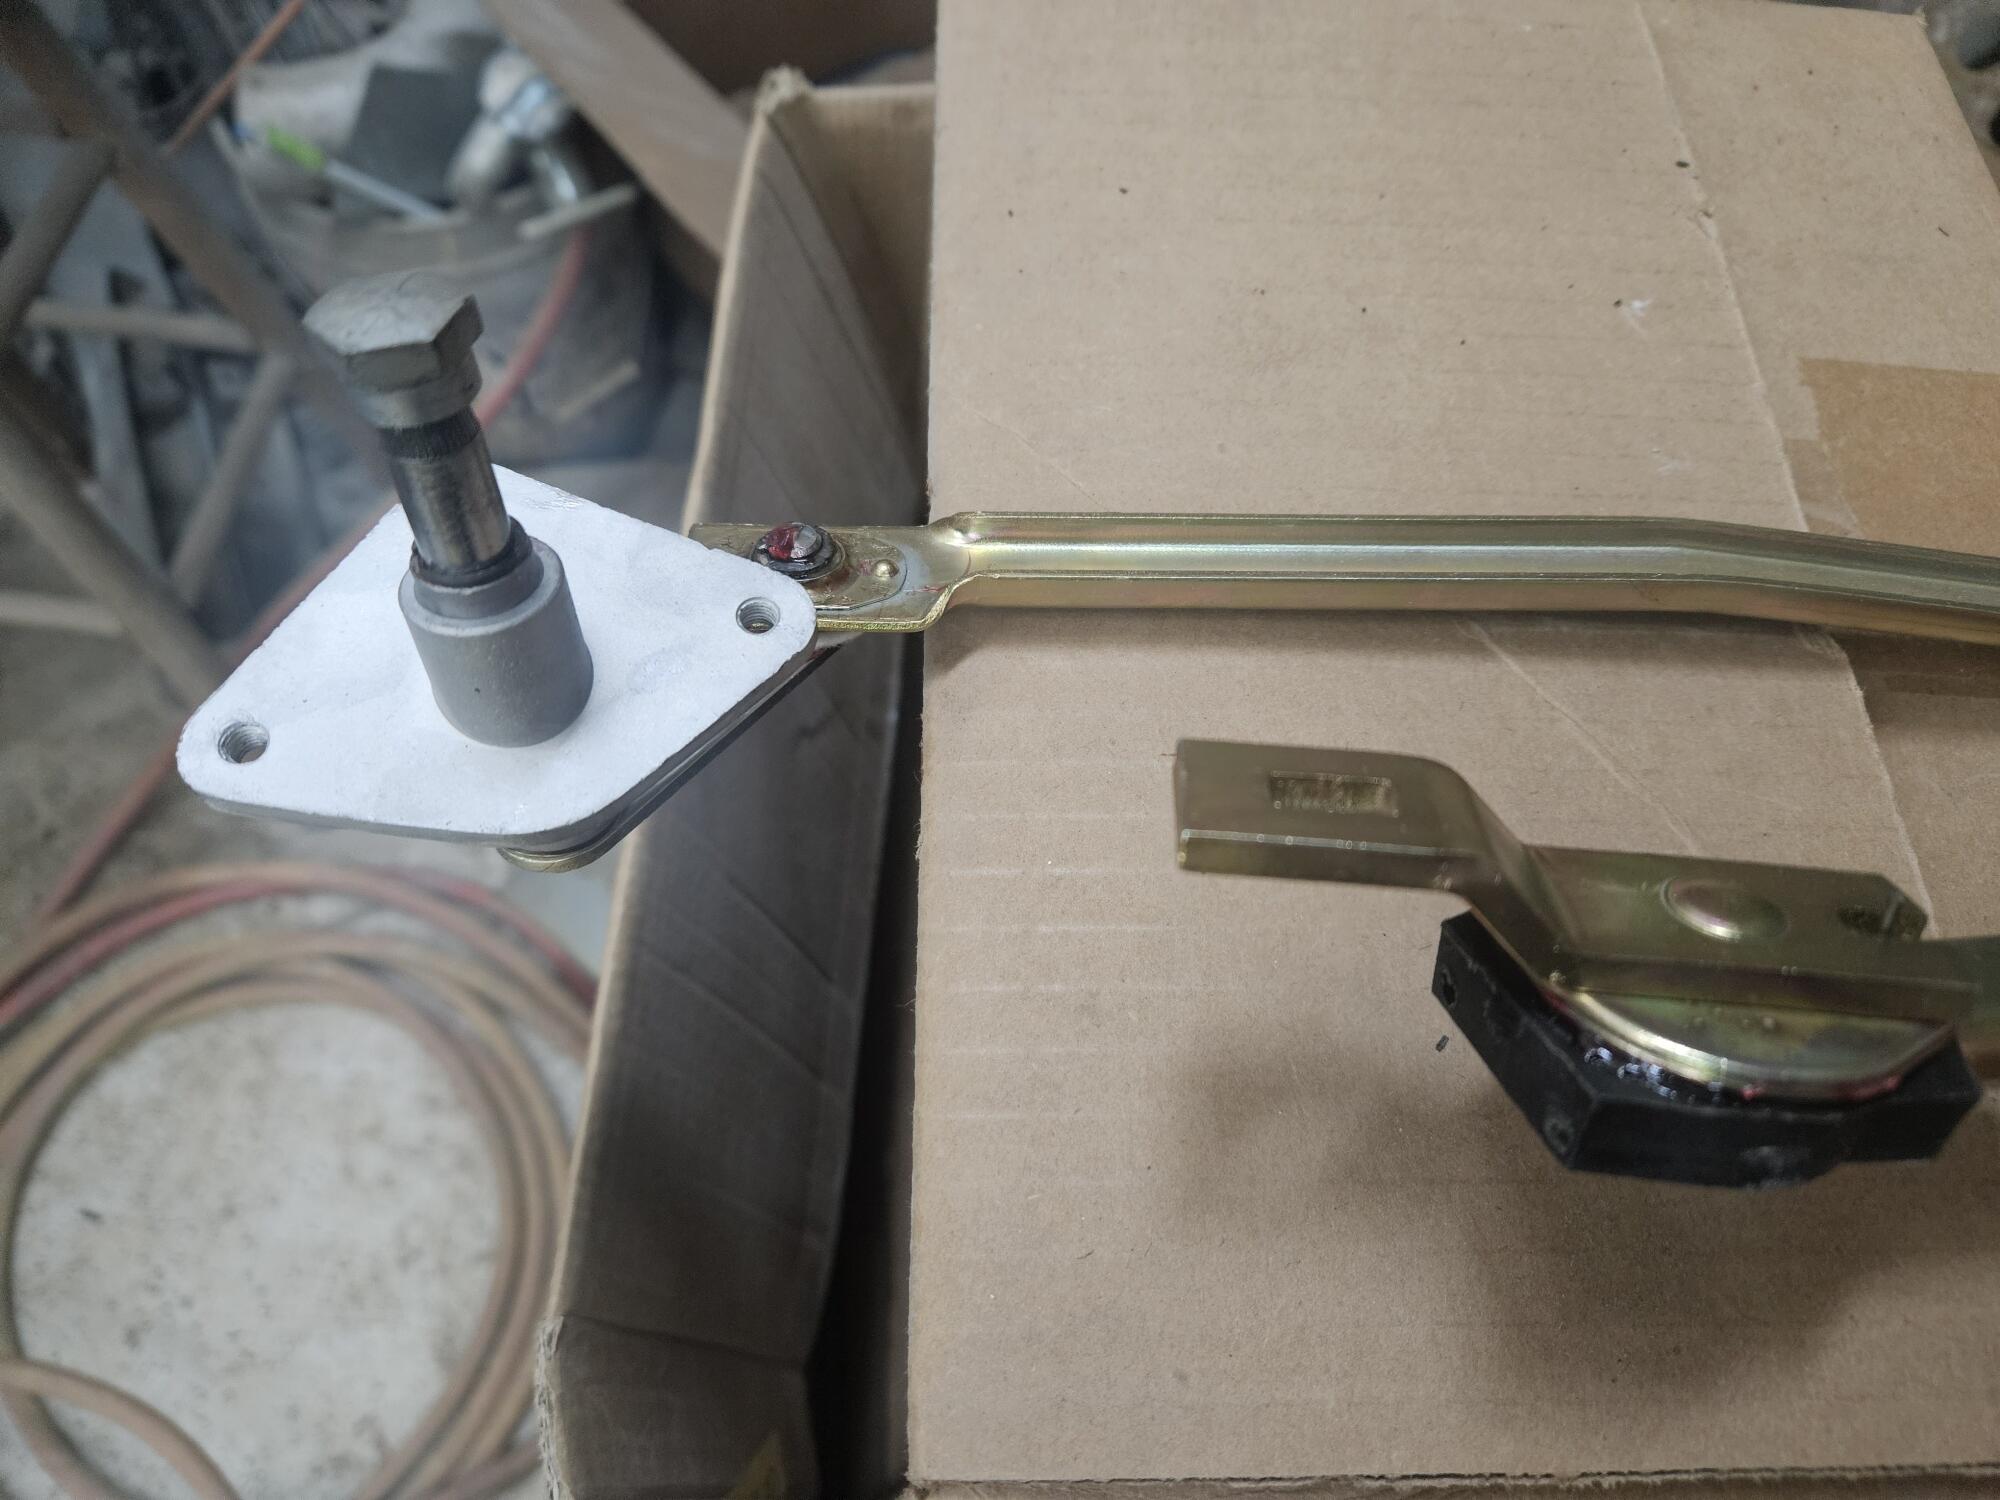
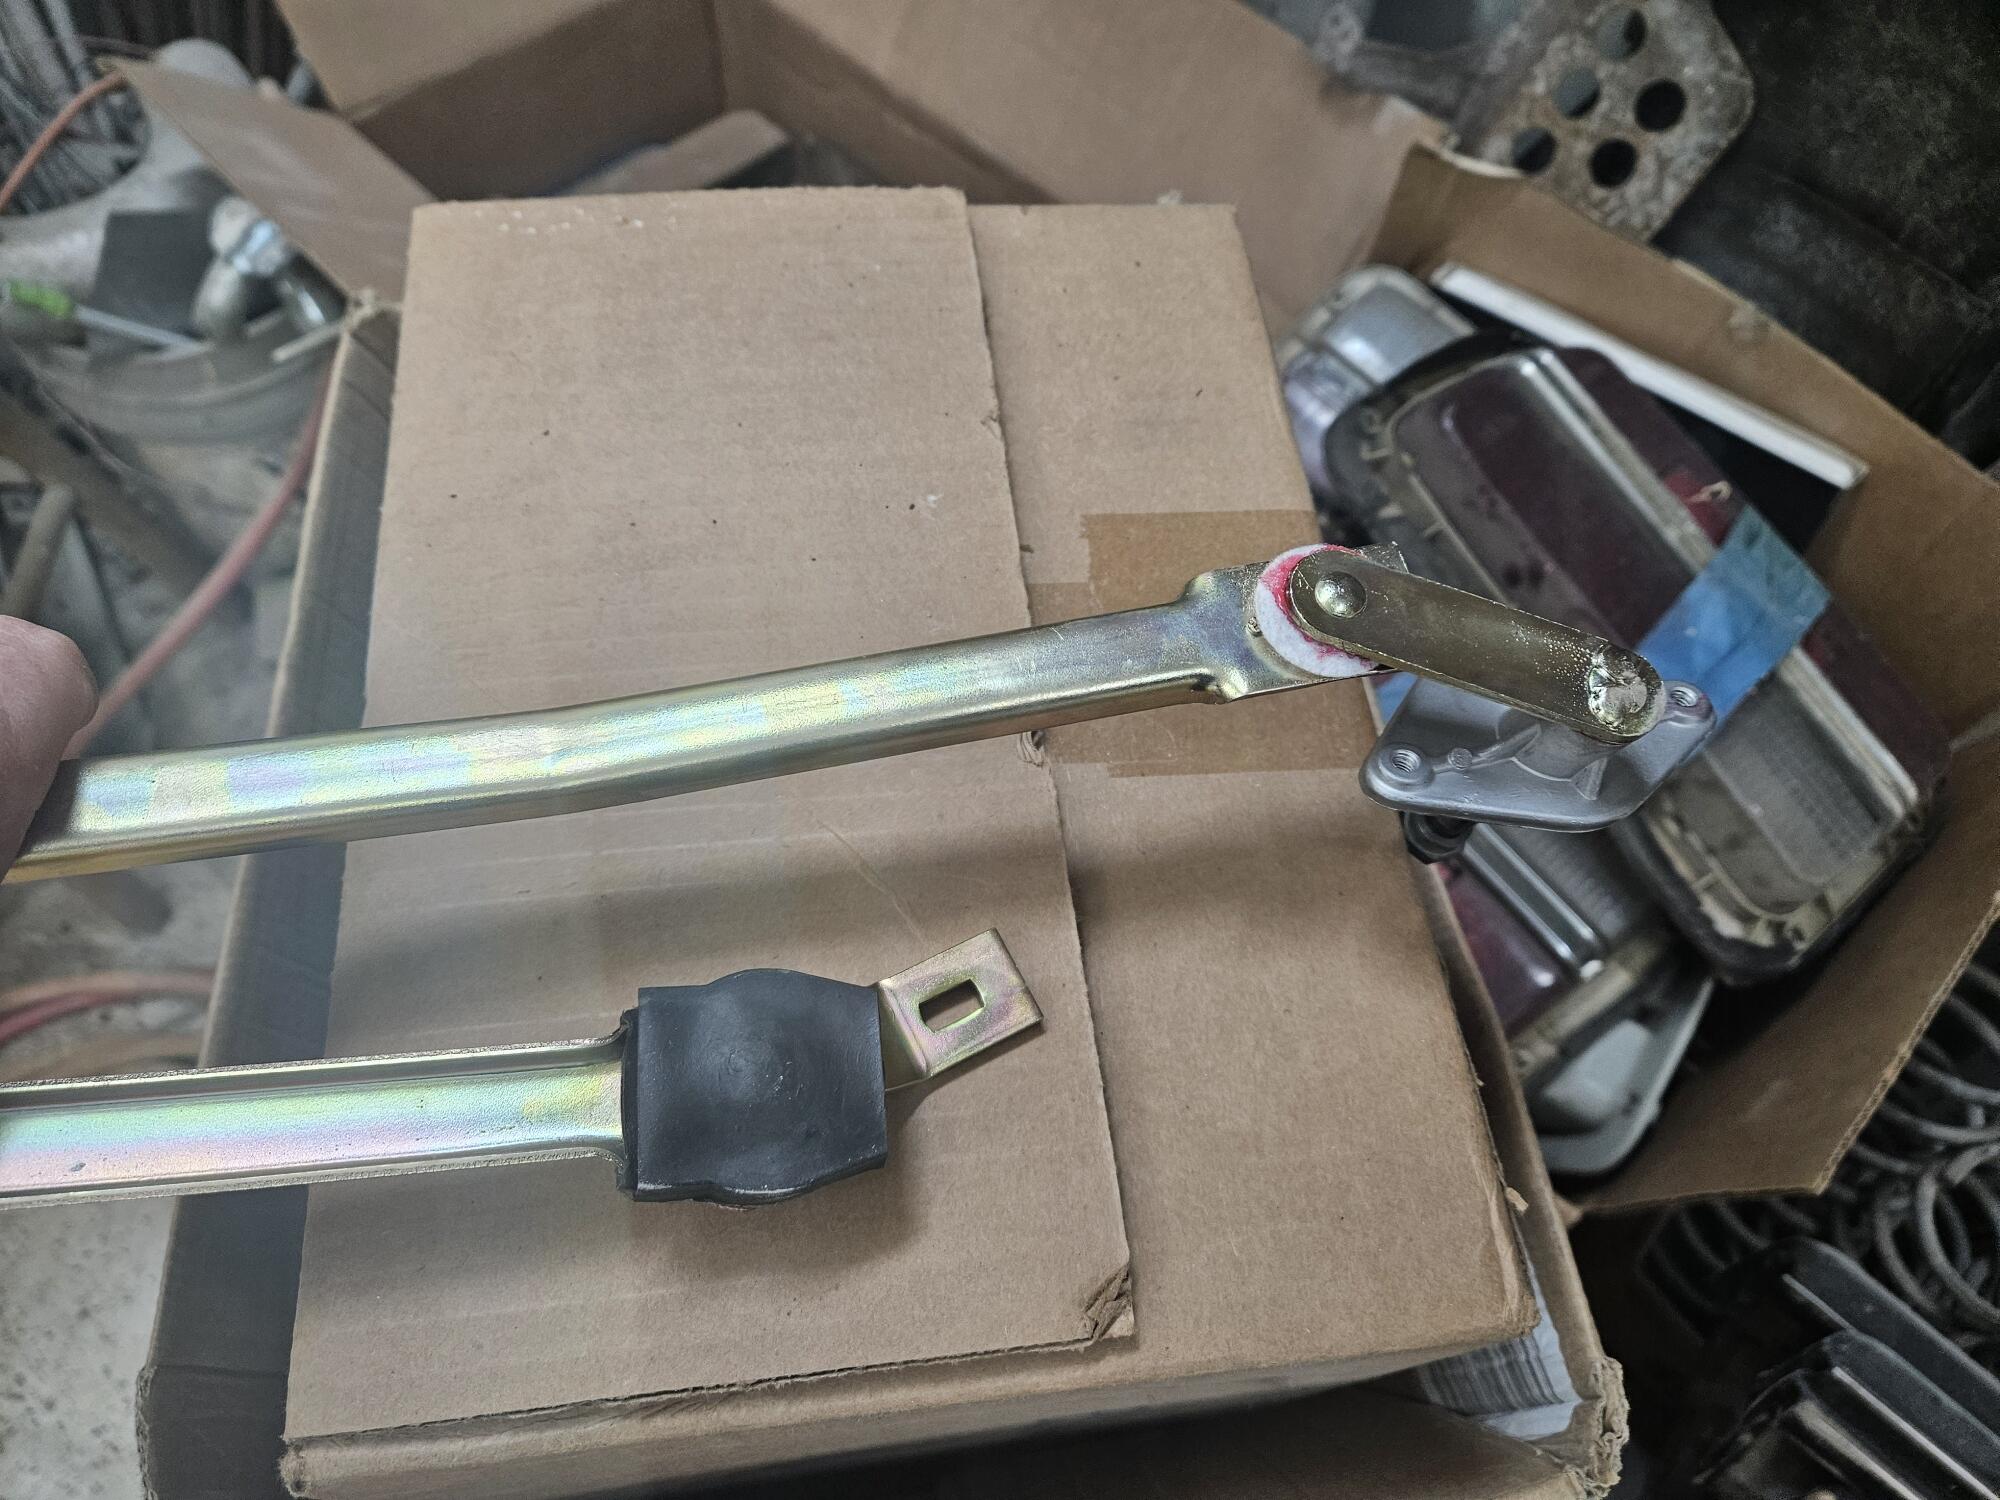
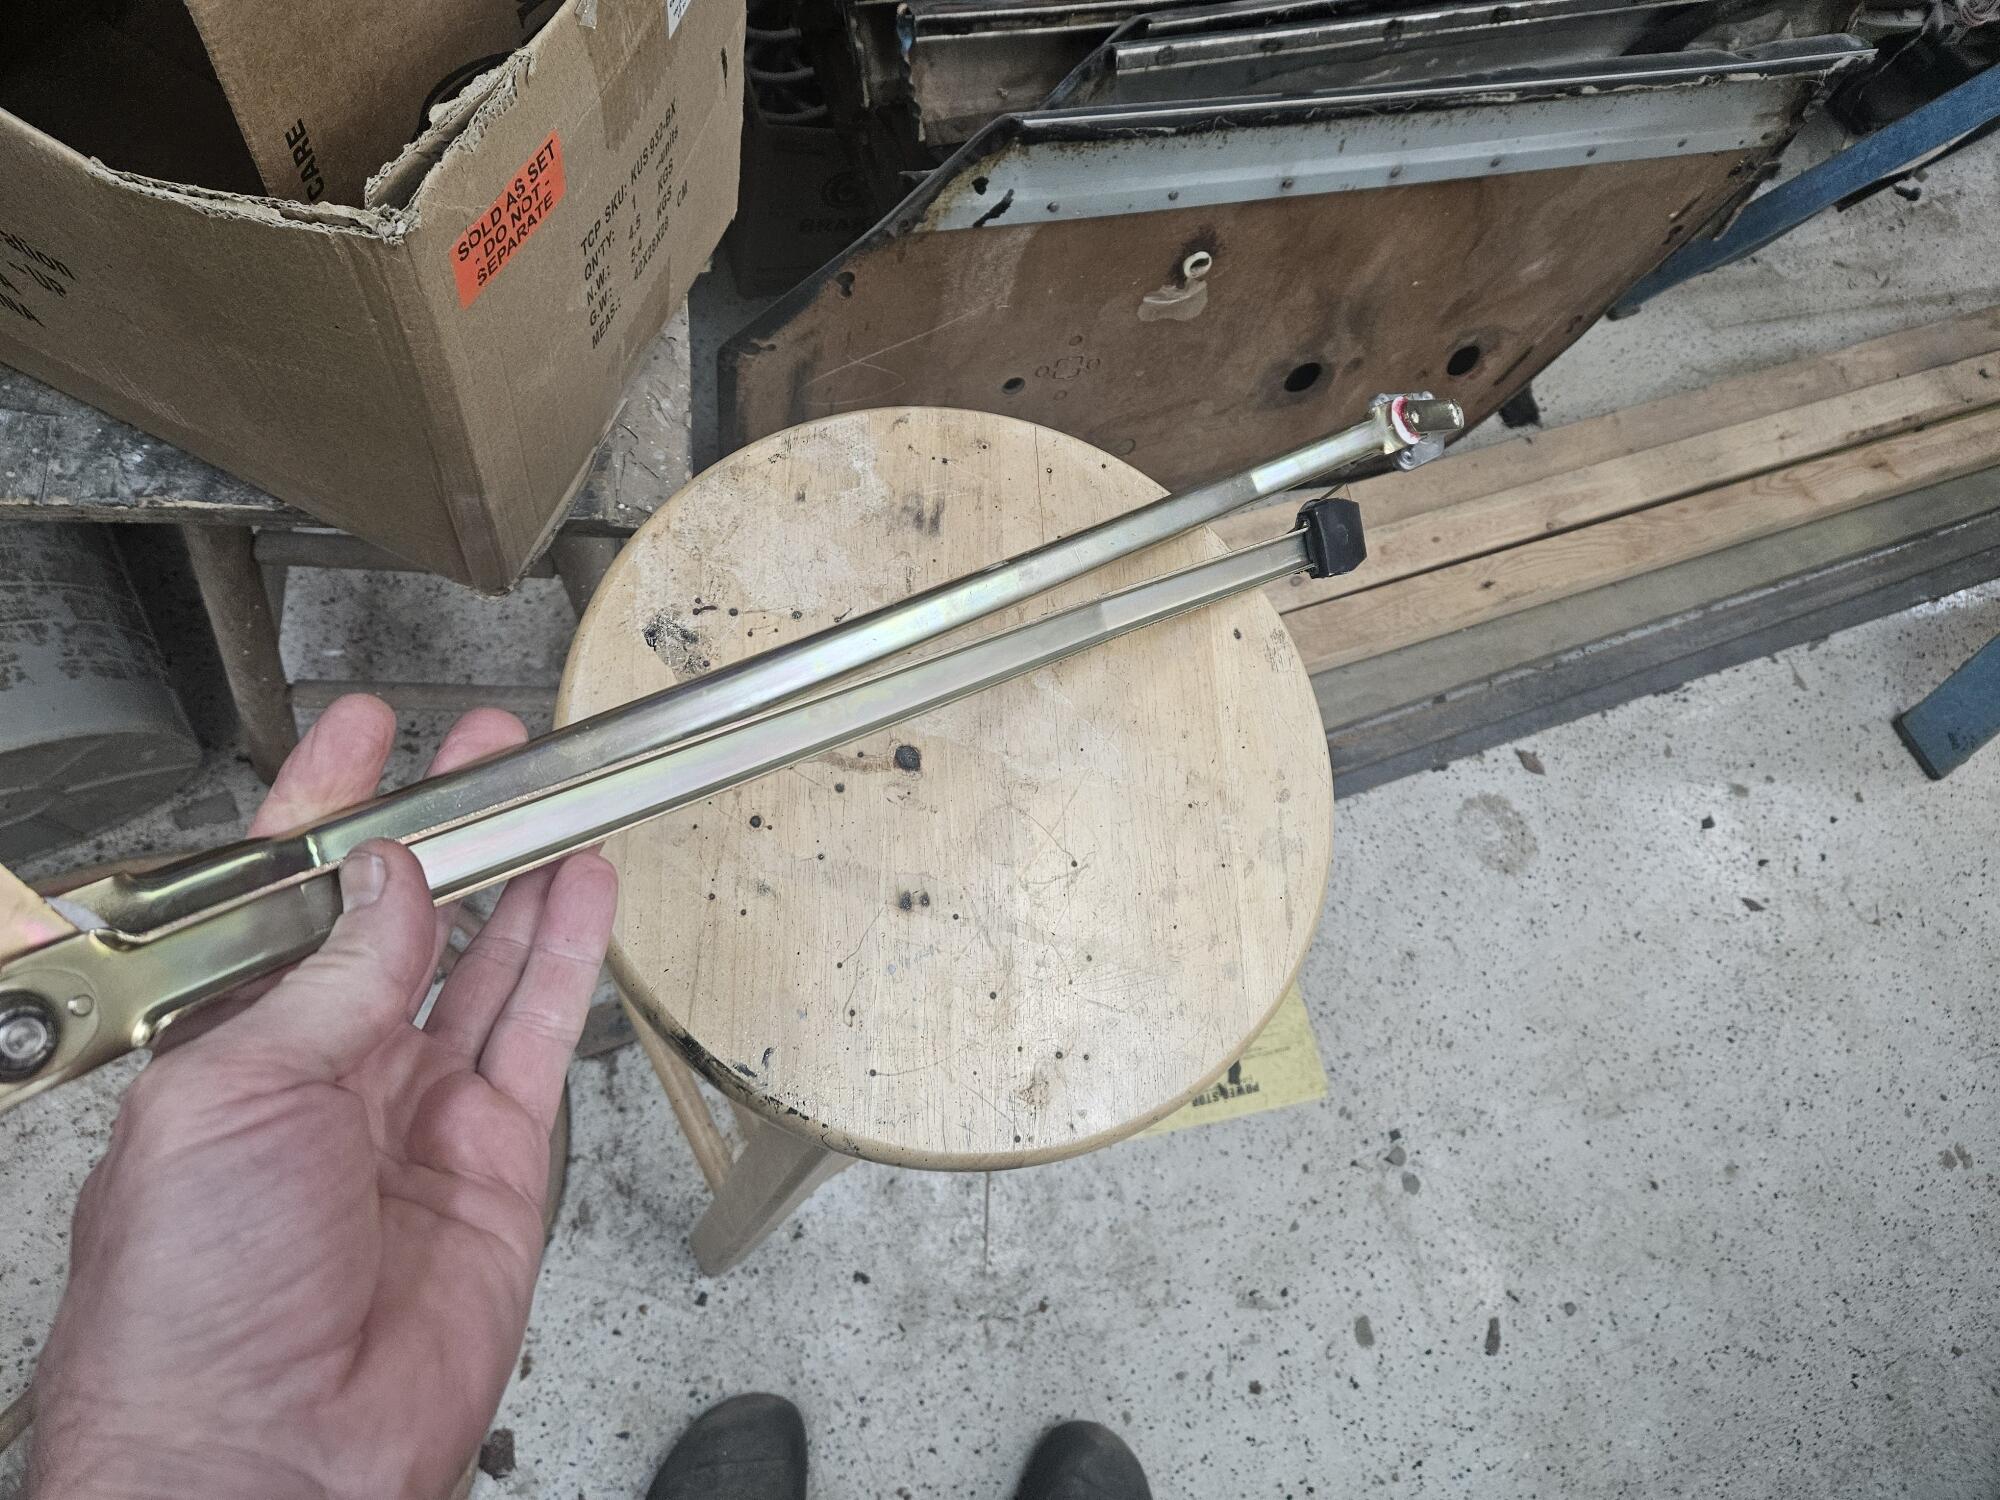
I got back the plating a few months ago and assembled 3 separate wiper transmission today. One is really good, one is ok and one is serviceable but not great. I bought a box of little felts from Amazon that somebody had linked too. I didn't enlarge the ID like what came off. I figured that would happen on it's own if needed. I also bought an assortment of: Metric 15-Sizes Round Wire C-Clips External Retaining Rings Assortment Kit;Round Wire Snap Rings for Shaft(Black 5mm-28mm) I used the 10mm ones on the worst transmission but the factory rings are almost 1mm wire and the replacements are much thinner. I someone needs to source some, I would look for 10mm Dia with a 1mm wire size. Assembly was the reverse of disassembly so I didn't document that. I did grease up the ends pretty well and used new rubber from 240zrubberparts.com


-
I was suggesting that both methods, features and VIN, might both be effective as a way to recognize the early cars from the later cars. Provided the features changed at #21,001...
-
I'm not sure they're mutually exclusive unless someone has a car after #21,001 with early car parts or a car before #21,001 without them...
-
I thought I would add here, for it to be all in one place. https://www.allmagautoparts.com/products/mini-cooper-led-door-courtesy-light-63319313574-f54-f55-f56-f57-f60 I have no idea what vehicle this one is https://www.google.com/imgres?imgurl=https%3A%2F%2Fpreviews.123rf.com%2Fimages%2Fwestsib%2Fwestsib1801%2Fwestsib180100544%2F93535296-car-led-side-door-courtesy-lights.jpg&tbnid=msUtRCjSGweFVM&vet=10CGQQMyiUAWoXChMIgIiW-NOphAMVAAAAAB0AAAAAEAM..i&imgrefurl=https%3A%2F%2Fwww.123rf.com%2Fphoto_93535296_car-led-side-door-courtesy-lights-.html&docid=eaV3t_OAB0773M&w=1300&h=863&q=led door courtesy light&client=firefox-b-1-d&ved=0CGQQMyiUAWoXChMIgIiW-NOphAMVAAAAAB0AAAAAEAM https://www.amazon.com/Bestview-Courtesy-Compatible-Forester-2010-2022/dp/B0BLWCS4NS https://www.google.com/imgres?imgurl=https%3A%2F%2Fstore.ijdmtoy.com%2Fcdn%2Fshop%2Fproducts%2Faudi-vw-led-door-lights-05_1000x667.jpg%3Fv%3D1695865358&tbnid=hX3c-Ulneh5r_M&vet=10CIIBEDMoiQJqFwoTCICIlvjTqYQDFQAAAAAdAAAAABAE..i&imgrefurl=https%3A%2F%2Fstore.ijdmtoy.com%2Fproducts%2Fwhite-error-free-led-door-courtesy-lights-lamps-for-audi-a3-a4-a5-a6-a7-q5-q7-tt&docid=Ge48kISHWBH46M&w=1000&h=667&q=led door courtesy light&client=firefox-b-1-d&ved=0CIIBEDMoiQJqFwoTCICIlvjTqYQDFQAAAAAdAAAAABAE Maybe do like @Zup suggested earlier and use the 280zx one but get a clear lens for them. Possibly from the other 280zx interior panels
-
Well you did better than me! I looked for NOS lights on Yahoo Japan. I looked for images on Google. I think the ones on etrailer are on the big size. Close to 4"s. The rim is also too wide and I want the lens to be translucent. I looked at Datsun dome lights to see if I could find something. Some of those were closer. The ones for the BRZ look curved which I think would be an issue.
-
If I were in the market, that is what I'd want to buy.