motorman7
Supporting Member
-
Joined
-
Last visited
Everything posted by motorman7
-
OOPs!...didn't catch that. As Emily Latella would say..."Nevermind"
-
Looking forward to seeing your car again! Trying to decide whether to go Panasports or Hubcaps here. Rich
-
I need to do this on my '70 one of these days. Look forward to seeing the rest of the project. Rich
-
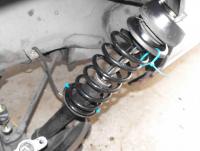
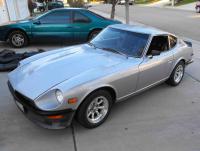
Boy I have a lot to say on this issue. One other factor that must be considered is the tires and rims that accompany the spring shock set-up. These also play an important factor in the ride and handling of the car. Another factor is personal preference, of course. I think my son and I are at opposite ends of the spectrum. He wants a car that rides on rails around the race track, and I want a car that I can drive everyday without getting beat up. Over the last month I have done one tire set change out, and 4 spring configuration changes (yes, that equates to 16 spring swap outs. I am pretty good at it now). All this was done in the effort to produce a decent ride for my daily driver, a 1971 240Z with an L26, 5 speed and LSD. I was looking for something that was both comfortable and yet sporty. The initial configuration was the Tokico Illumina adjustable struts, Tokico 5020 Springs,195/50 Yokohama H4’s(AA traction Rating) on Konig 14†rewinds, 1†diameter Anti-sway bars front and rear, and front and rear shock tower support bars. In this configuration, the handling of the car was incredible. I could rip around corners way faster than I thought possible and the tires would not chirp or make a sound. The car remained flat and had no problem doing more than double the posted speed limits around turns. The ride was like that of a go kart, very stiff. The negative of this set-up is that I spent most of my time trying to dodge potholes and maneuver around speed bumps during everyday driving. On speed bumps, I would get the occasional scrapping. Bumpy roads were brutal . On some speed bumps, I would bottom out, so had to be very careful in parking lots. So, the car was great down the backroads, but not practical as a daily driver. The first change, and very significant, was the tire/rim change. I replaced the 14†Konig Rewind set-up with 16†Panasports and 205/60 Yokahama YK520’s (A traction Rating). This was a big improvement as I no longer had to dodge the speed bumps. They also softened the ride up a bit. In spirited driving, however, I could here the tires groan a bit and also felt a bit of mush that I did not feel with the earlier set-up. I also liked the final 5th gear drive ratio for freeway driving. With the ~15% Diameter increase I now am doing about 2800 RPM and 80 MPH (Typical CA freeway speed). This is pretty nice for gas mileage I am thinking. The Konig set-up was doing 70 at 2800 RPM. In spite of the improvements, I still wanted a softer ride. So, I decided to take off the Tokico springs and put on some Suspension Techniques (ST) Sport Springs. While putting on the ST springs, I was a little spooked by the loose fit of the springs on the fully expanded strut on the fronts. So, I ended up running the ST rear springs in the front (They fit better) and keeping the Tokico springs in the rear. This was not much different than the four Tokico’s and offered no improvement. After getting some reassurance on the ST spring fit, I installed all 4 on the car. The front of the car sat about the same height as the Tokico’s but the rears sat way low, about 2†lower. The top half of the tire was hidden in the wheel well (wrong springs?). This definitely would not do, so I put in a two inch spacer to get the rear height correct. With this configuration, the ride was a bit softer than the Tokico’s, but not much. Still not what I wanted. Found myself still dodging potholes and large bumps. Finally, I opted for the stock springs in this set-up. This is what I want! Soft enough to drive every day, but solid enough to take a spirited drive down the long windy roads. It is a very nice compromise. In addition, I can now use the adjustability of the Illumina’s. On all the previous set-ups, I had them on the softest setting (1) . Now I can dial them in. I currently have the fronts set at 3 and rears on 2. So, just thought I’d share my thoughts on this for anyone interested.
-
I couldn't find a braided Nissan part but did find some braided ~3/4" tube that looks pretty close. I got the hose from Les at Classic Datsun in Vista, CA. Looks like this. Rich
-
"A man's got to know his limitations" - Clint Eastwood in "..." "Strange things are afoot at the circle K" - Bill S. Preston in "Bill & Ted's Excellent Adventure" "Nobody likes to be gets blowed out" - Magic Johnson after bad Laker play-off loss
-
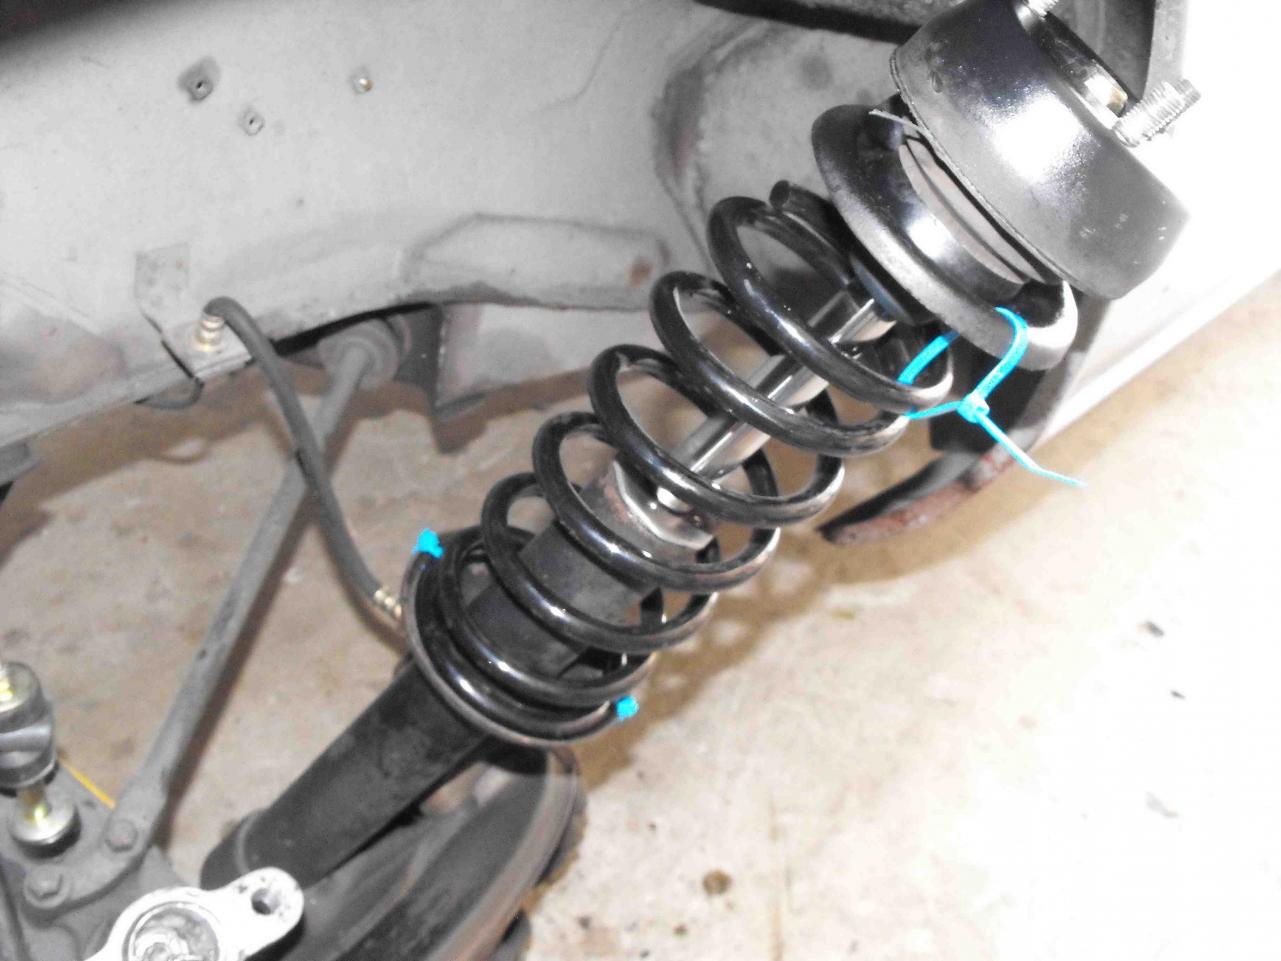
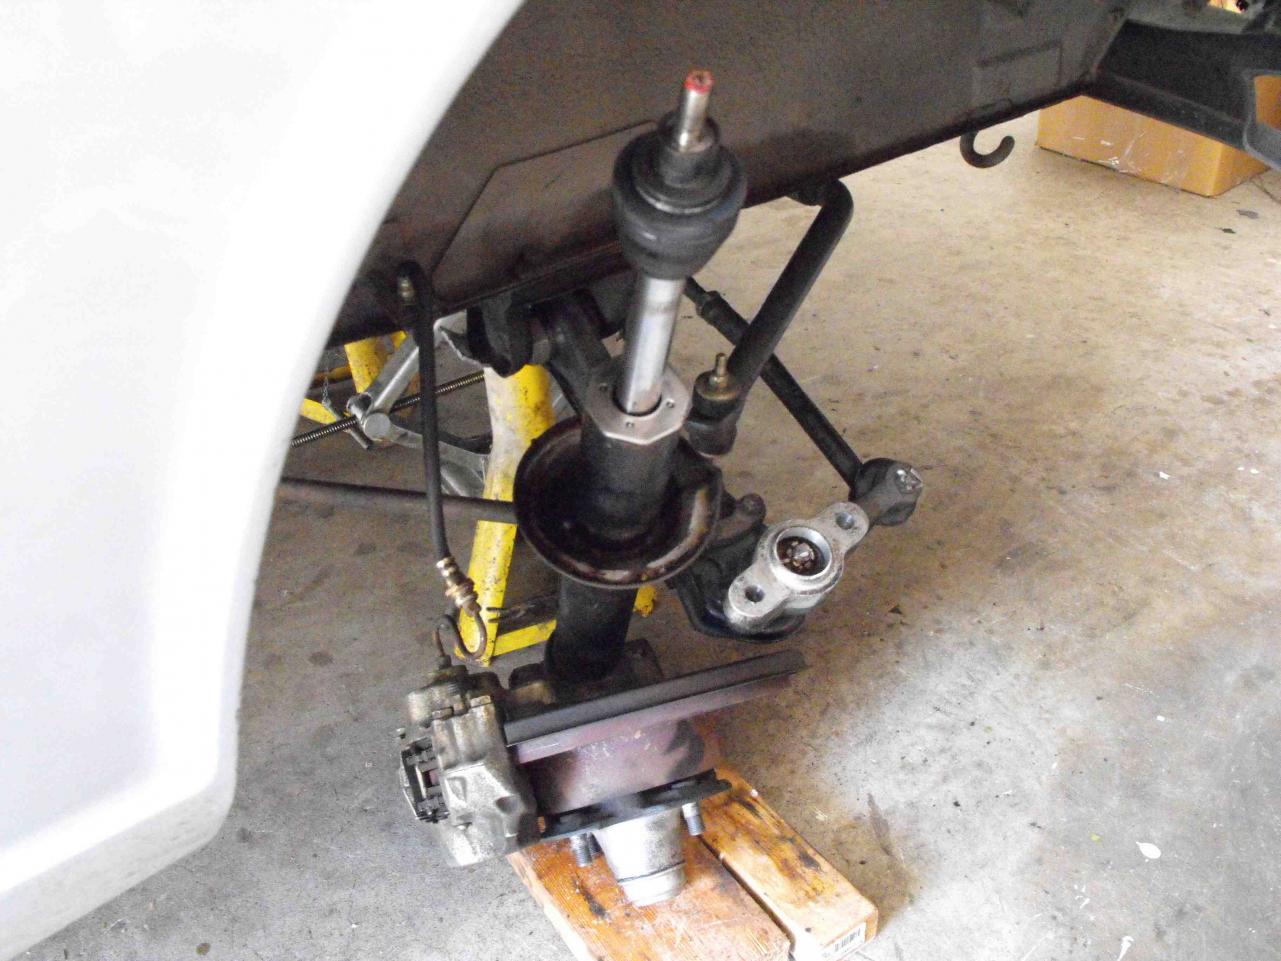
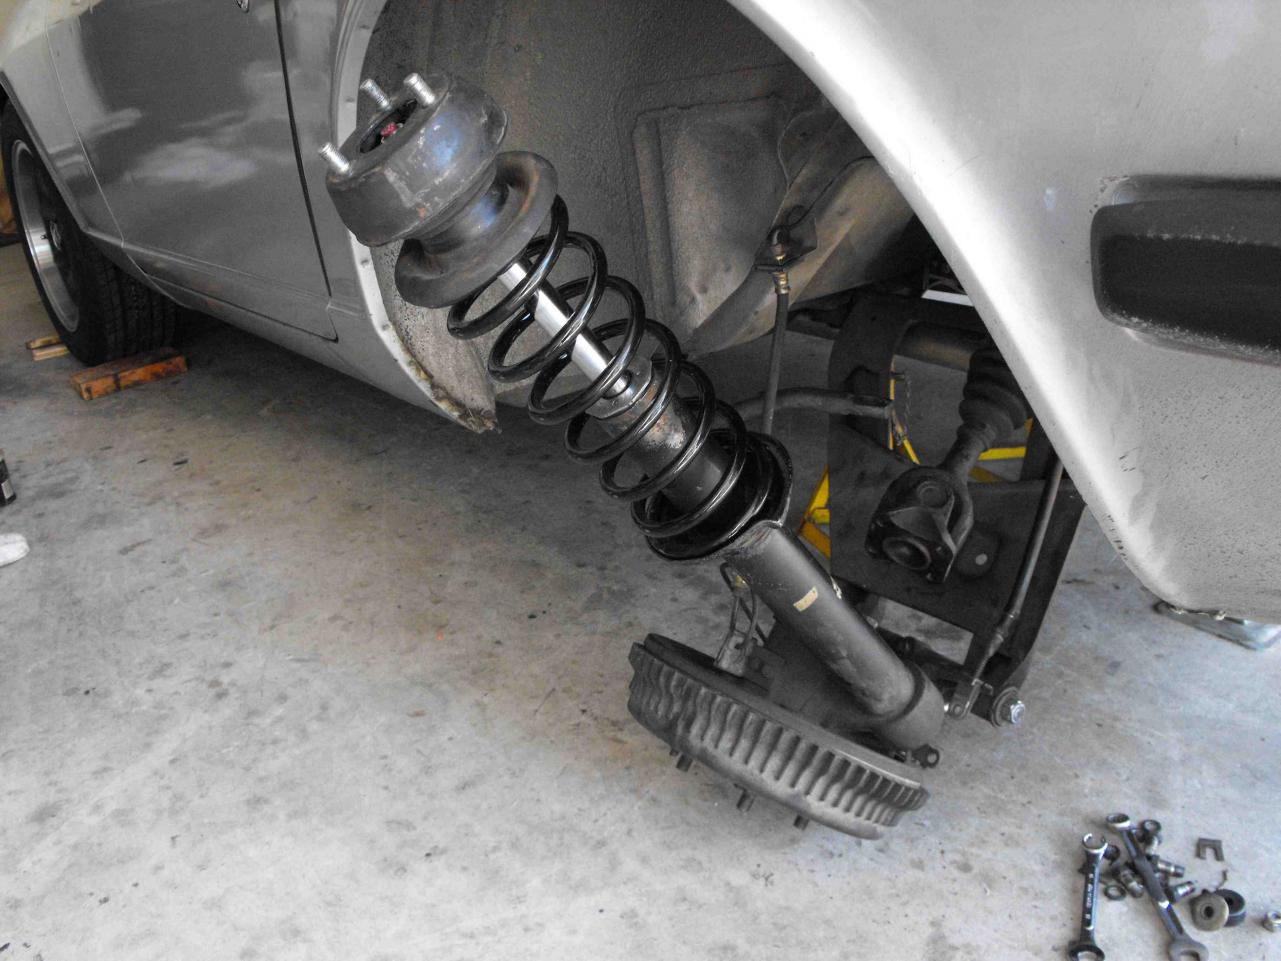
Got the springs changed out. Removed the Tokico 5020's and replaced with Suspension Tecniques Springs. The front end looks good, but the back end sags. Will have to do something about that. May just look for a set of stock rear springs. For a daily driver, I want something a bit softer. Still have the Illumina adjustable gas shocks and 1 inch sway bars front and rear, so it handles OK. The front springs were loose when installed (car on jacks) so I added some ty-wraps so they would seat correctly when I lowered the jack. Was able to replace springs front and back without disconnecting the brake lines which was nice. The rears were a bit more snug, but no need for a spring compressor. I figure it takes about 45 minutes per wheel to do the change out.

-
Thank you...that is perfect. Will need to improve my search capabilities. Rich
-
I obviously used the search function as a dug up a 2002 thread. Still no response
-
I am installing some 'sport' Suspension Techniques springs on my 71Z and I am running into this same issue, the front springs have about 1 inch of free play when the car is raised and wheels are dangling. Is this right? I am replacing the original racing (stiff as a steel bar) Tokico springs which had a snug fit in the strut. The rear springs are longer and fit snug in the strut. Any thoughts on this?
-
Is the annual ZCON the only event where the rules are used??
-
Congrats on getting the car going! Just keep an eye on the temp guage going over the mountains. I love the west coast...been living here for a long time. Best Regards, Rich
-
Love the Pics!...Keep posting them. Nice to see the progress. Rich
-
-
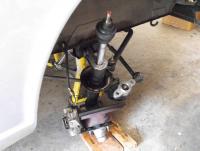
Wow, that looks awesome! I will try and post some pics of my 920 undercarriage and wheel wells this Friday. It is all original and the build is 3/70. All still in very good condition. It is as Carl described in the earlier post.
-
It seems to be doing well, but I haven't really taken it on a long drive. I have only driven a couple times around the neighborhood. There seems to be a small bit of discolor near the manifold fittings, but just barely. I will take it for a couple longer drives (two shows coming up) in the next few weeks and will have a better idea. I will have a full report after the JCCS show
-
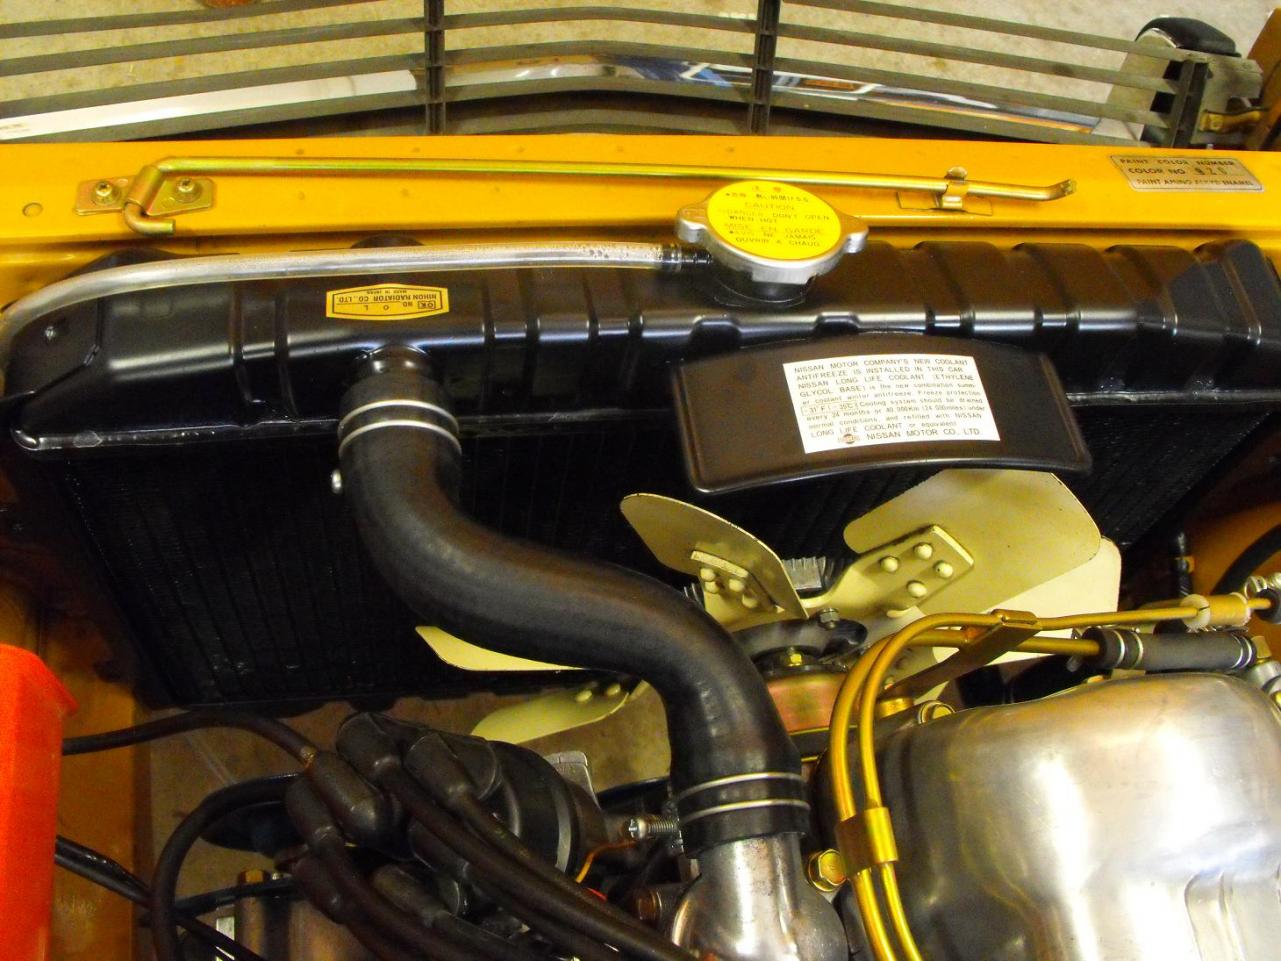
Wow, that is very eye-opening...disappointing actually. So the sticker I put on my re-cored radiator, 3/70 build, should read '0 C' not '0 L'.:disappoin . Will have to see what I can do to fix that. Thanks for the insight
-
 Cool Pics...Thanks for posting them
 -
This is what the 2 decals on the radiator should look like. Ignore the radiator cap.

-
The first picture is correct. If you look at my 'refresh' thread, one of the early pictures shows that decal. It is original on my 3/70 build. I think I have some better pics at home. Had to make sure I mounted the new one from Banzai correctly.
-
I think it's about 80 hours of labor total: 56 hours of my time and 24 from my son.
-
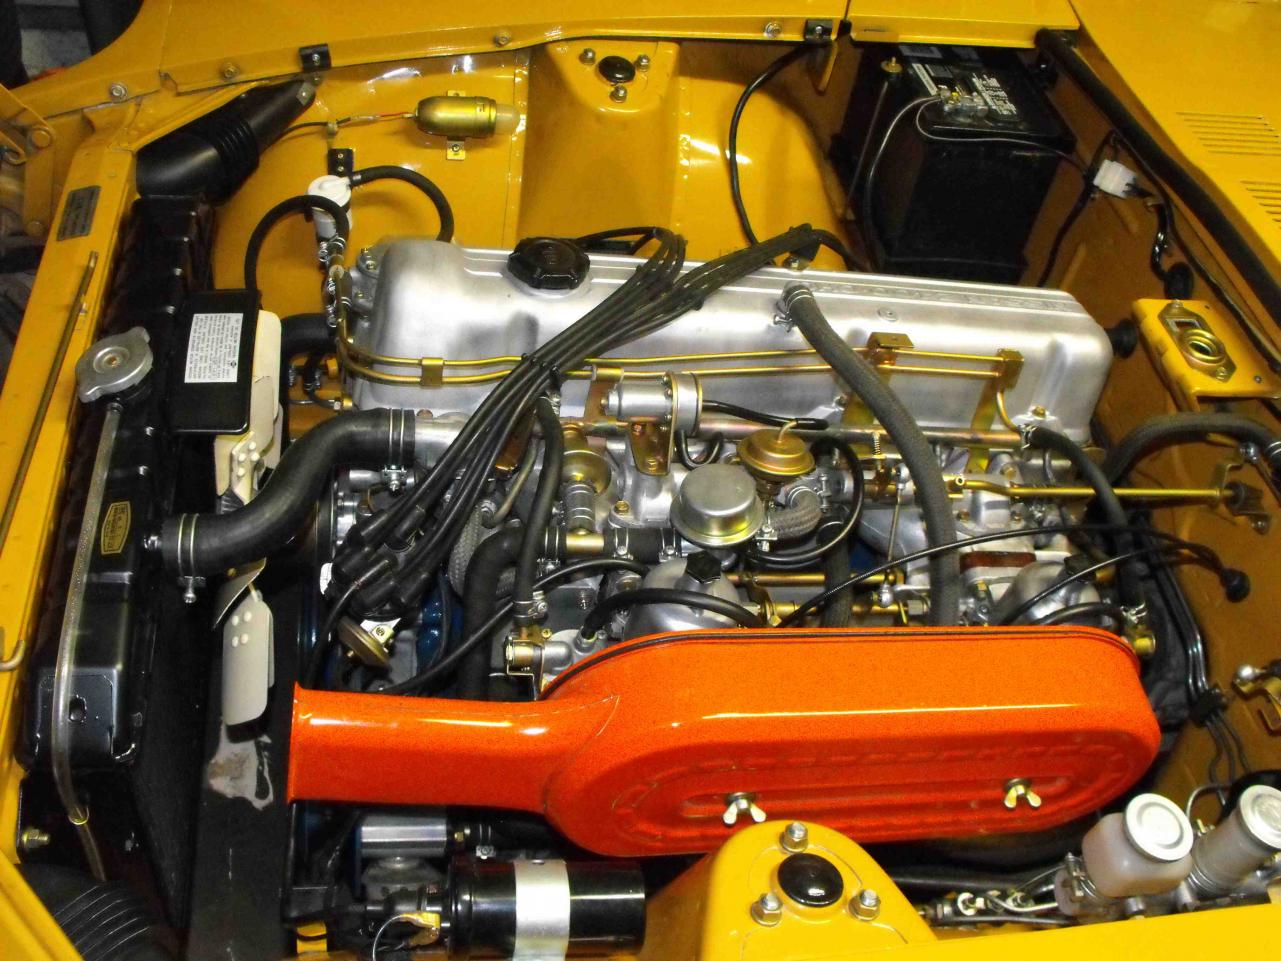
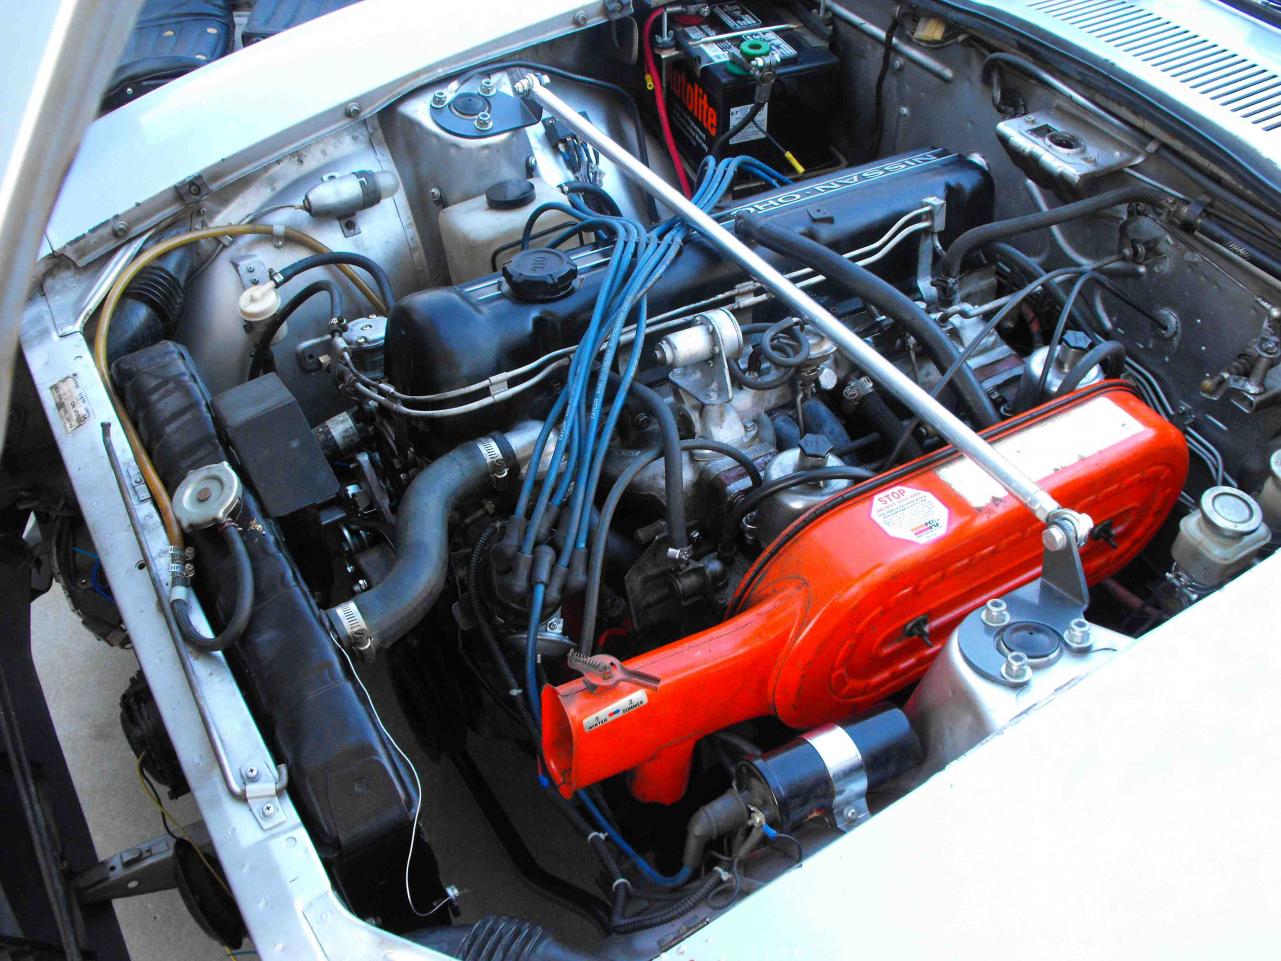
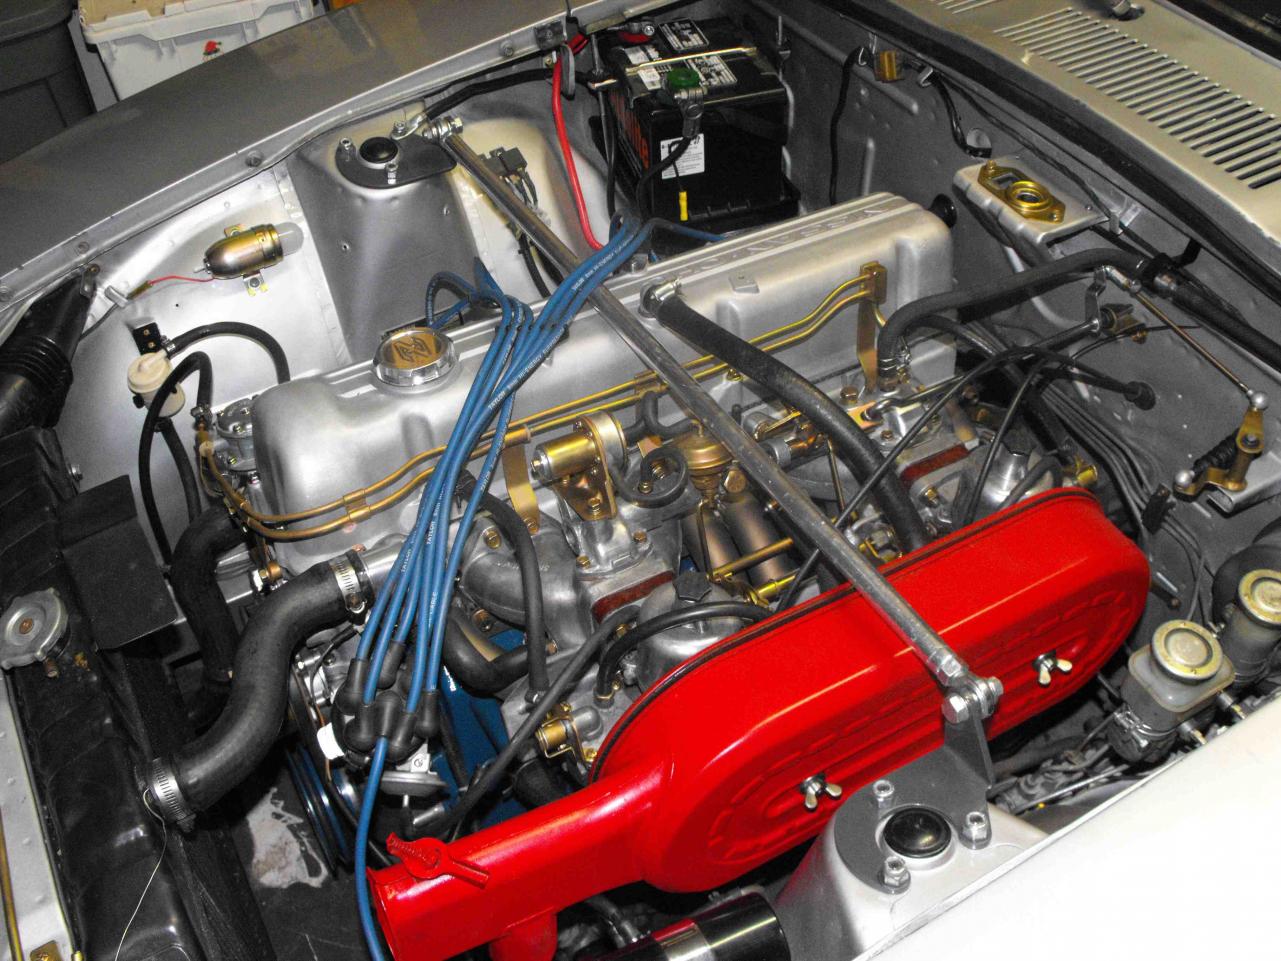
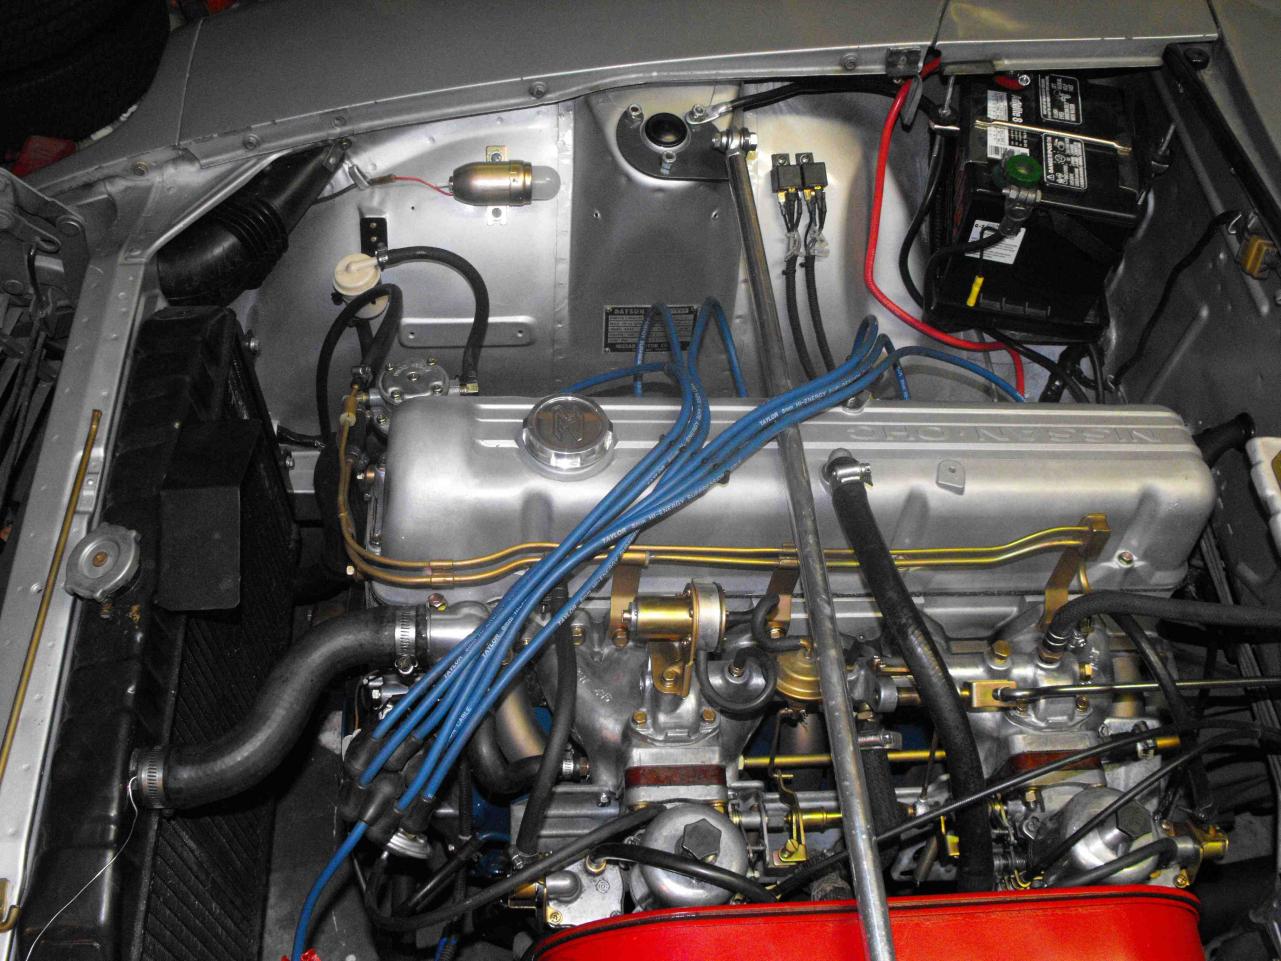
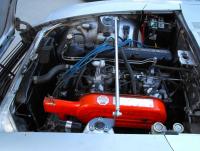
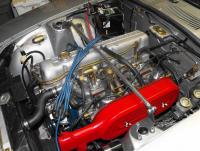
Well, got her all back together and it looks good; much better than the before pics. I have a small problem though, there is an exhaust manifold leak on the the number 5 cylinder. I will need to pull the carbs/ intake and exhuast manifold and re-do the gasket. I ran out of copper gasket and didn't put much on. That is part of the problem. The other is that the headers did not seem so align well on the head during installation. They are the MSA 6 into 1 headers and they seem to sit a bit low on the head. Will re-check the fit when I pull everything off and see if I need to grind the attach tabs a bit so it rides higher. Total cost for the refresh was just under $500. Below are some before and after pics.


-
The BRG looks great. Maybe I will get one that color some day. Make sure you clean up the overspray there before you put too much in the engine bay. It's easiest to clean when it's empty. Lookin' good, keep it up!
-
Love the 510! When I met my wife, she was driving a tan 510 and I had a 1600 roadster. Was surprised to see that we had the same engine in the cars. So obviously, it was love at first site....my wife I mean, not the car
-
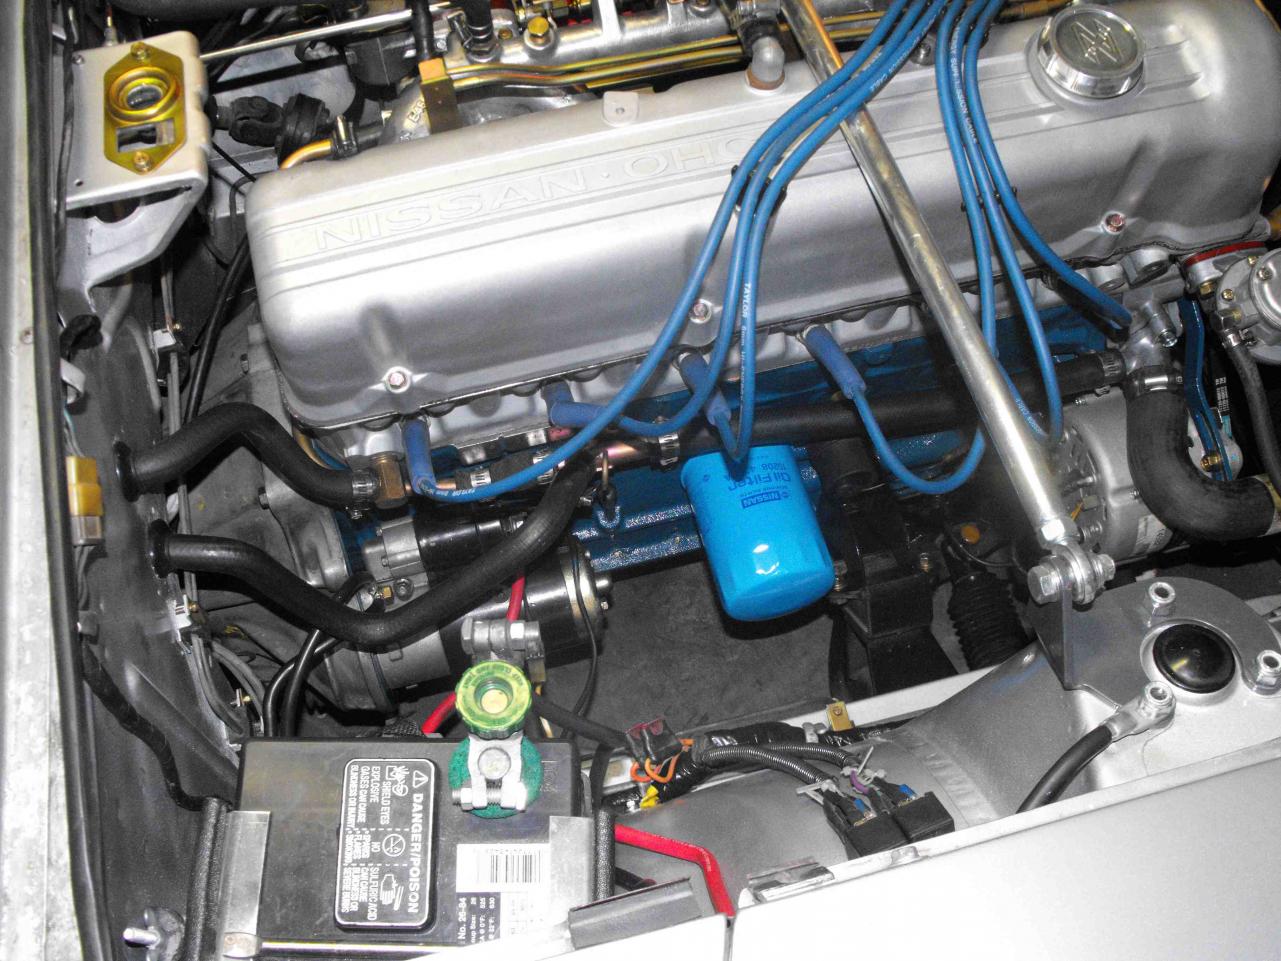
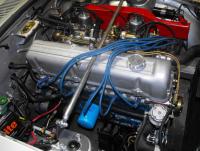
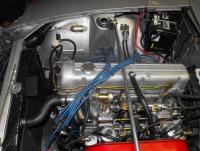
I have finally come to resolution on the Air Galley. I ordered a new one from MSA and replaced the discolored one (which also had a small dent/fold in it because I tried to remove the smog checkvalve(?) without putting a wrench on the air galley flats. This was a tough decision as it is the only non-original part on the car that has been replaced that is not rubber). I also decided to run my smog pump in order to keep the tubes cooler. I know it is a sacrifice to the perfomance, but I have a suped up '71Z to fill that void. I ran the motor for 5 minutes with no noticeable discoloration. This was a really good sign. So, the plan is to keep it this way as I like the results. So, the engine refresh is now complete. Next Item on the agenda is to restore the steering wheel.